Build sailing ship (with templates)

AdventurerKatzi
Rating5.06.7 thousand times & (4) DifficultyAdvanced

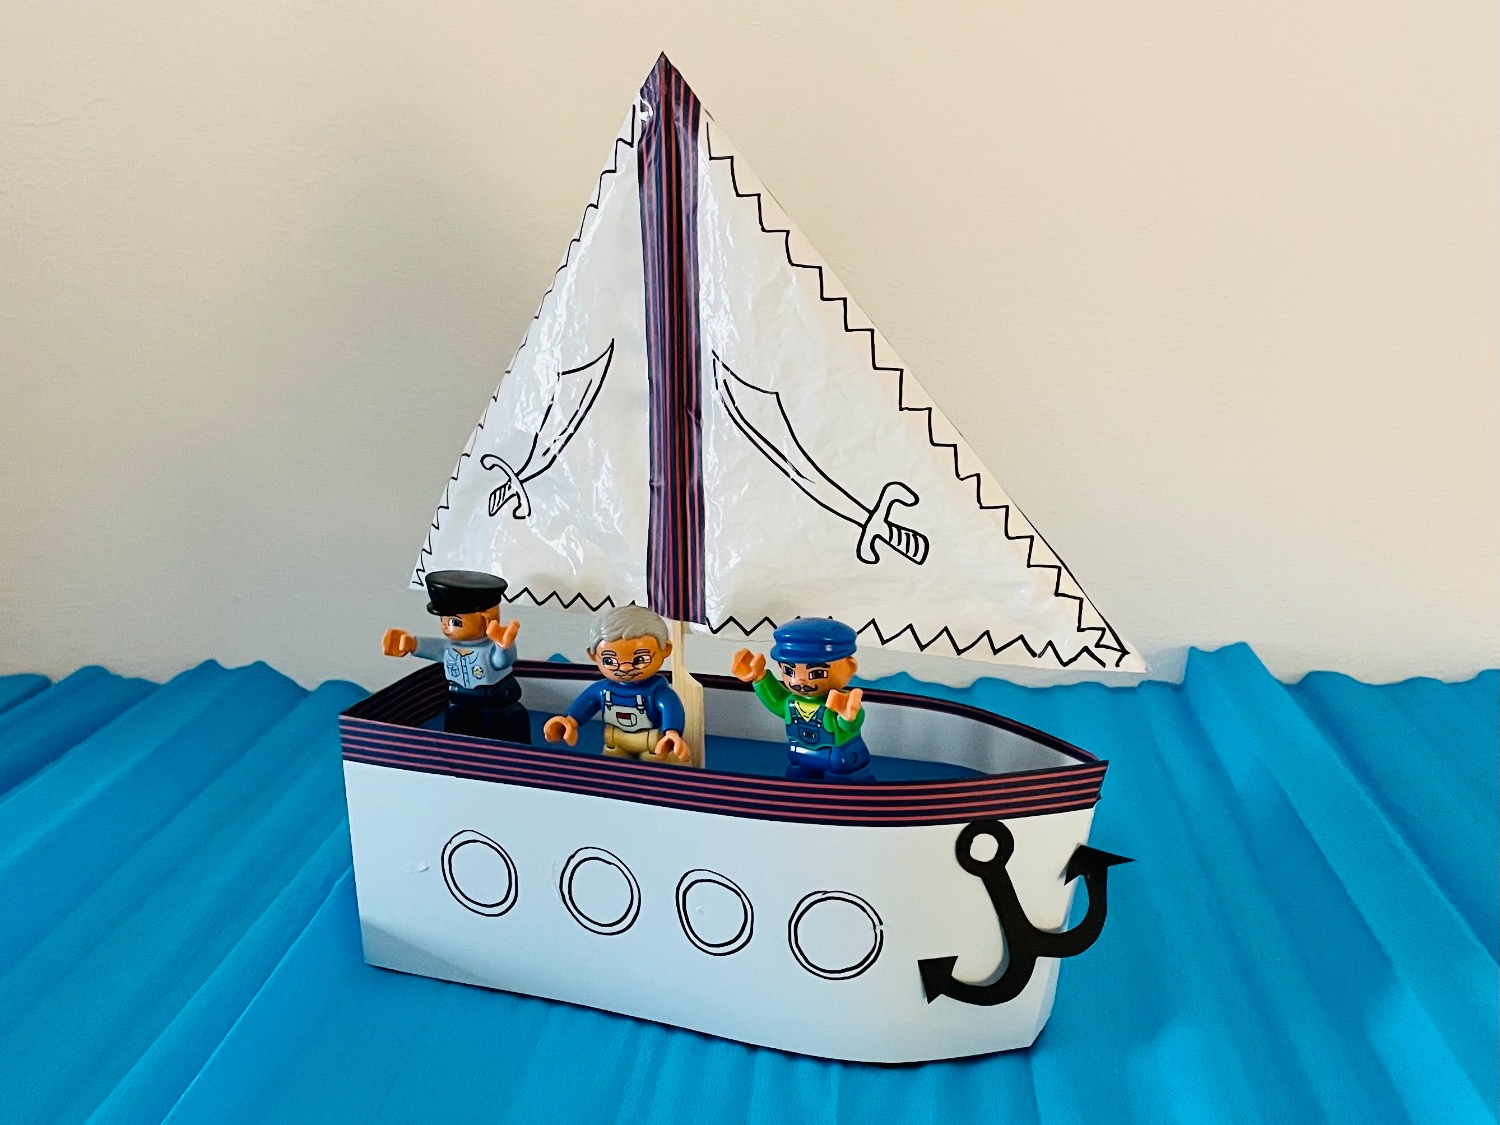
A great craft action for hot summer days. The ship invites you to play as well as become creative.
You can find an exact manual here. You only need an empty Tetrapack, paper, plastic bag, wooden stick and adhesive tape. And then it can start.

Media Education for Kindergarten and Hort

Kind bastelt eine Rassel mit dem Navi
The Adventure Navi, the app for DIY projects, enables media education for the youngest.

Relief in everyday life, targeted promotion of individual children, independent learning and - without any pre-knowledge already usable by the youngest!


Titelbild zur Bastel- und DIY-Idee für Kinder '(695) Segelschiff basteln (mit Vorlagen)'
Material for1 Child
Prep Time10 min.Adv. Time30 min.Total Time40 min.
 1 Tetrapack
 1 DIN A4 paper
 1 Photo box
 Unwrought paper
 1 Pencil
 1 Felt pen
 1 Ruler
 Adhesive strips
 Washi tape
 1 Plastic bagor plastic film
 1 Large shank rod
All links marked with a shopping cart lead to Amazon - here we have selected products that we would order ourselves and in part also ordered. In a qualified purchase via the advertising link, we as Amazon partner receive a commission, for you there are no costs. You thus support our cost- and advertising banner-free, educational offer.
1

The ship's blank is an empty, rinsed tetrapack.
Cuts a DIN A4 sheet in length into two equally wide strips. Each strip corresponds in width to that of the Tetrapack and two additional centimeters.
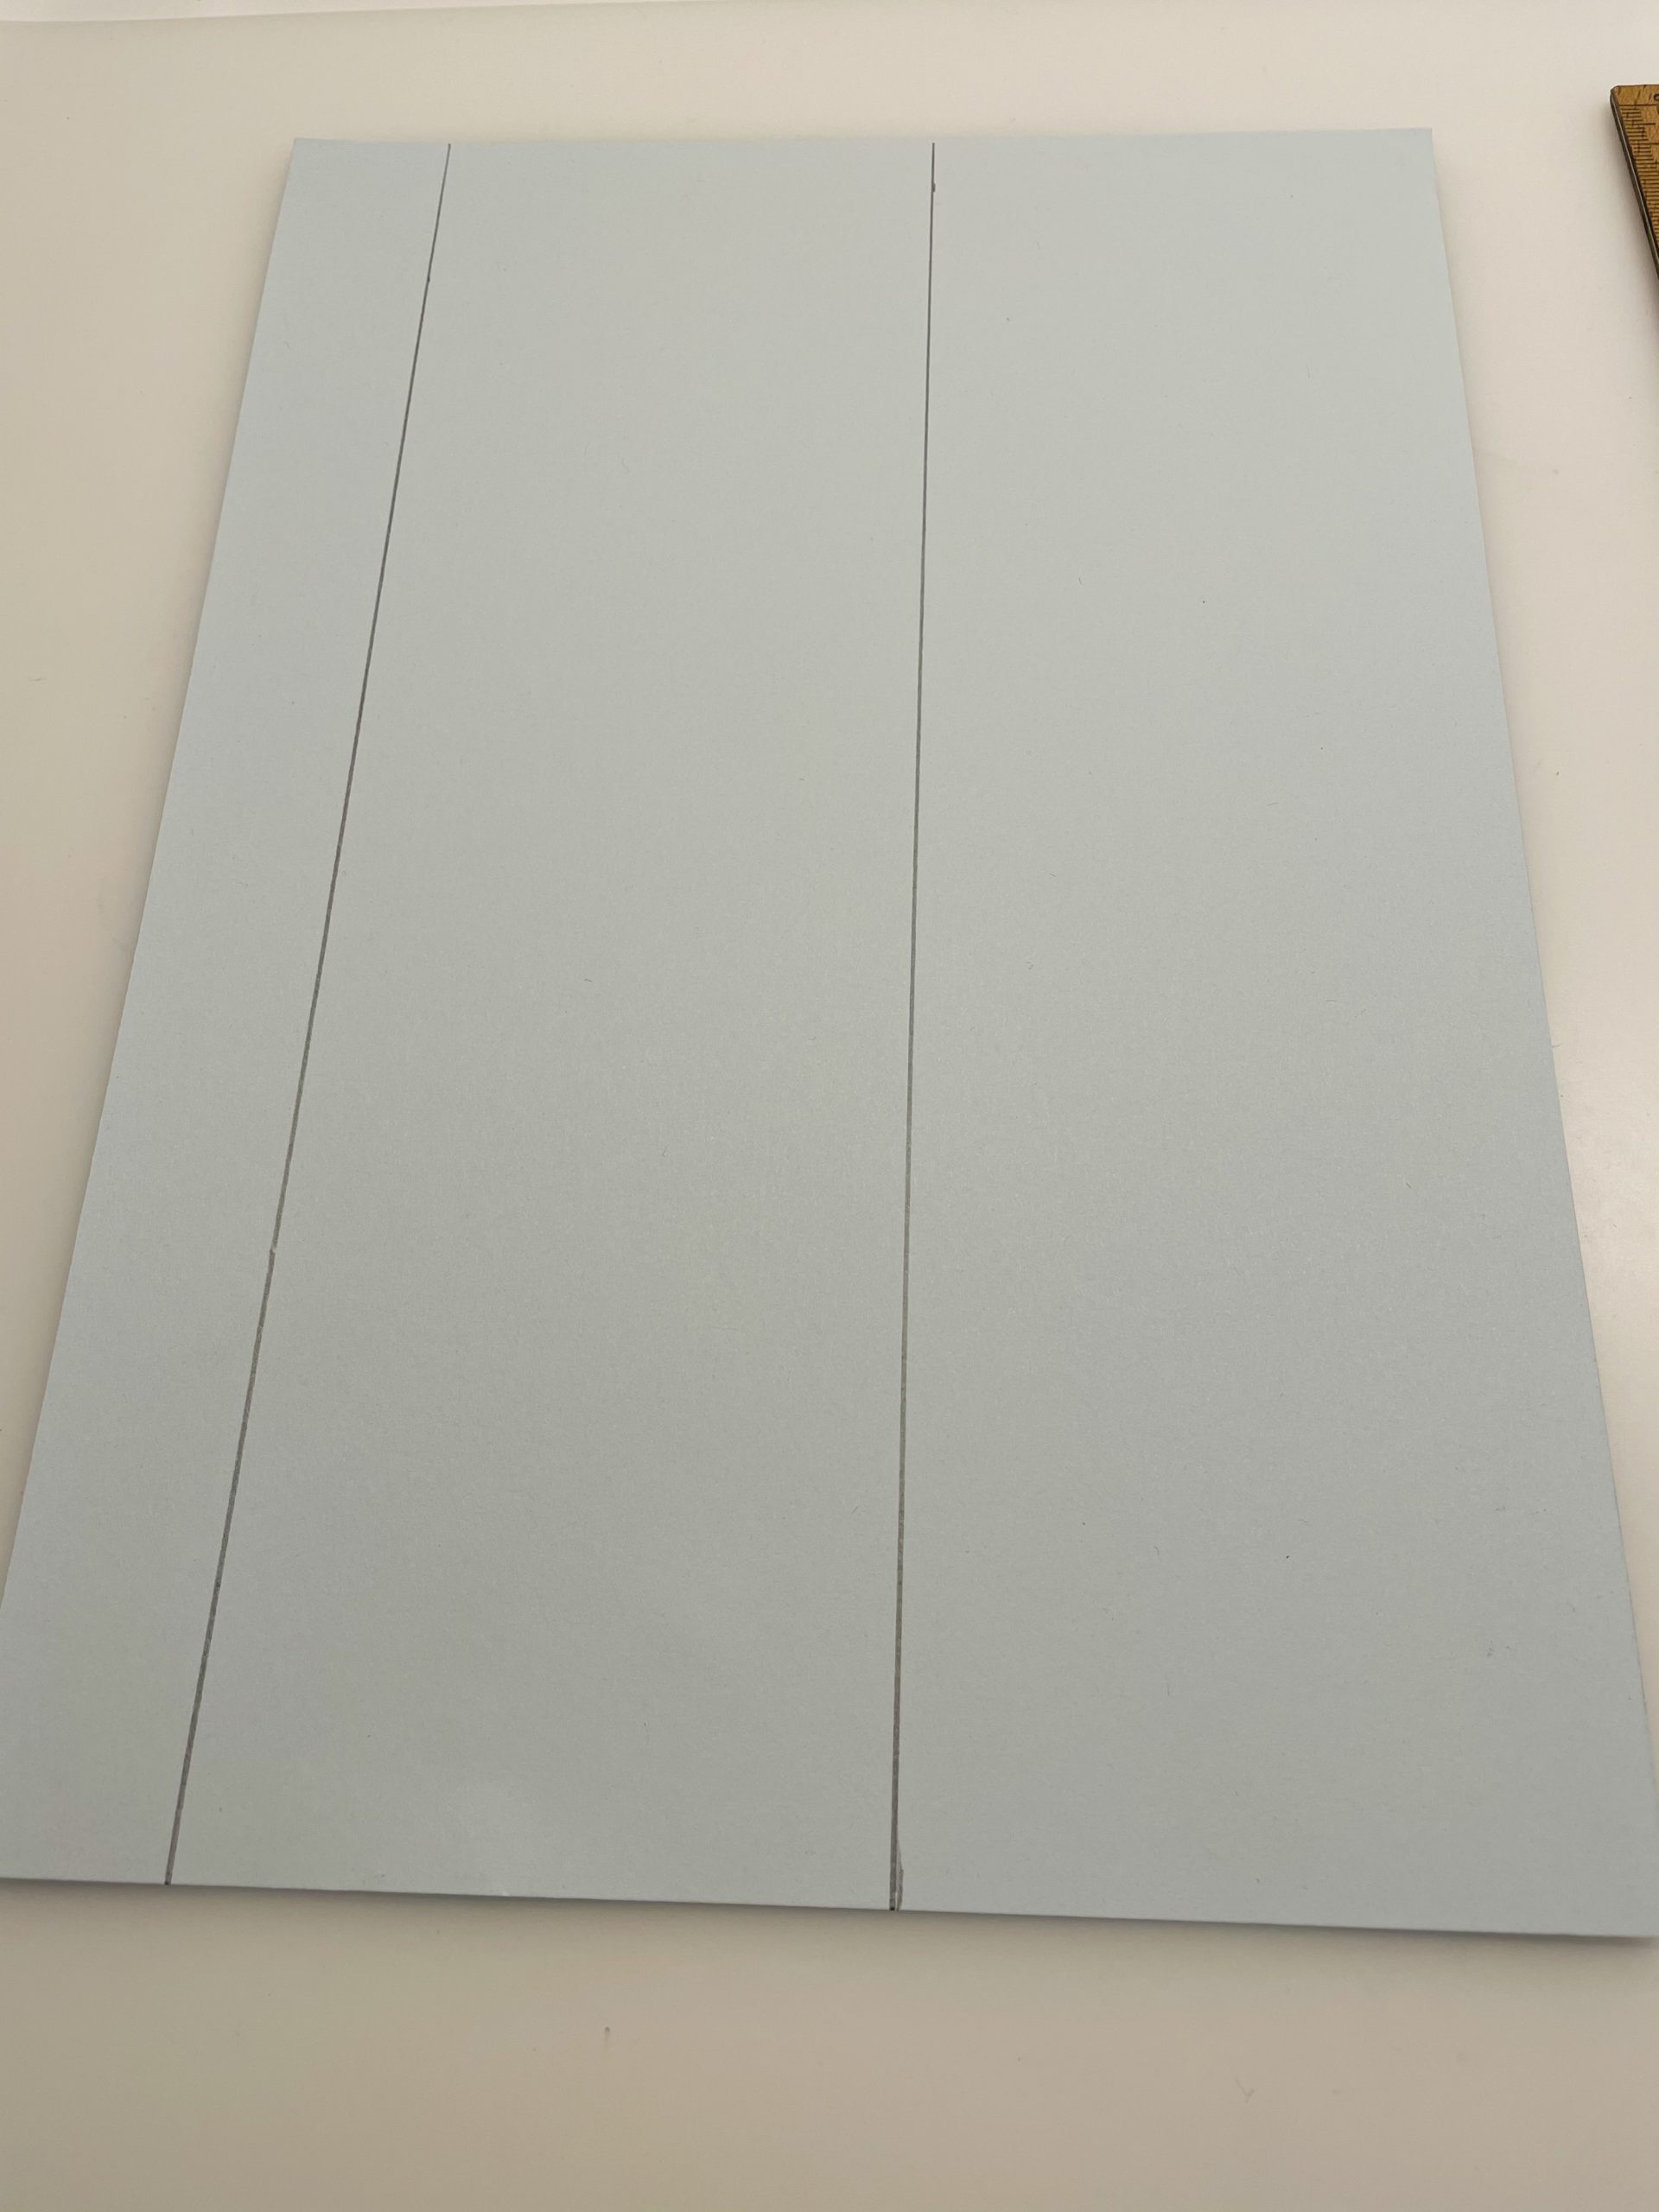
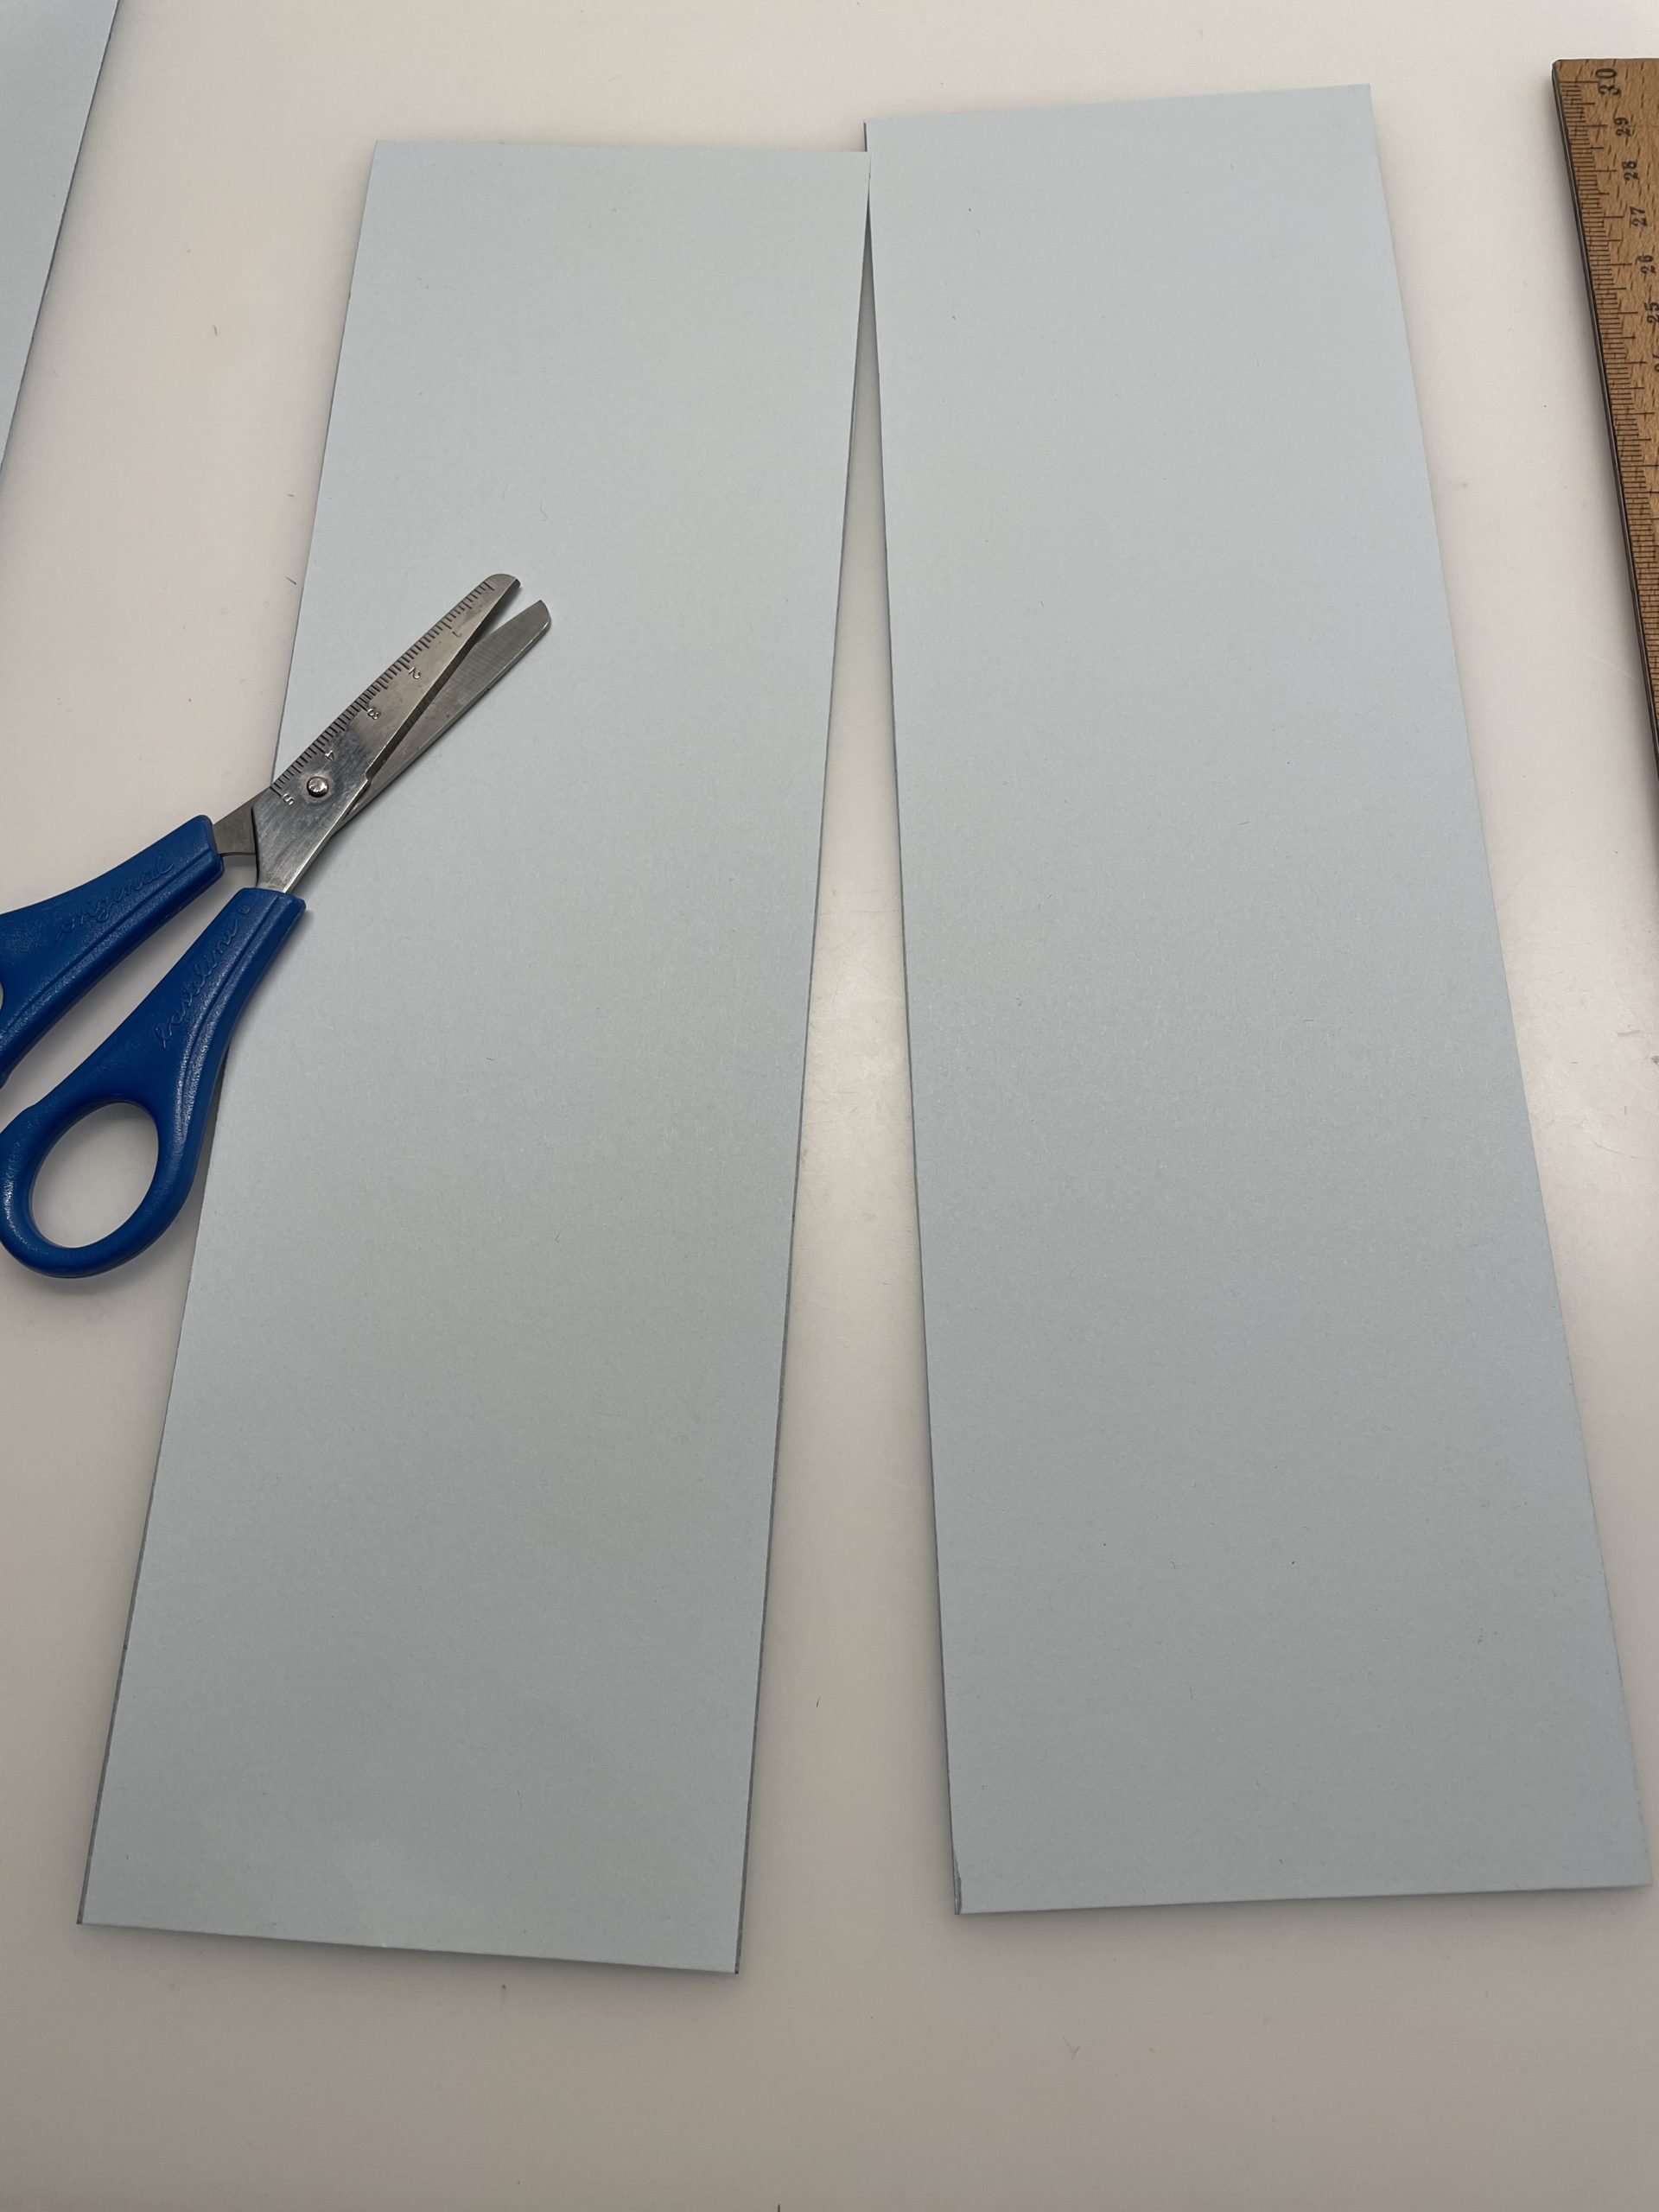
Bild zum Schritt 1 für das Bastel- und DIY-Abenteuer für Kinder: 'Der Rohling des Schiffs ist ein leerer, ausgespülter Tetrapack. ...'

2

2. Bild zum Schritt 1 für das Bastel- und DIY-Abenteuer für Kinder: 'Der Rohling des Schiffs ist ein leerer, ausgespülter Tetrapack. ...'

3

Glue both strips together on one narrow side with an adhesive tape.

Bild zum Schritt 3 für das Bastel- und DIY-Abenteuer für Kinder: 'Klebt beide Streifen an  je einer schmalen Seiten mit...'

4

Sticks an adhesive tape to the front and one to the back.

Bild zum Schritt 4 für das Bastel- und DIY-Abenteuer für Kinder: 'Klebt dabei einen Klebestreifen auf die Vorderseite und einen auf...'

5

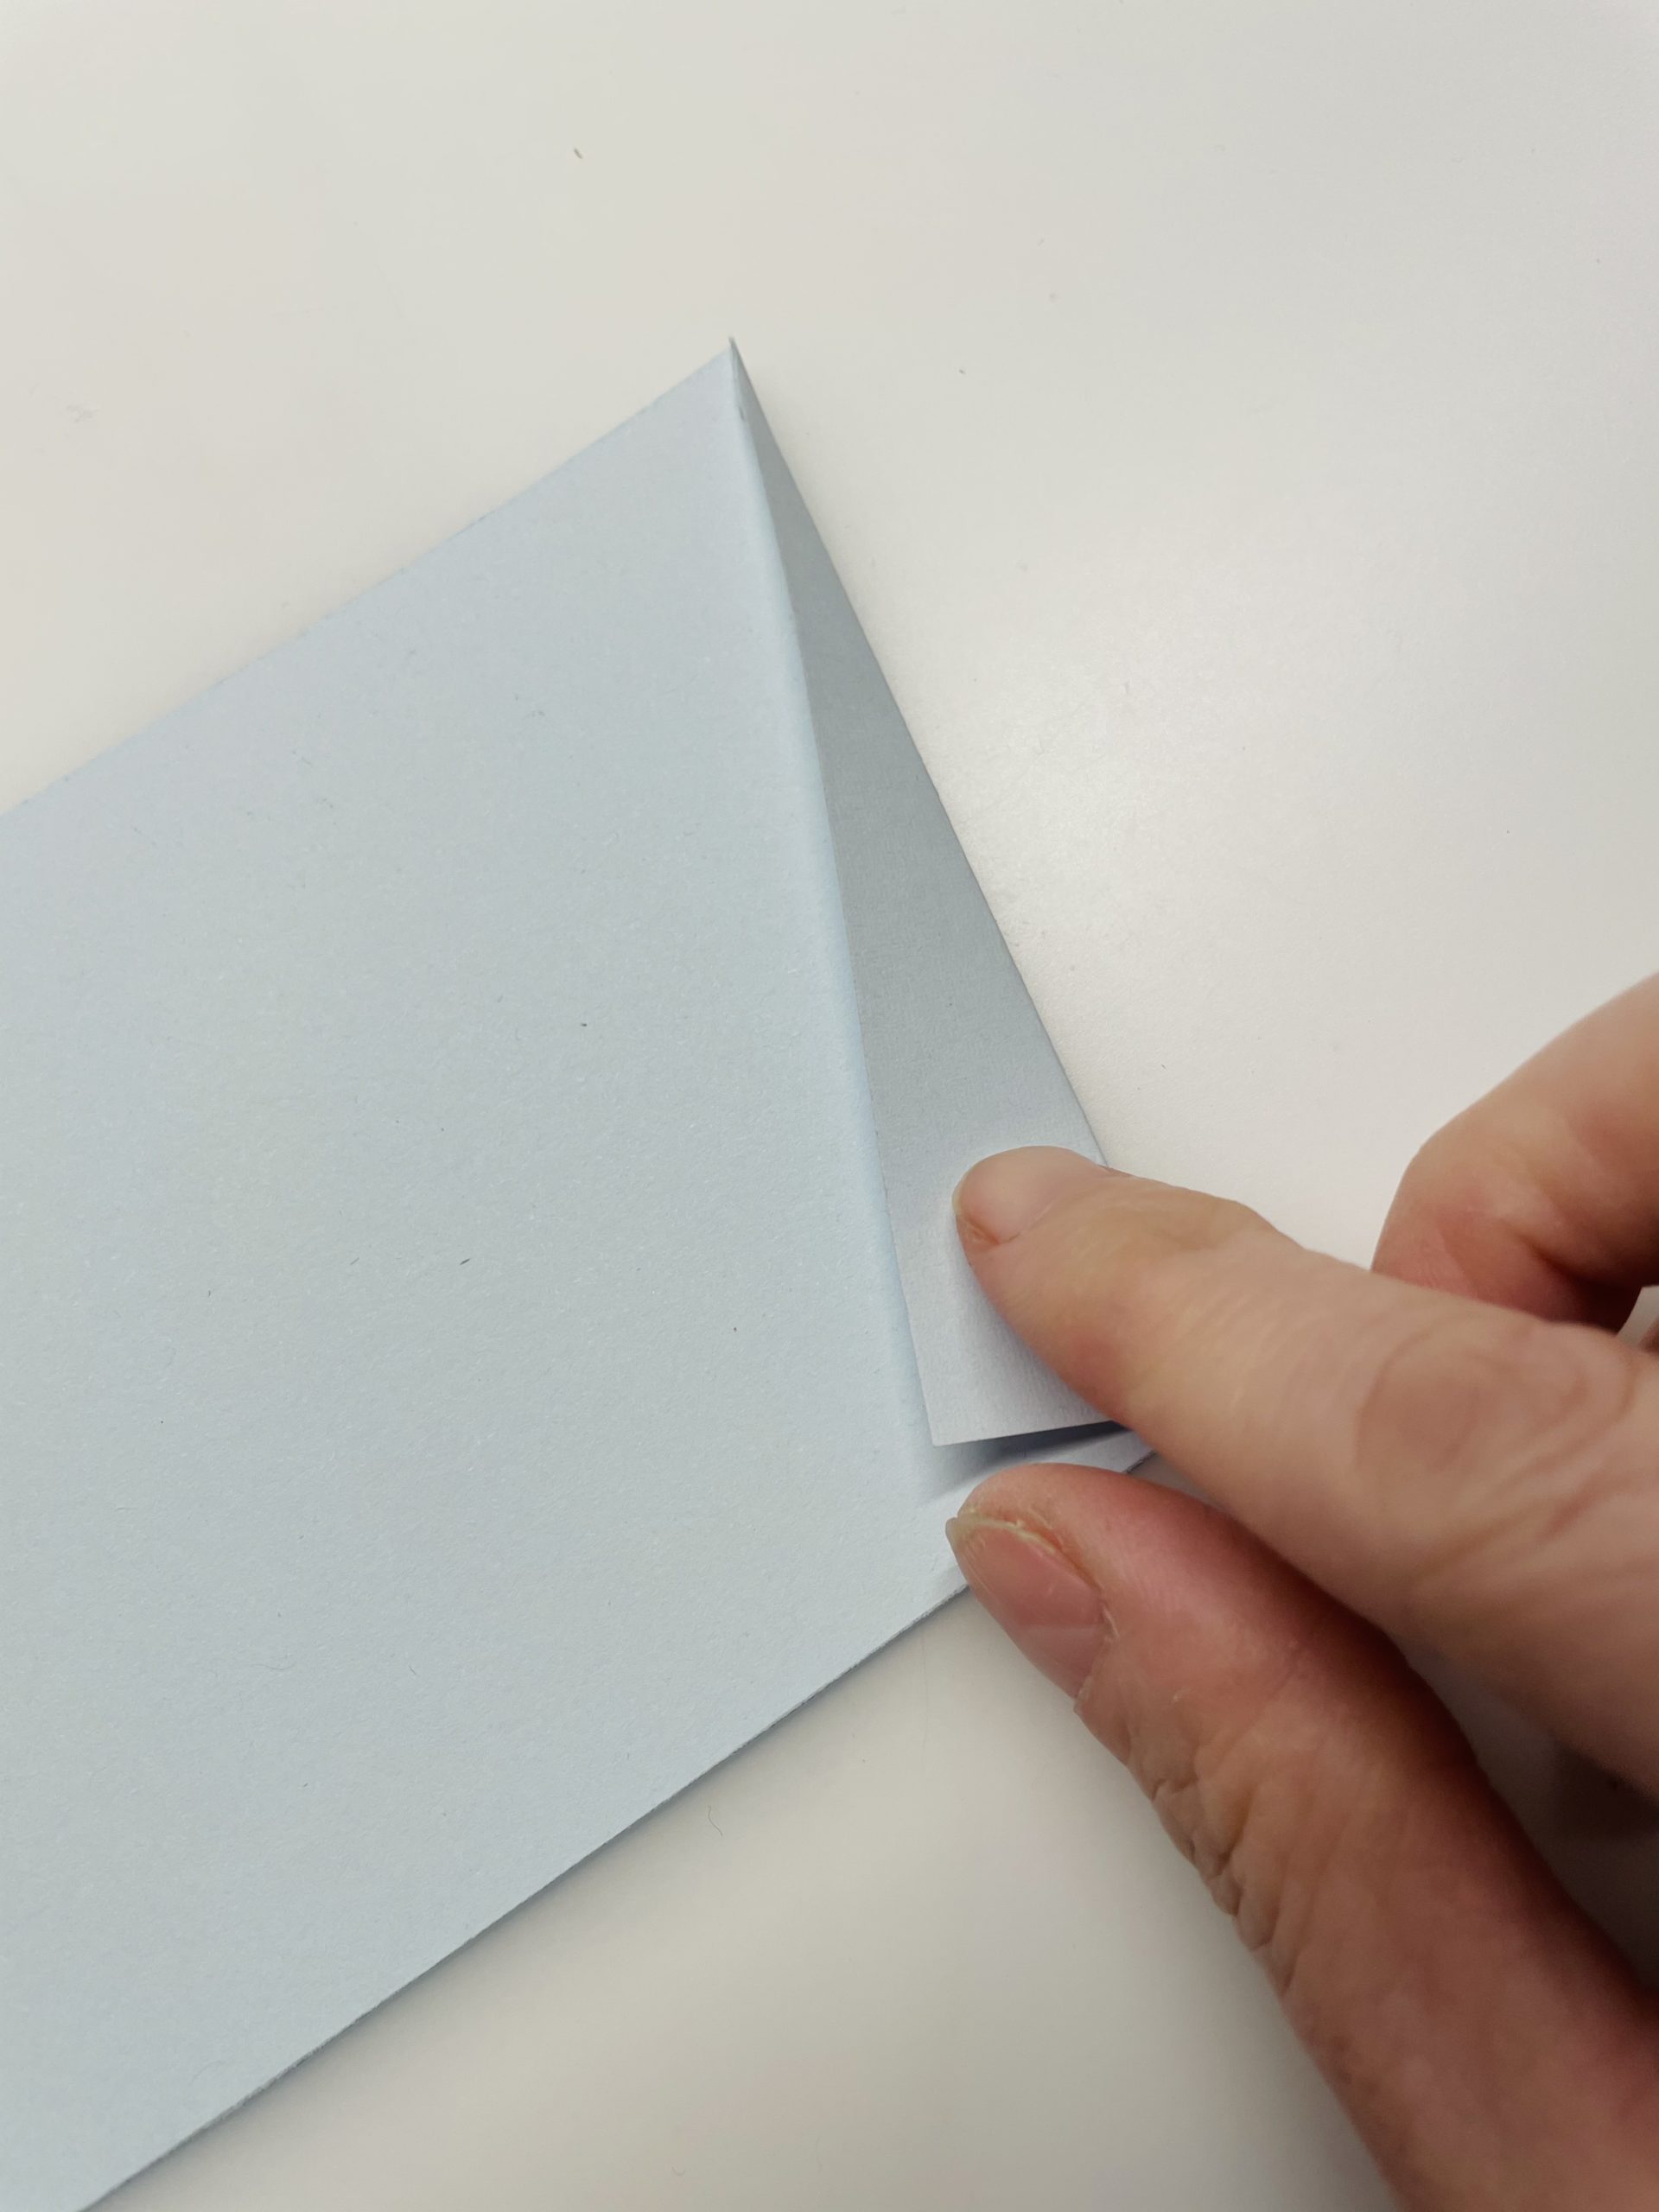
At the other end of the strip just glued together, you now fold a slant. Mark the slant with a ruler and pencil. Repeat the process at the other end of your paper strip. Make sure that you fold both ends at the same time. Thus, both folds show each other.

Bild zum Schritt 5 für das Bastel- und DIY-Abenteuer für Kinder: 'Am anderen Ende des eben zusammen geklebten Streifens faltet ihr...'

6

Strip the edges well.

Bild zum Schritt 6 für das Bastel- und DIY-Abenteuer für Kinder: 'Streift die Kanten gut aus.'

7

Now a Washi tape is glued to her for decoration on an edge.

Bild zum Schritt 7 für das Bastel- und DIY-Abenteuer für Kinder: 'Jetzt klebt ihr ein Washi-Tape zur Verzierung an einer Kante...'

8

Then you put the long paper strip around the lying Tetrapack. The slanted ends of the strip now cling to each other overlappingly at the narrow side.

Bild zum Schritt 8 für das Bastel- und DIY-Abenteuer für Kinder: 'Danach legt ihr den langen Papierstreifen um den liegenden Tetrapack....'

9

The paper strip is now fixed as the edge of the ship.

Bild zum Schritt 9 für das Bastel- und DIY-Abenteuer für Kinder: 'Der Papierstreifen ist nun als Rand des Schiffs fixiert.'

10

Cut a blue photo box in the size of the ship's body. For this you place the ship as a template on the paper and paint it. Then cut out the photo box and place it in the ship.

Bild zum Schritt 10 für das Bastel- und DIY-Abenteuer für Kinder: 'Schneidet einen blauen Fotokarton in der Größe des Schiffsbauches zu....'

Build sails:
11

For the sail you need a wooden stick and a plastic bag.

Bild zum Schritt 12 für das Bastel- und DIY-Abenteuer für Kinder: 'Für das Segel braucht ihr einen Holzstab und eine Plastiktüte.'

12

First cut the plastic bag into a triangle.

Bild zum Schritt 13 für das Bastel- und DIY-Abenteuer für Kinder: 'Schneidet zuerst die Plastiktüte zu einem Dreieck.'

13

Sticks the wooden stick centered on the plastic bag triangle. To decorate the sail, you use a colorful washitape or a coloured adhesive tape.

Bild zum Schritt 14 für das Bastel- und DIY-Abenteuer für Kinder: 'Klebt danach den Holzstab mittig auf das Plastiktüten-Dreieck. Zum Verzieren...'

14

Glues the adhesive tape over the wooden stick.

Bild zum Schritt 15 für das Bastel- und DIY-Abenteuer für Kinder: 'Klebt das Klebeband dabei über den Holzstab.'

15

You can also fix the corners with adhesive tape.

Bild zum Schritt 16 für das Bastel- und DIY-Abenteuer für Kinder: 'Die Ecken könnt ihr mit Klebeband ebenfalls fixieren.'

16

Then position the sail in the middle of the ship.

Bild zum Schritt 17 für das Bastel- und DIY-Abenteuer für Kinder: 'Positioniert das Segel anschließend in die Mitte des Schiffes.'

17

To do this, you stash a small hole with a pointed scissors in the top. Make sure that the hole is a little smaller than the wooden stick so that it holds well.

Bild zum Schritt 18 für das Bastel- und DIY-Abenteuer für Kinder: 'Dazu stecht ihr ein kleines Loch mit einer spitzen Schere...'

18

Now you put the sail pole in it carefully.

Bild zum Schritt 19 für das Bastel- und DIY-Abenteuer für Kinder: 'Jetzt steckt ihr den Segelmasten vorsichtig hinein.'

19

Paint up an anchor and/or saber or print out the template and transfer the template to a clay paper. Cut out the anchor.

Bild zum Schritt 20 für das Bastel- und DIY-Abenteuer für Kinder: 'Malt euch einen Anker und/oder Säbel auf oder druckt euch...'

20

Then paints round bulleyes on the long sides of the ship.

Bild zum Schritt 21 für das Bastel- und DIY-Abenteuer für Kinder: 'Malt anschließend runde Bullaugen auf die Längsseiten des Schiffes.'

21

After that, put the anchor on her.

Bild zum Schritt 22 für das Bastel- und DIY-Abenteuer für Kinder: 'Danach klebt ihr den Anker auf.'

22

On the sail you stick the sabres.

Bild zum Schritt 23 für das Bastel- und DIY-Abenteuer für Kinder: 'Auf das Segel klebt ihr die Säbel.'

23

Your sailing ship is ready.

Bild zum Schritt 24 für das Bastel- und DIY-Abenteuer für Kinder: 'Fertig ist euer Segelschiff.'

24

"All of you get in the car!"

Bild zum Schritt 25 für das Bastel- und DIY-Abenteuer für Kinder: '„Alle einsteigen!“'

25

Have fun playing.

Materials

 1 Tetrapack
 1 DIN A4 paper
 1 Photo box
 Unwrought paper
 1 Pencil
 1 Felt pen
 1 Ruler
 Adhesive strips
 Washi tape
 1 Plastic bagor plastic film
 1 Large shank rod
All links marked with a shopping cart lead to Amazon - here we have selected products that we would order ourselves and in part also ordered. In a qualified purchase via the advertising link, we as Amazon partner receive a commission, for you there are no costs. You thus support our cost- and advertising banner-free, educational offer.

Directions

1

The ship's blank is an empty, rinsed tetrapack.
Cuts a DIN A4 sheet in length into two equally wide strips. Each strip corresponds in width to that of the Tetrapack and two additional centimeters.

Bild zum Schritt 1 für das Bastel- und DIY-Abenteuer für Kinder: 'Der Rohling des Schiffs ist ein leerer, ausgespülter Tetrapack. ...'

2

2. Bild zum Schritt 1 für das Bastel- und DIY-Abenteuer für Kinder: 'Der Rohling des Schiffs ist ein leerer, ausgespülter Tetrapack. ...'

3

Glue both strips together on one narrow side with an adhesive tape.
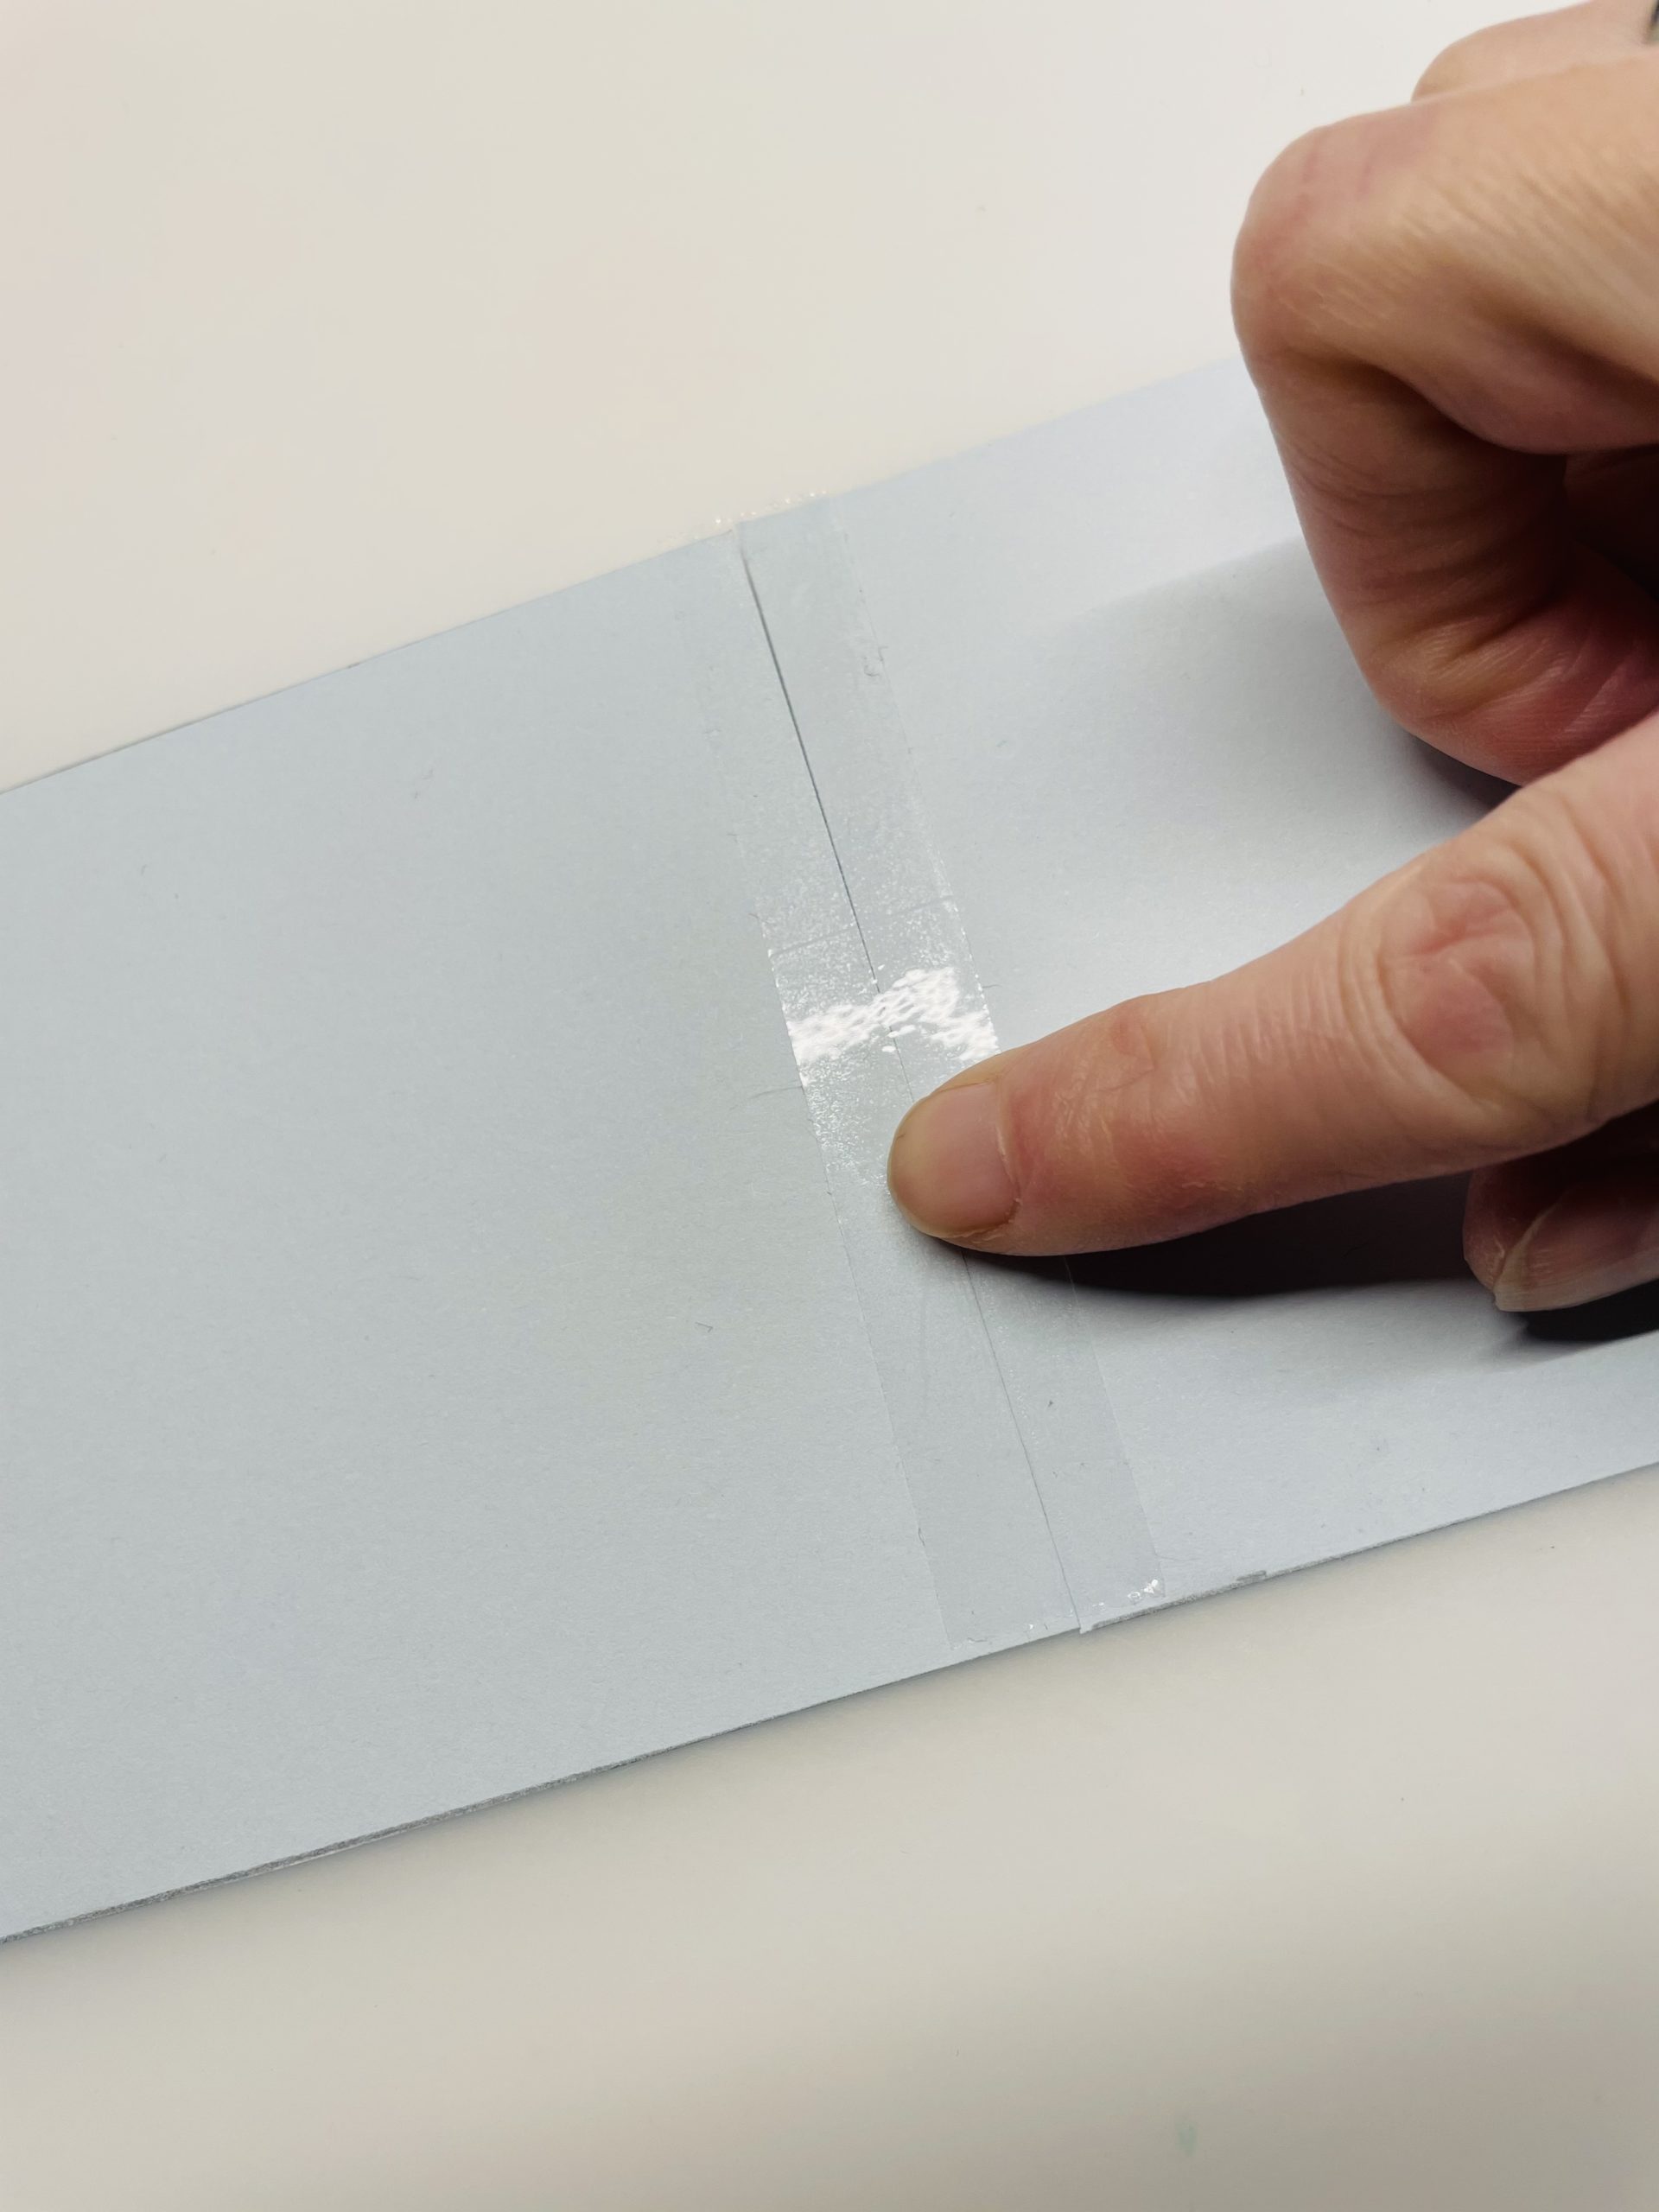
Bild zum Schritt 3 für das Bastel- und DIY-Abenteuer für Kinder: 'Klebt beide Streifen an  je einer schmalen Seiten mit...'

4

Sticks an adhesive tape to the front and one to the back.

Bild zum Schritt 4 für das Bastel- und DIY-Abenteuer für Kinder: 'Klebt dabei einen Klebestreifen auf die Vorderseite und einen auf...'

5

At the other end of the strip just glued together, you now fold a slant. Mark the slant with a ruler and pencil. Repeat the process at the other end of your paper strip. Make sure that you fold both ends at the same time. Thus, both folds show each other.
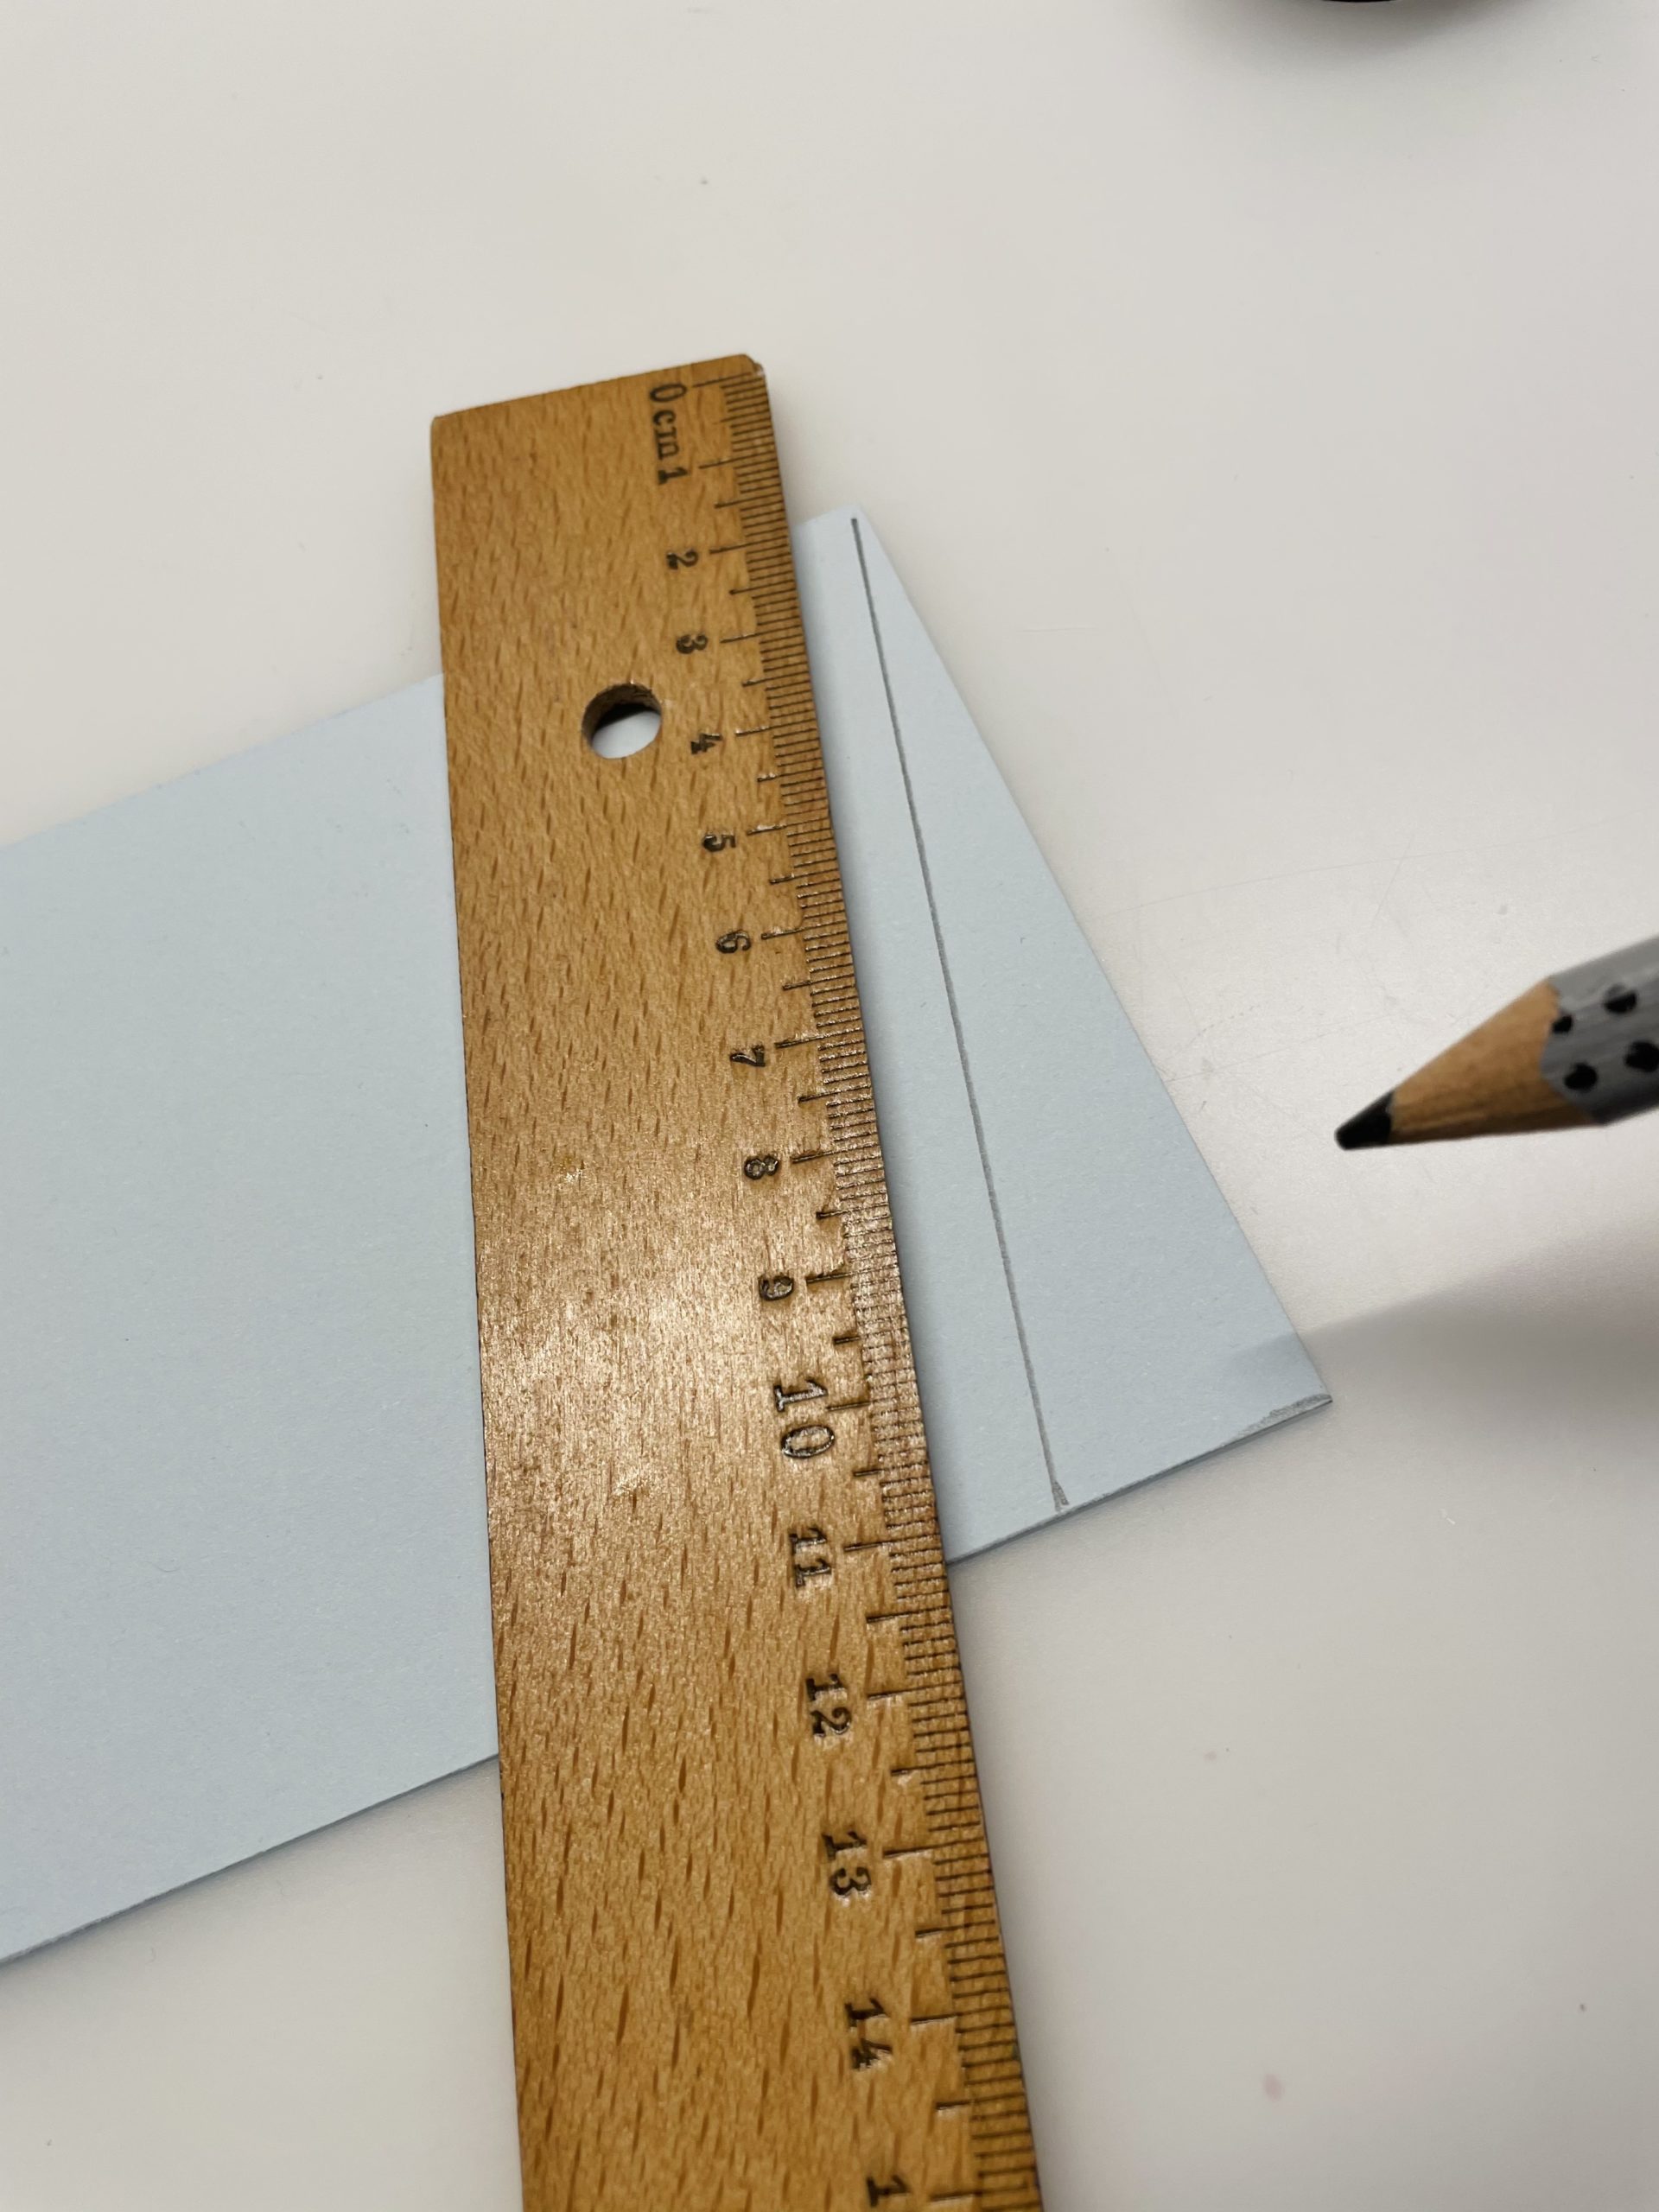
Bild zum Schritt 5 für das Bastel- und DIY-Abenteuer für Kinder: 'Am anderen Ende des eben zusammen geklebten Streifens faltet ihr...'

6

Strip the edges well.

Bild zum Schritt 6 für das Bastel- und DIY-Abenteuer für Kinder: 'Streift die Kanten gut aus.'

7

Now a Washi tape is glued to her for decoration on an edge.
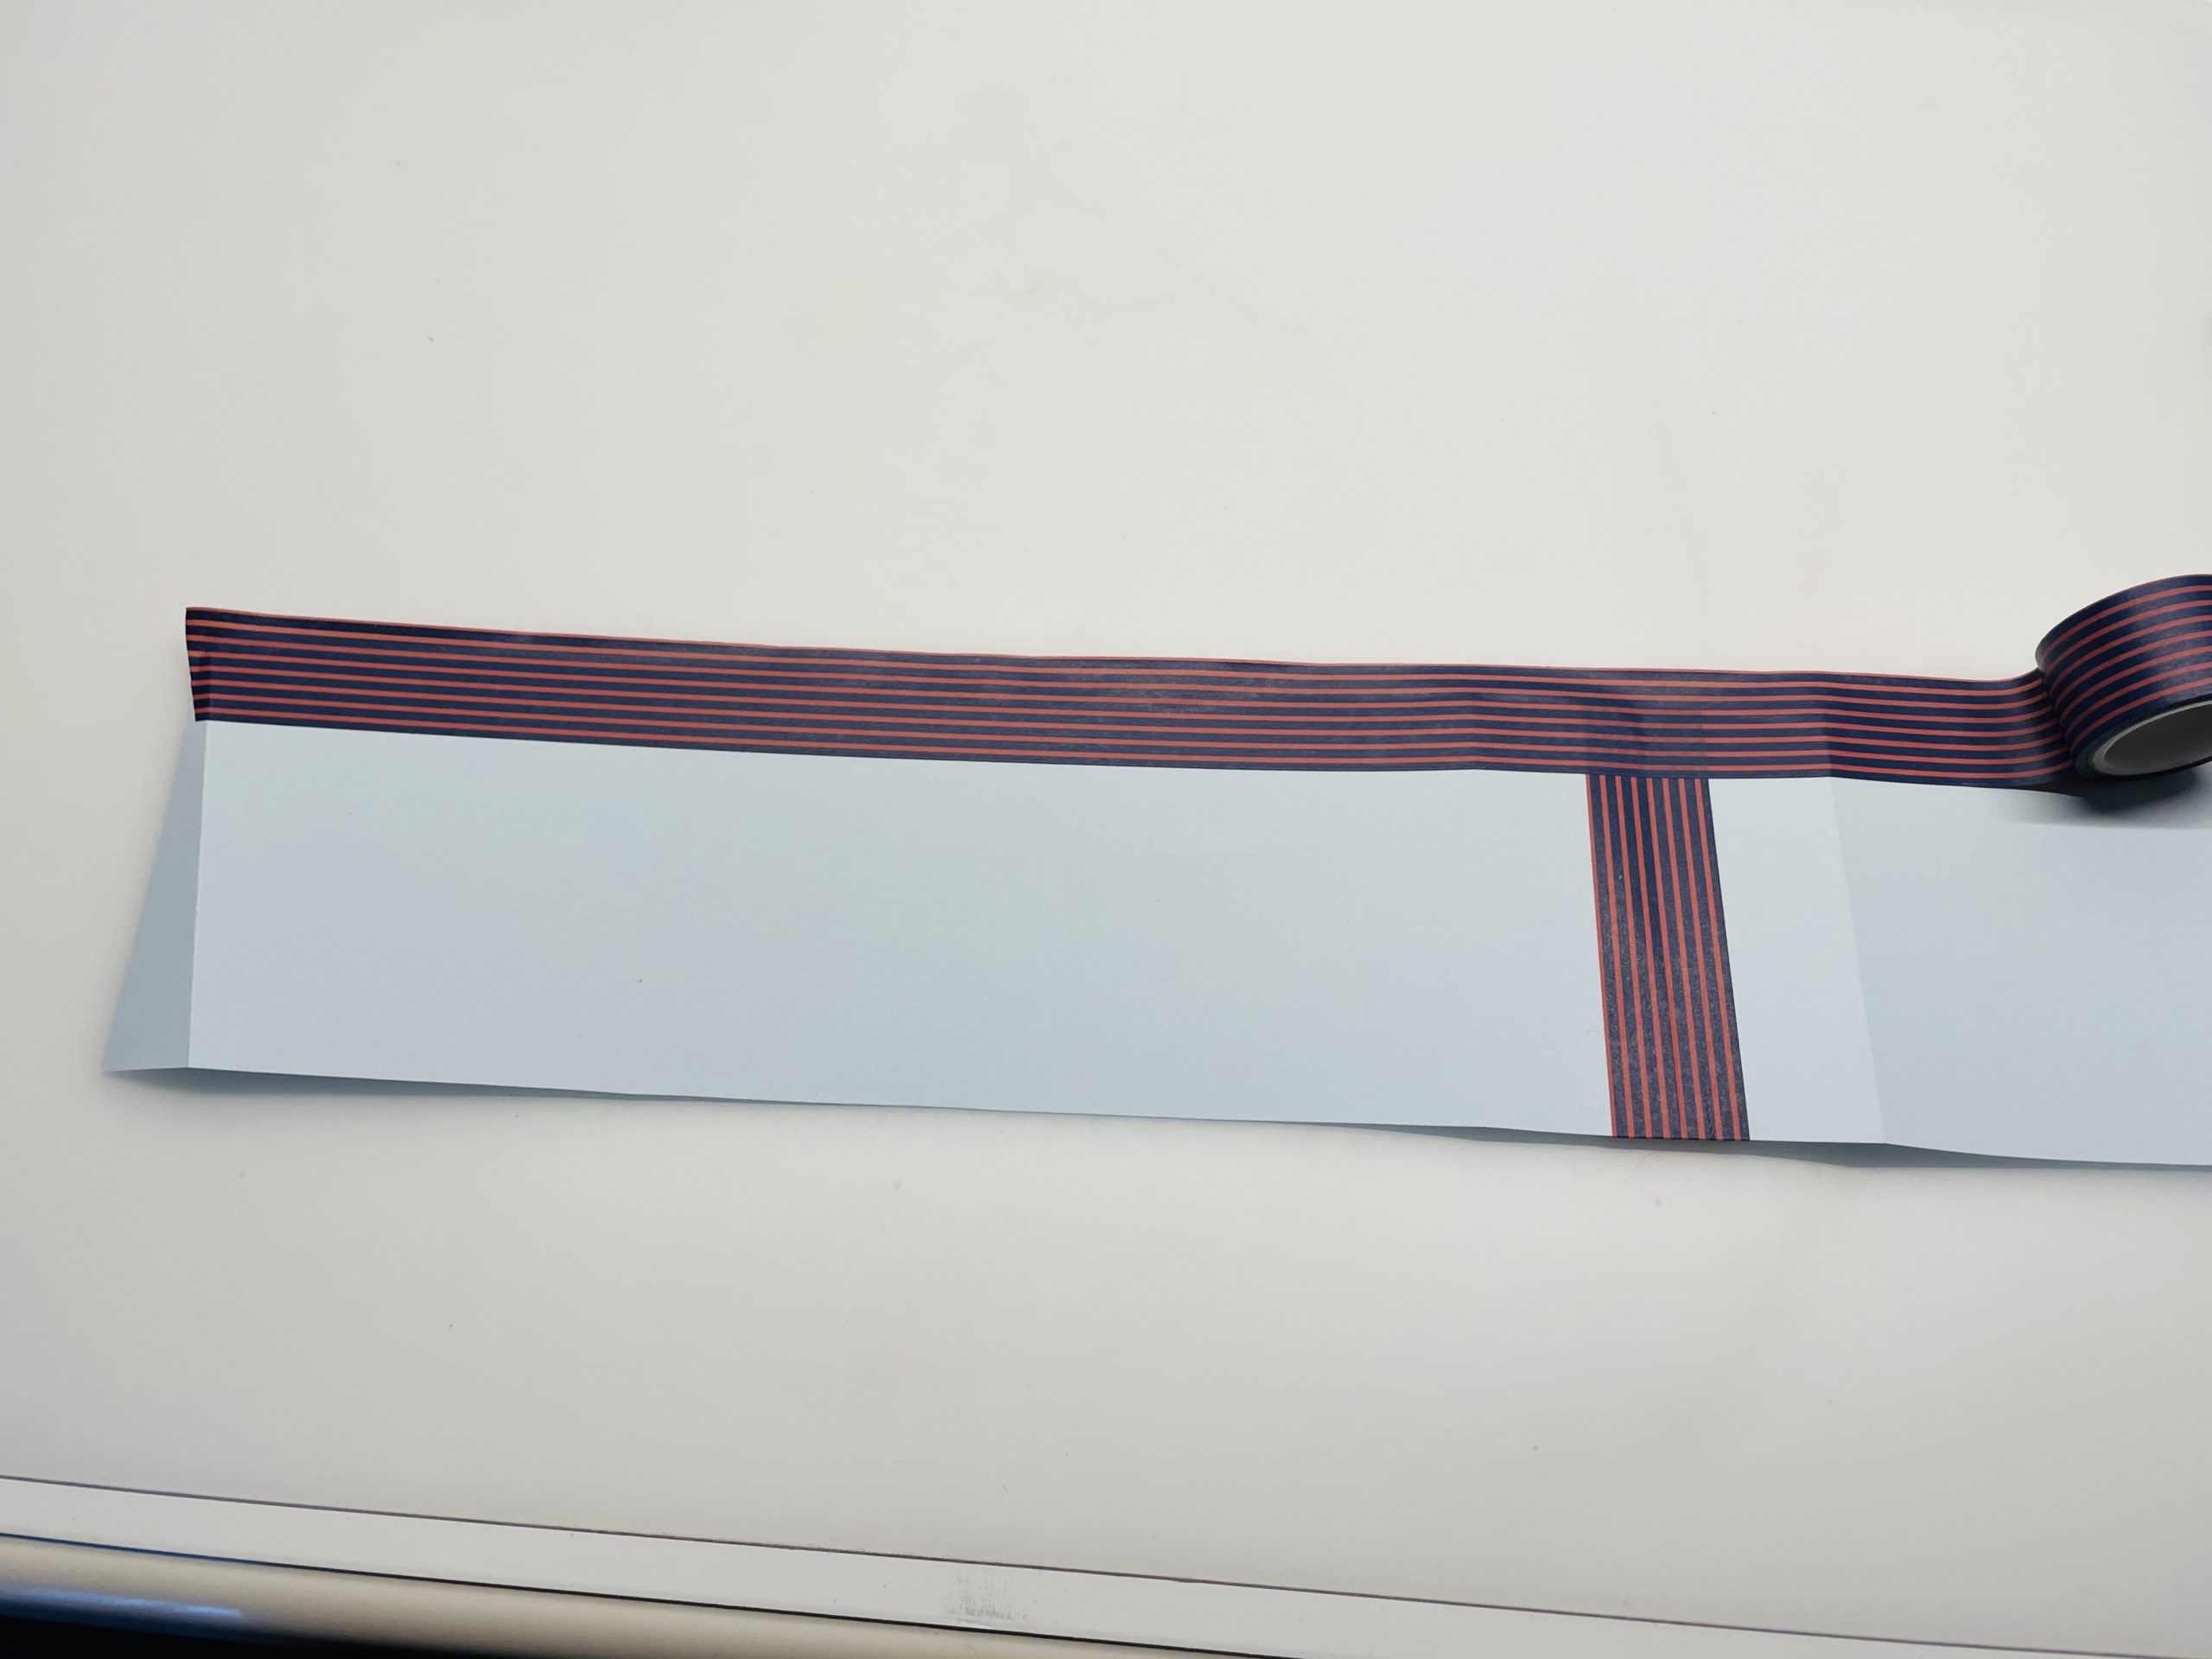
Bild zum Schritt 7 für das Bastel- und DIY-Abenteuer für Kinder: 'Jetzt klebt ihr ein Washi-Tape zur Verzierung an einer Kante...'

8

Then you put the long paper strip around the lying Tetrapack. The slanted ends of the strip now cling to each other overlappingly at the narrow side.
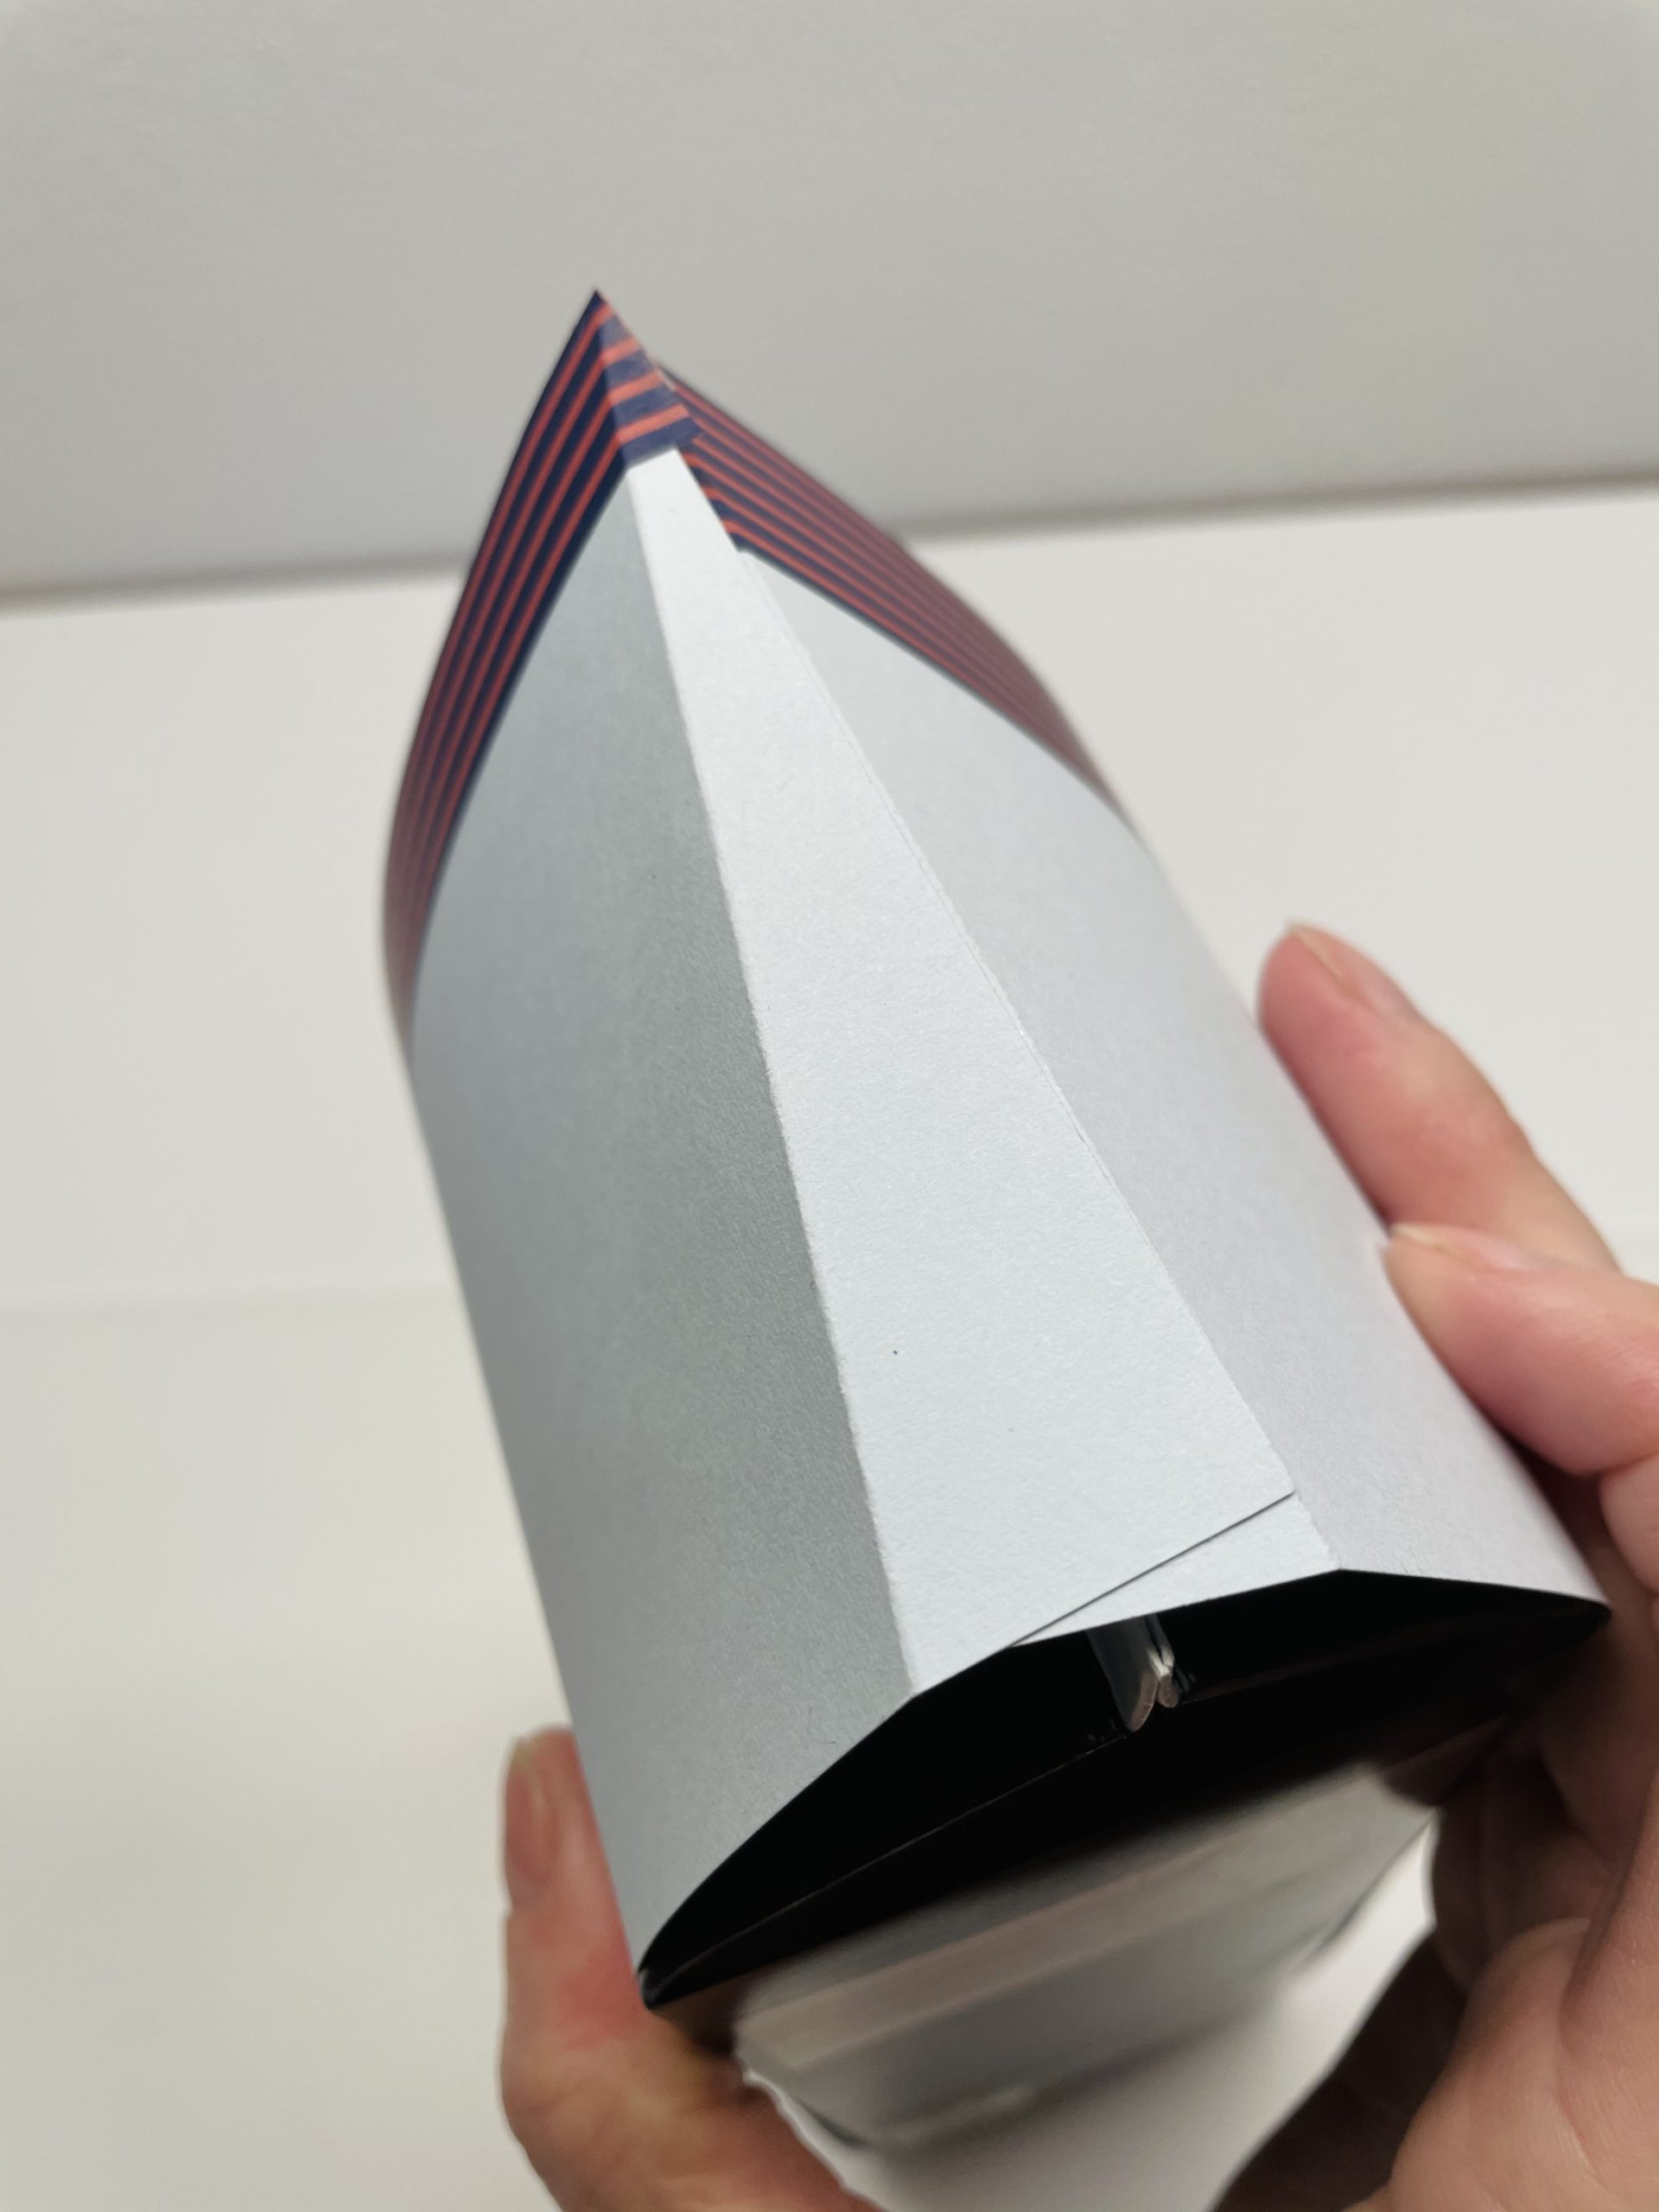
Bild zum Schritt 8 für das Bastel- und DIY-Abenteuer für Kinder: 'Danach legt ihr den langen Papierstreifen um den liegenden Tetrapack....'

9

The paper strip is now fixed as the edge of the ship.
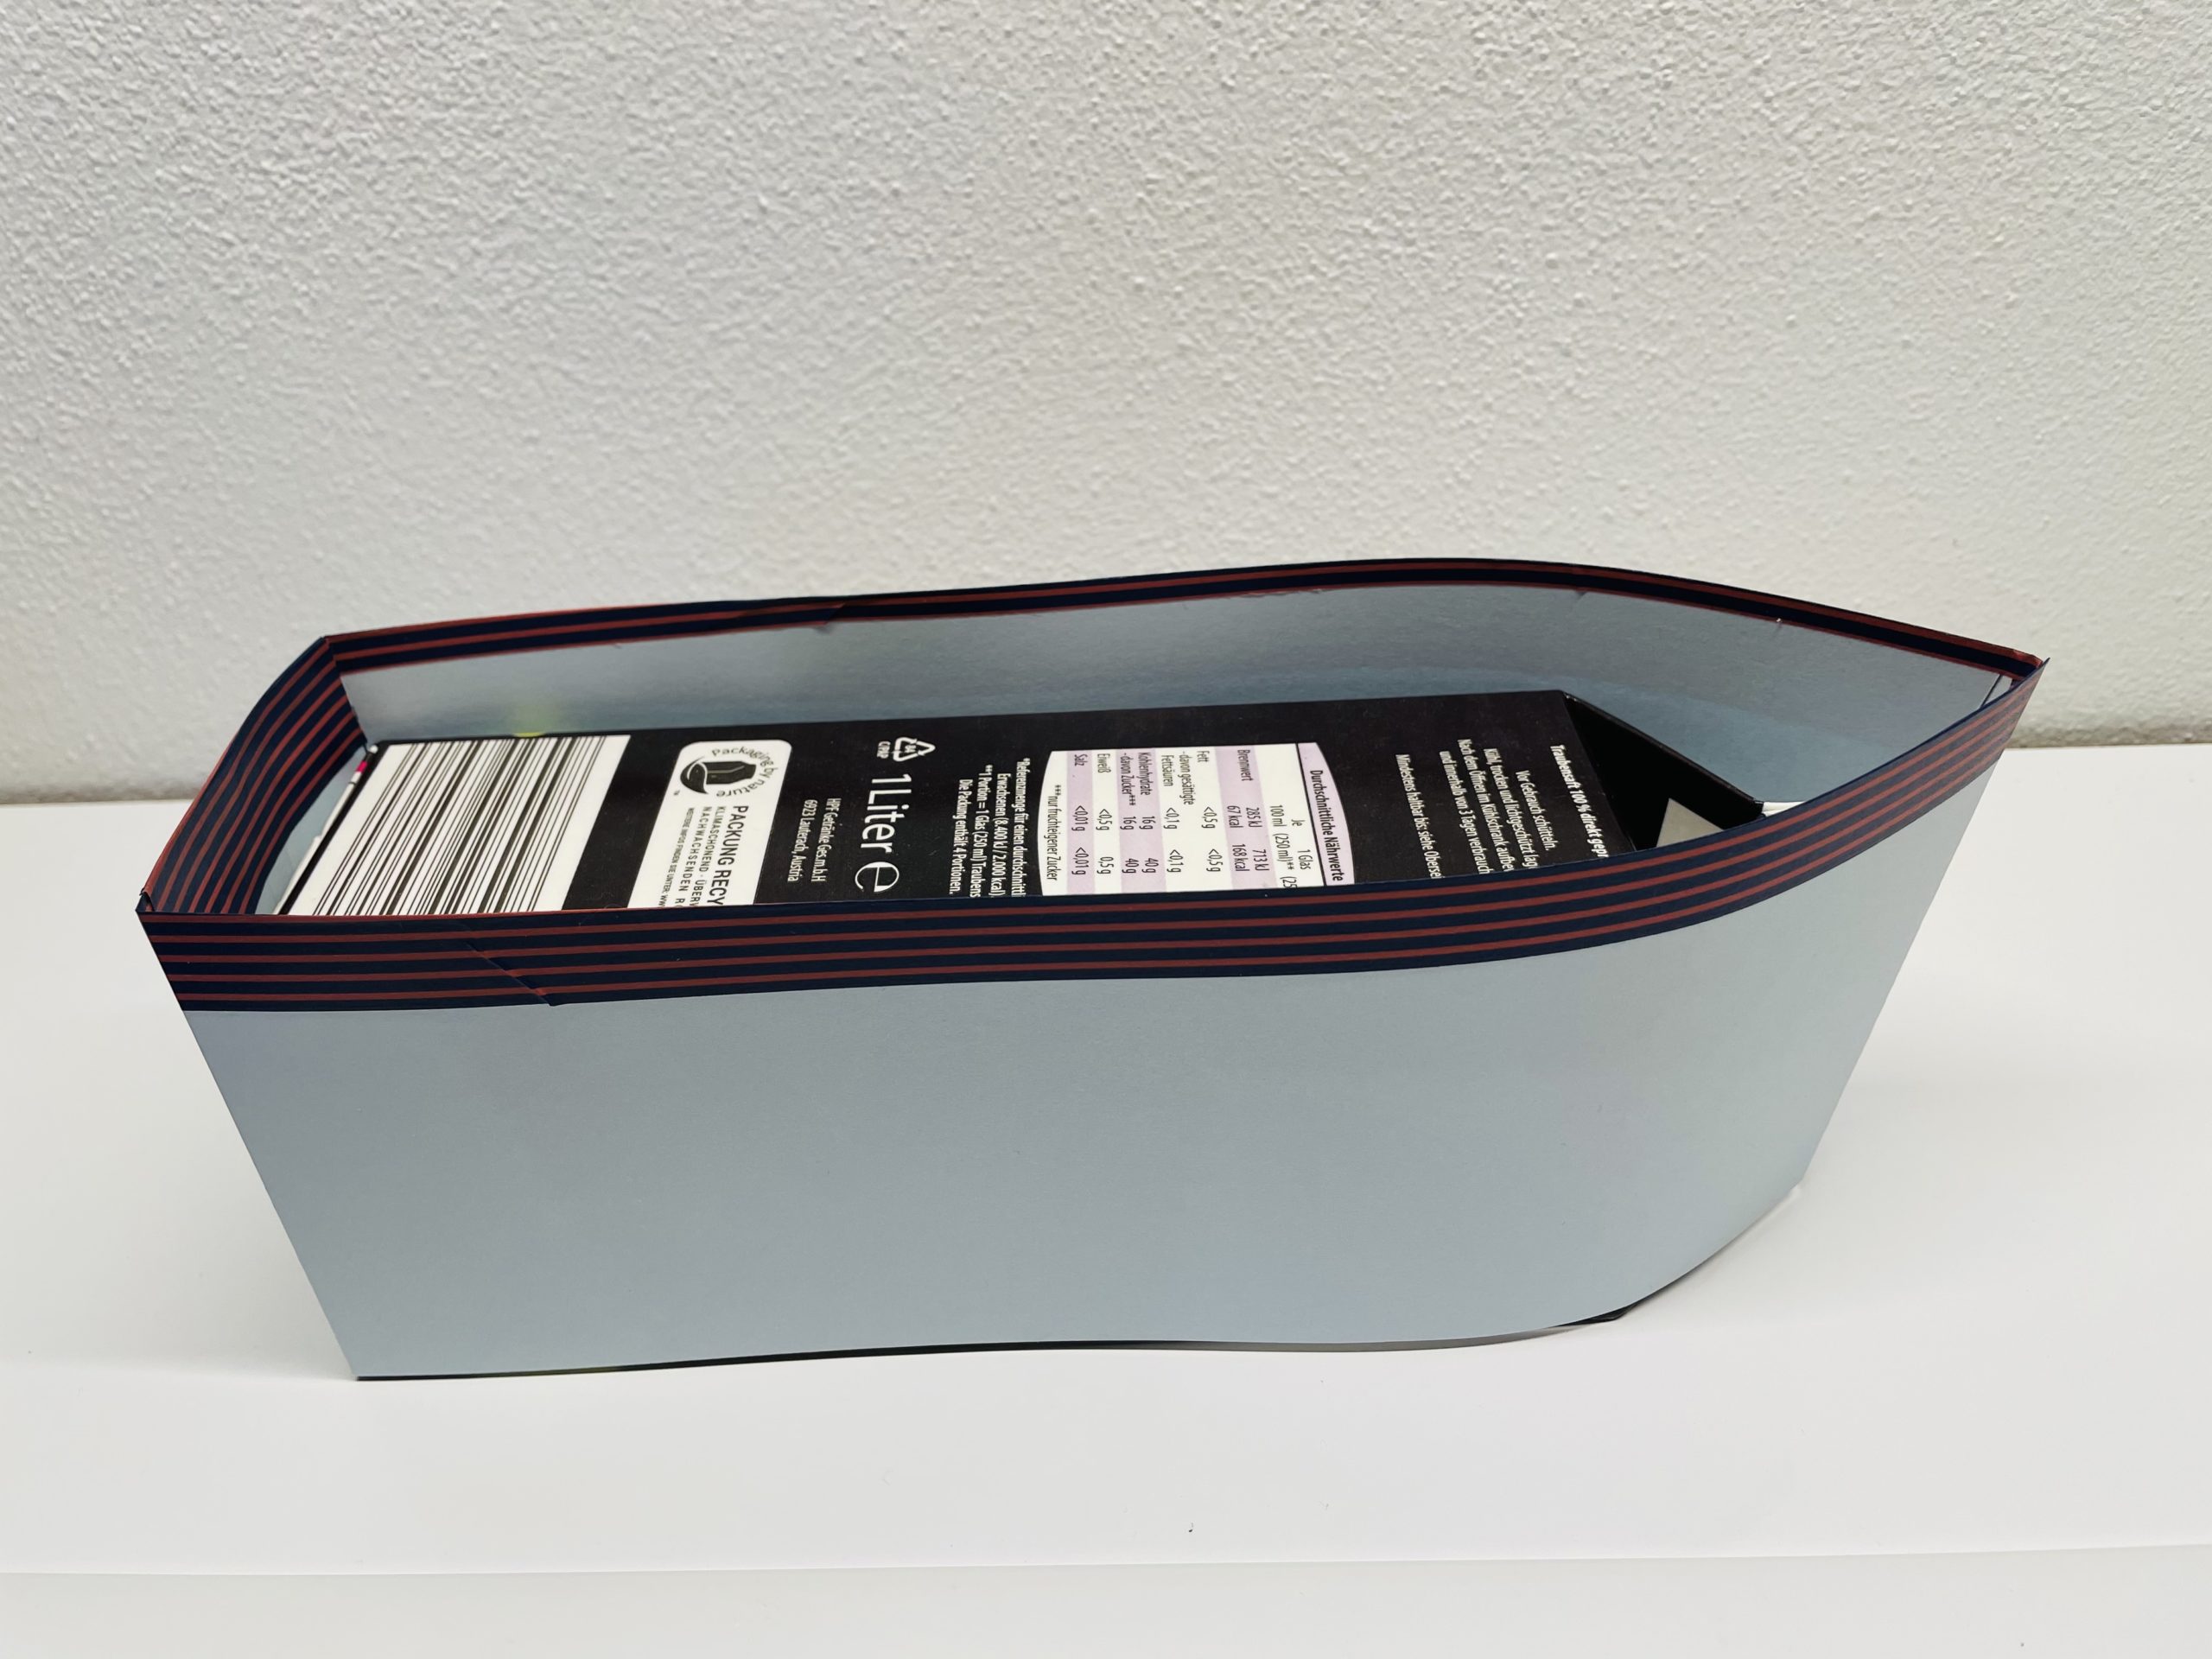
Bild zum Schritt 9 für das Bastel- und DIY-Abenteuer für Kinder: 'Der Papierstreifen ist nun als Rand des Schiffs fixiert.'

10

Cut a blue photo box in the size of the ship's body. For this you place the ship as a template on the paper and paint it. Then cut out the photo box and place it in the ship.
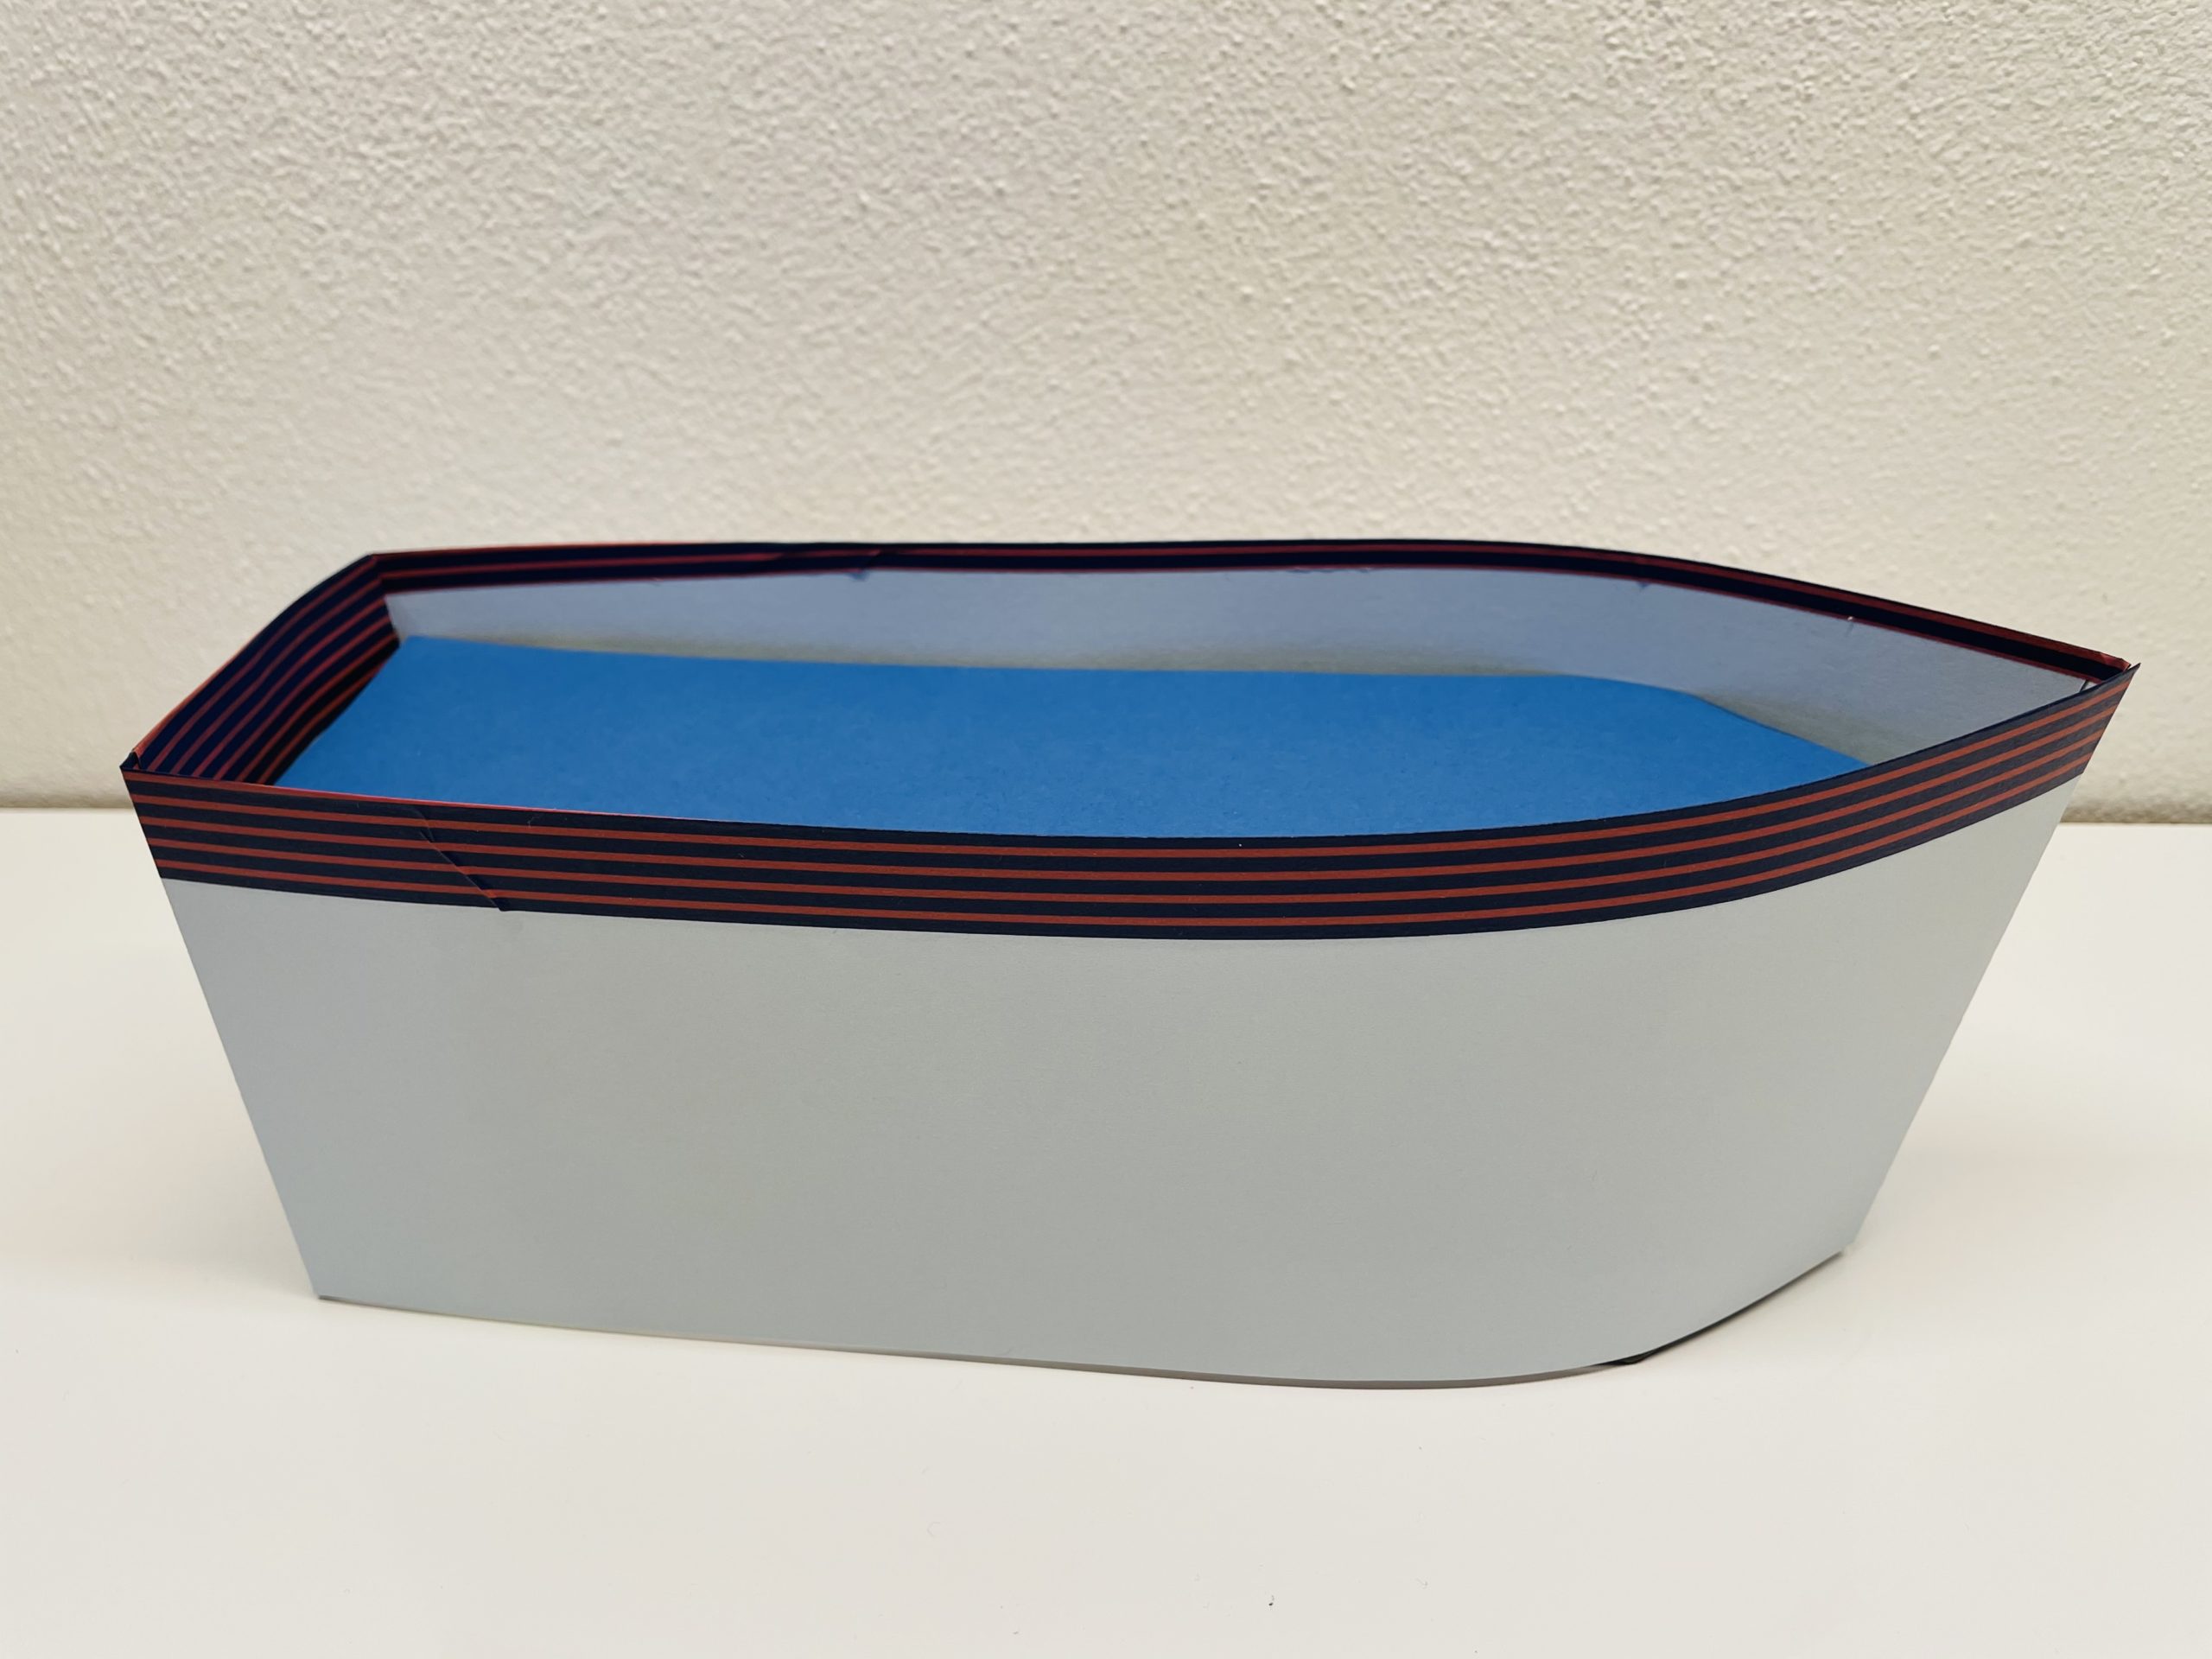
Bild zum Schritt 10 für das Bastel- und DIY-Abenteuer für Kinder: 'Schneidet einen blauen Fotokarton in der Größe des Schiffsbauches zu....'

Build sails:
11

For the sail you need a wooden stick and a plastic bag.
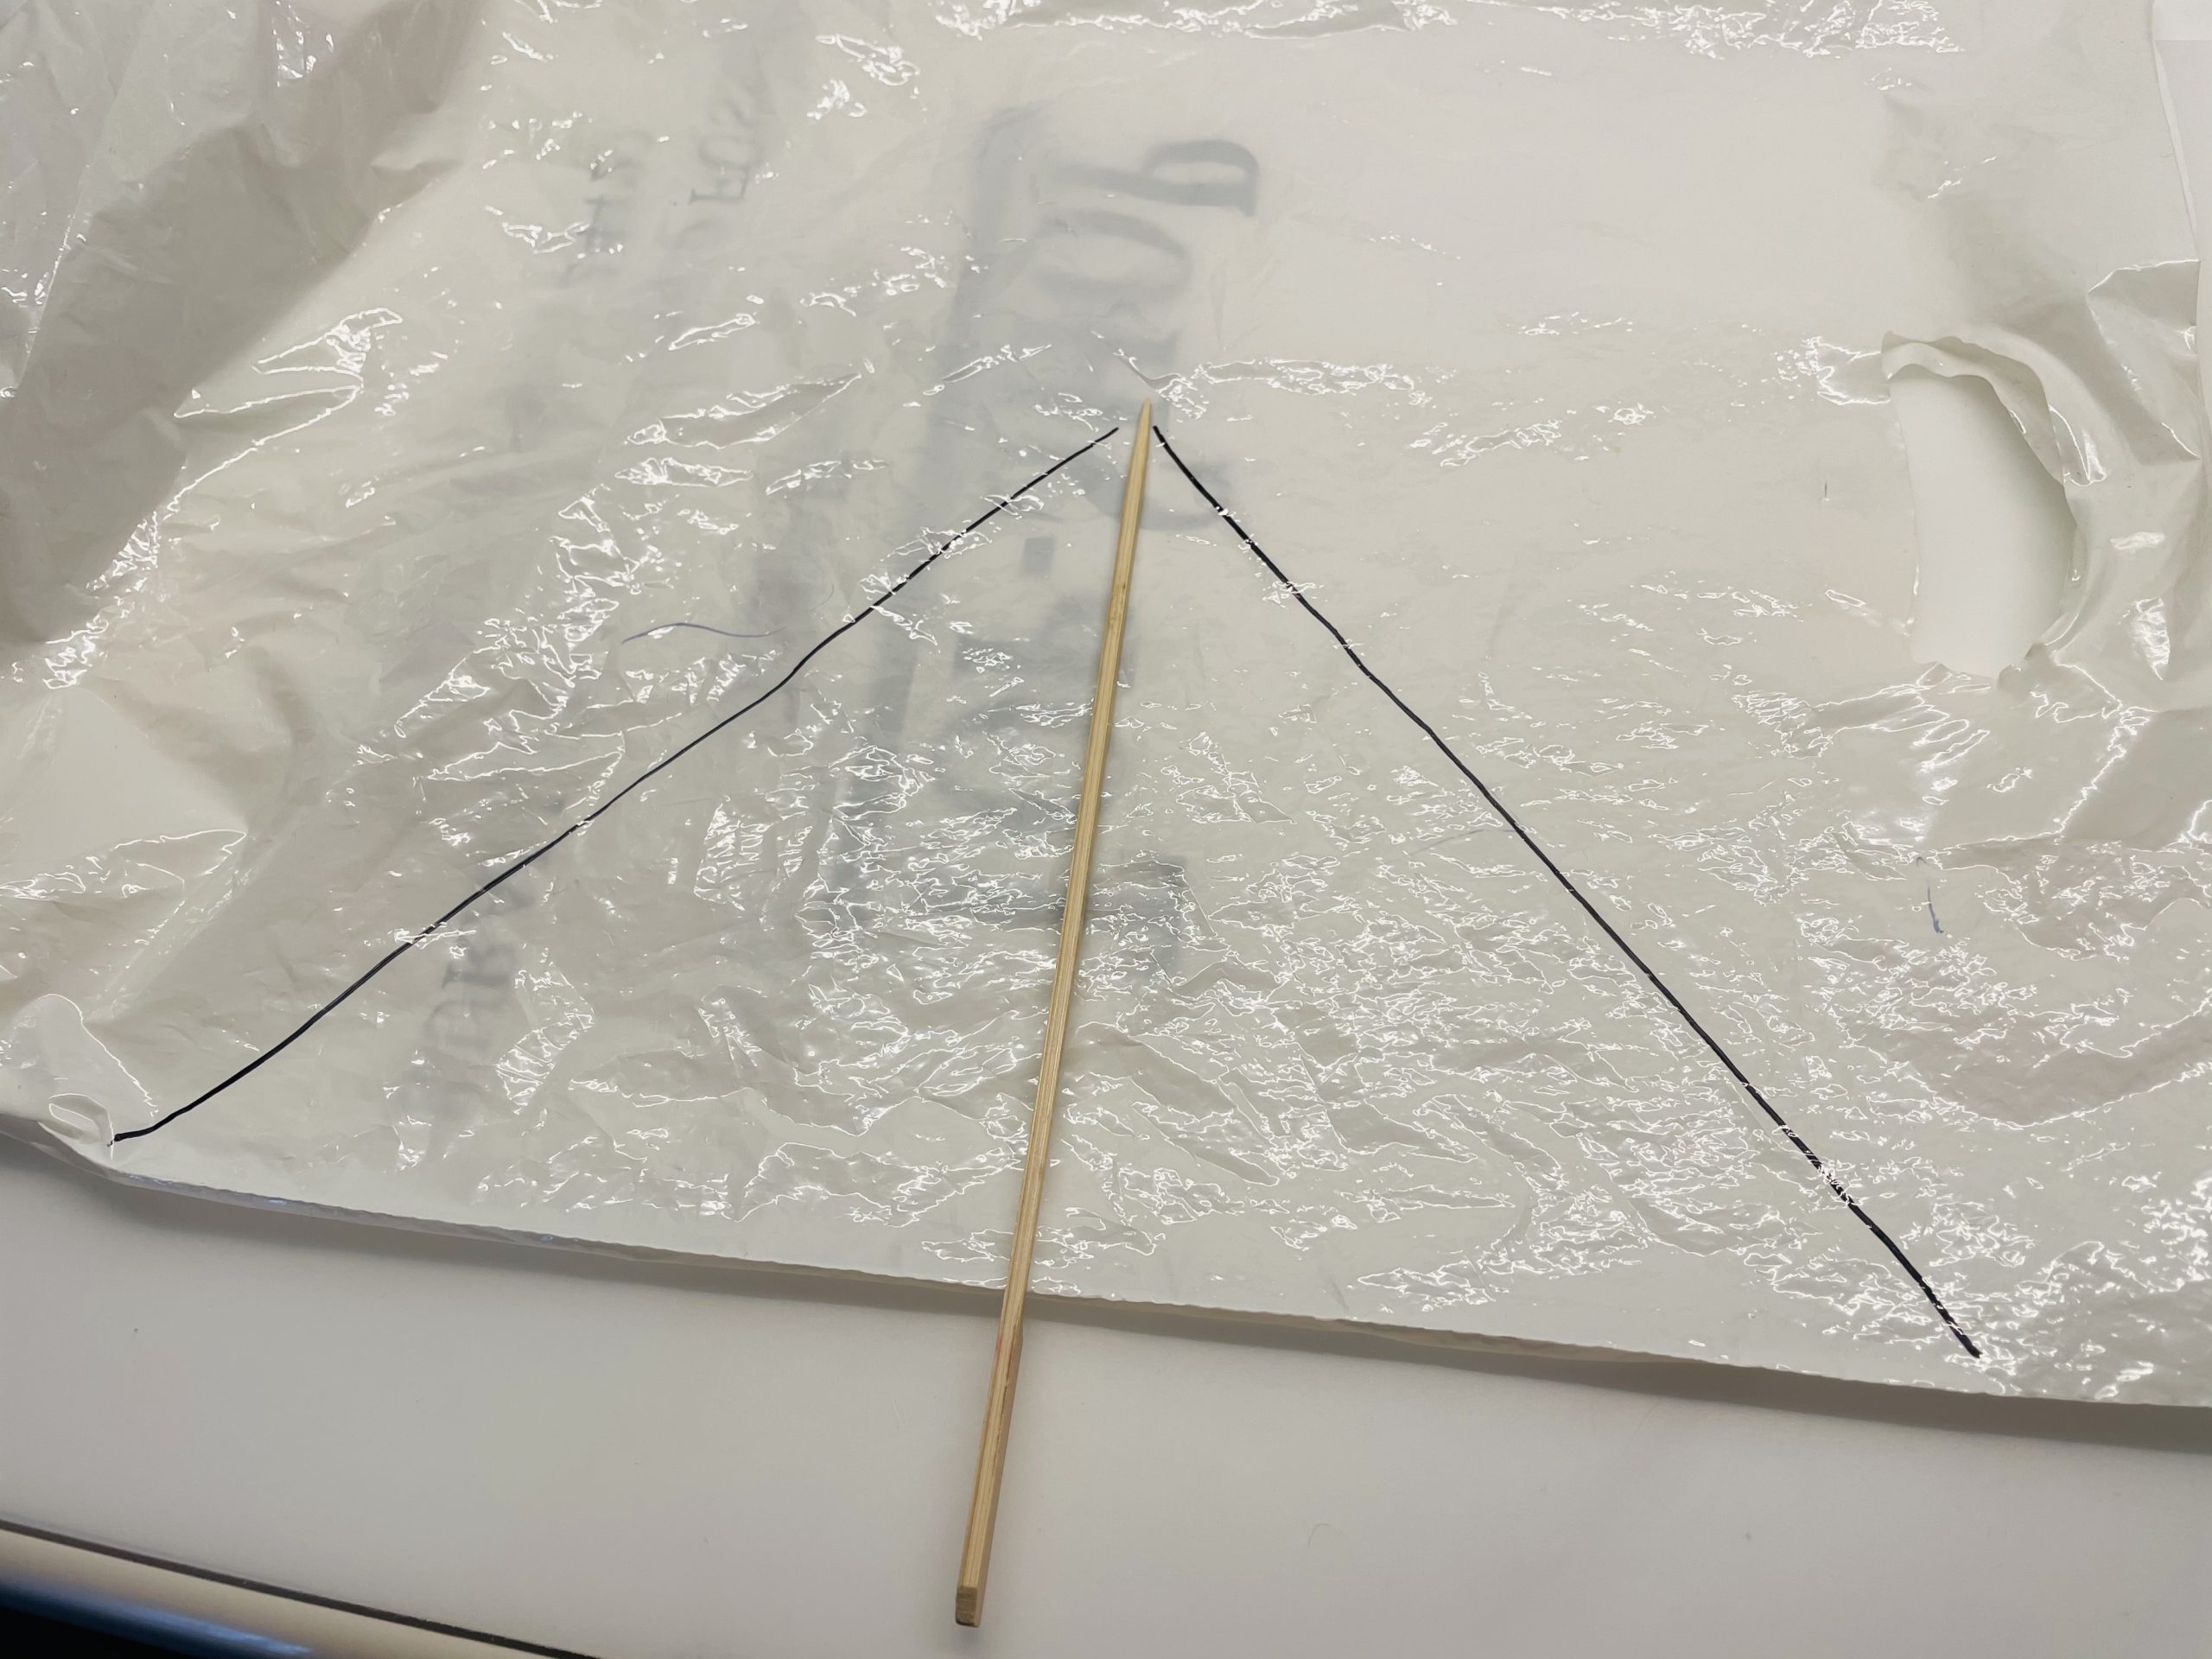
Bild zum Schritt 12 für das Bastel- und DIY-Abenteuer für Kinder: 'Für das Segel braucht ihr einen Holzstab und eine Plastiktüte.'

12

First cut the plastic bag into a triangle.
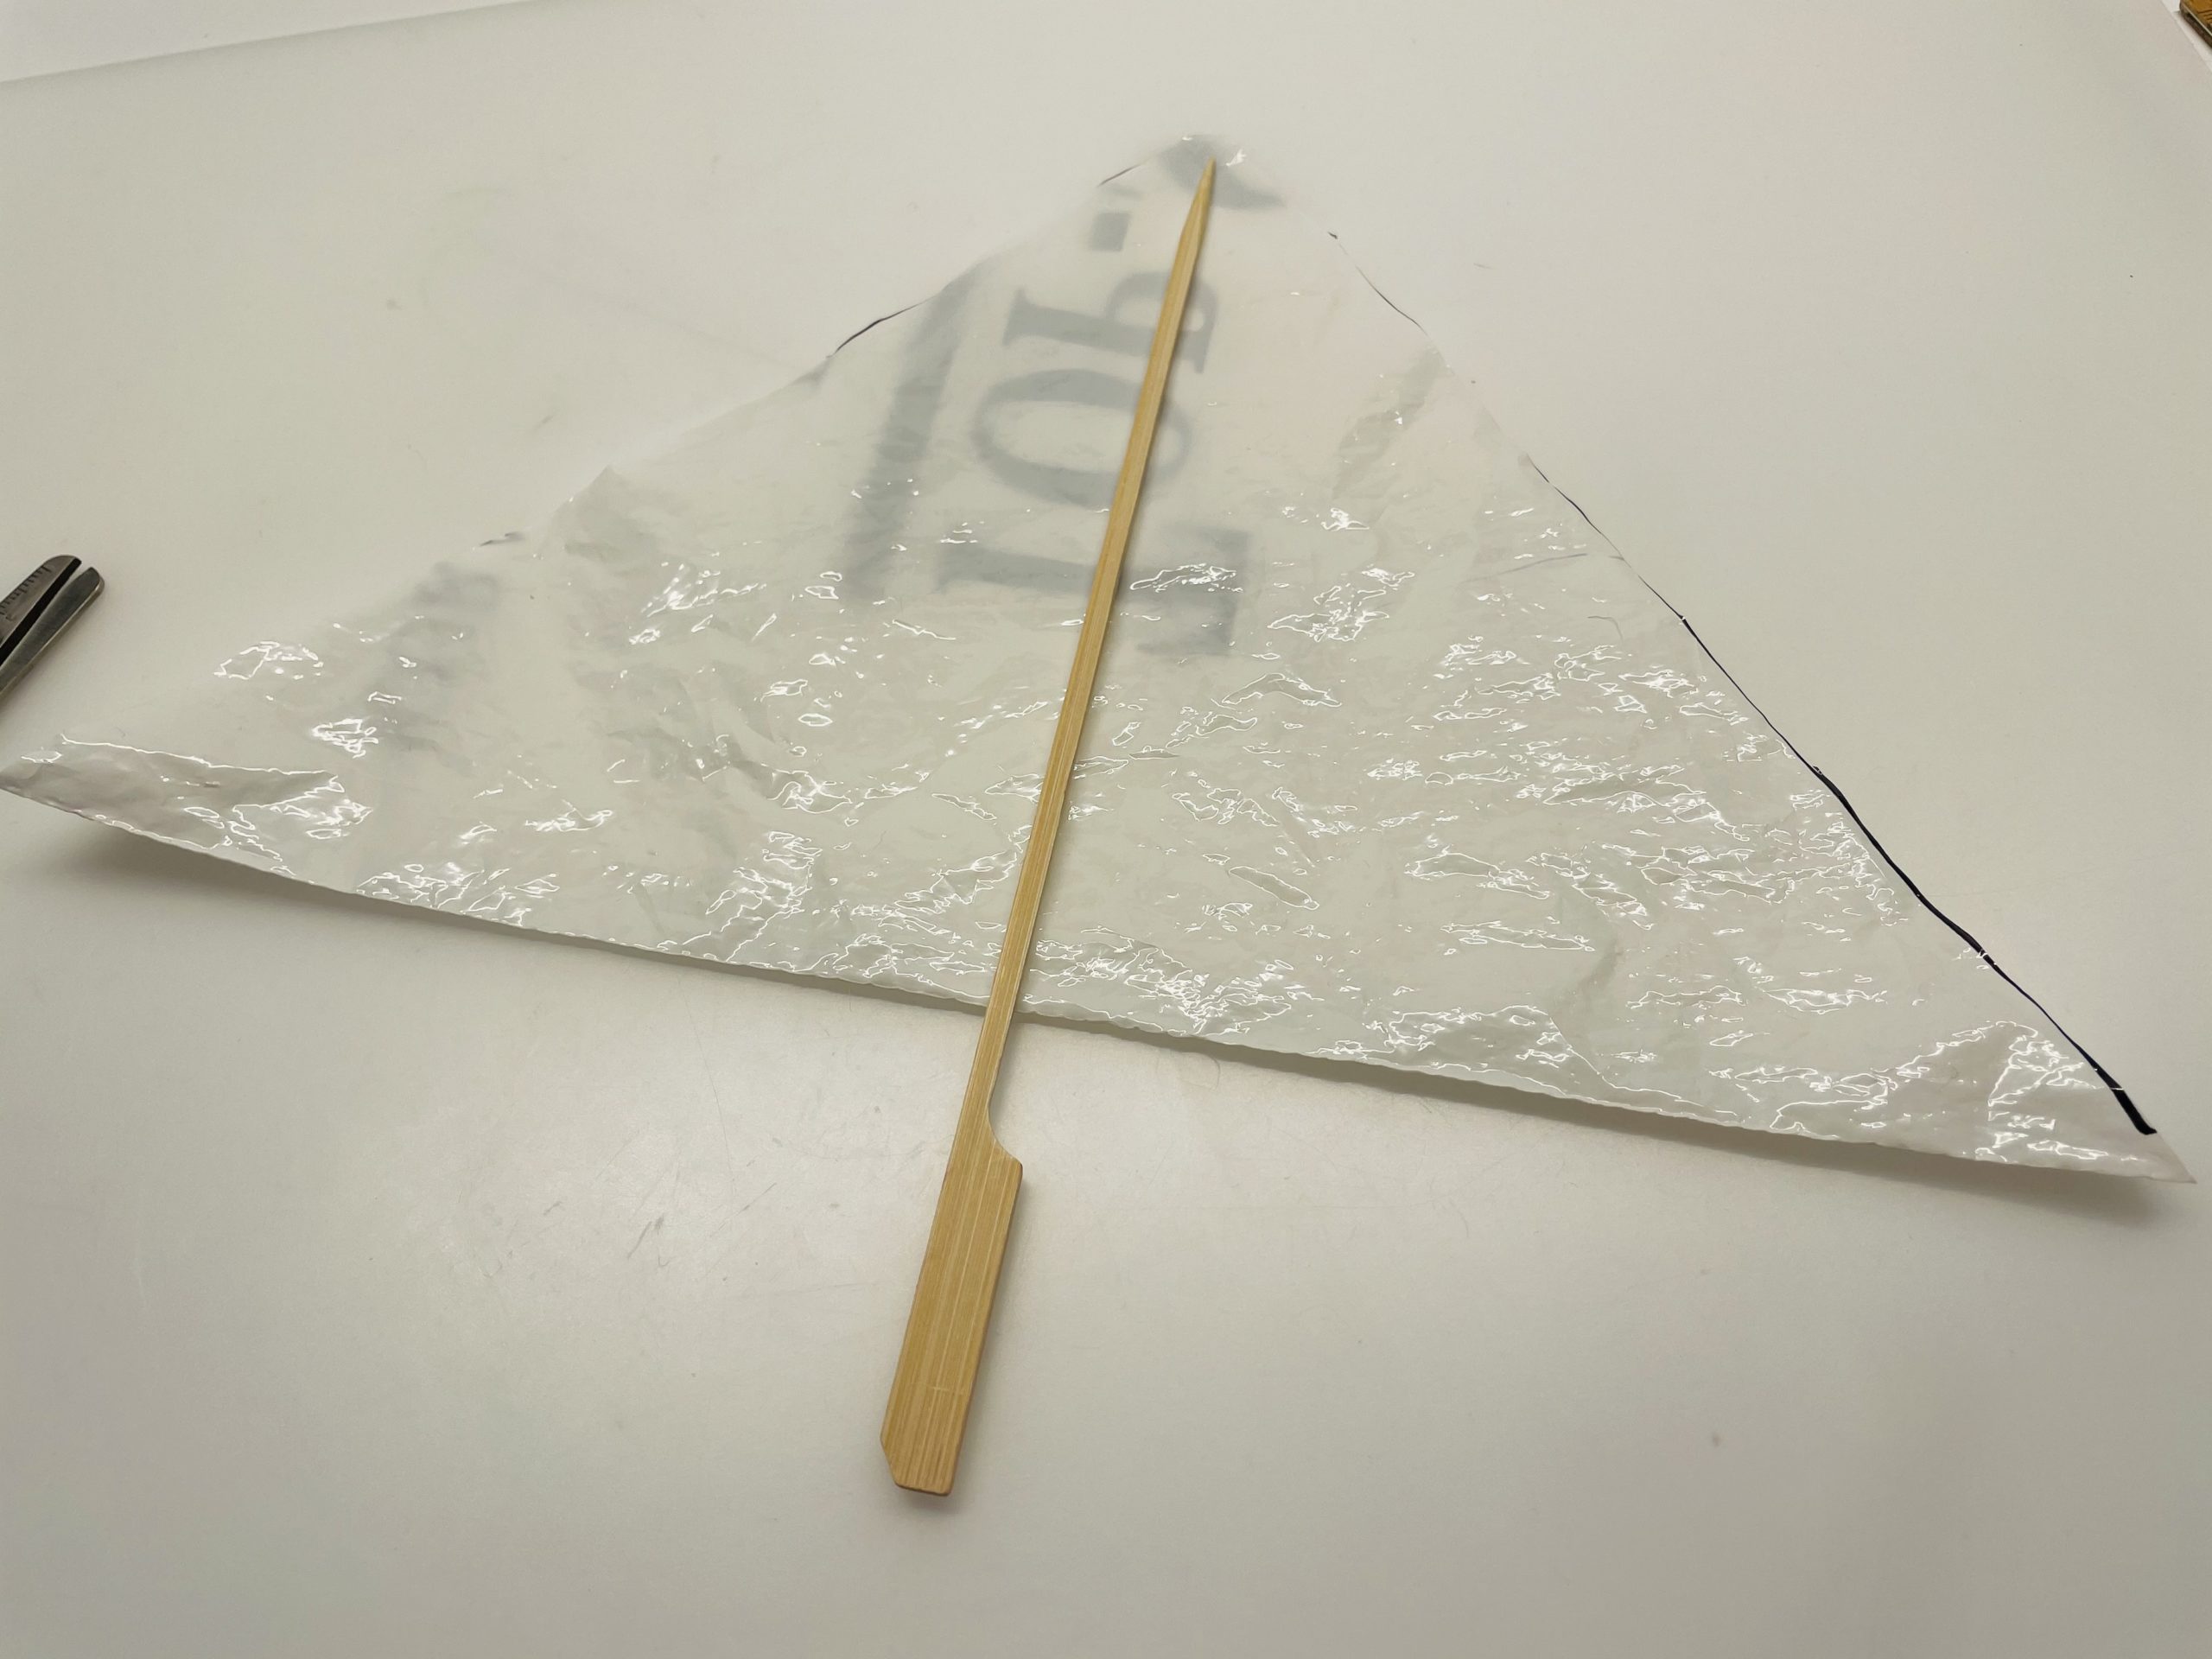
Bild zum Schritt 13 für das Bastel- und DIY-Abenteuer für Kinder: 'Schneidet zuerst die Plastiktüte zu einem Dreieck.'

13

Sticks the wooden stick centered on the plastic bag triangle. To decorate the sail, you use a colorful washitape or a coloured adhesive tape.
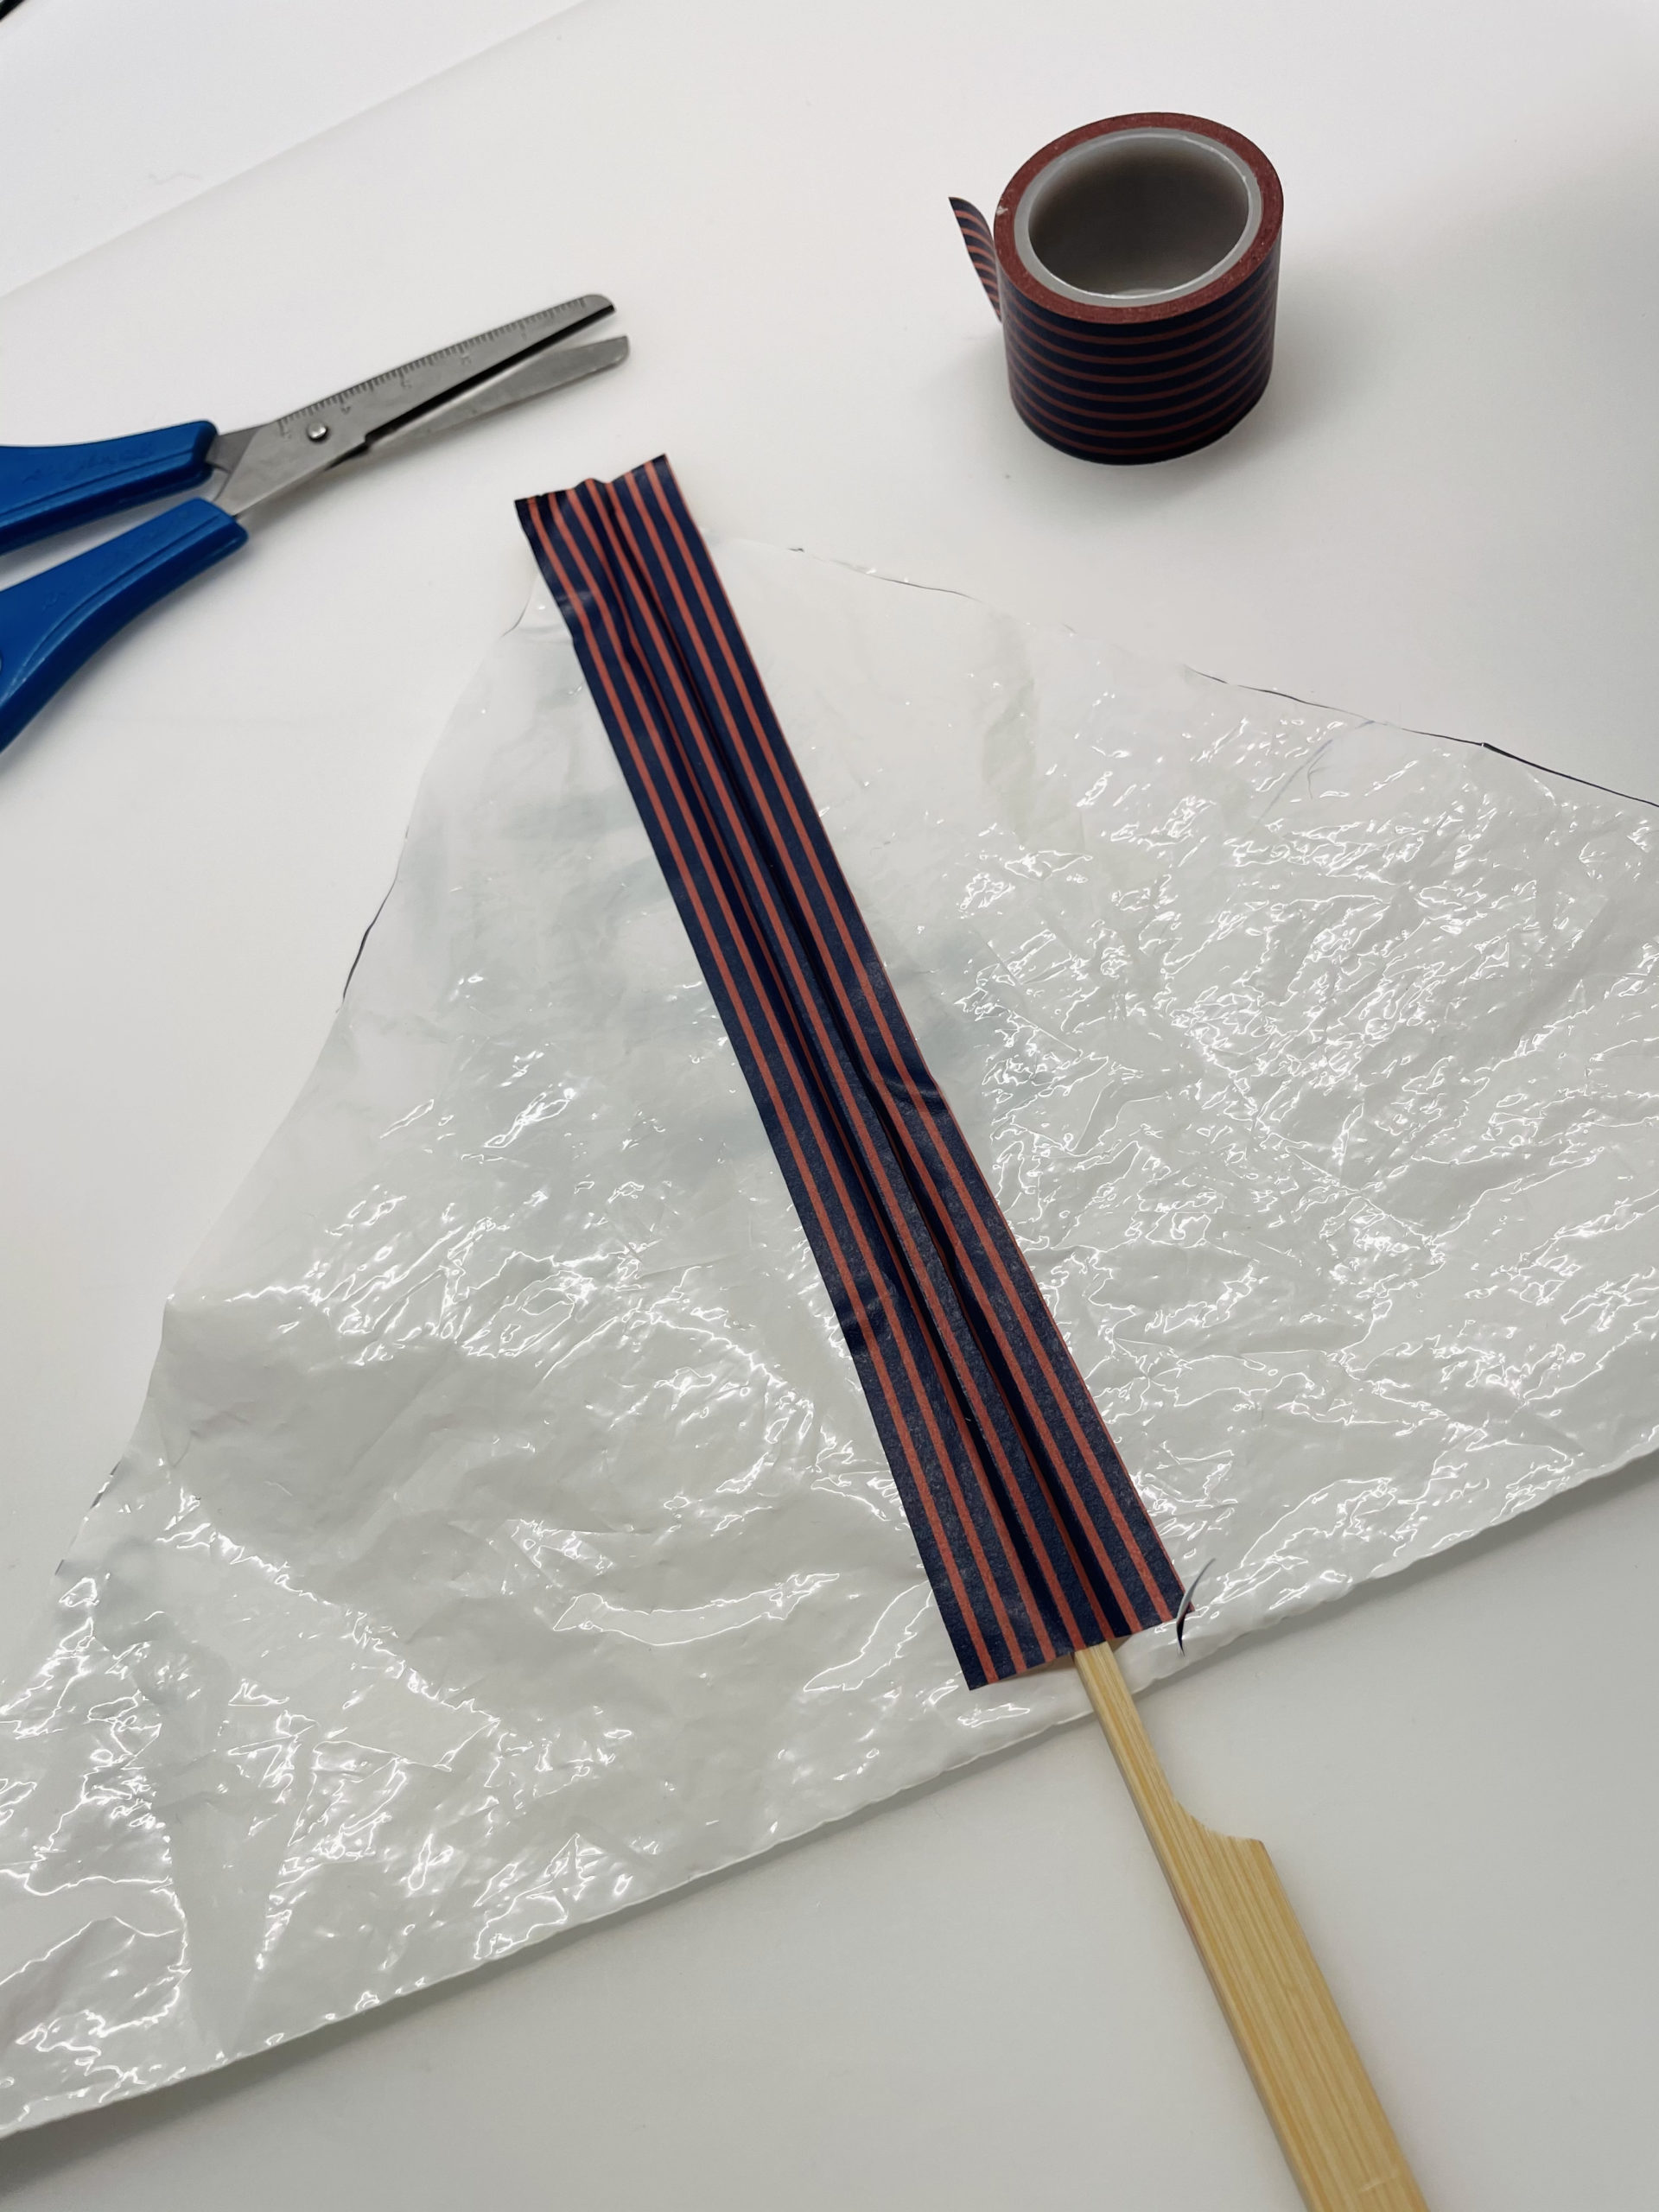
Bild zum Schritt 14 für das Bastel- und DIY-Abenteuer für Kinder: 'Klebt danach den Holzstab mittig auf das Plastiktüten-Dreieck. Zum Verzieren...'

14

Glues the adhesive tape over the wooden stick.
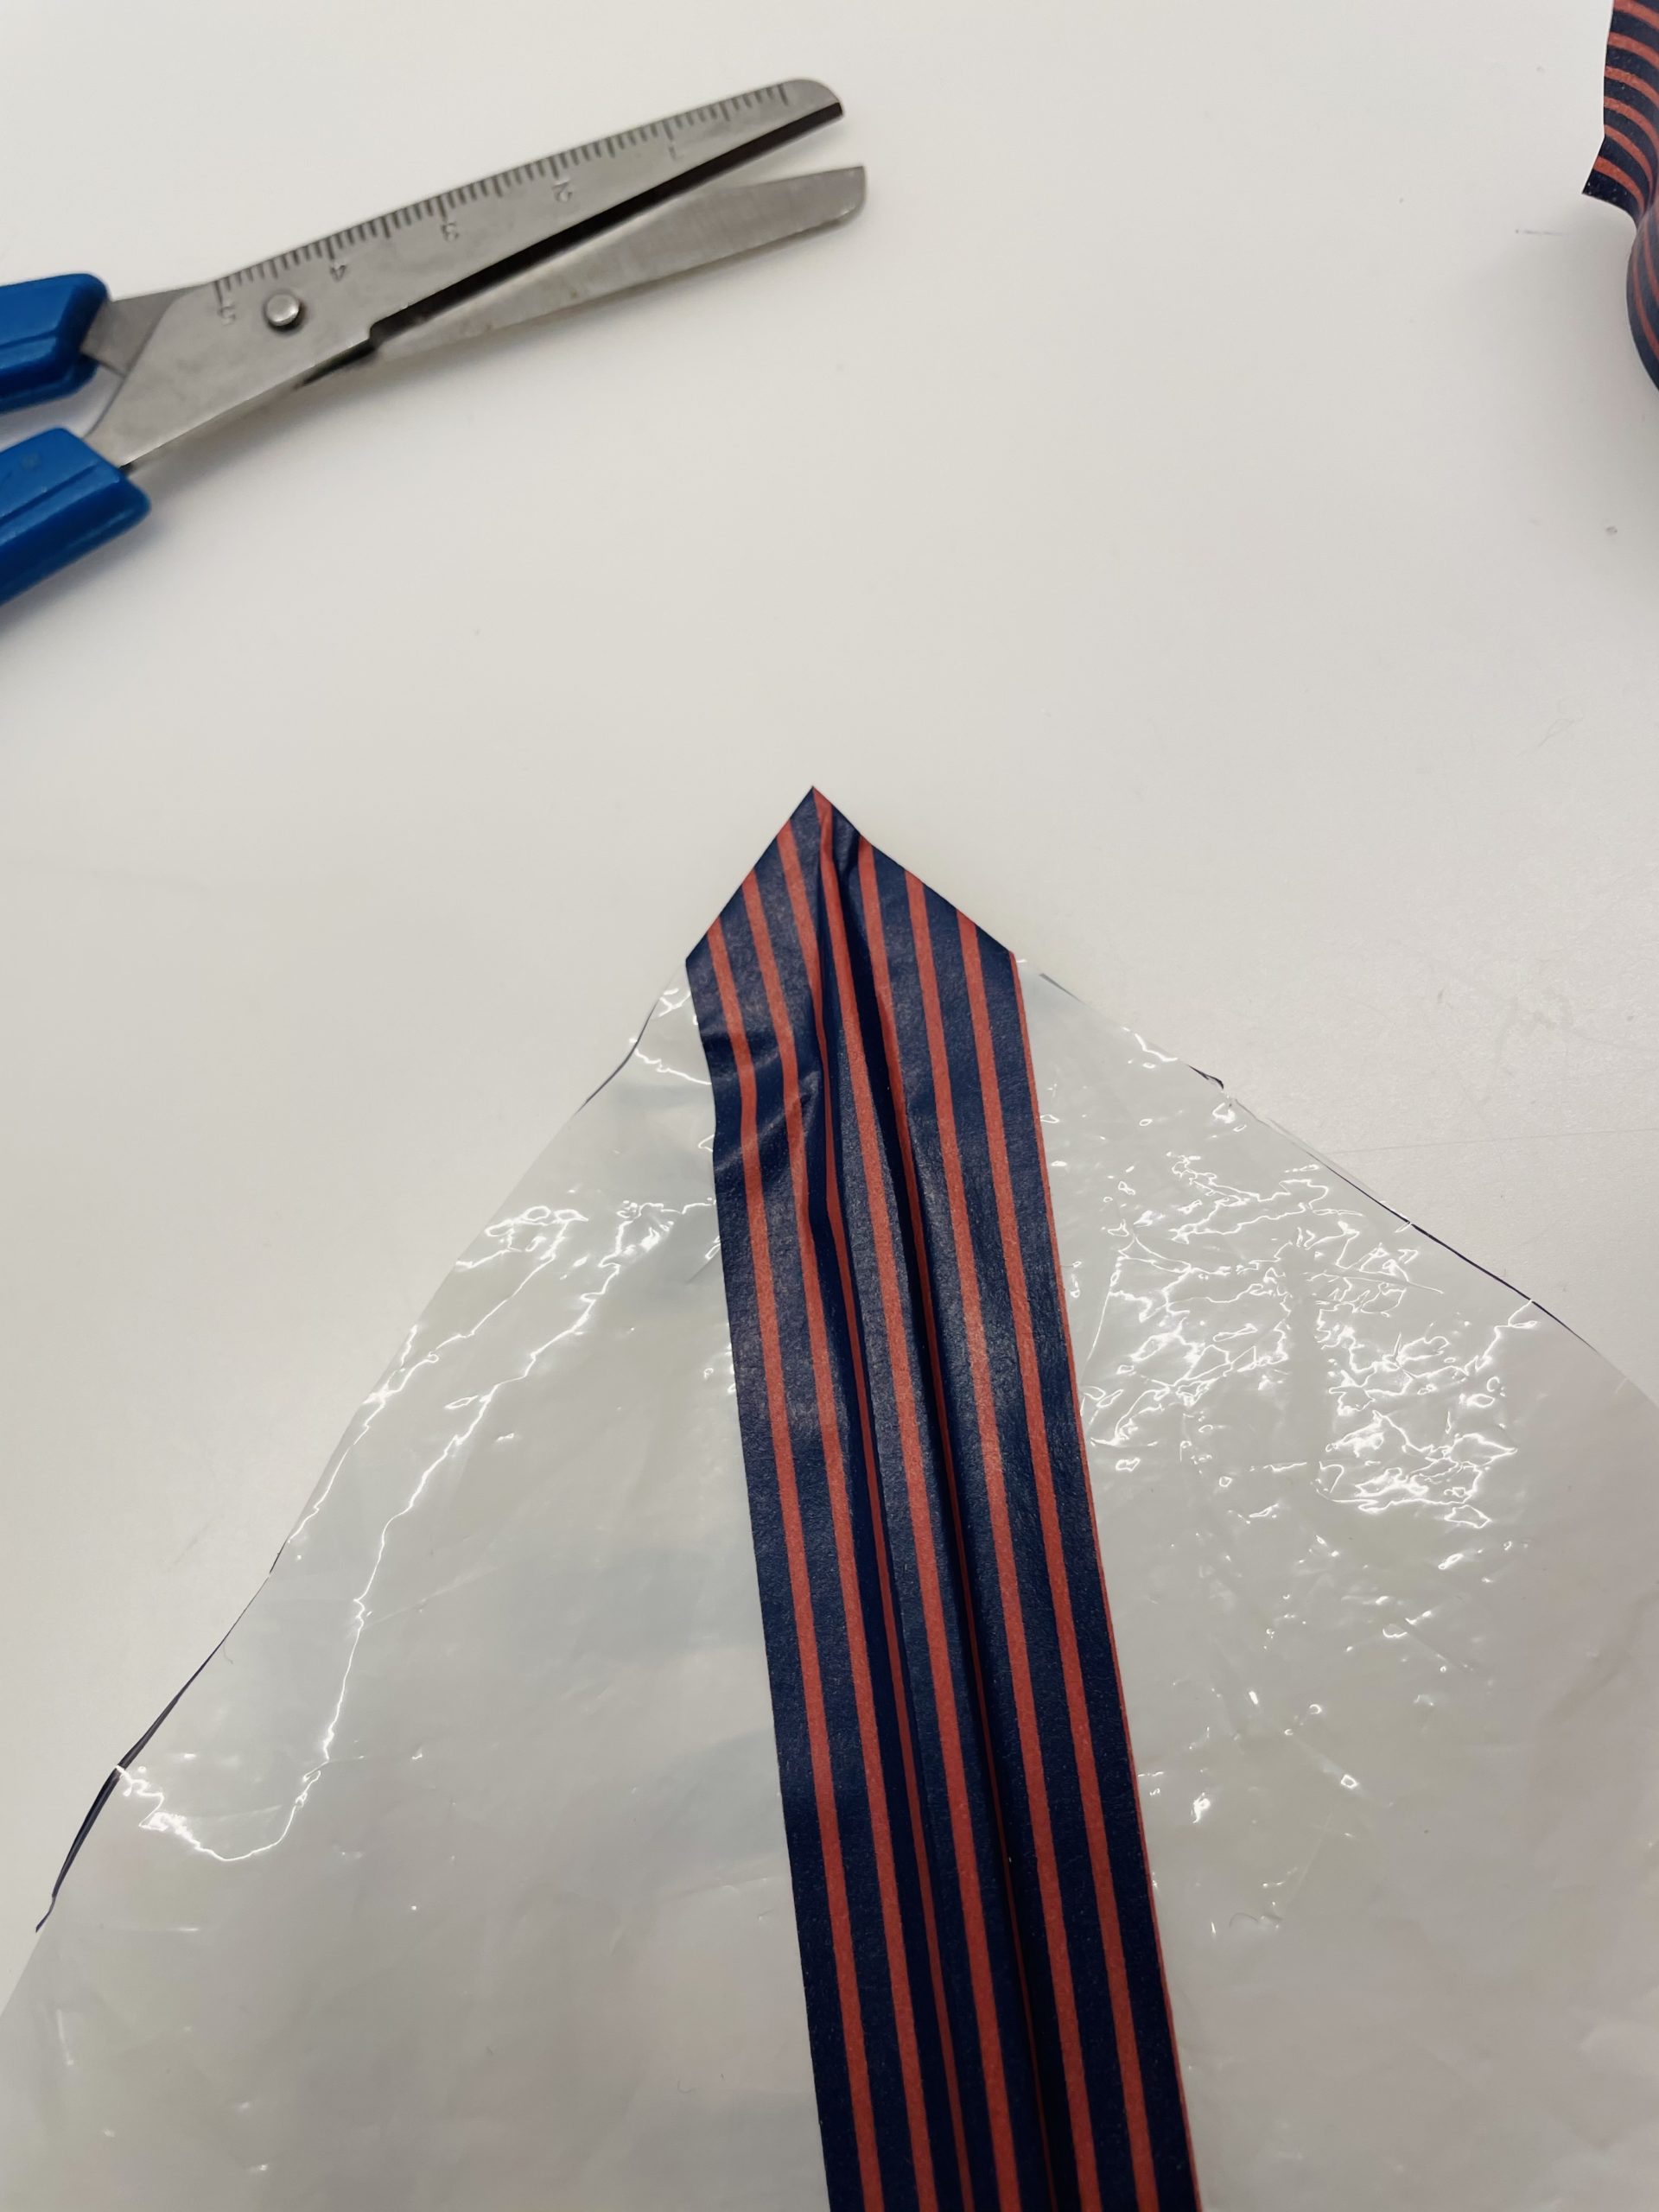
Bild zum Schritt 15 für das Bastel- und DIY-Abenteuer für Kinder: 'Klebt das Klebeband dabei über den Holzstab.'

15

You can also fix the corners with adhesive tape.
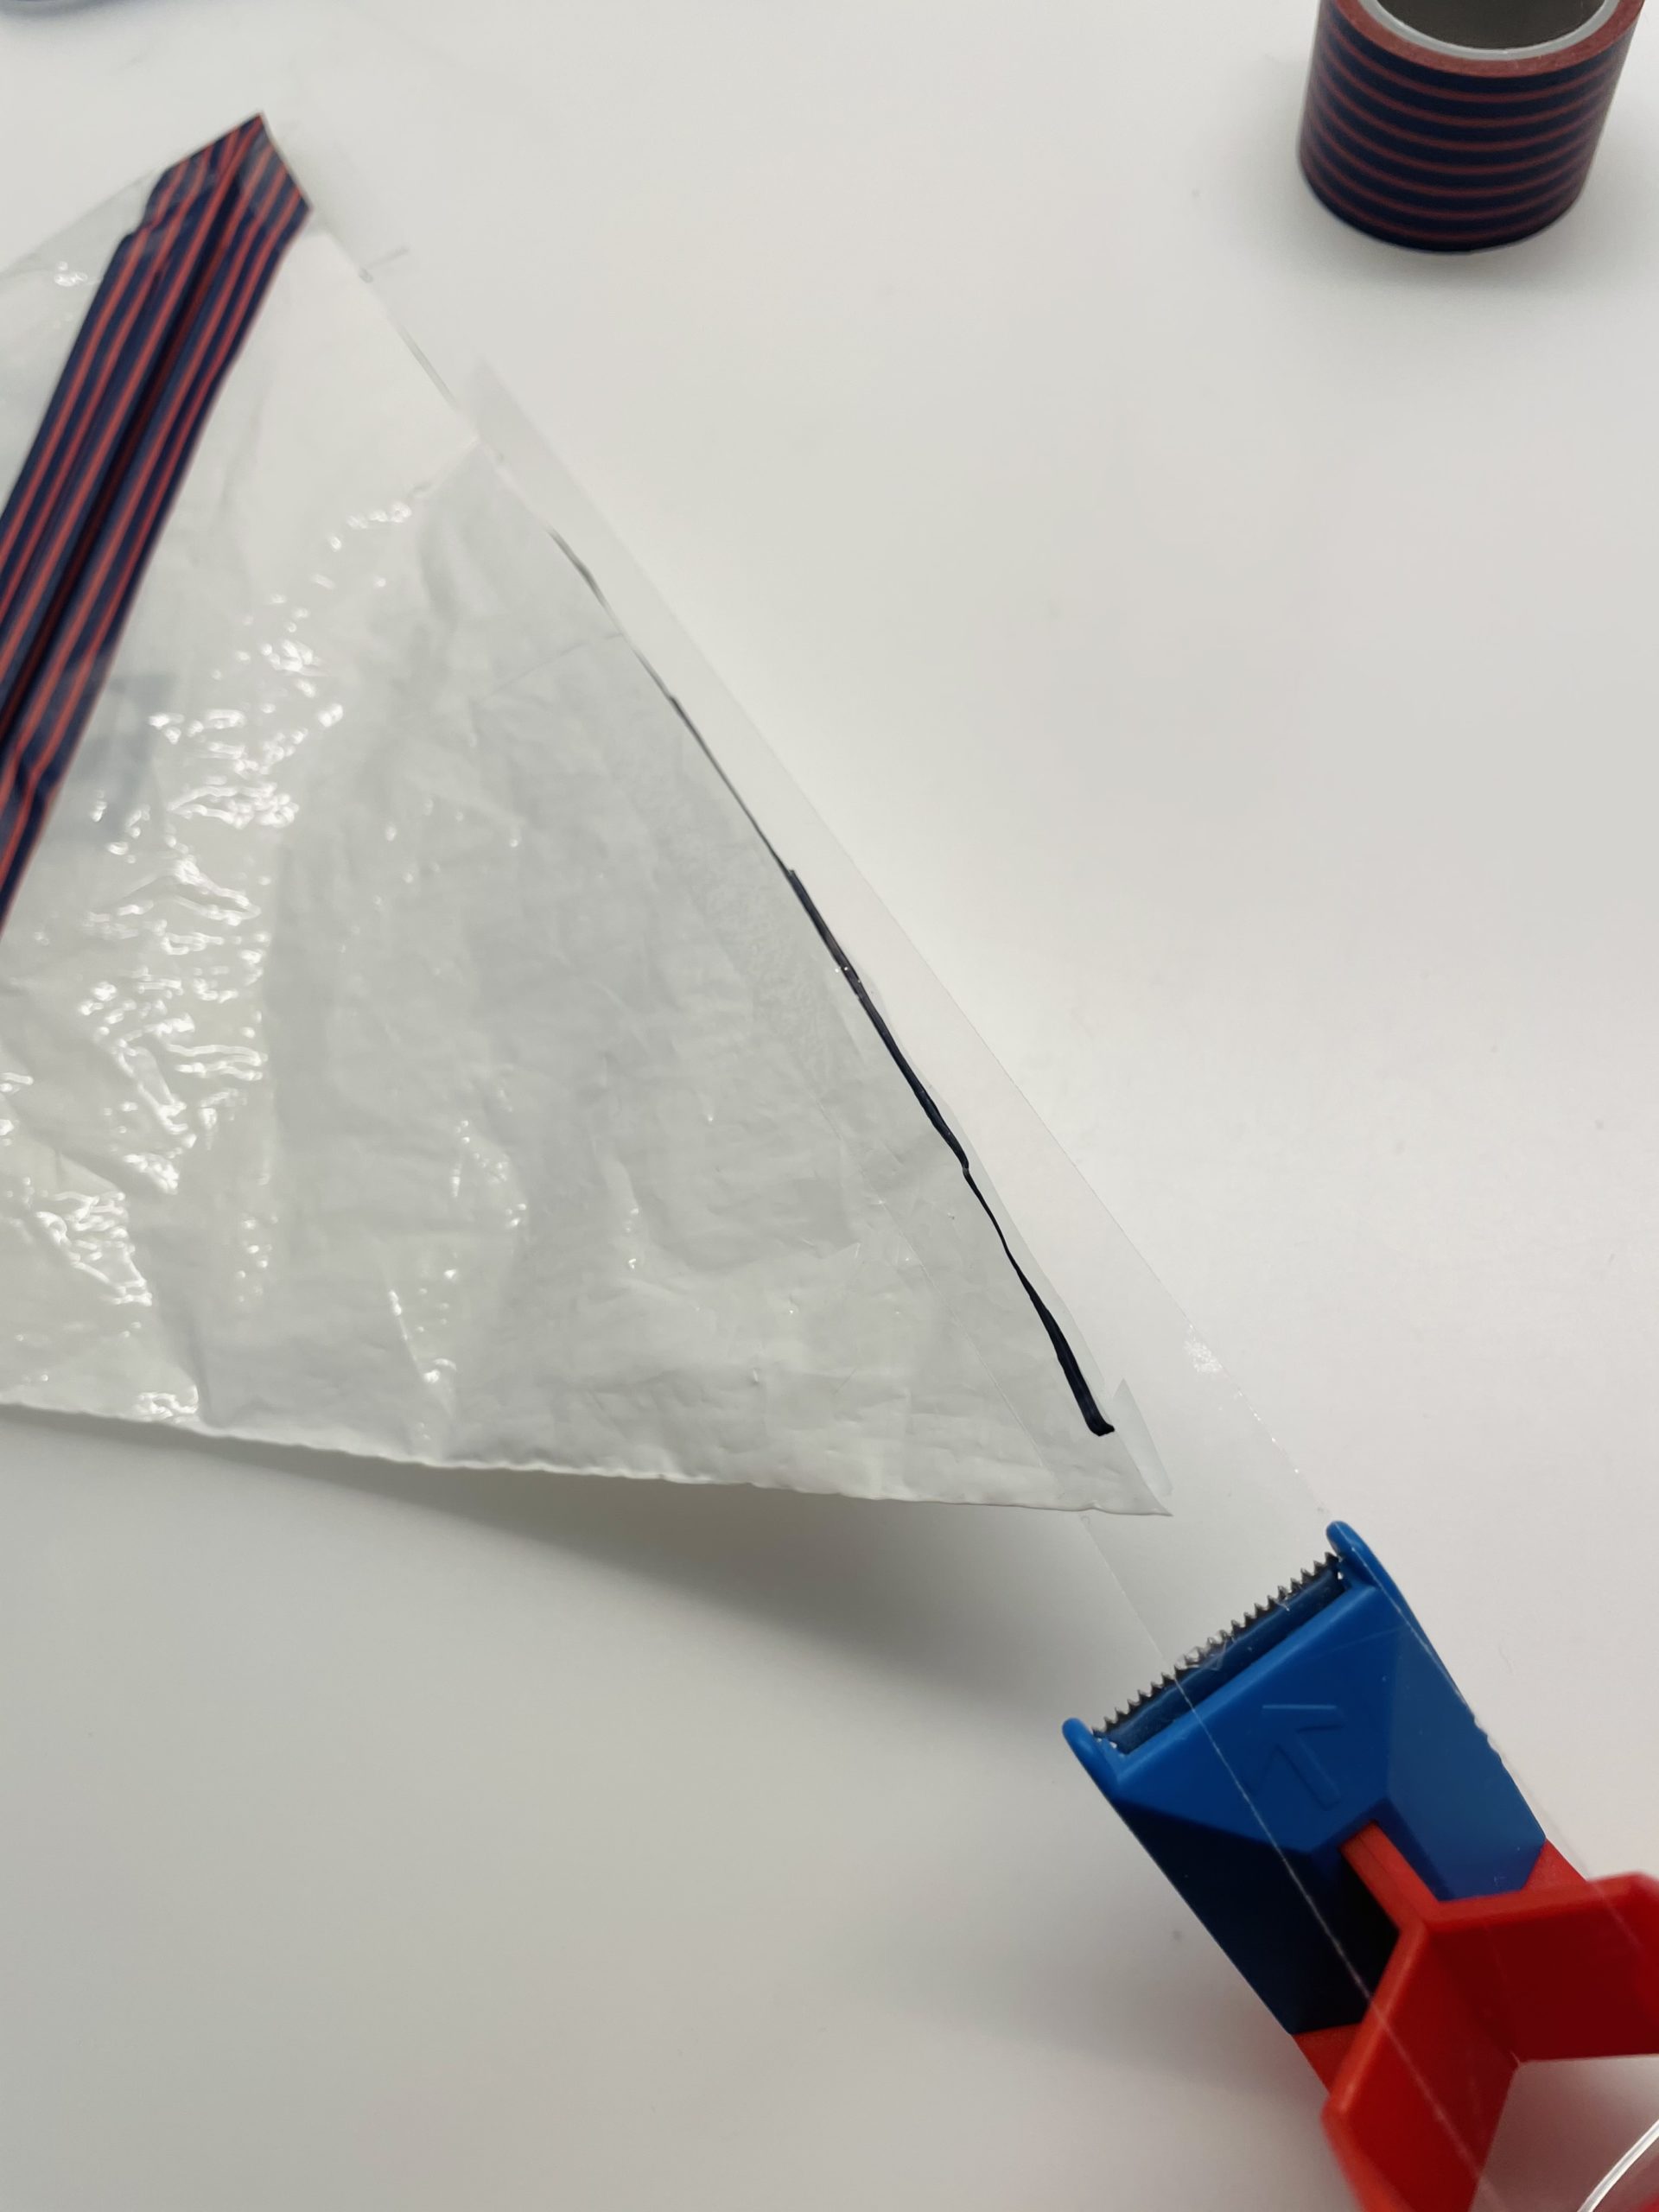
Bild zum Schritt 16 für das Bastel- und DIY-Abenteuer für Kinder: 'Die Ecken könnt ihr mit Klebeband ebenfalls fixieren.'

16

Then position the sail in the middle of the ship.
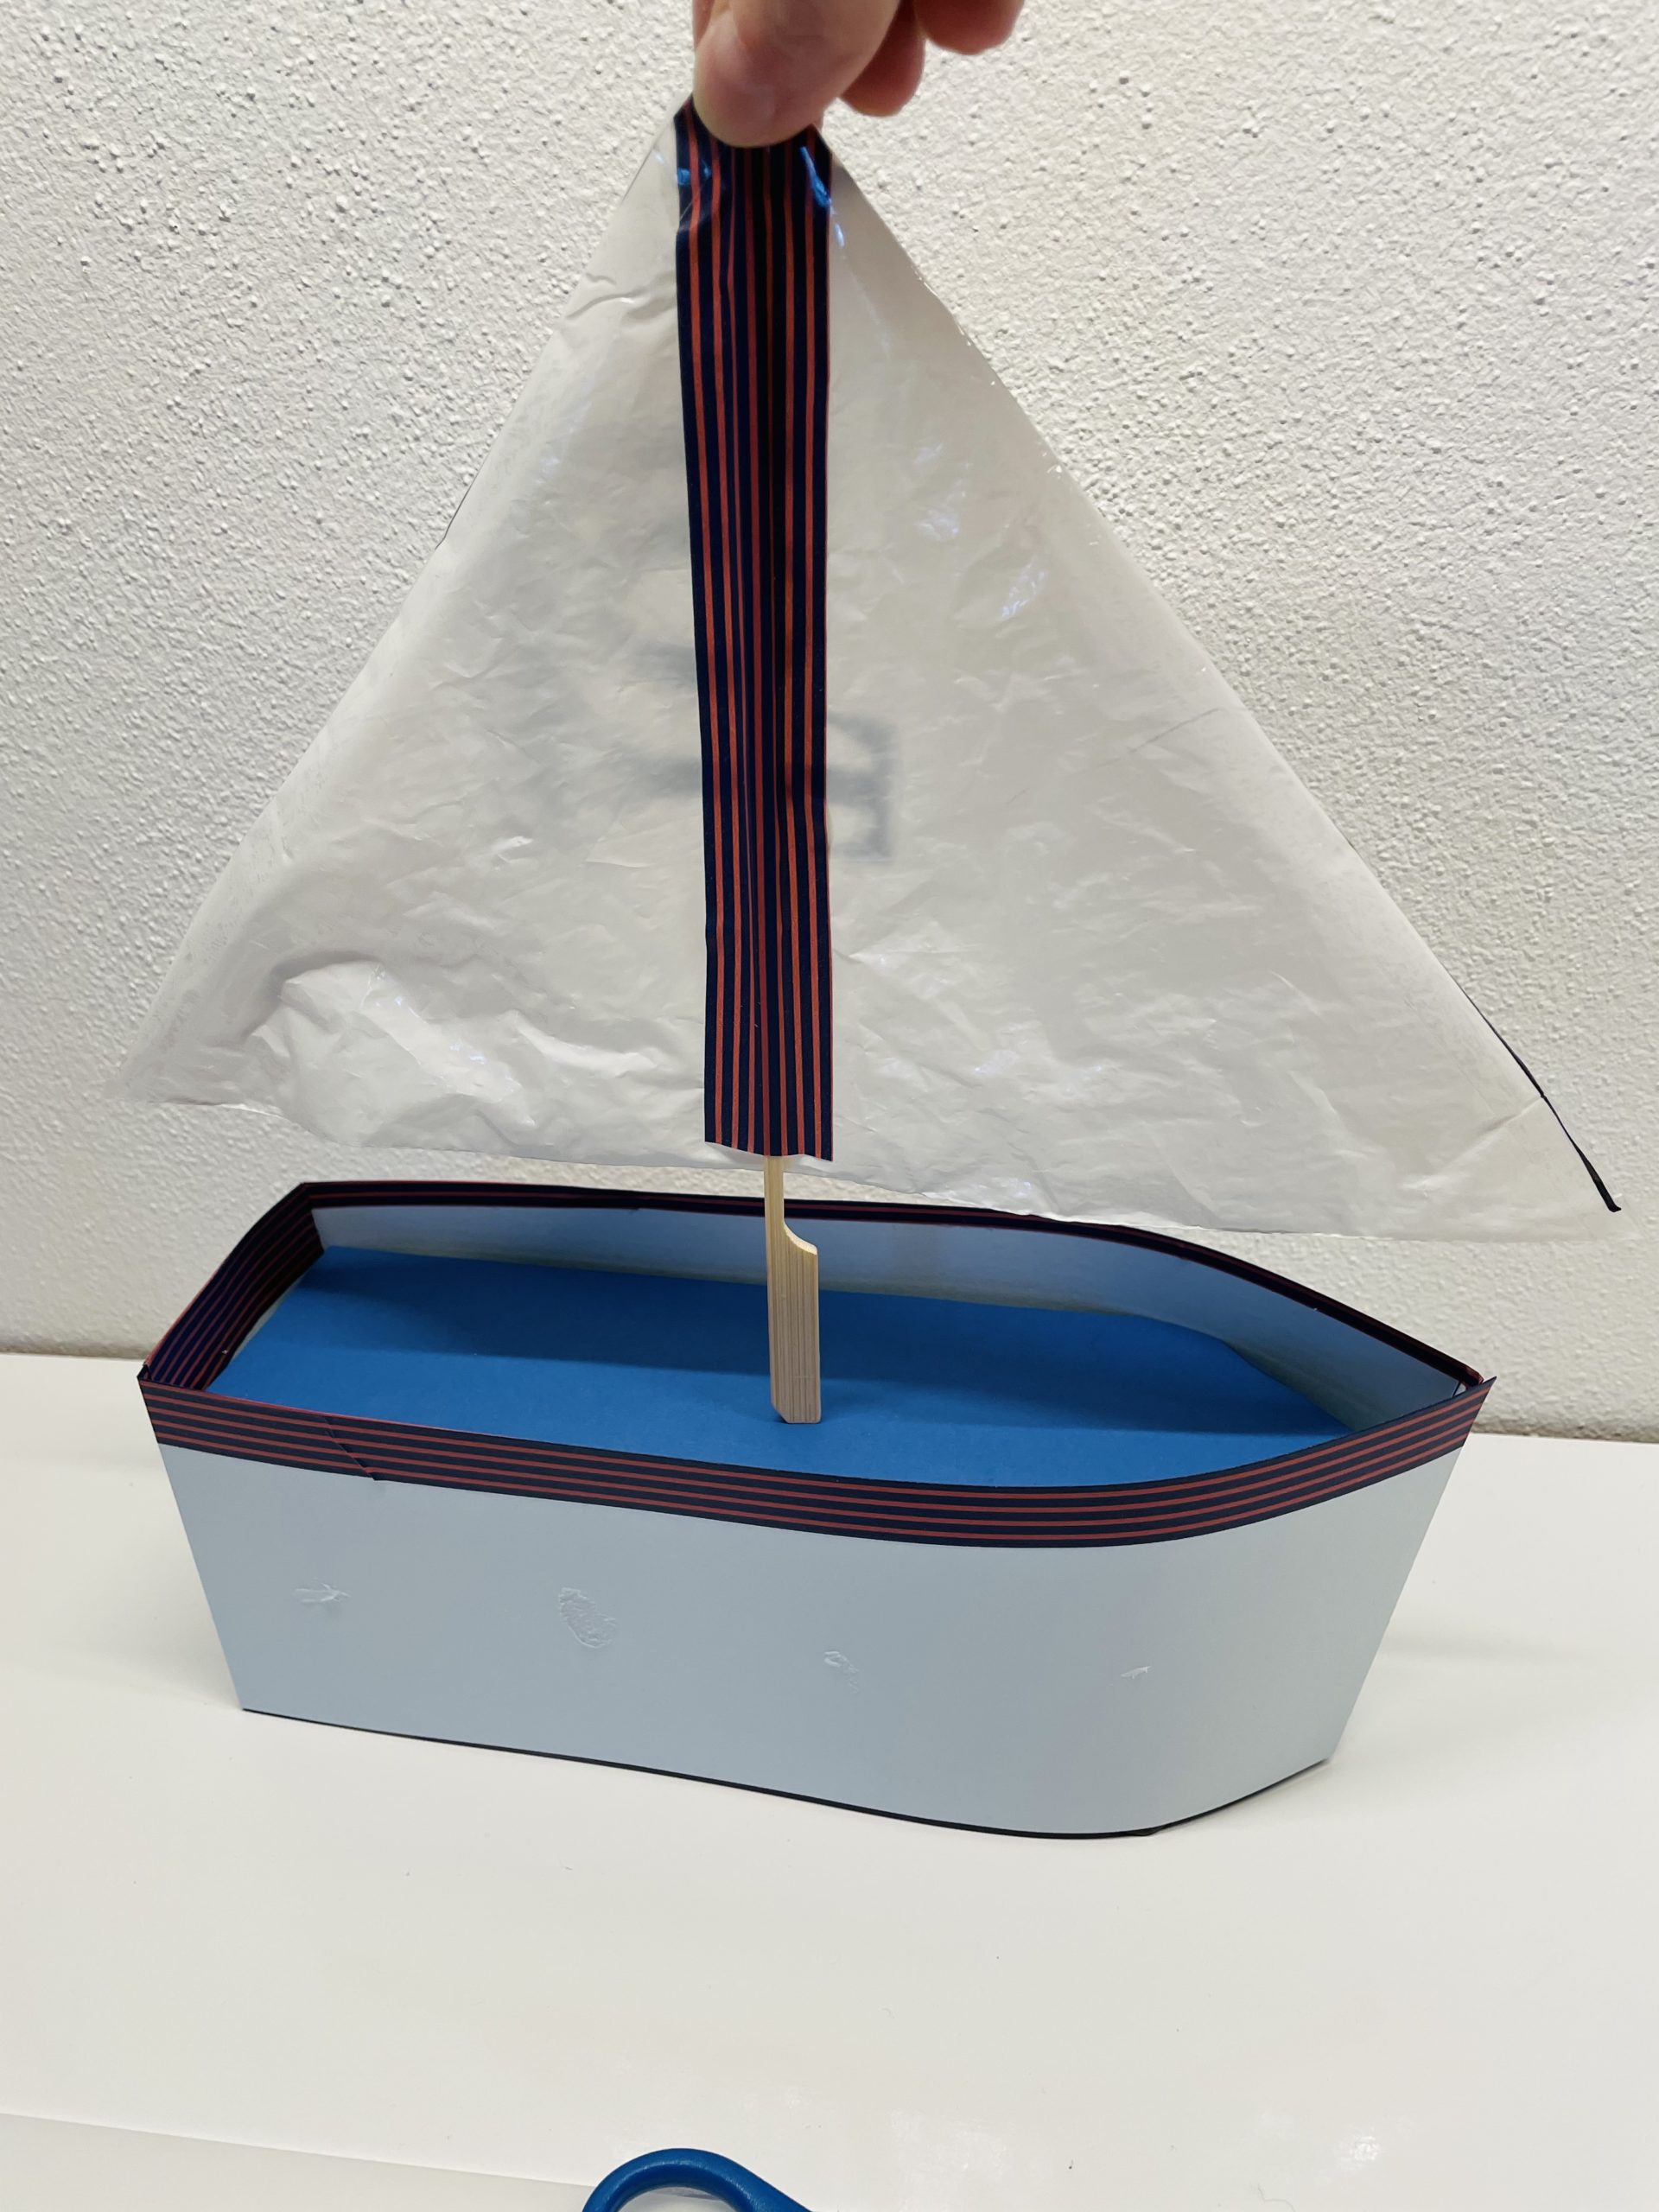
Bild zum Schritt 17 für das Bastel- und DIY-Abenteuer für Kinder: 'Positioniert das Segel anschließend in die Mitte des Schiffes.'

17

To do this, you stash a small hole with a pointed scissors in the top. Make sure that the hole is a little smaller than the wooden stick so that it holds well.
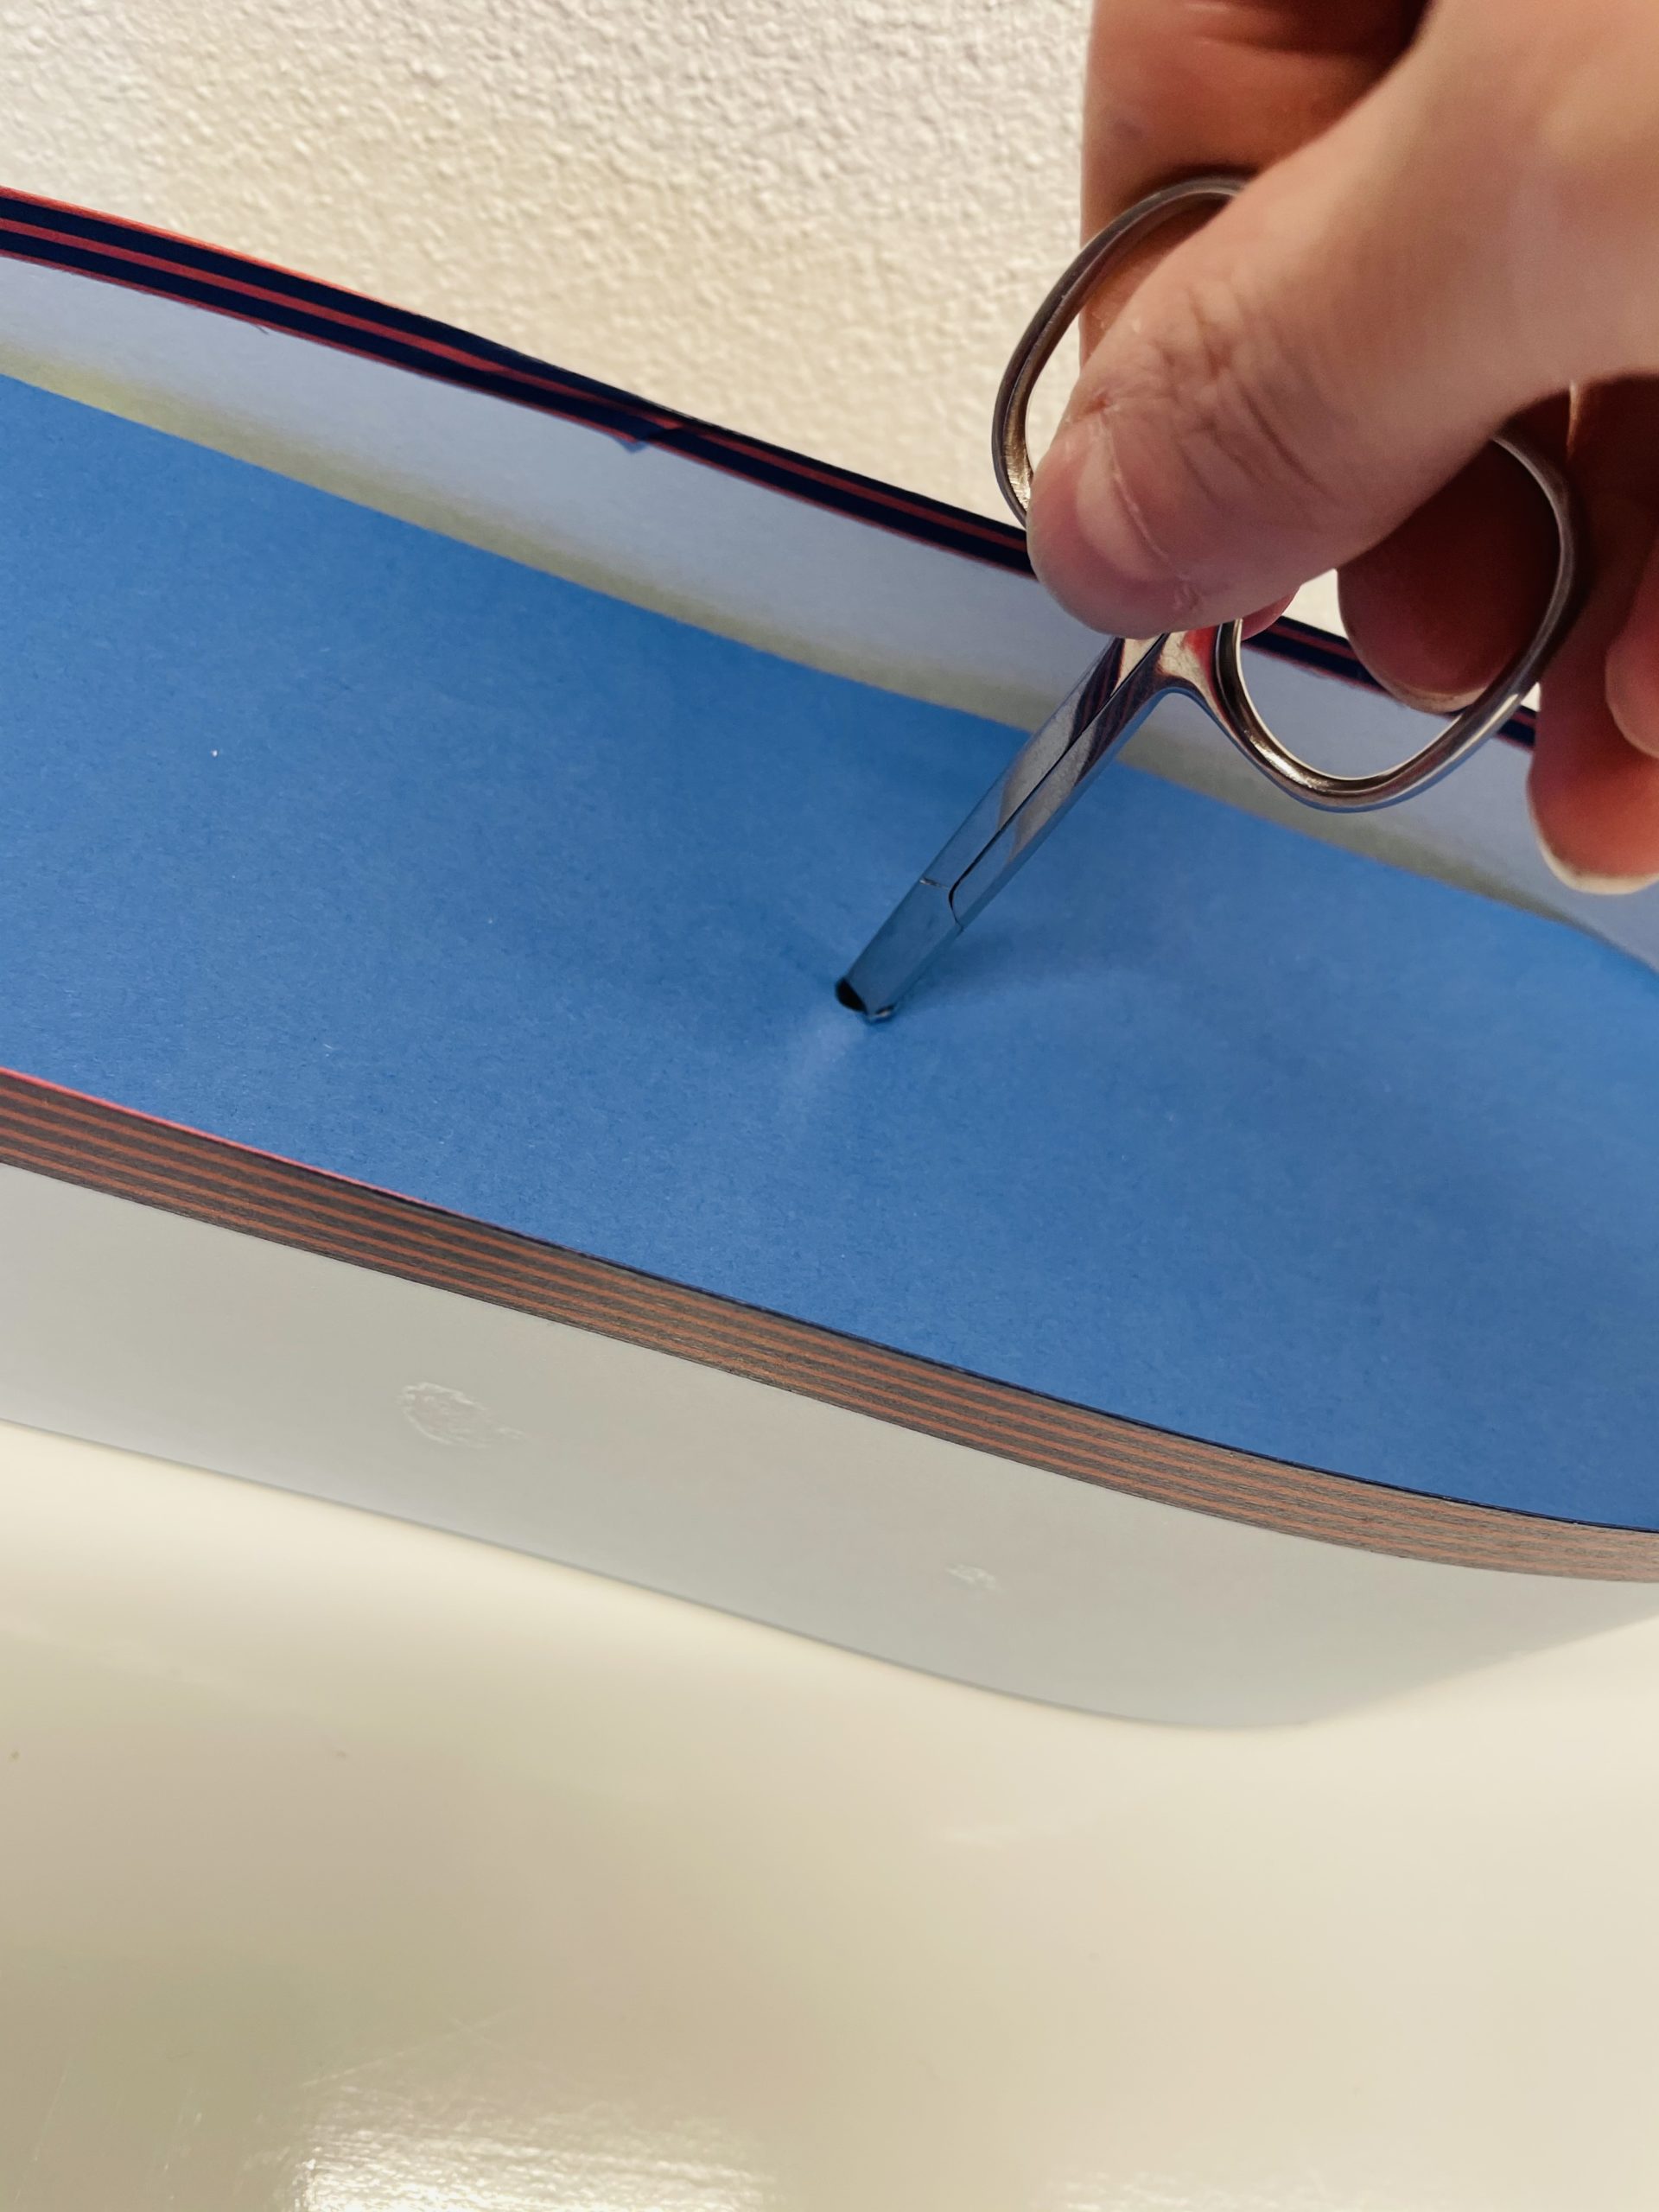
Bild zum Schritt 18 für das Bastel- und DIY-Abenteuer für Kinder: 'Dazu stecht ihr ein kleines Loch mit einer spitzen Schere...'

18

Now you put the sail pole in it carefully.
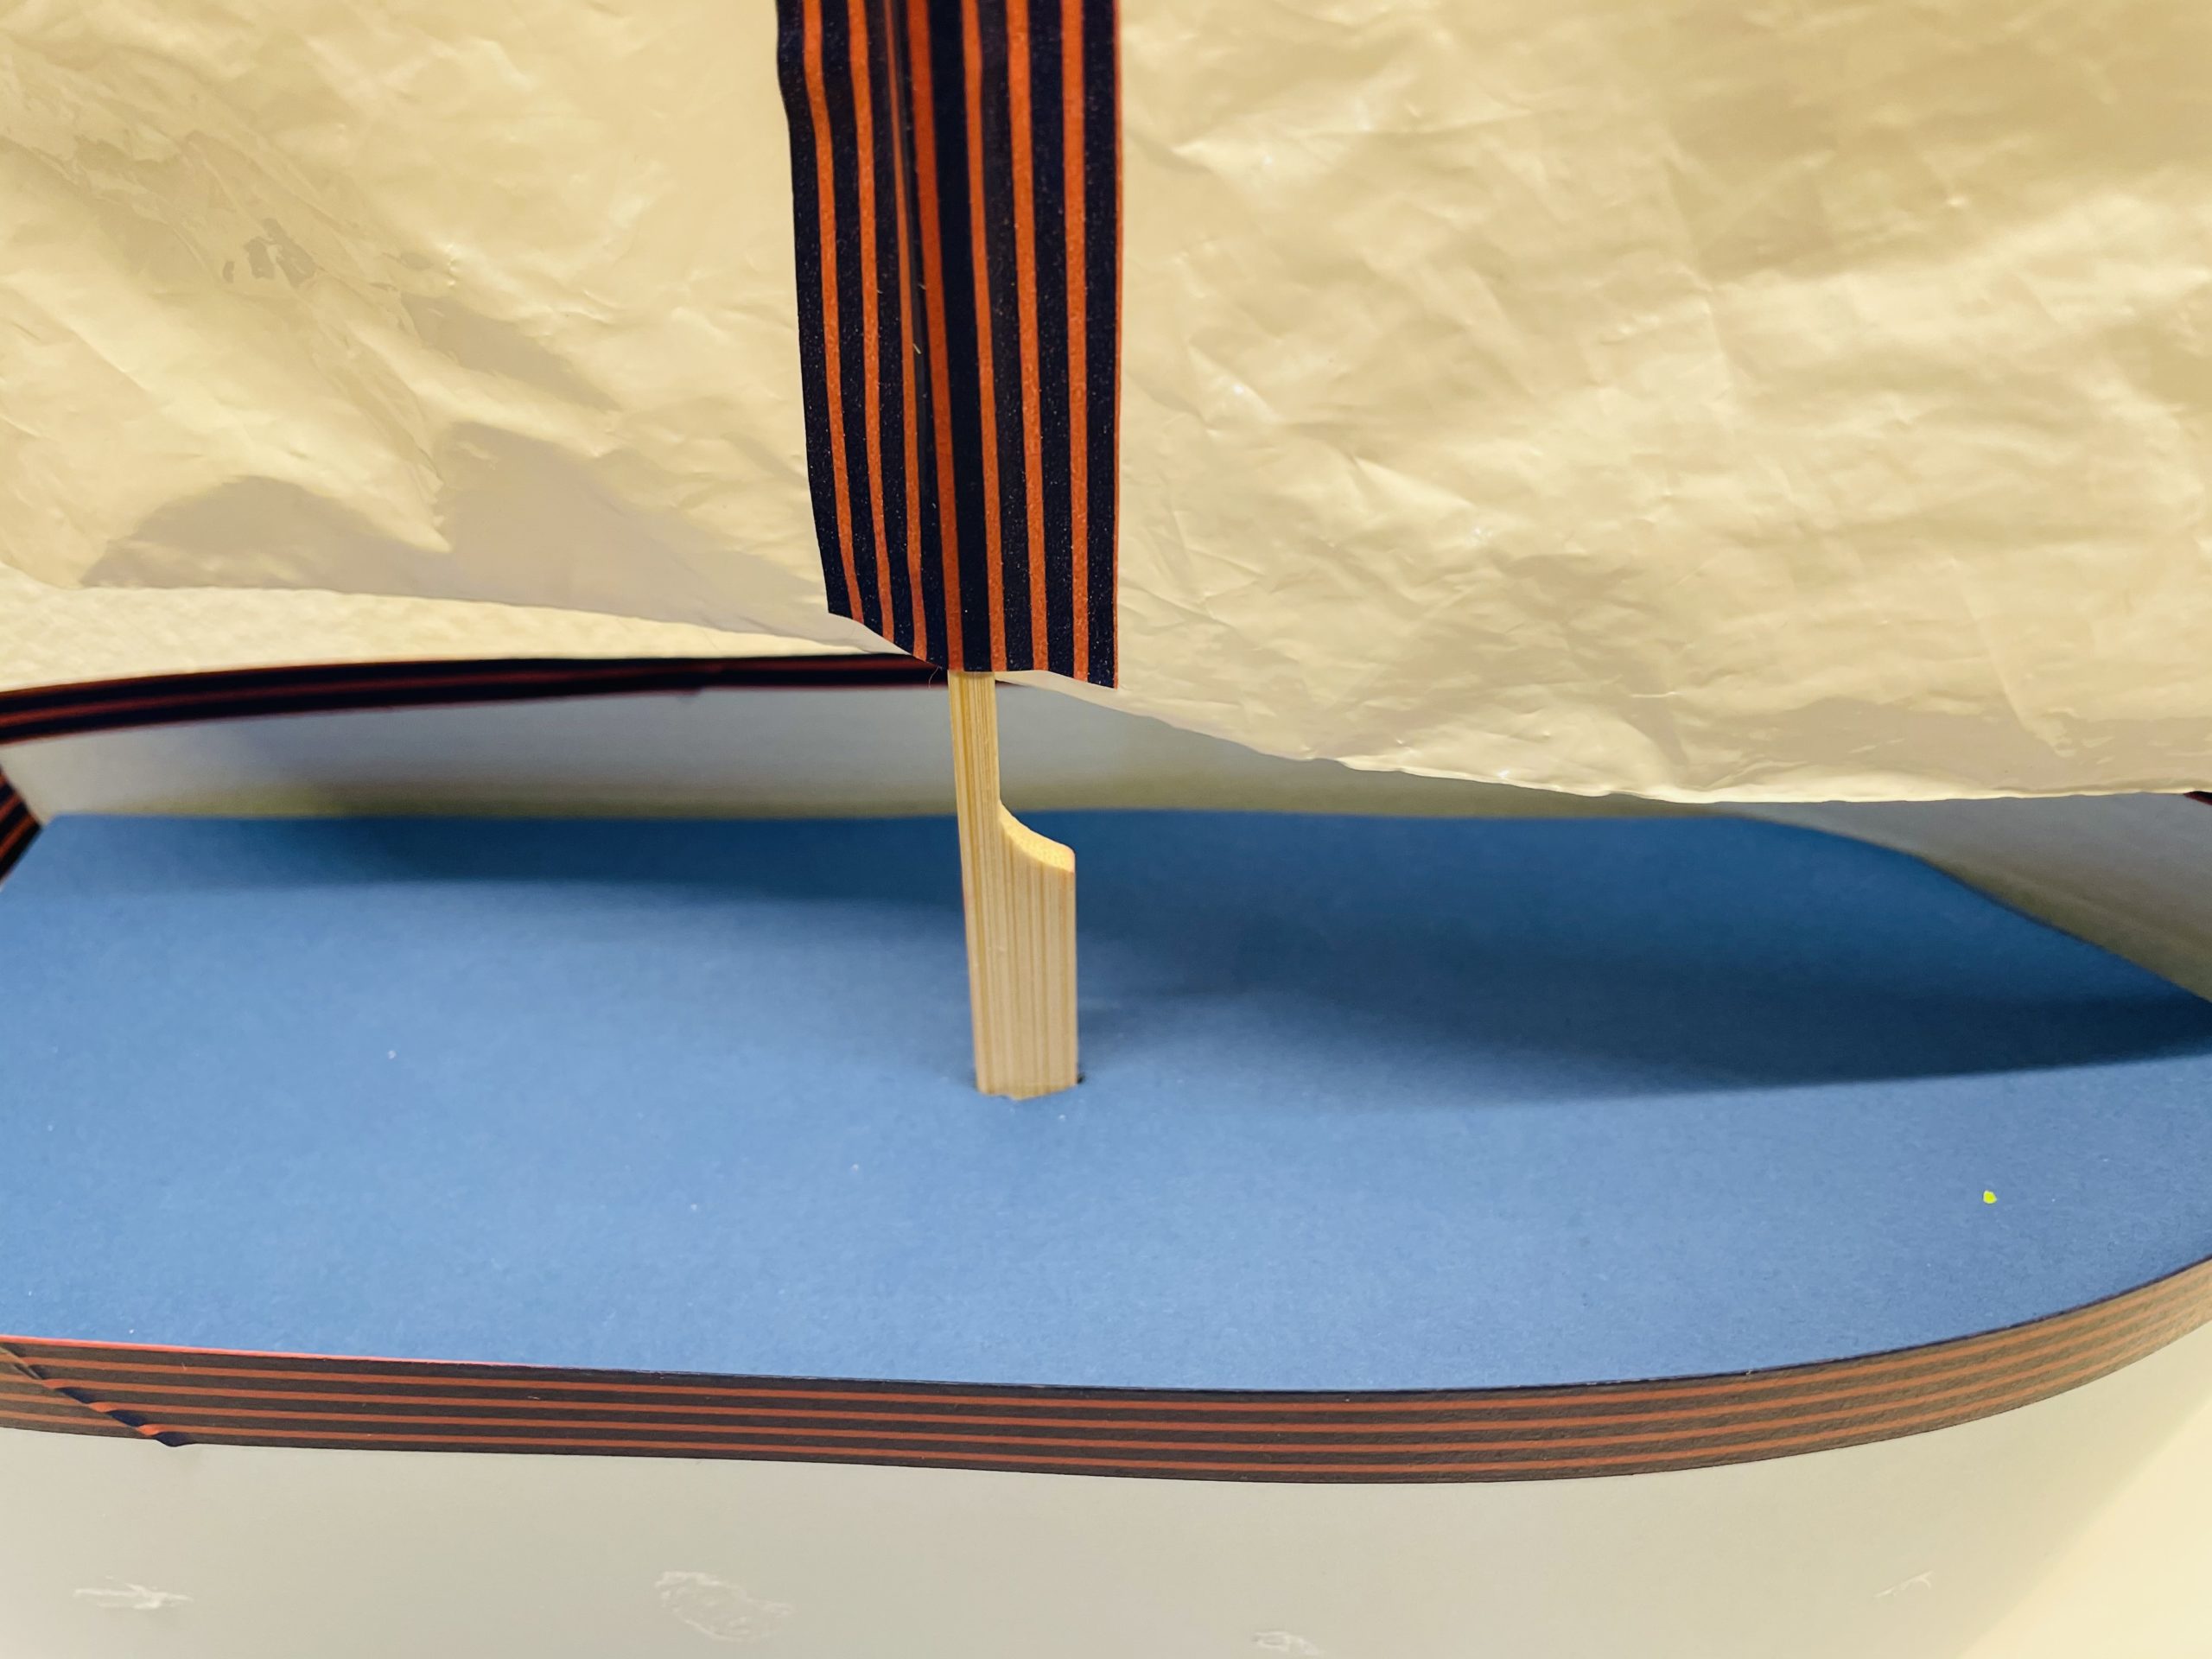
Bild zum Schritt 19 für das Bastel- und DIY-Abenteuer für Kinder: 'Jetzt steckt ihr den Segelmasten vorsichtig hinein.'

19

Paint up an anchor and/or saber or print out the template and transfer the template to a clay paper. Cut out the anchor.
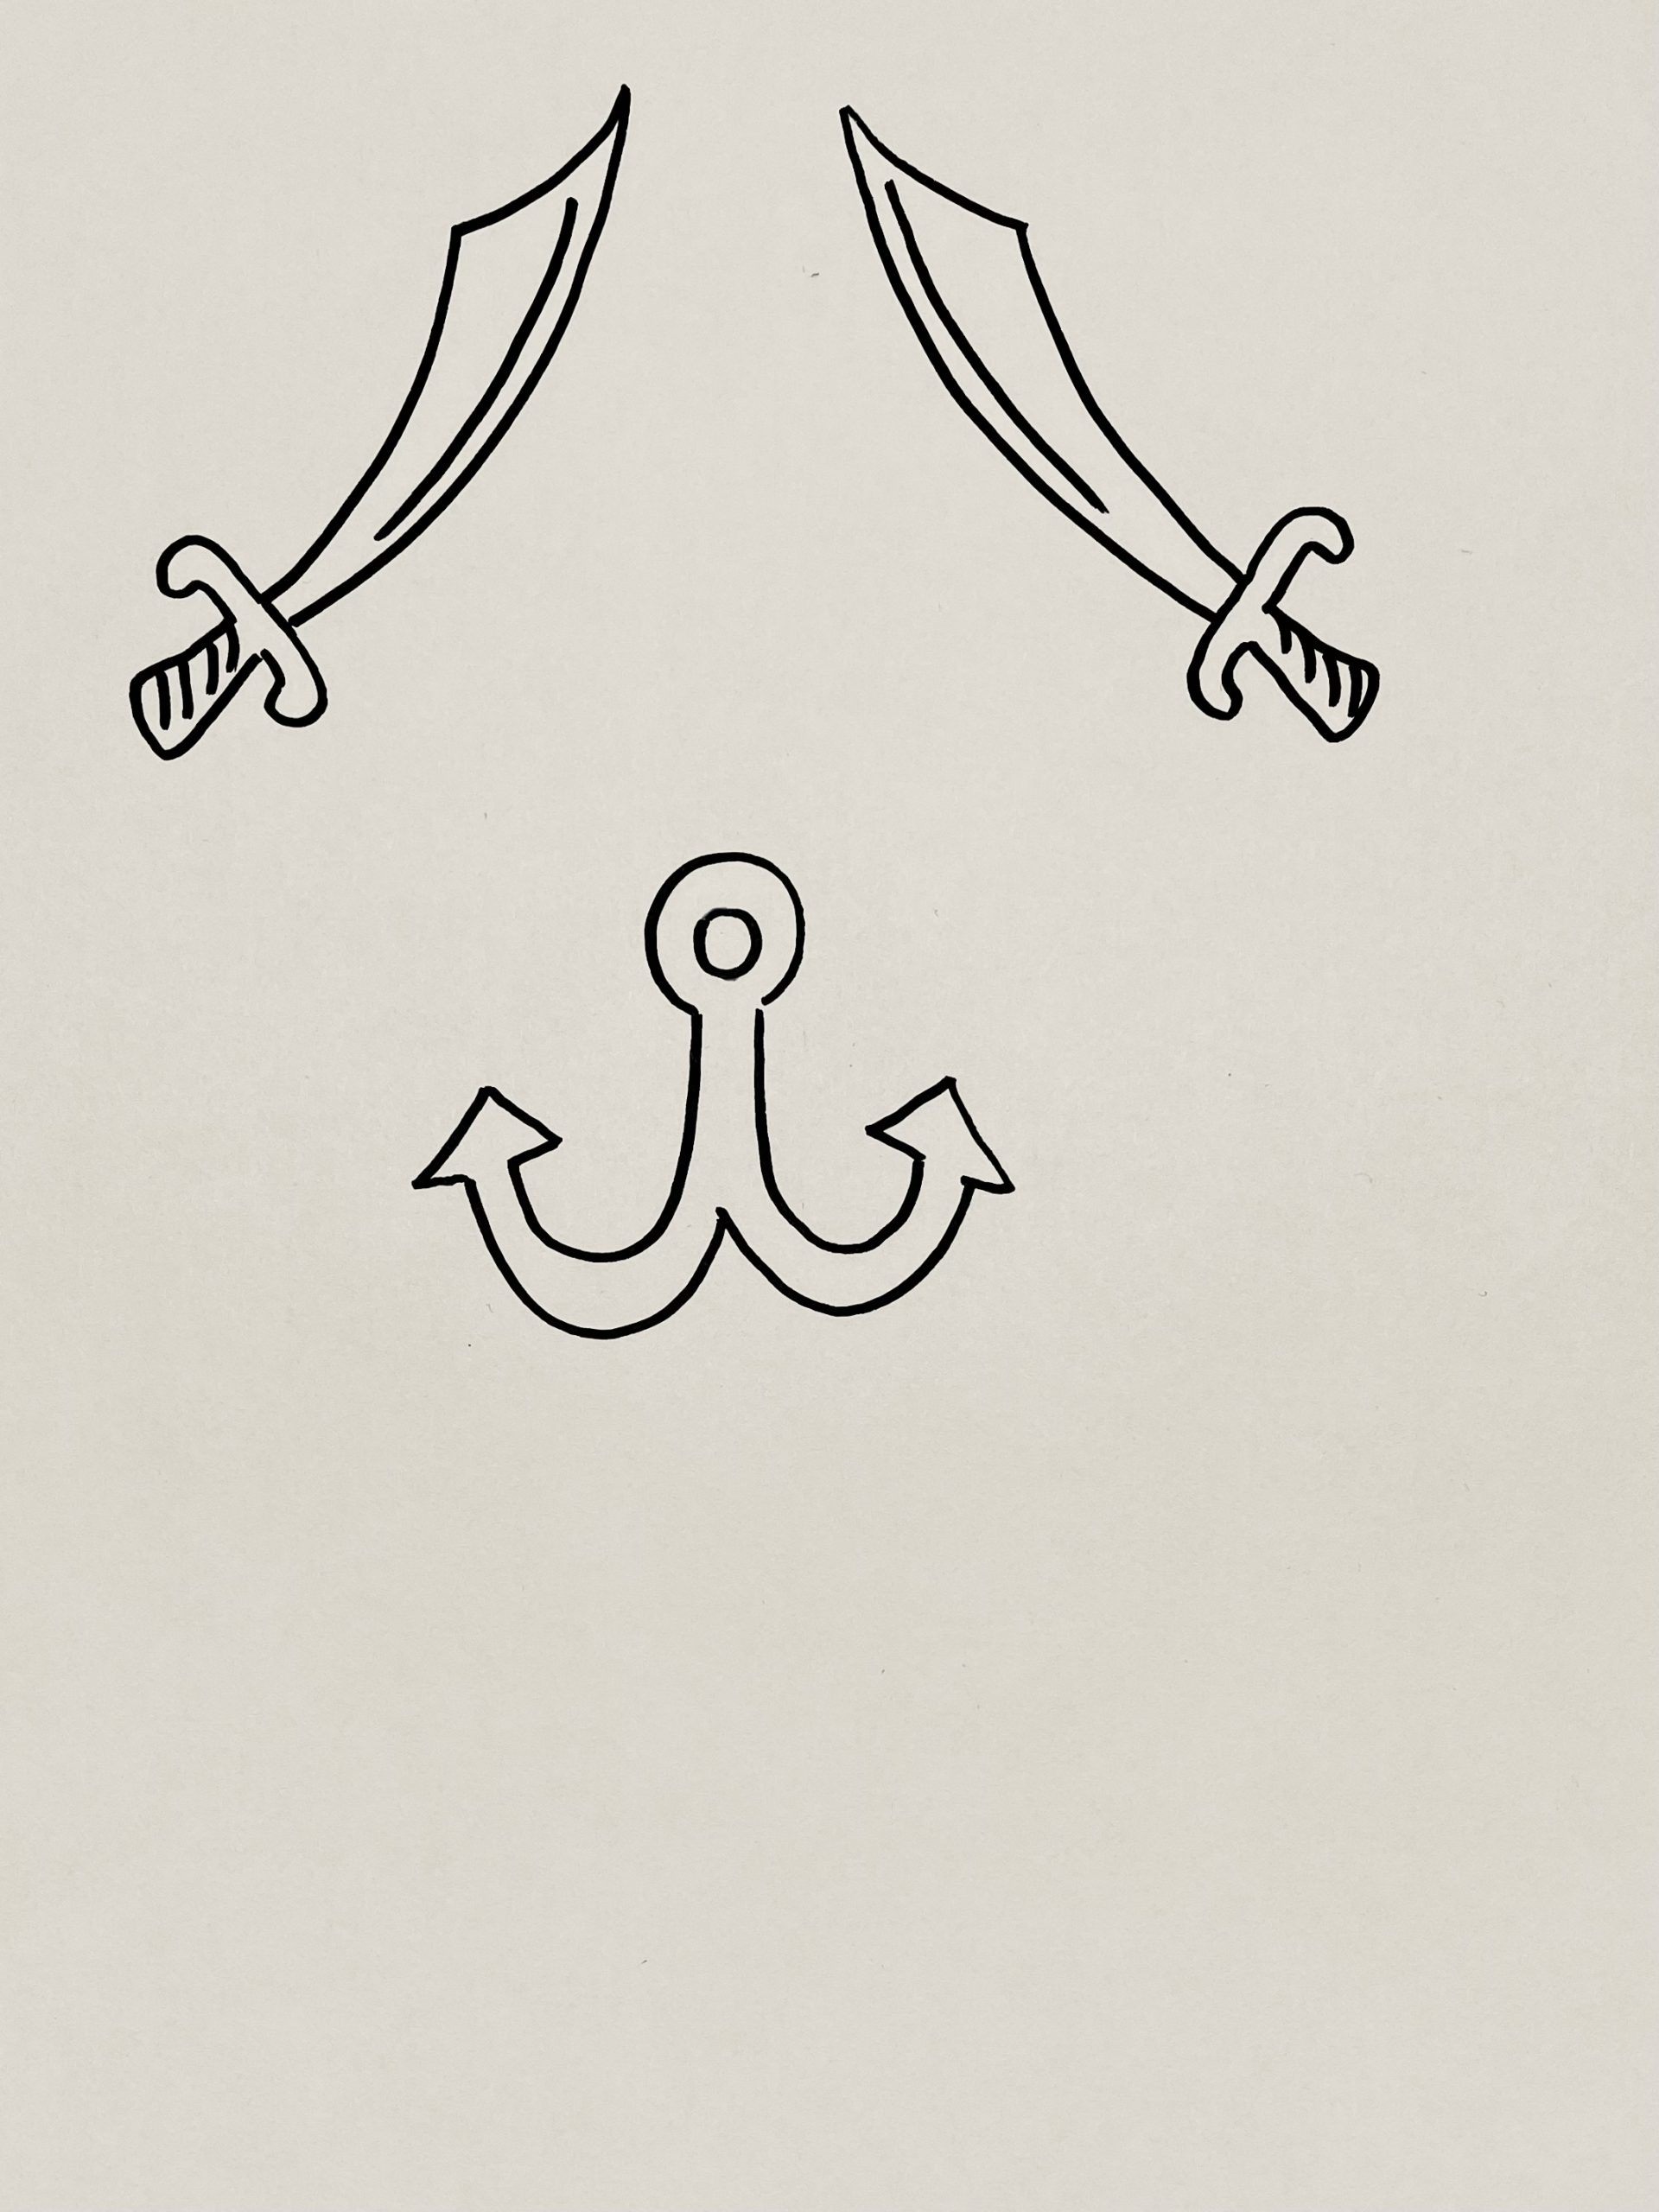
Bild zum Schritt 20 für das Bastel- und DIY-Abenteuer für Kinder: 'Malt euch einen Anker und/oder Säbel auf oder druckt euch...'

20

Then paints round bulleyes on the long sides of the ship.
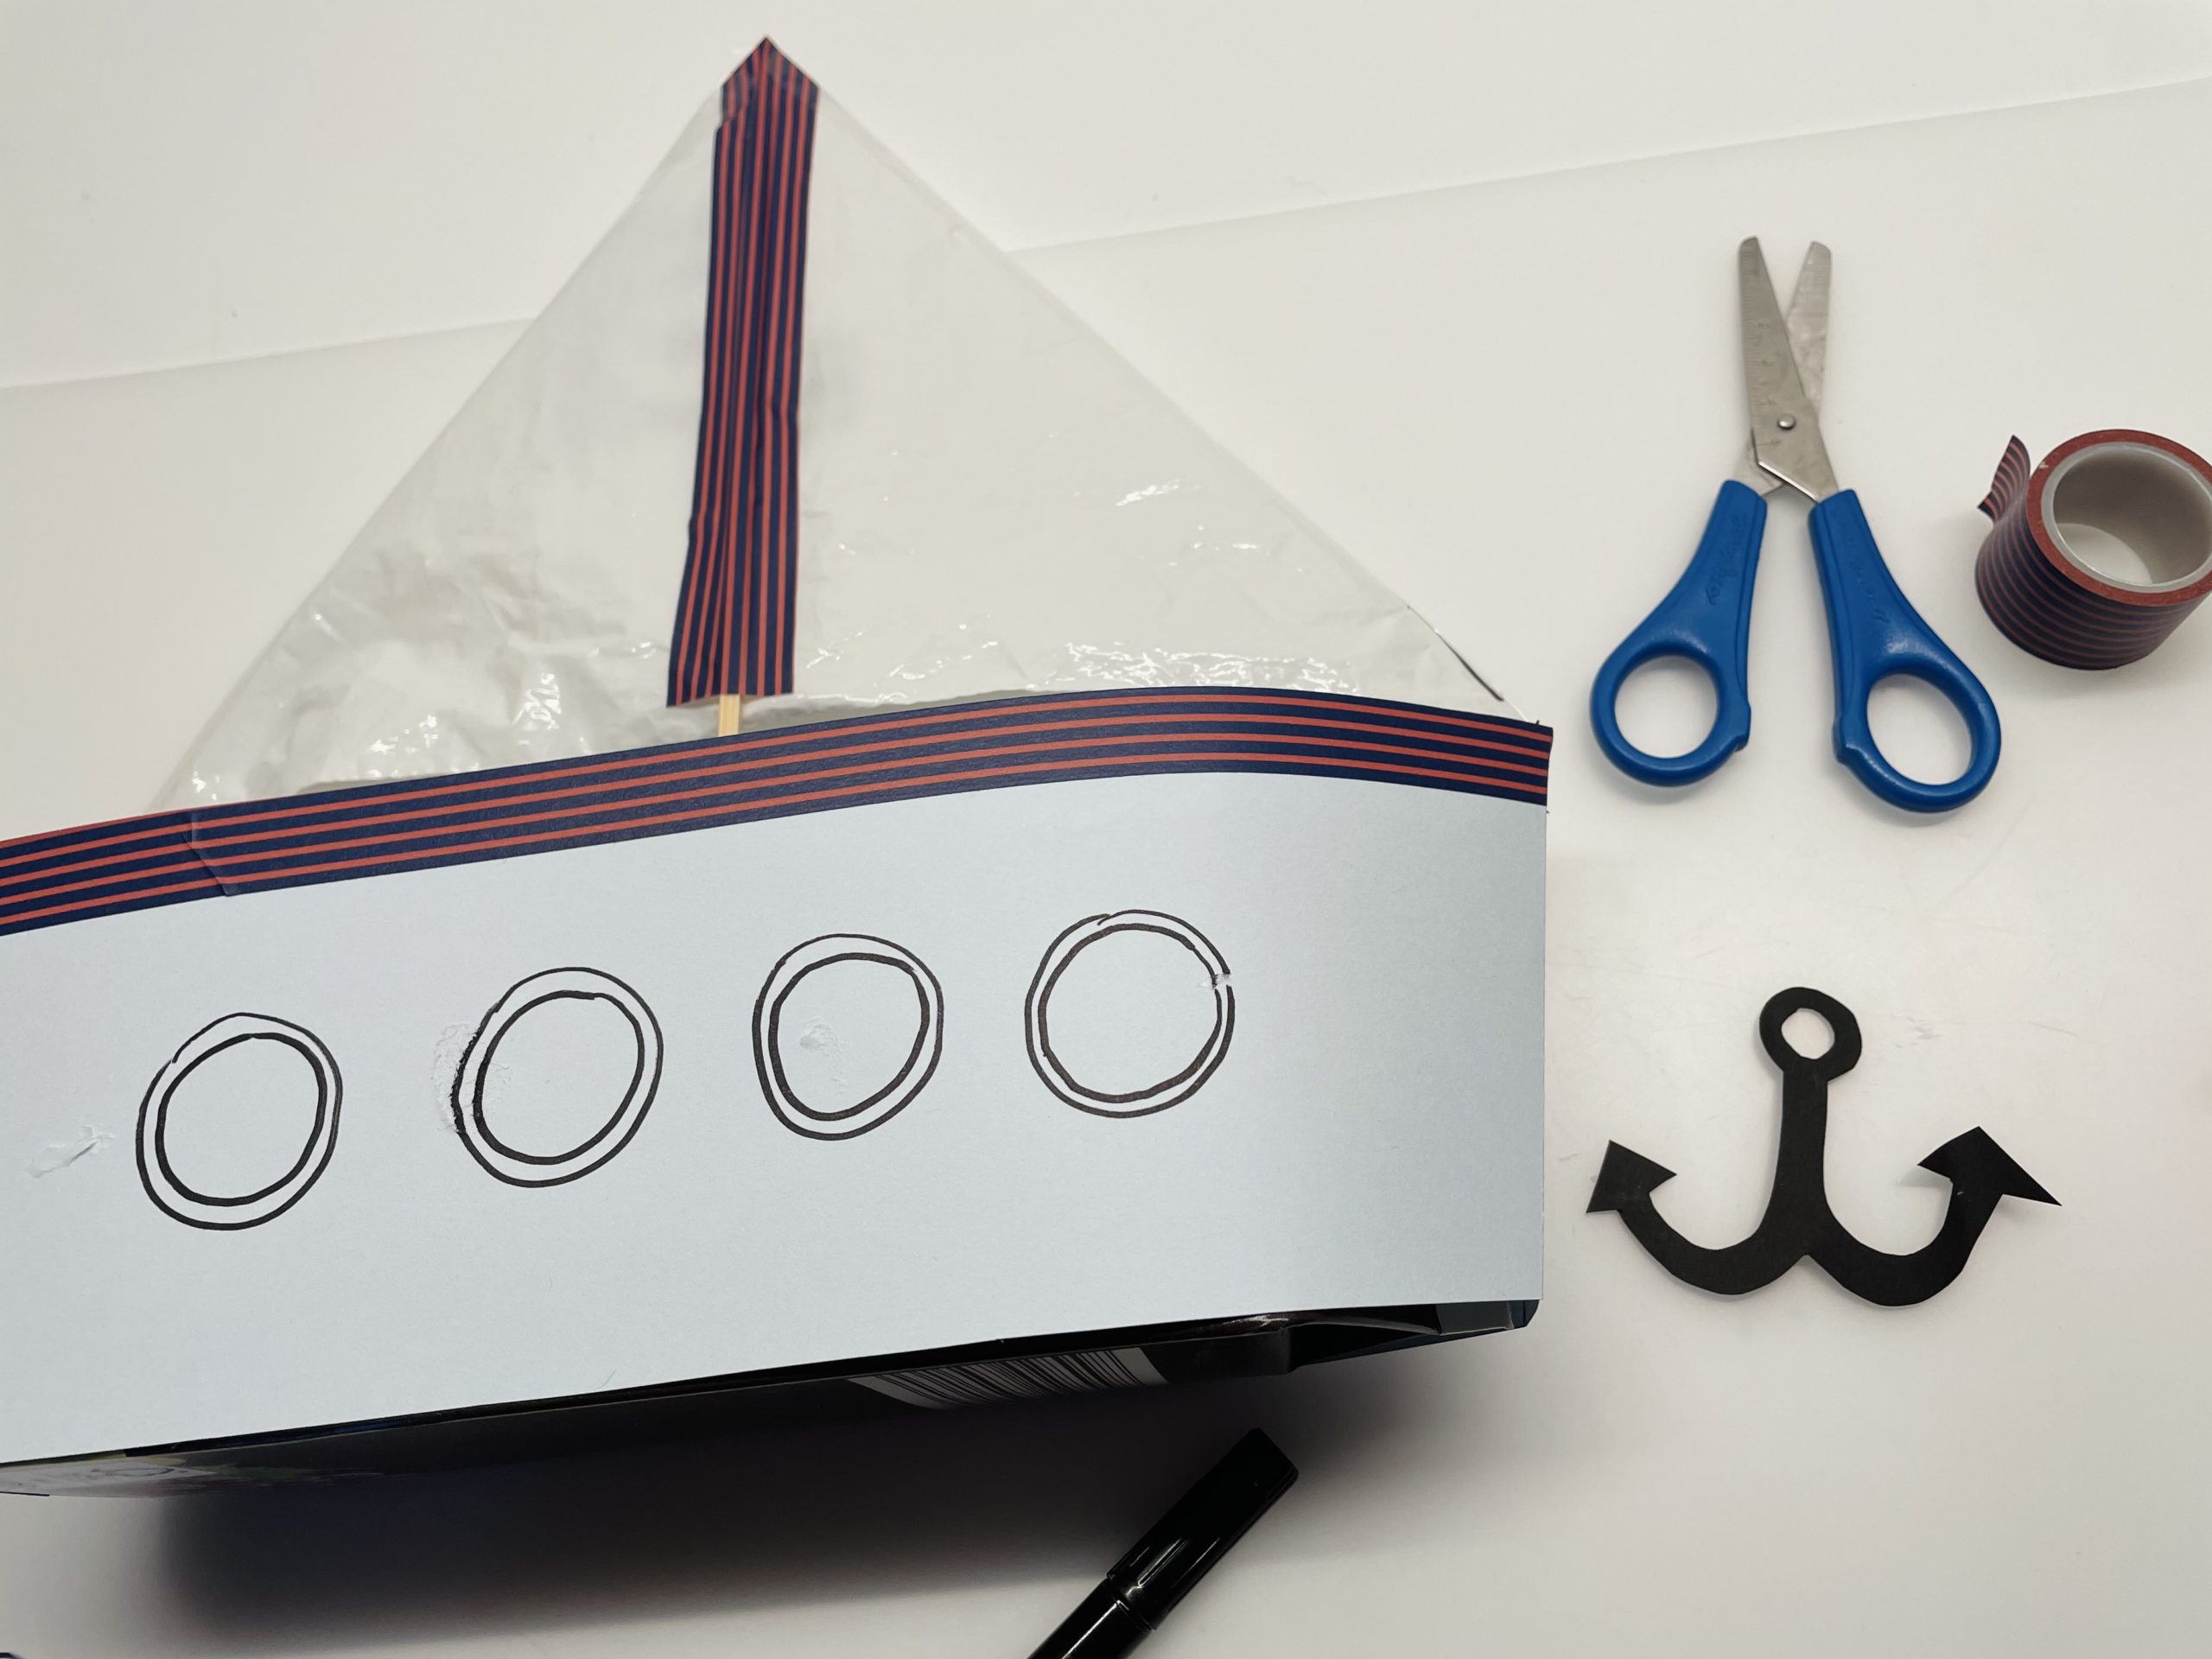
Bild zum Schritt 21 für das Bastel- und DIY-Abenteuer für Kinder: 'Malt anschließend runde Bullaugen auf die Längsseiten des Schiffes.'

21

After that, put the anchor on her.
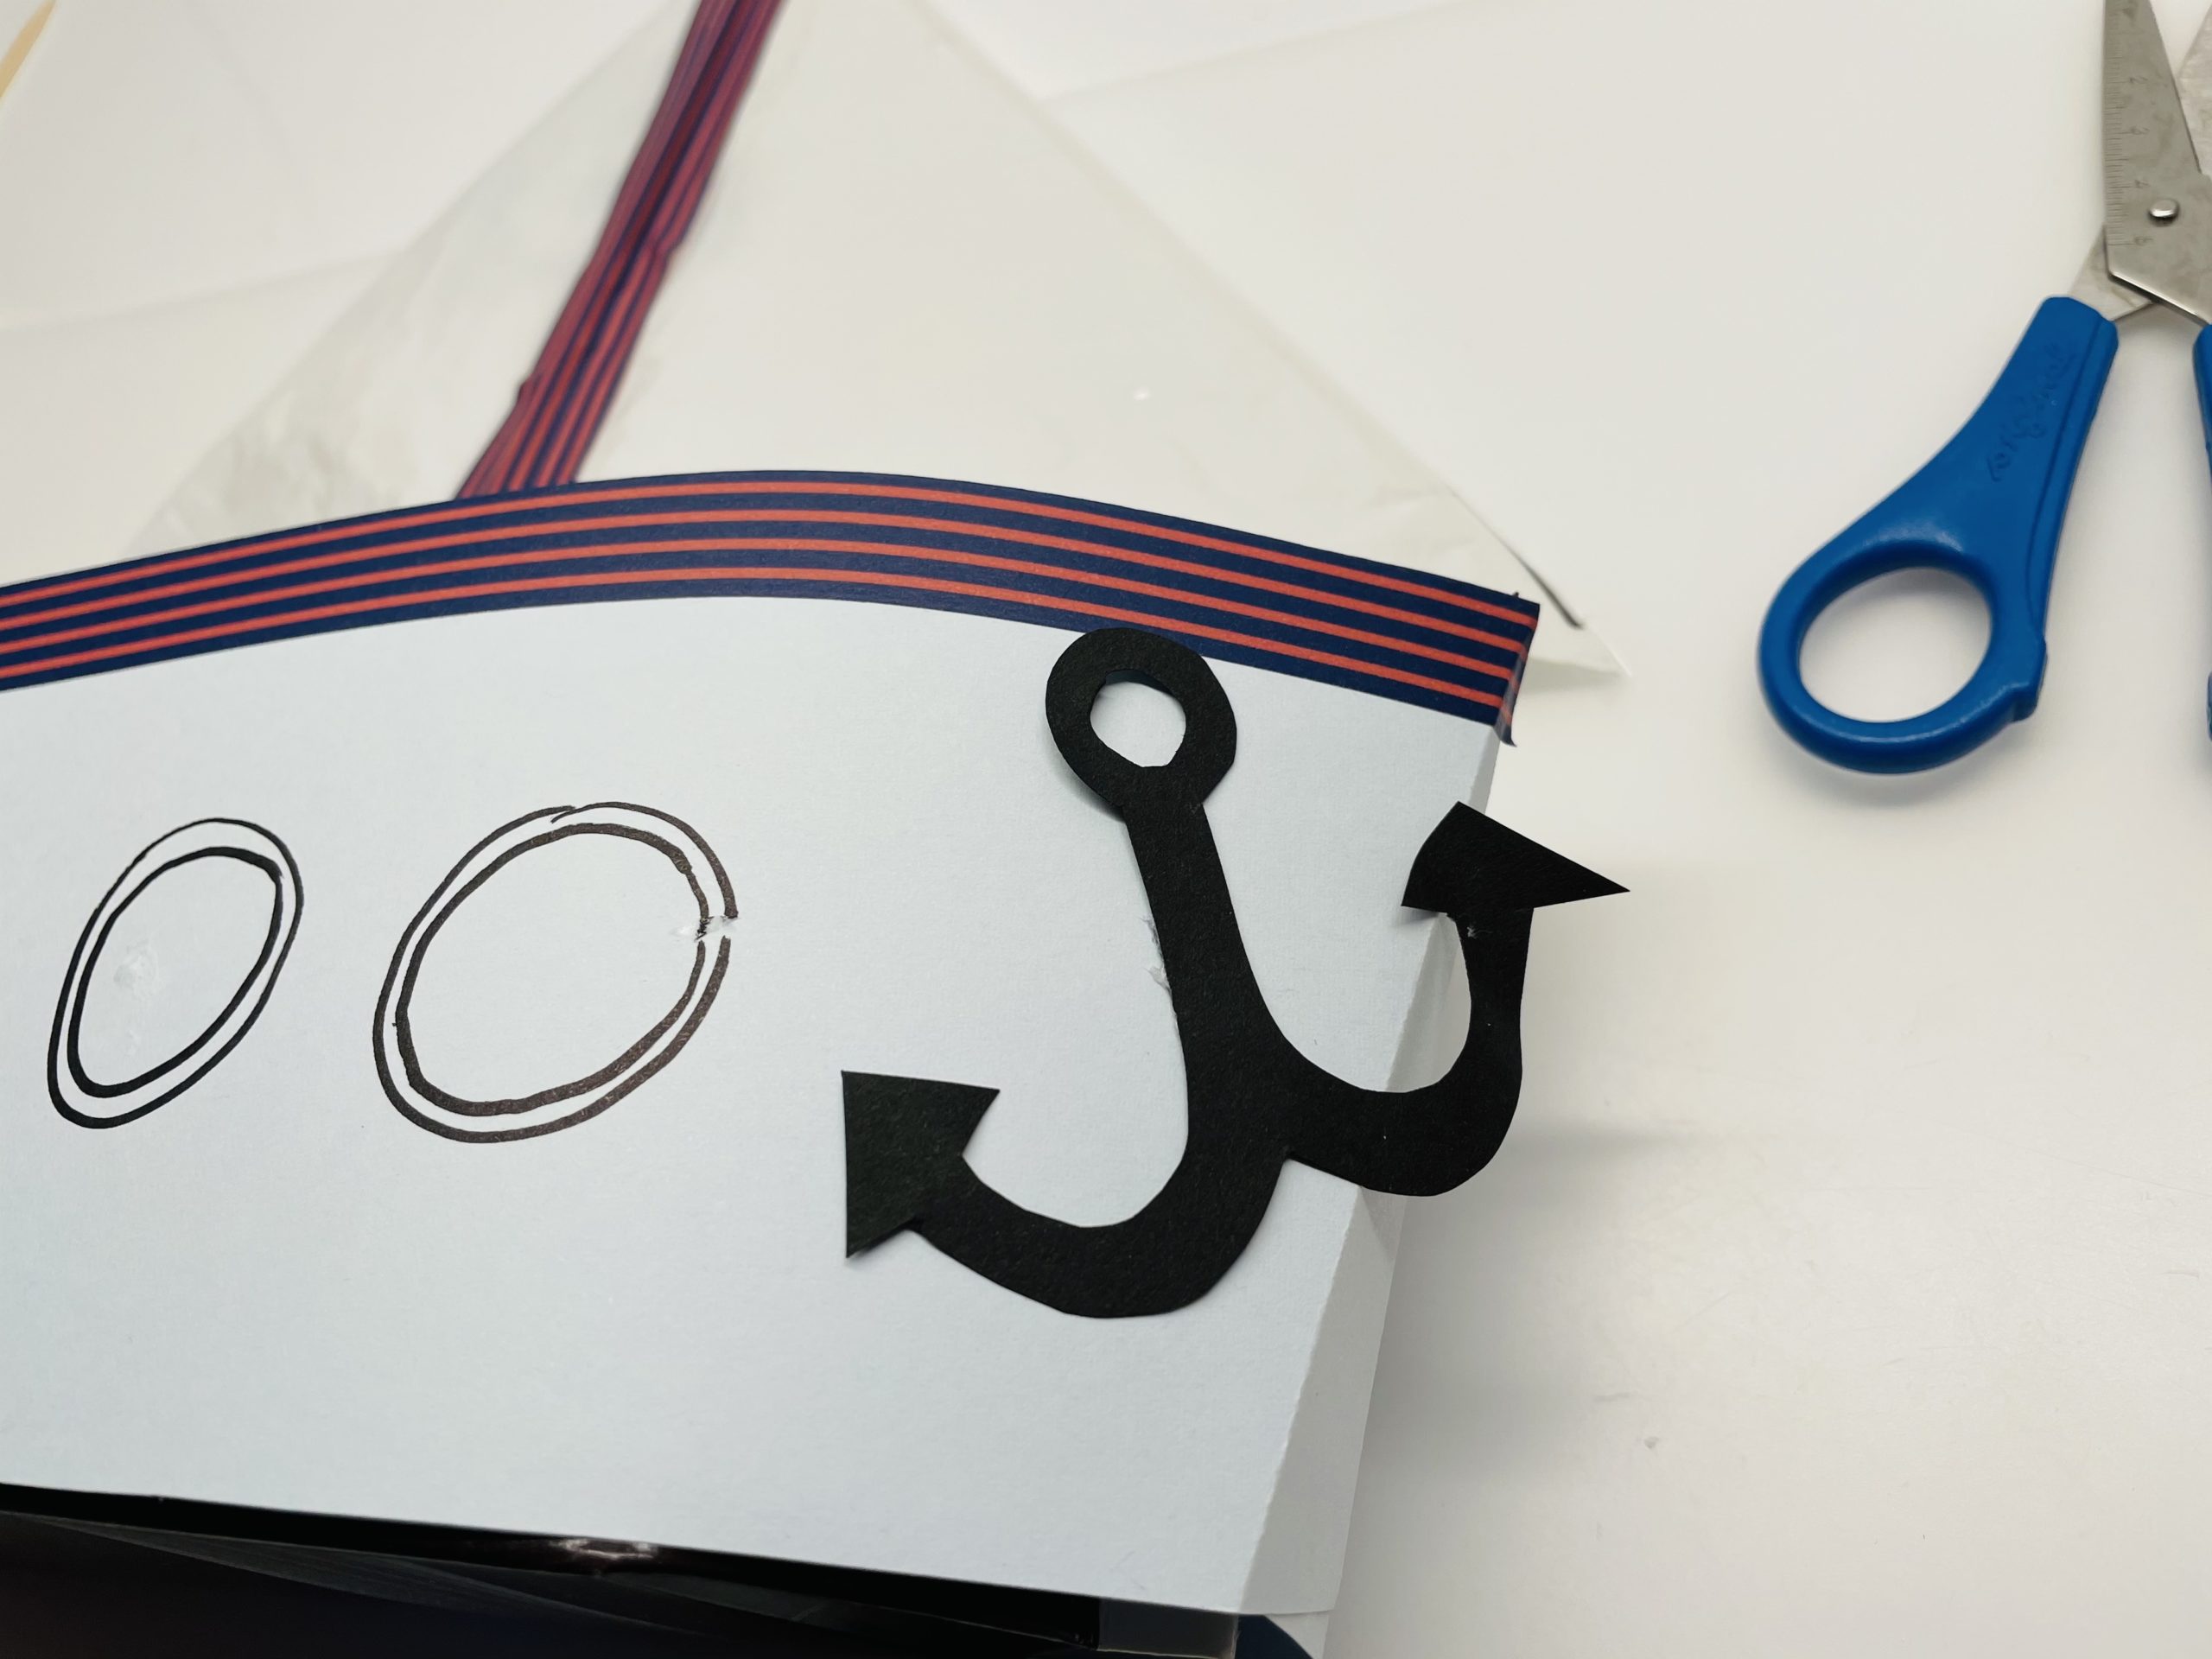
Bild zum Schritt 22 für das Bastel- und DIY-Abenteuer für Kinder: 'Danach klebt ihr den Anker auf.'

22

On the sail you stick the sabres.
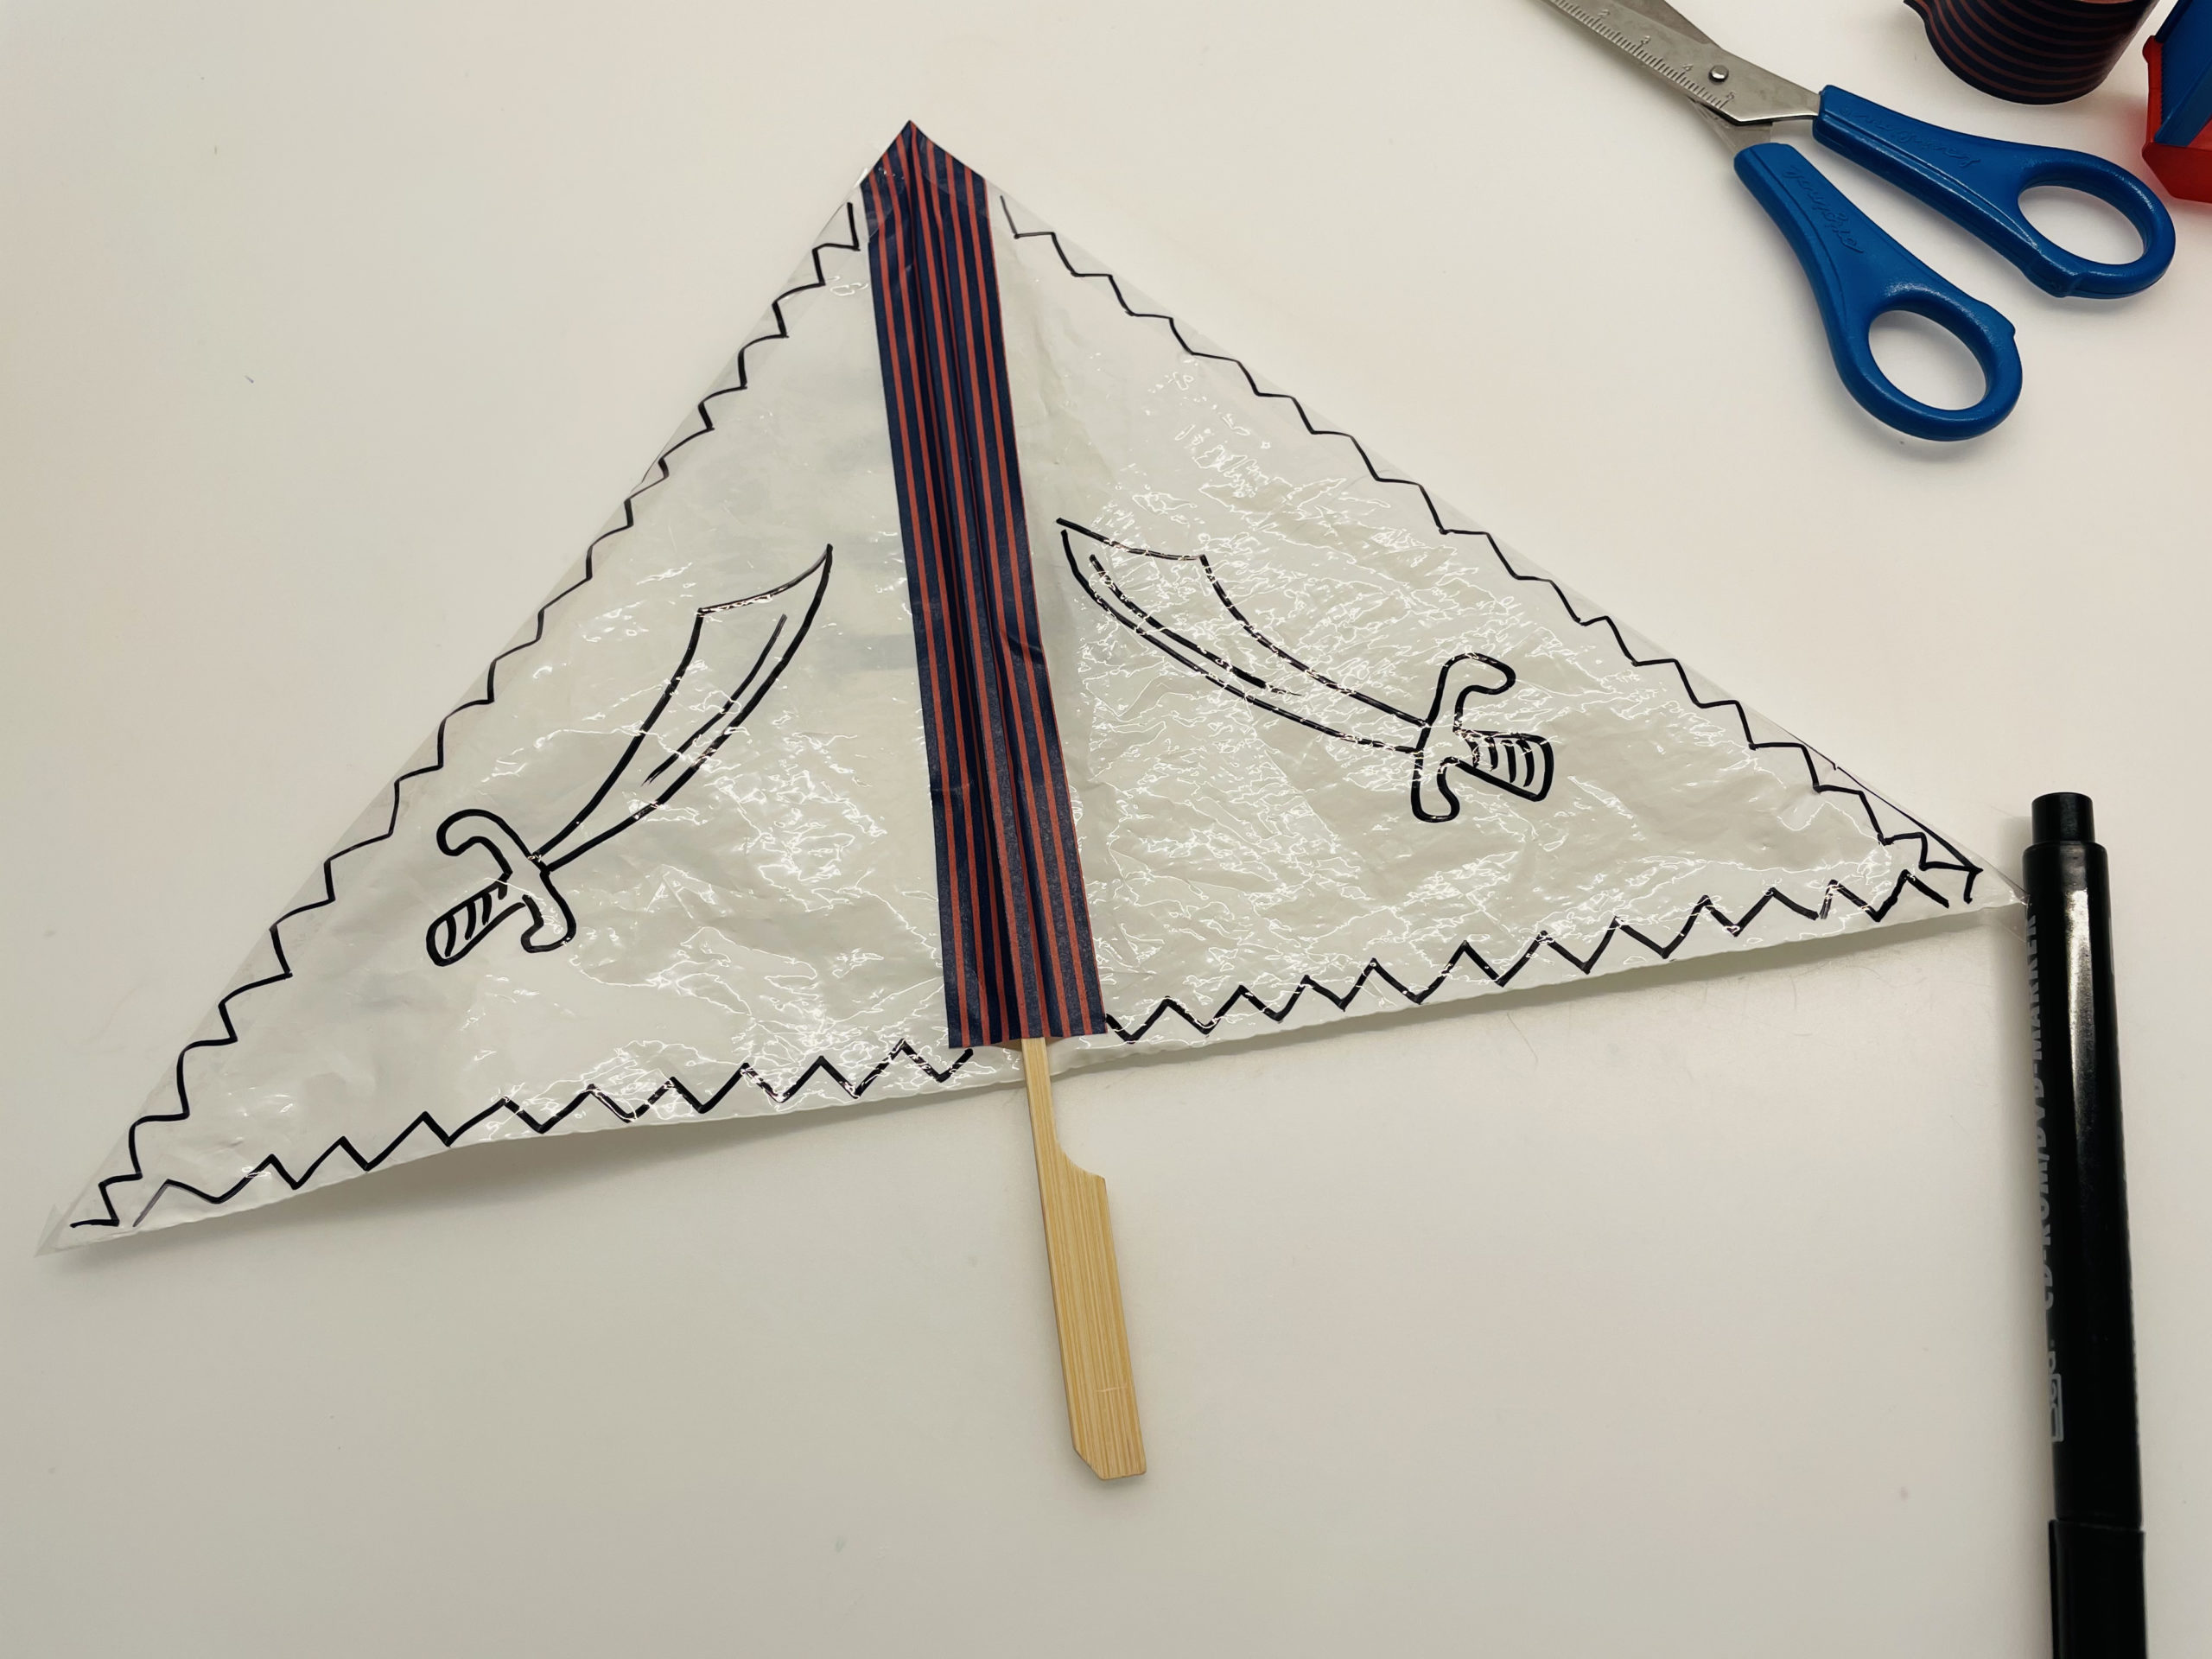
Bild zum Schritt 23 für das Bastel- und DIY-Abenteuer für Kinder: 'Auf das Segel klebt ihr die Säbel.'

23

Your sailing ship is ready.

Bild zum Schritt 24 für das Bastel- und DIY-Abenteuer für Kinder: 'Fertig ist euer Segelschiff.'

24

"All of you get in the car!"

Bild zum Schritt 25 für das Bastel- und DIY-Abenteuer für Kinder: '„Alle einsteigen!“'

25

Have fun playing.

Build sailing ship (with templates)

Follow us on Facebook , Instagram and Pinterest
Don't miss any more adventures: Our bottle mail

One Comment

  1. 1.7 thousand times & ()

    A really great idea!!! We were looking for an action together and our big guy decided on this ship. It was really easy to implement and after the common crafting he was busy rocking the ship and the crew across the sea all afternoon!
    Thank you!

Leave a Reply

Your email address will not be published.

The maximum upload file size: 5 MB. You can upload: image, document. Drop file here