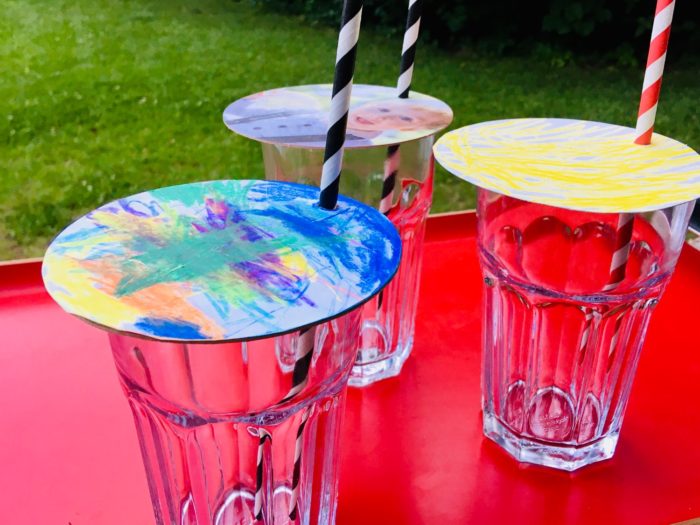
In the summer, you often literally "put out the blow" through the heat...
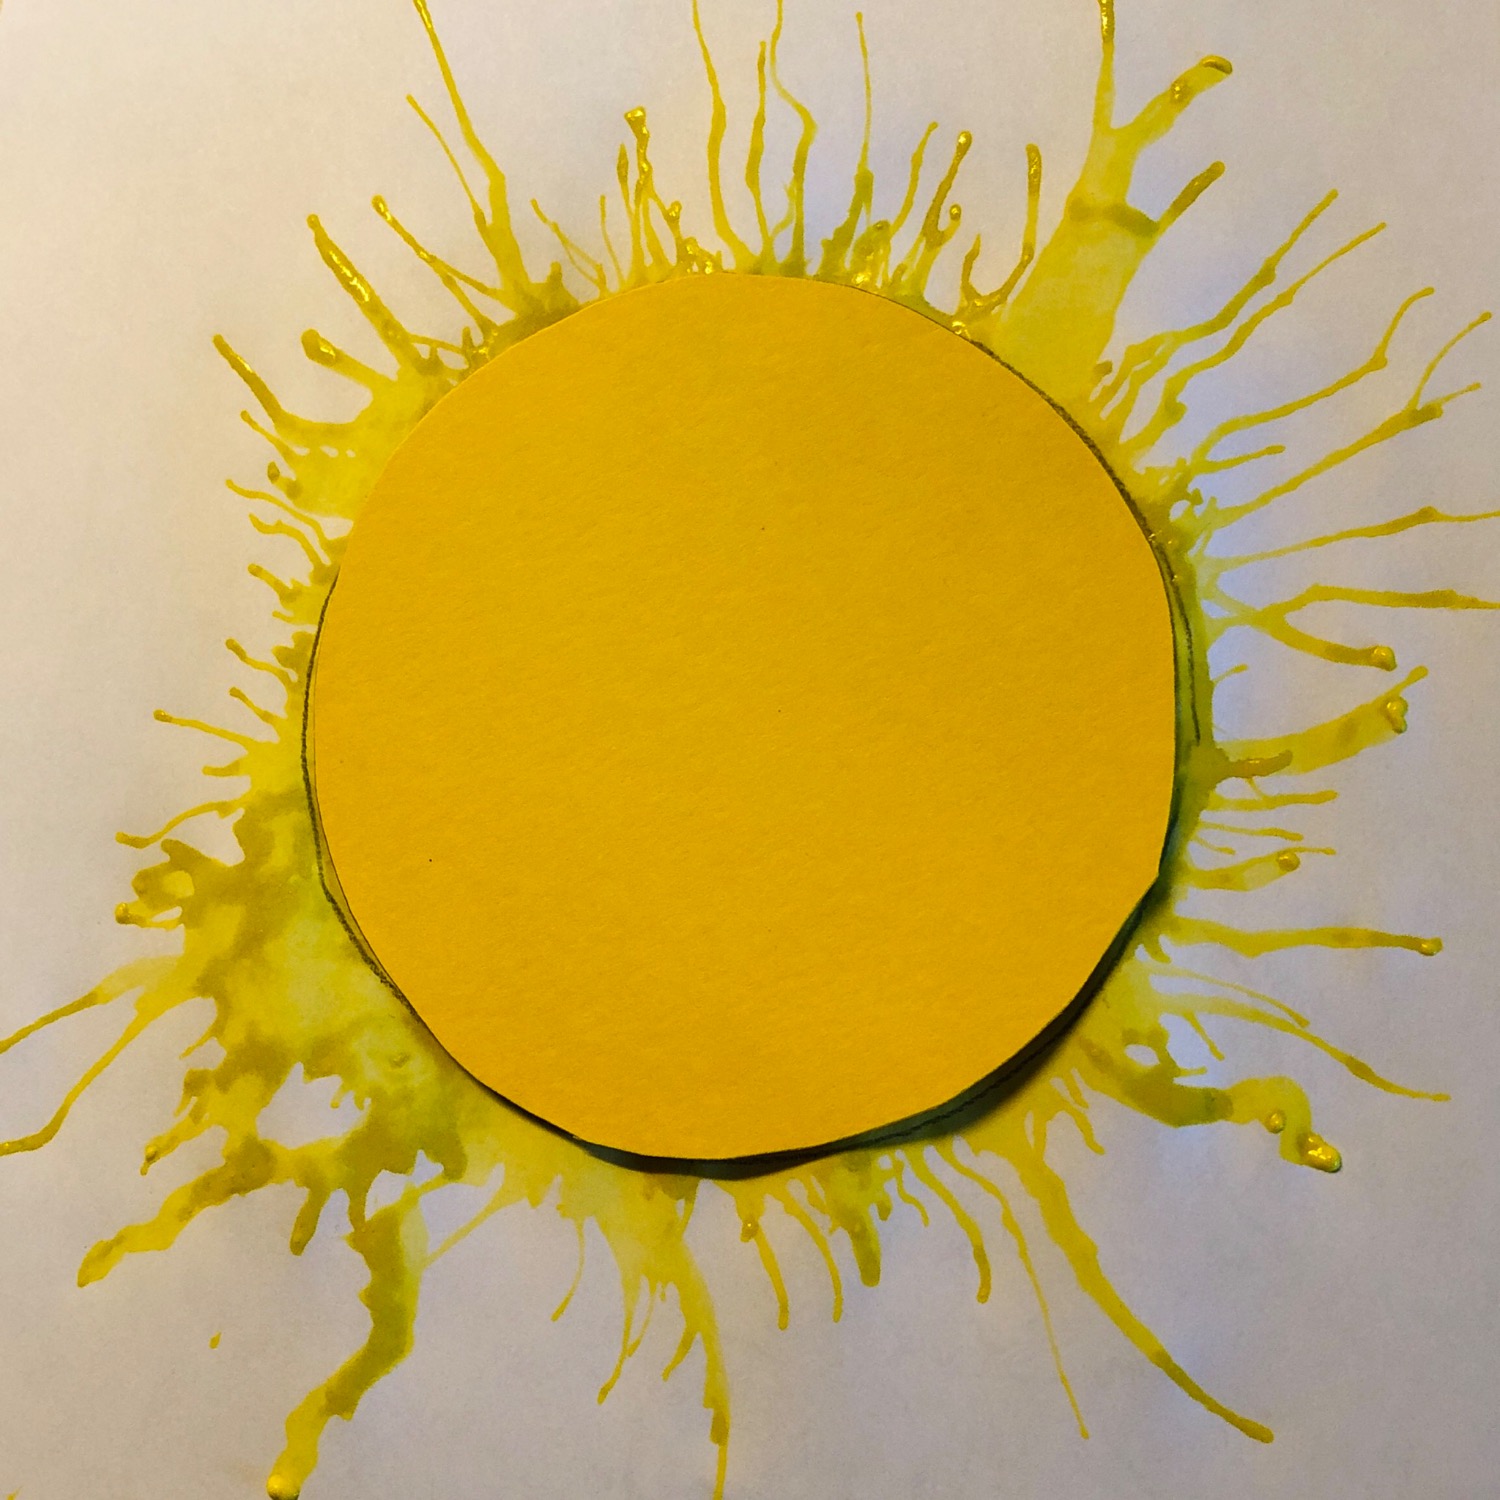
This is how the idea came about to shape the rays of the sun with the blow technique. Here, the paint is applied in a circular form, which is then blown outwards with a straw. A good exercise also to strengthen the mouth motor skills in the event of speech difficulties. Targeted blow is required, which costs a lot of air. Try it out yourself!
Media Education for Kindergarten and Hort

Relief in everyday life, targeted promotion of individual children, independent learning and - without any pre-knowledge already usable by the youngest!
Here: the illustrated step by step guide:
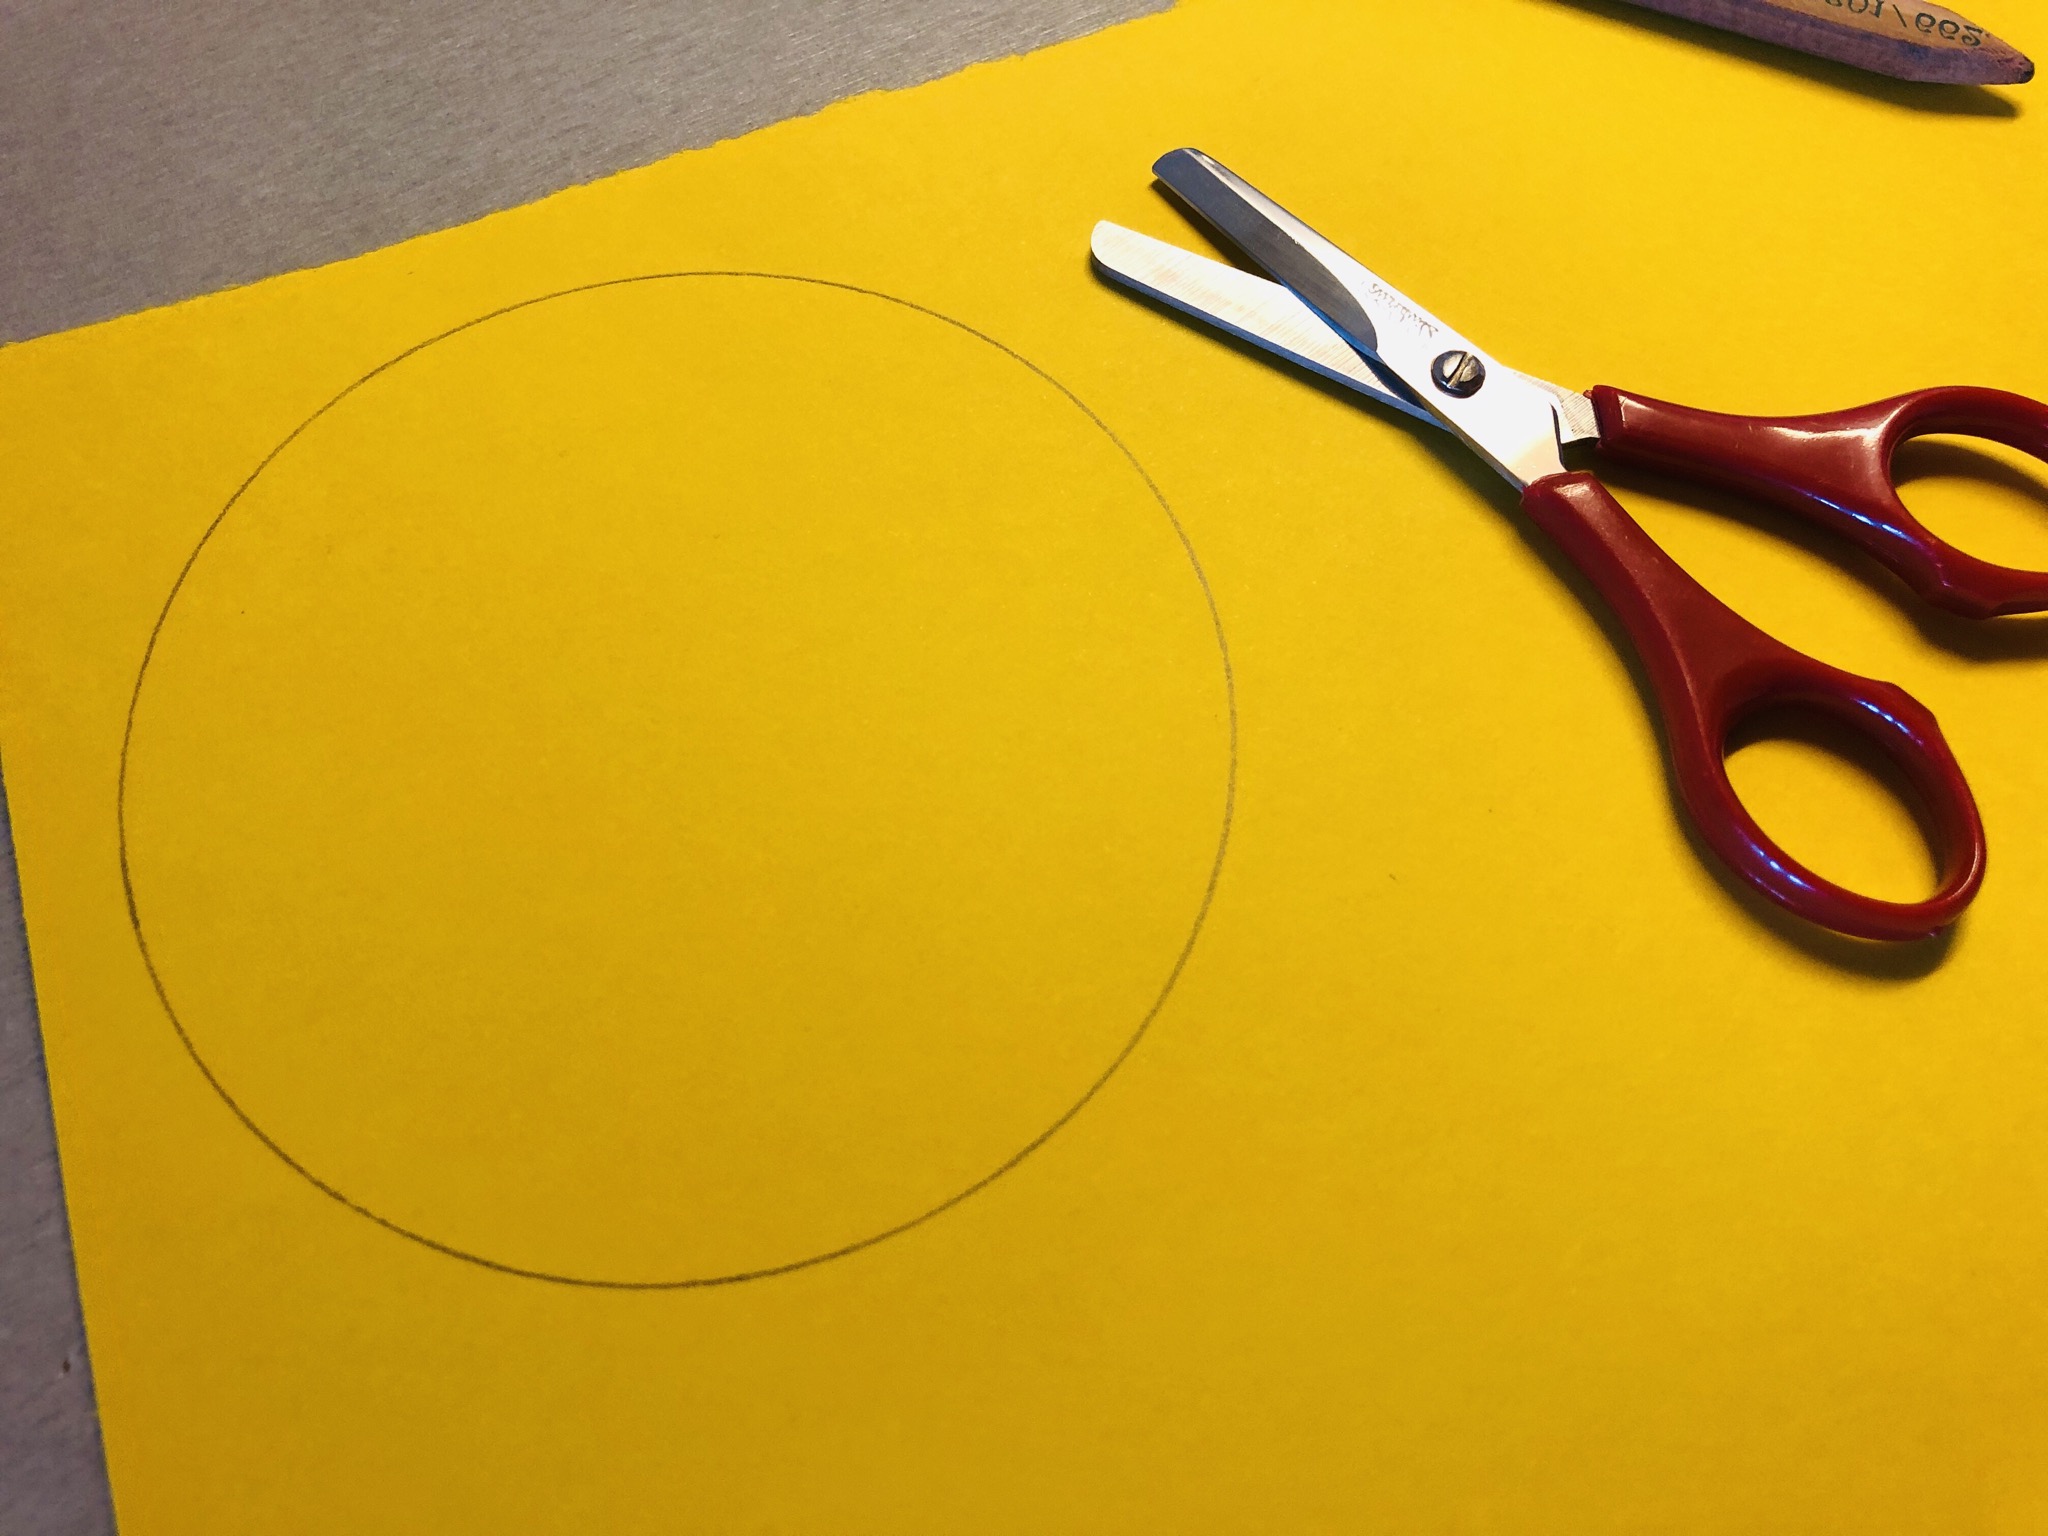
Paint a circle with the help of a yoghurt cup or a round bowl.
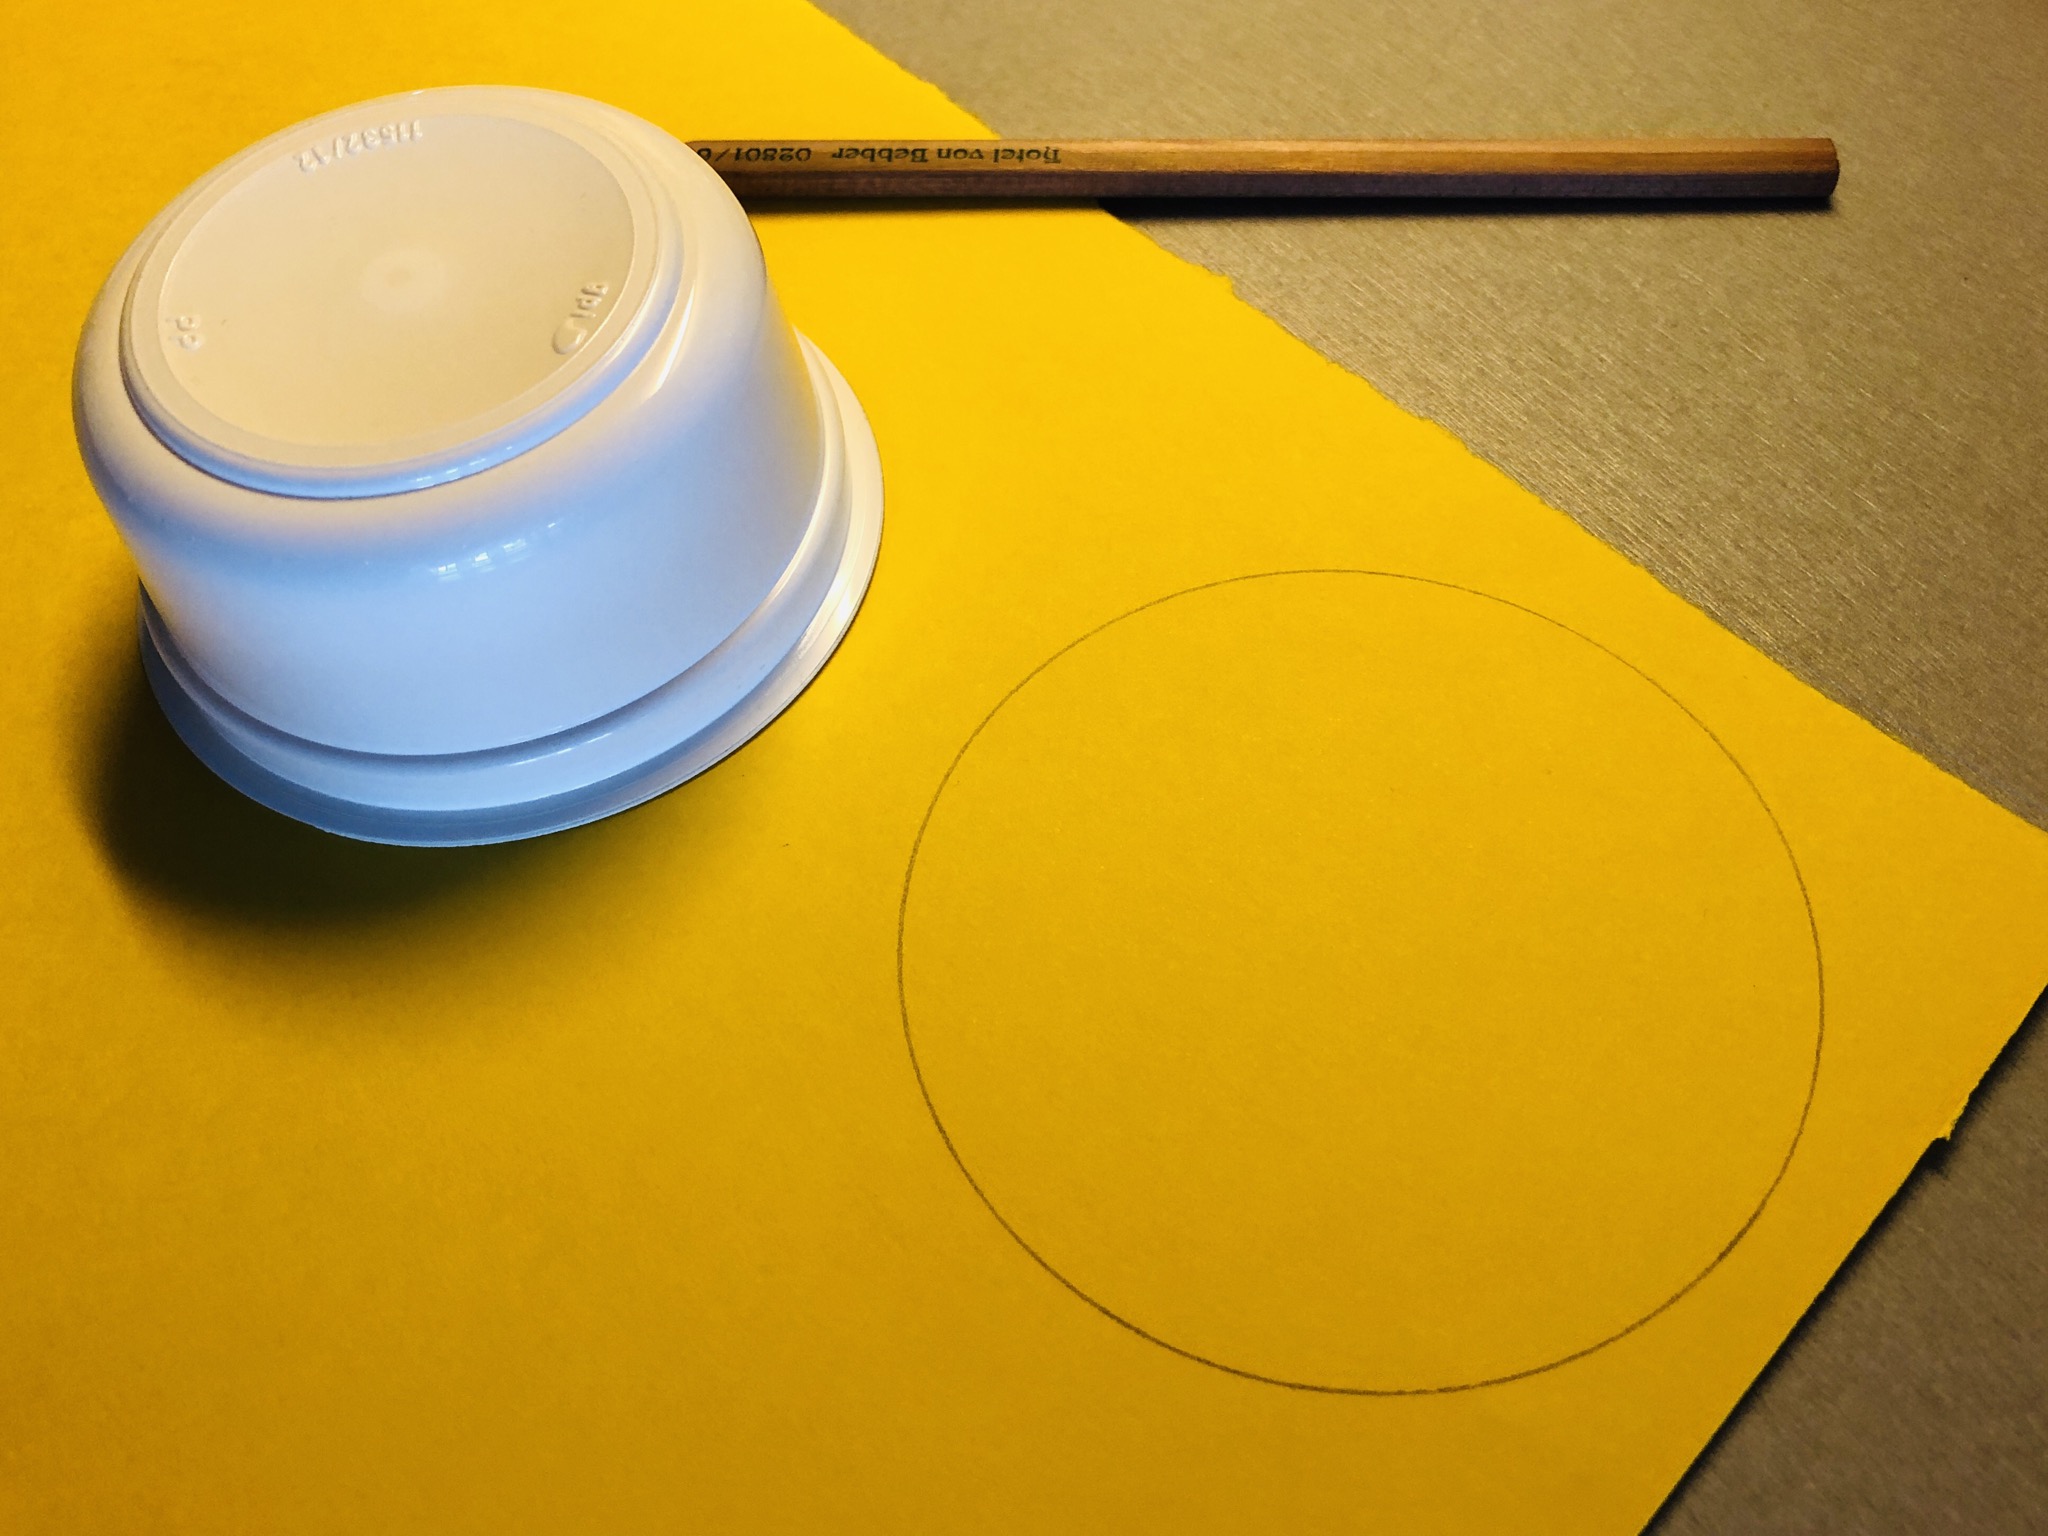
Cut this one out.


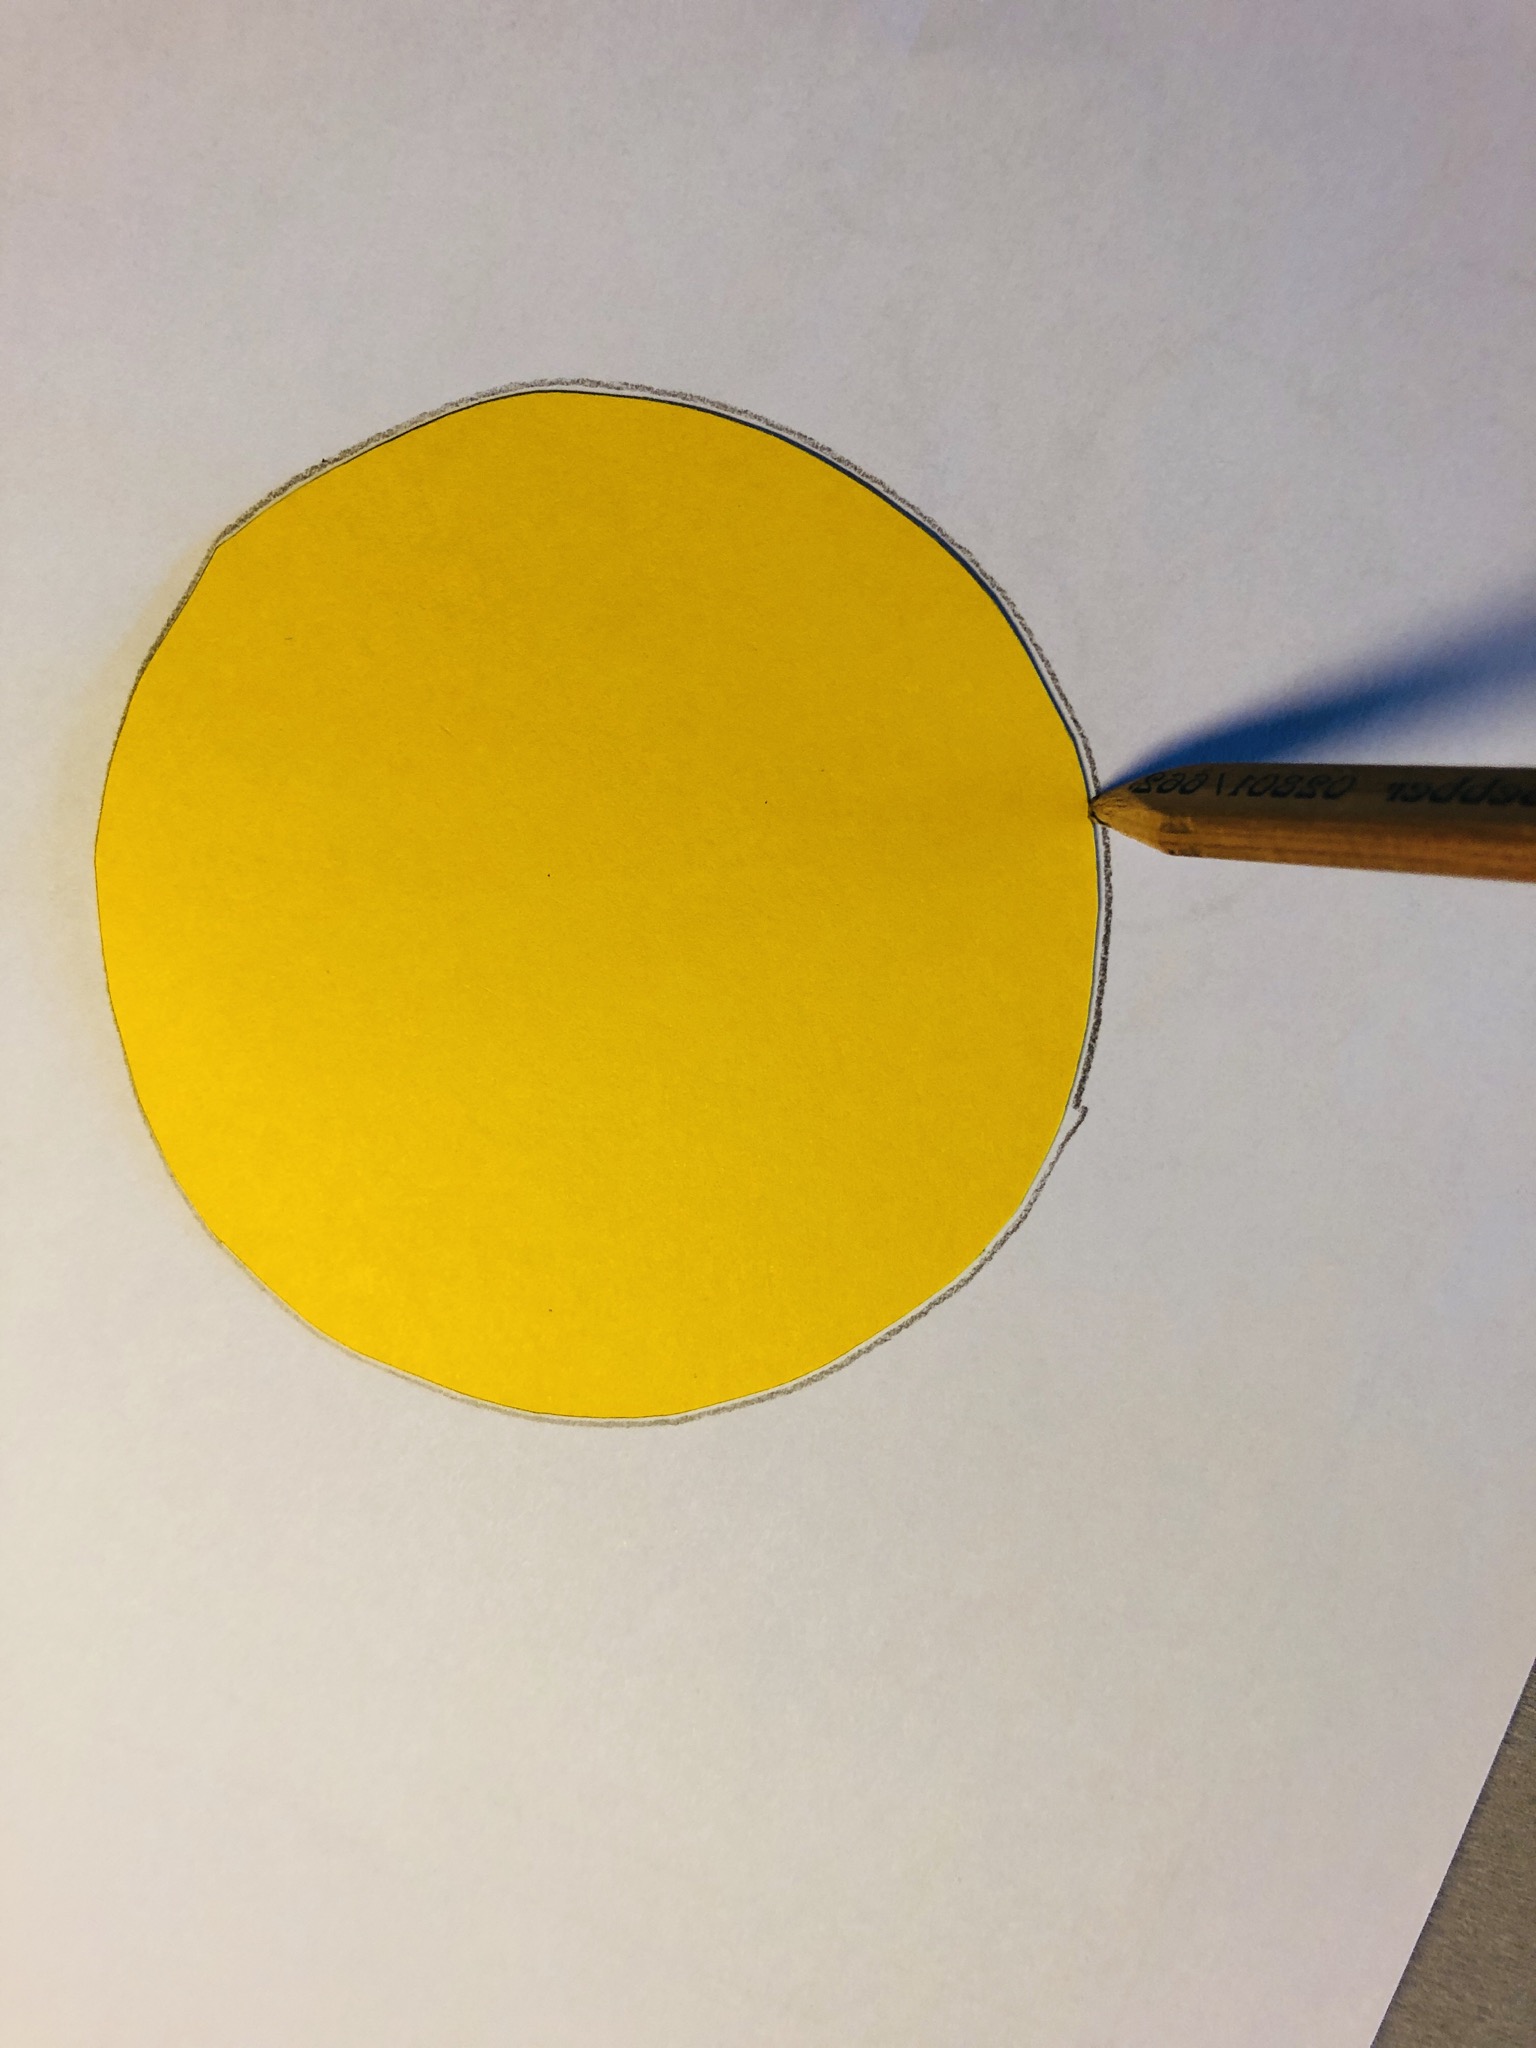
Place the circle (our sun!) on an empty sheet of paper and paint with a pen.




Put the clay paper circle aside.
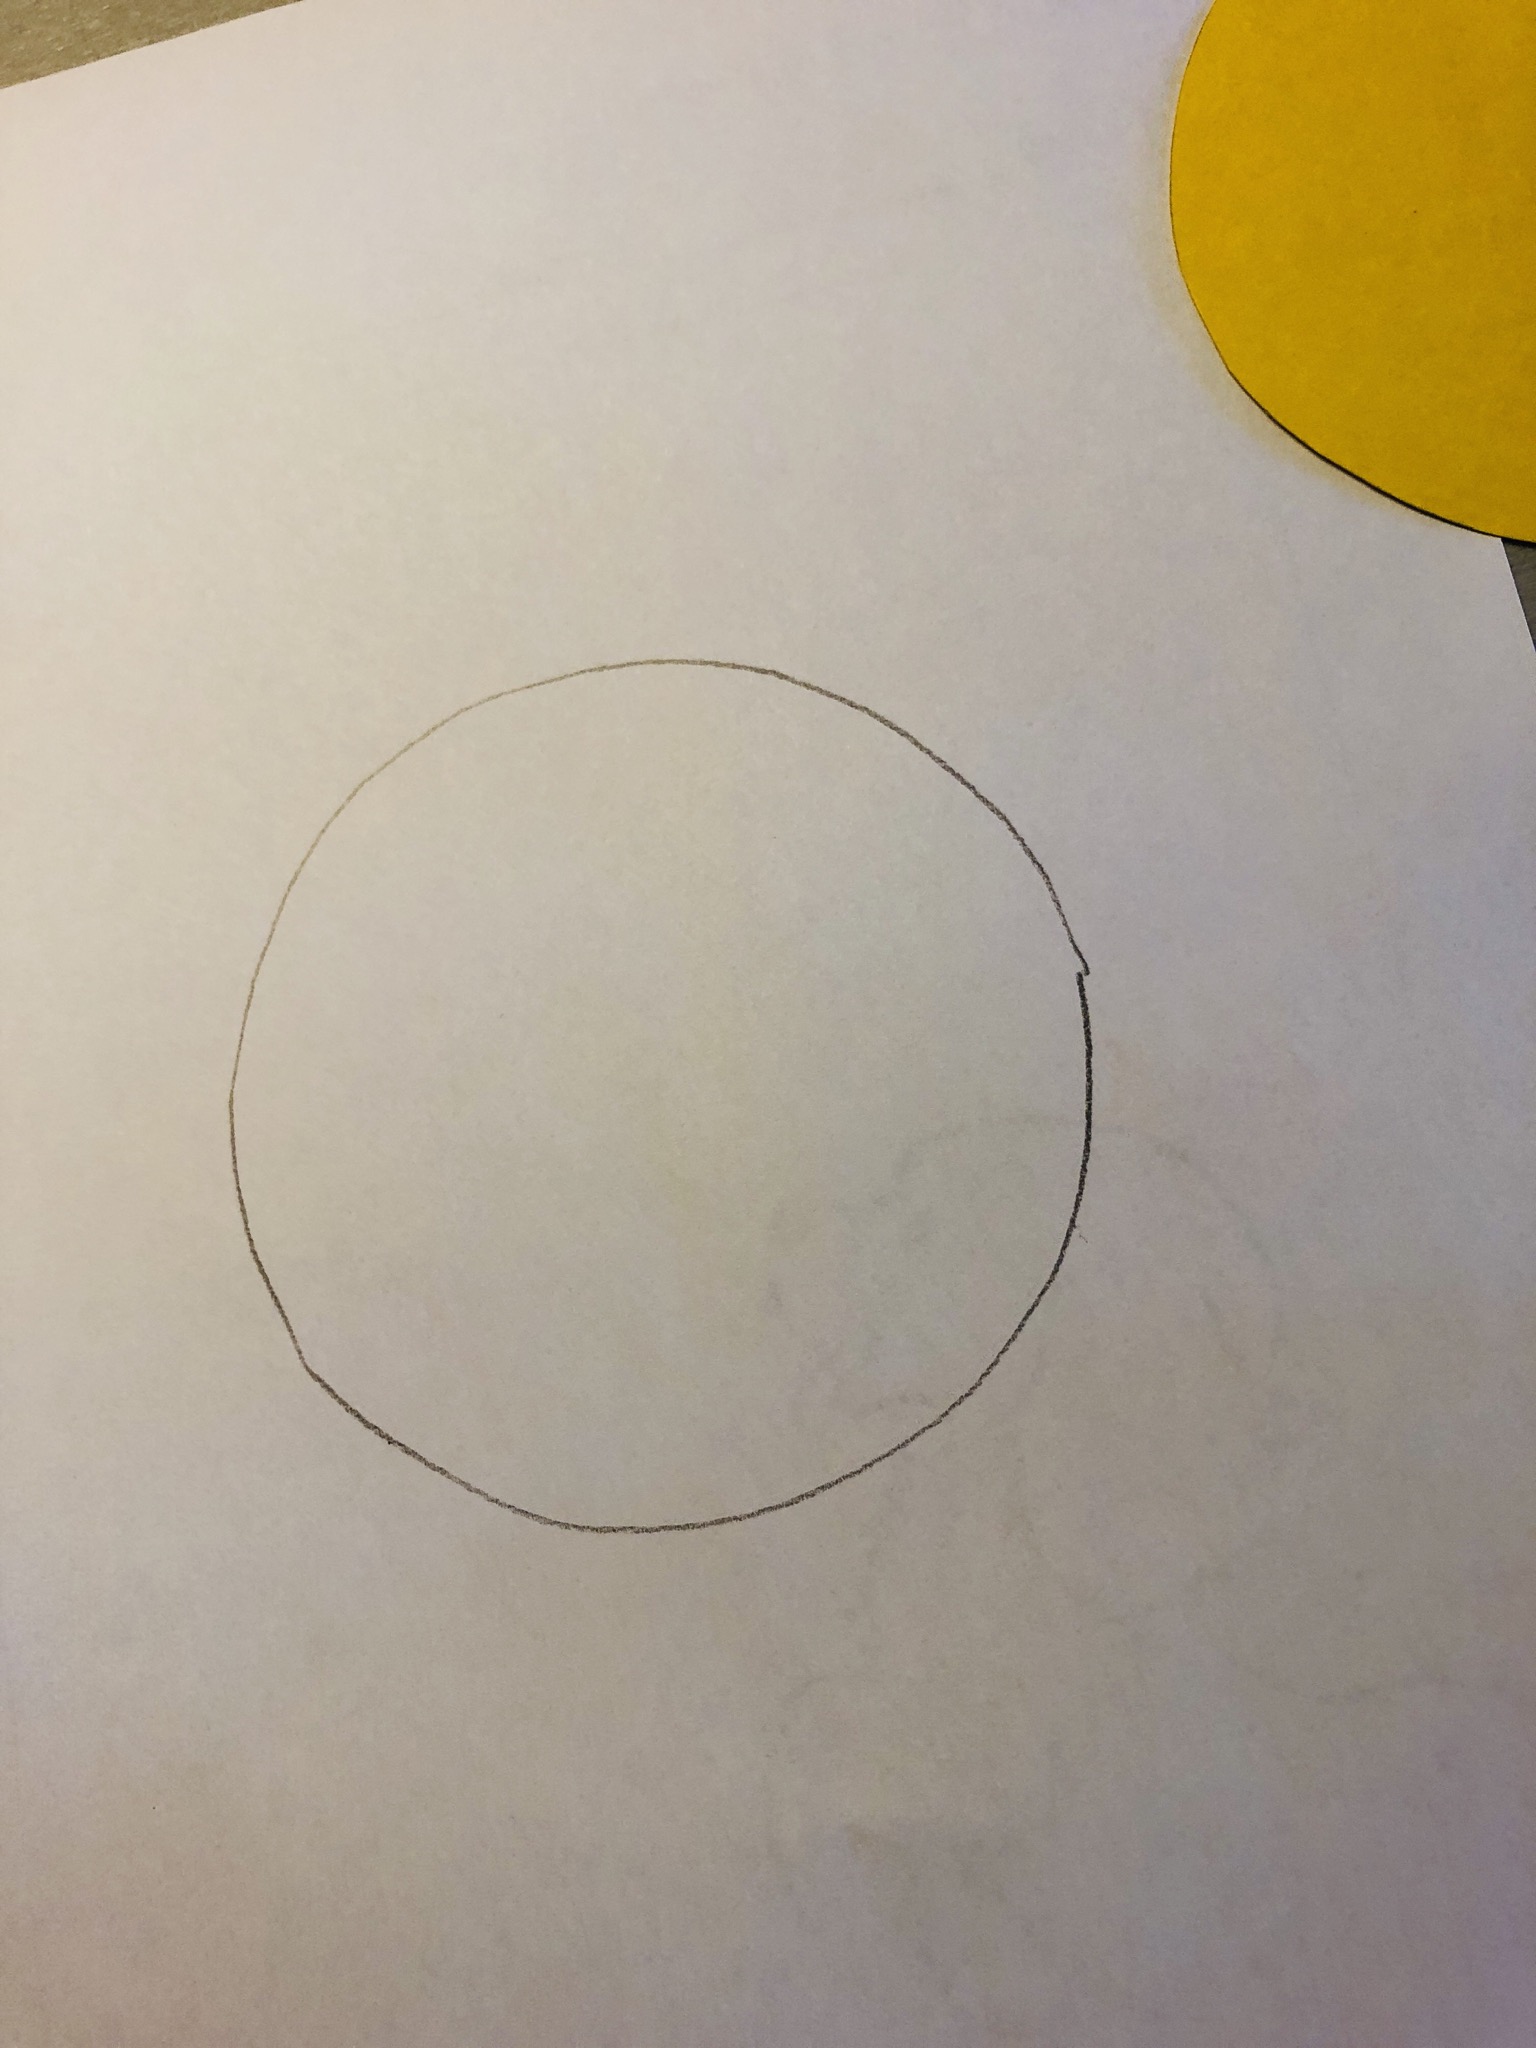


Mix yellow paint diluted with water so that it is viscous.


Apply the paint generously with a brush on the prepainted circle edge and "push" it as soon as possible with a straw from the inside to the outside. Place the straw directly on the leaf slightly obliquely and blast with the mouth into the tube. Through the air, the still viscous paint will run in extension of the tube.
This creates the rays of the sun!
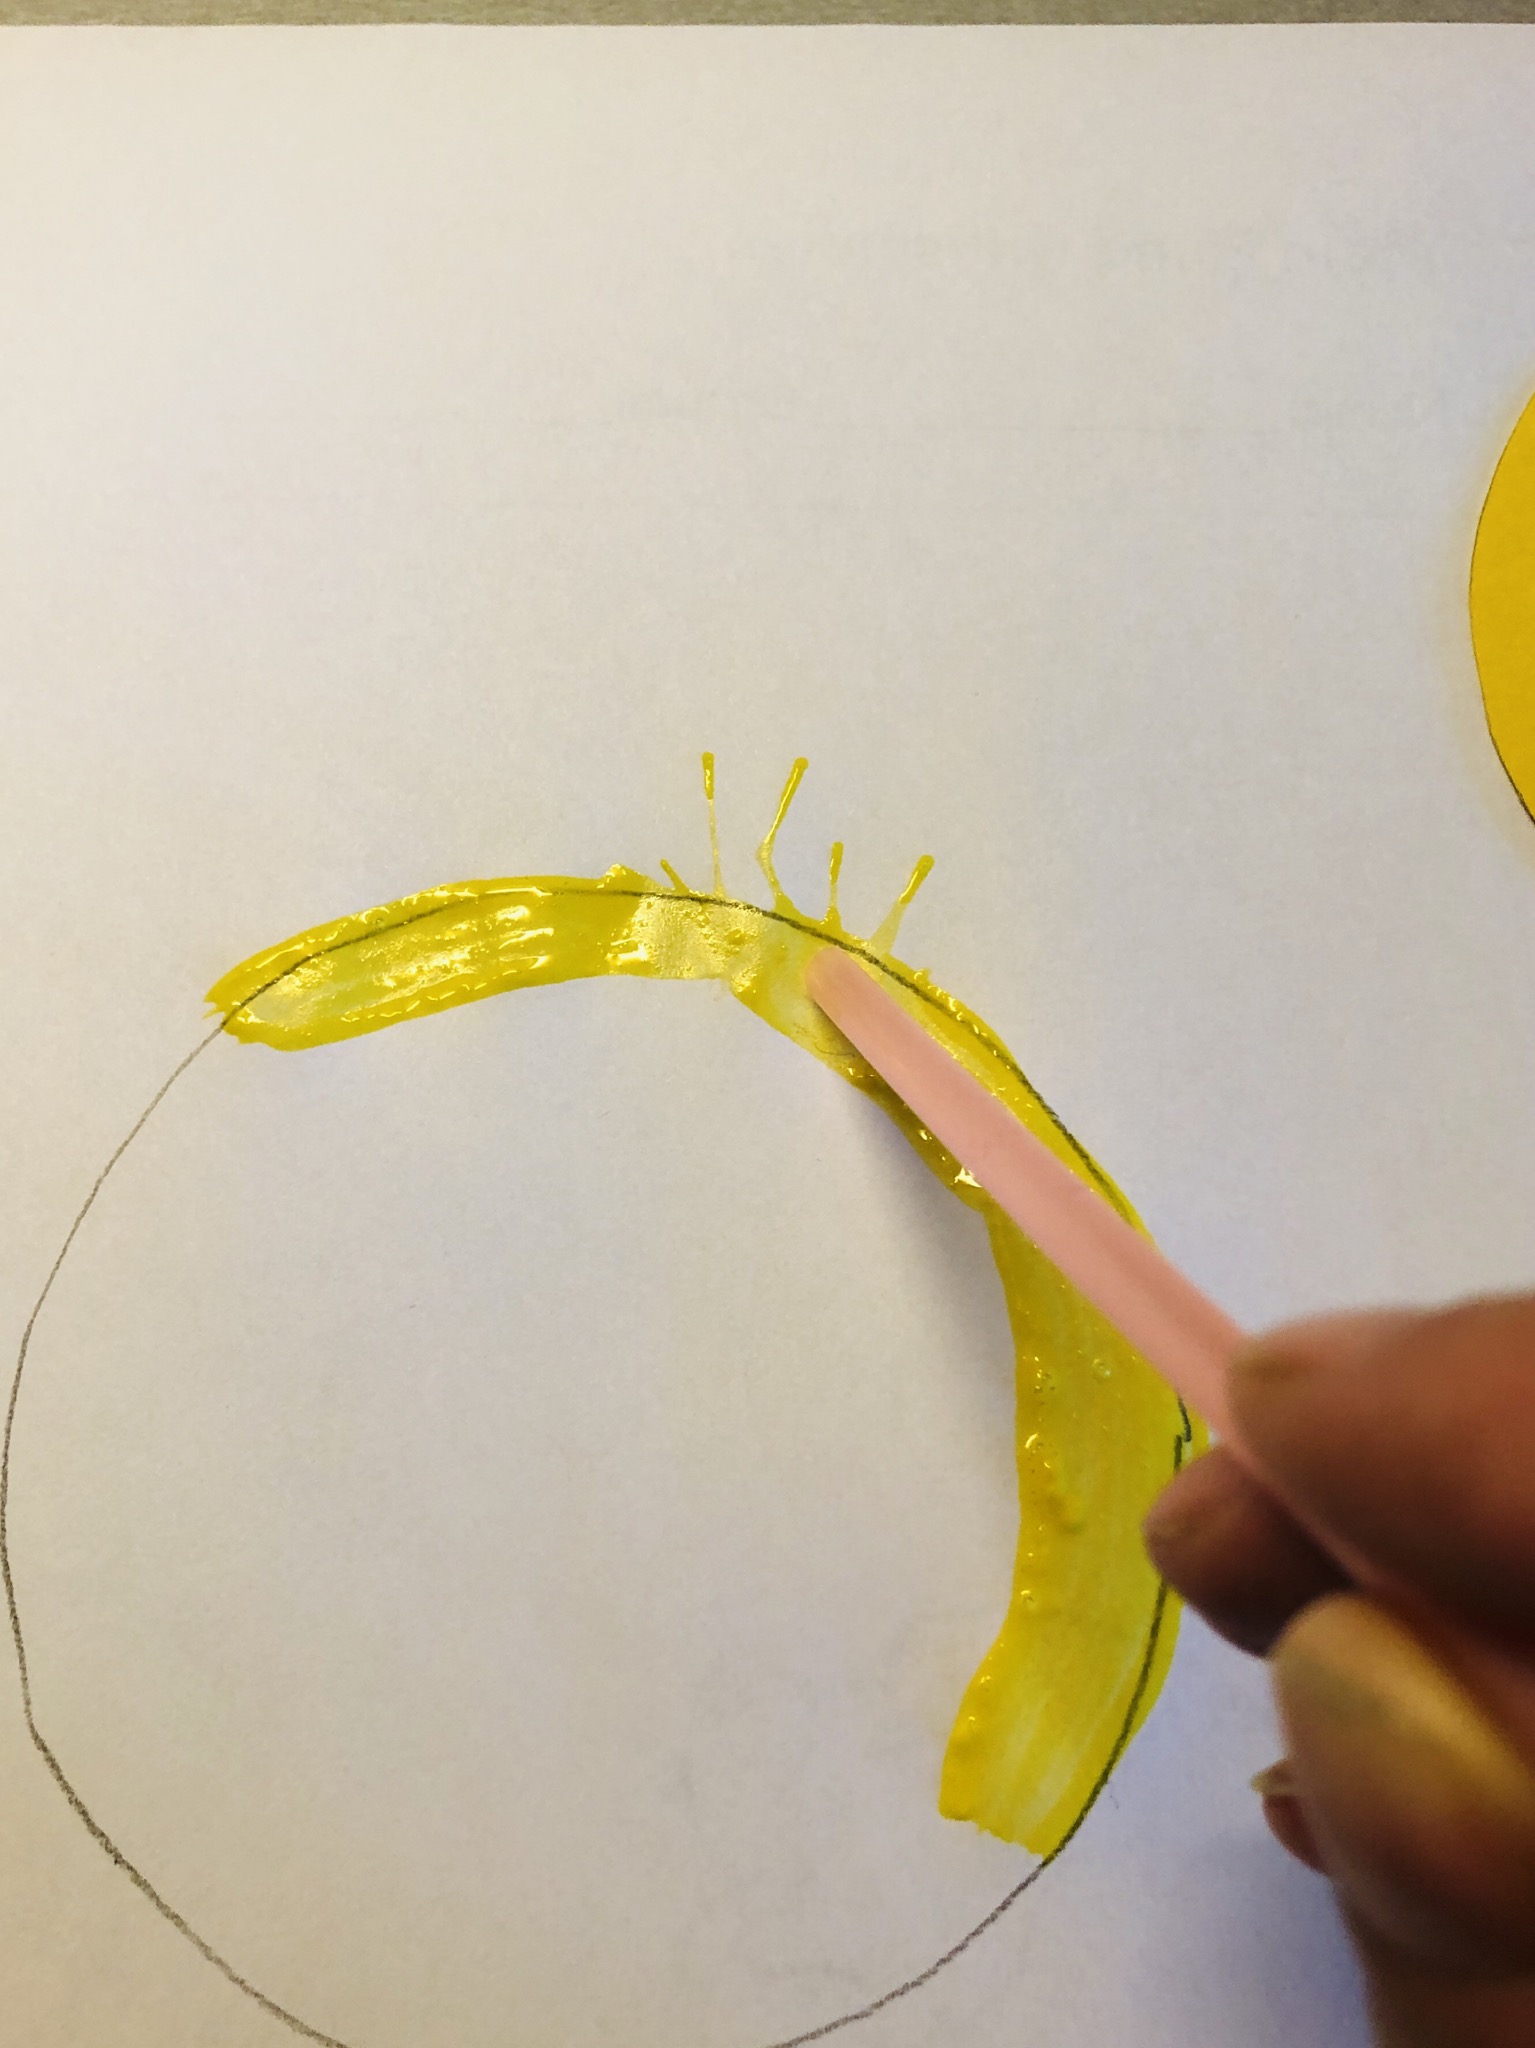


Apply the paint again and again piece by piece and blow the same
Attention, it only works if the paint is still thick! The more liquid the paint is, the easier it can be blown.
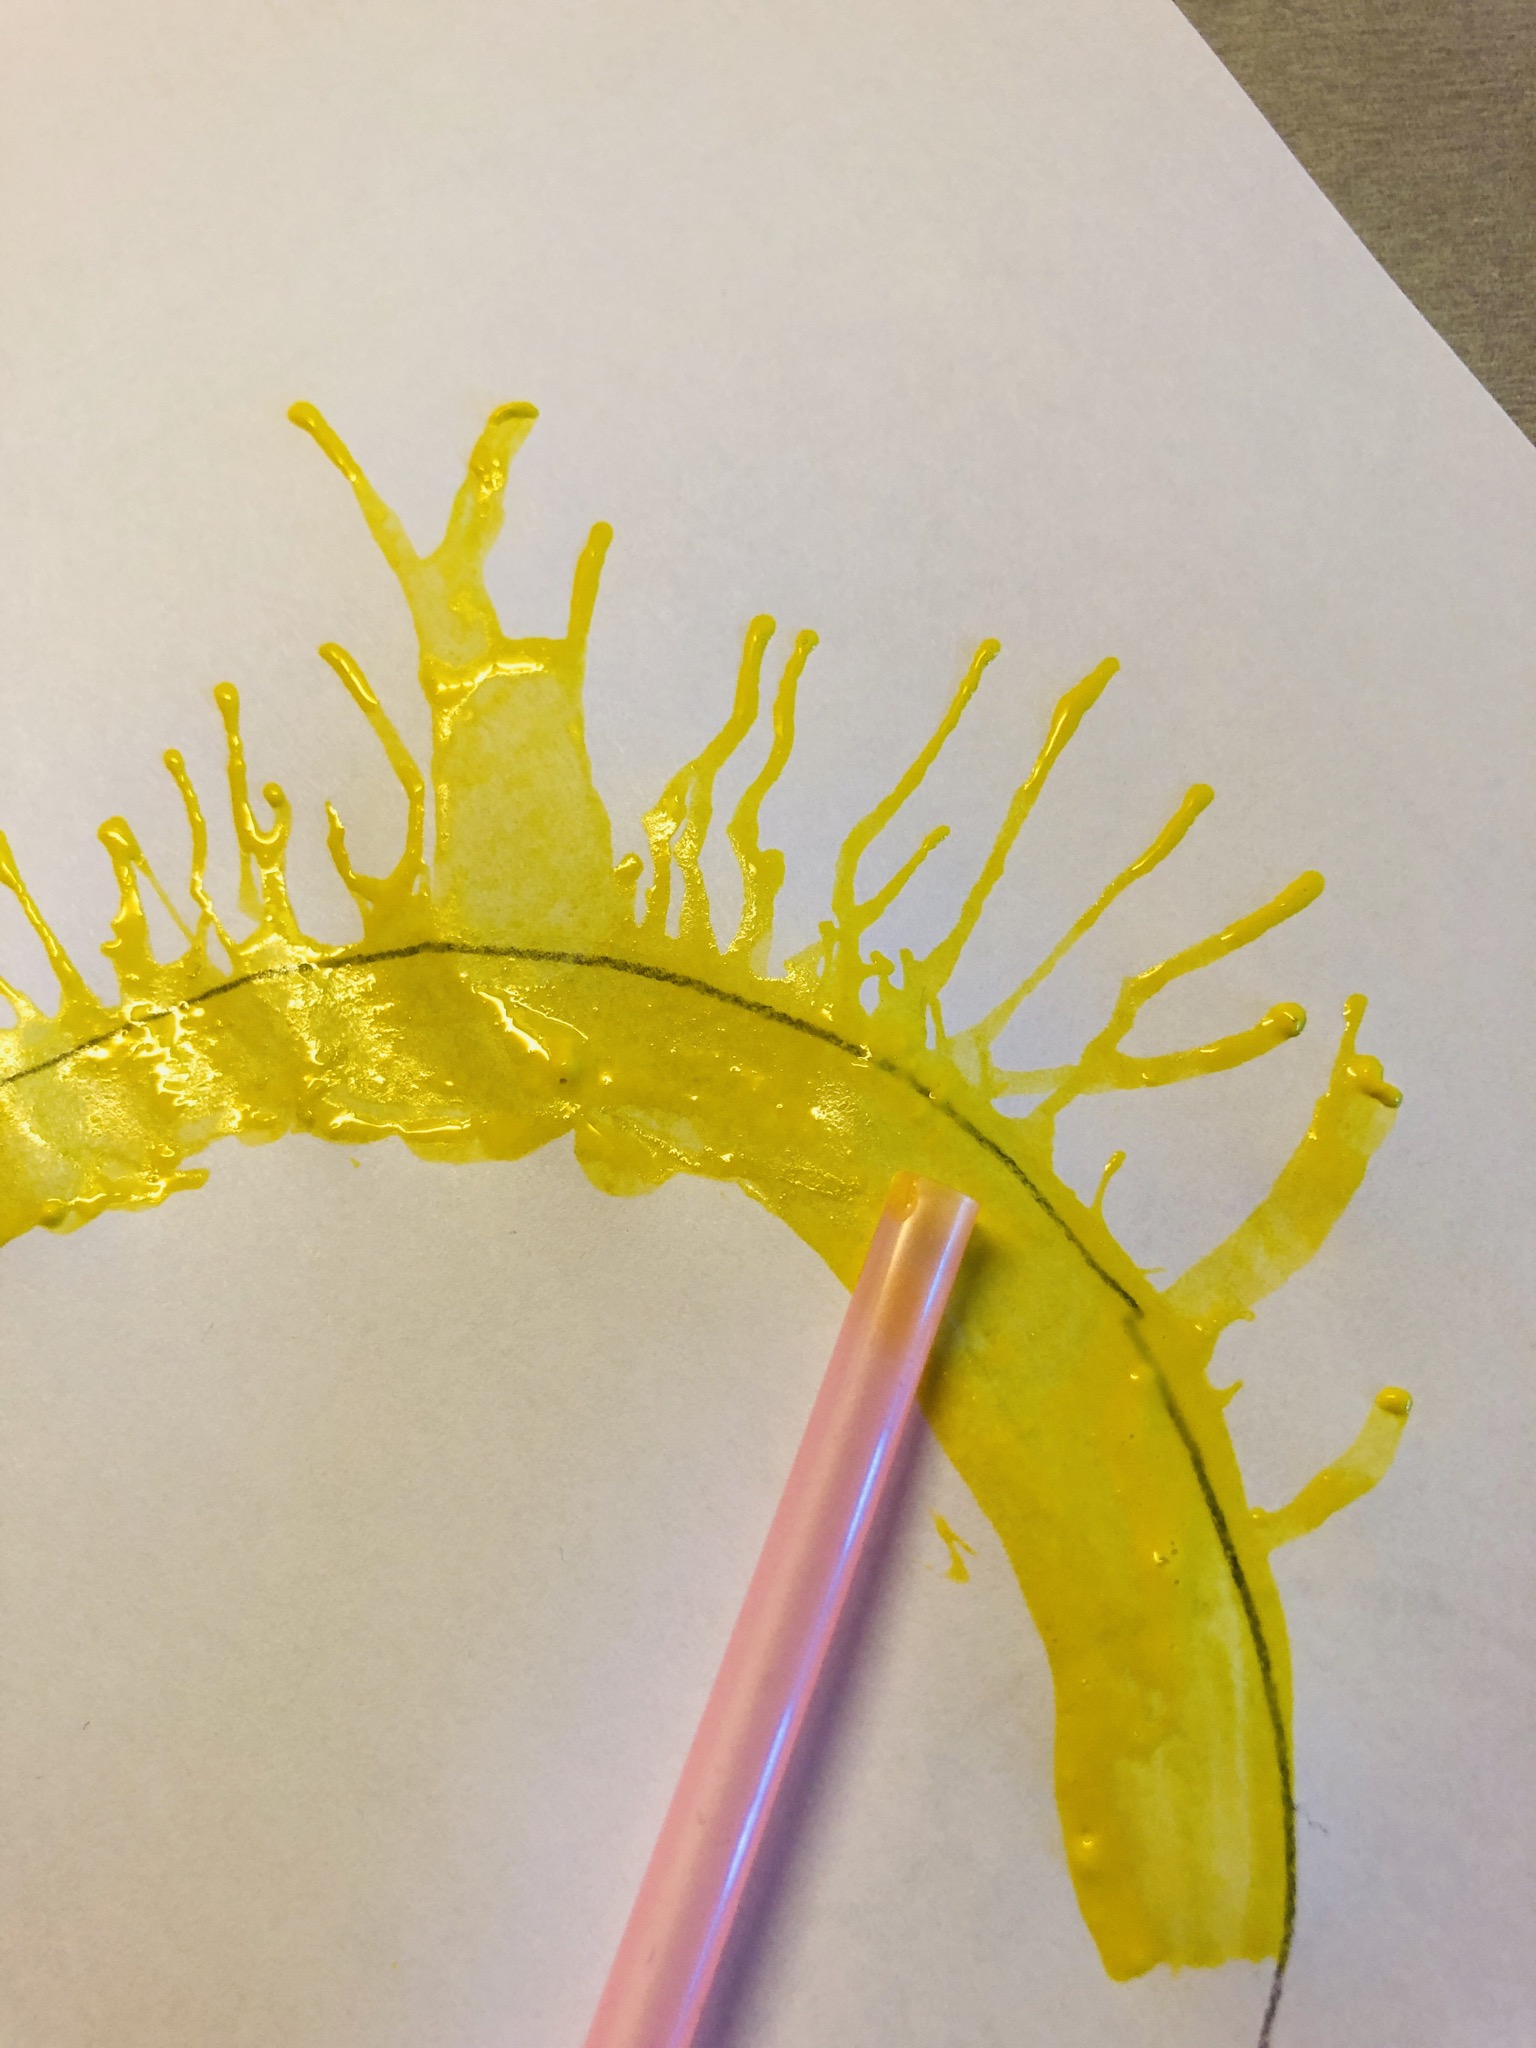


As long as the process is repeated until the circle is closed and rays go away everywhere from the circle edge! Maybe rework some places again, i.e. apply some more paint and again "push" rays.
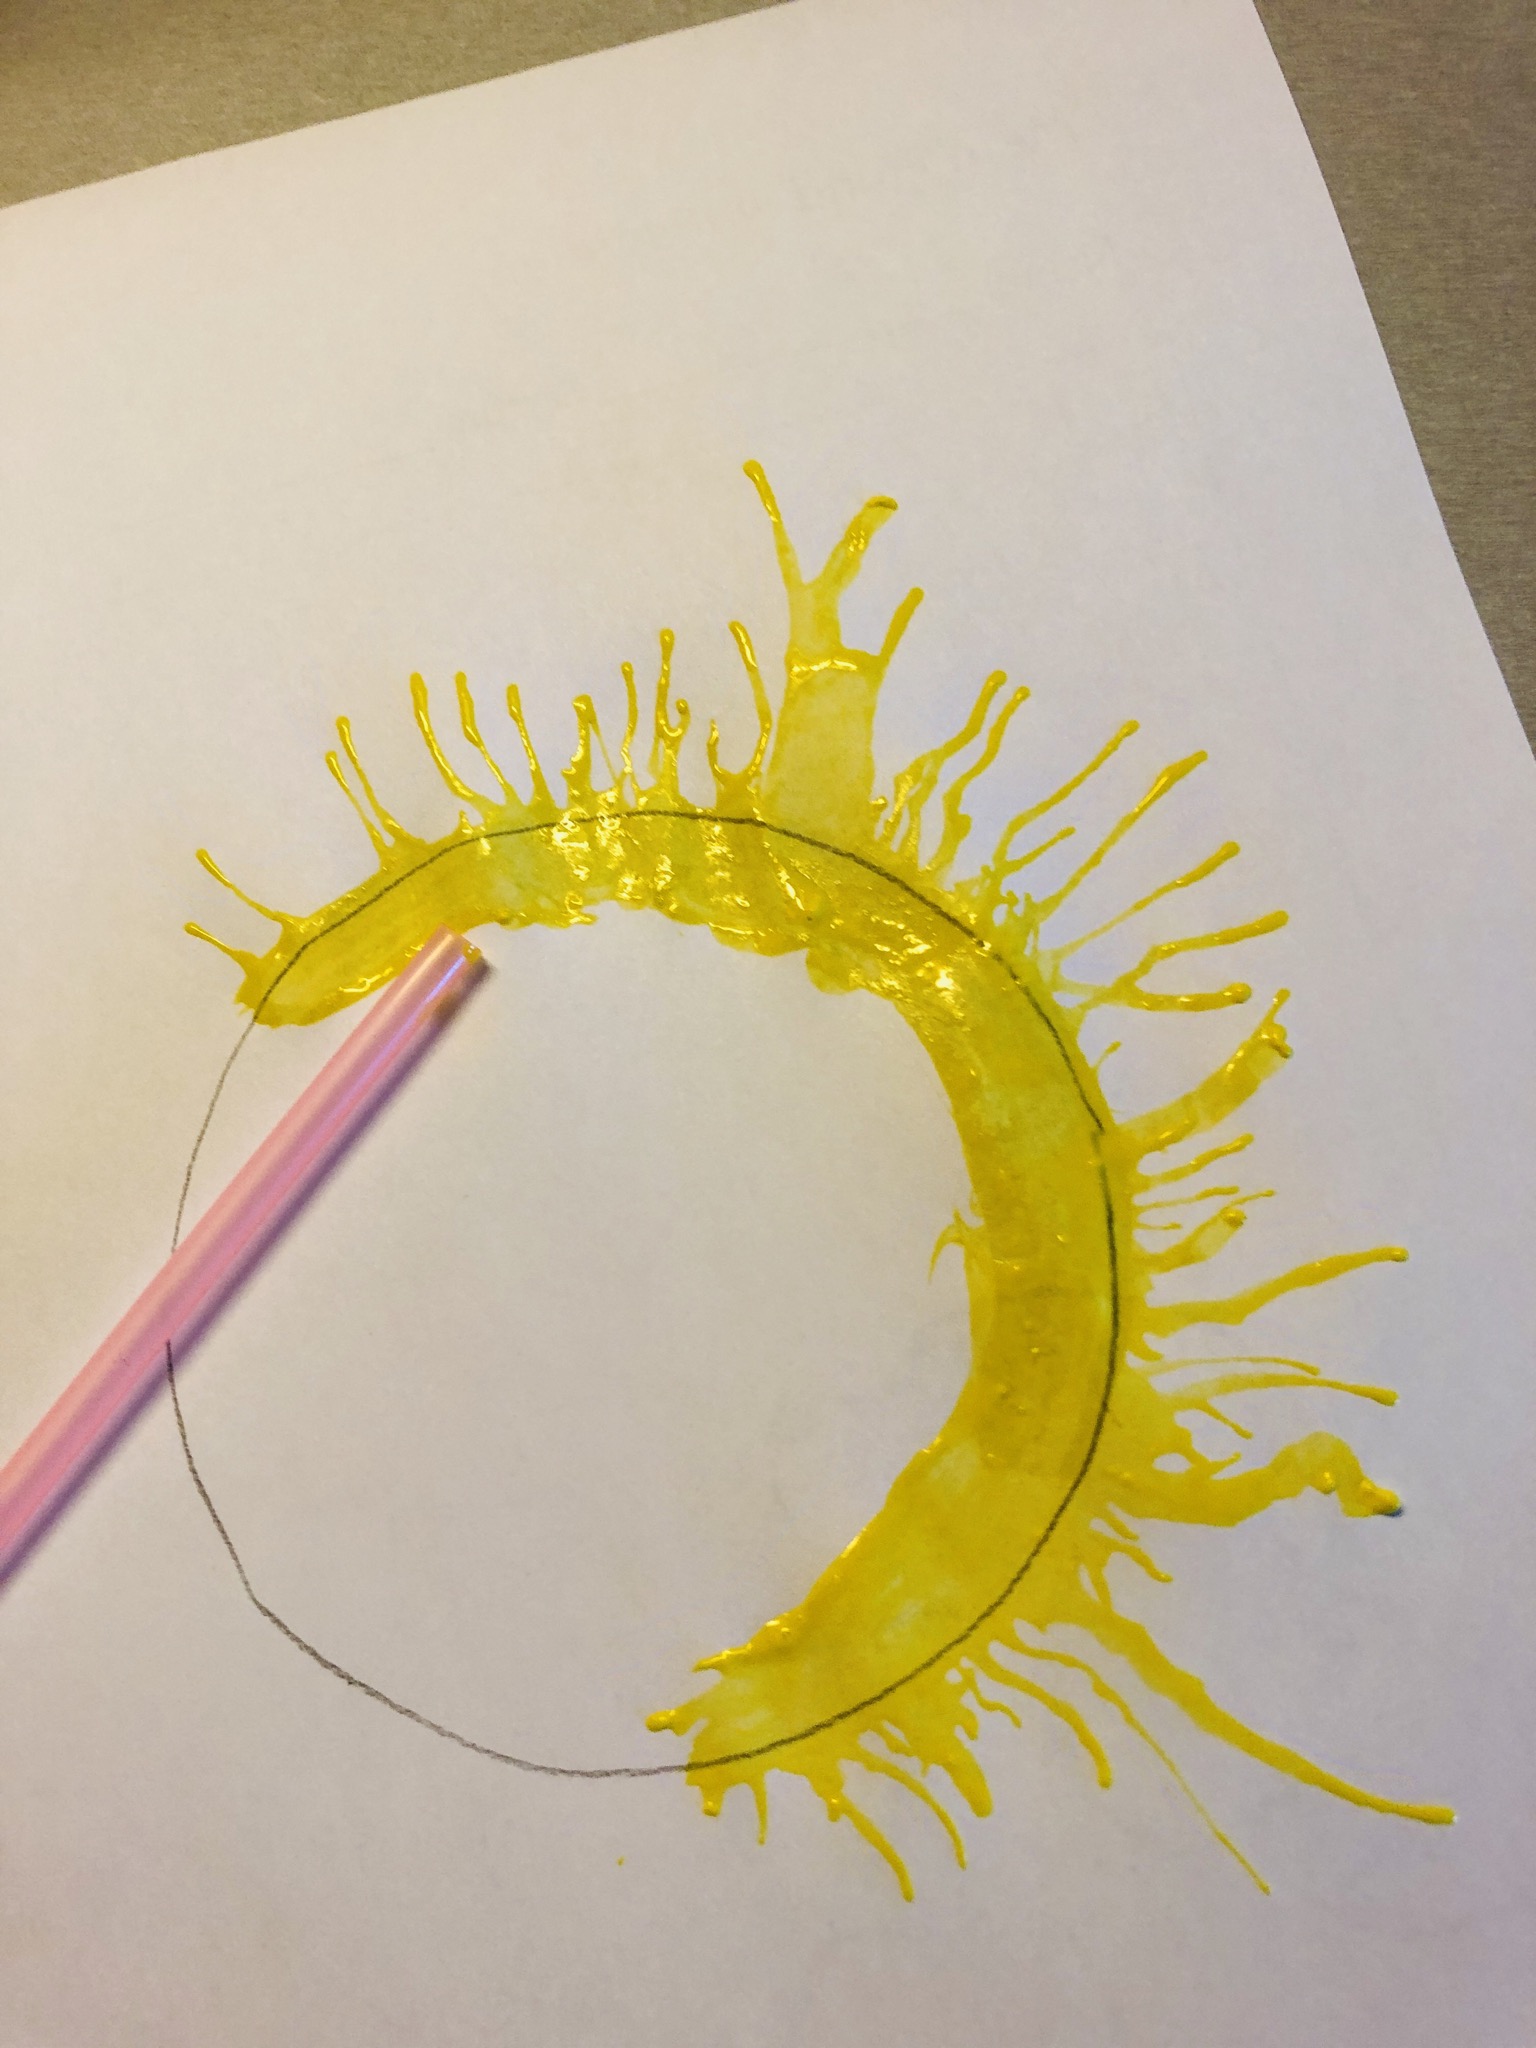


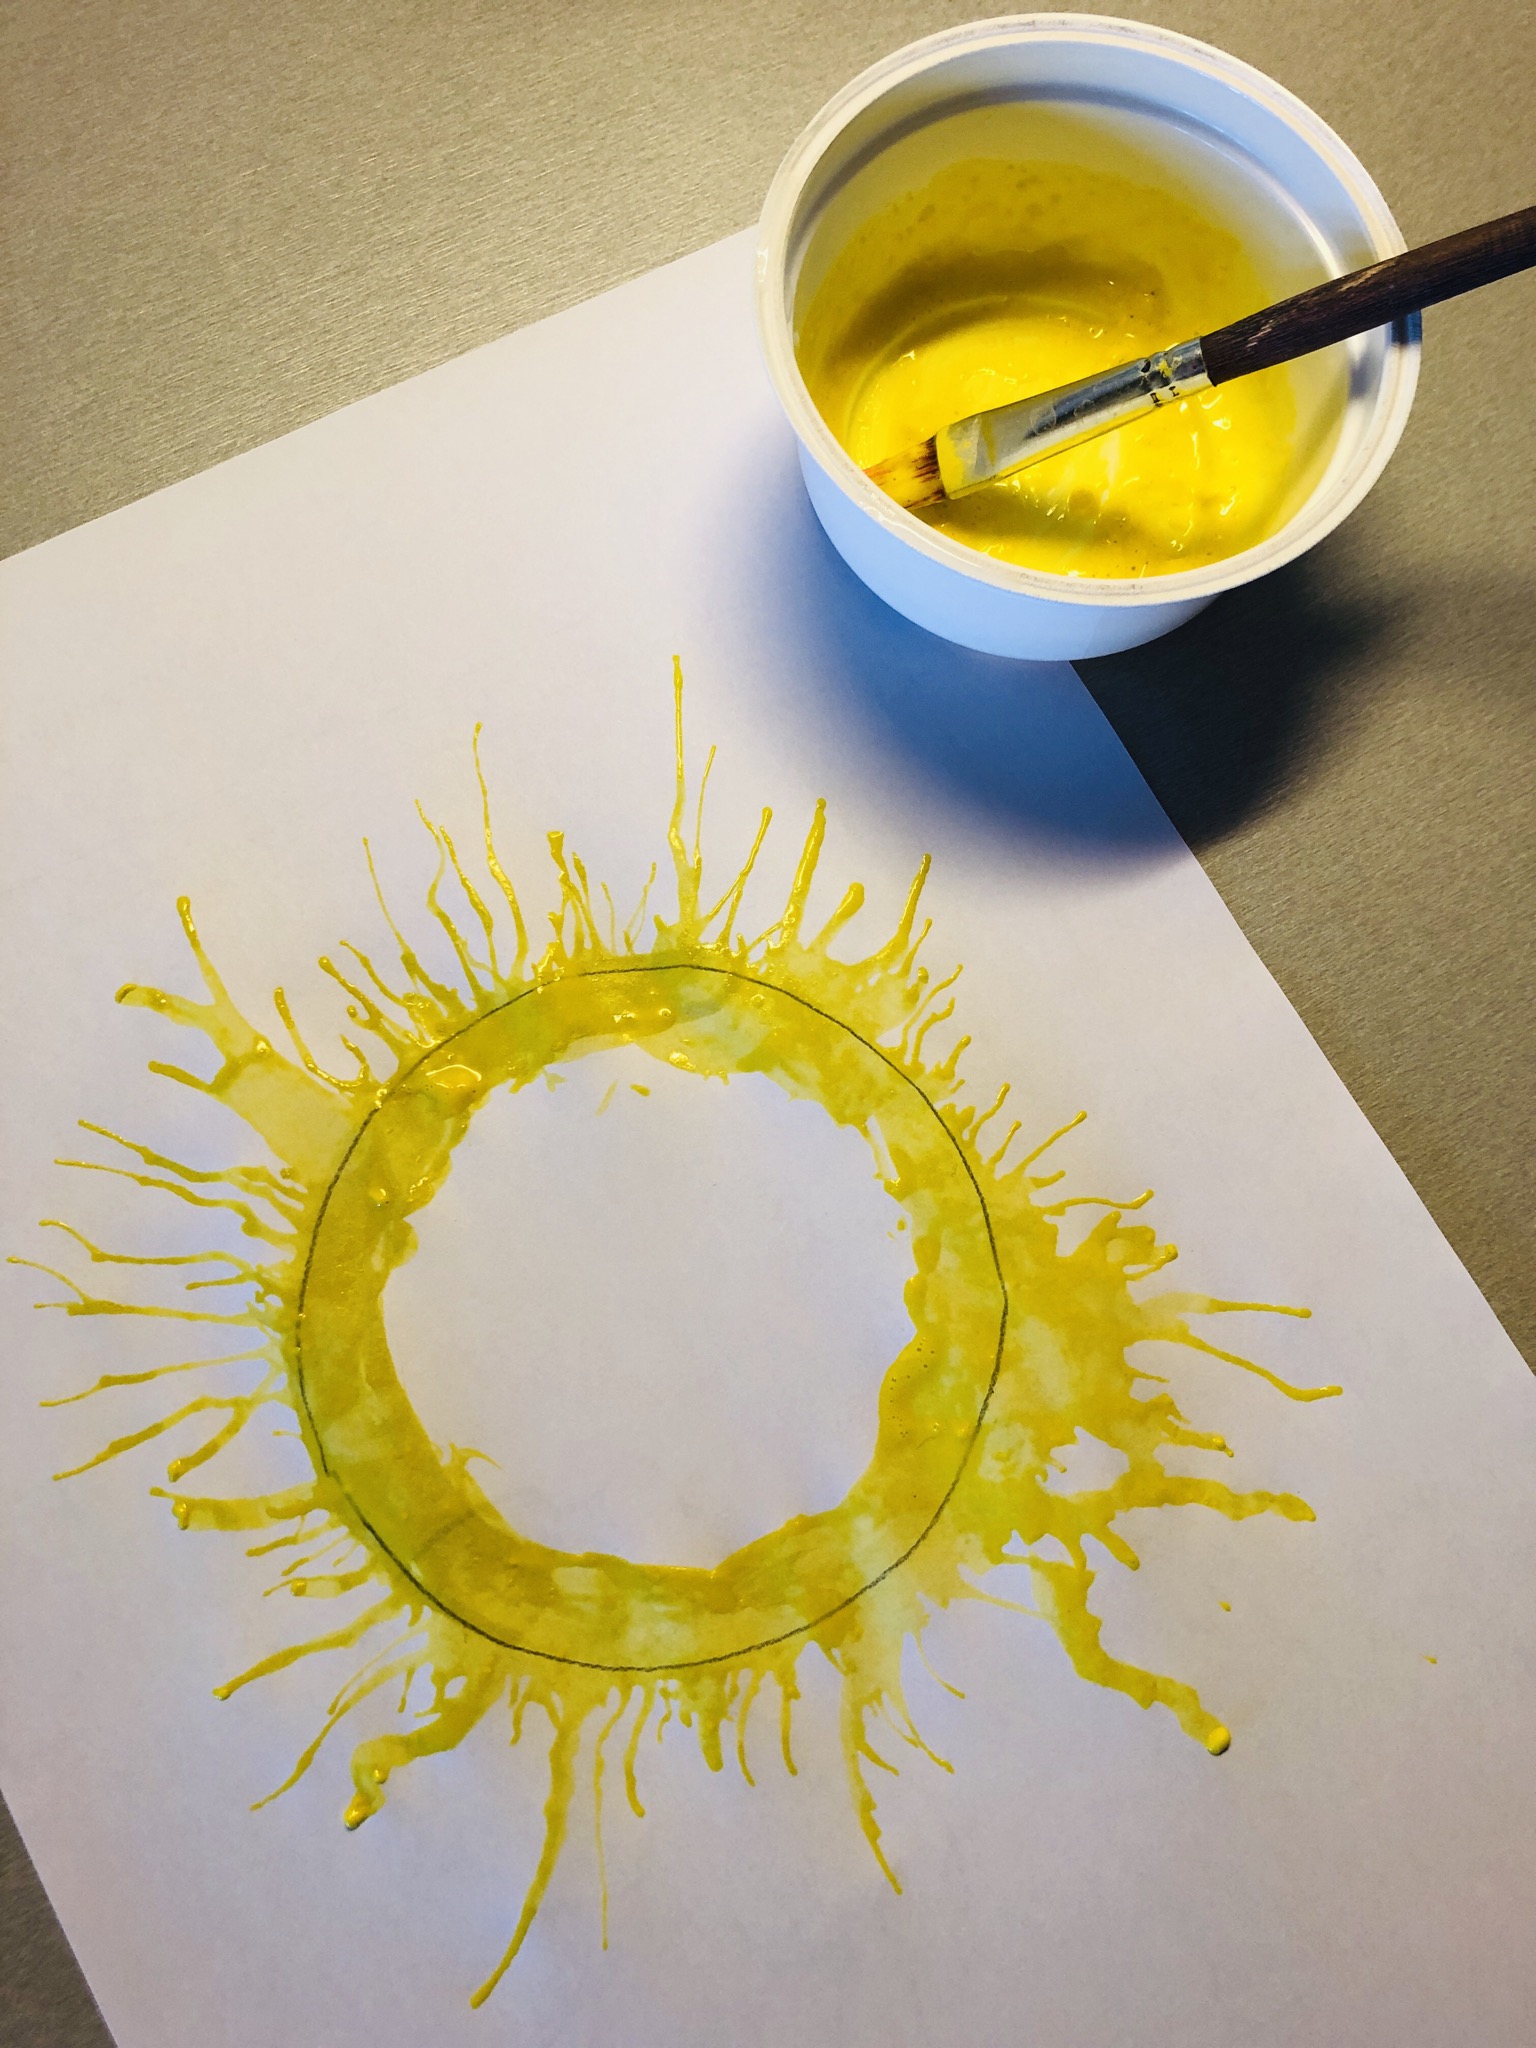


Maybe you can still paint the inside of your sun with a brush, for smaller children I don't recommend that, because the incentive is very great to paint over the entire sun!
That would be a shame!
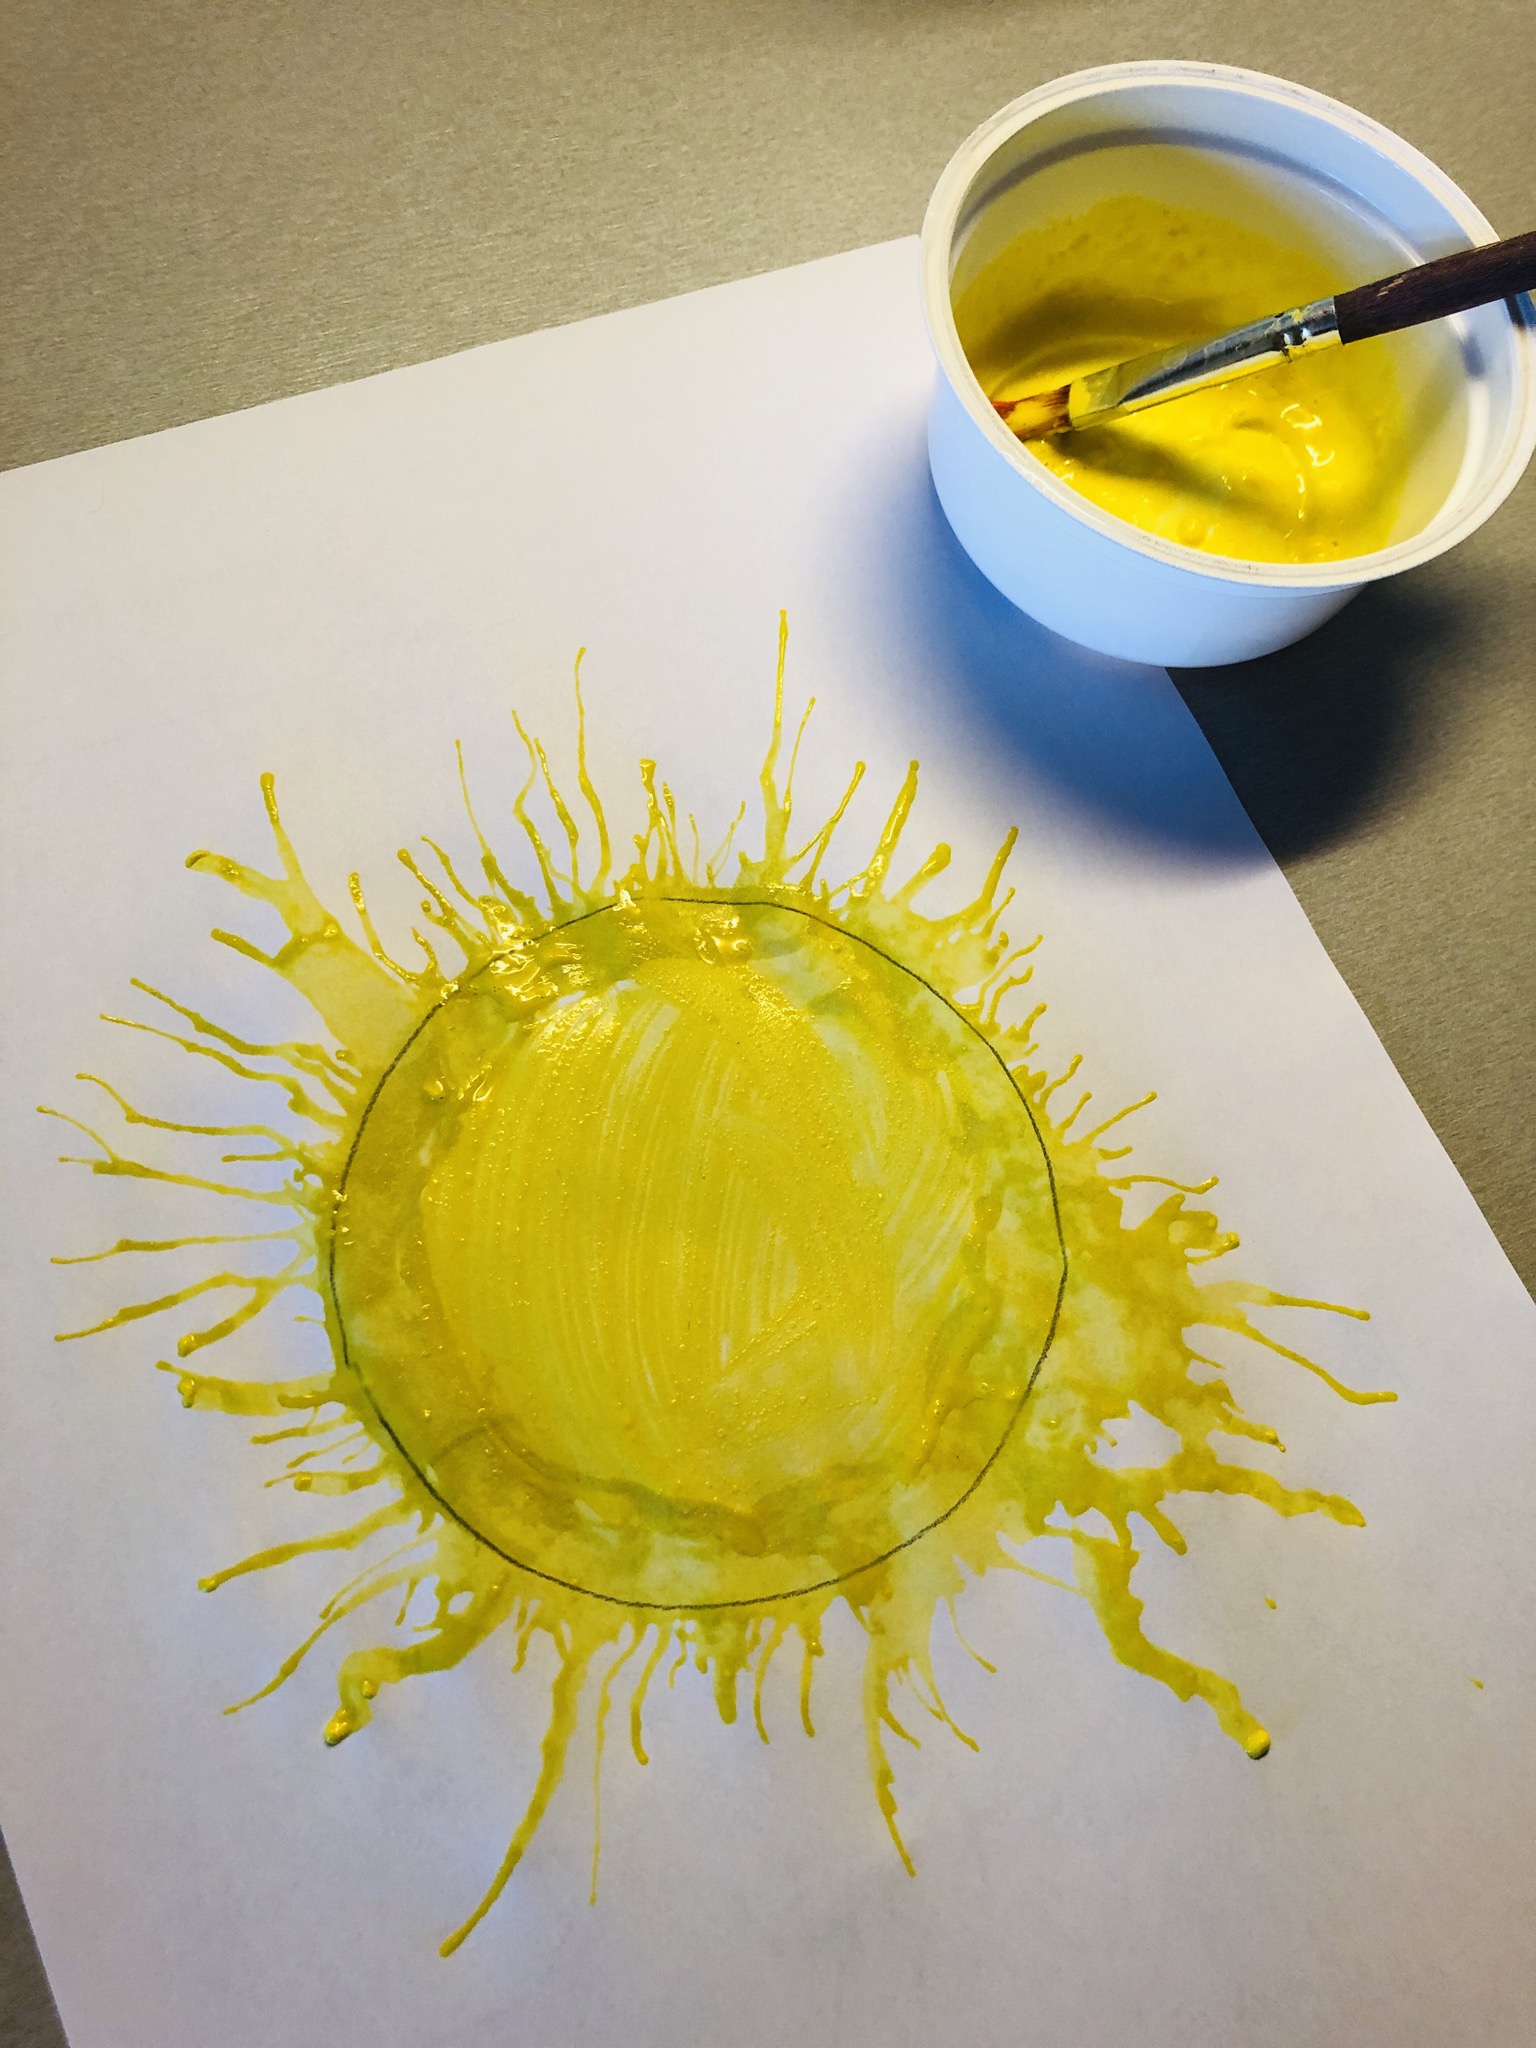


Glue the clay paper circle over the dried sun centre.
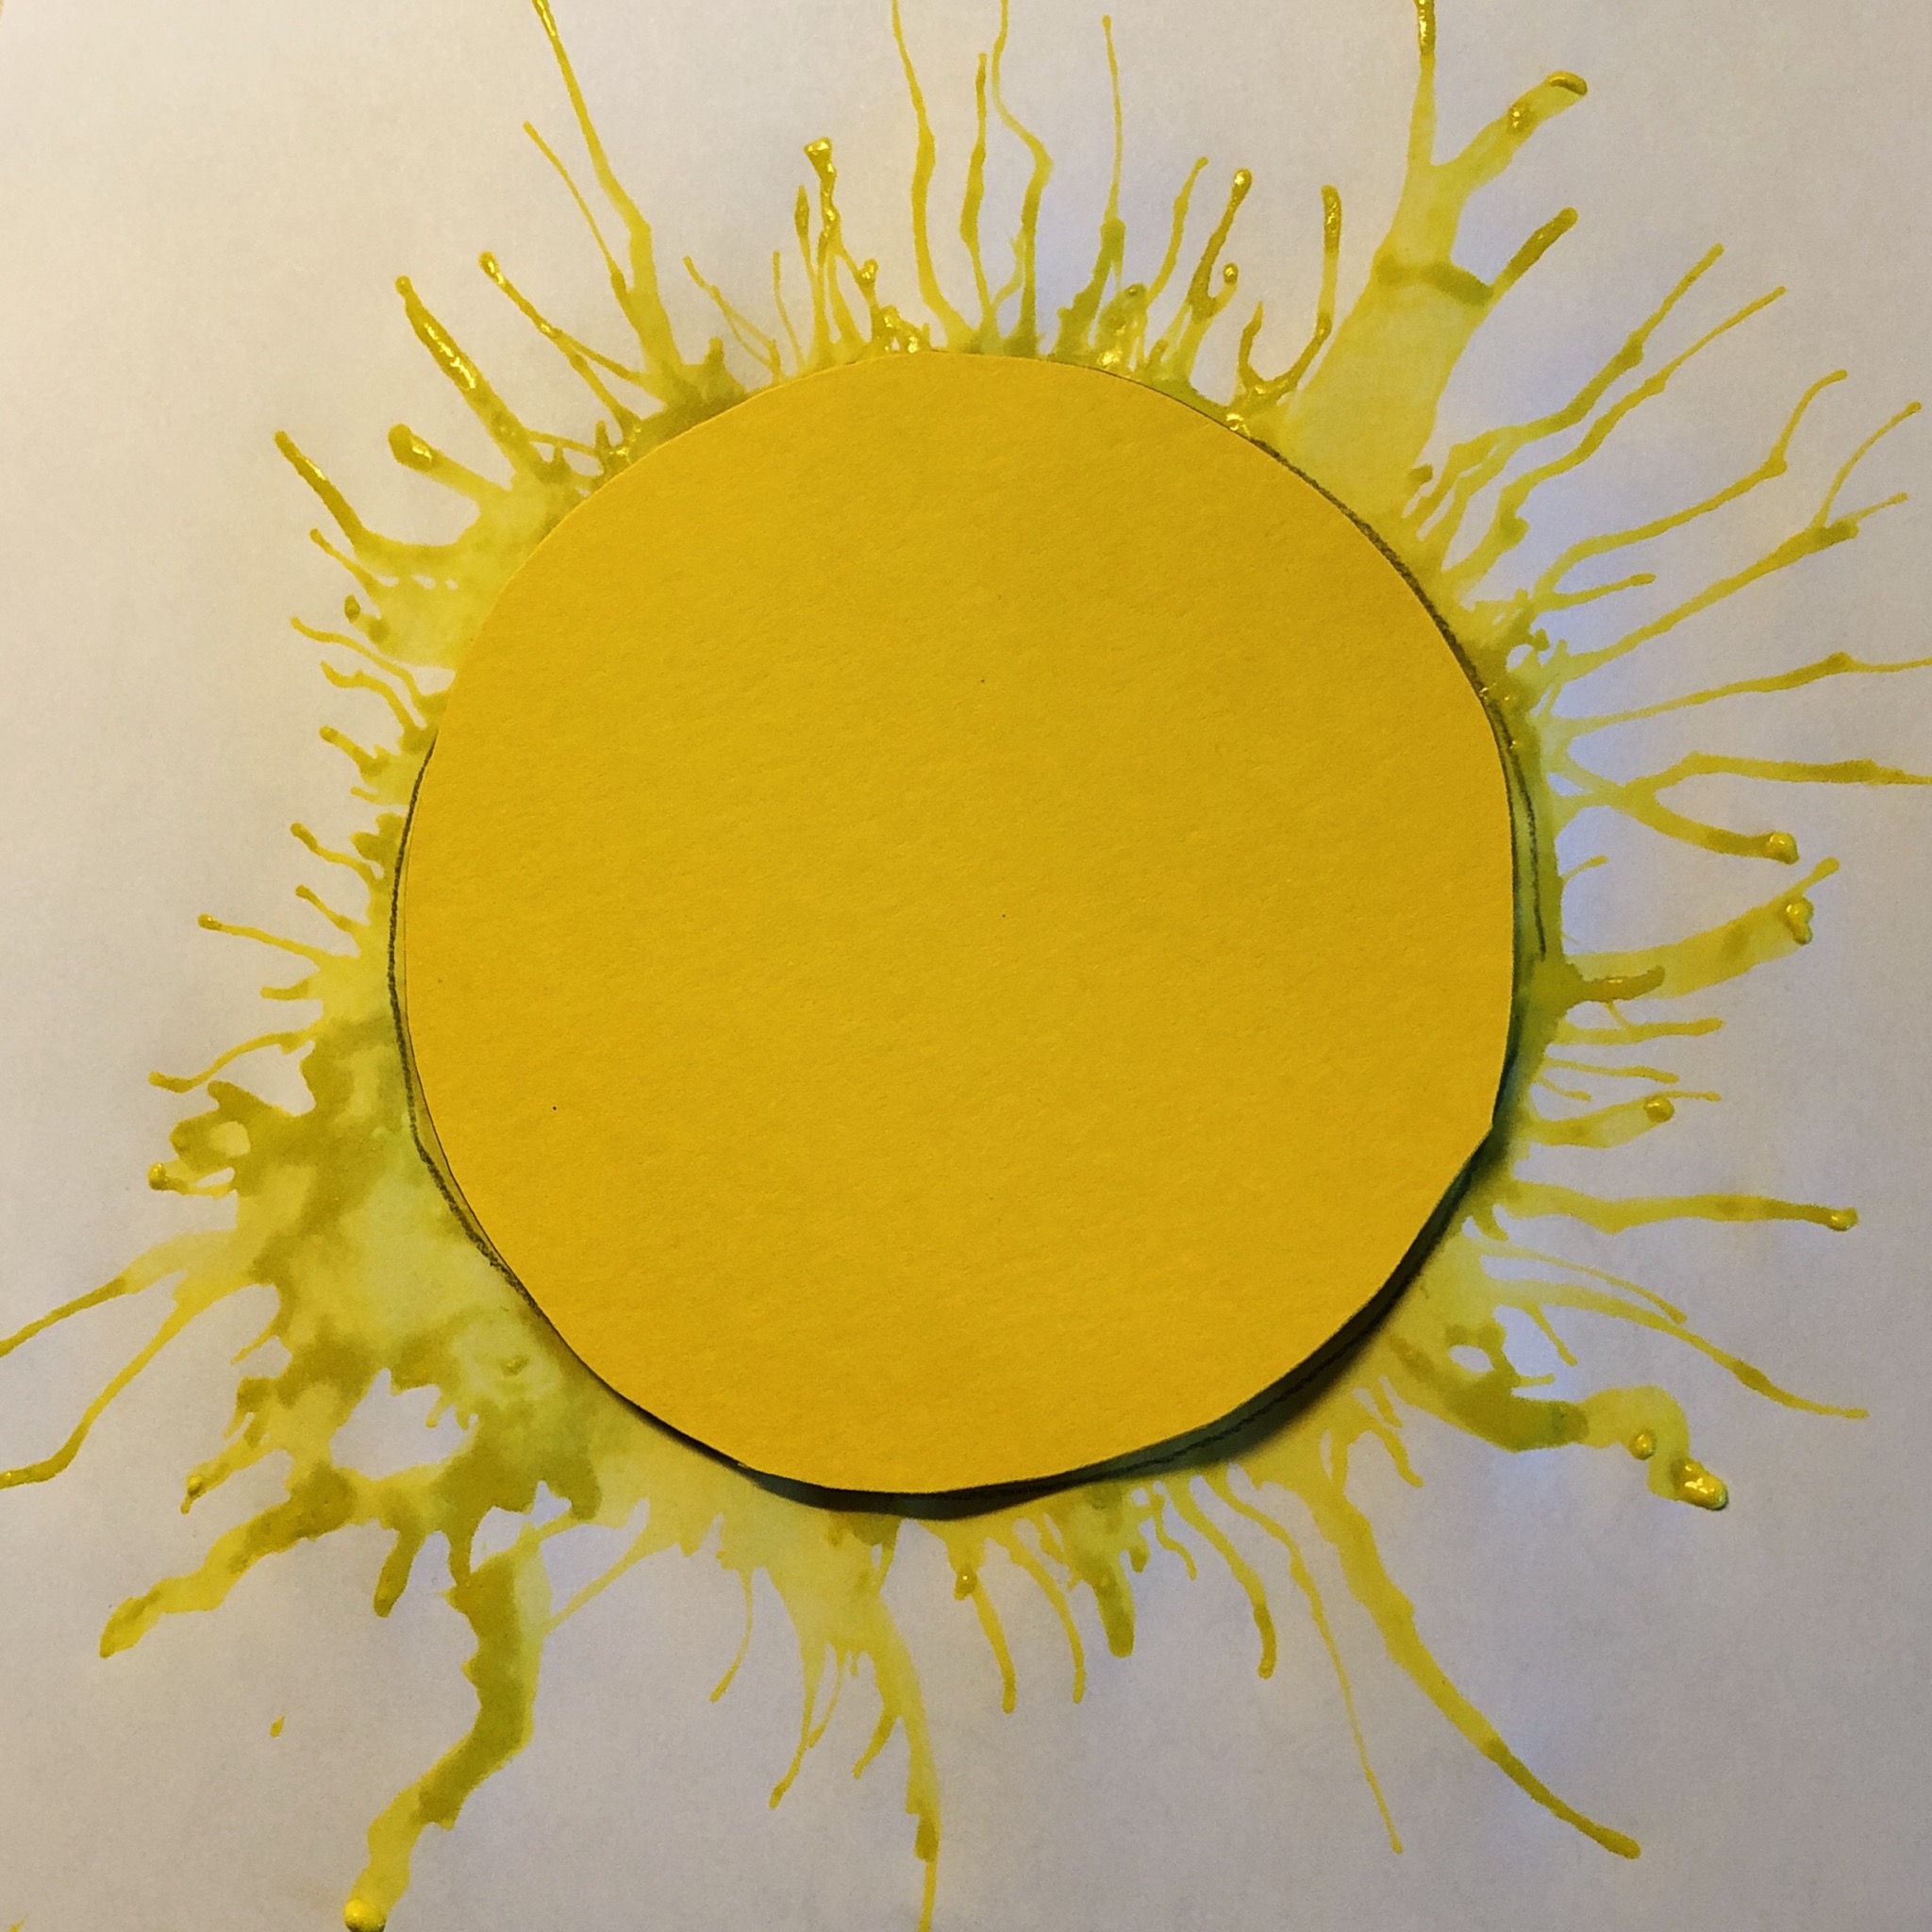


The sun can also be designed very nicely as a card motif.
On the topic: Weather Fits the sunshine as well!
Stay creative!
Further ideas for Pest pictures and play ideas to blow you can find under: 8 blow games
Materials
Directions
Here: the illustrated step by step guide:
Paint a circle with the help of a yoghurt cup or a round bowl.


Cut this one out.


Place the circle (our sun!) on an empty sheet of paper and paint with a pen.


Put the clay paper circle aside.


Mix yellow paint diluted with water so that it is viscous.


Apply the paint generously with a brush on the prepainted circle edge and "push" it as soon as possible with a straw from the inside to the outside. Place the straw directly on the leaf slightly obliquely and blast with the mouth into the tube. Through the air, the still viscous paint will run in extension of the tube.
This creates the rays of the sun!


Apply the paint again and again piece by piece and blow the same
Attention, it only works if the paint is still thick! The more liquid the paint is, the easier it can be blown.


As long as the process is repeated until the circle is closed and rays go away everywhere from the circle edge! Maybe rework some places again, i.e. apply some more paint and again "push" rays.


Maybe you can still paint the inside of your sun with a brush, for smaller children I don't recommend that, because the incentive is very great to paint over the entire sun!
That would be a shame!


Glue the clay paper circle over the dried sun centre.


The sun can also be designed very nicely as a card motif.
On the topic: Weather Fits the sunshine as well!
Stay creative!
Further ideas for Pest pictures and play ideas to blow you can find under: 8 blow games
Follow us on Facebook , Instagram and Pinterest
Don't miss any more adventures: Our bottle mail


