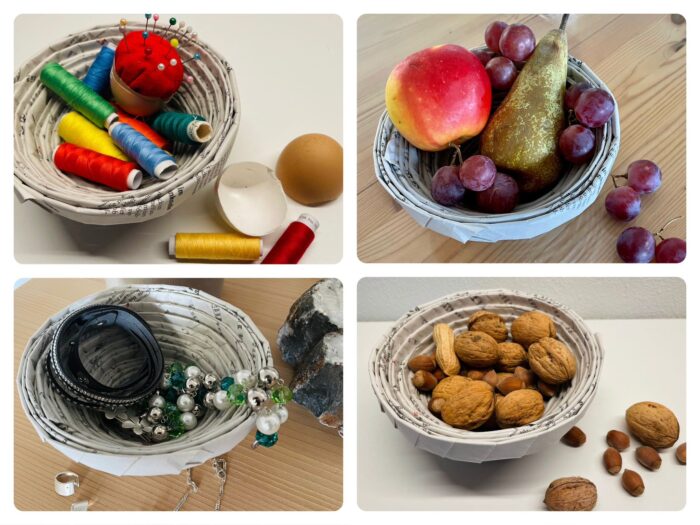
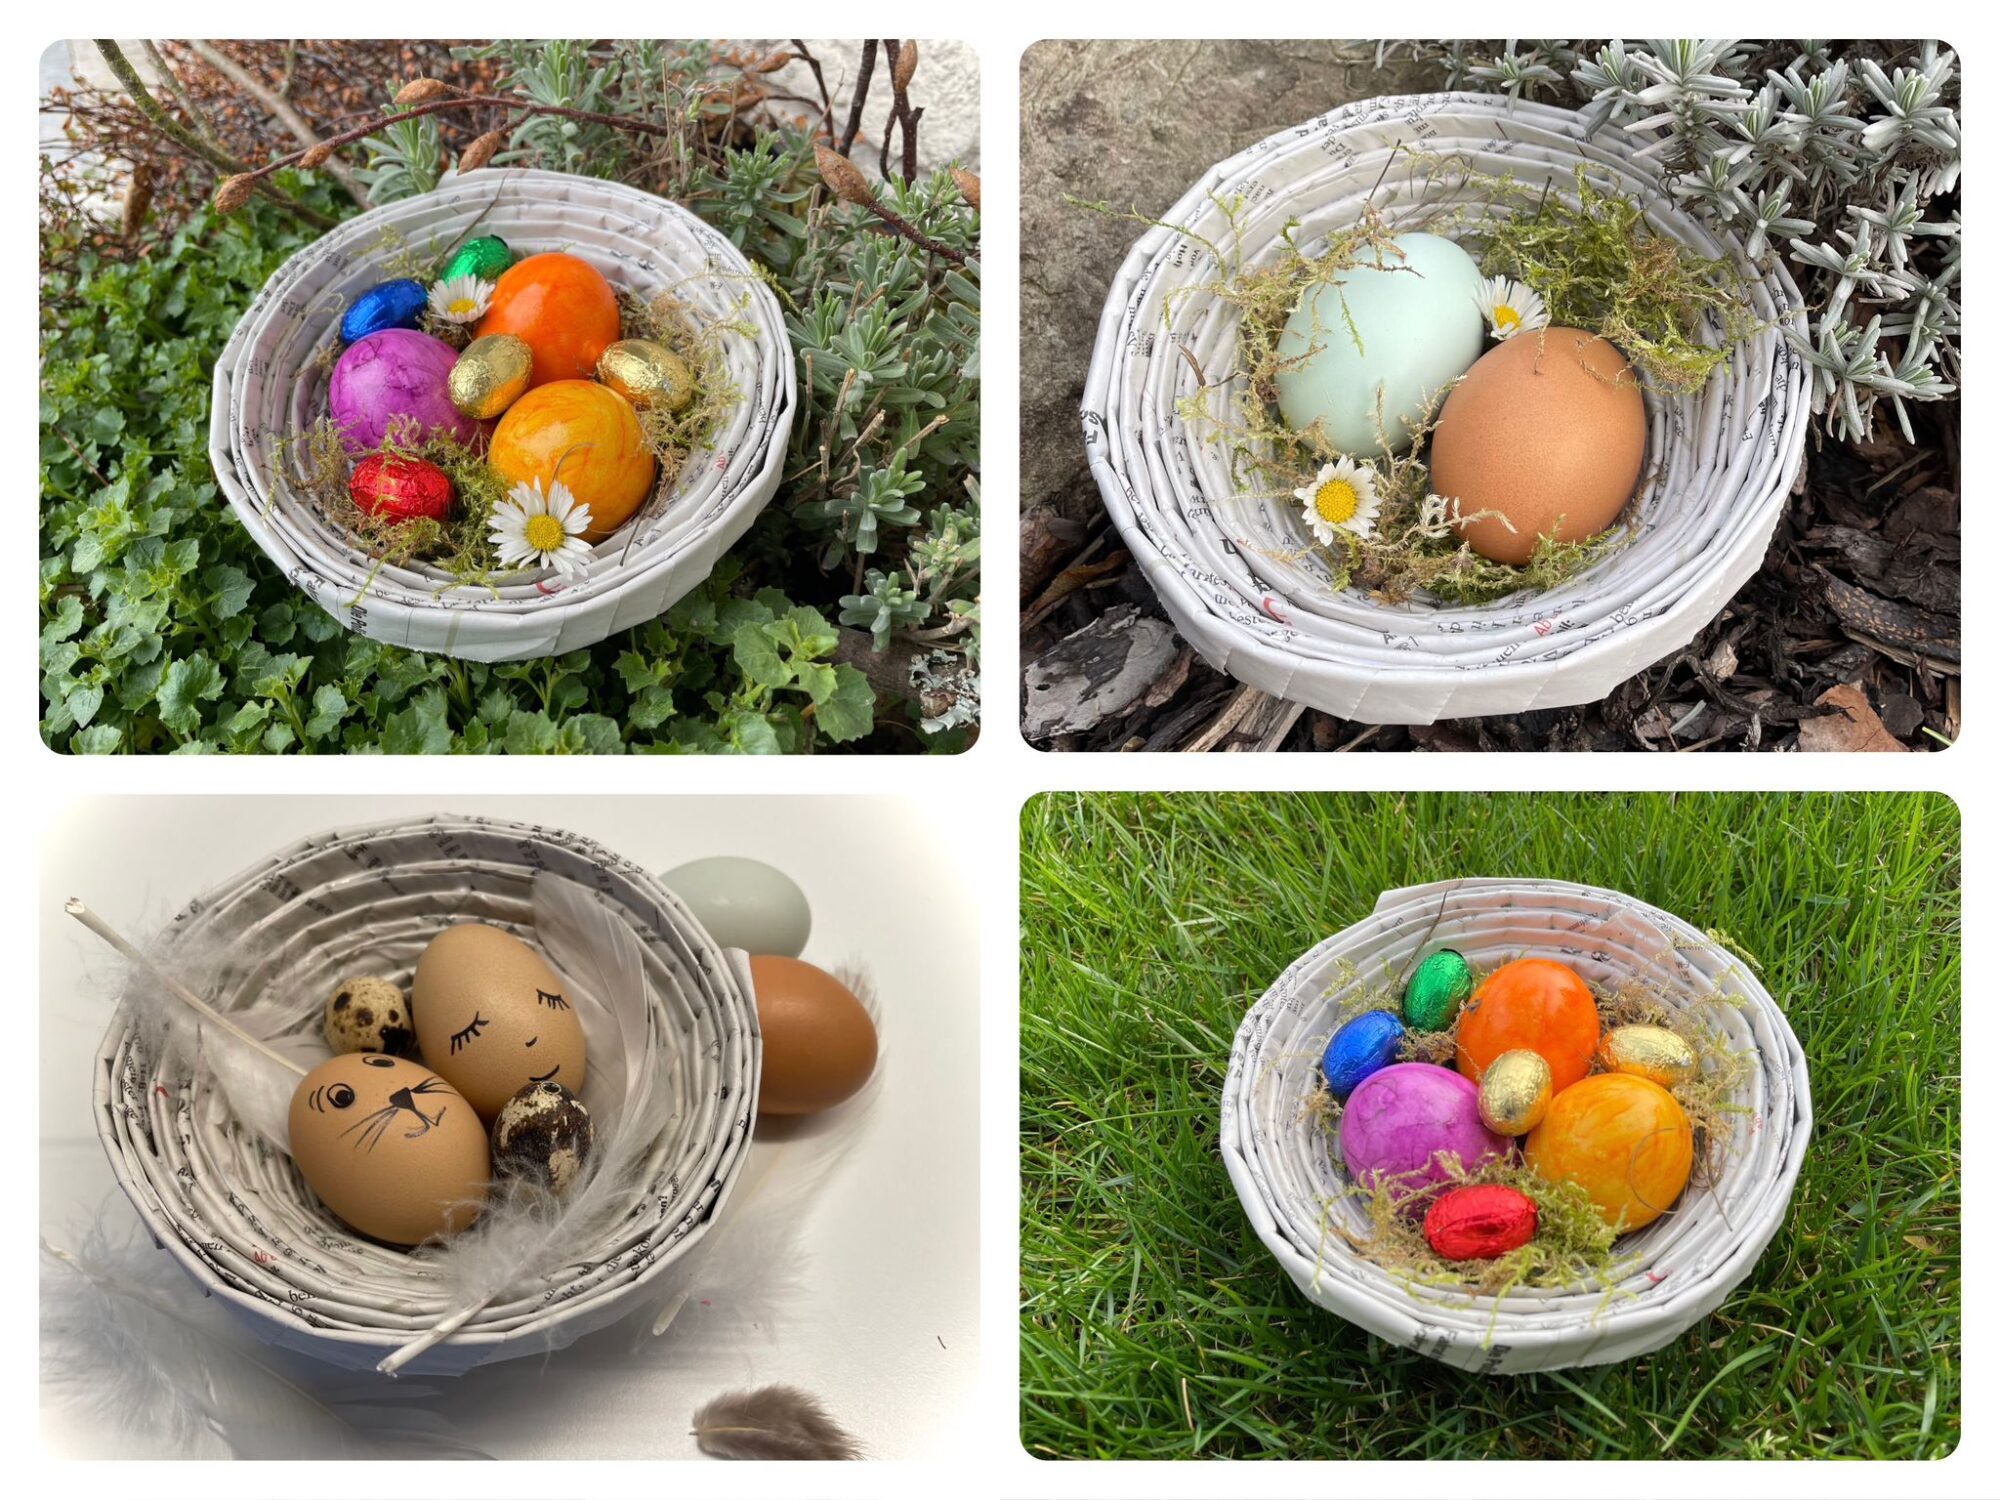
This Easter nest is made of newspaper. Exactly from several rolled-up newspaper strips. Rolling up the newspaper strips is challenging. It requires a lot of strength and perseverance! That's why it takes a break again and again. But the result is just great and no matter how you design it as an Easter nest, it looks very original. The children are very demanding in this upcycle project. But the joy in the end is certainly great.
So make a lot of fun at the Easterest and maybe also while giving away!
Media Education for Kindergarten and Hort

Relief in everyday life, targeted promotion of individual children, independent learning and - without any pre-knowledge already usable by the youngest!
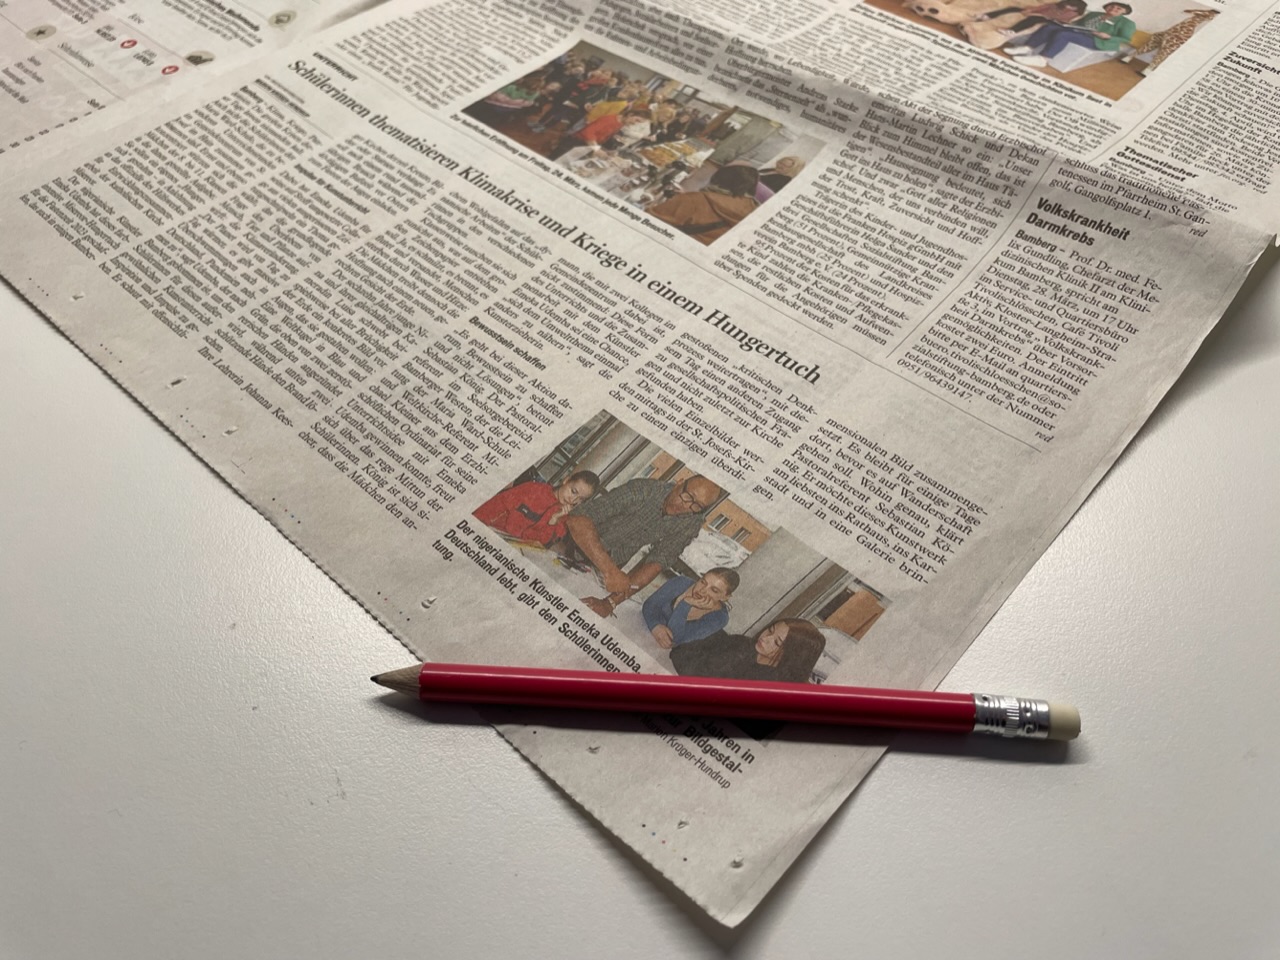
Use daily newspapers to make. You only need the large double pages.
First of all, you put a sheet of newspaper diagonally in front of you.
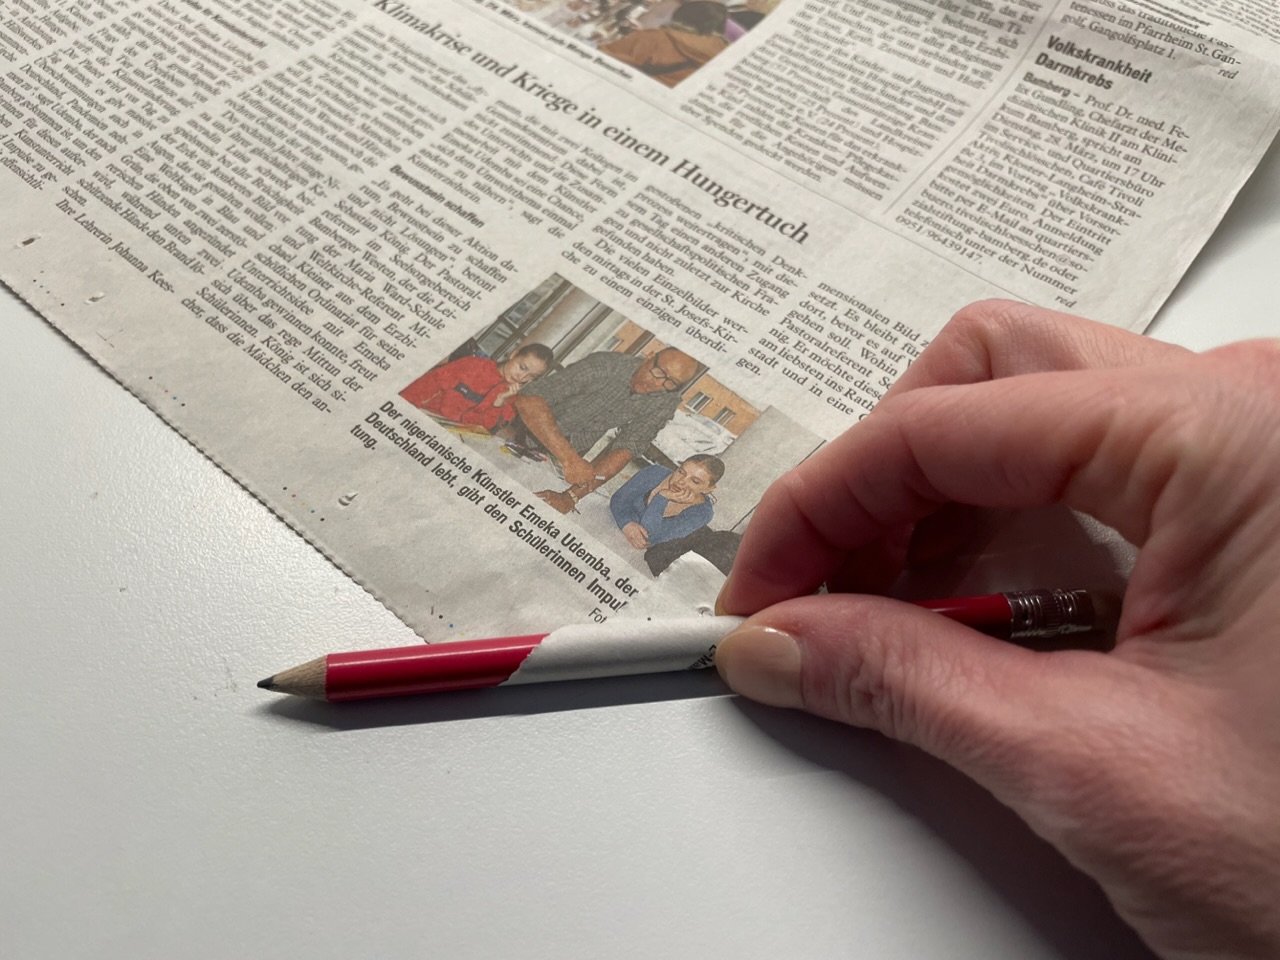
Next, put the paper tightly around the pen and roll up the paper.


The pen should always be pulled out on one side so that it does not disappear in the paper roll.
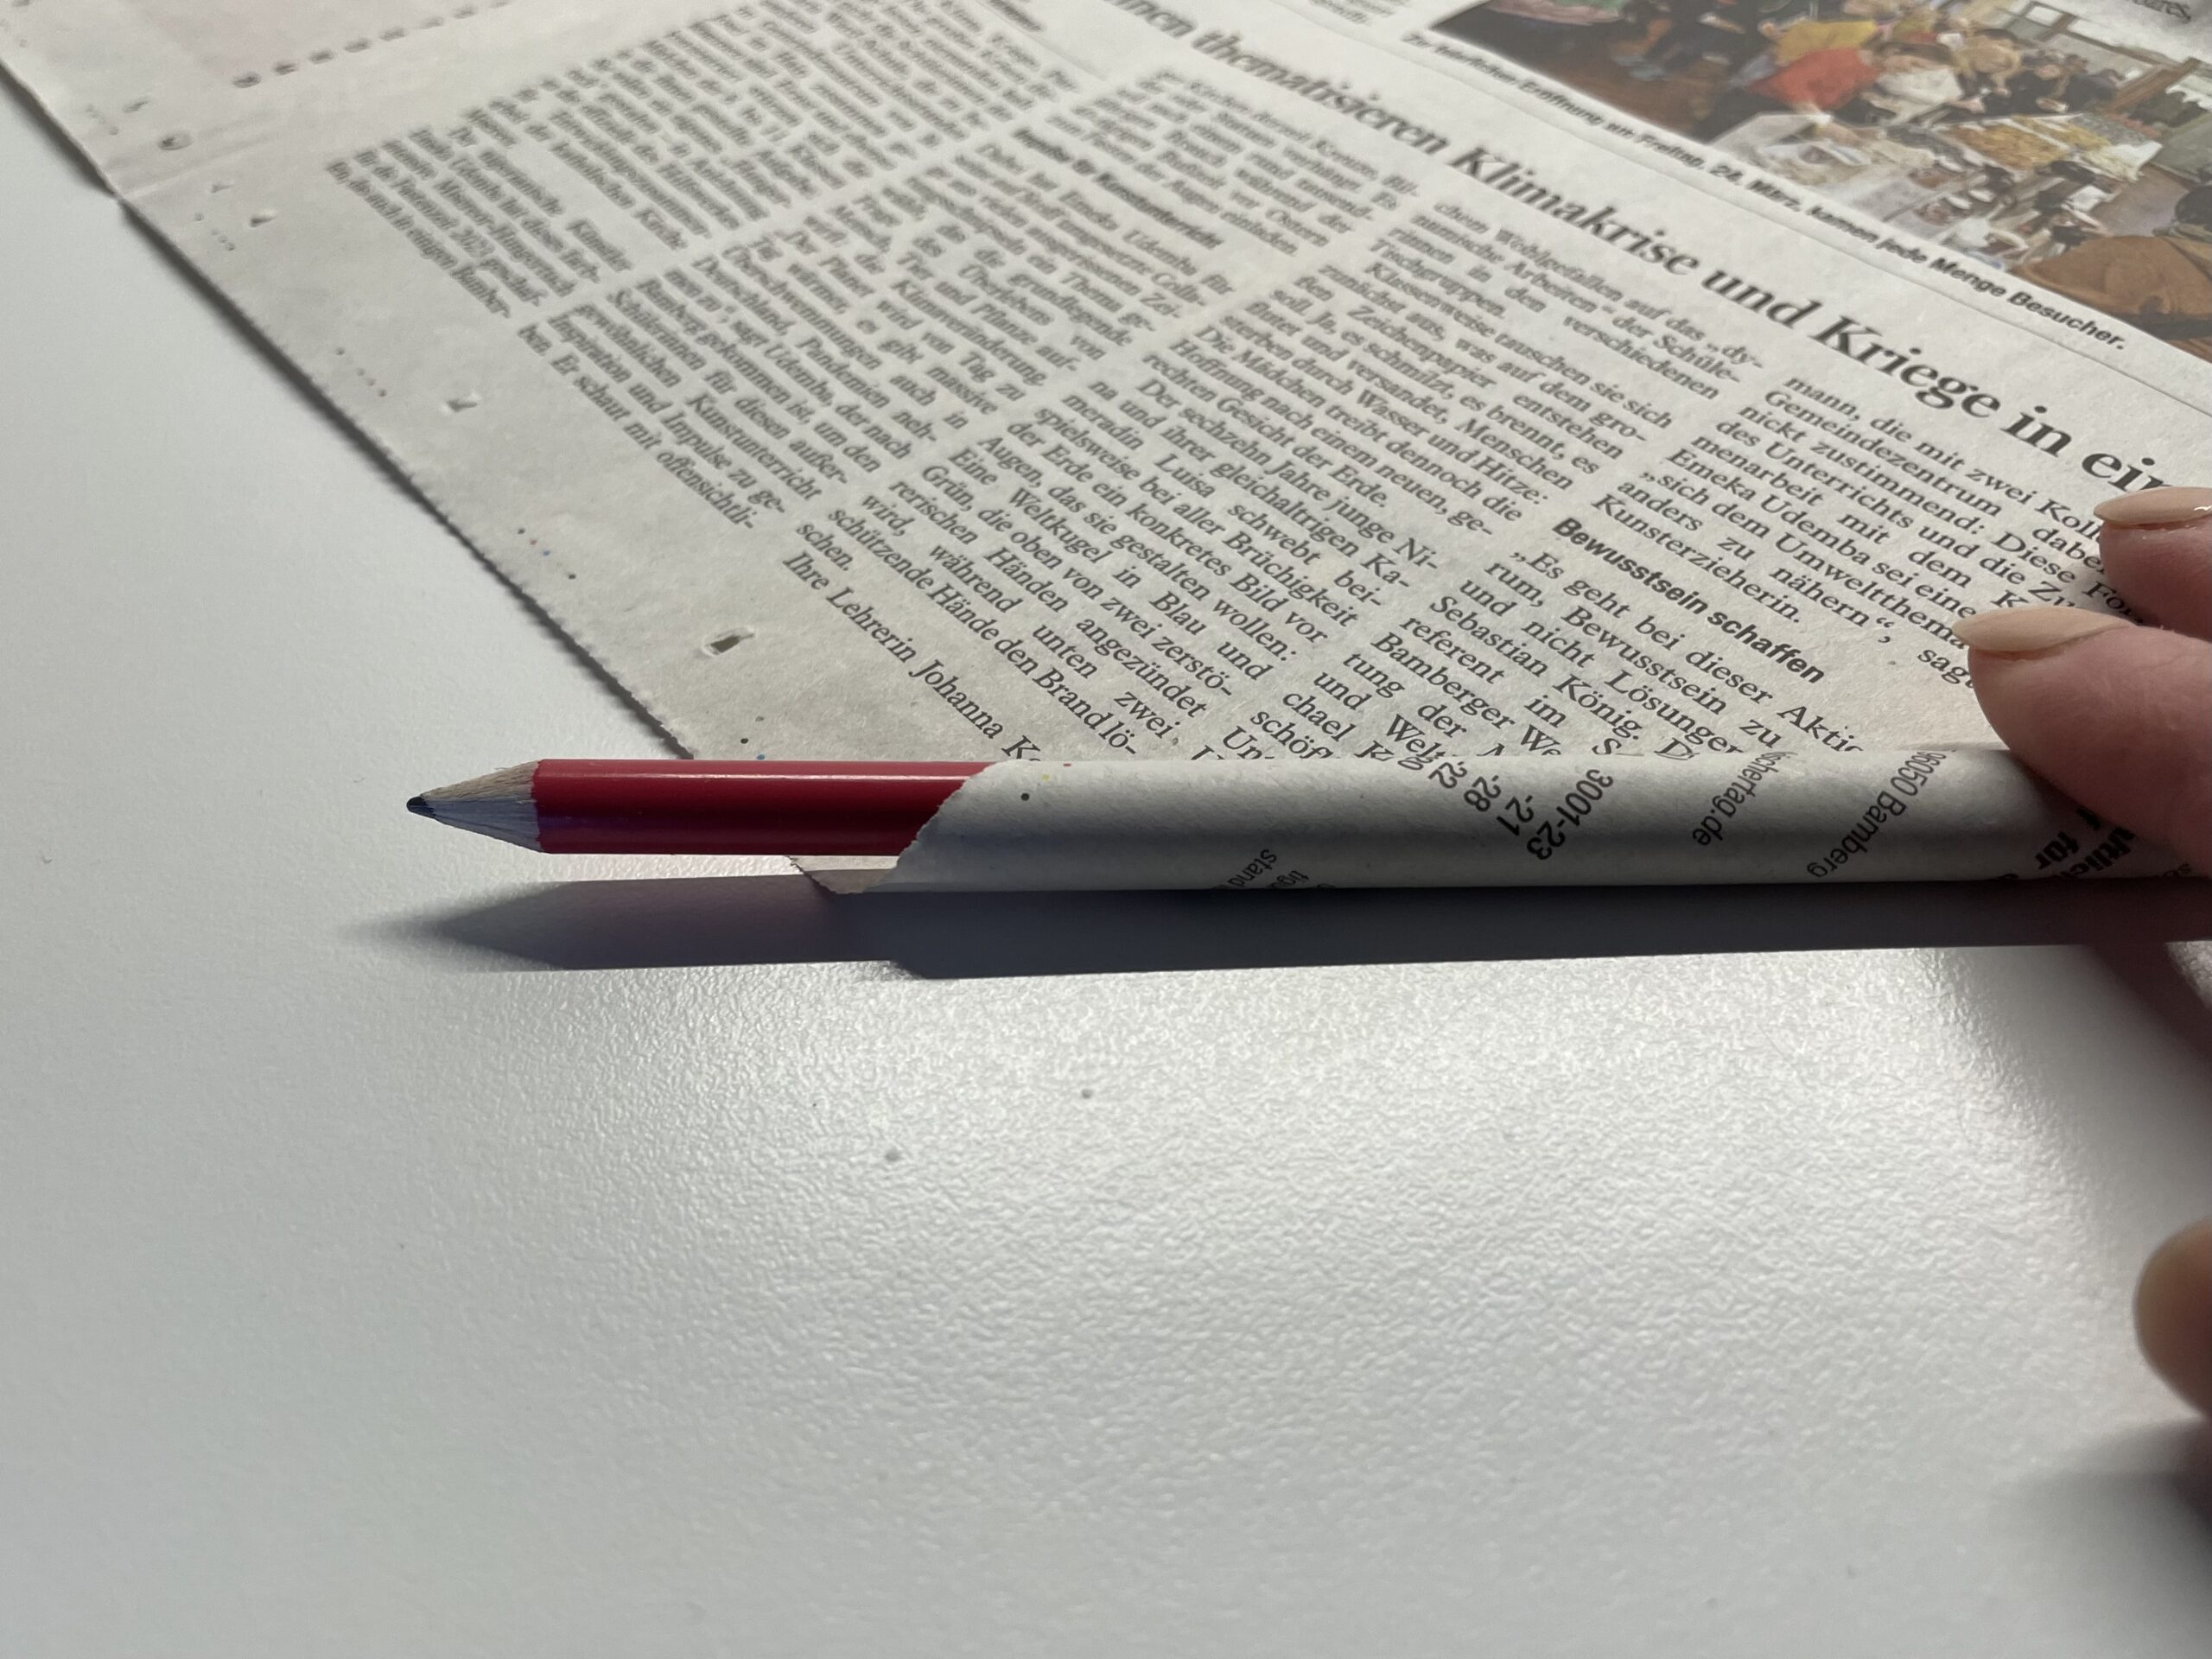


If you leave the pen in the roll until the end, it's hard for you to get it out!
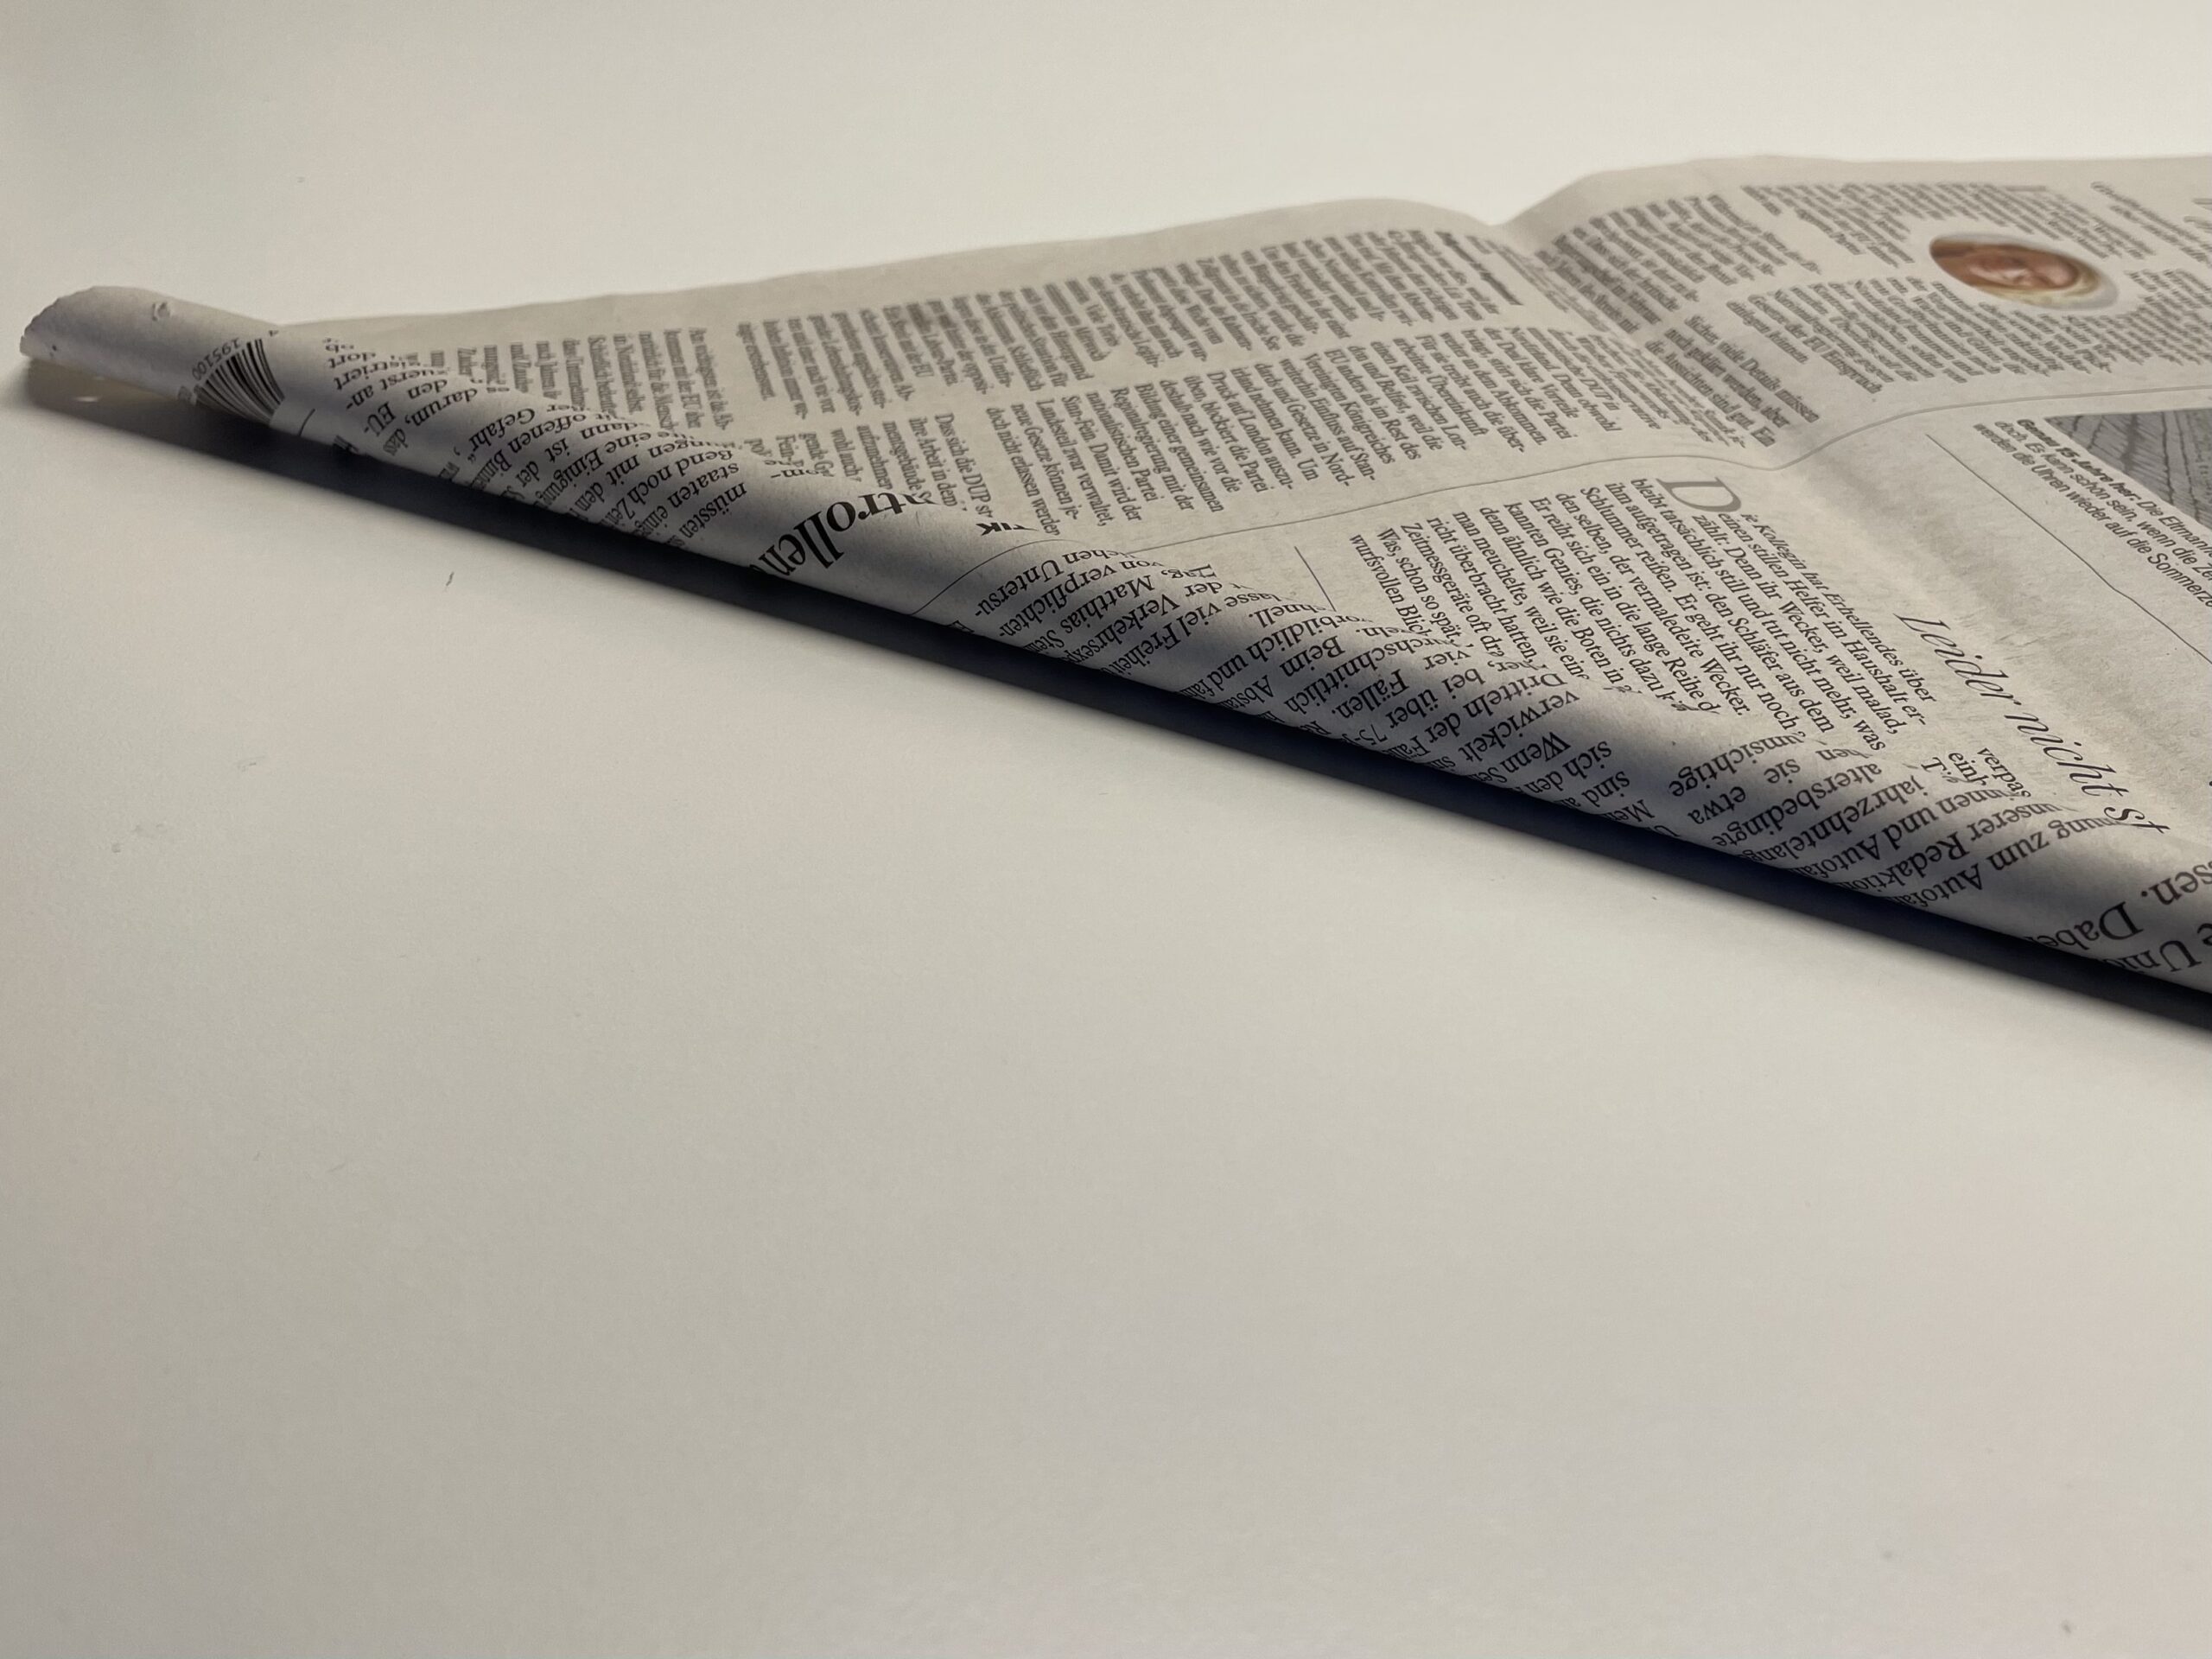


The newspaper is rolled up to the tip, creating a long thin roll.
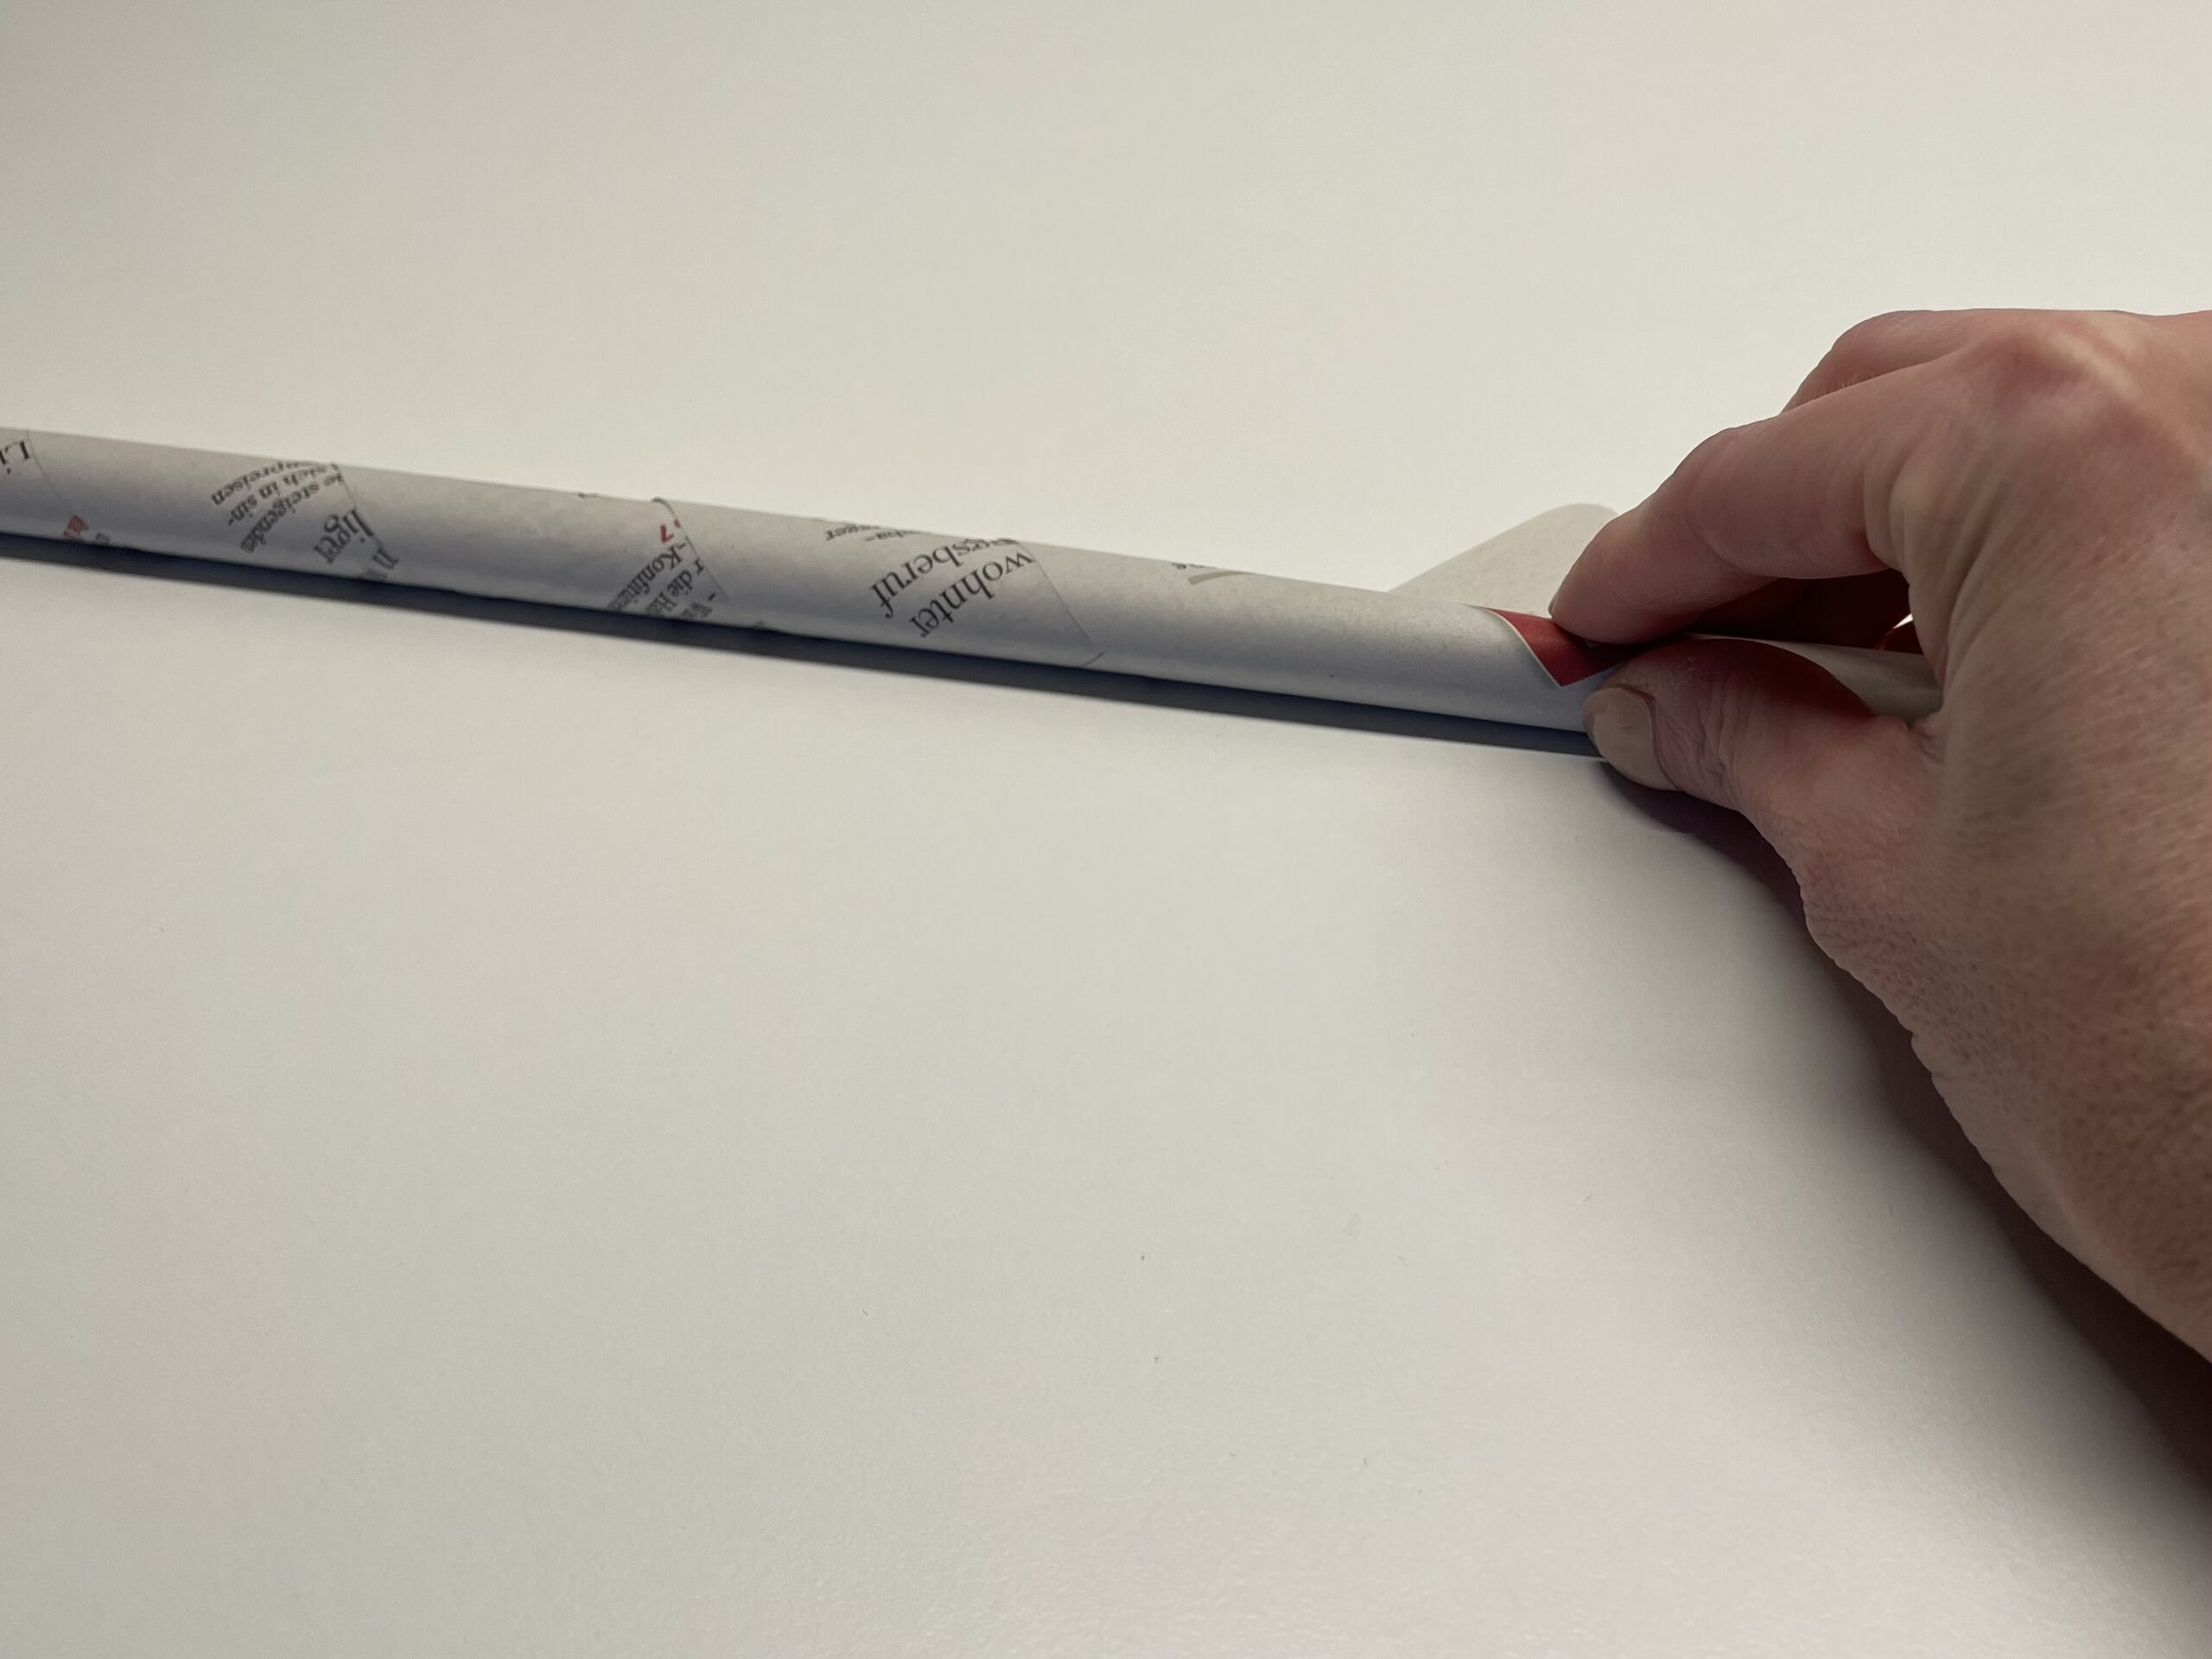


Now you stick the tip with glue. To do this, stroke the small tip with glue and roll the newspaper roll over the tip finished, so holds the roll together.
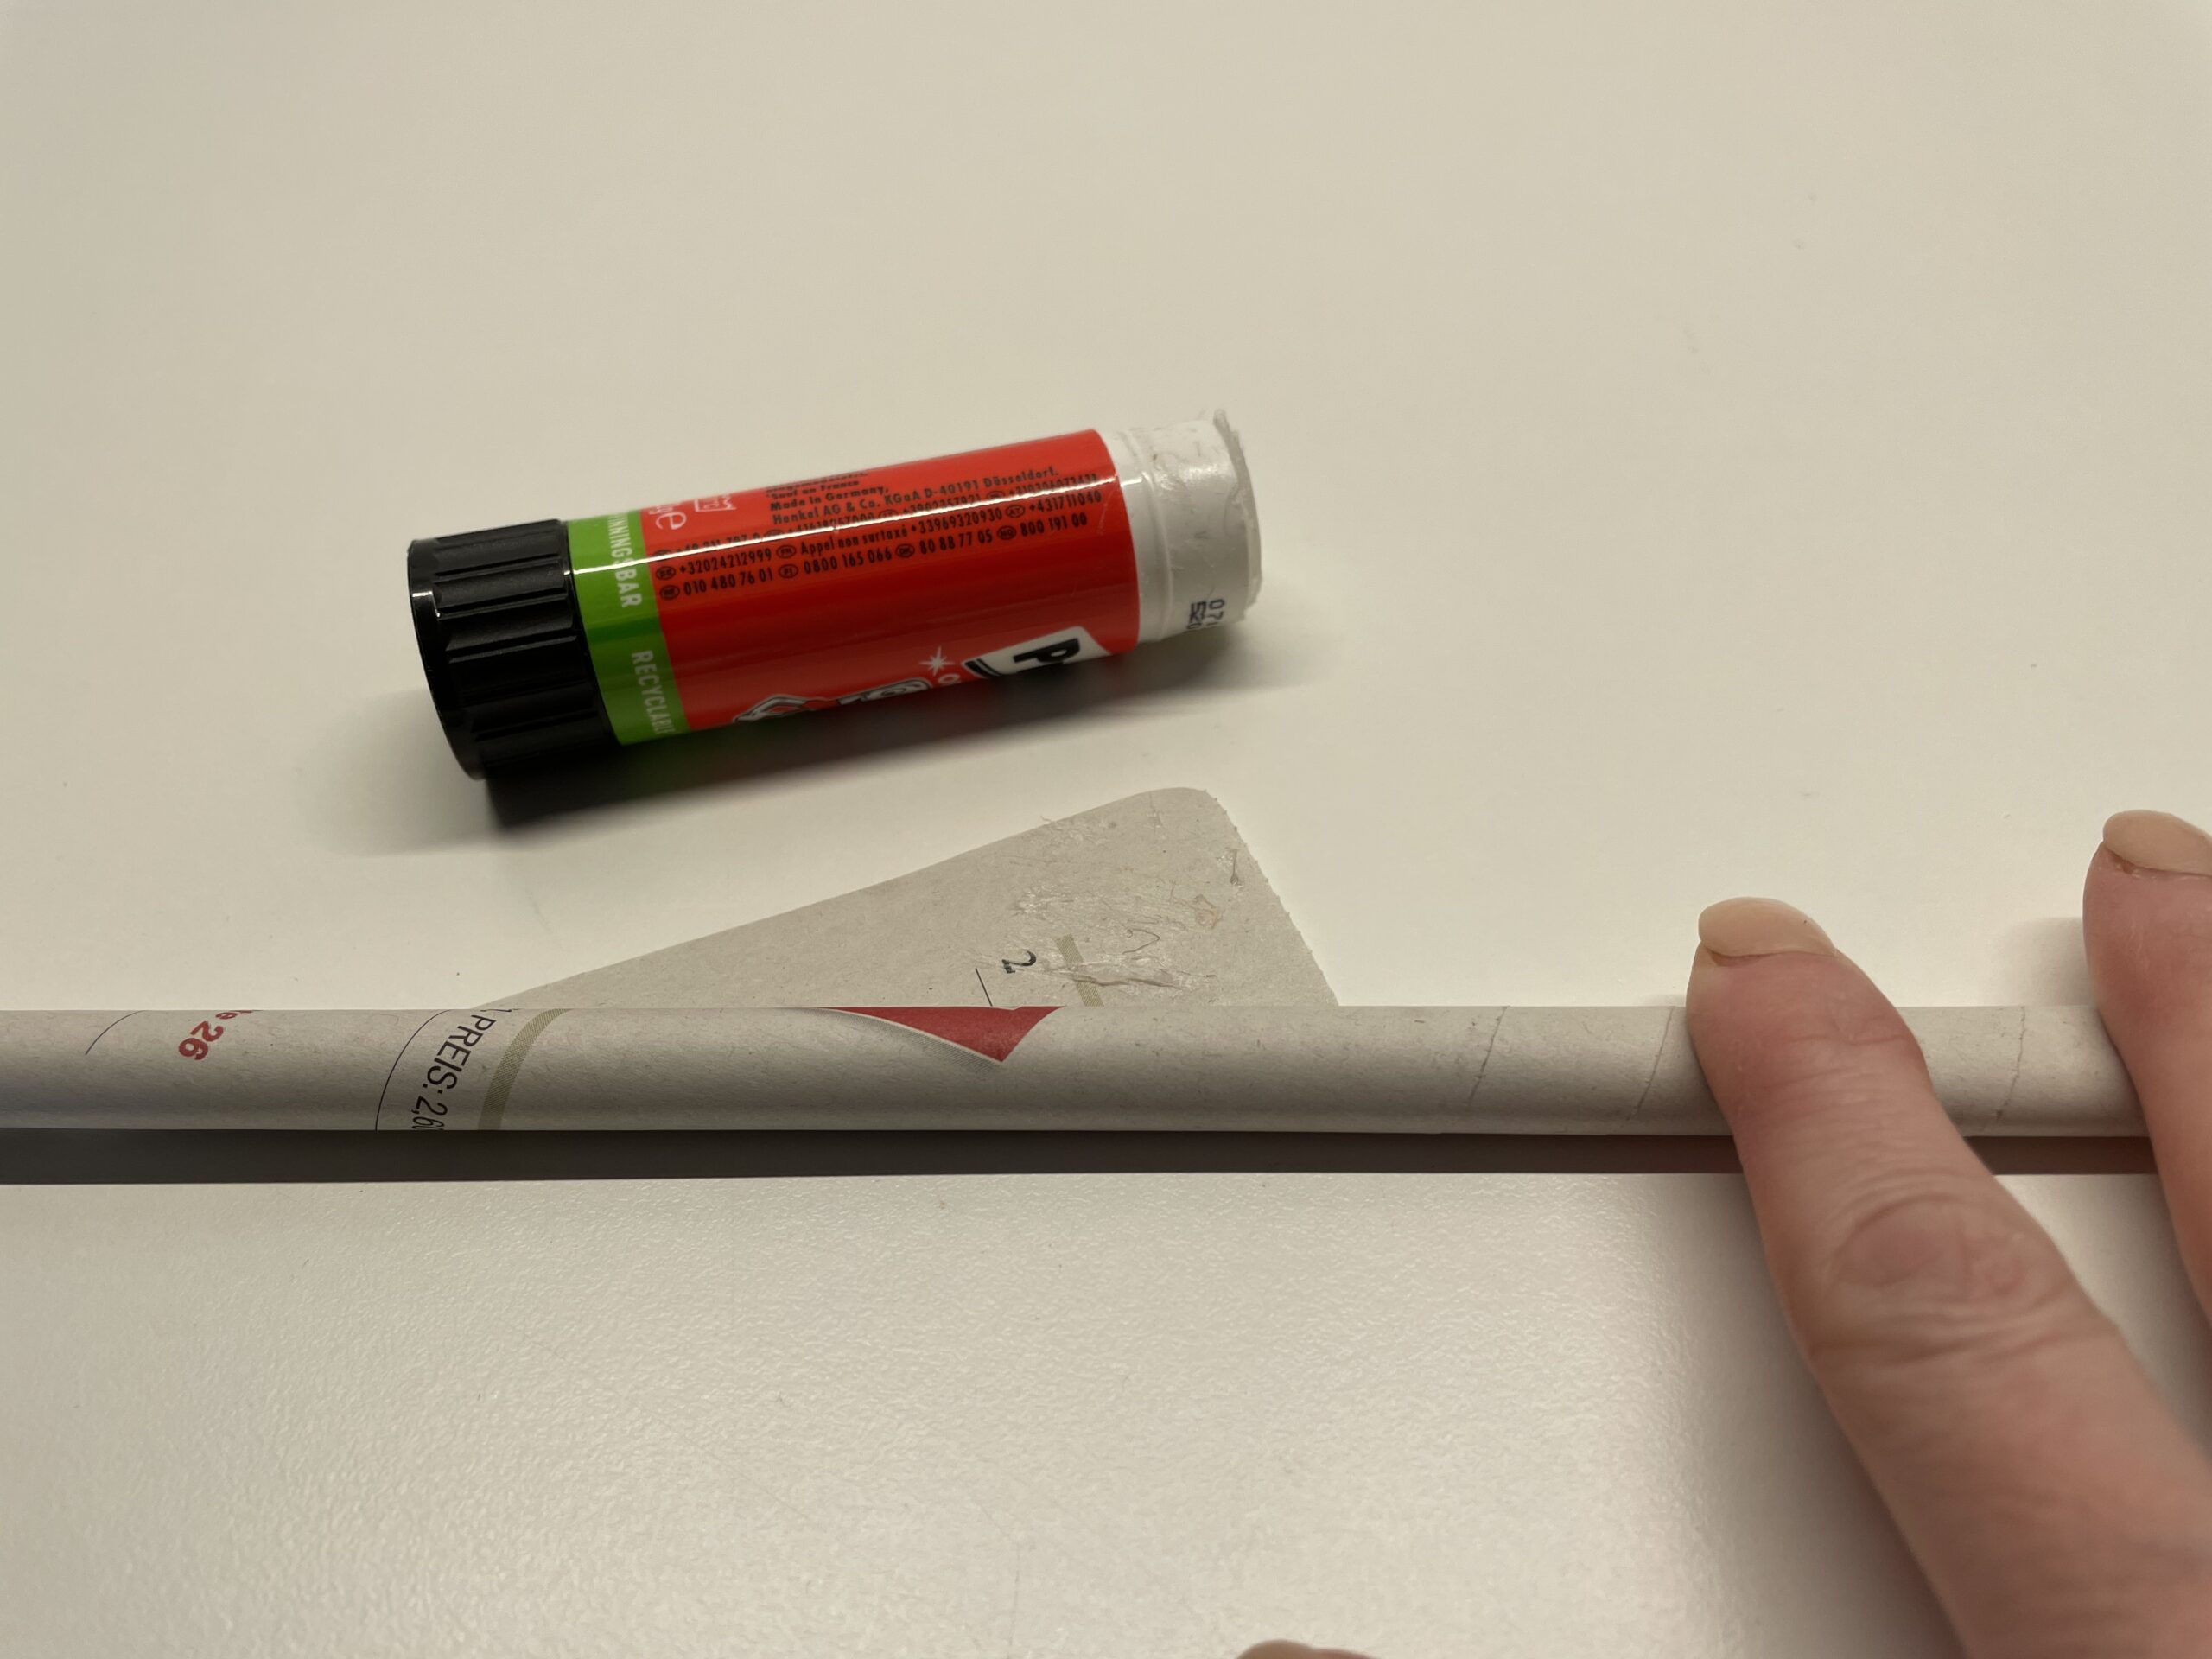


That's what the finished newspaper roll looks like.
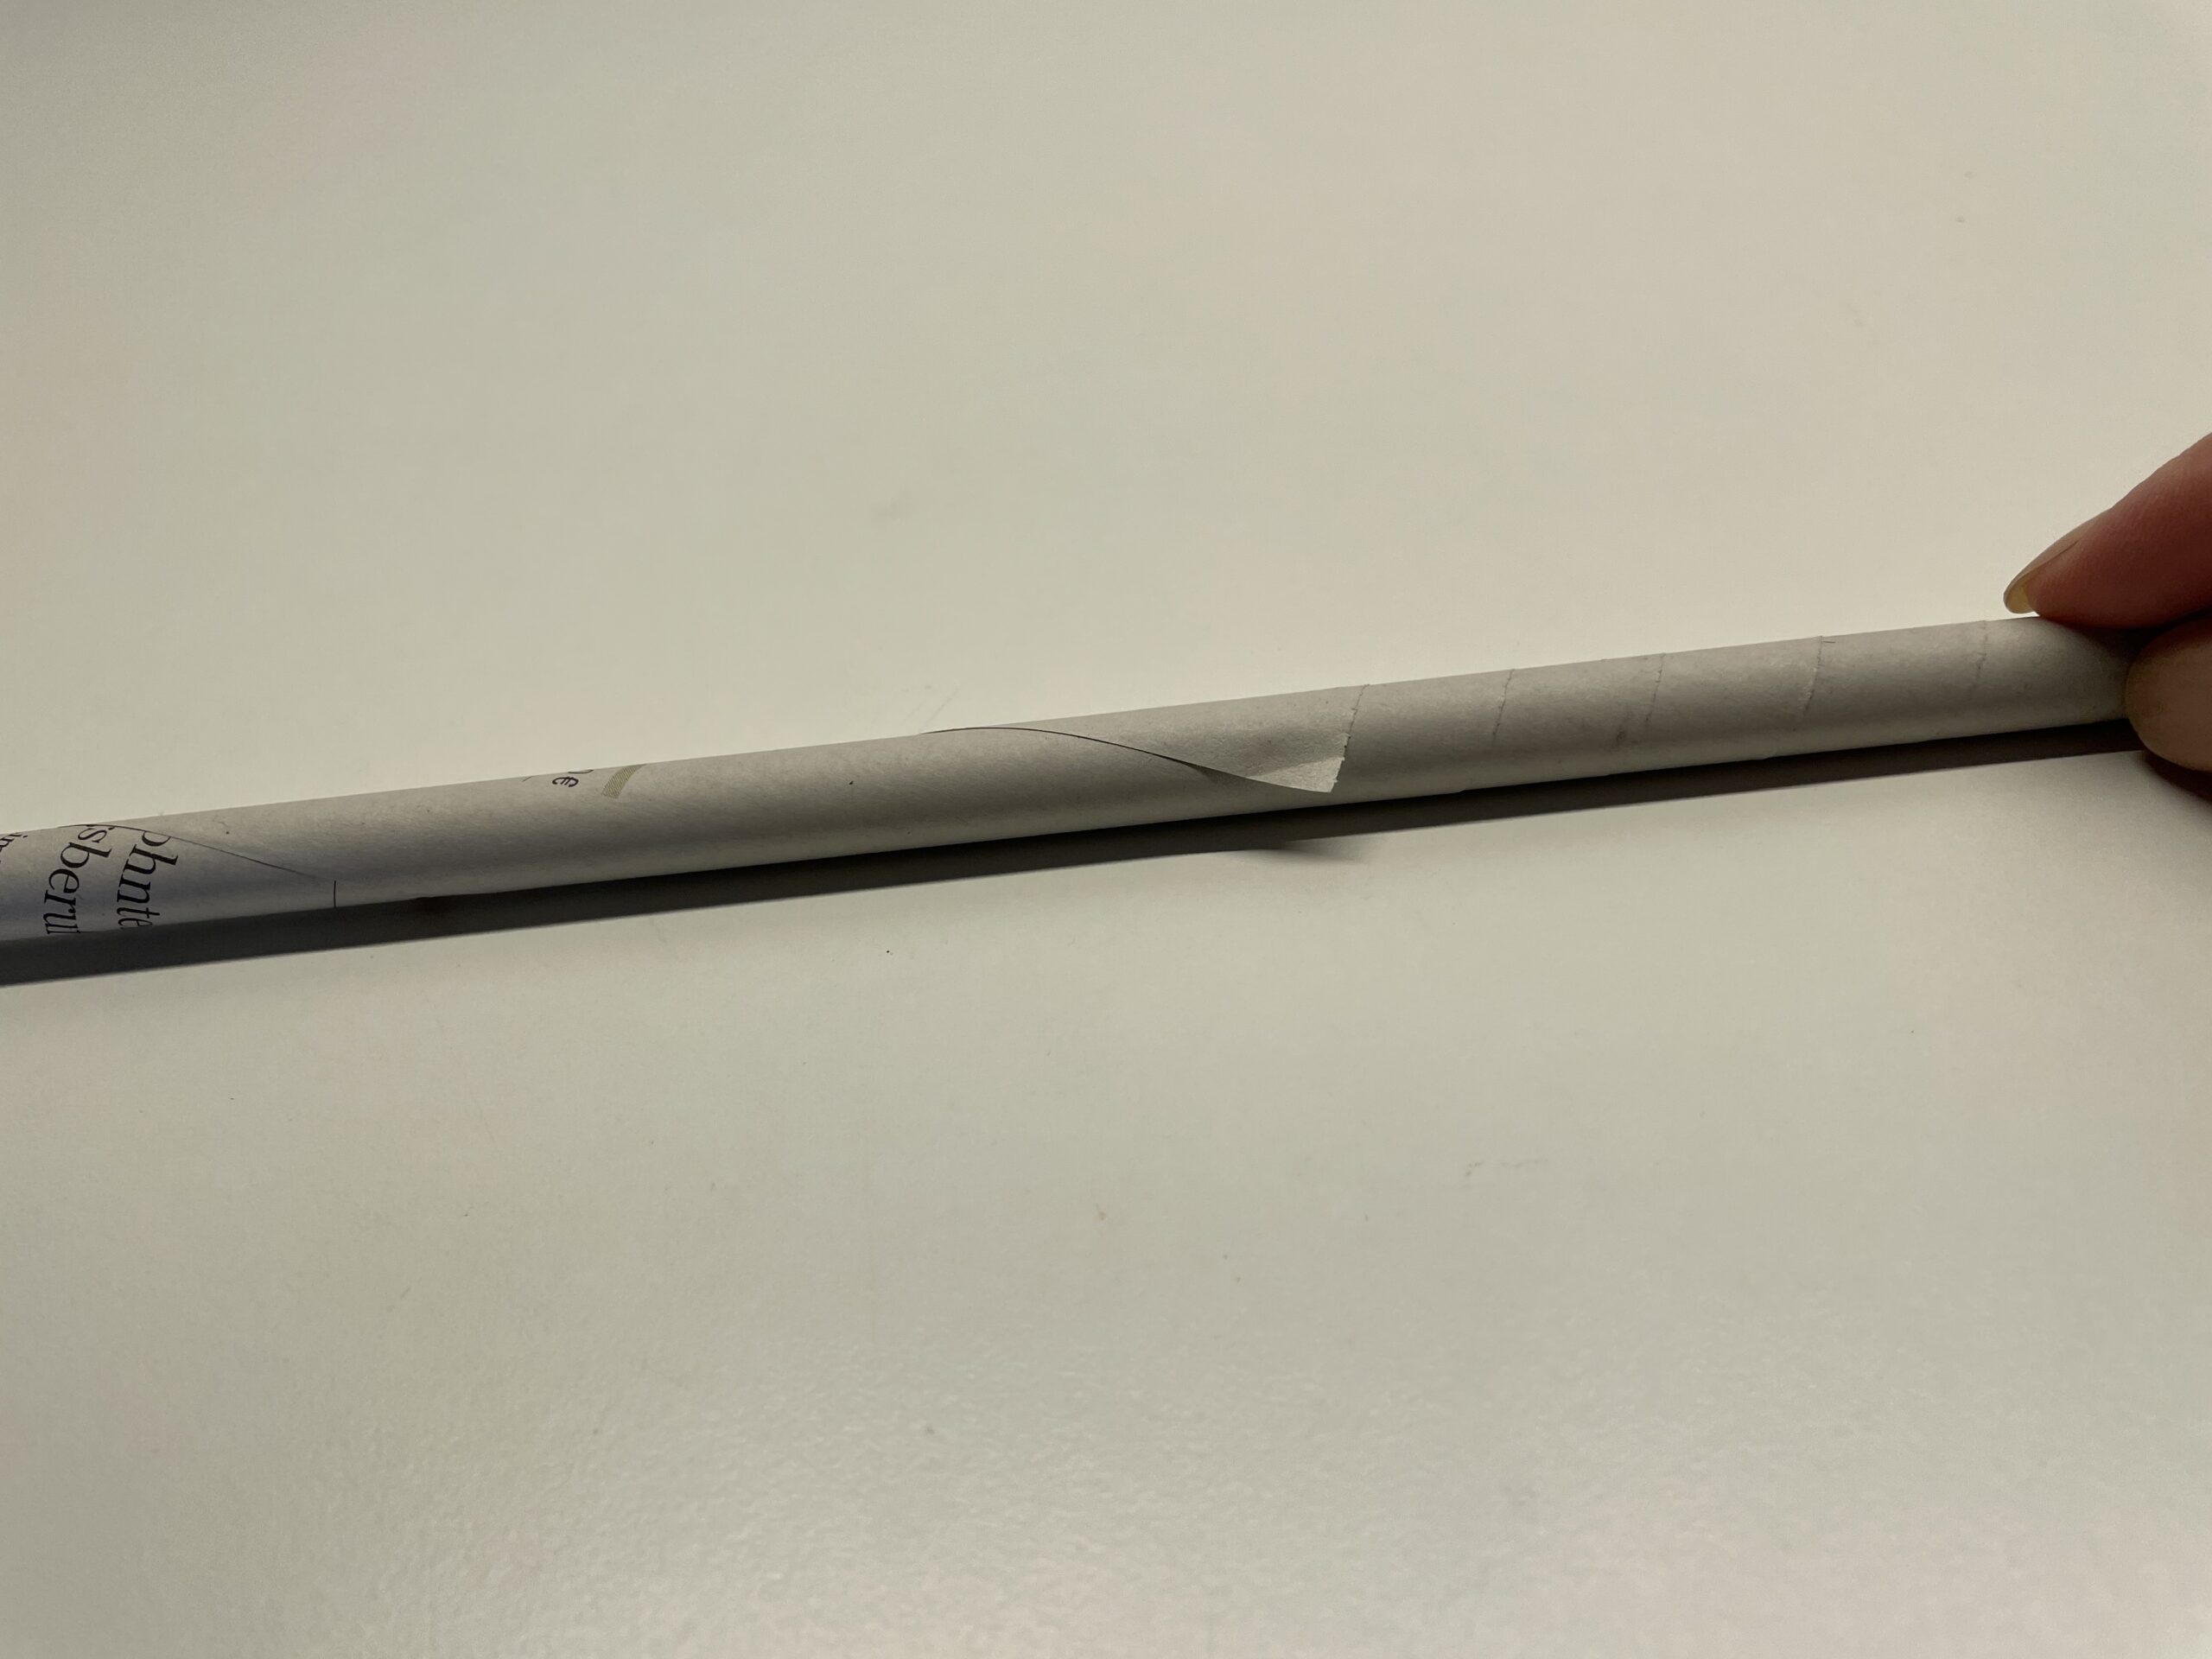


Next you press the roll with the flat hand flat. Thus the roll becomes a strip.
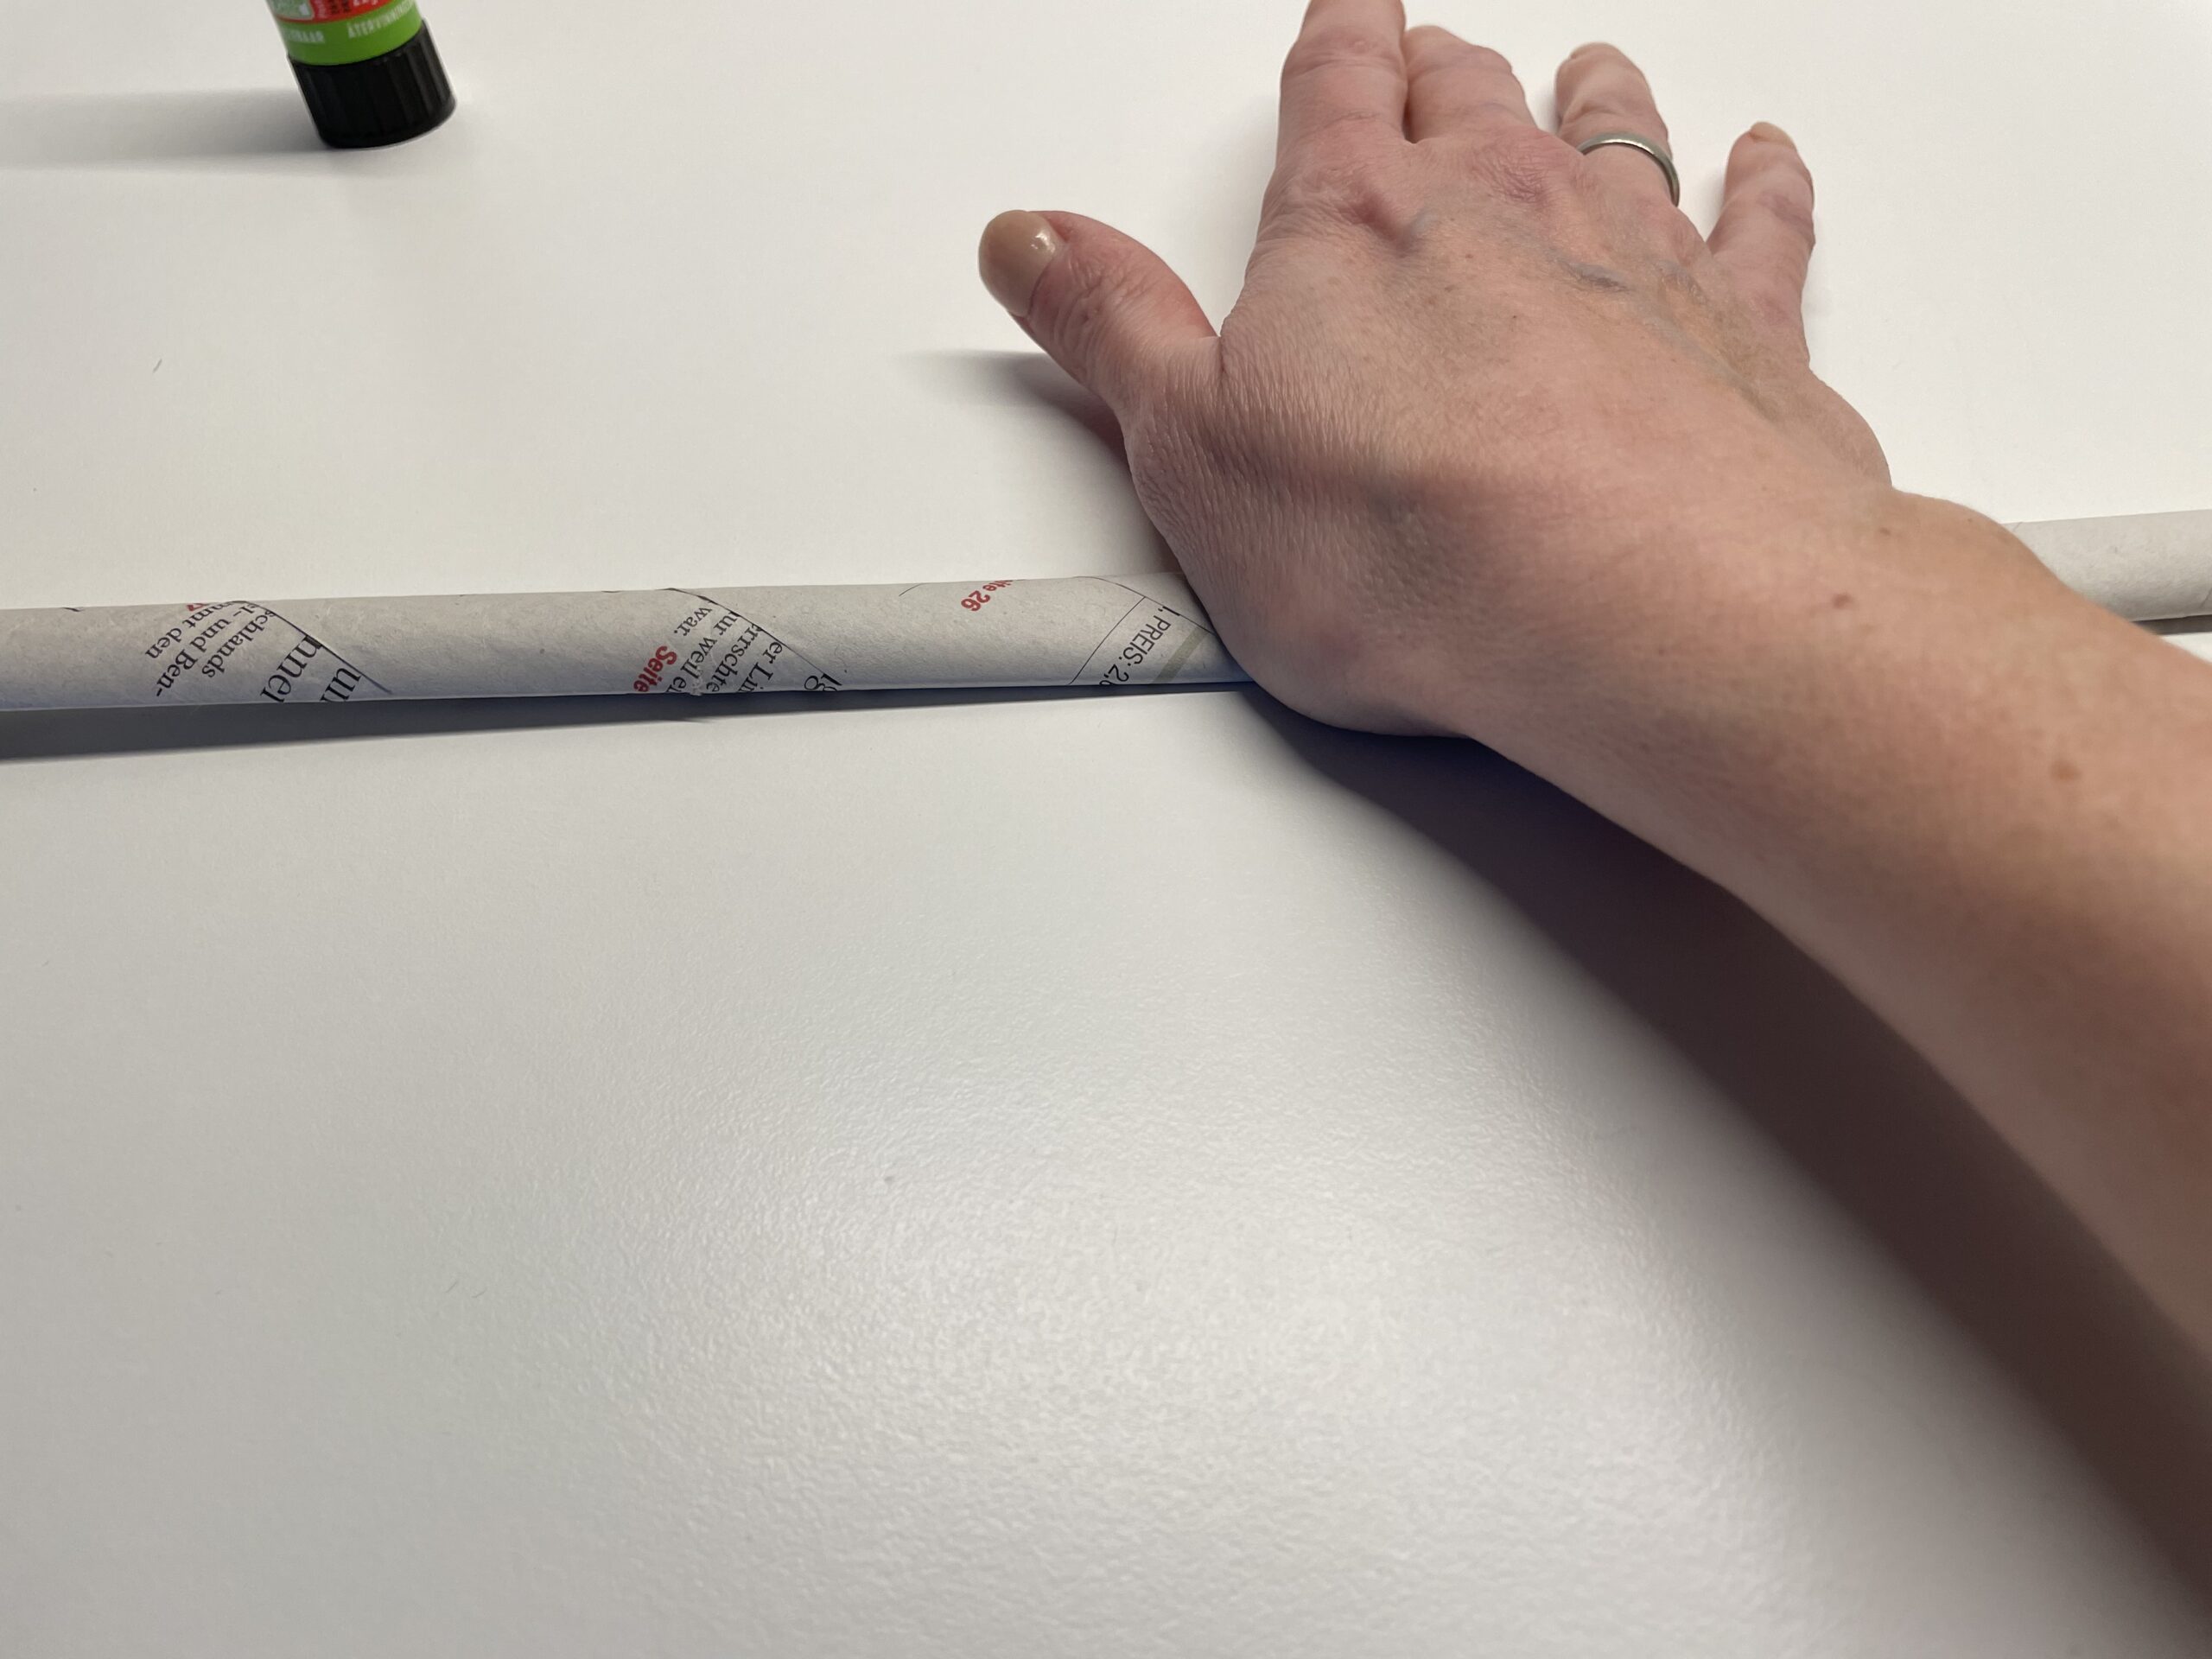


Depending on the desired size of the Easter dinner you need more or less newspaper rolls. Roll about 6-10 rolls and press them afterwards always flat.


Here you can read how many rolls you need for a small, medium or slightly larger bowl.
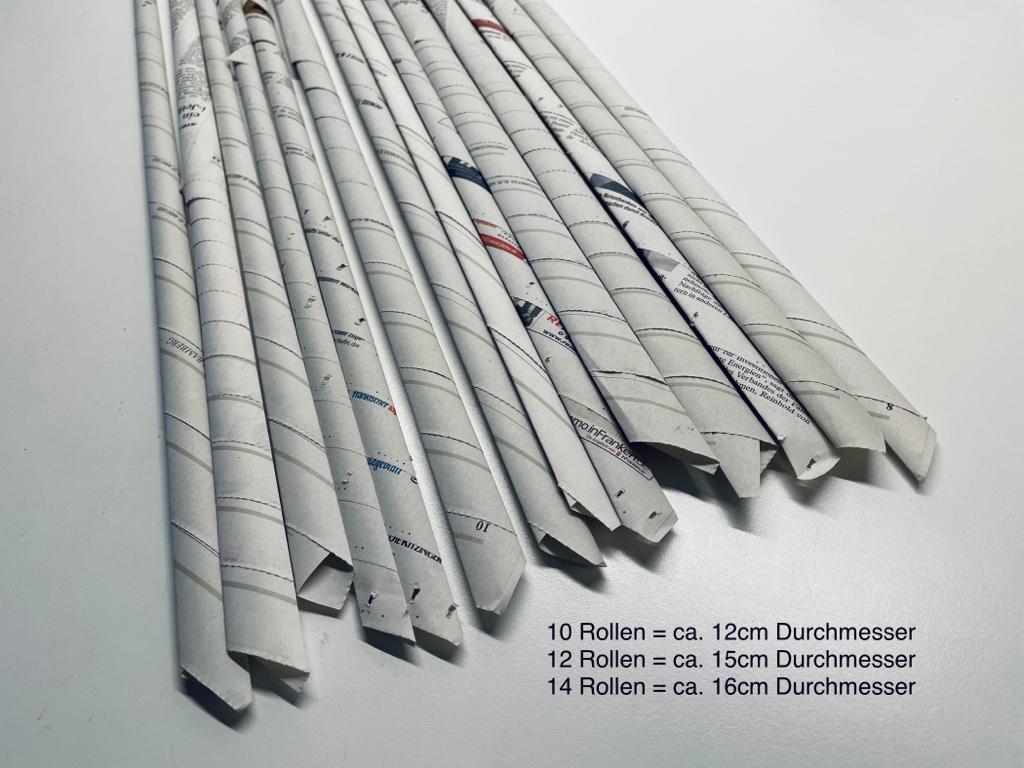


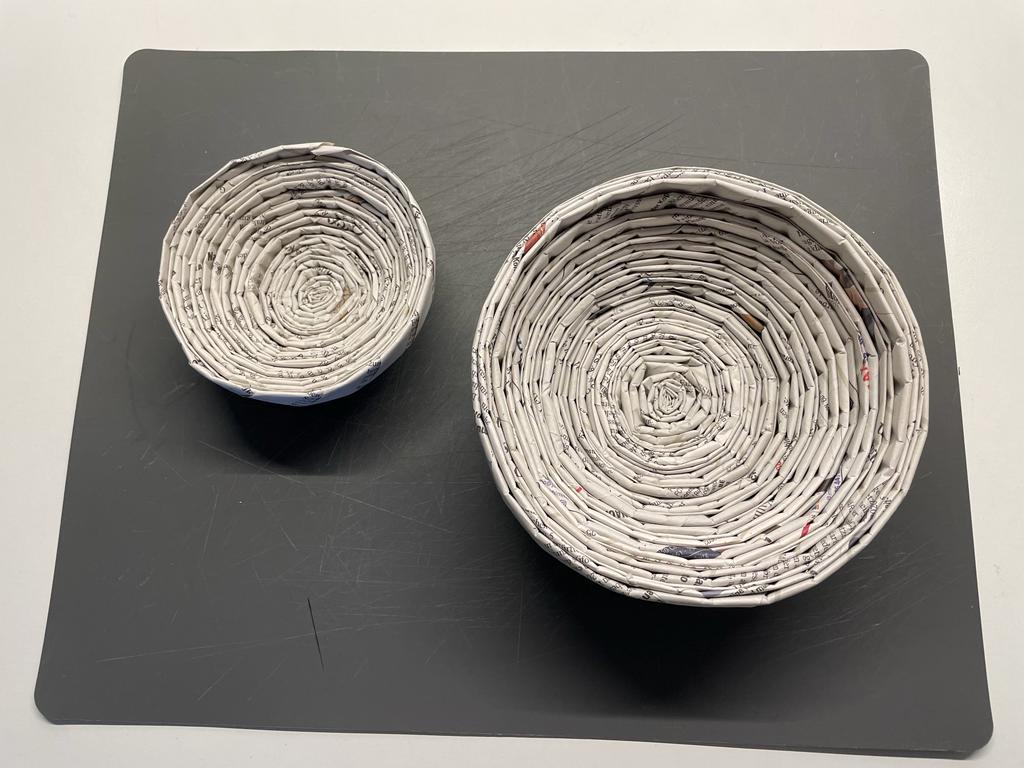
This is how different sized bowls look. Consider what size is suitable for your Easter nest.


Now you're starting to wrap the first newspaper strip like a snail.
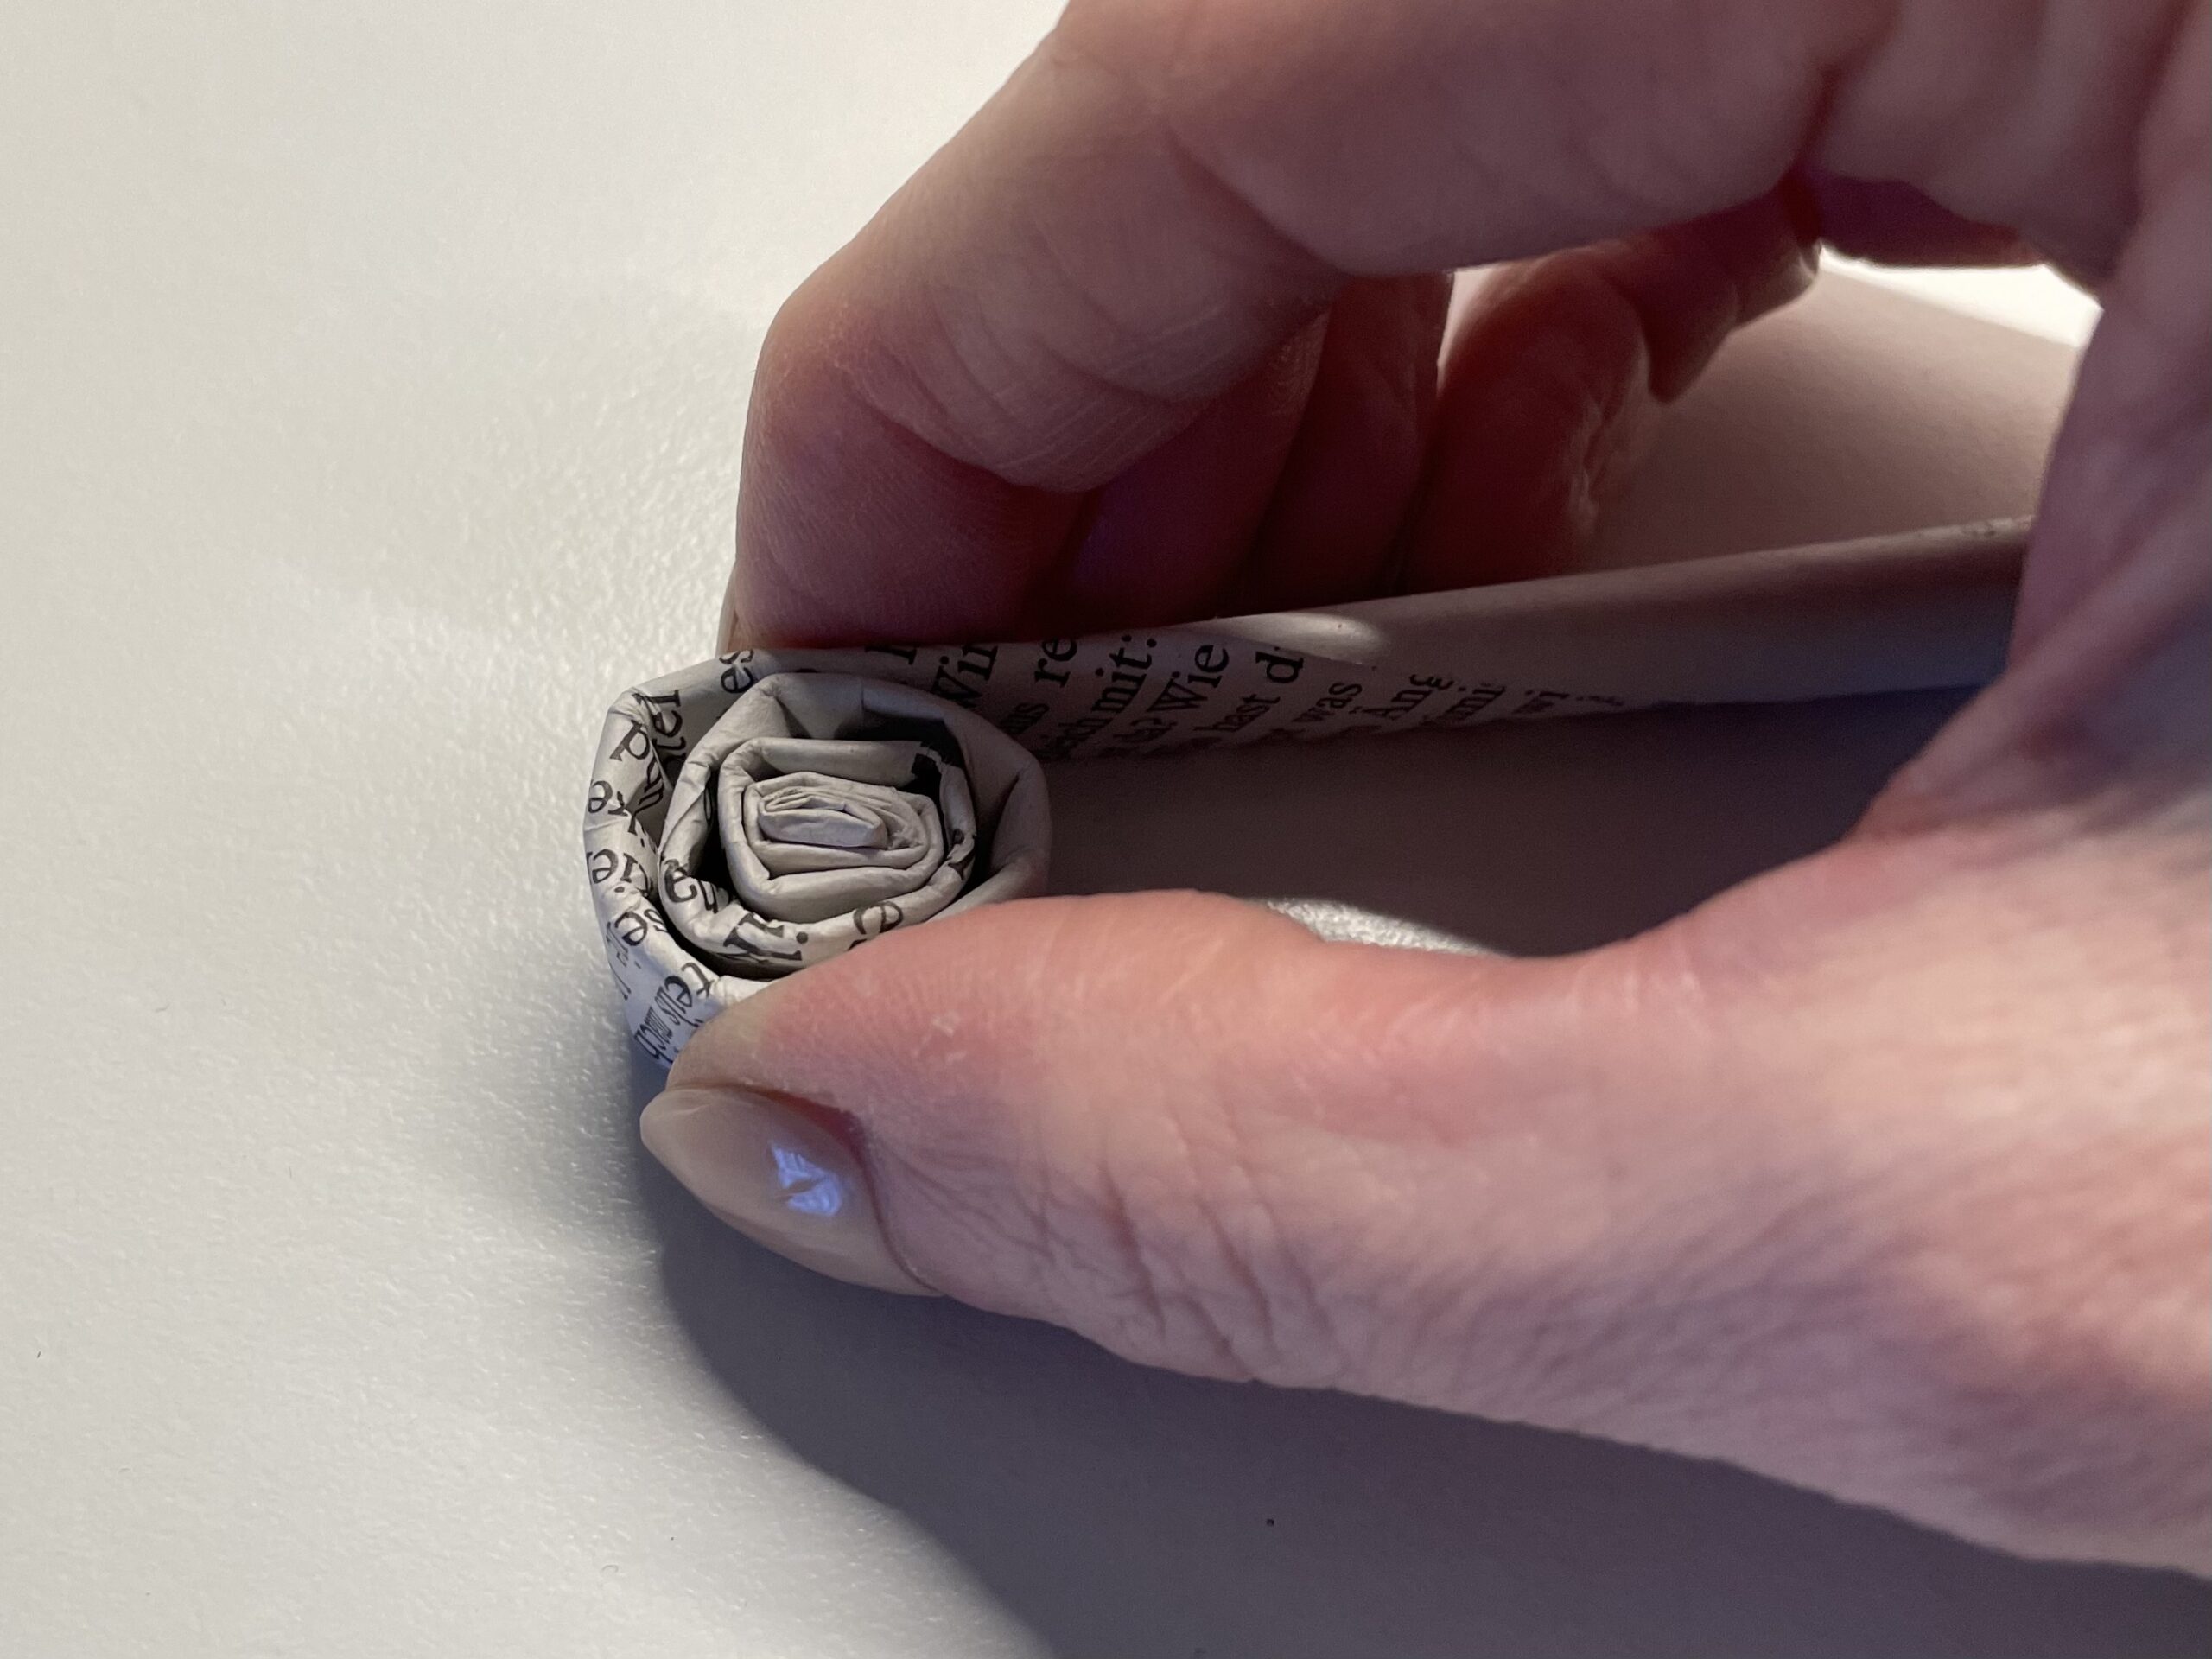


Wraps very closely to the end of the strip. This requires a lot of strength!
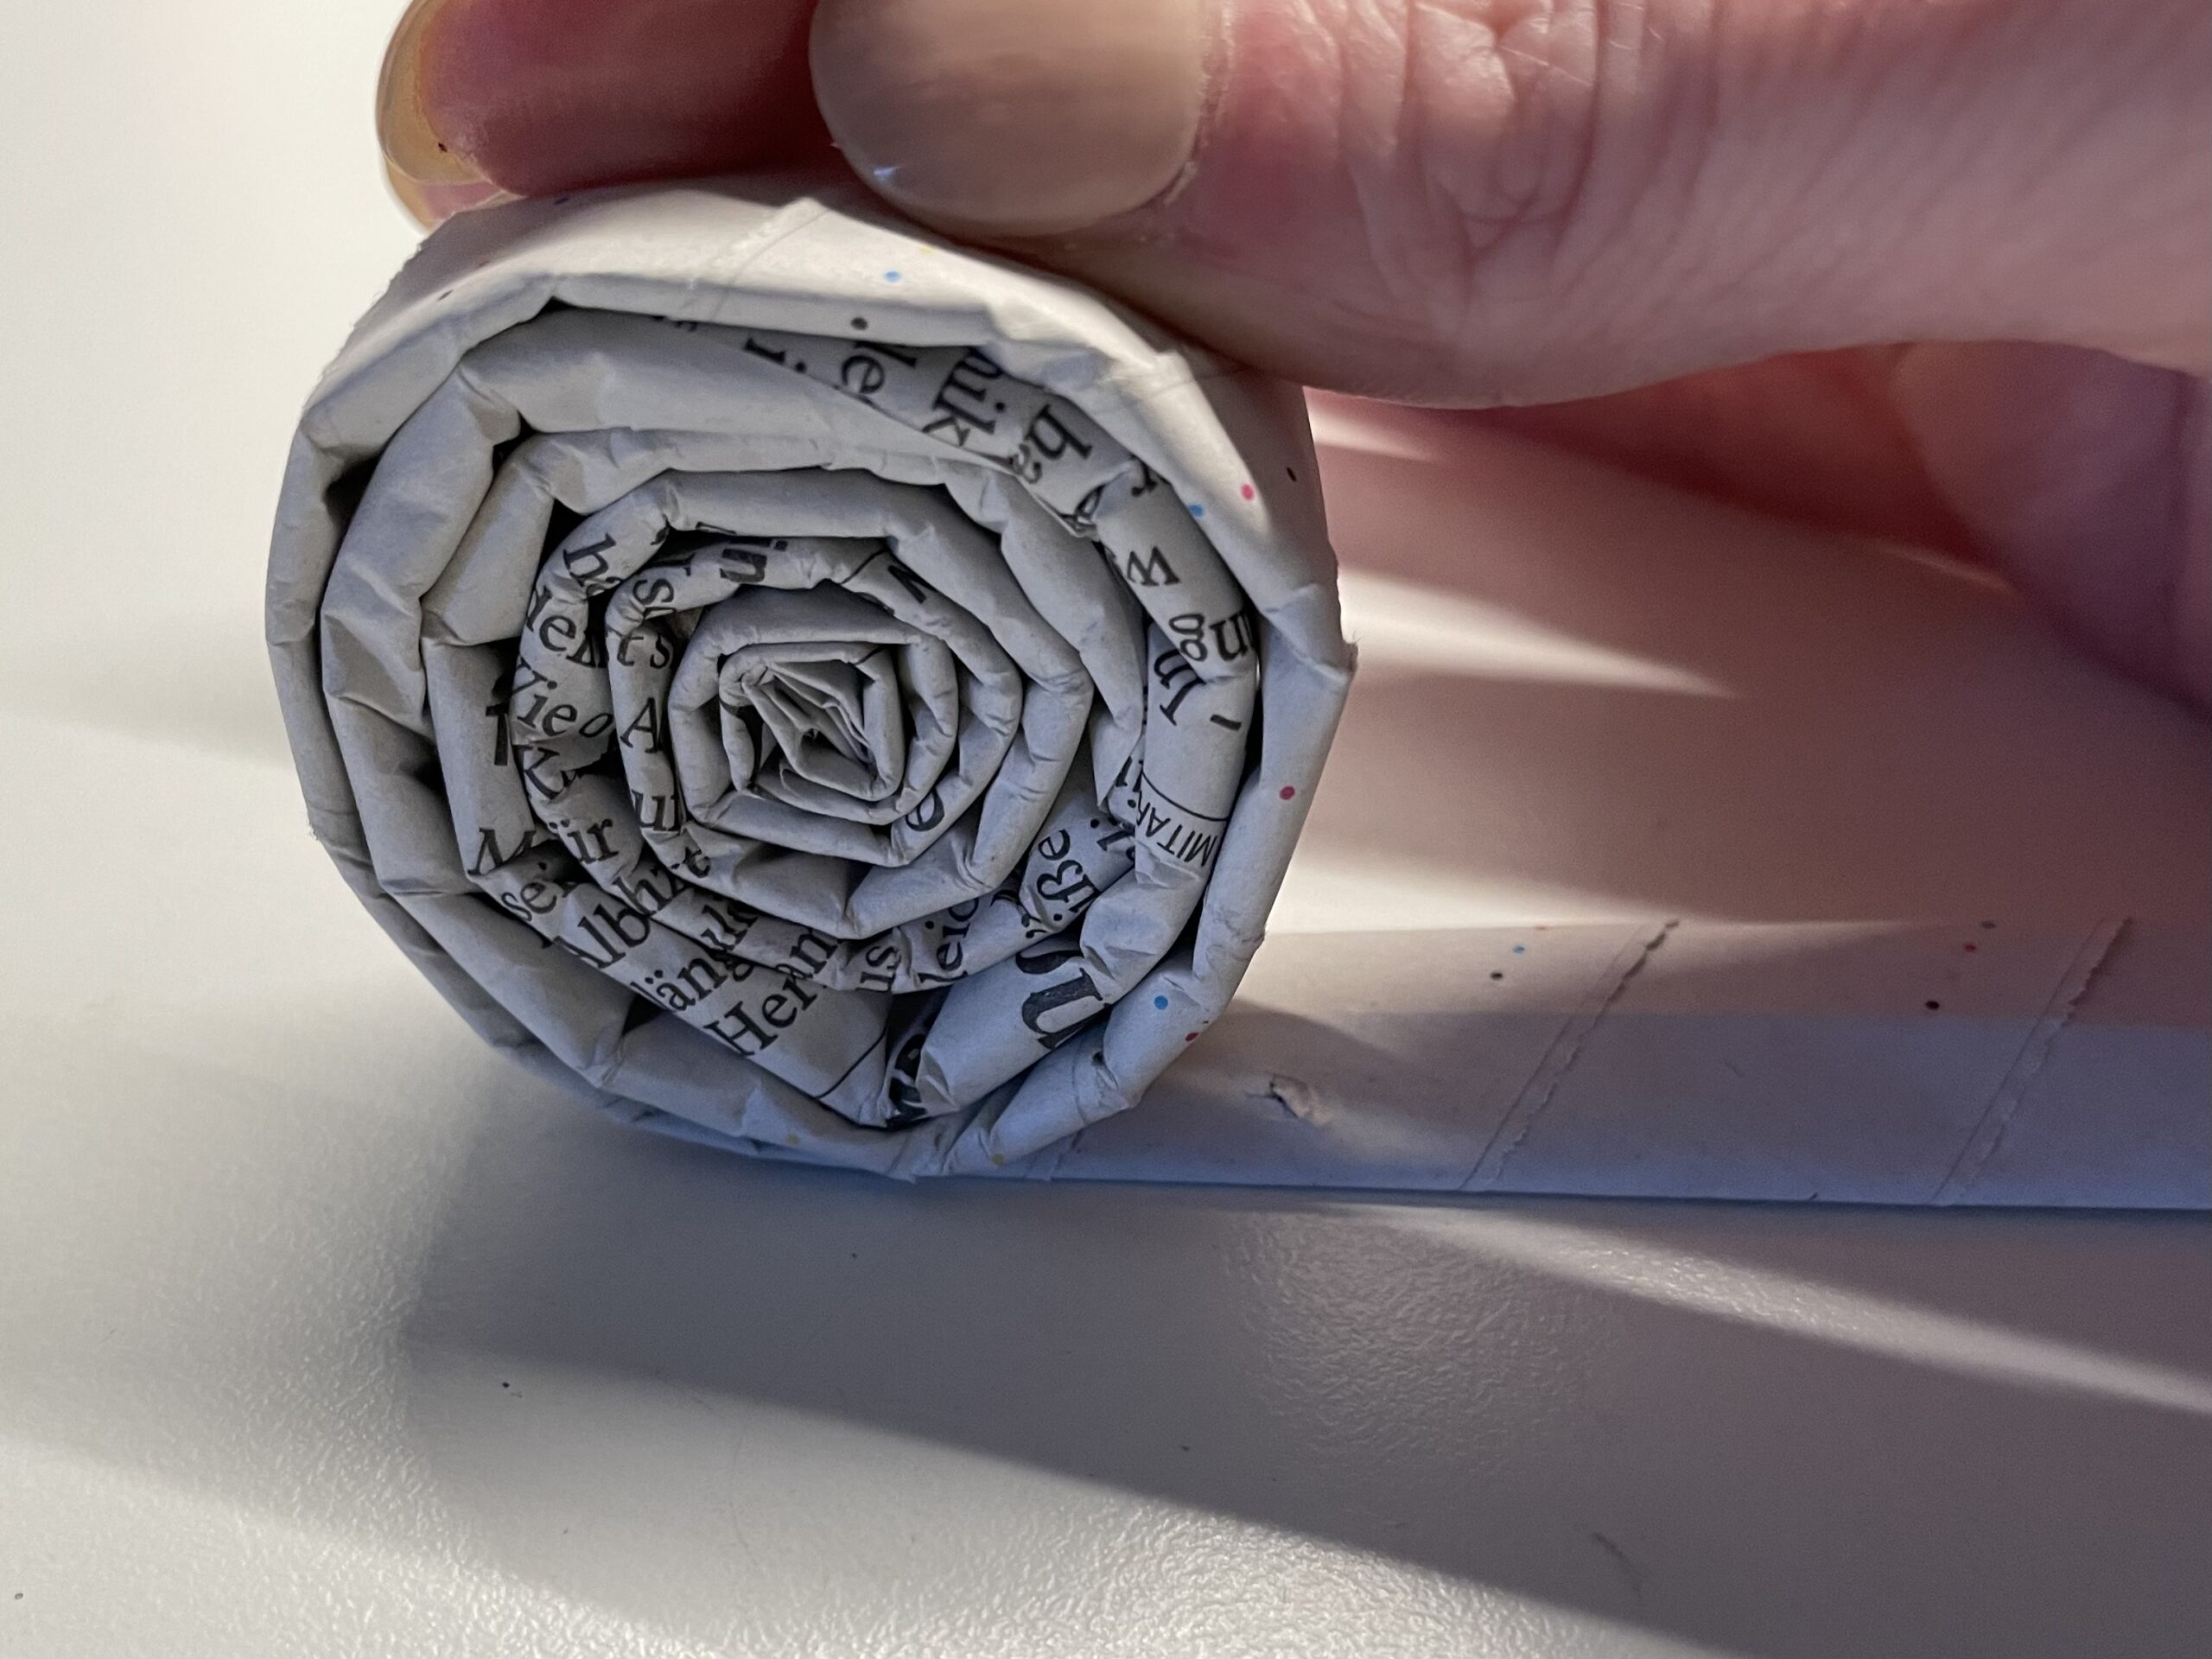


When the first strip ends, a second strip is glued 3cm overlapping.
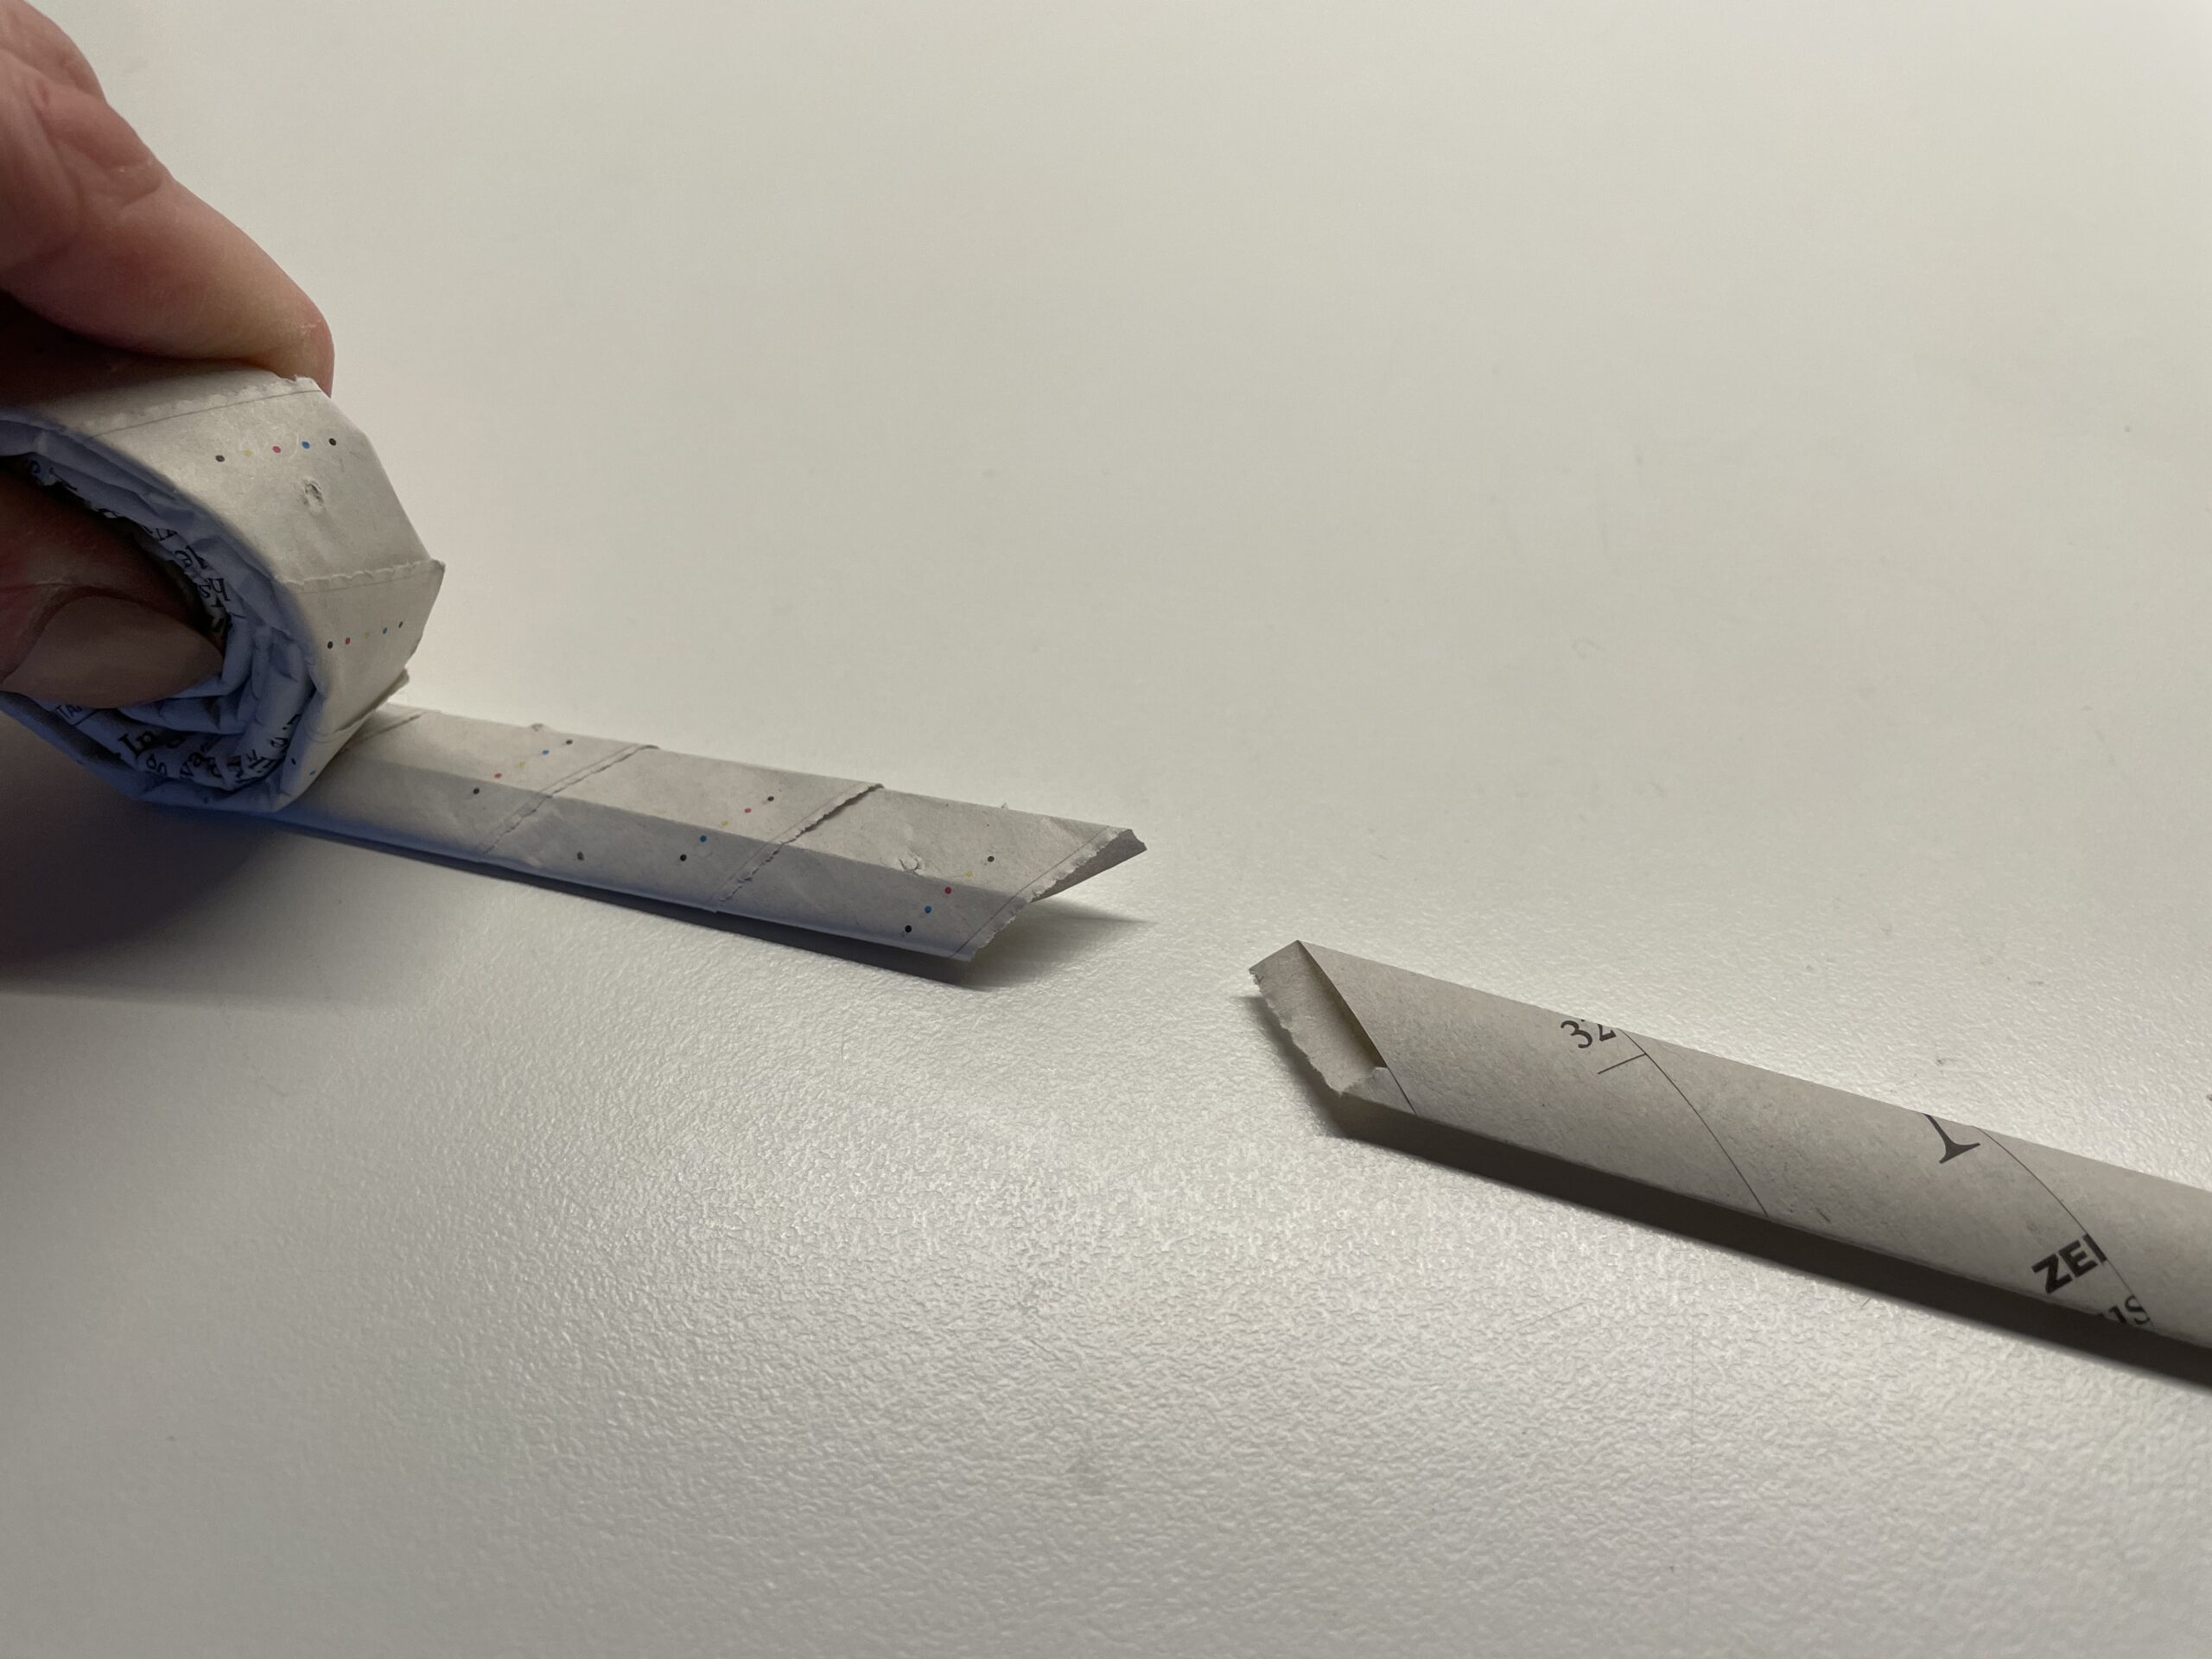


Put glue on the end piece and place the next strip on it. Press both strips together briefly and then wrap further.
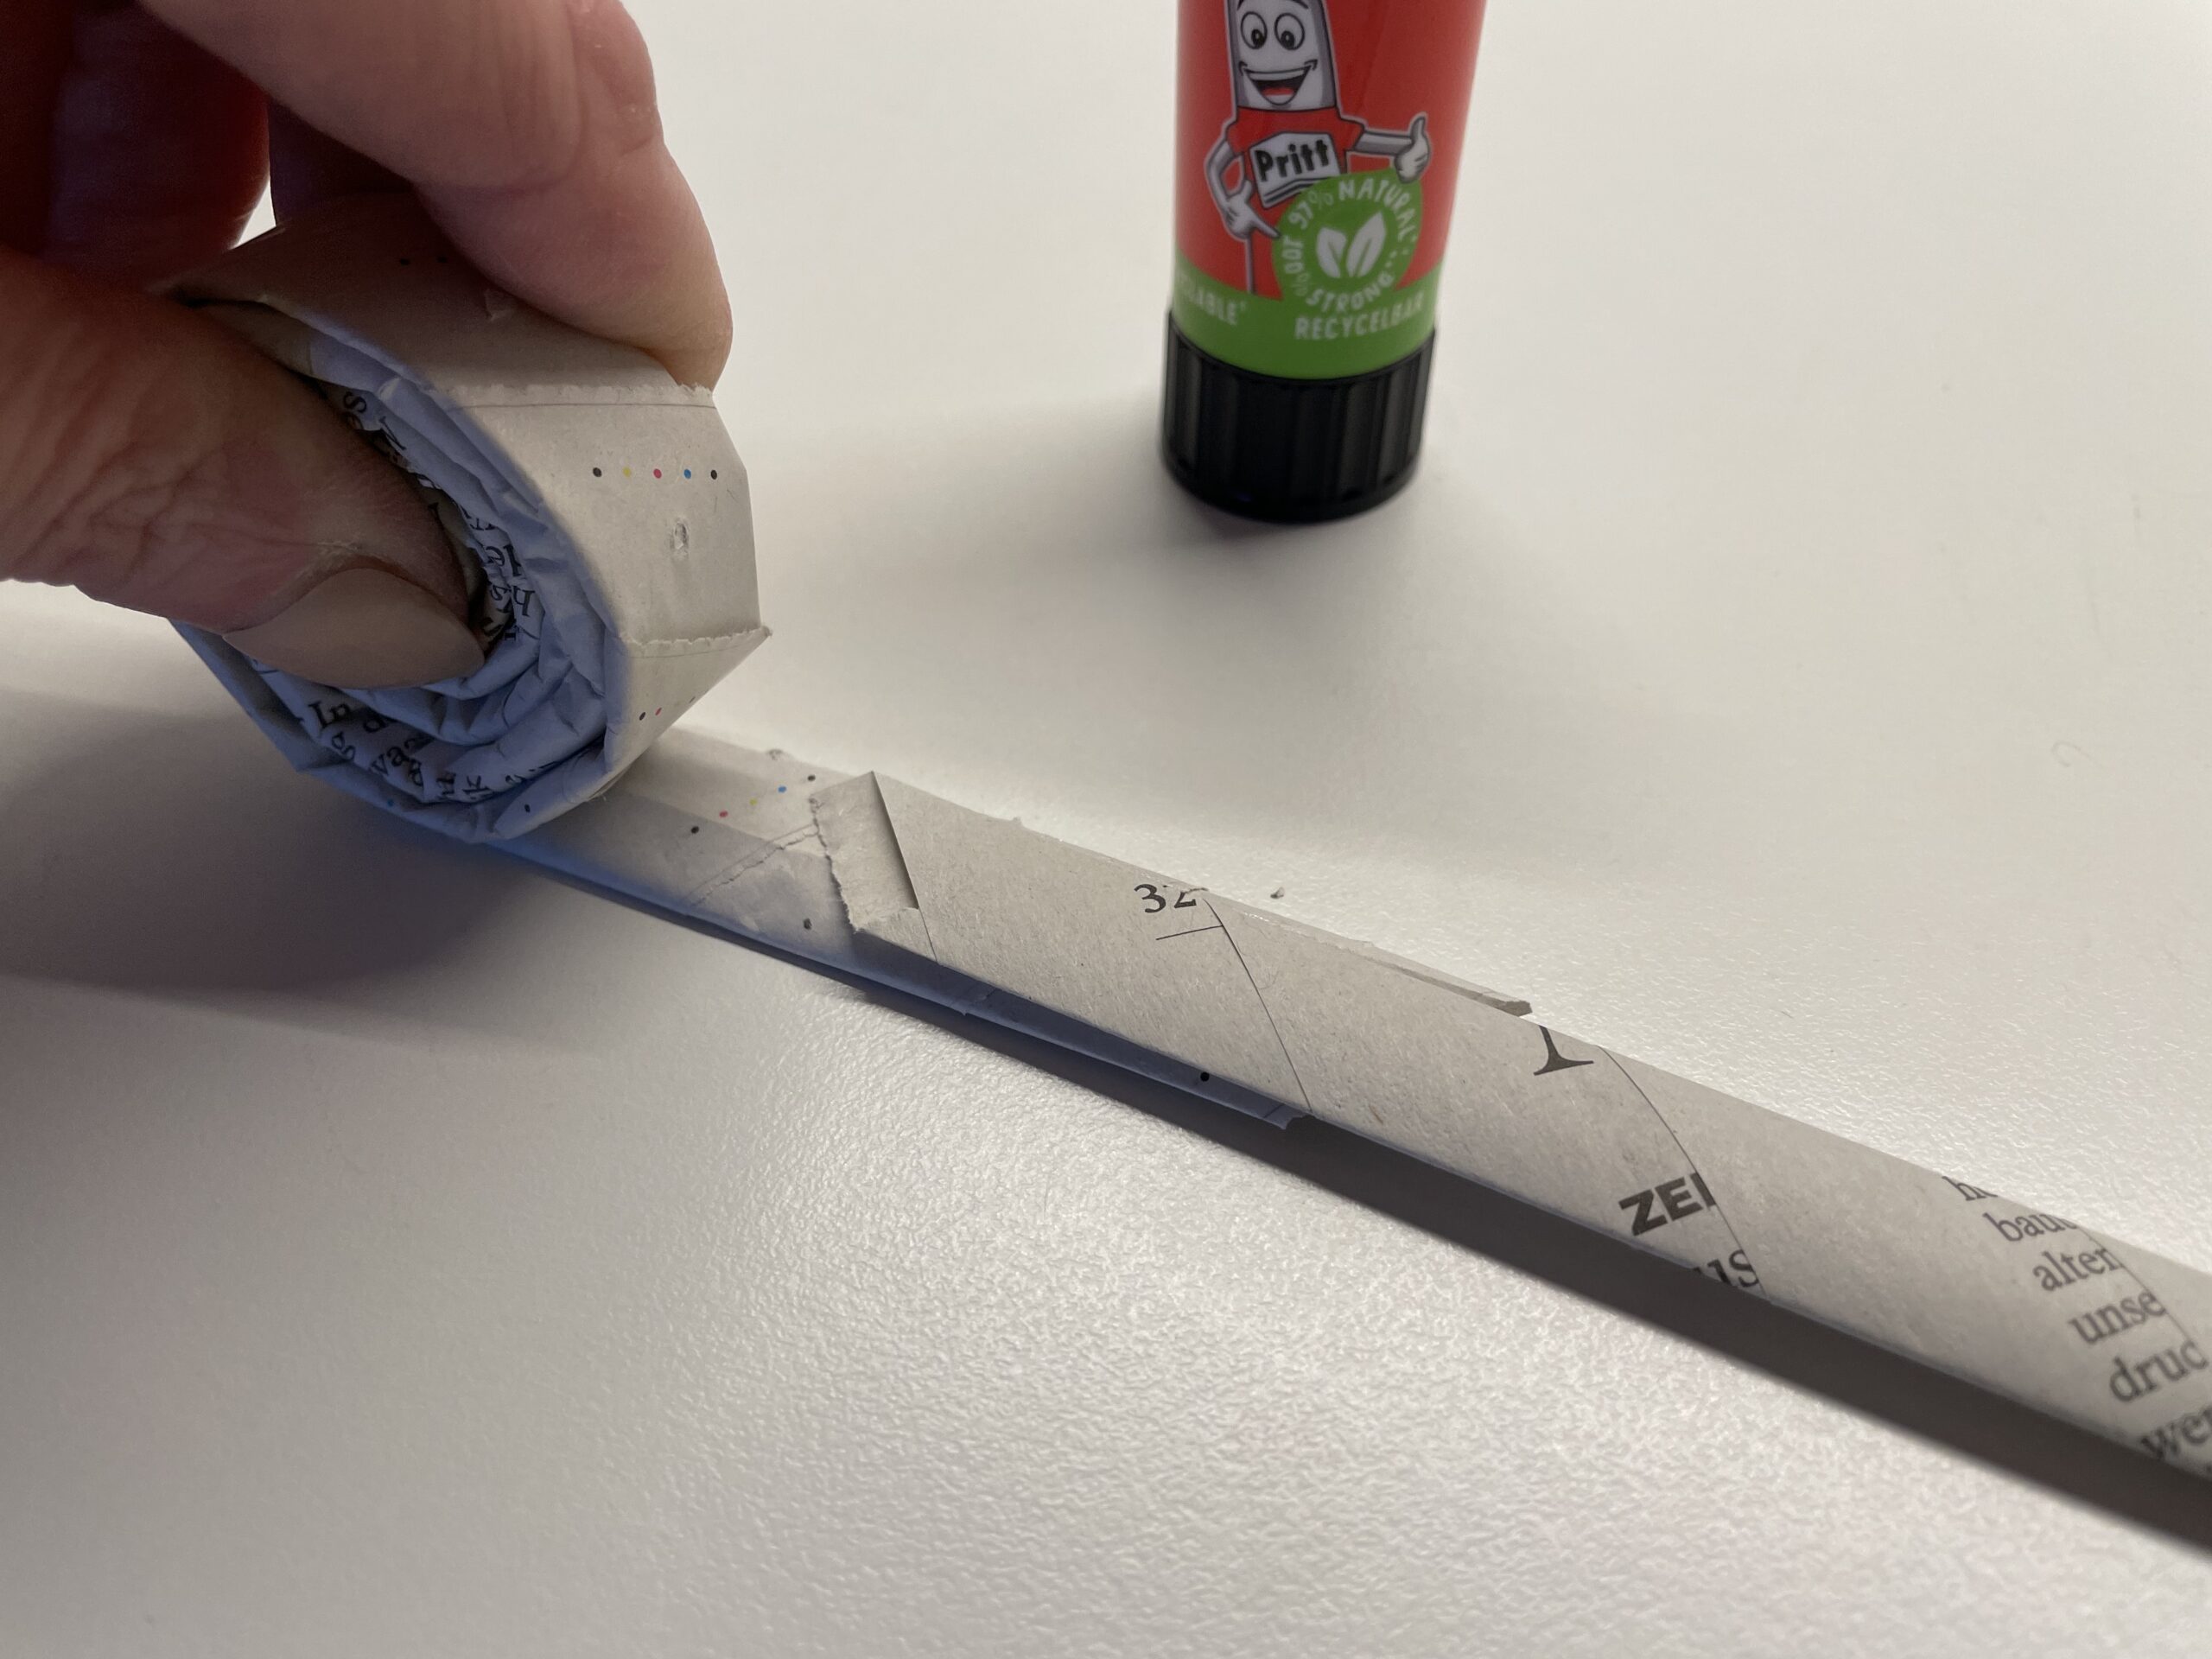


The resulting paper snail gets bigger and bigger as more strips stick to it.
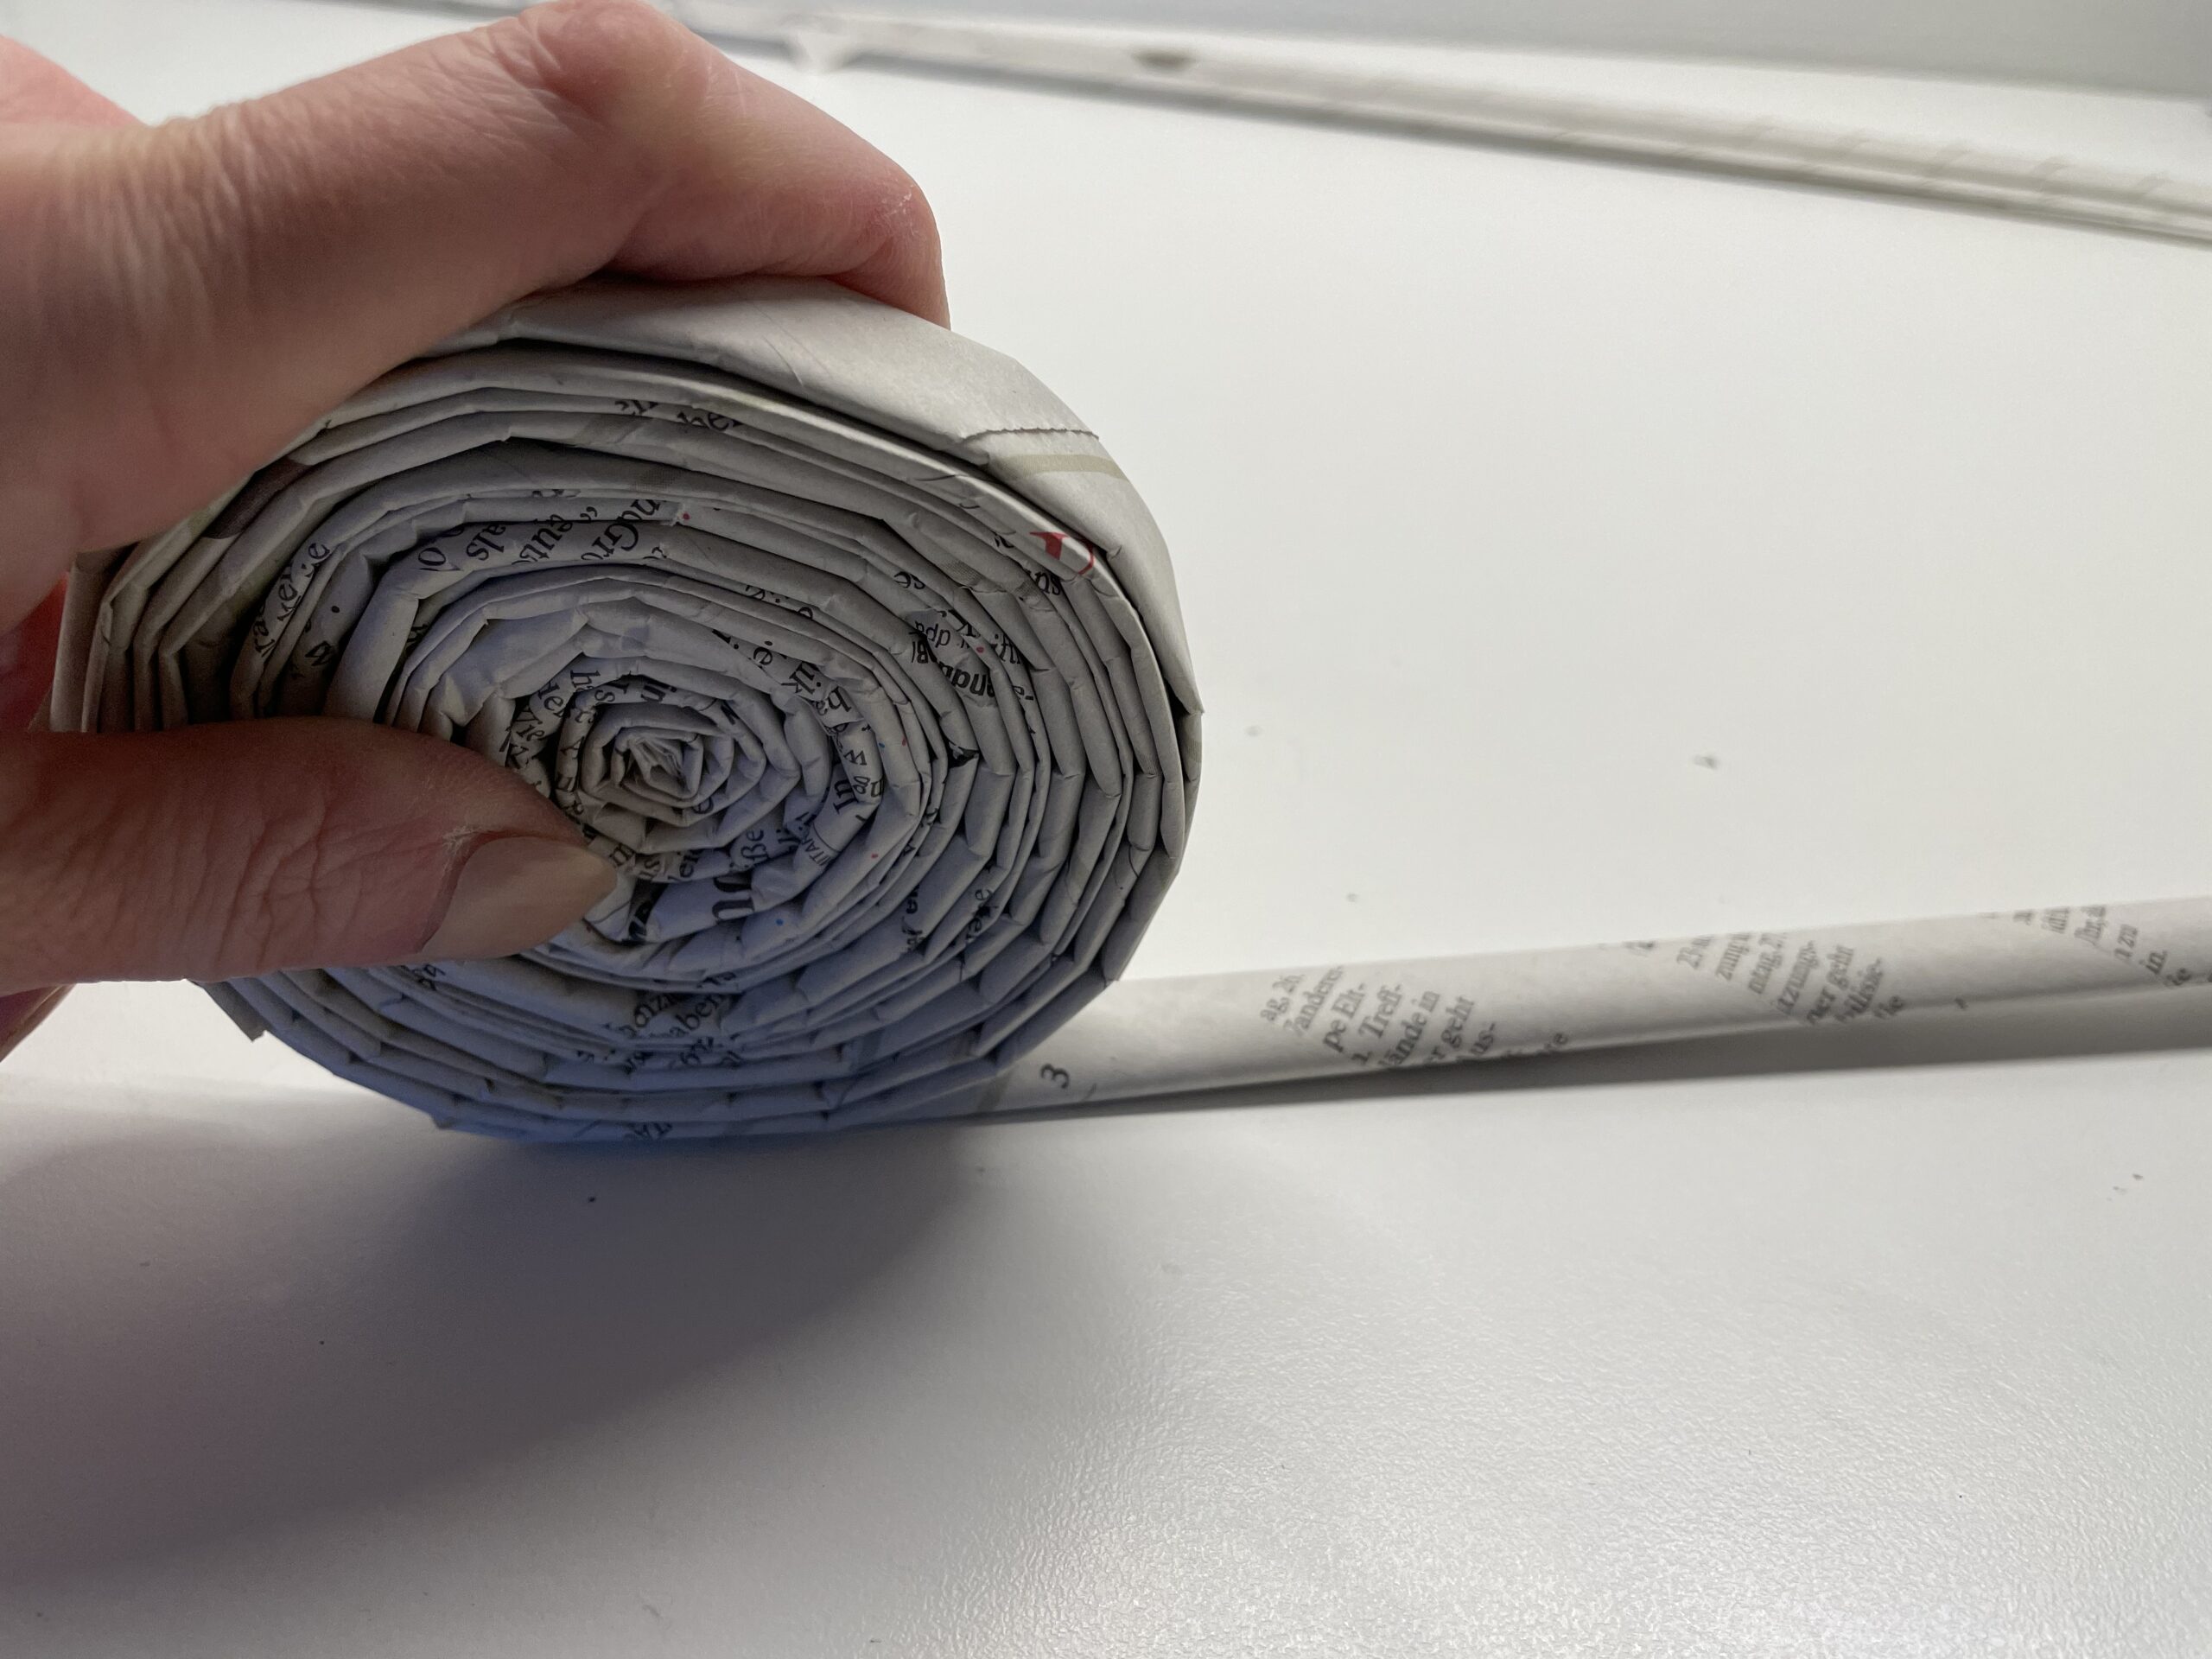


You always have to hold the rolled-up paper snail well so that it does not roll up again.


Stick the end of the last strip to the rolled-up snail. Apply glue to it and press the end.
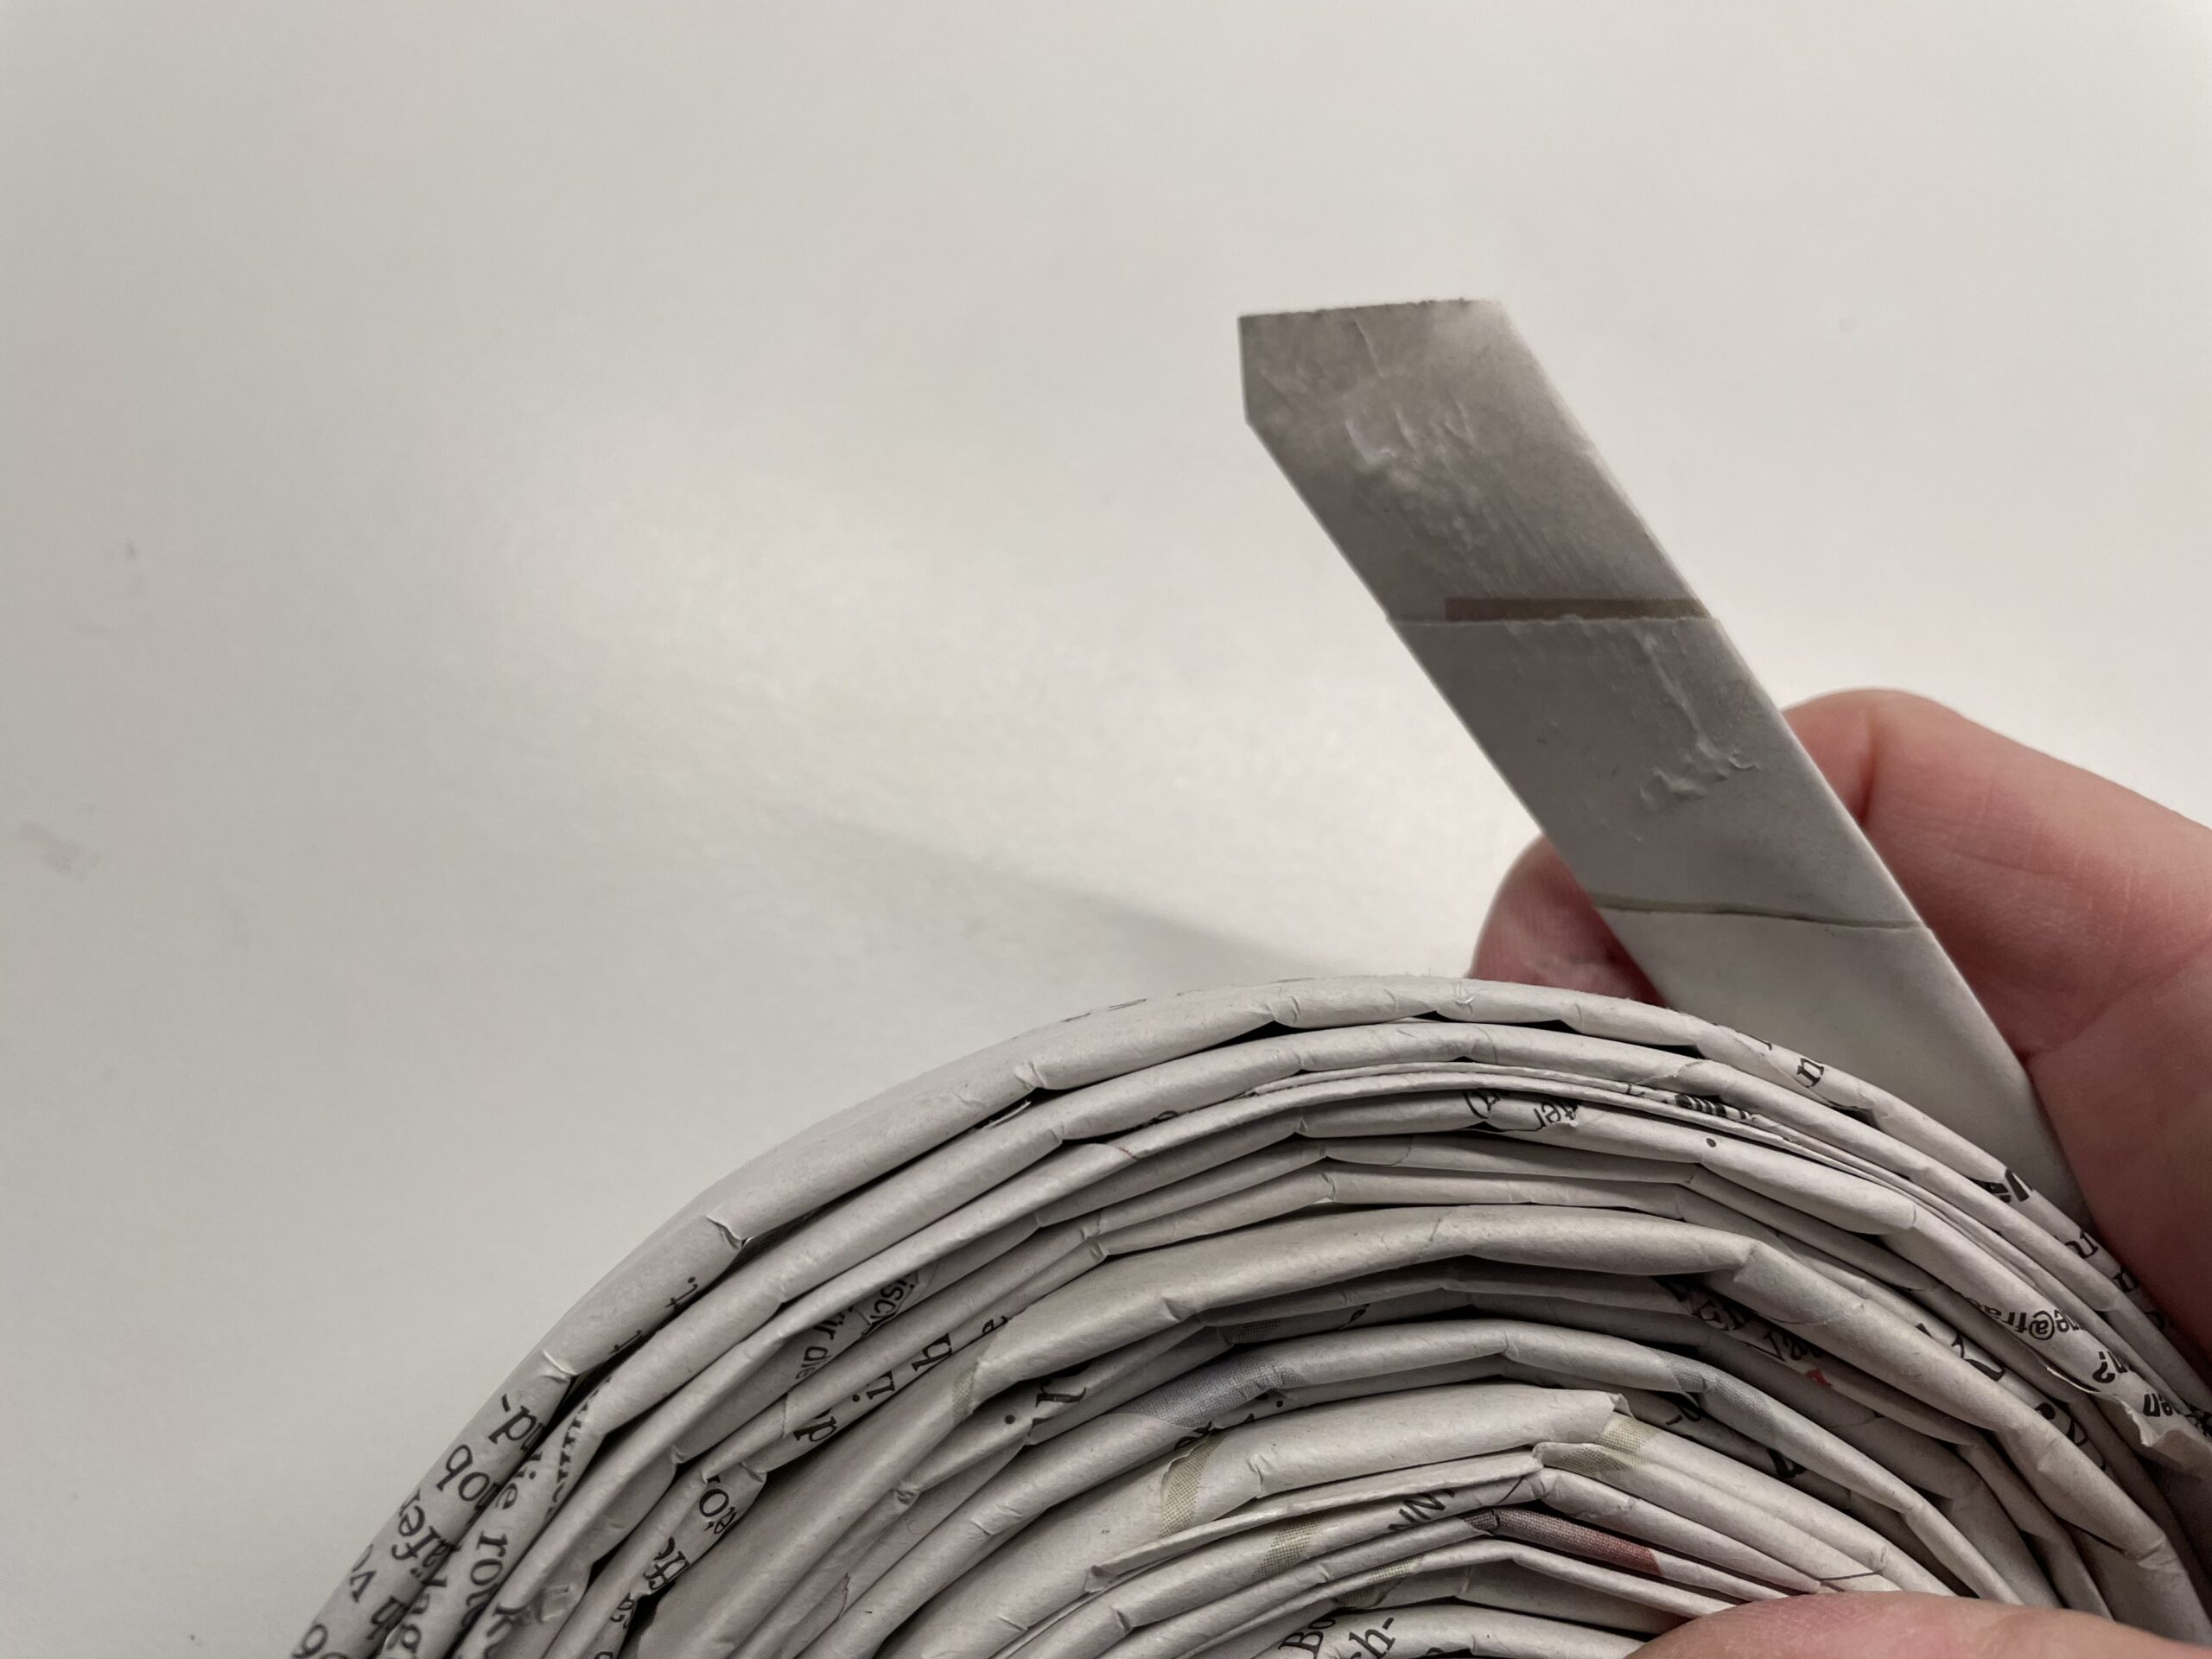


Keep it short and the paper snail is ready.
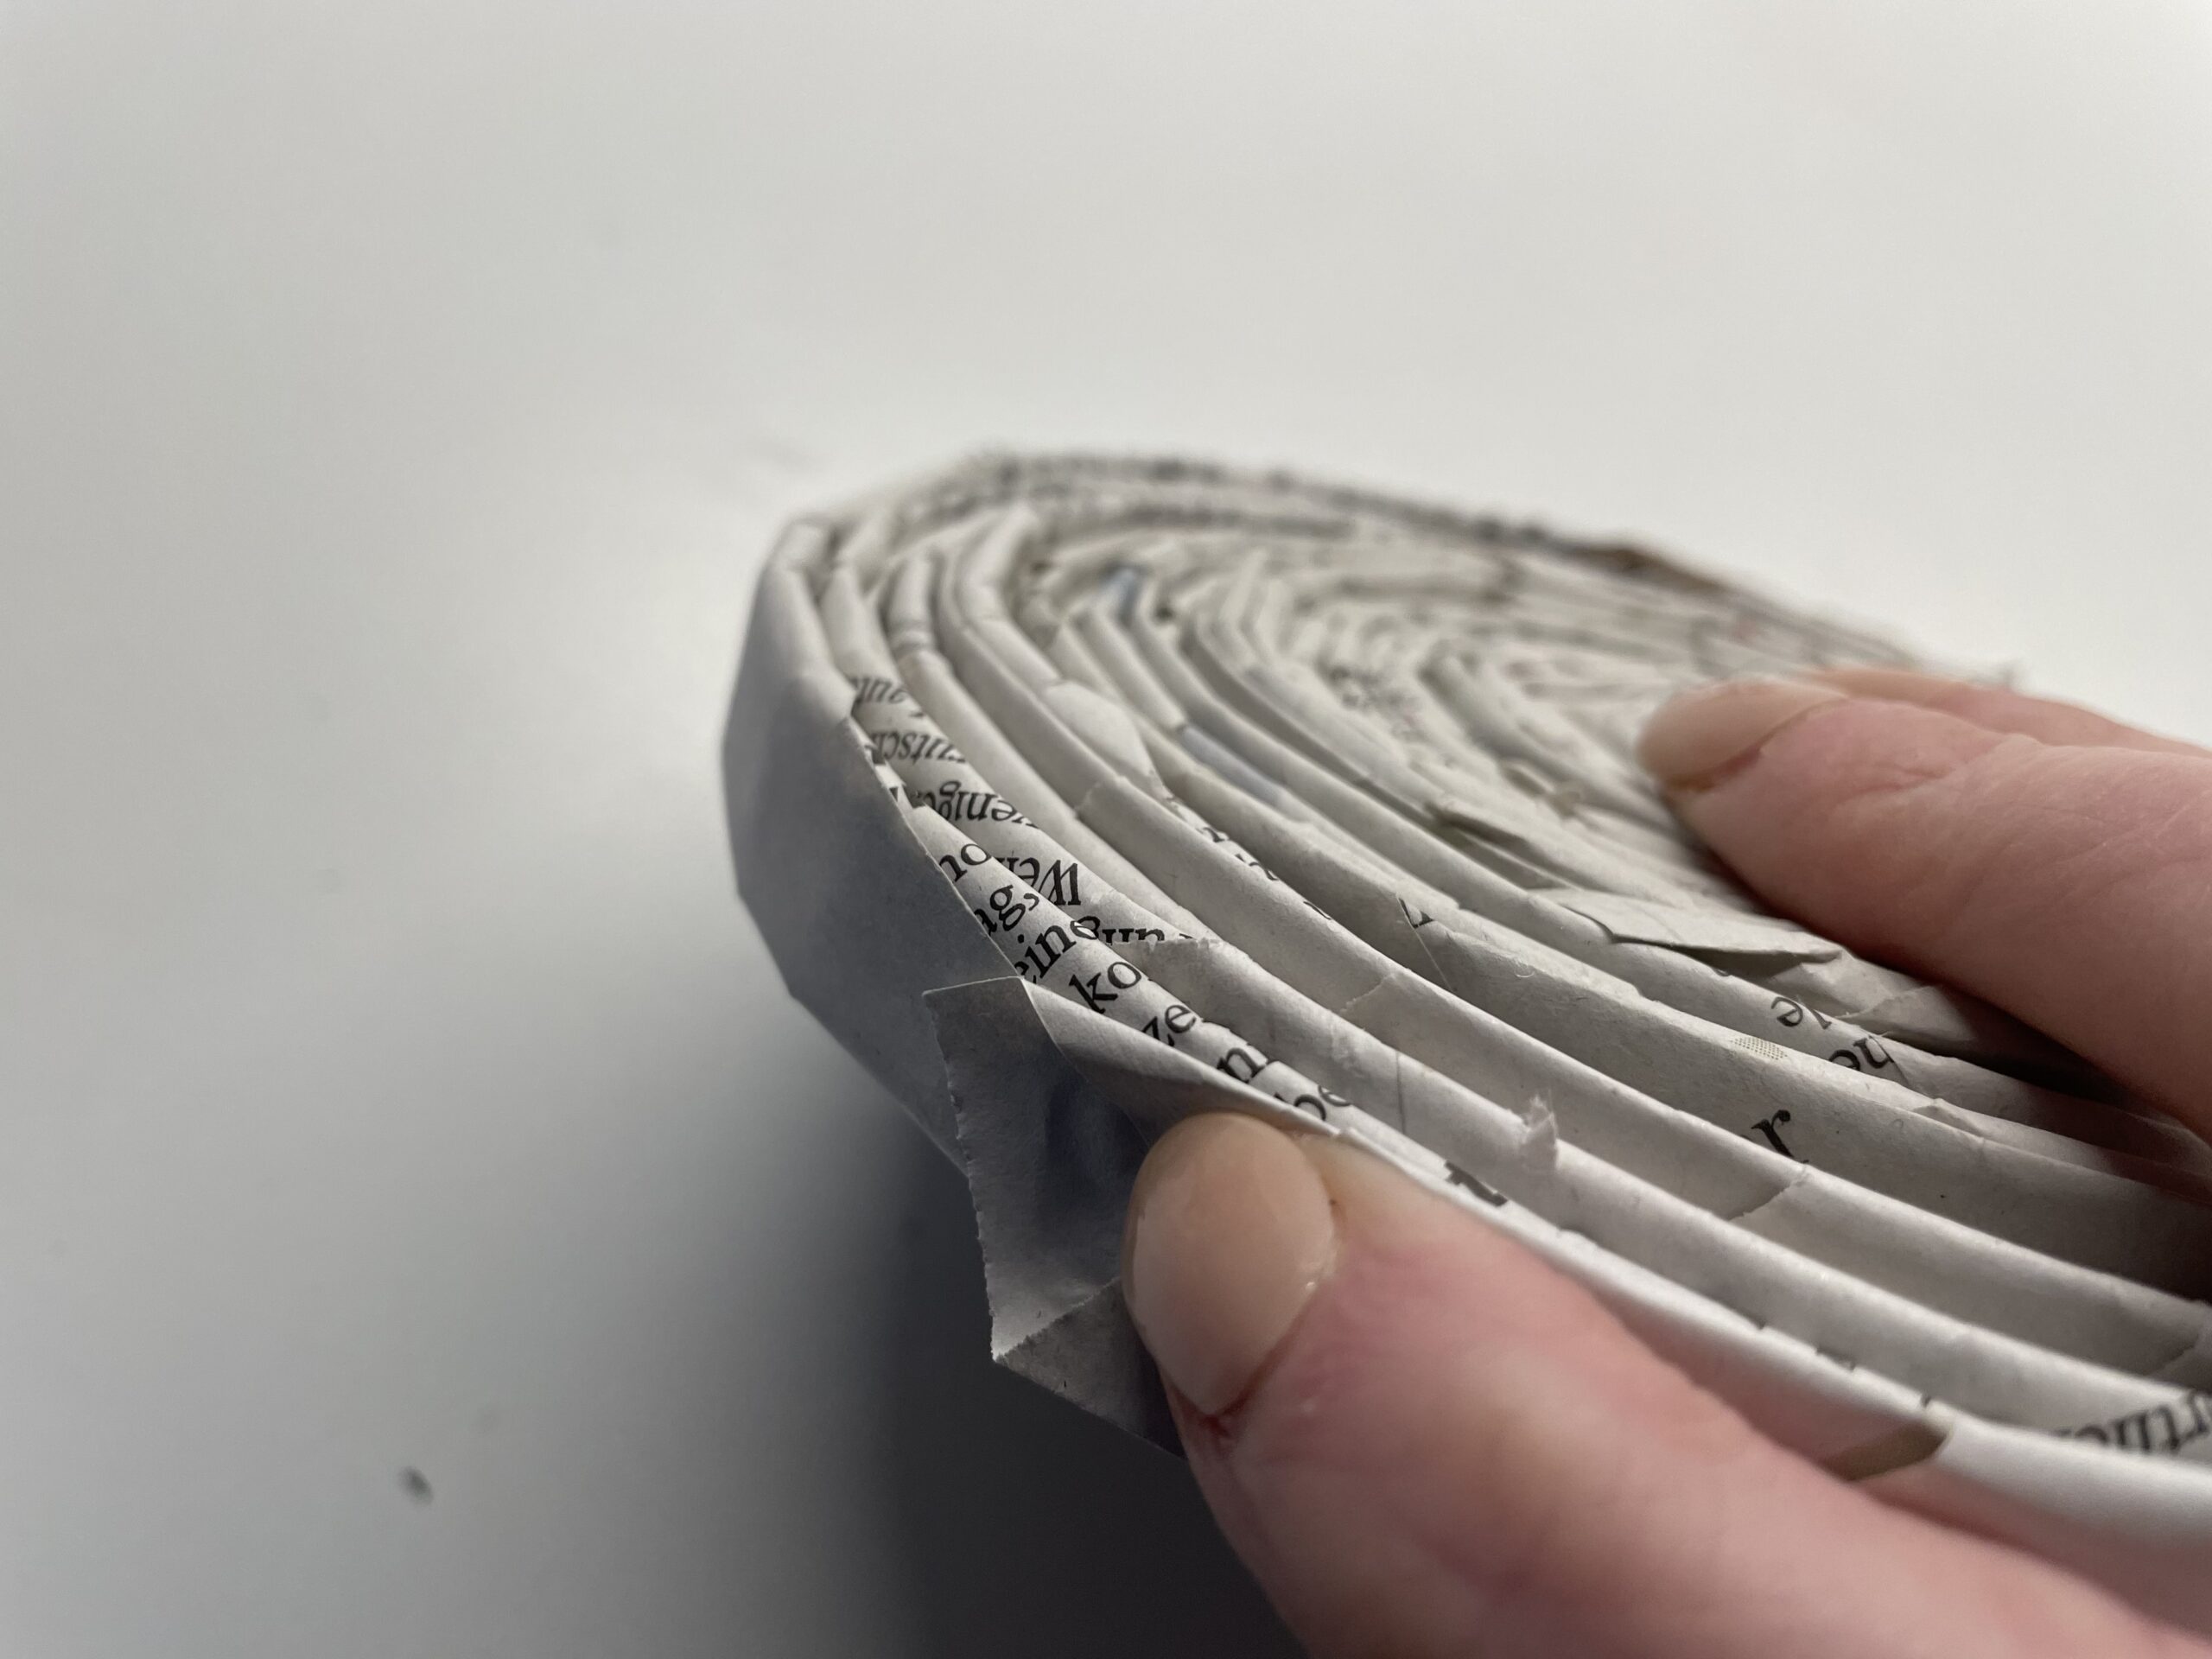


This is what the finished paper snail looks like.


With both hands the snail is now pressed into the shape of an Easter basket. Push the center of the snail slowly with its thumbs down. Make sure that the newspaper strips do not slip apart, otherwise the snail falls apart. A slight overlap of the paper strips is absolutely necessary.
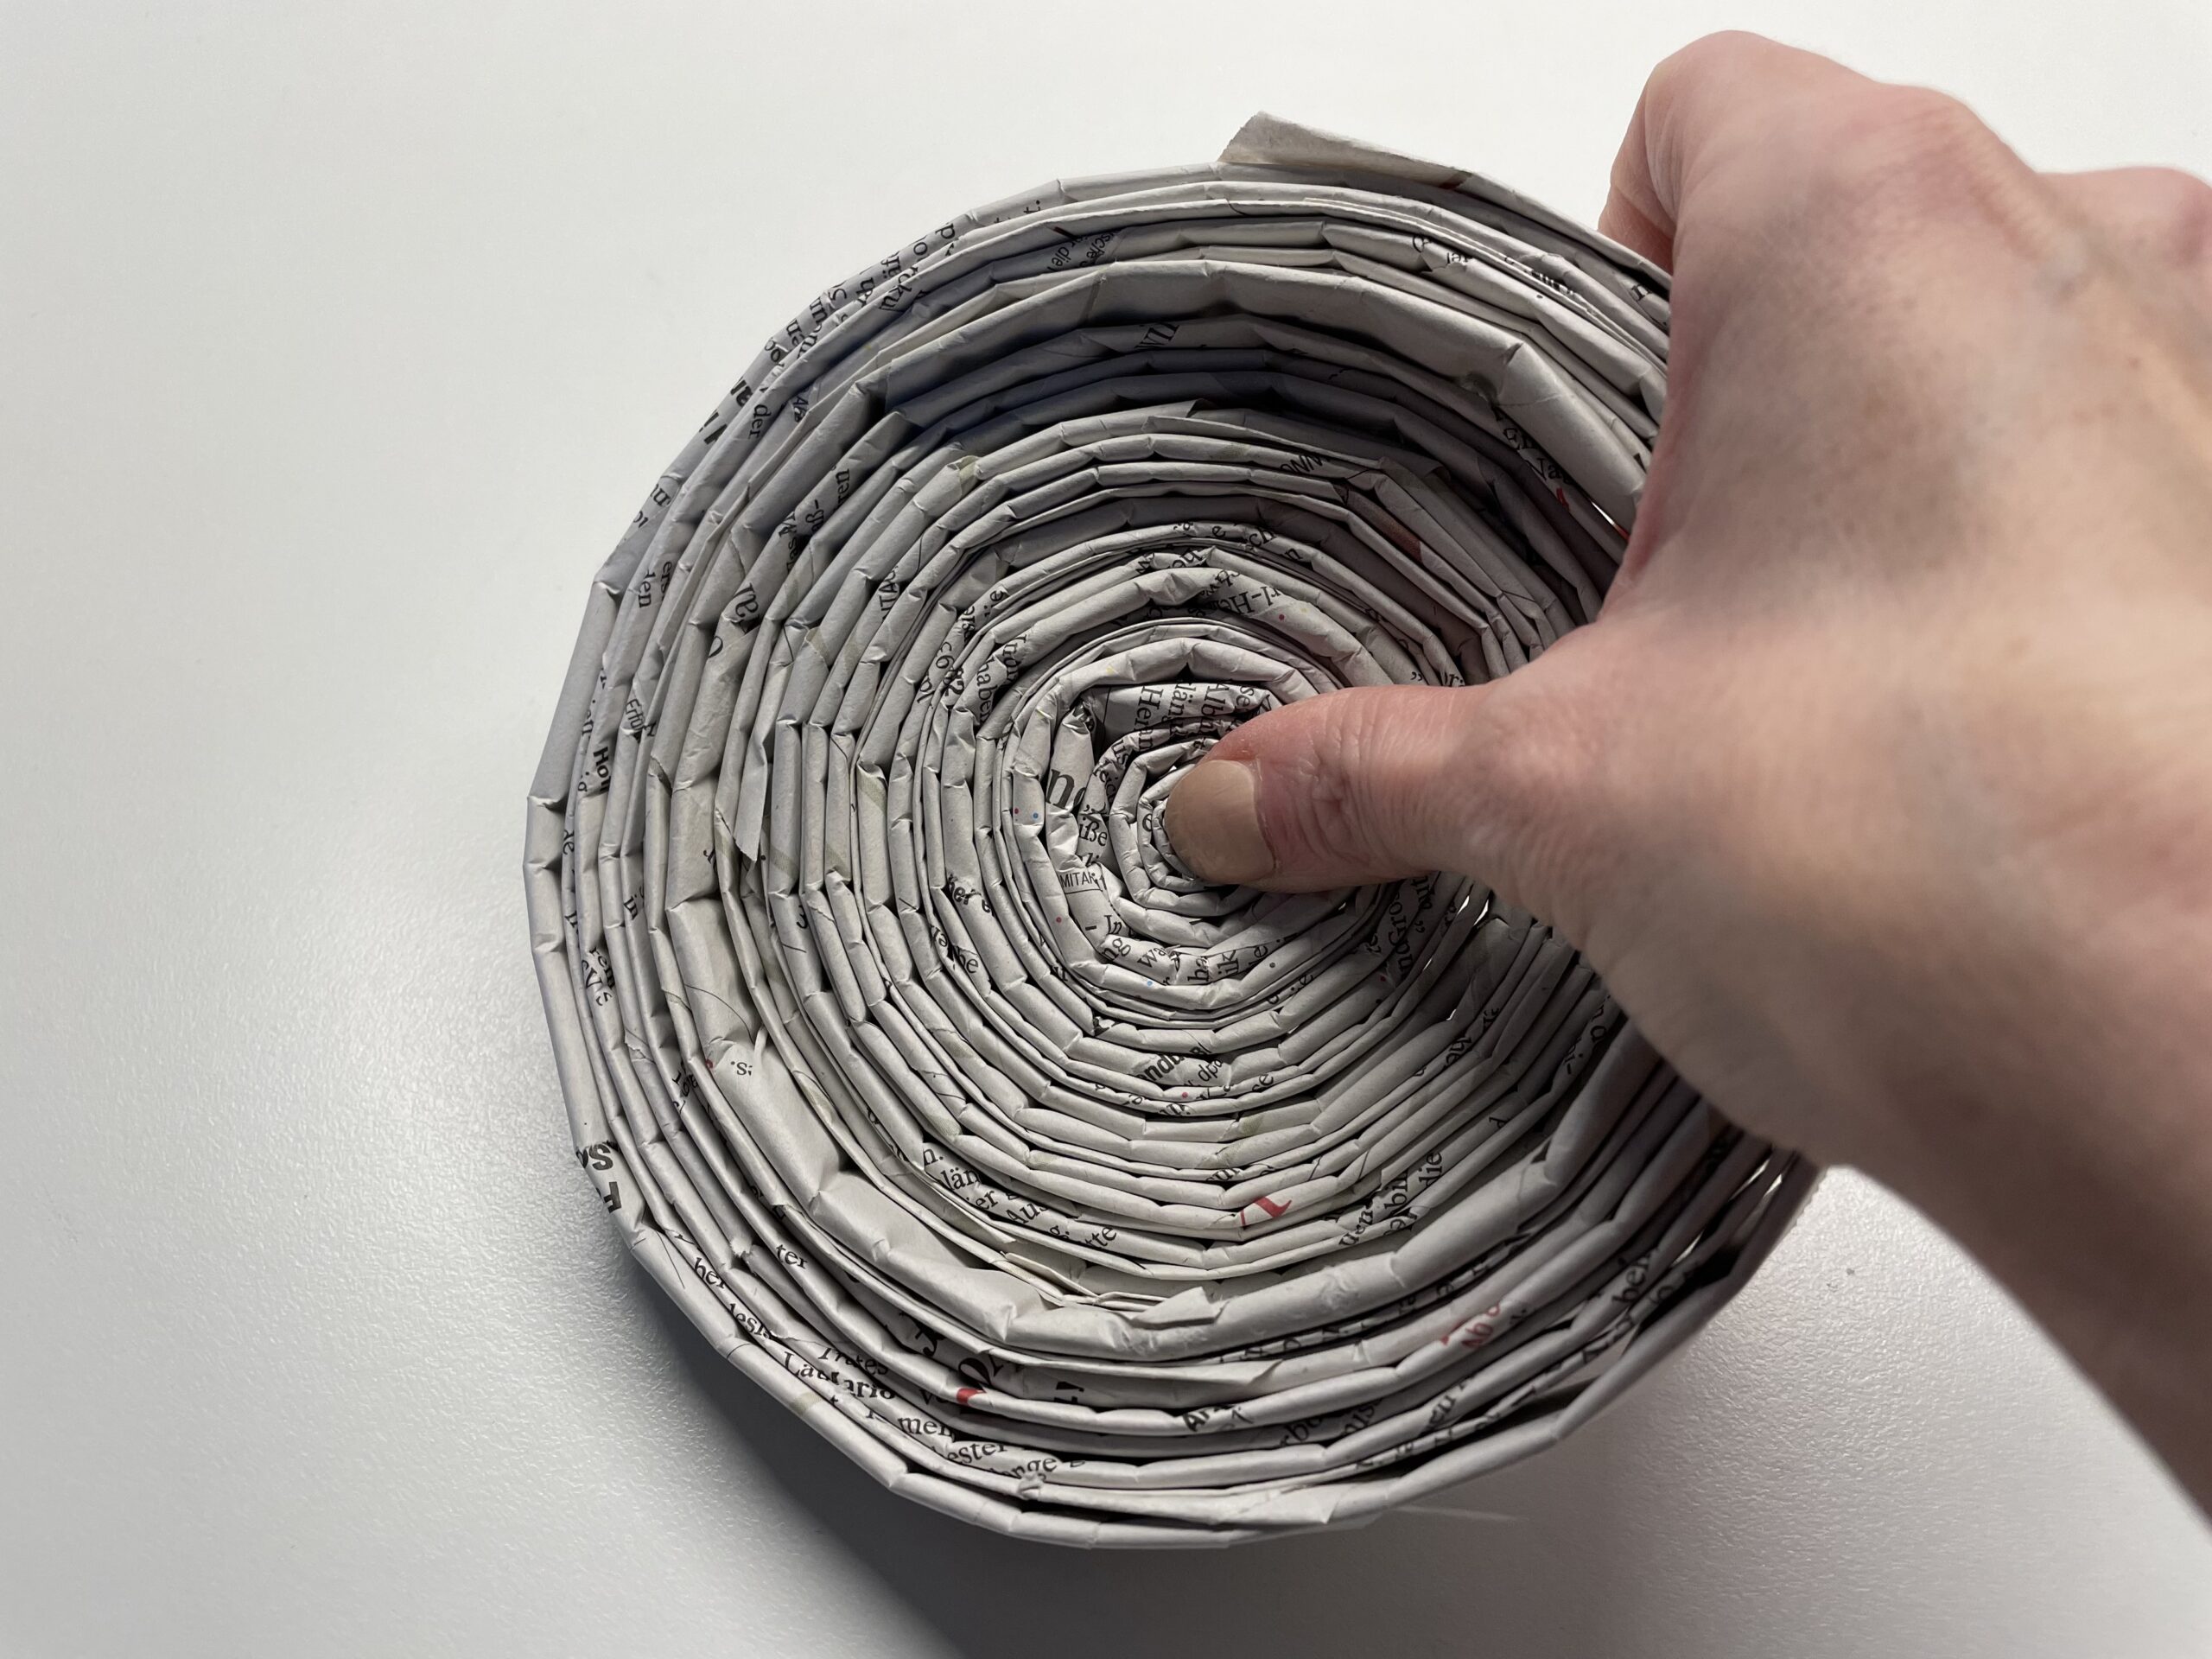


Press the Easter nest in shape until you like it. The bottom of the nest must be slightly wider so that the Easter nest stands well and does not shake.
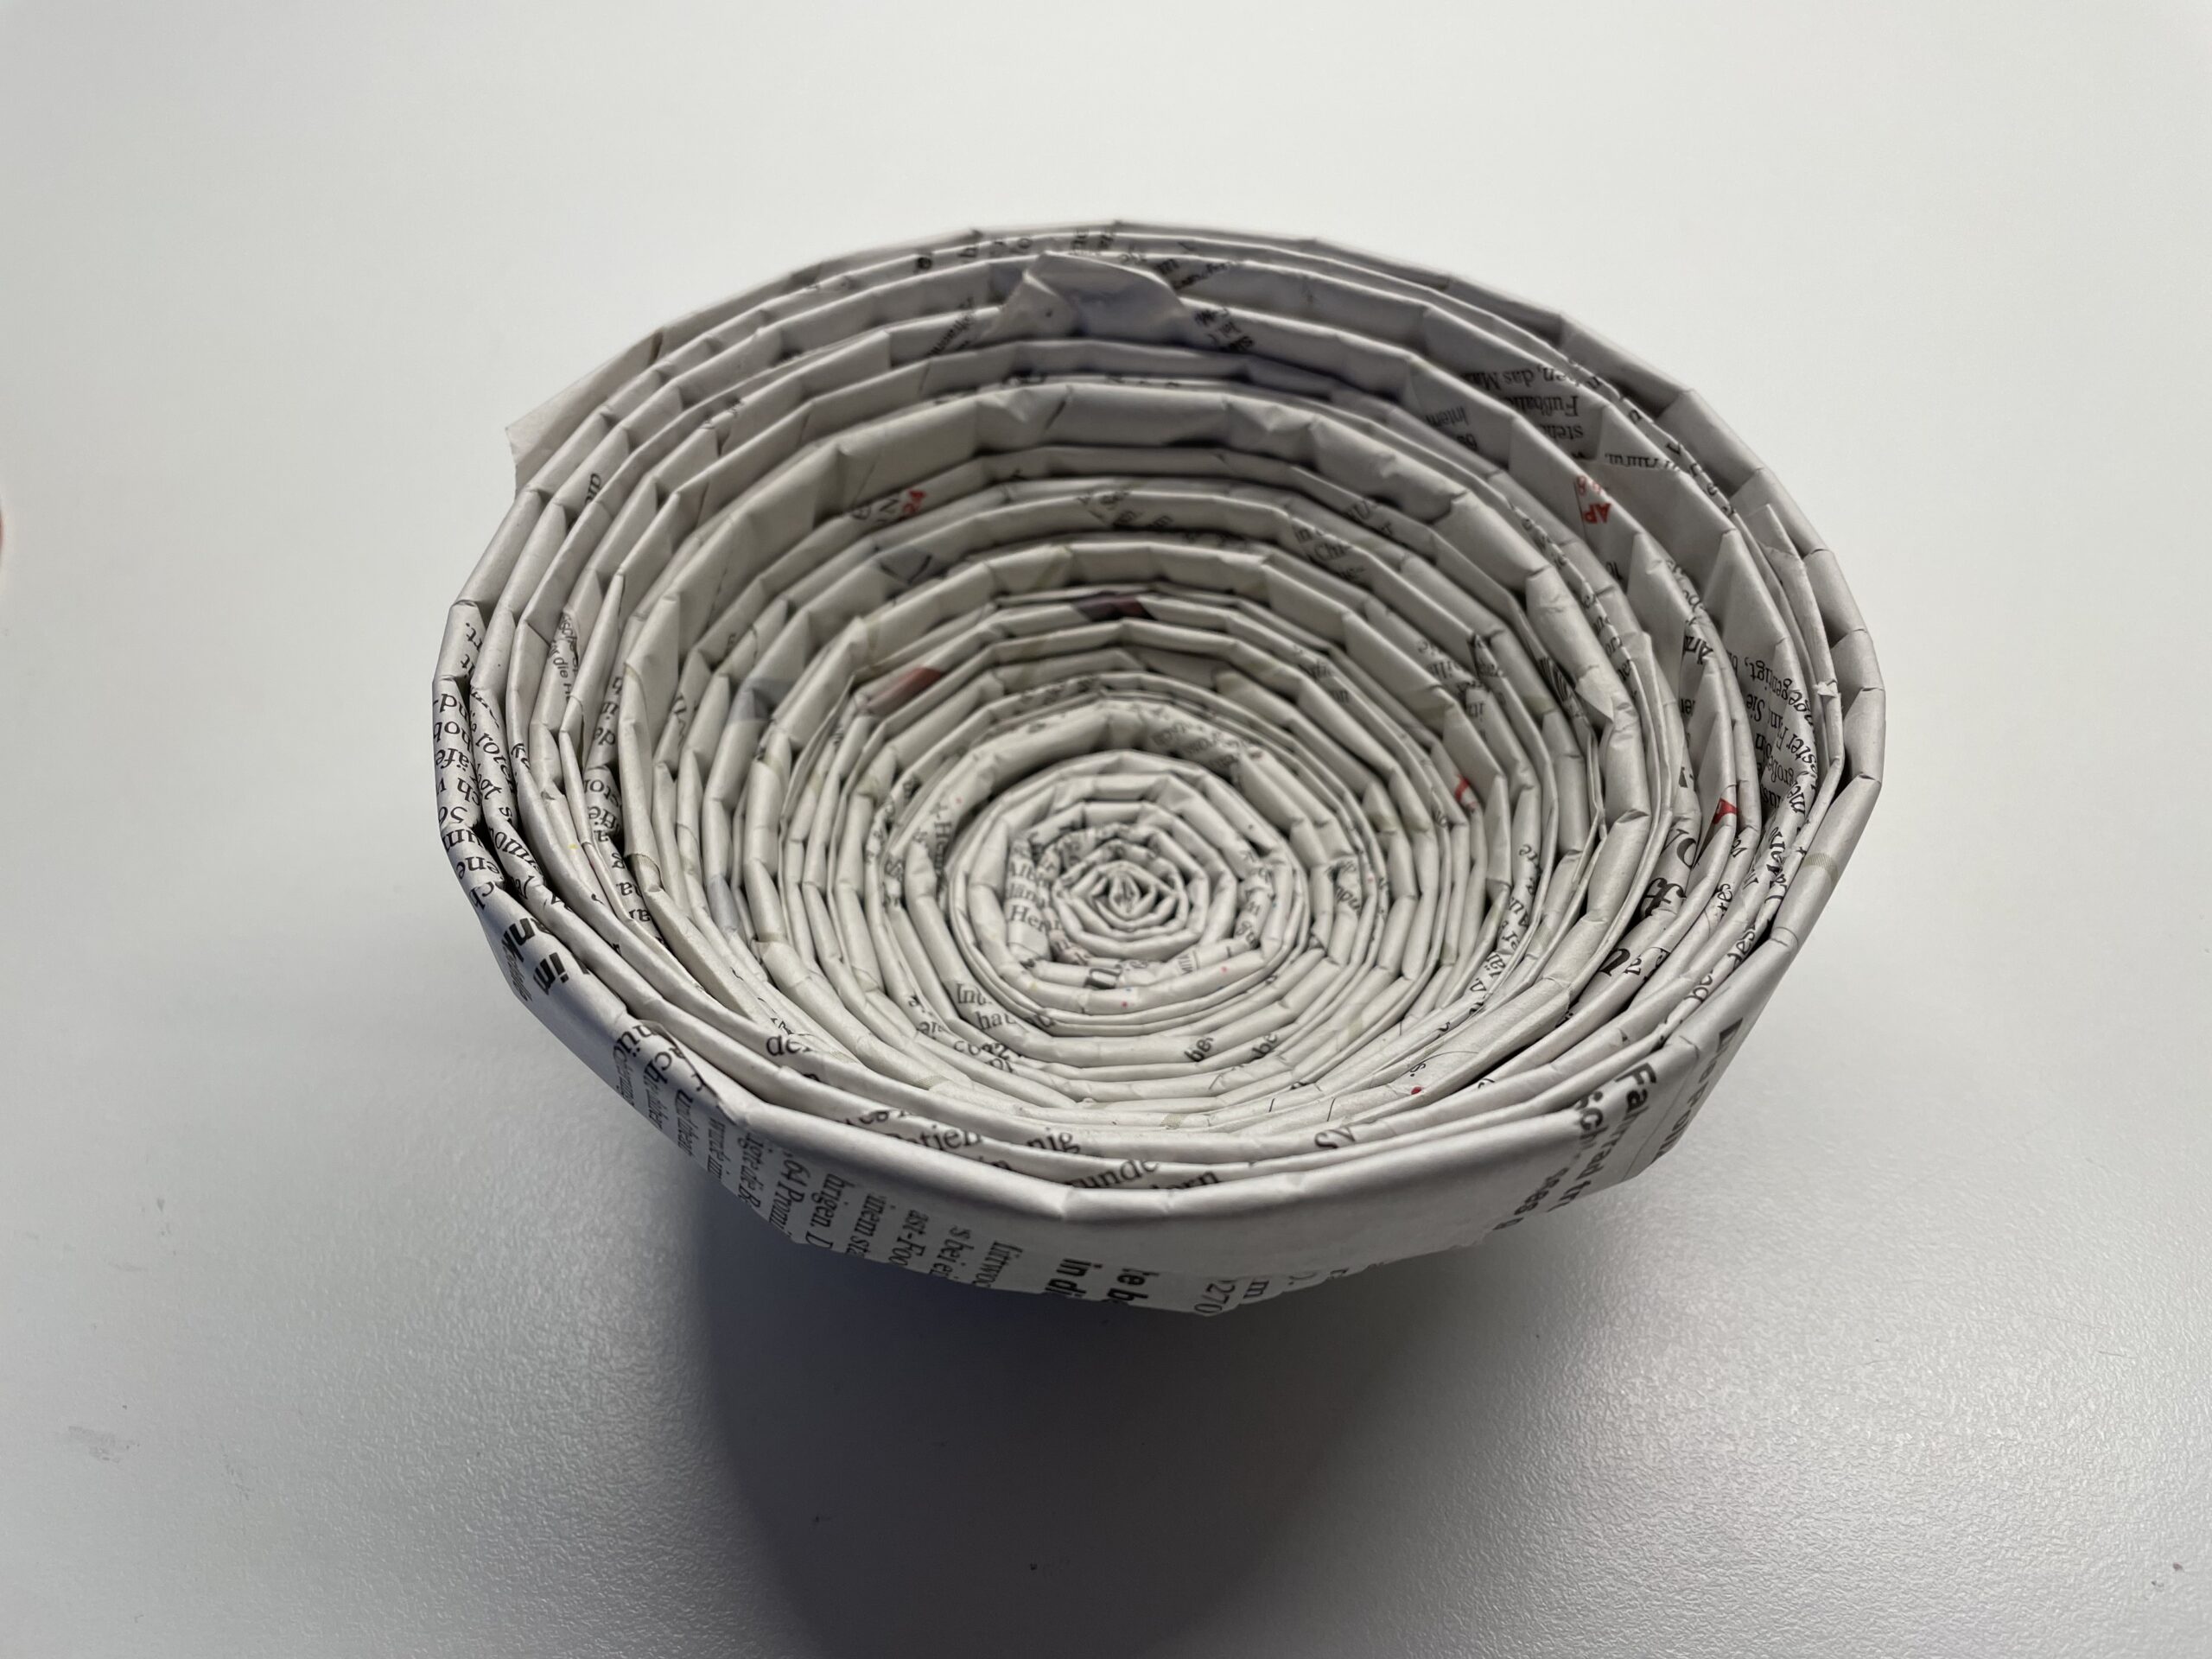


The Easter nest is ready, but it doesn't hold its shape yet.
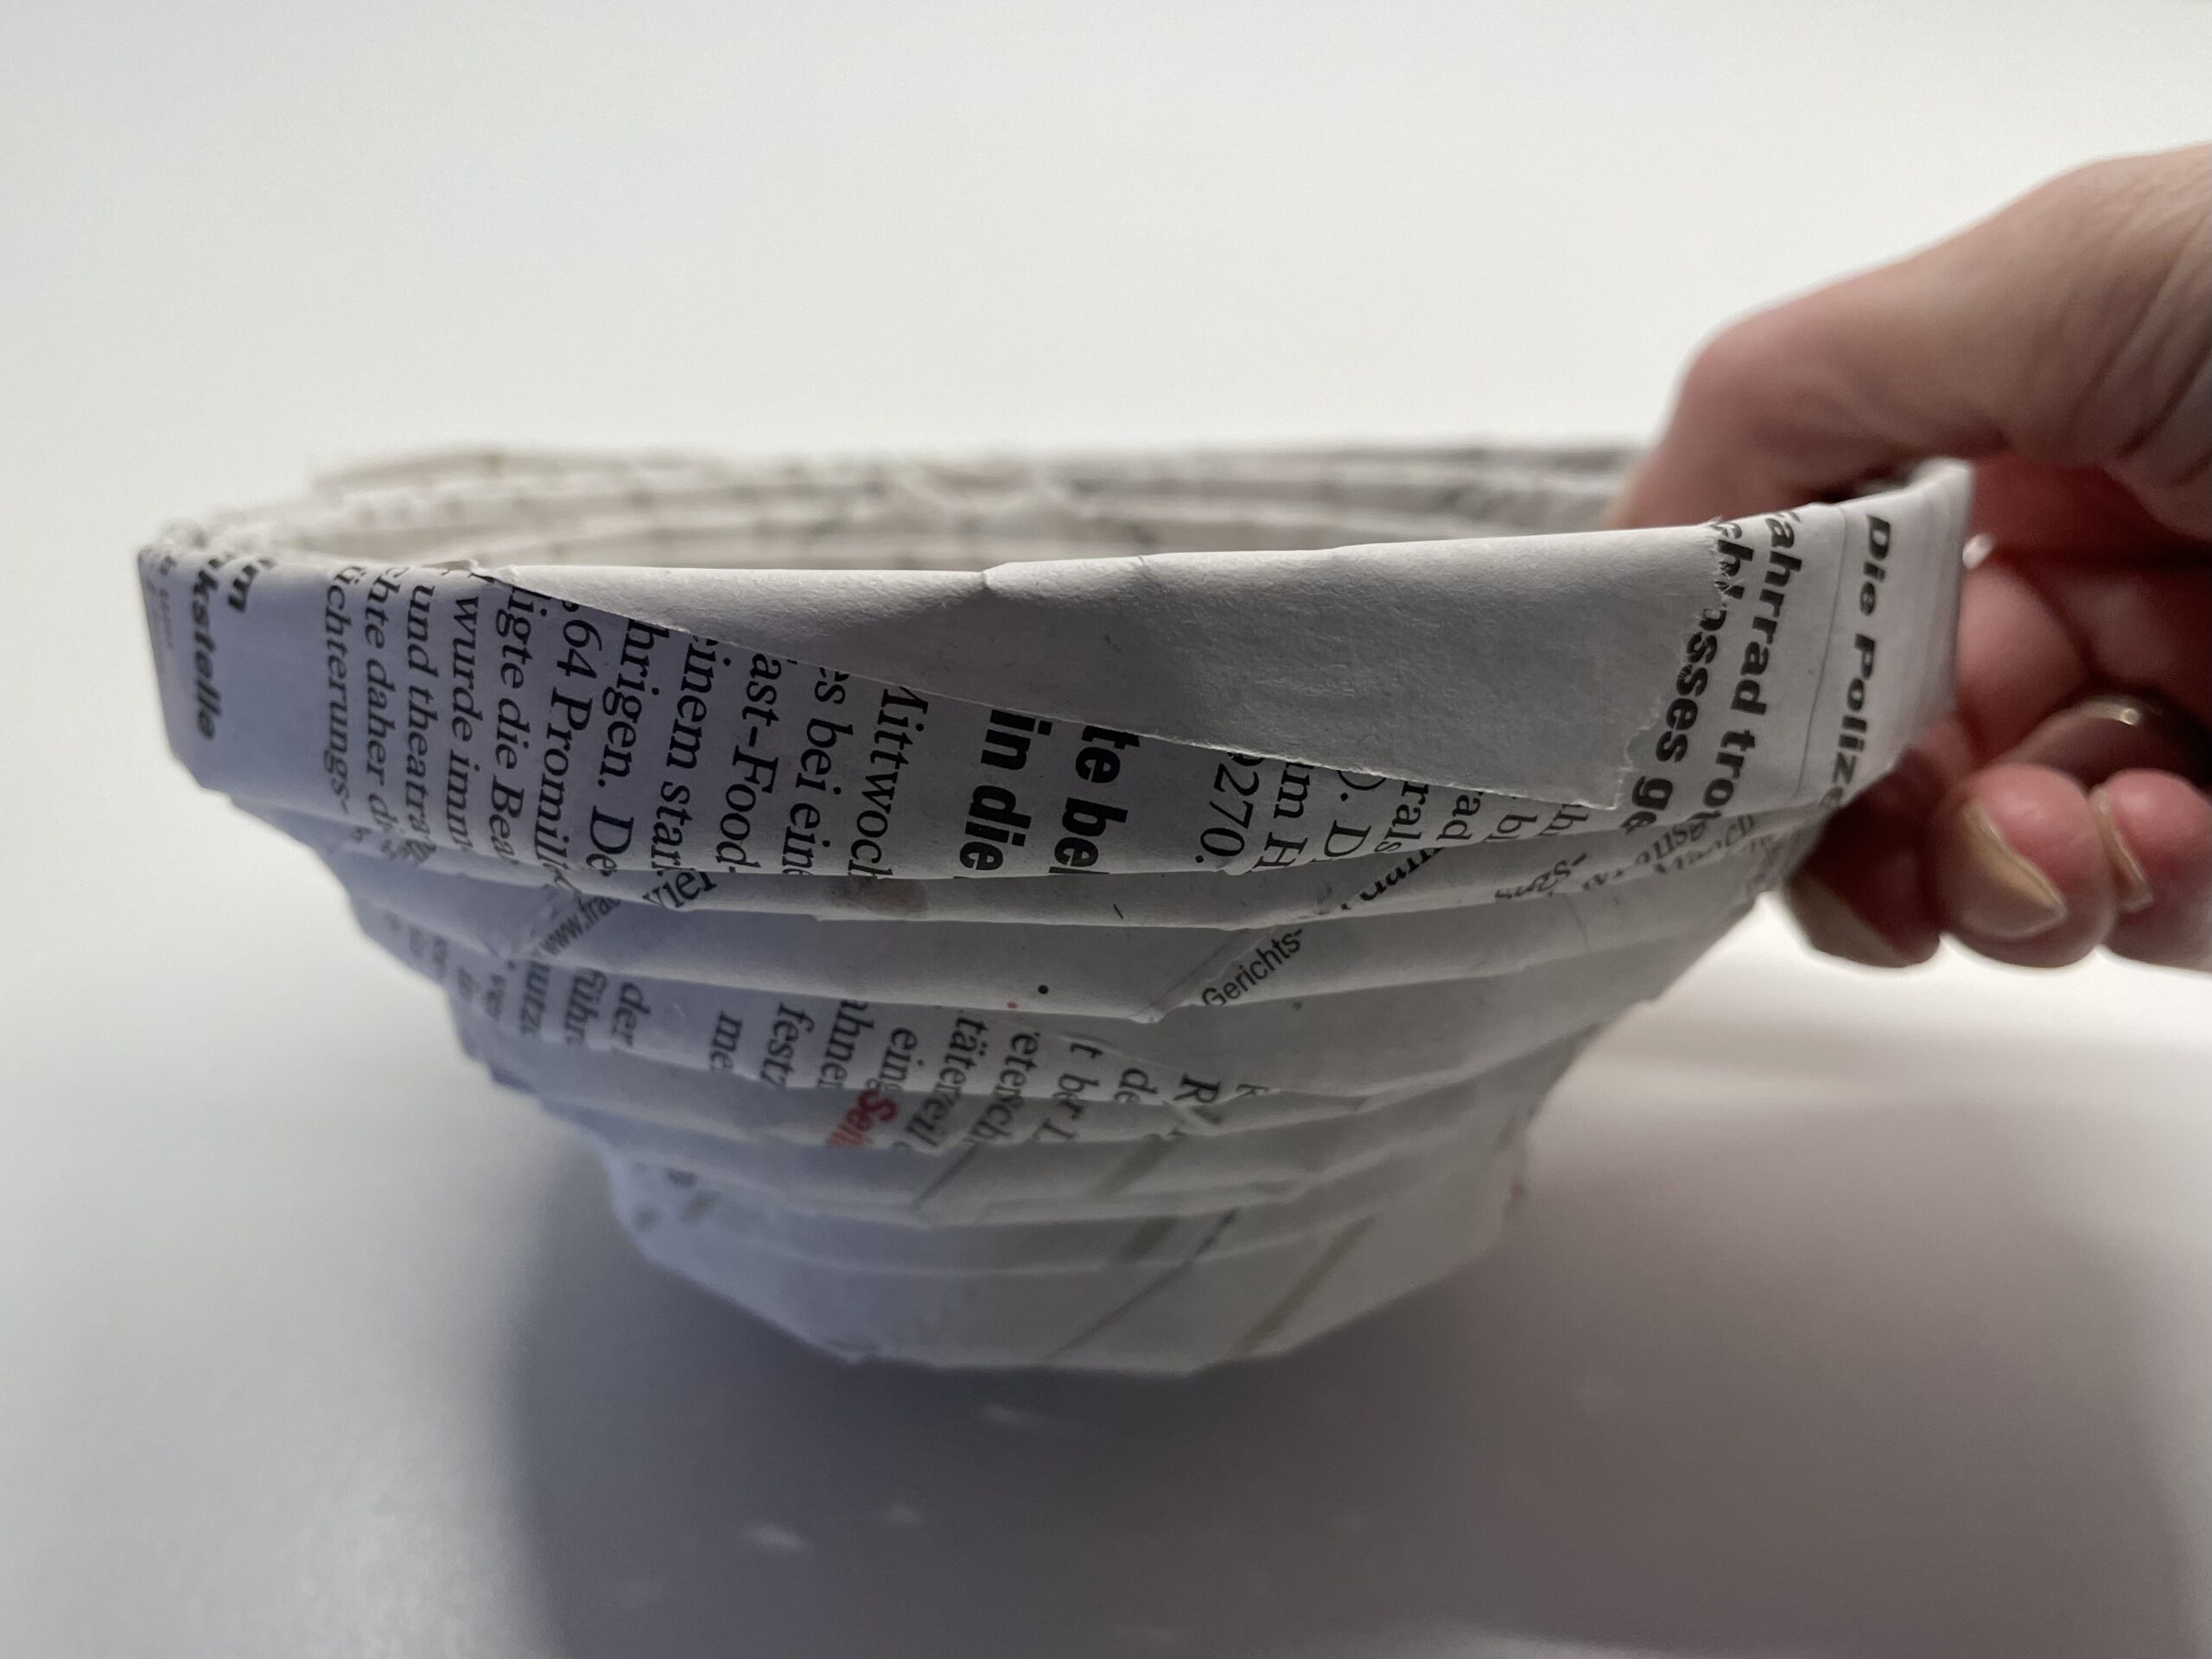


To do this, the Easter nest on the inside has to be coated with wood glue or napkin glue.


Take a brush and distribute the glue in the bowl.
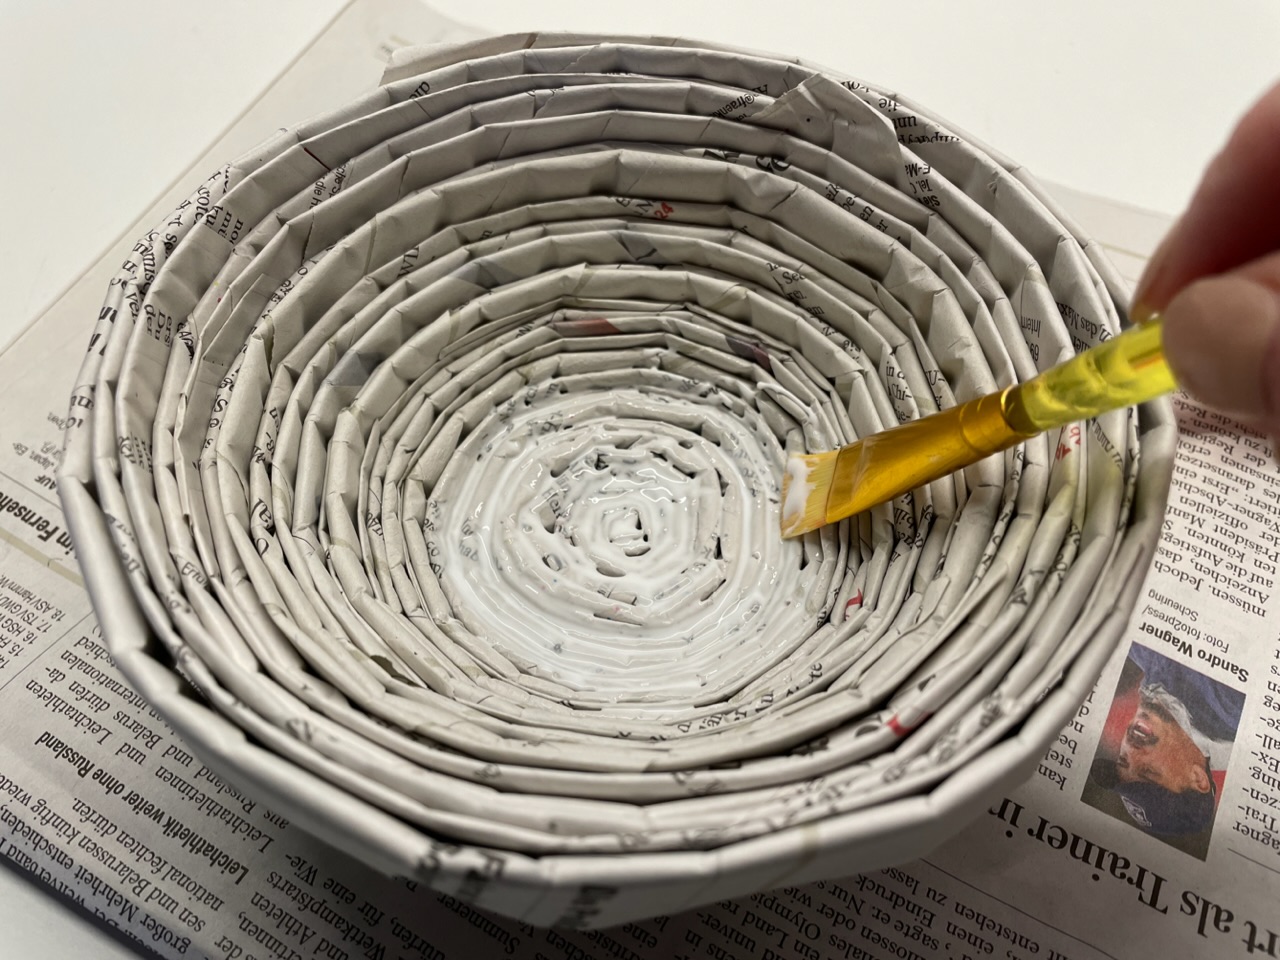


Put the glue into the bowl gradually, so you can distribute it better.
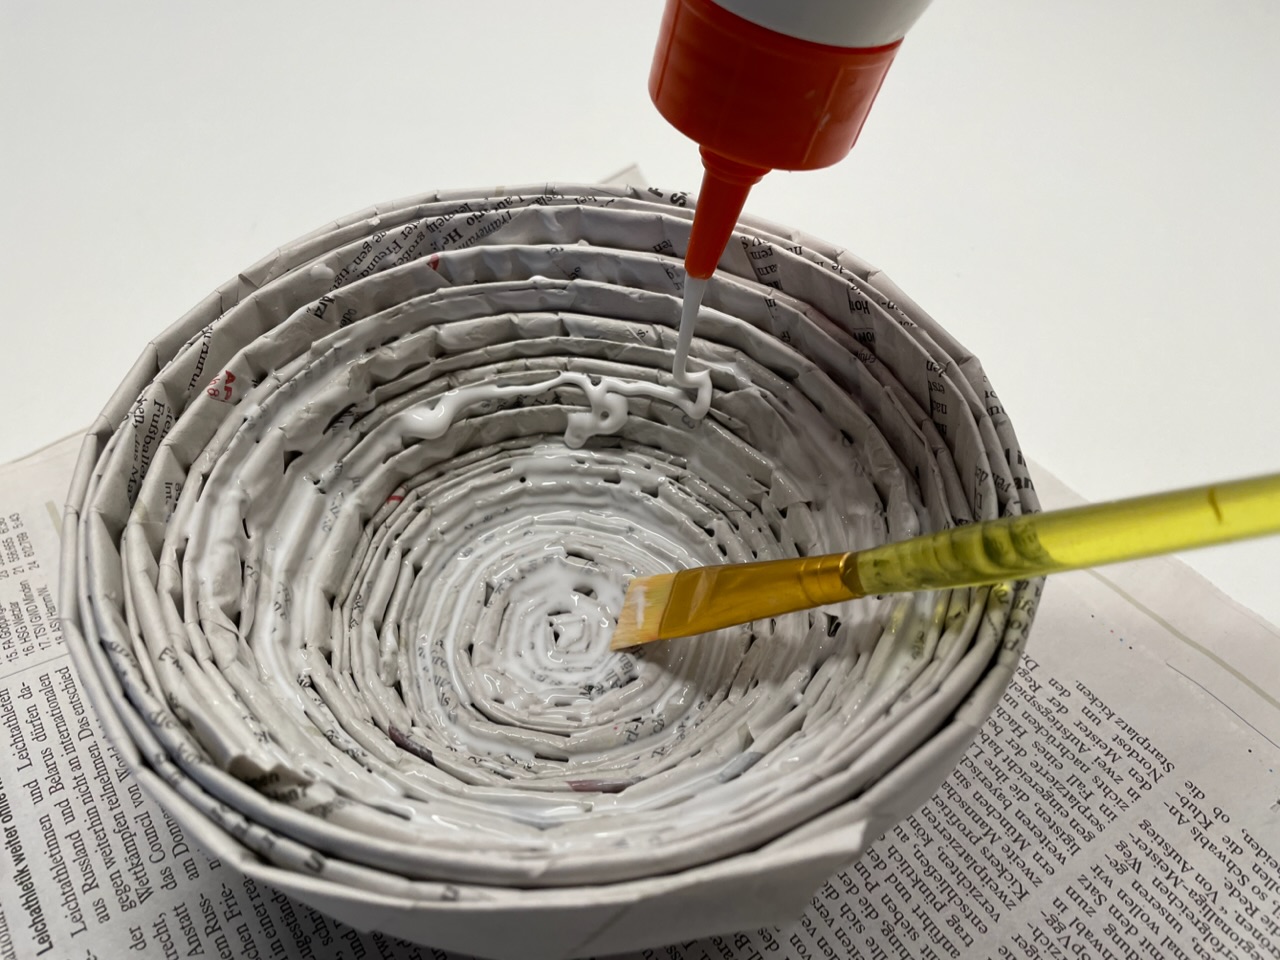


All places must be painted, otherwise they may slip later.
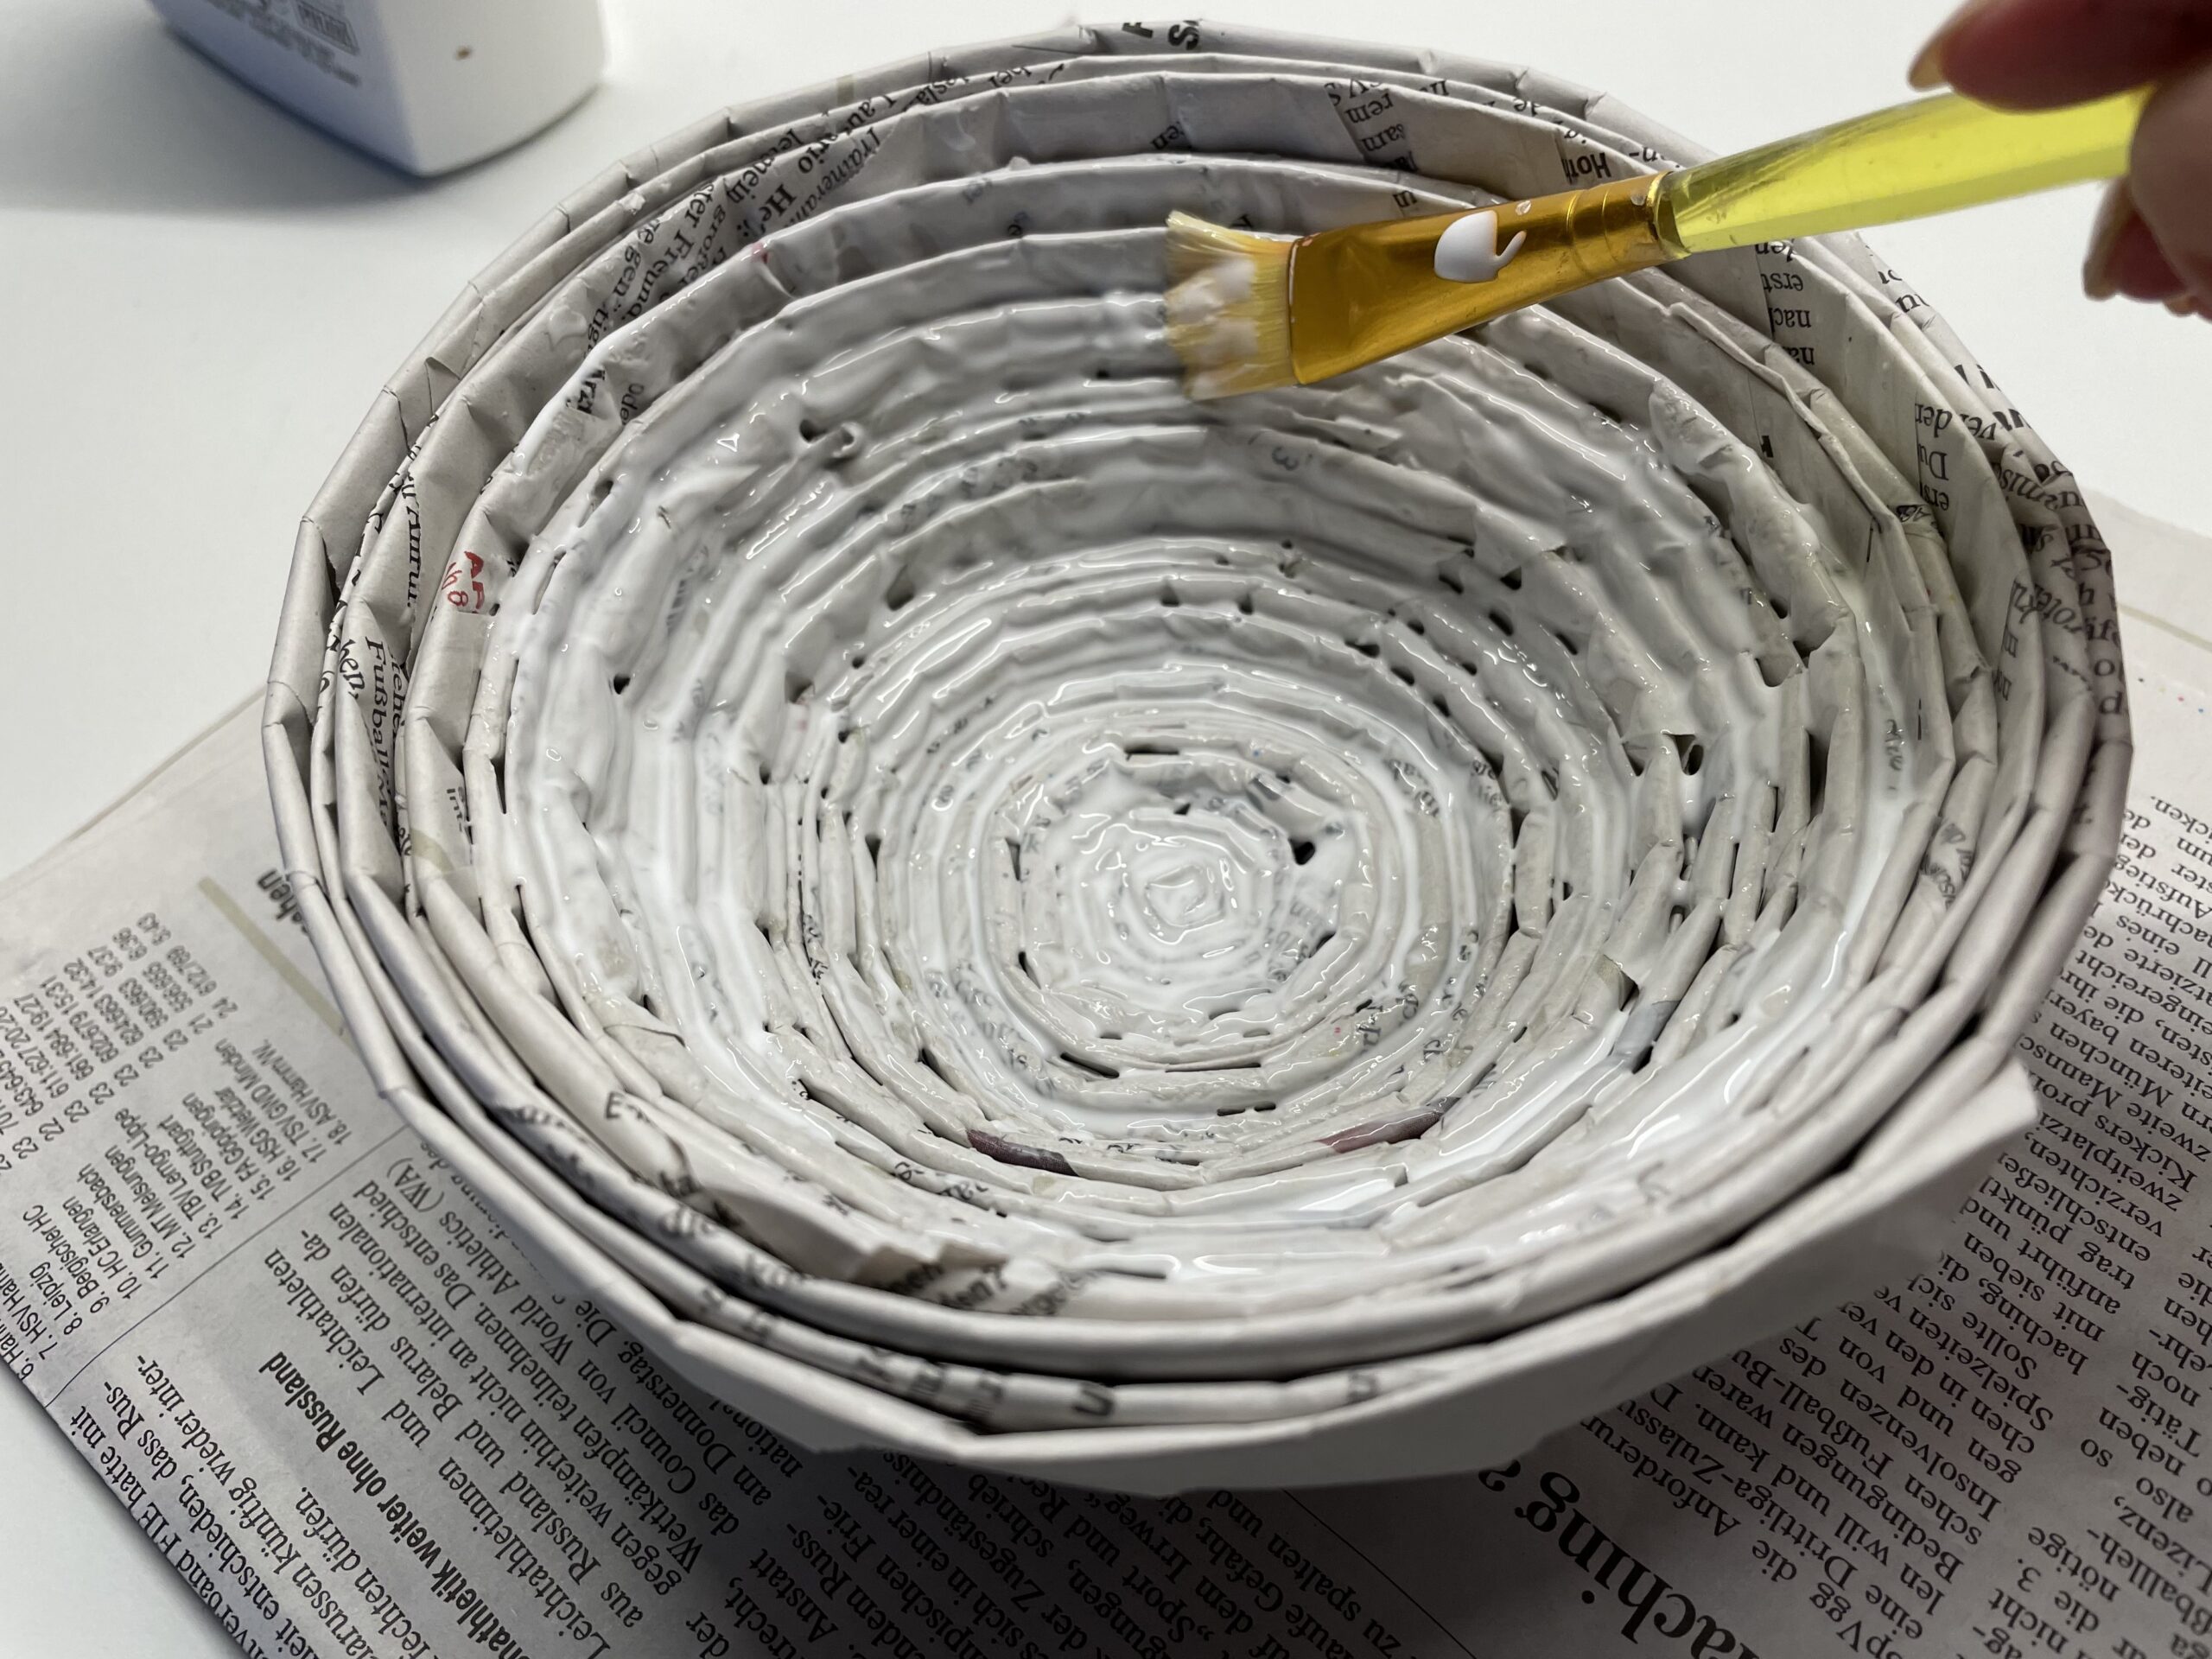


Sets the bowl for drying. The glue becomes transparent after drying and gives the Easter nest a smooth inner surface.
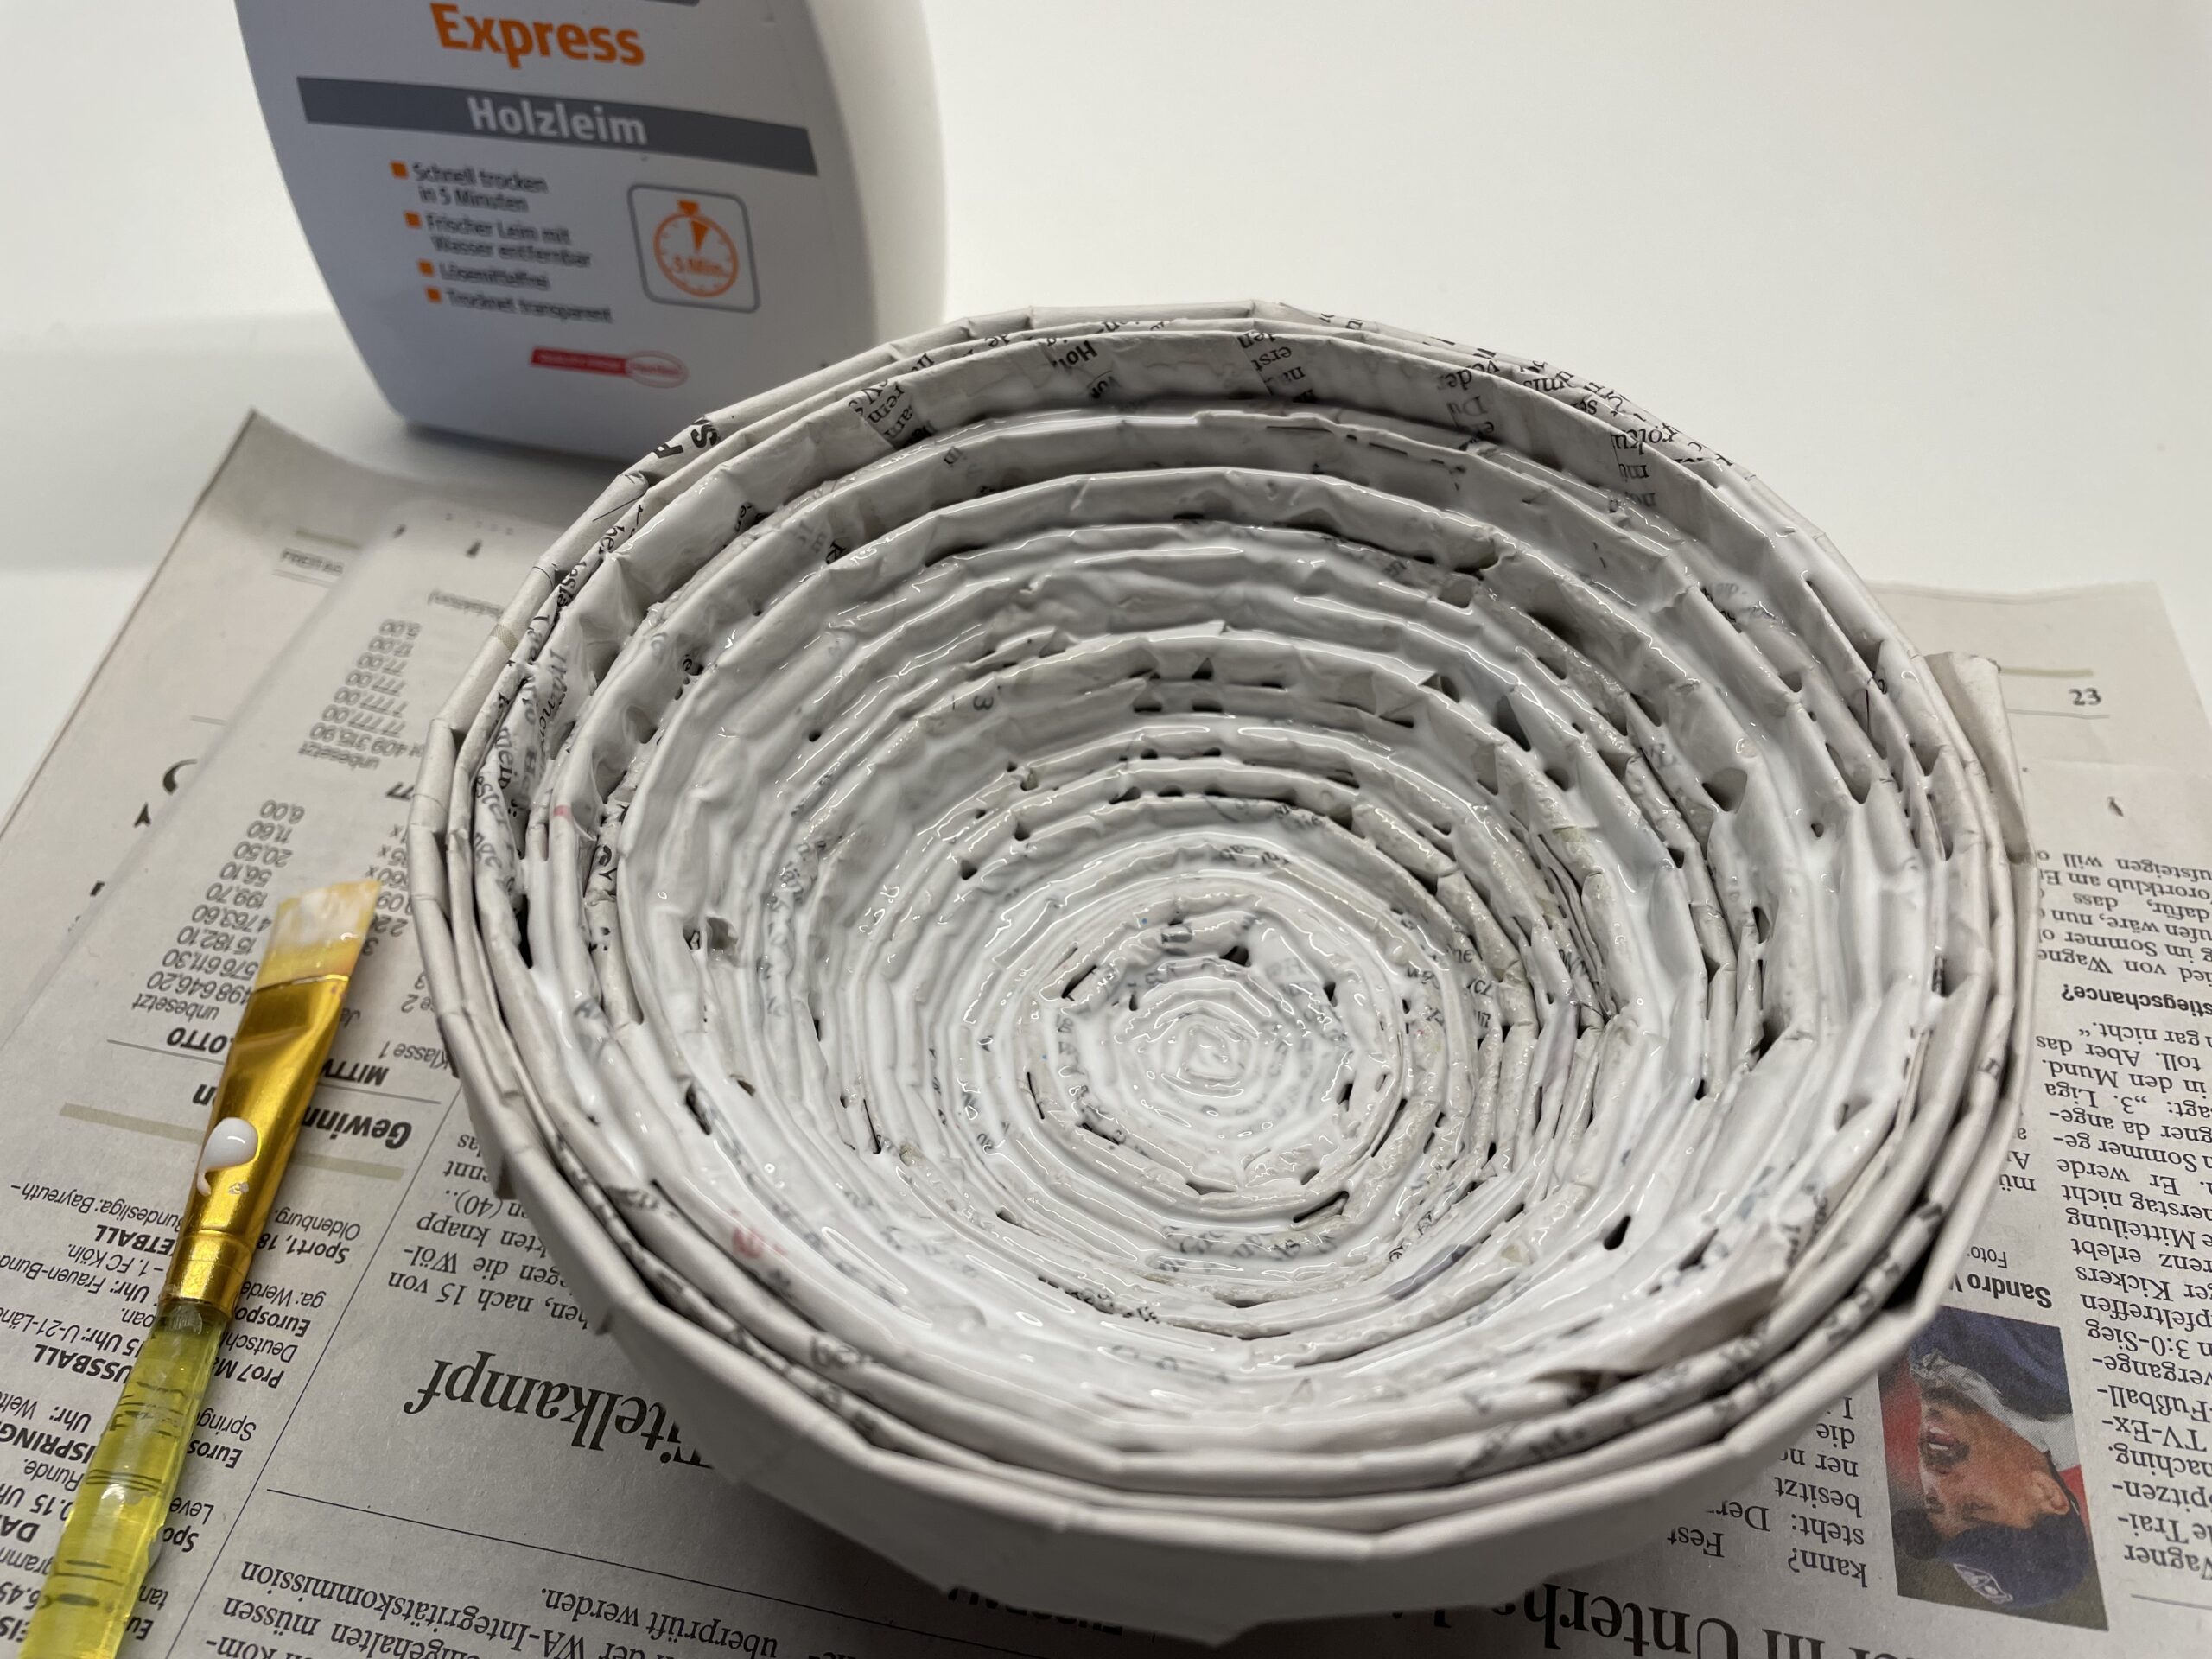


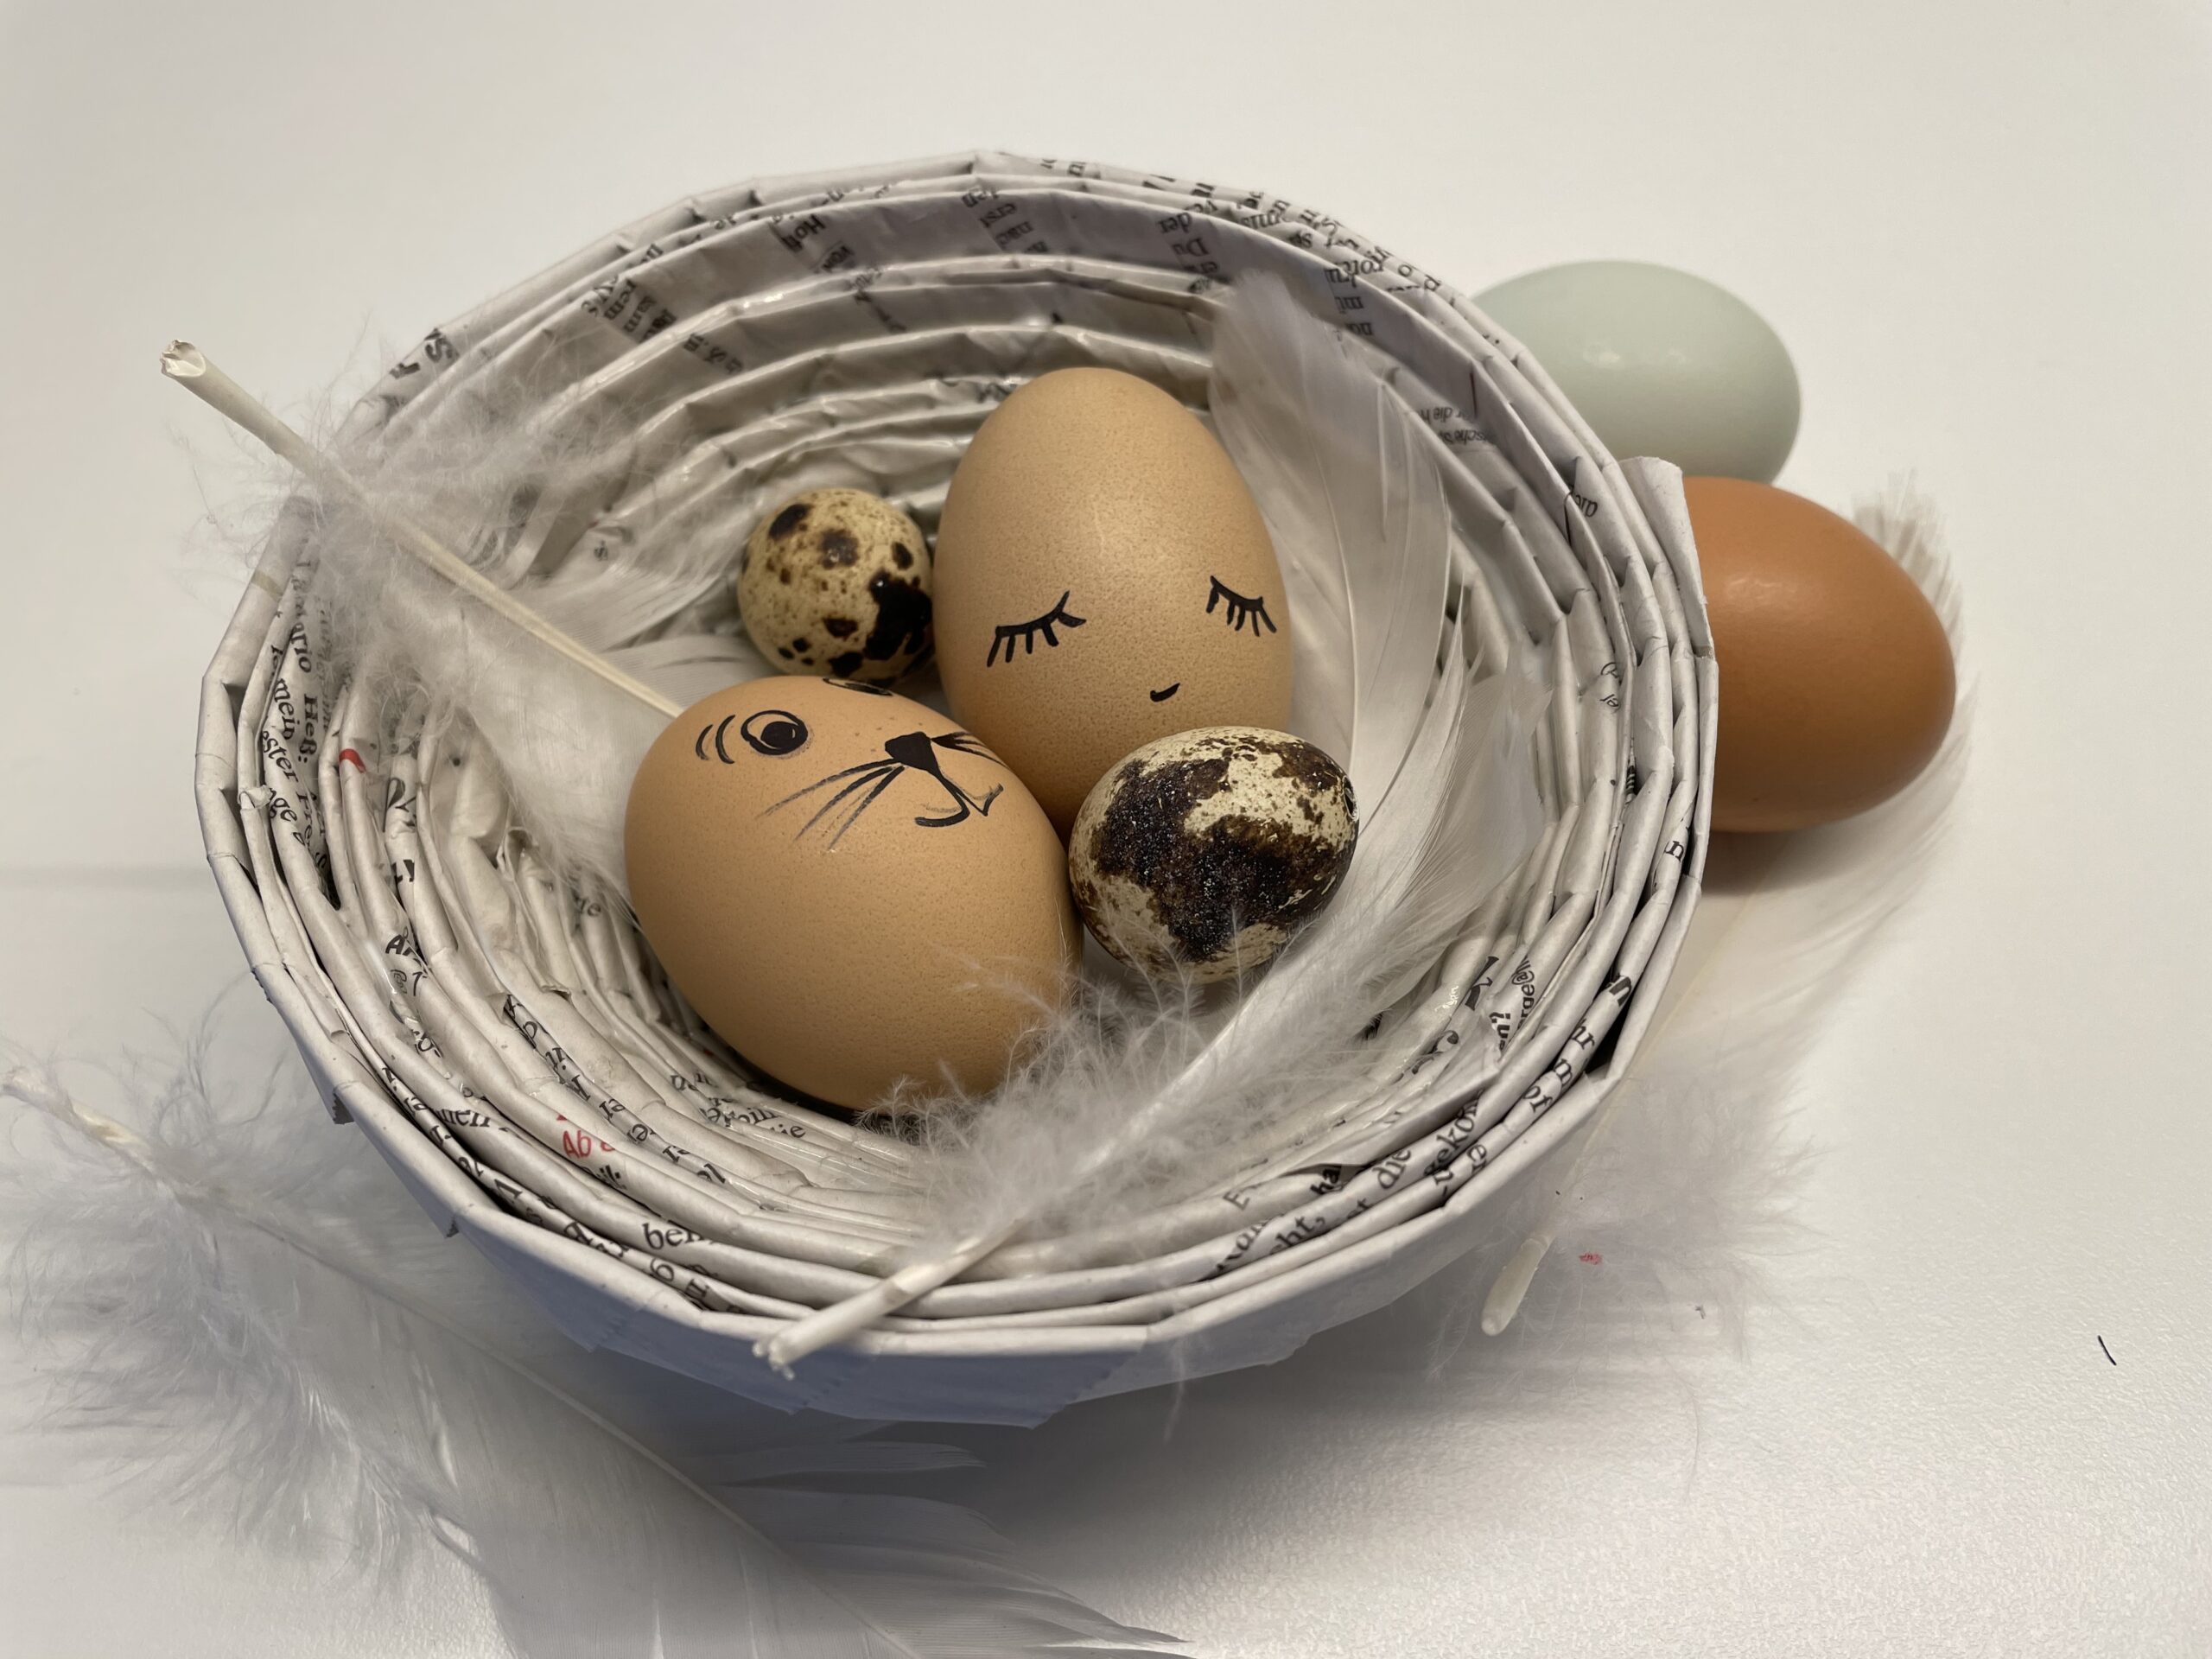
The Easterest is ready and ready to be used and filled as an Easterest or as a gift. Here are a few ideas to follow.
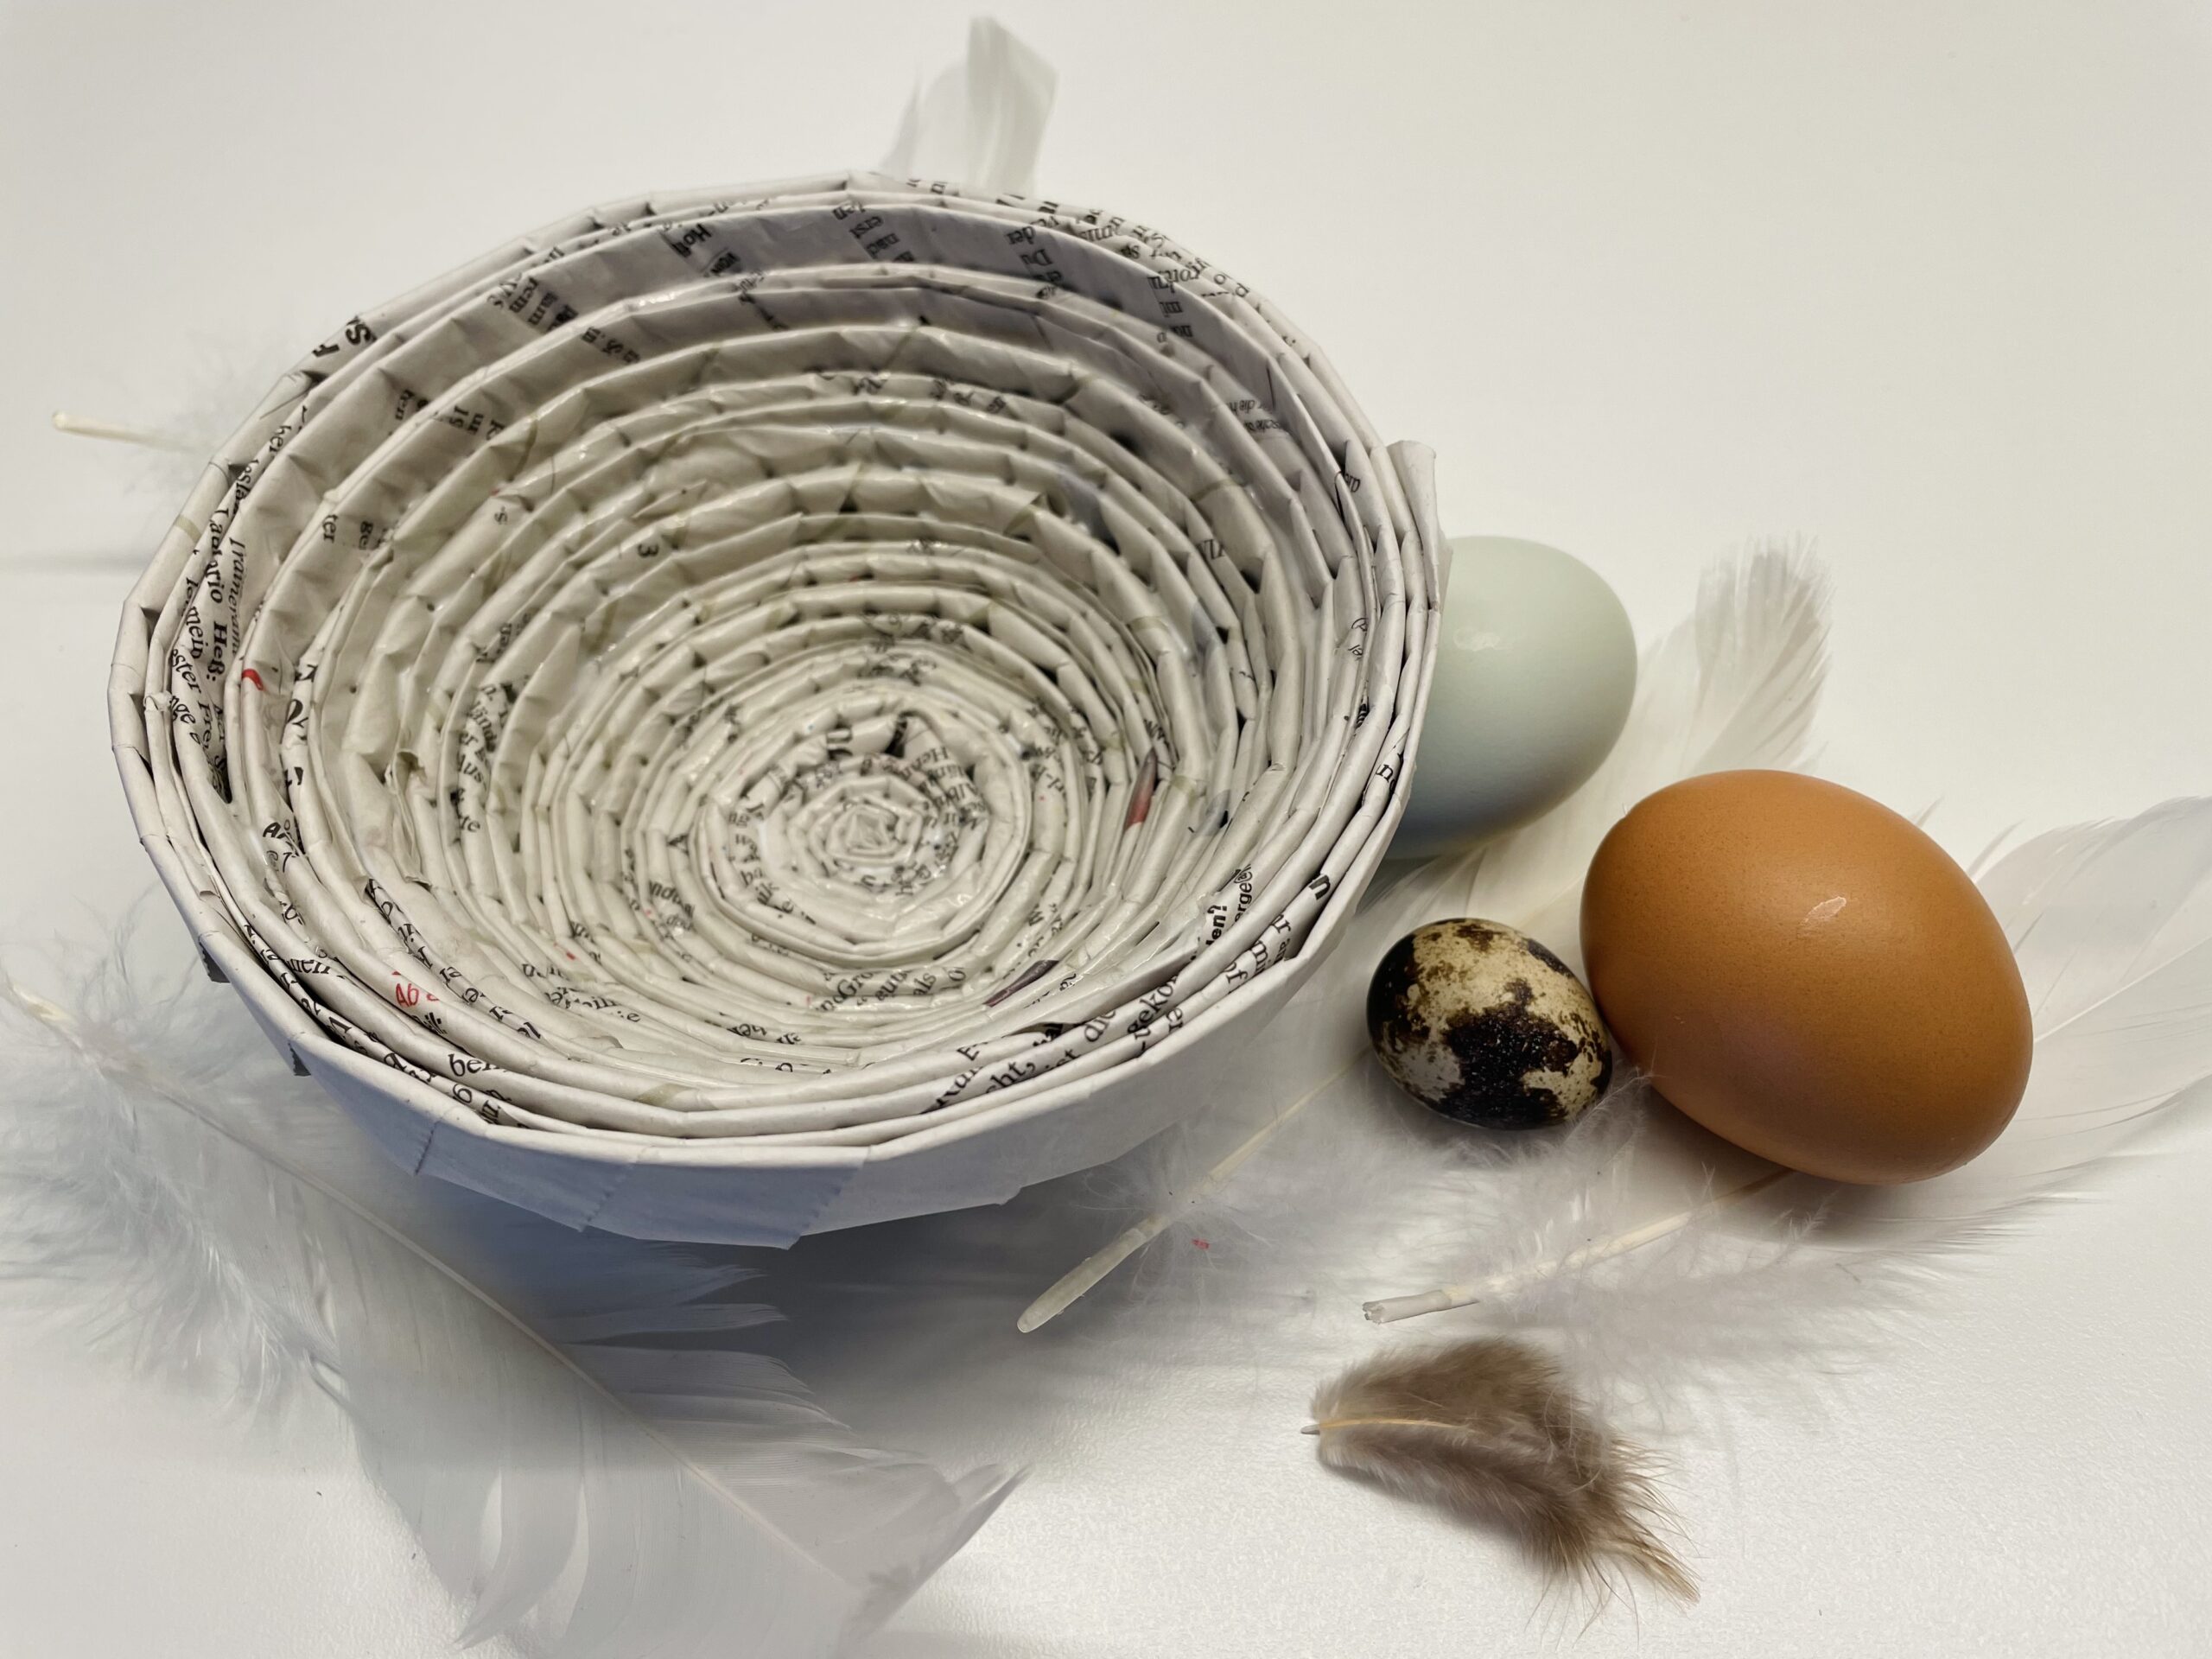


Easter decoration:
e.g. filled with a few blown eggs and feathers.


Easter nest with moss:
Put in some fresh moss and you already have a nice Easter nest.
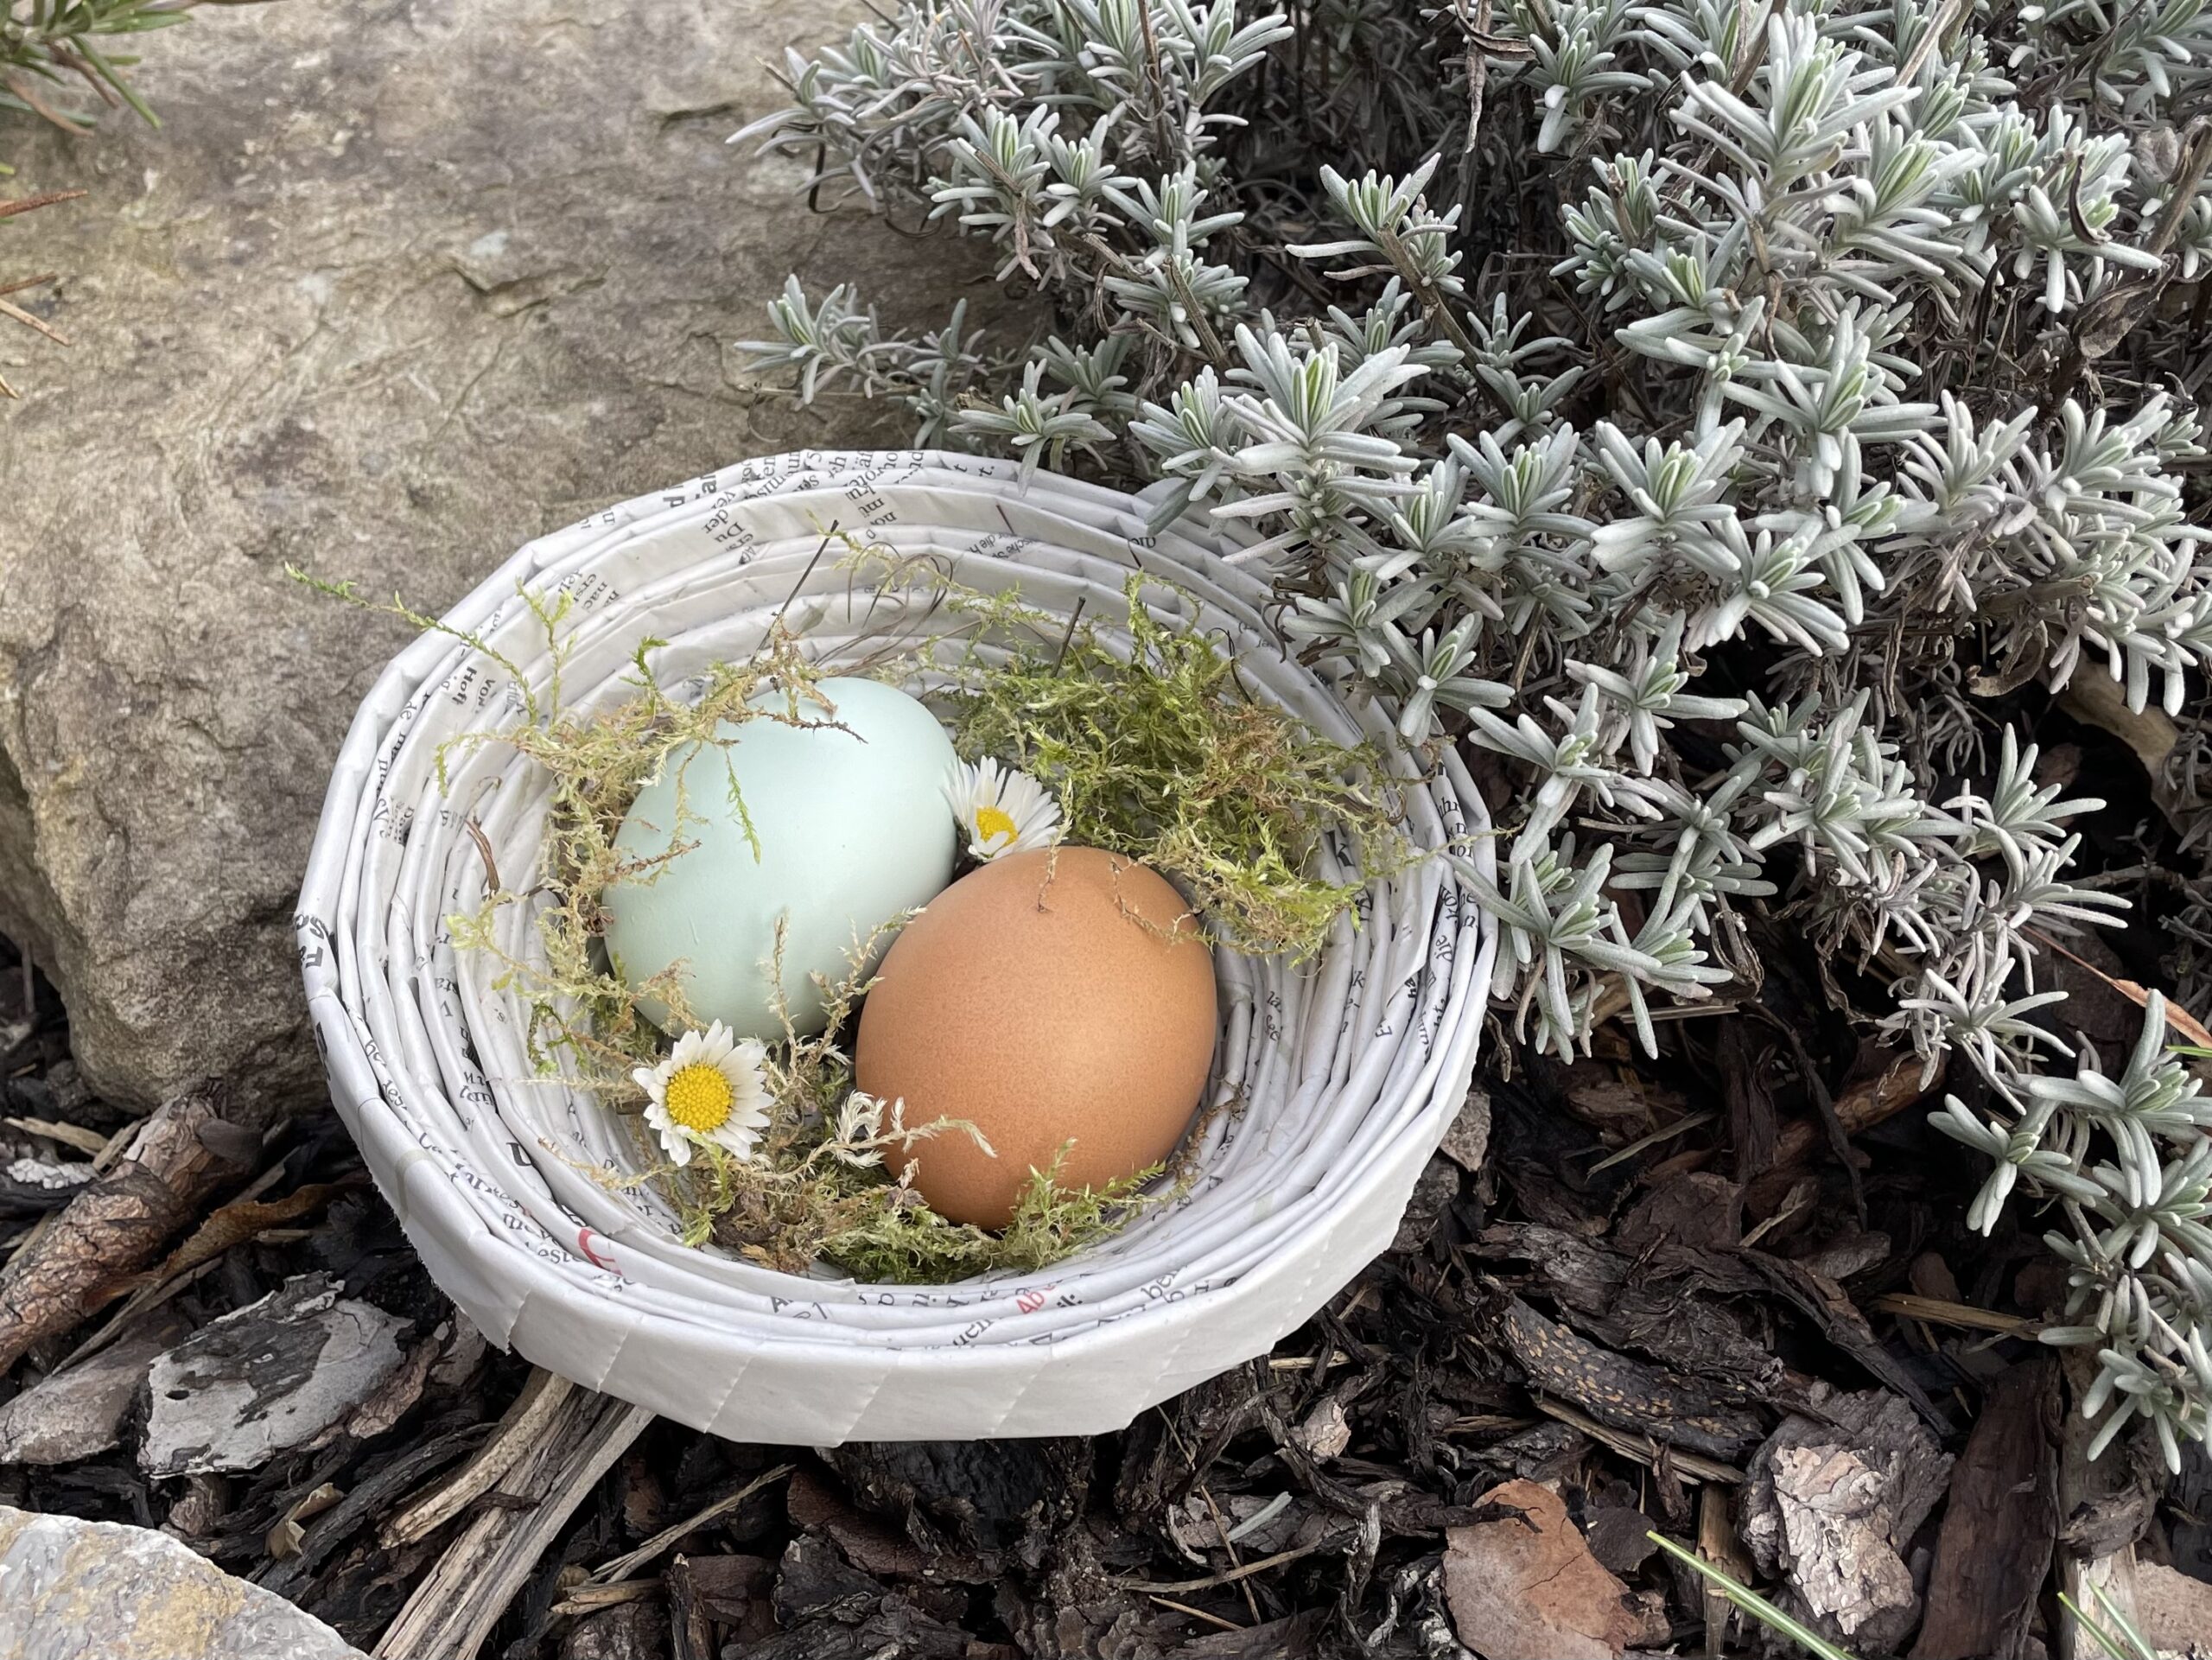


Easter nest with colorful eggs:
Put in colorful eggs and hide the nest in the garden.
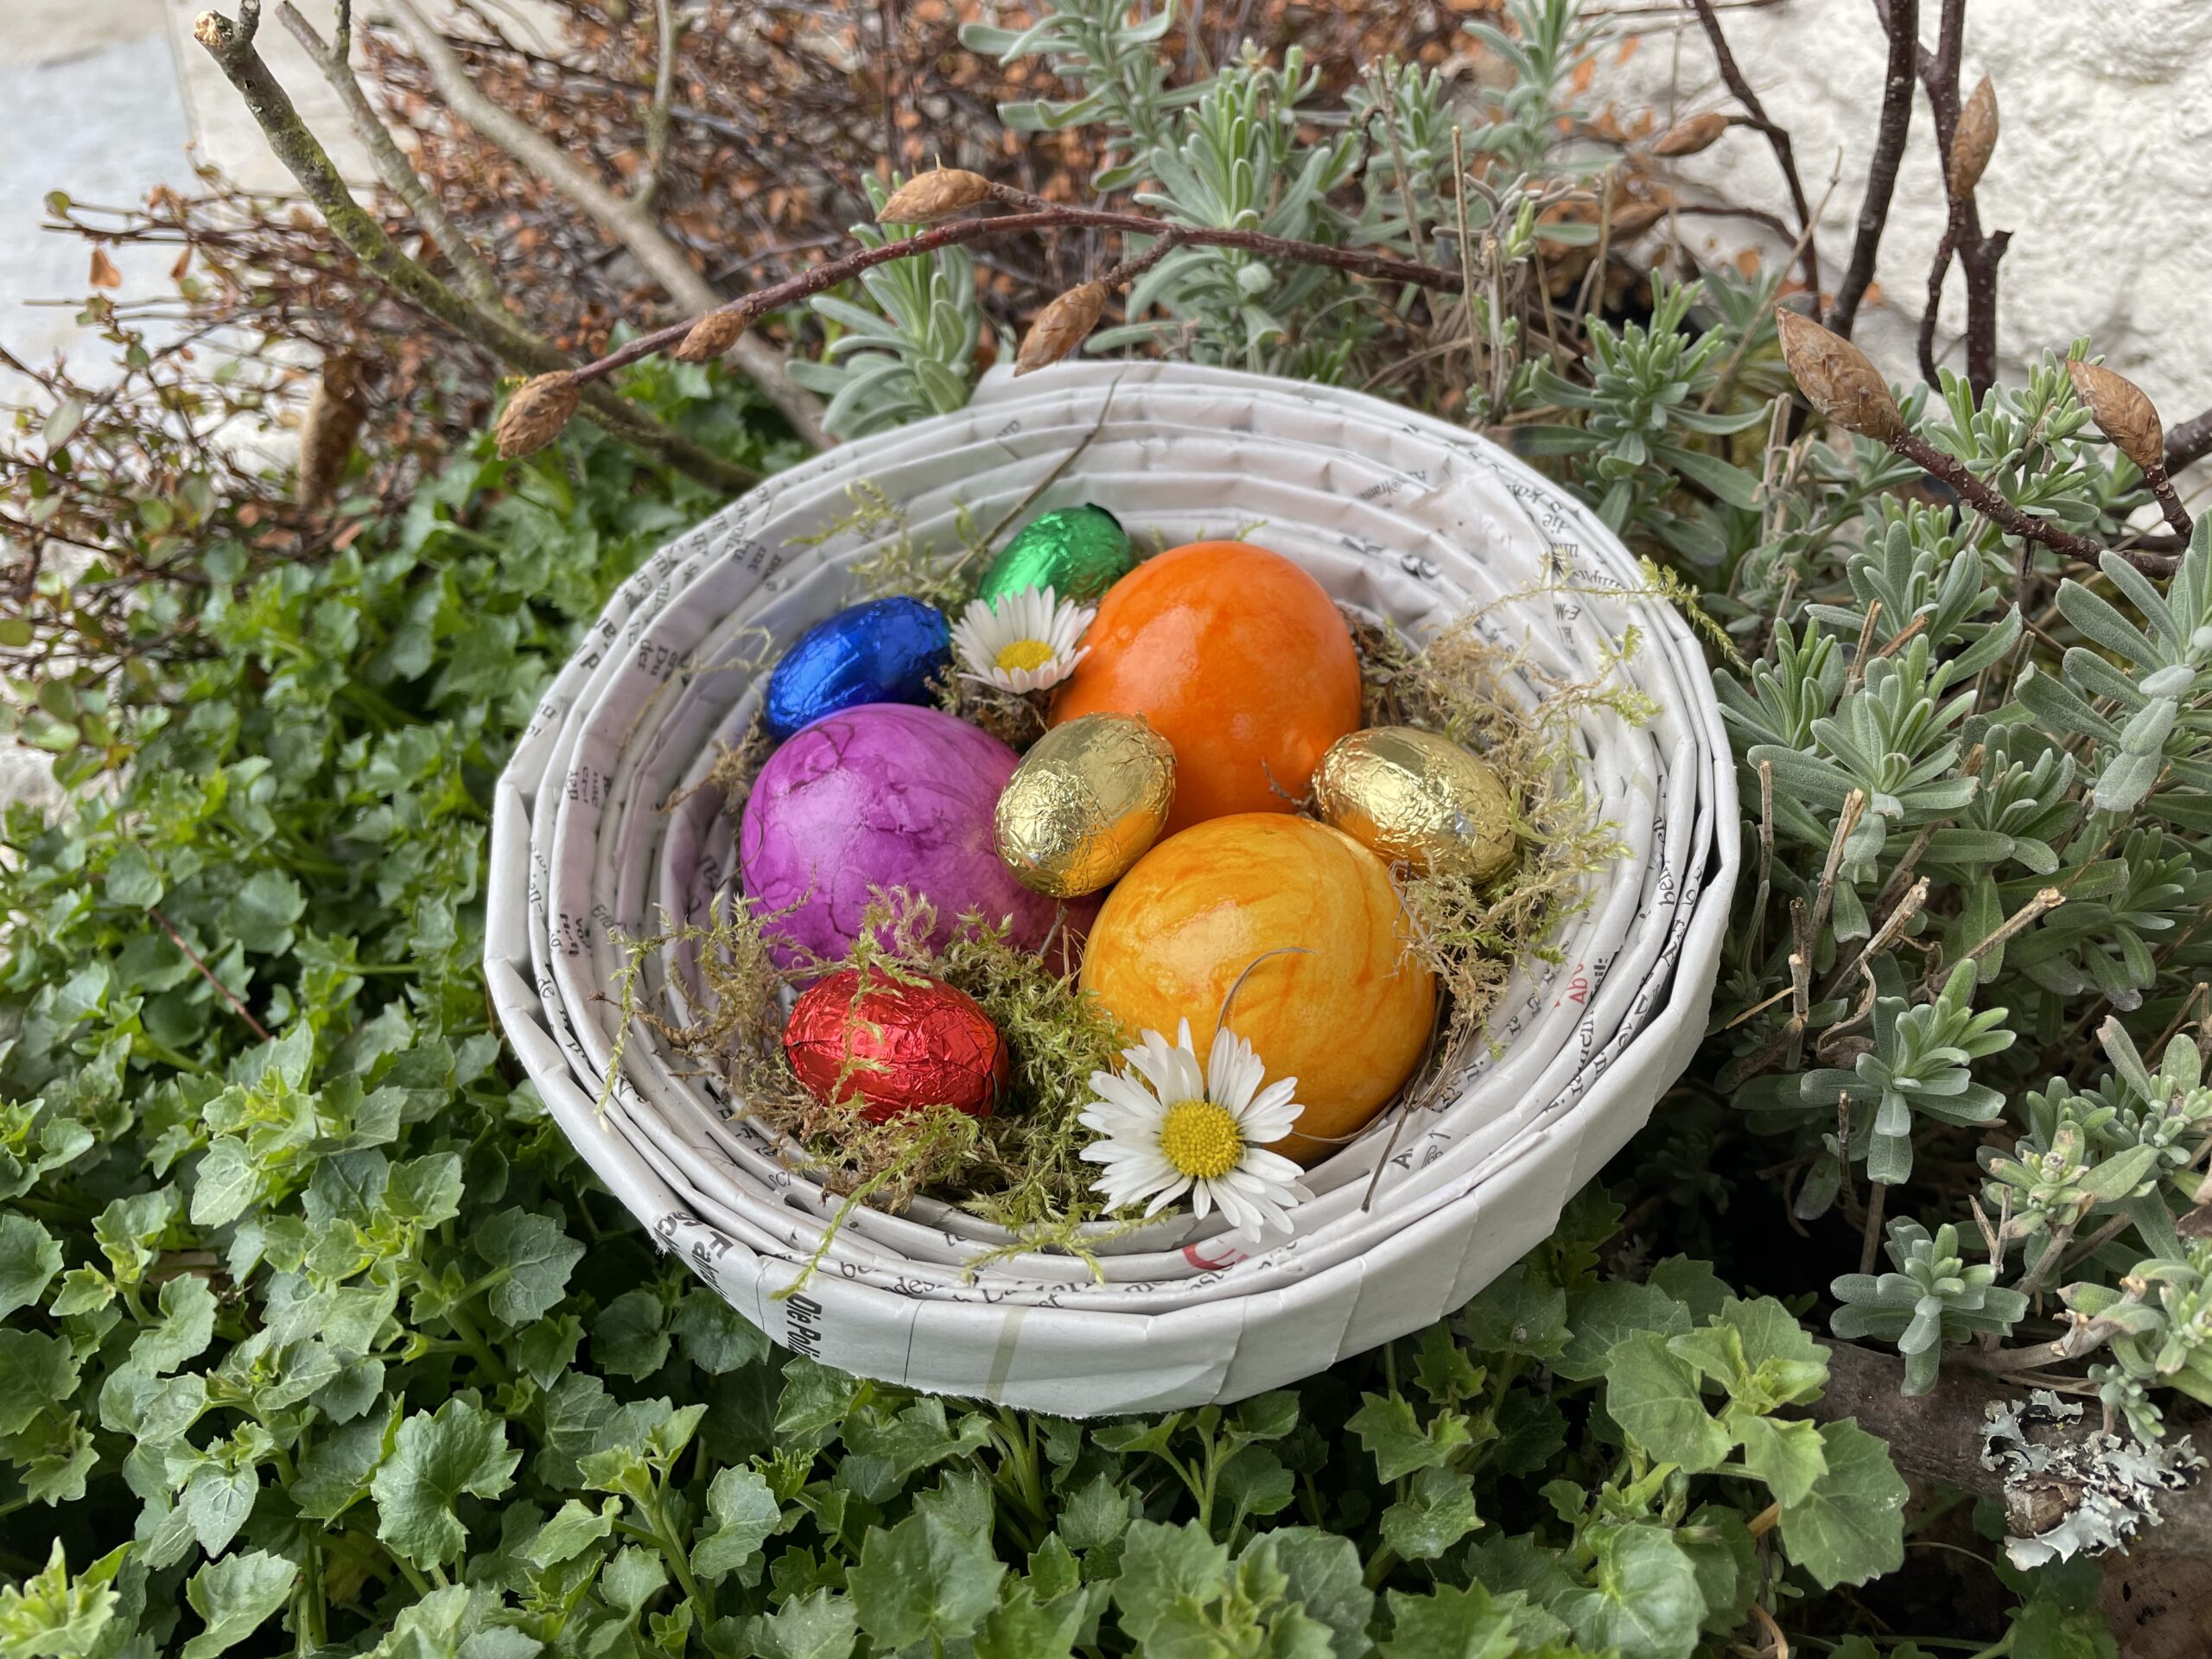


Easter can come!
You've made a beautiful nest that's just waiting for its mission.
Materials
Directions
Use daily newspapers to make. You only need the large double pages.
First of all, you put a sheet of newspaper diagonally in front of you.


Next, put the paper tightly around the pen and roll up the paper.


The pen should always be pulled out on one side so that it does not disappear in the paper roll.


If you leave the pen in the roll until the end, it's hard for you to get it out!


The newspaper is rolled up to the tip, creating a long thin roll.


Now you stick the tip with glue. To do this, stroke the small tip with glue and roll the newspaper roll over the tip finished, so holds the roll together.


That's what the finished newspaper roll looks like.


Next you press the roll with the flat hand flat. Thus the roll becomes a strip.


Depending on the desired size of the Easter dinner you need more or less newspaper rolls. Roll about 6-10 rolls and press them afterwards always flat.


Here you can read how many rolls you need for a small, medium or slightly larger bowl.


This is how different sized bowls look. Consider what size is suitable for your Easter nest.


Now you're starting to wrap the first newspaper strip like a snail.


Wraps very closely to the end of the strip. This requires a lot of strength!


When the first strip ends, a second strip is glued 3cm overlapping.


Put glue on the end piece and place the next strip on it. Press both strips together briefly and then wrap further.


The resulting paper snail gets bigger and bigger as more strips stick to it.


You always have to hold the rolled-up paper snail well so that it does not roll up again.


Stick the end of the last strip to the rolled-up snail. Apply glue to it and press the end.


Keep it short and the paper snail is ready.


This is what the finished paper snail looks like.


With both hands the snail is now pressed into the shape of an Easter basket. Push the center of the snail slowly with its thumbs down. Make sure that the newspaper strips do not slip apart, otherwise the snail falls apart. A slight overlap of the paper strips is absolutely necessary.


Press the Easter nest in shape until you like it. The bottom of the nest must be slightly wider so that the Easter nest stands well and does not shake.


The Easter nest is ready, but it doesn't hold its shape yet.


To do this, the Easter nest on the inside has to be coated with wood glue or napkin glue.


Take a brush and distribute the glue in the bowl.


Put the glue into the bowl gradually, so you can distribute it better.


All places must be painted, otherwise they may slip later.


Sets the bowl for drying. The glue becomes transparent after drying and gives the Easter nest a smooth inner surface.


The Easterest is ready and ready to be used and filled as an Easterest or as a gift. Here are a few ideas to follow.


Easter decoration:
e.g. filled with a few blown eggs and feathers.


Easter nest with moss:
Put in some fresh moss and you already have a nice Easter nest.


Easter nest with colorful eggs:
Put in colorful eggs and hide the nest in the garden.


Easter can come!
You've made a beautiful nest that's just waiting for its mission.
Follow us on Facebook , Instagram and Pinterest
Don't miss any more adventures: Our bottle mail


