Paper or paperboard shells (upcycled)

AdventurerKitaForst
Rating5.02.6 Thousand times & (6) DifficultyAdvanced

This upcycle project requires a lot of strength and perseverance! All you need for this is newspaper, glue and wood glue. First, all strips are rolled and pressed flat. Then the snail-shaped roll up follows. After bonding and drying, the paper bowl can be used individually. Whether for Mother's Day, as a jewelry or fruit bowl, for Father's Day for small snacks or for nuts for nibbles. Maybe also for the shop for playing or for collecting individual puzzle or small lego pieces. The bowl is also a cost-effective gift and a nice decoration.

Media Education for Kindergarten and Hort

Kind bastelt eine Rassel mit dem Navi
The Adventure Navi, the app for DIY projects, enables media education for the youngest.

Relief in everyday life, targeted promotion of individual children, independent learning and - without any pre-knowledge already usable by the youngest!


Titelbild zur Bastel- und DIY-Idee für Kinder '(1041) Schale aus Zeitungspapier (upcyceln)'
Material for1 Child
Prep Time5 min.Adv. Time40 min.Total Time45 min.
 3 Daily newspapers Newspaper large sheets
 1 Pen round and thin
 1 Builder's pad
 1 Brushes
 1 Wood glue Or: Bastelleim/ Serviette glue
All links marked with a shopping cart lead to Amazon - here we have selected products that we would order ourselves and in part also ordered. In a qualified purchase via the advertising link, we as Amazon partner receive a commission, for you there are no costs. You thus support our cost- and advertising banner-free, educational offer.
1

First of all, you prepare large sheets of a daily newspaper.

2

Next you put a large newspaper sheet diagonally in front of you, so that a tip points at you. With a thin round pen you start rolling the paper on the corner.
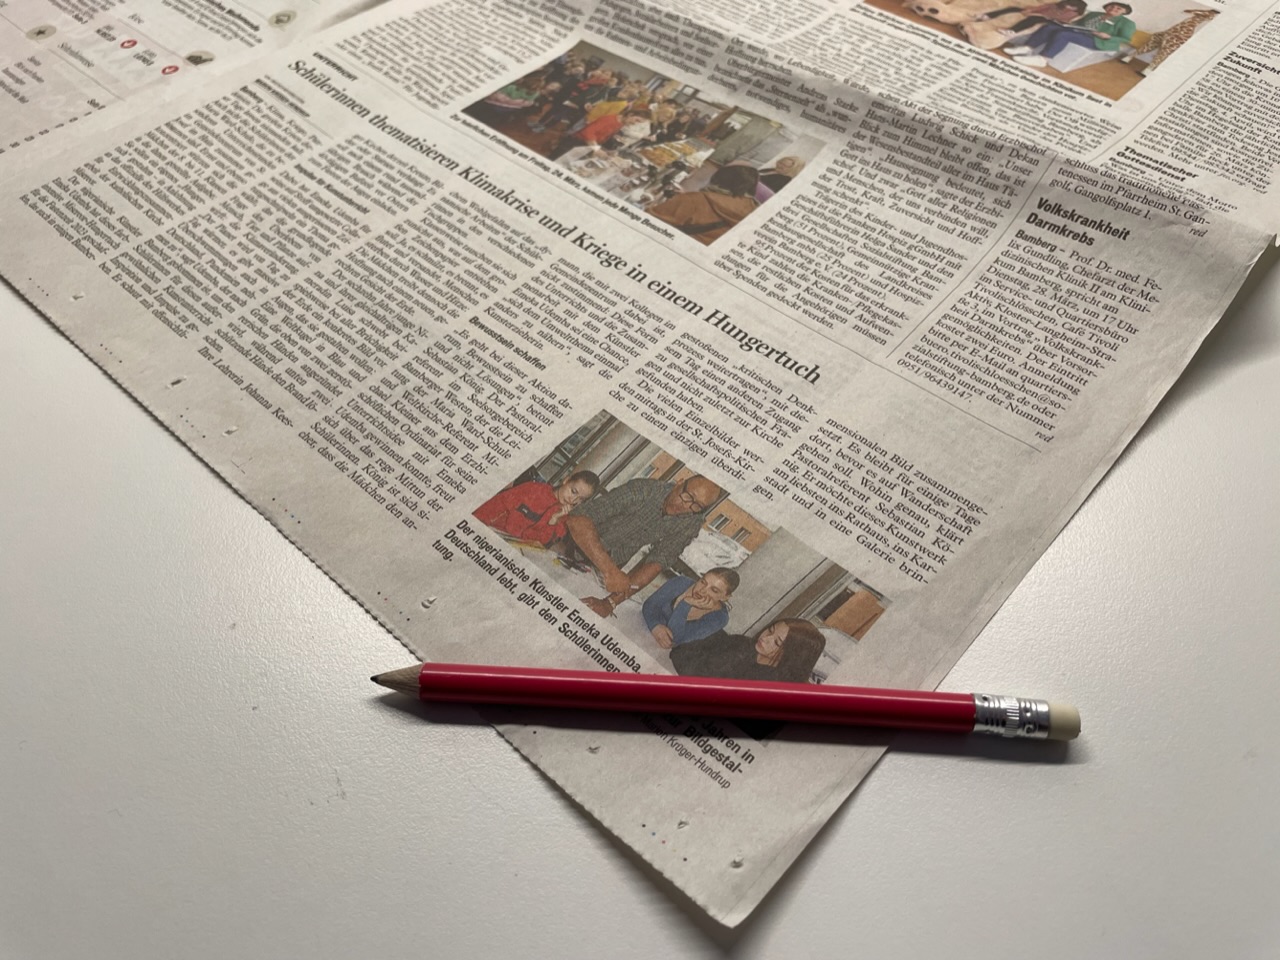
Bild zum Schritt 2 für das Bastel- und DIY-Abenteuer für Kinder: 'Al erstes legt ihr ein Blatt Zeitungspapier schräg vor euch....'

3

Roll the newspaper on the corner tightly over the pen.
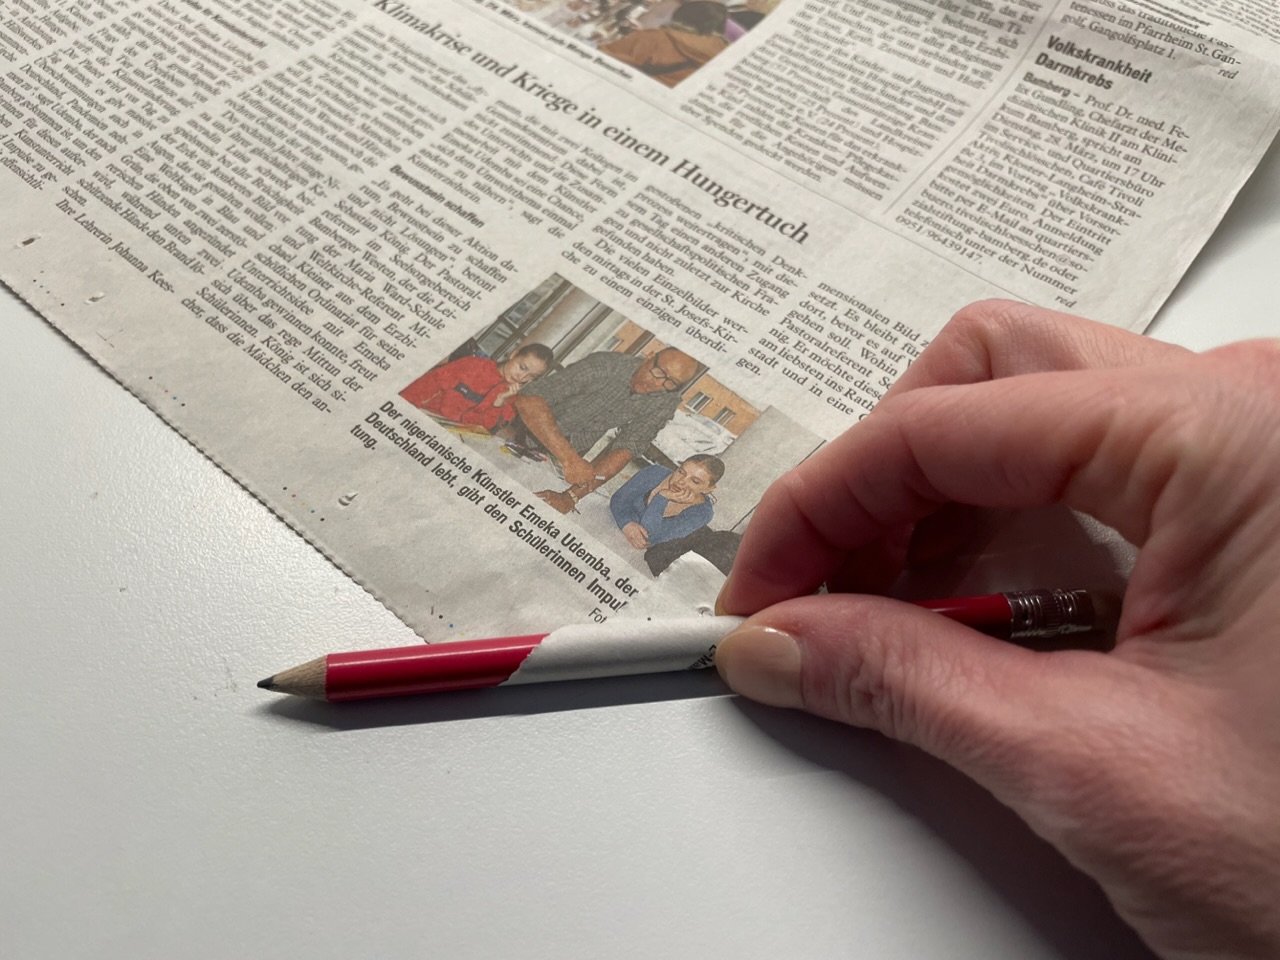
Bild zum Schritt 3 für das Bastel- und DIY-Abenteuer für Kinder: 'Als nächstes legt ihr das Papier eng um den Stift...'

4

Make sure that the pen is pulled out again and again at the side and does not disappear in the roll.

Bild zum Schritt 4 für das Bastel- und DIY-Abenteuer für Kinder: 'Der Stift sollte an einer Seite immer wieder ein Stück...'

5

Because in hindsight you can only get the pen out of the roll very hard! If you have already rolled a whole piece, you can also pull the pen out and roll it to the end without a pen.

Bild zum Schritt 5 für das Bastel- und DIY-Abenteuer für Kinder: 'Wenn ihr den Stift bis zum Schluss in der Rolle...'

6

Roll up the newspaper completely. Let the tip look out at the end and hold the roll tight, otherwise it will roll up again!

Bild zum Schritt 6 für das Bastel- und DIY-Abenteuer für Kinder: 'Das Zeitungspapier wird bis zur Spitze aufgerollt. So entsteht eine...'

7

Now you pick up some glue on the tip and roll up the roll completely. So you push the tip to the newspaper roll.

Bild zum Schritt 7 für das Bastel- und DIY-Abenteuer für Kinder: 'Jetzt klebt ihr die Spitze mit Kleber fest. Streicht dazu...'

8

The first newspaper roll is ready.

Bild zum Schritt 8 für das Bastel- und DIY-Abenteuer für Kinder: 'So sieht die fertige Zeitungsrolle aus.'

9

Press the roll completely flat with the back of the hand.

Bild zum Schritt 9 für das Bastel- und DIY-Abenteuer für Kinder: 'Als nächstes drückt ihr die Rolle mit der flachen Hand...'

10

Creates 6-10 rolls in this way.
The more you roll, the bigger your Easter basket becomes.

Bild zum Schritt 10 für das Bastel- und DIY-Abenteuer für Kinder: 'Je nach gewünschter Größe des Osternestes braucht ihr mehr oder...'

11

Here you can see how many newspaper rolls you need for a small, medium, or larger bowl.

Bild zum Schritt 11 für das Bastel- und DIY-Abenteuer für Kinder: 'Hier könnt ihr lesen, wie viele Rollen ihr für ein...'

12

Here you can see different sizes of shells in comparison. Consider which size fits your project.

Bild zum Schritt 12 für das Bastel- und DIY-Abenteuer für Kinder: 'So sehen unterschiedlich große Schalen aus. Überlegt euch, welche Größe...'

13

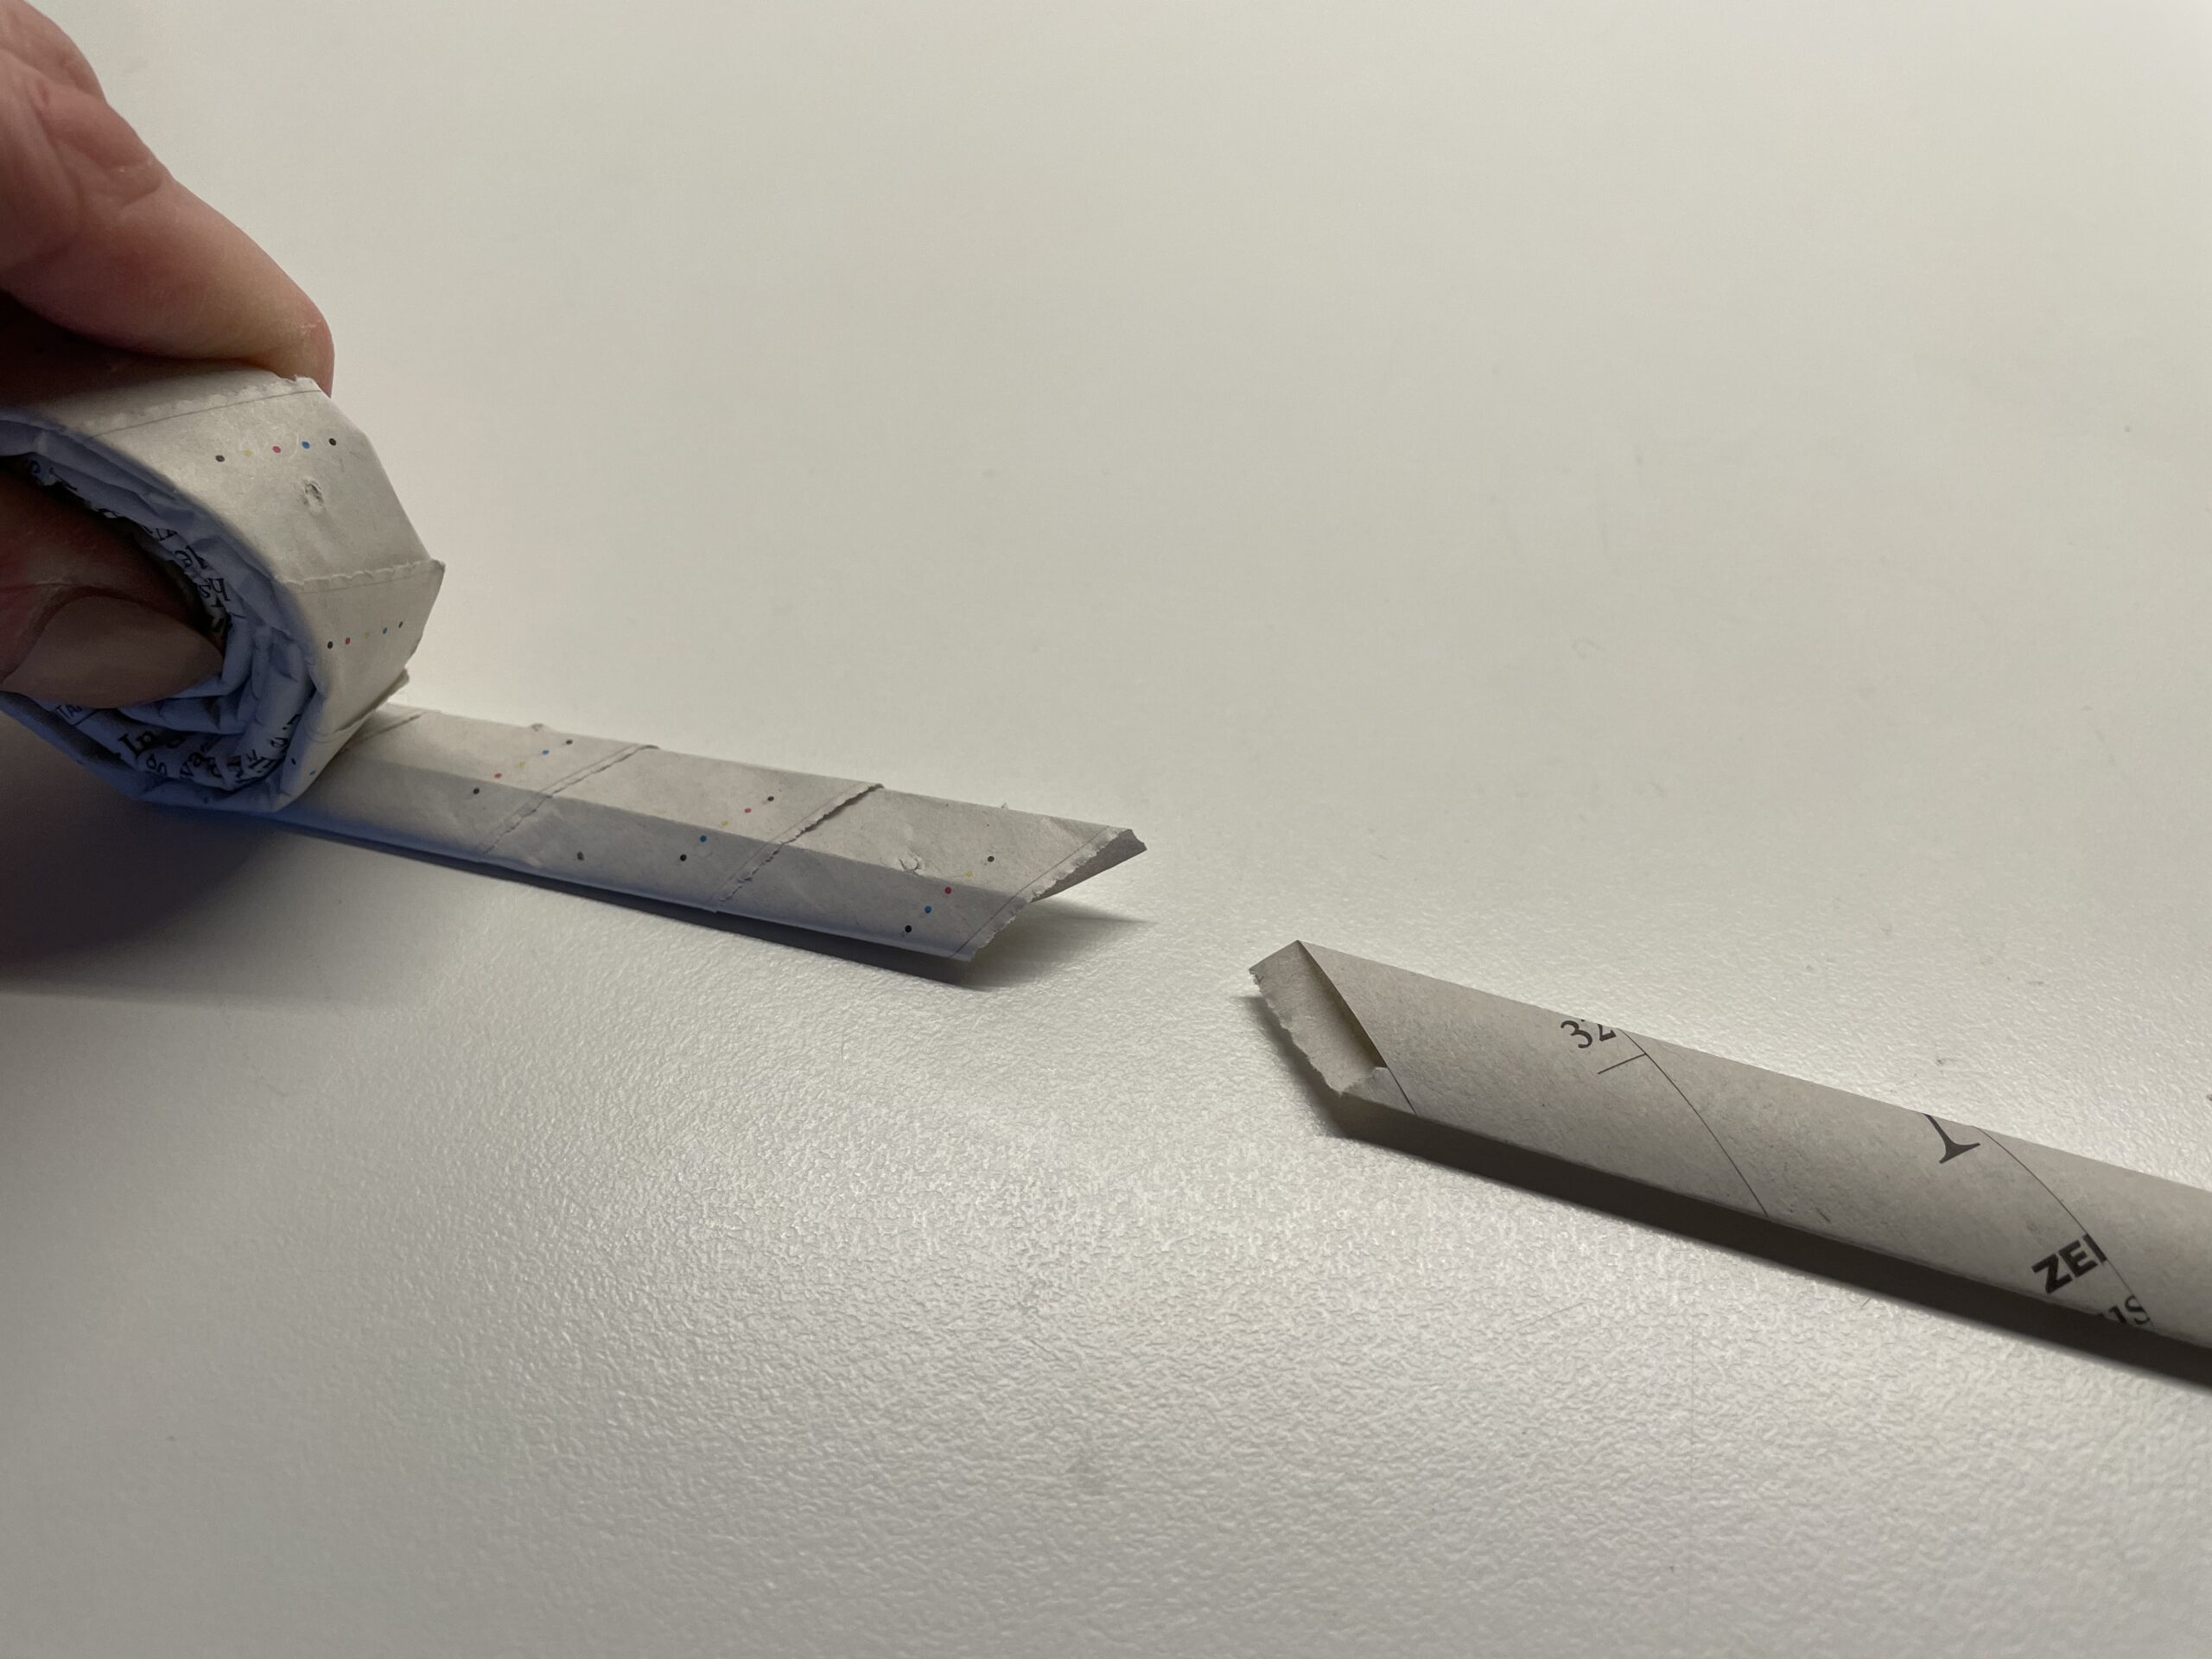
Now the roll-up begins. Start with a newspaper strip and wrap it up in a snail-shaped and tight way.

Bild zum Schritt 13 für das Bastel- und DIY-Abenteuer für Kinder: 'Jetzt beginnt ihr, den ersten Zeitungstreifen wie eine Schnecke aufzuwickeln.'

14

This is what the snail looks like now. Wrap until the last 5 cm are left.

Bild zum Schritt 14 für das Bastel- und DIY-Abenteuer für Kinder: 'Wickelt ganz eng bis zum Ende des Streifens. Hierfür ist...'

15

Now the next strip is glued on.

Bild zum Schritt 15 für das Bastel- und DIY-Abenteuer für Kinder: 'Wenn der erste Streifen endet, wird ein zweiter Streifen 3cm...'

16

For this you go on the remaining piece of glue and put the beginning of the new strip over it. Press the overlapping strips together and then wrap further.

Bild zum Schritt 16 für das Bastel- und DIY-Abenteuer für Kinder: 'Gebt Kleber auf das Endstück und legt den nächsten Streifen...'

17

You wrap and stretch the strips until the paper snail is big enough for you.

Bild zum Schritt 17 für das Bastel- und DIY-Abenteuer für Kinder: 'Die entstehende Papierschnecke wird immer größer, je mehr Streifen ihr...'

18

Always hold the rolled-up paper snail well, otherwise it immediately breaks apart again.

Bild zum Schritt 18 für das Bastel- und DIY-Abenteuer für Kinder: 'Die aufgerollte Papierschnecke müsst ihr immer gut festhalten, damit sie...'

19

The end piece is fixed with glue.

Bild zum Schritt 19 für das Bastel- und DIY-Abenteuer für Kinder: 'Klebt das Ende des letzten Streifens an der aufgerollten Schnecke...'

20

Hold on to the end of the paper with your finger until the glue has dried up a little. So the snail does not roll up again.

Bild zum Schritt 20 für das Bastel- und DIY-Abenteuer für Kinder: 'Kurz halten und schon ist die Papierschnecke fertig.'

21

The paper snail is now ready.

Bild zum Schritt 21 für das Bastel- und DIY-Abenteuer für Kinder: 'So sieht dann die fertige Papierschnecke aus.'

22

Take the paper snail in both hands and press the snail slightly inwards with both thumbs at the same time. Do this very slowly so that you do not push the snail apart.

Bild zum Schritt 22 für das Bastel- und DIY-Abenteuer für Kinder: 'Mit beiden Hände wird die Schnecke nun in die Form...'

23

So you get a bowl. Form the bowl until you like it. Make sure that the bowl can stand well on the table. Therefore, it must not be too pointed below.

Bild zum Schritt 23 für das Bastel- und DIY-Abenteuer für Kinder: 'Drückt das Osternest so lange in Form, bis es euch...'

24

That's what the shell looks like from the outside.

Bild zum Schritt 24 für das Bastel- und DIY-Abenteuer für Kinder: 'Das Osternest ist fertig, allerdings hält es noch nicht seine...'

25

In order to get the bowl stable, it must be glued with glue. Uses wood glue, because it becomes transparent after drying.

Bild zum Schritt 25 für das Bastel- und DIY-Abenteuer für Kinder: 'Dazu muss das Osternest auf der Innenseite noch mit Holzleim...'

26

Put glue in the bowl and spread it with a brush.

Bild zum Schritt 26 für das Bastel- und DIY-Abenteuer für Kinder: 'Nehmt einen Pinsel und verteilt damit den Leim in der...'

27

Goes step by step, otherwise the glue dries too fast.

Bild zum Schritt 27 für das Bastel- und DIY-Abenteuer für Kinder: 'Gebt den Leim nach und nach in die Schale, so...'

28

Covers only the inside of the shell. Make sure that the glue is well distributed.

Bild zum Schritt 28 für das Bastel- und DIY-Abenteuer für Kinder: 'Alle Stellen müssen bestrichen sein, sonst können sie später verrutschen.'

29

Leave the bowl to dry or put it on the heater.

Bild zum Schritt 29 für das Bastel- und DIY-Abenteuer für Kinder: 'Stellt die Schale zum Trocknen. Der Leim wird nach dem...'

30

The inside is nicely smooth after drying and the shell is now stable.
Now you can use the paper bowl. You will find examples afterwards.

Bild zum Schritt 30 für das Bastel- und DIY-Abenteuer für Kinder: 'Das Osternest ist fertig und ist bereit, um als Osternest...'

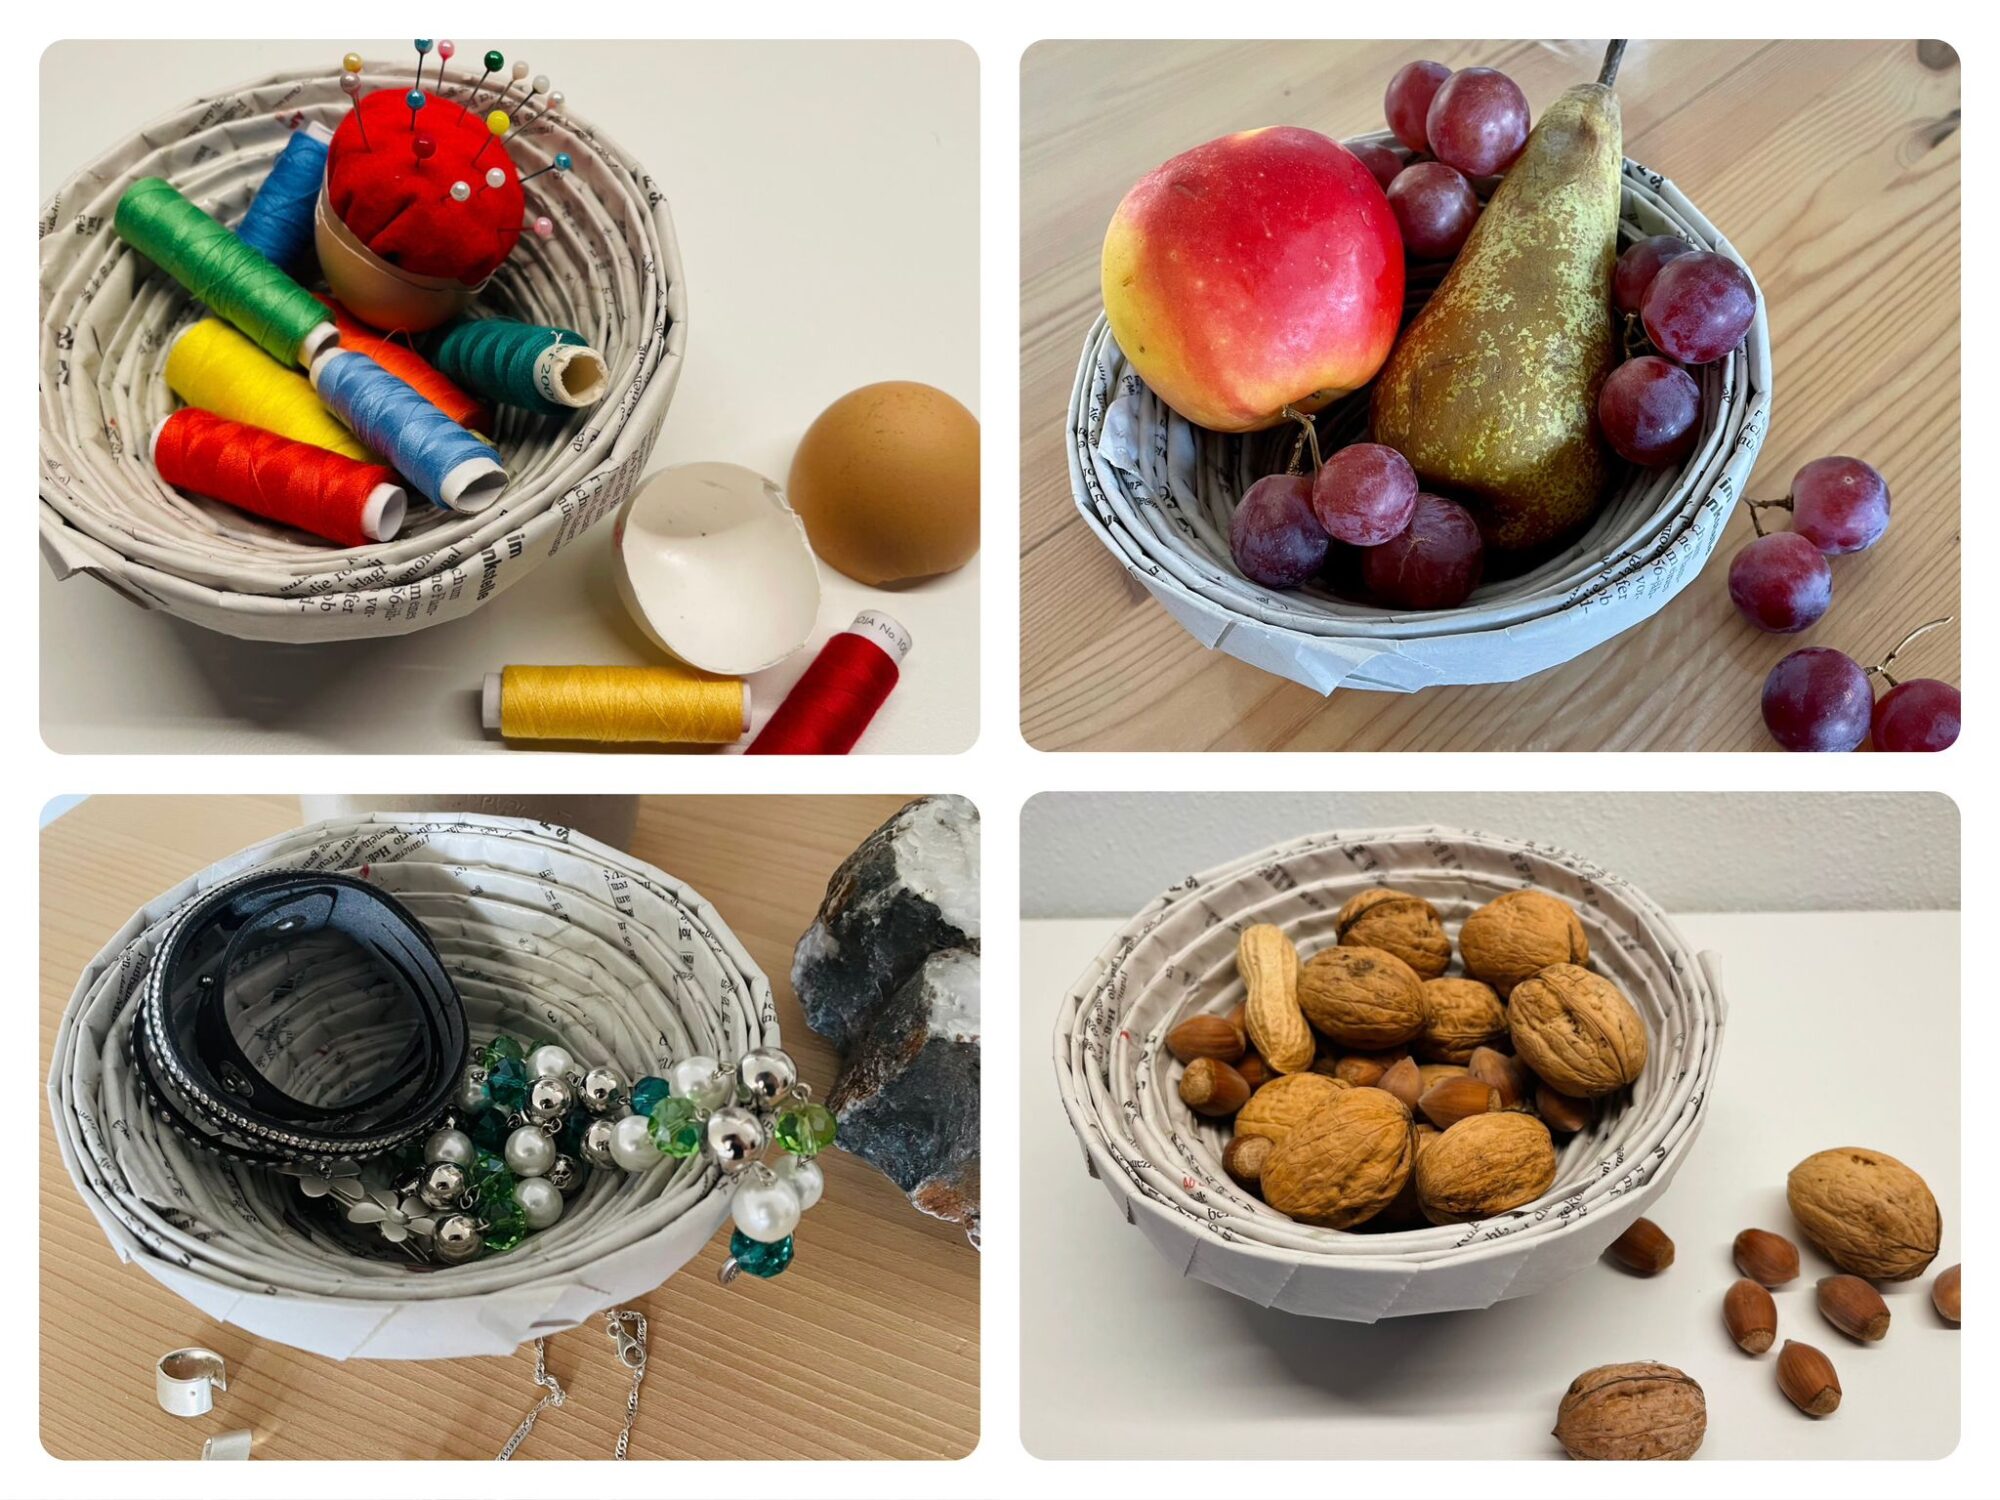
For this you can use the bowl:
31

Father's Day present:
e.g. with a few homemade snacks or a few nuts as a nerve food.

Bild zum Schritt 32 für das Bastel- und DIY-Abenteuer für Kinder: 'Vatertagsgeschenk:  z.B. mit ein paar selbst gemachte Naschereien oder...'

32

Jewelry bowl:
e.g. on Mother's Day or as a birthday present for an aunt or girlfriend.

Bild zum Schritt 33 für das Bastel- und DIY-Abenteuer für Kinder: 'Schmuckschale:  z.B. zum Muttertag oder als Geburtstagsgeschenk für eine...'

33

Fruit peel:
For example, as a recovery gift filled with fresh fruit, as a souvenir on a sick visit or for Thanksgiving.

Bild zum Schritt 34 für das Bastel- und DIY-Abenteuer für Kinder: 'Obstschale:  z.B. als Genesungsgeschenk mit frischem Obst befüllt, als...'

34

Sewing baskets at Easter:
e.g. with different sewing yarns and an Easter egg needle cushion for the grandmother (see separate offer).

Bild zum Schritt 35 für das Bastel- und DIY-Abenteuer für Kinder: 'Nähkörbchen zu Ostern:  z.B. mit verschiedenen Nähgarnen und einem...'

35

Enjoy your crafting!

Materials

 3 Daily newspapers Newspaper large sheets
 1 Pen round and thin
 1 Builder's pad
 1 Brushes
 1 Wood glue Or: Bastelleim/ Serviette glue
All links marked with a shopping cart lead to Amazon - here we have selected products that we would order ourselves and in part also ordered. In a qualified purchase via the advertising link, we as Amazon partner receive a commission, for you there are no costs. You thus support our cost- and advertising banner-free, educational offer.

Directions

1

First of all, you prepare large sheets of a daily newspaper.

2

Next you put a large newspaper sheet diagonally in front of you, so that a tip points at you. With a thin round pen you start rolling the paper on the corner.

Bild zum Schritt 2 für das Bastel- und DIY-Abenteuer für Kinder: 'Al erstes legt ihr ein Blatt Zeitungspapier schräg vor euch....'

3

Roll the newspaper on the corner tightly over the pen.

Bild zum Schritt 3 für das Bastel- und DIY-Abenteuer für Kinder: 'Als nächstes legt ihr das Papier eng um den Stift...'

4

Make sure that the pen is pulled out again and again at the side and does not disappear in the roll.
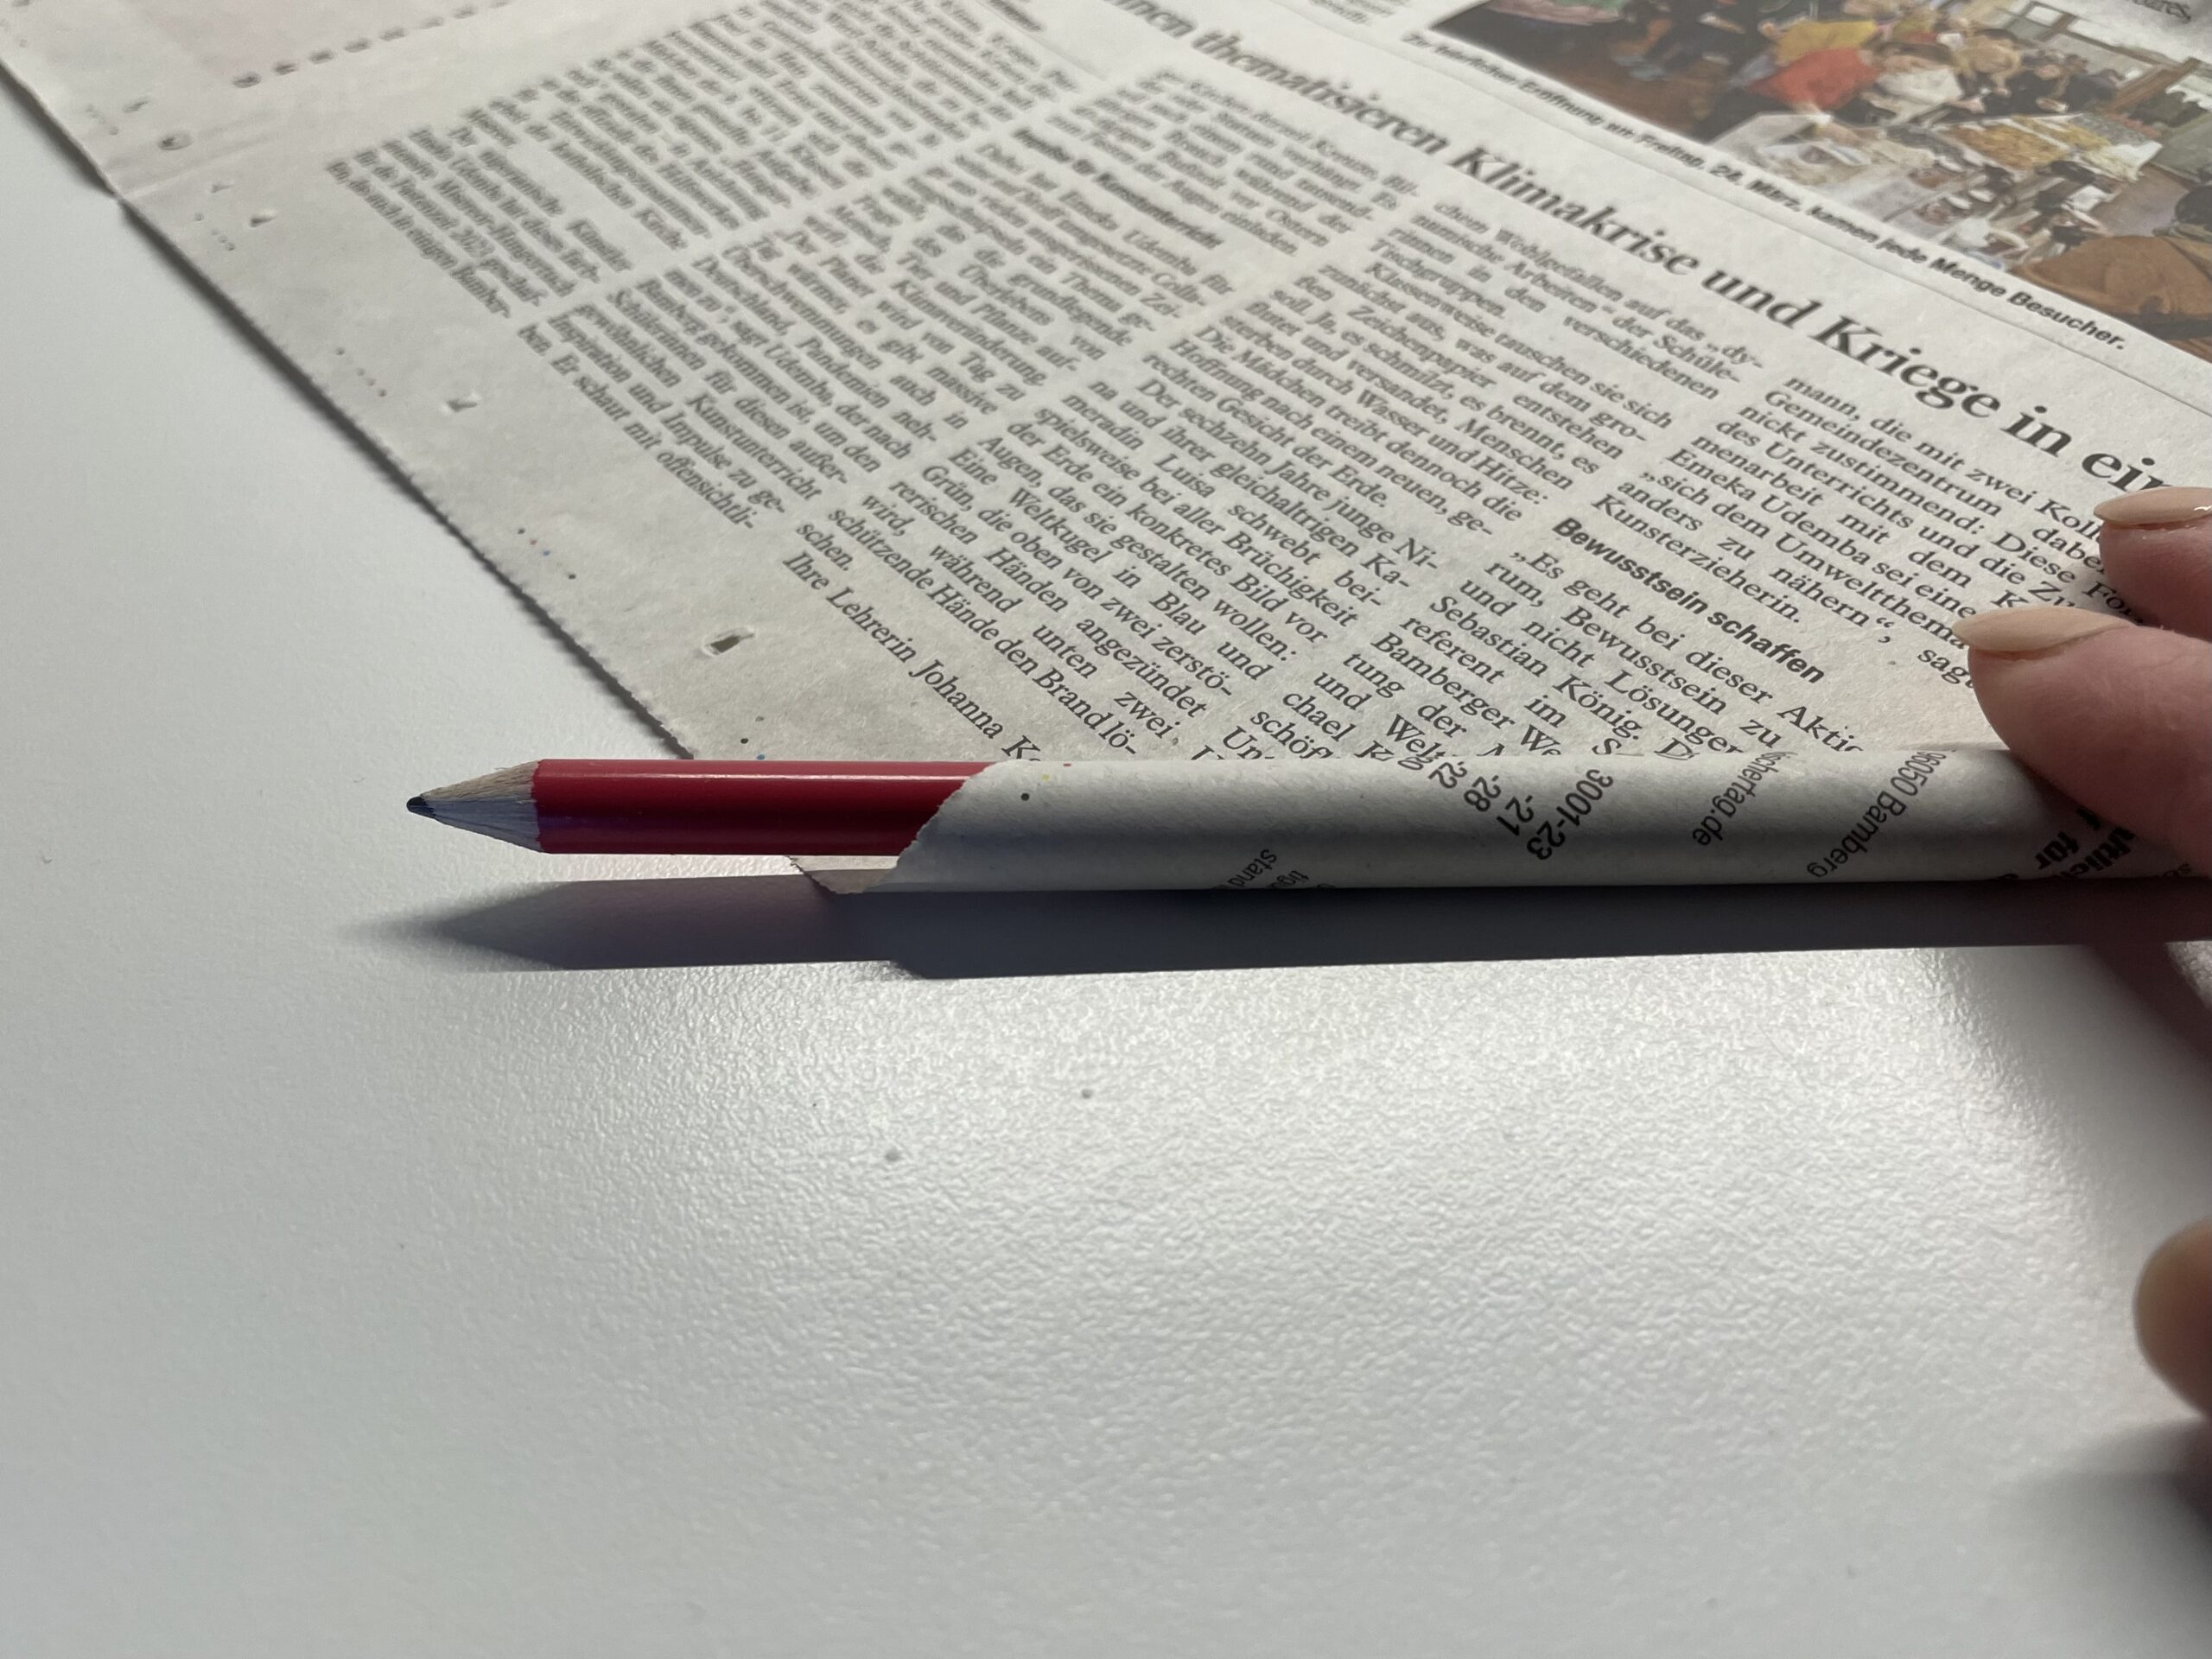
Bild zum Schritt 4 für das Bastel- und DIY-Abenteuer für Kinder: 'Der Stift sollte an einer Seite immer wieder ein Stück...'

5

Because in hindsight you can only get the pen out of the roll very hard! If you have already rolled a whole piece, you can also pull the pen out and roll it to the end without a pen.
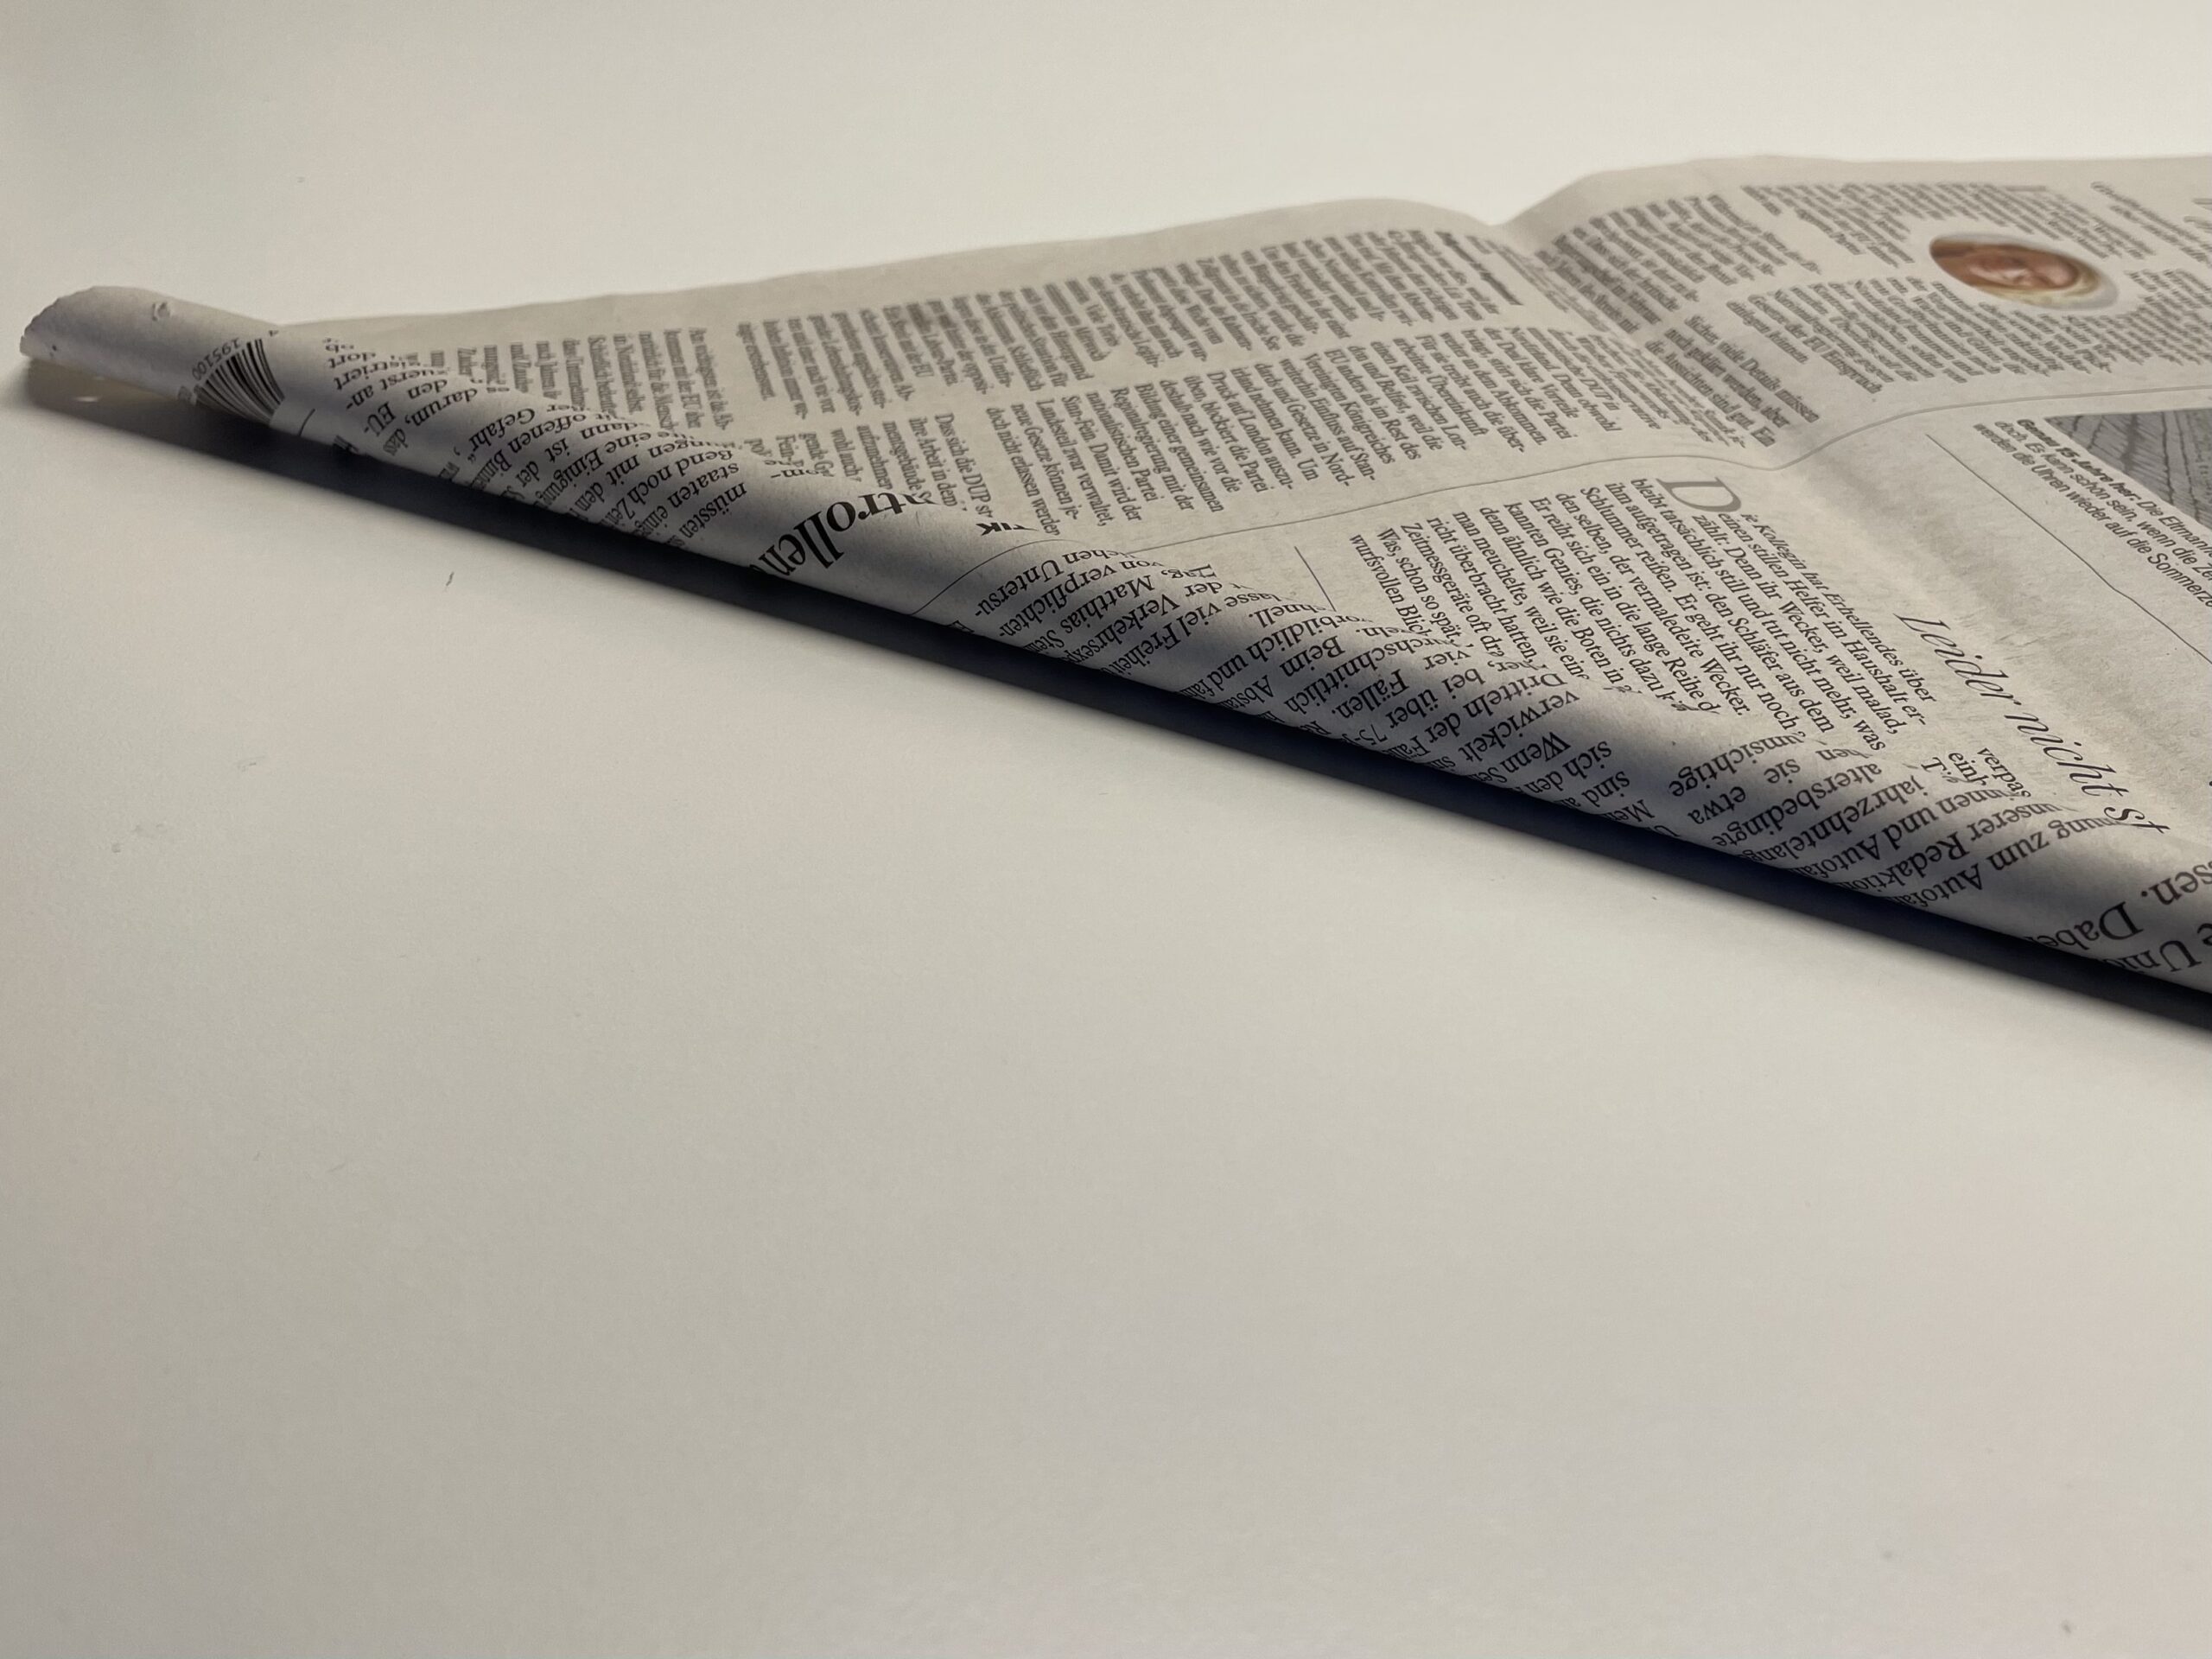
Bild zum Schritt 5 für das Bastel- und DIY-Abenteuer für Kinder: 'Wenn ihr den Stift bis zum Schluss in der Rolle...'

6

Roll up the newspaper completely. Let the tip look out at the end and hold the roll tight, otherwise it will roll up again!
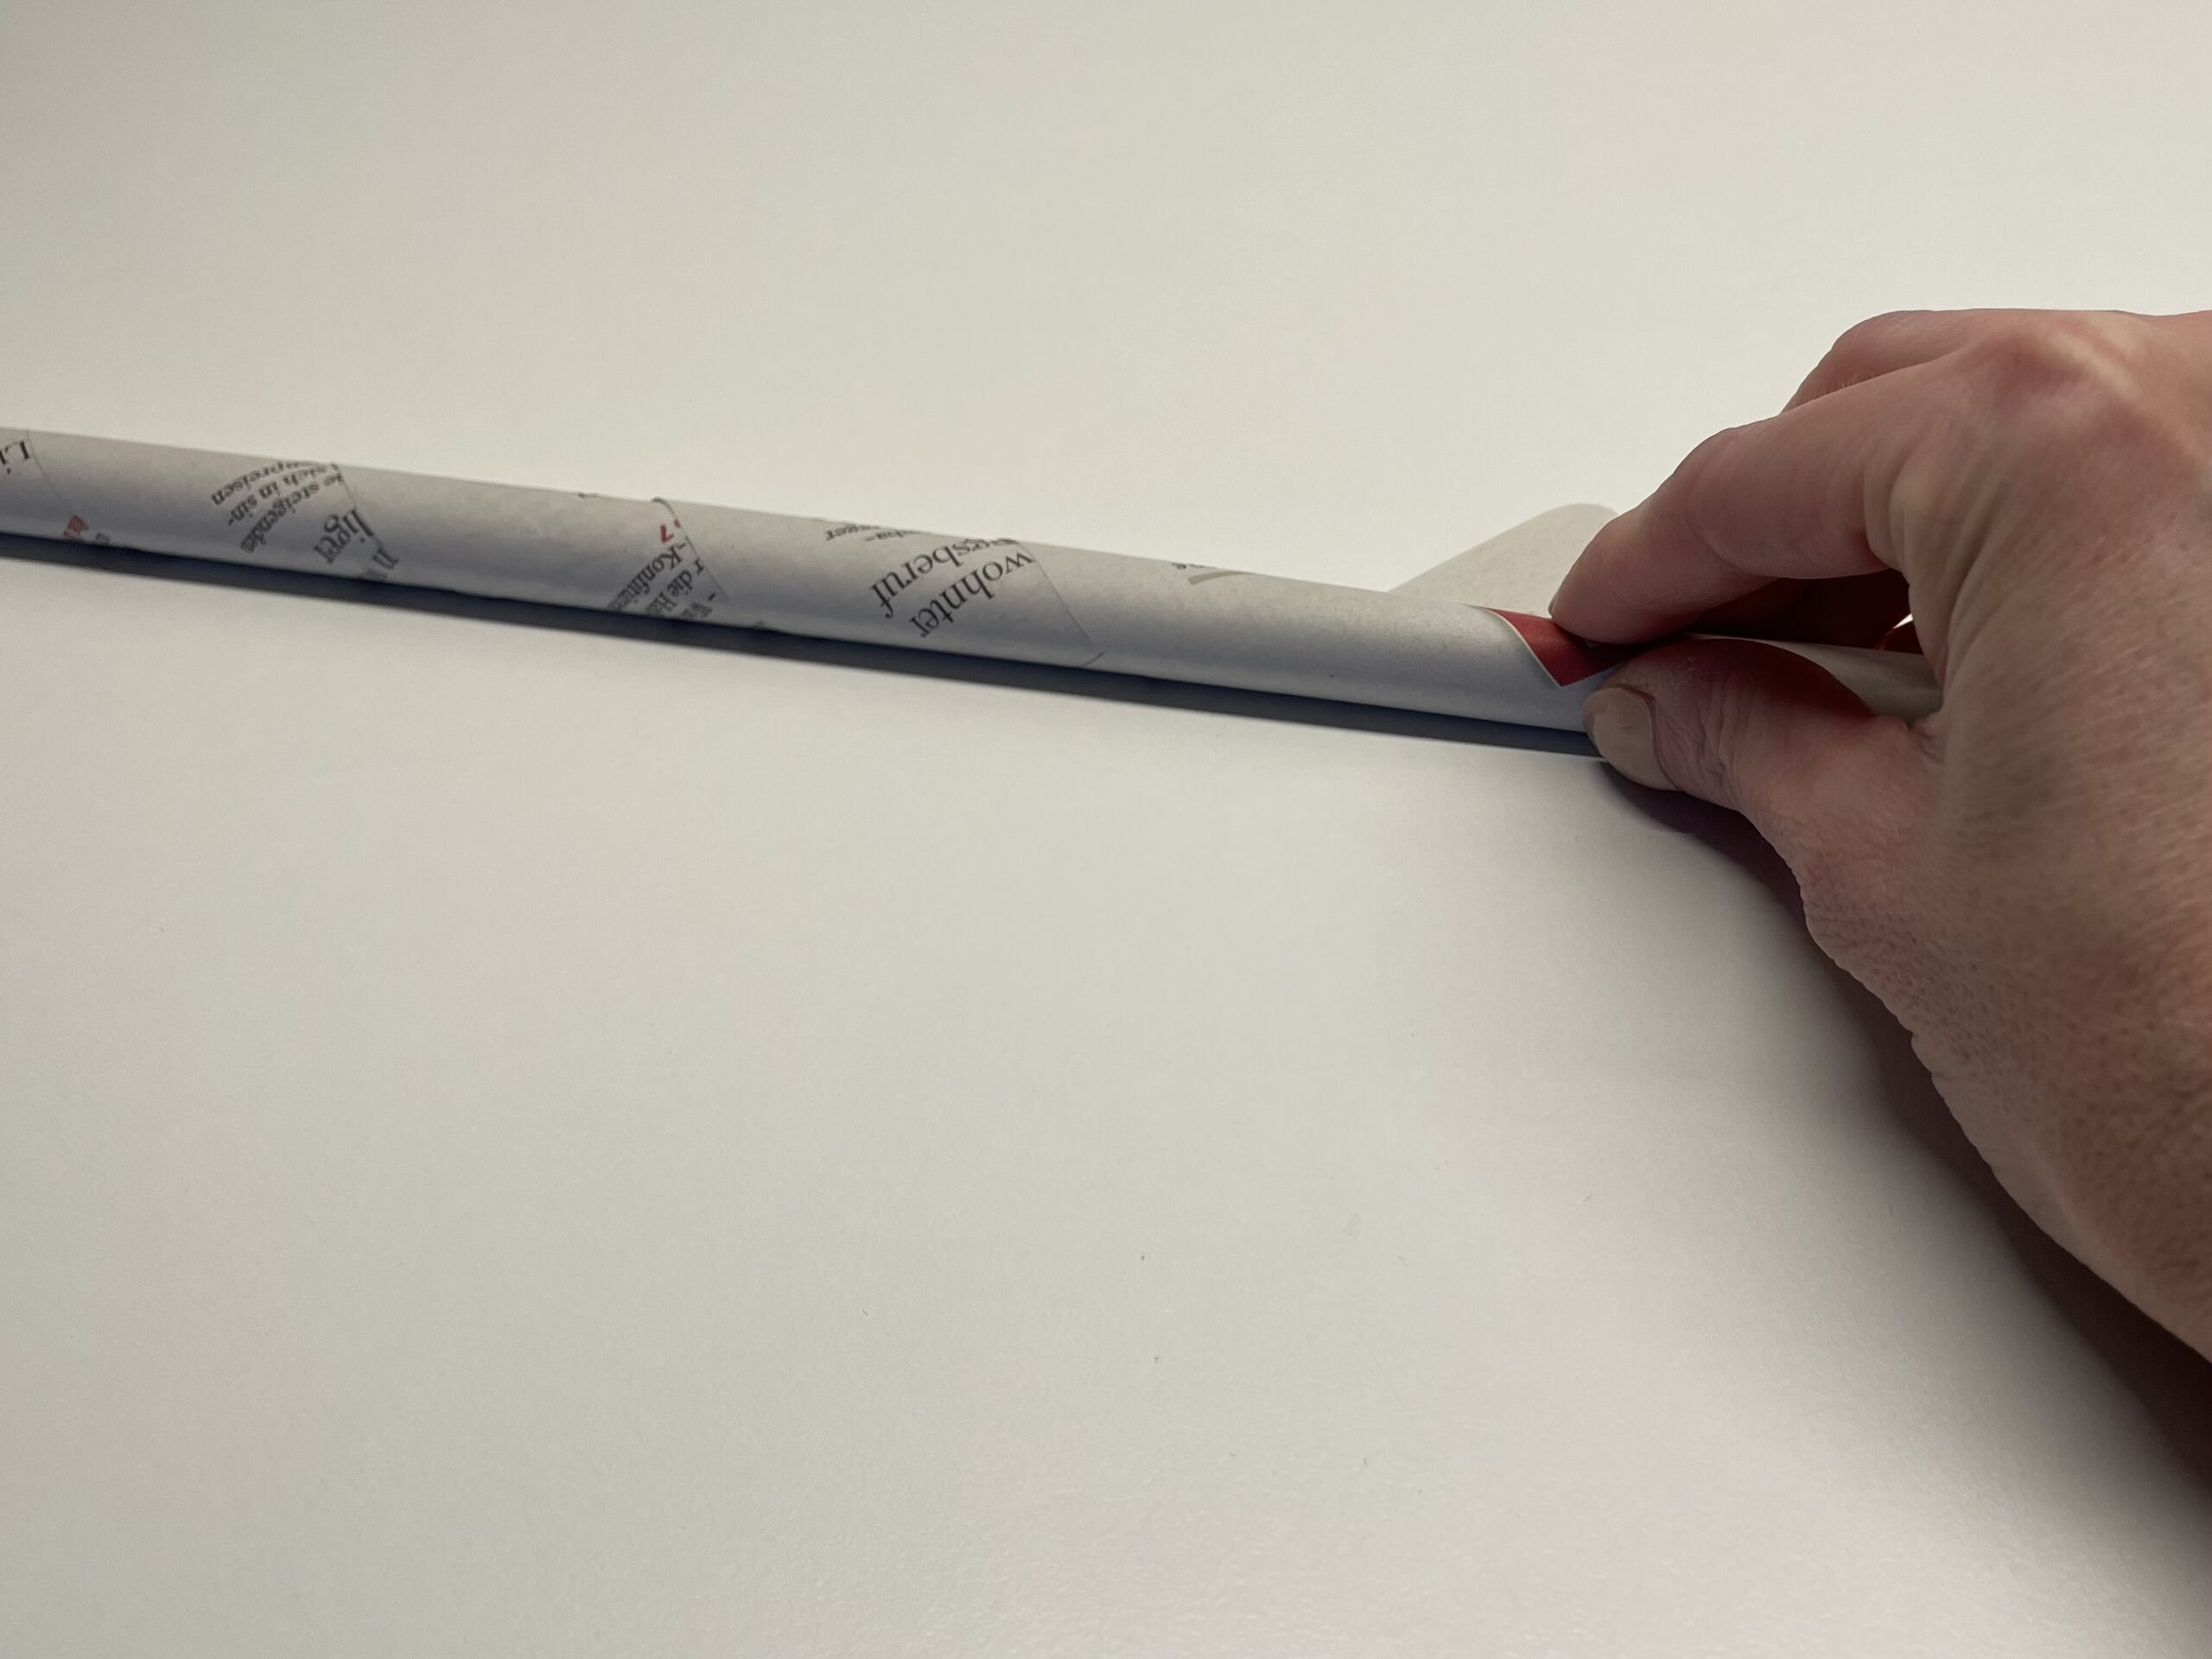
Bild zum Schritt 6 für das Bastel- und DIY-Abenteuer für Kinder: 'Das Zeitungspapier wird bis zur Spitze aufgerollt. So entsteht eine...'

7

Now you pick up some glue on the tip and roll up the roll completely. So you push the tip to the newspaper roll.
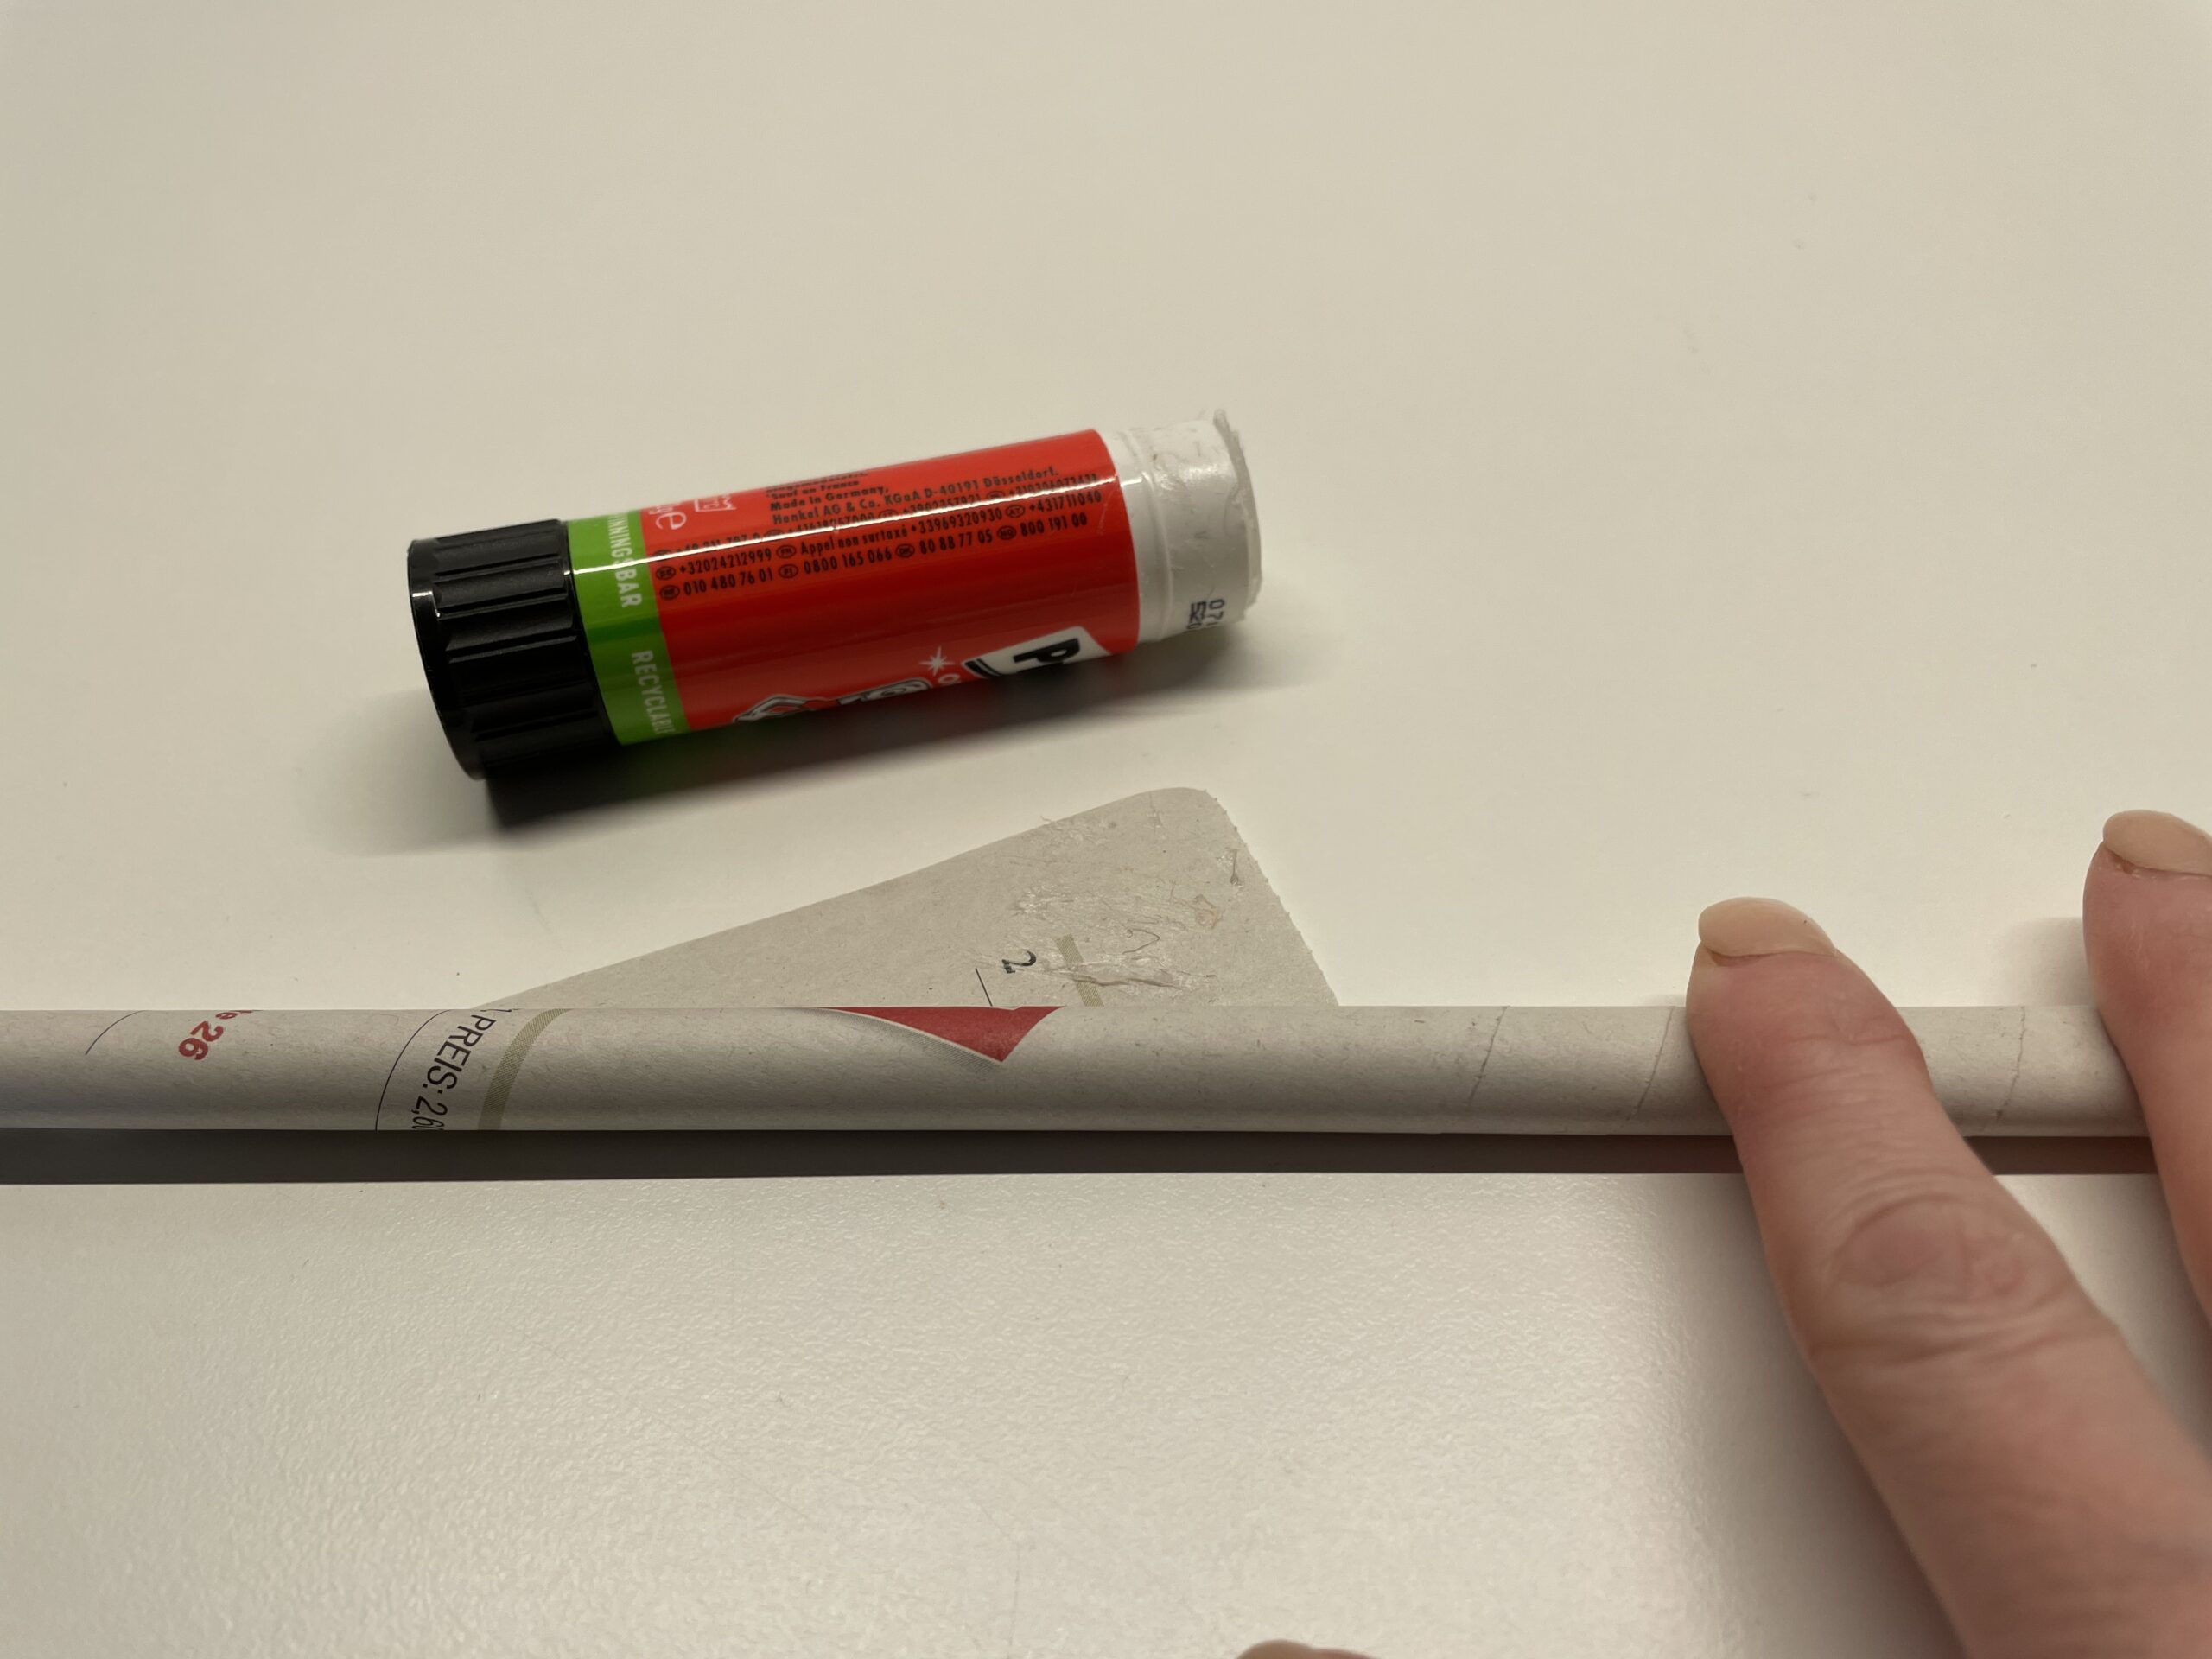
Bild zum Schritt 7 für das Bastel- und DIY-Abenteuer für Kinder: 'Jetzt klebt ihr die Spitze mit Kleber fest. Streicht dazu...'

8

The first newspaper roll is ready.
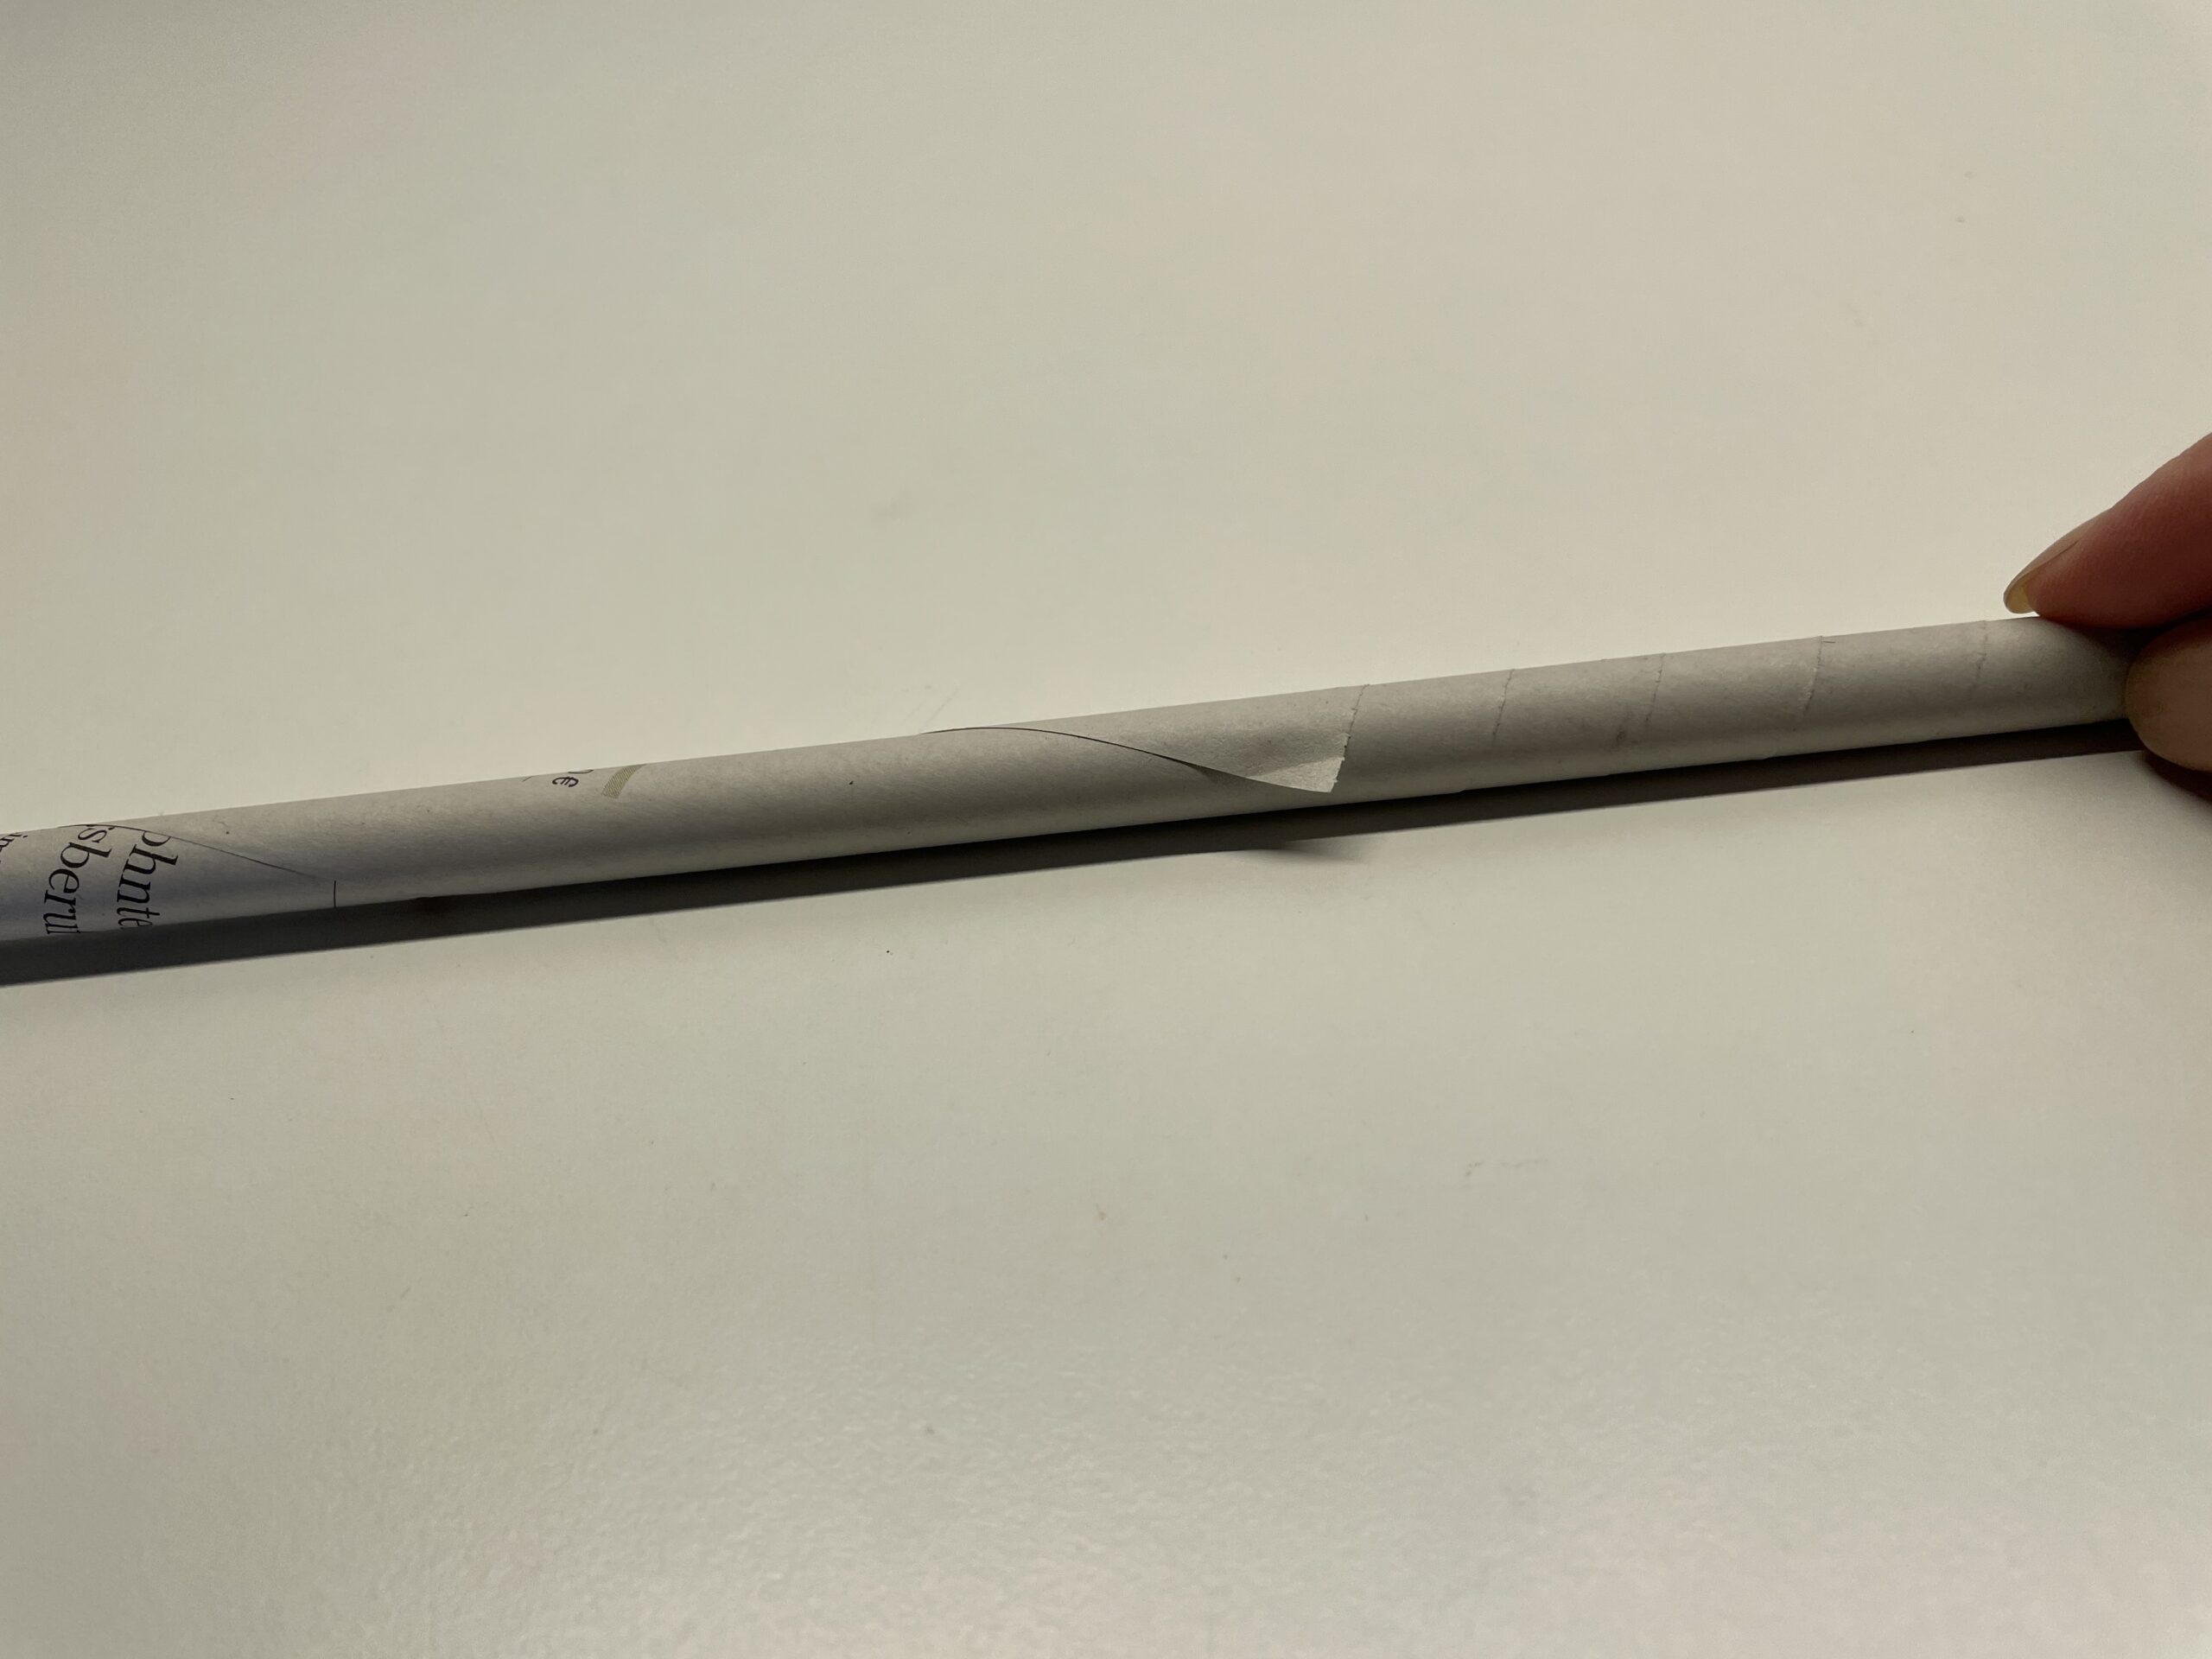
Bild zum Schritt 8 für das Bastel- und DIY-Abenteuer für Kinder: 'So sieht die fertige Zeitungsrolle aus.'

9

Press the roll completely flat with the back of the hand.
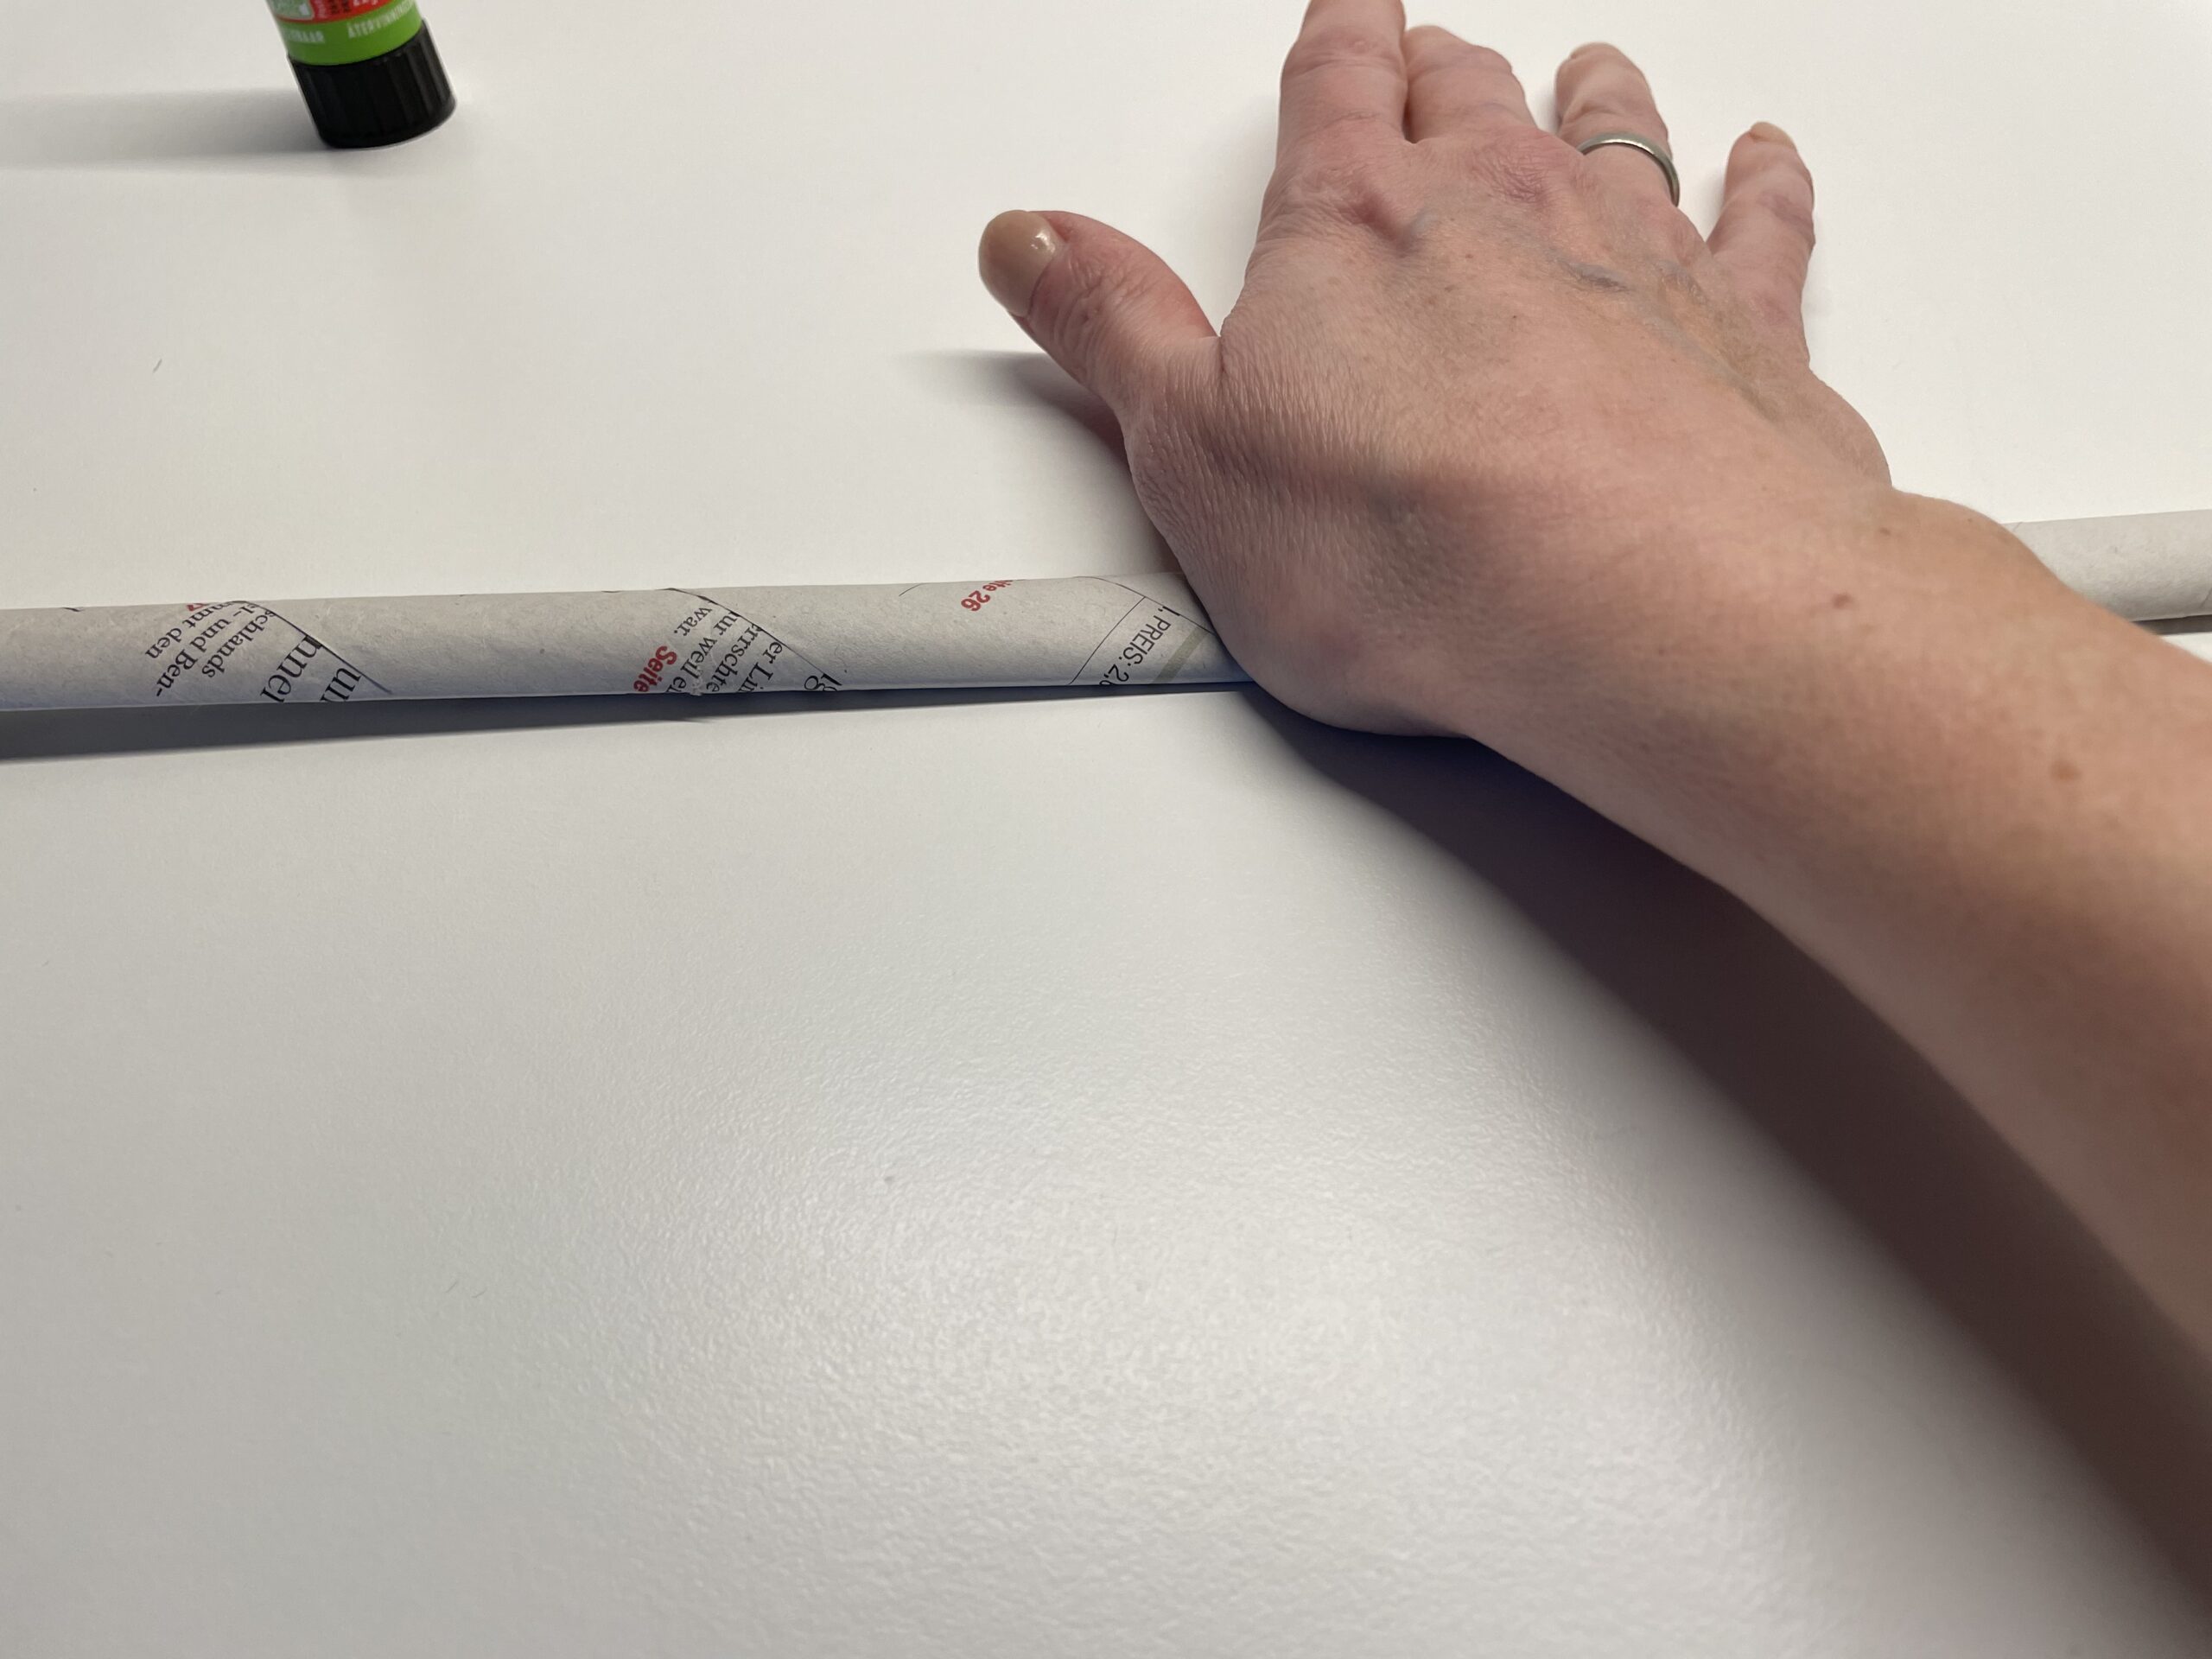
Bild zum Schritt 9 für das Bastel- und DIY-Abenteuer für Kinder: 'Als nächstes drückt ihr die Rolle mit der flachen Hand...'

10

Creates 6-10 rolls in this way.
The more you roll, the bigger your Easter basket becomes.

Bild zum Schritt 10 für das Bastel- und DIY-Abenteuer für Kinder: 'Je nach gewünschter Größe des Osternestes braucht ihr mehr oder...'

11

Here you can see how many newspaper rolls you need for a small, medium, or larger bowl.
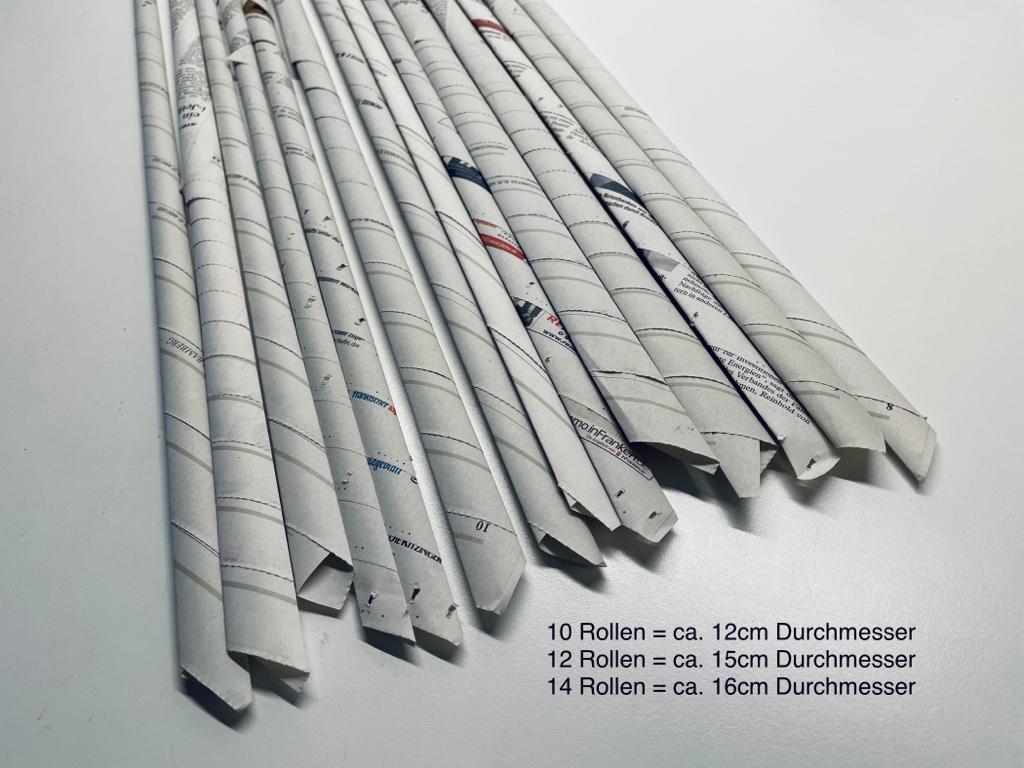
Bild zum Schritt 11 für das Bastel- und DIY-Abenteuer für Kinder: 'Hier könnt ihr lesen, wie viele Rollen ihr für ein...'

12

Here you can see different sizes of shells in comparison. Consider which size fits your project.
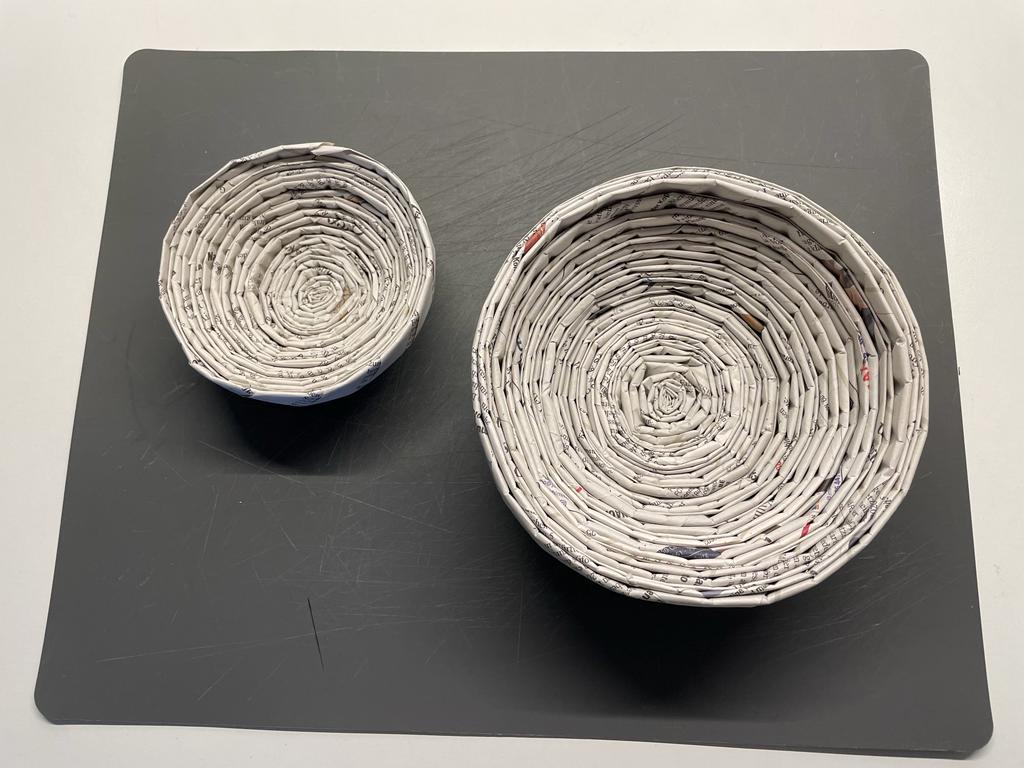
Bild zum Schritt 12 für das Bastel- und DIY-Abenteuer für Kinder: 'So sehen unterschiedlich große Schalen aus. Überlegt euch, welche Größe...'

13

Now the roll-up begins. Start with a newspaper strip and wrap it up in a snail-shaped and tight way.
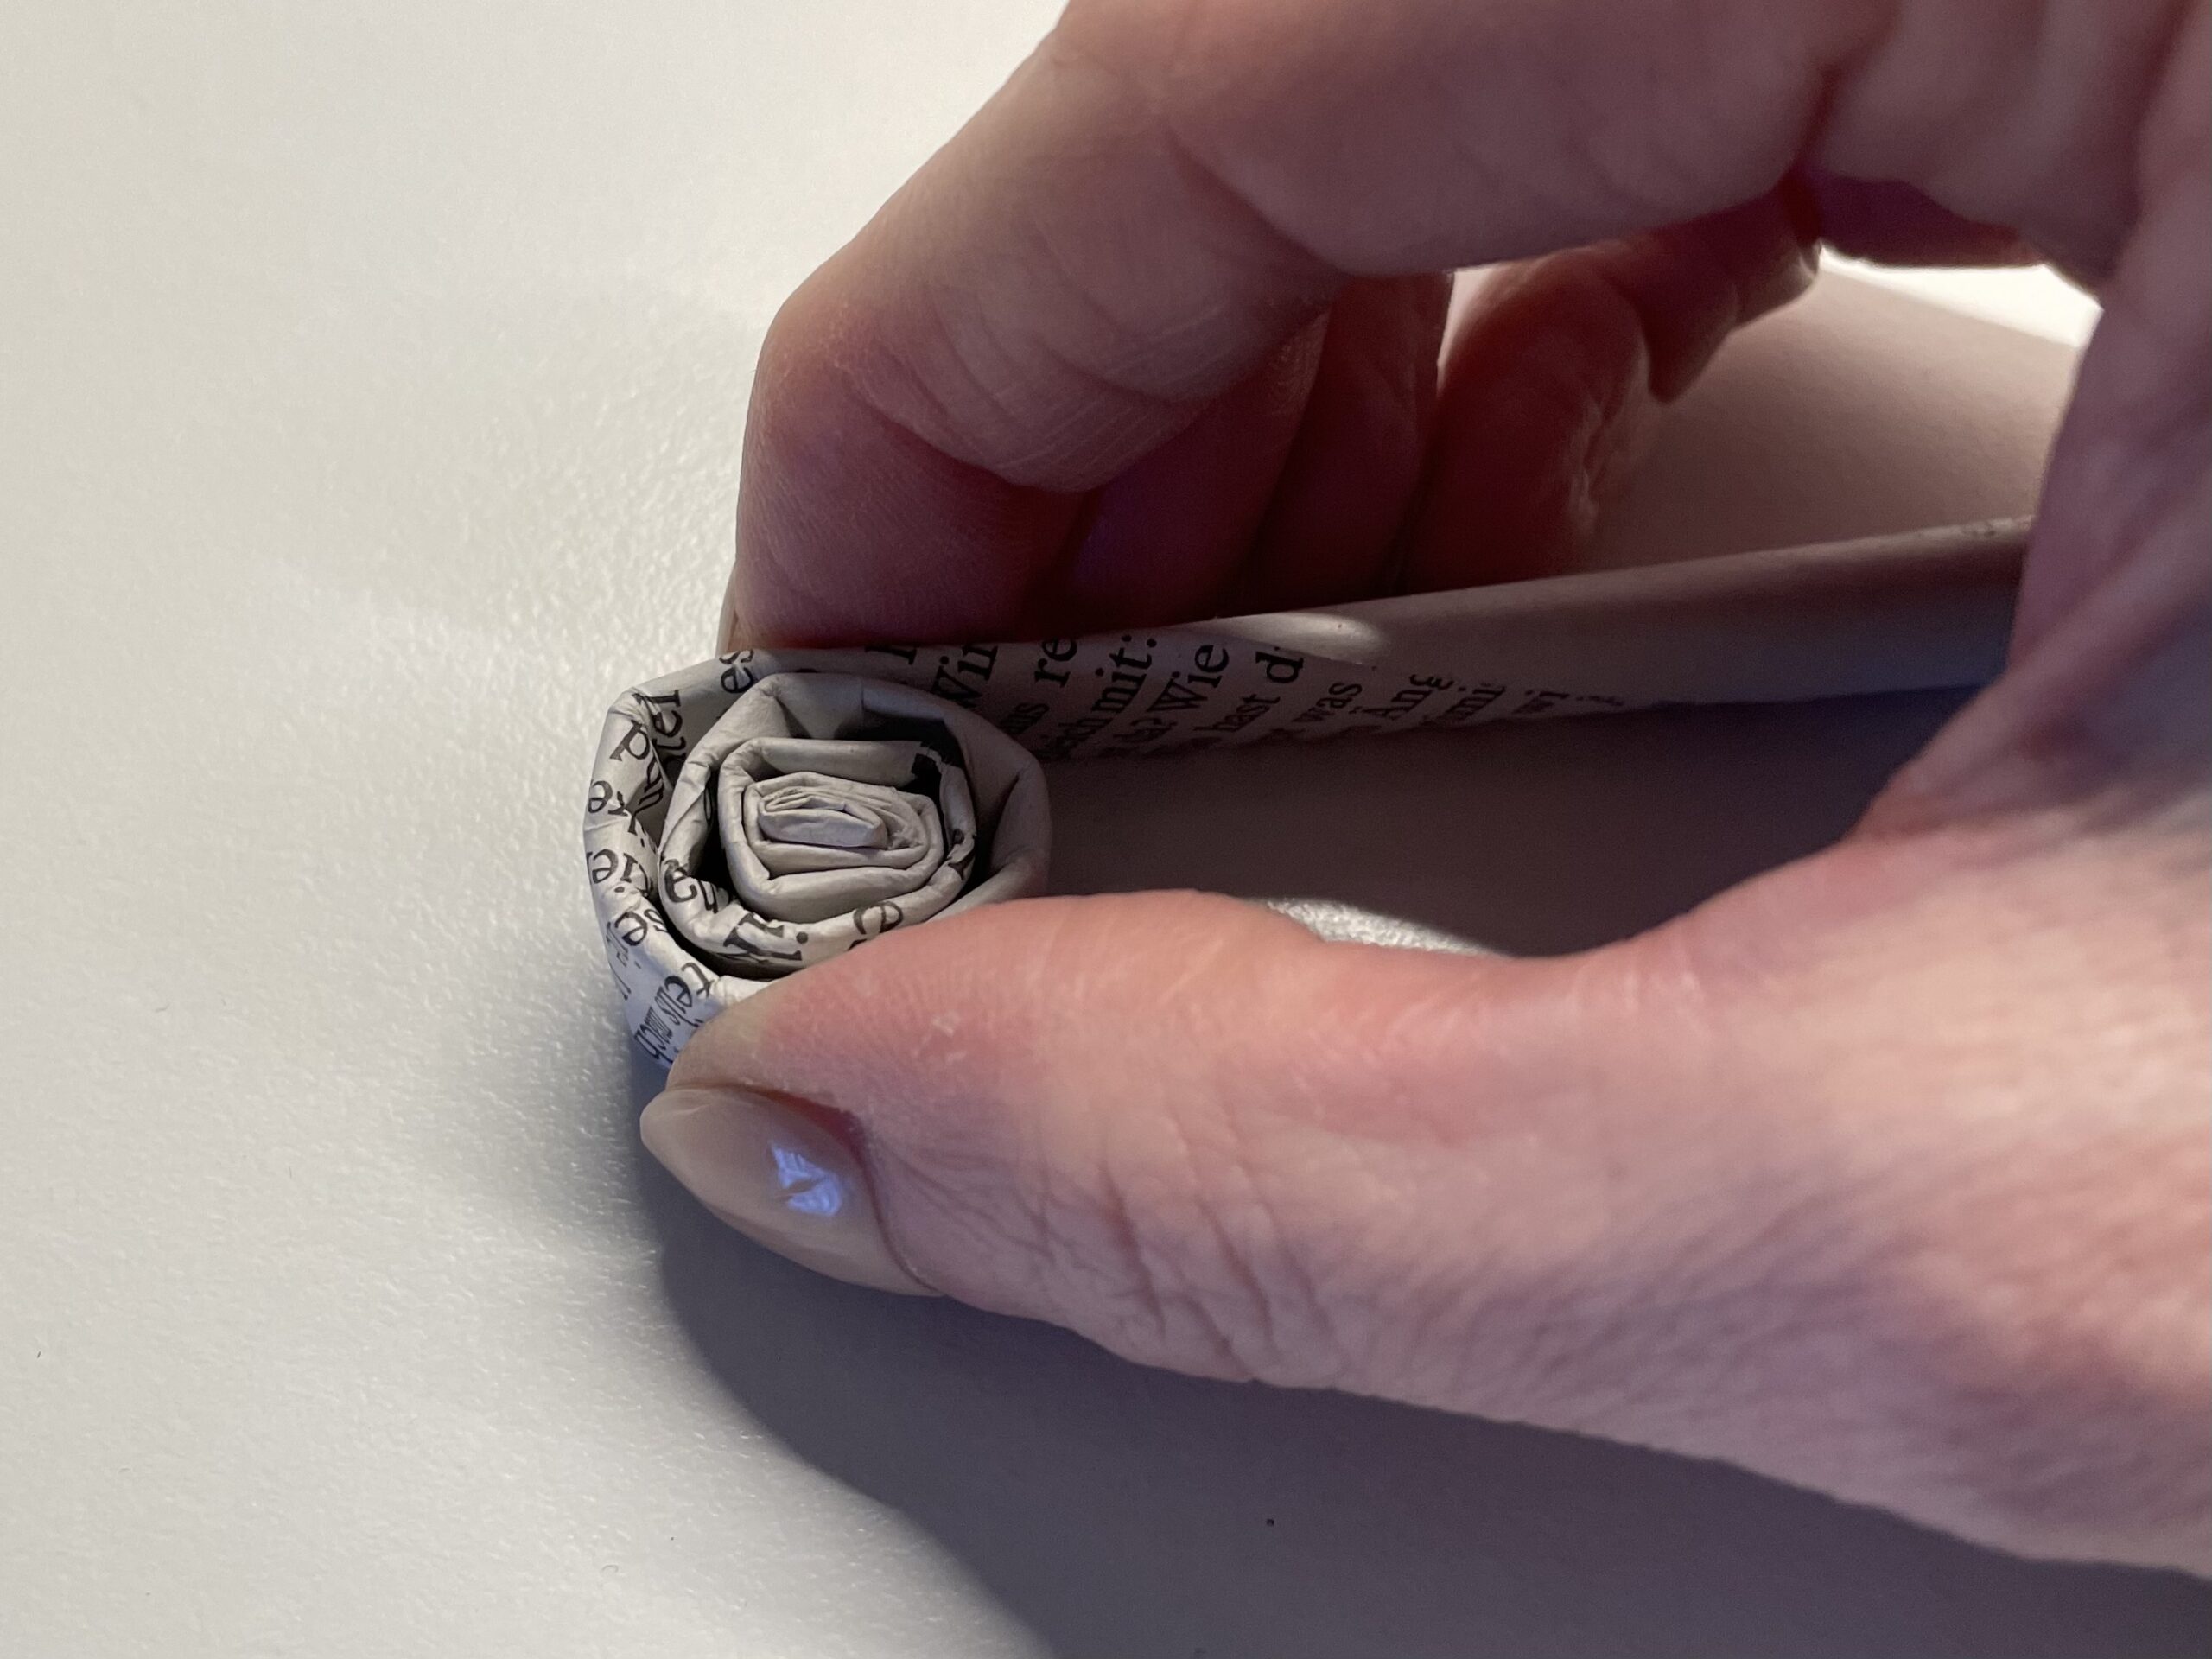
Bild zum Schritt 13 für das Bastel- und DIY-Abenteuer für Kinder: 'Jetzt beginnt ihr, den ersten Zeitungstreifen wie eine Schnecke aufzuwickeln.'

14

This is what the snail looks like now. Wrap until the last 5 cm are left.
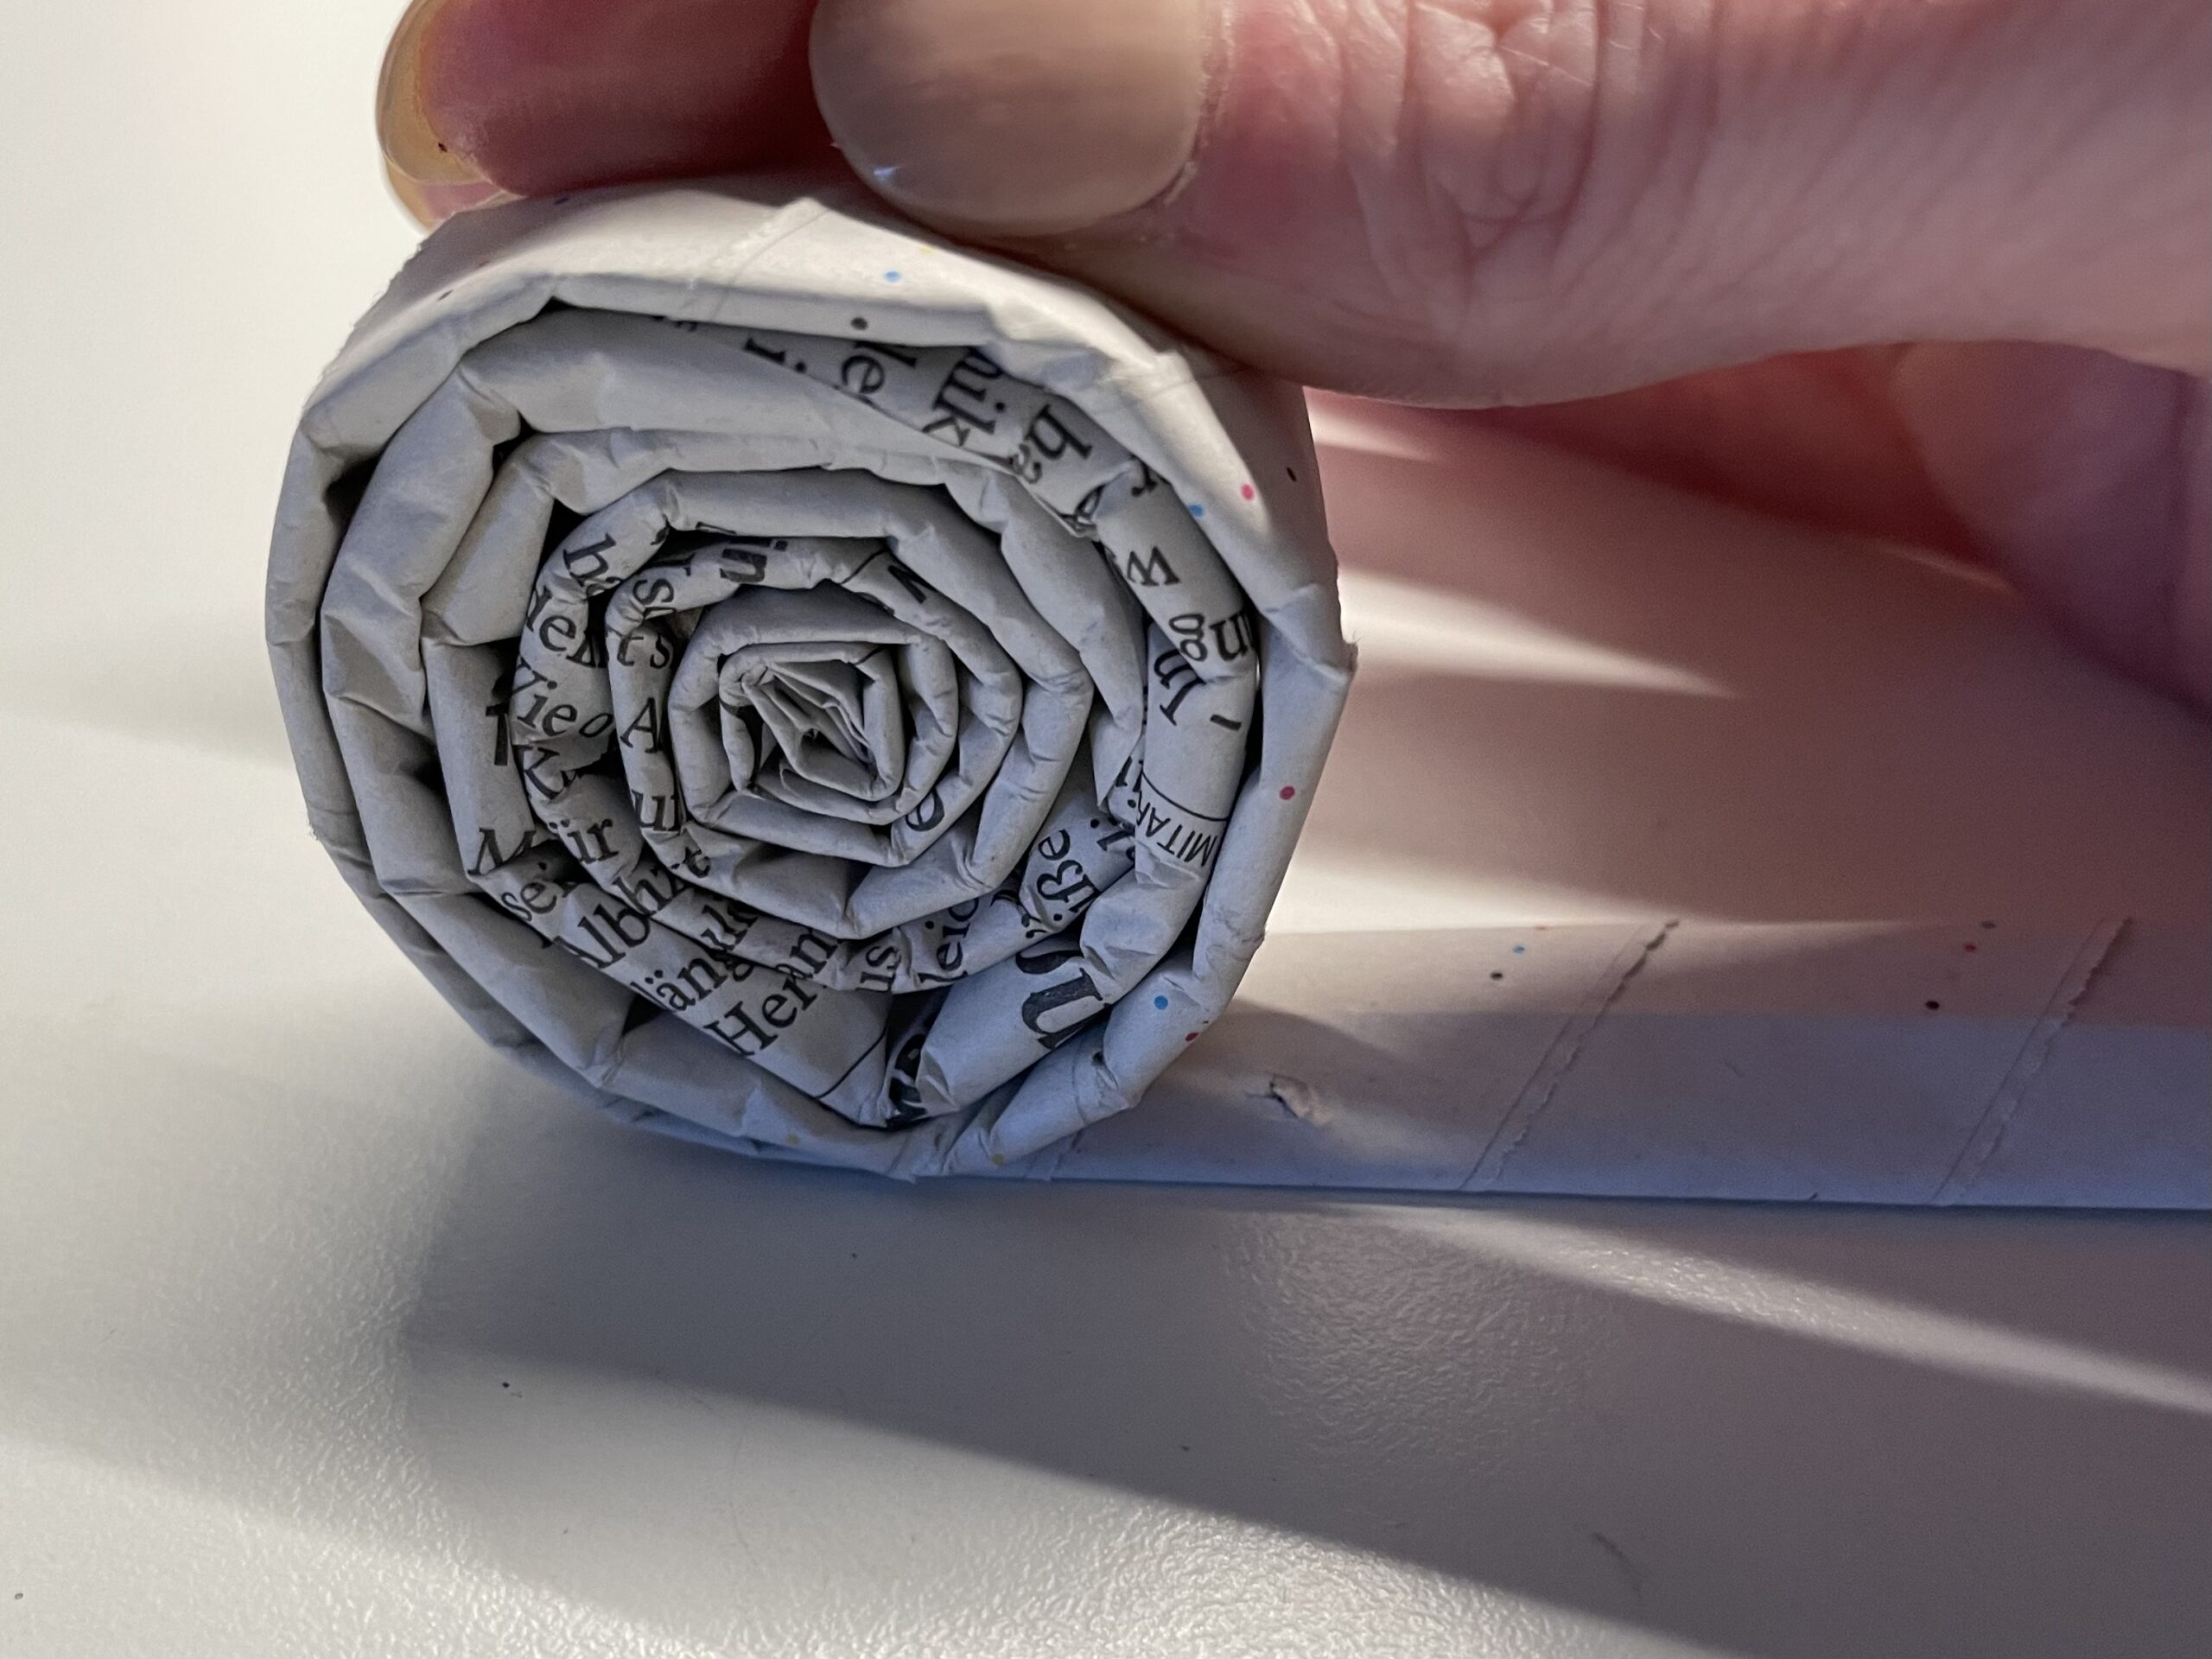
Bild zum Schritt 14 für das Bastel- und DIY-Abenteuer für Kinder: 'Wickelt ganz eng bis zum Ende des Streifens. Hierfür ist...'

15

Now the next strip is glued on.

Bild zum Schritt 15 für das Bastel- und DIY-Abenteuer für Kinder: 'Wenn der erste Streifen endet, wird ein zweiter Streifen 3cm...'

16

For this you go on the remaining piece of glue and put the beginning of the new strip over it. Press the overlapping strips together and then wrap further.
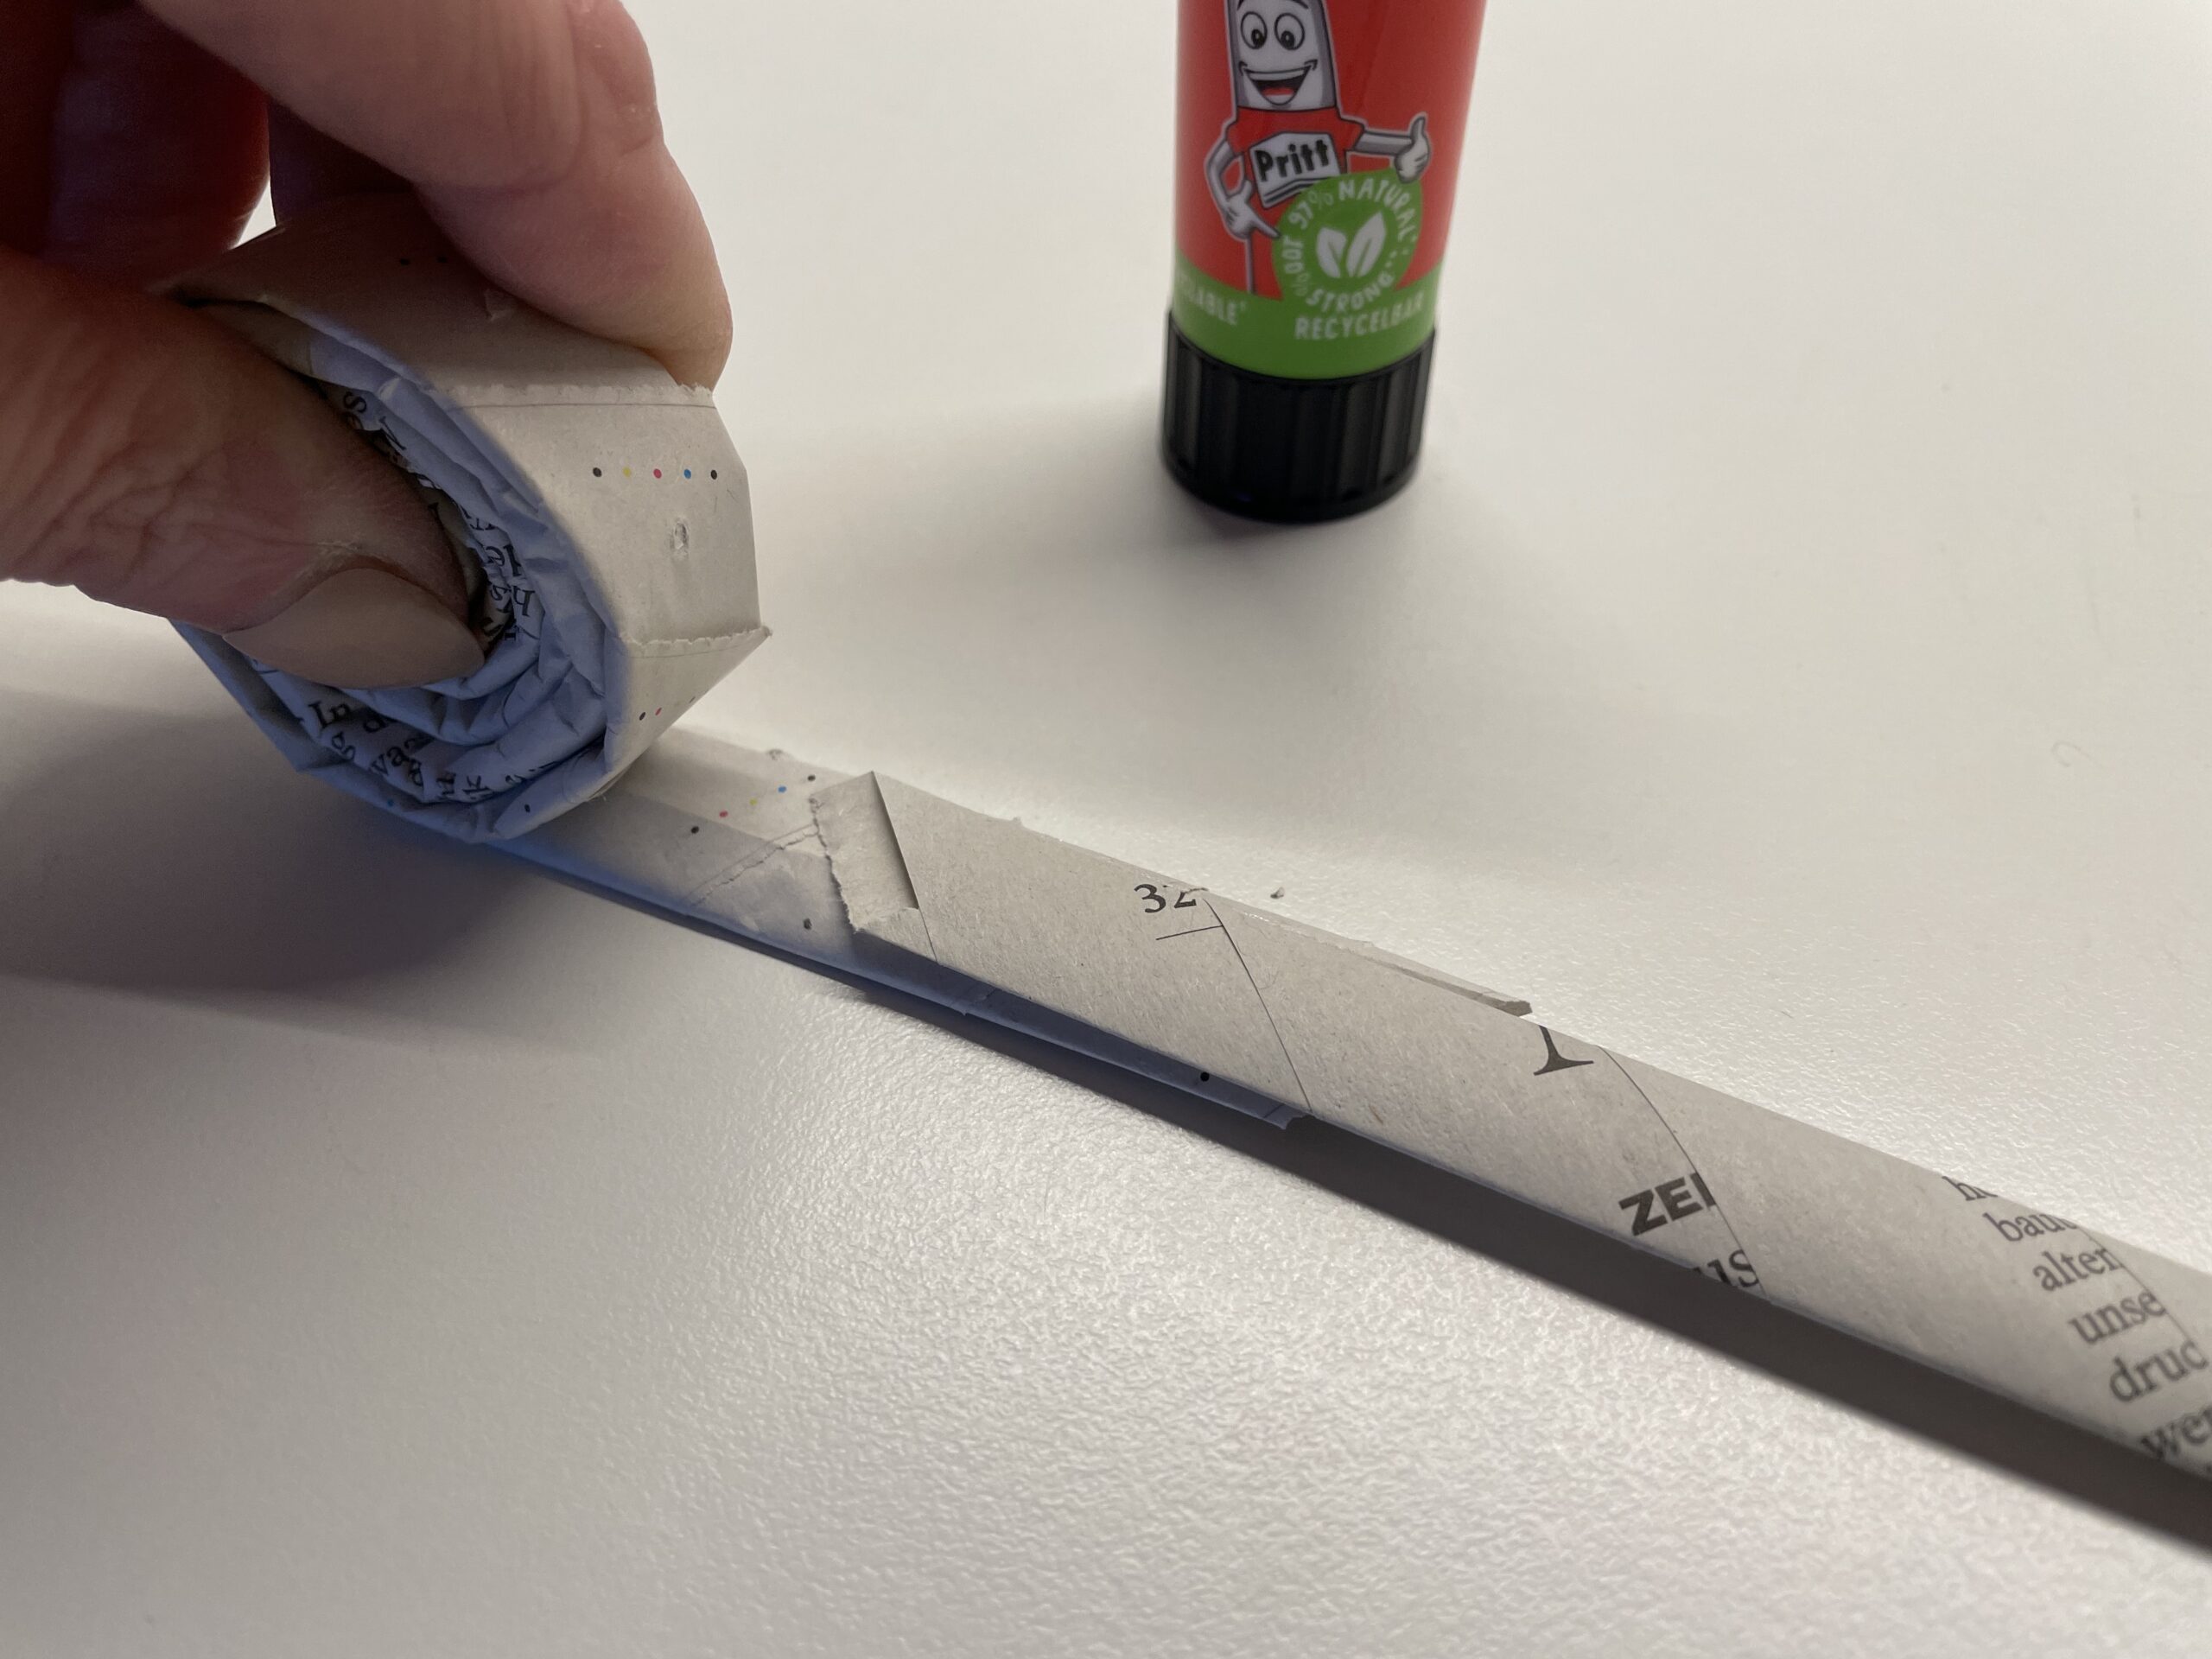
Bild zum Schritt 16 für das Bastel- und DIY-Abenteuer für Kinder: 'Gebt Kleber auf das Endstück und legt den nächsten Streifen...'

17

You wrap and stretch the strips until the paper snail is big enough for you.
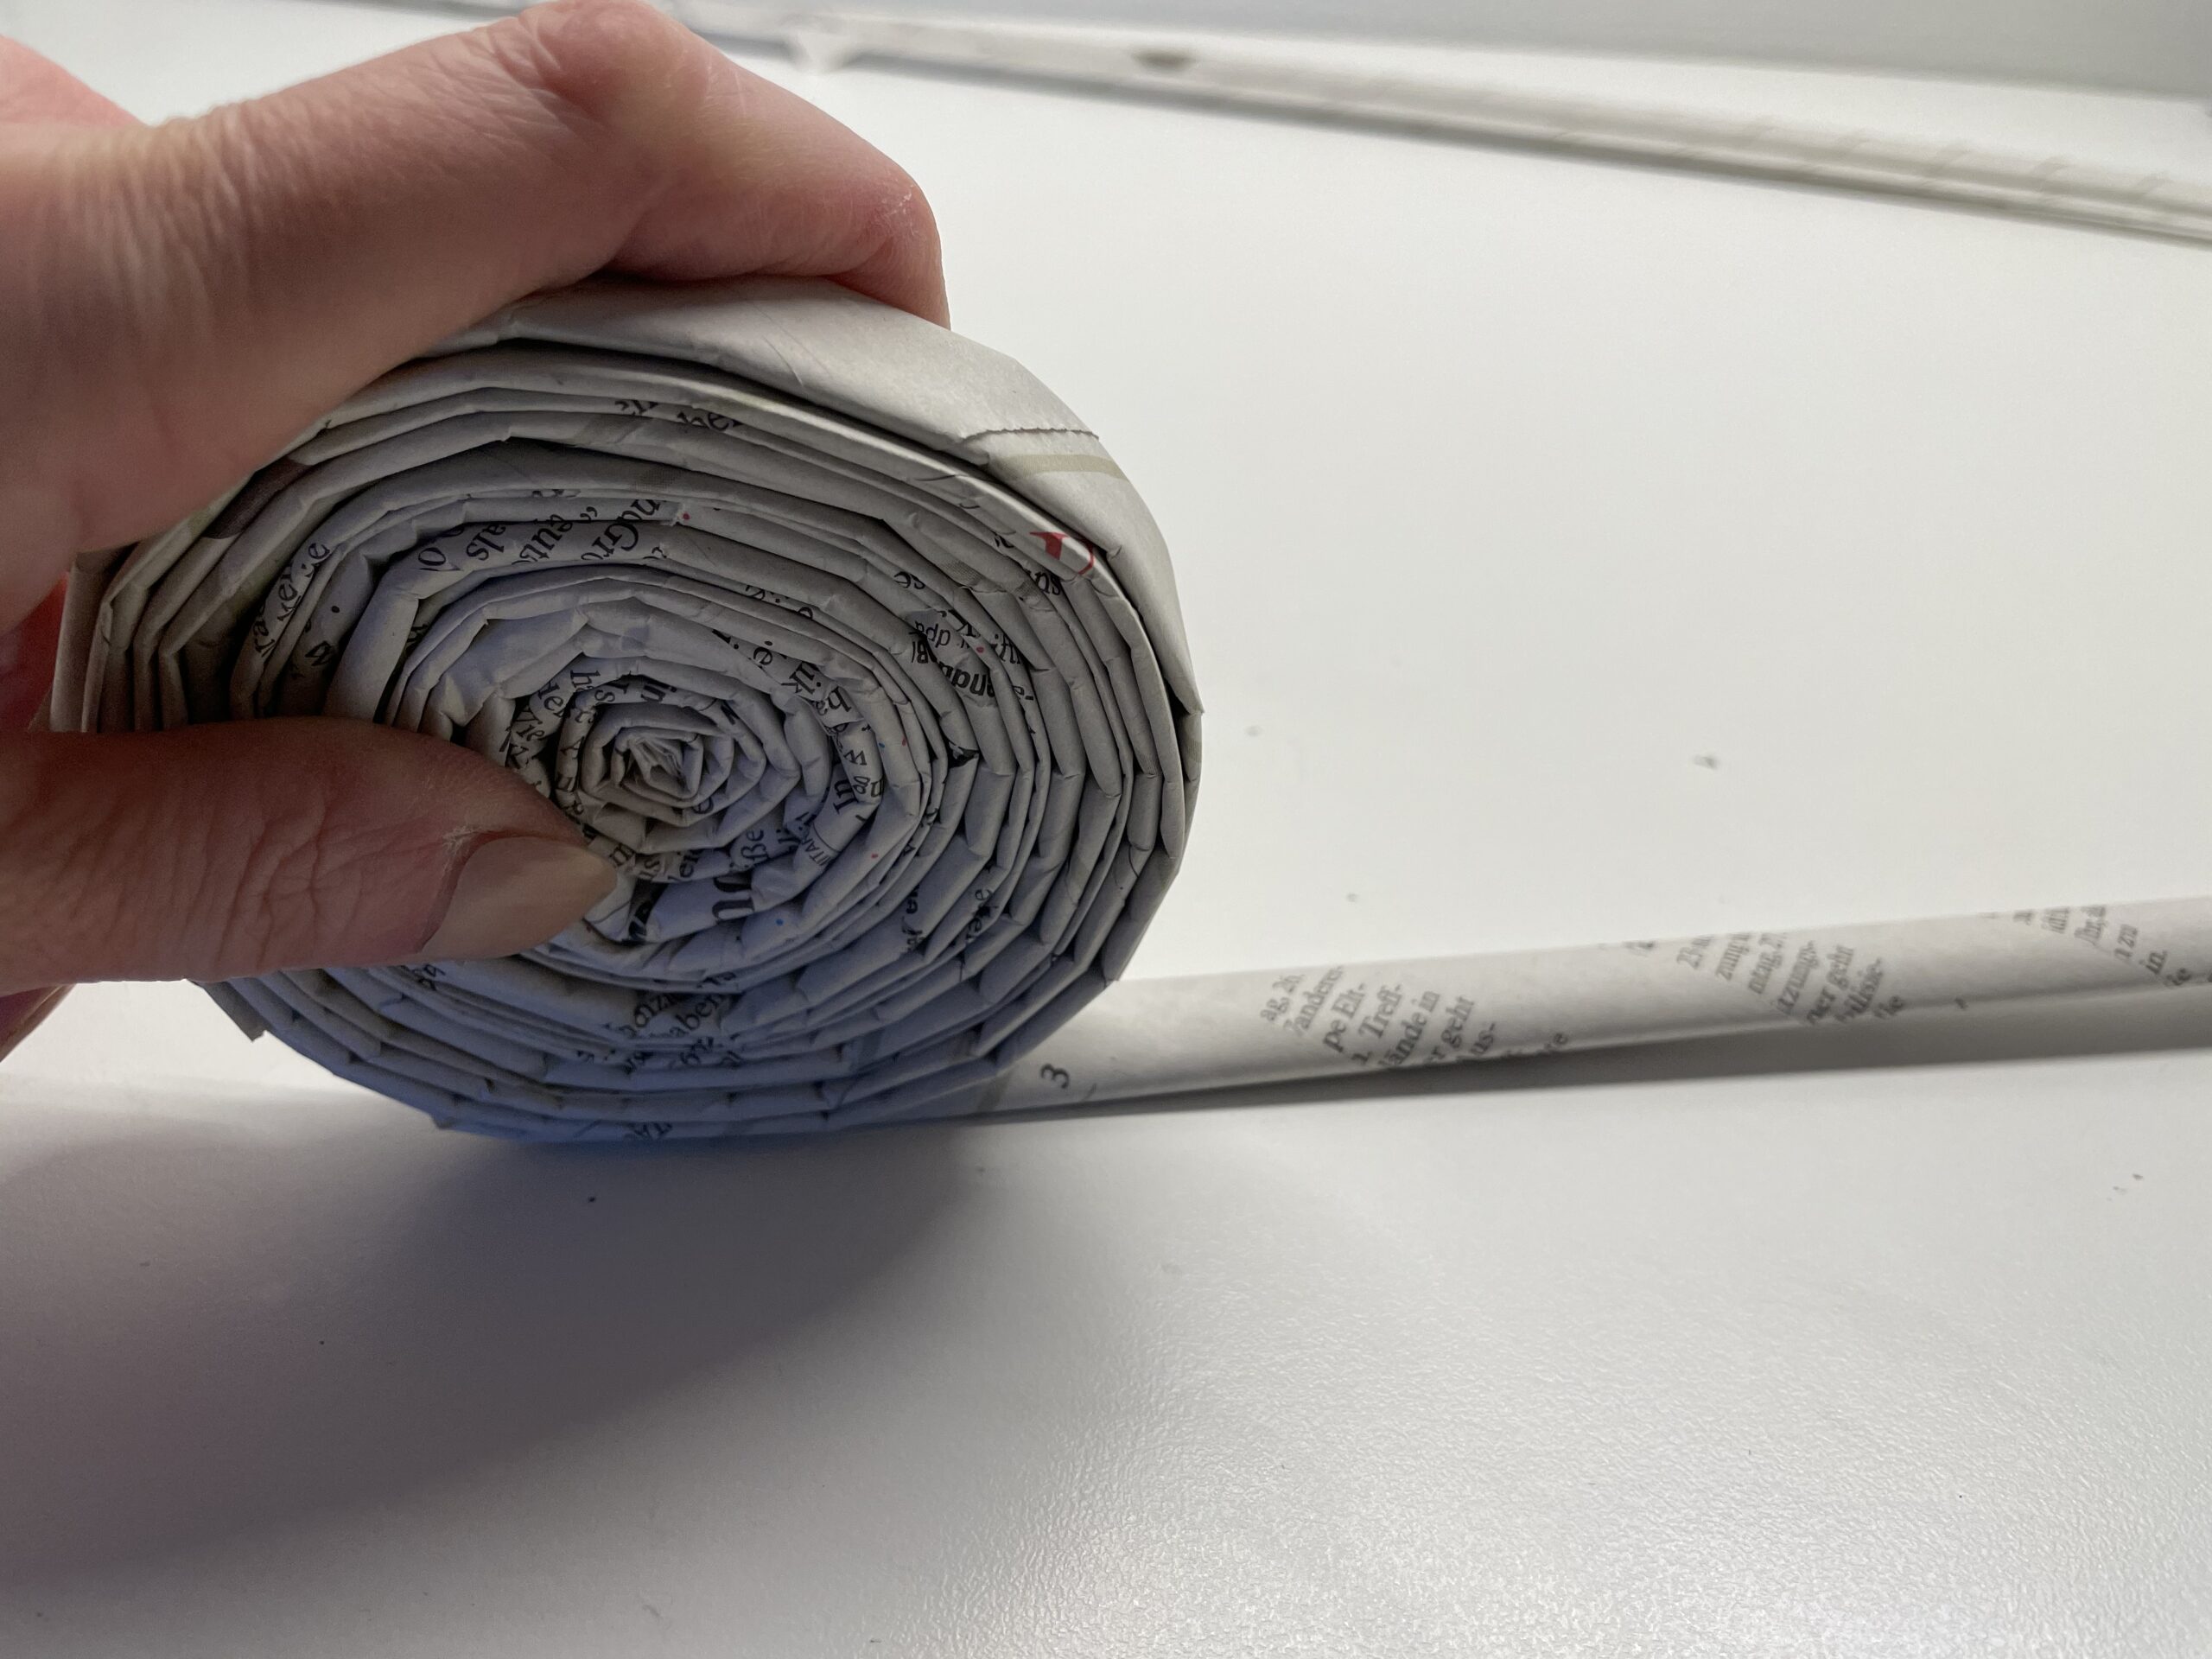
Bild zum Schritt 17 für das Bastel- und DIY-Abenteuer für Kinder: 'Die entstehende Papierschnecke wird immer größer, je mehr Streifen ihr...'

18

Always hold the rolled-up paper snail well, otherwise it immediately breaks apart again.

Bild zum Schritt 18 für das Bastel- und DIY-Abenteuer für Kinder: 'Die aufgerollte Papierschnecke müsst ihr immer gut festhalten, damit sie...'

19

The end piece is fixed with glue.
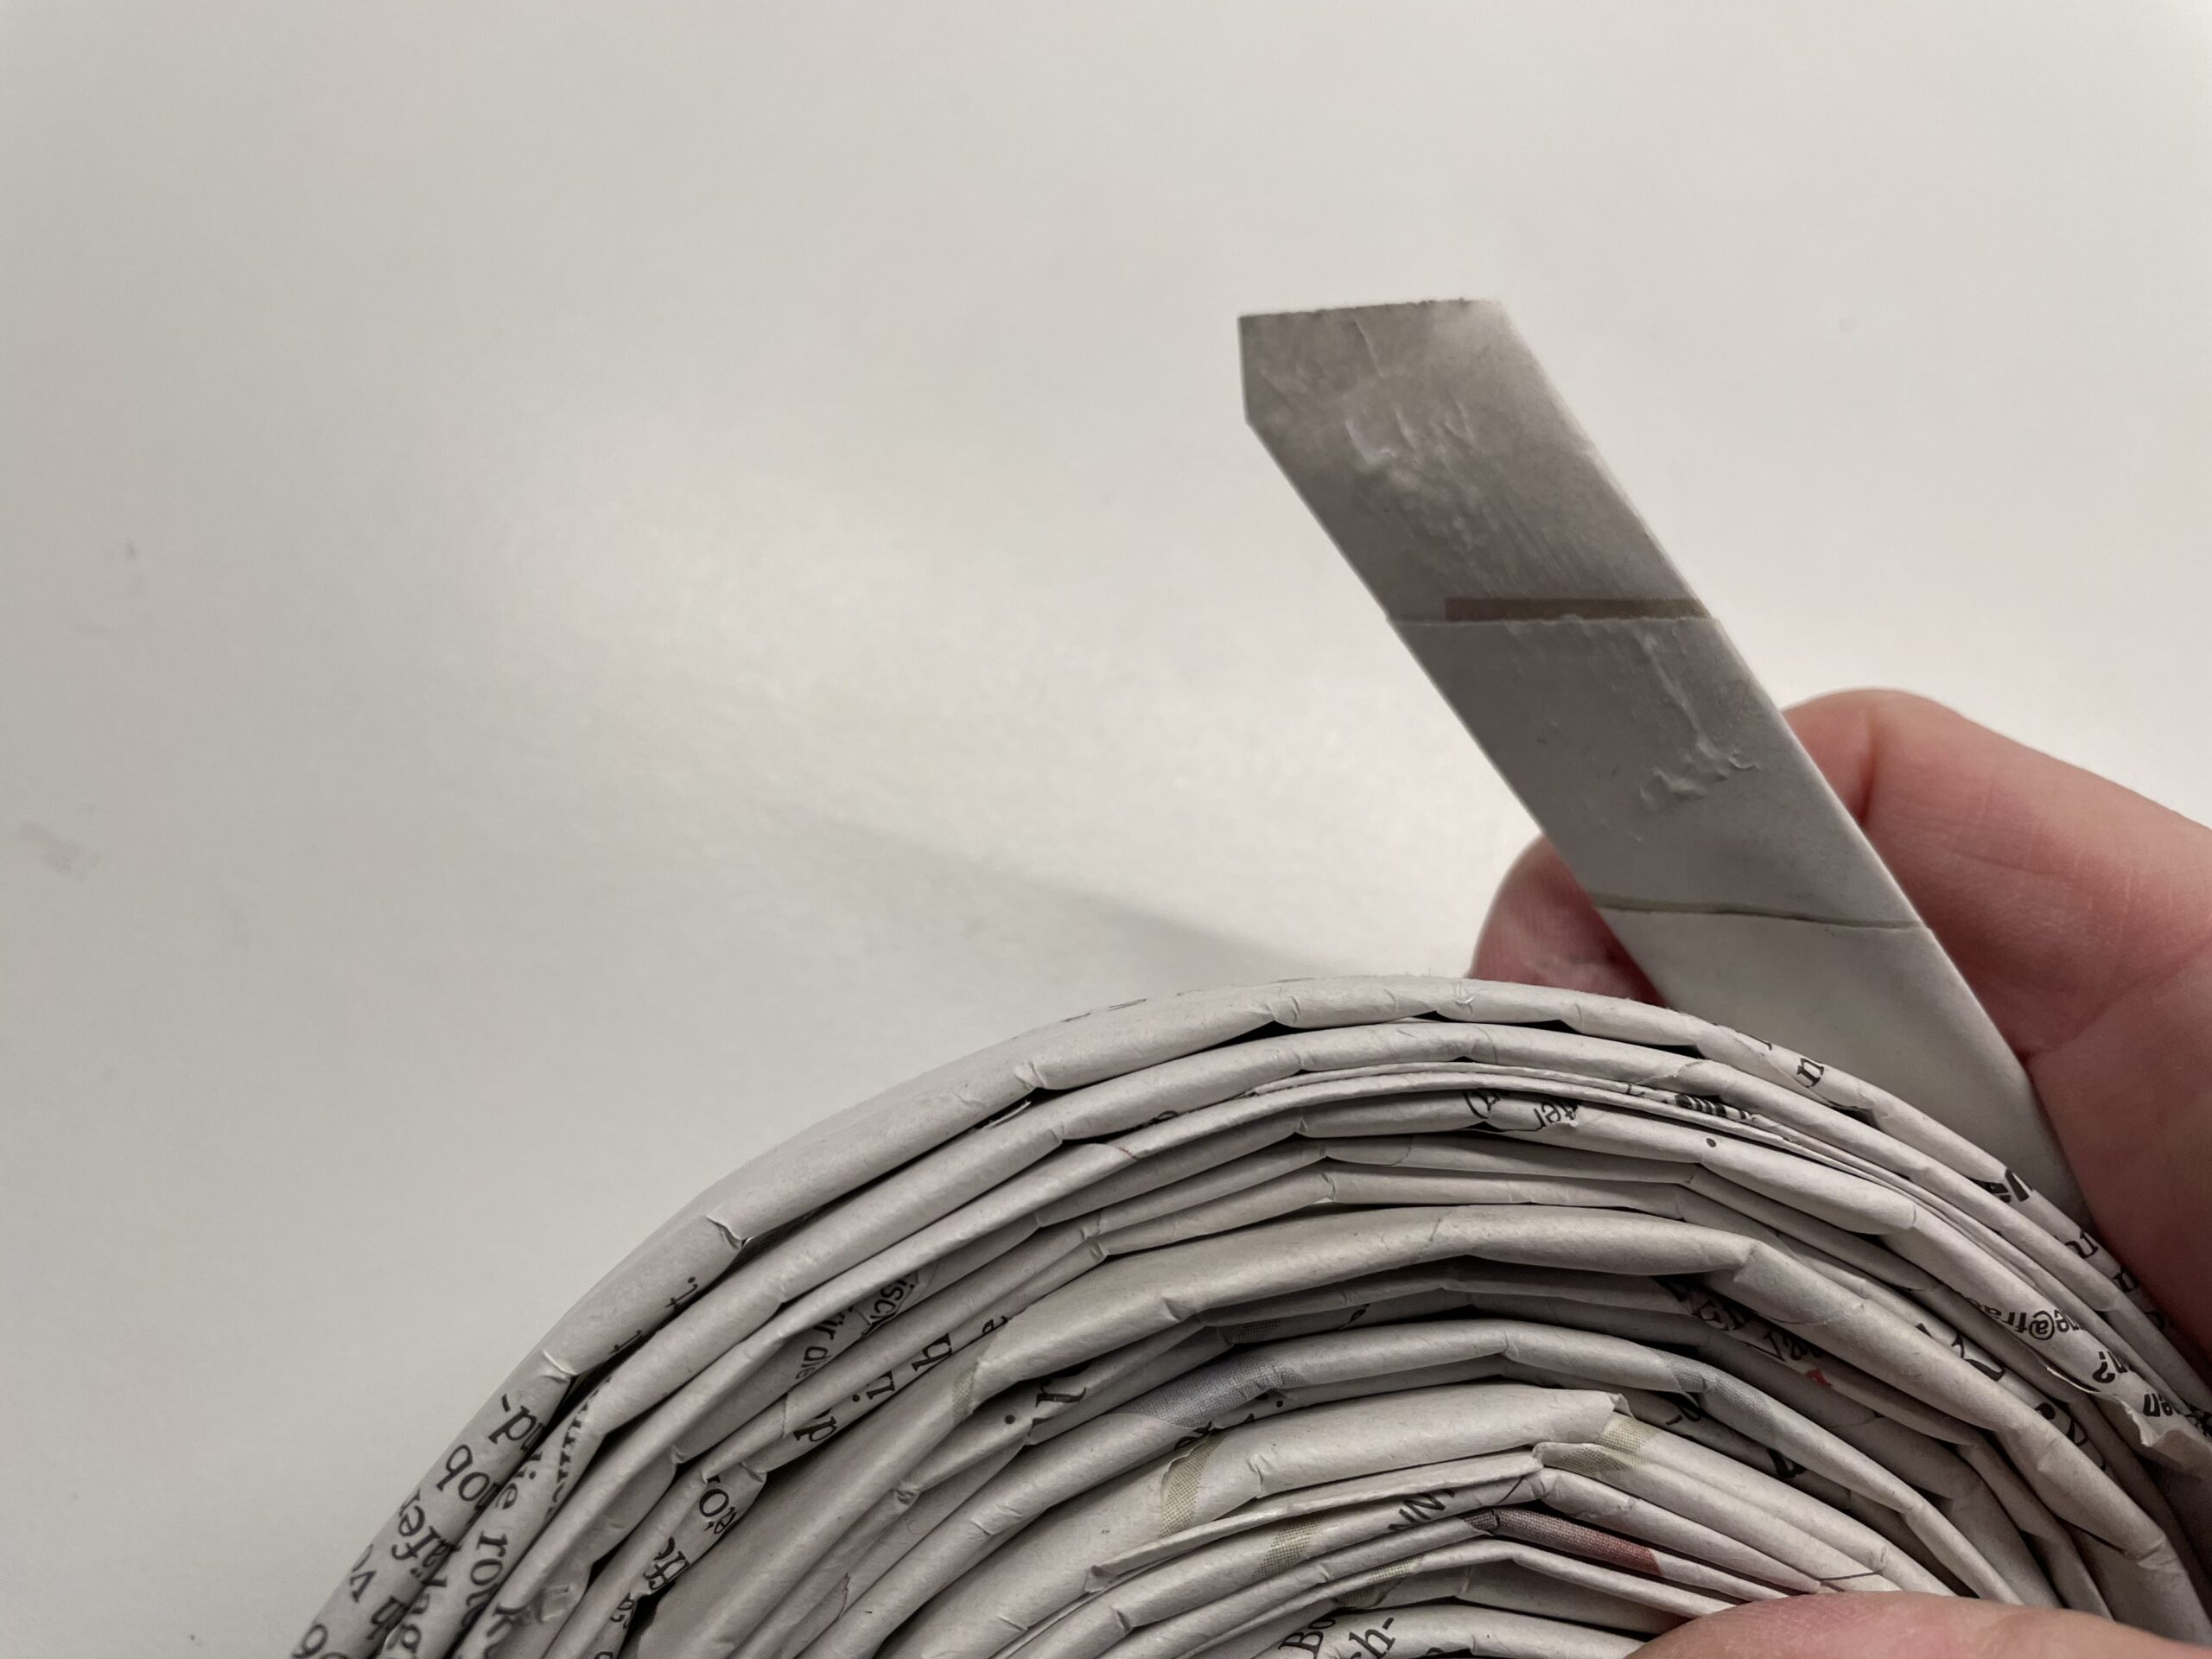
Bild zum Schritt 19 für das Bastel- und DIY-Abenteuer für Kinder: 'Klebt das Ende des letzten Streifens an der aufgerollten Schnecke...'

20

Hold on to the end of the paper with your finger until the glue has dried up a little. So the snail does not roll up again.
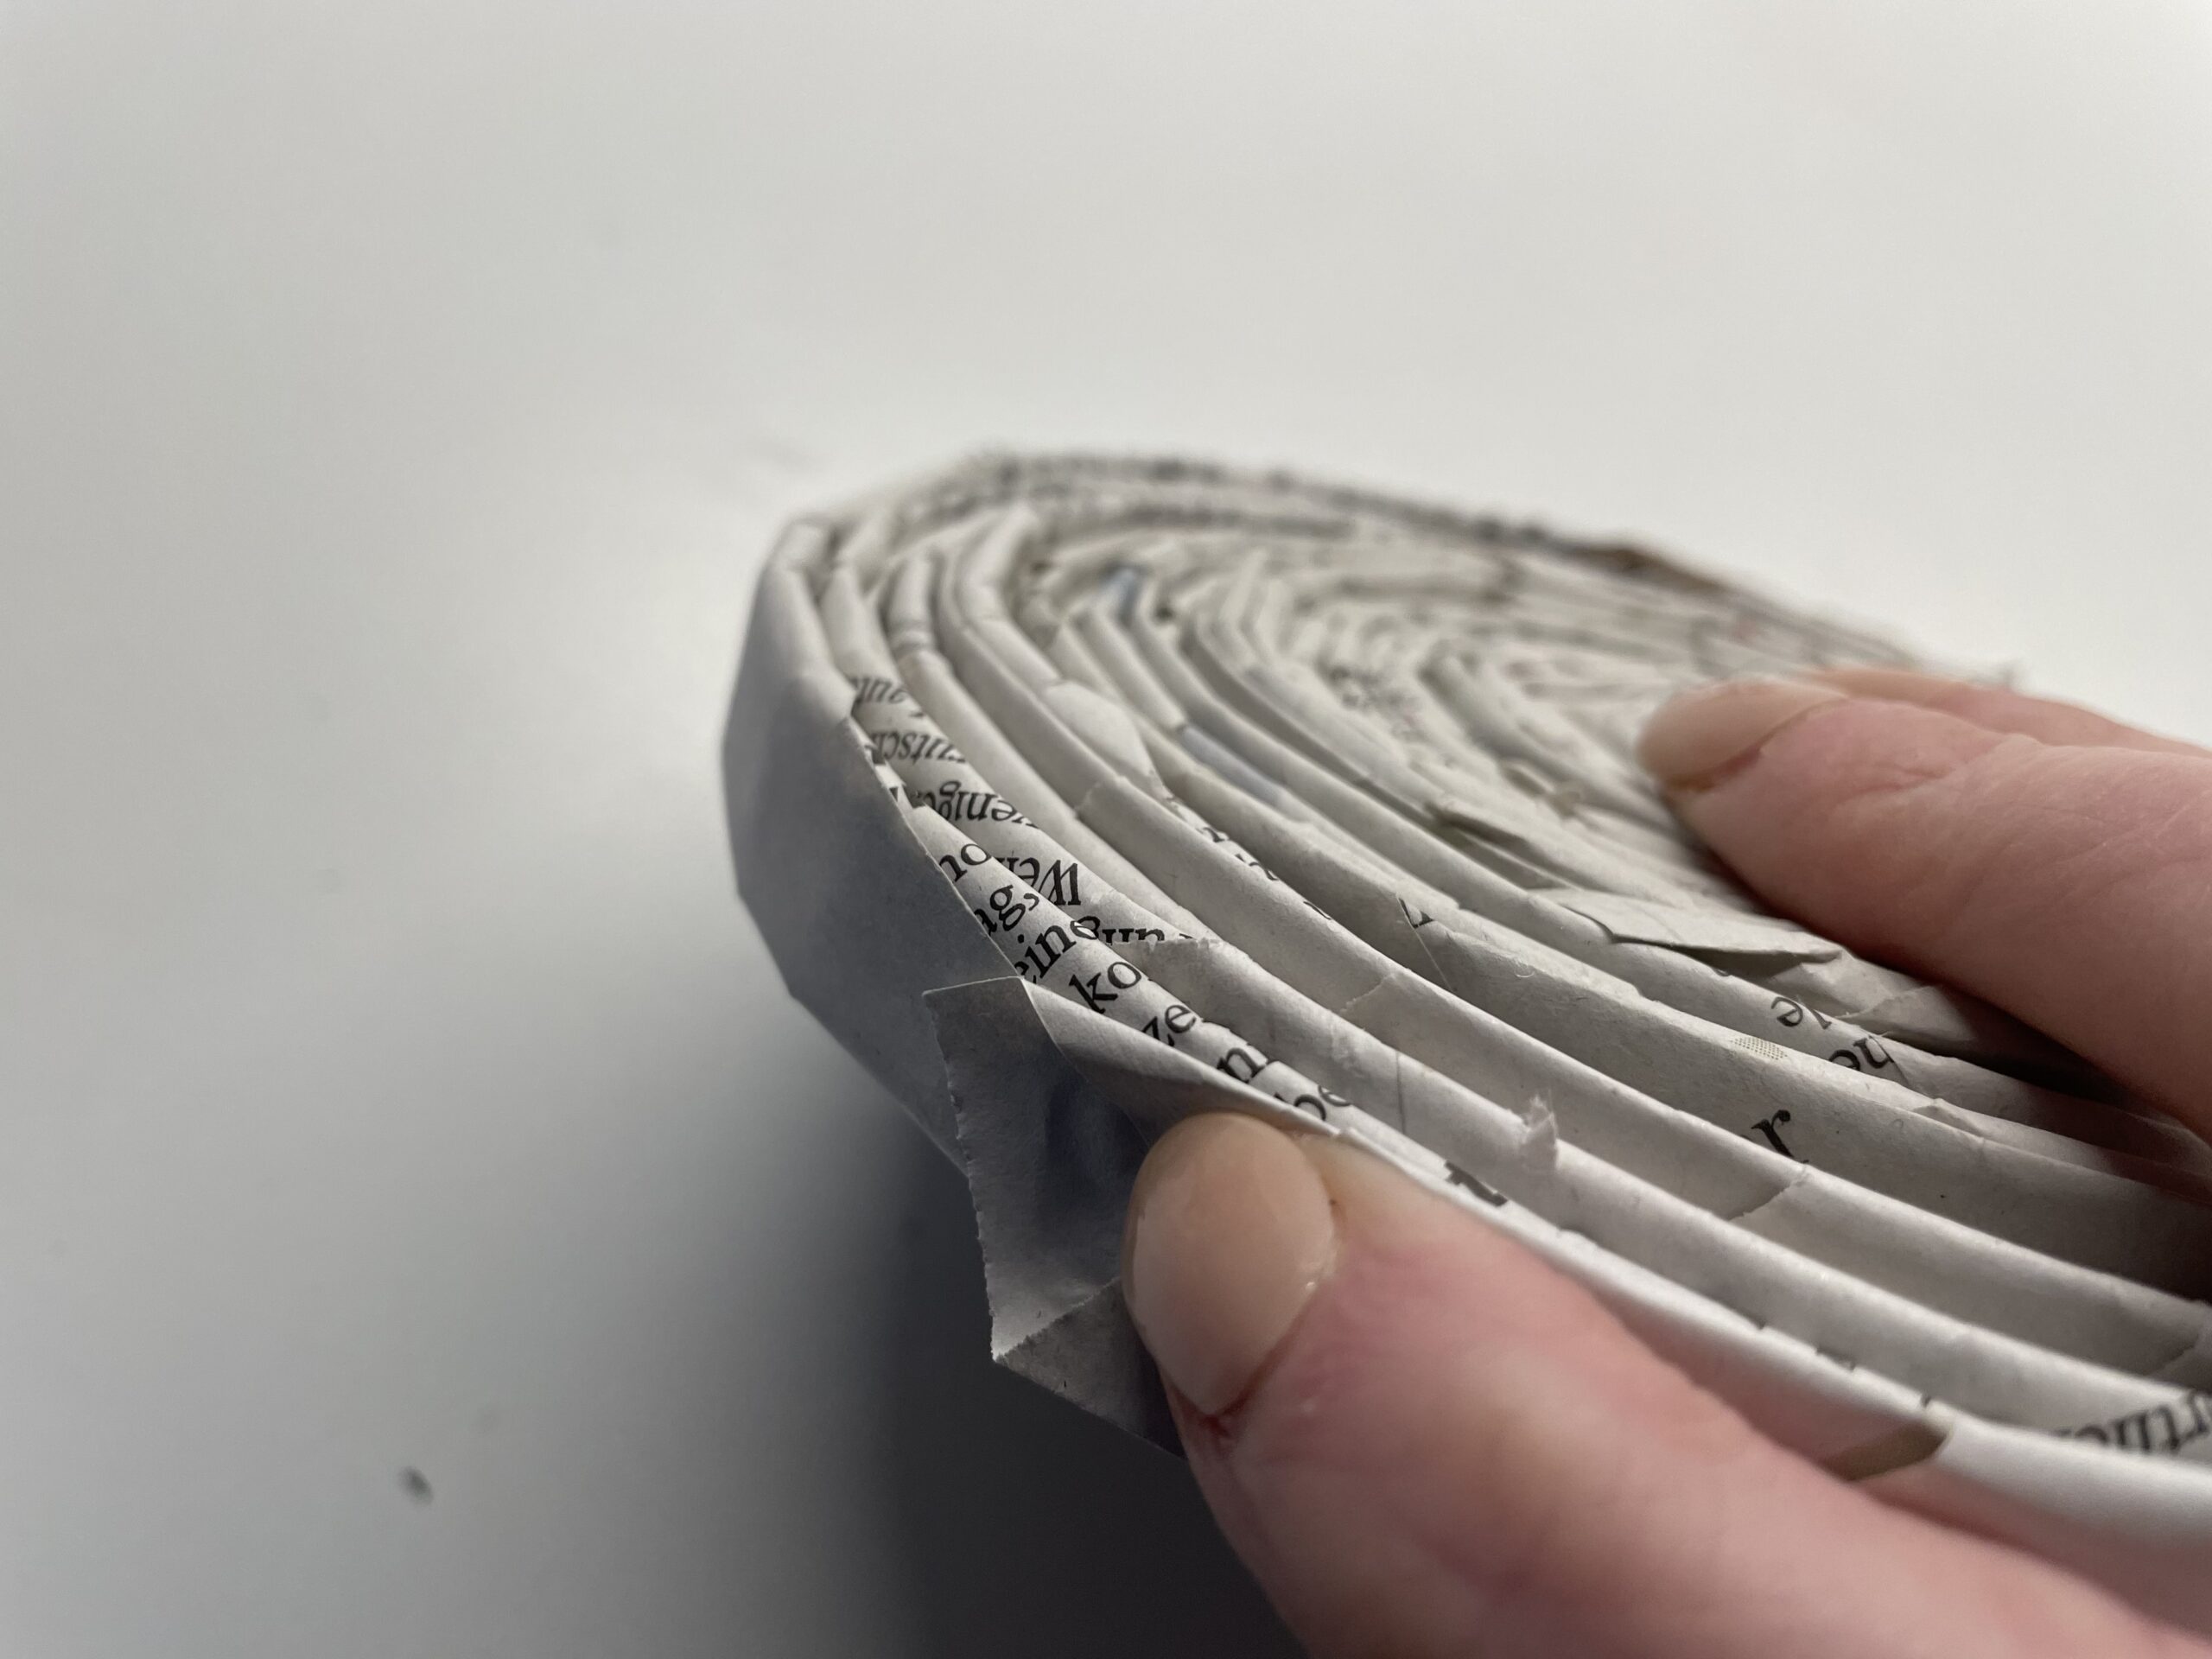
Bild zum Schritt 20 für das Bastel- und DIY-Abenteuer für Kinder: 'Kurz halten und schon ist die Papierschnecke fertig.'

21

The paper snail is now ready.

Bild zum Schritt 21 für das Bastel- und DIY-Abenteuer für Kinder: 'So sieht dann die fertige Papierschnecke aus.'

22

Take the paper snail in both hands and press the snail slightly inwards with both thumbs at the same time. Do this very slowly so that you do not push the snail apart.
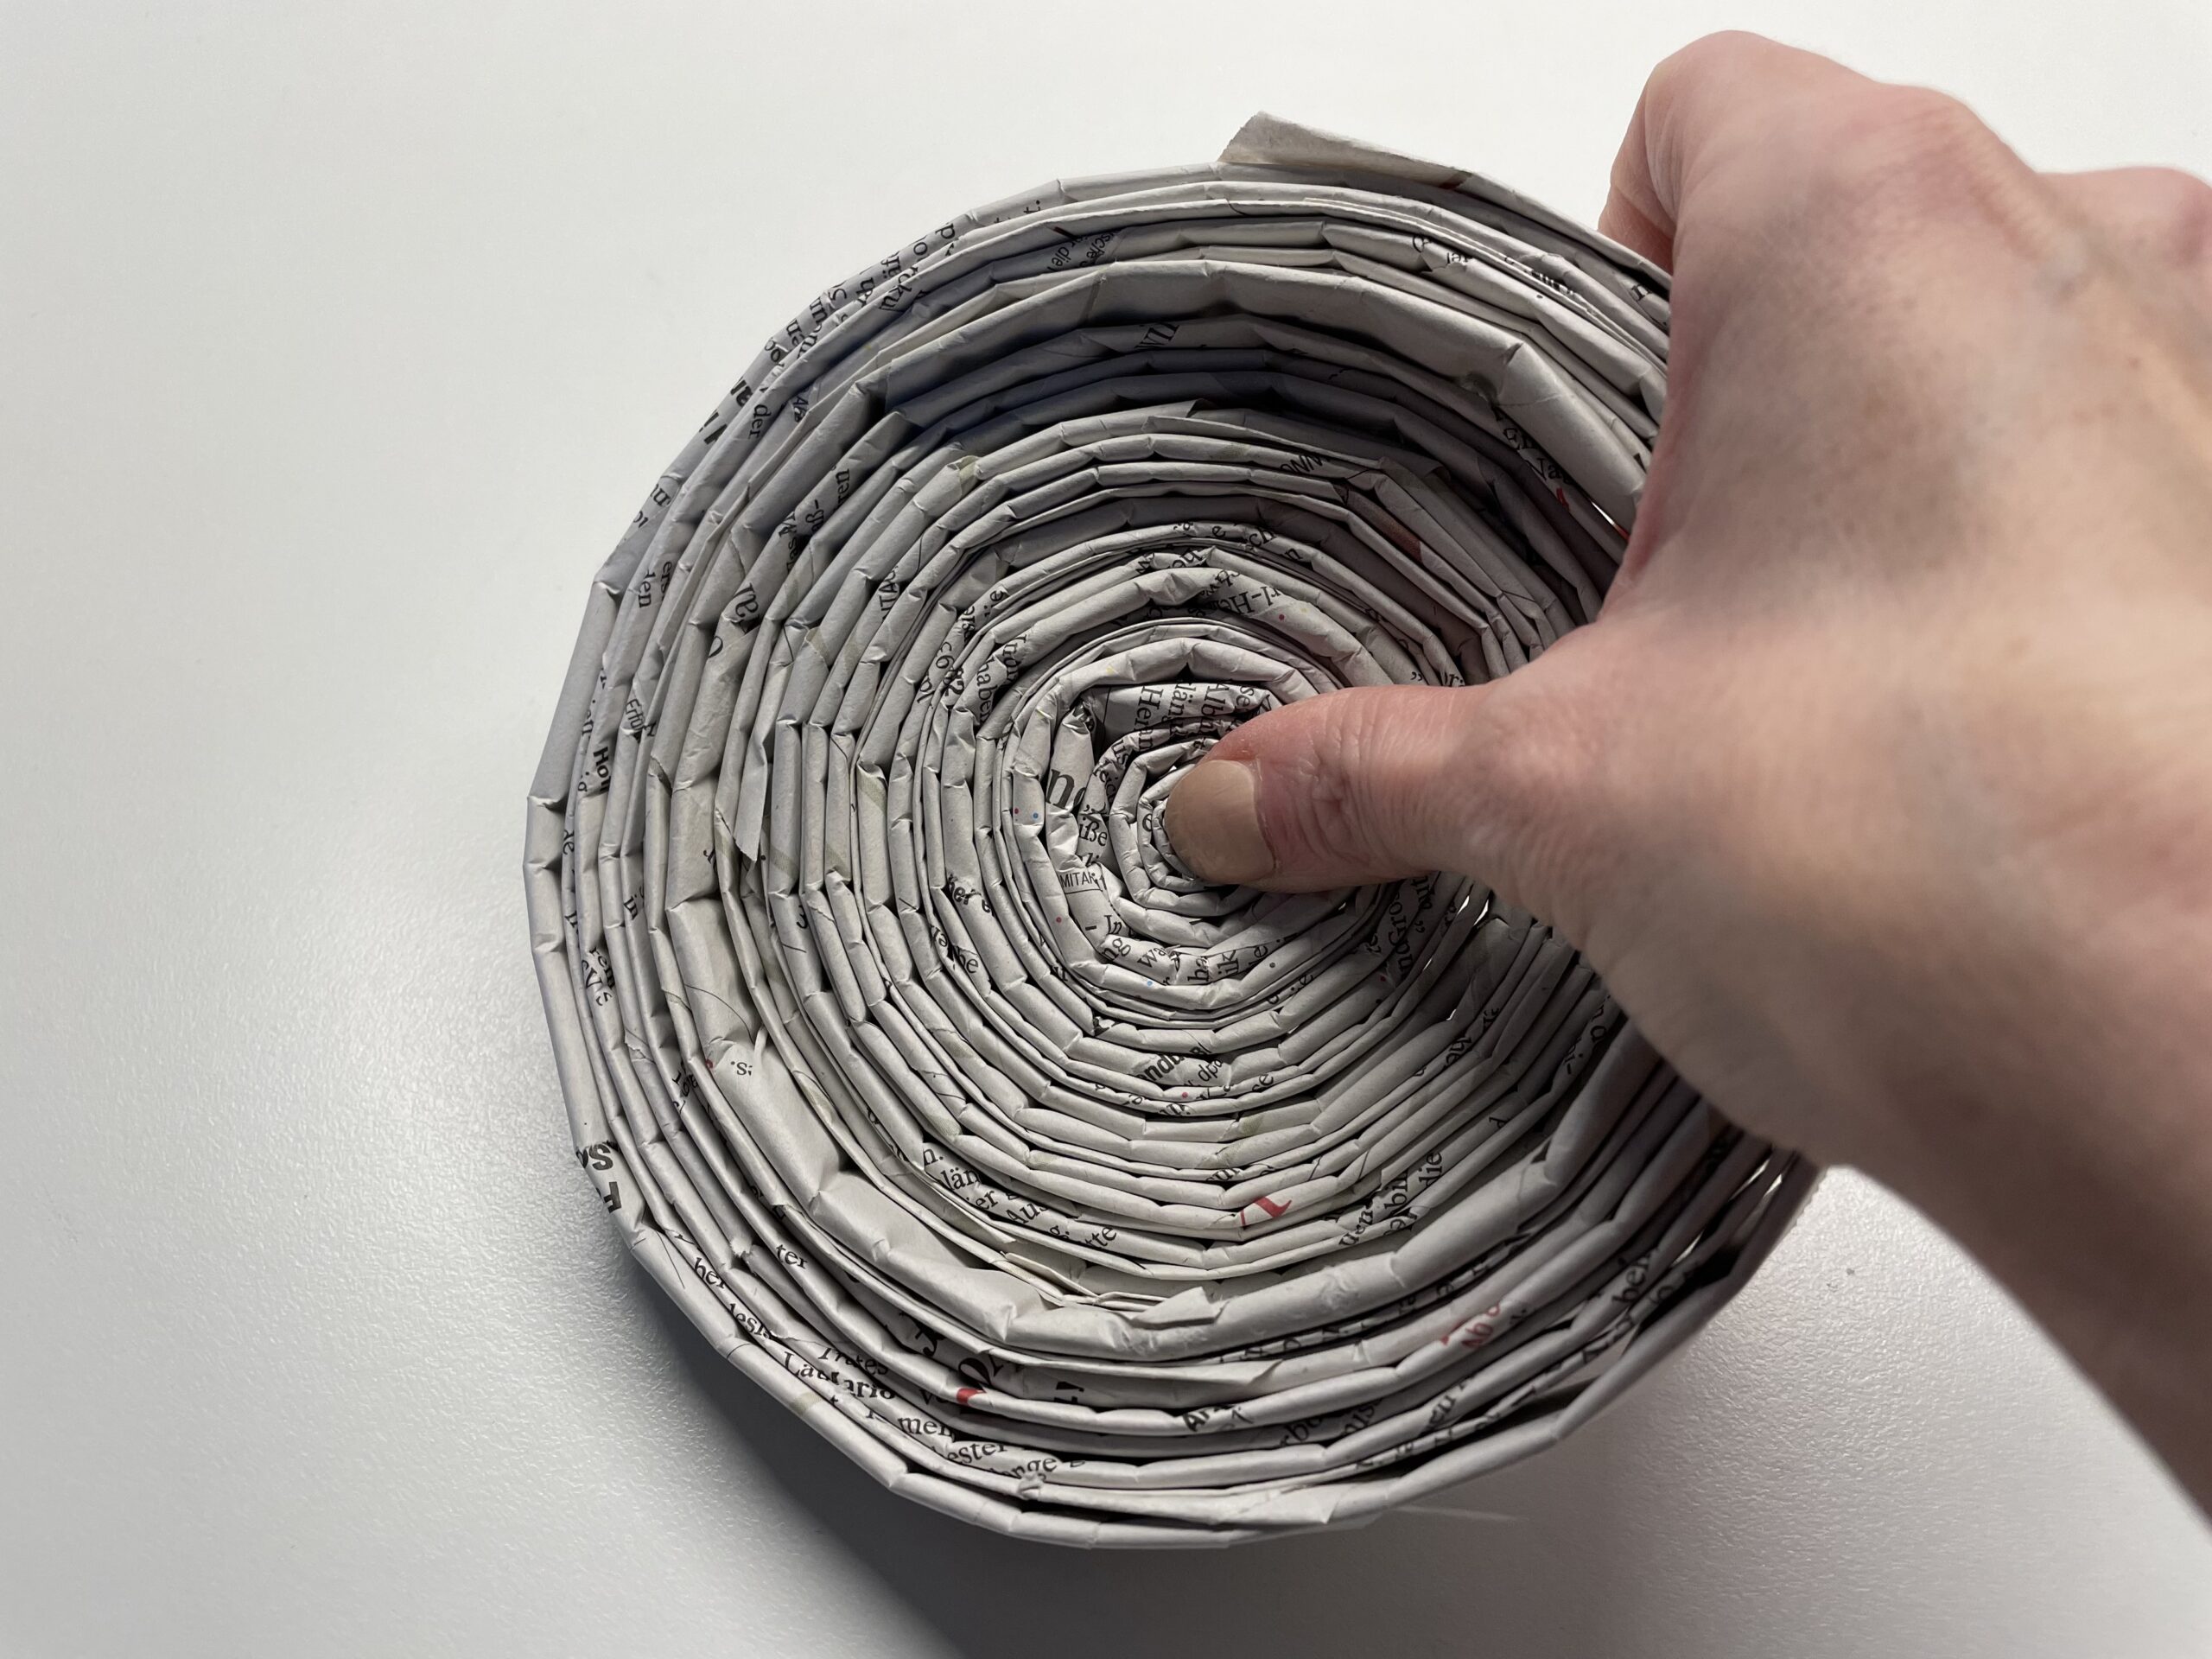
Bild zum Schritt 22 für das Bastel- und DIY-Abenteuer für Kinder: 'Mit beiden Hände wird die Schnecke nun in die Form...'

23

So you get a bowl. Form the bowl until you like it. Make sure that the bowl can stand well on the table. Therefore, it must not be too pointed below.
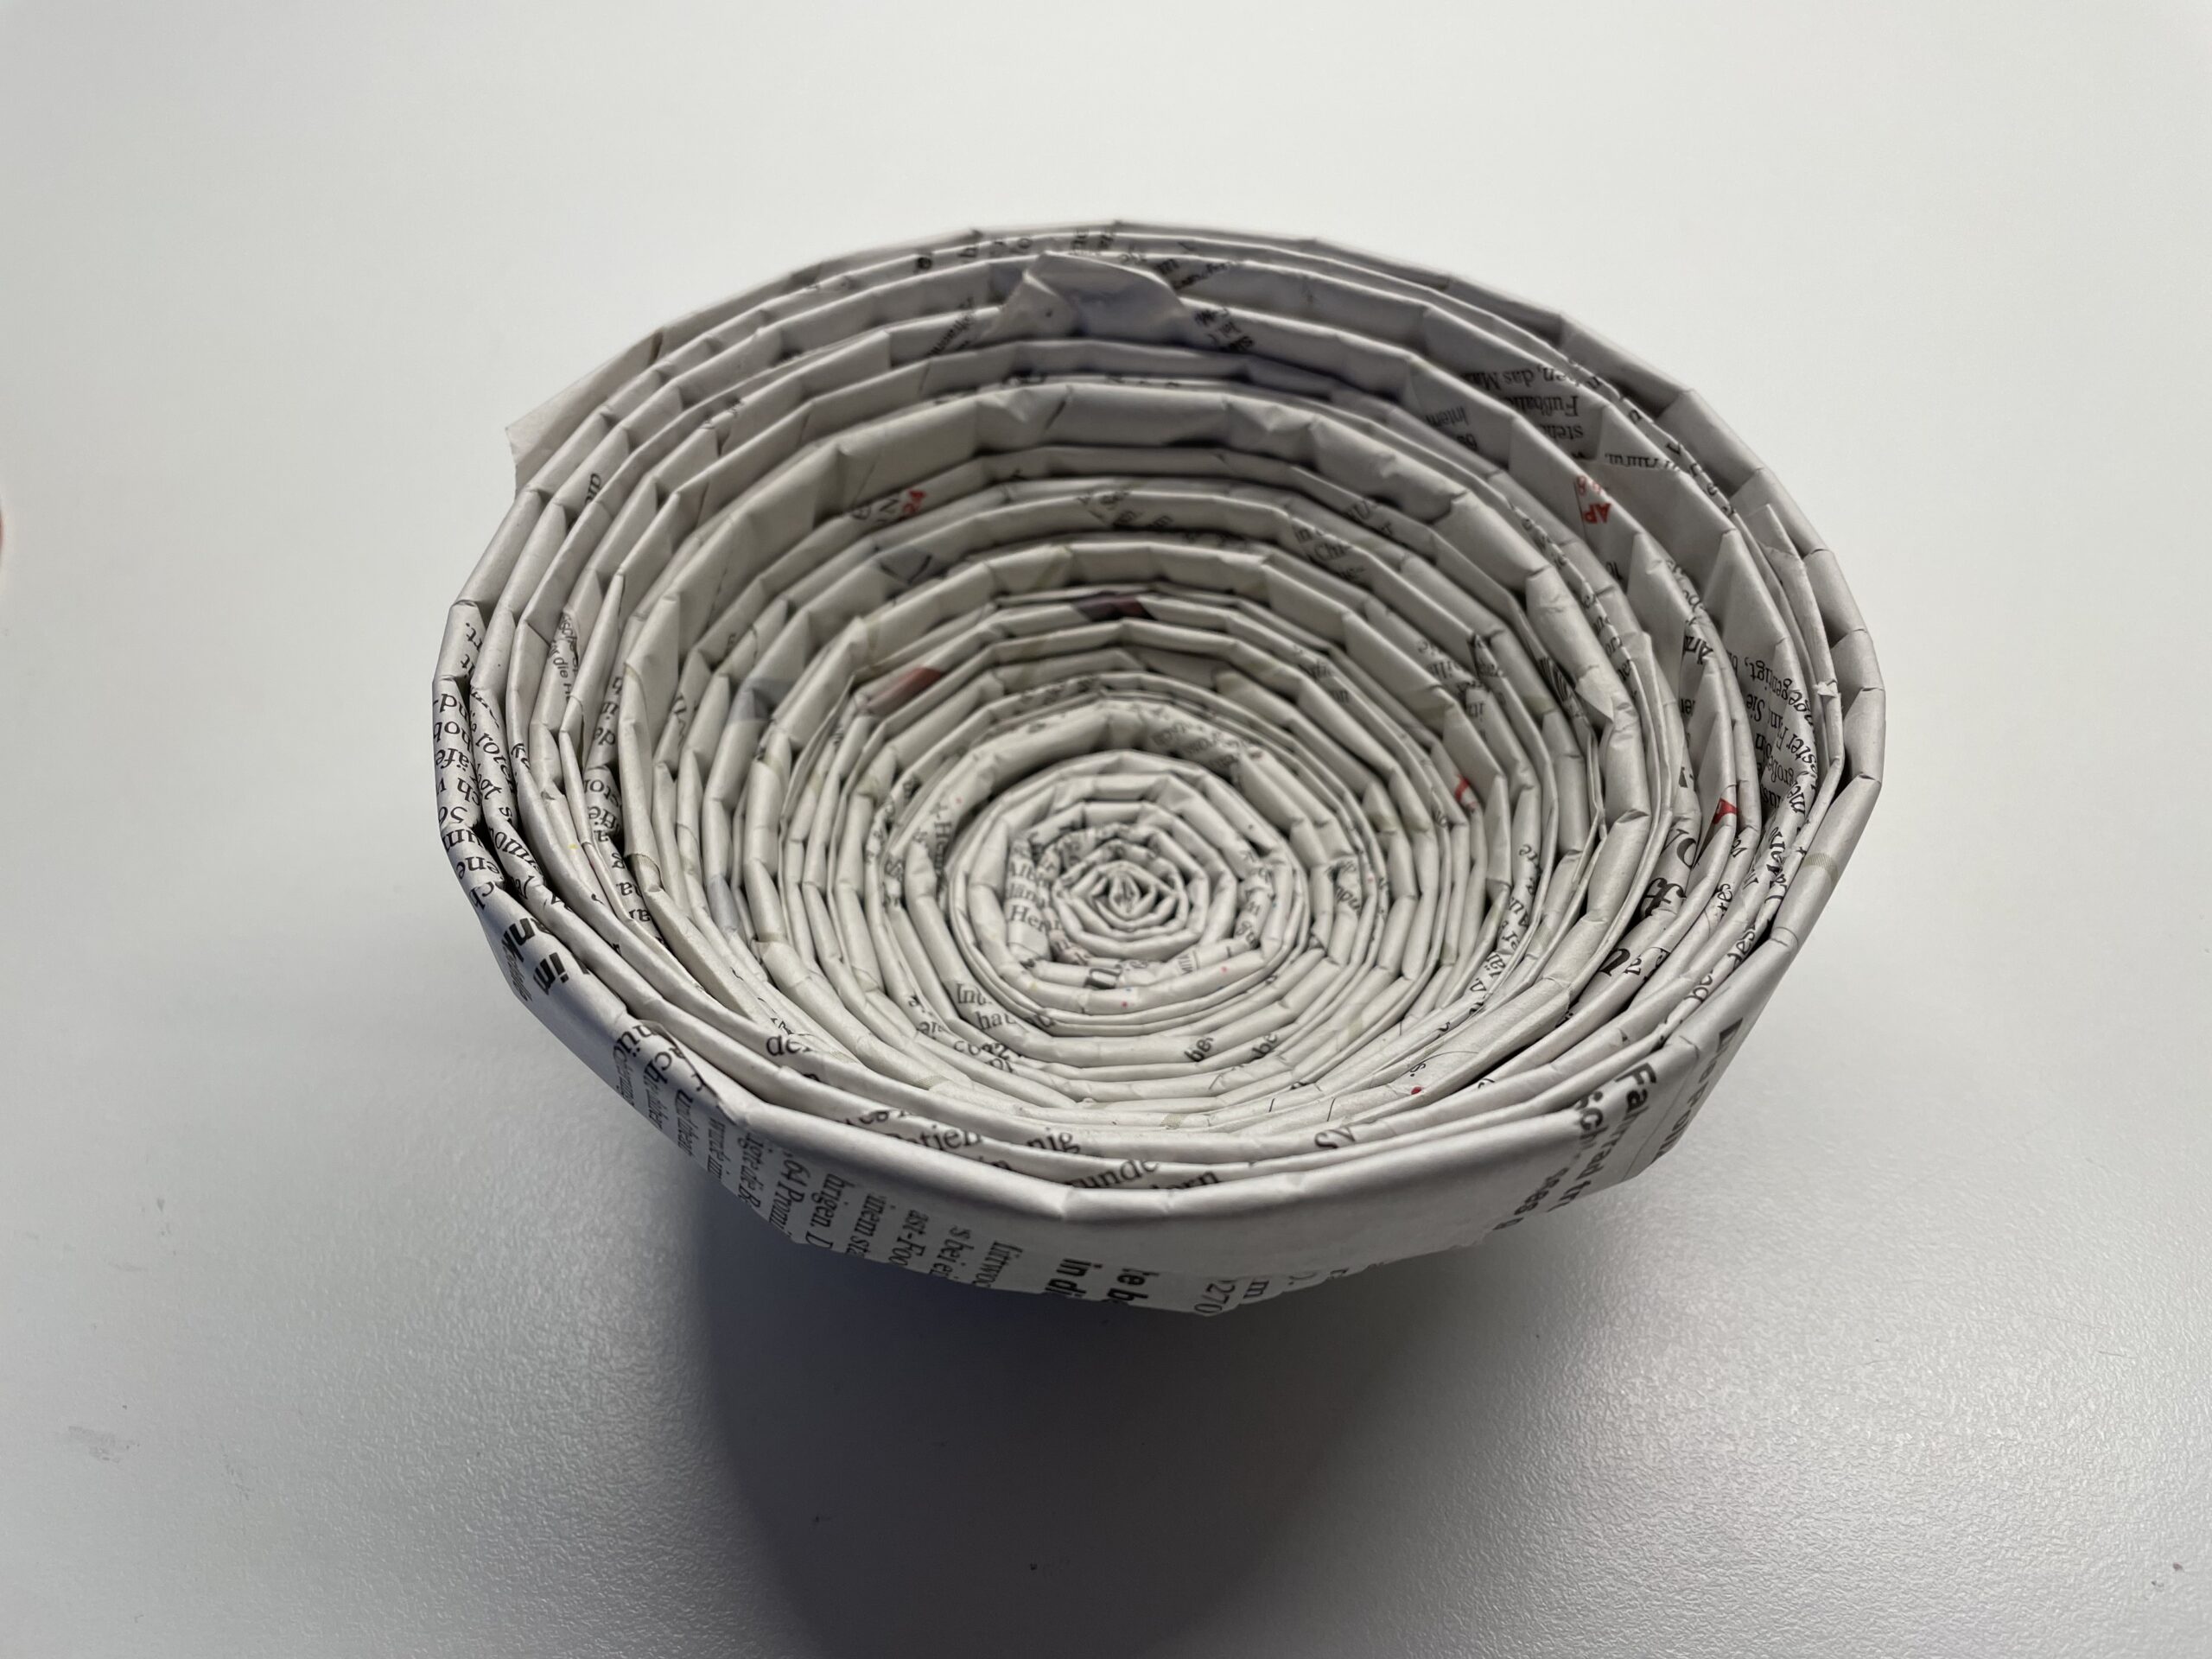
Bild zum Schritt 23 für das Bastel- und DIY-Abenteuer für Kinder: 'Drückt das Osternest so lange in Form, bis es euch...'

24

That's what the shell looks like from the outside.
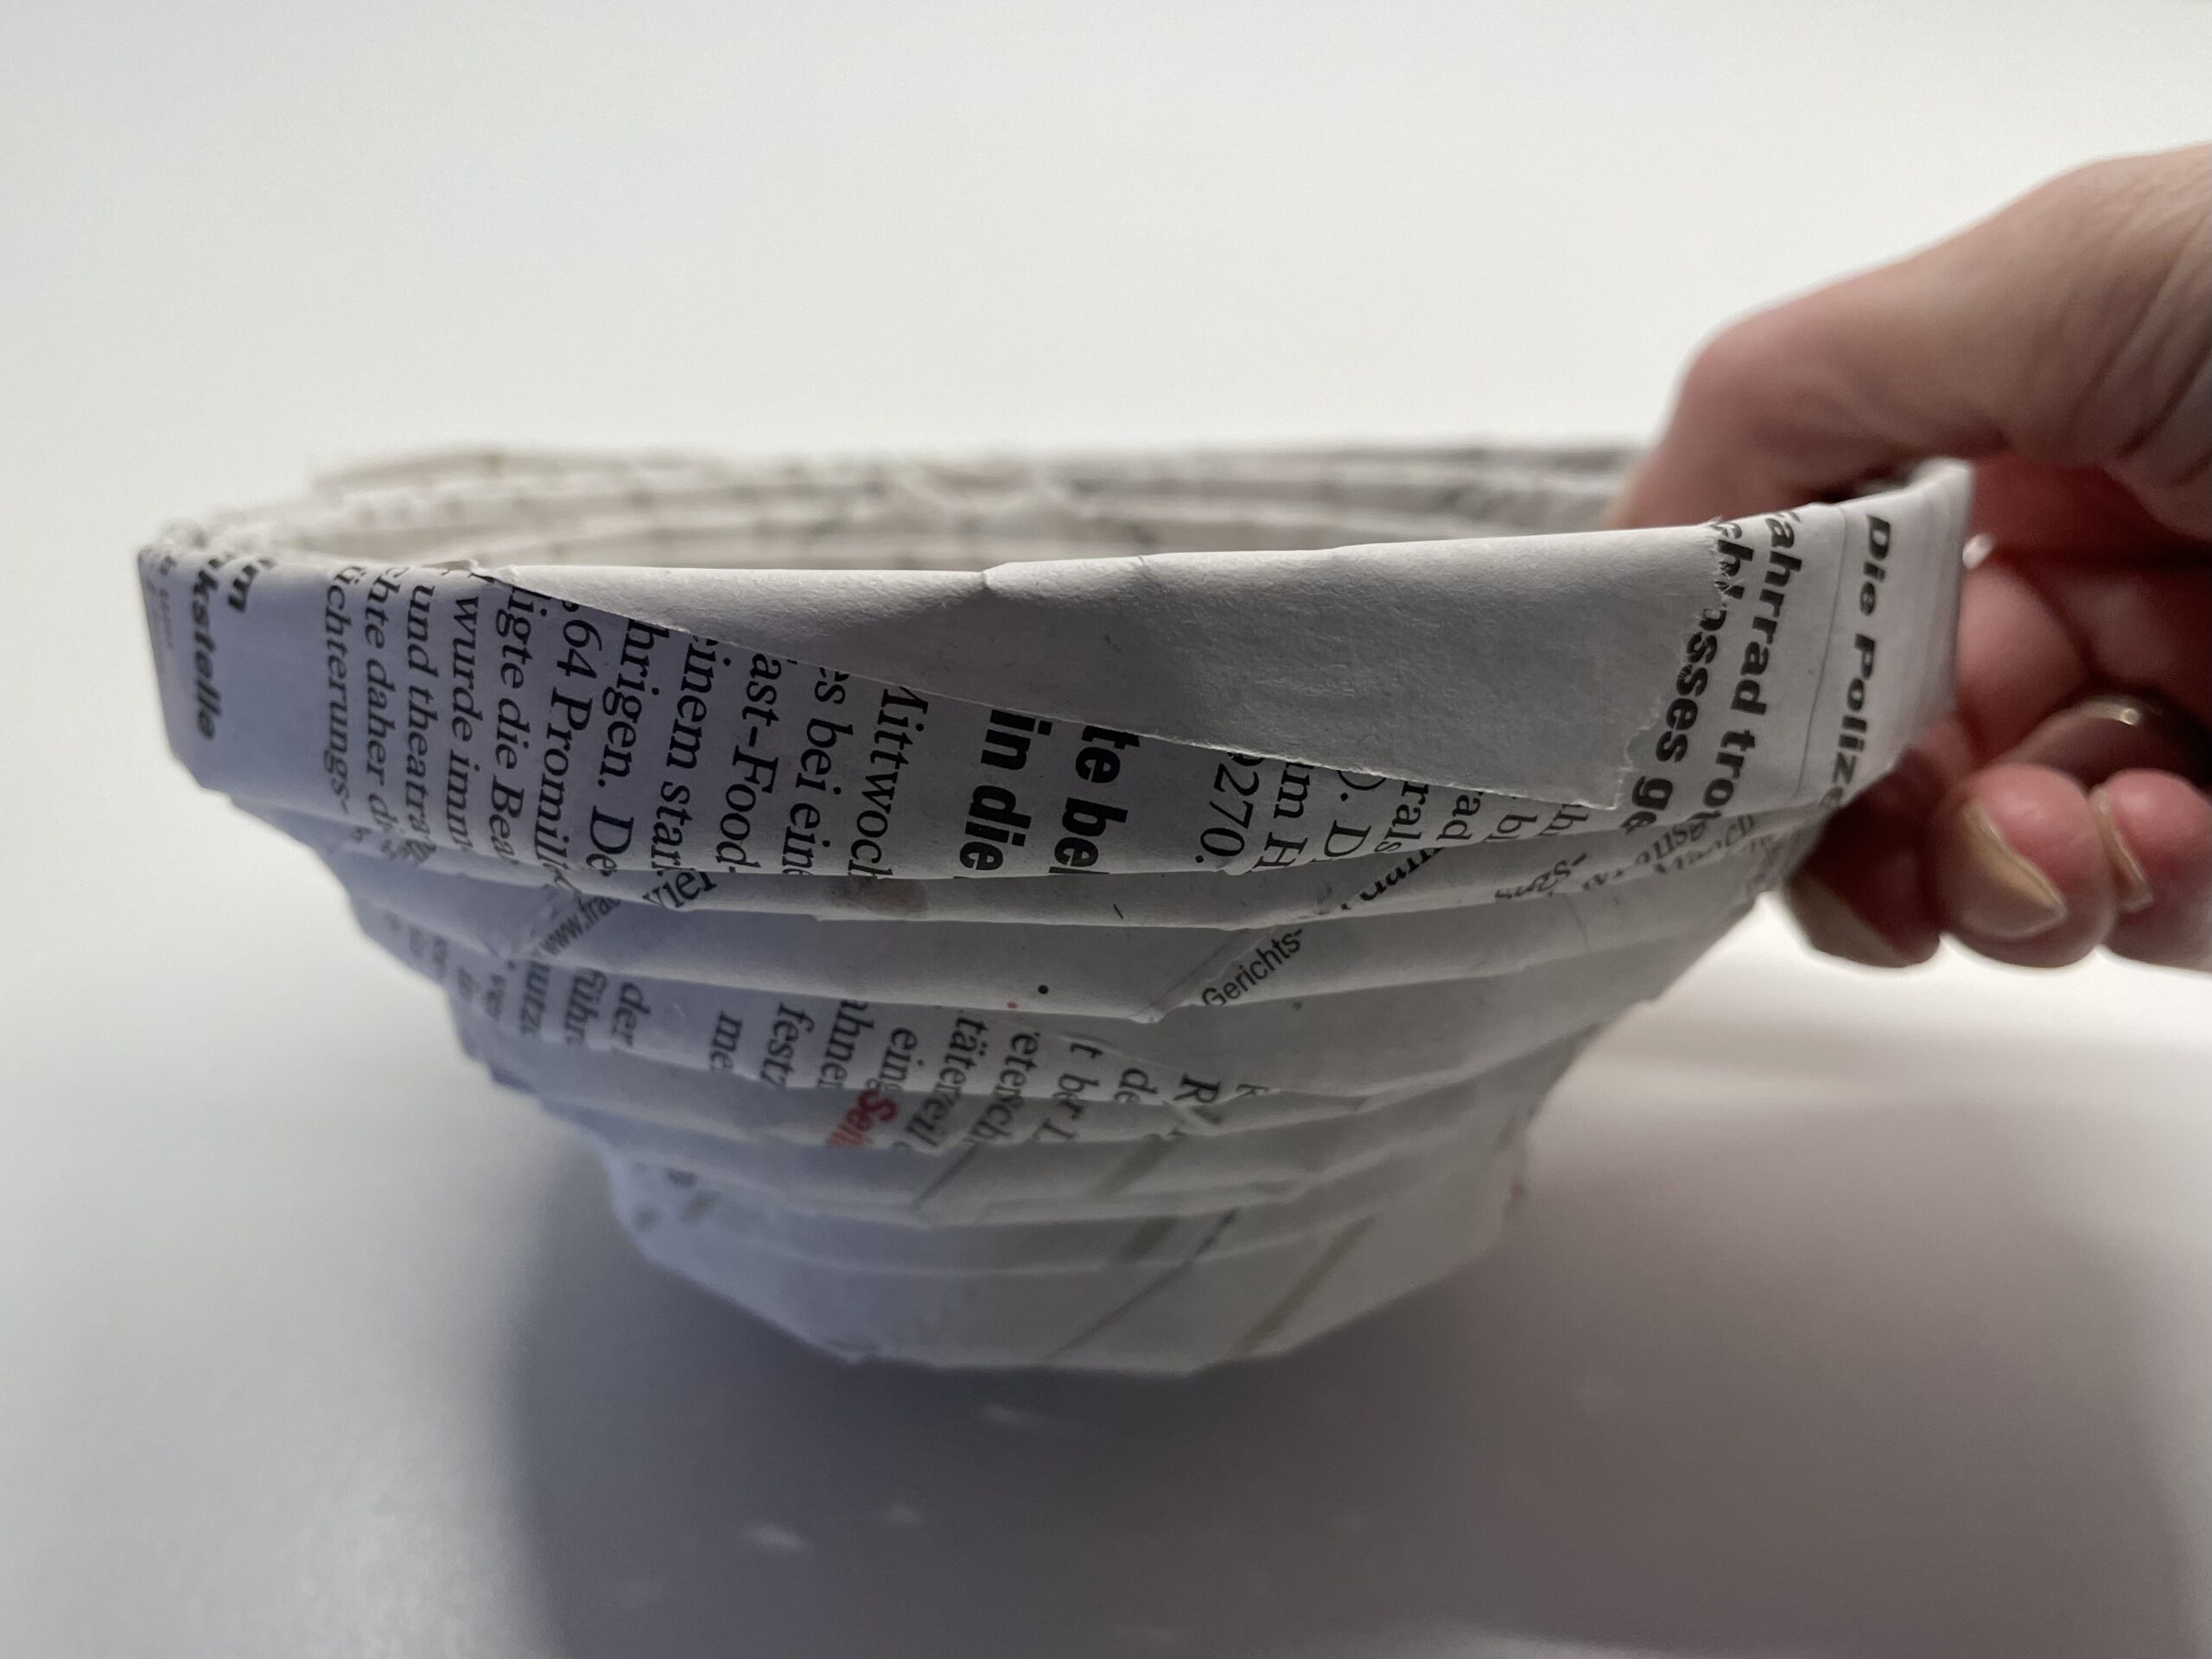
Bild zum Schritt 24 für das Bastel- und DIY-Abenteuer für Kinder: 'Das Osternest ist fertig, allerdings hält es noch nicht seine...'

25

In order to get the bowl stable, it must be glued with glue. Uses wood glue, because it becomes transparent after drying.

Bild zum Schritt 25 für das Bastel- und DIY-Abenteuer für Kinder: 'Dazu muss das Osternest auf der Innenseite noch mit Holzleim...'

26

Put glue in the bowl and spread it with a brush.
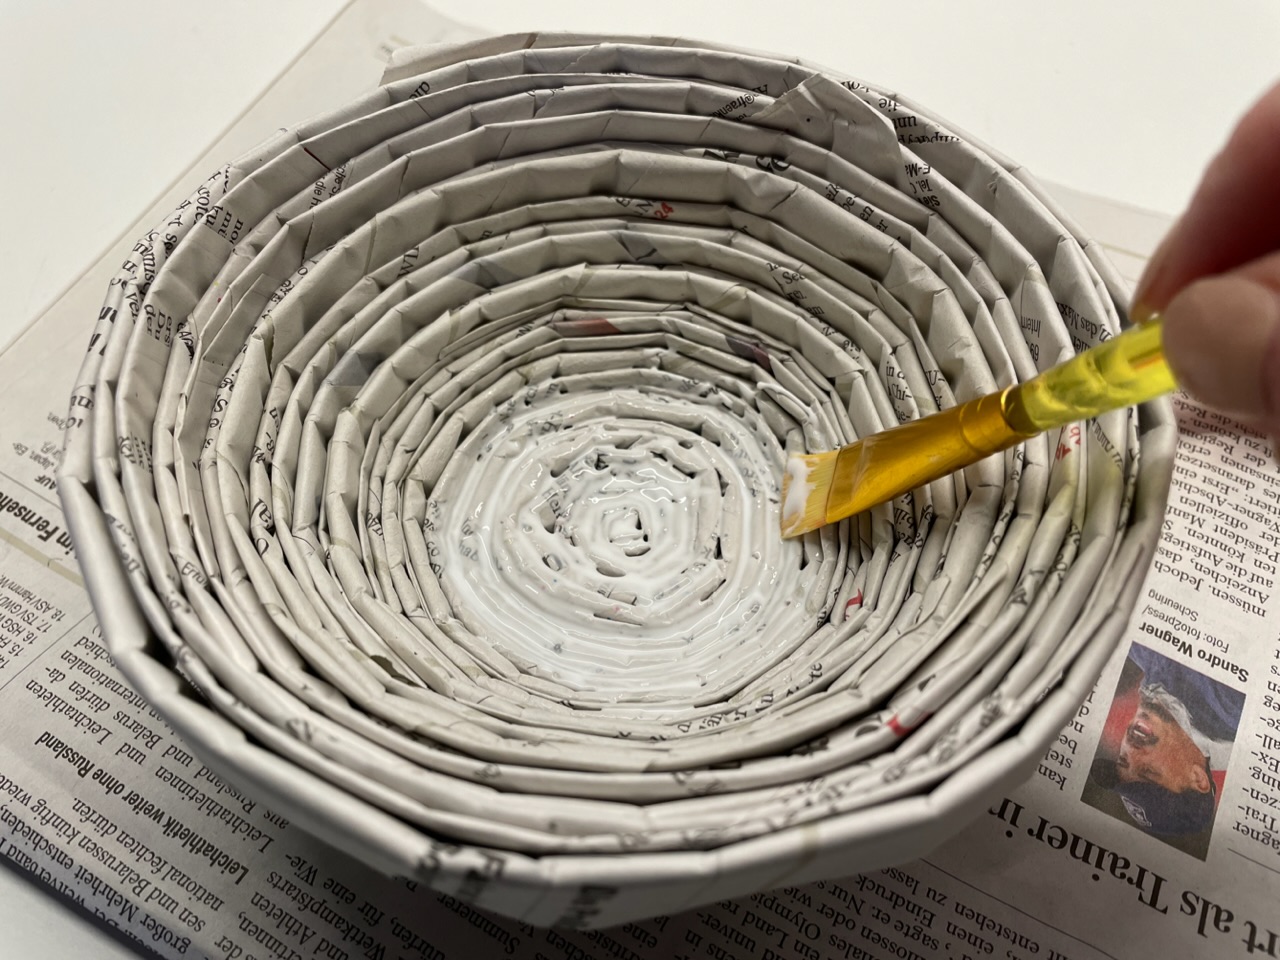
Bild zum Schritt 26 für das Bastel- und DIY-Abenteuer für Kinder: 'Nehmt einen Pinsel und verteilt damit den Leim in der...'

27

Goes step by step, otherwise the glue dries too fast.
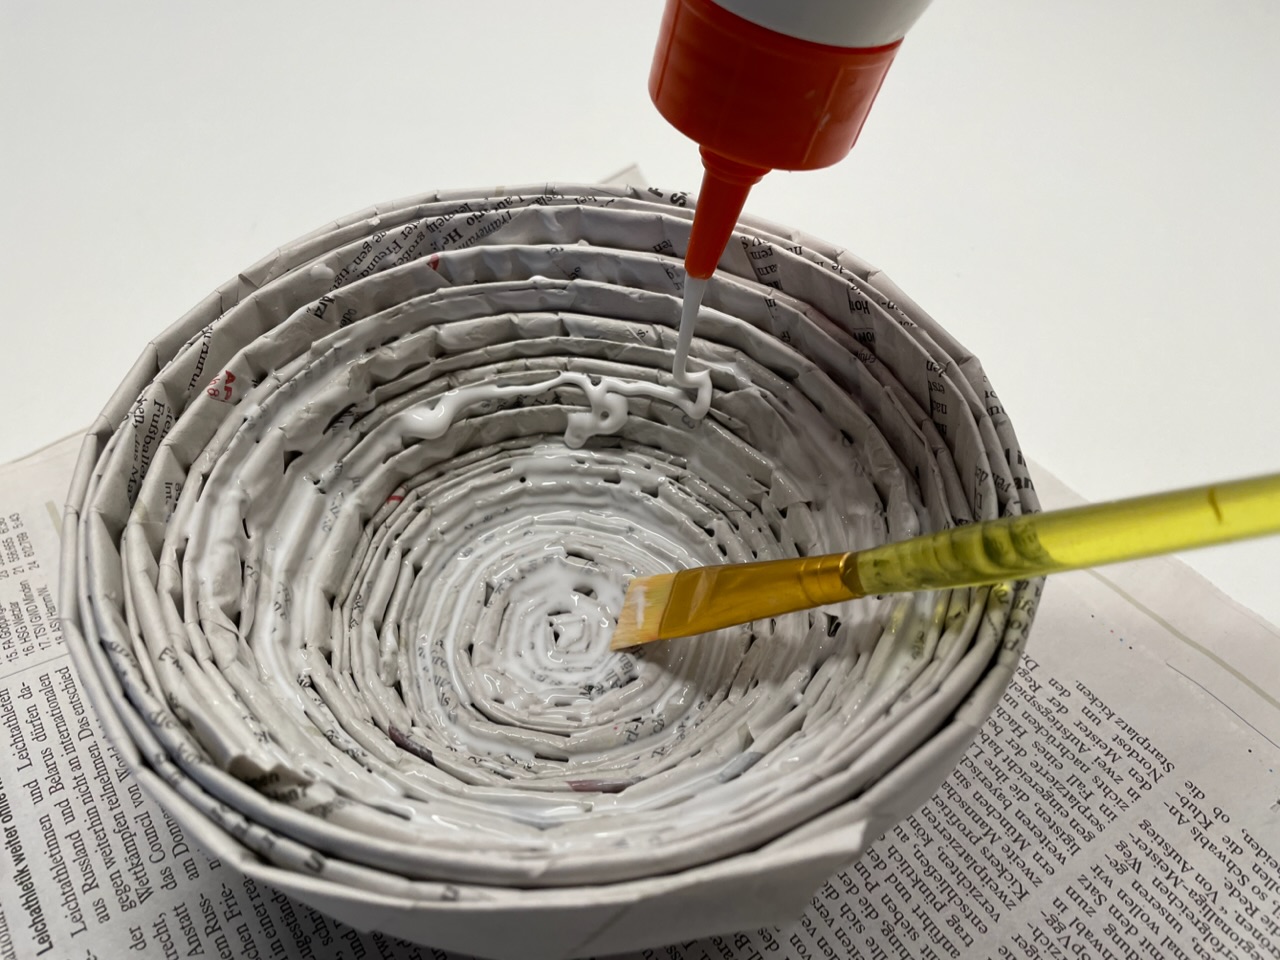
Bild zum Schritt 27 für das Bastel- und DIY-Abenteuer für Kinder: 'Gebt den Leim nach und nach in die Schale, so...'

28

Covers only the inside of the shell. Make sure that the glue is well distributed.
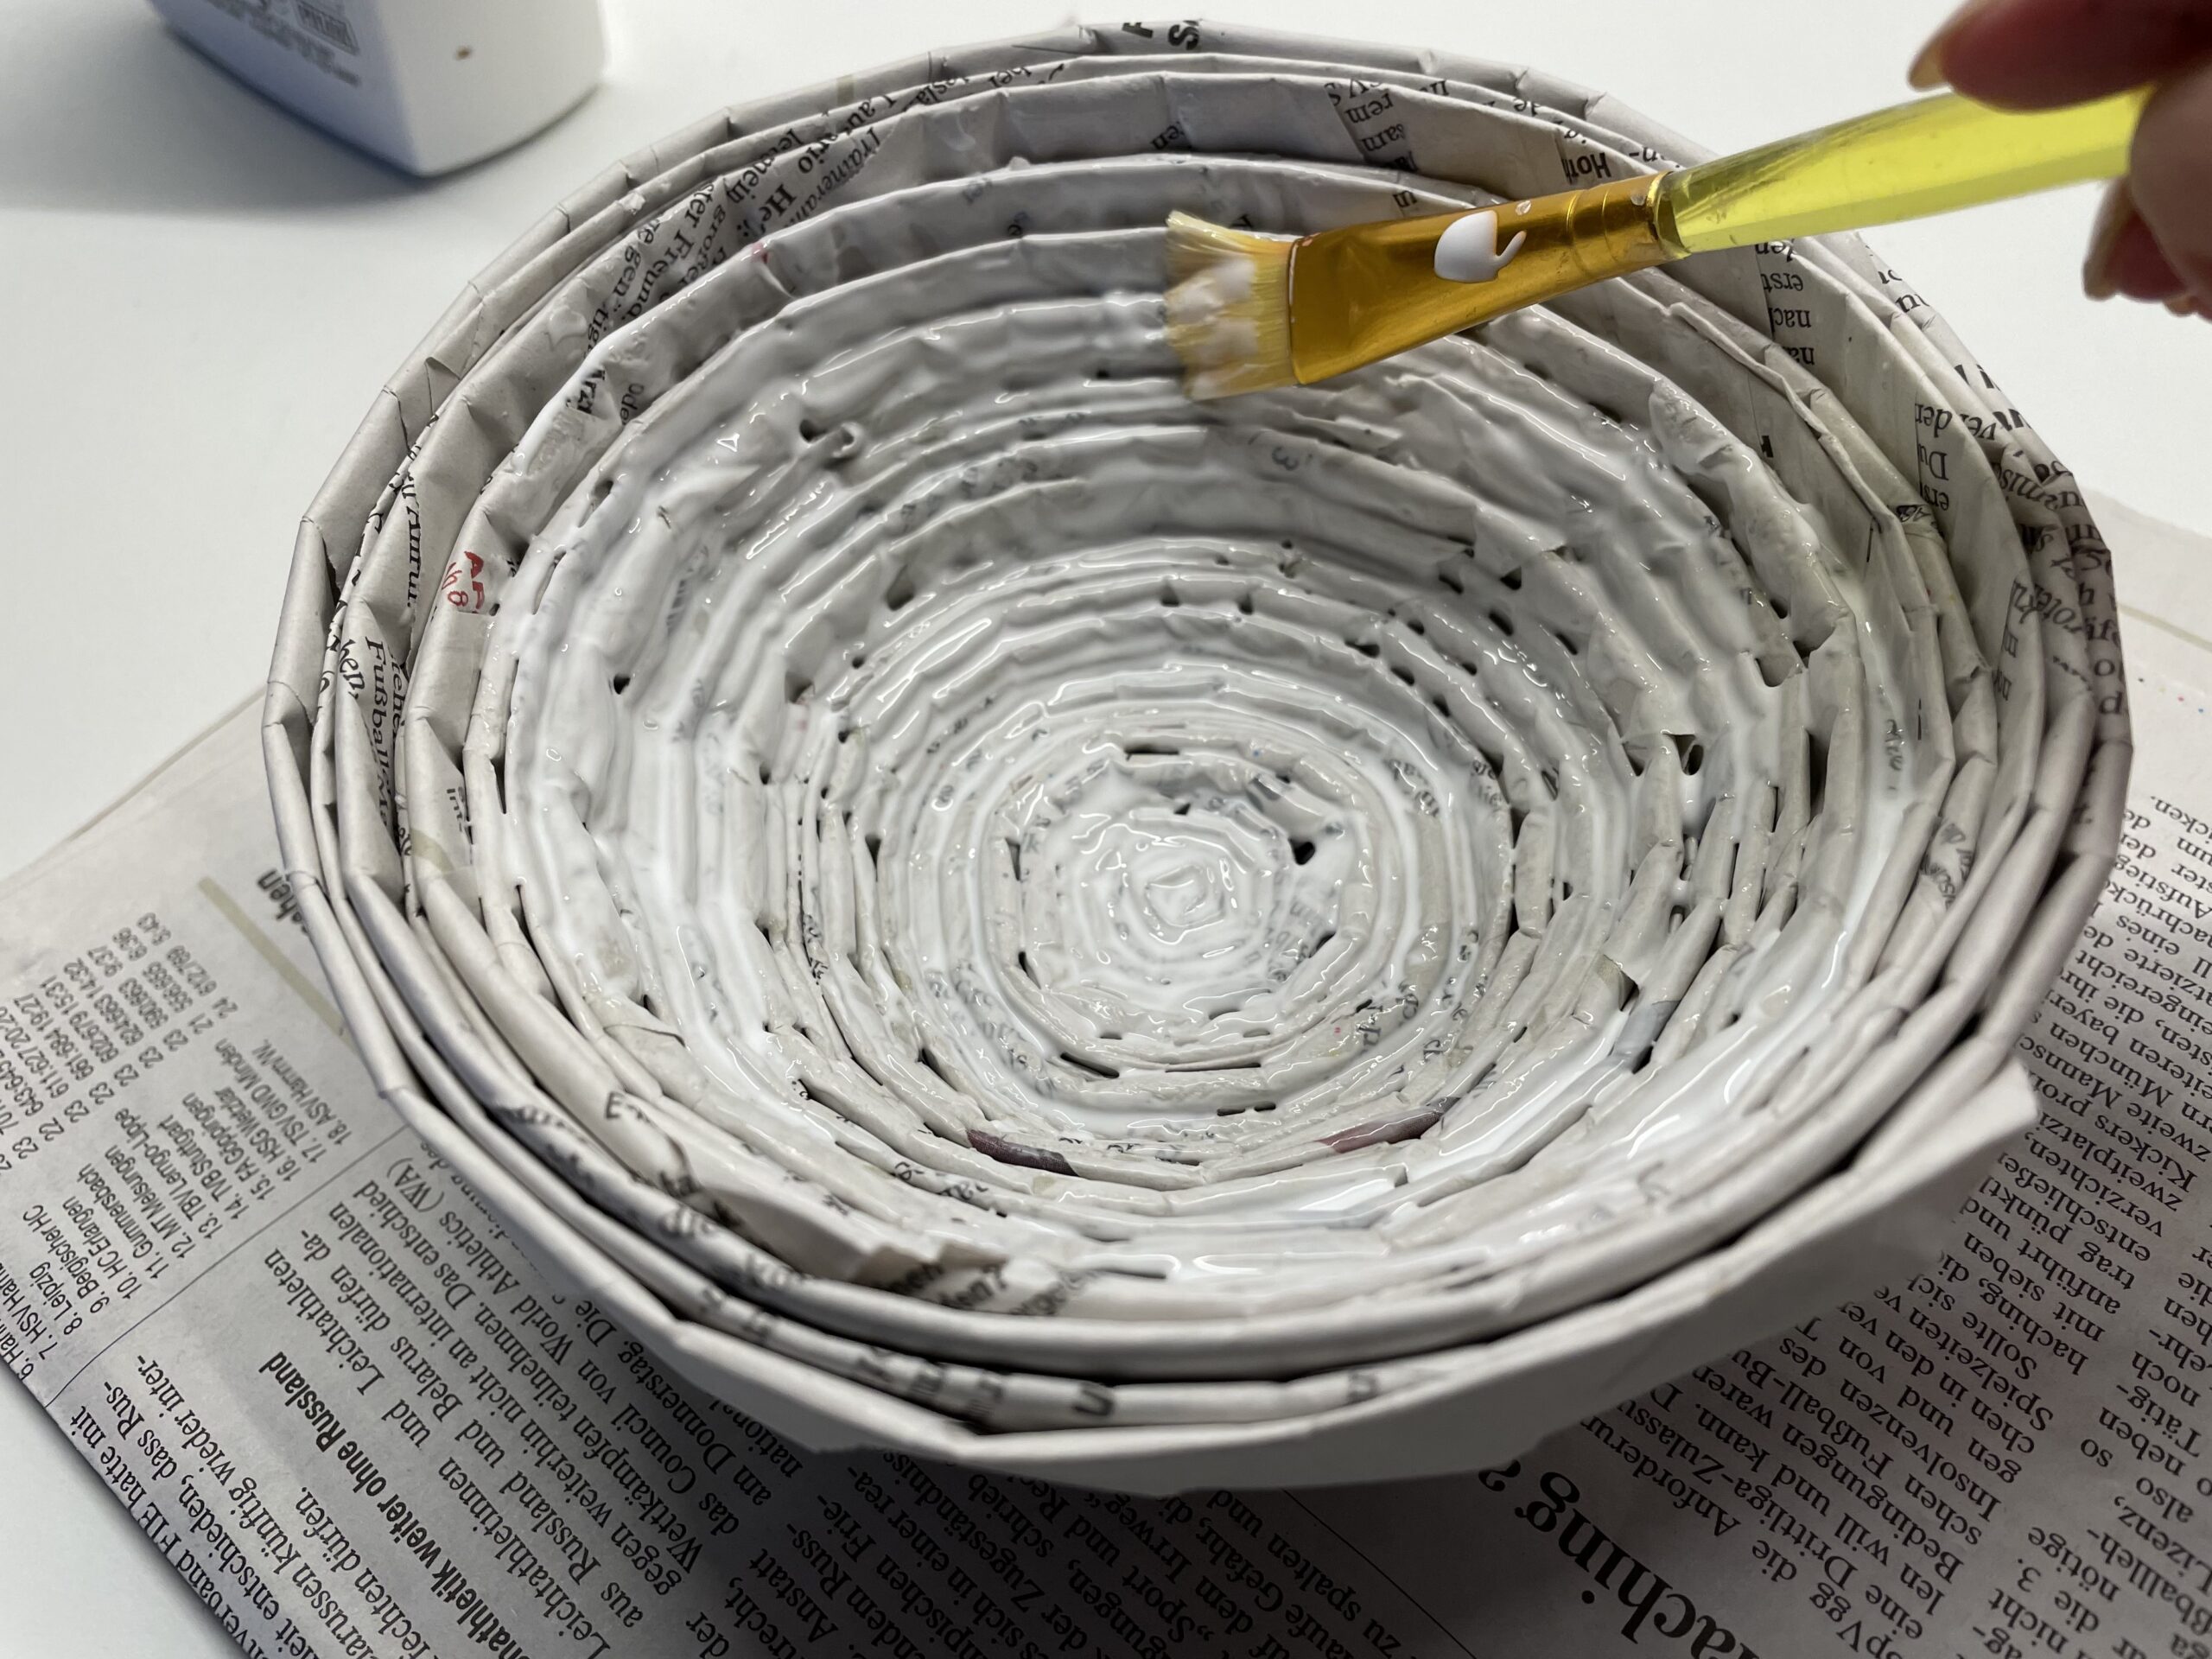
Bild zum Schritt 28 für das Bastel- und DIY-Abenteuer für Kinder: 'Alle Stellen müssen bestrichen sein, sonst können sie später verrutschen.'

29

Leave the bowl to dry or put it on the heater.
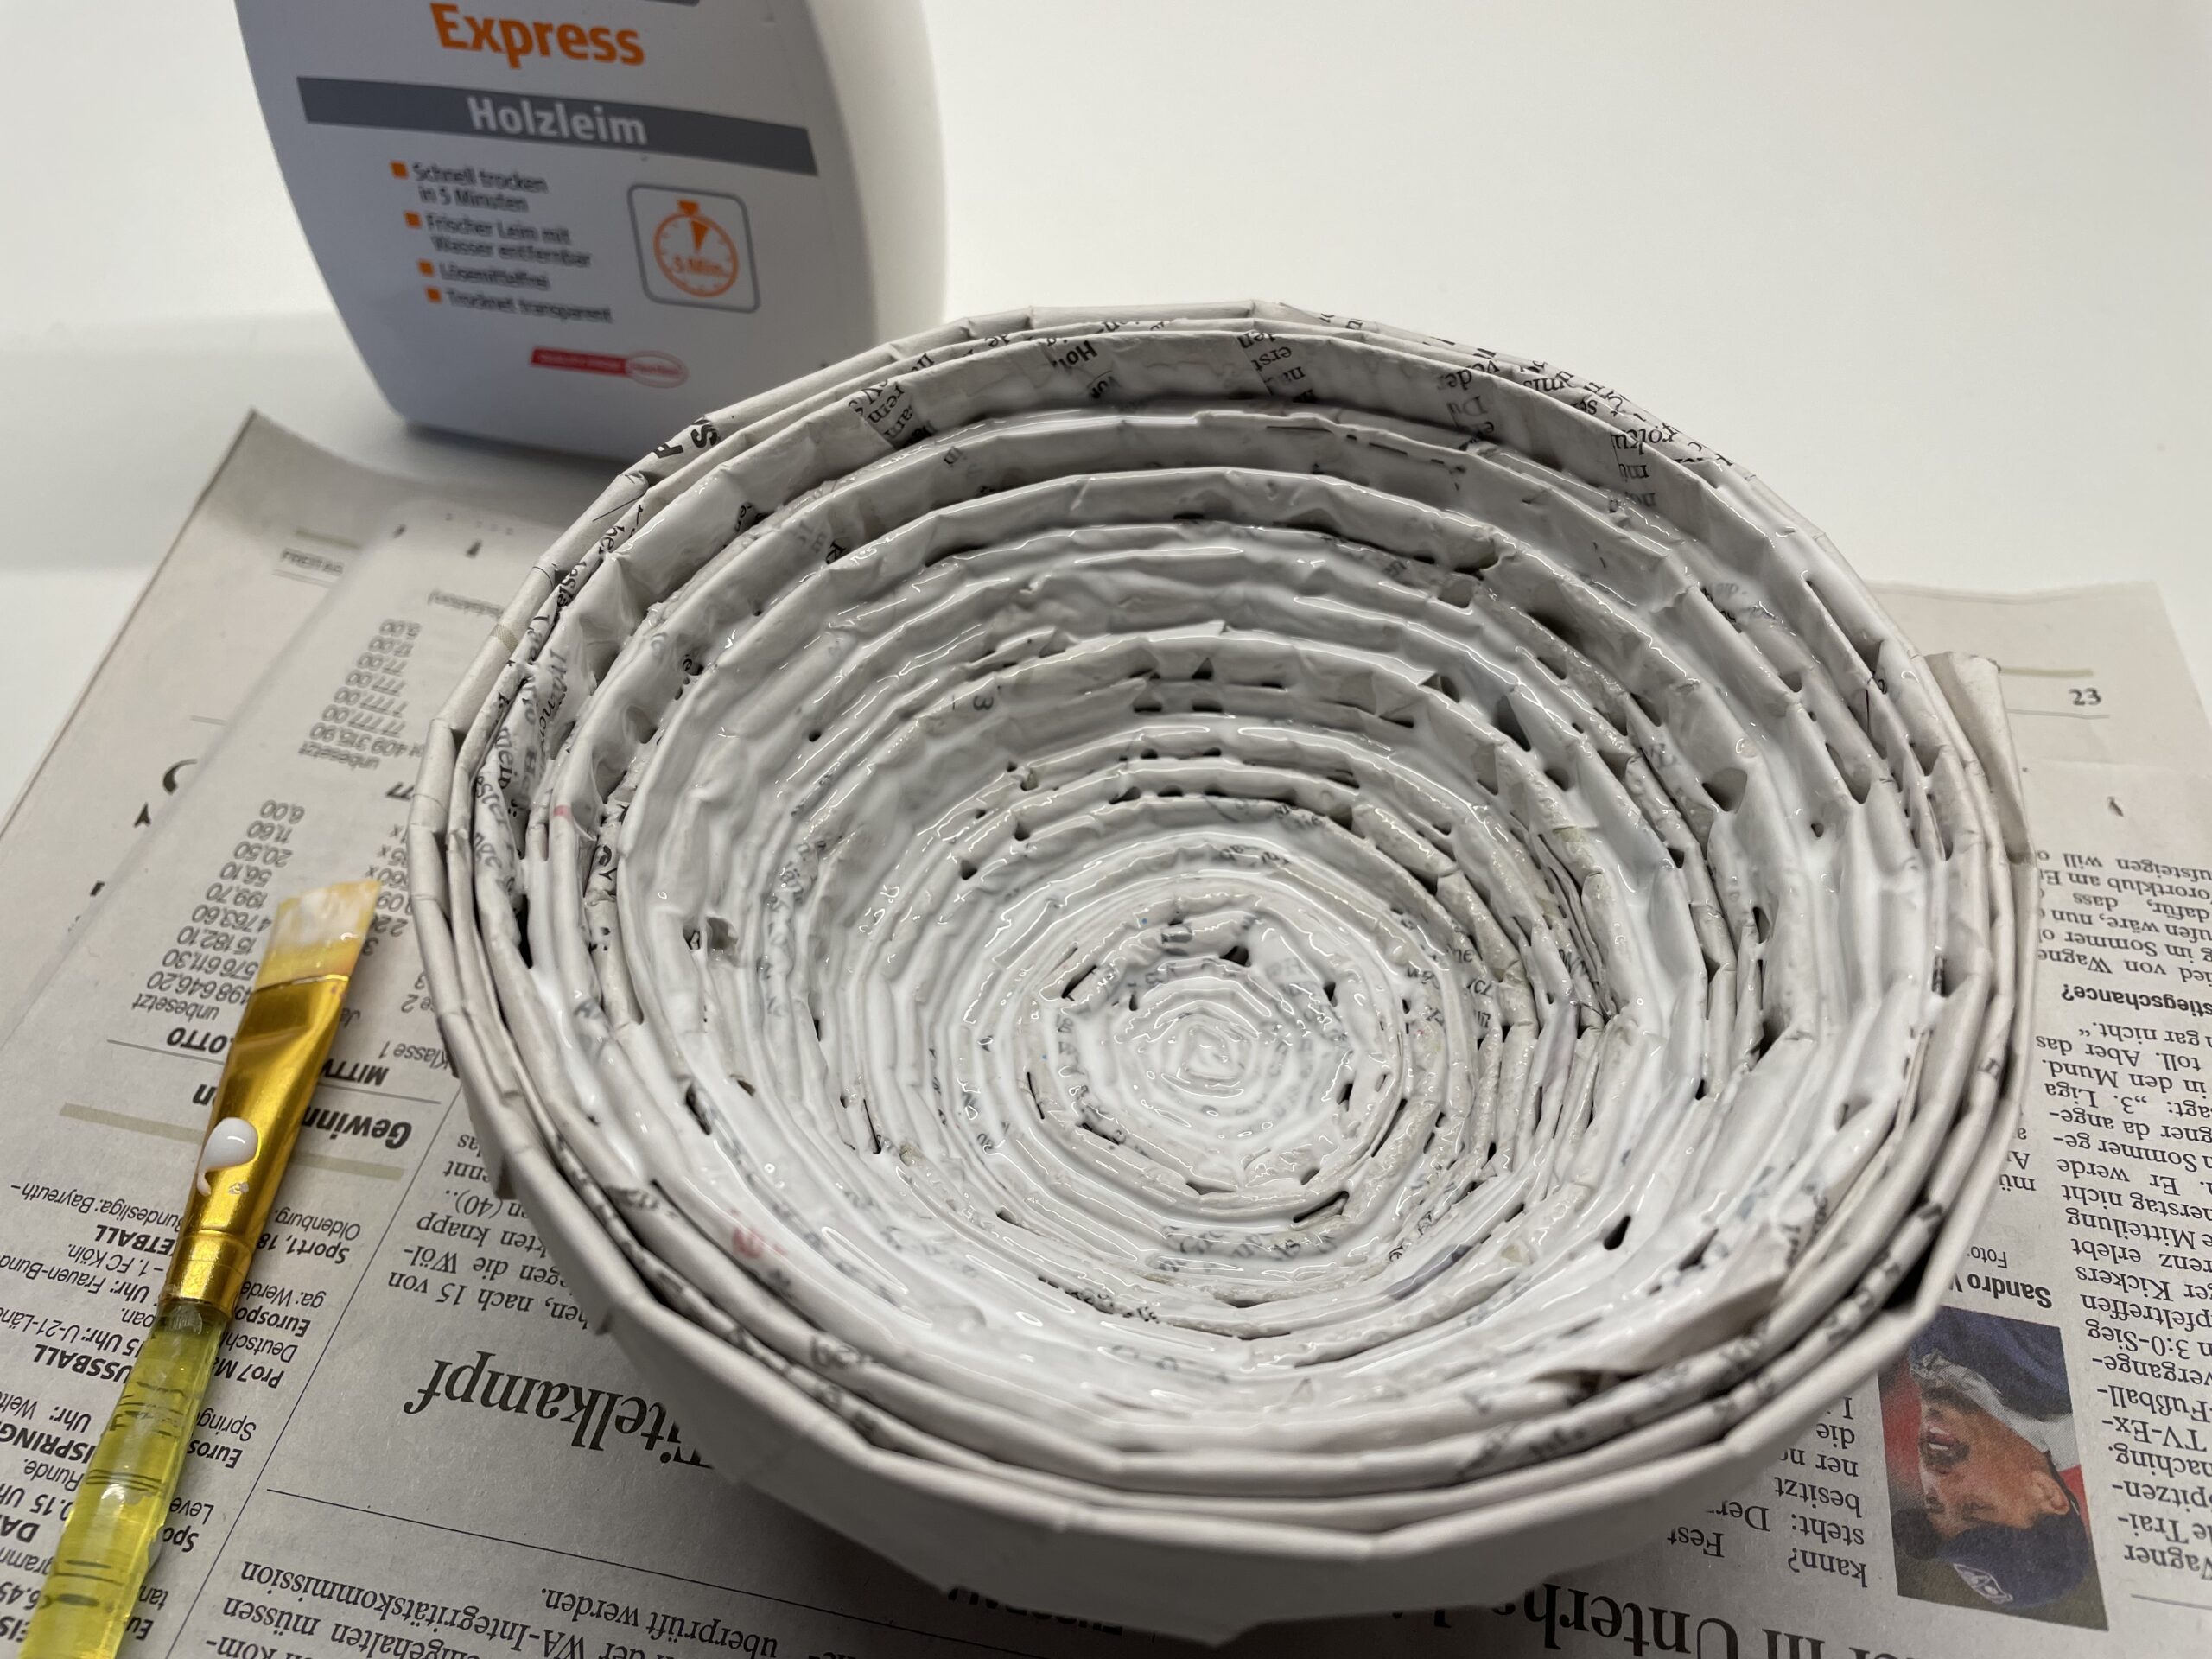
Bild zum Schritt 29 für das Bastel- und DIY-Abenteuer für Kinder: 'Stellt die Schale zum Trocknen. Der Leim wird nach dem...'

30

The inside is nicely smooth after drying and the shell is now stable.
Now you can use the paper bowl. You will find examples afterwards.
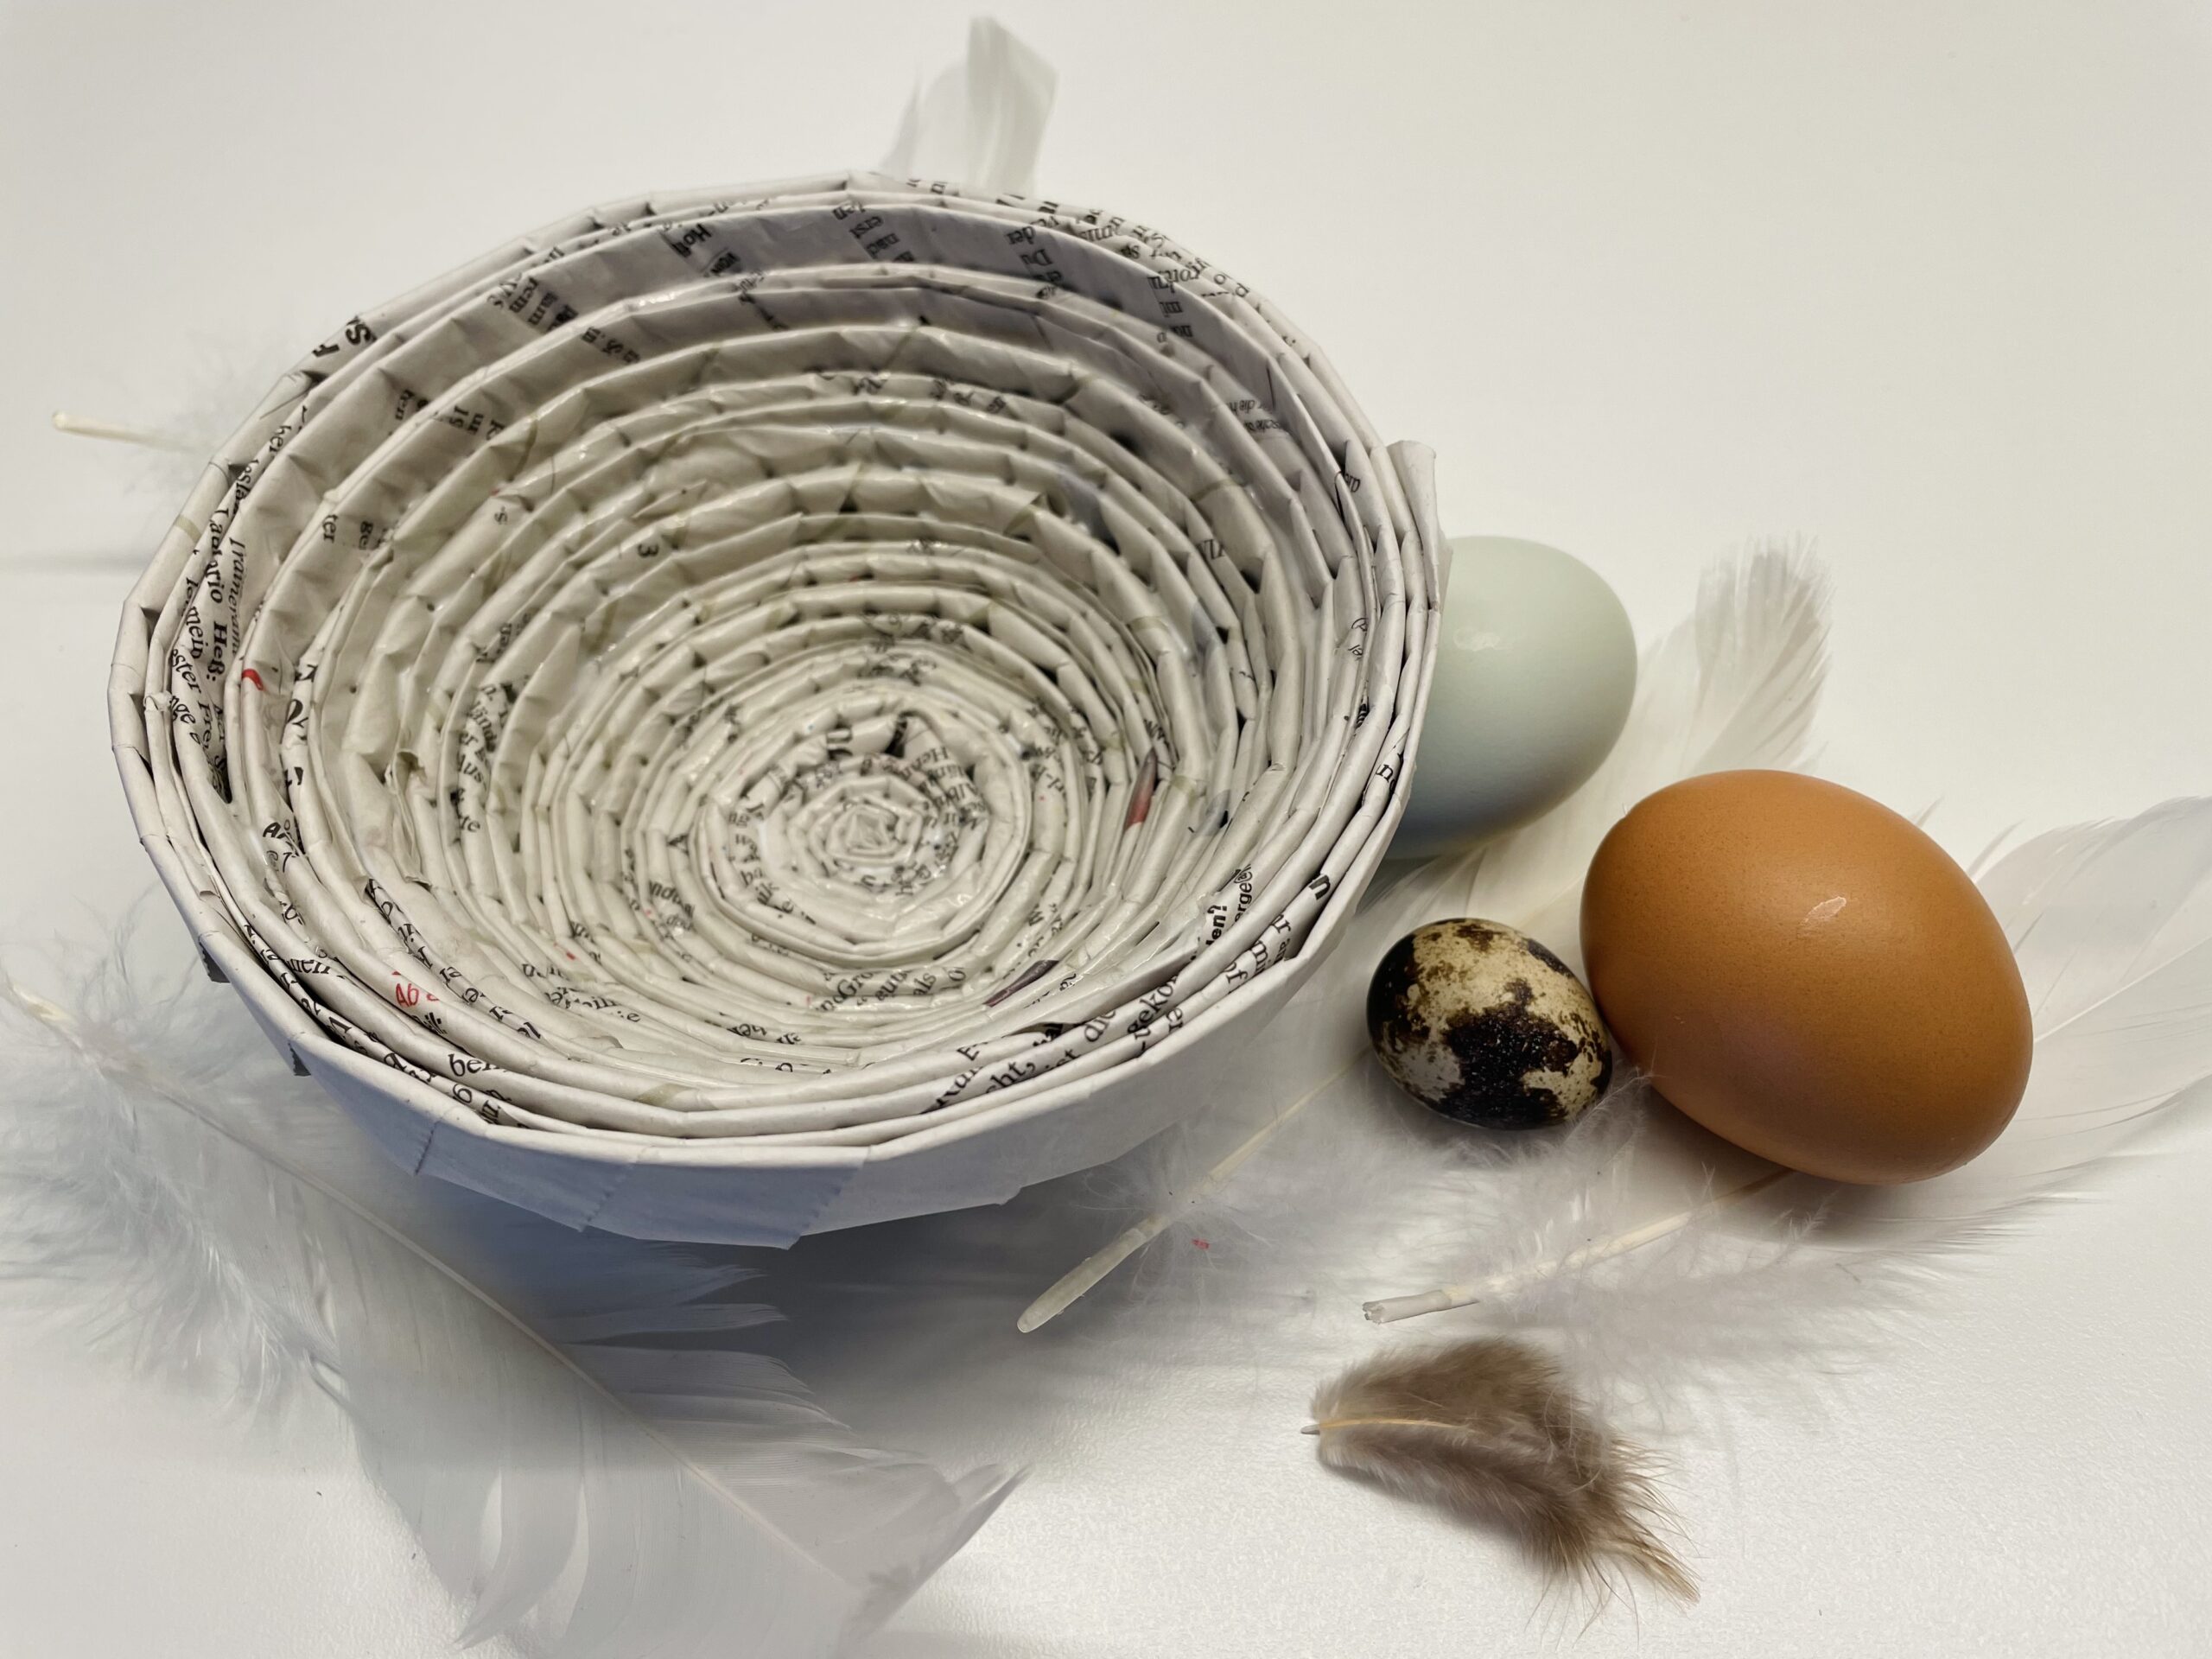
Bild zum Schritt 30 für das Bastel- und DIY-Abenteuer für Kinder: 'Das Osternest ist fertig und ist bereit, um als Osternest...'

For this you can use the bowl:
31

Father's Day present:
e.g. with a few homemade snacks or a few nuts as a nerve food.
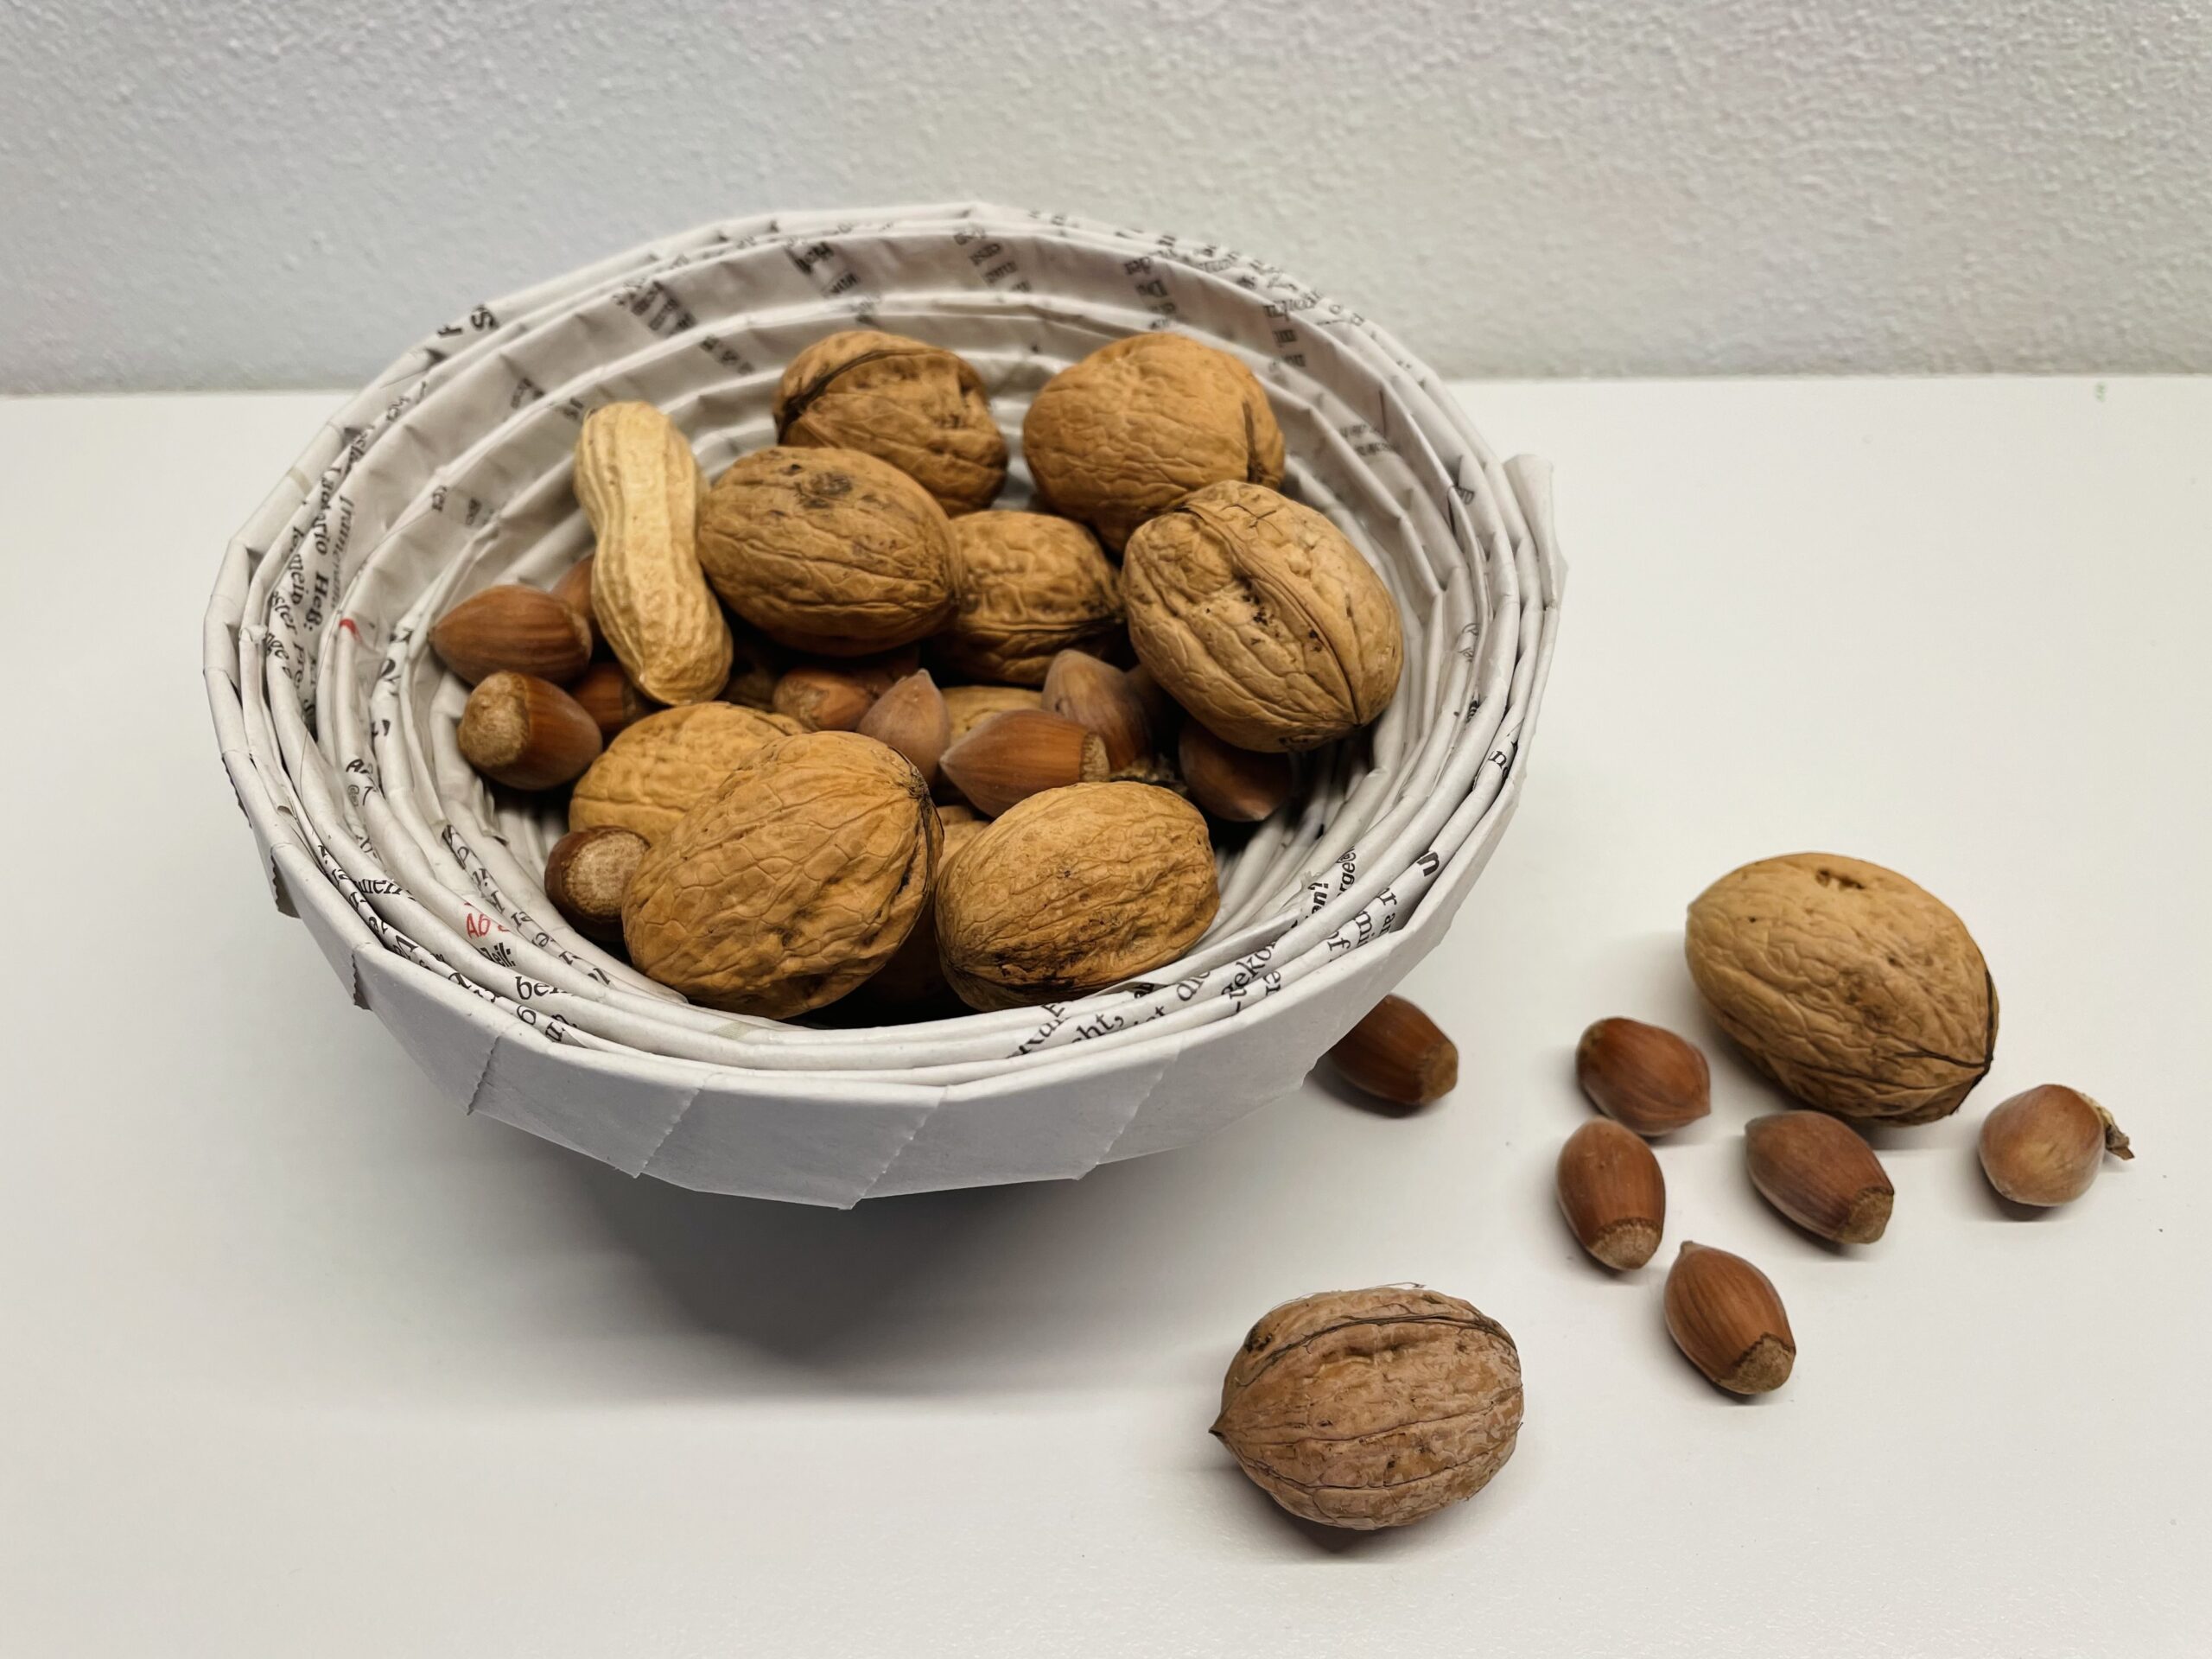
Bild zum Schritt 32 für das Bastel- und DIY-Abenteuer für Kinder: 'Vatertagsgeschenk:  z.B. mit ein paar selbst gemachte Naschereien oder...'

32

Jewelry bowl:
e.g. on Mother's Day or as a birthday present for an aunt or girlfriend.
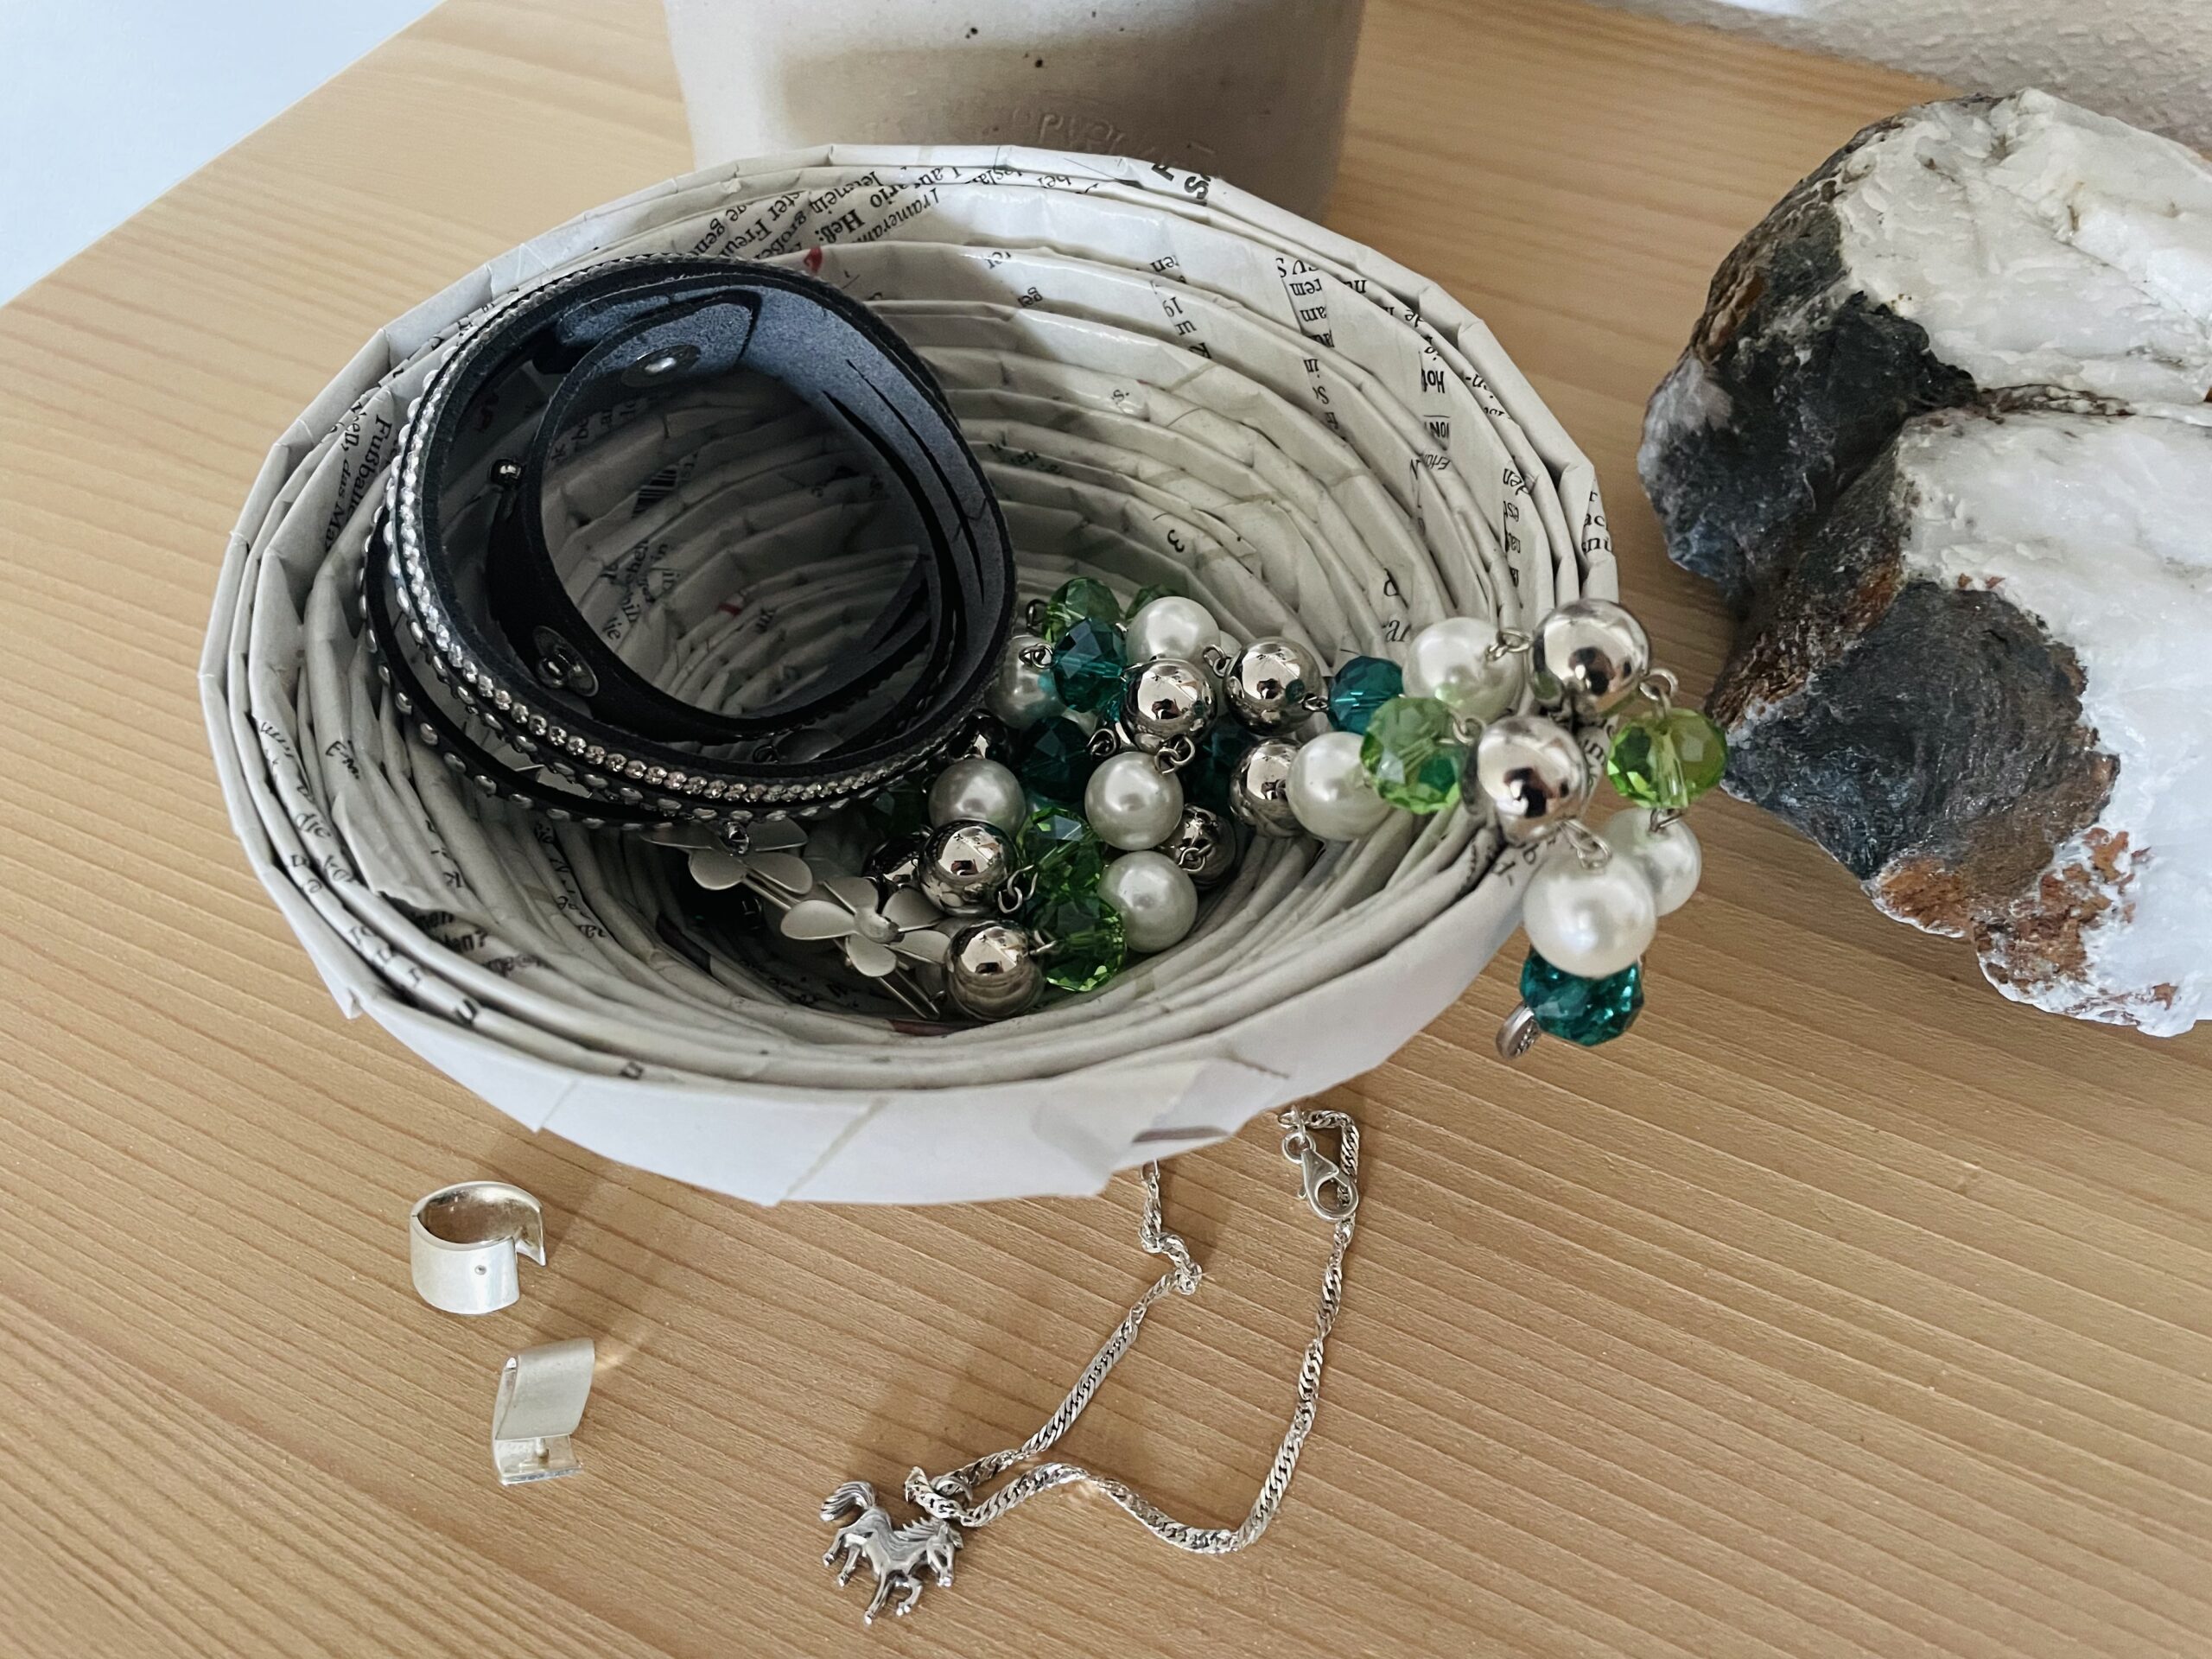
Bild zum Schritt 33 für das Bastel- und DIY-Abenteuer für Kinder: 'Schmuckschale:  z.B. zum Muttertag oder als Geburtstagsgeschenk für eine...'

33

Fruit peel:
For example, as a recovery gift filled with fresh fruit, as a souvenir on a sick visit or for Thanksgiving.
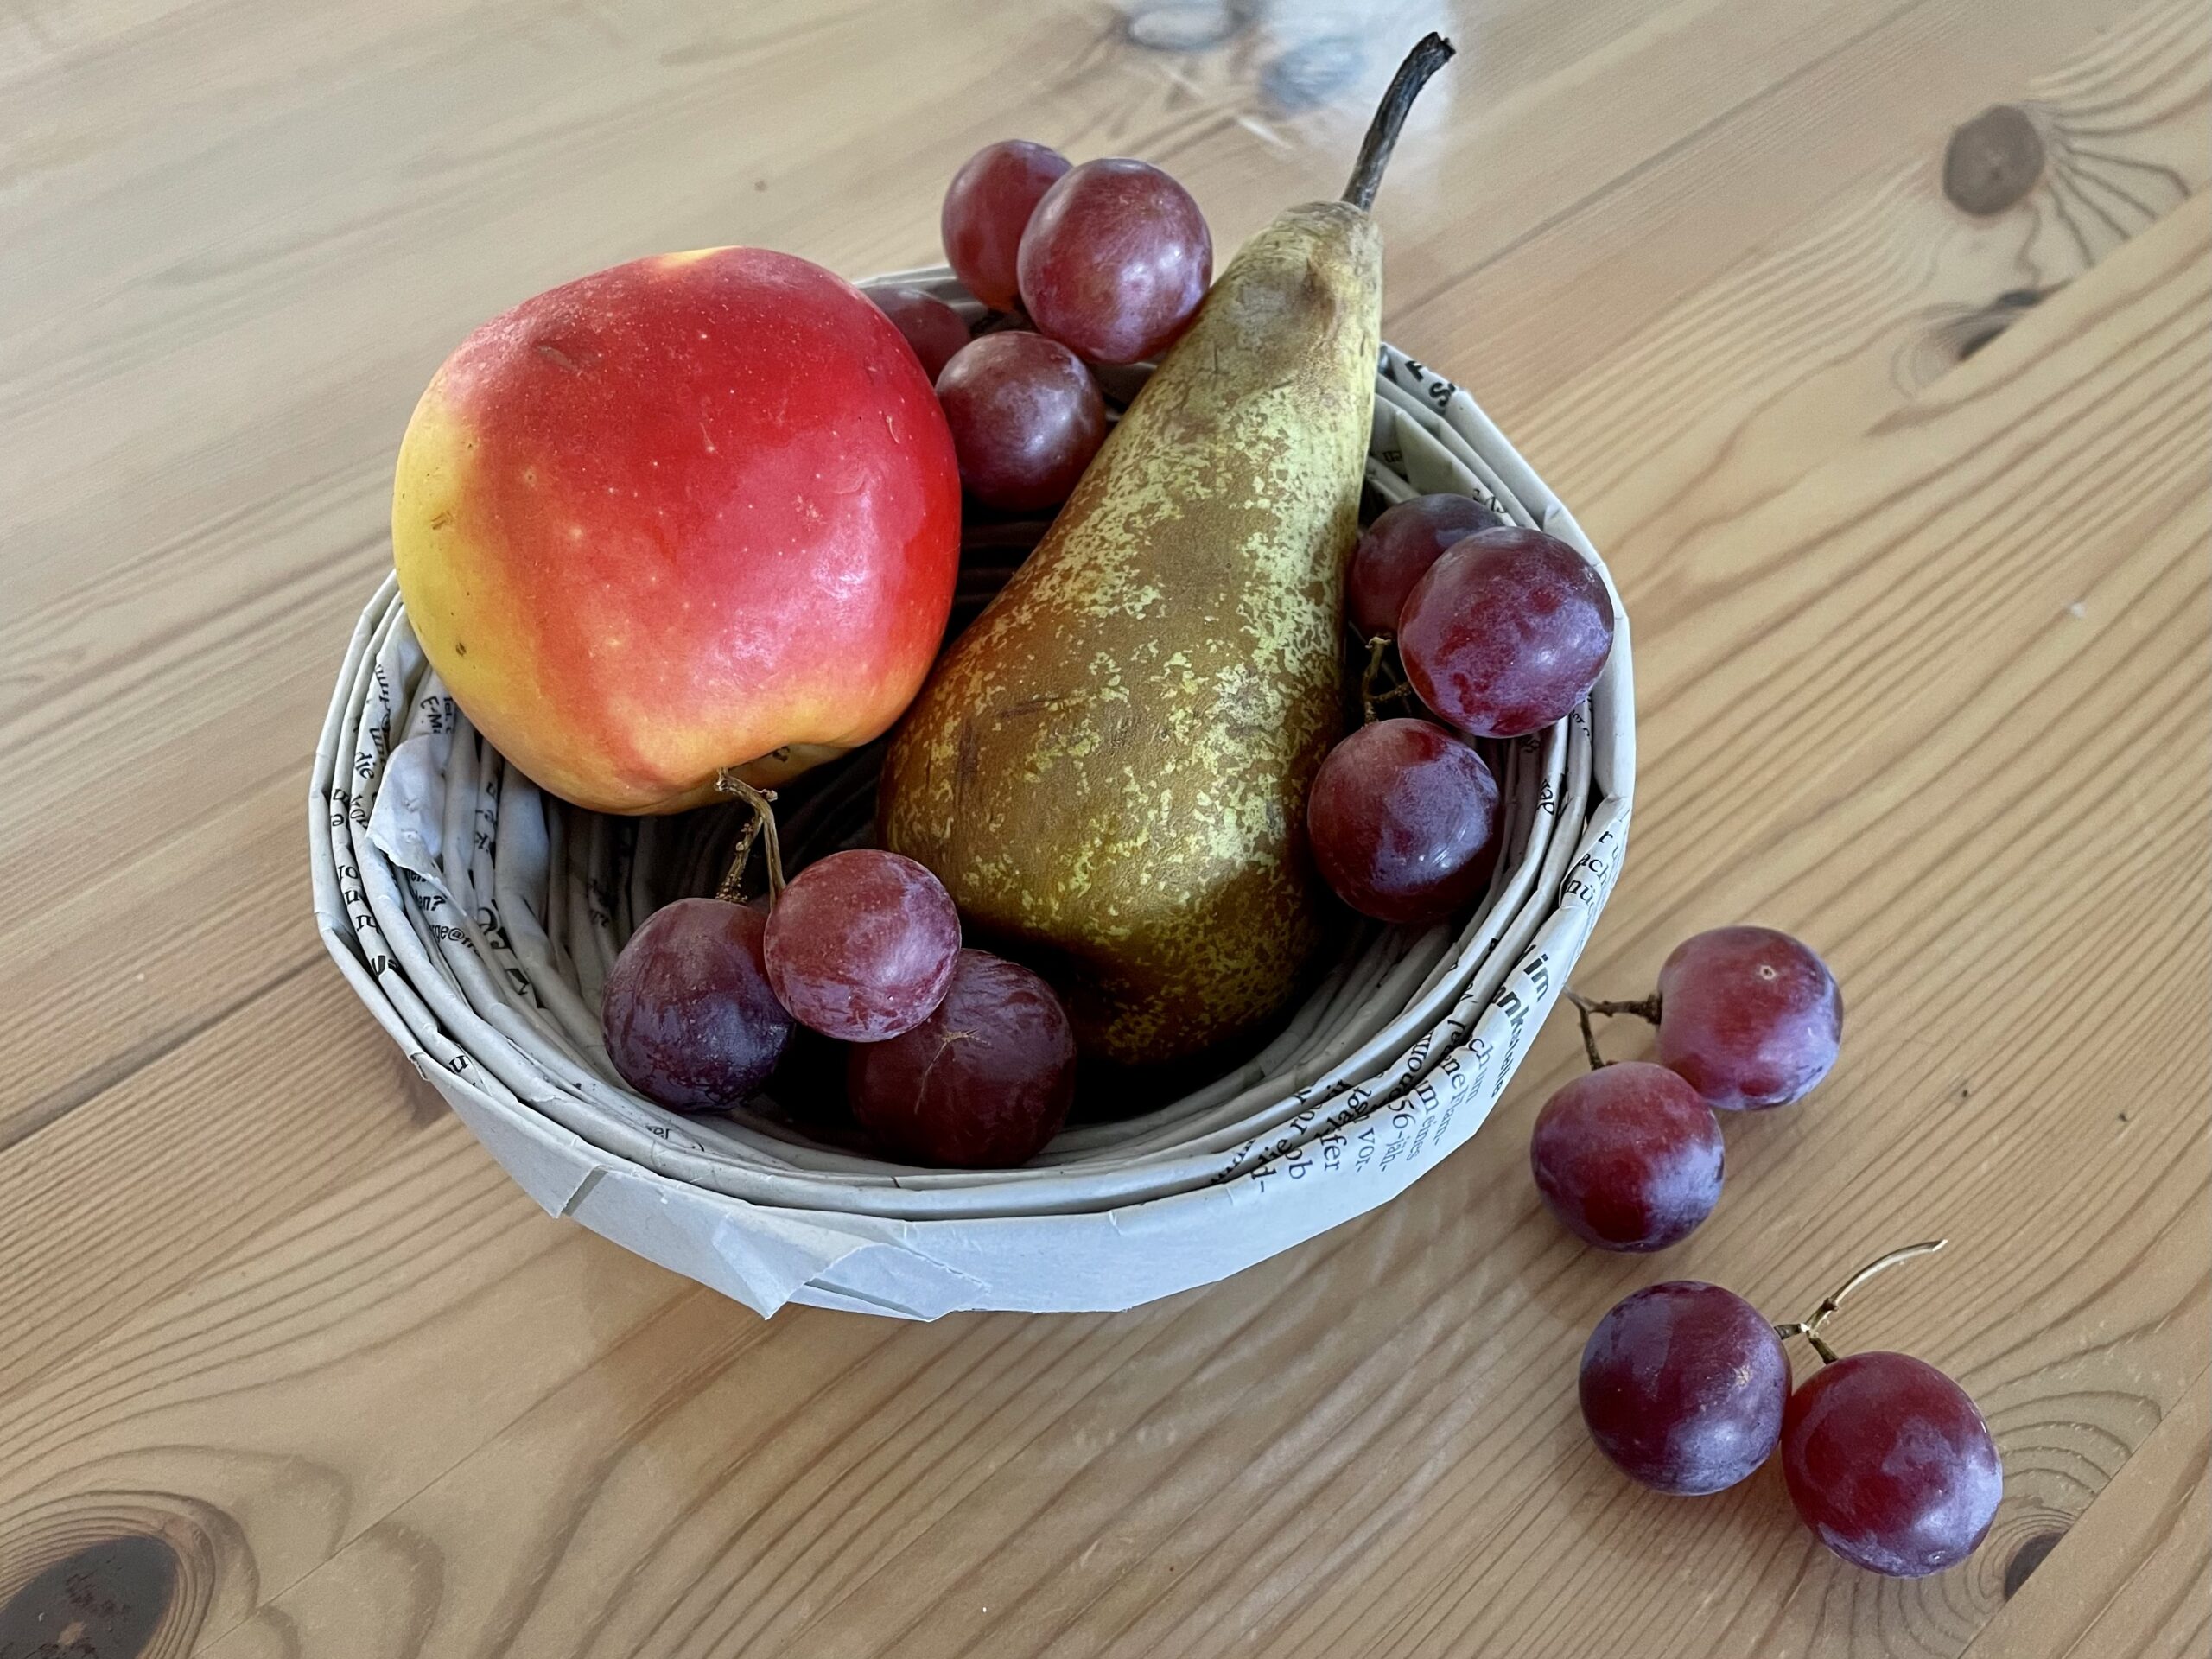
Bild zum Schritt 34 für das Bastel- und DIY-Abenteuer für Kinder: 'Obstschale:  z.B. als Genesungsgeschenk mit frischem Obst befüllt, als...'

34

Sewing baskets at Easter:
e.g. with different sewing yarns and an Easter egg needle cushion for the grandmother (see separate offer).

Bild zum Schritt 35 für das Bastel- und DIY-Abenteuer für Kinder: 'Nähkörbchen zu Ostern:  z.B. mit verschiedenen Nähgarnen und einem...'

35

Enjoy your crafting!

Paper or paperboard shells (upcycled)

Follow us on Facebook , Instagram and Pinterest
Don't miss any more adventures: Our bottle mail

Leave a Reply

Your email address will not be published.

The maximum upload file size: 5 MB. You can upload: image, document. Drop file here