Easter bunny girland

AdventurerFantebaer
Rating5.04.7 thousand times & (2) DifficultyBeginner

We make this beautiful garland from colorful Easter bunnies. You can find the template and the step by step instructions here. However, you can also hang these Easter bunnies on a shrub or e.g. create an Easter bag with them. In addition, you can also choose other motifs for the garland such as chicks or carrots. Have fun!

Media Education for Kindergarten and Hort

Kind bastelt eine Rassel mit dem Navi
The Adventure Navi, the app for DIY projects, enables media education for the youngest.

Relief in everyday life, targeted promotion of individual children, independent learning and - without any pre-knowledge already usable by the youngest!
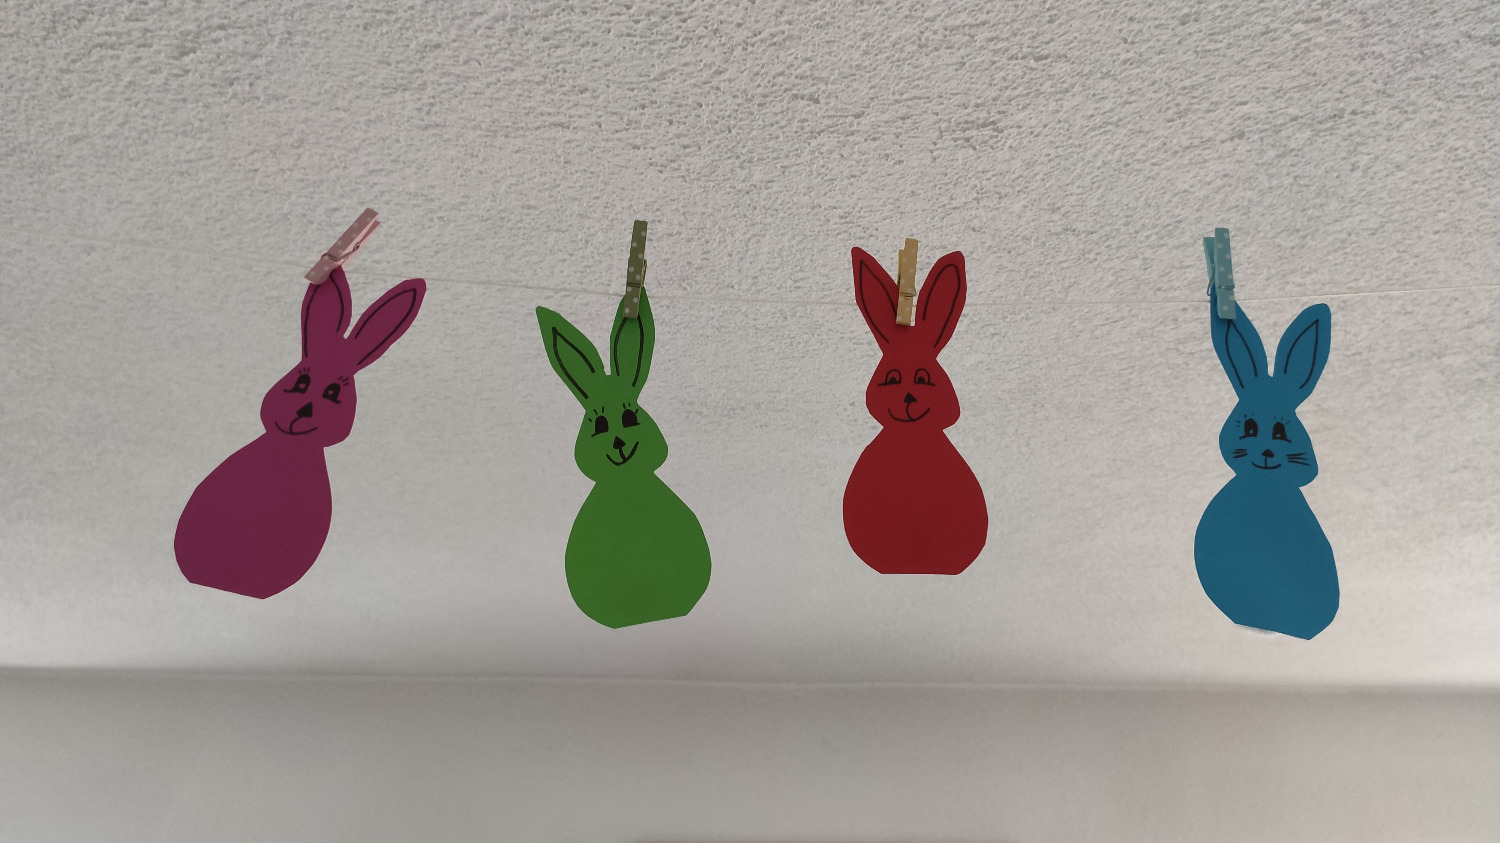


Titelbild zur Bastel- und DIY-Idee für Kinder '(711) Osterhasen-Girlande'
Material for1 Child
Prep Time5 min.Adv. Time30 min.Total Time35 min.
 Rabbit template
 Colourful tonal drawing paper
 Craft Pompon
 Klelbstoff
 Pen
 Builder's pad
All links marked with a shopping cart lead to Amazon - here we have selected products that we would order ourselves and in part also ordered. In a qualified purchase via the advertising link, we as Amazon partner receive a commission, for you there are no costs. You thus support our cost- and advertising banner-free, educational offer.
1

Prepare all required materials first.
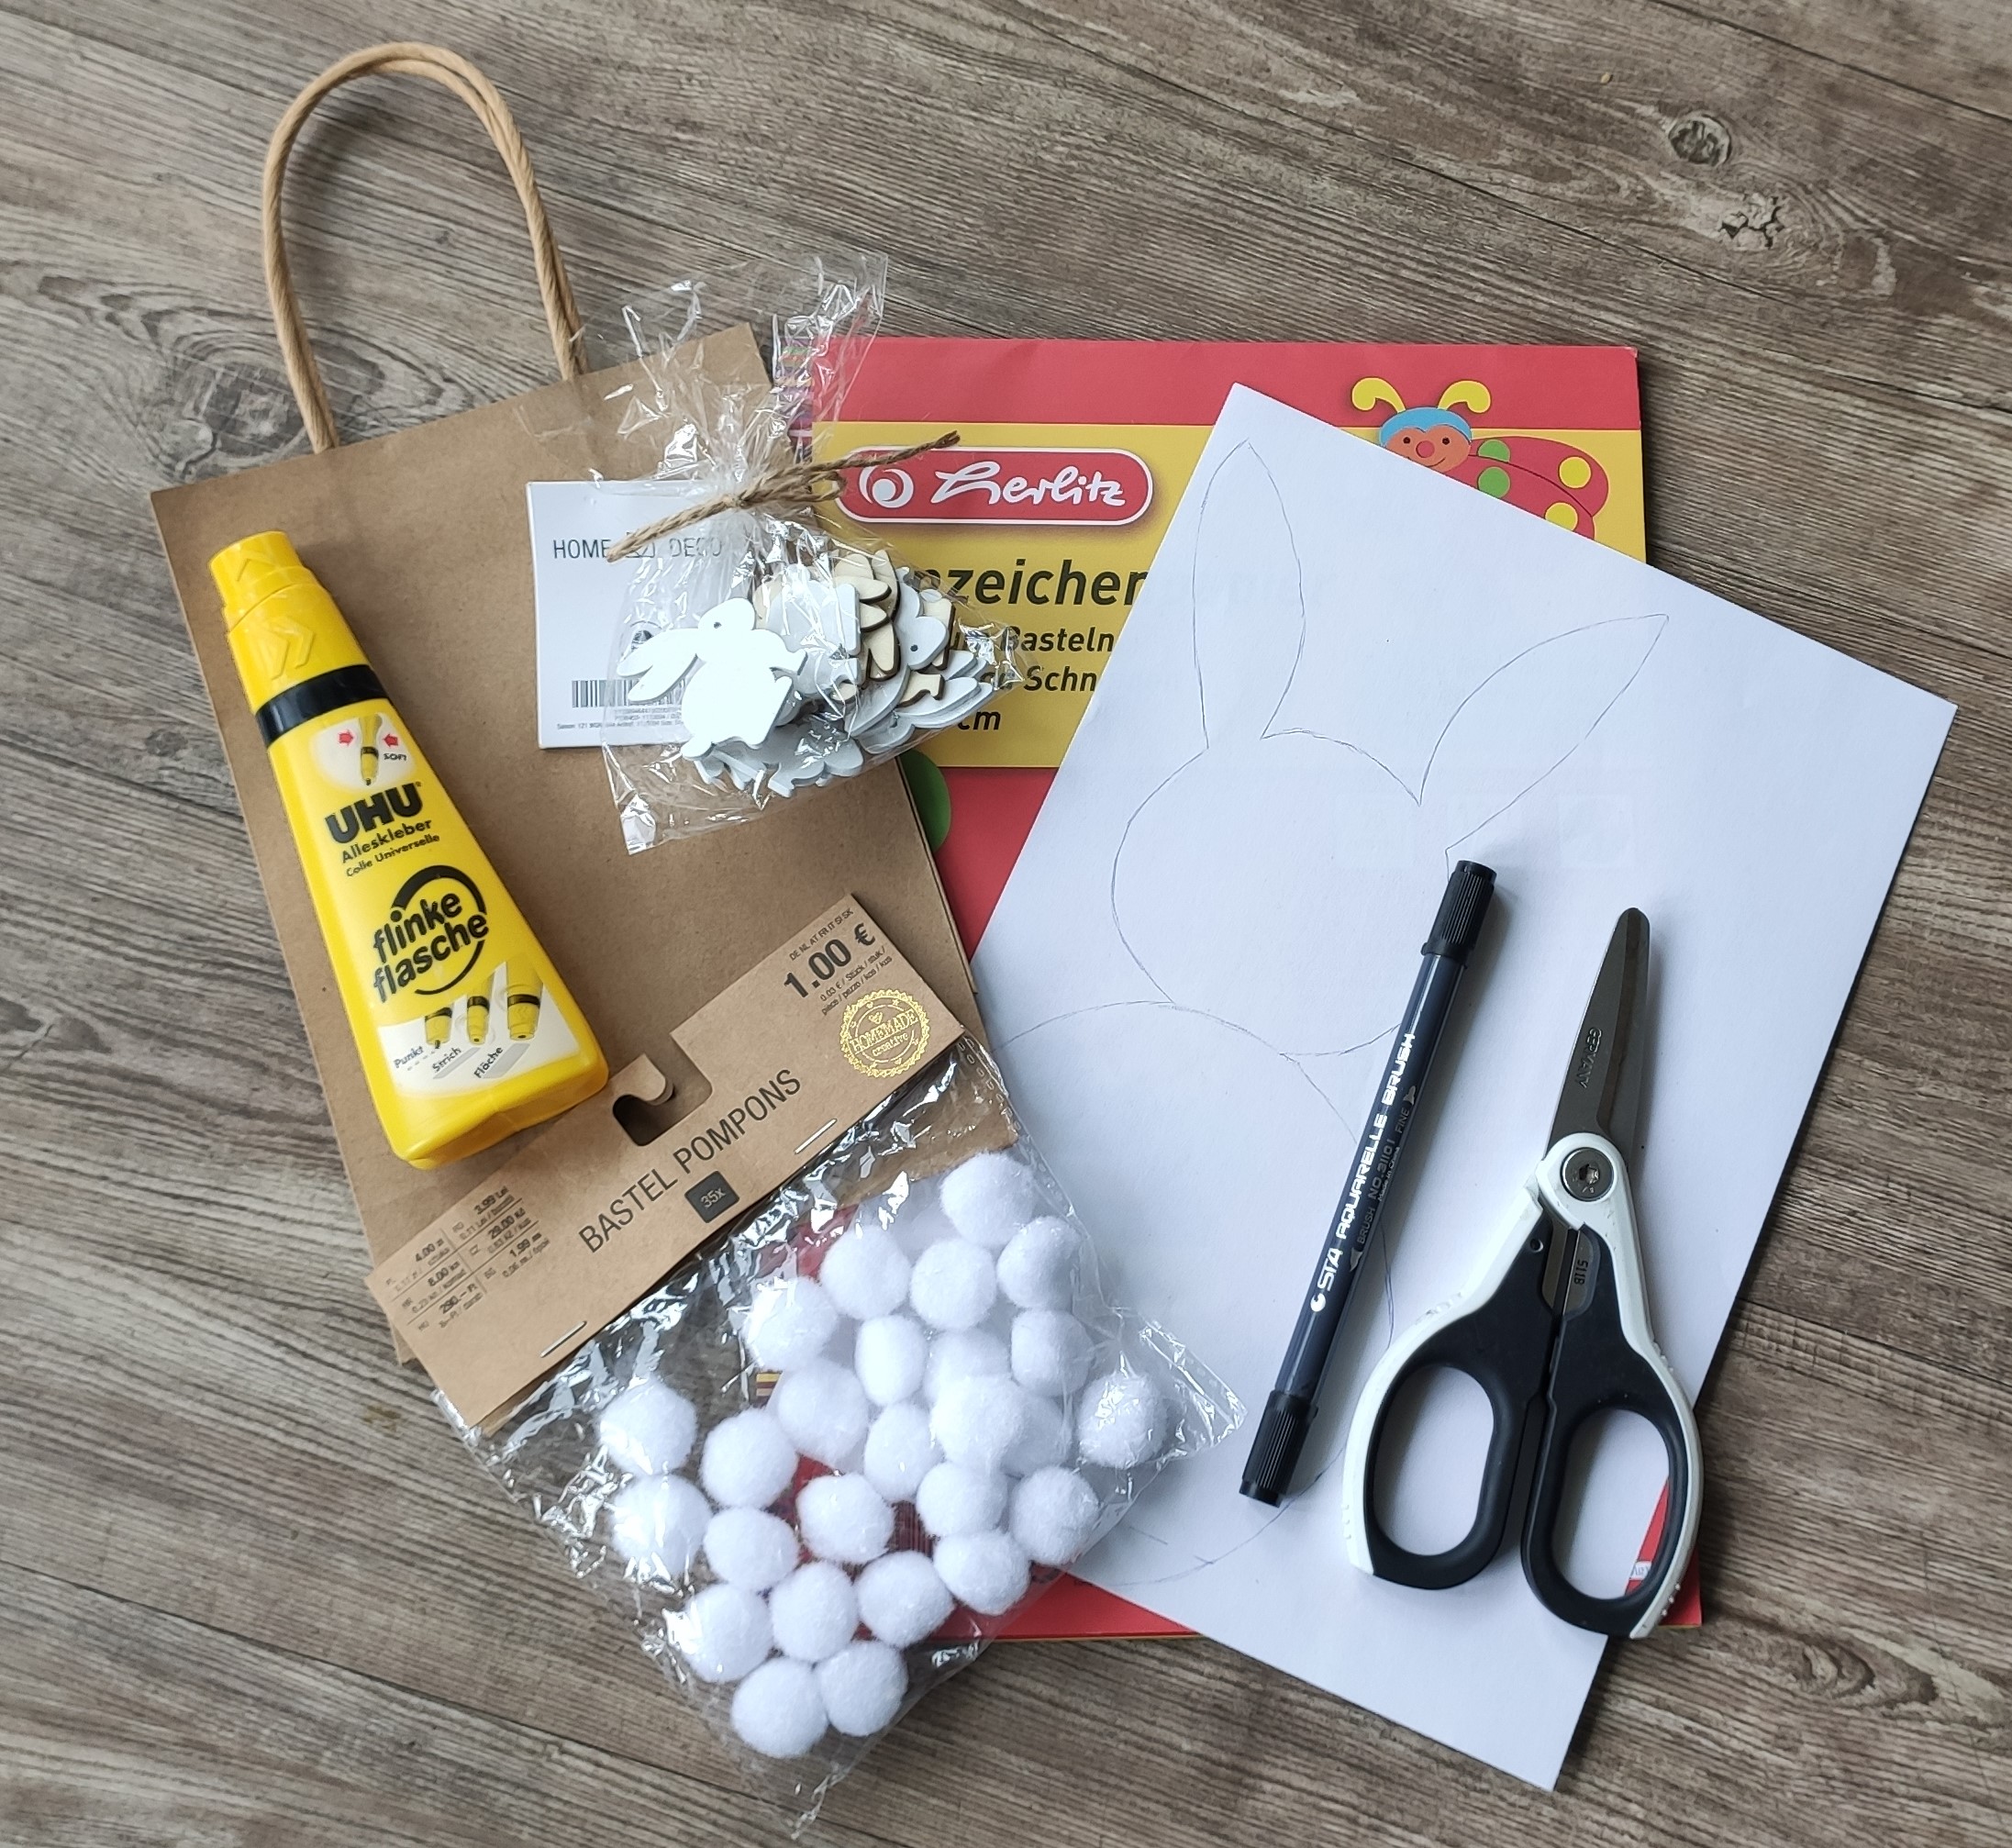
Bild zum Schritt 1 für das Bastel- und DIY-Abenteuer für Kinder: 'Bereitet zuerst alle benötigten Materialien vor.'

2

Then print out the rabbit template and cut it out.
Tip: You can also use other shapes, such as chicks.

Bild zum Schritt 2 für das Bastel- und DIY-Abenteuer für Kinder: 'Druckt euch dann die Hasenvorlage aus und schneidet sie aus....'

3

Now put the template on the drawing paper and follow the contour with the pen.

Bild zum Schritt 3 für das Bastel- und DIY-Abenteuer für Kinder: 'Nun legt ihr die Vorlage auf das Tonzeichenpapier und fahrt...'

4

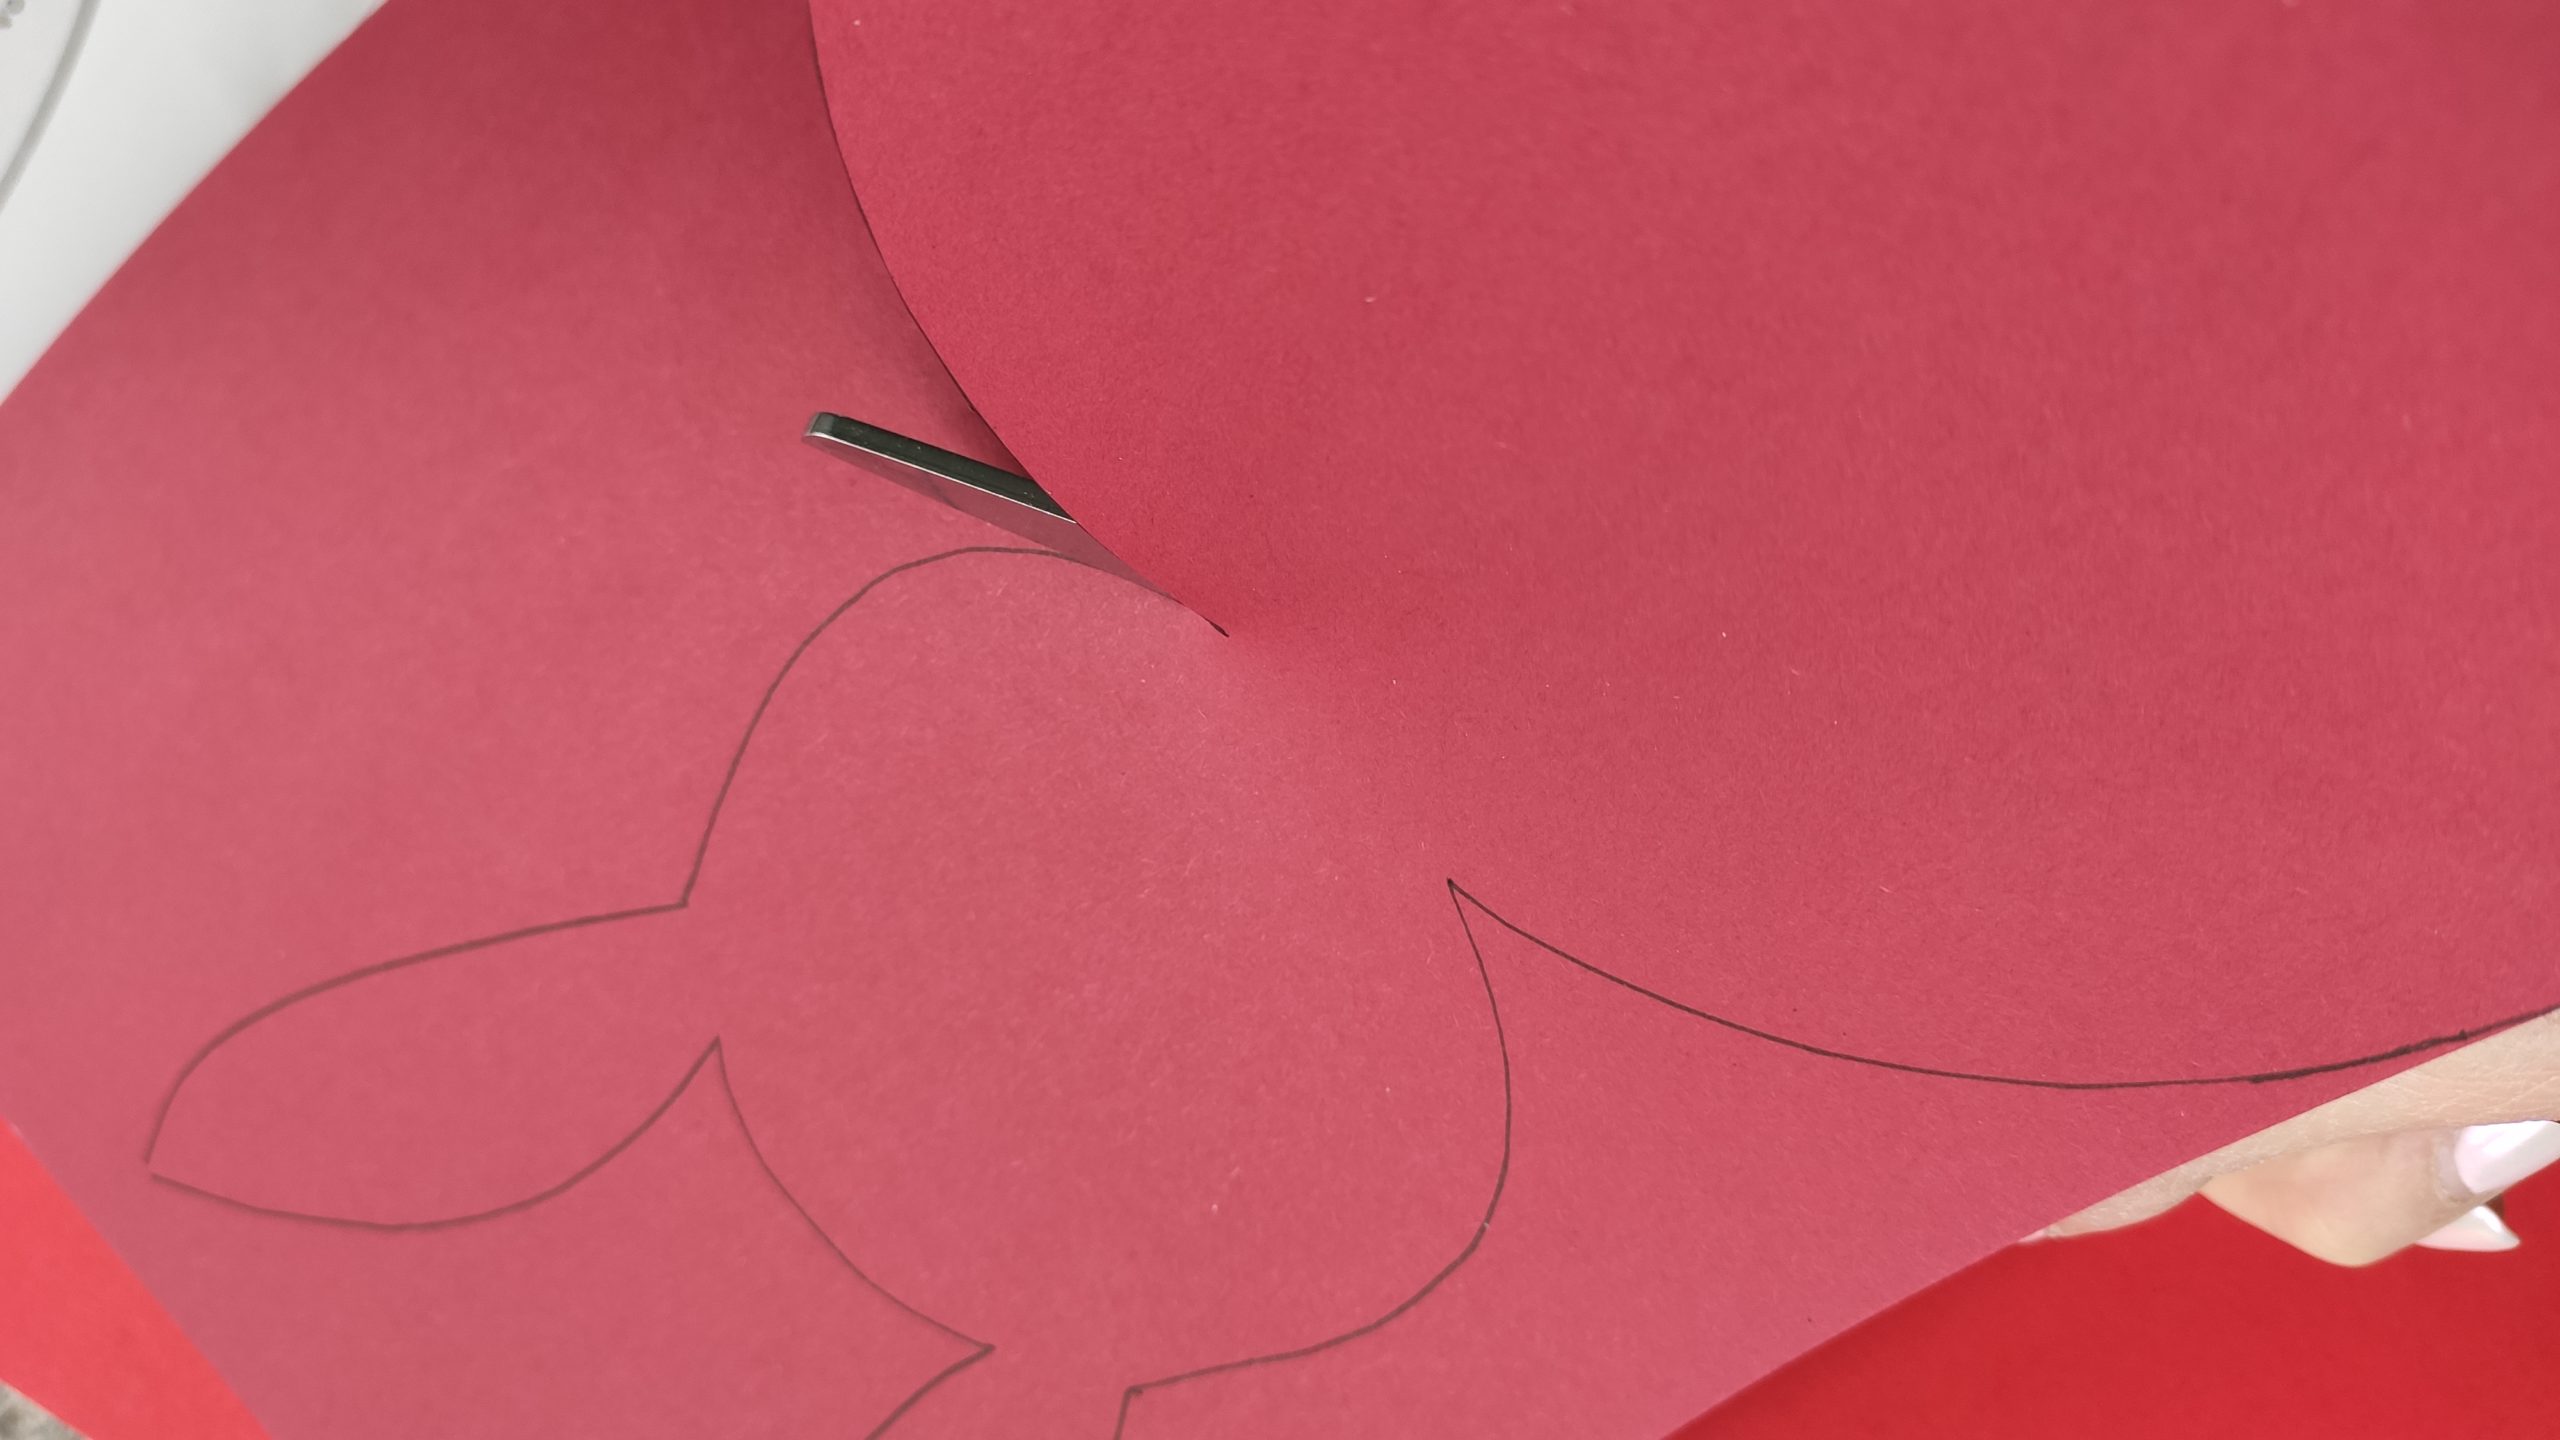
Then you cut out the rabbits.

Bild zum Schritt 4 für das Bastel- und DIY-Abenteuer für Kinder: 'Dann schneidet ihr die Hasen aus.'

5

Now you paint all the rabbits a funny face.

Bild zum Schritt 5 für das Bastel- und DIY-Abenteuer für Kinder: 'Jetzt malt ihr allen Hasen ein lustiges Gesicht.'

6

Then you stick the craft pompons as rabbit tails on the back.

Bild zum Schritt 6 für das Bastel- und DIY-Abenteuer für Kinder: 'Danach klebt ihr die Bastel-Pompons als Hasenschwänzchen auf der Rückseite.'

7

Now you place the rabbits with small clothespins on a tight cord.

8

Alternatively, you thread a thread through an ear and hang it on a shrub in the room.

9

Or you can thread it with a needle and one after the other by a thread and then hang it up.

10

Have fun!

Materials

 Rabbit template
 Colourful tonal drawing paper
 Craft Pompon
 Klelbstoff
 Pen
 Builder's pad
All links marked with a shopping cart lead to Amazon - here we have selected products that we would order ourselves and in part also ordered. In a qualified purchase via the advertising link, we as Amazon partner receive a commission, for you there are no costs. You thus support our cost- and advertising banner-free, educational offer.

Directions

1

Prepare all required materials first.

Bild zum Schritt 1 für das Bastel- und DIY-Abenteuer für Kinder: 'Bereitet zuerst alle benötigten Materialien vor.'

2

Then print out the rabbit template and cut it out.
Tip: You can also use other shapes, such as chicks.

Bild zum Schritt 2 für das Bastel- und DIY-Abenteuer für Kinder: 'Druckt euch dann die Hasenvorlage aus und schneidet sie aus....'

3

Now put the template on the drawing paper and follow the contour with the pen.
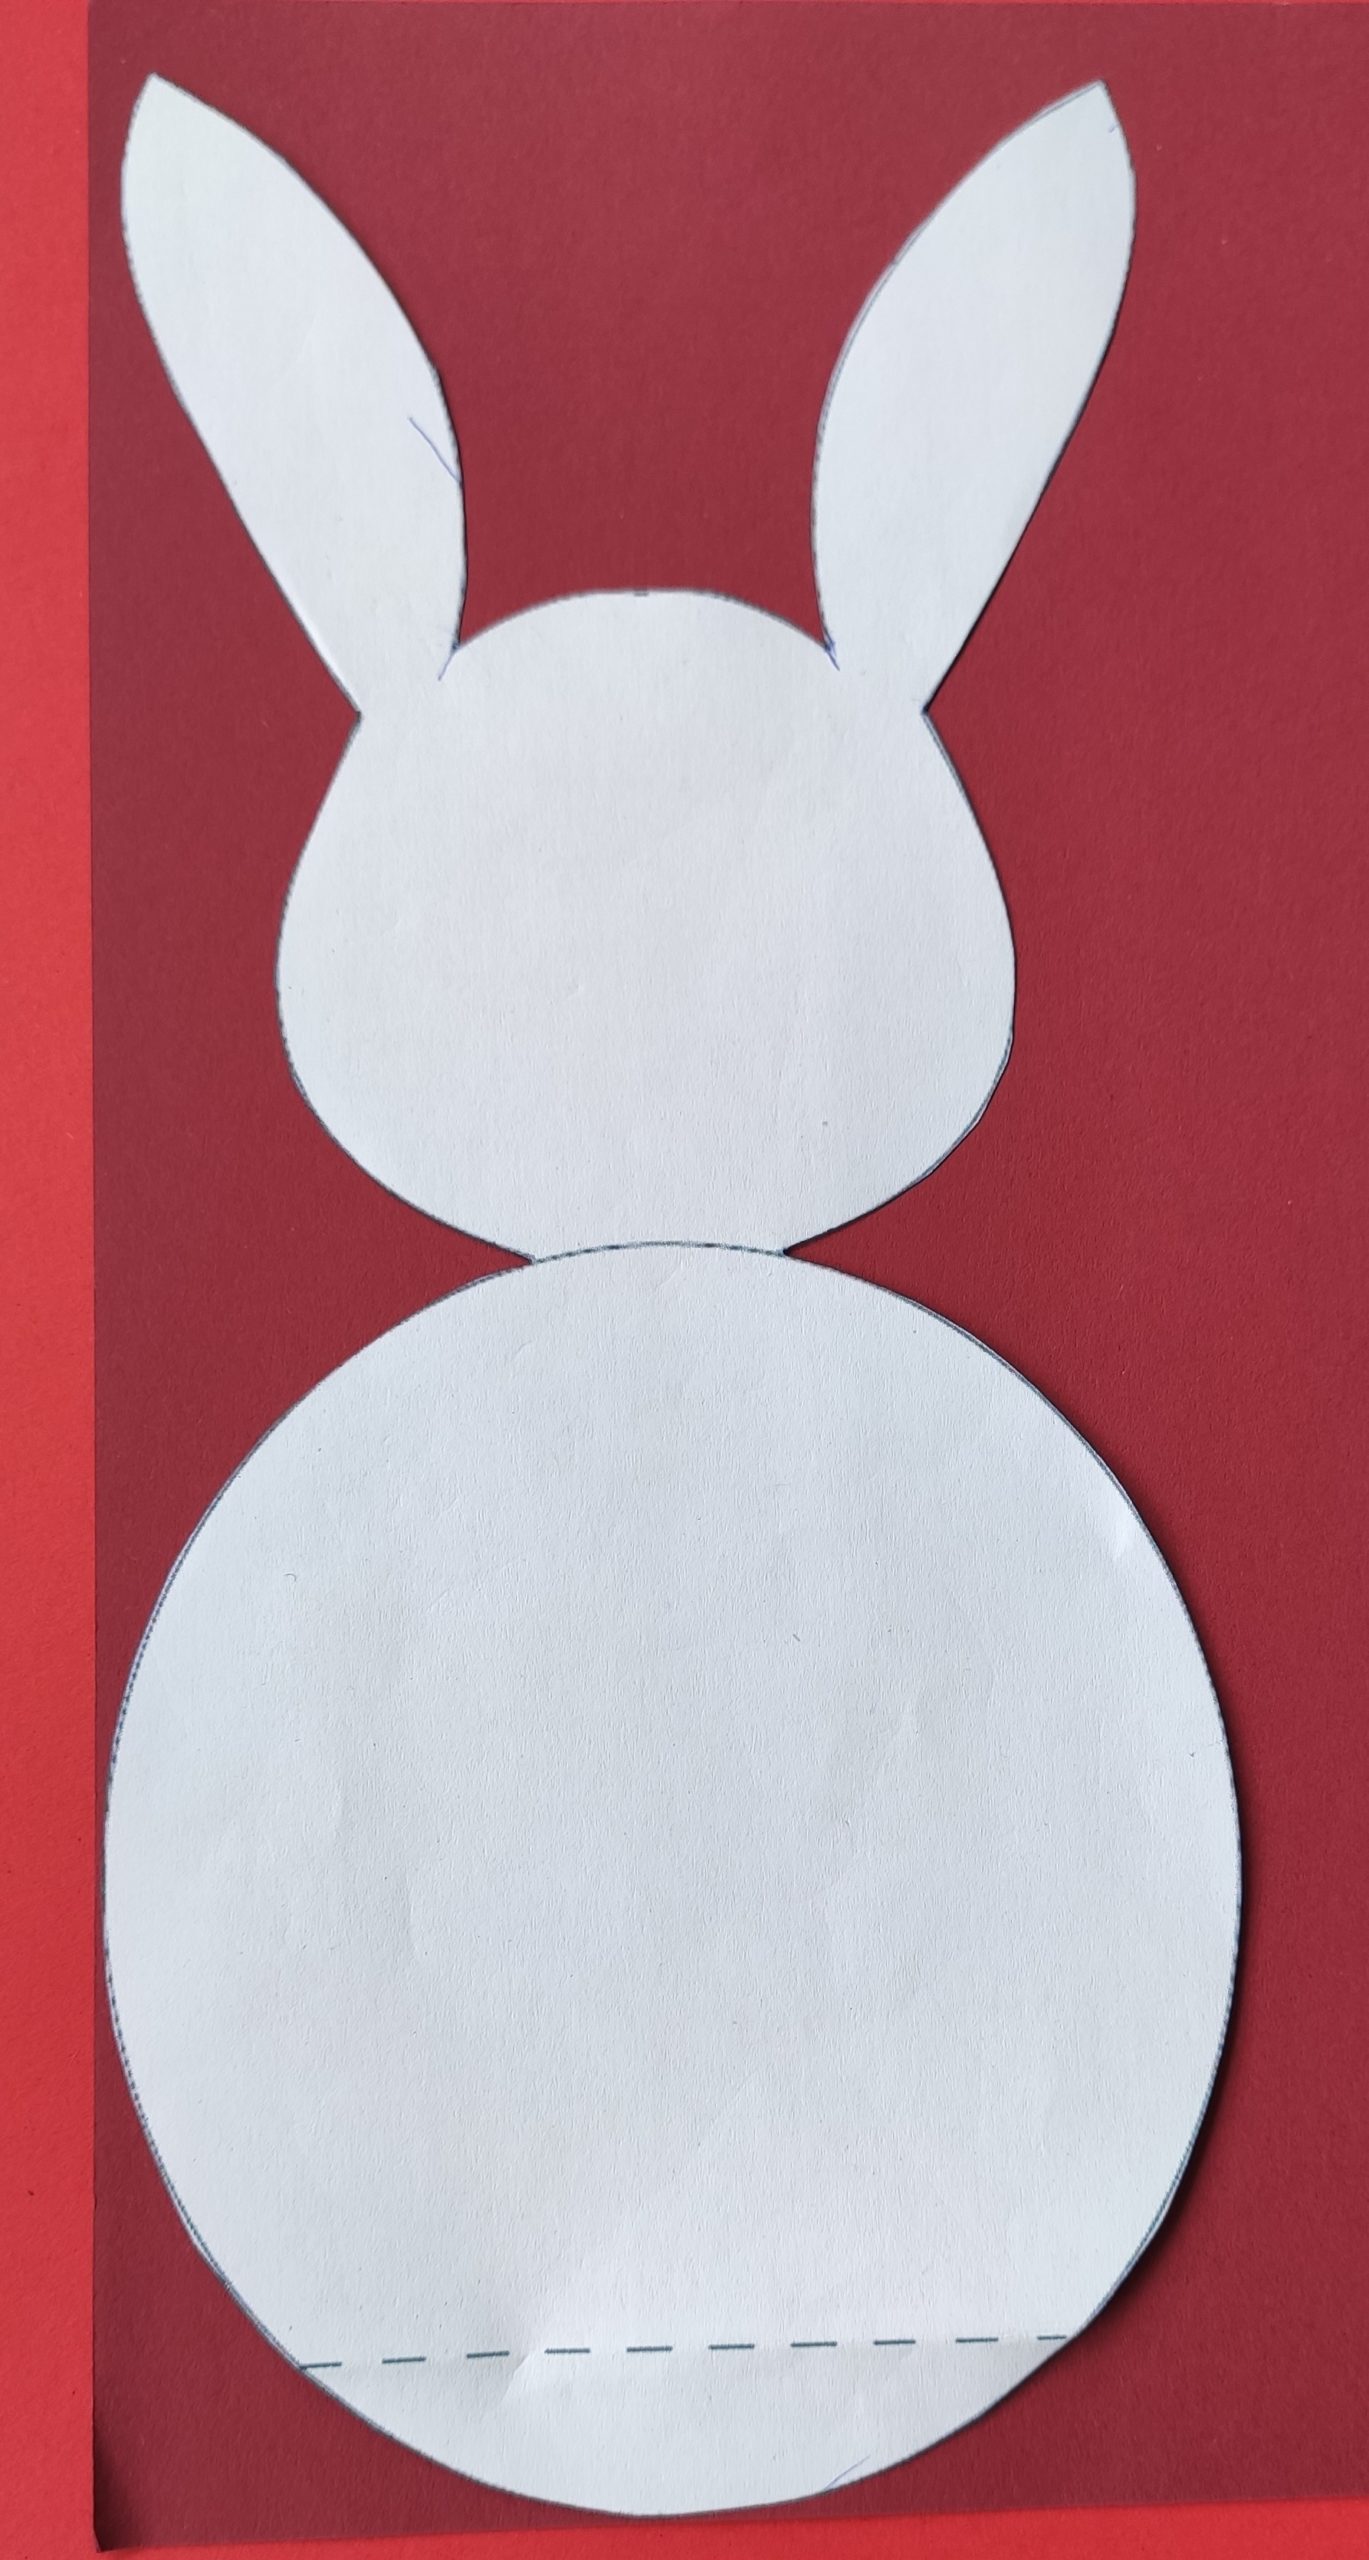
Bild zum Schritt 3 für das Bastel- und DIY-Abenteuer für Kinder: 'Nun legt ihr die Vorlage auf das Tonzeichenpapier und fahrt...'

4

Then you cut out the rabbits.

Bild zum Schritt 4 für das Bastel- und DIY-Abenteuer für Kinder: 'Dann schneidet ihr die Hasen aus.'

5

Now you paint all the rabbits a funny face.
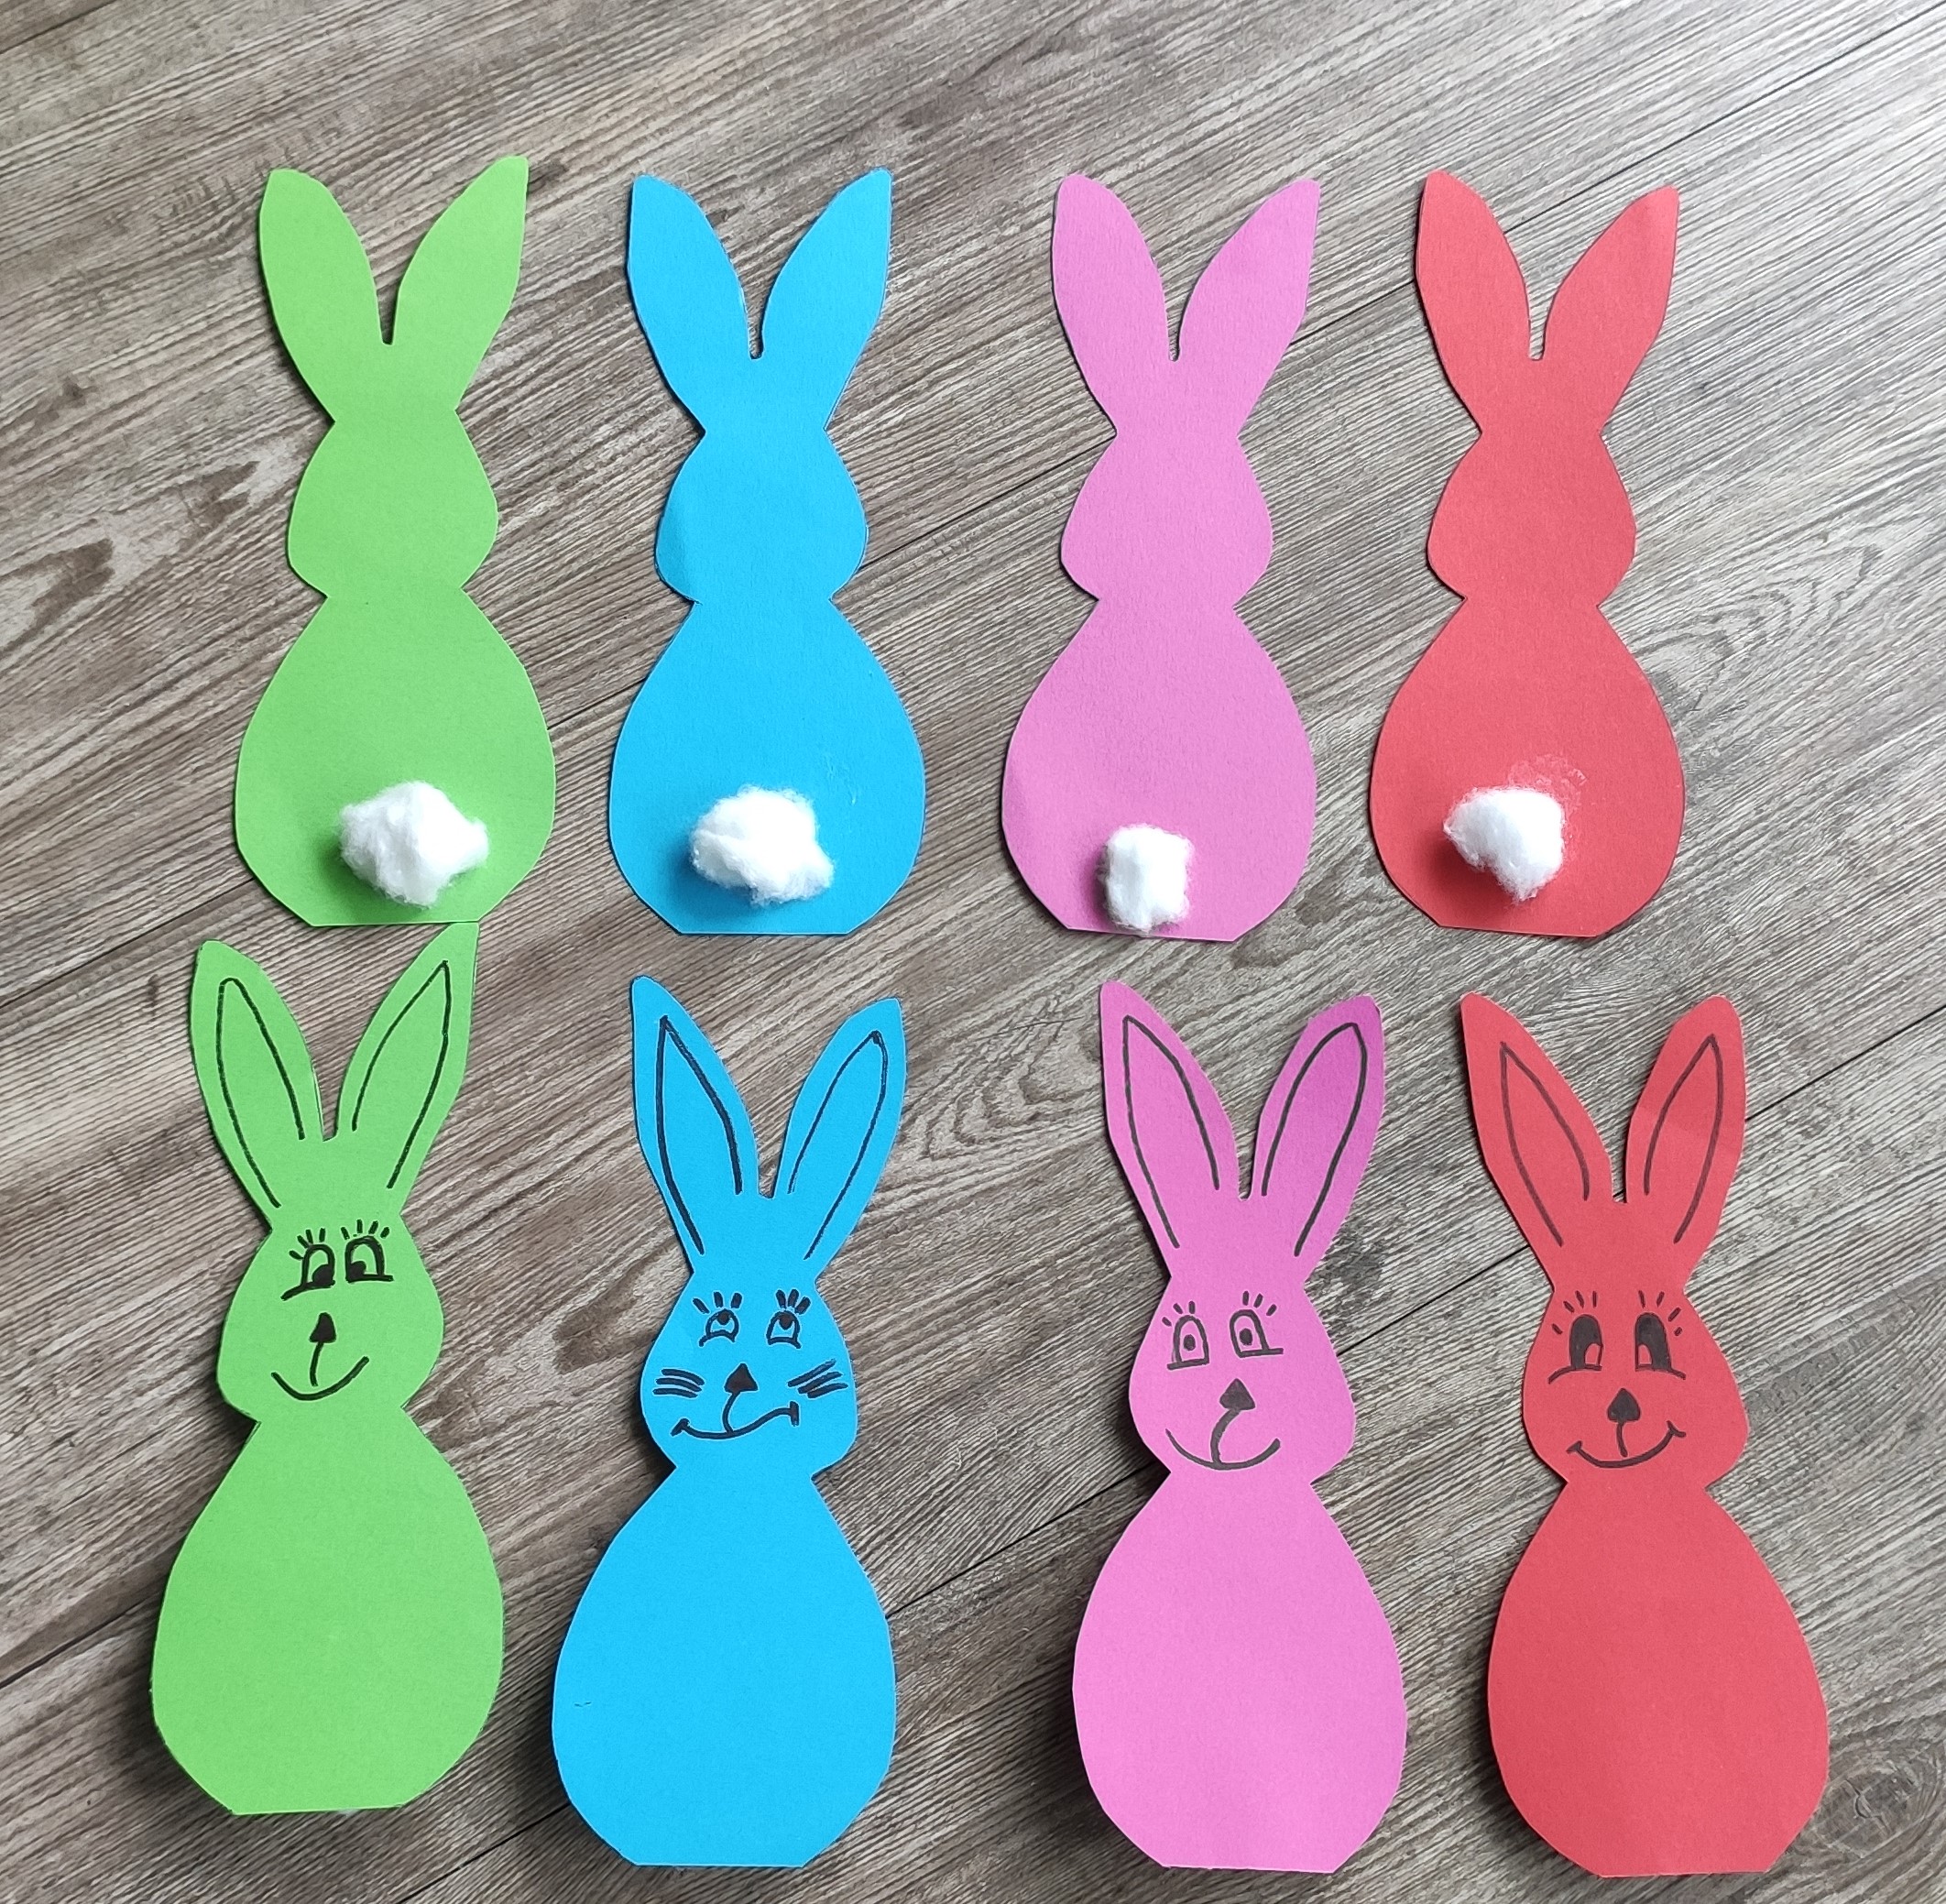
Bild zum Schritt 5 für das Bastel- und DIY-Abenteuer für Kinder: 'Jetzt malt ihr allen Hasen ein lustiges Gesicht.'

6

Then you stick the craft pompons as rabbit tails on the back.
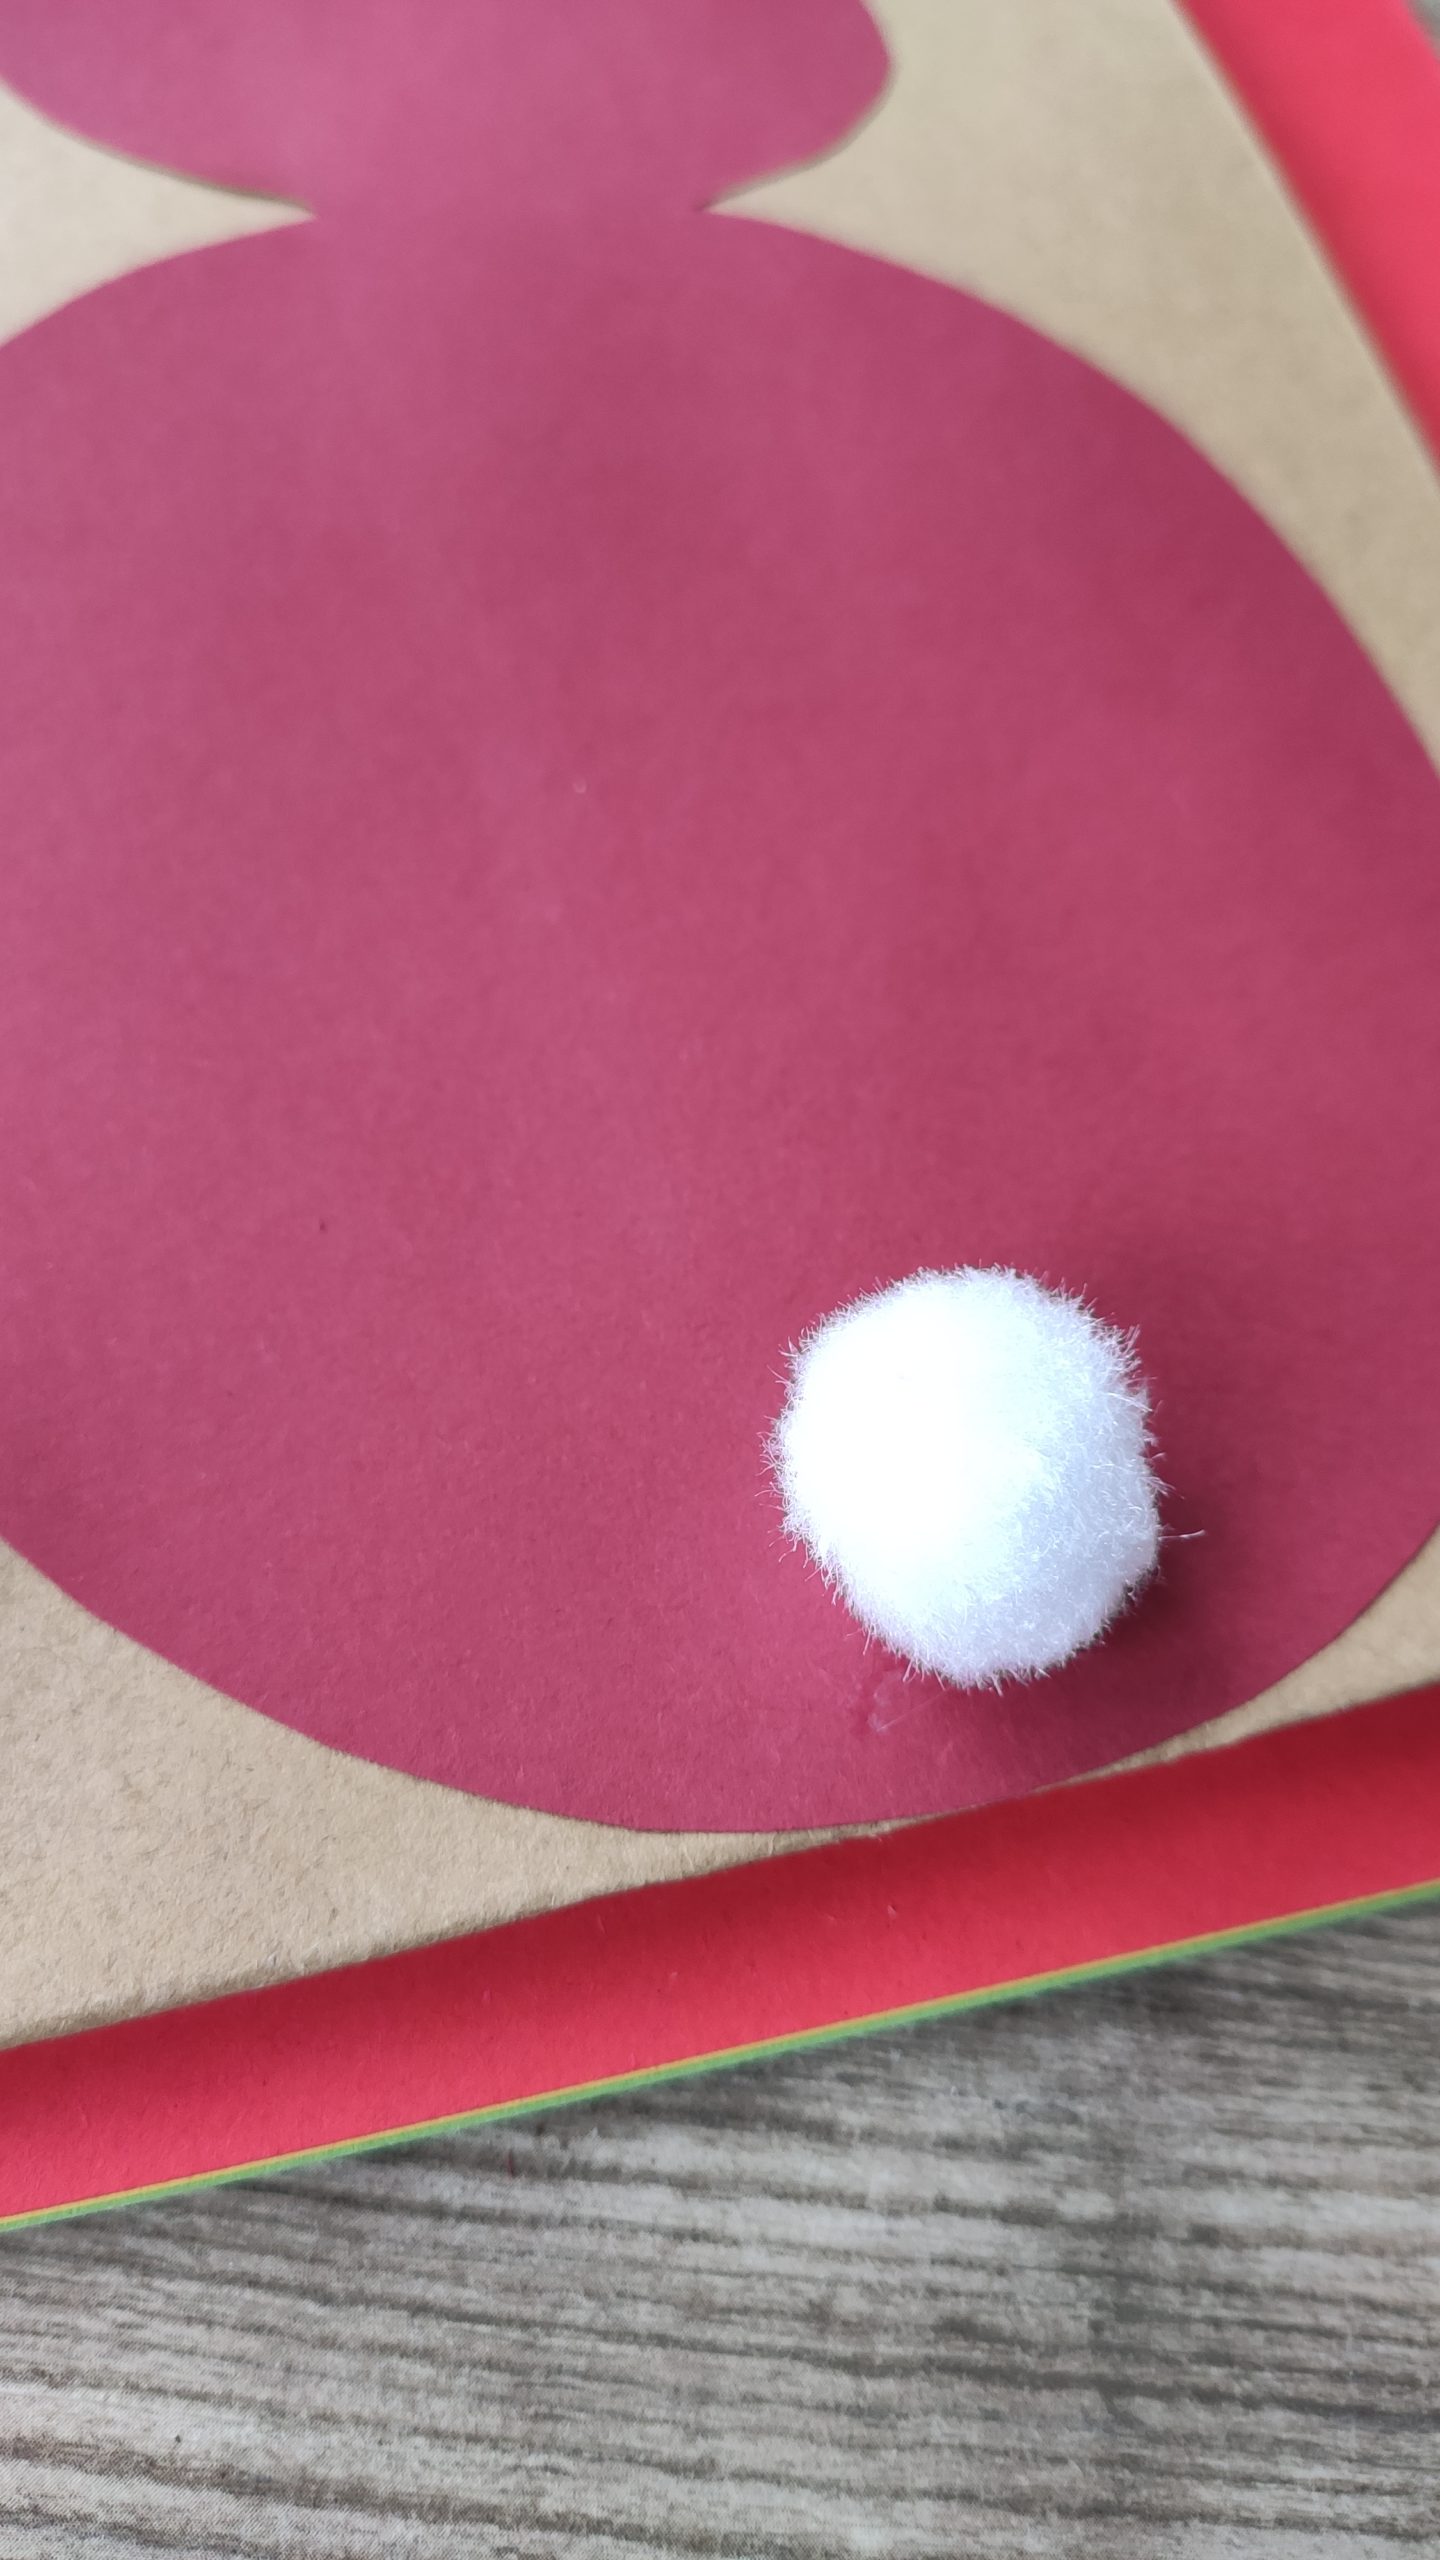
Bild zum Schritt 6 für das Bastel- und DIY-Abenteuer für Kinder: 'Danach klebt ihr die Bastel-Pompons als Hasenschwänzchen auf der Rückseite.'

7

Now you place the rabbits with small clothespins on a tight cord.

8

Alternatively, you thread a thread through an ear and hang it on a shrub in the room.

9

Or you can thread it with a needle and one after the other by a thread and then hang it up.

10

Have fun!

Easter bunny girland

Follow us on Facebook , Instagram and Pinterest
Don't miss any more adventures: Our bottle mail

Leave a Reply

Your email address will not be published.

The maximum upload file size: 5 MB. You can upload: image, document. Drop file here