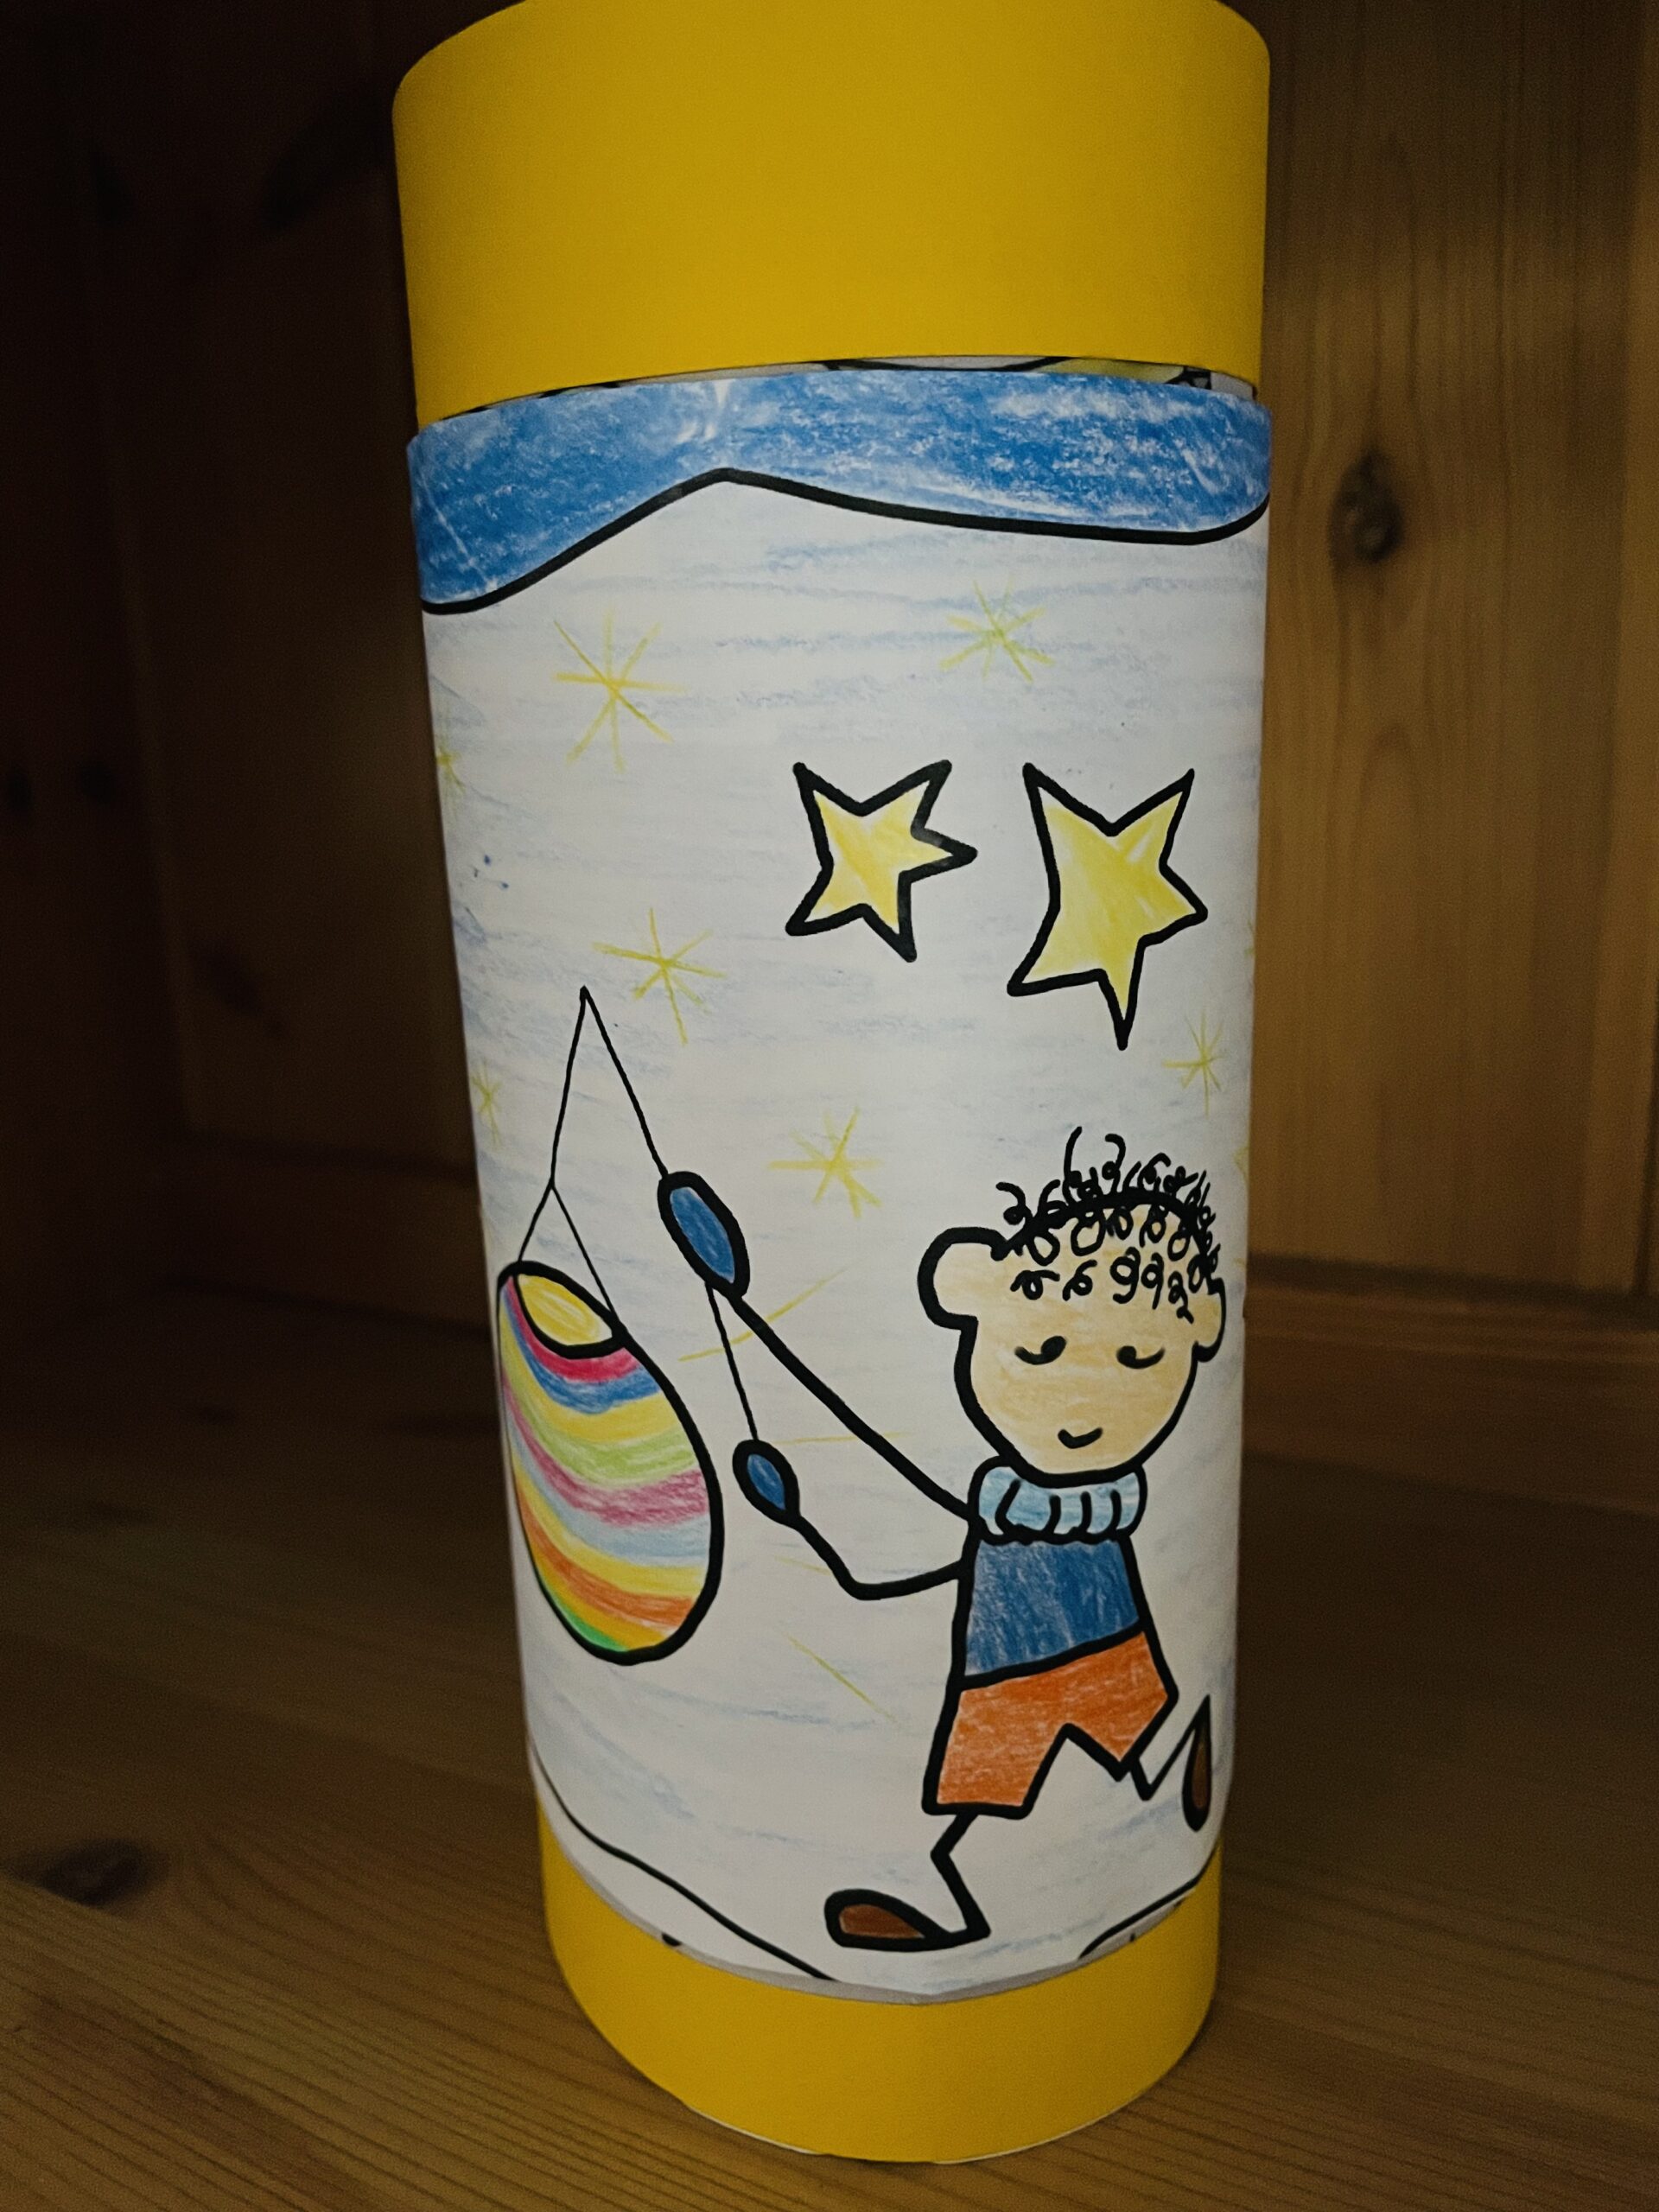
This lantern fits to every topic: lanterns, astronauts, spiders, etc. It is so easy and fast to design. This lantern consists only of a colouring image, which is painted with oil to form a transparent paper. Two photo cardboard strips ensure the necessary stability. Check out the instructions, because the technology is so easy that you can create beautiful lanterns in no time at all from great motifs.
Media Education for Kindergarten and Hort

Relief in everyday life, targeted promotion of individual children, independent learning and - without any pre-knowledge already usable by the youngest!
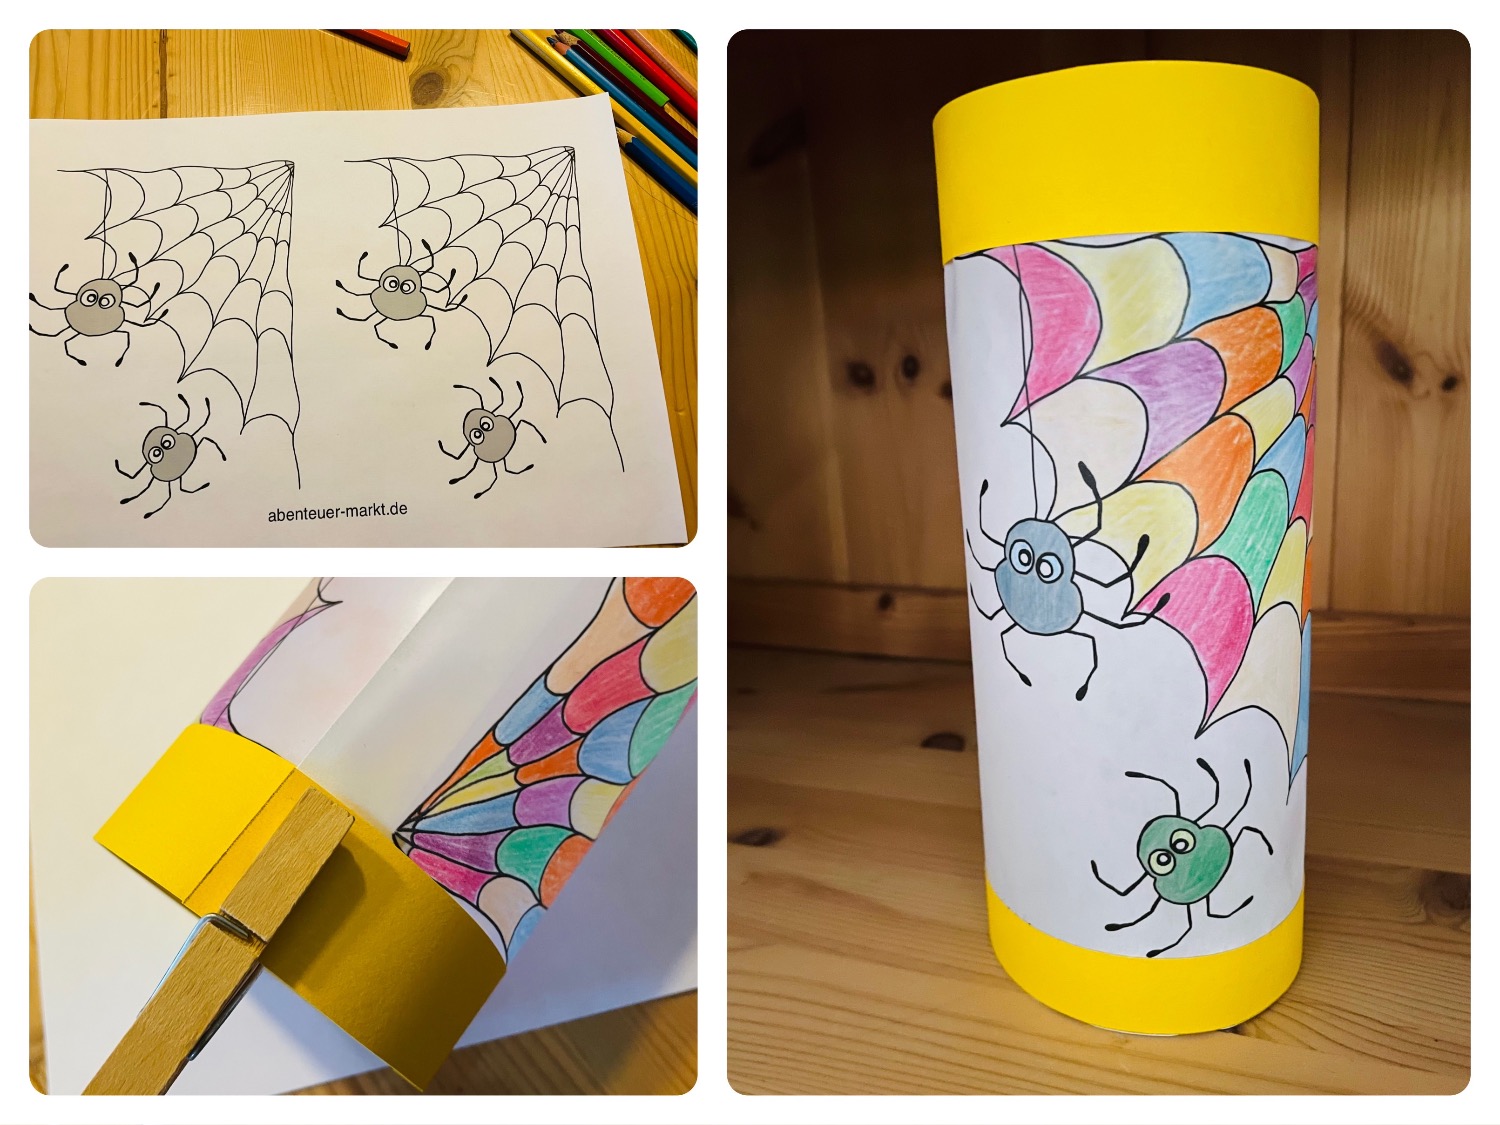
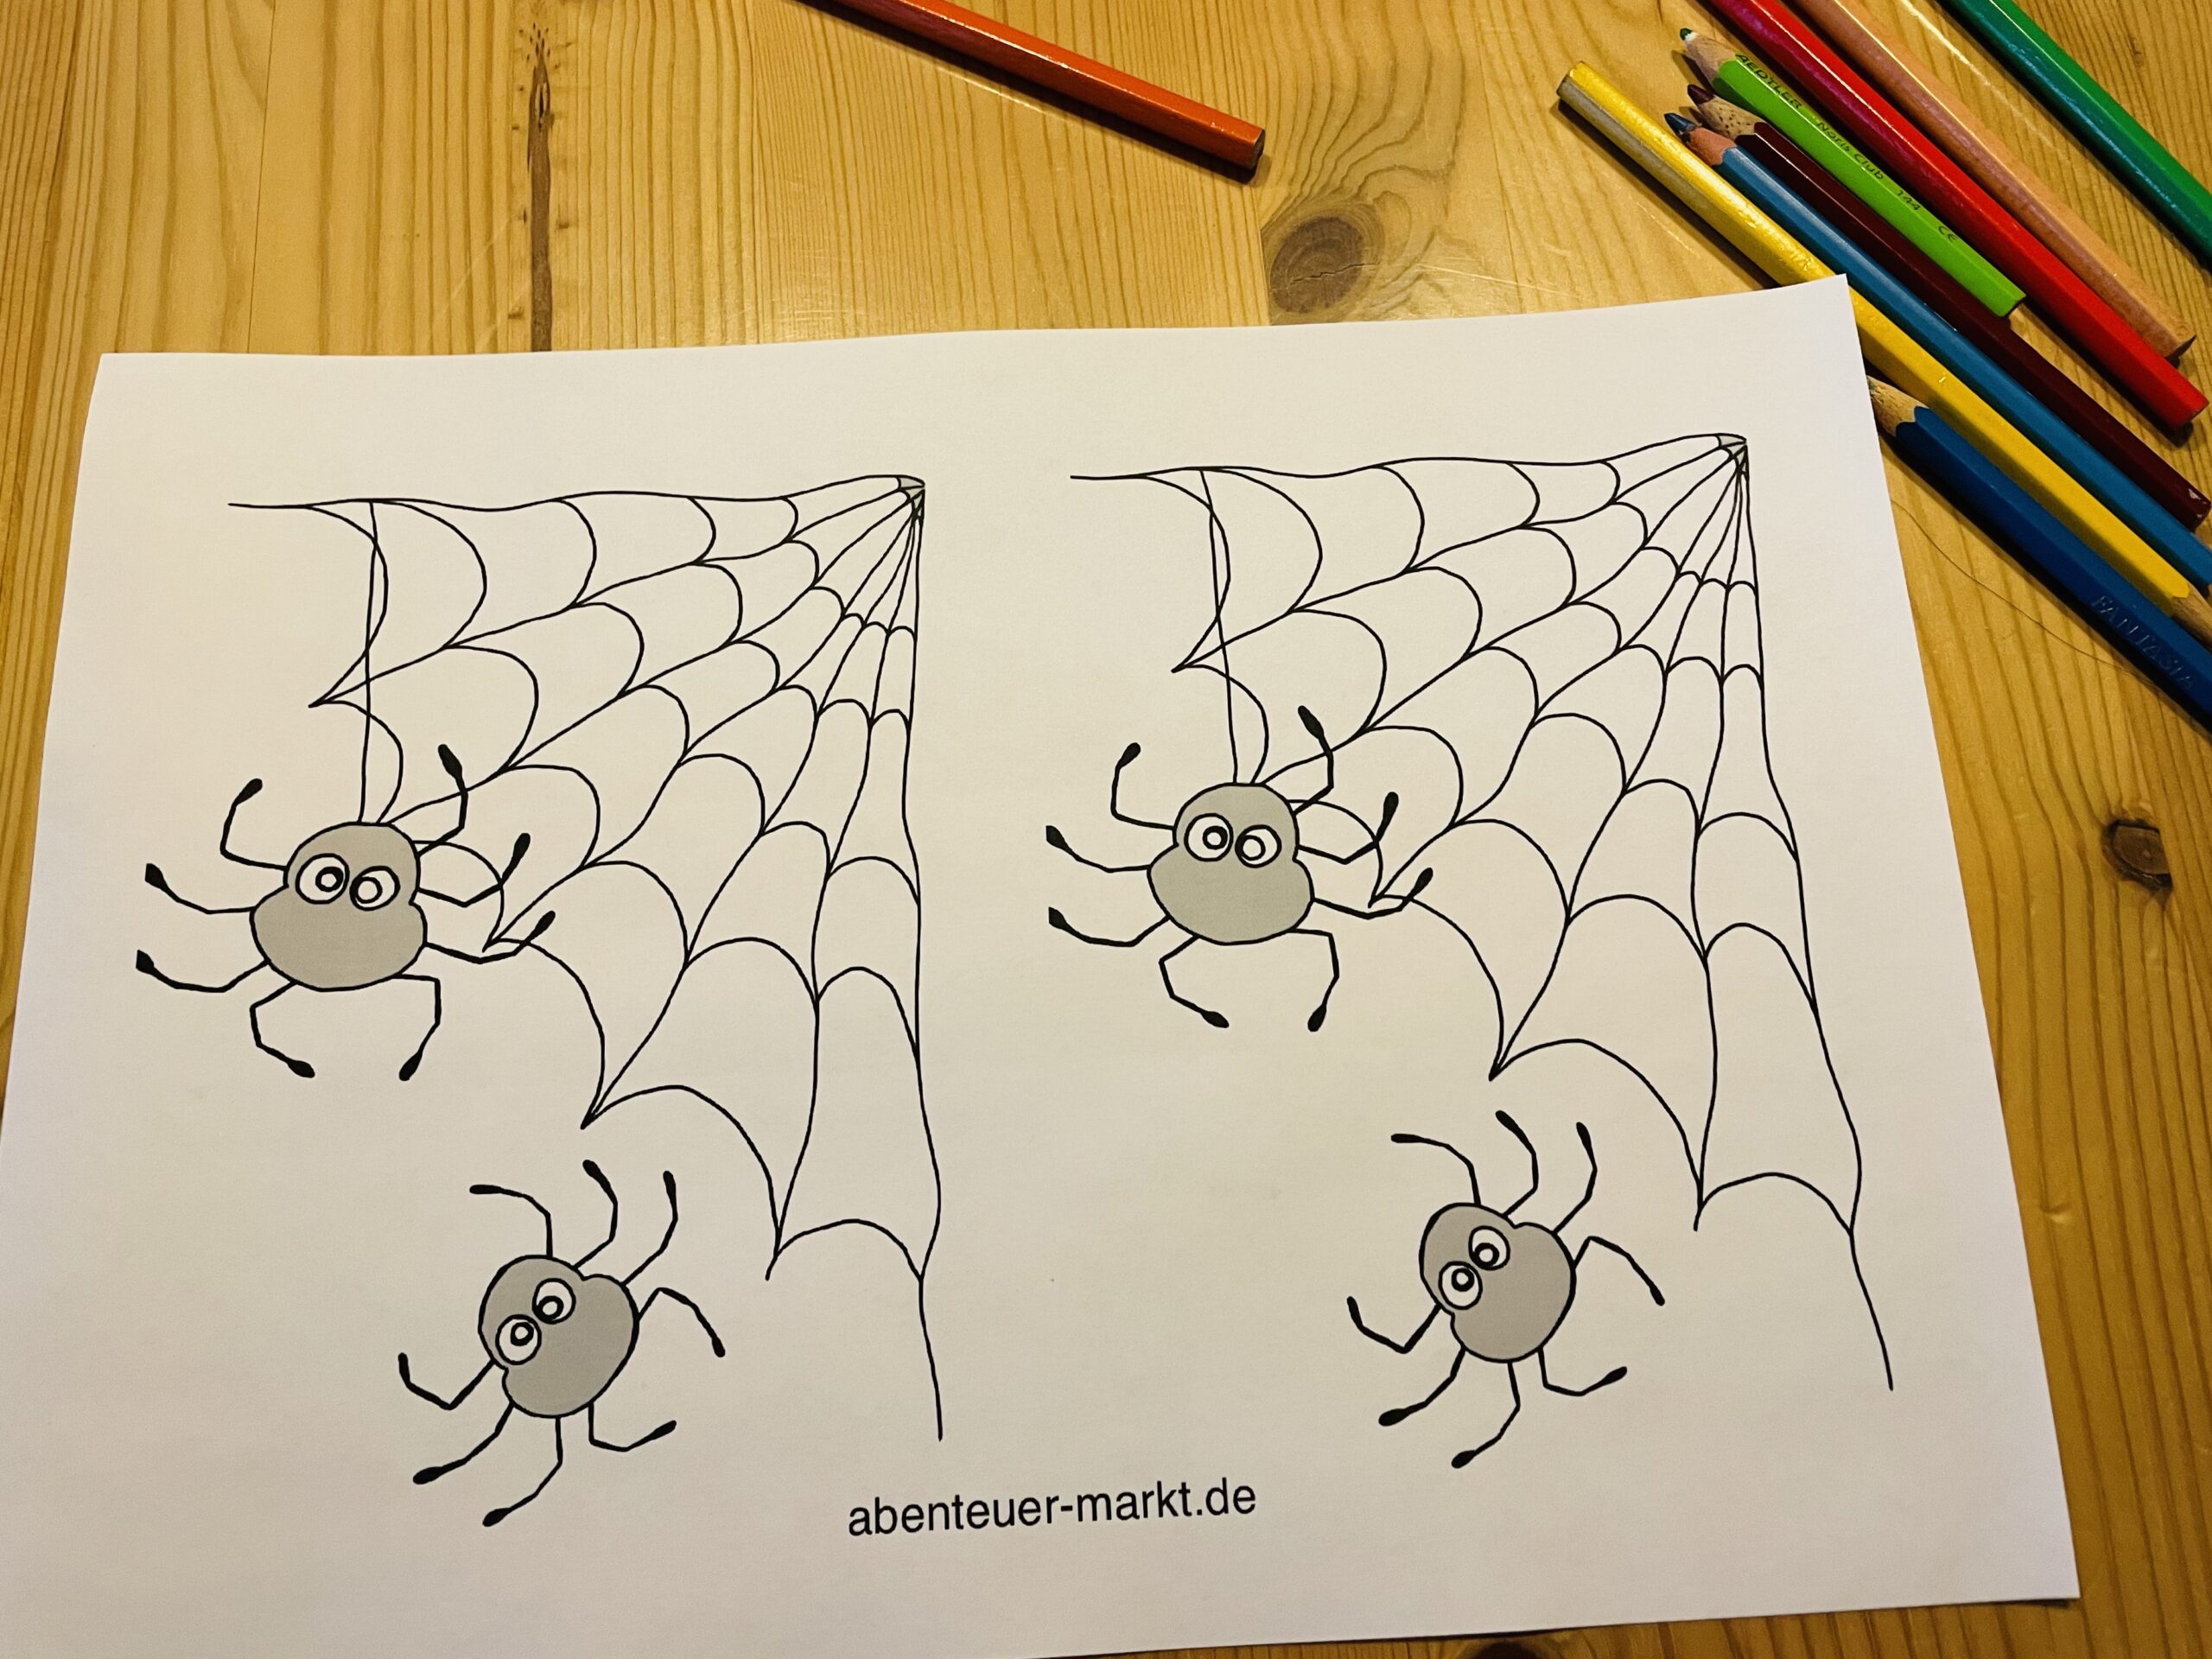
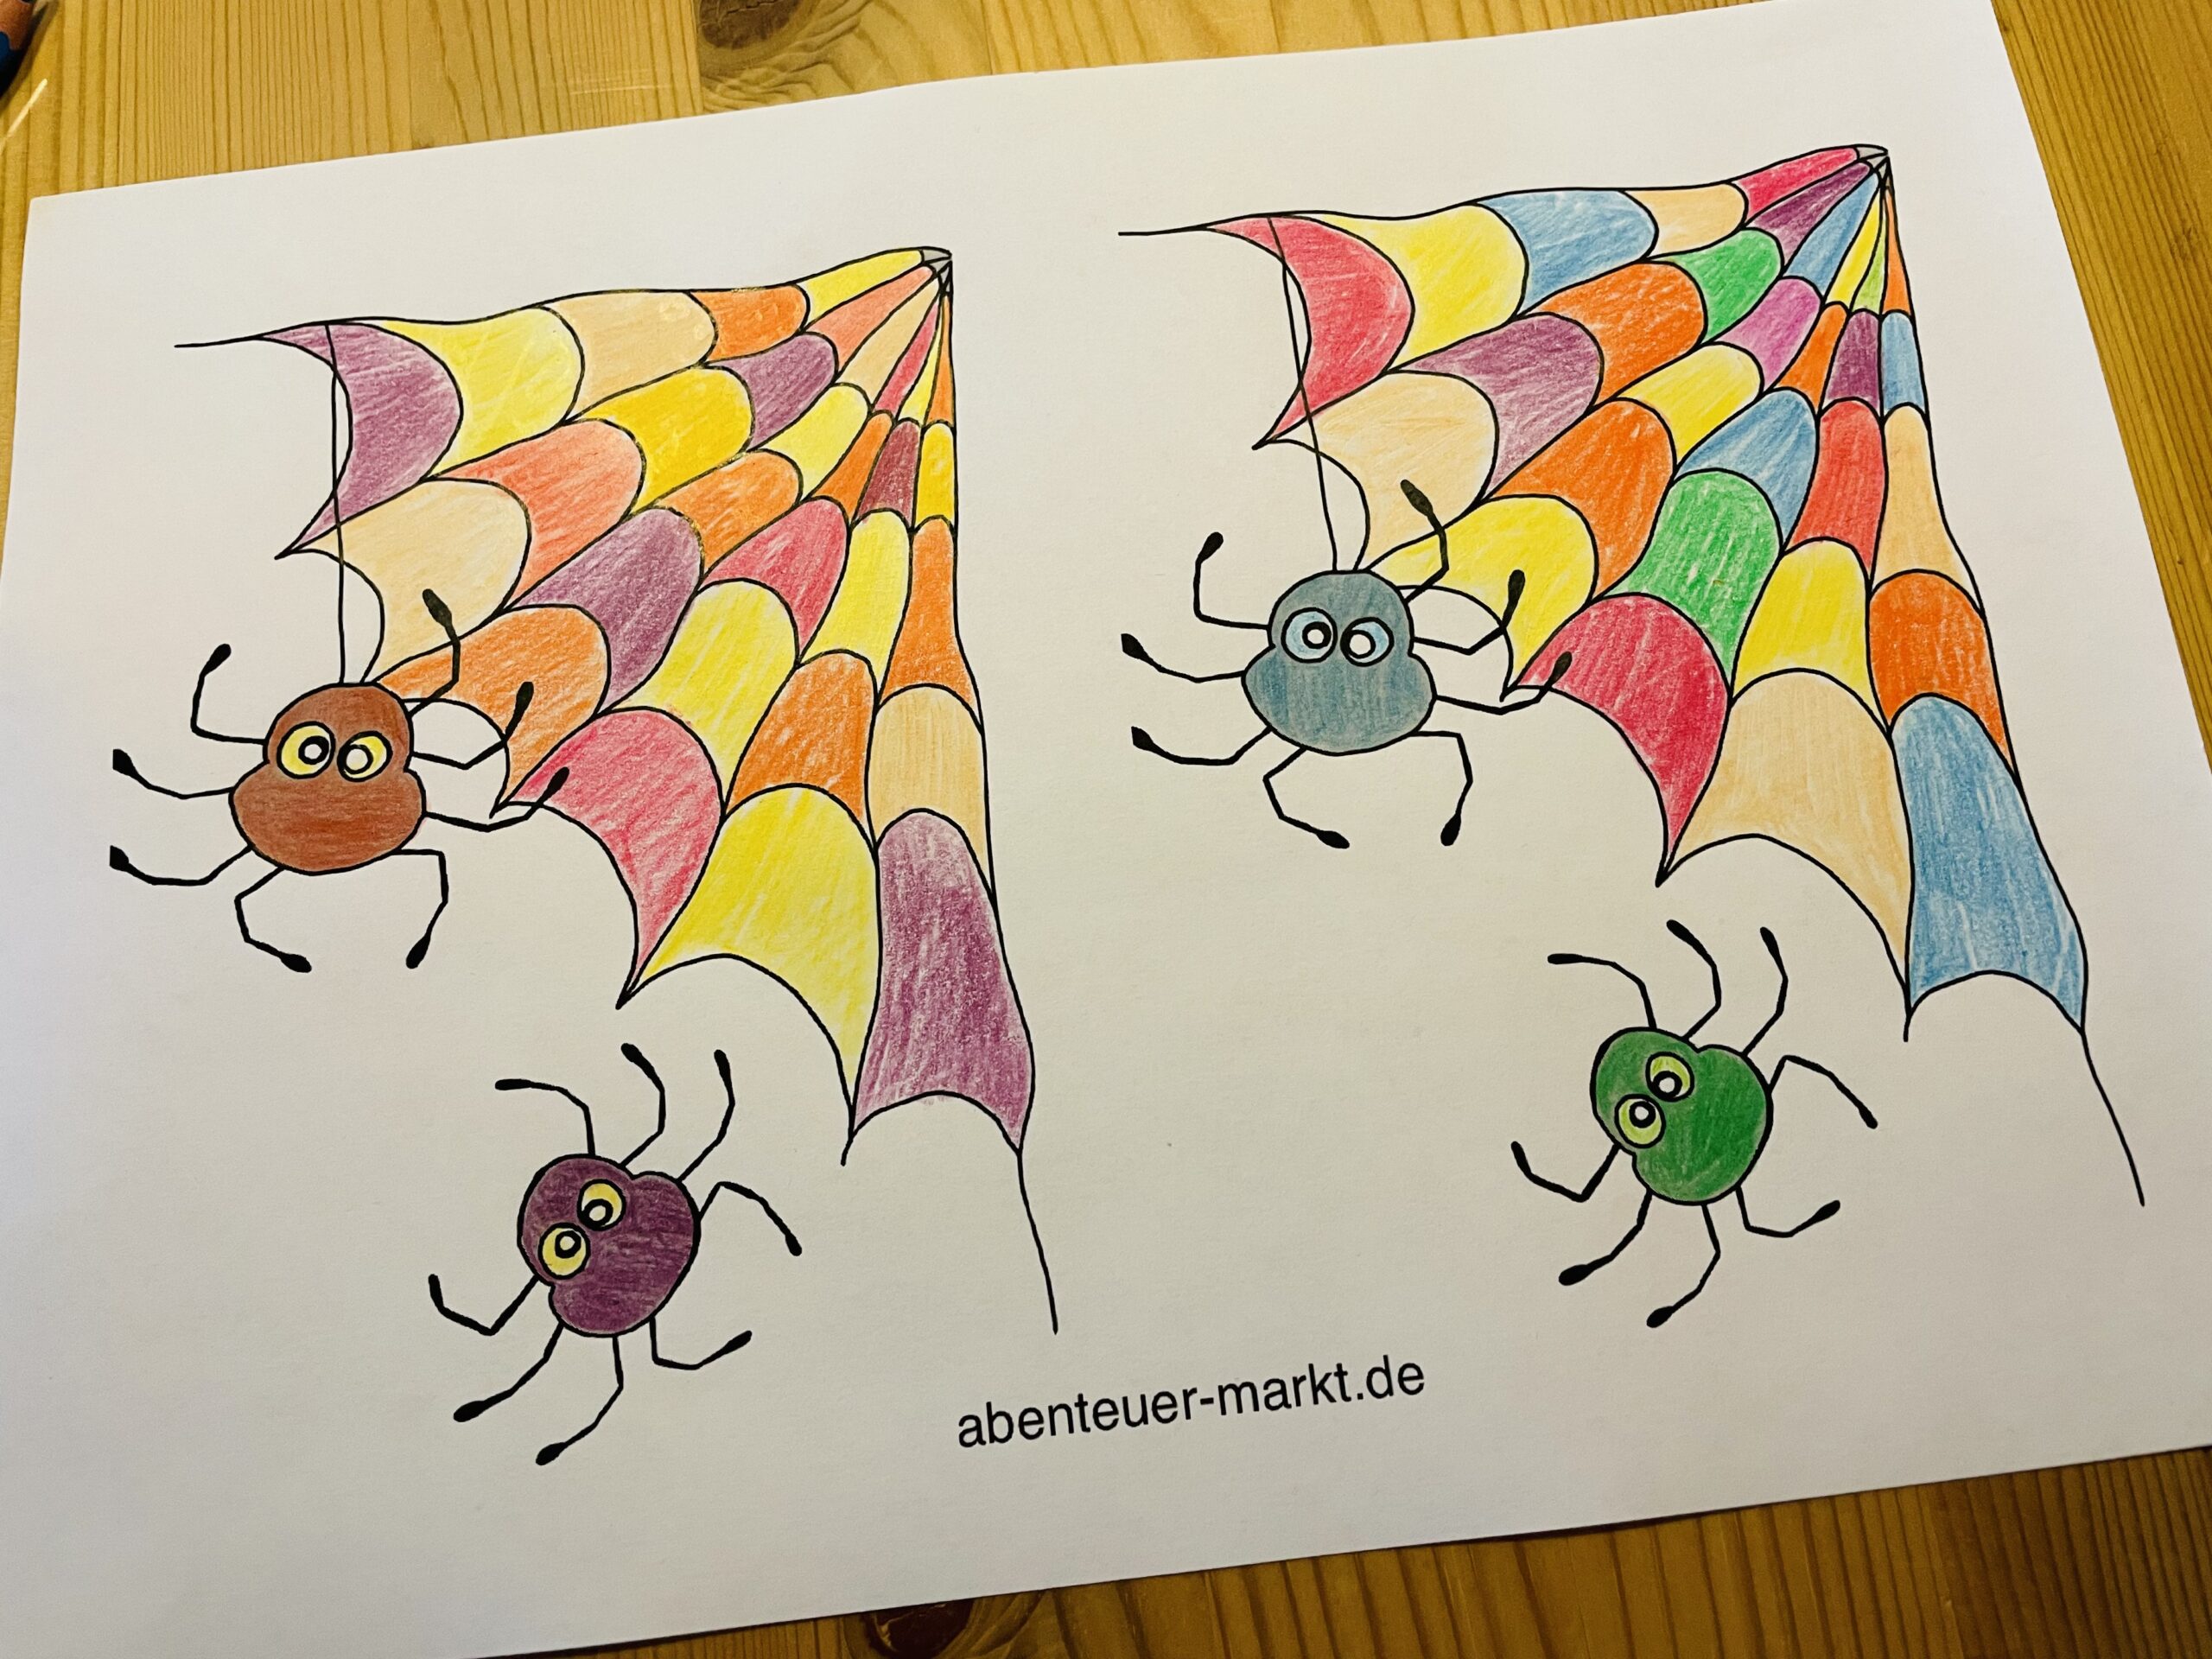
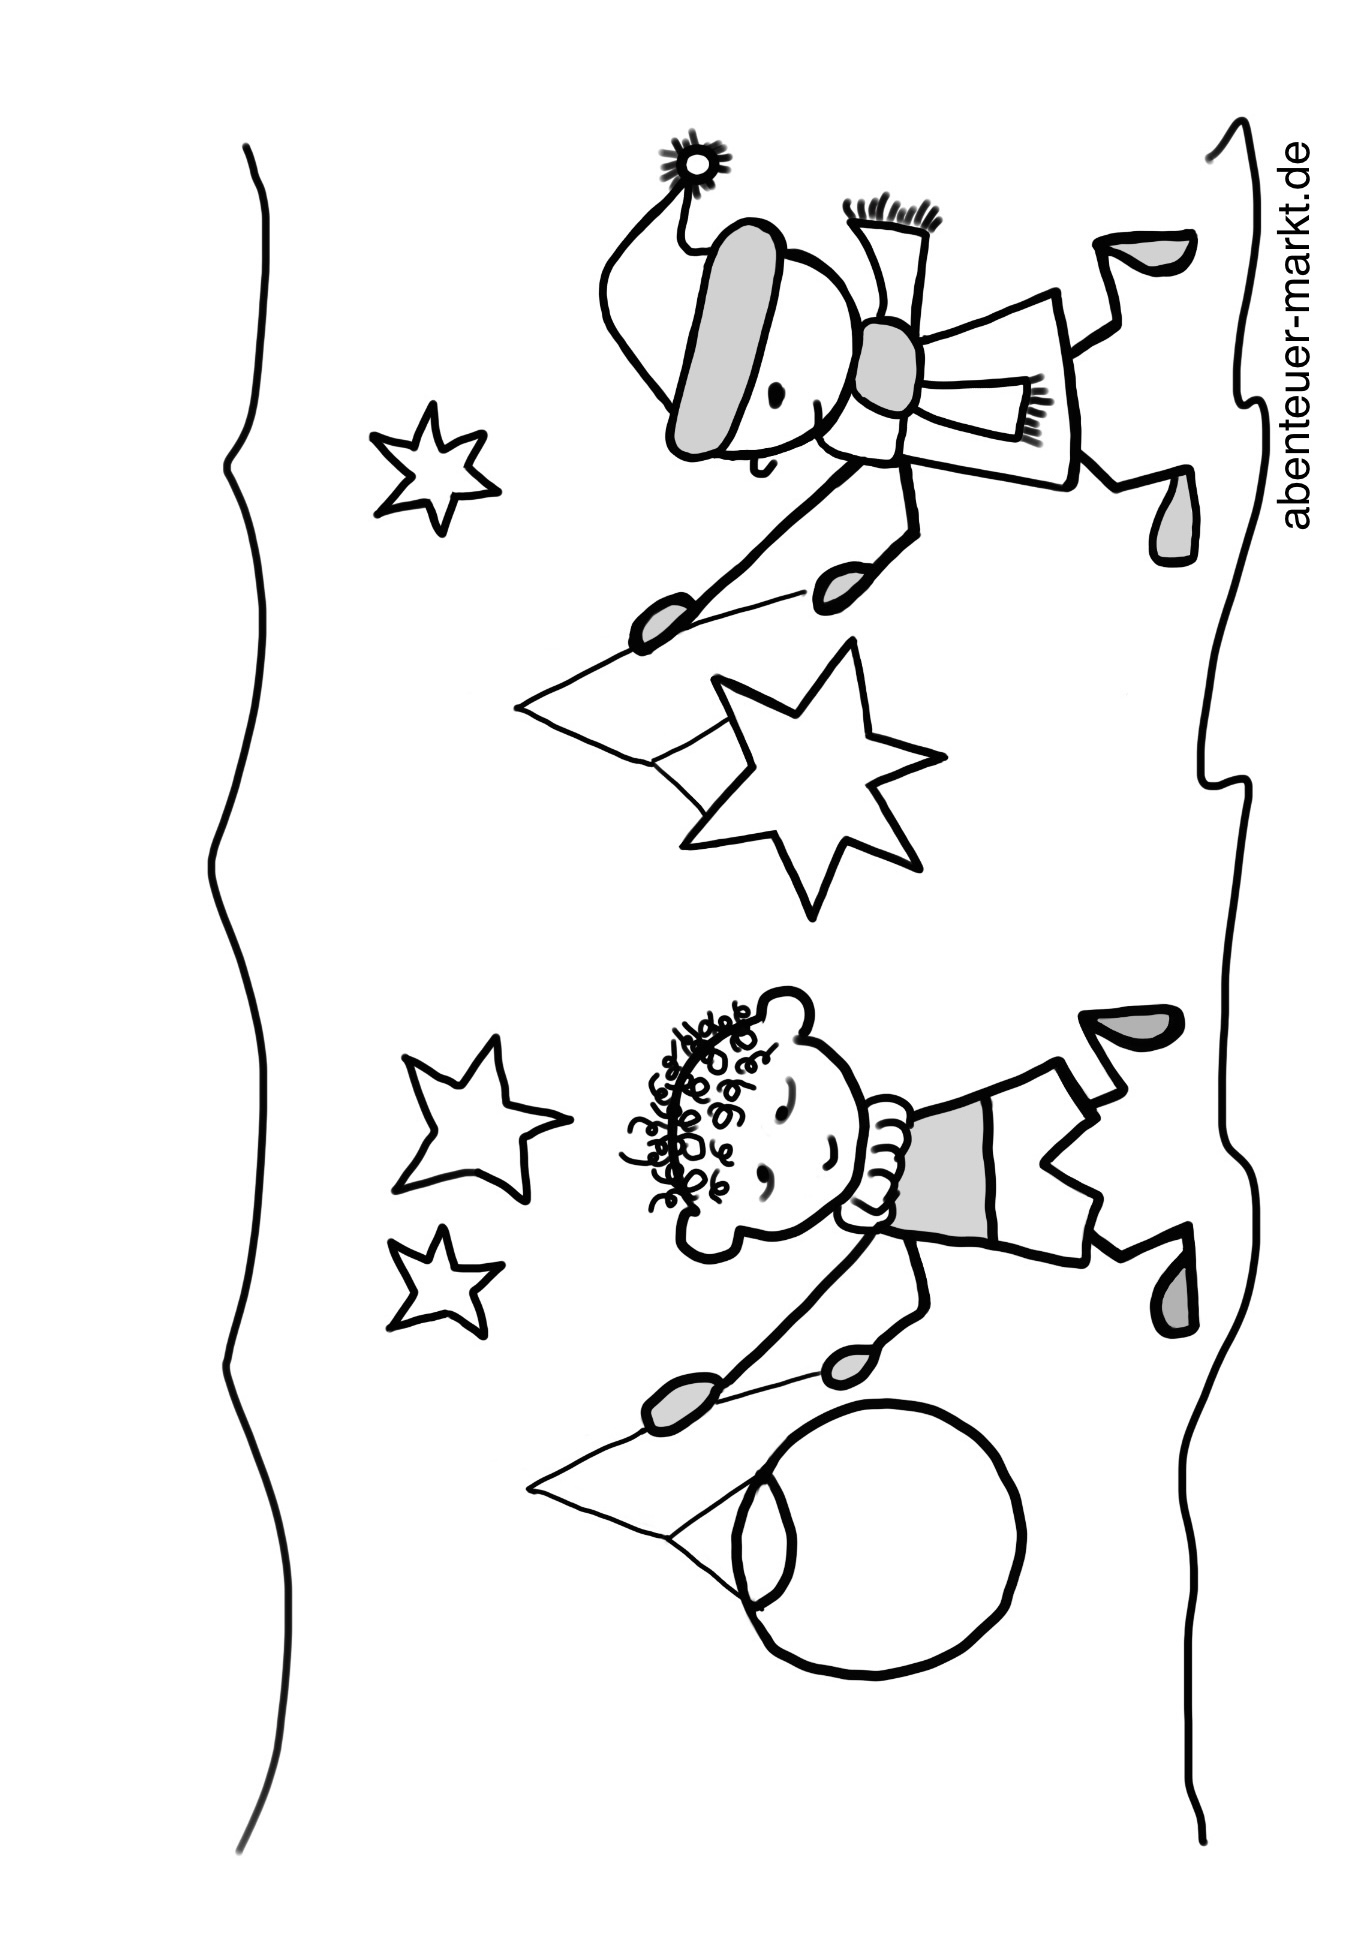
Choose a colouring image and print it out in DIN A4 format. Make sure you choose a motif in landscape format. You can choose this motif or one of the motifs attached below.

Then paint the motif with crayons.
Then put the sheet with the back up on an old newspaper. Cover the back of the picture with oil. Use a brush or a kitchen crepe. You only need very little oil. As soon as the paper is transparent, you wipe the excess oil with a kitchen crepe.

Rubs the back dry.
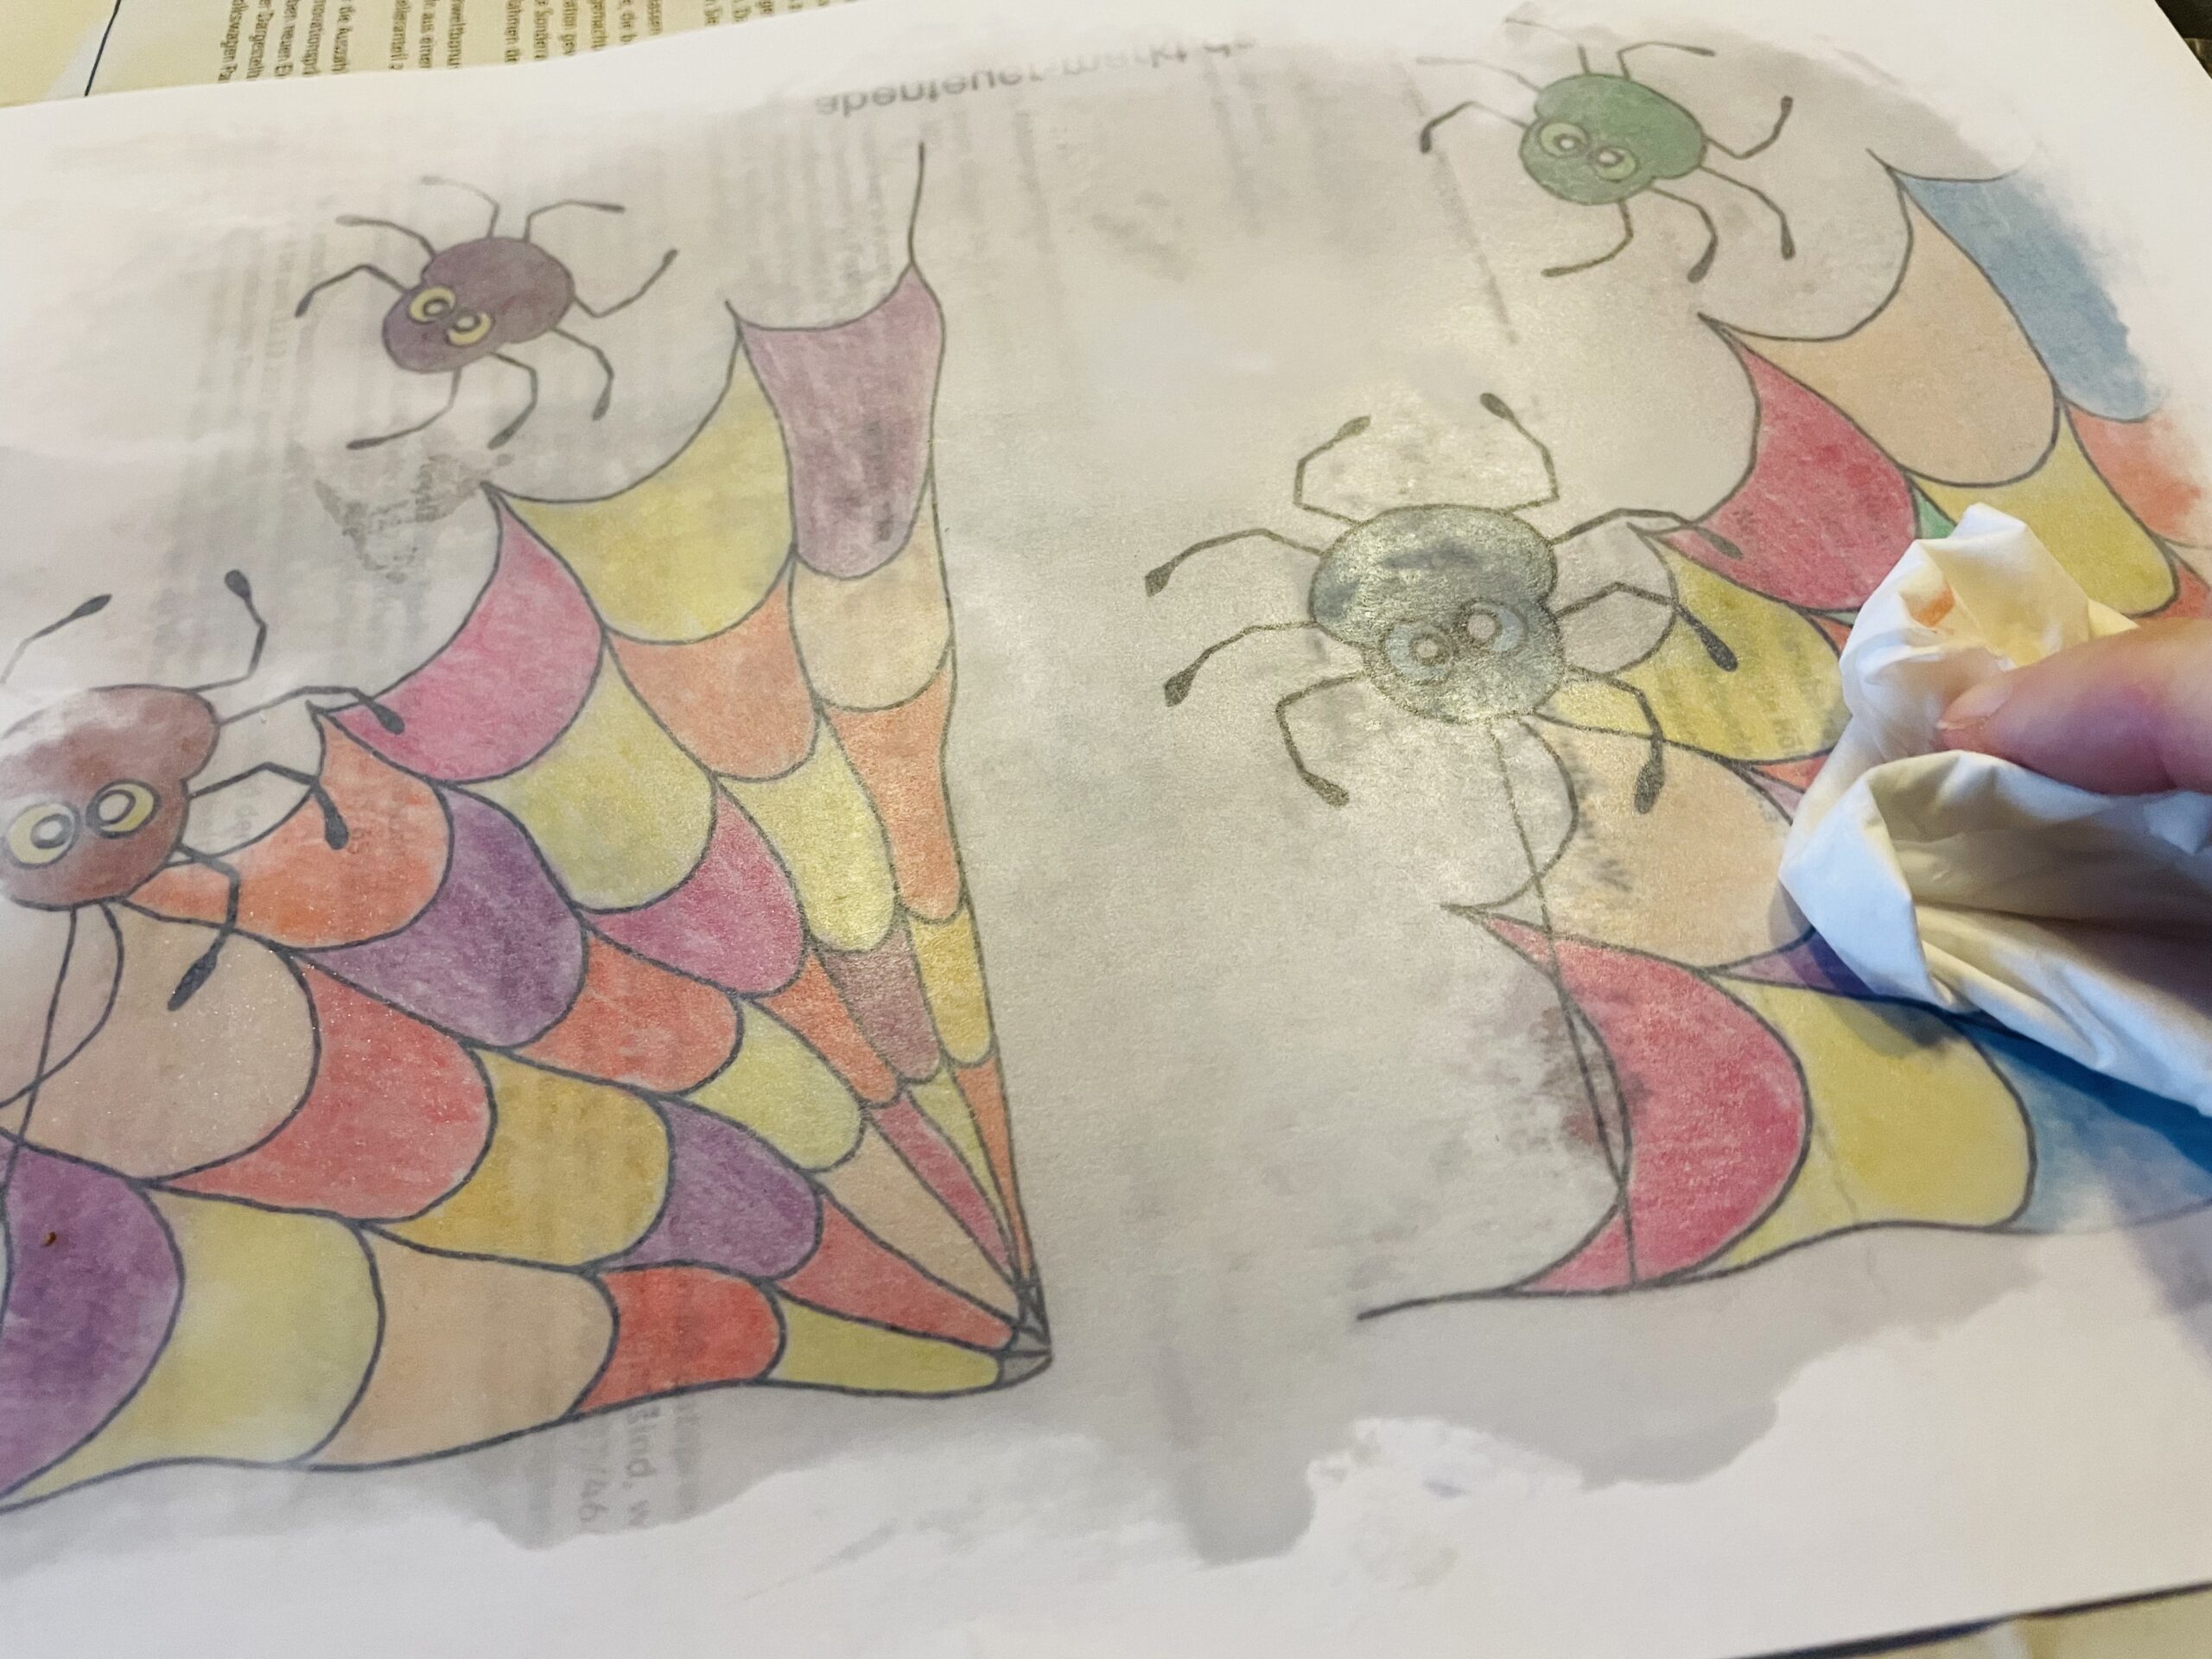
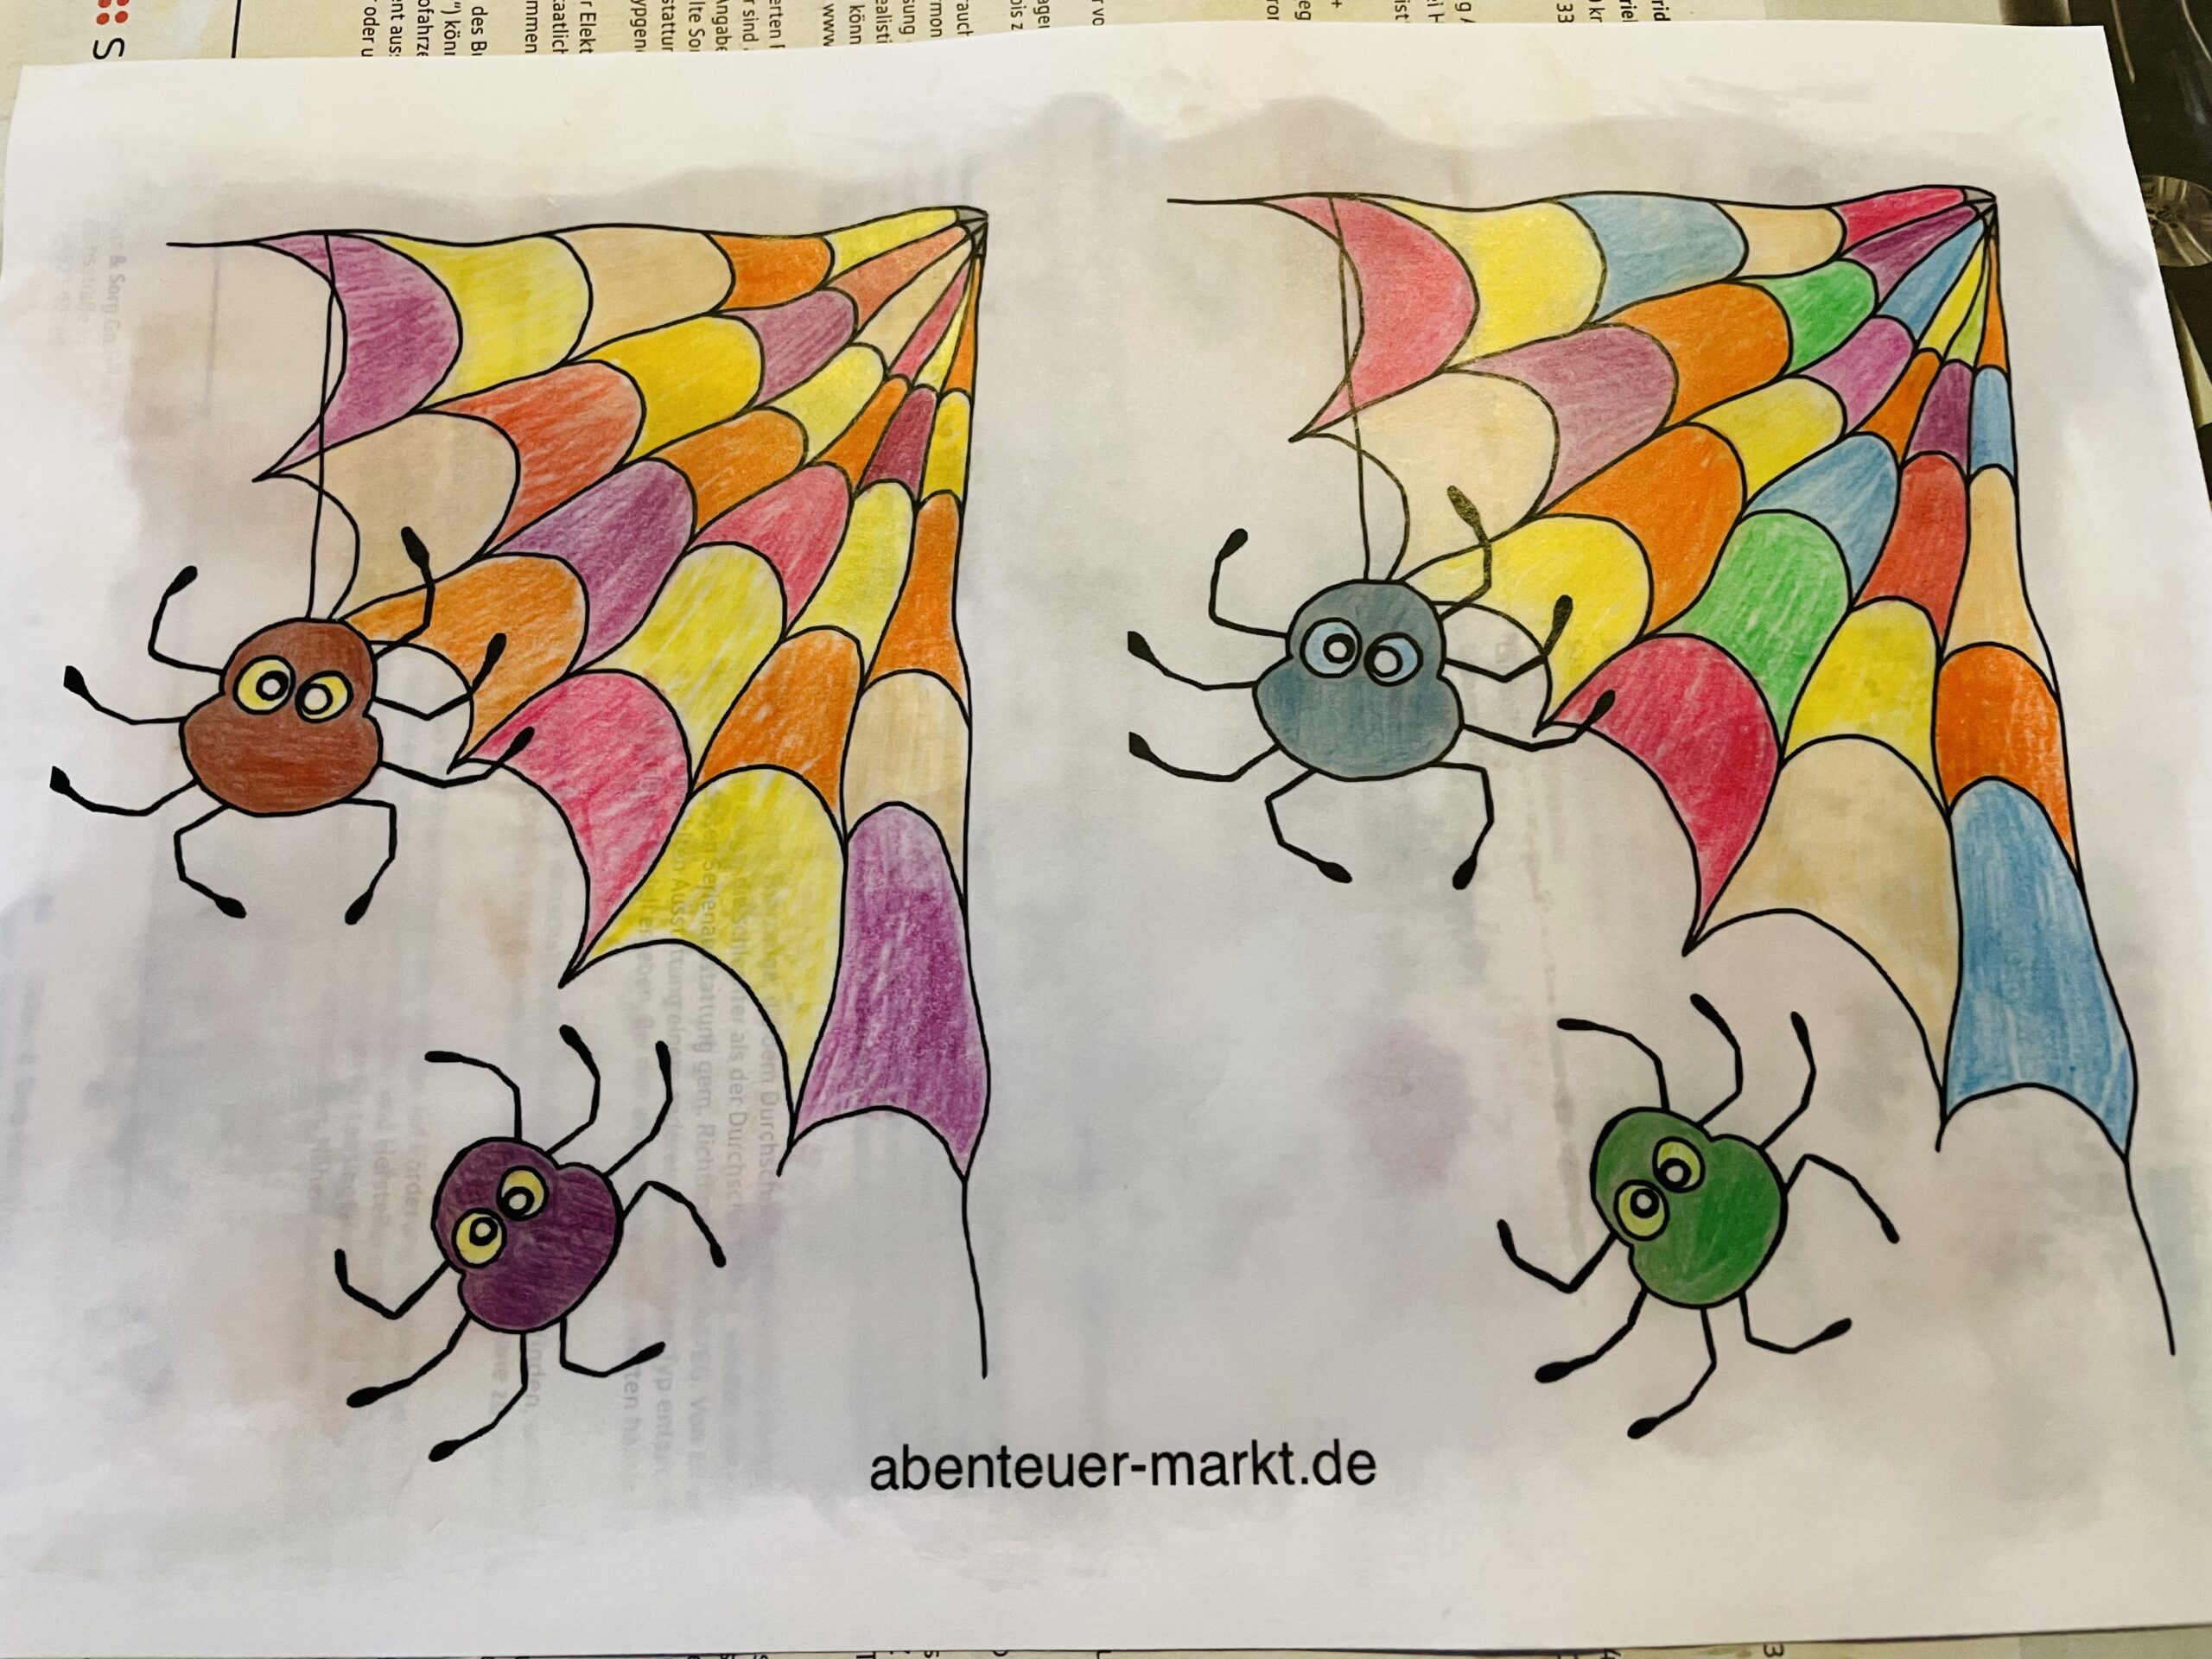
Now turn the paper back on the front. The colors shine. Now place the paper on a radiator for drying.
In the meantime you cut two strips from one piece of photo box or another thin cardboard. One strip should contain the dimensions 2cm x 30cm and the other the dimensions 3cm x 30cm.
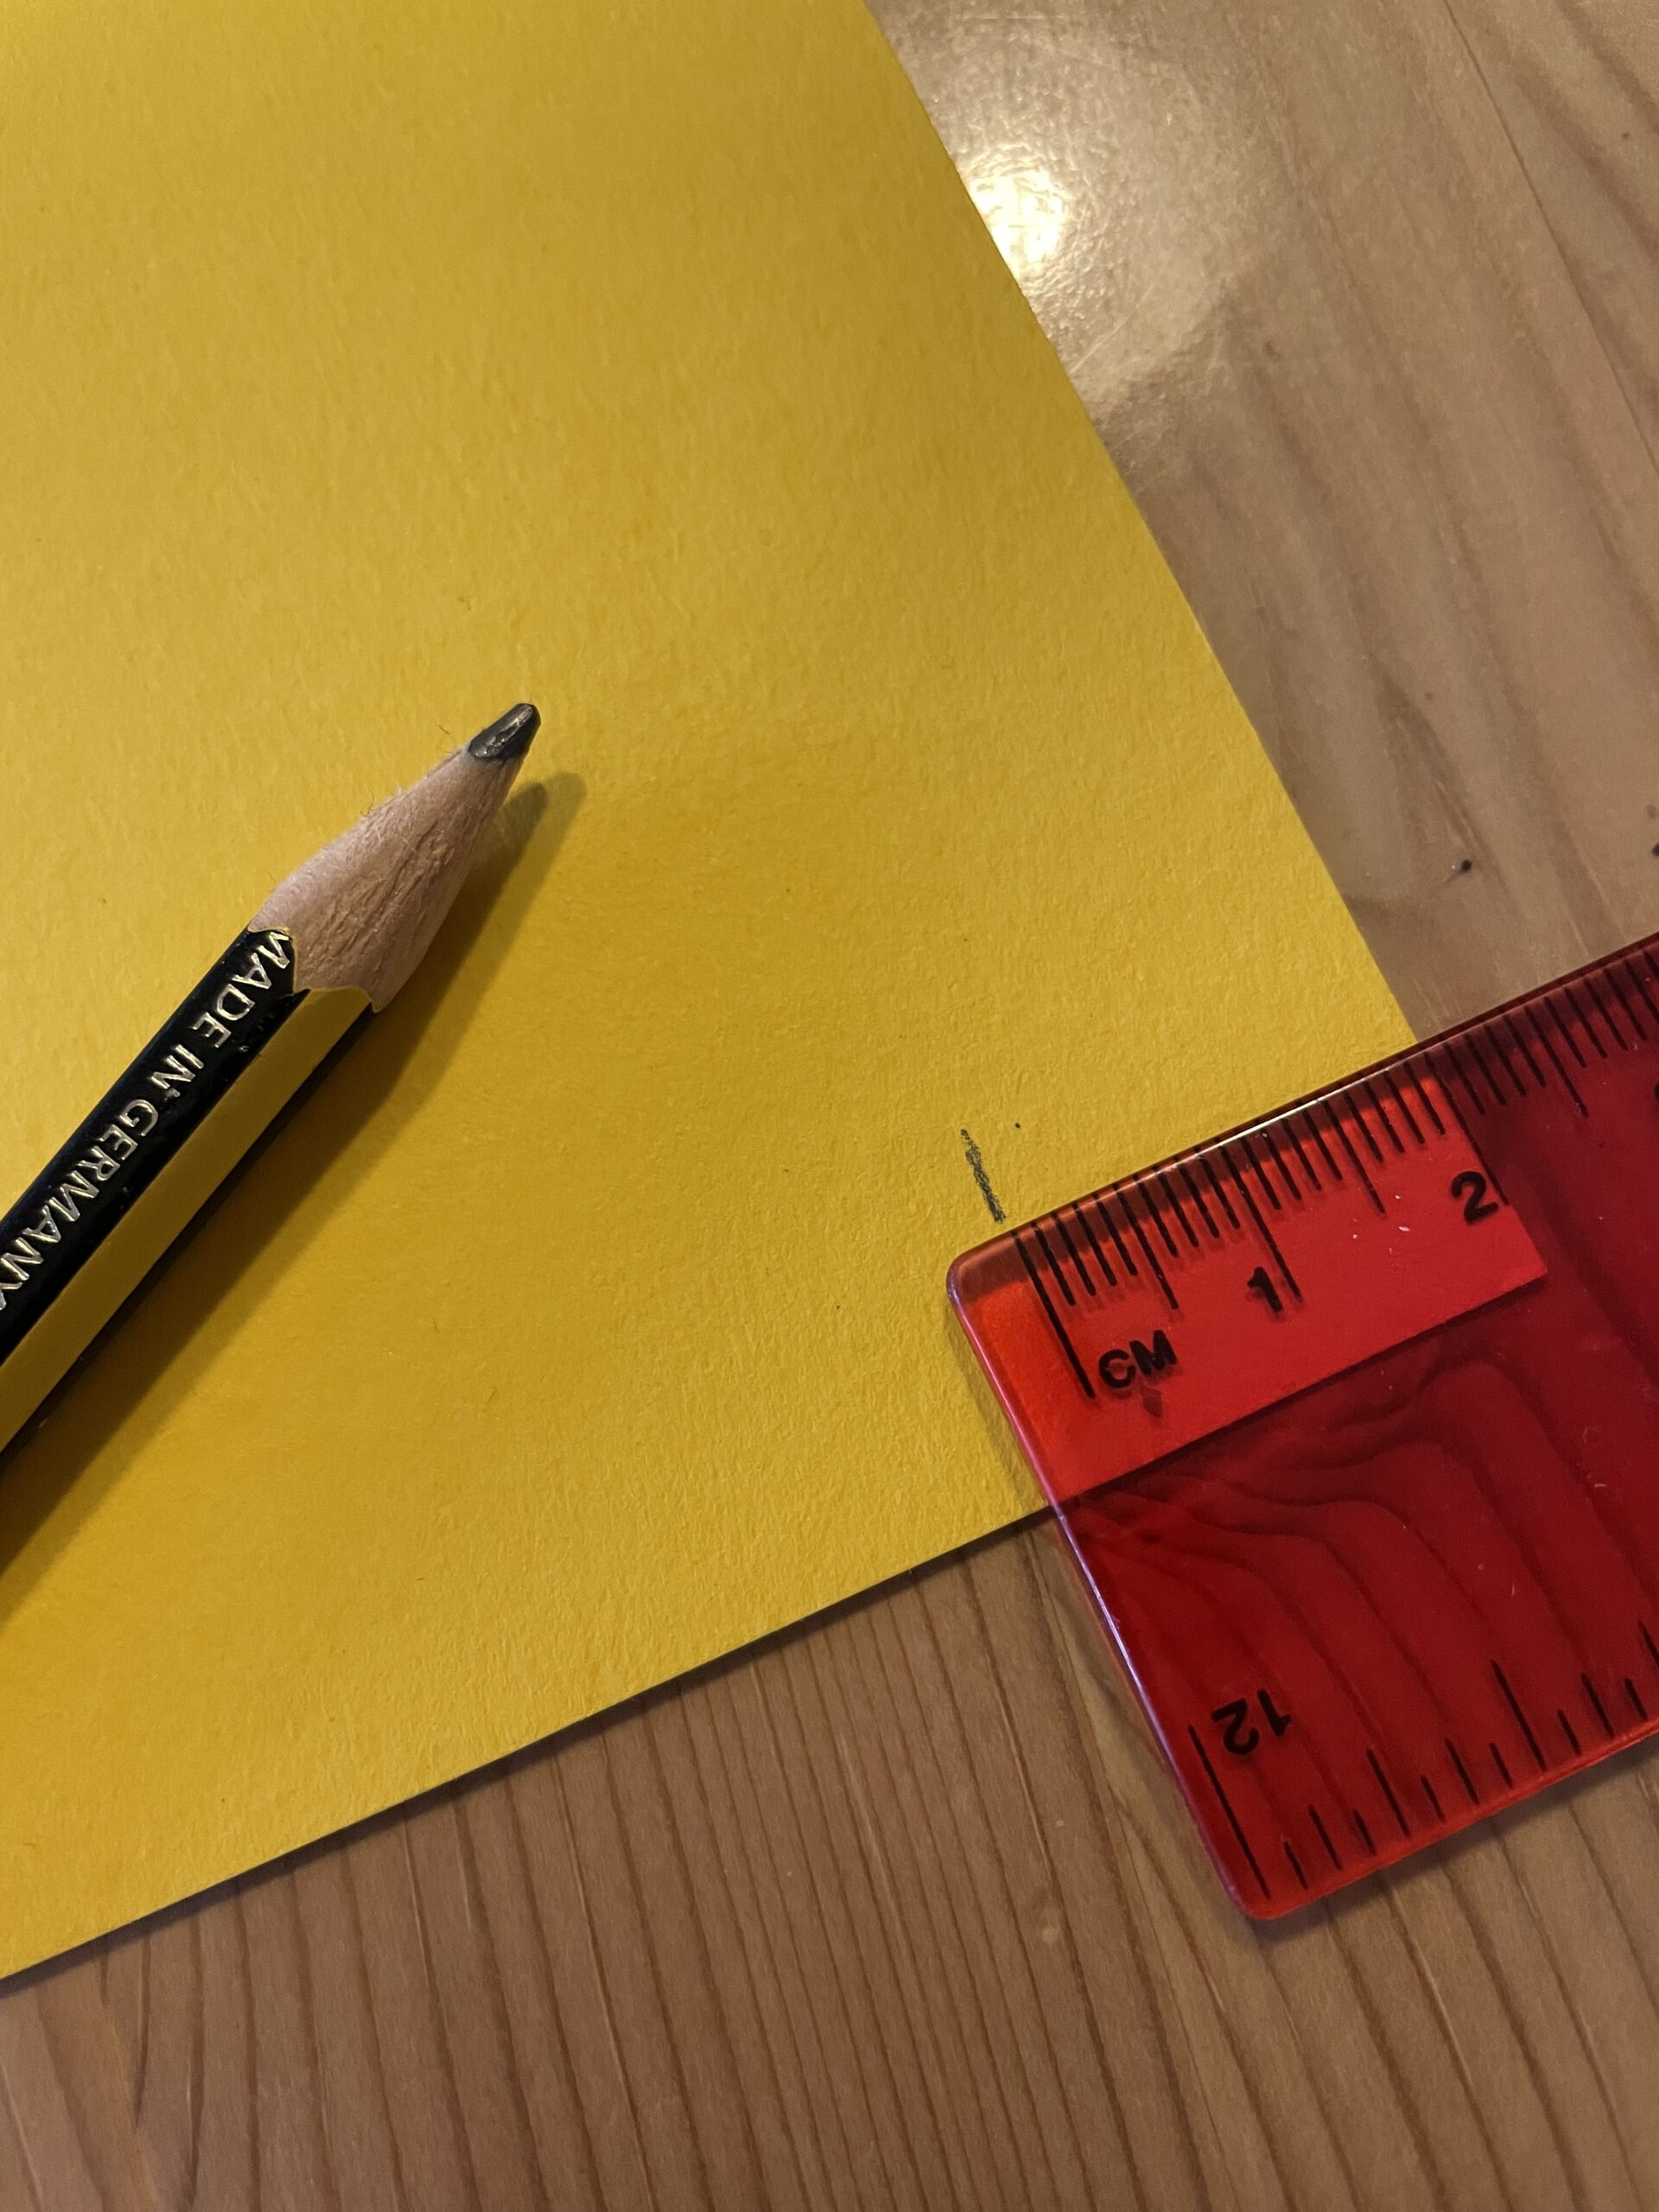
Draw the stripes with a ruler.
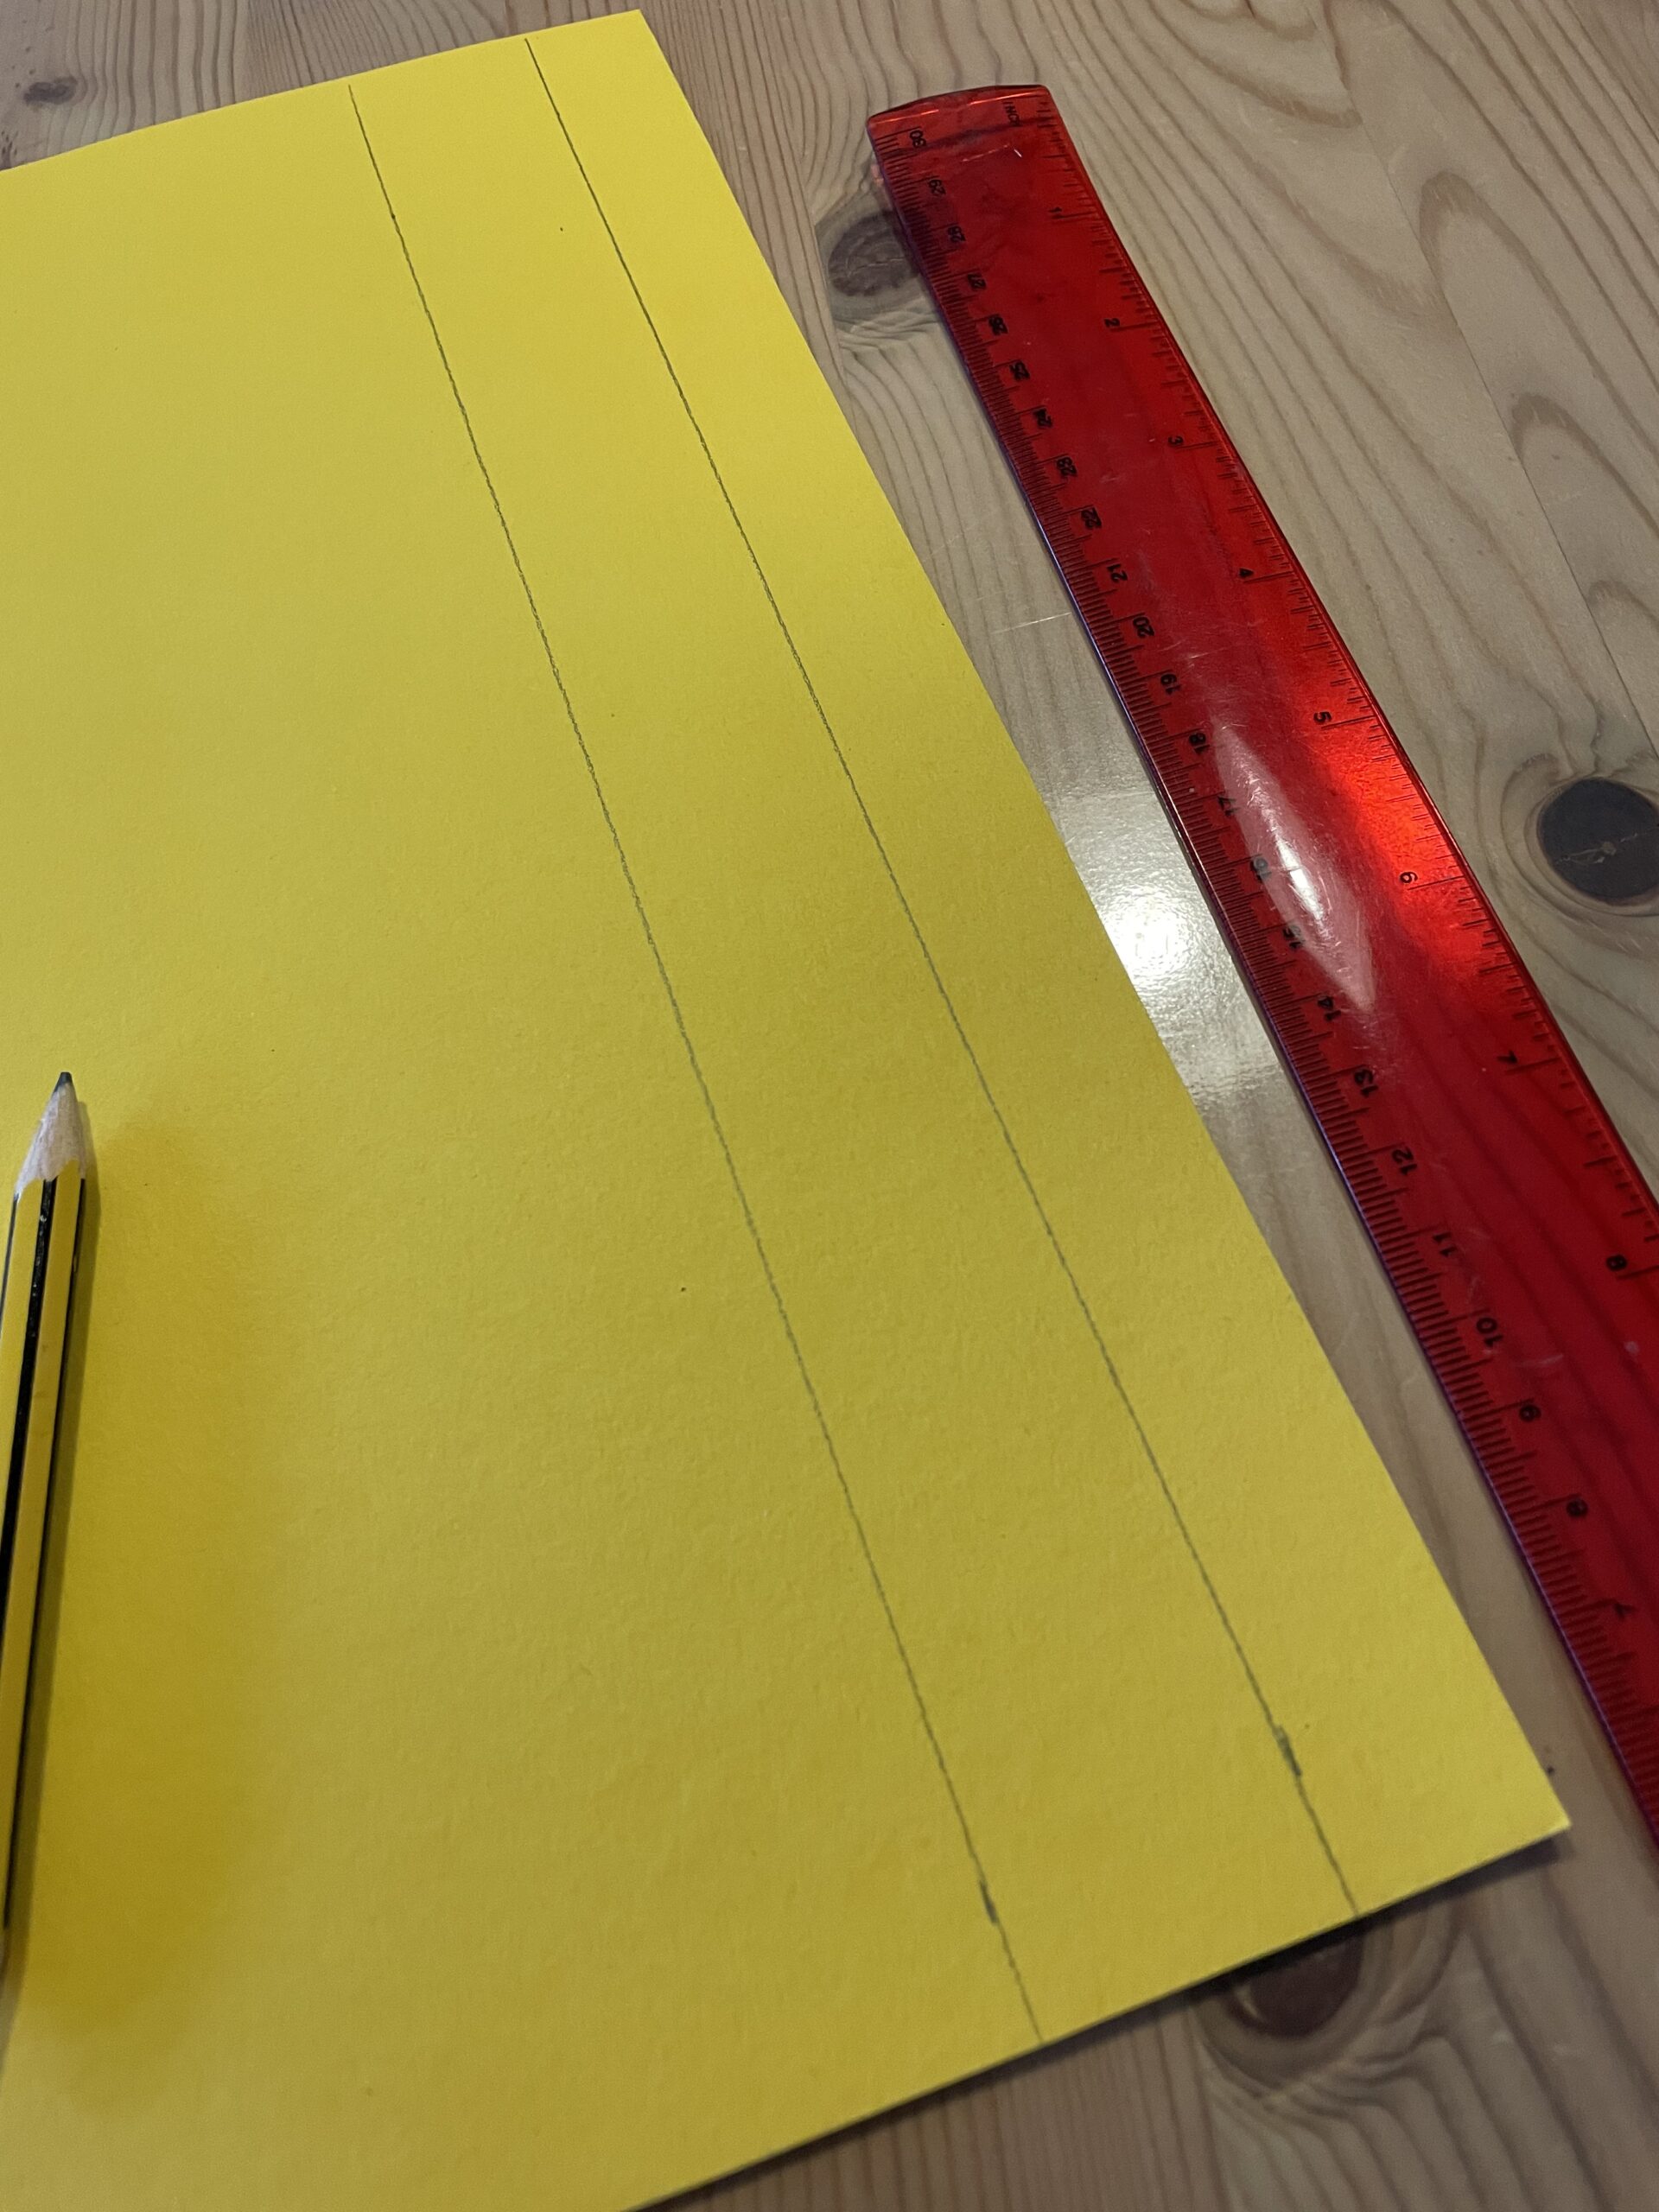
Then cut the strips.
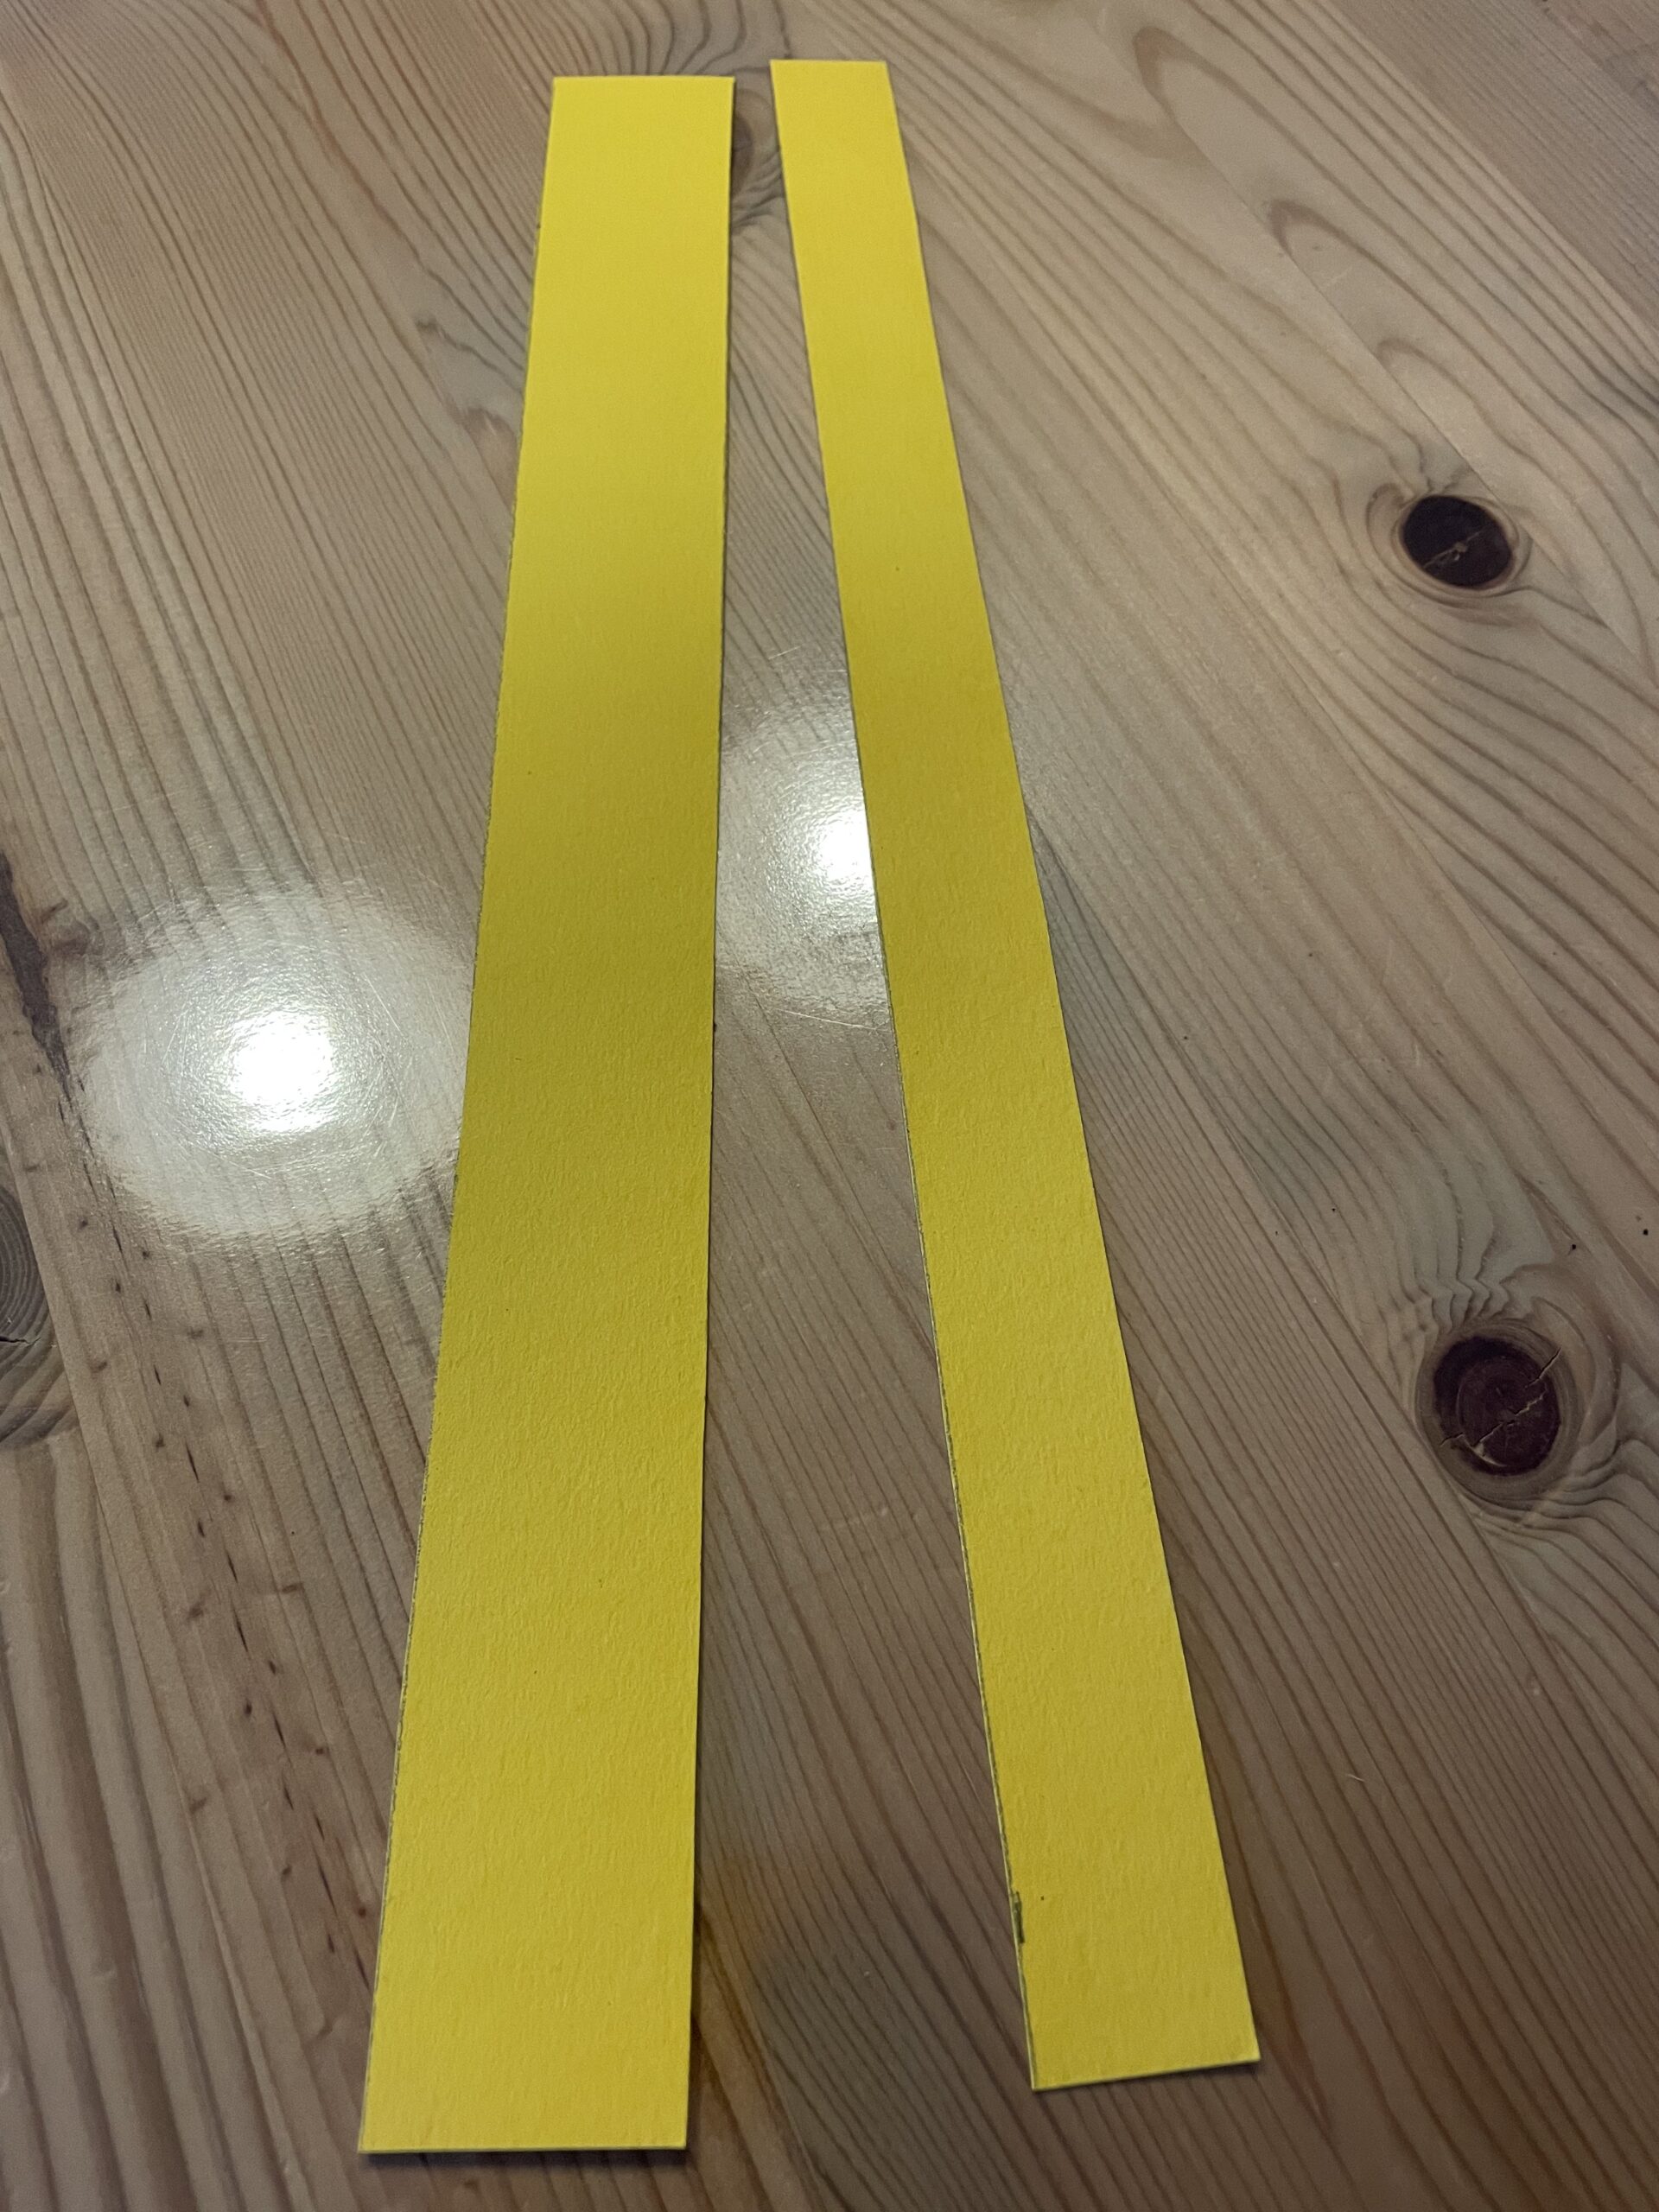
Now put the narrow strip at the bottom of your paper.
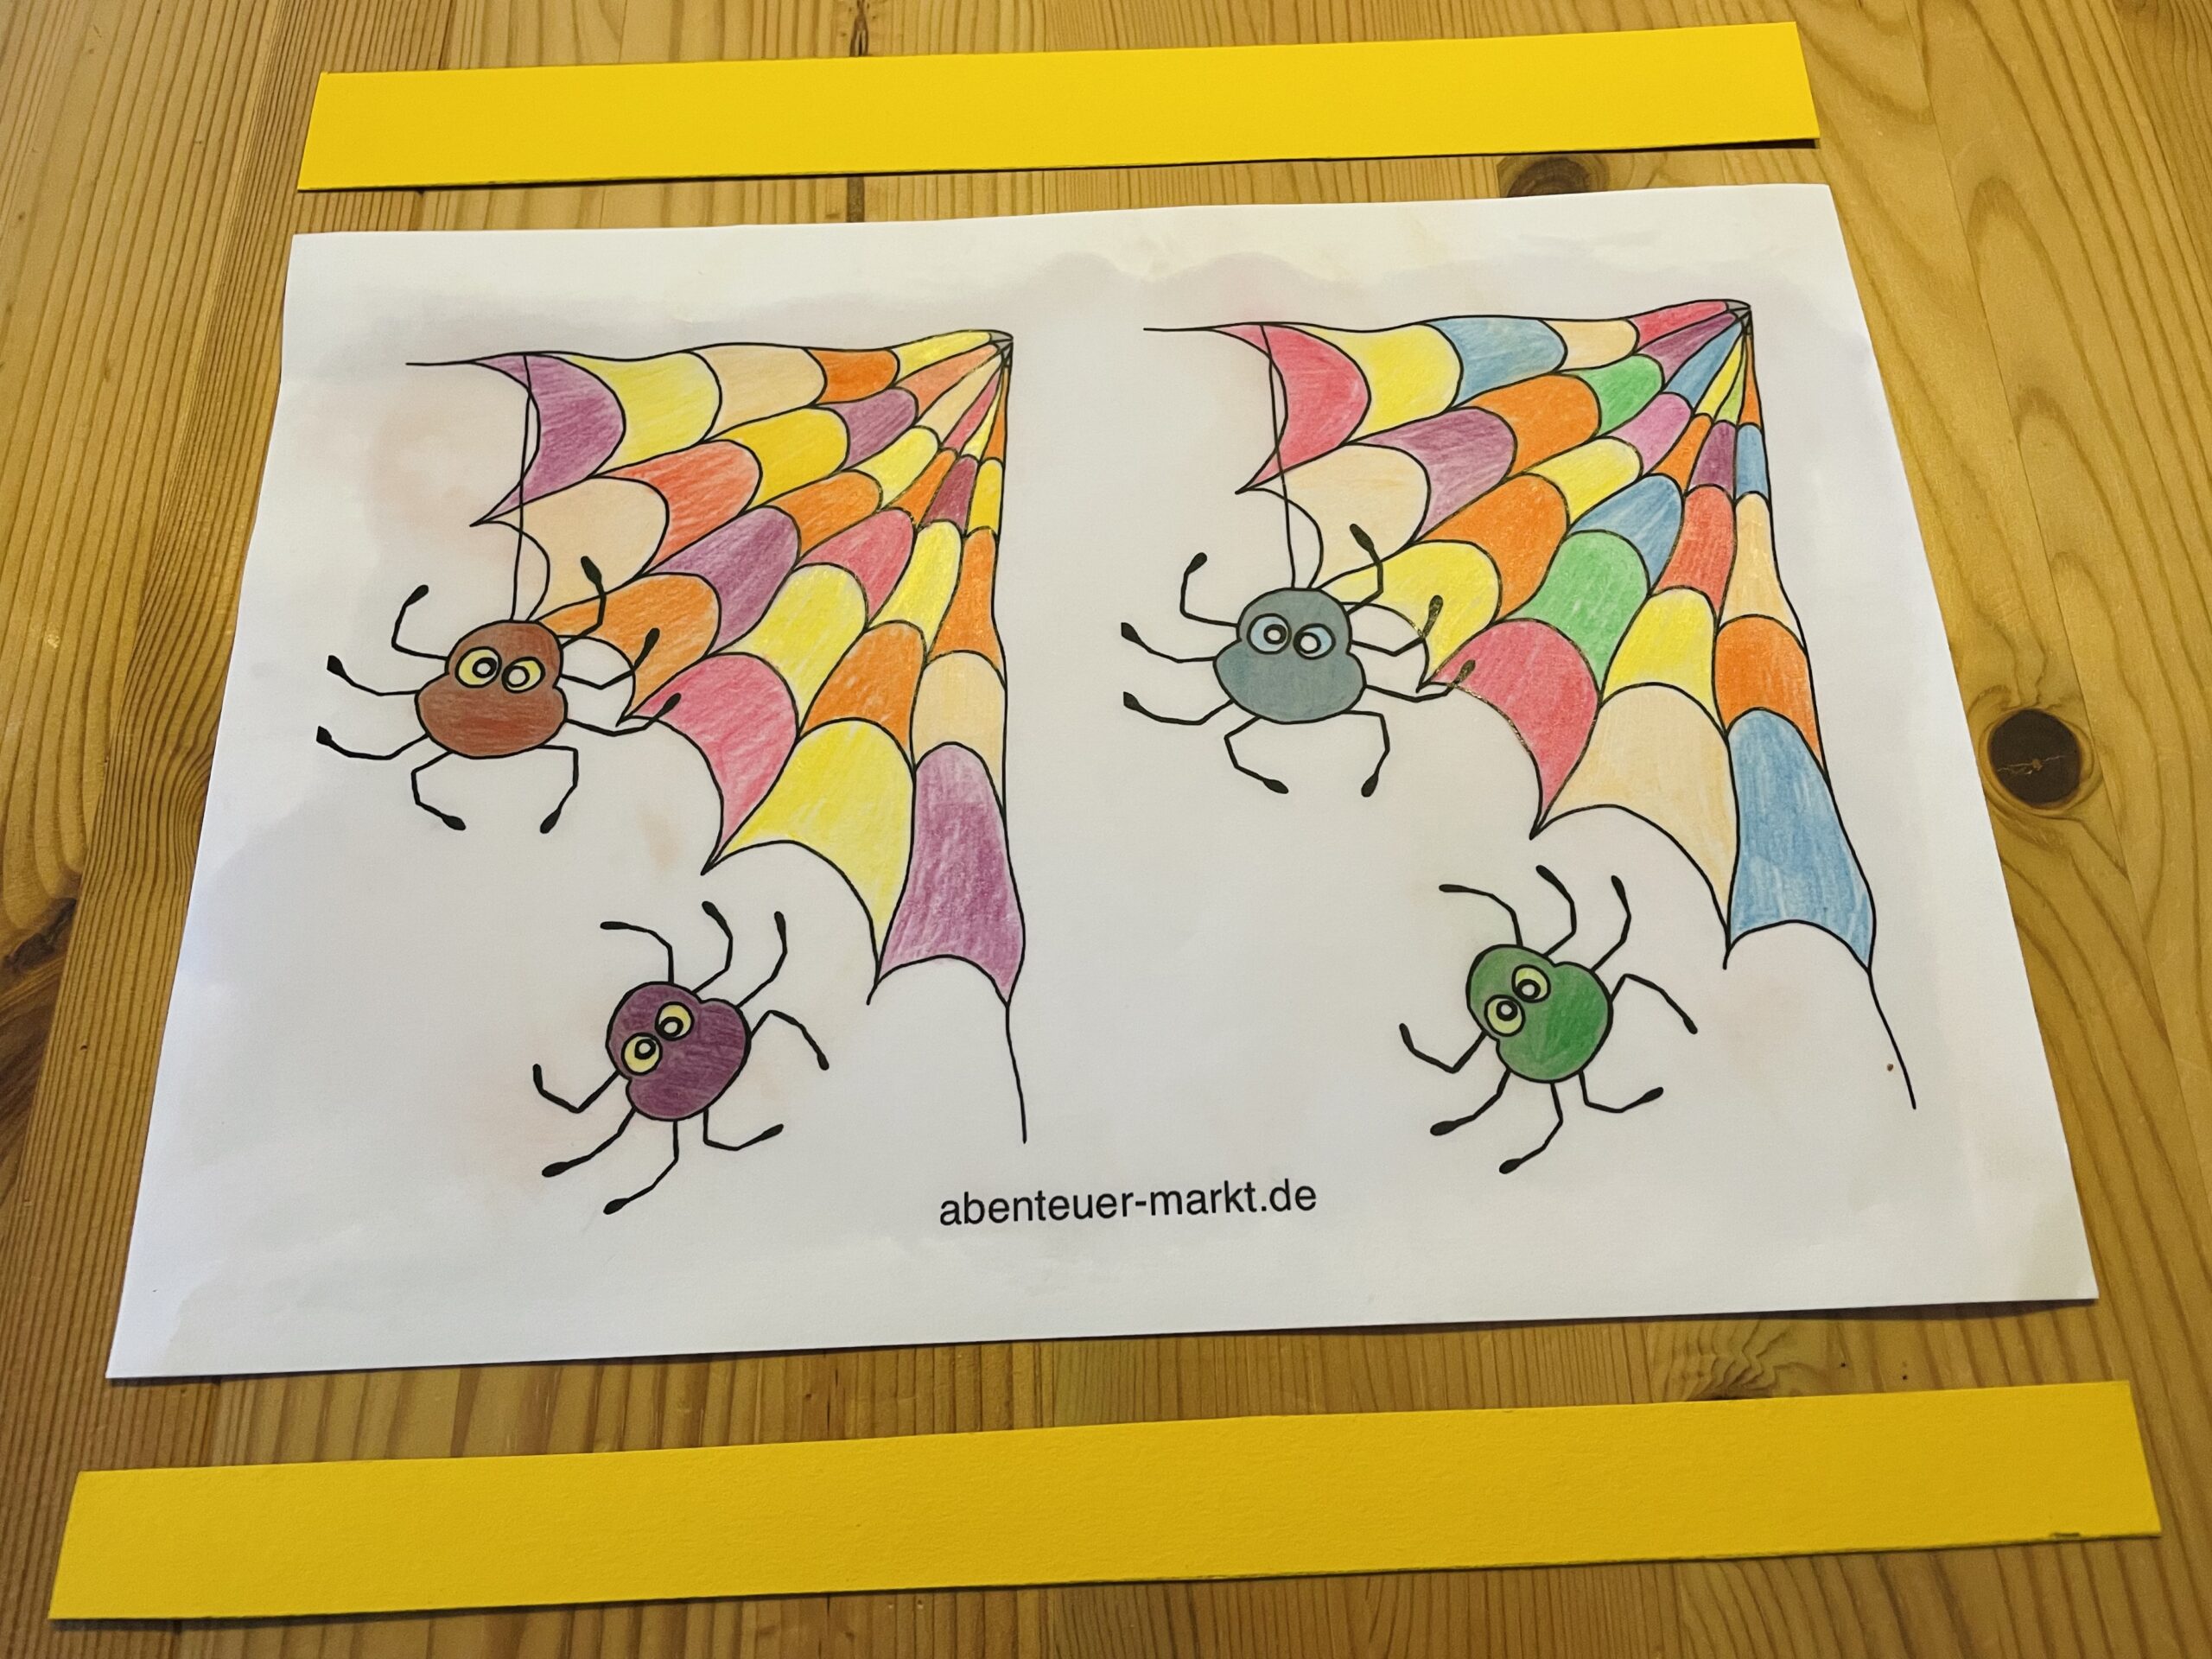
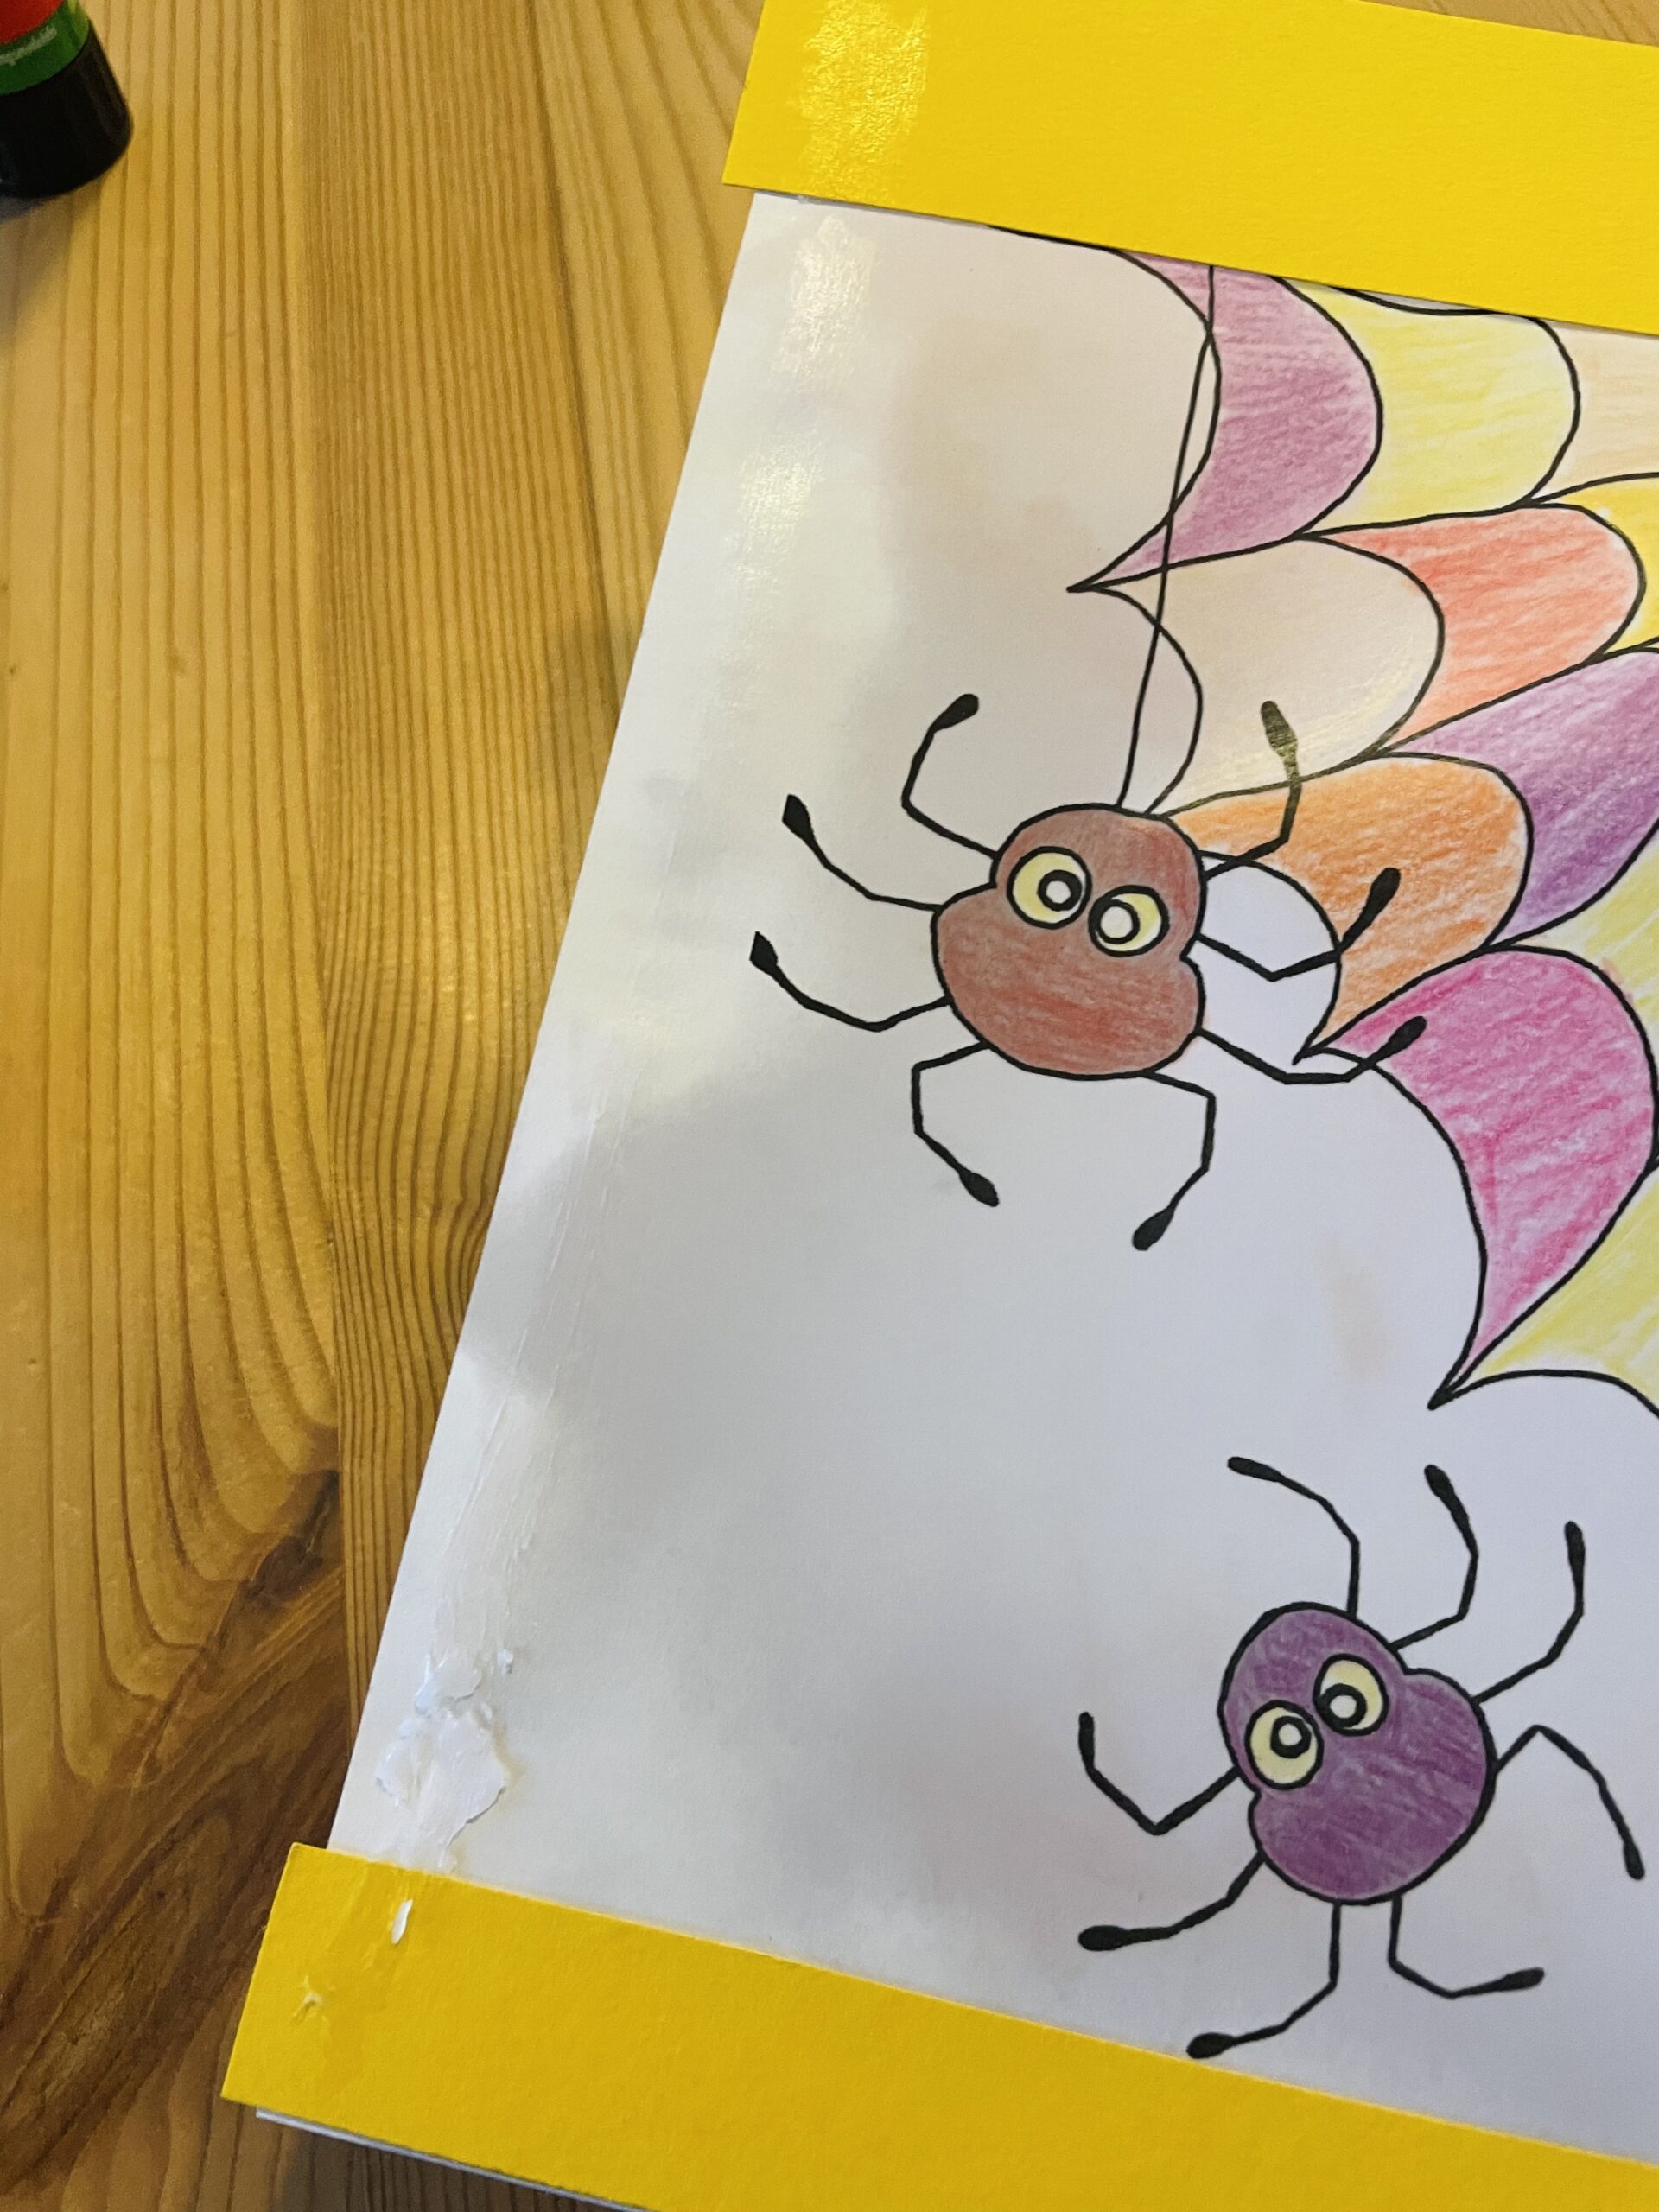
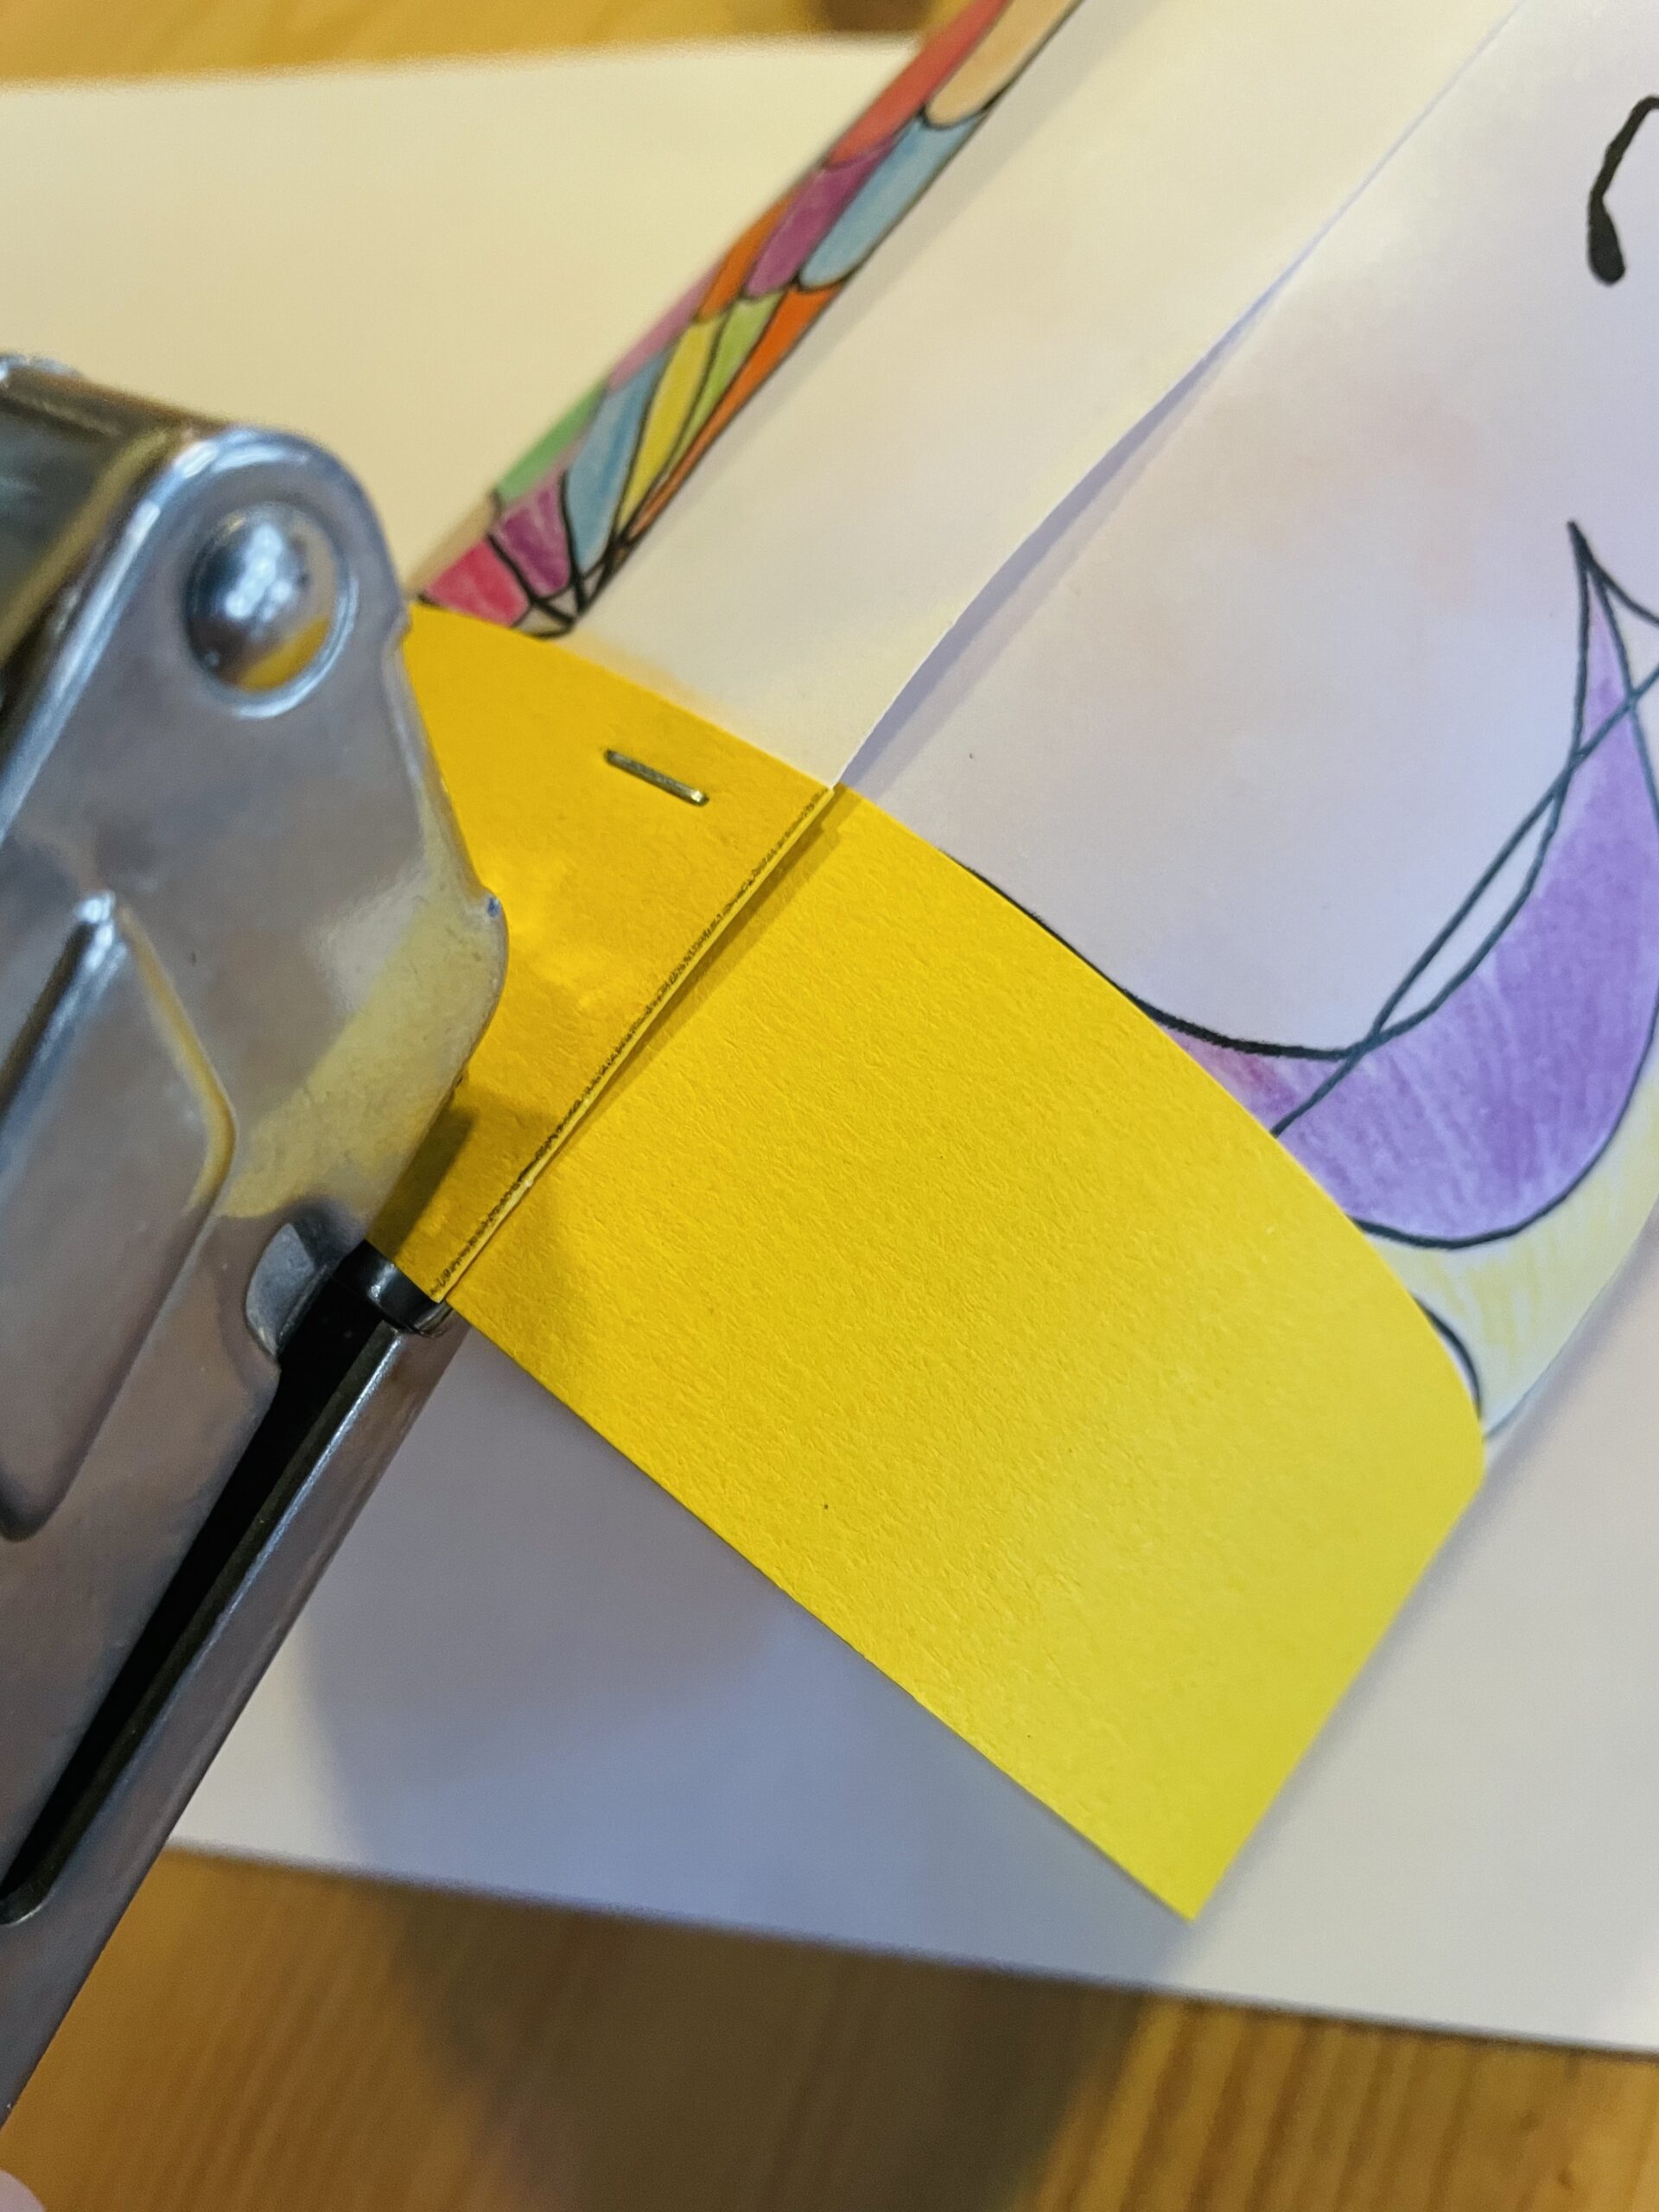
Then stick the strip to the front of the picture. Also stick the thicker strip to the opposite side.

After that, you stick glue along the narrow side of the paper. Roll the paper together as a roll and stick one side about 2-3 cm over the other.
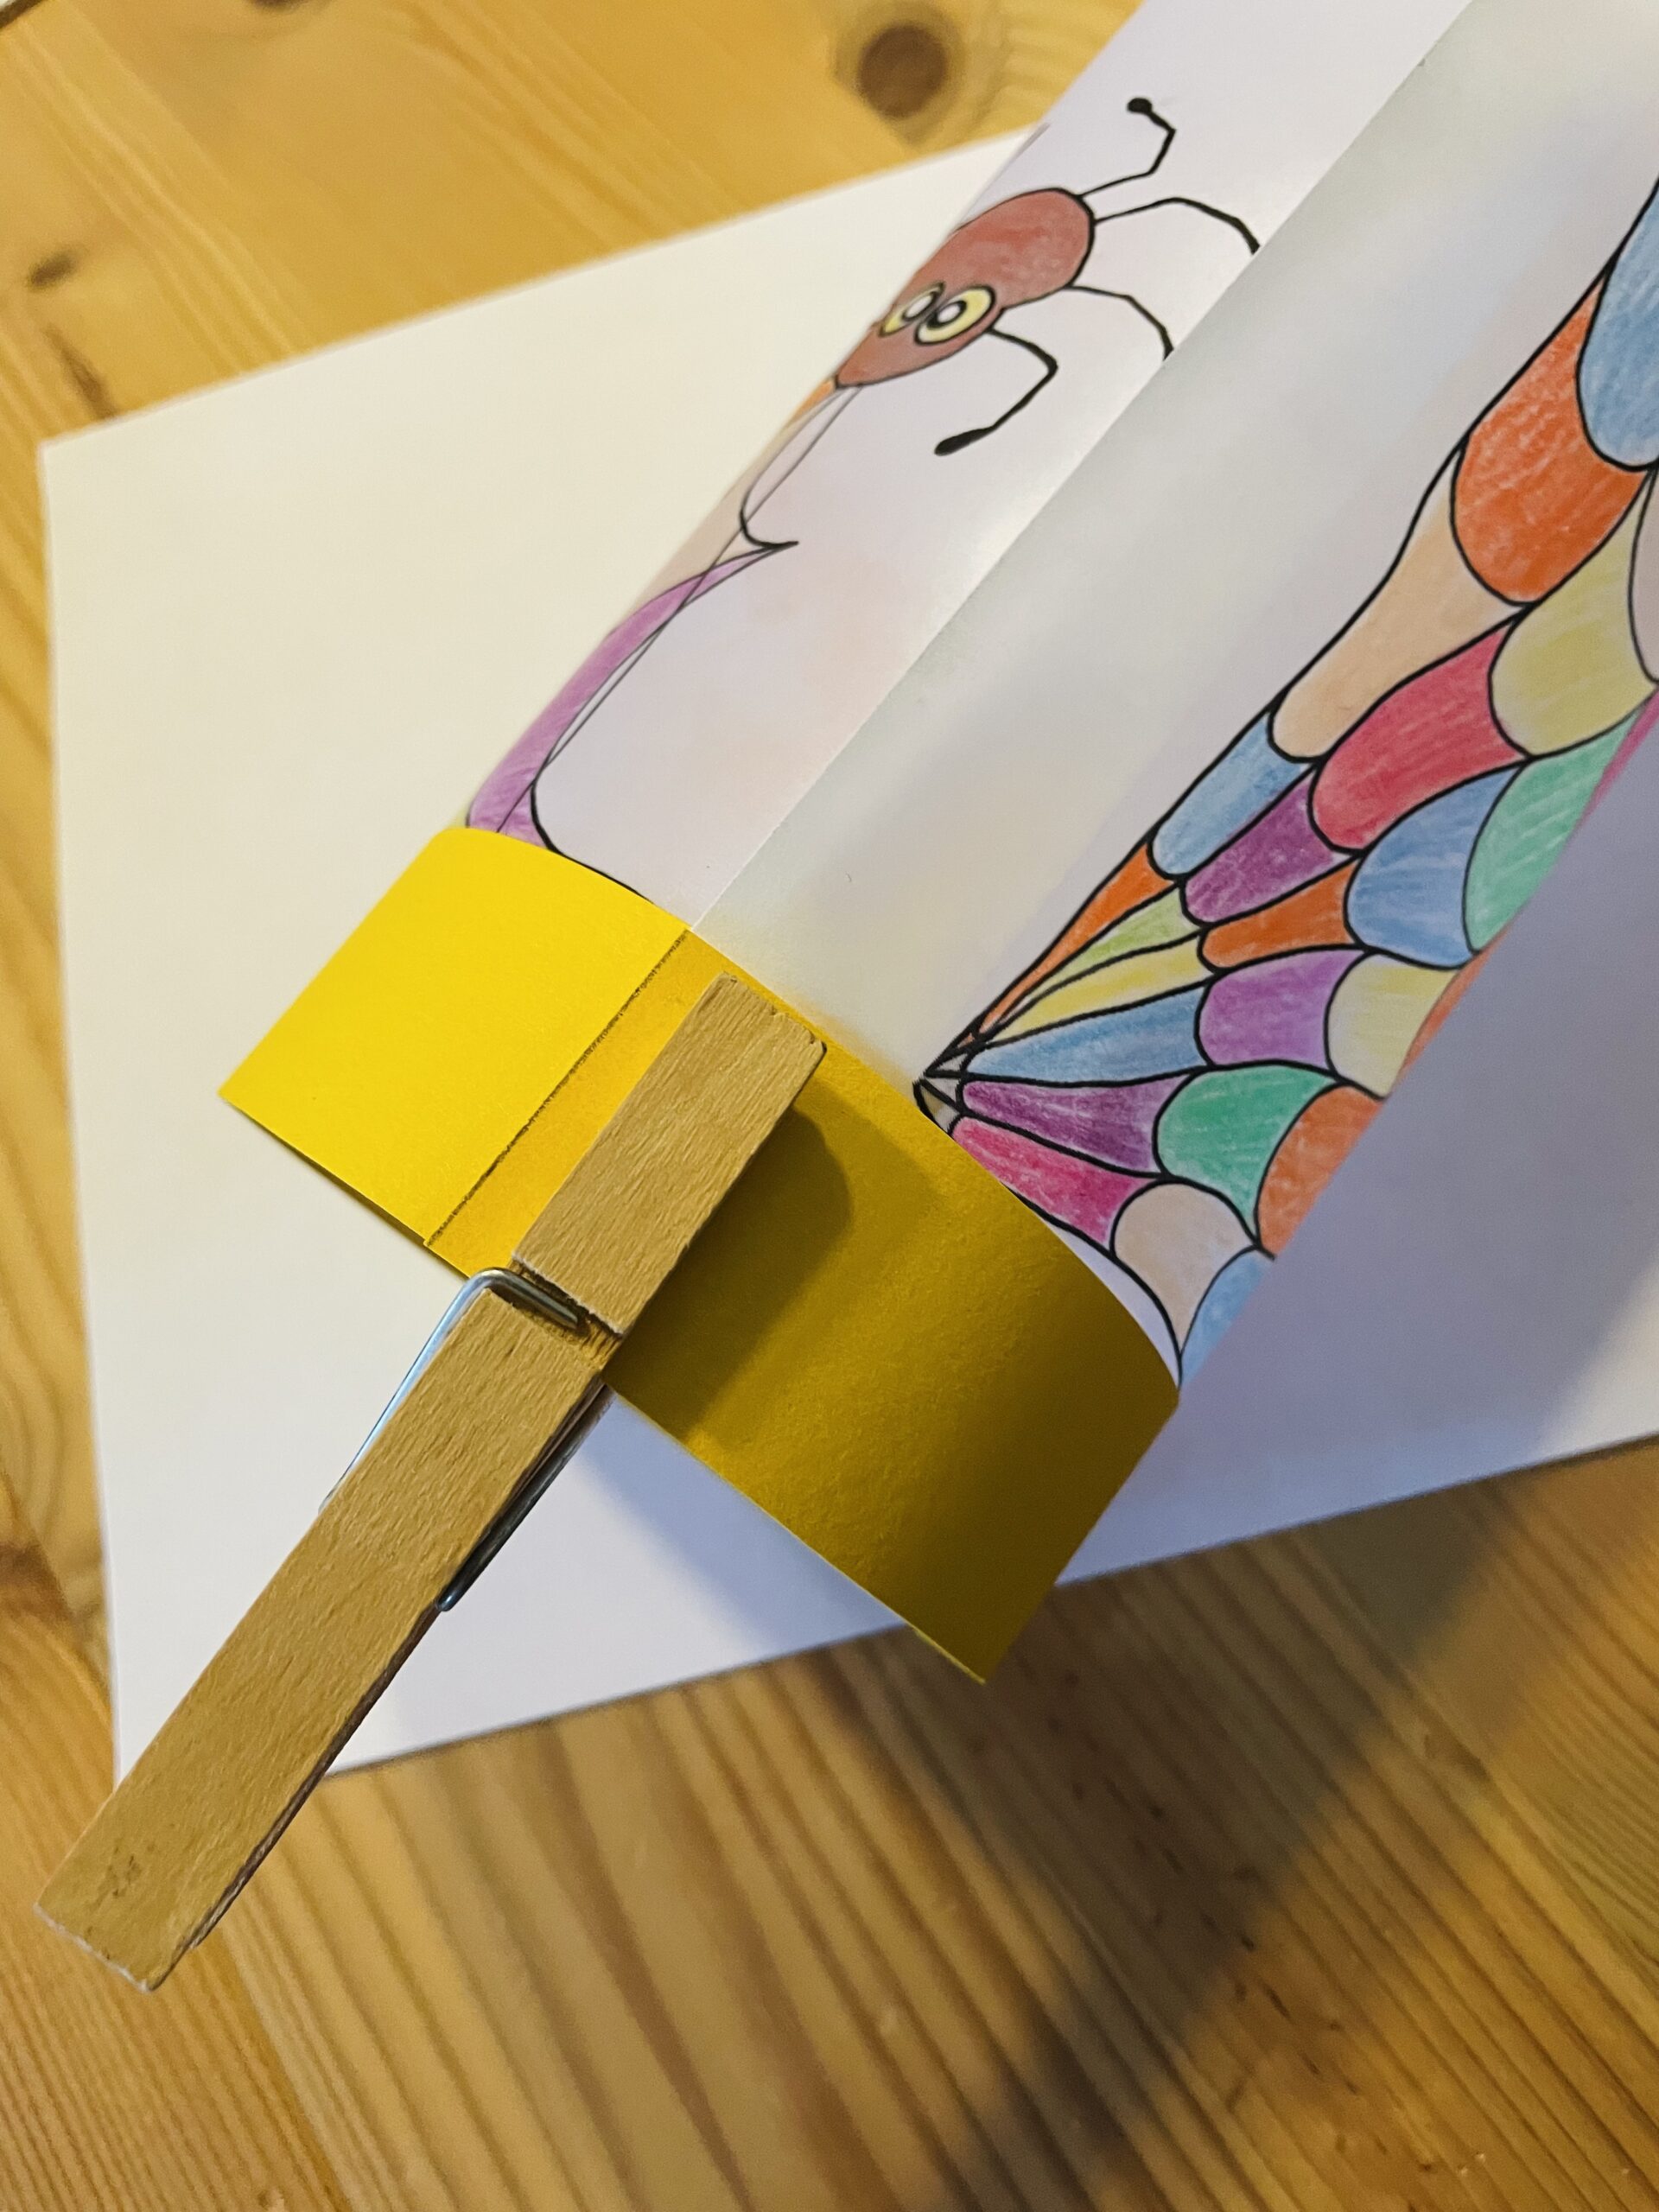
Fix the overlapping paper at the top and bottom with a clothes clip. Leave the clothes clip on the paper until the glue is dried.
Alternatively, you can stack the overlapping places together.
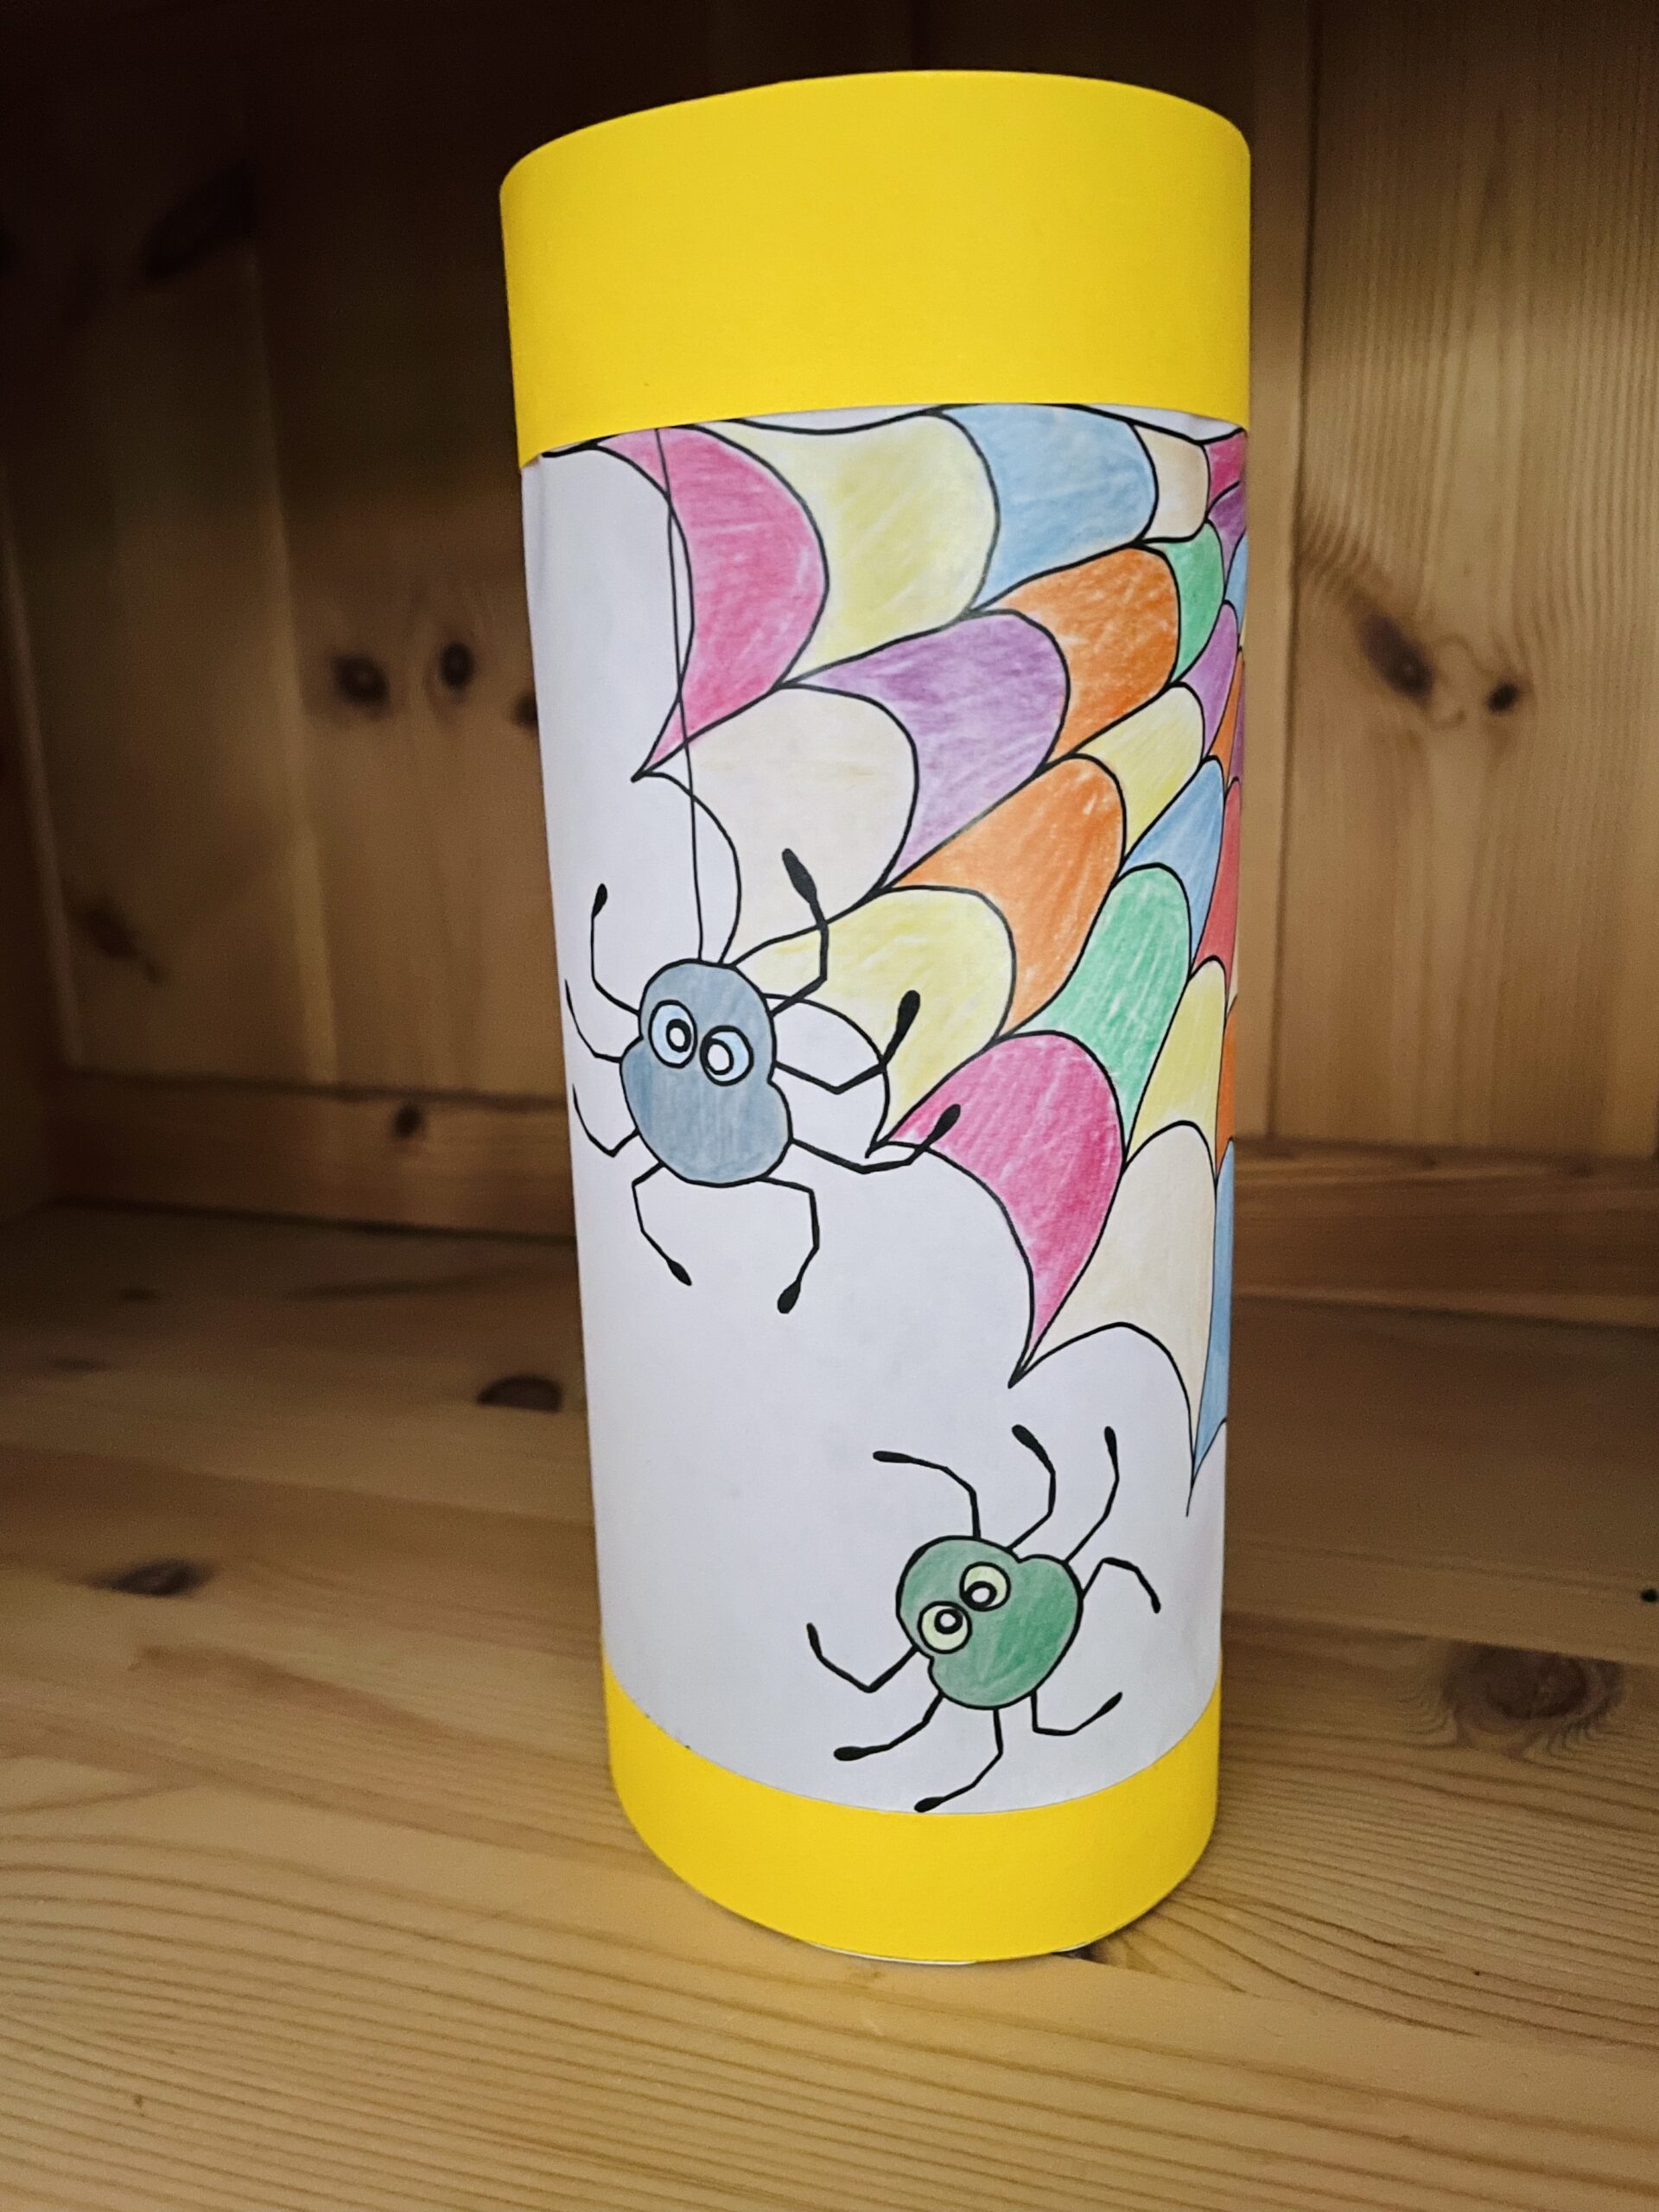
The lantern is ready.
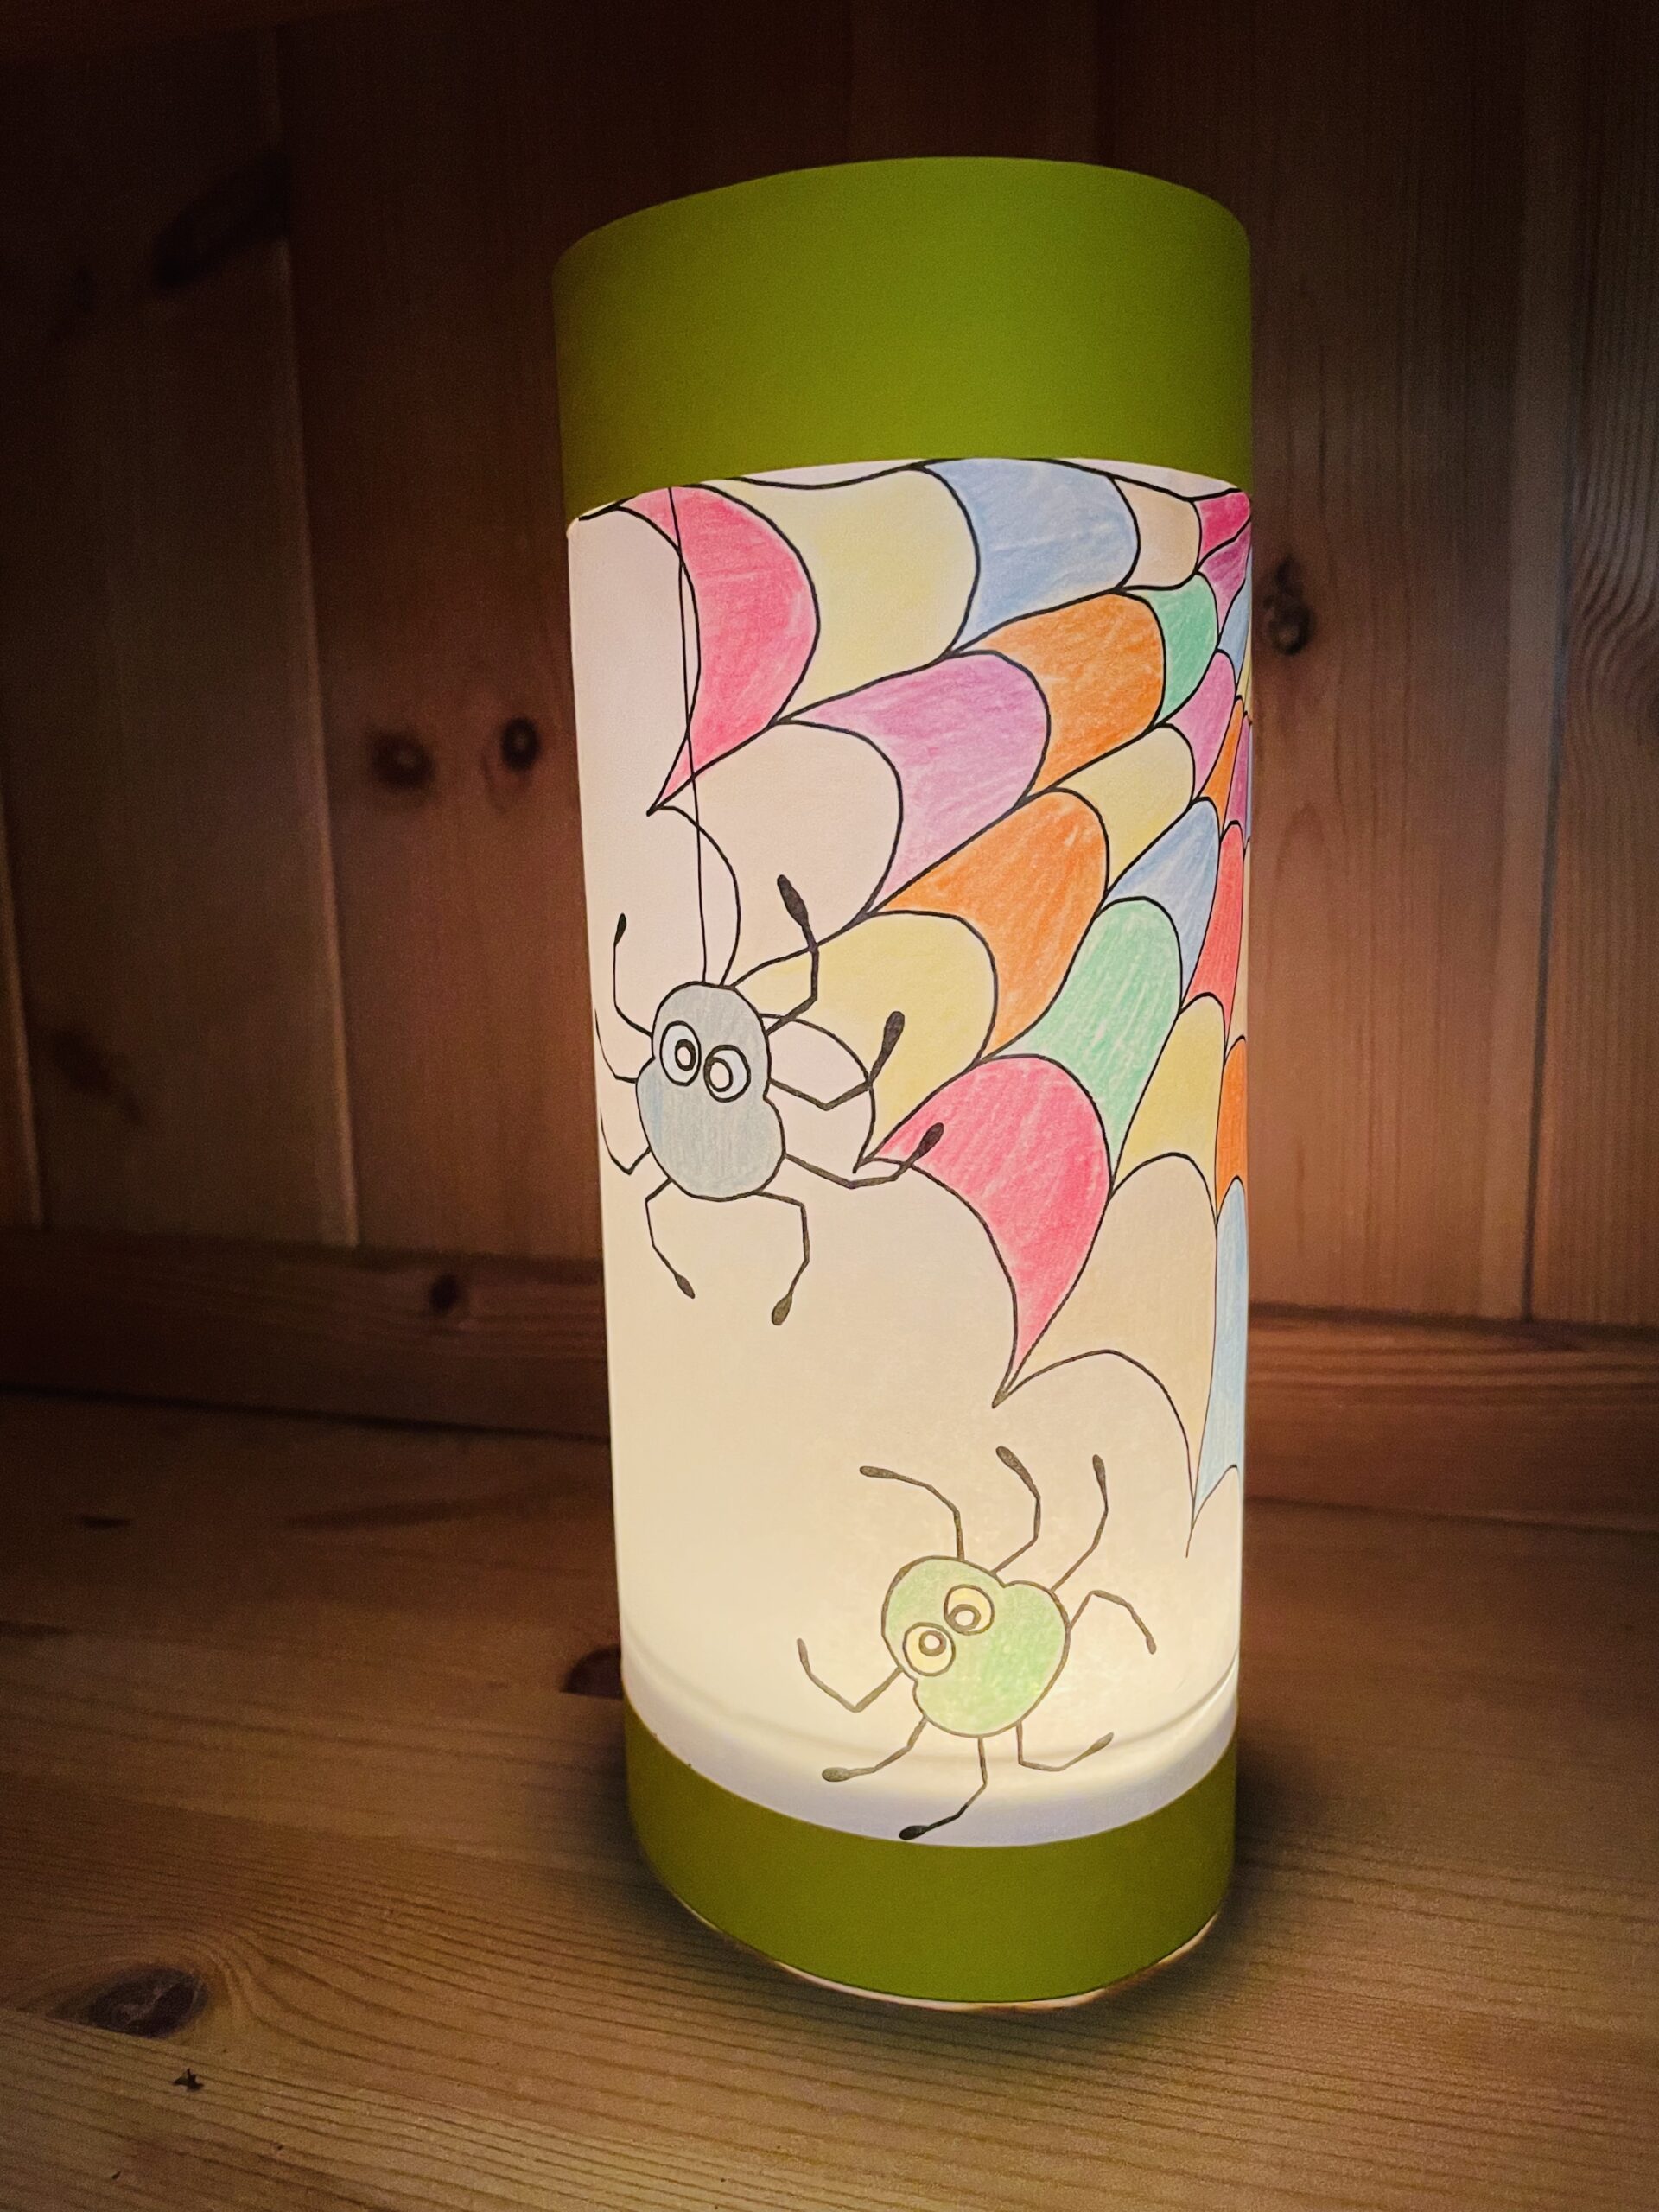
If you put a light in it, you can also use it as a table lamp.
Alternatively, you can make two holes with the perforator and draw a wire. With a lantern rod, it becomes a lantern for the lantern run.
You can design this lantern with many different motifs! Stay creative!
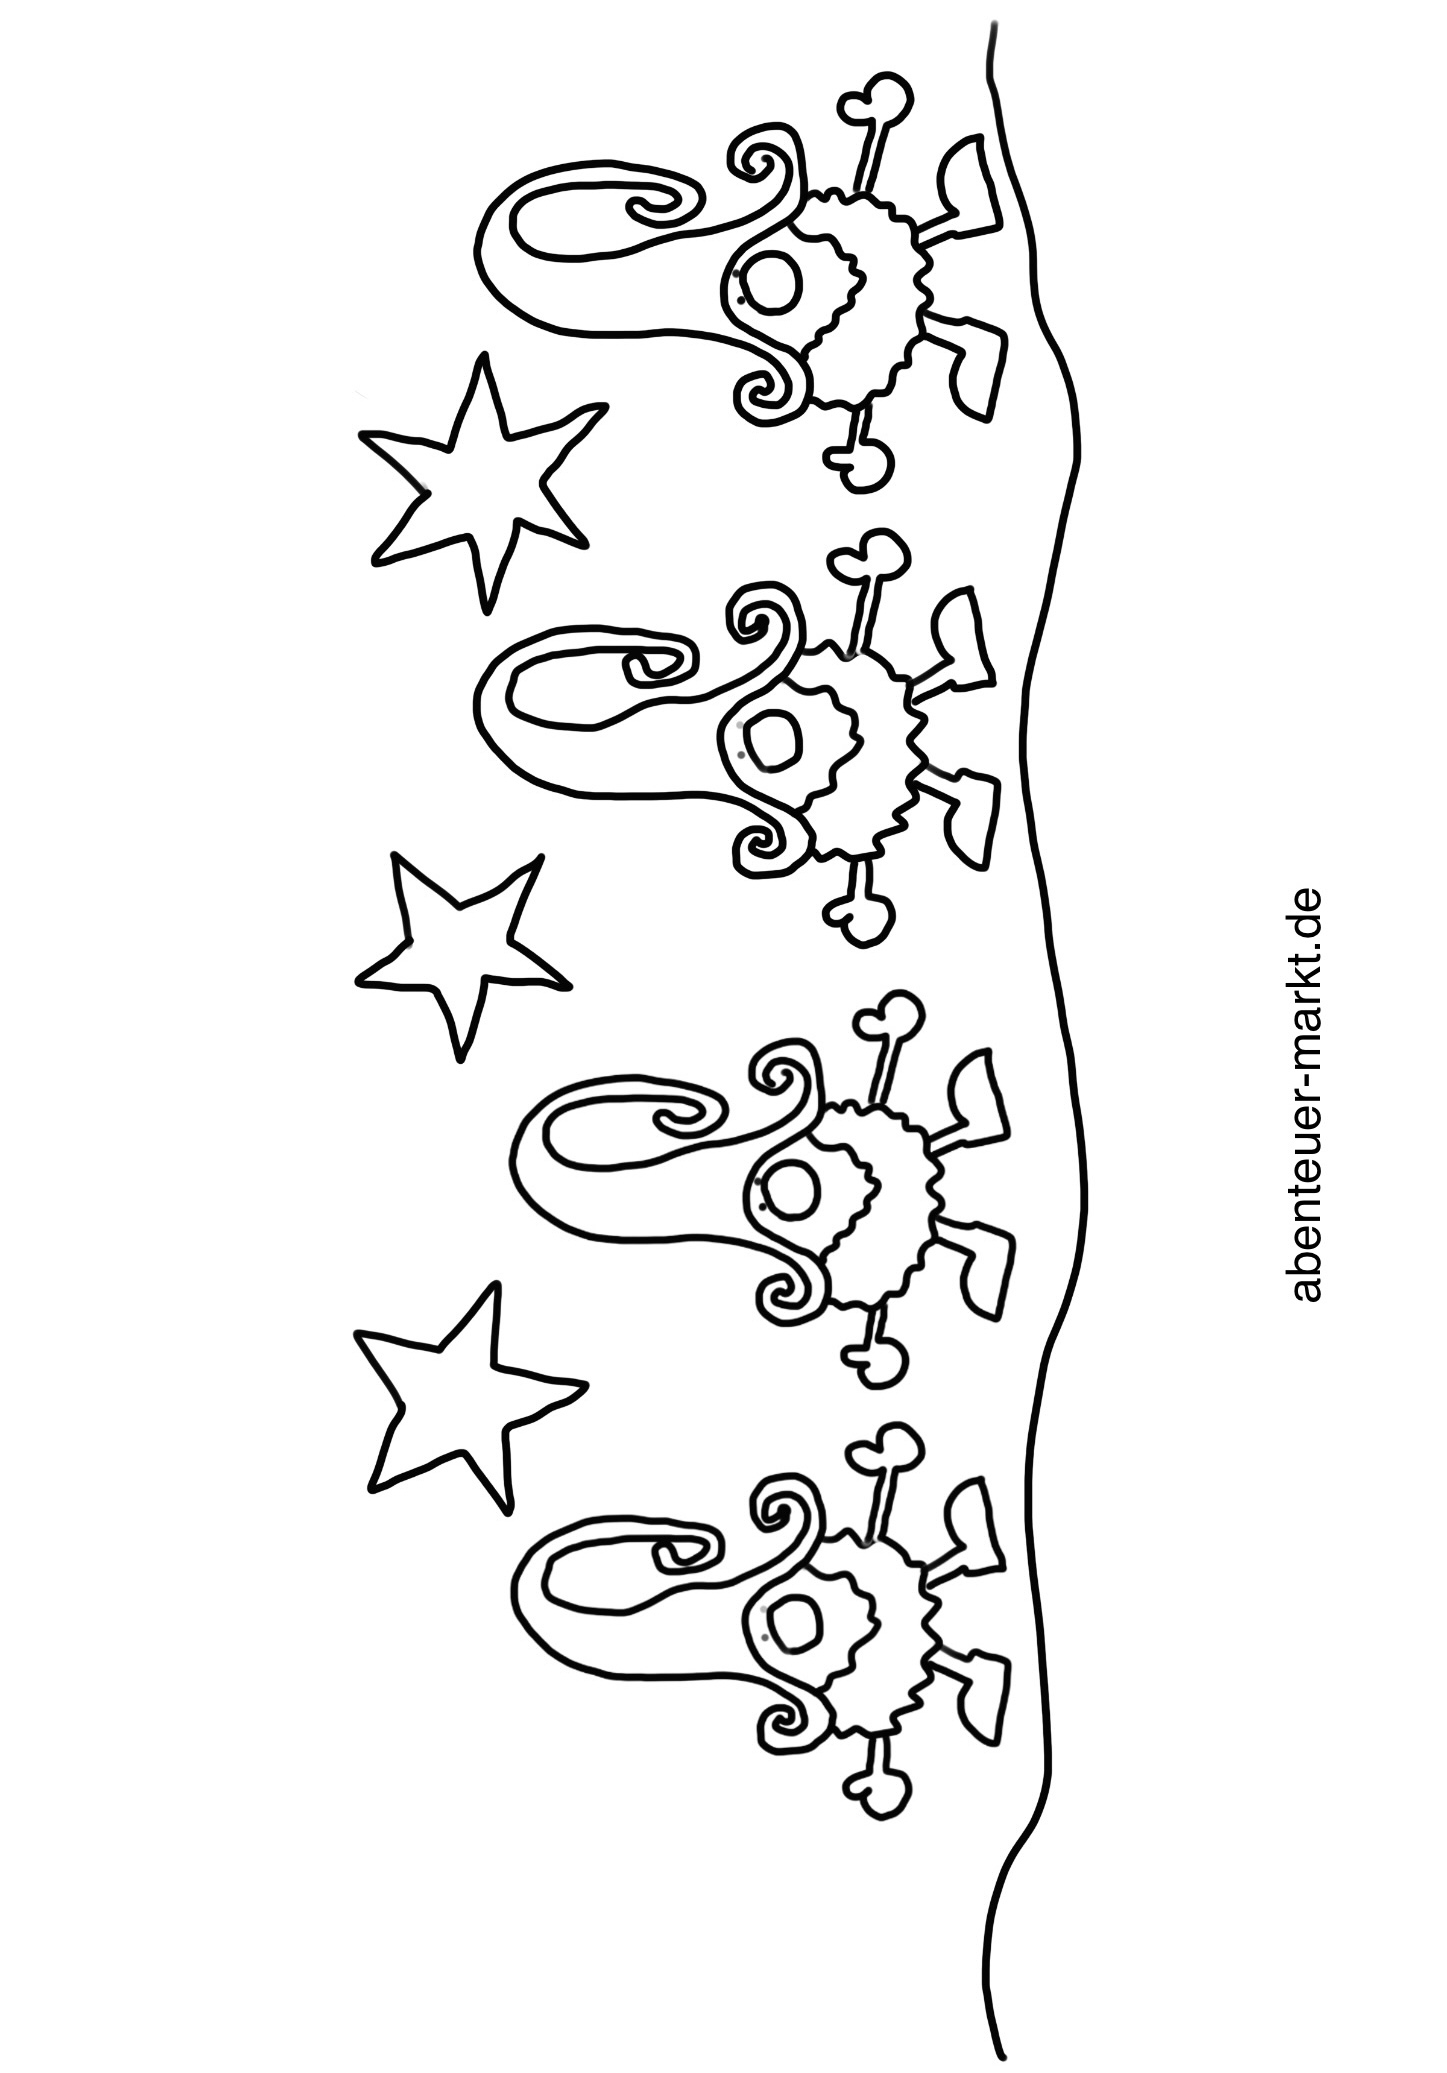
A template for wankers.
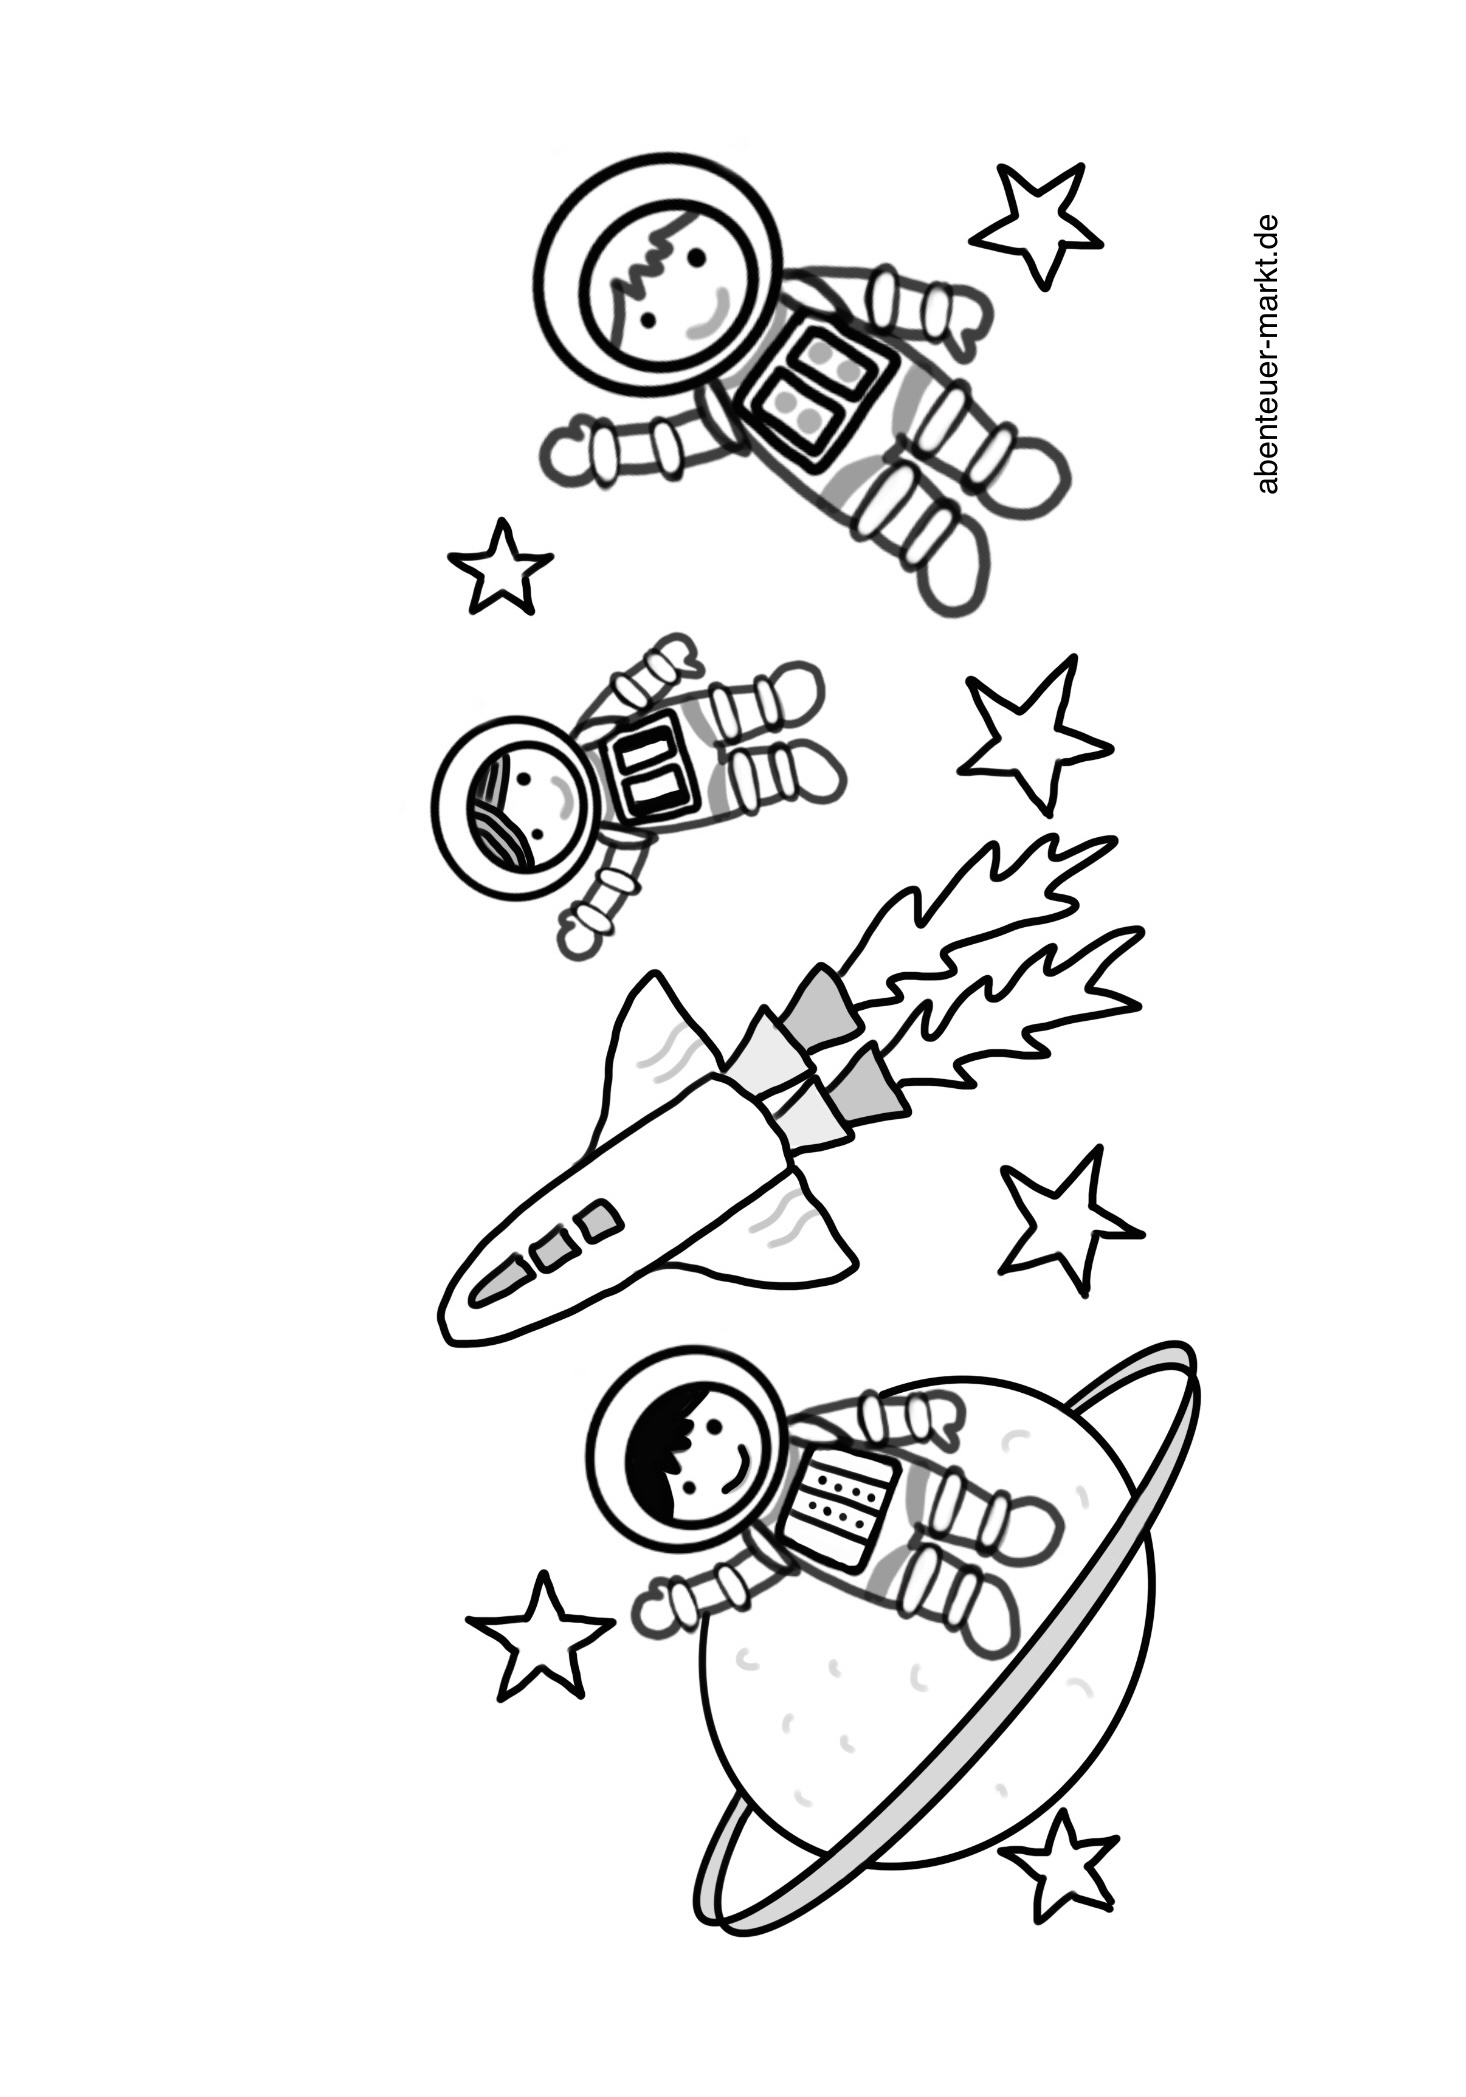
A template for small astronauts.
Materials
Directions
Choose a colouring image and print it out in DIN A4 format. Make sure you choose a motif in landscape format. You can choose this motif or one of the motifs attached below.
Then paint the motif with crayons.
Then put the sheet with the back up on an old newspaper. Cover the back of the picture with oil. Use a brush or a kitchen crepe. You only need very little oil. As soon as the paper is transparent, you wipe the excess oil with a kitchen crepe.
Rubs the back dry.
Now turn the paper back on the front. The colors shine. Now place the paper on a radiator for drying.
In the meantime you cut two strips from one piece of photo box or another thin cardboard. One strip should contain the dimensions 2cm x 30cm and the other the dimensions 3cm x 30cm.
Draw the stripes with a ruler.
Then cut the strips.
Now put the narrow strip at the bottom of your paper.
Then stick the strip to the front of the picture. Also stick the thicker strip to the opposite side.
After that, you stick glue along the narrow side of the paper. Roll the paper together as a roll and stick one side about 2-3 cm over the other.
Fix the overlapping paper at the top and bottom with a clothes clip. Leave the clothes clip on the paper until the glue is dried.
Alternatively, you can stack the overlapping places together.
The lantern is ready.
If you put a light in it, you can also use it as a table lamp.
Alternatively, you can make two holes with the perforator and draw a wire. With a lantern rod, it becomes a lantern for the lantern run.
You can design this lantern with many different motifs! Stay creative!
A template for wankers.
A template for small astronauts.
Follow us on Facebook , Instagram and Pinterest
Don't miss any more adventures: Our bottle mail