Pumpkin – lantern making – Upcycling lantern making

AdventurerKatzi
Rating5.03.3 Thousand times & (1) DifficultyAdvanced

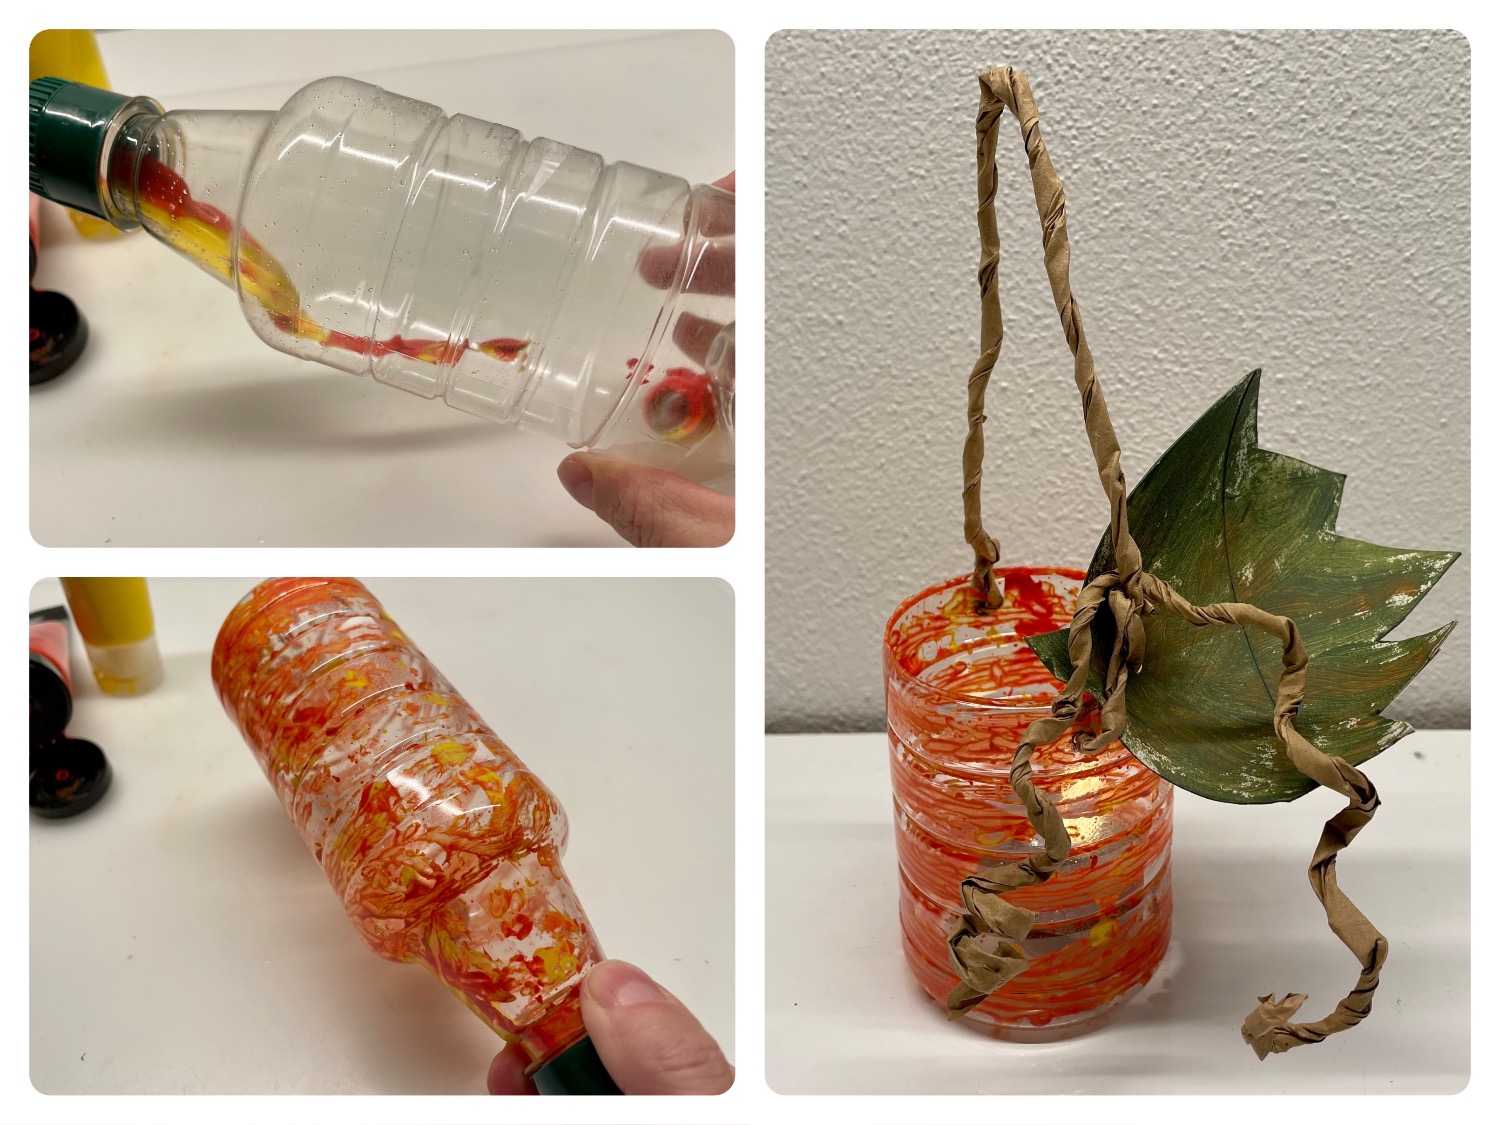
This small lantern is a beautiful decoration for the table or the window sill. It is suitable with a small light chain also for a lantern move for very small children. All you need for this is a plastic bottle, a carpet knife, some acrylic paint and a cord. Get going immediately. With the step-by-step instructions the lantern is easily crafted. Have fun!

Media Education for Kindergarten and Hort

Kind bastelt eine Rassel mit dem Navi
The Adventure Navi, the app for DIY projects, enables media education for the youngest.

Relief in everyday life, targeted promotion of individual children, independent learning and - without any pre-knowledge already usable by the youngest!


Titelbild zur Bastel- und DIY-Idee für Kinder '(676) Kürbis – Laterne basteln – Upcycling Laterne basteln'
Material for1 Child
Prep Time10 min.Adv. Time30 min.Total Time40 min.
 1 Plastic bottle
 1 Small marble
 Acrylic paintYellow and red
 1 Cutter knife Carpet knife
 1 Hole pliers
 1 Paper wire cordor thick craft wire, pipe cleaners
 1 Builder's pad
For the pumpkin leaf:
 1 Rolled paper
 1 Pencil
 1 Handicraft shears
 1 Brushes
 Acrylic paint greenor water color green
1

First, prepare the empty dry bottle with lid, acrylic paint and a small marble.
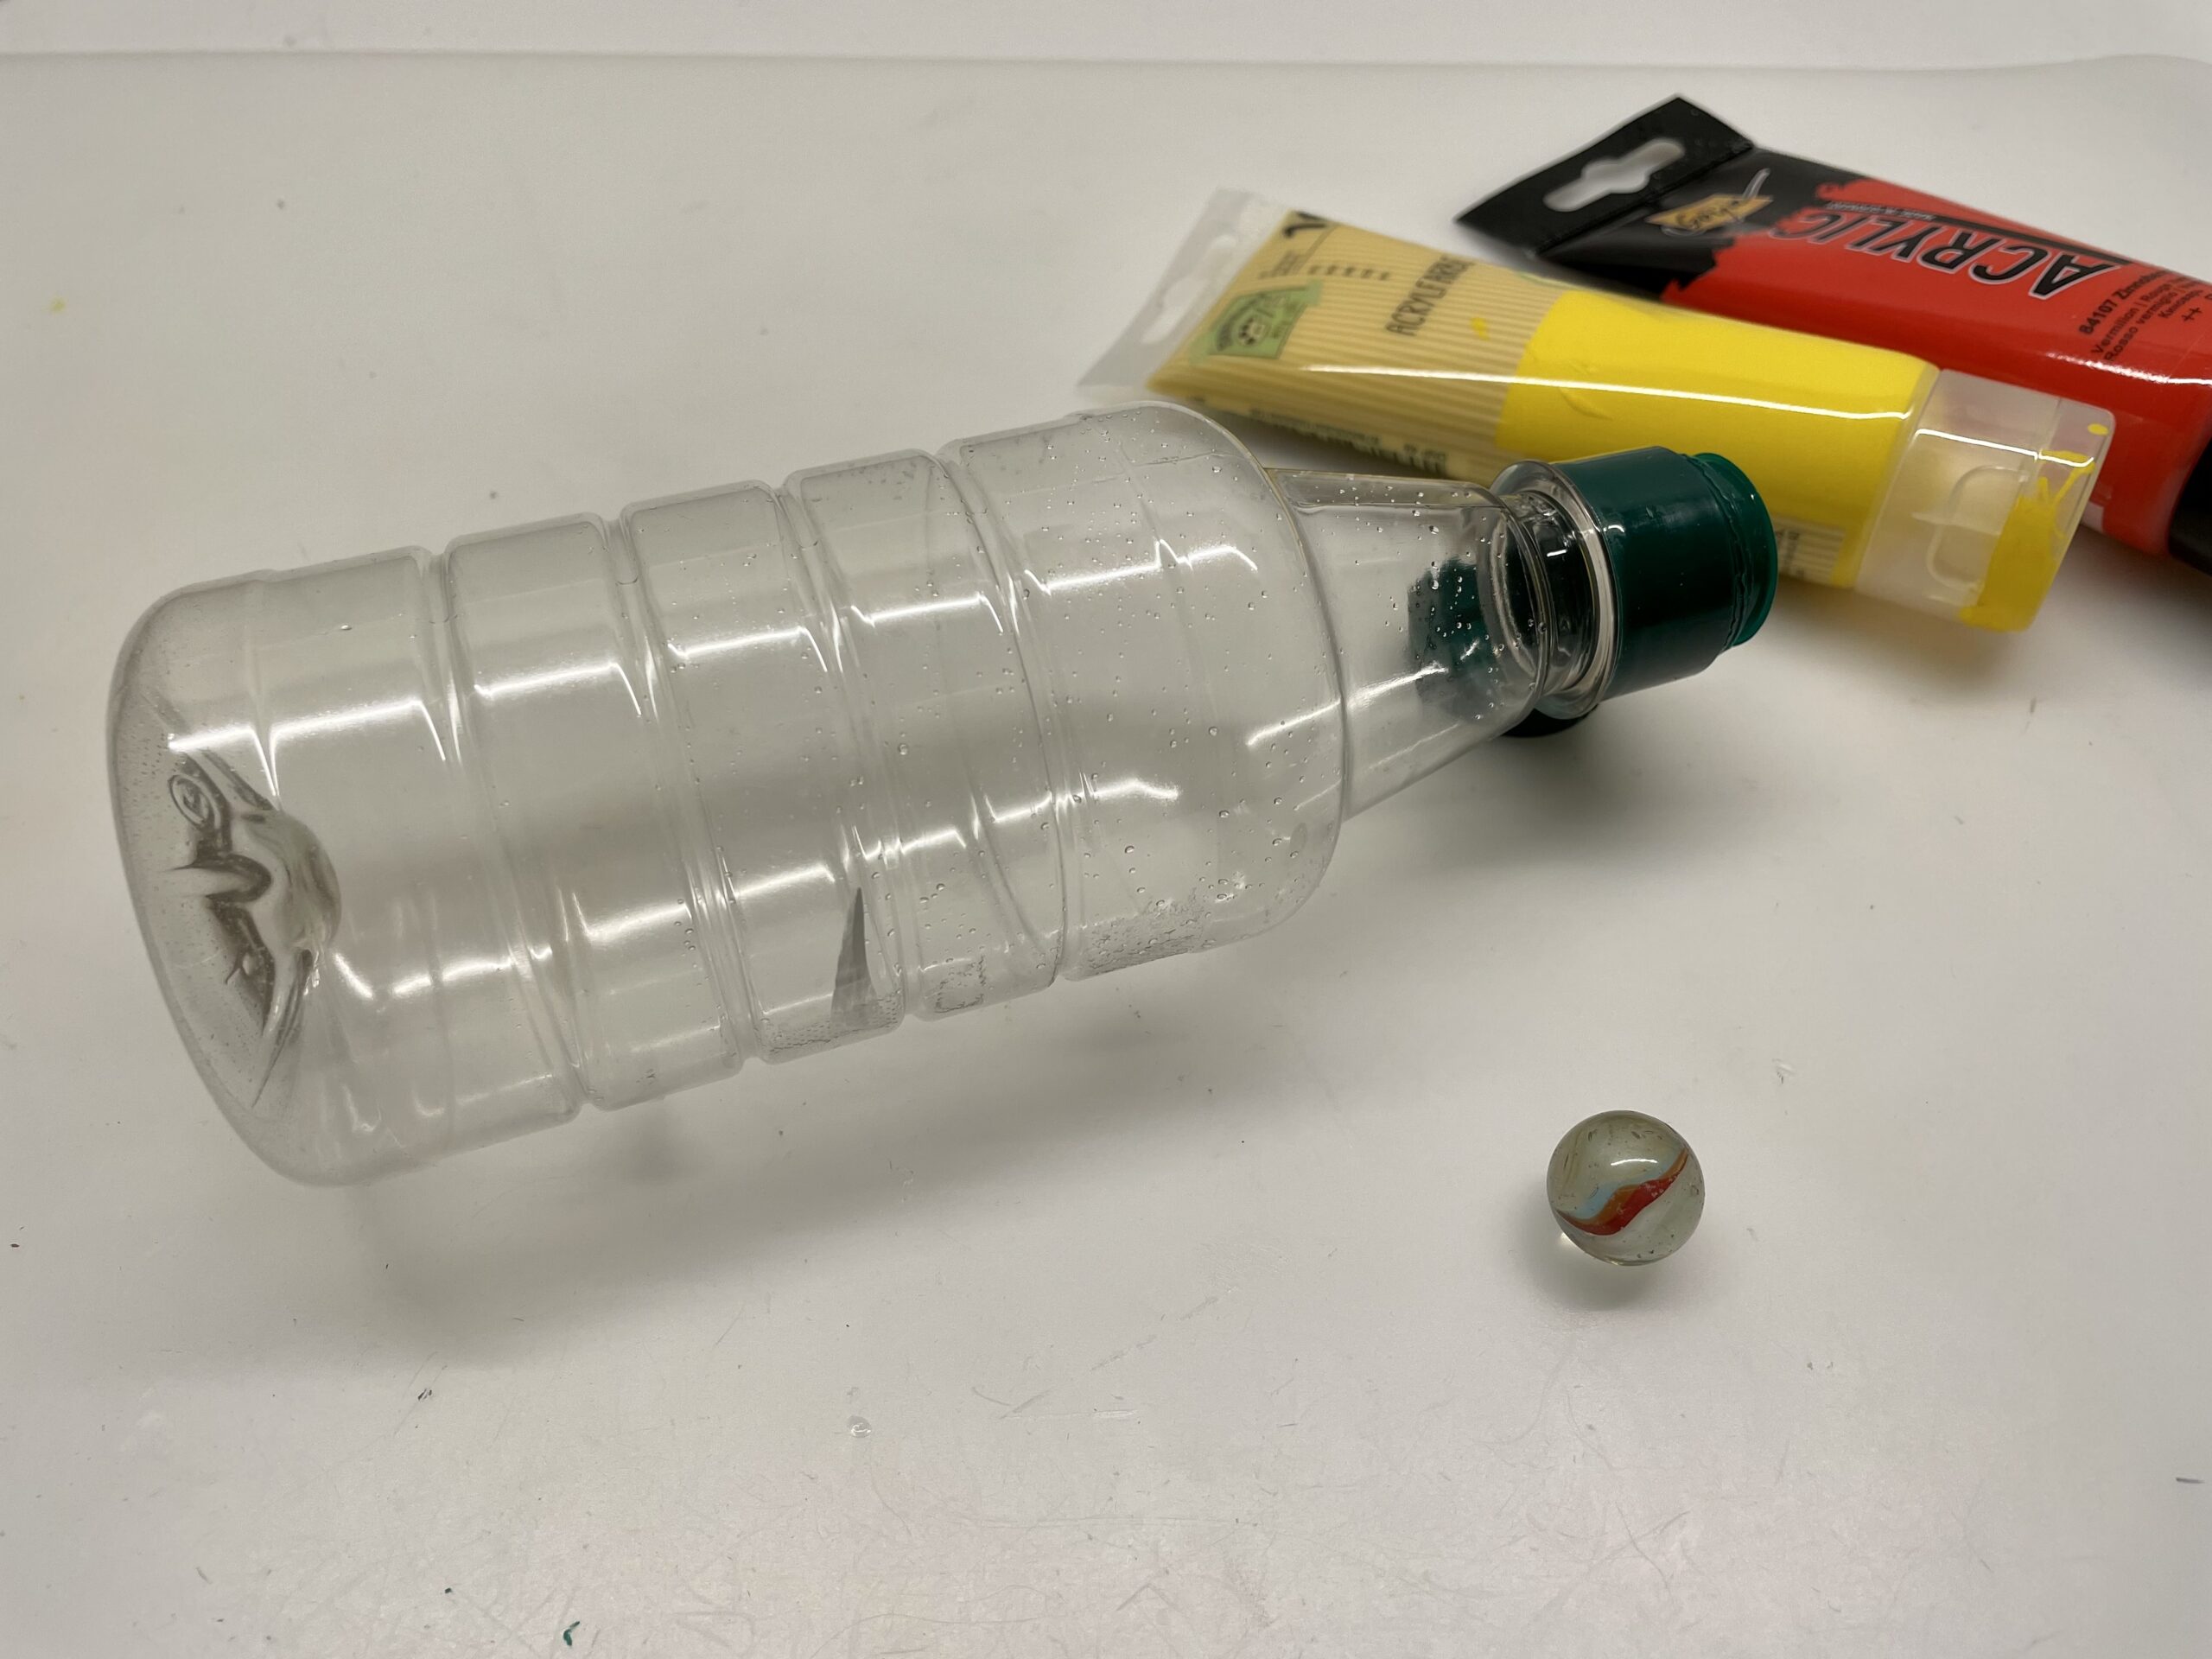
Bild zum Schritt 1 für das Bastel- und DIY-Abenteuer für Kinder: 'Legt euch zuerst die leere trockene Flasche mit Deckel bereit,...'

2

Then open the empty bottle and put the marble in the bottle.
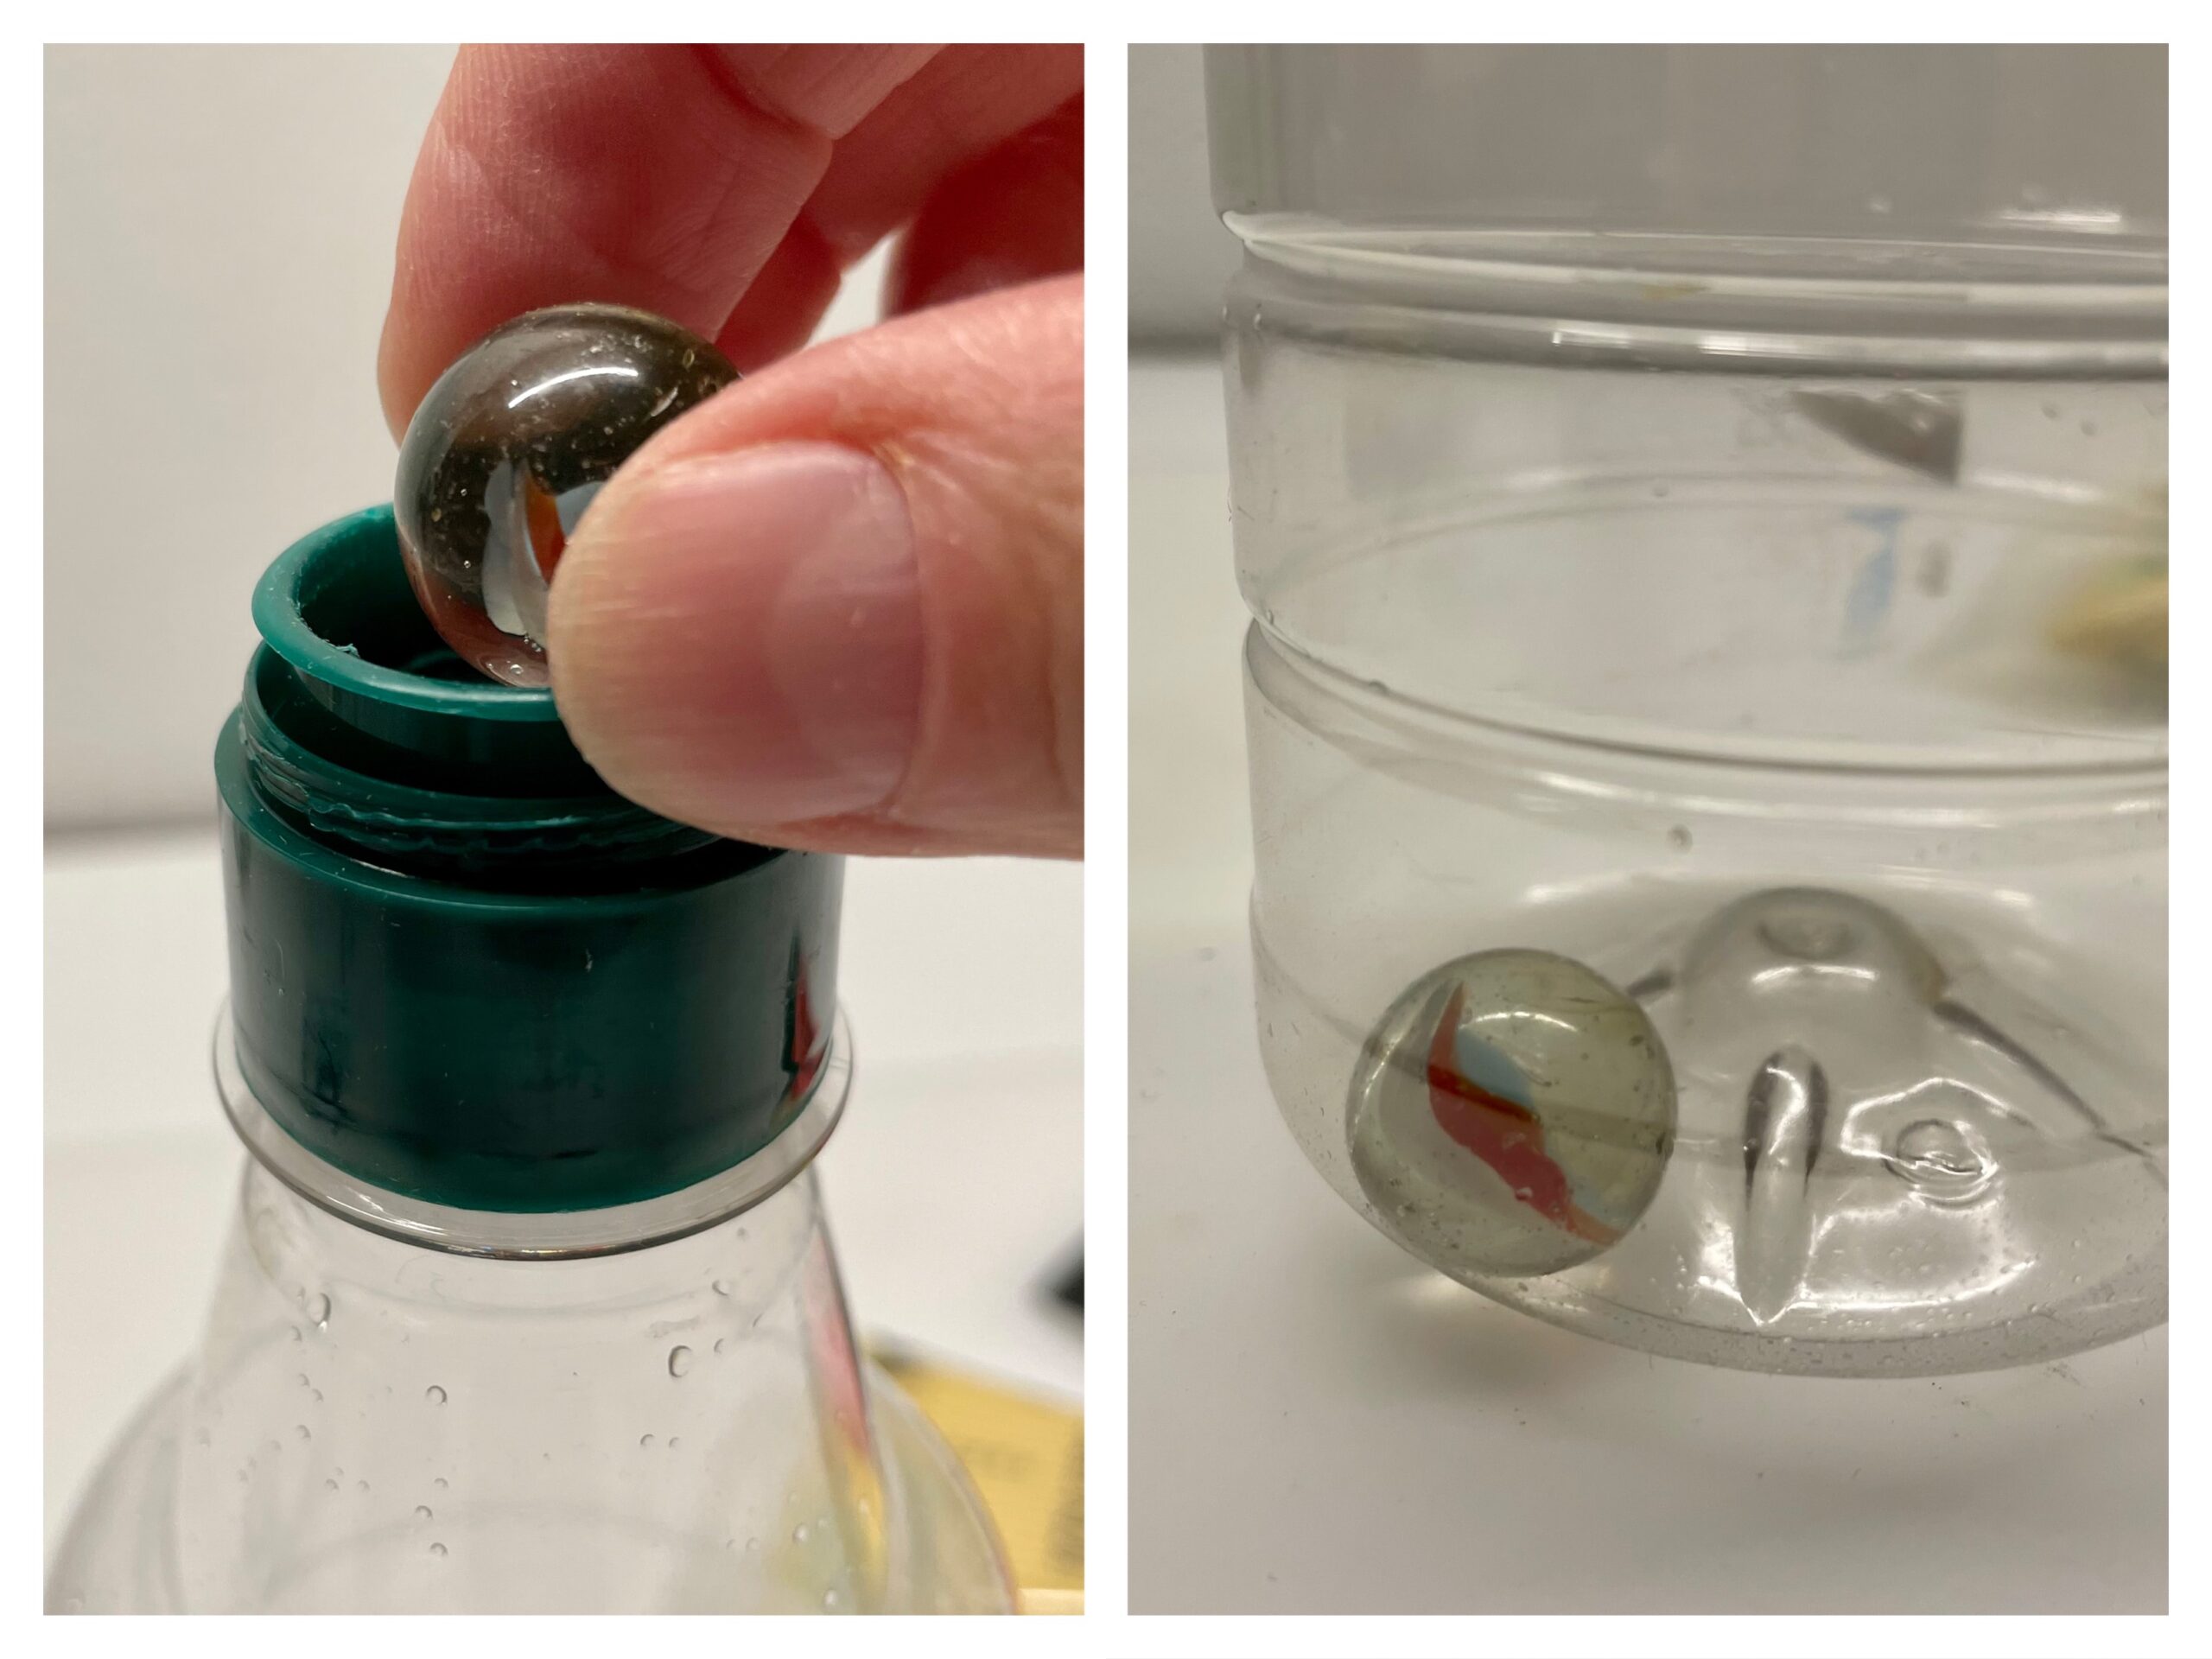
Bild zum Schritt 2 für das Bastel- und DIY-Abenteuer für Kinder: 'Dann öffnet ihr die leere Flasche und steckt die Murmel...'

3

Now fill a stain of yellow acrylic paint in the bottle. Make sure that it remains at the top of the bottle and does not drip onto the bottom of the bottle.

Bild zum Schritt 3 für das Bastel- und DIY-Abenteuer für Kinder: 'Füllt nun einen Klecks gelbe Acrylfarbe in die Flasche. Achtet...'

4

Then you fill a small chunk of red color with it.

Bild zum Schritt 4 für das Bastel- und DIY-Abenteuer für Kinder: 'Danach füllt ihr einen kleineren Klecks rote Farbe dazu.'

5

Now turn the lid firmly onto the bottle.

Bild zum Schritt 5 für das Bastel- und DIY-Abenteuer für Kinder: 'Jetzt dreht ihr den Deckel fest auf die Flasche.'

6

Then you shake the bottle. The marble distributes the paint.

Bild zum Schritt 6 für das Bastel- und DIY-Abenteuer für Kinder: 'Dann schüttelt ihr die Flasche. Die Murmel verteilt die Farbe.'

7

Try out different possibilities of movement until the bottle receives the desired colour mix.

Bild zum Schritt 7 für das Bastel- und DIY-Abenteuer für Kinder: 'Probiert verschiedene Bewegungsmöglichkeiten aus bis die Flasche den gewünschten Farbmix...'

8

That's what the bottle might look like.

Bild zum Schritt 8 für das Bastel- und DIY-Abenteuer für Kinder: 'So könnte die Flasche dann aussehen.'

9

Let an adult help you with this step!
Open the bottle and carefully roll the marble onto a handkerchief or cloth. It is completely covered with paint. Make sure that the paint does not touch anything and wash the marble immediately with water.

Bild zum Schritt 9 für das Bastel- und DIY-Abenteuer für Kinder: 'Lasst euch bei diesem Schritt eventuell von einem Erwachsenen helfen!...'

10

Now put the opened bottle to dry.

Bild zum Schritt 10 für das Bastel- und DIY-Abenteuer für Kinder: 'Jetzt stellt ihr die geöffnete Flasche zum Trocknen.'

This is how a pumpkin lantern becomes:
11

As soon as the paint is dried, cut off the bottle neck with a cutter knife. To do this, place the bottle on a base. Attention: the bottle can roll away - risk of injury! Let an adult help you.

Bild zum Schritt 12 für das Bastel- und DIY-Abenteuer für Kinder: 'Sobald die Farbe getrocknet ist schneidet ihr den Flaschenhals mit...'

12

Make sure that no sharp edges stand at the edge.

Bild zum Schritt 13 für das Bastel- und DIY-Abenteuer für Kinder: 'Achte darauf, dass keine scharfen Kanten am Rand abstehen.'

13

For the suspension you hole two holes in the bottle at the upper edge. These lie exactly opposite each other.

Bild zum Schritt 14 für das Bastel- und DIY-Abenteuer für Kinder: 'Für die Aufhängung locht ihr am oberen Rand zwei Löcher...'

14

Through the holes you now insert a paper cord with wire from the outside to the inside and twist the end of the wire.

Bild zum Schritt 15 für das Bastel- und DIY-Abenteuer für Kinder: 'Durch die Löcher steckt ihr nun von außen nach innen...'

15

Inserts the paper cord with wire also on the other side from the outside to the inside and twists the end of the wire here as well.

Bild zum Schritt 16 für das Bastel- und DIY-Abenteuer für Kinder: 'Steckt die Papierschnur mit Draht auch auf der anderen Seite...'

16

You can wear the lantern on this handle or attach a lantern stick to it.

Bild zum Schritt 17 für das Bastel- und DIY-Abenteuer für Kinder: 'An diesen Henkel könnt ihr die Laterne tragen oder daran...'

Pumpkin - tinkering leaf:
17

First you paint a large sheet on a cardboard roll.

Bild zum Schritt 19 für das Bastel- und DIY-Abenteuer für Kinder: 'Dafür malt ihr zuerst auf eine Papprolle ein großes Blatt.'

18

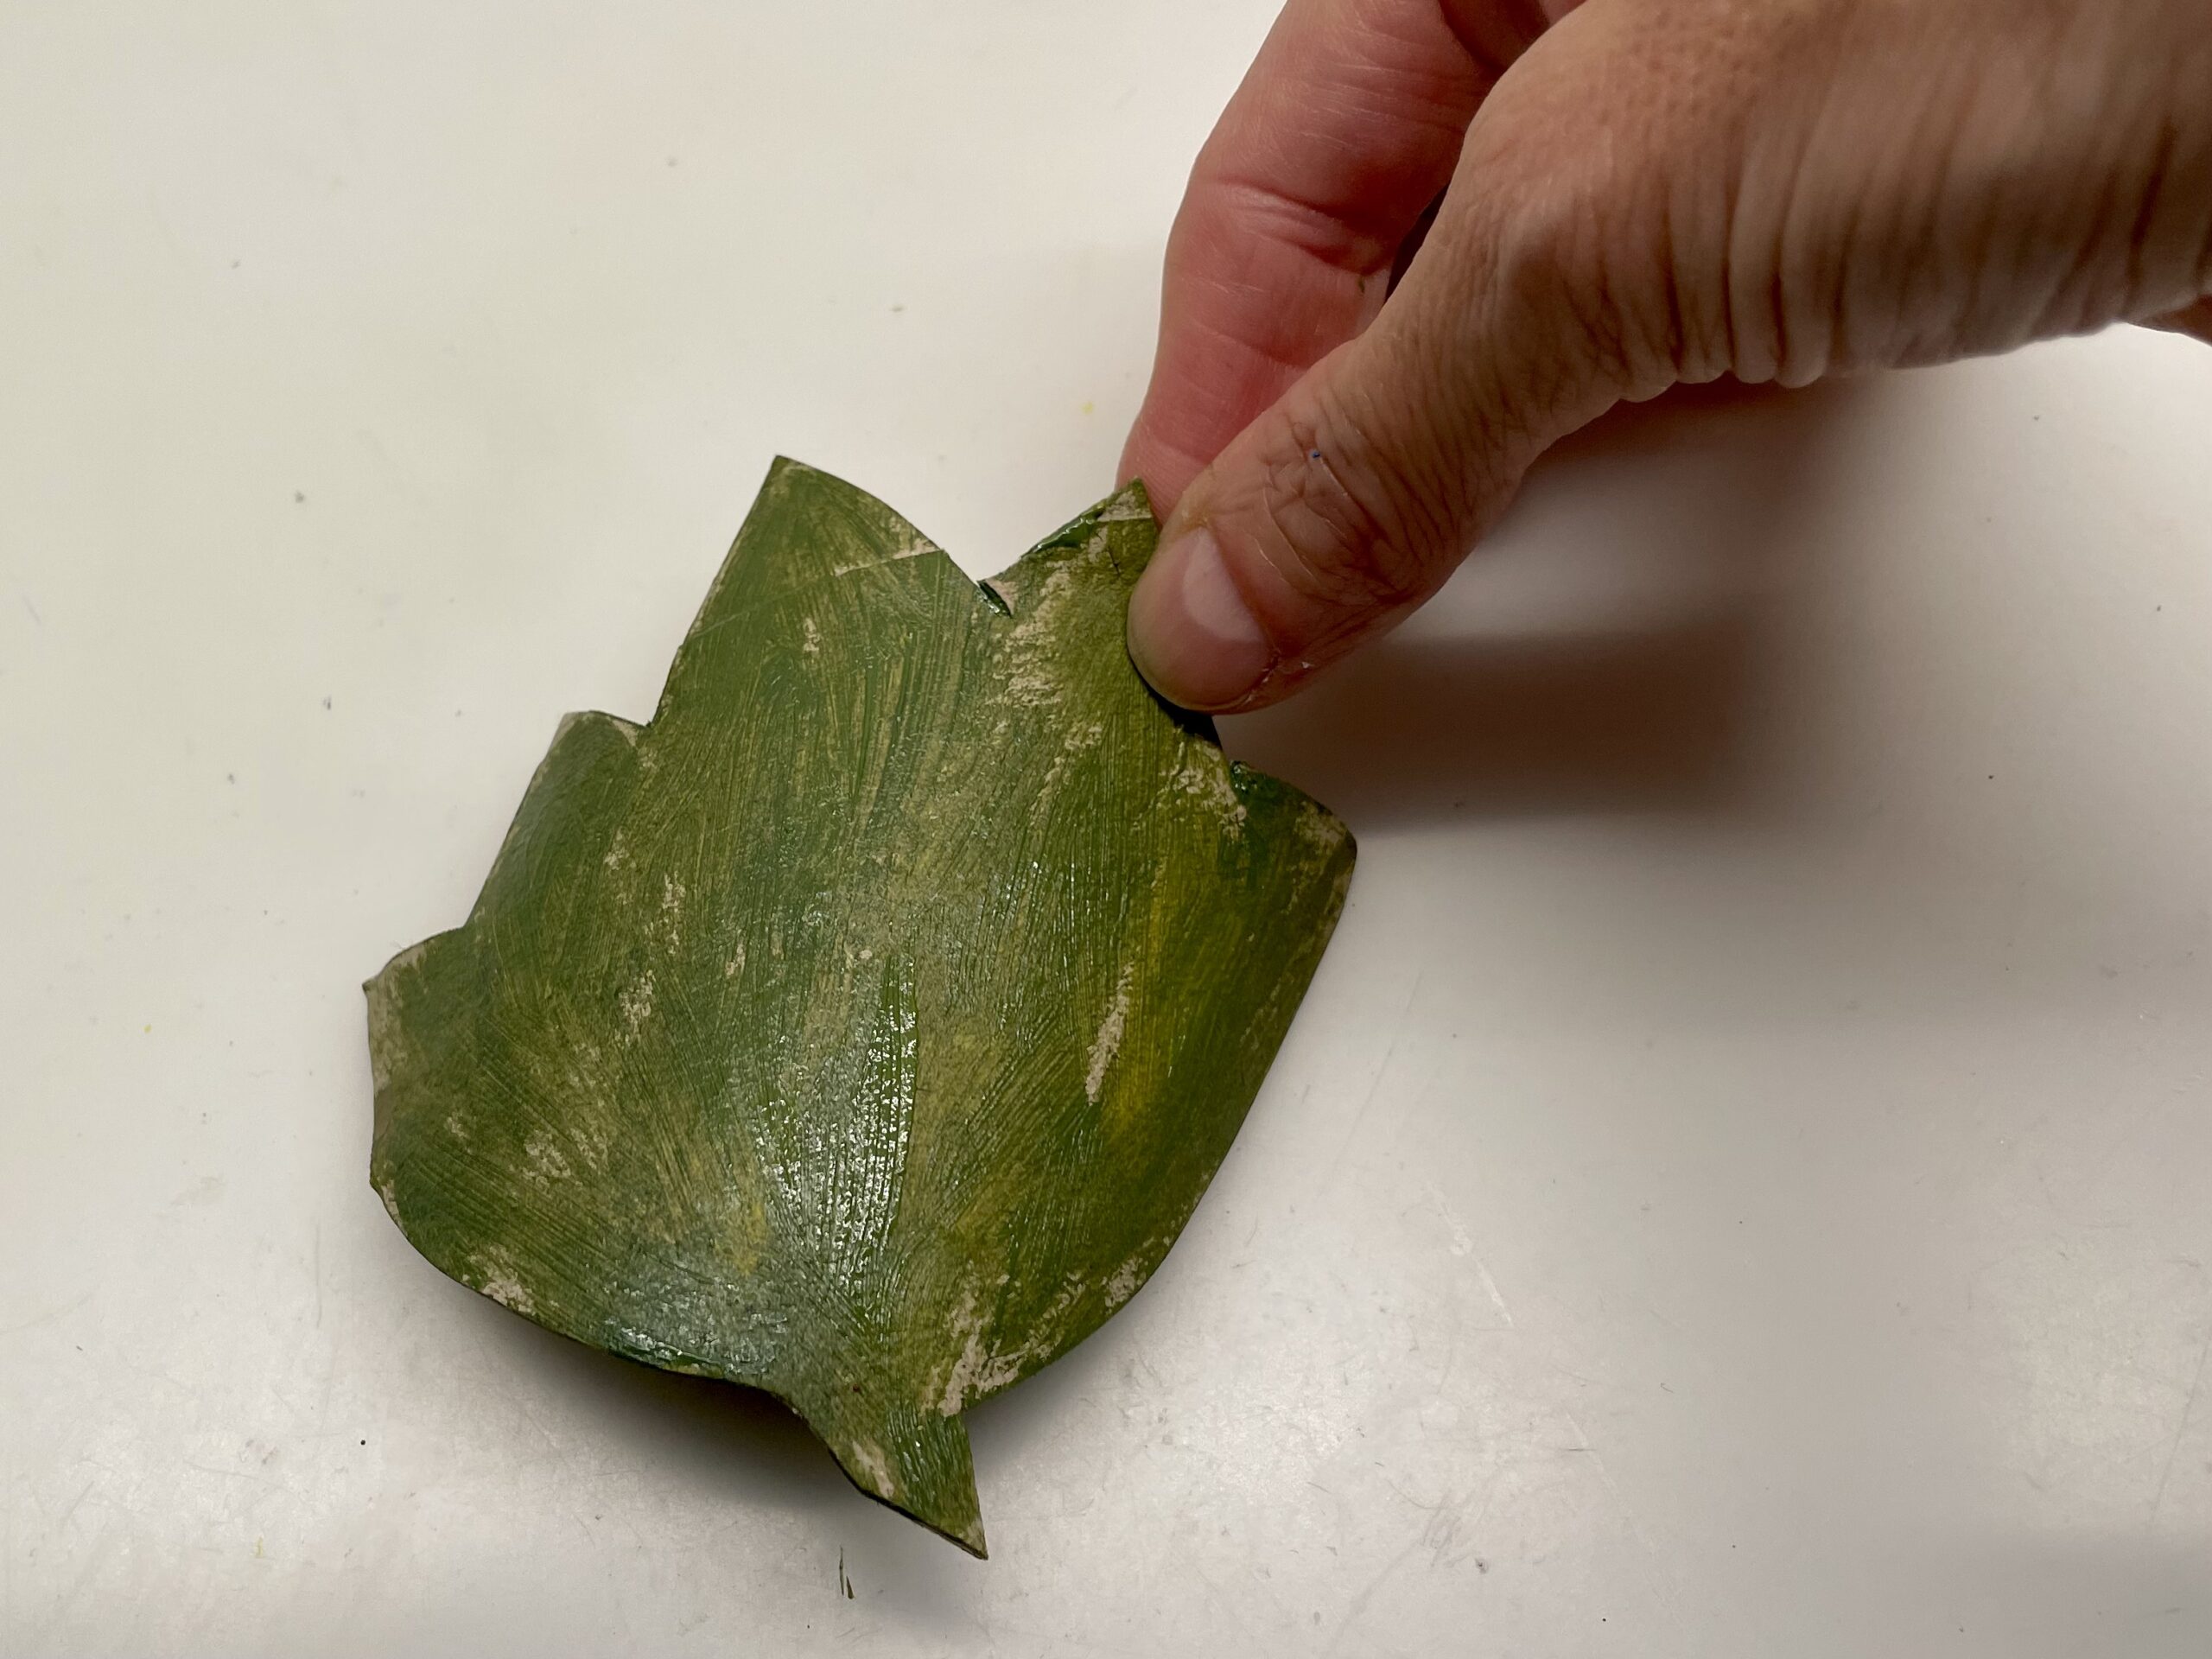
Then you cut out the recorded sheet. The sheet does not lie flat, but it can be pressed well flat.

Bild zum Schritt 20 für das Bastel- und DIY-Abenteuer für Kinder: 'Dann schneidet ihr das aufgezeichnete Blatt aus. Das Blatt bleibt...'

19

Now paint the leaf with green water color.

Bild zum Schritt 21 für das Bastel- und DIY-Abenteuer für Kinder: 'Bemalt das Blatt nun mit grüner Wasserfarbe.'

20

Then put the leaf to dry.

Bild zum Schritt 22 für das Bastel- und DIY-Abenteuer für Kinder: 'Danach legt ihr das Blatt zum Trocknen.'

21

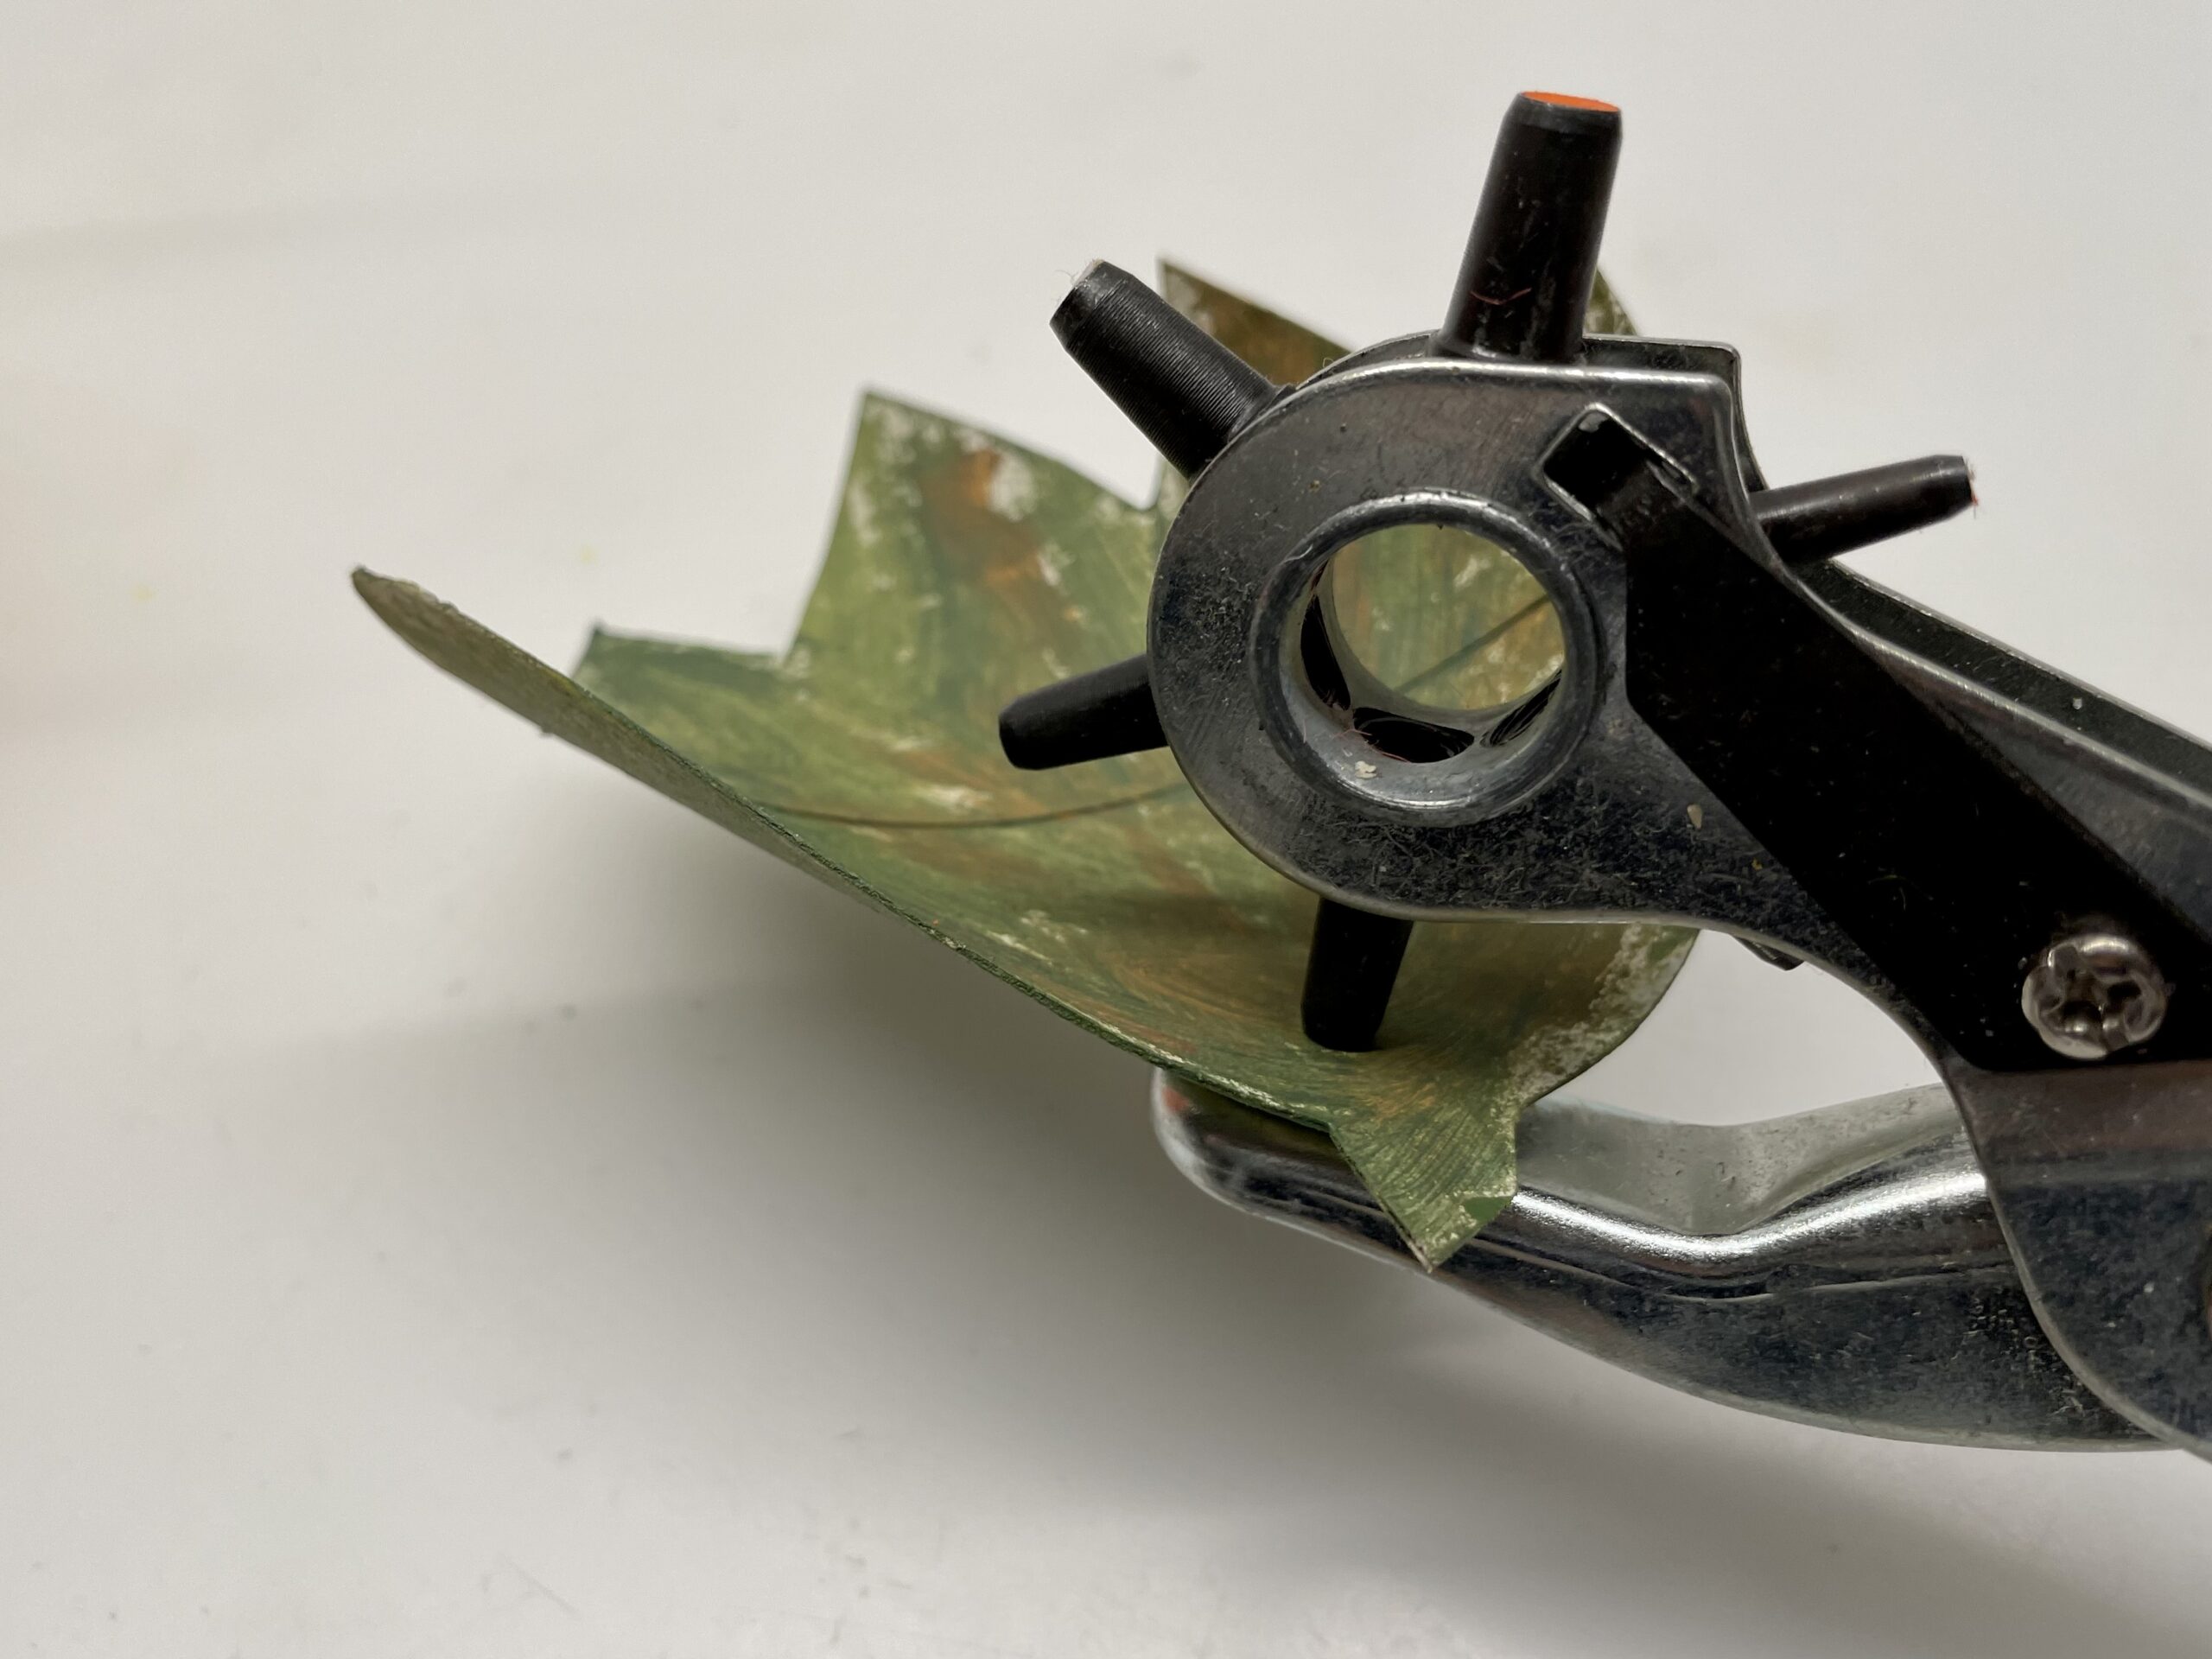
Then you punch the dry leaf.

Bild zum Schritt 23 für das Bastel- und DIY-Abenteuer für Kinder: 'Anschließend locht ihr das trockene Blatt.'

22

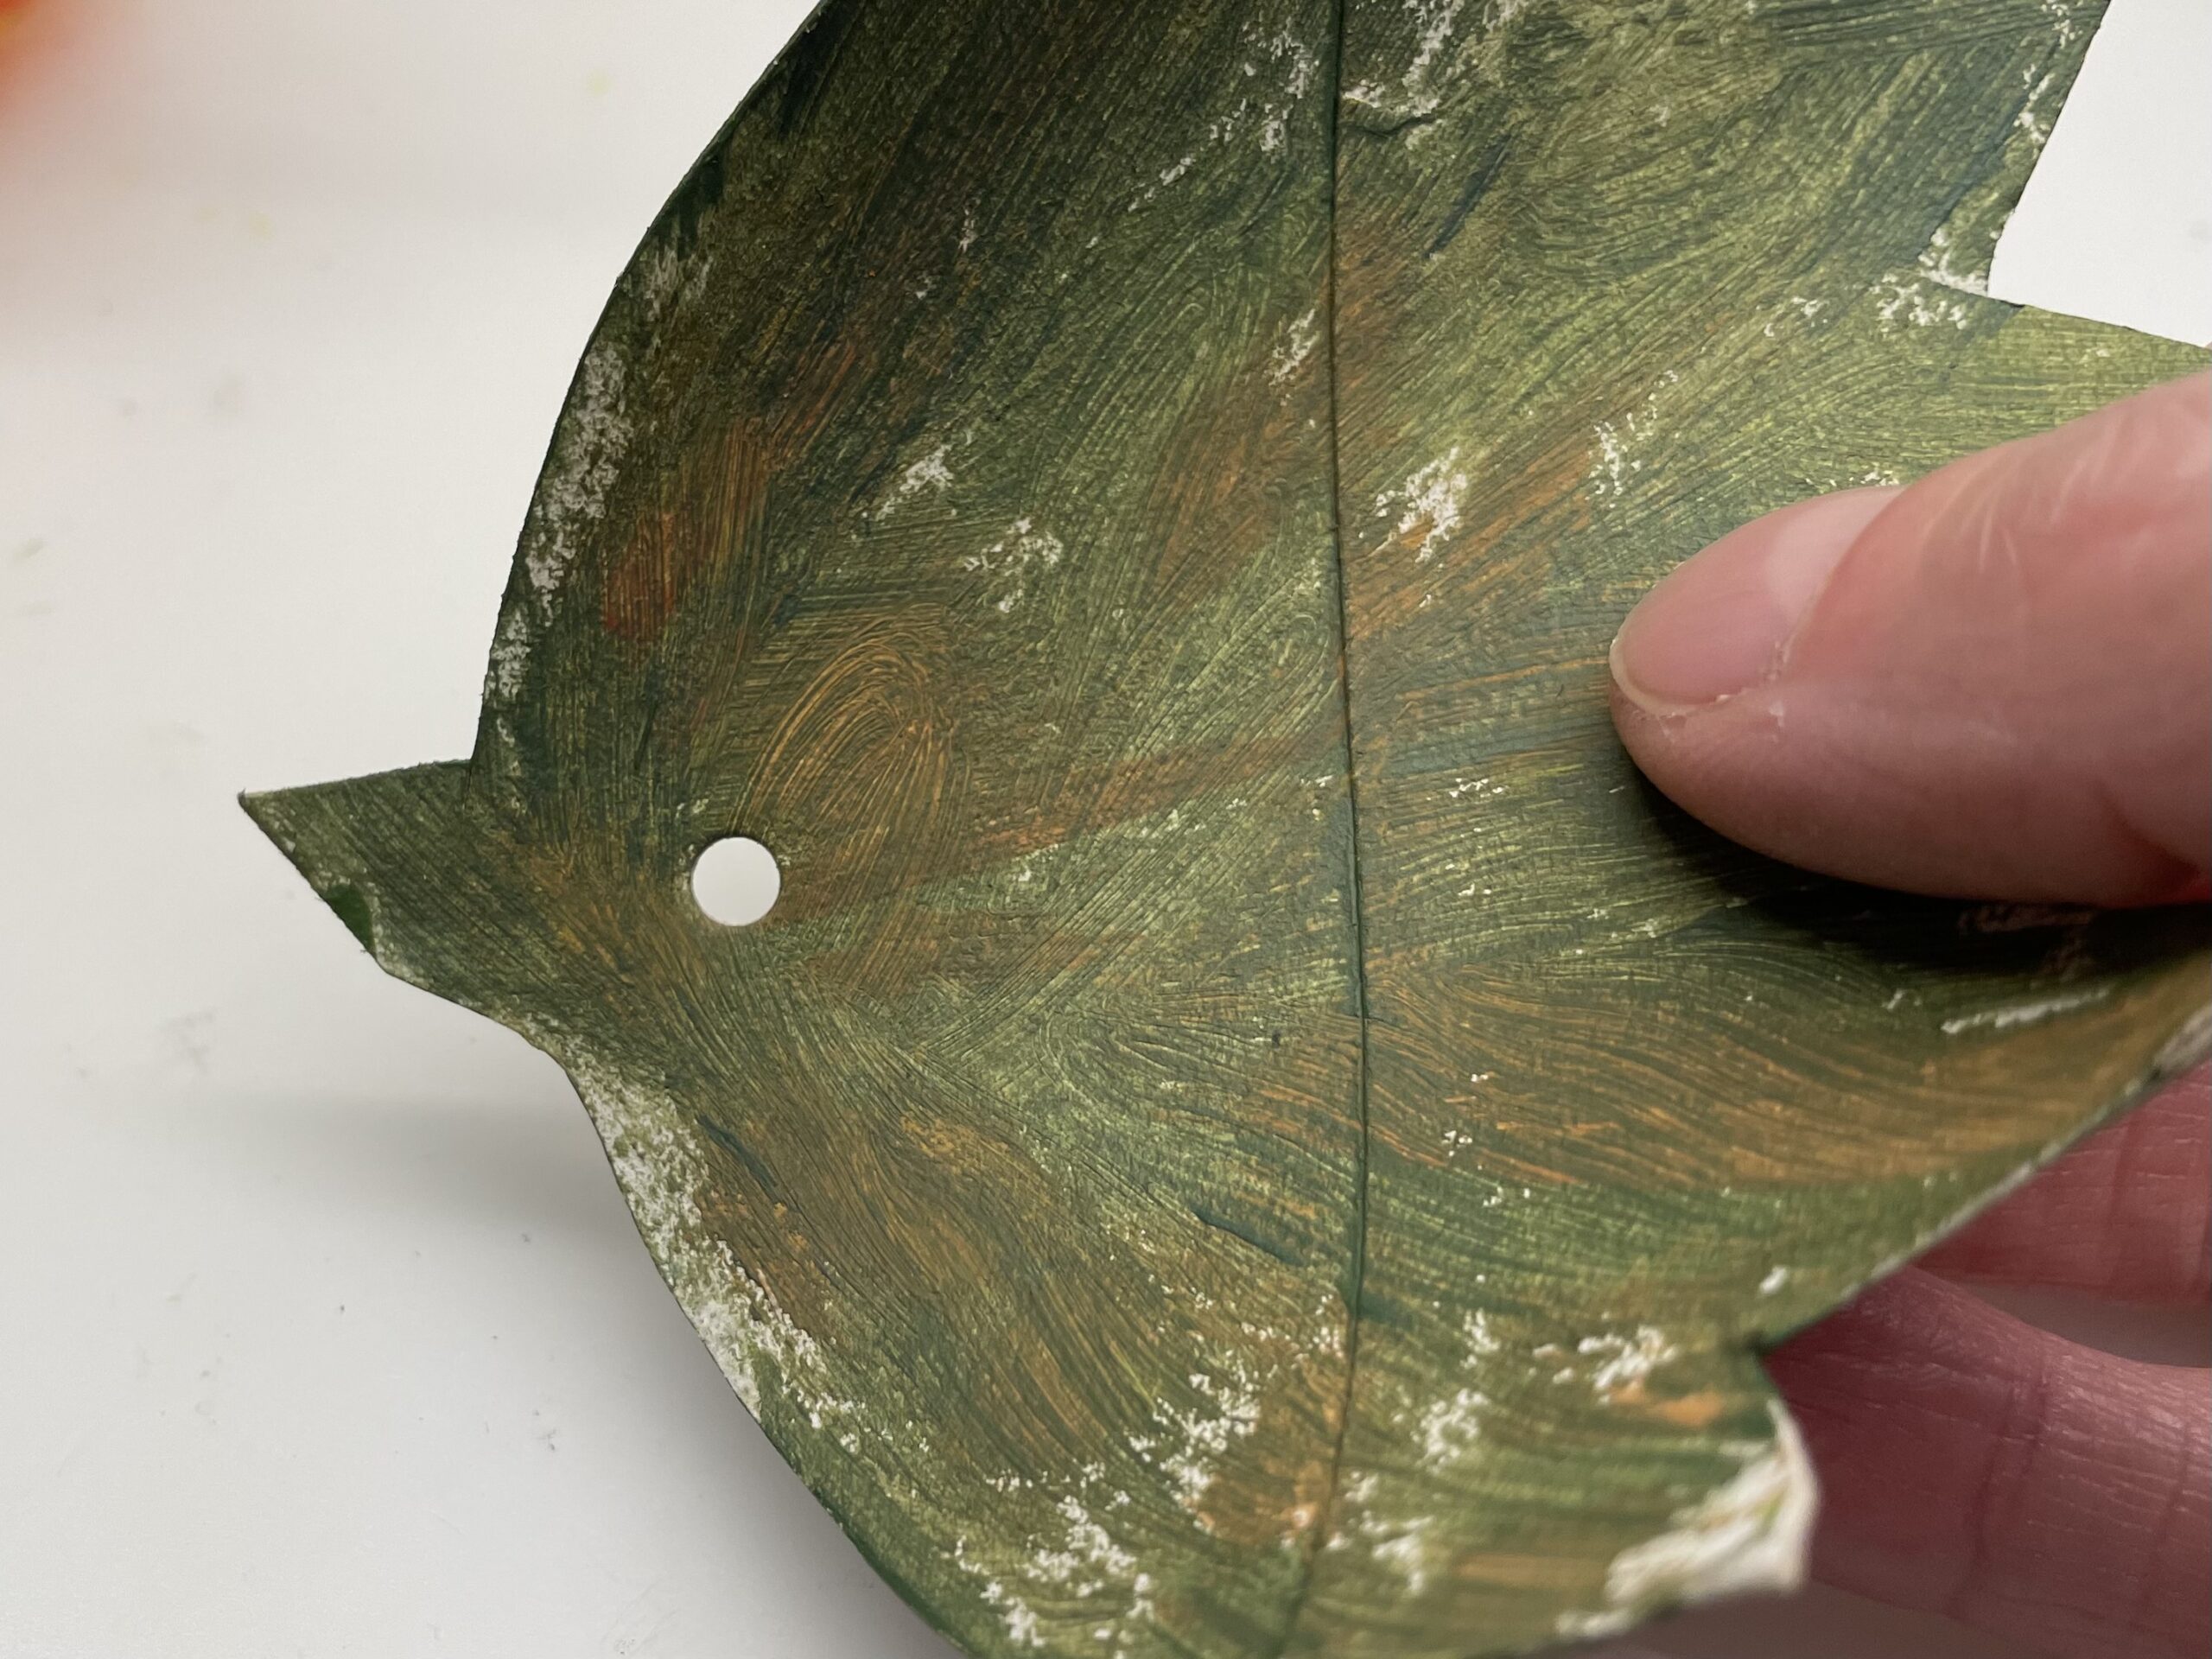
2. Bild zum Schritt 23 für das Bastel- und DIY-Abenteuer für Kinder: 'Anschließend locht ihr das trockene Blatt.'

23

Then you thread the sheet onto a piece of paper tape and attach it to the handle.

Bild zum Schritt 25 für das Bastel- und DIY-Abenteuer für Kinder: 'Anschließend fädelt ihr das Blatt auf ein Stück des Papierbandes...'

Turned tendril:
24

To decorate, you embellish the tendril by wrapping it like a spiral over a pen. Then you push the resulting spiral down from the pen.

Bild zum Schritt 27 für das Bastel- und DIY-Abenteuer für Kinder: 'Zur Verzierung verschönert ihr die Ranke, indem ihr diese wie...'

25

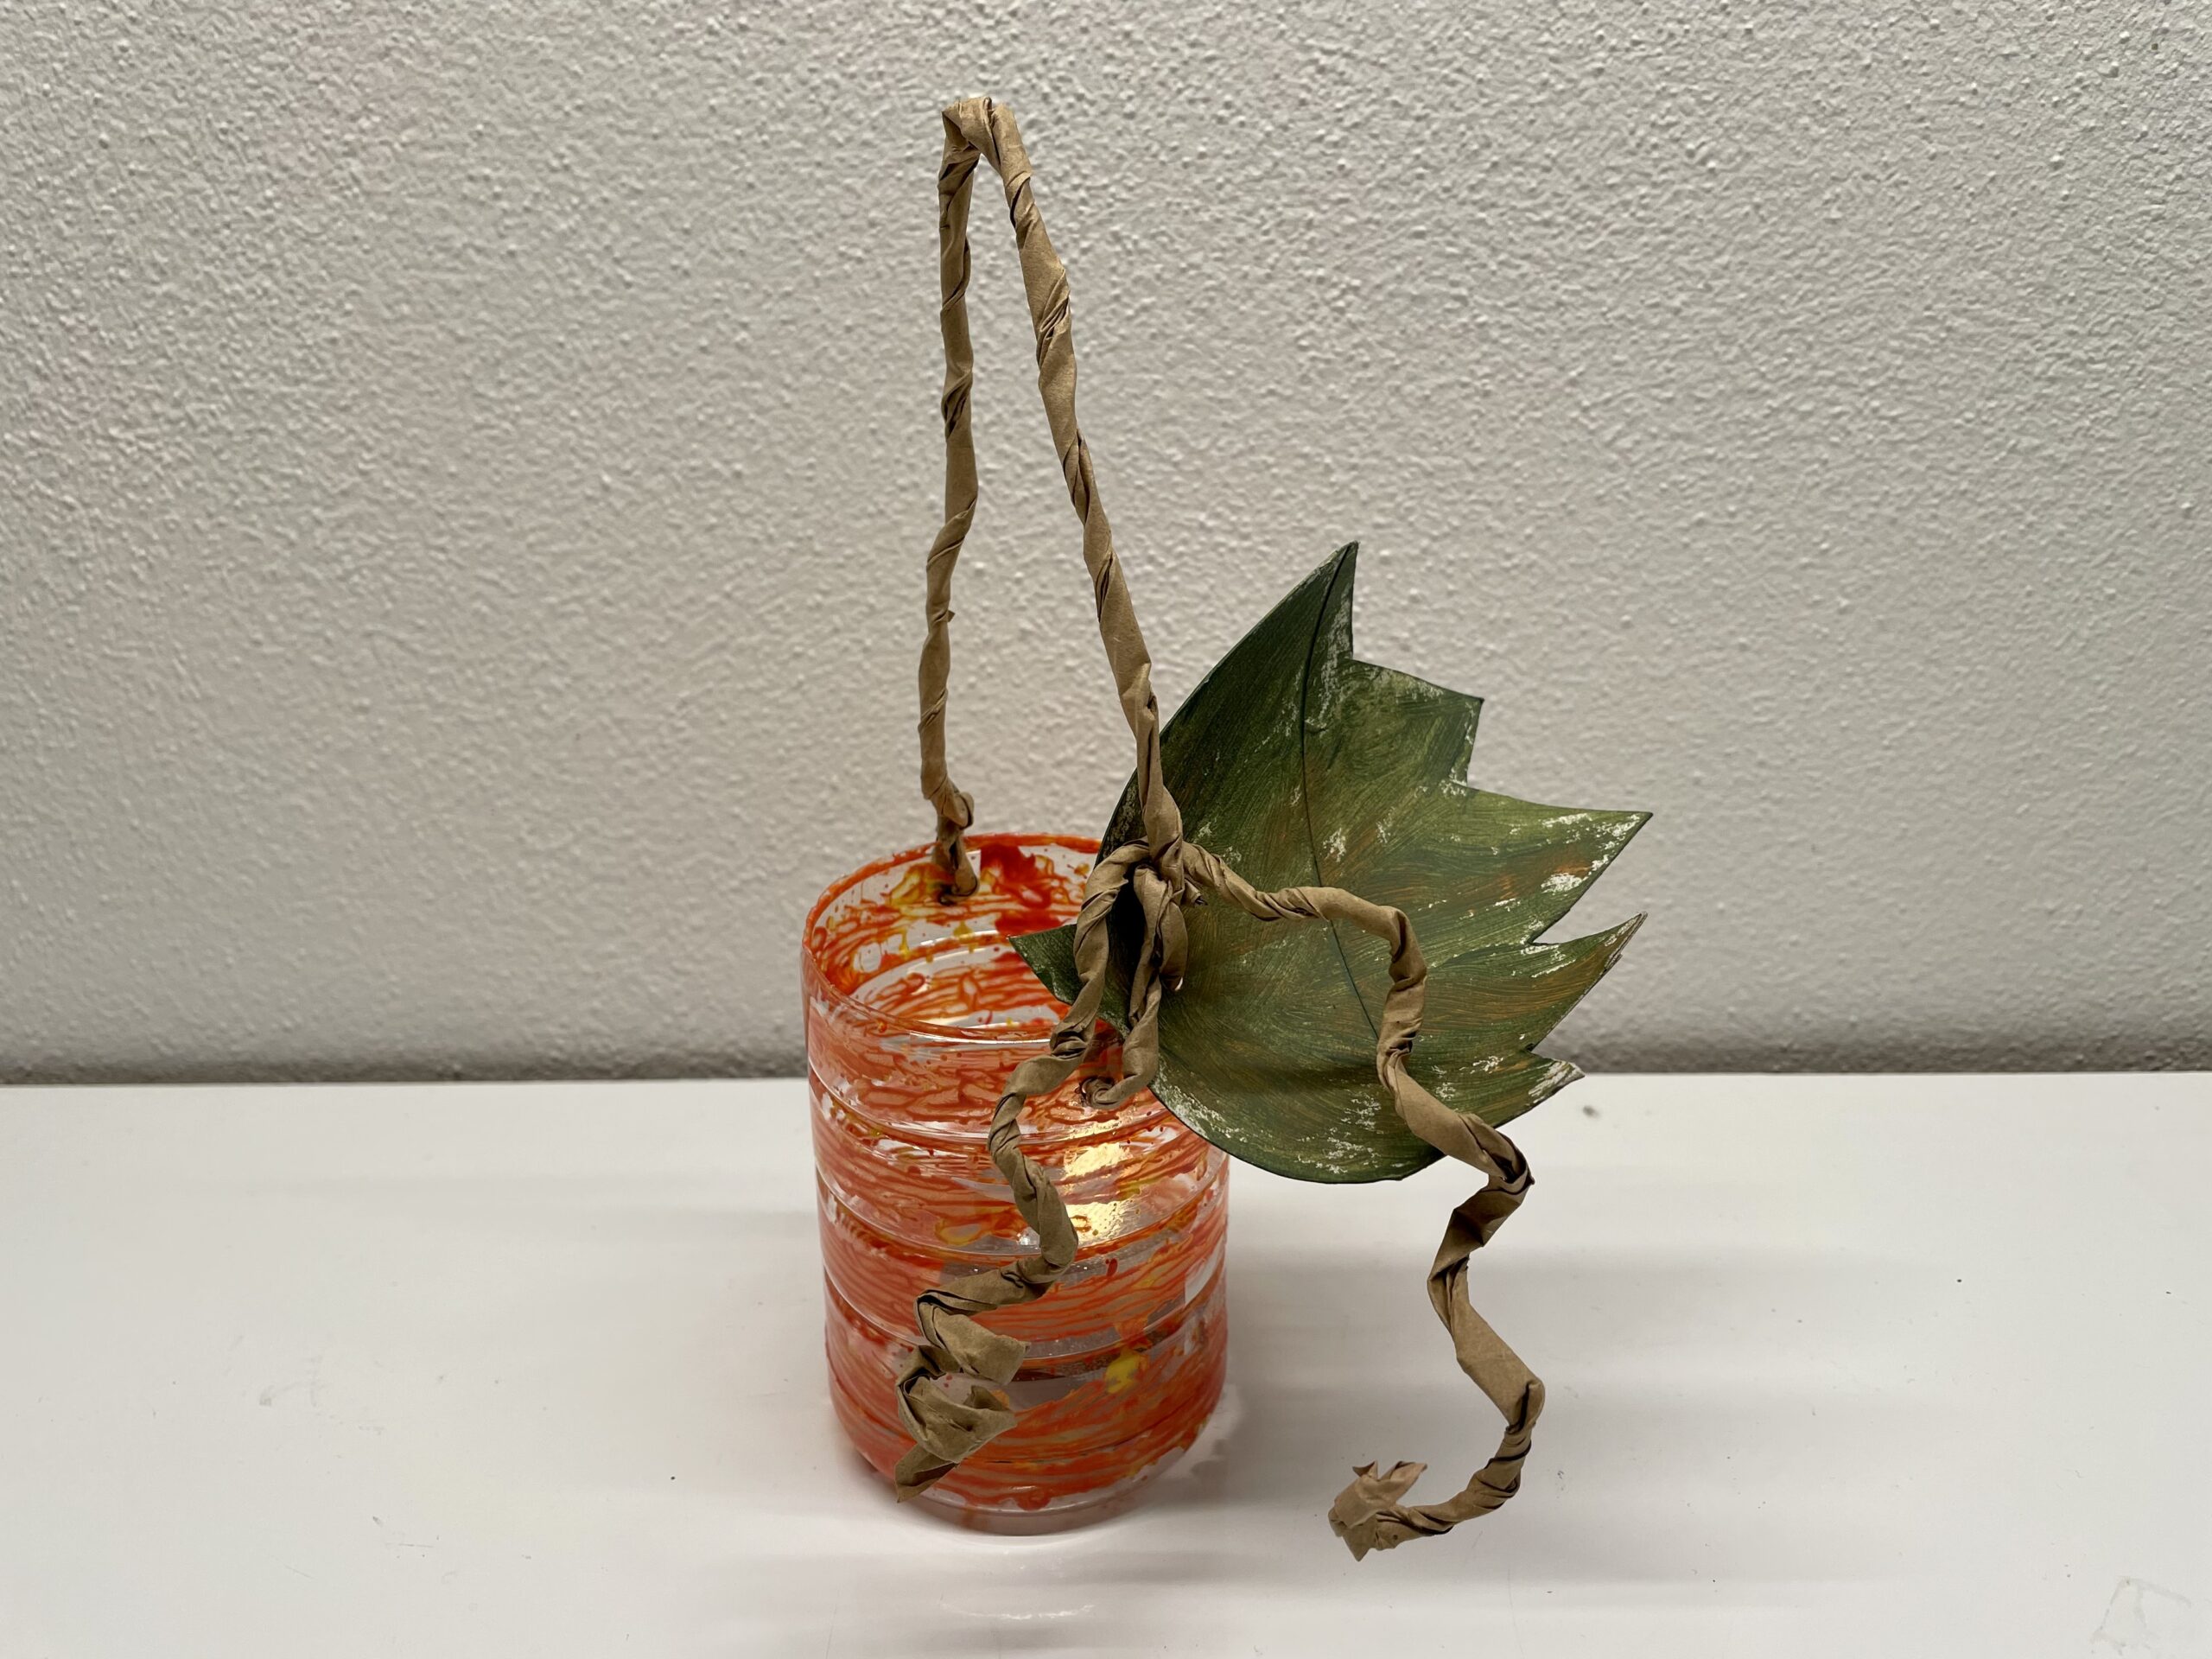
Then put the tendril around the handle and your little pumpkin lantern is ready.

Bild zum Schritt 28 für das Bastel- und DIY-Abenteuer für Kinder: 'Legt die Ranke dann um den Henkel und schon ist...'

26

2. Bild zum Schritt 28 für das Bastel- und DIY-Abenteuer für Kinder: 'Legt die Ranke dann um den Henkel und schon ist...'

Alternative:
27

You can also paint a pumpkin face on the lantern. For this you paint a face on the pumpkin with a waterproof felt pen.

Bild zum Schritt 31 für das Bastel- und DIY-Abenteuer für Kinder: 'Ihr könnt der Laterne auch ein Kürbisgesicht aufmalen. Dafür malt...'

28

Stay creative and have fun doing crafts!

Materials

 1 Plastic bottle
 1 Small marble
 Acrylic paintYellow and red
 1 Cutter knife Carpet knife
 1 Hole pliers
 1 Paper wire cordor thick craft wire, pipe cleaners
 1 Builder's pad
For the pumpkin leaf:
 1 Rolled paper
 1 Pencil
 1 Handicraft shears
 1 Brushes
 Acrylic paint greenor water color green

Directions

1

First, prepare the empty dry bottle with lid, acrylic paint and a small marble.

Bild zum Schritt 1 für das Bastel- und DIY-Abenteuer für Kinder: 'Legt euch zuerst die leere trockene Flasche mit Deckel bereit,...'

2

Then open the empty bottle and put the marble in the bottle.

Bild zum Schritt 2 für das Bastel- und DIY-Abenteuer für Kinder: 'Dann öffnet ihr die leere Flasche und steckt die Murmel...'

3

Now fill a stain of yellow acrylic paint in the bottle. Make sure that it remains at the top of the bottle and does not drip onto the bottom of the bottle.
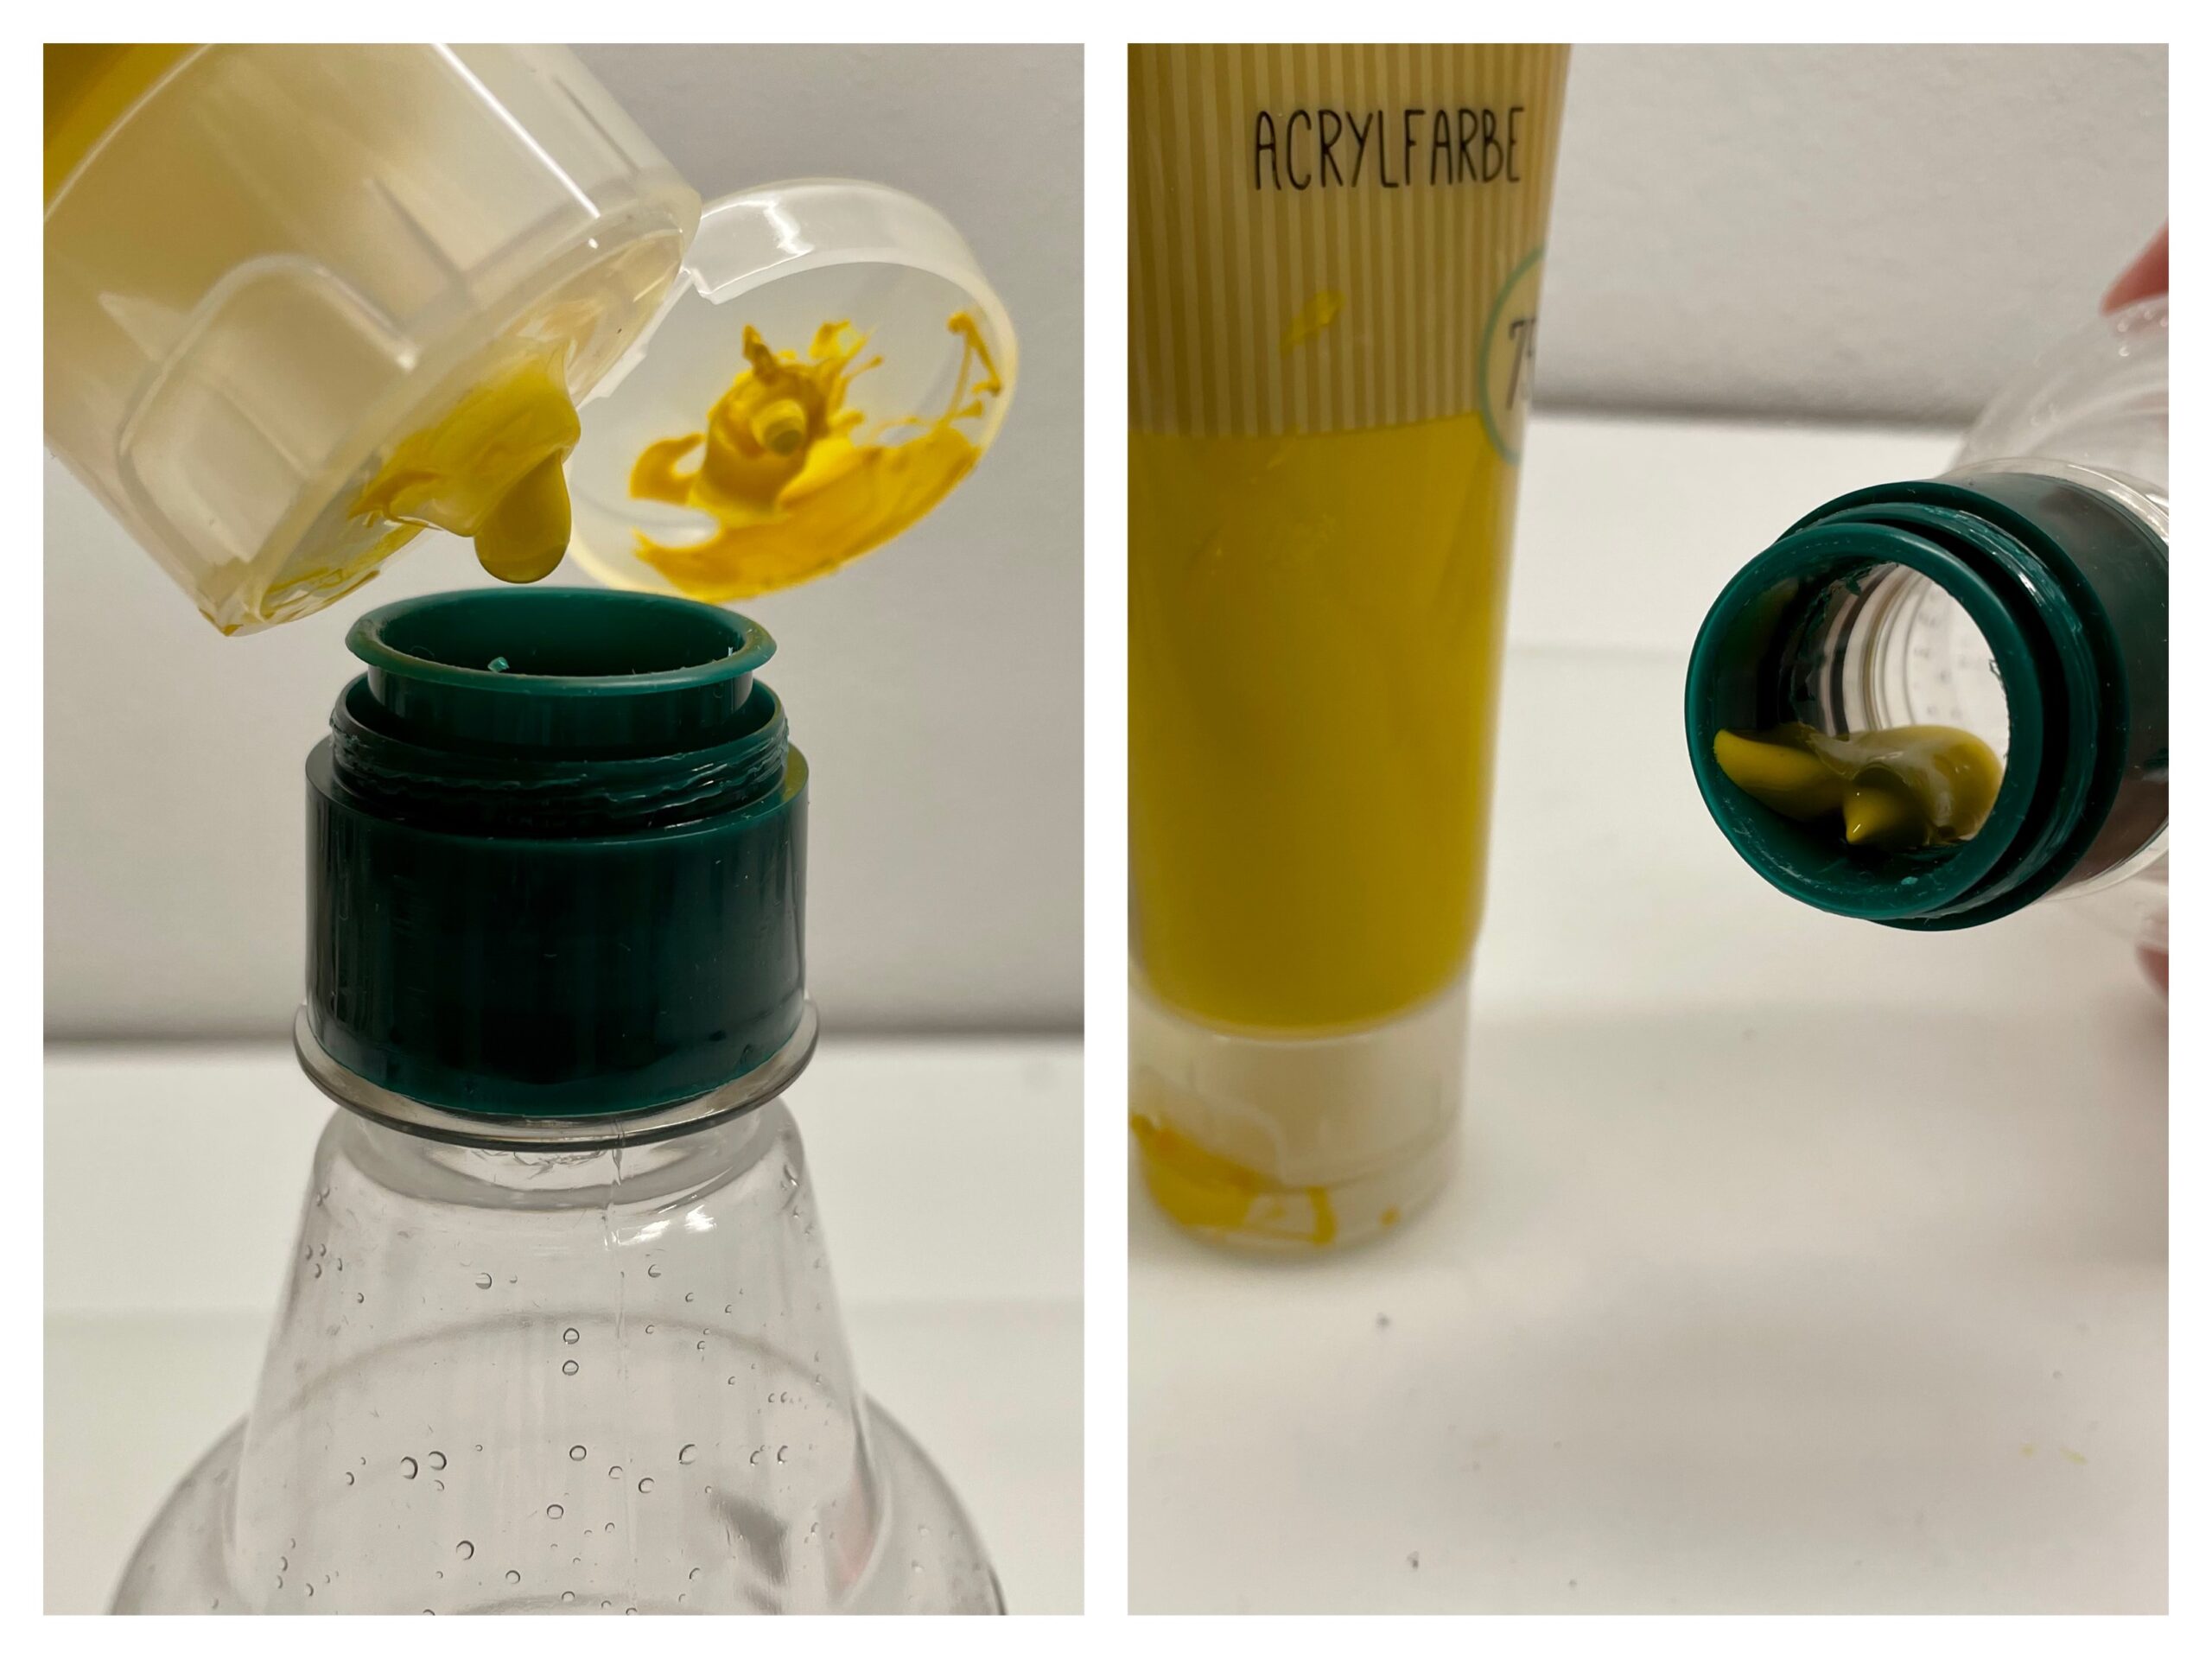
Bild zum Schritt 3 für das Bastel- und DIY-Abenteuer für Kinder: 'Füllt nun einen Klecks gelbe Acrylfarbe in die Flasche. Achtet...'

4

Then you fill a small chunk of red color with it.
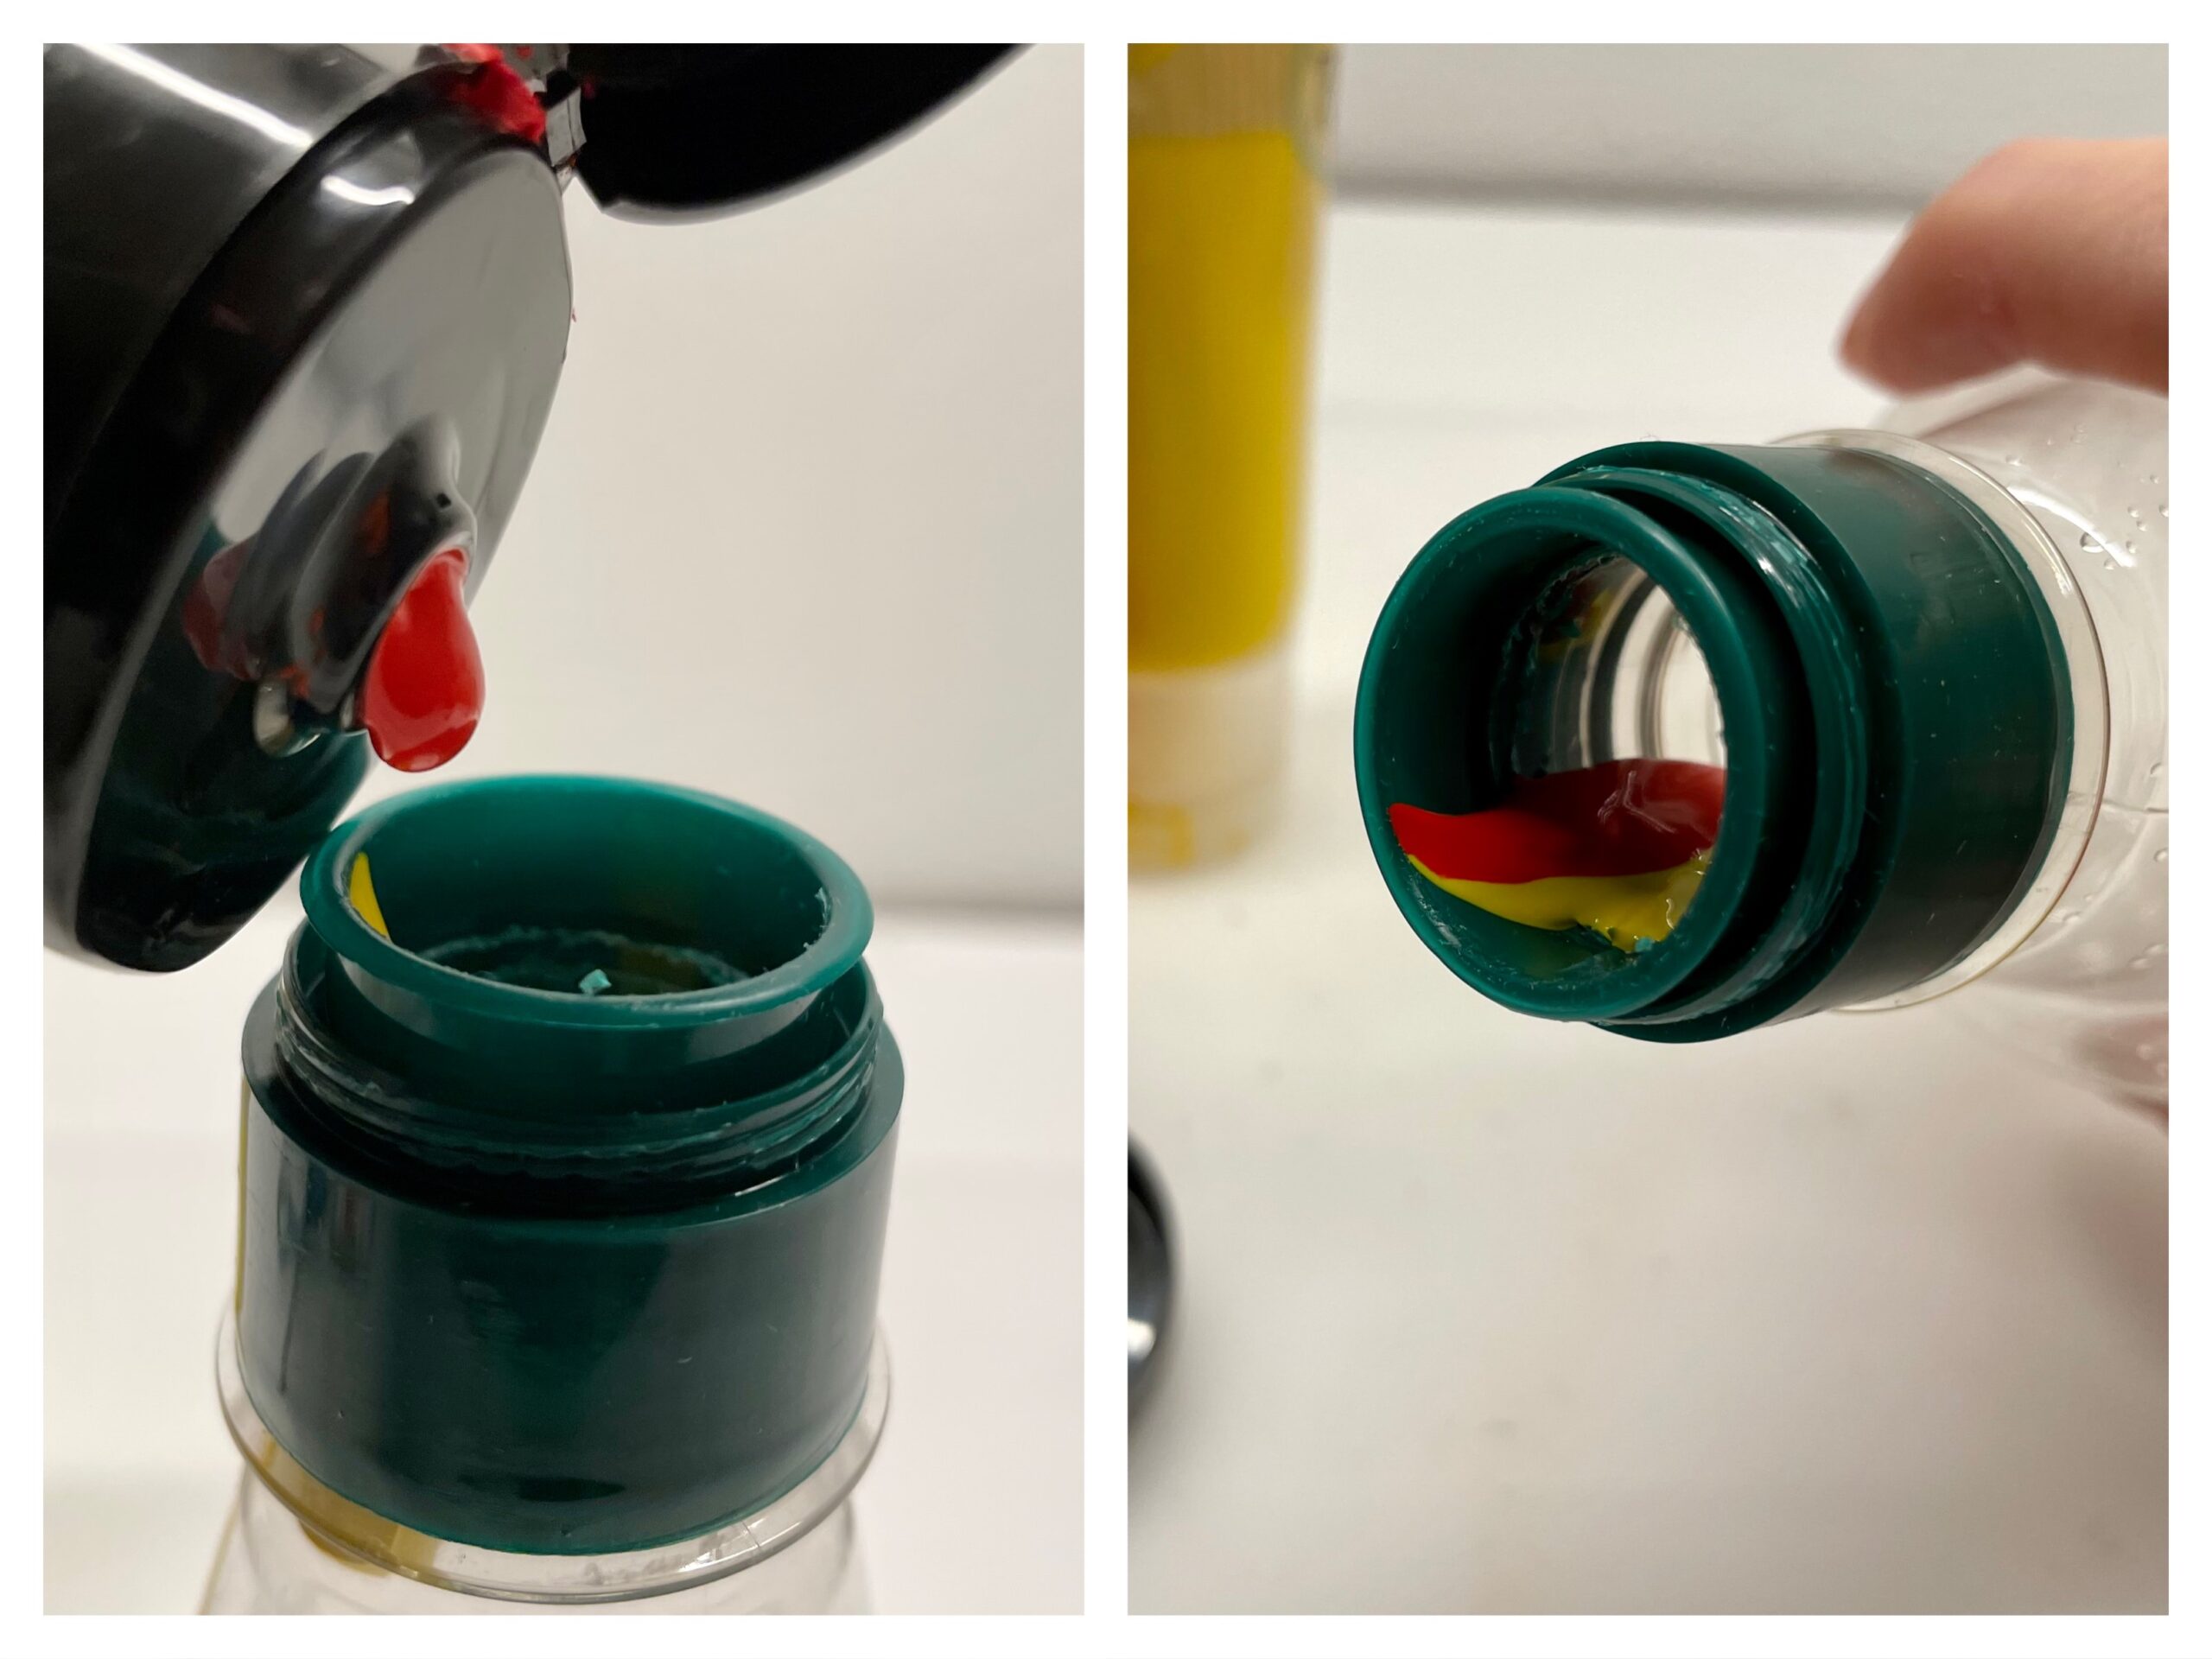
Bild zum Schritt 4 für das Bastel- und DIY-Abenteuer für Kinder: 'Danach füllt ihr einen kleineren Klecks rote Farbe dazu.'

5

Now turn the lid firmly onto the bottle.
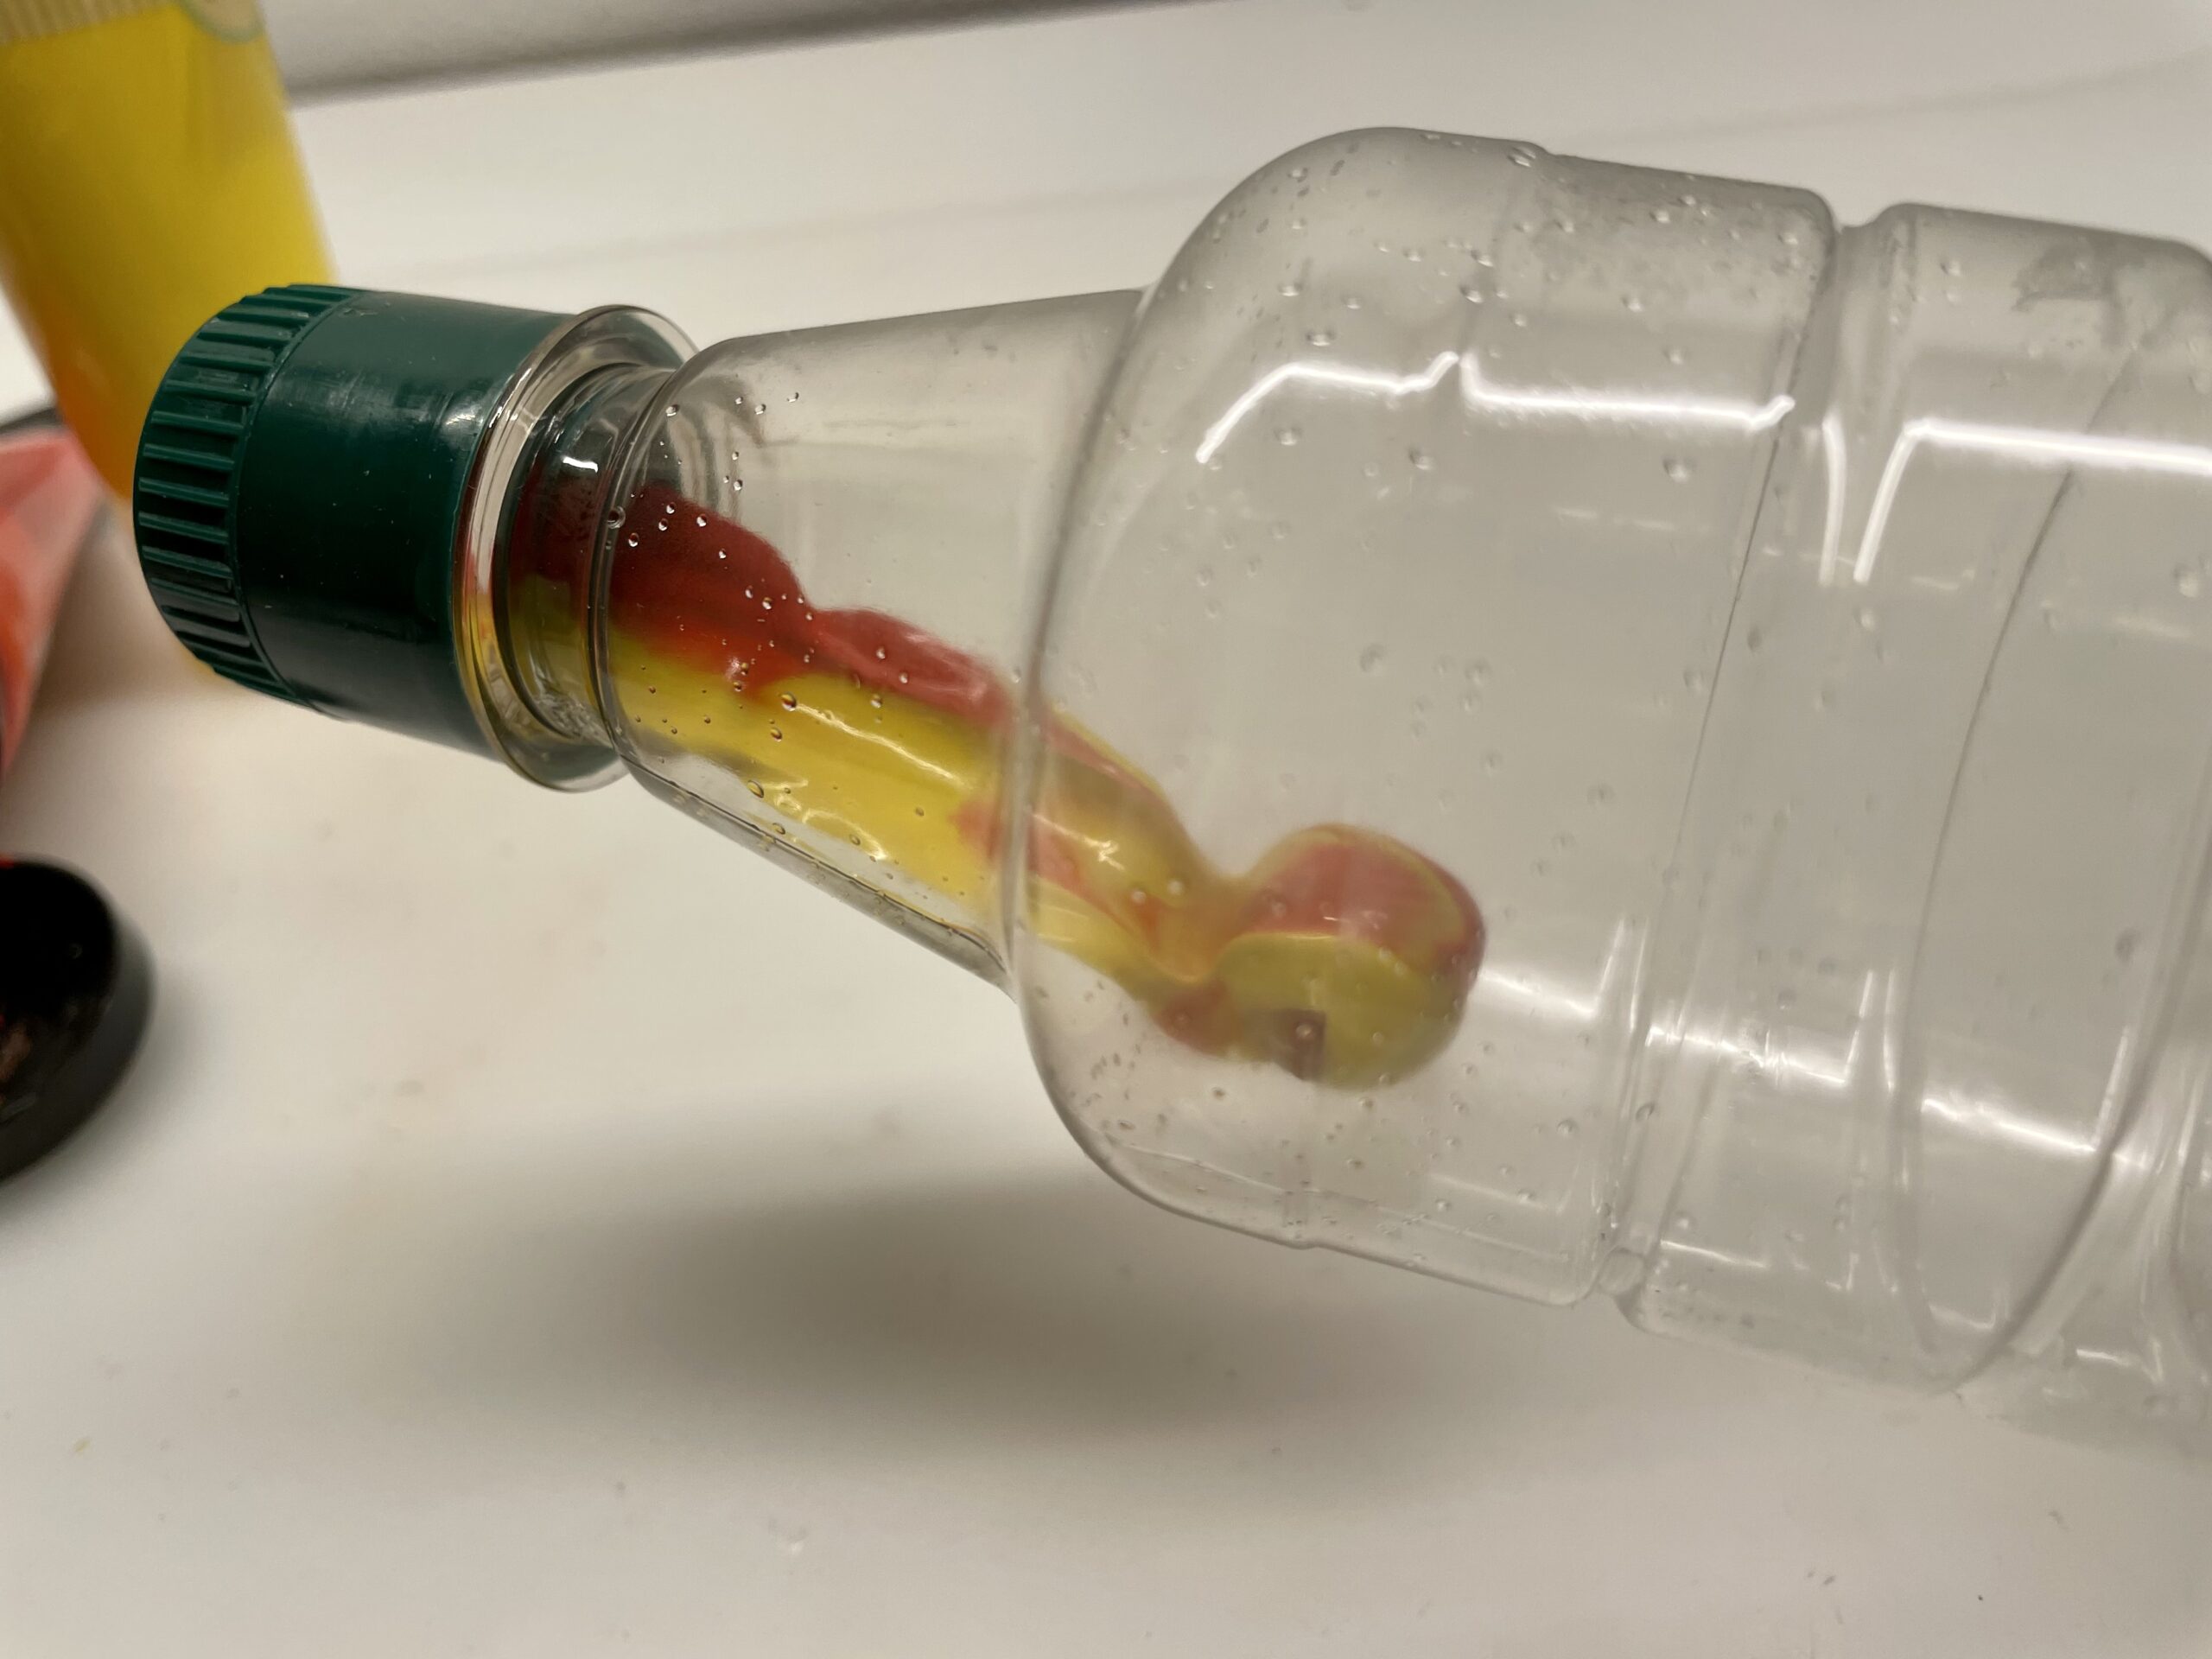
Bild zum Schritt 5 für das Bastel- und DIY-Abenteuer für Kinder: 'Jetzt dreht ihr den Deckel fest auf die Flasche.'

6

Then you shake the bottle. The marble distributes the paint.
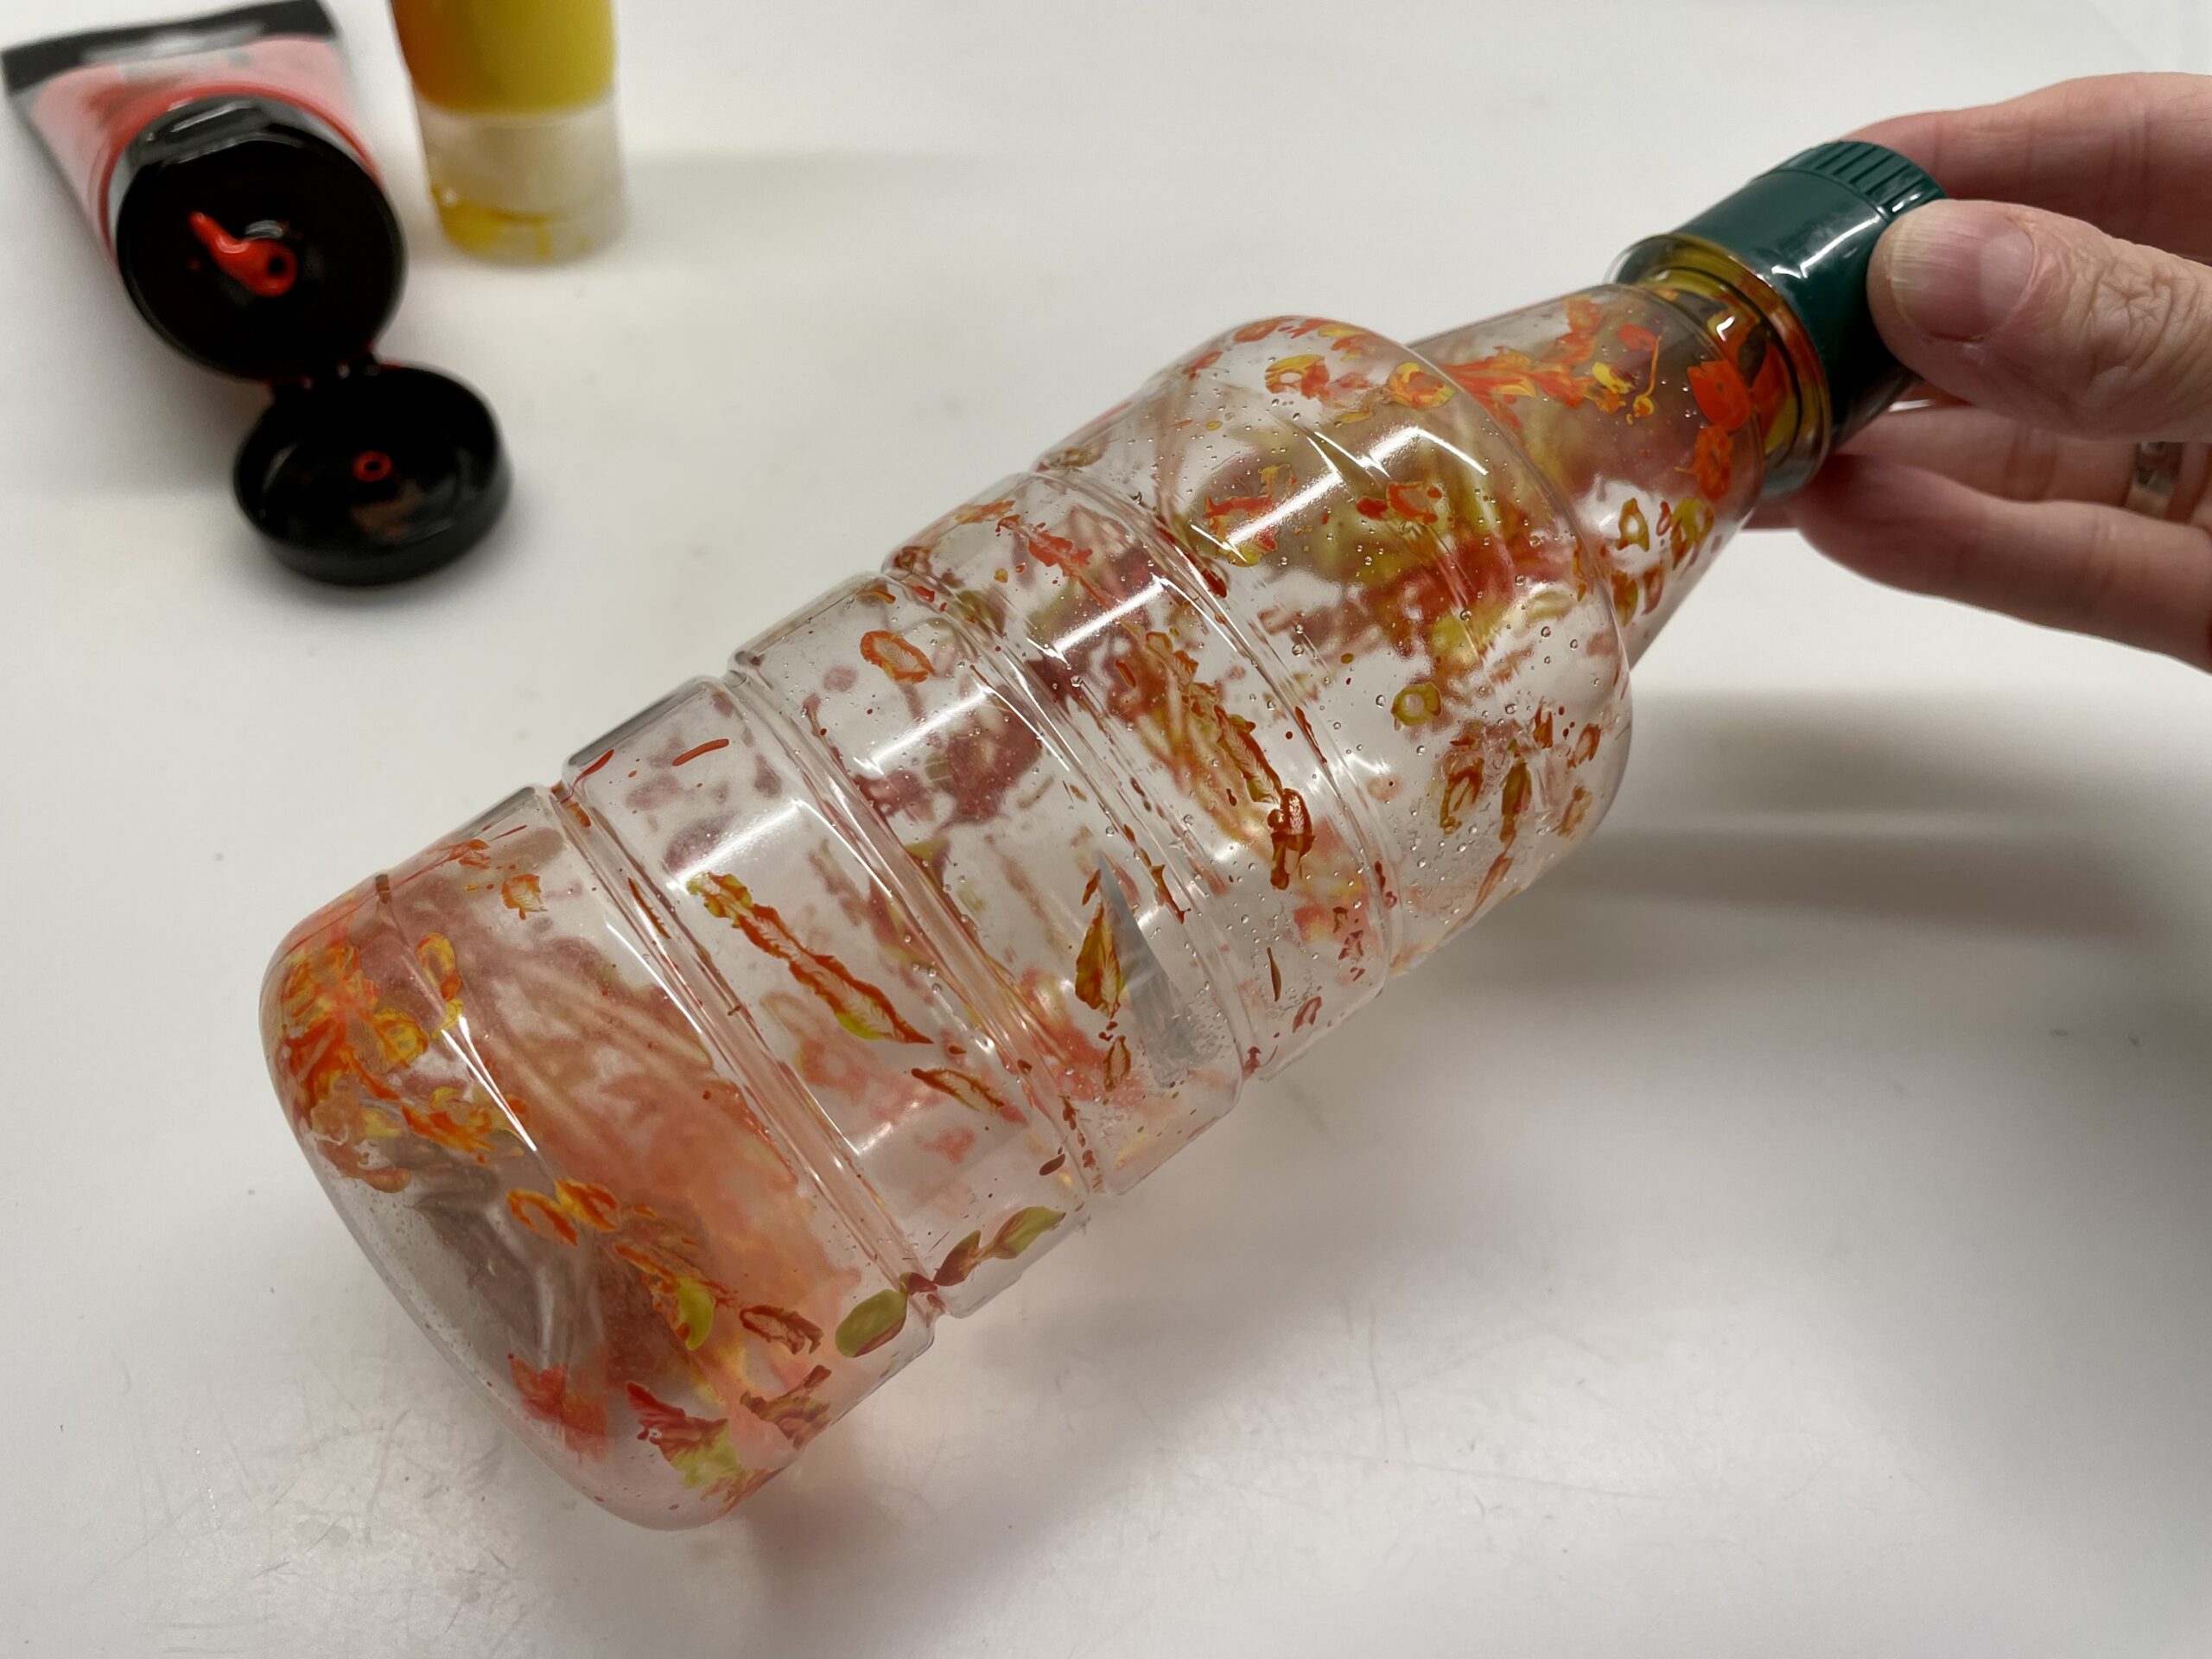
Bild zum Schritt 6 für das Bastel- und DIY-Abenteuer für Kinder: 'Dann schüttelt ihr die Flasche. Die Murmel verteilt die Farbe.'

7

Try out different possibilities of movement until the bottle receives the desired colour mix.

Bild zum Schritt 7 für das Bastel- und DIY-Abenteuer für Kinder: 'Probiert verschiedene Bewegungsmöglichkeiten aus bis die Flasche den gewünschten Farbmix...'

8

That's what the bottle might look like.
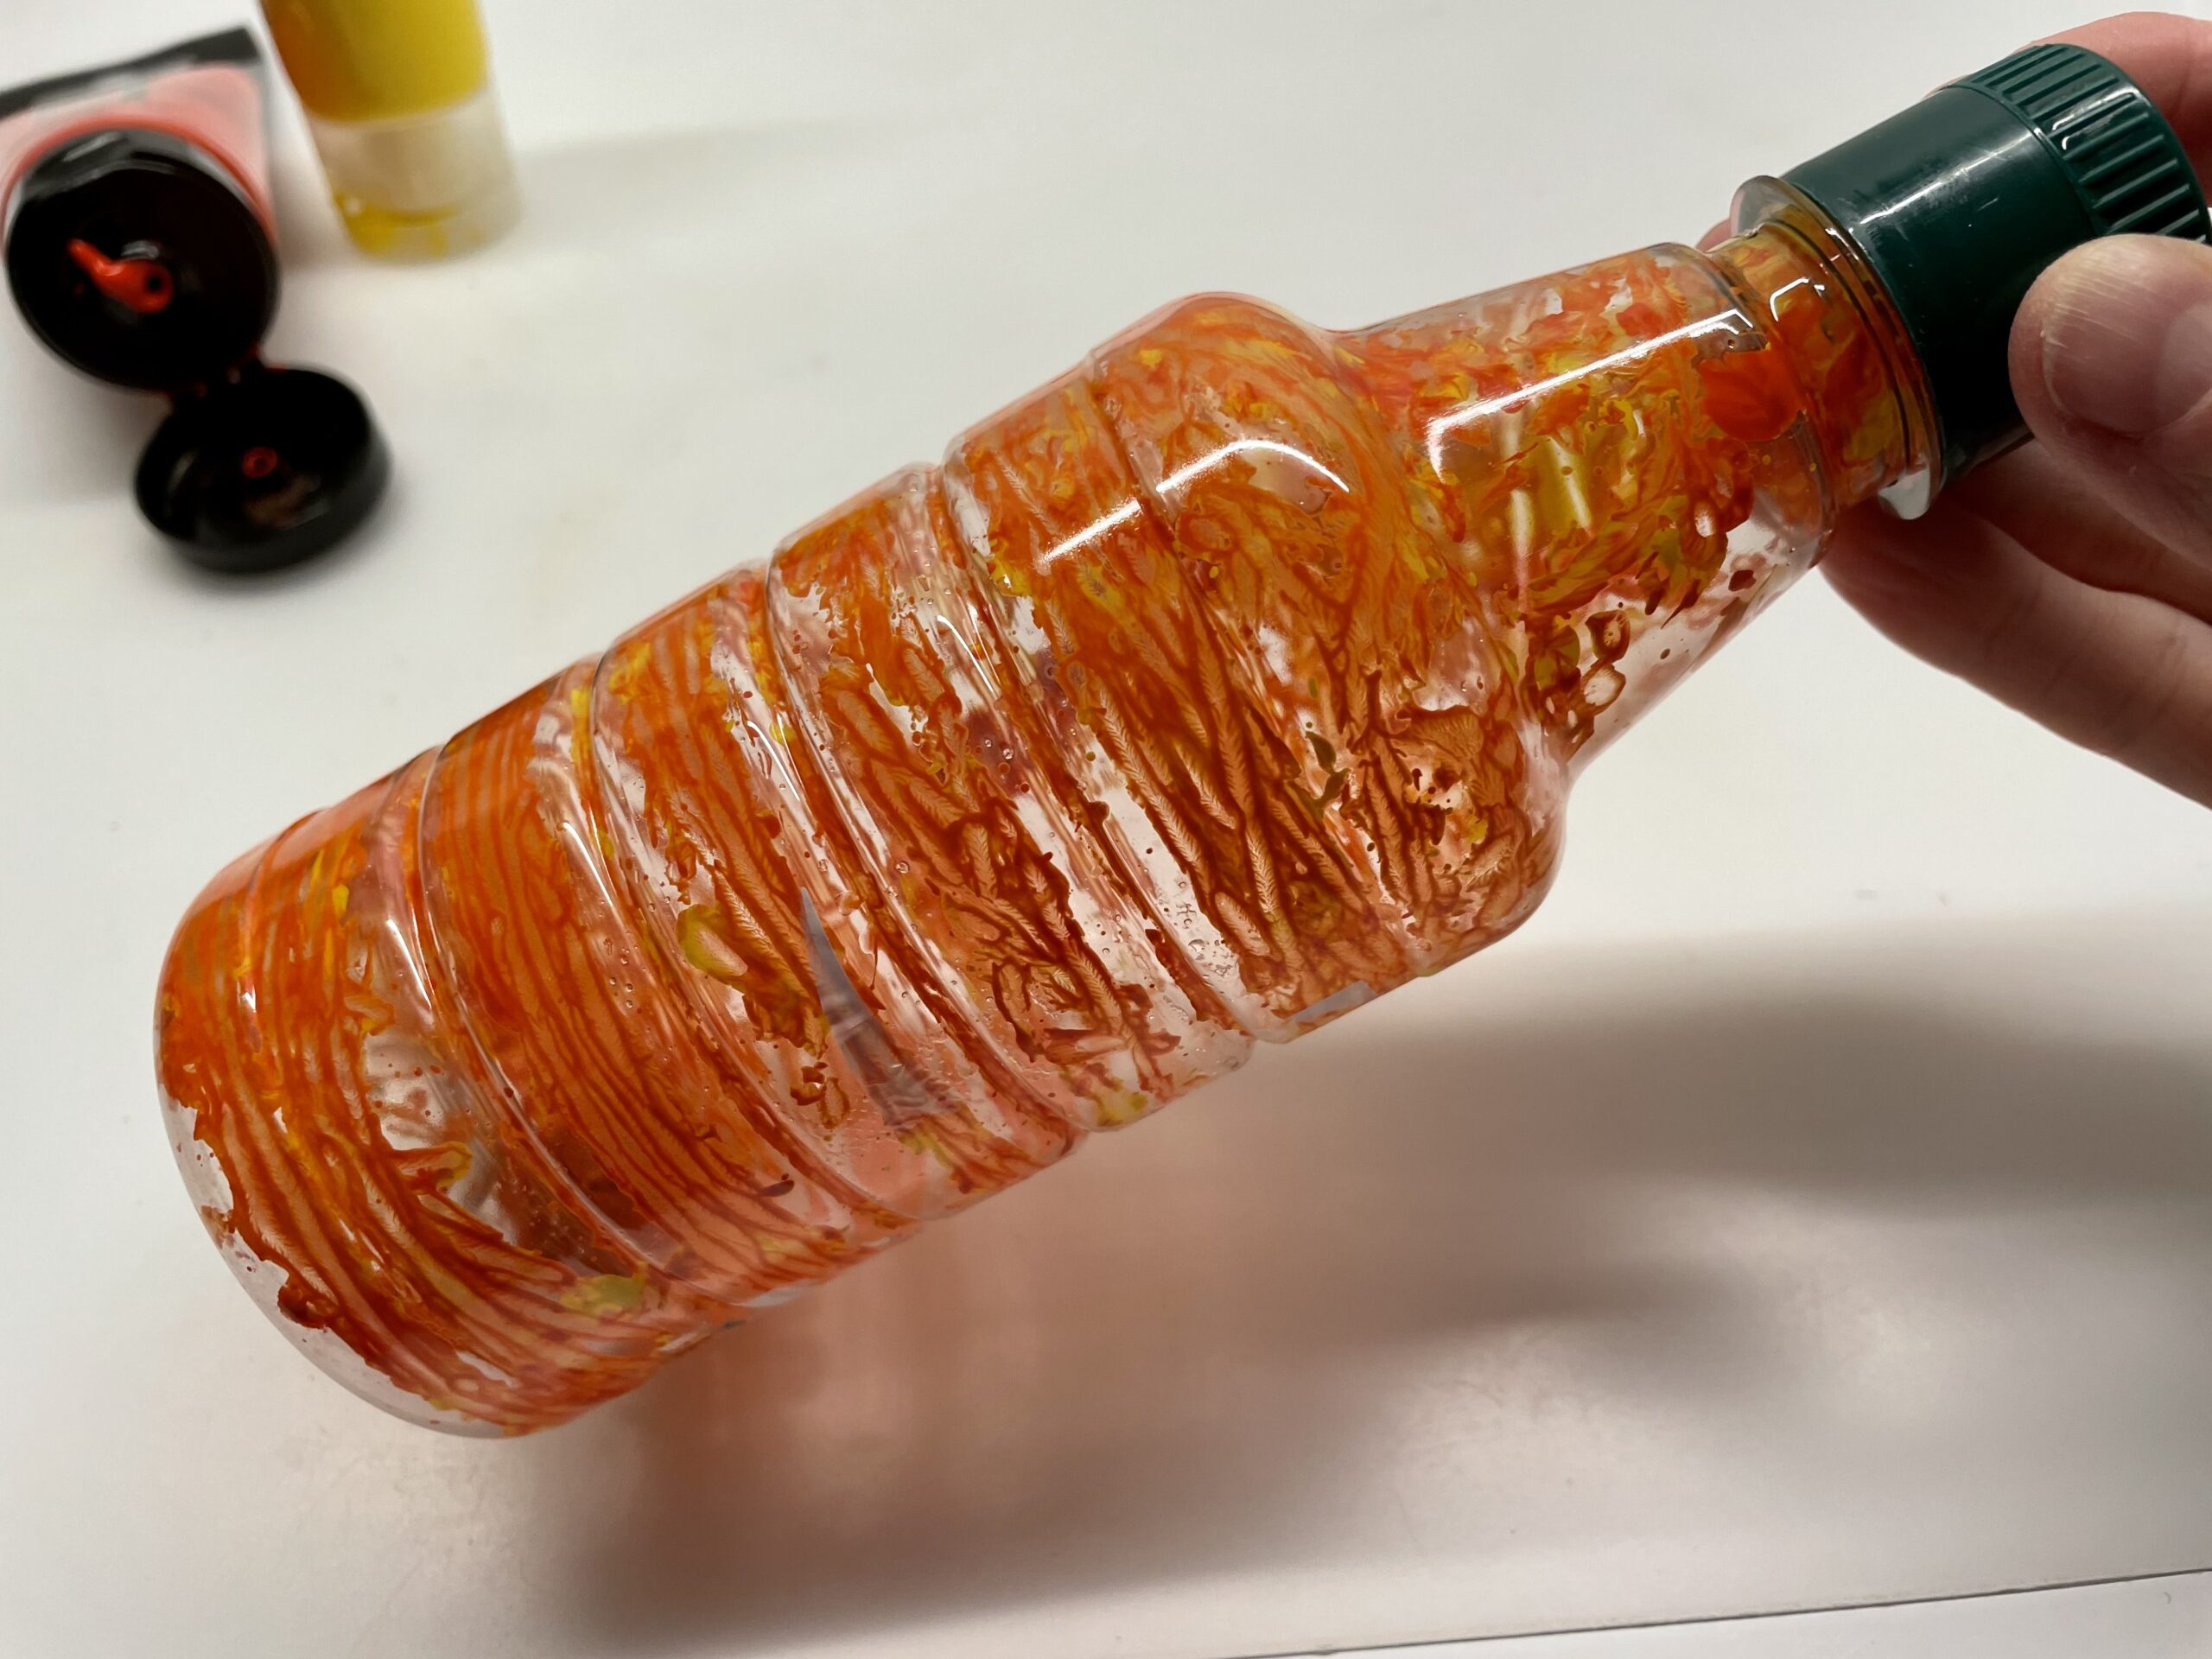
Bild zum Schritt 8 für das Bastel- und DIY-Abenteuer für Kinder: 'So könnte die Flasche dann aussehen.'

9

Let an adult help you with this step!
Open the bottle and carefully roll the marble onto a handkerchief or cloth. It is completely covered with paint. Make sure that the paint does not touch anything and wash the marble immediately with water.
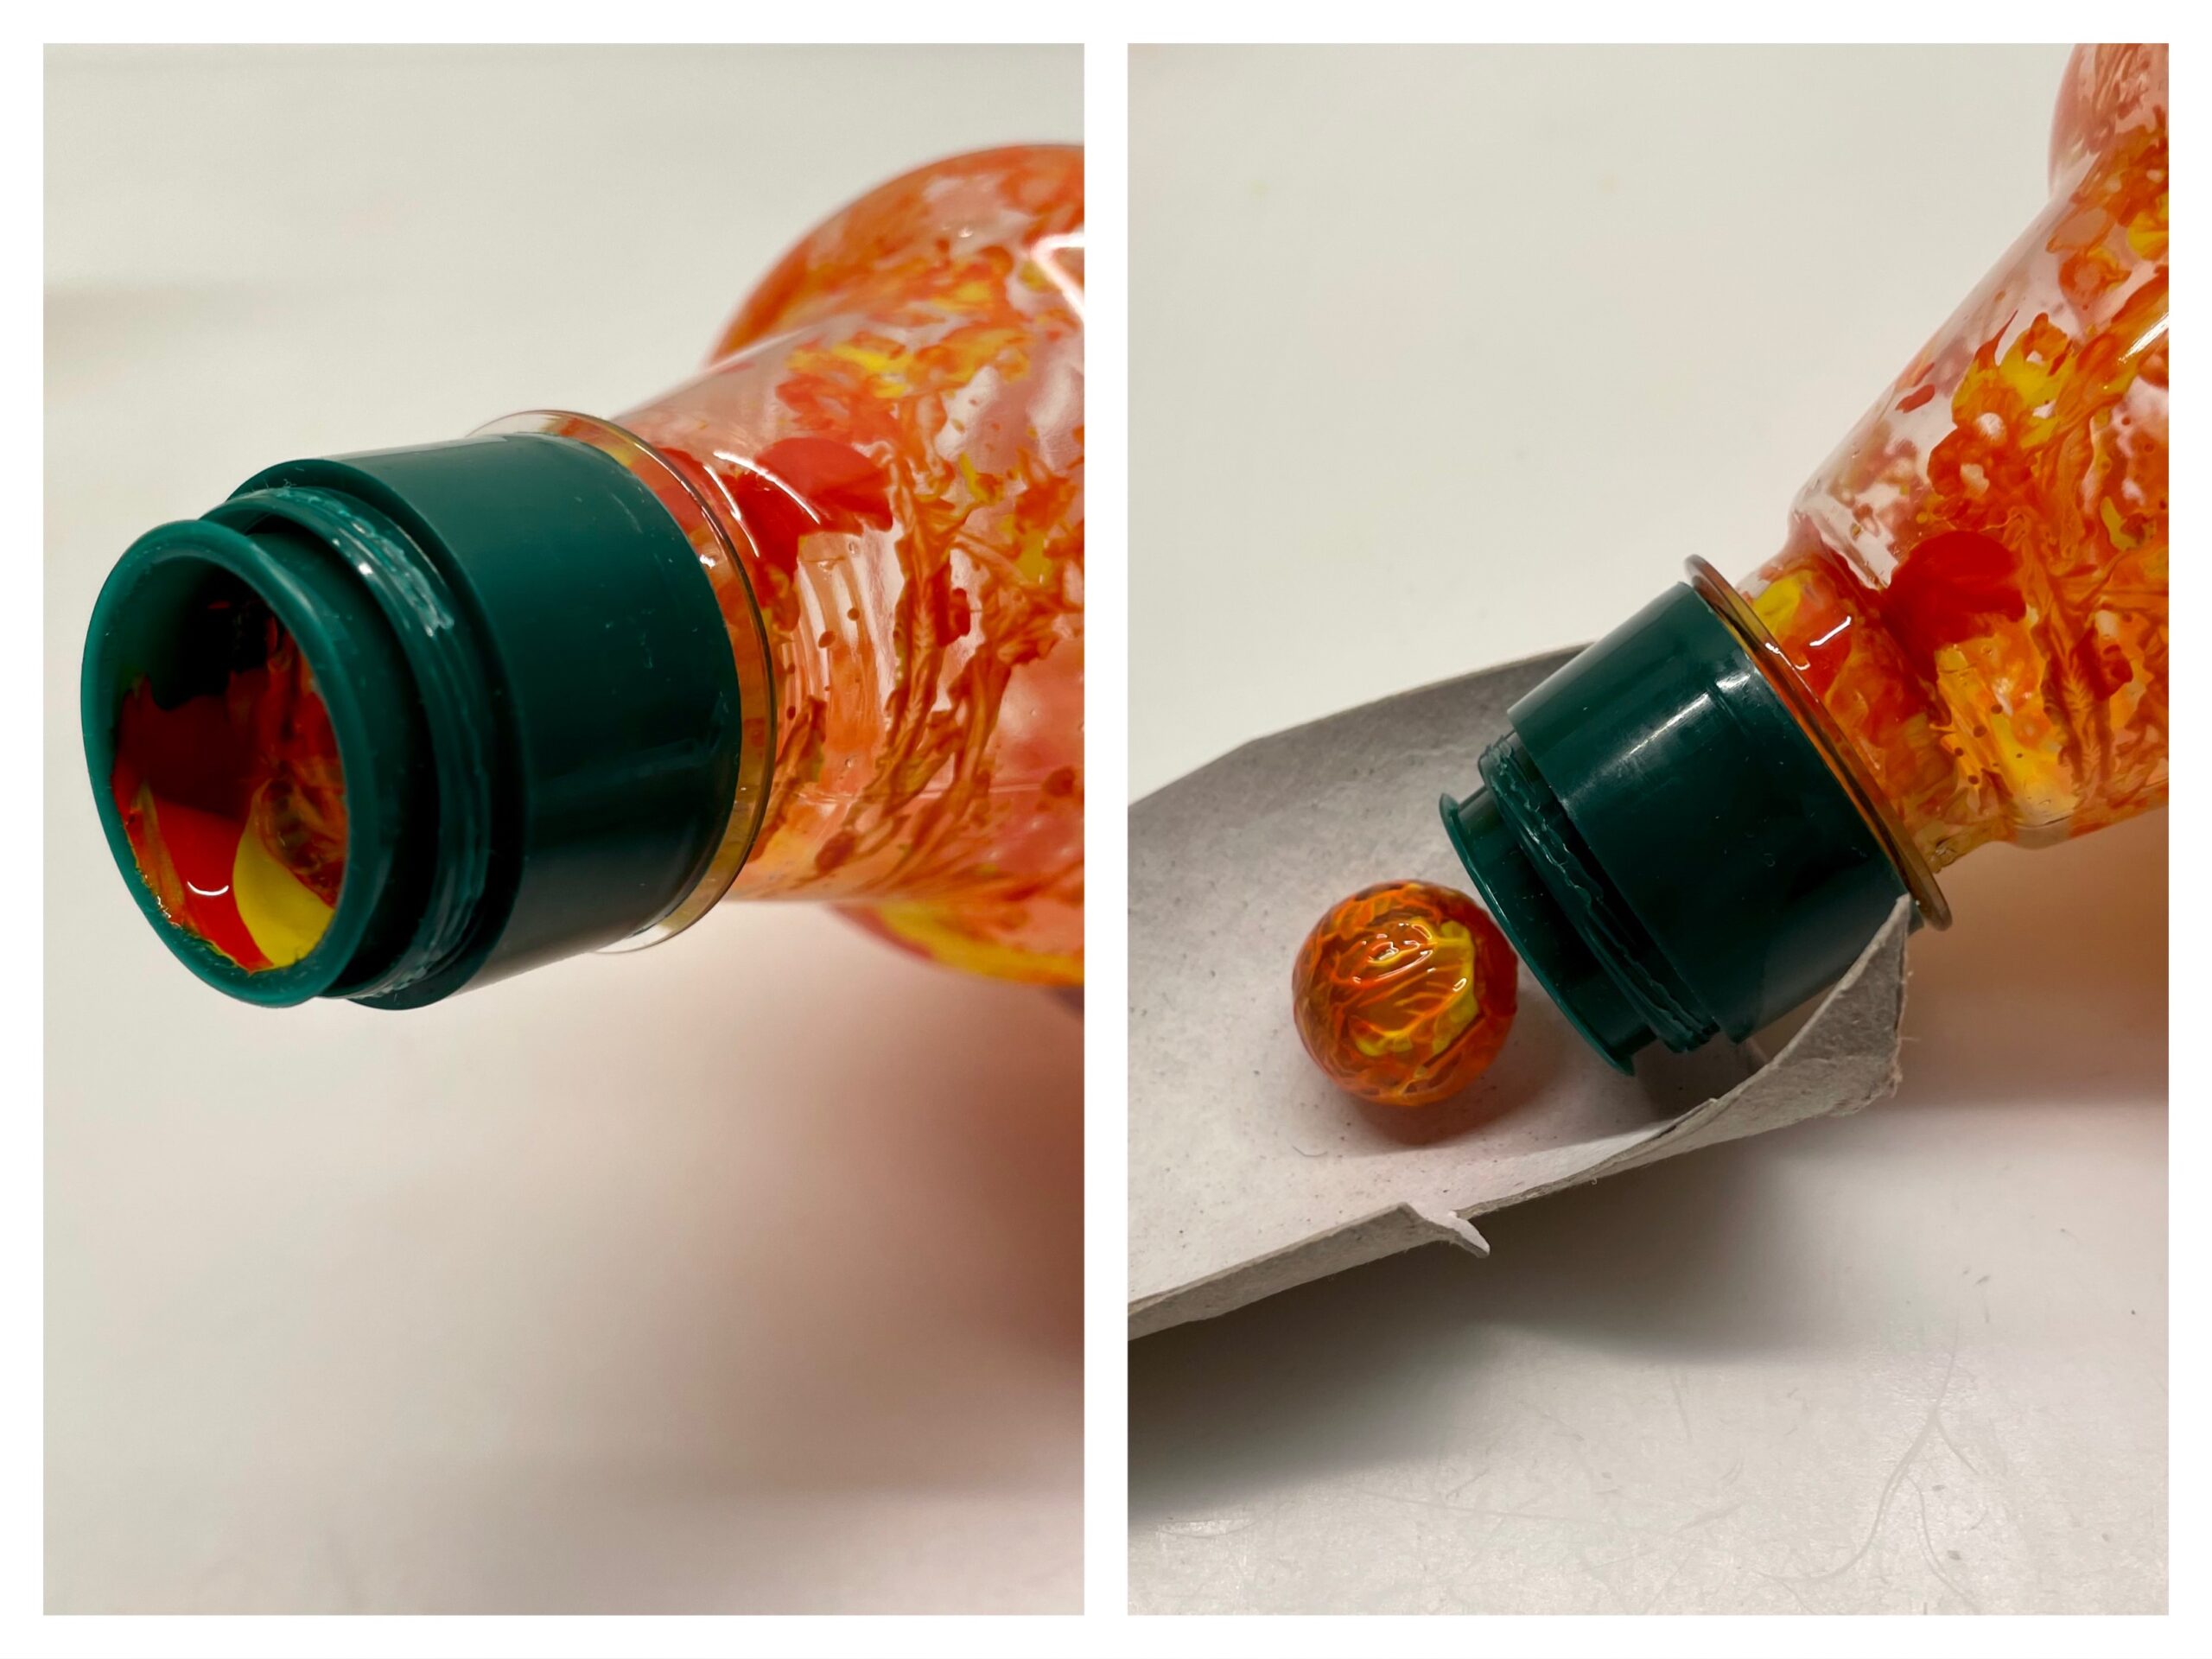
Bild zum Schritt 9 für das Bastel- und DIY-Abenteuer für Kinder: 'Lasst euch bei diesem Schritt eventuell von einem Erwachsenen helfen!...'

10

Now put the opened bottle to dry.
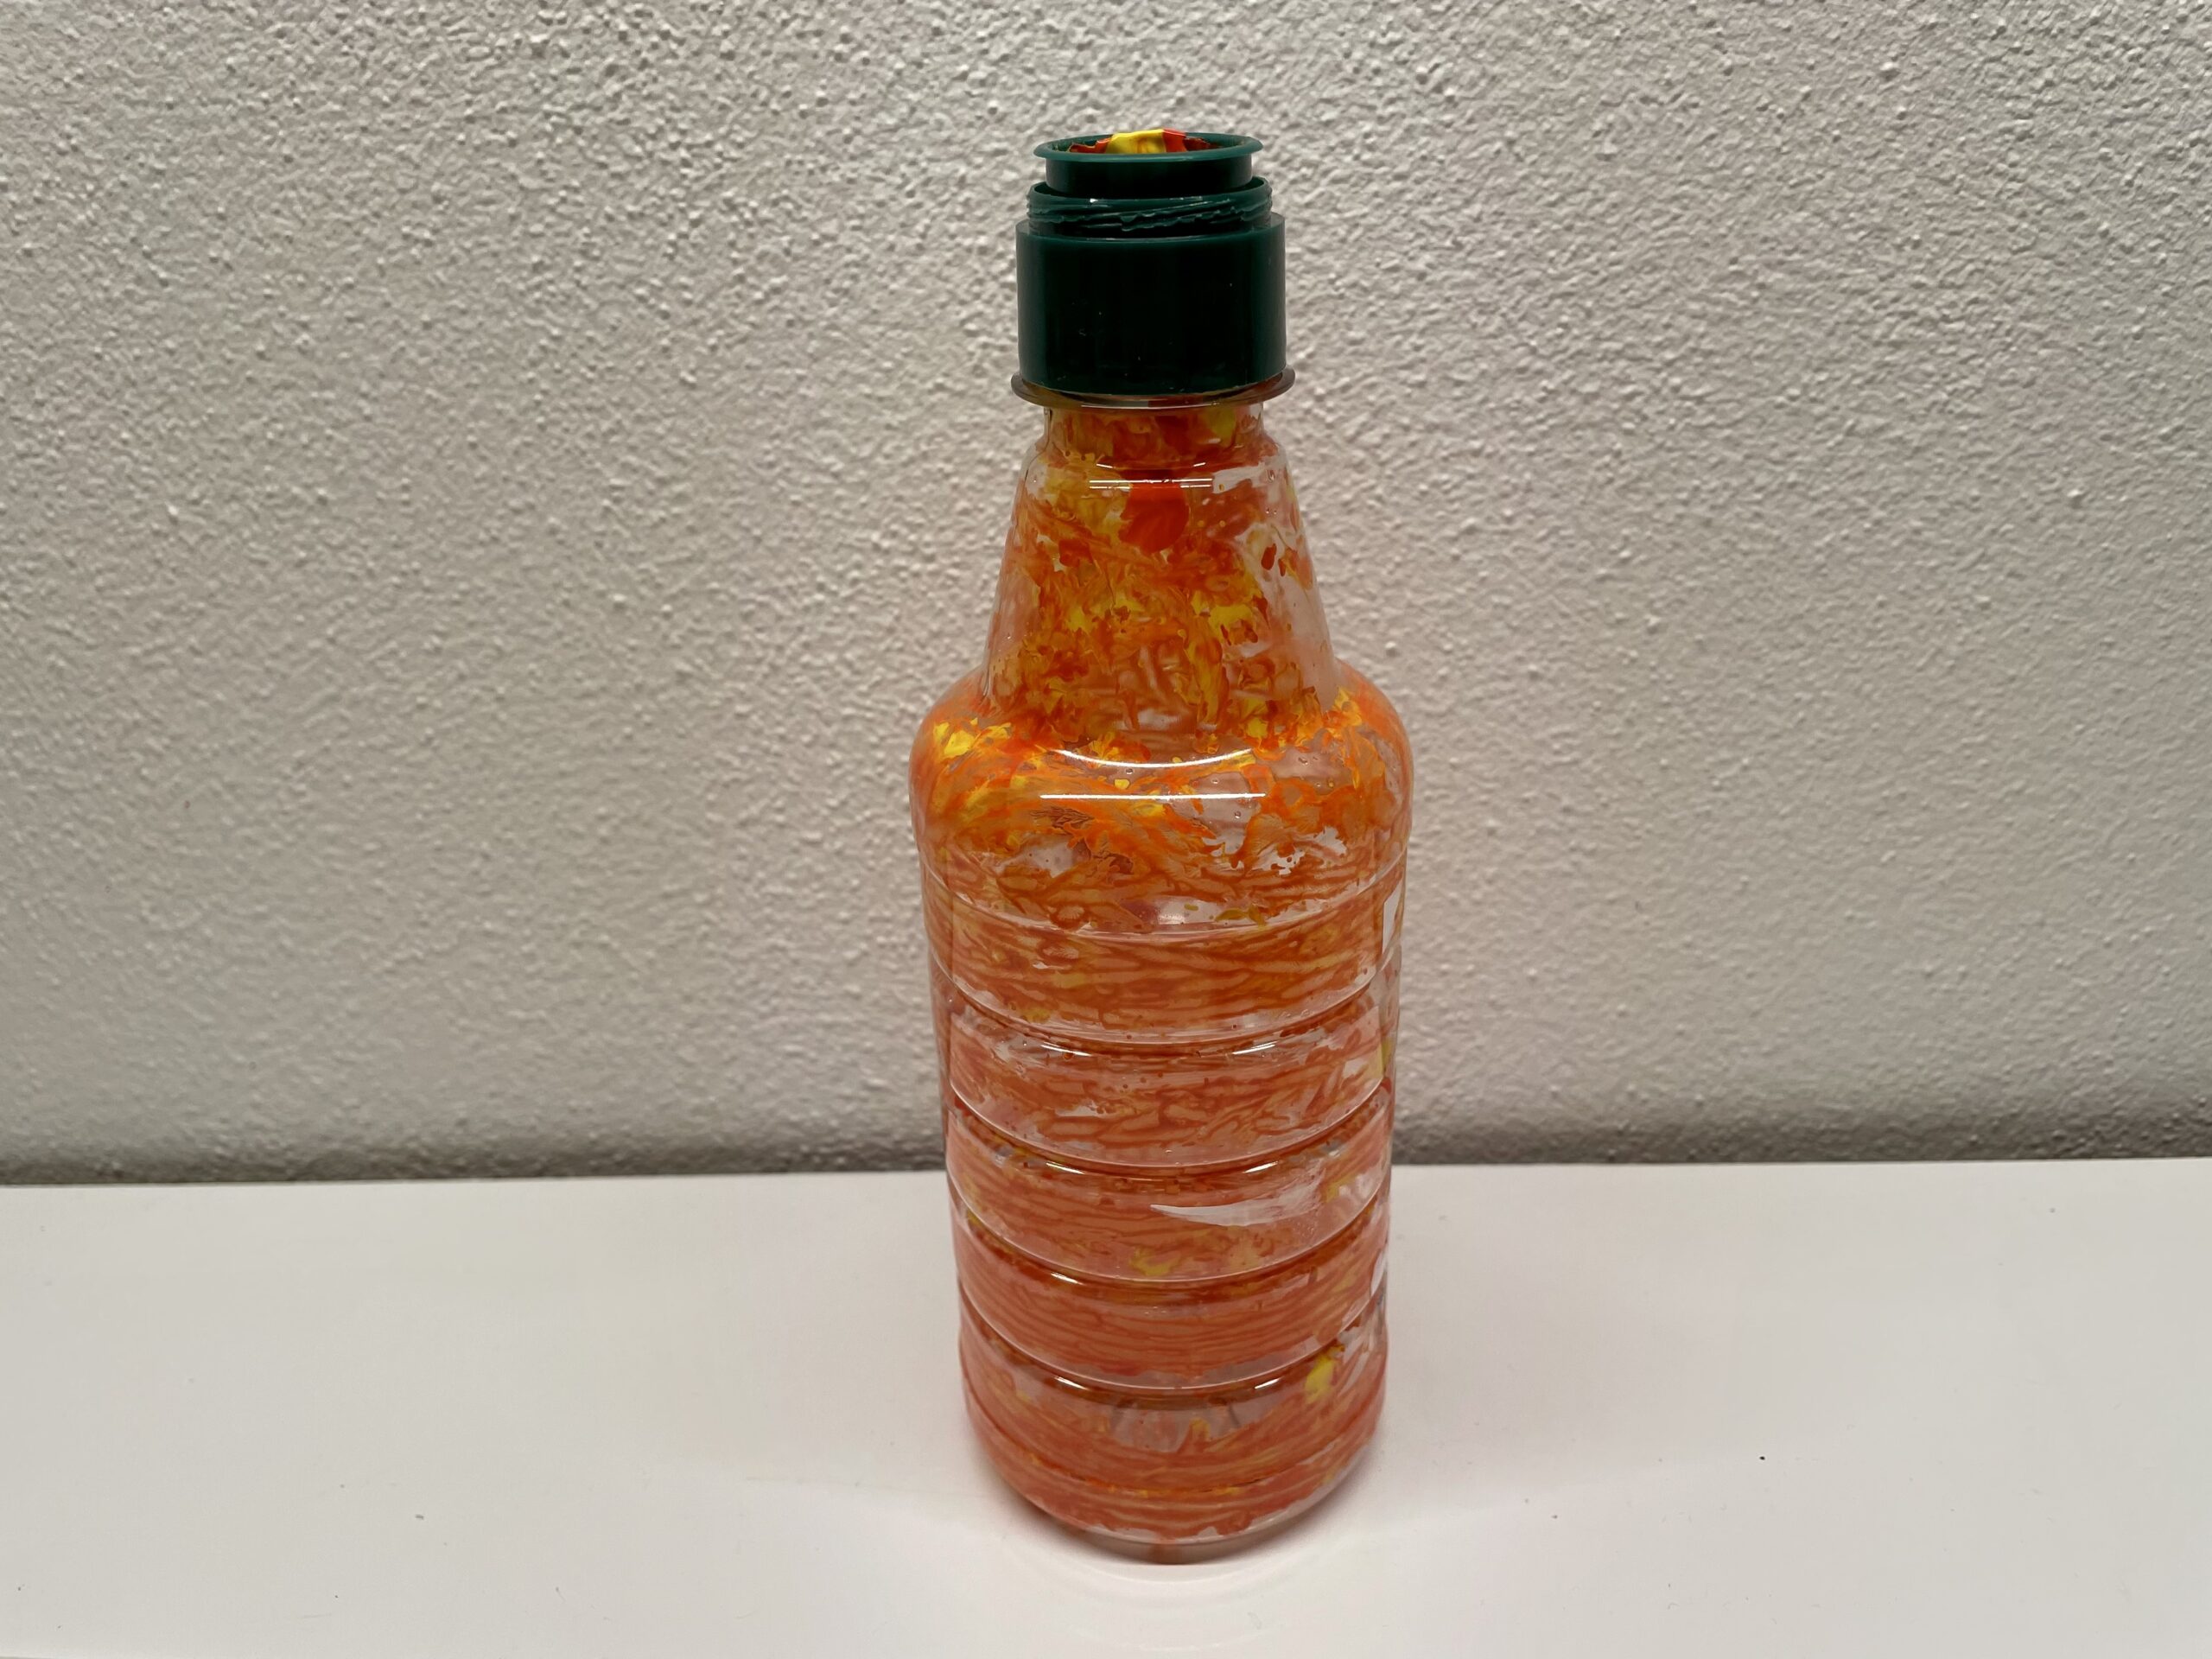
Bild zum Schritt 10 für das Bastel- und DIY-Abenteuer für Kinder: 'Jetzt stellt ihr die geöffnete Flasche zum Trocknen.'

This is how a pumpkin lantern becomes:
11

As soon as the paint is dried, cut off the bottle neck with a cutter knife. To do this, place the bottle on a base. Attention: the bottle can roll away - risk of injury! Let an adult help you.
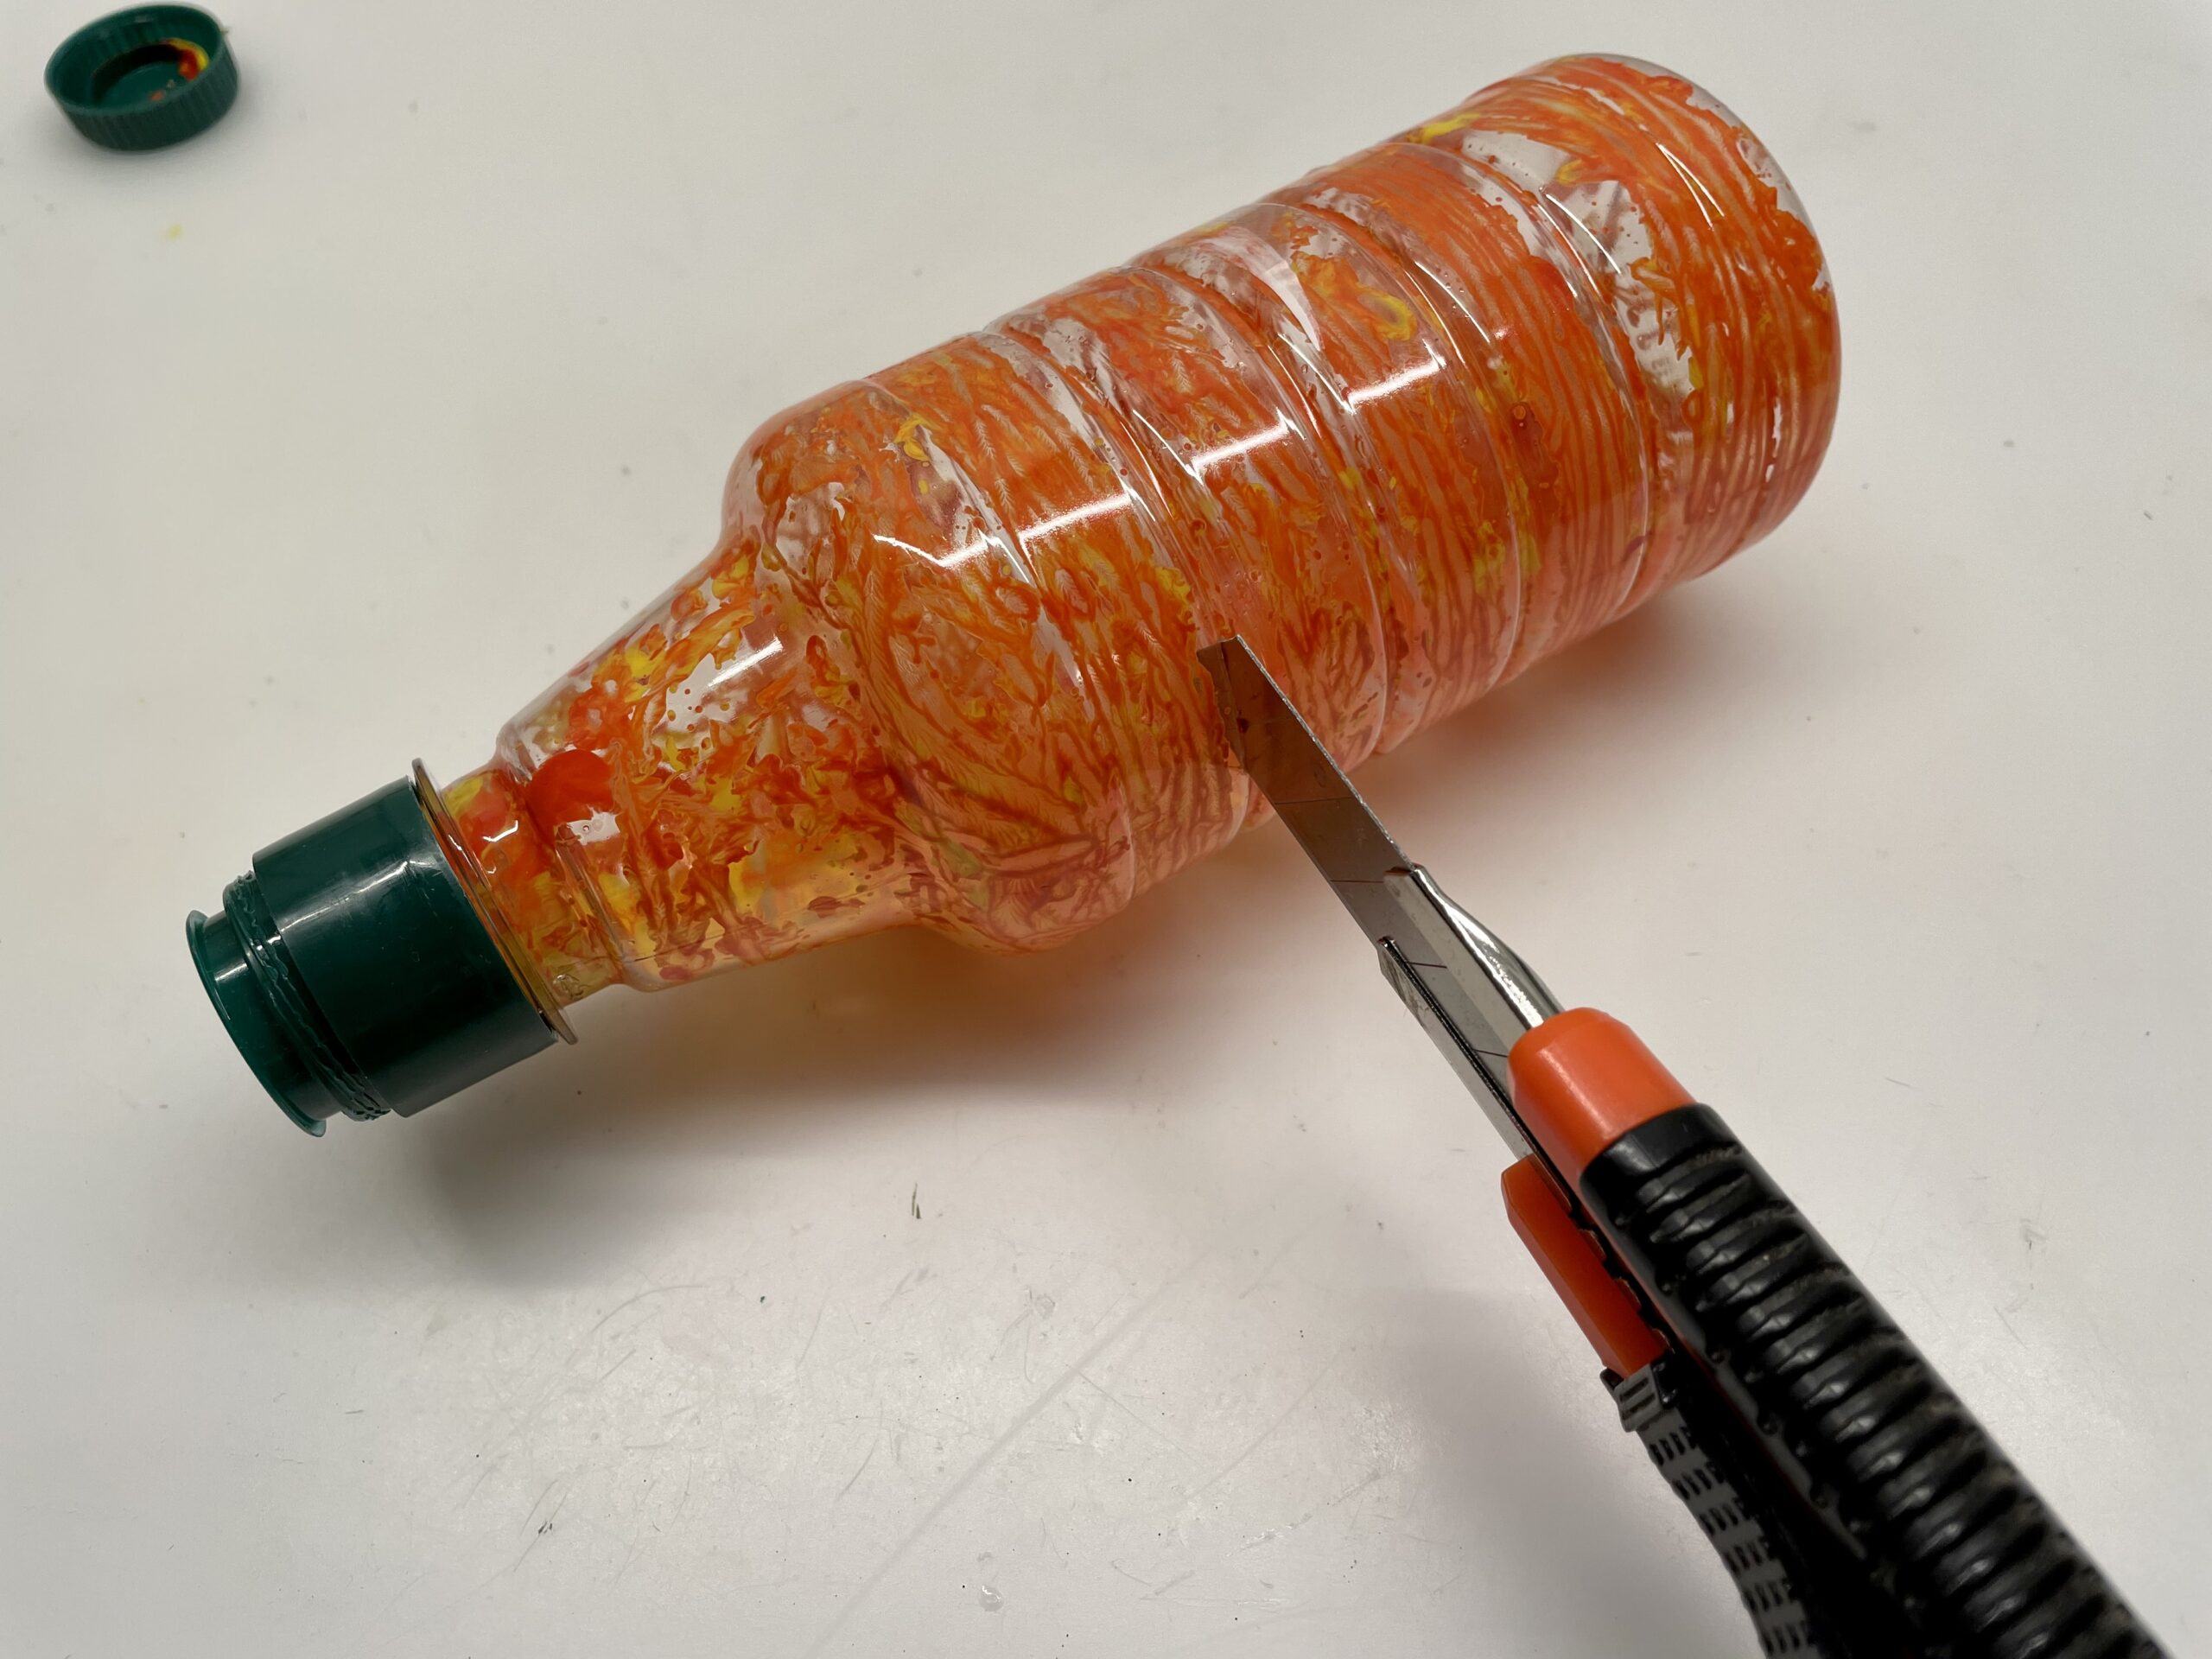
Bild zum Schritt 12 für das Bastel- und DIY-Abenteuer für Kinder: 'Sobald die Farbe getrocknet ist schneidet ihr den Flaschenhals mit...'

12

Make sure that no sharp edges stand at the edge.
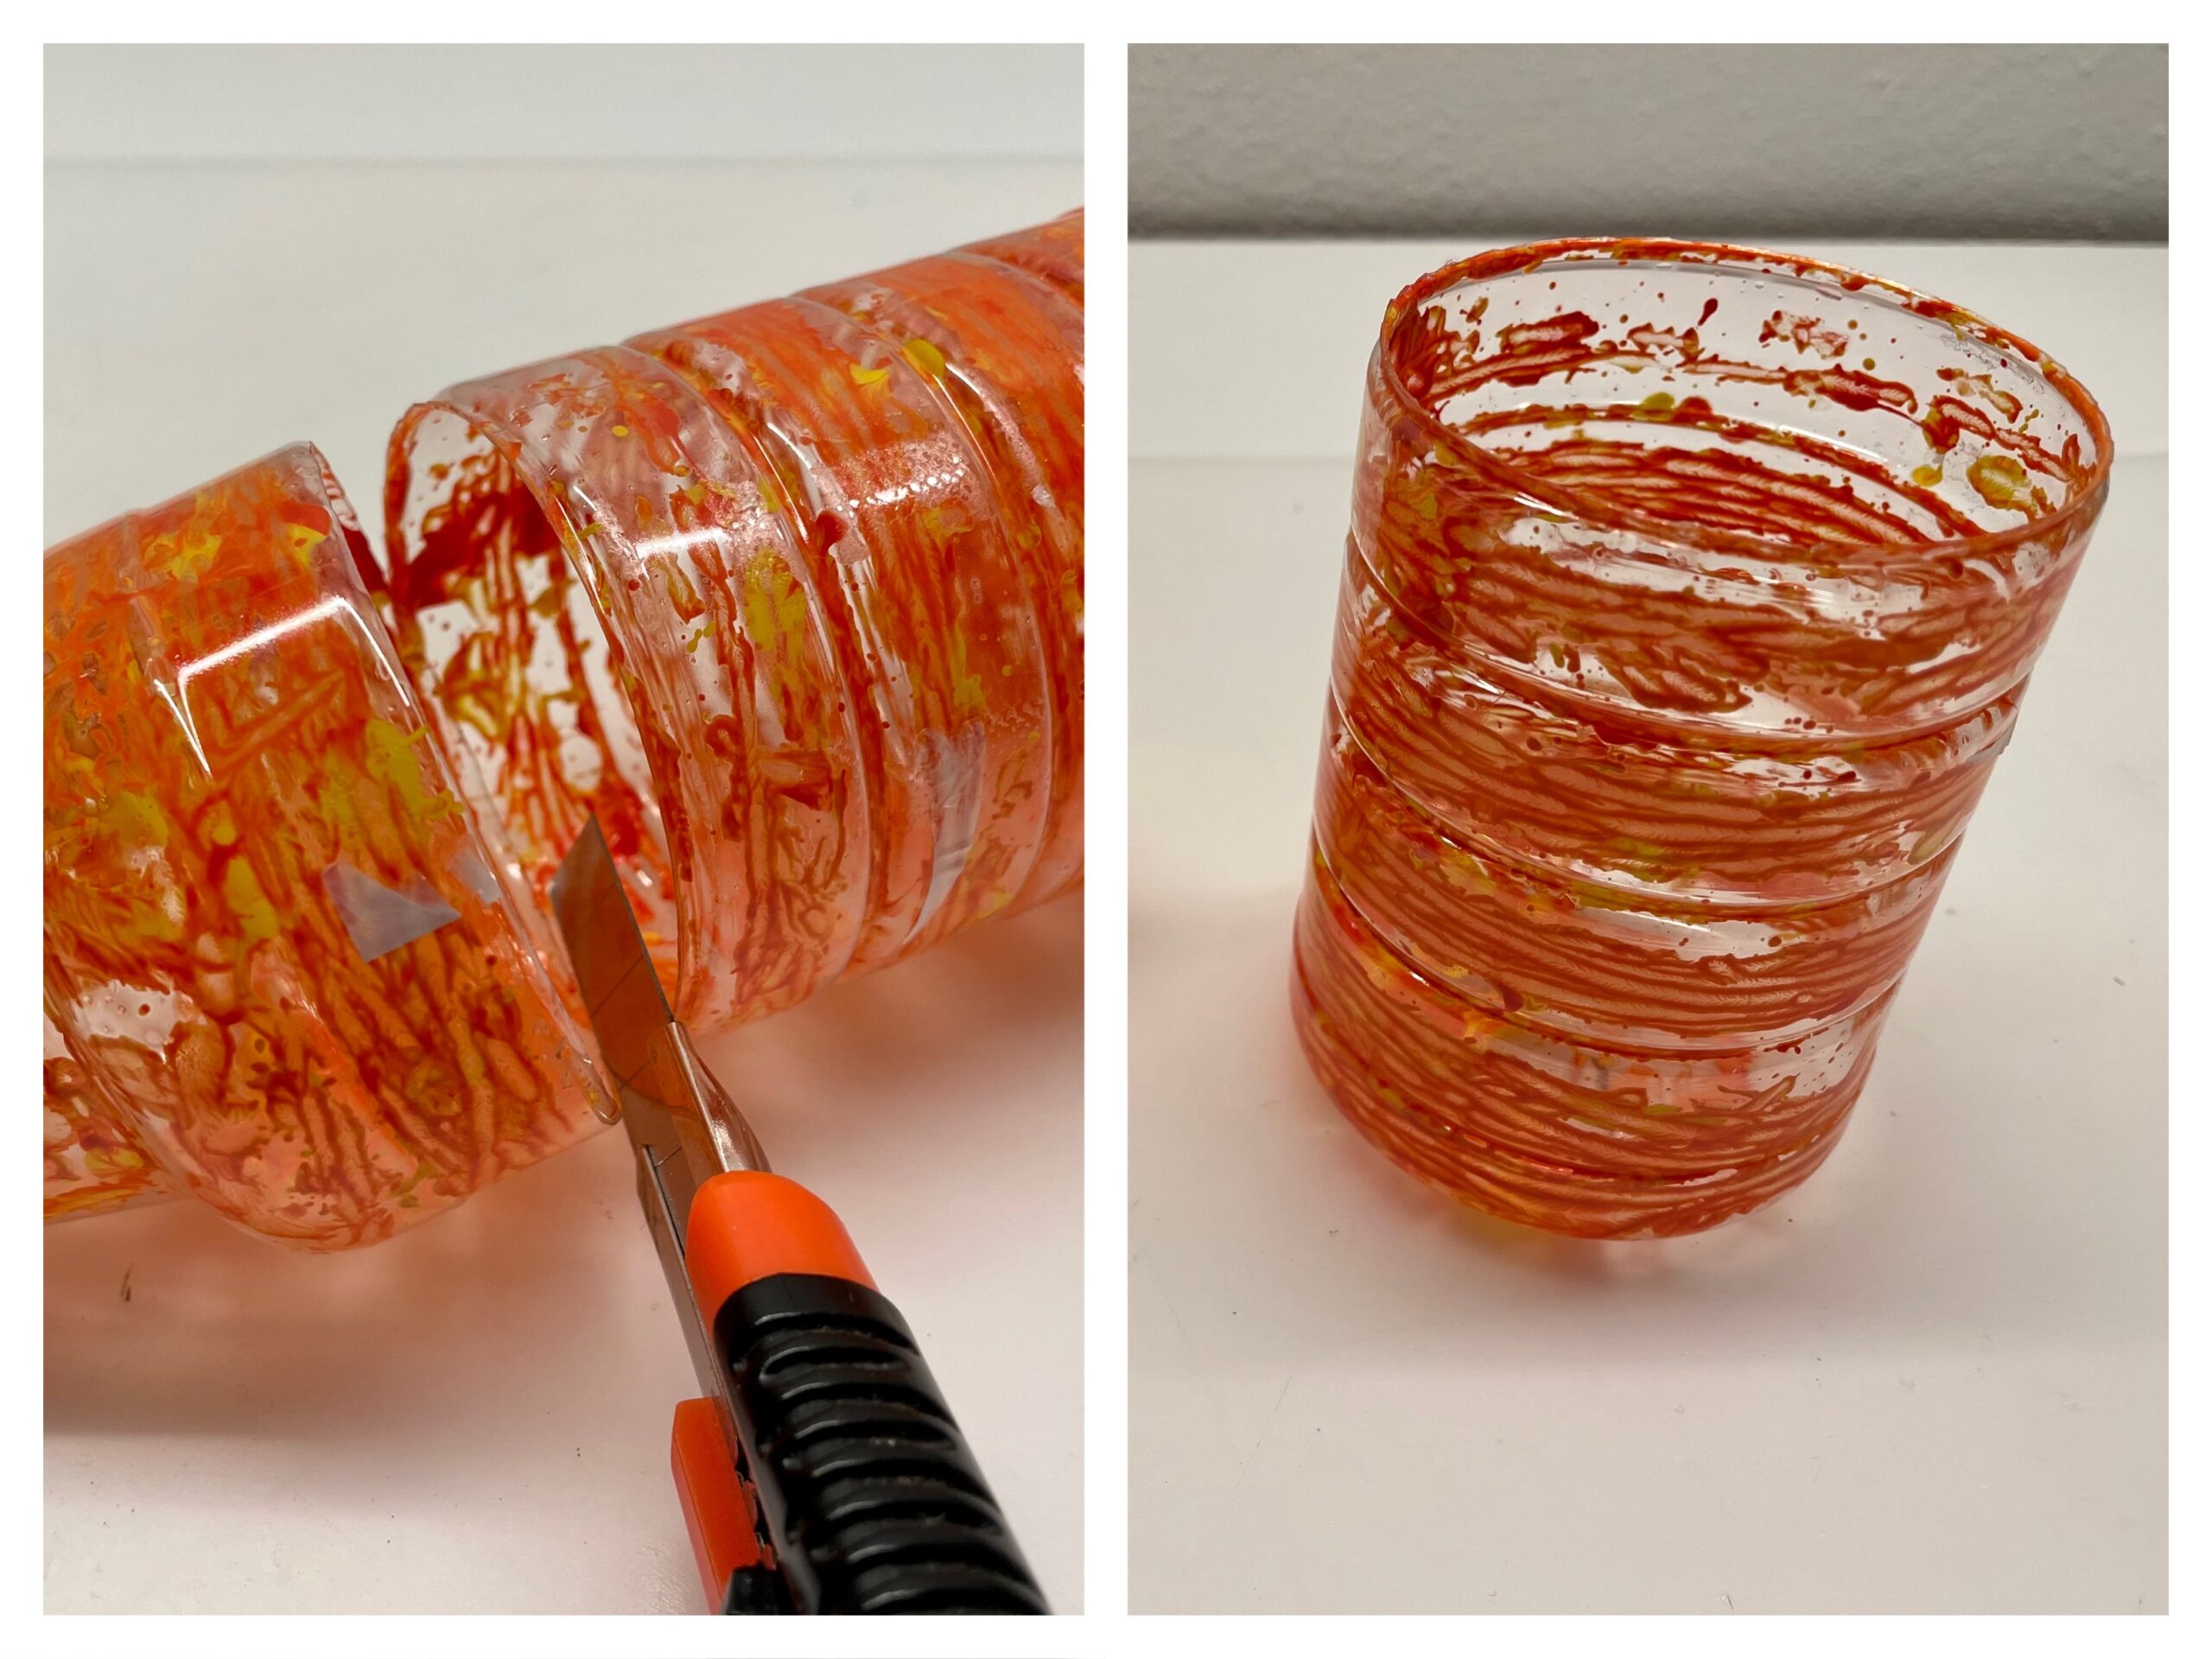
Bild zum Schritt 13 für das Bastel- und DIY-Abenteuer für Kinder: 'Achte darauf, dass keine scharfen Kanten am Rand abstehen.'

13

For the suspension you hole two holes in the bottle at the upper edge. These lie exactly opposite each other.
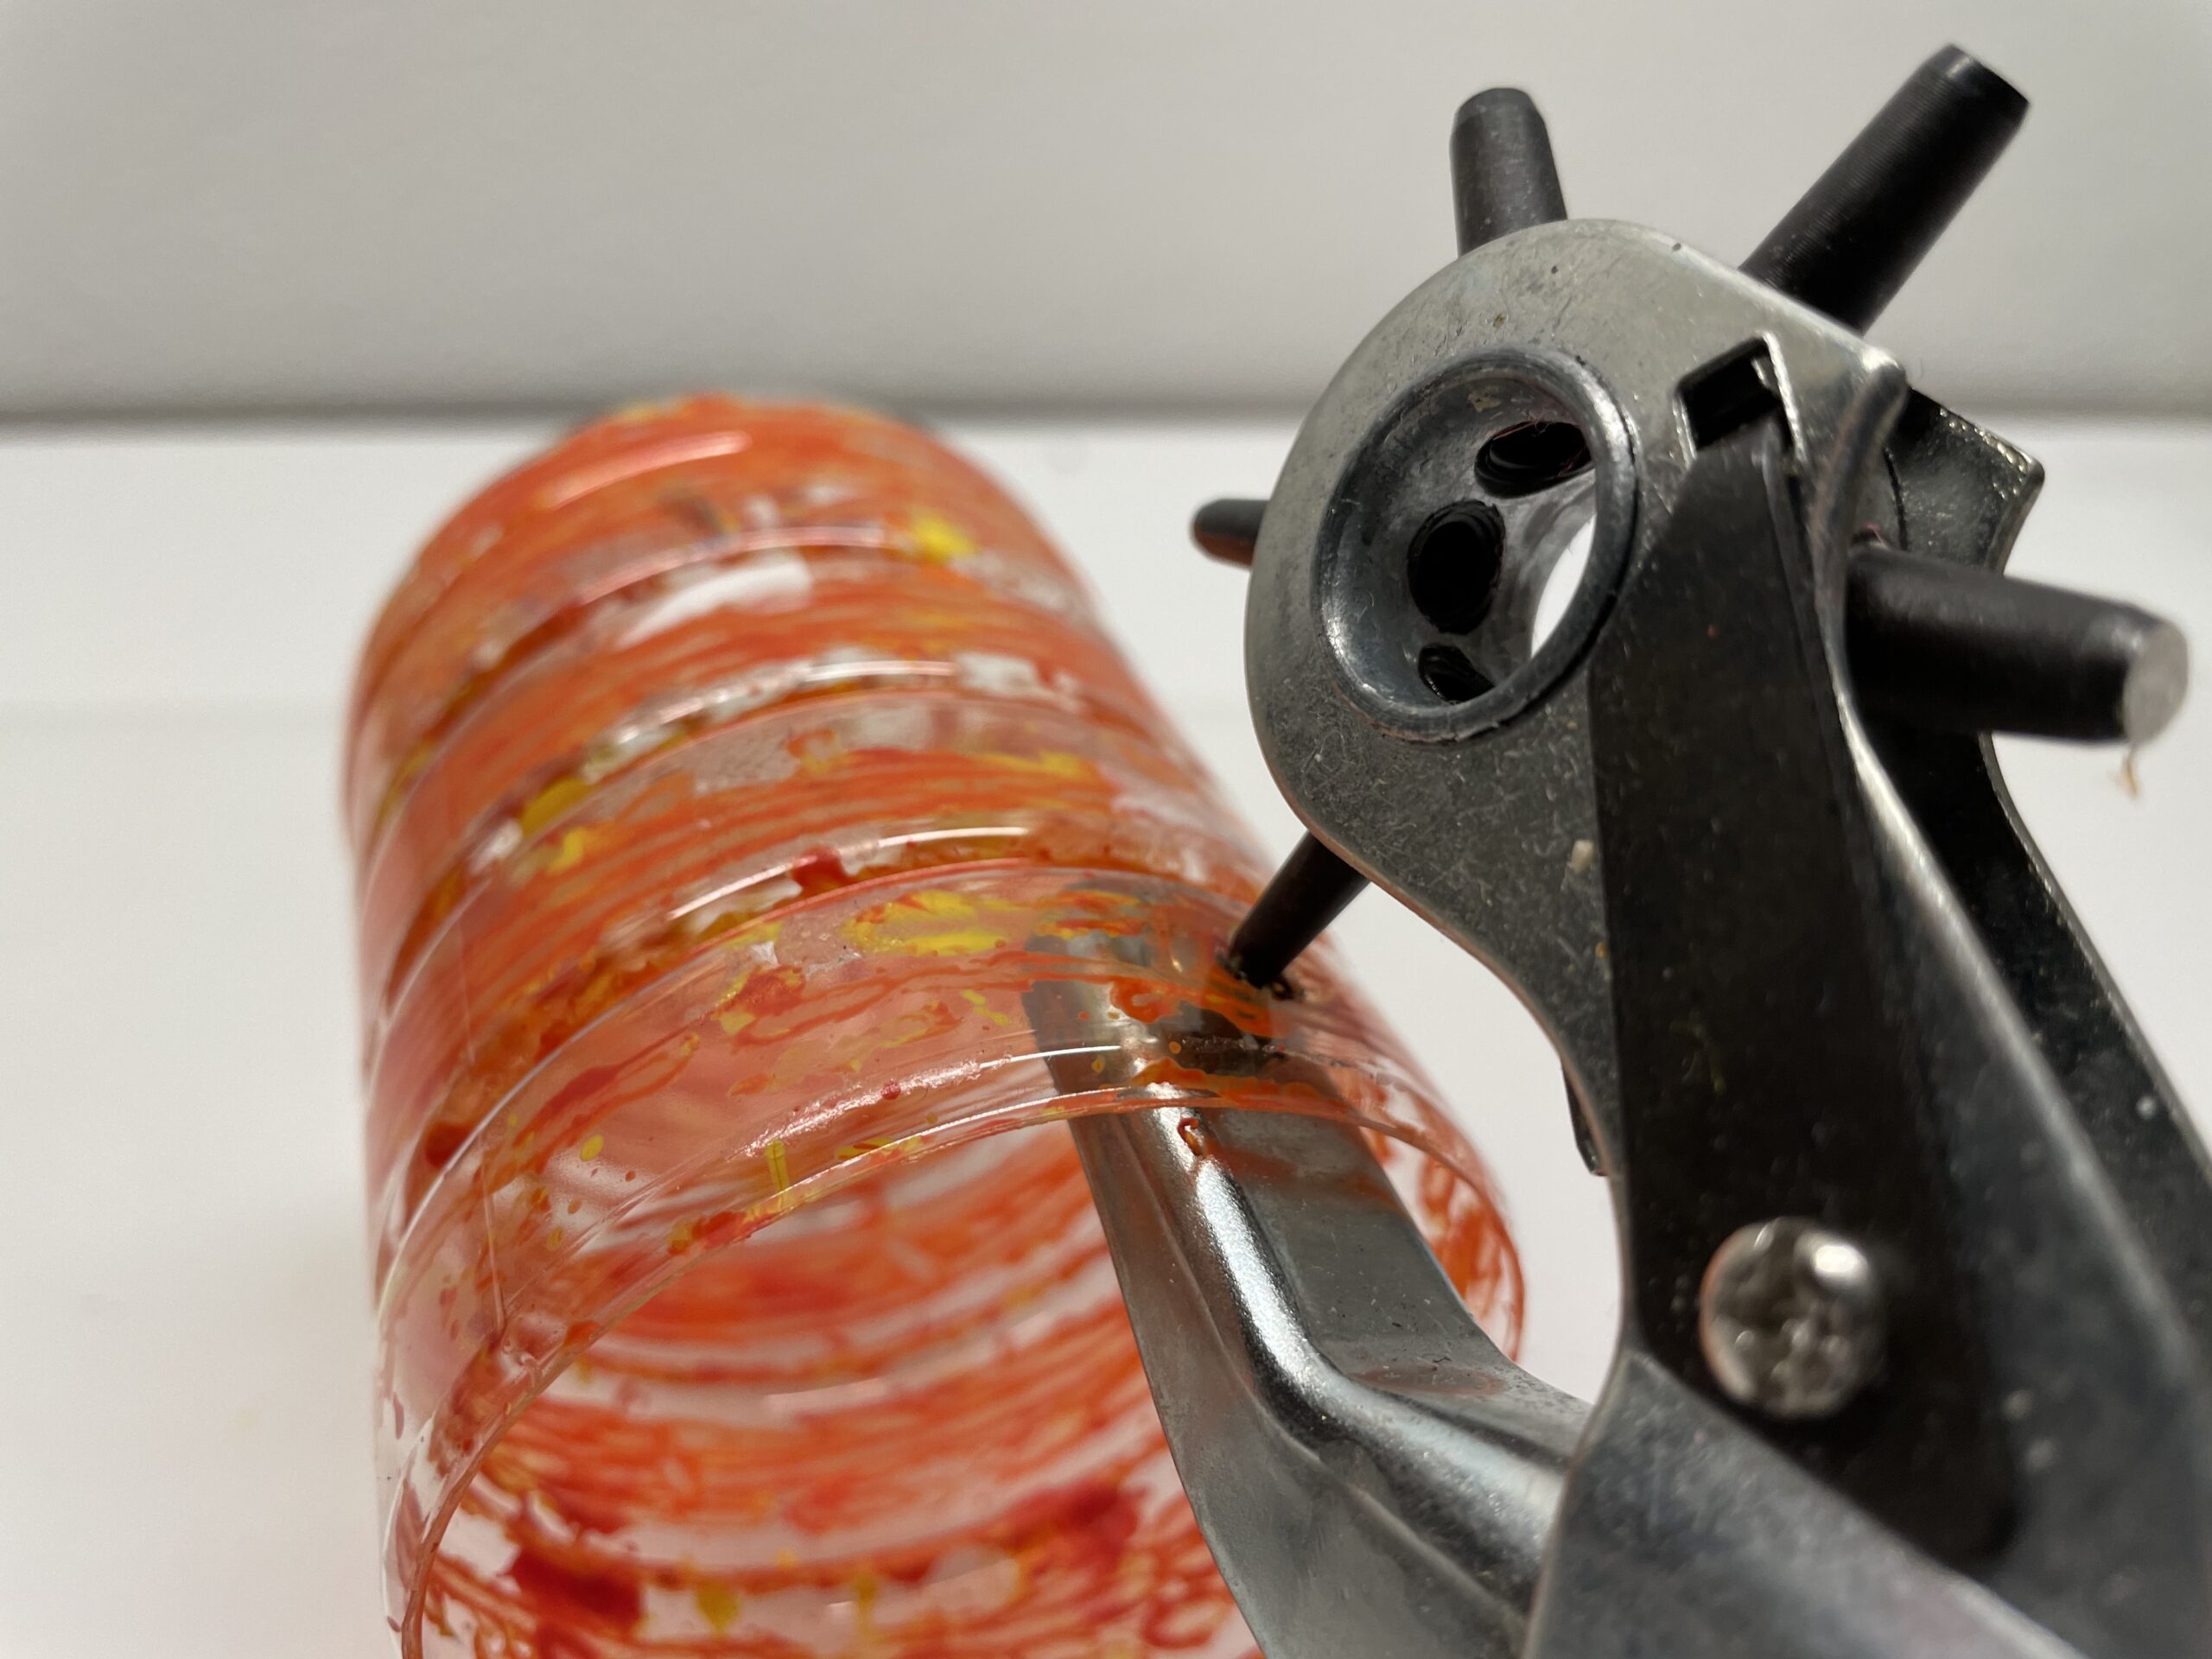
Bild zum Schritt 14 für das Bastel- und DIY-Abenteuer für Kinder: 'Für die Aufhängung locht ihr am oberen Rand zwei Löcher...'

14

Through the holes you now insert a paper cord with wire from the outside to the inside and twist the end of the wire.
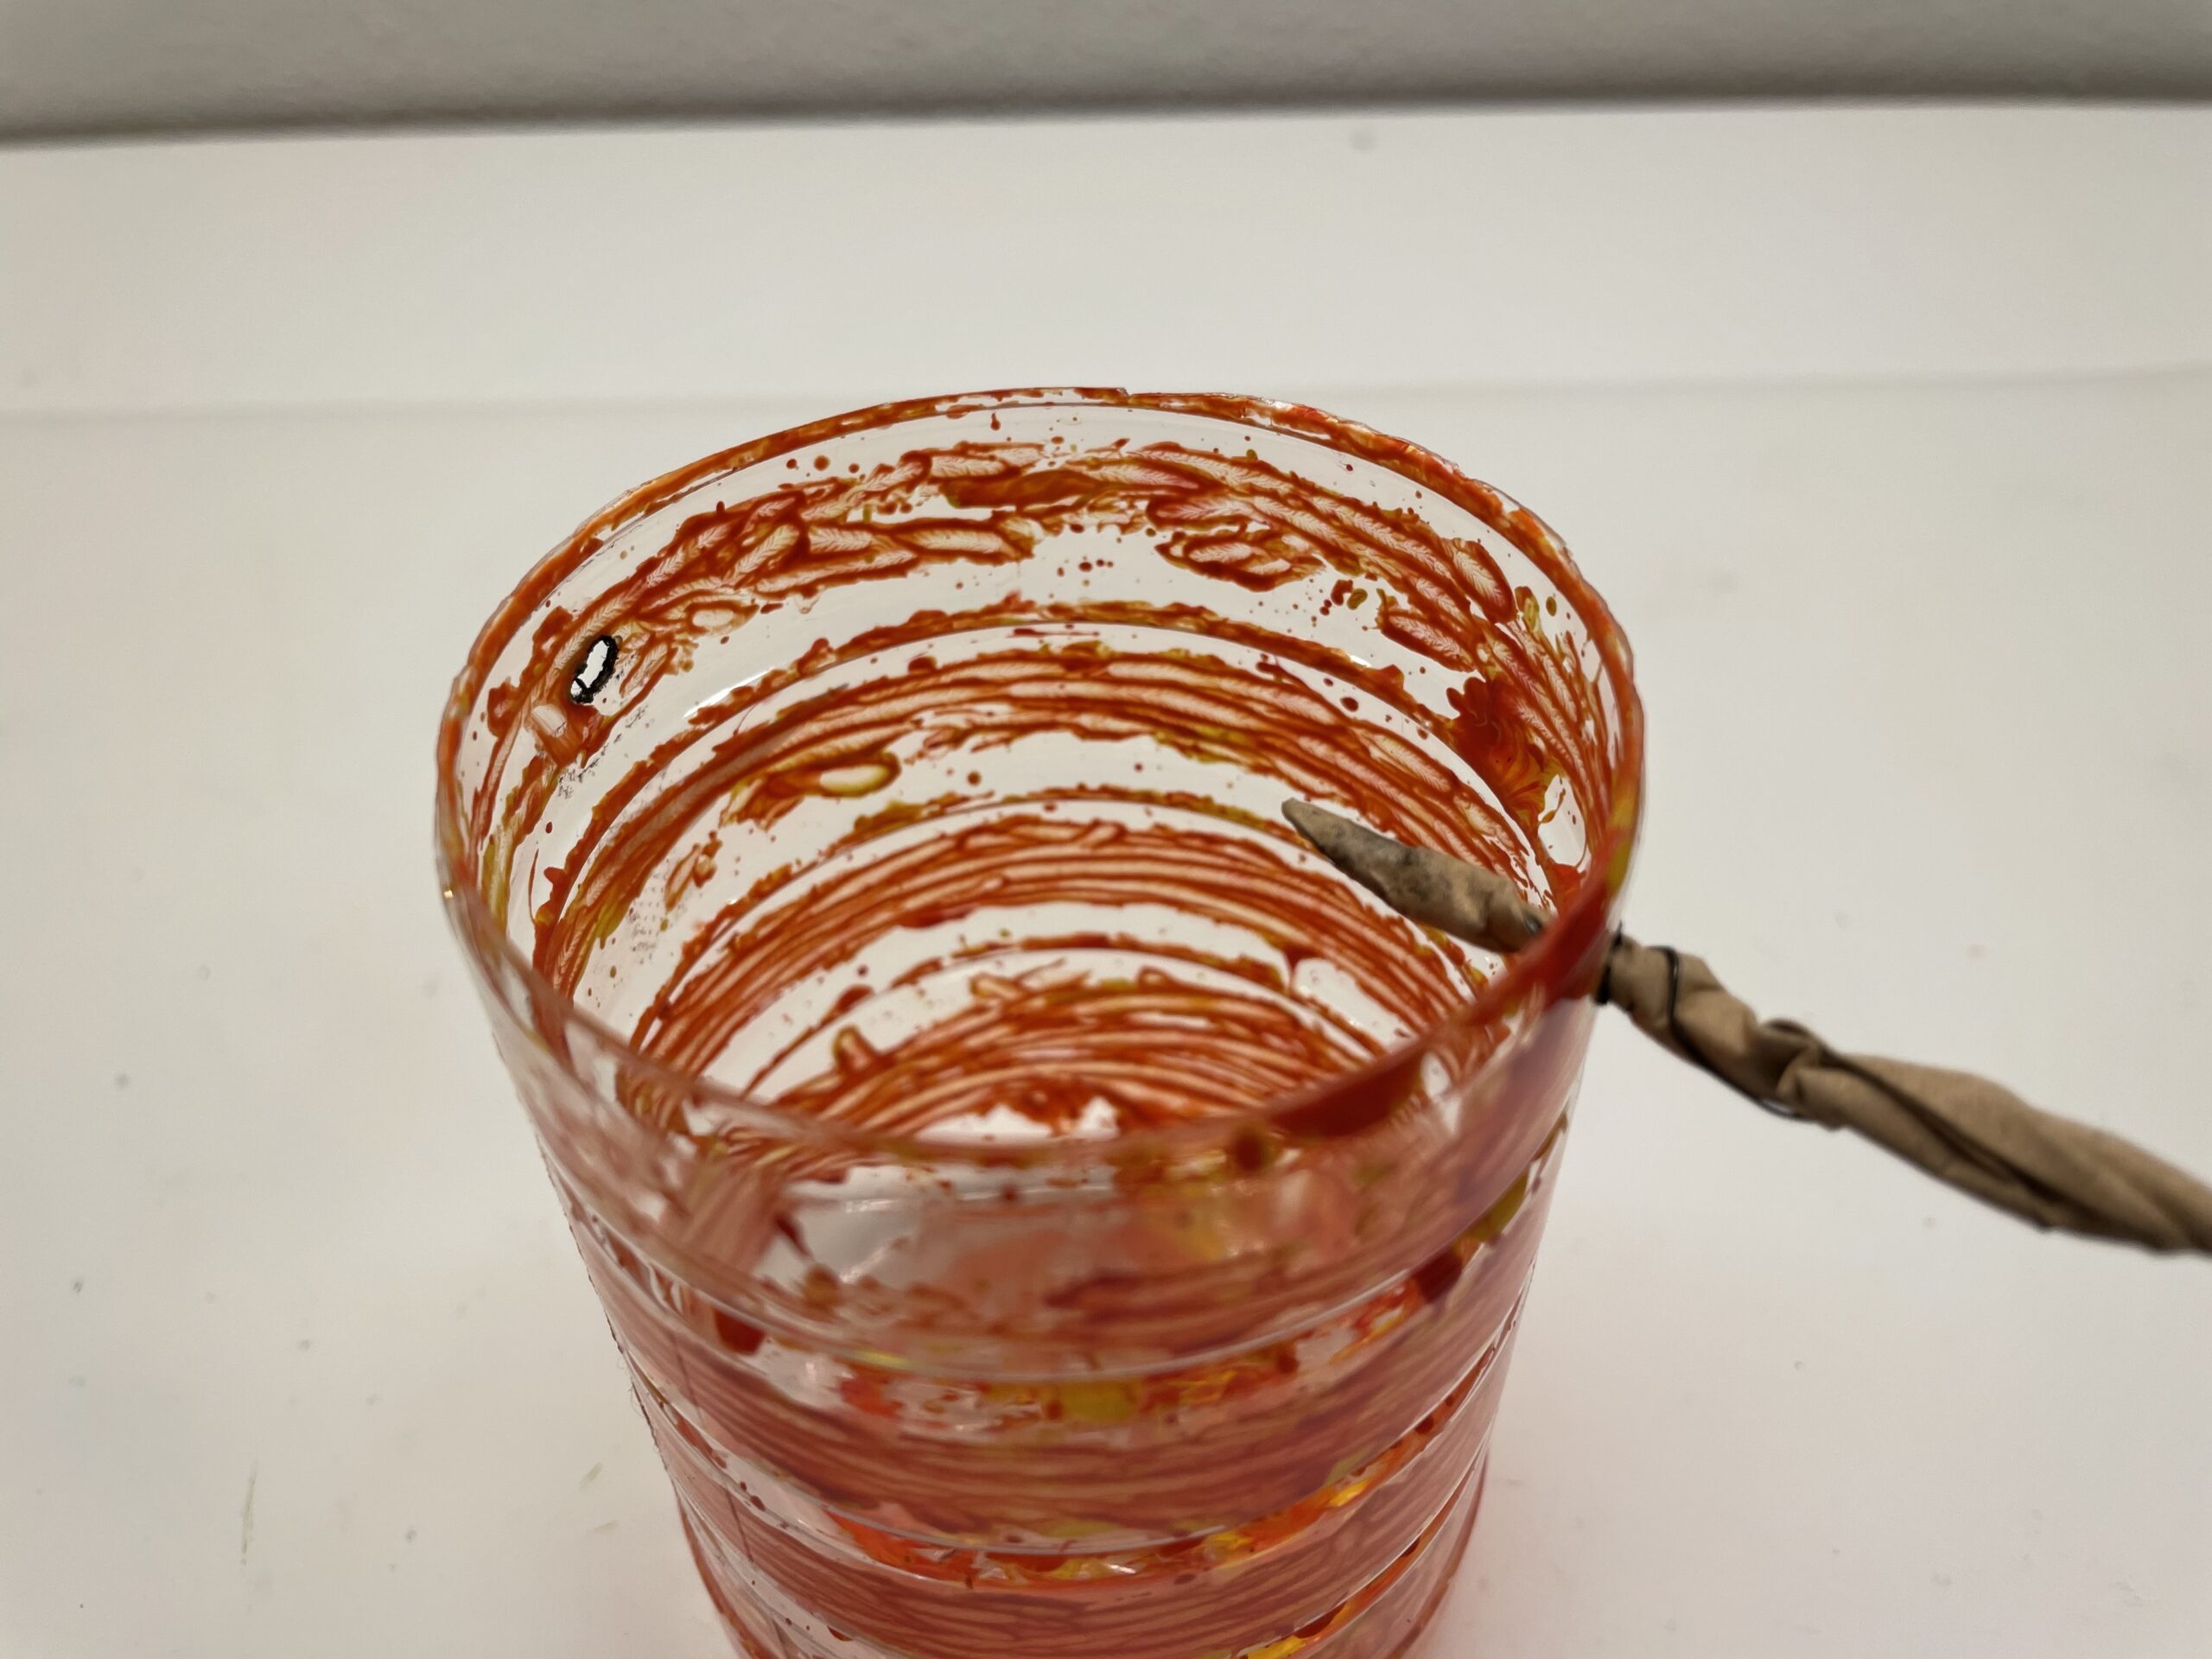
Bild zum Schritt 15 für das Bastel- und DIY-Abenteuer für Kinder: 'Durch die Löcher steckt ihr nun von außen nach innen...'

15

Inserts the paper cord with wire also on the other side from the outside to the inside and twists the end of the wire here as well.
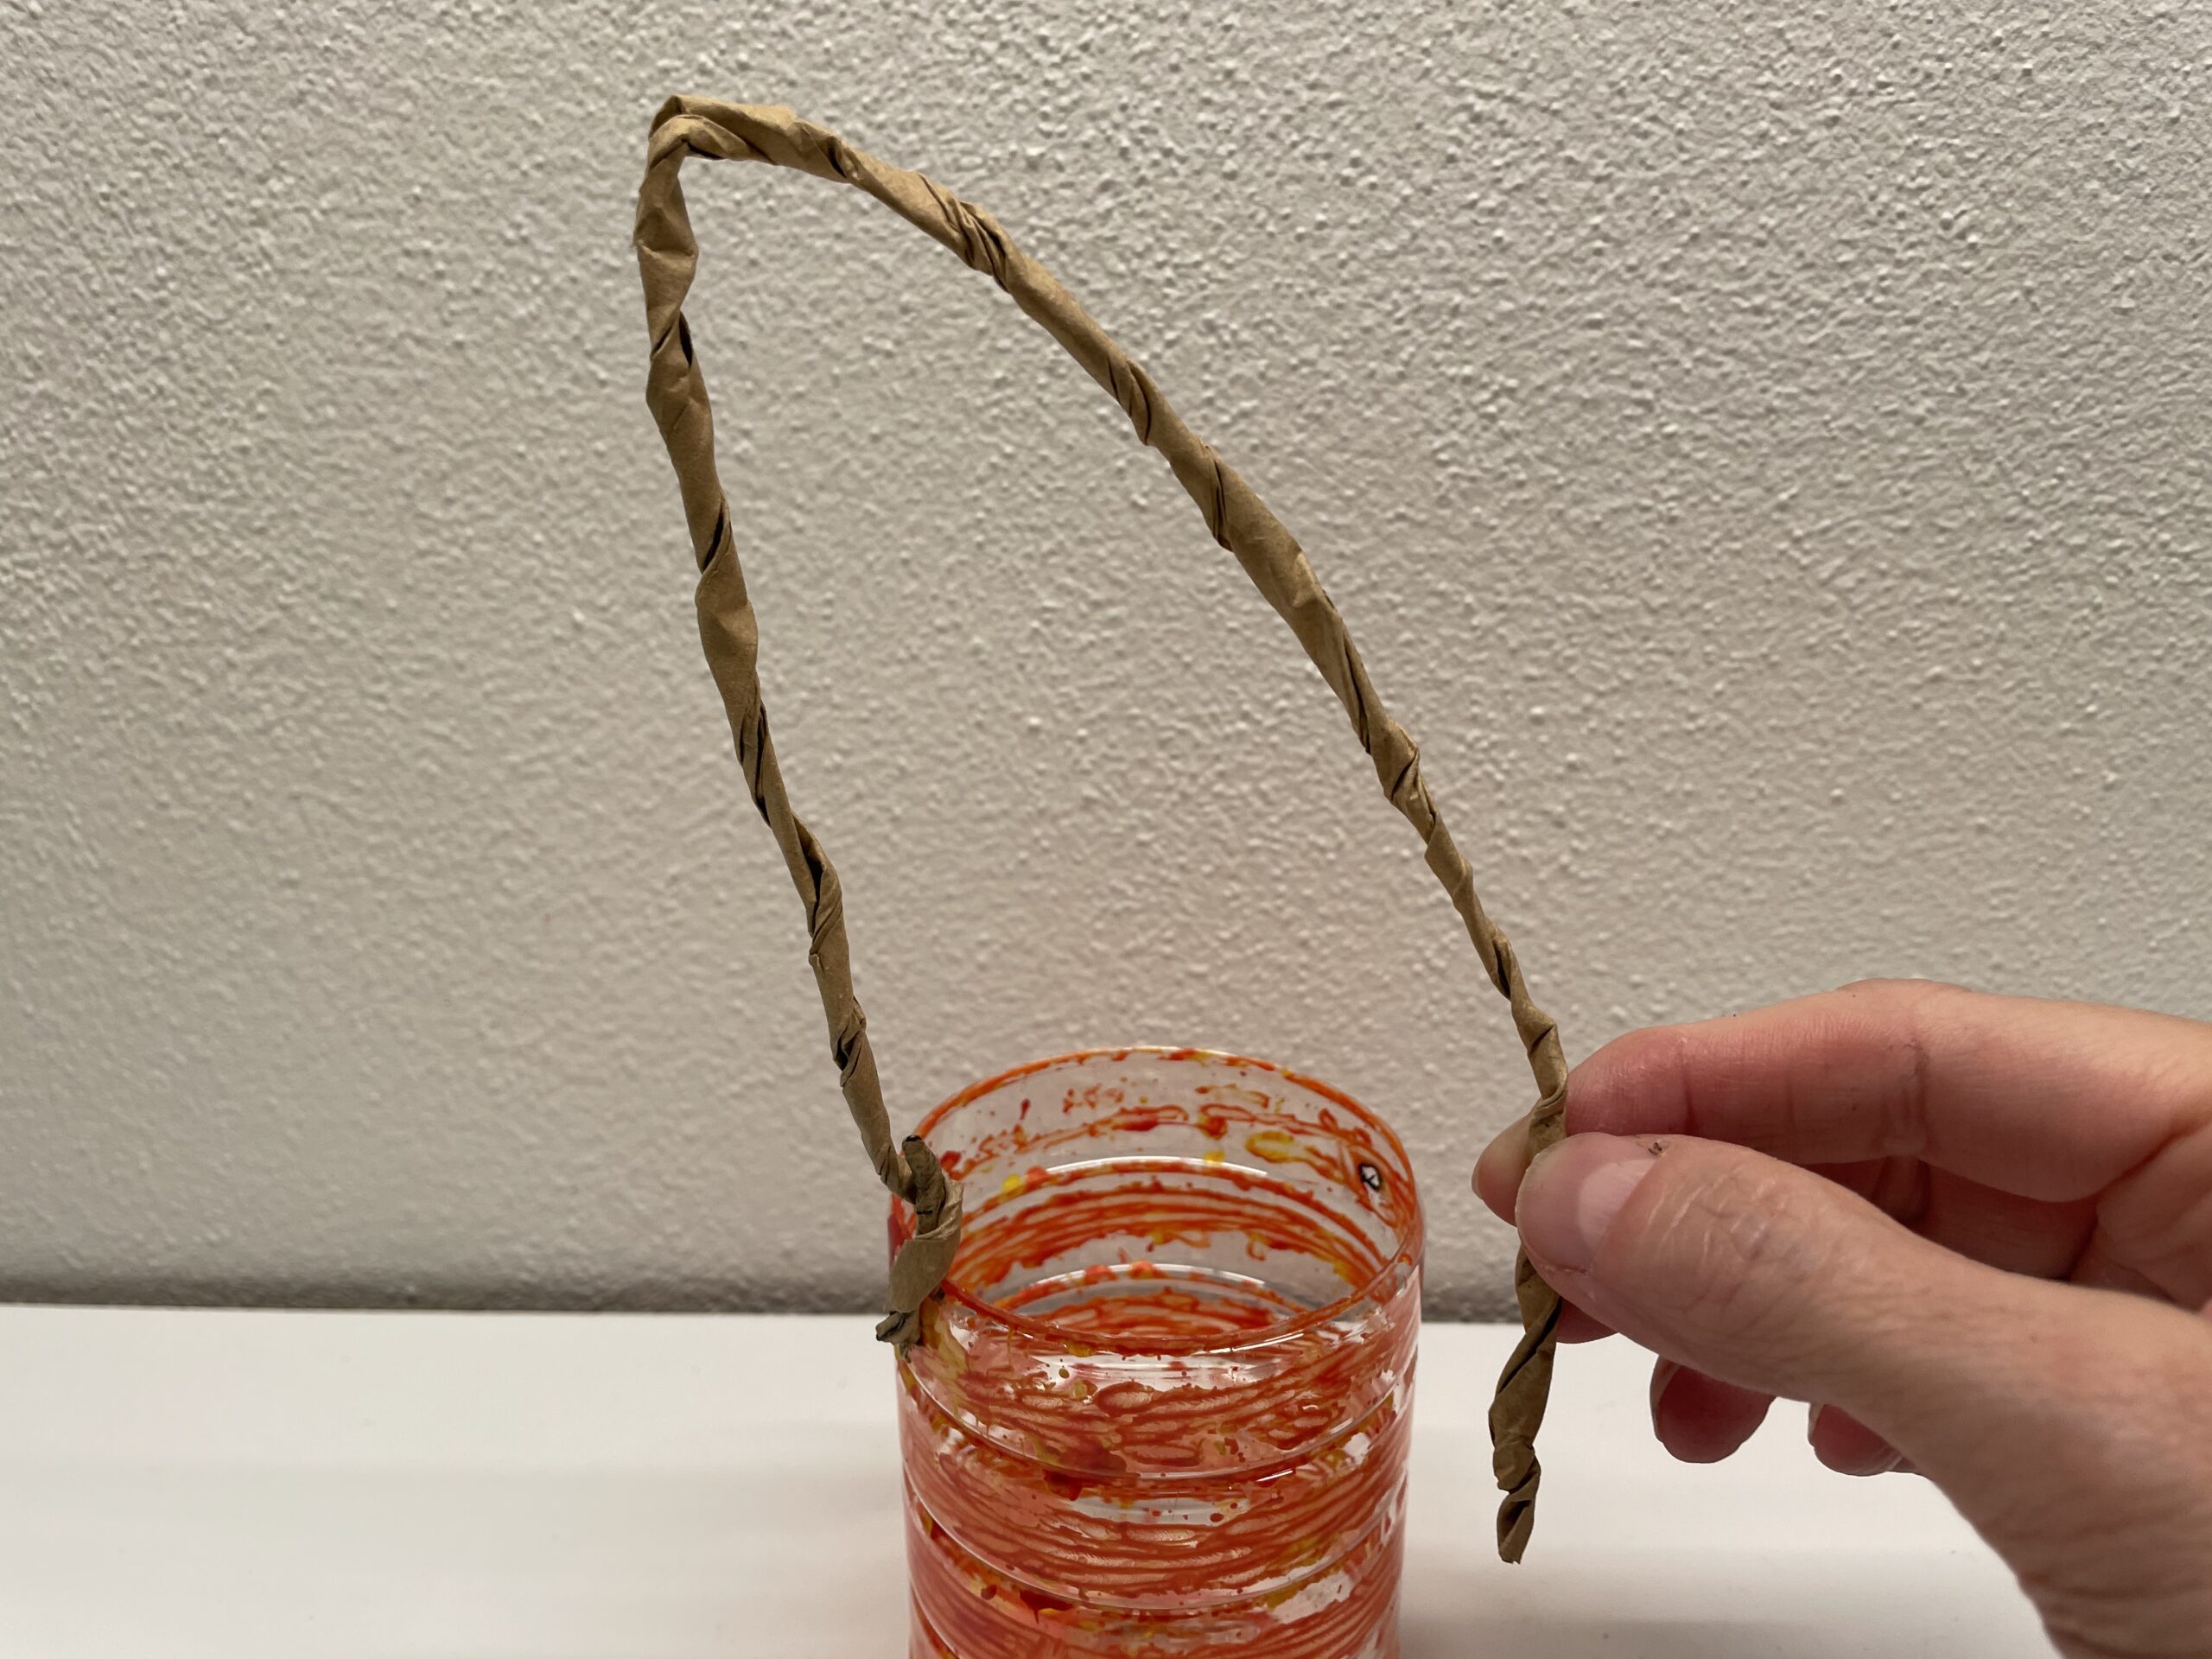
Bild zum Schritt 16 für das Bastel- und DIY-Abenteuer für Kinder: 'Steckt die Papierschnur mit Draht auch auf der anderen Seite...'

16

You can wear the lantern on this handle or attach a lantern stick to it.
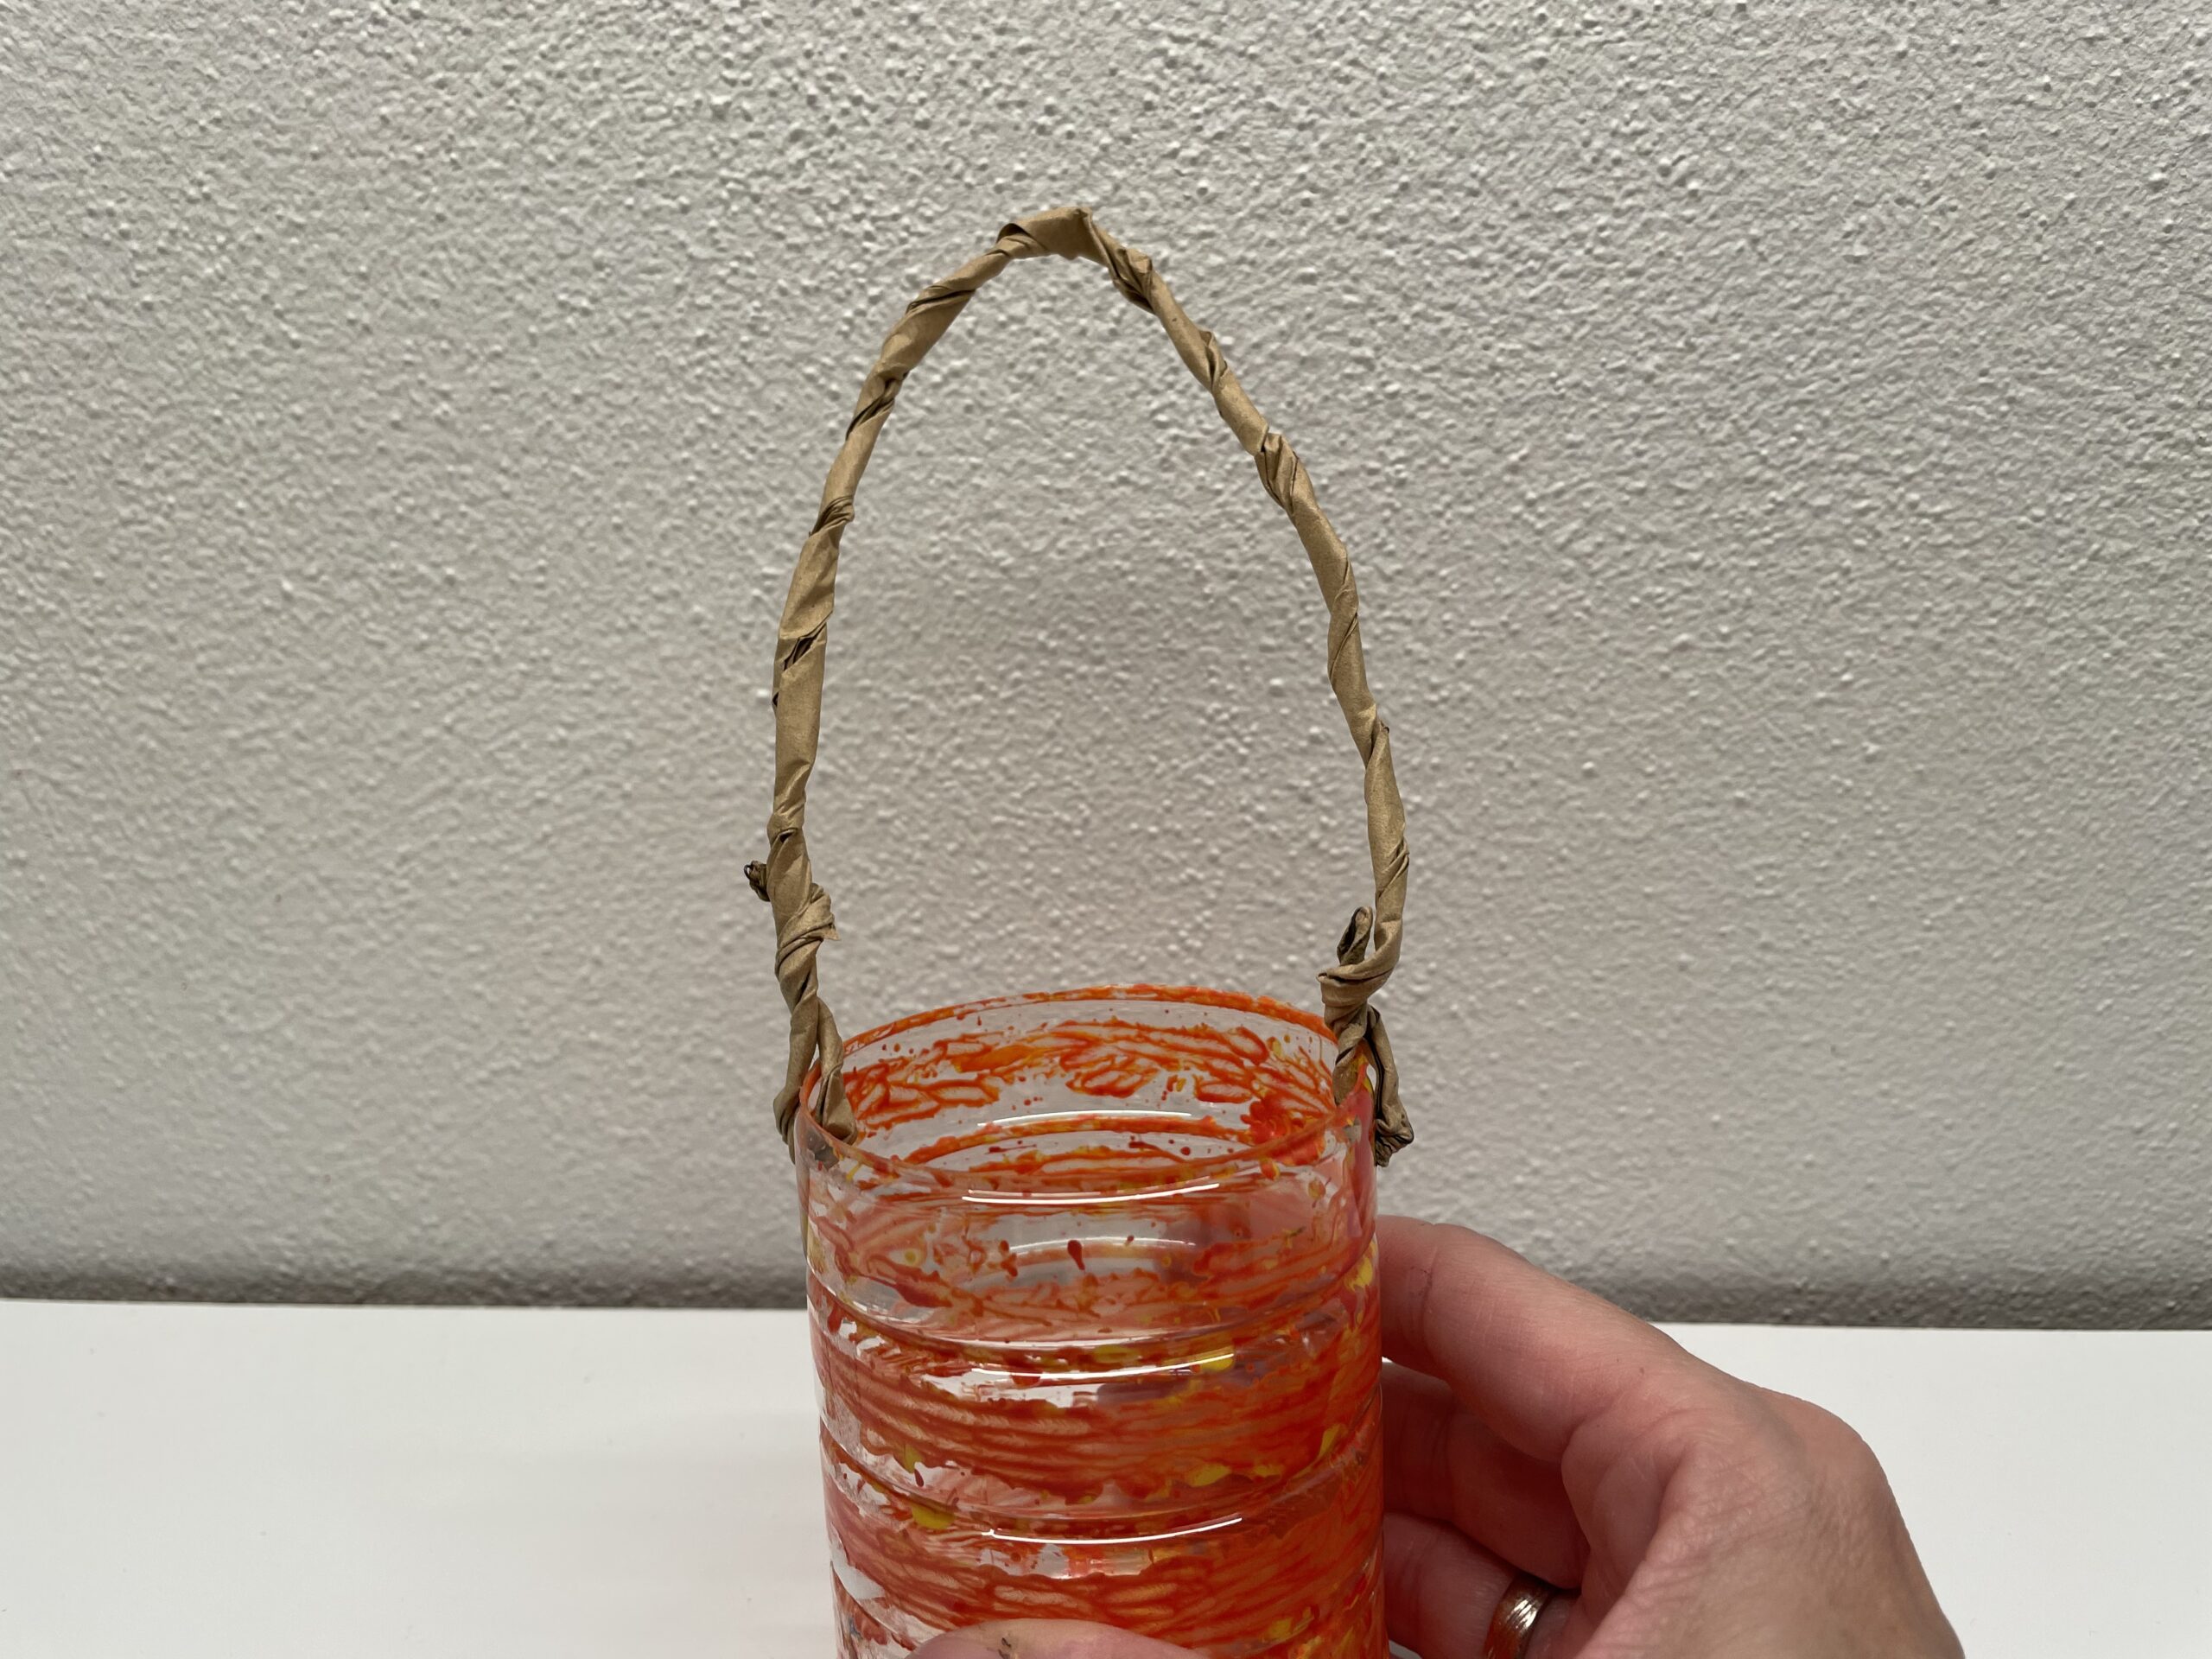
Bild zum Schritt 17 für das Bastel- und DIY-Abenteuer für Kinder: 'An diesen Henkel könnt ihr die Laterne tragen oder daran...'

Pumpkin - tinkering leaf:
17

First you paint a large sheet on a cardboard roll.
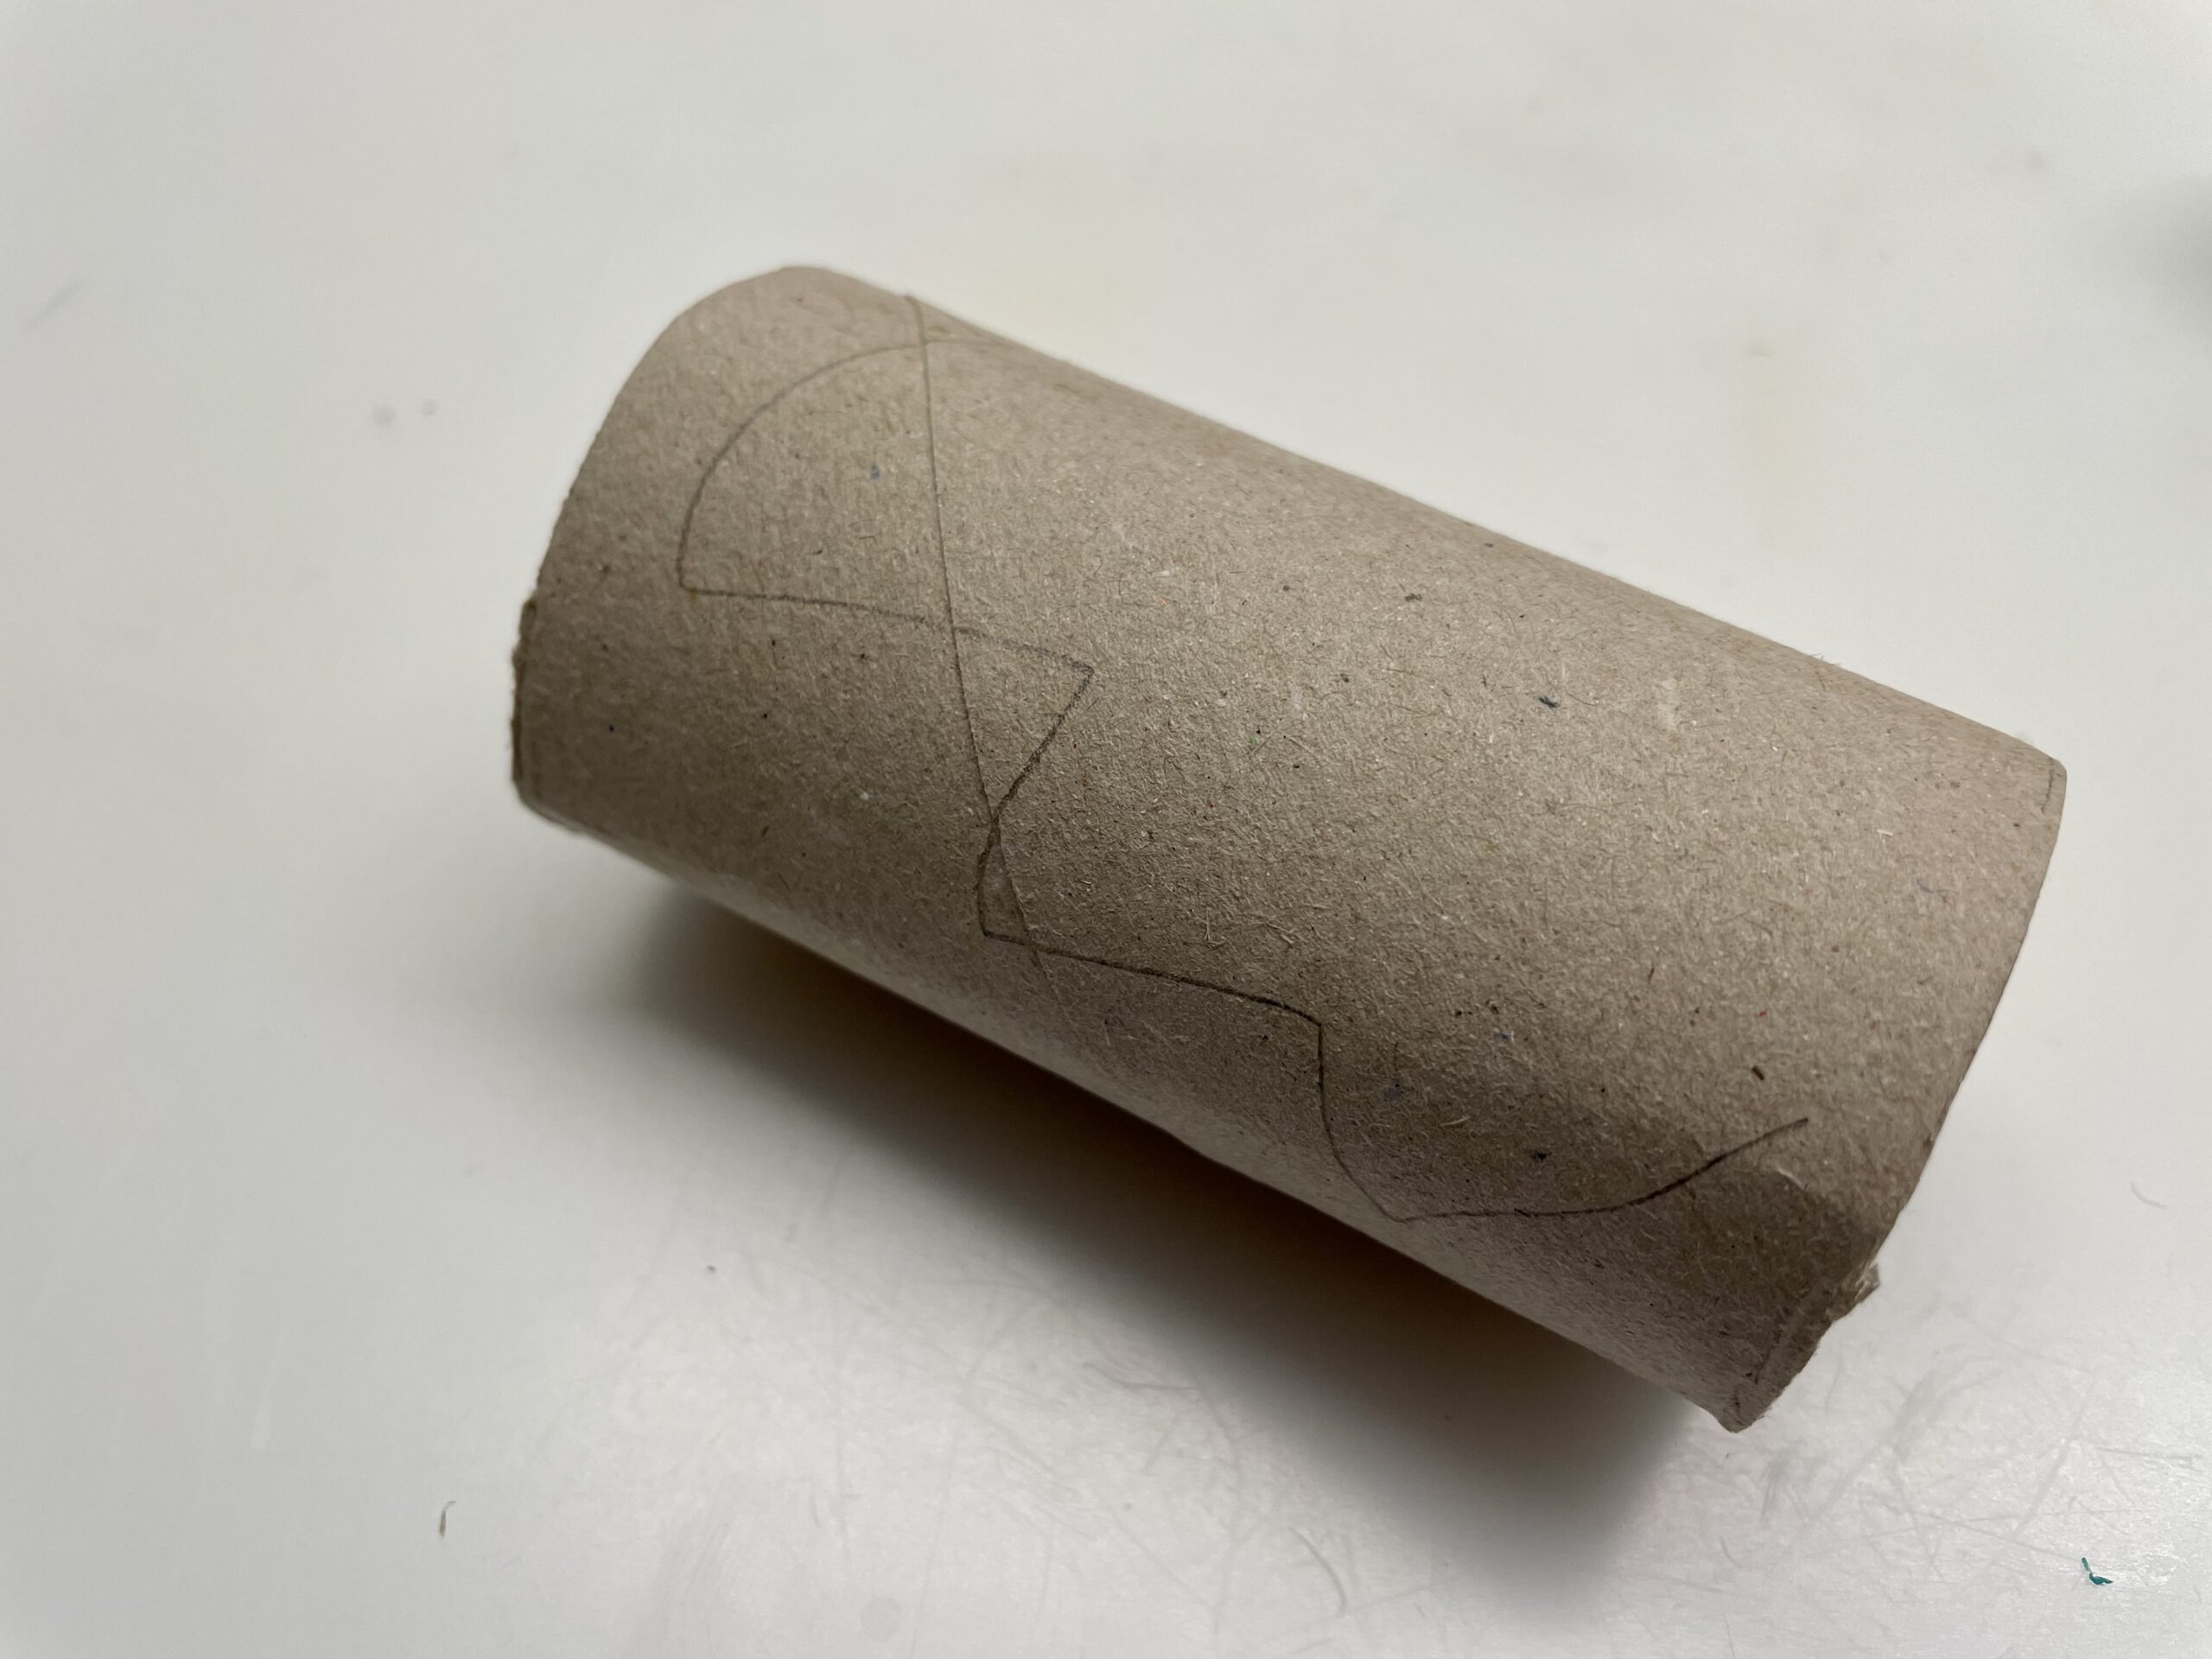
Bild zum Schritt 19 für das Bastel- und DIY-Abenteuer für Kinder: 'Dafür malt ihr zuerst auf eine Papprolle ein großes Blatt.'

18

Then you cut out the recorded sheet. The sheet does not lie flat, but it can be pressed well flat.
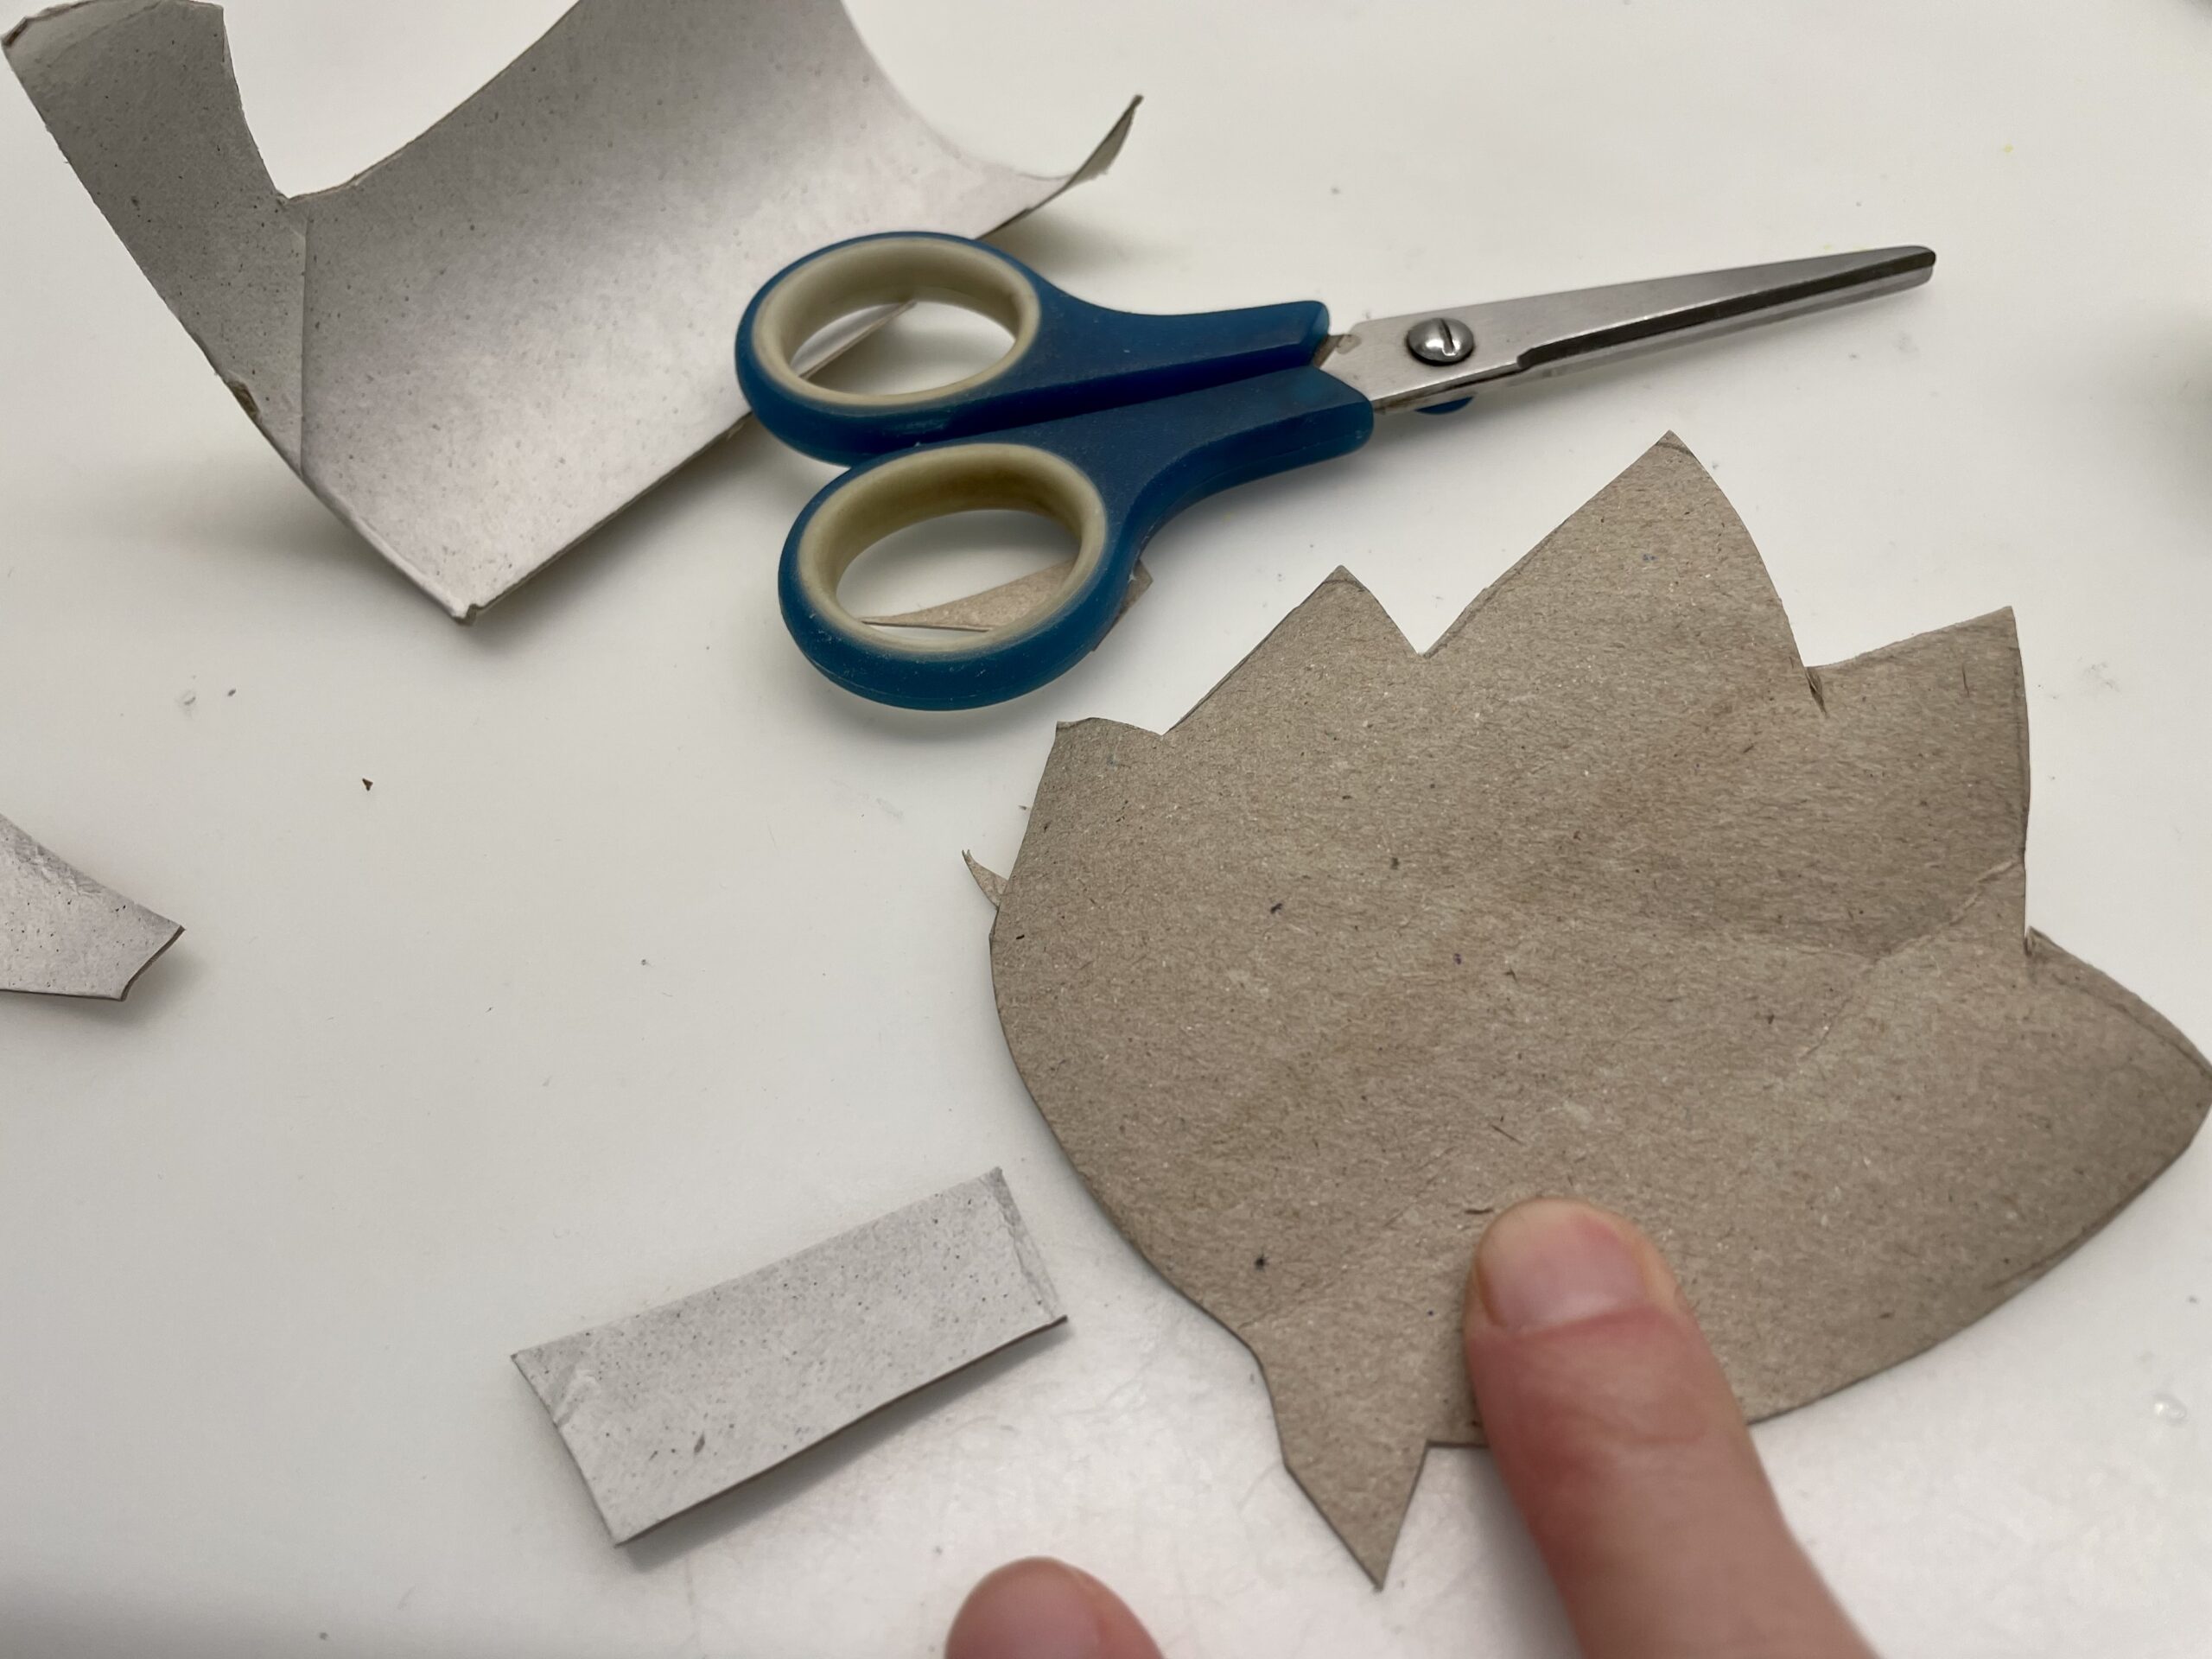
Bild zum Schritt 20 für das Bastel- und DIY-Abenteuer für Kinder: 'Dann schneidet ihr das aufgezeichnete Blatt aus. Das Blatt bleibt...'

19

Now paint the leaf with green water color.

Bild zum Schritt 21 für das Bastel- und DIY-Abenteuer für Kinder: 'Bemalt das Blatt nun mit grüner Wasserfarbe.'

20

Then put the leaf to dry.

Bild zum Schritt 22 für das Bastel- und DIY-Abenteuer für Kinder: 'Danach legt ihr das Blatt zum Trocknen.'

21

Then you punch the dry leaf.

Bild zum Schritt 23 für das Bastel- und DIY-Abenteuer für Kinder: 'Anschließend locht ihr das trockene Blatt.'

22

2. Bild zum Schritt 23 für das Bastel- und DIY-Abenteuer für Kinder: 'Anschließend locht ihr das trockene Blatt.'

23

Then you thread the sheet onto a piece of paper tape and attach it to the handle.
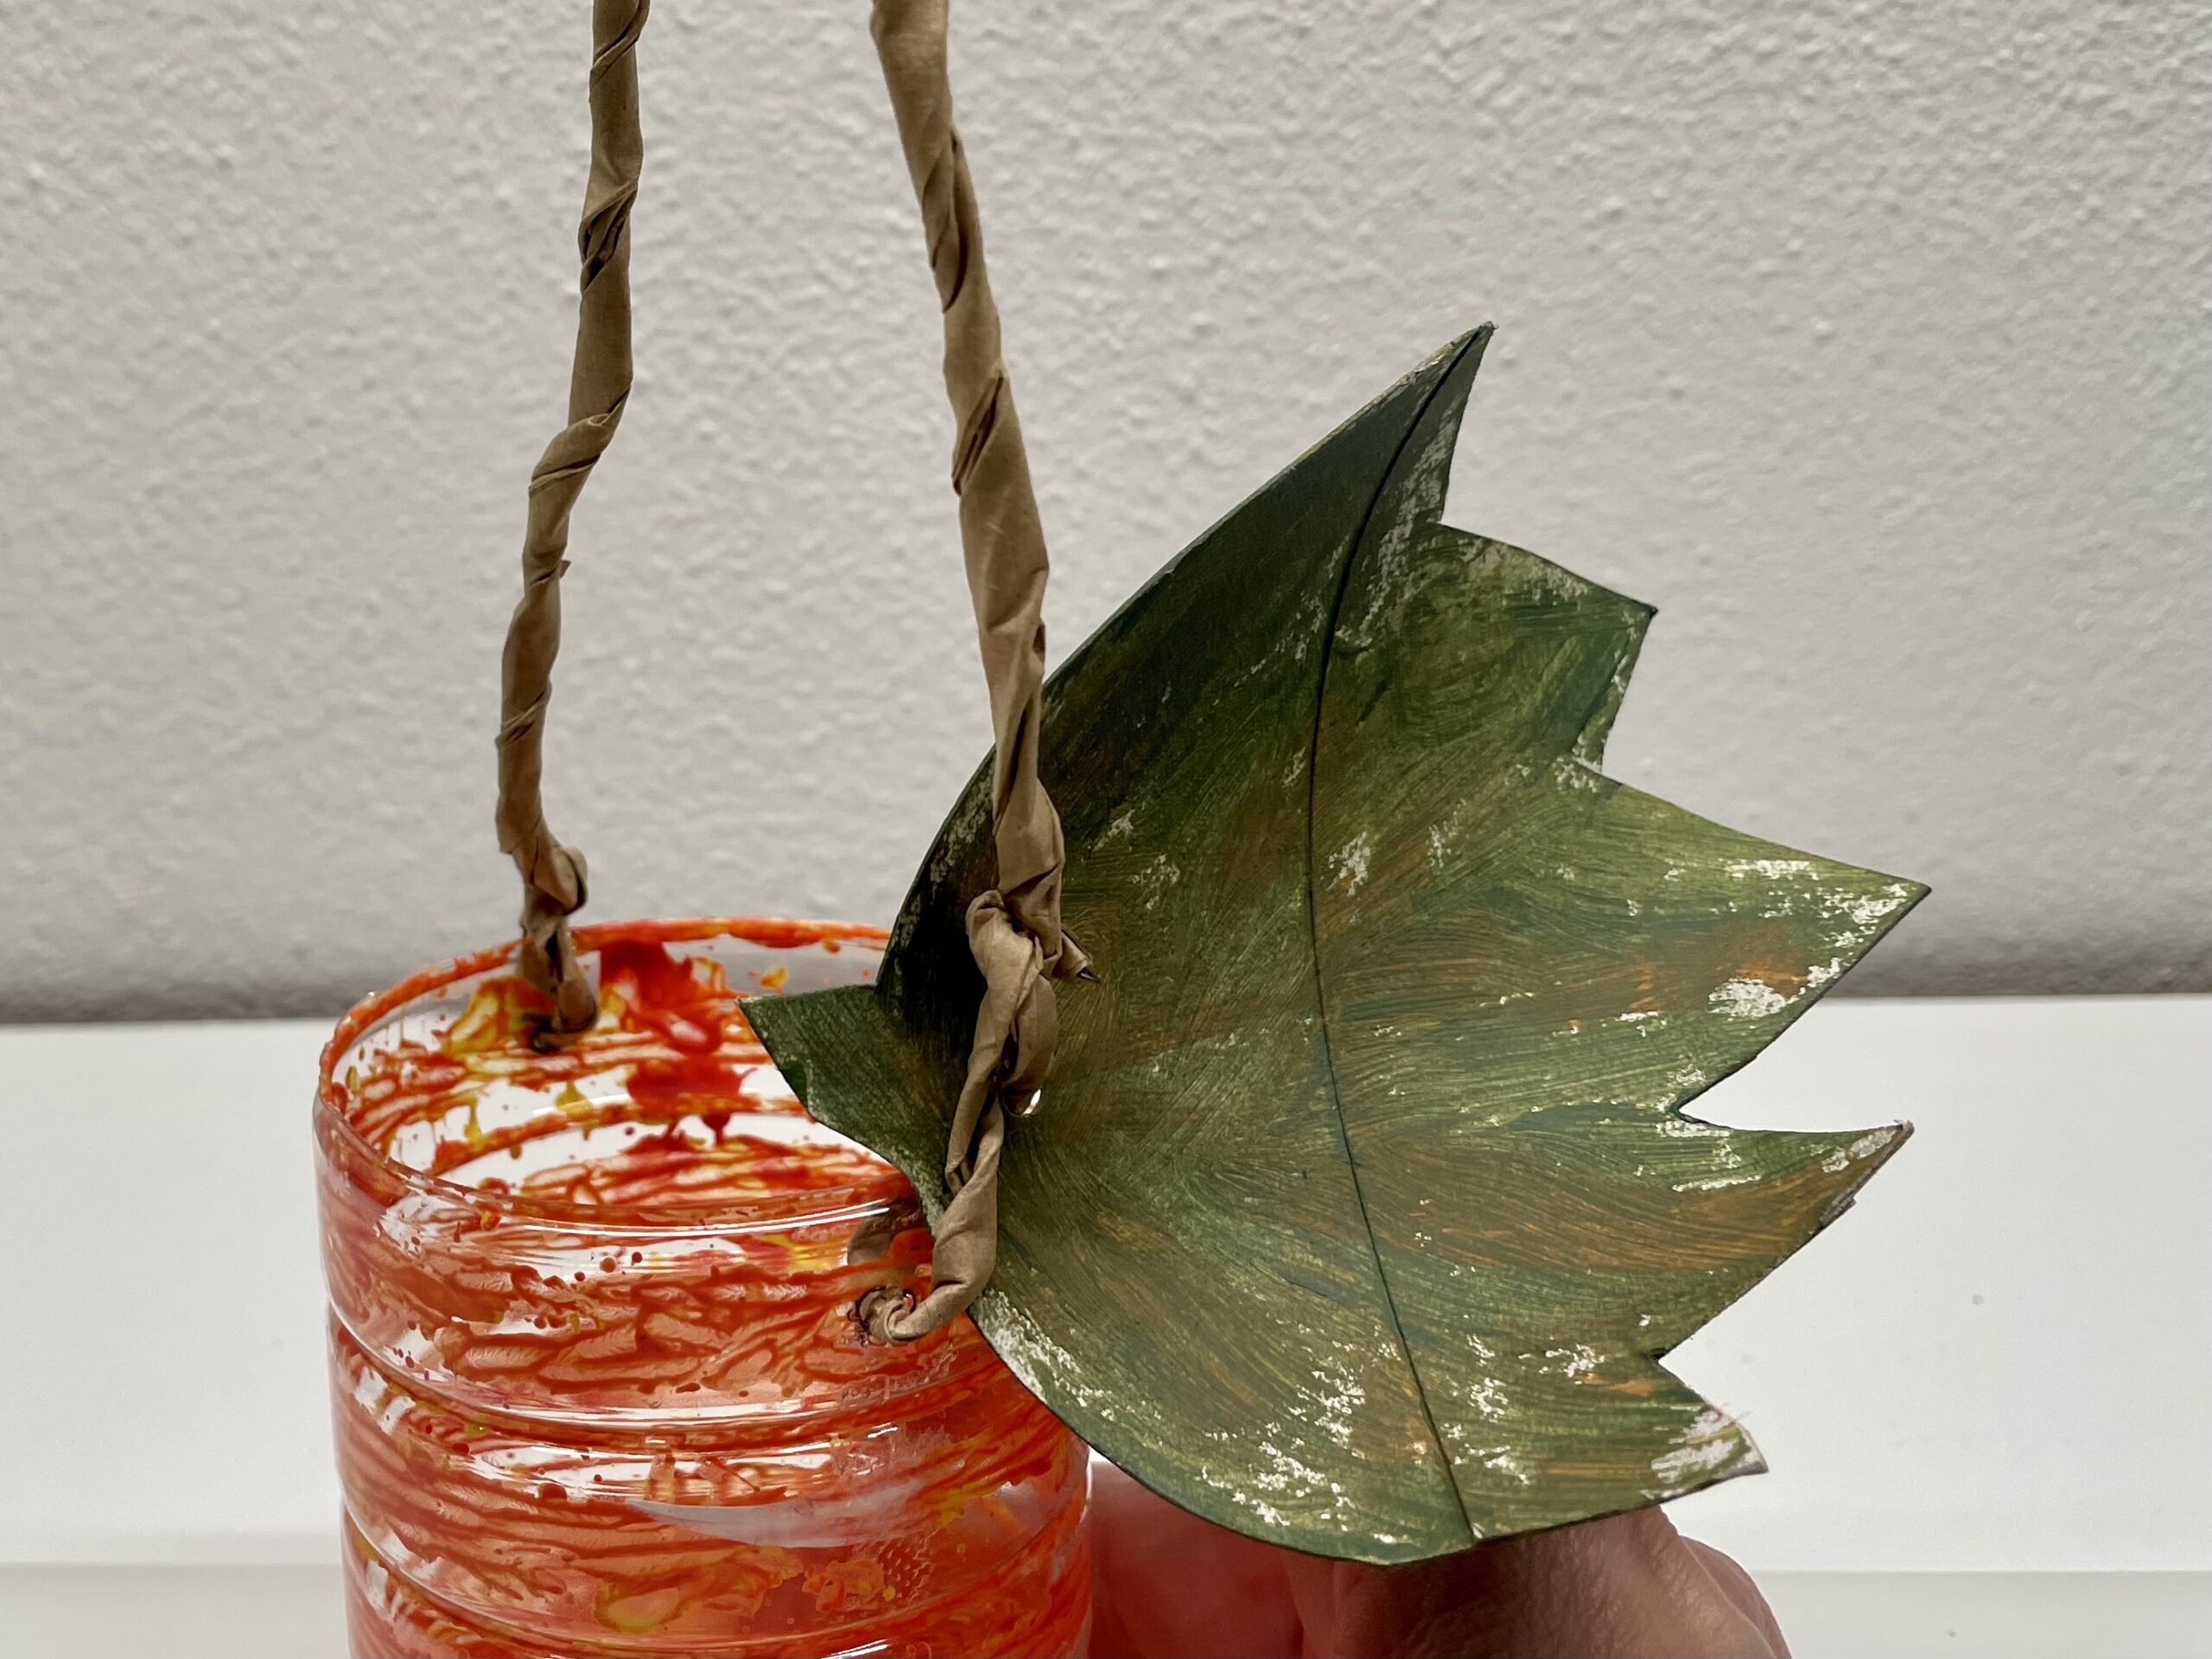
Bild zum Schritt 25 für das Bastel- und DIY-Abenteuer für Kinder: 'Anschließend fädelt ihr das Blatt auf ein Stück des Papierbandes...'

Turned tendril:
24

To decorate, you embellish the tendril by wrapping it like a spiral over a pen. Then you push the resulting spiral down from the pen.
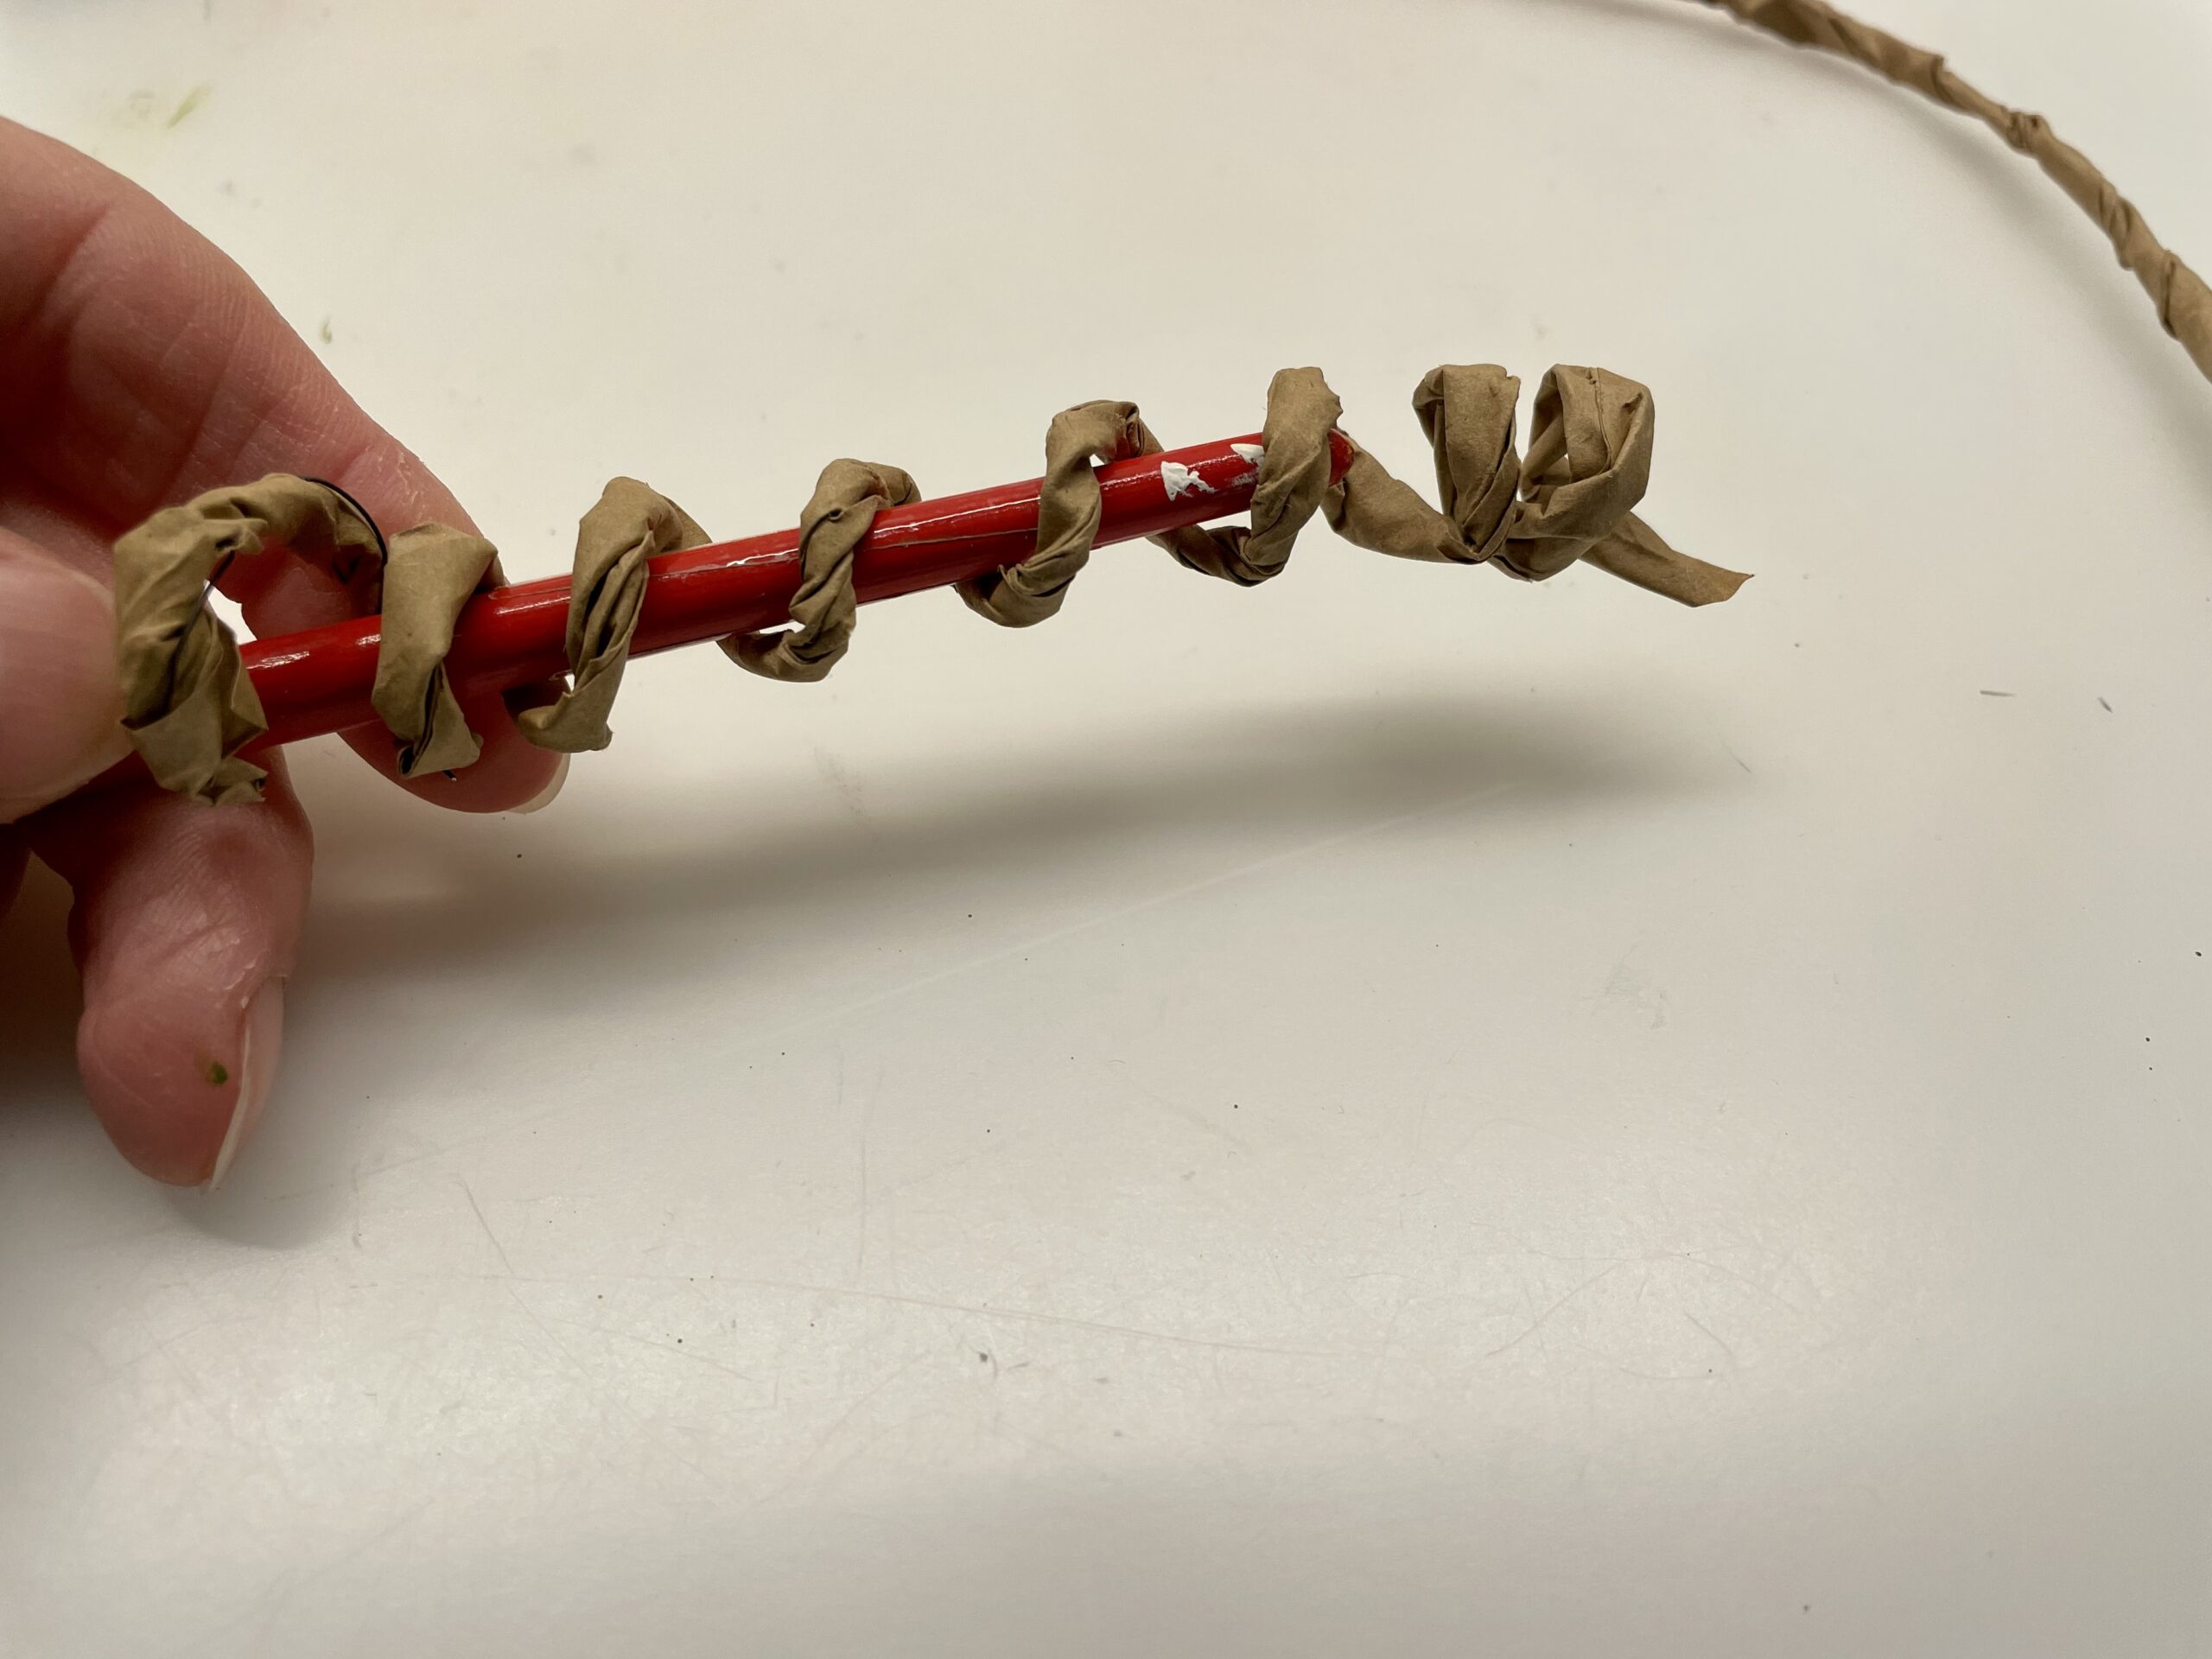
Bild zum Schritt 27 für das Bastel- und DIY-Abenteuer für Kinder: 'Zur Verzierung verschönert ihr die Ranke, indem ihr diese wie...'

25

Then put the tendril around the handle and your little pumpkin lantern is ready.
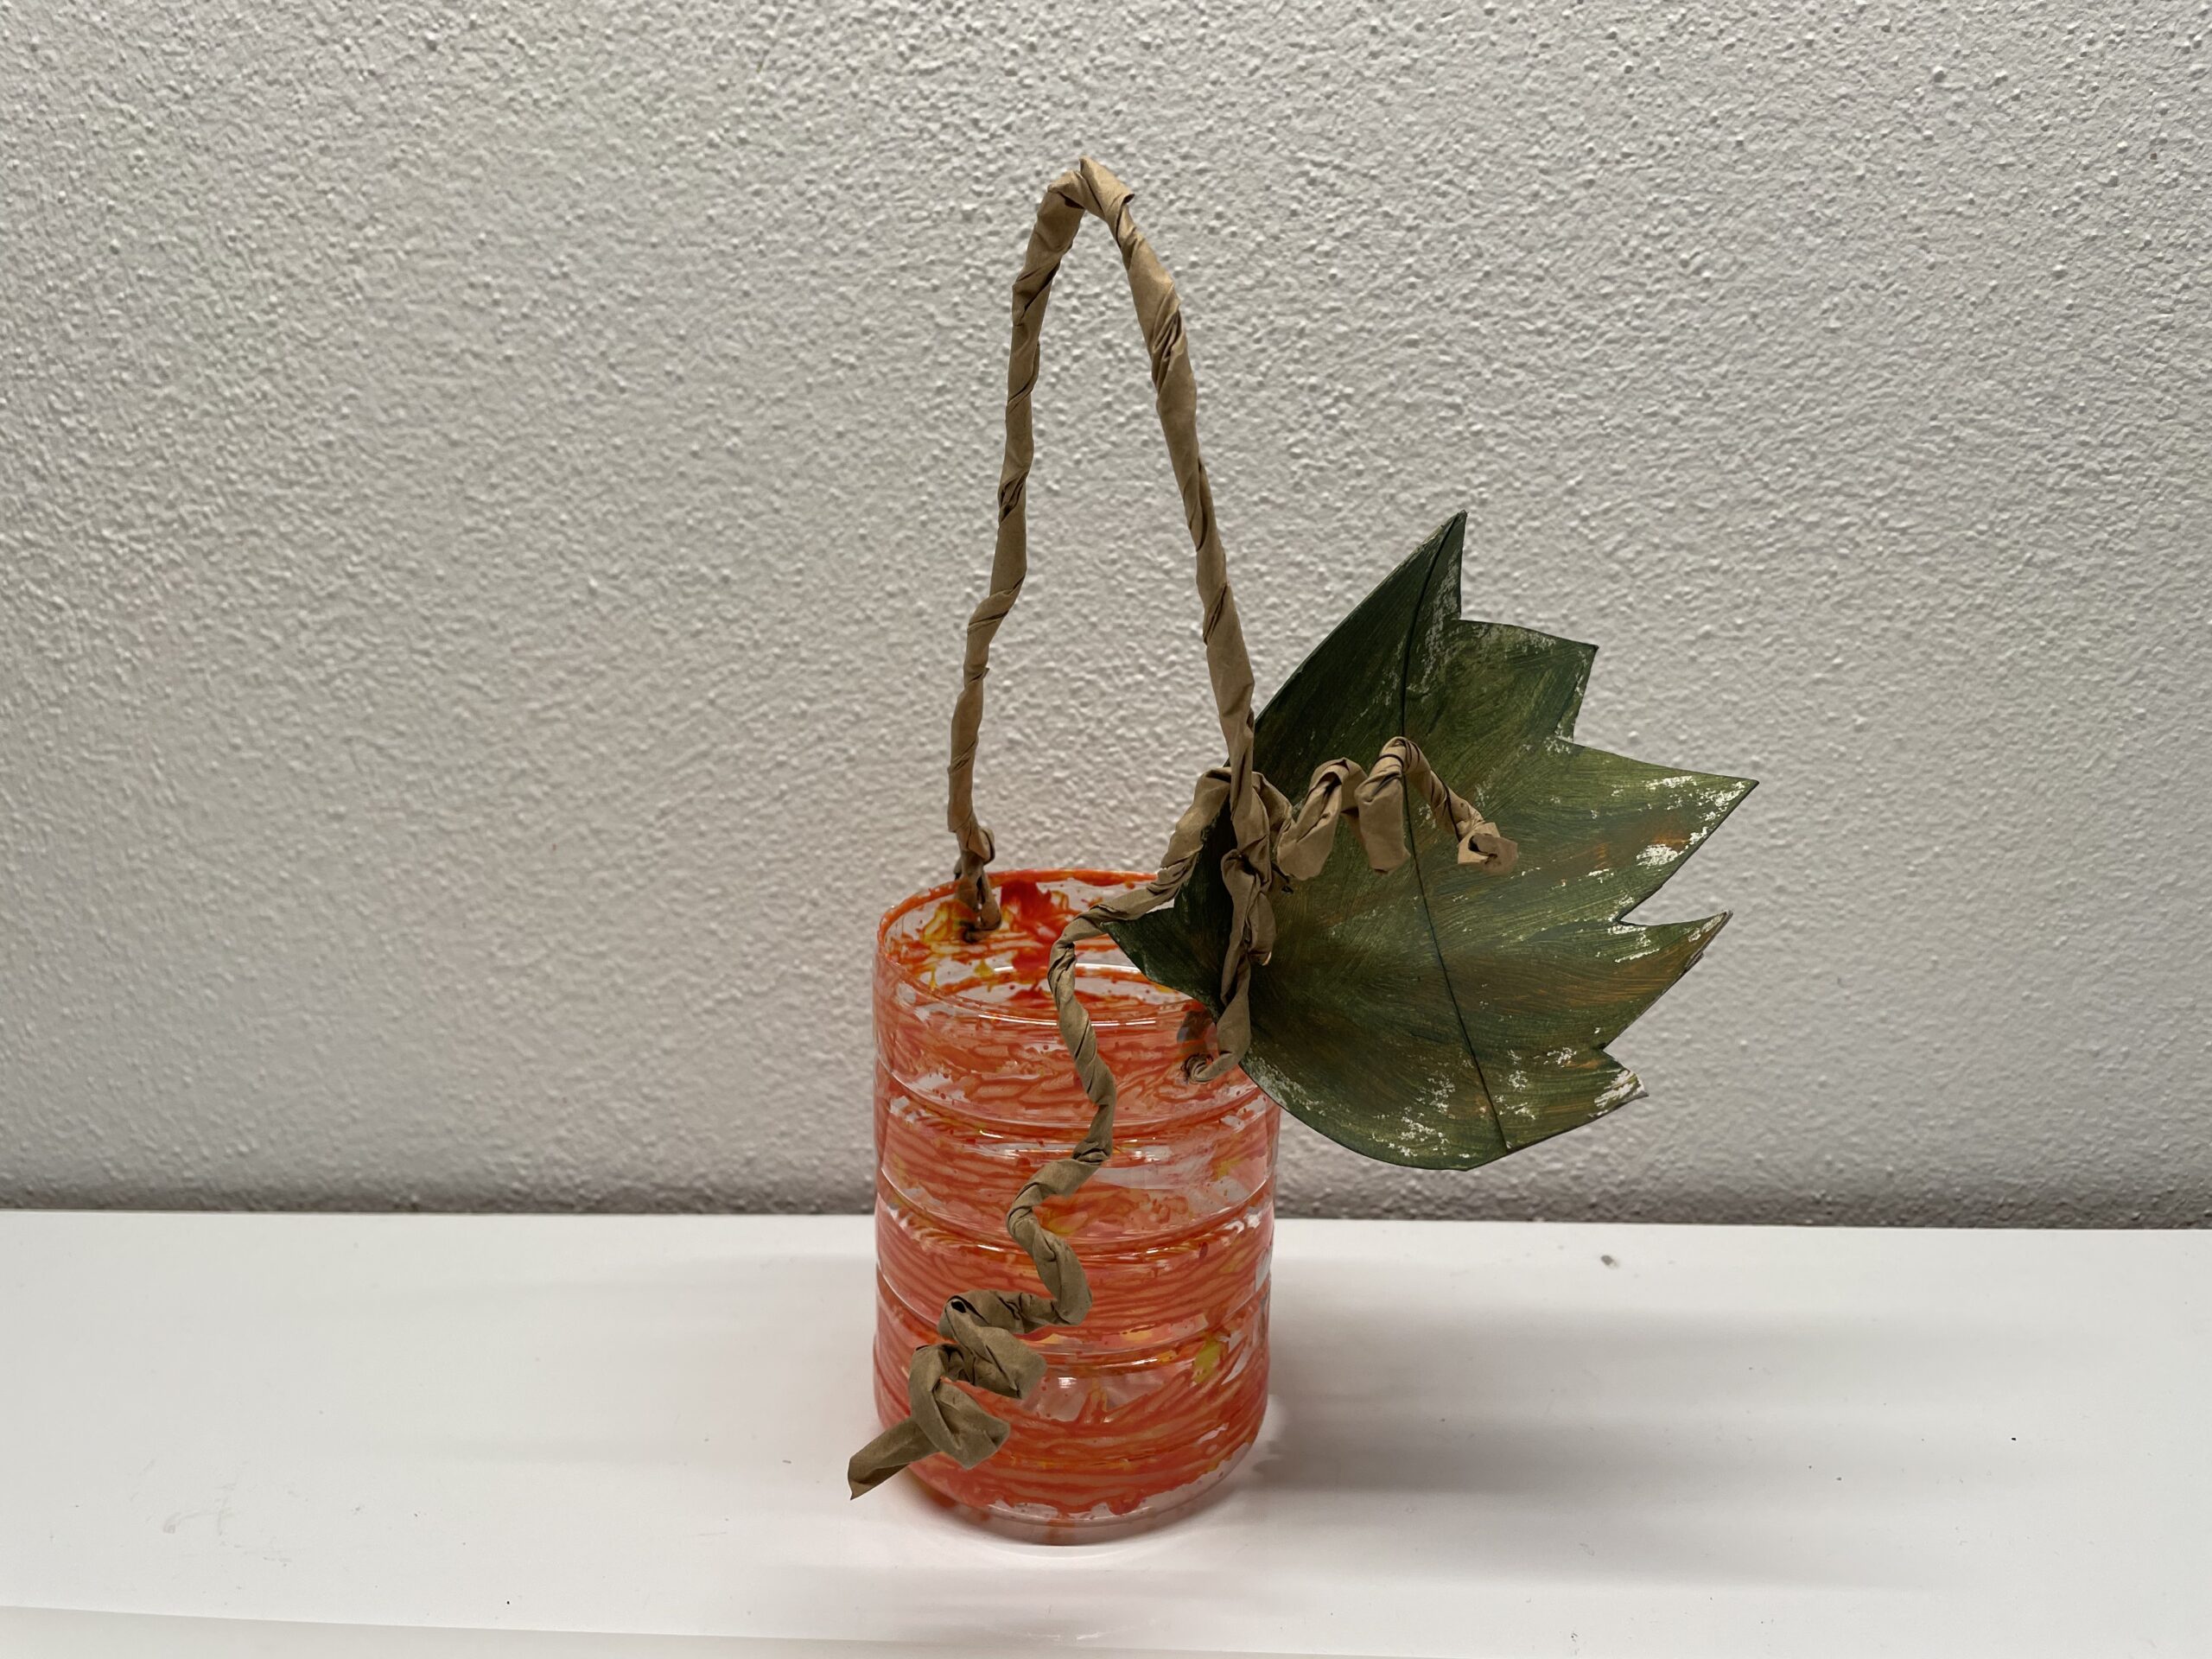
Bild zum Schritt 28 für das Bastel- und DIY-Abenteuer für Kinder: 'Legt die Ranke dann um den Henkel und schon ist...'

26

2. Bild zum Schritt 28 für das Bastel- und DIY-Abenteuer für Kinder: 'Legt die Ranke dann um den Henkel und schon ist...'

Alternative:
27

You can also paint a pumpkin face on the lantern. For this you paint a face on the pumpkin with a waterproof felt pen.
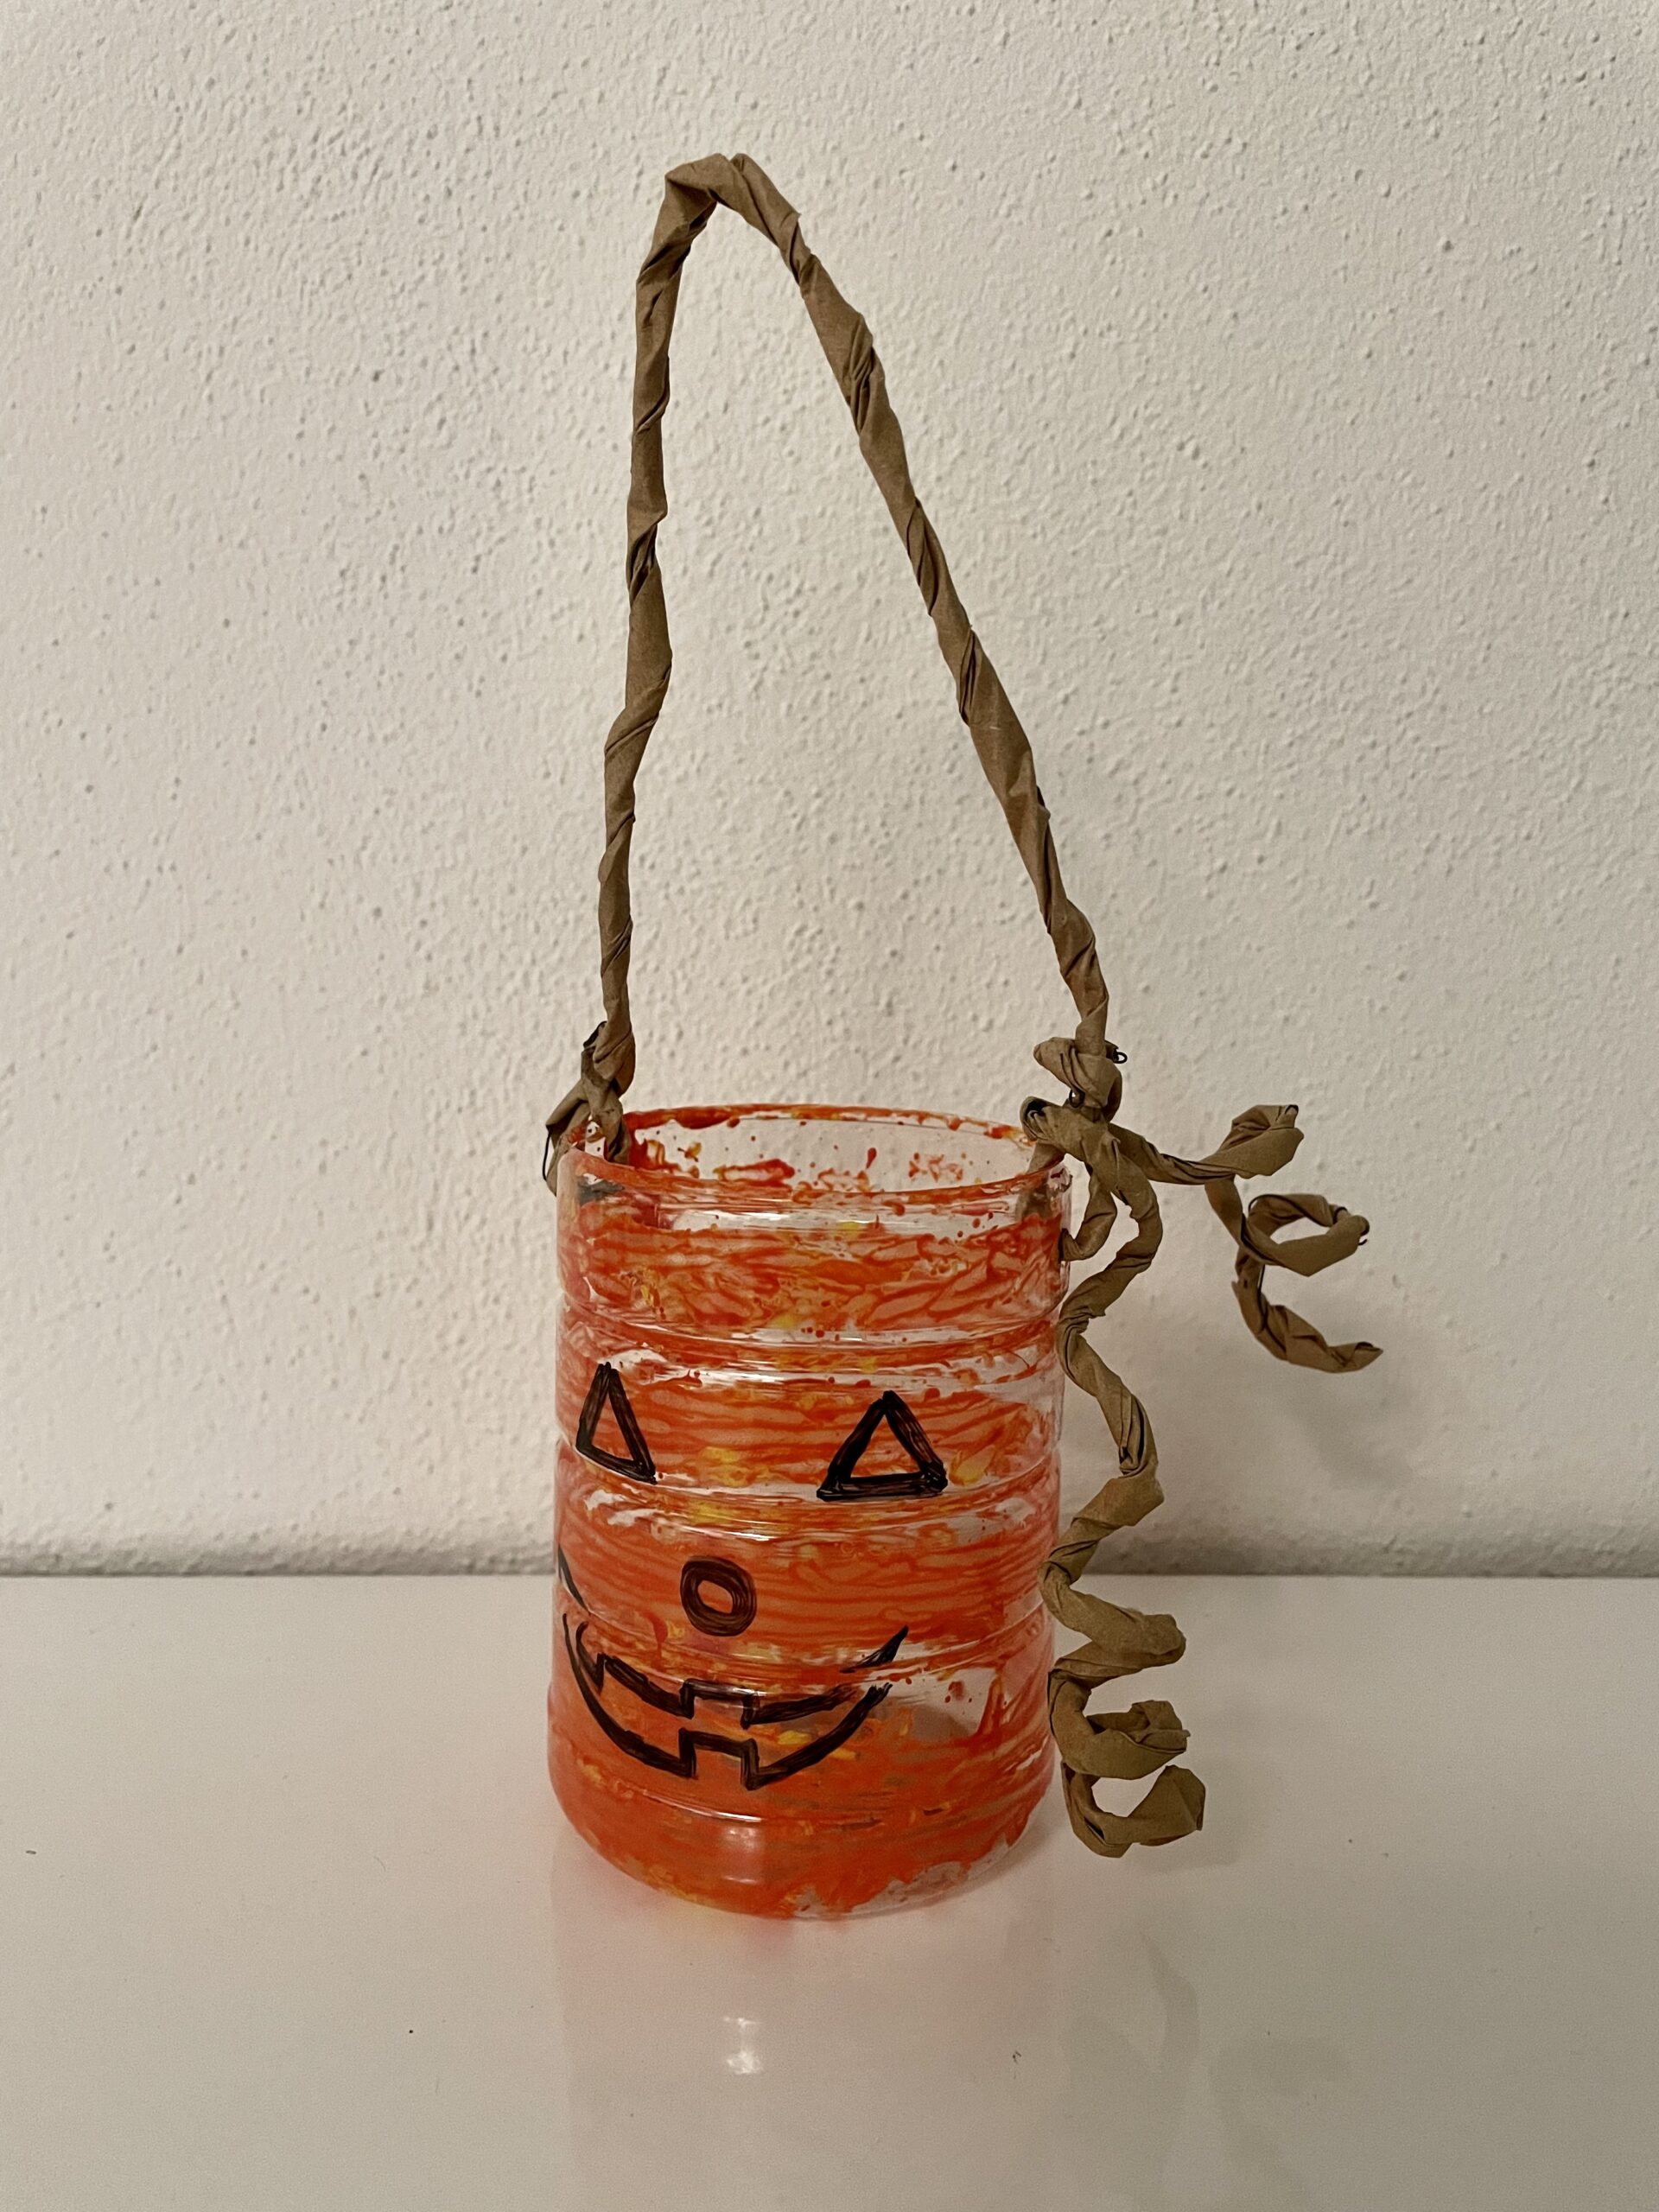
Bild zum Schritt 31 für das Bastel- und DIY-Abenteuer für Kinder: 'Ihr könnt der Laterne auch ein Kürbisgesicht aufmalen. Dafür malt...'

28

Stay creative and have fun doing crafts!

Pumpkin – lantern making – Upcycling lantern making

Follow us on Facebook , Instagram and Pinterest
Don't miss any more adventures: Our bottle mail

Leave a Reply

Your email address will not be published.

The maximum upload file size: 5 MB. You can upload: image, document. Drop file here