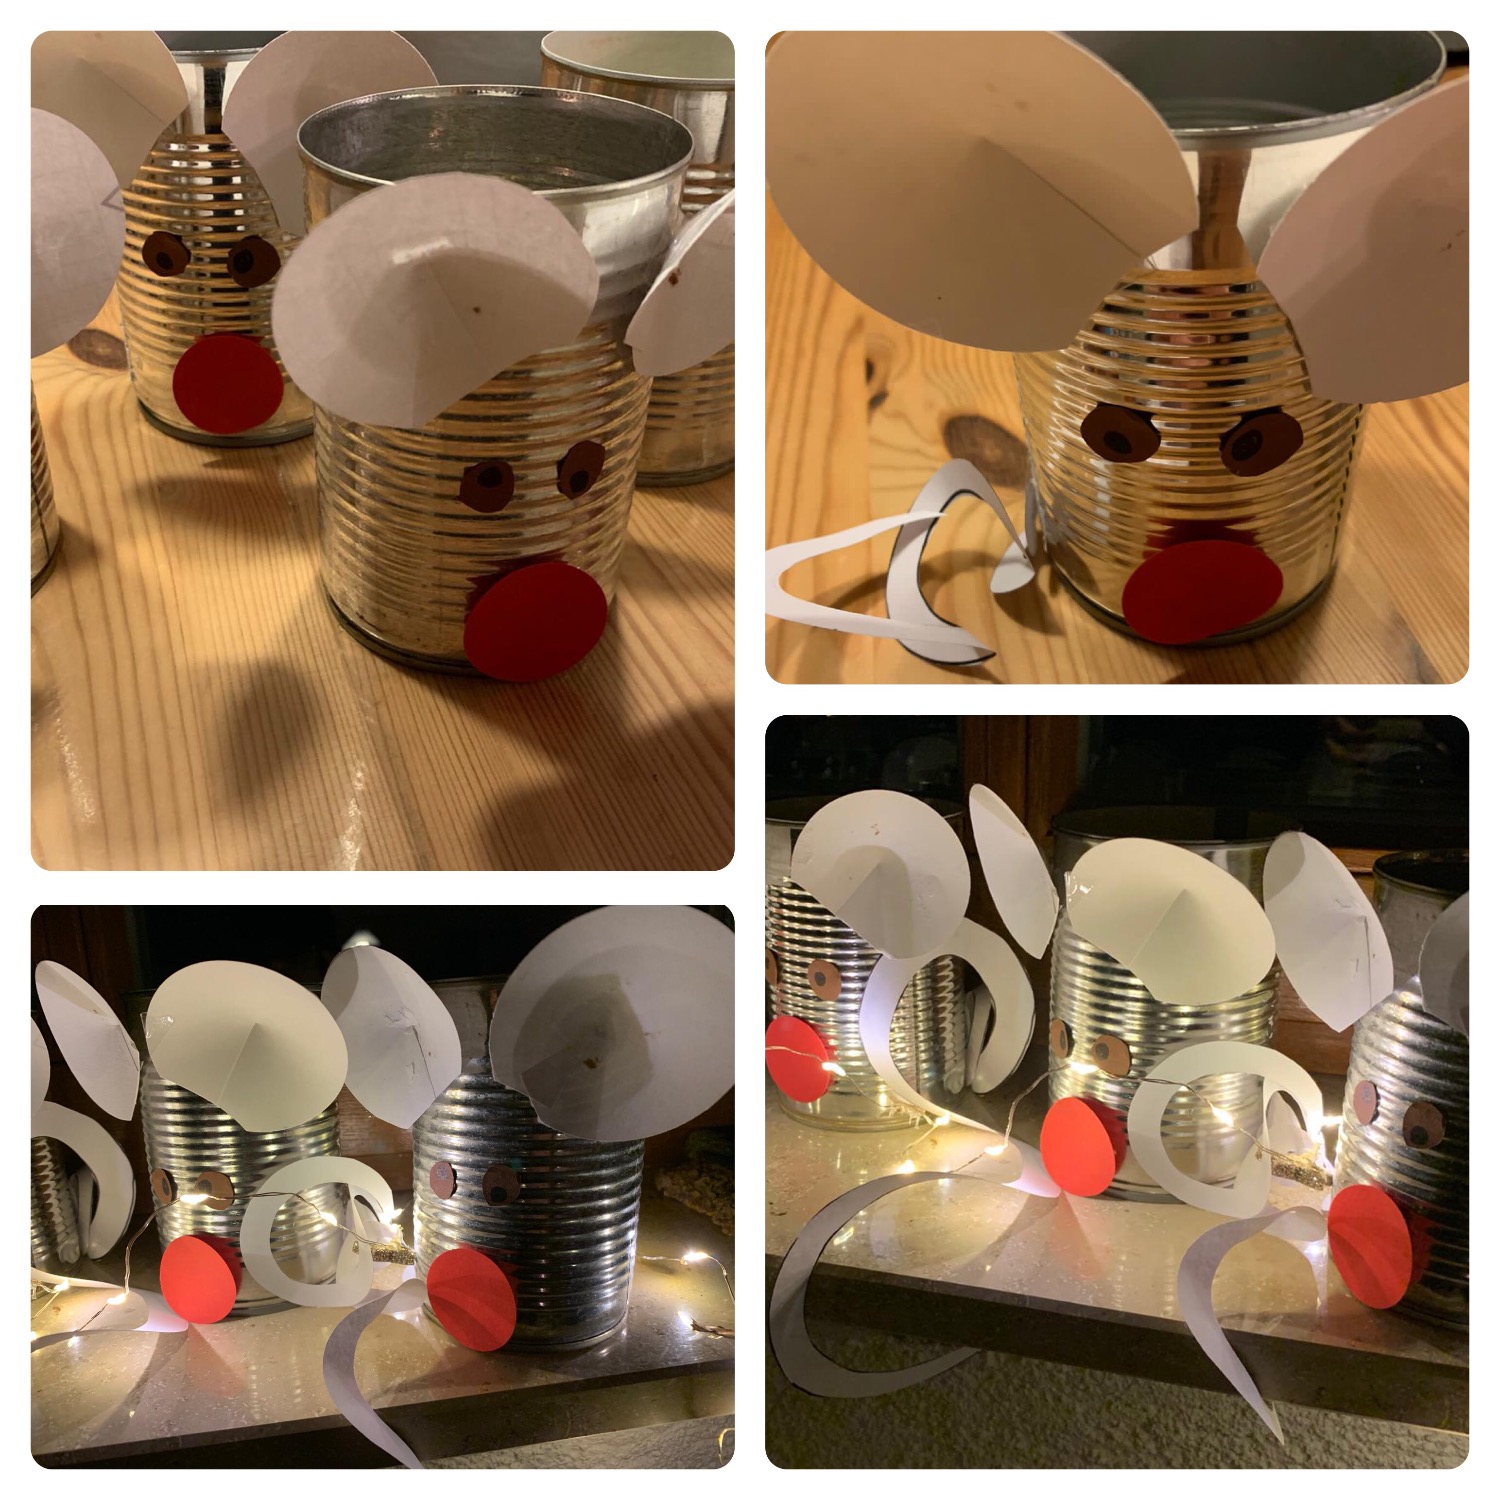
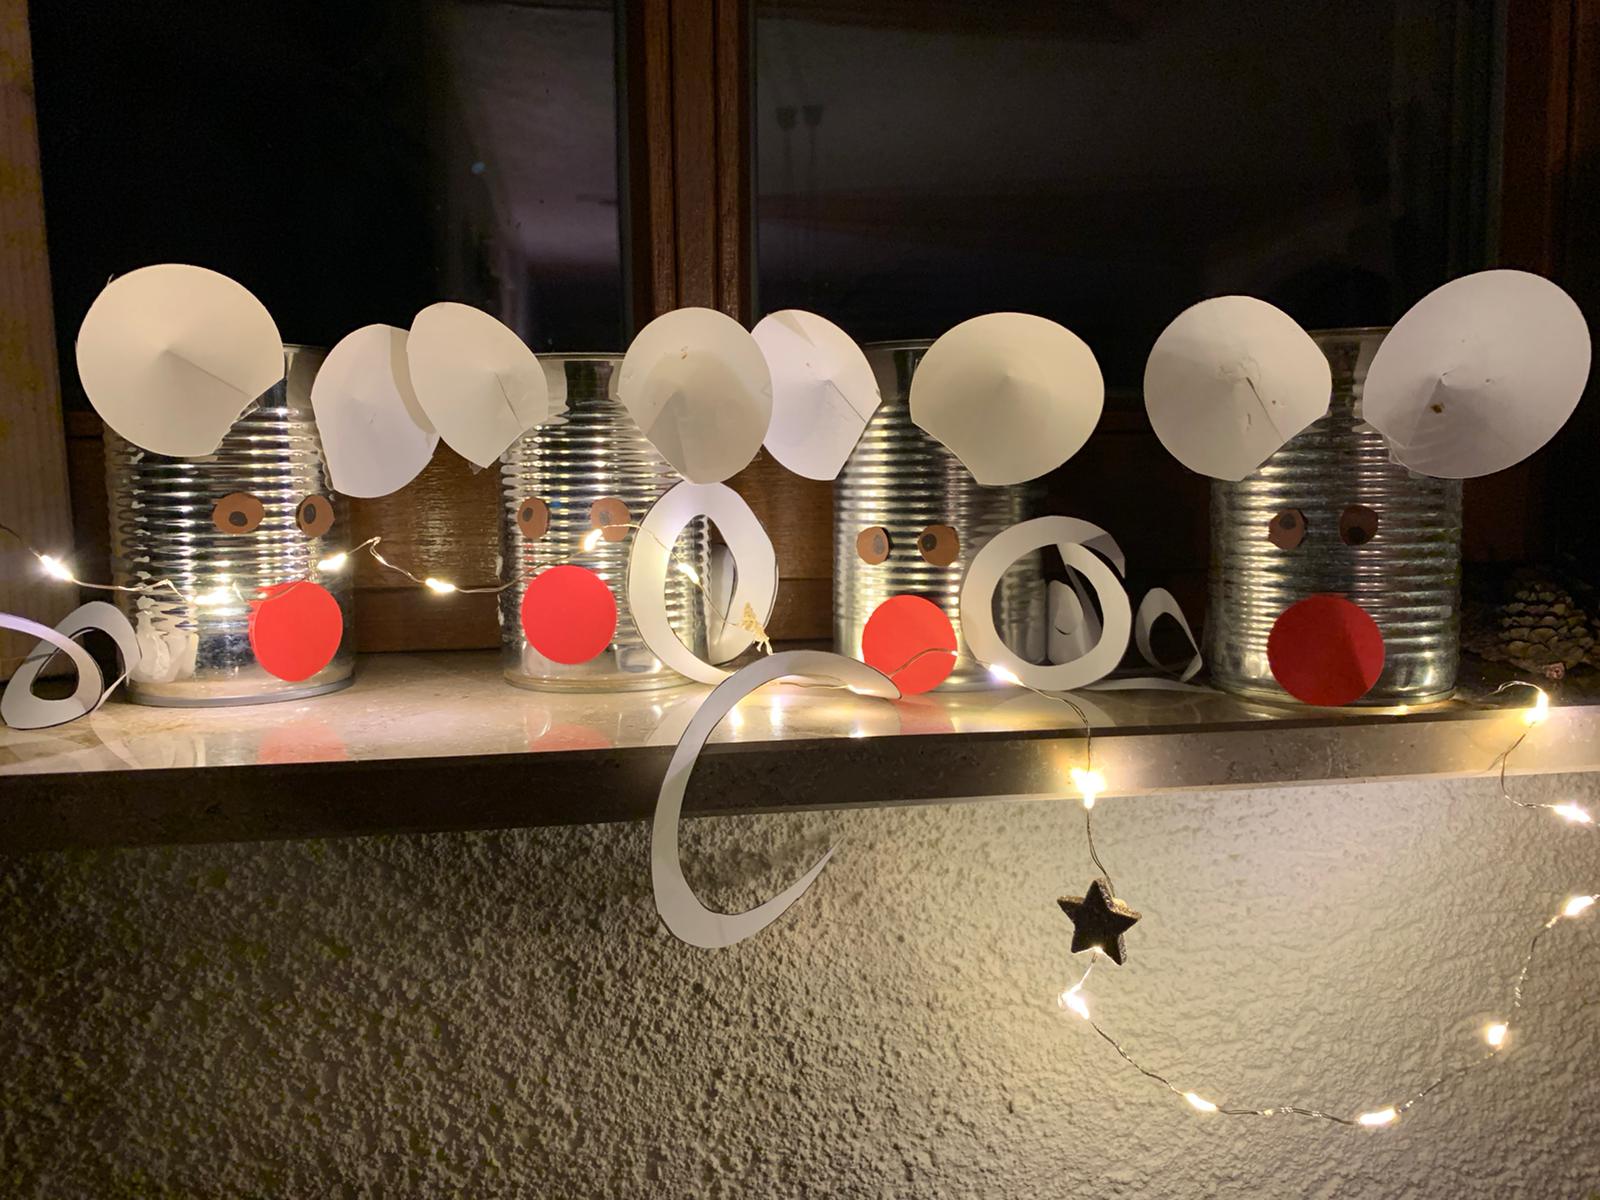
From empty tin cans you quickly conjure up this sweet mouse family with the support of the children.
When cutting the tail, the use of scissors is intensively practiced. Let the children help. They are happy and exercise their fine motor skills and you have support. Have fun!
Media Education for Kindergarten and Hort

Relief in everyday life, targeted promotion of individual children, independent learning and - without any pre-knowledge already usable by the youngest!
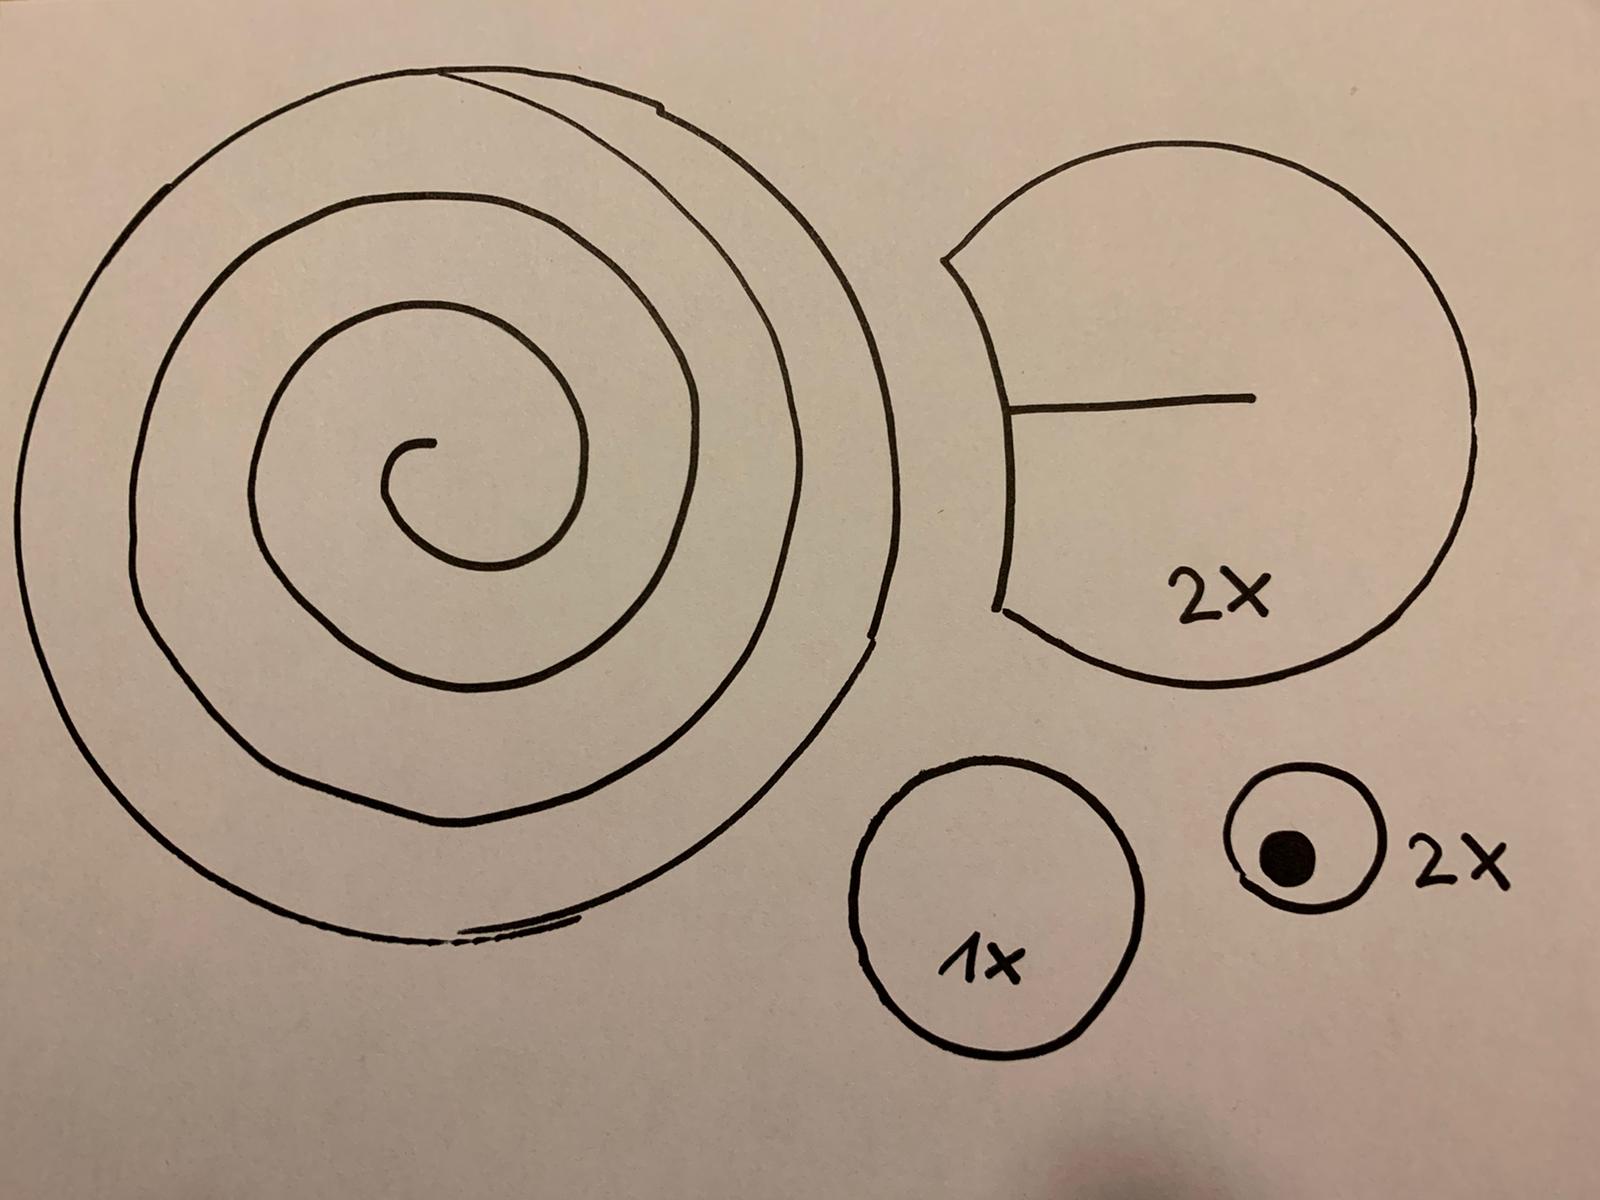
Print this template or paint the tail of a mouse as a snail spiral (in a circle). Then you need 2 ears, 1 circle for the nose and 2 circles for the eyes.
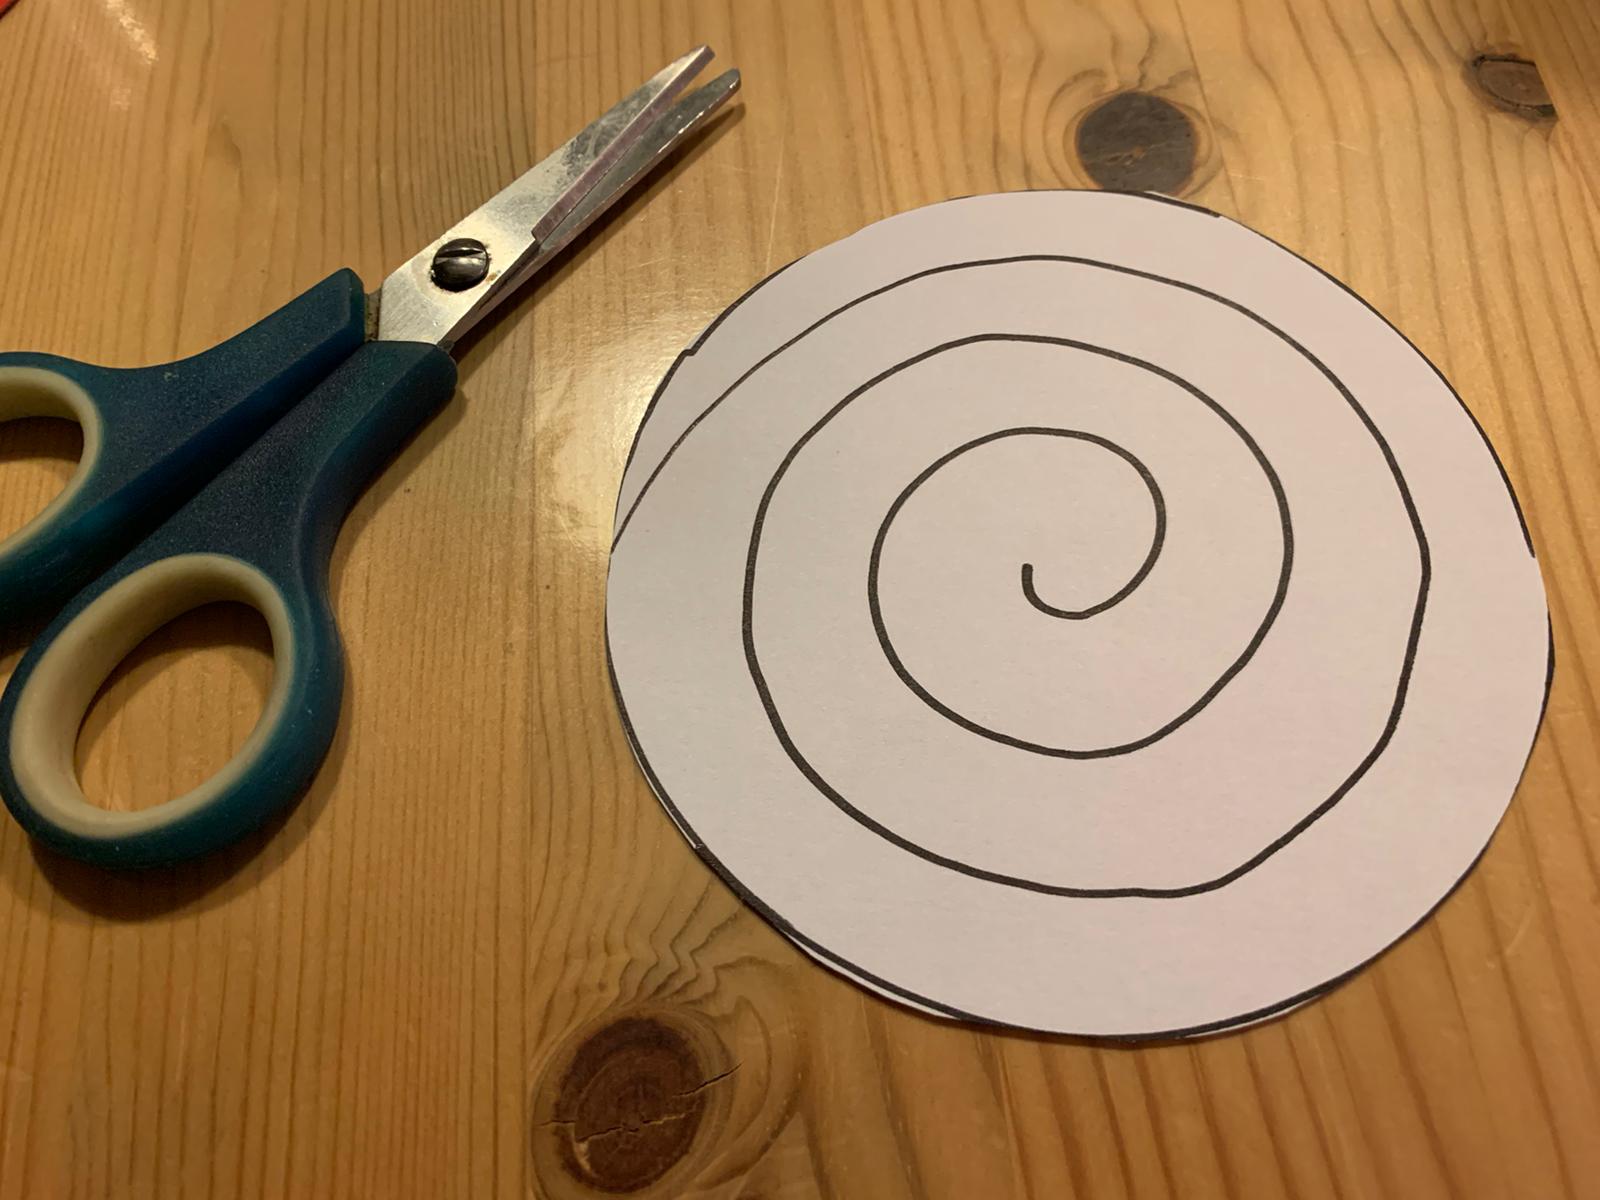
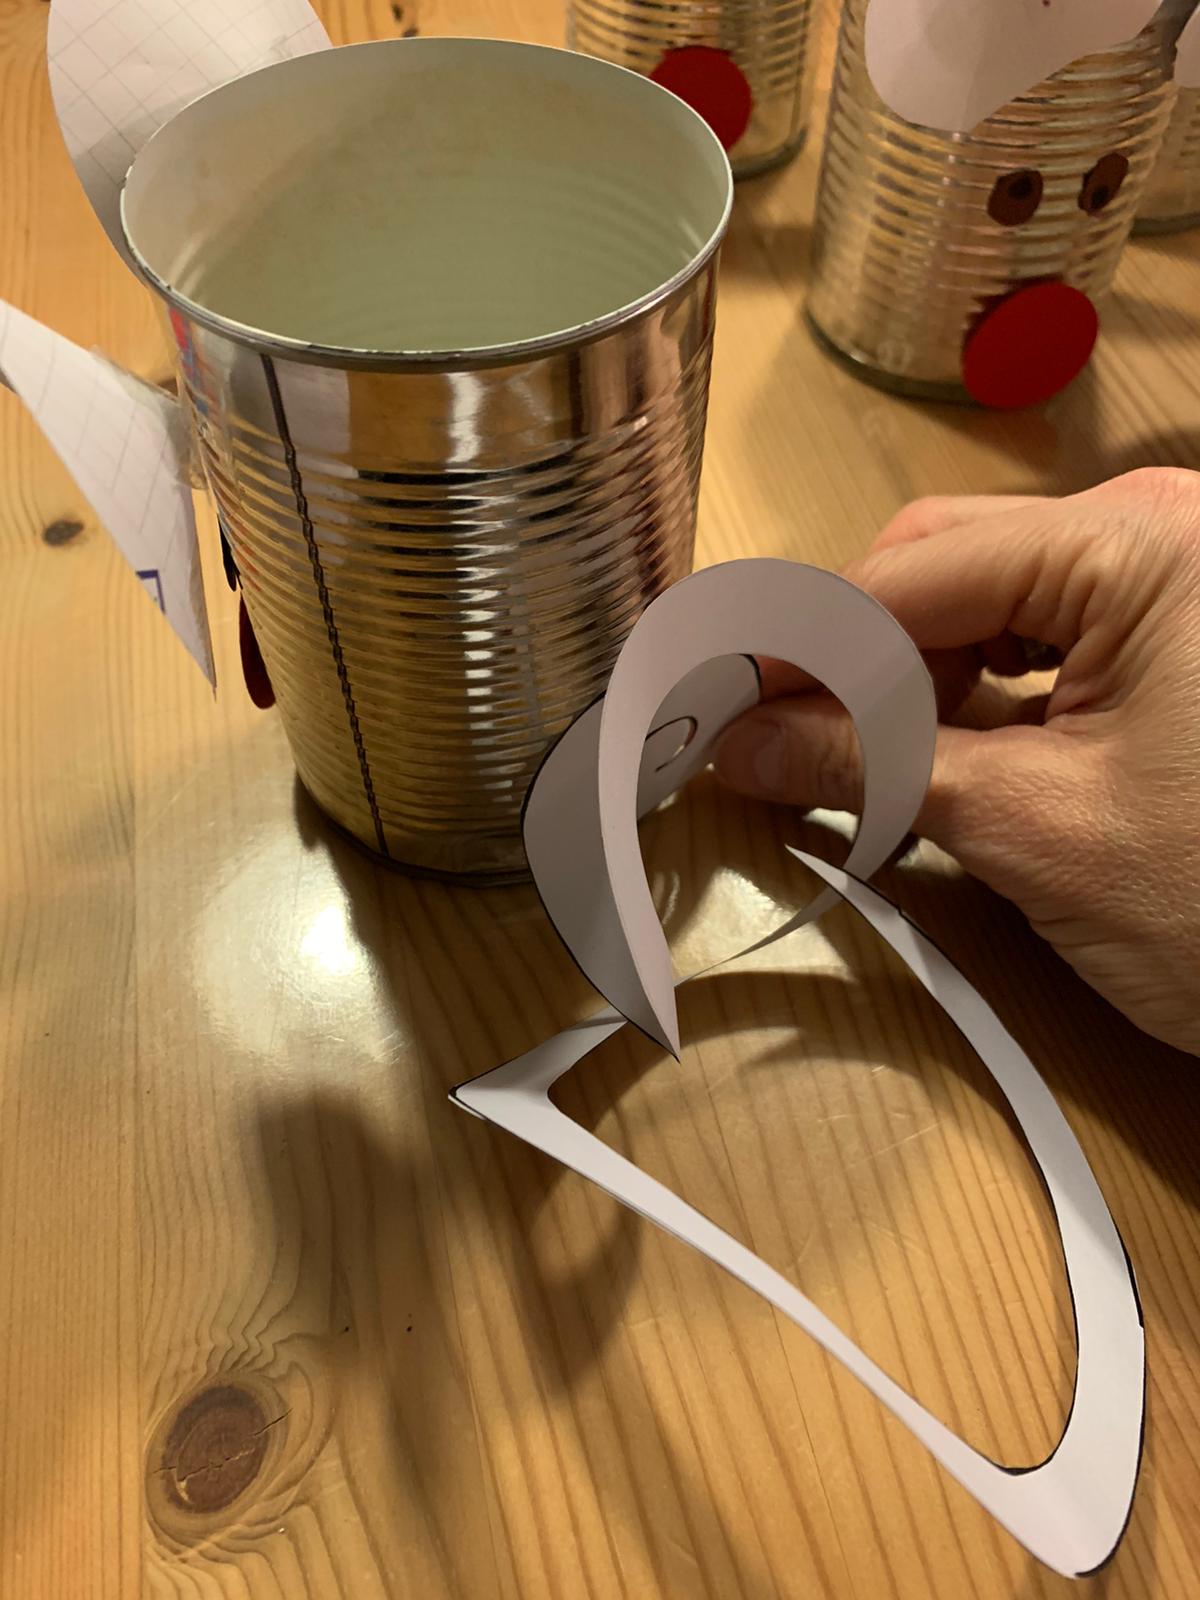
Now cut out the circle with the scissors. Then cut along the line, a spiral tail is created.


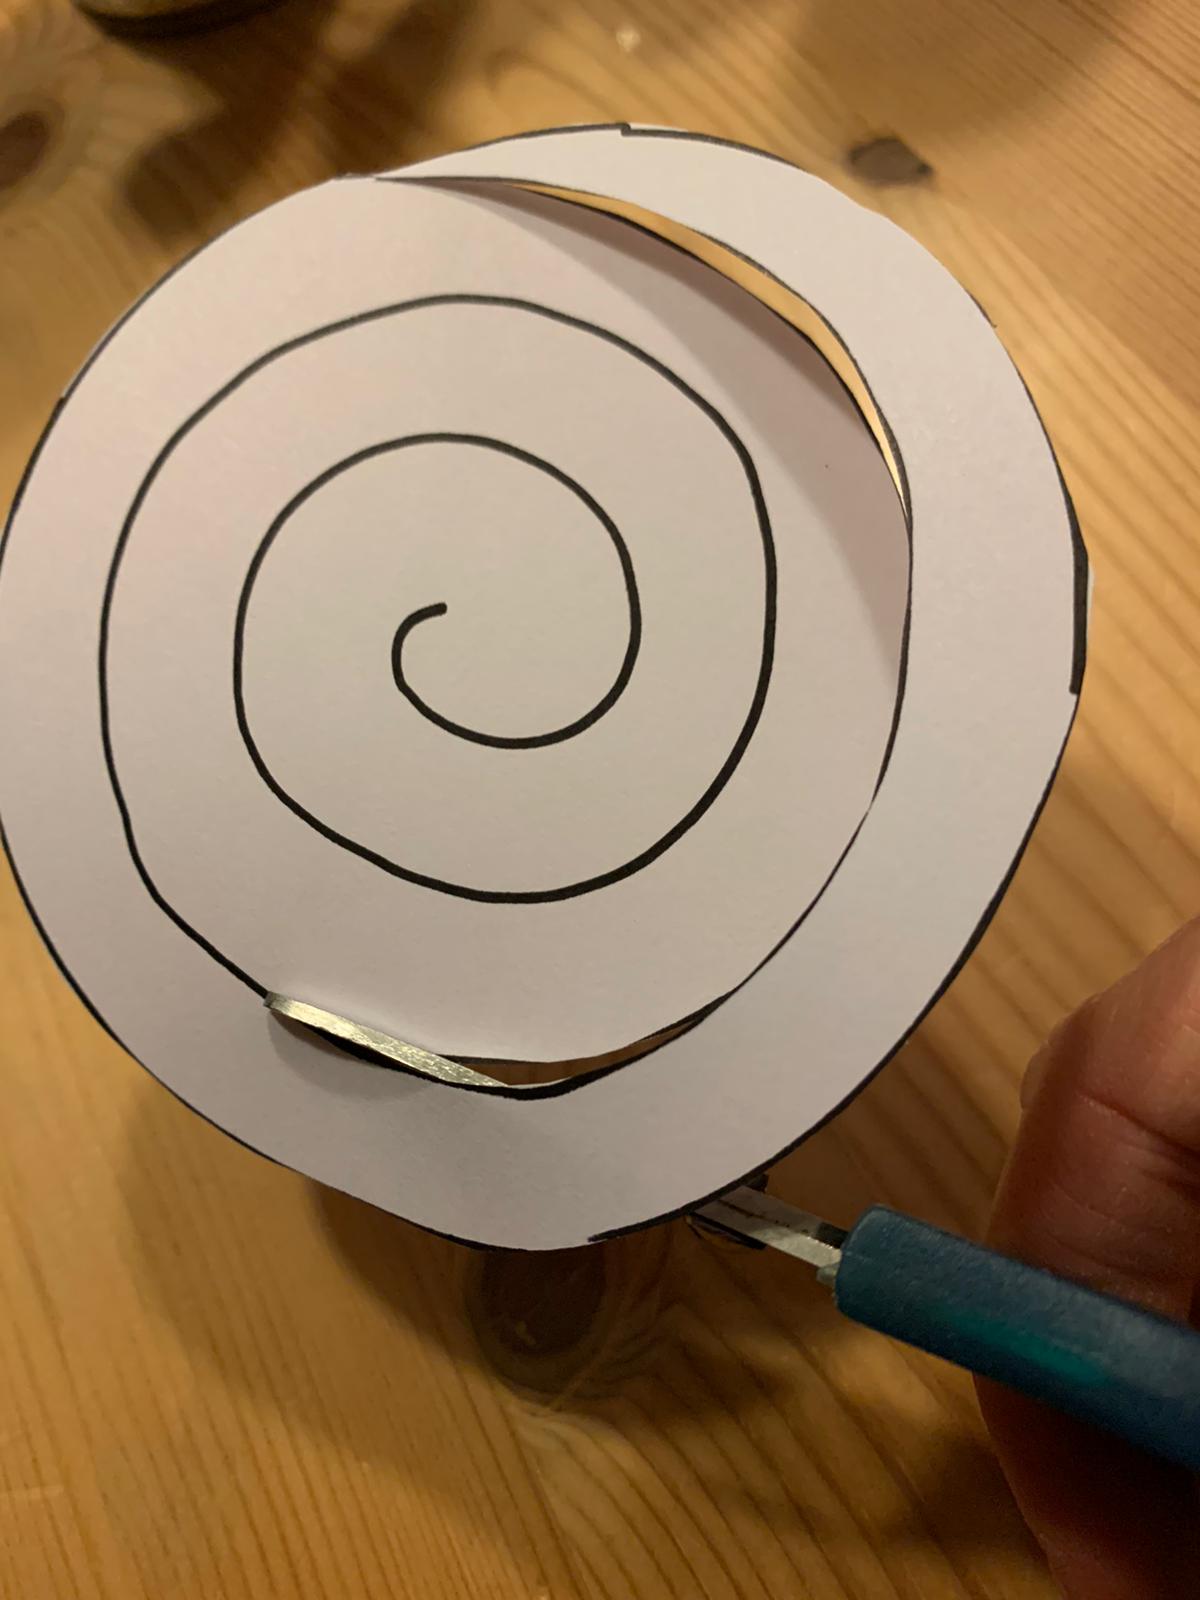


Now cut out the nose and ears. The ears cut in a small piece on the straight side in the middle (see photo).
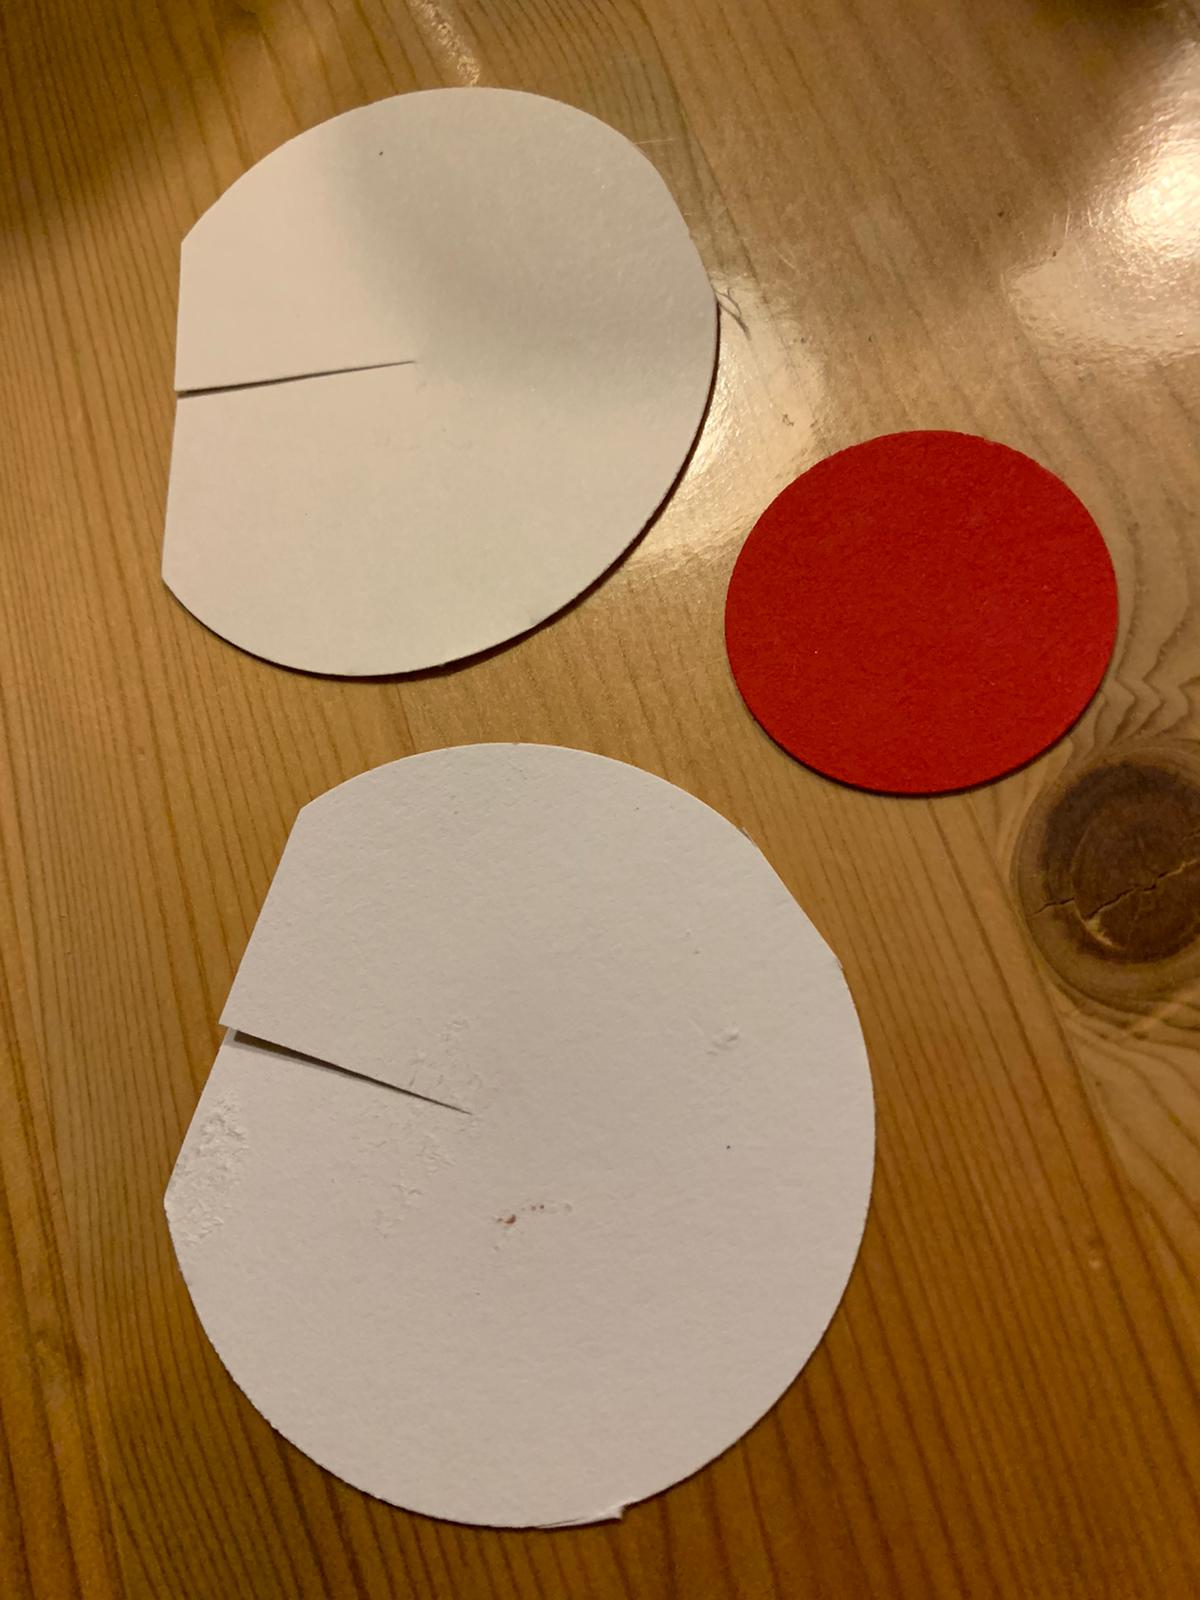


At the interface you now stick the paper a little bit above each other. Thus the ears become more plastic.
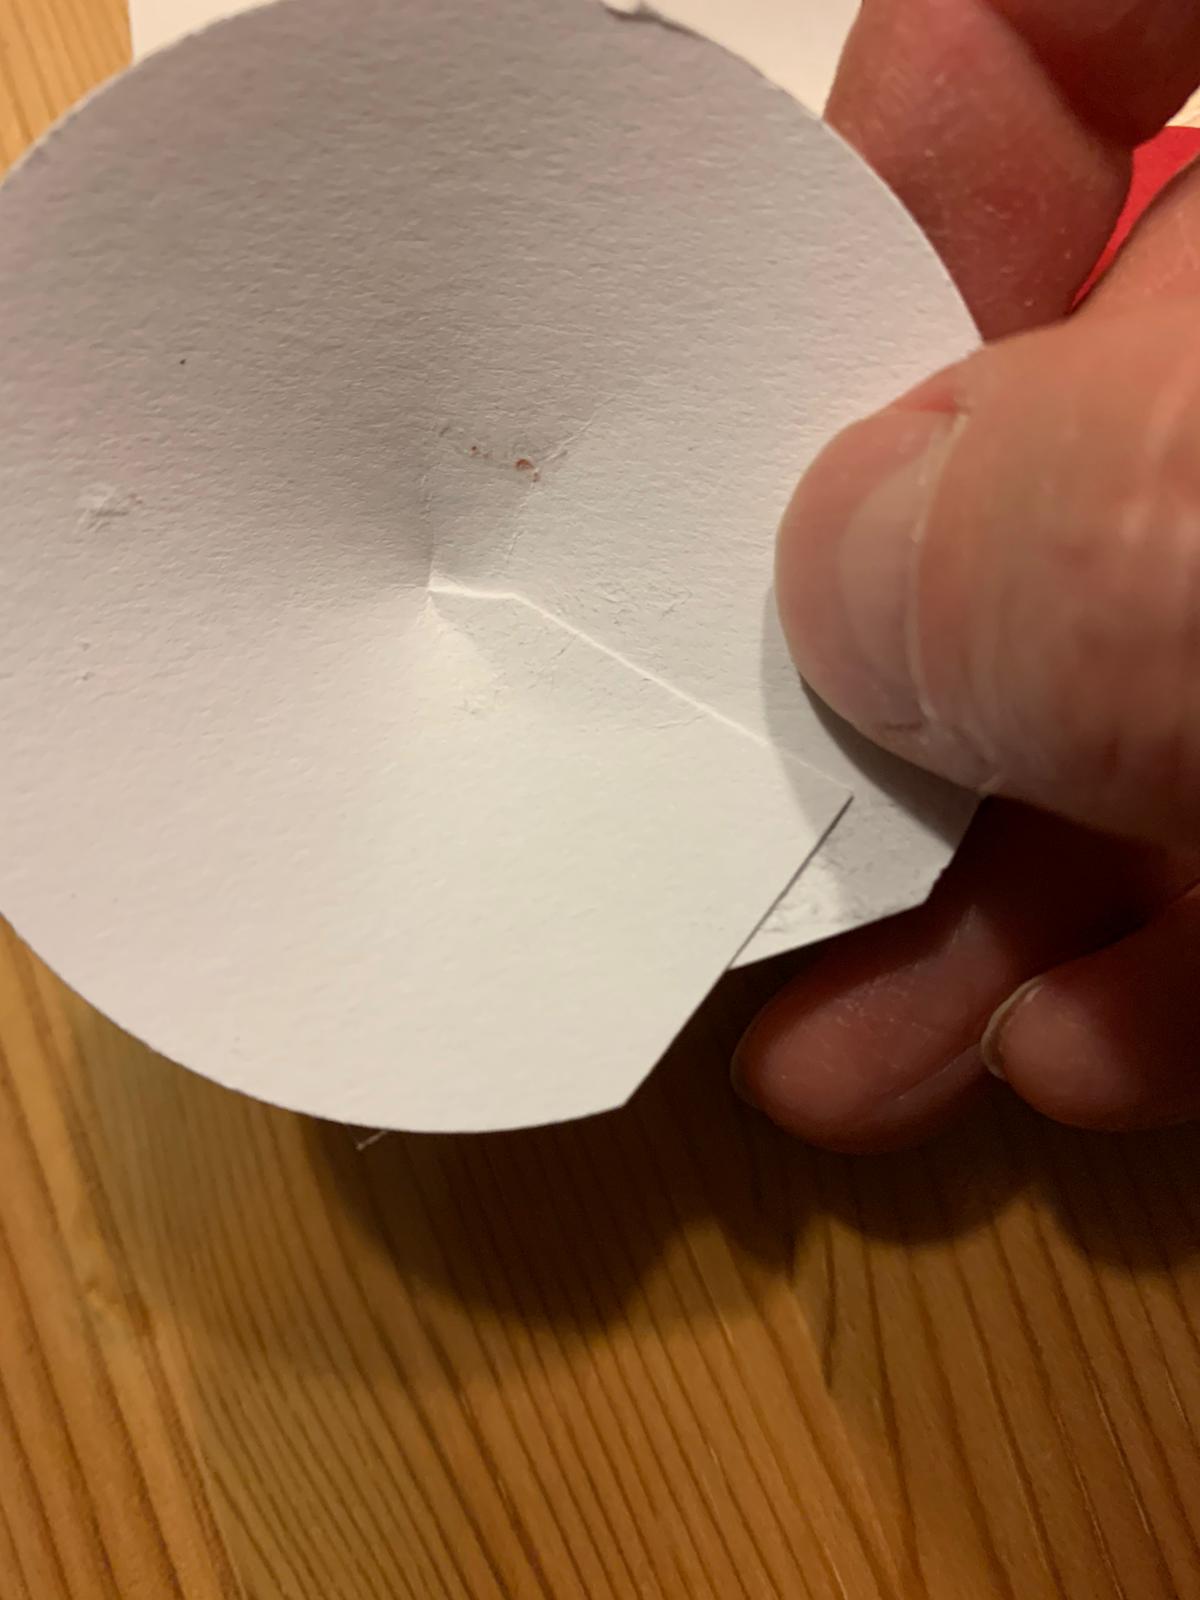


The ears now stick to it in the upper area of the can with glue (if necessary hot glue).
The red circle becomes the nose, which sticks to it at the bottom of the can.
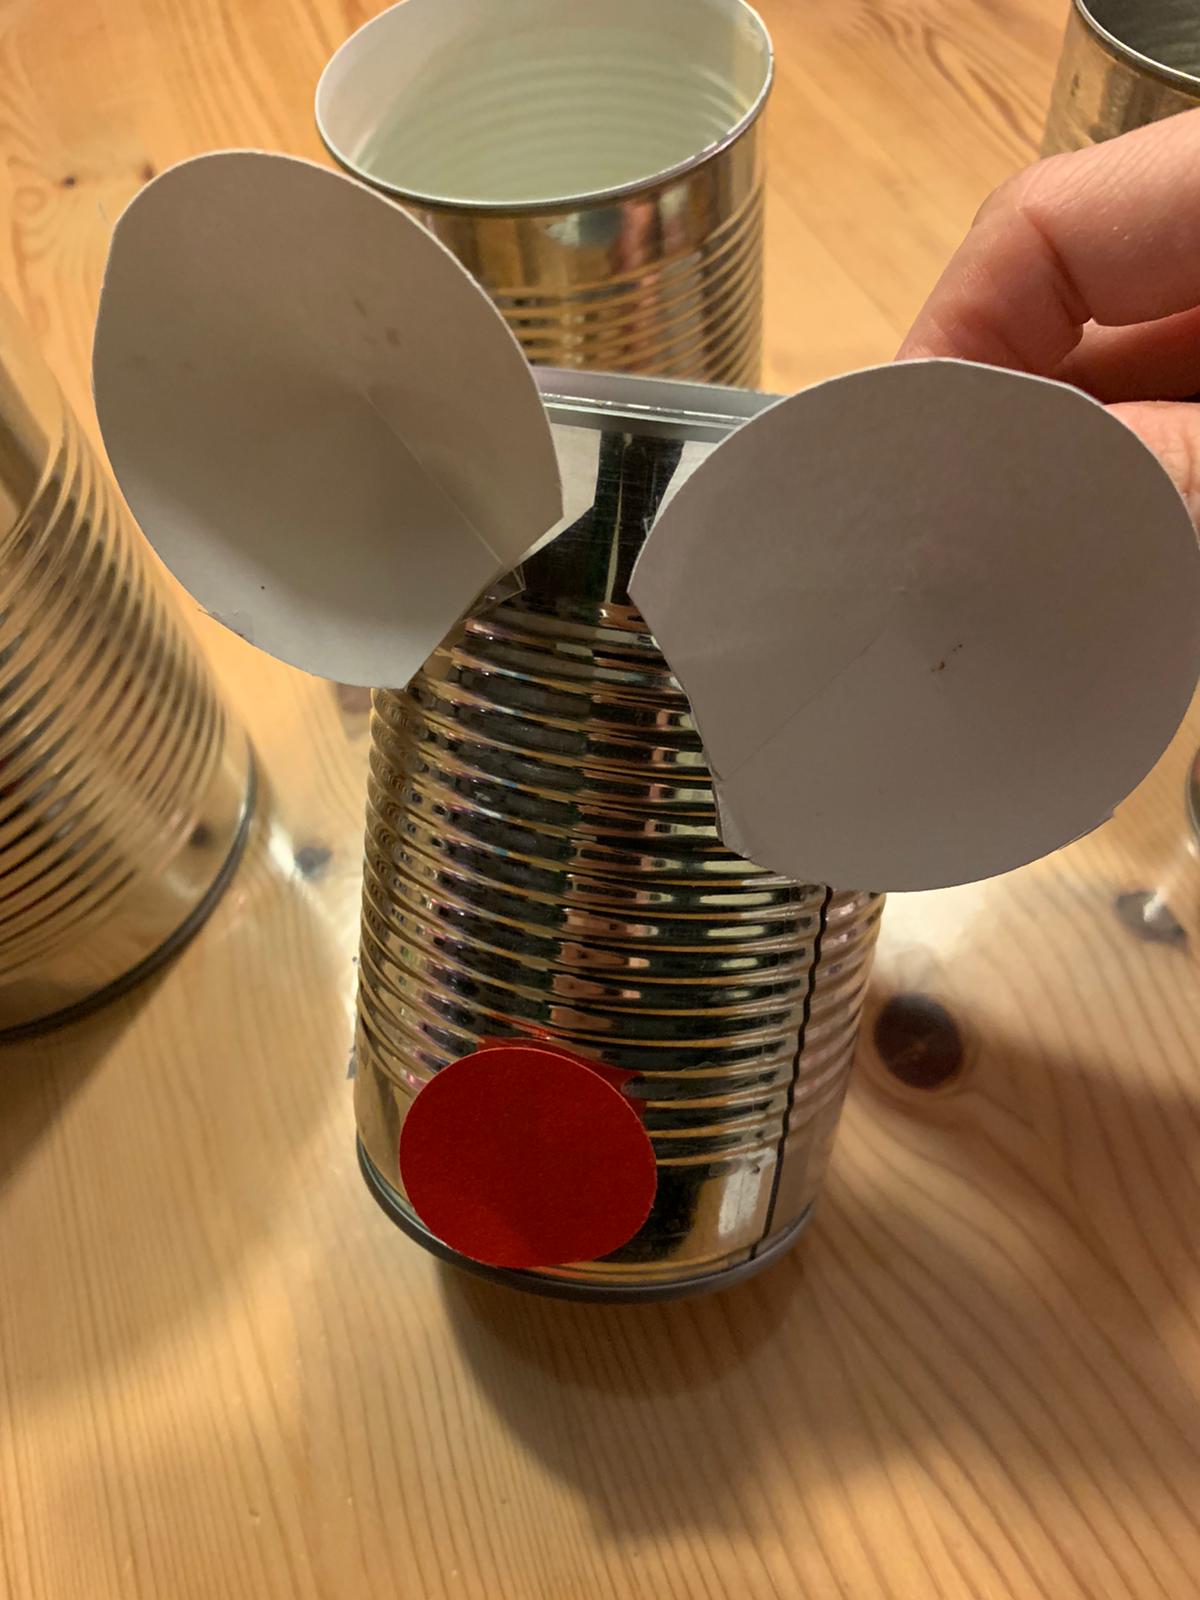


From the two small circles the eyes become. Paints here in the middle of each eye a black dot - the pupil.
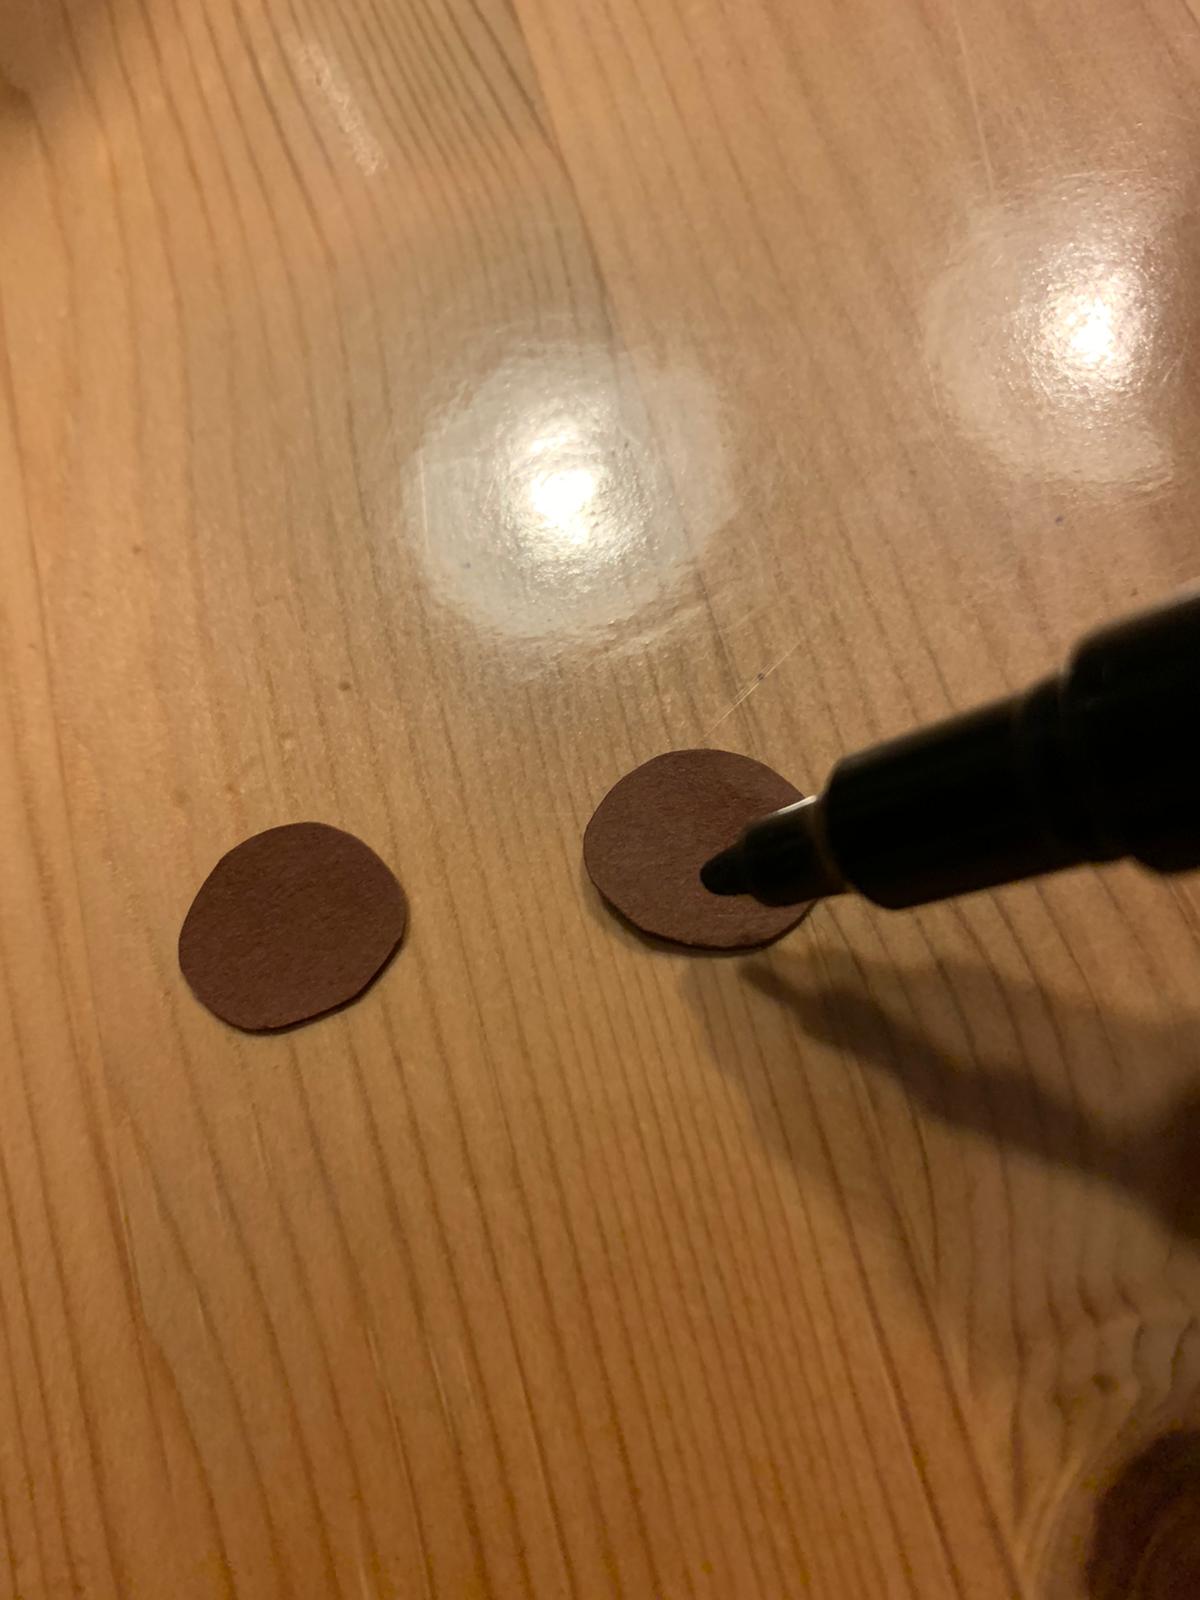


Then you put your eyes over your nose.
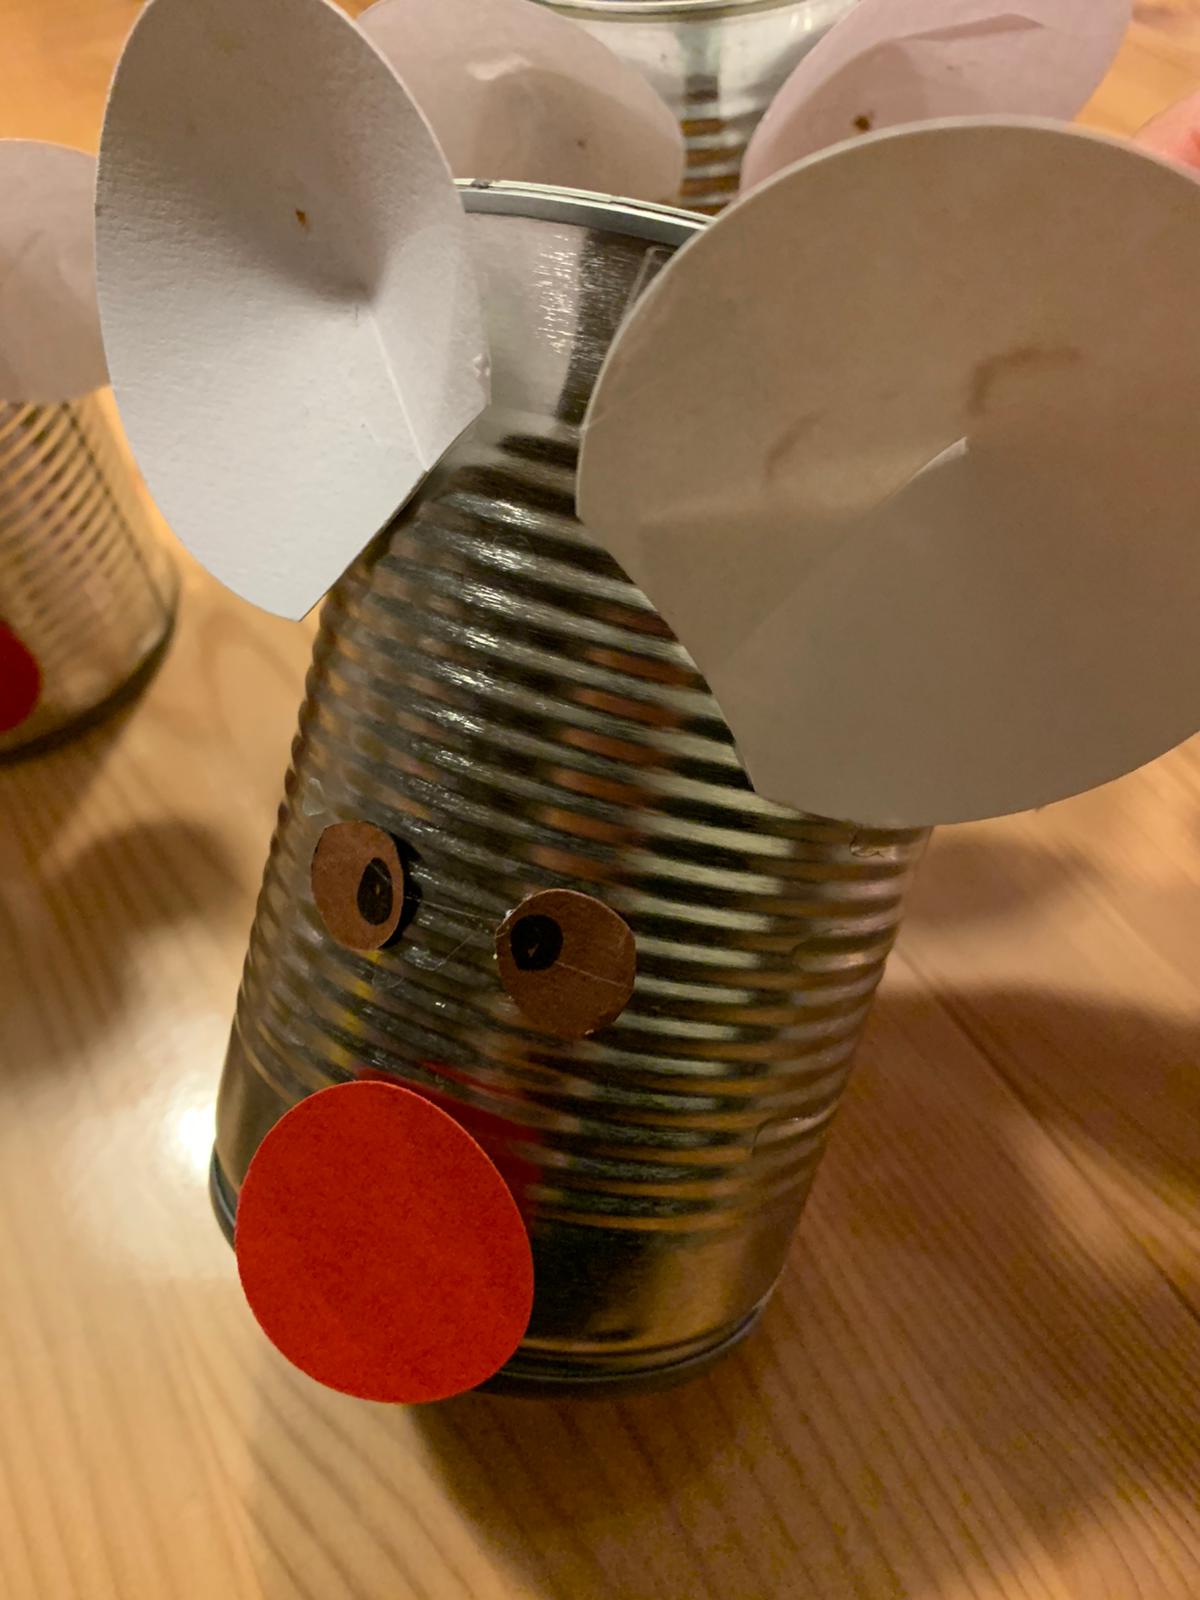


Finally, her tail sticks to the back of the can.
Sticks the tail at the back of the can at the bottom, about in the middle of the spiral.


The mouse is ready.
That's how you make 24 bucks out of the cans.
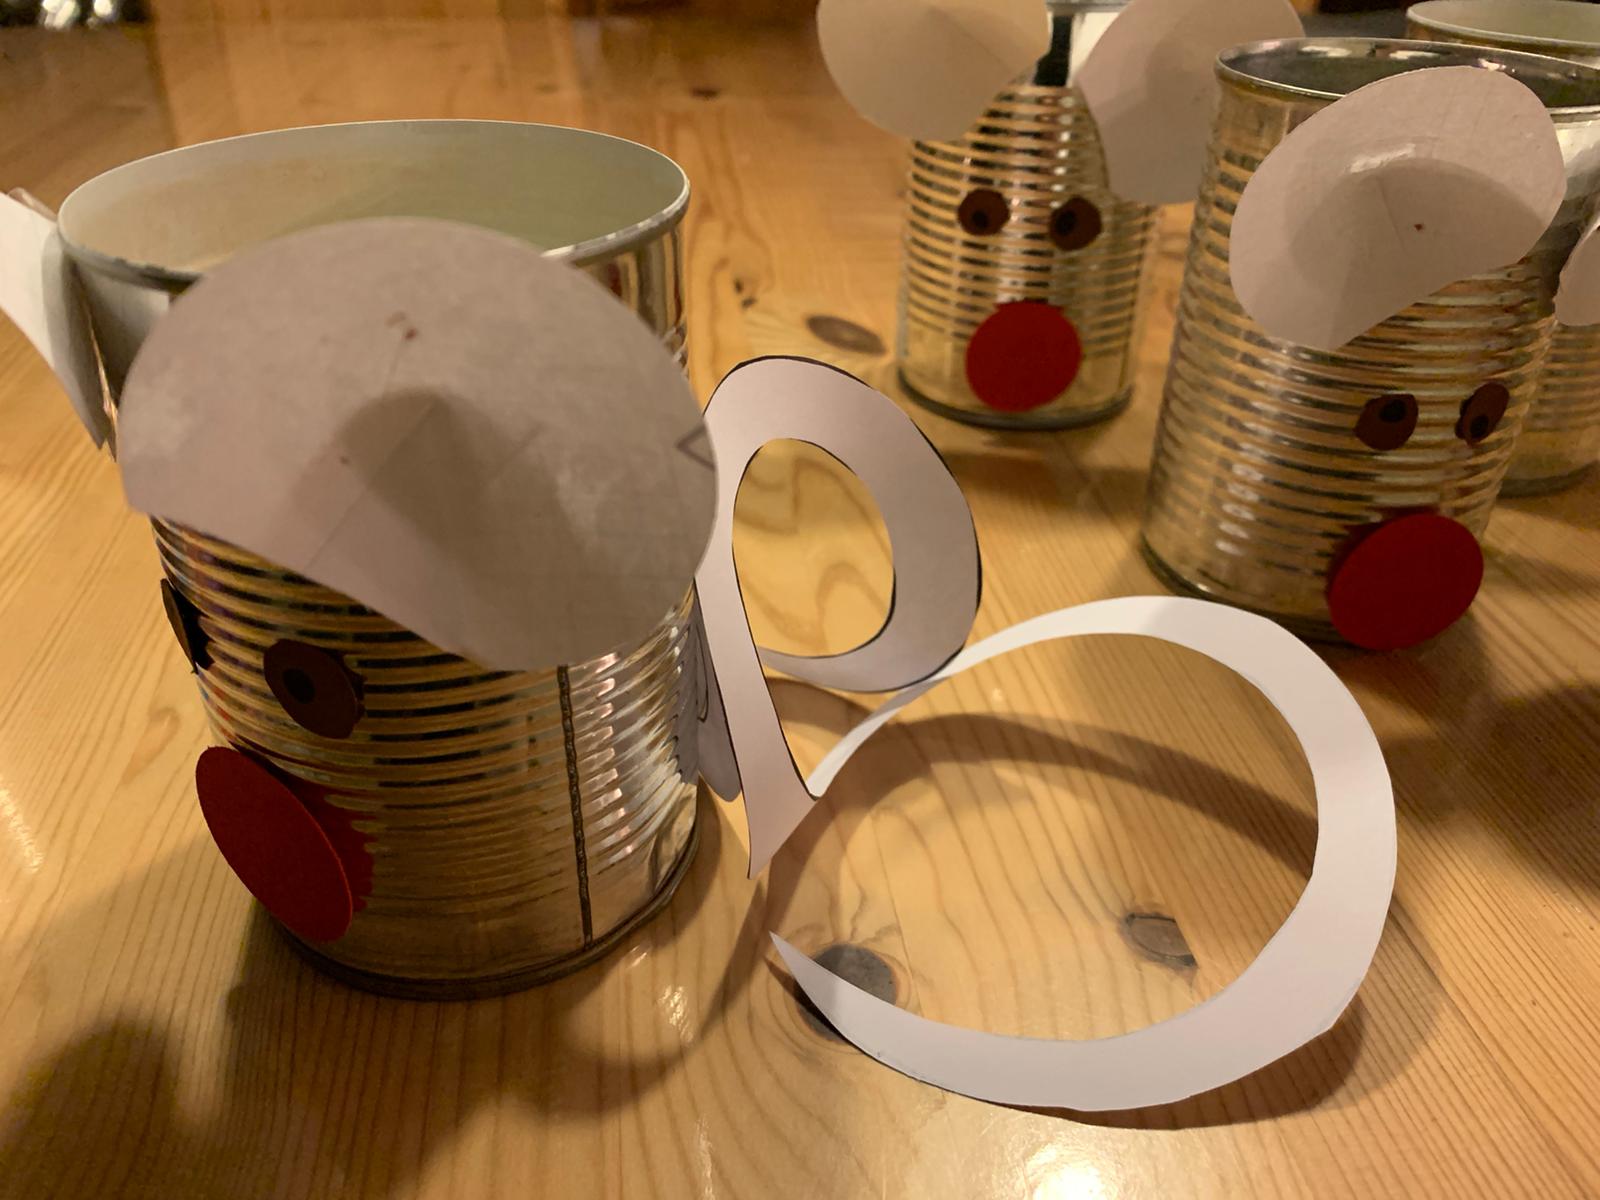


You can put the mice on the windowsill, a shelf or on a staircase.
With a chain of lights, the huge mouse family looks really homey. Look for yourself, where your children also want to place the mouse family.
When the little ones are in bed, you can fill the cans.


Try it out and have fun!
Materials
Directions
Print this template or paint the tail of a mouse as a snail spiral (in a circle). Then you need 2 ears, 1 circle for the nose and 2 circles for the eyes.


Now cut out the circle with the scissors. Then cut along the line, a spiral tail is created.


Now cut out the nose and ears. The ears cut in a small piece on the straight side in the middle (see photo).


At the interface you now stick the paper a little bit above each other. Thus the ears become more plastic.


The ears now stick to it in the upper area of the can with glue (if necessary hot glue).
The red circle becomes the nose, which sticks to it at the bottom of the can.


From the two small circles the eyes become. Paints here in the middle of each eye a black dot - the pupil.


Then you put your eyes over your nose.


Finally, her tail sticks to the back of the can.
Sticks the tail at the back of the can at the bottom, about in the middle of the spiral.


The mouse is ready.
That's how you make 24 bucks out of the cans.


You can put the mice on the windowsill, a shelf or on a staircase.
With a chain of lights, the huge mouse family looks really homey. Look for yourself, where your children also want to place the mouse family.
When the little ones are in bed, you can fill the cans.


Try it out and have fun!
Follow us on Facebook , Instagram and Pinterest
Don't miss any more adventures: Our bottle mail


