Sewing chestnut snake

AdventurerKatzi
Rating5.017.8 thousand times. (4) DifficultyAdvanced

Chestnuts are fascinating for children! "Now let's fill the belly of the snake with the chestnuts, because they are especially hungry today?!"
I'll show you how you can easily sew such a chestnut snake!

Media Education for Kindergarten and Hort

Kind bastelt eine Rassel mit dem Navi
The Adventure Navi, the app for DIY projects, enables media education for the youngest.

Relief in everyday life, targeted promotion of individual children, independent learning and - without any pre-knowledge already usable by the youngest!


Titelbild zur Bastel- und DIY-Idee für Kinder '(423) Kastanien-Schlange nähen'
Material for1 Child
Prep Time30 min.Adv. Time20 min.Total Time50 min.
 Piece of fabric: 14cm x 50cmCotton fabric or the sleeve of an old shirt/blouse?
 Sewing machine
 Substance shears
 Ruler
 Pen
 2 buttons
 Thread to sew
 Push buttons (don't necessarily have to be!)
 10 cm tape for the tongueor a piece of felt
 Chestnuts
1

Cut fabric.
I cut off a strip of fabric from an old shirt sleeve. (You don't have to buy a new fabric!) approx. 14 cm x 50 cm (You can choose the length as you like!)
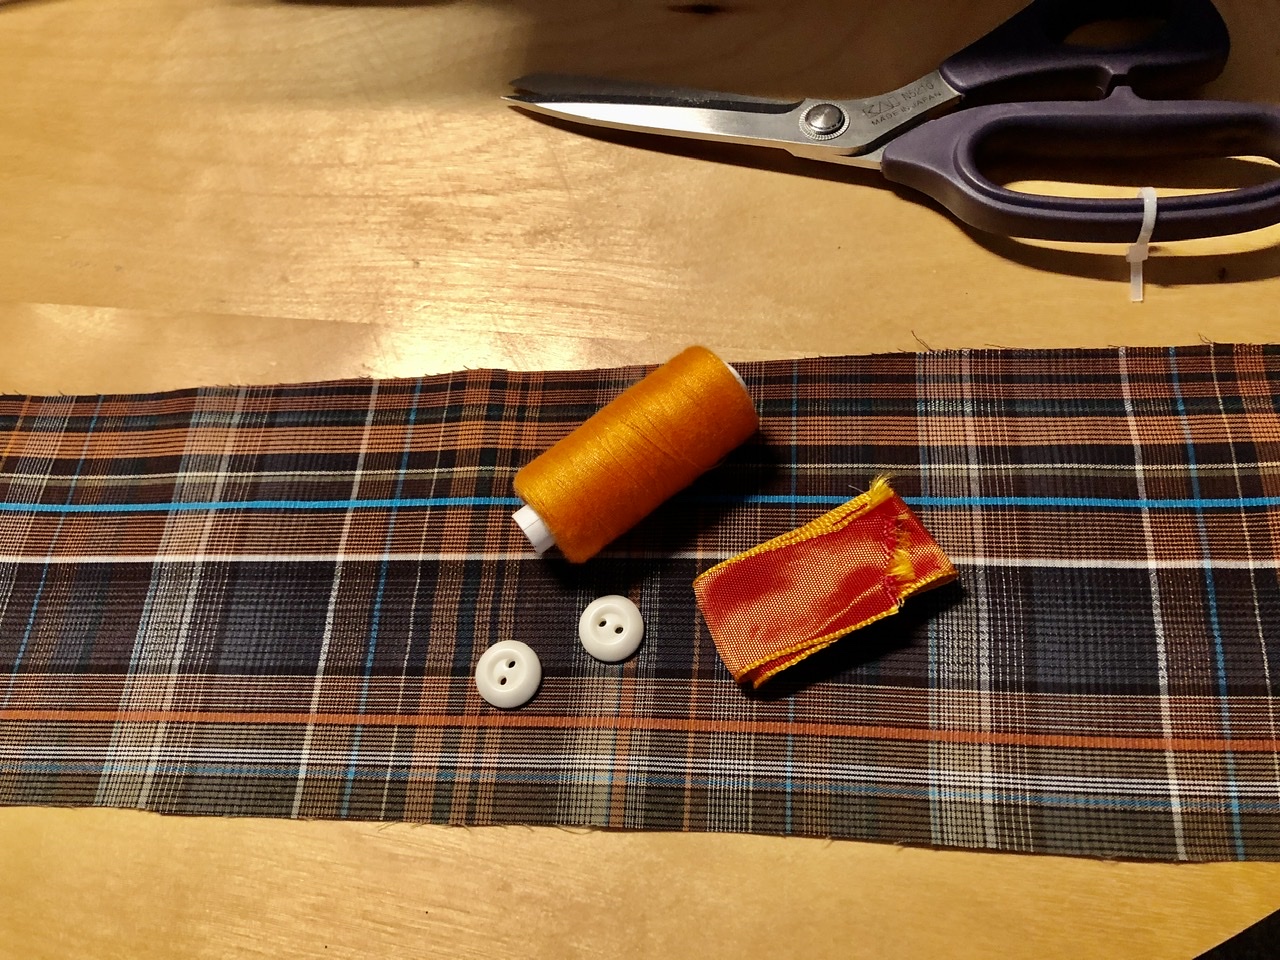
Bild zum Schritt 1 für das Bastel- und DIY-Abenteuer für Kinder: 'Stoff zuschneiden.   Ich habe einen Stoffstreifen von einem...'

2

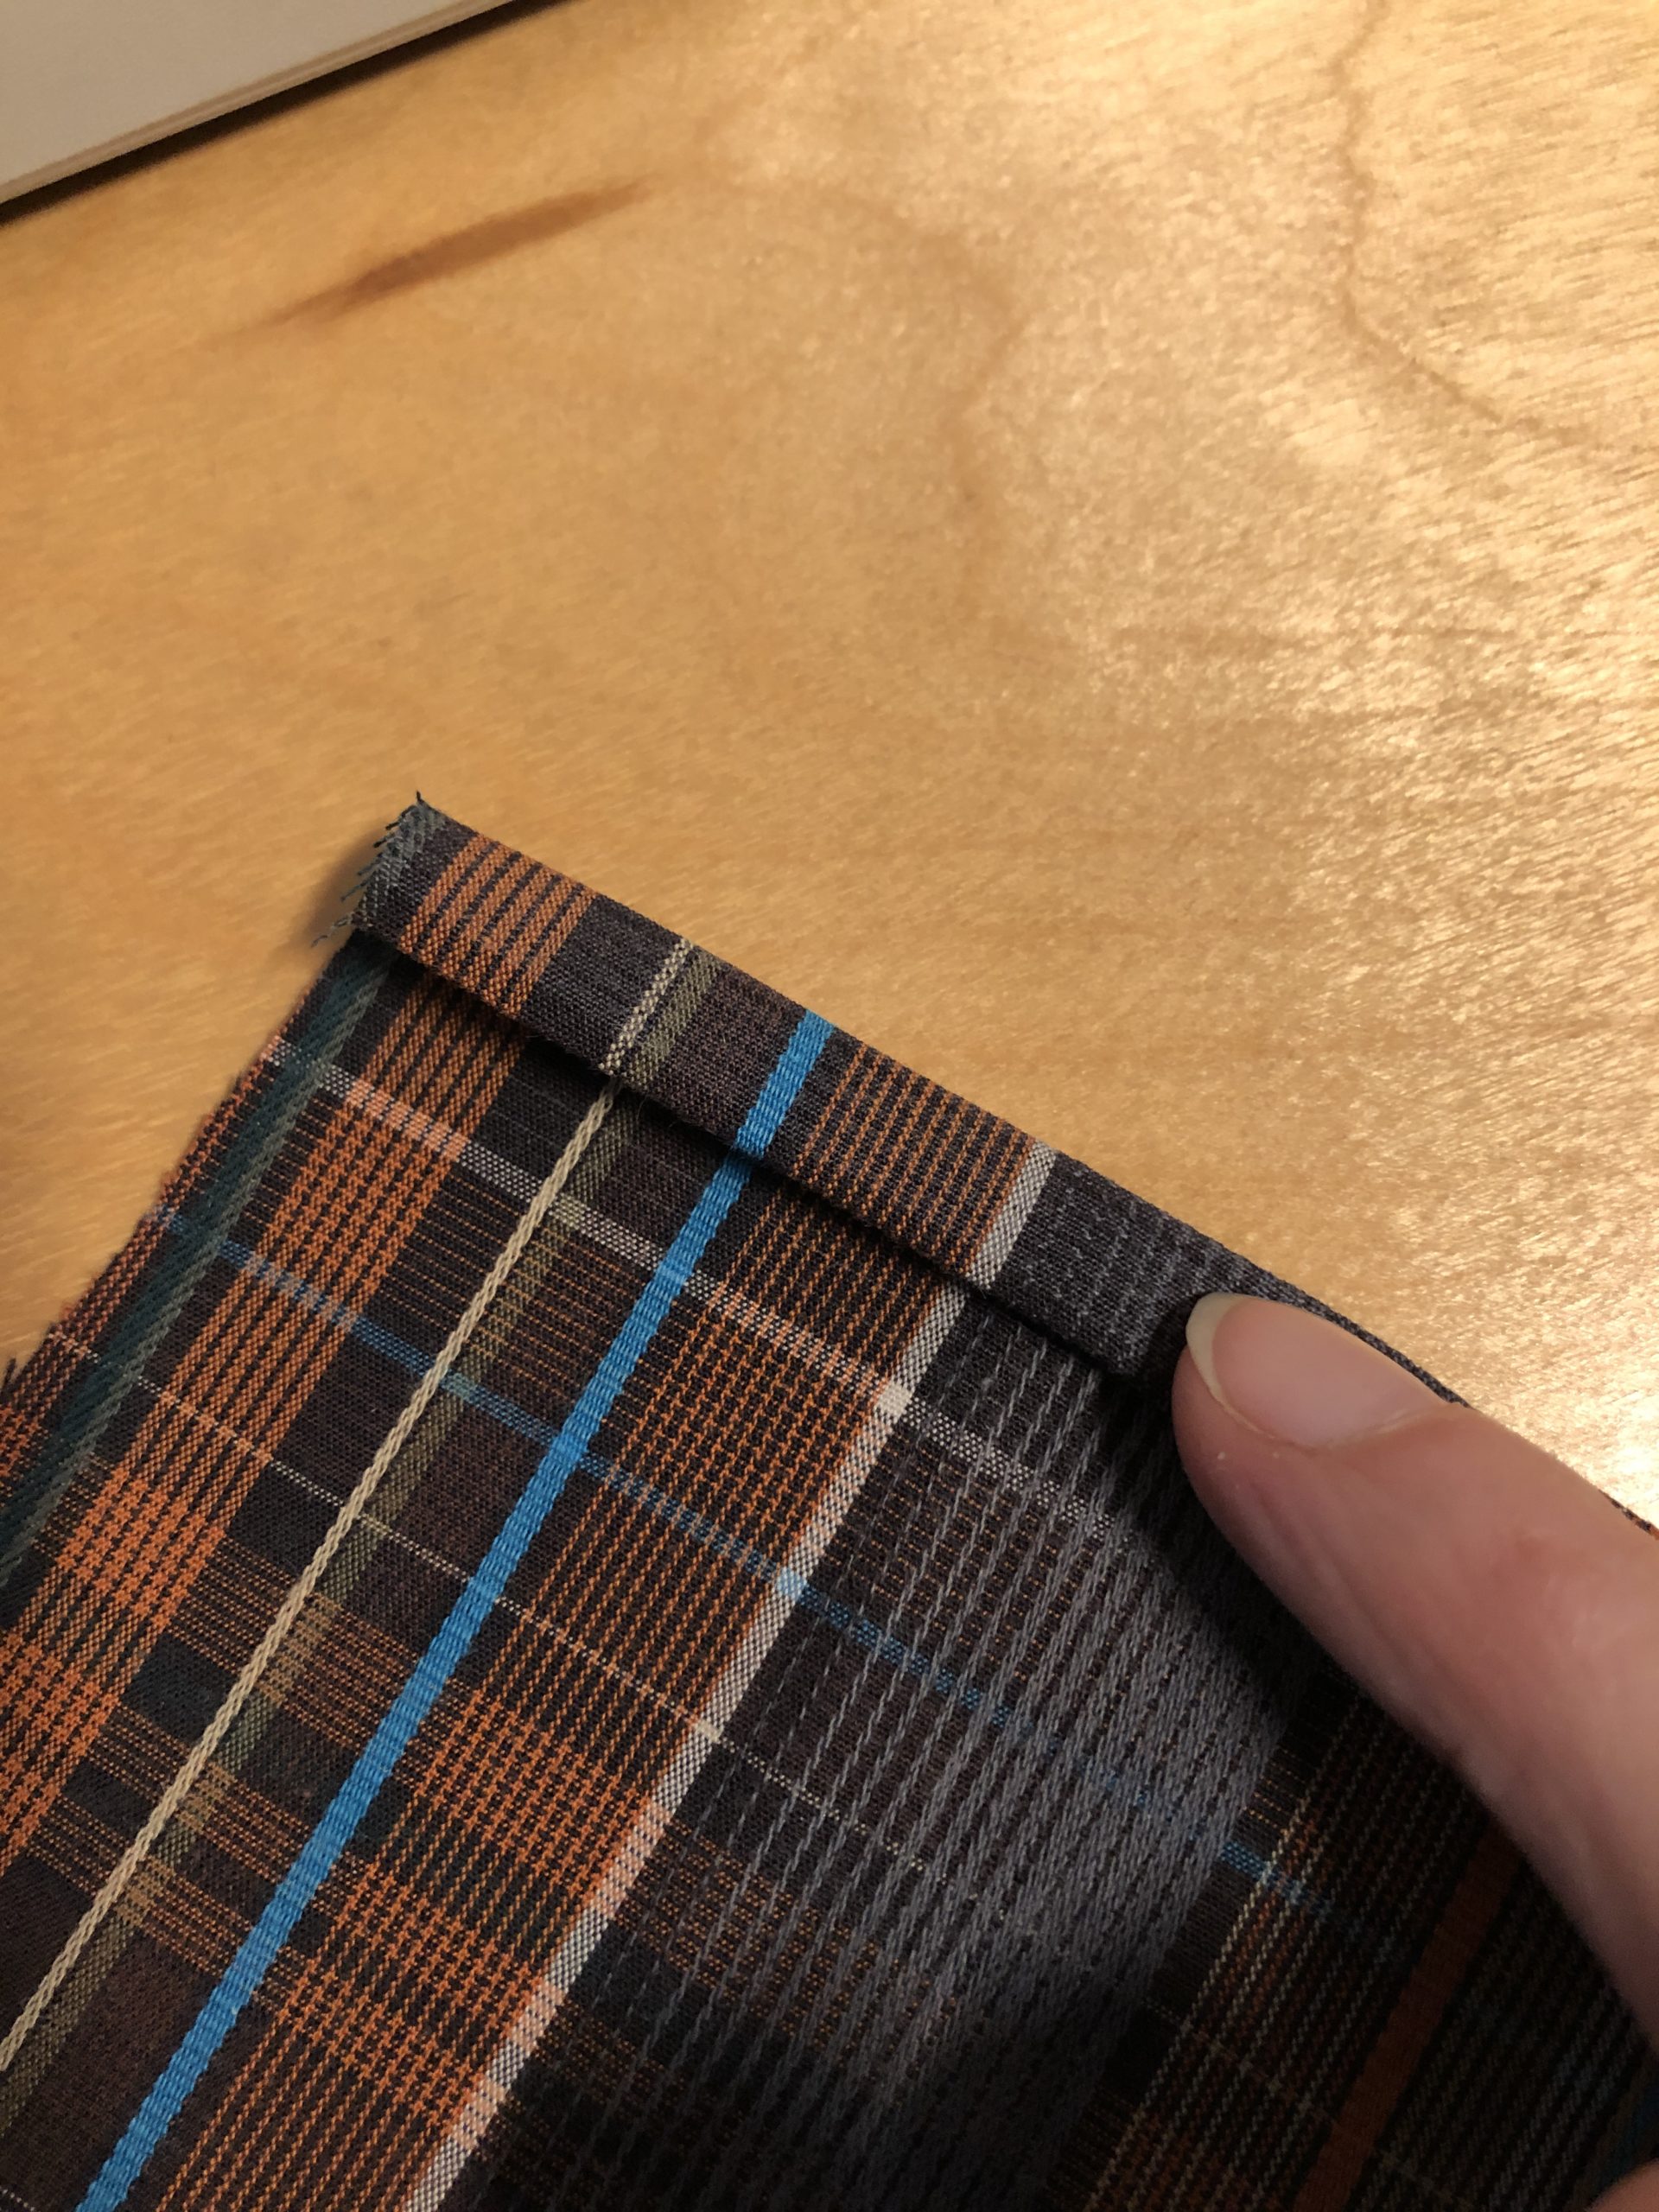
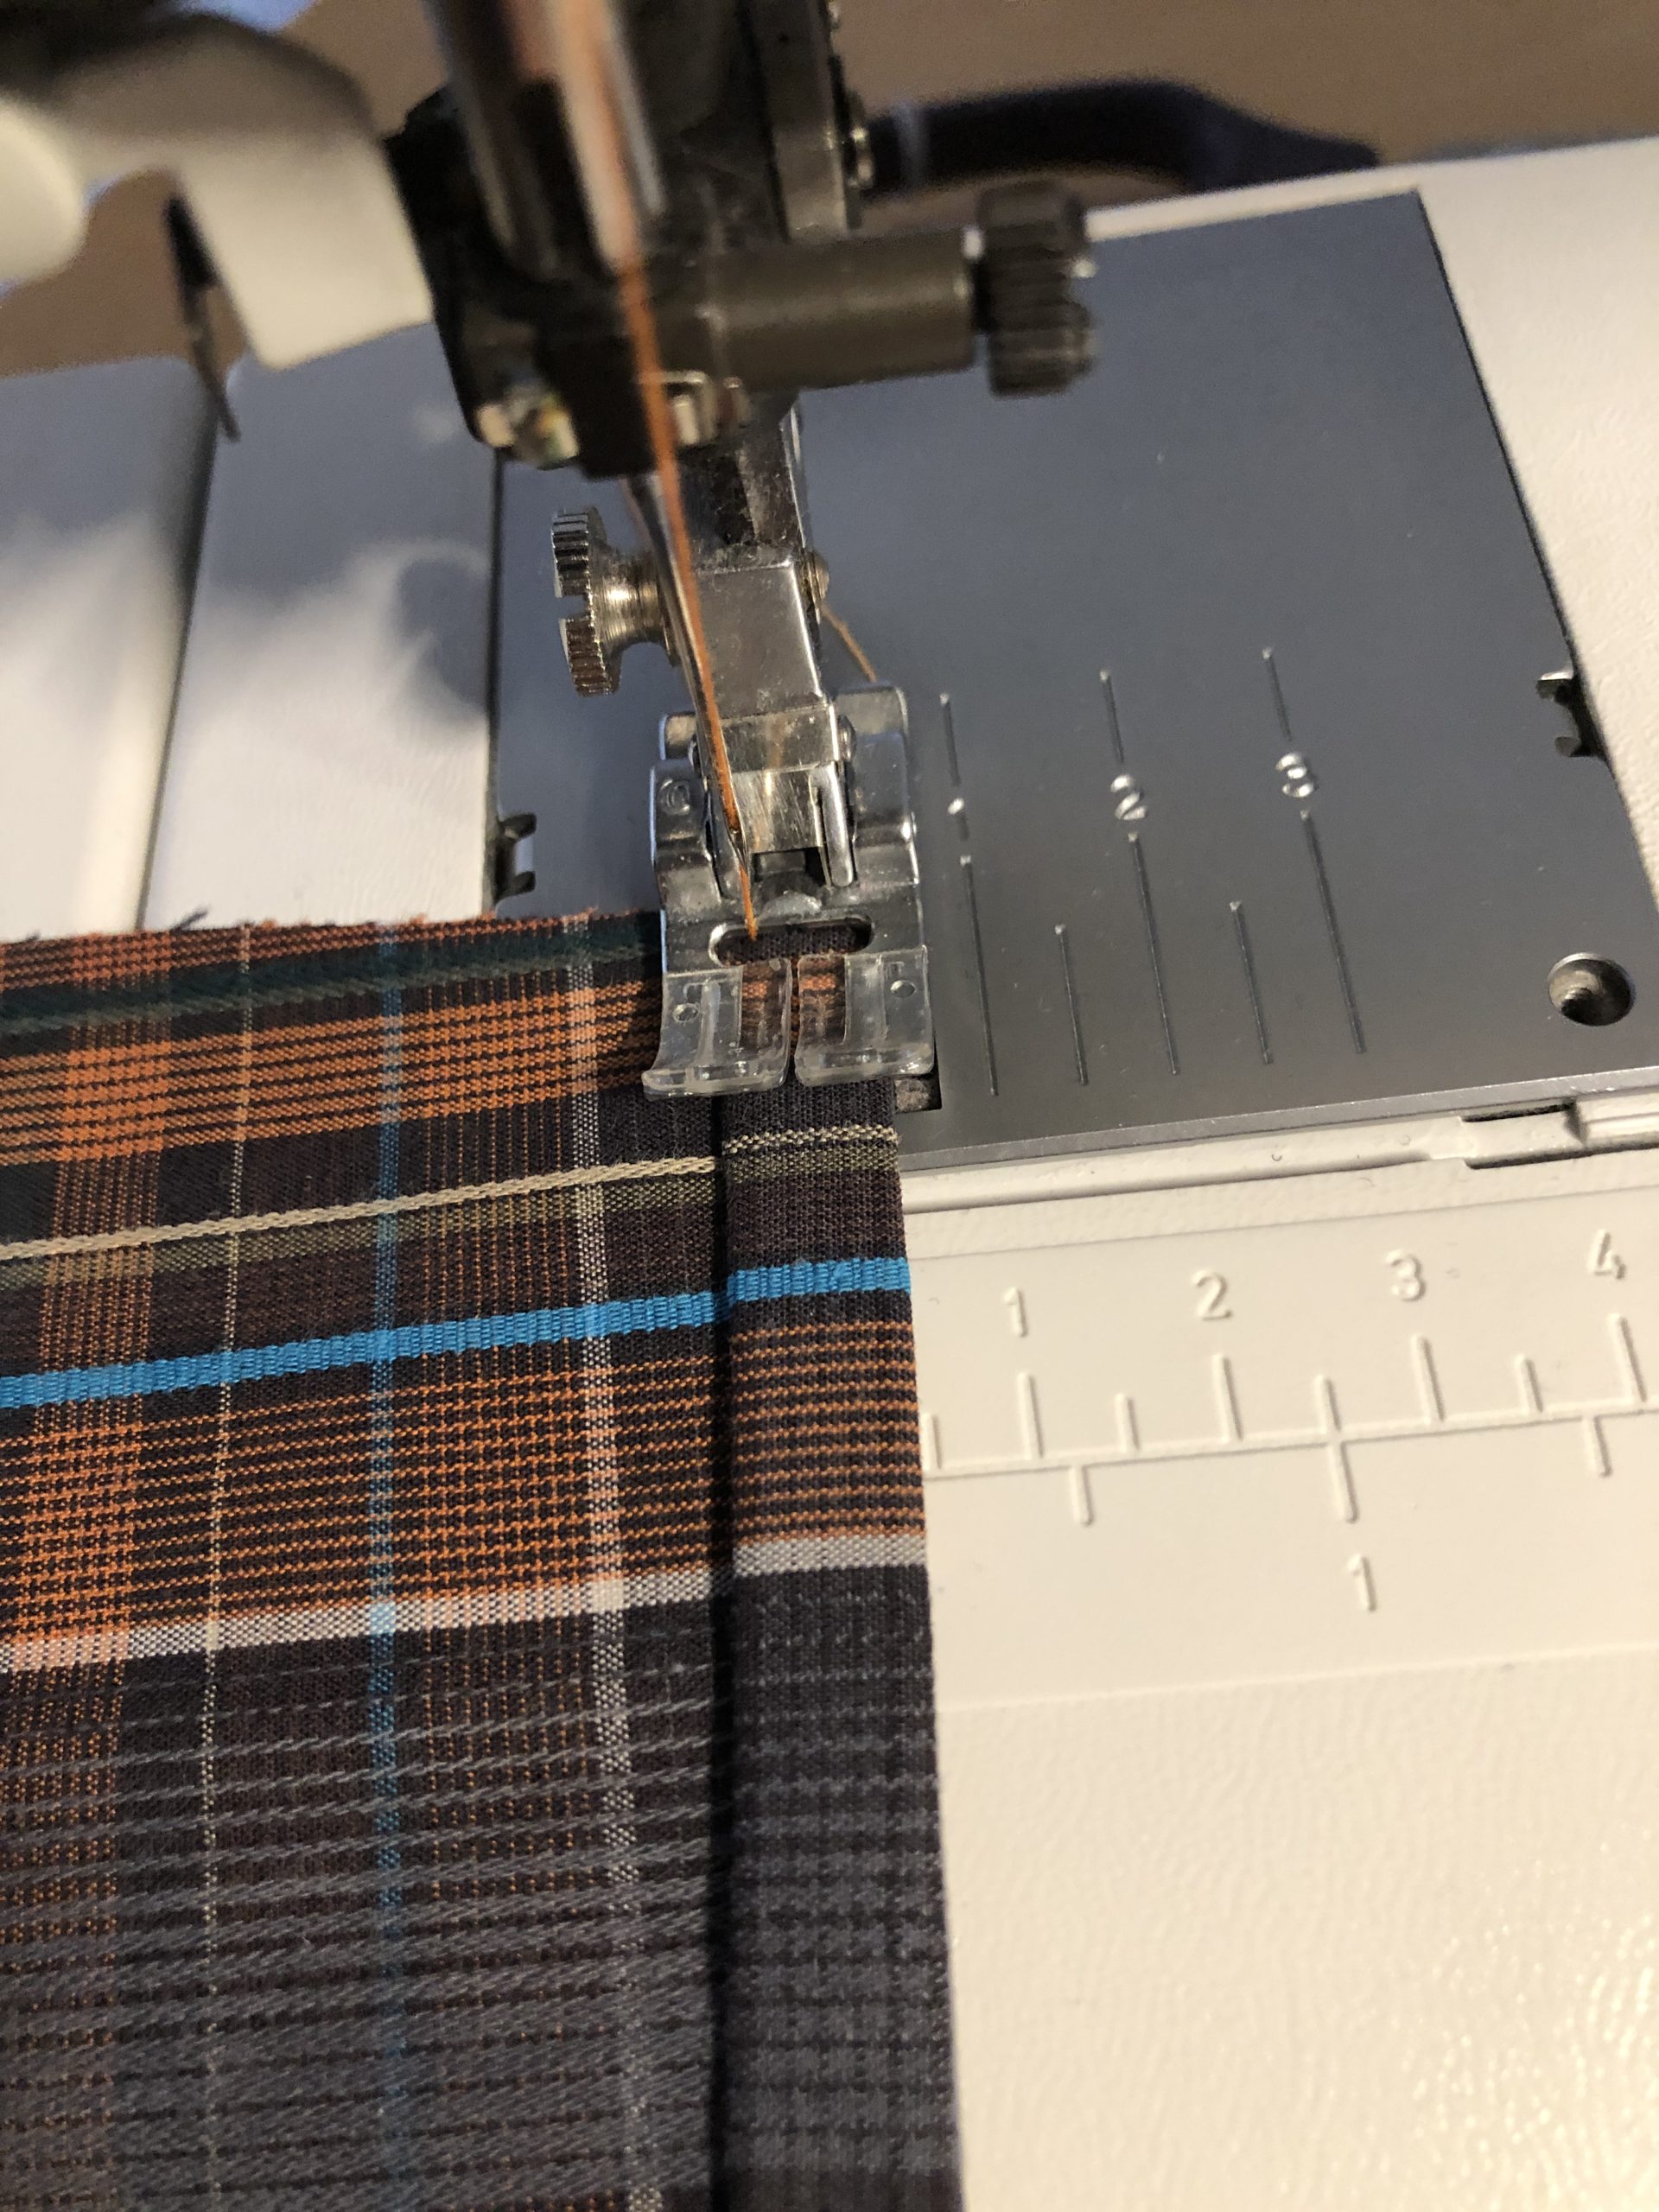
On both short sides a hem is now wrapped (doubt of fabric overturn) and sewn firmly!
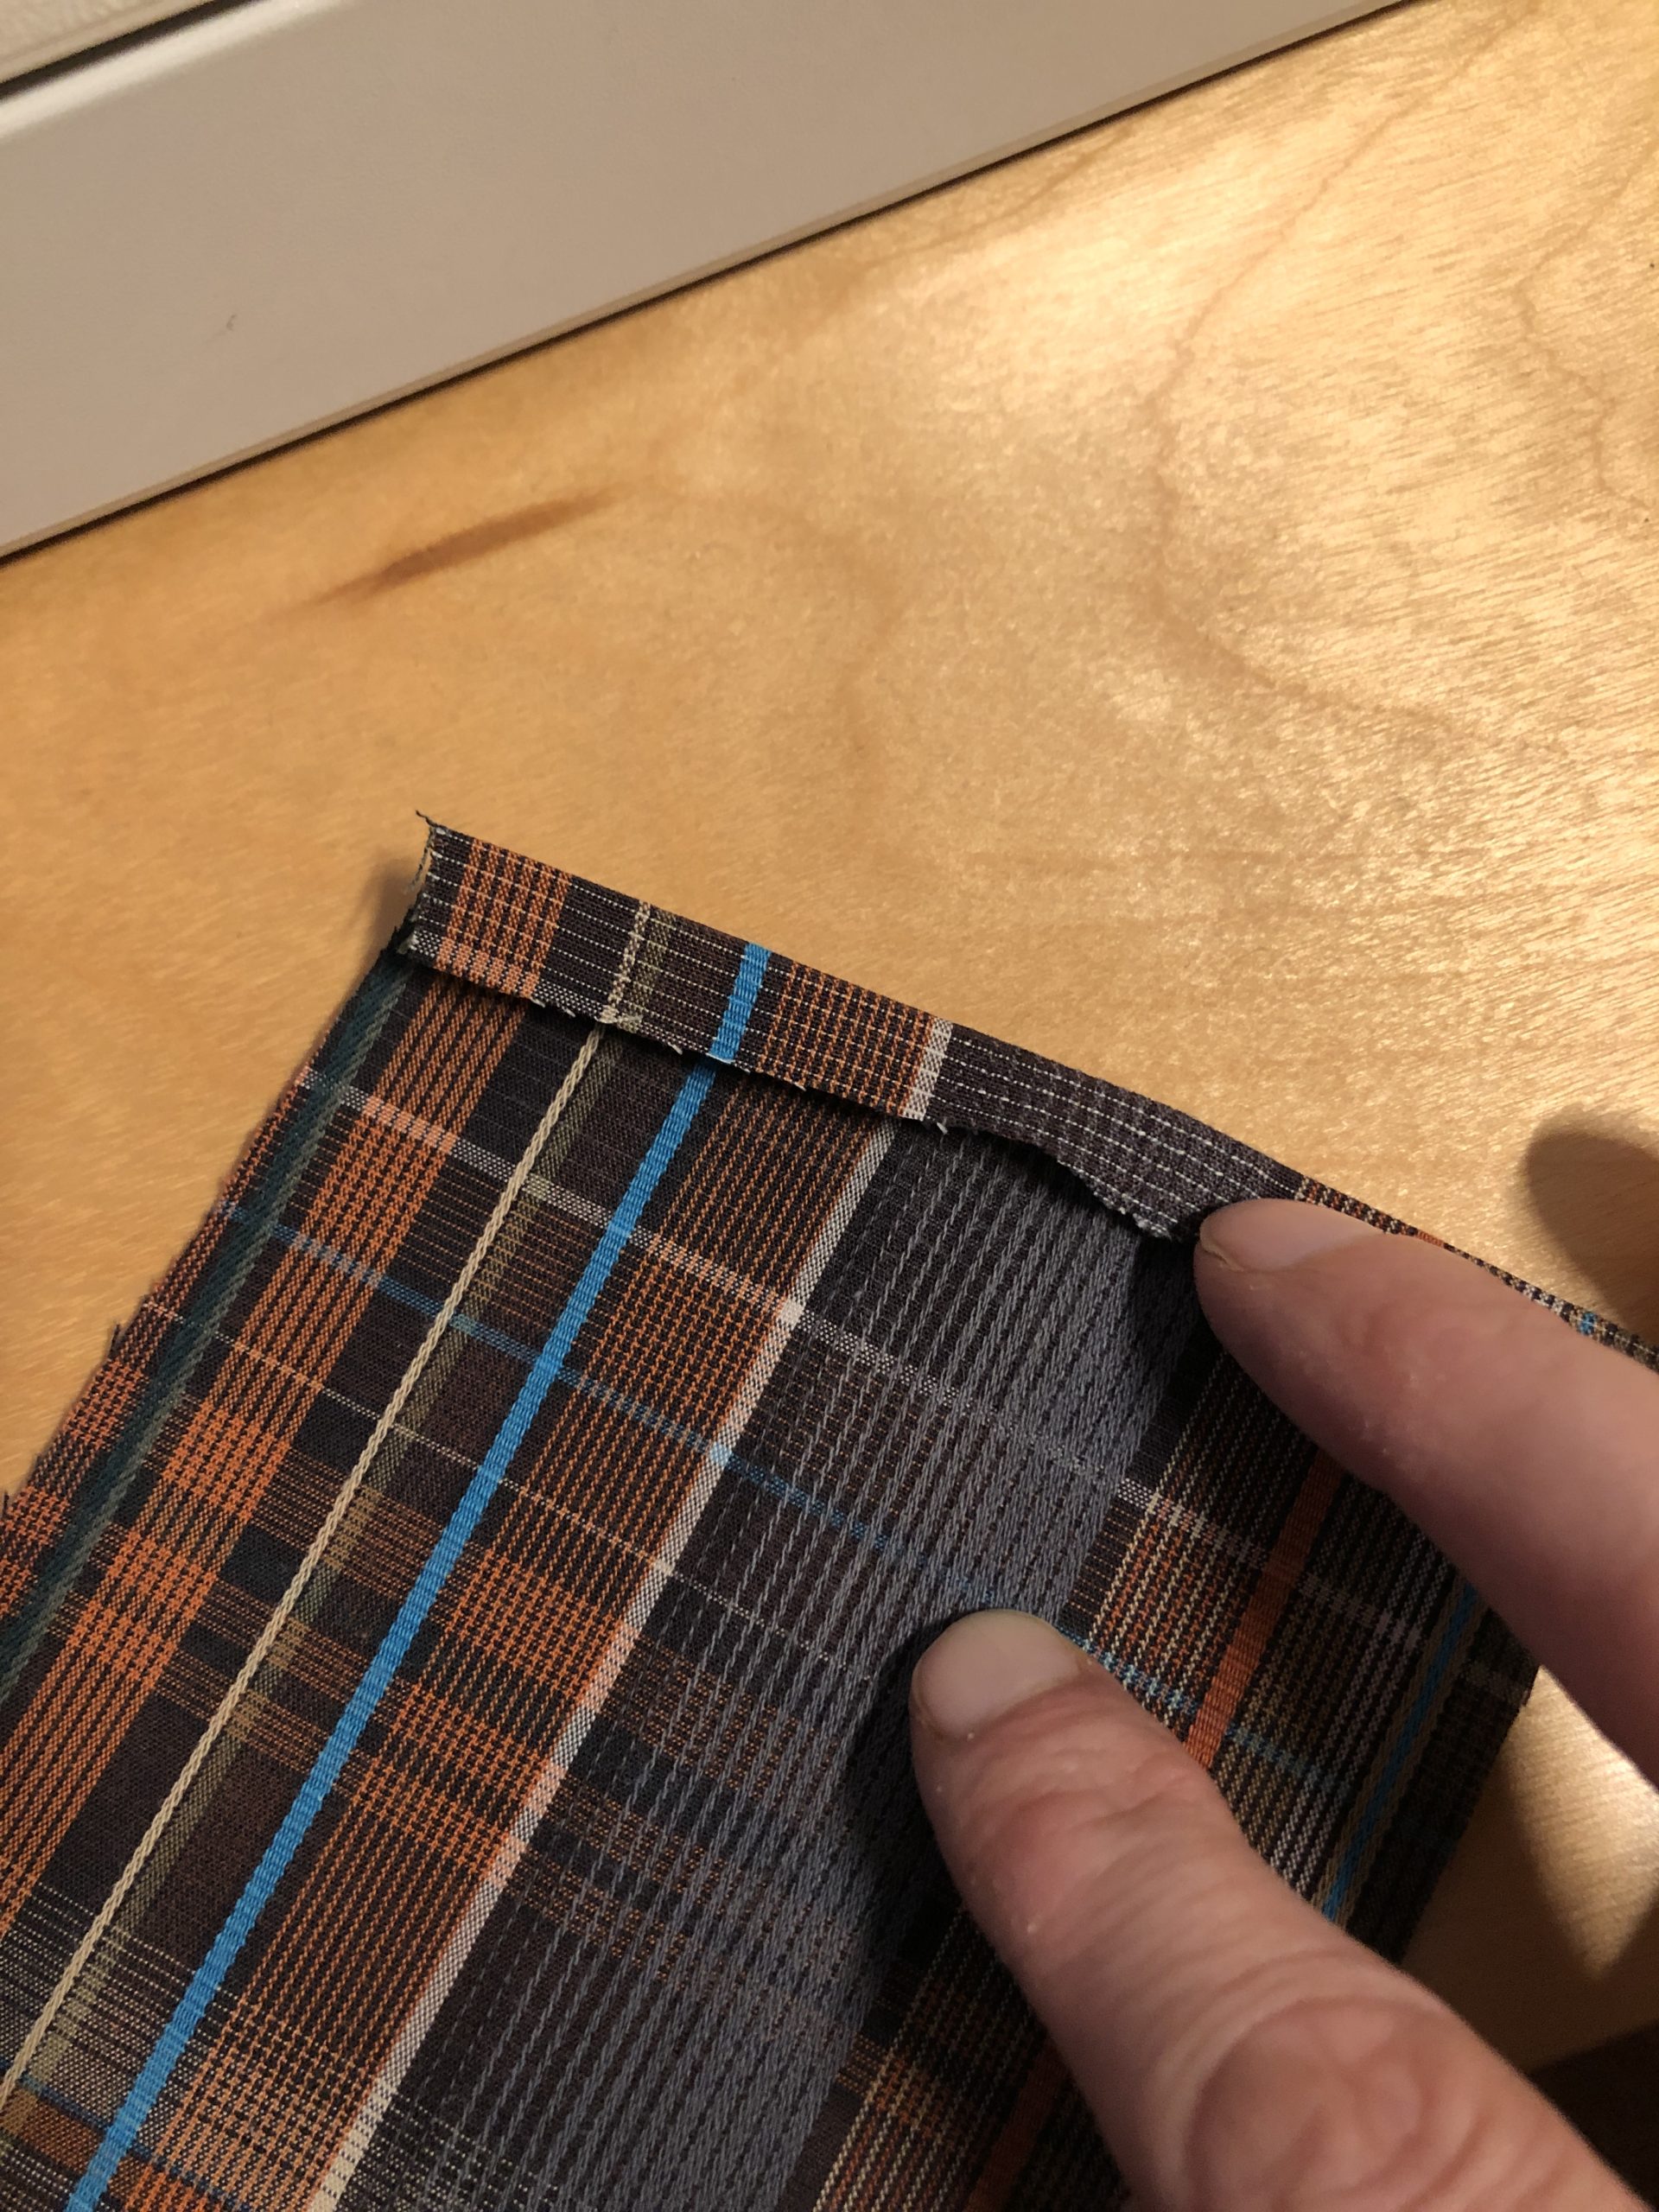
Bild zum Schritt 2 für das Bastel- und DIY-Abenteuer für Kinder: 'An beiden kurzen Seiten wird nun ein Saum umgeschlagen (Stoff...'

3

2. Bild zum Schritt 2 für das Bastel- und DIY-Abenteuer für Kinder: 'An beiden kurzen Seiten wird nun ein Saum umgeschlagen (Stoff...'

4

3. Bild zum Schritt 3 für das Bastel- und DIY-Abenteuer für Kinder: 'An beiden kurzen Seiten wird nun ein Saum umgeschlagen (Stoff...'

5

4. Bild zum Schritt 4 für das Bastel- und DIY-Abenteuer für Kinder: 'An beiden kurzen Seiten wird nun ein Saum umgeschlagen (Stoff...'

6

Now double the tape for the tongue and sew it together.

Bild zum Schritt 6 für das Bastel- und DIY-Abenteuer für Kinder: 'Nun das Band für die Zunge doppelt legen und zusammen...'

7

At the top, take a tack to get a split tongue - just like a real snake!

Bild zum Schritt 7 für das Bastel- und DIY-Abenteuer für Kinder: 'An der Spitze einen Zacken einnähmen, um eine gespaltene Zunge...'

8

Now you sew the tongue on the short side of the body.
Then you put the buttons ready.

Bild zum Schritt 8 für das Bastel- und DIY-Abenteuer für Kinder: 'Jetzt näht ihr die Zunge an der kurzen Seite an...'

9

Sew the two buttons on the fabric as eyes behind the tongue.

Bild zum Schritt 9 für das Bastel- und DIY-Abenteuer für Kinder: 'Die zwei Knöpfe als Augen hinter die Zunge auf dem...'

10

Attention: Sew on the buttons before the fabric is sewn together!

Bild zum Schritt 10 für das Bastel- und DIY-Abenteuer für Kinder: 'Achtung: Die Knöpfe unbedingt annähen, bevor der Stoff zusammengenäht wird!'

11

Now you halve the fabric in length and turn it to the left side. The beautiful outside of your sleeve/cloth is now inside.

Bild zum Schritt 11 für das Bastel- und DIY-Abenteuer für Kinder: 'Nun halbiert ihr den Stoff der Länge nach und dreht...'

12

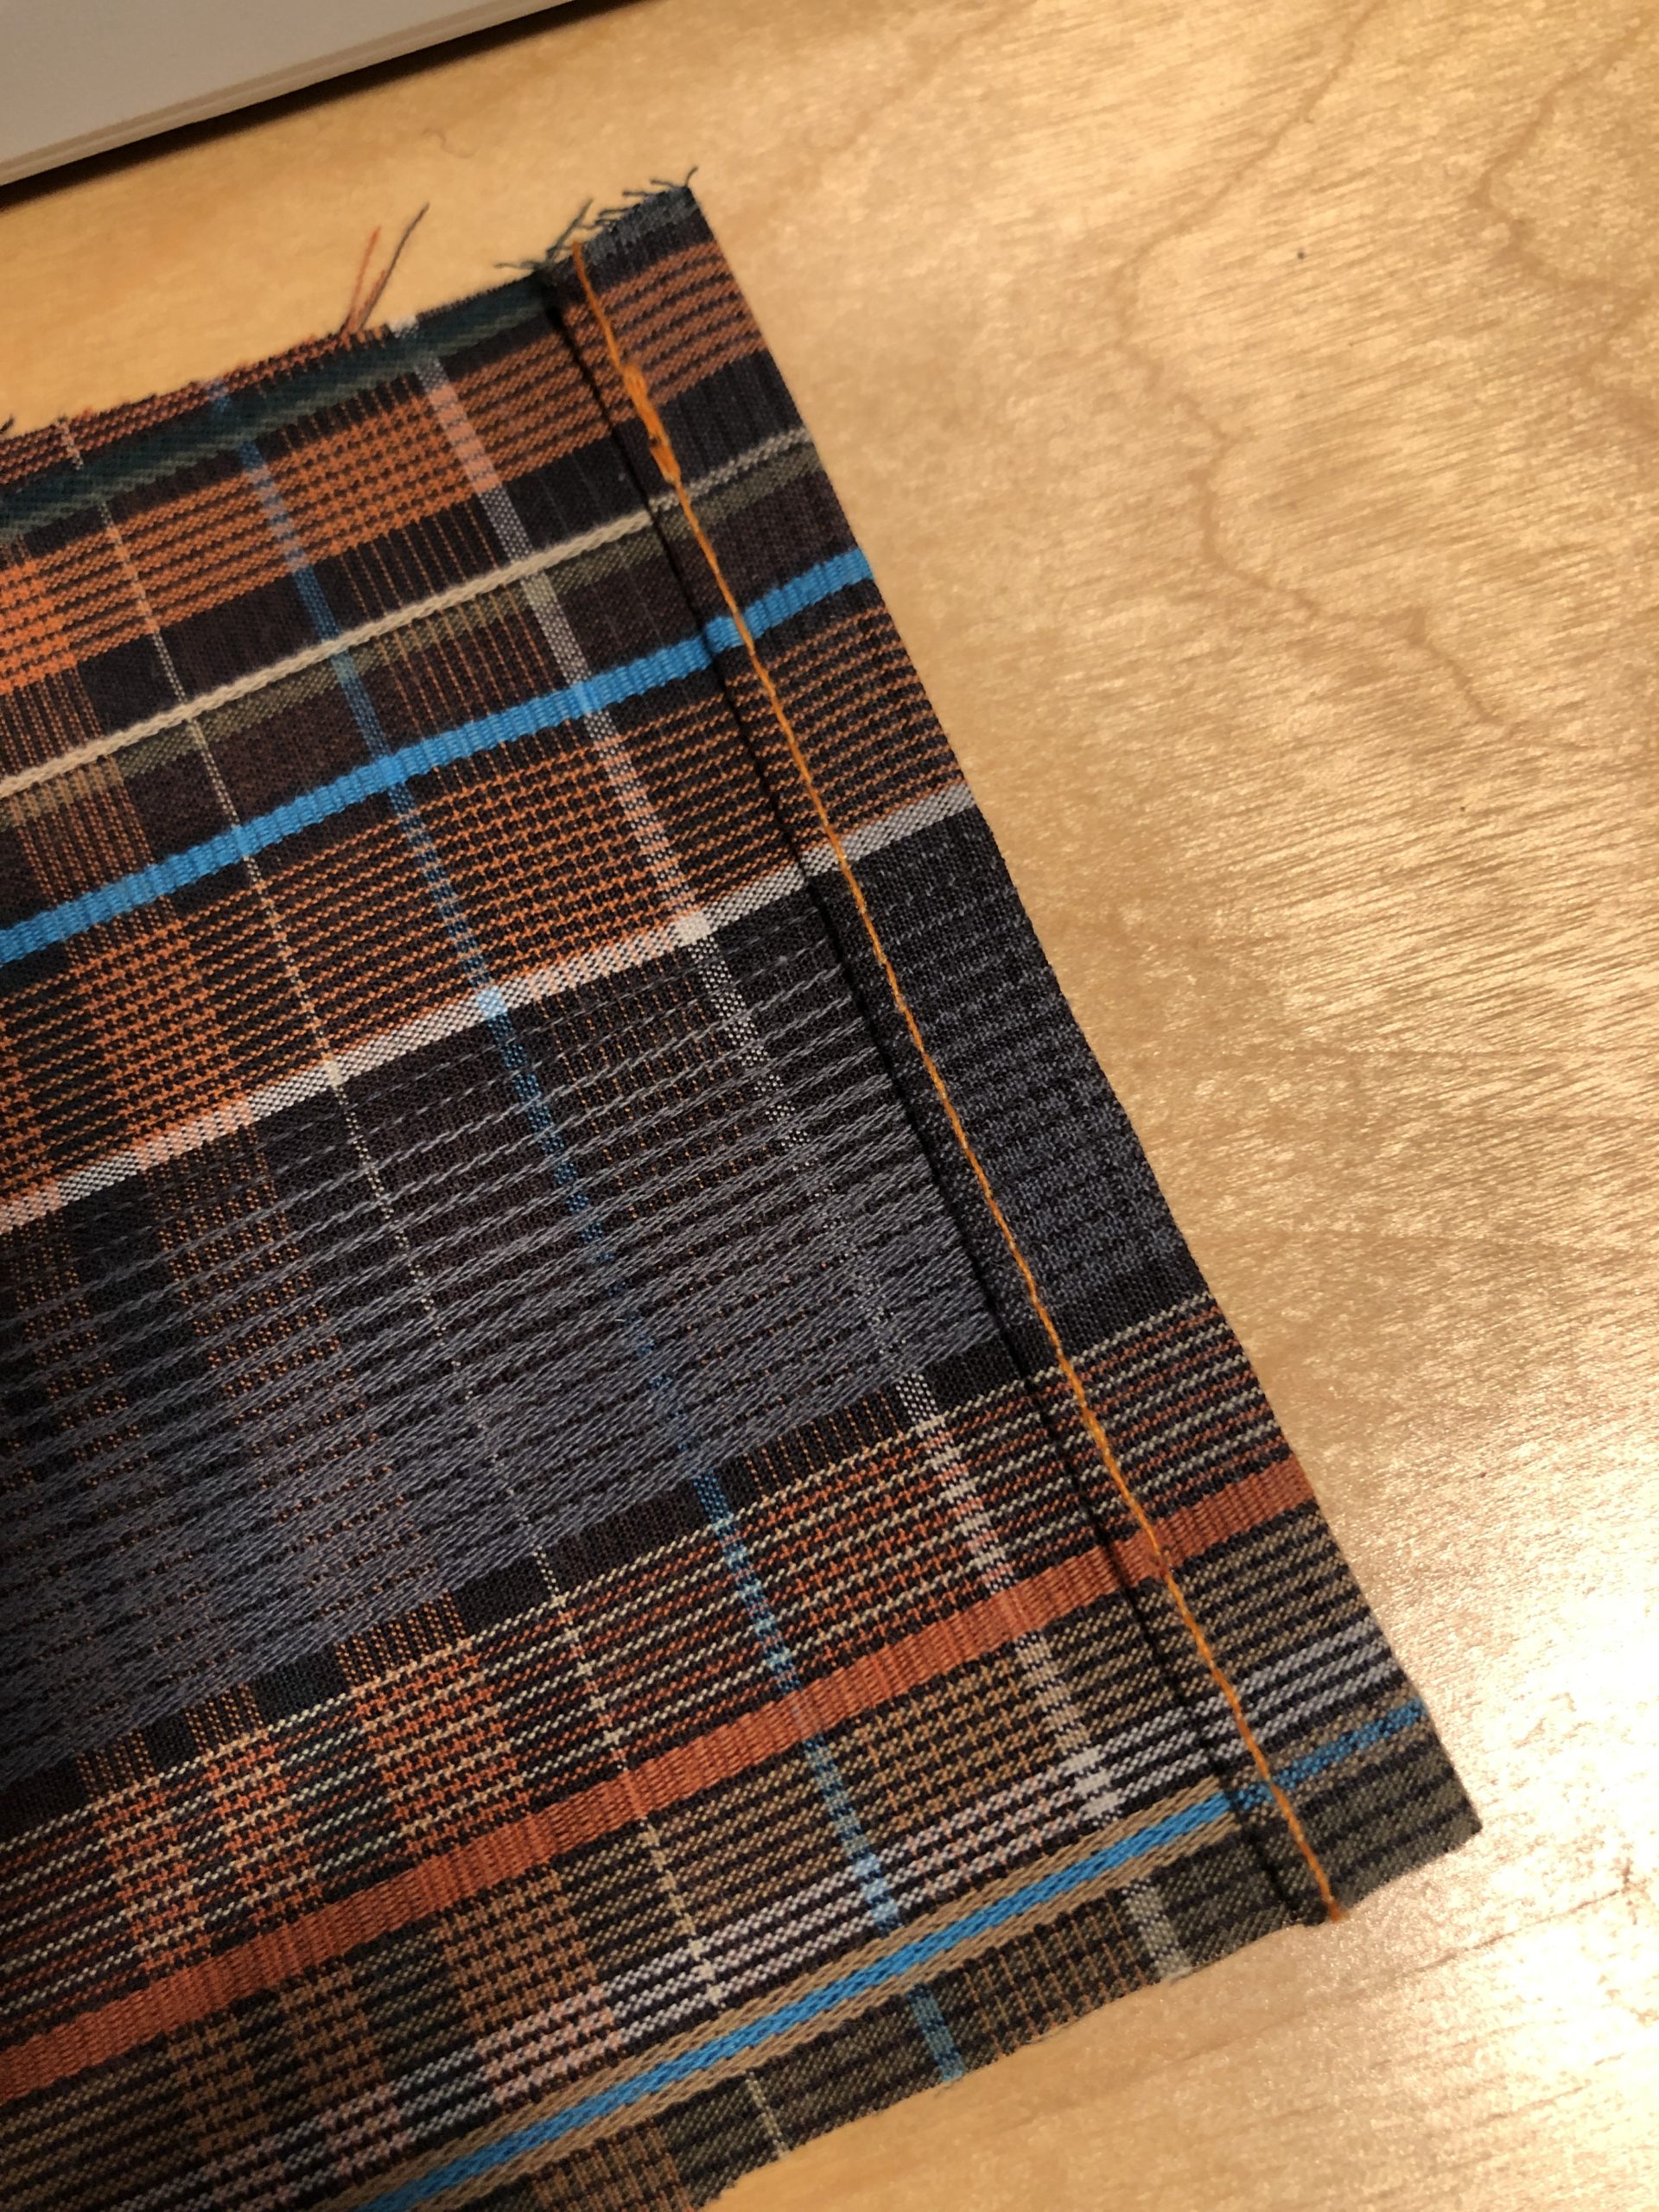
Sew the fabric strip to a hose on the long side!

Bild zum Schritt 12 für das Bastel- und DIY-Abenteuer für Kinder: 'An der langen Seite den Stoffstreifen zu einem Schlauch zusammennähen!'

13

Then switch to the zigzag stitch of the sewing machine and line the sewn seam.
The hose remains open at the top and bottom end.

Bild zum Schritt 13 für das Bastel- und DIY-Abenteuer für Kinder: 'Anschließend schaltet ihr auf den Zickzack-Stich der Nähmaschine und säumt...'

14

Now the hose is turned over!

Bild zum Schritt 14 für das Bastel- und DIY-Abenteuer für Kinder: 'Nun wird der Schlauch umgedreht!'

15

2. Bild zum Schritt 14 für das Bastel- und DIY-Abenteuer für Kinder: 'Nun wird der Schlauch umgedreht!'

16

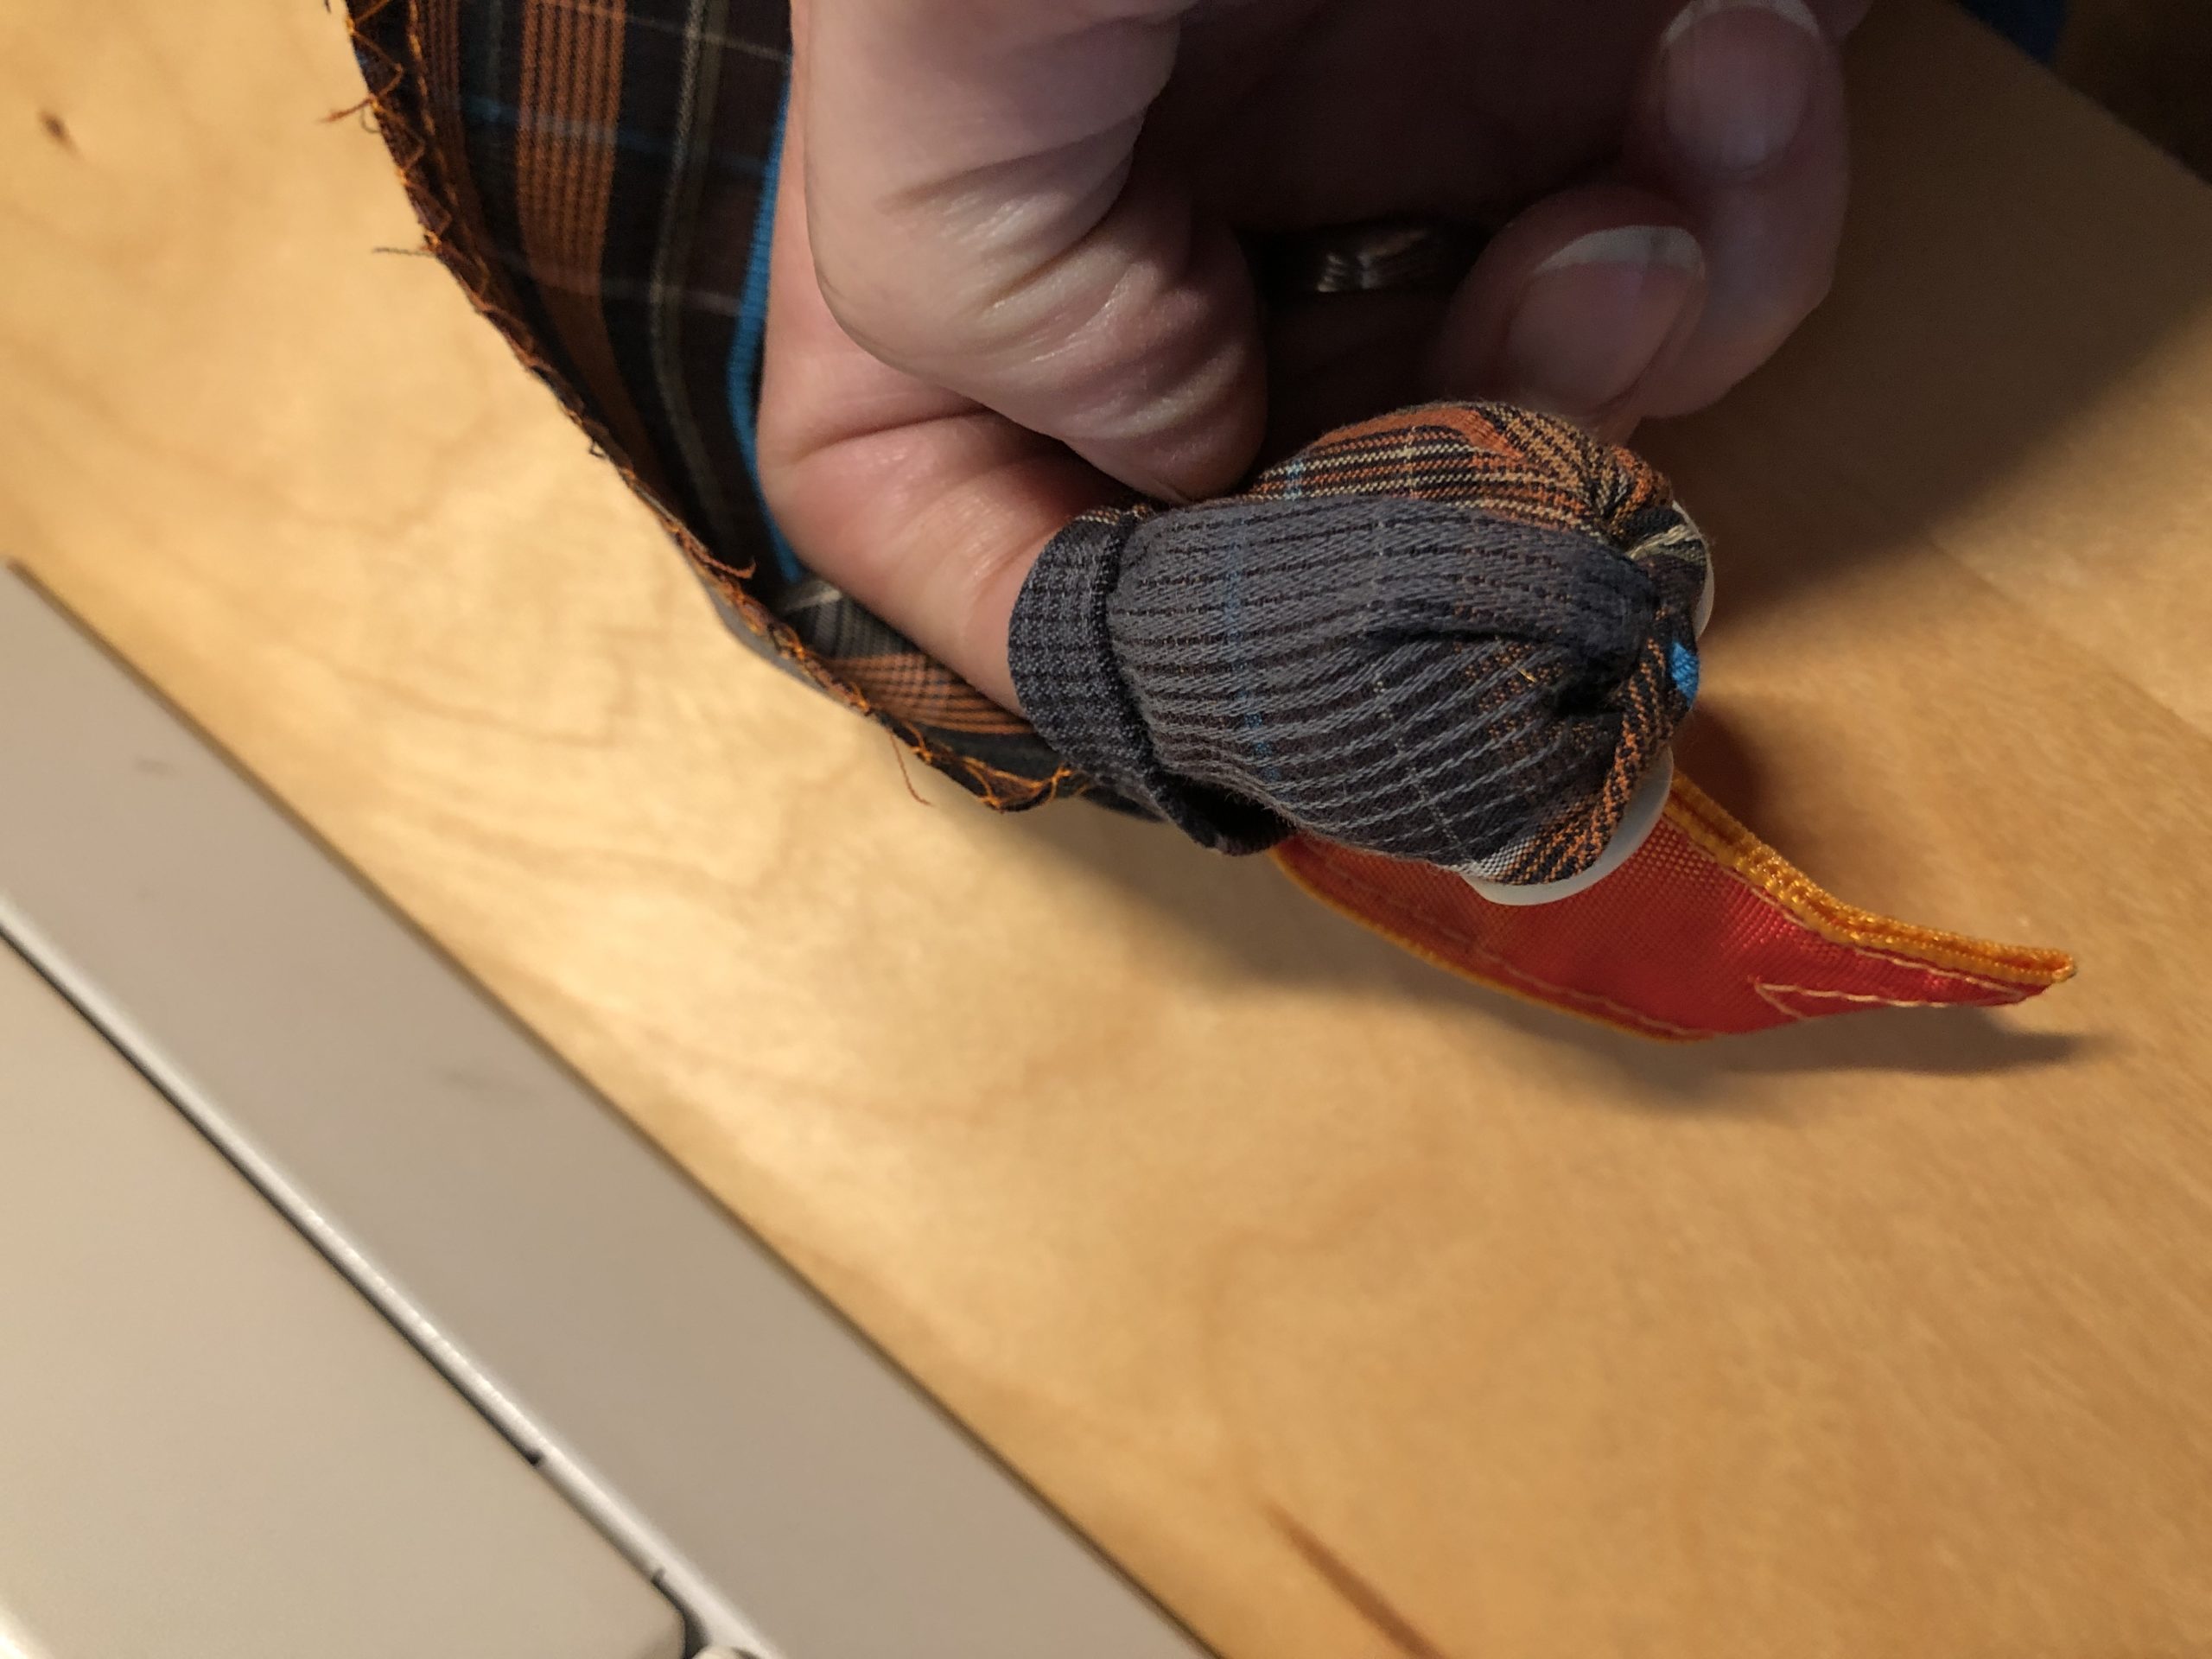
A push button is now attached to both open ends, which will give you the opportunity to plug the chestnuts in on one side and let them out on the other side.

Bild zum Schritt 16 für das Bastel- und DIY-Abenteuer für Kinder: 'An beiden offenen Enden wird nun ein Druckknopf angebracht. Dadurch...'

17

To attach a push-button you need these parts.

Bild zum Schritt 17 für das Bastel- und DIY-Abenteuer für Kinder: 'Für das Anbringen eines Druckknopfes benötigt ihr diese Teile.'

18

Stitch a hole in the fabric with the pickser.
Now insert the tip part from the outside to the inside.

Bild zum Schritt 18 für das Bastel- und DIY-Abenteuer für Kinder: 'Mit dem Pickser ein Loch in der Stoff stechen. ...'

19

Now put the counterpart on it from the inside.

Bild zum Schritt 19 für das Bastel- und DIY-Abenteuer für Kinder: 'Nun das Gegenstück von innen drauf stecken.'

20

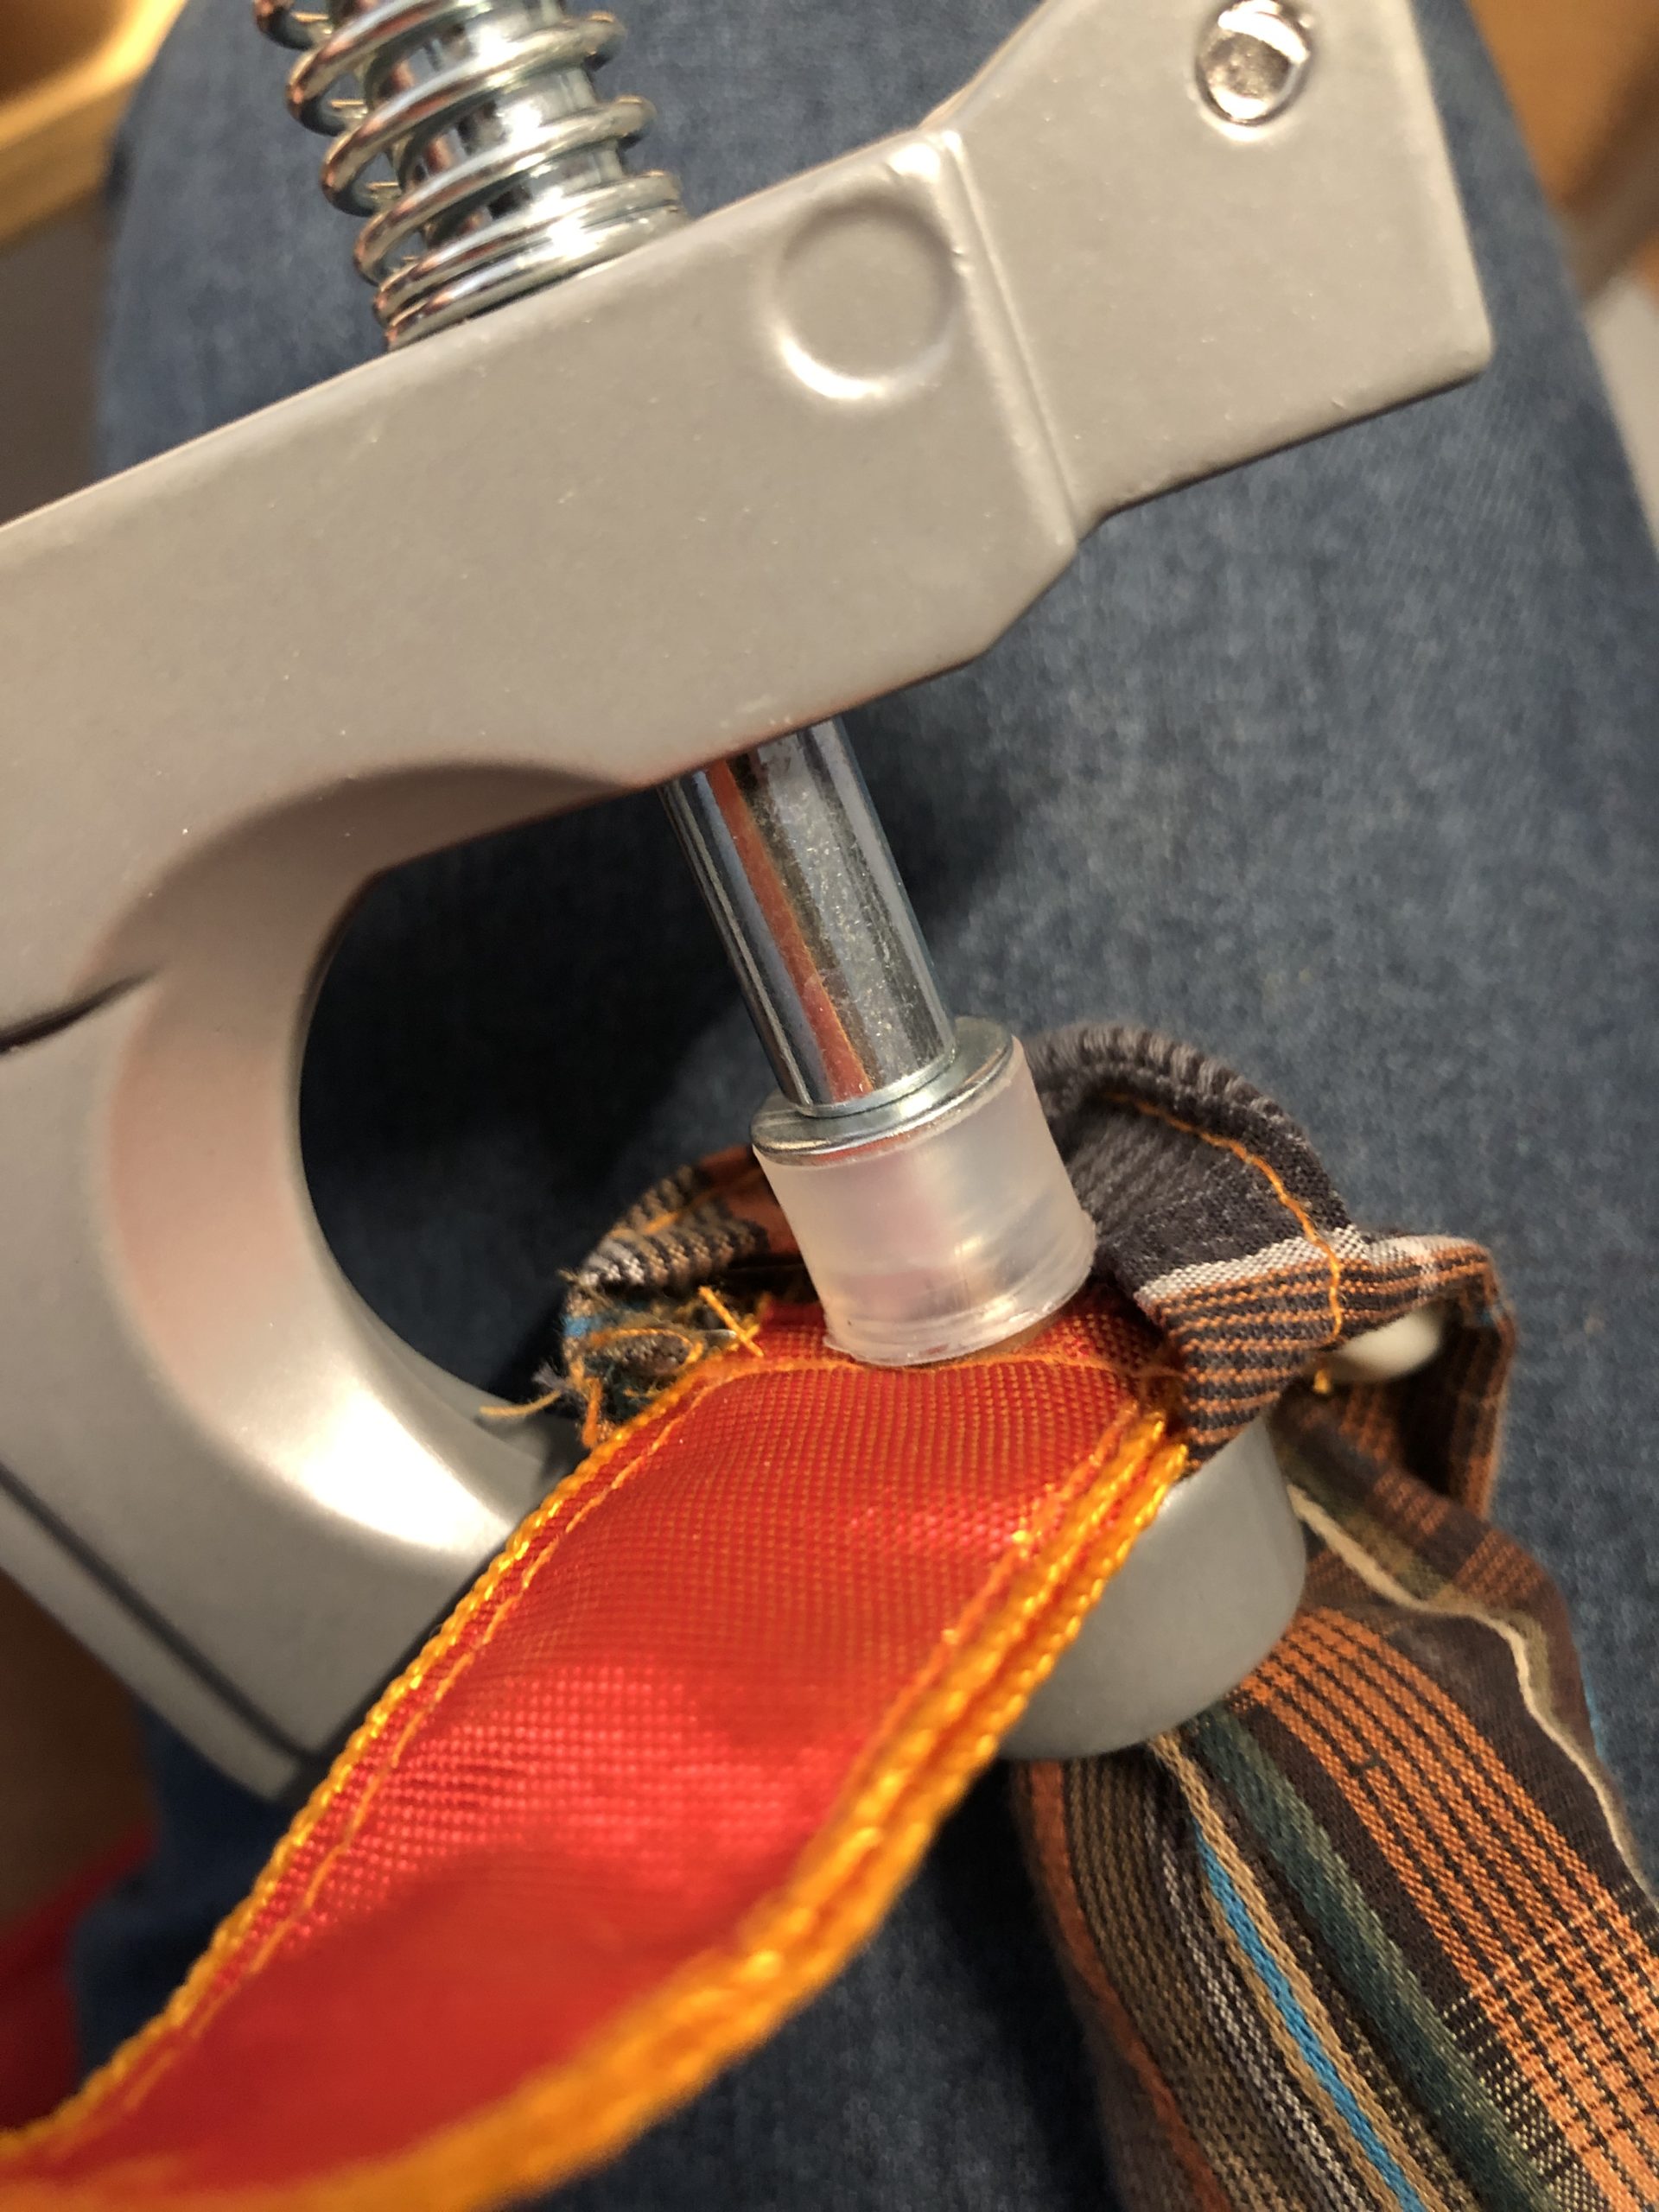
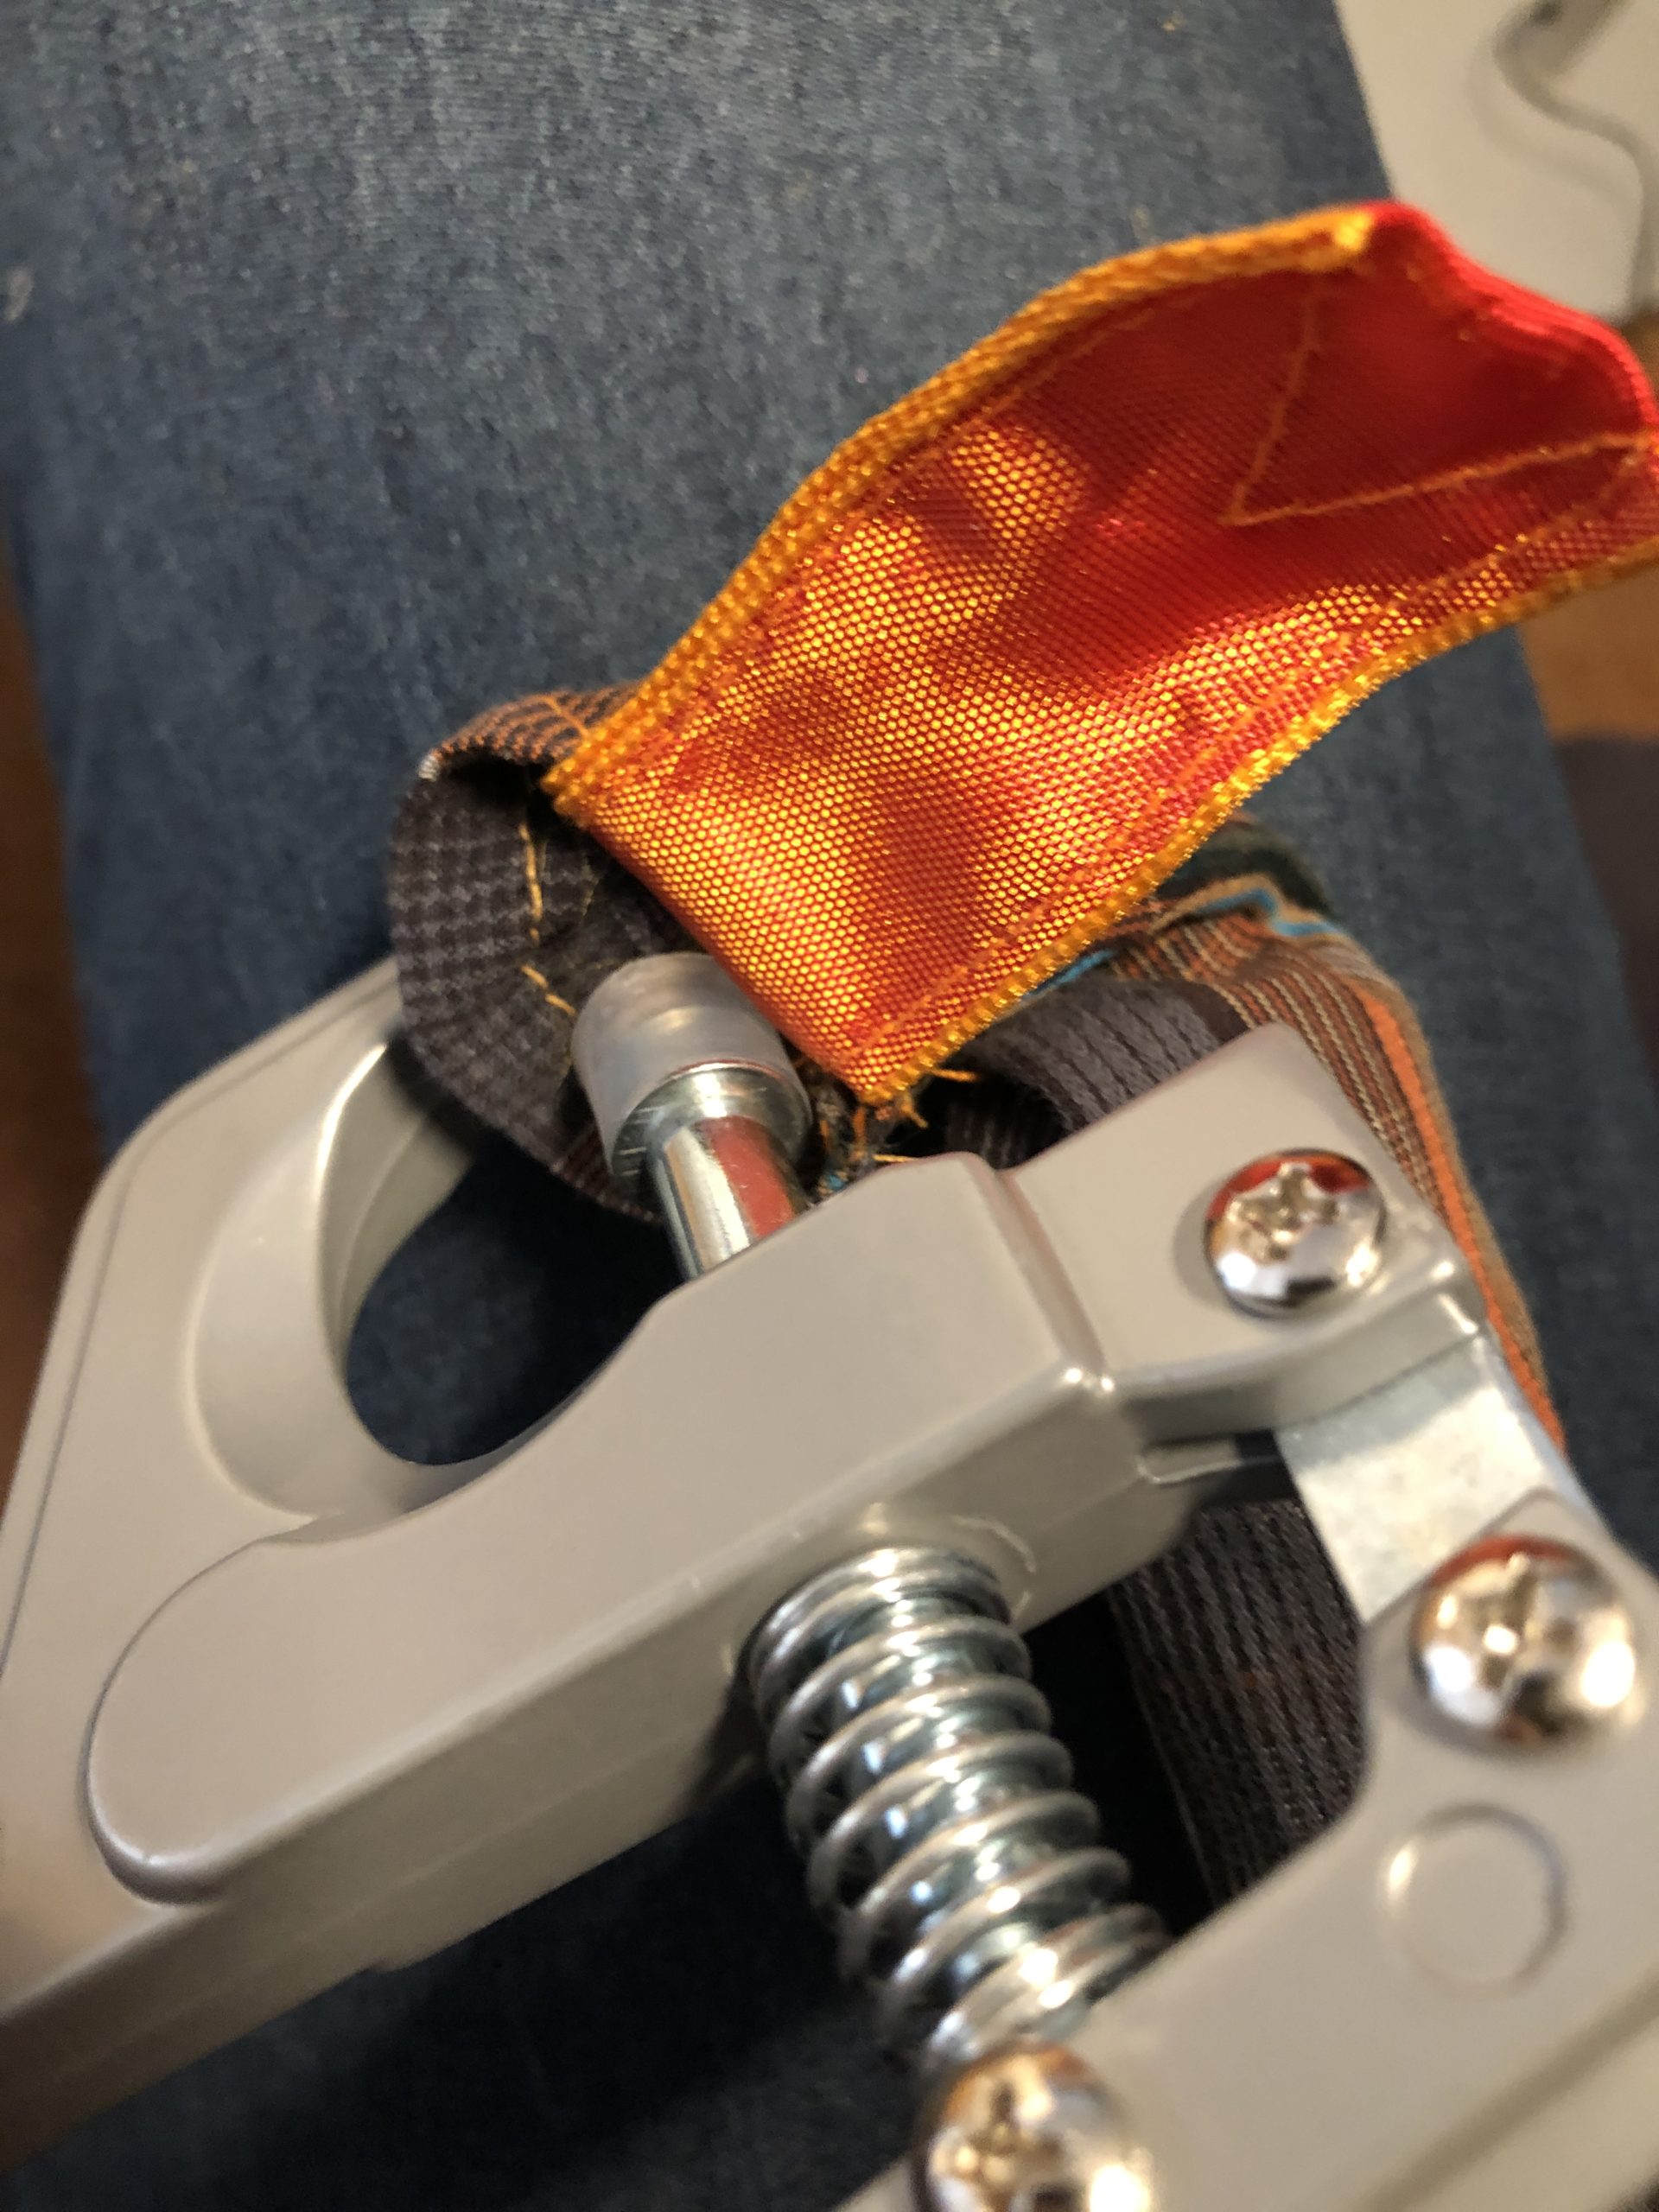
Now press with the pliers.

Bild zum Schritt 20 für das Bastel- und DIY-Abenteuer für Kinder: 'Und nun mit der Presszange zusammendrücken.'

21

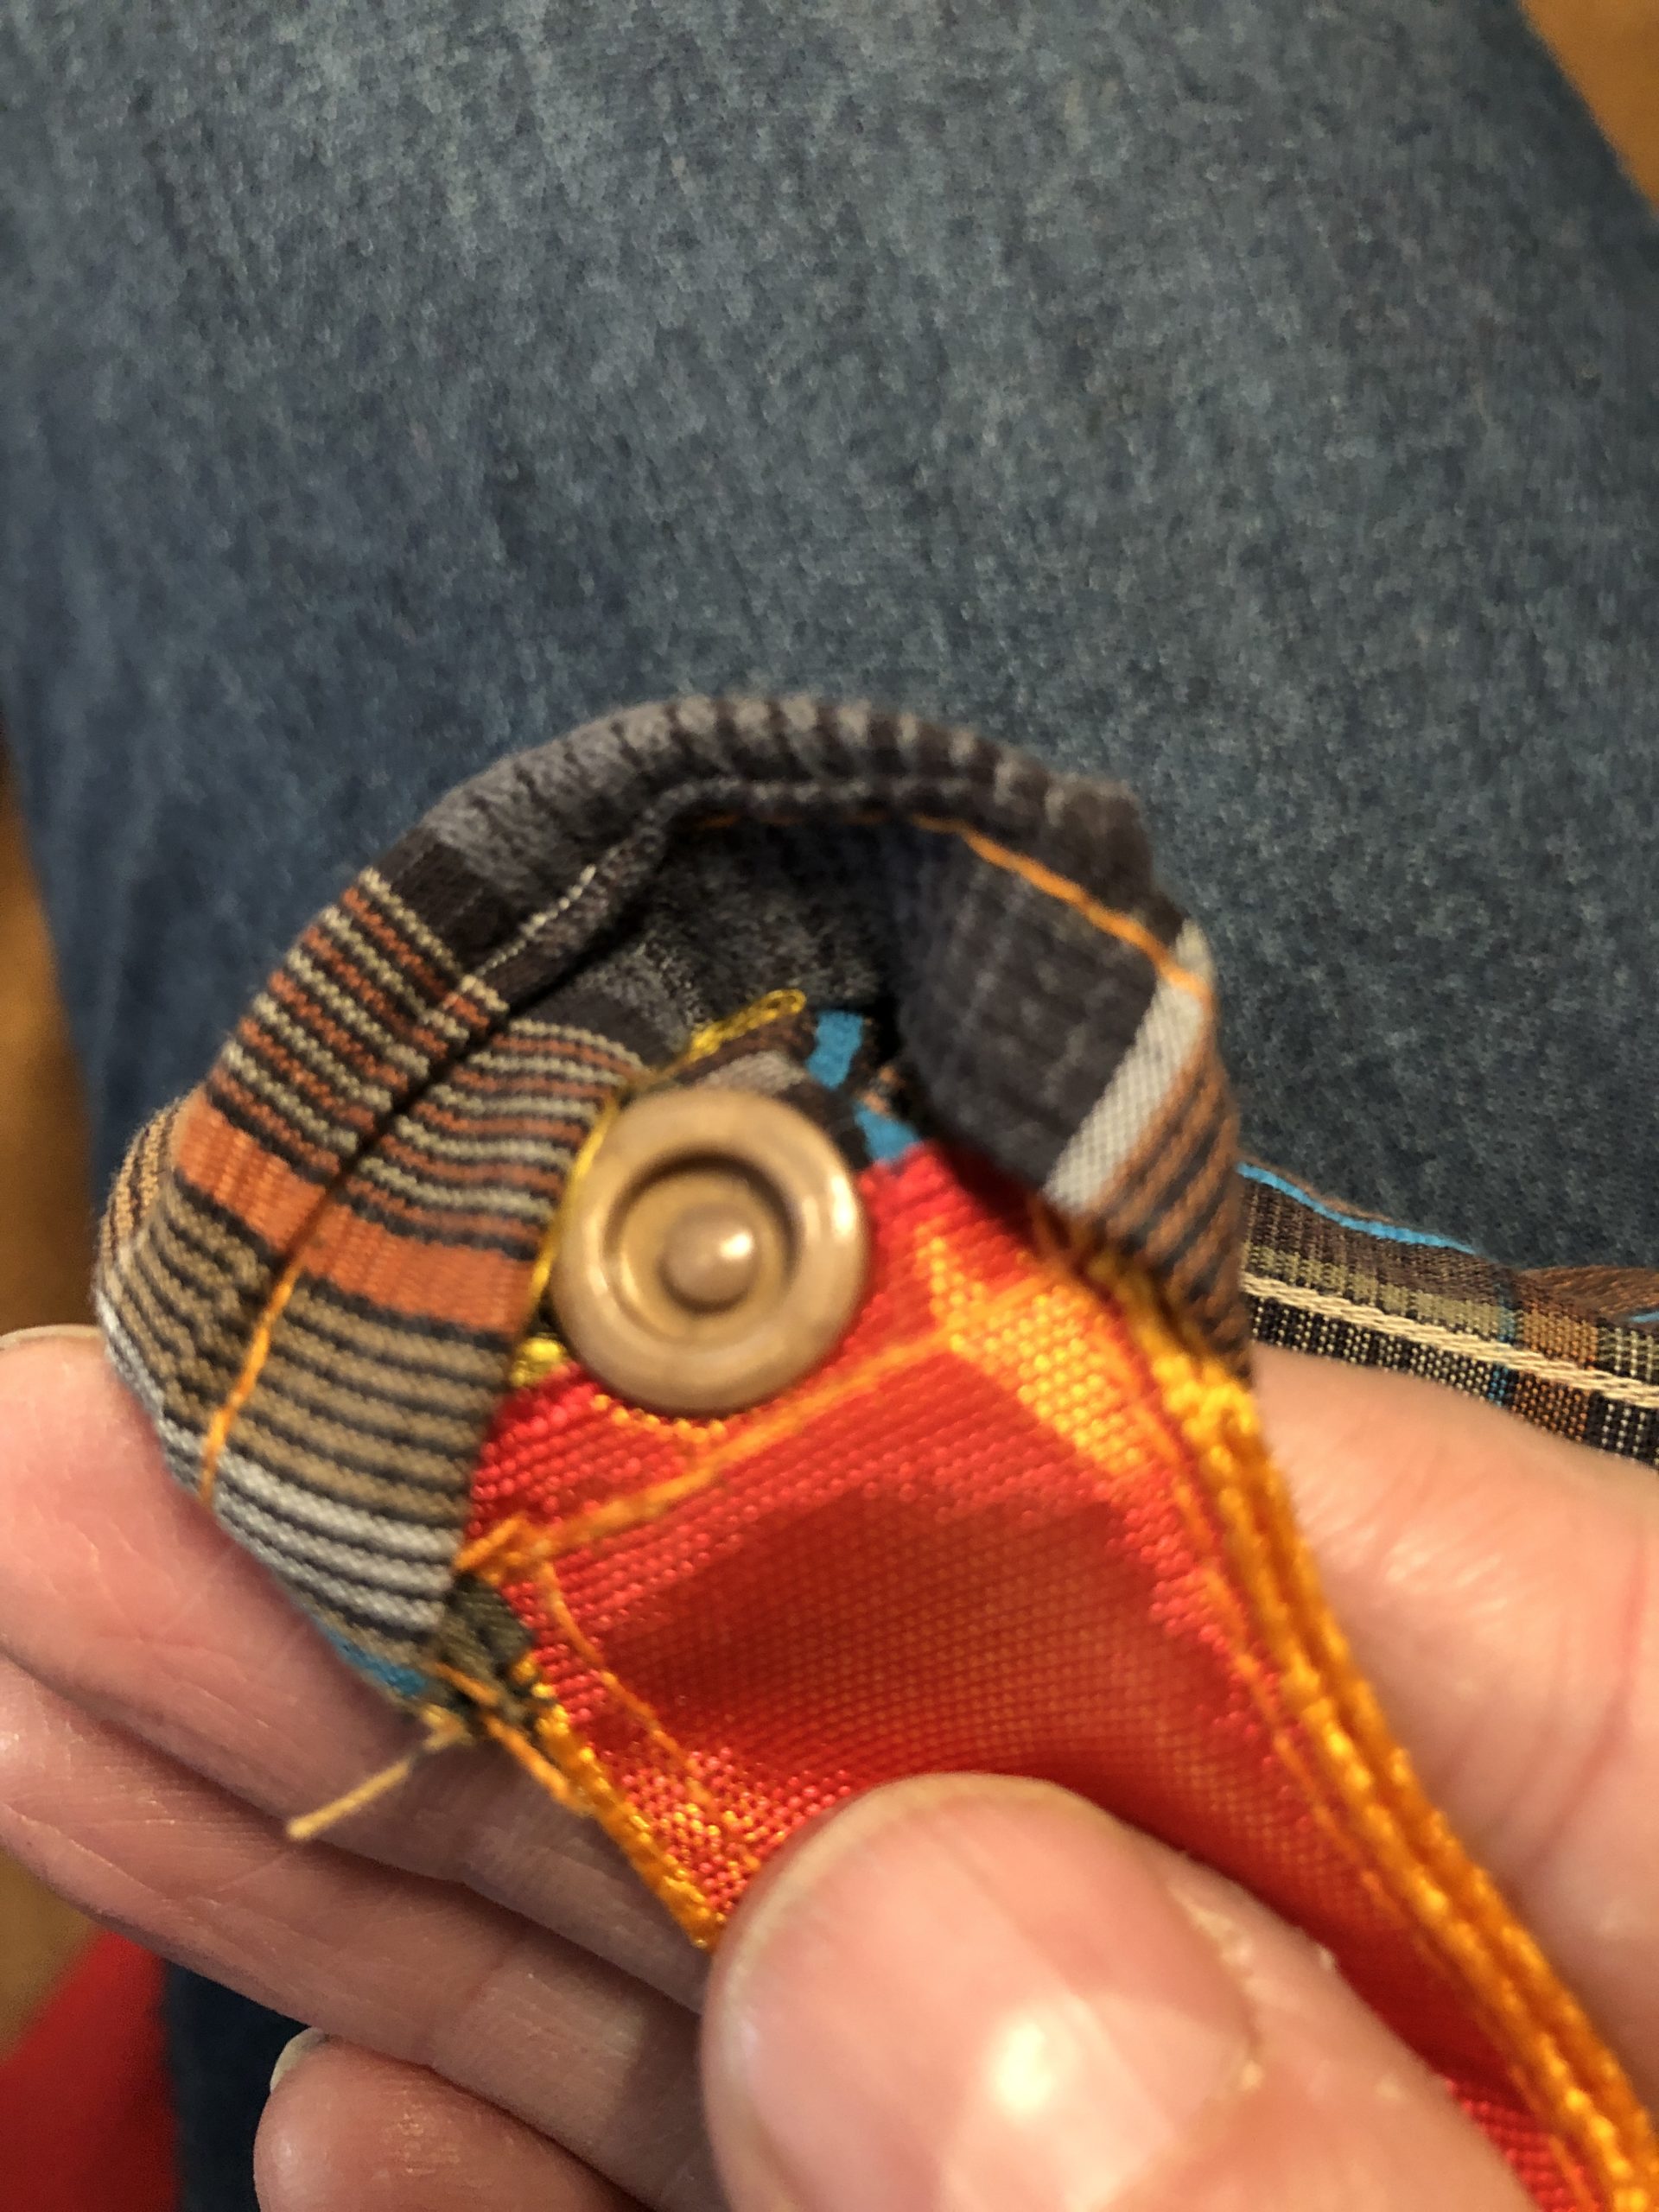
The first push button is ready.

Bild zum Schritt 21 für das Bastel- und DIY-Abenteuer für Kinder: 'Fertig ist der erste Druckknopf.'

22

Opposite you place the counterpart. For this first put the pointed part from the outside through the fabric.

Bild zum Schritt 22 für das Bastel- und DIY-Abenteuer für Kinder: 'Gegenüber bringt ihr das Gegenstück an. Dafür wieder zuerst das...'

23

Then put the counterpart on it and squeeze back with the pliers.

Bild zum Schritt 23 für das Bastel- und DIY-Abenteuer für Kinder: 'Dann das Gegenstück drauf legen und wieder mit der Zange...'

24

2. Bild zum Schritt 23 für das Bastel- und DIY-Abenteuer für Kinder: 'Dann das Gegenstück drauf legen und wieder mit der Zange...'

25

The push button can now be closed.

Bild zum Schritt 25 für das Bastel- und DIY-Abenteuer für Kinder: 'Der Druckknopf kann nun verschlossen werden.'

26

The tip of the tongue is still cut. Make sure you keep some distance from the seam!

Bild zum Schritt 26 für das Bastel- und DIY-Abenteuer für Kinder: 'Die Spitze der Zunge wird noch zugeschnitten. Achtet darauf, dass...'

27

Now place a push button on the opposite opening of the snake as well. (As already described!)

Bild zum Schritt 27 für das Bastel- und DIY-Abenteuer für Kinder: 'Bringt nun auf der gegenüberliegenden Öffnung der Schlange ebenfalls ein...'

28

Now the children can start filling the snake with chestnuts.
Close the opening on the face of the snake, or the chestnuts will slip out of you again.

Bild zum Schritt 28 für das Bastel- und DIY-Abenteuer für Kinder: 'Nun können die Kinder beginnen, die Schlange mit Kastanien zu...'

29

Have fun playing with the snake!

Bild zum Schritt 29 für das Bastel- und DIY-Abenteuer für Kinder: 'Viel Spaß beim Spielen mit der Schlange!'

30

Attention: Do not let small children play with chestnuts unattended, as the chestnuts are often taken into their mouths!

31

Good luck!

Materials

 Piece of fabric: 14cm x 50cmCotton fabric or the sleeve of an old shirt/blouse?
 Sewing machine
 Substance shears
 Ruler
 Pen
 2 buttons
 Thread to sew
 Push buttons (don't necessarily have to be!)
 10 cm tape for the tongueor a piece of felt
 Chestnuts

Directions

1

Cut fabric.
I cut off a strip of fabric from an old shirt sleeve. (You don't have to buy a new fabric!) approx. 14 cm x 50 cm (You can choose the length as you like!)

Bild zum Schritt 1 für das Bastel- und DIY-Abenteuer für Kinder: 'Stoff zuschneiden.   Ich habe einen Stoffstreifen von einem...'

2

On both short sides a hem is now wrapped (doubt of fabric overturn) and sewn firmly!

Bild zum Schritt 2 für das Bastel- und DIY-Abenteuer für Kinder: 'An beiden kurzen Seiten wird nun ein Saum umgeschlagen (Stoff...'

3

2. Bild zum Schritt 2 für das Bastel- und DIY-Abenteuer für Kinder: 'An beiden kurzen Seiten wird nun ein Saum umgeschlagen (Stoff...'

4

3. Bild zum Schritt 3 für das Bastel- und DIY-Abenteuer für Kinder: 'An beiden kurzen Seiten wird nun ein Saum umgeschlagen (Stoff...'

5

4. Bild zum Schritt 4 für das Bastel- und DIY-Abenteuer für Kinder: 'An beiden kurzen Seiten wird nun ein Saum umgeschlagen (Stoff...'

6

Now double the tape for the tongue and sew it together.
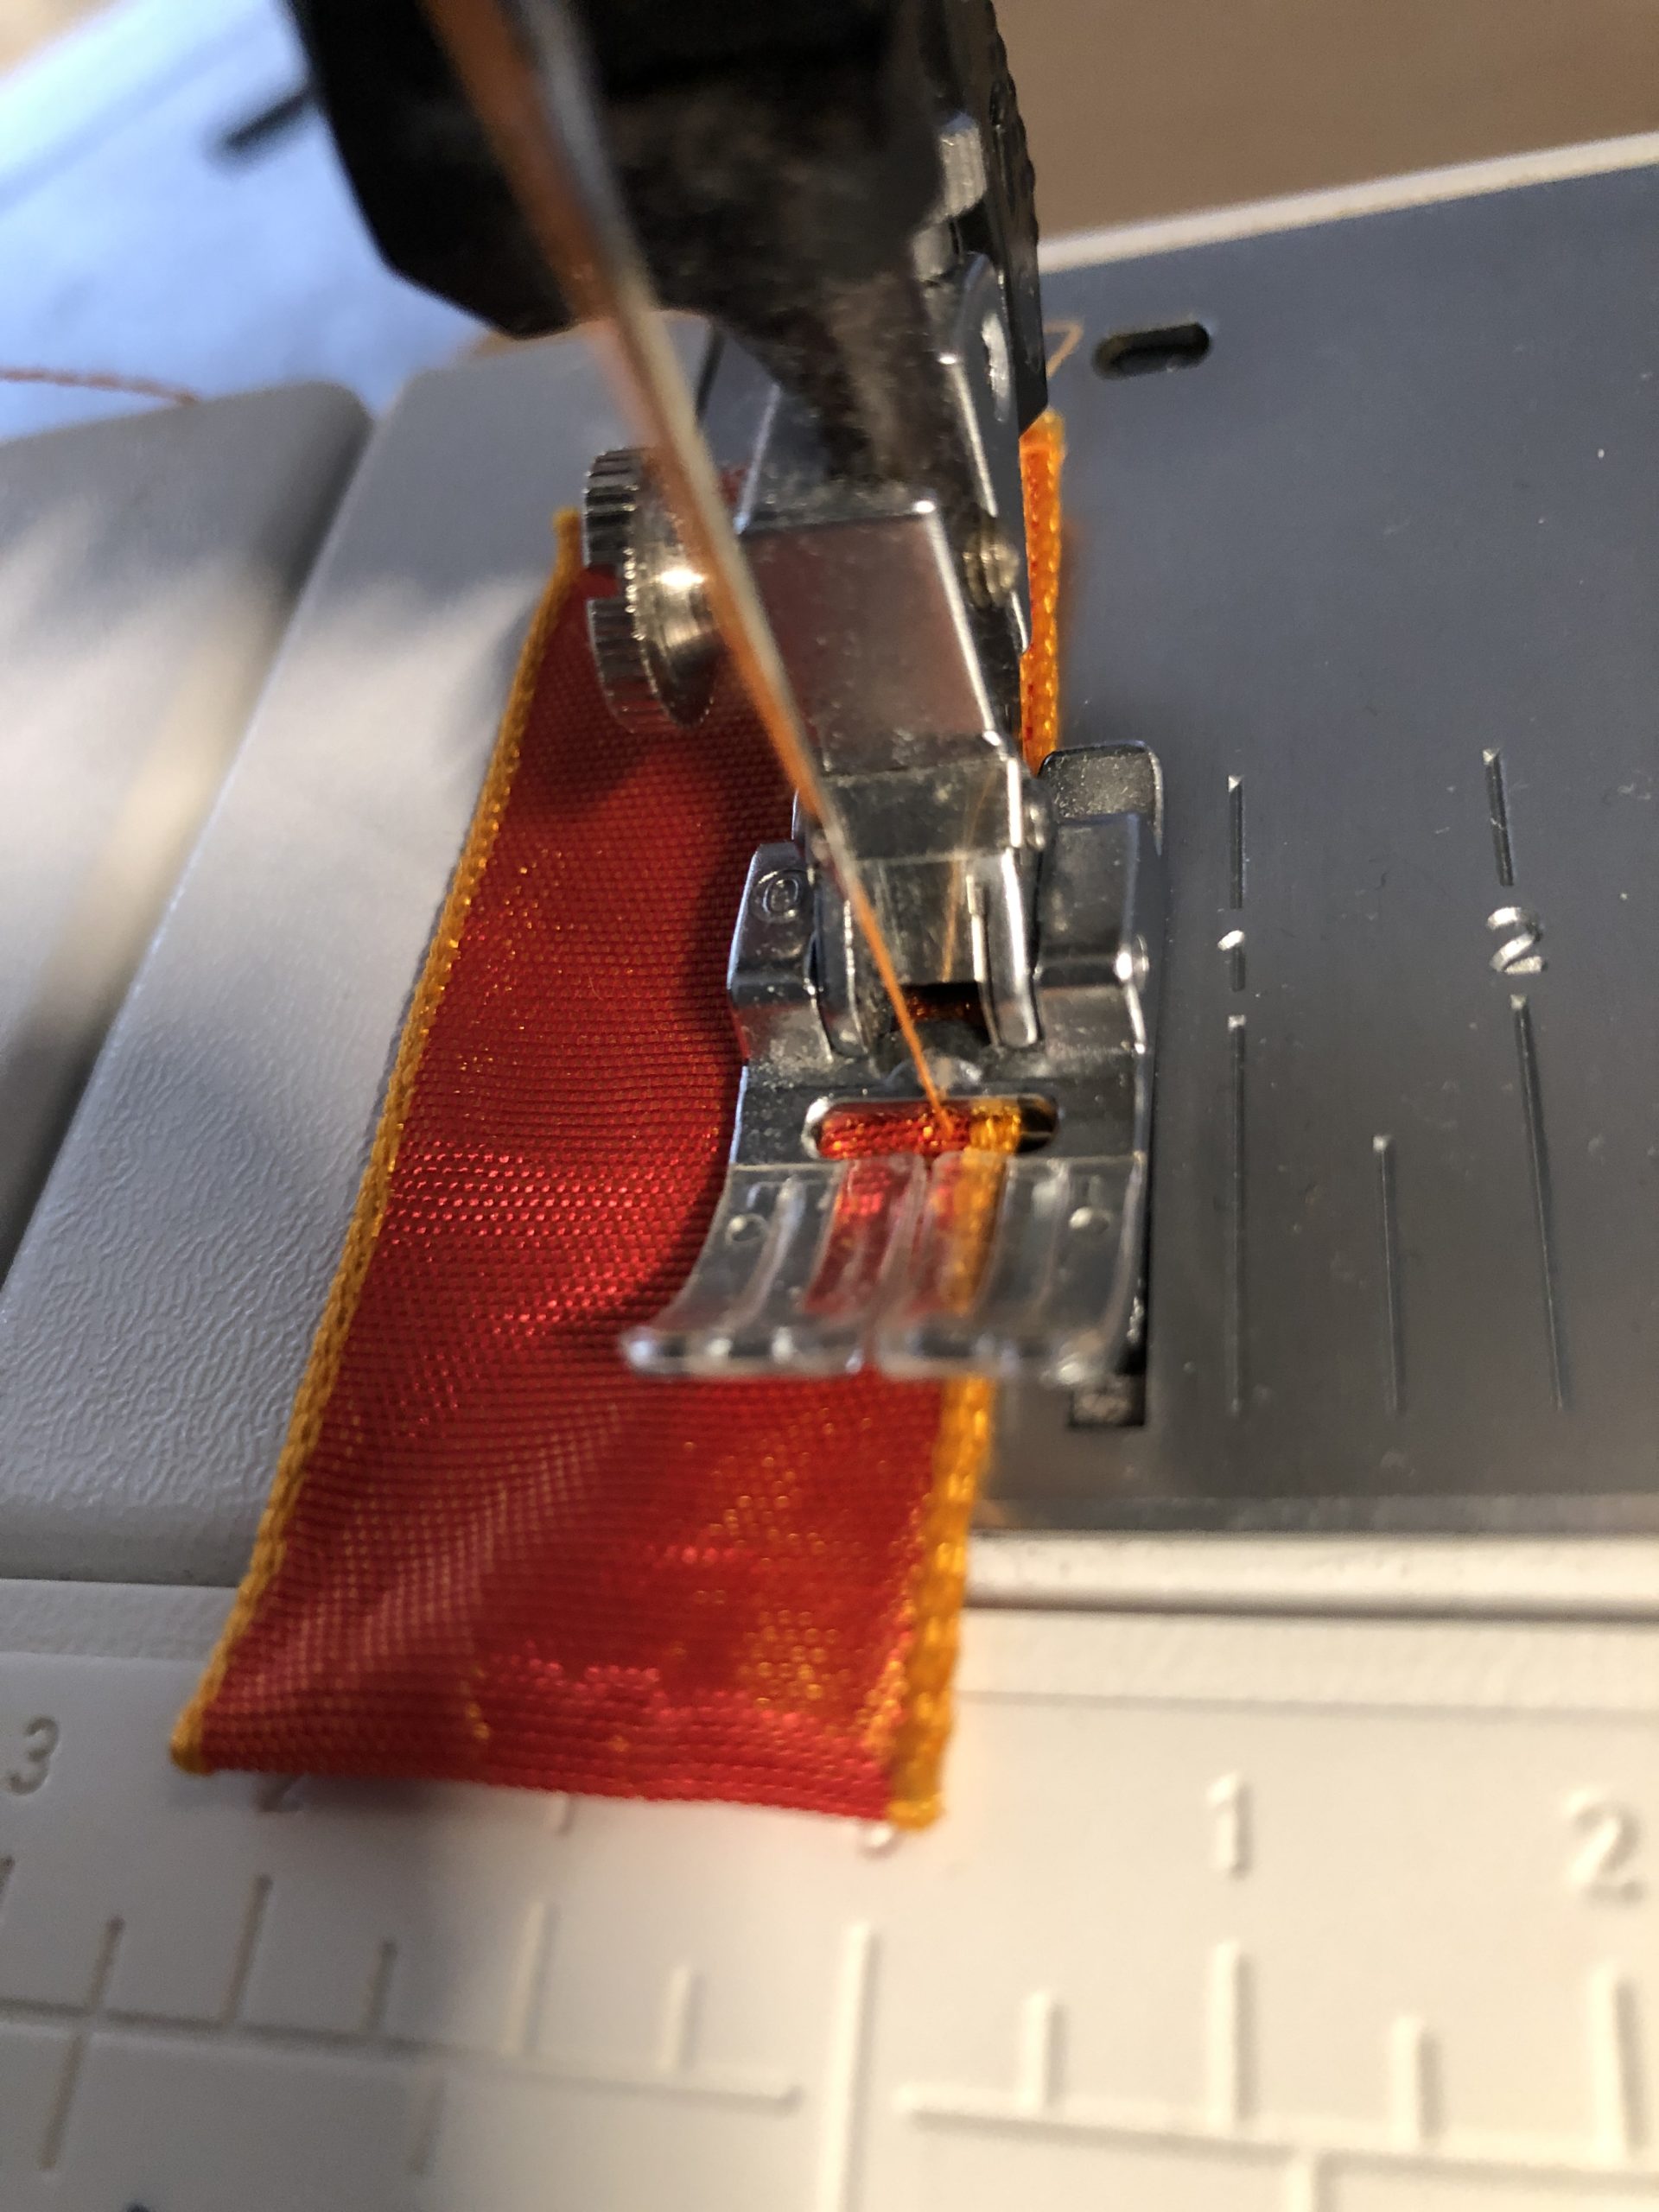
Bild zum Schritt 6 für das Bastel- und DIY-Abenteuer für Kinder: 'Nun das Band für die Zunge doppelt legen und zusammen...'

7

At the top, take a tack to get a split tongue - just like a real snake!

Bild zum Schritt 7 für das Bastel- und DIY-Abenteuer für Kinder: 'An der Spitze einen Zacken einnähmen, um eine gespaltene Zunge...'

8

Now you sew the tongue on the short side of the body.
Then you put the buttons ready.
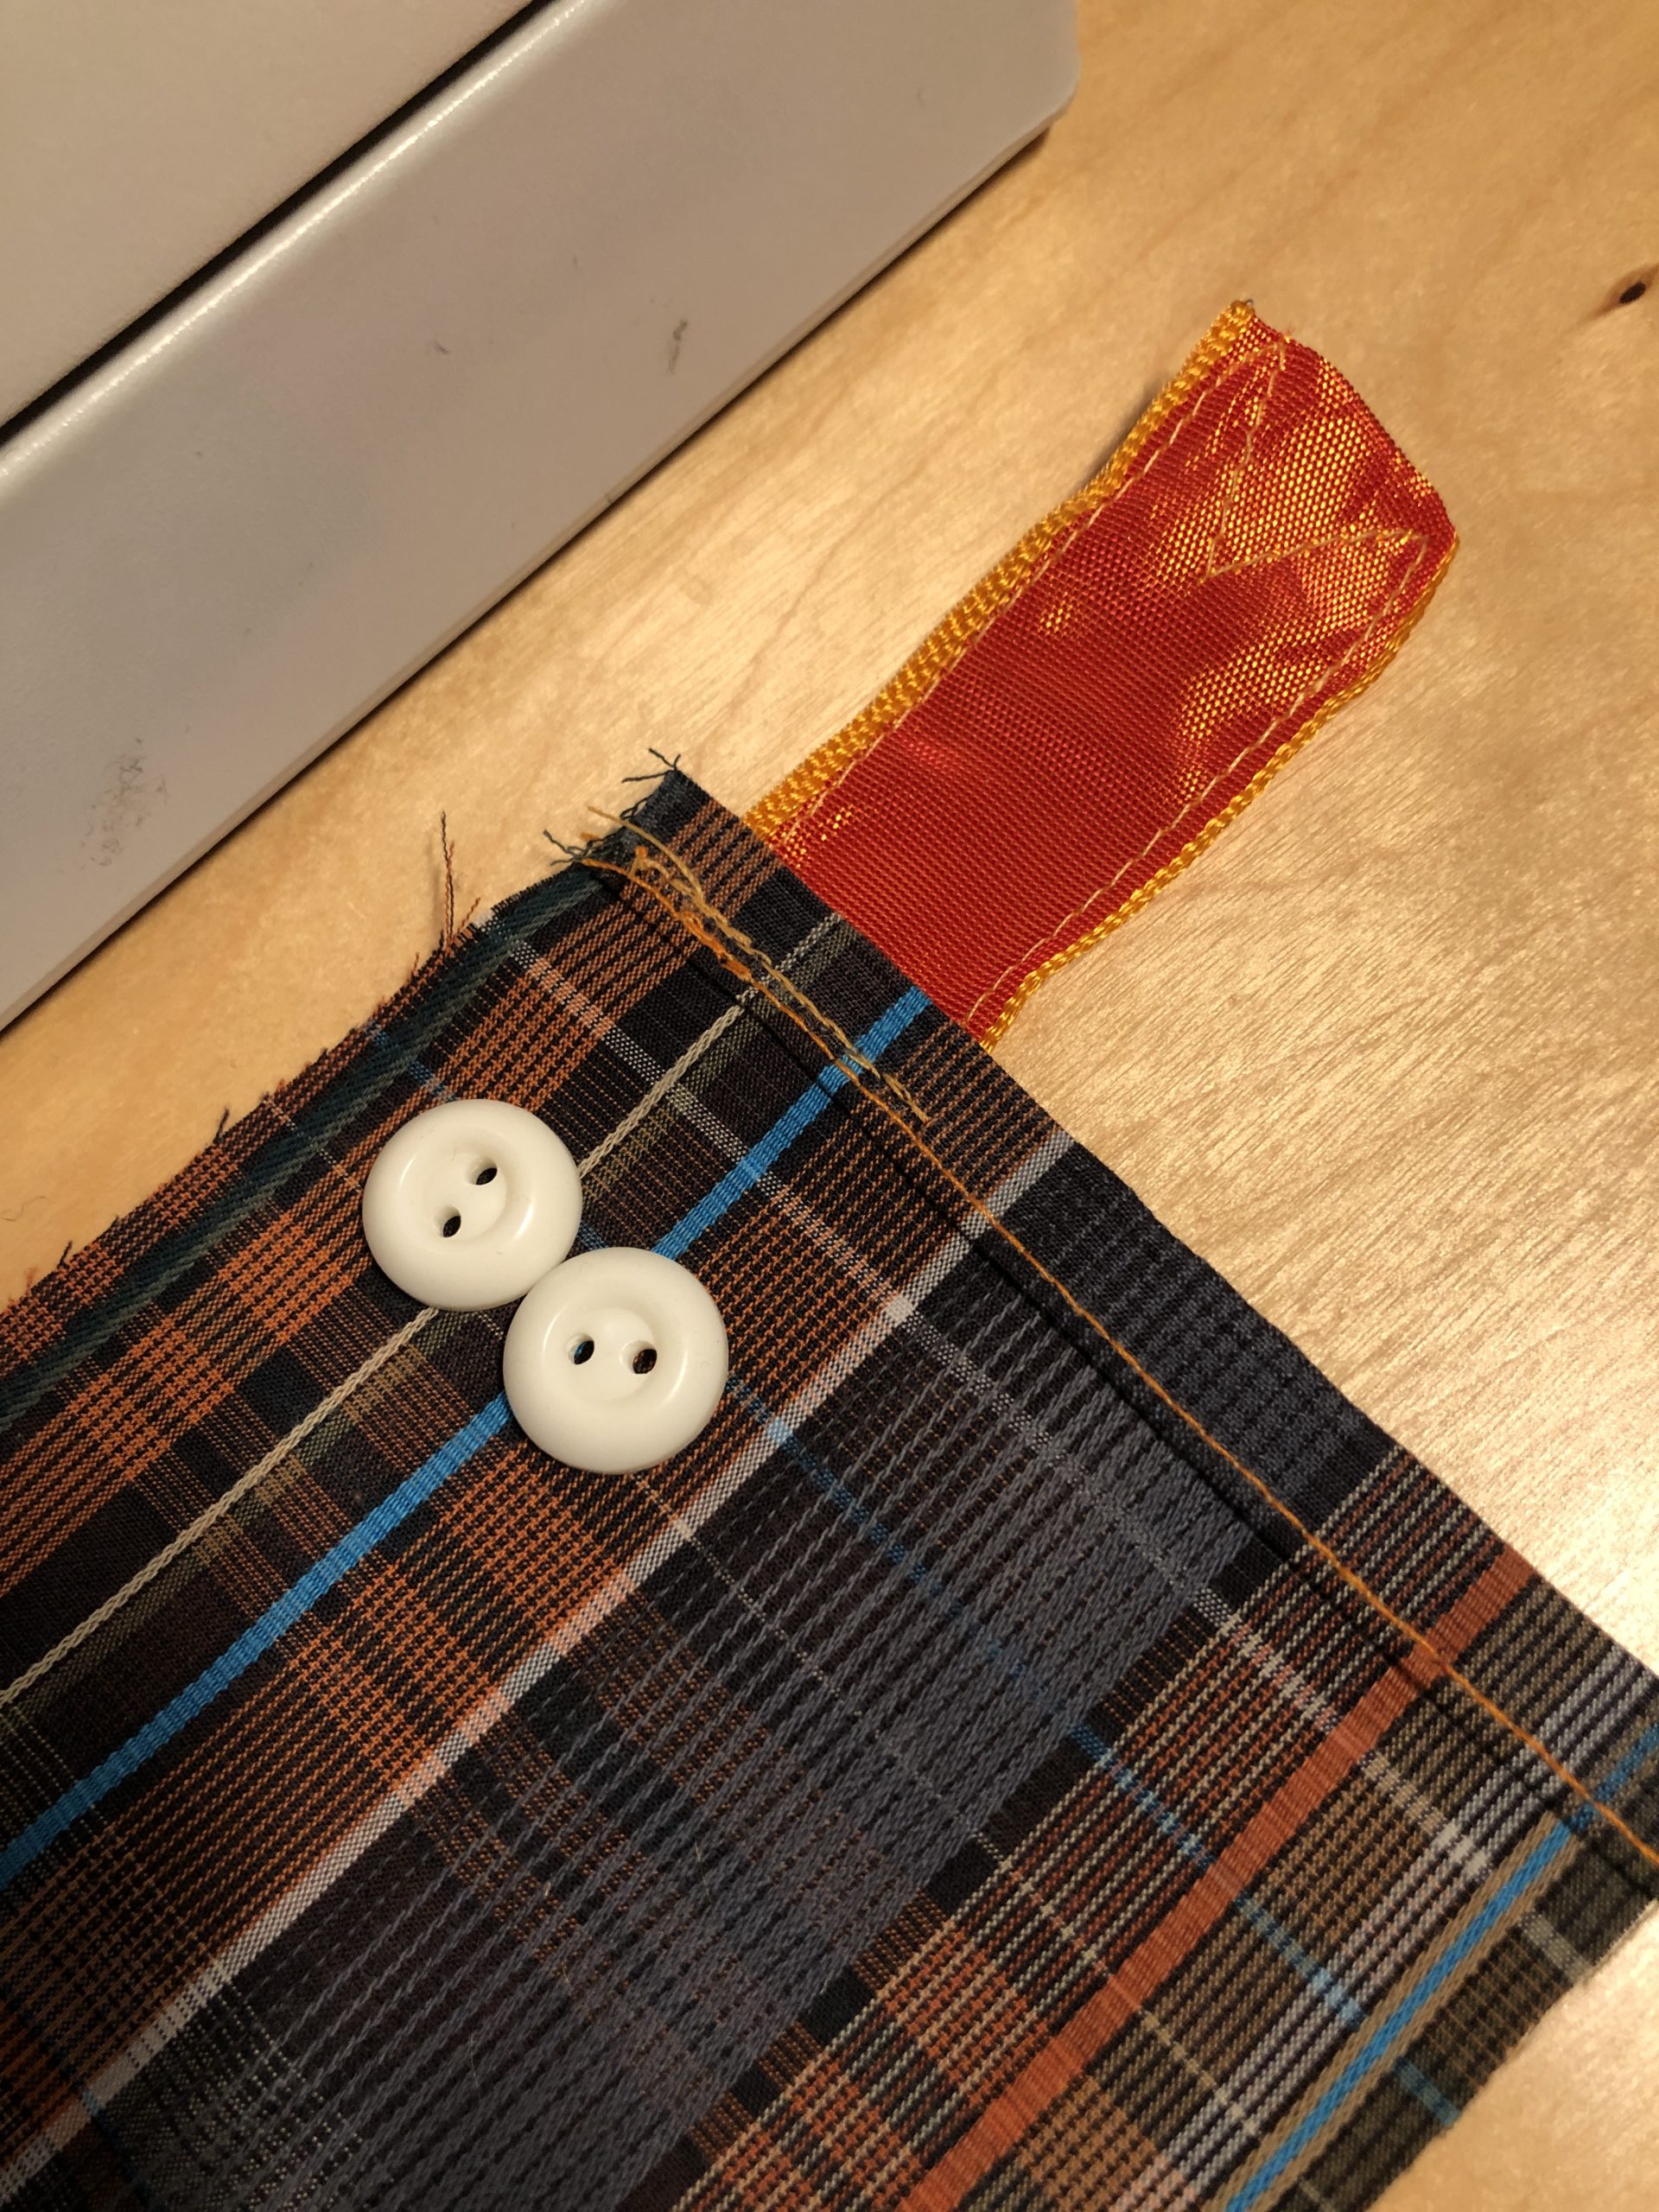
Bild zum Schritt 8 für das Bastel- und DIY-Abenteuer für Kinder: 'Jetzt näht ihr die Zunge an der kurzen Seite an...'

9

Sew the two buttons on the fabric as eyes behind the tongue.
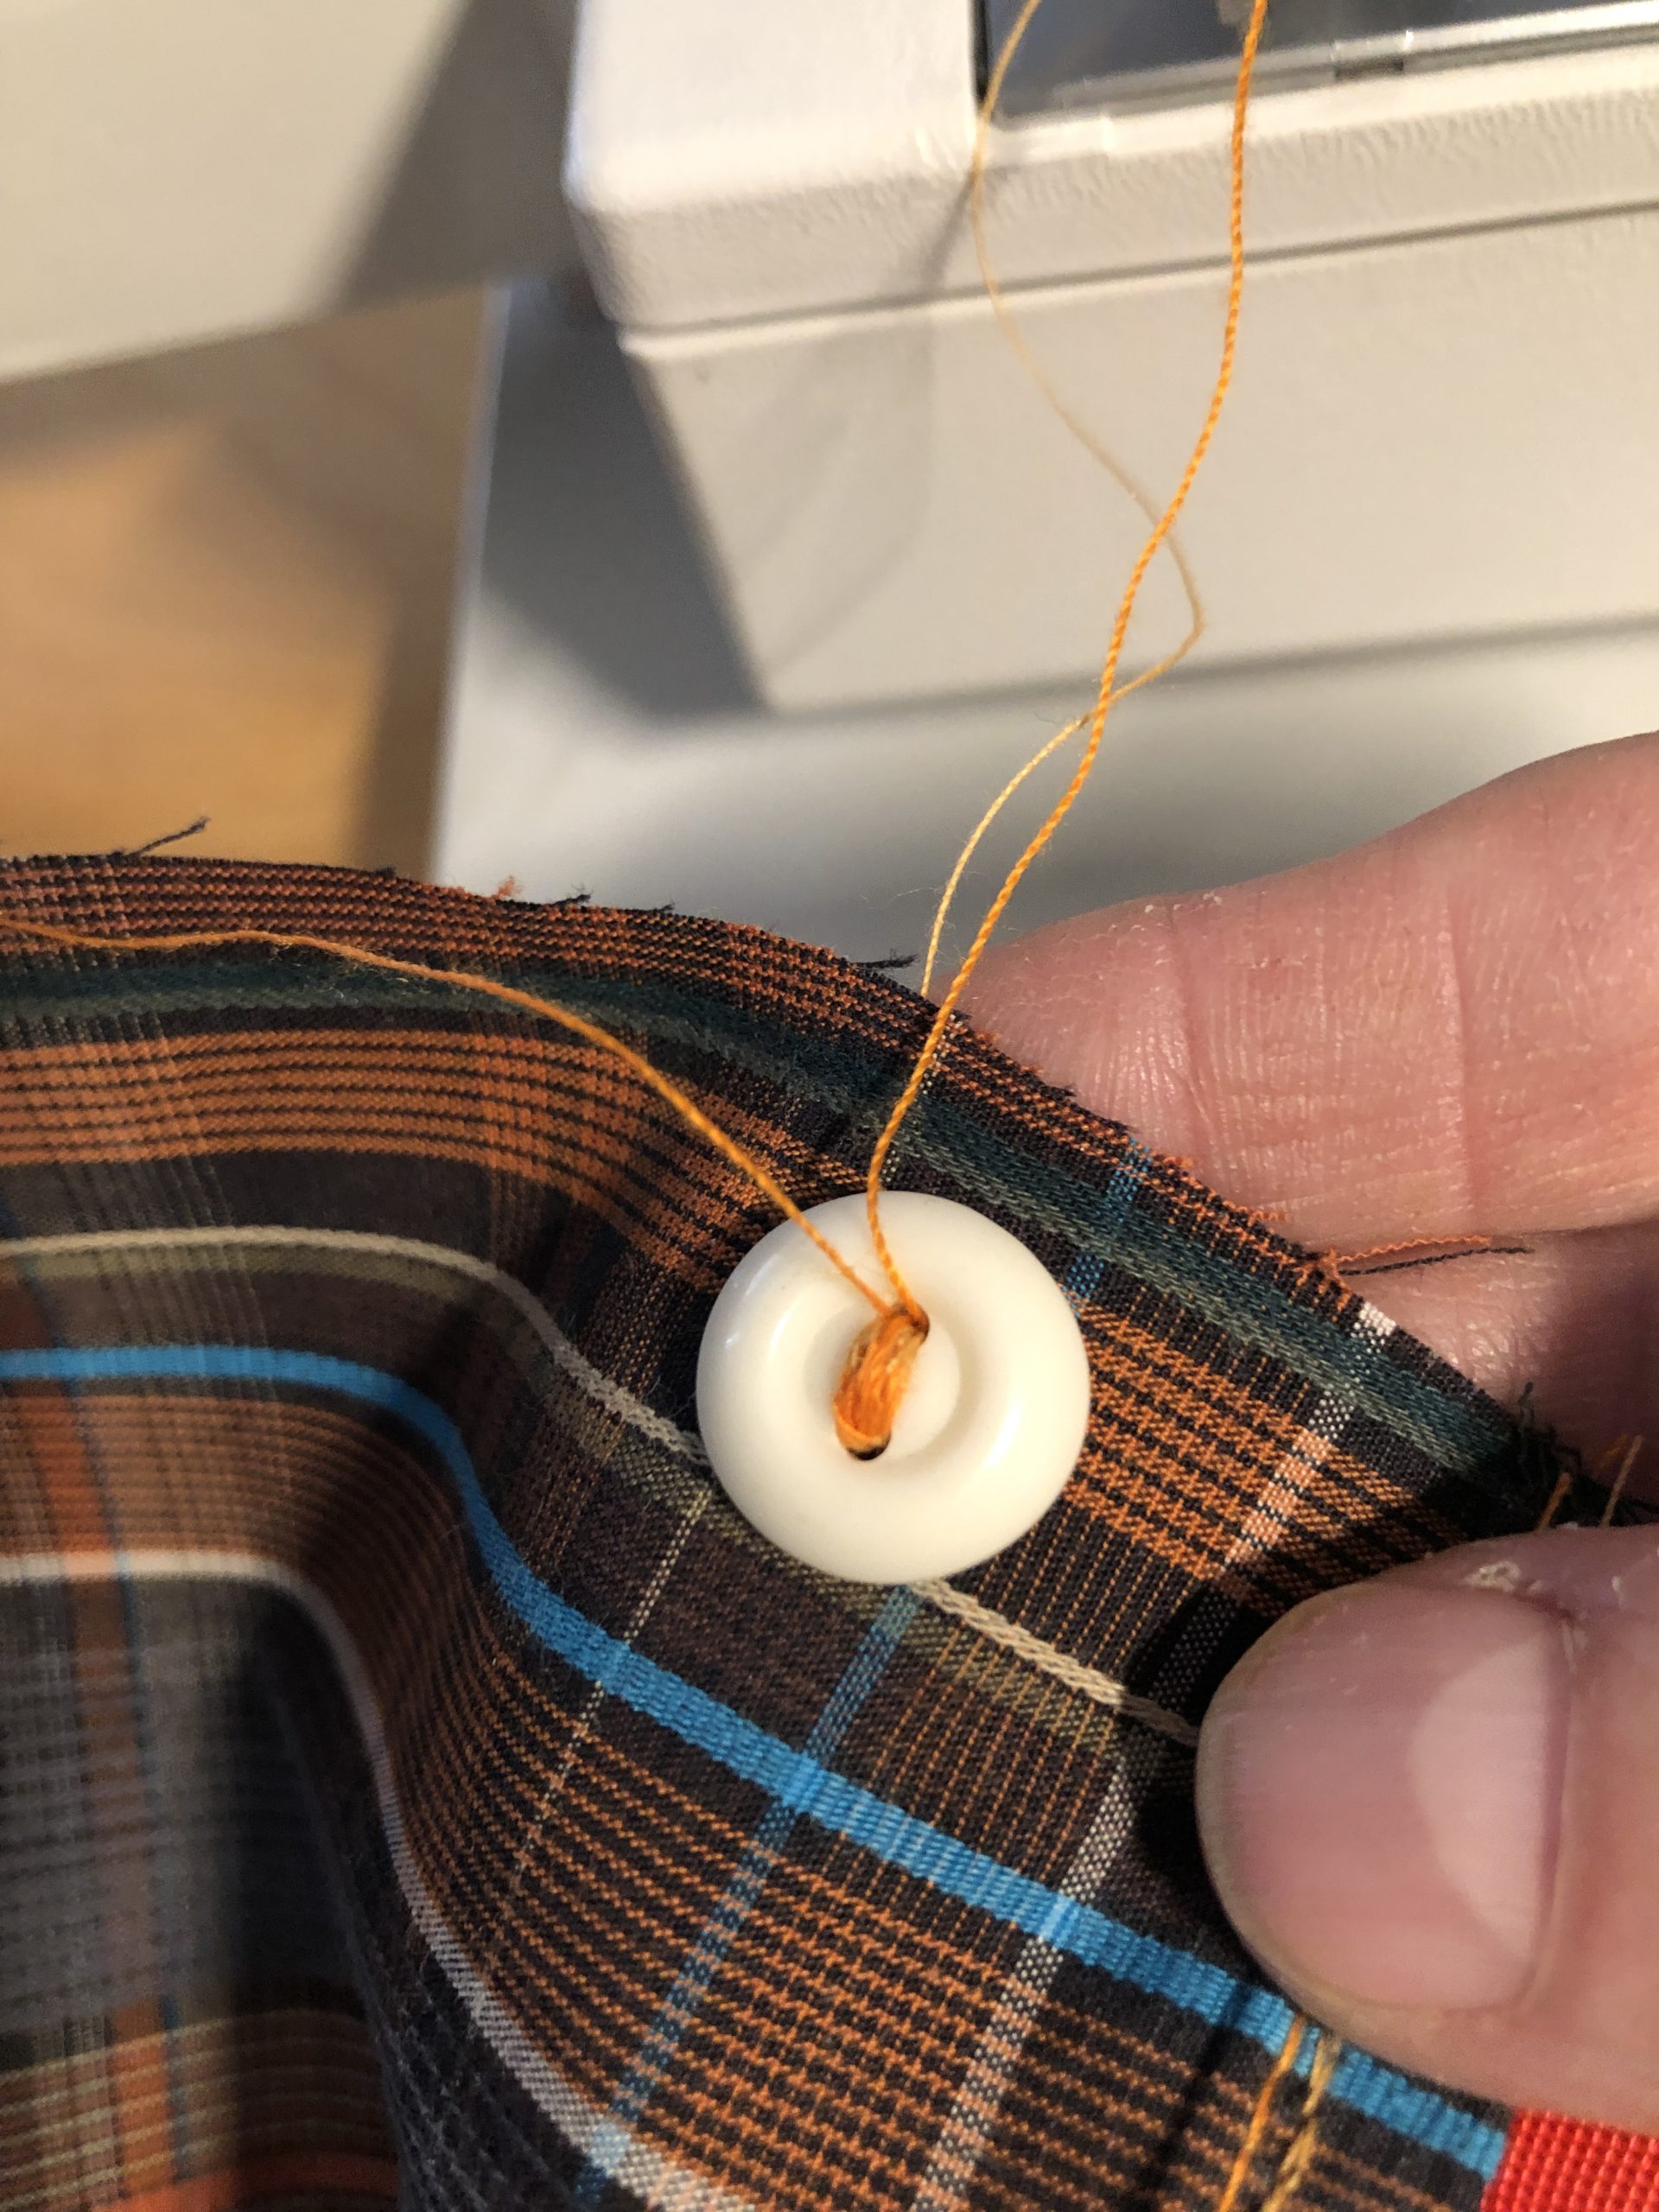
Bild zum Schritt 9 für das Bastel- und DIY-Abenteuer für Kinder: 'Die zwei Knöpfe als Augen hinter die Zunge auf dem...'

10

Attention: Sew on the buttons before the fabric is sewn together!
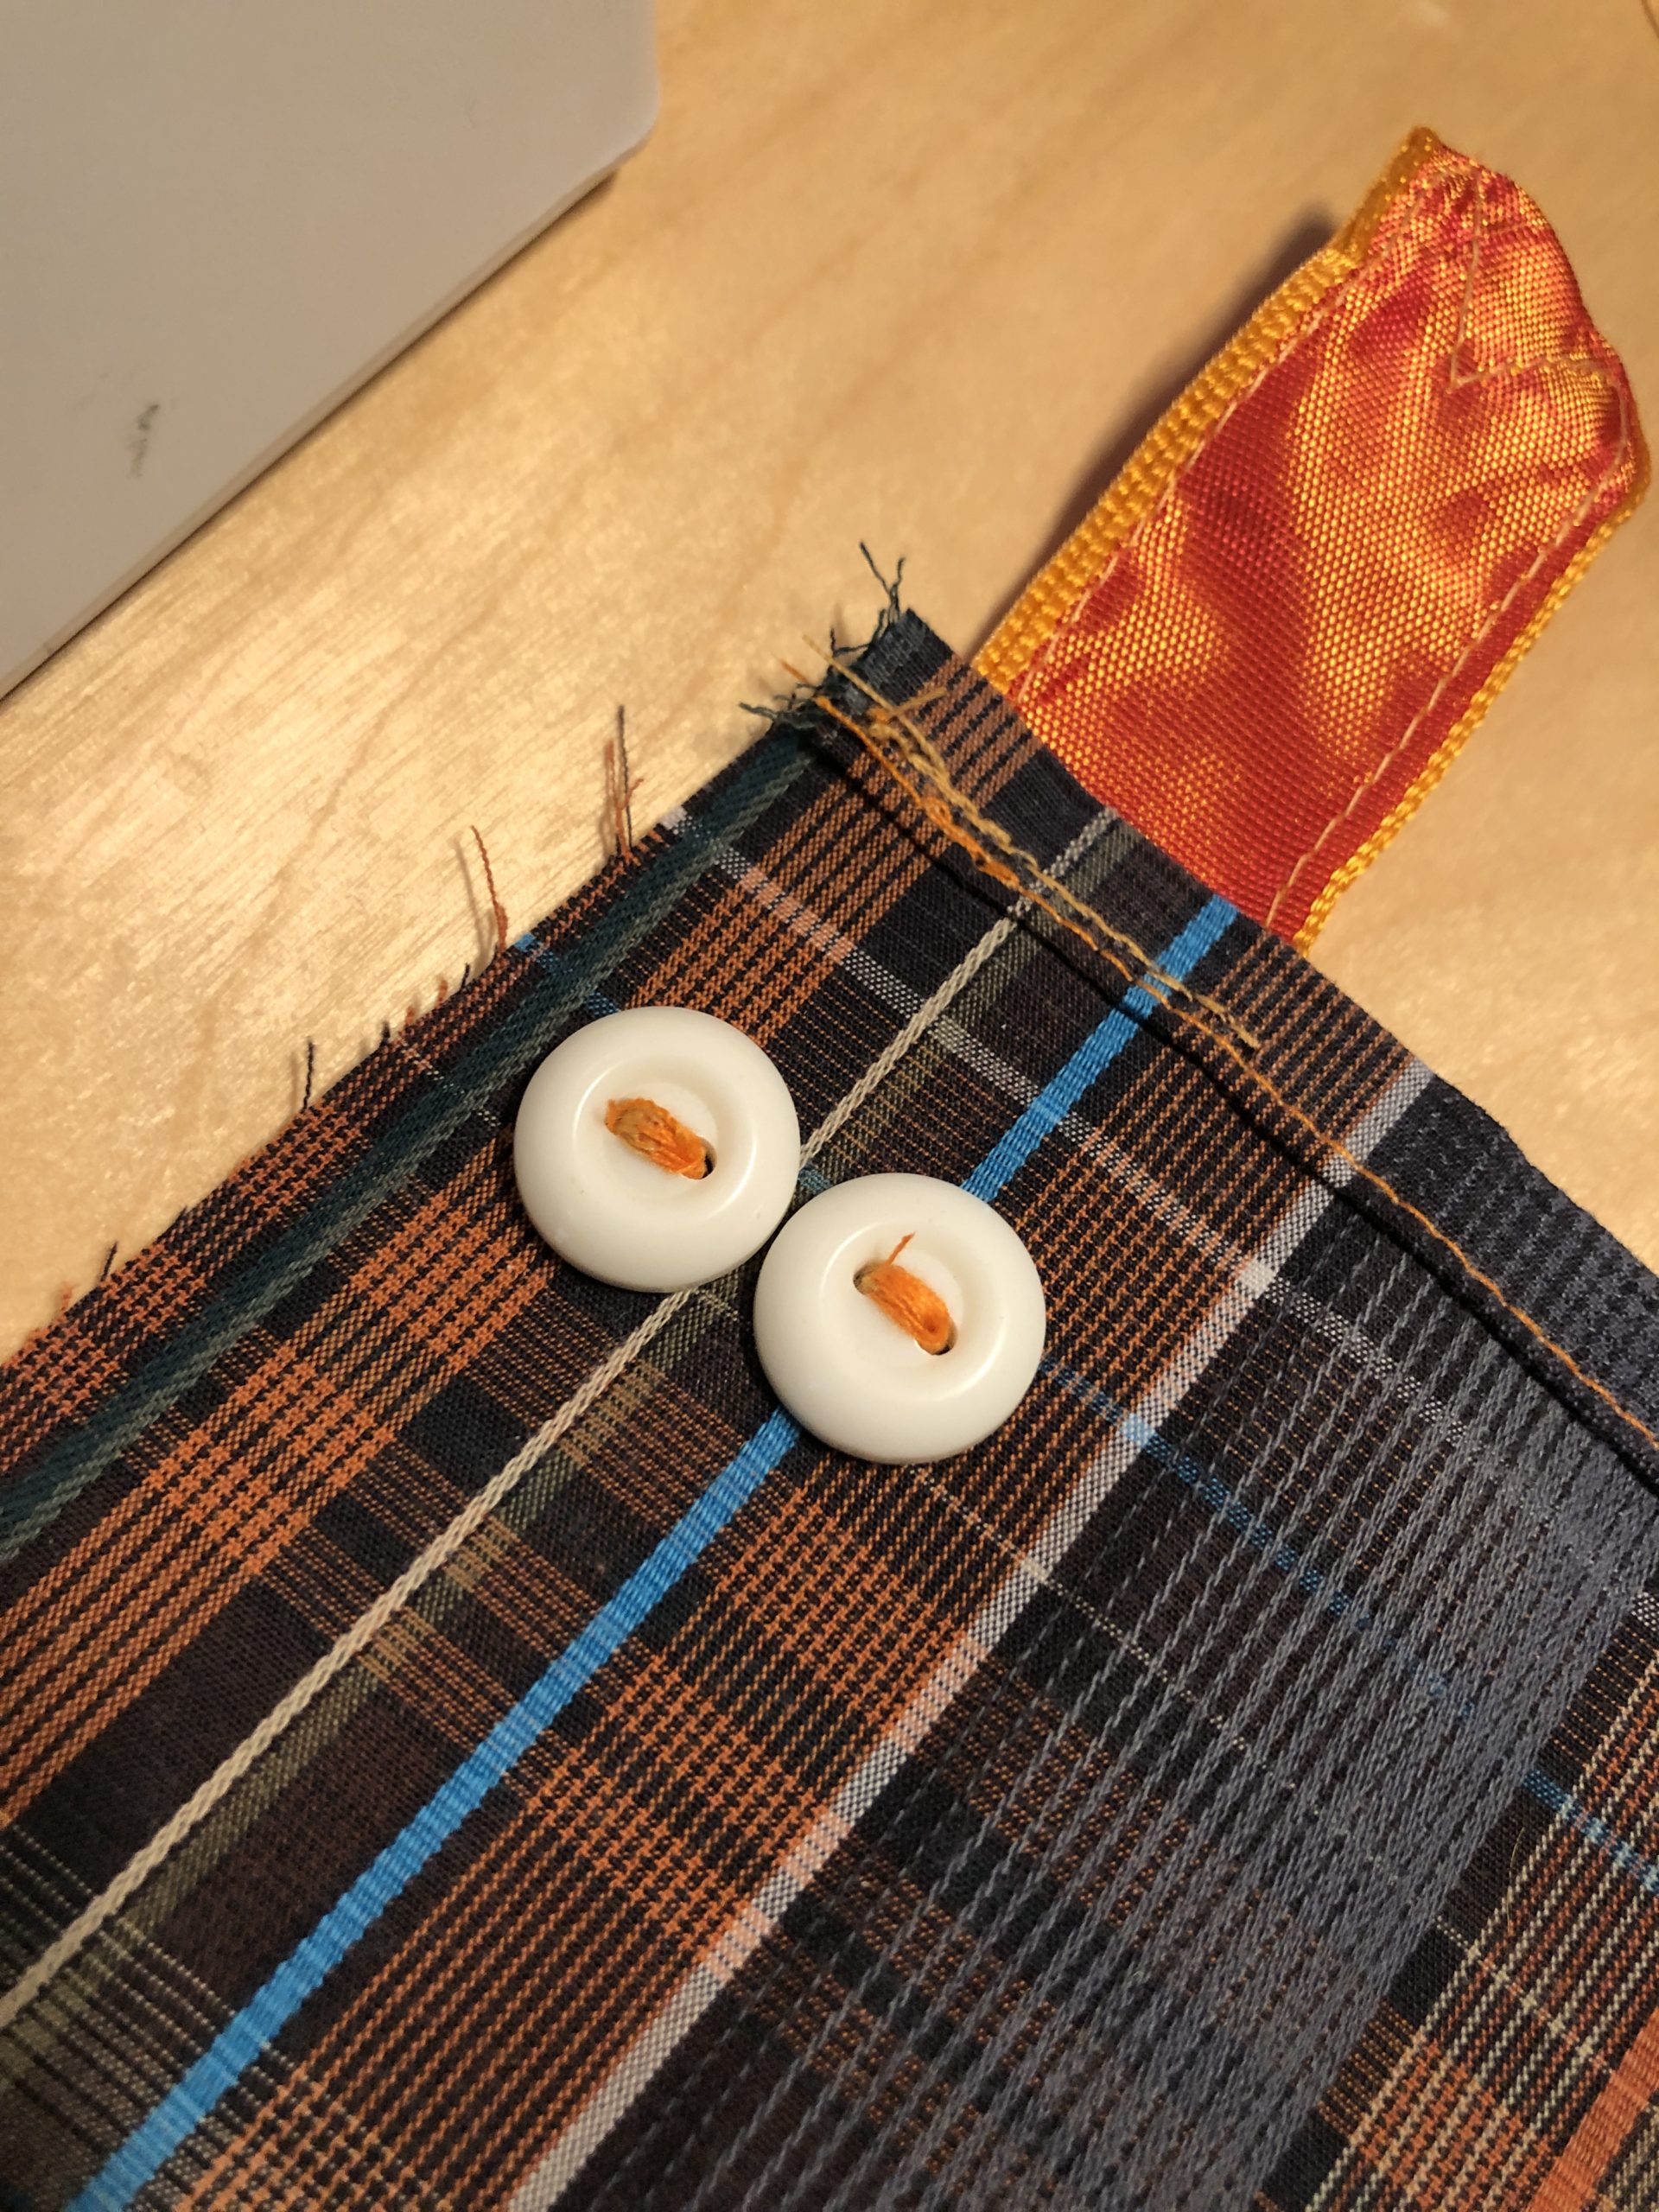
Bild zum Schritt 10 für das Bastel- und DIY-Abenteuer für Kinder: 'Achtung: Die Knöpfe unbedingt annähen, bevor der Stoff zusammengenäht wird!'

11

Now you halve the fabric in length and turn it to the left side. The beautiful outside of your sleeve/cloth is now inside.
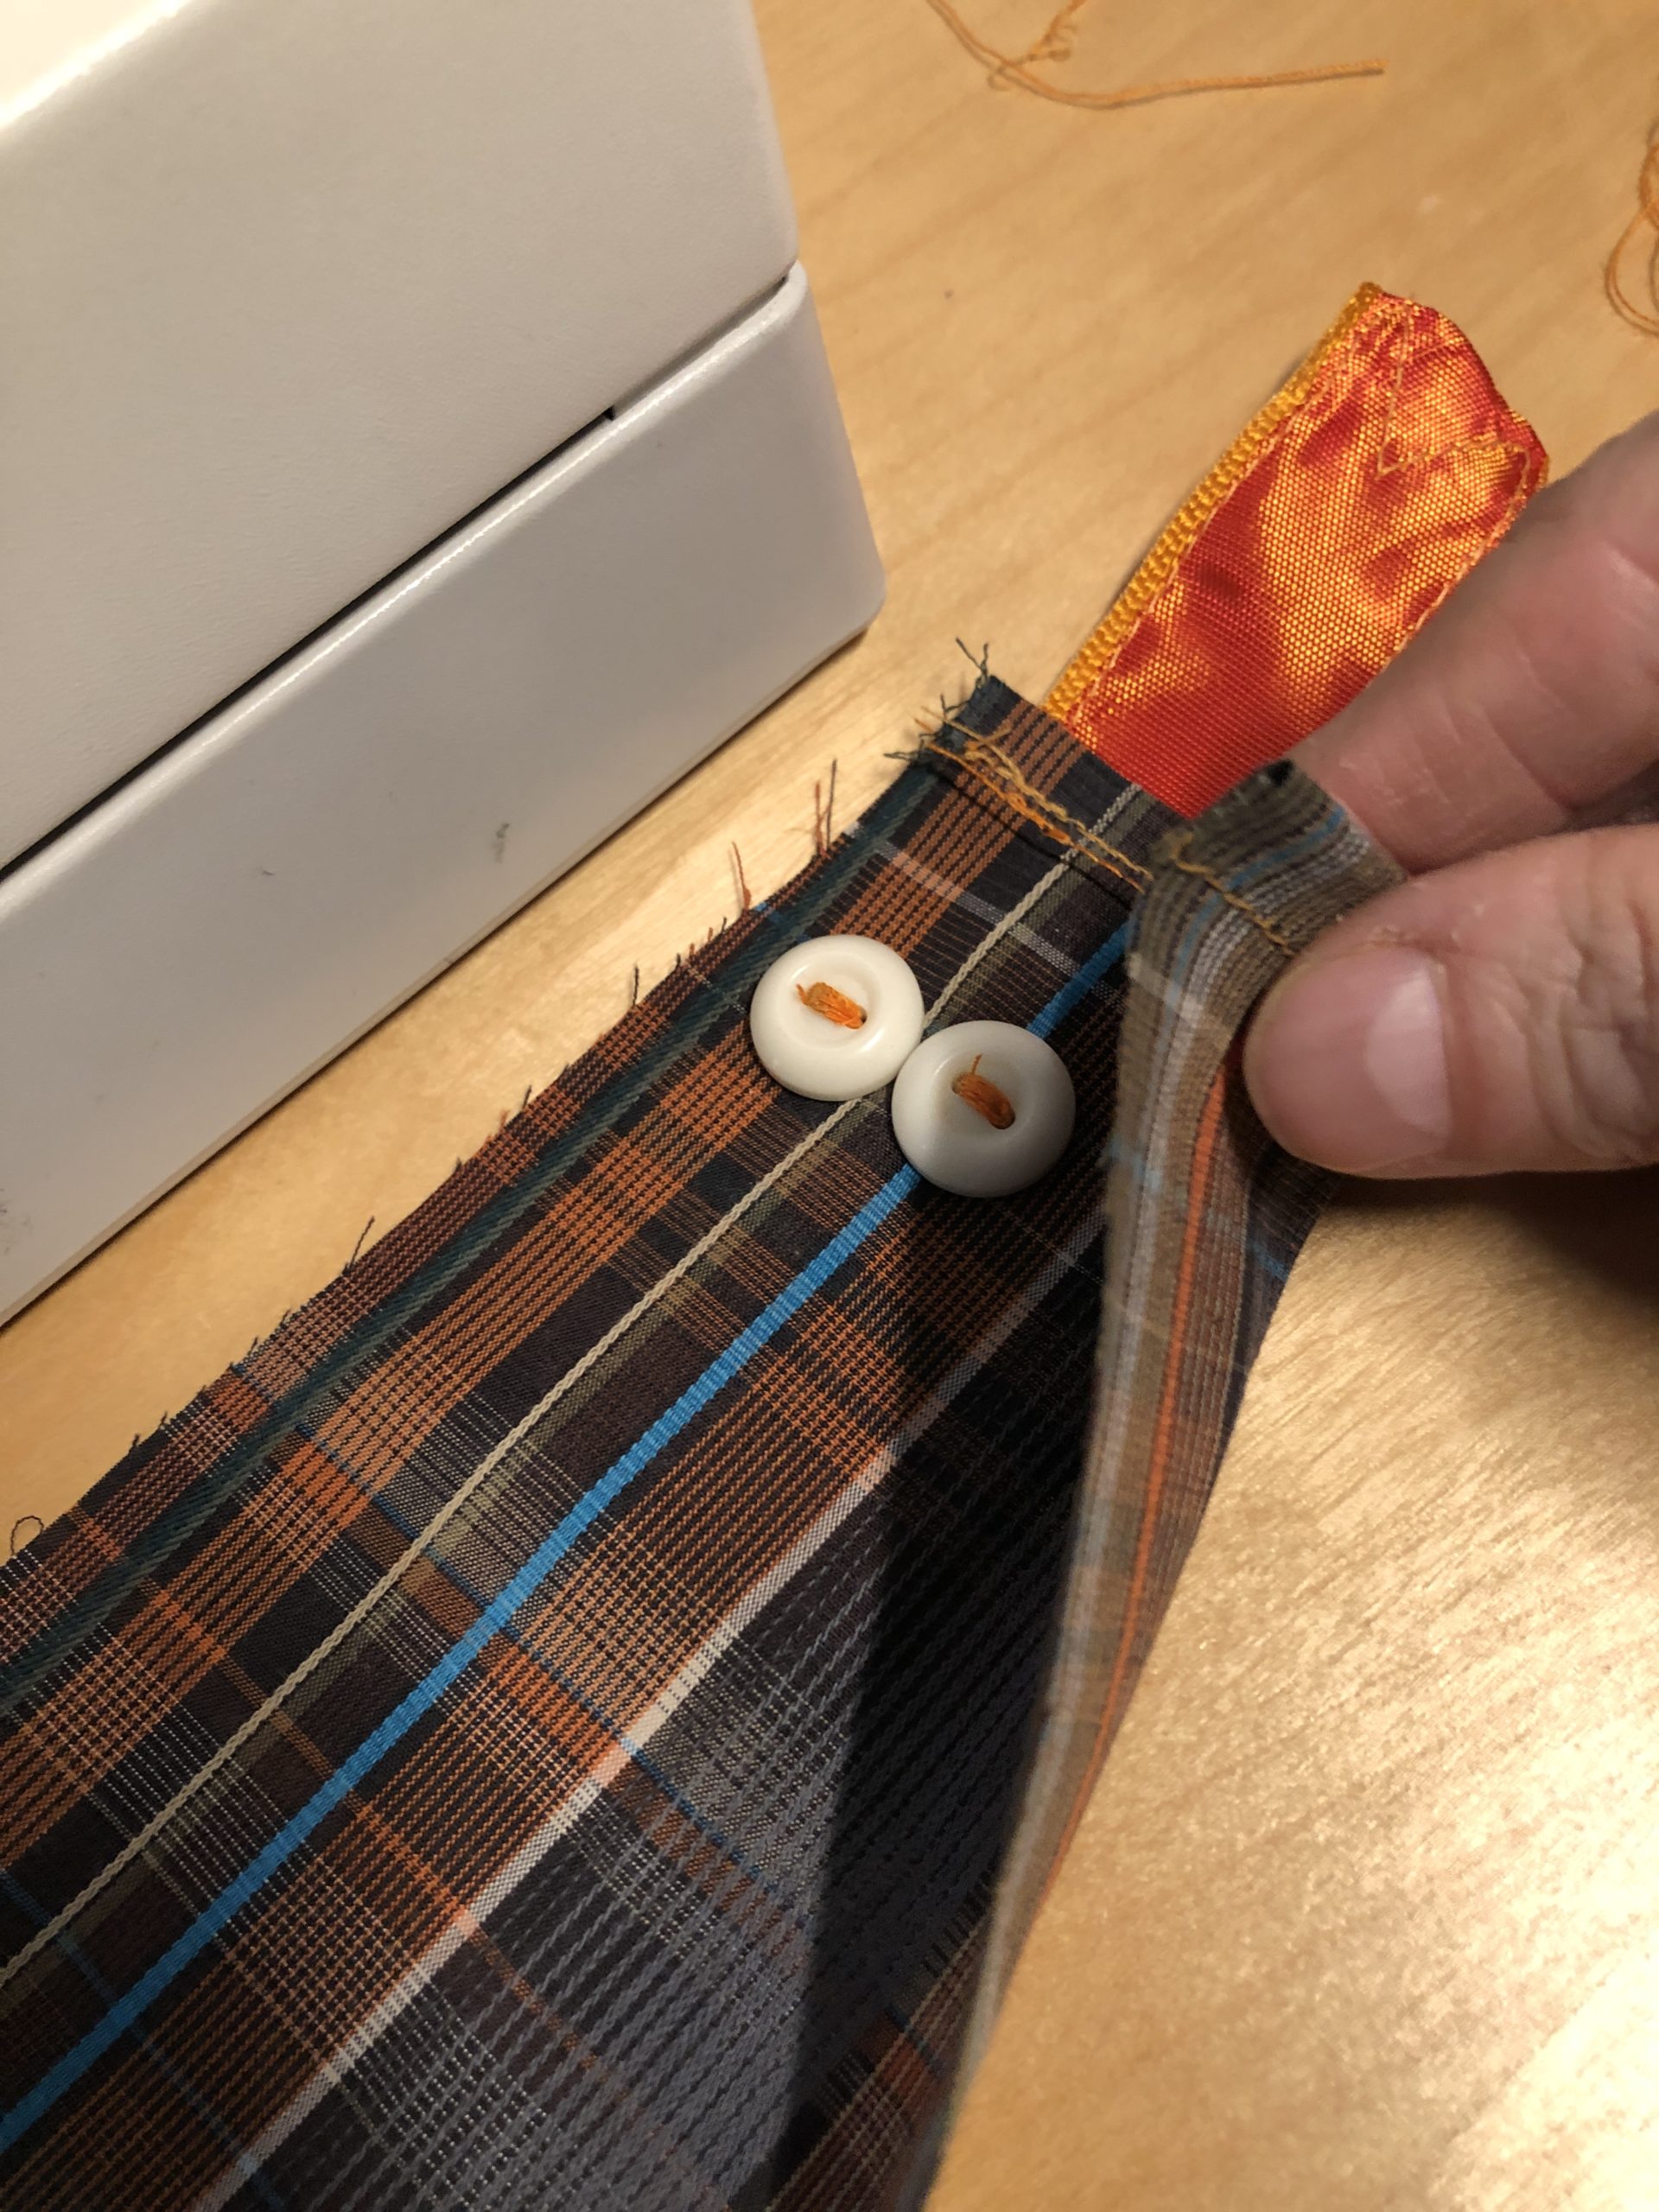
Bild zum Schritt 11 für das Bastel- und DIY-Abenteuer für Kinder: 'Nun halbiert ihr den Stoff der Länge nach und dreht...'

12

Sew the fabric strip to a hose on the long side!
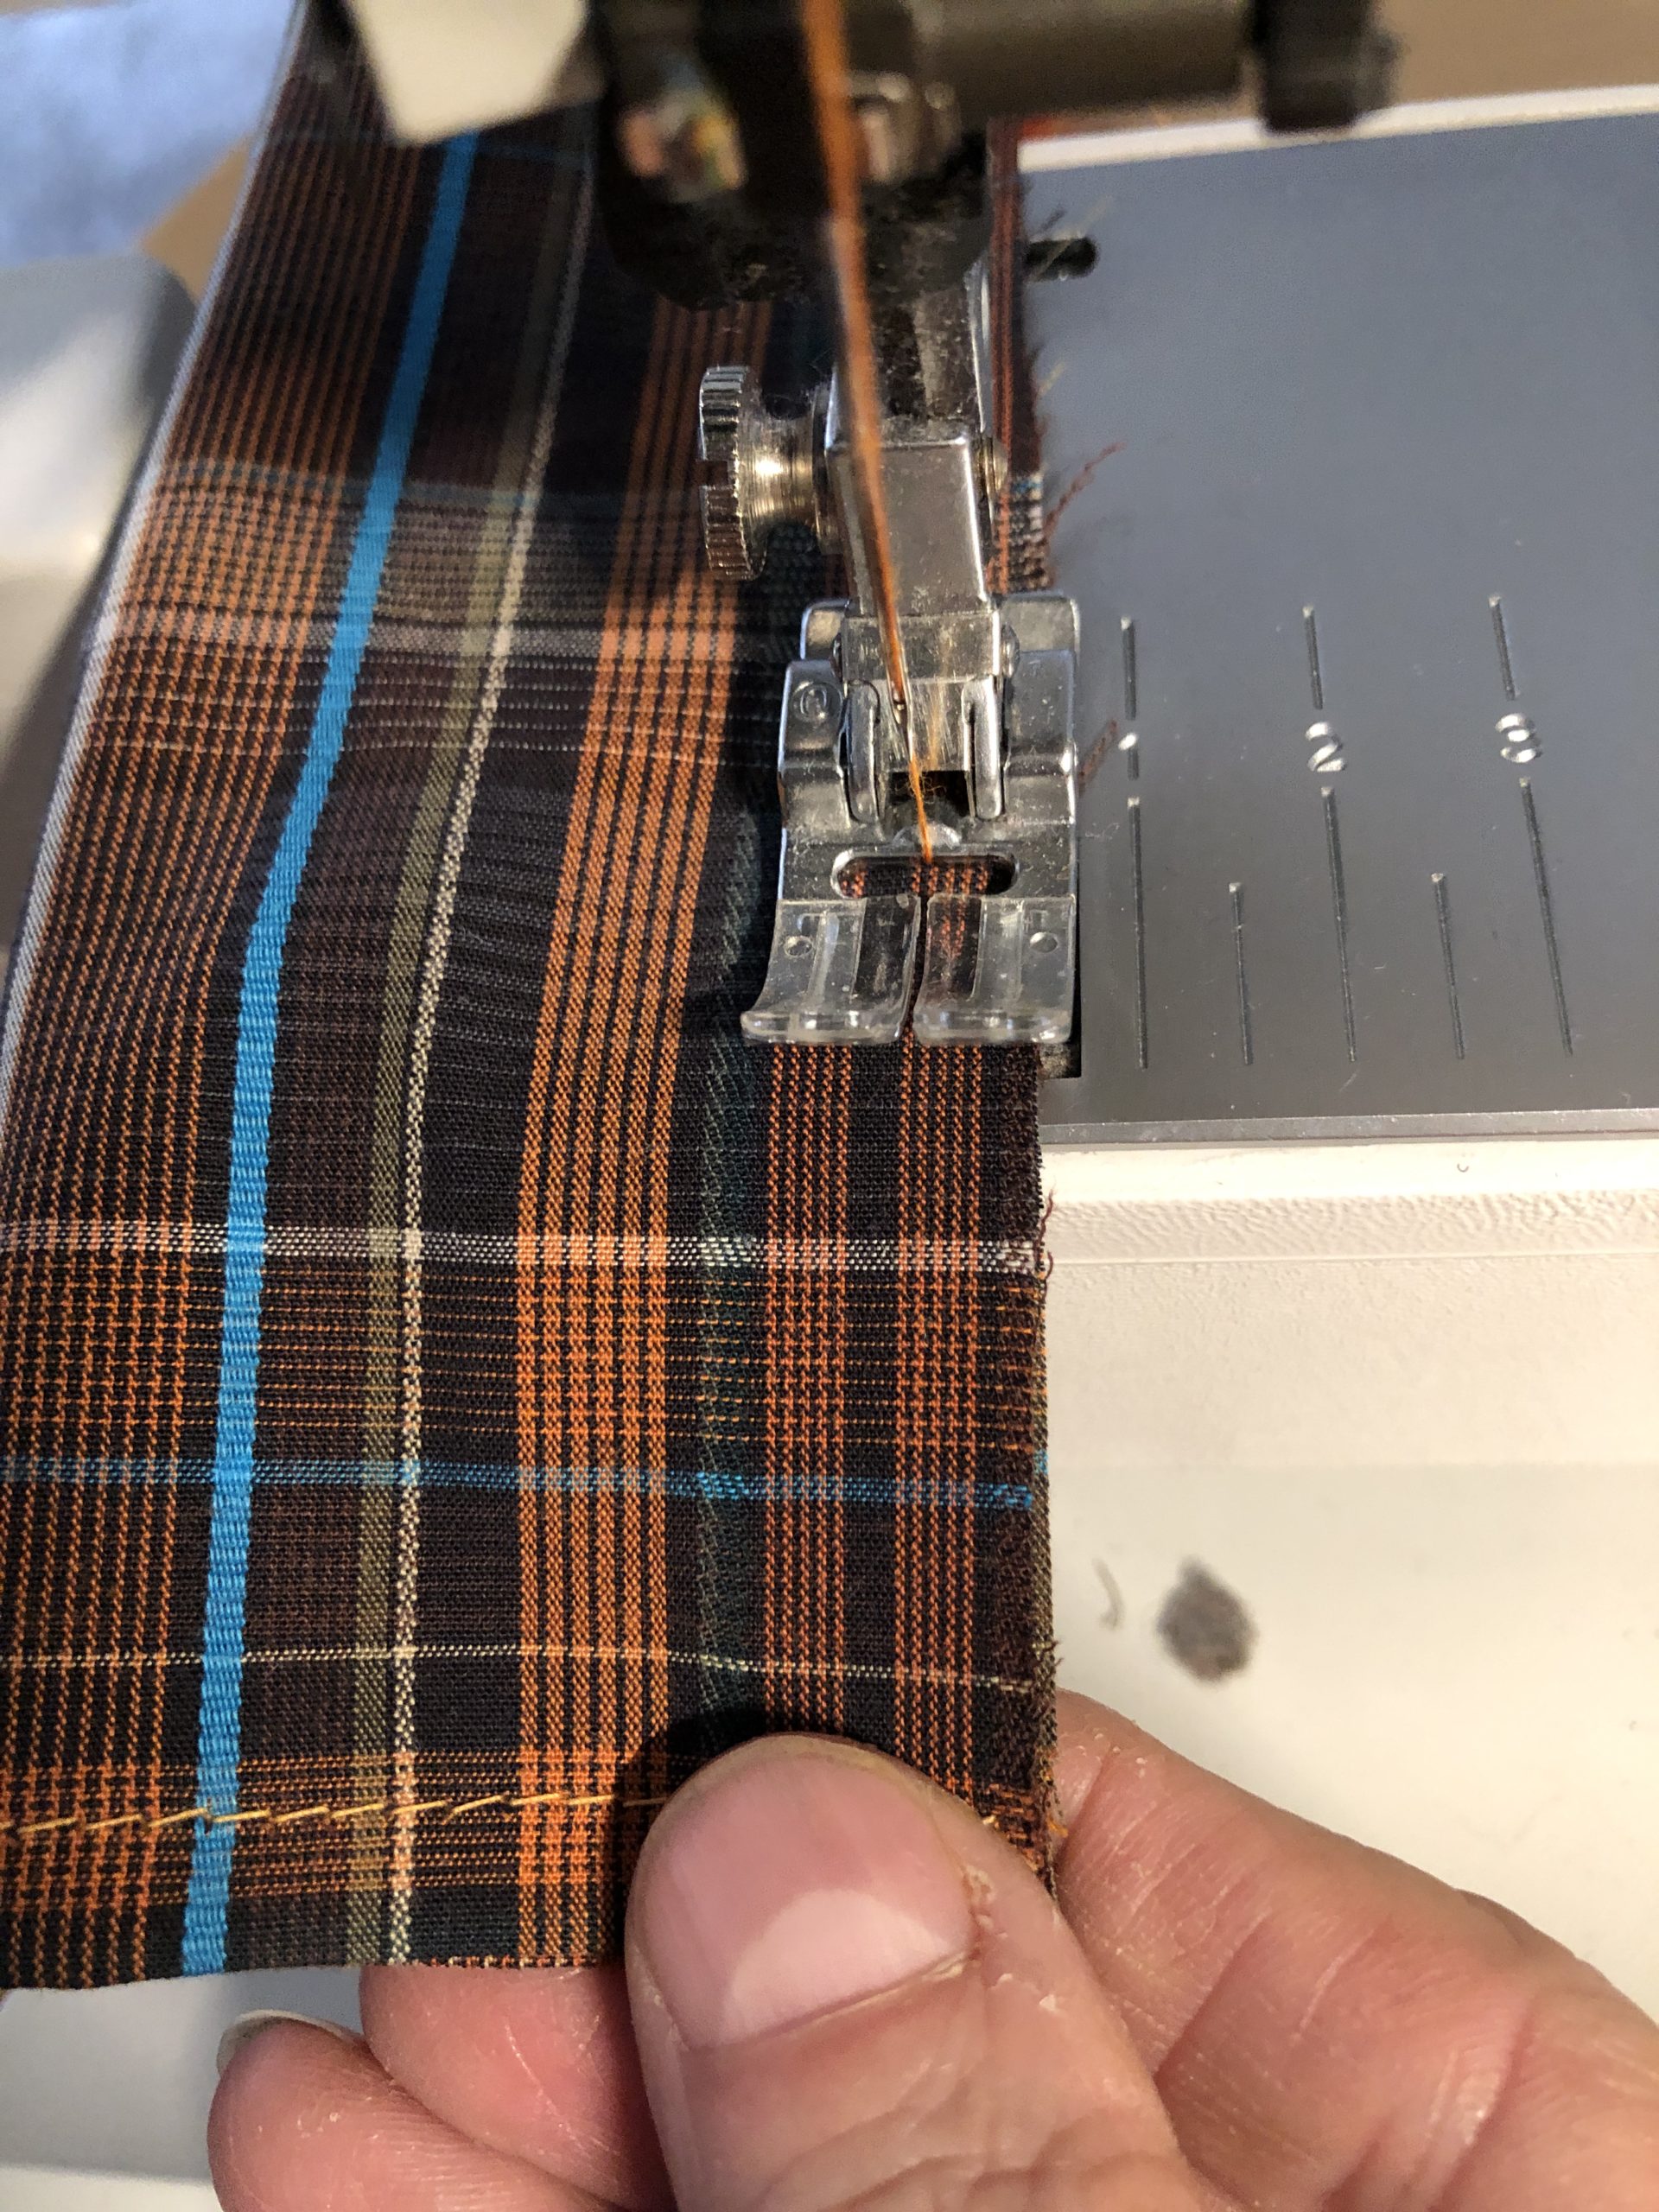
Bild zum Schritt 12 für das Bastel- und DIY-Abenteuer für Kinder: 'An der langen Seite den Stoffstreifen zu einem Schlauch zusammennähen!'

13

Then switch to the zigzag stitch of the sewing machine and line the sewn seam.
The hose remains open at the top and bottom end.
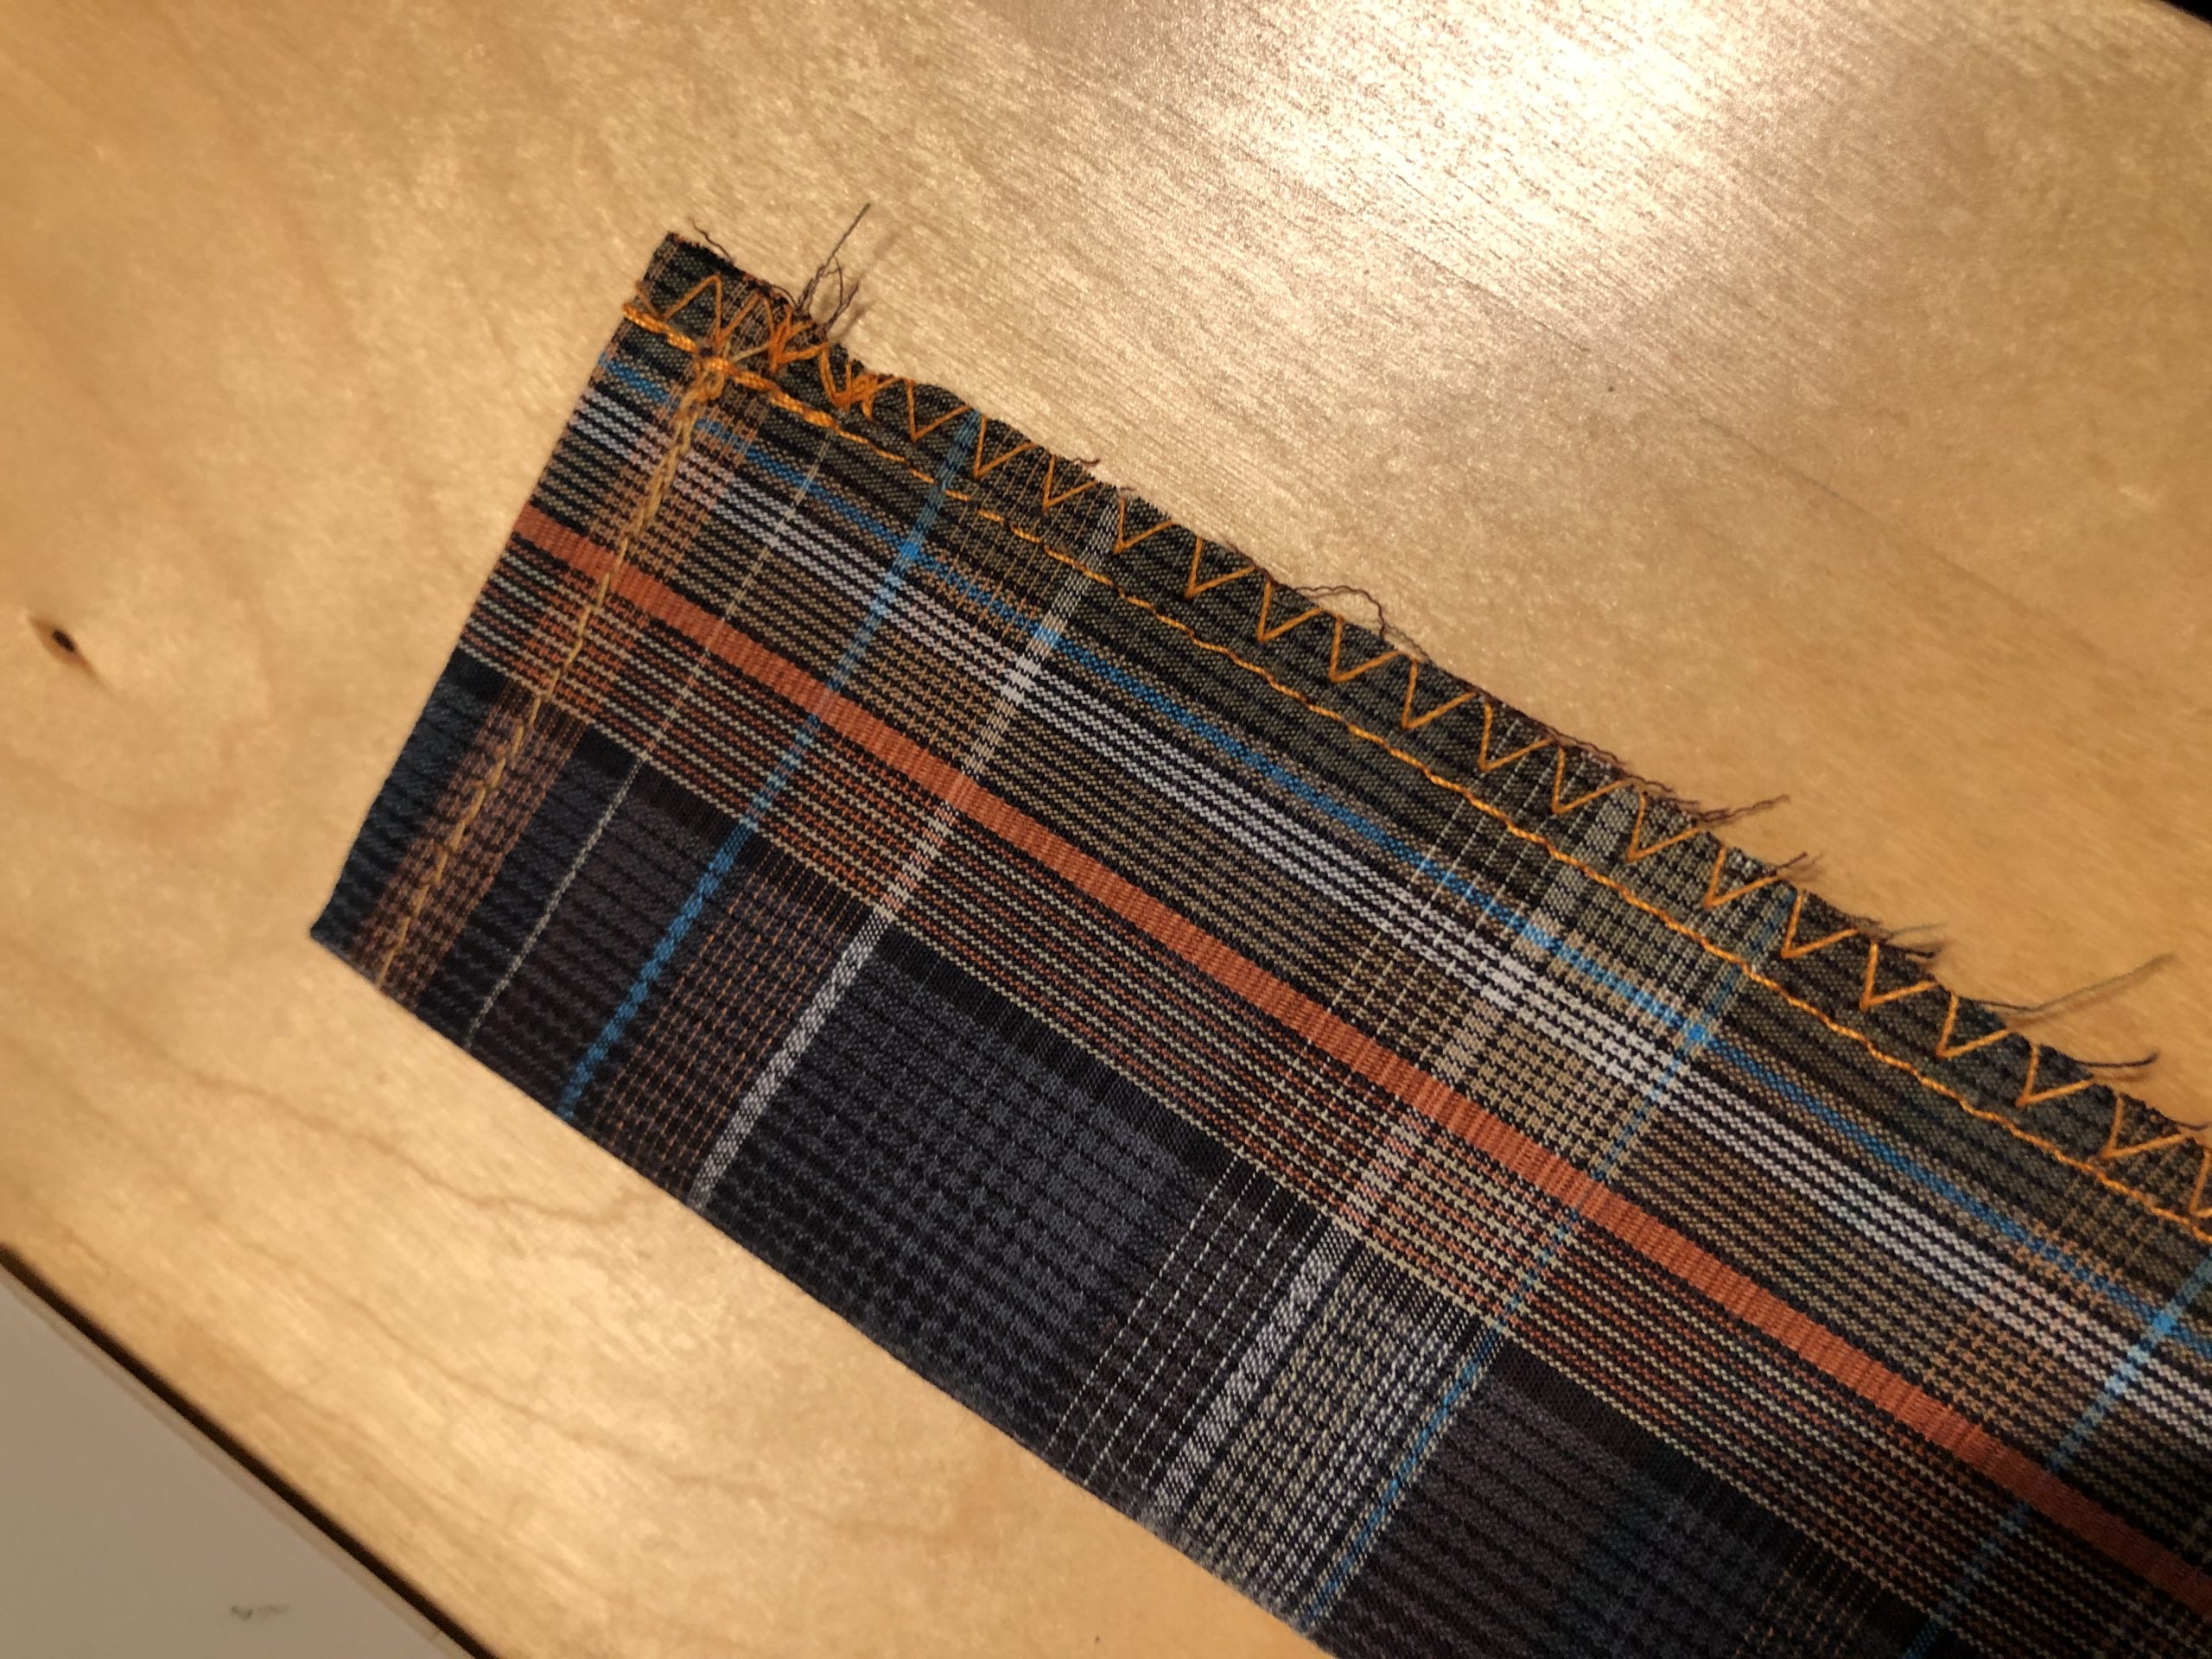
Bild zum Schritt 13 für das Bastel- und DIY-Abenteuer für Kinder: 'Anschließend schaltet ihr auf den Zickzack-Stich der Nähmaschine und säumt...'

14

Now the hose is turned over!

Bild zum Schritt 14 für das Bastel- und DIY-Abenteuer für Kinder: 'Nun wird der Schlauch umgedreht!'

15

2. Bild zum Schritt 14 für das Bastel- und DIY-Abenteuer für Kinder: 'Nun wird der Schlauch umgedreht!'

16

A push button is now attached to both open ends, which will give you the opportunity to plug the chestnuts in on one side and let them out on the other side.
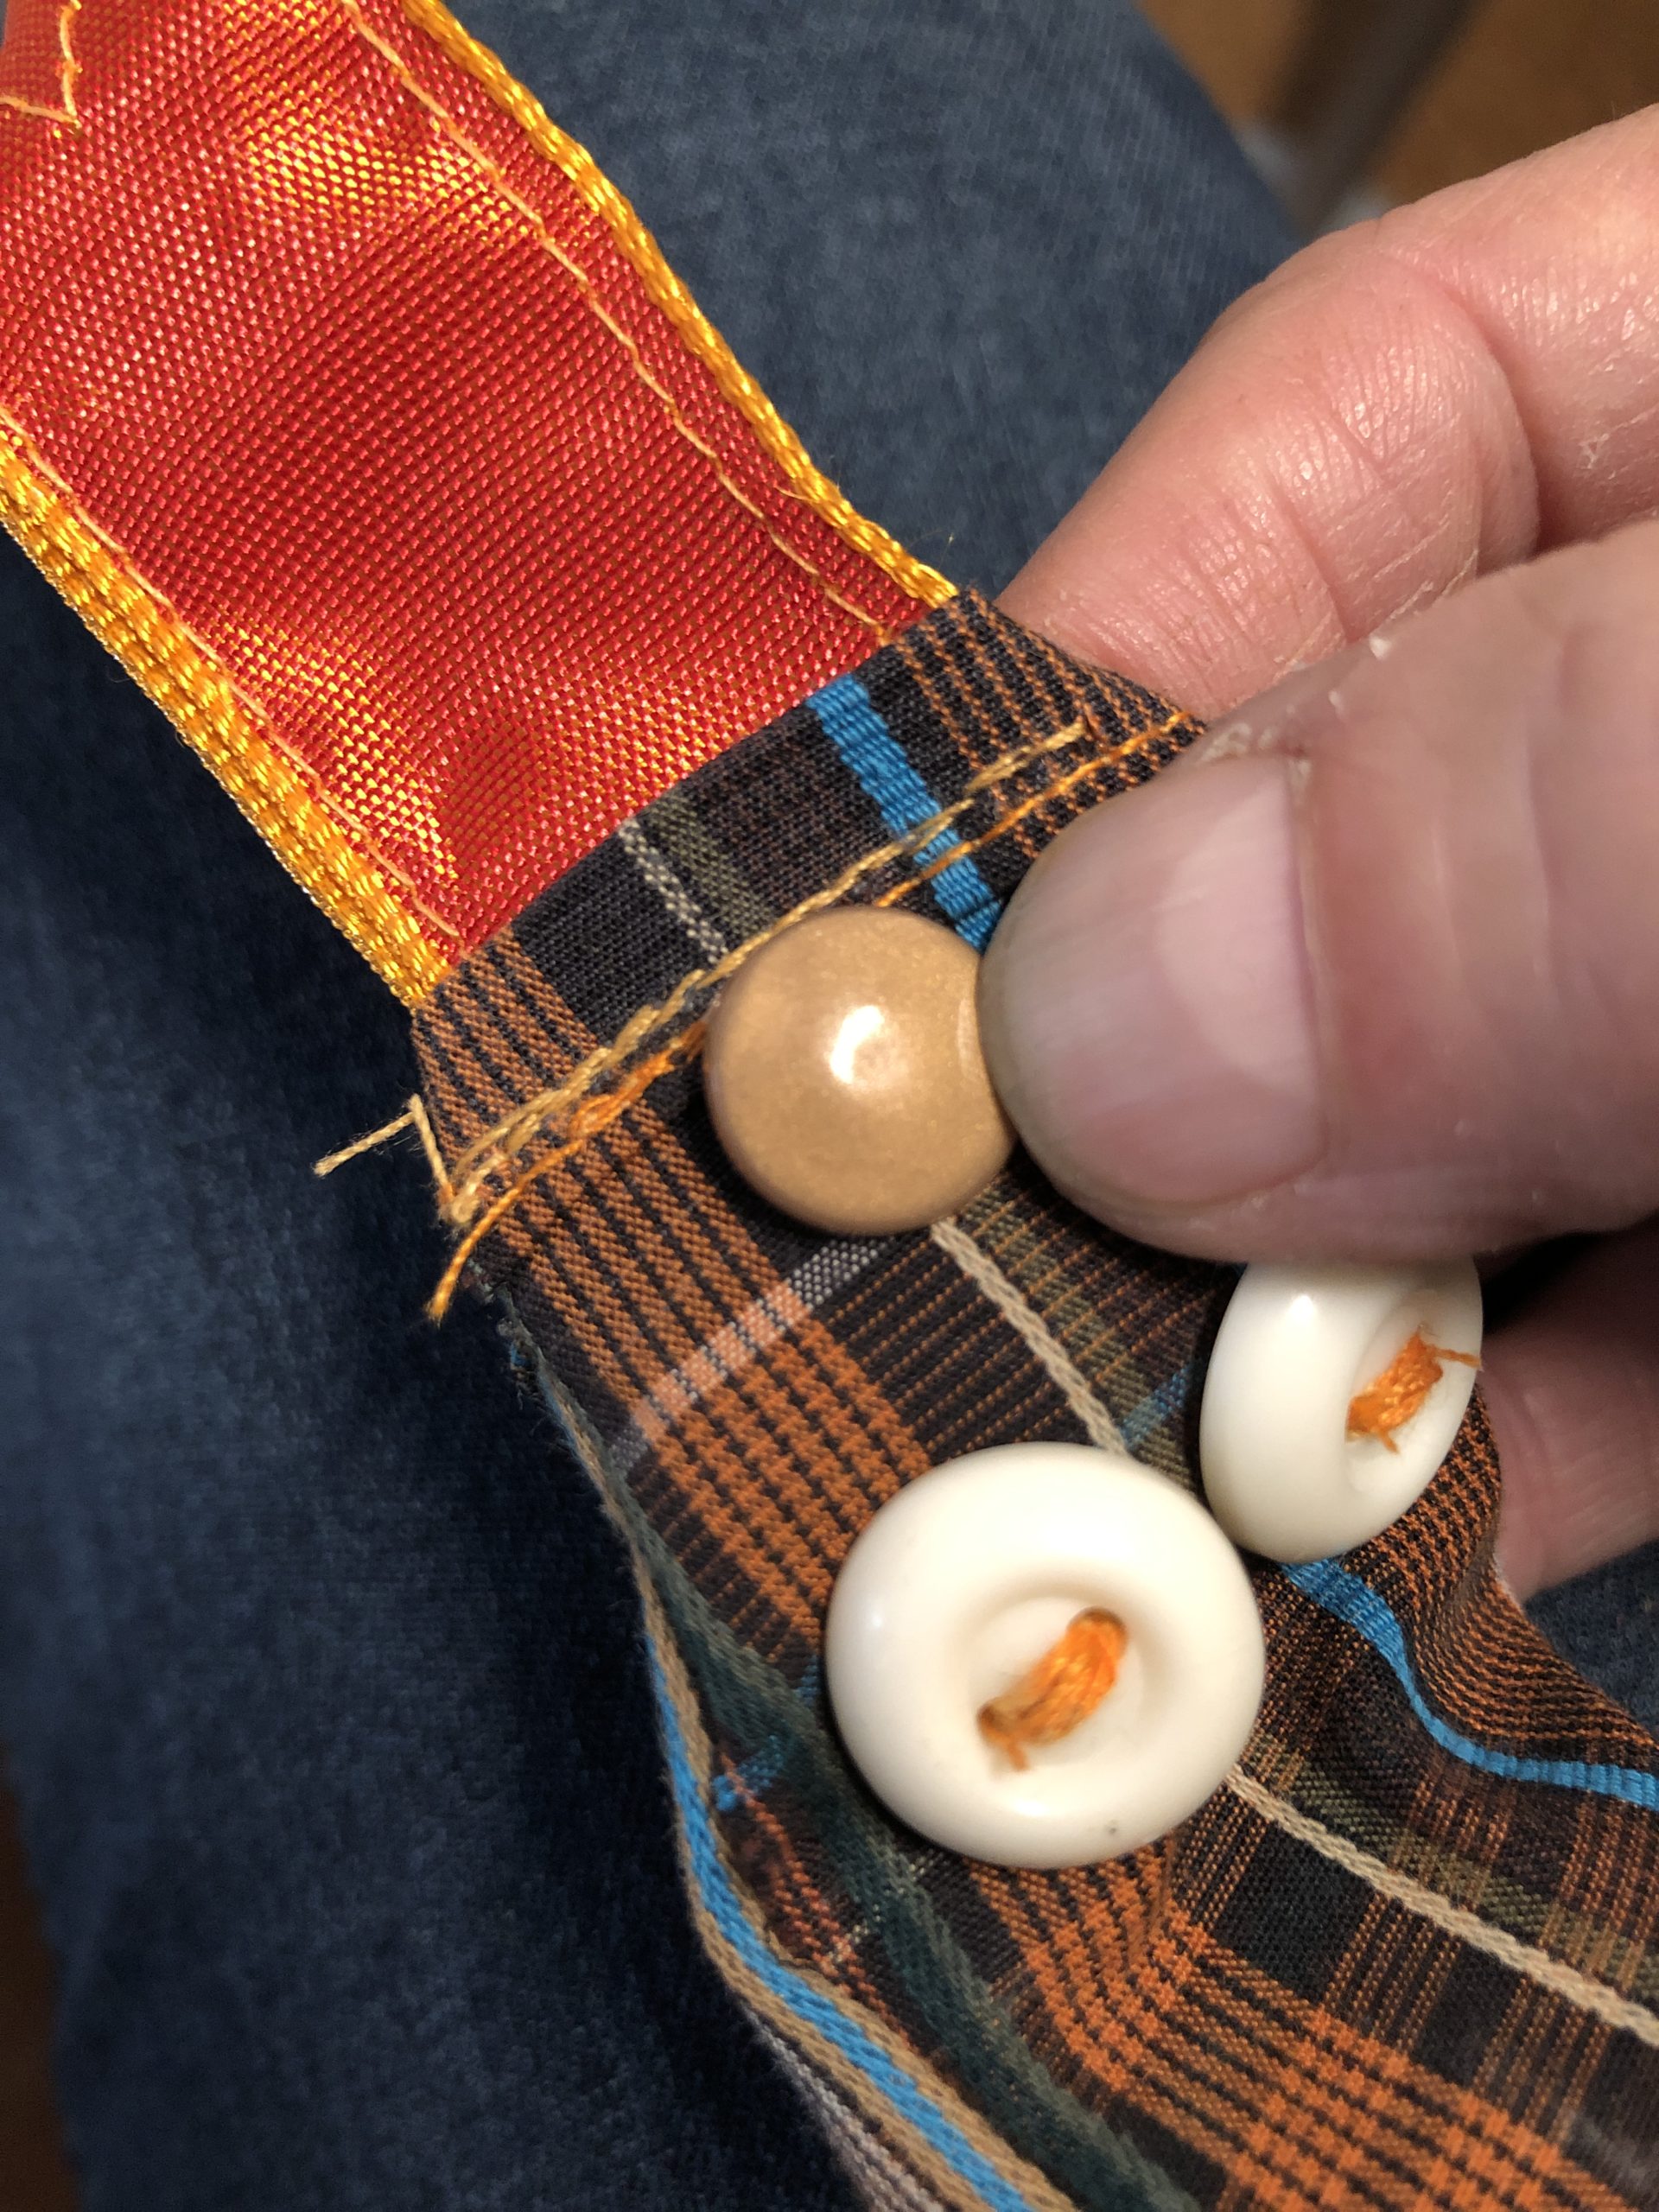
Bild zum Schritt 16 für das Bastel- und DIY-Abenteuer für Kinder: 'An beiden offenen Enden wird nun ein Druckknopf angebracht. Dadurch...'

17

To attach a push-button you need these parts.

Bild zum Schritt 17 für das Bastel- und DIY-Abenteuer für Kinder: 'Für das Anbringen eines Druckknopfes benötigt ihr diese Teile.'

18

Stitch a hole in the fabric with the pickser.
Now insert the tip part from the outside to the inside.
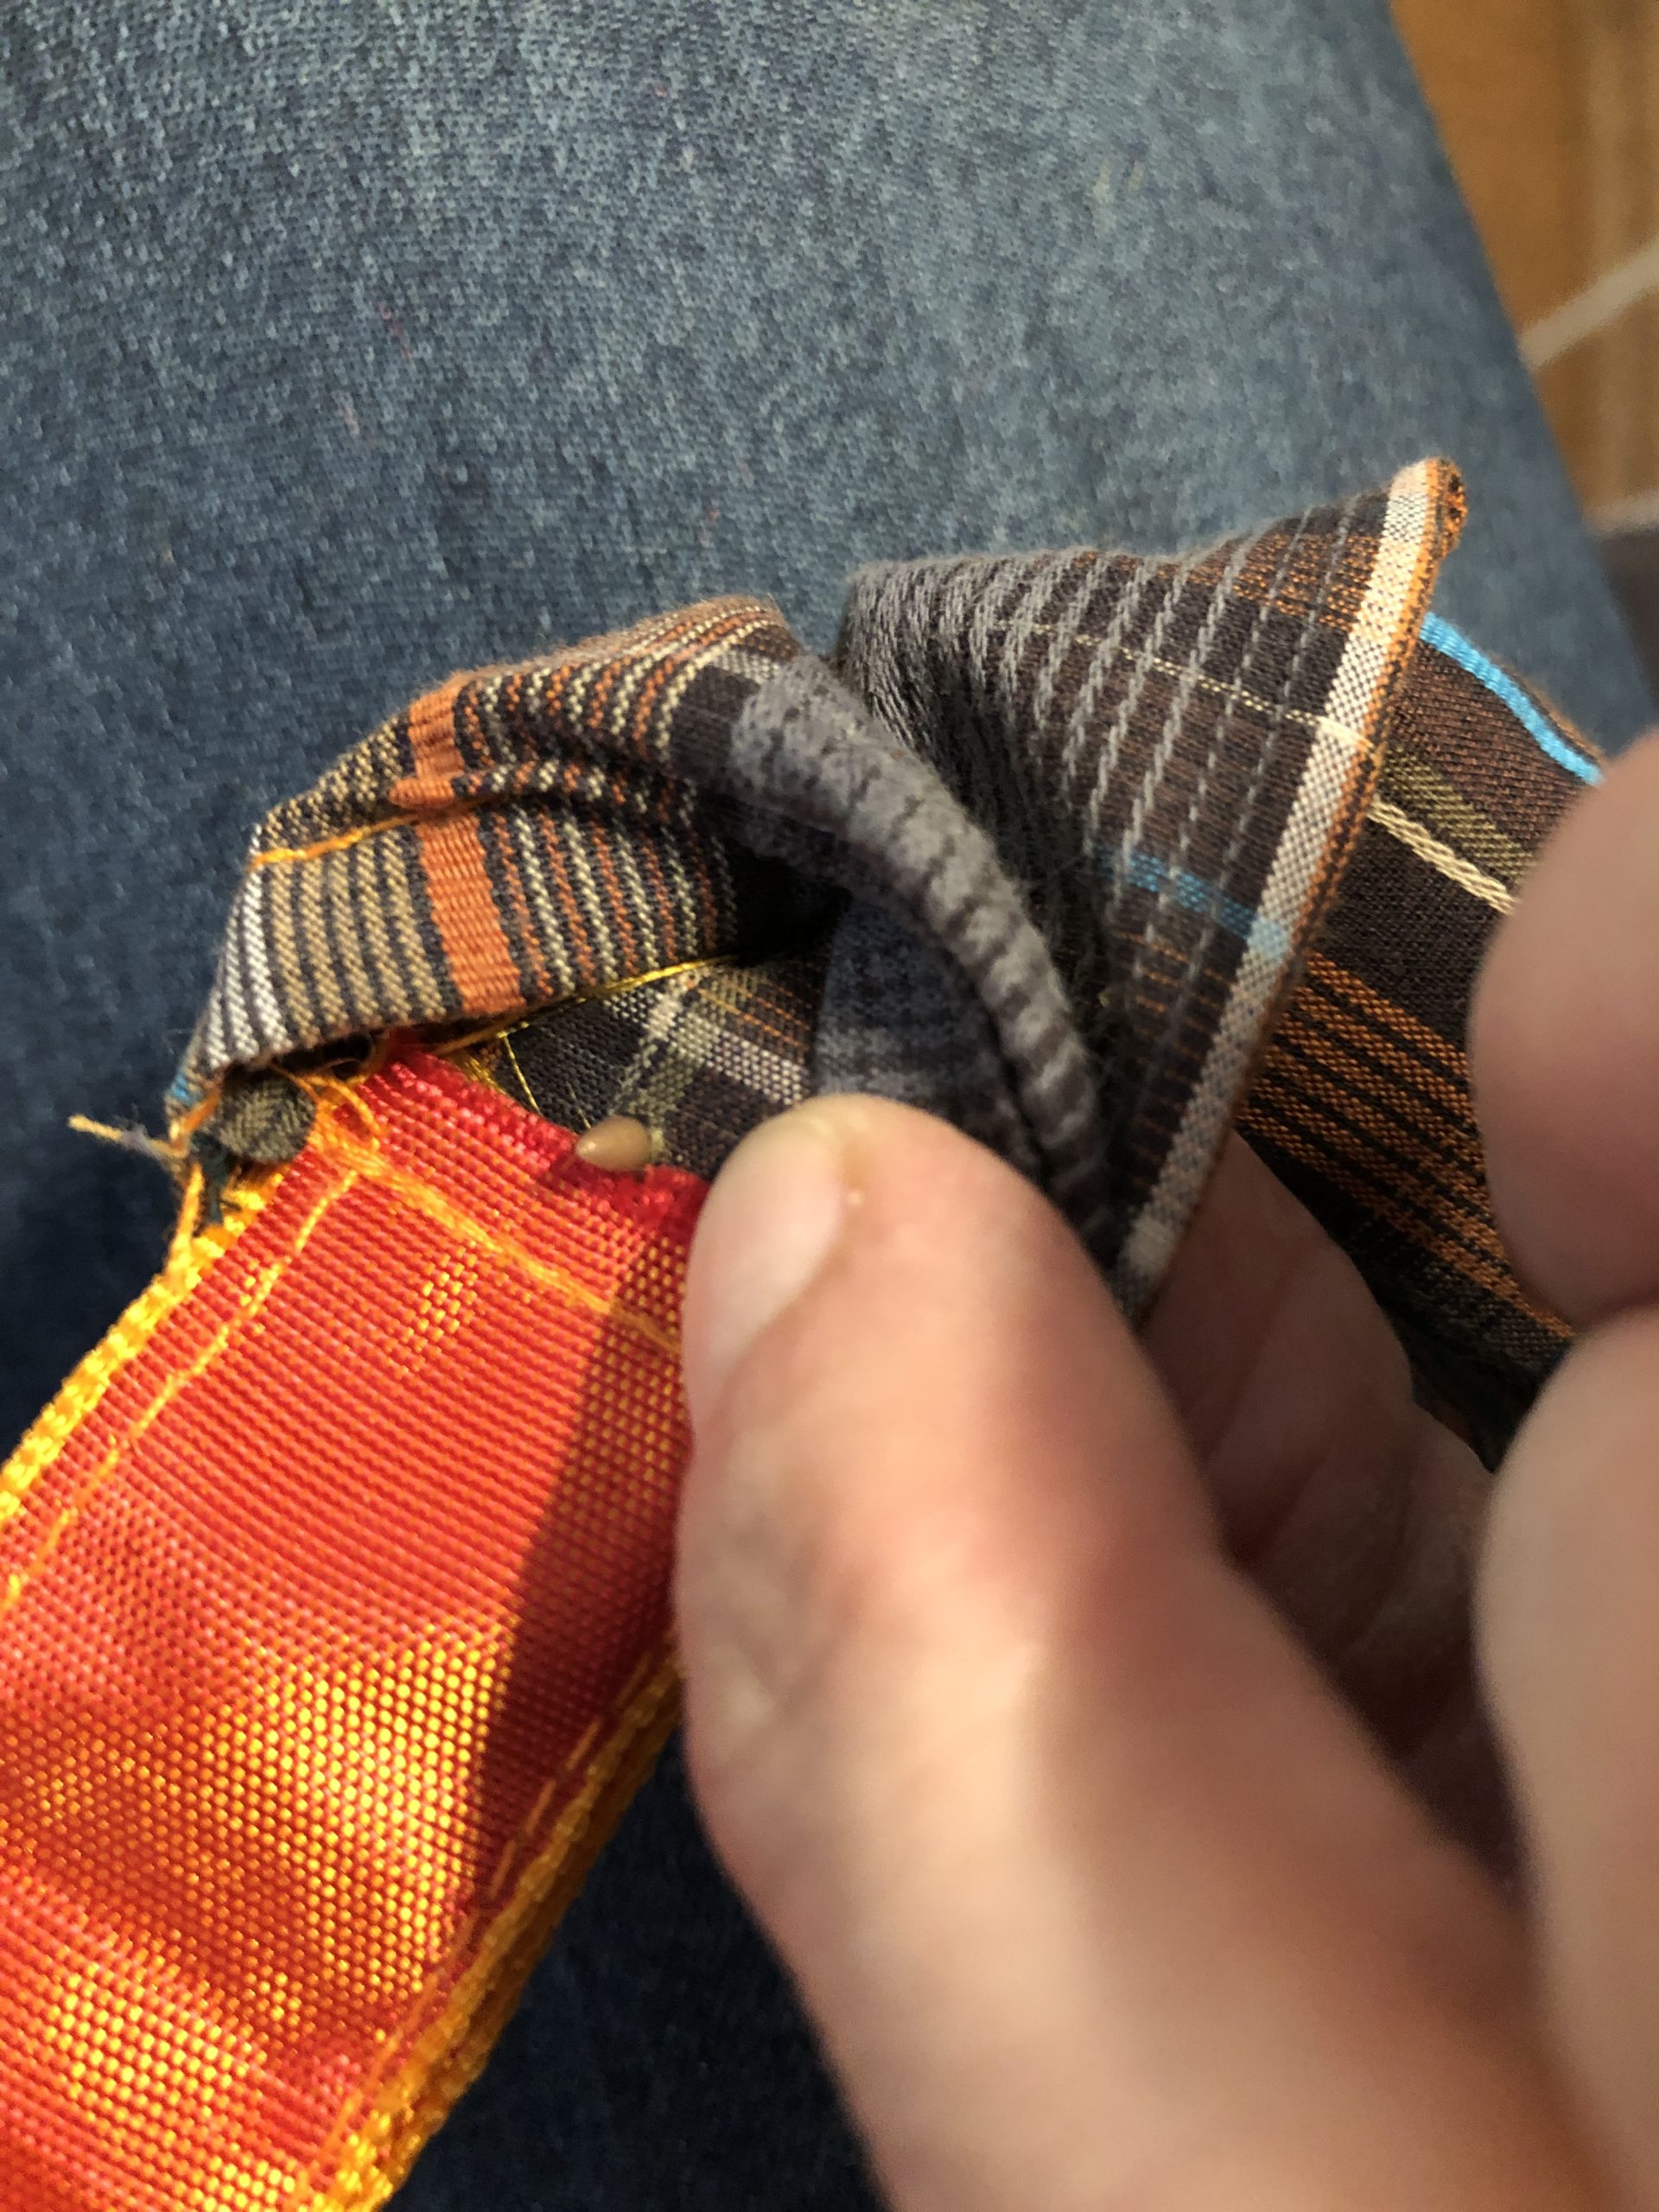
Bild zum Schritt 18 für das Bastel- und DIY-Abenteuer für Kinder: 'Mit dem Pickser ein Loch in der Stoff stechen. ...'

19

Now put the counterpart on it from the inside.

Bild zum Schritt 19 für das Bastel- und DIY-Abenteuer für Kinder: 'Nun das Gegenstück von innen drauf stecken.'

20

Now press with the pliers.

Bild zum Schritt 20 für das Bastel- und DIY-Abenteuer für Kinder: 'Und nun mit der Presszange zusammendrücken.'

21

The first push button is ready.

Bild zum Schritt 21 für das Bastel- und DIY-Abenteuer für Kinder: 'Fertig ist der erste Druckknopf.'

22

Opposite you place the counterpart. For this first put the pointed part from the outside through the fabric.
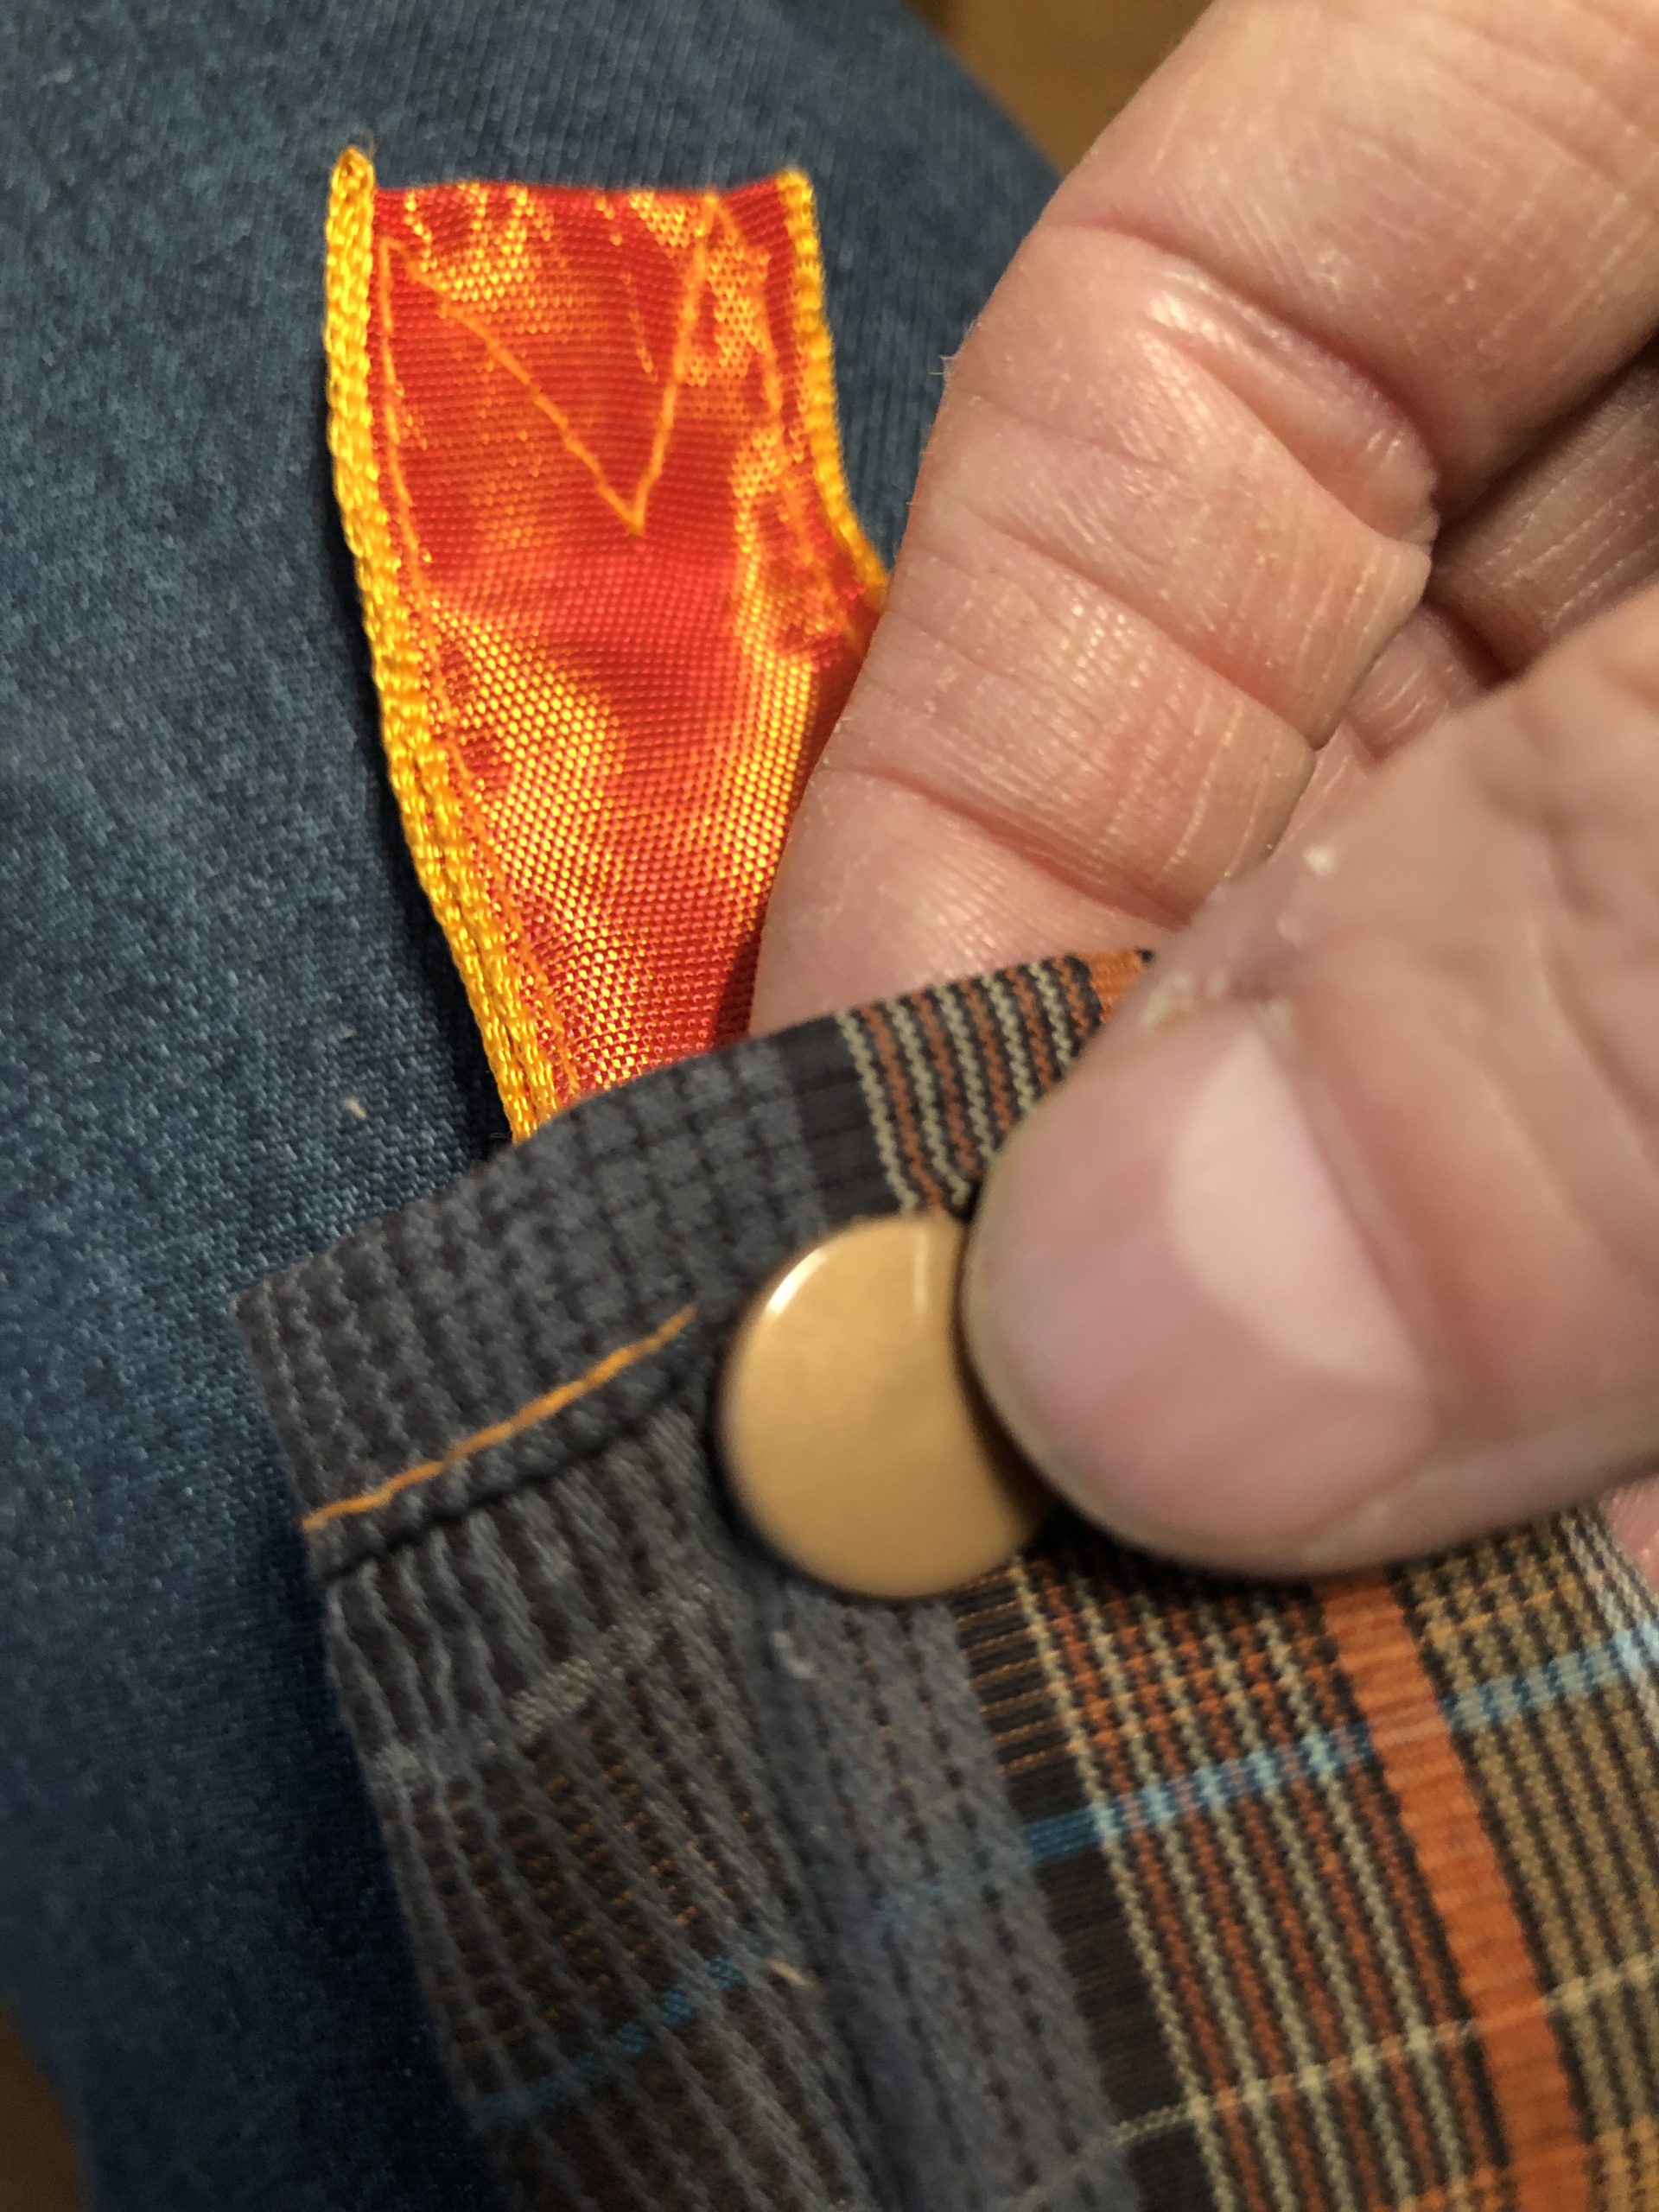
Bild zum Schritt 22 für das Bastel- und DIY-Abenteuer für Kinder: 'Gegenüber bringt ihr das Gegenstück an. Dafür wieder zuerst das...'

23

Then put the counterpart on it and squeeze back with the pliers.
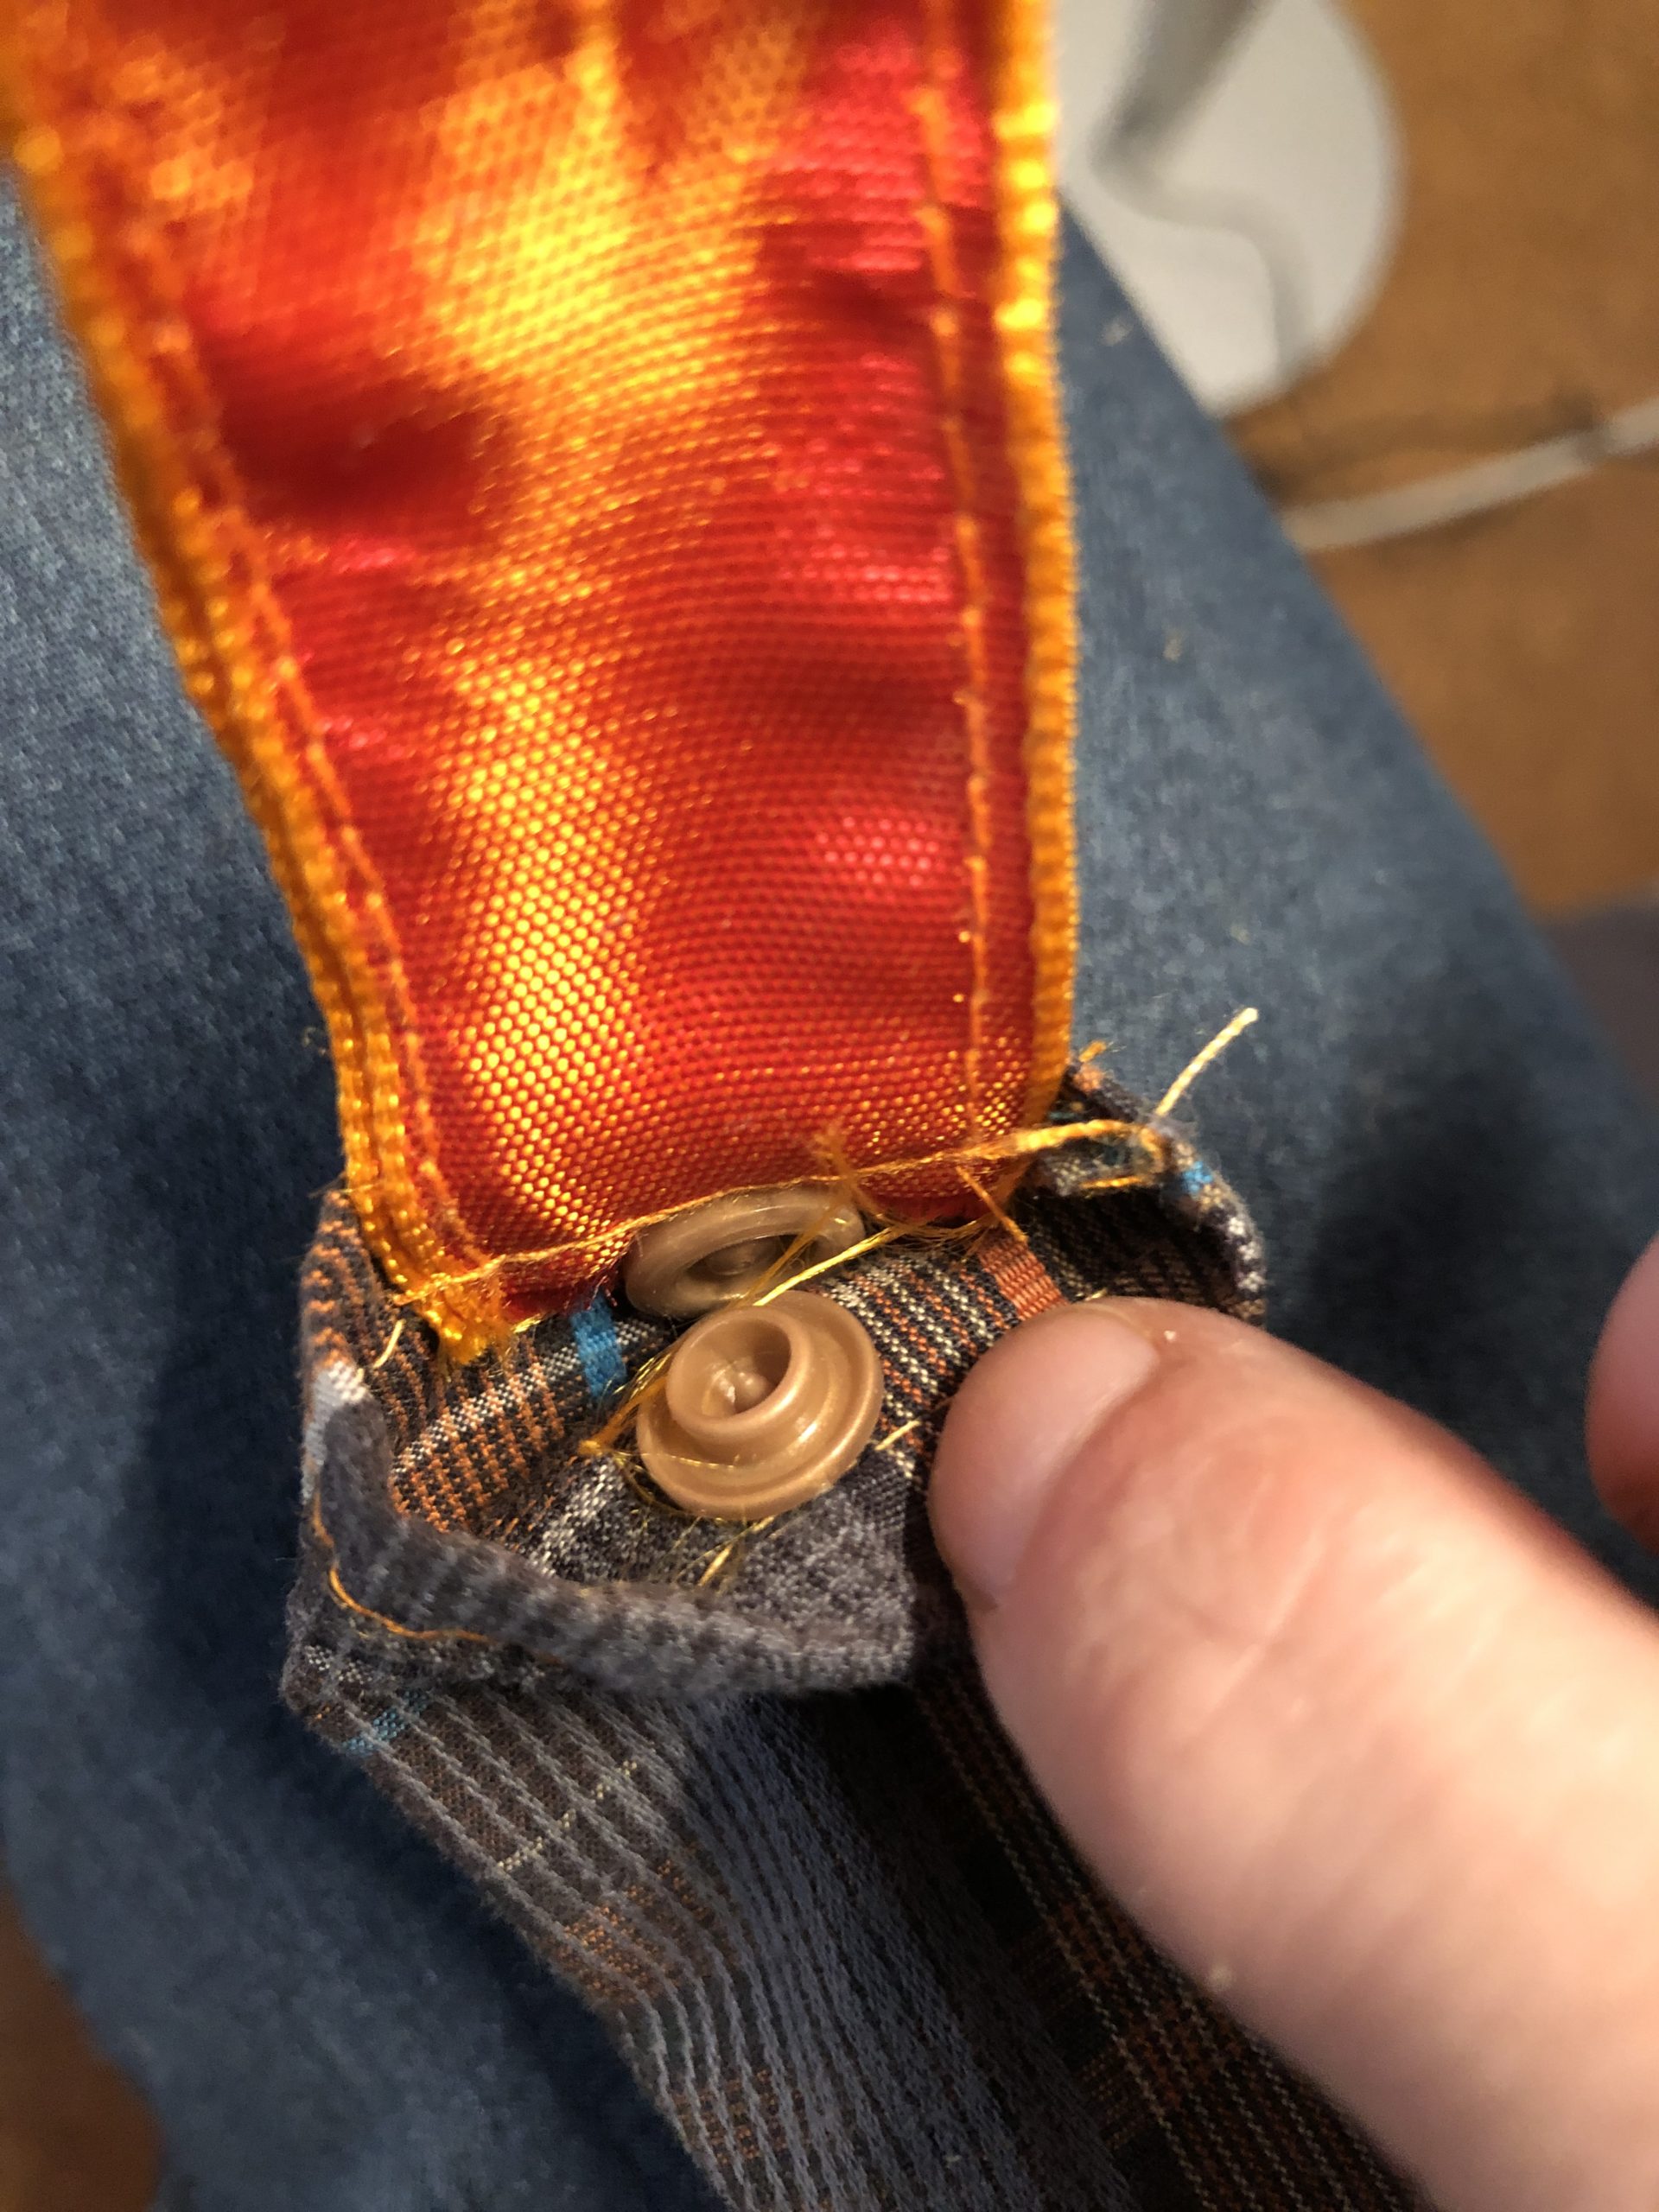
Bild zum Schritt 23 für das Bastel- und DIY-Abenteuer für Kinder: 'Dann das Gegenstück drauf legen und wieder mit der Zange...'

24

2. Bild zum Schritt 23 für das Bastel- und DIY-Abenteuer für Kinder: 'Dann das Gegenstück drauf legen und wieder mit der Zange...'

25

The push button can now be closed.
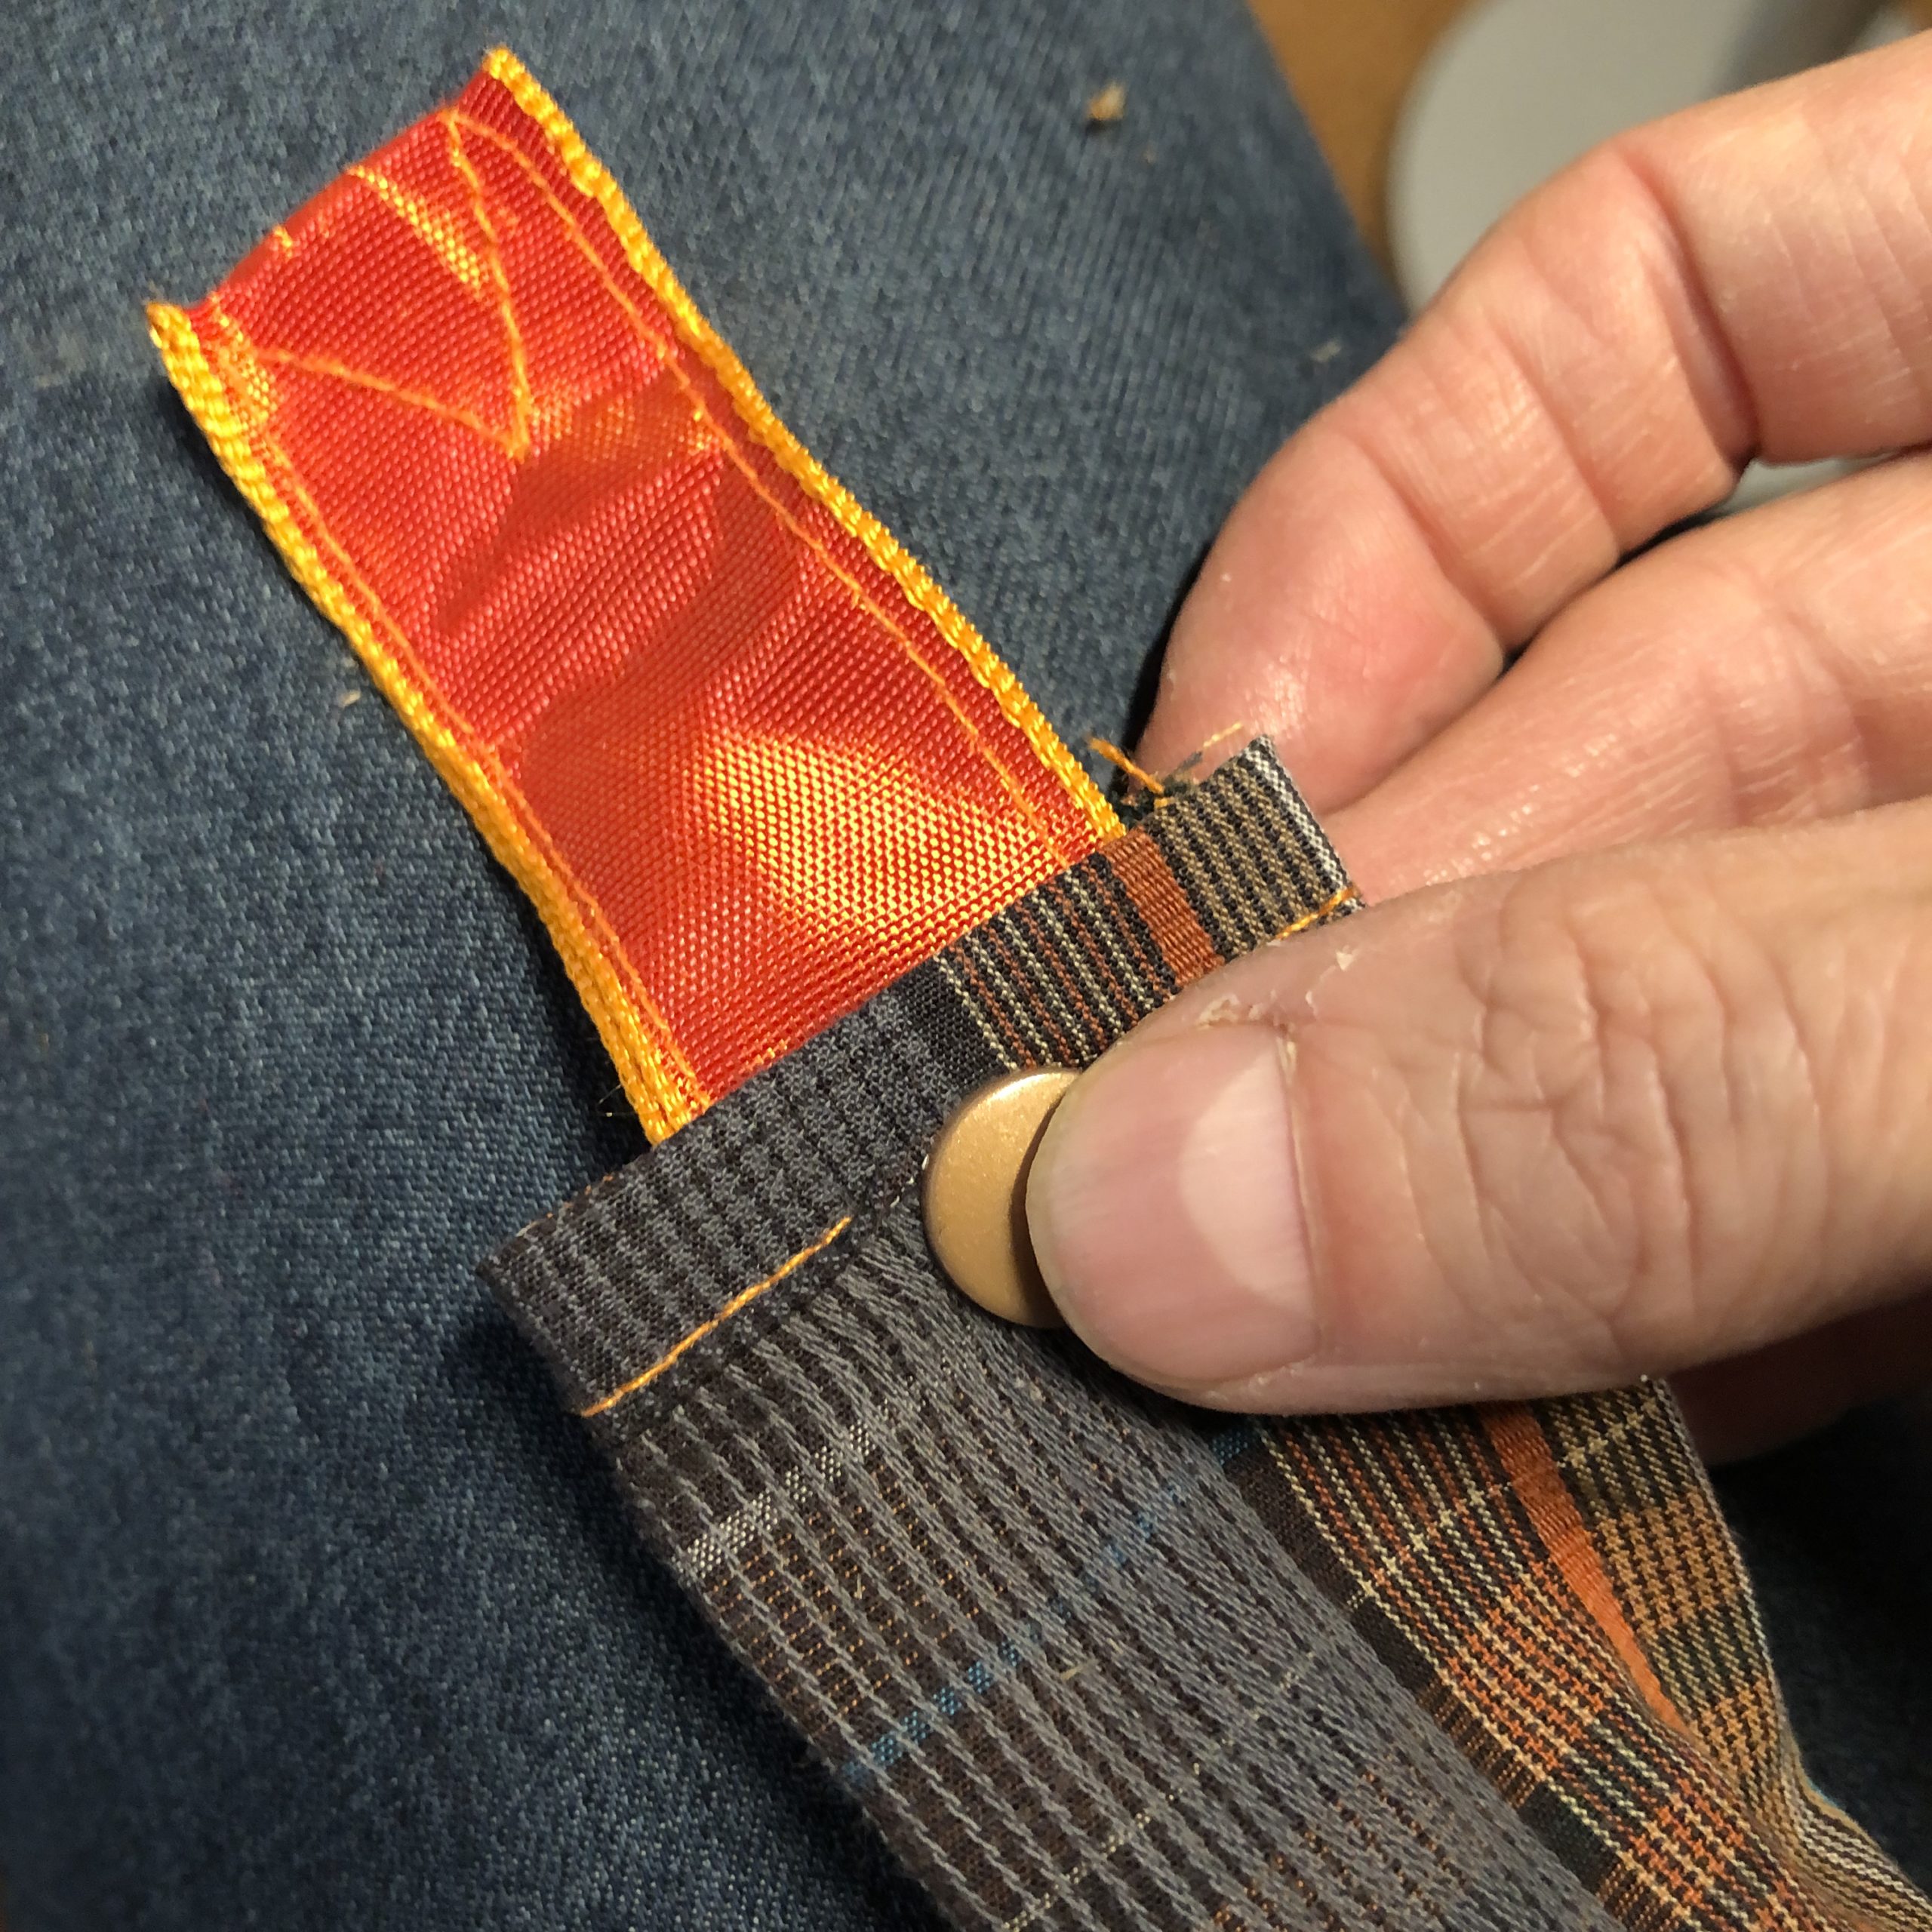
Bild zum Schritt 25 für das Bastel- und DIY-Abenteuer für Kinder: 'Der Druckknopf kann nun verschlossen werden.'

26

The tip of the tongue is still cut. Make sure you keep some distance from the seam!
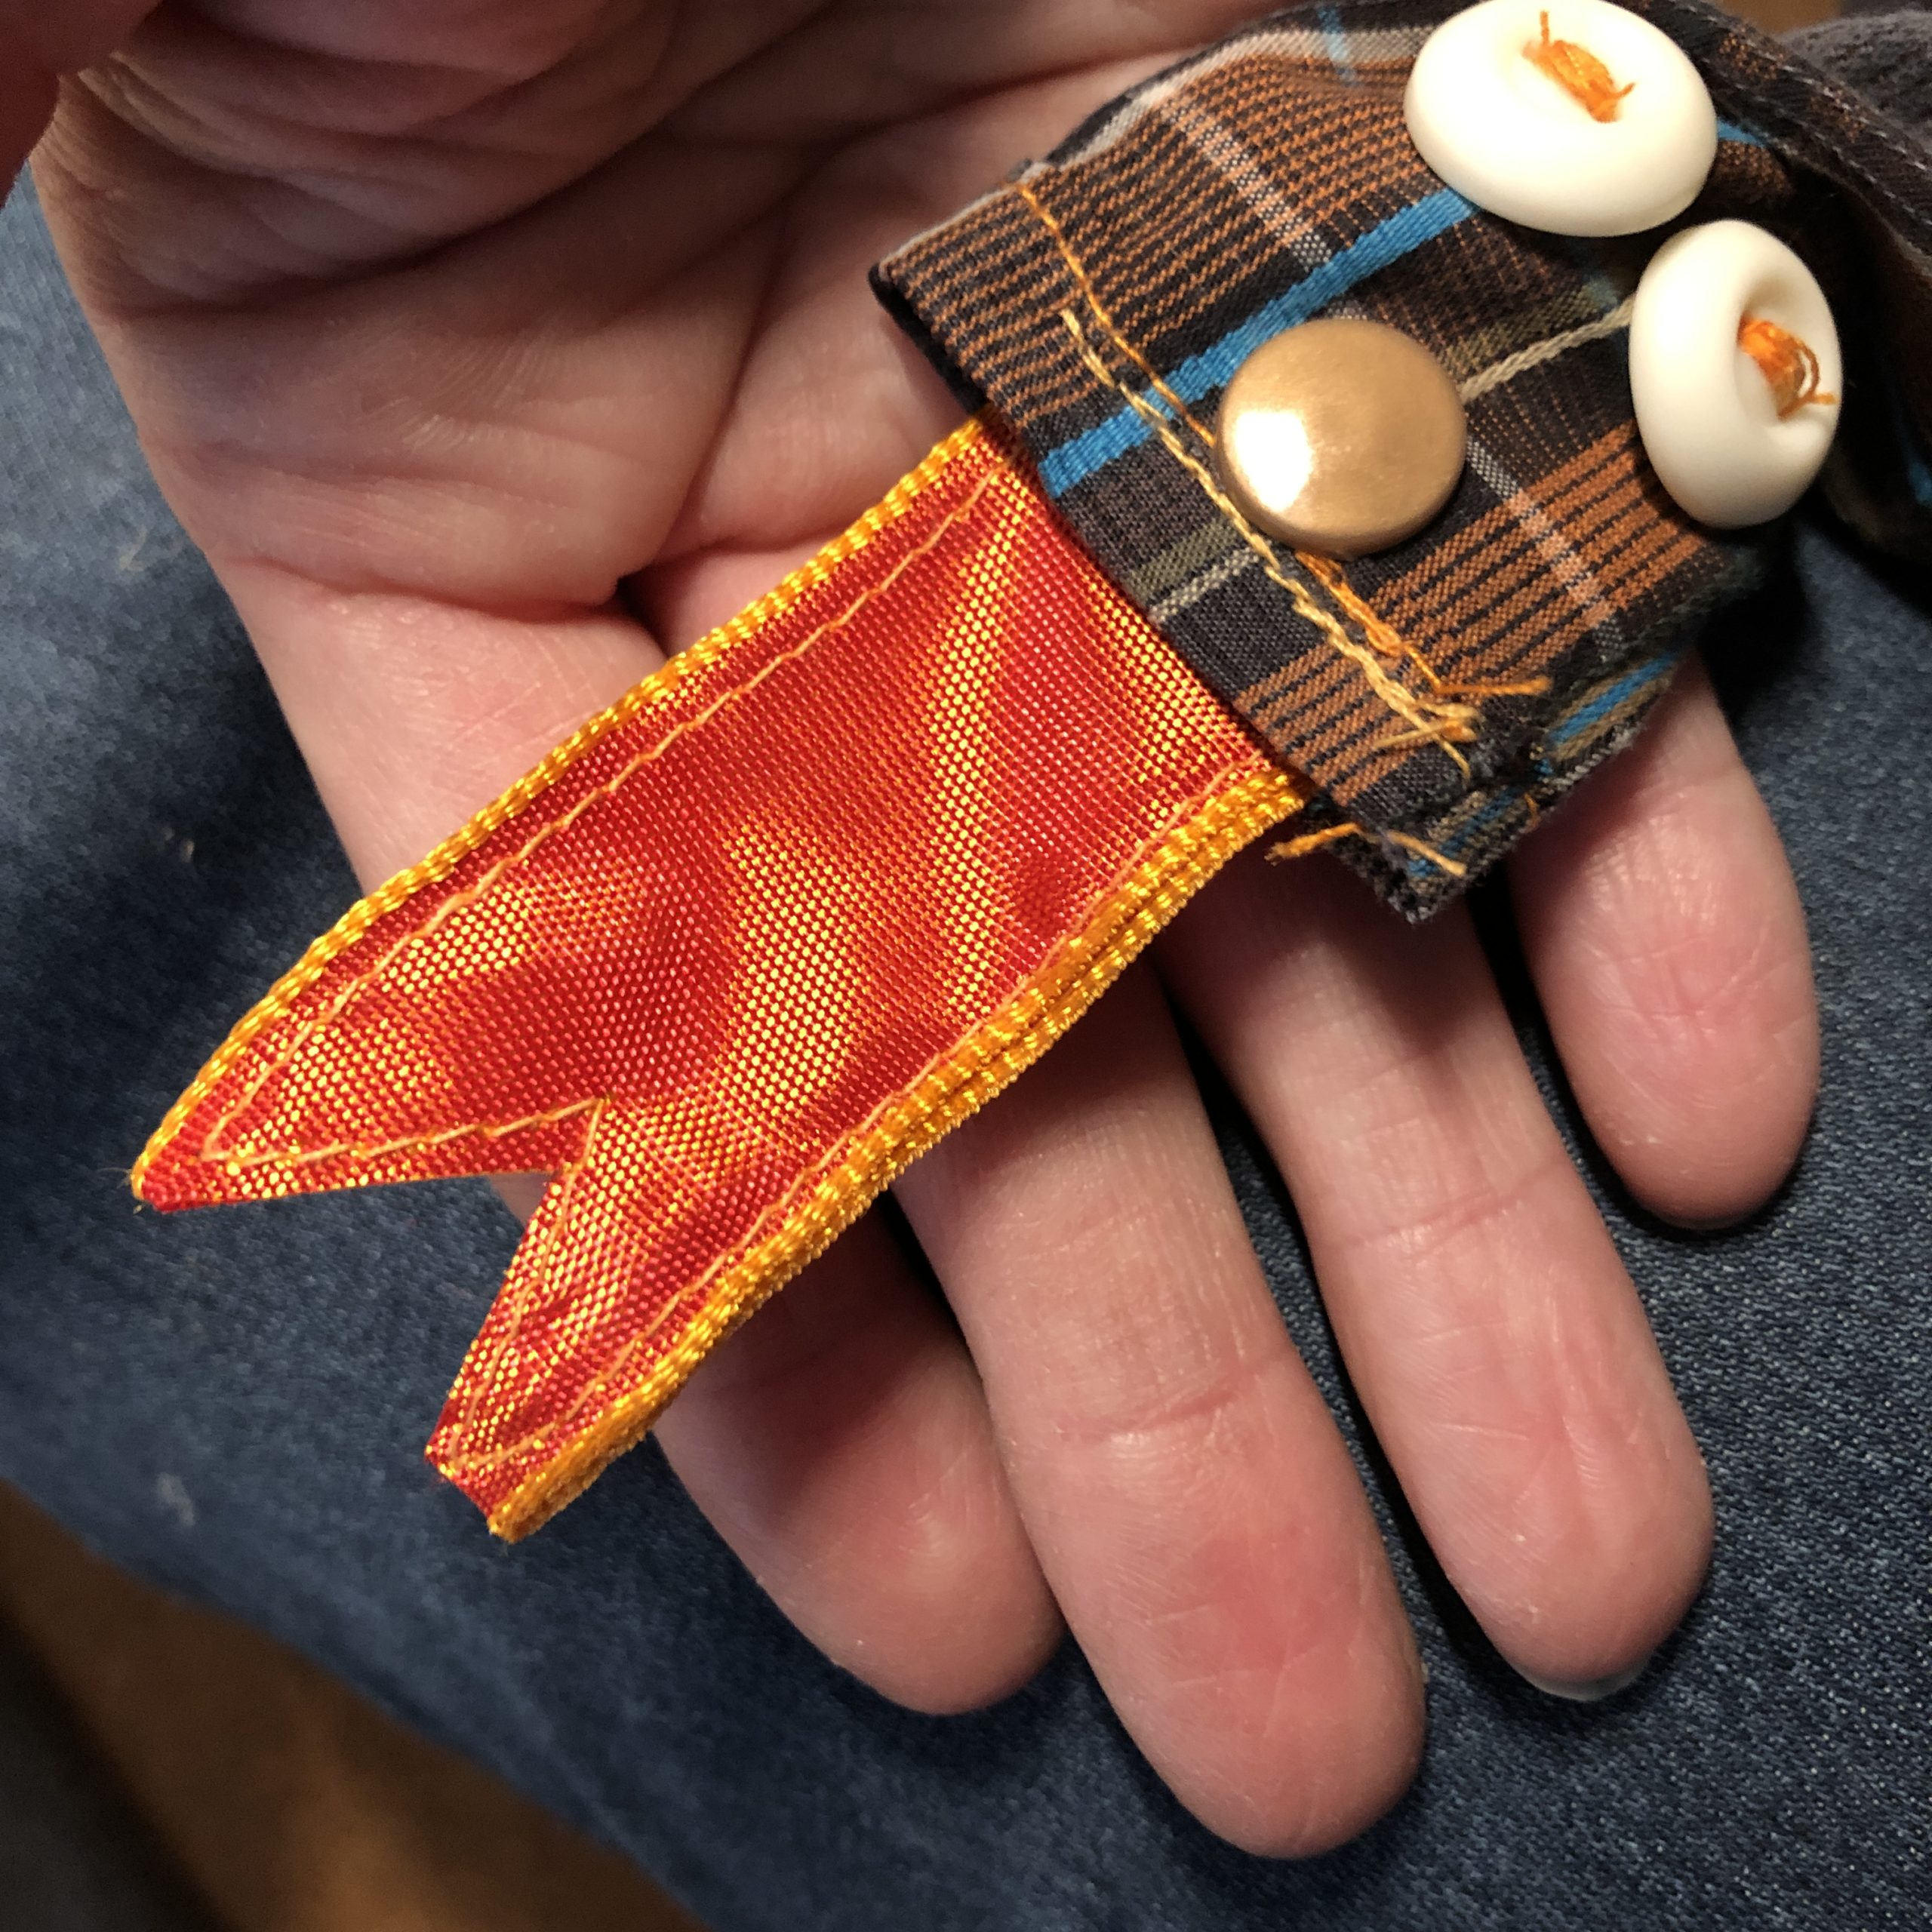
Bild zum Schritt 26 für das Bastel- und DIY-Abenteuer für Kinder: 'Die Spitze der Zunge wird noch zugeschnitten. Achtet darauf, dass...'

27

Now place a push button on the opposite opening of the snake as well. (As already described!)
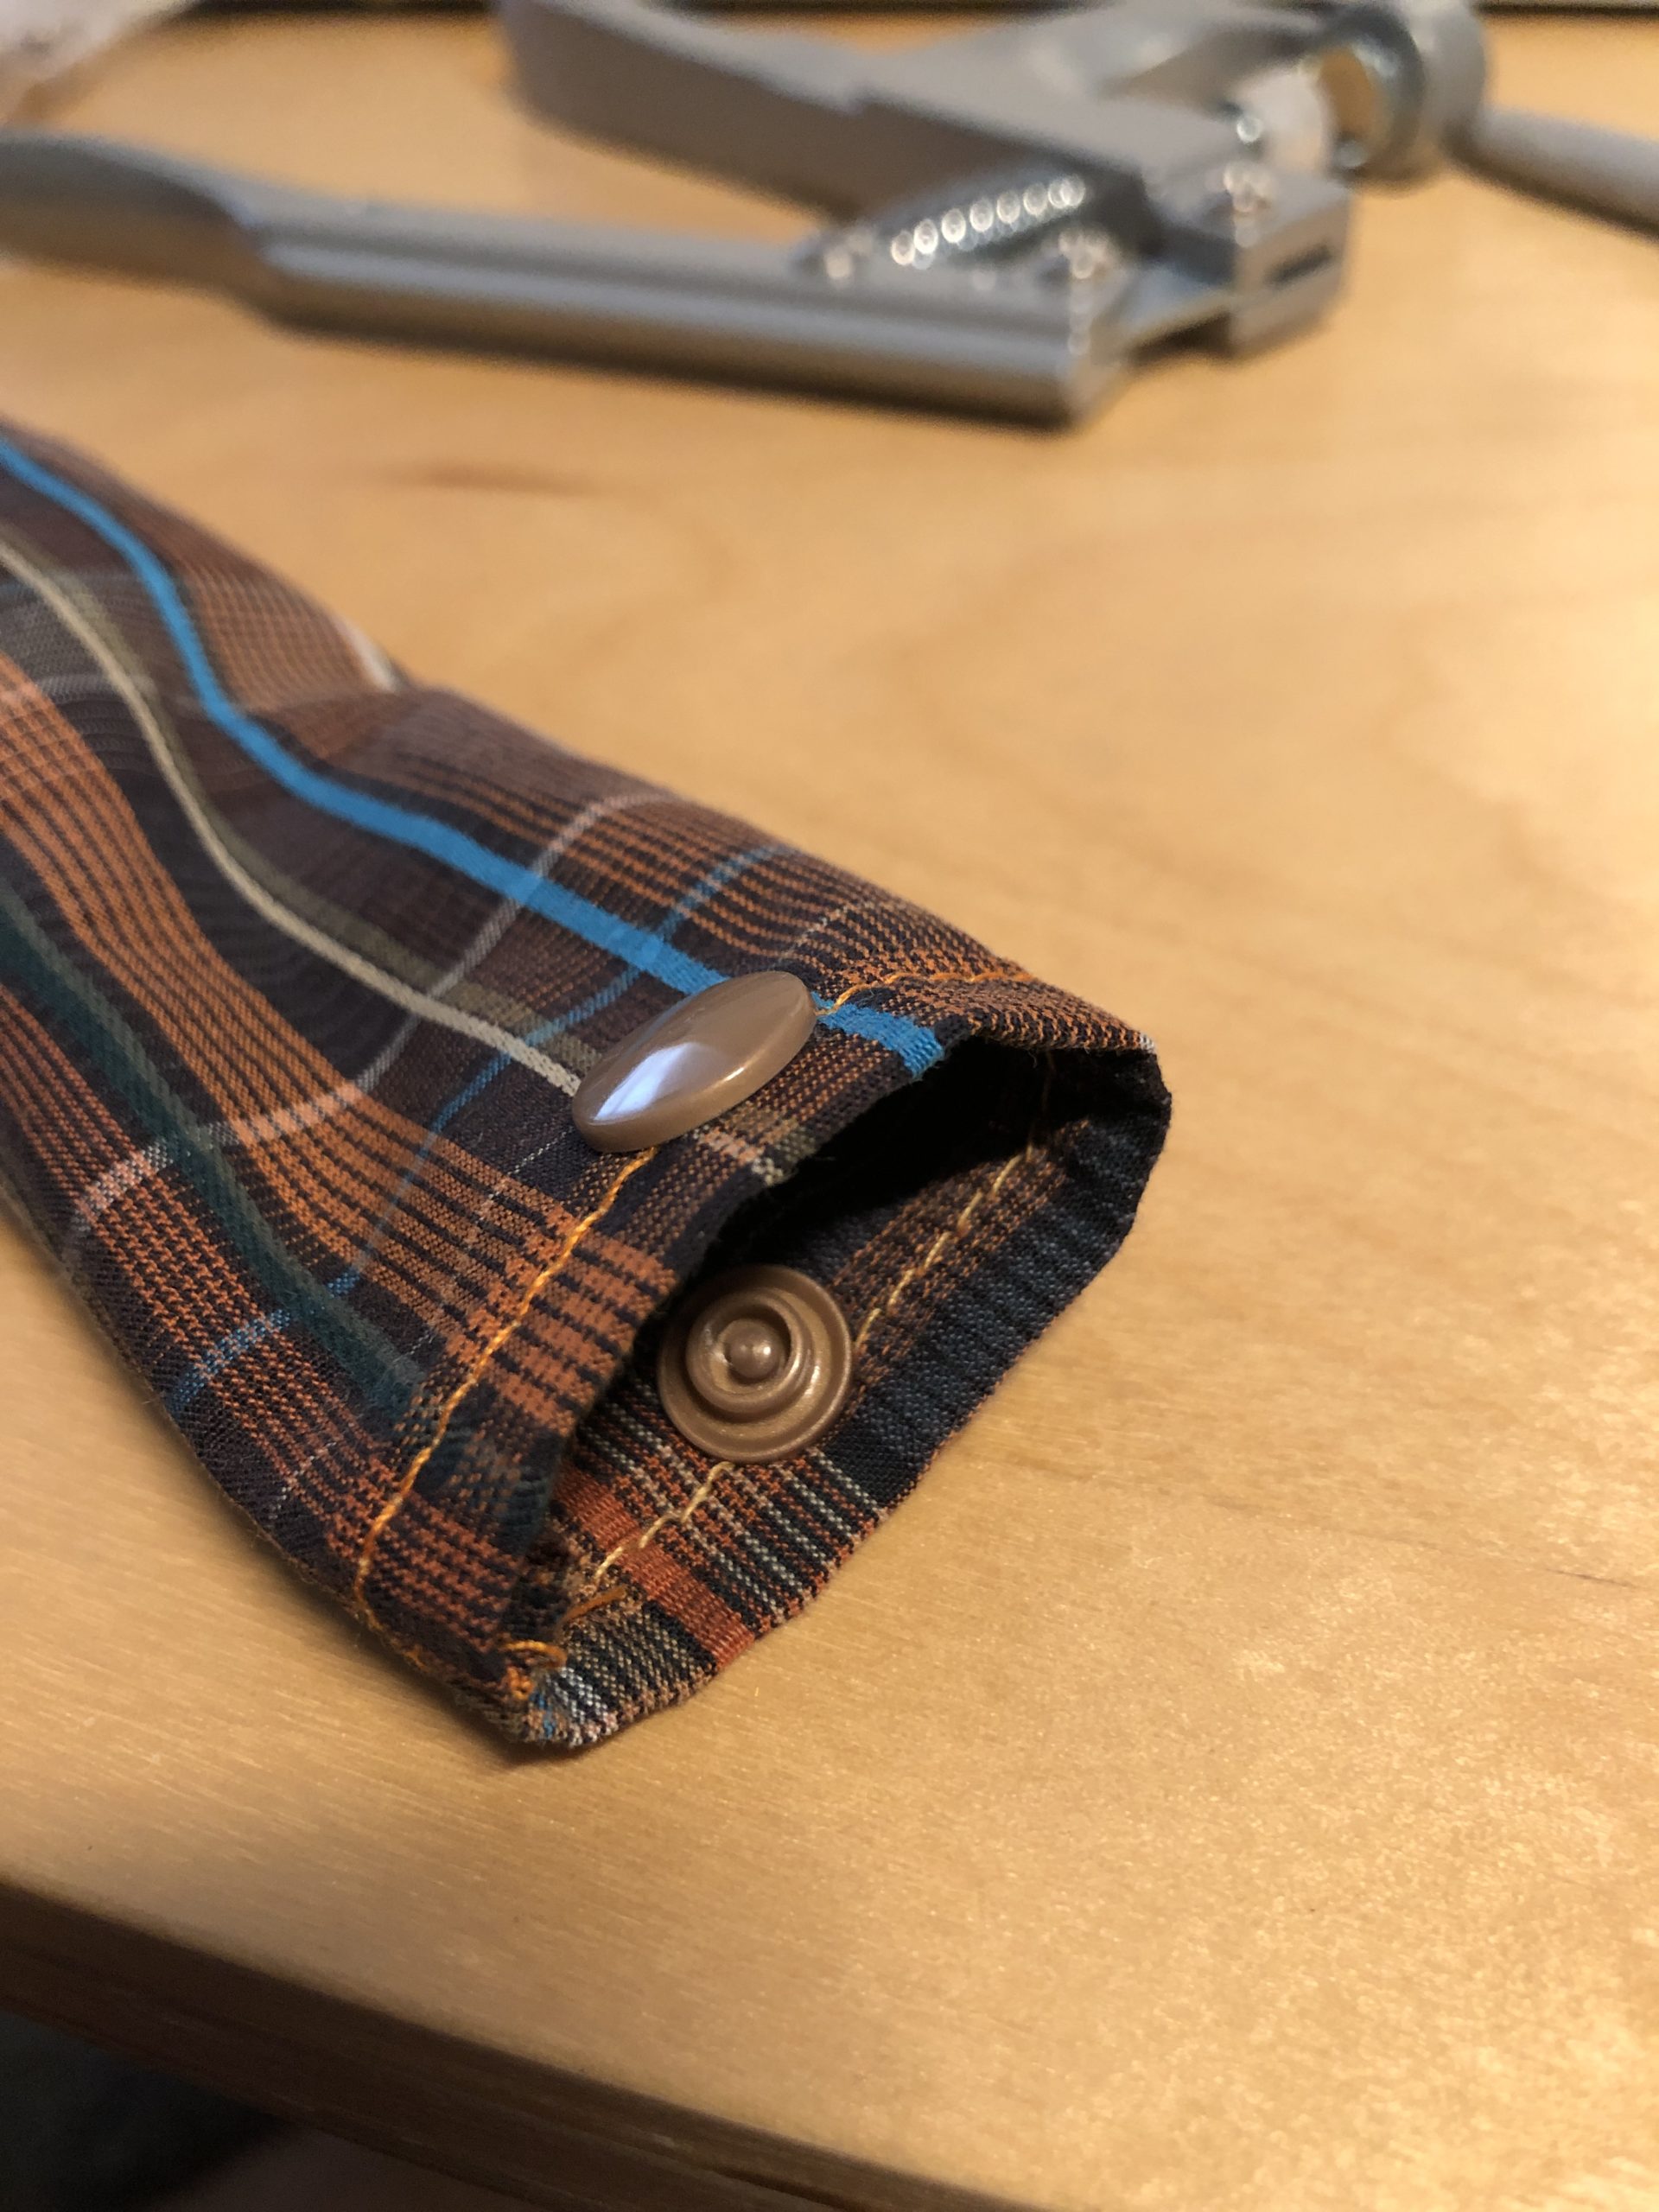
Bild zum Schritt 27 für das Bastel- und DIY-Abenteuer für Kinder: 'Bringt nun auf der gegenüberliegenden Öffnung der Schlange ebenfalls ein...'

28

Now the children can start filling the snake with chestnuts.
Close the opening on the face of the snake, or the chestnuts will slip out of you again.

Bild zum Schritt 28 für das Bastel- und DIY-Abenteuer für Kinder: 'Nun können die Kinder beginnen, die Schlange mit Kastanien zu...'

29

Have fun playing with the snake!

Bild zum Schritt 29 für das Bastel- und DIY-Abenteuer für Kinder: 'Viel Spaß beim Spielen mit der Schlange!'

30

Attention: Do not let small children play with chestnuts unattended, as the chestnuts are often taken into their mouths!

31

Good luck!

Sewing chestnut snake

Follow us on Facebook , Instagram and Pinterest
Don't miss any more adventures: Our bottle mail

Leave a Reply

Your email address will not be published.

The maximum upload file size: 5 MB. You can upload: image, document. Drop file here