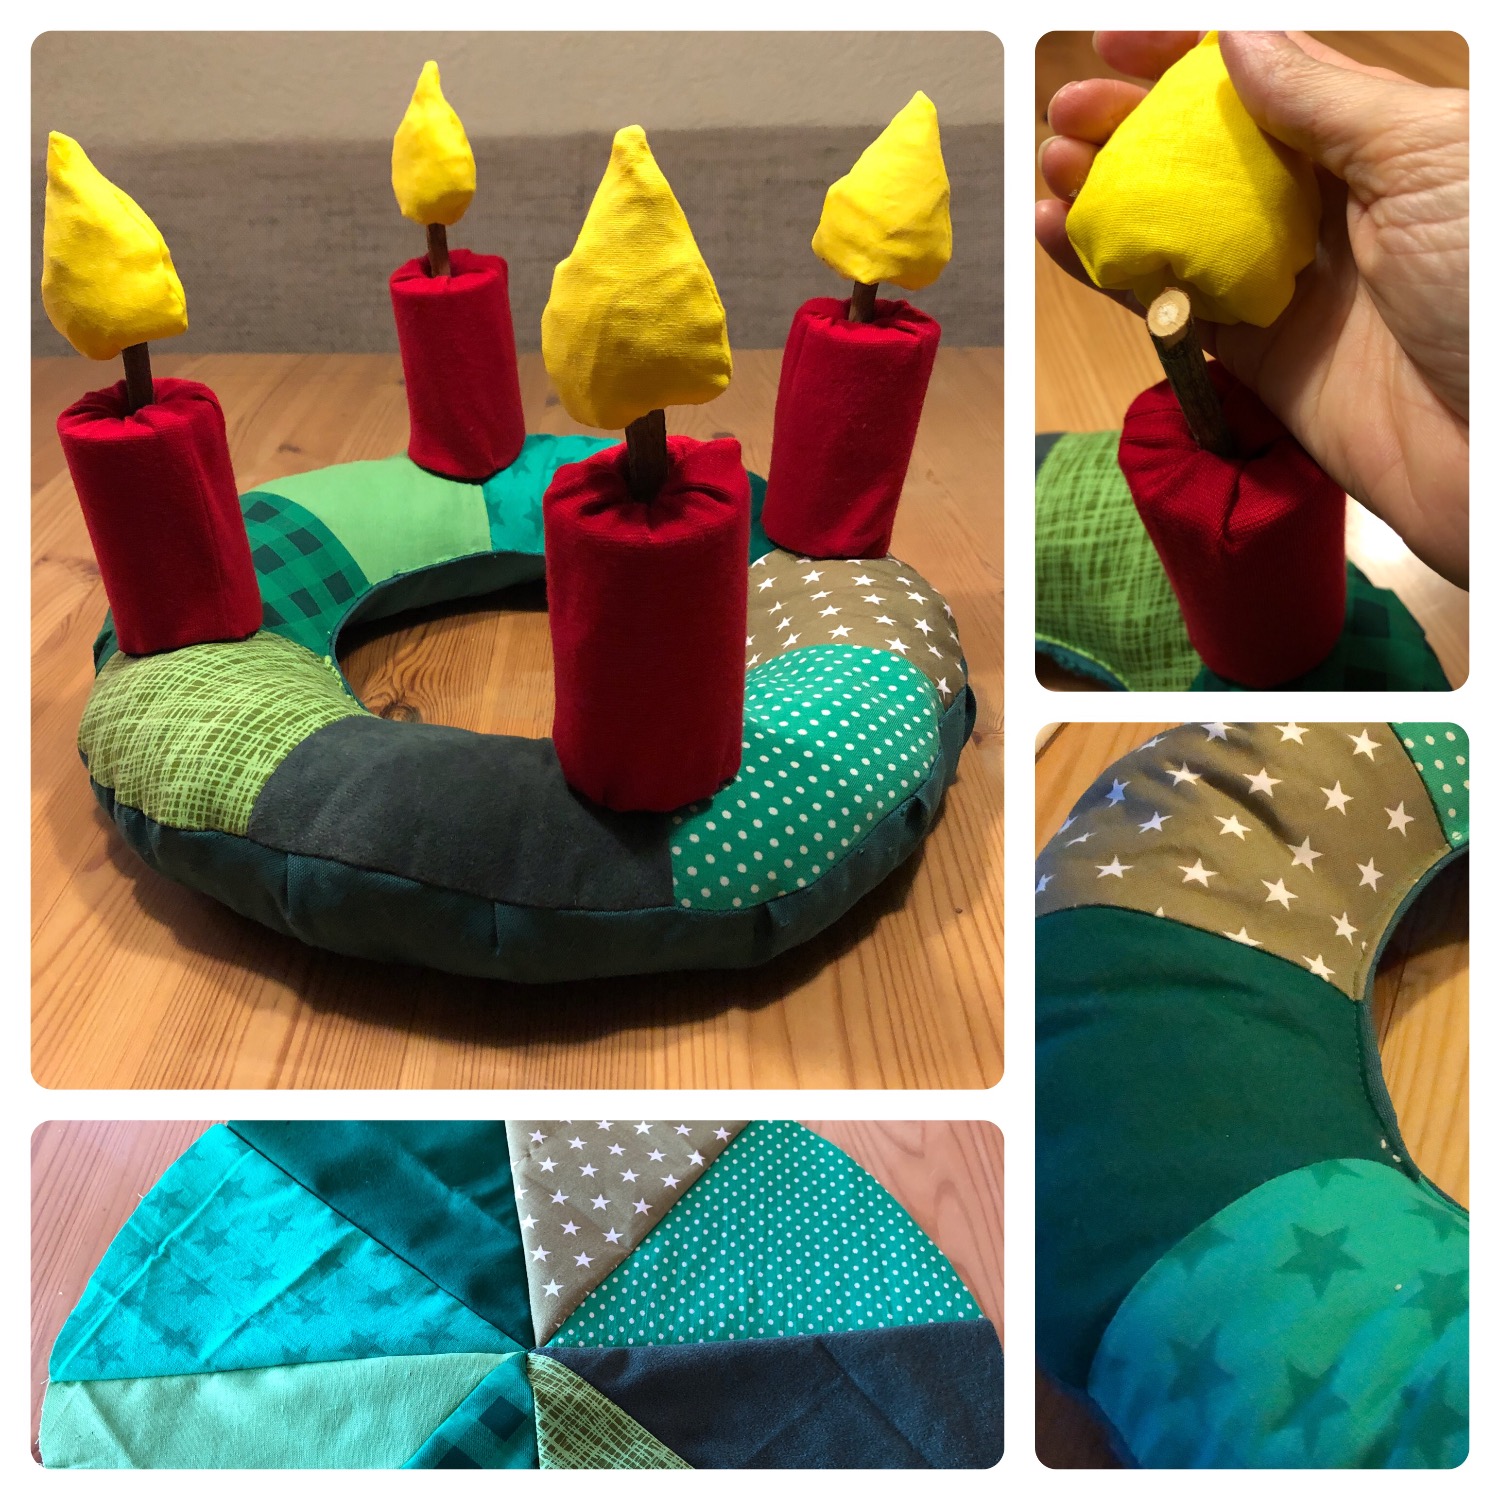
This Advent wreath is ideal for toddlers! A wreath to touch and discover!
The candles are stitched down and the flames can be removed. So you can put up another flame every Sunday of Advent.
Look at the illustrated offer! It is also very elaborate for sewing exercises, but the work is worth it, because you have really long something of this Advent wreath!
Media Education for Kindergarten and Hort

Relief in everyday life, targeted promotion of individual children, independent learning and - without any pre-knowledge already usable by the youngest!
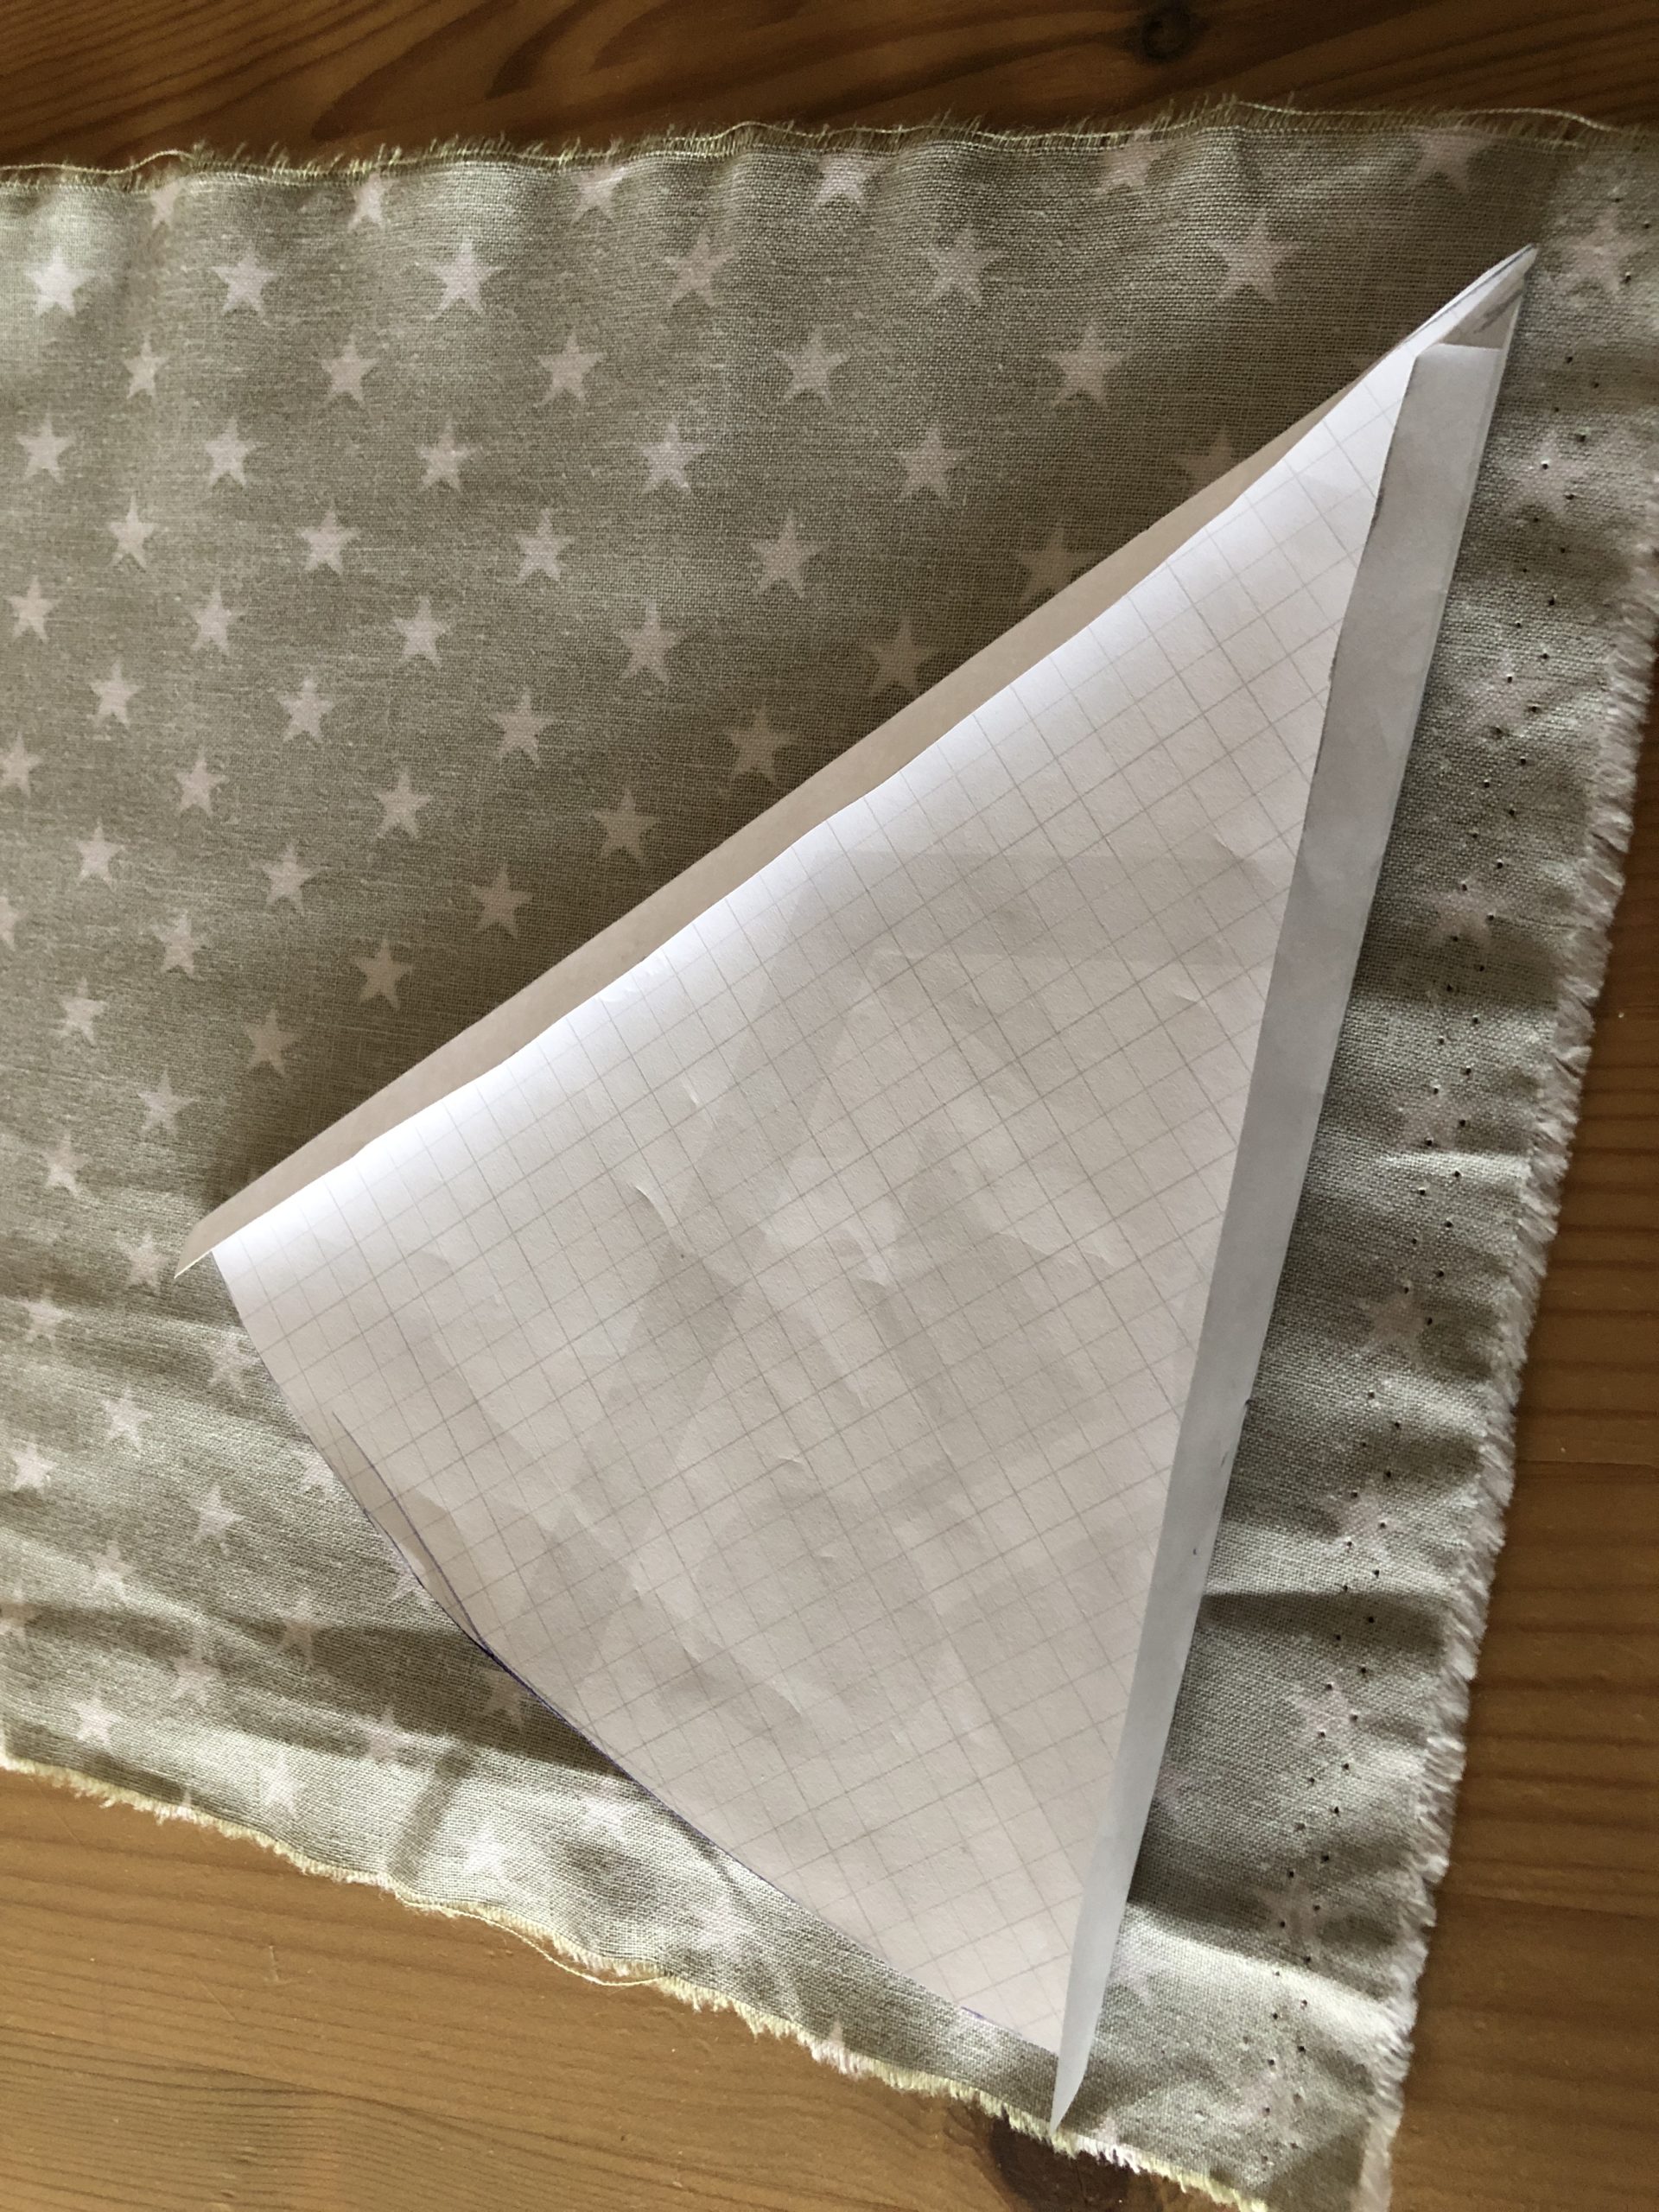
Make a template for the circle segment of the wreath. Eight segments result in a circle.
Or print out the template and cut it out.

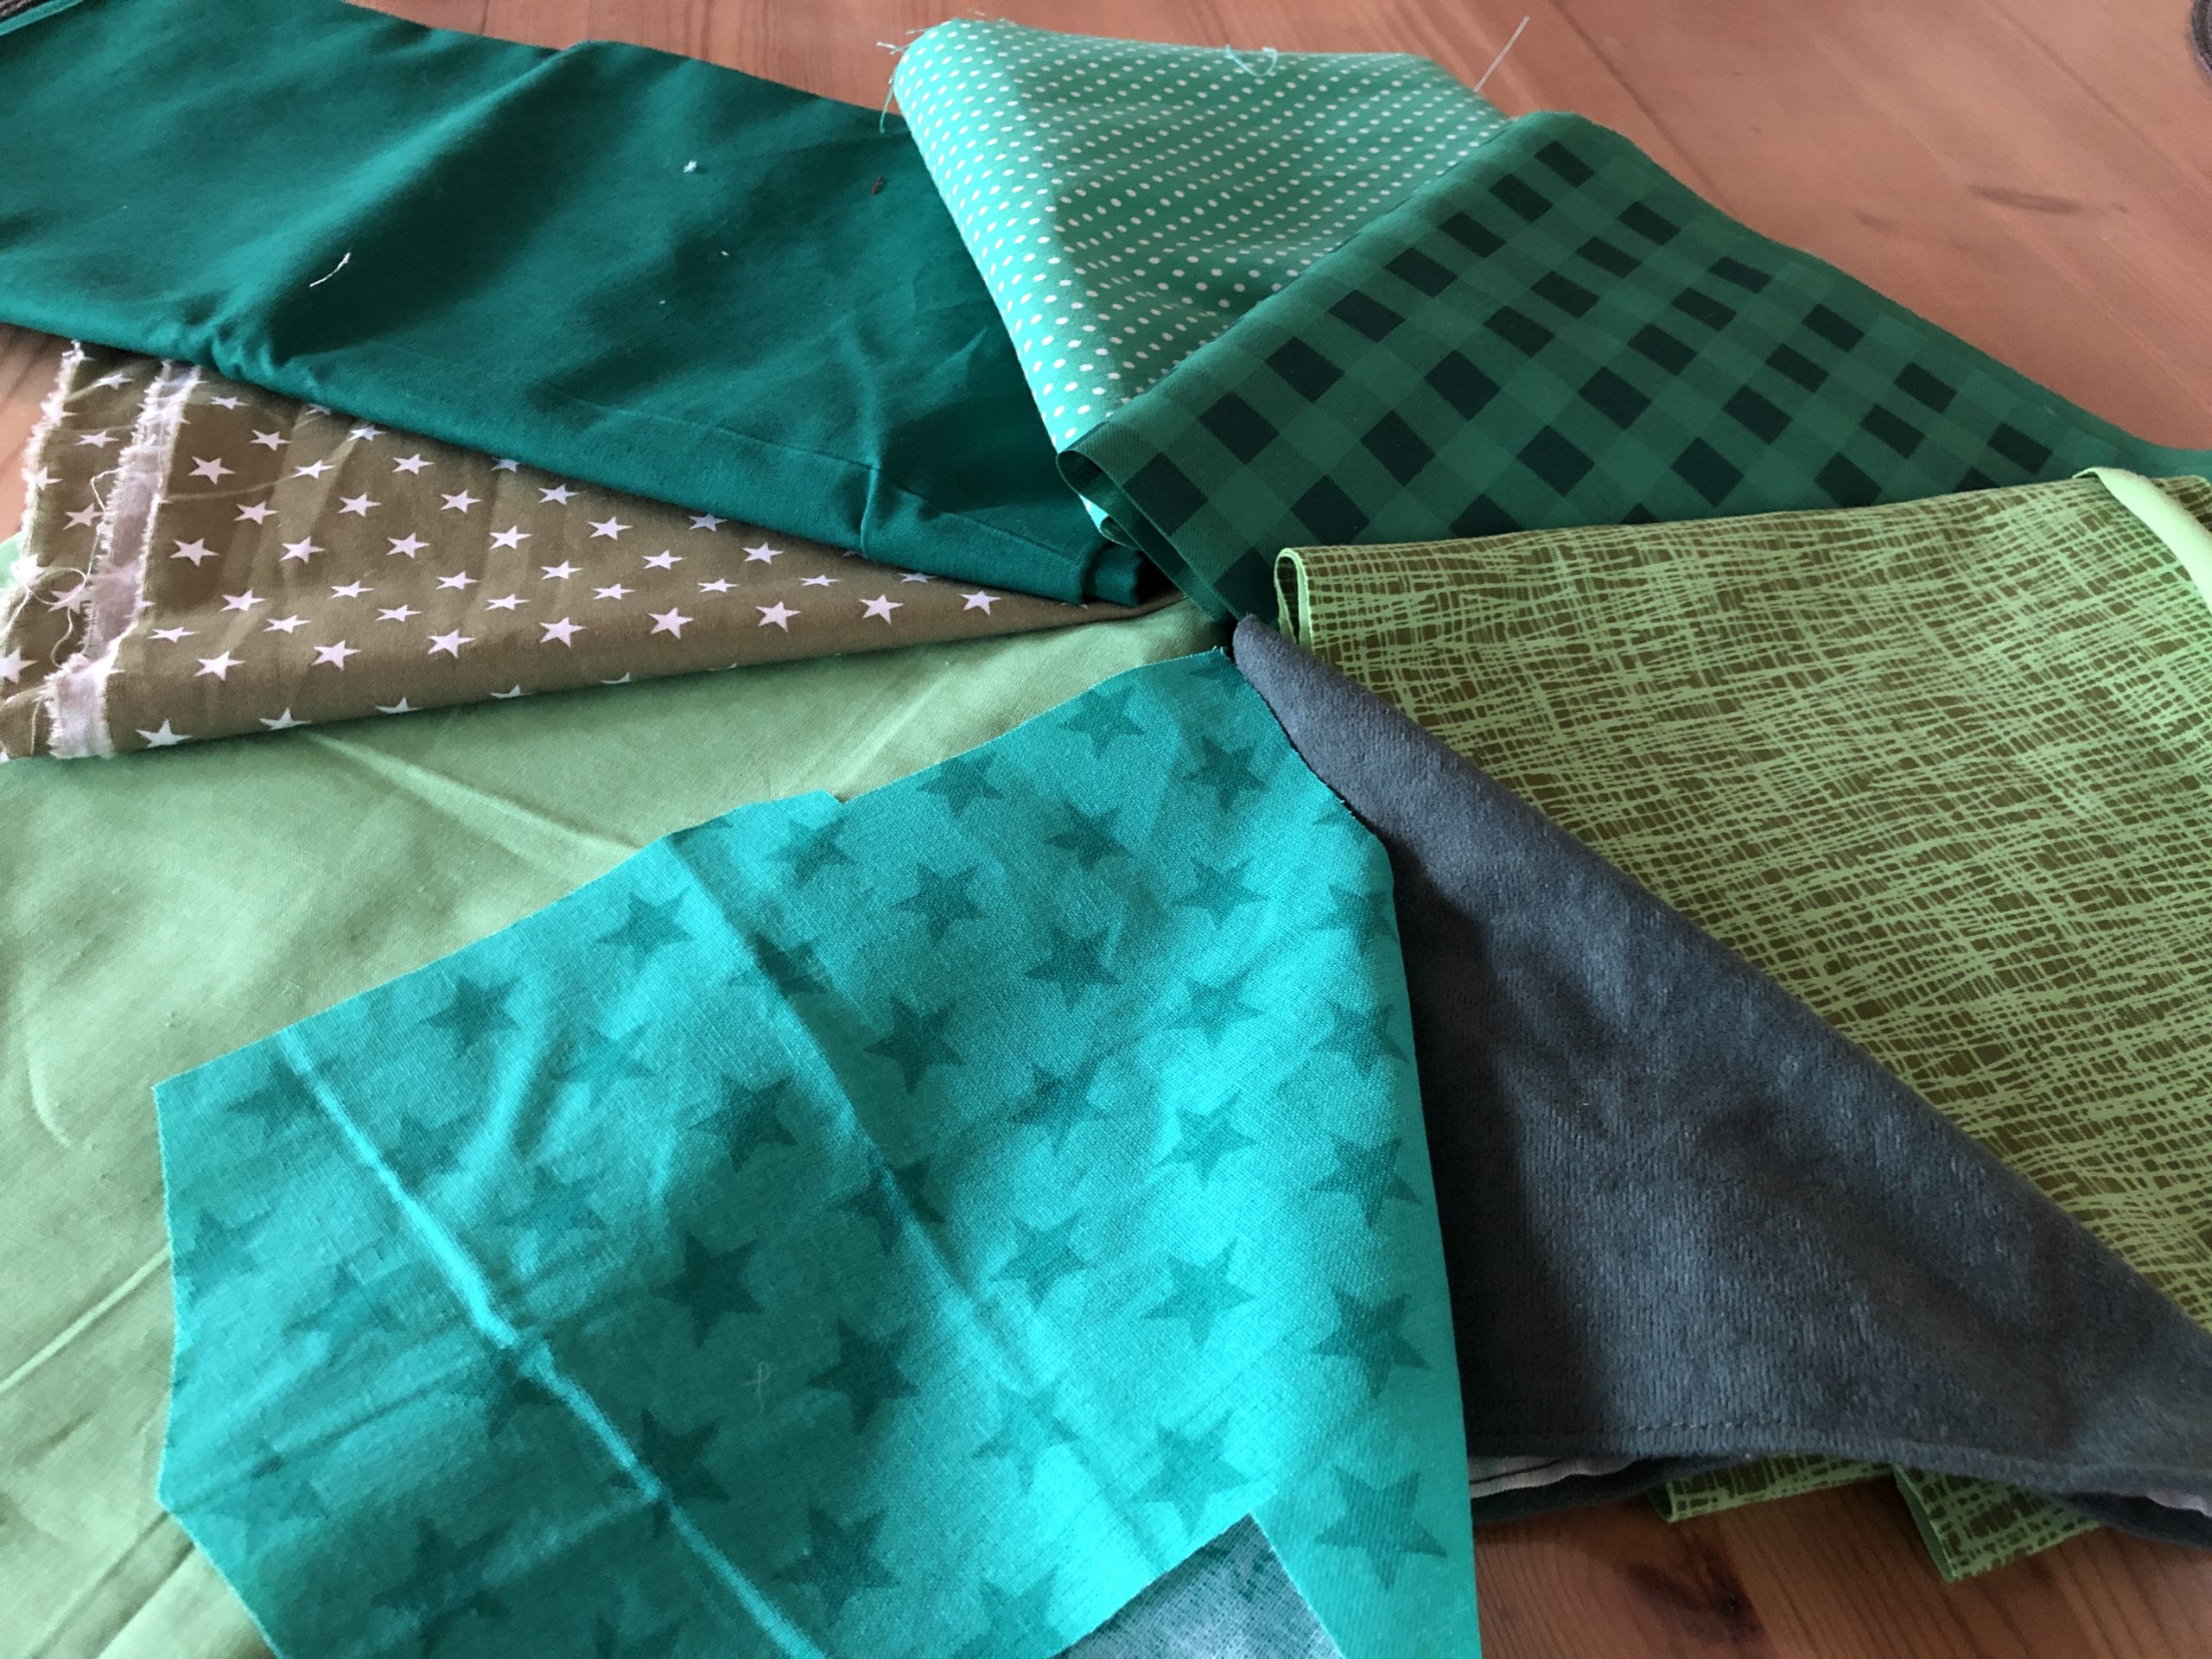
Choose your fabrics.


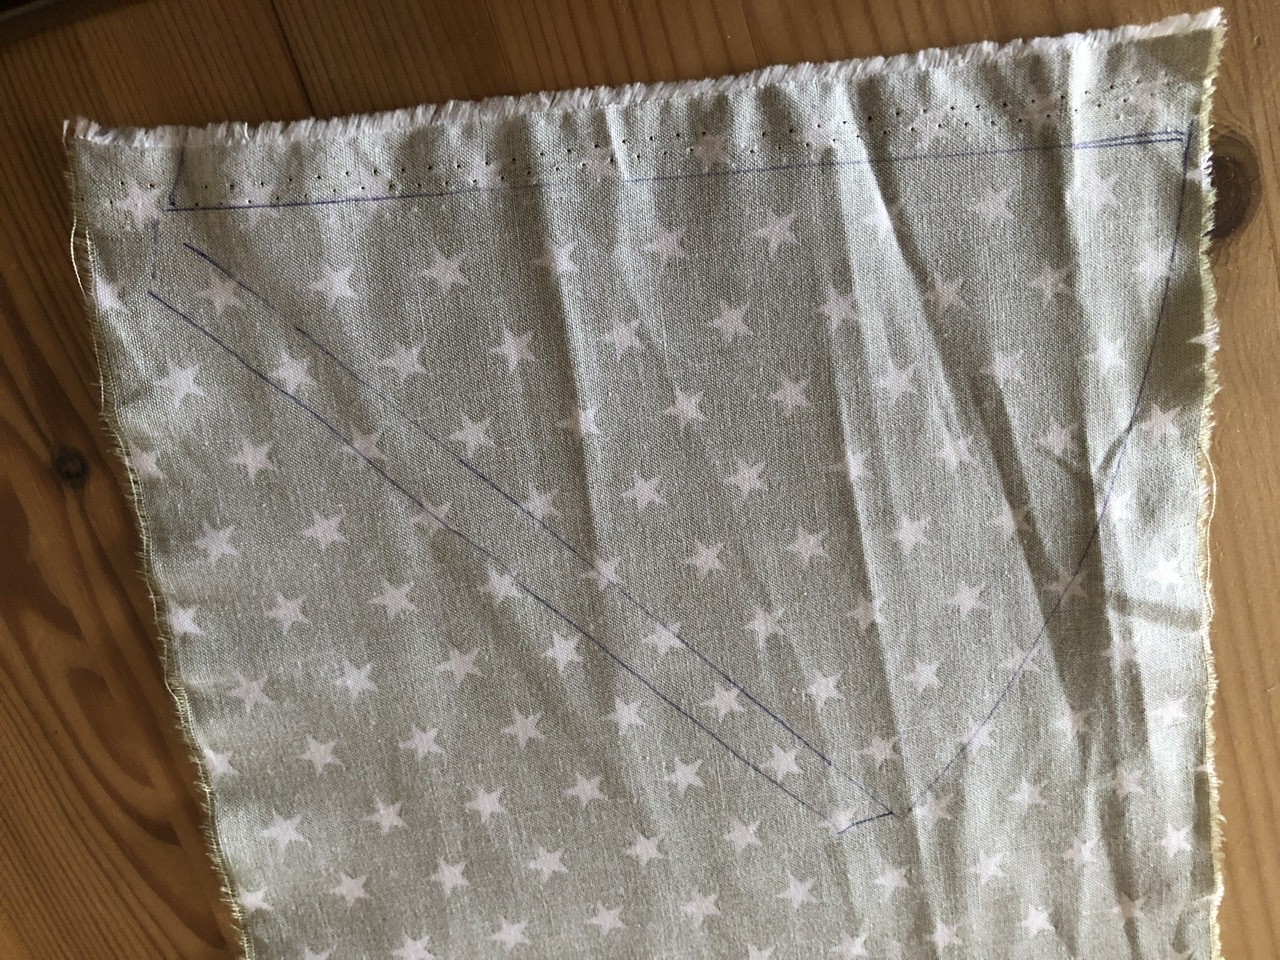
Cut four parts from different materials (patterns). Transfer the template to the fabric. Place the template and border it one centimetre larger. Then cut the fabrics.




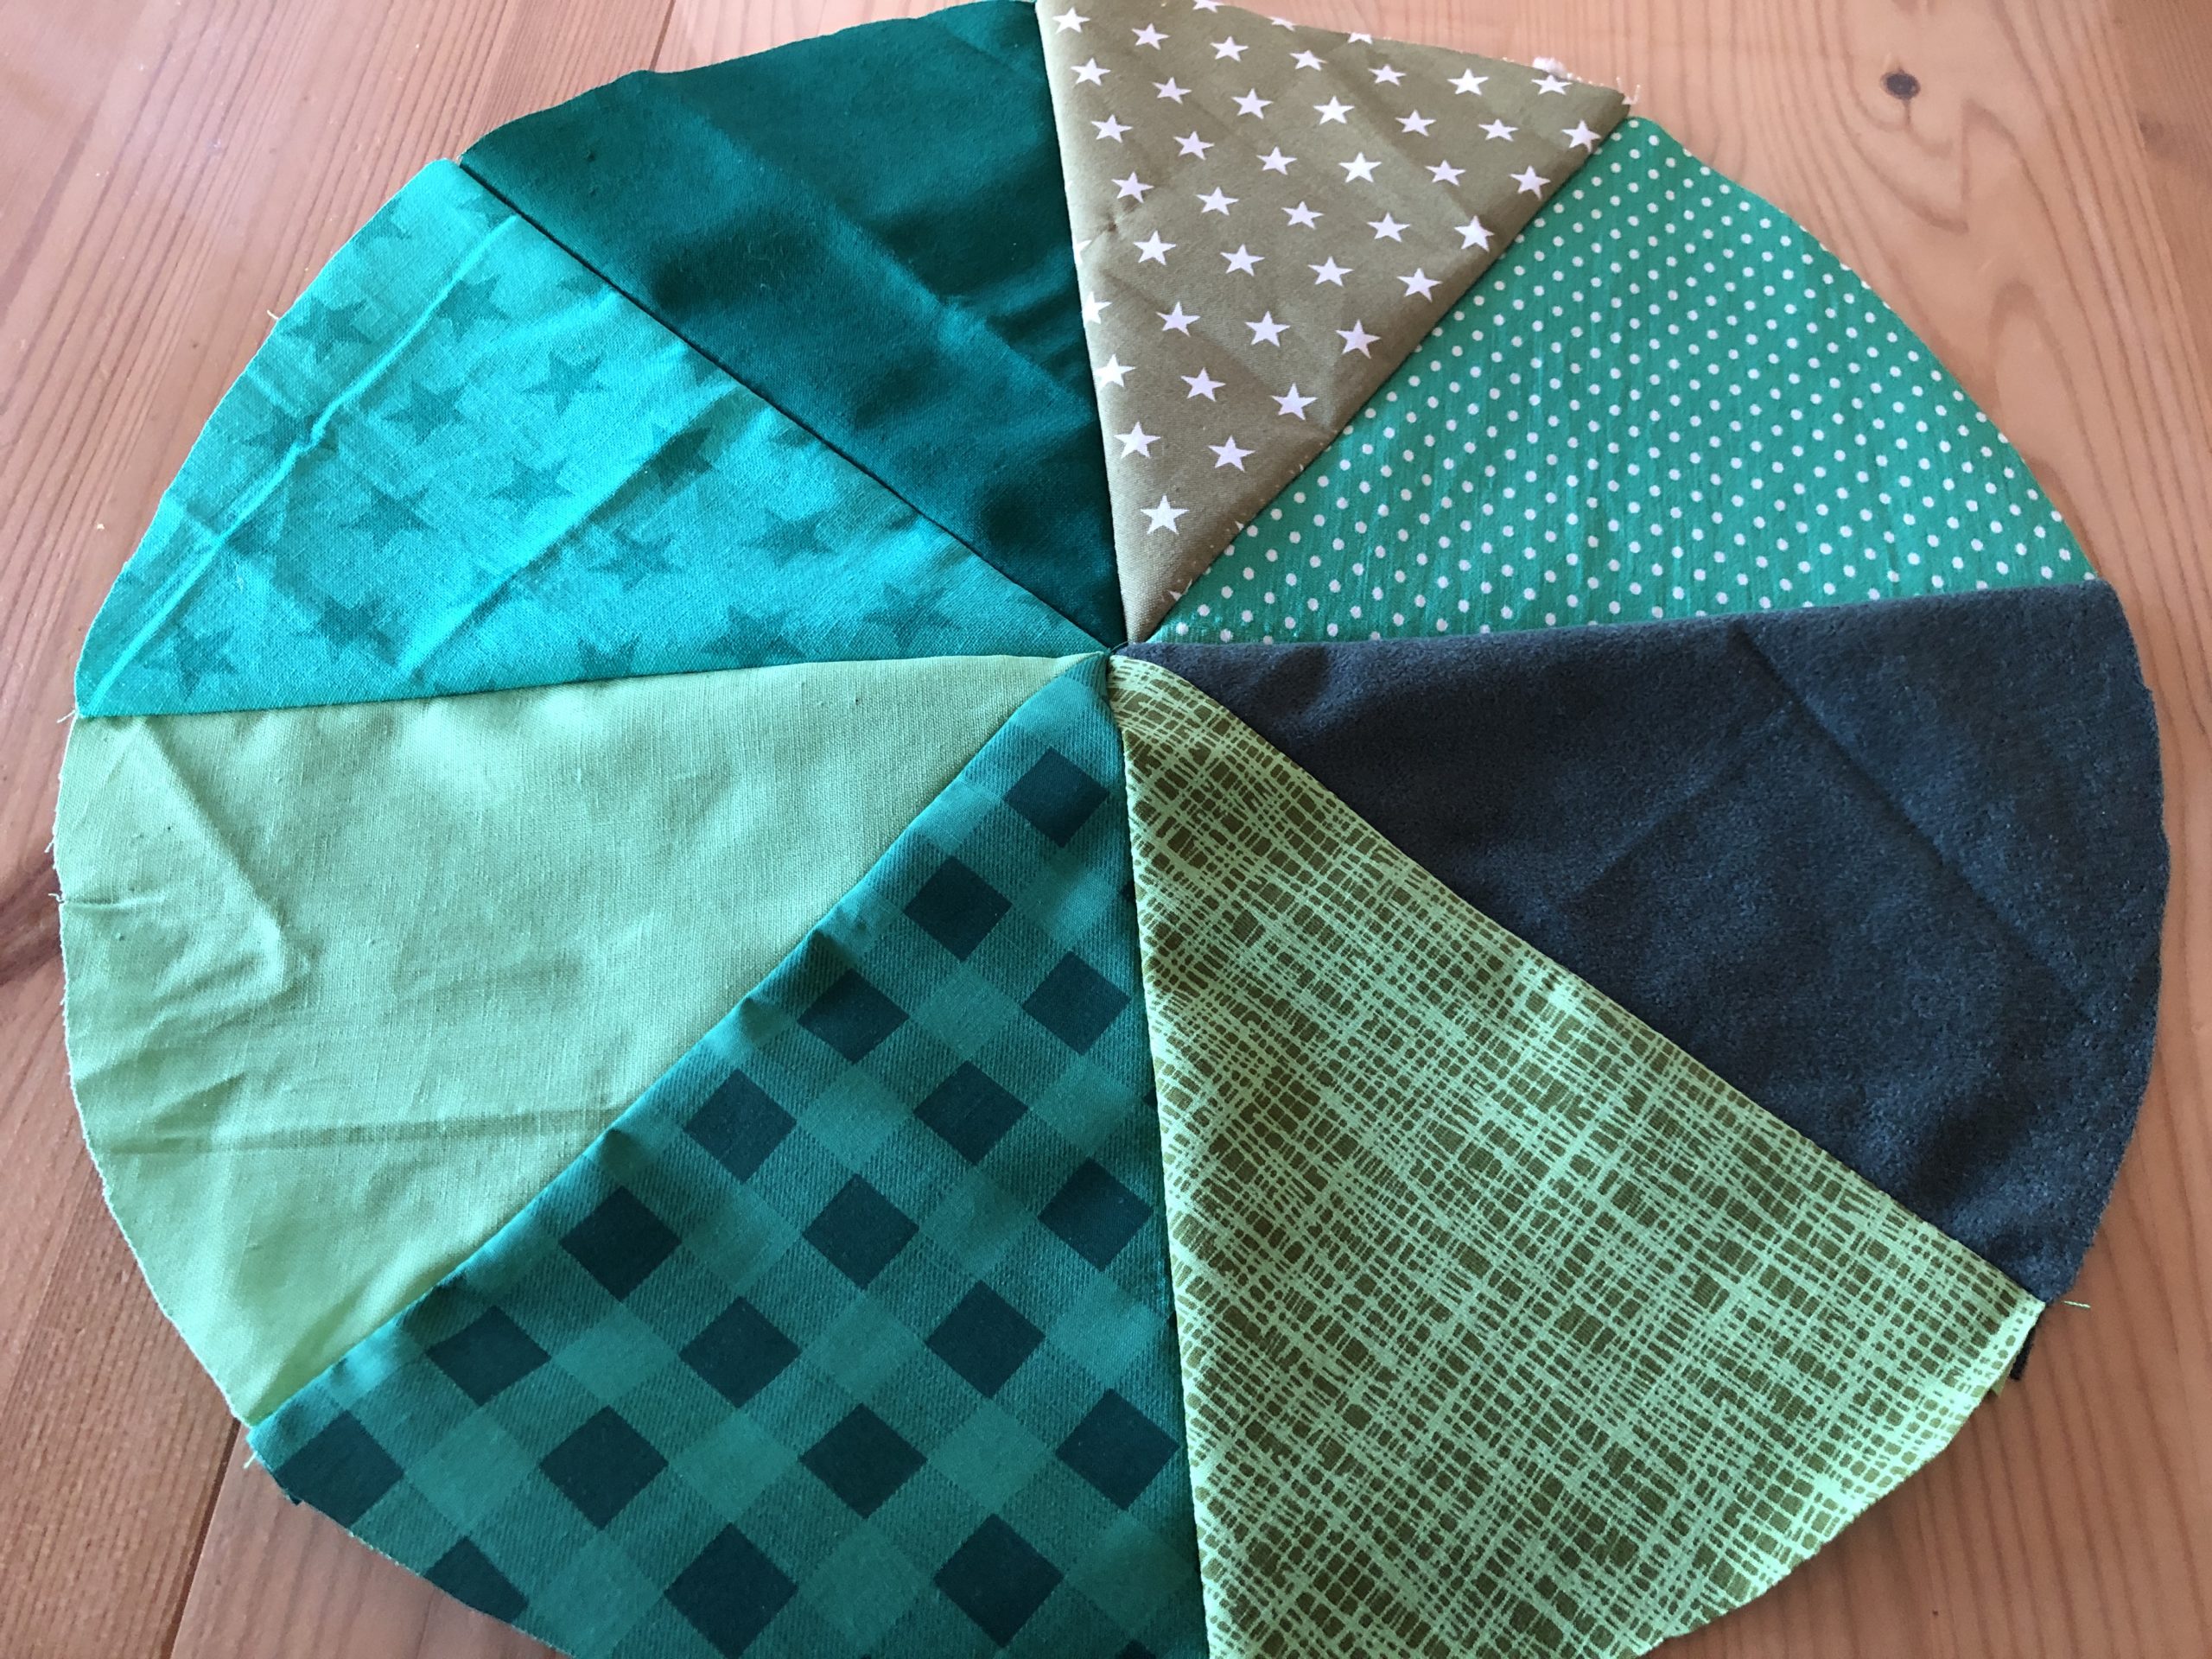
Put your stuffed parts together in a circle.
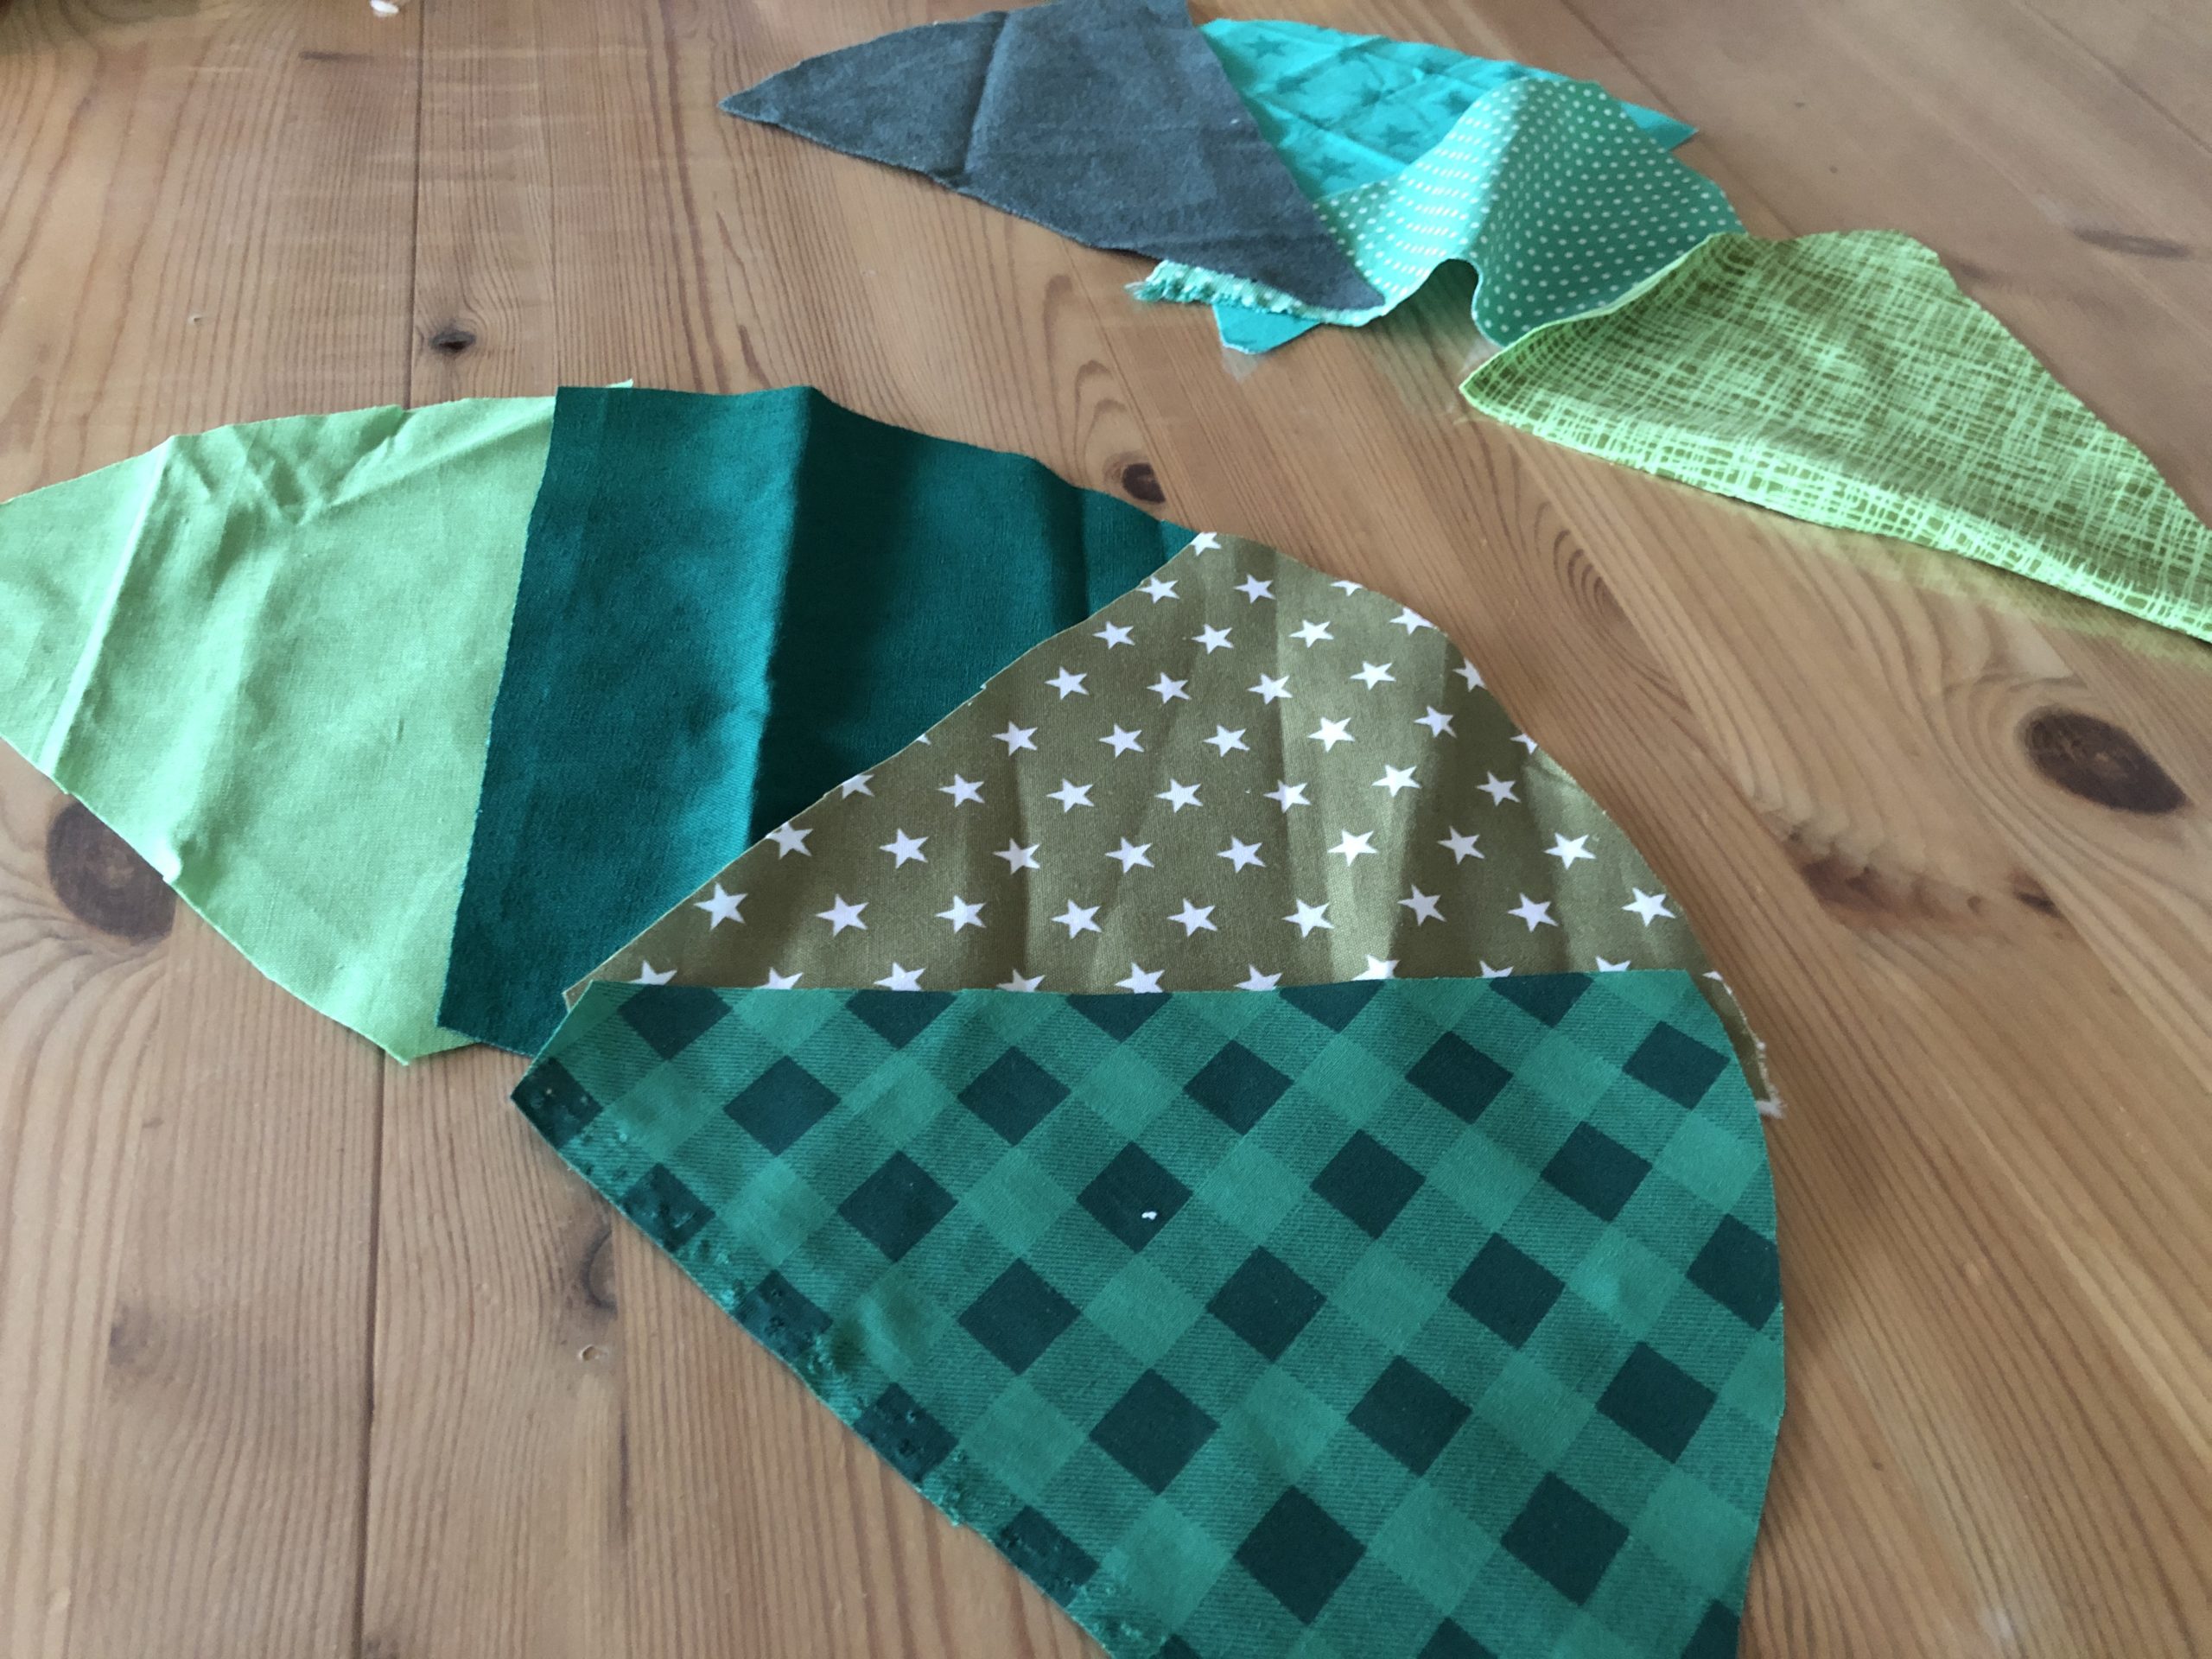


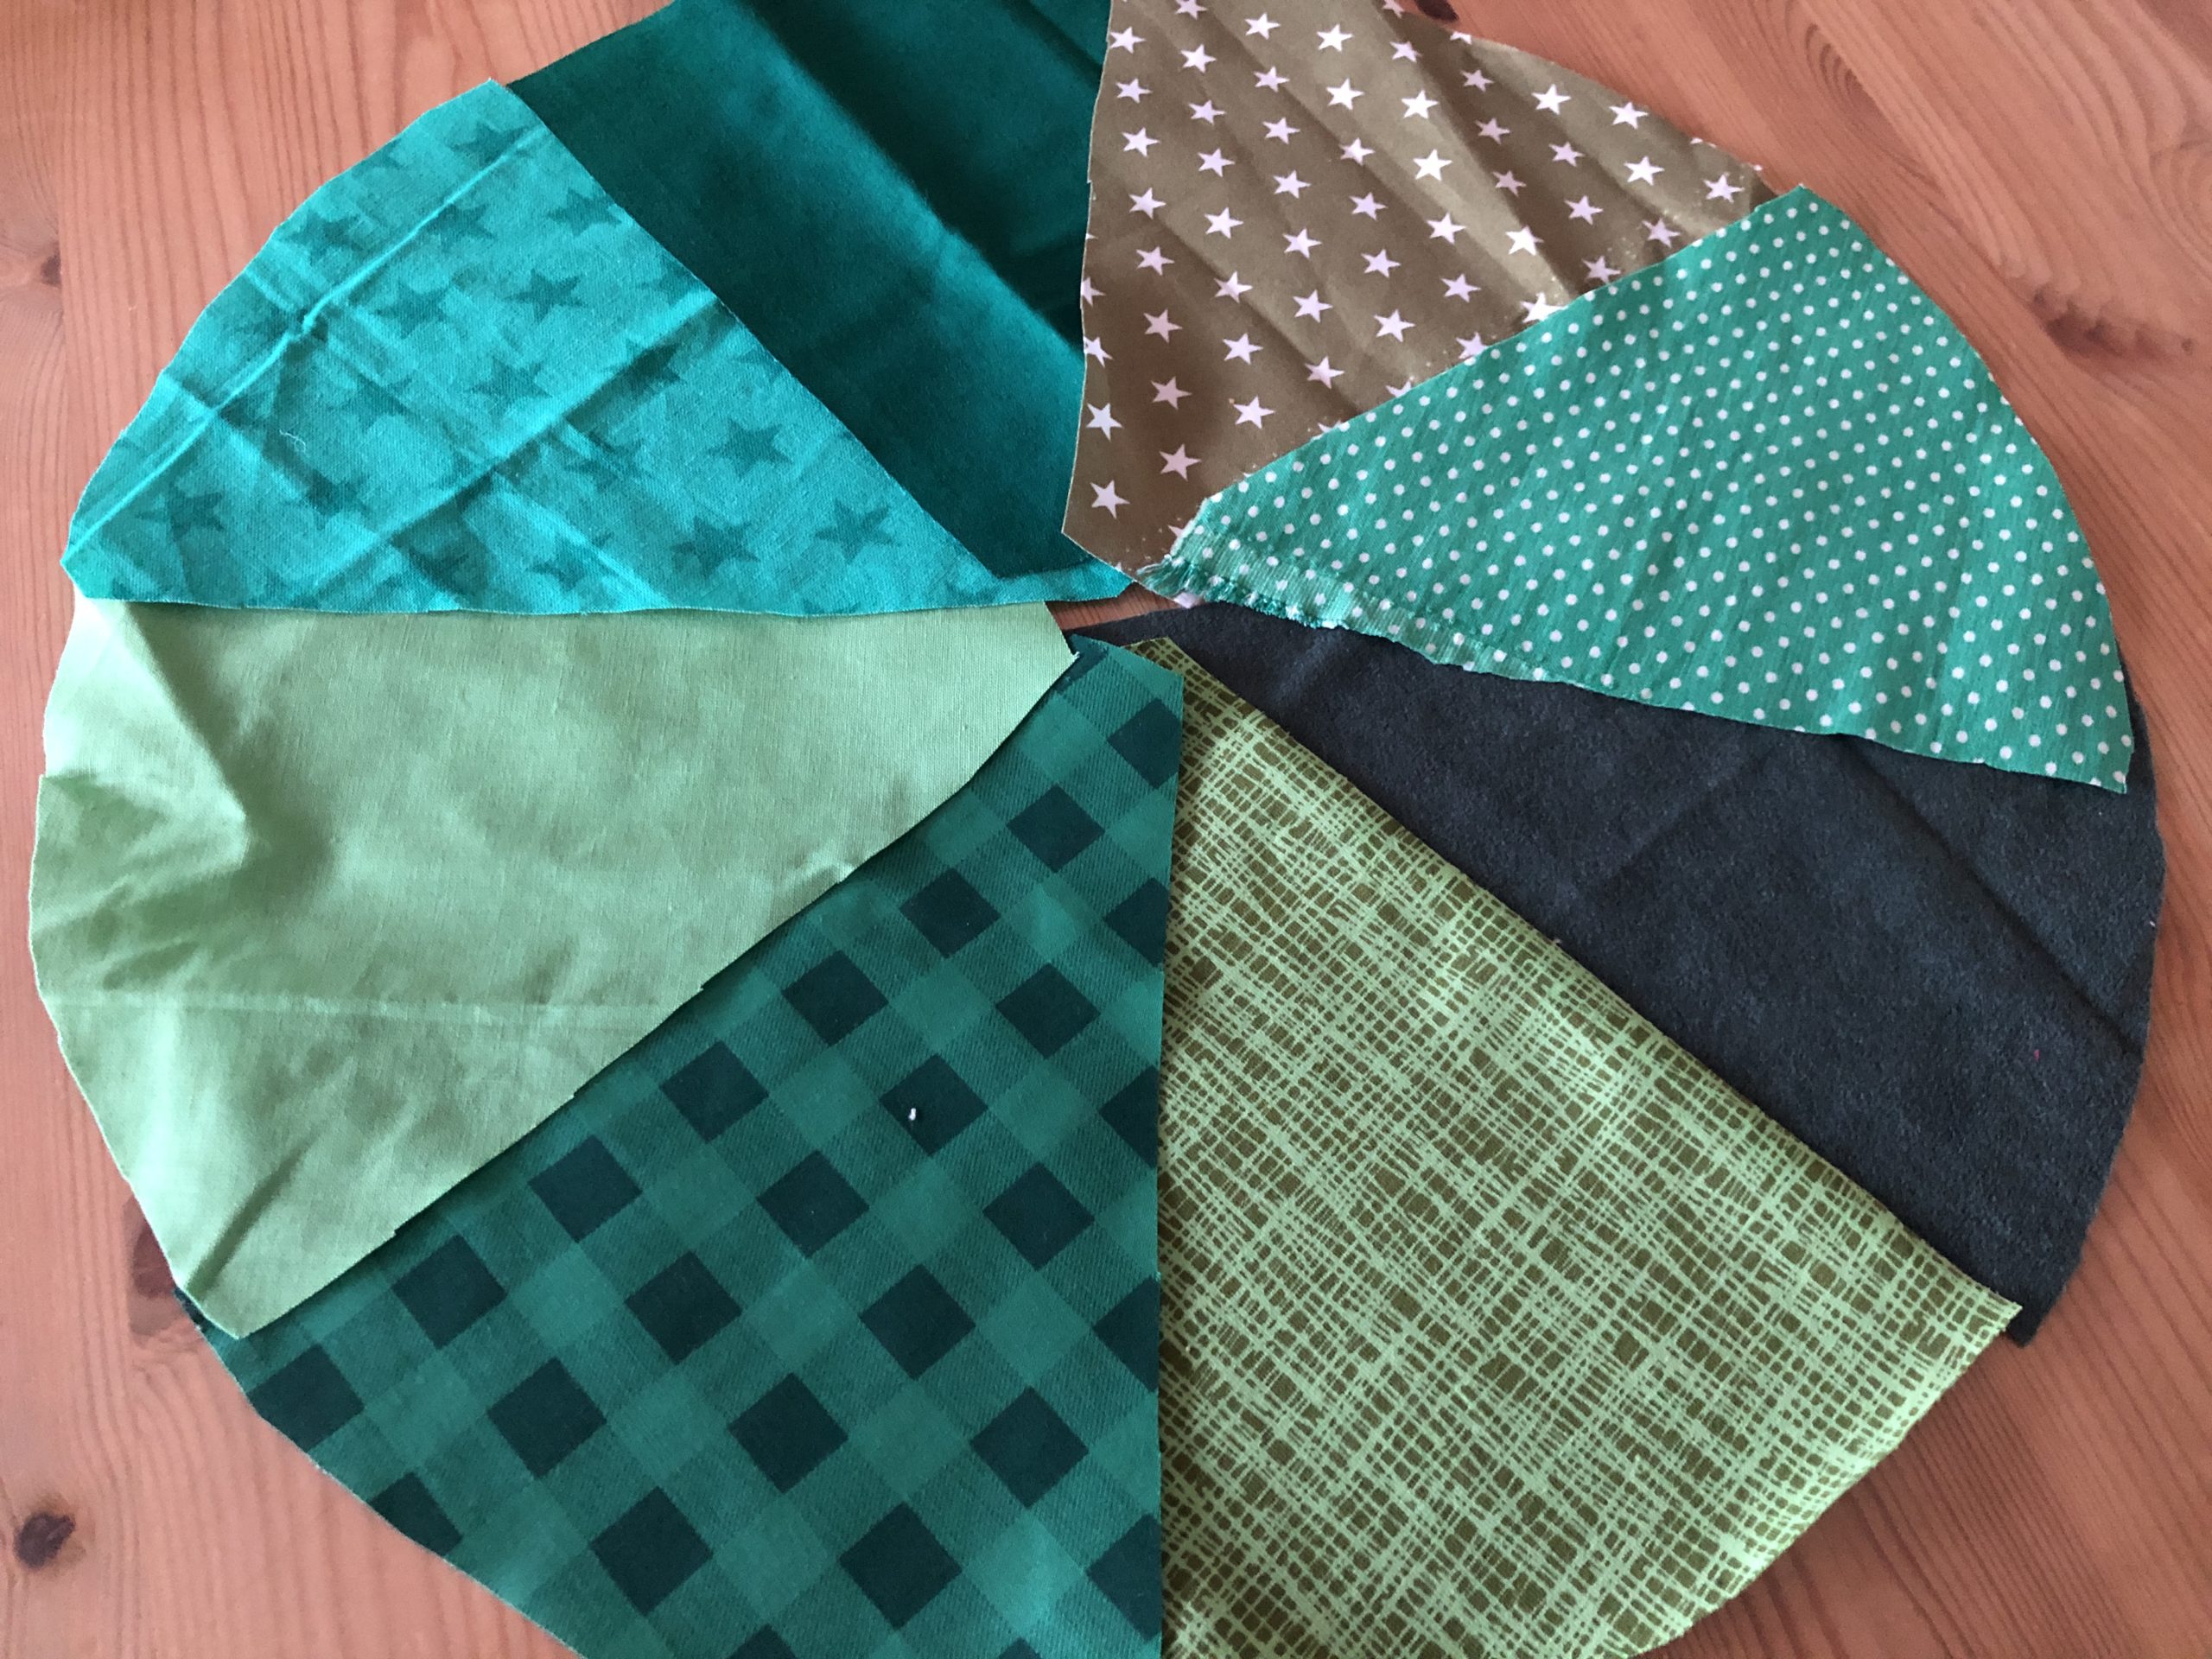


Cuts out a second circle from a piece of fabric.
This should be about 3cm larger all around.


Now the fabric parts are sewn together one after the other. To do this, place two pieces of fabric with the beautiful side (right) on each other. Then sew one side together with the sewing machine.
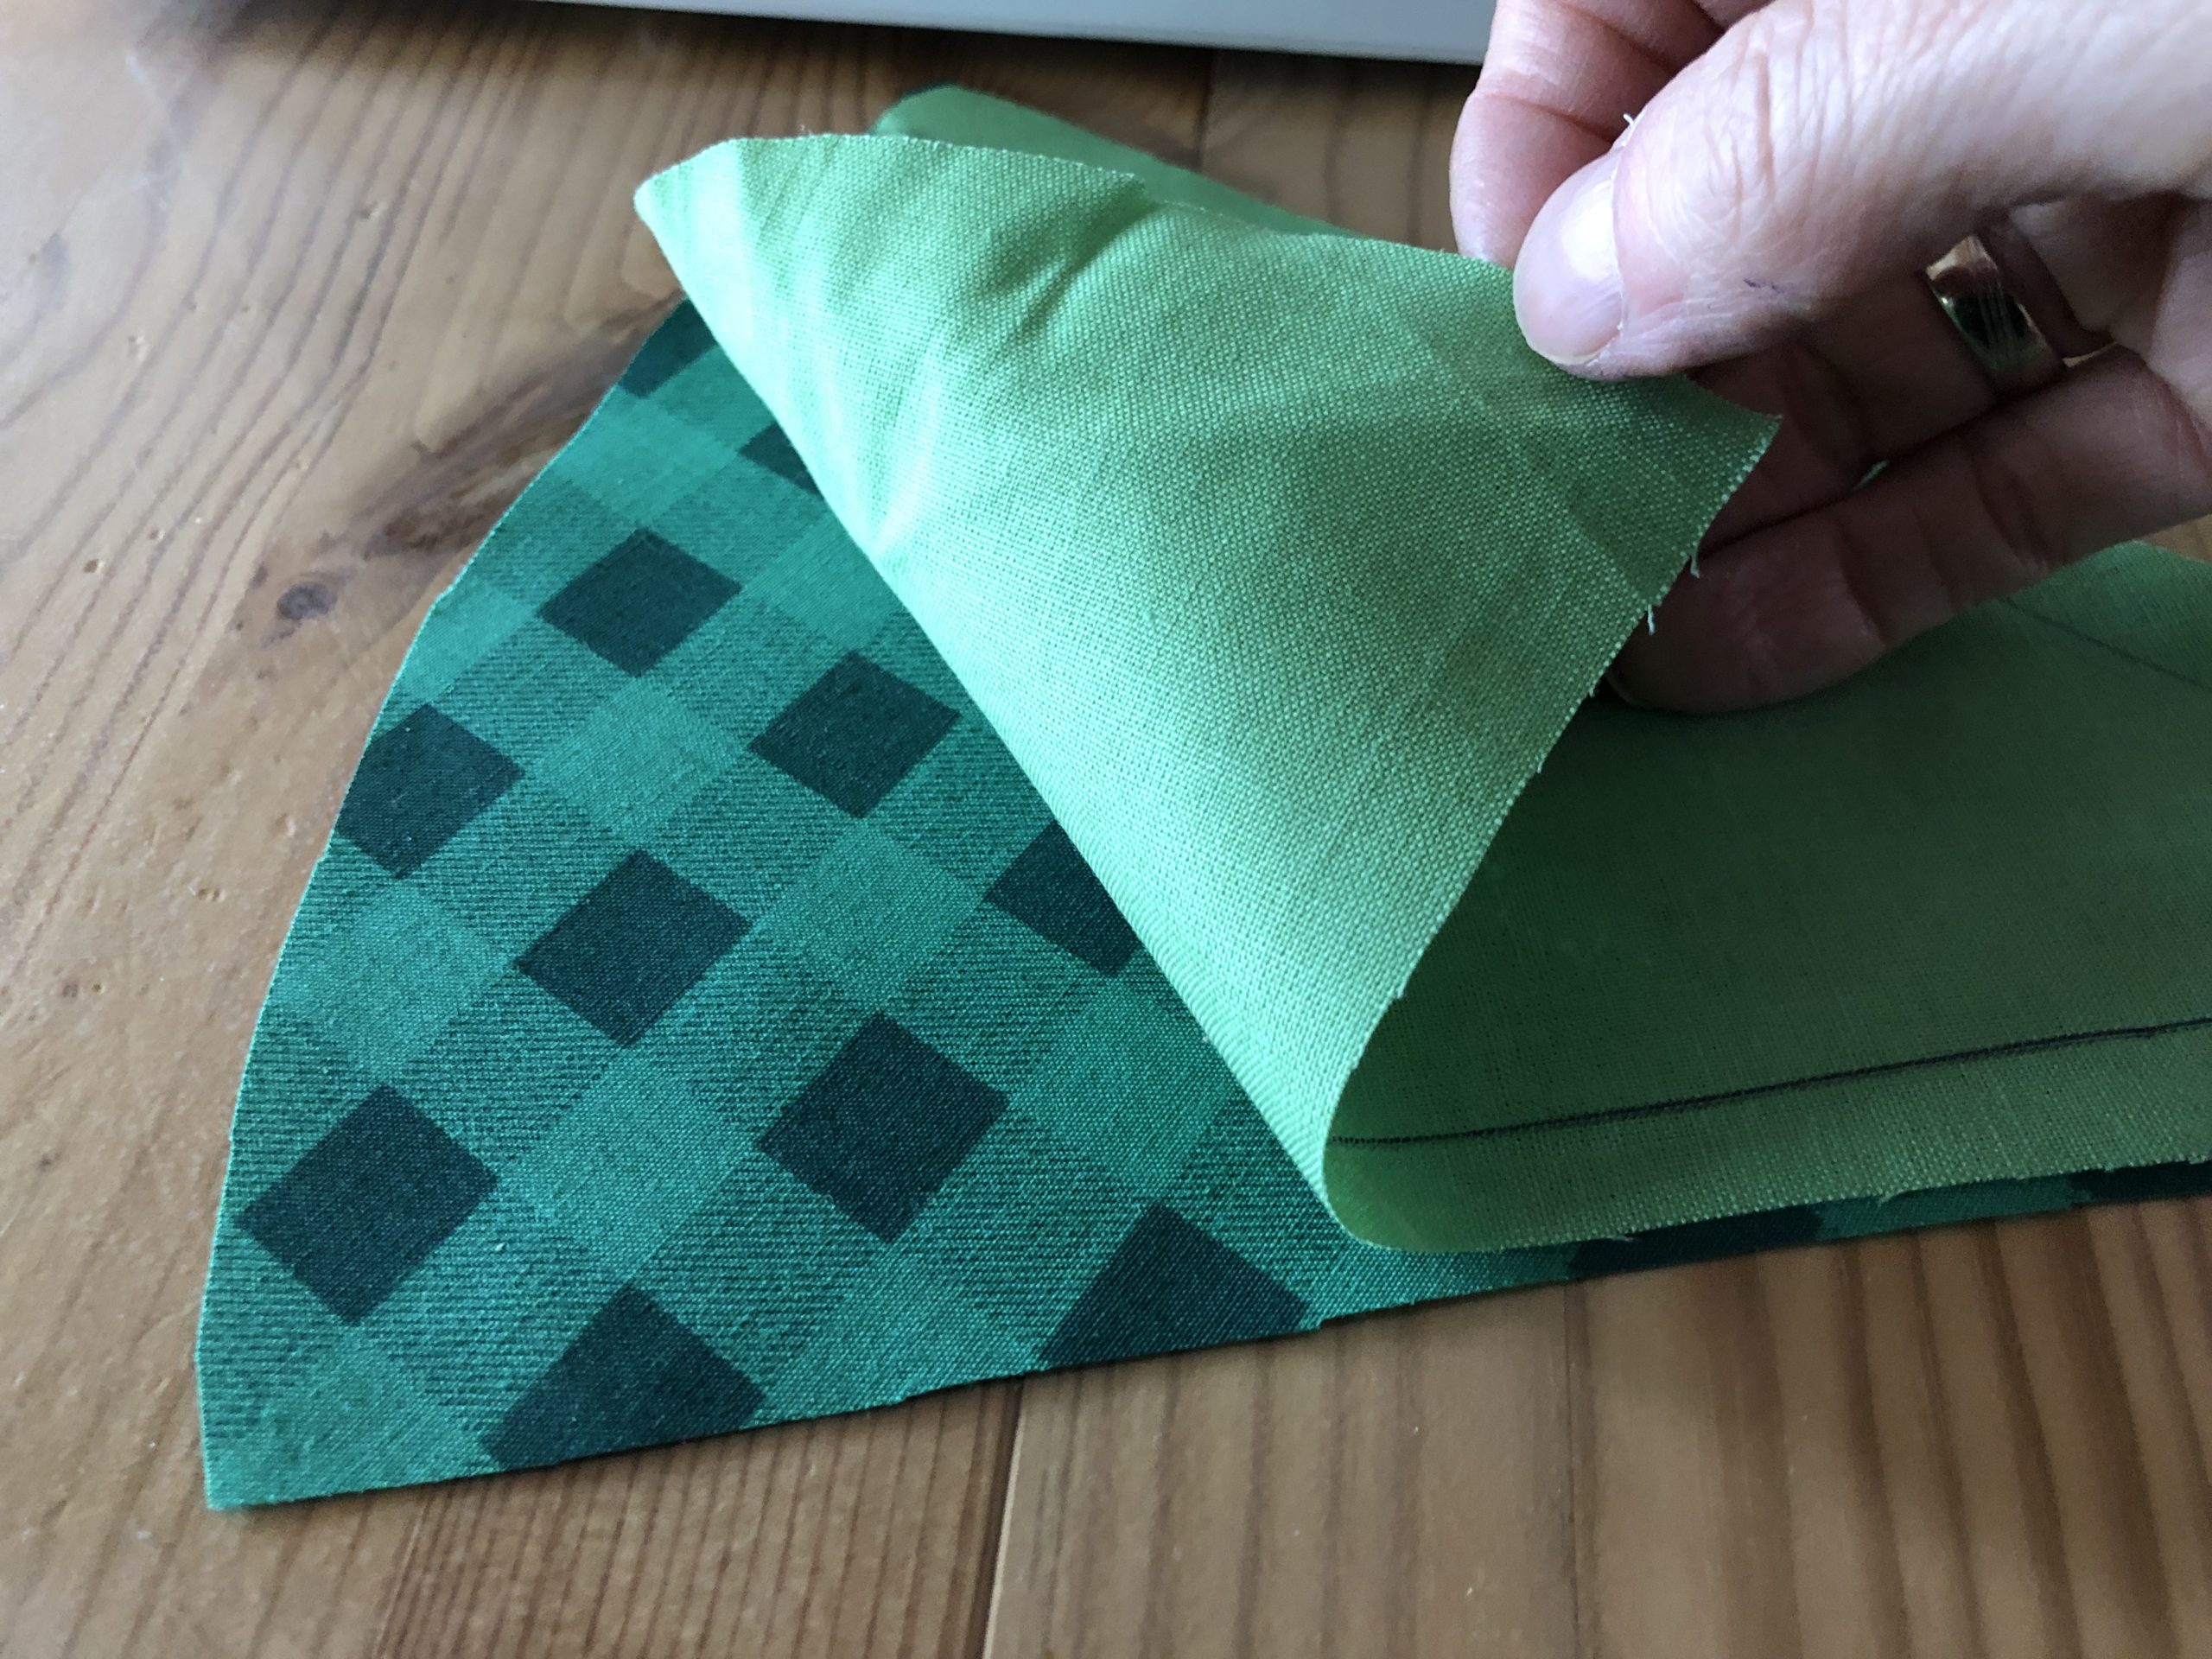


Fix the two pieces of fabric with a pin.
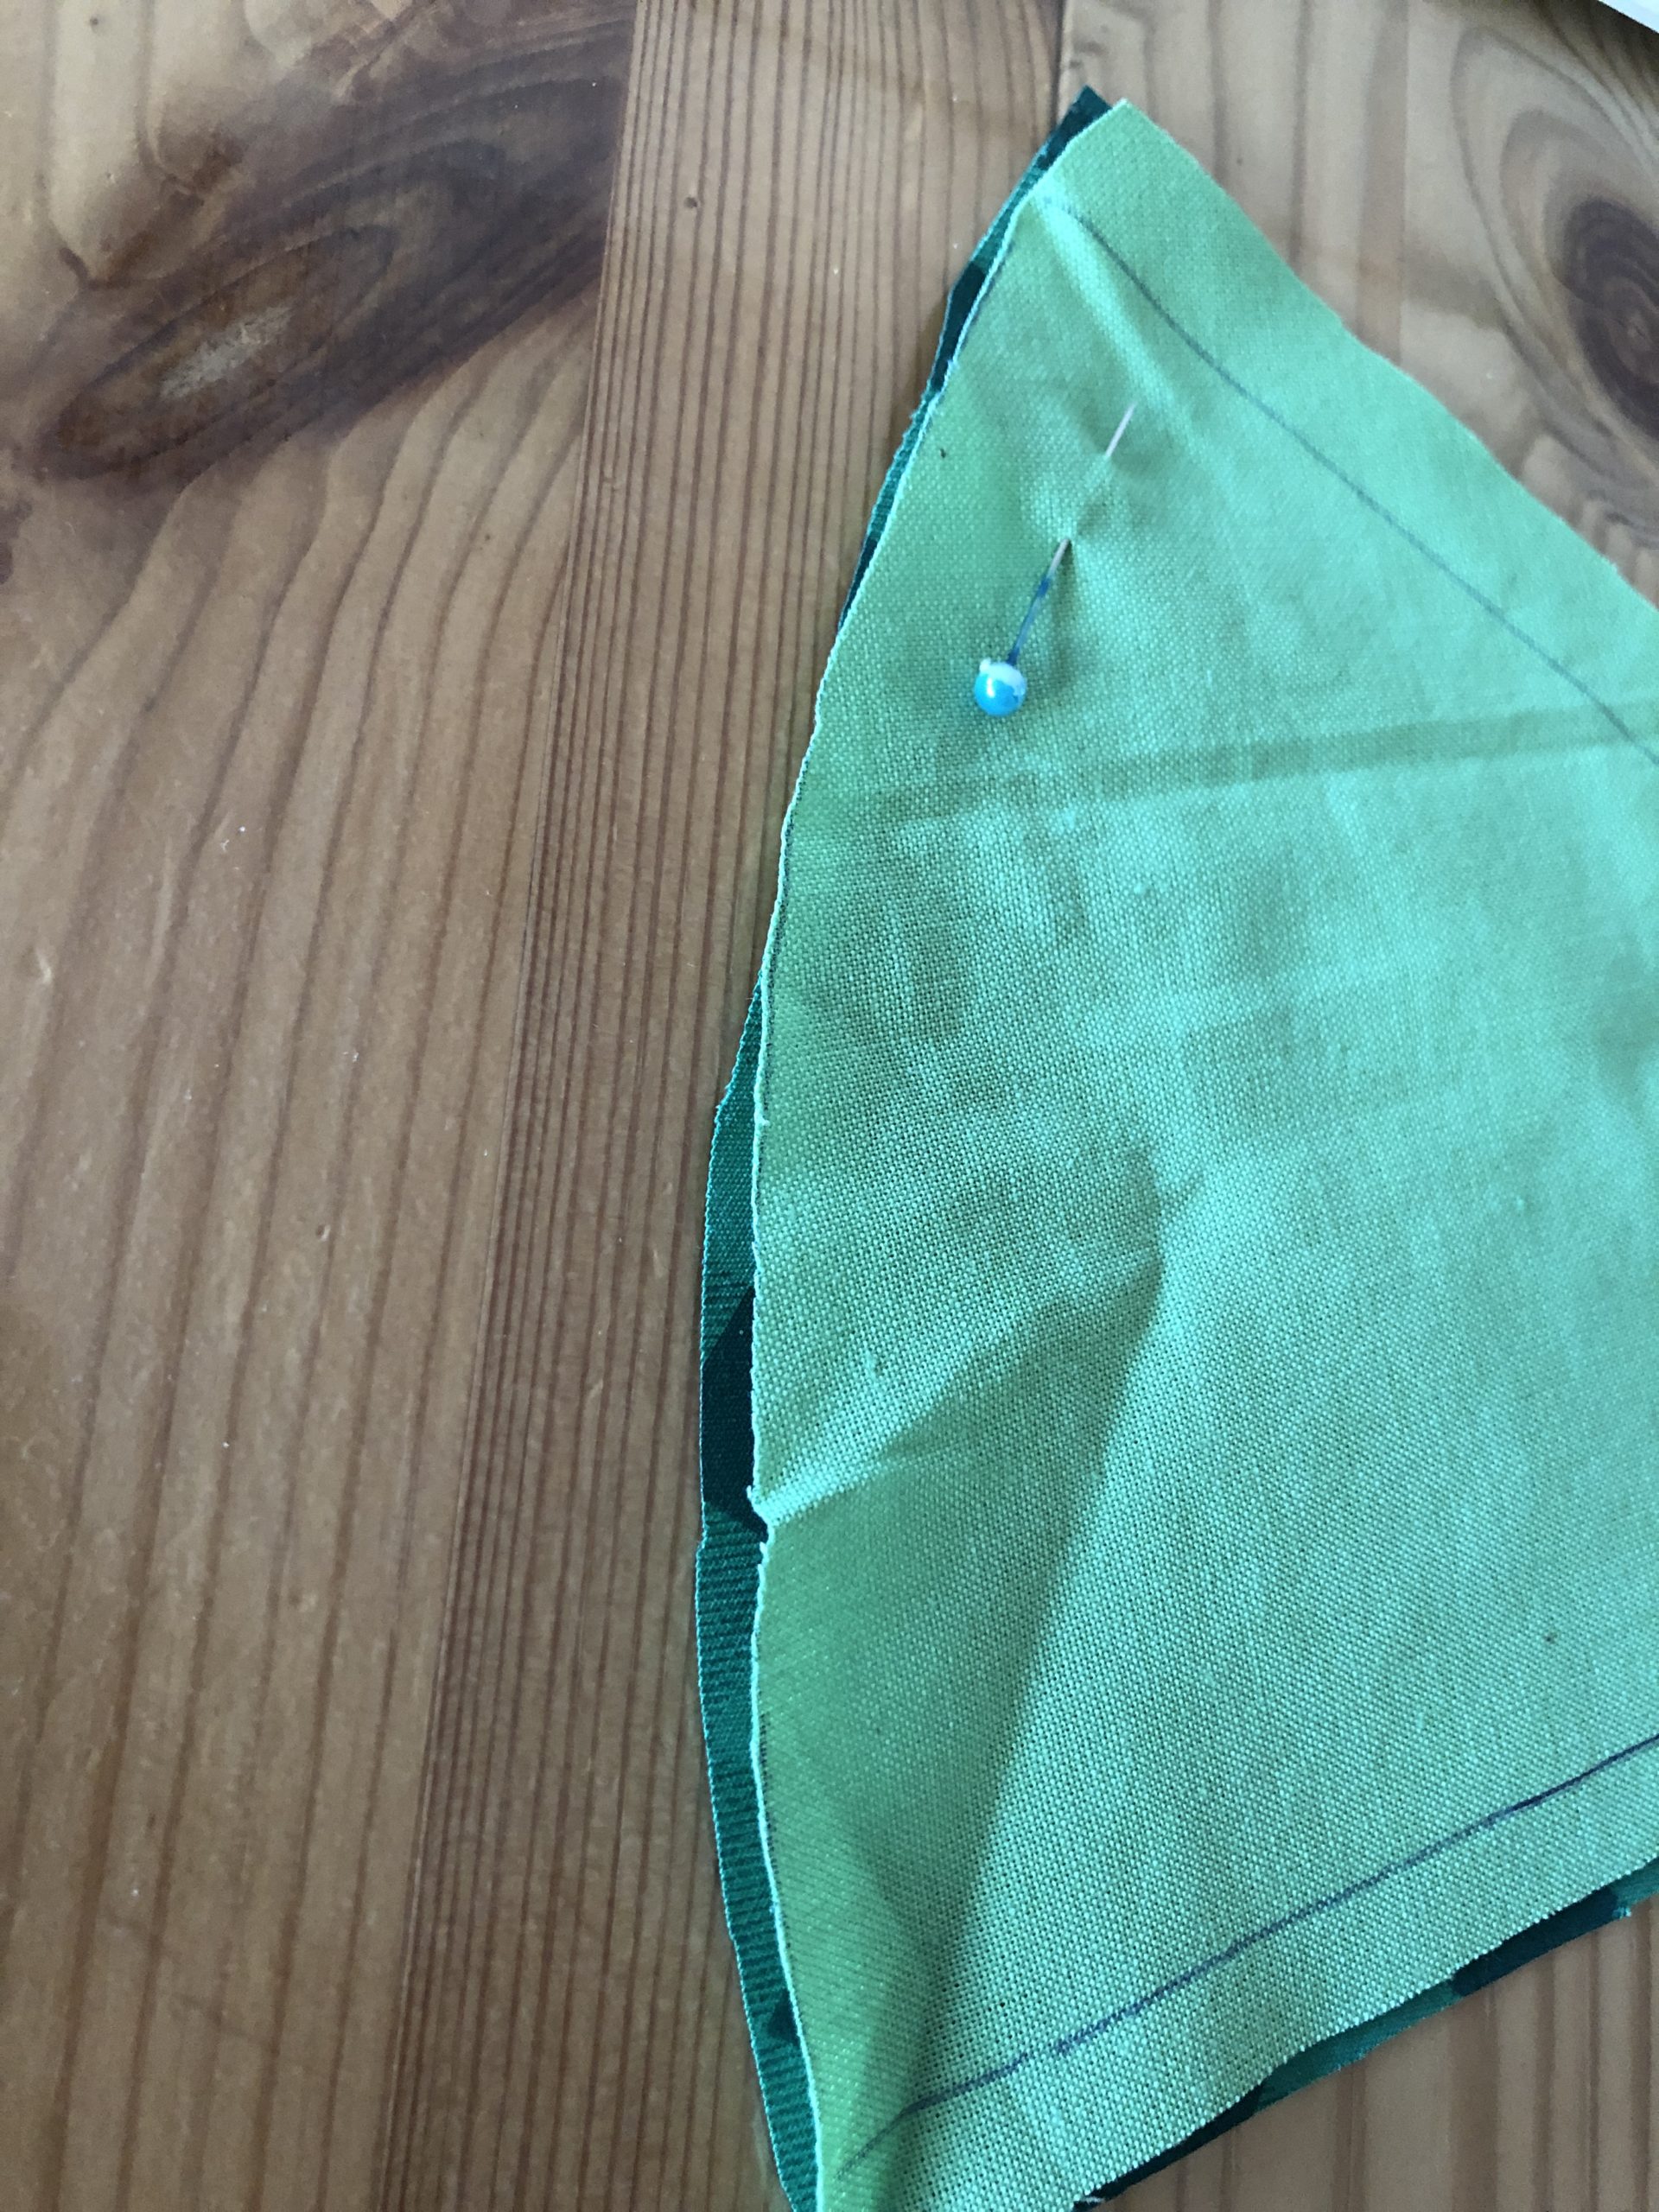


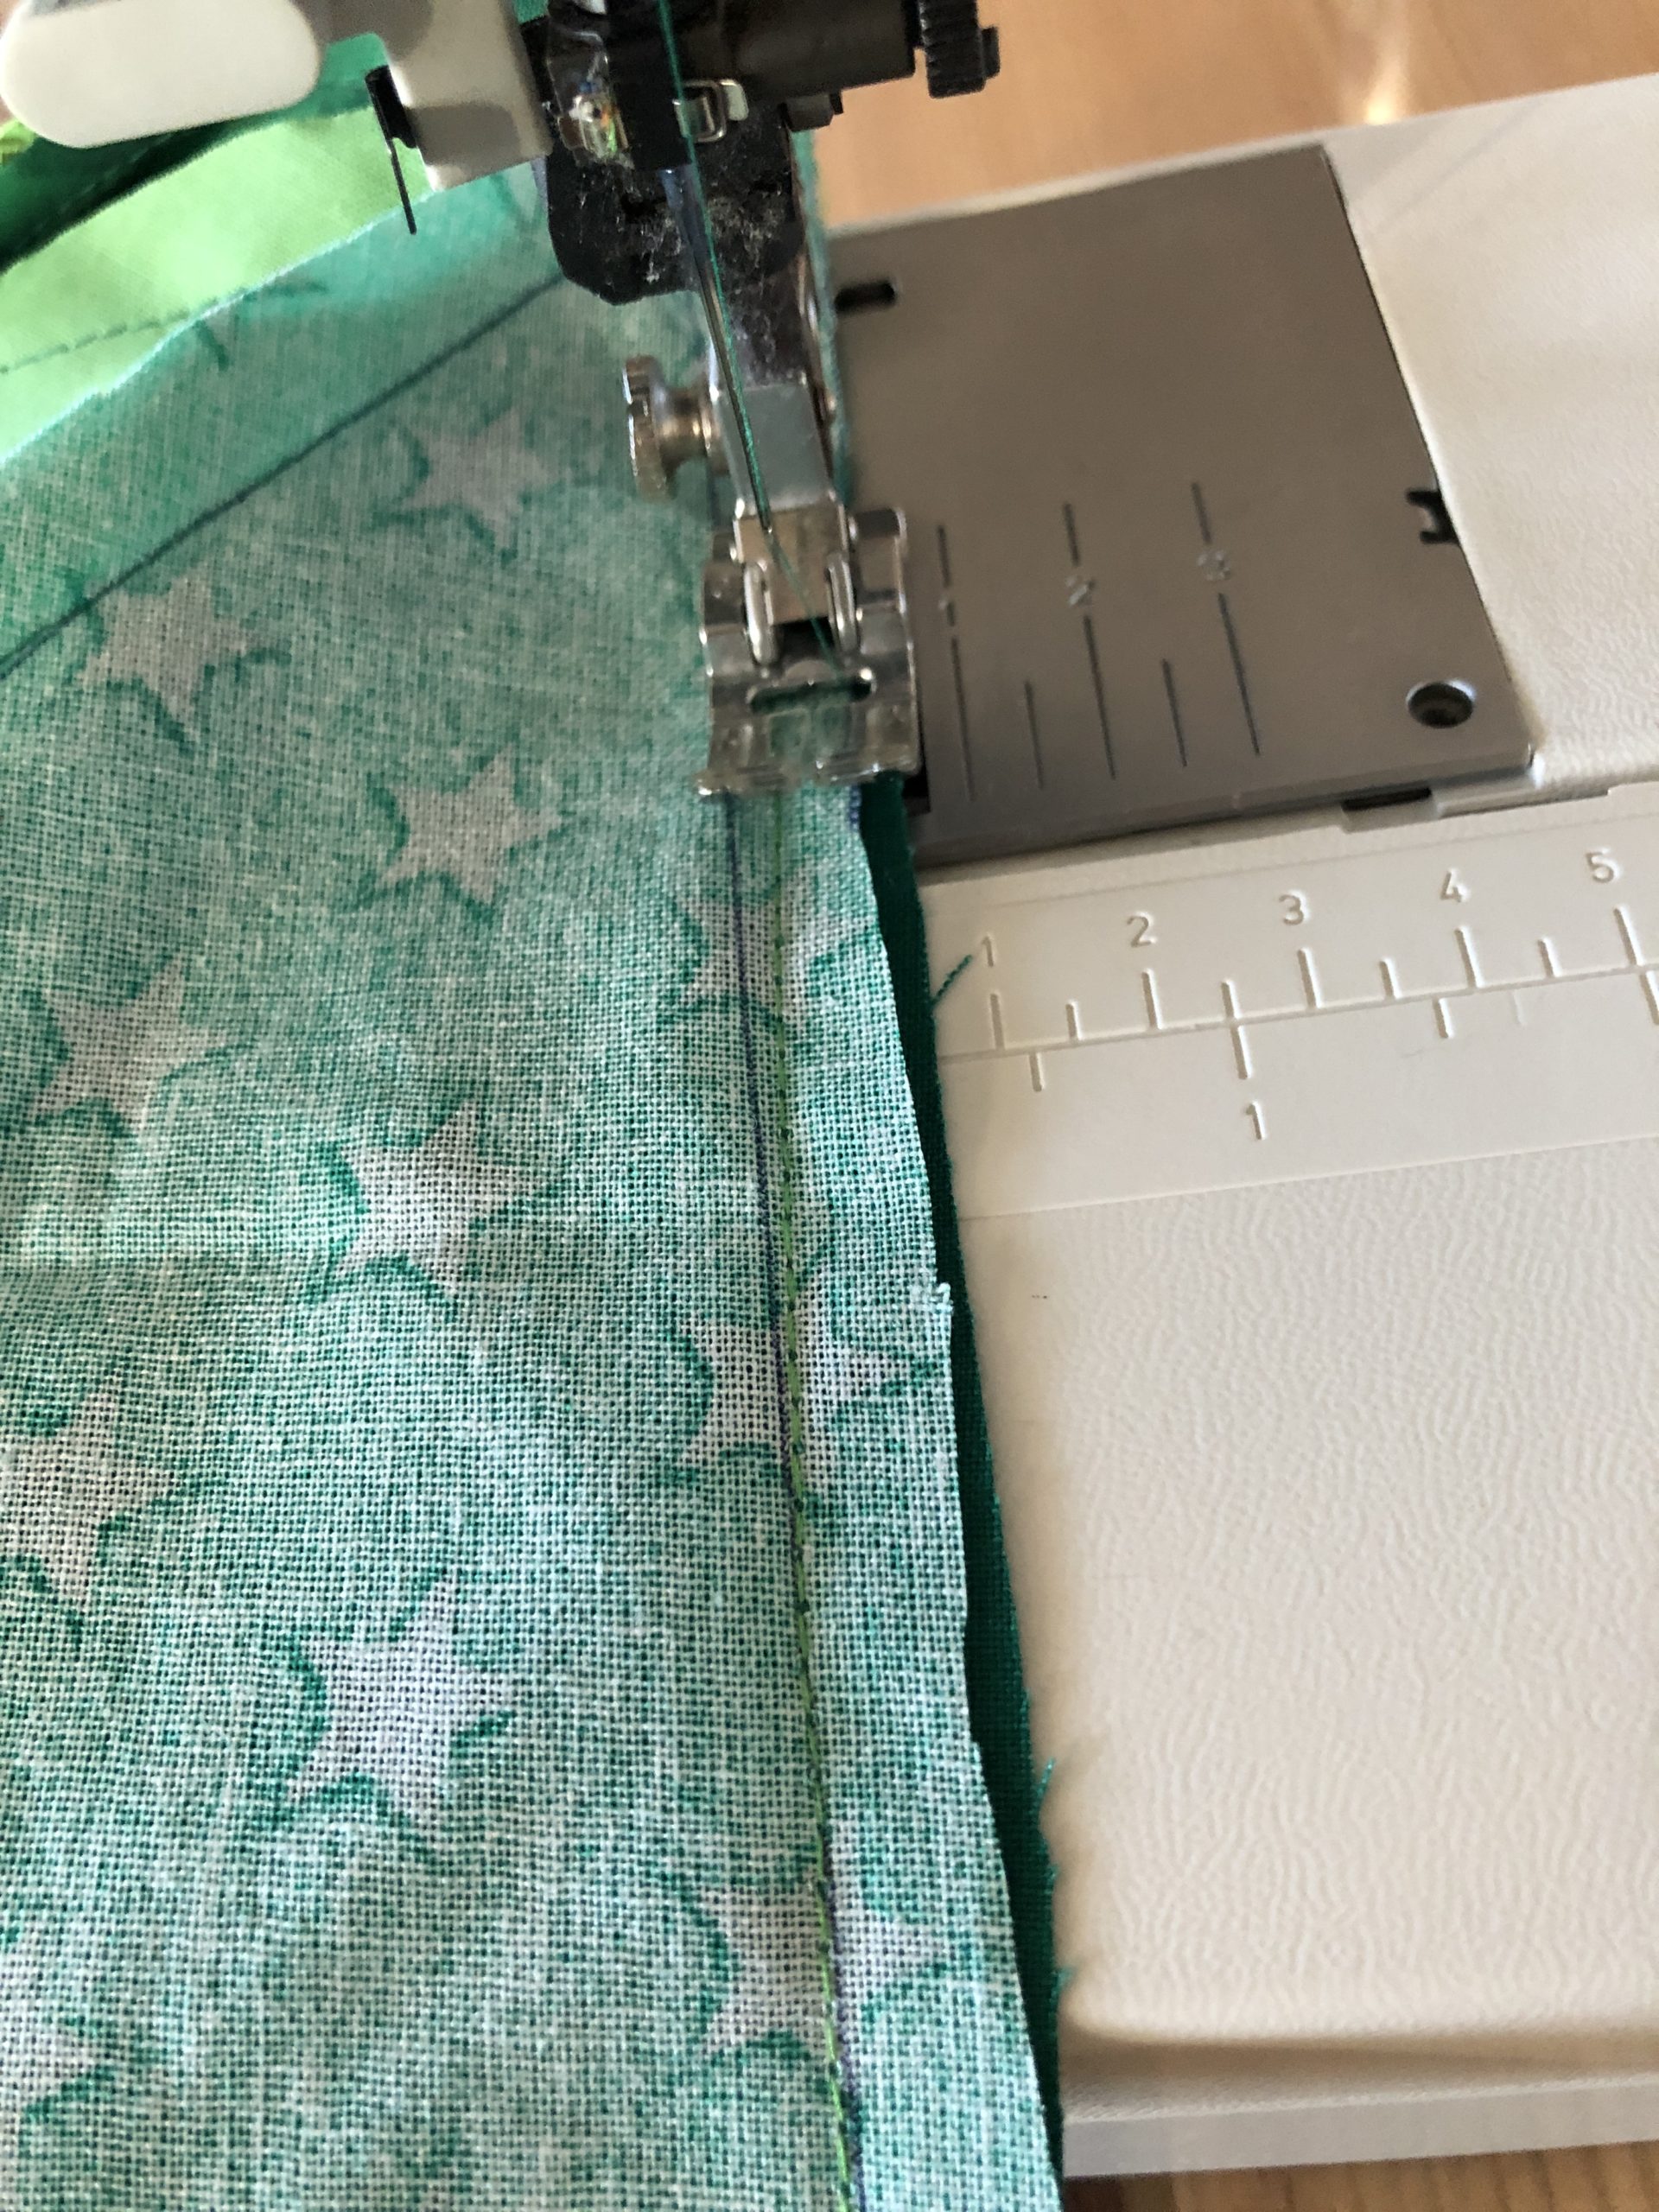
You can still sew off the sewn side with a zigzag stitch.
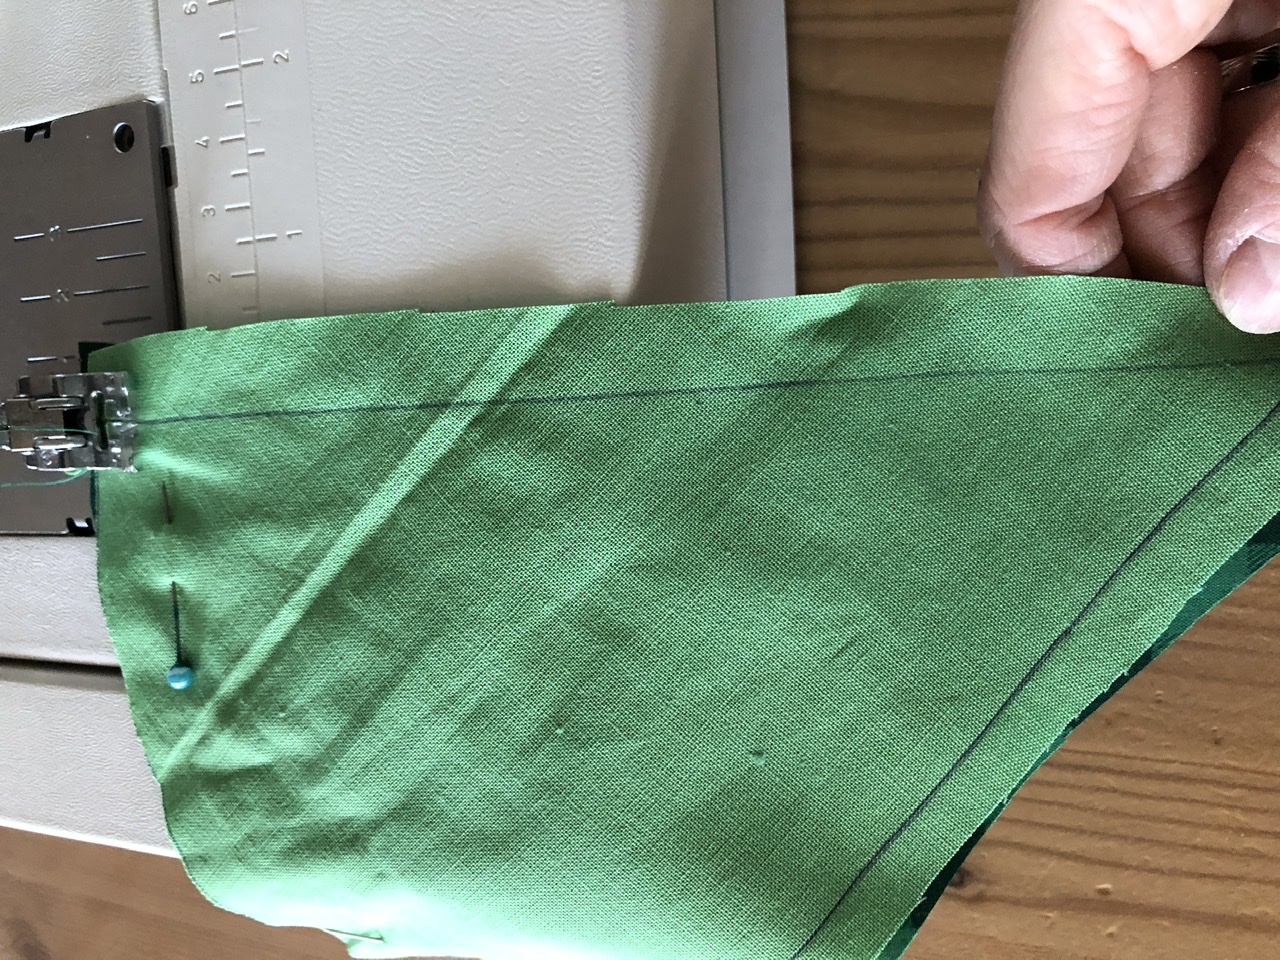


Then she folds the fabric part apart.
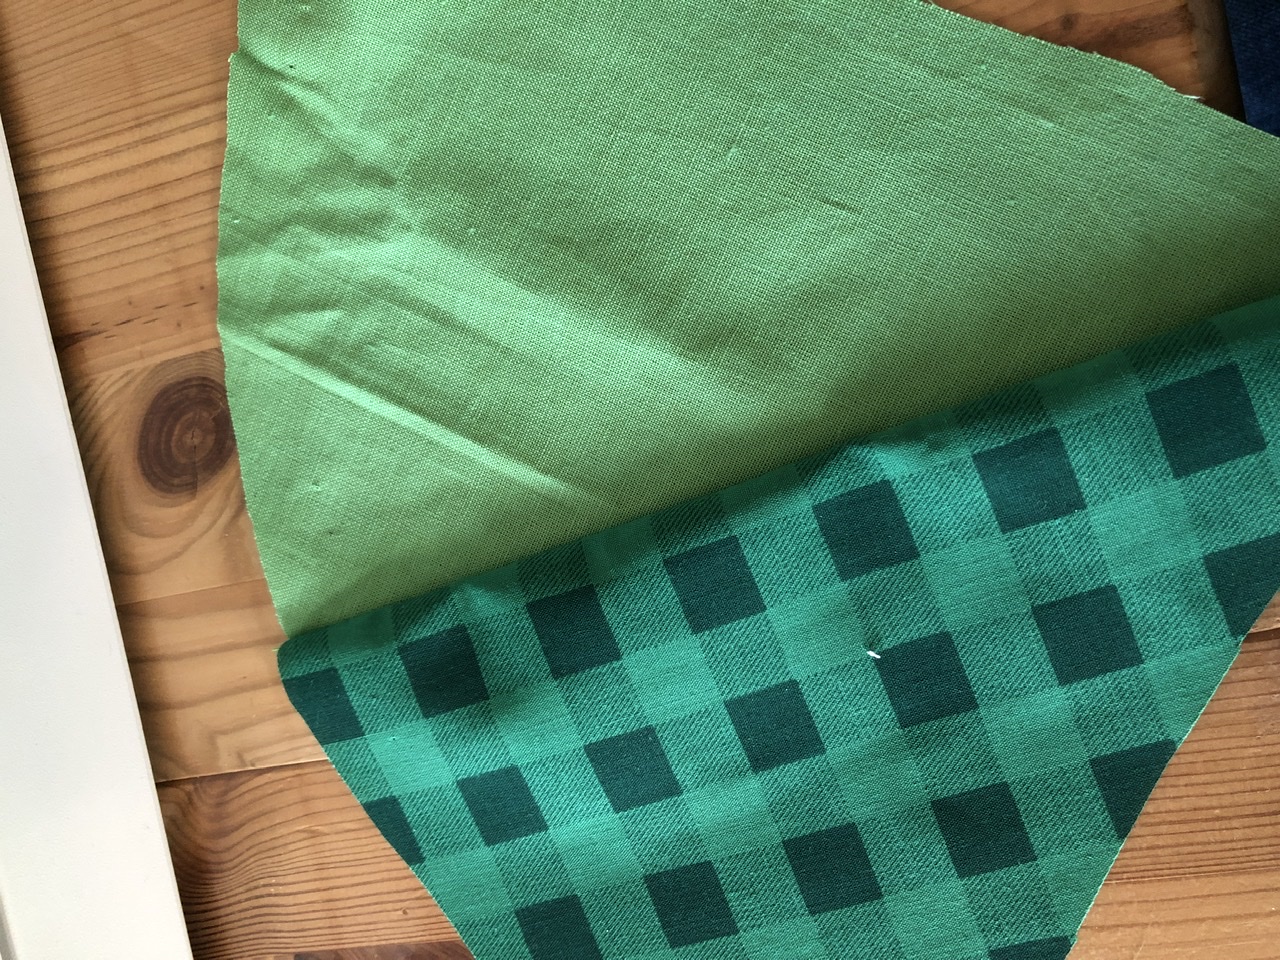


Put together another piece of fabric (with the beautiful sides on top of each other) and sew it together at the following side.
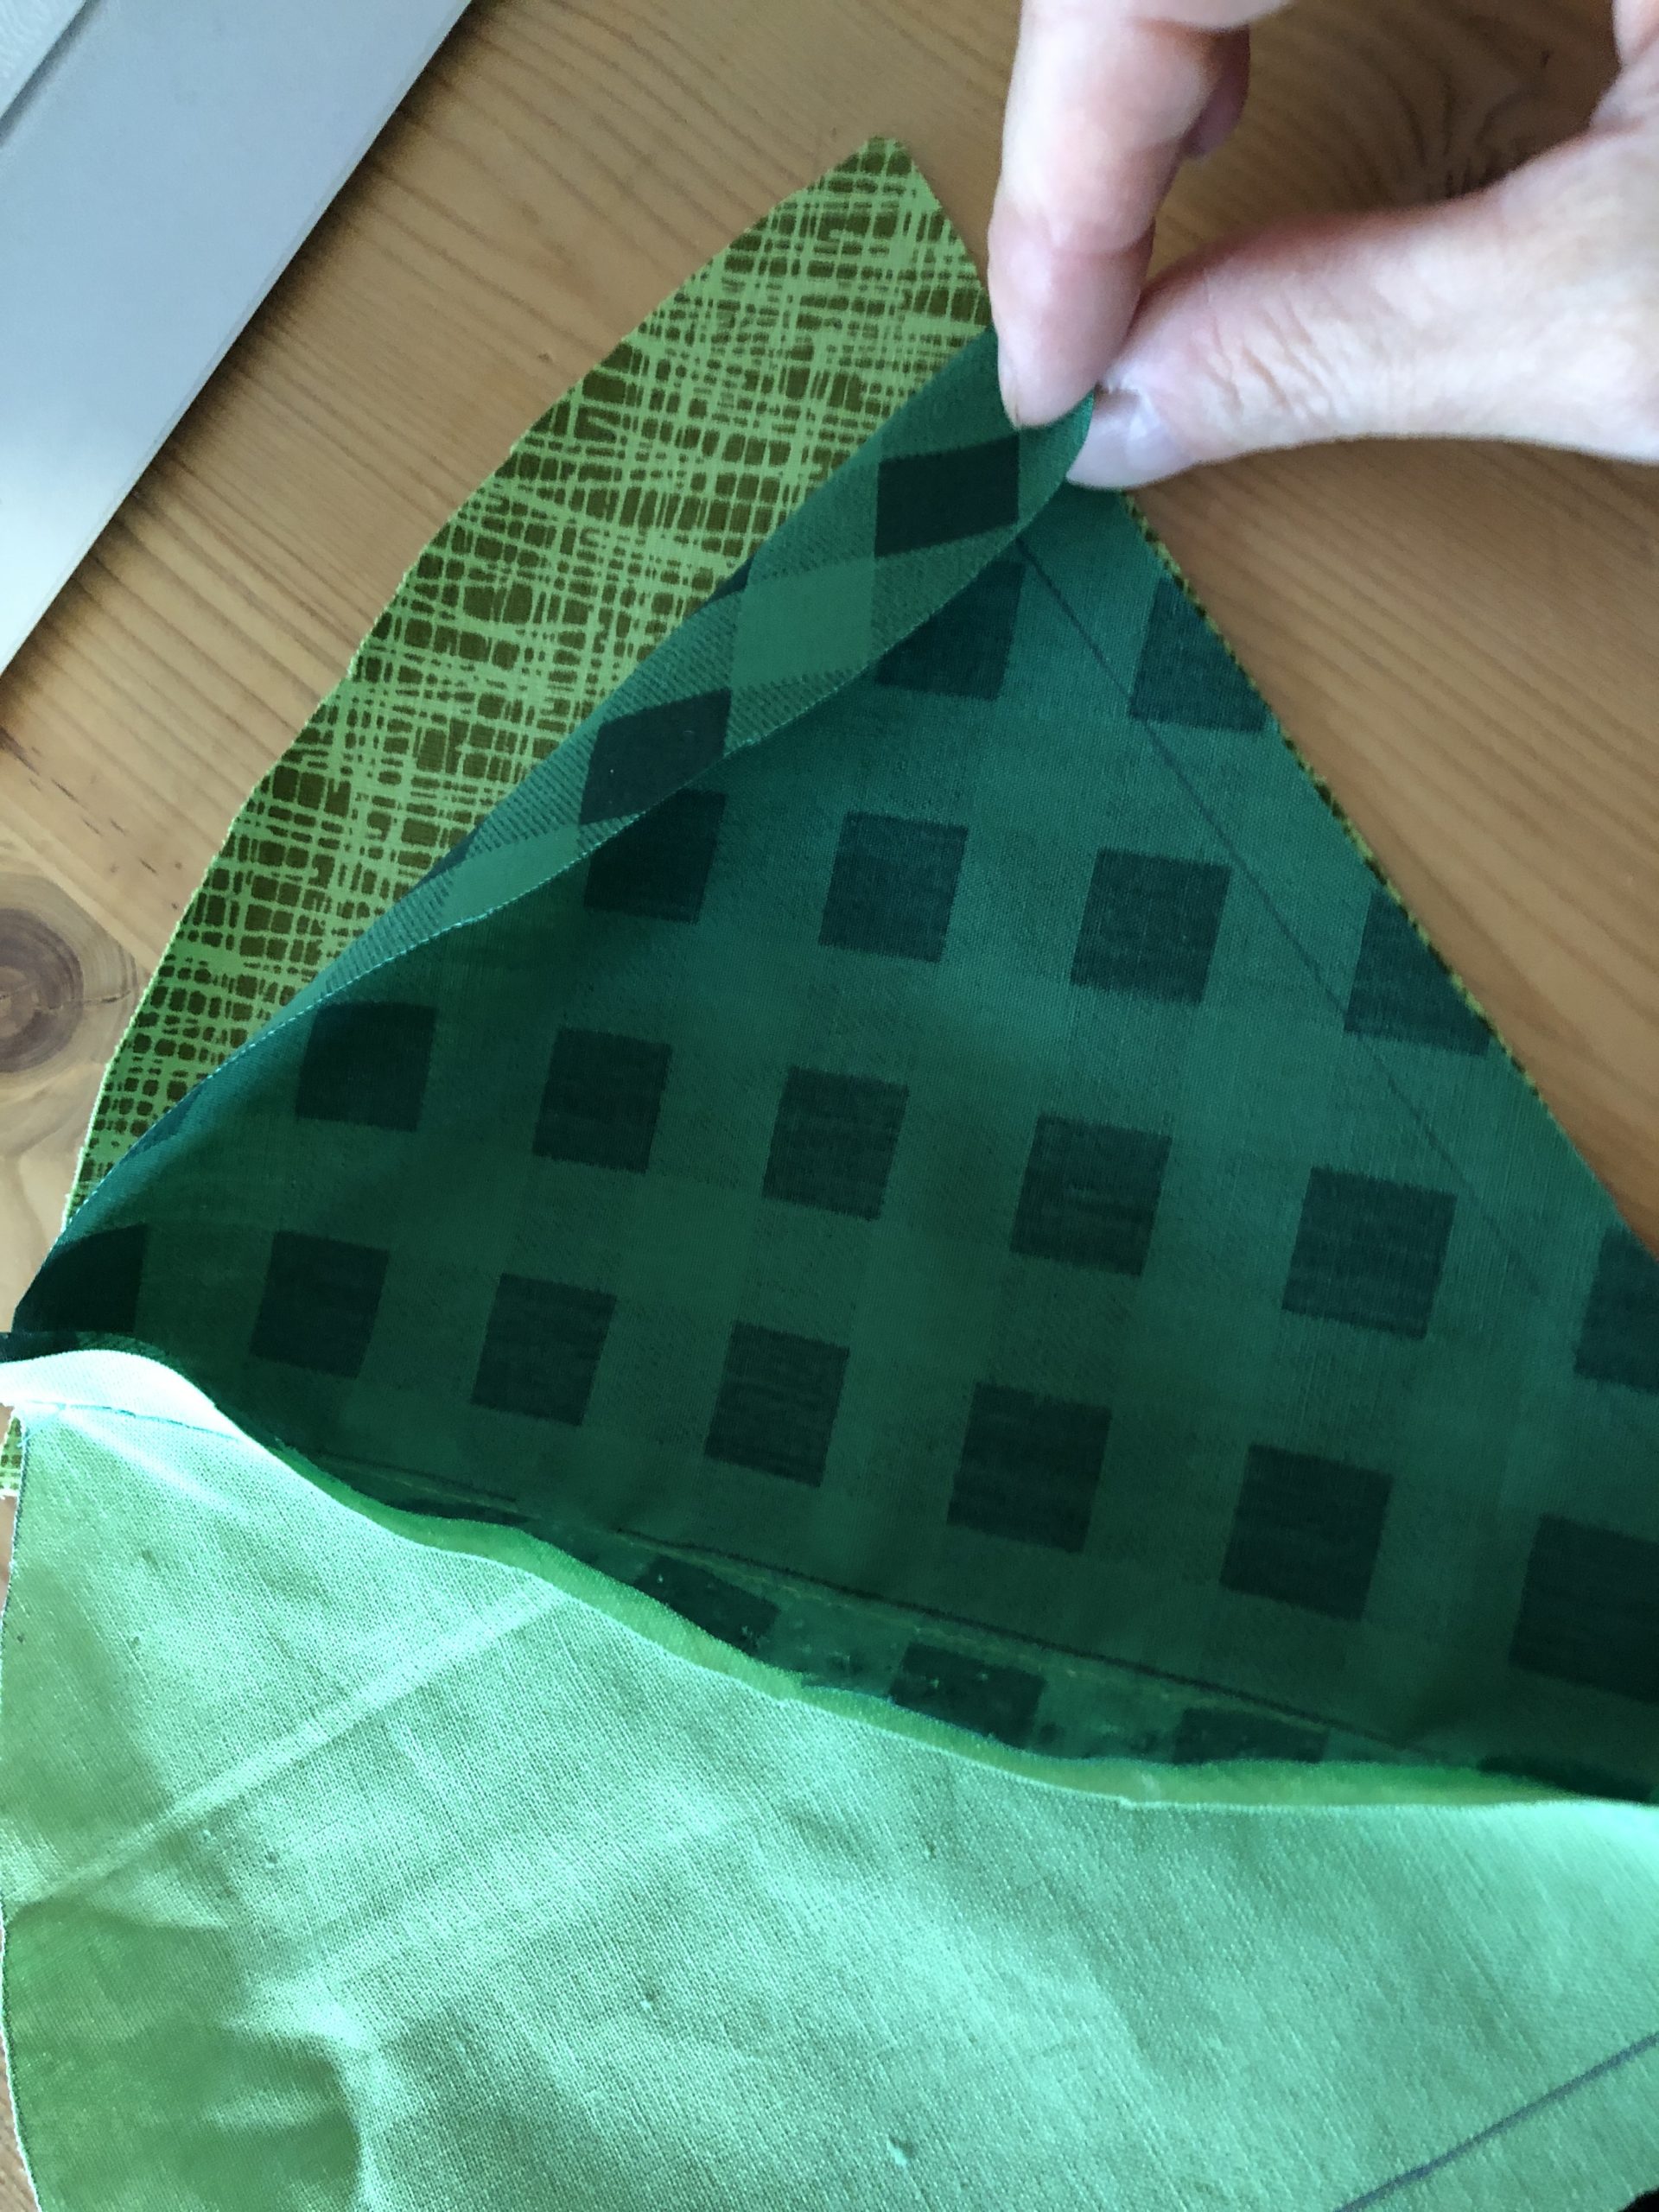


So sew all the fabric parts together all around until the circle is closed.
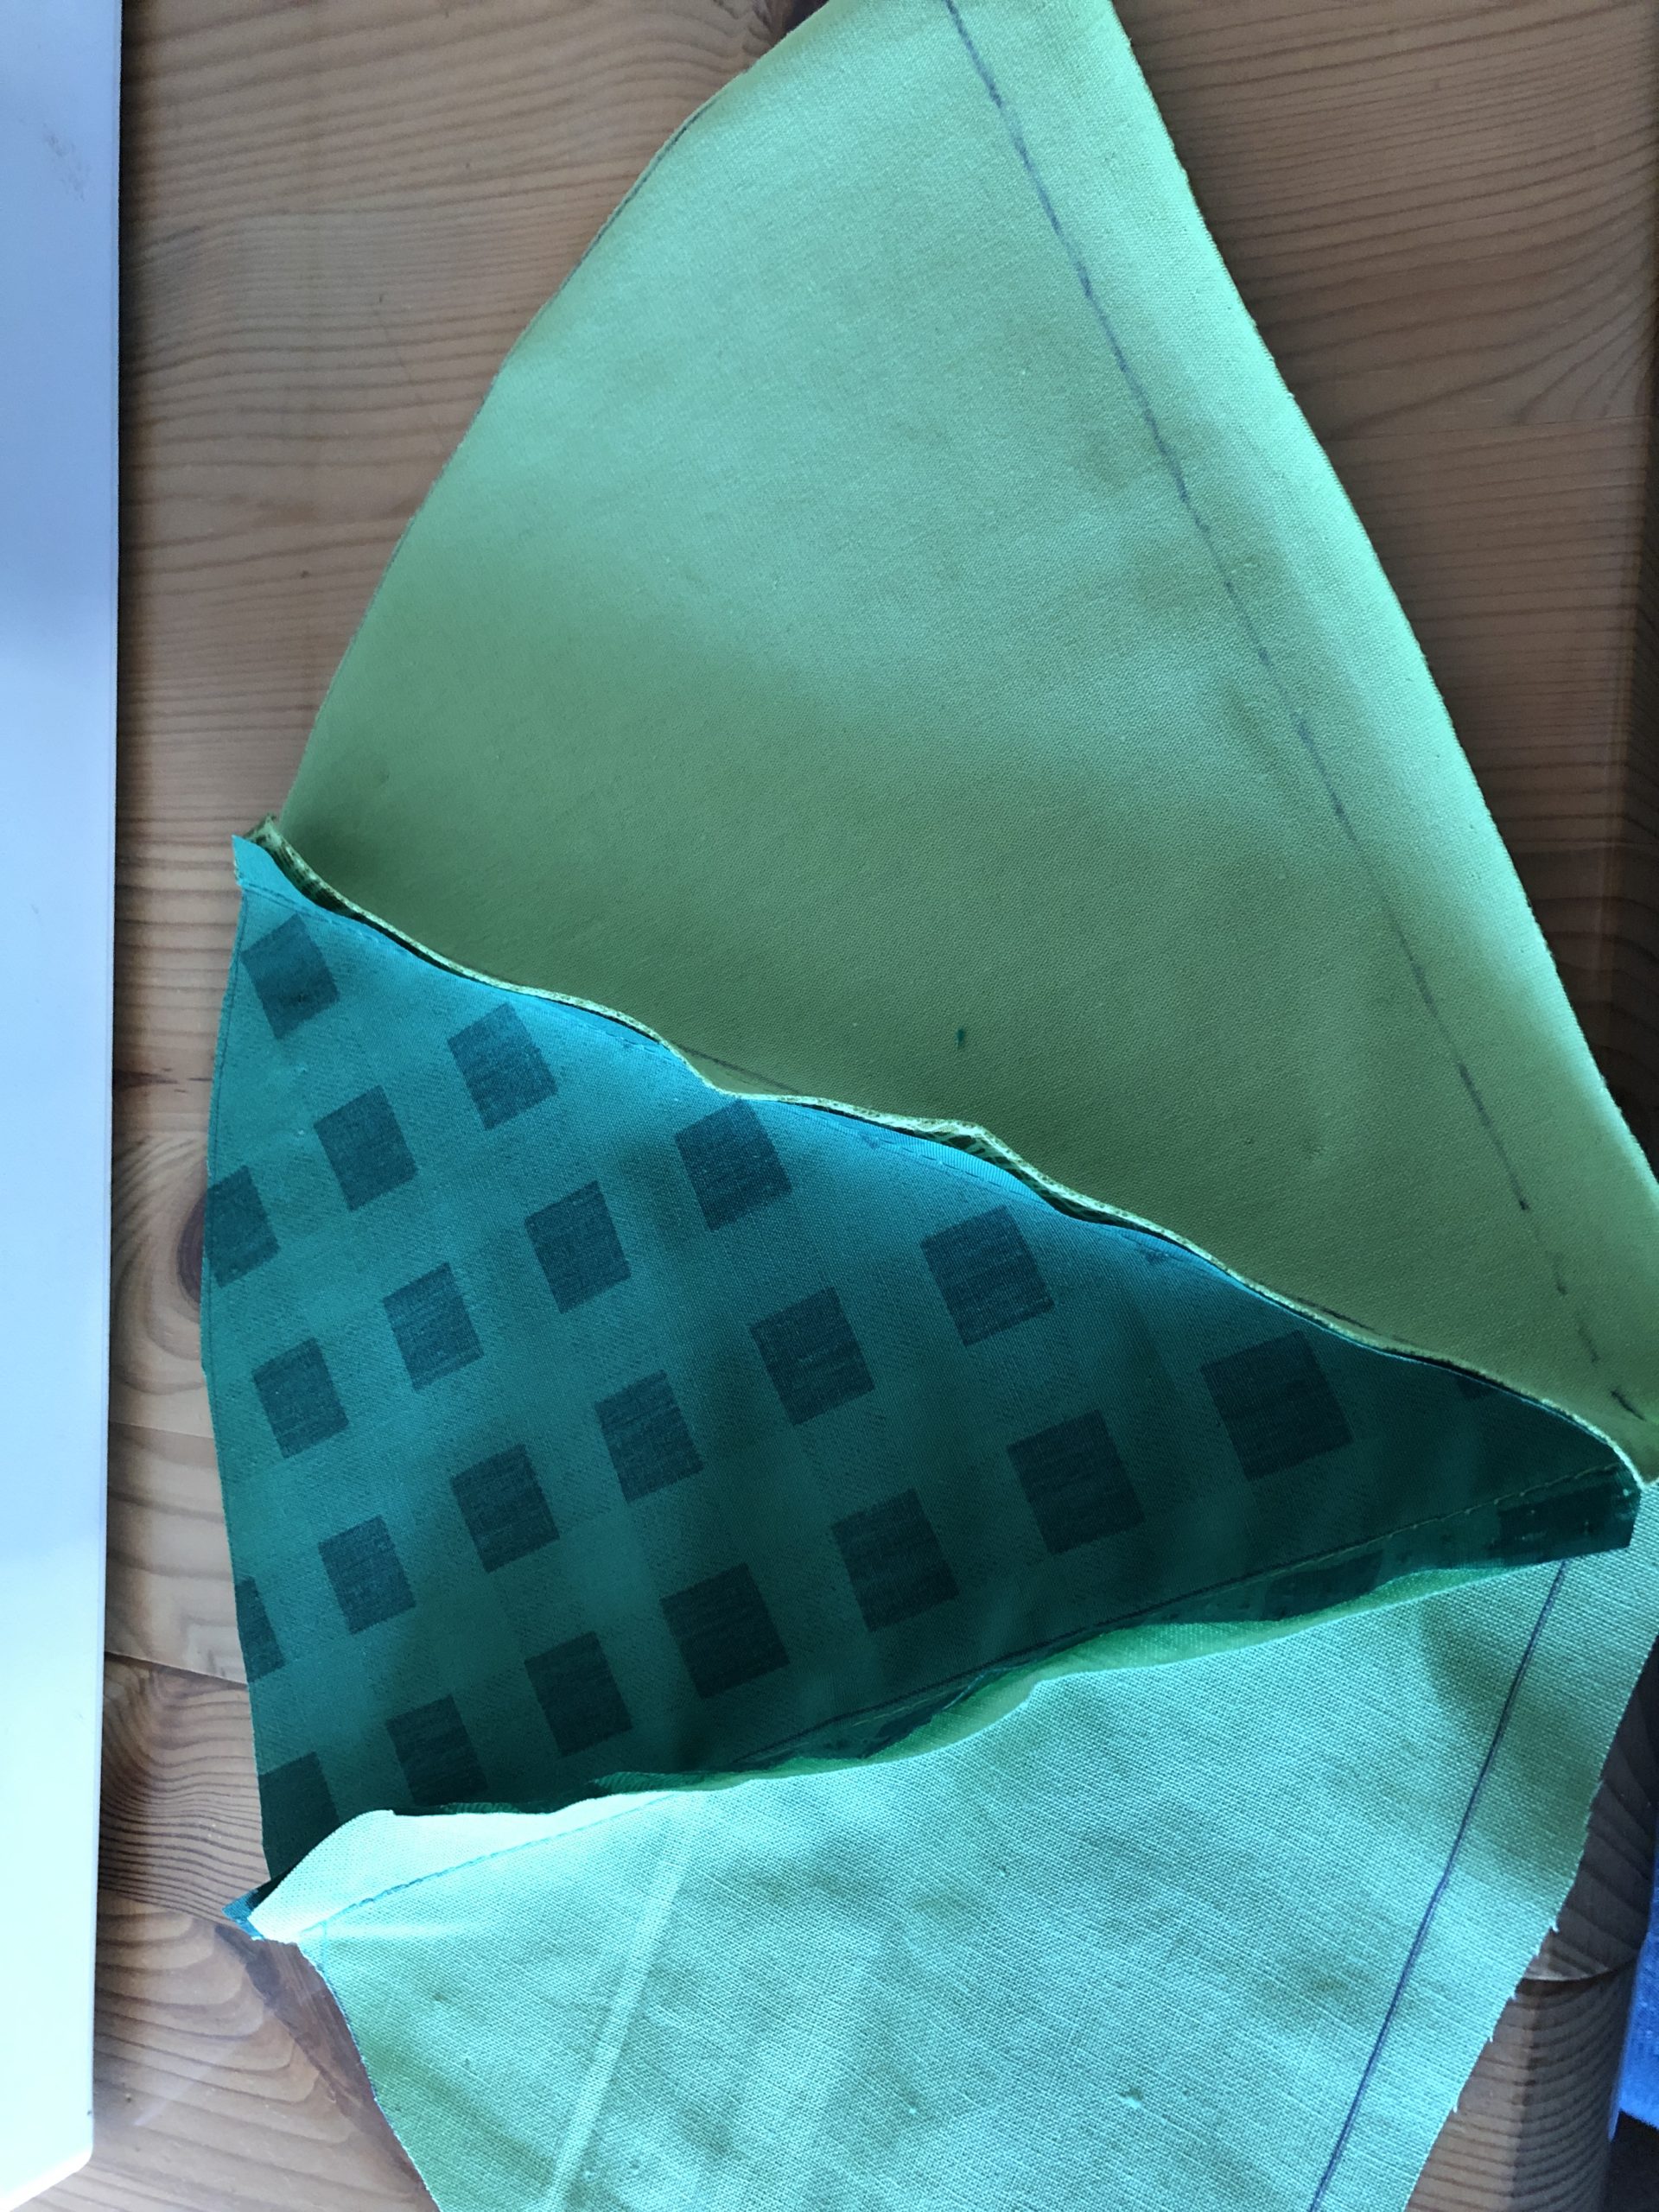


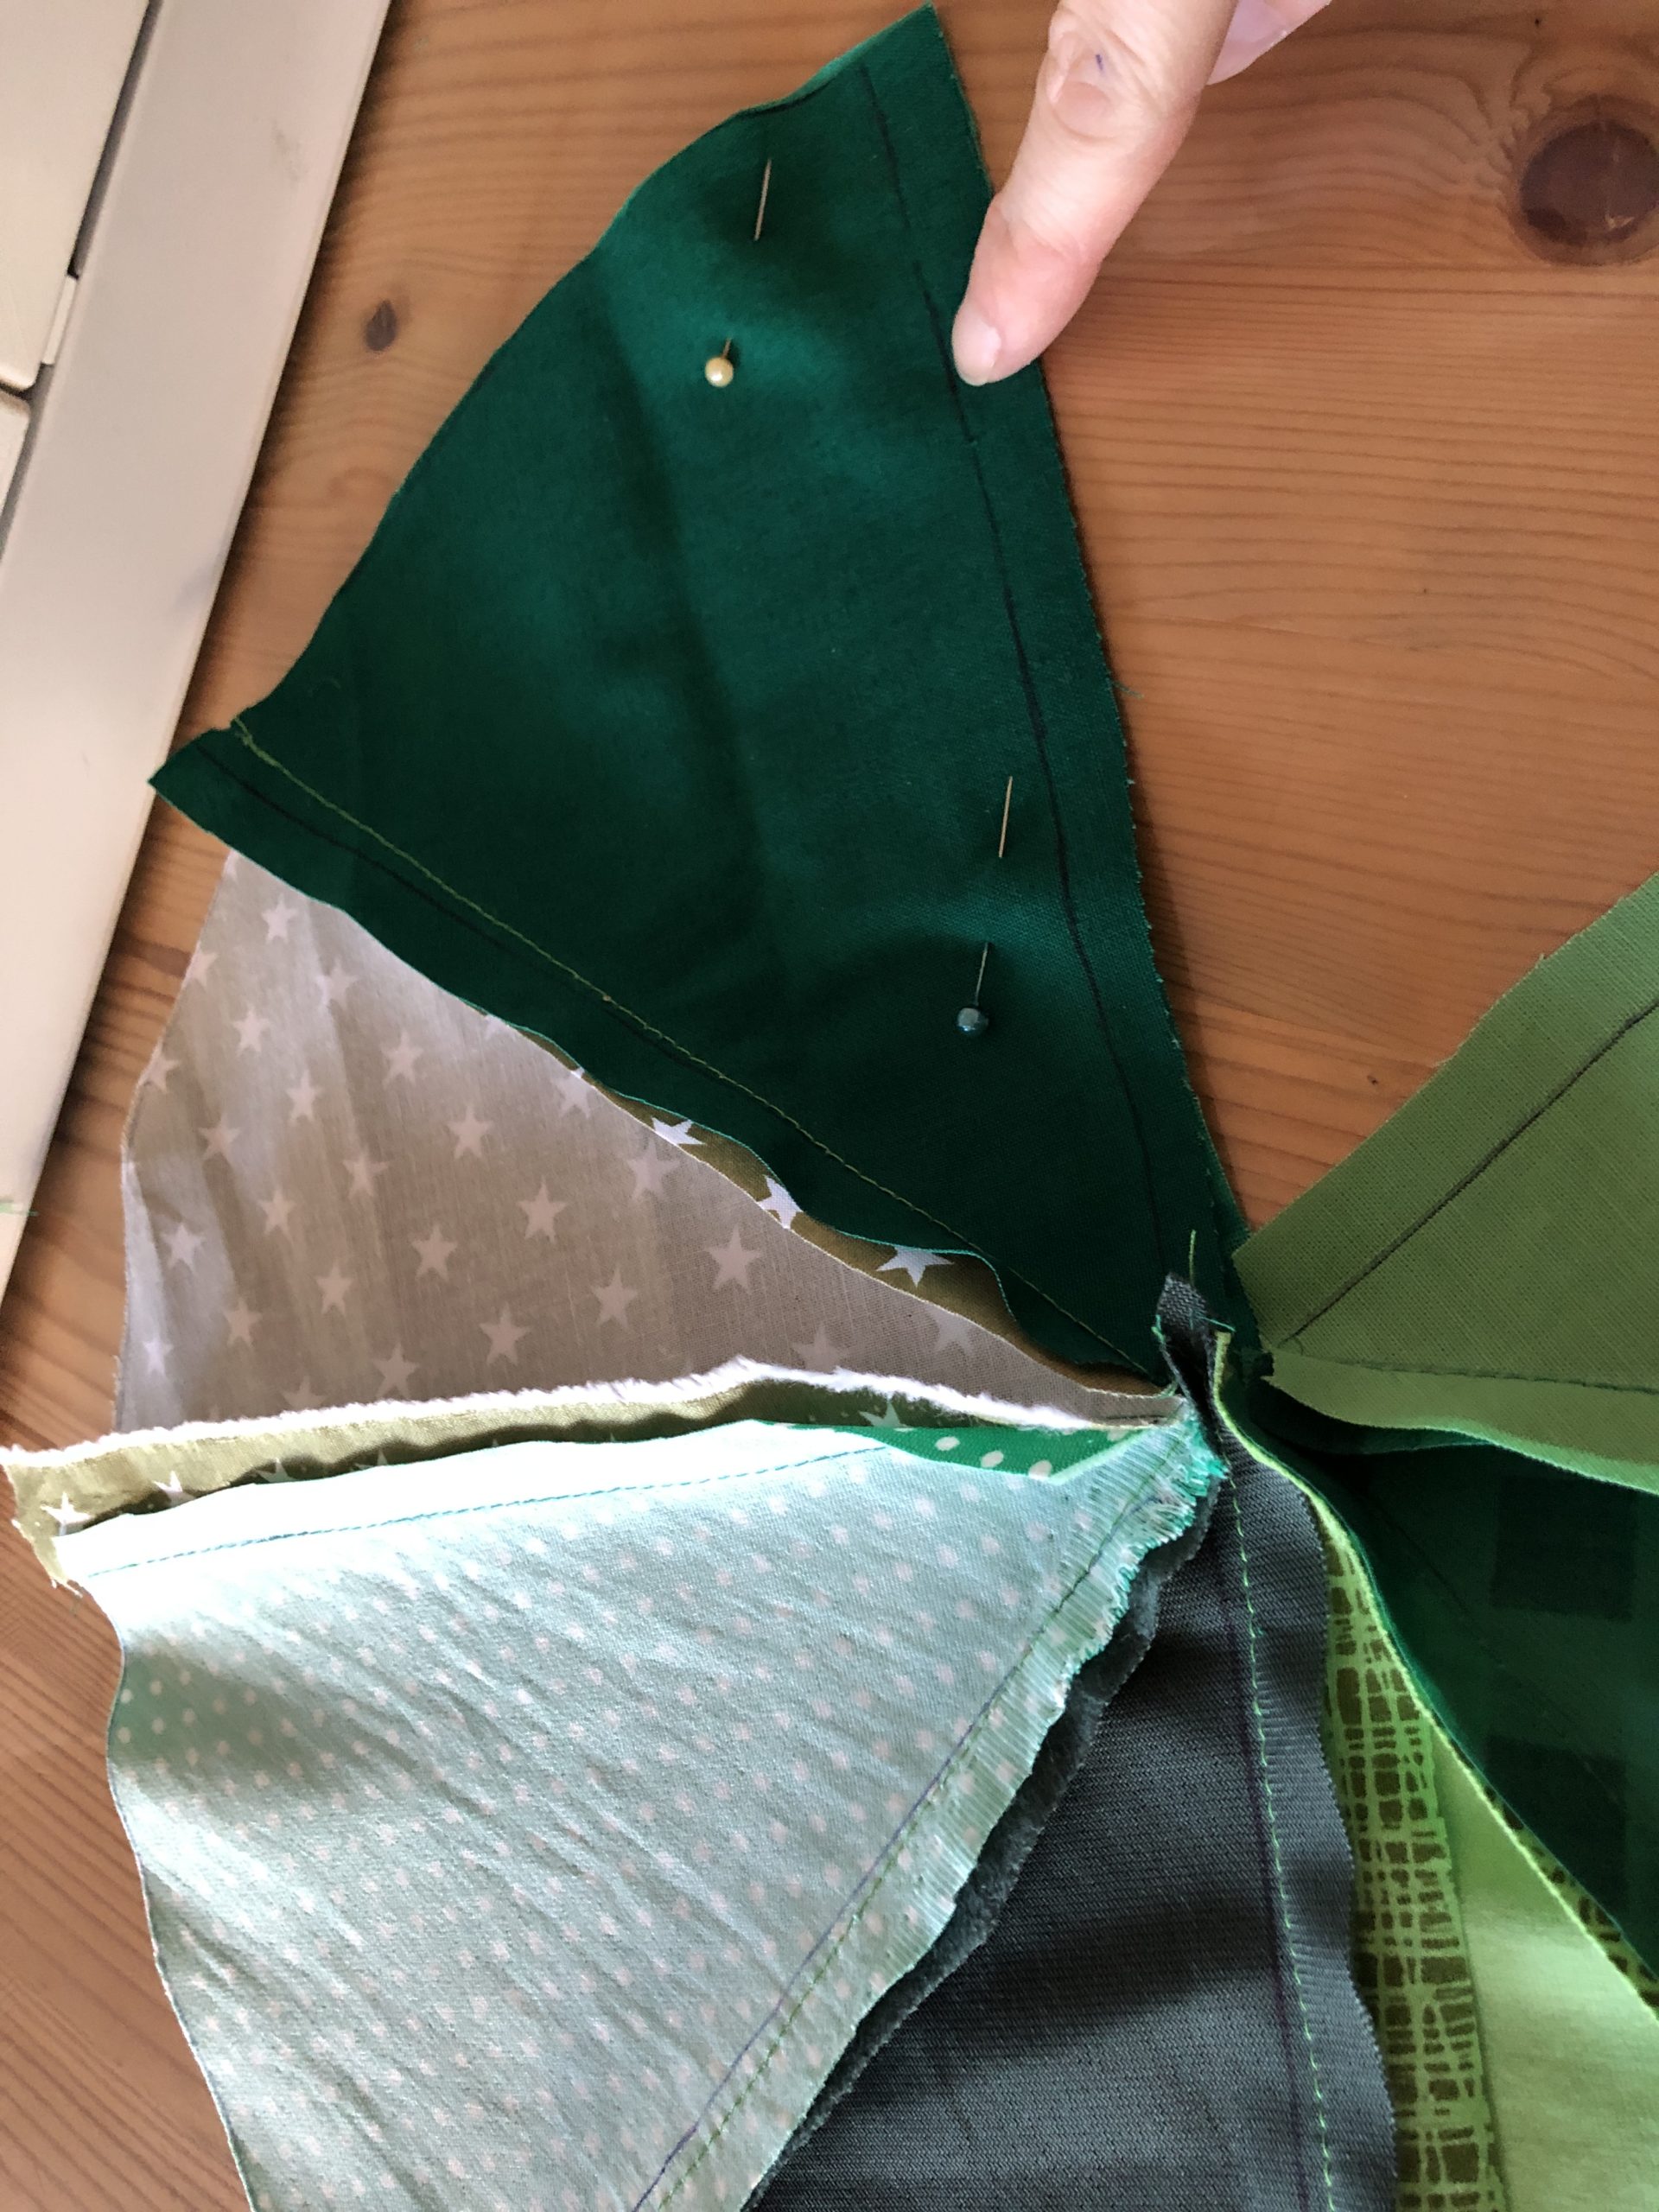


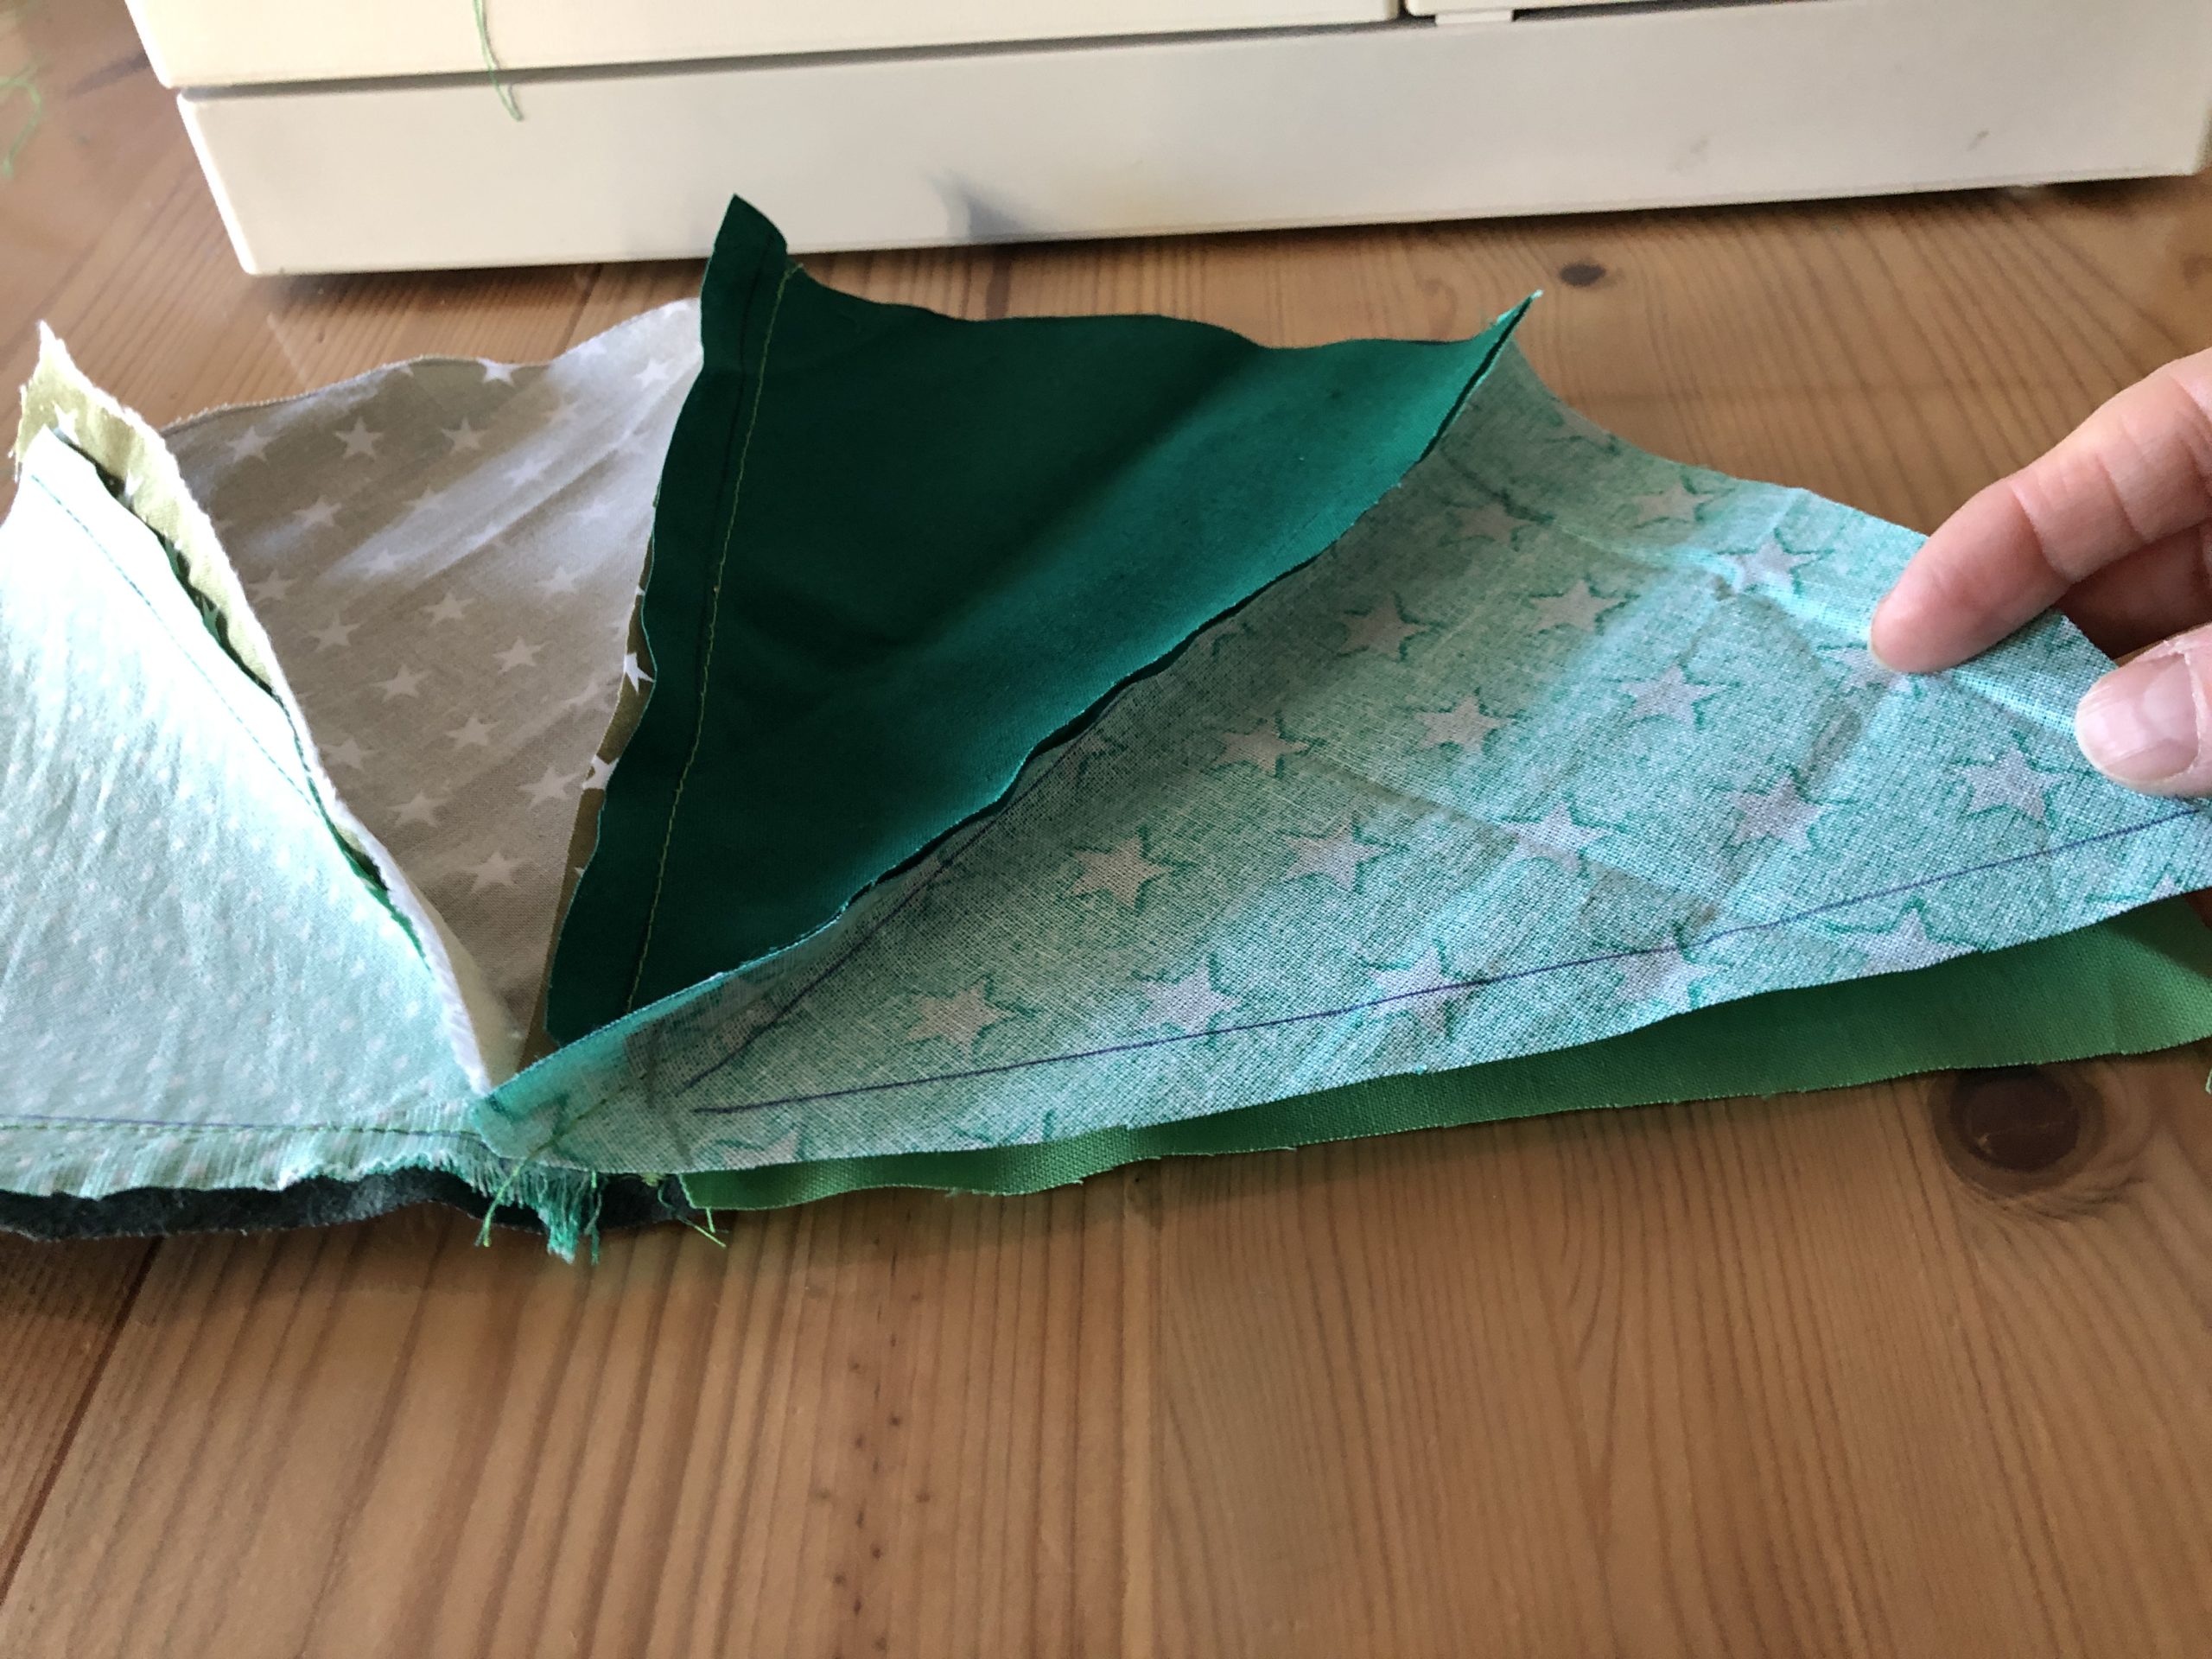


Now the circle is closed.


Do not forget to line the individual seams with a zigzag stitch.


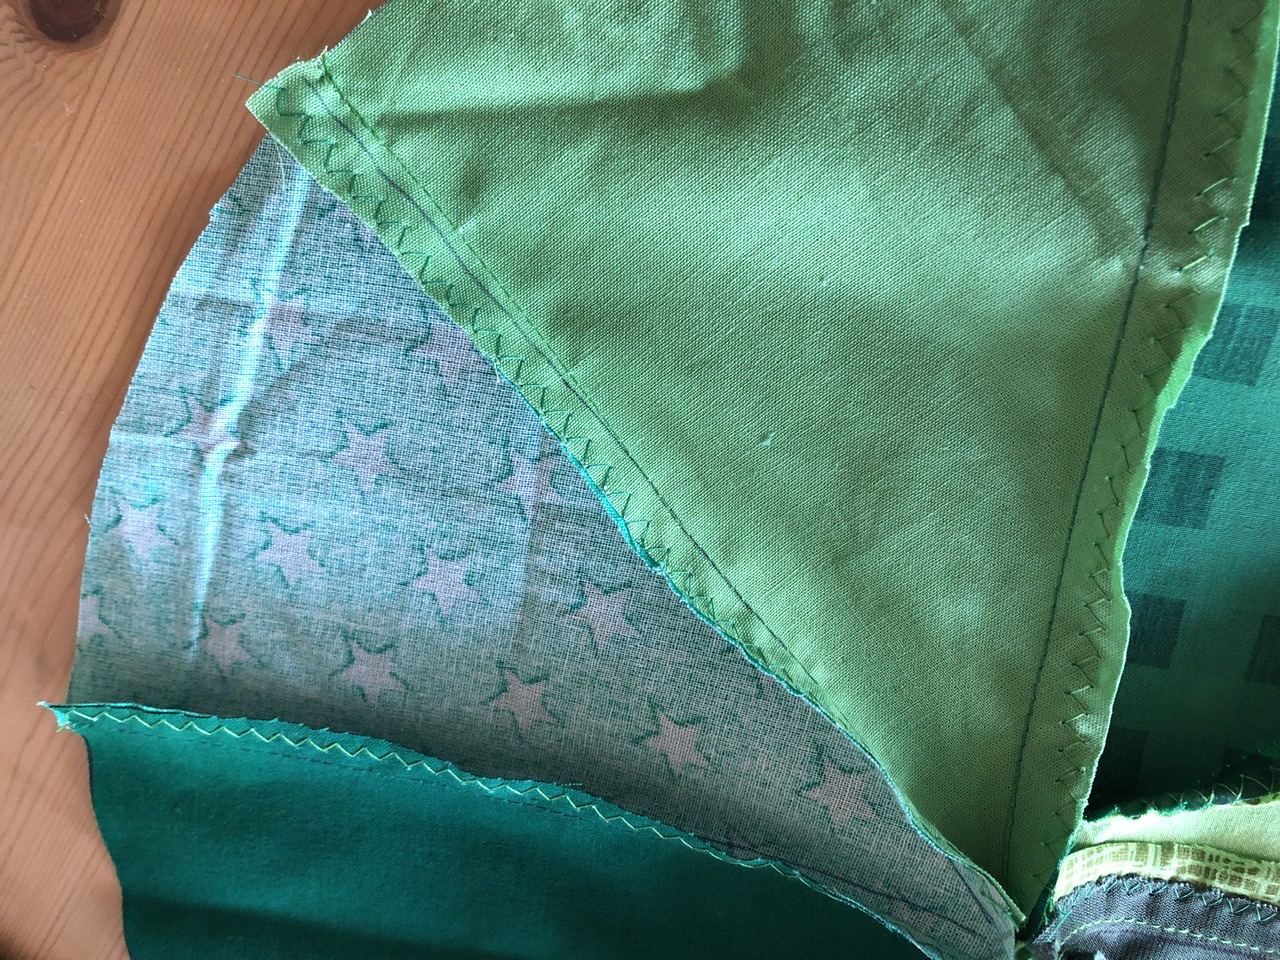


In the center of the circle a small circle has to be cut out.
This is how a wreath is created. Take a cup or a bowl to draw on.


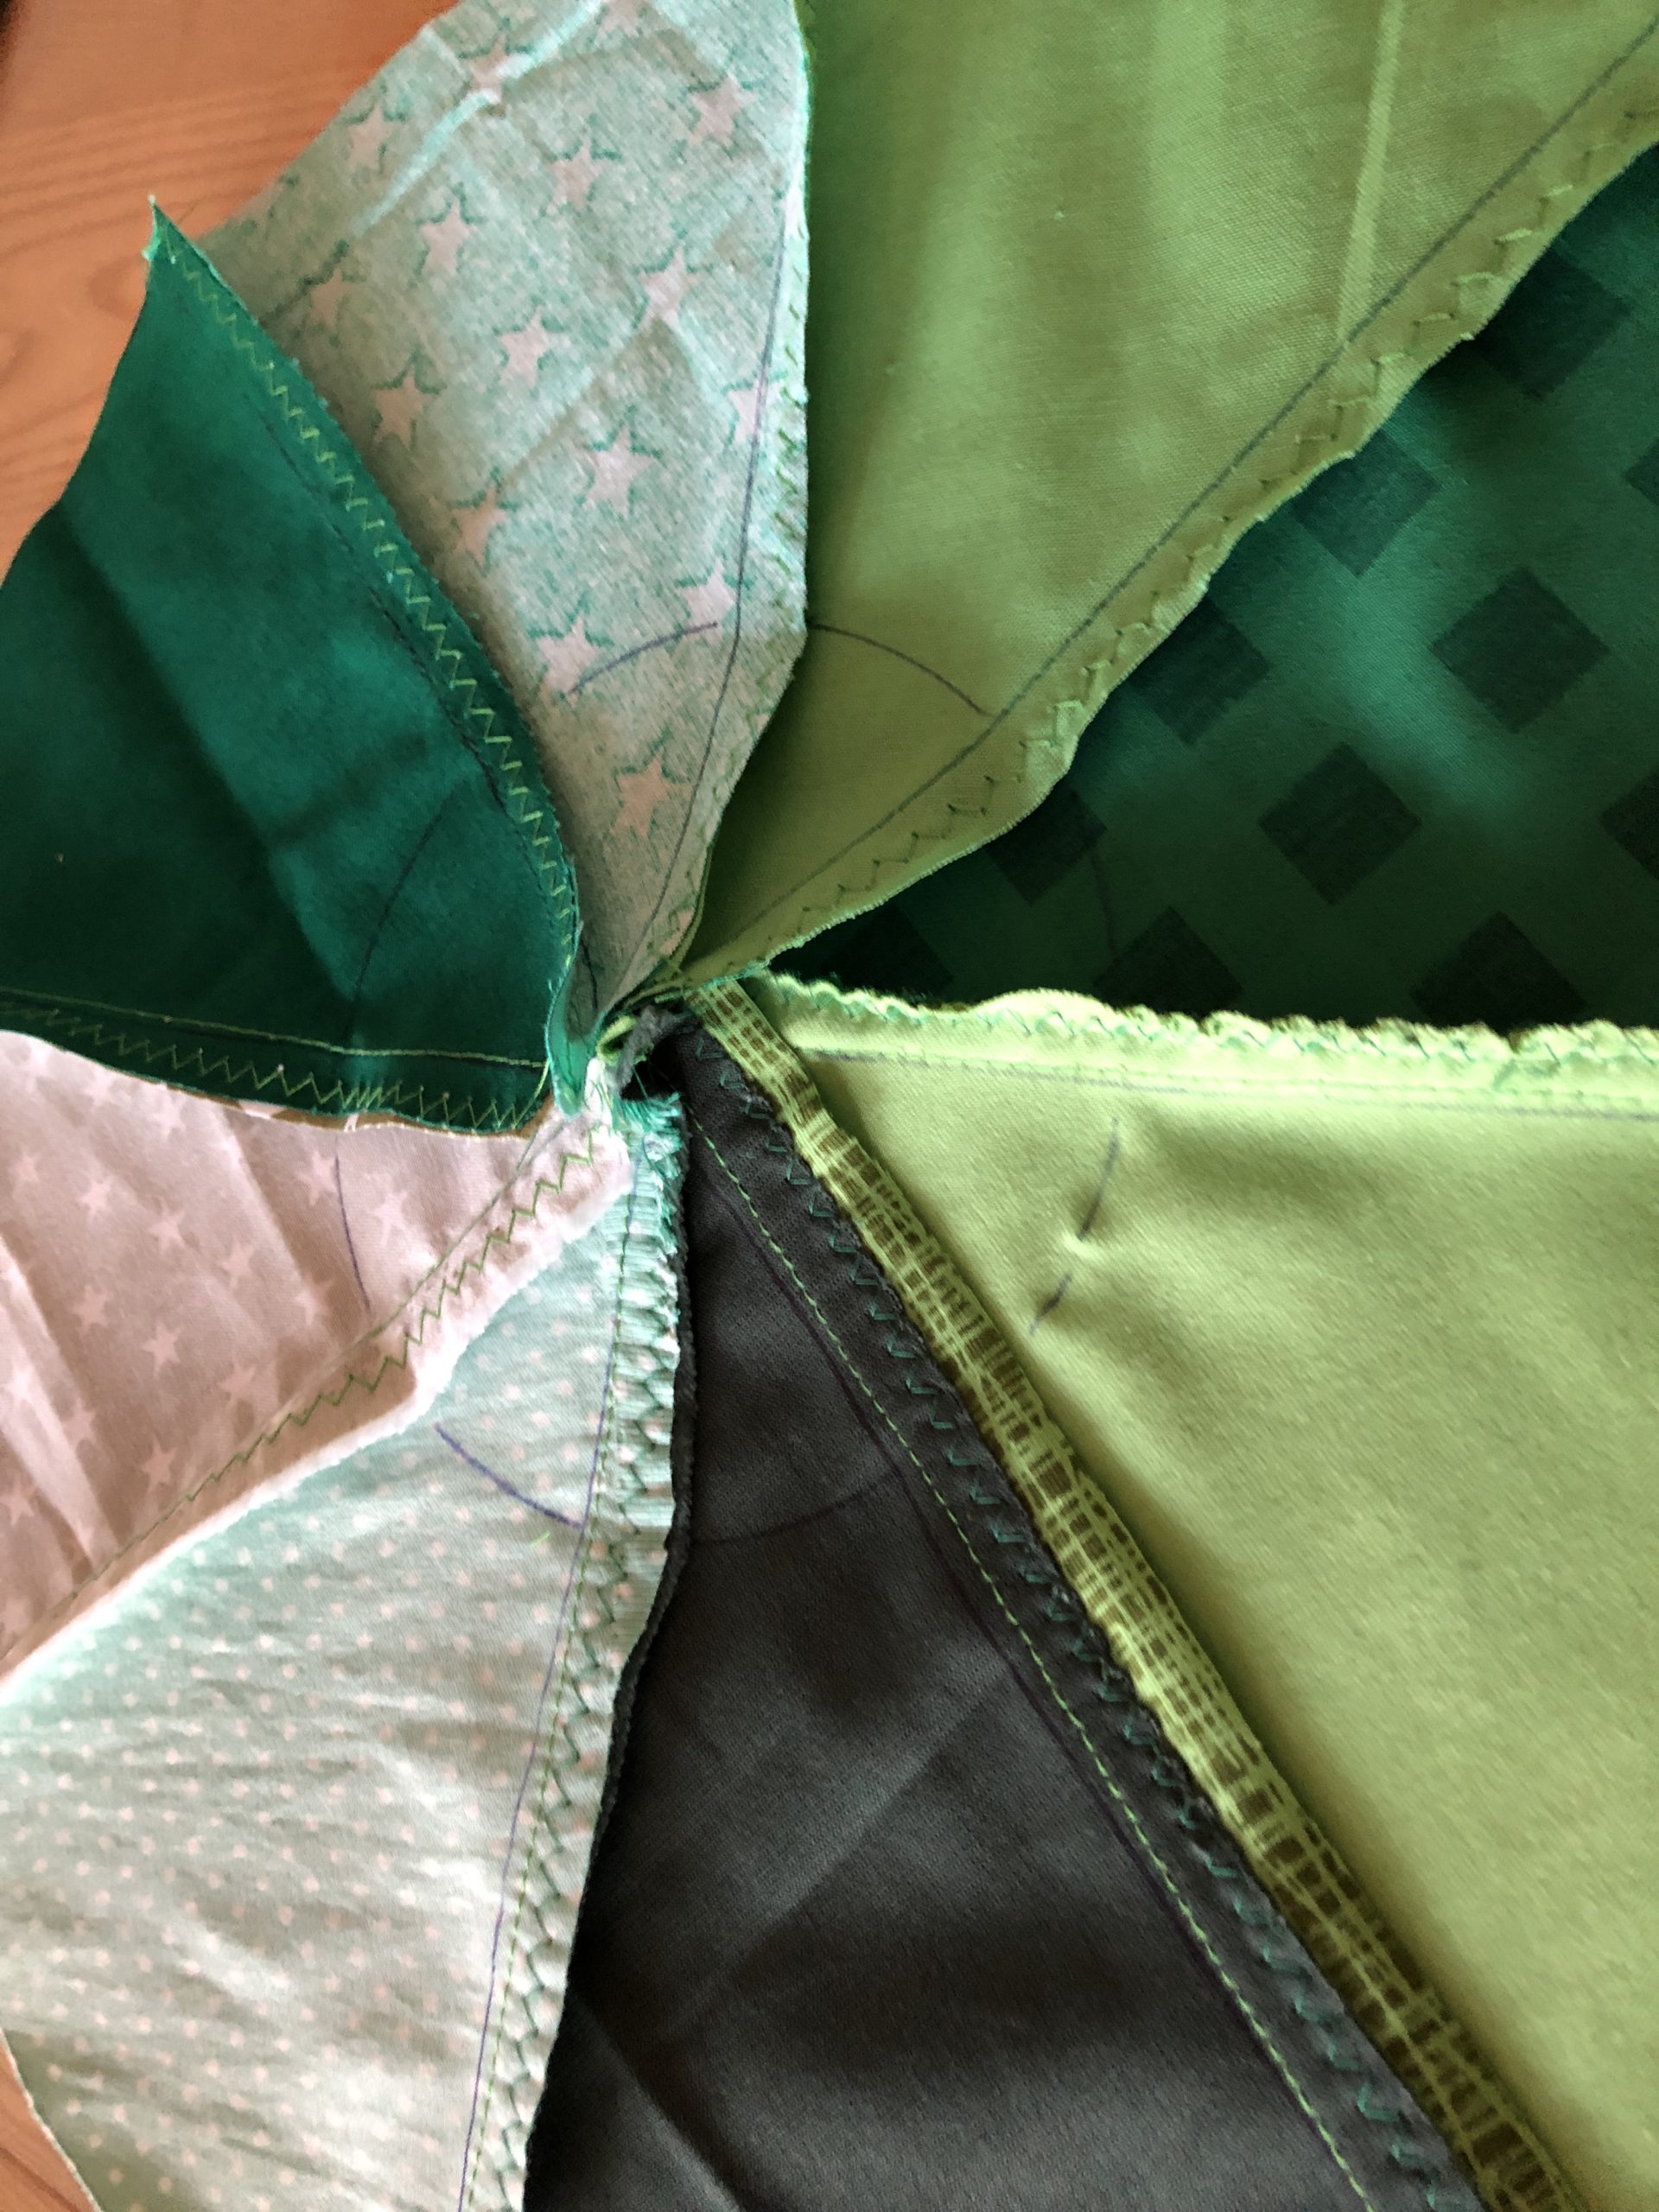


Cut out the circle.
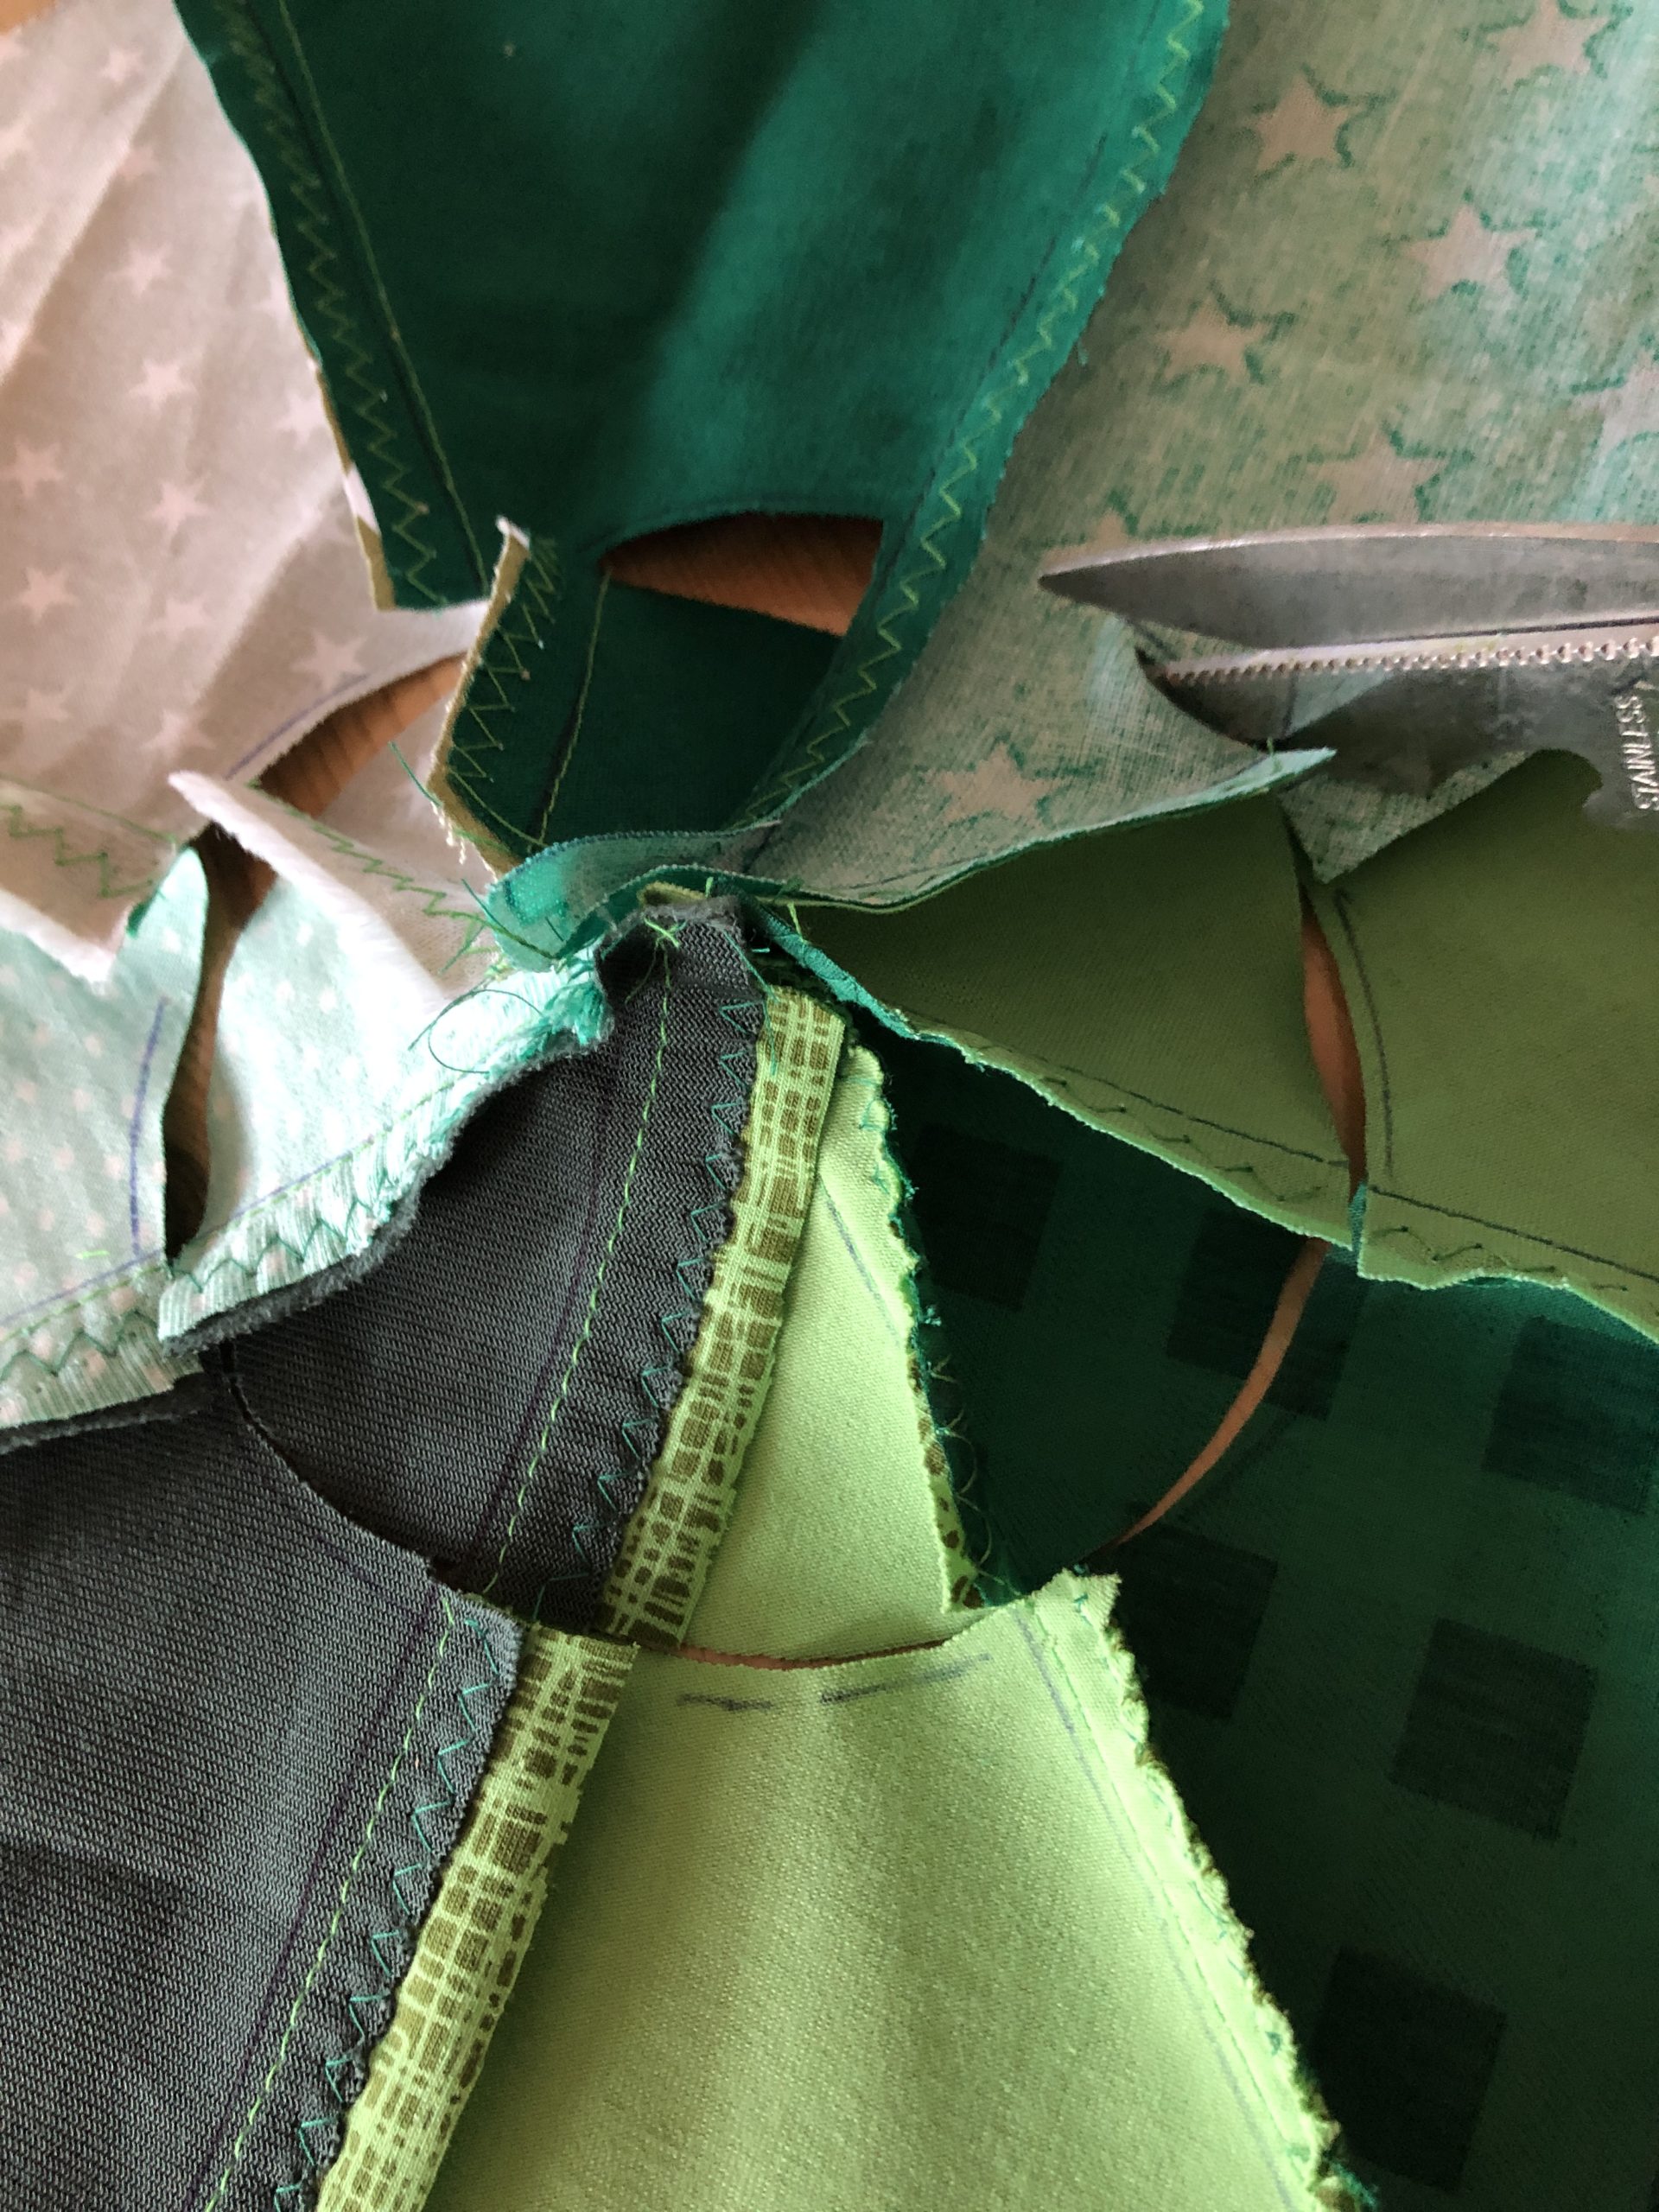


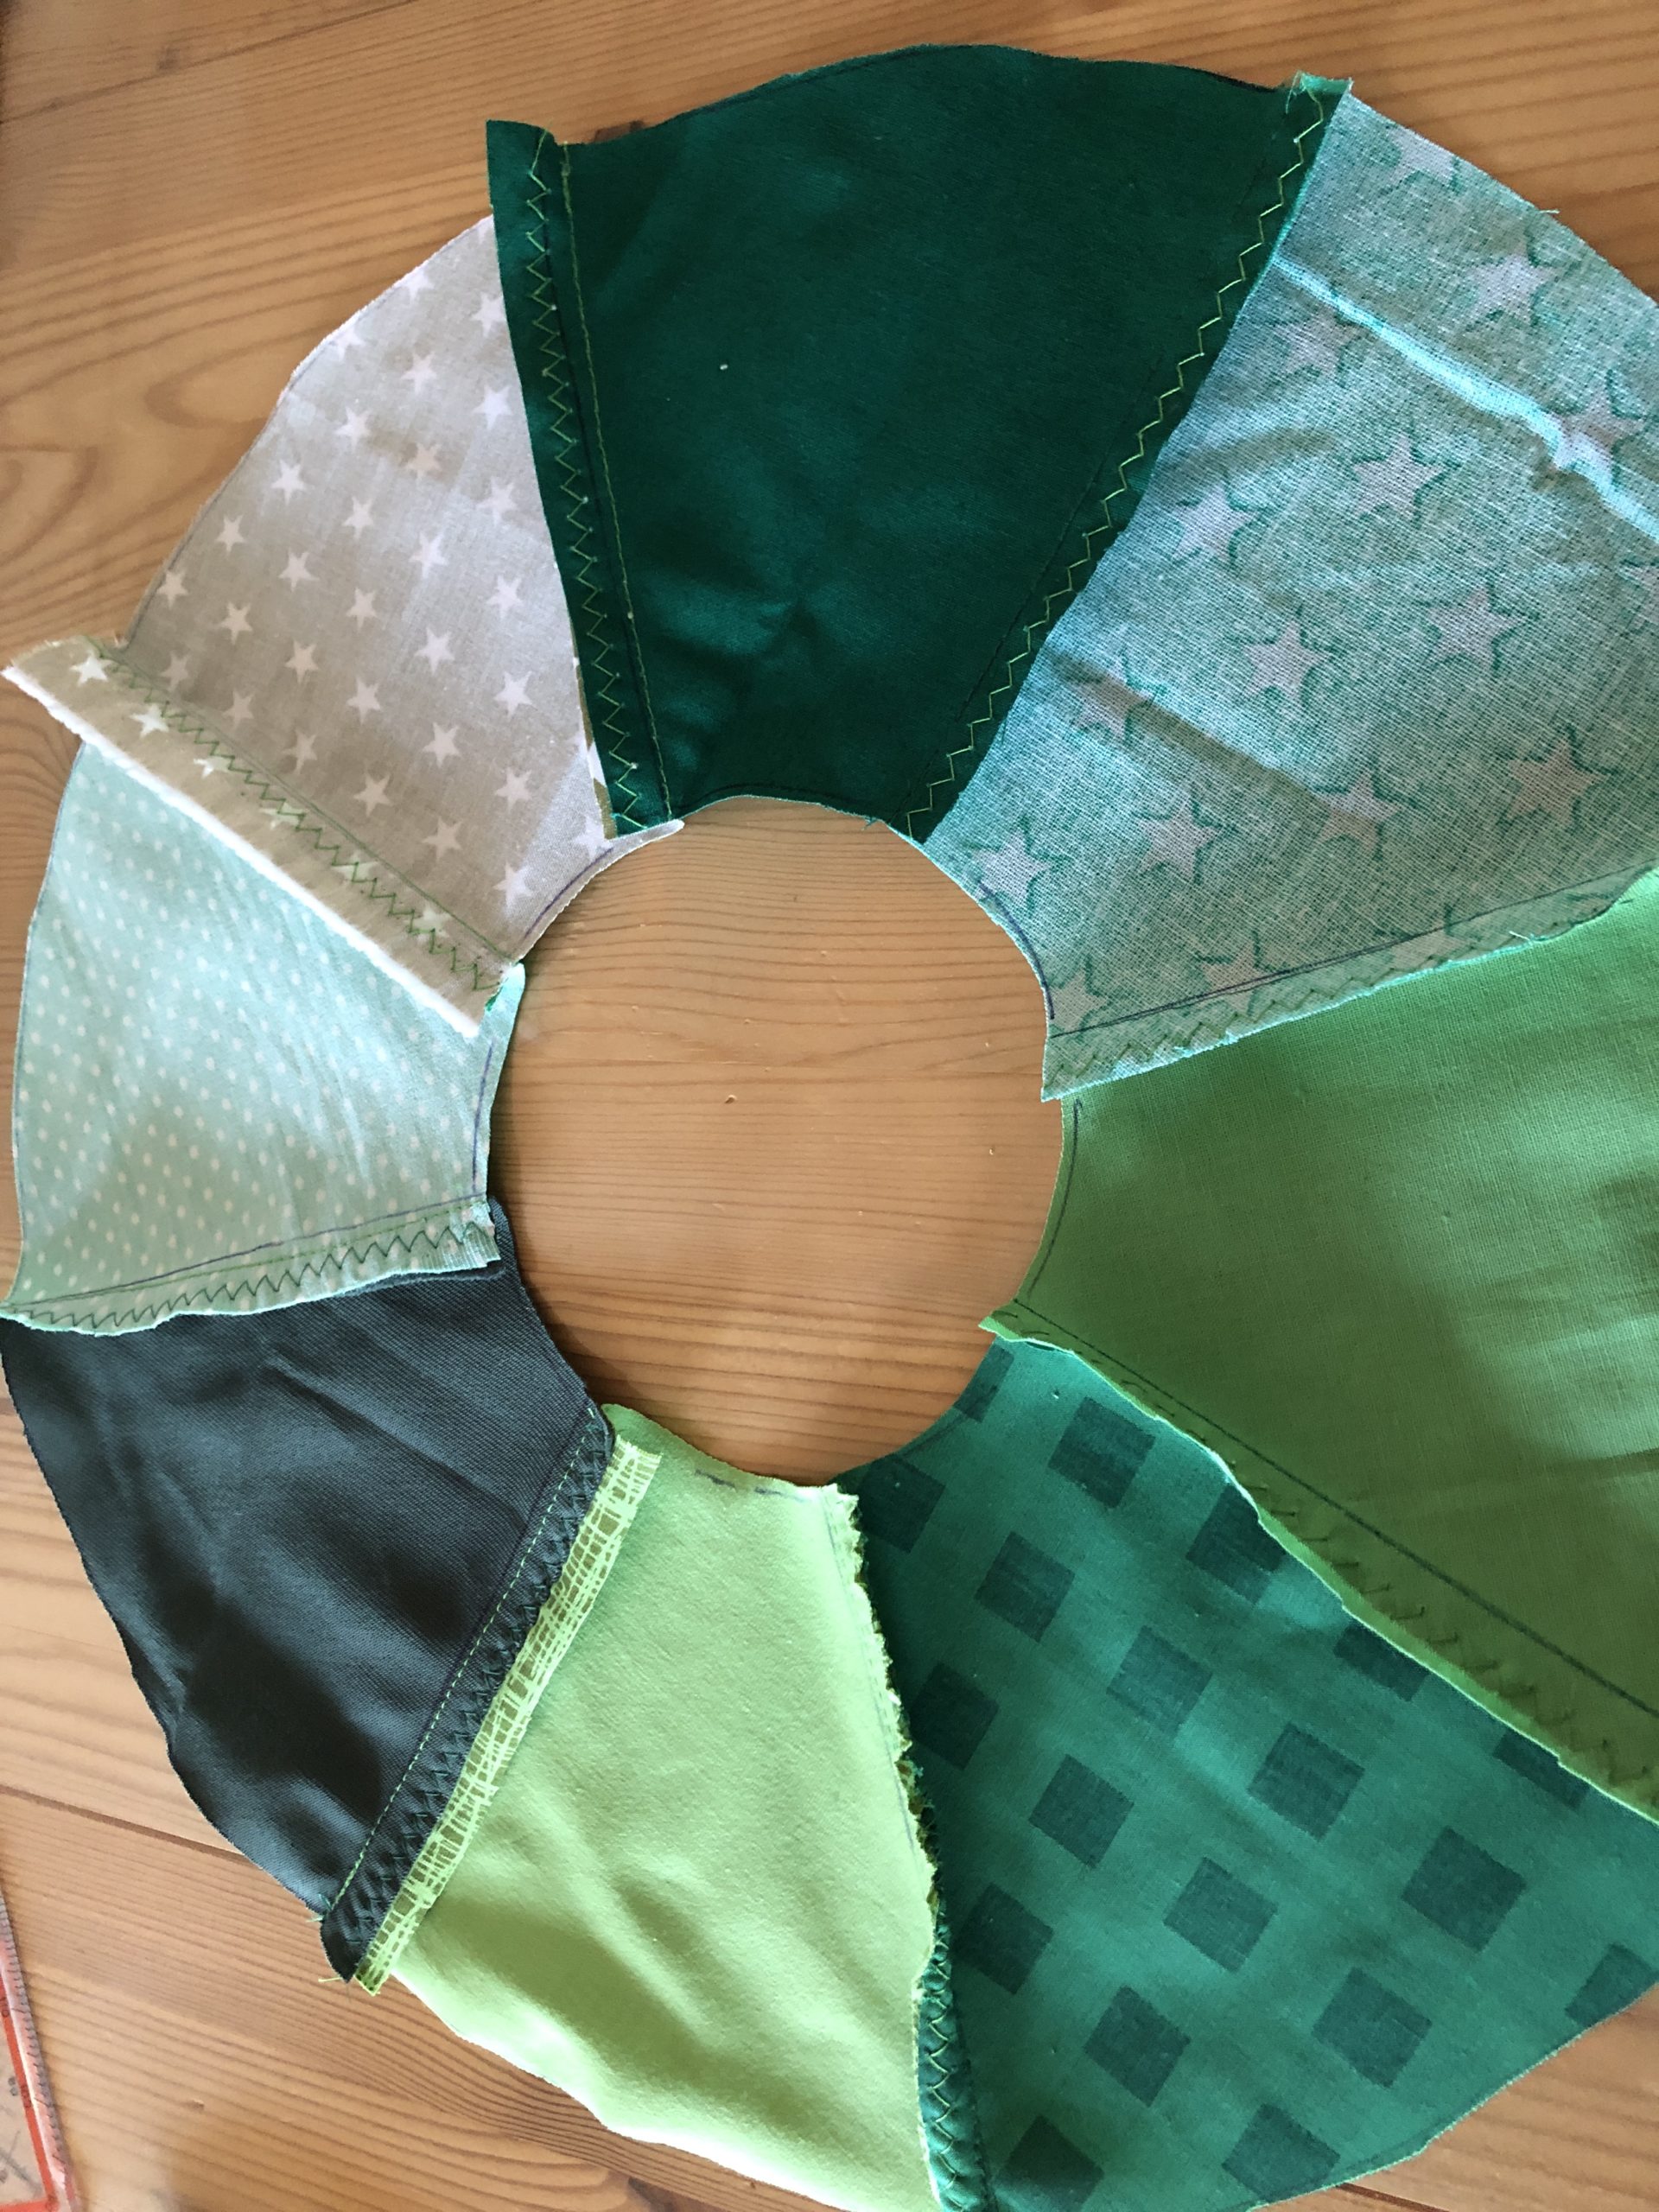


Now iron the seams on the back.
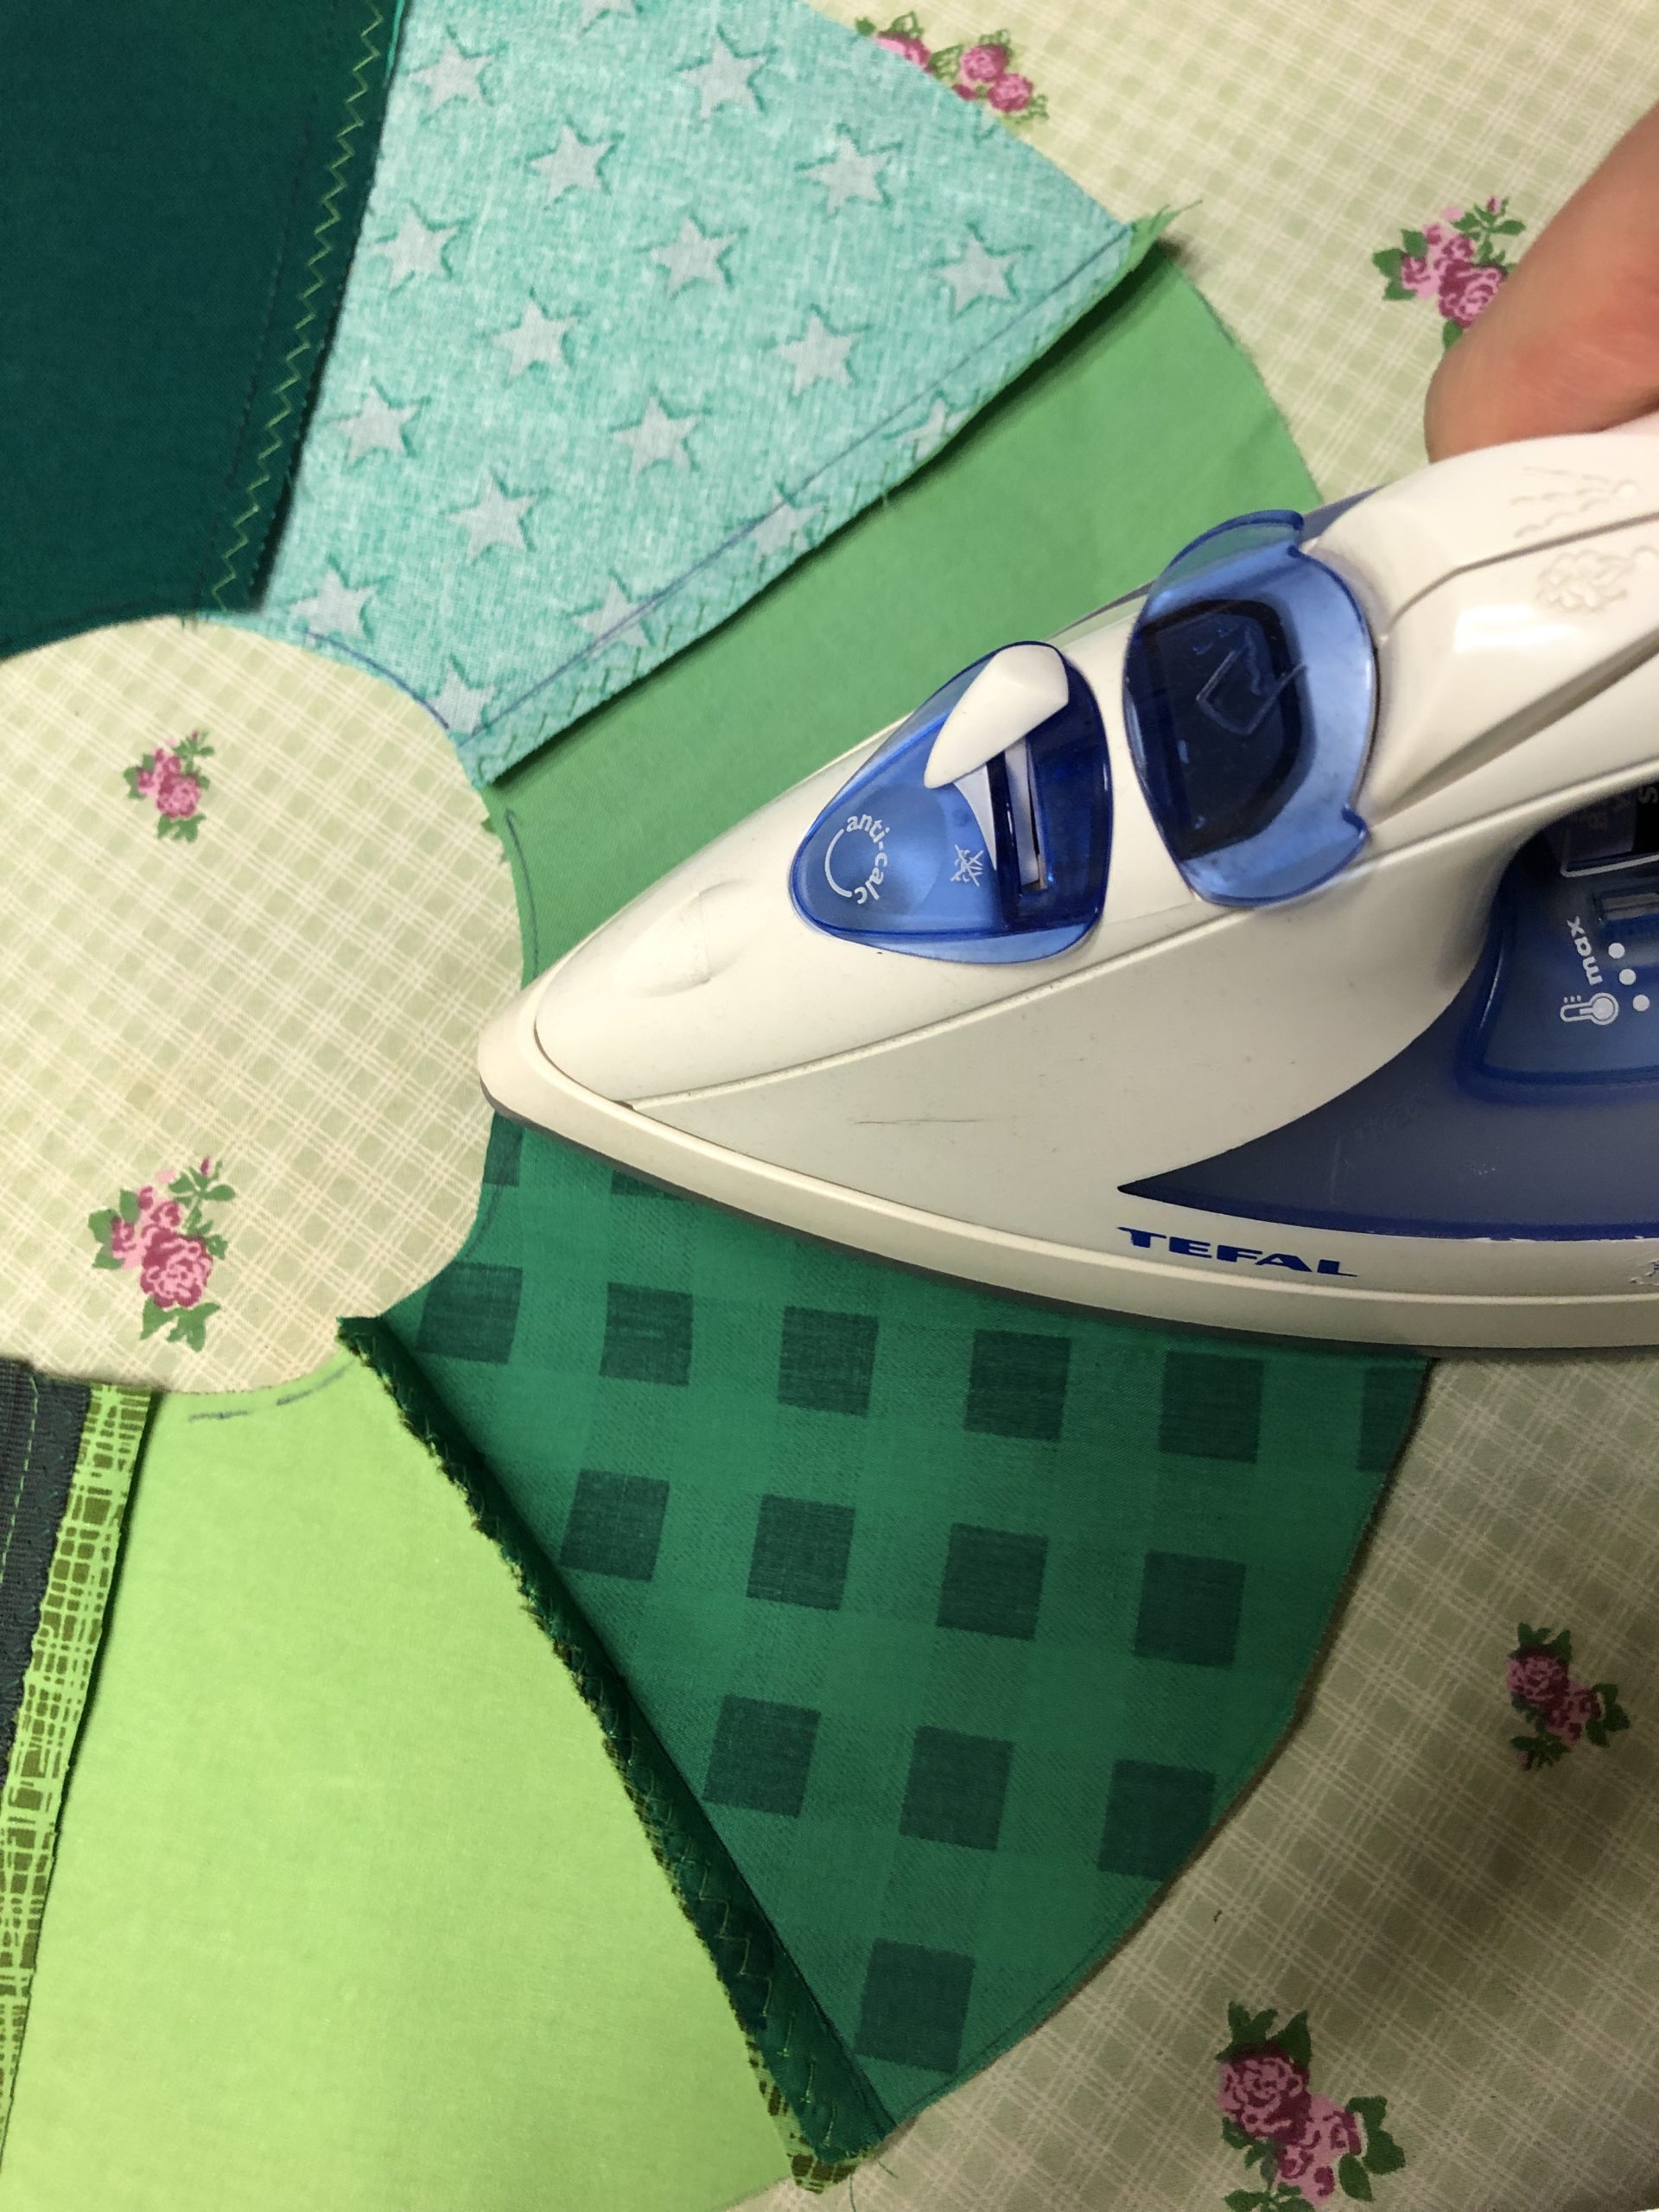


Then also cuts out a small circle from the rear part.
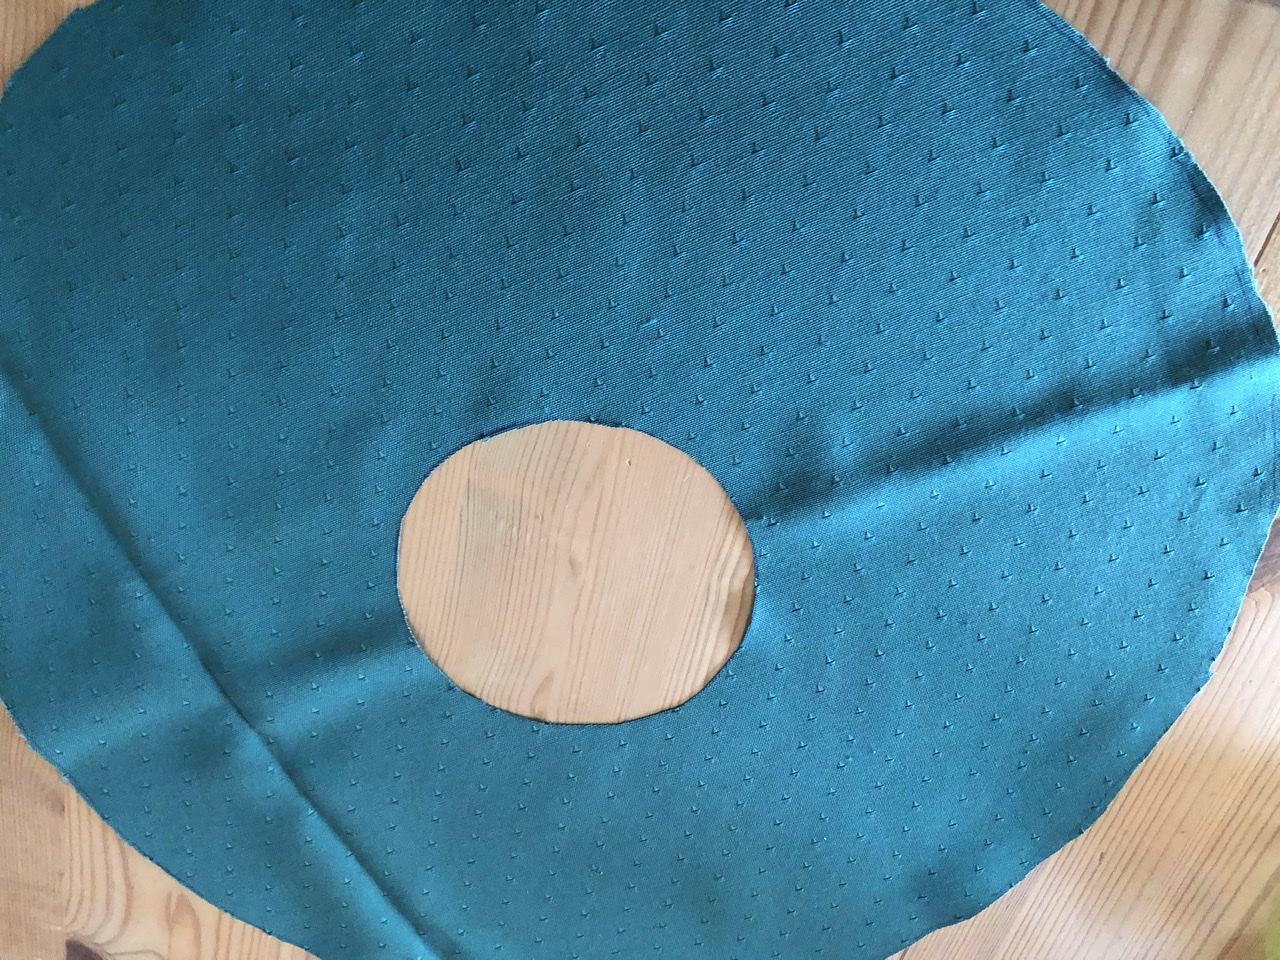


Put the two circles together with the beautiful sides (right).
Then she's stuck with pins.
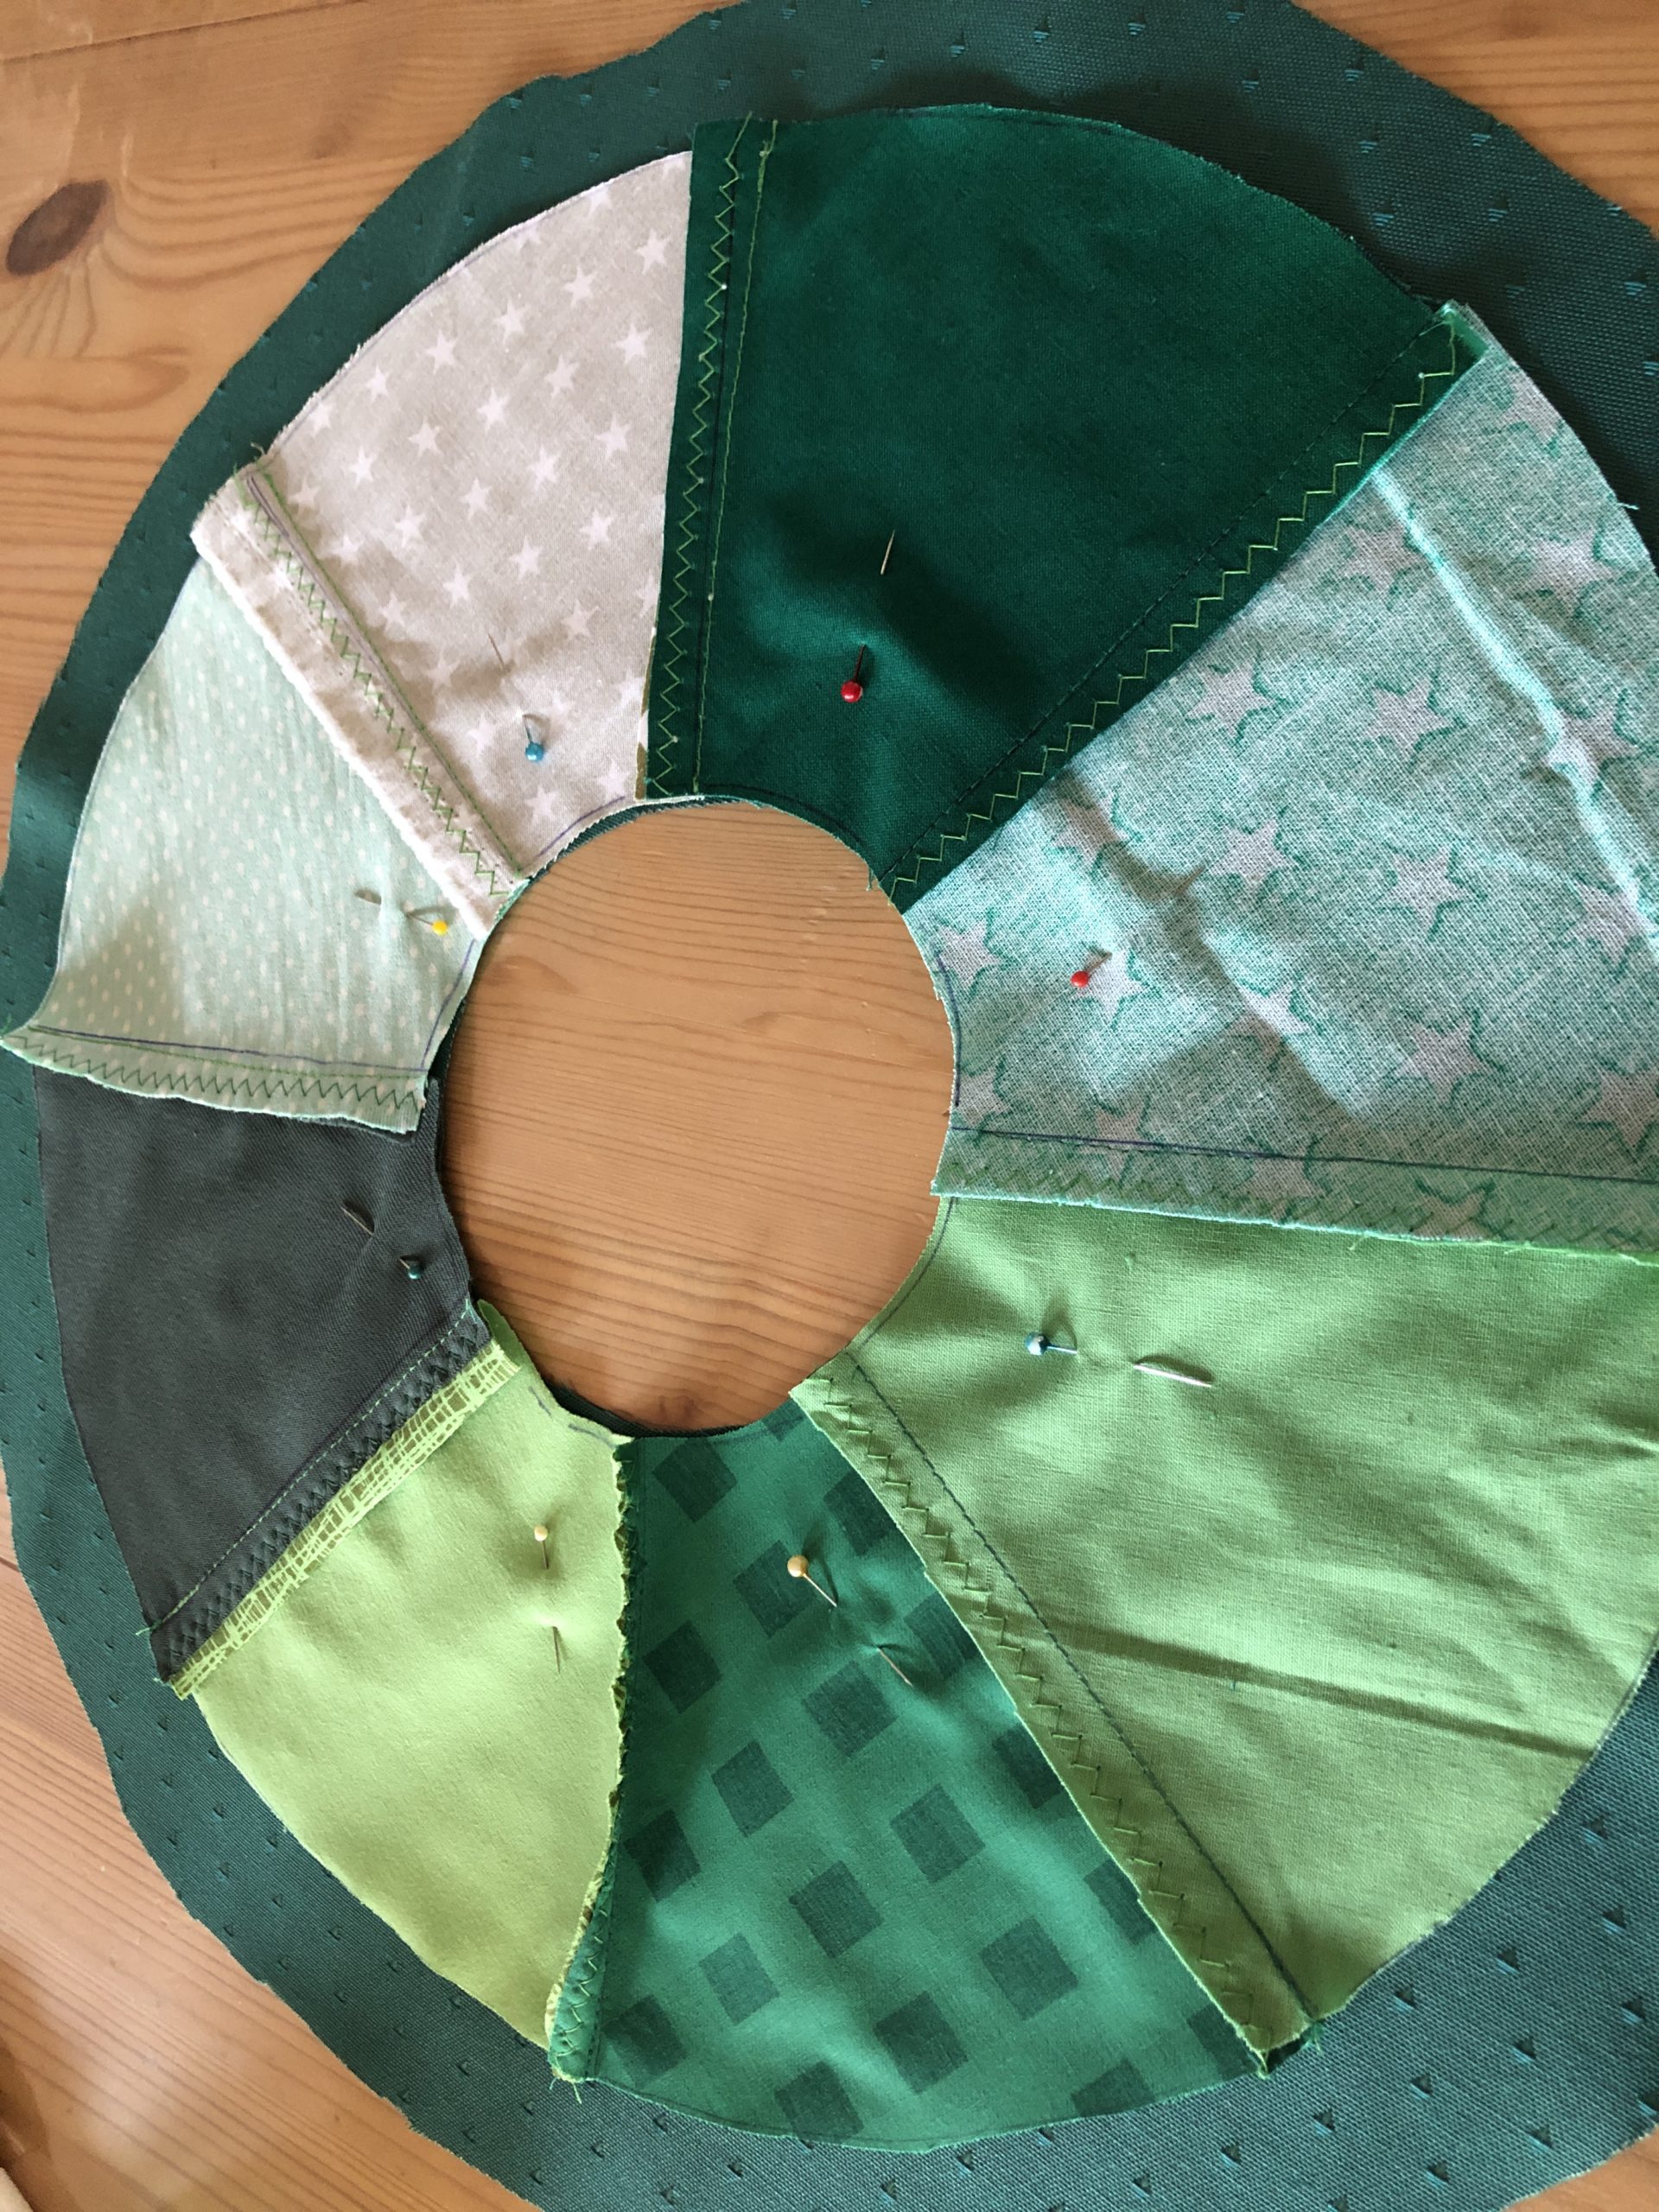


Then you also fix the fabric around the outside with pins.
Make sure that you take out the edge of the fabric and always stick in the middle of the fabric with needles.


Now you sew the outer edge together with the sewing machine.
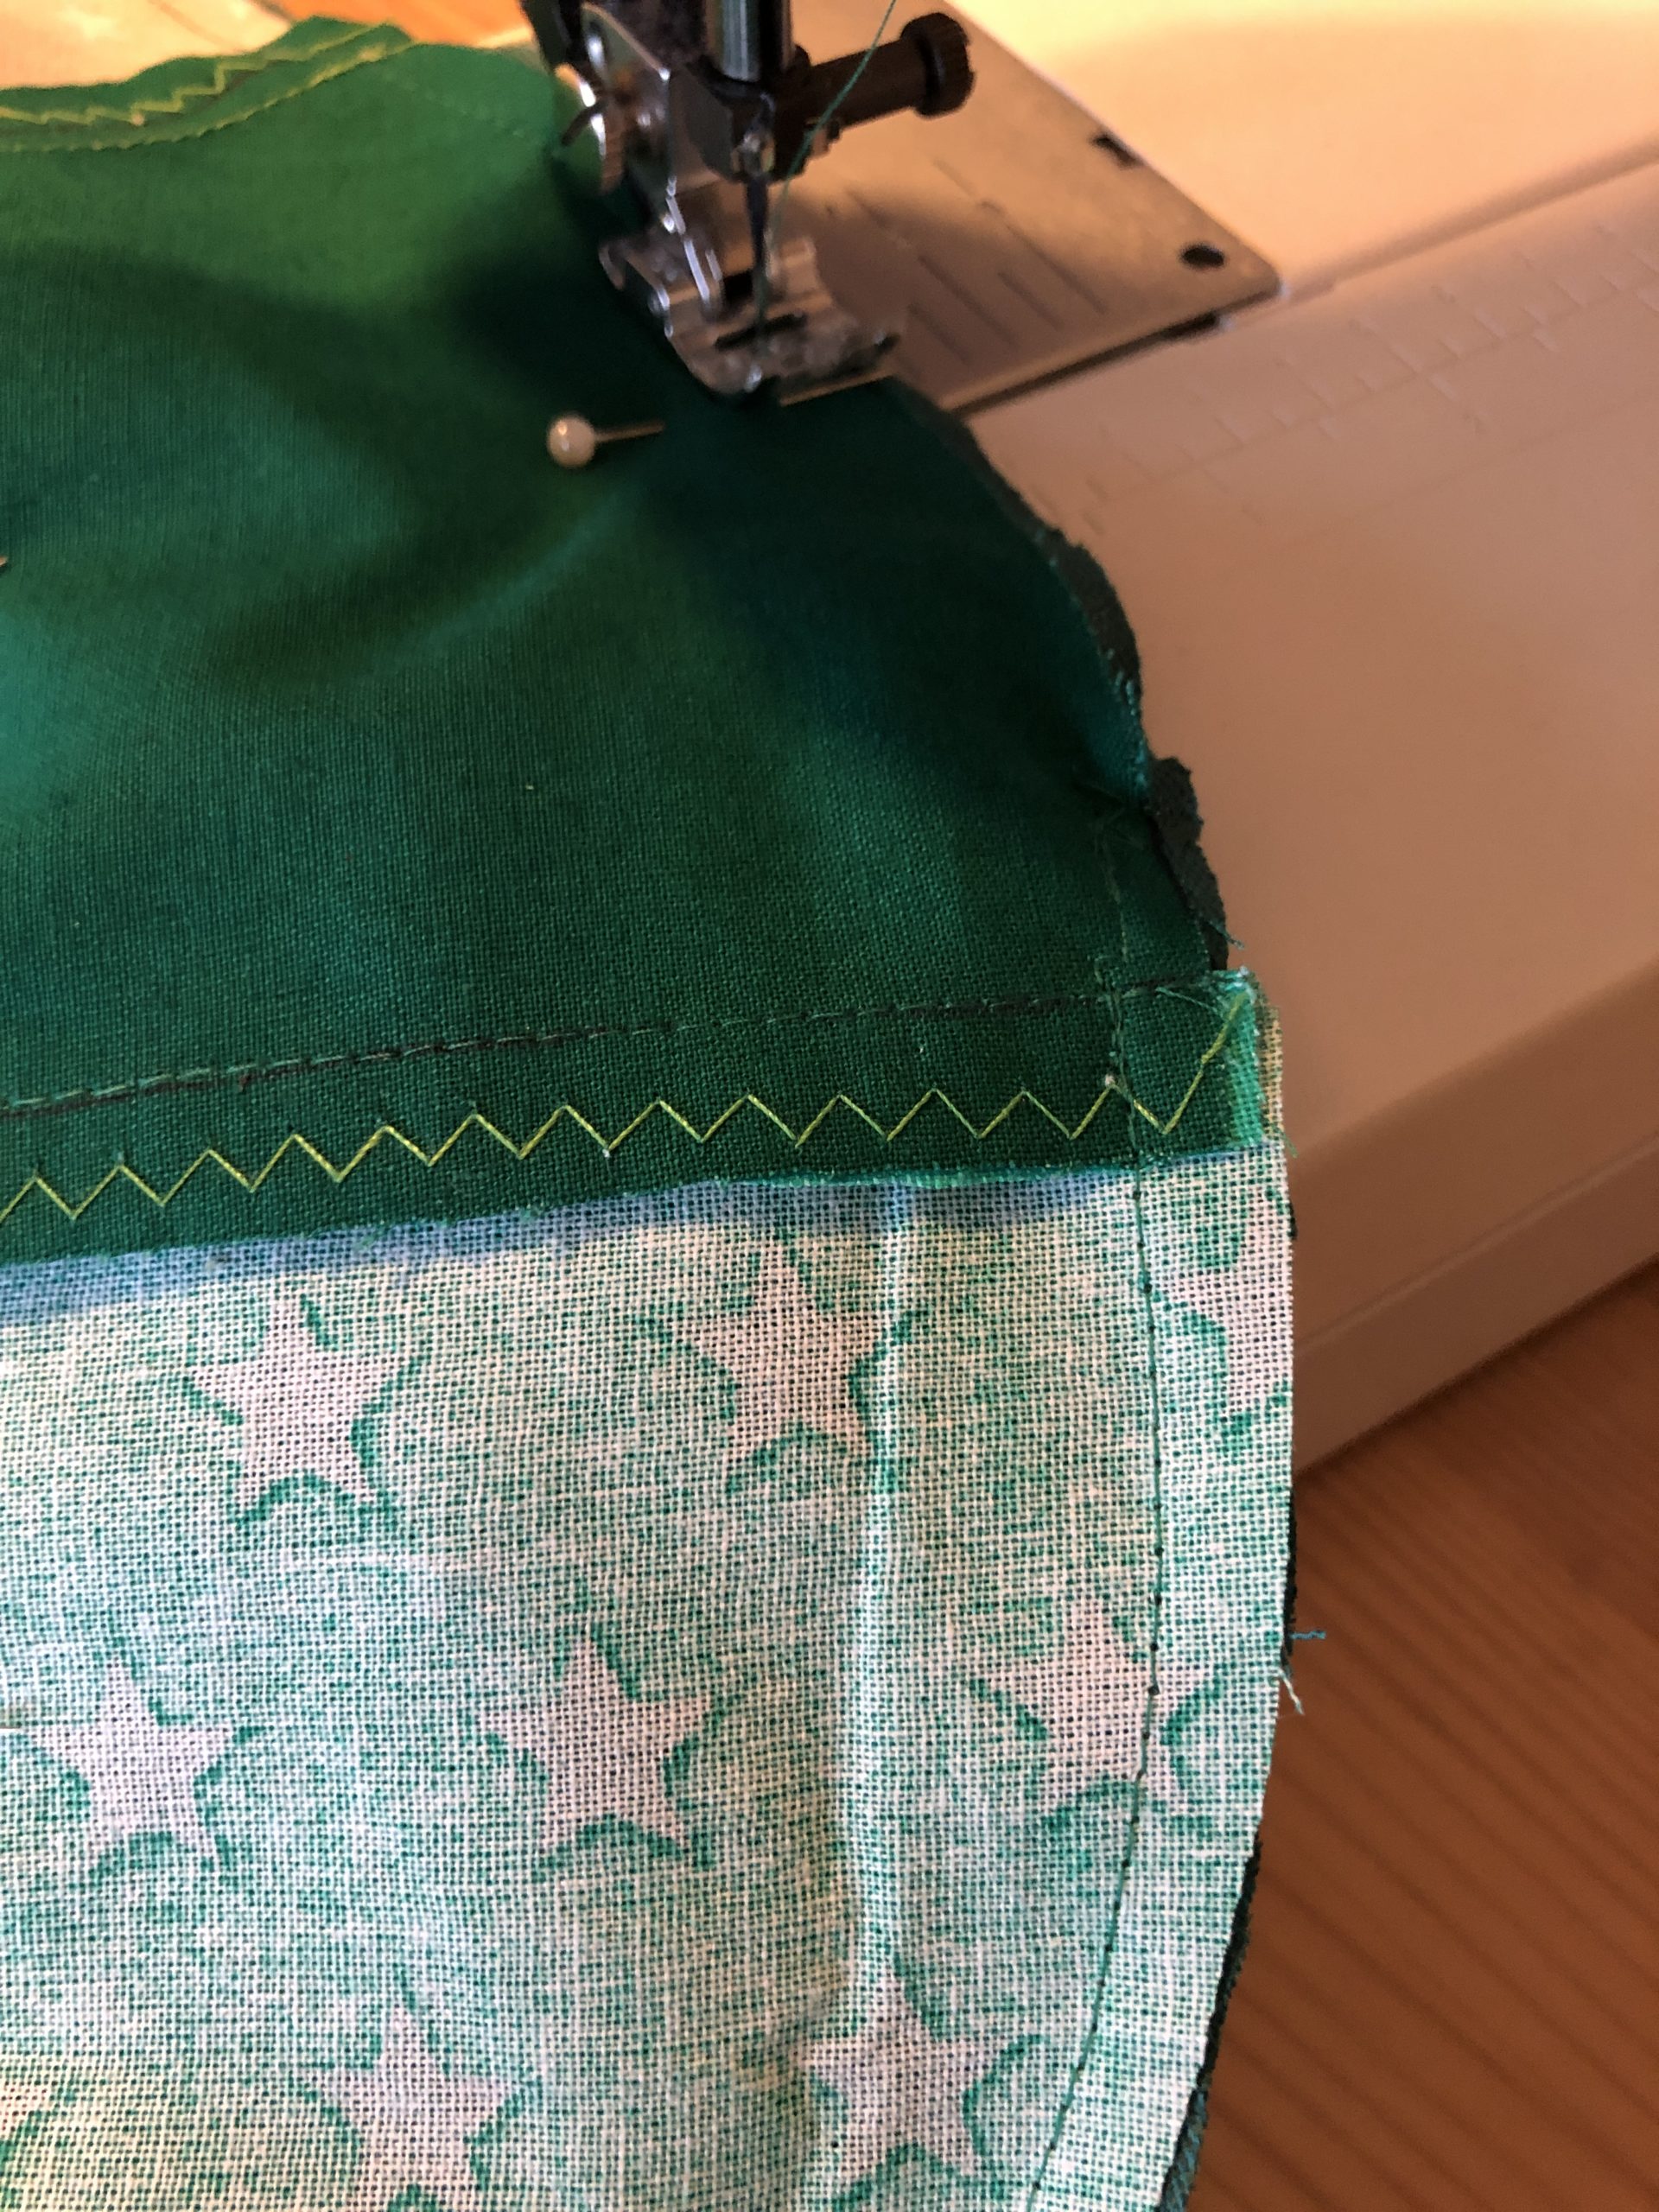


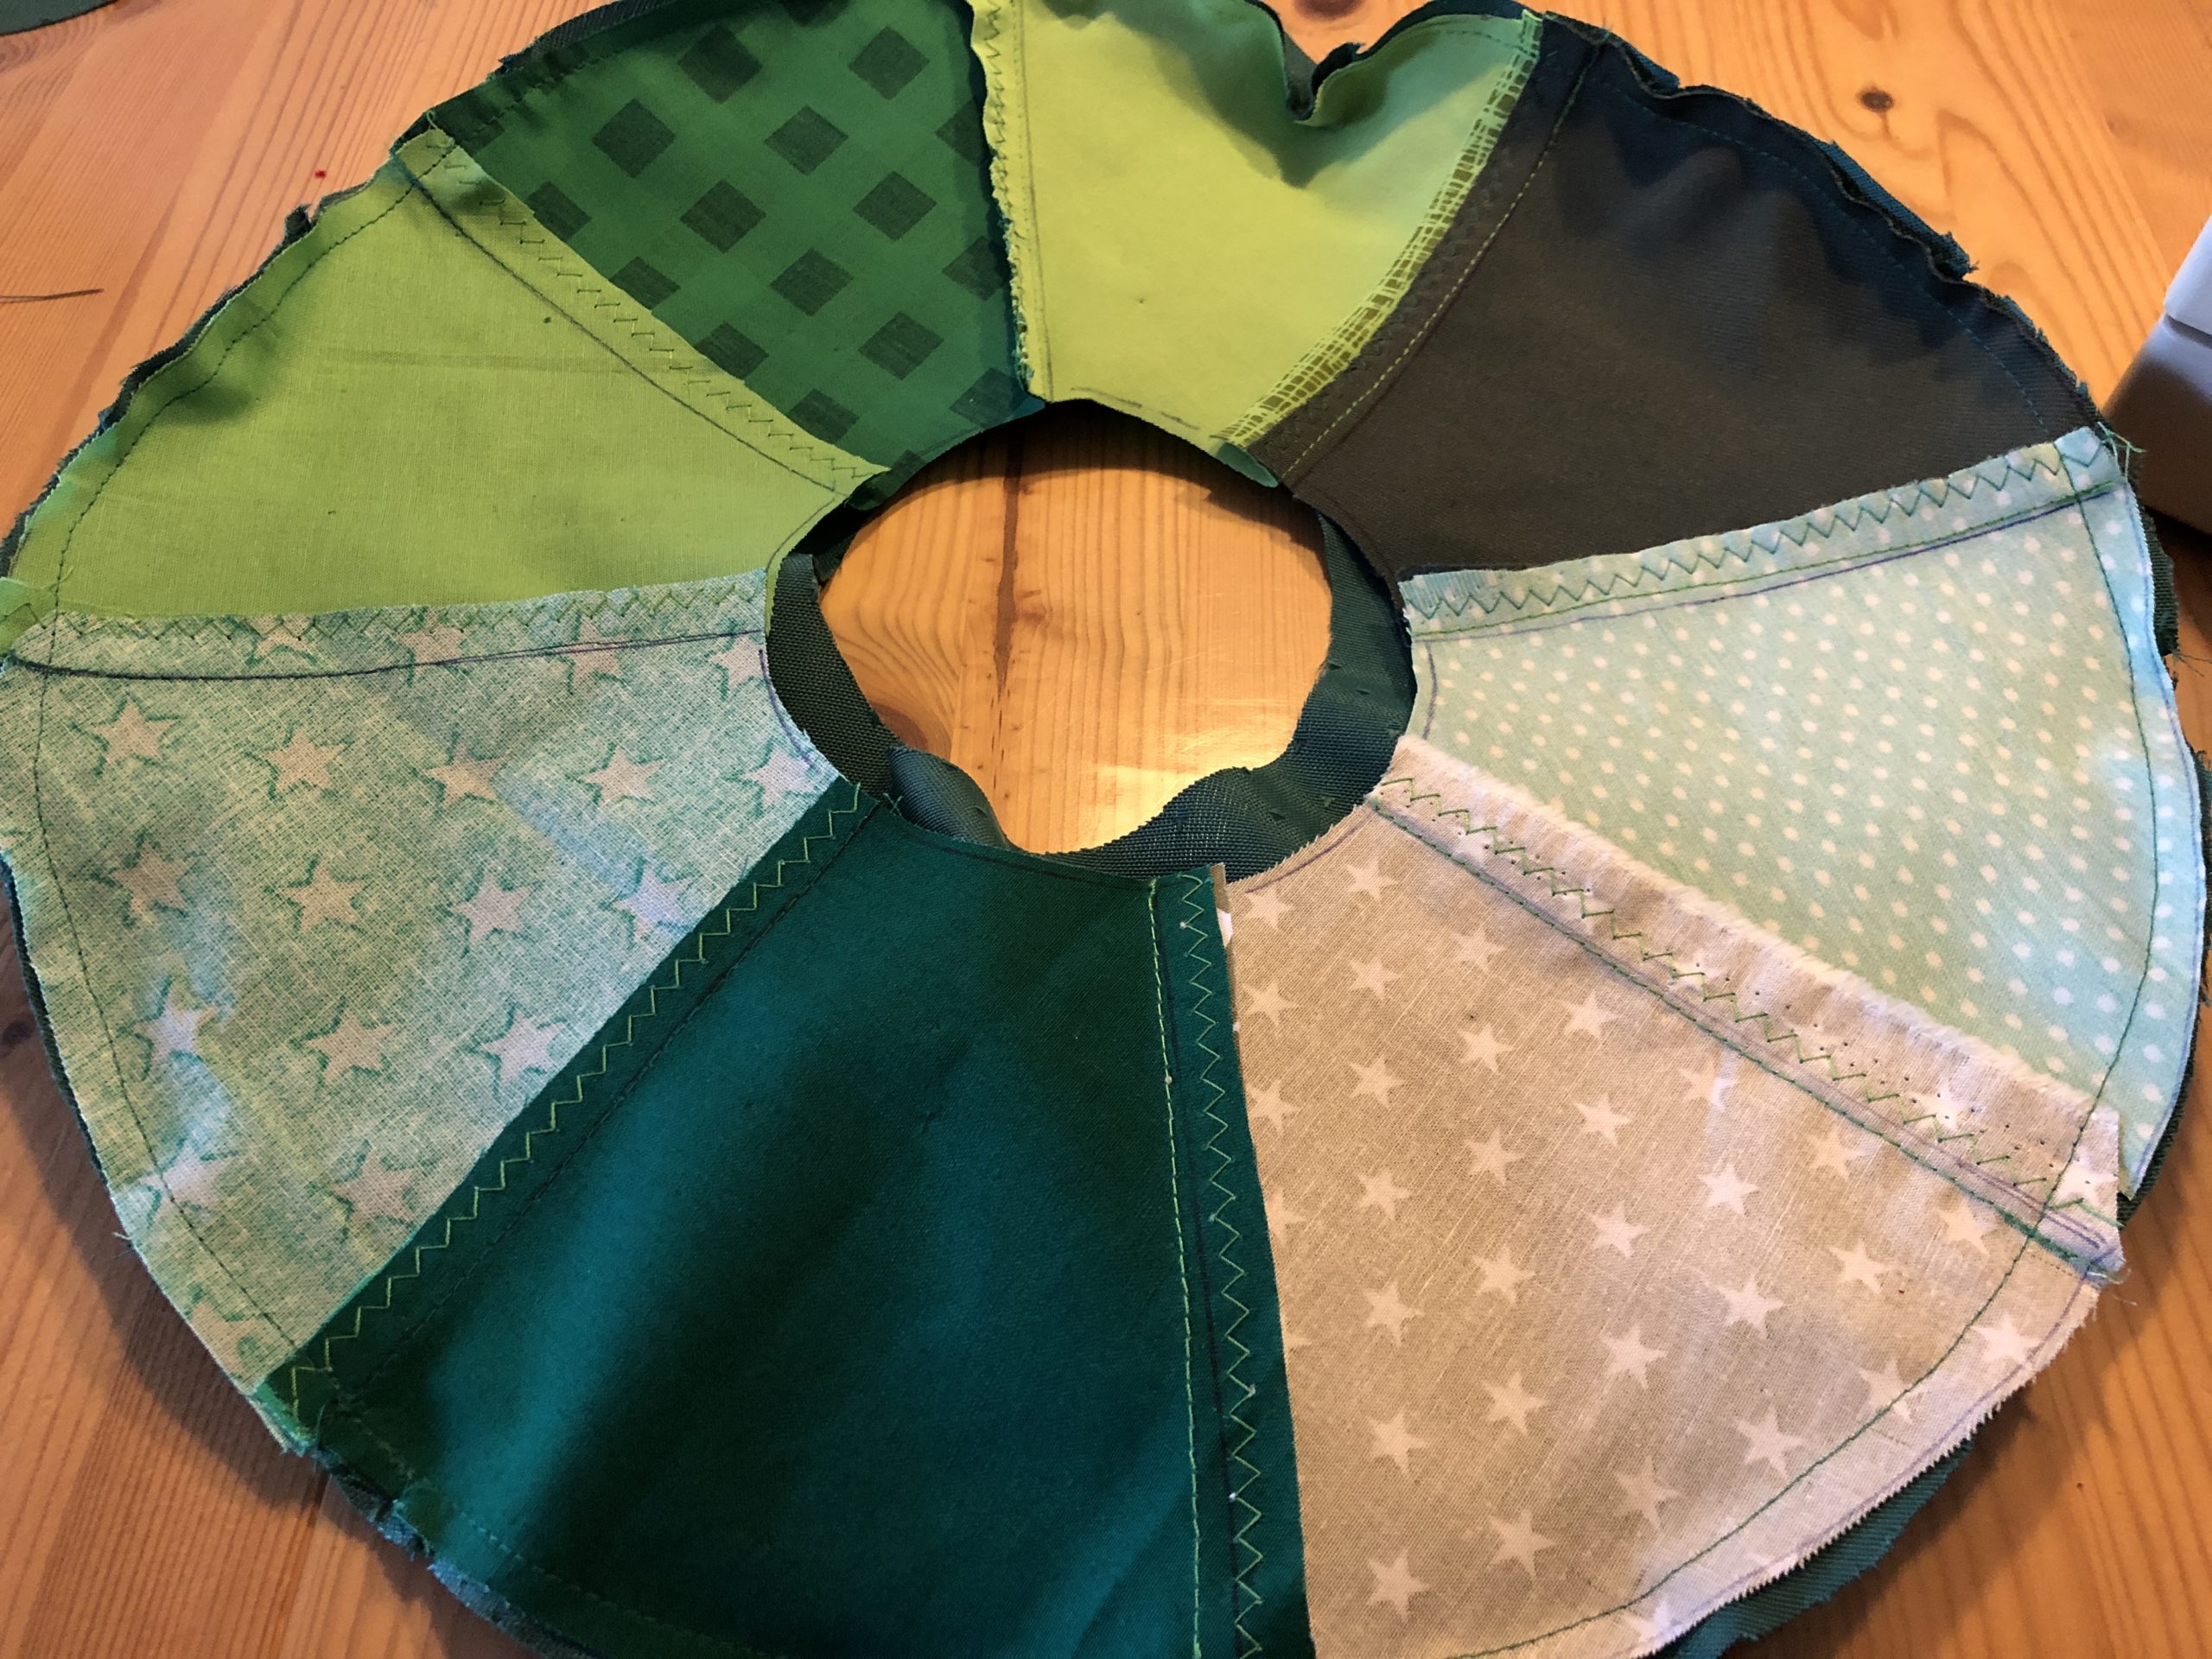


Then you turn the circle of cloth.
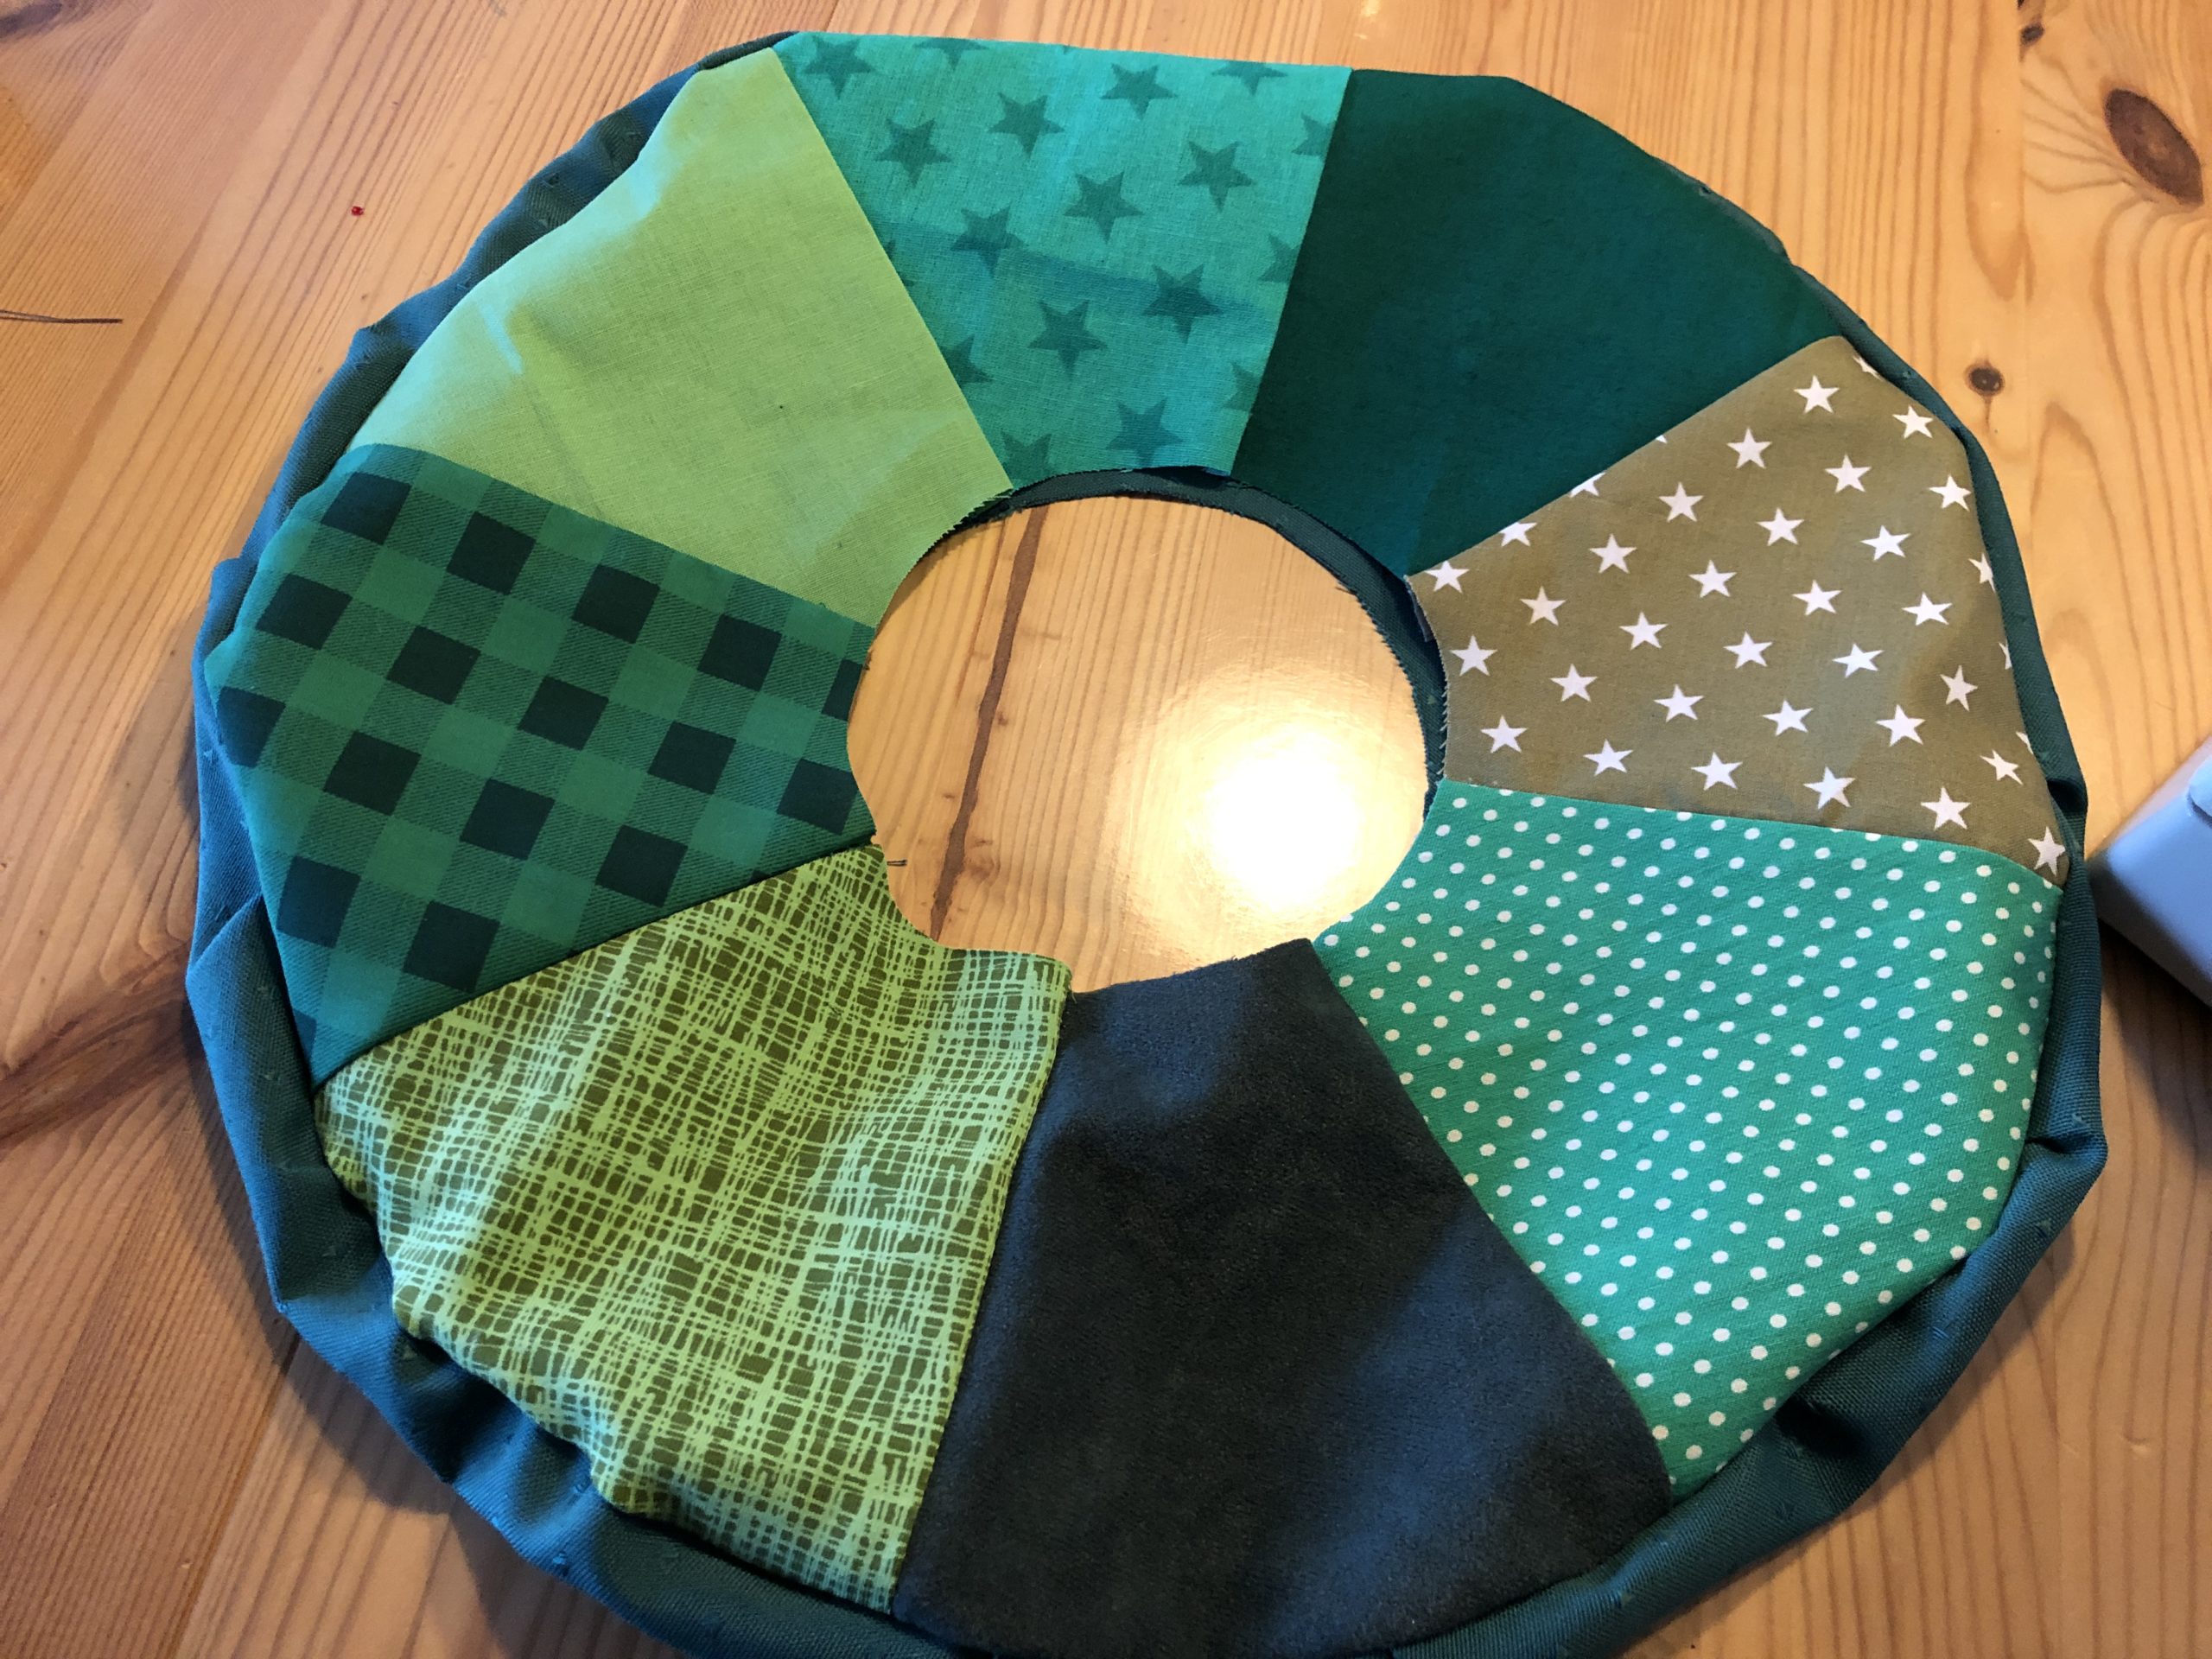


The inner open edges of the ring are now about half a centimetre from both sides and stick it together with pins.
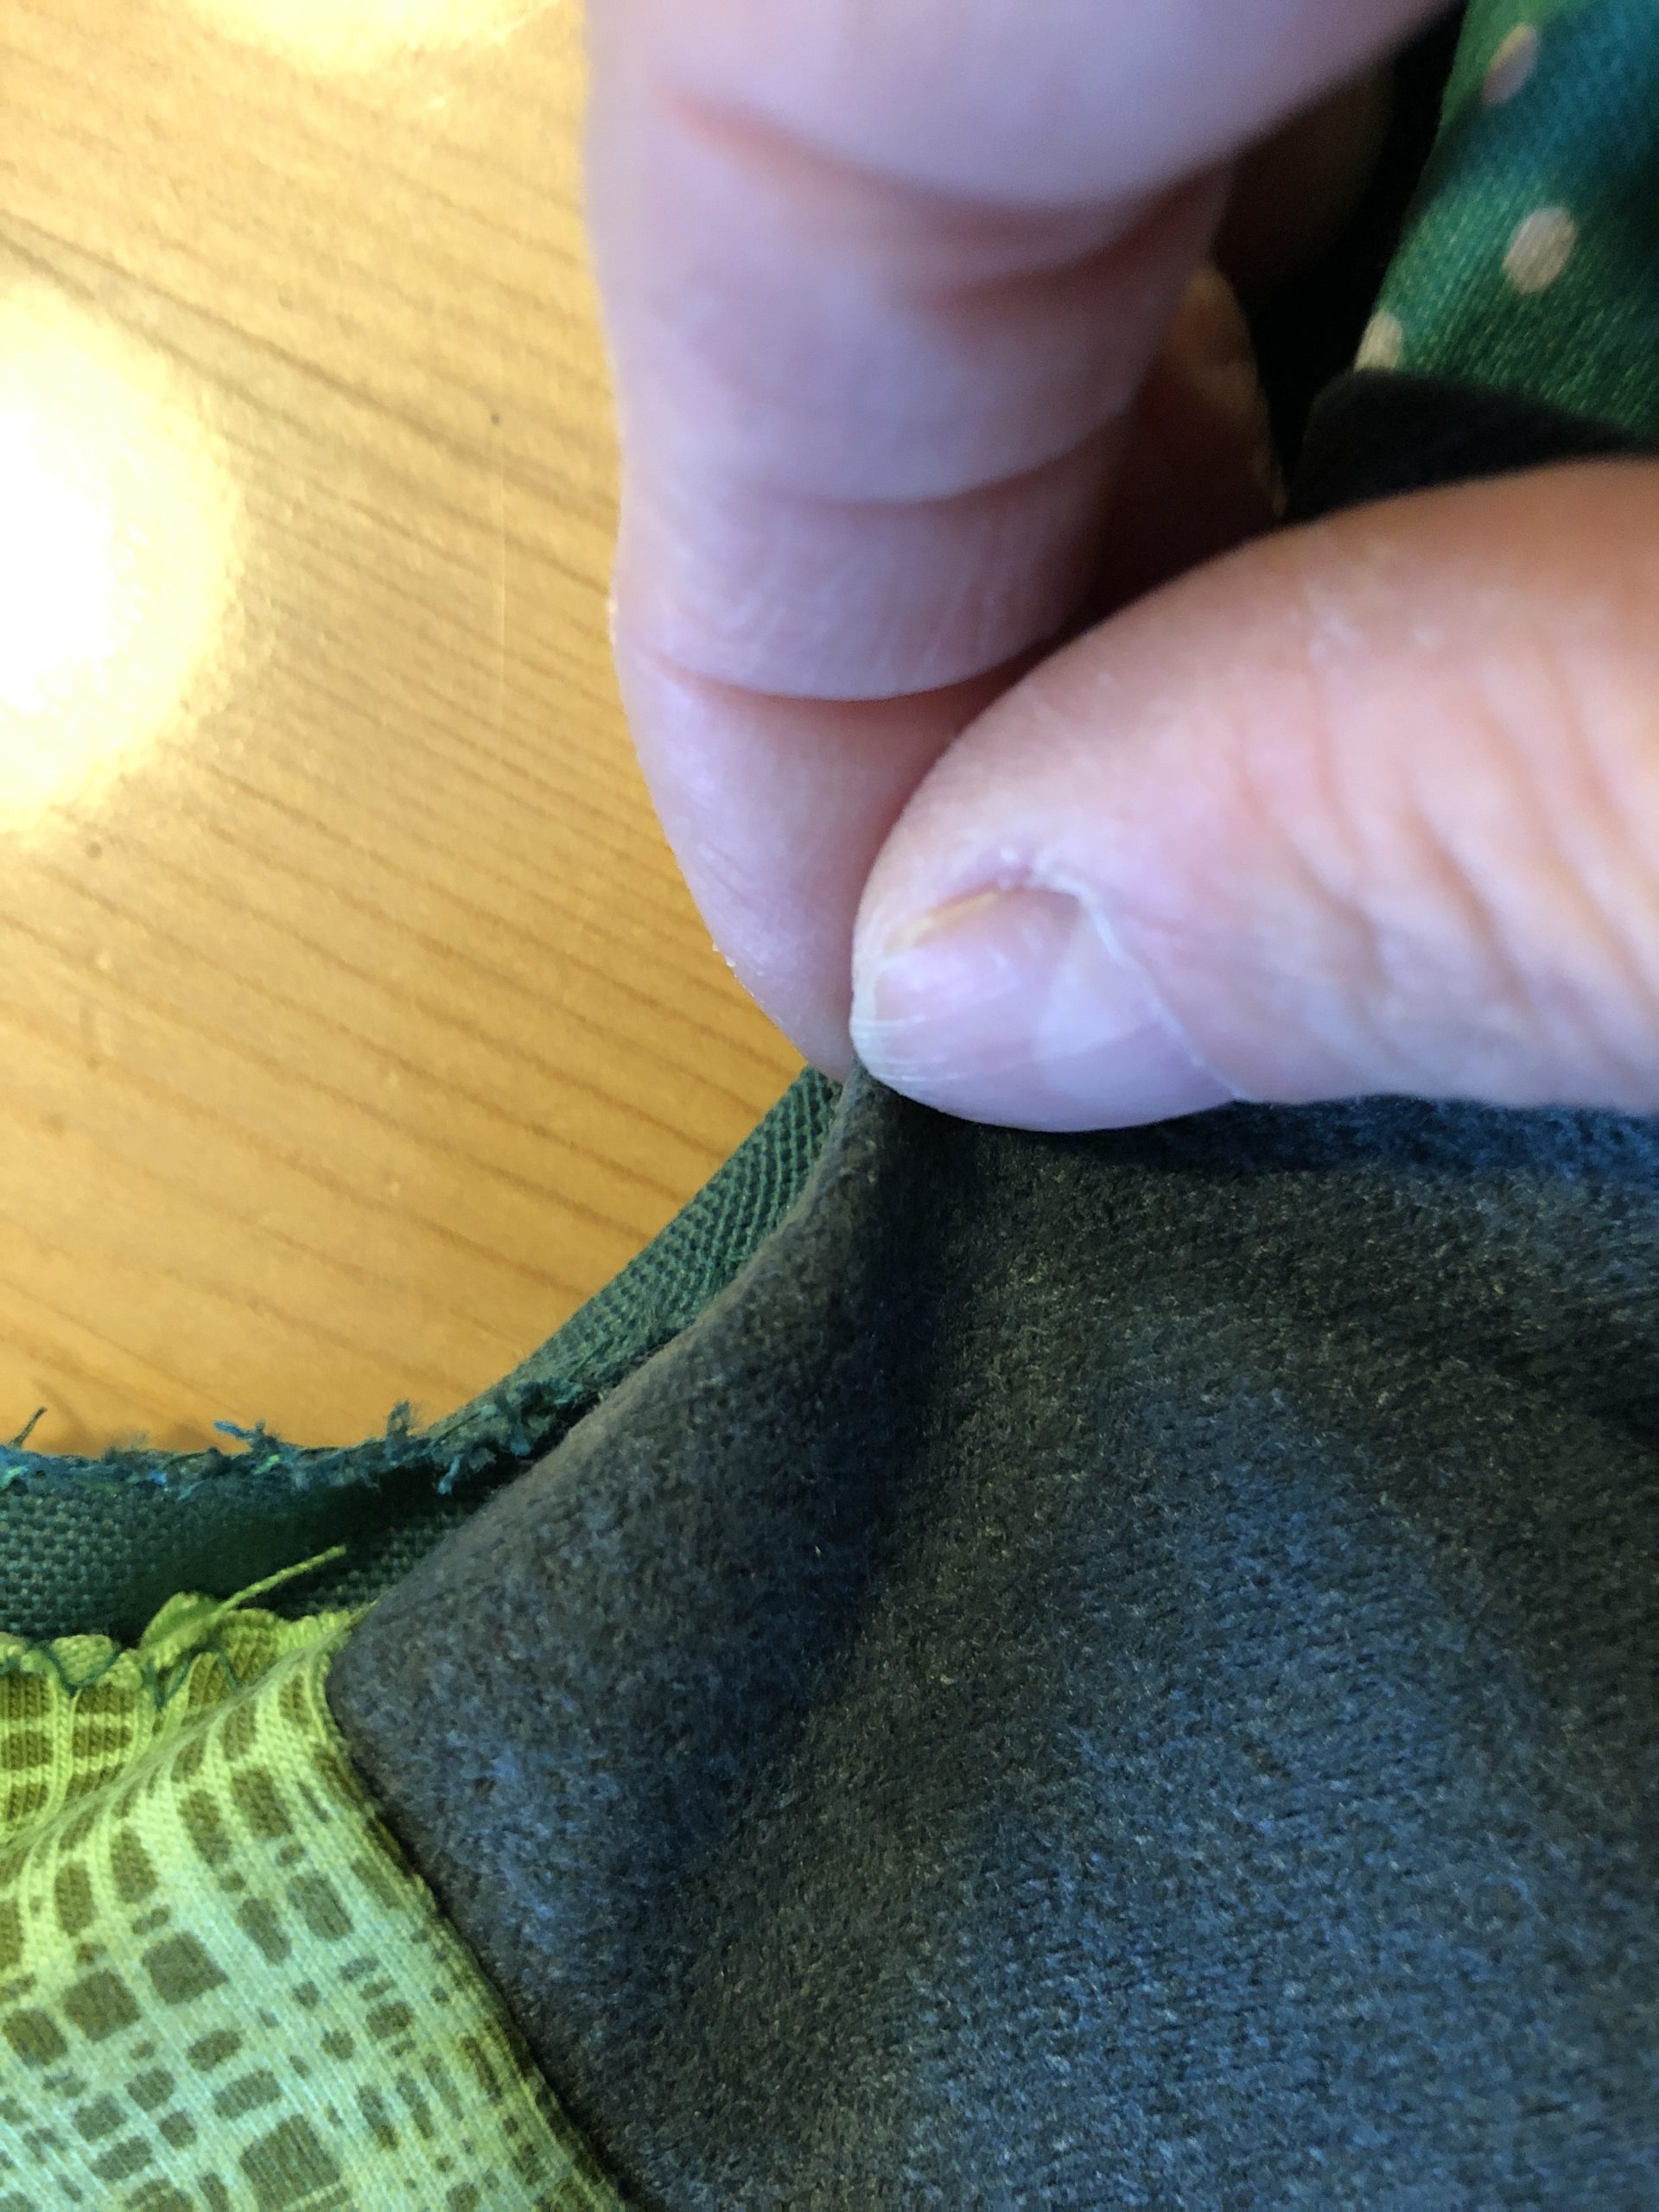


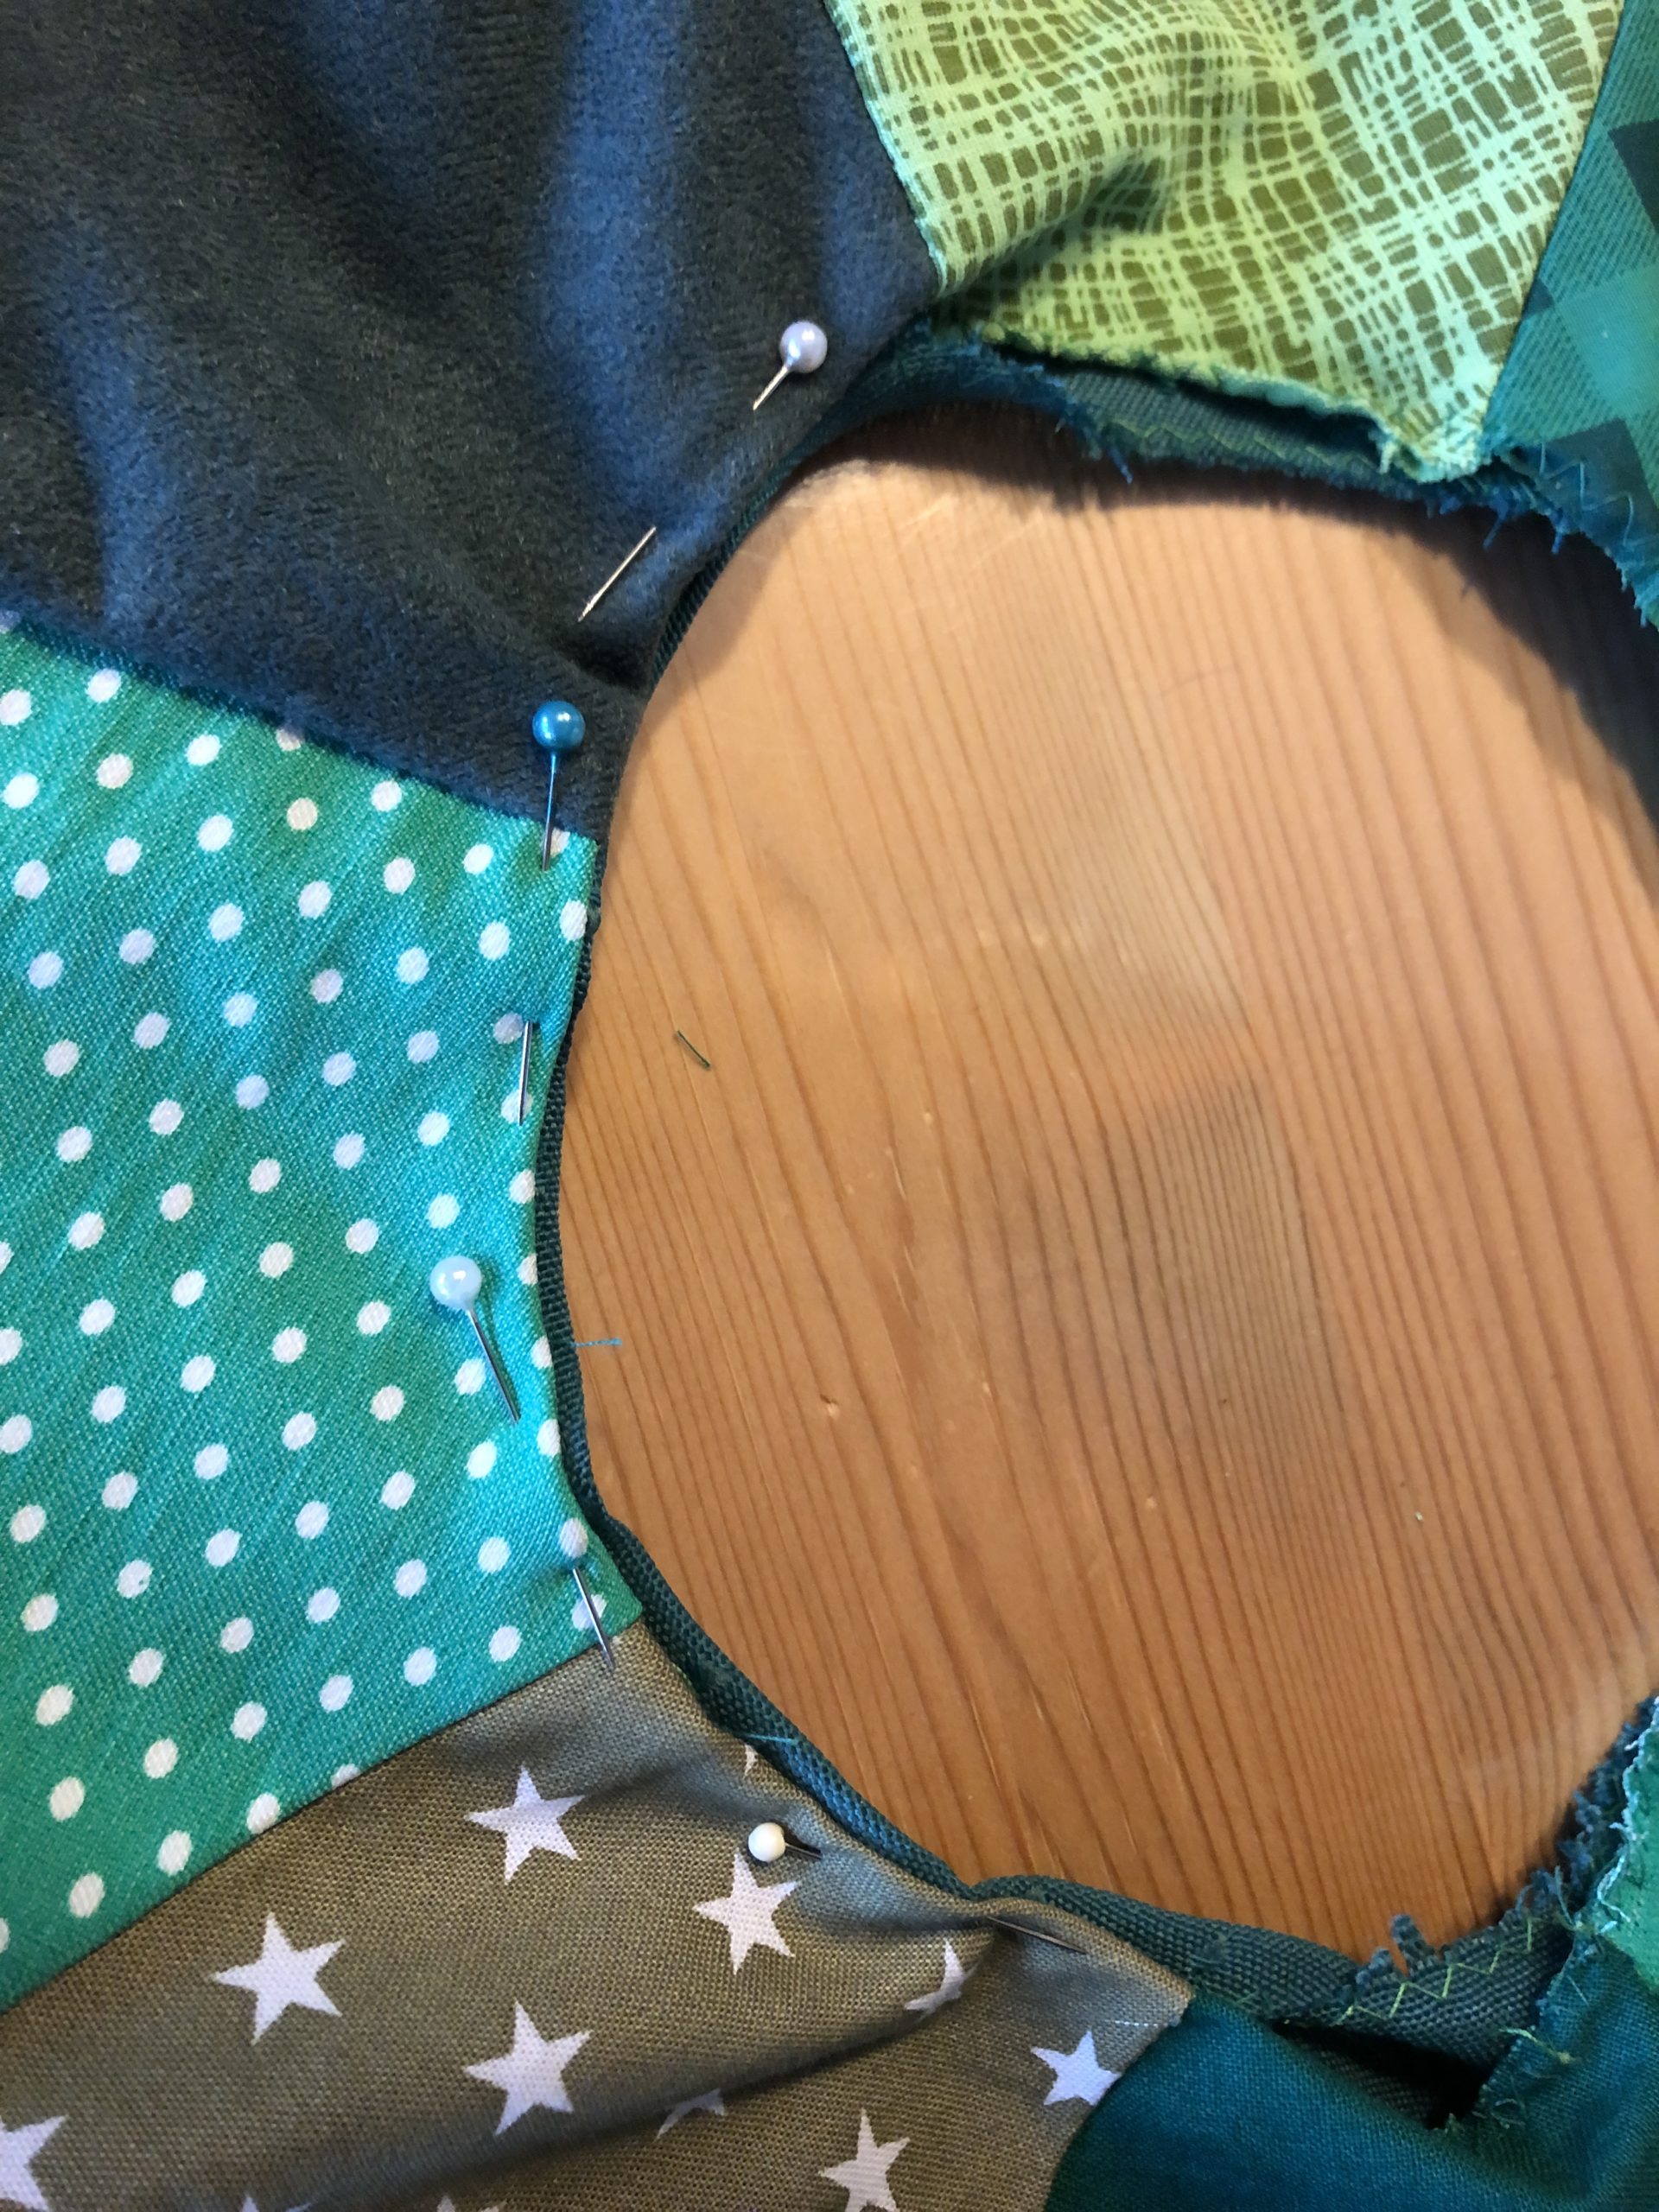


Now you sew it together with the sewing machine.
Leave at least 5 cm of seam open for filling.
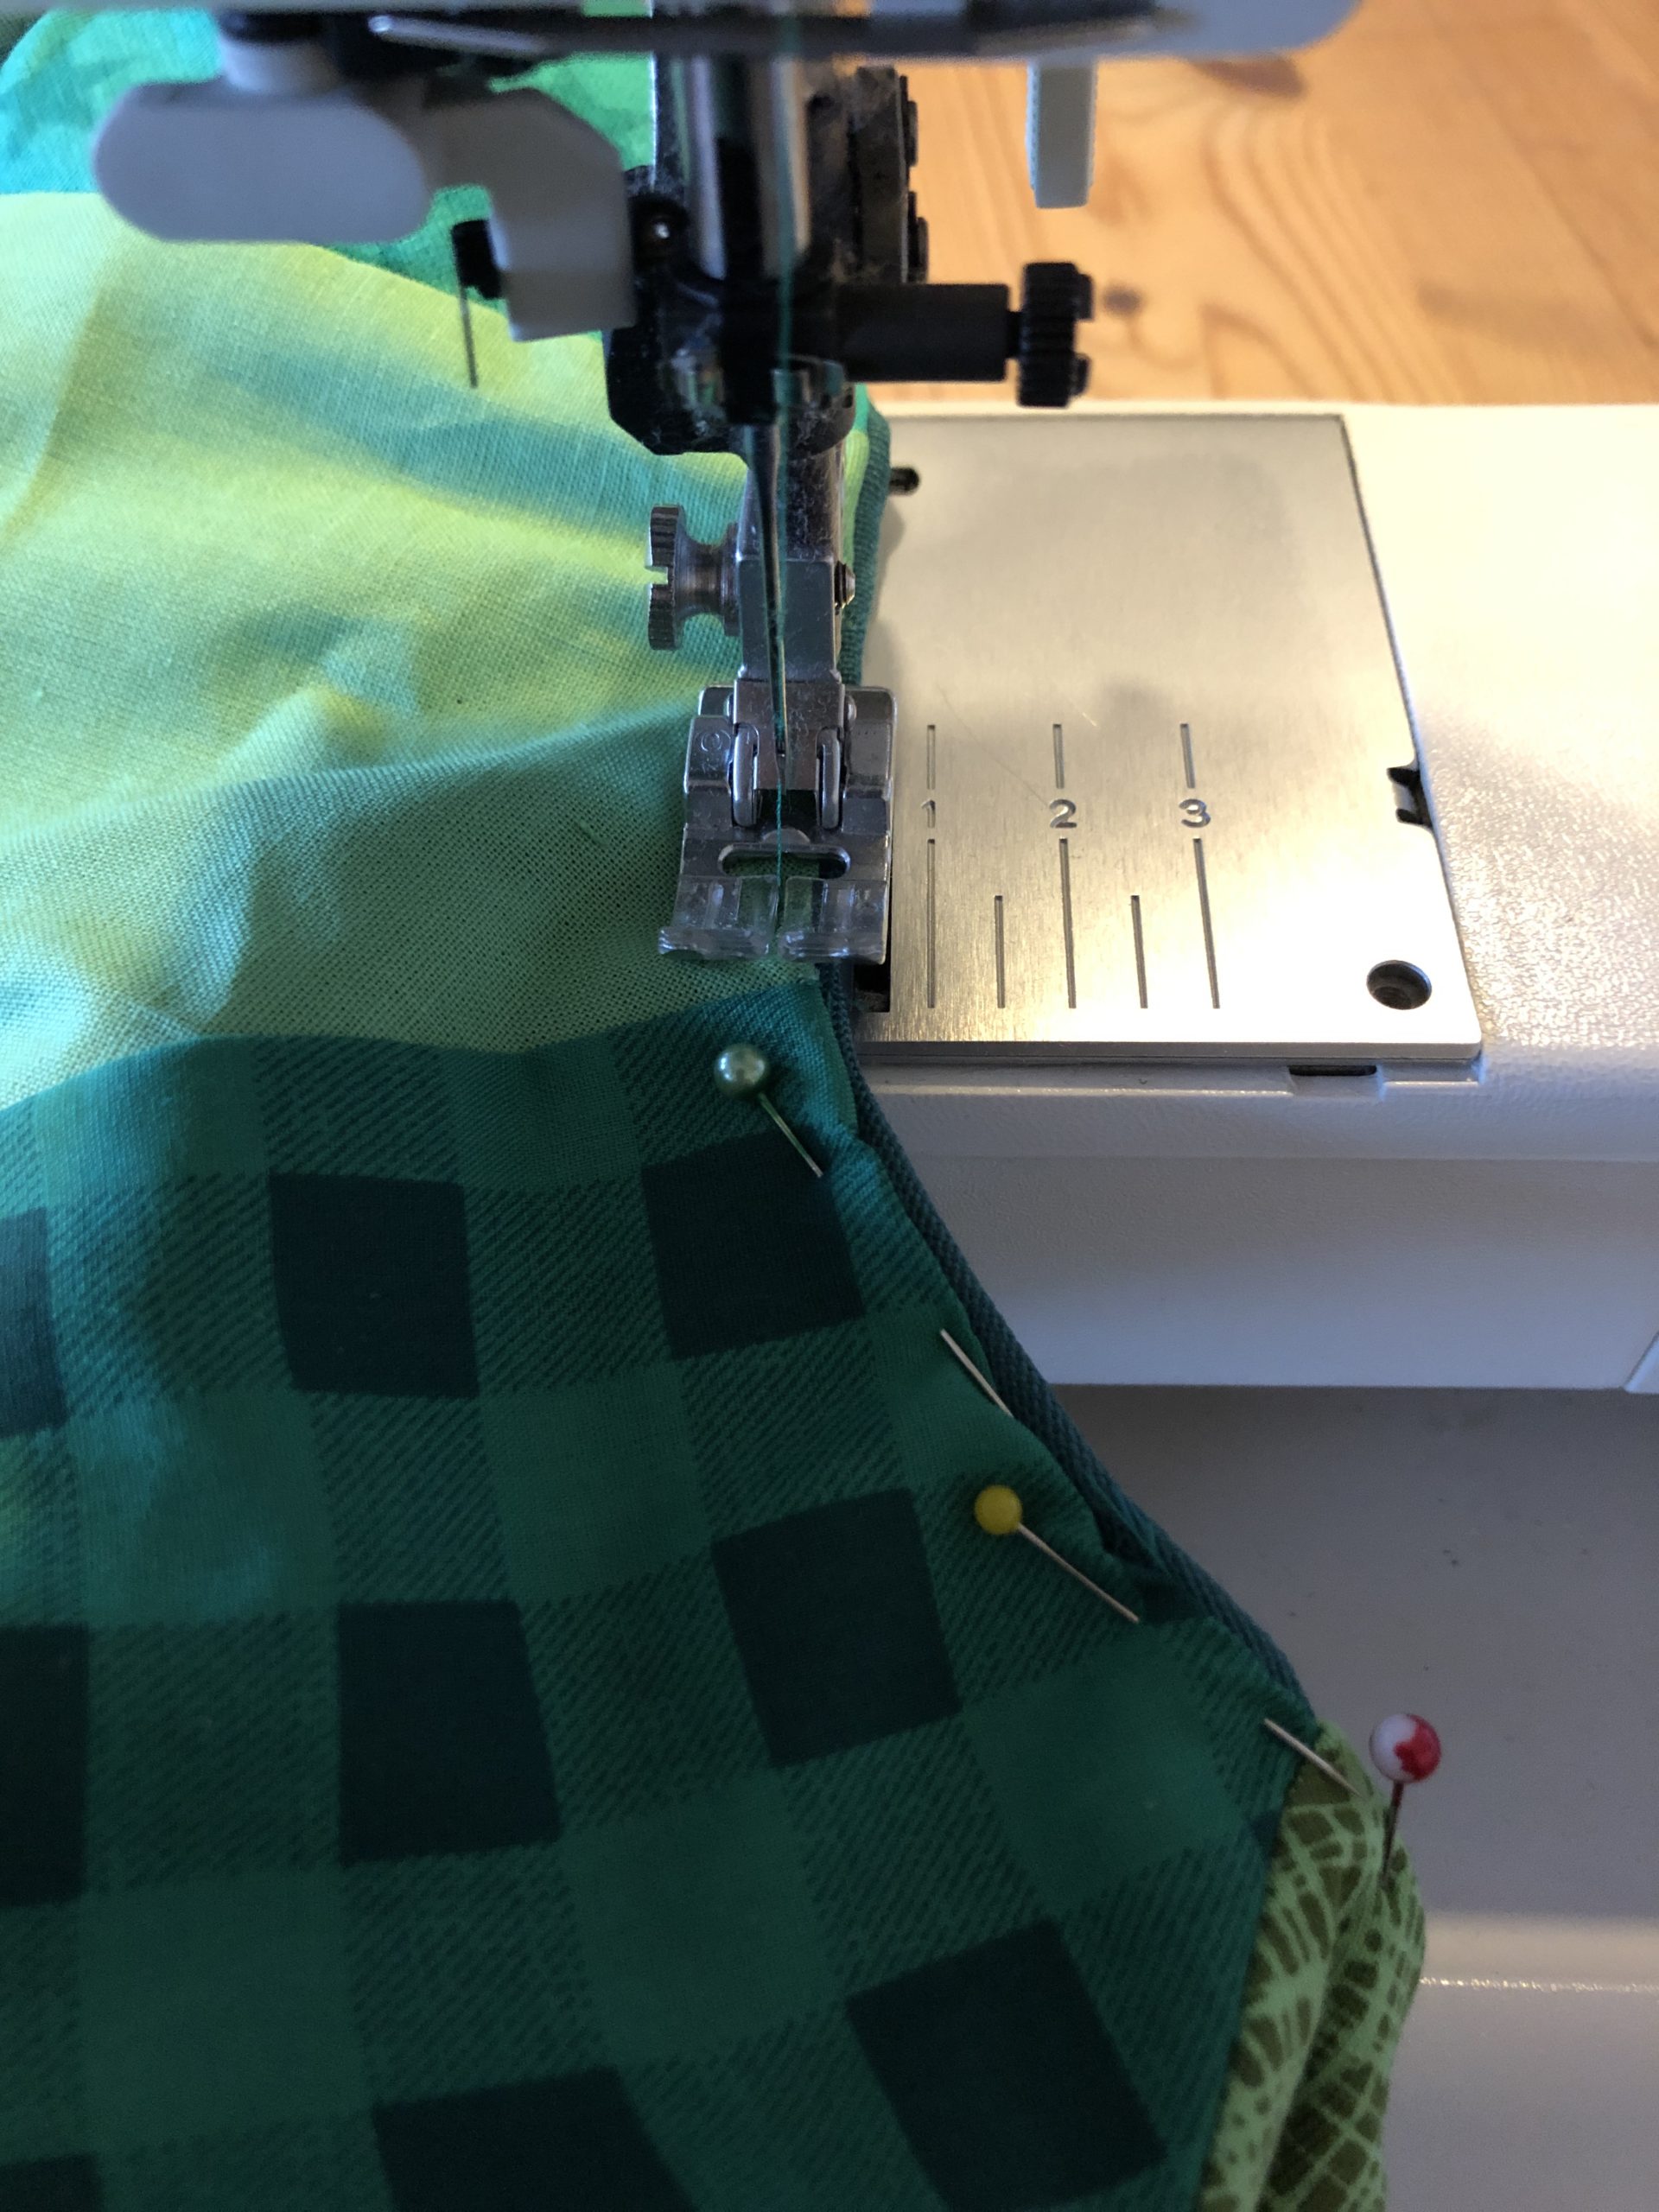


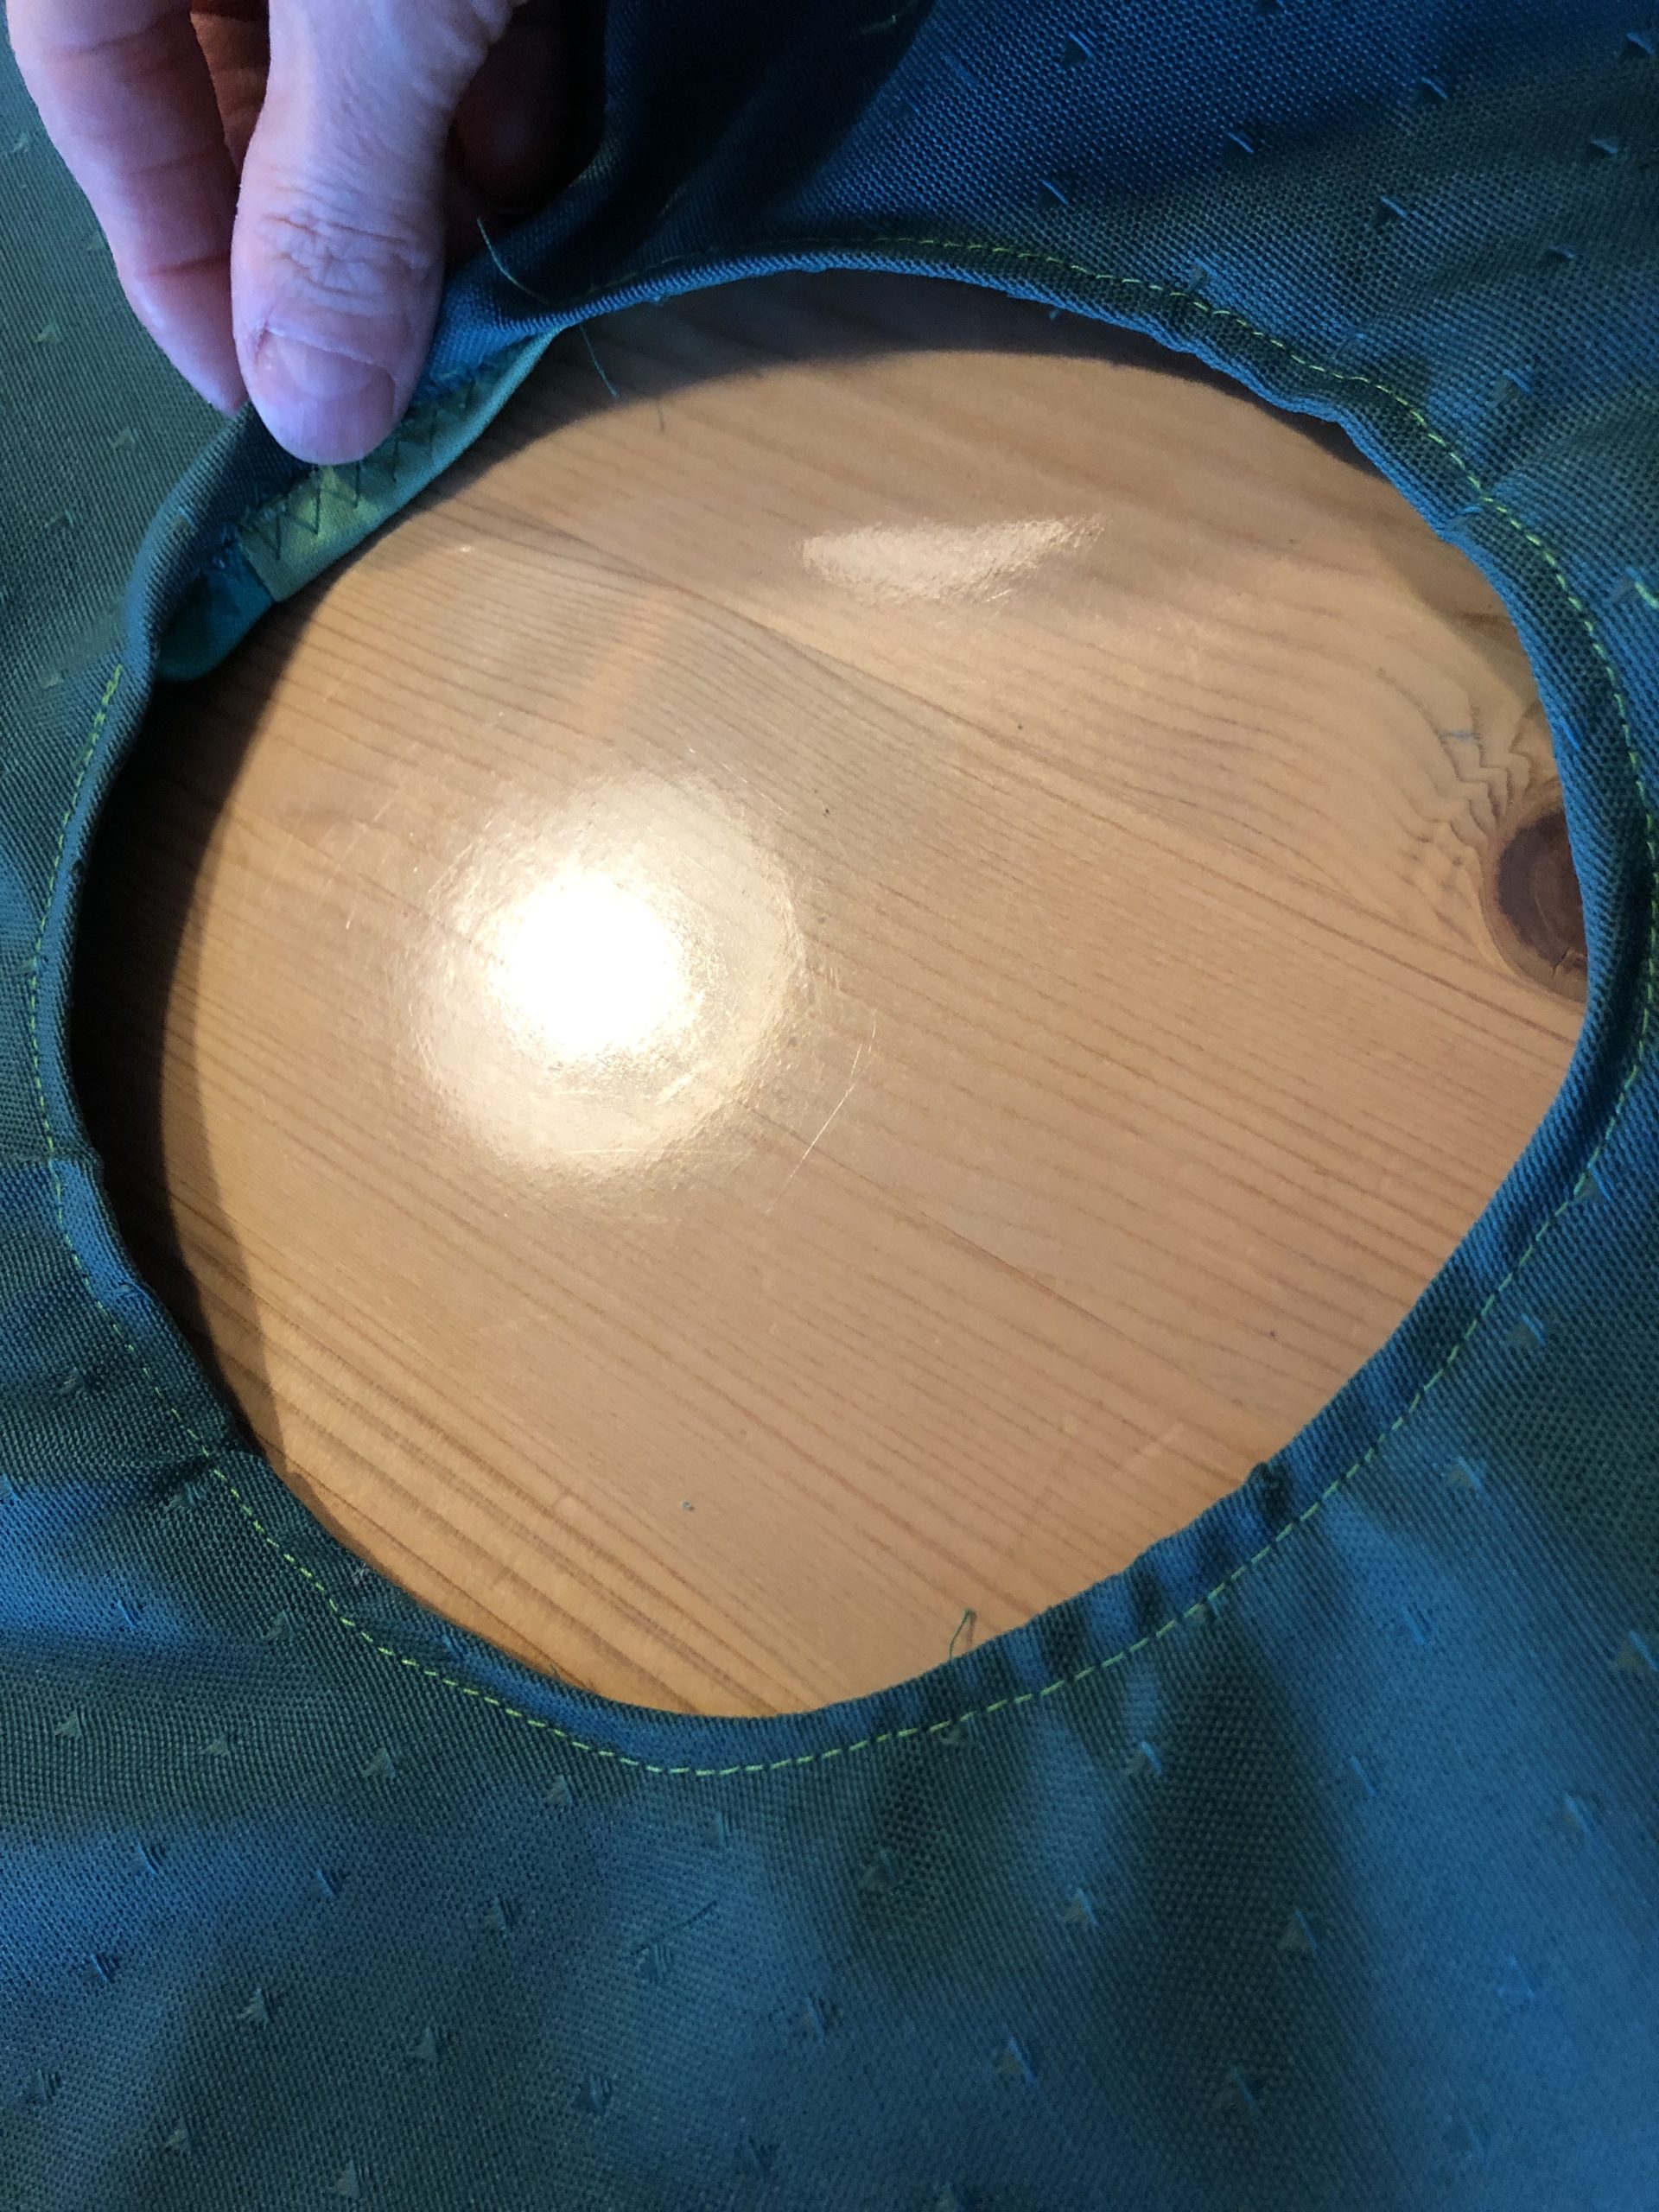


Through the open seam, the fabric wreath is now stuffed with filling material.


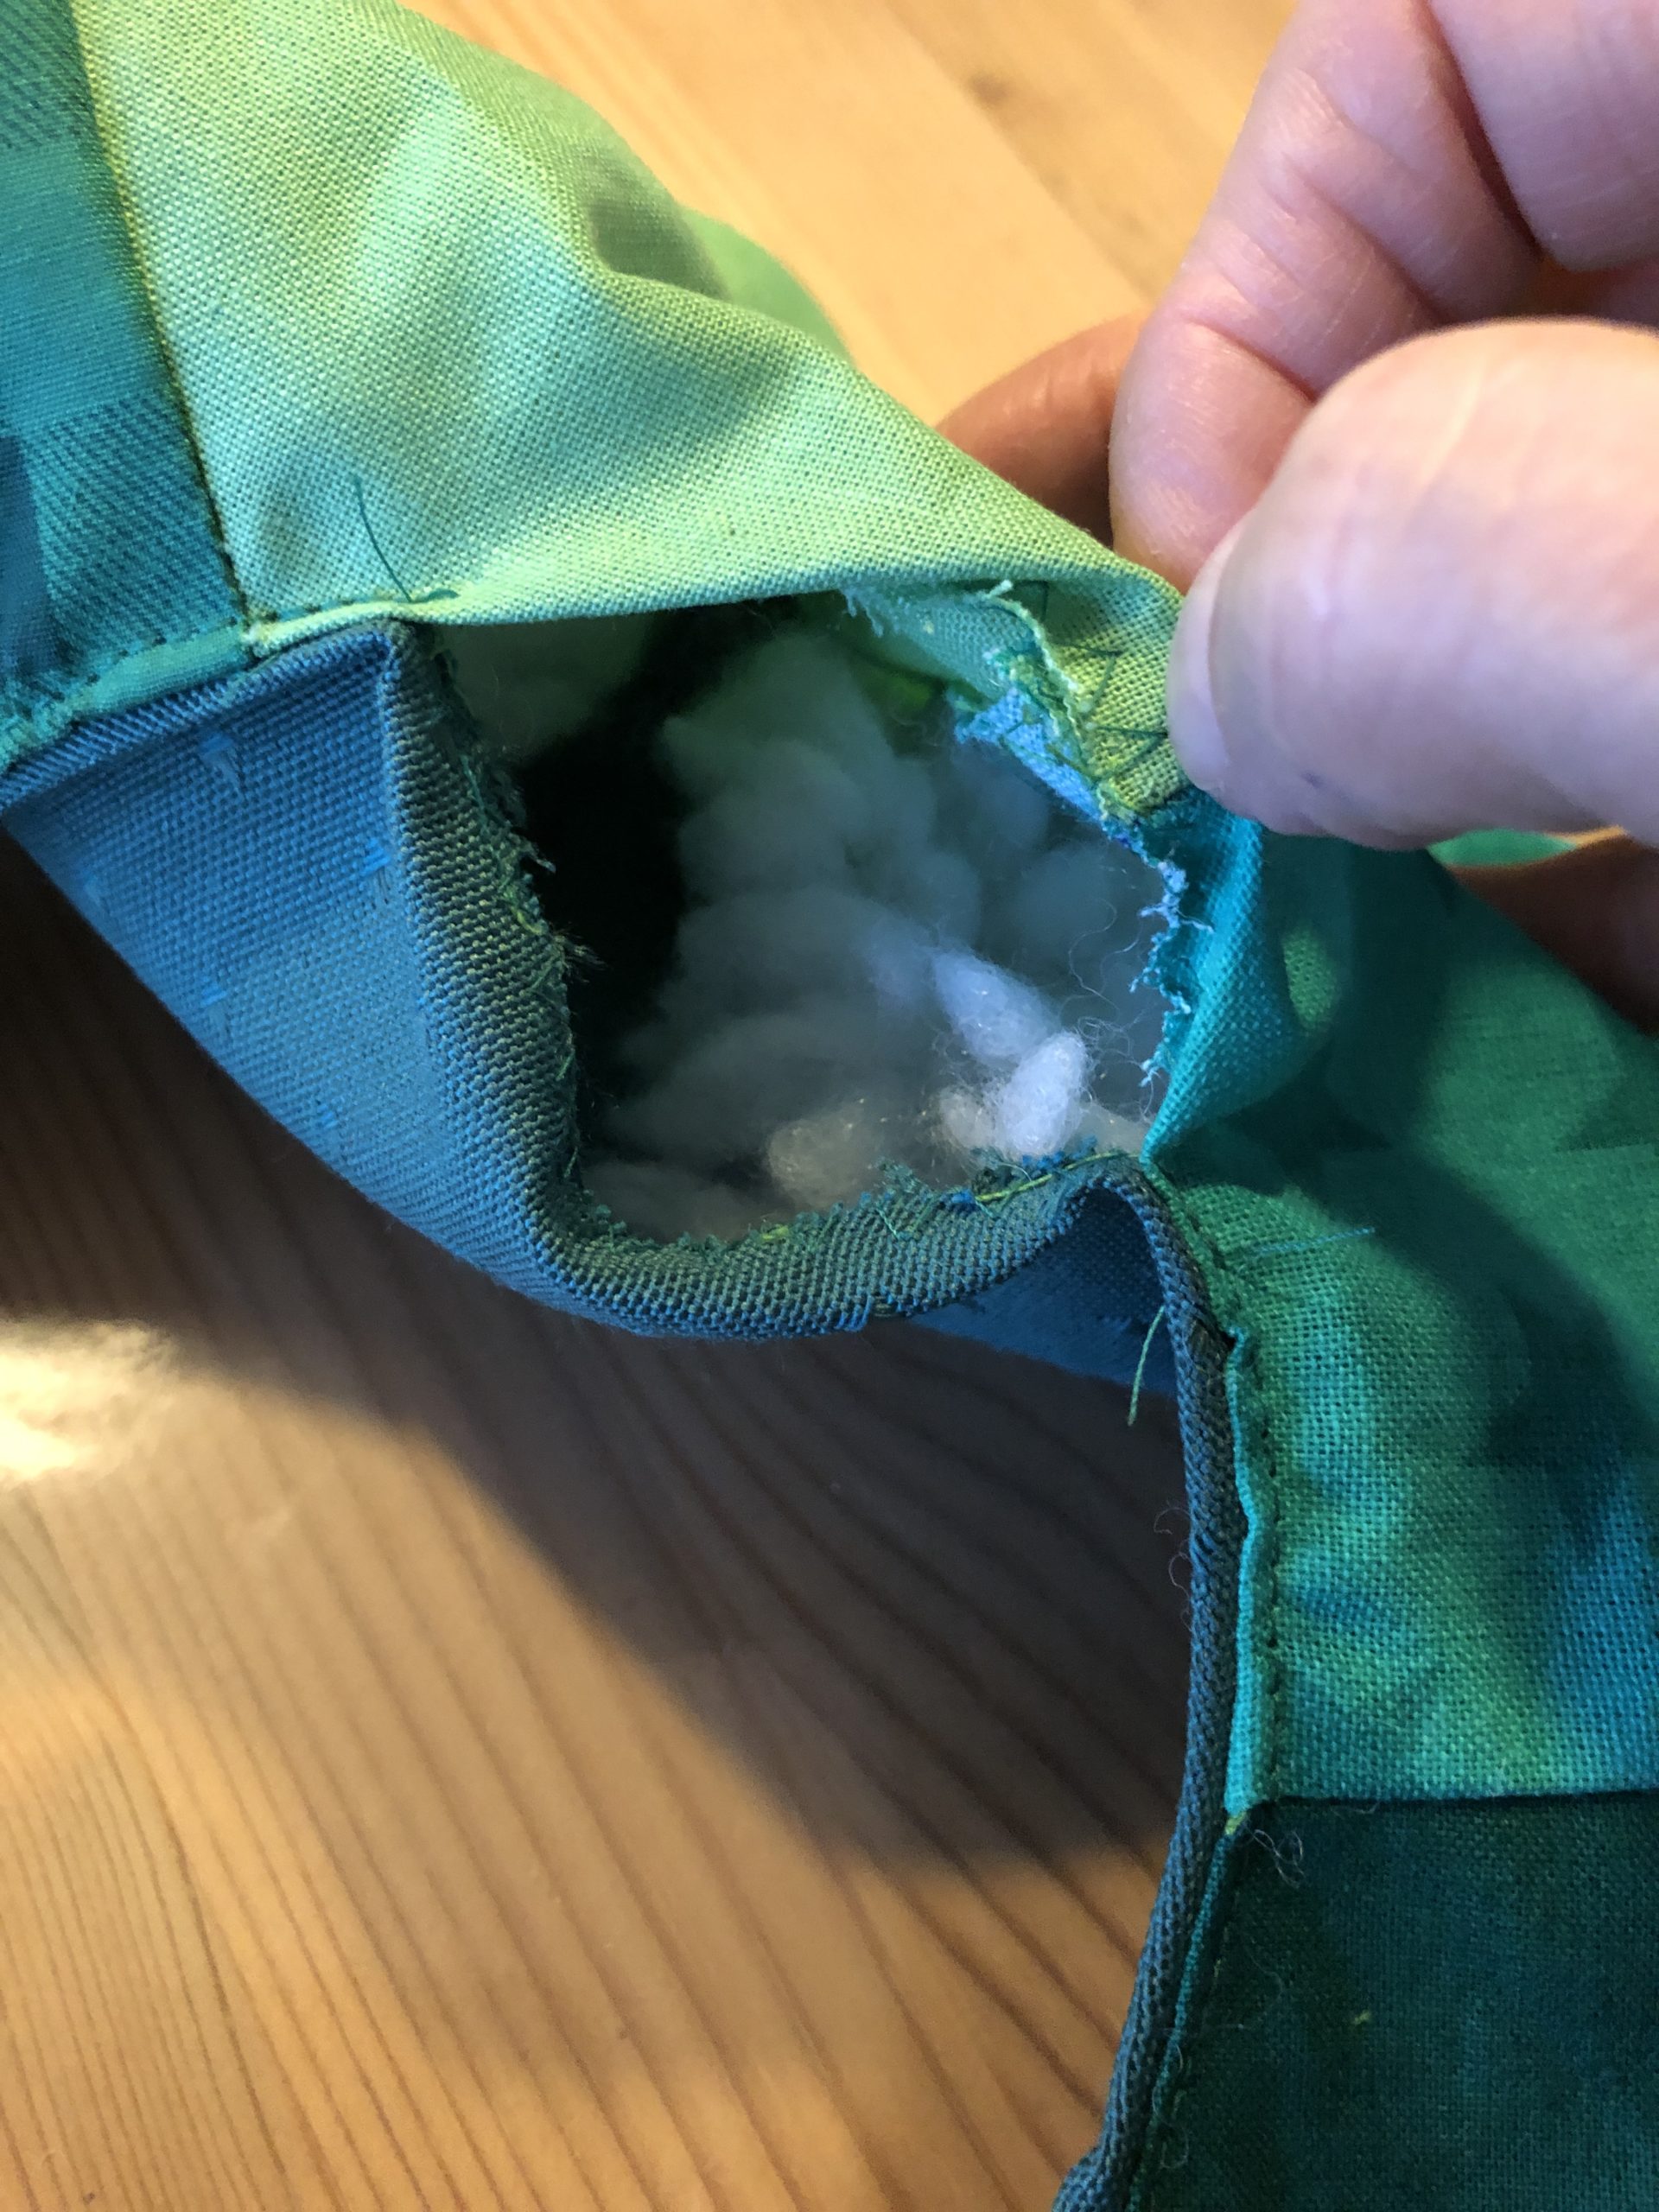


A toilet roll and a cooking spoon are suitable as an aid for filling.
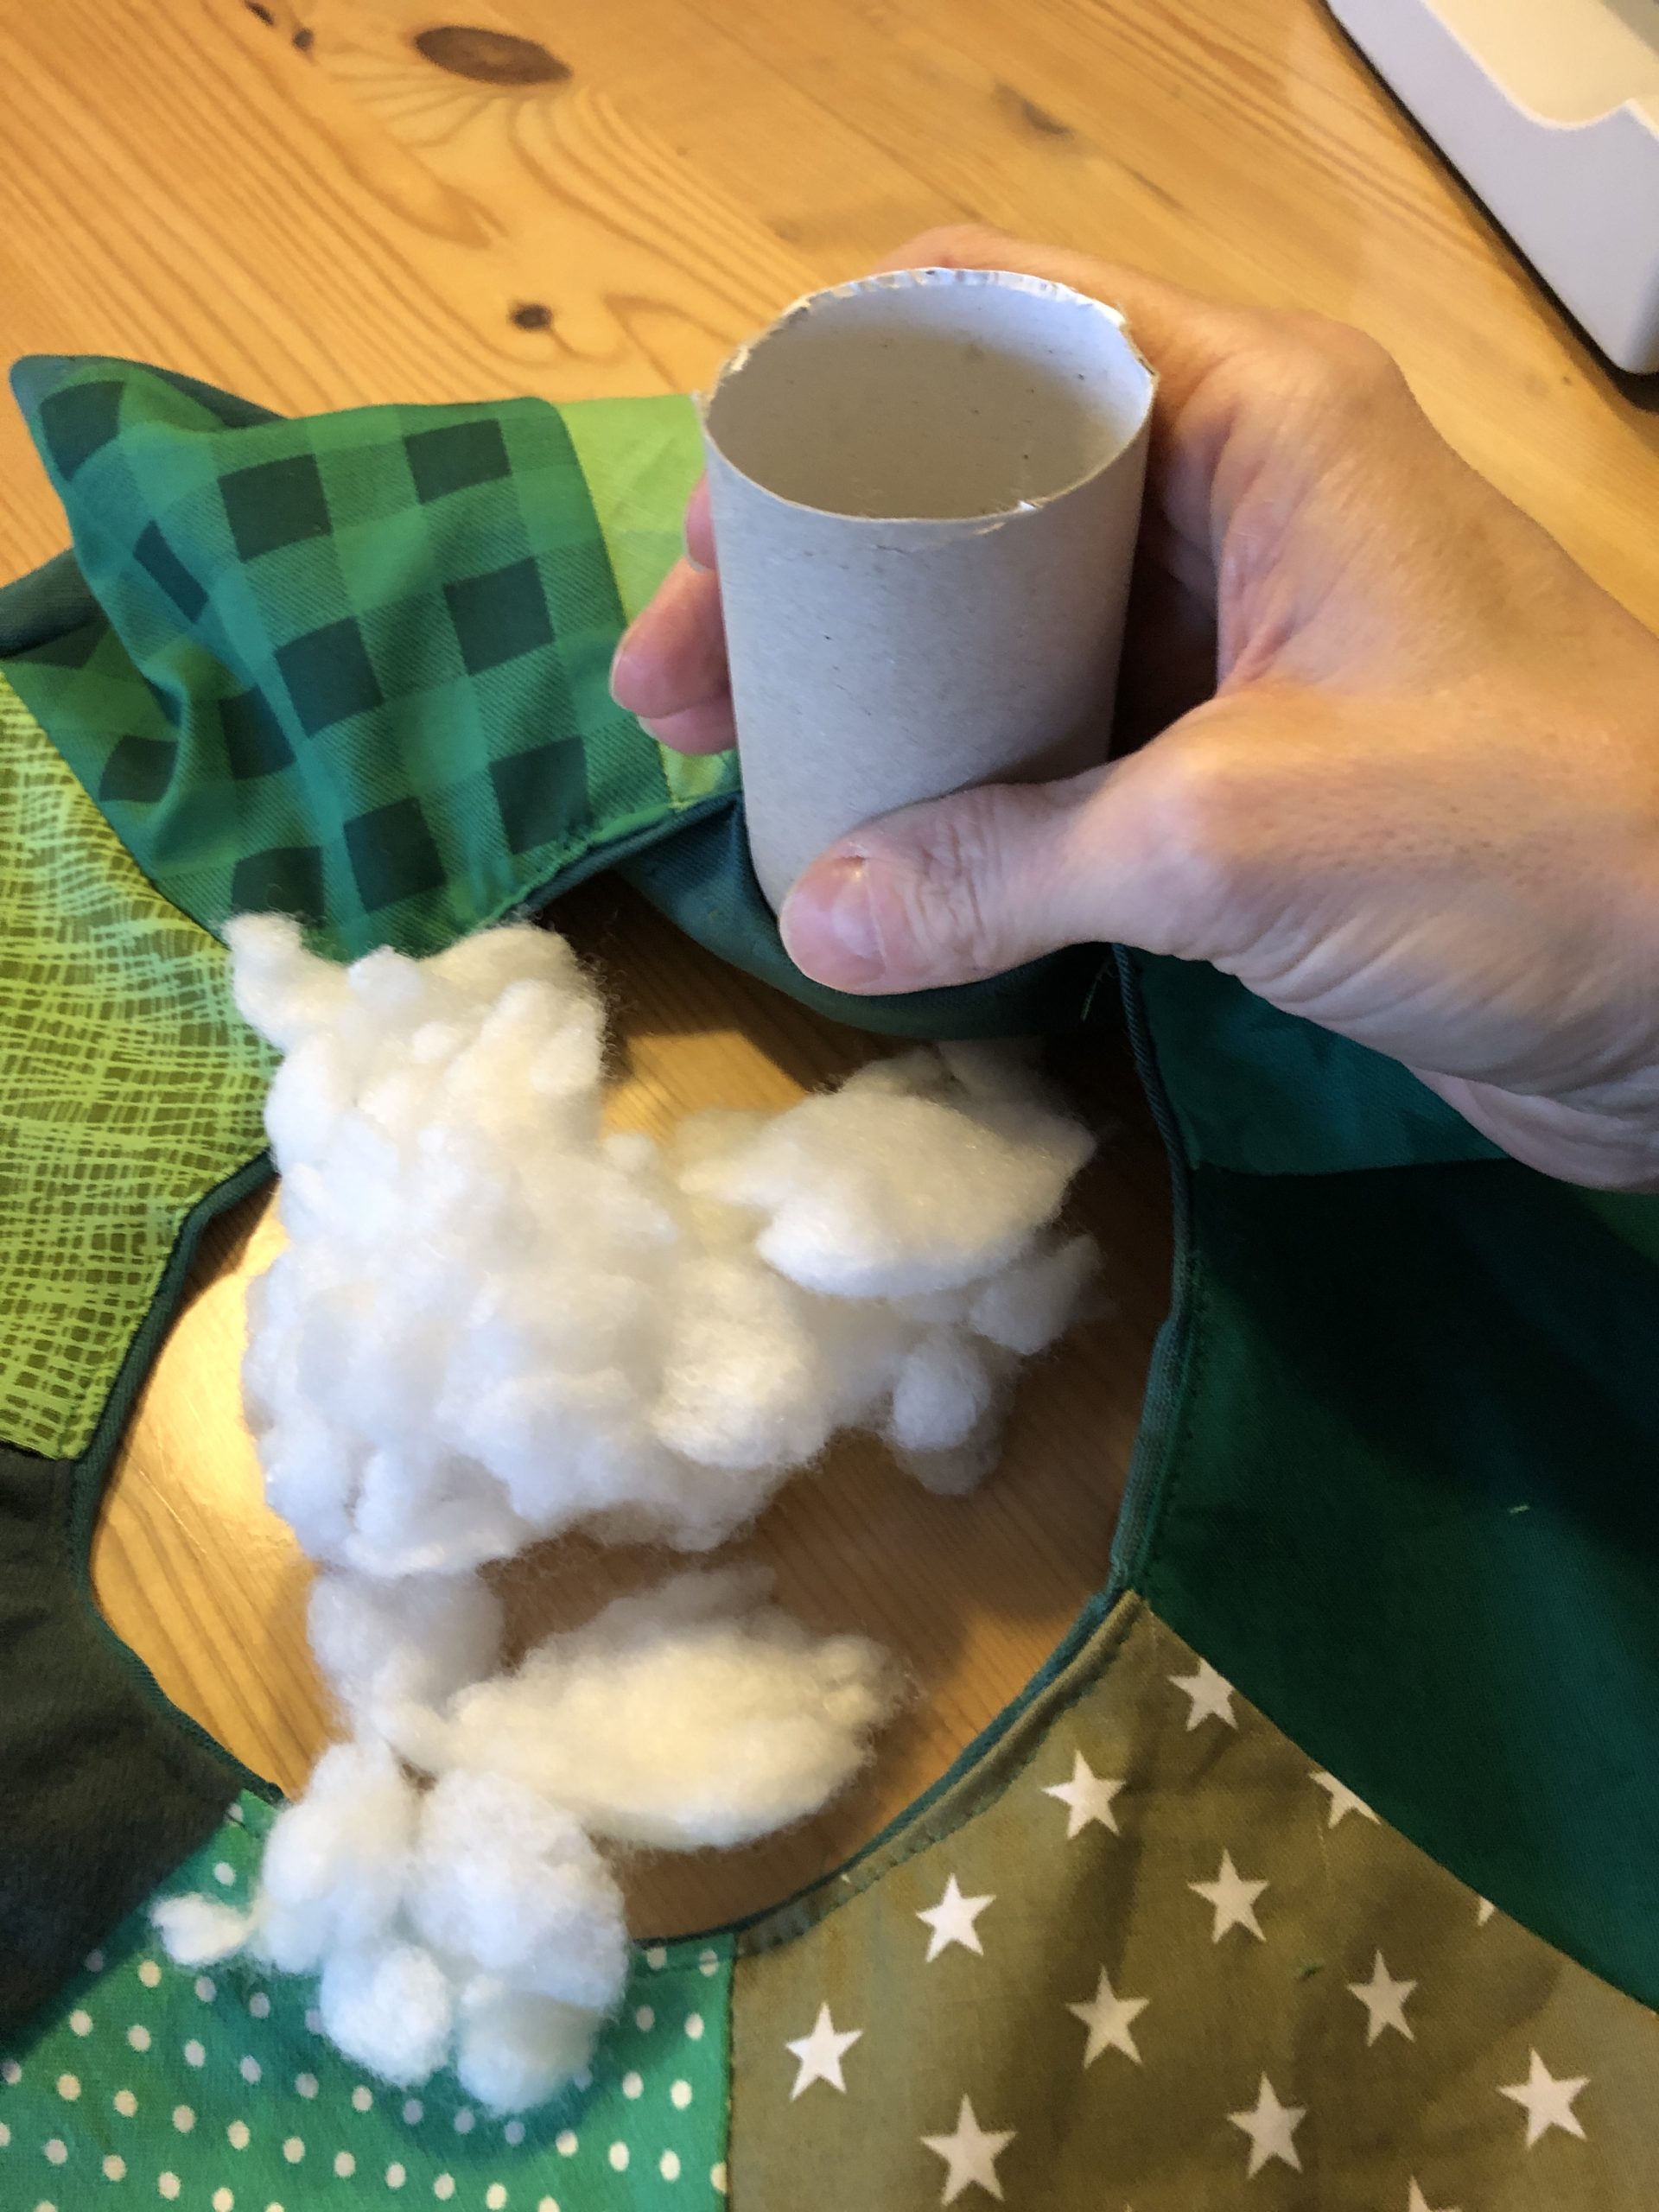


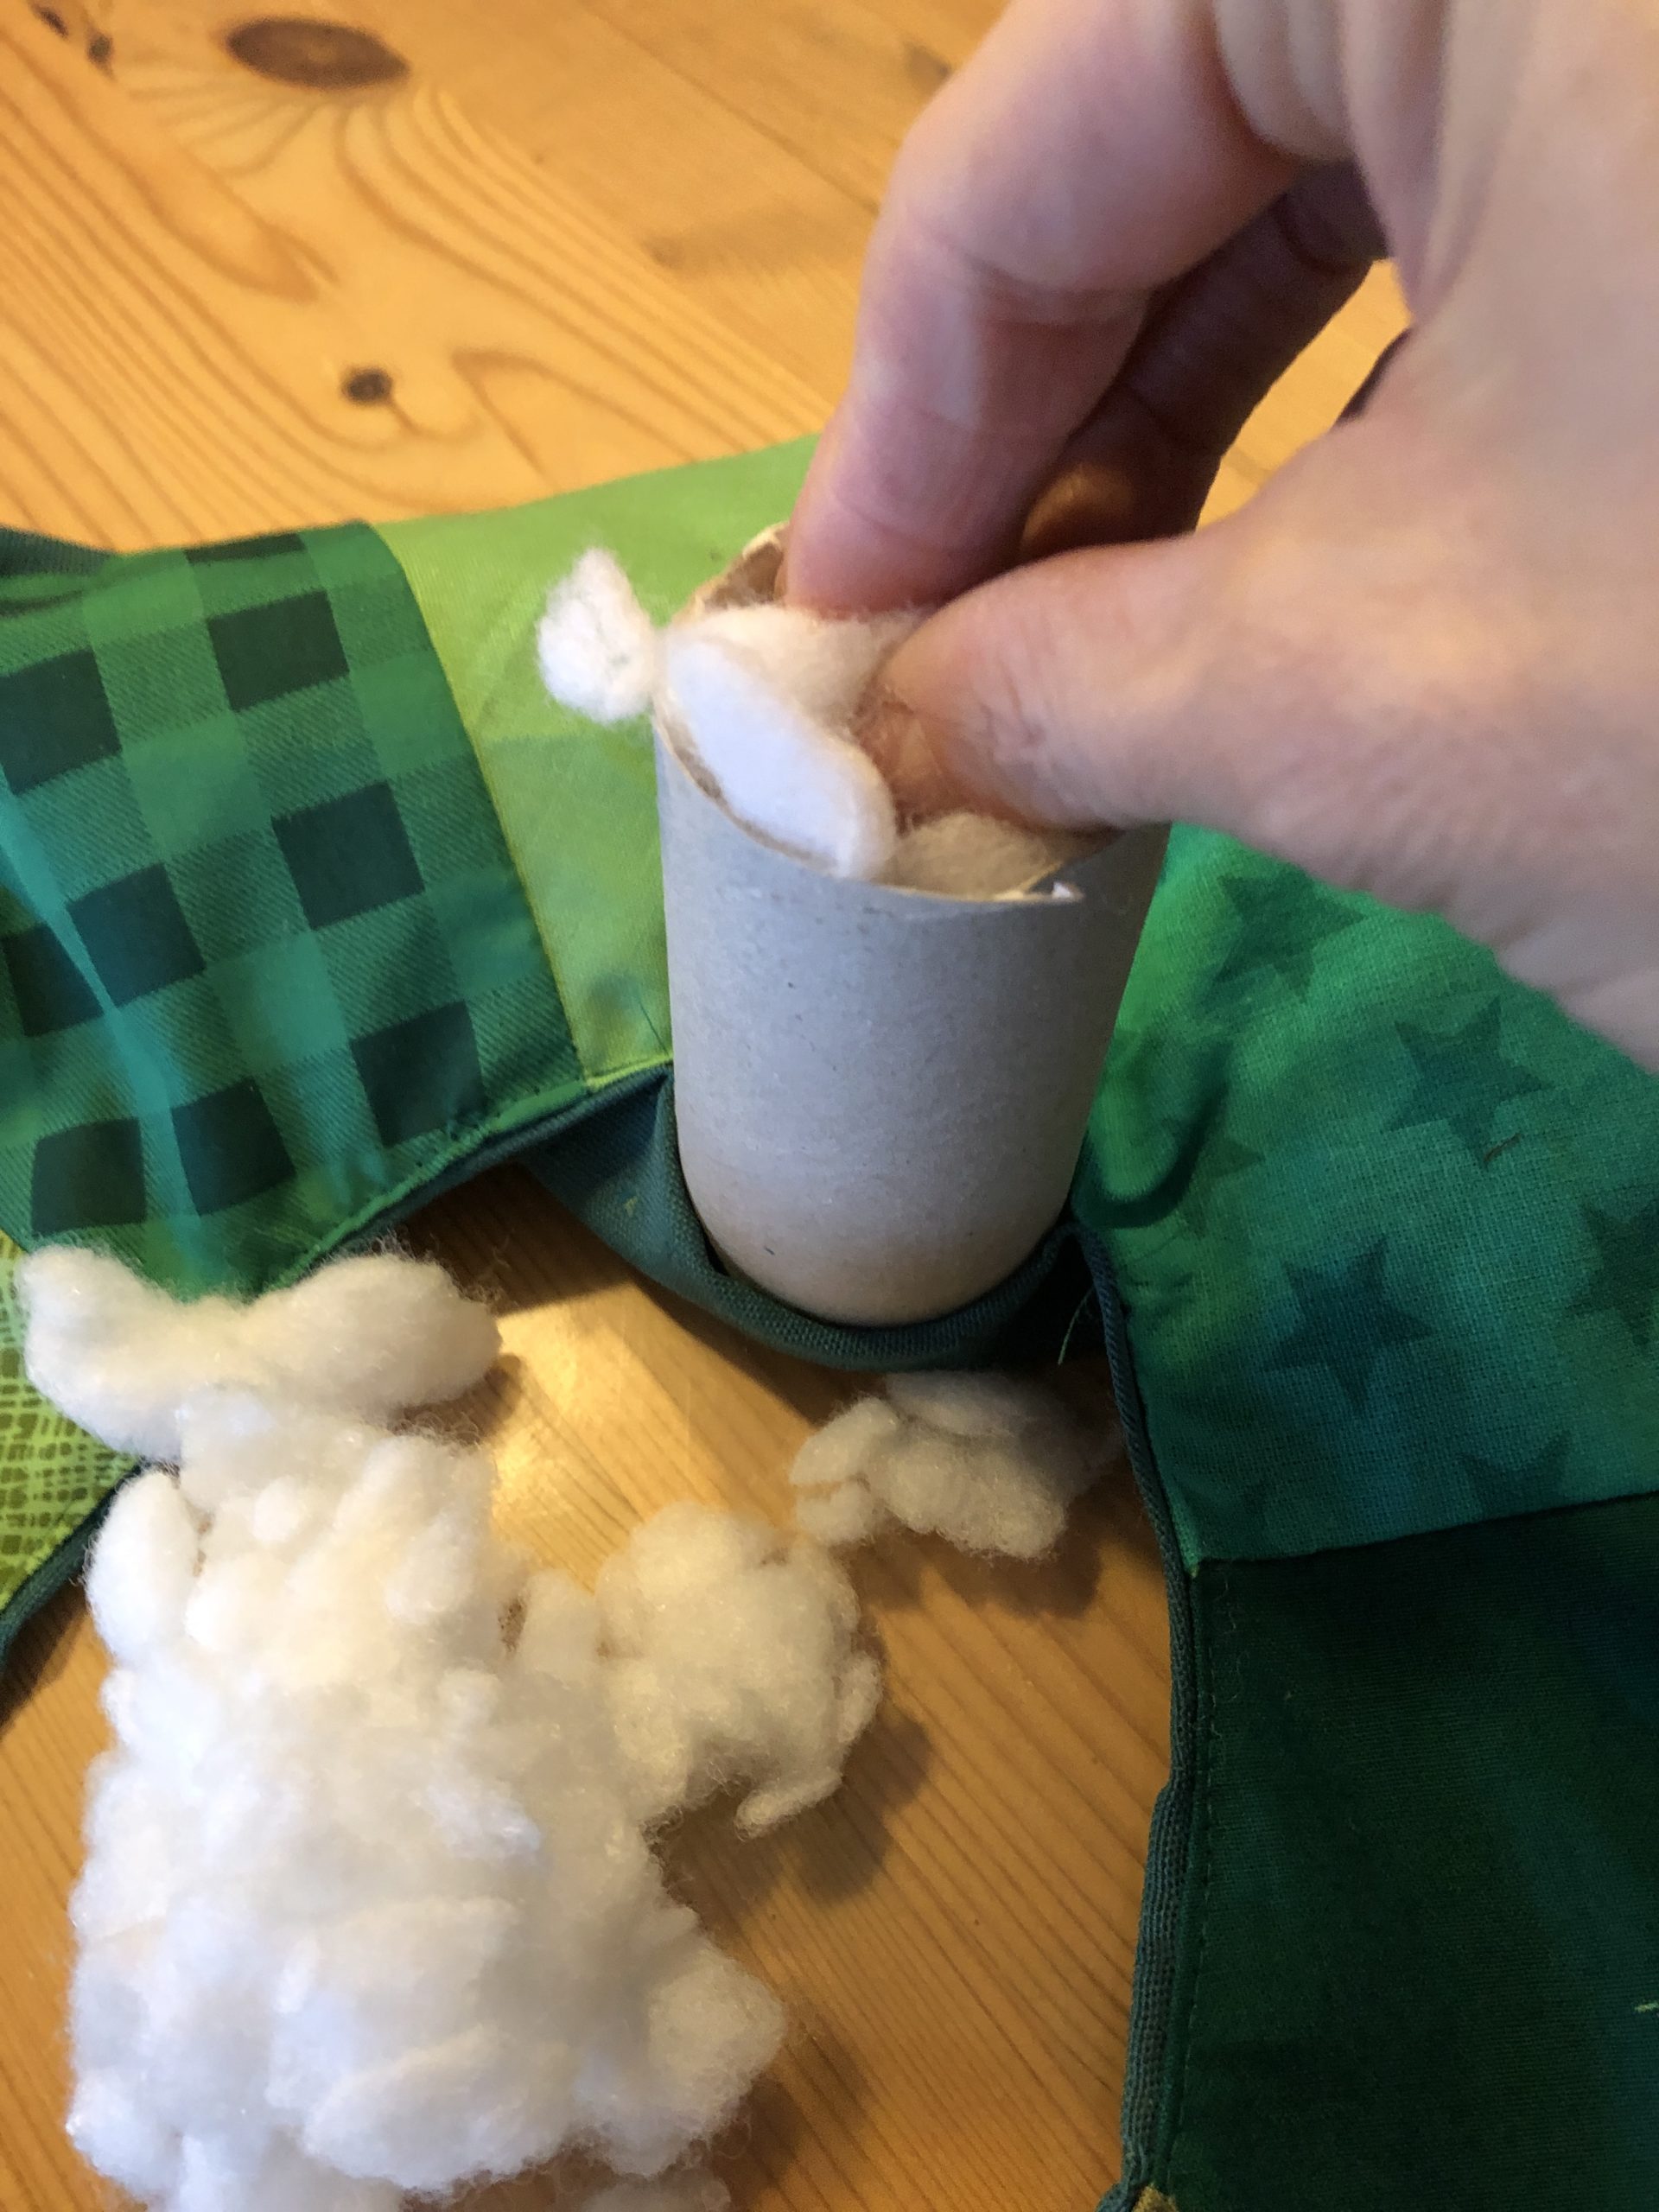


Push the filling material through the toilet roll into the curvatures of the wreath with a cooking spoon.
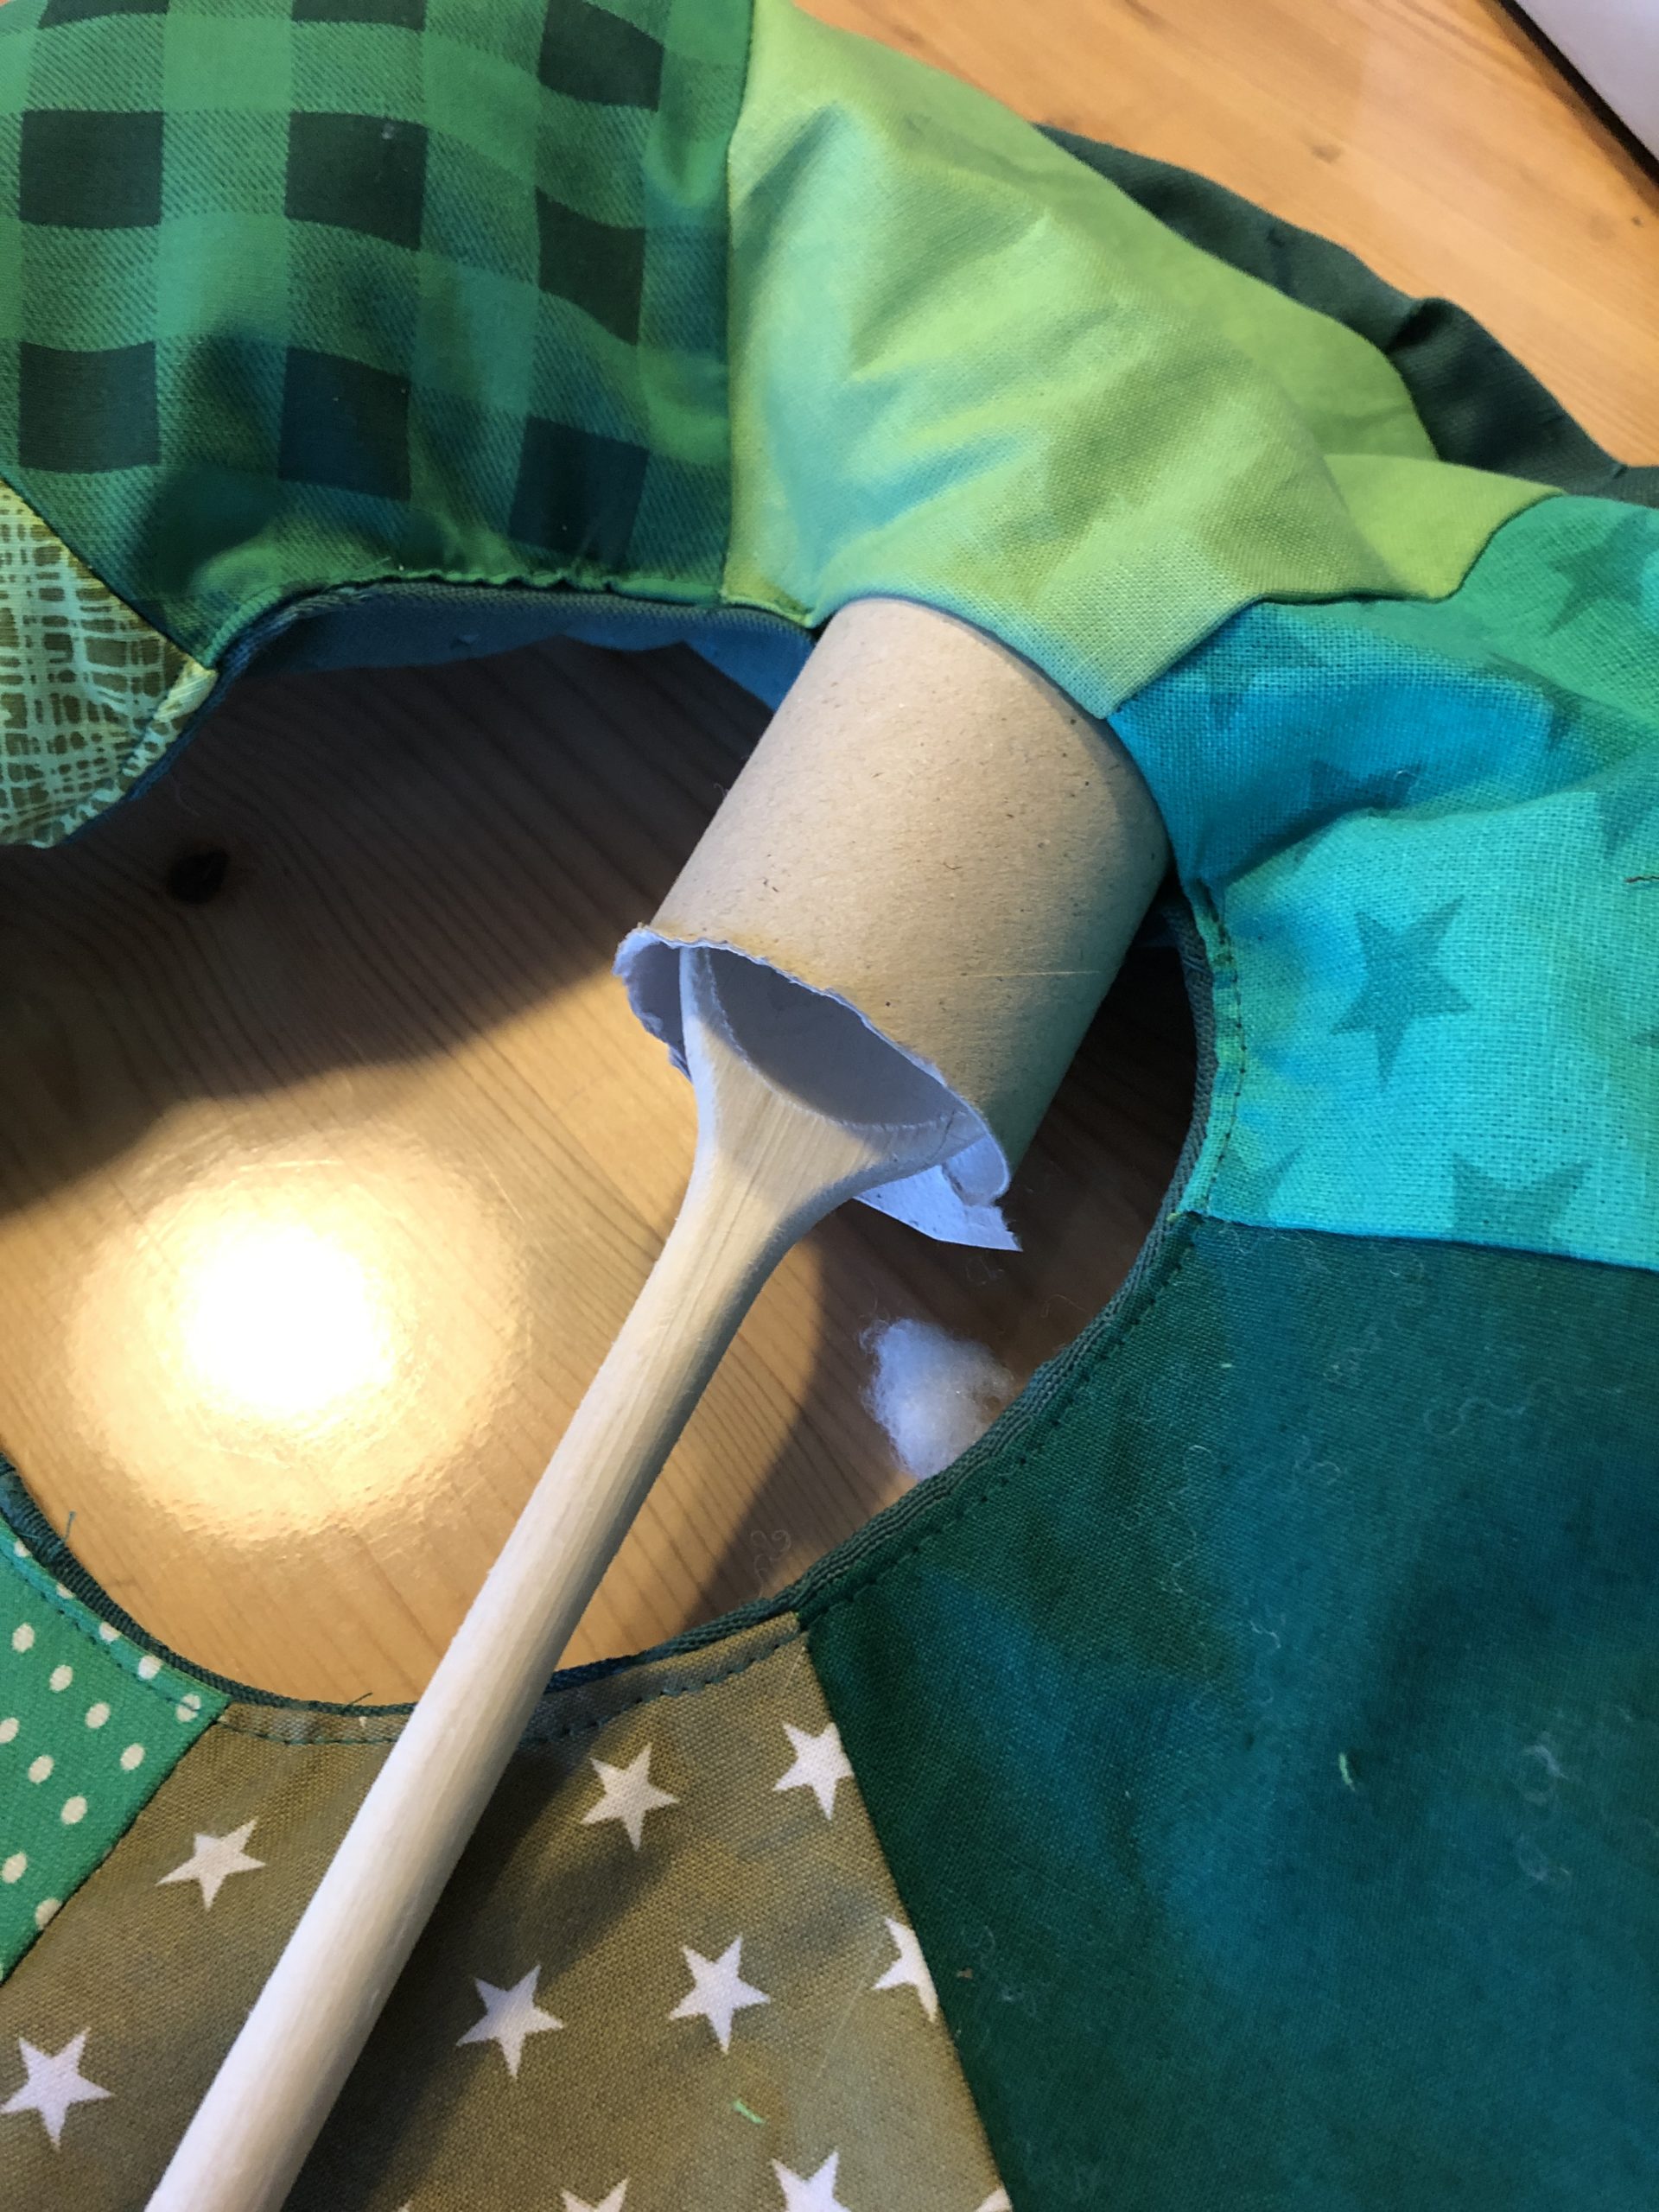


If the wreath is evenly filled, the open seam is closed with needle and thread.
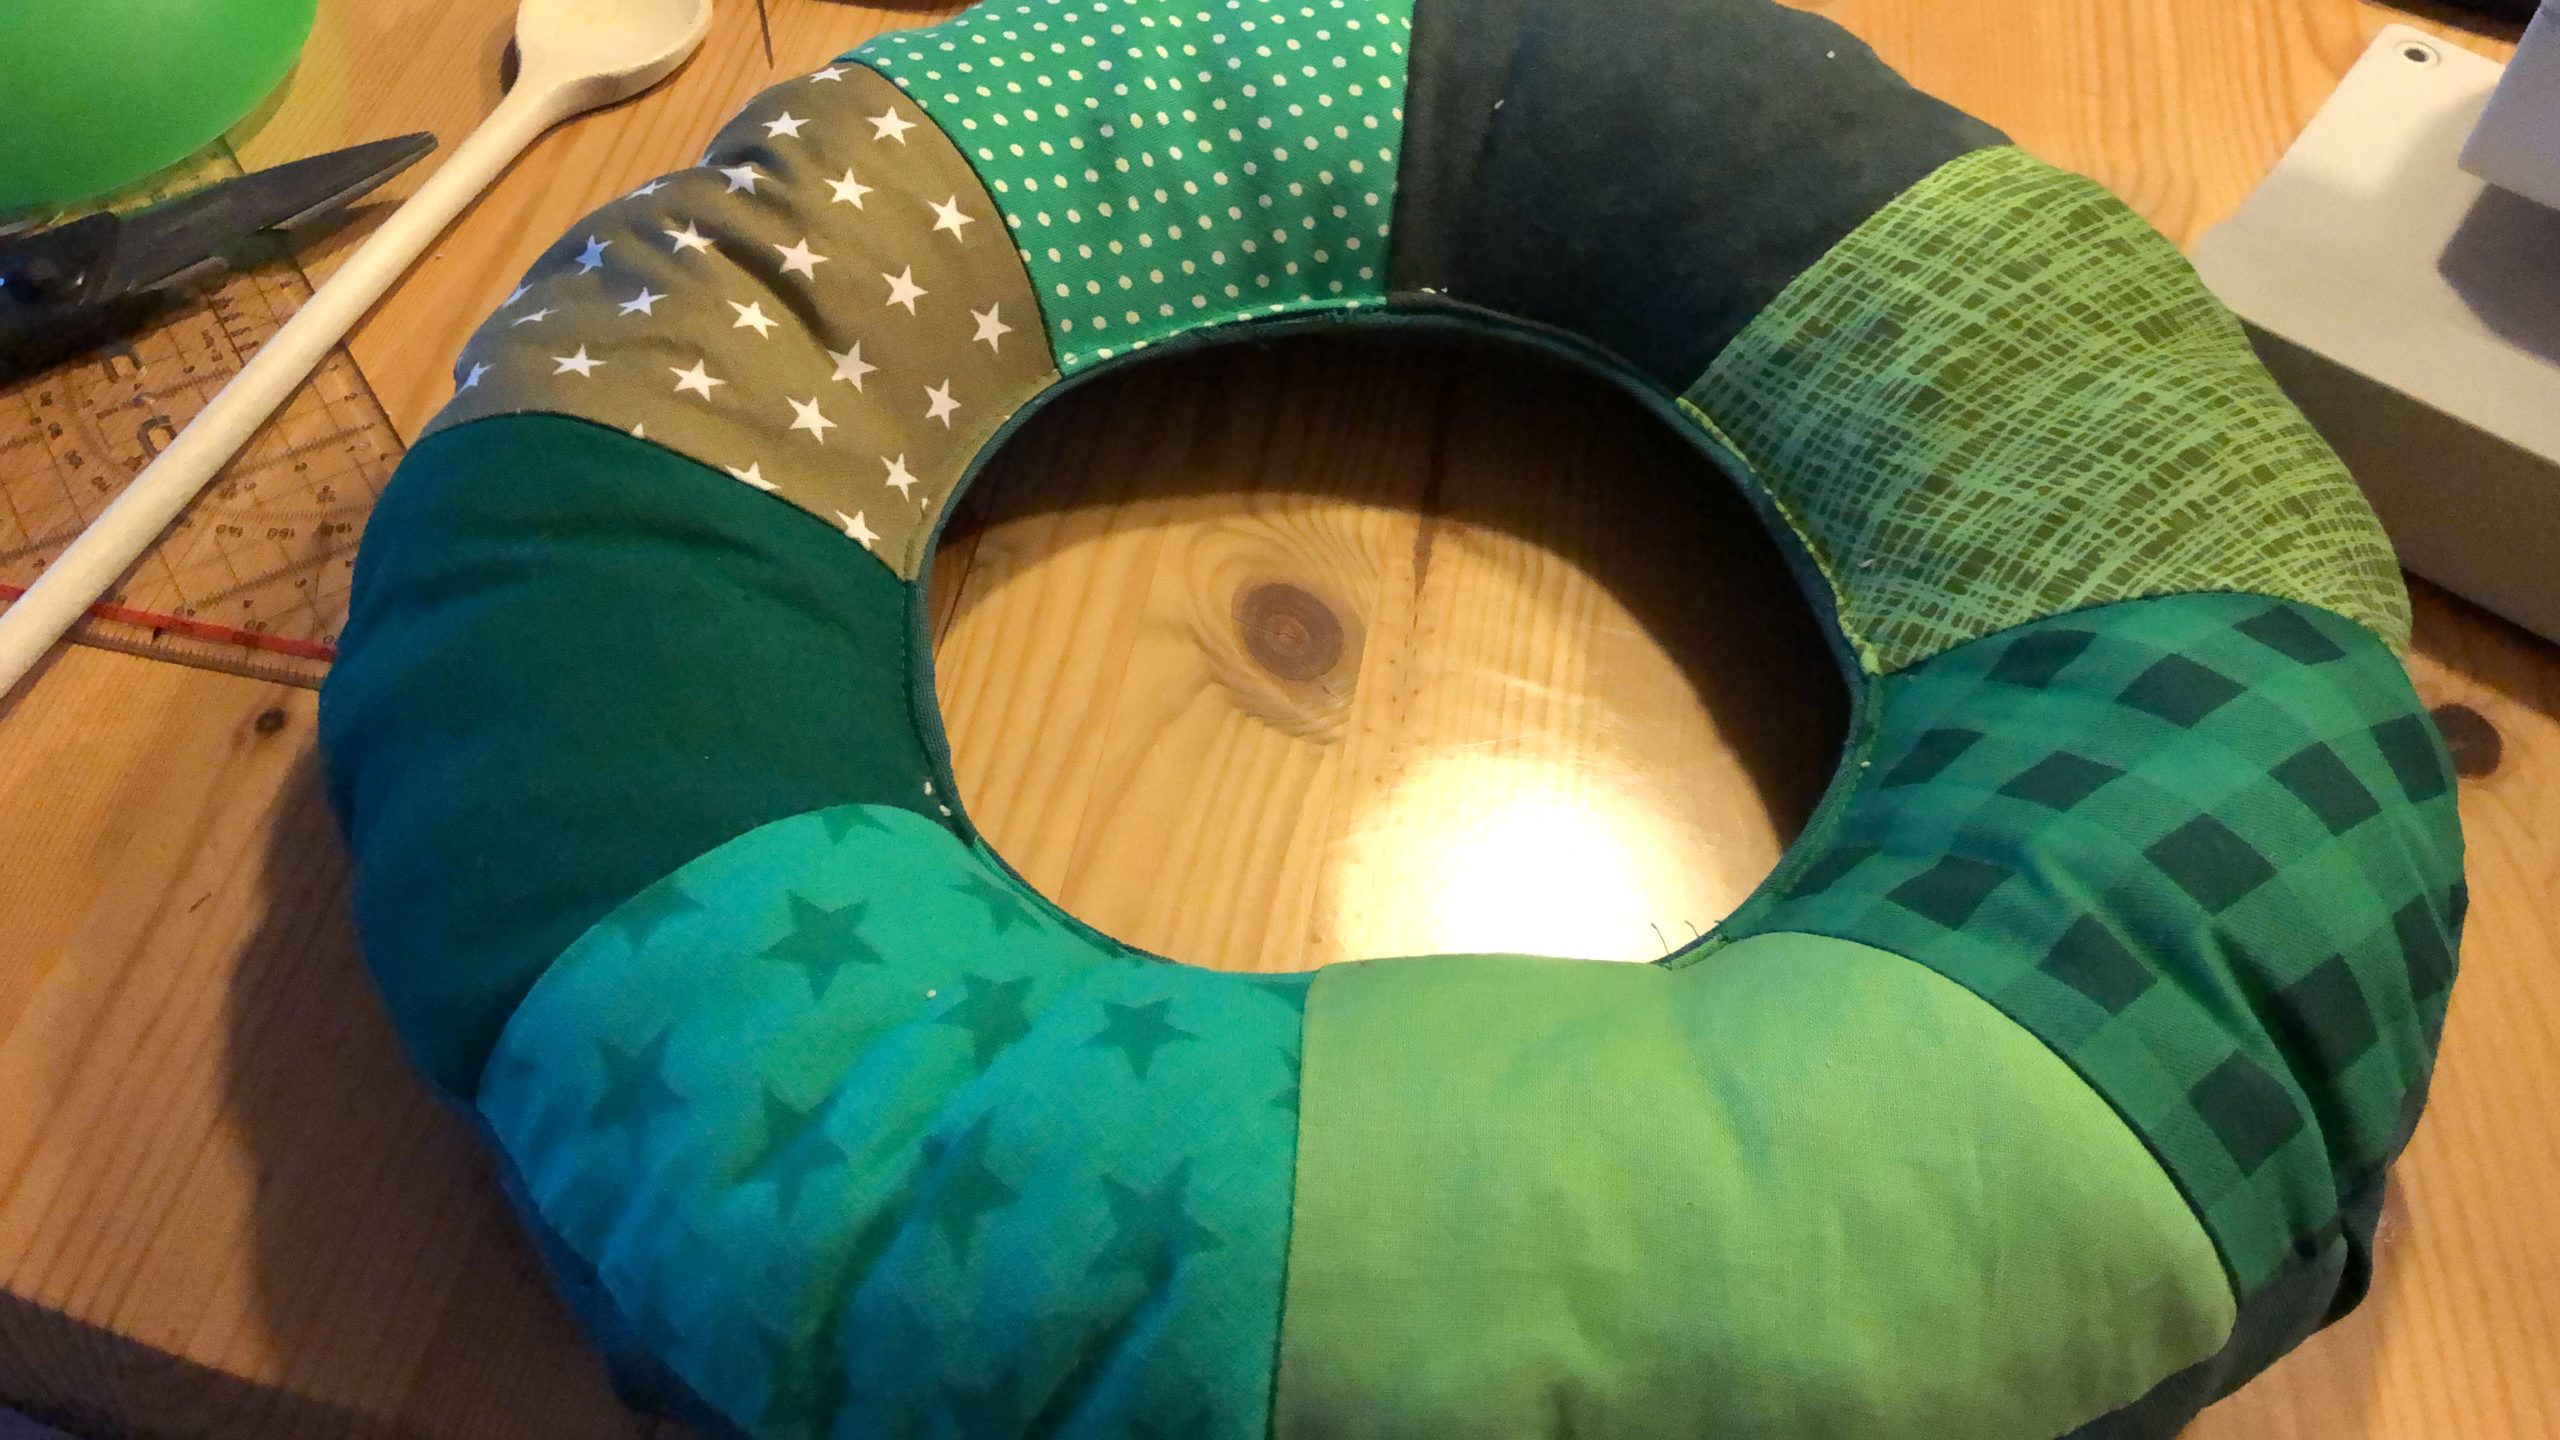


The wreath is ready!
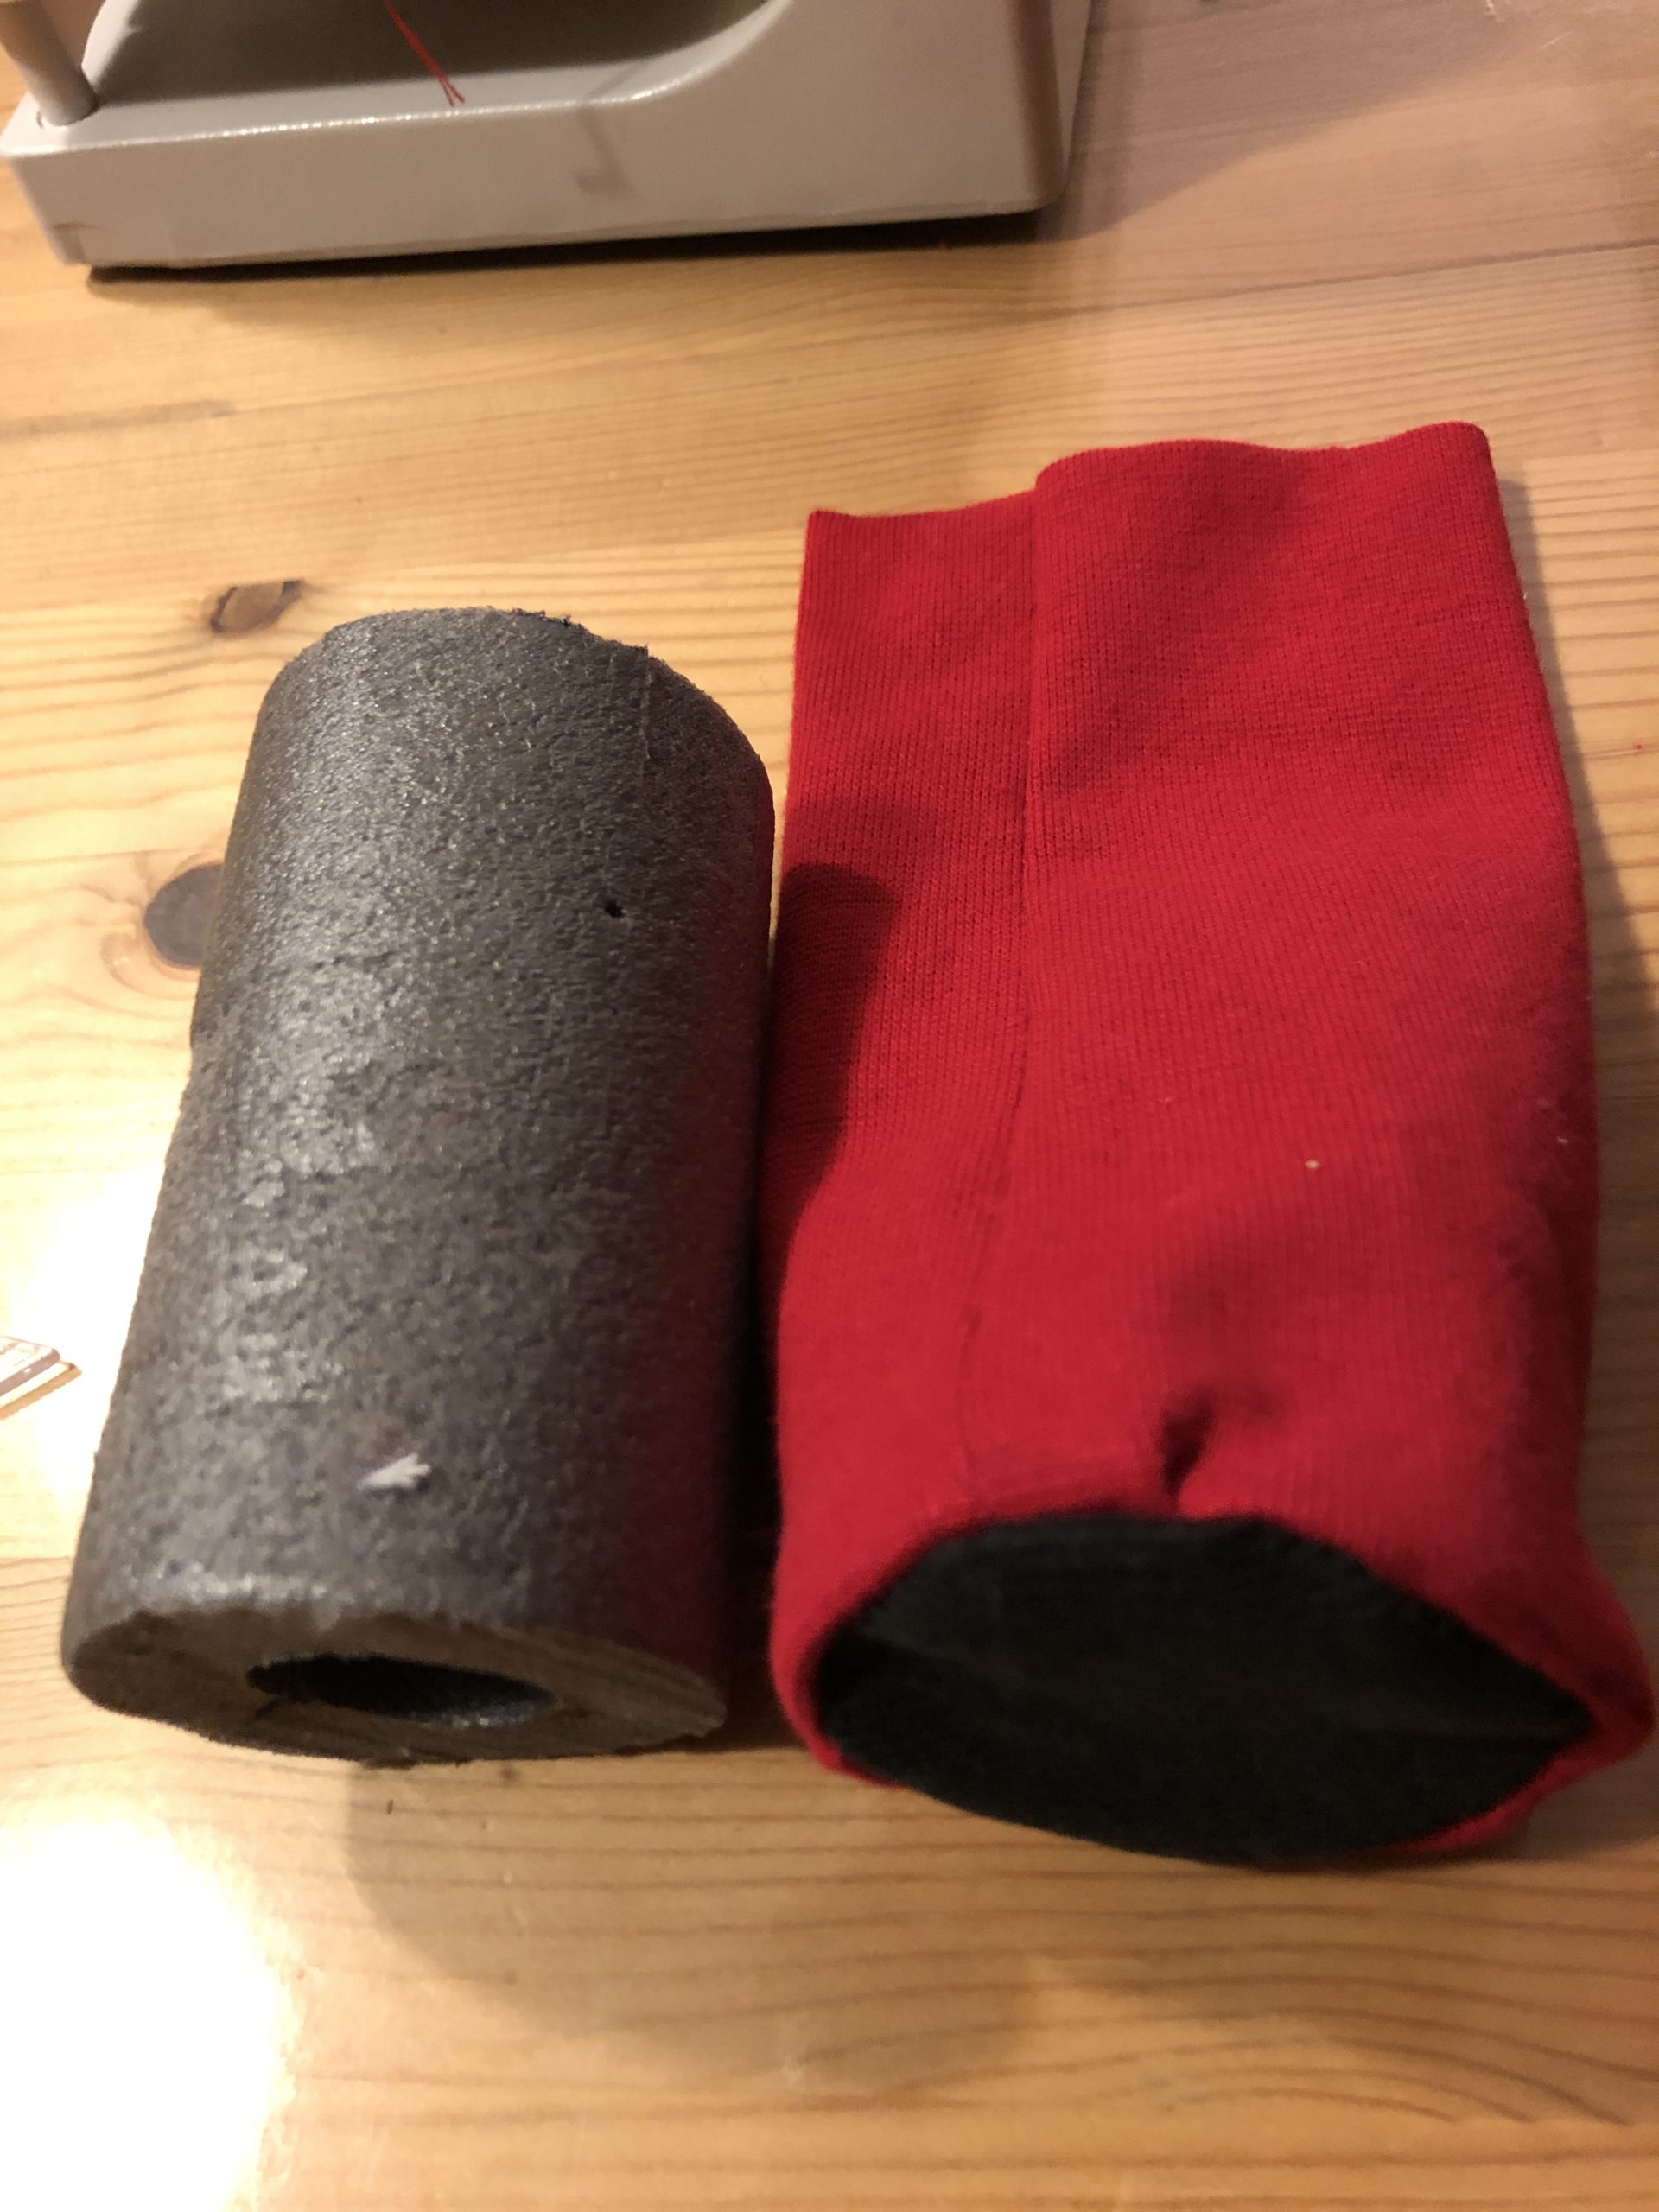
First cut a piece of foam pipe insulation to the desired length of the candle. This works very well with a cutter knife.
Then cut the fabric for the candle. To do this, wrap the foam with the fabric and add 2cm of fabric at the top, bottom and side.


Put the fabric with the beautiful side (right) up on the table. Then wrap the roll with it. The beautiful side is inside, directly on the foam.
Now you mark yourself with a pen on the longitudinal side, where you sew the fabric together afterwards. Let the fabric lie loose so that you don't draw too tight. Otherwise you won't get the fabric over the roll afterwards.
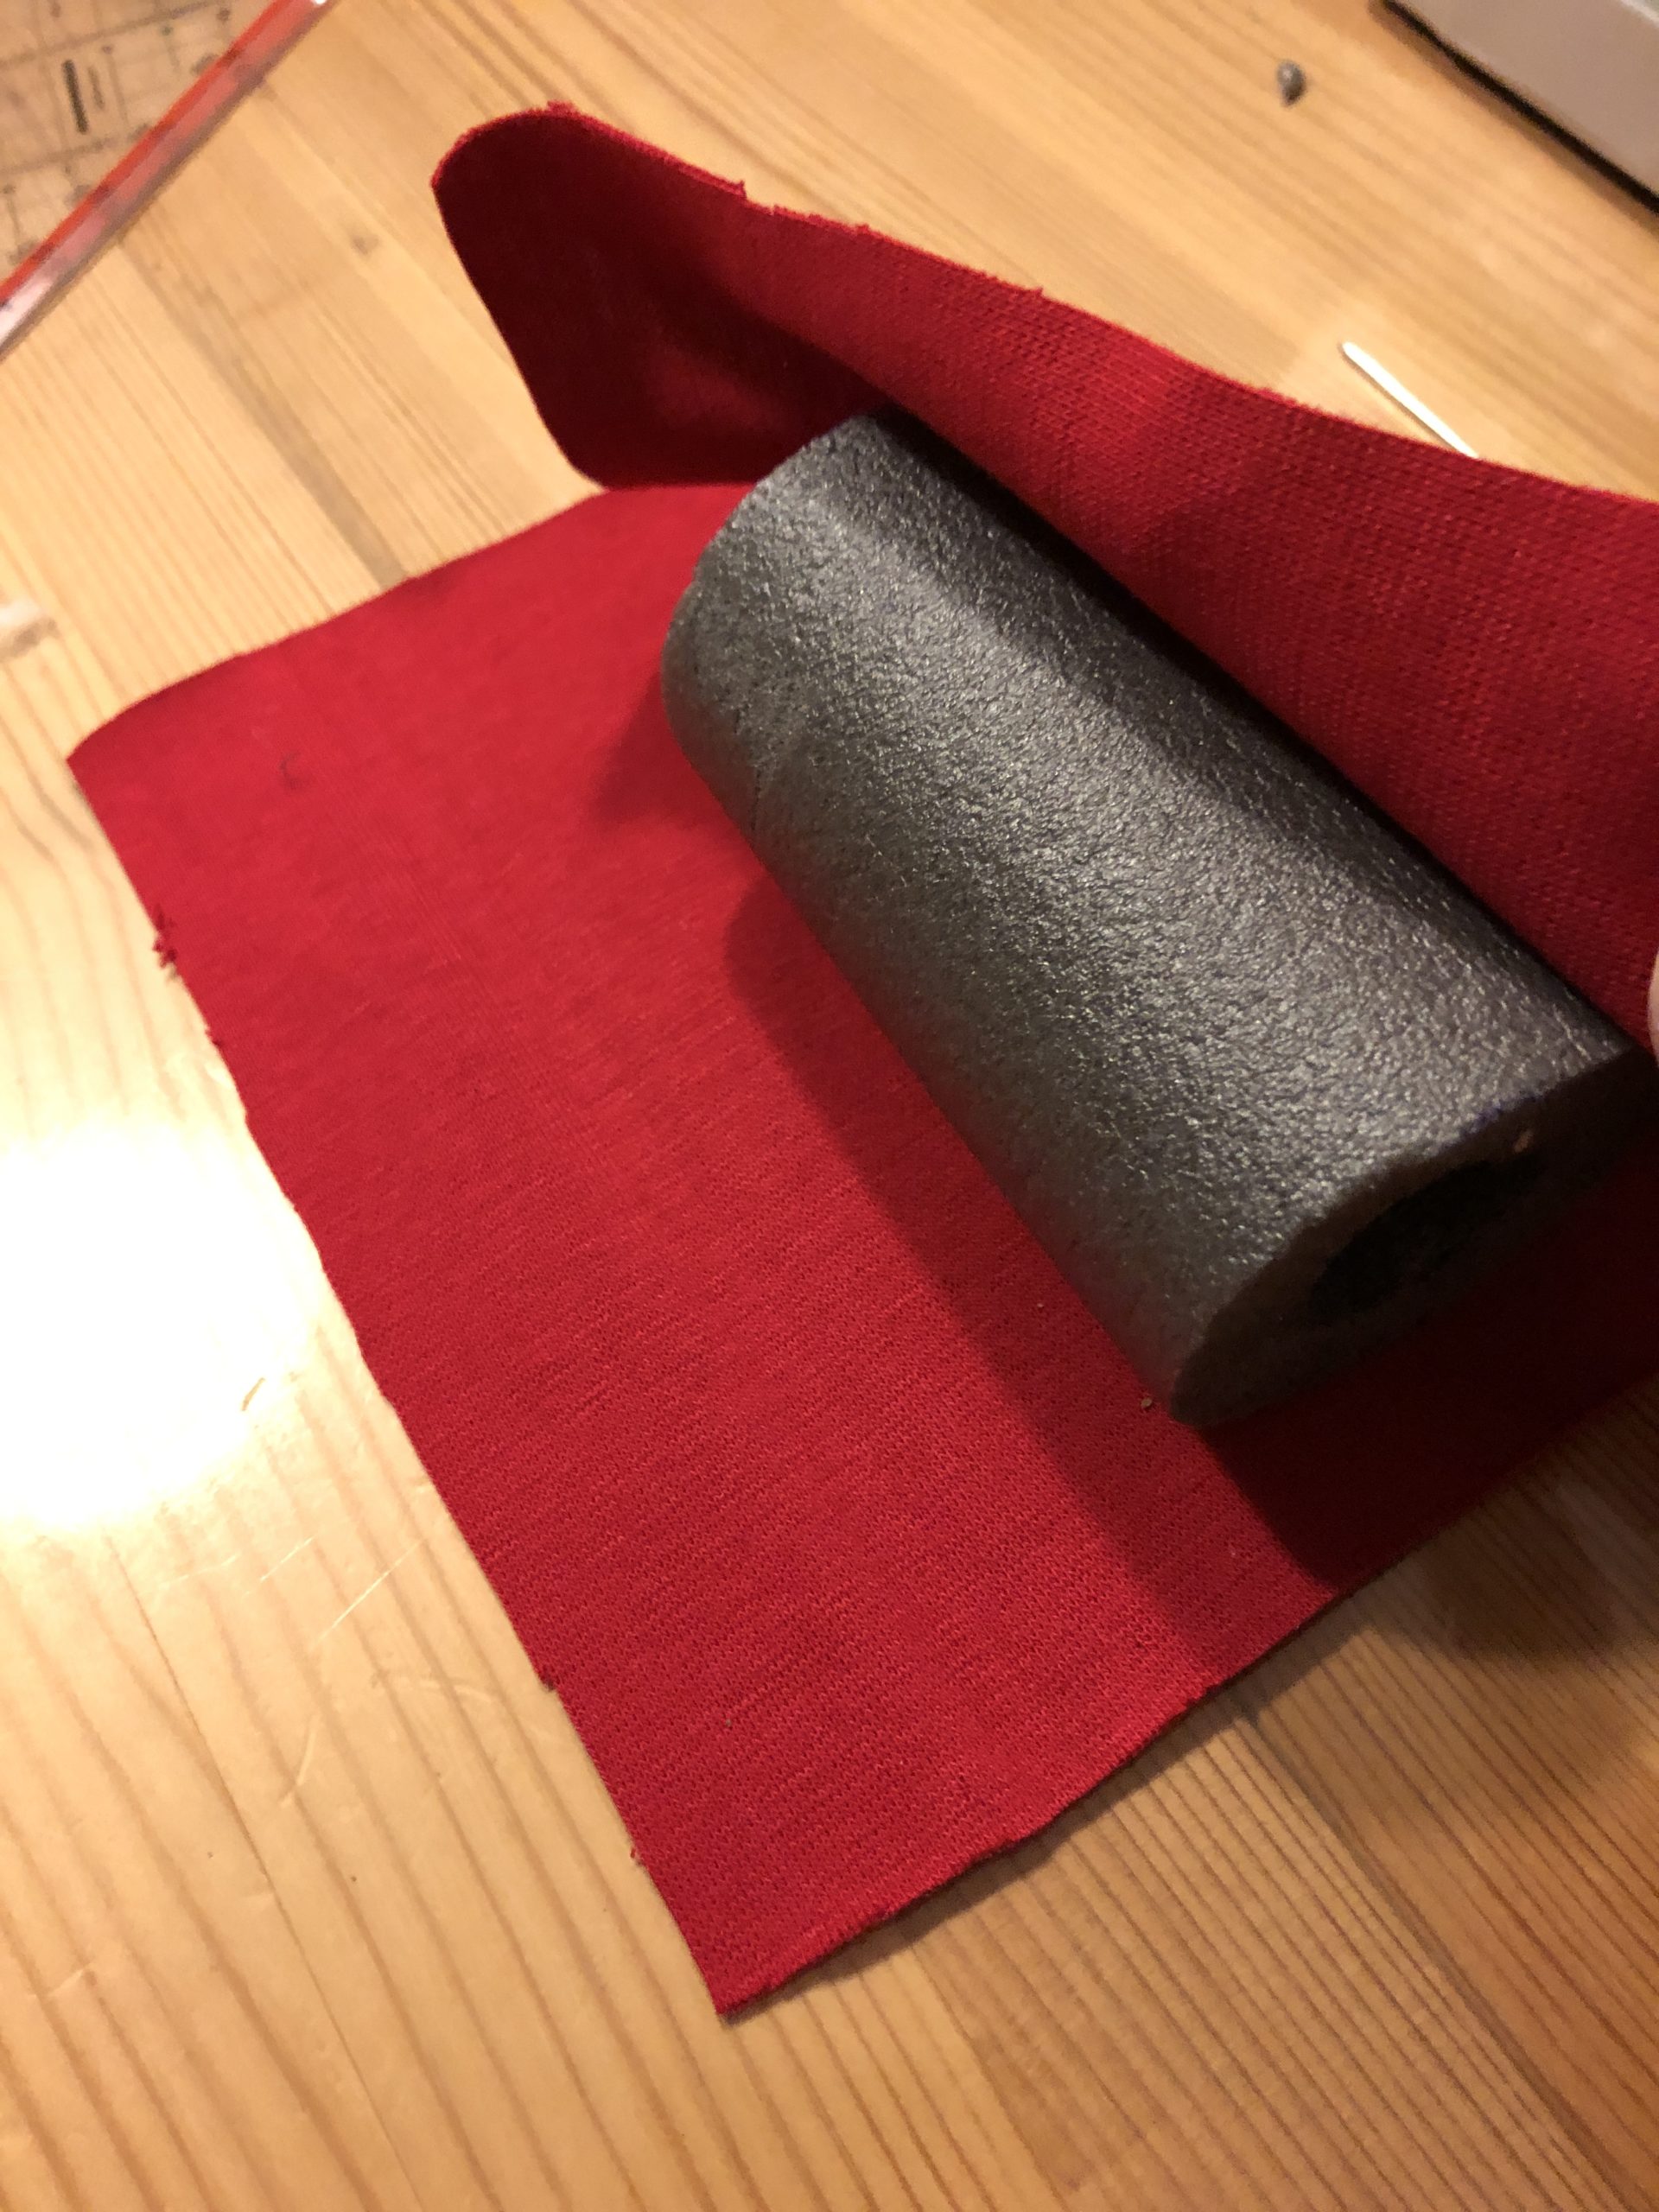


Remove the roll. Then sew the fabric lengthwise to a hose. Up and down the hose remains open.
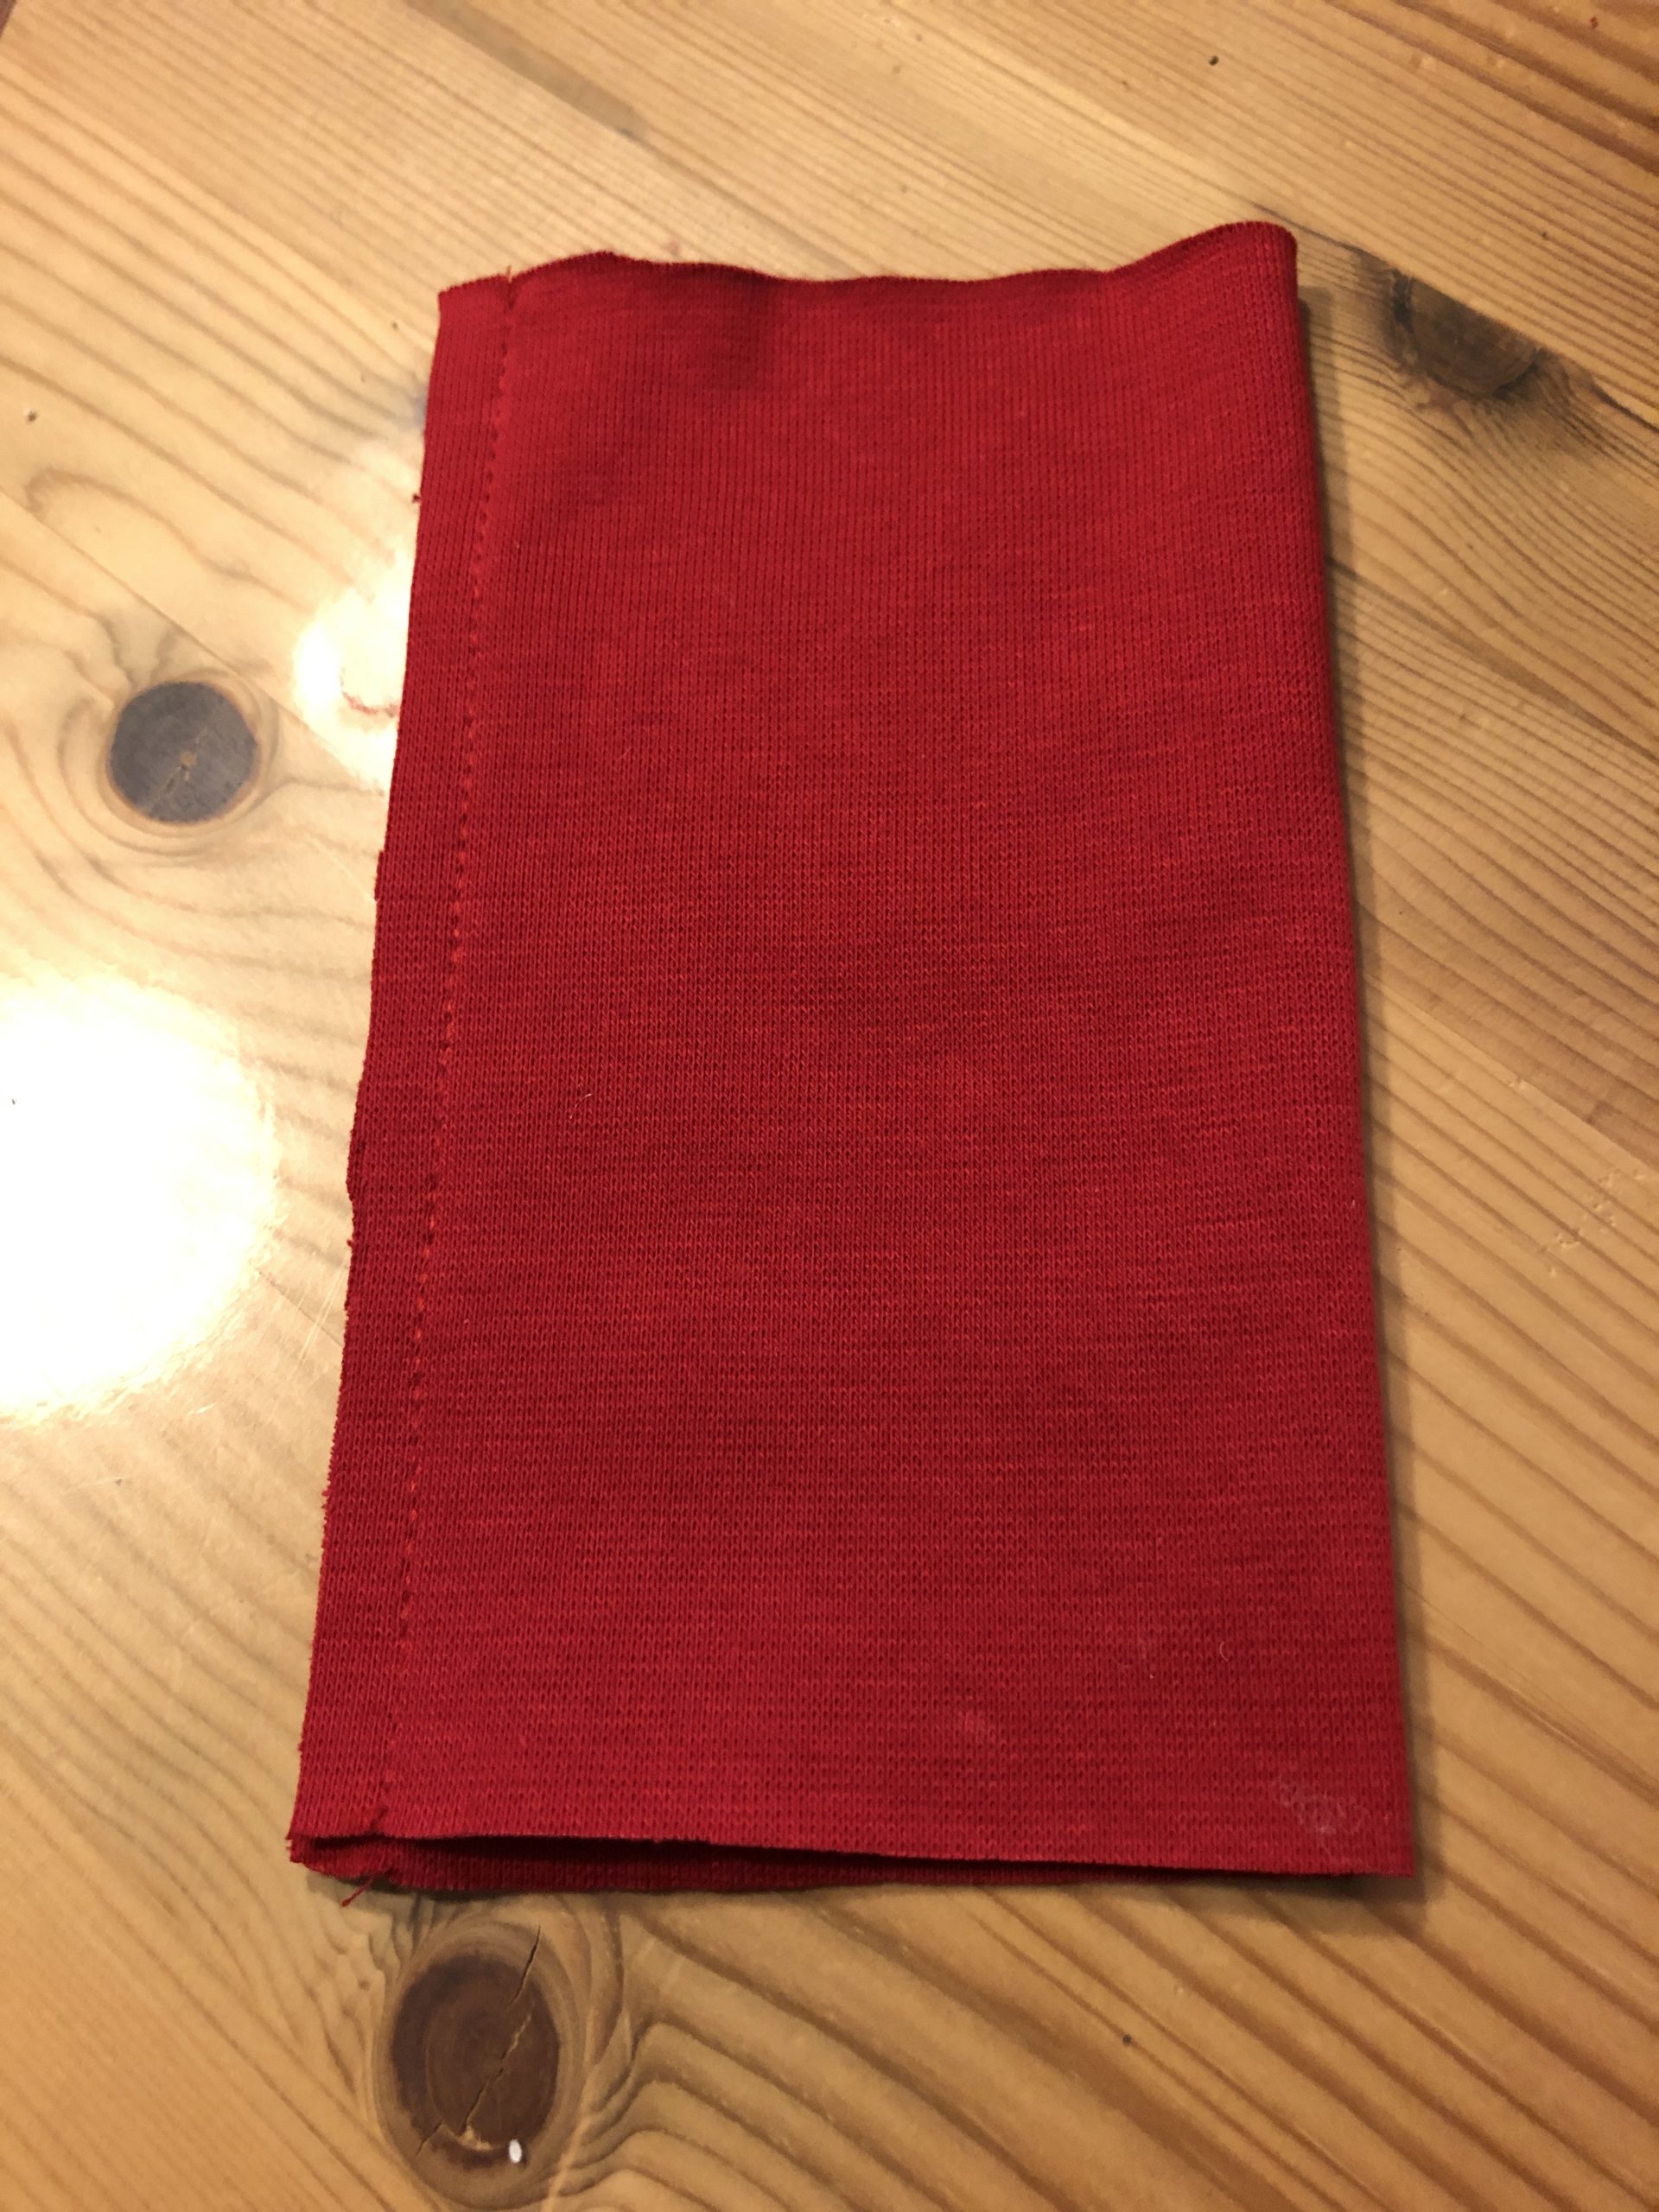


A circle in the diameter of the pipe insulation is required from a solid fabric. Paint it up and cut it out.
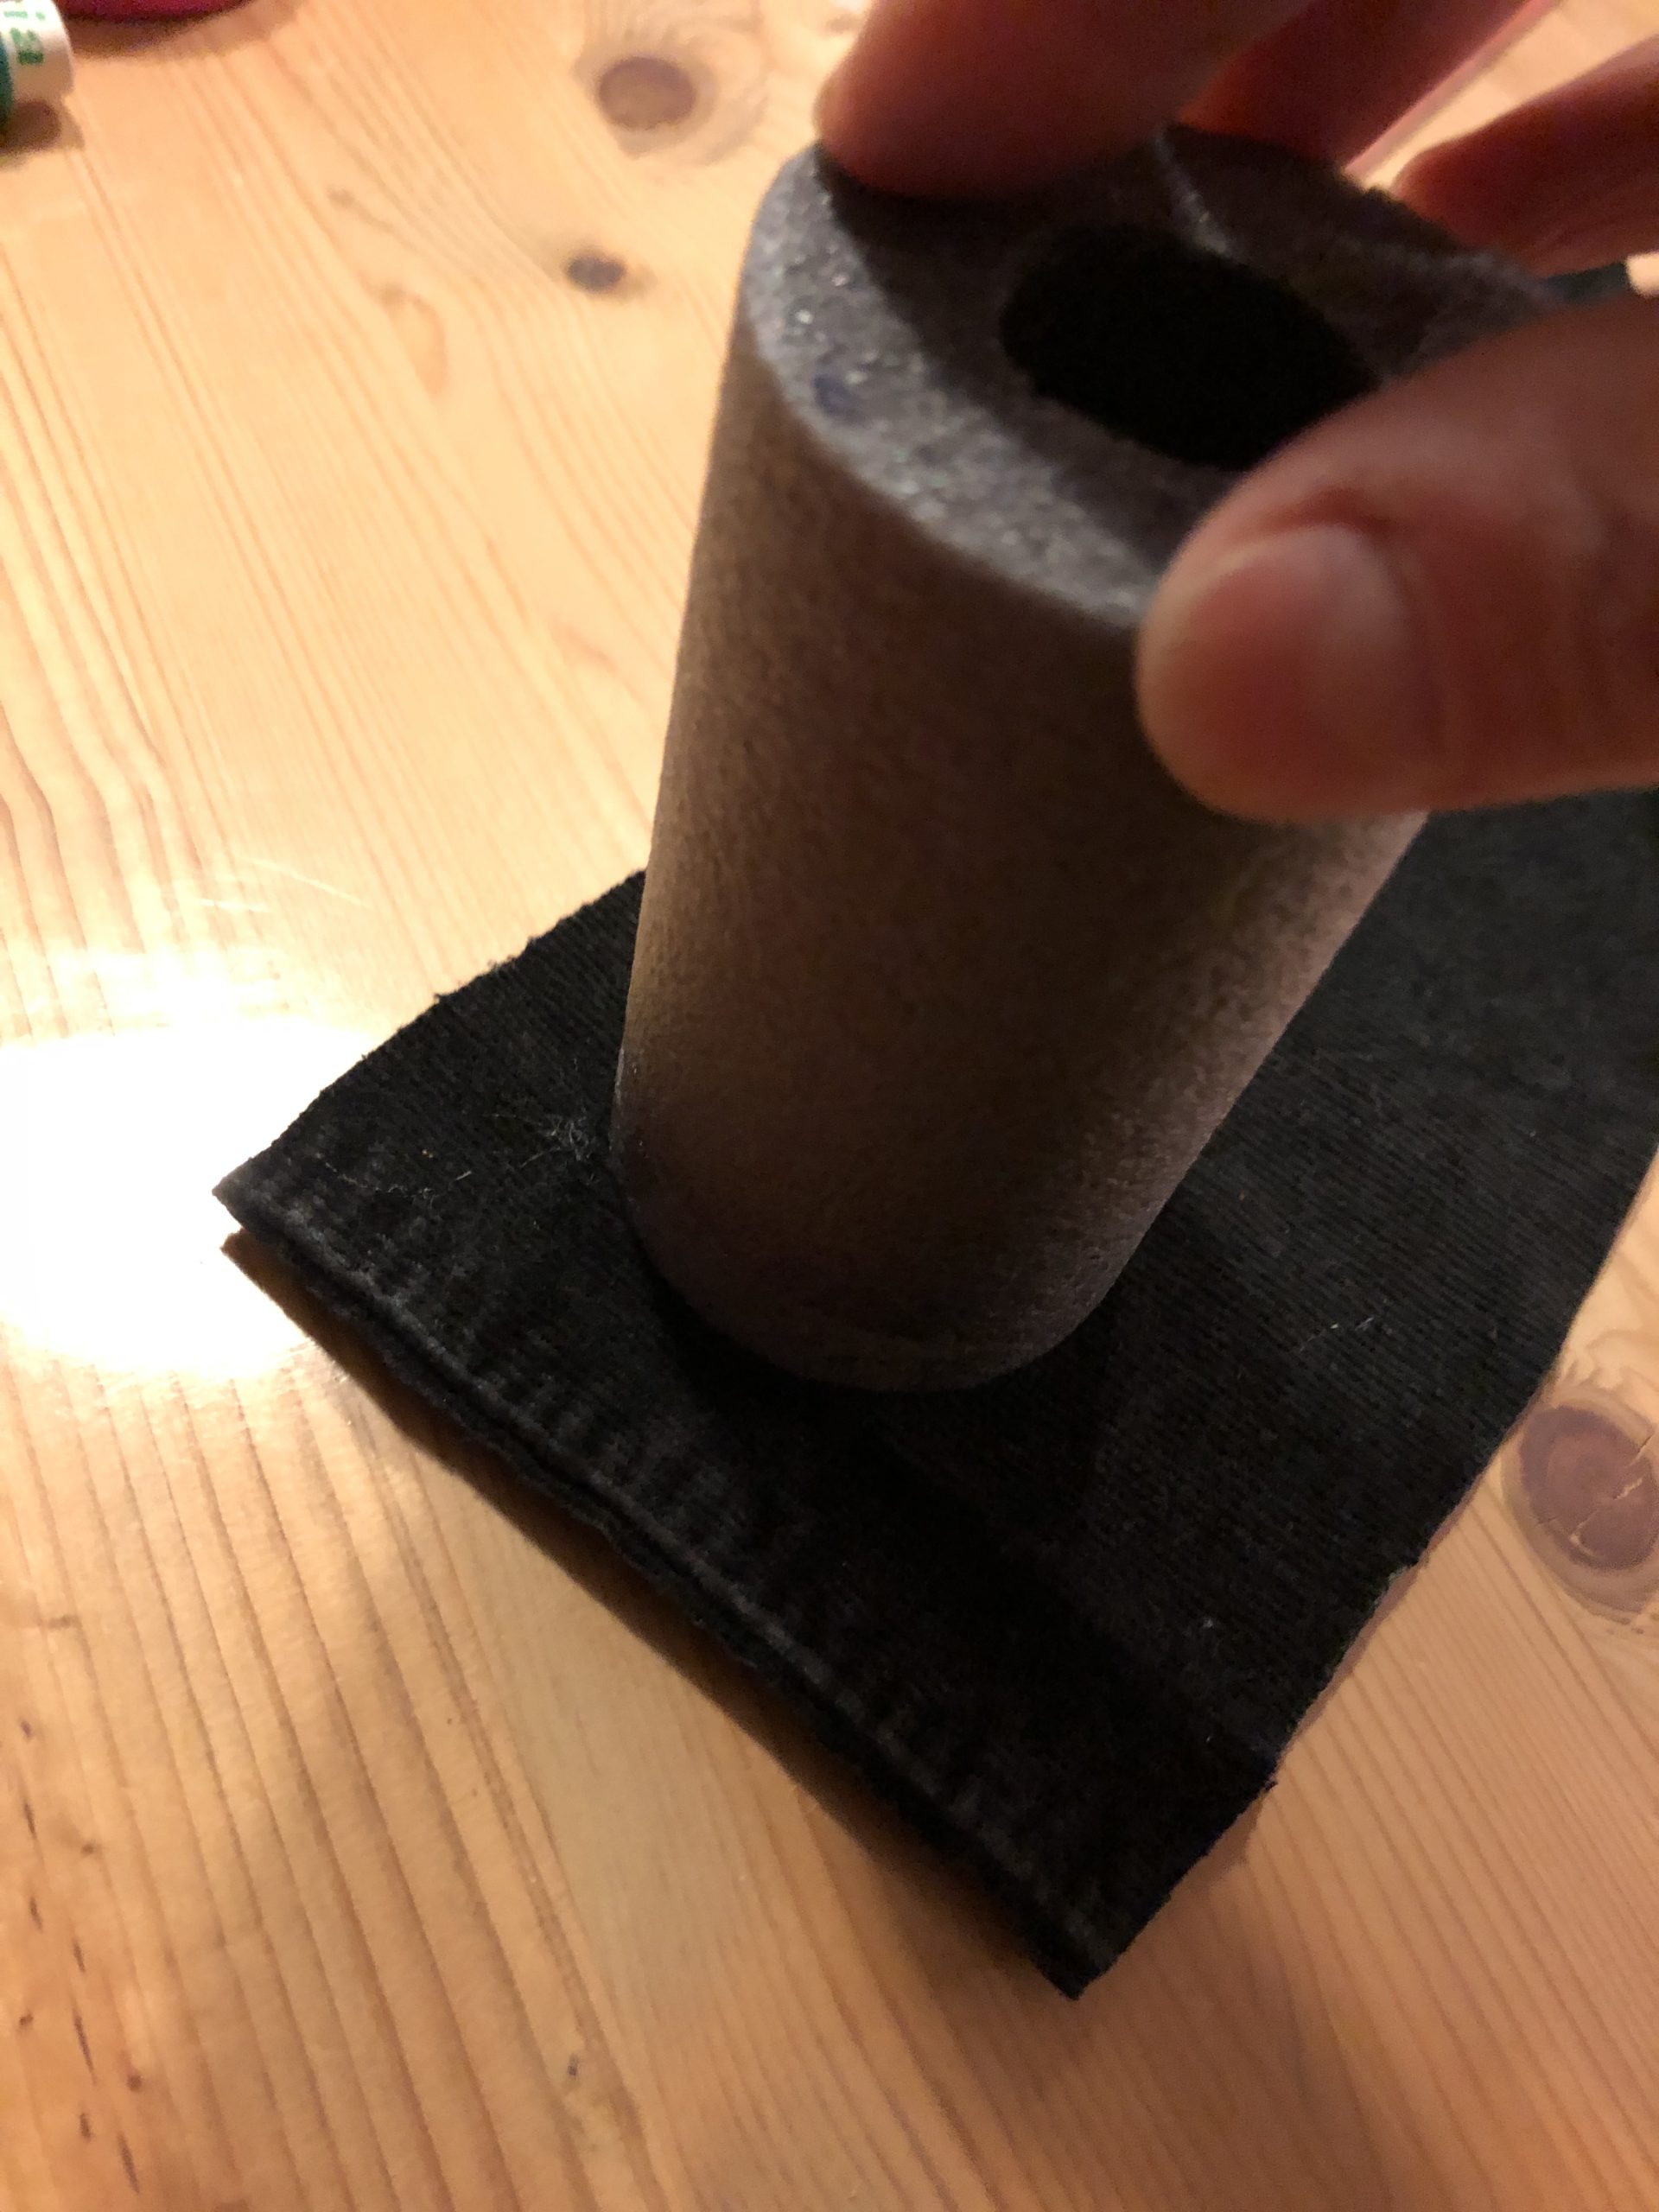


Now attach the circle to one end of the red tube.
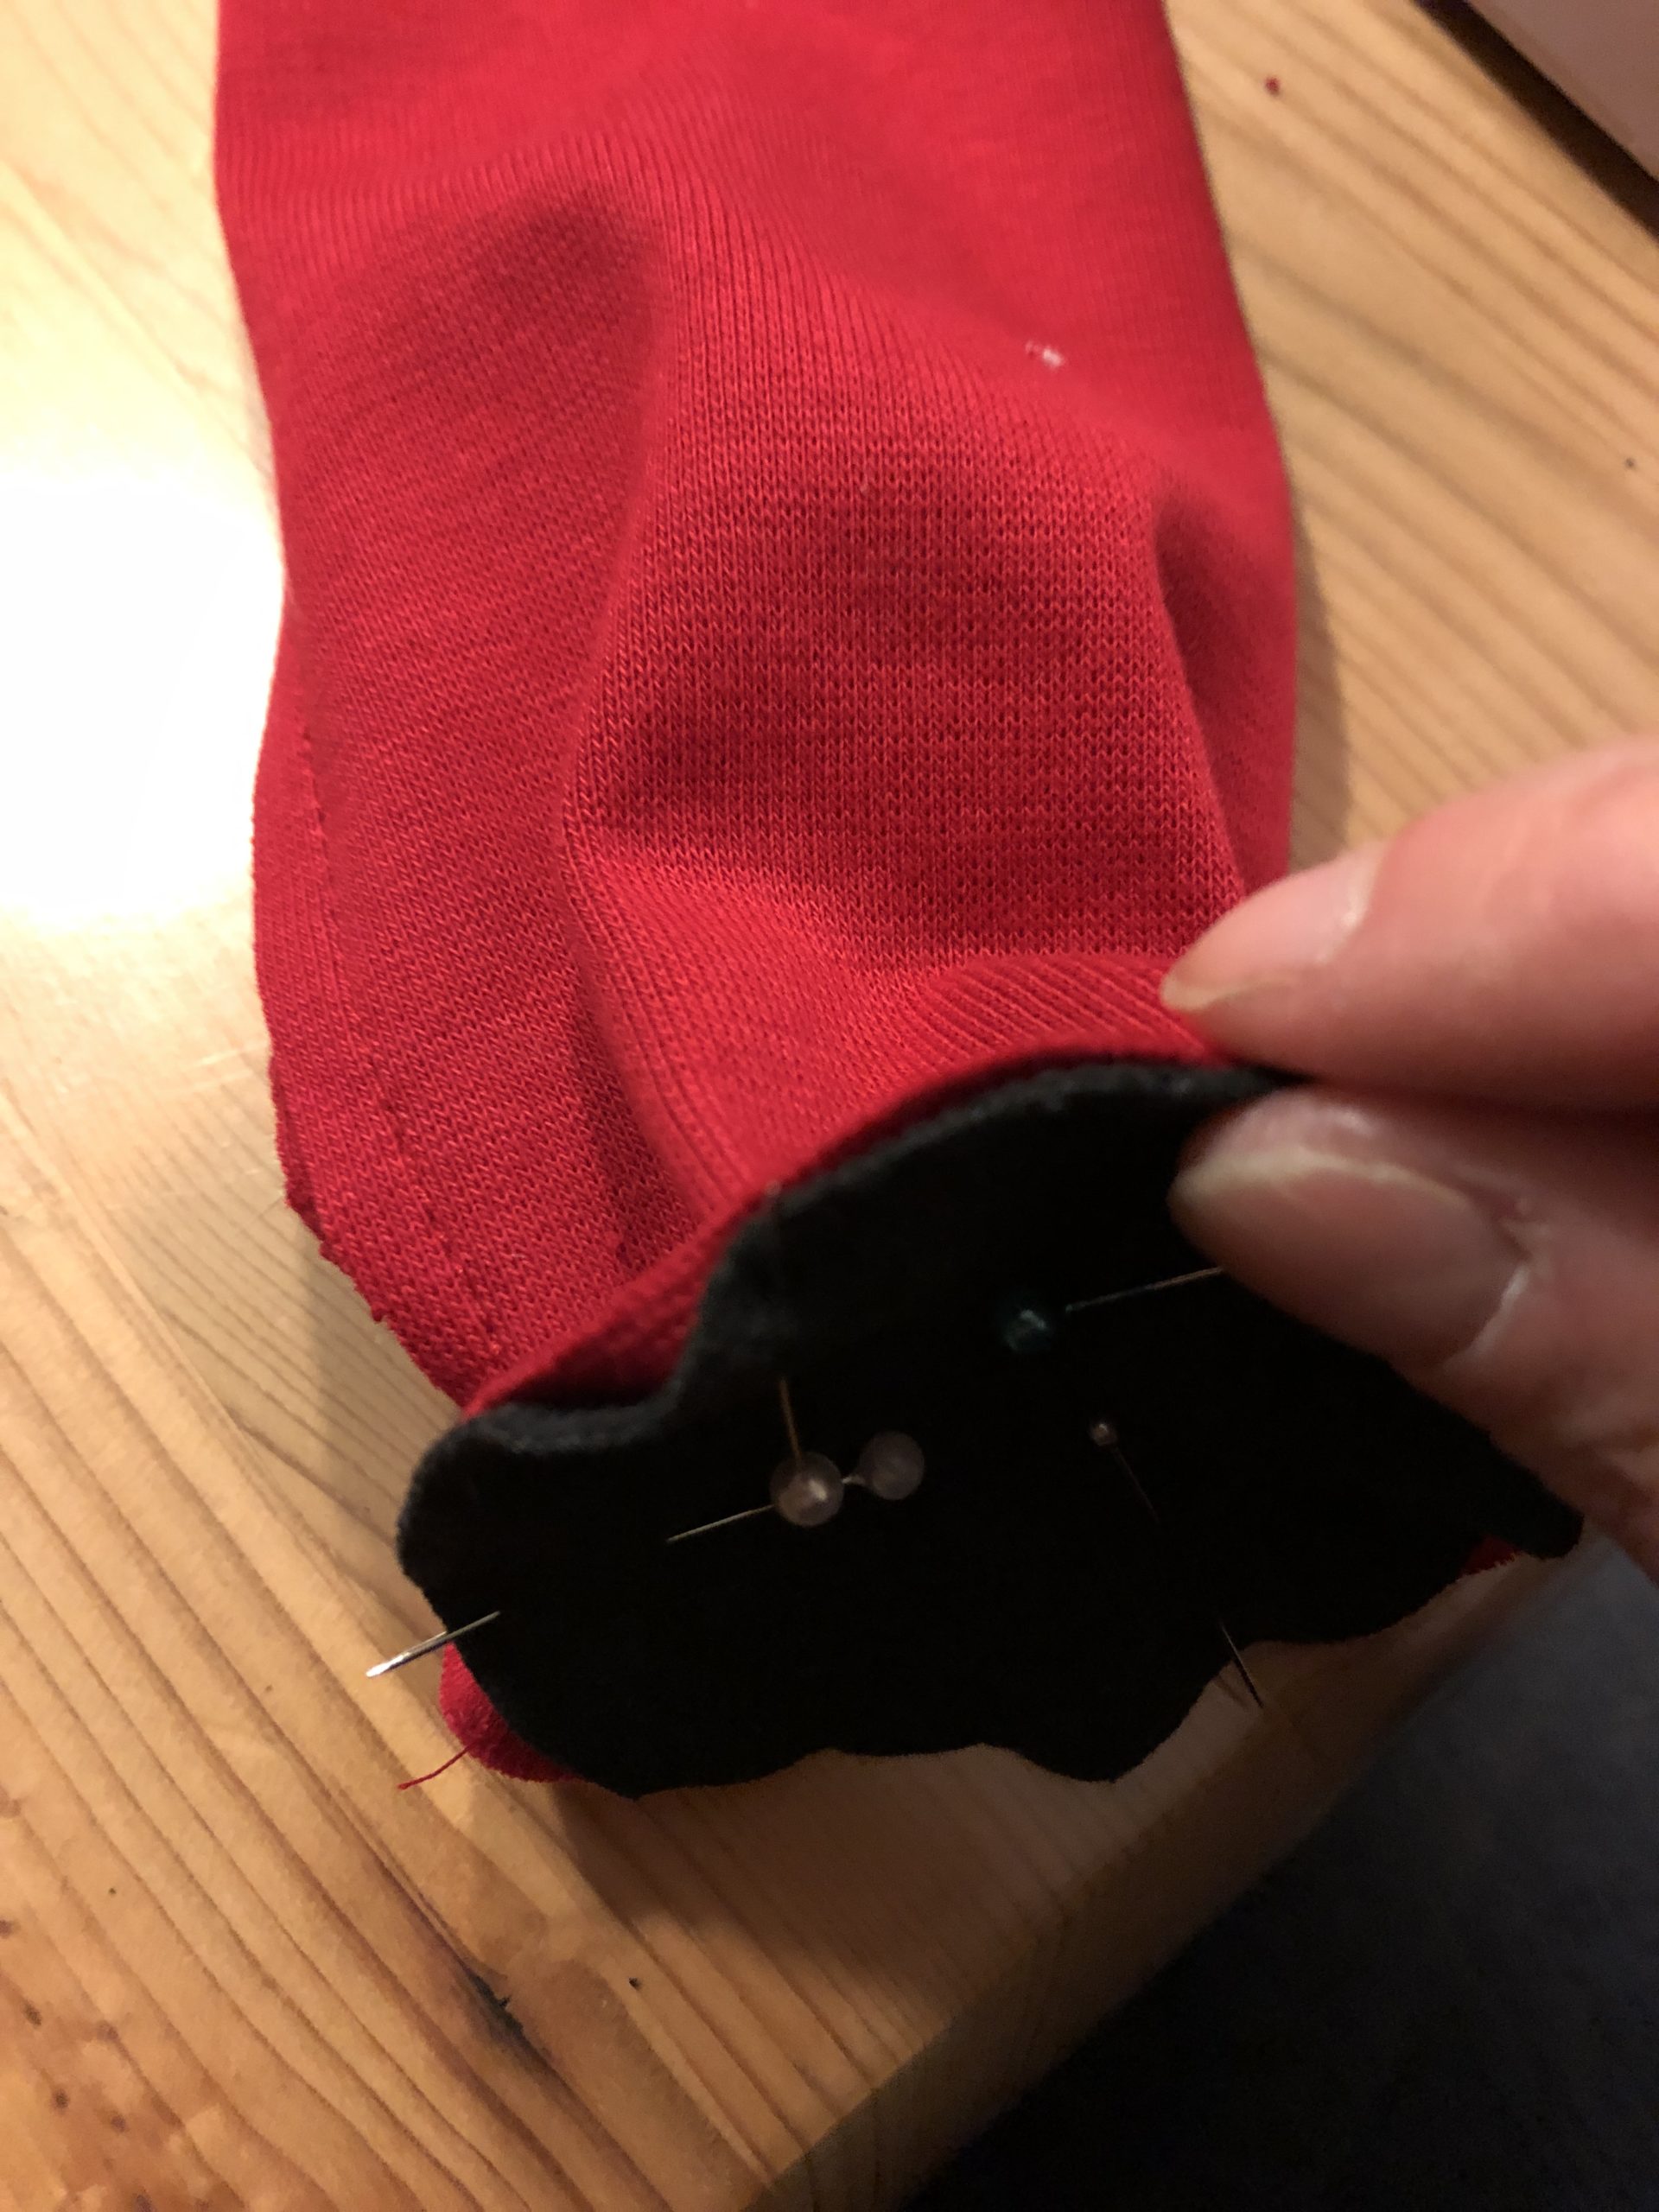


Now you sew this one.
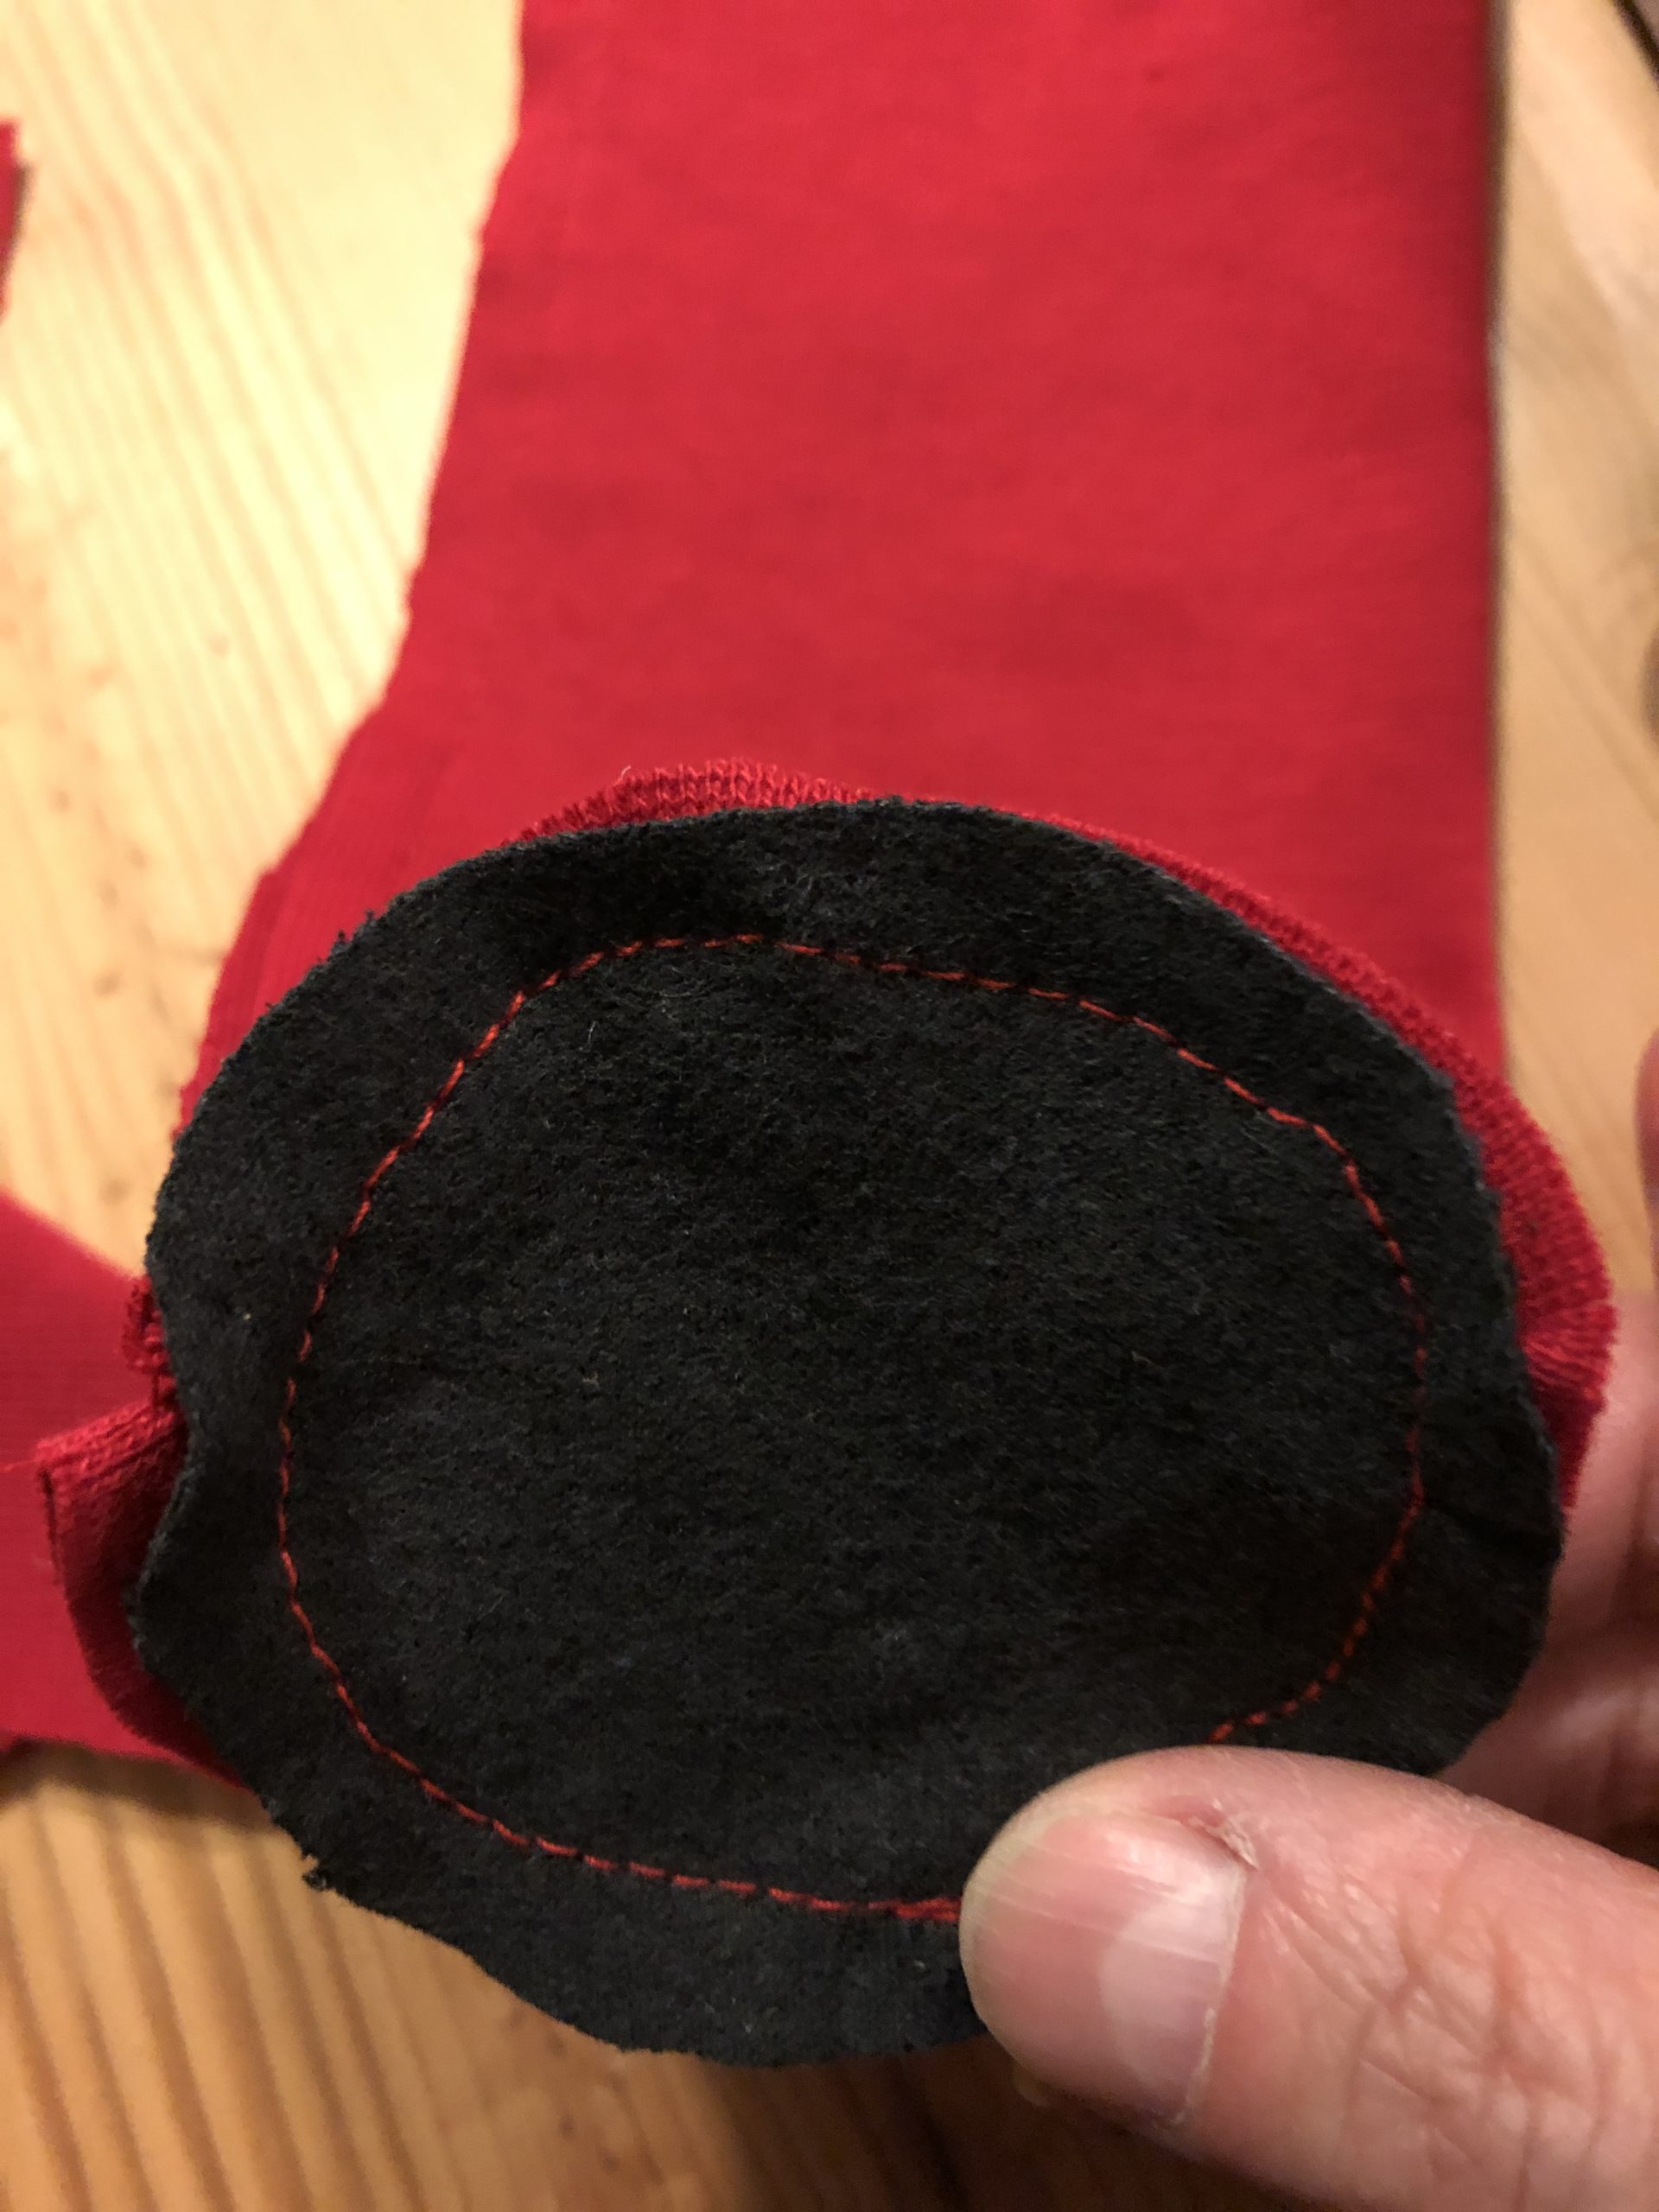


Now you turn the red fabric around.
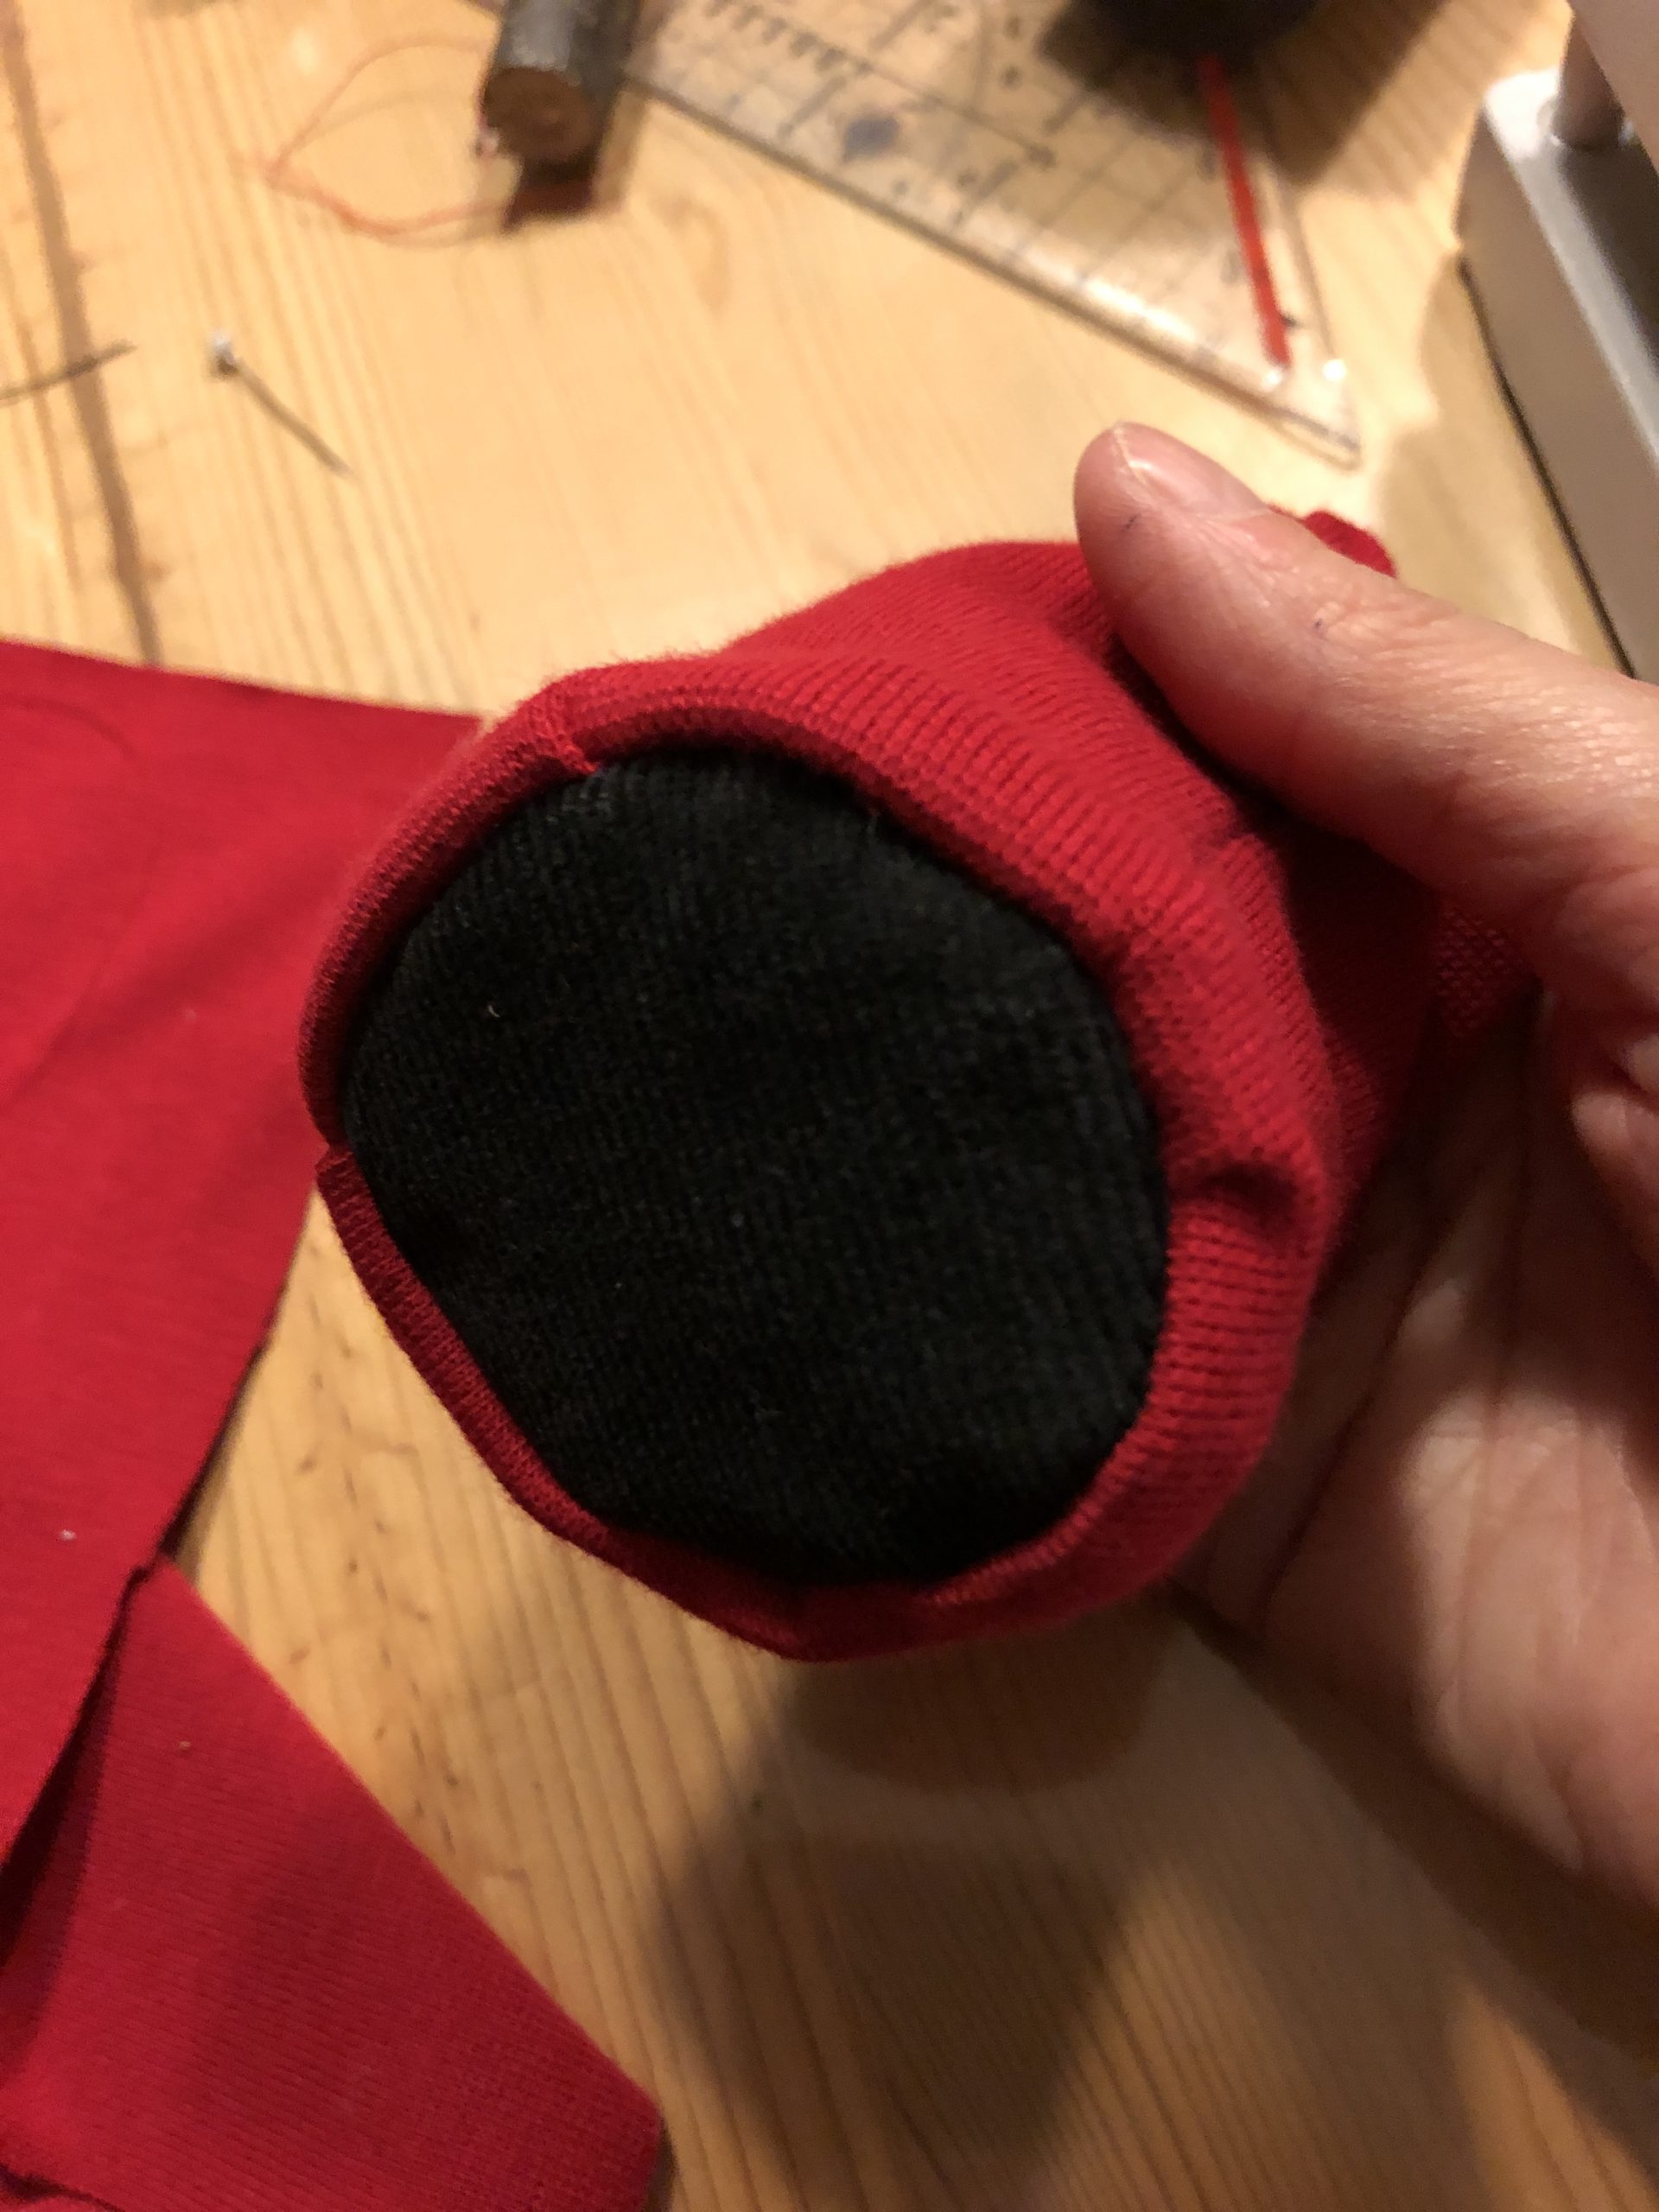


She hasn't put the pipe insulation in her candle shell yet.


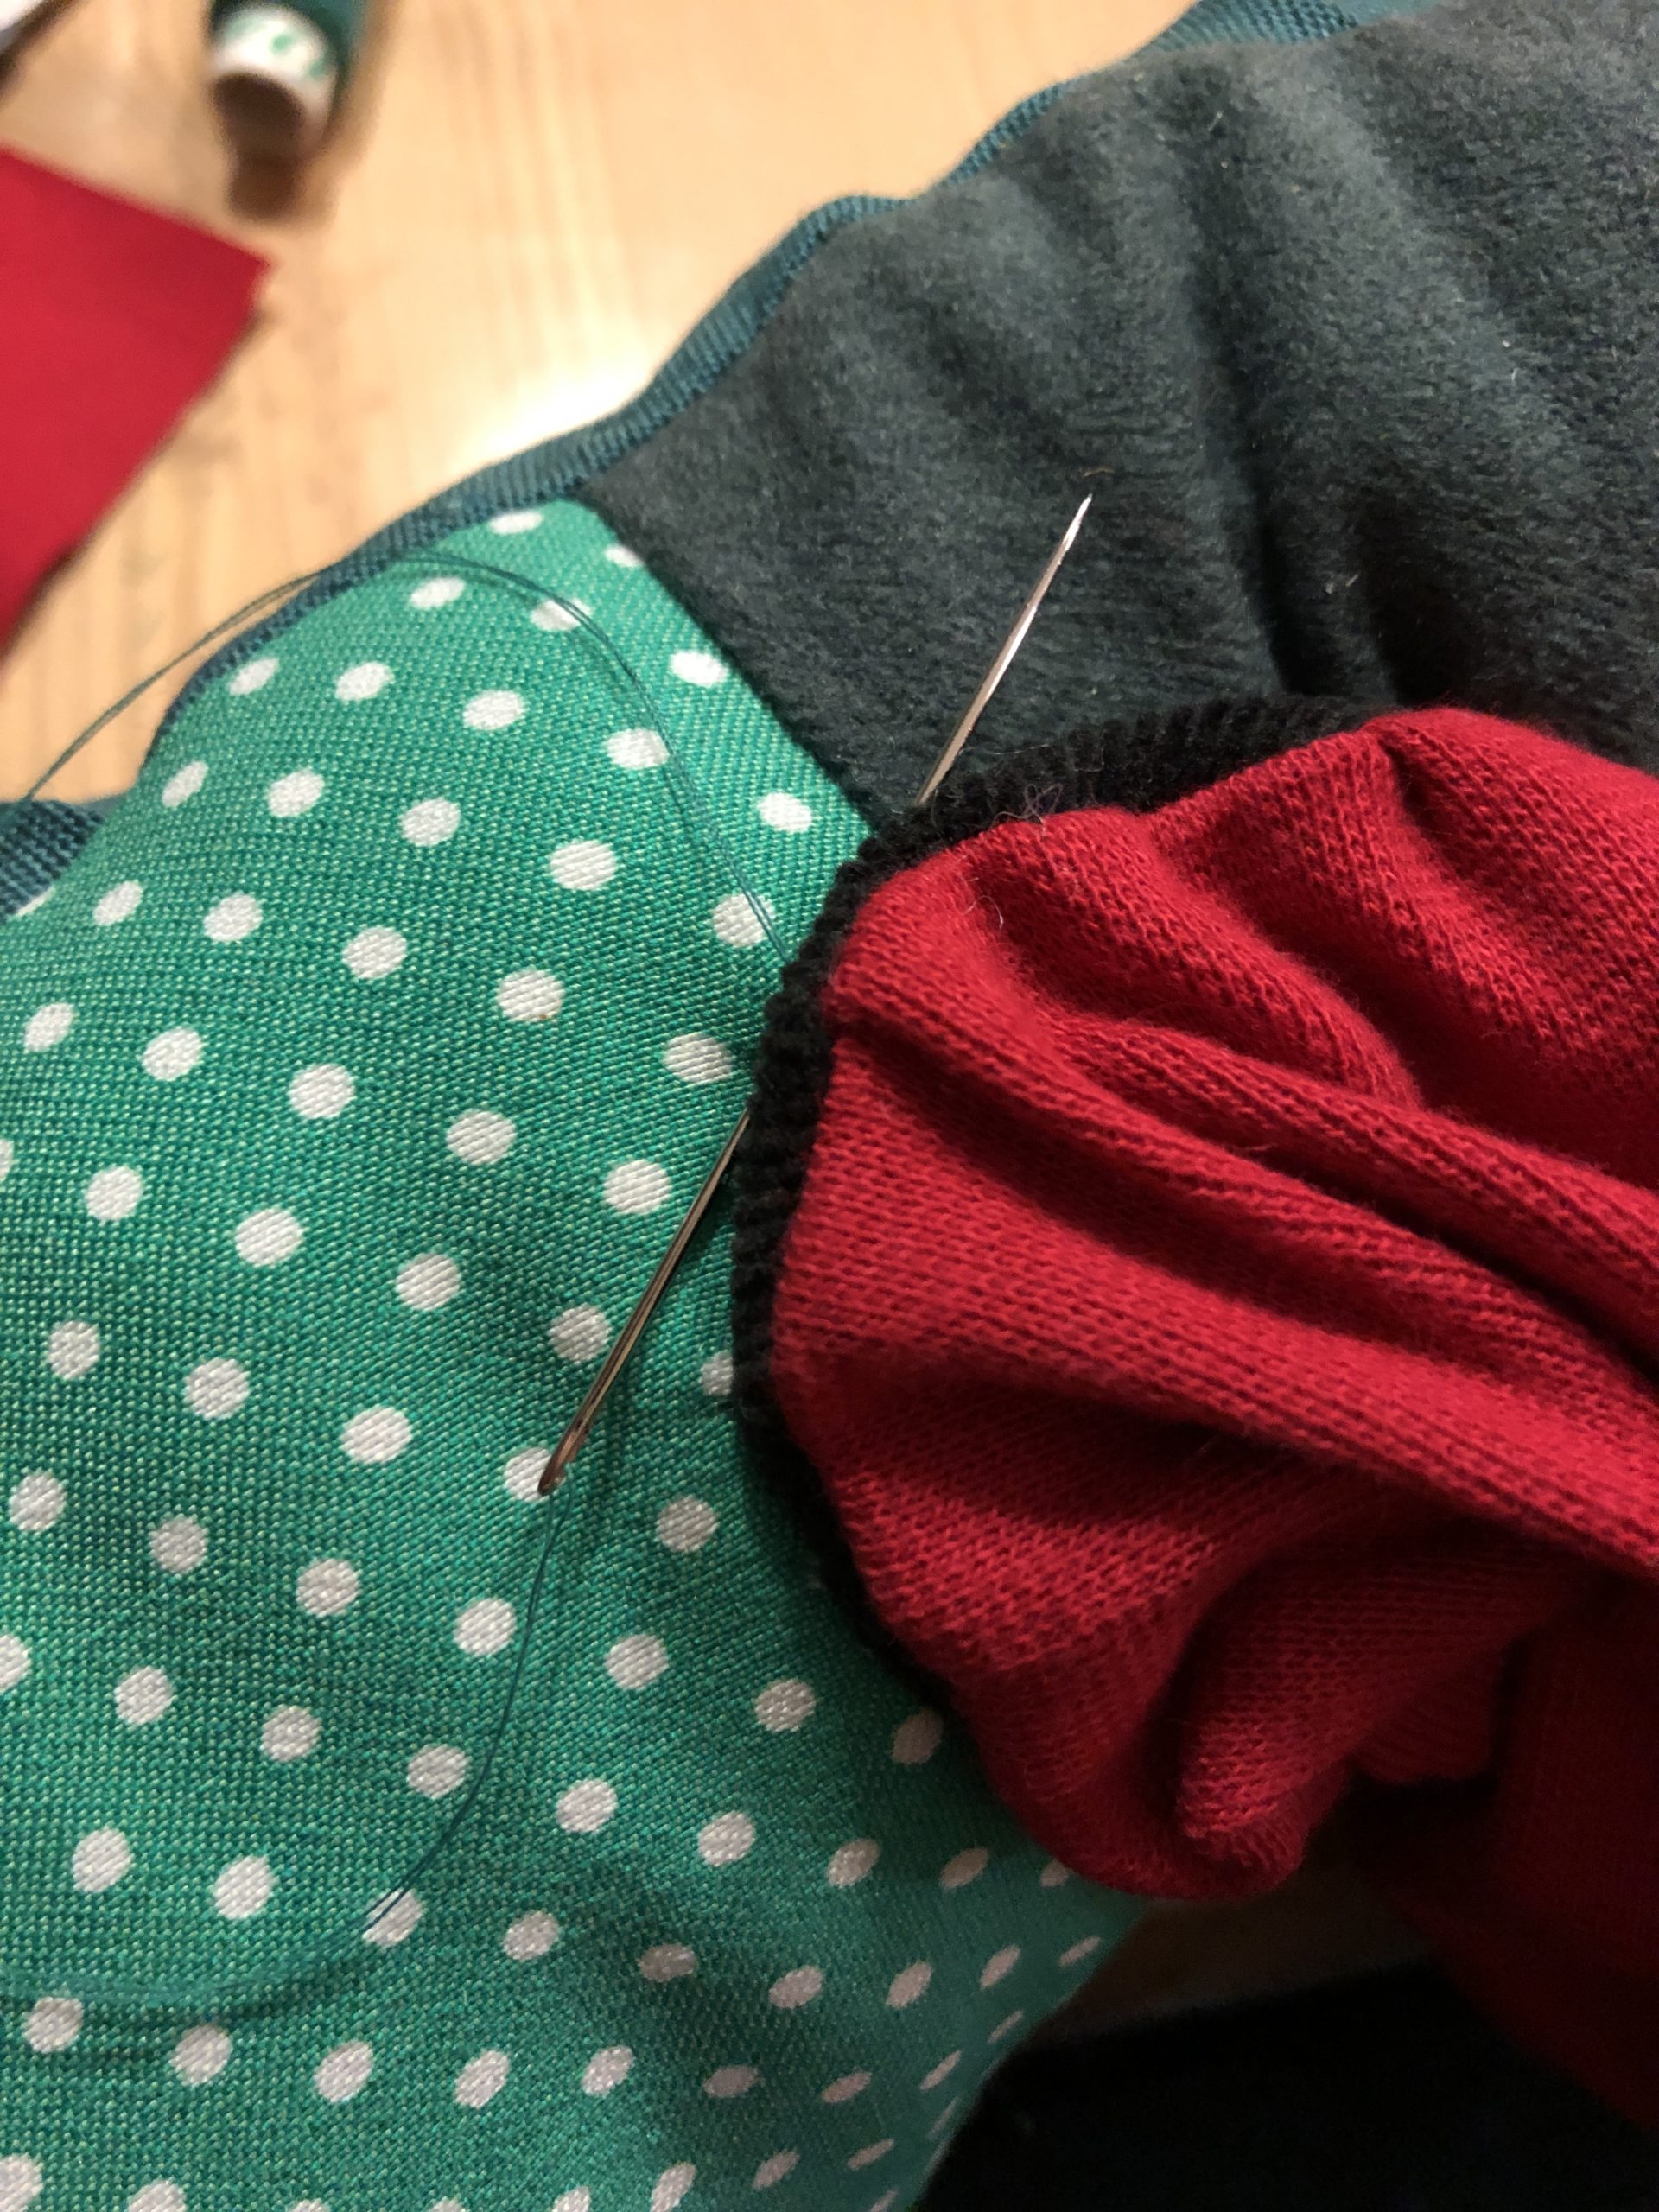
For first you sew the candle cover with your hand and needle and thread on the wreath.


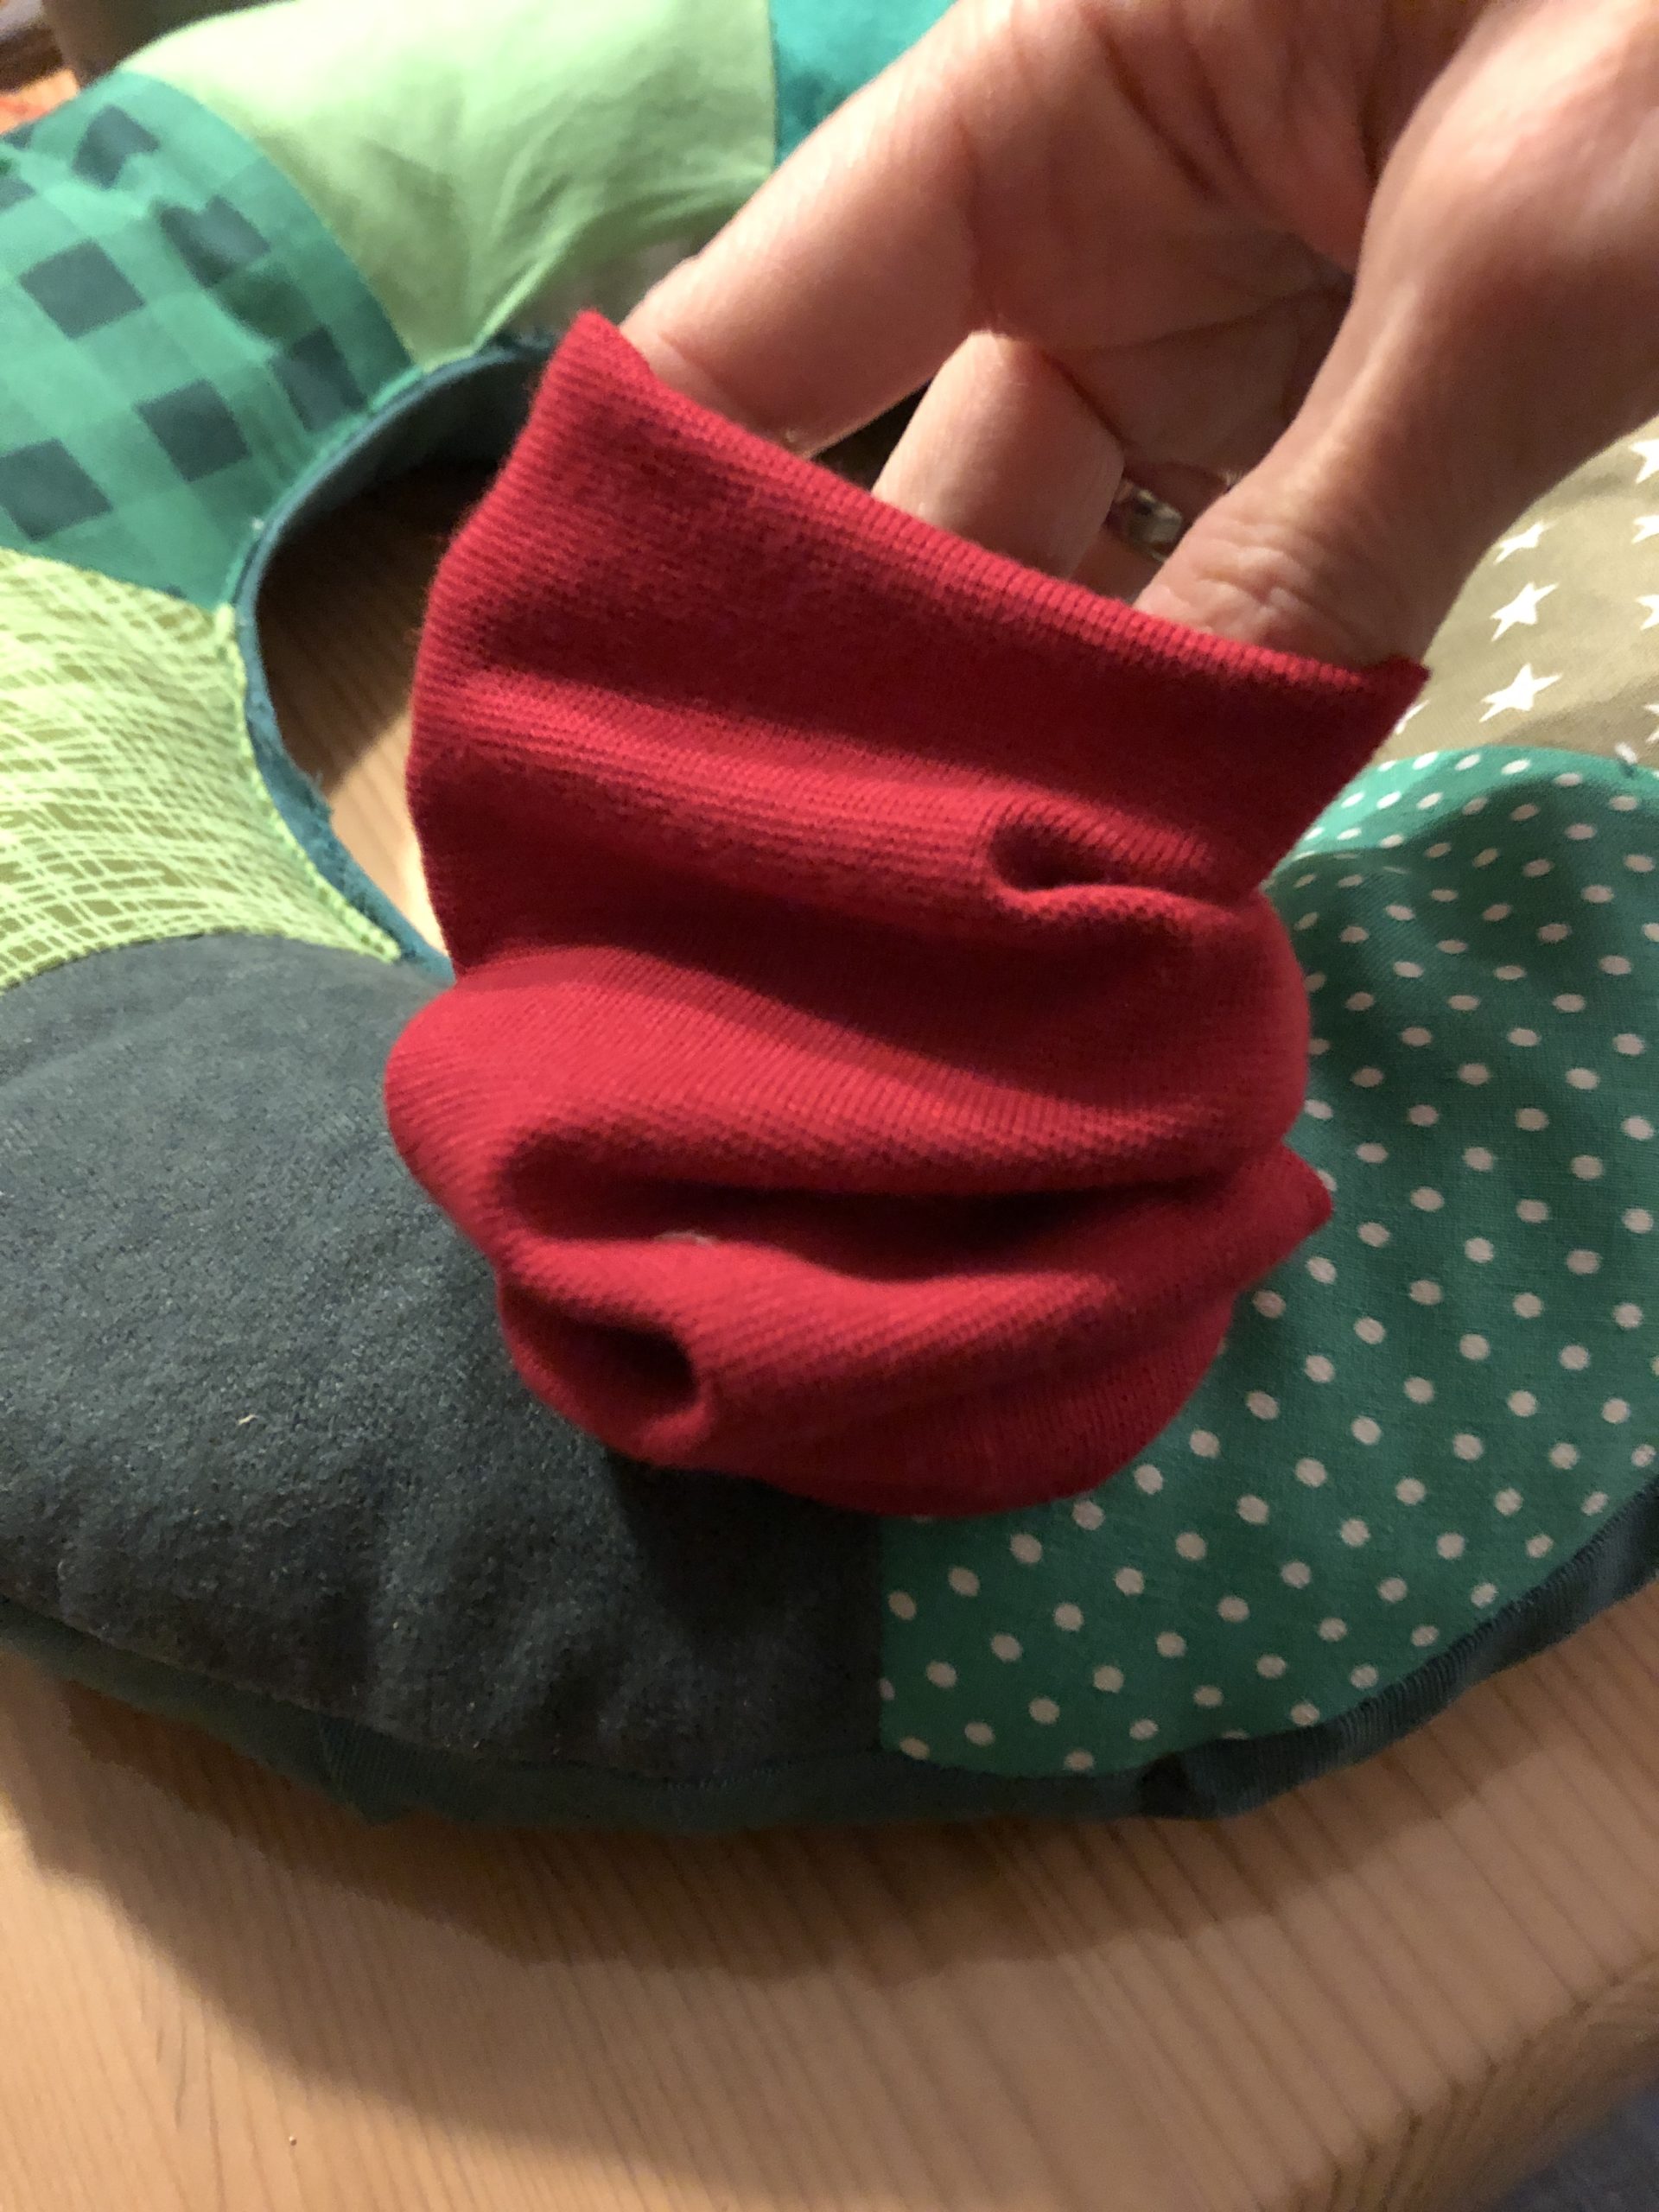


Then you can insert the pipe insulation.
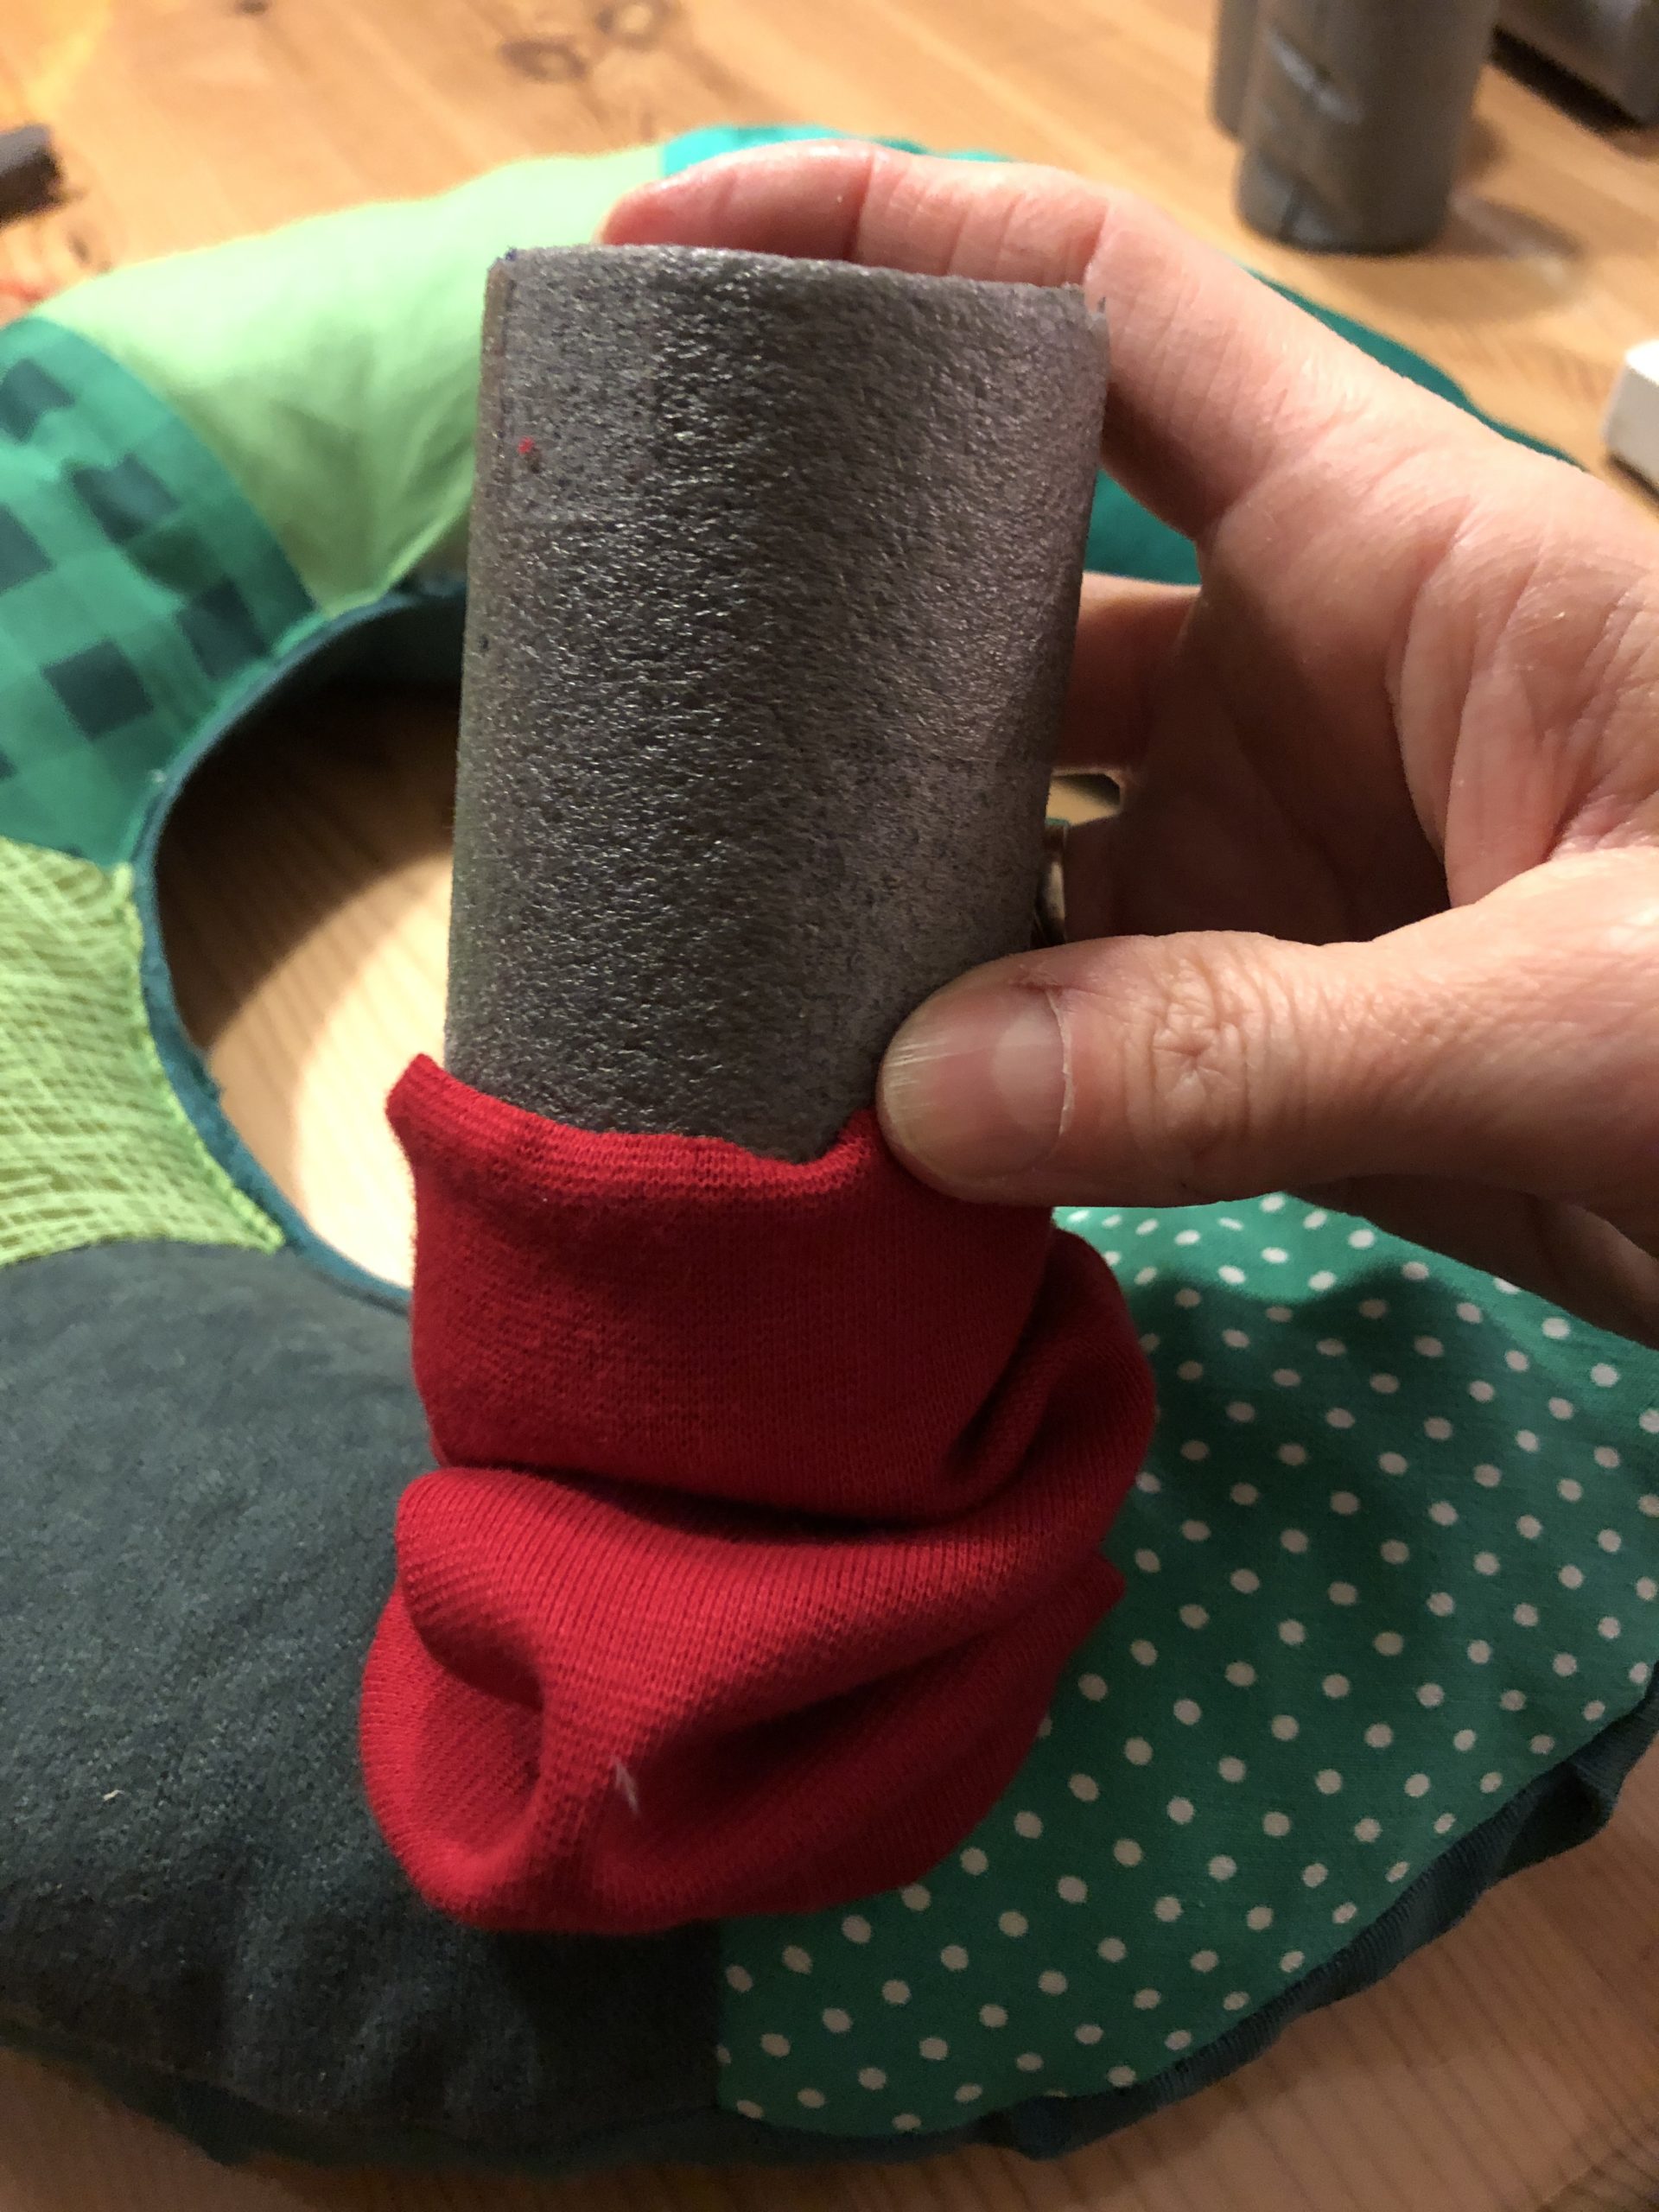


Push the pipe insulation all the way down and stuff the overhanging fabric into the middle of the hole.
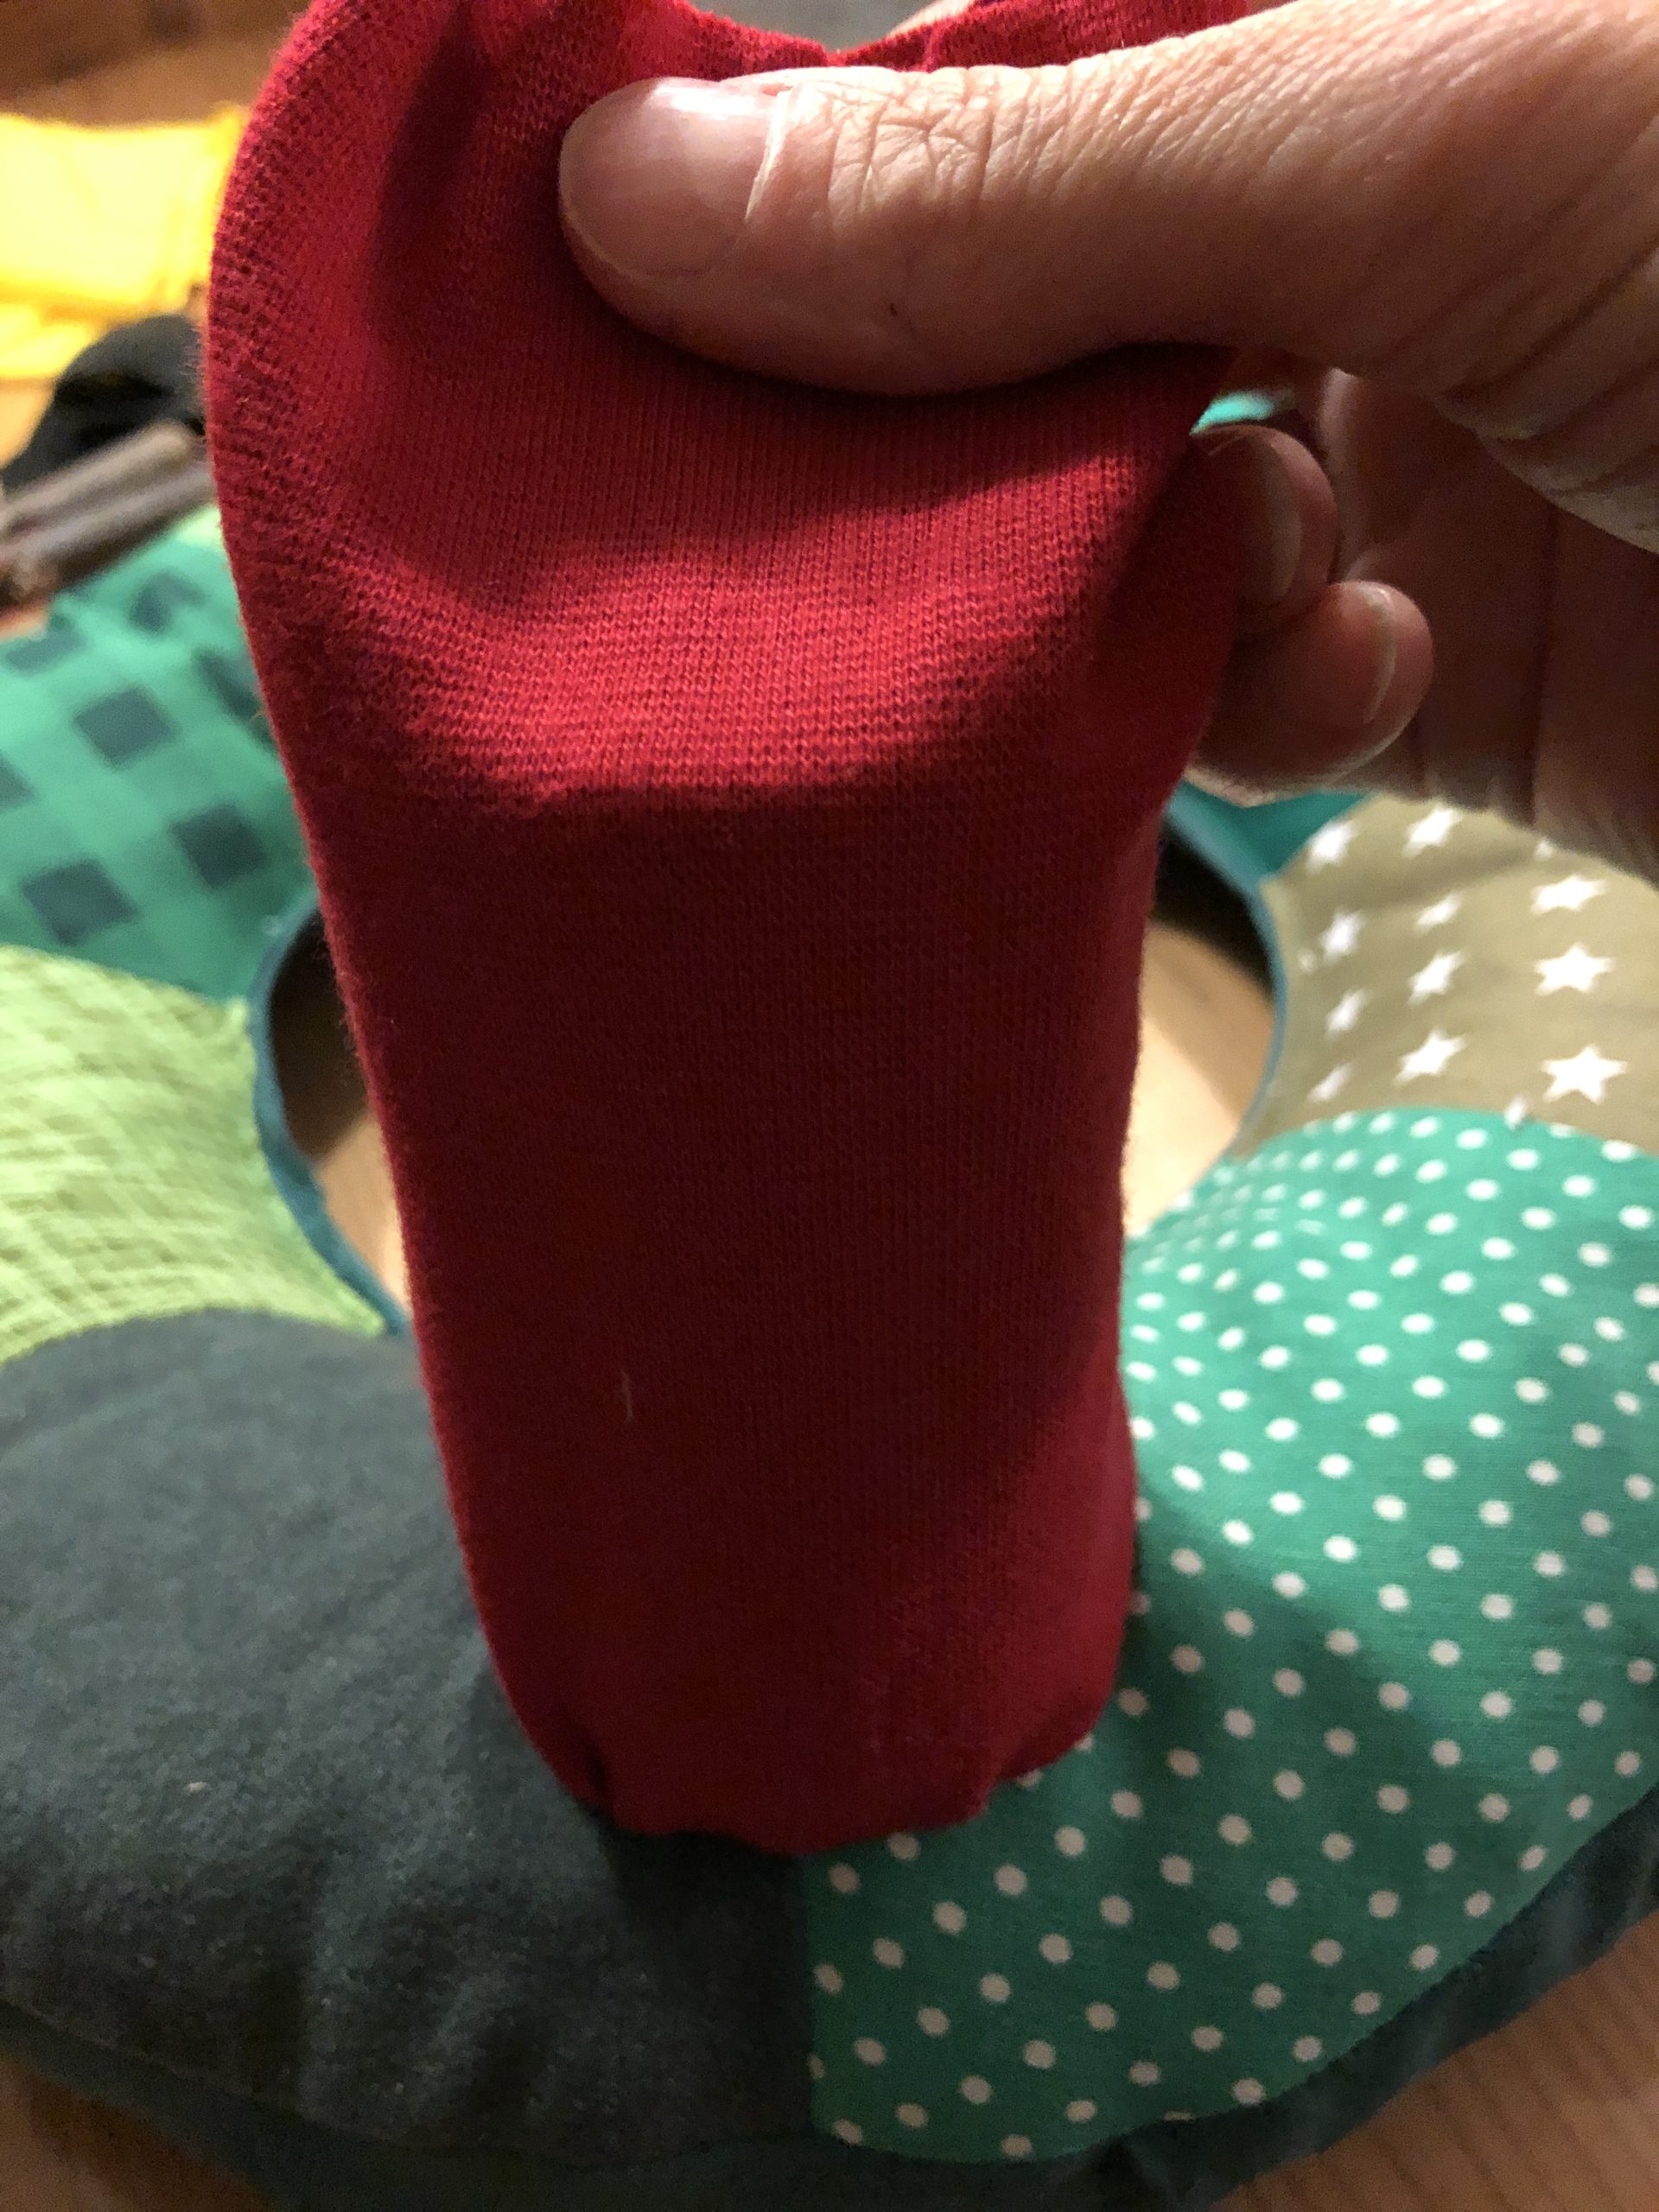


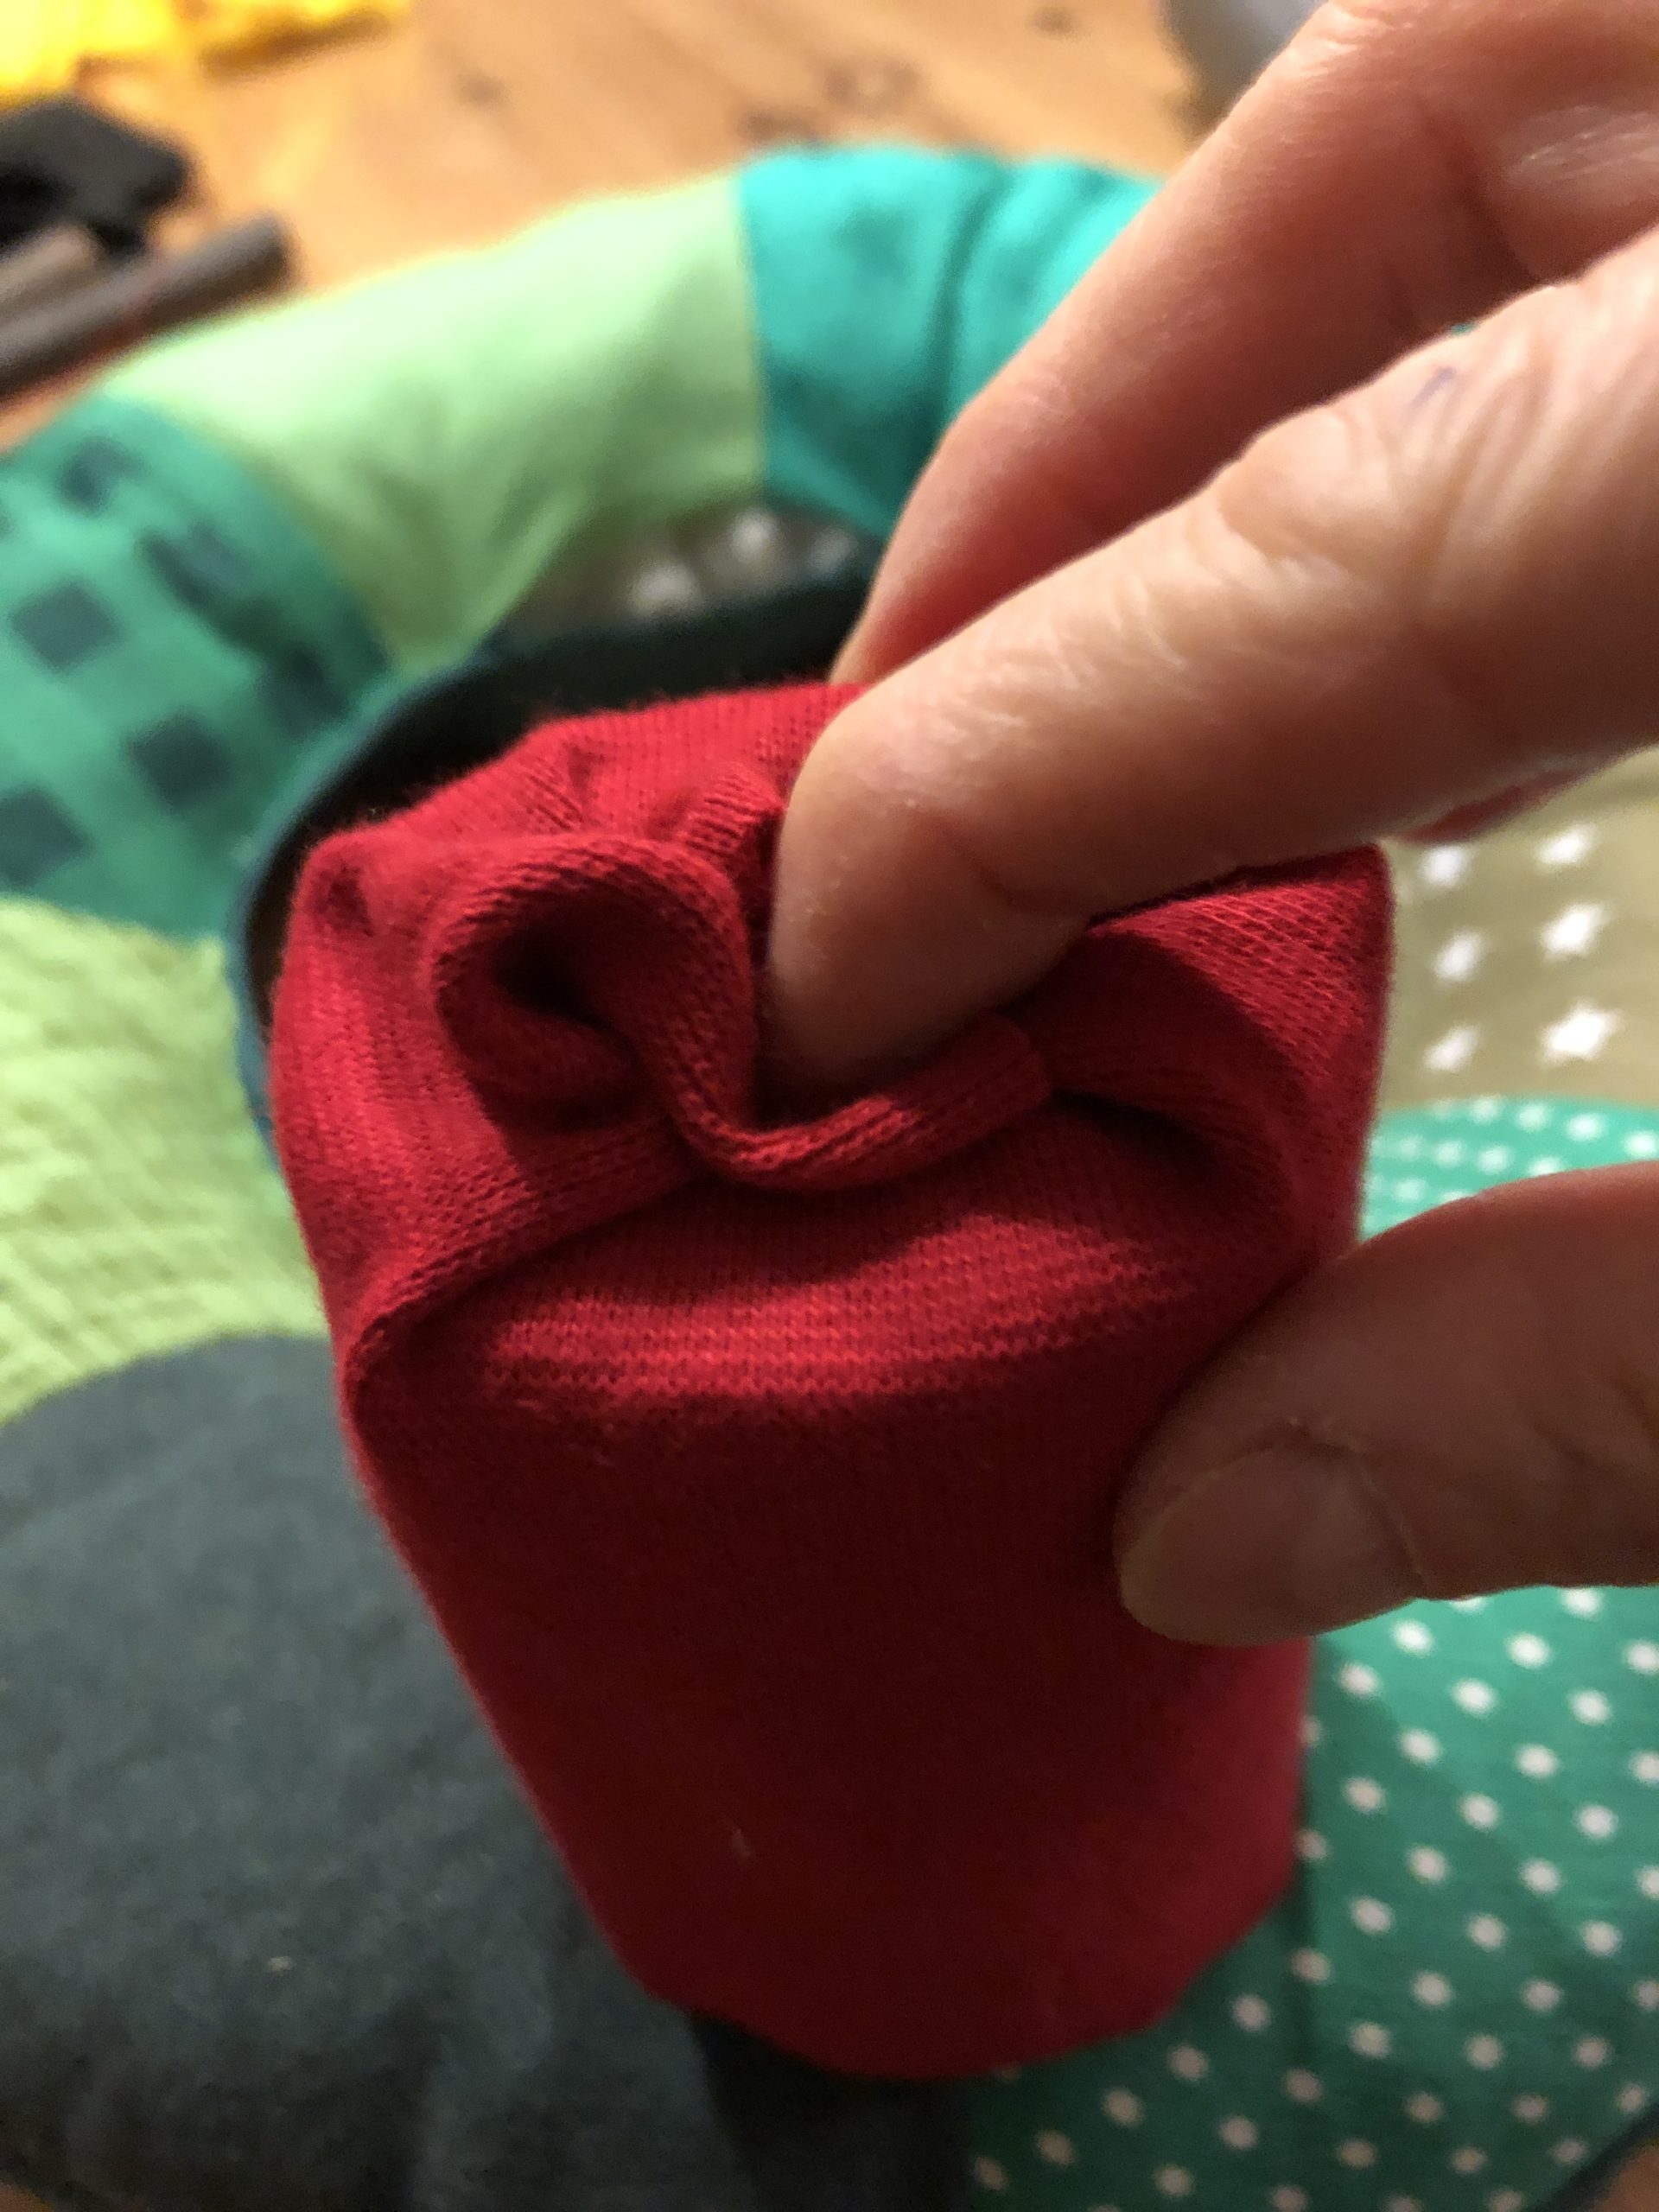


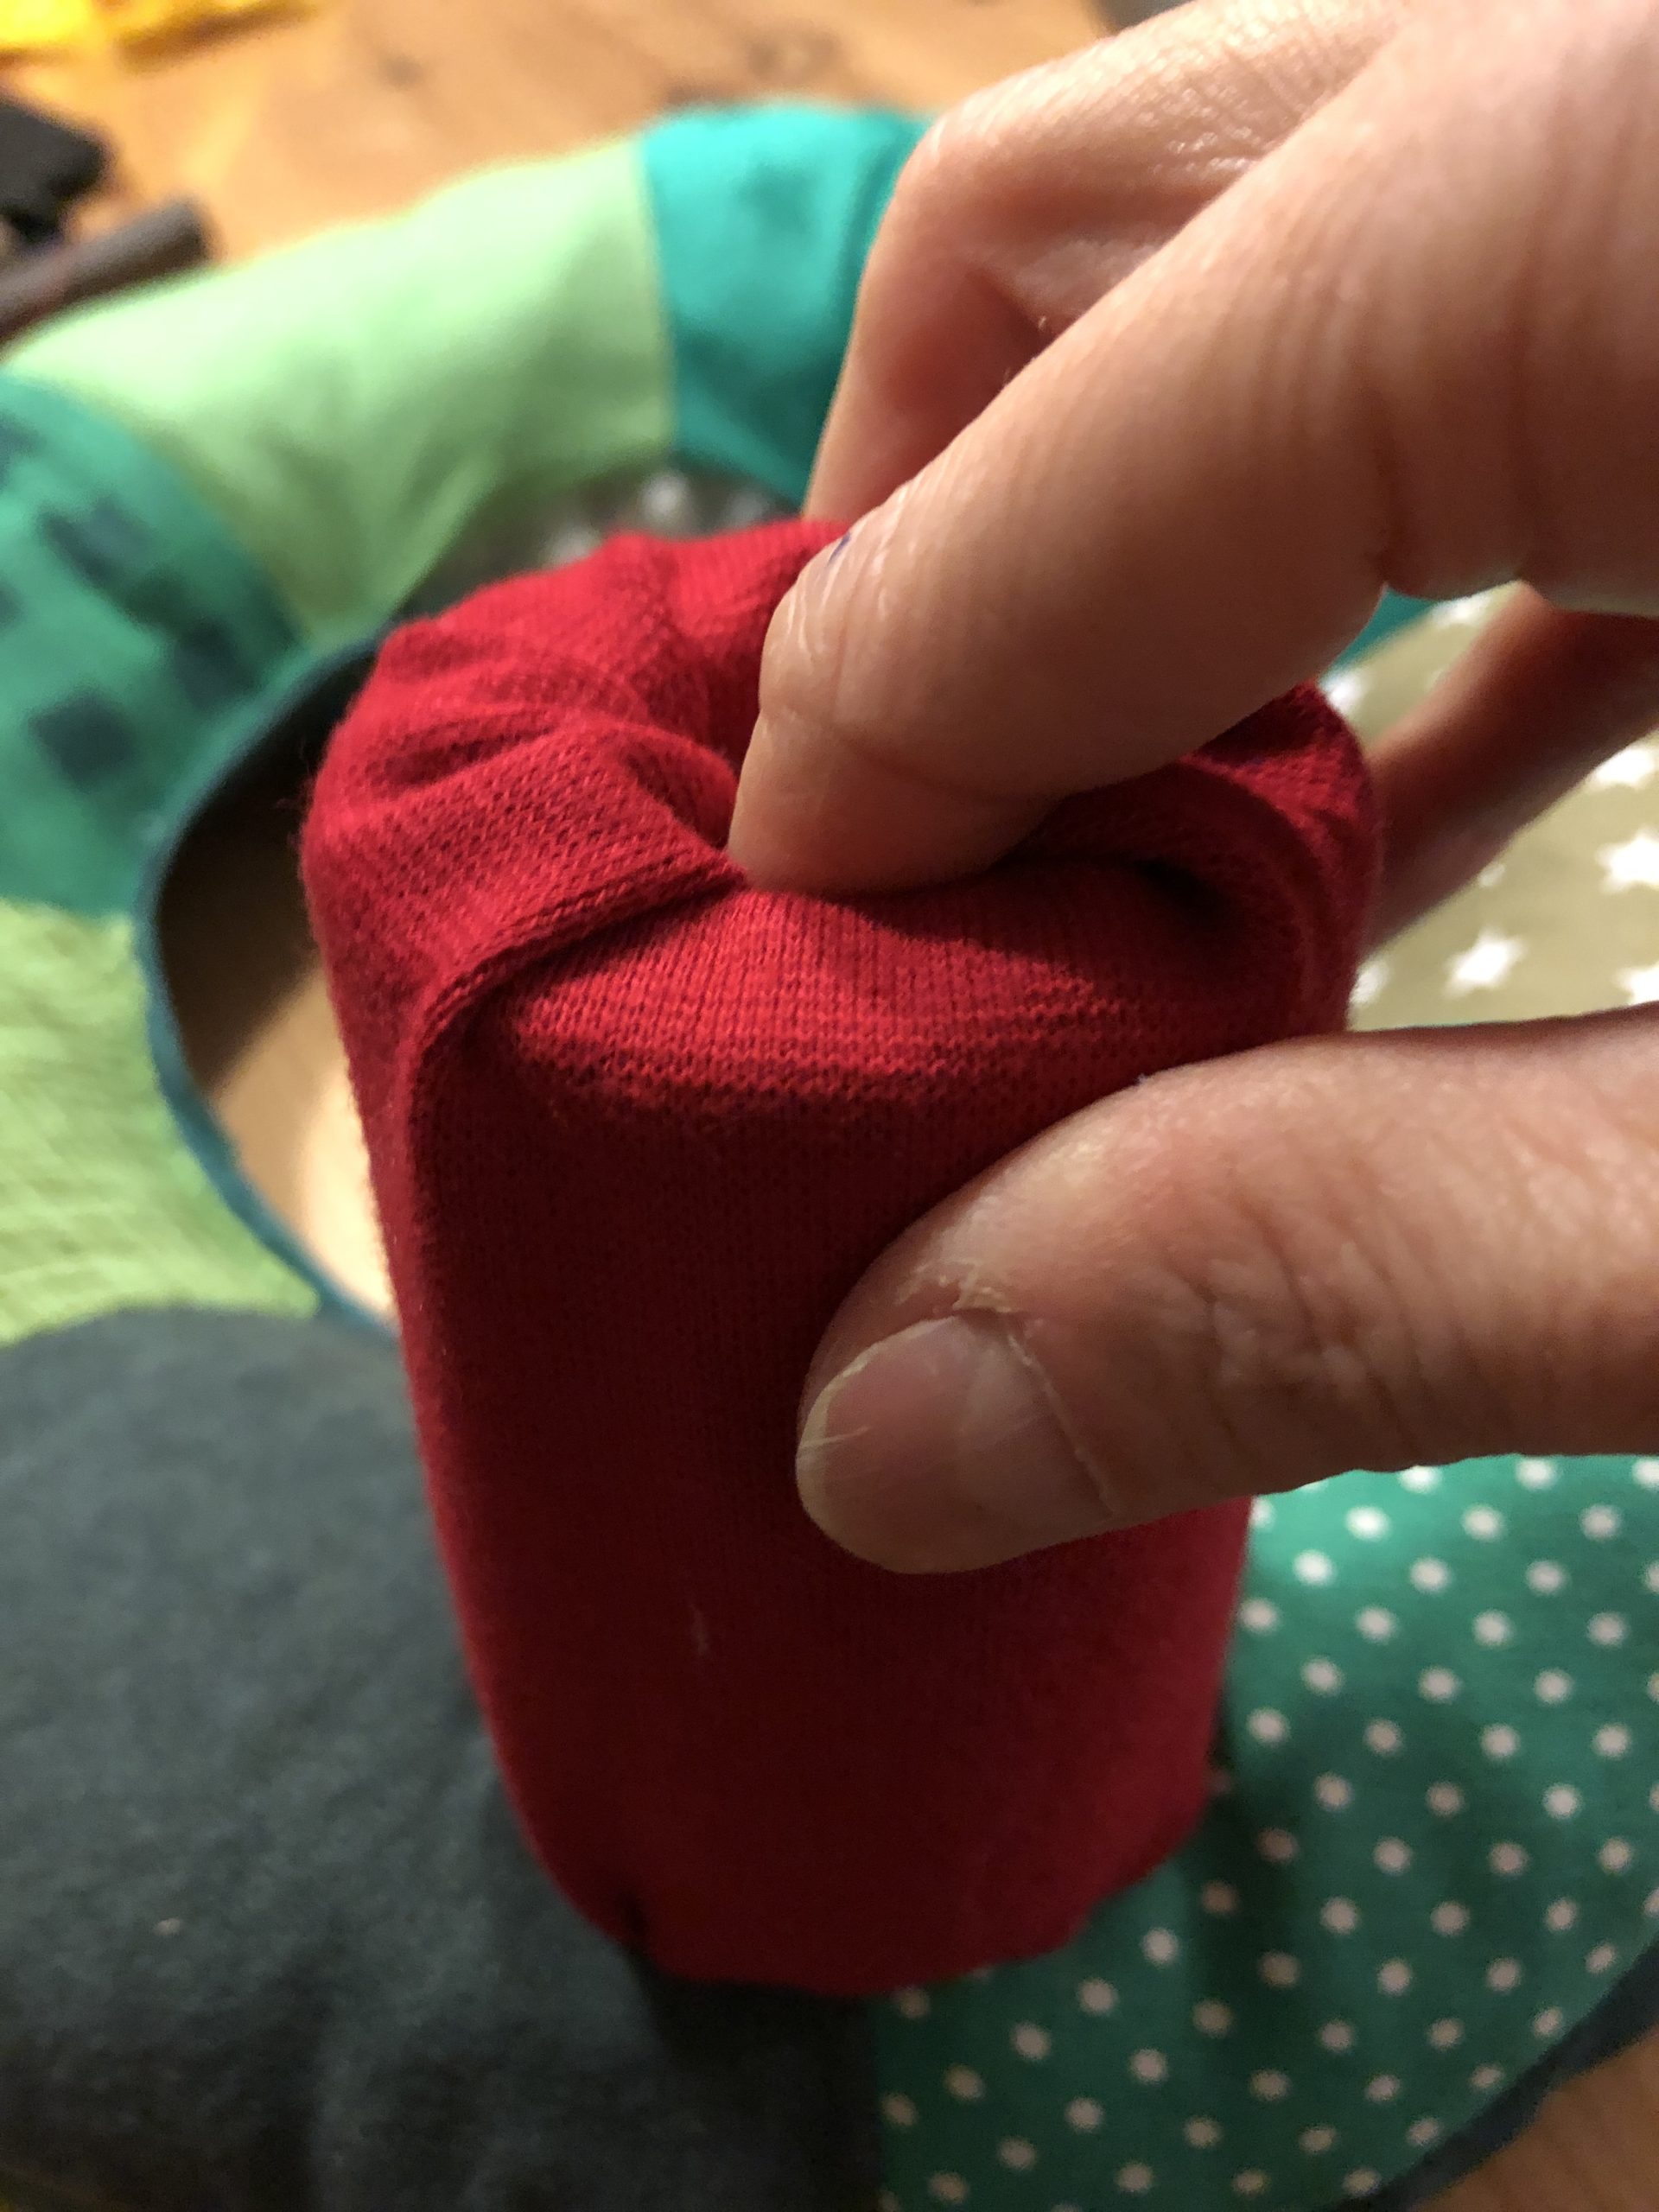


Uses a piece of branch with approx.15cm length, so that the candles stand stable with the flame.
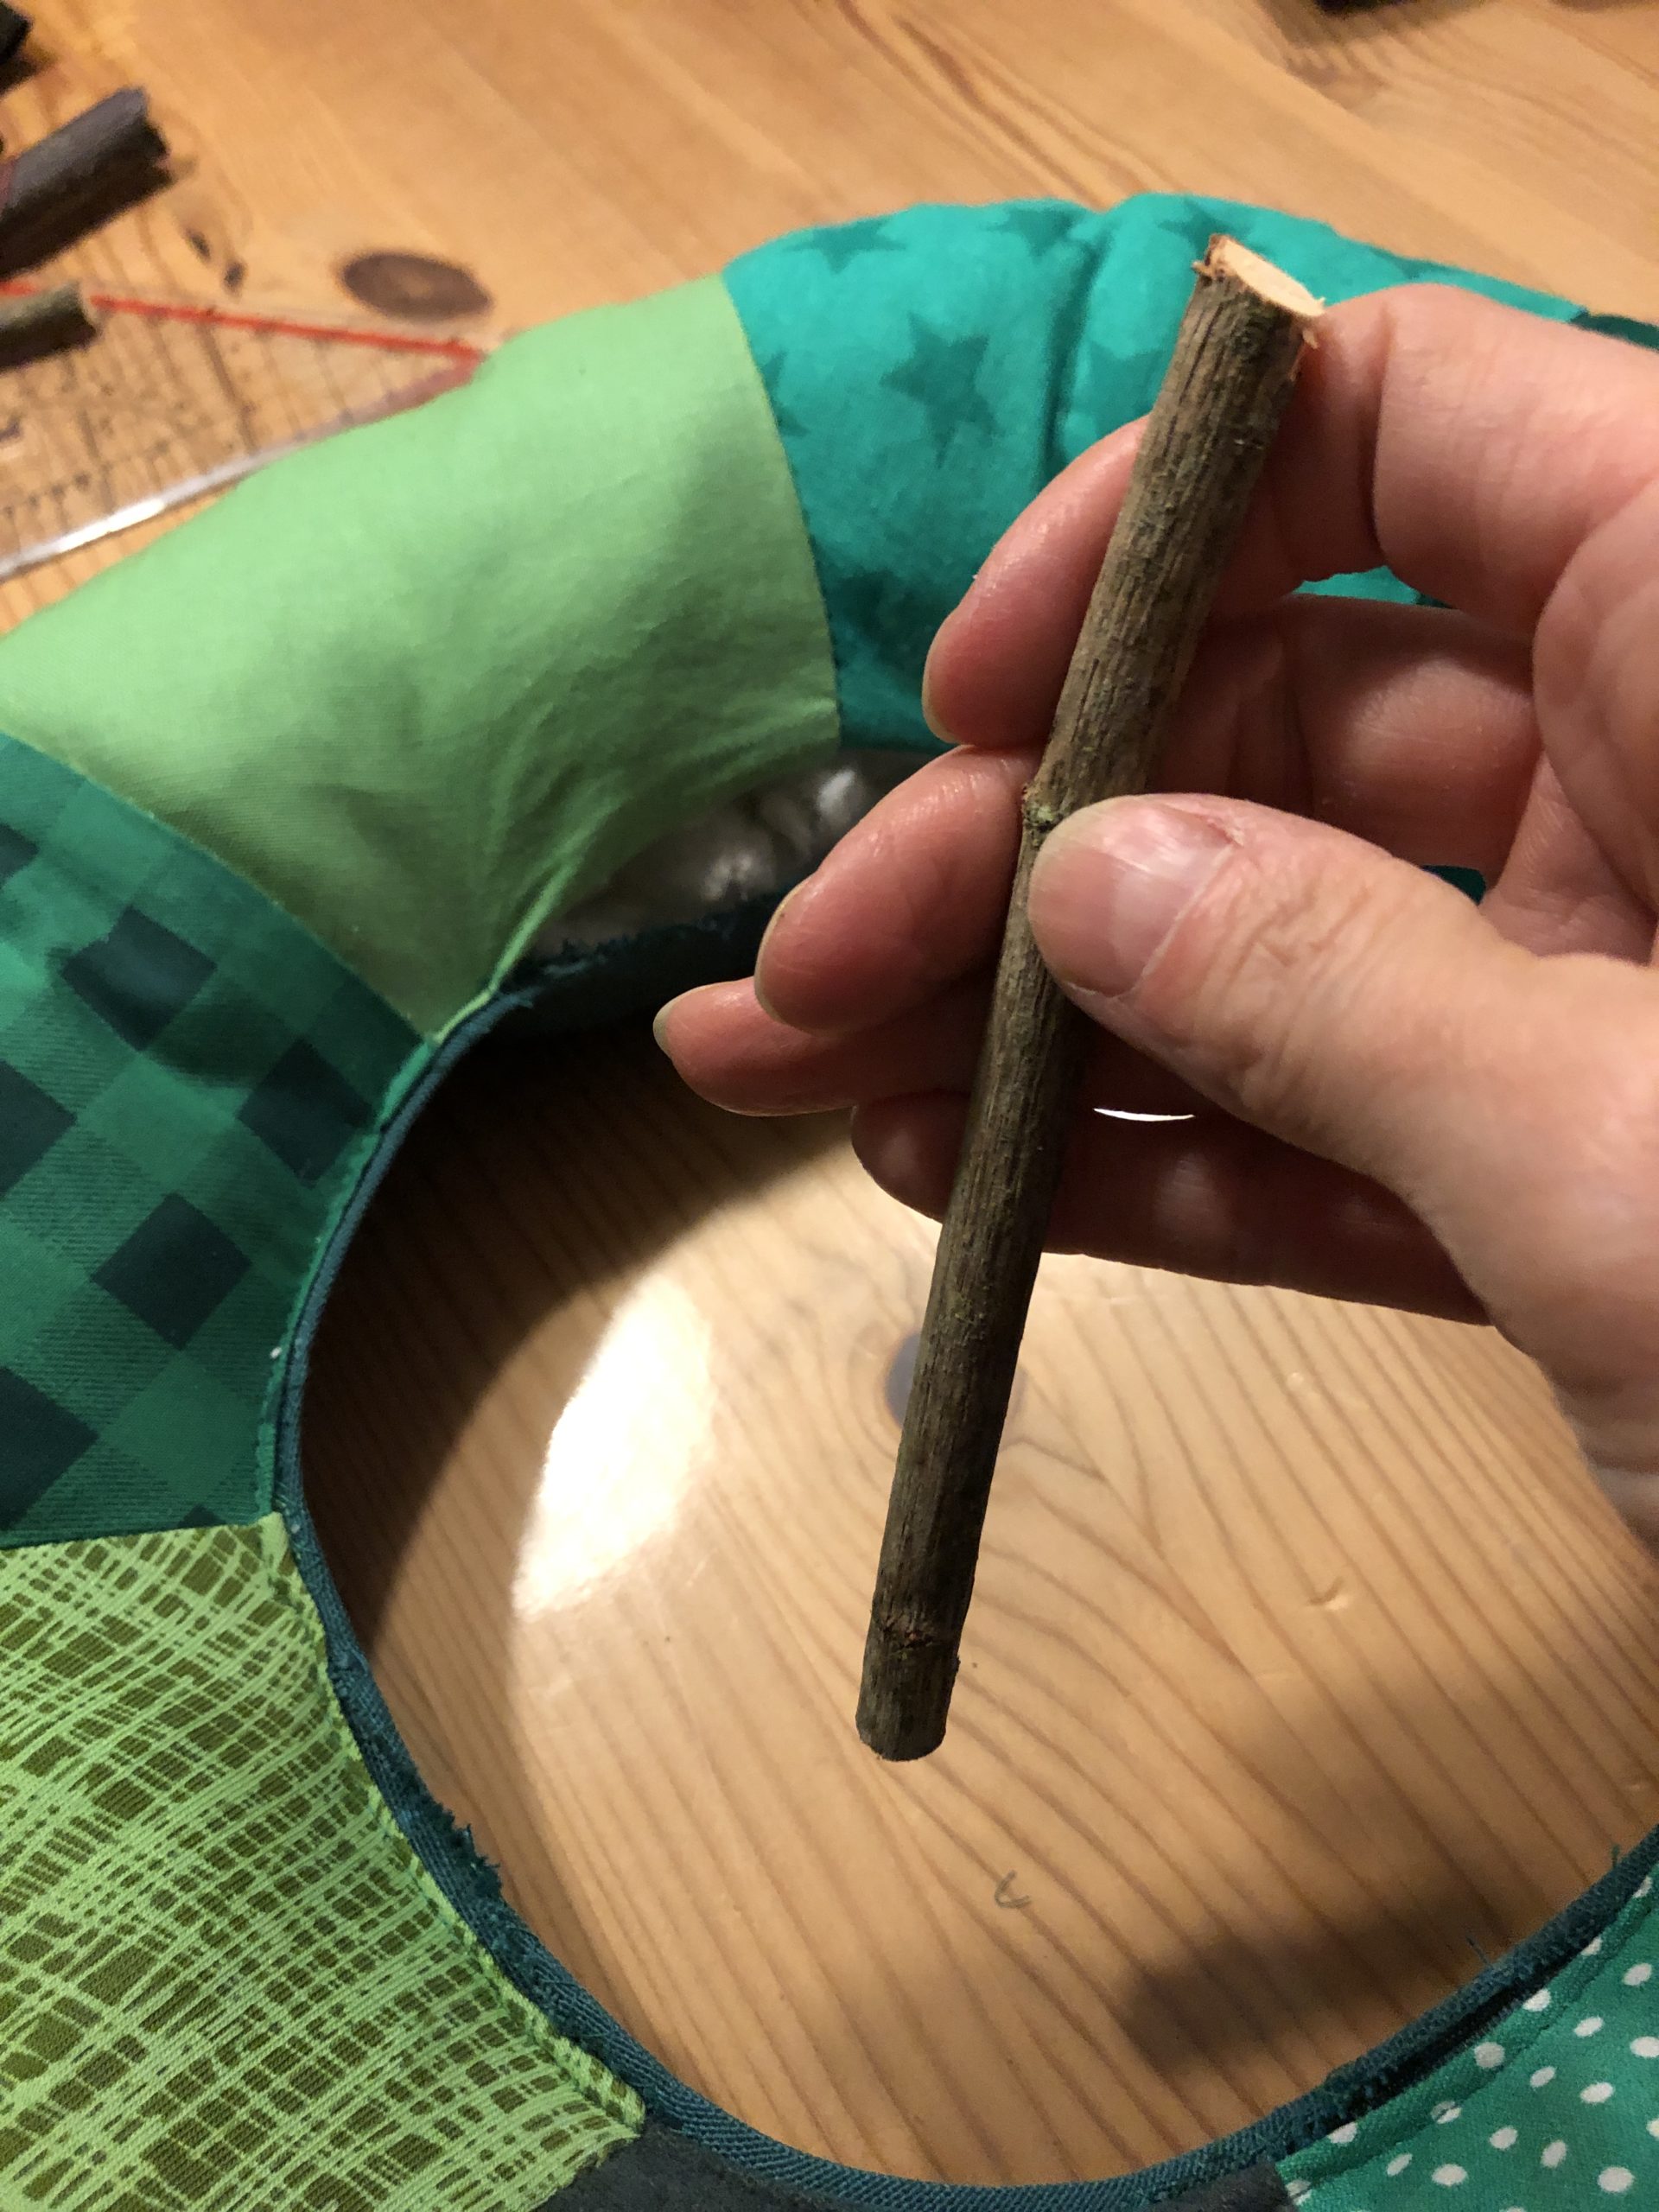


Now you put this one in the hole.
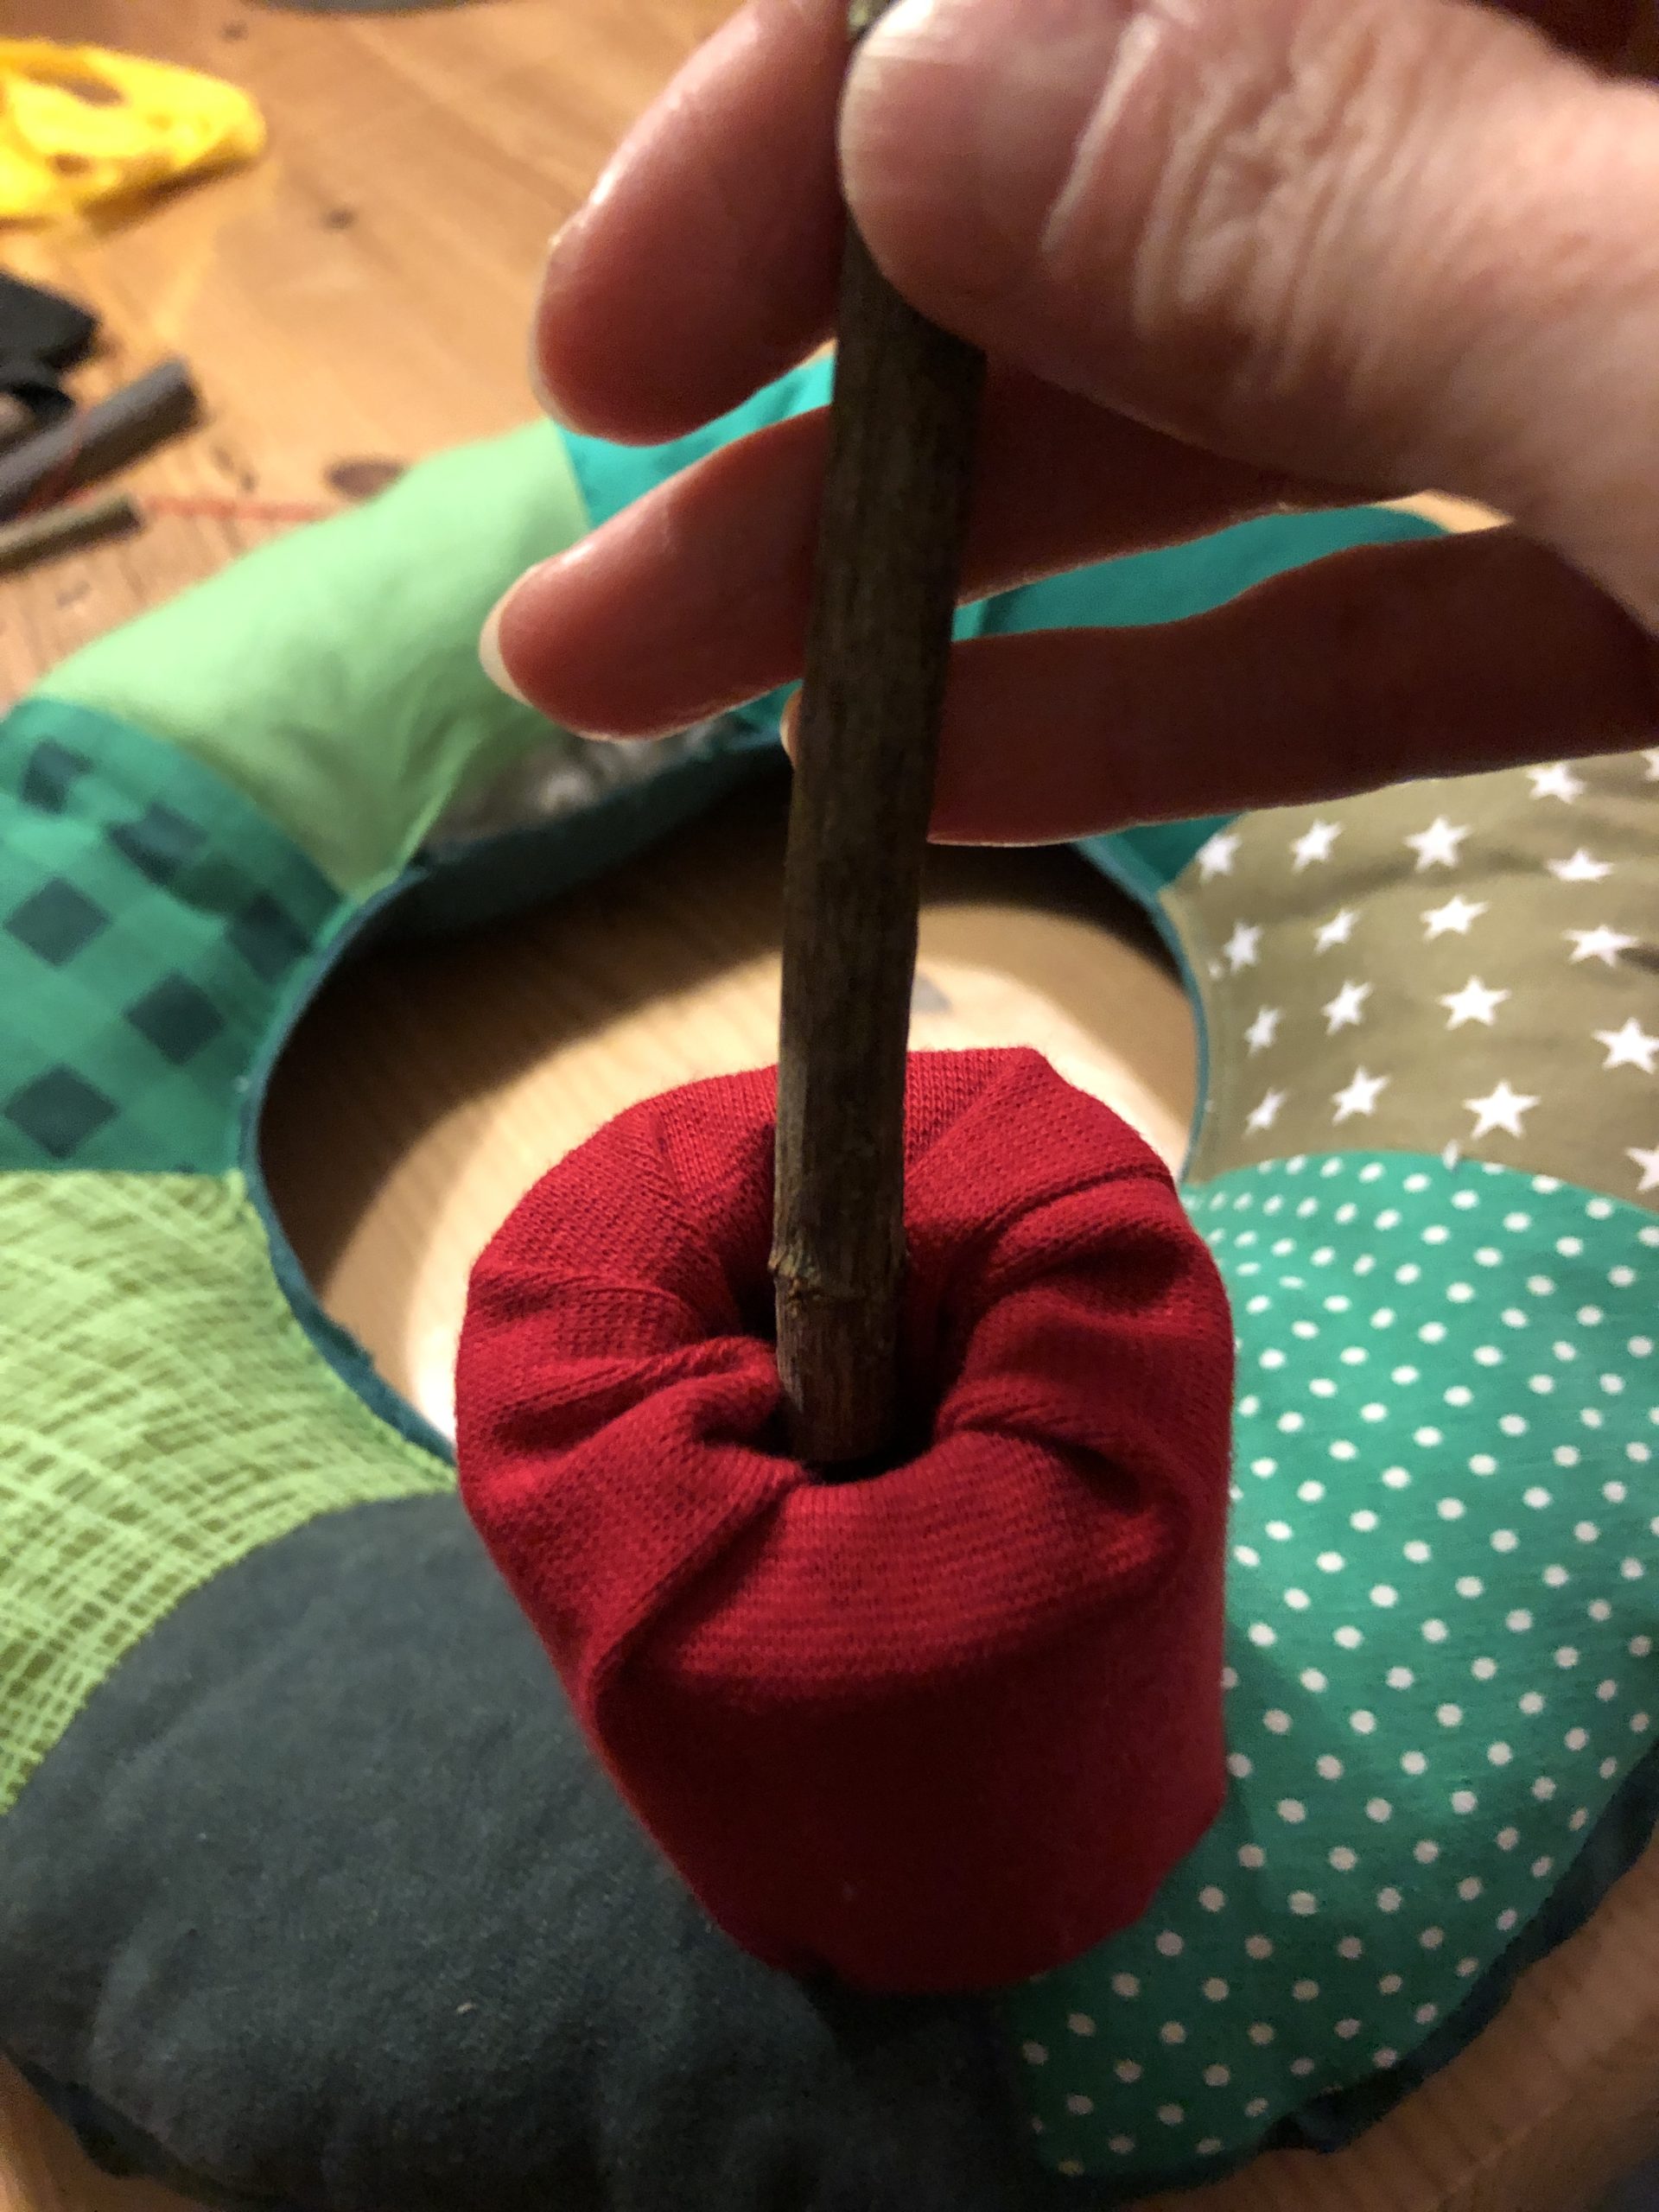


This is the wick of the candle.


Then you sew all four candles after exactly the same process.
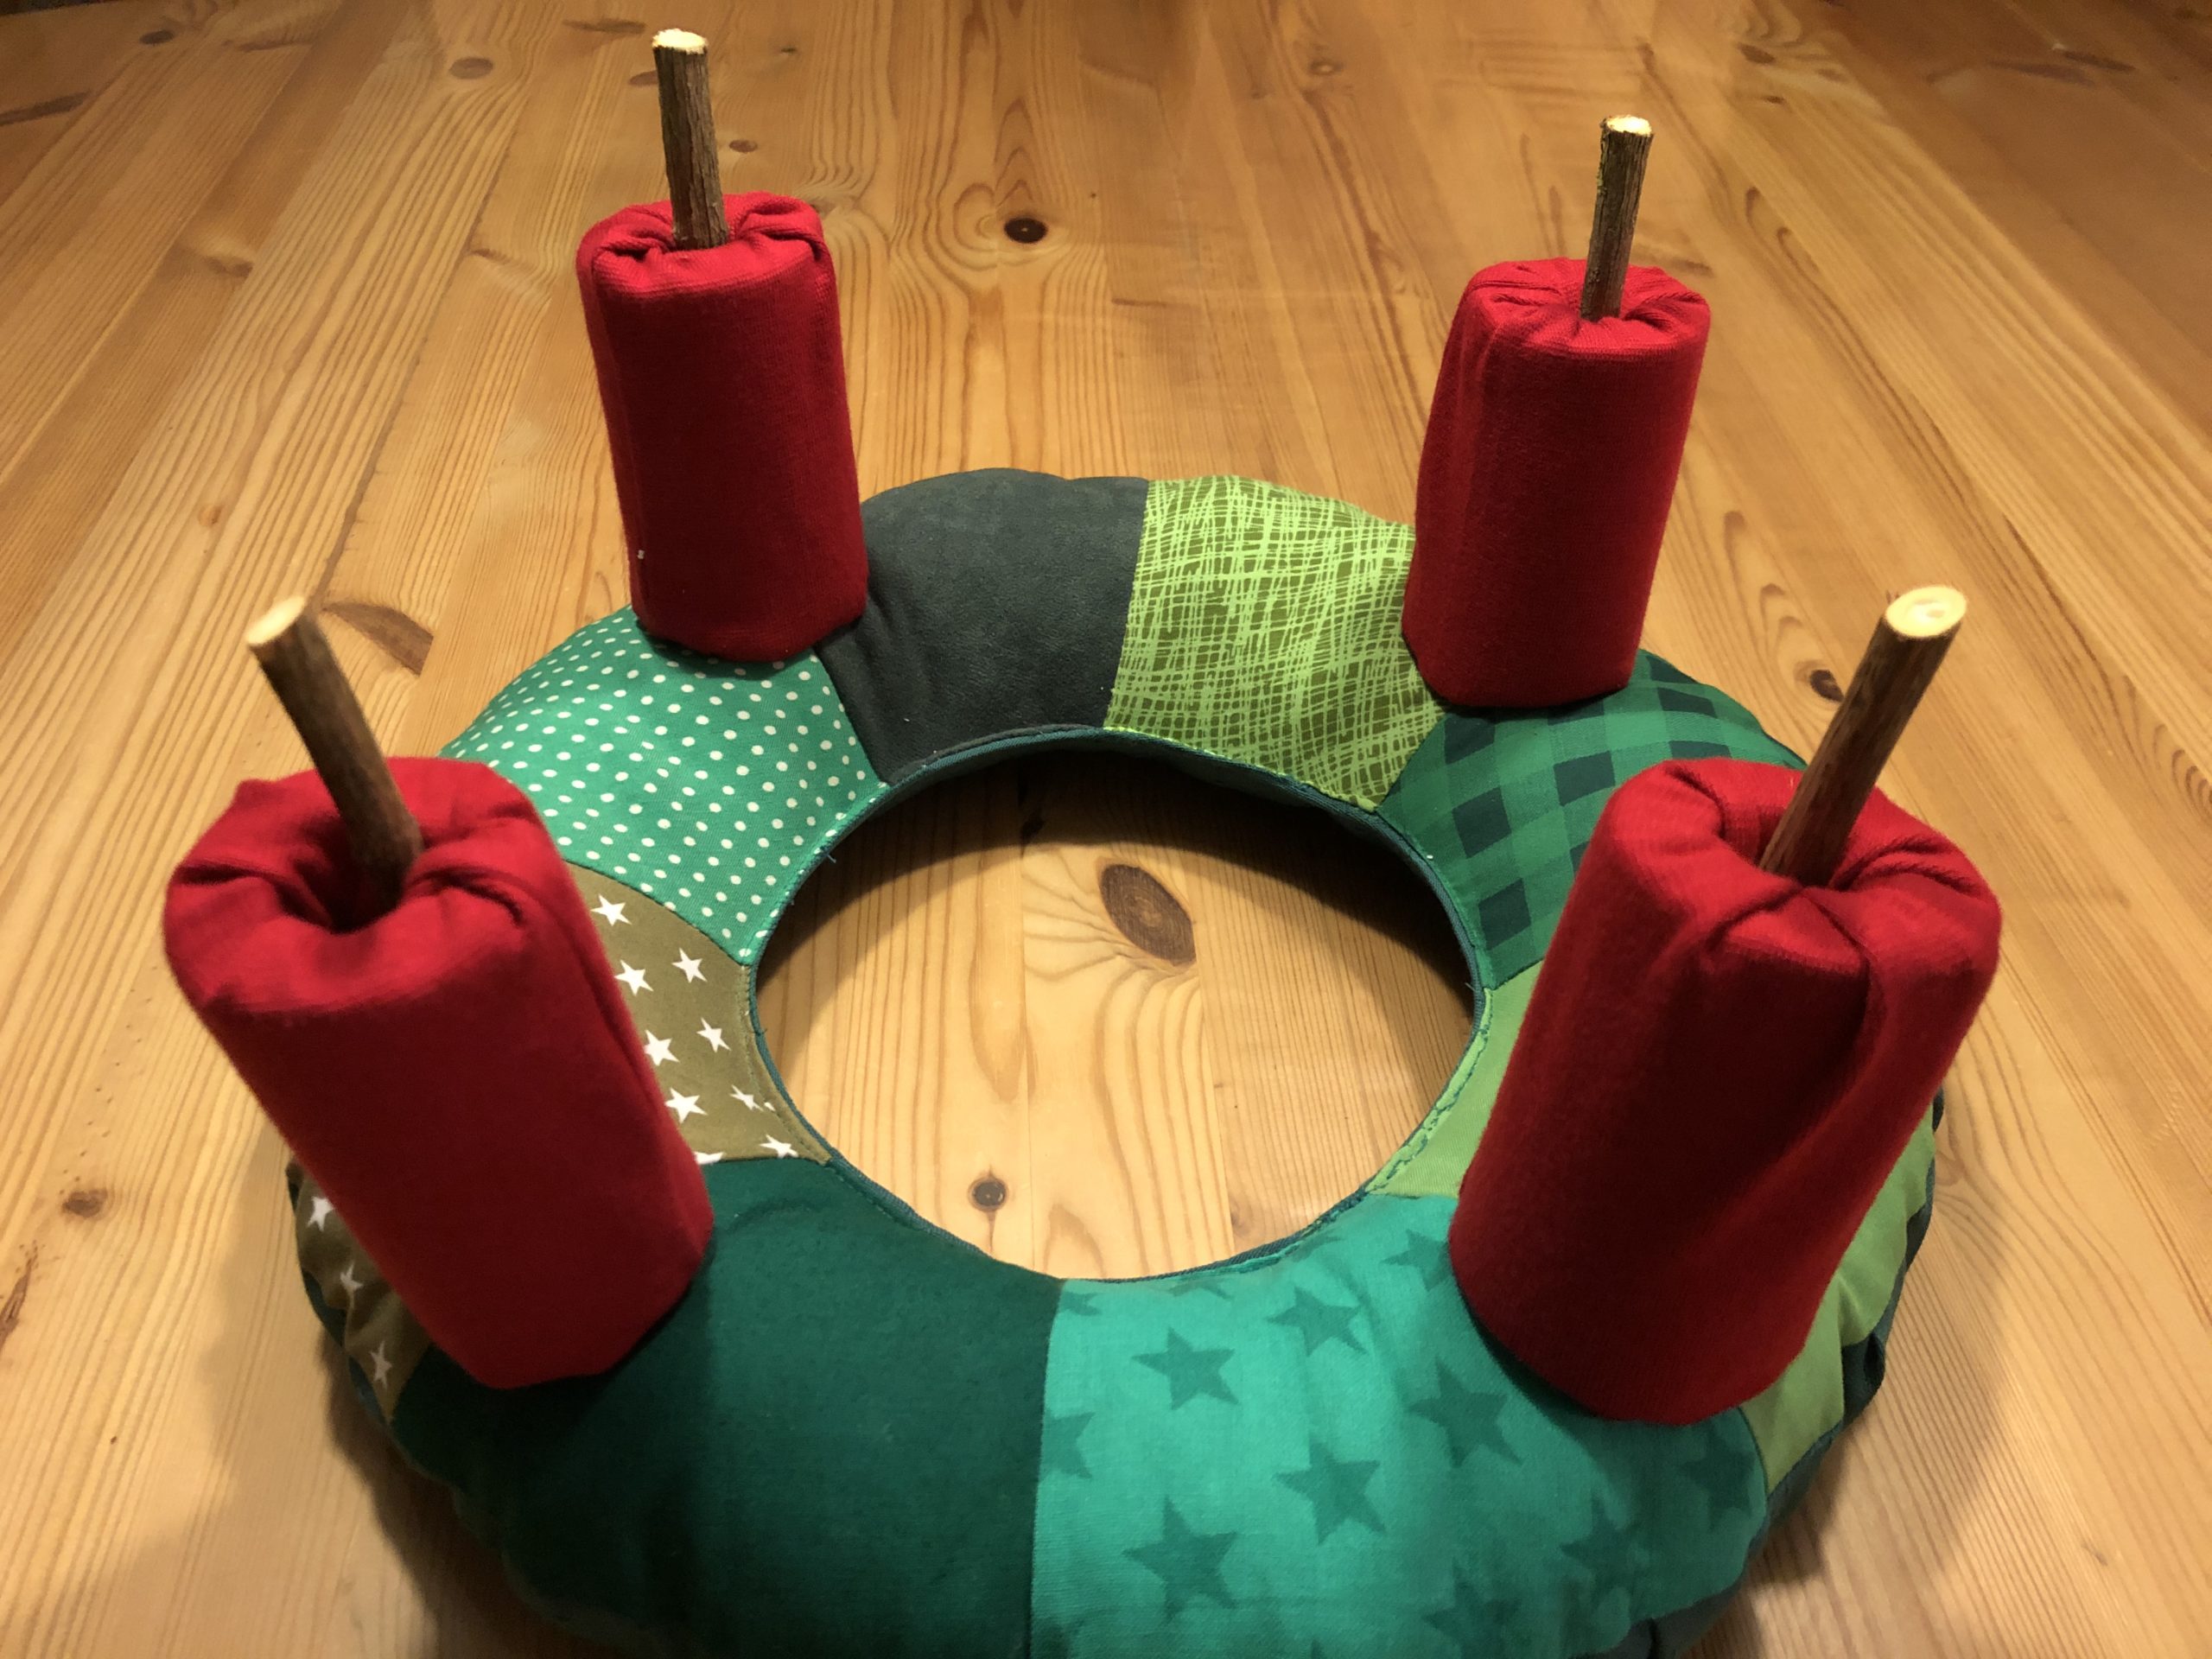


Now all we need is the flames of the candles.
Print out the template for the flame or paint yourself a flame of this kind.
Tip: Make sure that the straight shaft is not too narrow, otherwise you can't turn your sewn flame around!
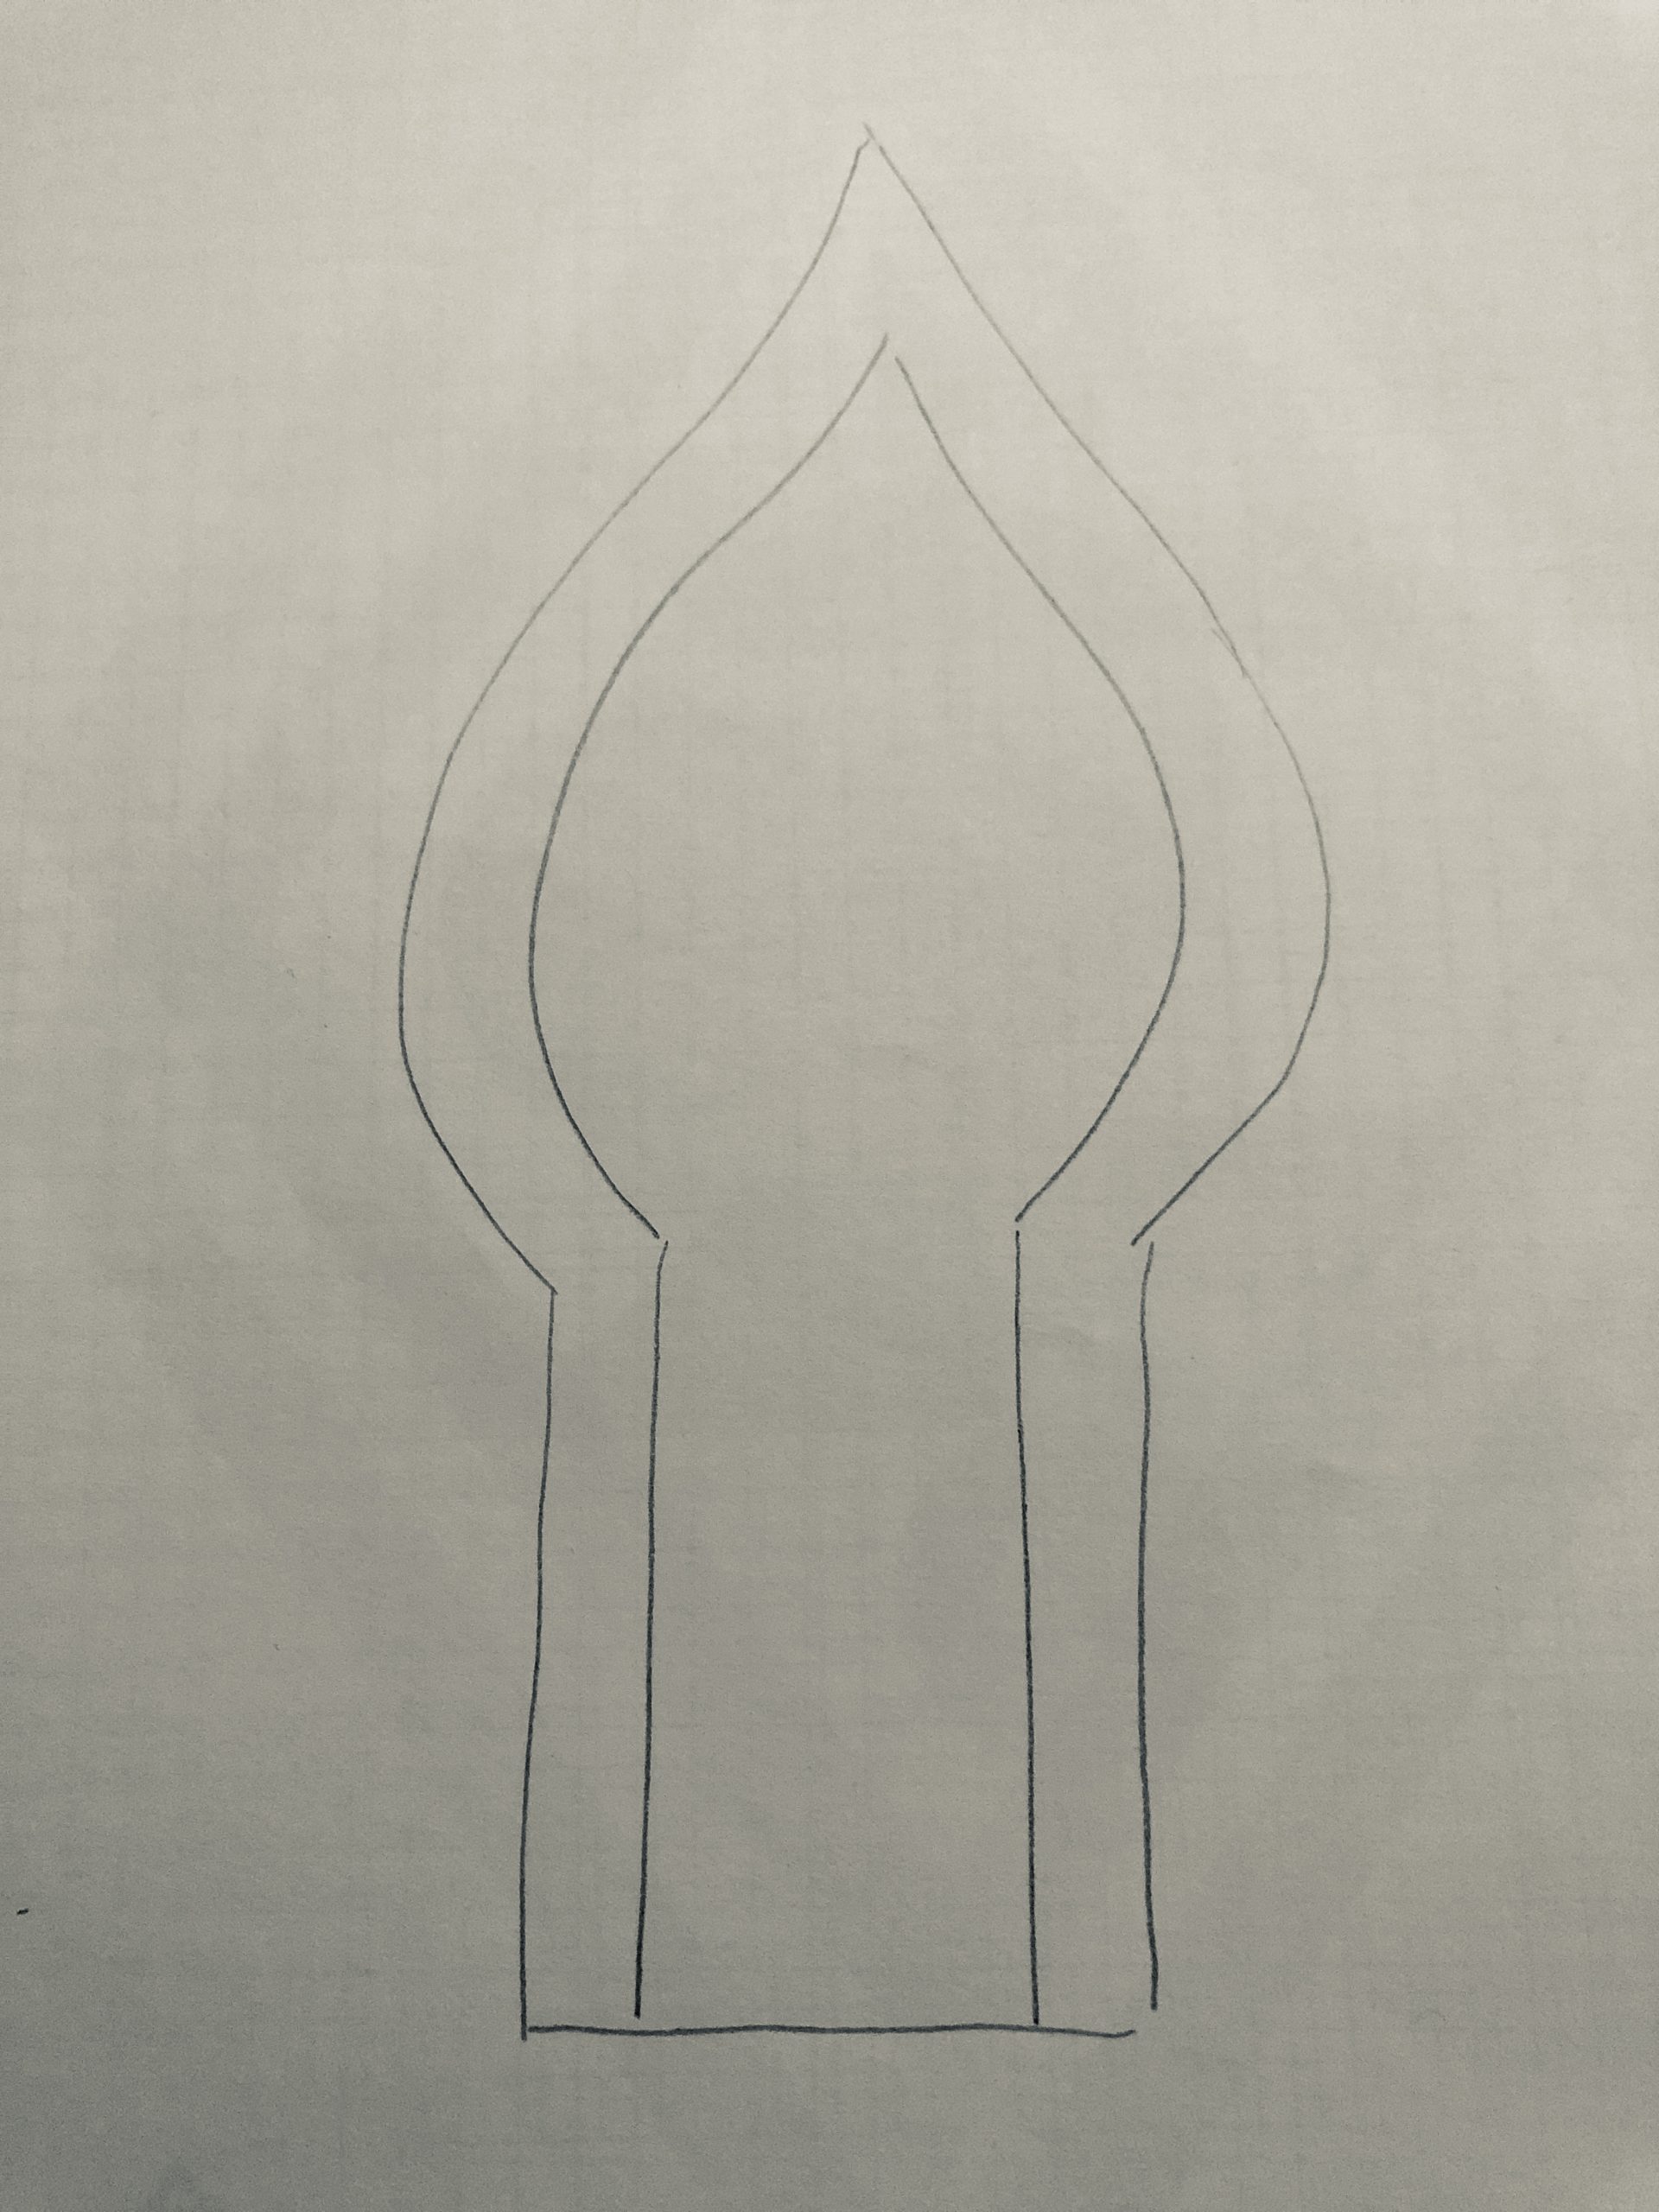


Transfer the cut to the fabric and cut two parts of the template. Cuts on the outer line. The inner line symbolizes the sewing seam.
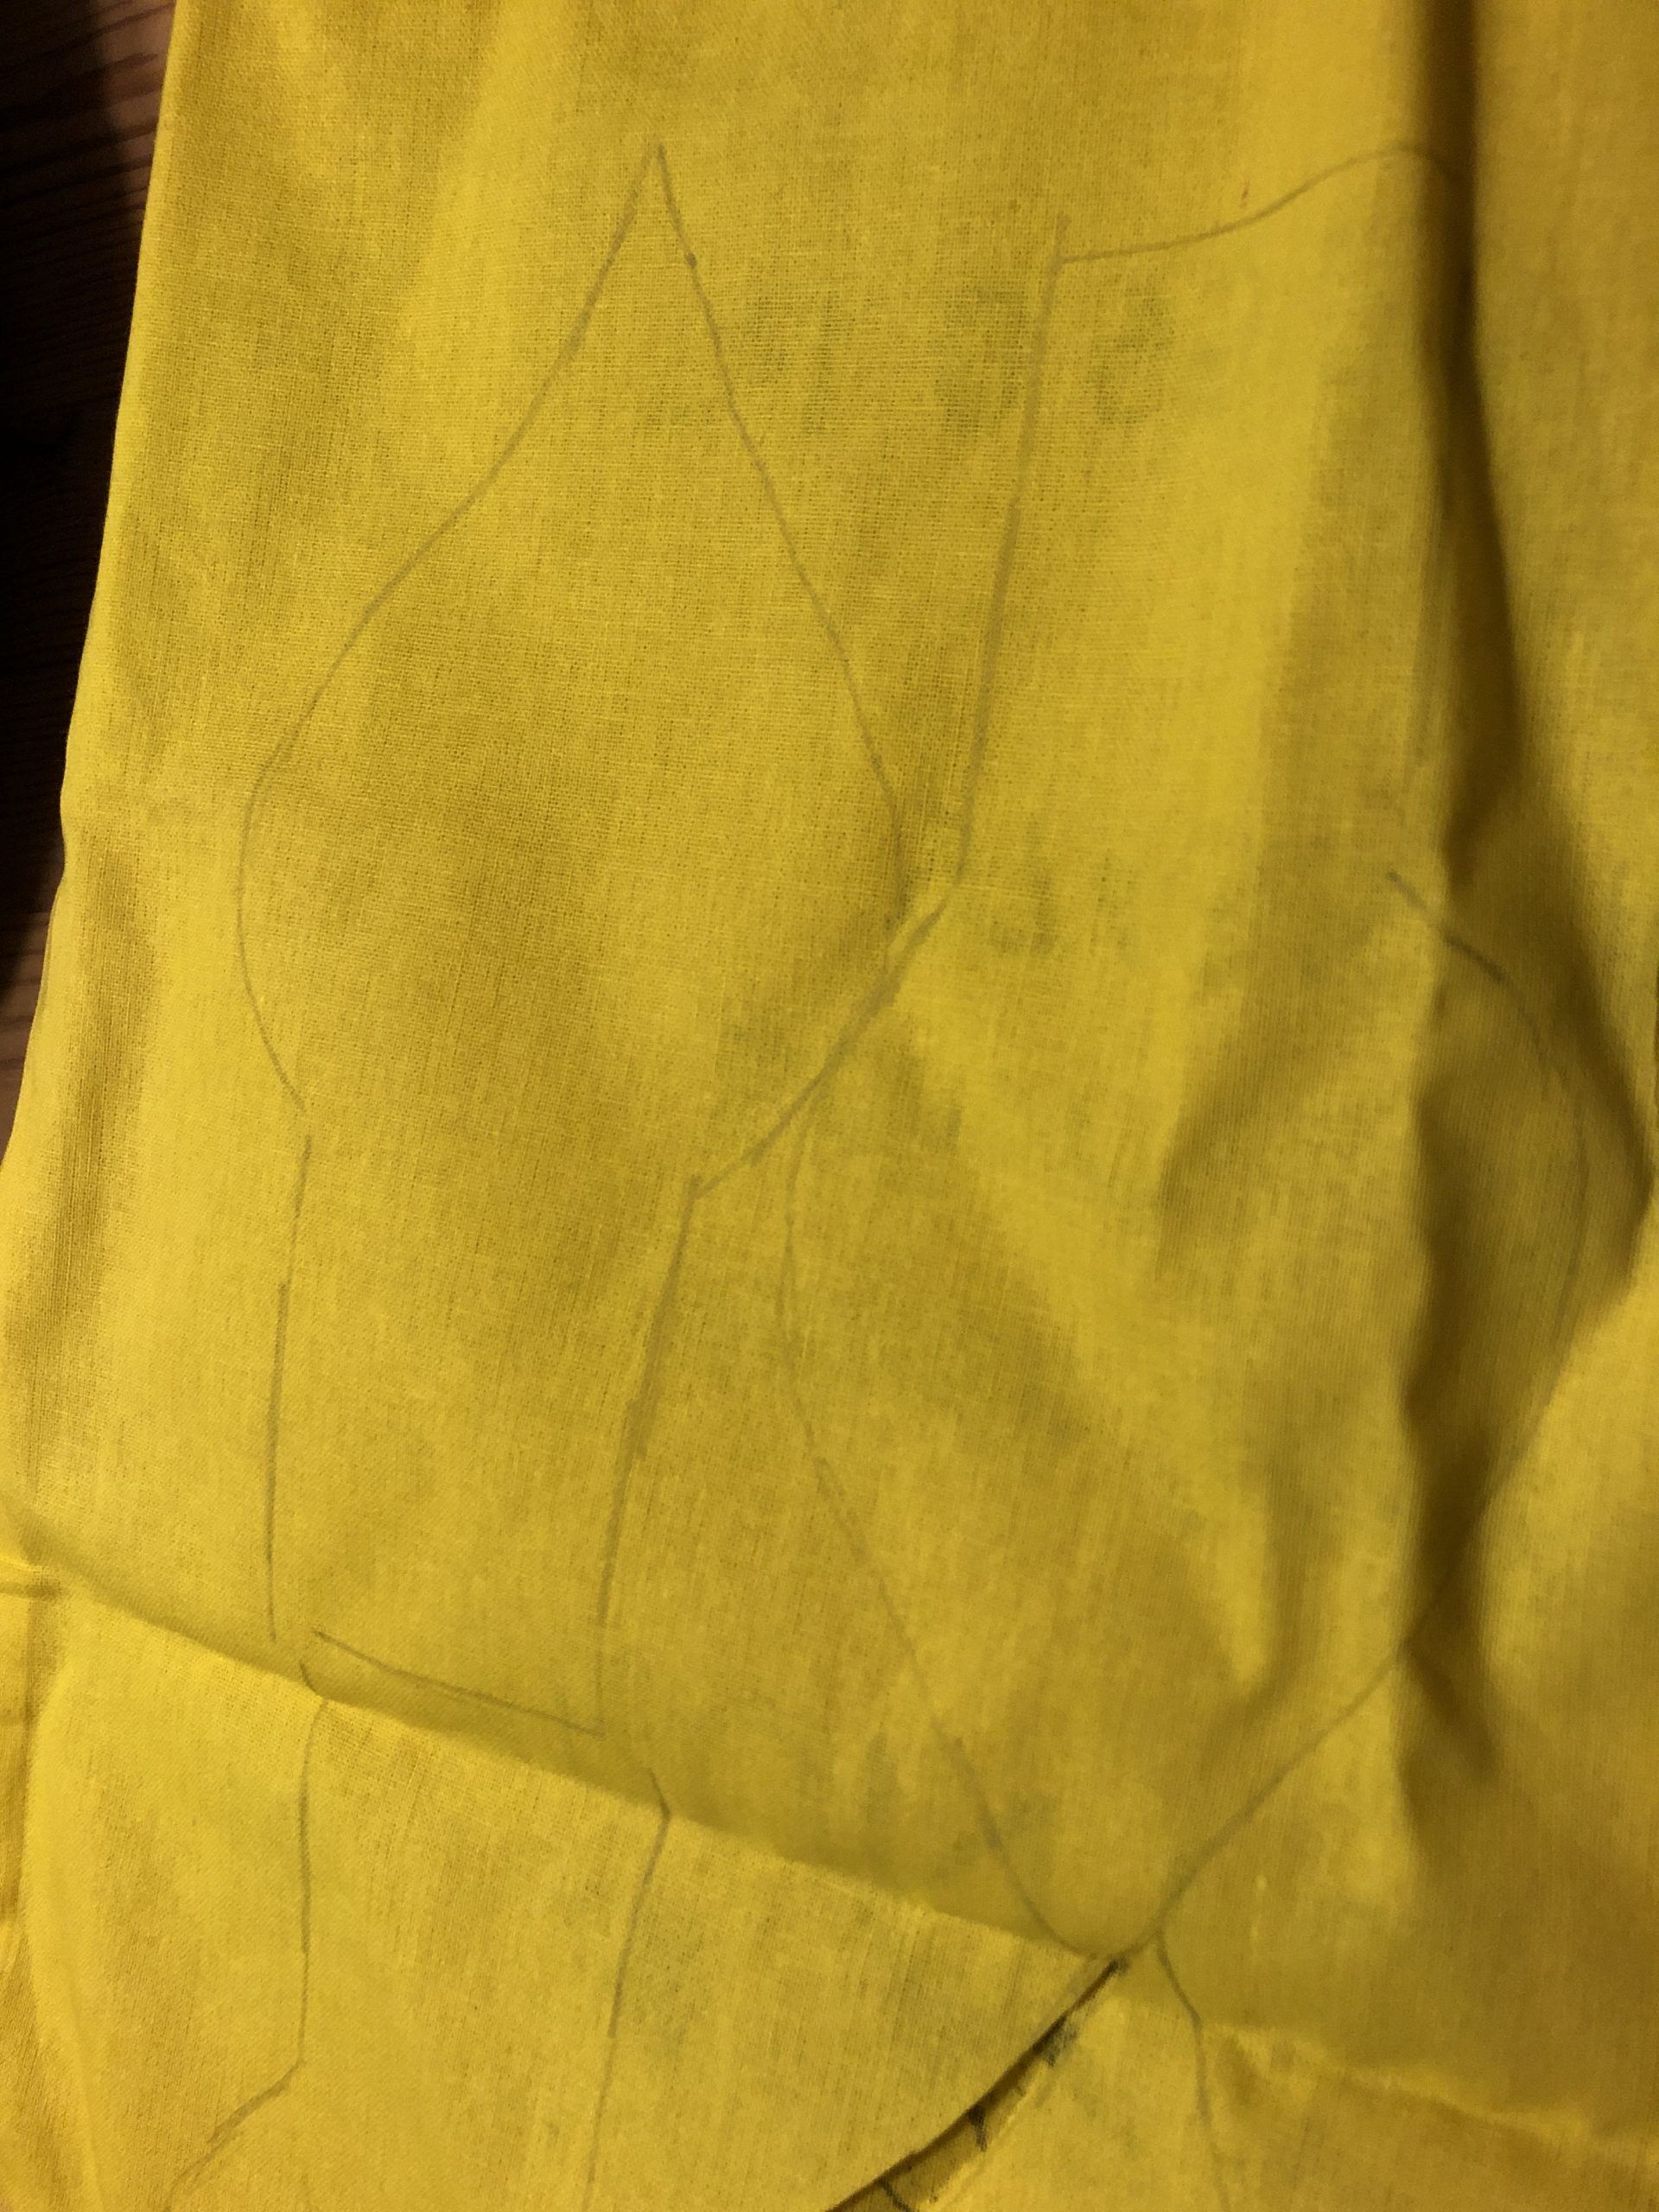


Now you put both pieces of fabric together with the beautiful side (right).
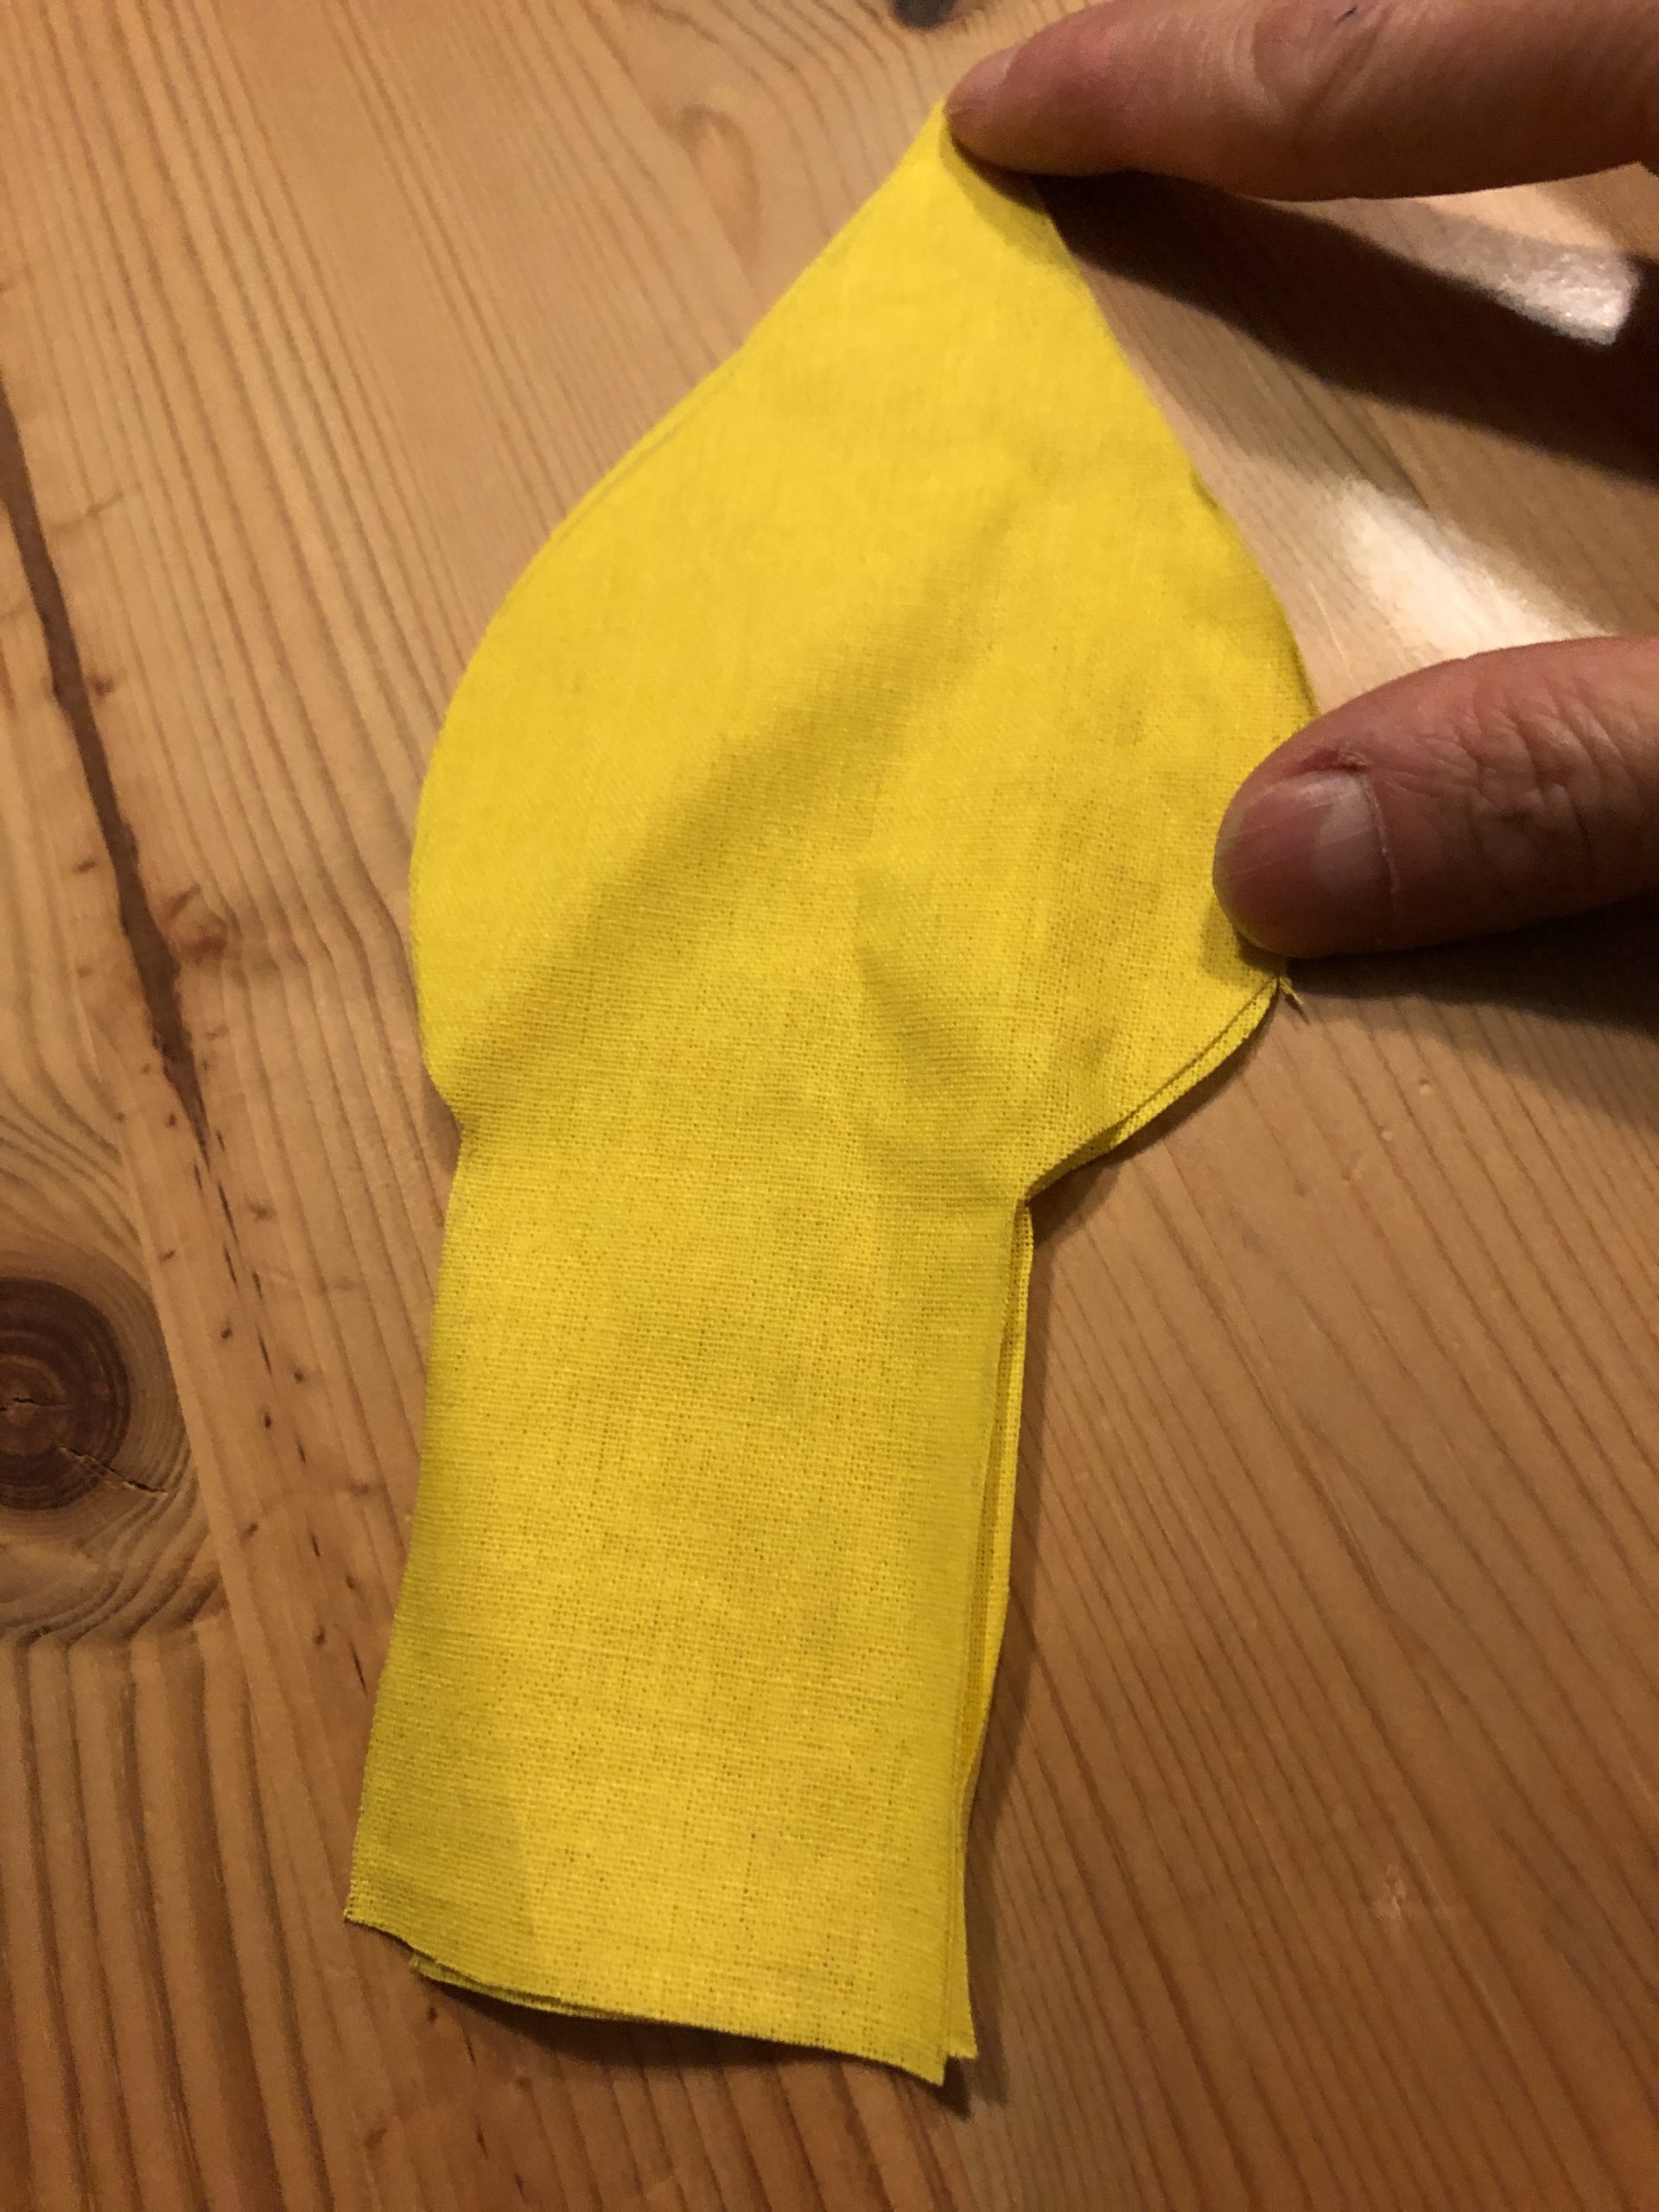


With a pin you fix the fabrics.
With the sewing machine you sew the two fabric parts together. For this you sew on the inner line of the template.
The straight side at the lower end remains open!
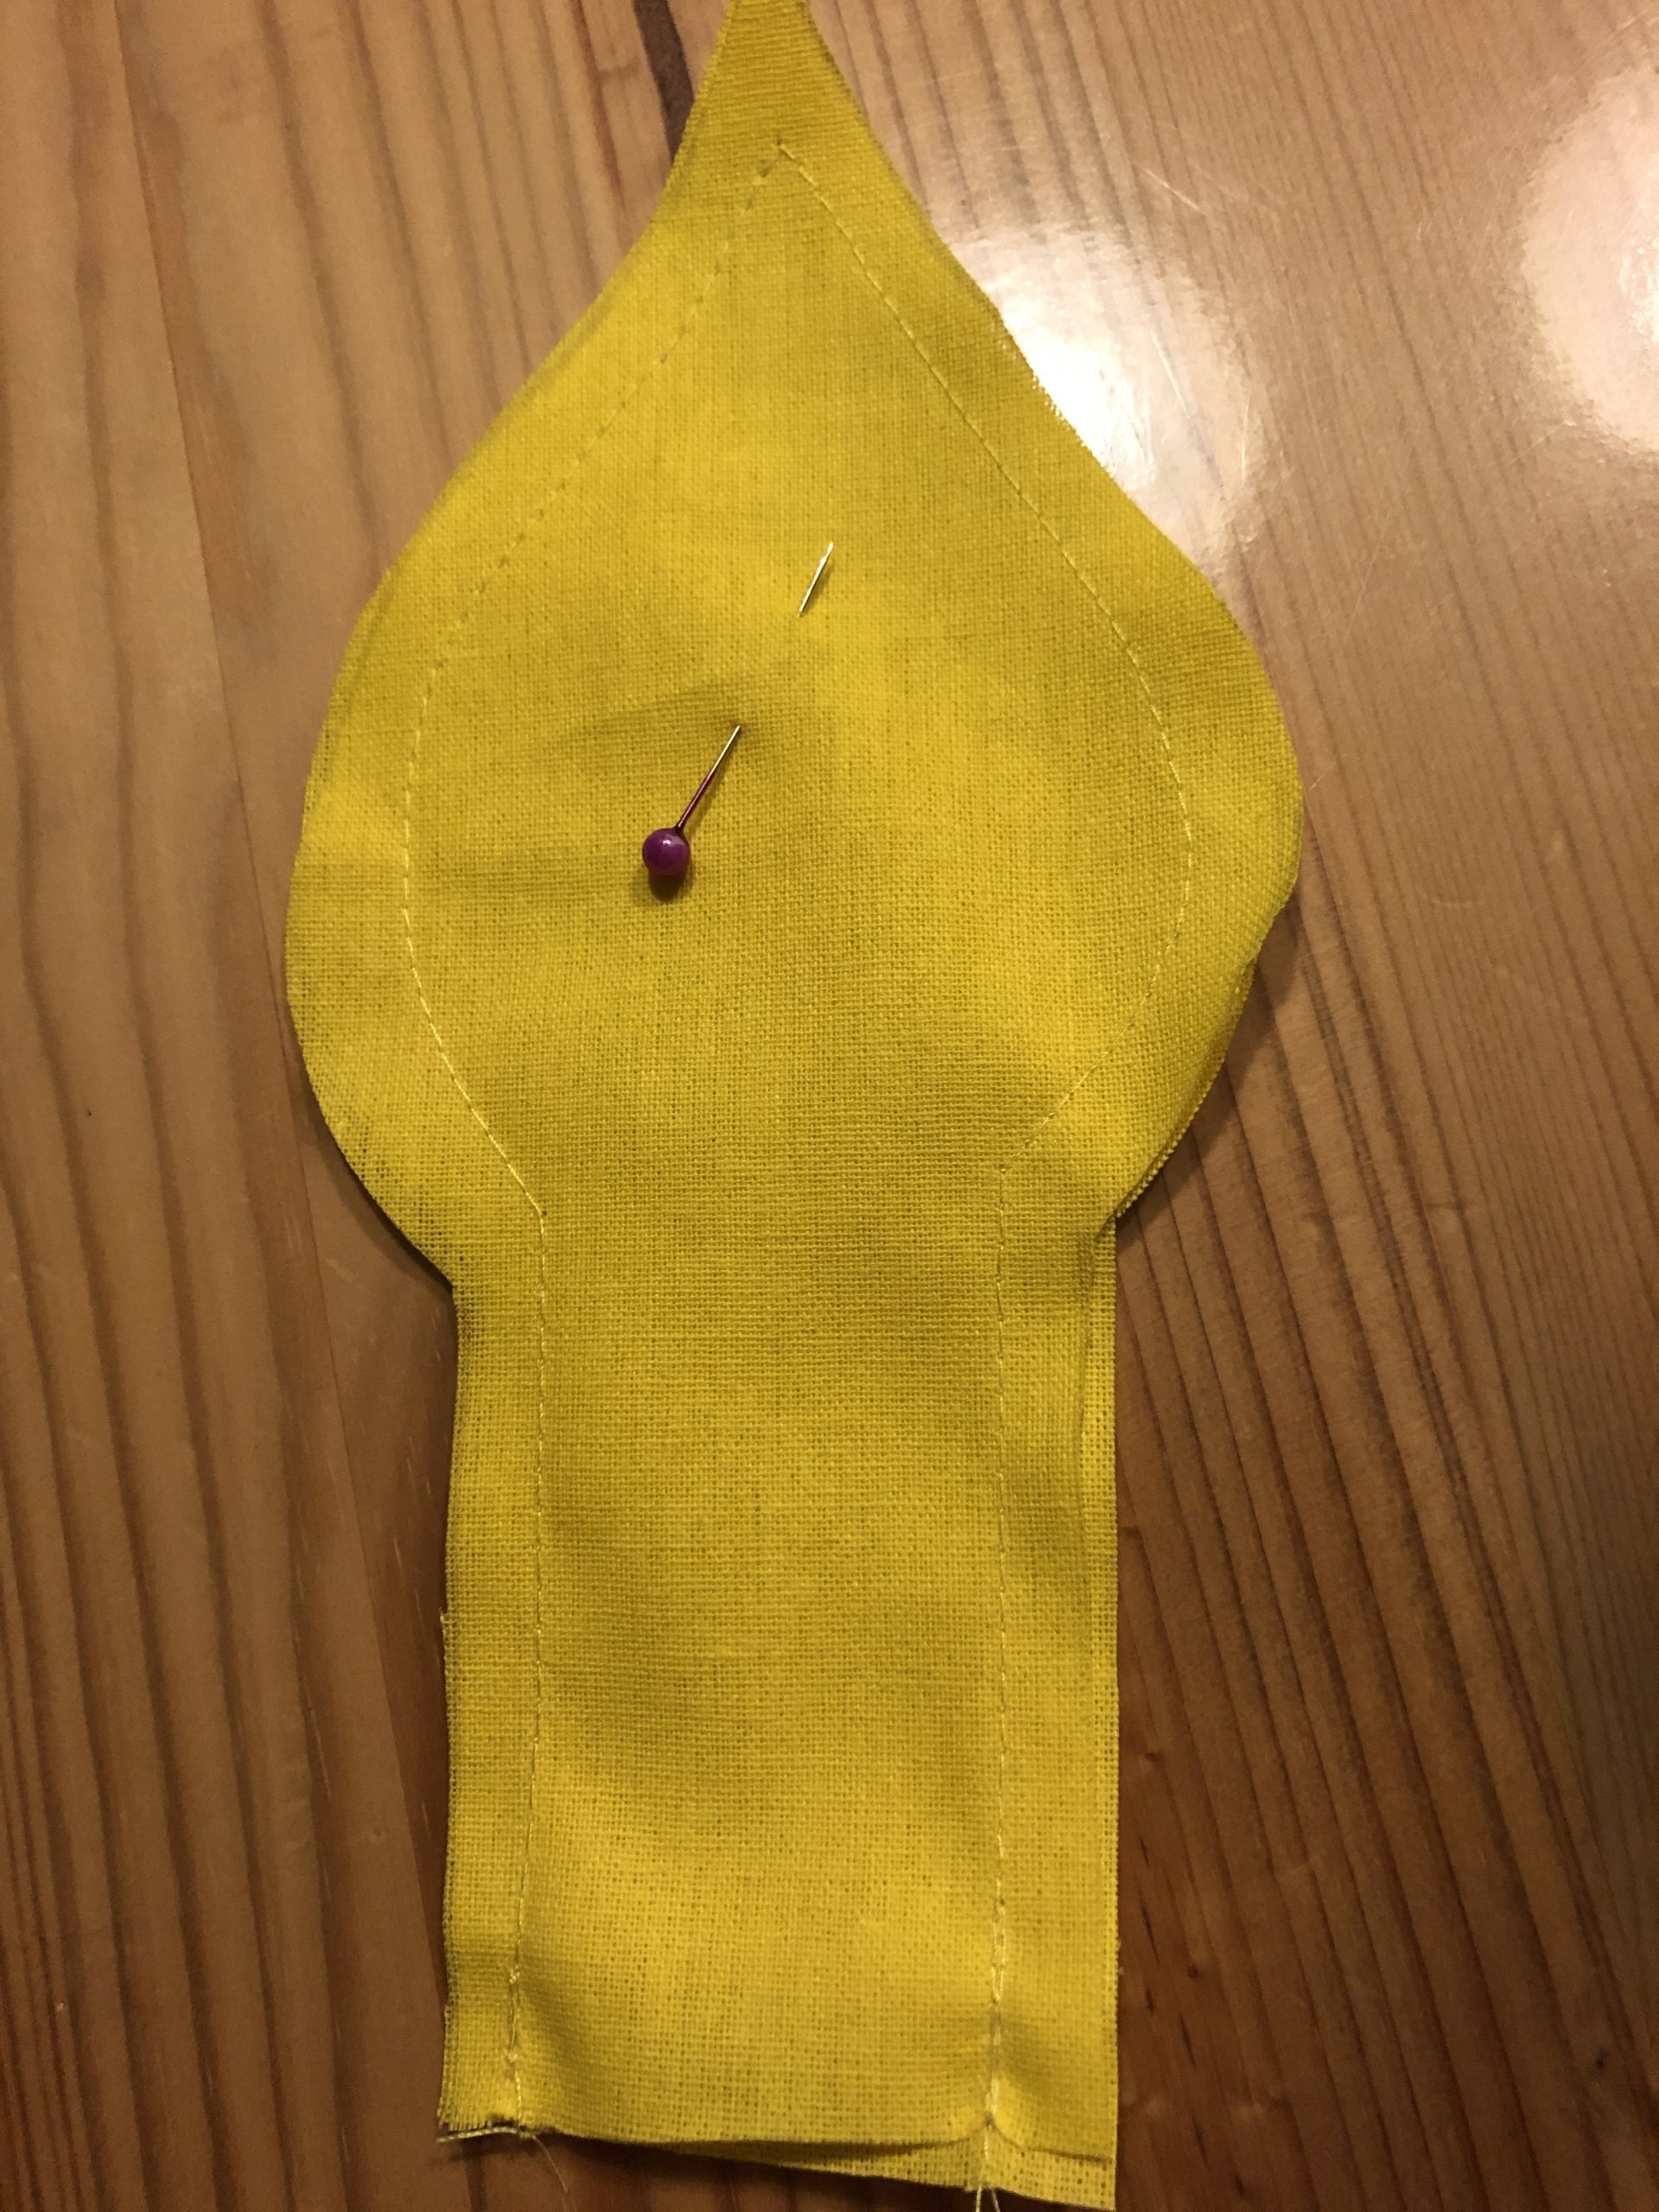


Now you're turning the flame around.
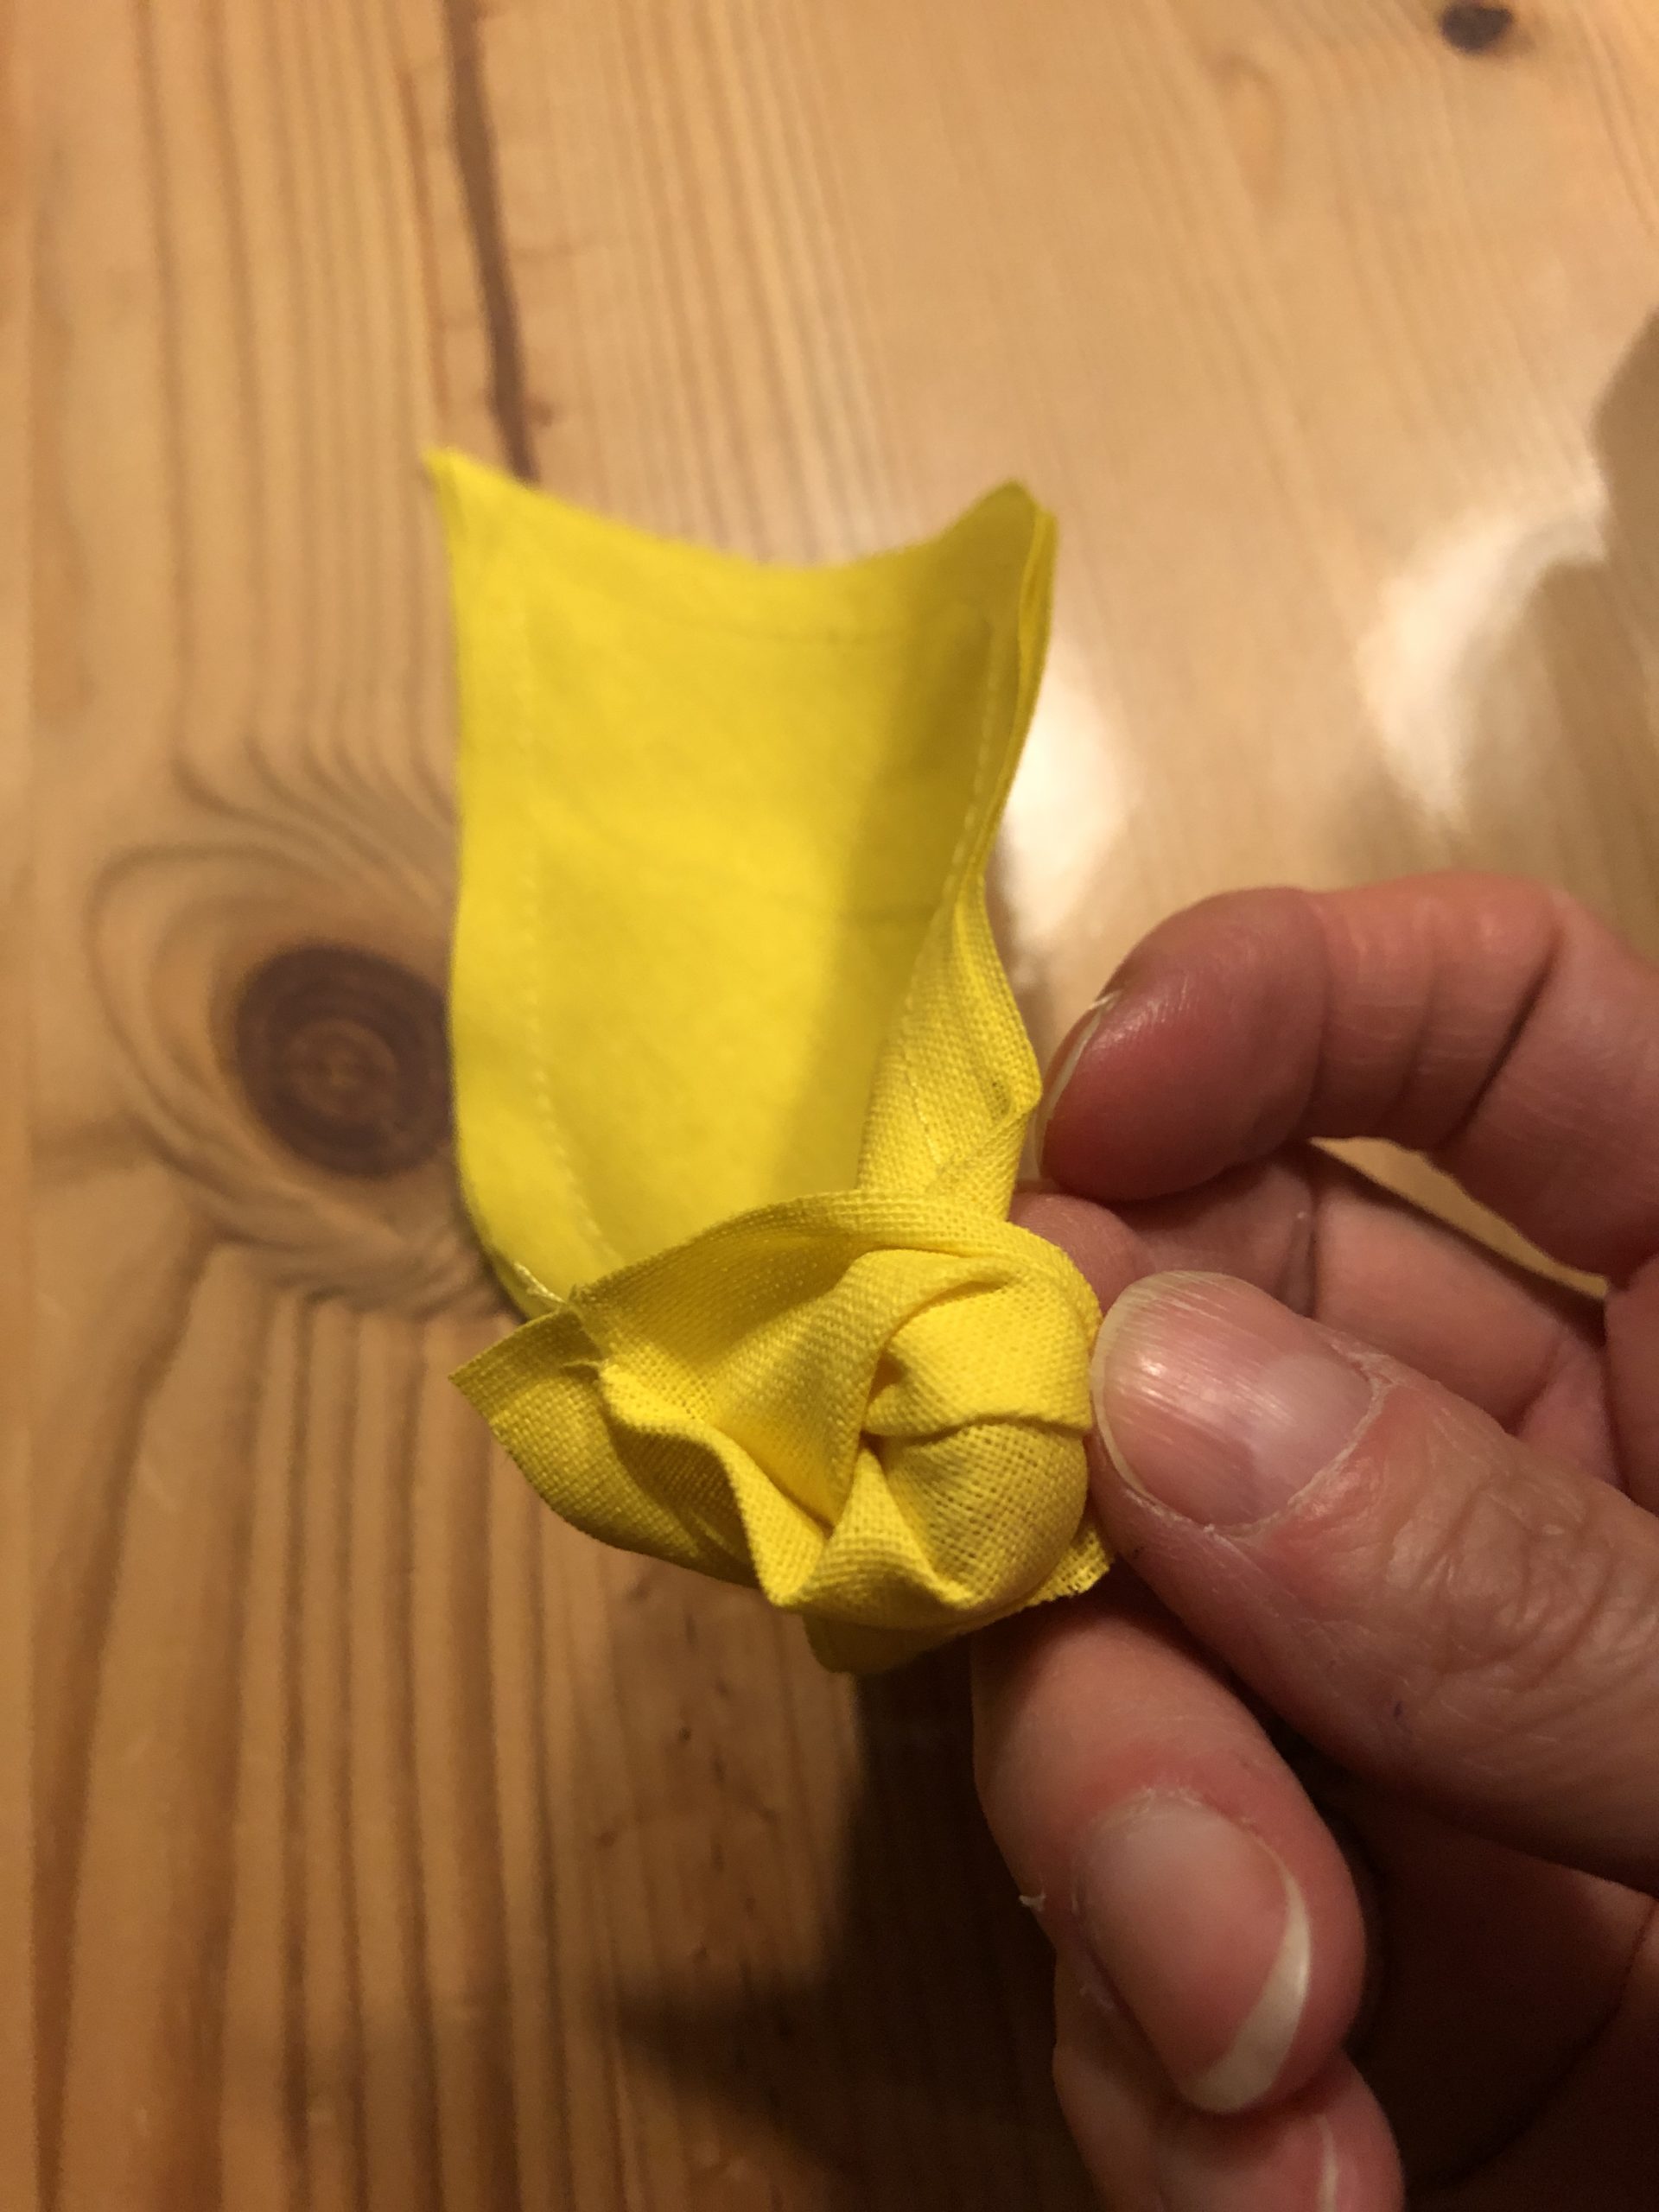


Take a pen to squeeze out the flame.
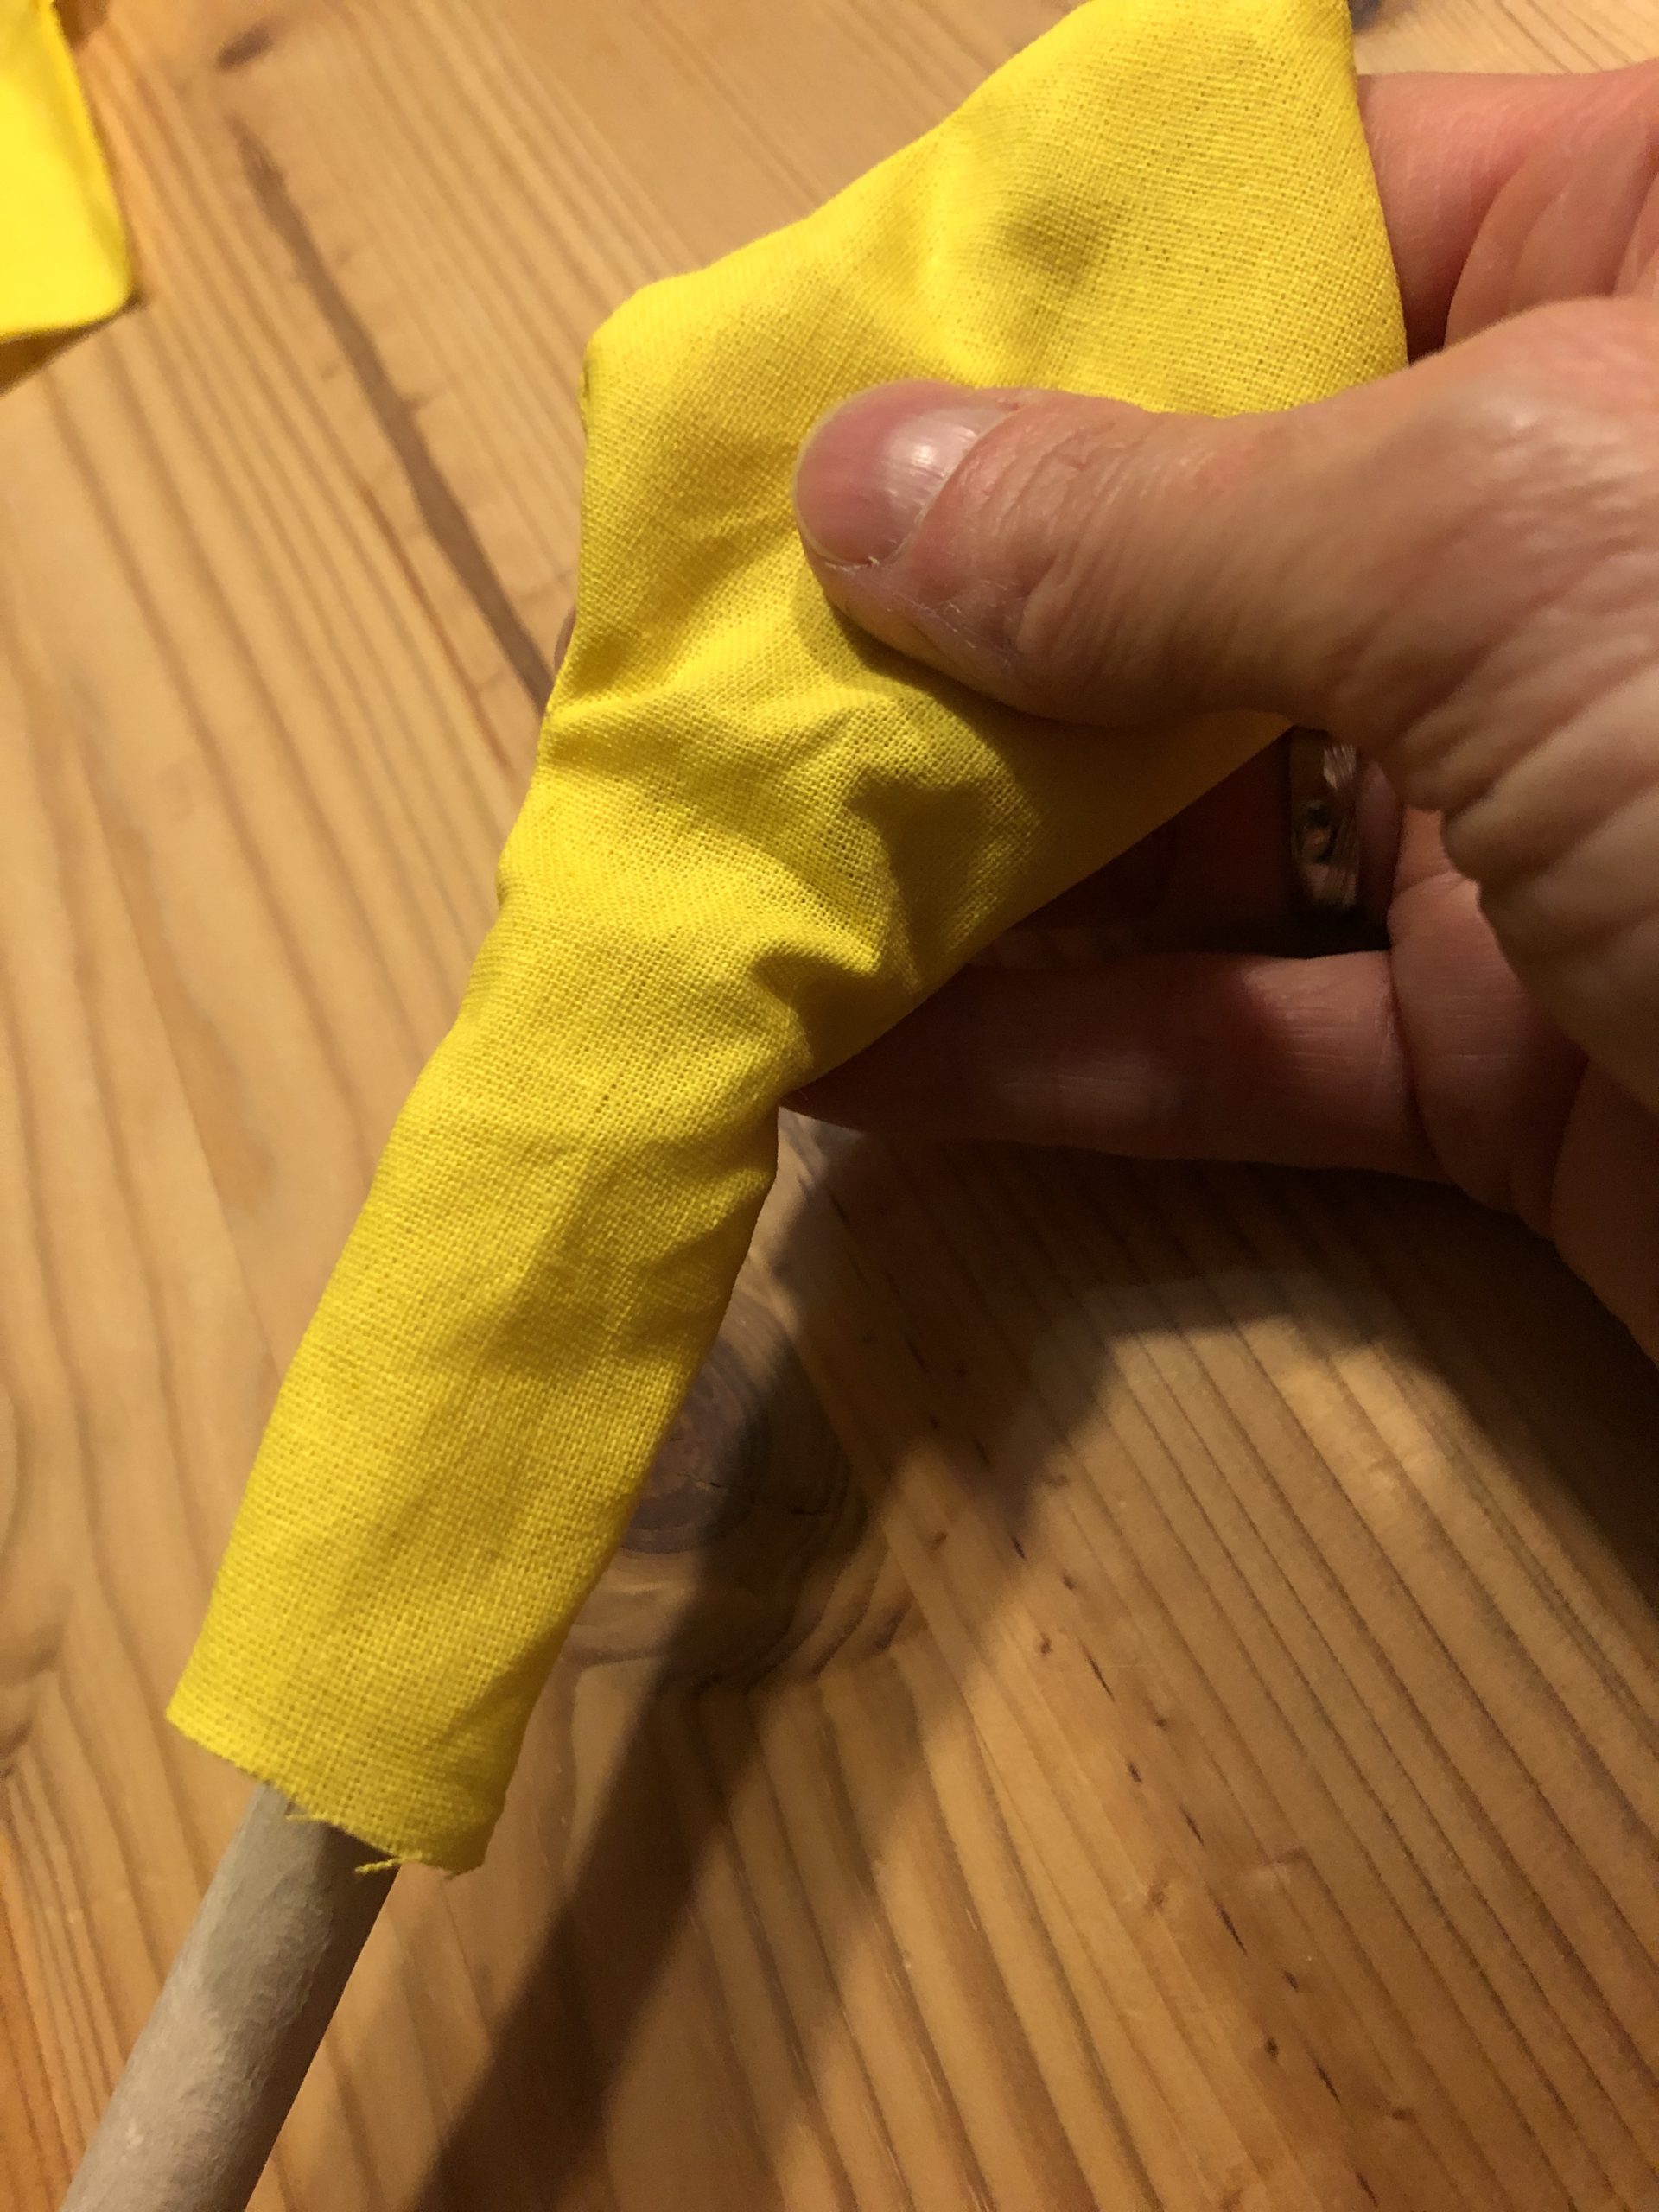


Now fill the flame with fabric residue.
The straight part of the flame is not filled.
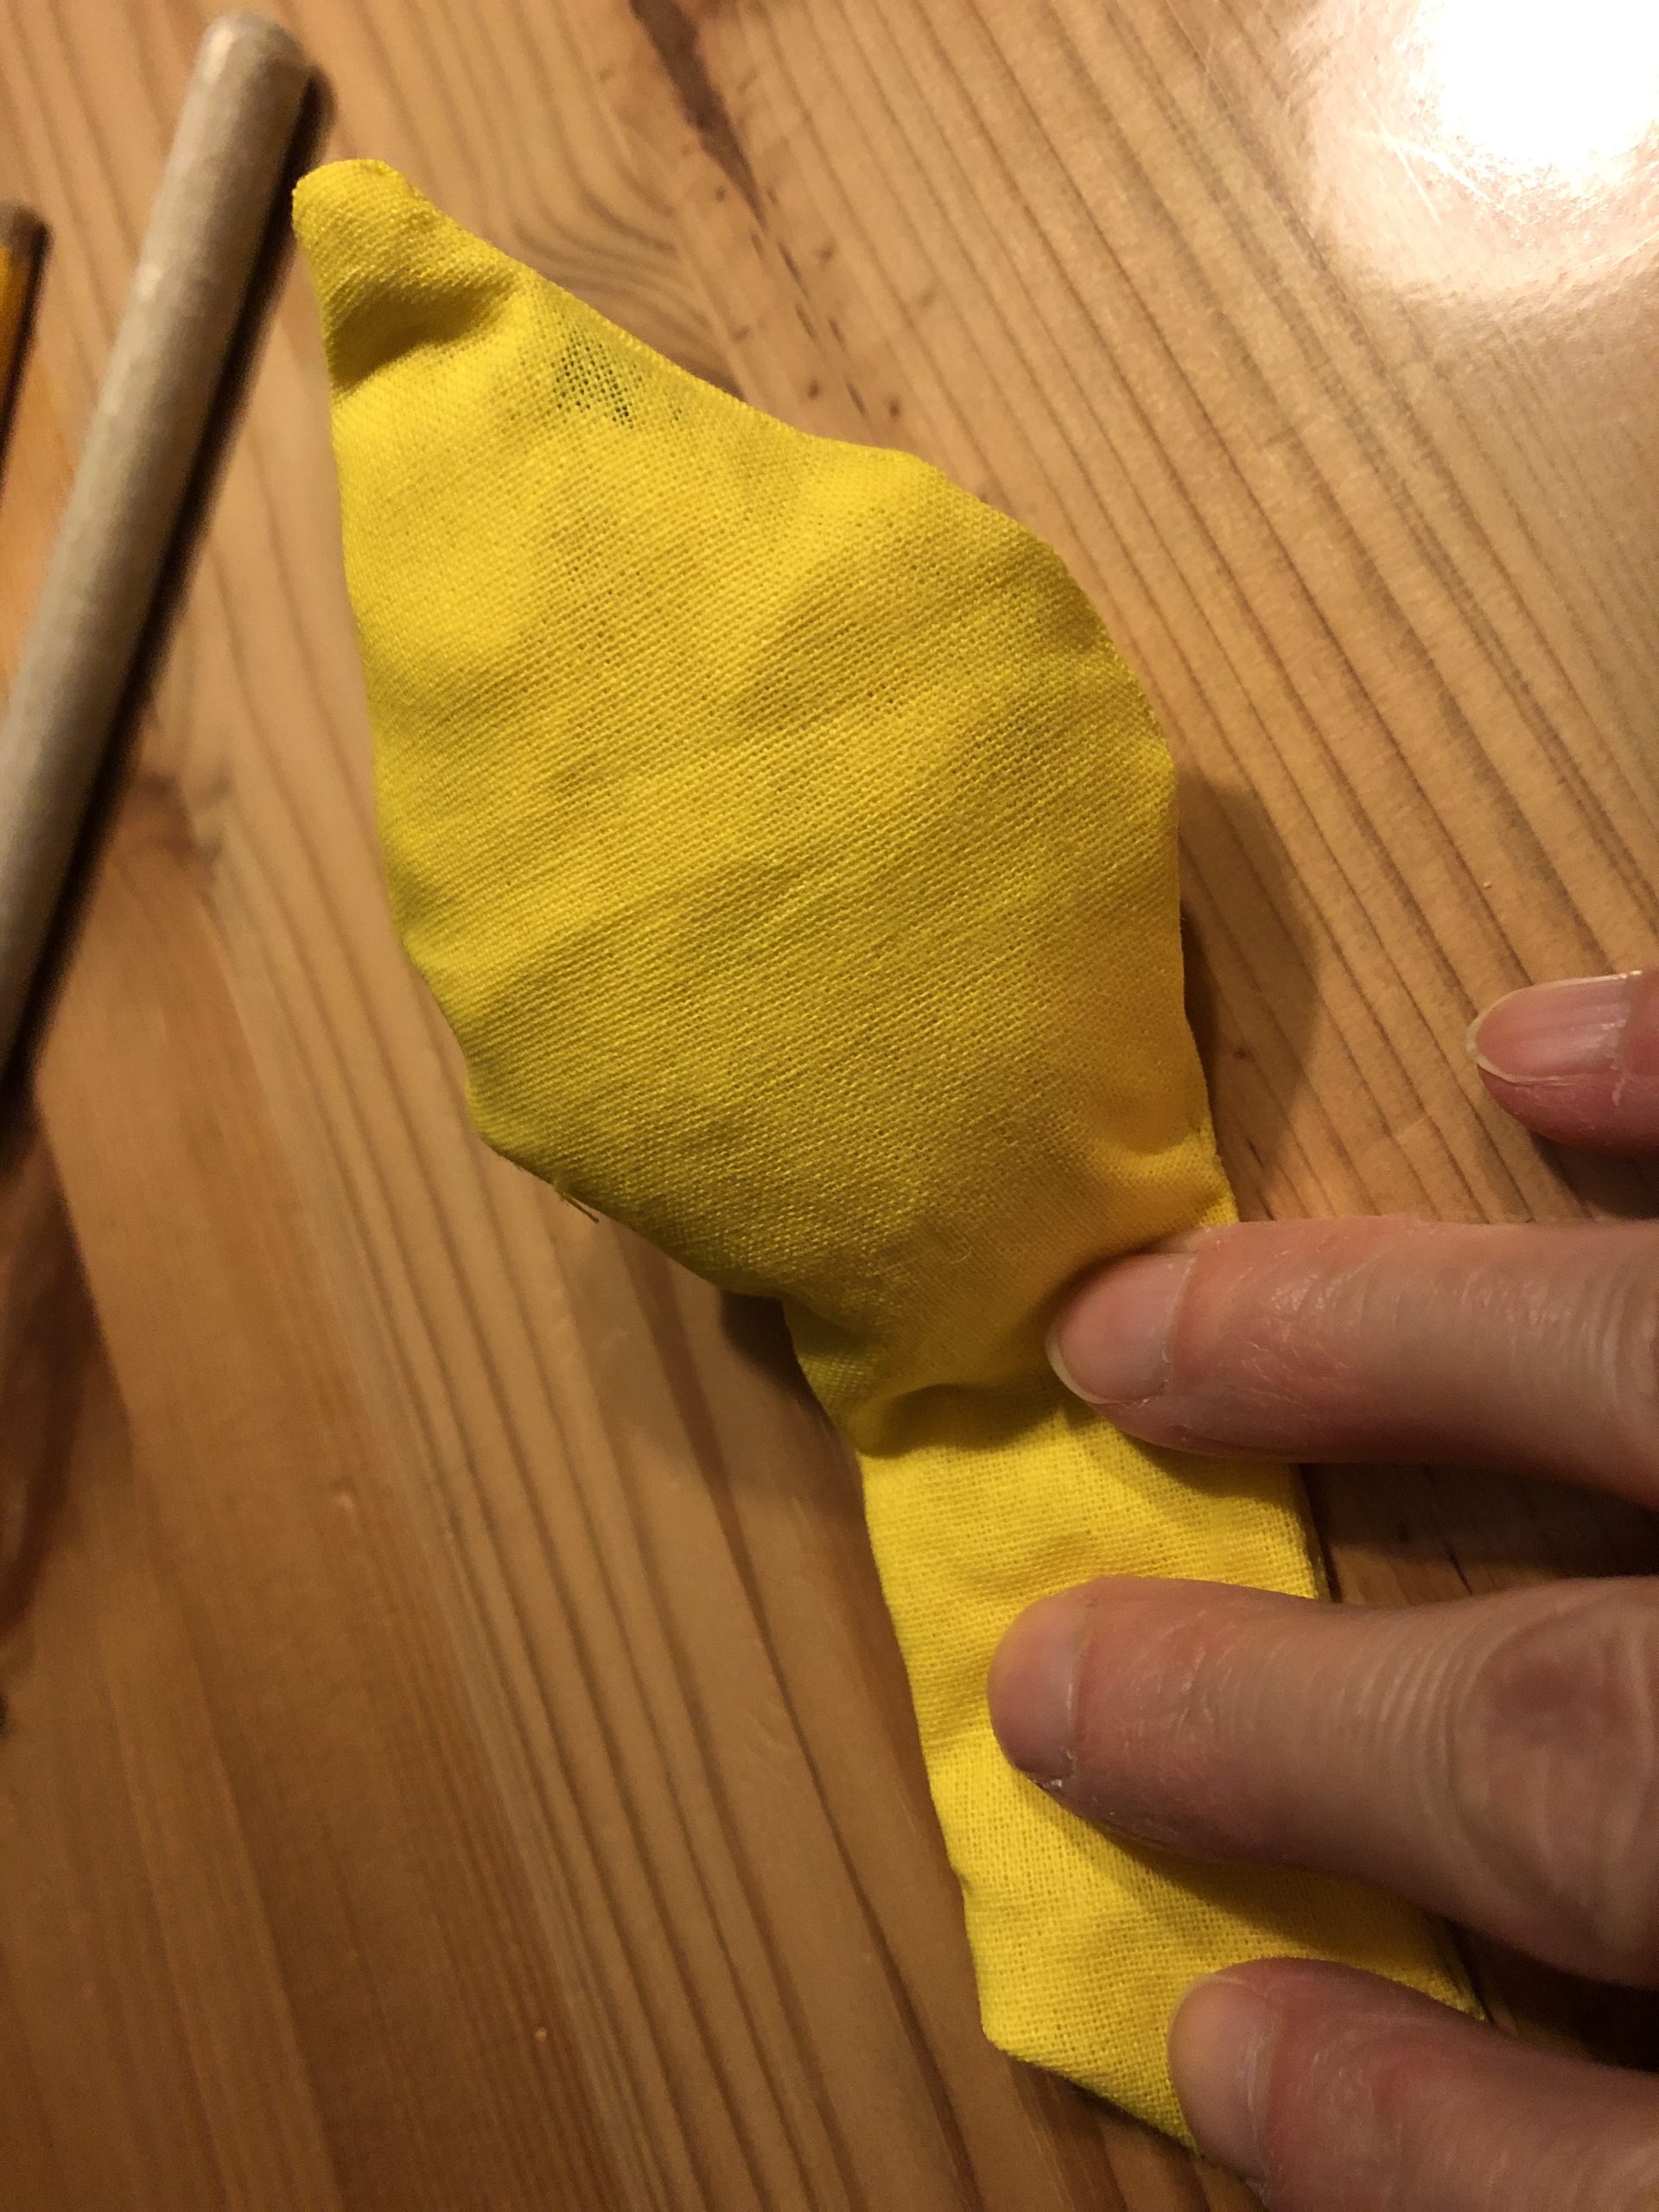


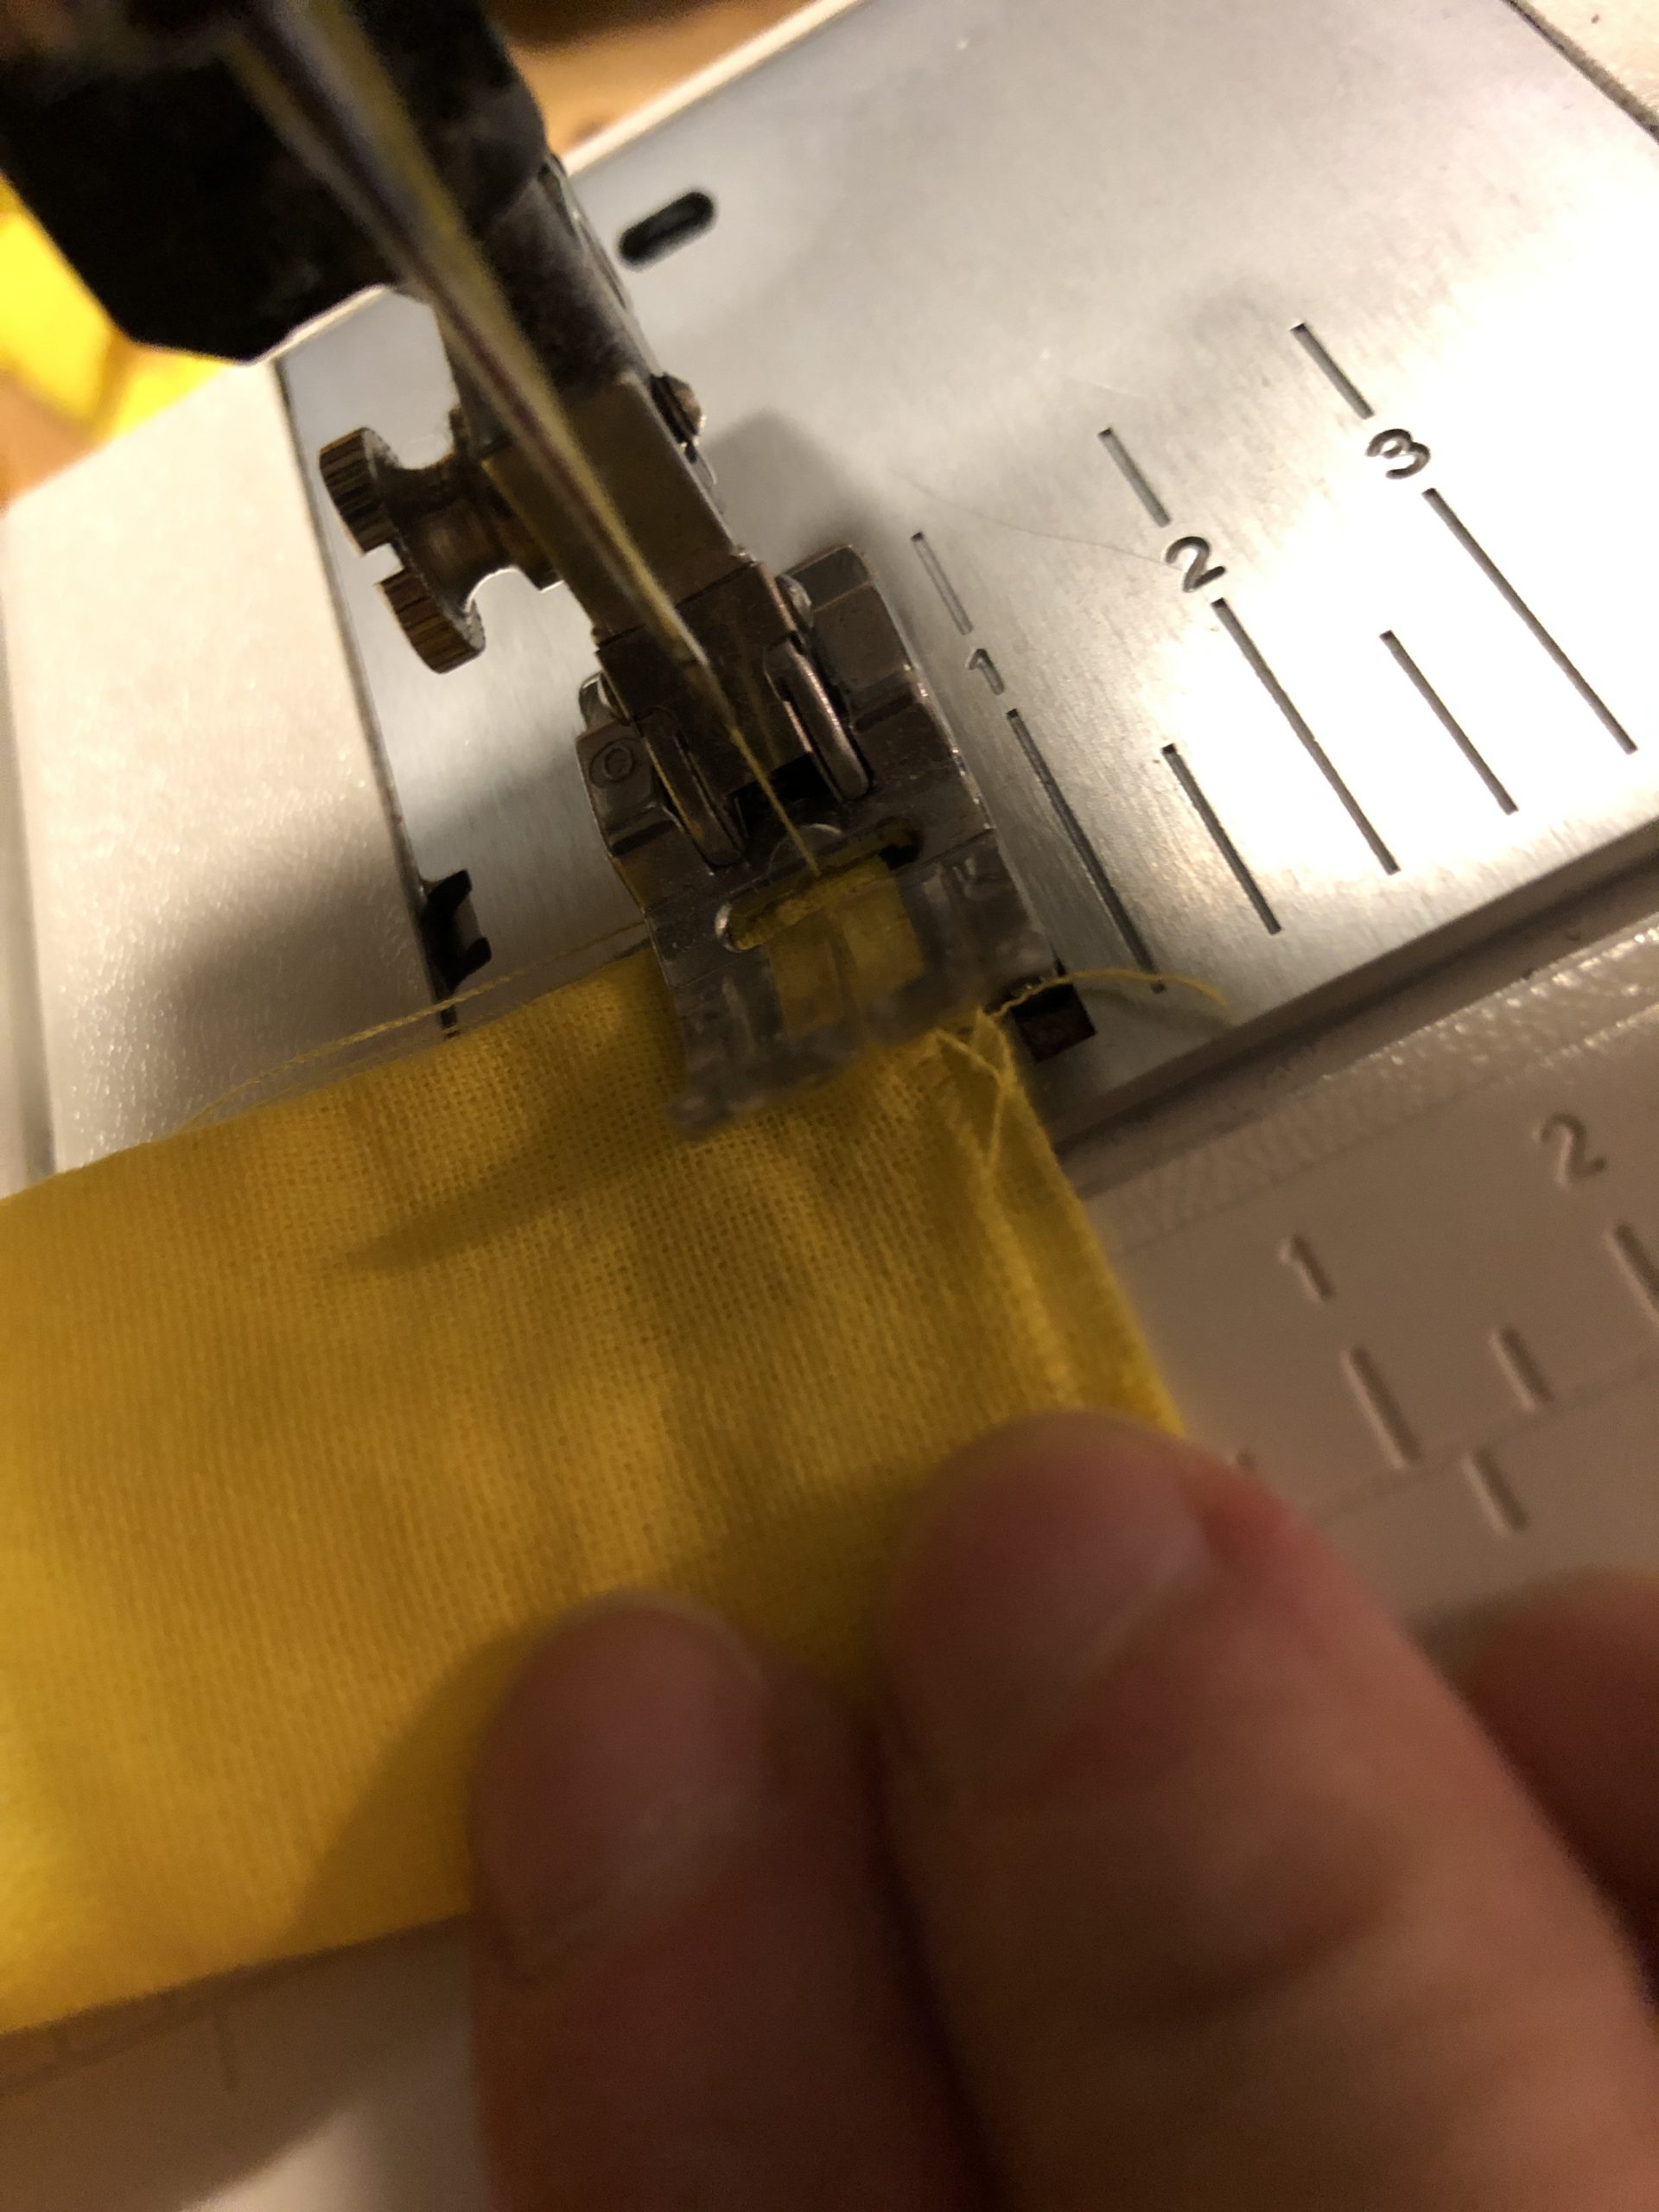
The filled piece of the flame is sewn with a zigzag stitch. This seam doesn't have to be perfect, it is pushed inward and is not visible!


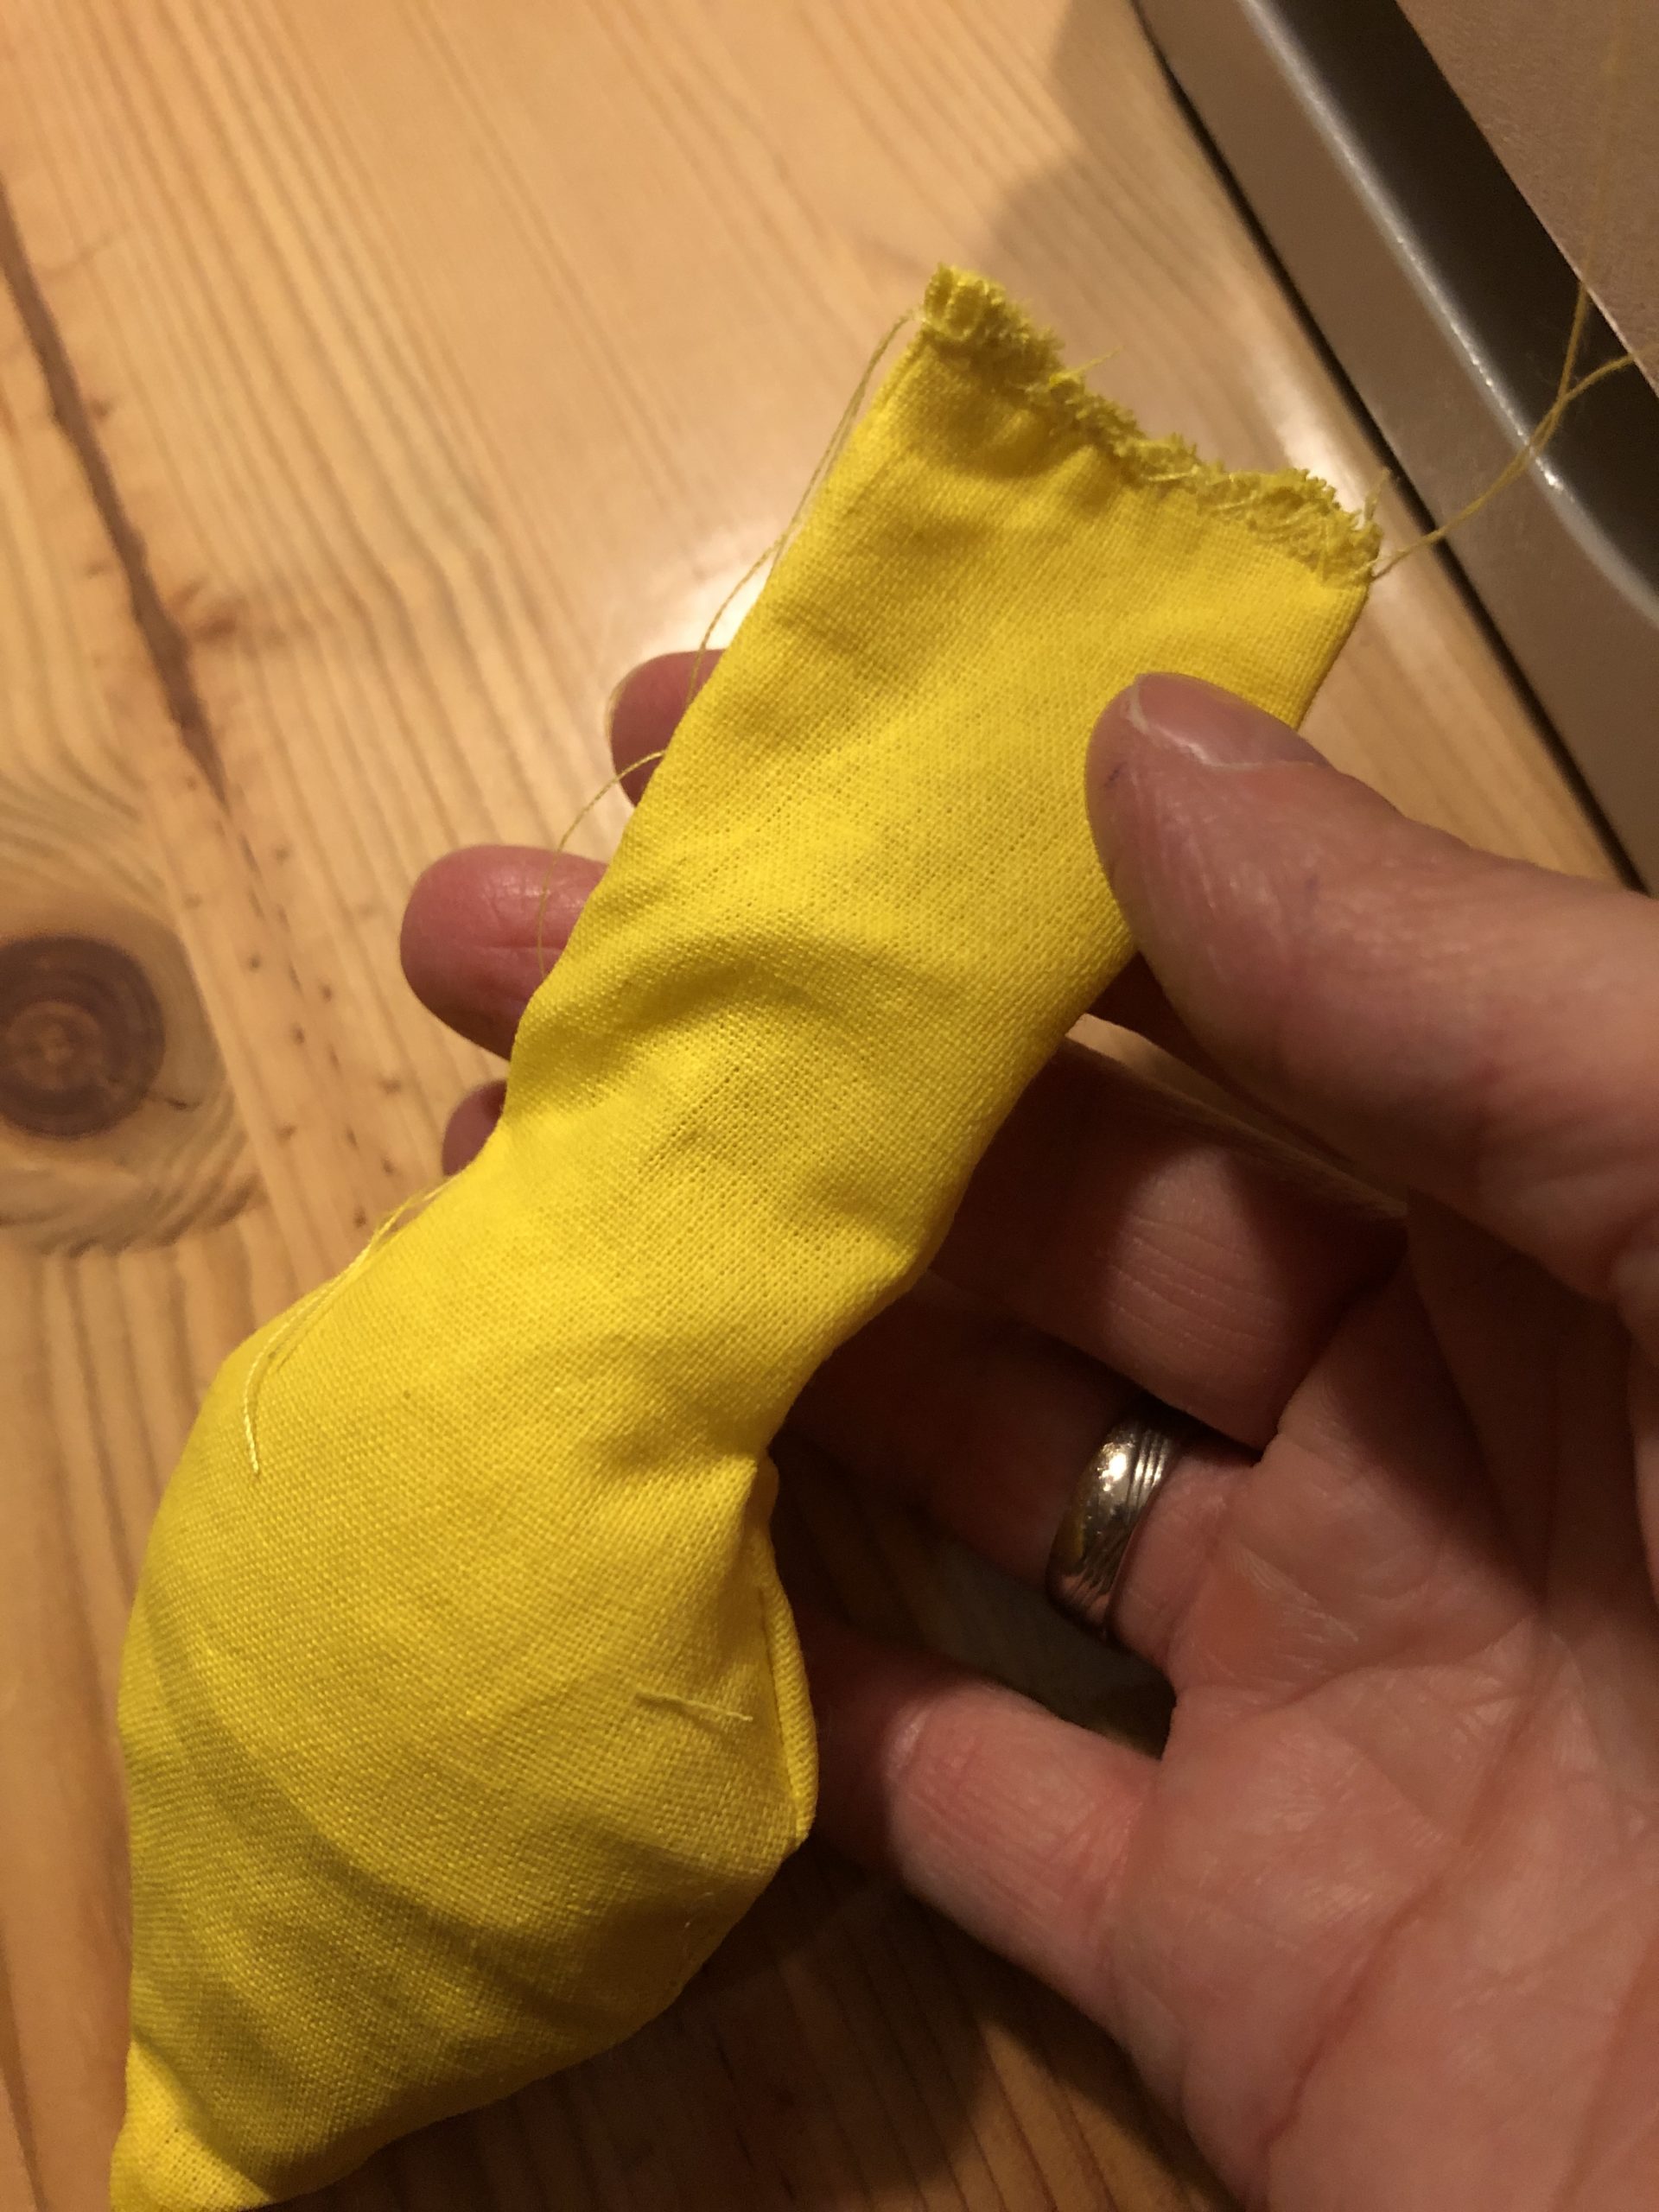


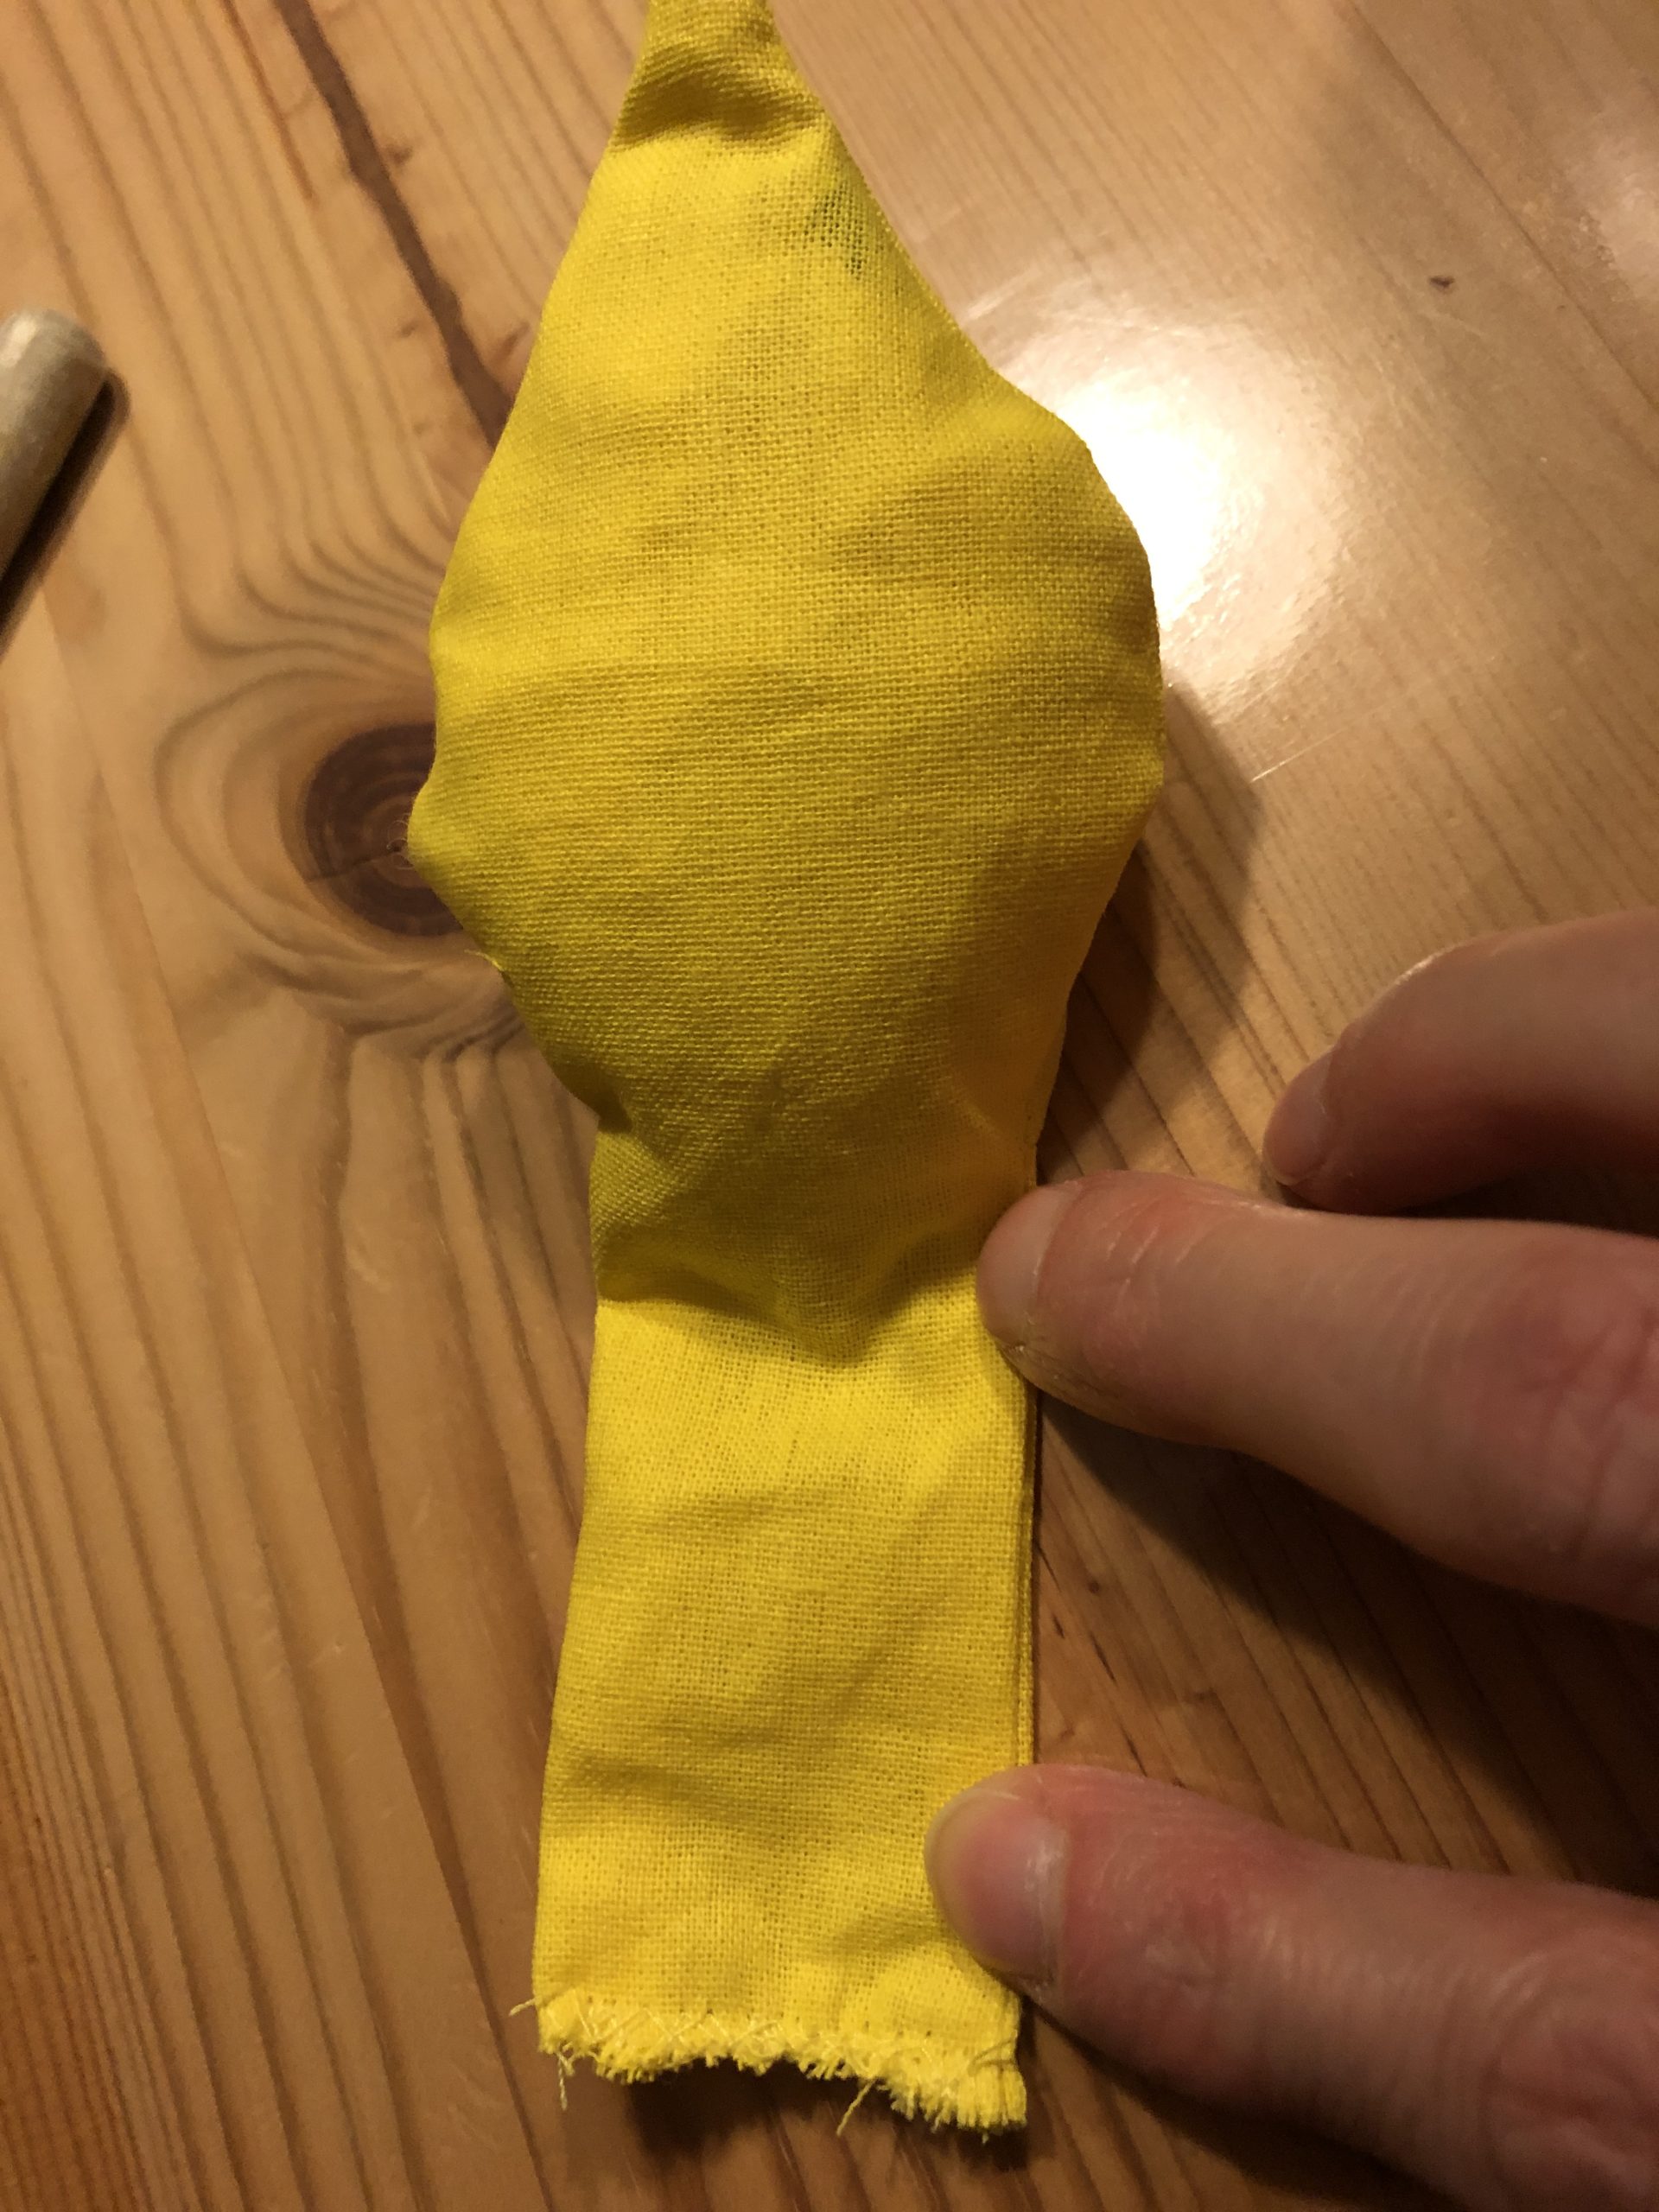


With one finger you now carefully push the straight piece inwards (as with a finger doll!?)
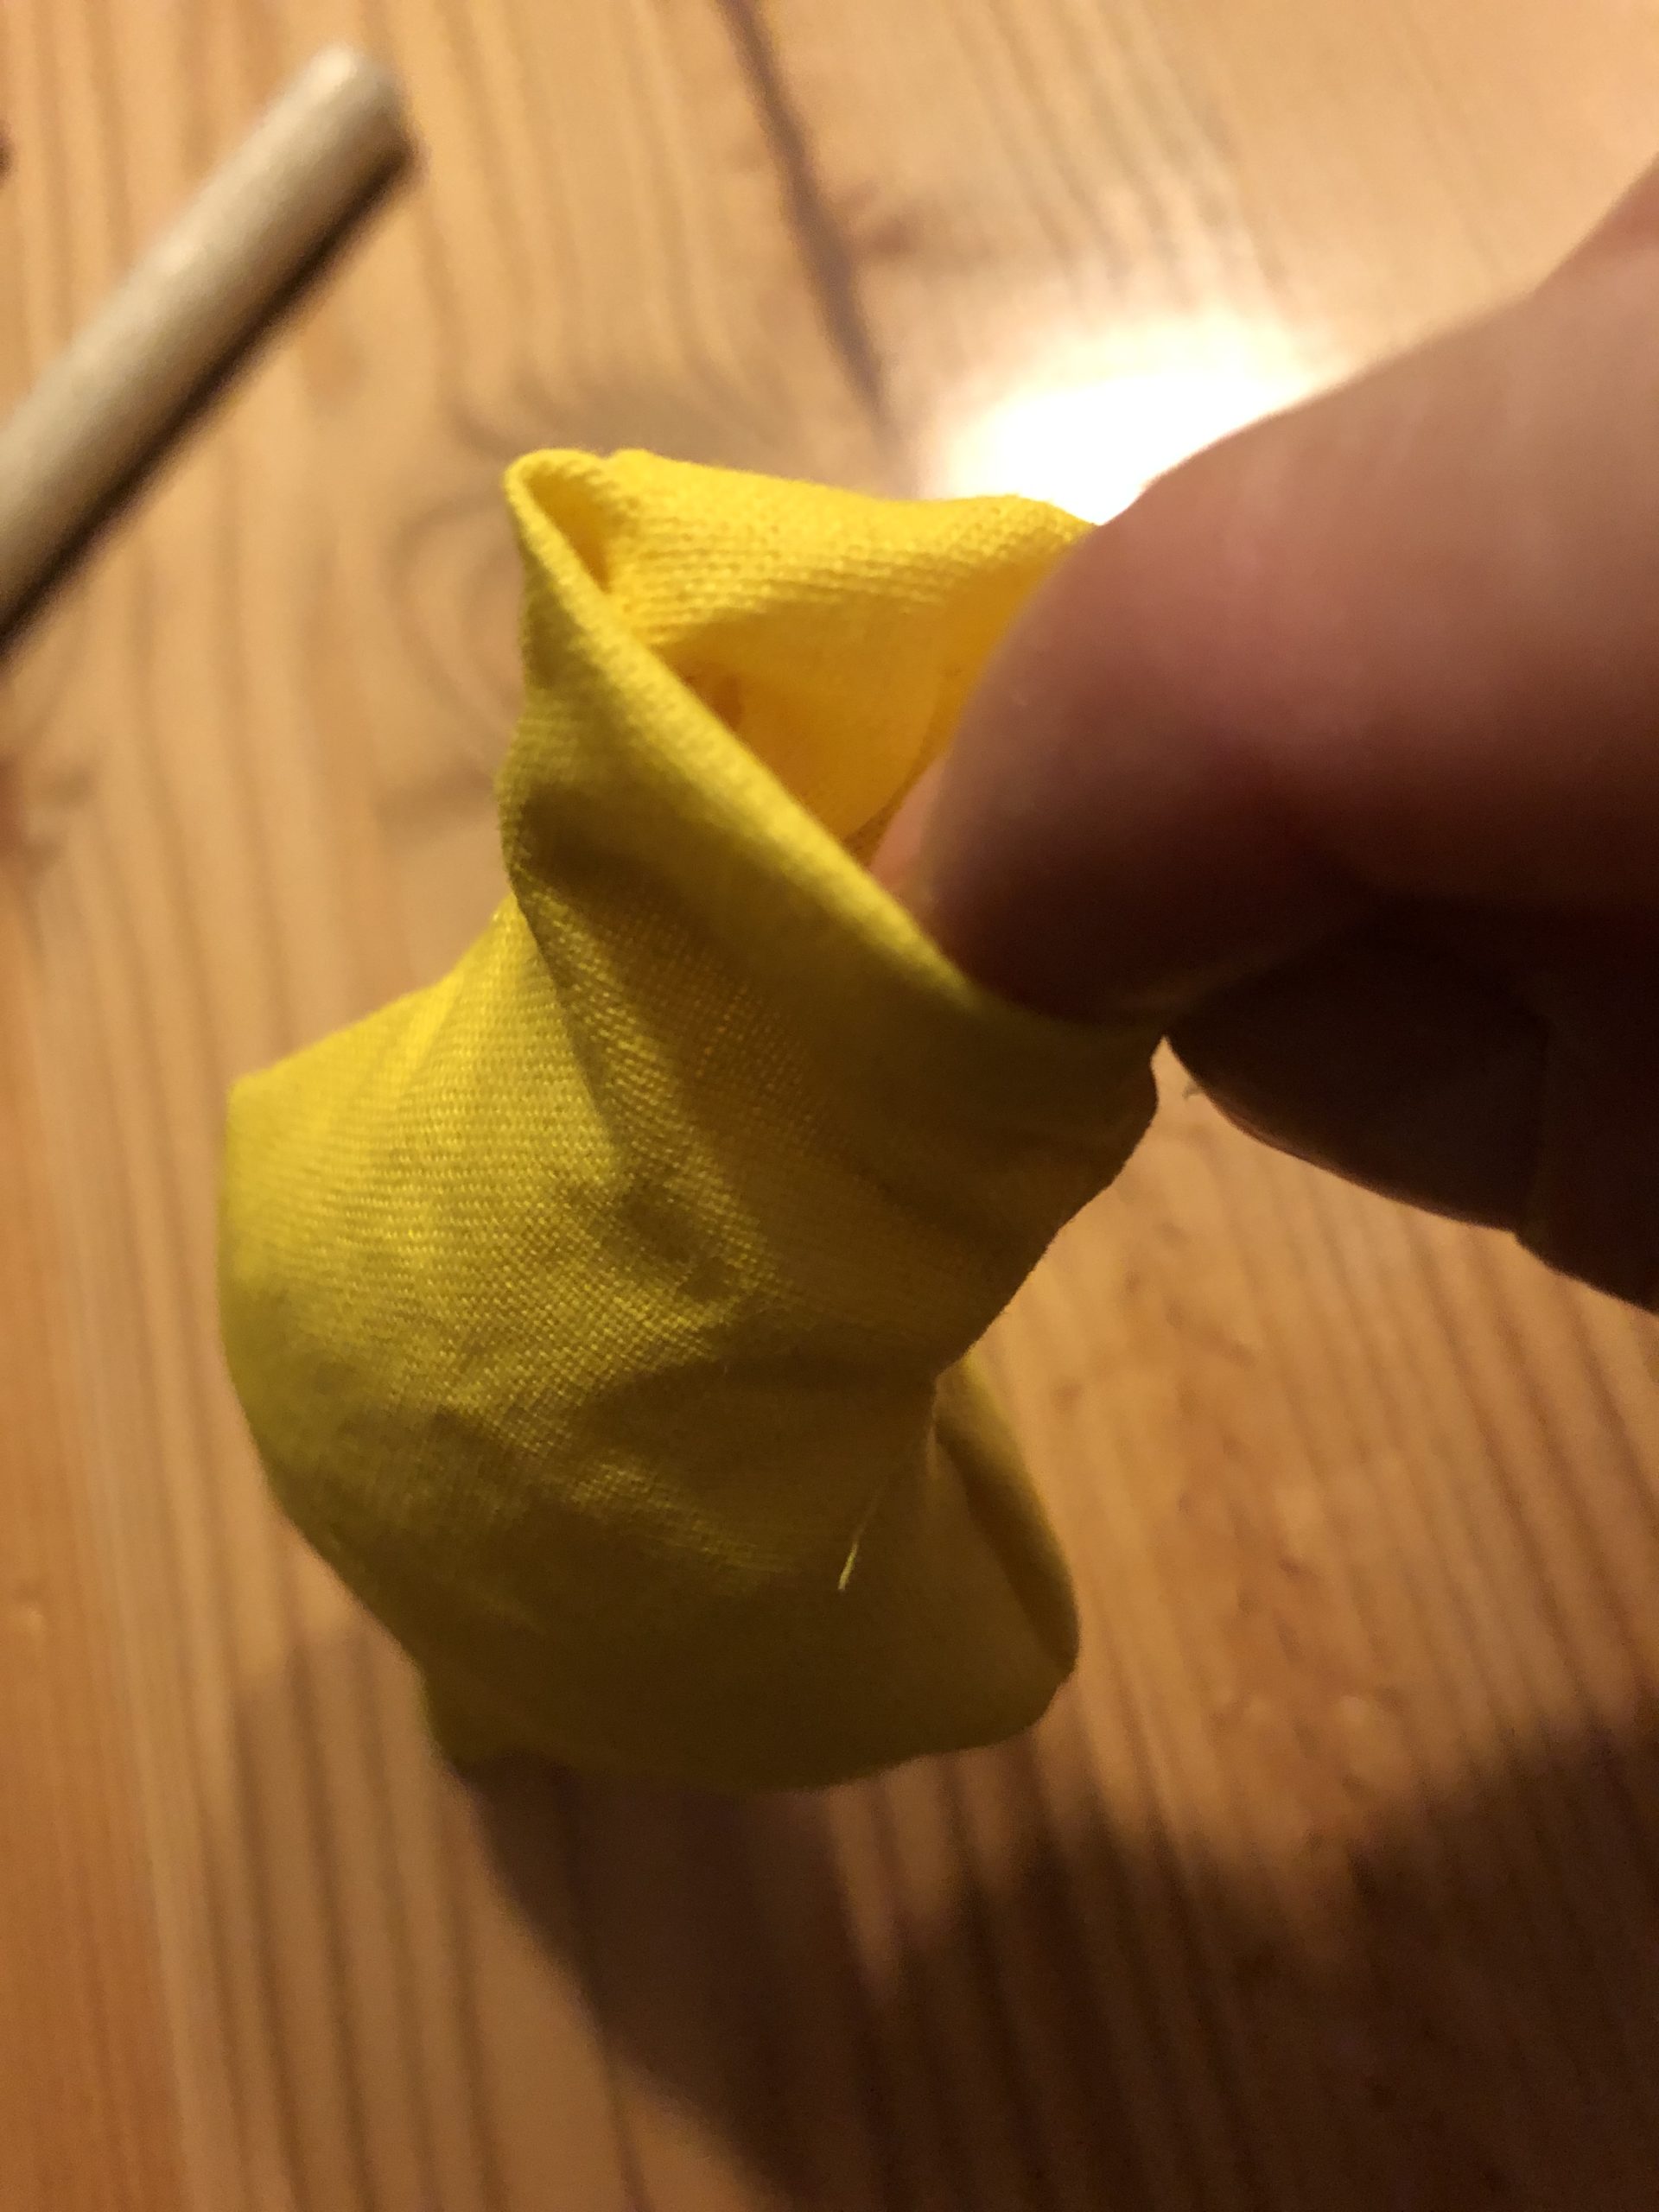


So the straight part disappears almost completely.
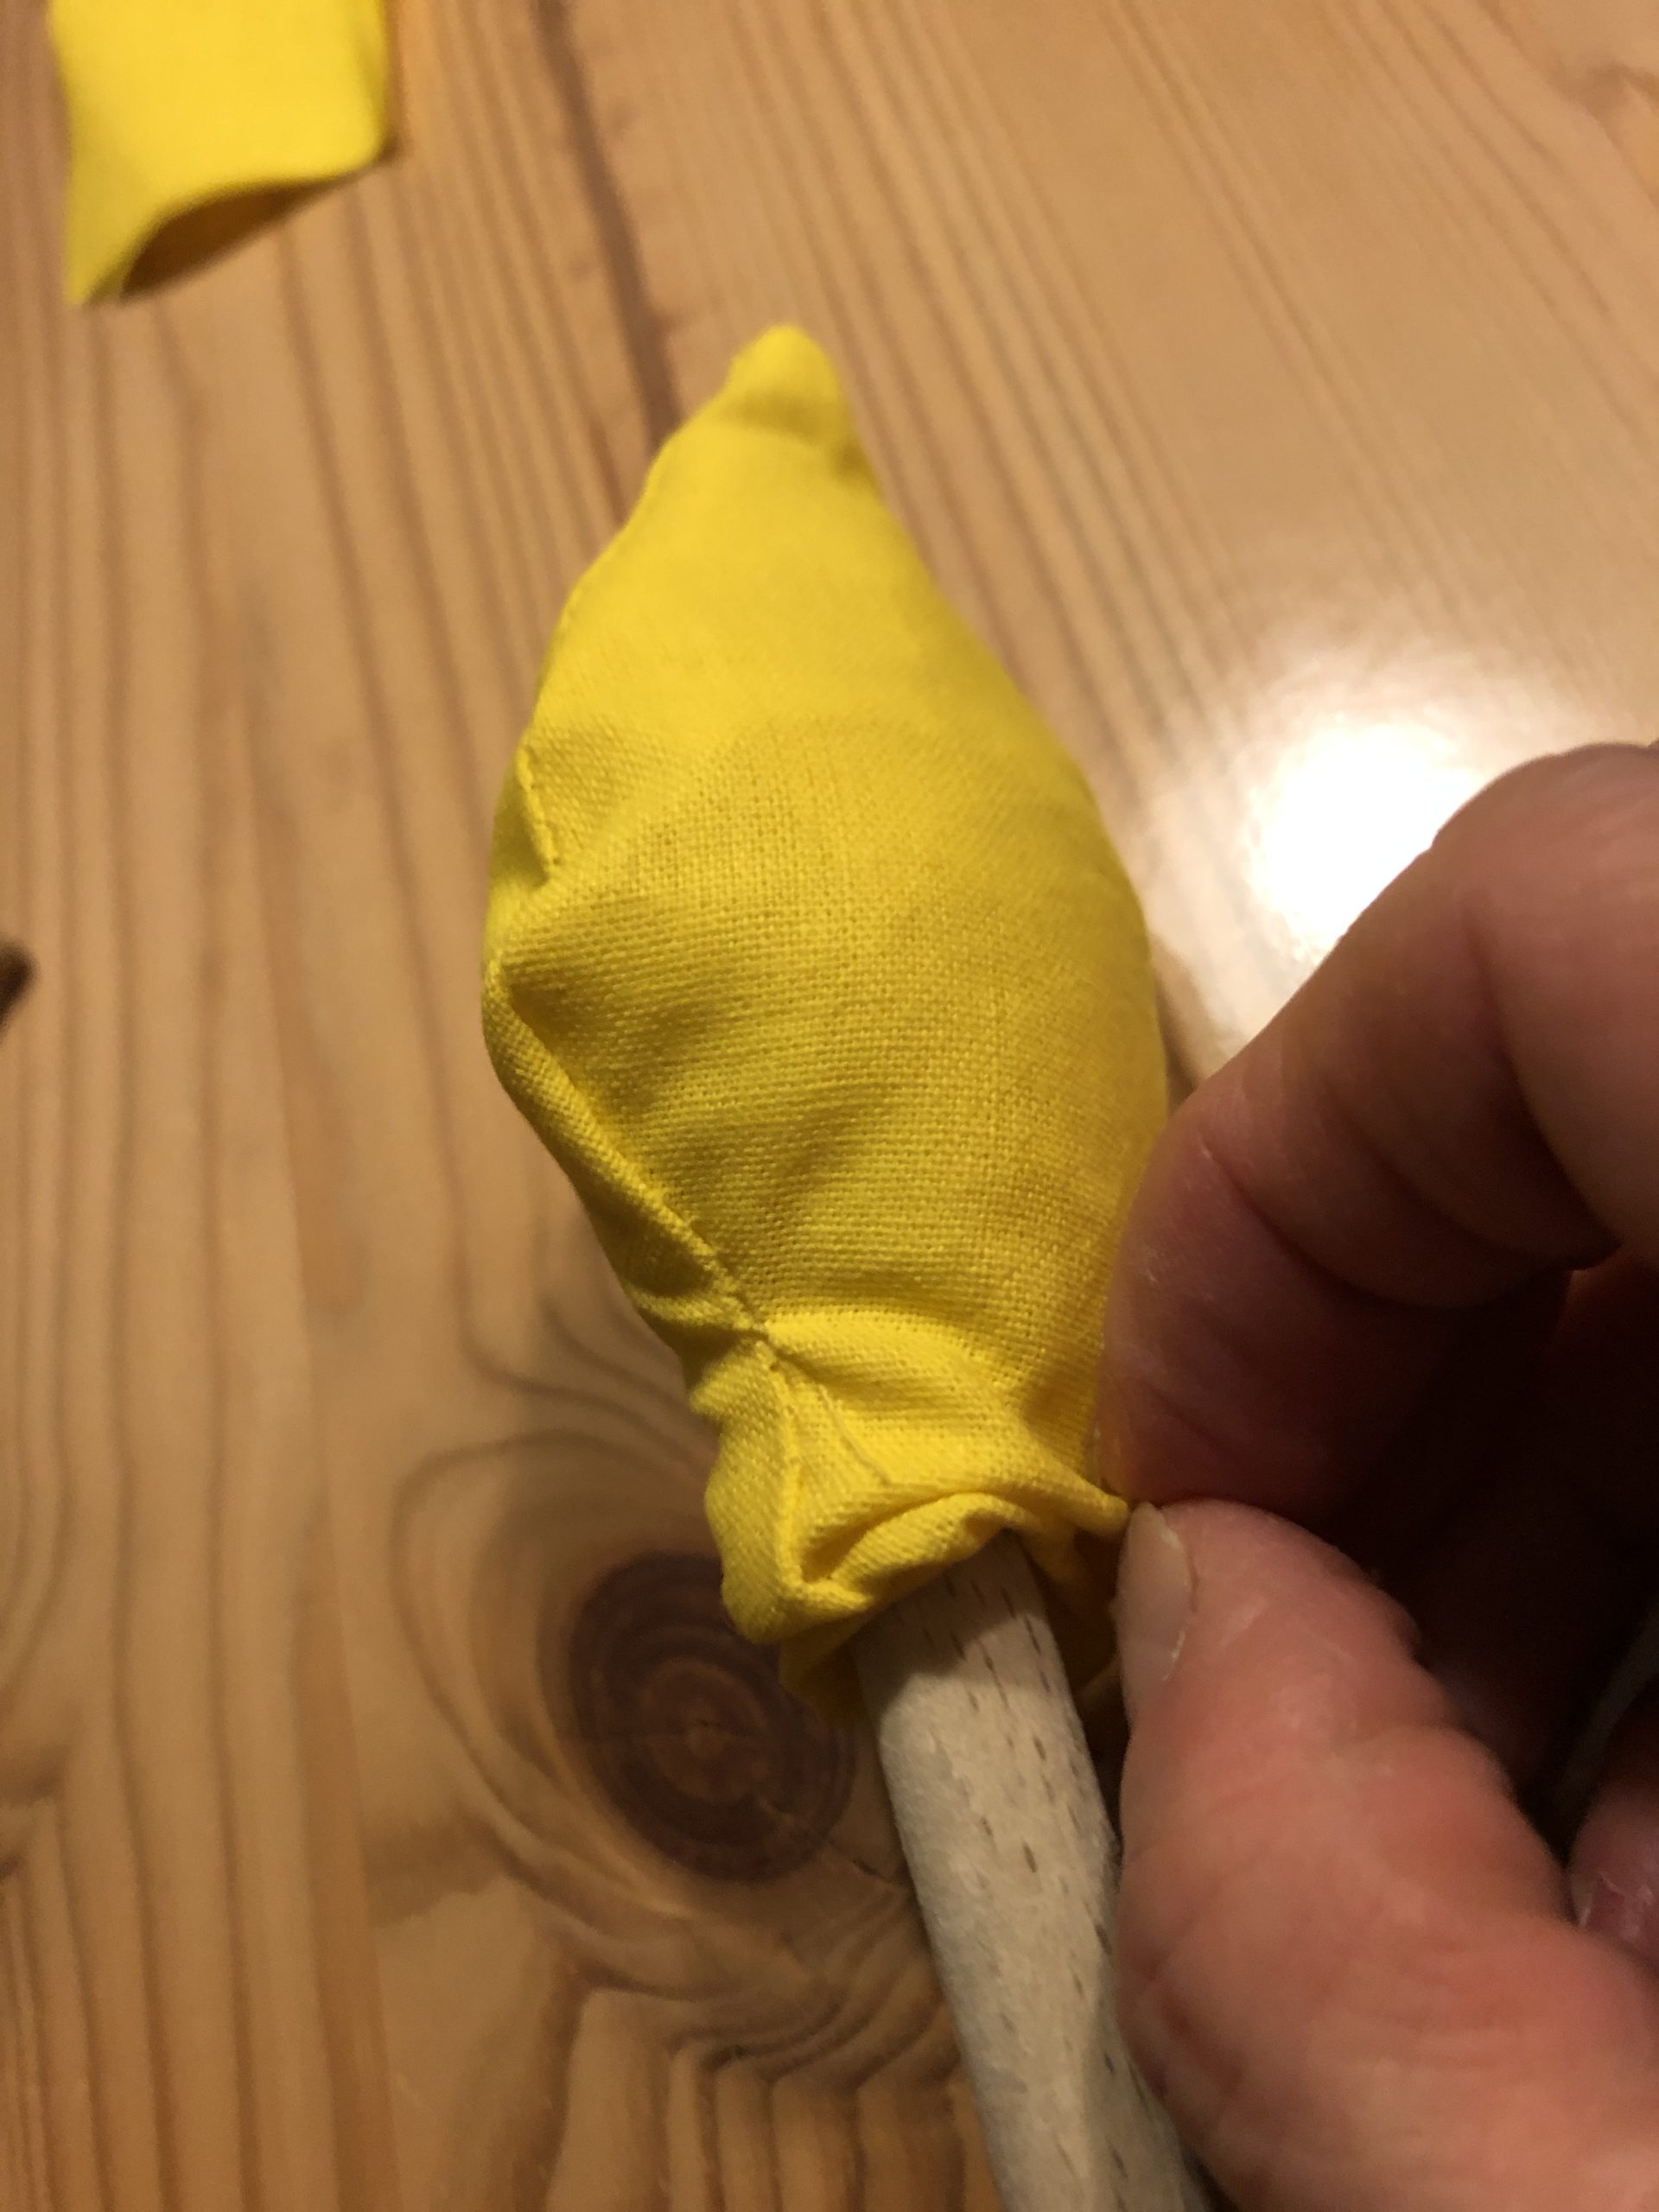


The flame is ready!
You need these four times.


Now put the flames on the wick of candles.
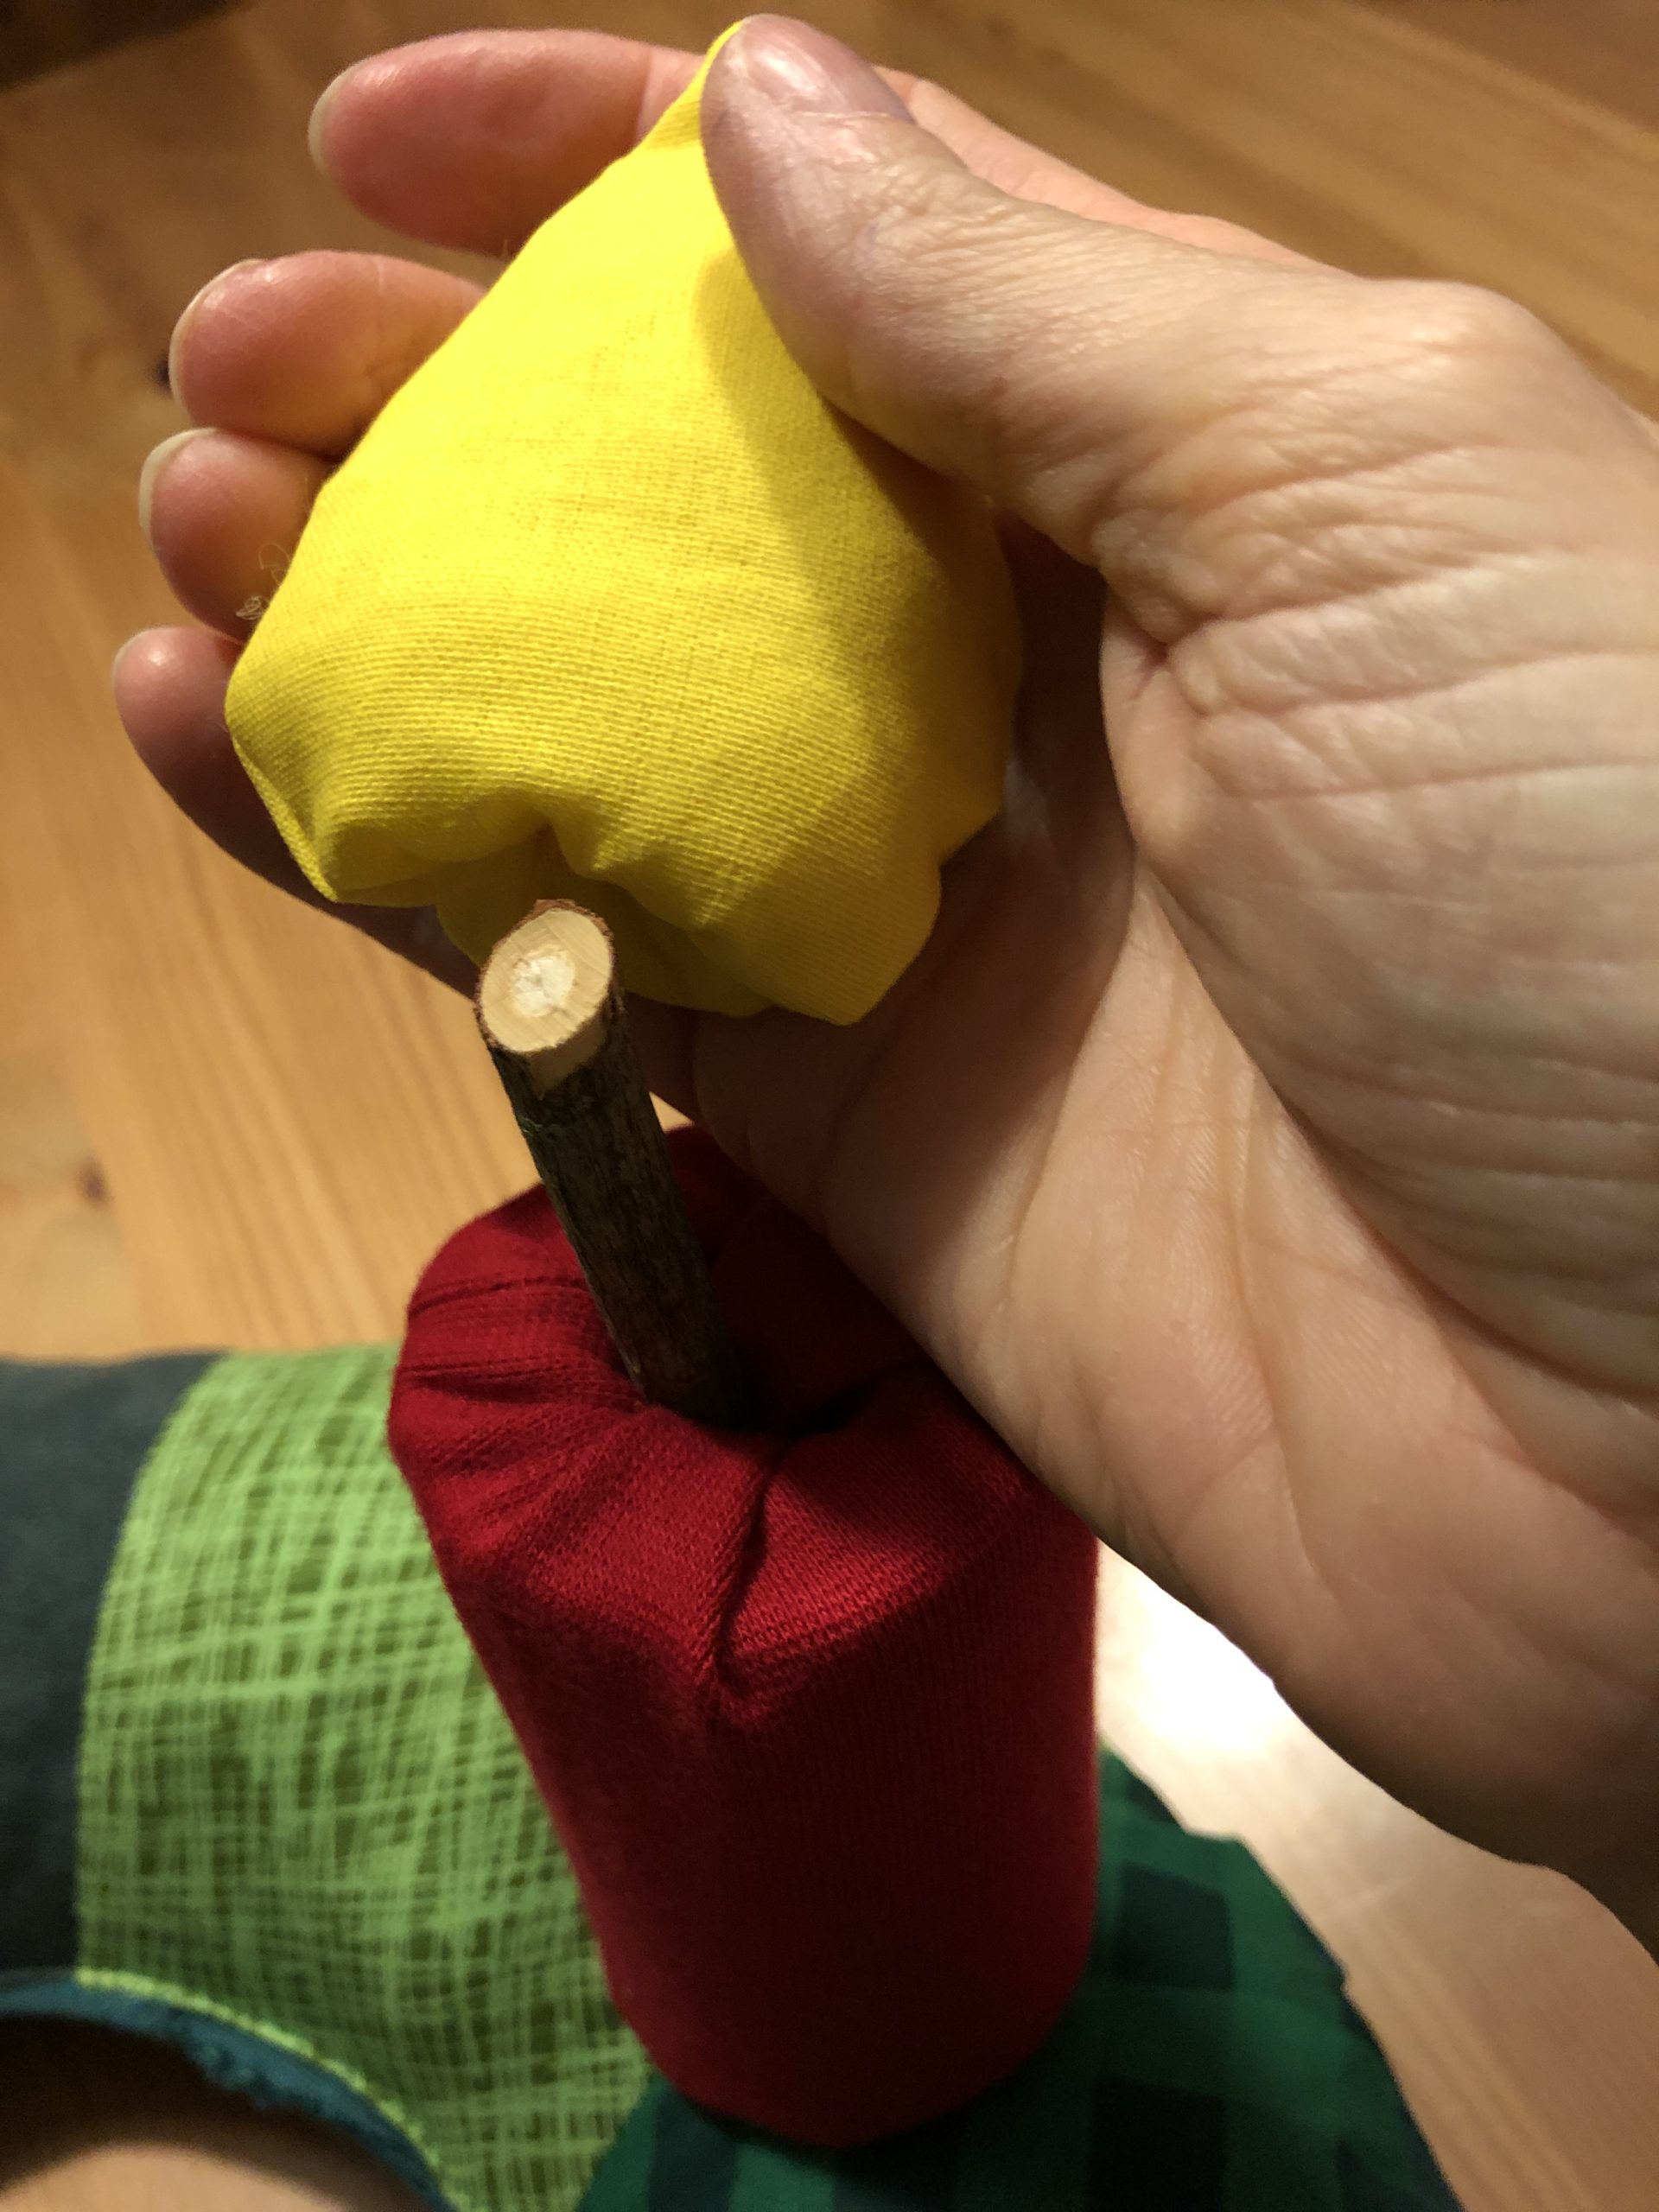


Push it to the wick to keep it good!
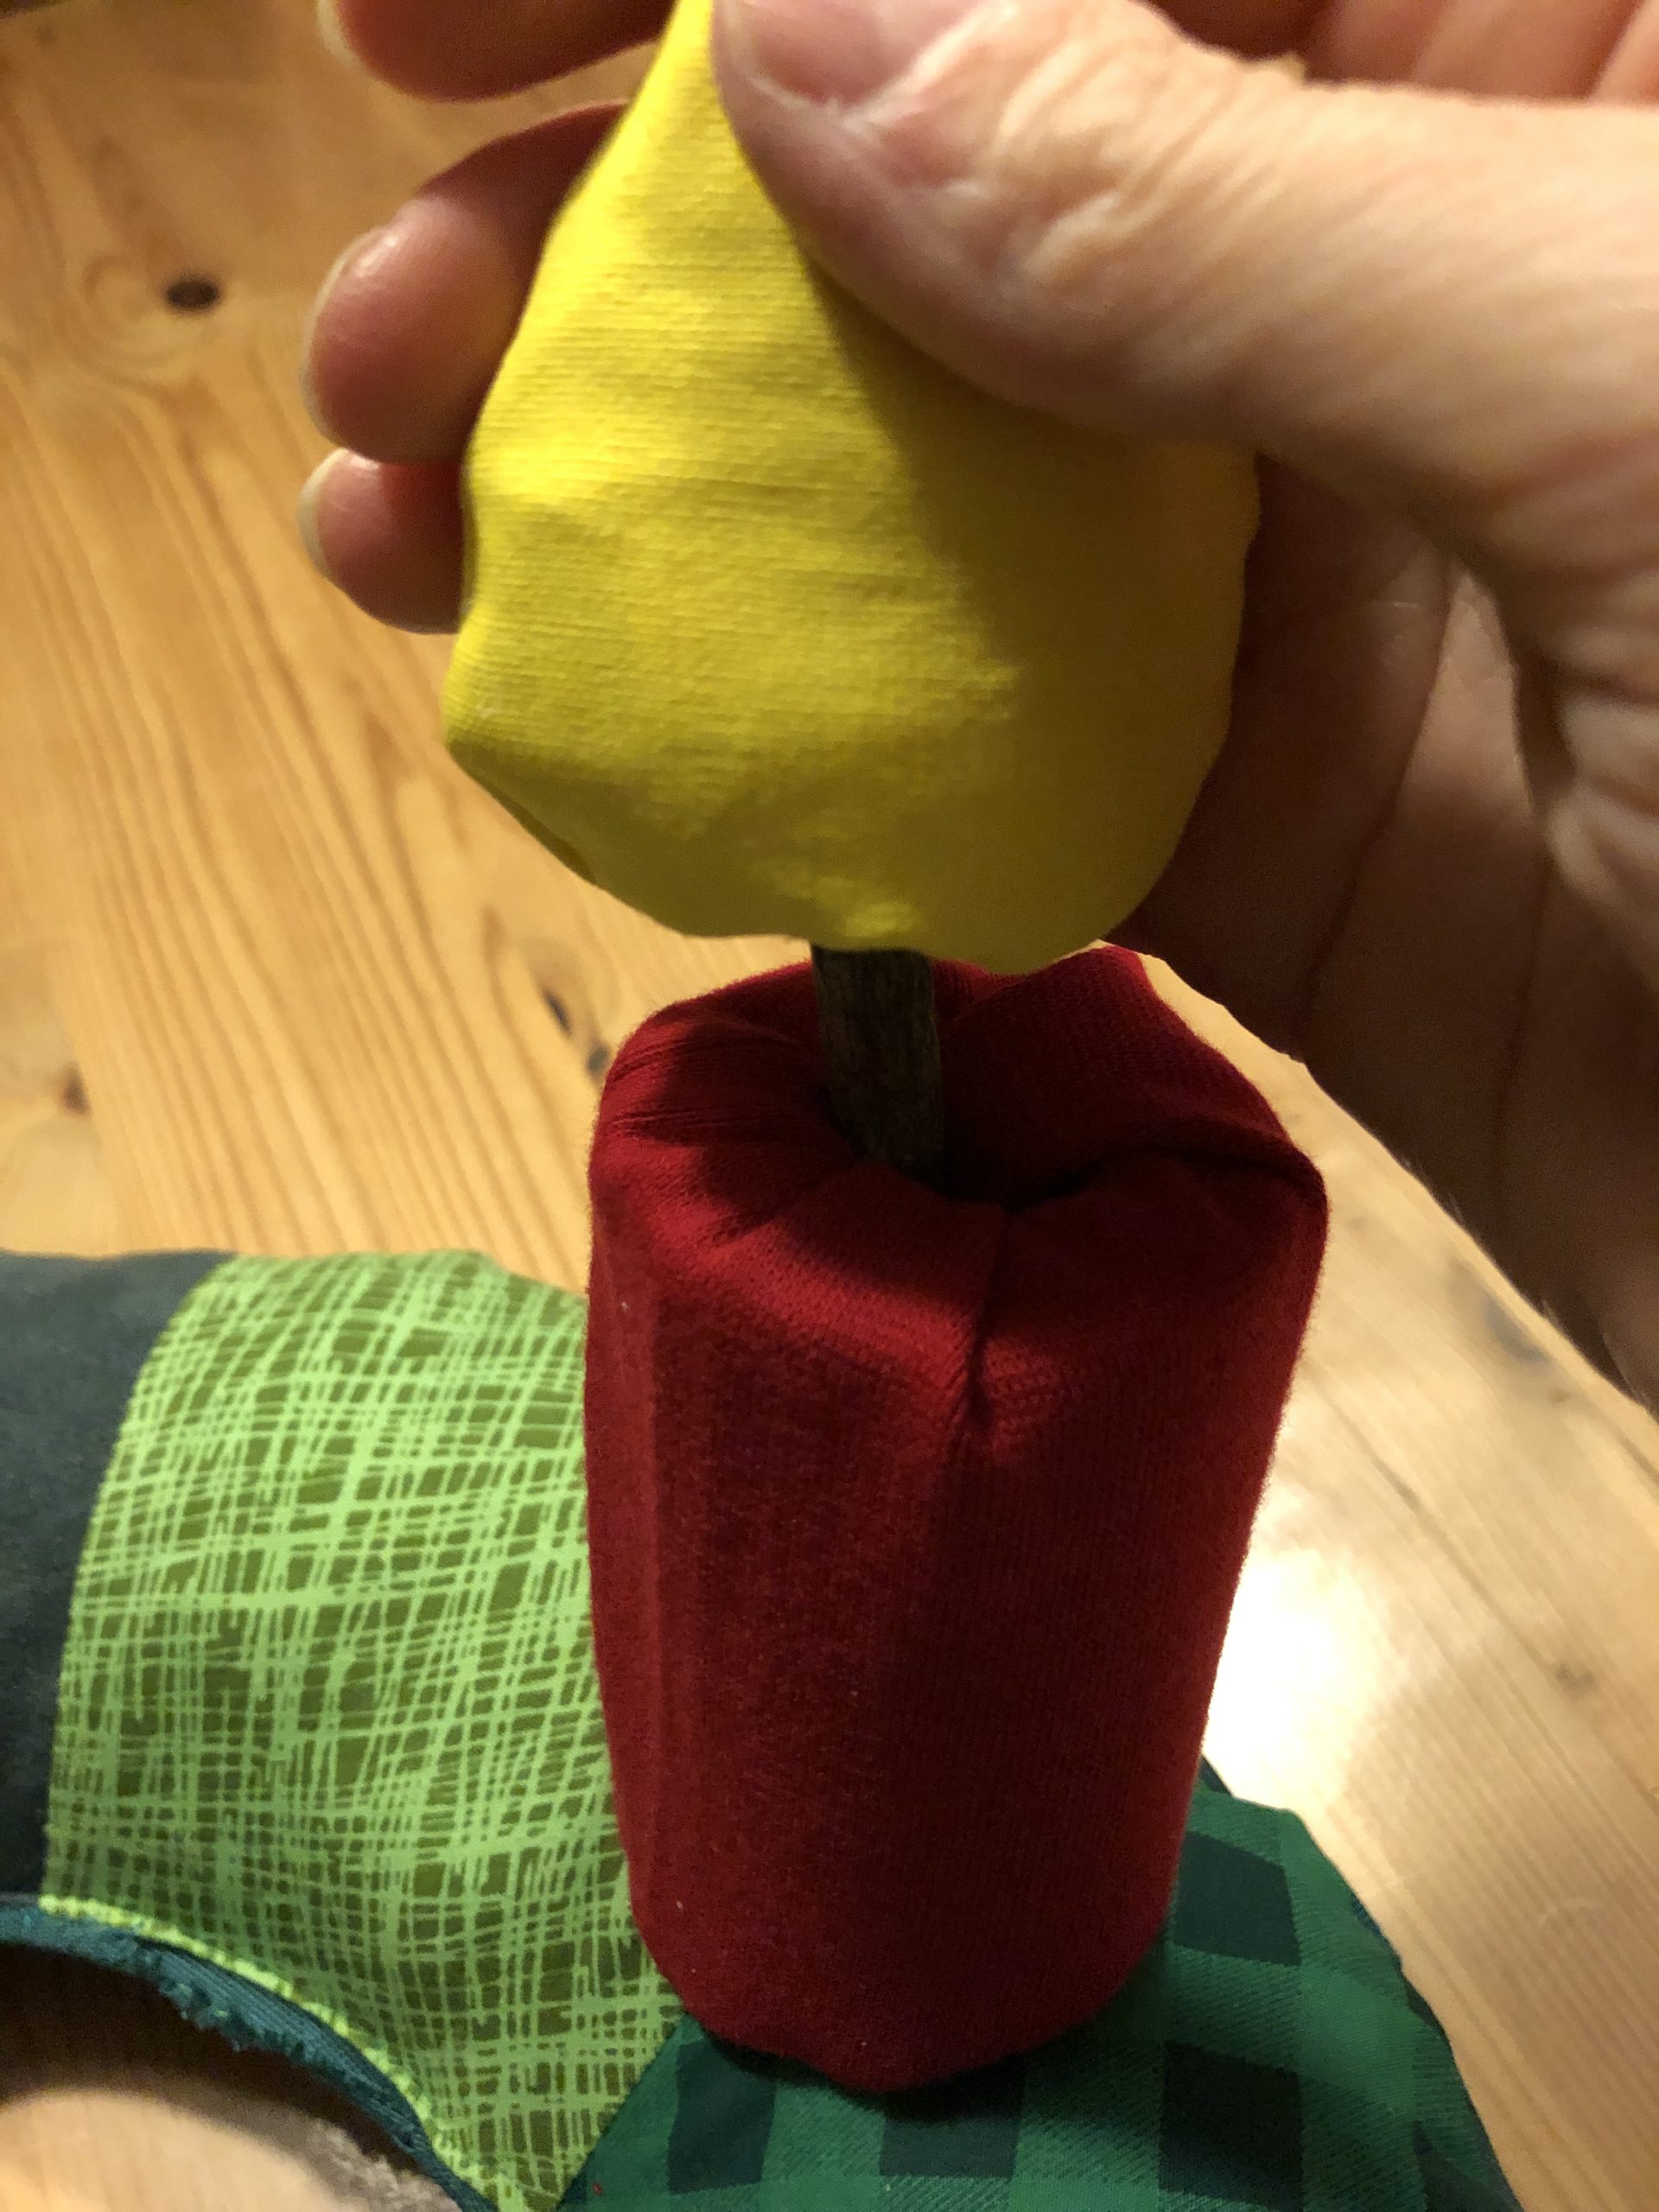


Every Advent Sunday you can put on another flame.
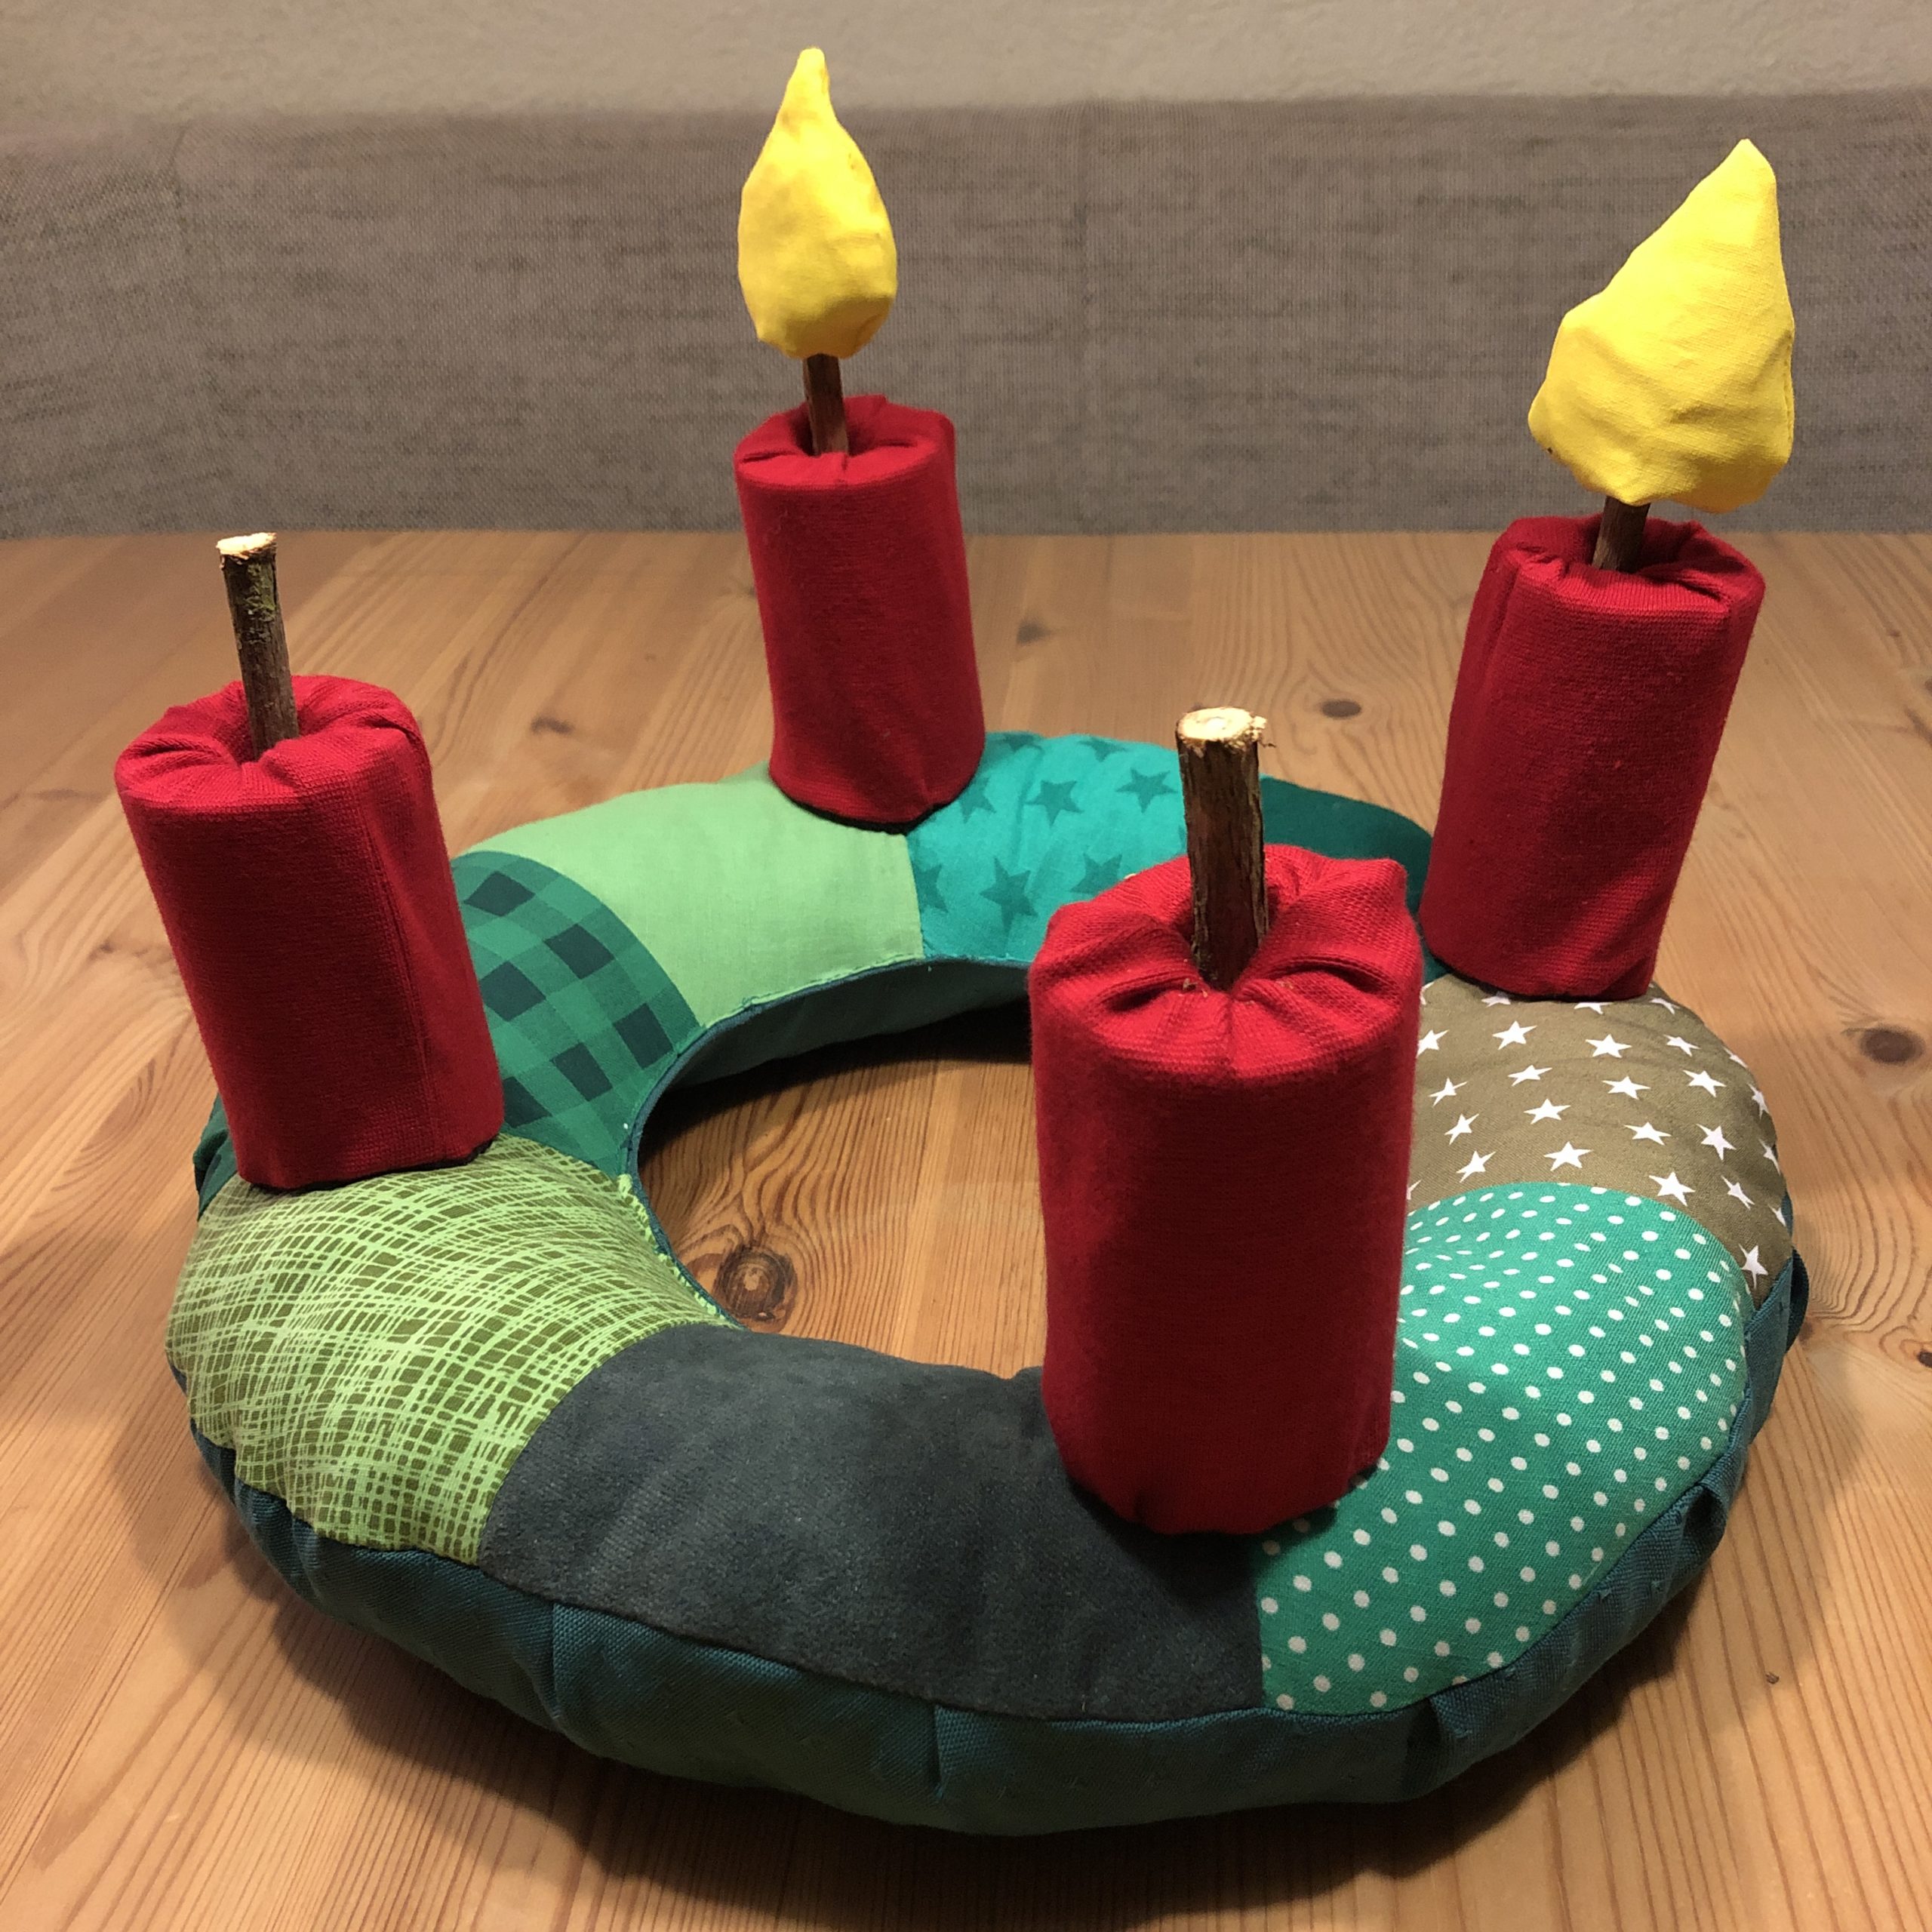


Have a lot of joy with this long-lasting Advent wreath.
And let the little ones experiment. This wreath is for touching and experiencing.
Have fun!
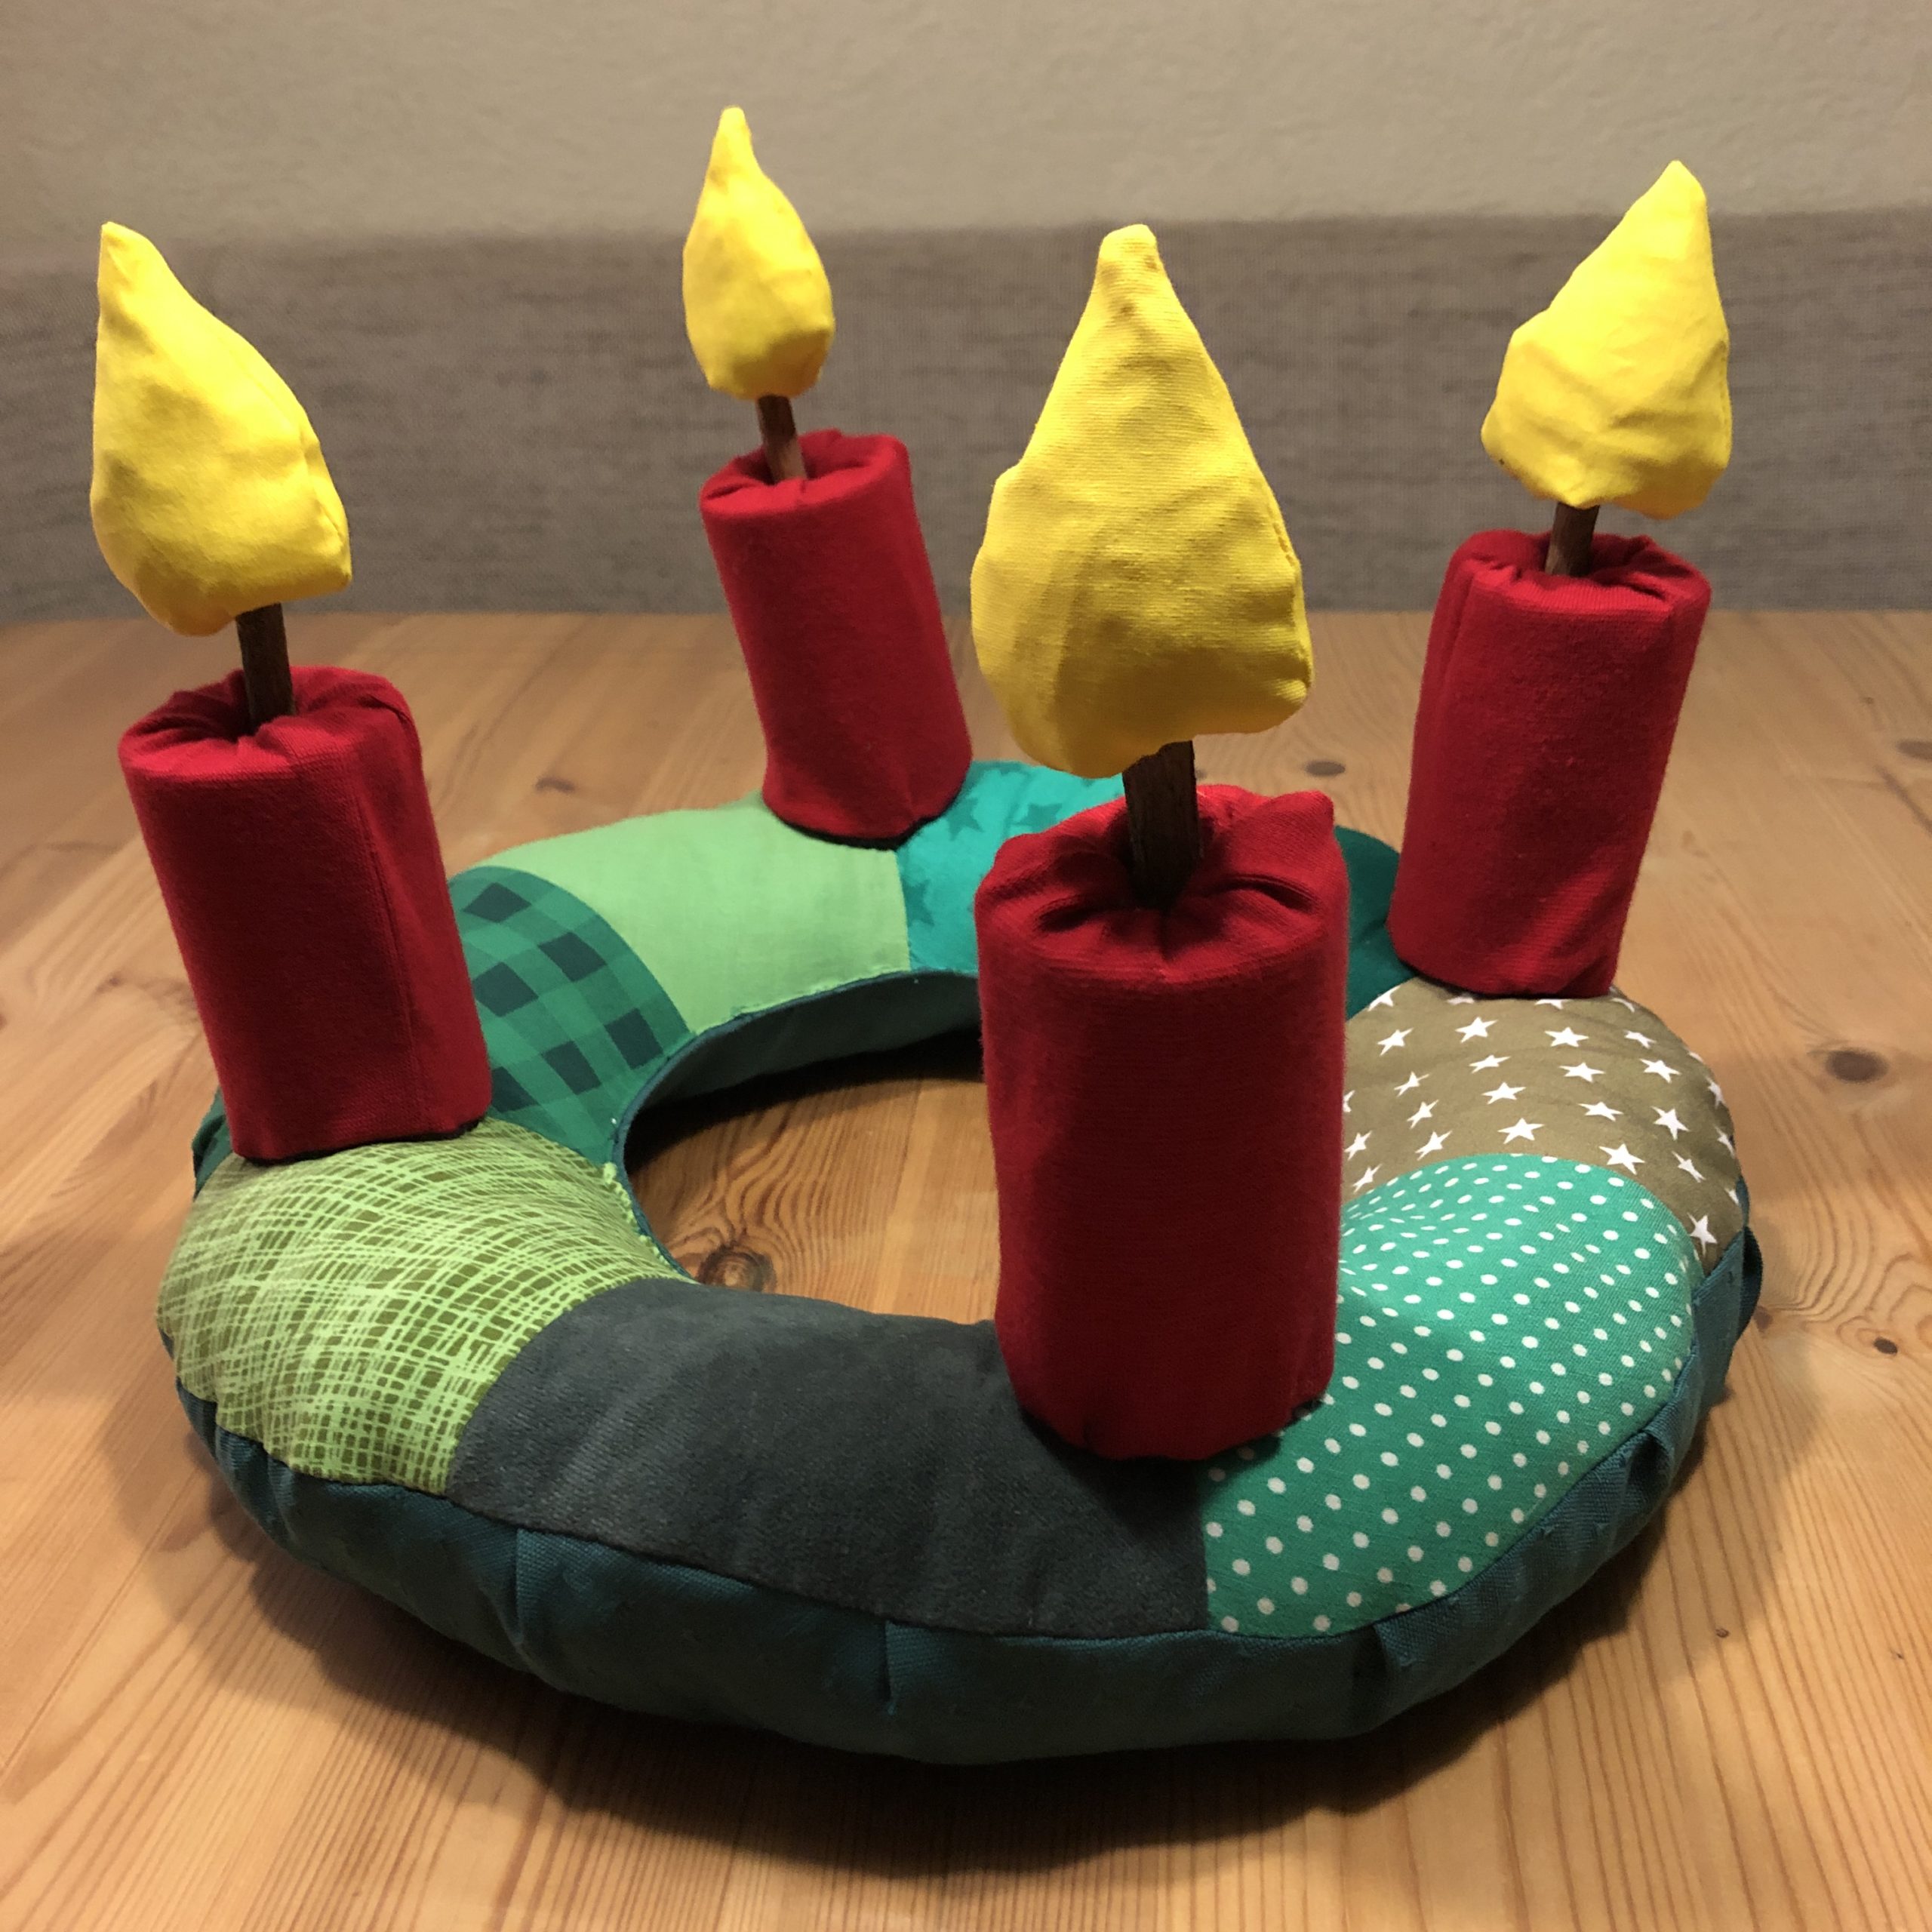


Materials
Directions
Make a template for the circle segment of the wreath. Eight segments result in a circle.
Or print out the template and cut it out.


Choose your fabrics.


Cut four parts from different materials (patterns). Transfer the template to the fabric. Place the template and border it one centimetre larger. Then cut the fabrics.


Put your stuffed parts together in a circle.


Cuts out a second circle from a piece of fabric.
This should be about 3cm larger all around.


Now the fabric parts are sewn together one after the other. To do this, place two pieces of fabric with the beautiful side (right) on each other. Then sew one side together with the sewing machine.


Fix the two pieces of fabric with a pin.


You can still sew off the sewn side with a zigzag stitch.


Then she folds the fabric part apart.


Put together another piece of fabric (with the beautiful sides on top of each other) and sew it together at the following side.


So sew all the fabric parts together all around until the circle is closed.


Now the circle is closed.


Do not forget to line the individual seams with a zigzag stitch.


In the center of the circle a small circle has to be cut out.
This is how a wreath is created. Take a cup or a bowl to draw on.


Cut out the circle.


Now iron the seams on the back.


Then also cuts out a small circle from the rear part.


Put the two circles together with the beautiful sides (right).
Then she's stuck with pins.


Then you also fix the fabric around the outside with pins.
Make sure that you take out the edge of the fabric and always stick in the middle of the fabric with needles.


Now you sew the outer edge together with the sewing machine.


Then you turn the circle of cloth.


The inner open edges of the ring are now about half a centimetre from both sides and stick it together with pins.


Now you sew it together with the sewing machine.
Leave at least 5 cm of seam open for filling.


Through the open seam, the fabric wreath is now stuffed with filling material.


A toilet roll and a cooking spoon are suitable as an aid for filling.


Push the filling material through the toilet roll into the curvatures of the wreath with a cooking spoon.


If the wreath is evenly filled, the open seam is closed with needle and thread.


The wreath is ready!
First cut a piece of foam pipe insulation to the desired length of the candle. This works very well with a cutter knife.
Then cut the fabric for the candle. To do this, wrap the foam with the fabric and add 2cm of fabric at the top, bottom and side.


Put the fabric with the beautiful side (right) up on the table. Then wrap the roll with it. The beautiful side is inside, directly on the foam.
Now you mark yourself with a pen on the longitudinal side, where you sew the fabric together afterwards. Let the fabric lie loose so that you don't draw too tight. Otherwise you won't get the fabric over the roll afterwards.


Remove the roll. Then sew the fabric lengthwise to a hose. Up and down the hose remains open.


A circle in the diameter of the pipe insulation is required from a solid fabric. Paint it up and cut it out.


Now attach the circle to one end of the red tube.


Now you sew this one.


Now you turn the red fabric around.


She hasn't put the pipe insulation in her candle shell yet.


For first you sew the candle cover with your hand and needle and thread on the wreath.


Then you can insert the pipe insulation.


Push the pipe insulation all the way down and stuff the overhanging fabric into the middle of the hole.


Uses a piece of branch with approx.15cm length, so that the candles stand stable with the flame.


Now you put this one in the hole.


This is the wick of the candle.


Then you sew all four candles after exactly the same process.


Now all we need is the flames of the candles.
Print out the template for the flame or paint yourself a flame of this kind.
Tip: Make sure that the straight shaft is not too narrow, otherwise you can't turn your sewn flame around!


Transfer the cut to the fabric and cut two parts of the template. Cuts on the outer line. The inner line symbolizes the sewing seam.


Now you put both pieces of fabric together with the beautiful side (right).


With a pin you fix the fabrics.
With the sewing machine you sew the two fabric parts together. For this you sew on the inner line of the template.
The straight side at the lower end remains open!


Now you're turning the flame around.


Take a pen to squeeze out the flame.


Now fill the flame with fabric residue.
The straight part of the flame is not filled.


The filled piece of the flame is sewn with a zigzag stitch. This seam doesn't have to be perfect, it is pushed inward and is not visible!


With one finger you now carefully push the straight piece inwards (as with a finger doll!?)


So the straight part disappears almost completely.


The flame is ready!
You need these four times.


Now put the flames on the wick of candles.


Push it to the wick to keep it good!


Every Advent Sunday you can put on another flame.


Have a lot of joy with this long-lasting Advent wreath.
And let the little ones experiment. This wreath is for touching and experiencing.
Have fun!


Follow us on Facebook , Instagram and Pinterest
Don't miss any more adventures: Our bottle mail




Dear Katzi,
This is a tremendous adventure – beautiful!
I'm sorry, I'm sorry, but I'm sorry, but I'm sorry, but I'm sorry, but I'm sorry, but I'm sorry.