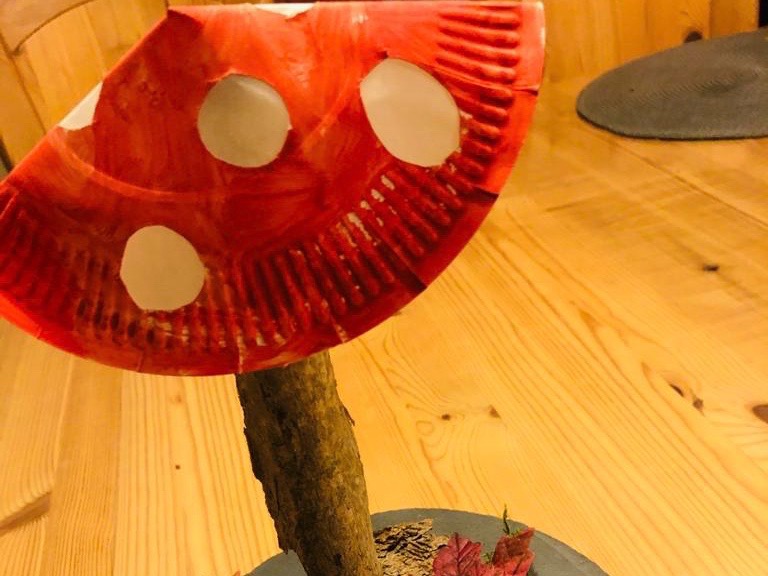
In autumn the mushrooms sprout everywhere from the ground! They are great to look at and fascinate children. Therefore I show you a craft idea for a mushroom, which you can easily implement with a few materials. Make the mushroom head from a small cardboard plate. Find a thick branch as a mushroom stalk and collect some moss, bark and a few leaves. Then you can also start with the craft action.
Media Education for Kindergarten and Hort

Relief in everyday life, targeted promotion of individual children, independent learning and - without any pre-knowledge already usable by the youngest!
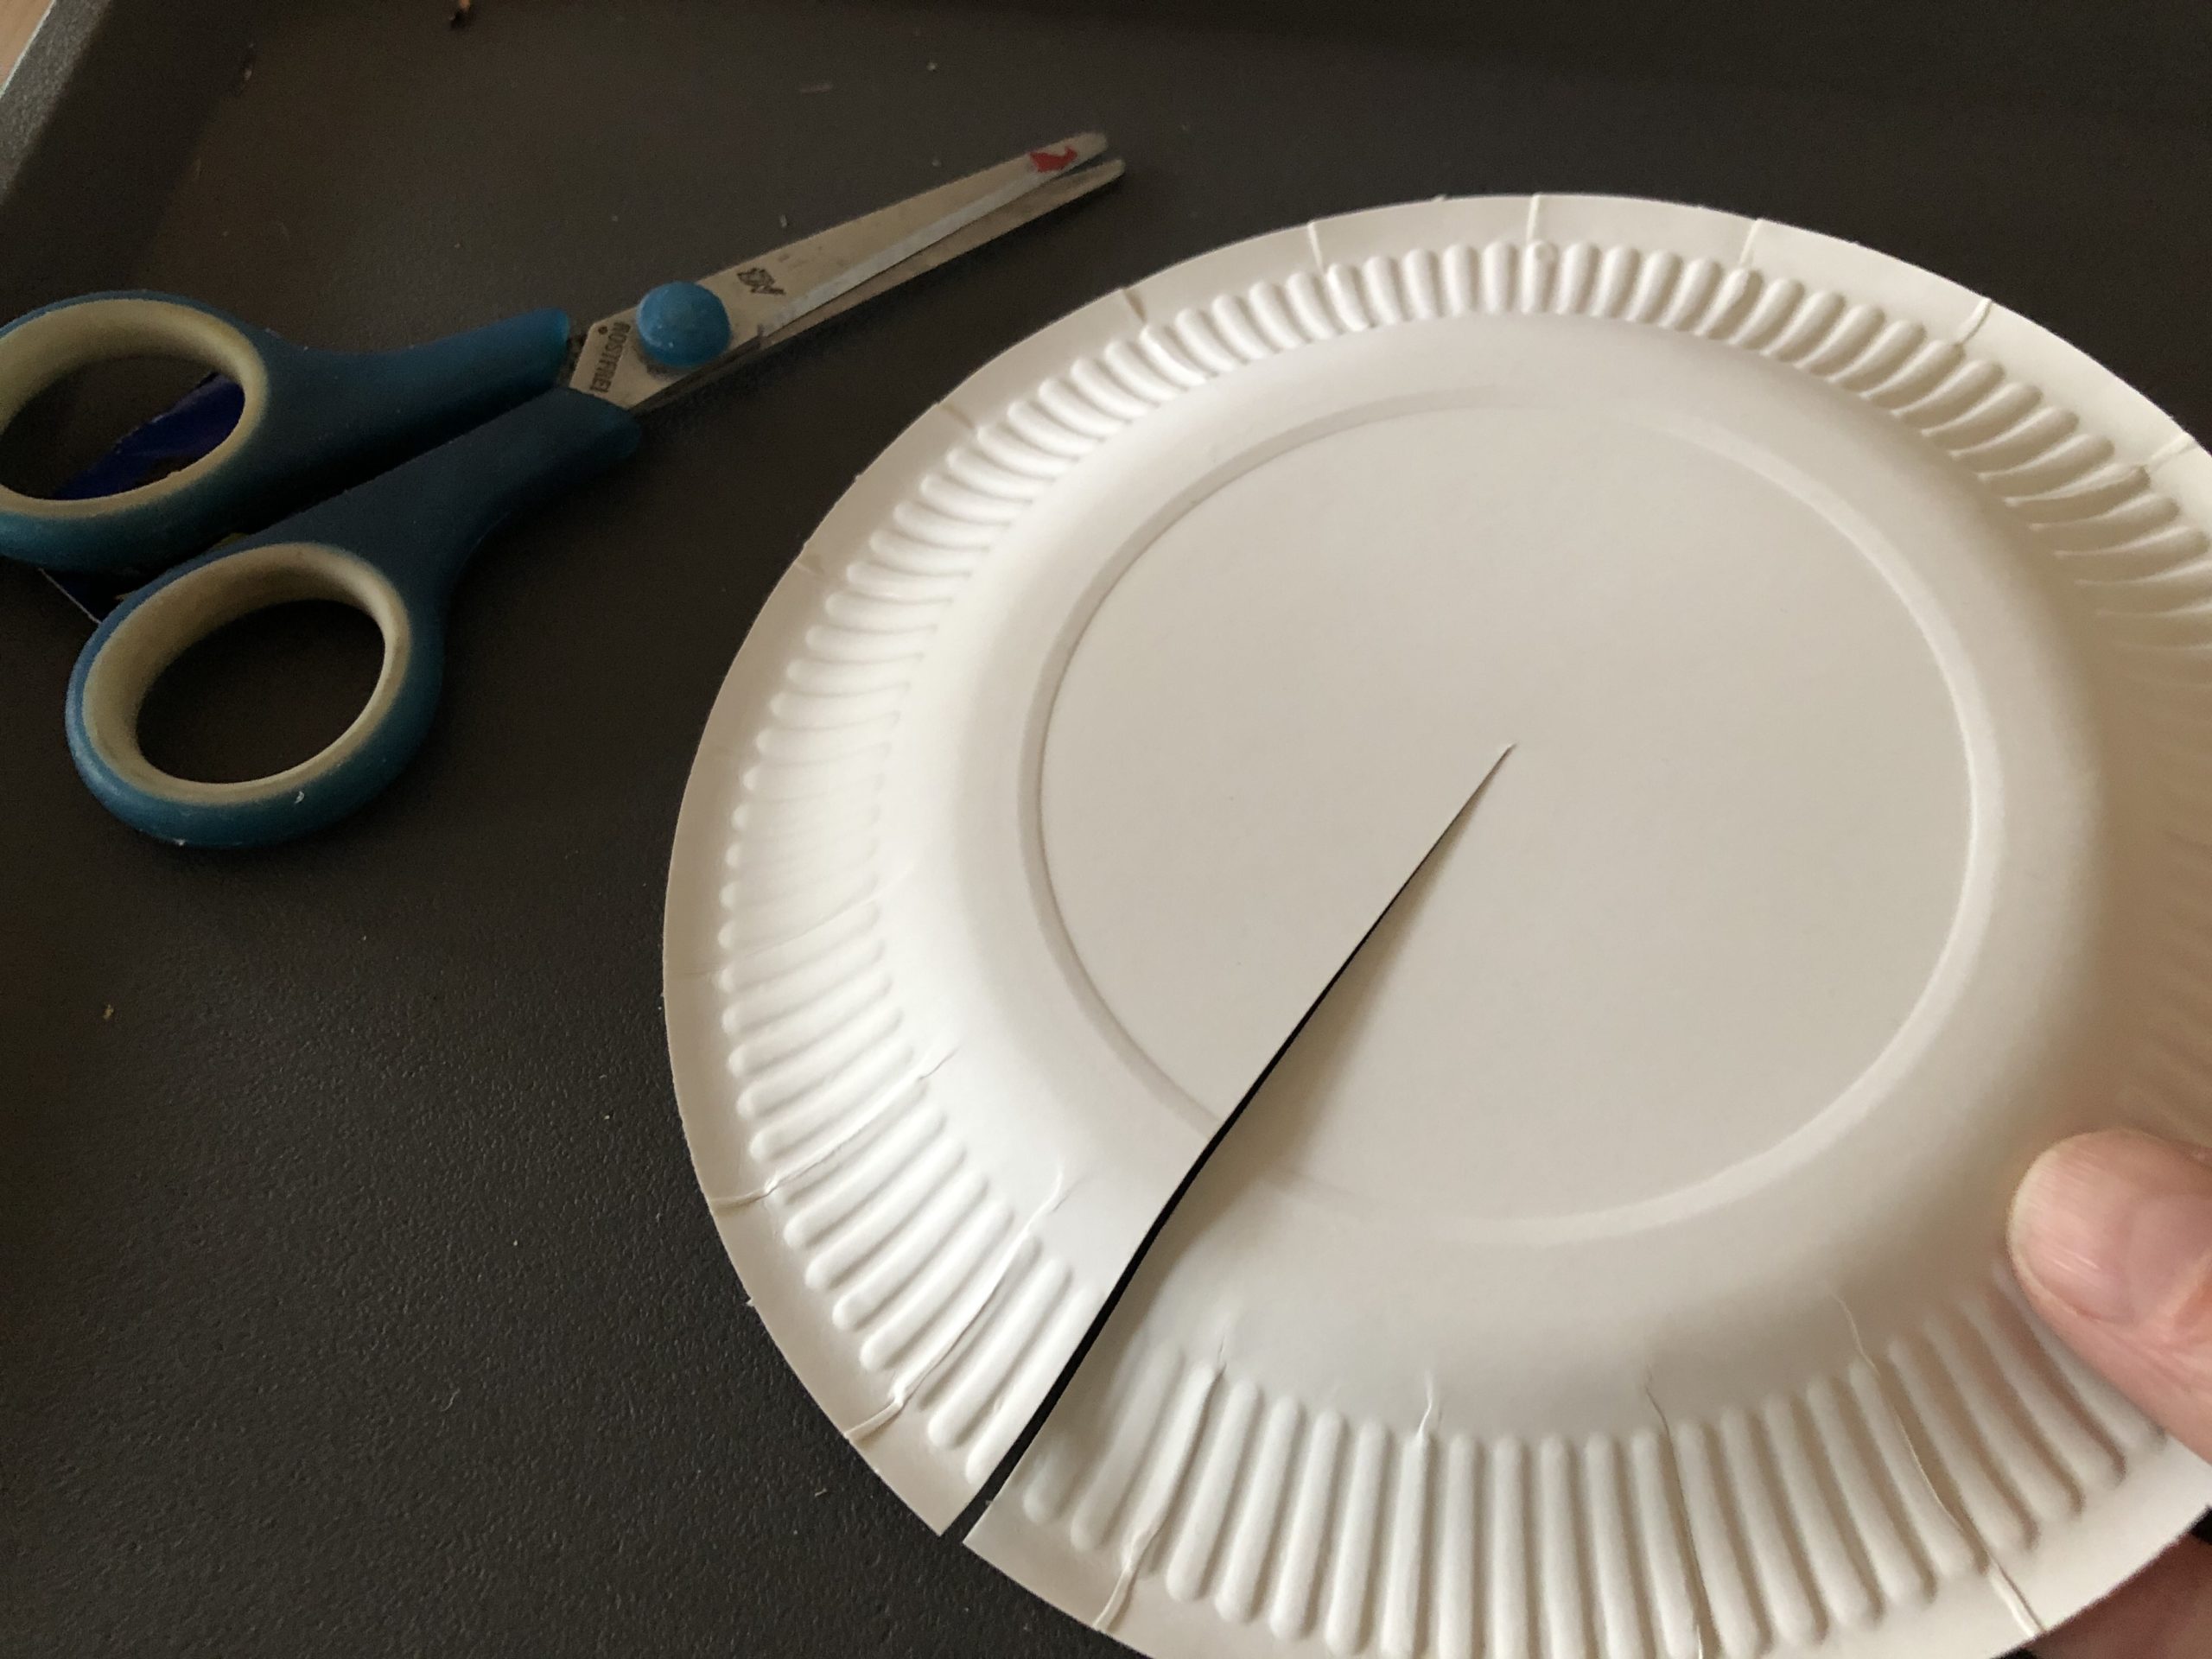
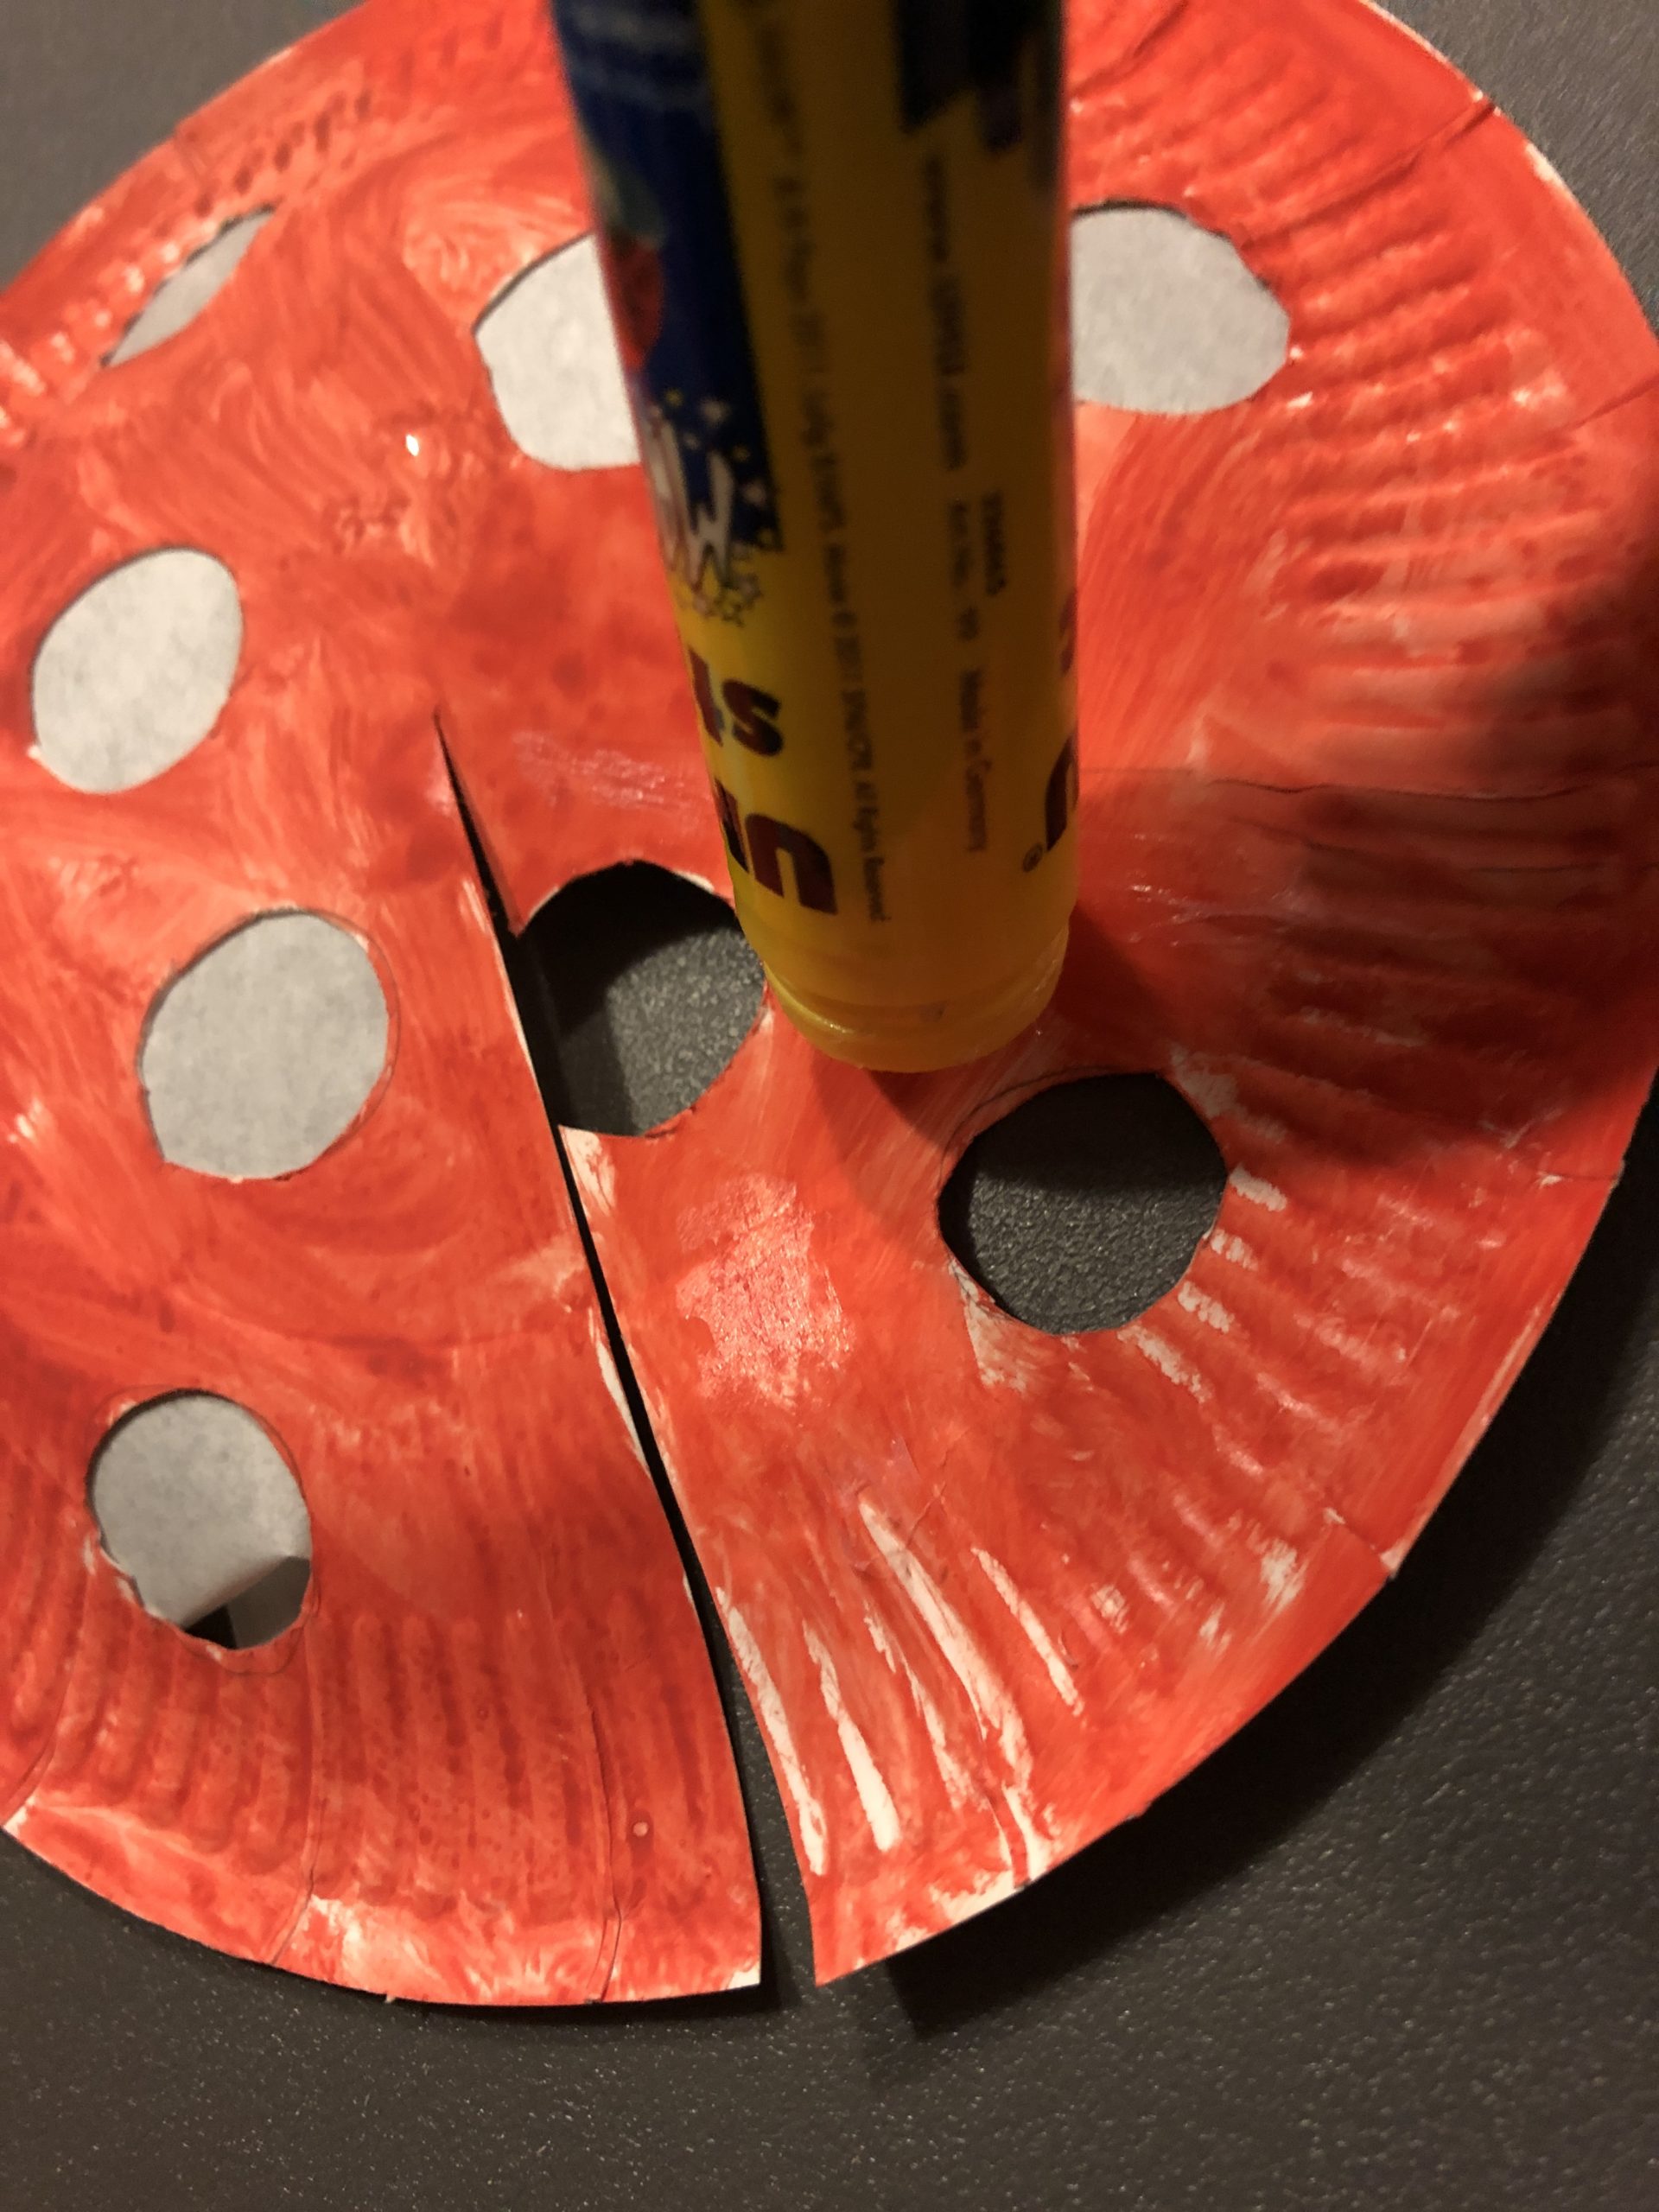
Cut a cardboard plate with the scissors to the middle.
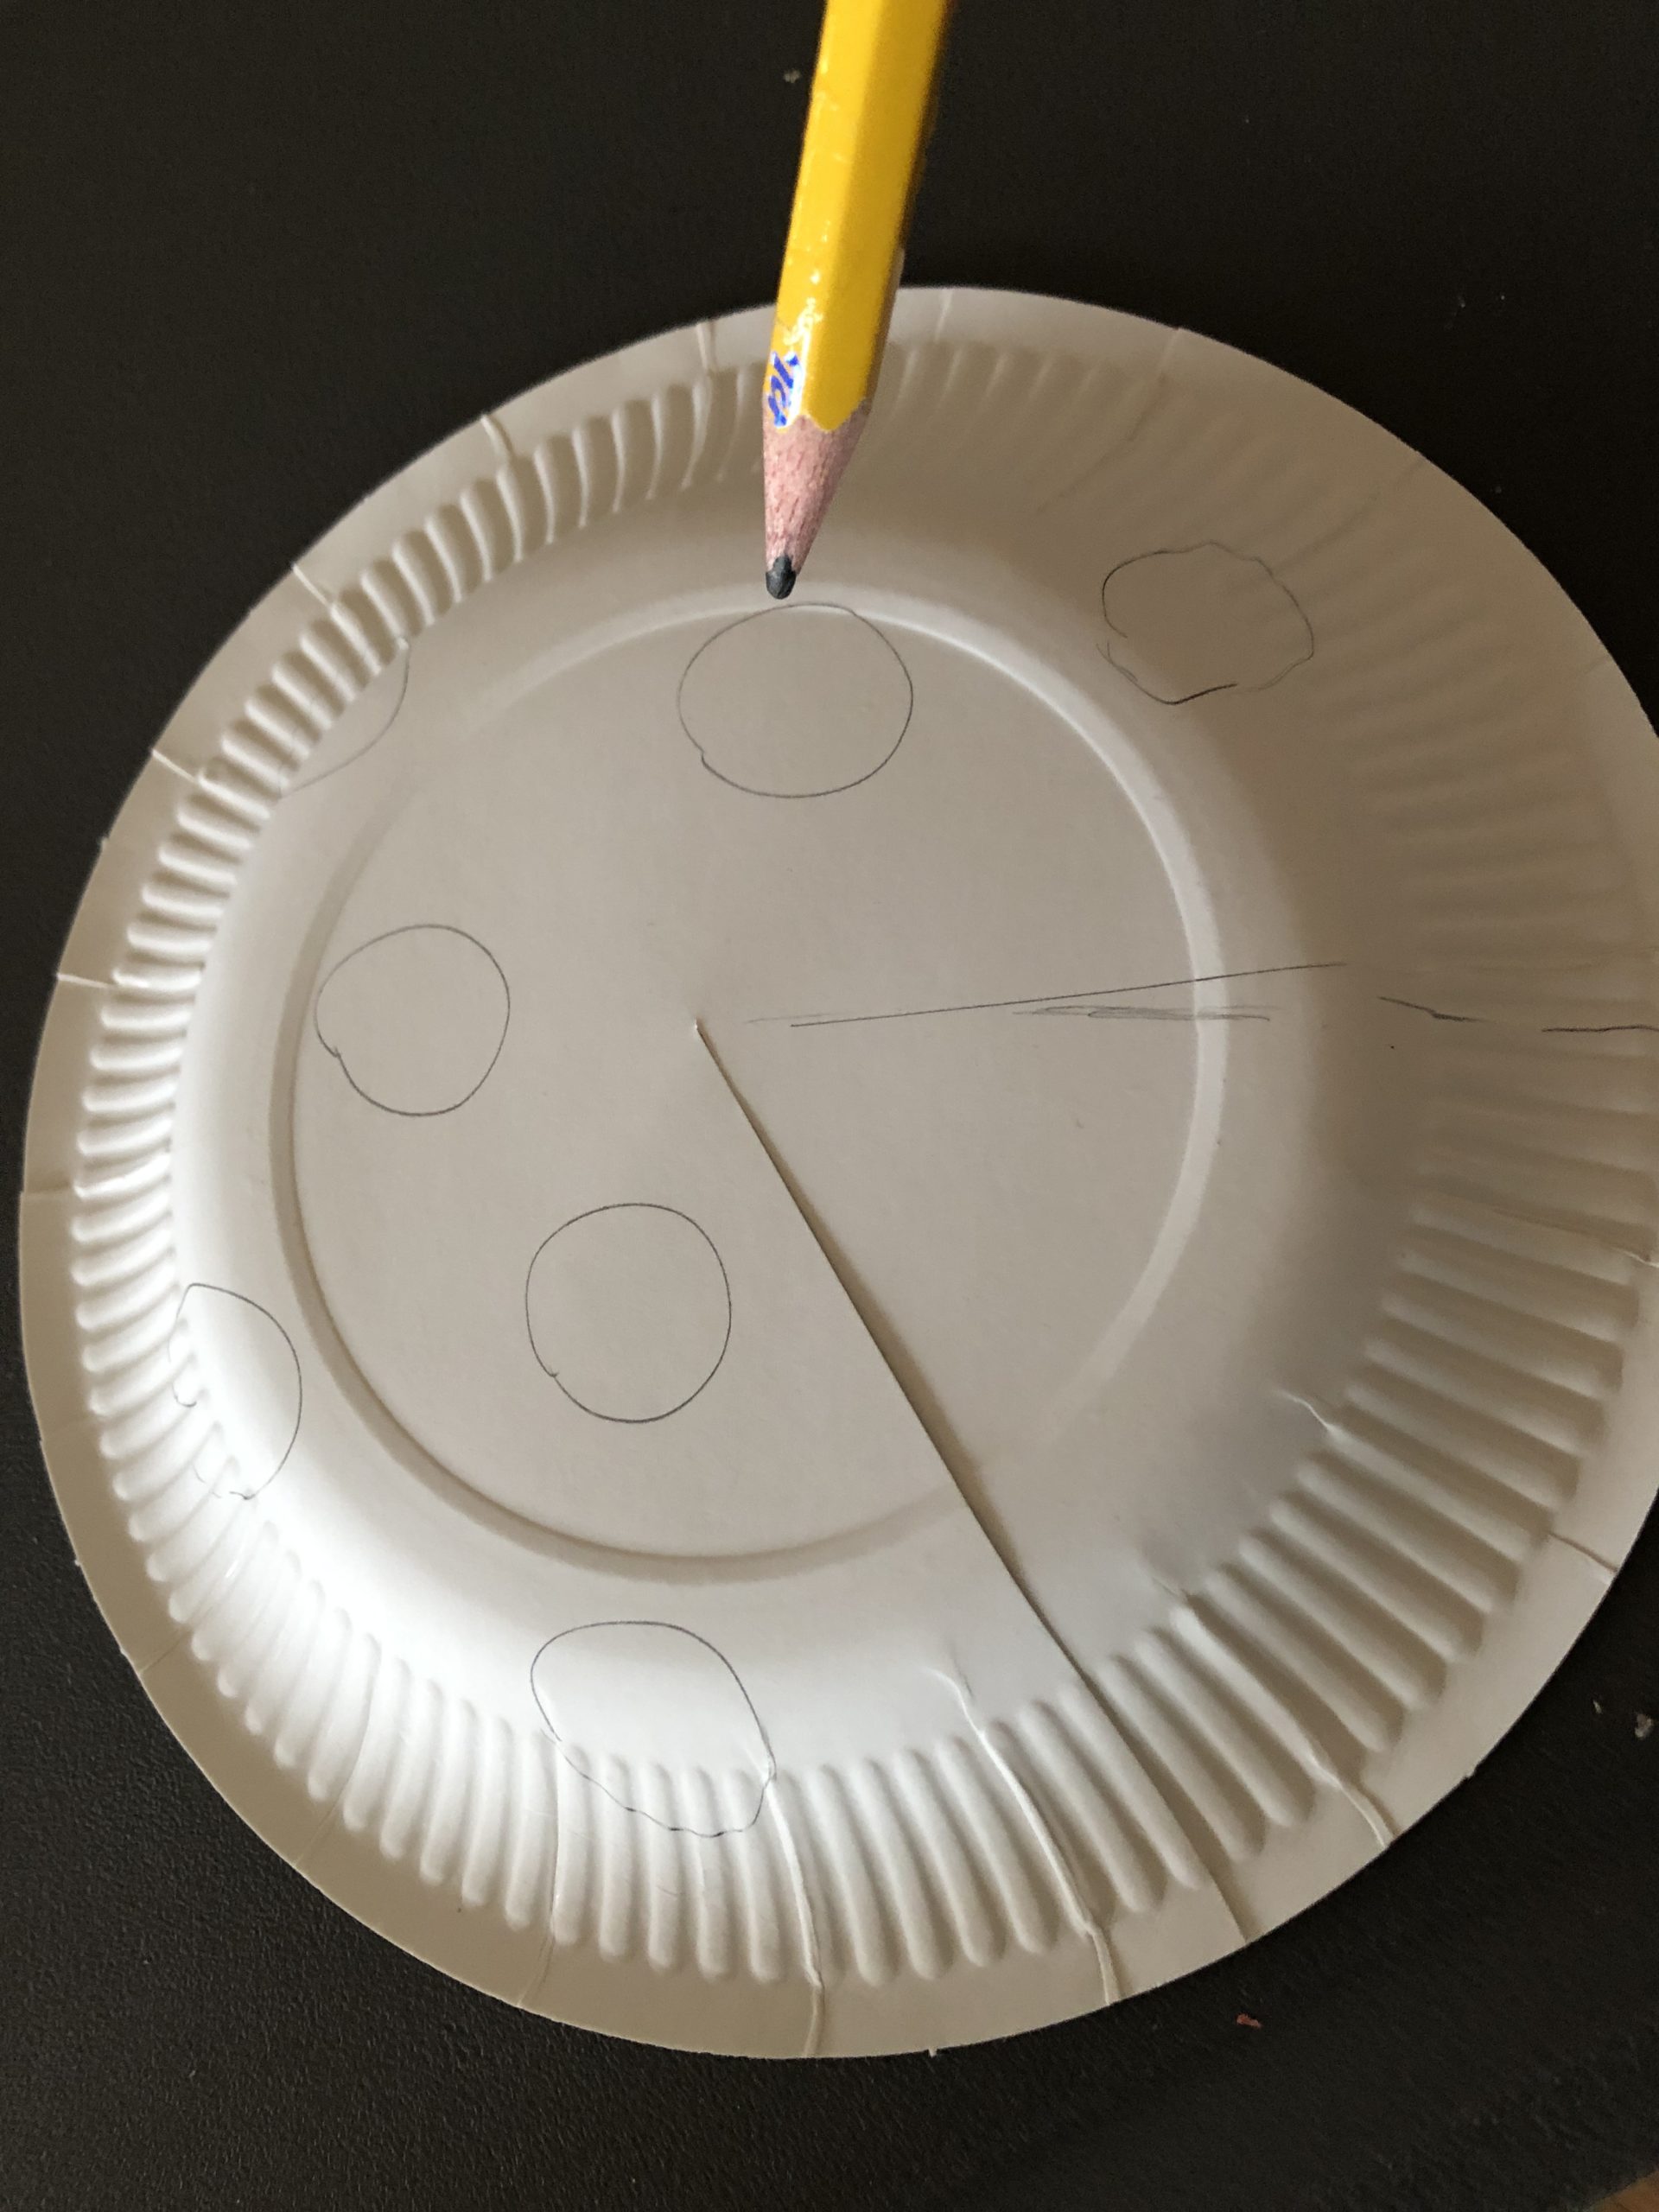
Paints on the plate the points of the mushroom.
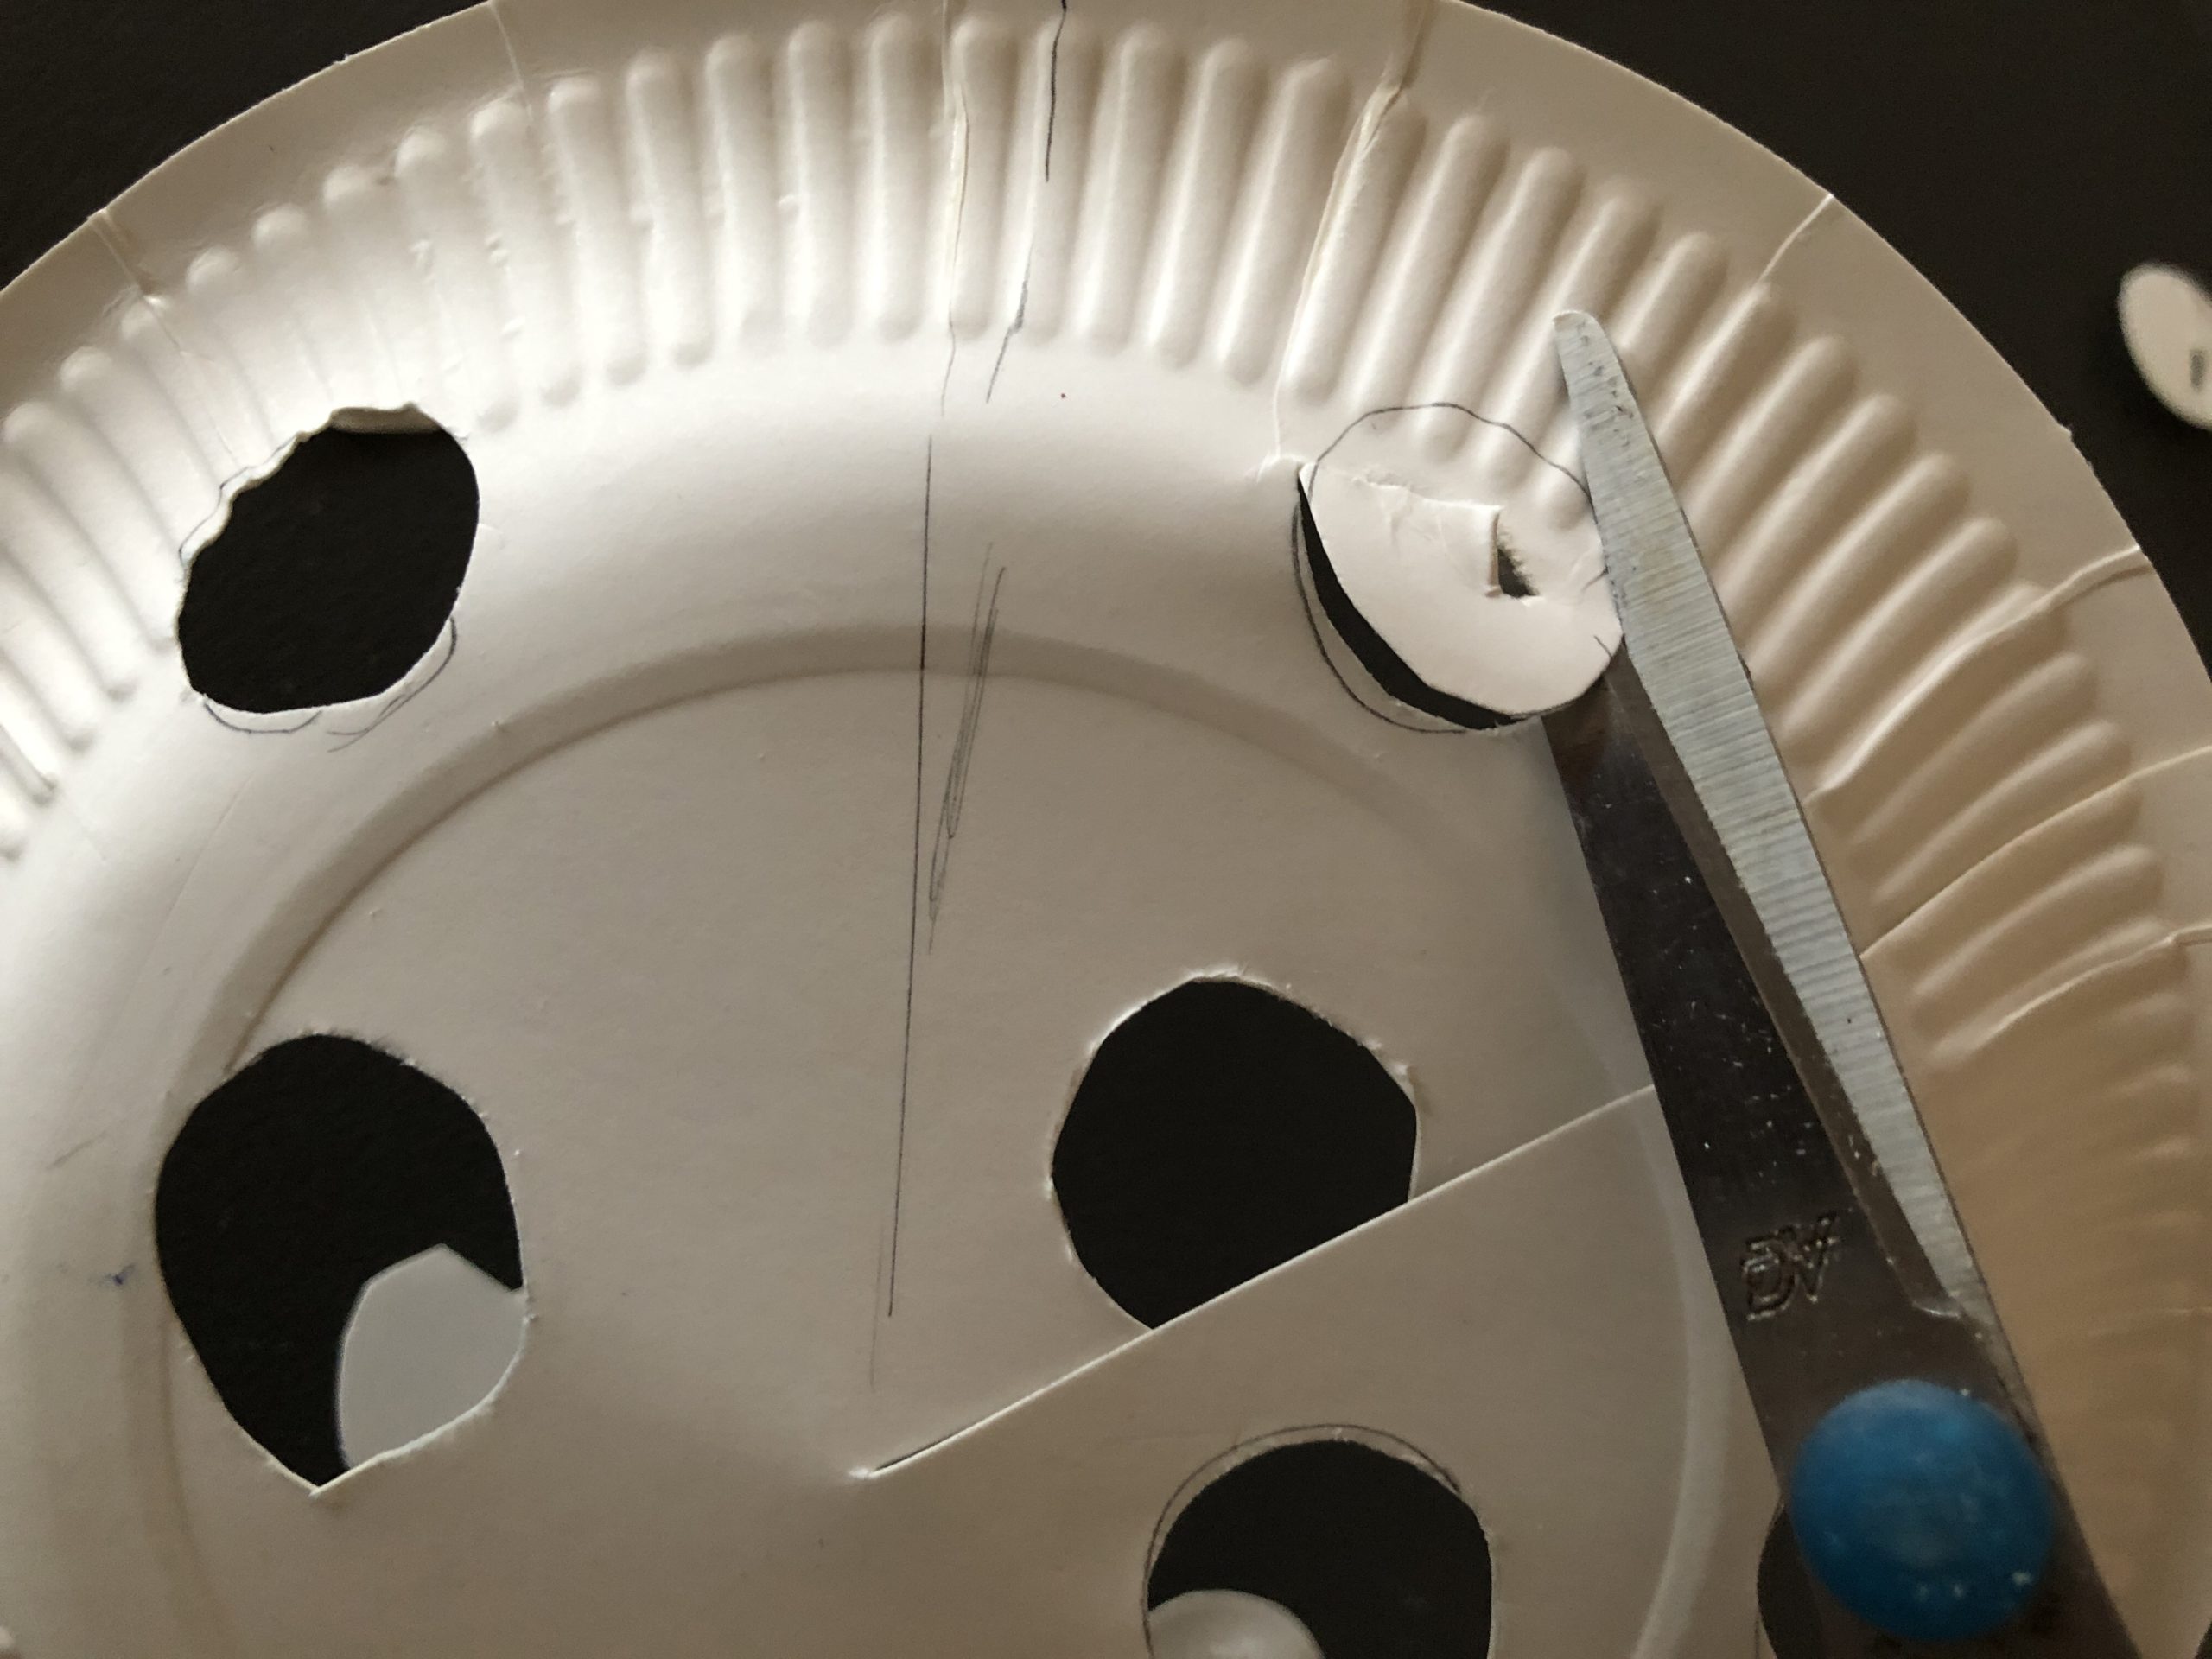
Then cut them out.
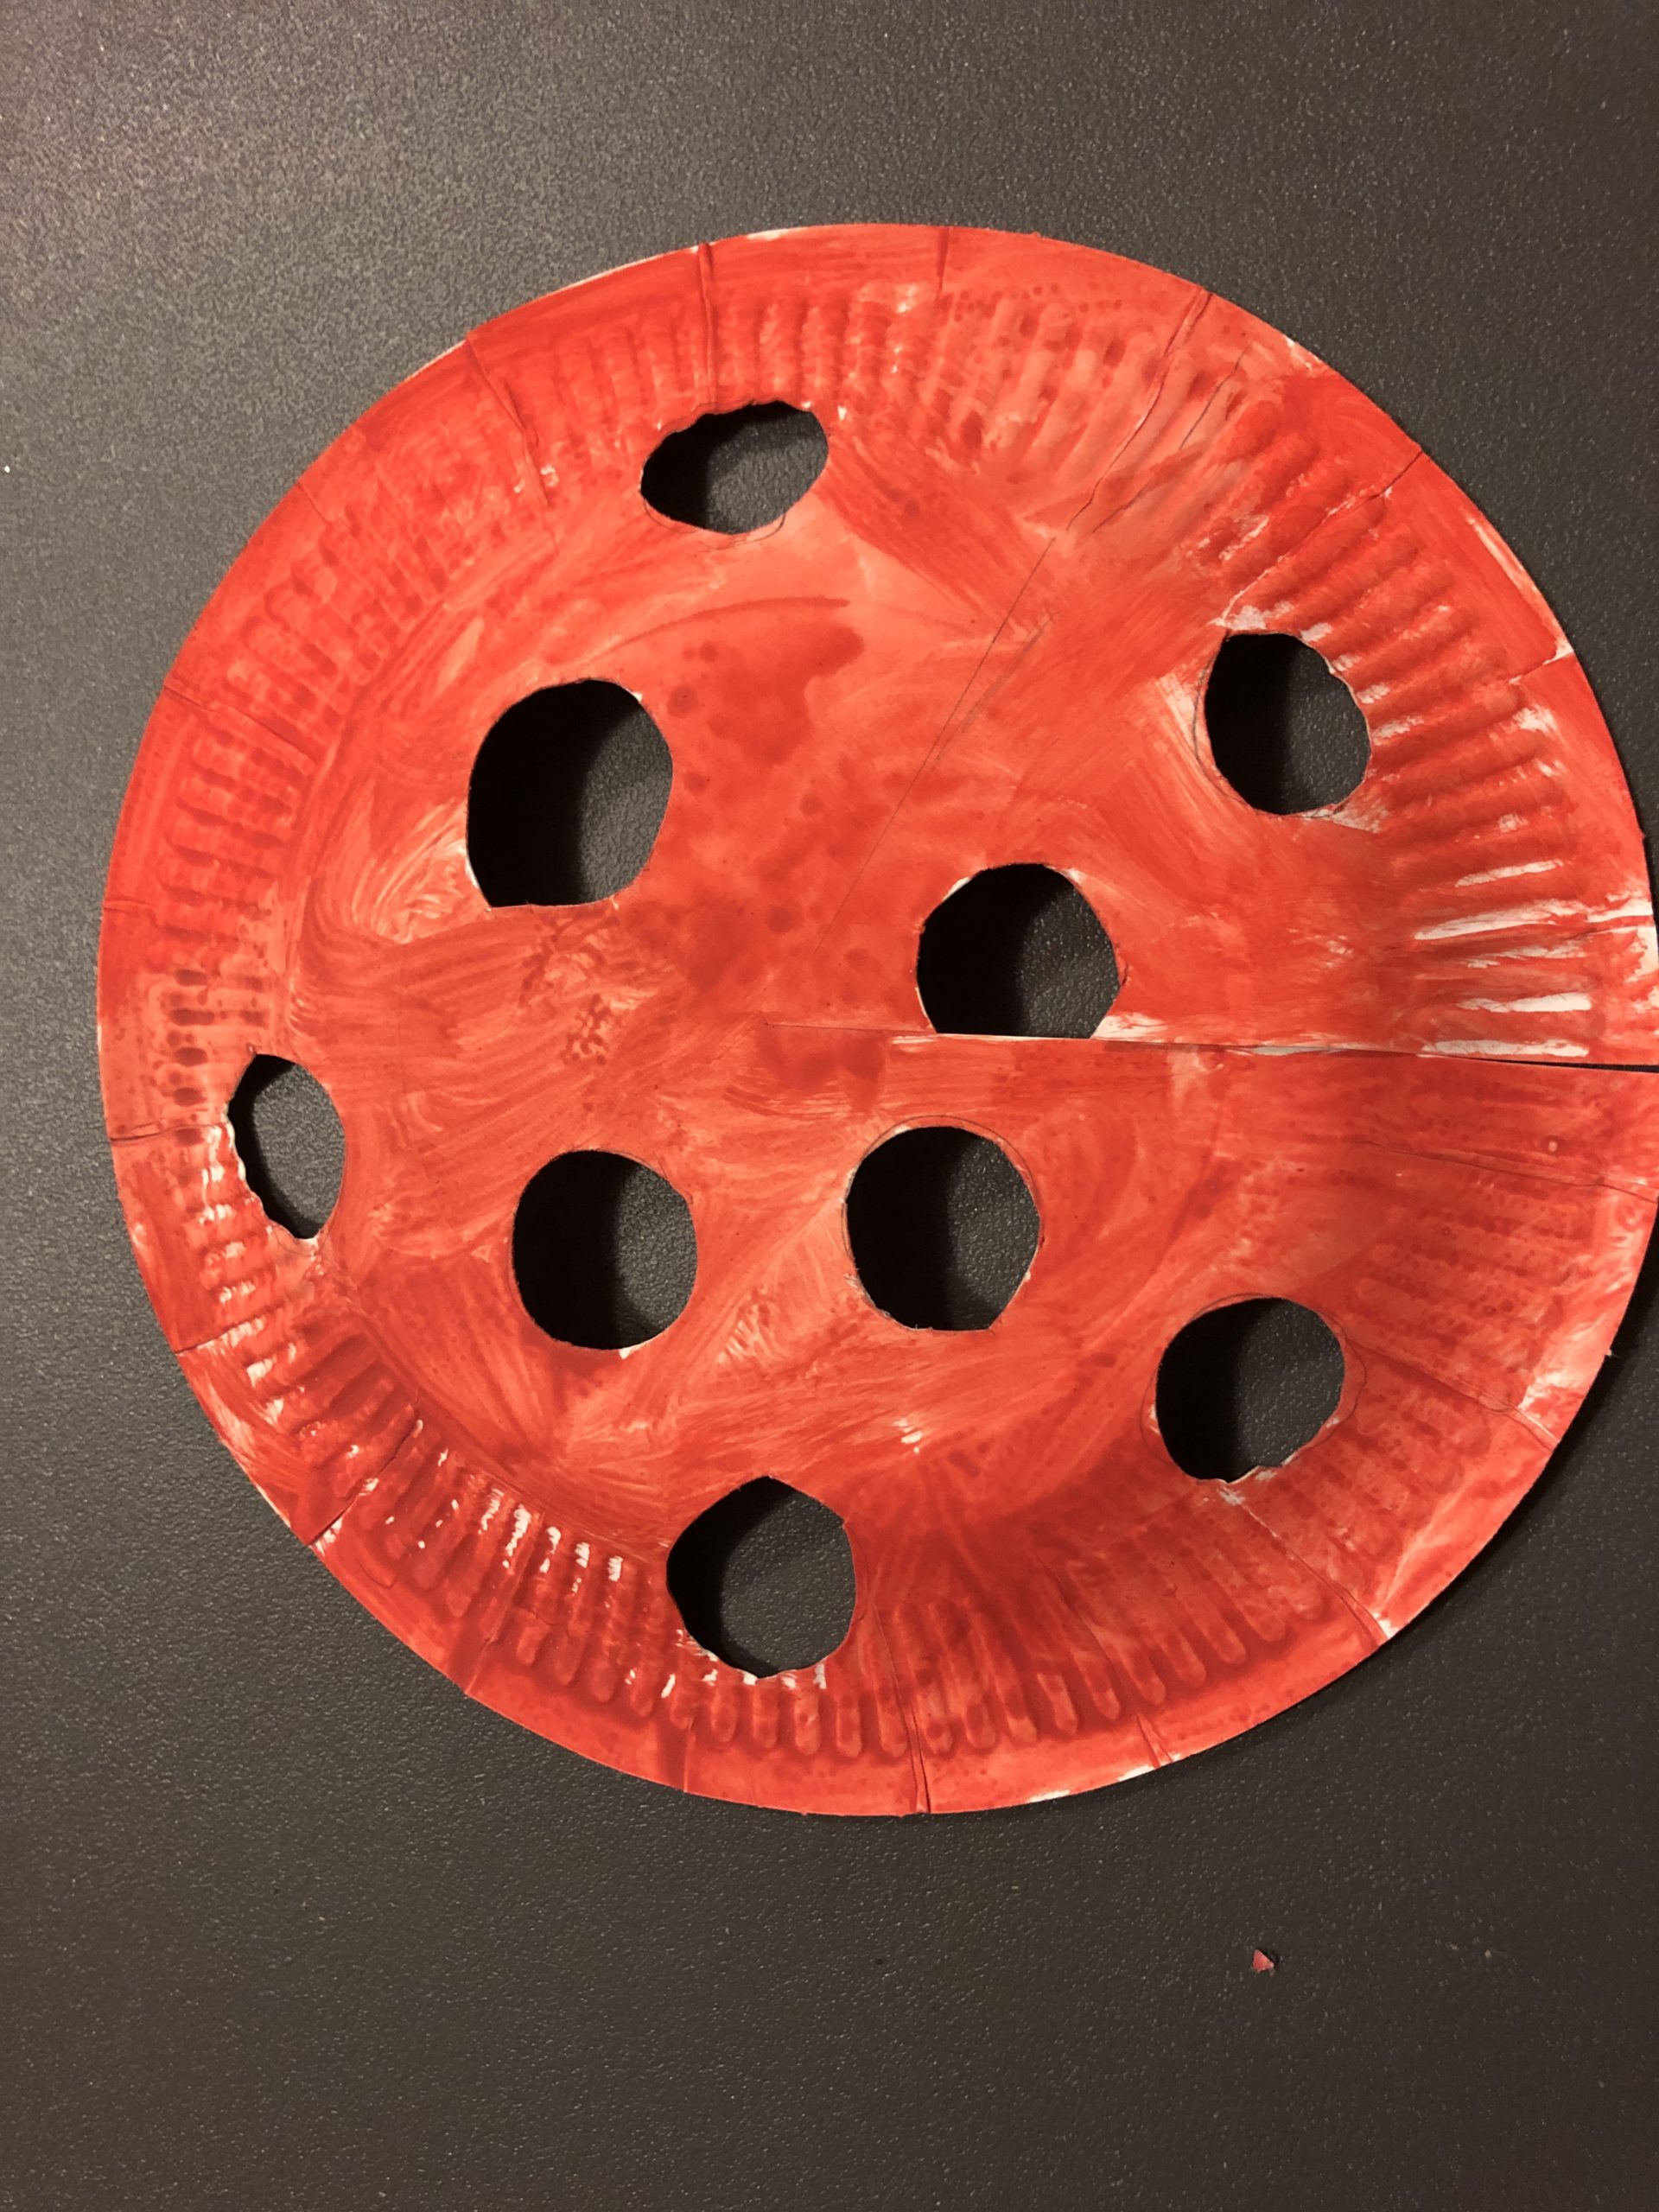
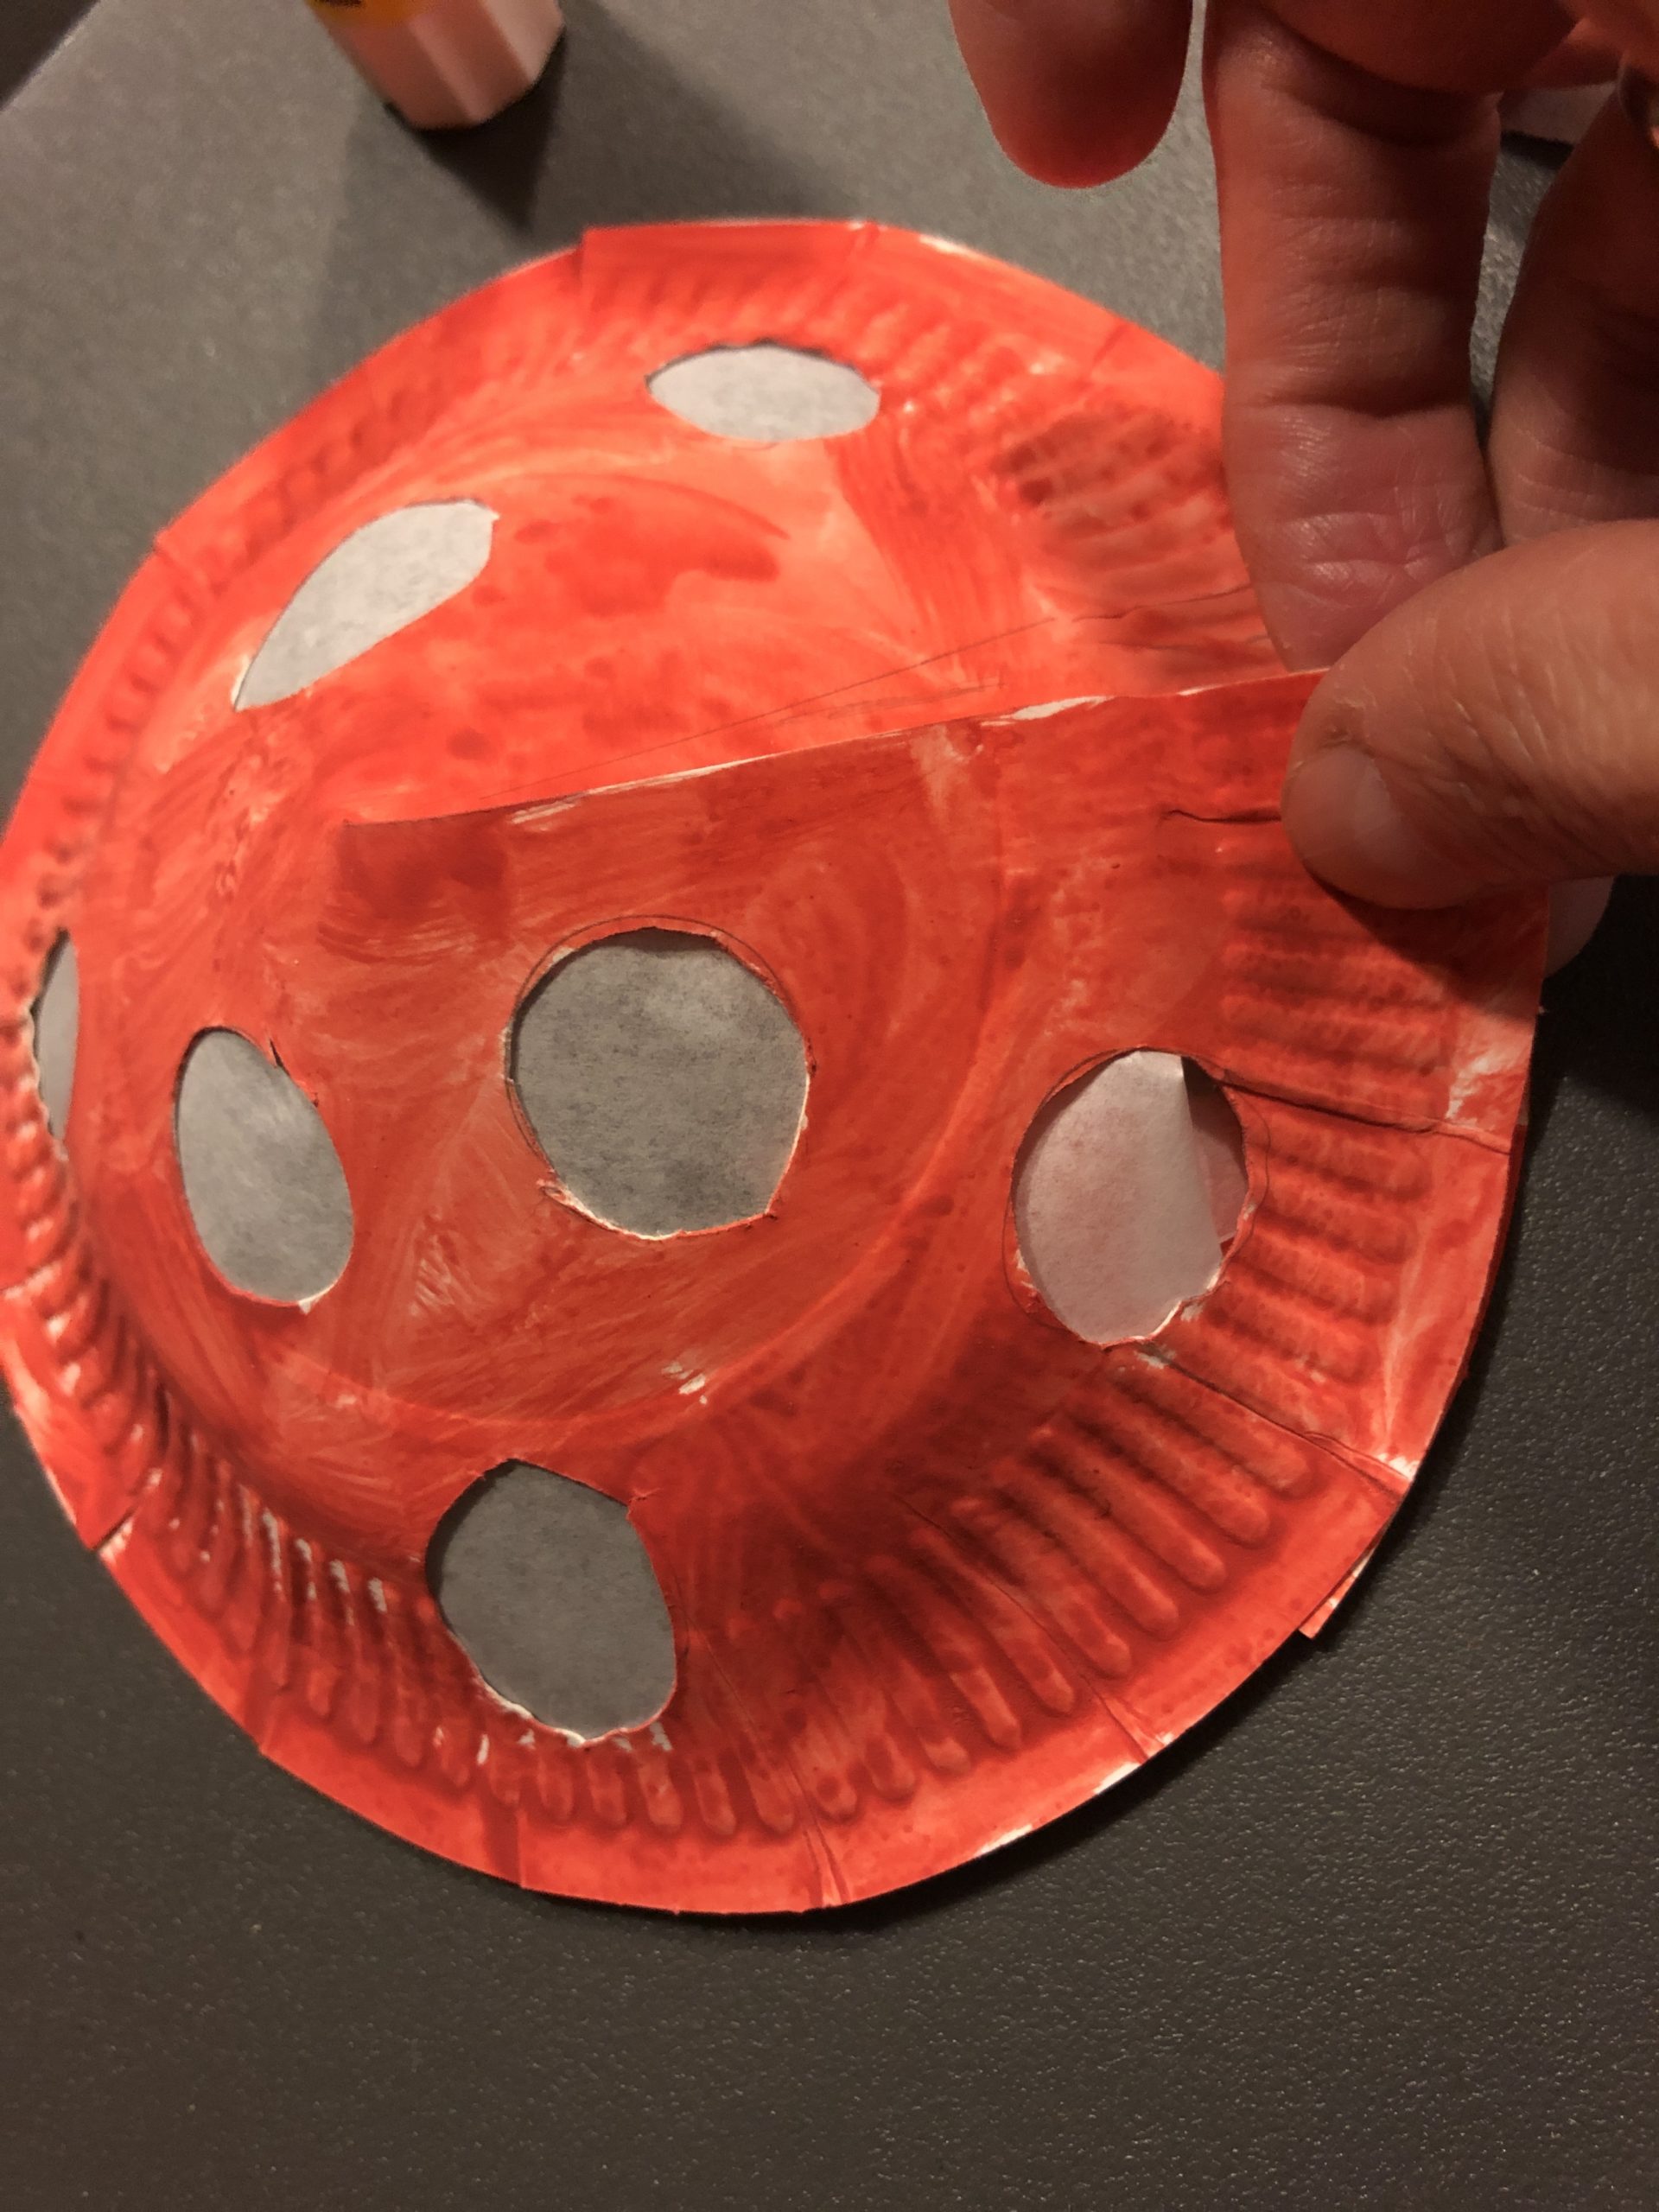
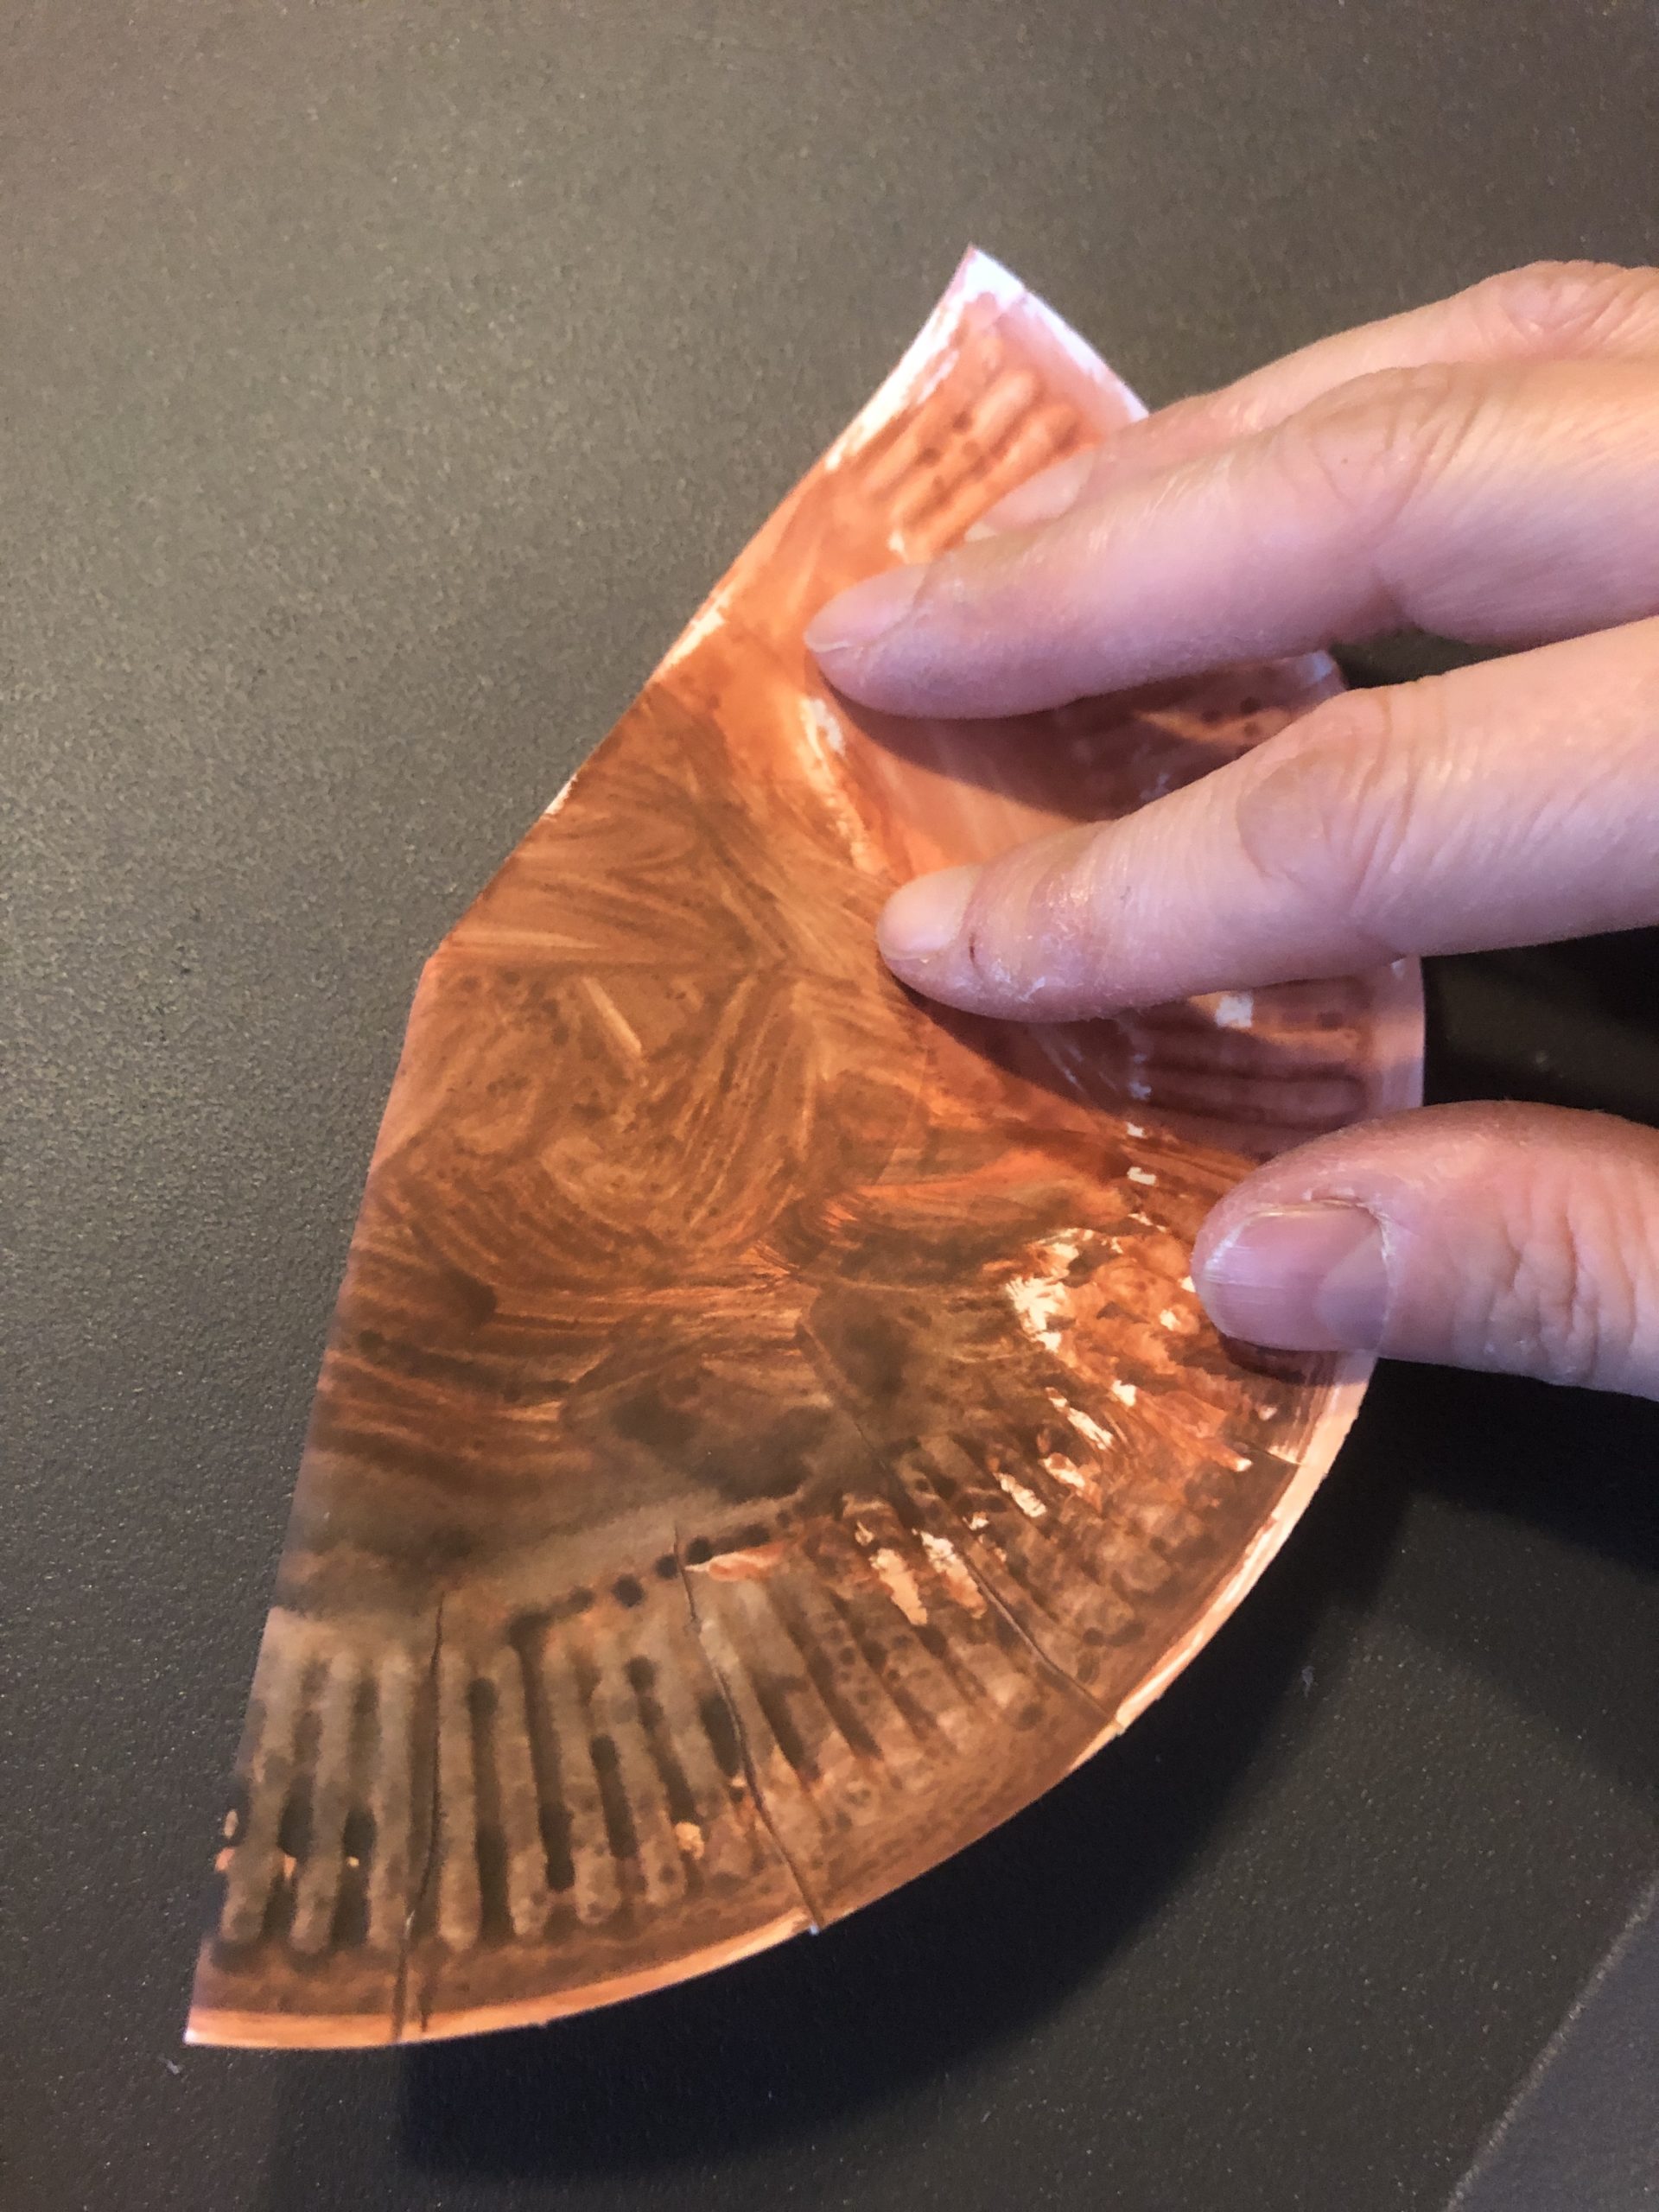
Paint the cardboard plate with red colour (e.g. water color). Apply the colour to the curved side of the plate (bottom side of the plate).
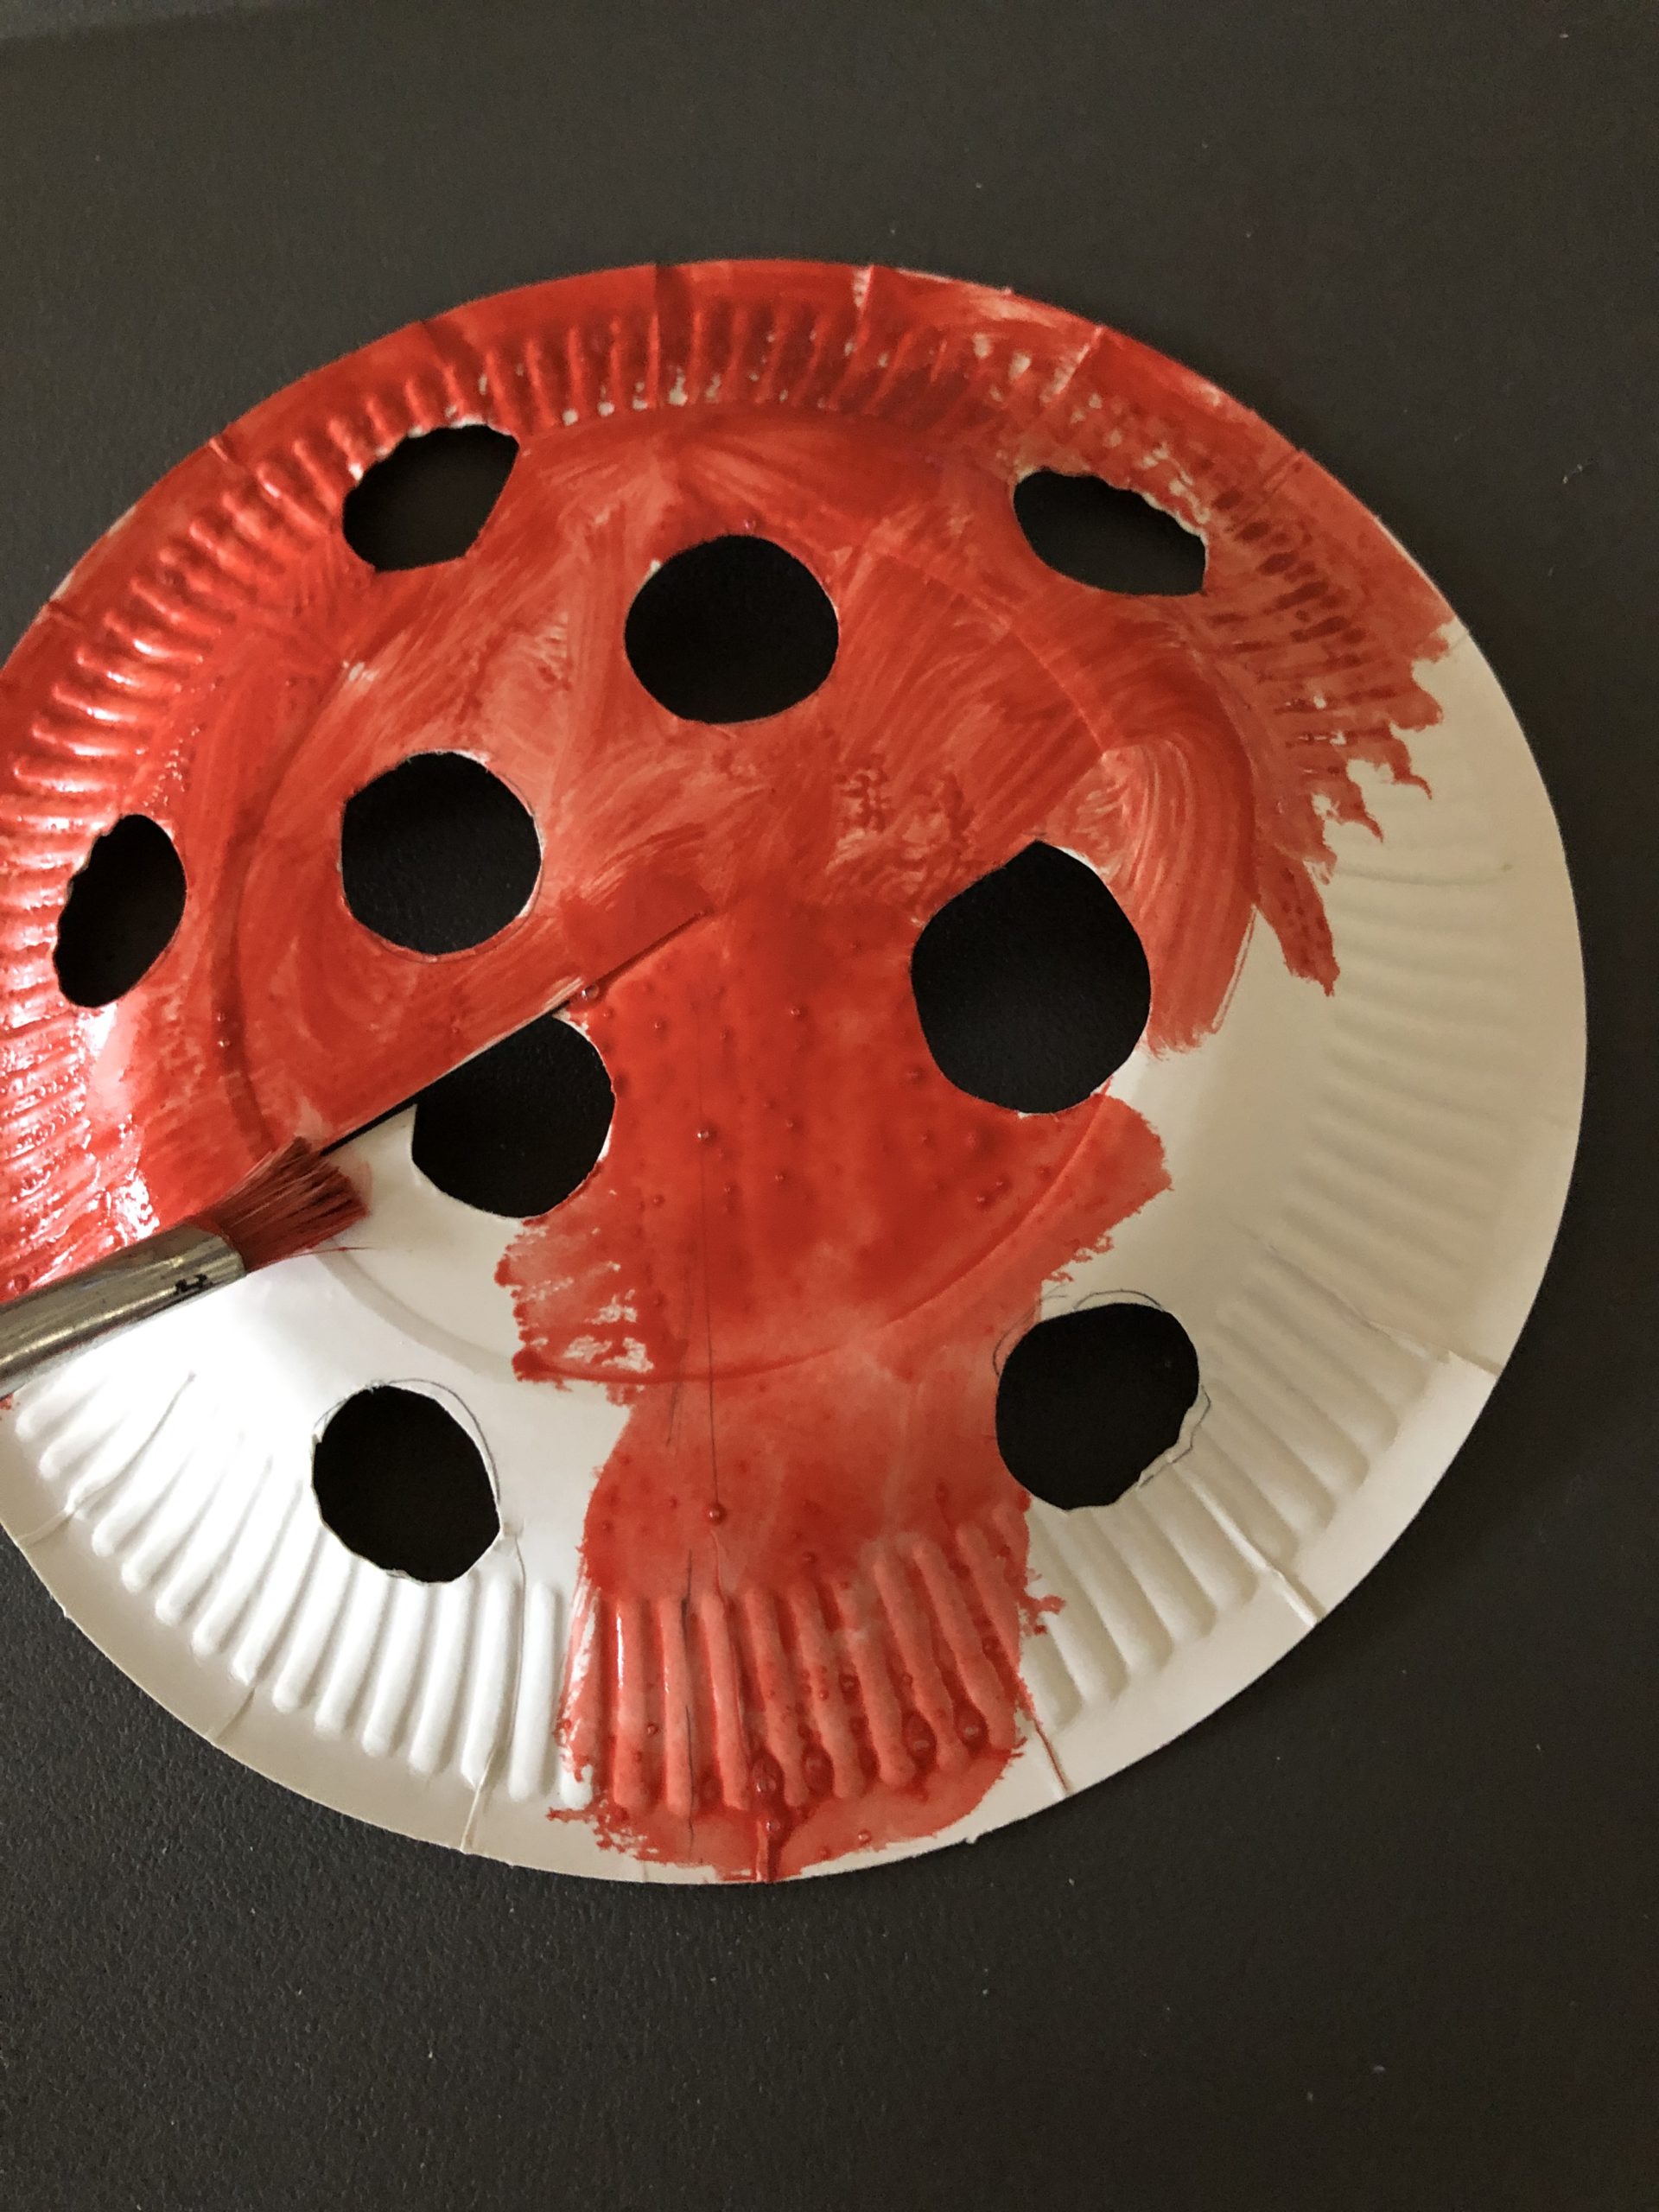
Let the paint dry.
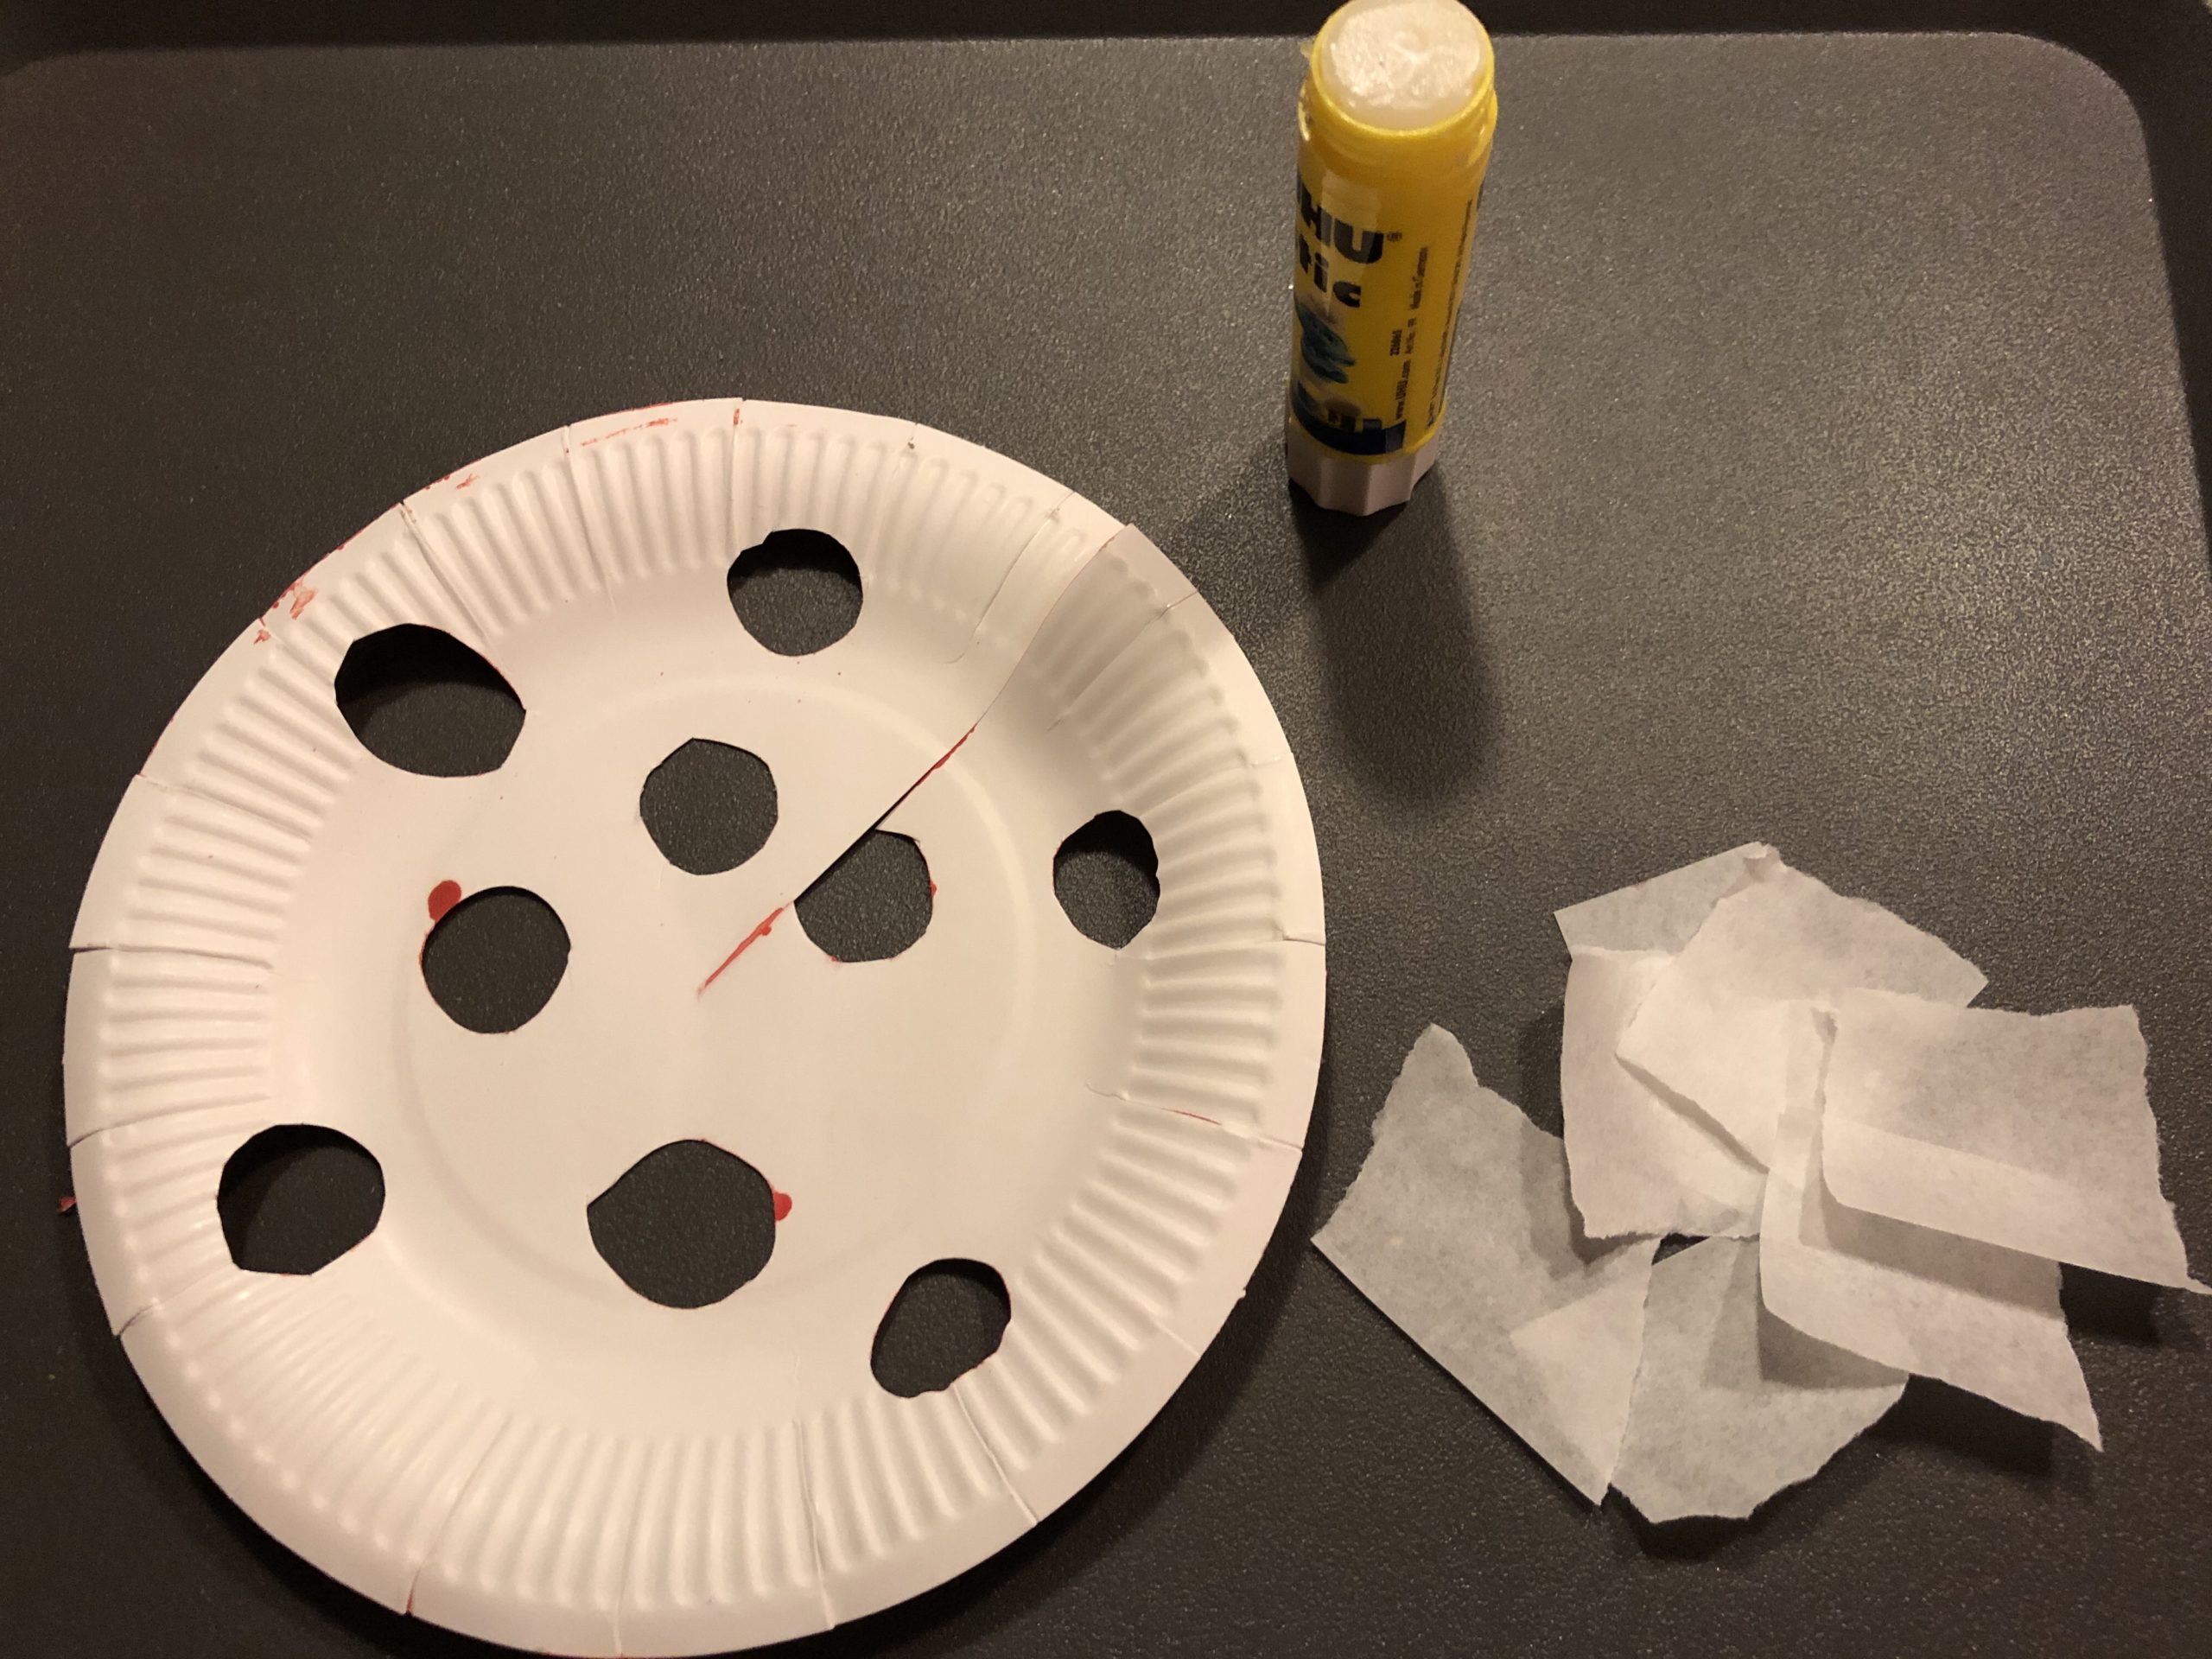
Now rips pieces out of the butterbread paper to glue the holes.
How many holes do you have?
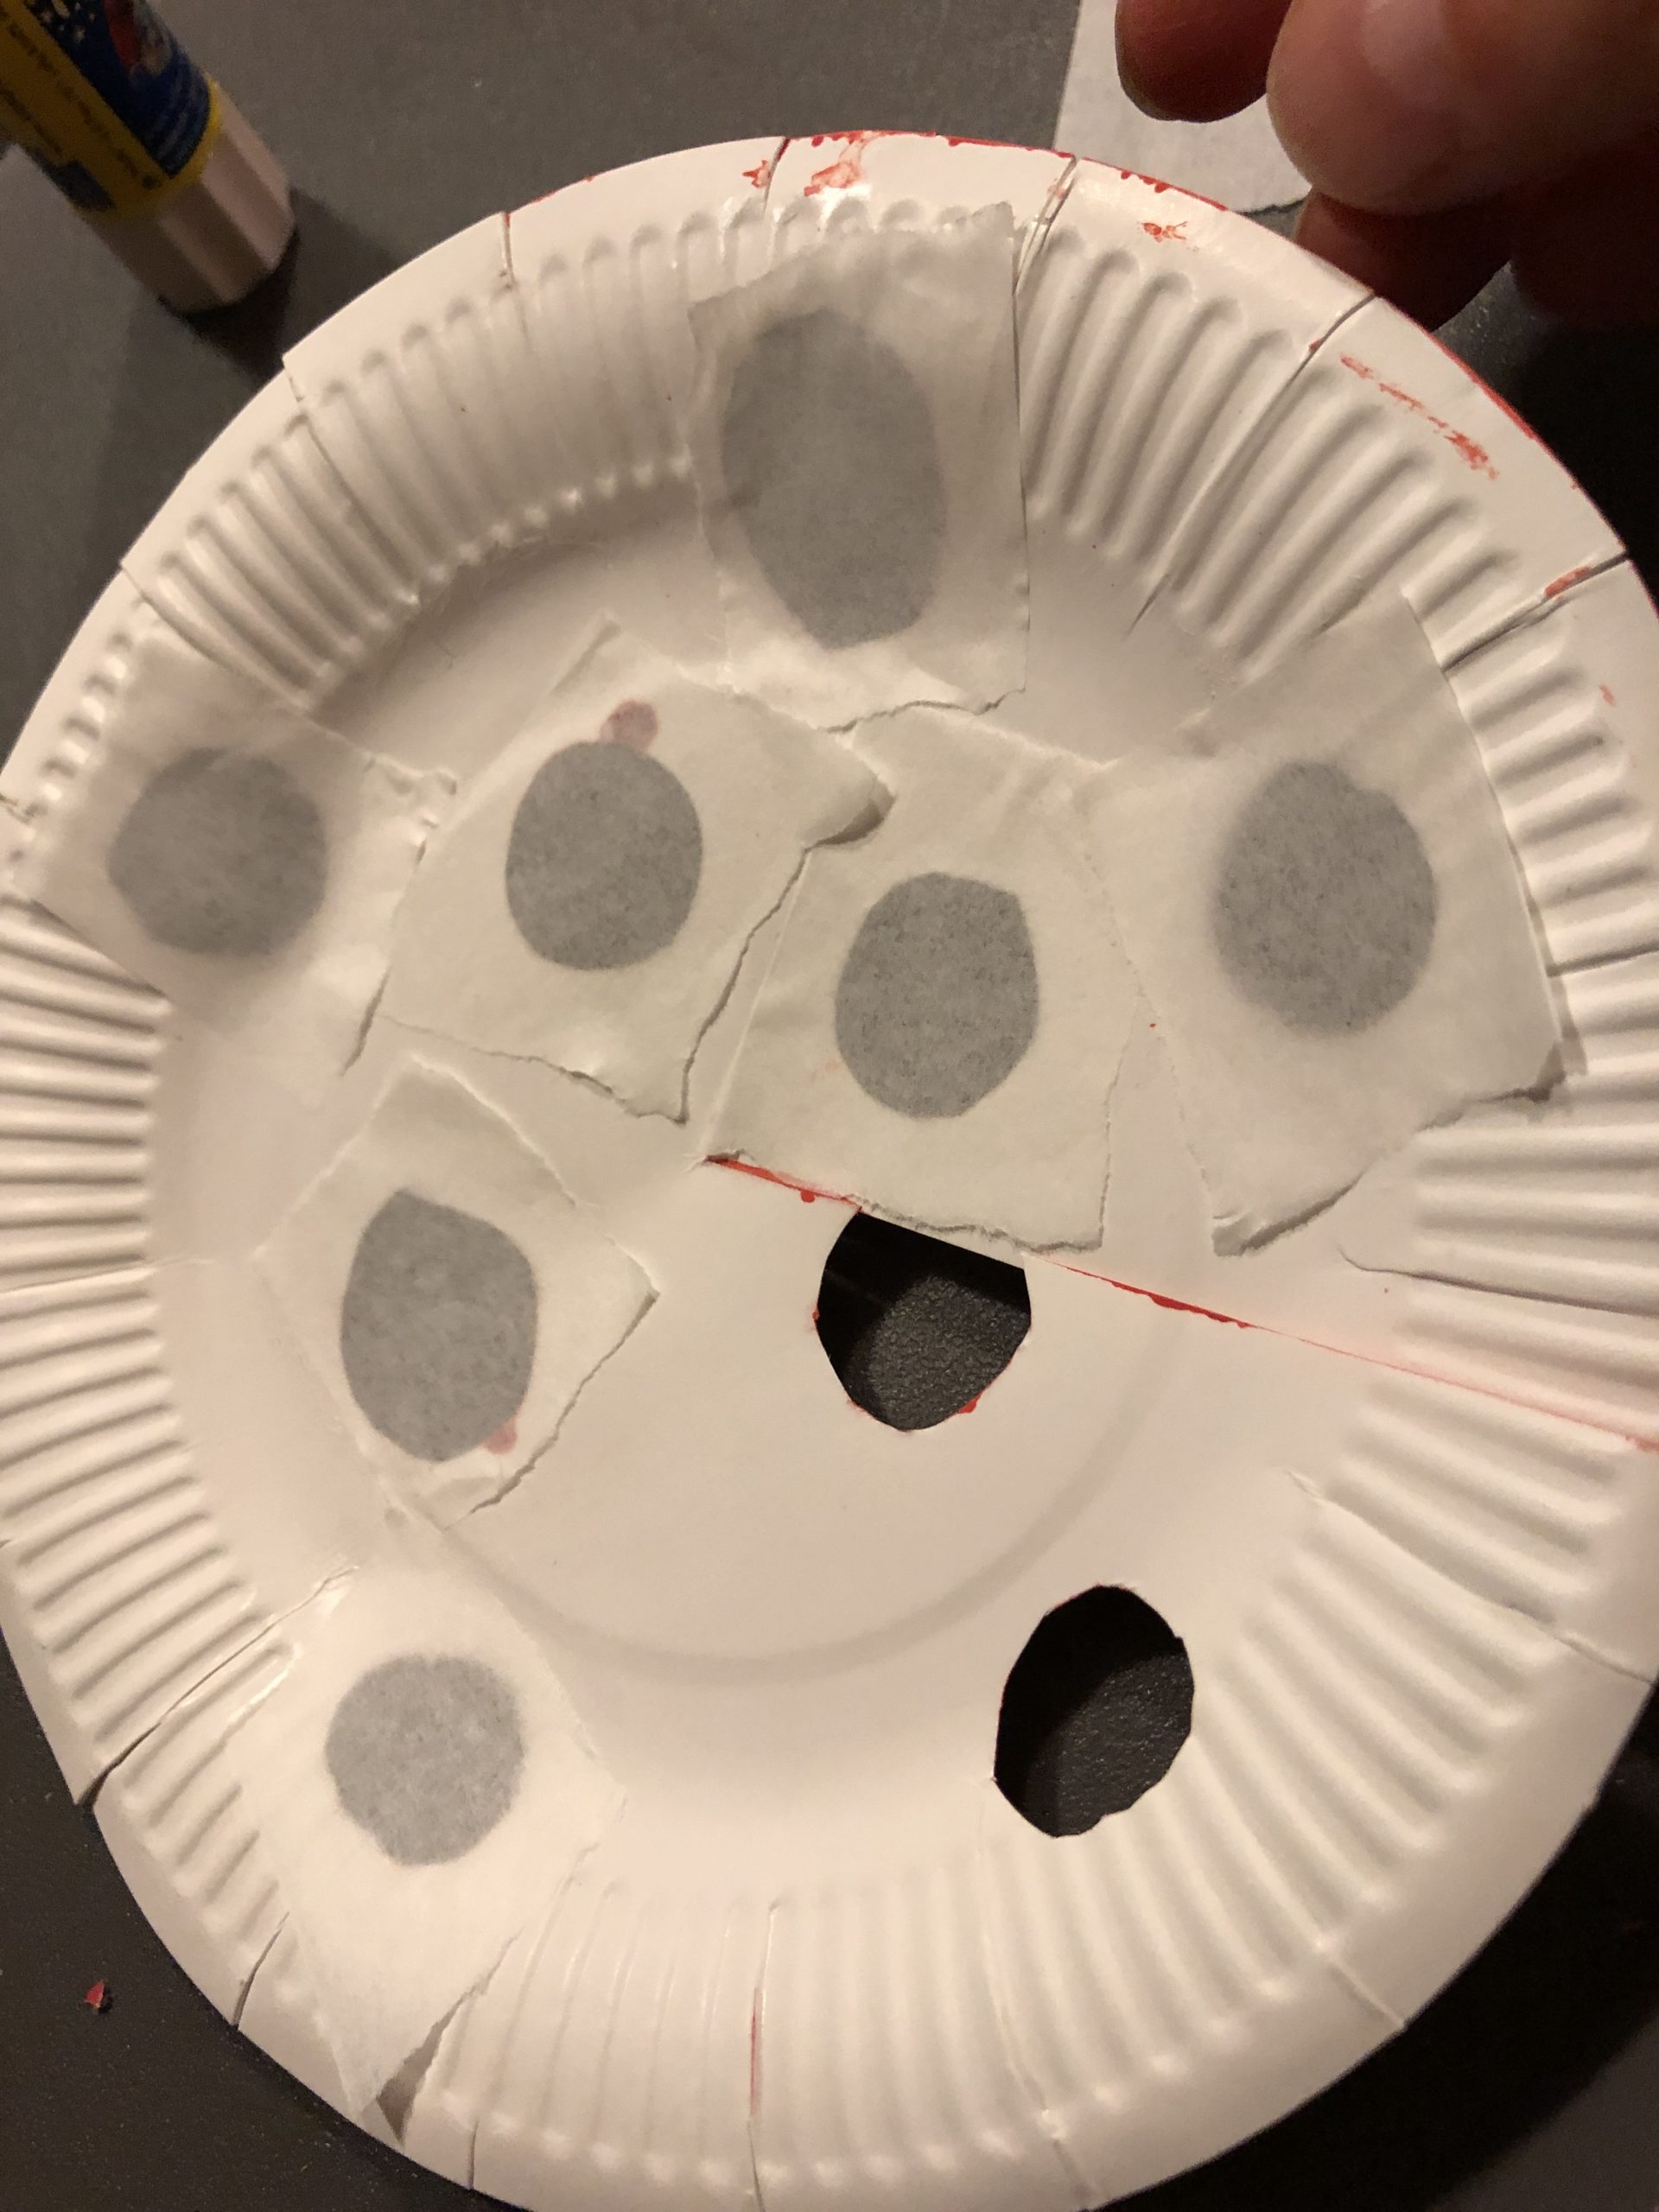
Glue the holes from the inside of the plate with the snippets.
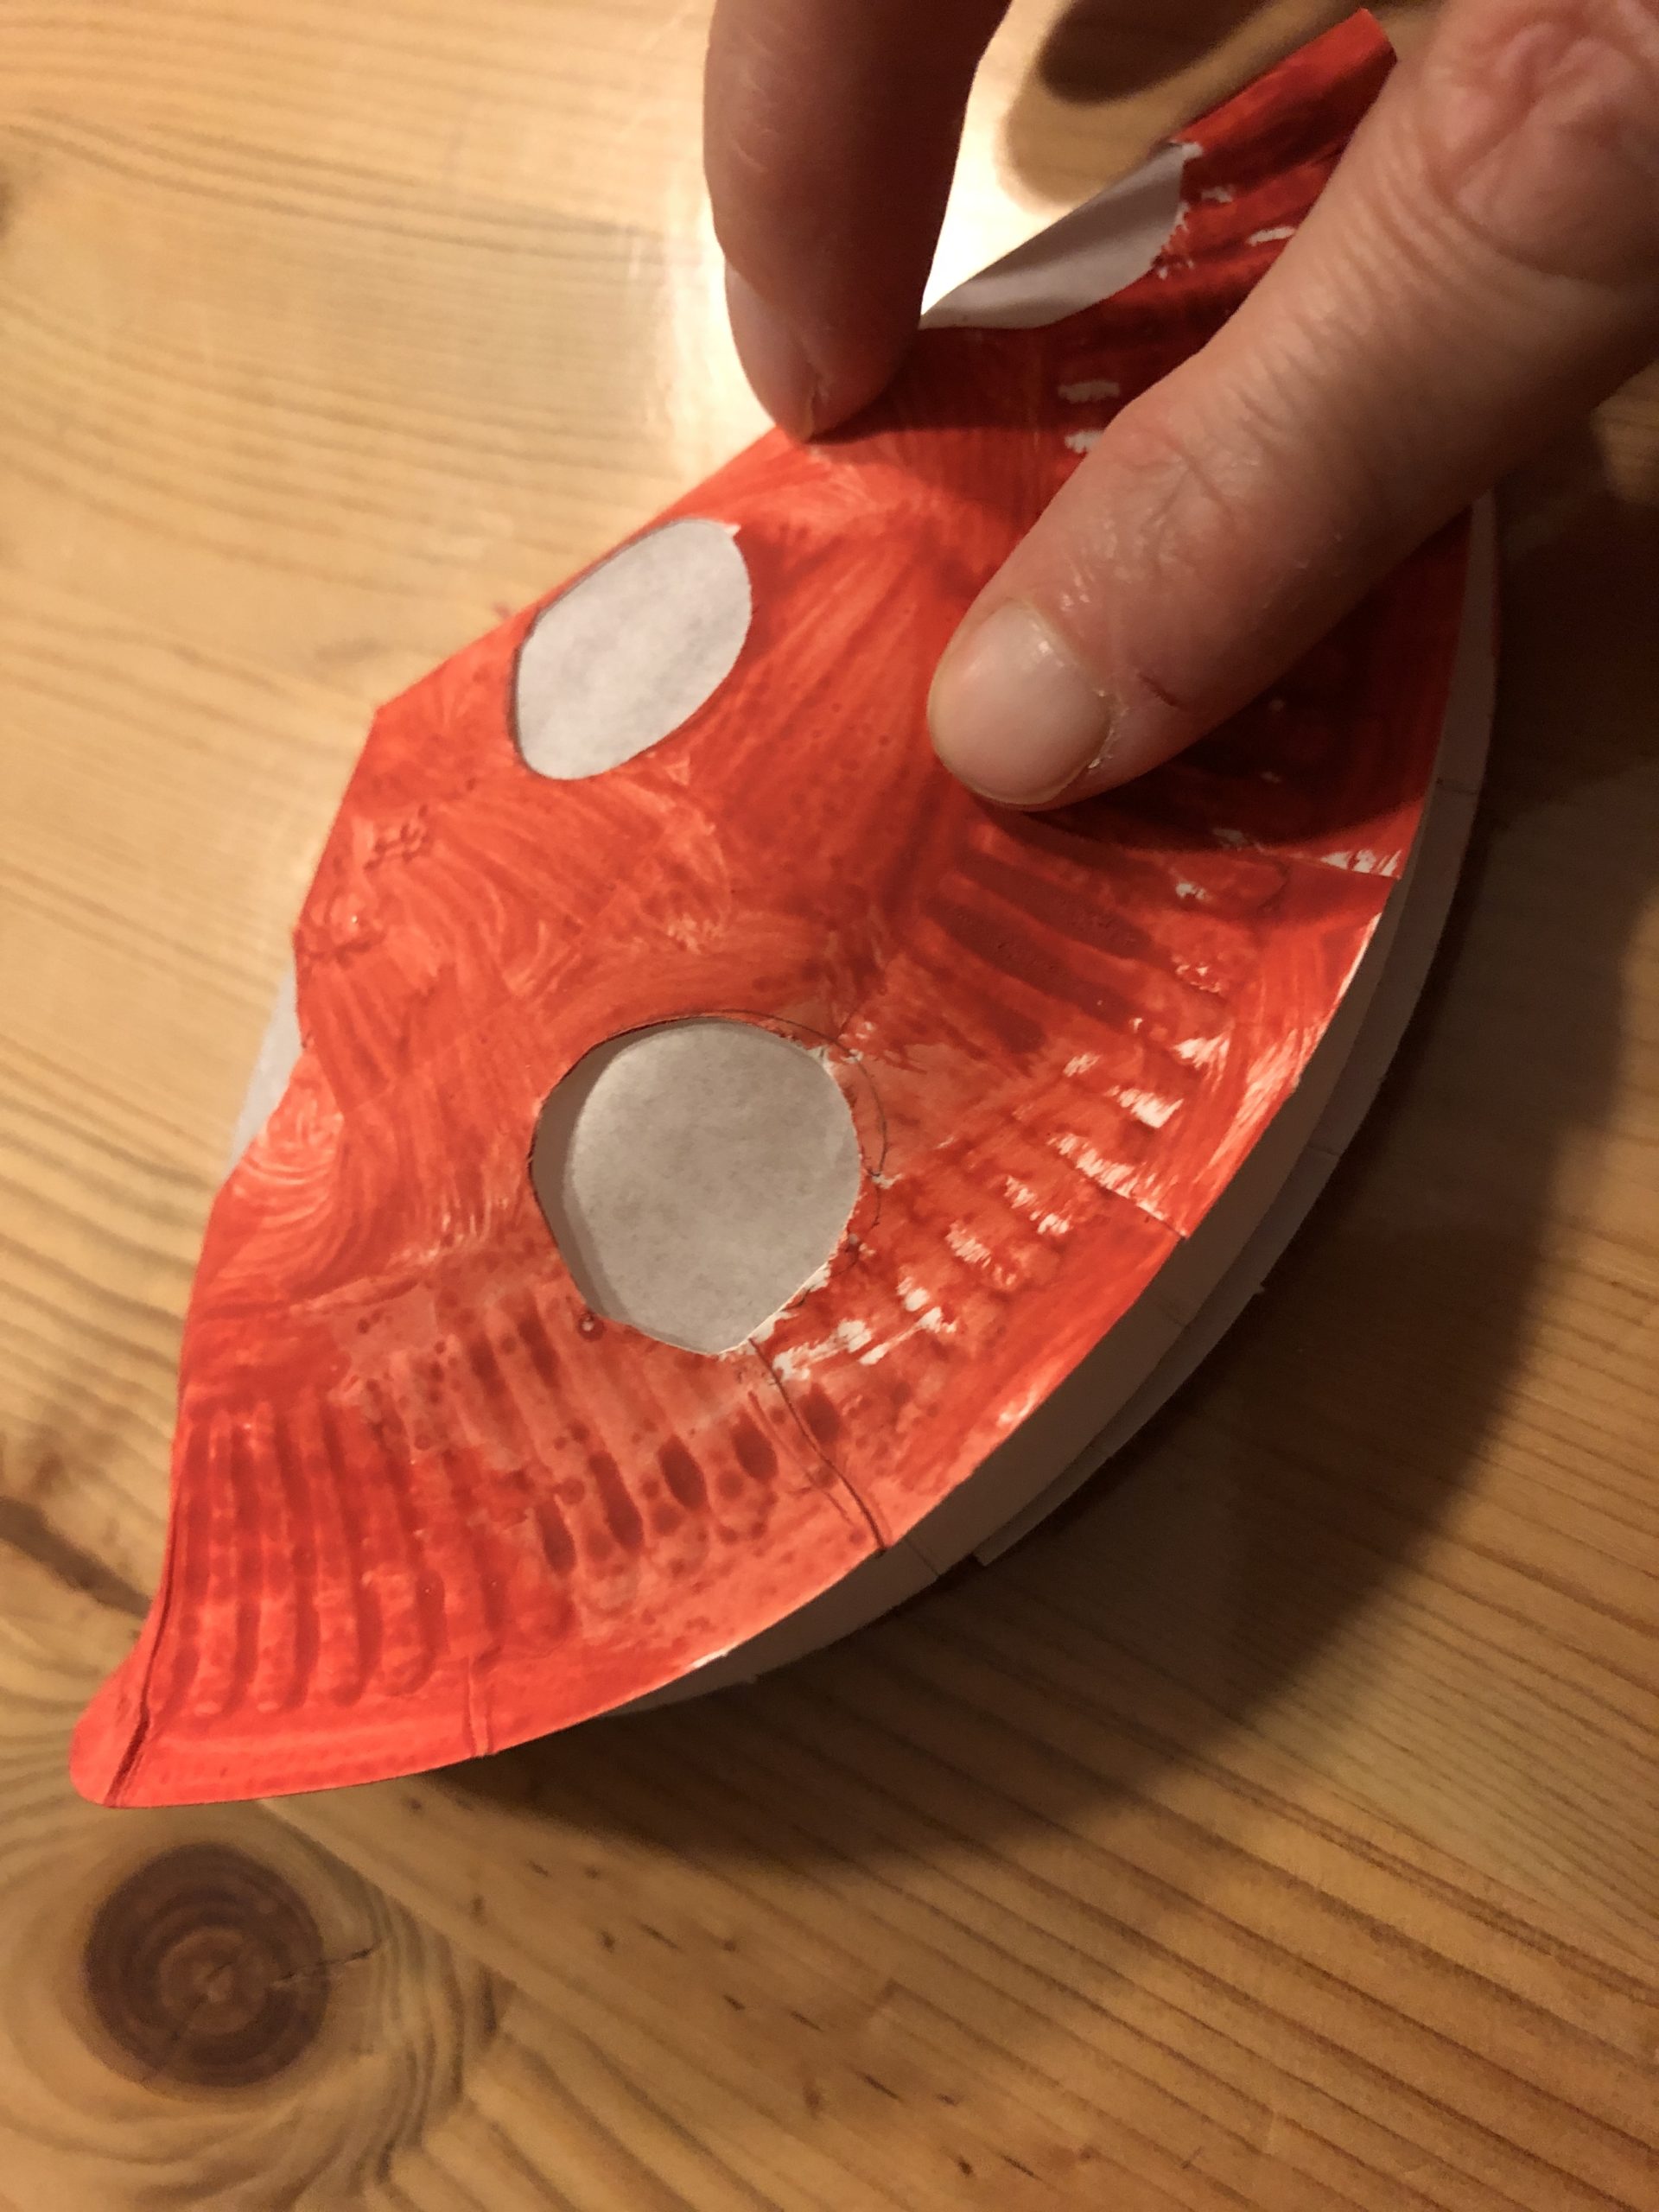
Turn the plate around and glue the cardboard plate at the cut-in place about 5cm above each other.
This creates a plastic mushroom hat.
Now fold the finished mushroom hat half.
Now you can attach the mushroom hat on a thick piece of branch. Use some hot glue. (Attention: for hot glue there is risk of injury!)
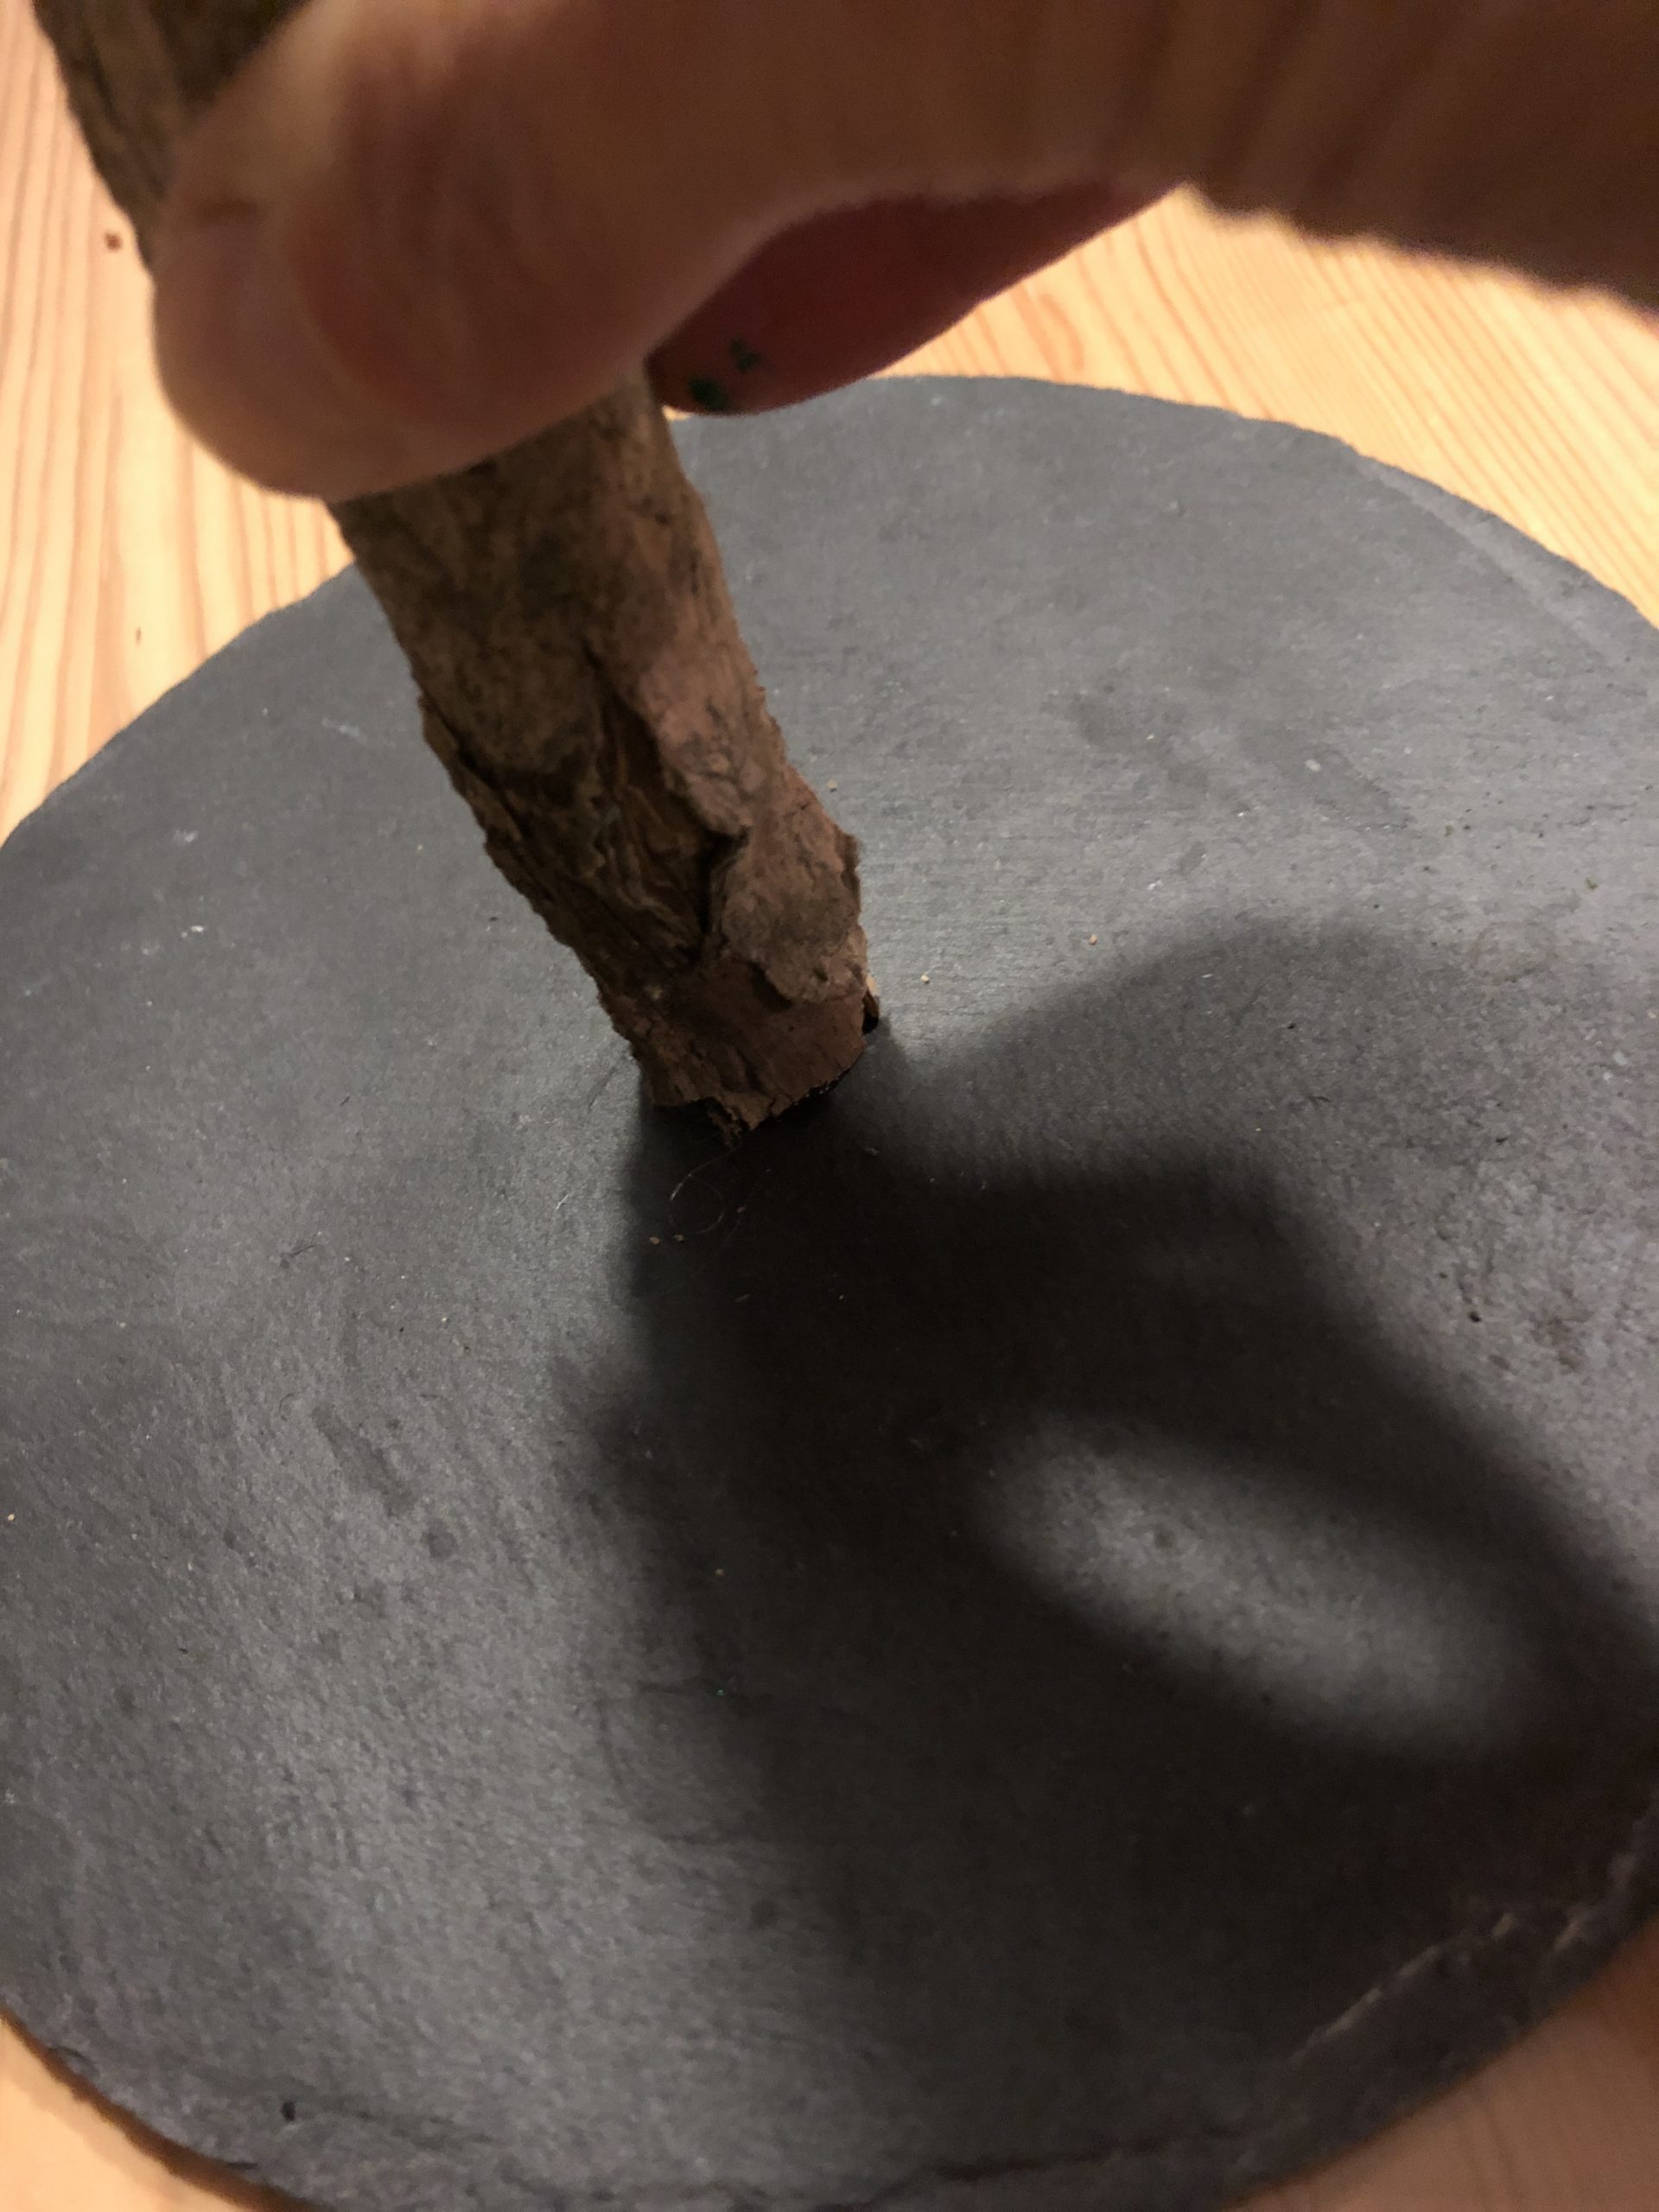
But before you stick the mushroom hat on the branch, first stick the branch on a plate.
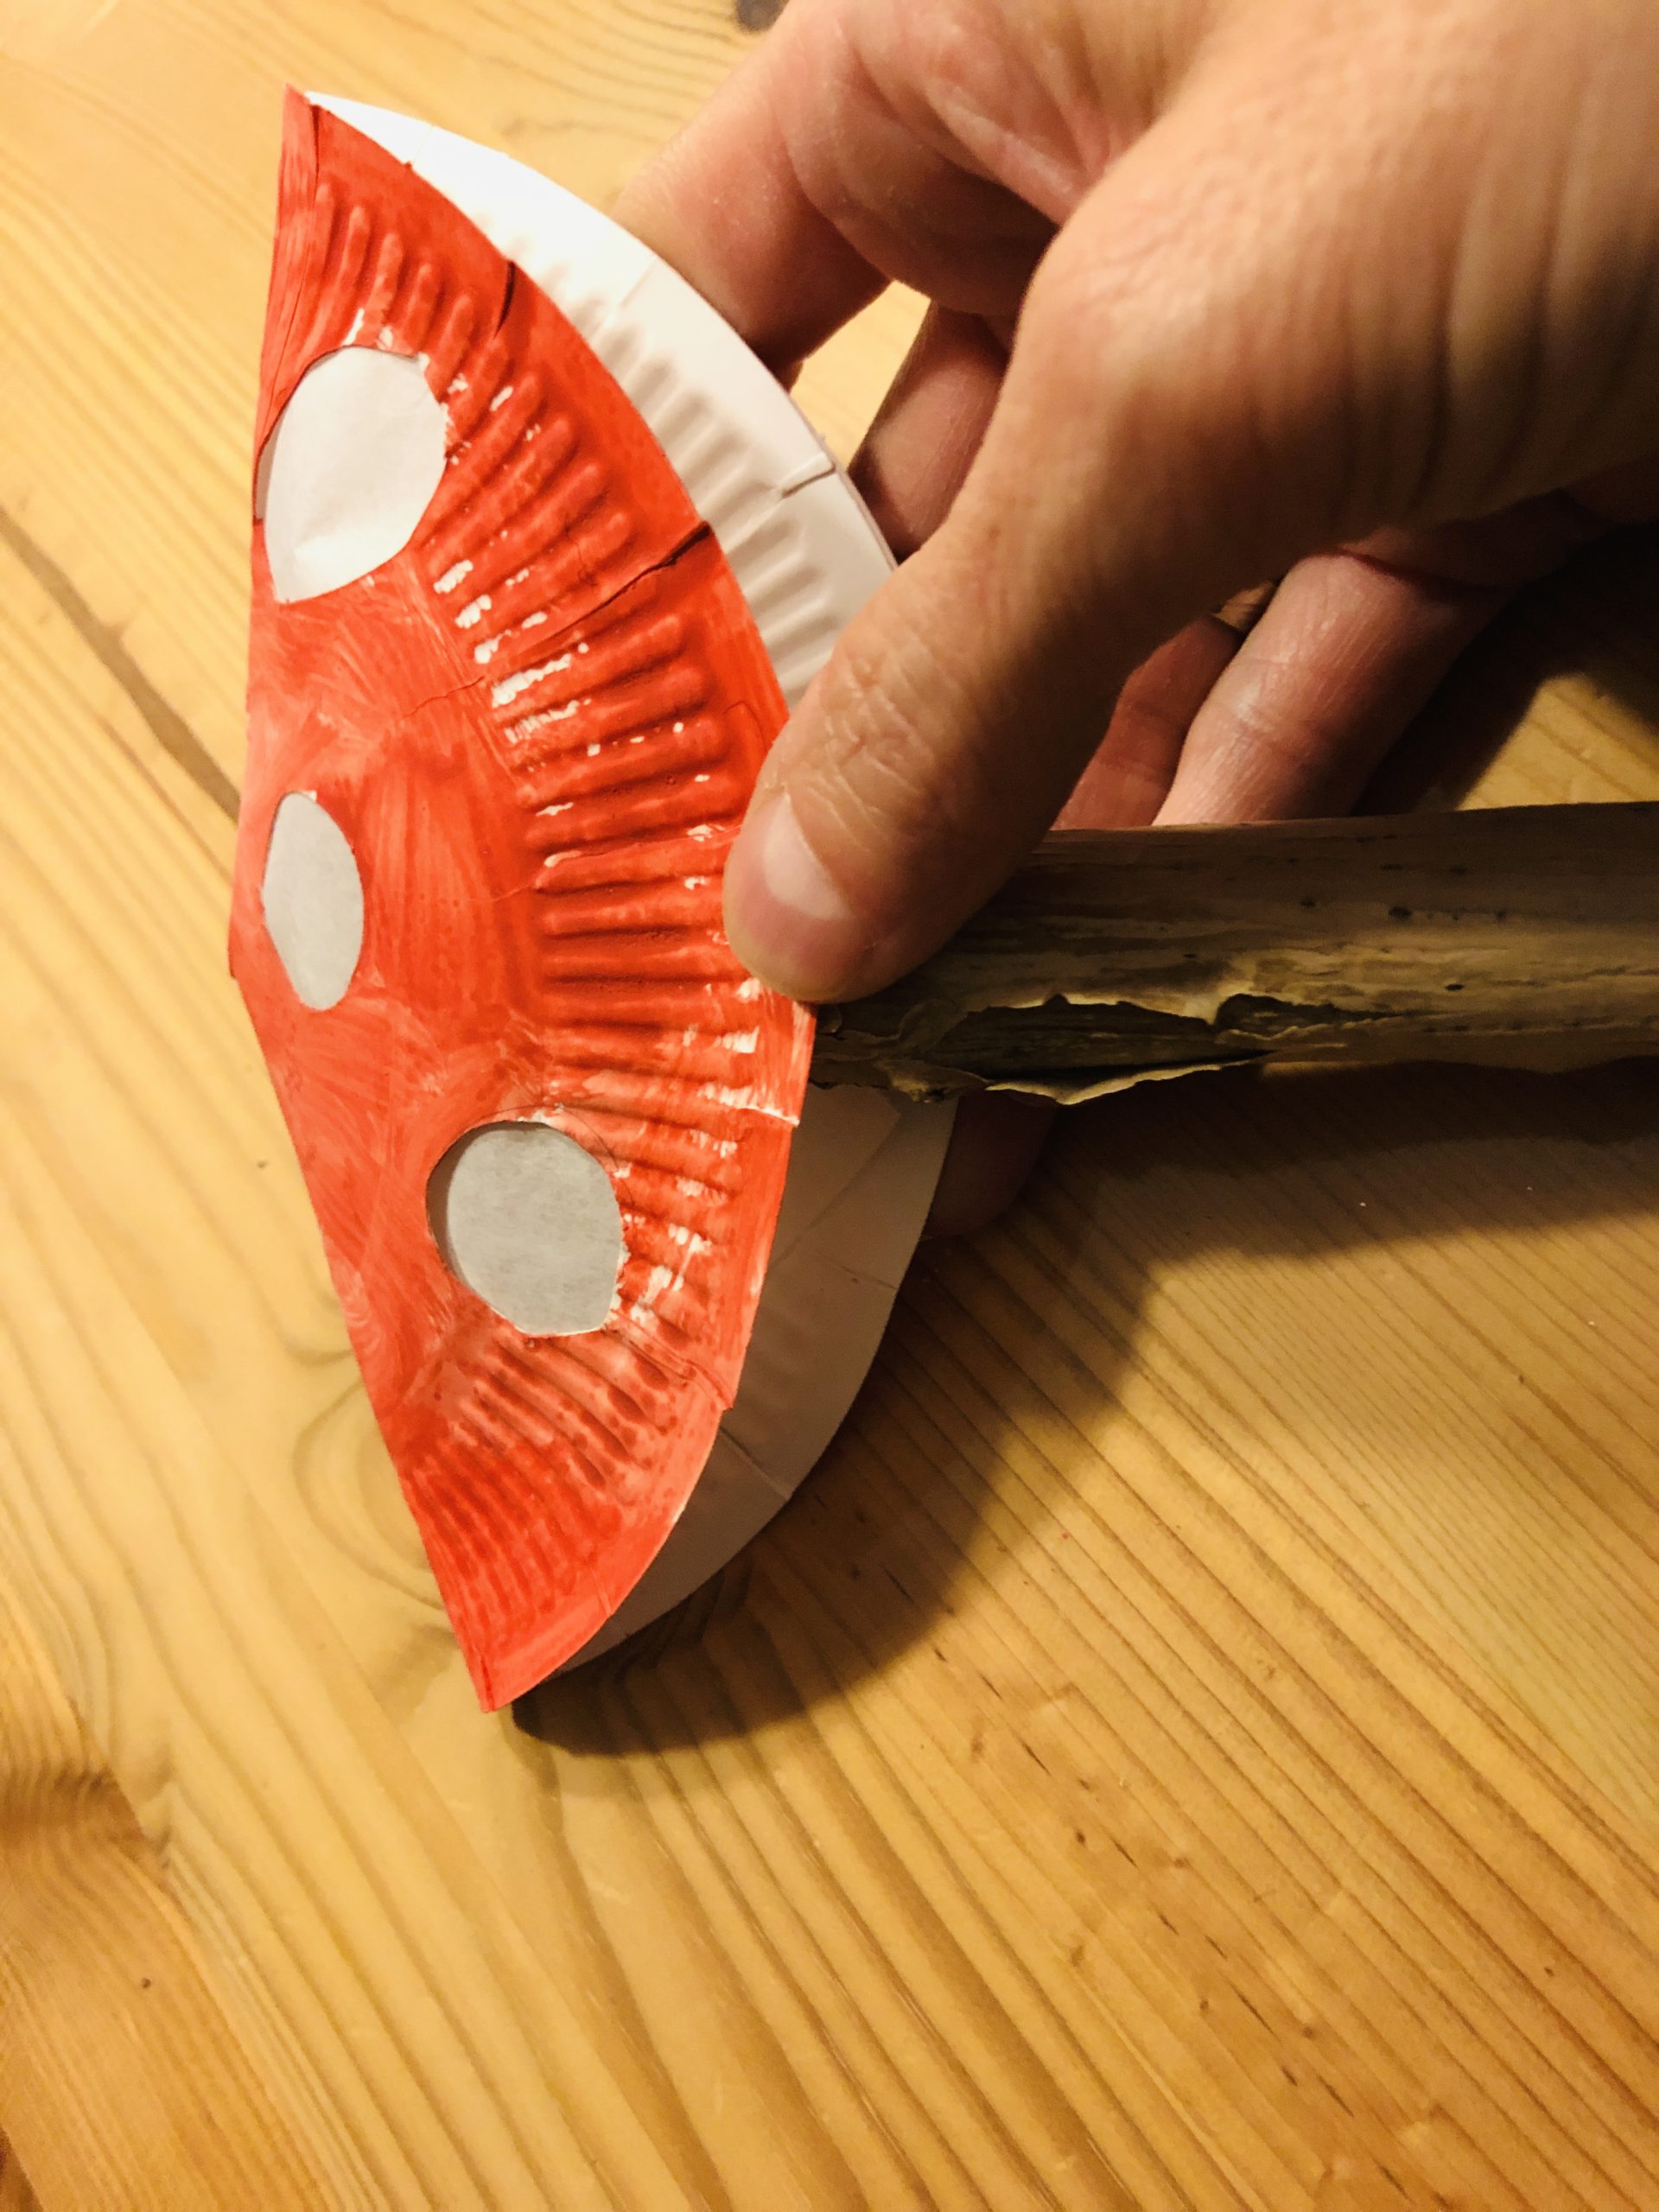
Fasten the branch on a slate plate or on a wooden disc with hot glue.
Now stick the mushroom hat on the branch with the hot glue.

Finally, the mushroom is decorated with moss, leaves and bark pieces.
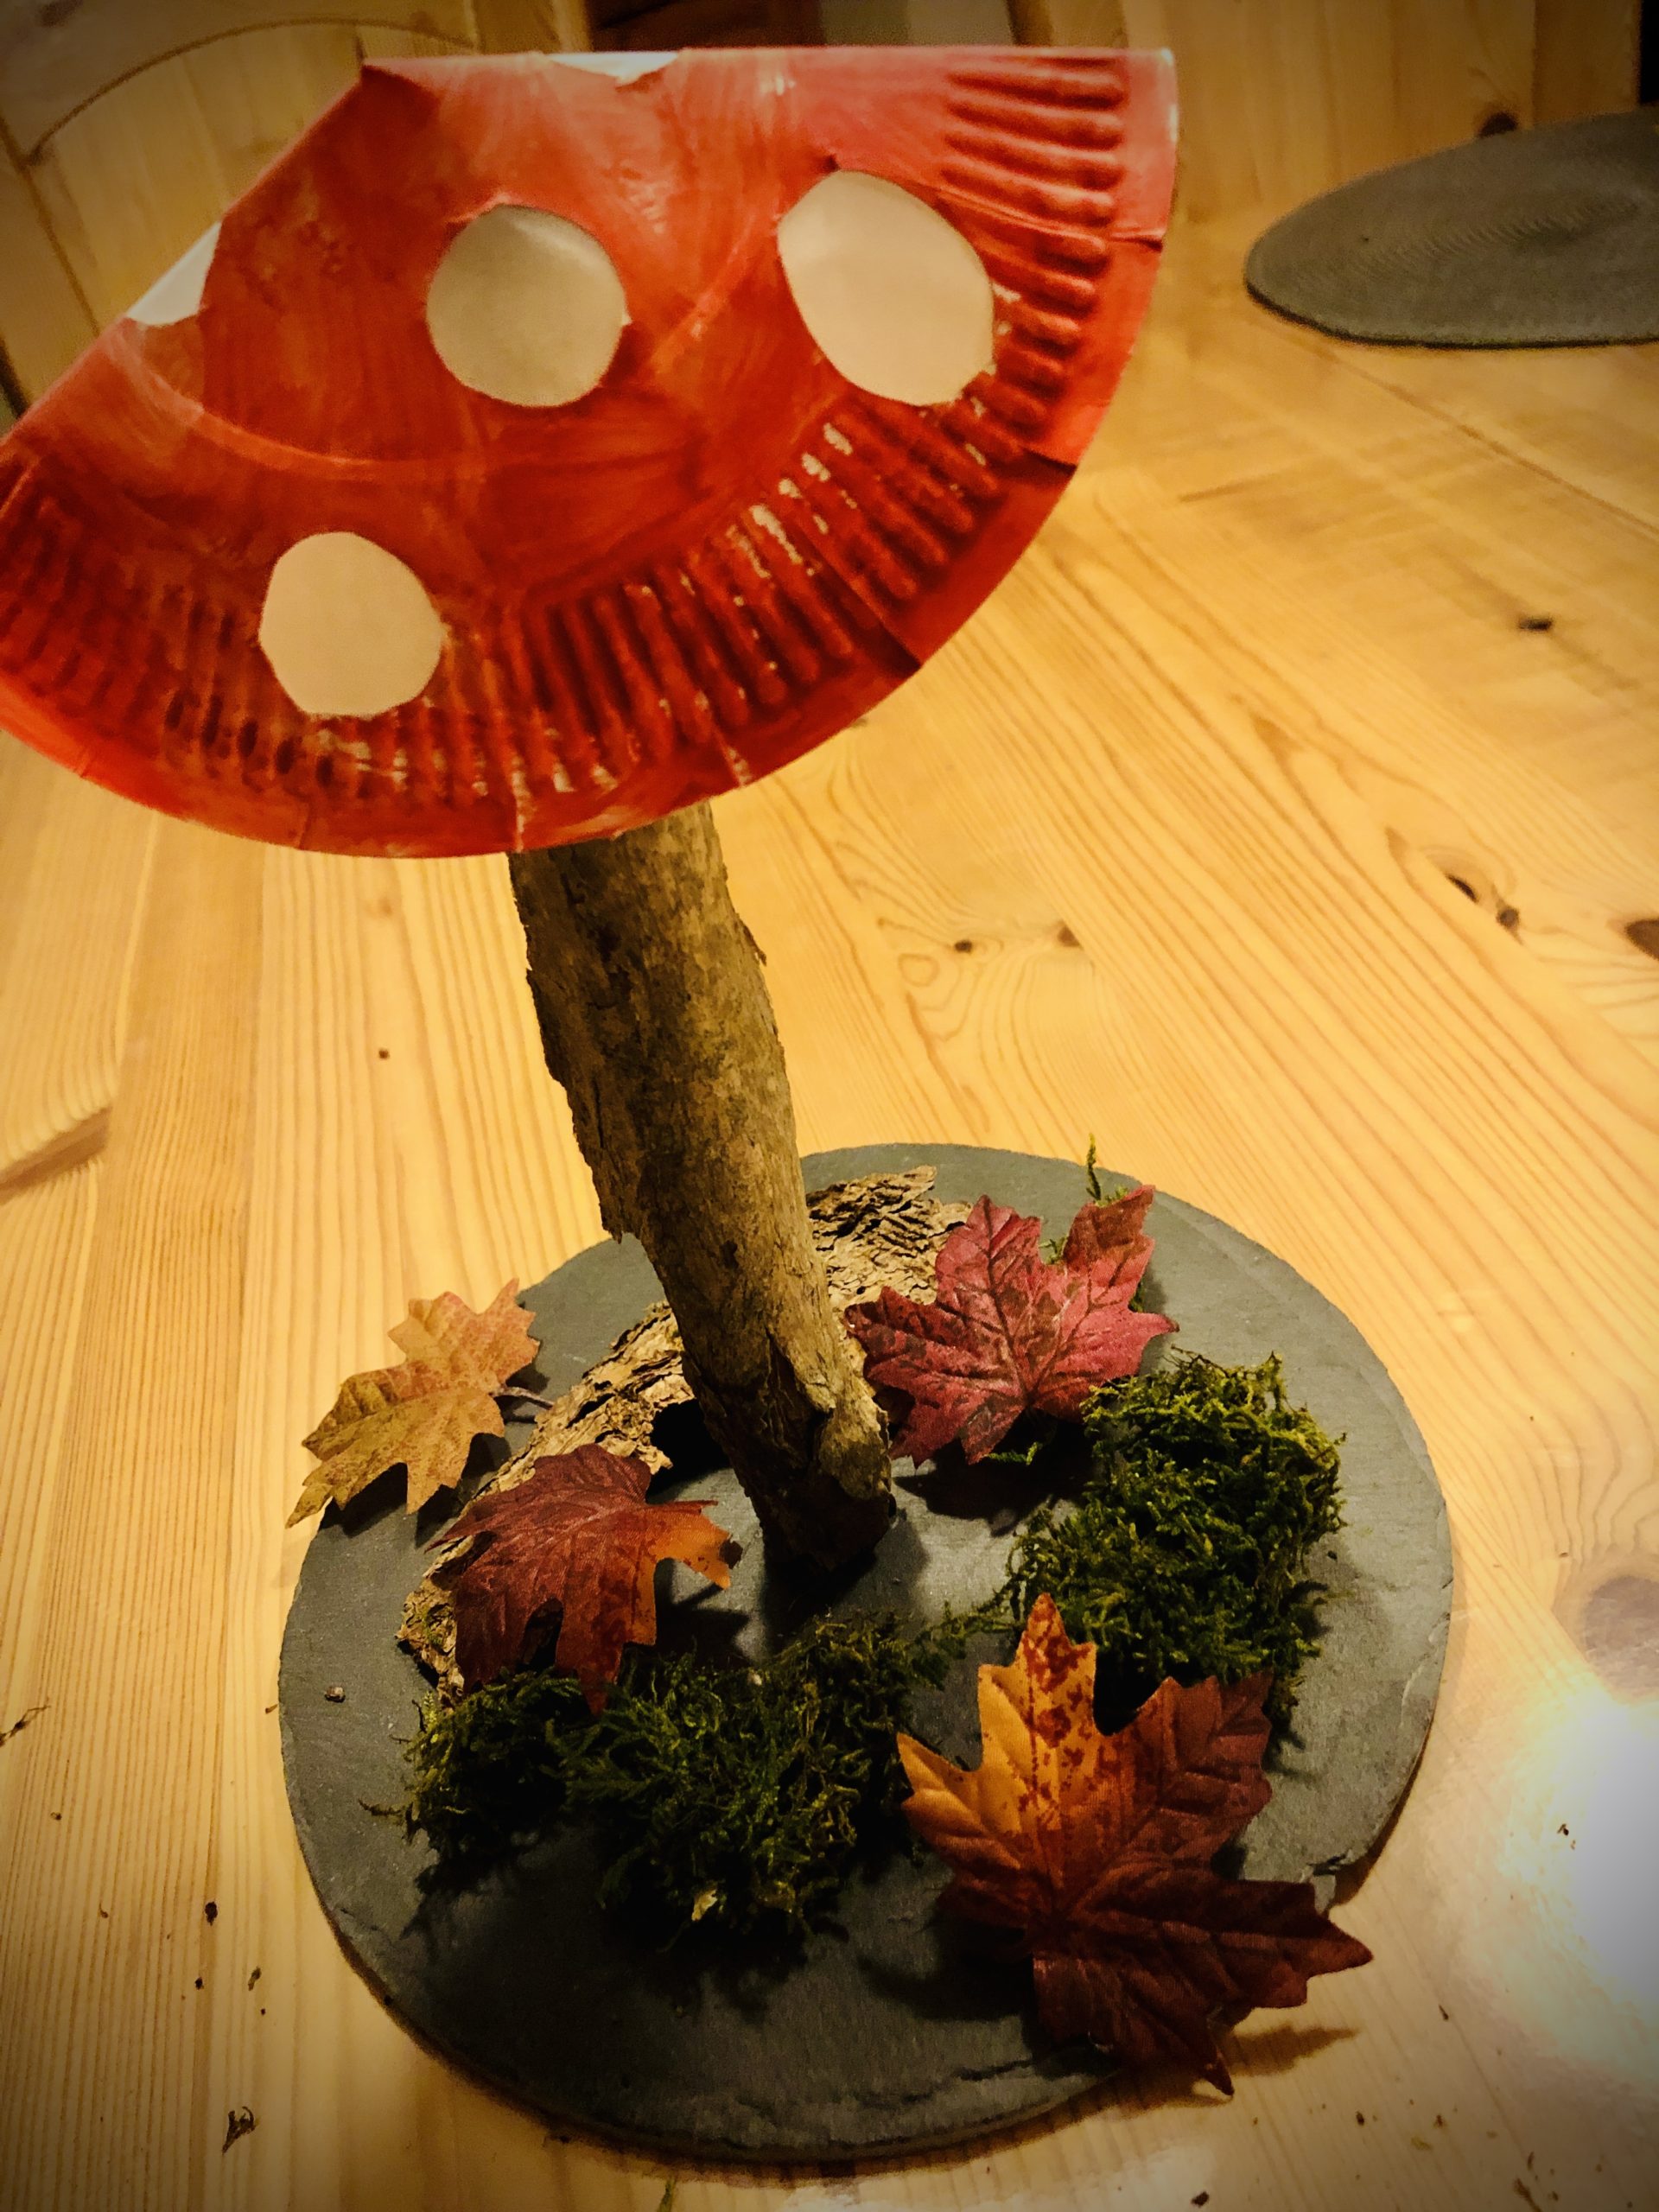
Your autumn decoration is ready!
If you paint the cardboard plate in brown tones, then you made a brown porridge in the nu.
This variant is also suitable for smaller children, as the mushroom hat is less elaborate.
You can find this adventure here? Tinkering of porcini fungus.

Try it yourself.
Materials
Directions
Cut a cardboard plate with the scissors to the middle.
Paints on the plate the points of the mushroom.
Then cut them out.
Paint the cardboard plate with red colour (e.g. water color). Apply the colour to the curved side of the plate (bottom side of the plate).
Let the paint dry.
Now rips pieces out of the butterbread paper to glue the holes.
How many holes do you have?
Glue the holes from the inside of the plate with the snippets.
Turn the plate around and glue the cardboard plate at the cut-in place about 5cm above each other.
This creates a plastic mushroom hat.
Now fold the finished mushroom hat half.
Now you can attach the mushroom hat on a thick piece of branch. Use some hot glue. (Attention: for hot glue there is risk of injury!)
But before you stick the mushroom hat on the branch, first stick the branch on a plate.
Fasten the branch on a slate plate or on a wooden disc with hot glue.
Now stick the mushroom hat on the branch with the hot glue.
Finally, the mushroom is decorated with moss, leaves and bark pieces.
Your autumn decoration is ready!
If you paint the cardboard plate in brown tones, then you made a brown porridge in the nu.
This variant is also suitable for smaller children, as the mushroom hat is less elaborate.
You can find this adventure here? Tinkering of porcini fungus.
Try it yourself.
Follow us on Facebook , Instagram and Pinterest
Don't miss any more adventures: Our bottle mail


