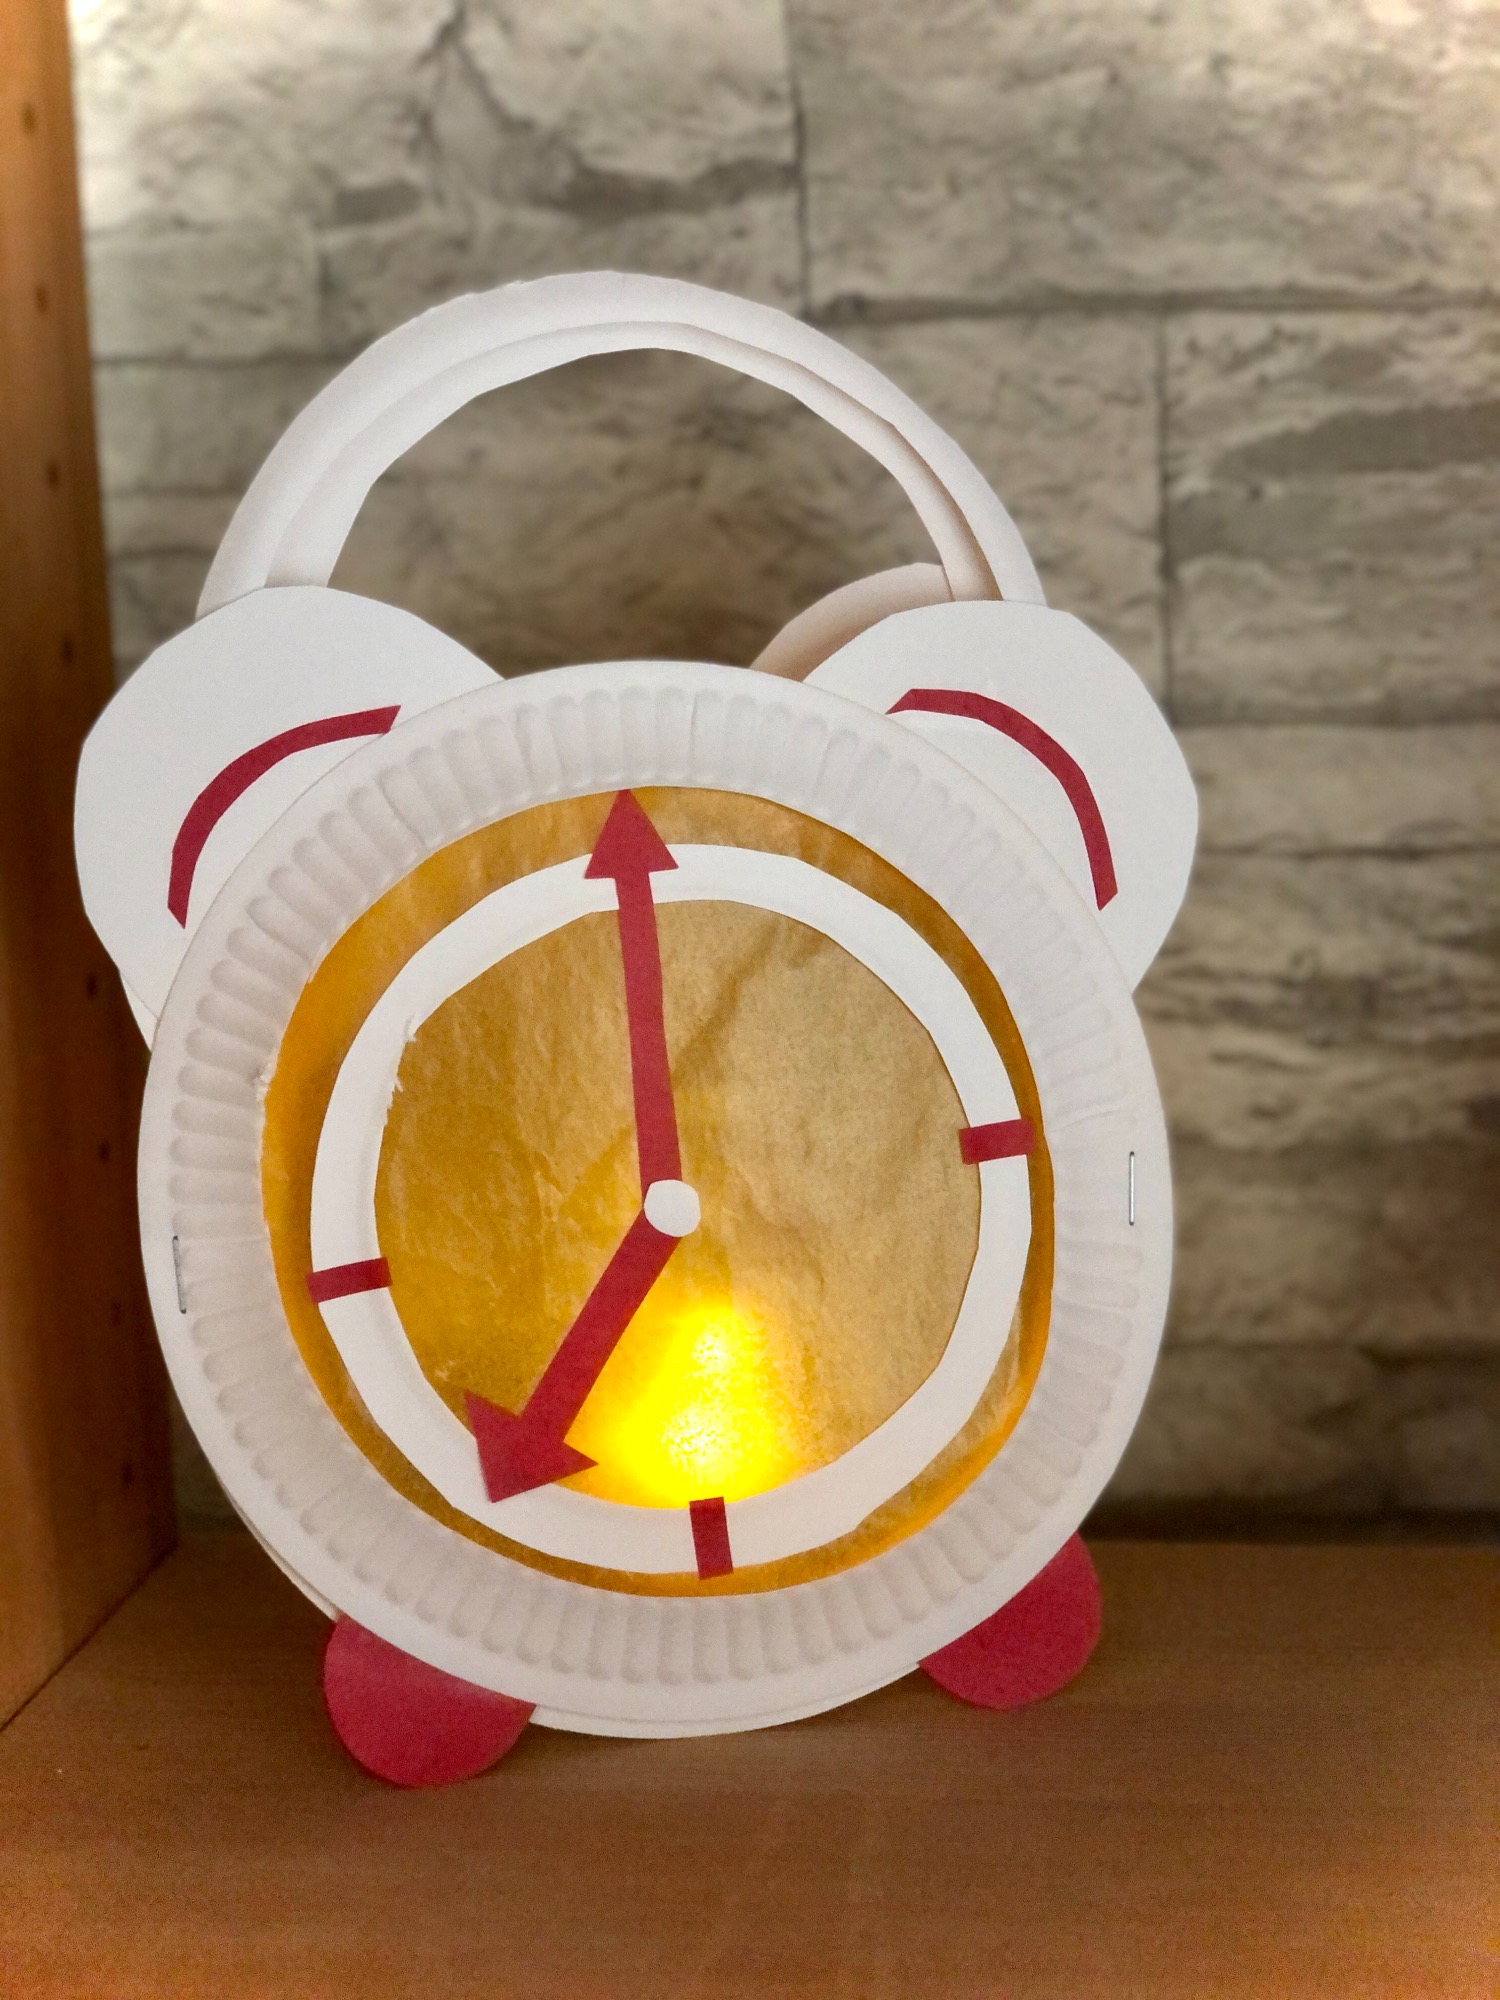
I made this lantern suitable for changing time from summer time to winter time. The children learn the clock at school. Why don't you make a lantern clock or a lantern alarm?
Media Education for Kindergarten and Hort

Relief in everyday life, targeted promotion of individual children, independent learning and - without any pre-knowledge already usable by the youngest!
Lay down your craft file and prepare the material.
The cardboard plate will be the case of your alarm clock. It is used almost completely. Therefore, be careful when leaving.

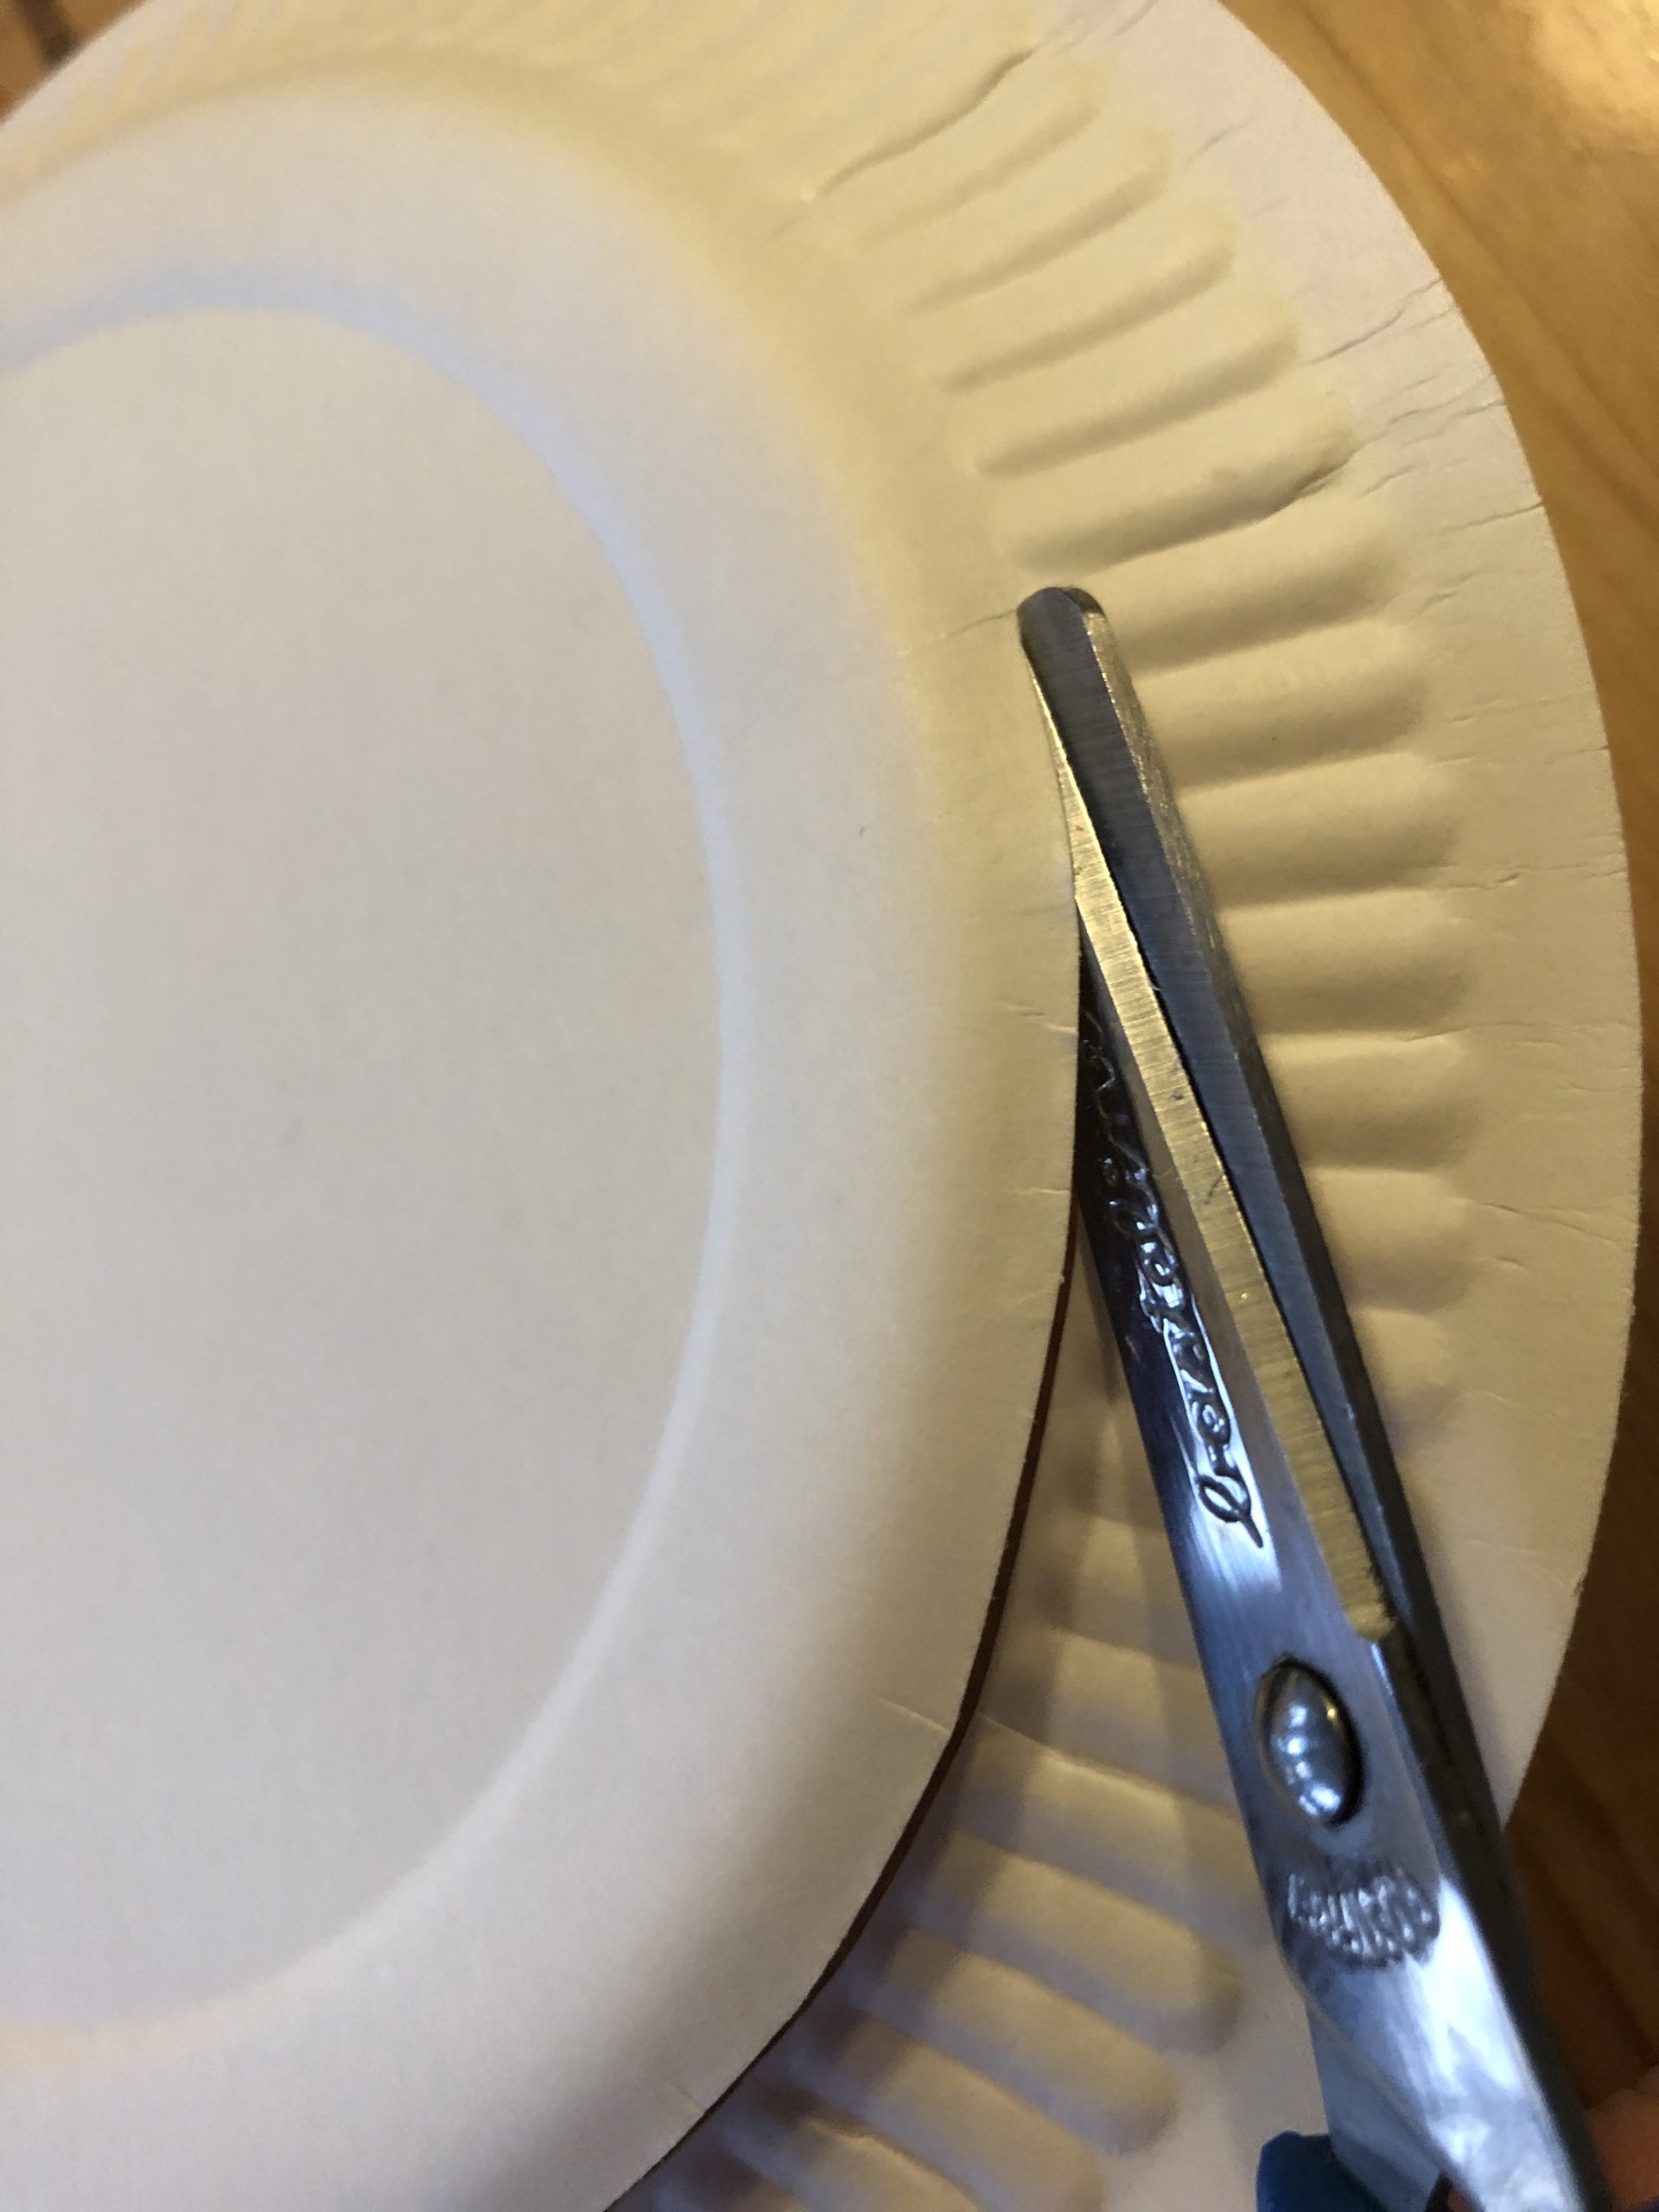
Cut out the outer edge as a ring. Pick a small hole in the plate with the scissors and cut from there once all around.


So you get a big ring and a smaller circle.
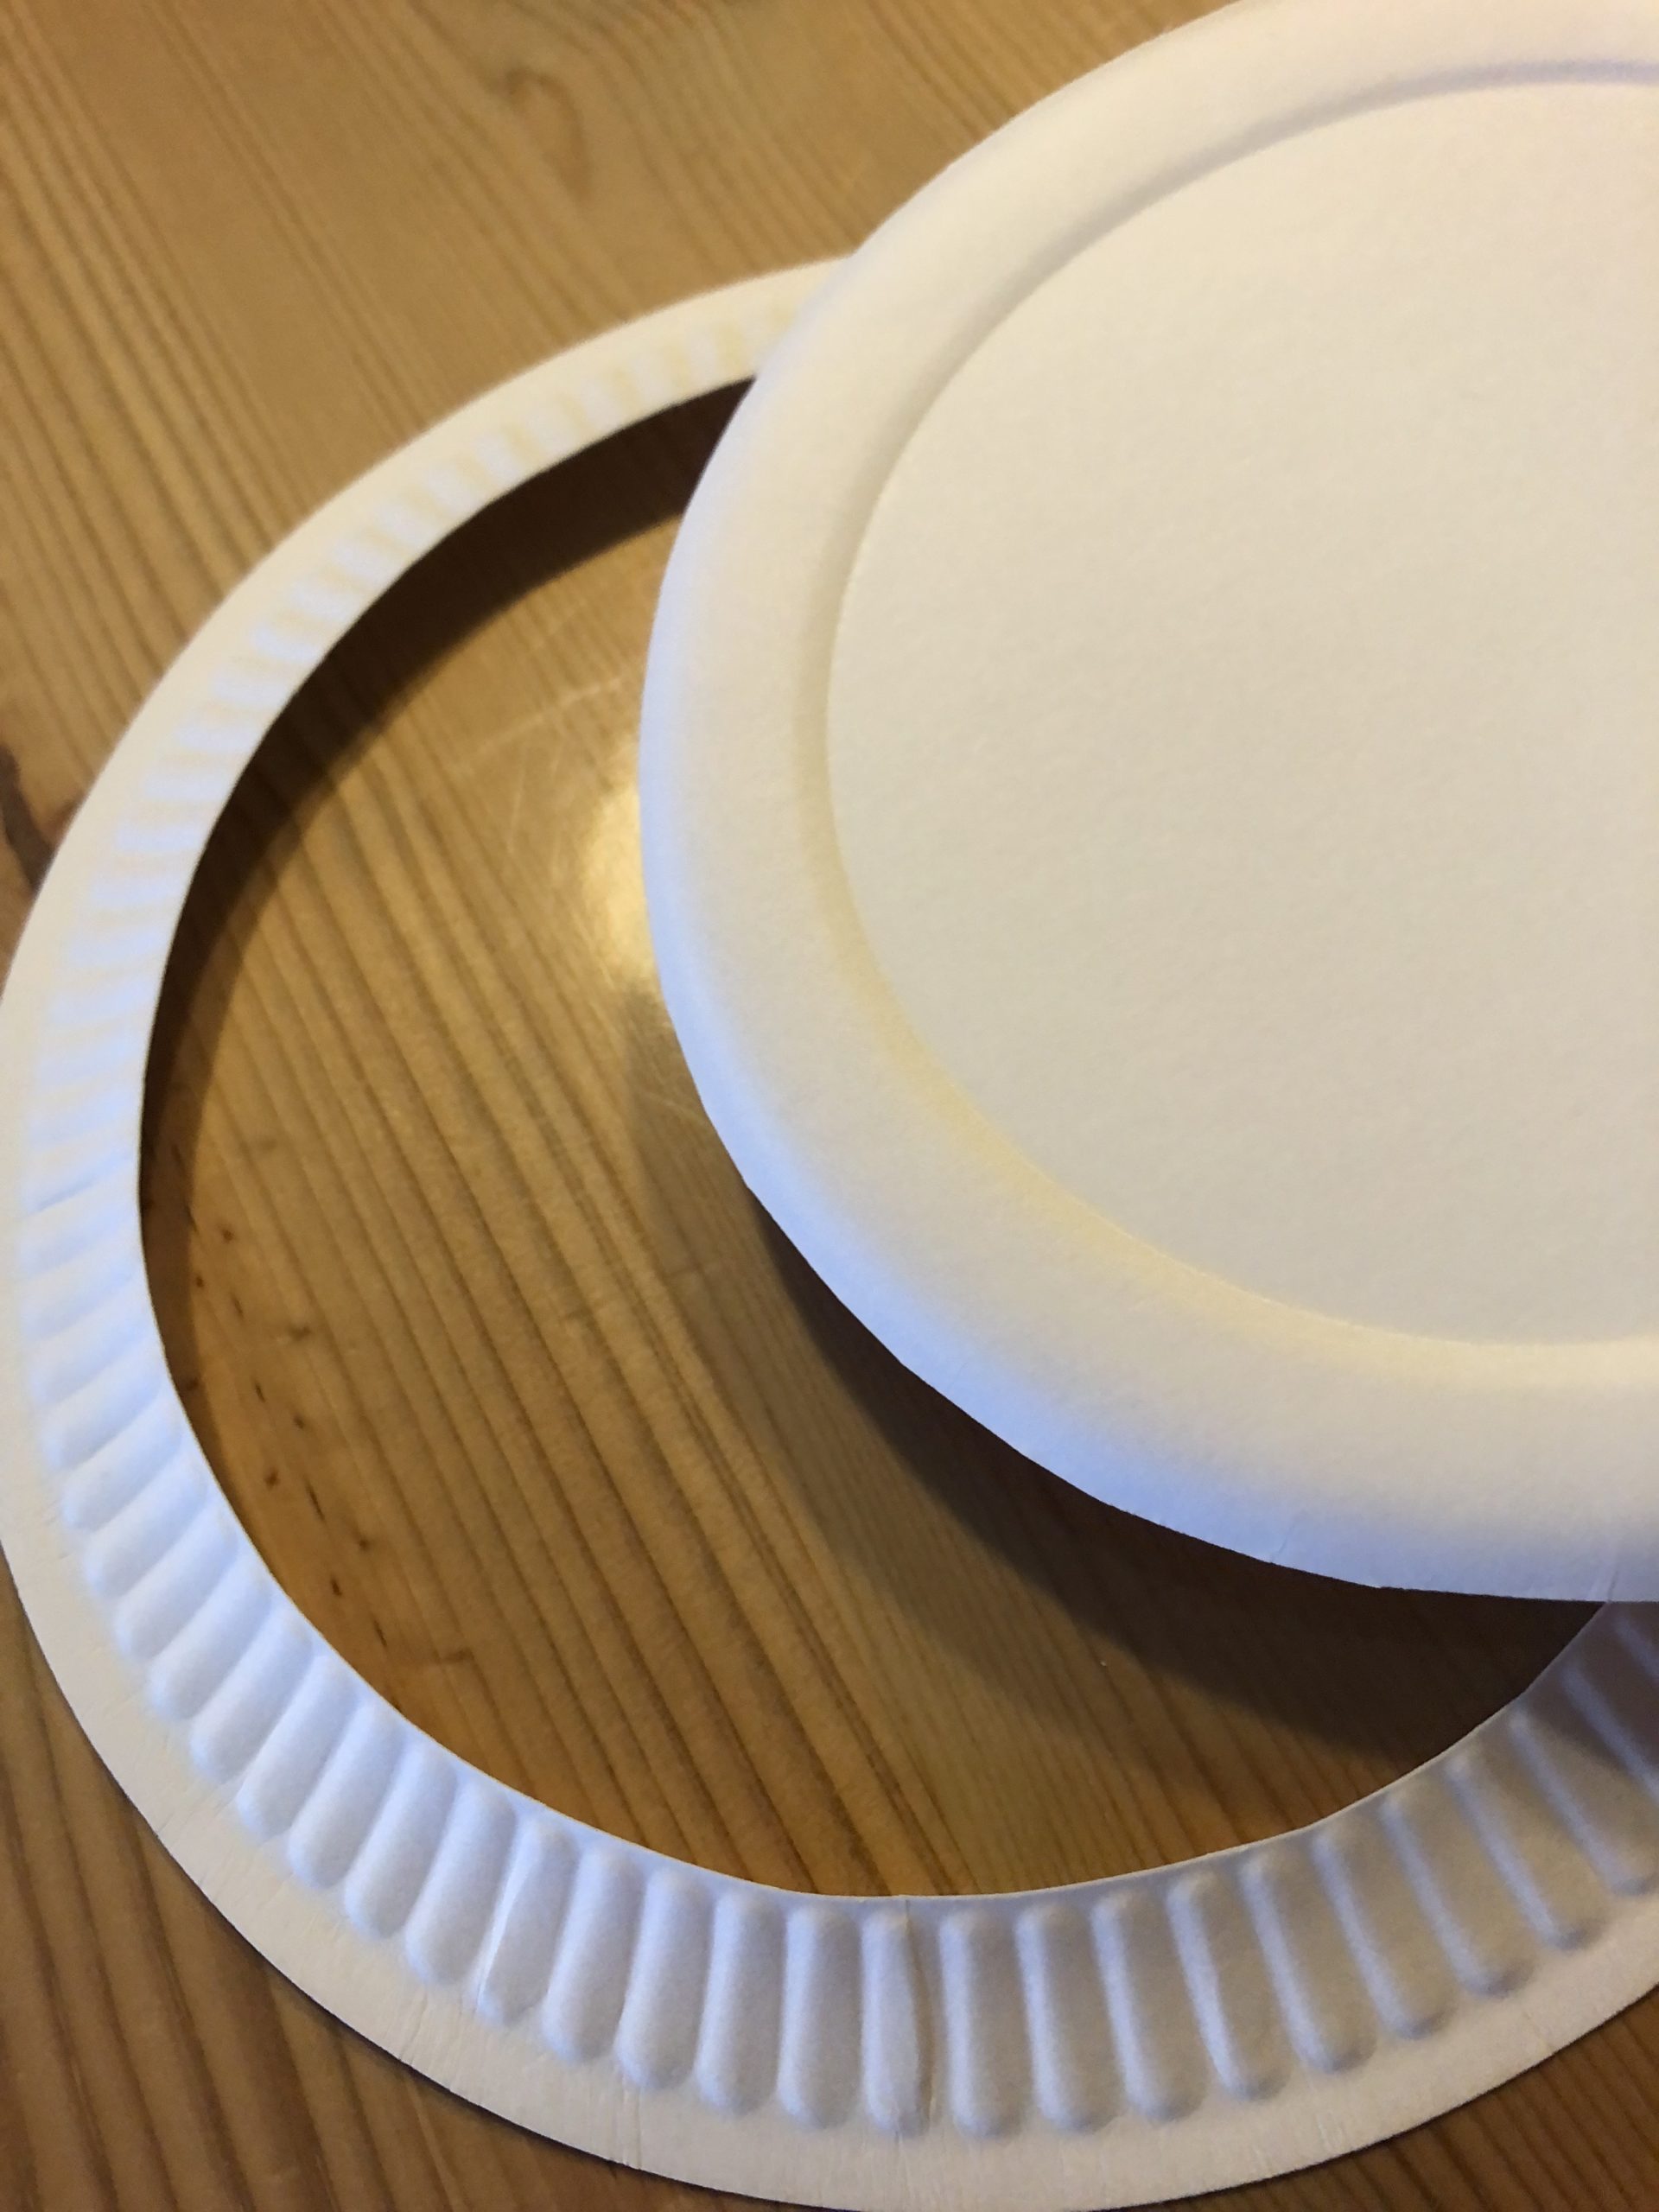


Now cut out a ring from the circle. So you get two rings and a small circle.
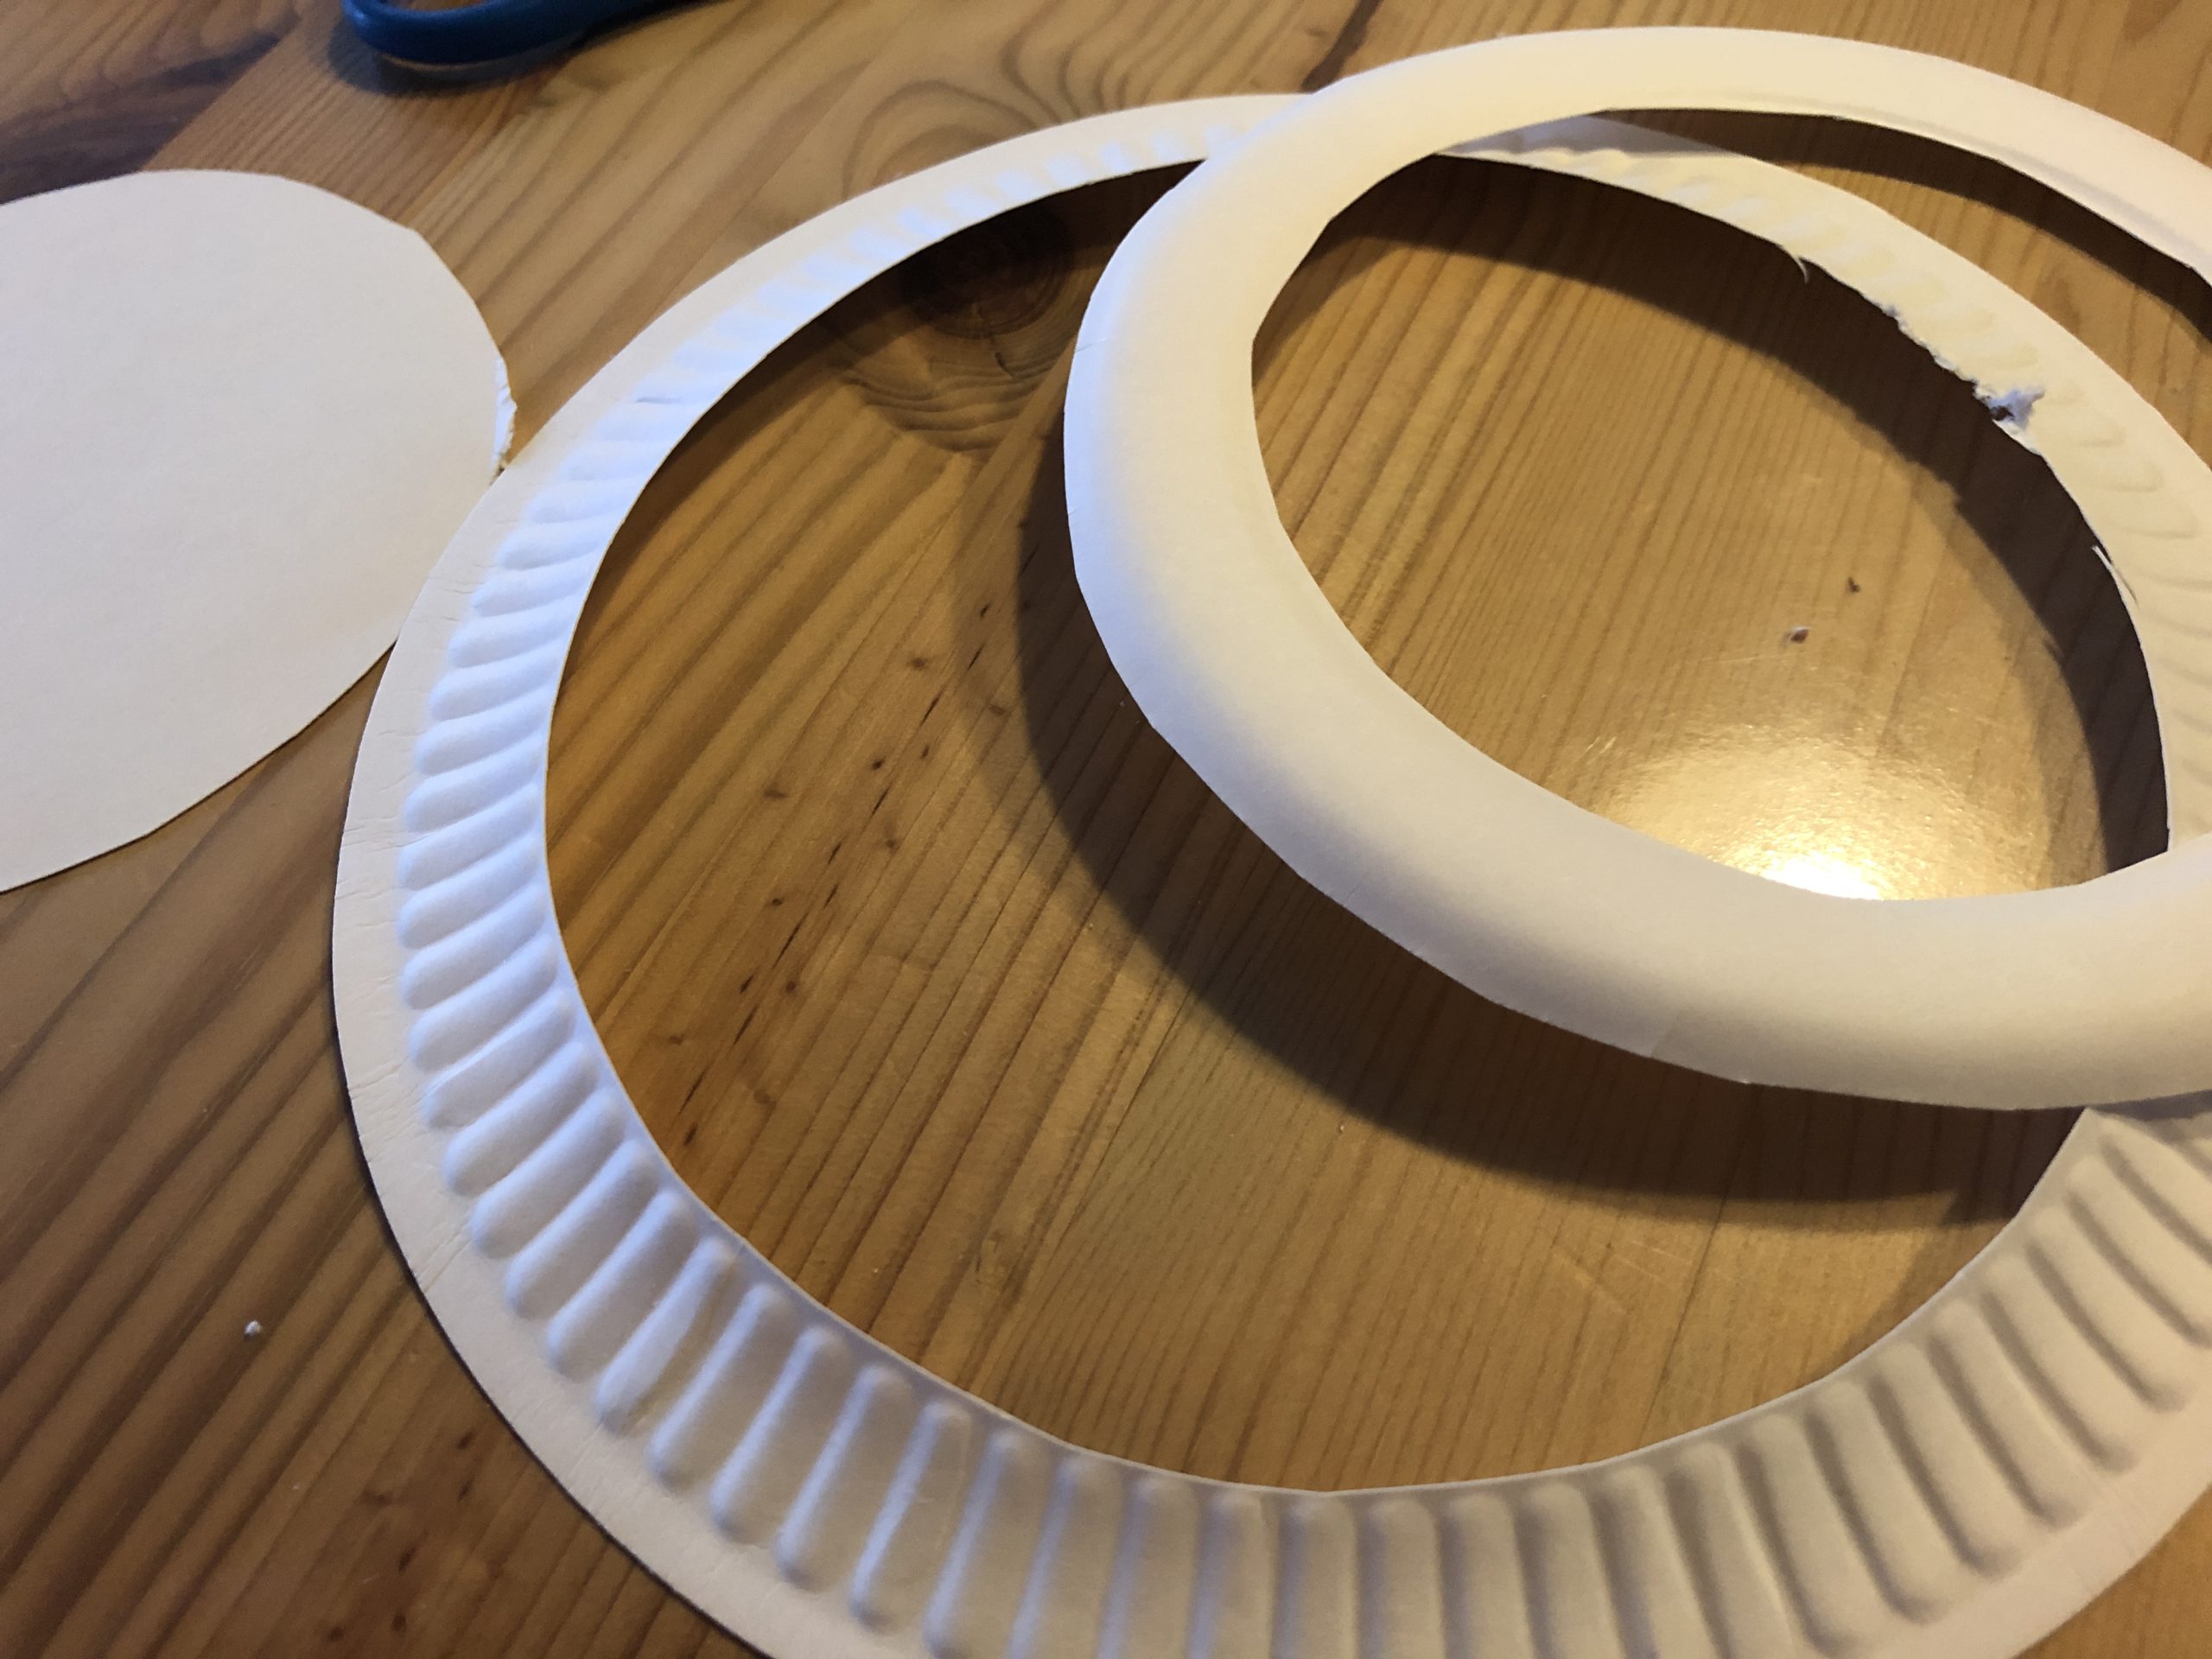


The second ring (smaller), you divide again, so that two thin rings emerge from the one ring. (See picture.)


All parts are used!
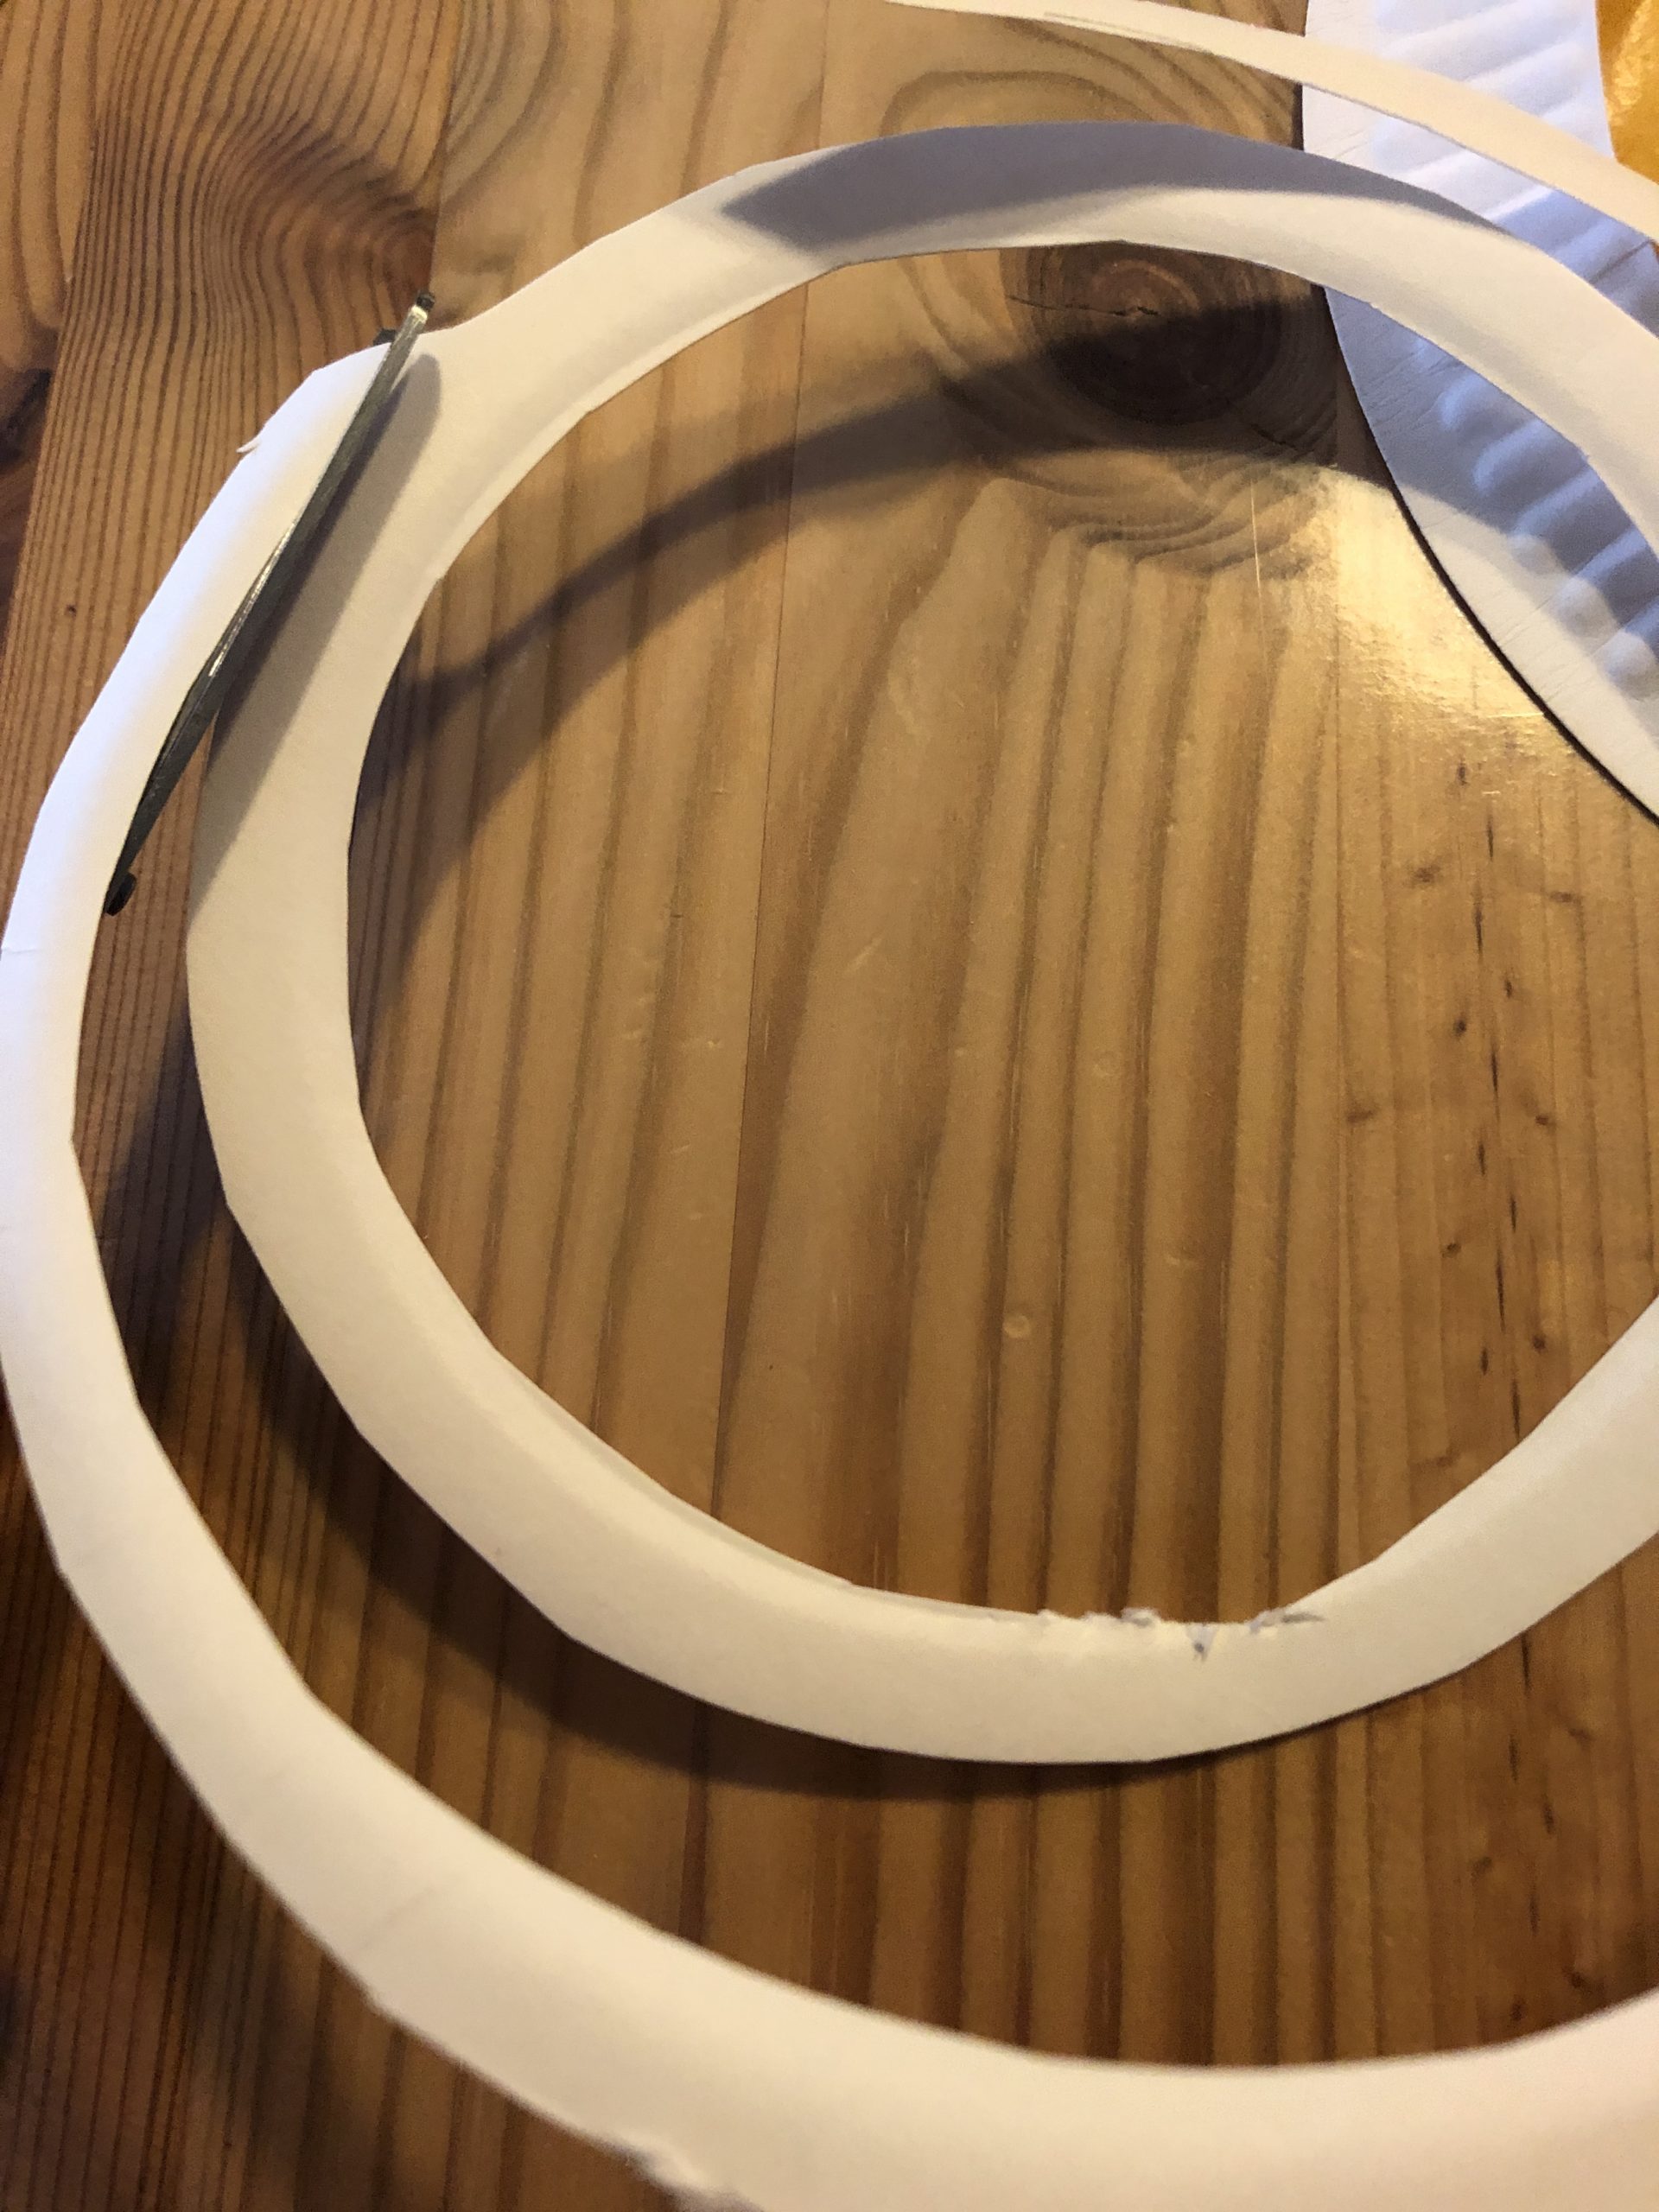


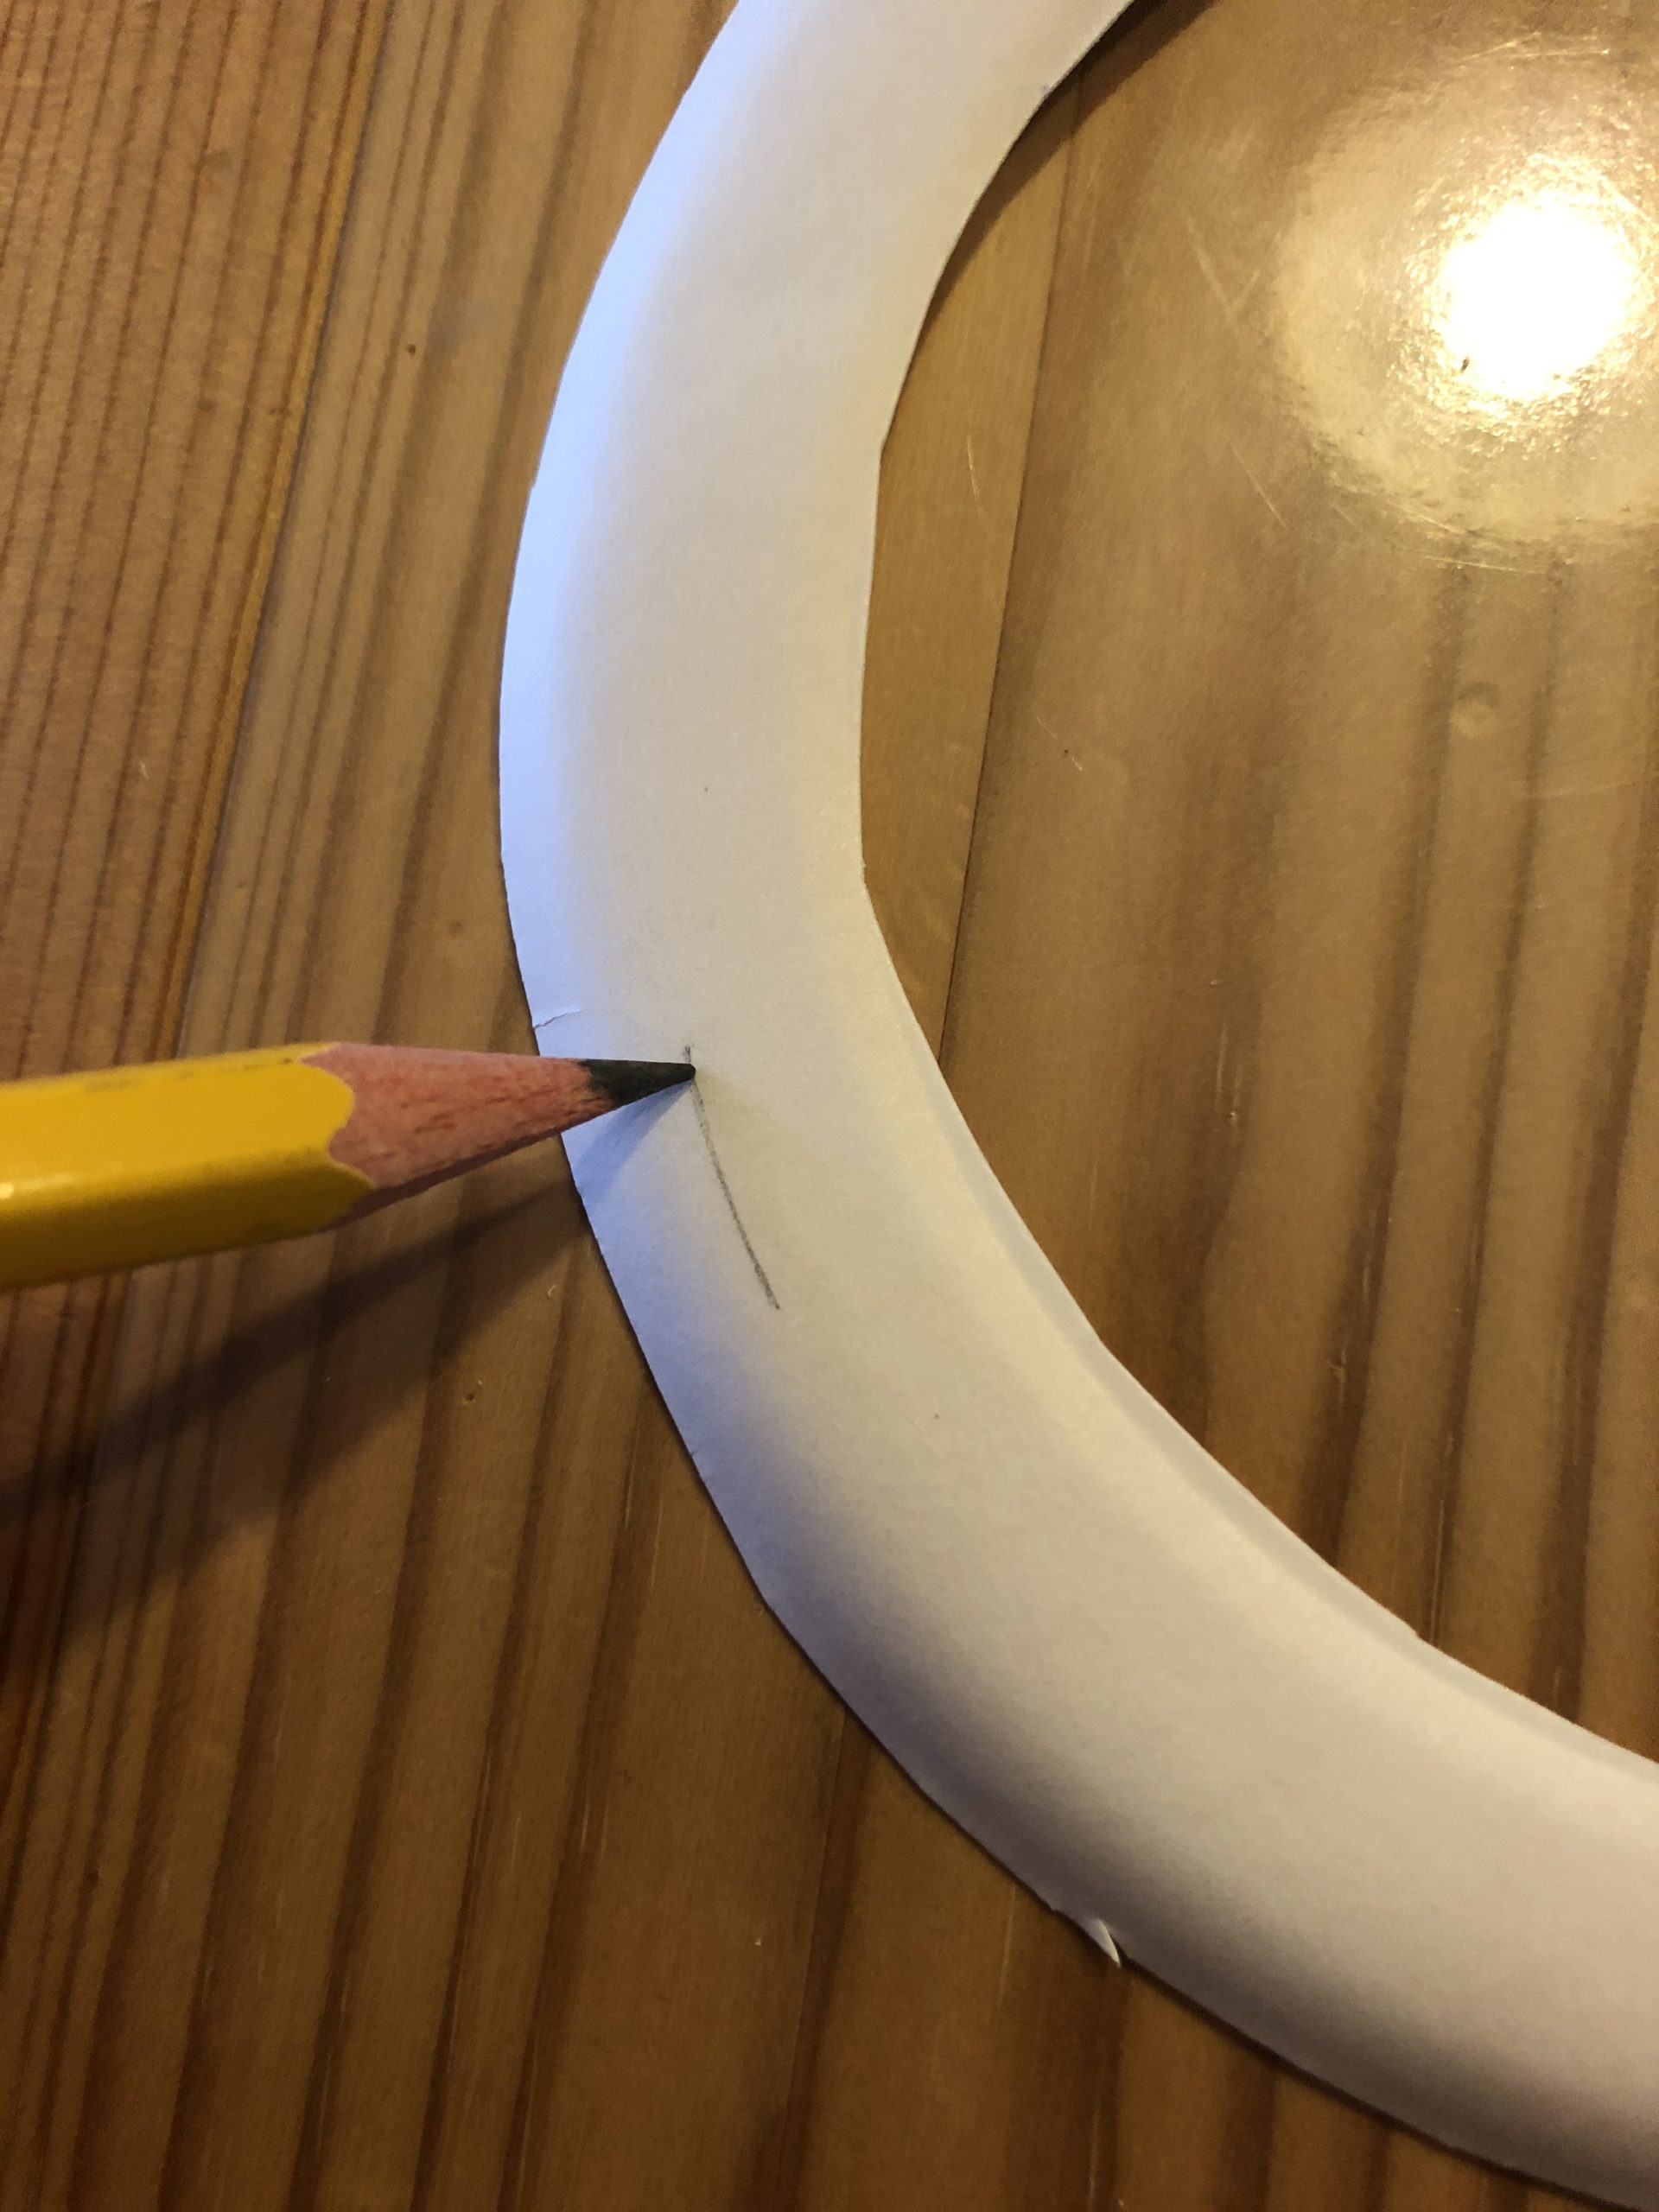
Now put on the transparent paper the largest ring on it. Paint around the outside and cut out the circle slightly smaller. Behind this large ring you stick the transparent paper.


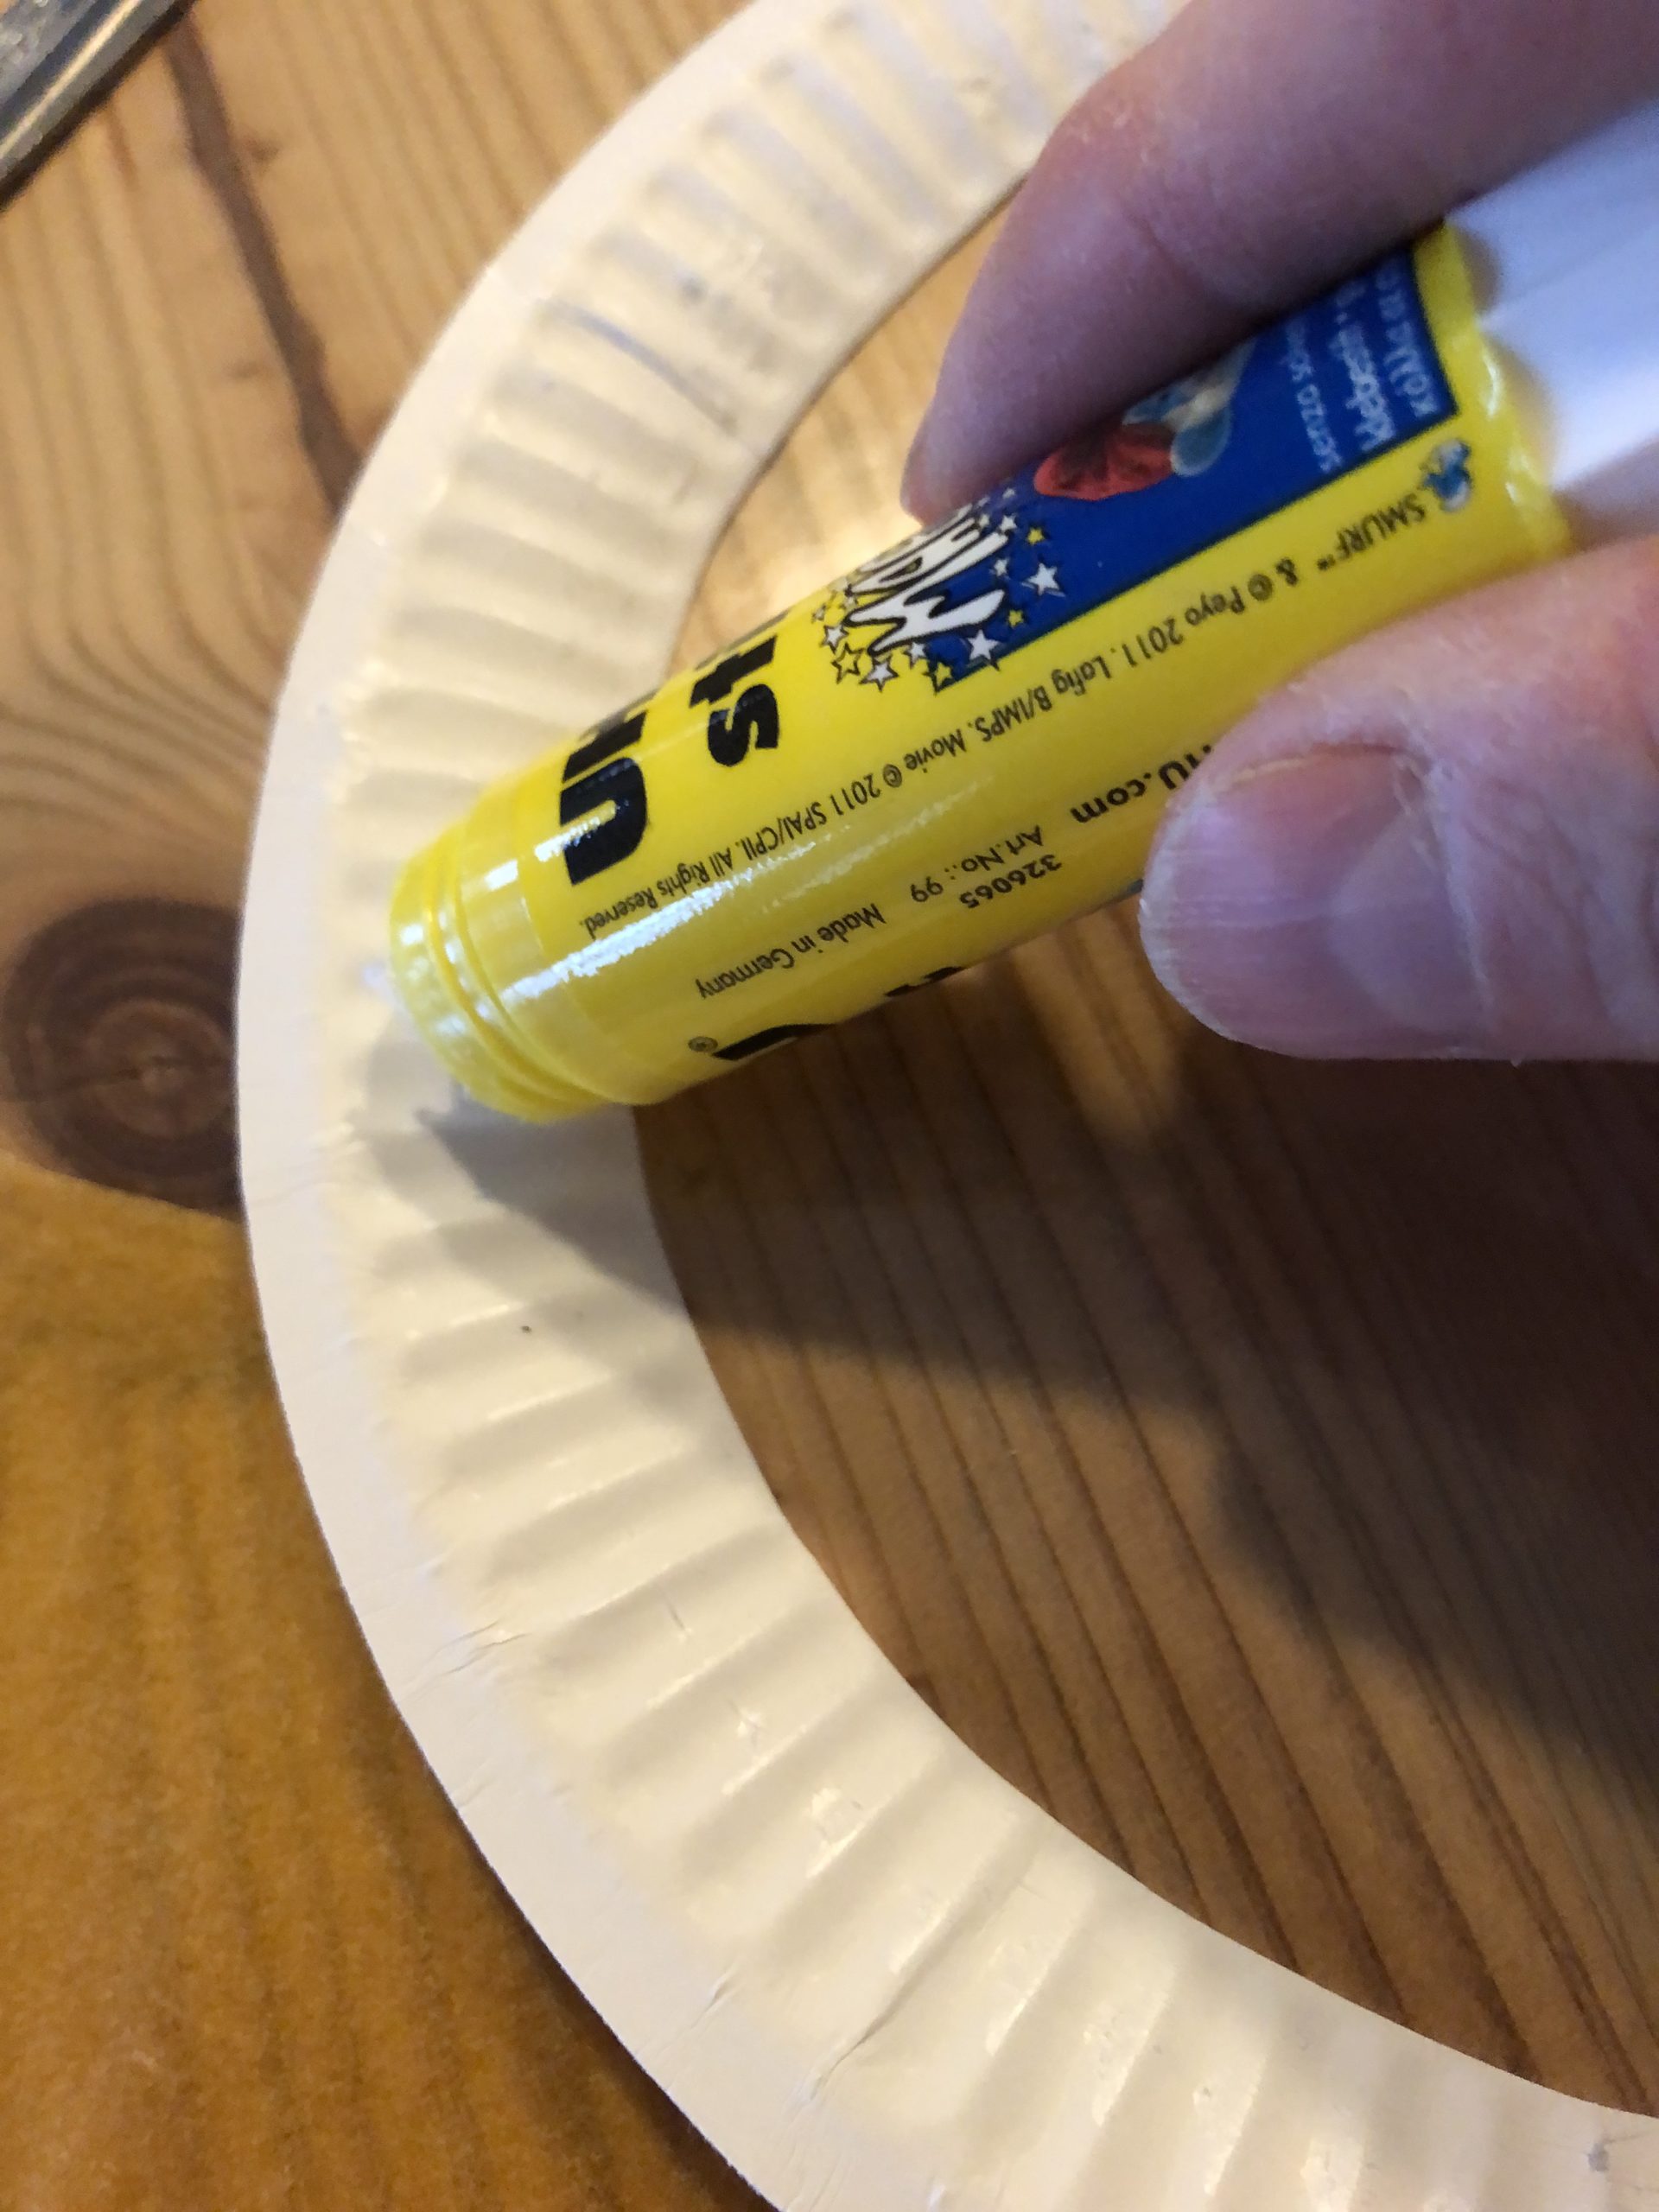
To do this, brush the edge with glue. Then you put on the transparent paper and press it on.


Now turn around the cardboard plate. The curved side is our front.
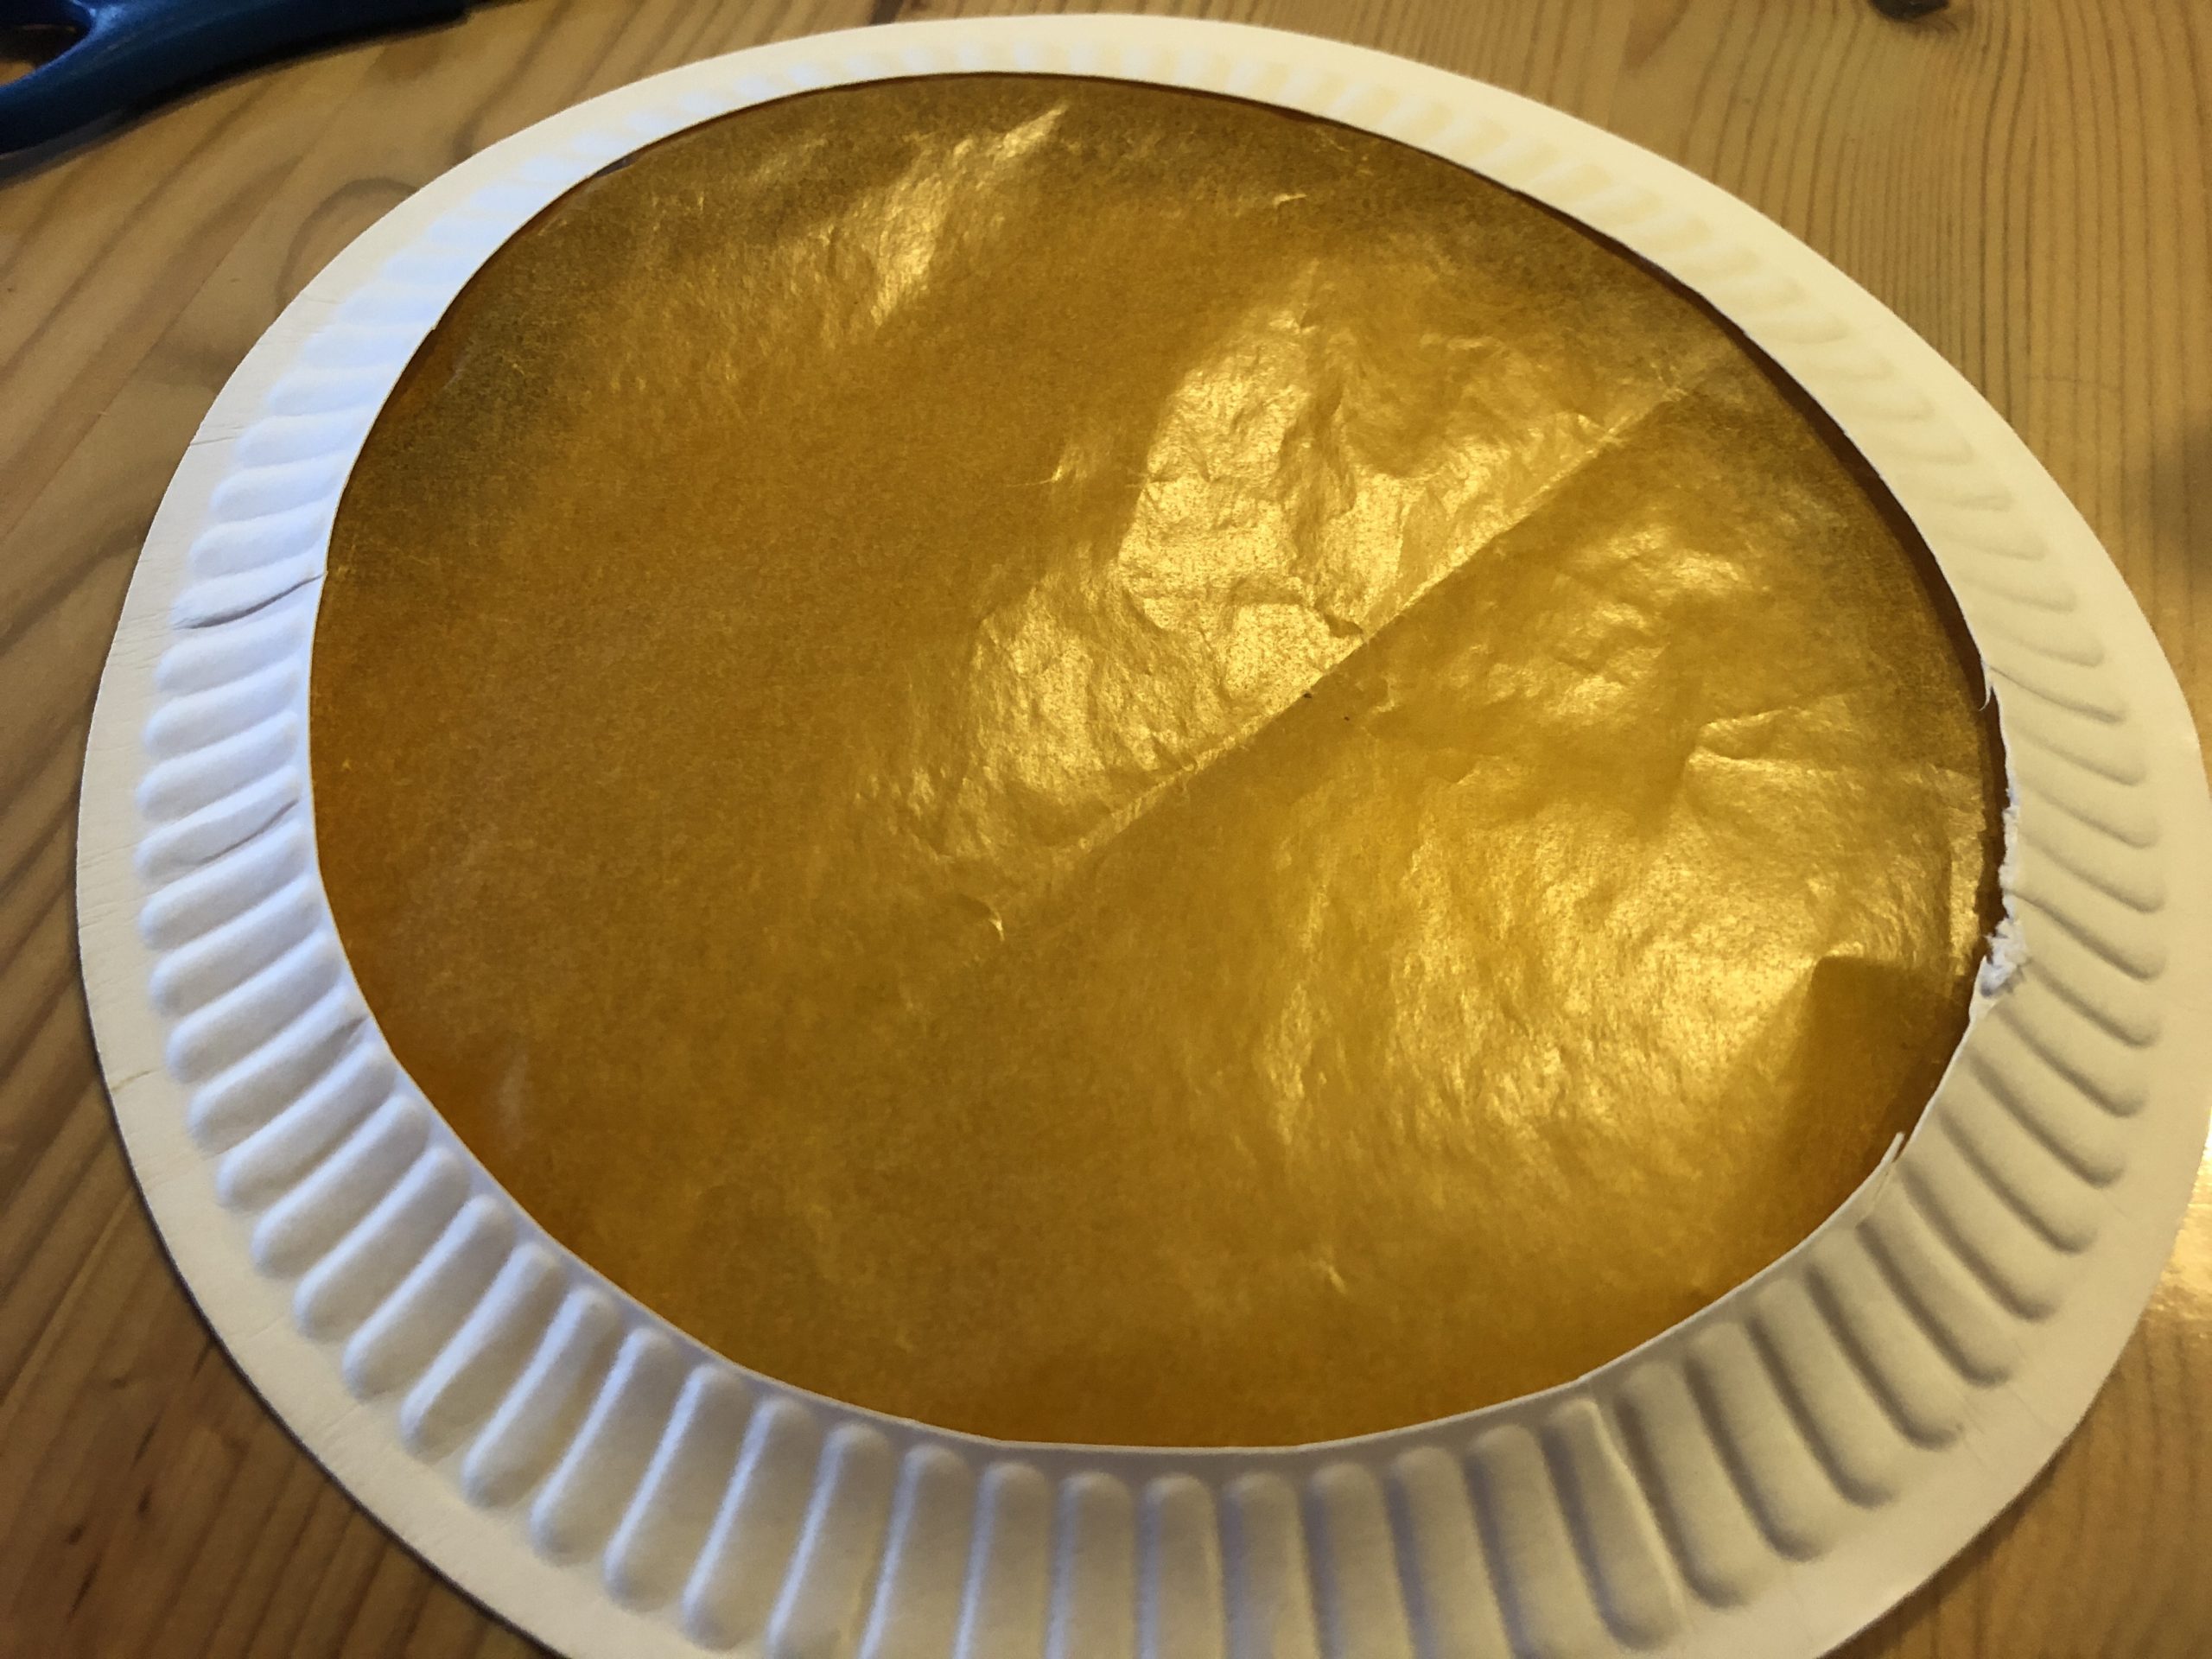


The middle part of the cardboard plate - the inner circle - is now halved.


Paint a semicircle and cut it out. See photo!


Both cut-out semicircles are positioned at the upper part of the clock, thus creating an alarm clock as we know it from the past.
Then you put one of the thin rings on the transparent paper and stick it on.


You halve the other thin ring and connect the semicircles with it.


All parts stick to her on the back of the watch.
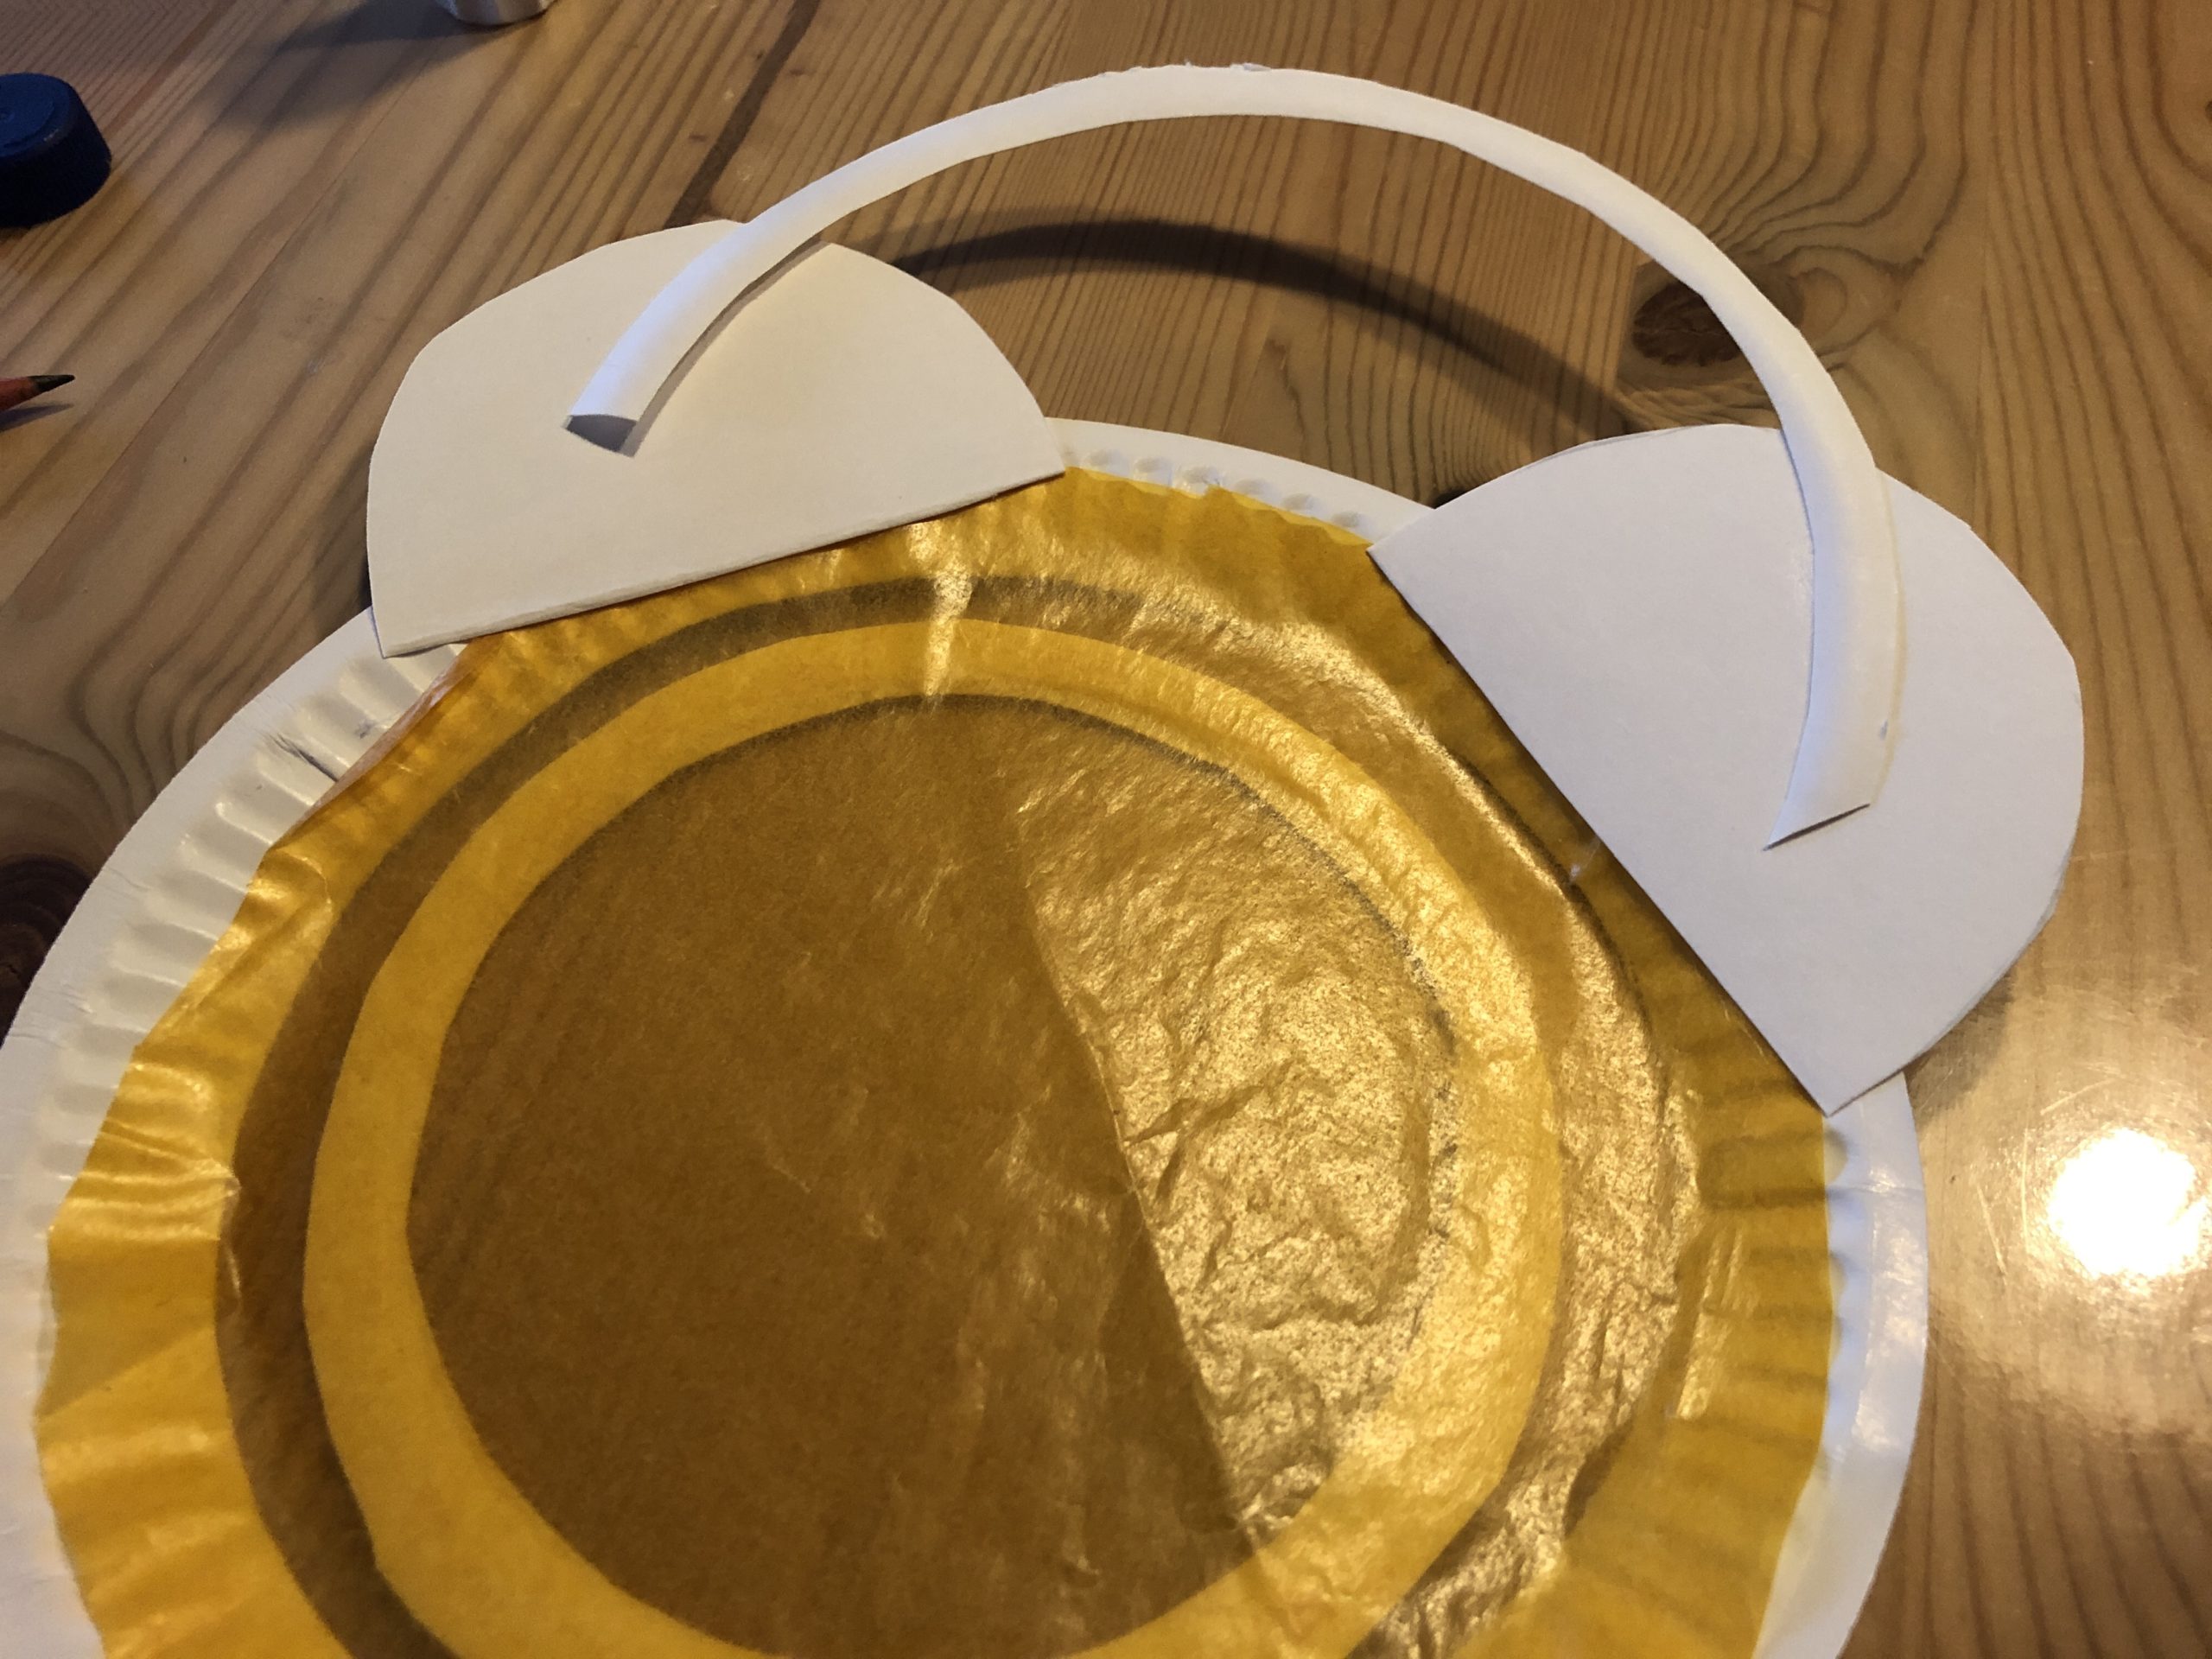


That's what the alarm looks like!
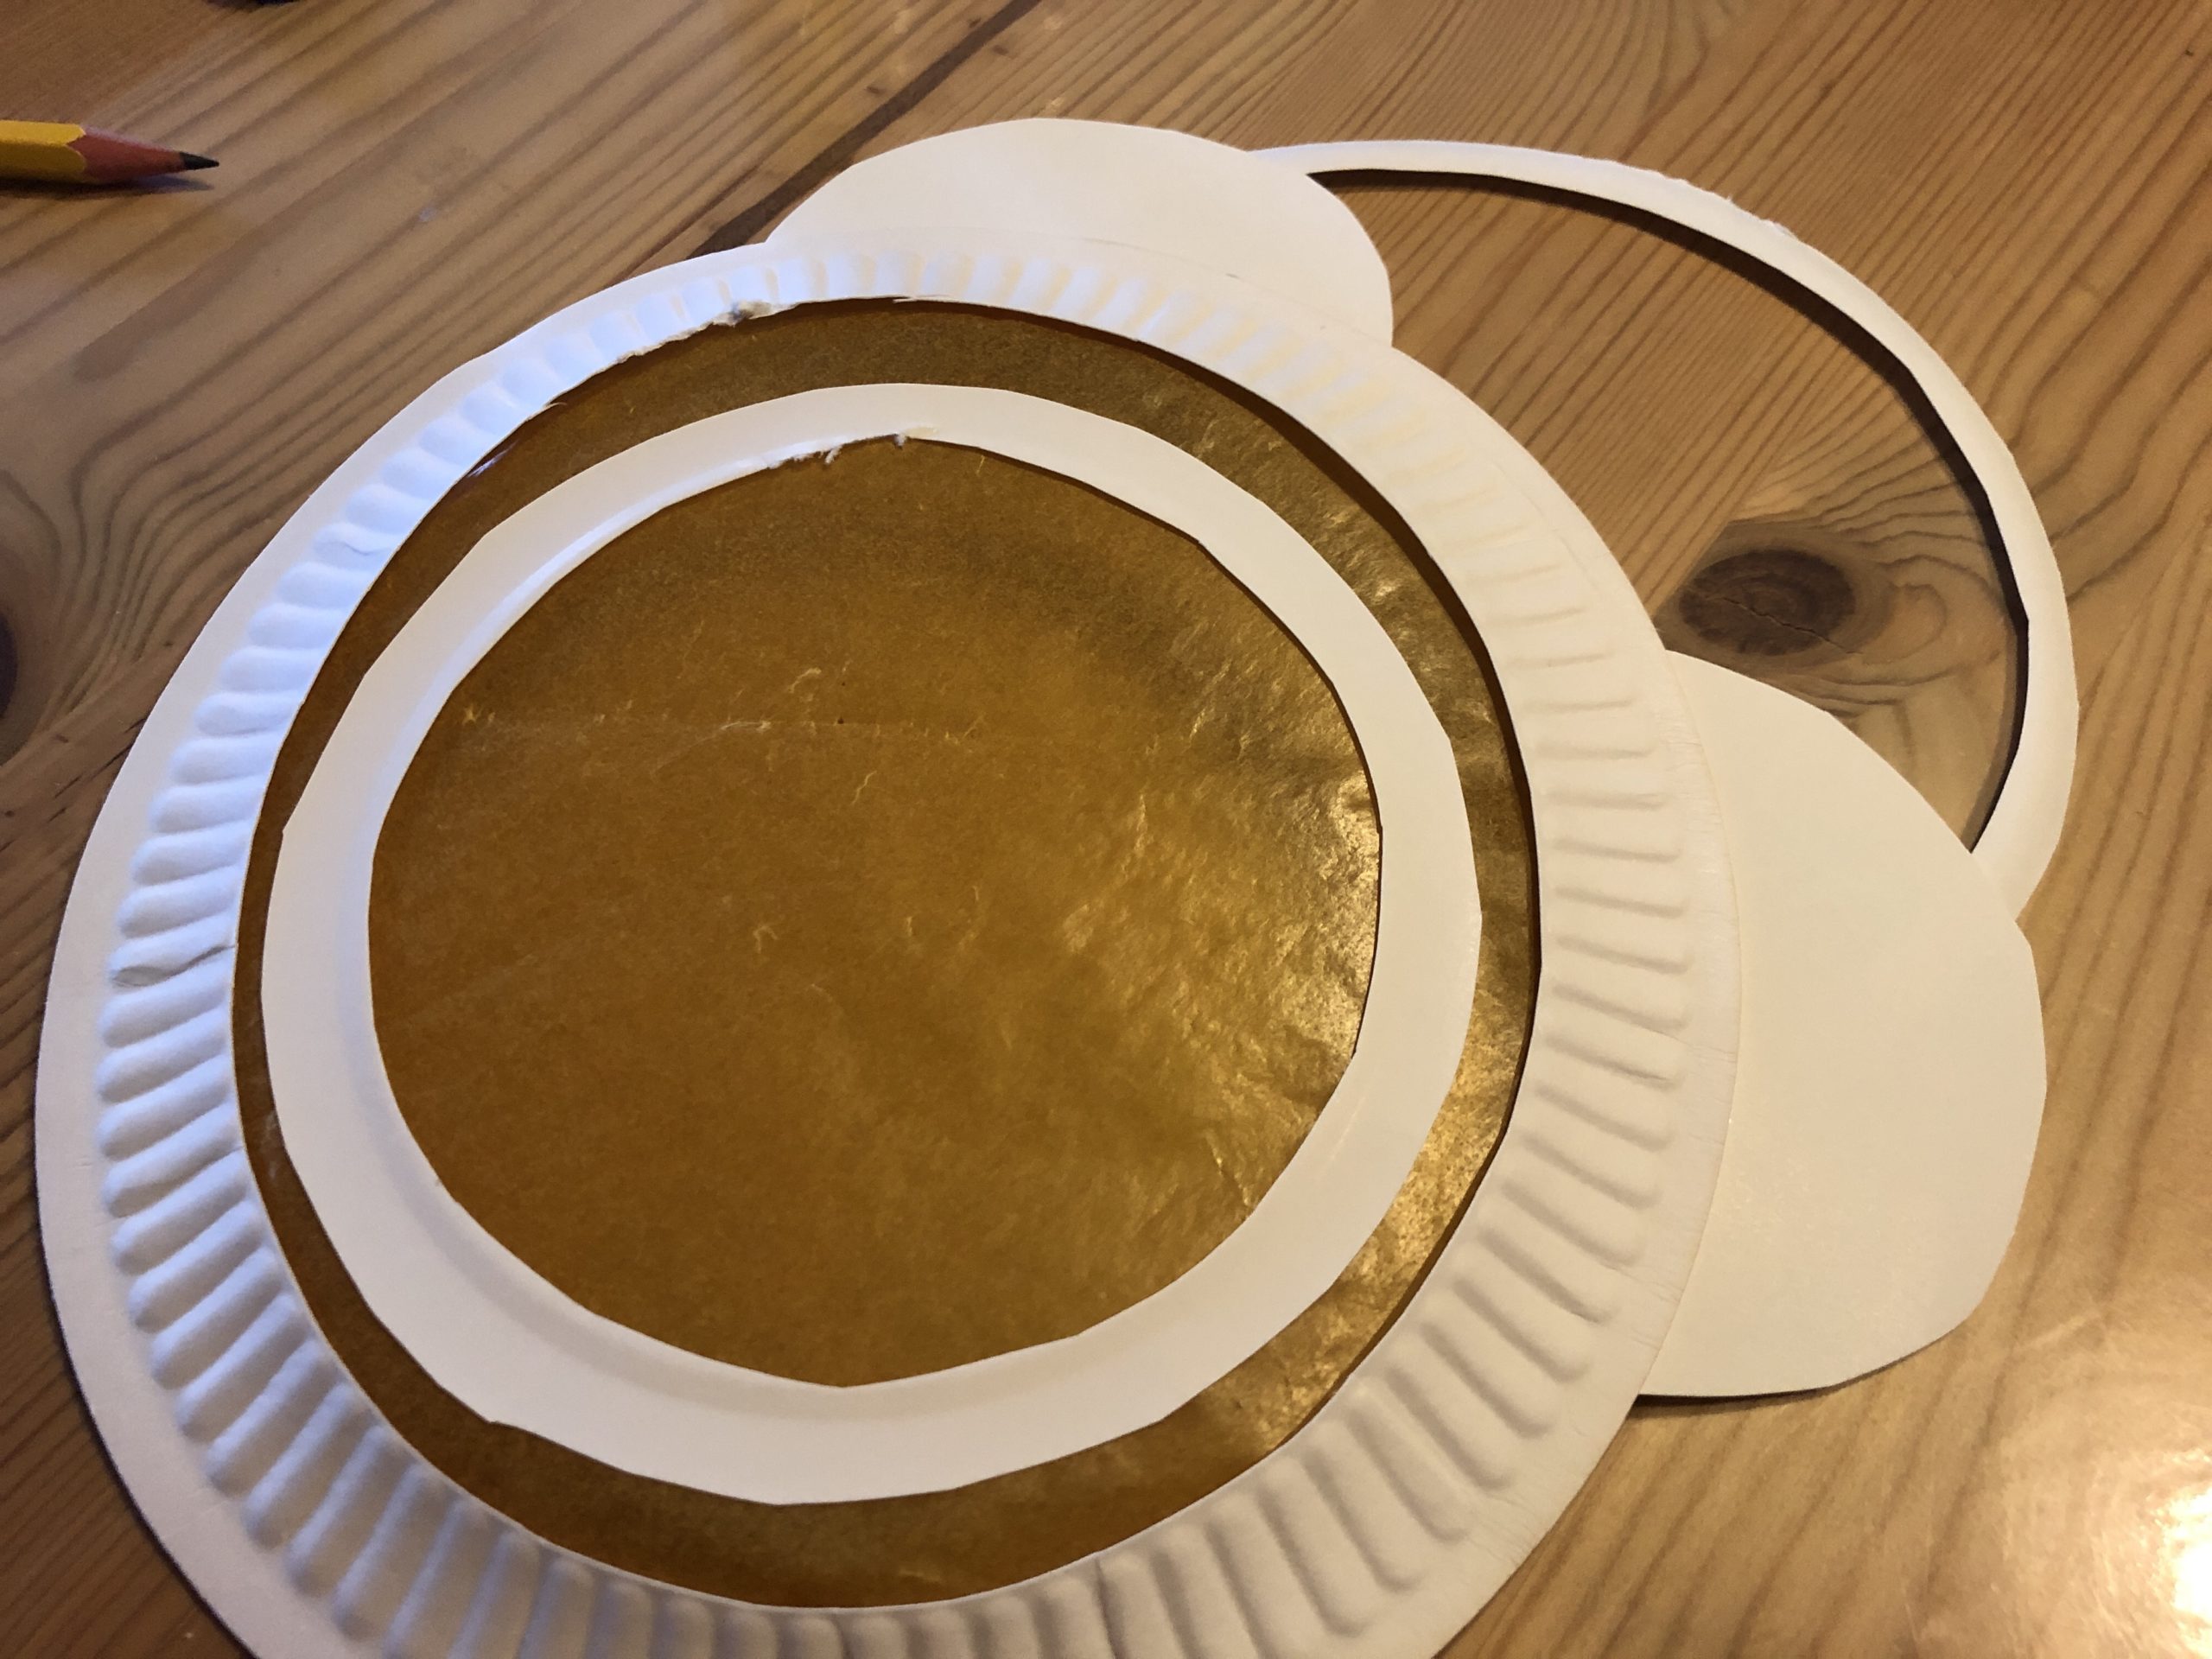


Paints two arrows of different sizes on a clay paper.
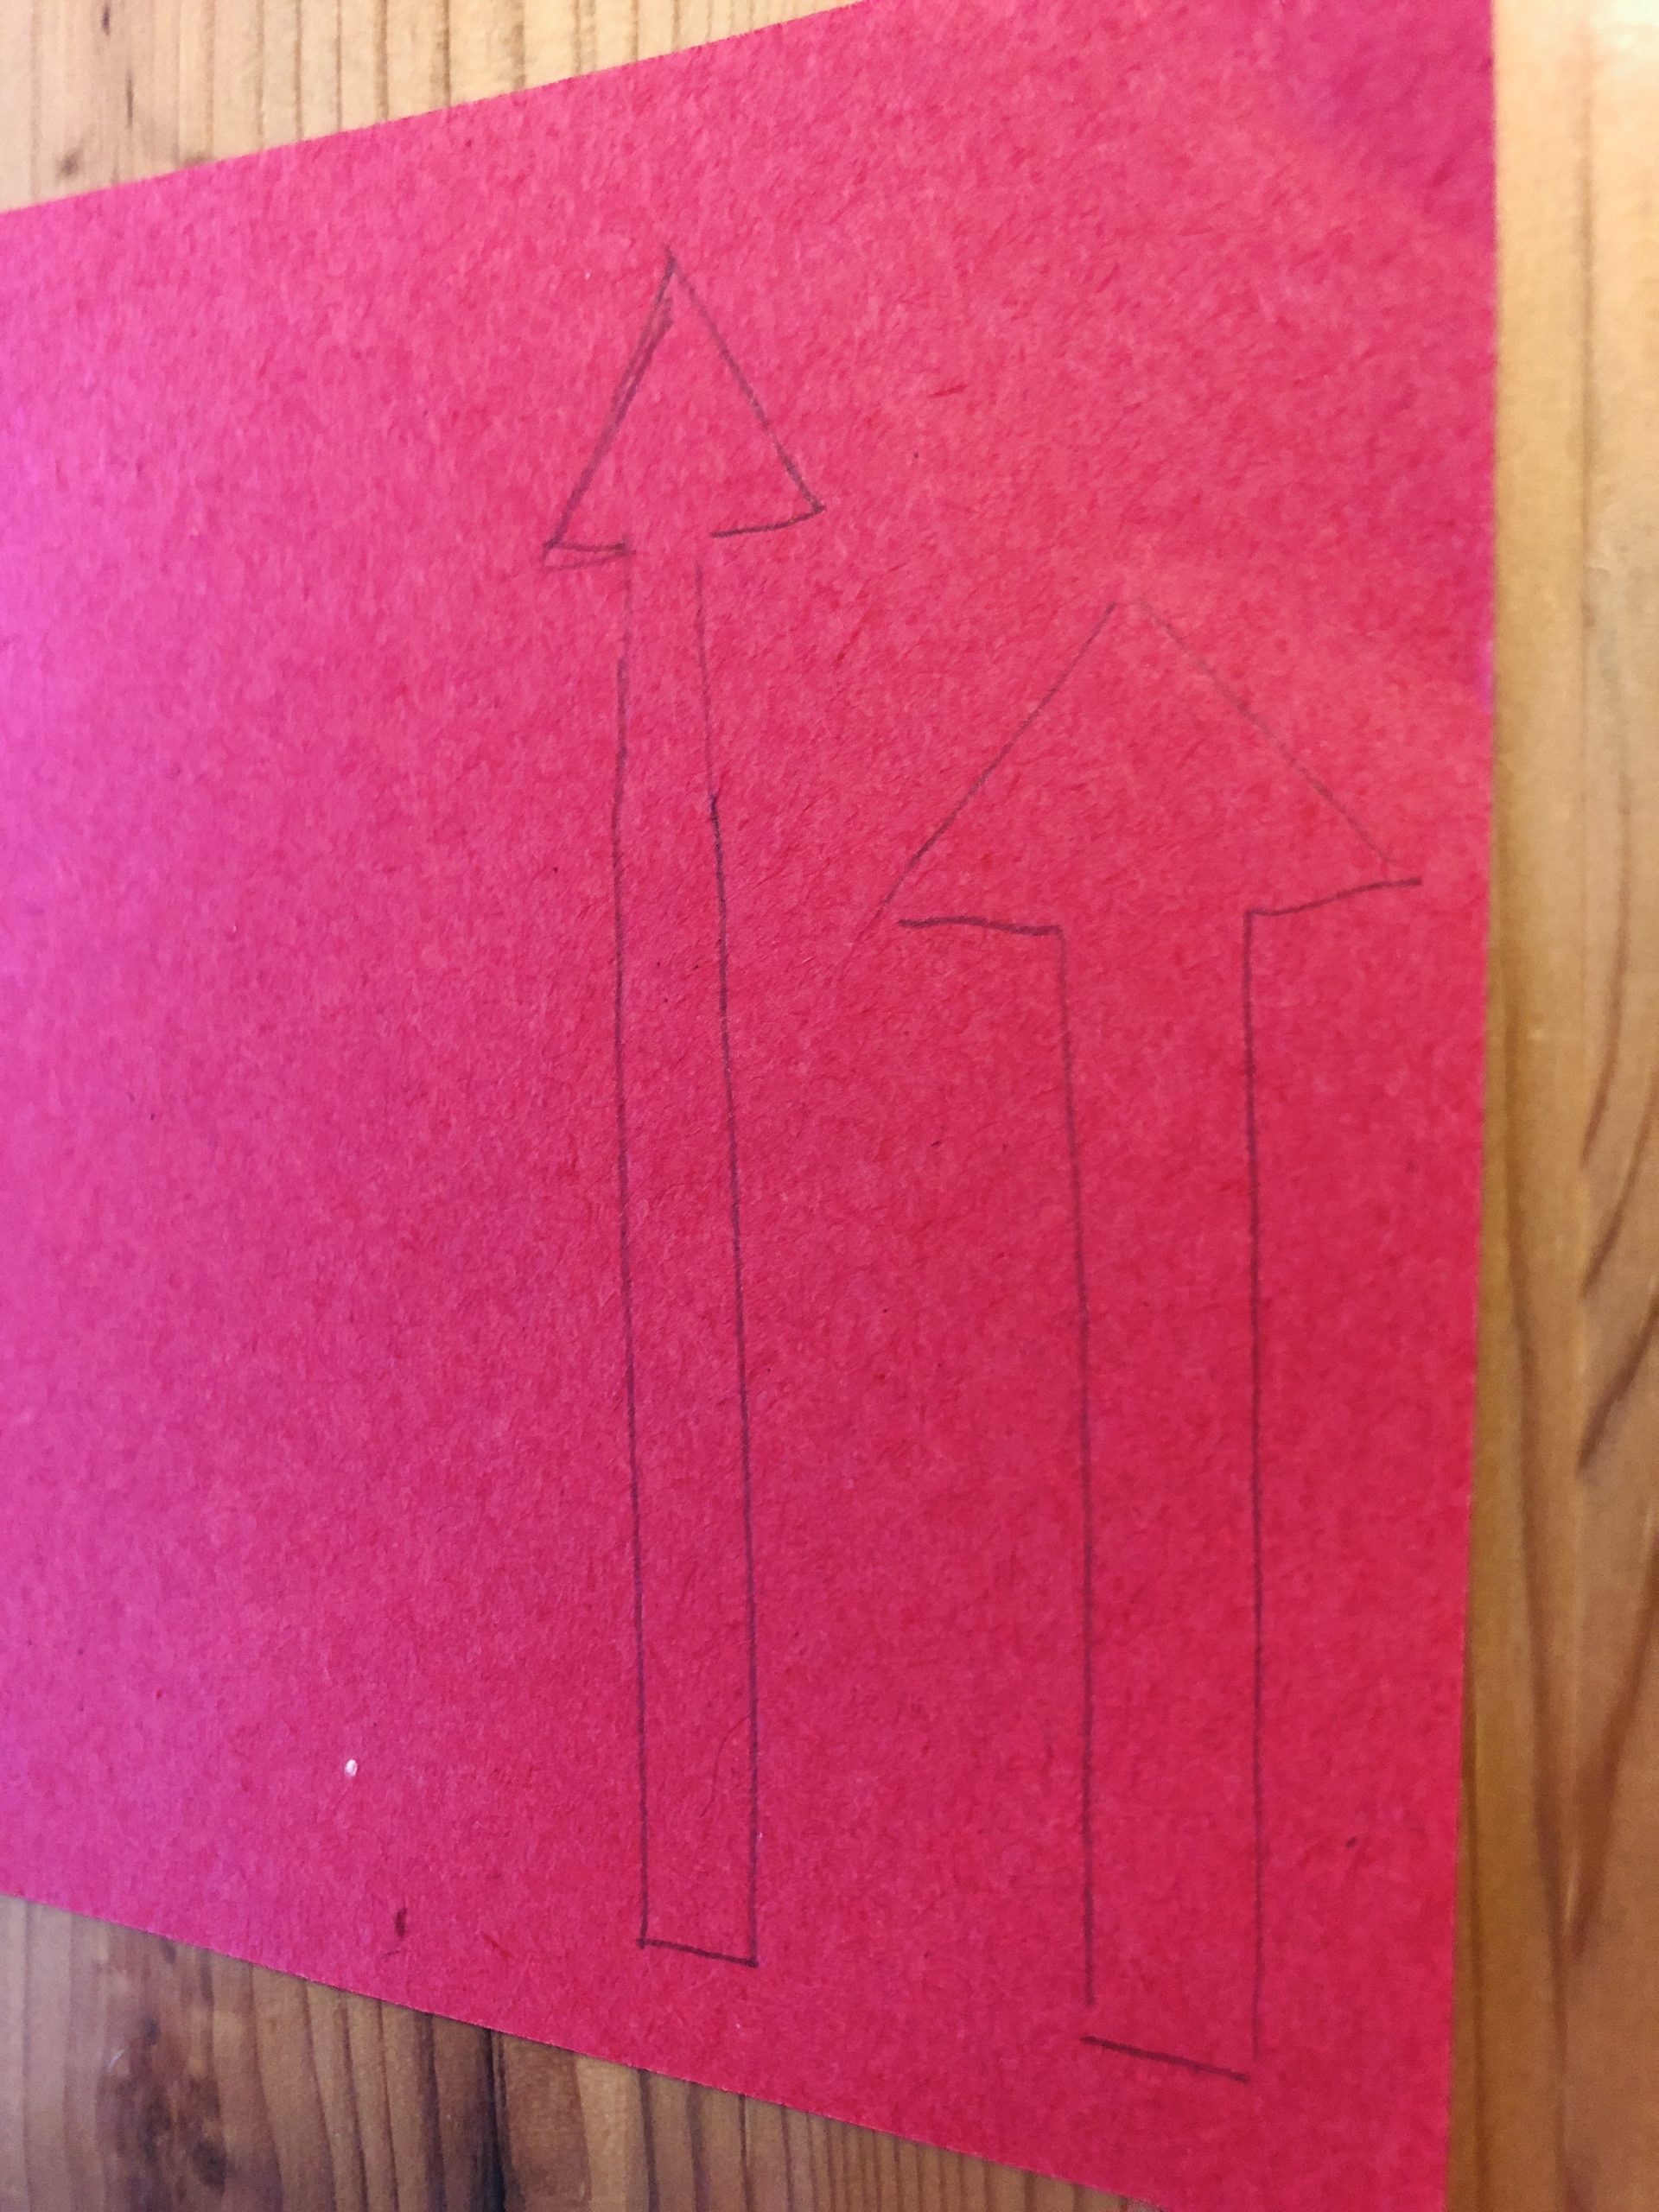


Cut it out now. Then additionally paint a small circle on white paper and cut it out as well.
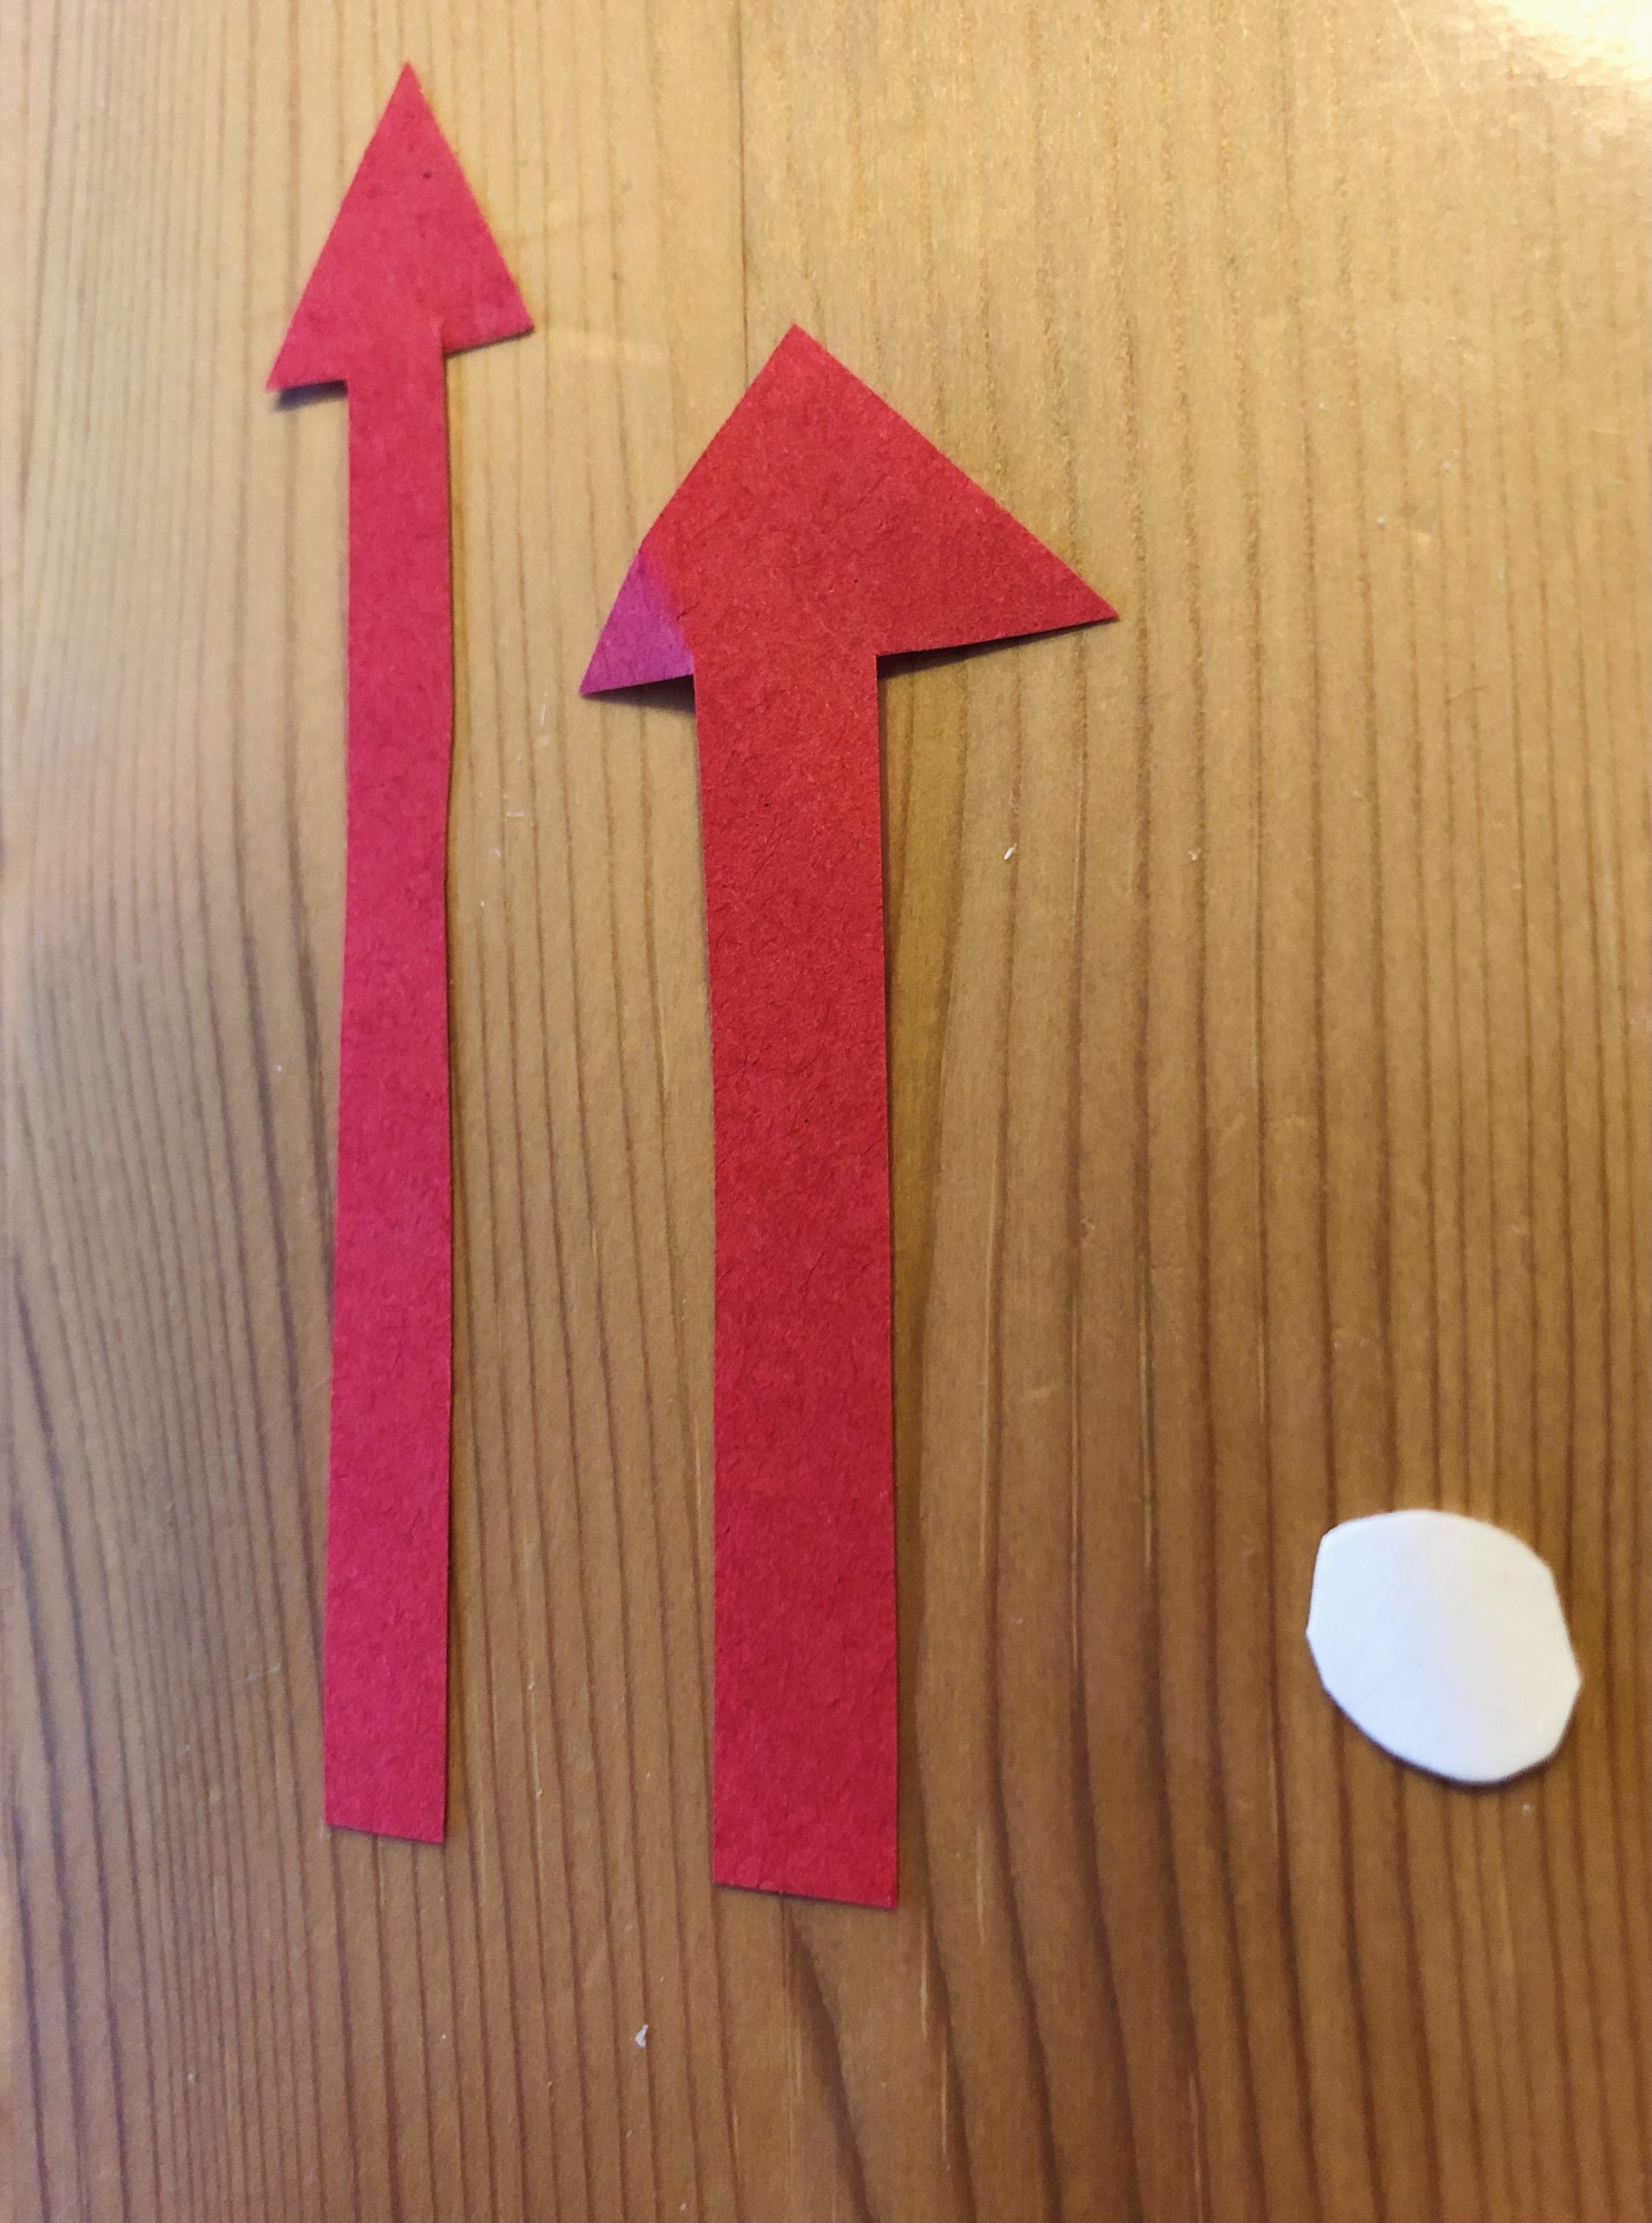


Now you can glue the center and attach the hands underneath.
What time is it?
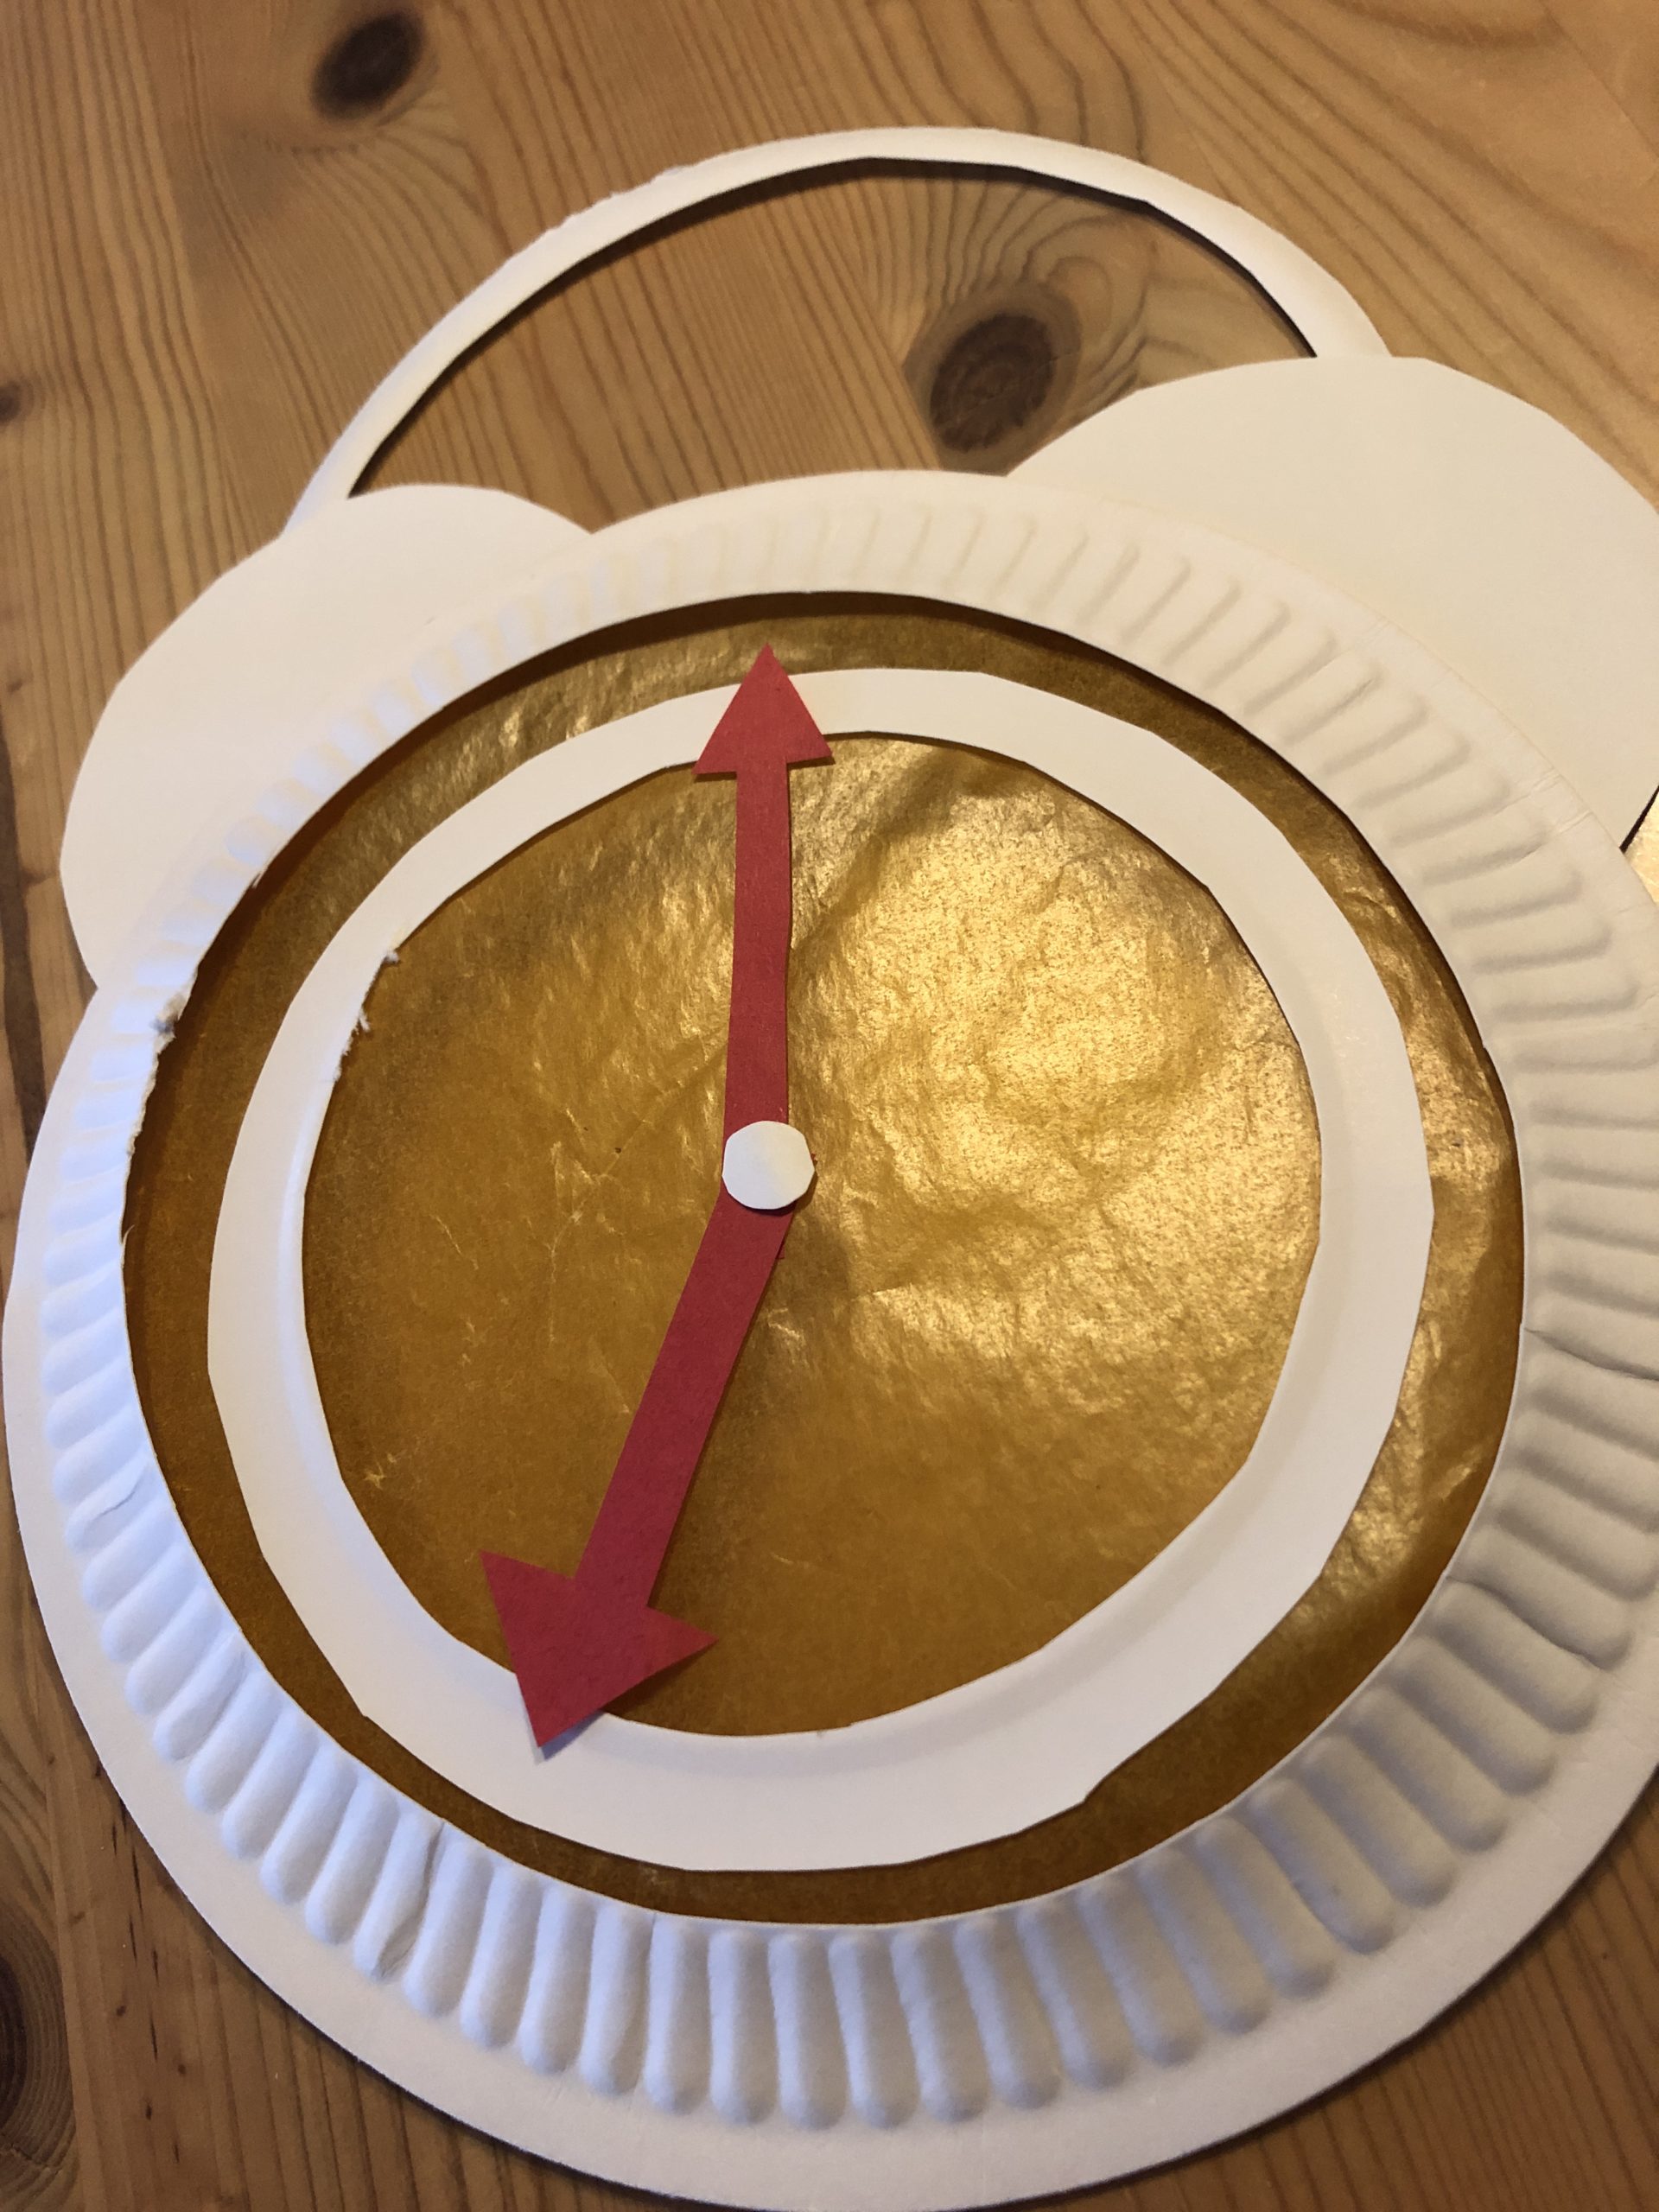


Two further semicircles are needed from clay paper. To do this, paint the shape of an ice and halve in the middle.


The two red semicircles stick on as the feet of the alarm clock.
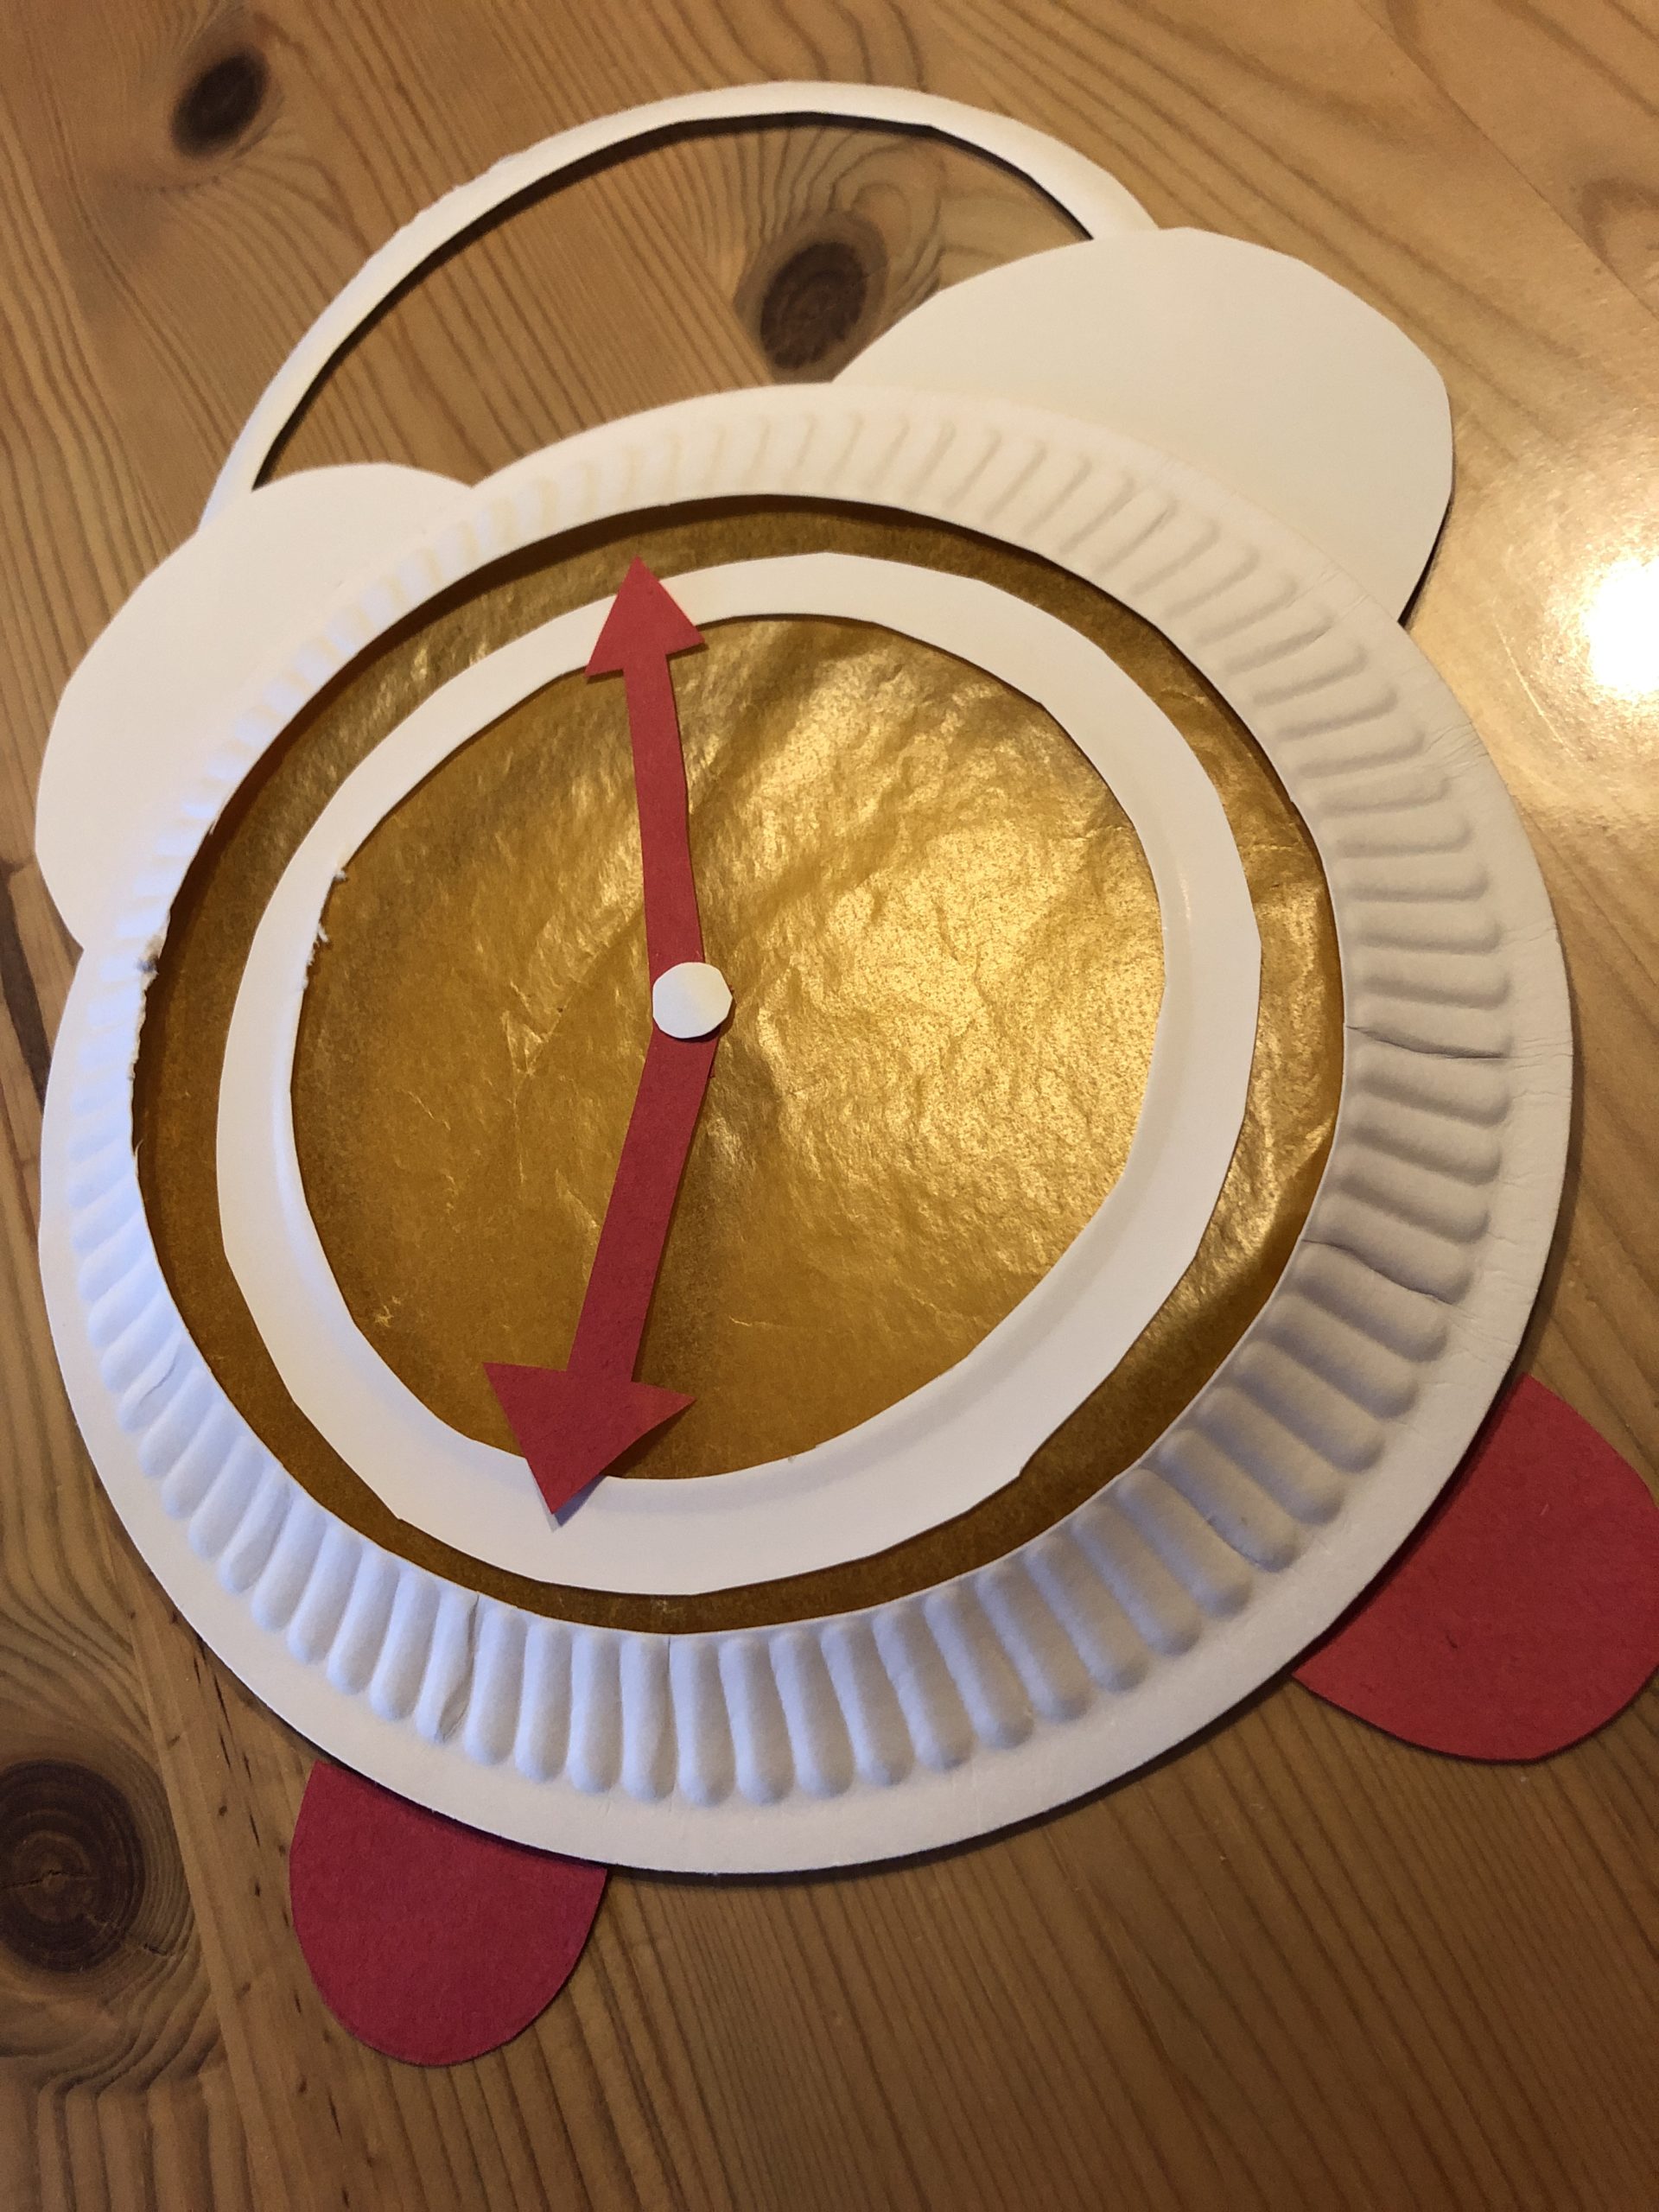


From the rests of the colored clay paper you can cut small strips, which you can use for the classification of the time in quarter hours.


Sticks them at three, six, and nine o'clock.


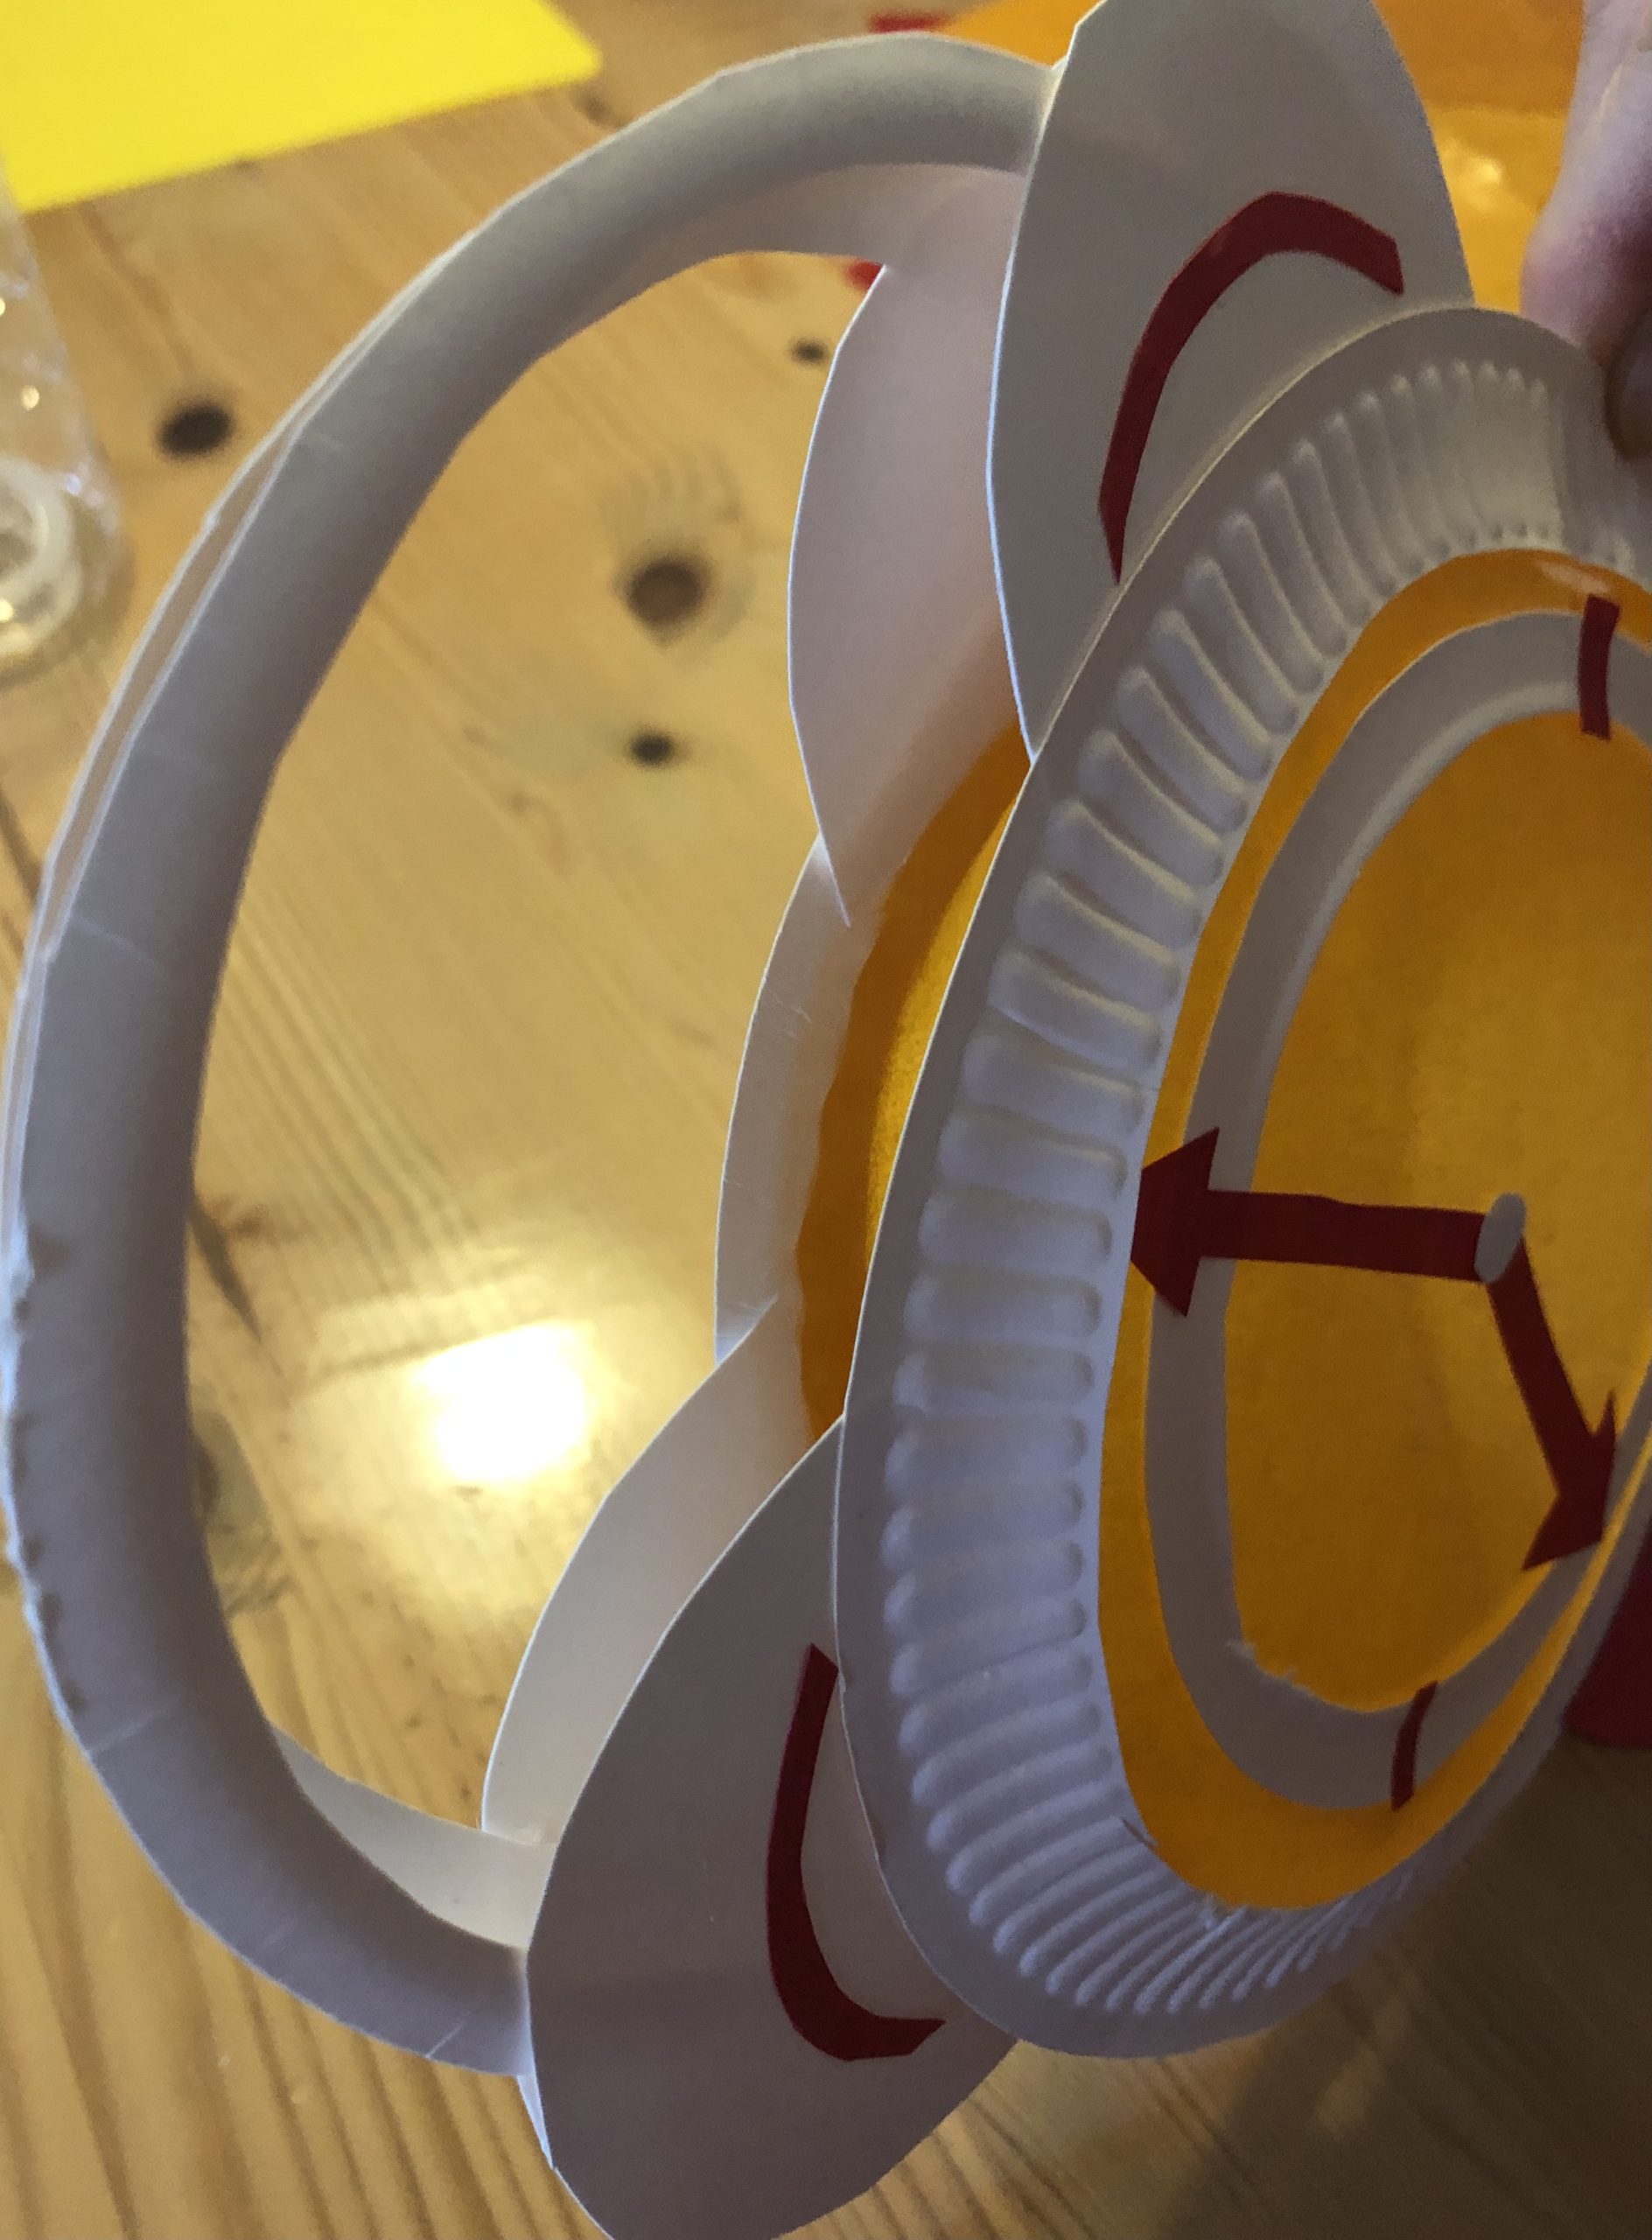
This watch makes her a second time. Then you tack the two watches together sideways in such a way that the beautiful sides each point to the outside.
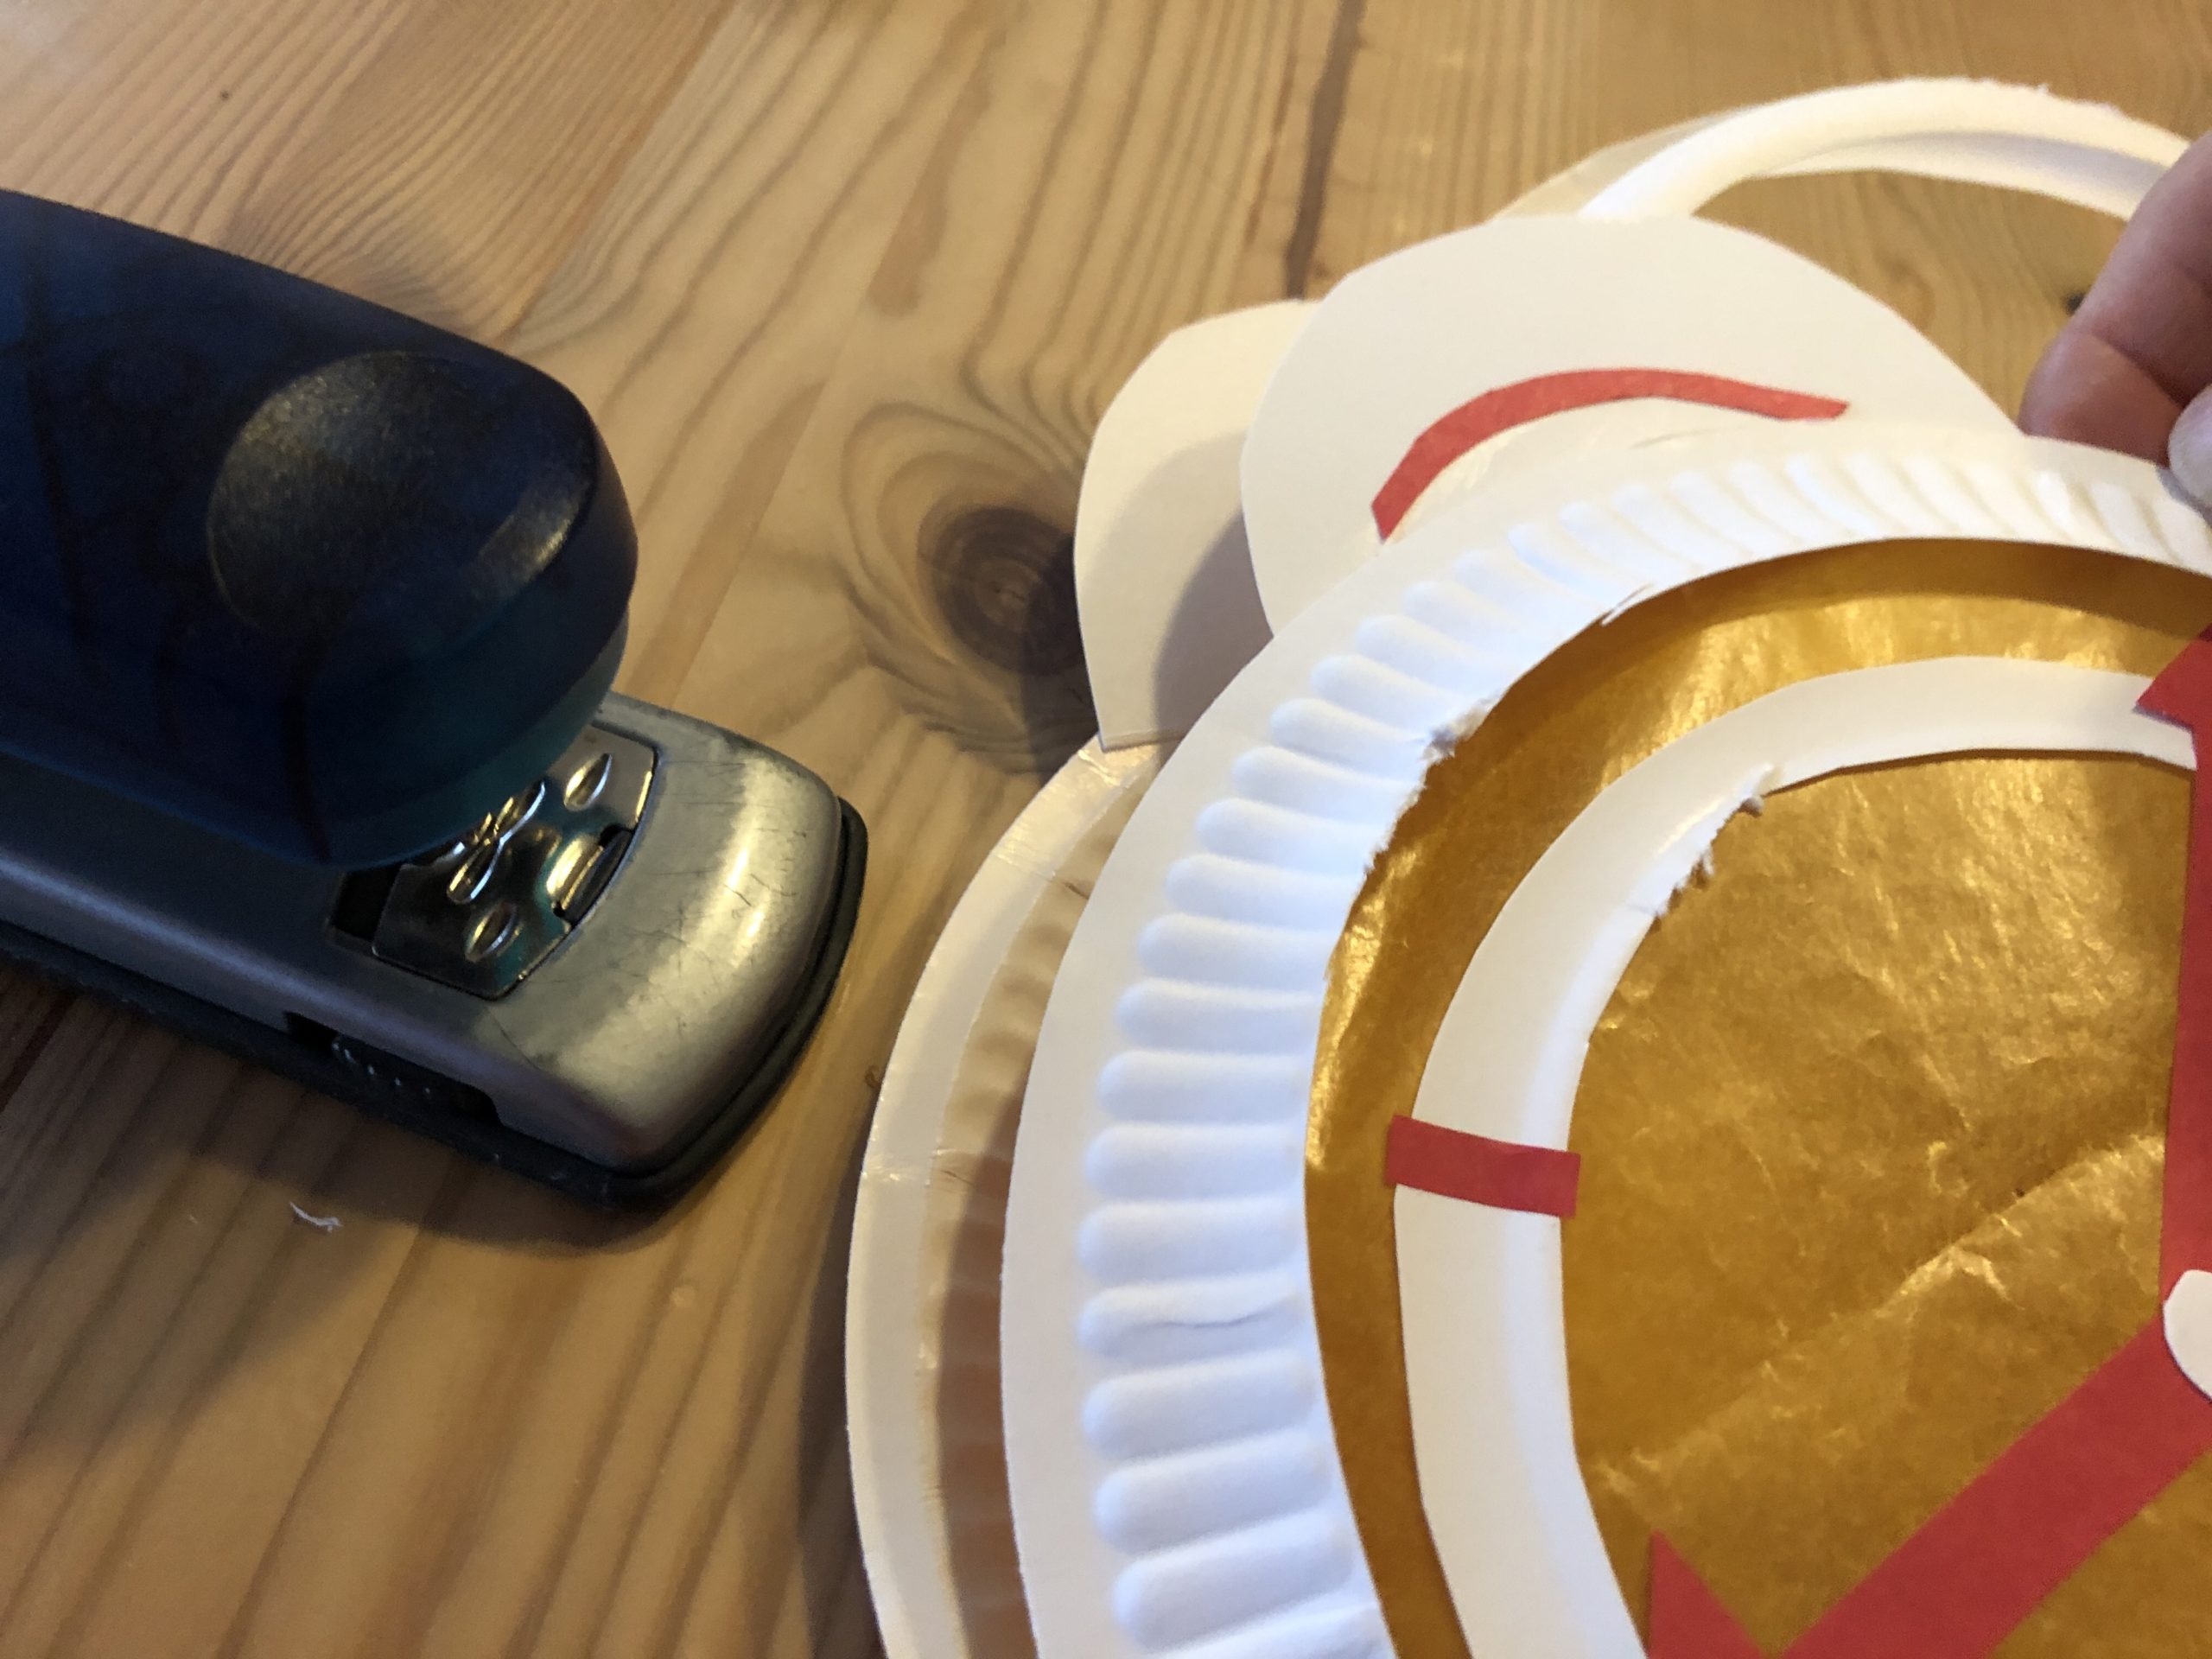


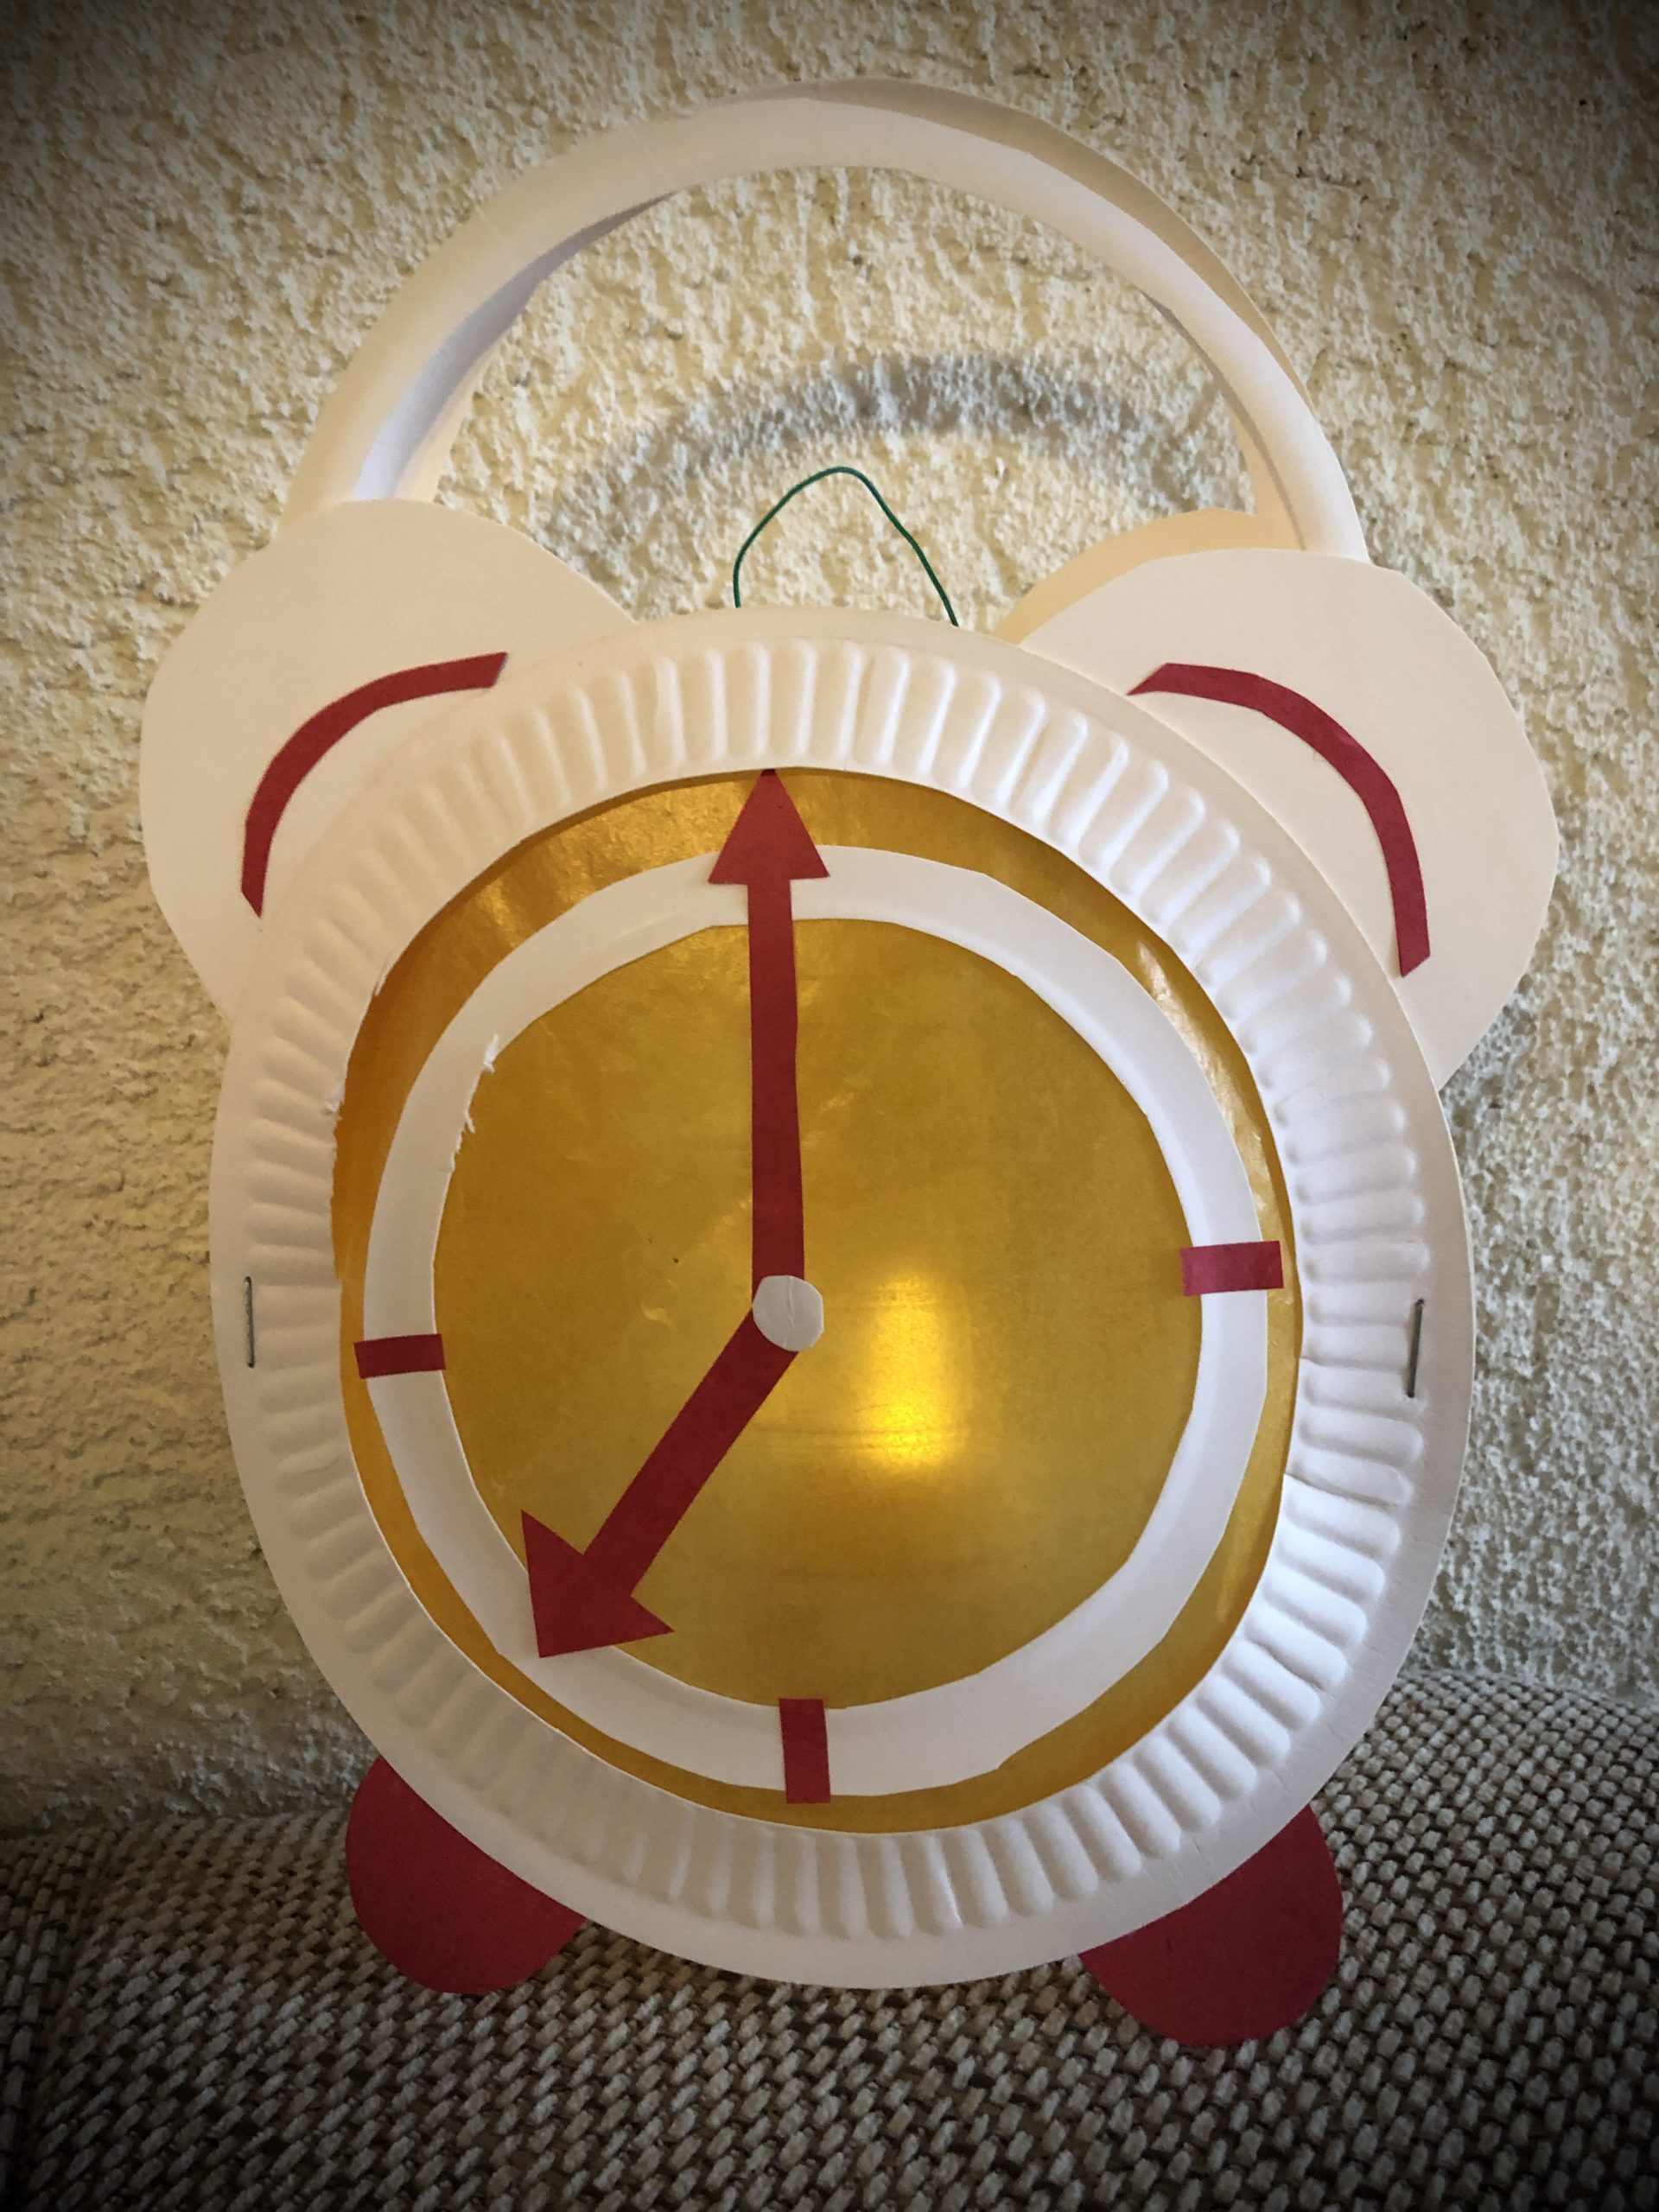
The lantern is ready.


To get a light in the lantern, the following is needed:
Cut off the bottle neck of a plastic bottle.
Make two opposite holes in the top of the bottle with a punched tong.
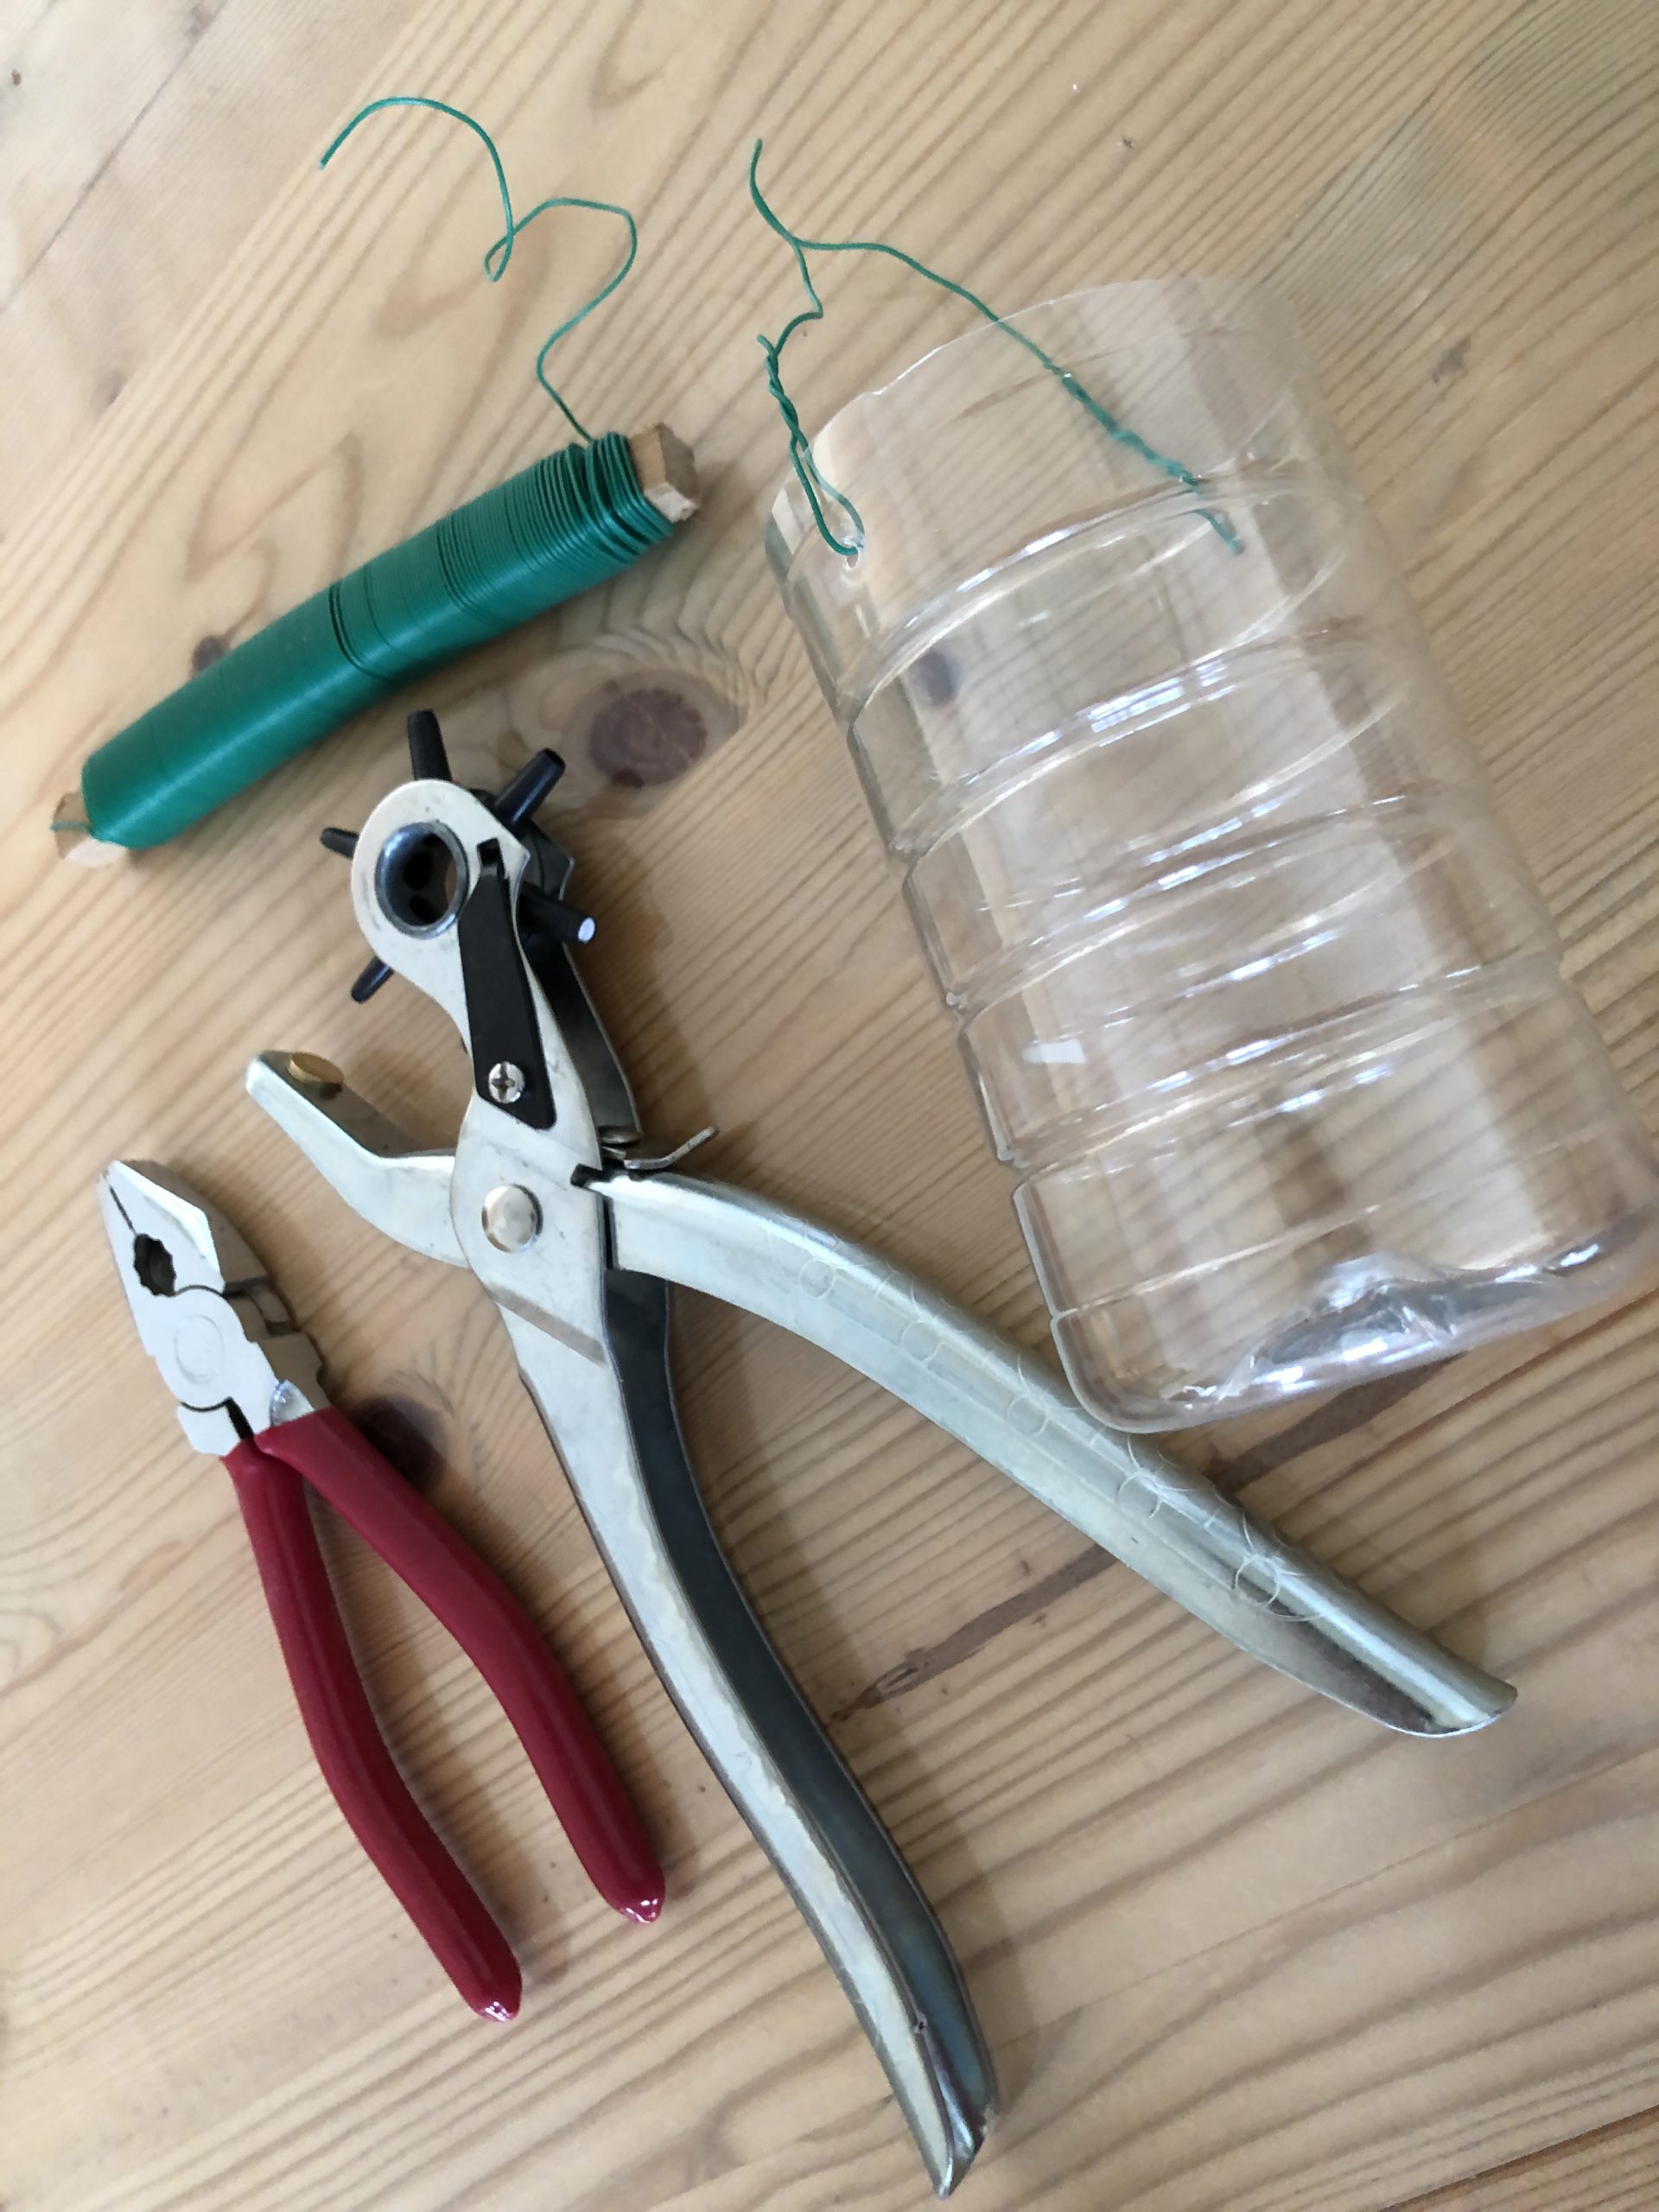


Cut off a wire about 25 cm long.
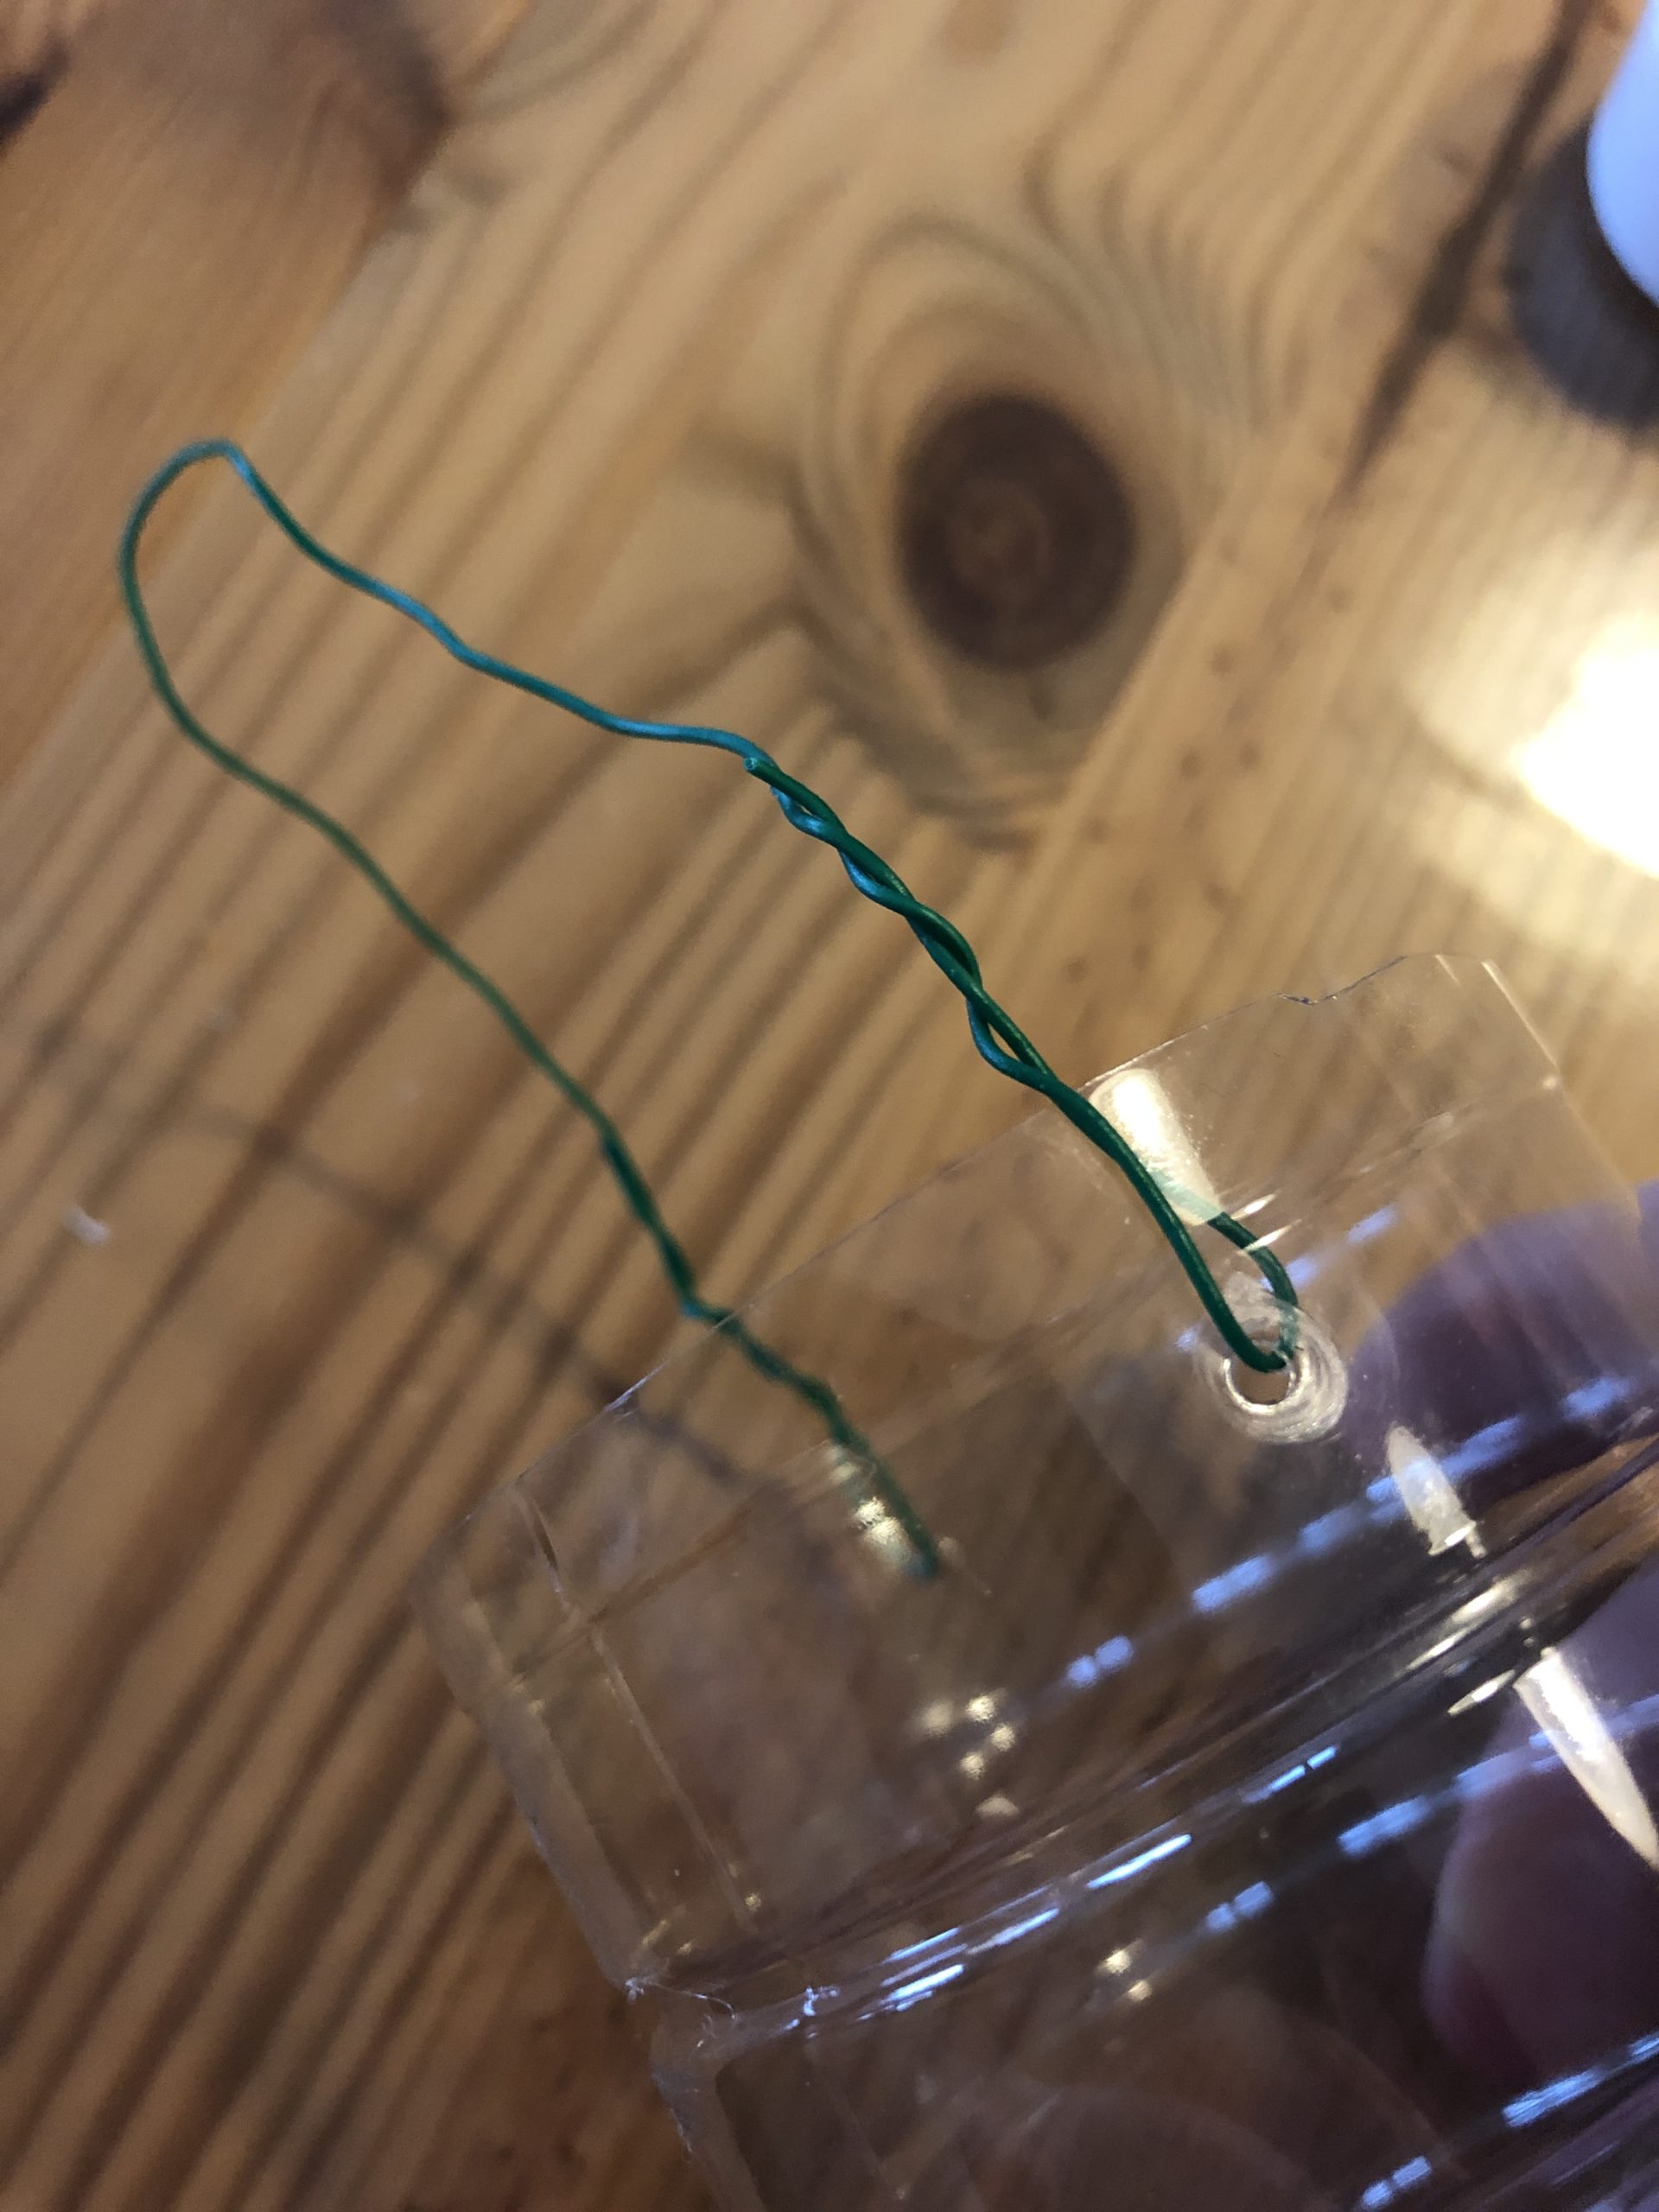
Thread the ends through each hole and twist the wire so that it sits tight.


Then you put an electric light in the bottle belly.
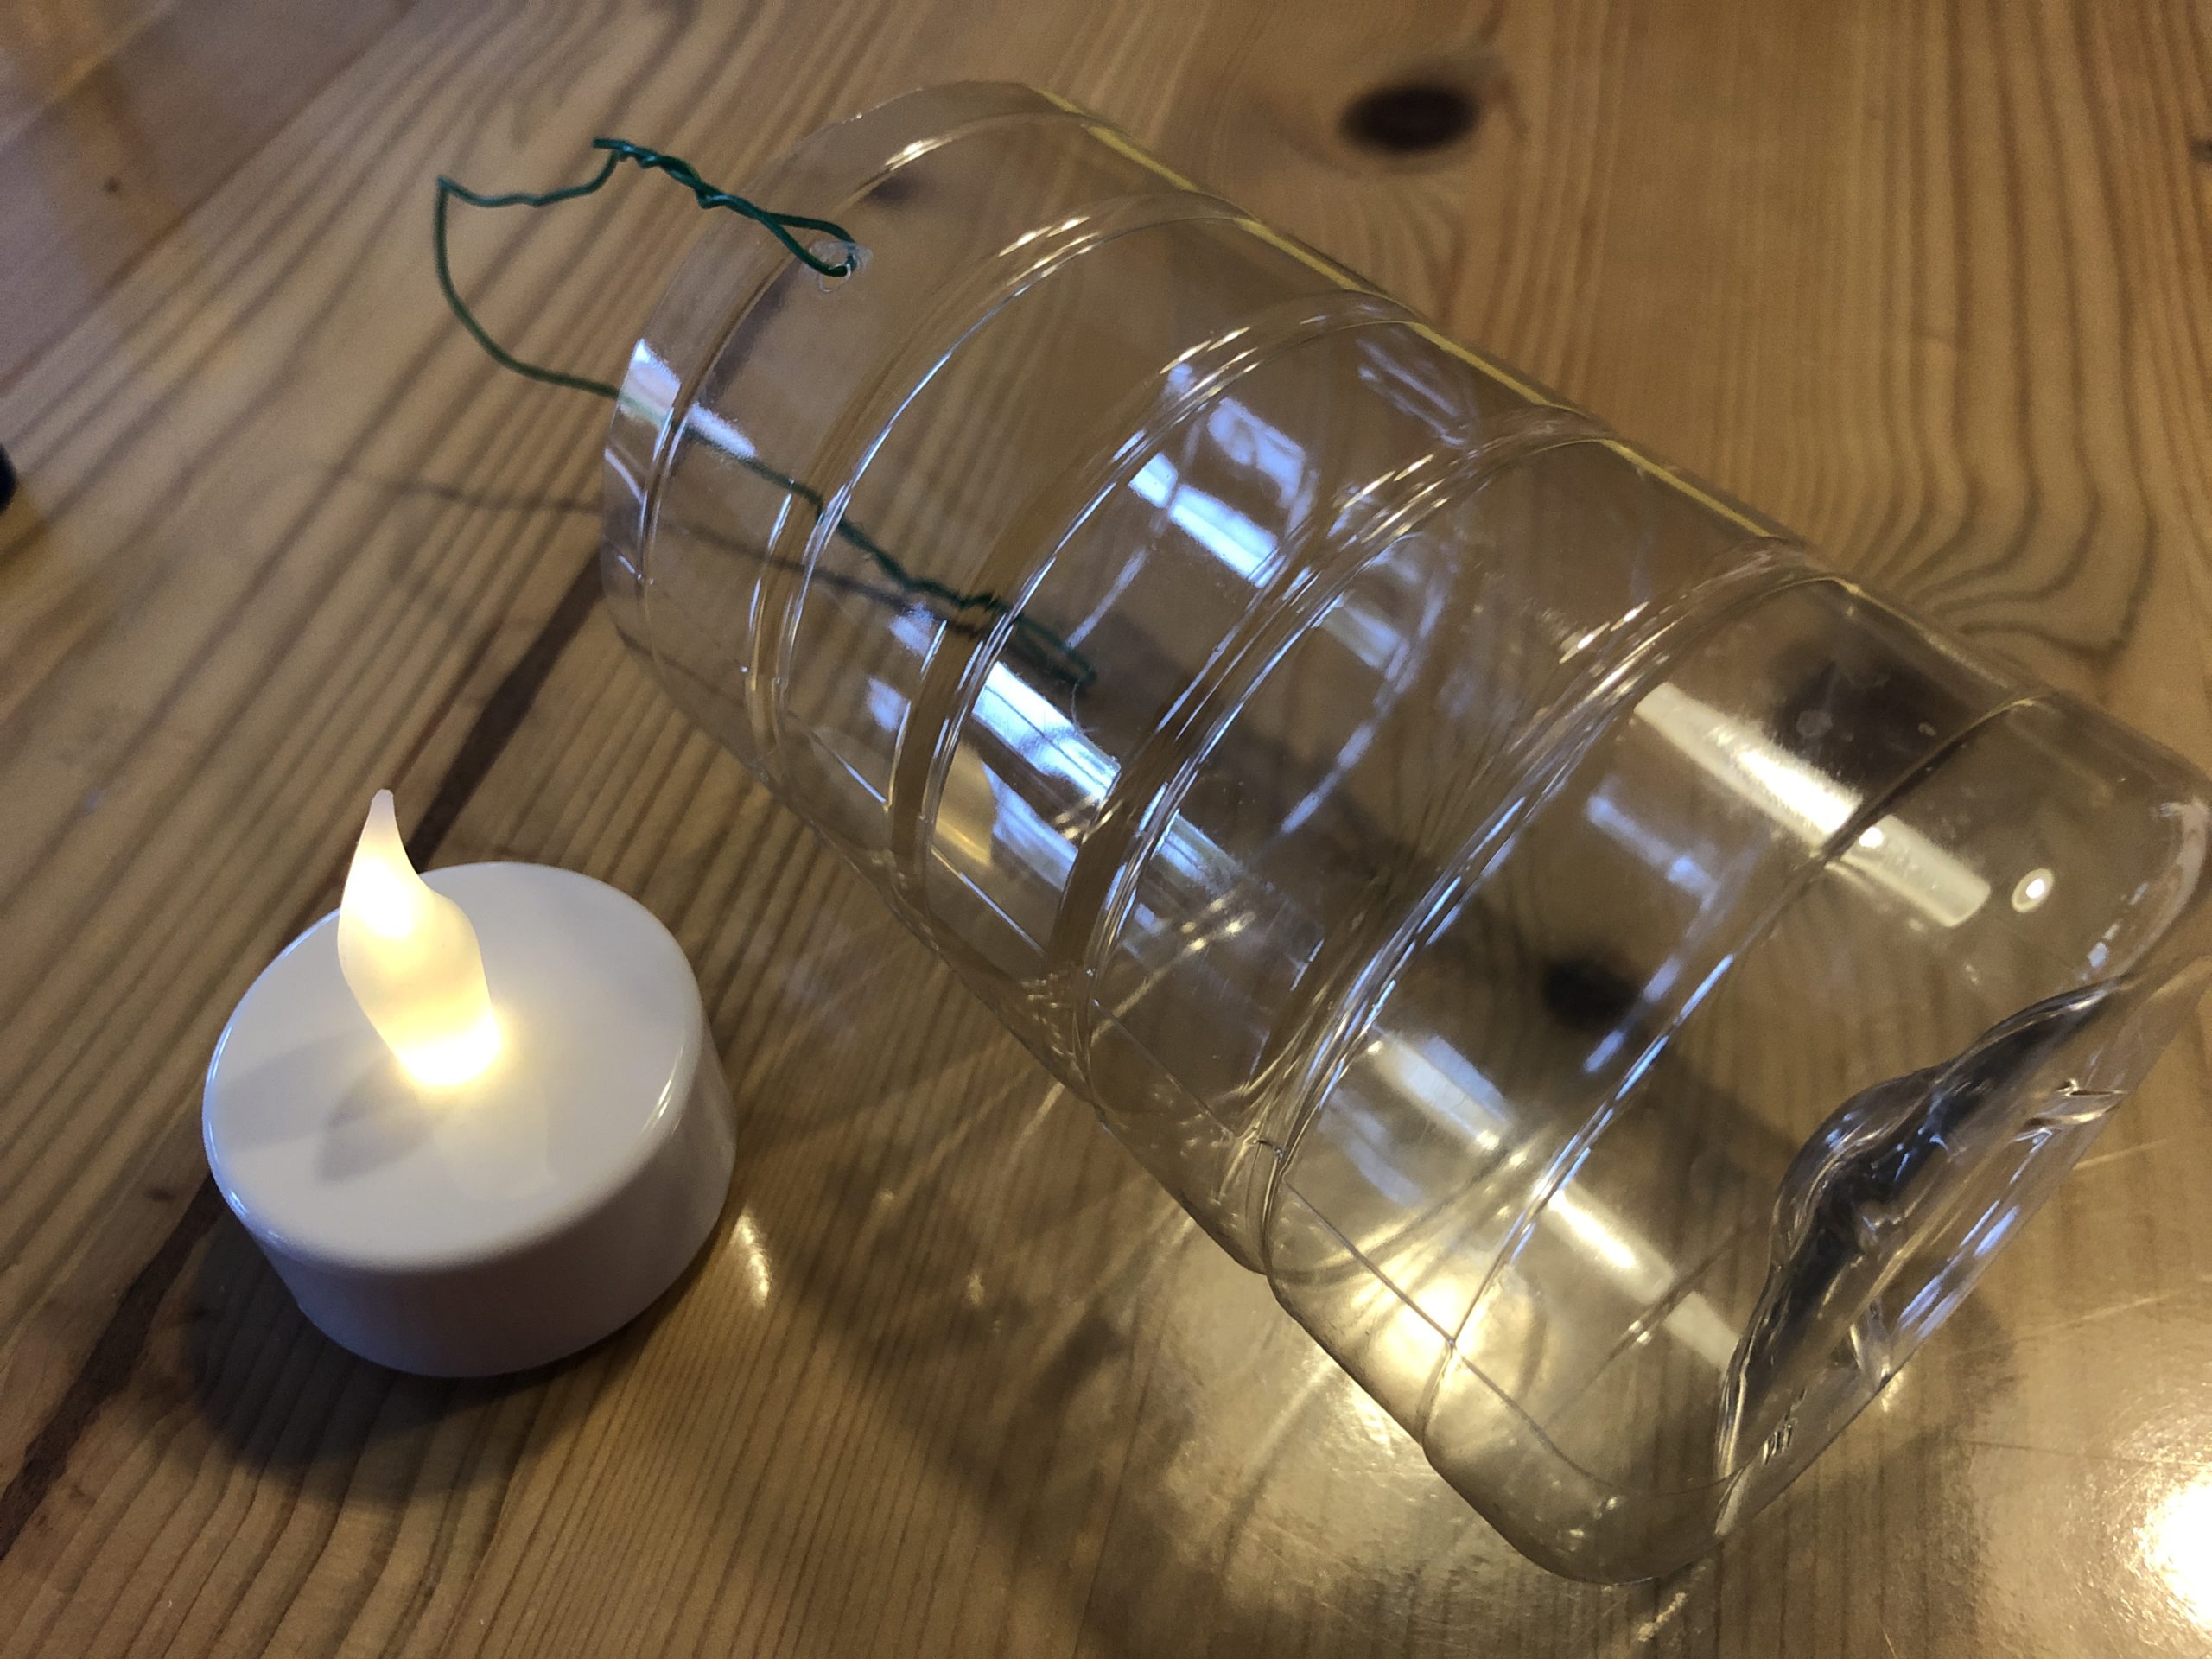


Now you push the lantern over it and fix it possibly with a hot glue point. Be careful when handling the hot glue!
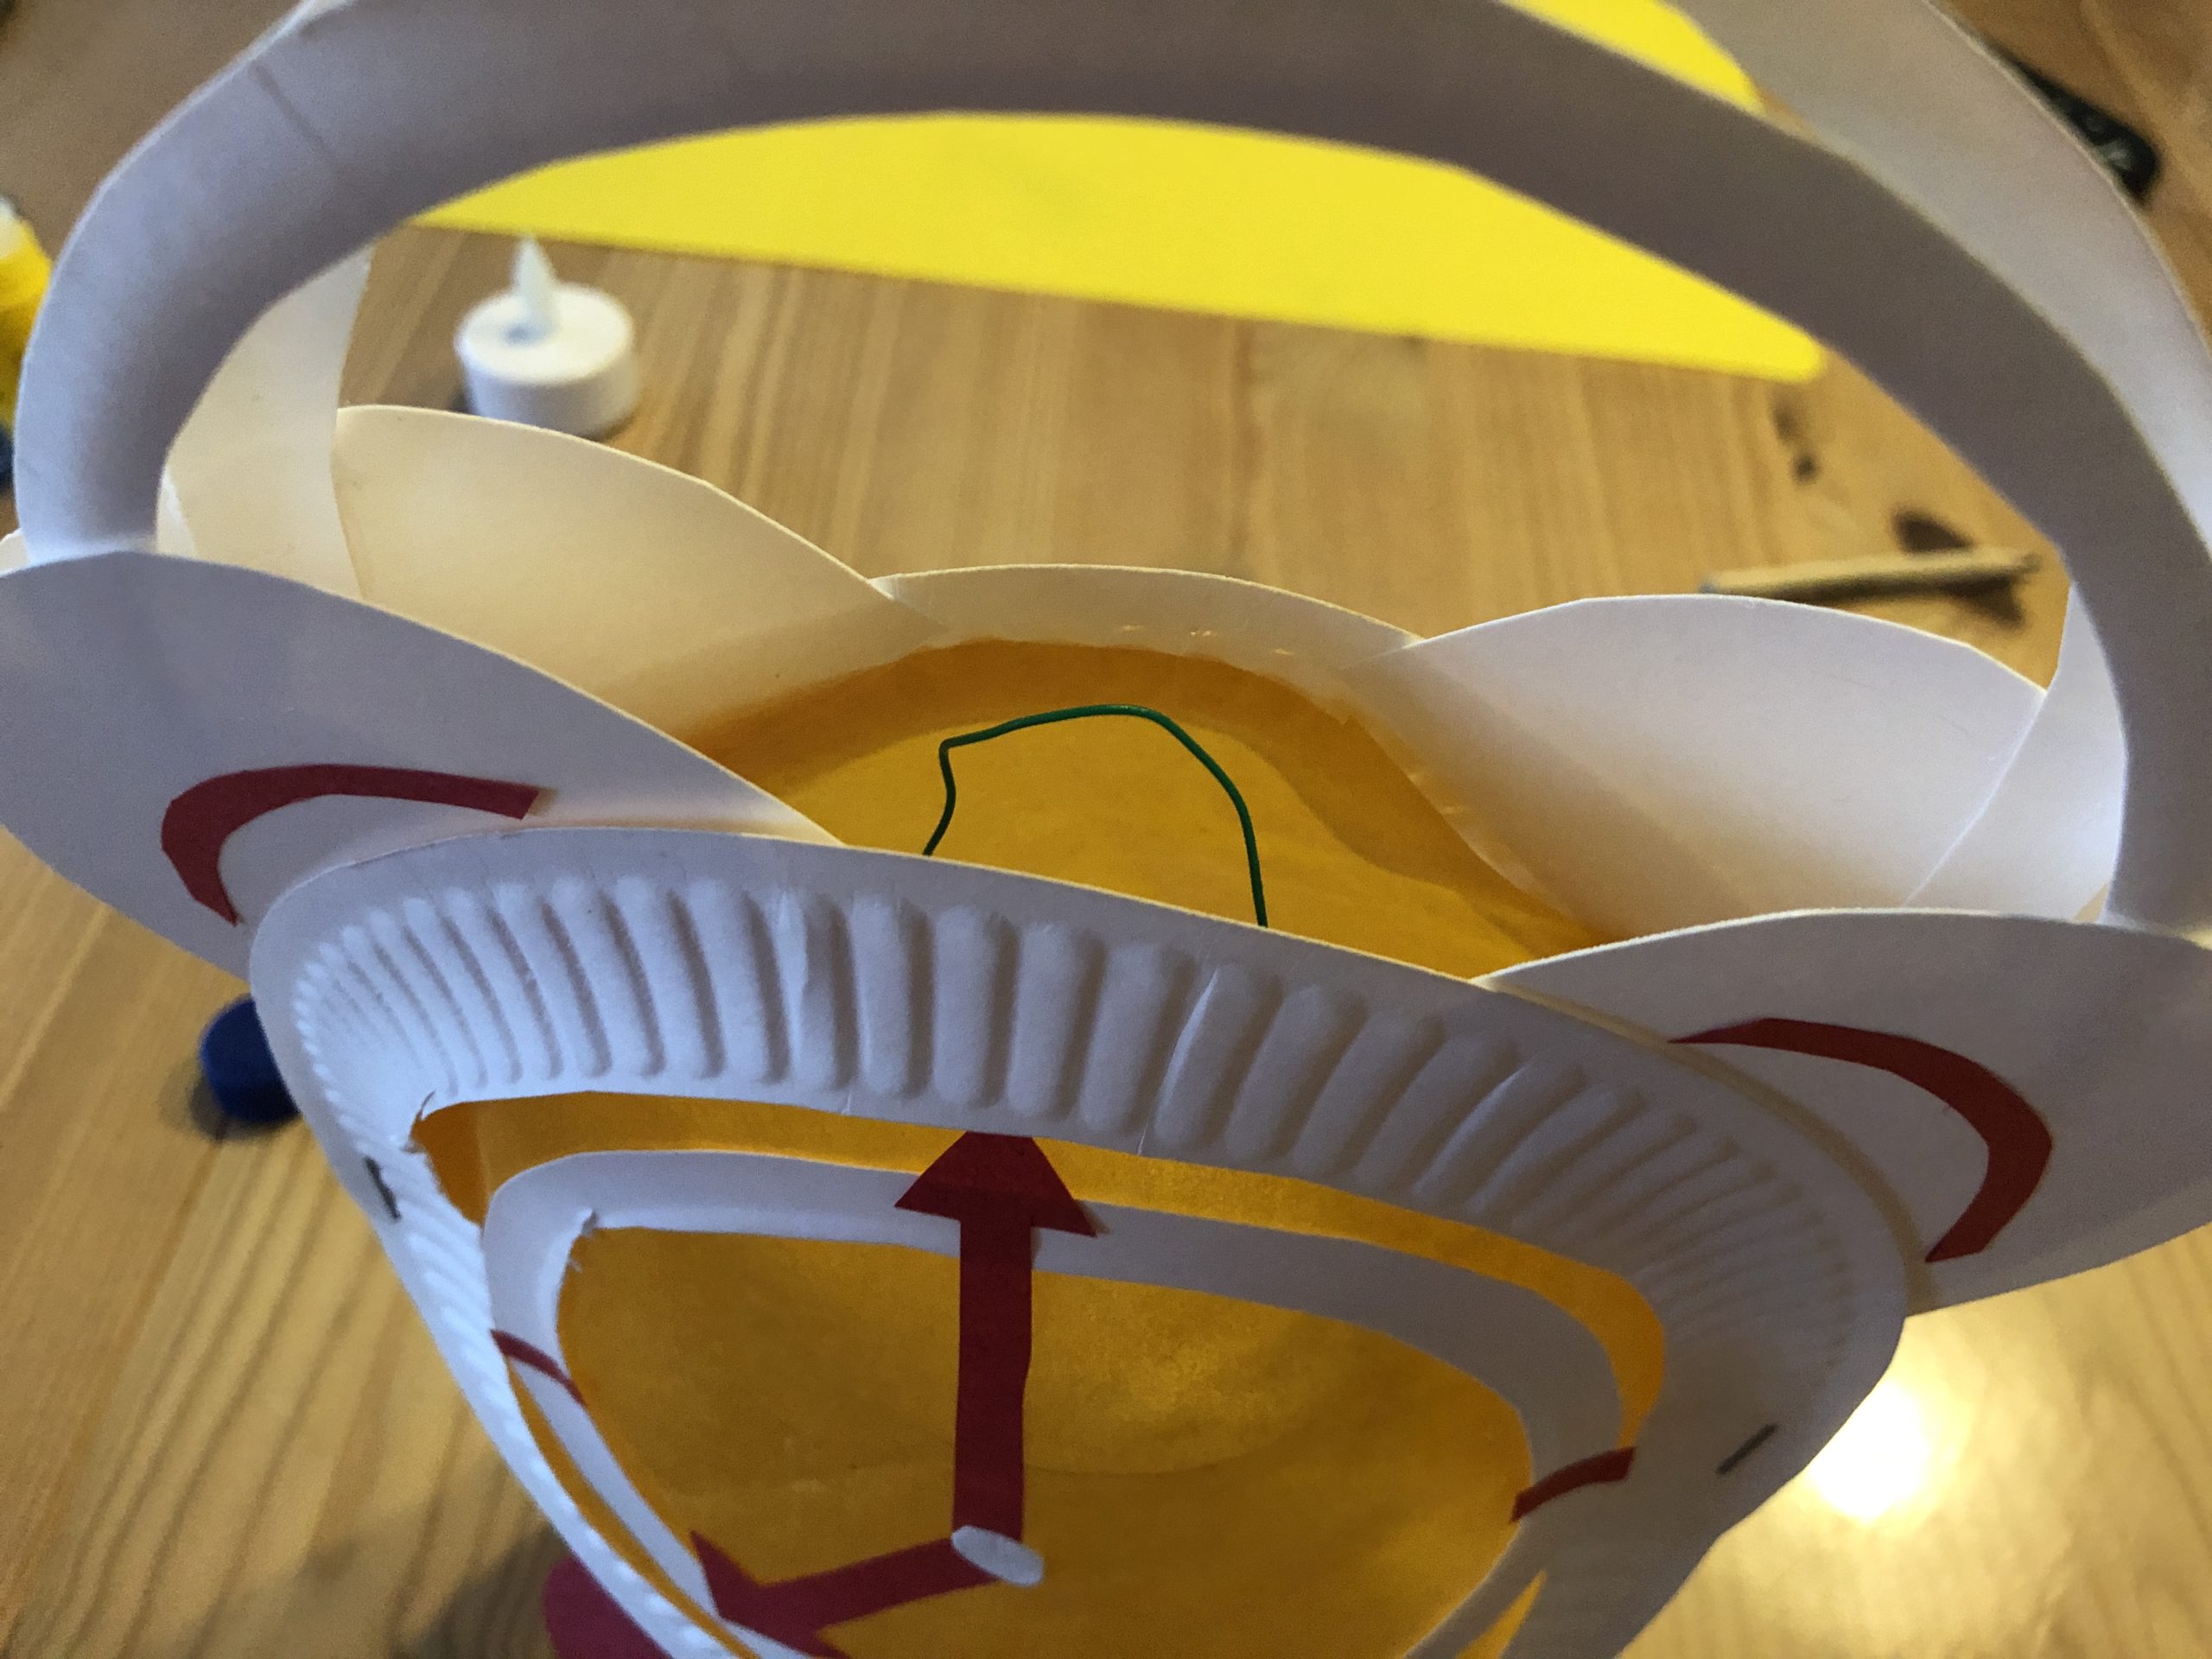


The lantern is ready. A lantern rod can be hung on the wire.


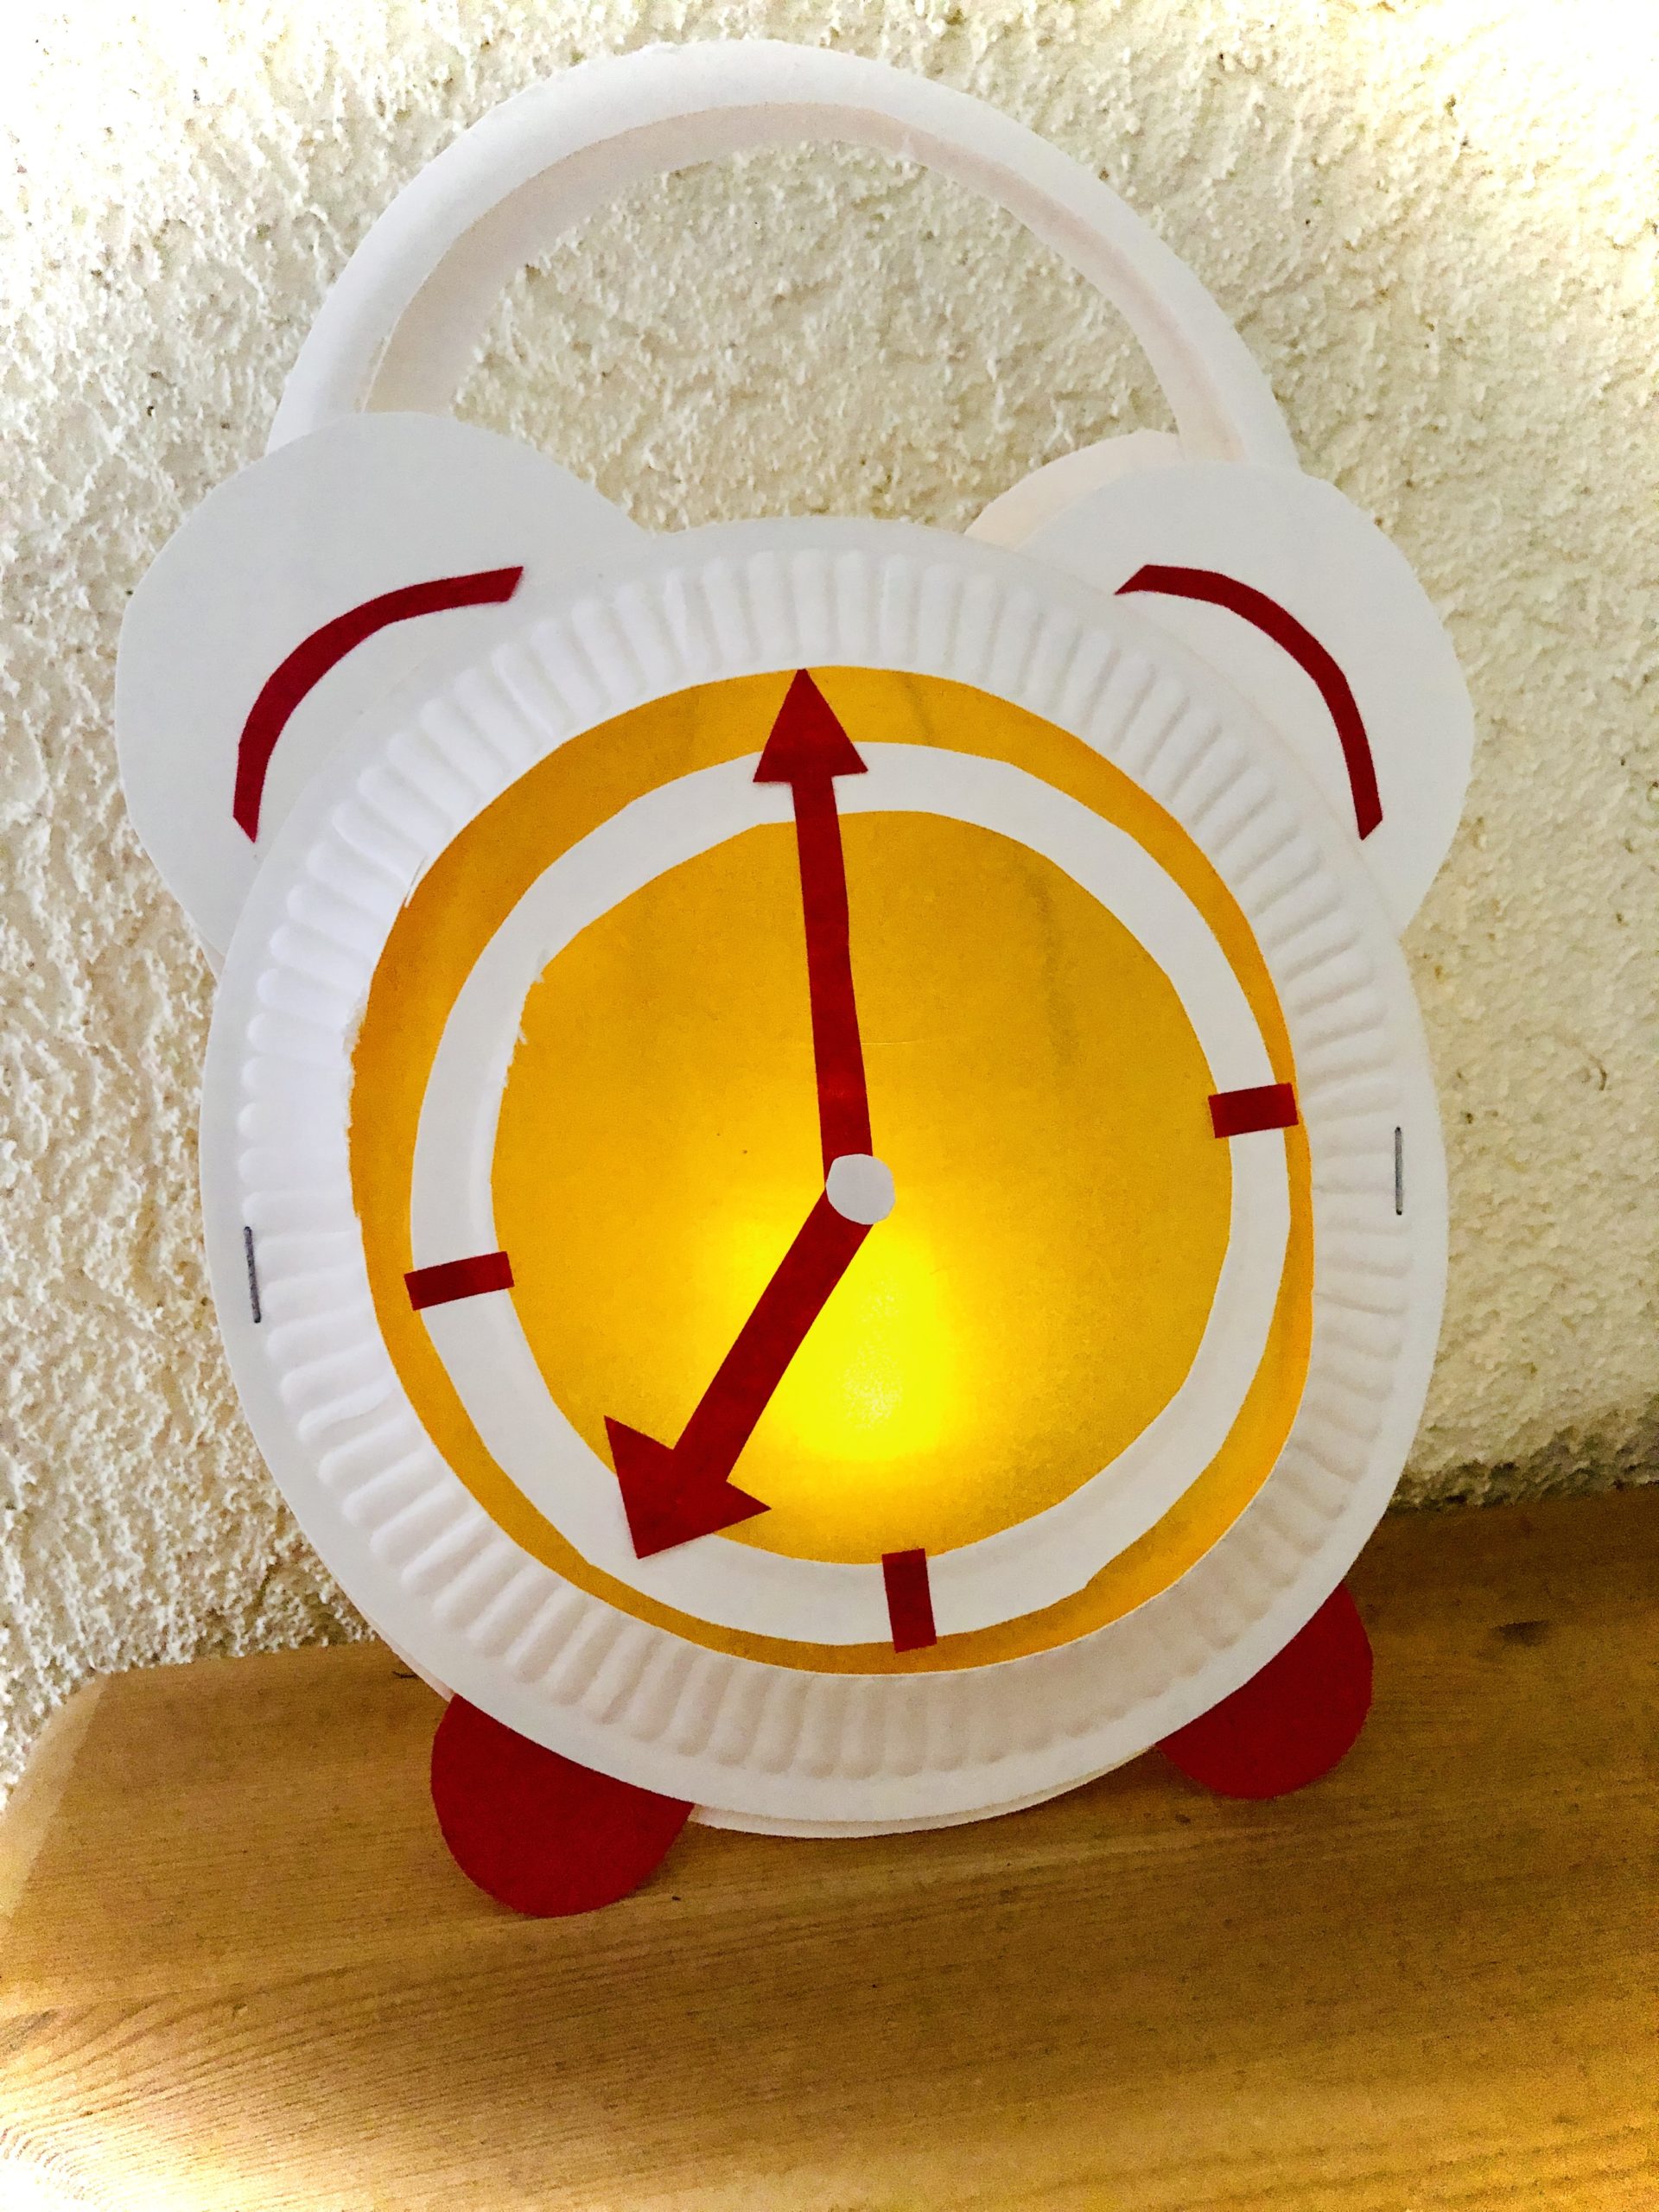


Have fun!
Materials
Directions
Lay down your craft file and prepare the material.
The cardboard plate will be the case of your alarm clock. It is used almost completely. Therefore, be careful when leaving.


Cut out the outer edge as a ring. Pick a small hole in the plate with the scissors and cut from there once all around.


So you get a big ring and a smaller circle.


Now cut out a ring from the circle. So you get two rings and a small circle.


The second ring (smaller), you divide again, so that two thin rings emerge from the one ring. (See picture.)


All parts are used!


Now put on the transparent paper the largest ring on it. Paint around the outside and cut out the circle slightly smaller. Behind this large ring you stick the transparent paper.


To do this, brush the edge with glue. Then you put on the transparent paper and press it on.


Now turn around the cardboard plate. The curved side is our front.


The middle part of the cardboard plate - the inner circle - is now halved.


Paint a semicircle and cut it out. See photo!


Both cut-out semicircles are positioned at the upper part of the clock, thus creating an alarm clock as we know it from the past.
Then you put one of the thin rings on the transparent paper and stick it on.


You halve the other thin ring and connect the semicircles with it.


All parts stick to her on the back of the watch.


That's what the alarm looks like!


Paints two arrows of different sizes on a clay paper.


Cut it out now. Then additionally paint a small circle on white paper and cut it out as well.


Now you can glue the center and attach the hands underneath.
What time is it?


Two further semicircles are needed from clay paper. To do this, paint the shape of an ice and halve in the middle.


The two red semicircles stick on as the feet of the alarm clock.


From the rests of the colored clay paper you can cut small strips, which you can use for the classification of the time in quarter hours.


Sticks them at three, six, and nine o'clock.


This watch makes her a second time. Then you tack the two watches together sideways in such a way that the beautiful sides each point to the outside.


The lantern is ready.


To get a light in the lantern, the following is needed:
Cut off the bottle neck of a plastic bottle.
Make two opposite holes in the top of the bottle with a punched tong.


Cut off a wire about 25 cm long.
Thread the ends through each hole and twist the wire so that it sits tight.


Then you put an electric light in the bottle belly.


Now you push the lantern over it and fix it possibly with a hot glue point. Be careful when handling the hot glue!


The lantern is ready. A lantern rod can be hung on the wire.


Have fun!
Follow us on Facebook , Instagram and Pinterest
Don't miss any more adventures: Our bottle mail


