The rabbit ears are available as separate instructions, here comes a very simple wuschel, for crafting!
Media Education for Kindergarten and Hort

Relief in everyday life, targeted promotion of individual children, independent learning and - without any pre-knowledge already usable by the youngest!
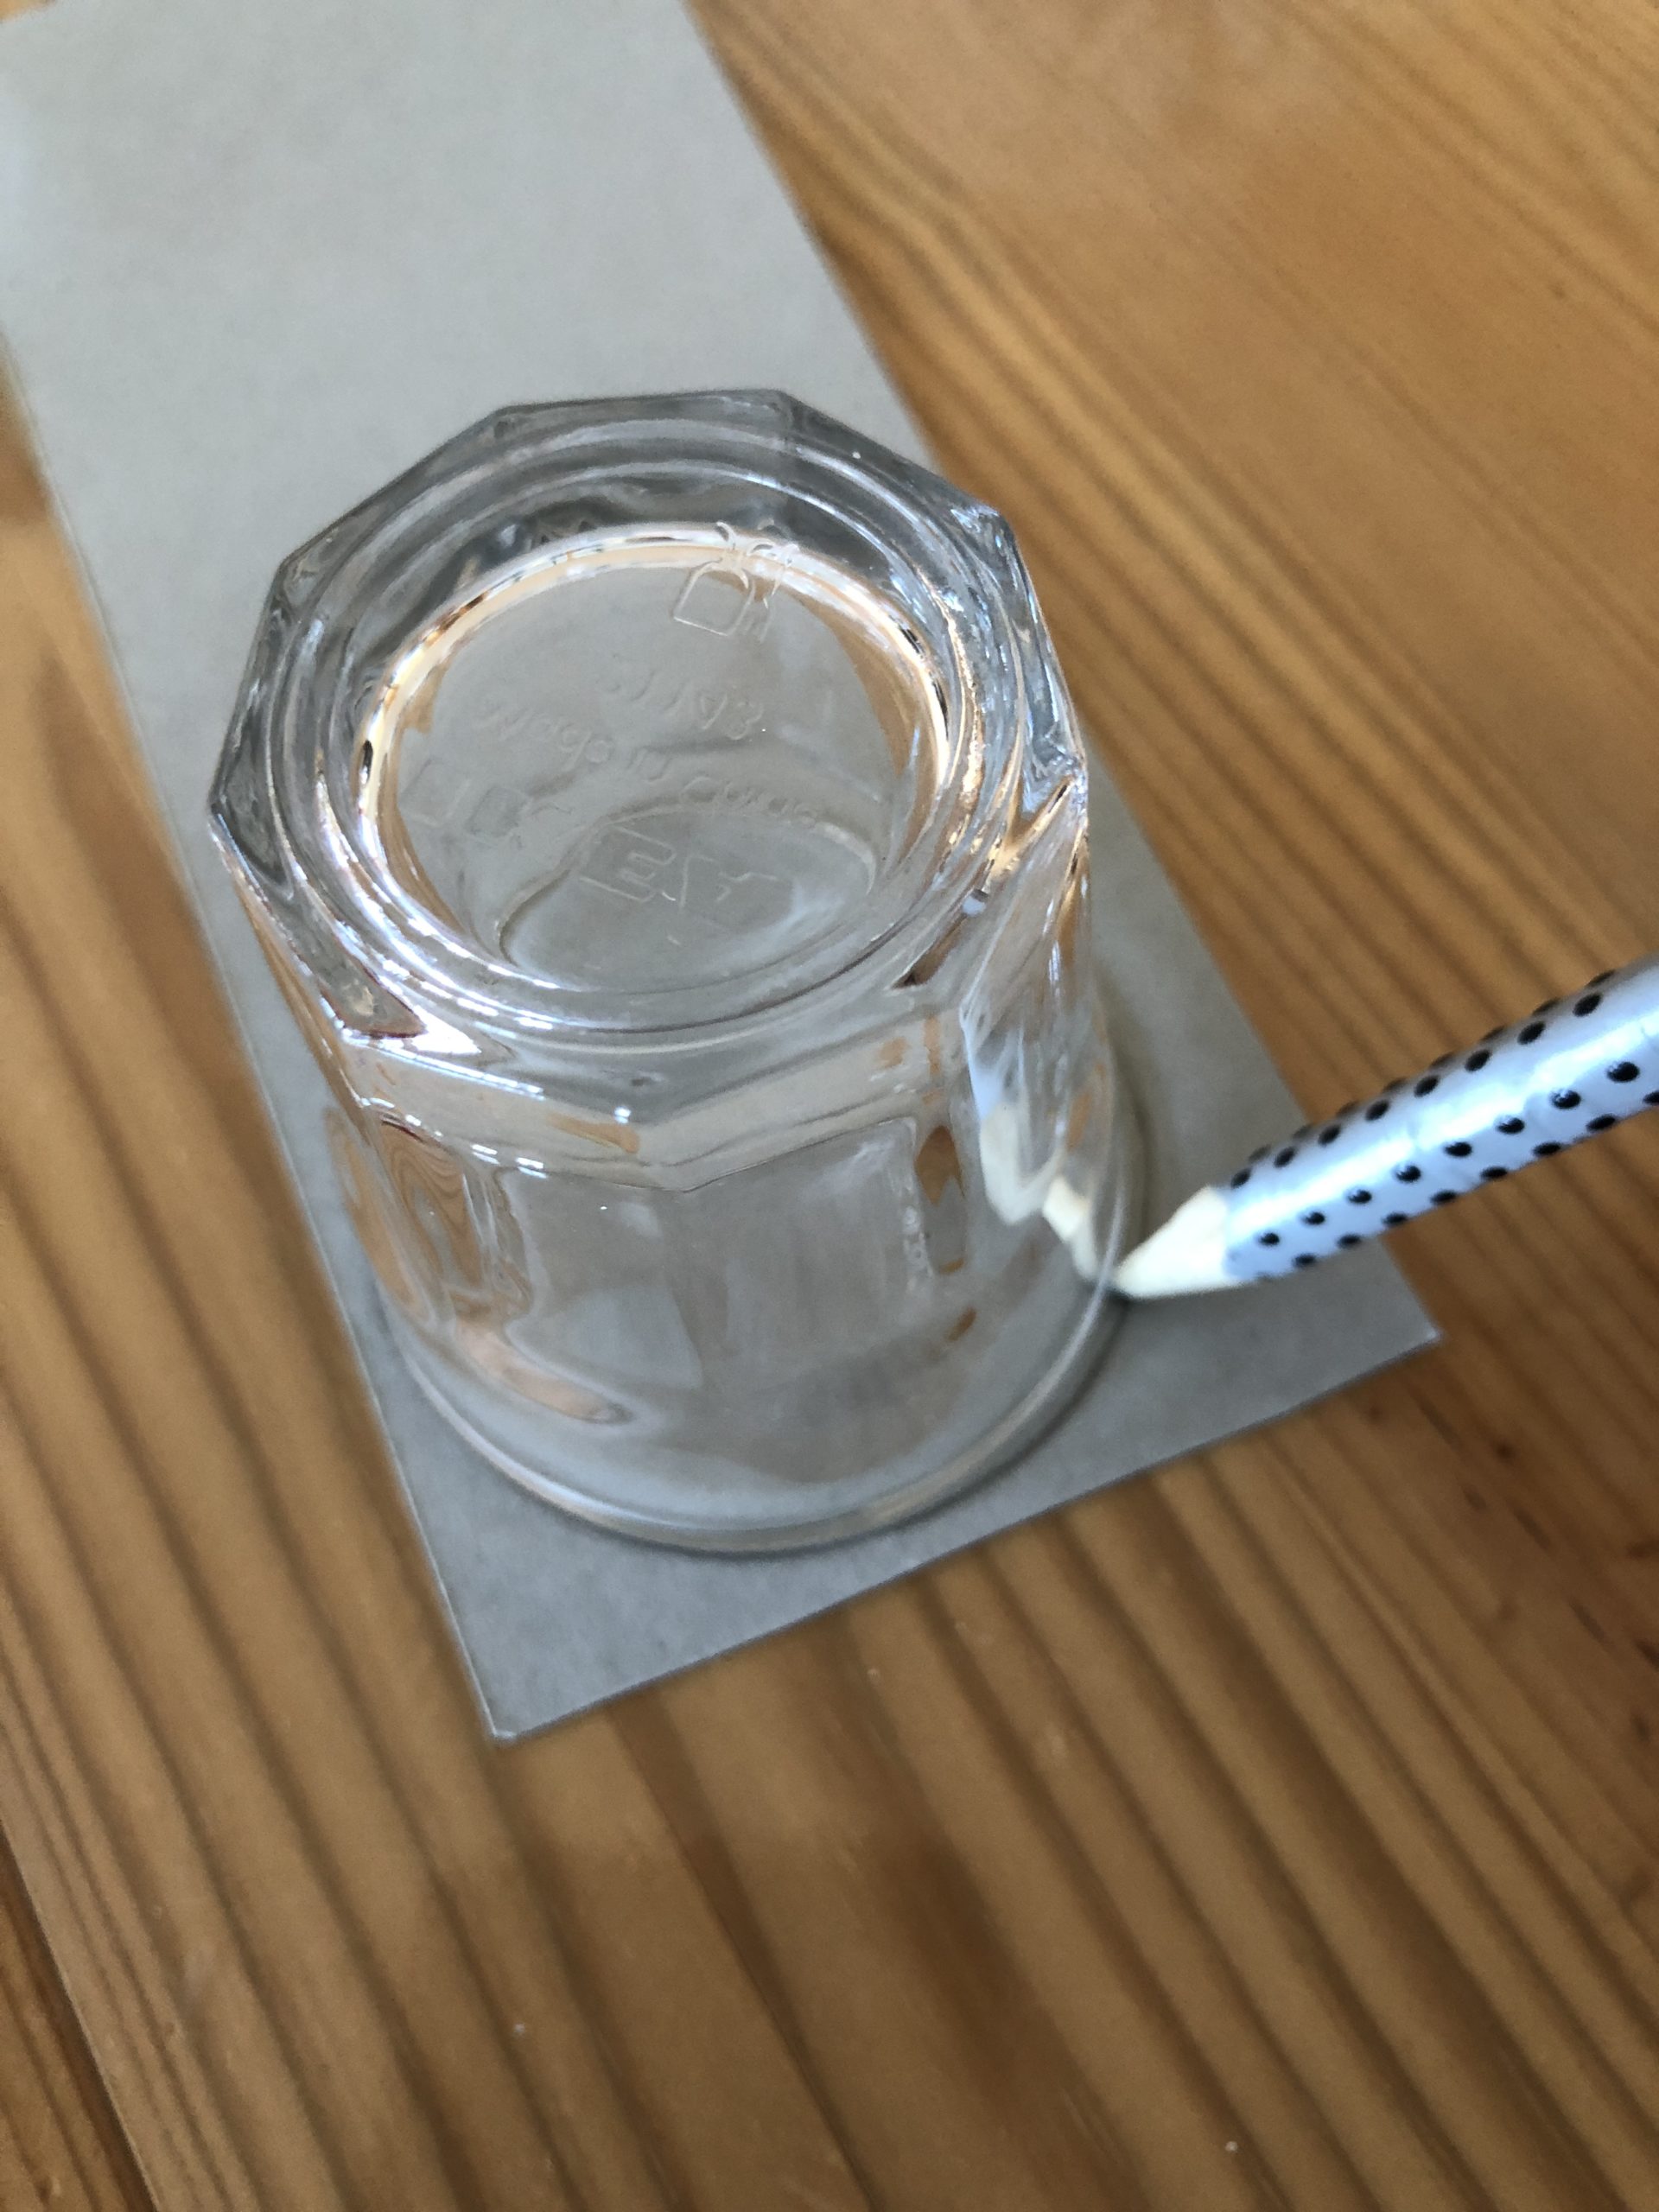
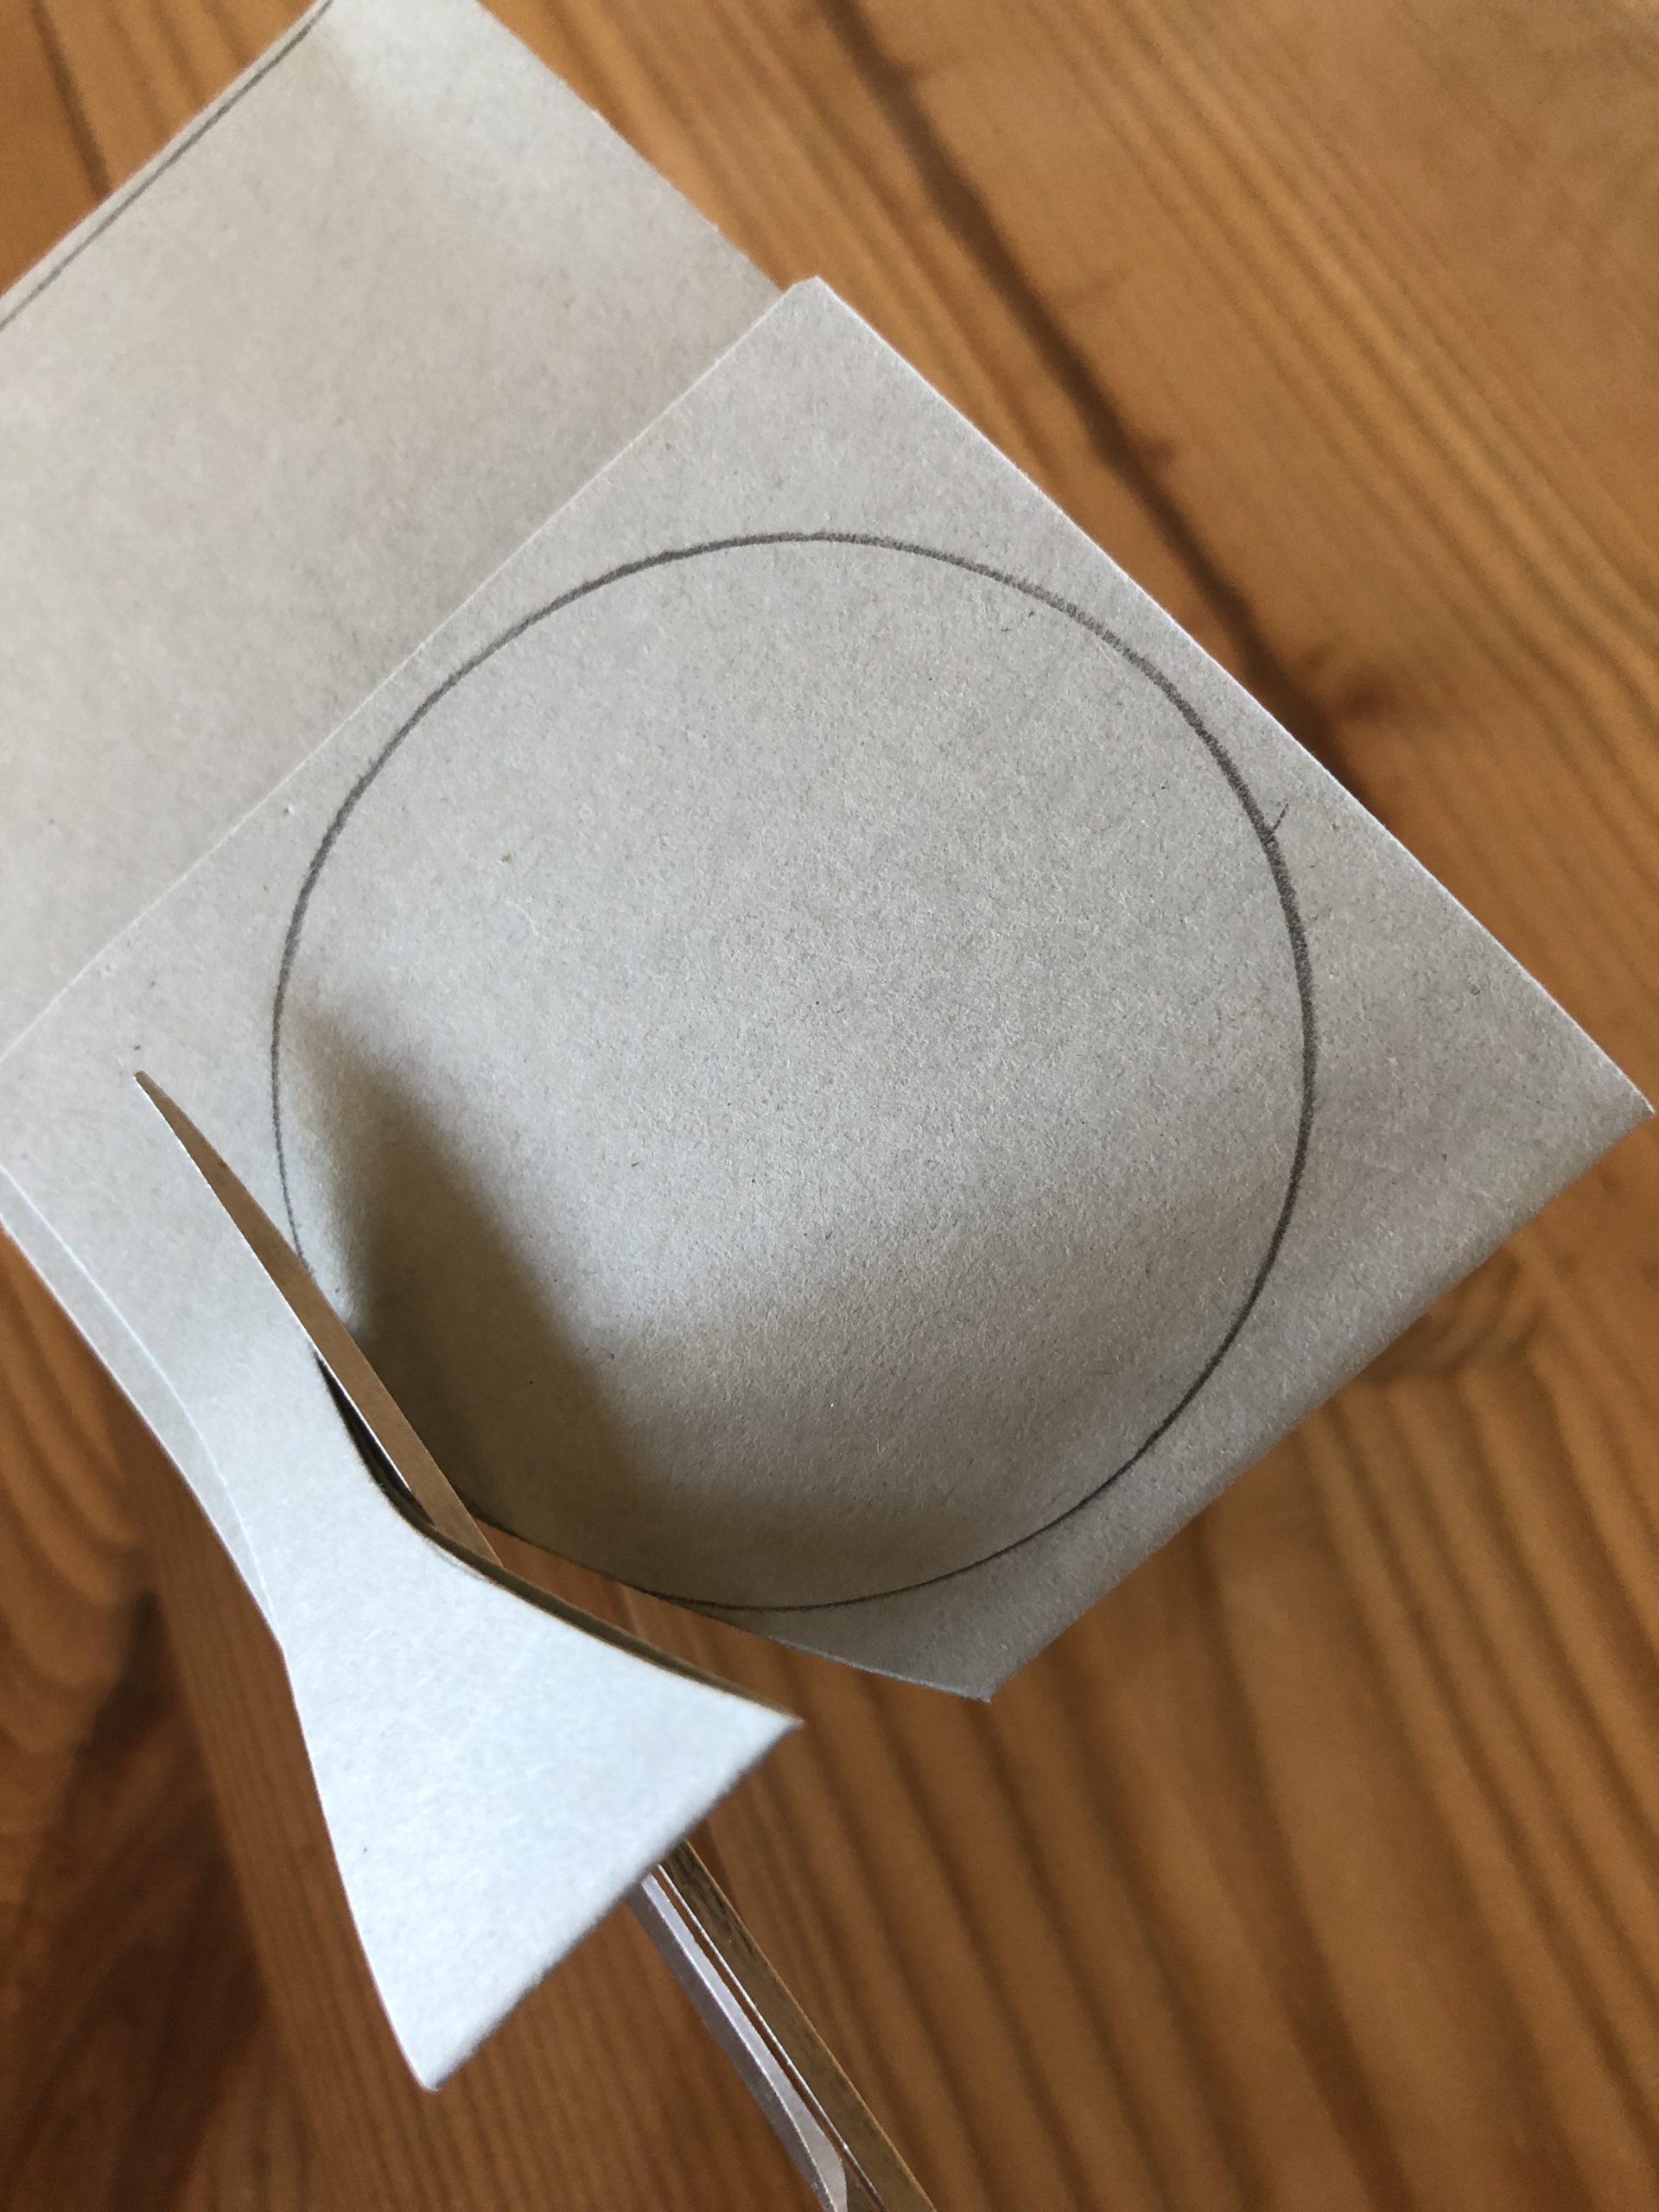
Draw a circle on solid paper or cardboard.
Take paper twice.
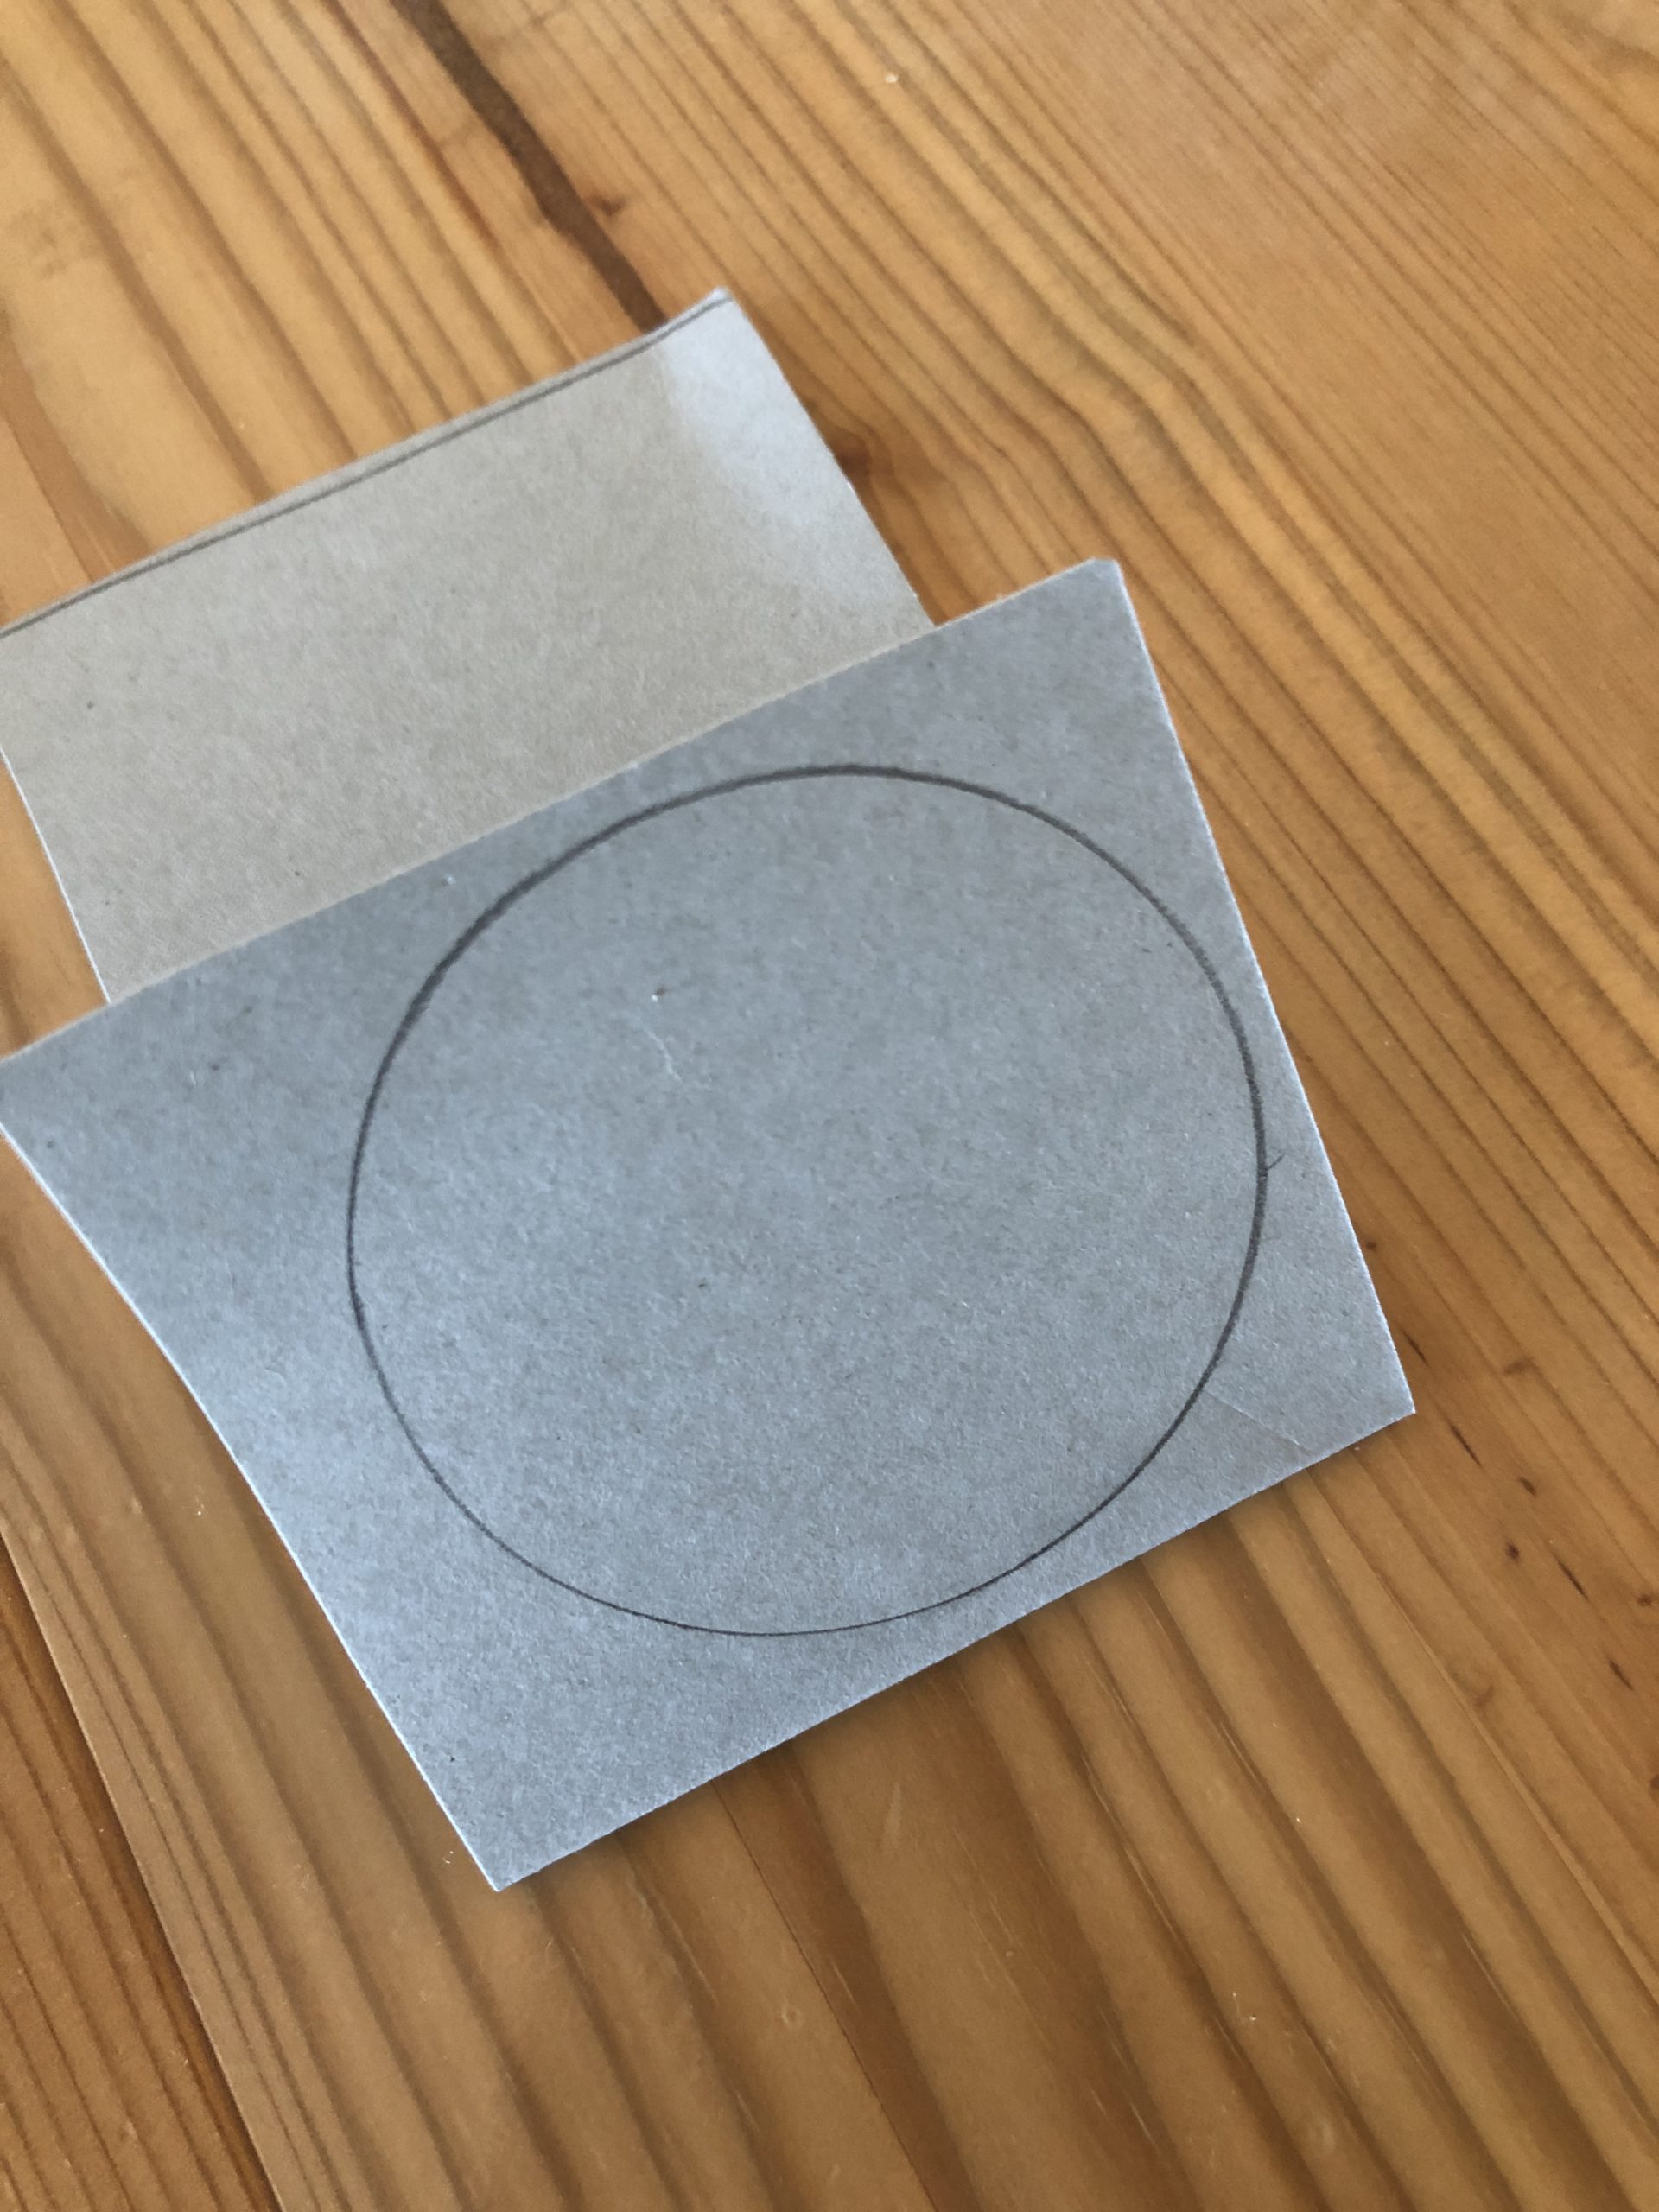
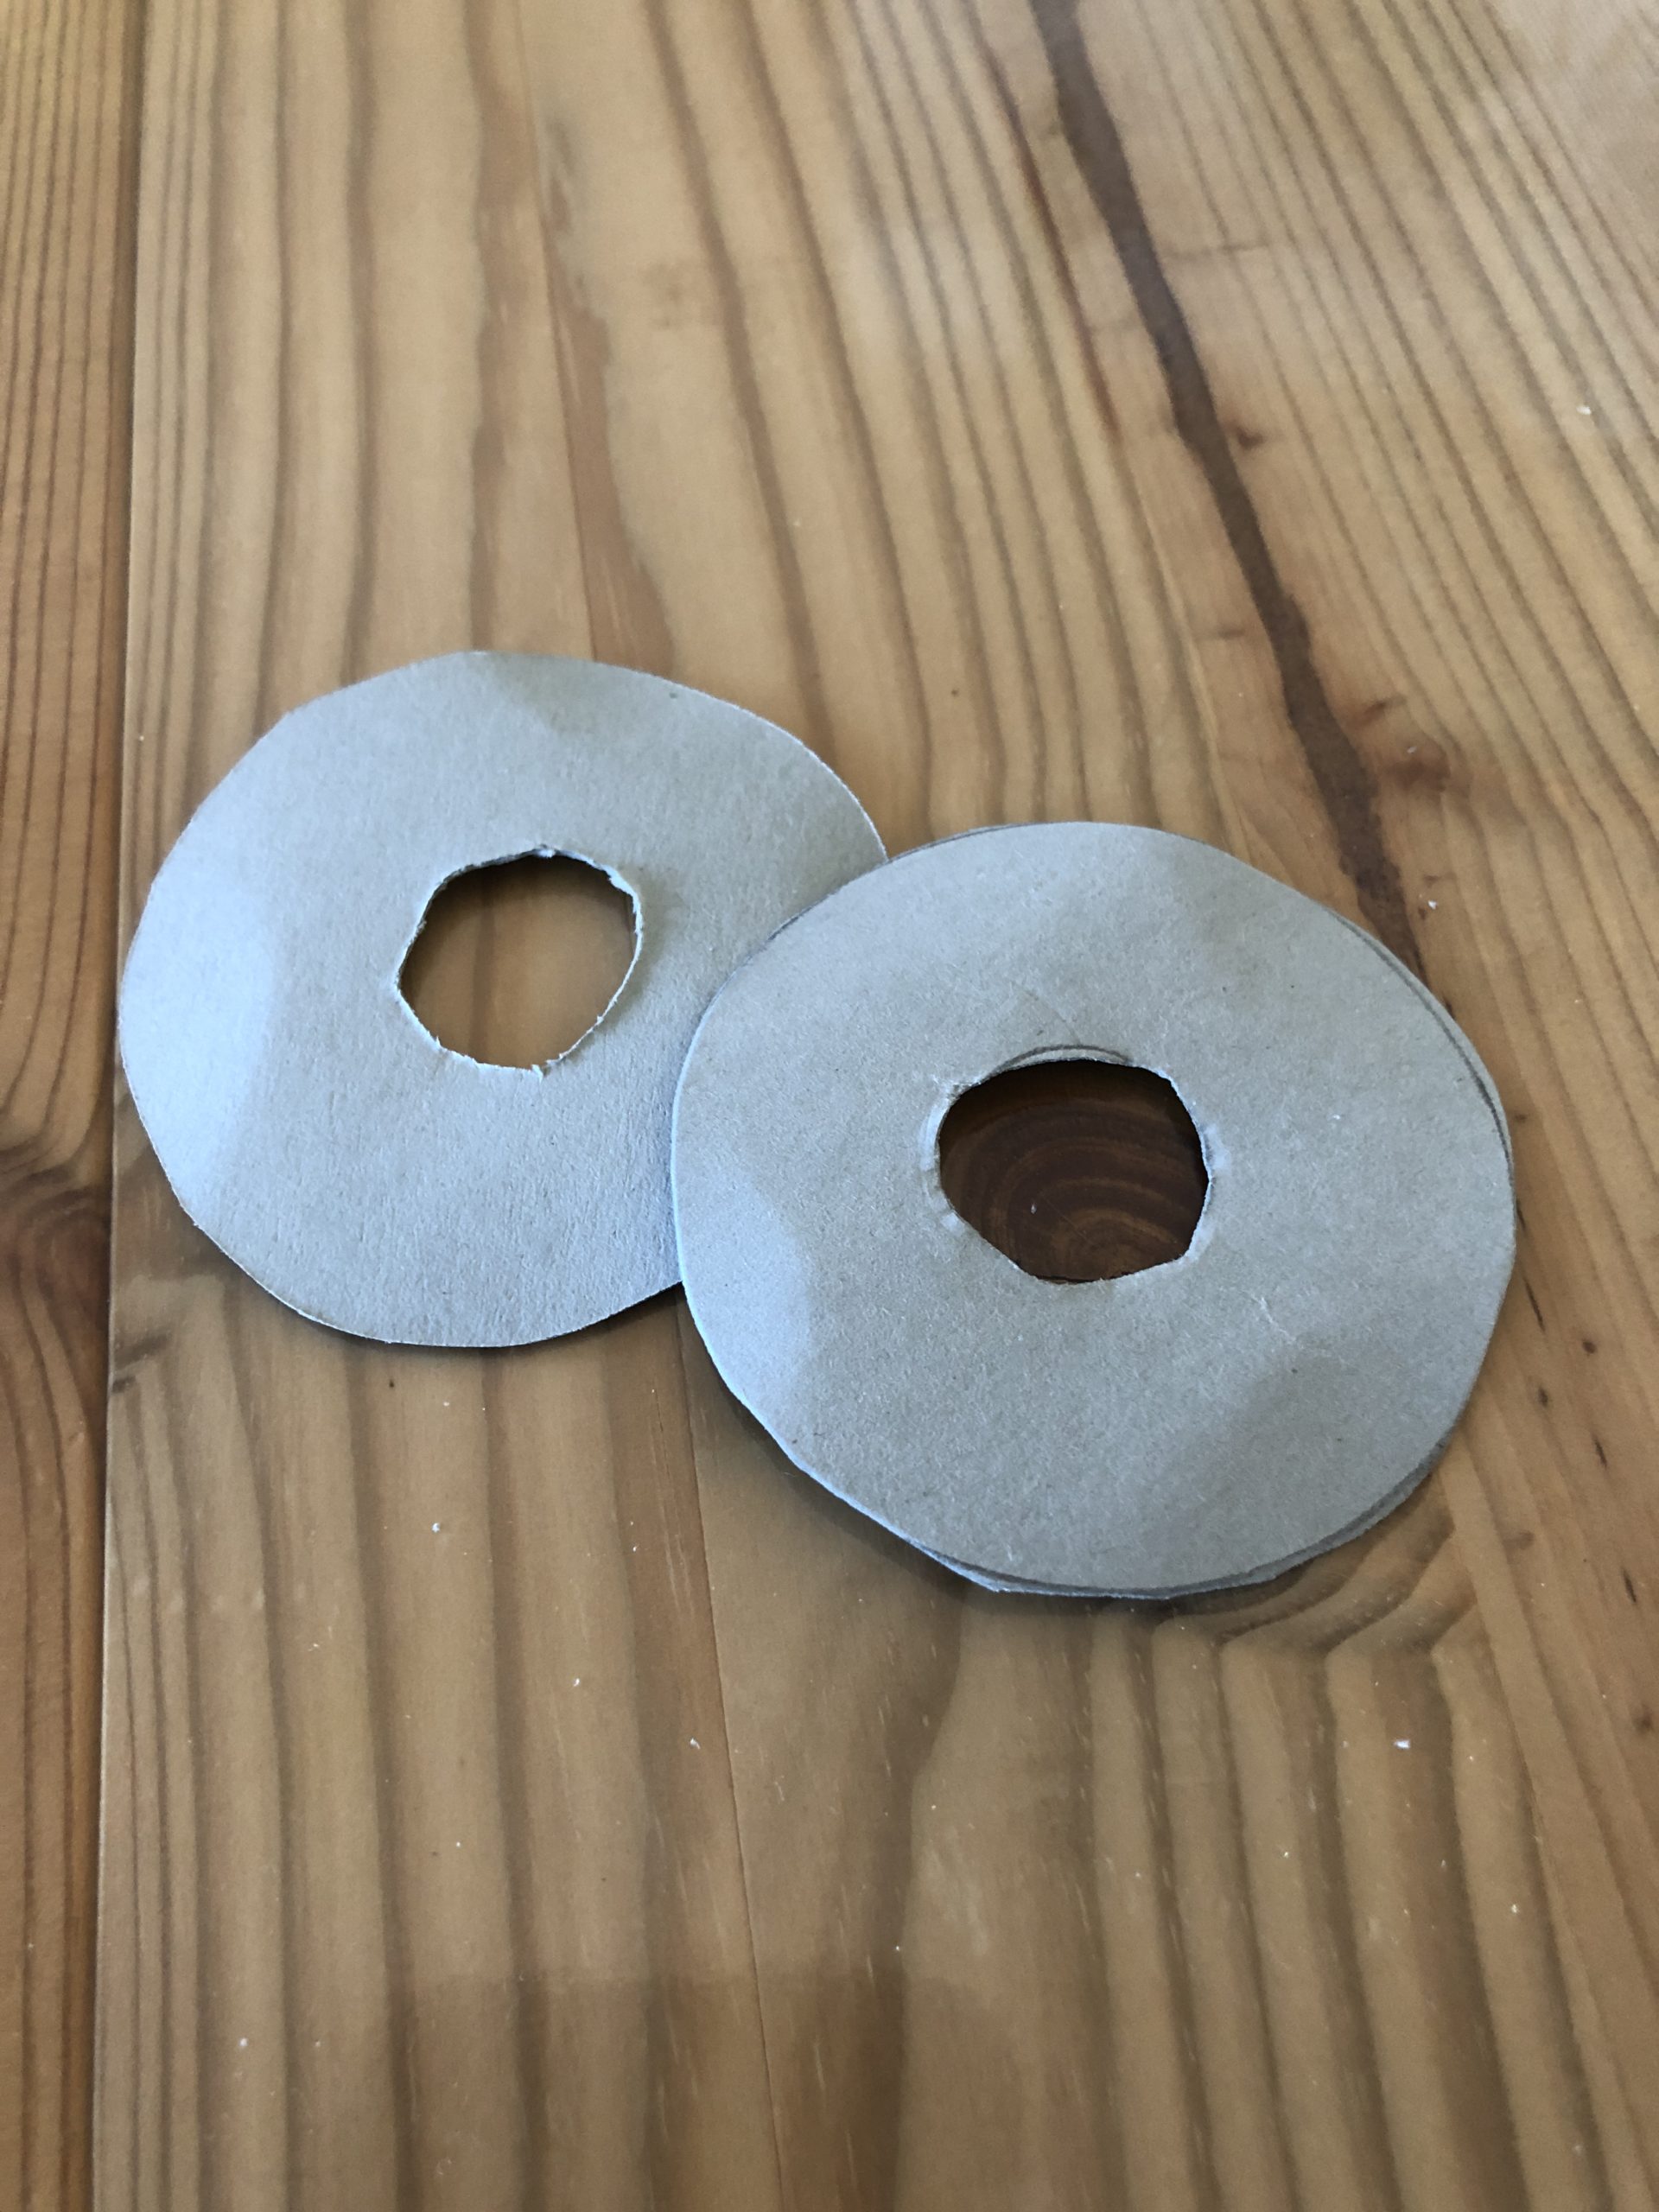
Cut it out.
Paint small circle in the middle and cut out as well.
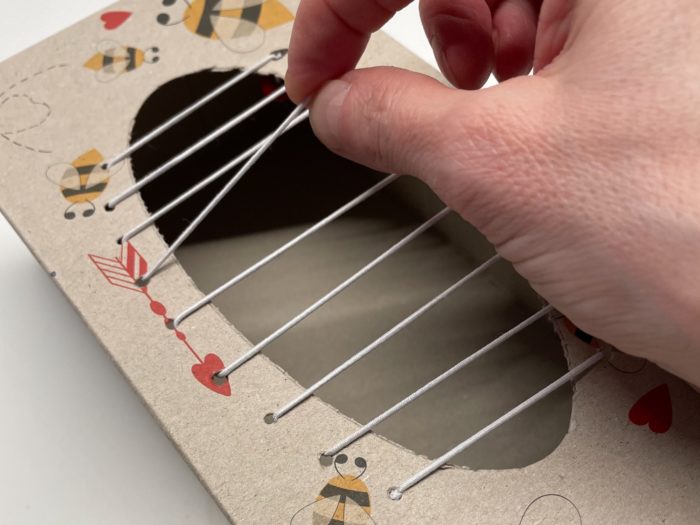
Cut 1.5 to 2 meters long threads from the wool. Thread several at the same time through a thick round needle and fasten around both cardboard circles.
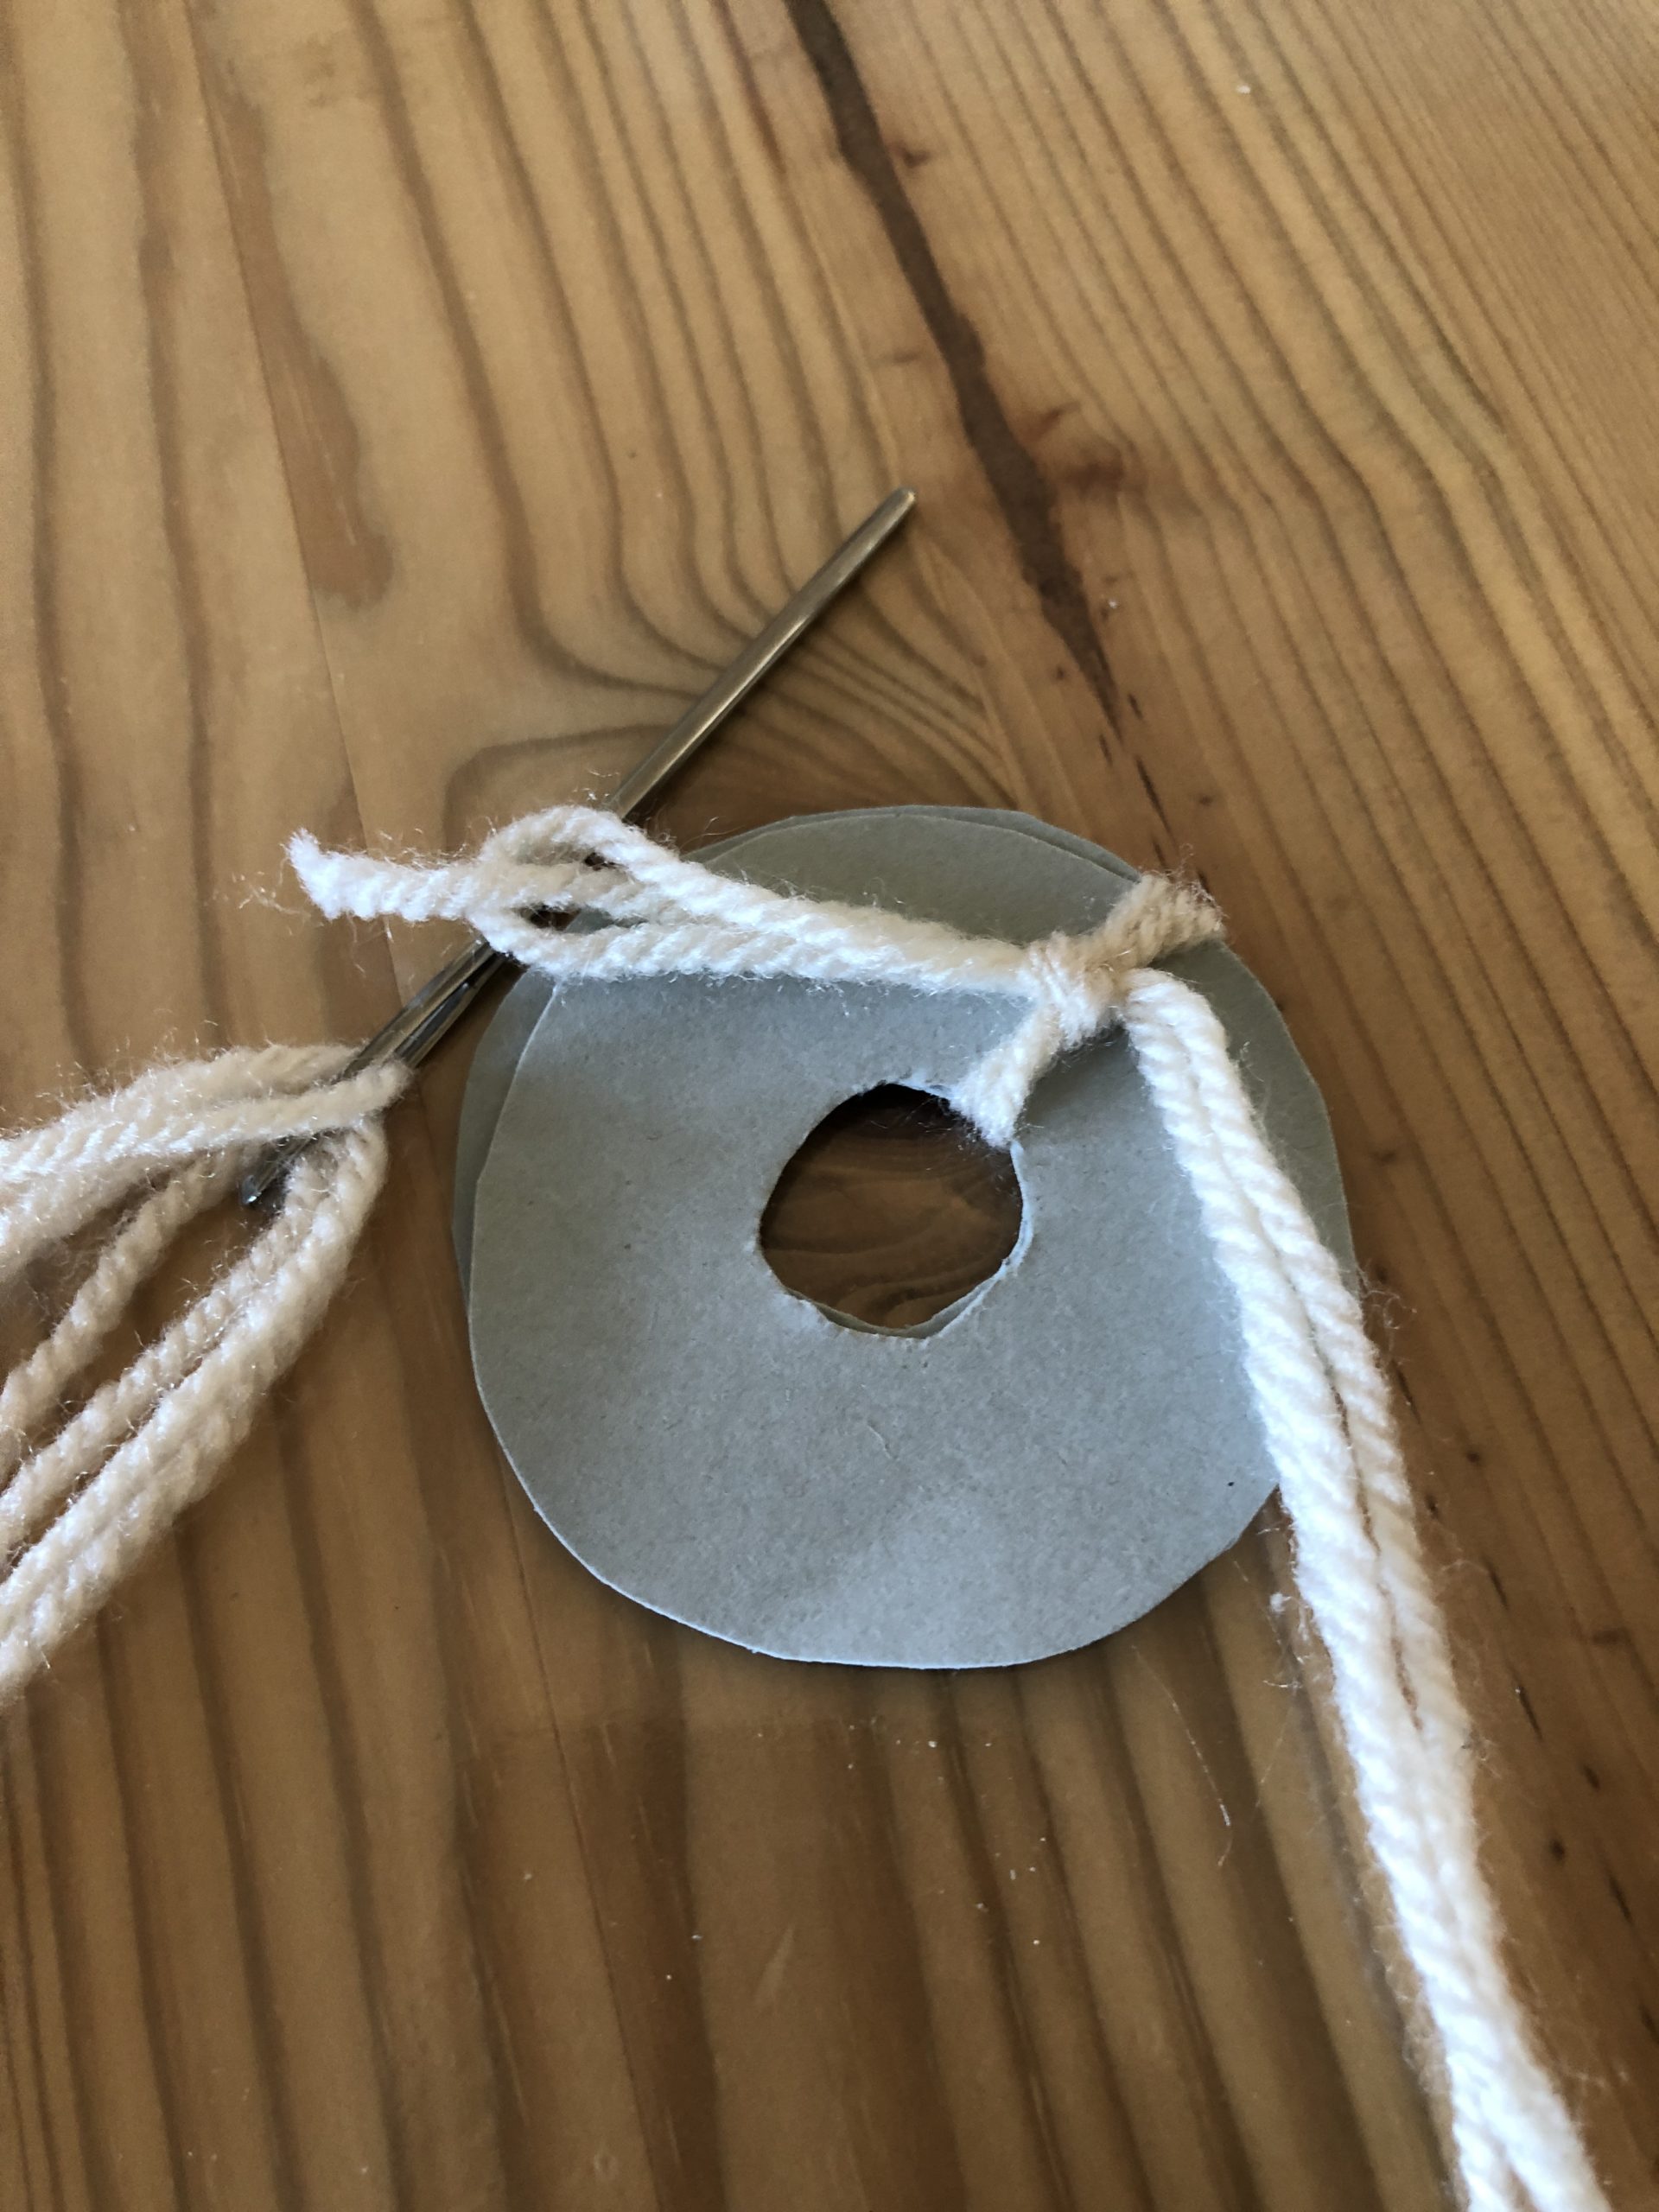
Sew thread again and again through the center of the circle and sew around the complete cardboard circle.

Possibly make up one more thread and sew it until the middle is completely filled.
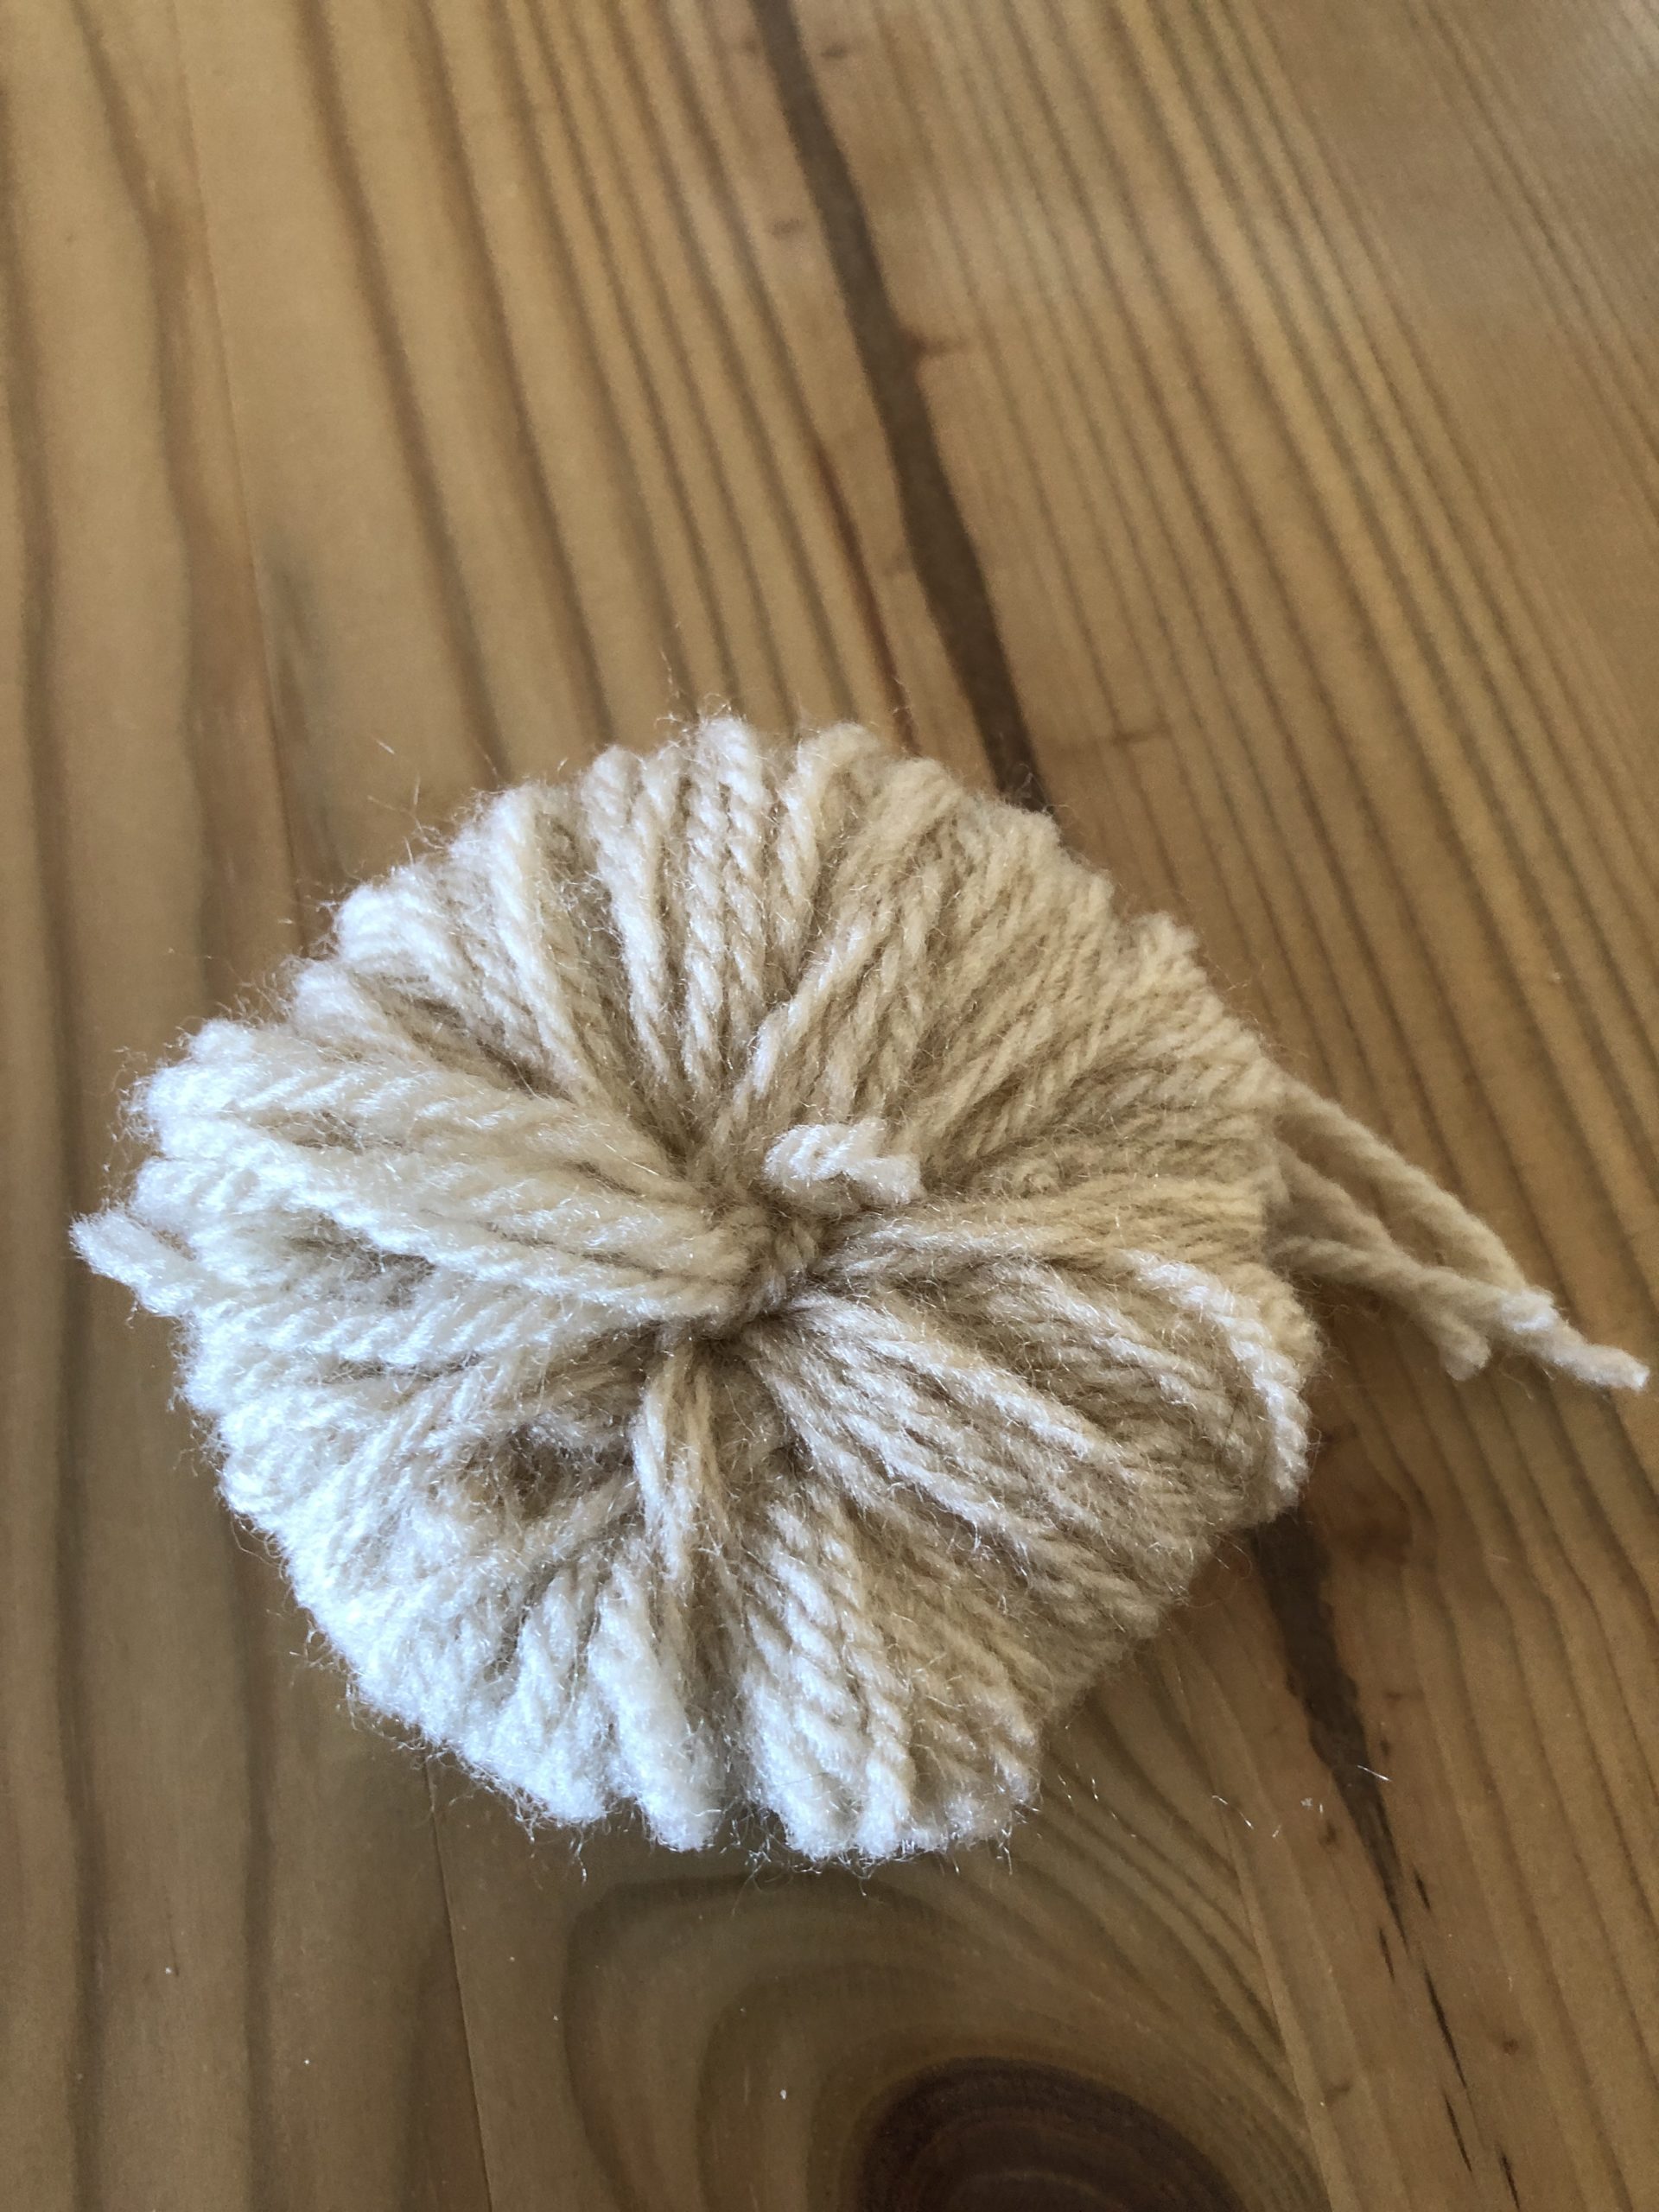
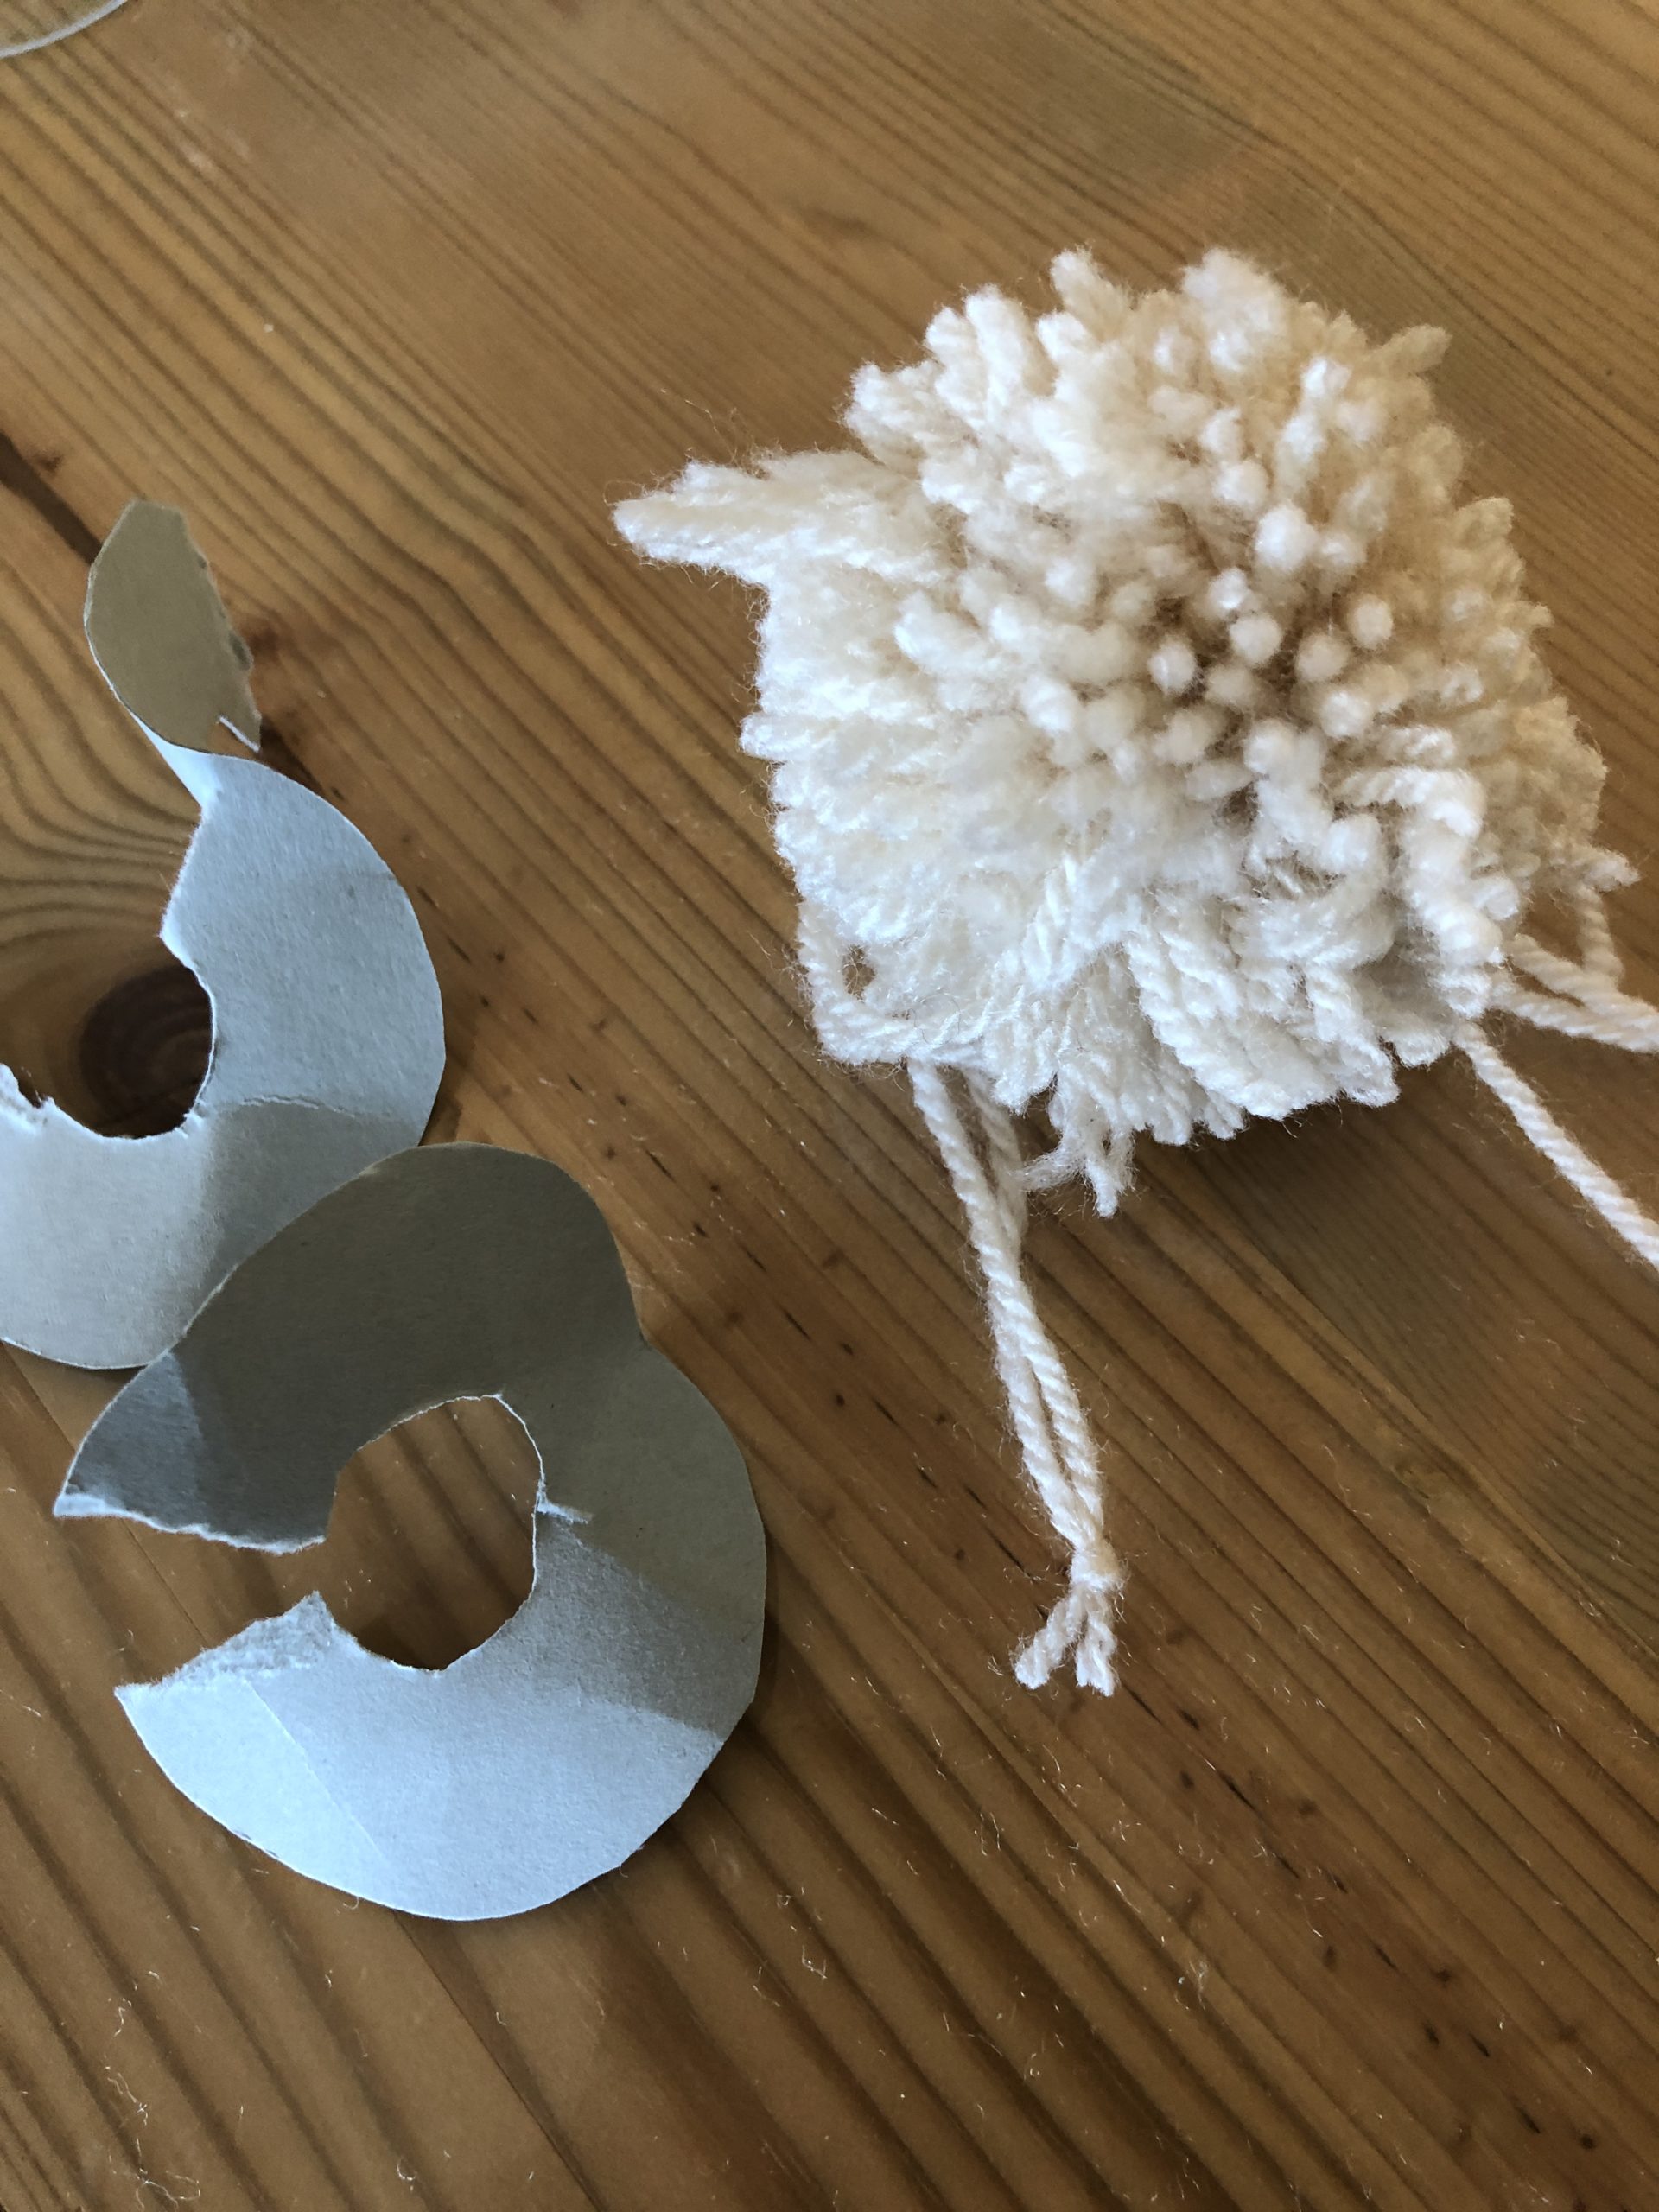
Cut the threads on one side until the carton is visible.

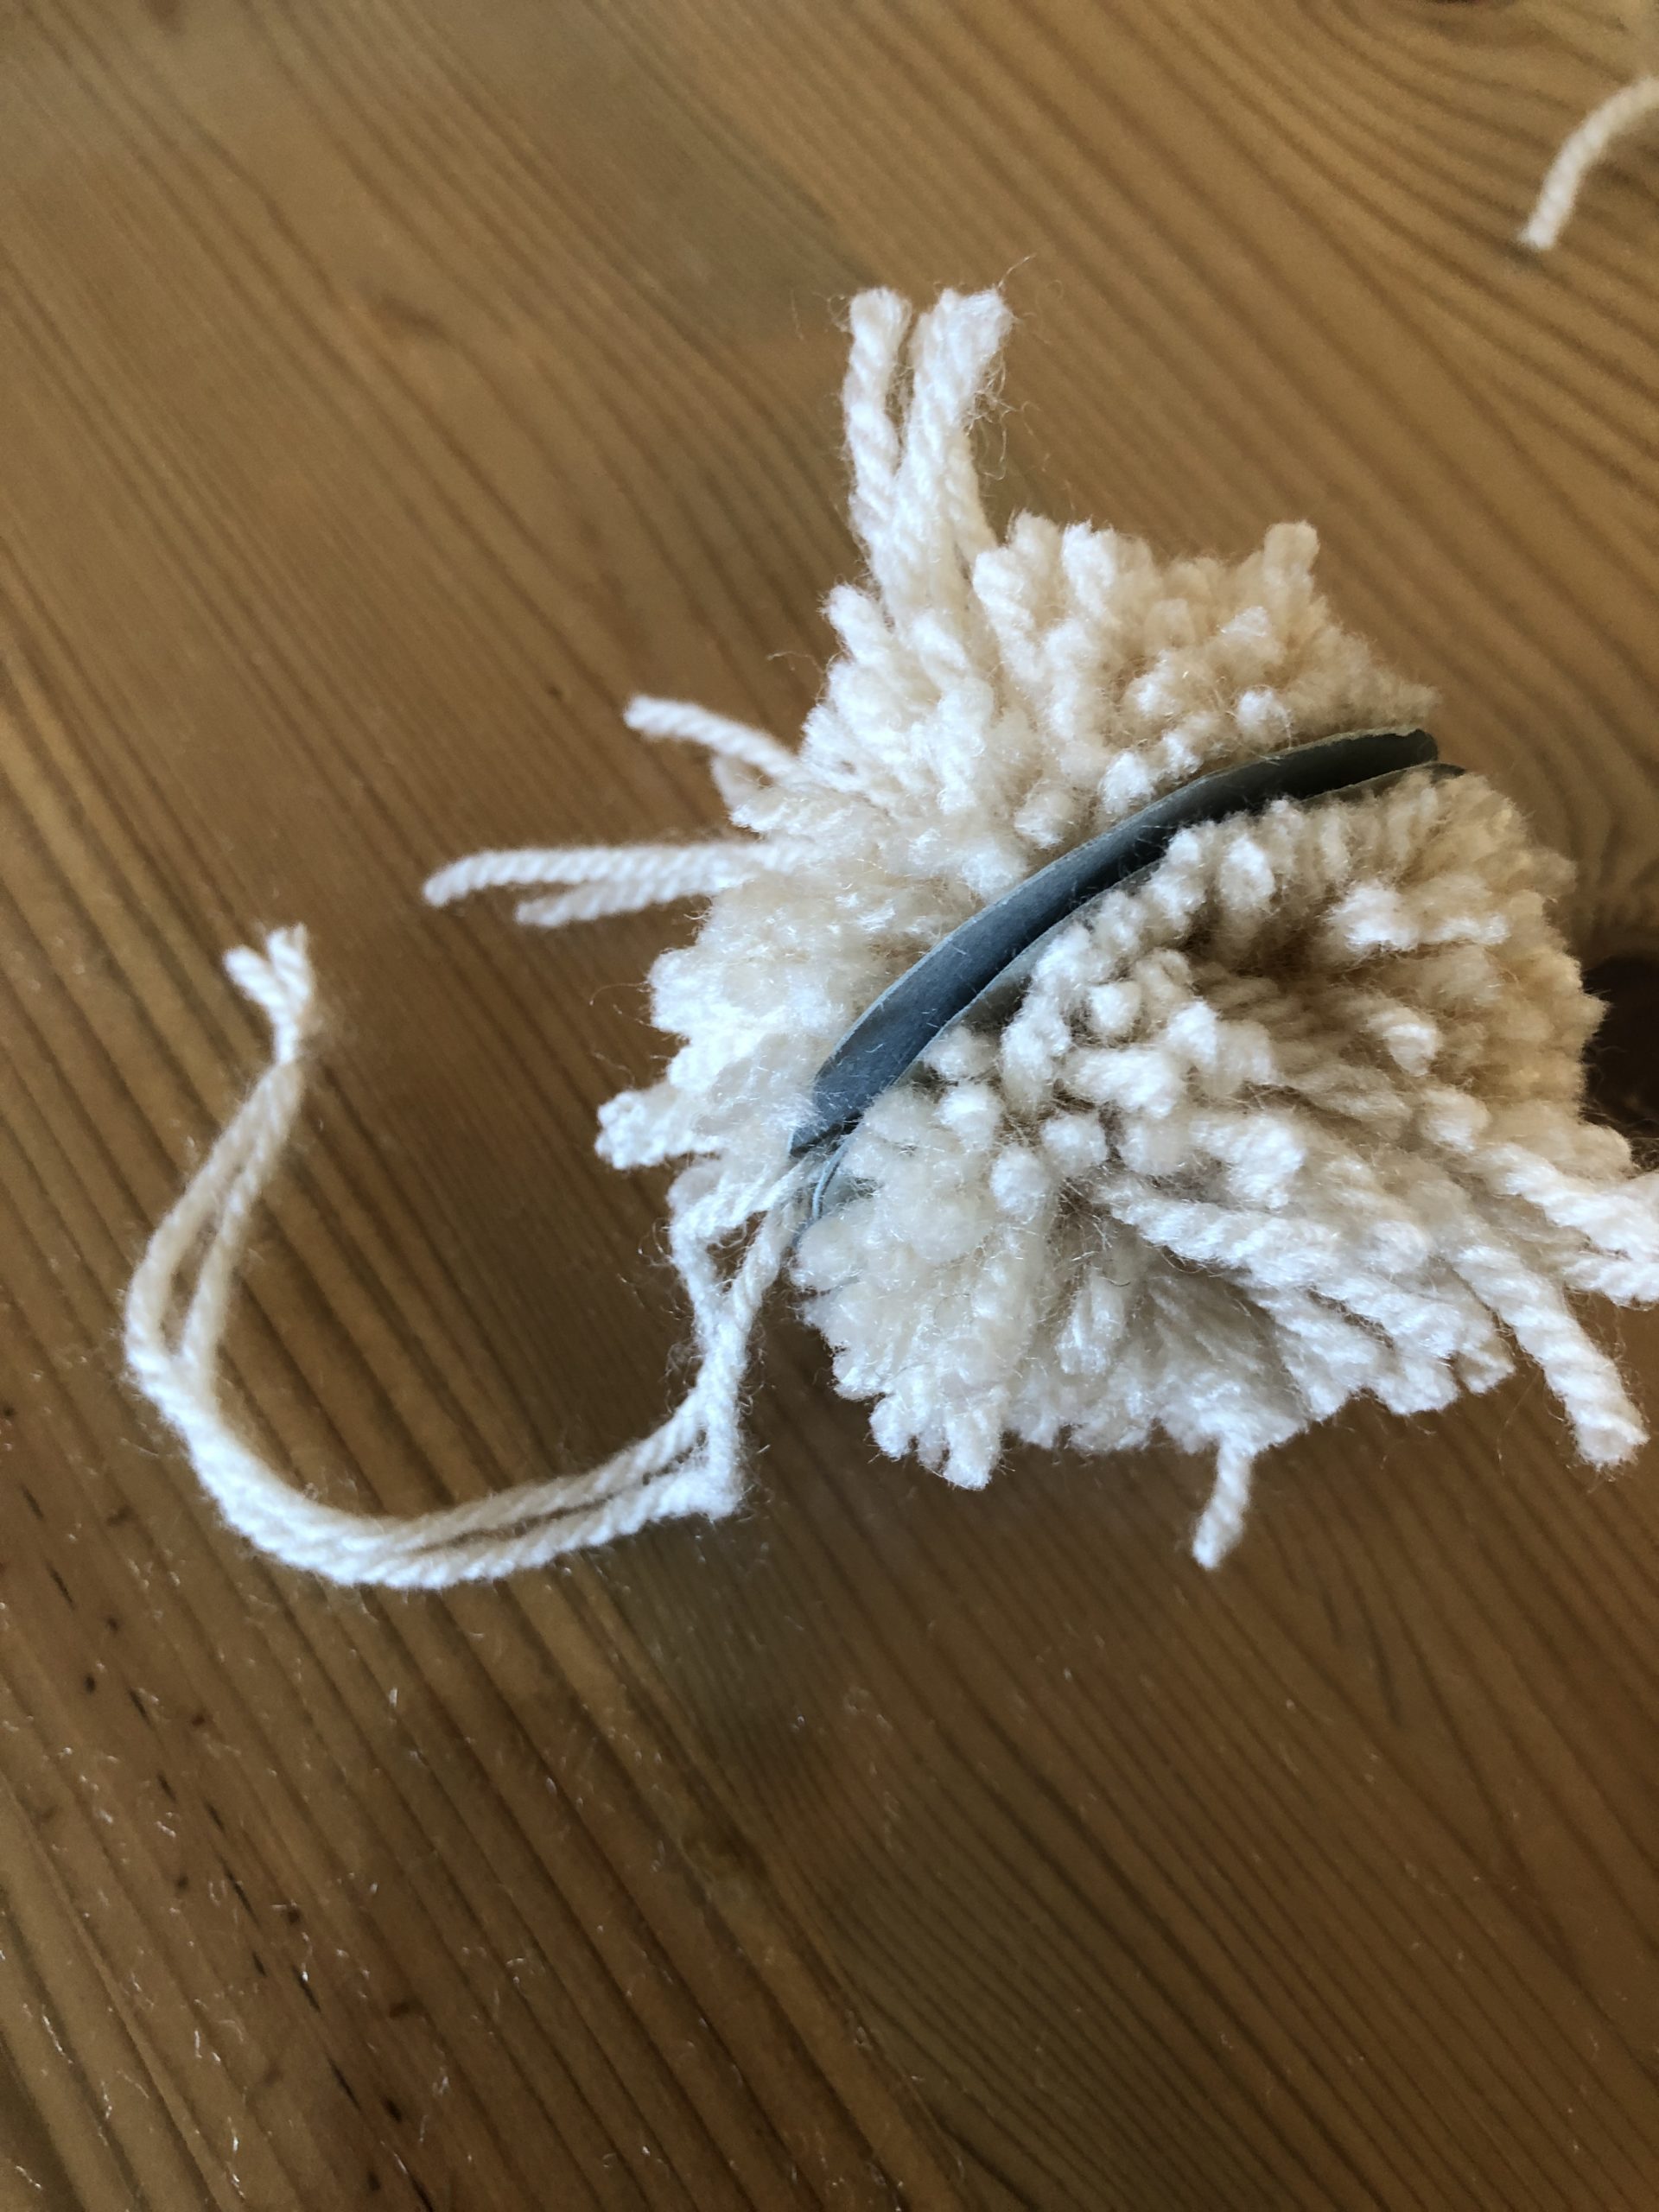
Use the middle of the washers as a guide for cutting. Do not remove them!!!

Place a wool thread about 20 cm long between the carton discs and knot it several times.
Now enter the carton and carefully remove it.

??
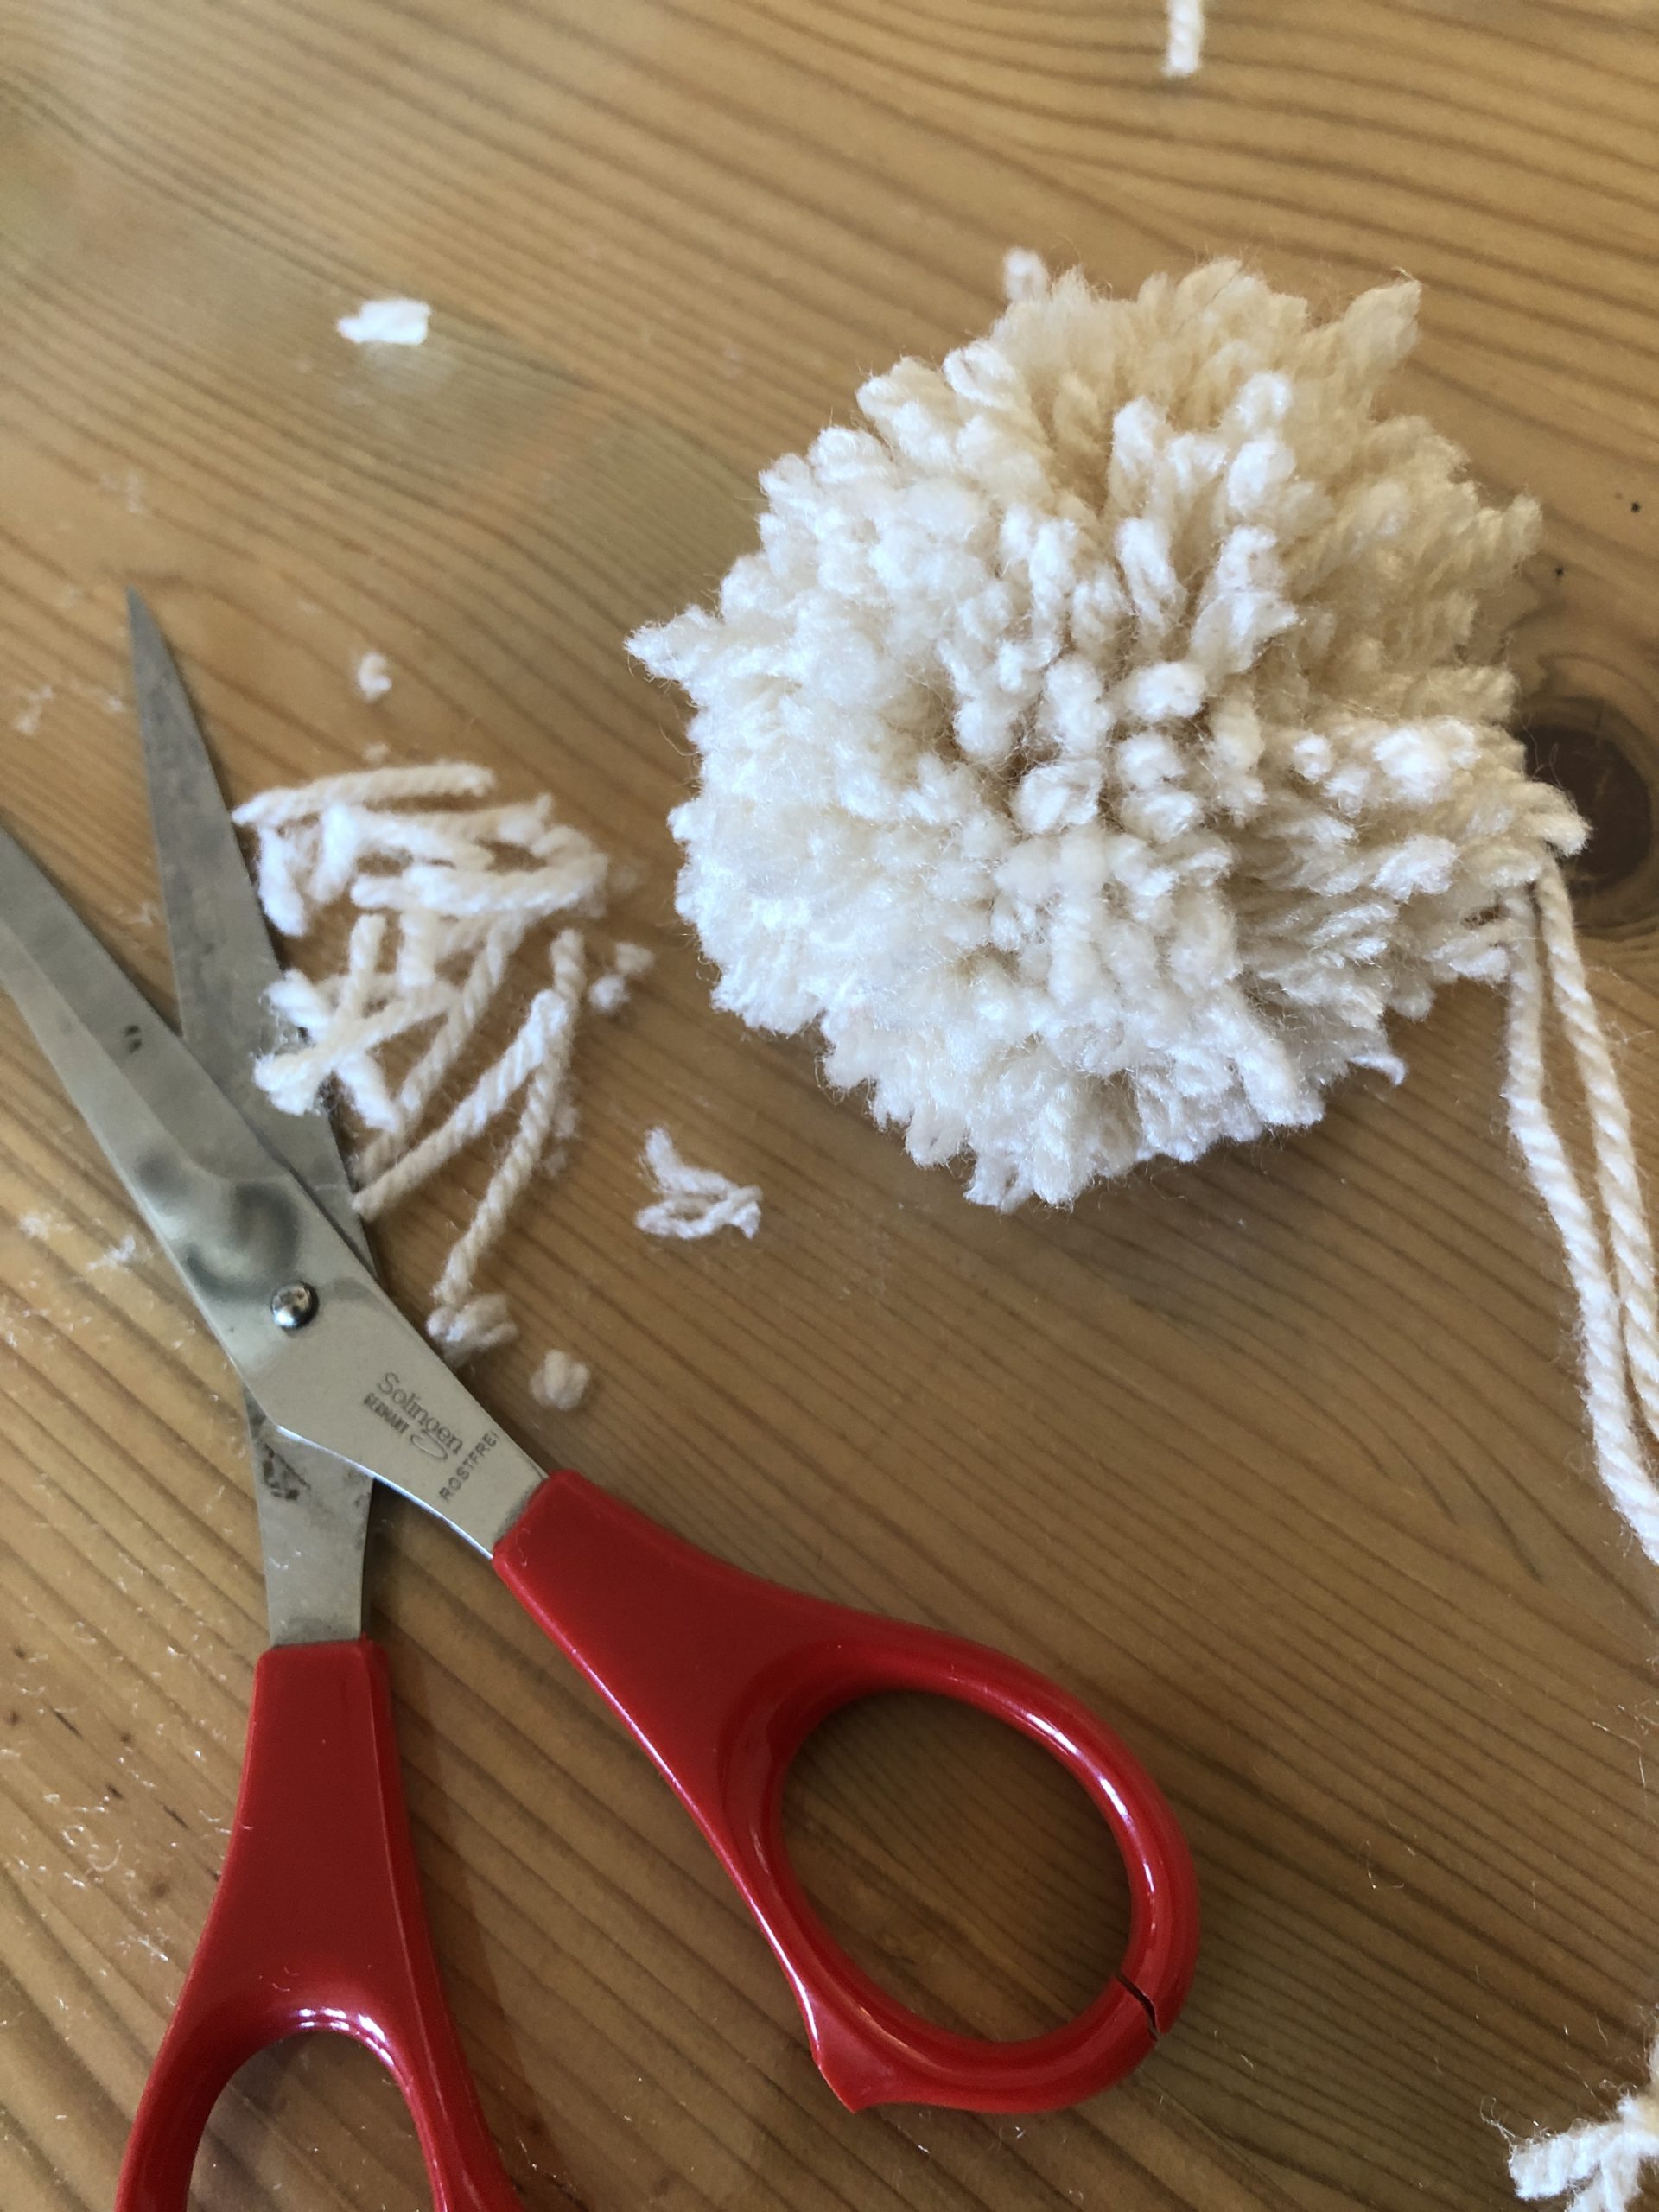
Cut the wuschel "round" with scissors. Do not cut the hanging thread!
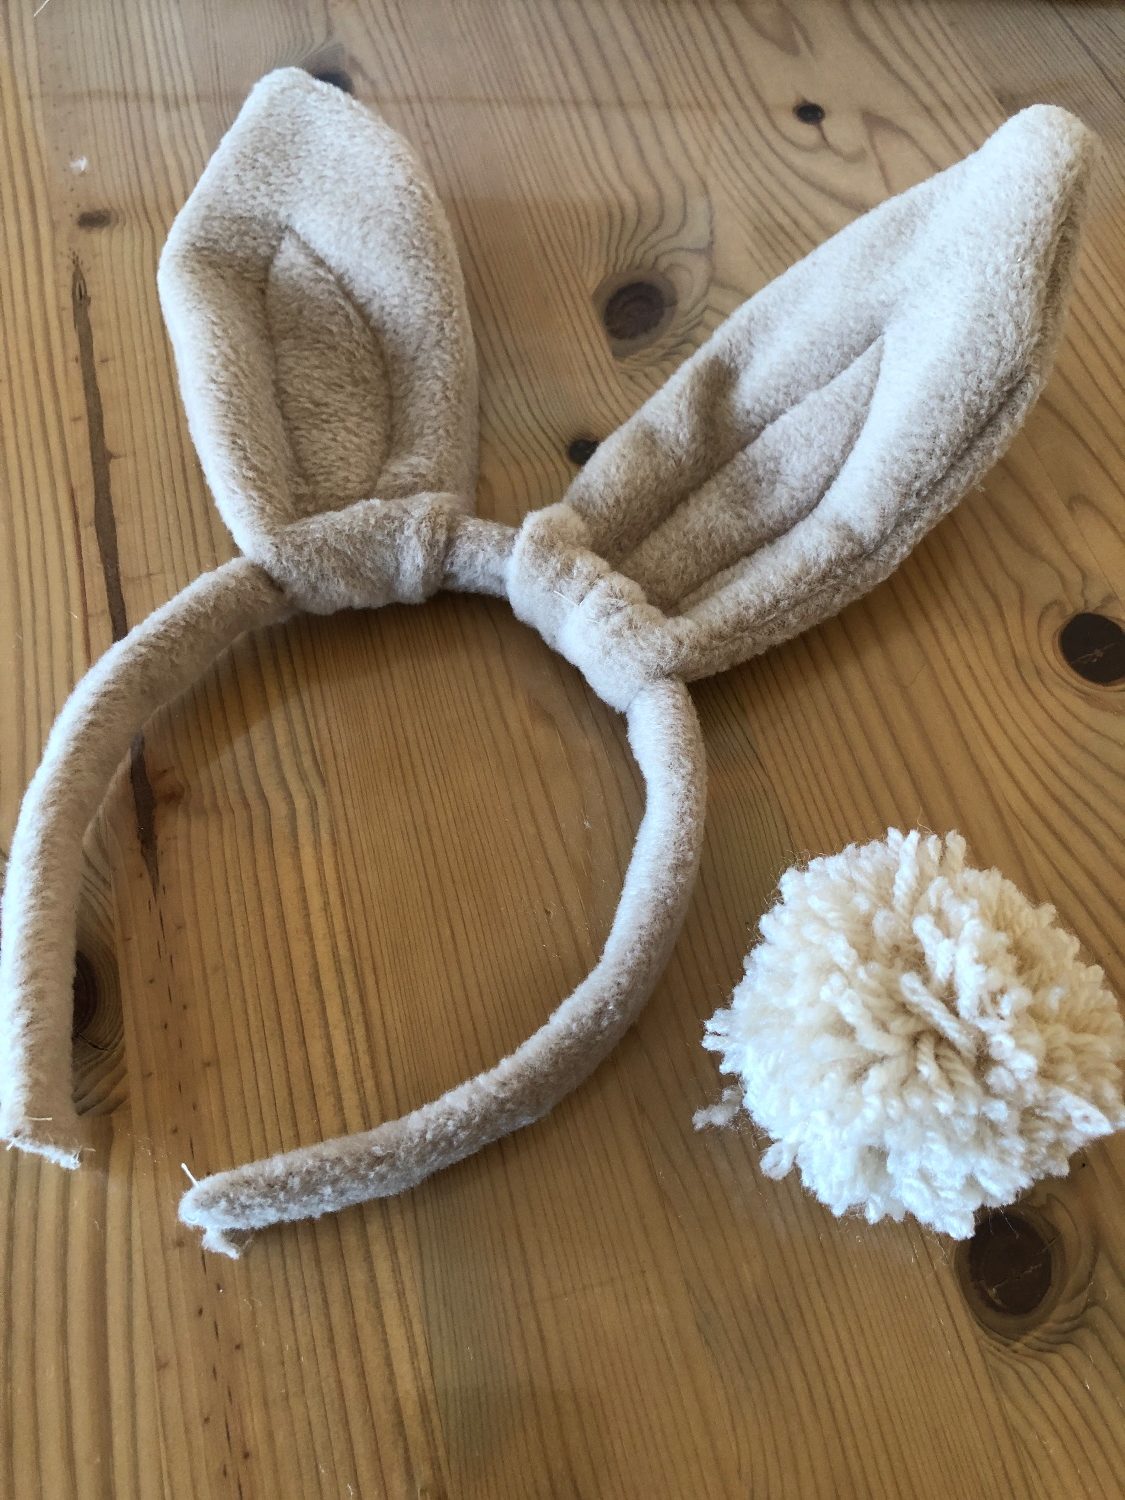
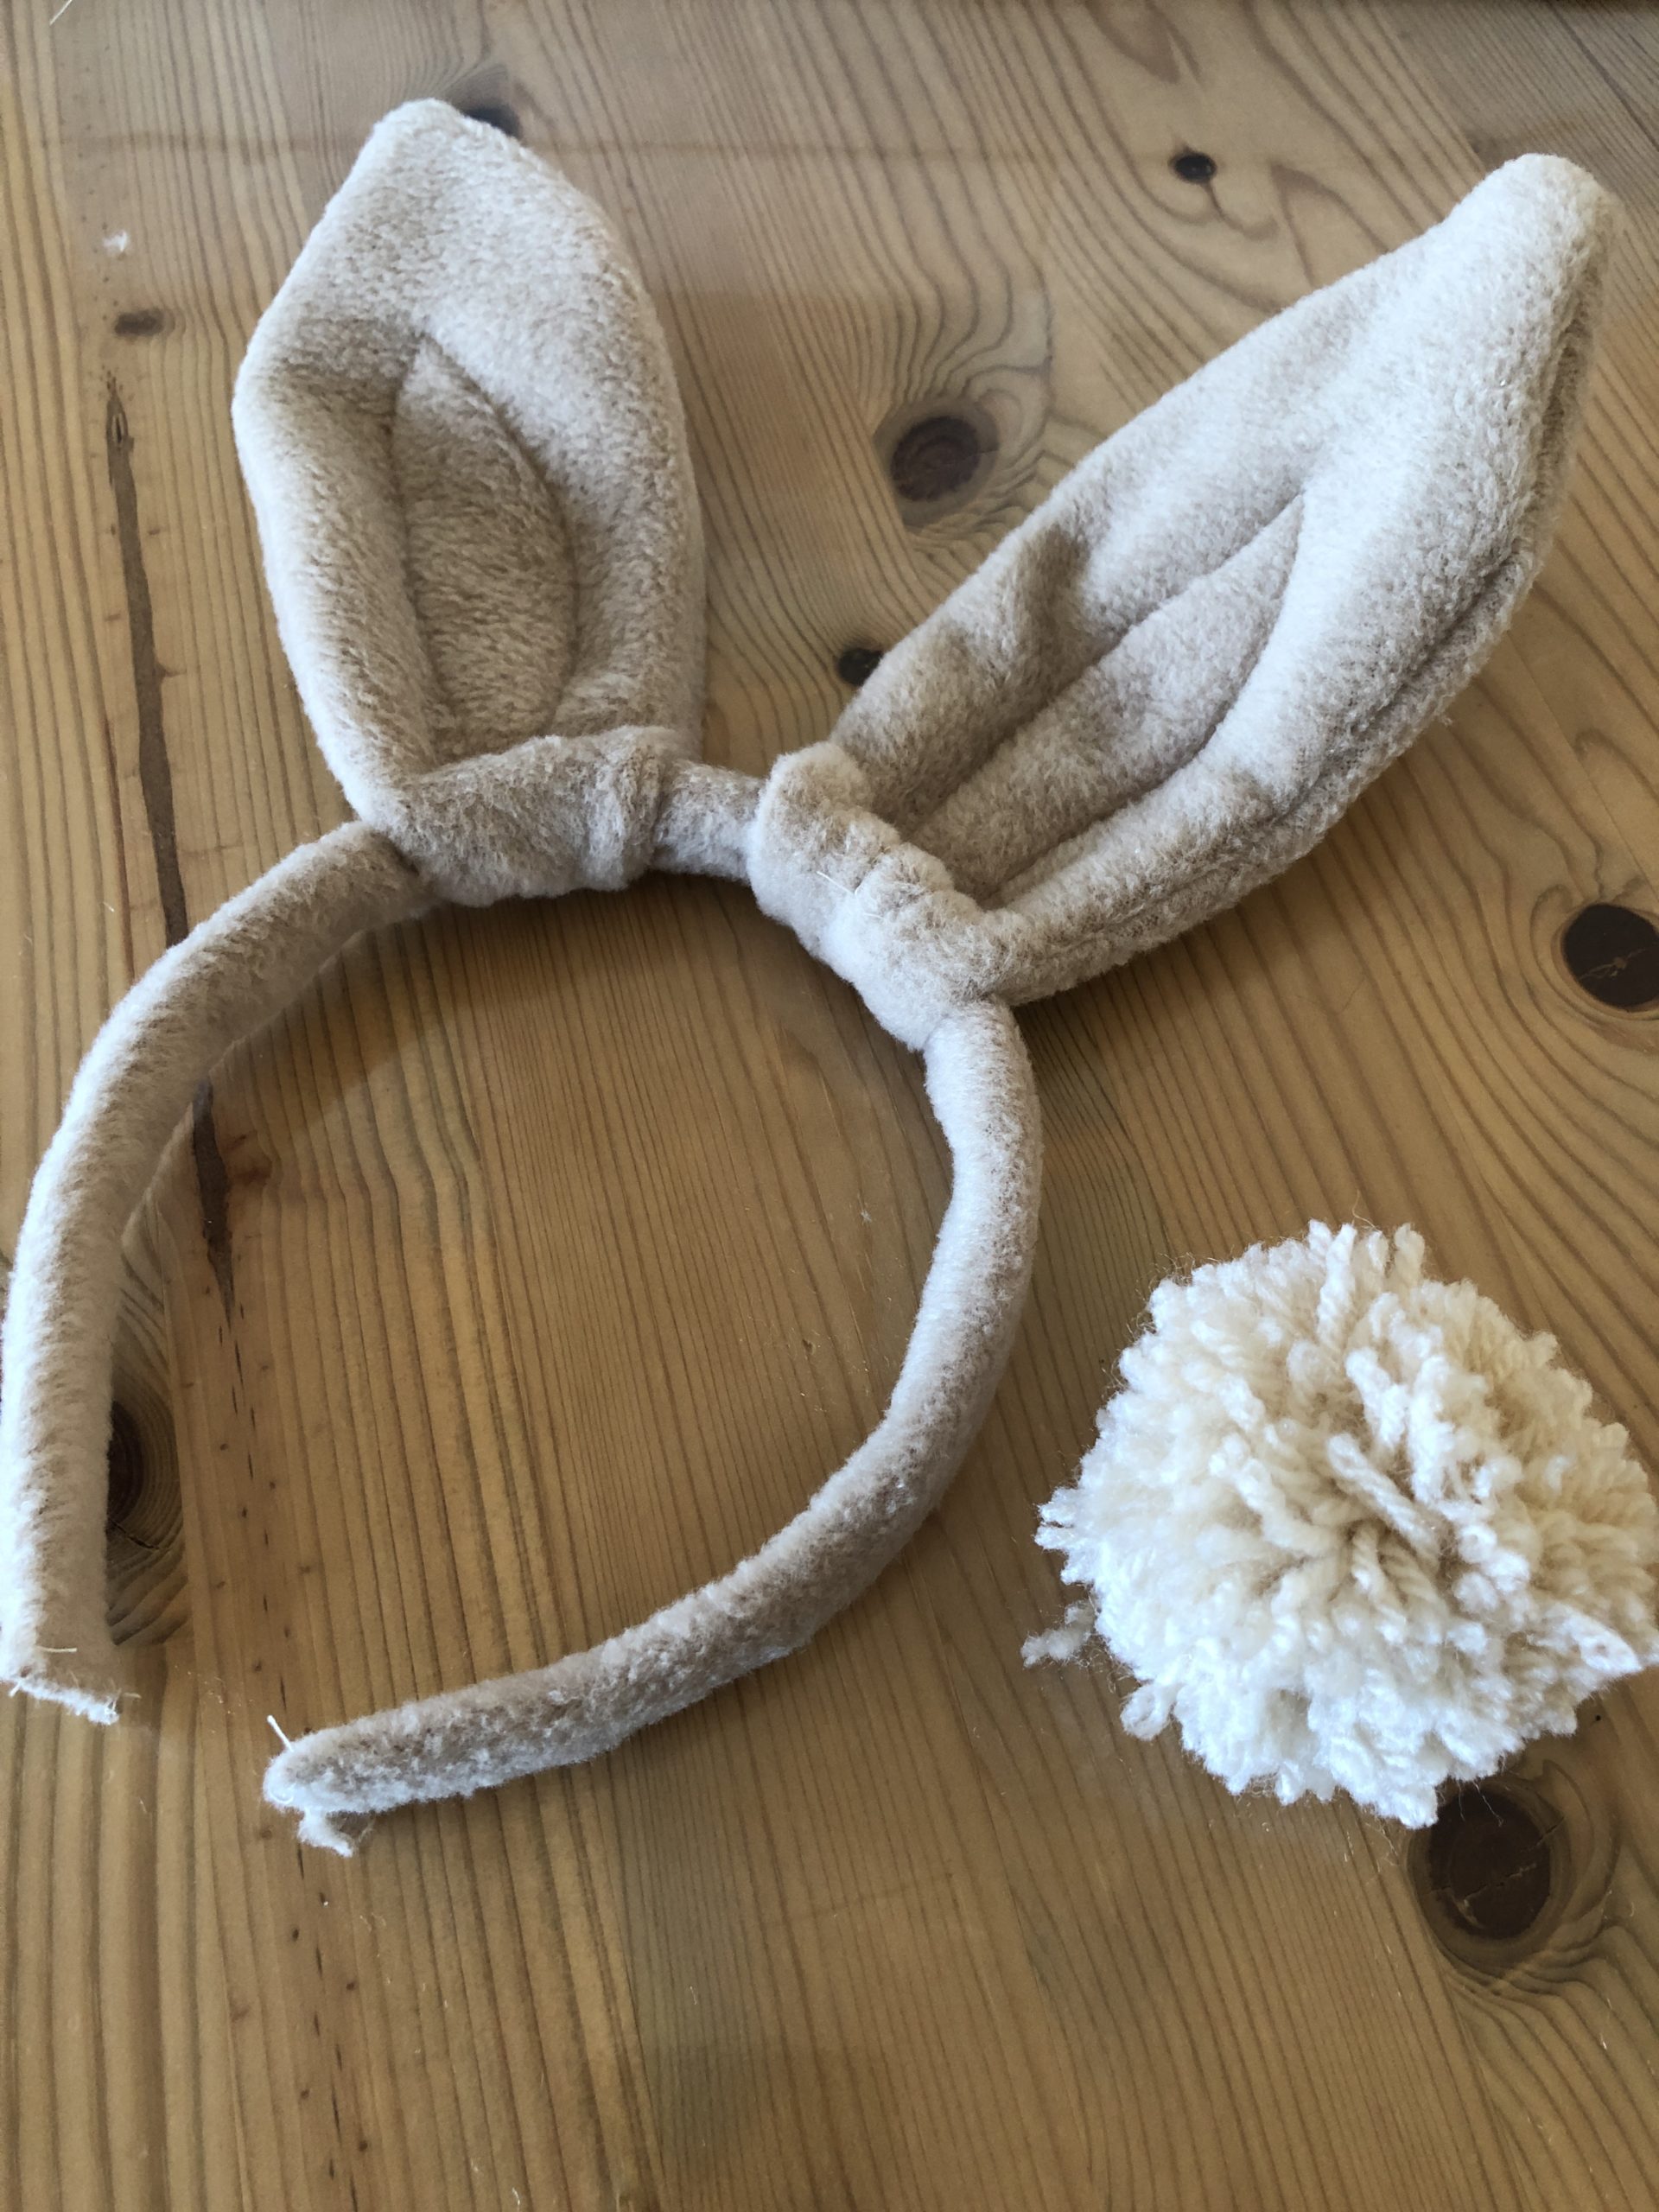
Now you can thread the "Wuschel-tail" on a belt or sew it on a pair of pants as a stubtail.
With the fleece ears (see separate instructions) you can now play "Osterhase".
Have fun?
Materials
Directions
Draw a circle on solid paper or cardboard.
Take paper twice.
Cut it out.
Paint small circle in the middle and cut out as well.
Cut 1.5 to 2 meters long threads from the wool. Thread several at the same time through a thick round needle and fasten around both cardboard circles.
Sew thread again and again through the center of the circle and sew around the complete cardboard circle.
Possibly make up one more thread and sew it until the middle is completely filled.
Cut the threads on one side until the carton is visible.
Use the middle of the washers as a guide for cutting. Do not remove them!!!
Place a wool thread about 20 cm long between the carton discs and knot it several times.
Now enter the carton and carefully remove it.
??
Cut the wuschel "round" with scissors. Do not cut the hanging thread!
Now you can thread the "Wuschel-tail" on a belt or sew it on a pair of pants as a stubtail.
With the fleece ears (see separate instructions) you can now play "Osterhase".
Have fun?
Follow us on Facebook , Instagram and Pinterest
Don't miss any more adventures: Our bottle mail