This colourful bunny is an Easter decoration that brings spring into your home. With its bright colors, it is a real eye-catcher. This simple sewing project is also suitable for sewing beginners or untrained seamstresses. Decorated on a piece of wood, the bunny looks just as beautiful as on a branch. See for yourself.
Media Education for Kindergarten and Hort

Relief in everyday life, targeted promotion of individual children, independent learning and - without any pre-knowledge already usable by the youngest!

Provides a craft document if necessary.
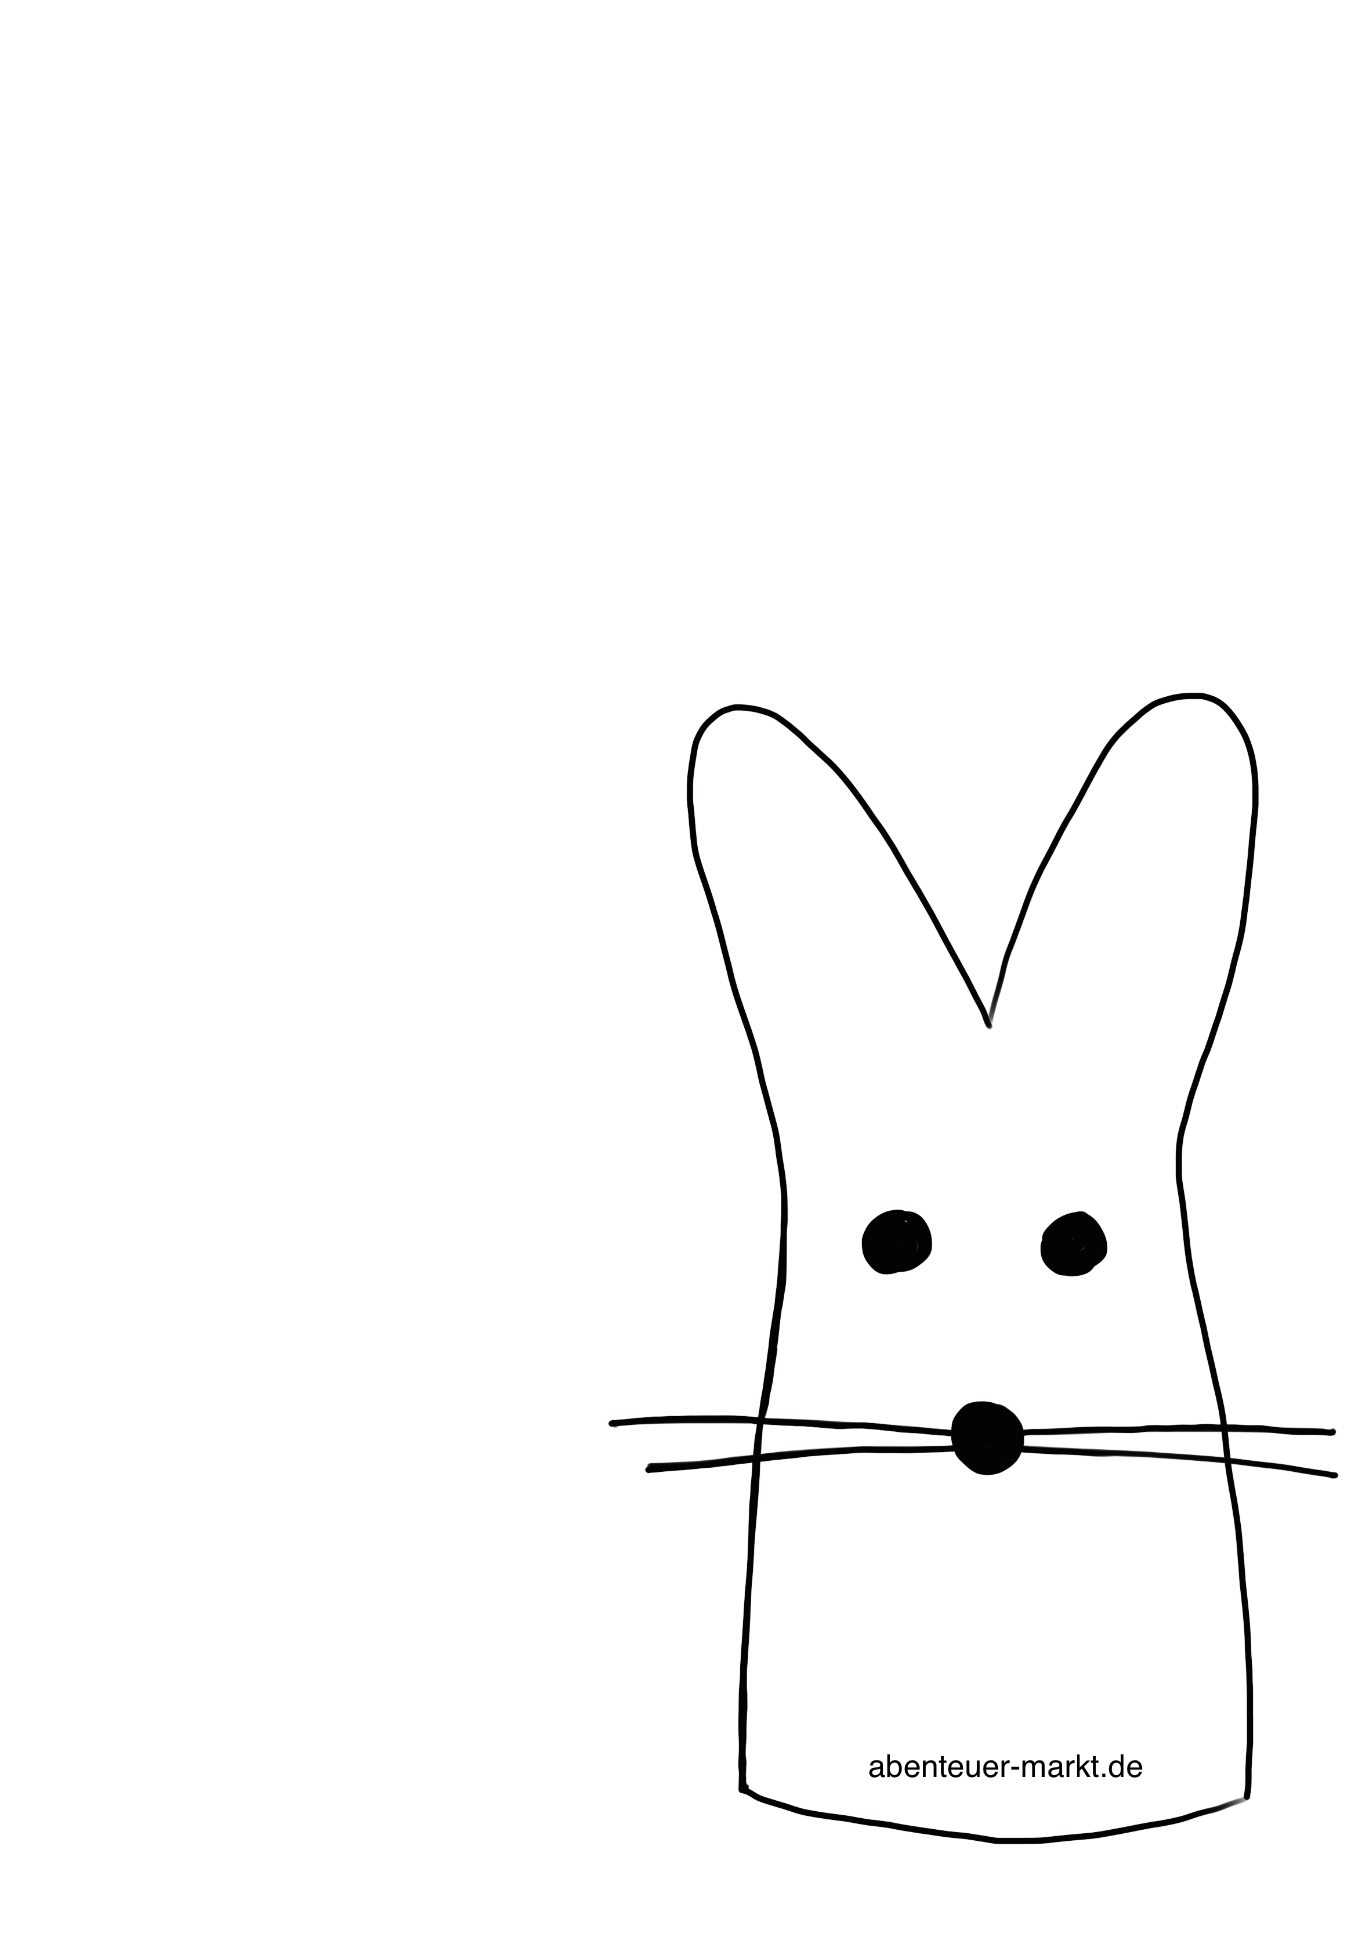
Print the template first and cut out the rabbit.
Now choose a colorful plush fabric. This is about twice the size of the rabbit template.
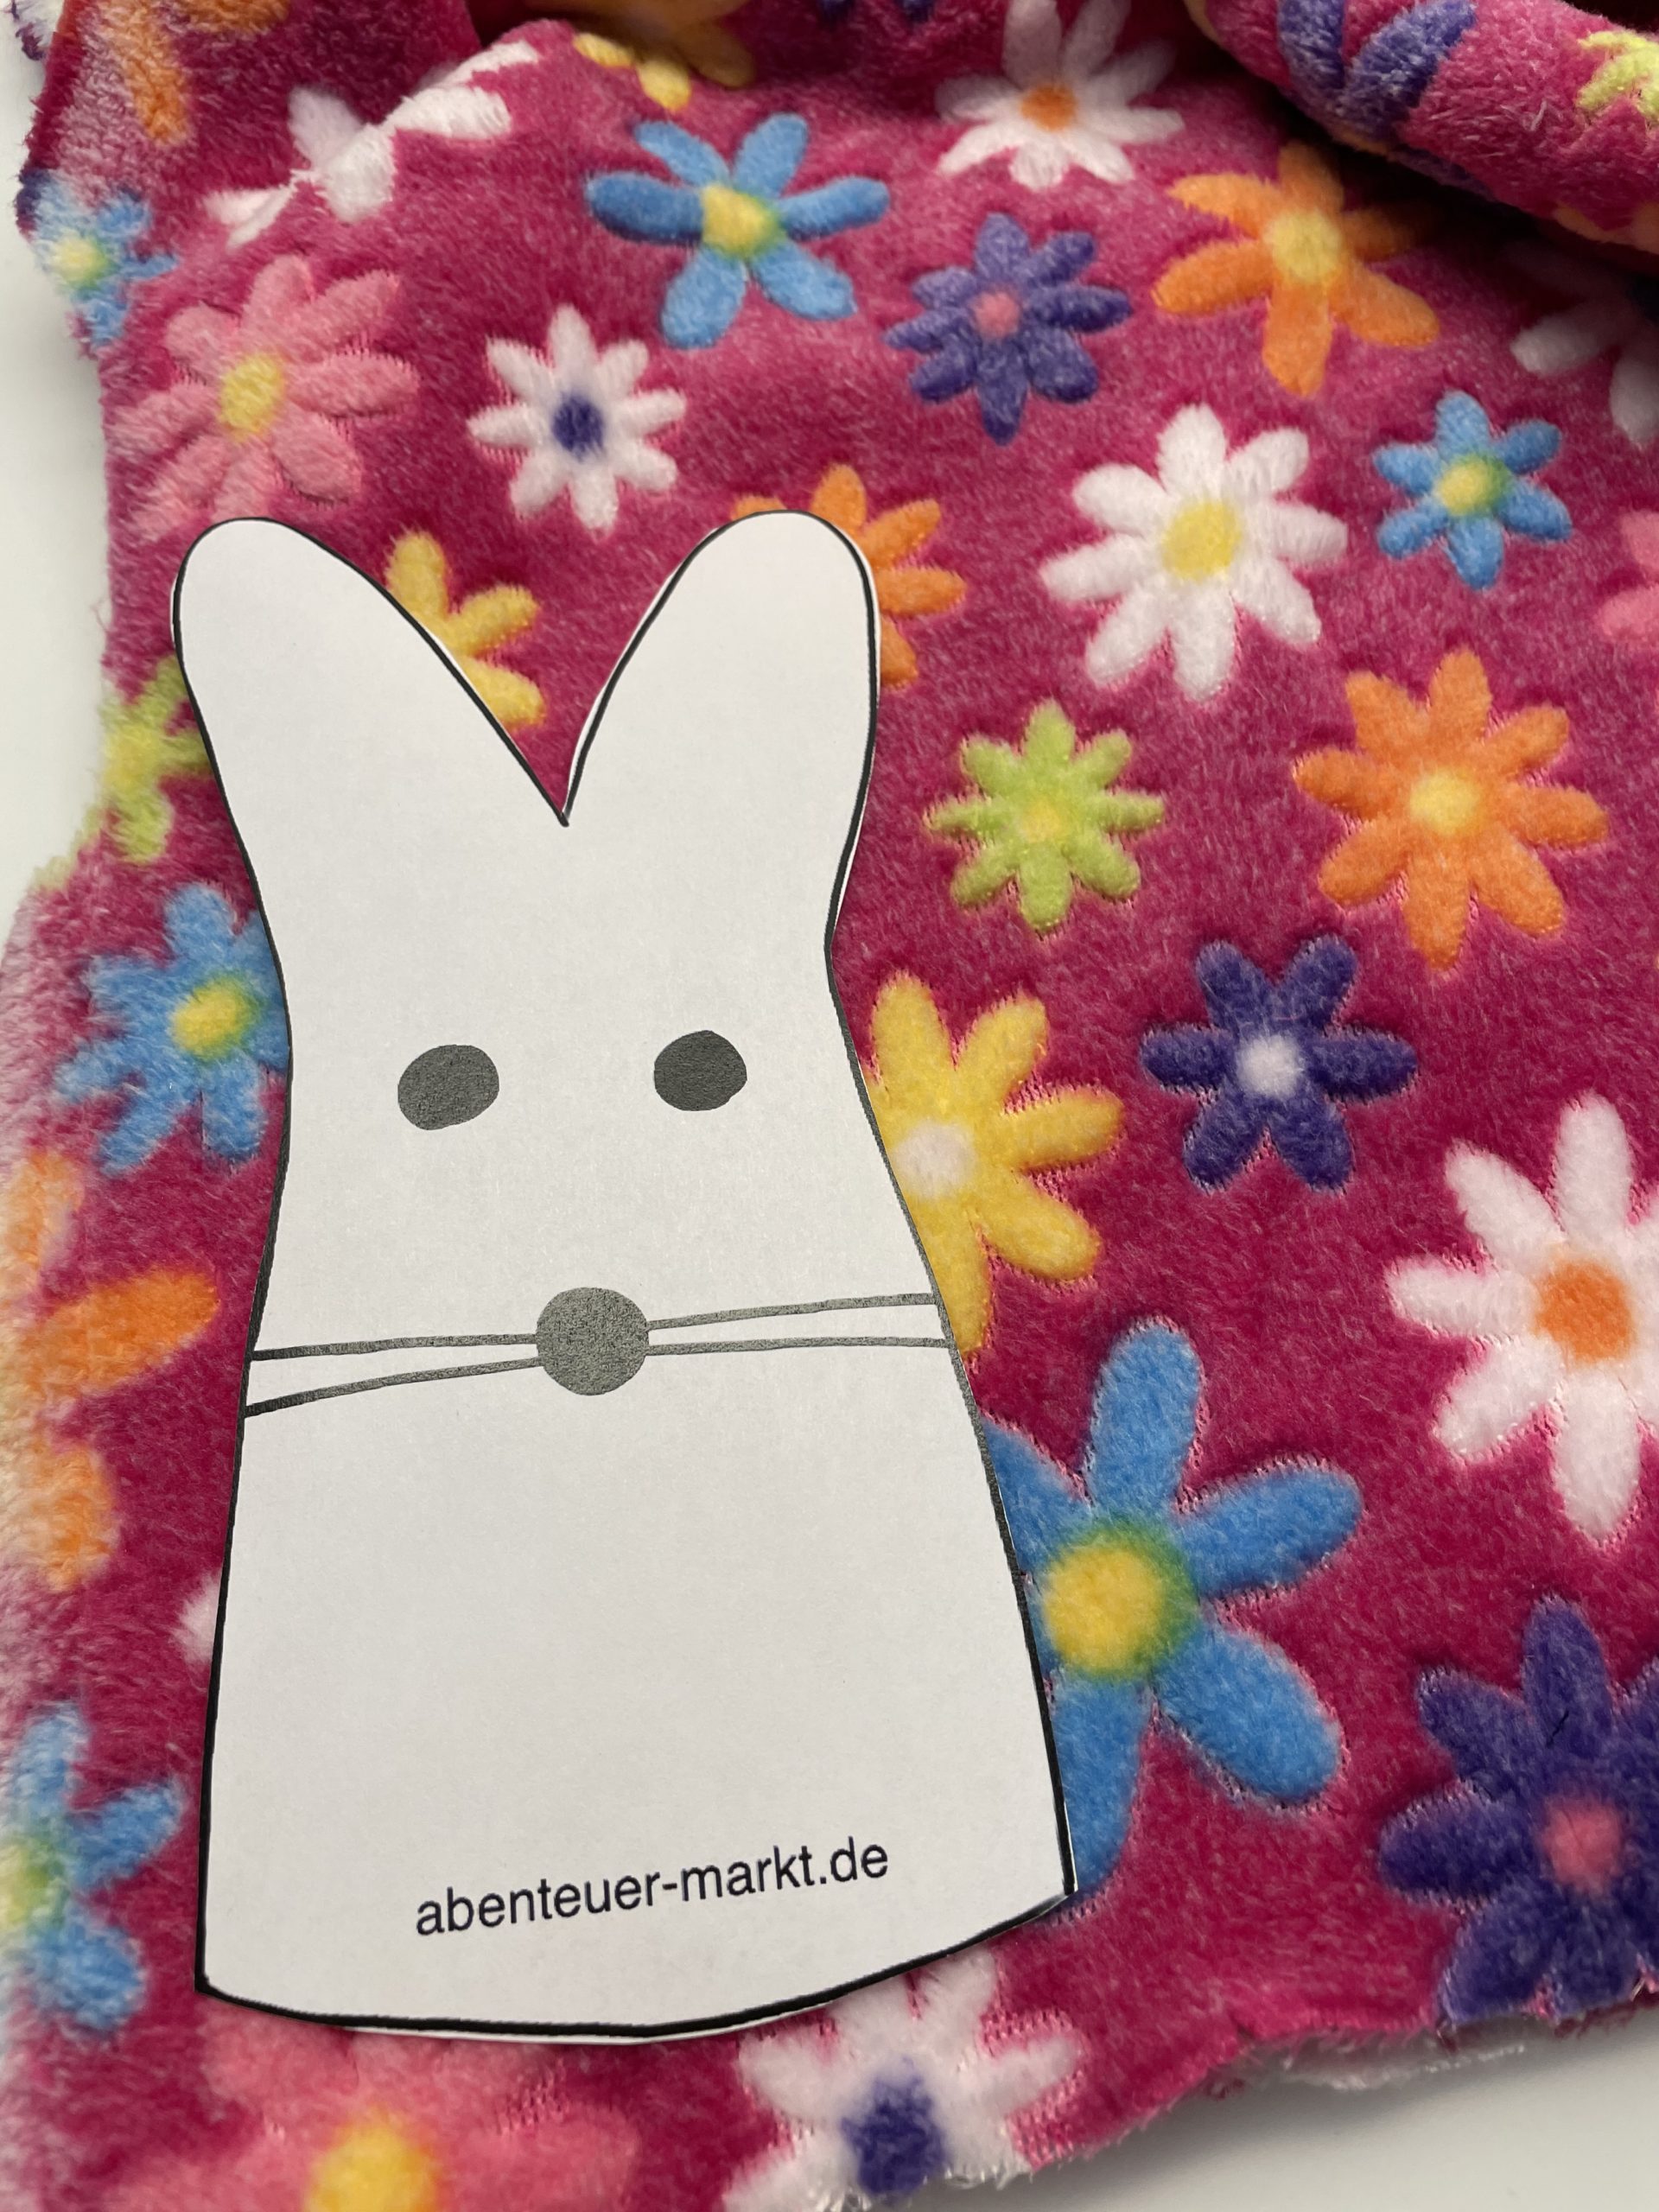
Double the fabric, in the size of the rabbit template. The beautiful side lies inside each.

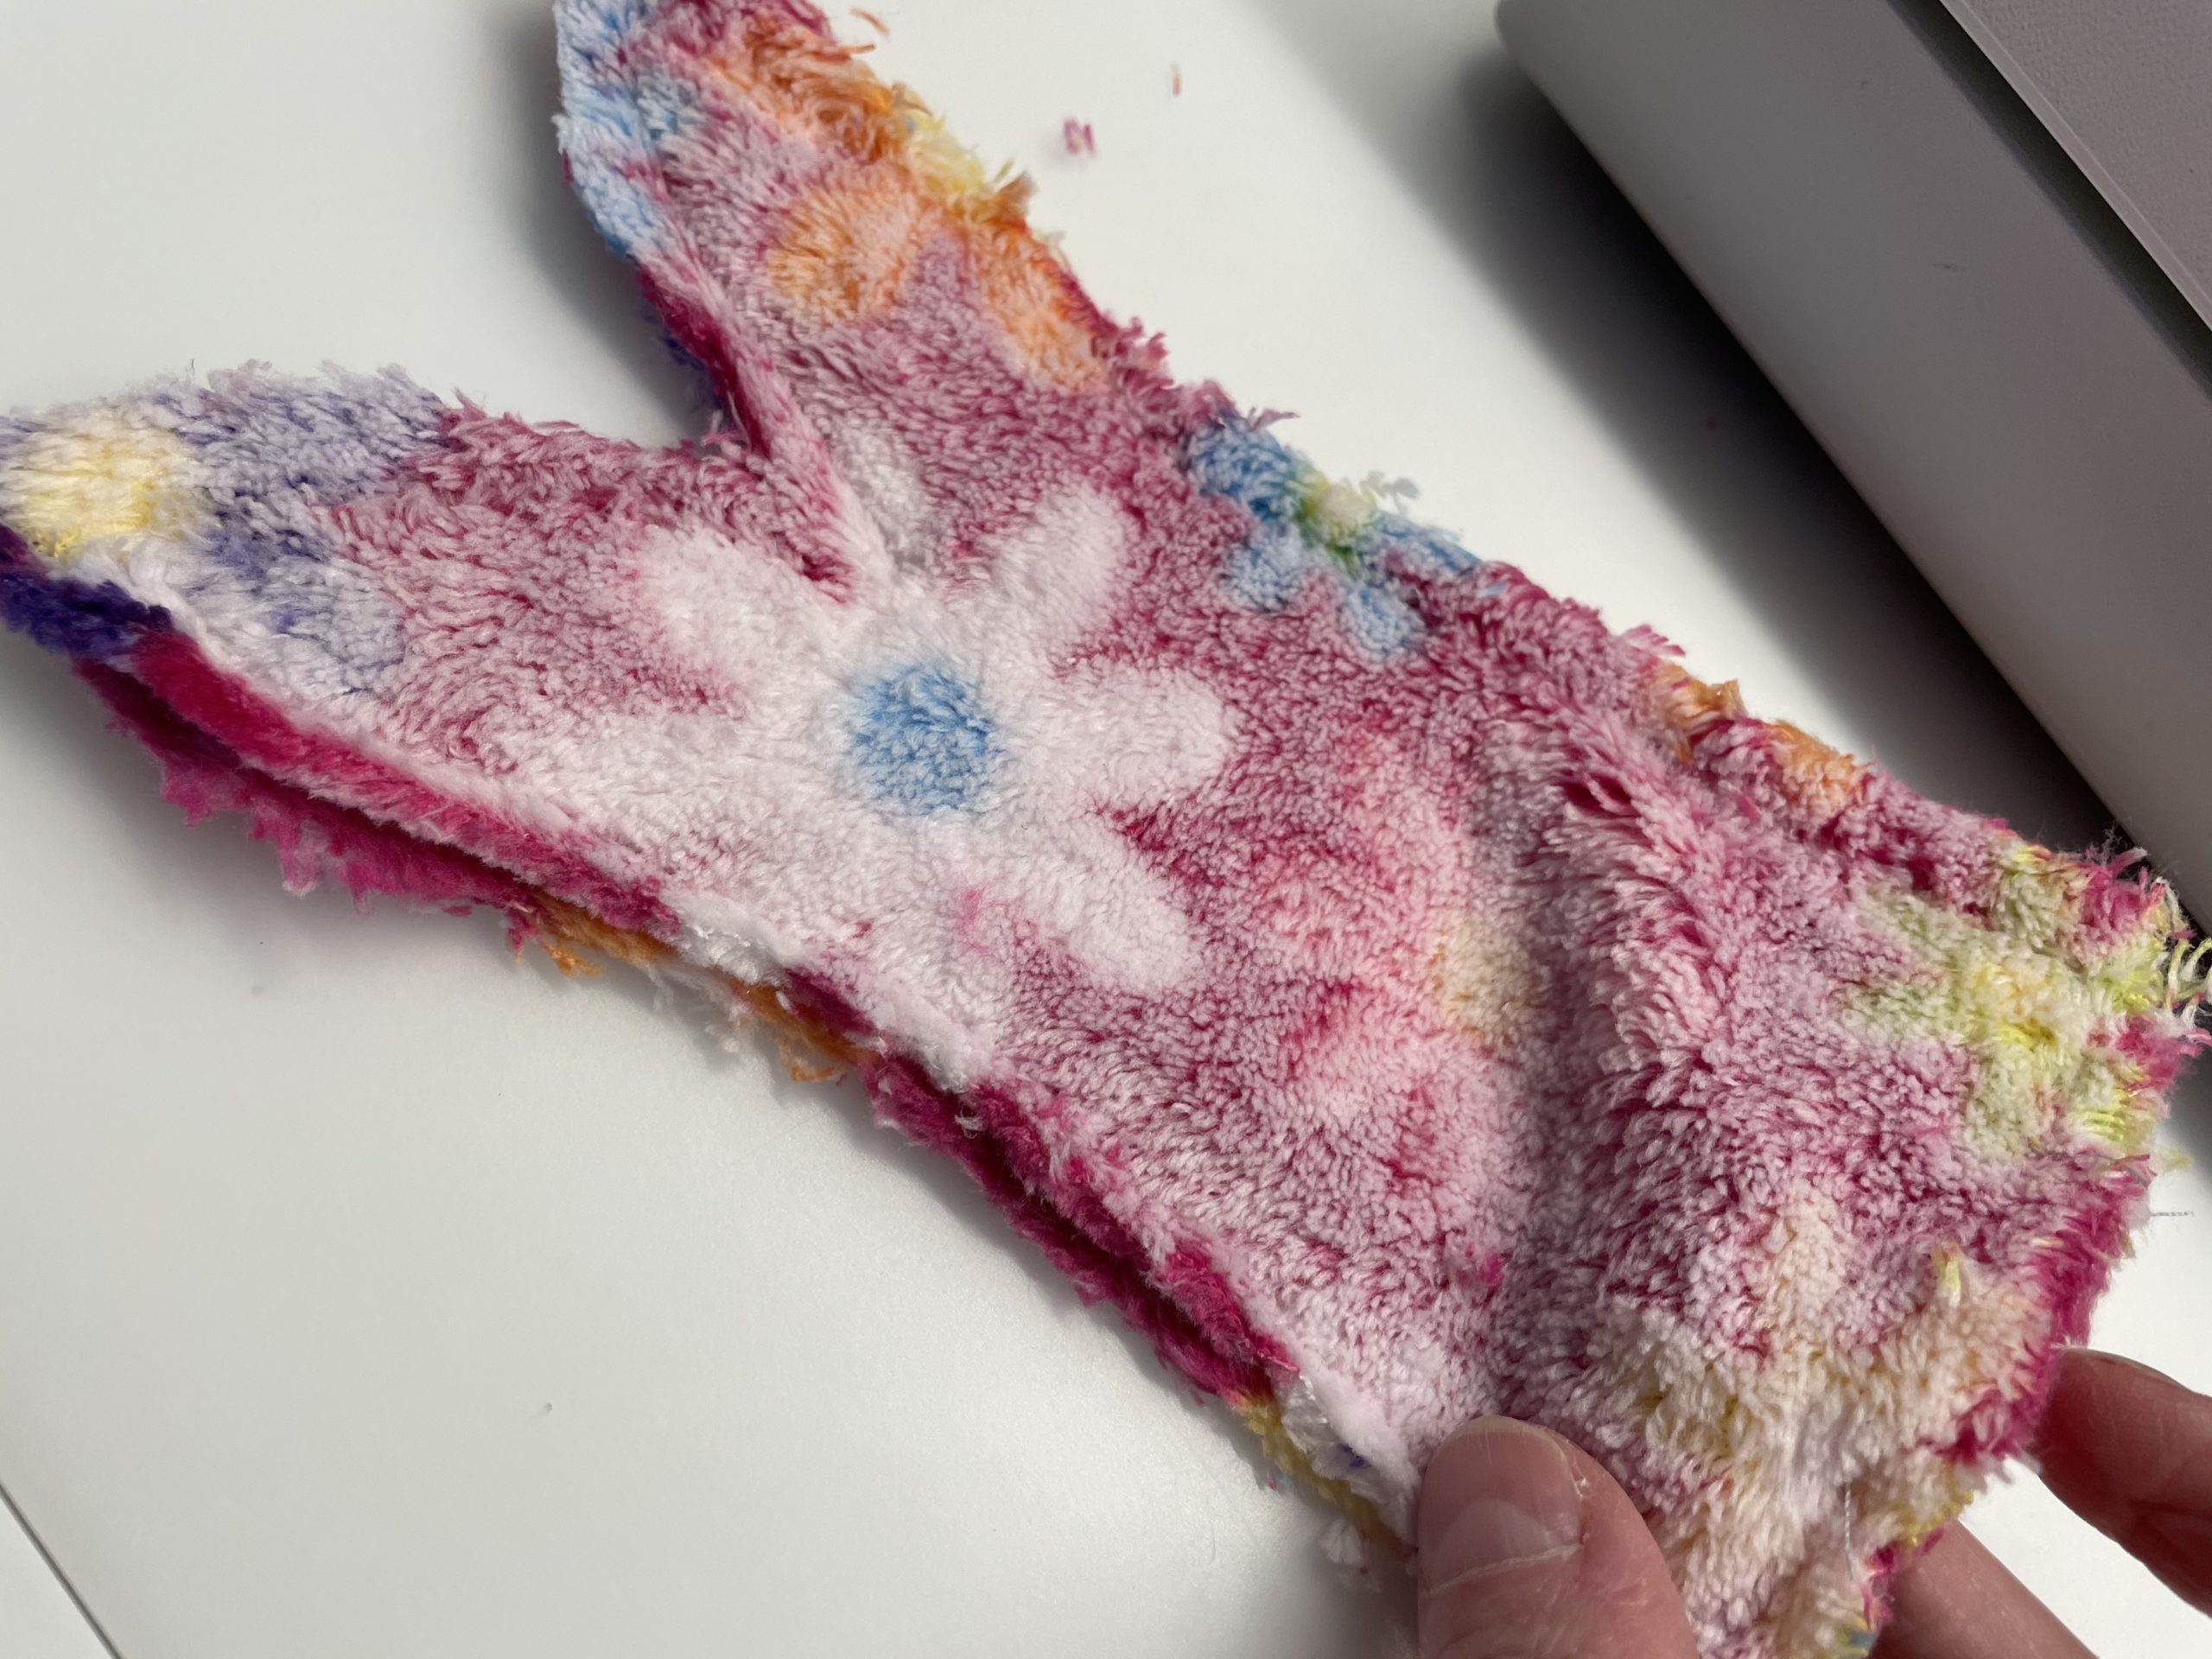
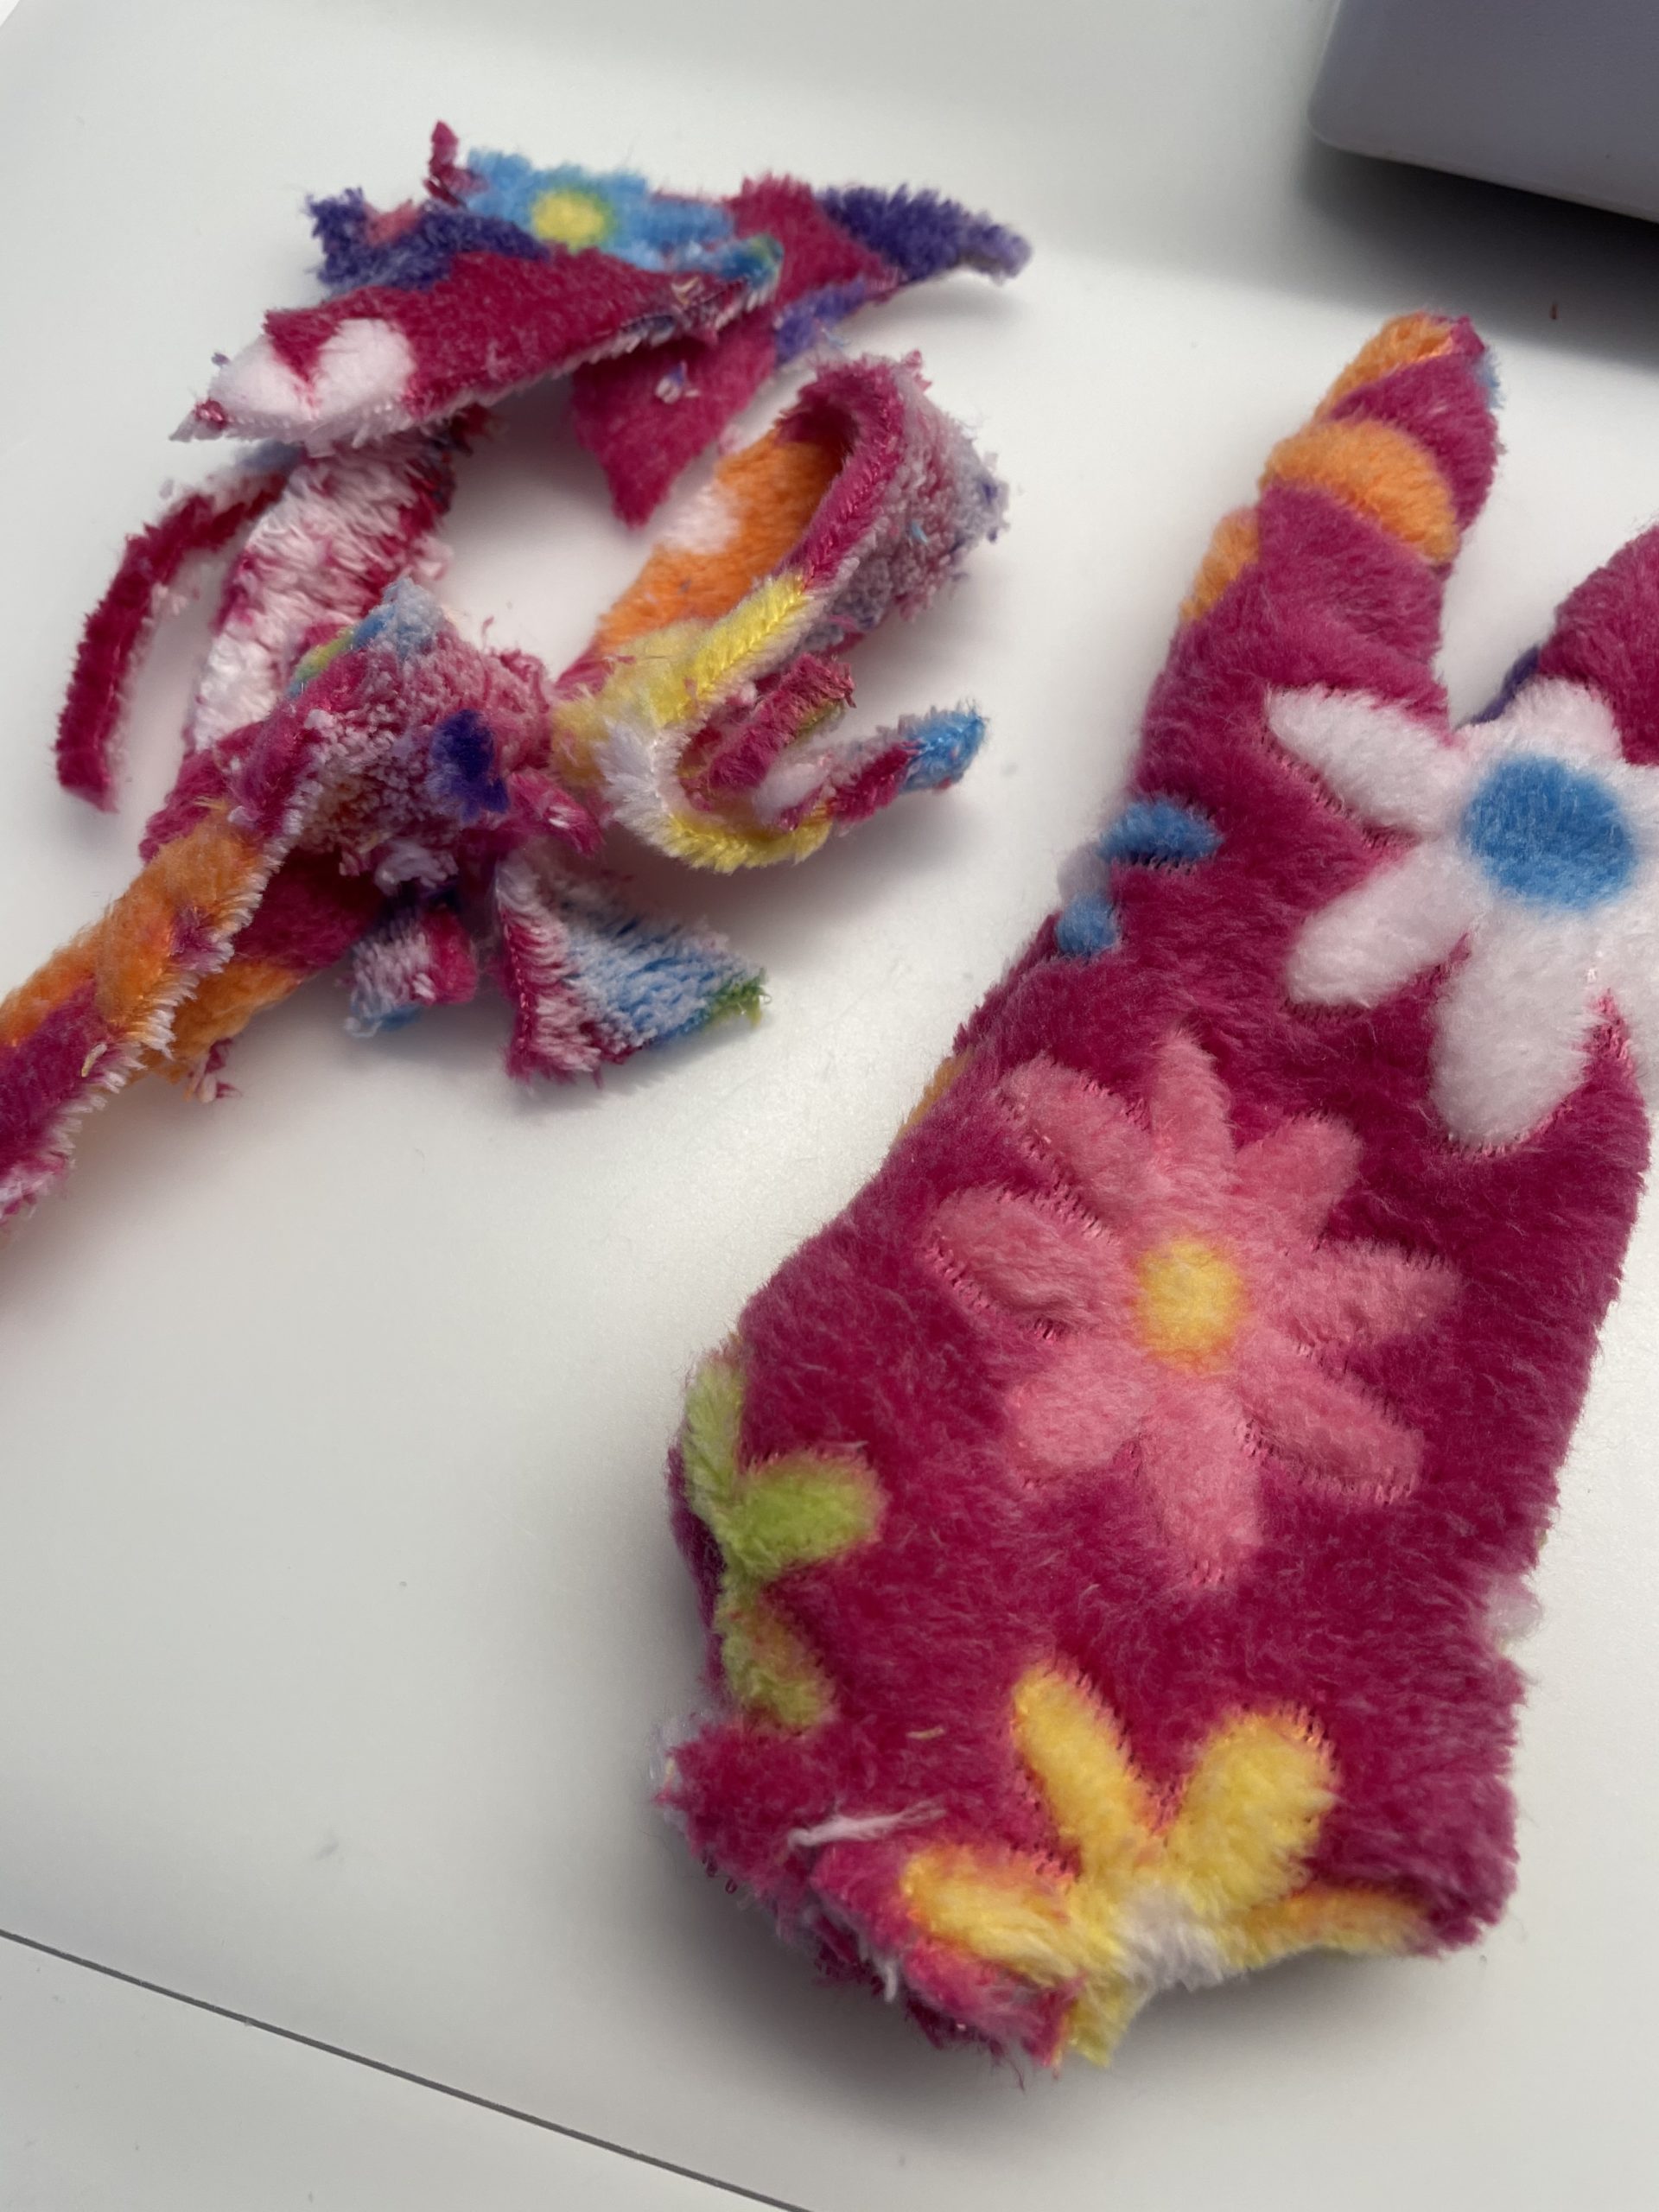
Then insert the template with pins on the double-laid fabric. Cut the fabric after the template.
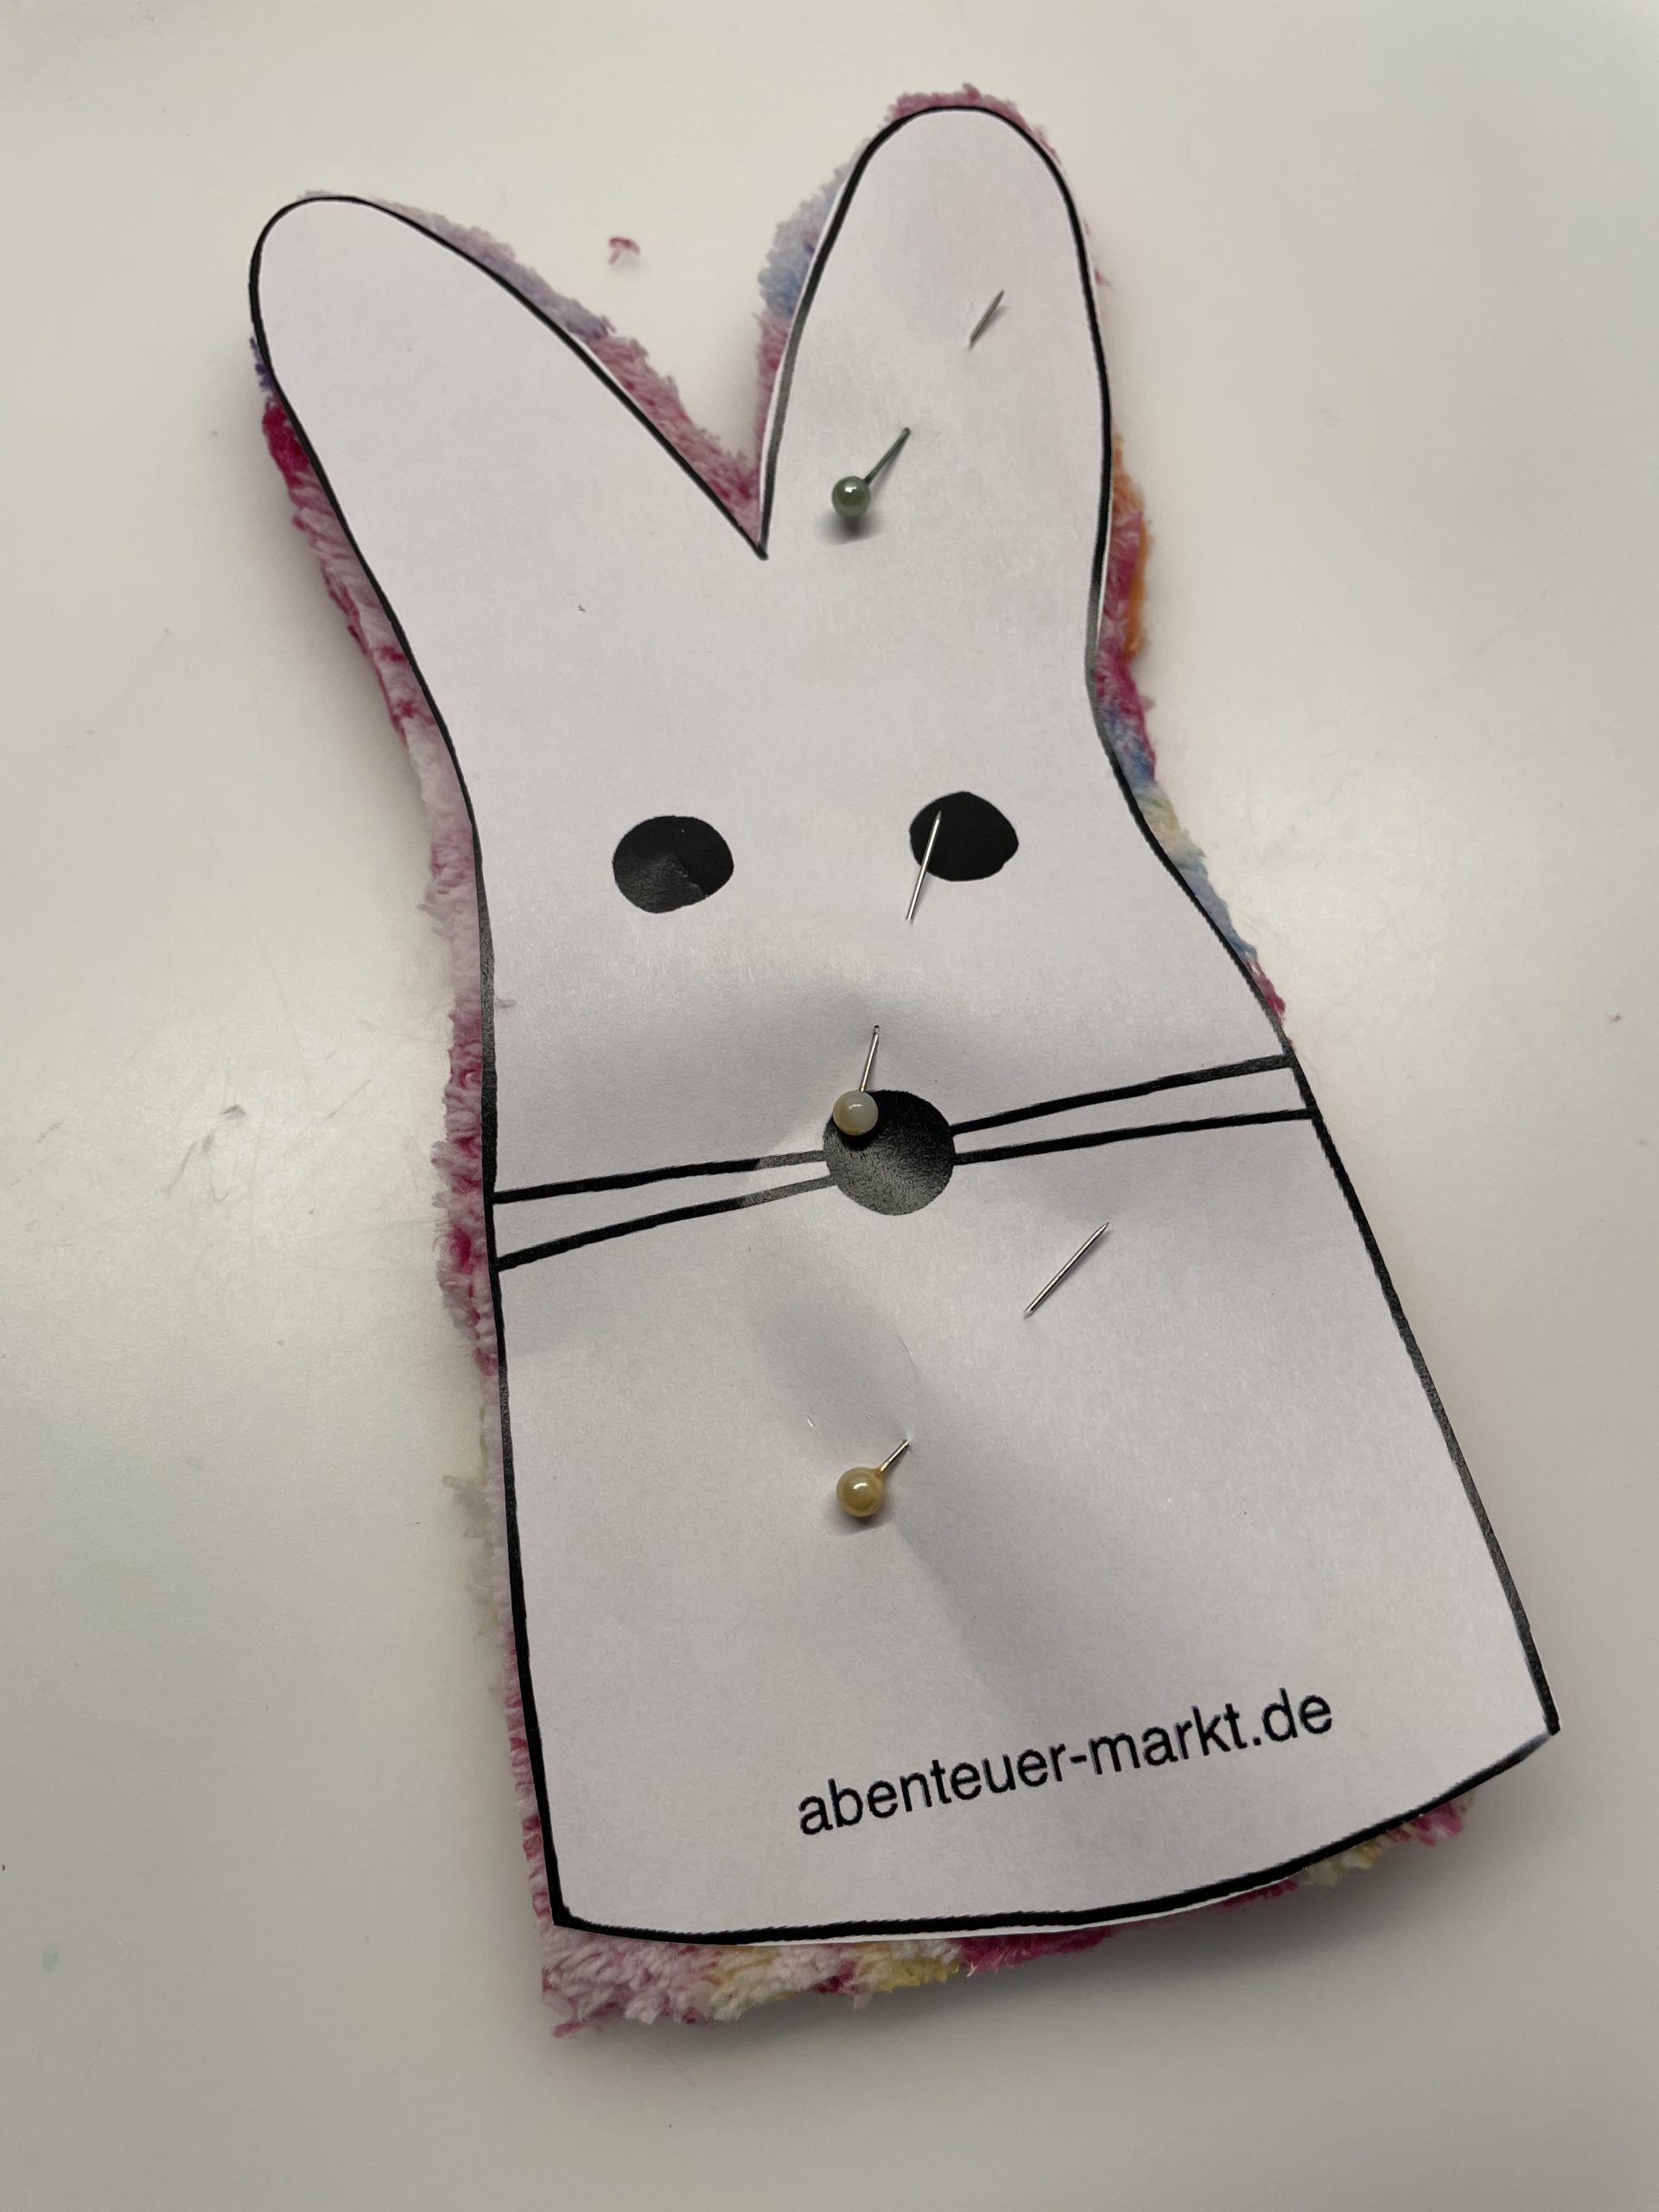
Then remove the paper template. Then put the pieces of fabric back together with the pins. Furthermore, the beautiful sides lie inside.
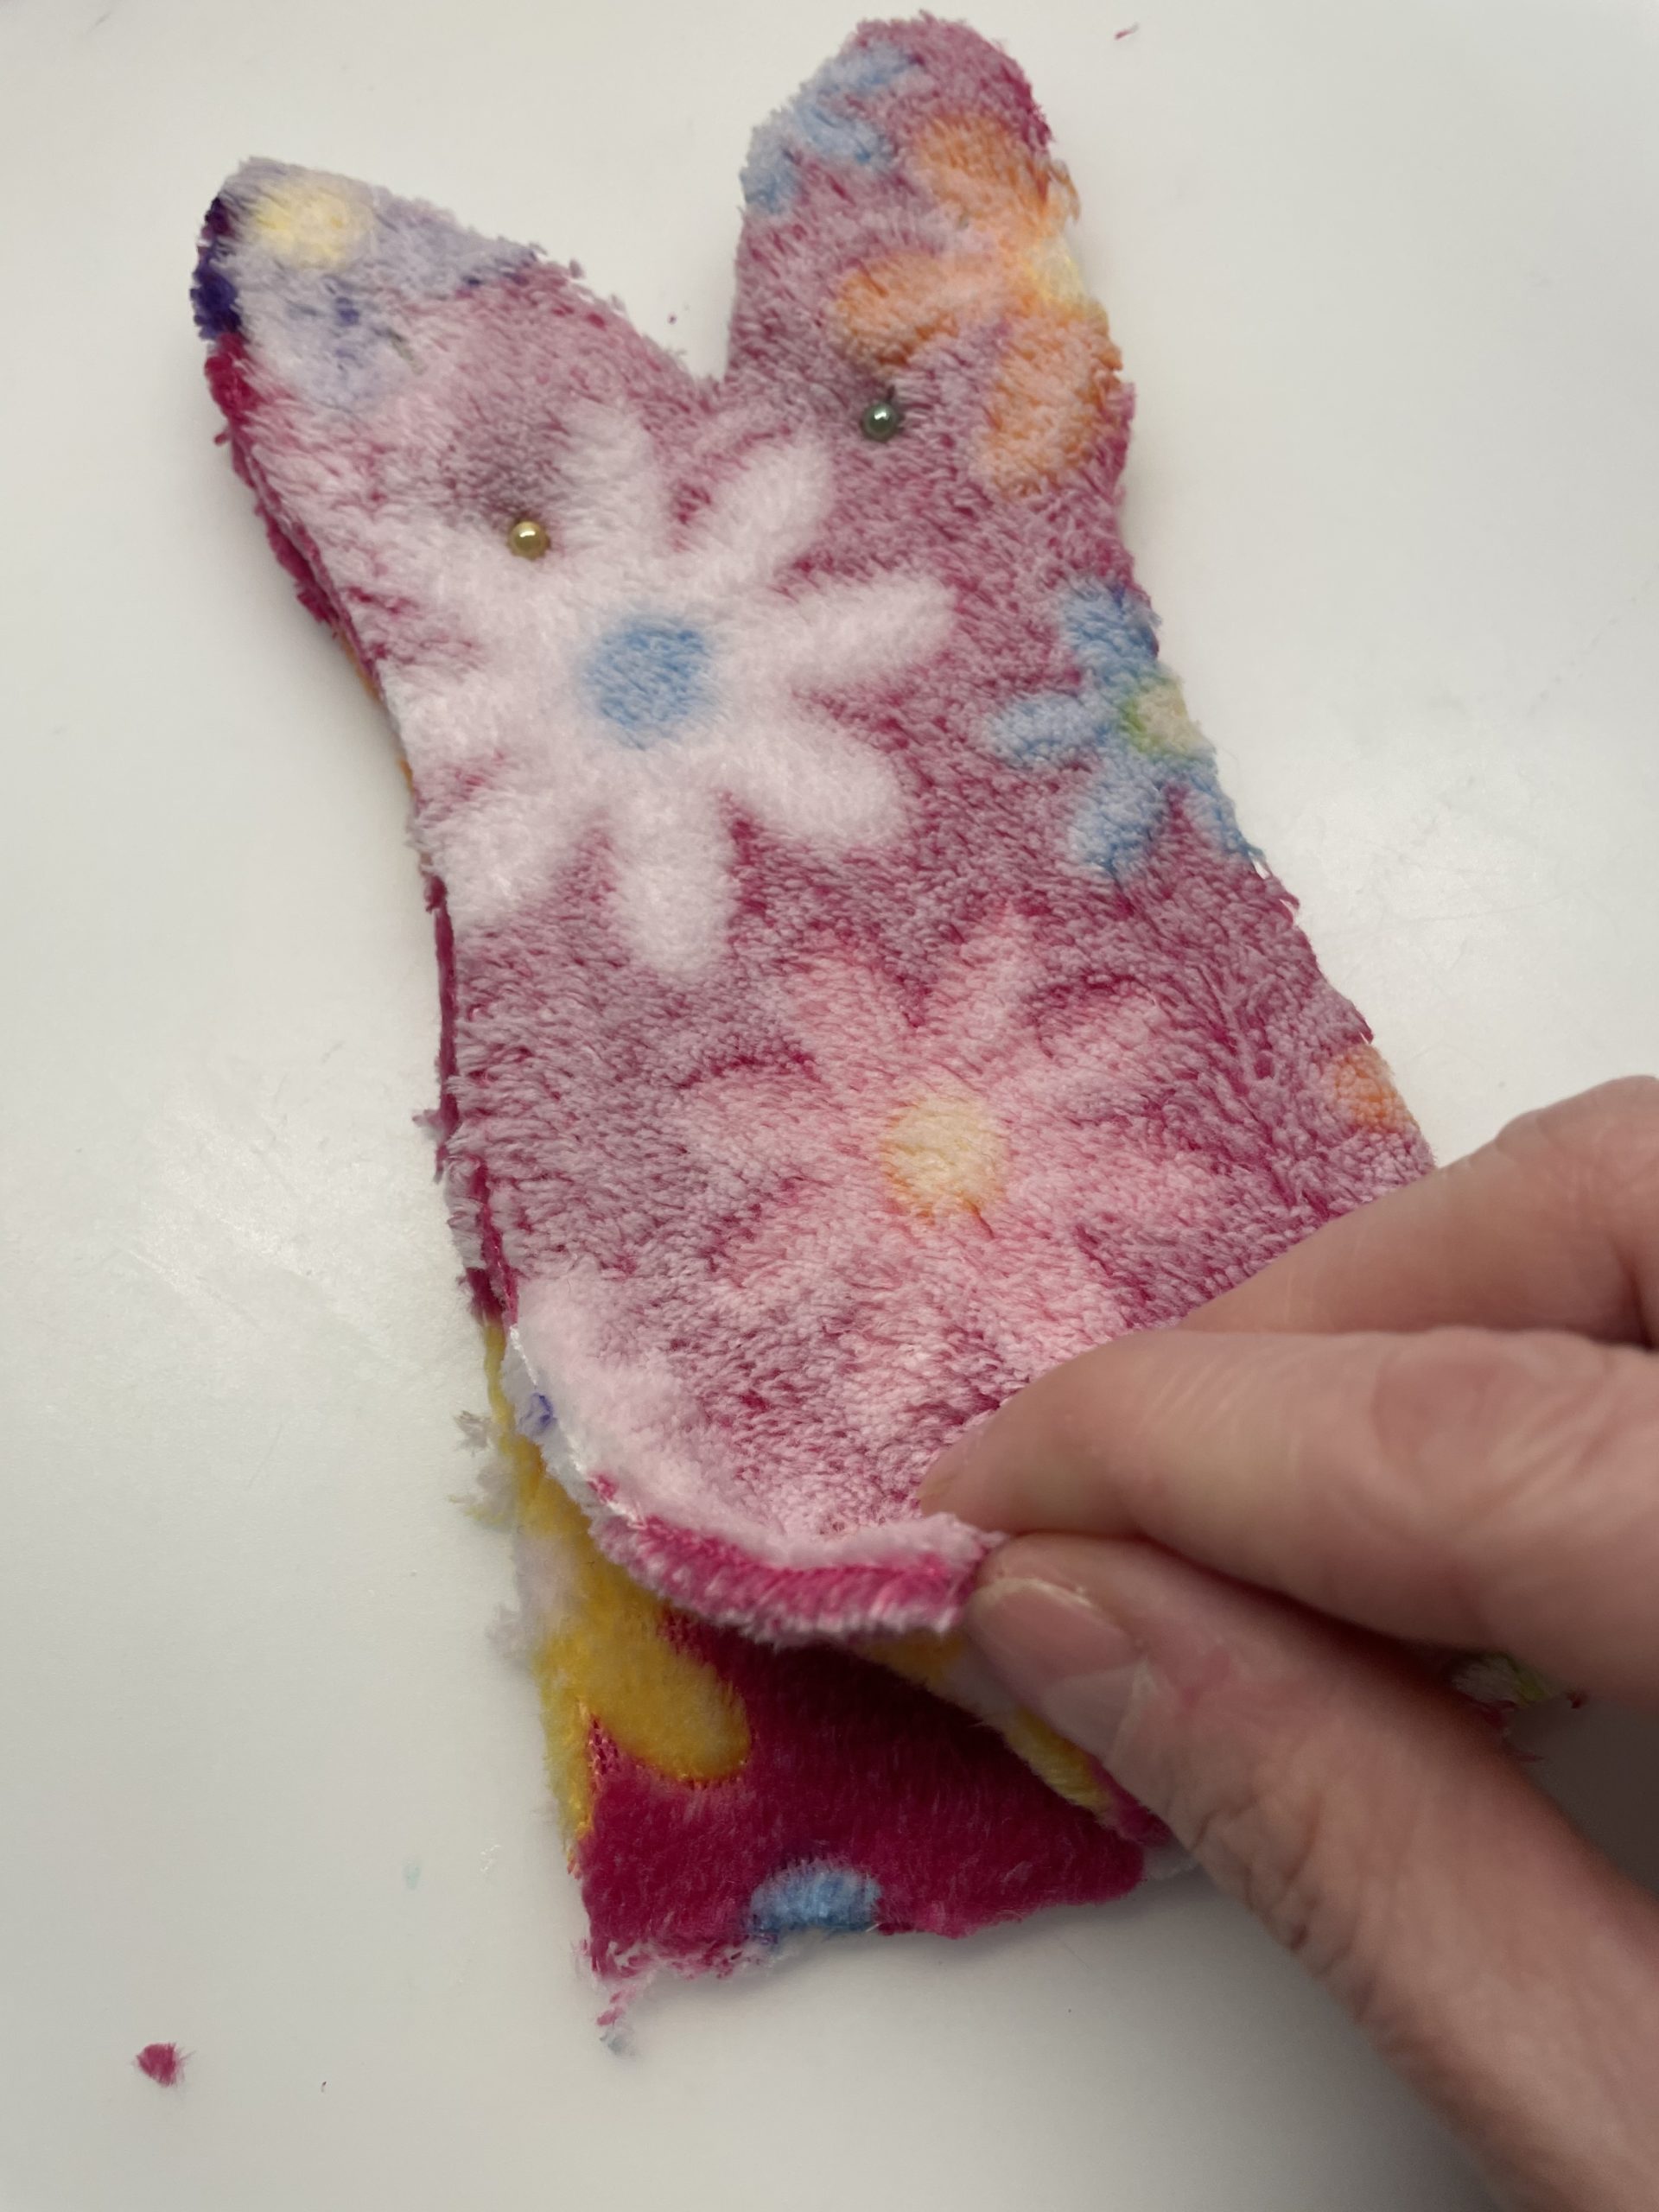
Now sew the fabrics together with the sewing machine. Start on one side and sew up to the ears. The underside remains open. Sew with a half centimetre distance to the fabric edge.

Arriving between the ears, you stop, but leave the needle stuck in the fabric. Lift the foot of the sewing machine and turn the fabric in the following sewing direction. Then you lower the foot again and sew the second ear to the end.

The sewing work is done.
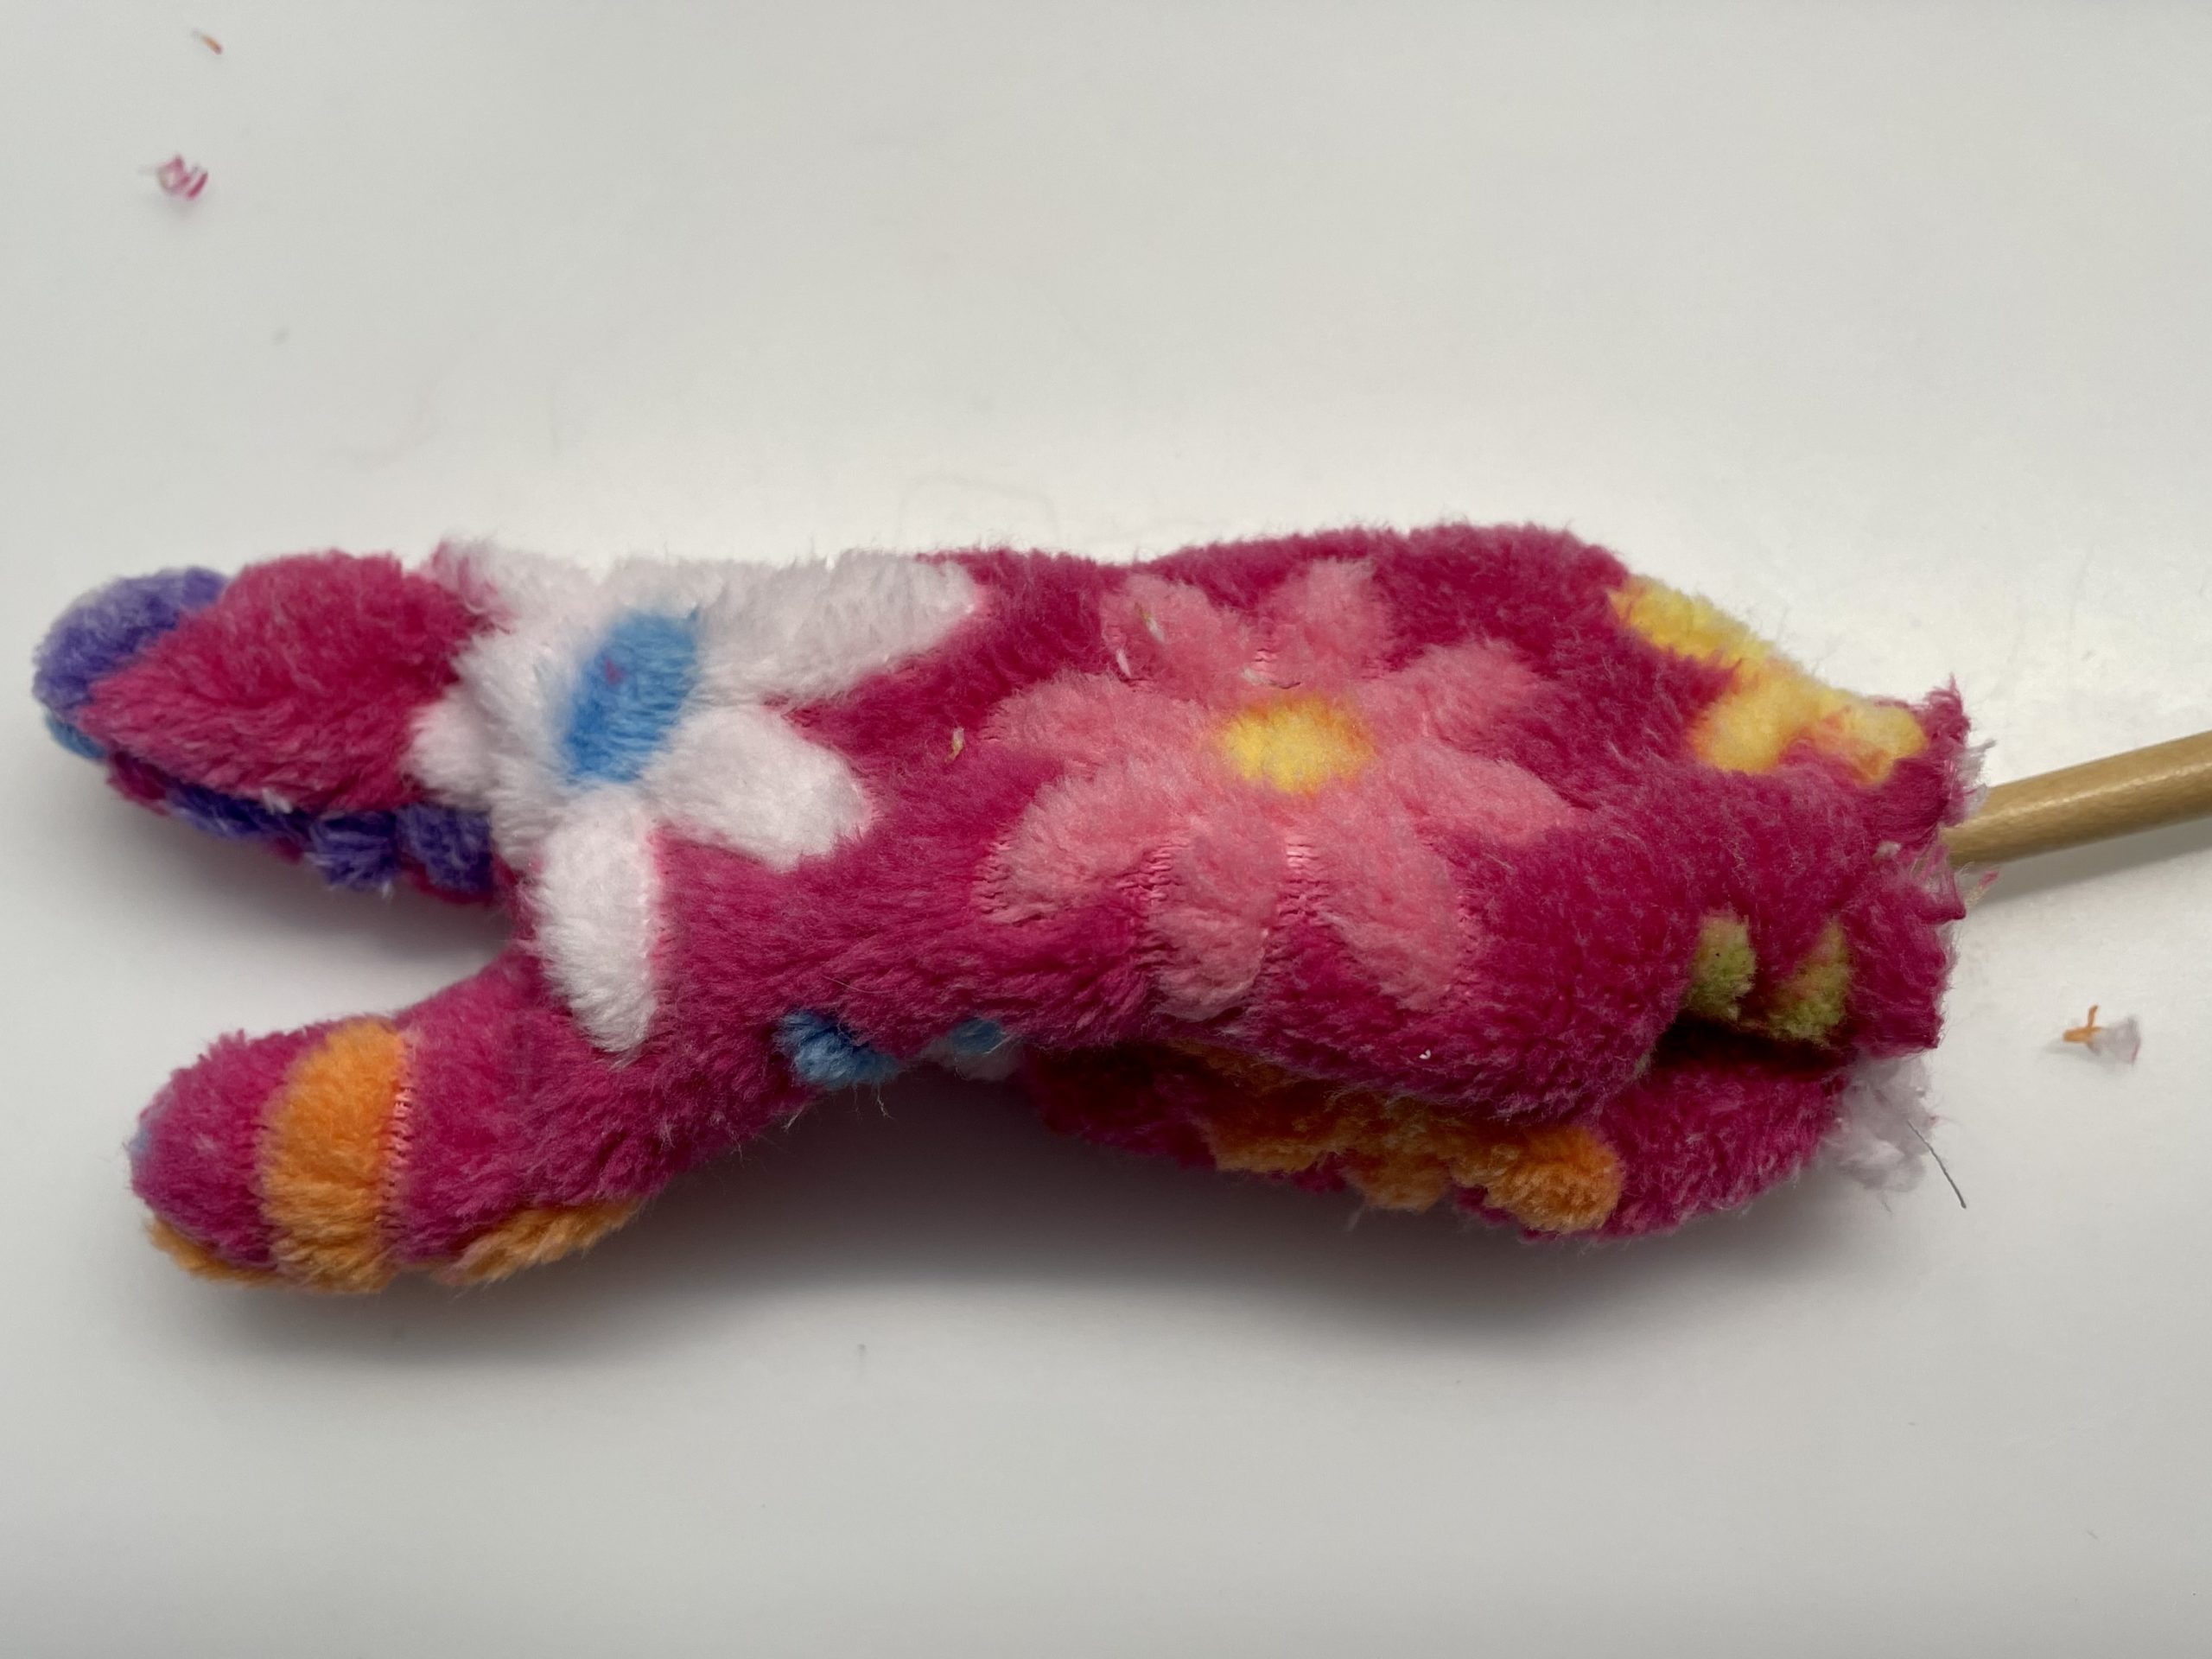
Turn the fabric through the open space at the bottom.
Press the tight spots on the ears with a pen into the corresponding shape.
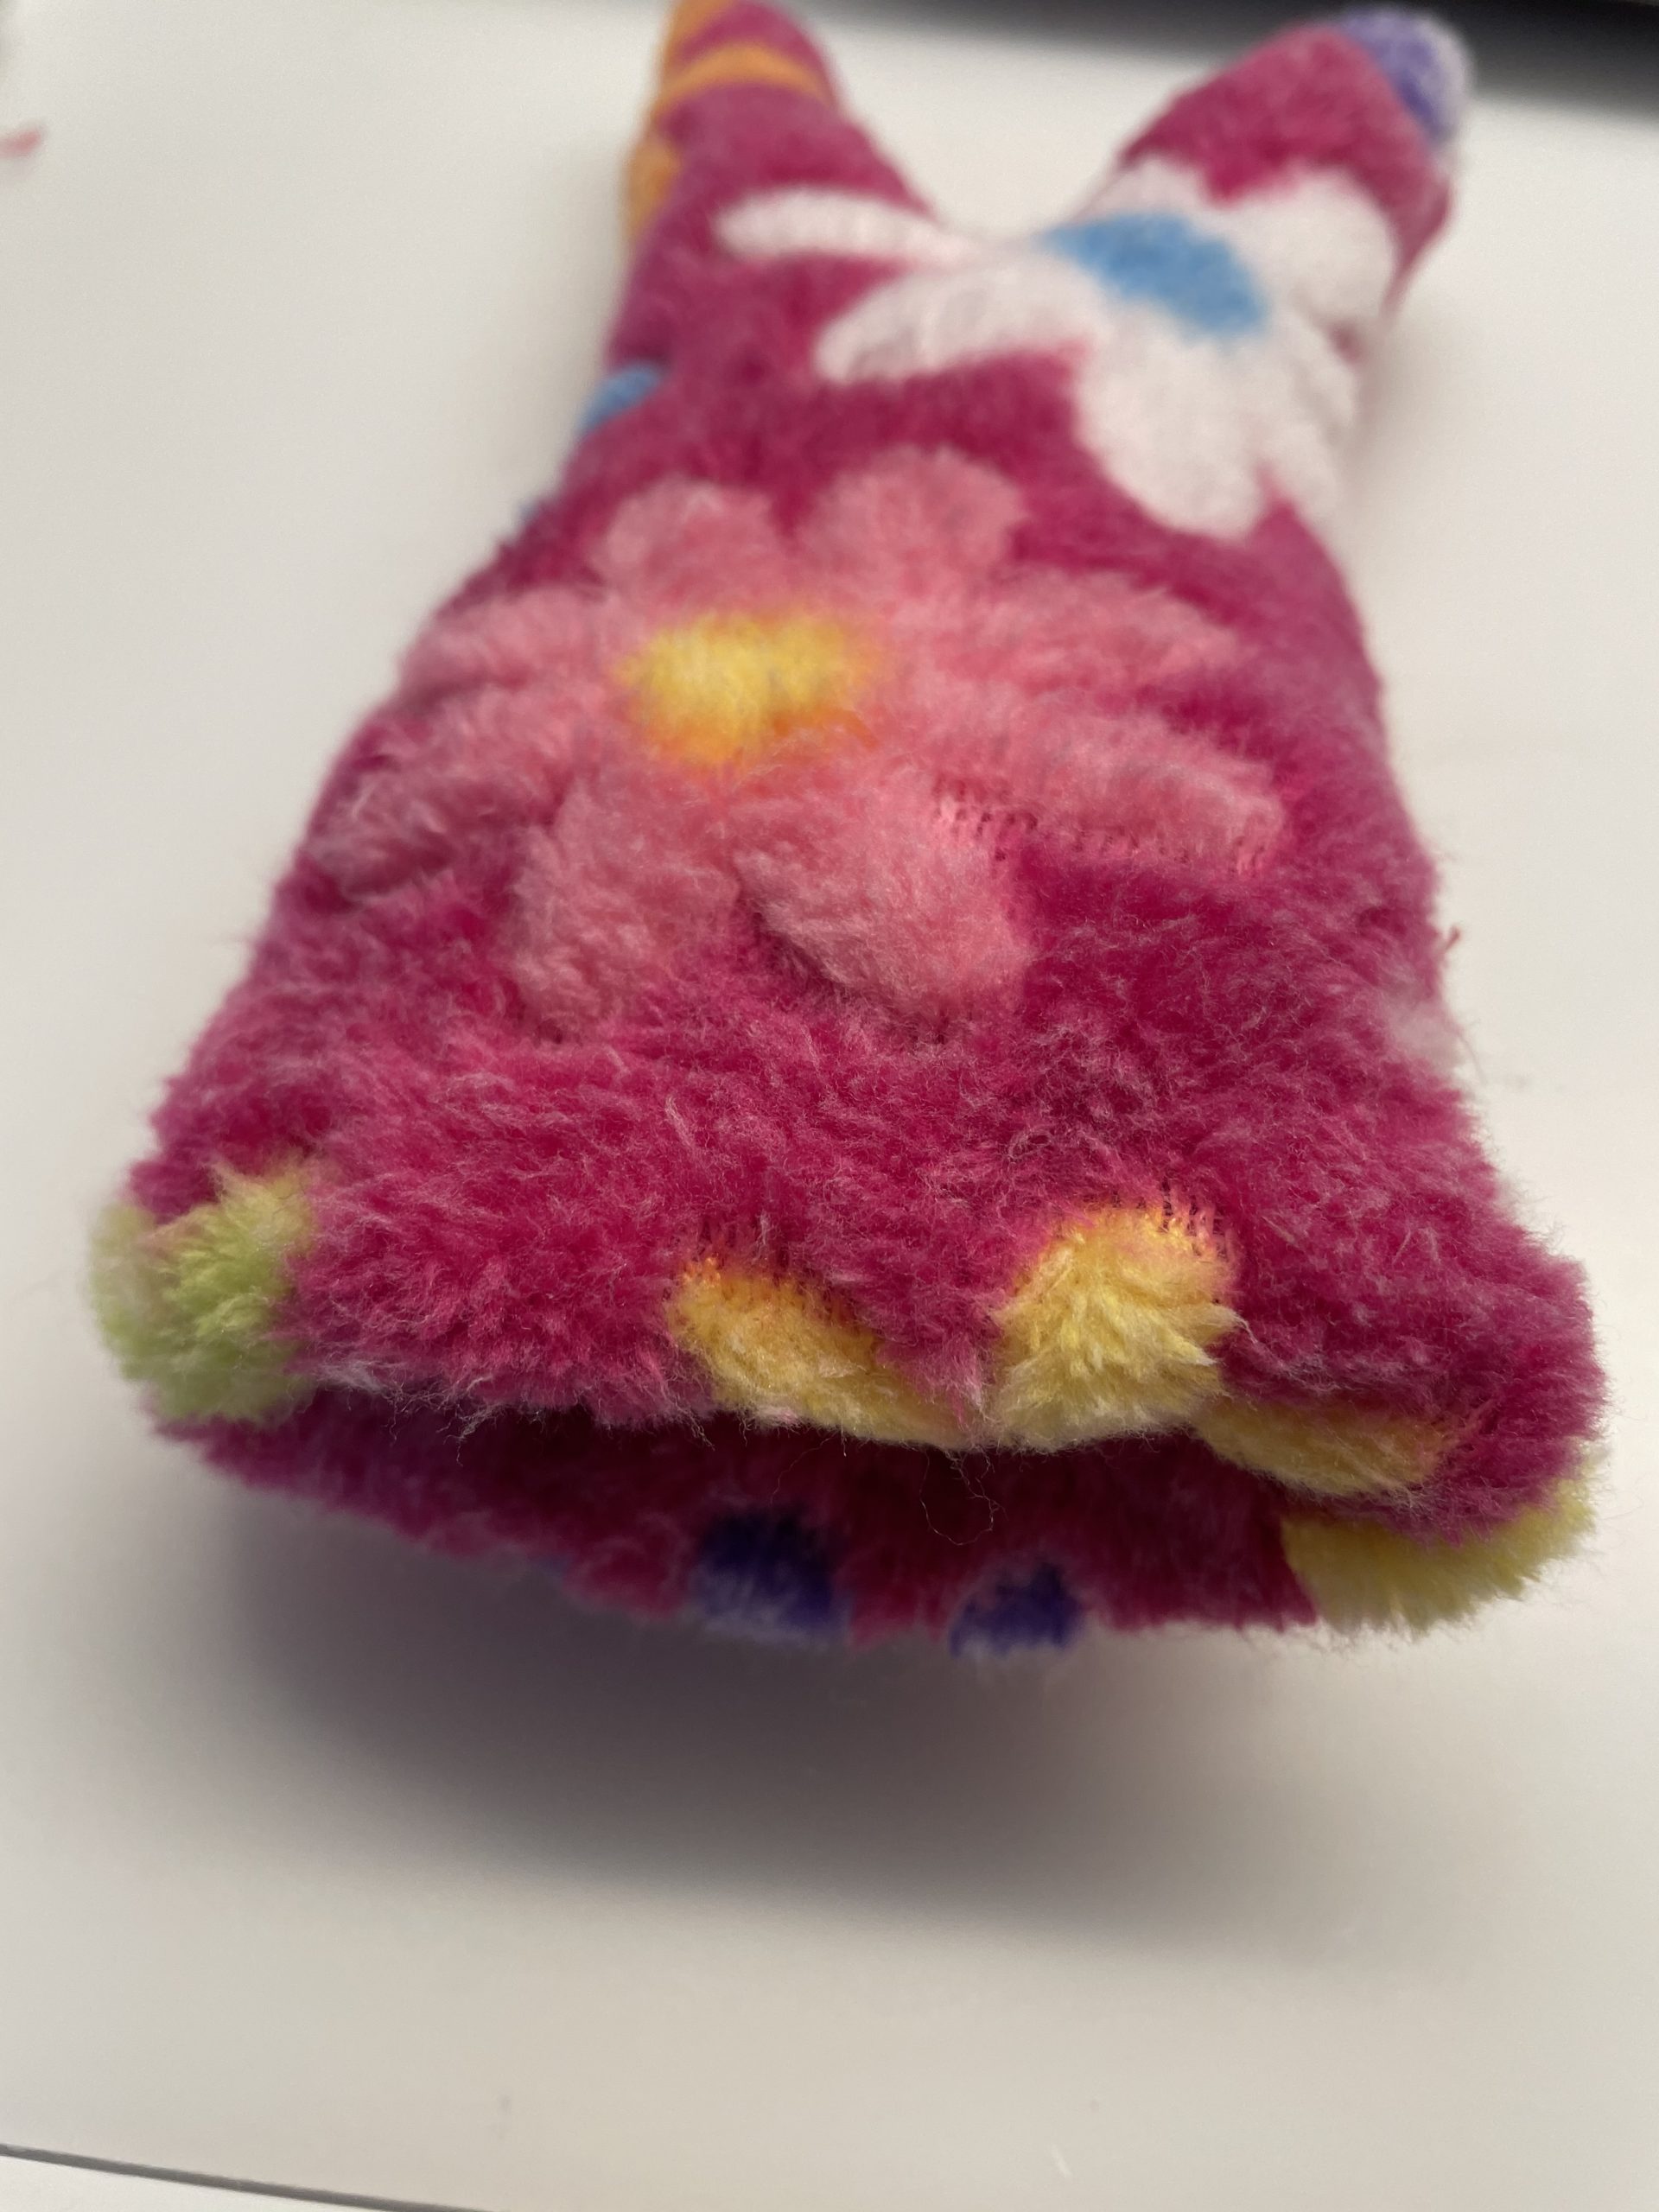
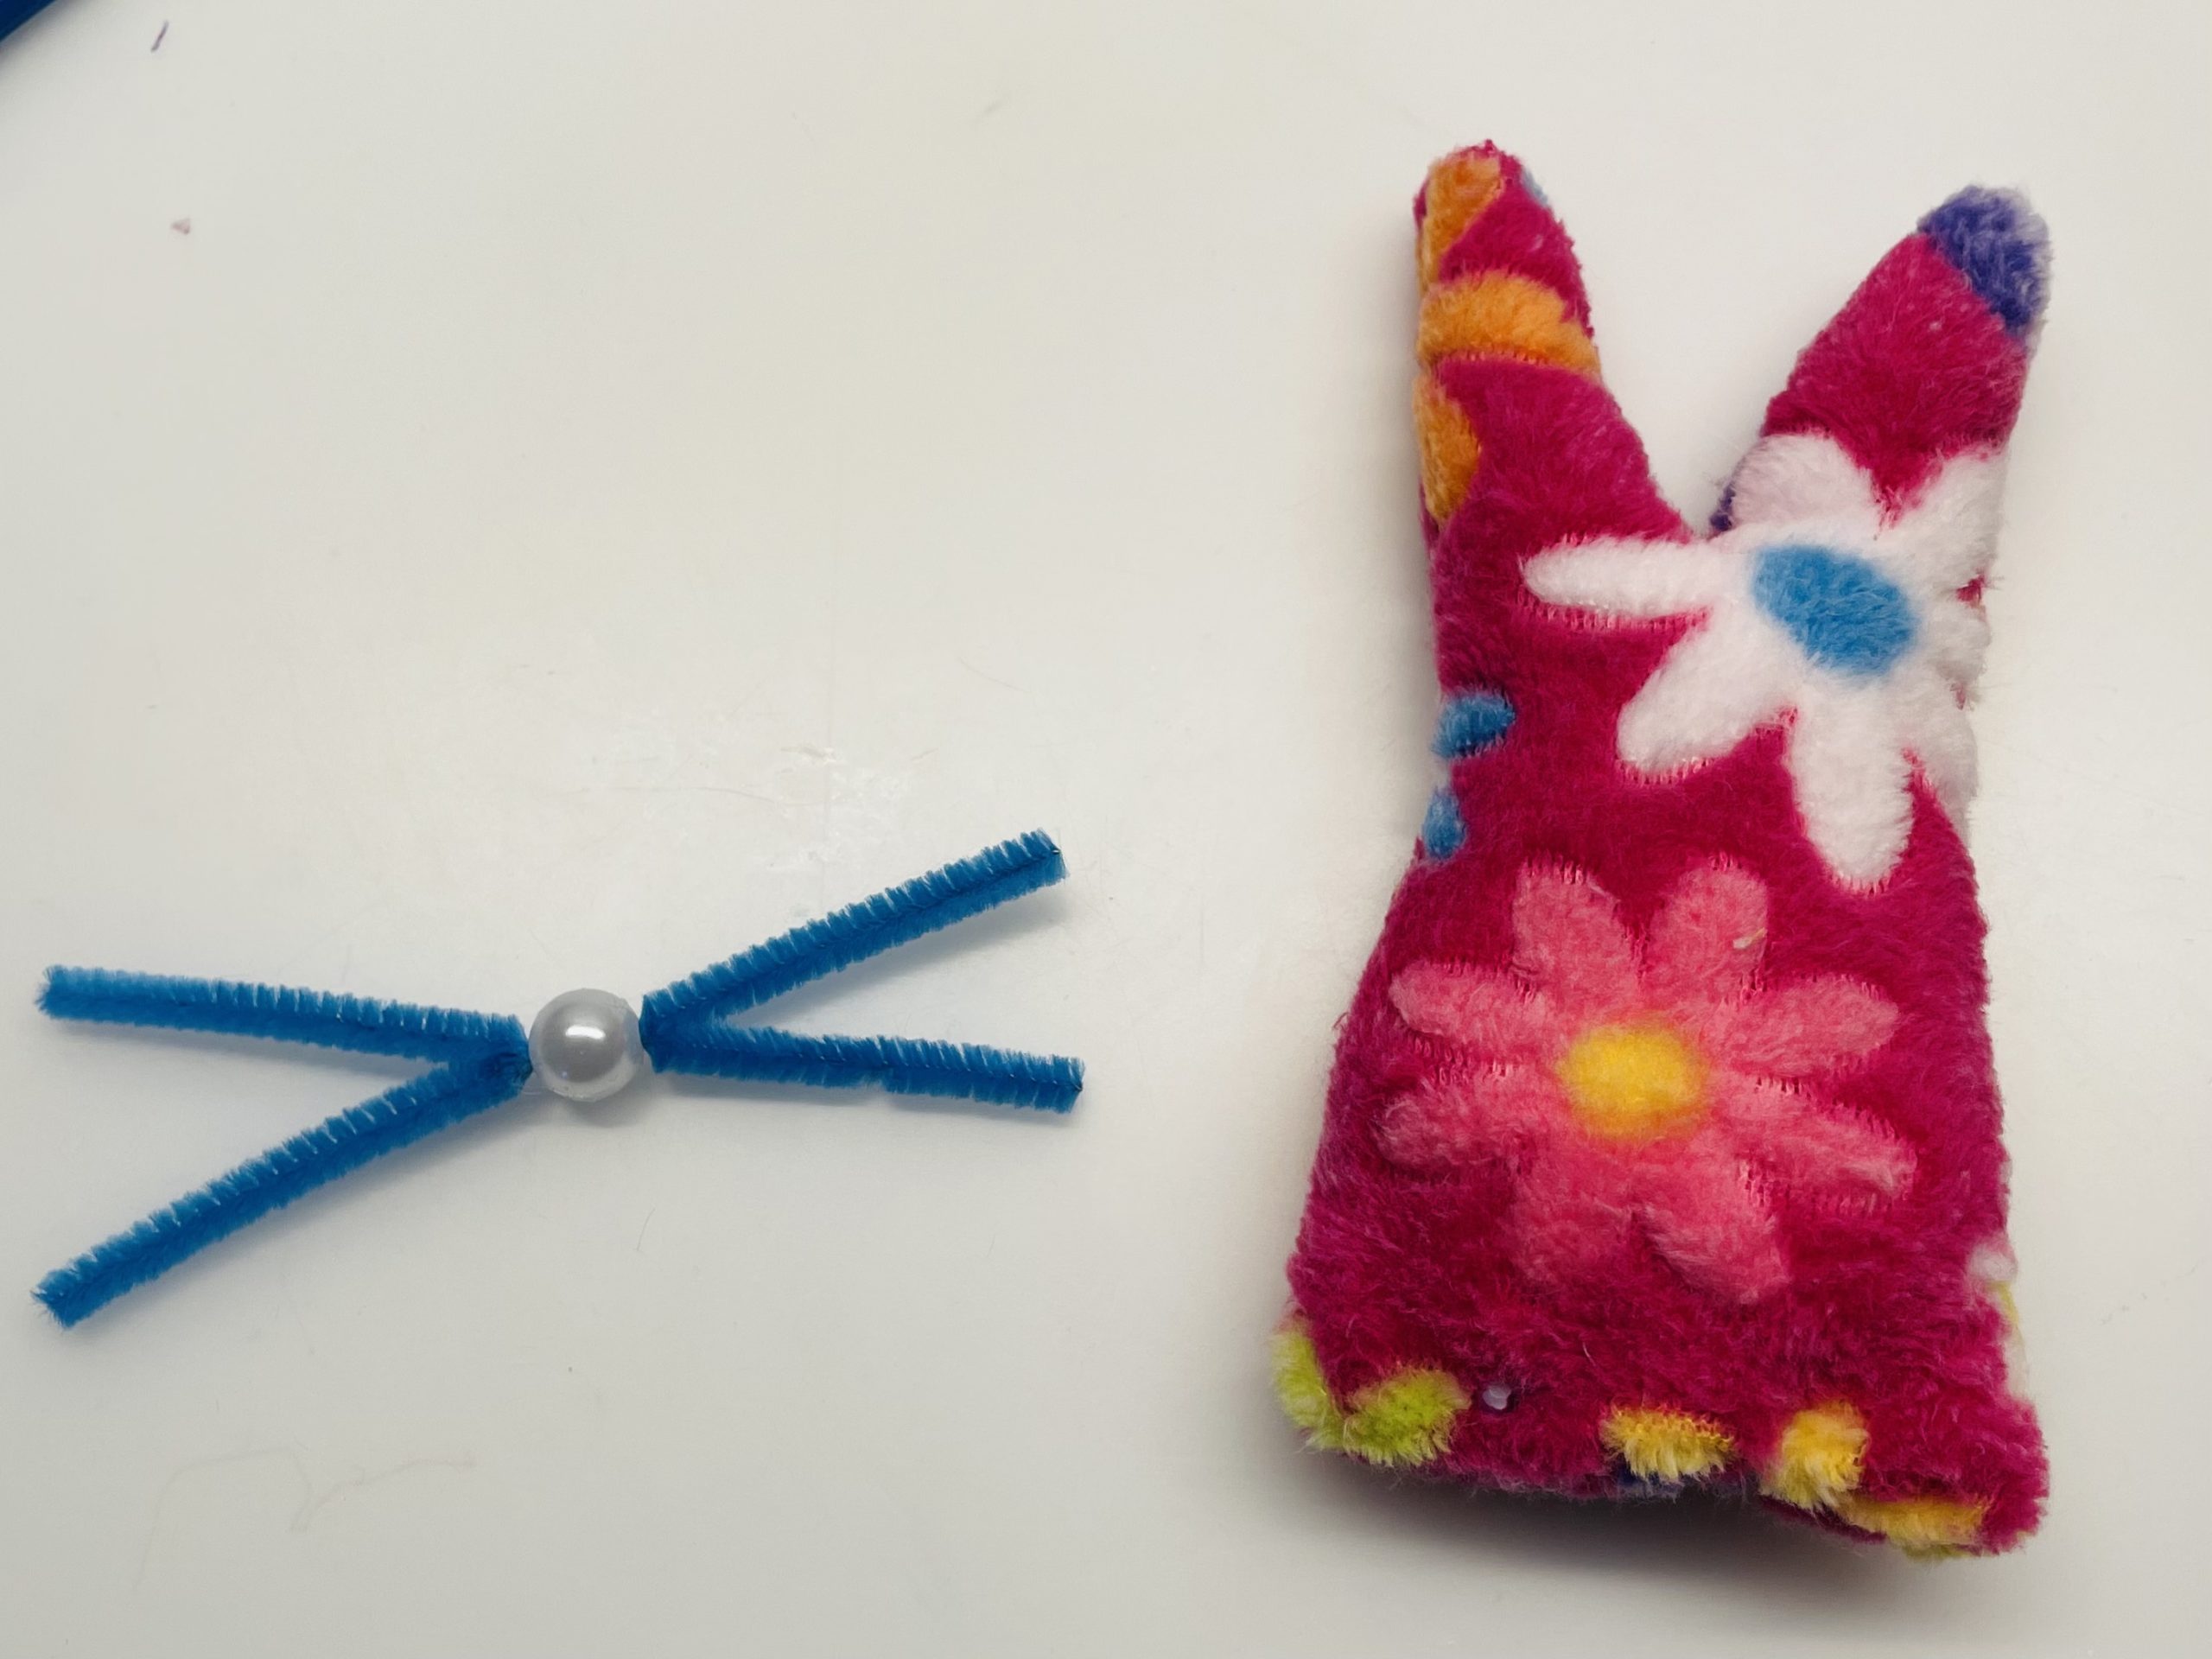
Now you stuff the rabbit with fabric residue or cotton wool.
Turn the bottom edge of the fabric 0.5cm inwards. This edge will be glued later.
Set up your wooden piece and cut off two 10cm long pieces of craft wire.
Then you drill two thin holes for the craft wire into the wood. Let an adult help you with this - risk of injury!
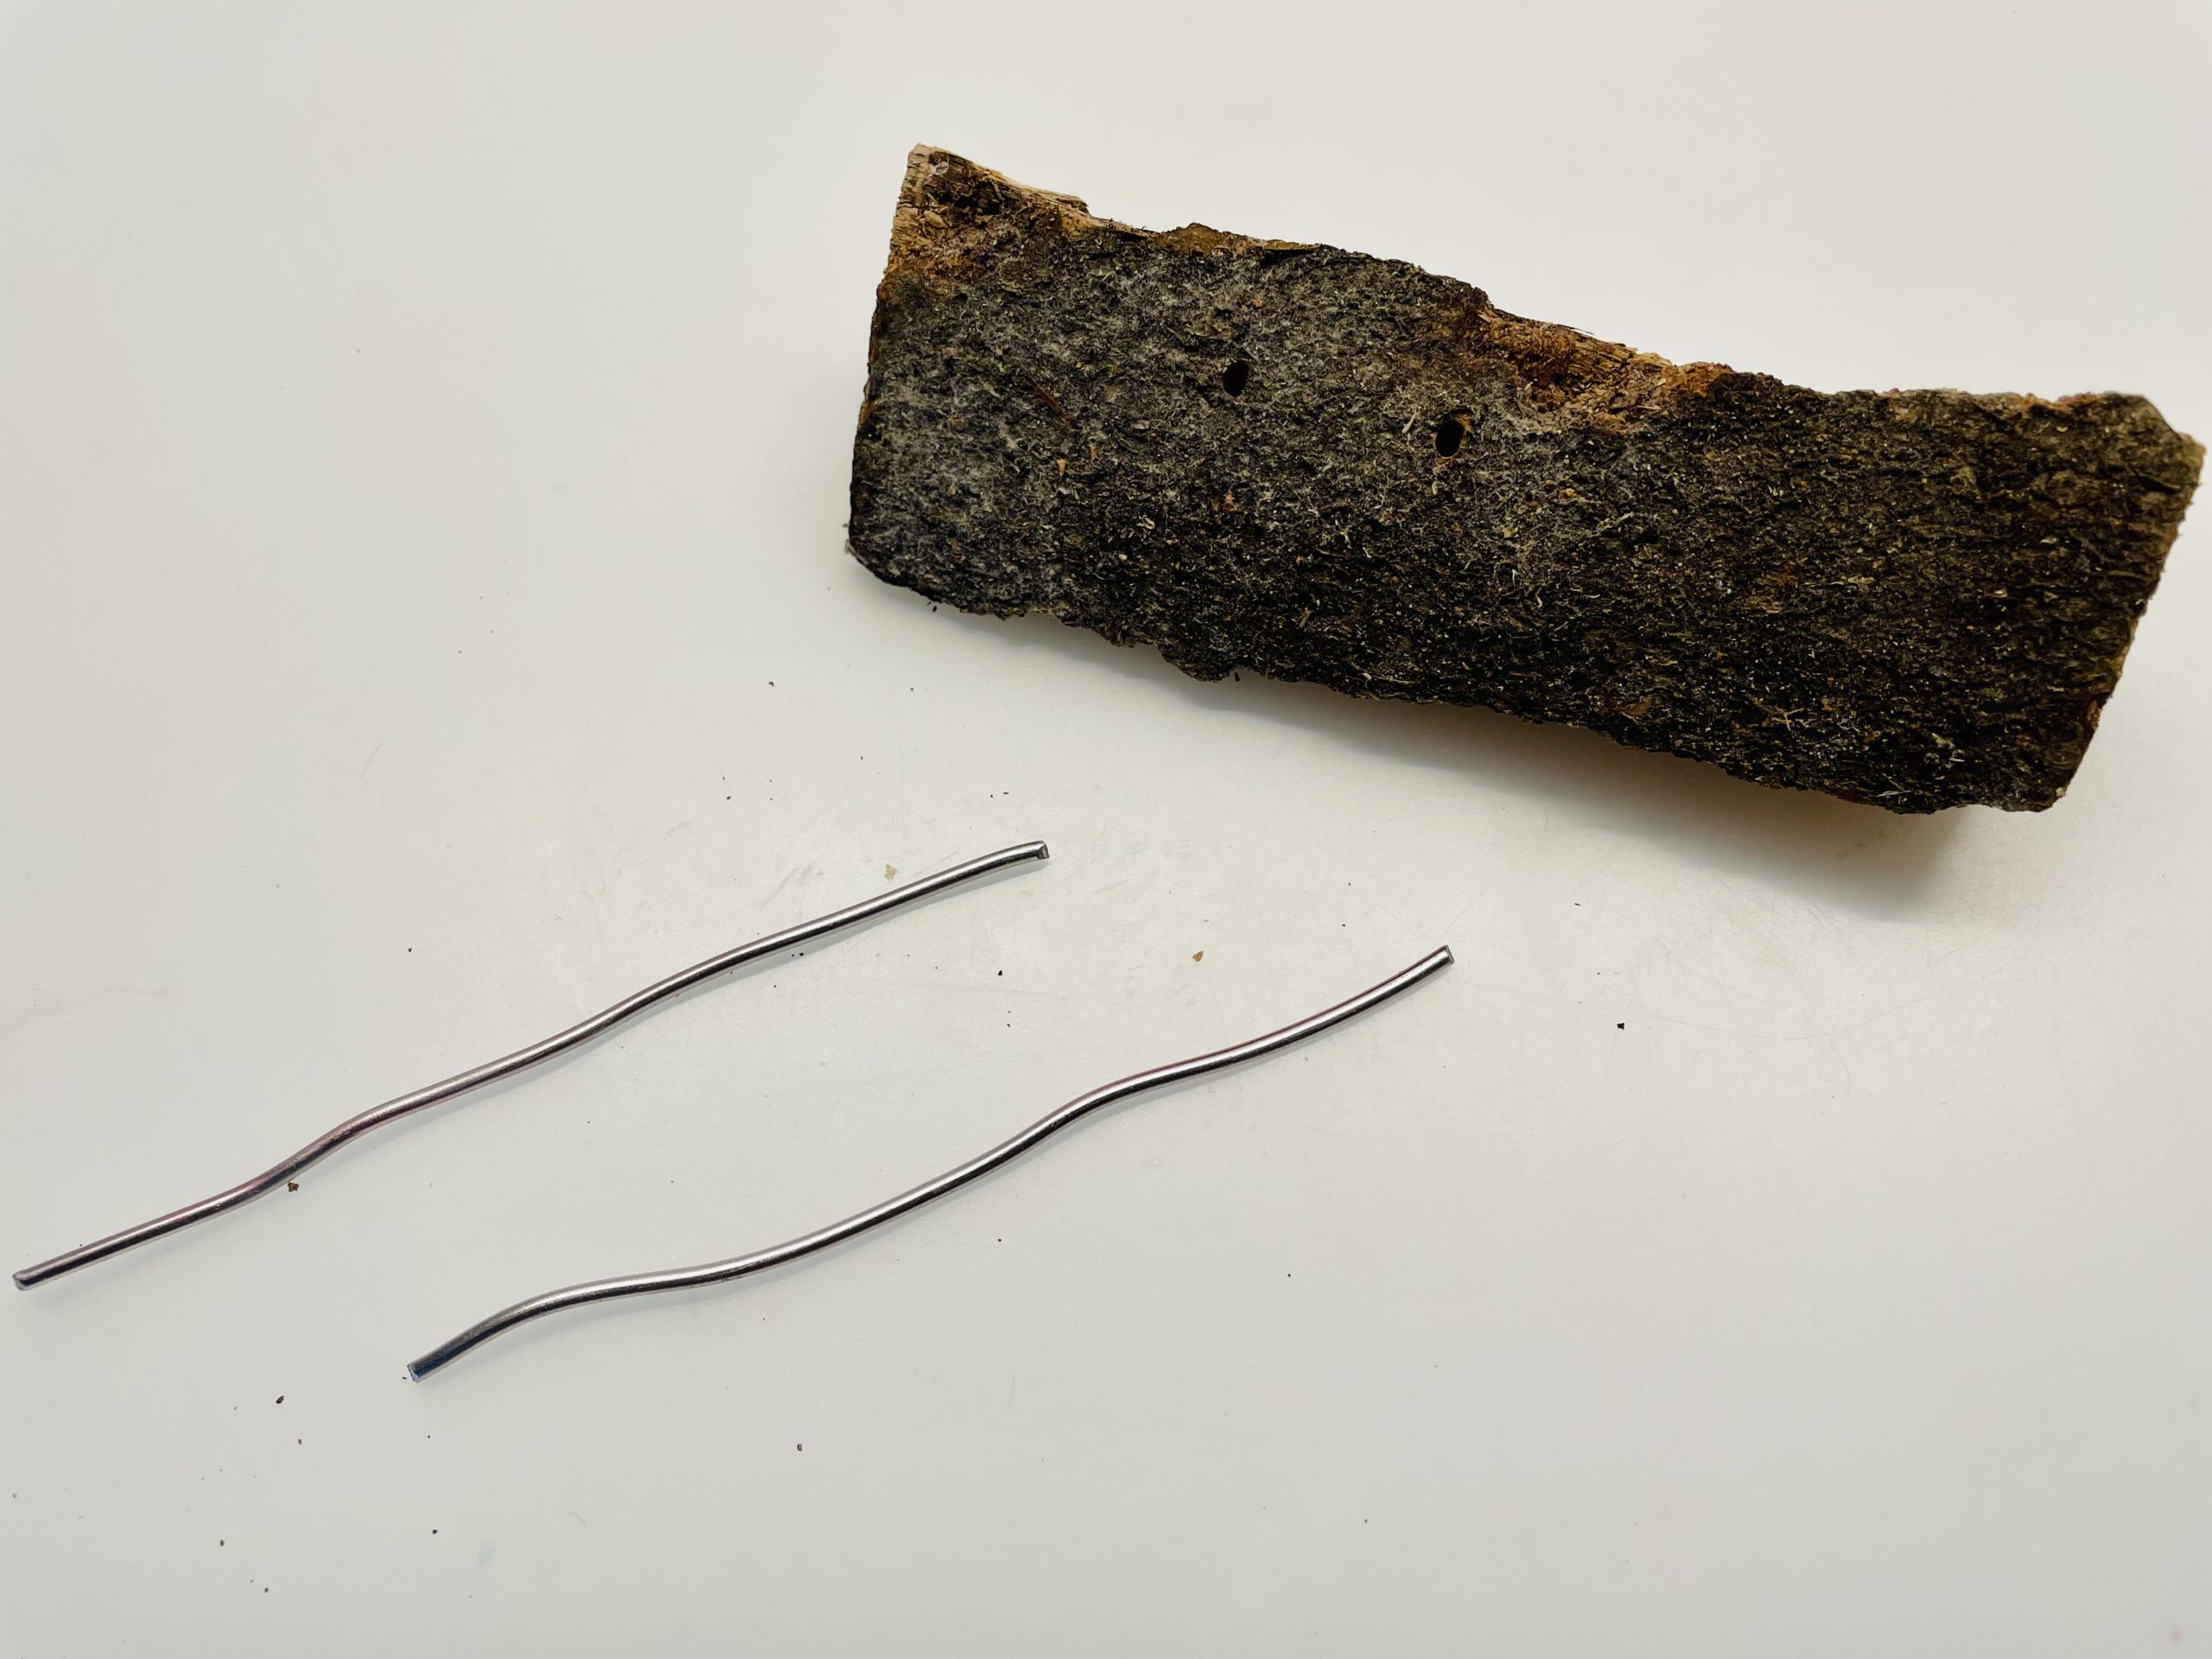
Drill the holes at a distance of about 2-3 cm. Then put the wires in.

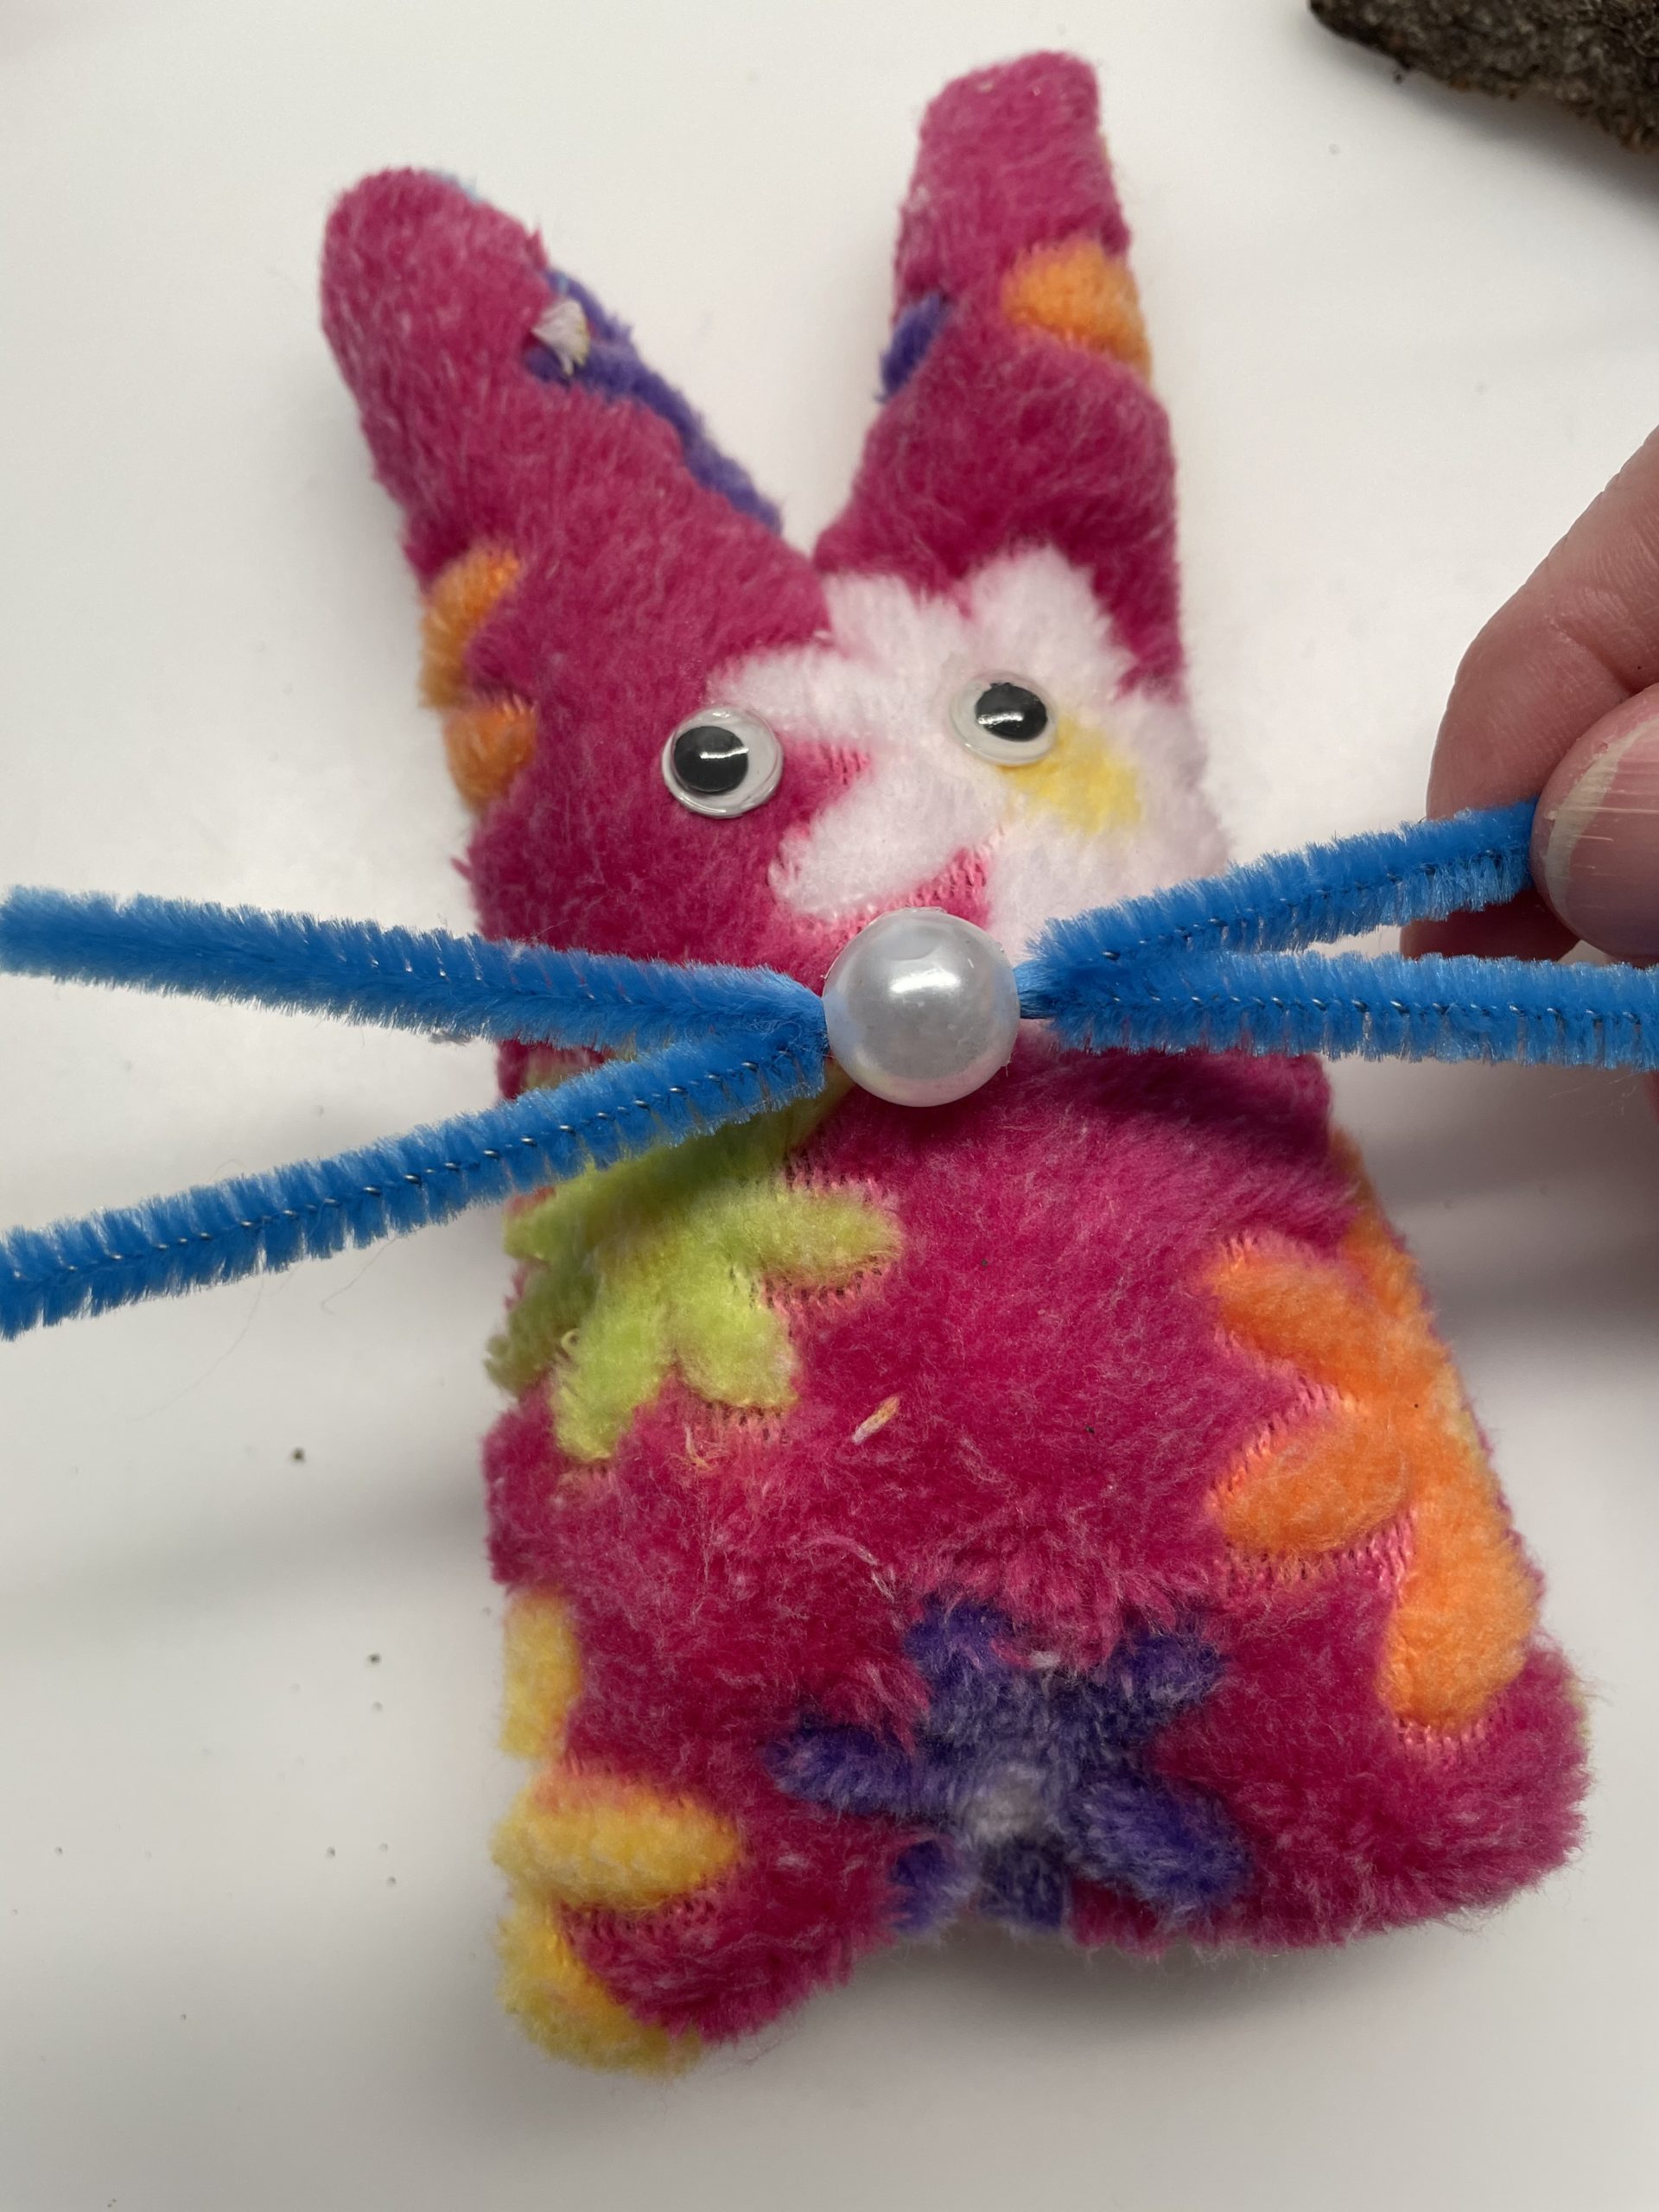
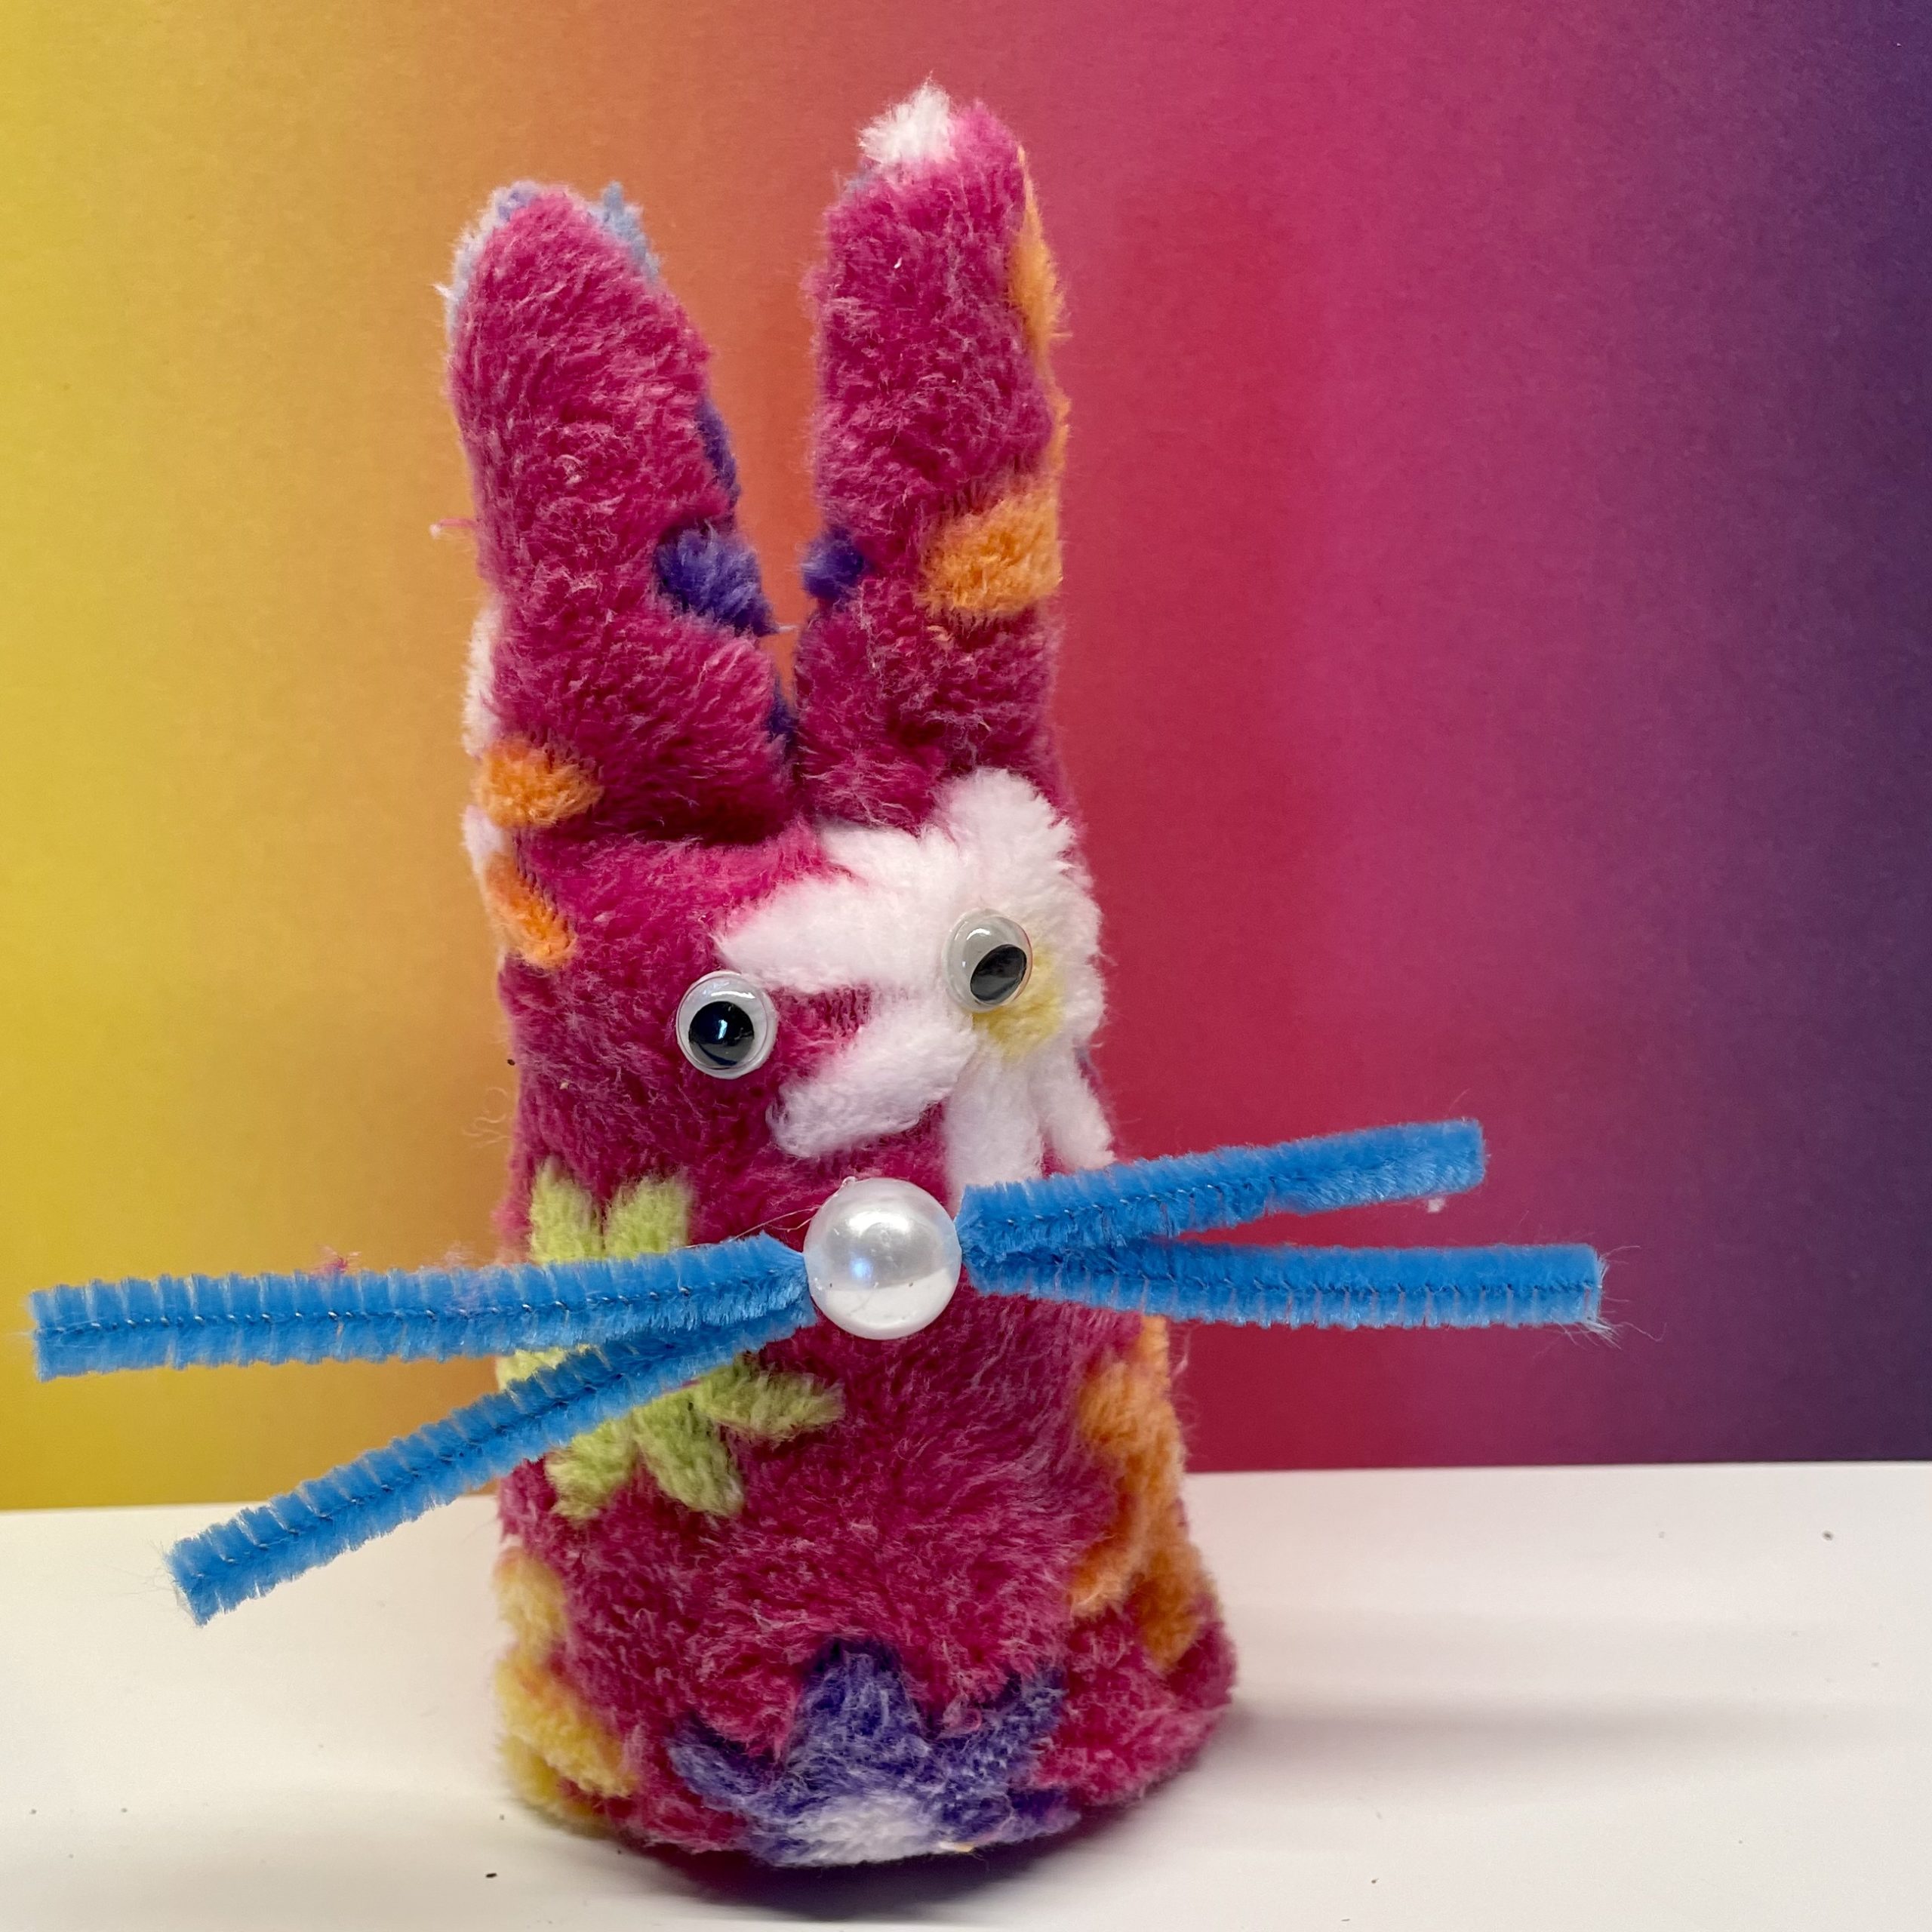
Then you stick the wobble eyes on the cloth bunny.
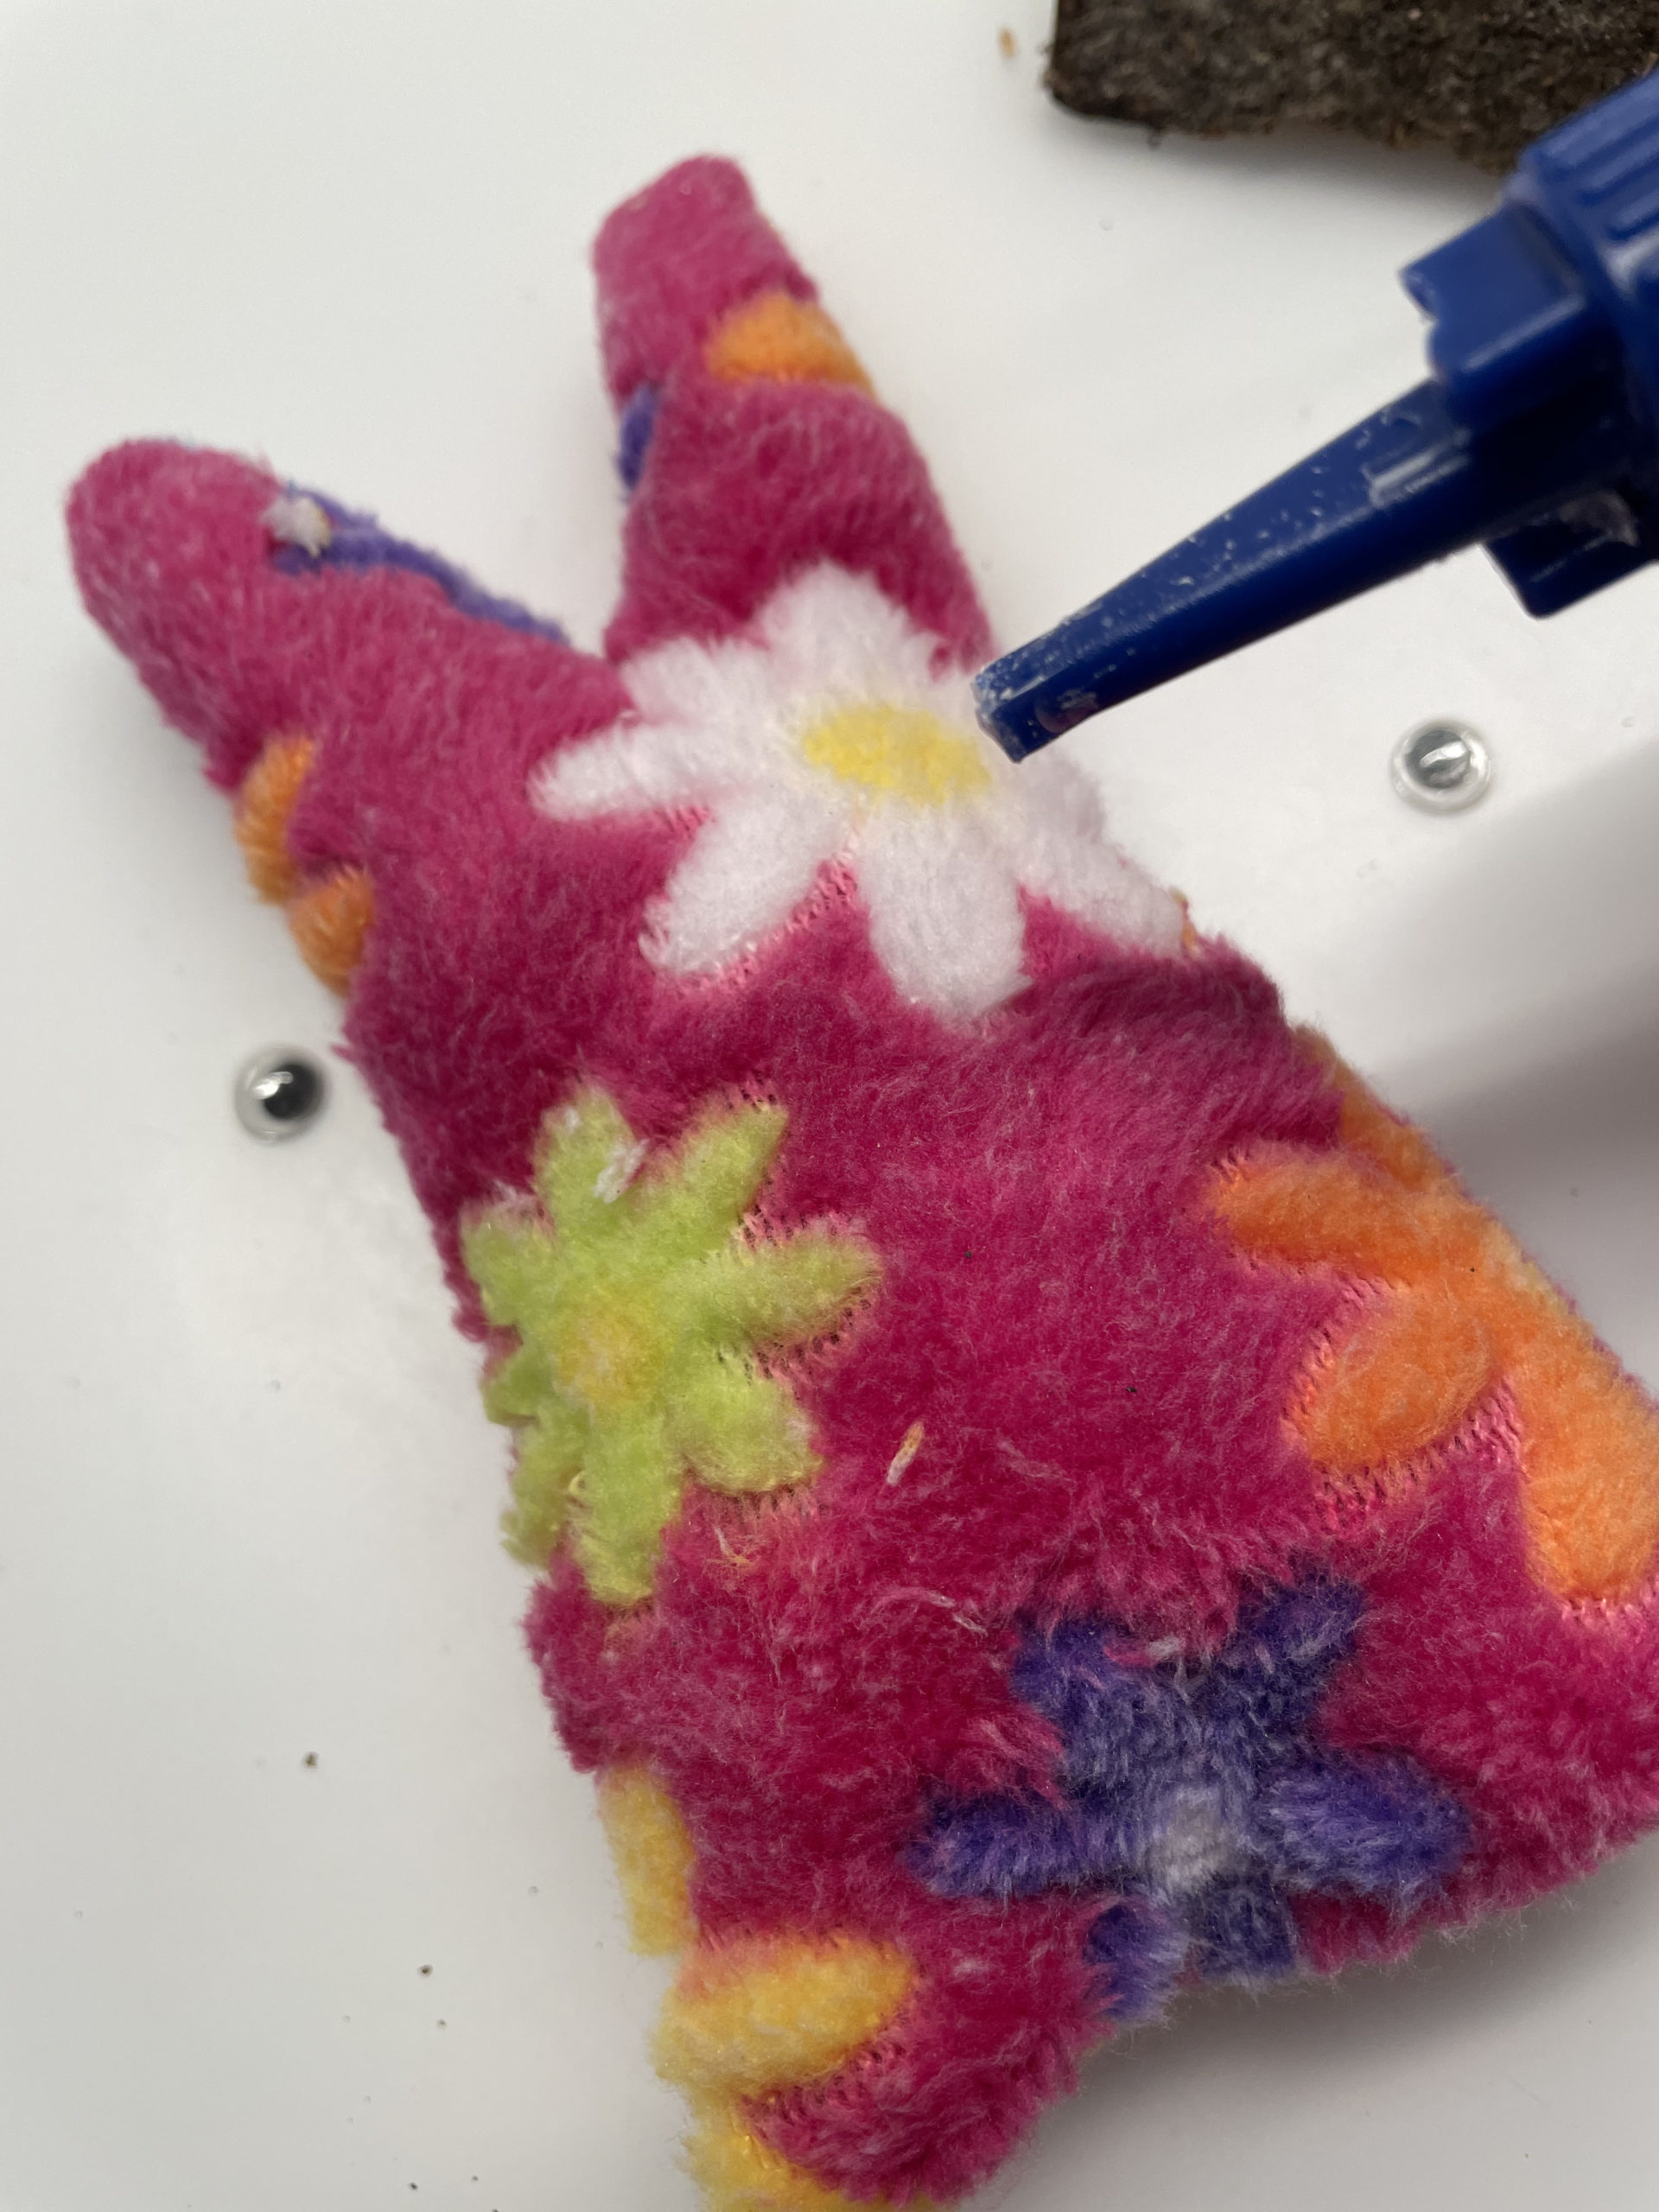
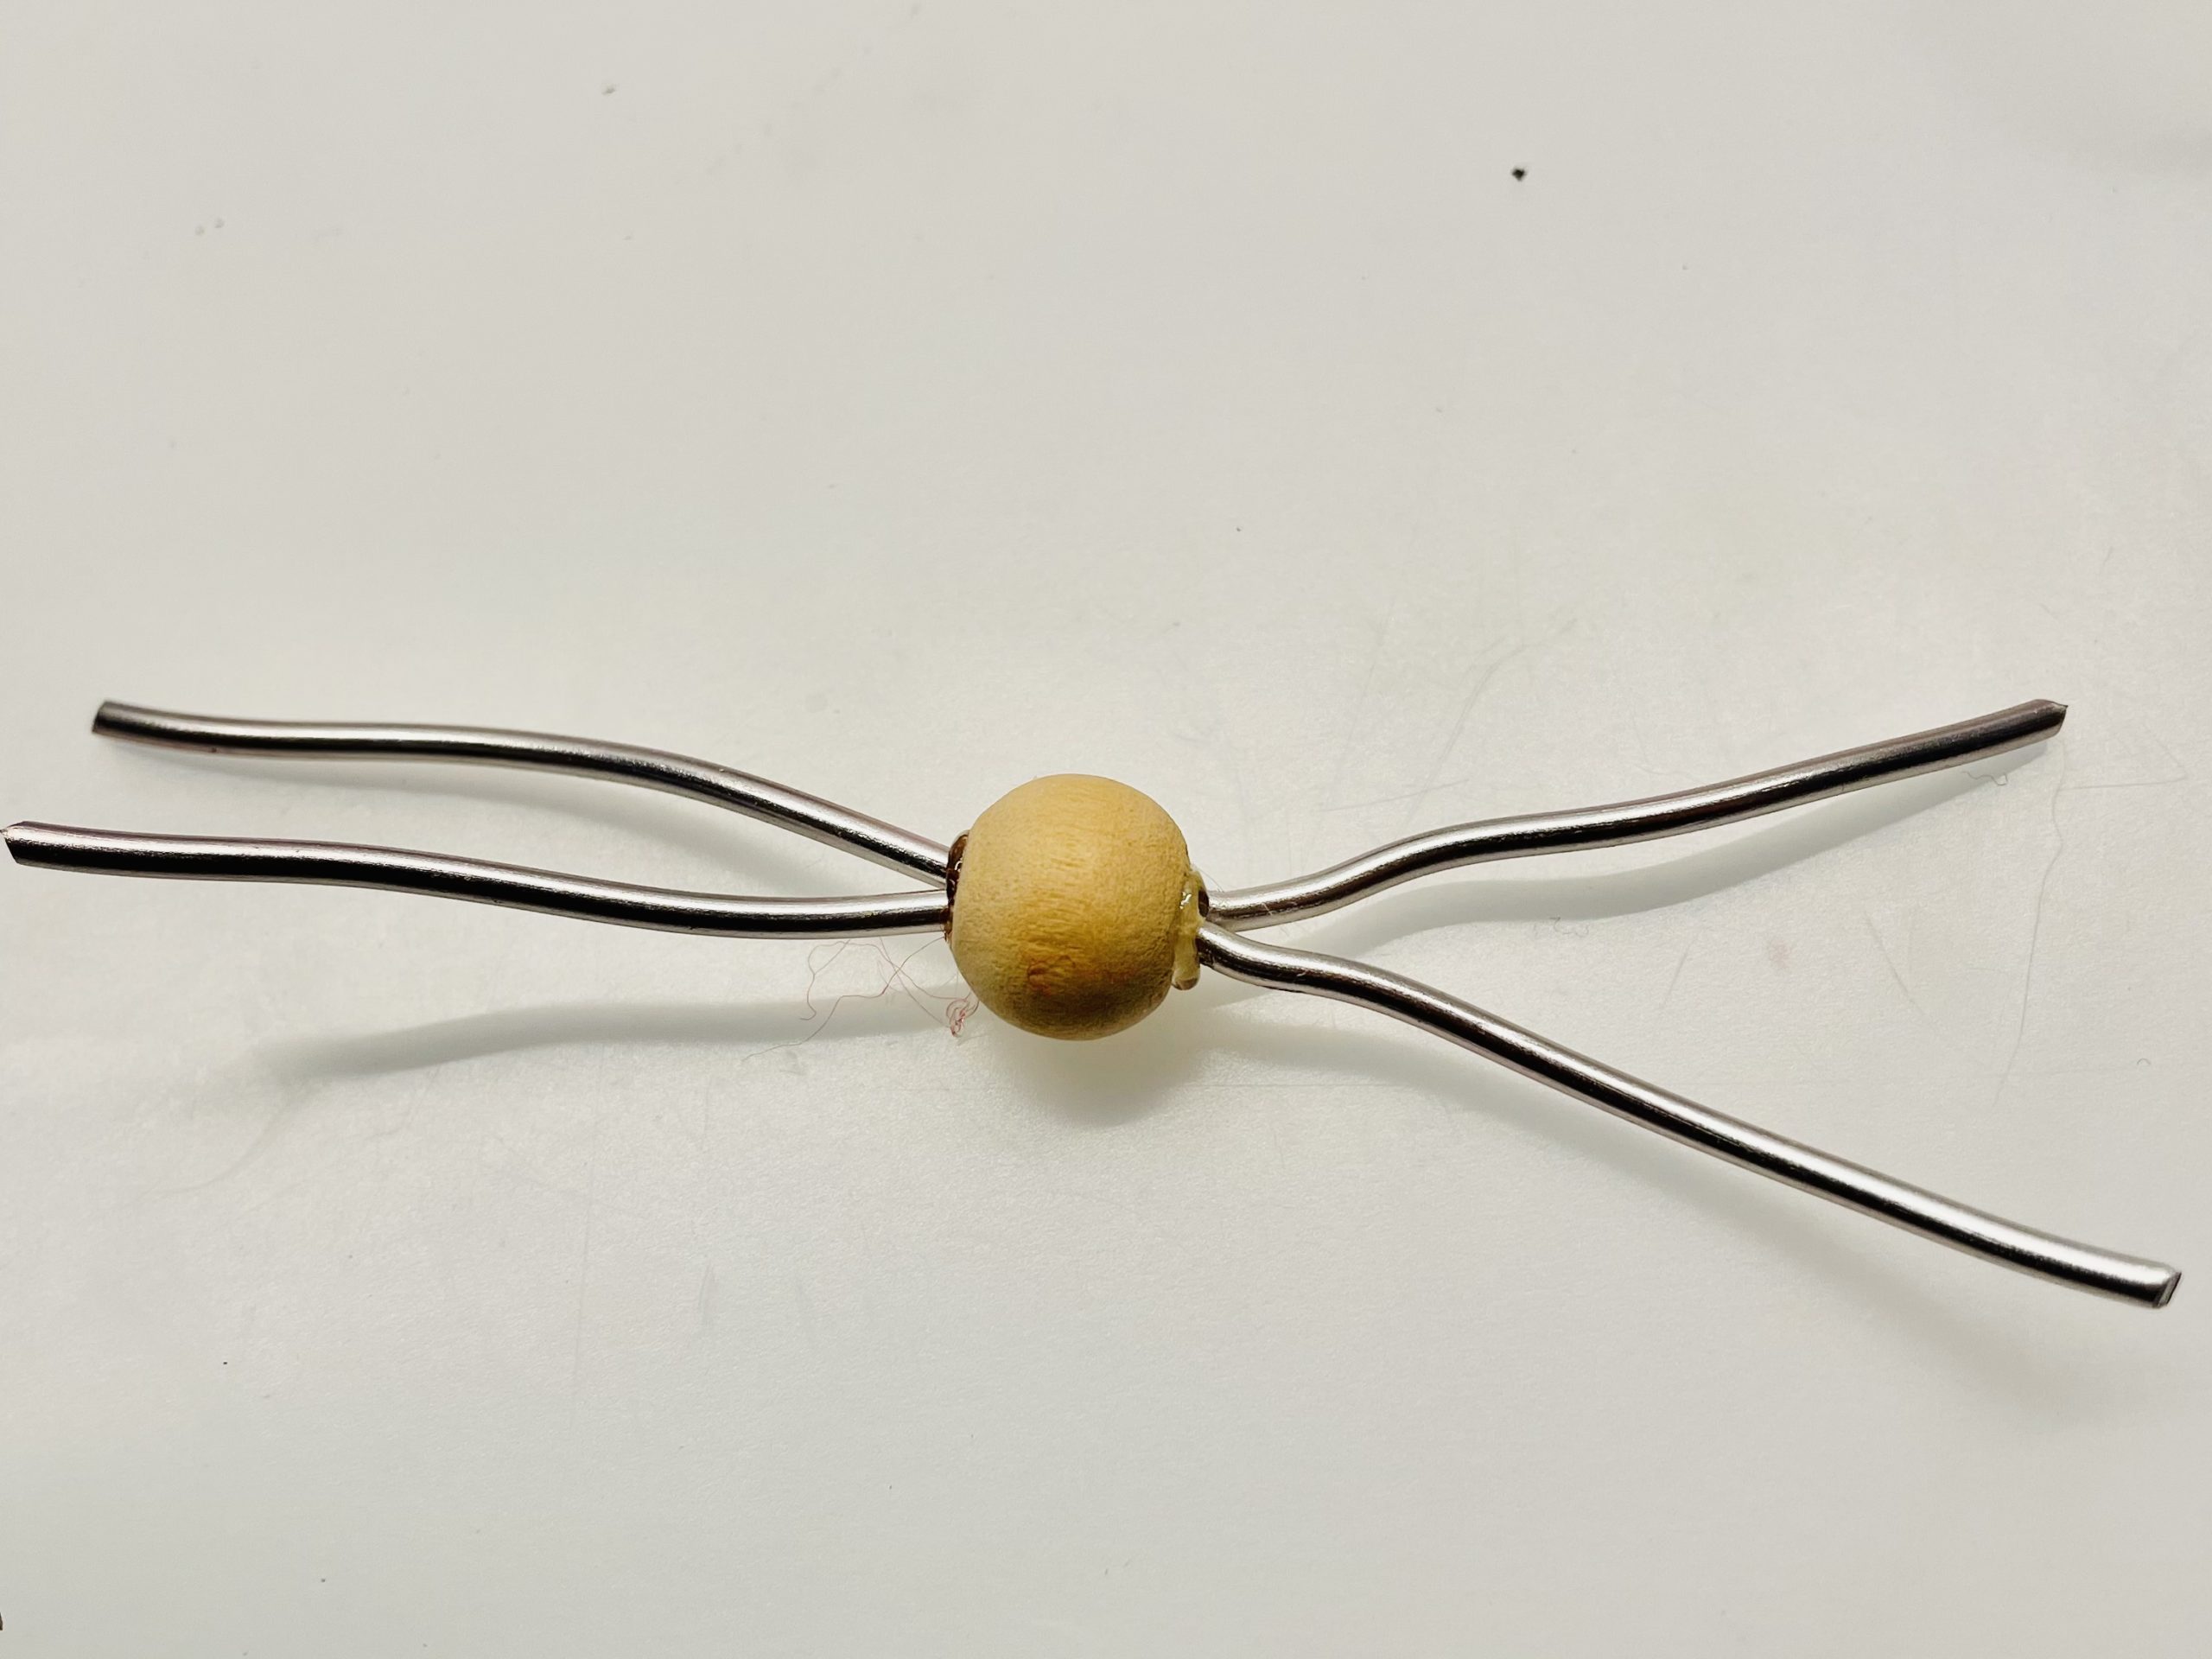
Now thread through a bead two approx. 8cm long wires. Then stick the nose with hot glue on the rabbits. Attention when handling the hot glue - danger of injury!
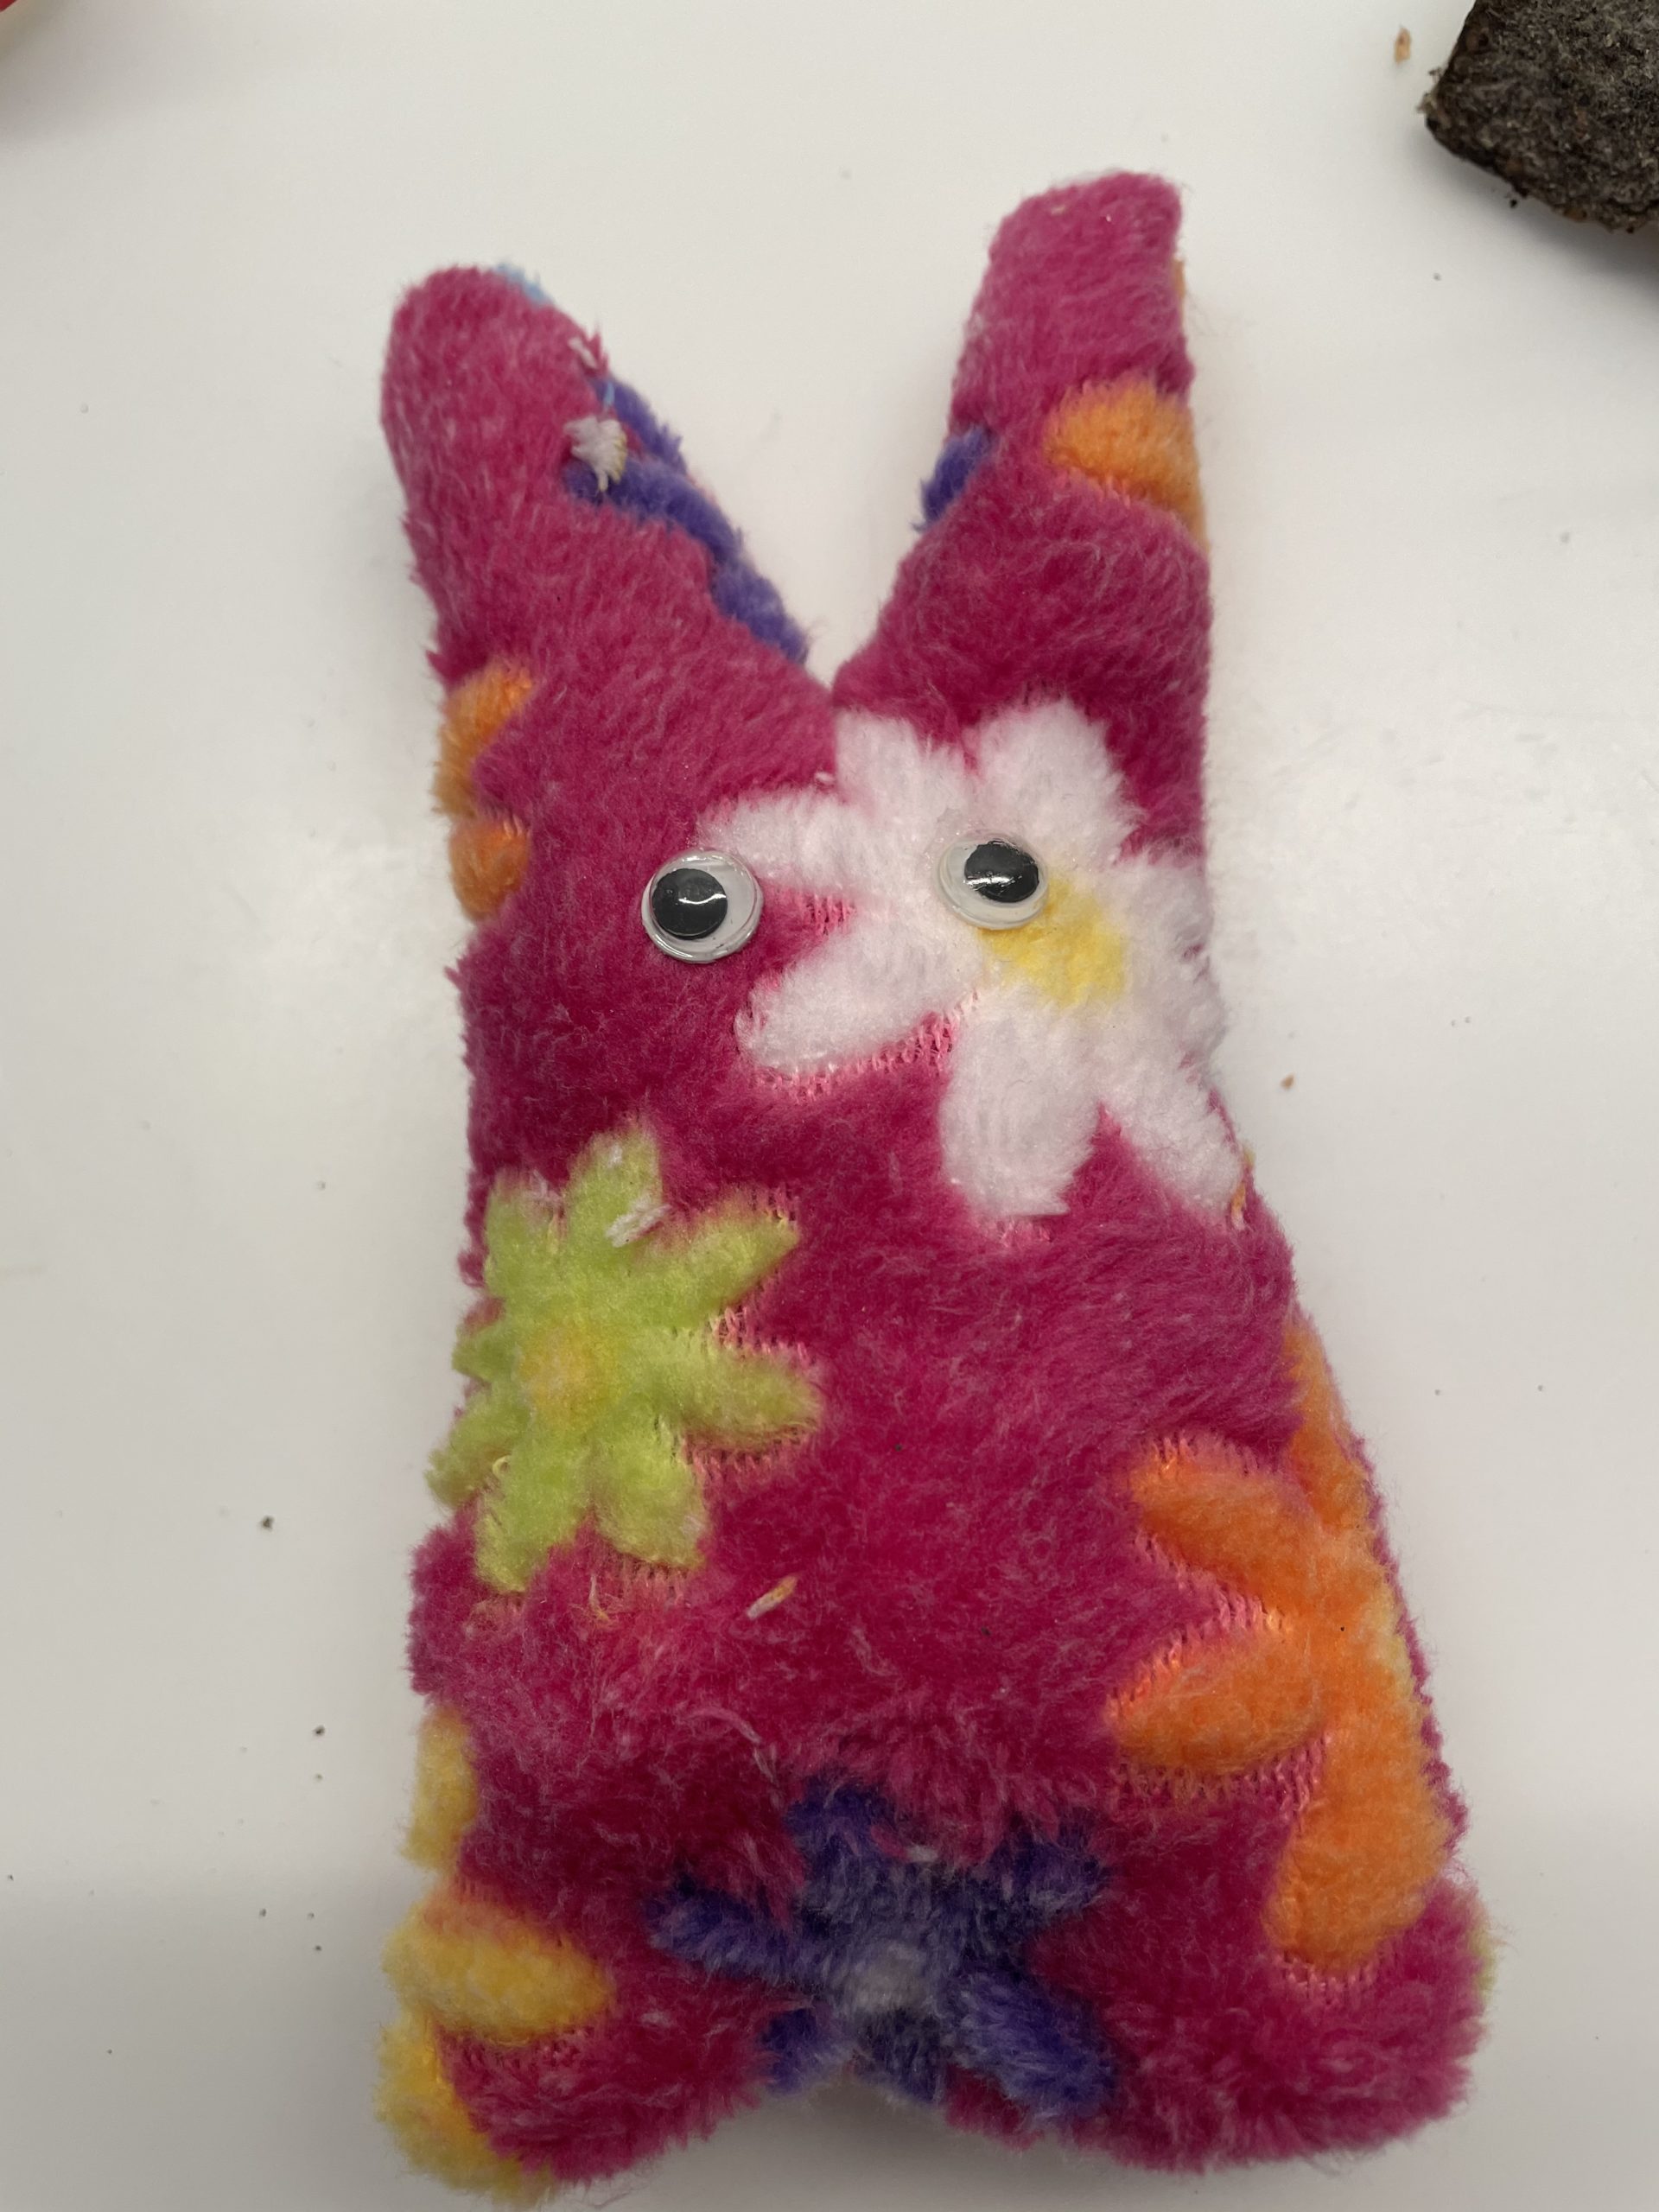
Put the rabbit on the wires in the wood and stick the lower opening in the fabric.
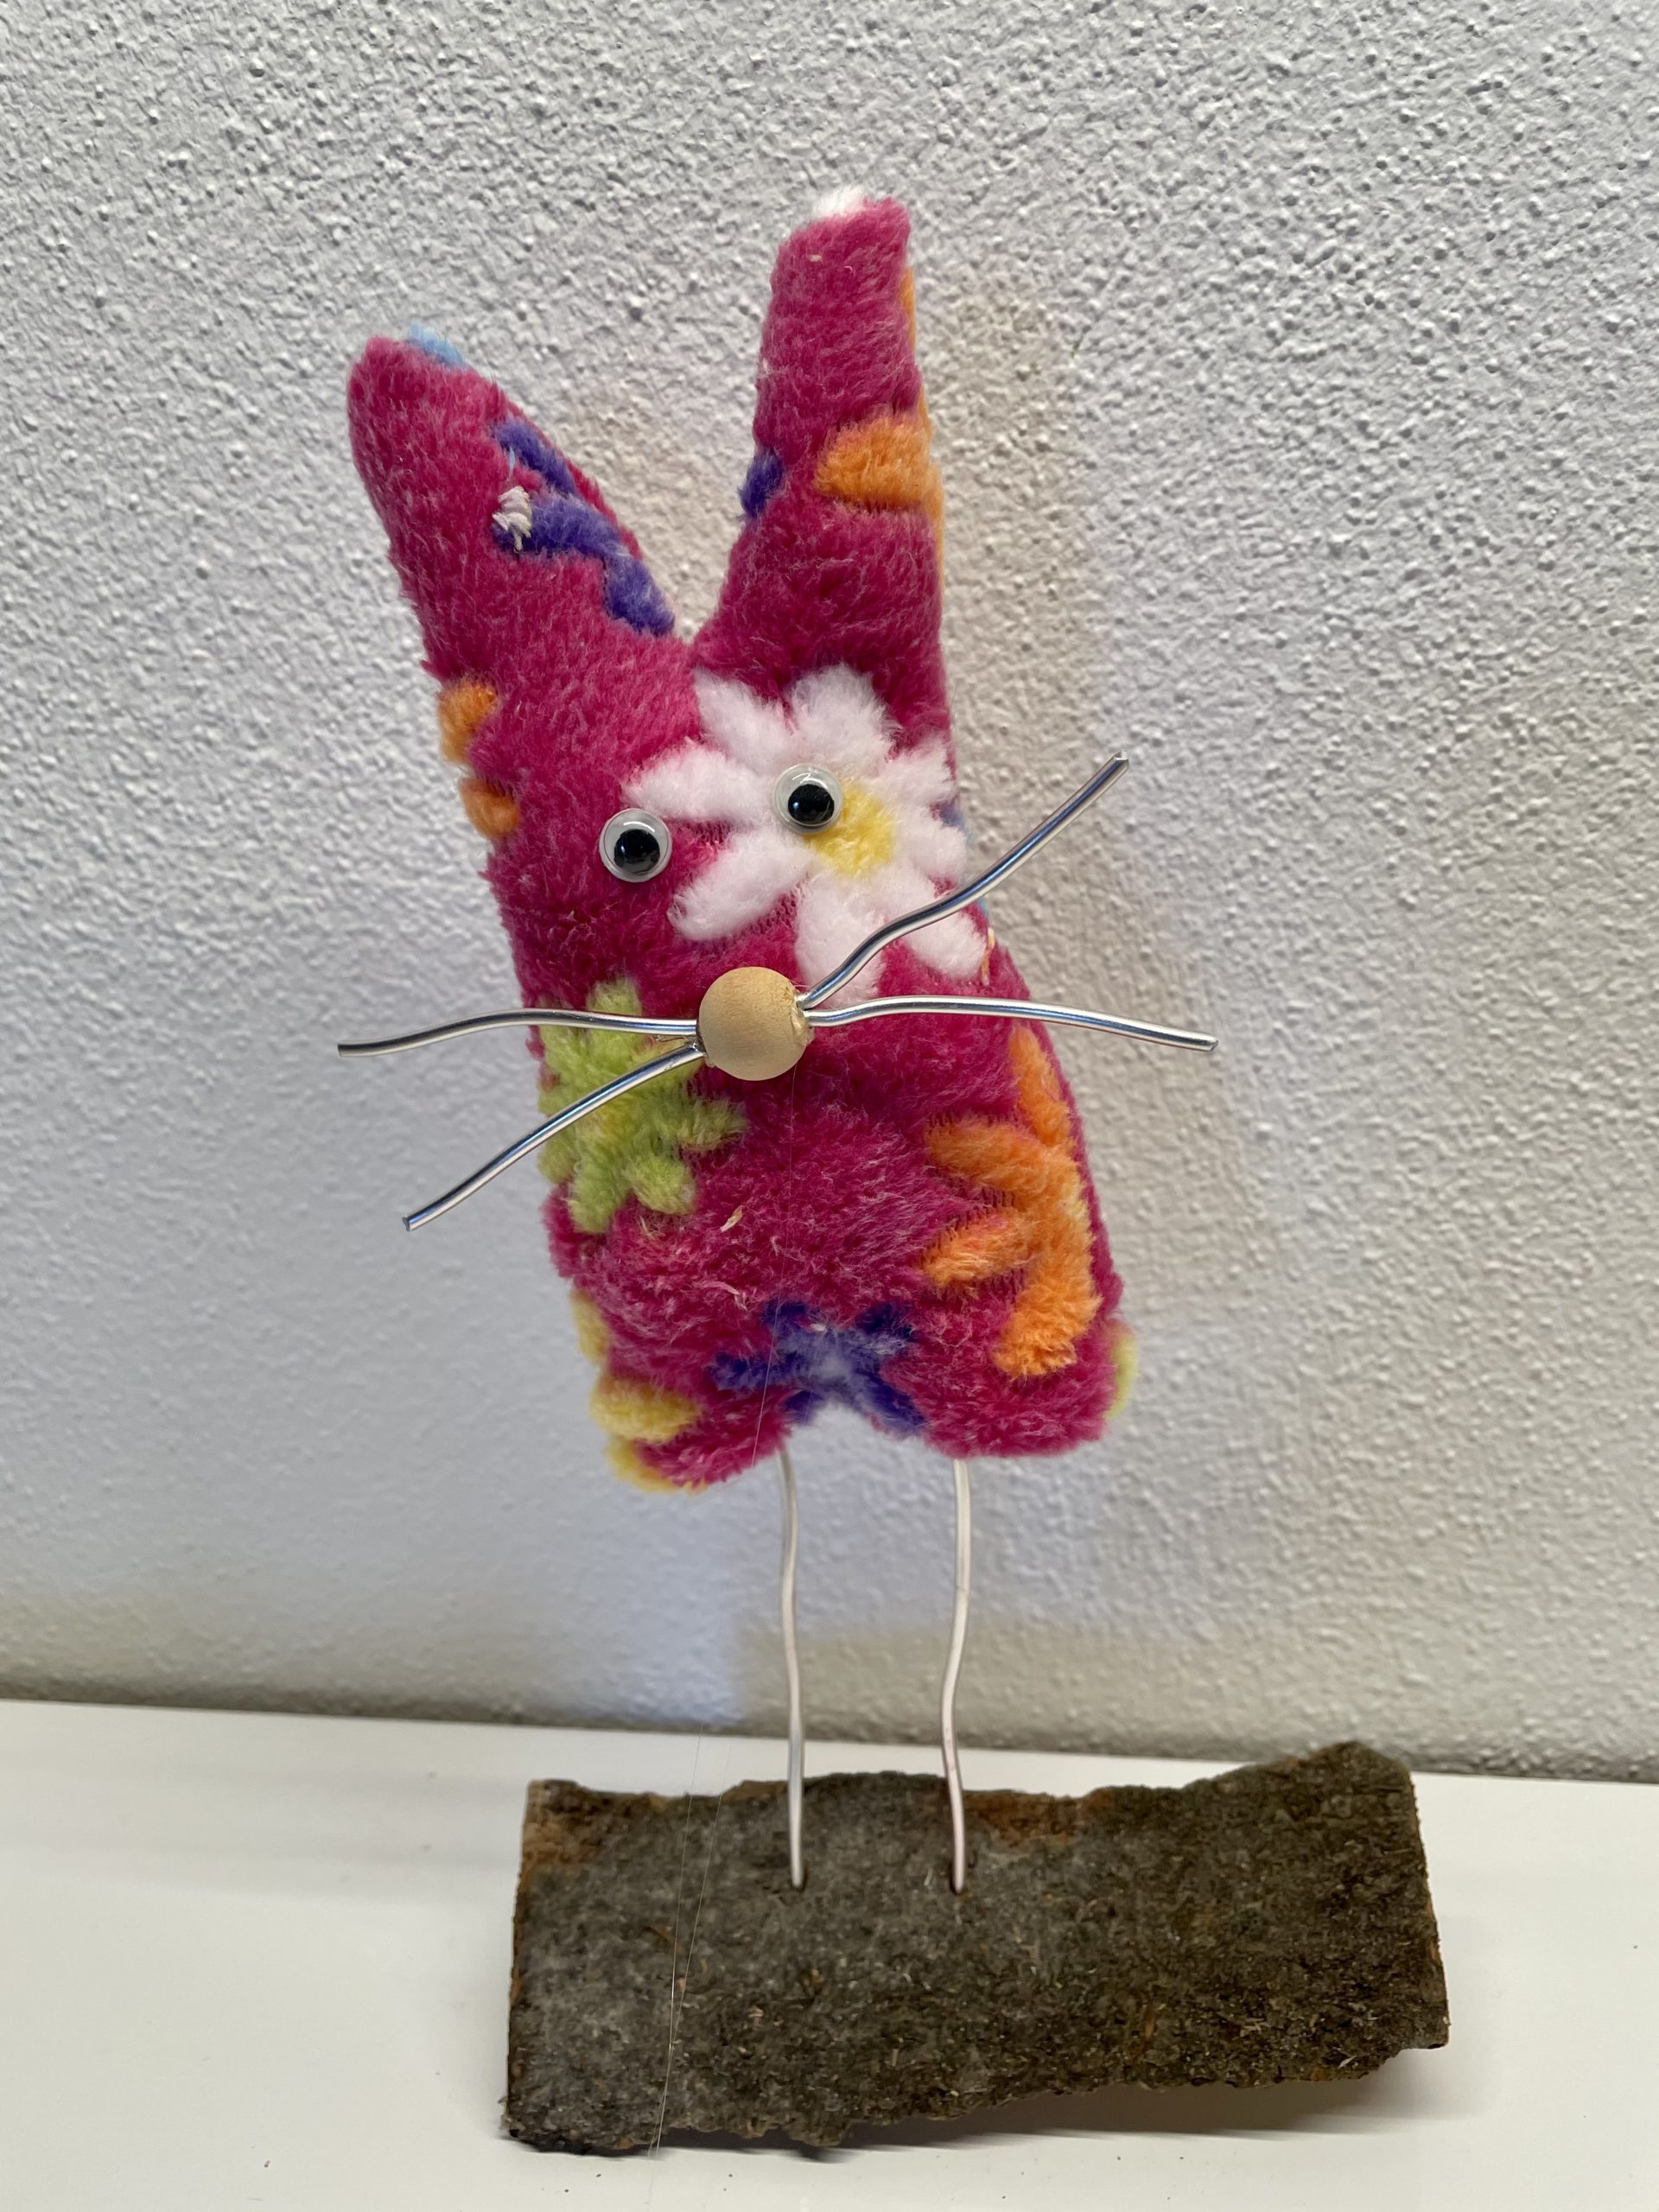
The rabbit is ready.
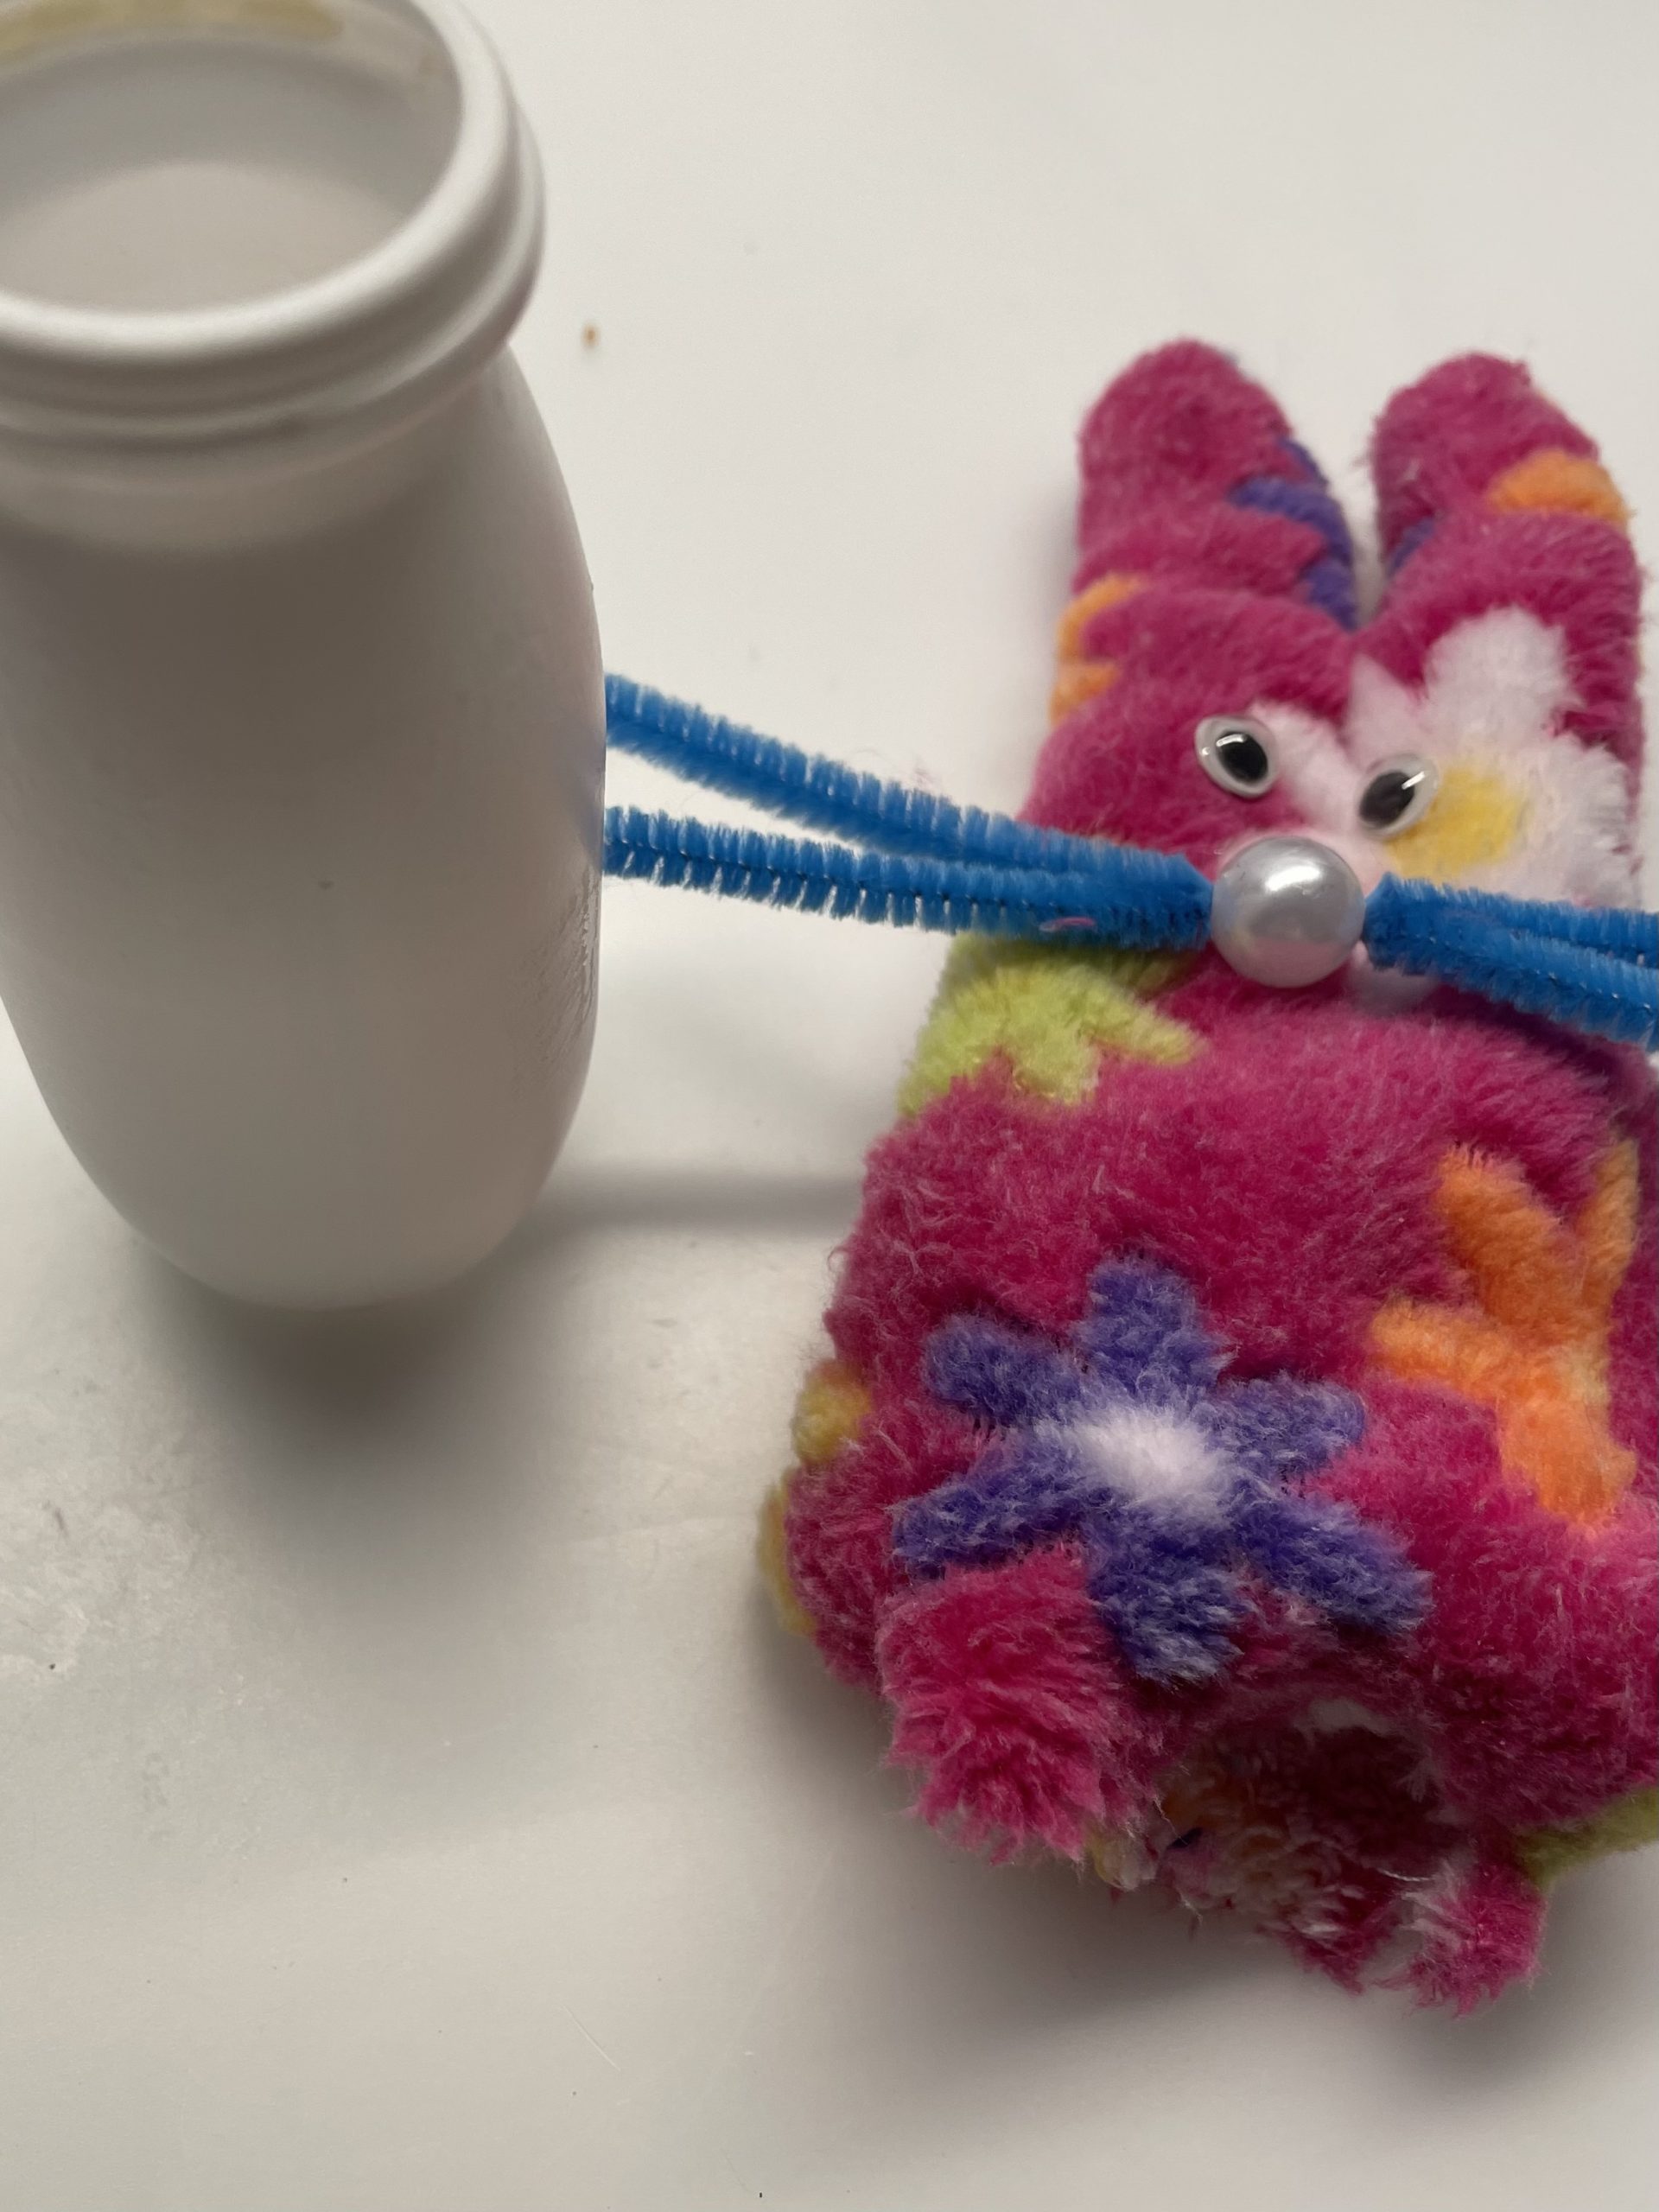
For this you use a pearl and pipe cleaner for the nose. First plug two approximately 8cm long pipe cleaners through the pearl.
Then stick her nose with hot glue on the rabbits. Be careful when handling the hot glue - risk of injury!
To set up the rabbit, you use a drinking yoghurt cup.
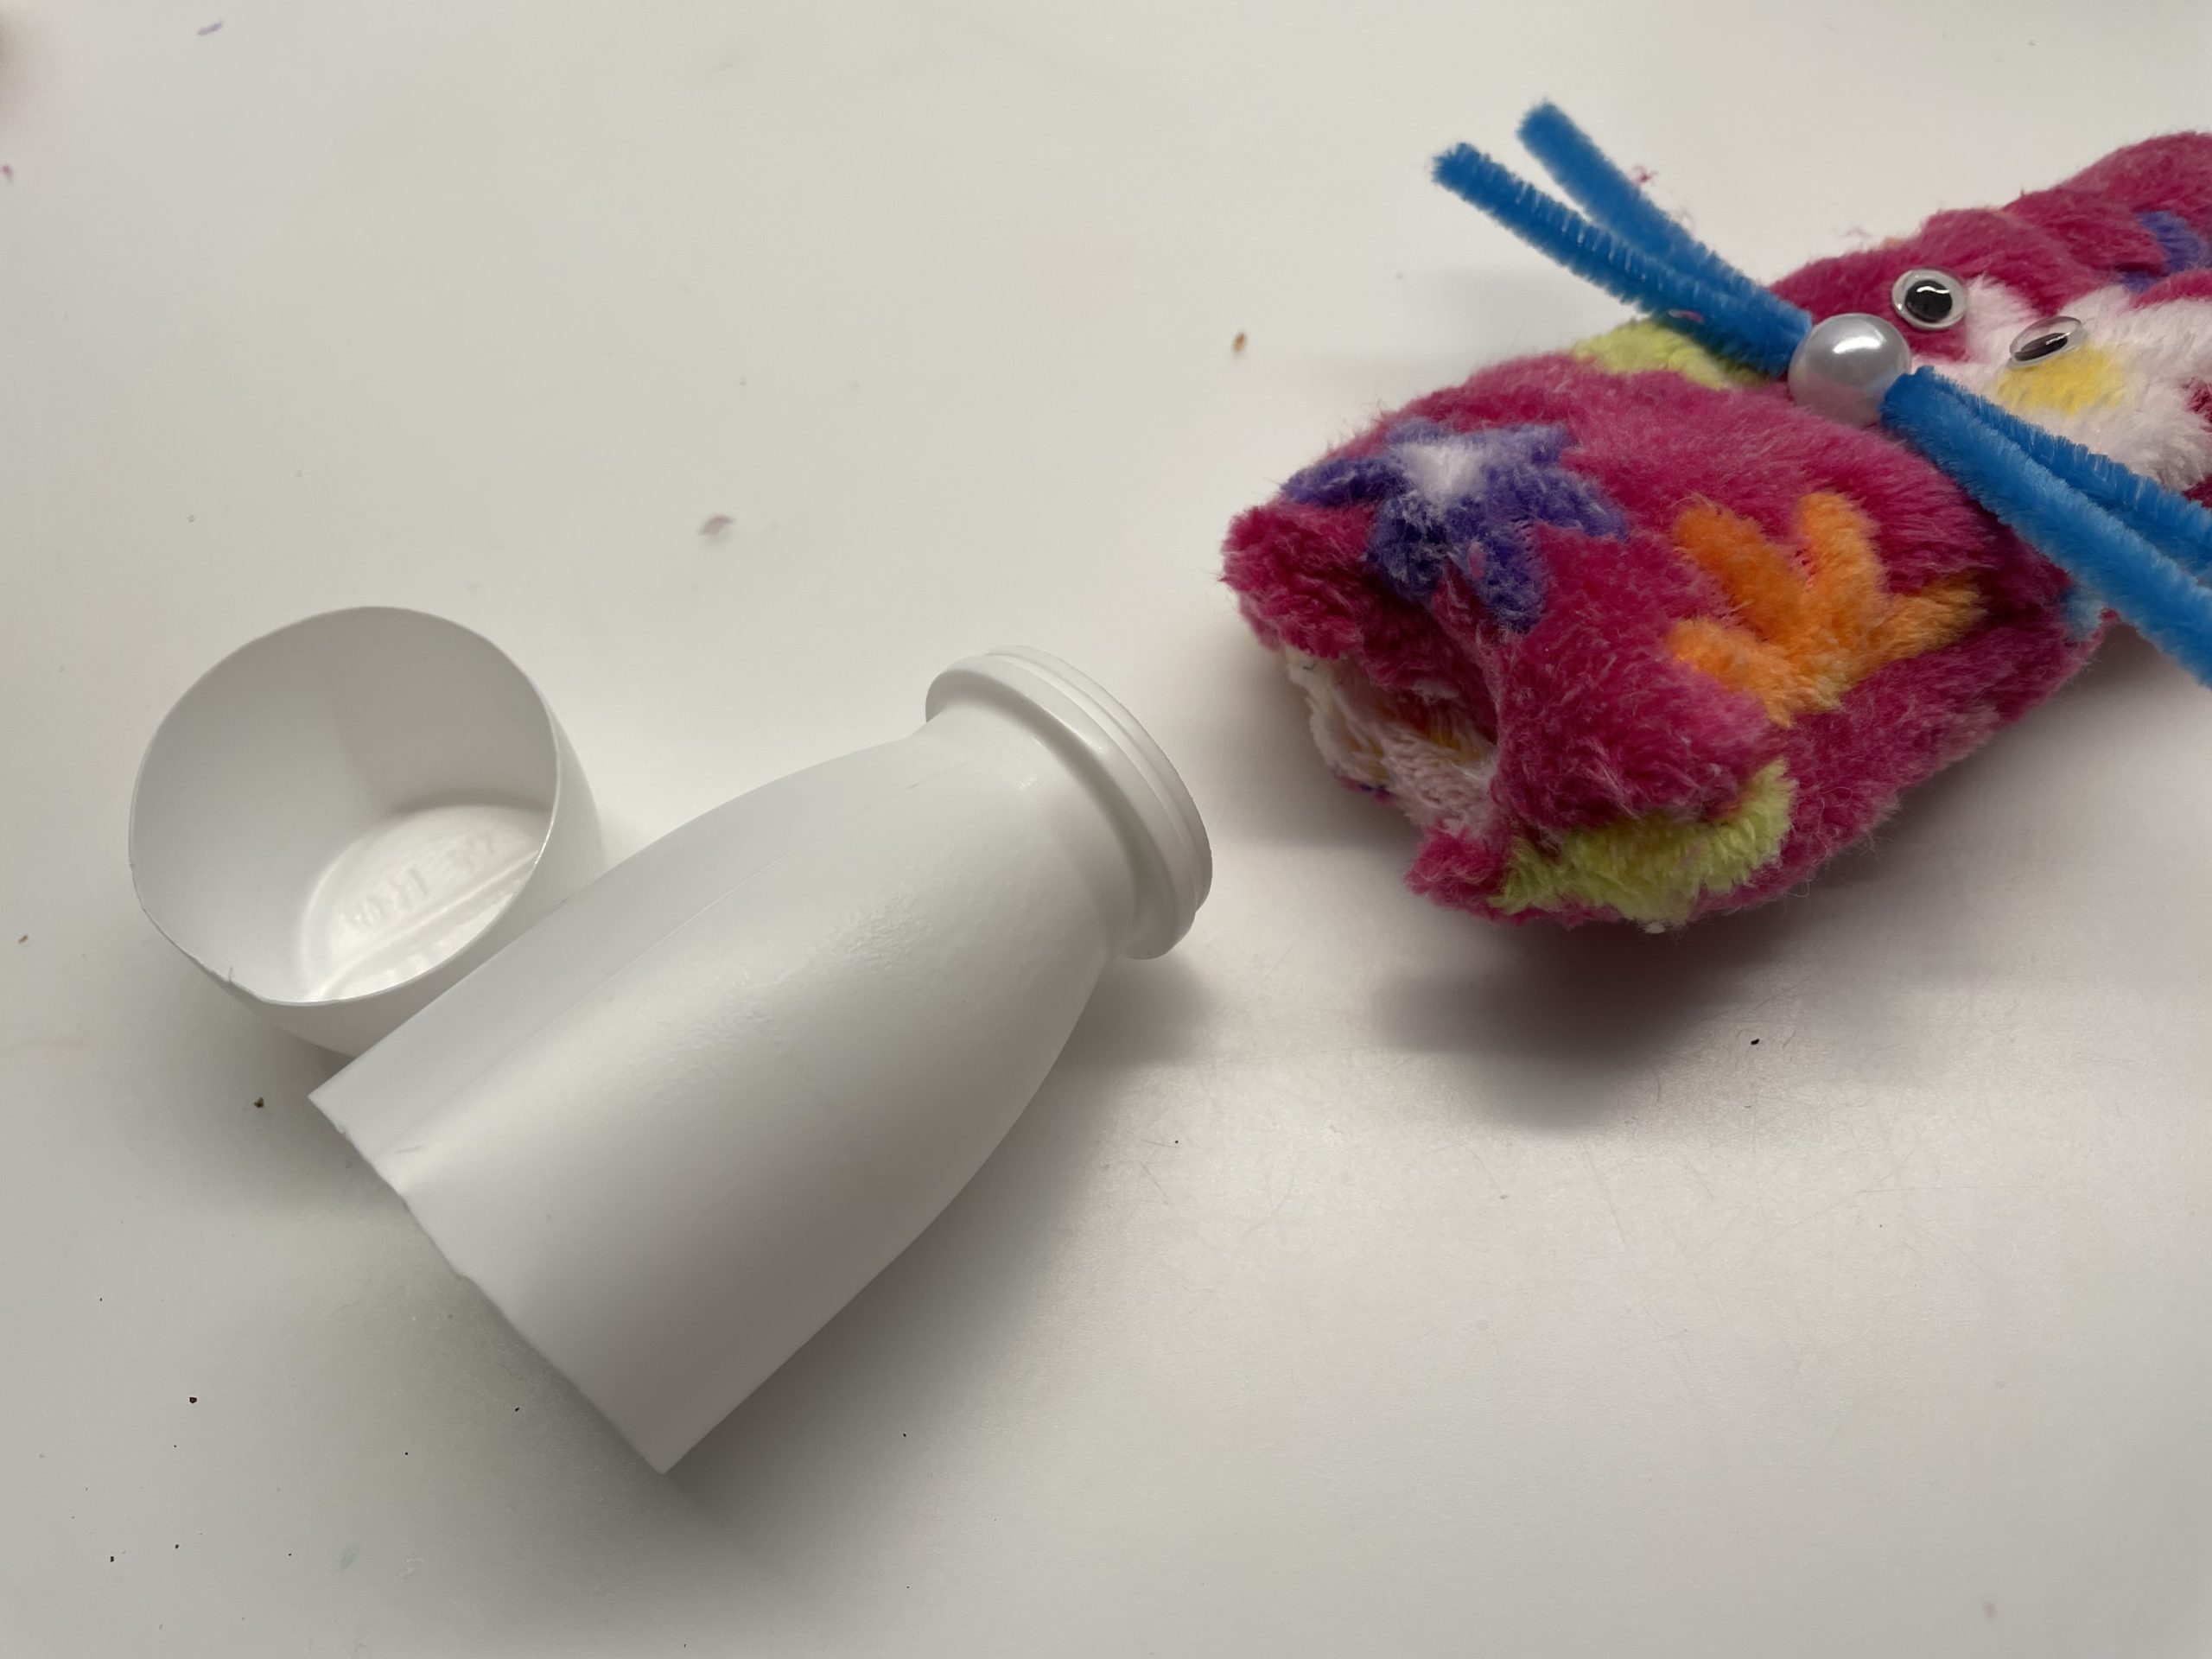
Cuts off the yoghurt cup on the thick side.
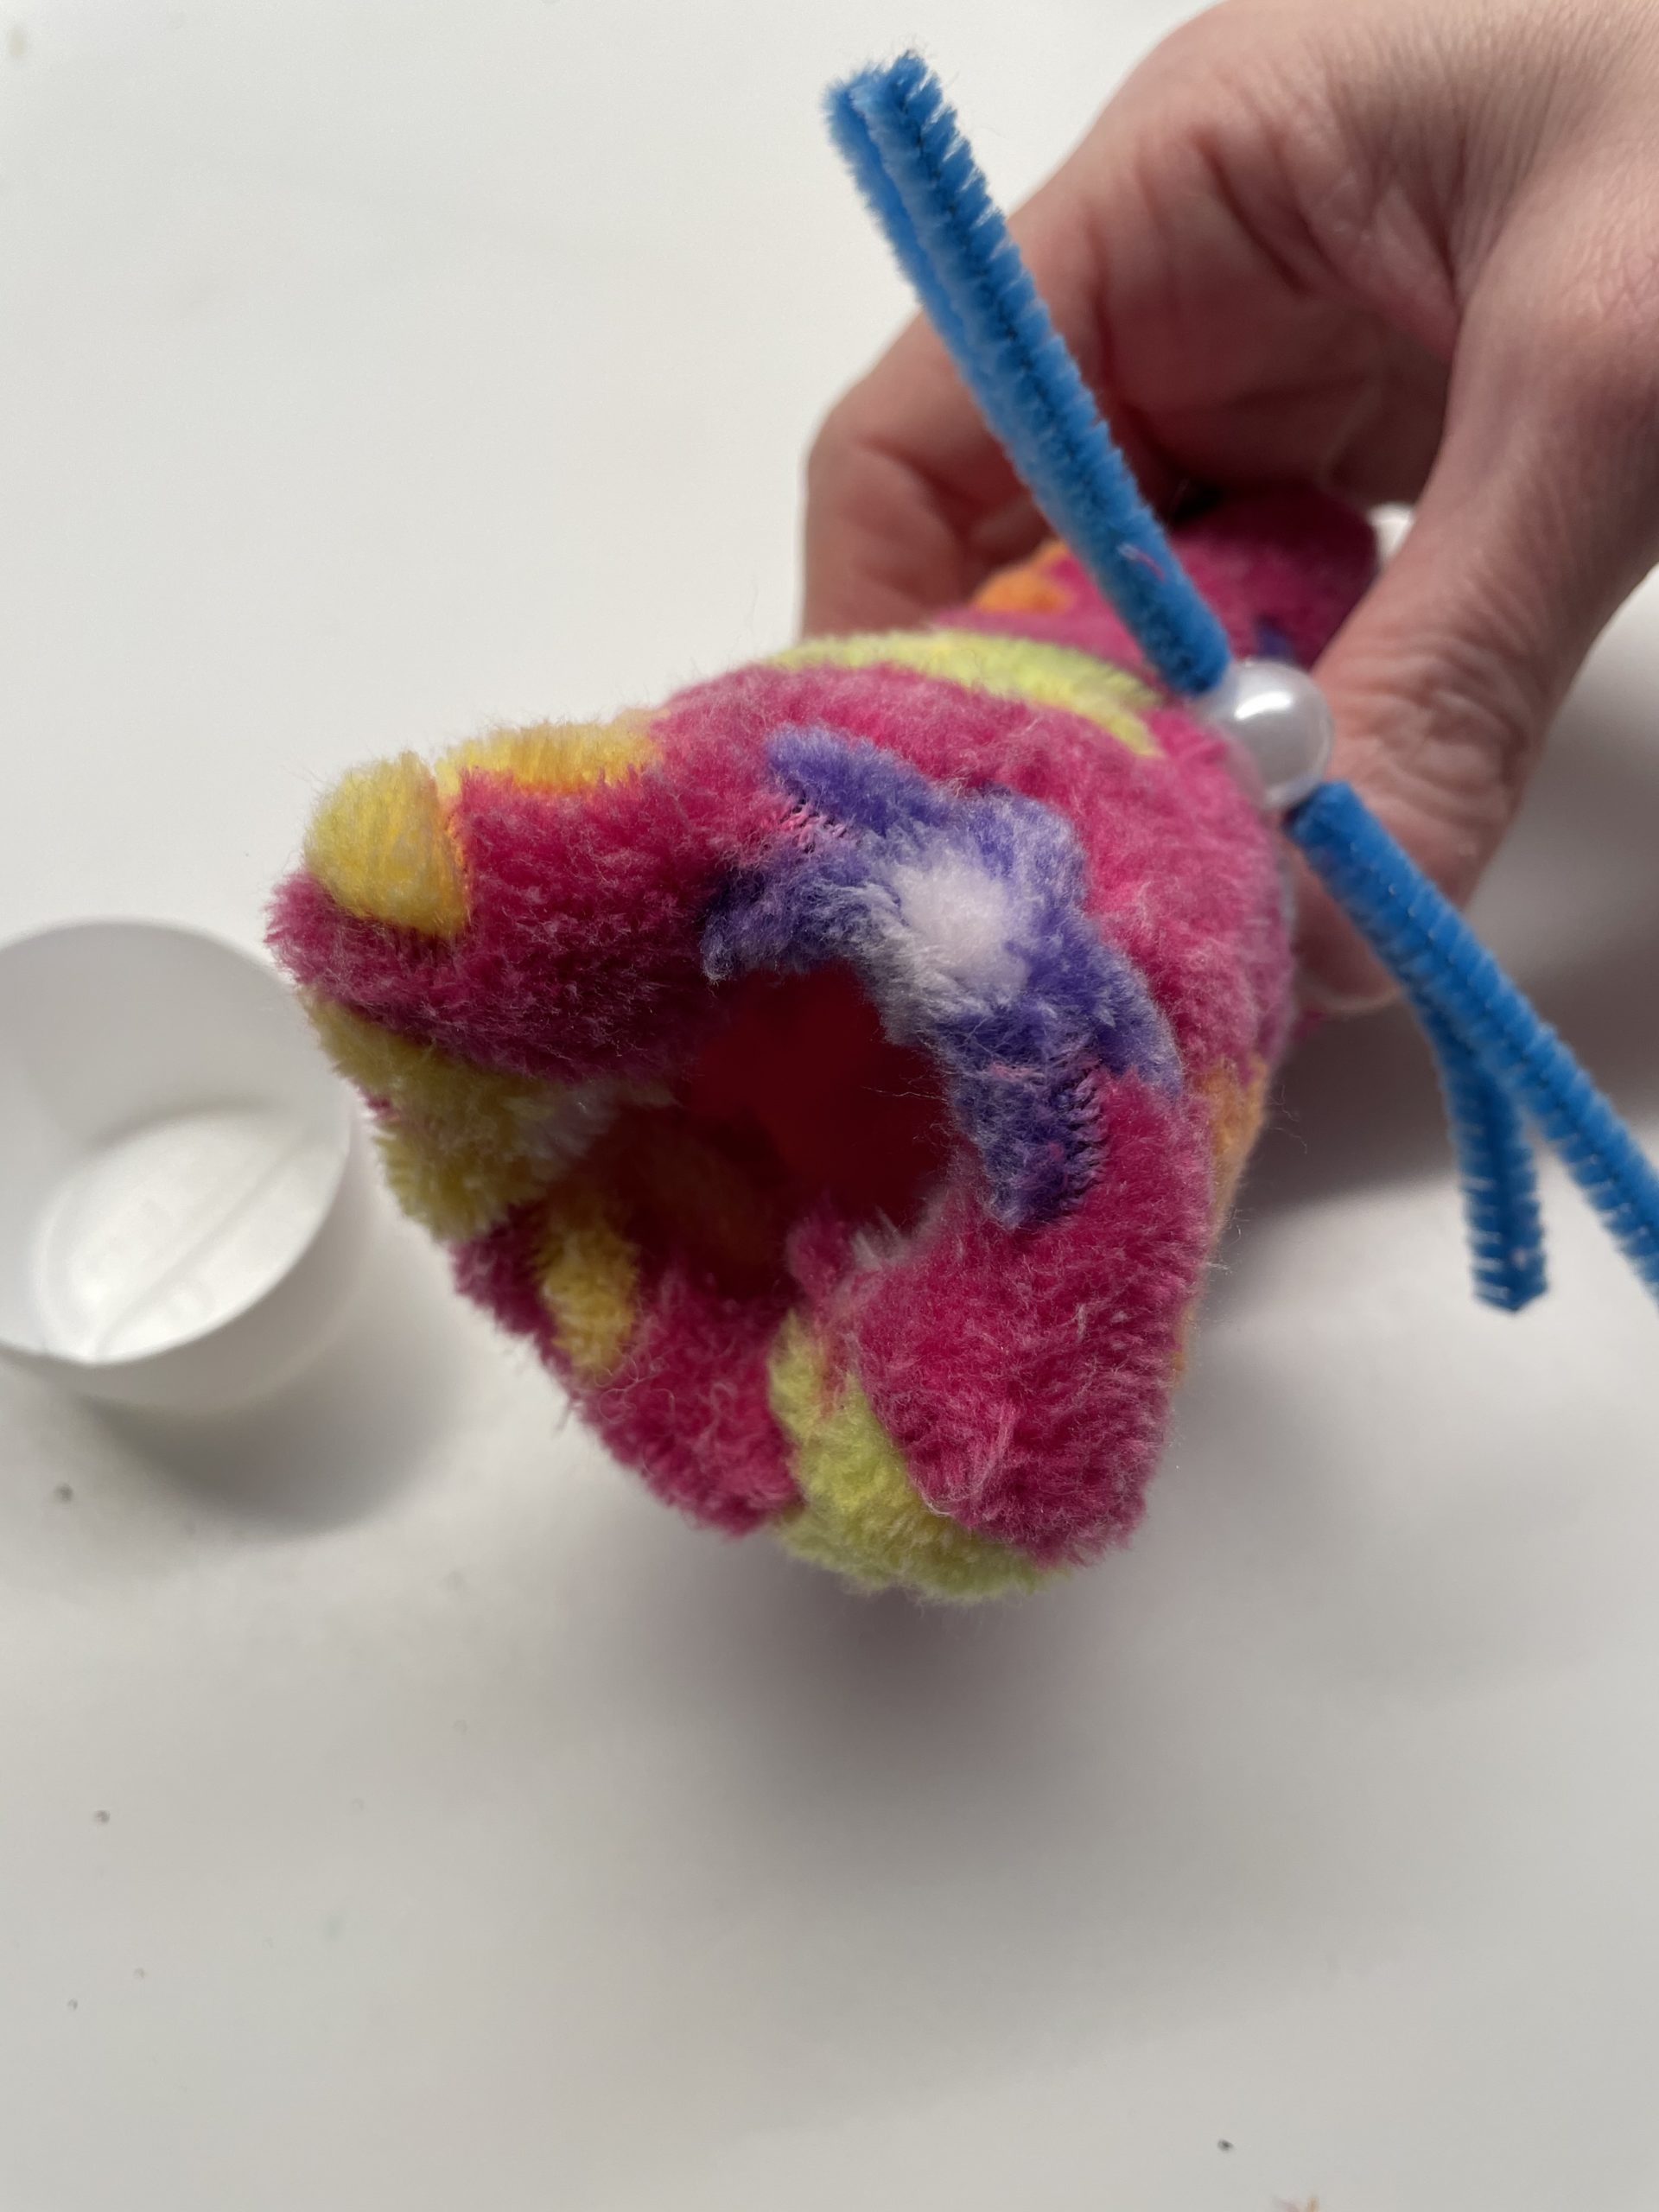
Then you push the shortened cup into the opening in the fabric. Beat the fabric around the cup edge.
Now you raise the rabbit and position it so that it stands well.
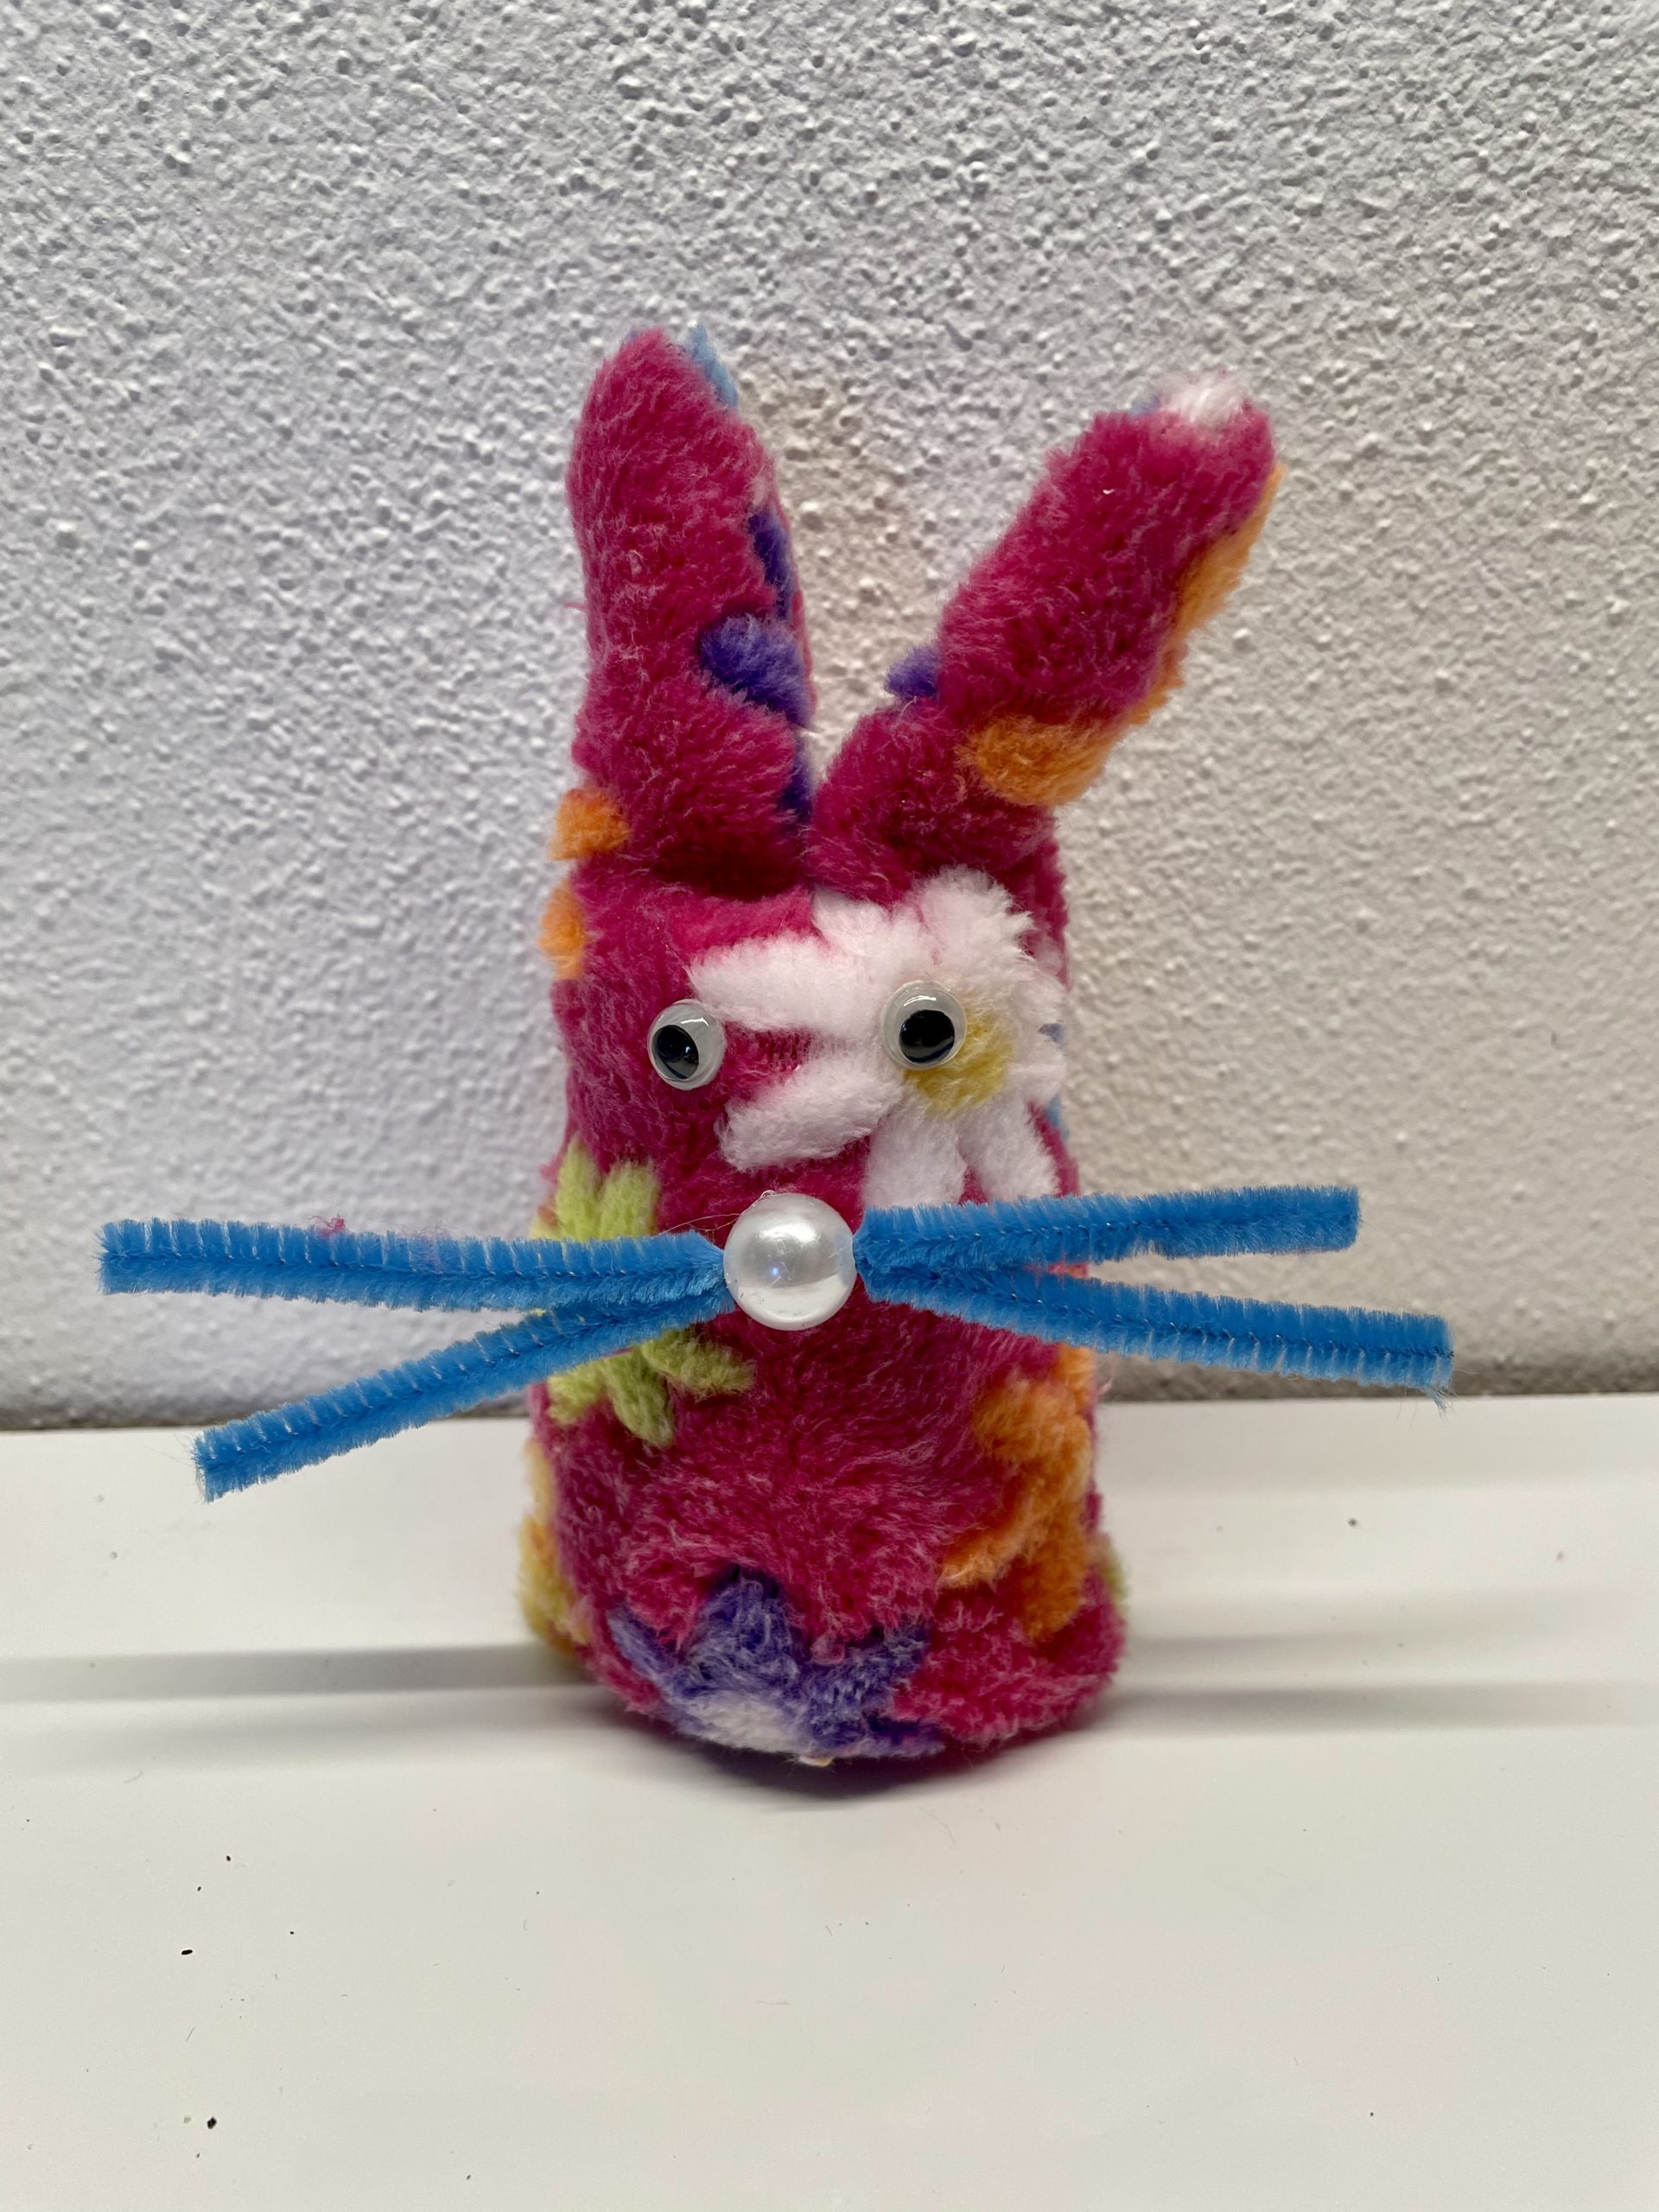
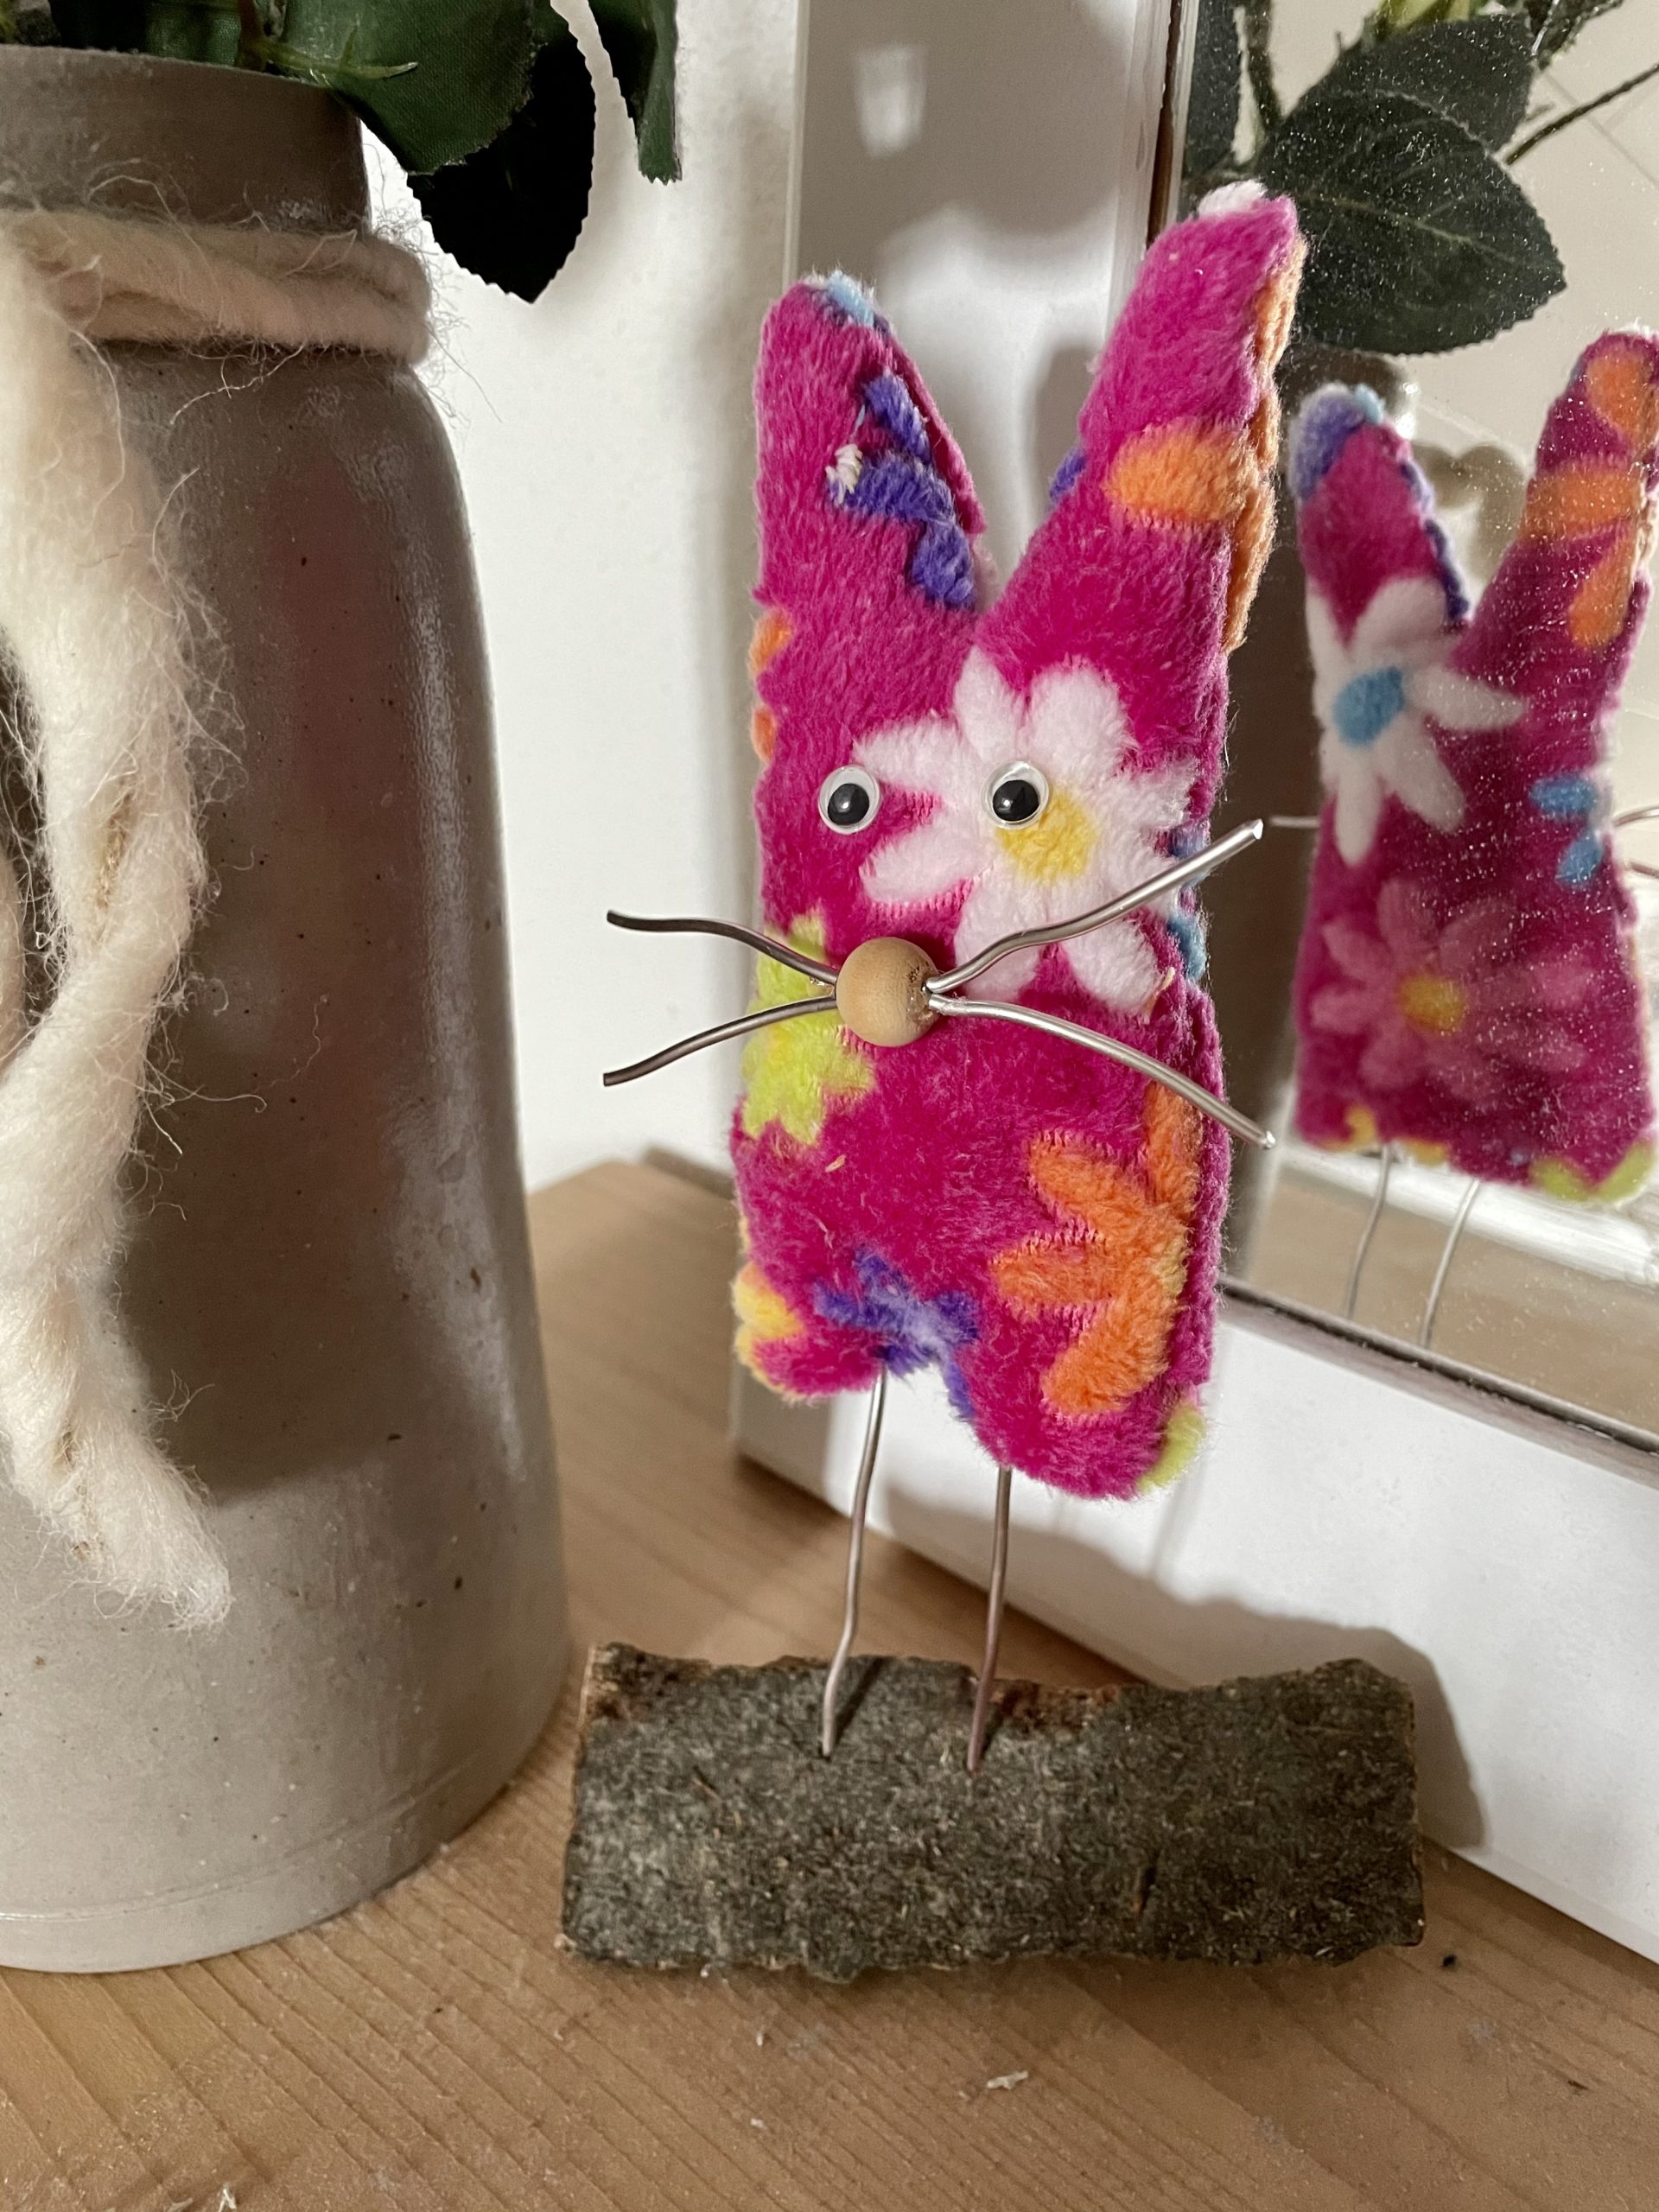
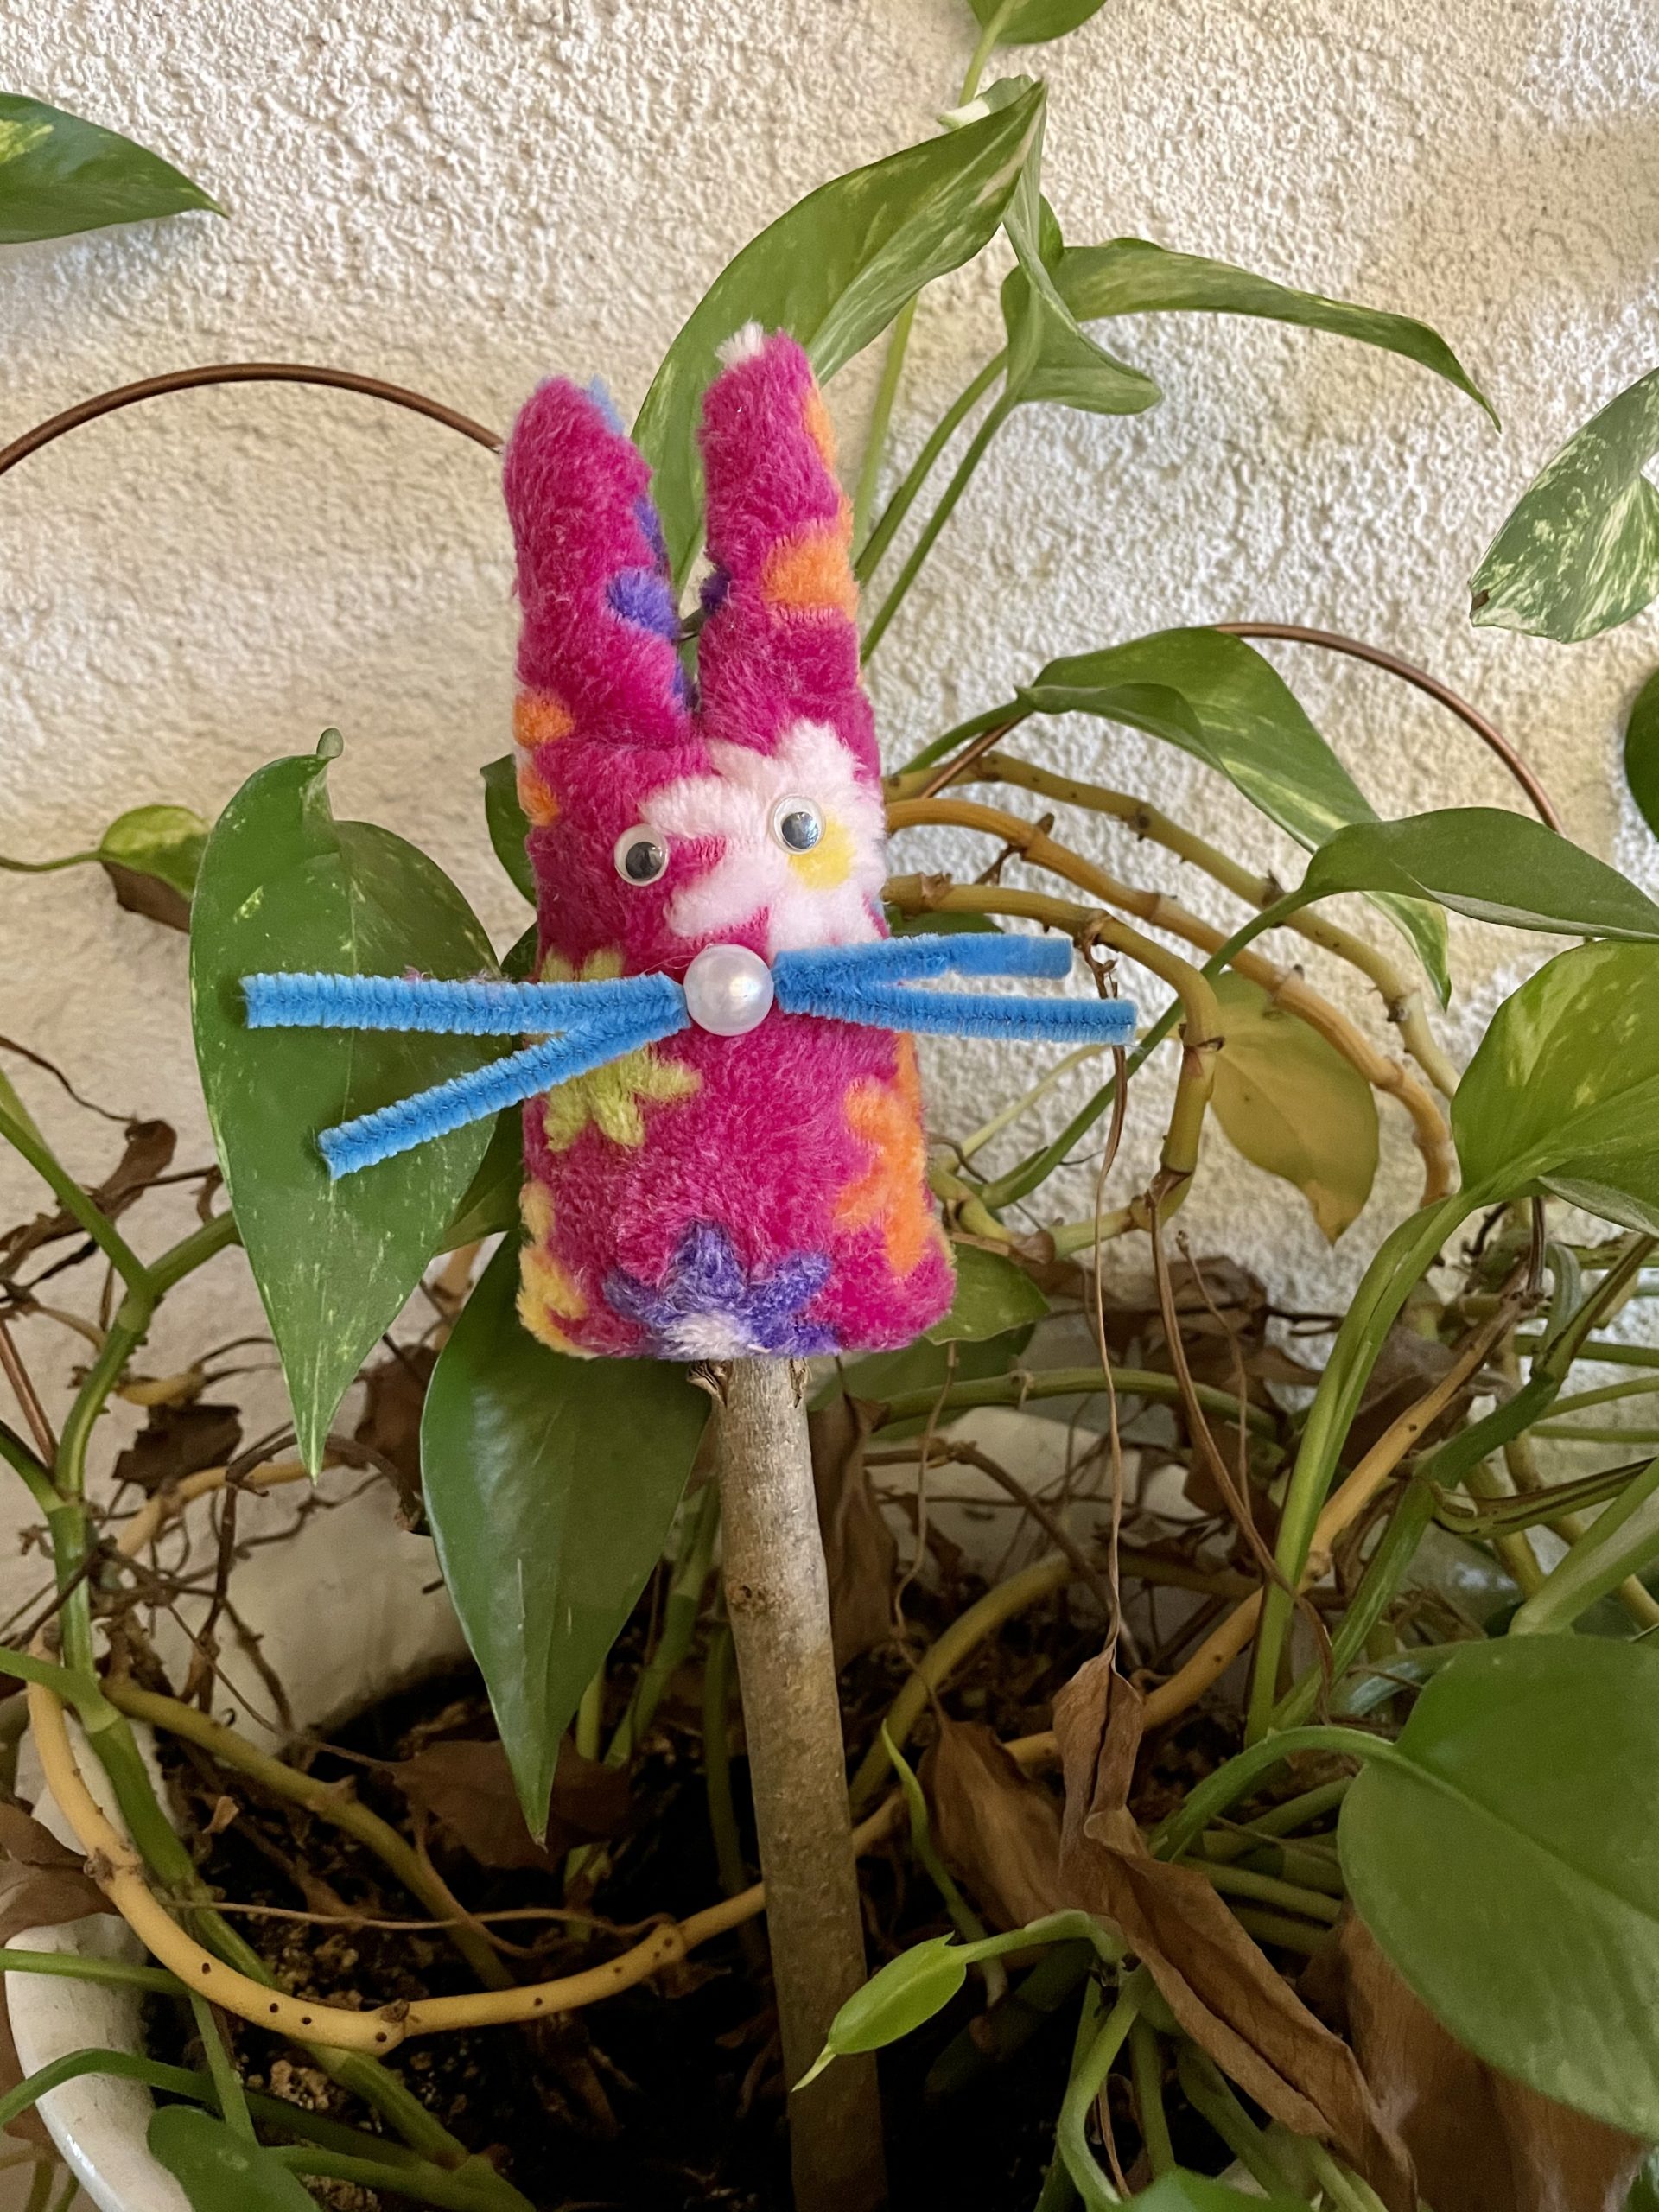
The colourful Easter bunny is ready.
Use it as decoration or to play. It can be used like a hand puppet.
Also put on a branch, it is a nice decoration.
Have fun sewing, crafting and playing.
Materials
Directions
Provides a craft document if necessary.
Print the template first and cut out the rabbit.
Now choose a colorful plush fabric. This is about twice the size of the rabbit template.
Double the fabric, in the size of the rabbit template. The beautiful side lies inside each.
Then insert the template with pins on the double-laid fabric. Cut the fabric after the template.
Then remove the paper template. Then put the pieces of fabric back together with the pins. Furthermore, the beautiful sides lie inside.
Now sew the fabrics together with the sewing machine. Start on one side and sew up to the ears. The underside remains open. Sew with a half centimetre distance to the fabric edge.
Arriving between the ears, you stop, but leave the needle stuck in the fabric. Lift the foot of the sewing machine and turn the fabric in the following sewing direction. Then you lower the foot again and sew the second ear to the end.
The sewing work is done.
Turn the fabric through the open space at the bottom.
Press the tight spots on the ears with a pen into the corresponding shape.
Now you stuff the rabbit with fabric residue or cotton wool.
Turn the bottom edge of the fabric 0.5cm inwards. This edge will be glued later.
Set up your wooden piece and cut off two 10cm long pieces of craft wire.
Then you drill two thin holes for the craft wire into the wood. Let an adult help you with this - risk of injury!
Drill the holes at a distance of about 2-3 cm. Then put the wires in.
Then you stick the wobble eyes on the cloth bunny.
Now thread through a bead two approx. 8cm long wires. Then stick the nose with hot glue on the rabbits. Attention when handling the hot glue - danger of injury!
Put the rabbit on the wires in the wood and stick the lower opening in the fabric.
The rabbit is ready.
For this you use a pearl and pipe cleaner for the nose. First plug two approximately 8cm long pipe cleaners through the pearl.
Then stick her nose with hot glue on the rabbits. Be careful when handling the hot glue - risk of injury!
To set up the rabbit, you use a drinking yoghurt cup.
Cuts off the yoghurt cup on the thick side.
Then you push the shortened cup into the opening in the fabric. Beat the fabric around the cup edge.
Now you raise the rabbit and position it so that it stands well.
The colourful Easter bunny is ready.
Use it as decoration or to play. It can be used like a hand puppet.
Also put on a branch, it is a nice decoration.
Have fun sewing, crafting and playing.
Follow us on Facebook , Instagram and Pinterest
Don't miss any more adventures: Our bottle mail


What a pleasure! Today we have sewn an entire hare family. It instruction is great for beginners. The children are enthusiastic and each hare has got a name.
We are happy that you have succeeded so well and wish you a lot of fun with „Hoppel“ family!