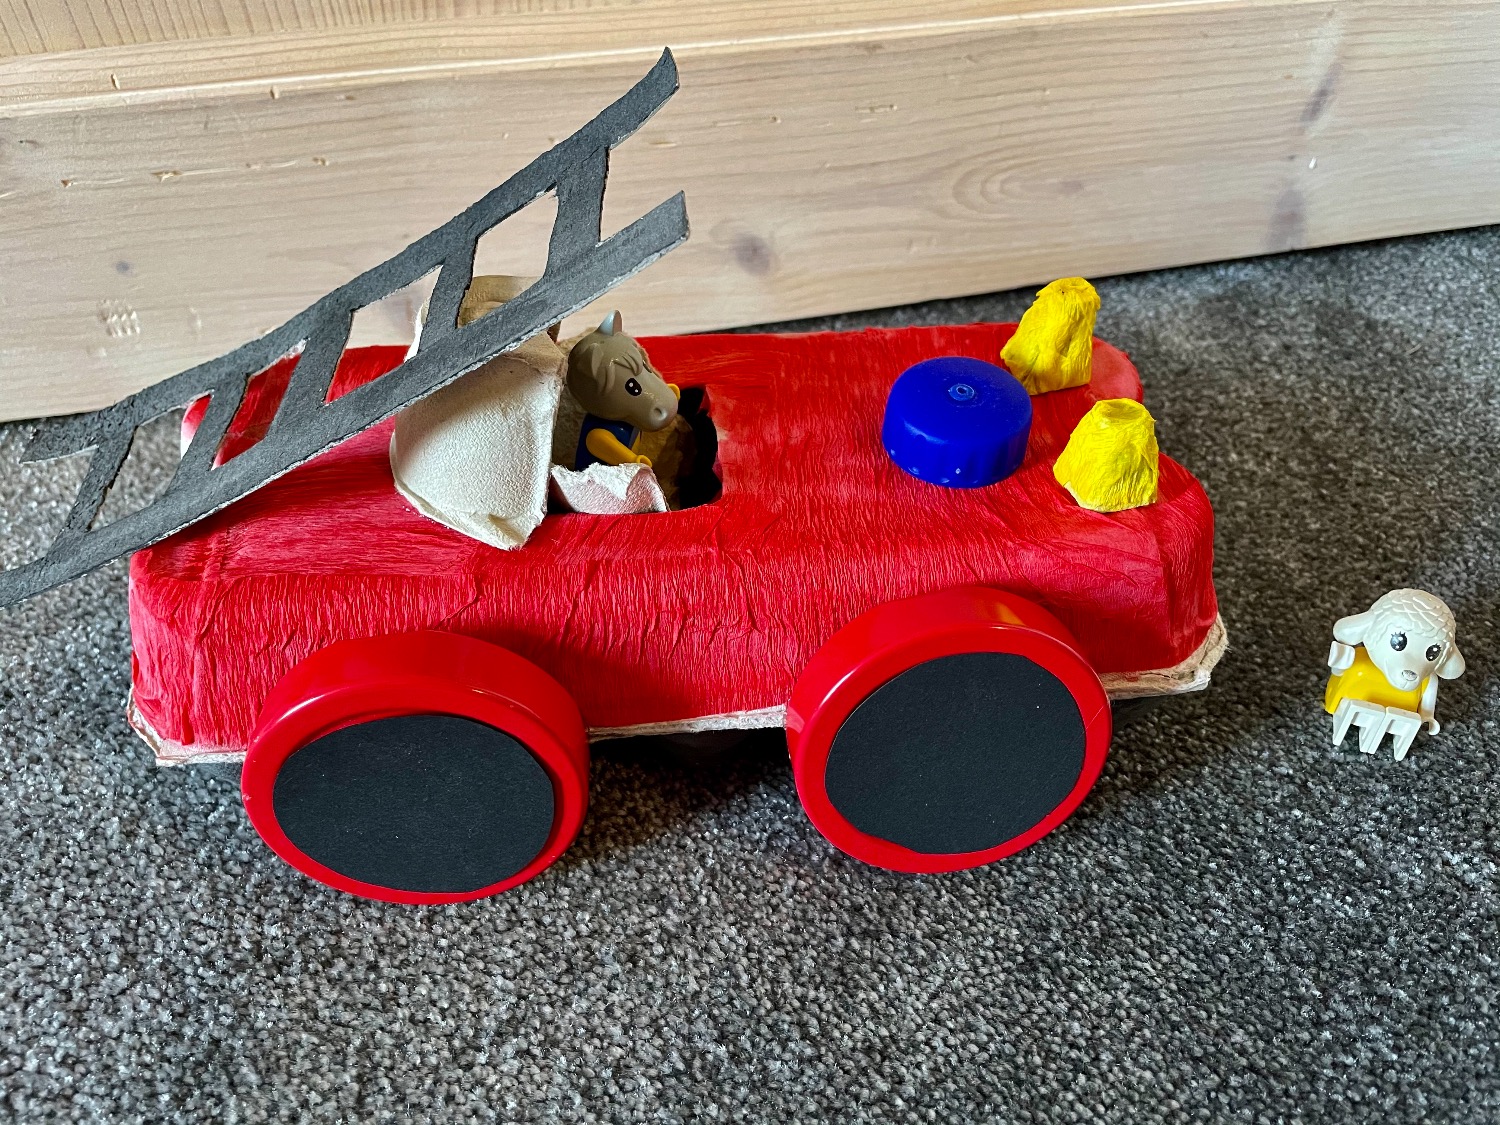
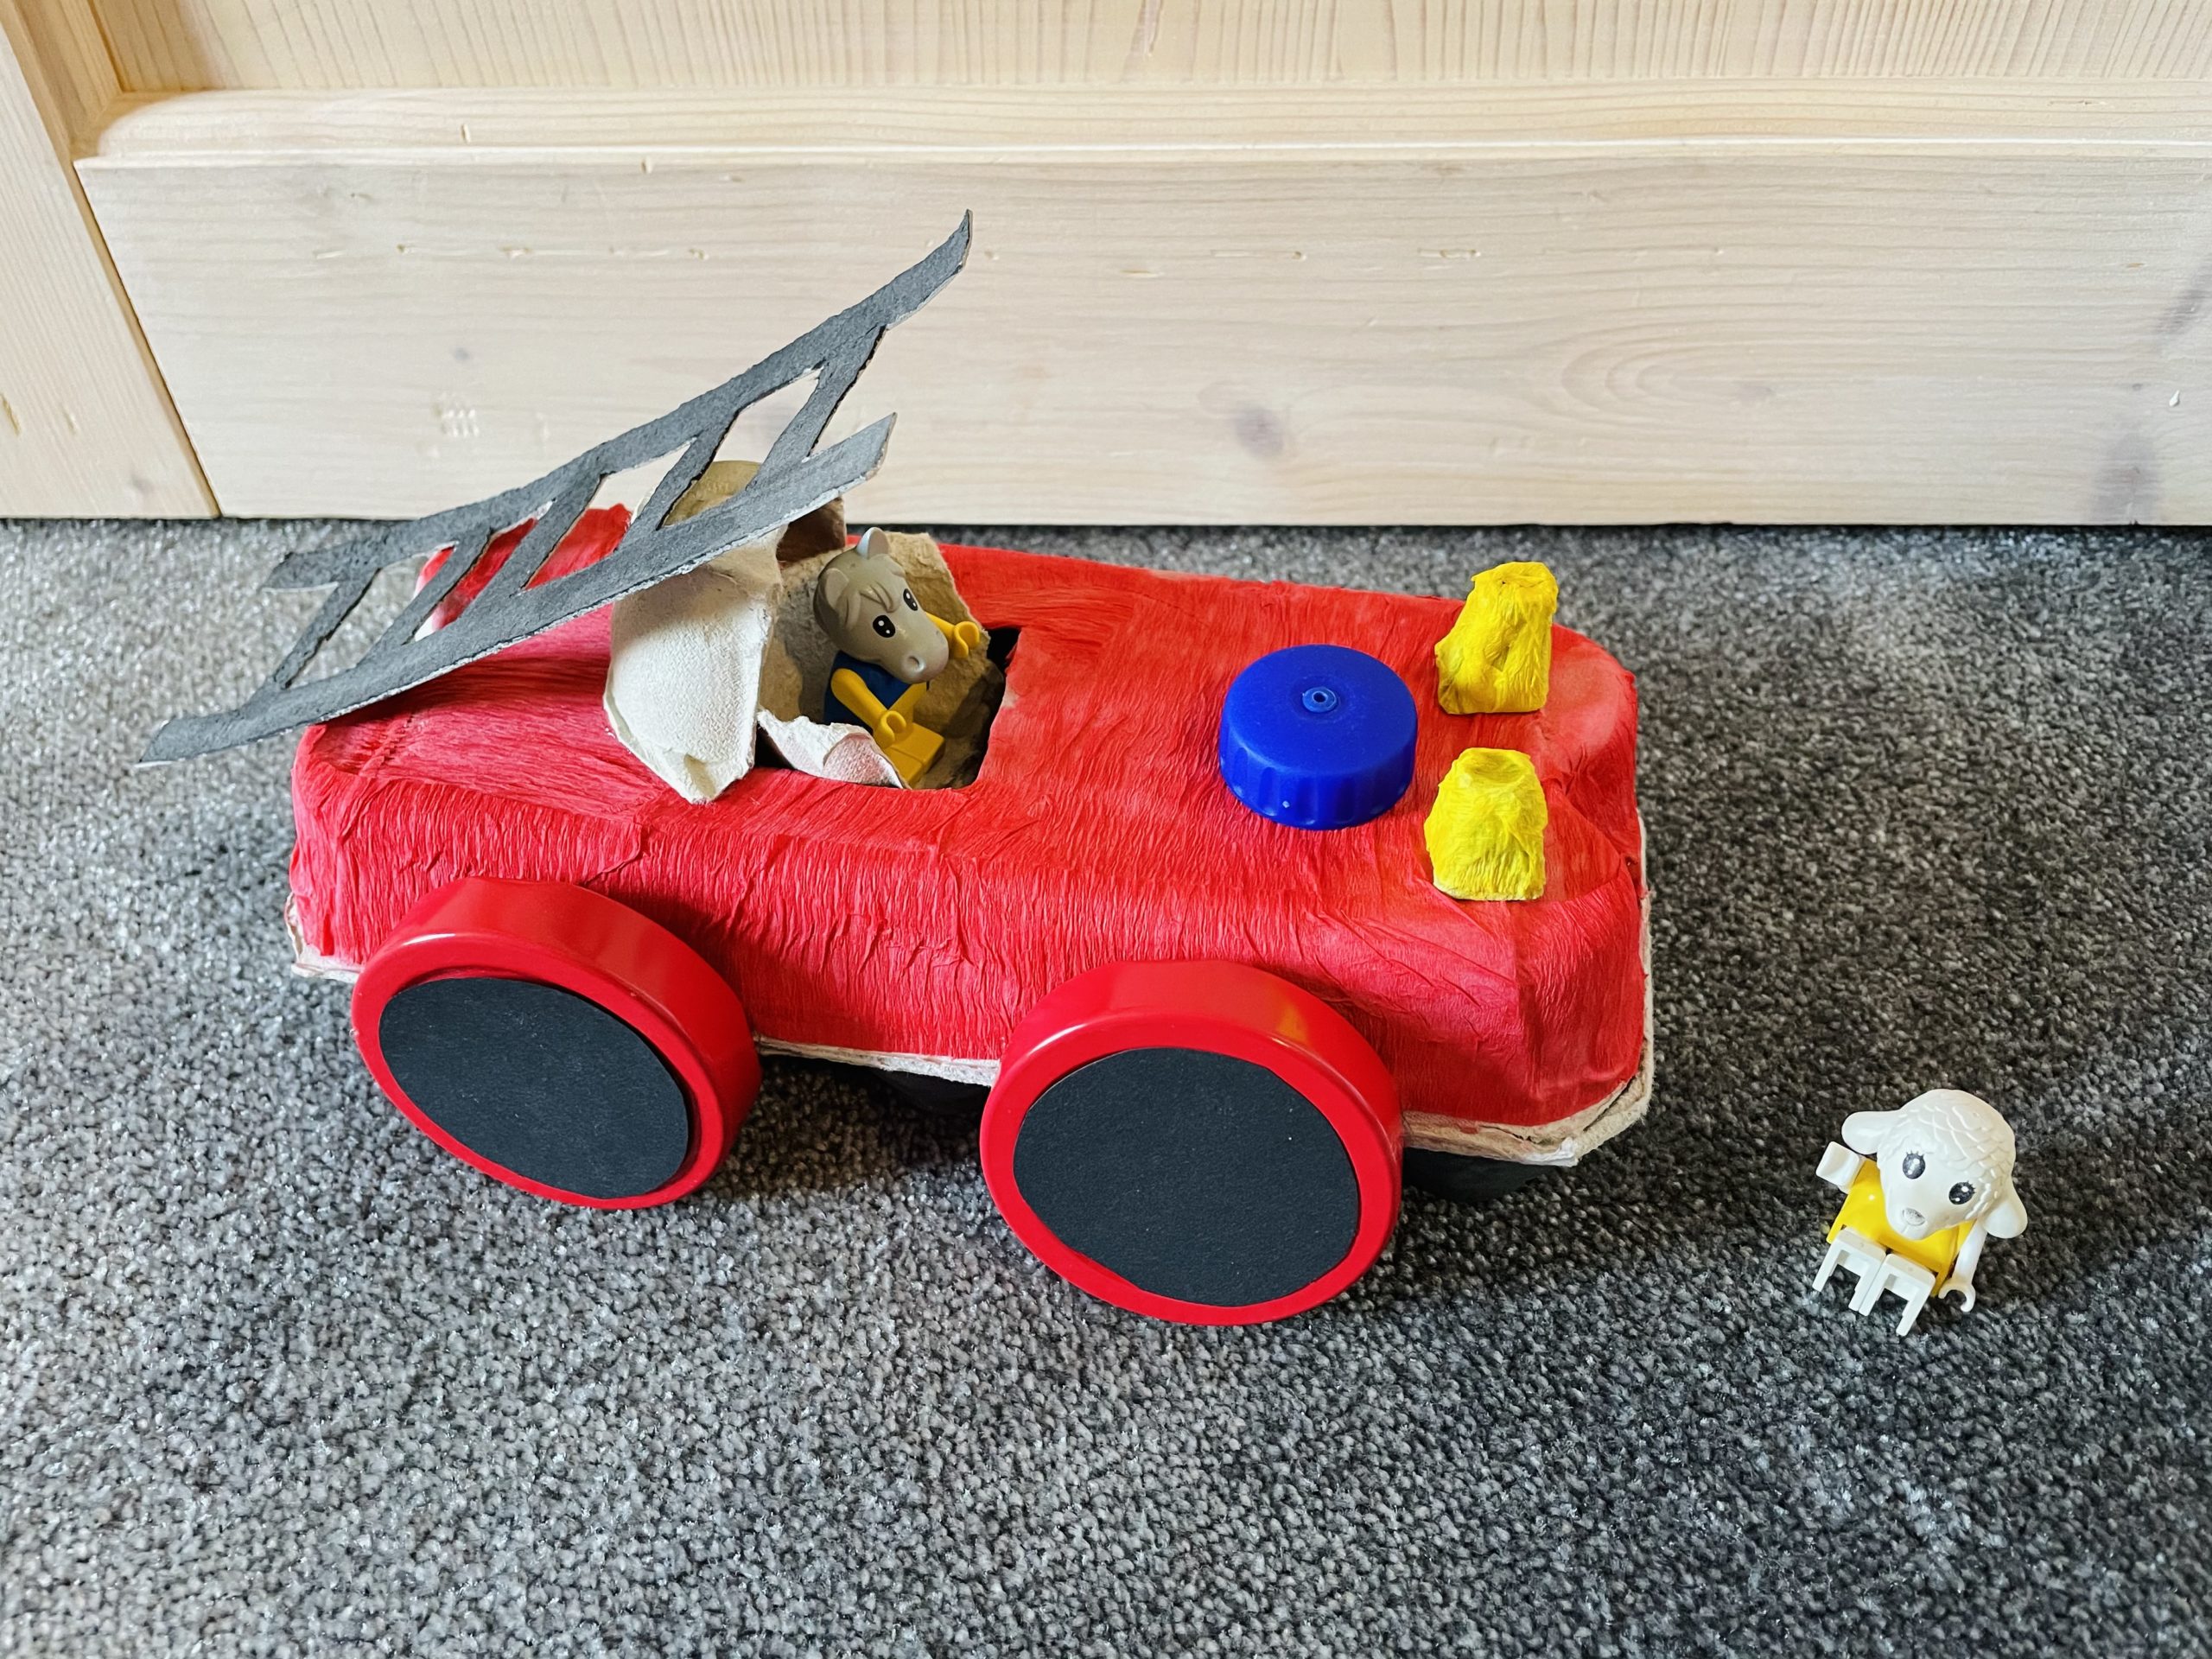
This fire truck not only invites you to do crafts, but also to play.
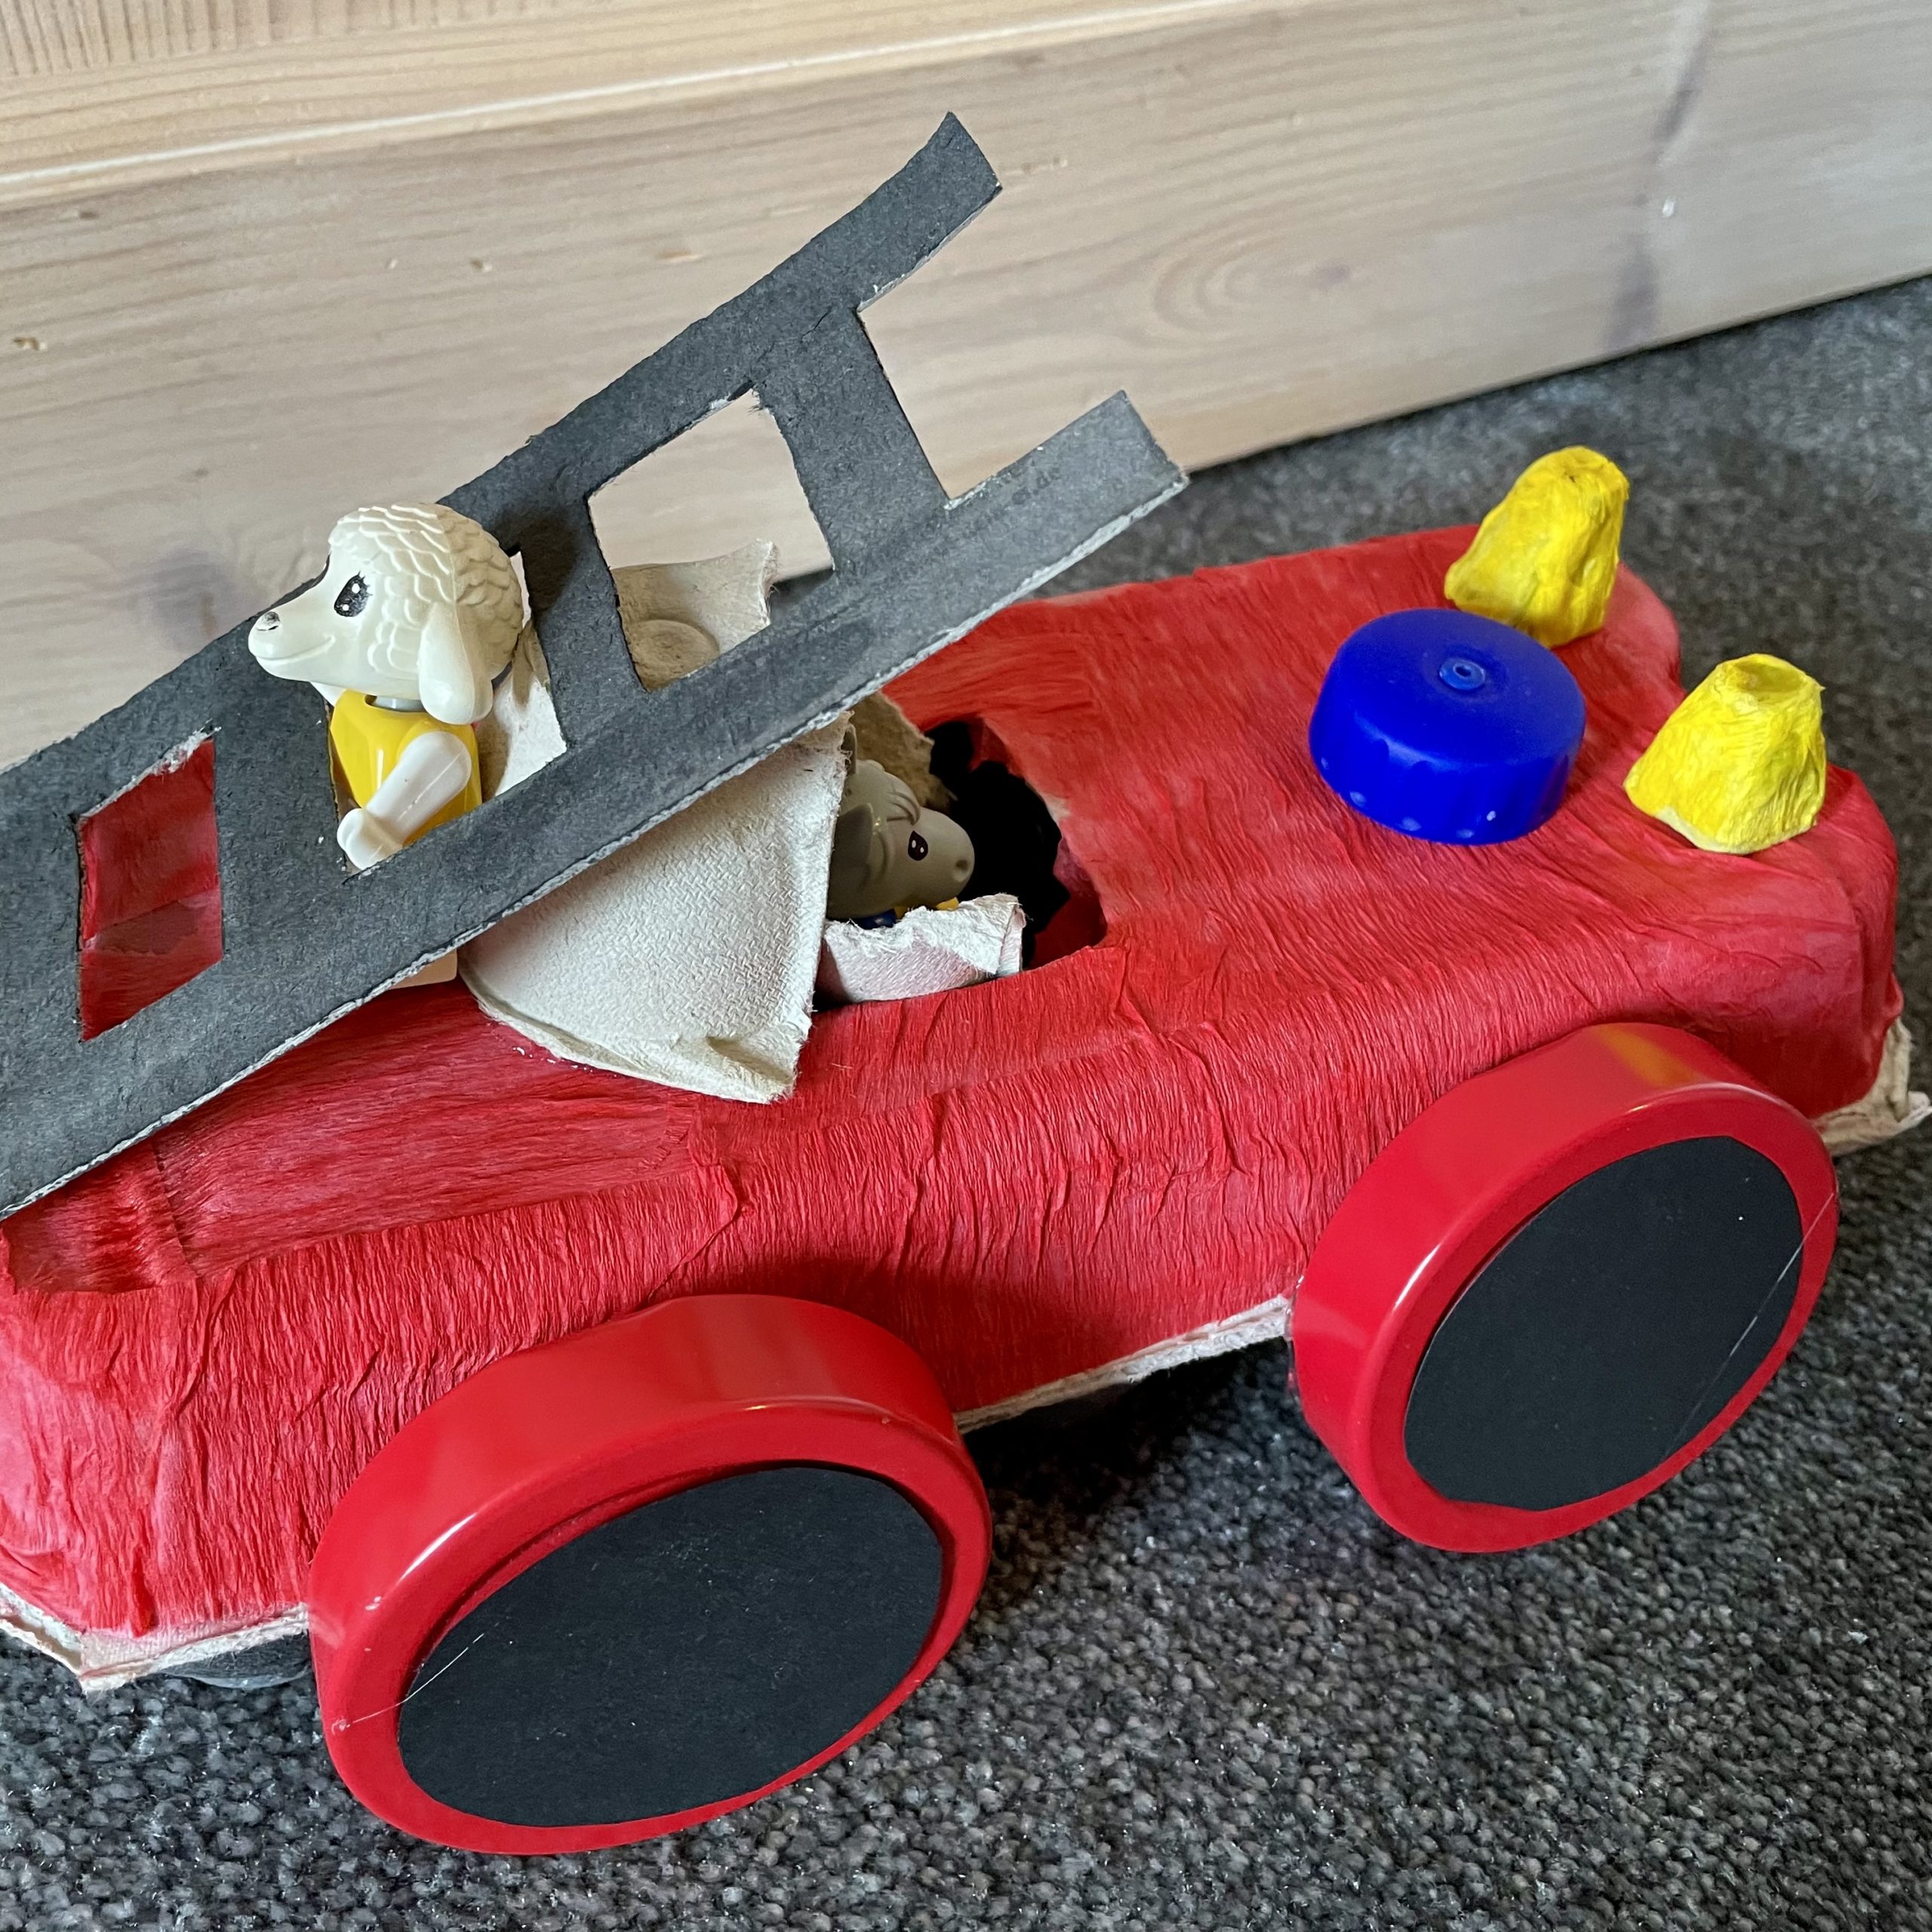
An egg box creates a stable firefighting vehicle with which small figures as well as small cuddly animals can be used.
Media Education for Kindergarten and Hort

Relief in everyday life, targeted promotion of individual children, independent learning and - without any pre-knowledge already usable by the youngest!
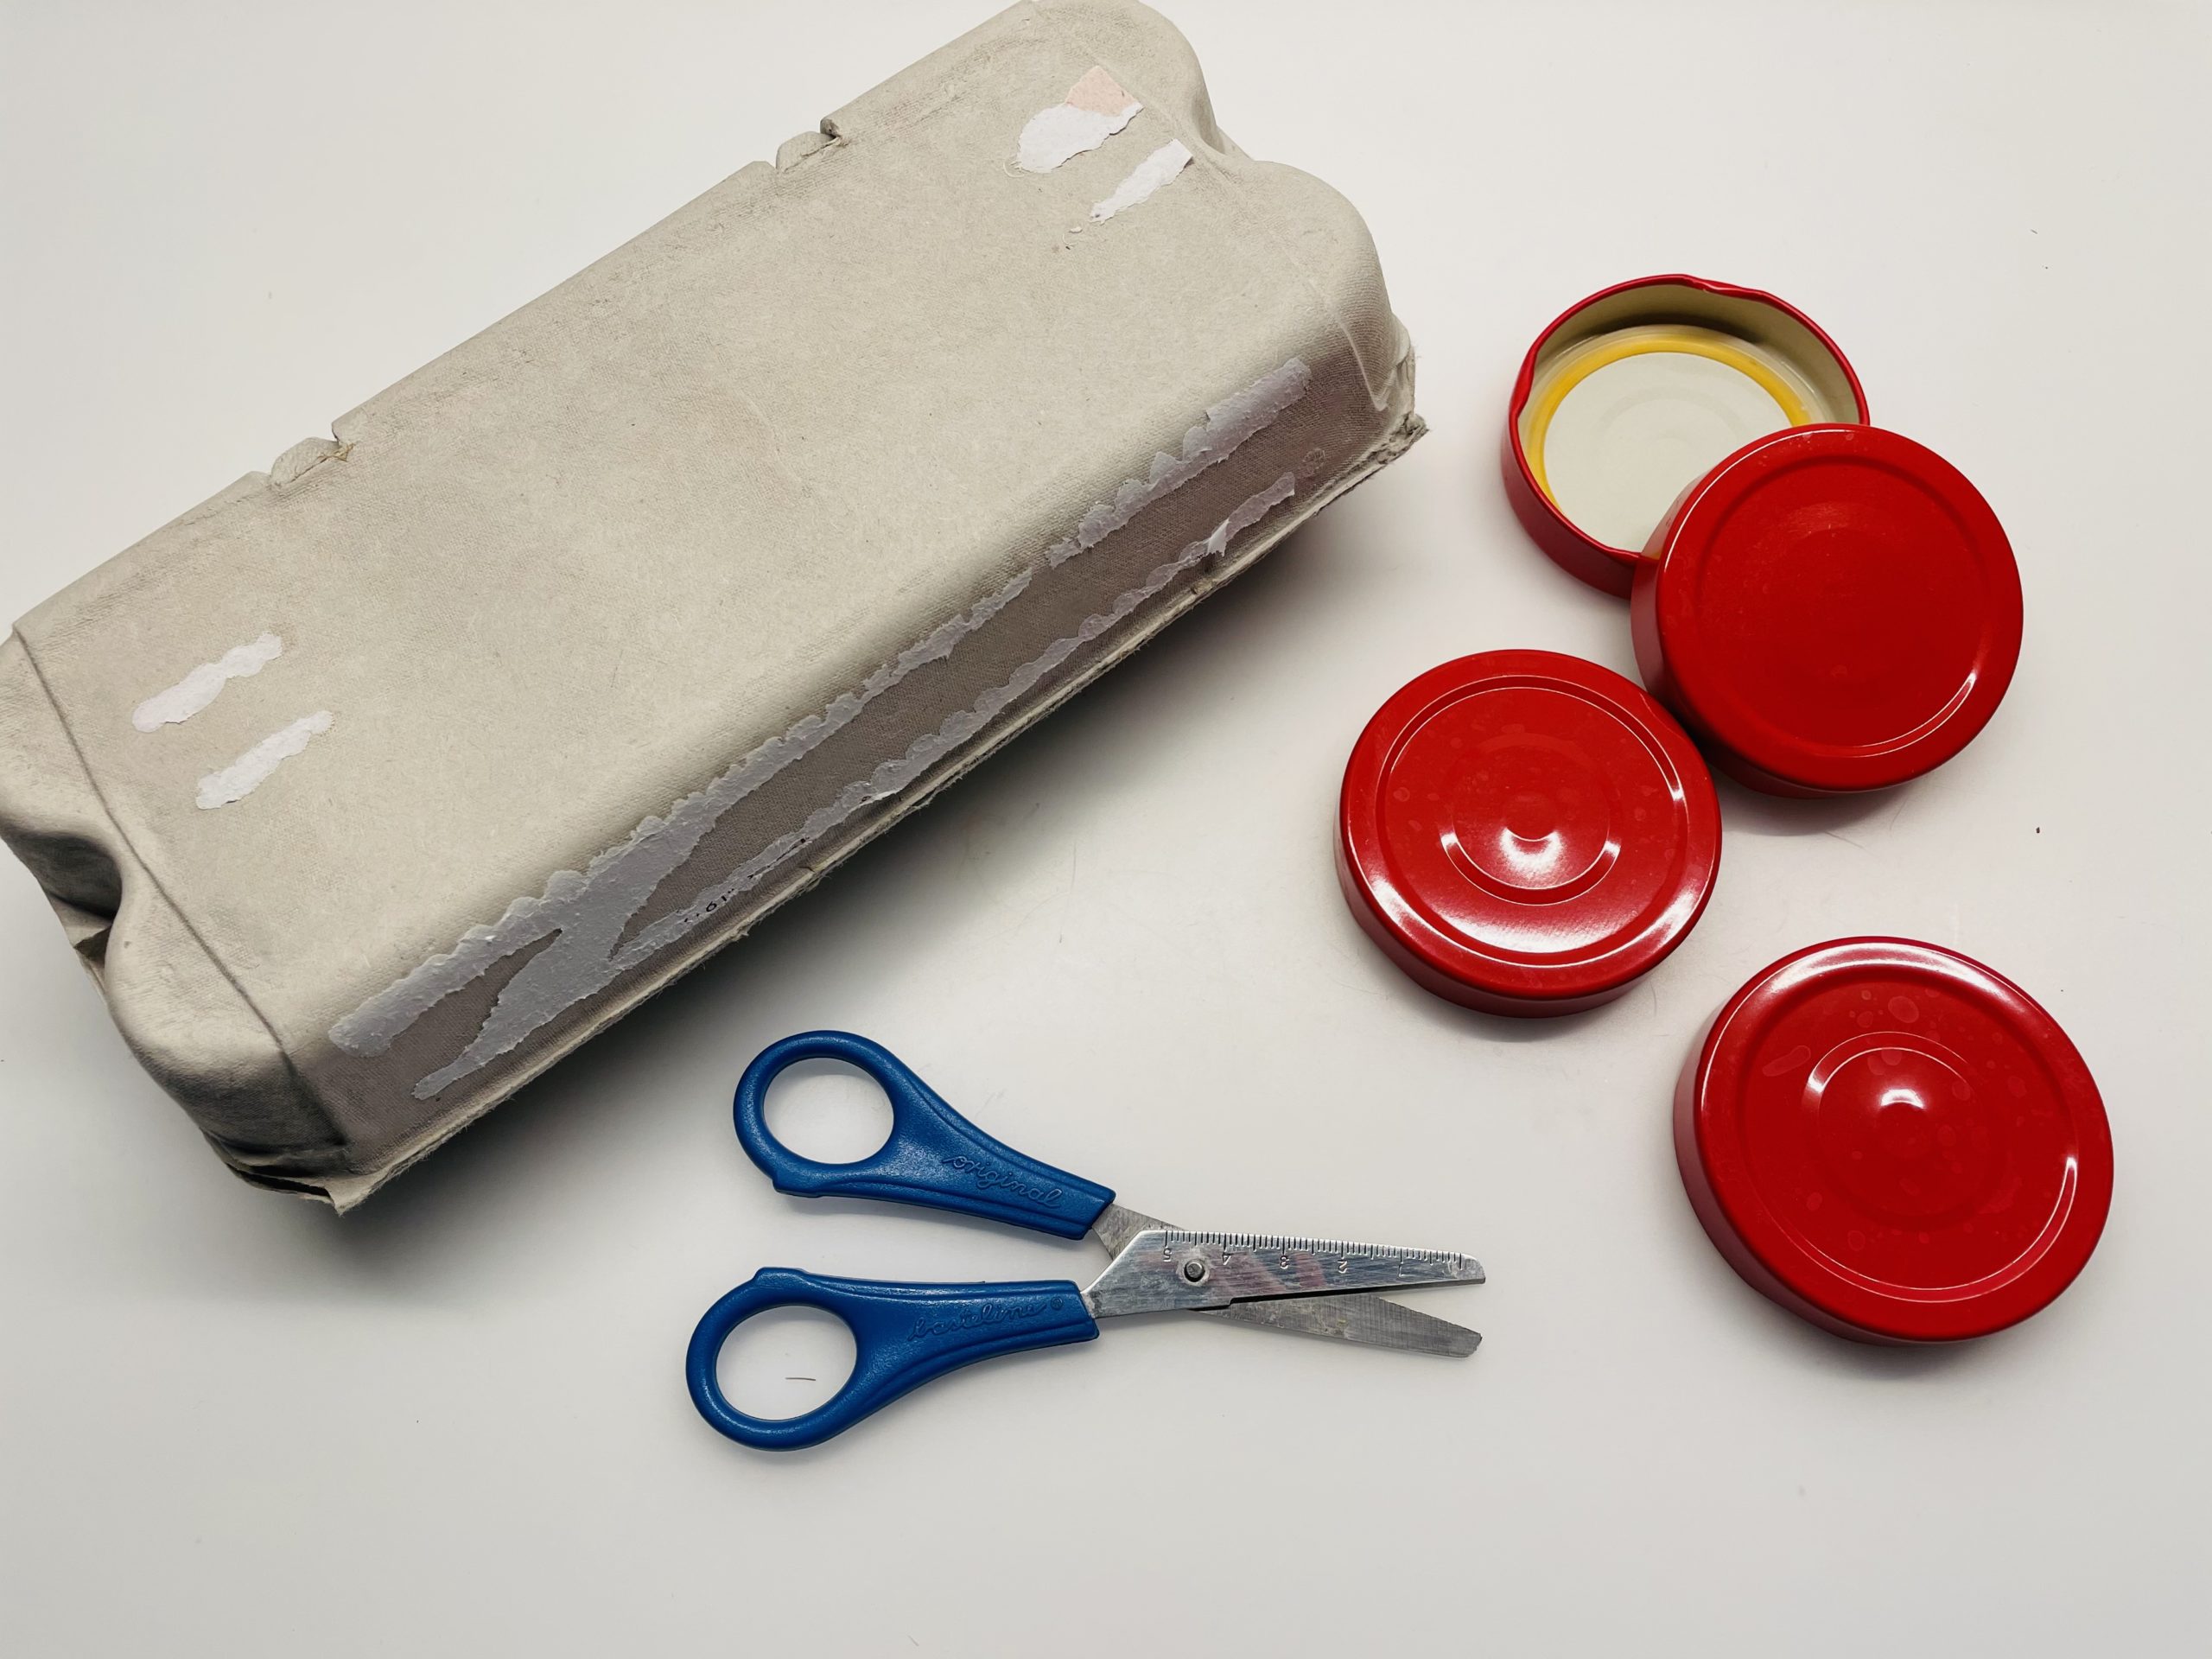
Prepare the materials and a craft pad and put on a paint coat.
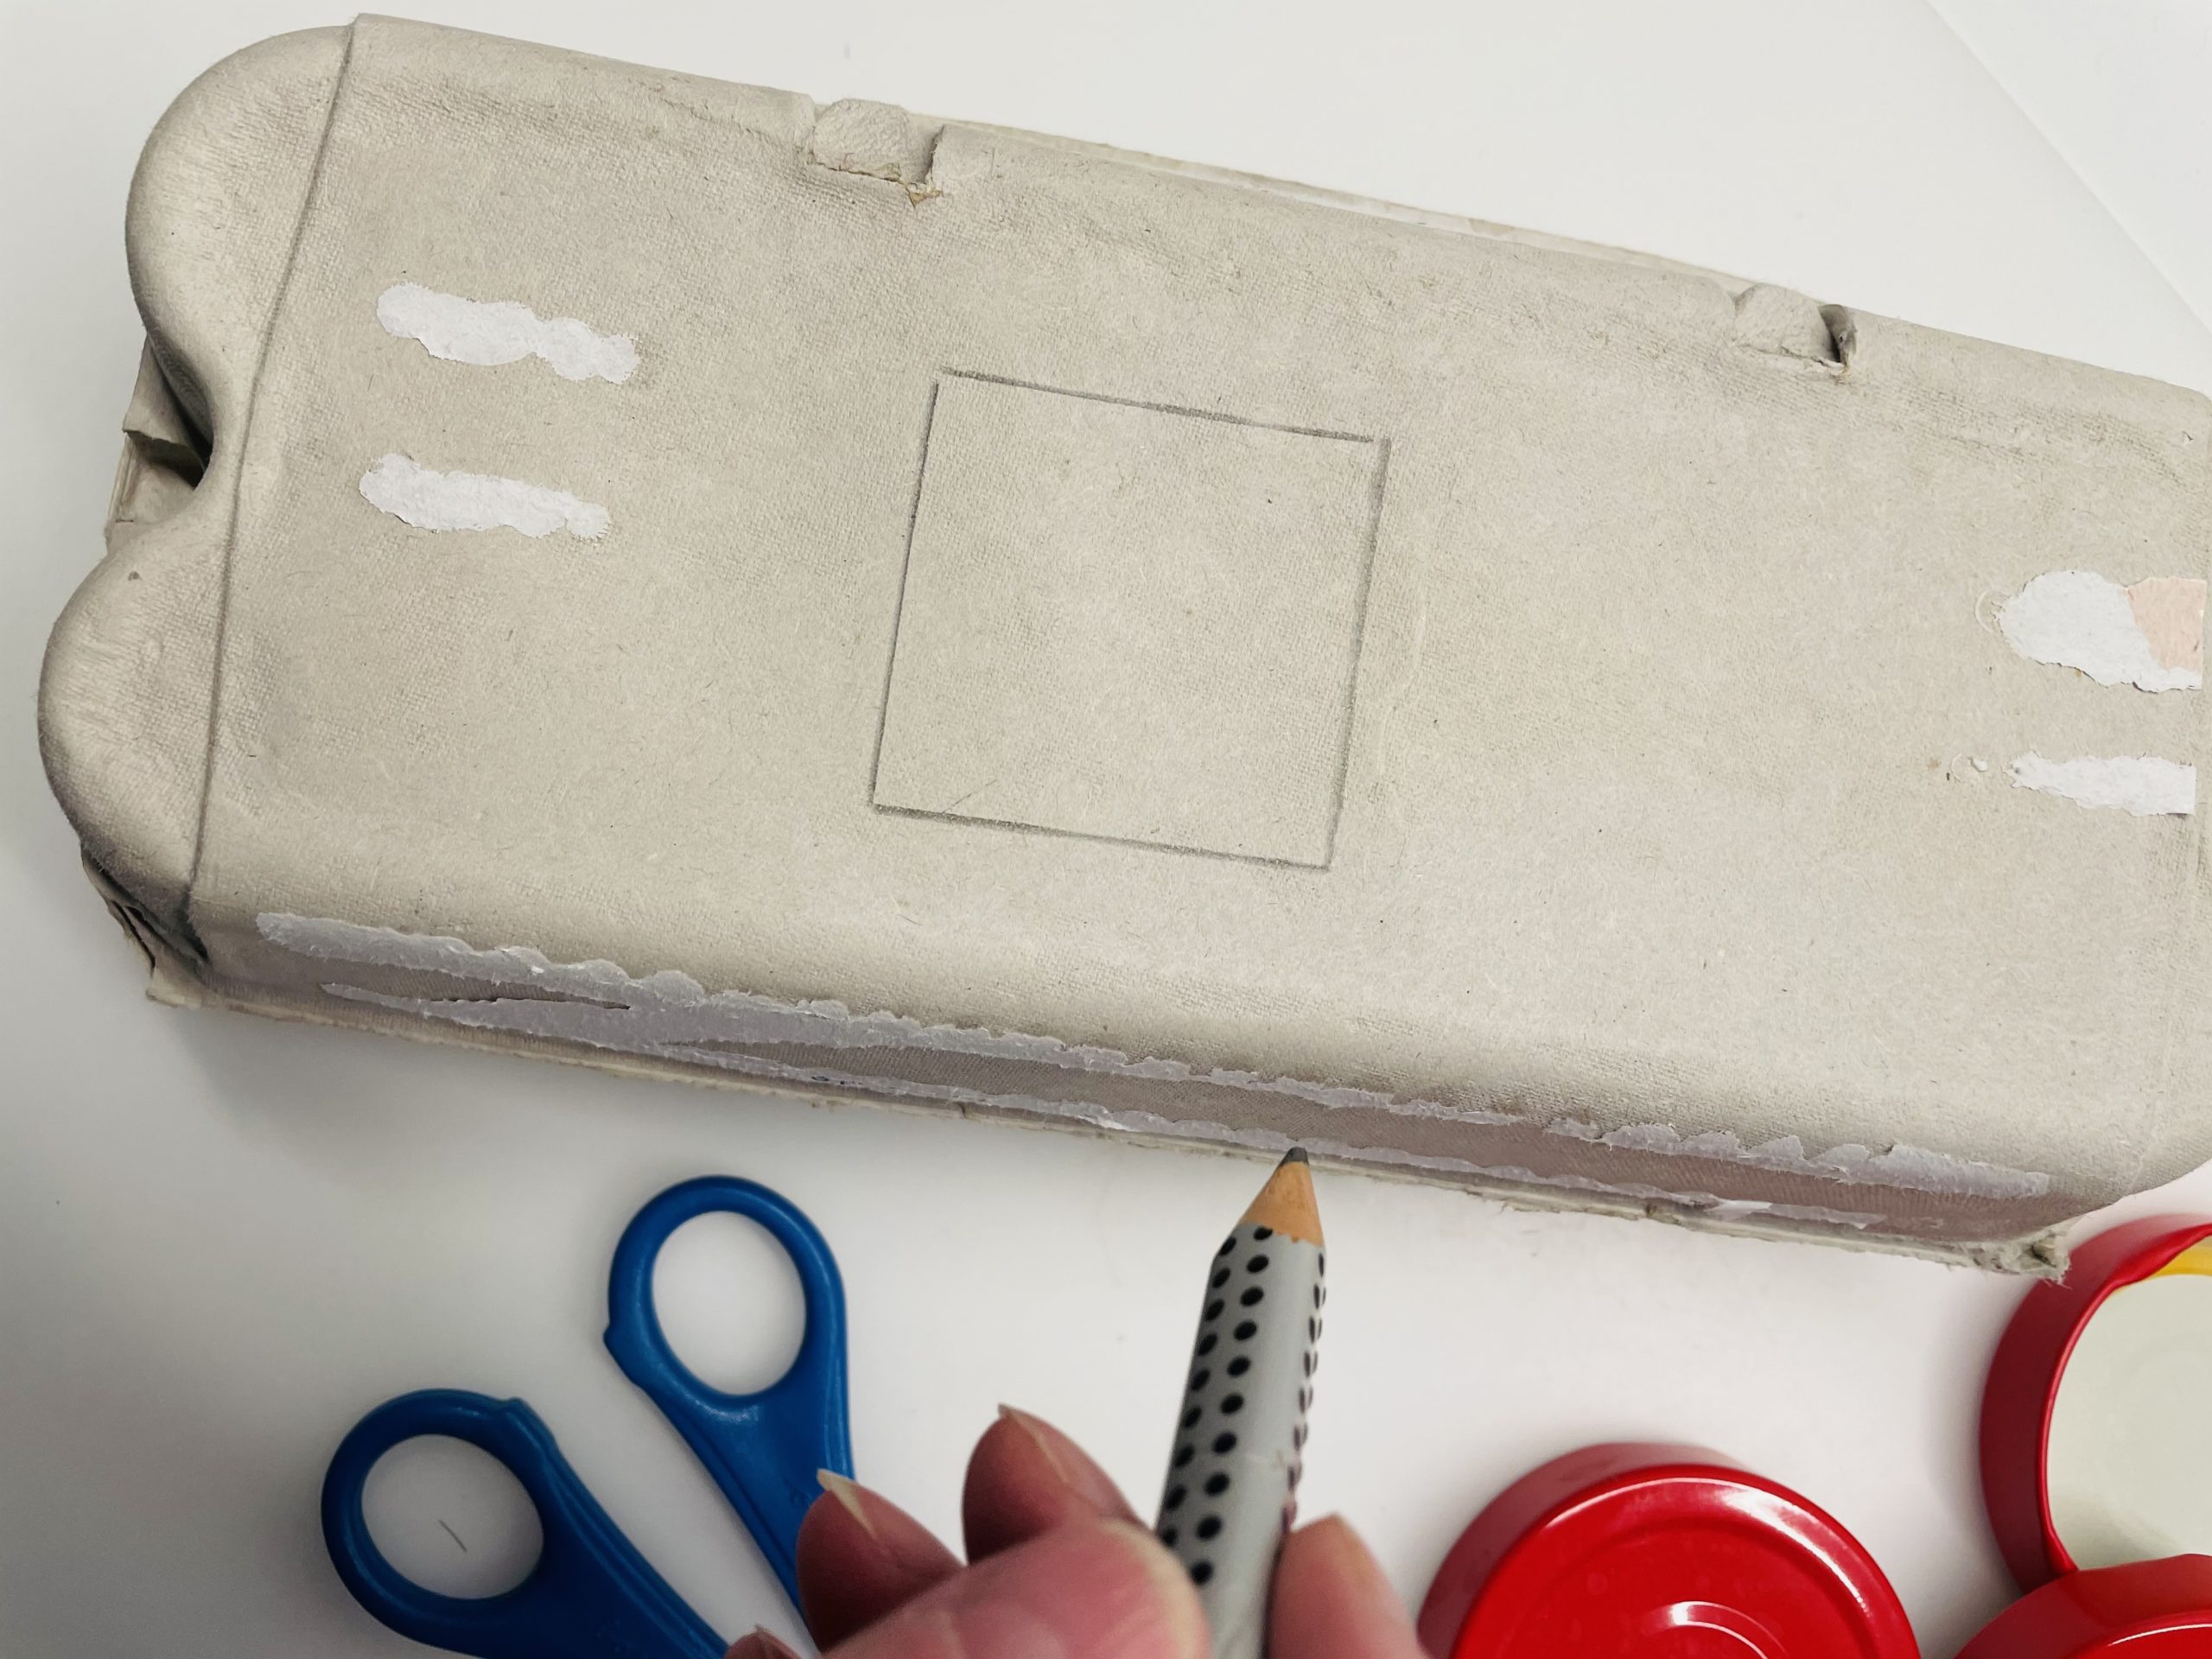
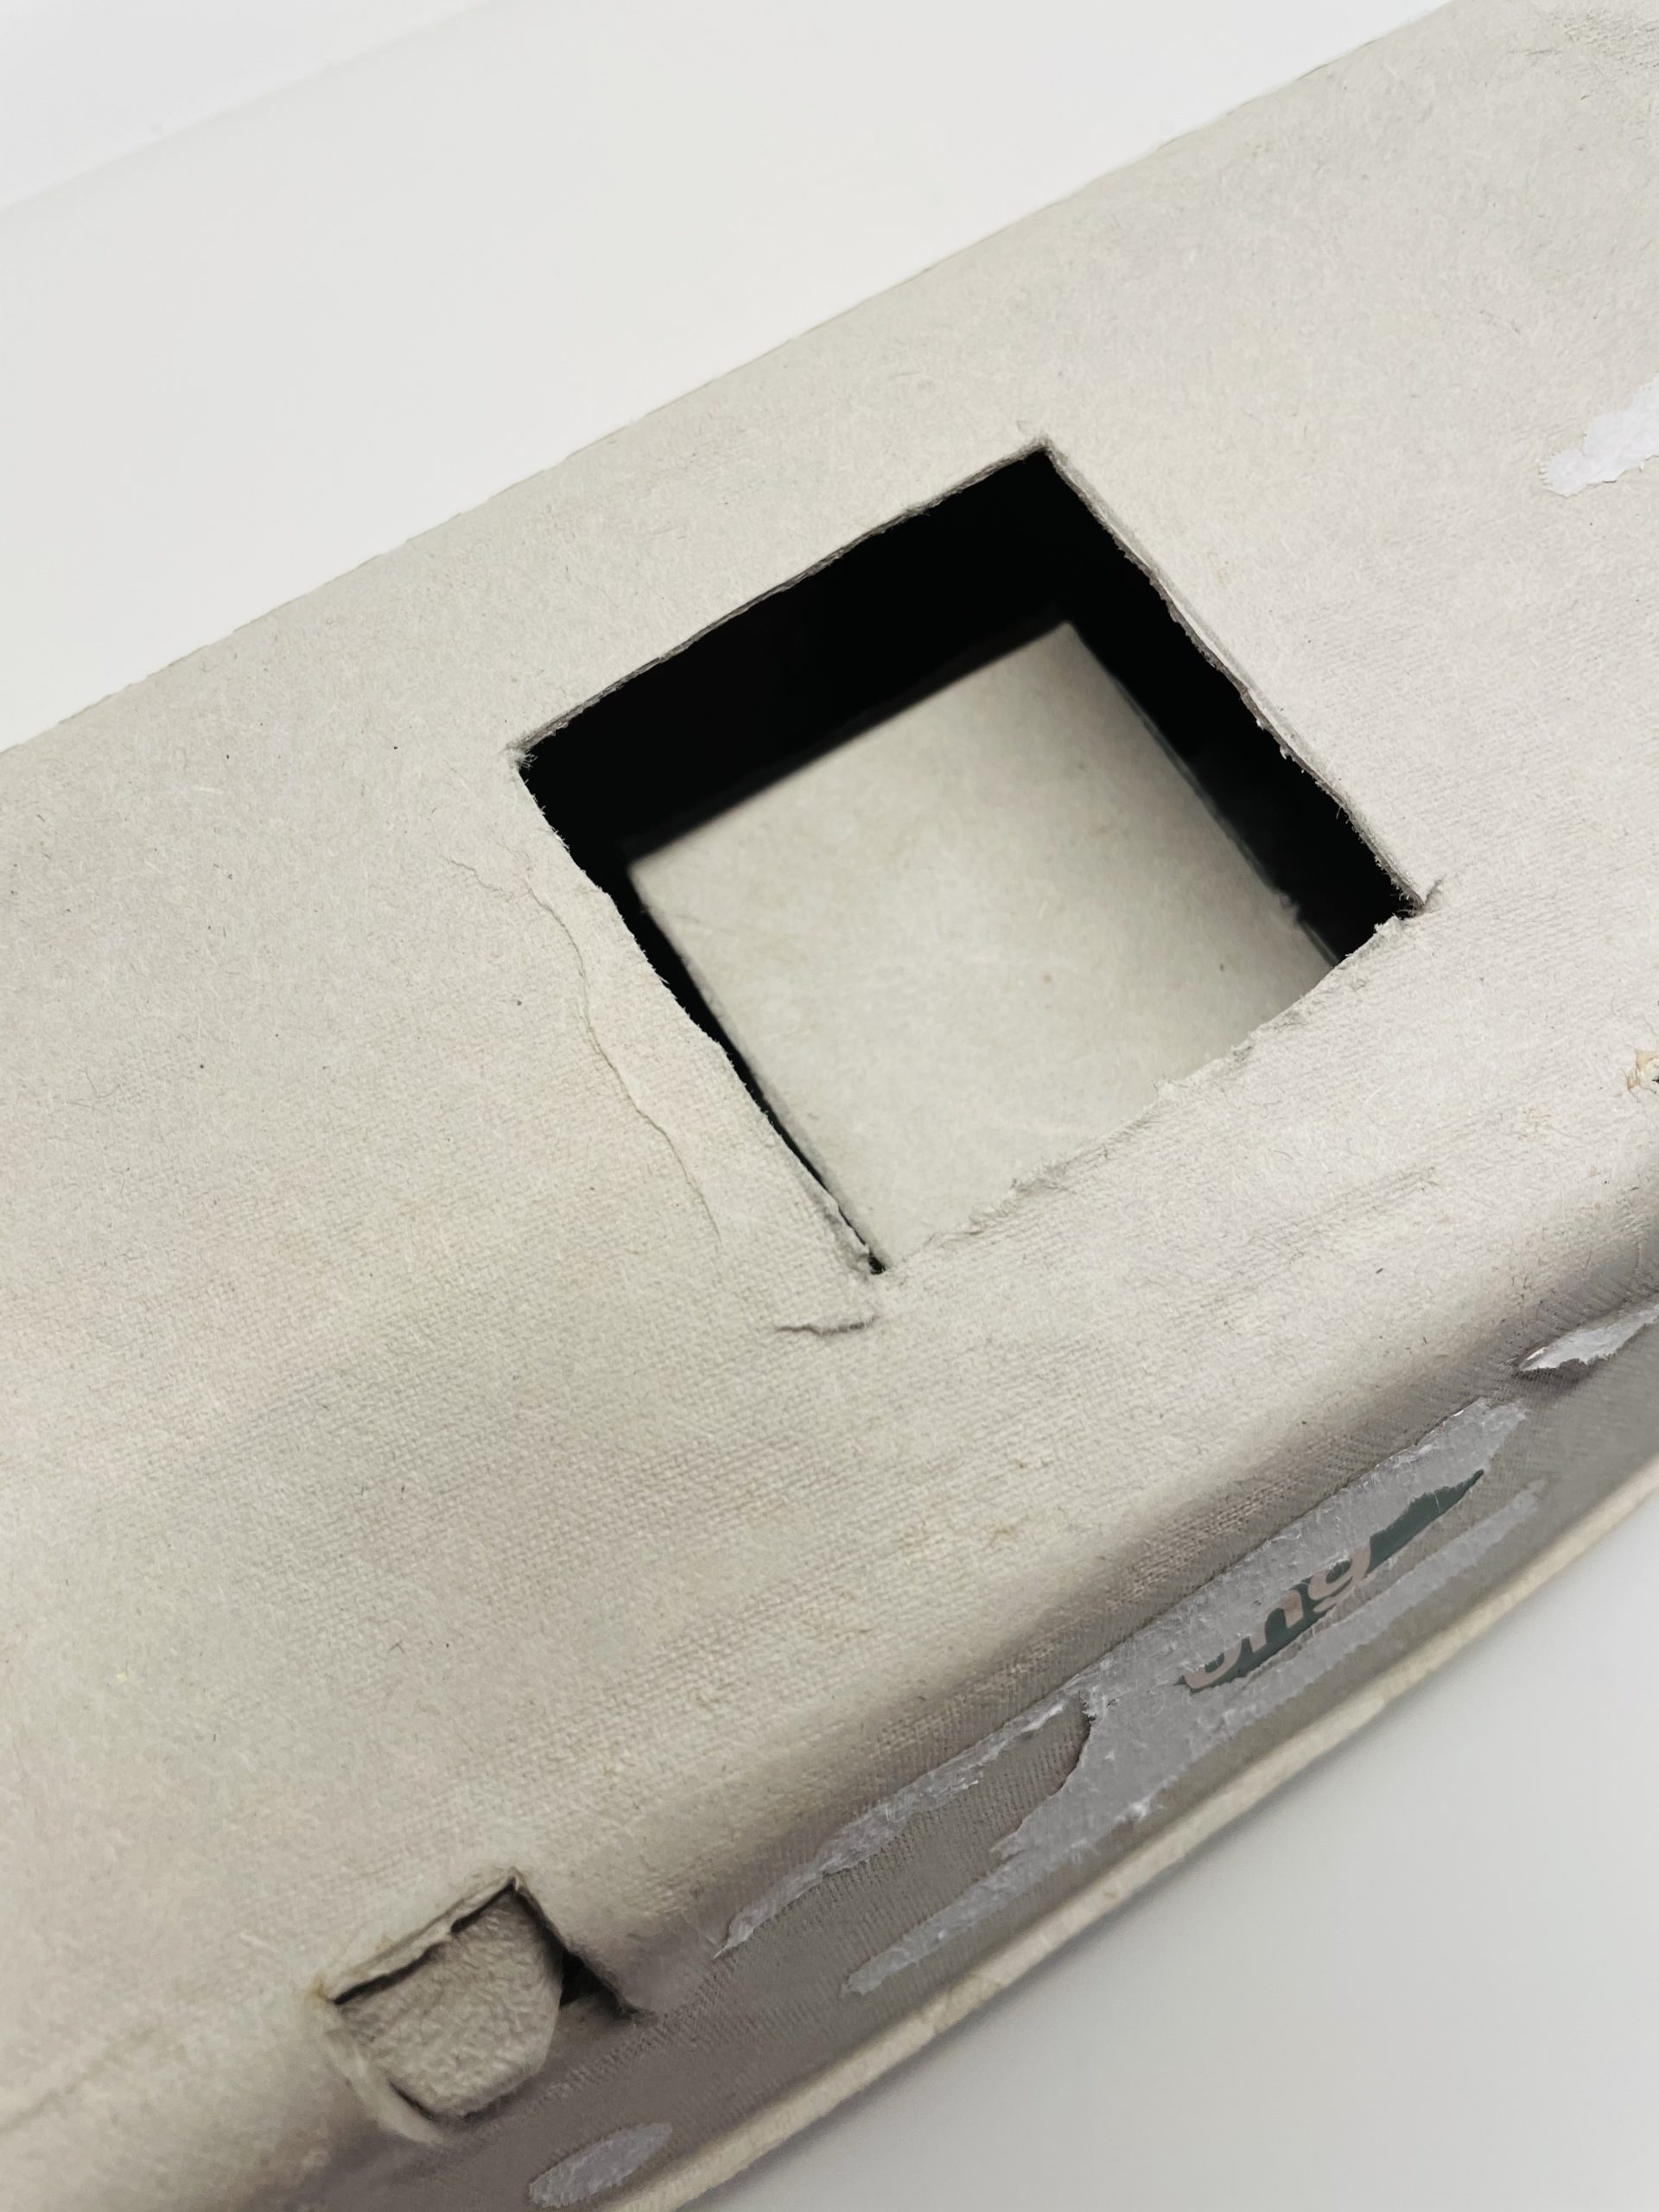
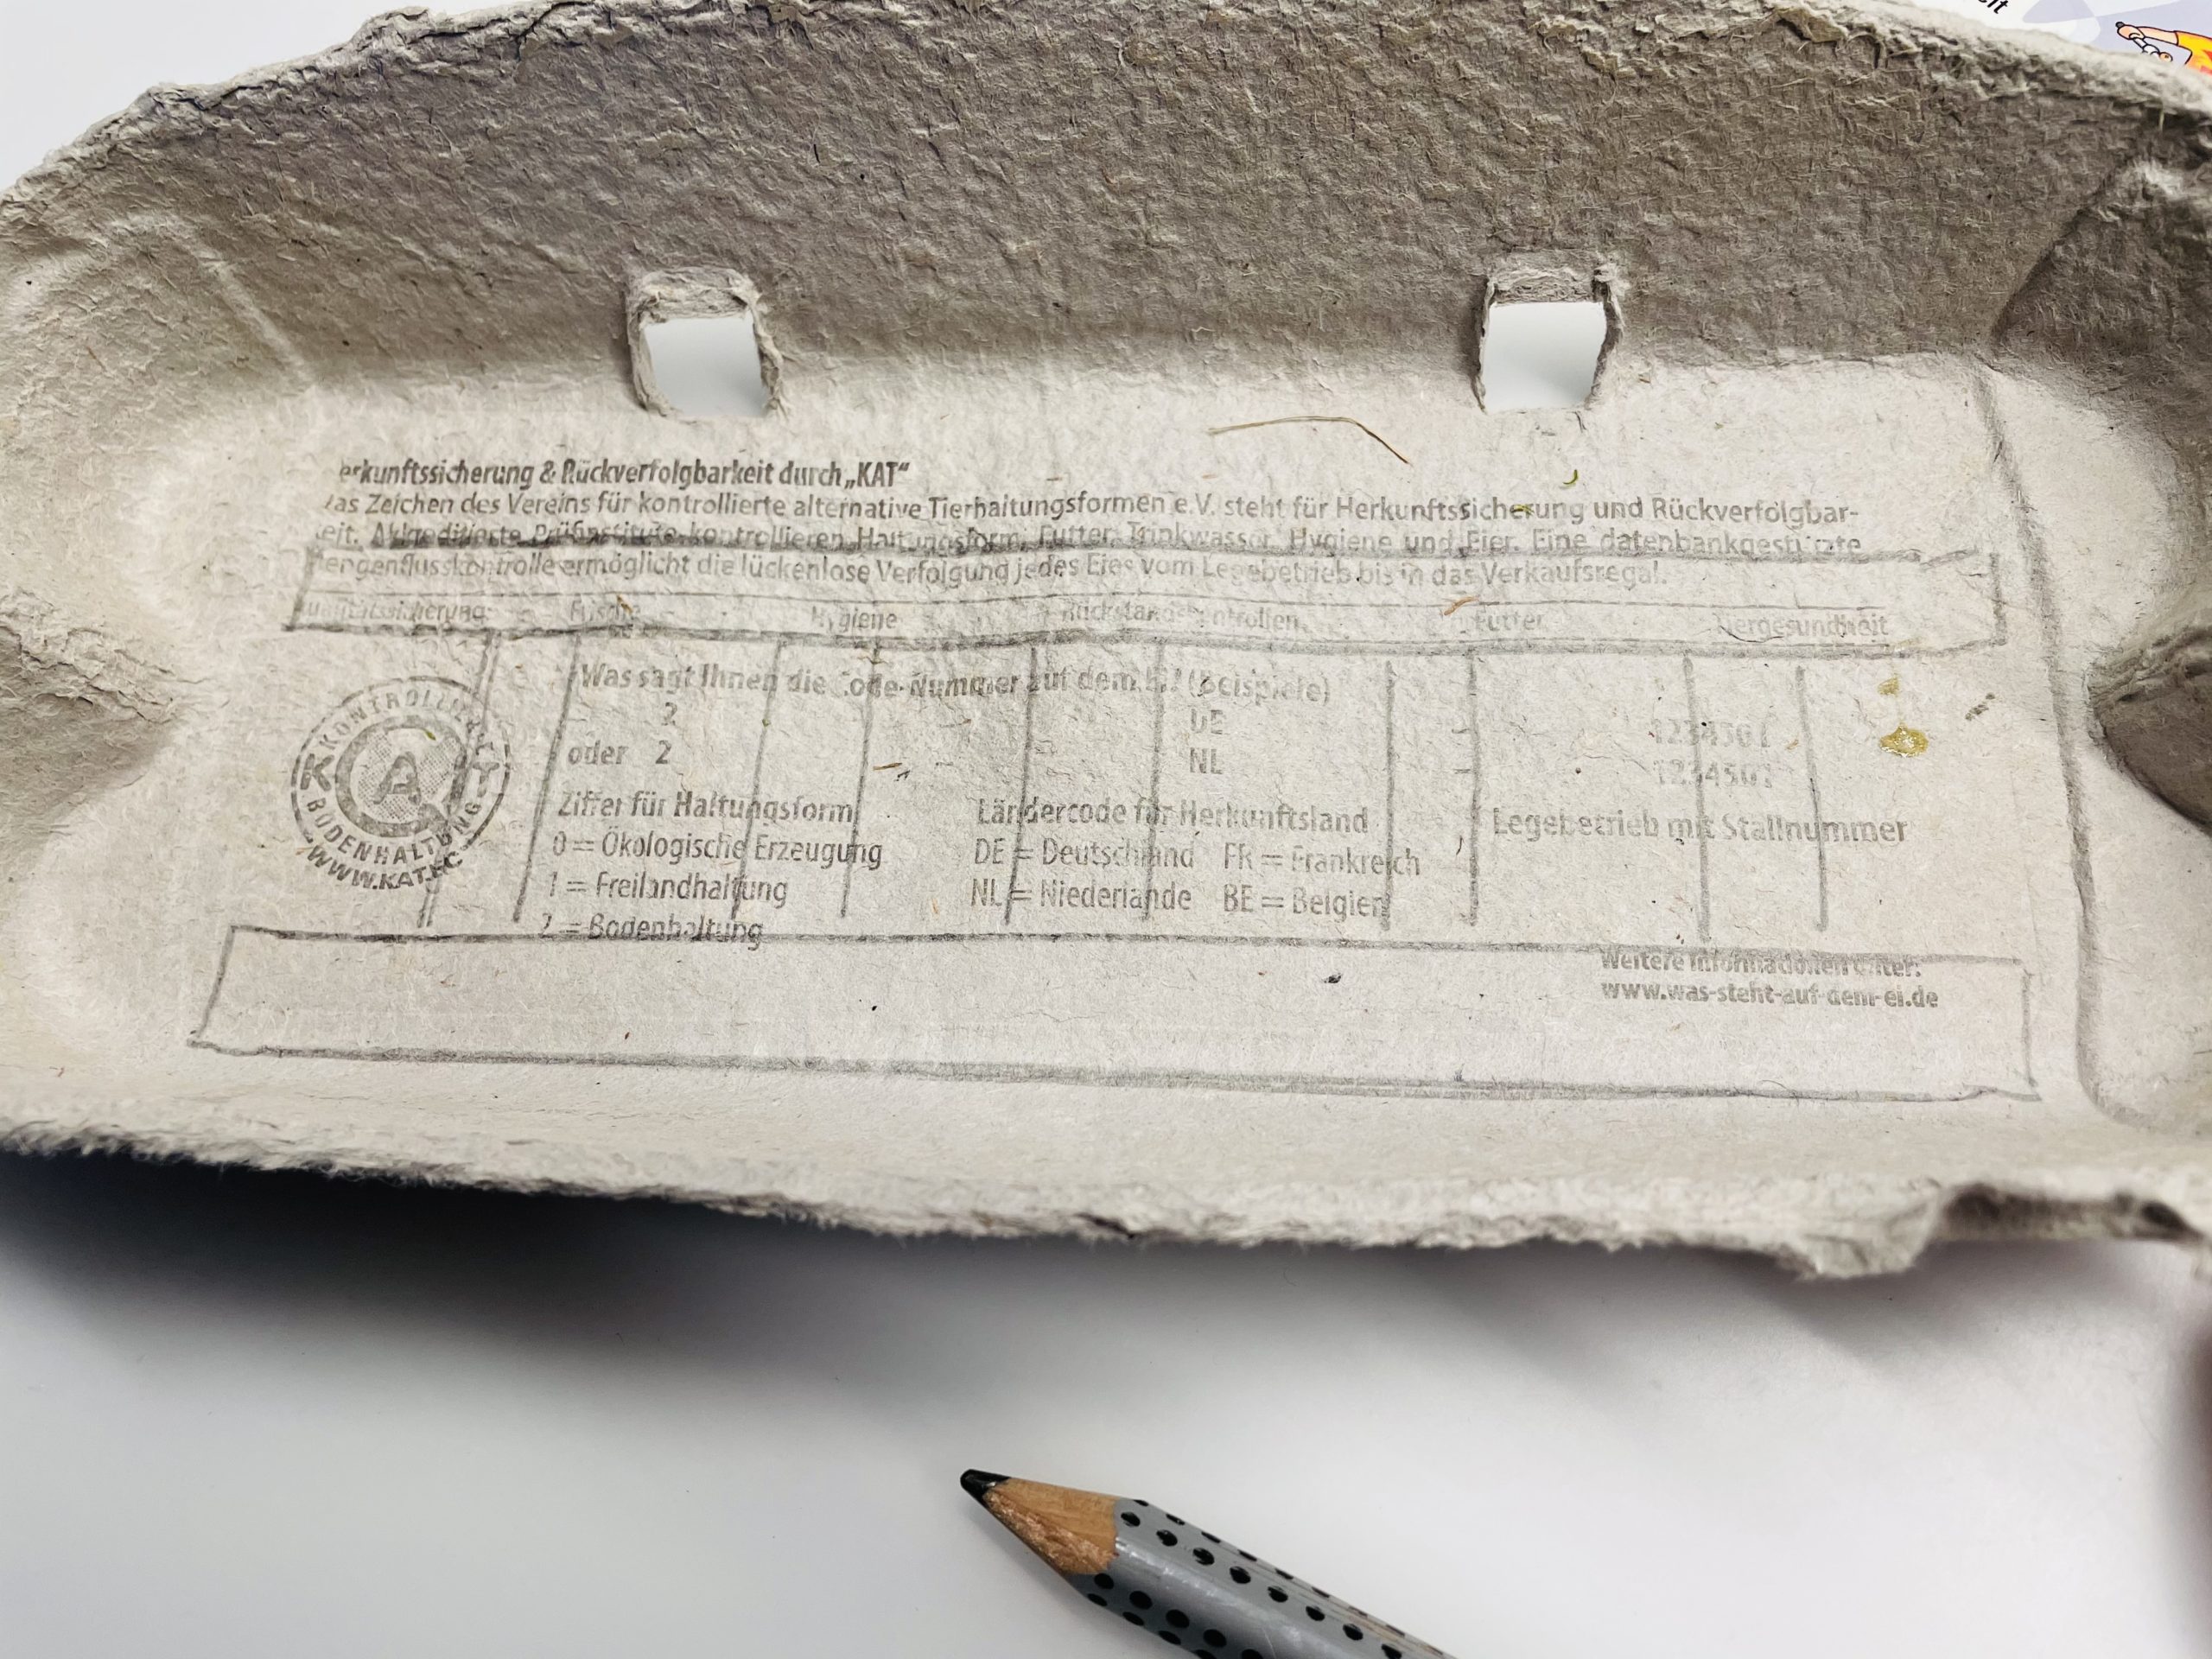
First paint a square on the box lid of the egg box.
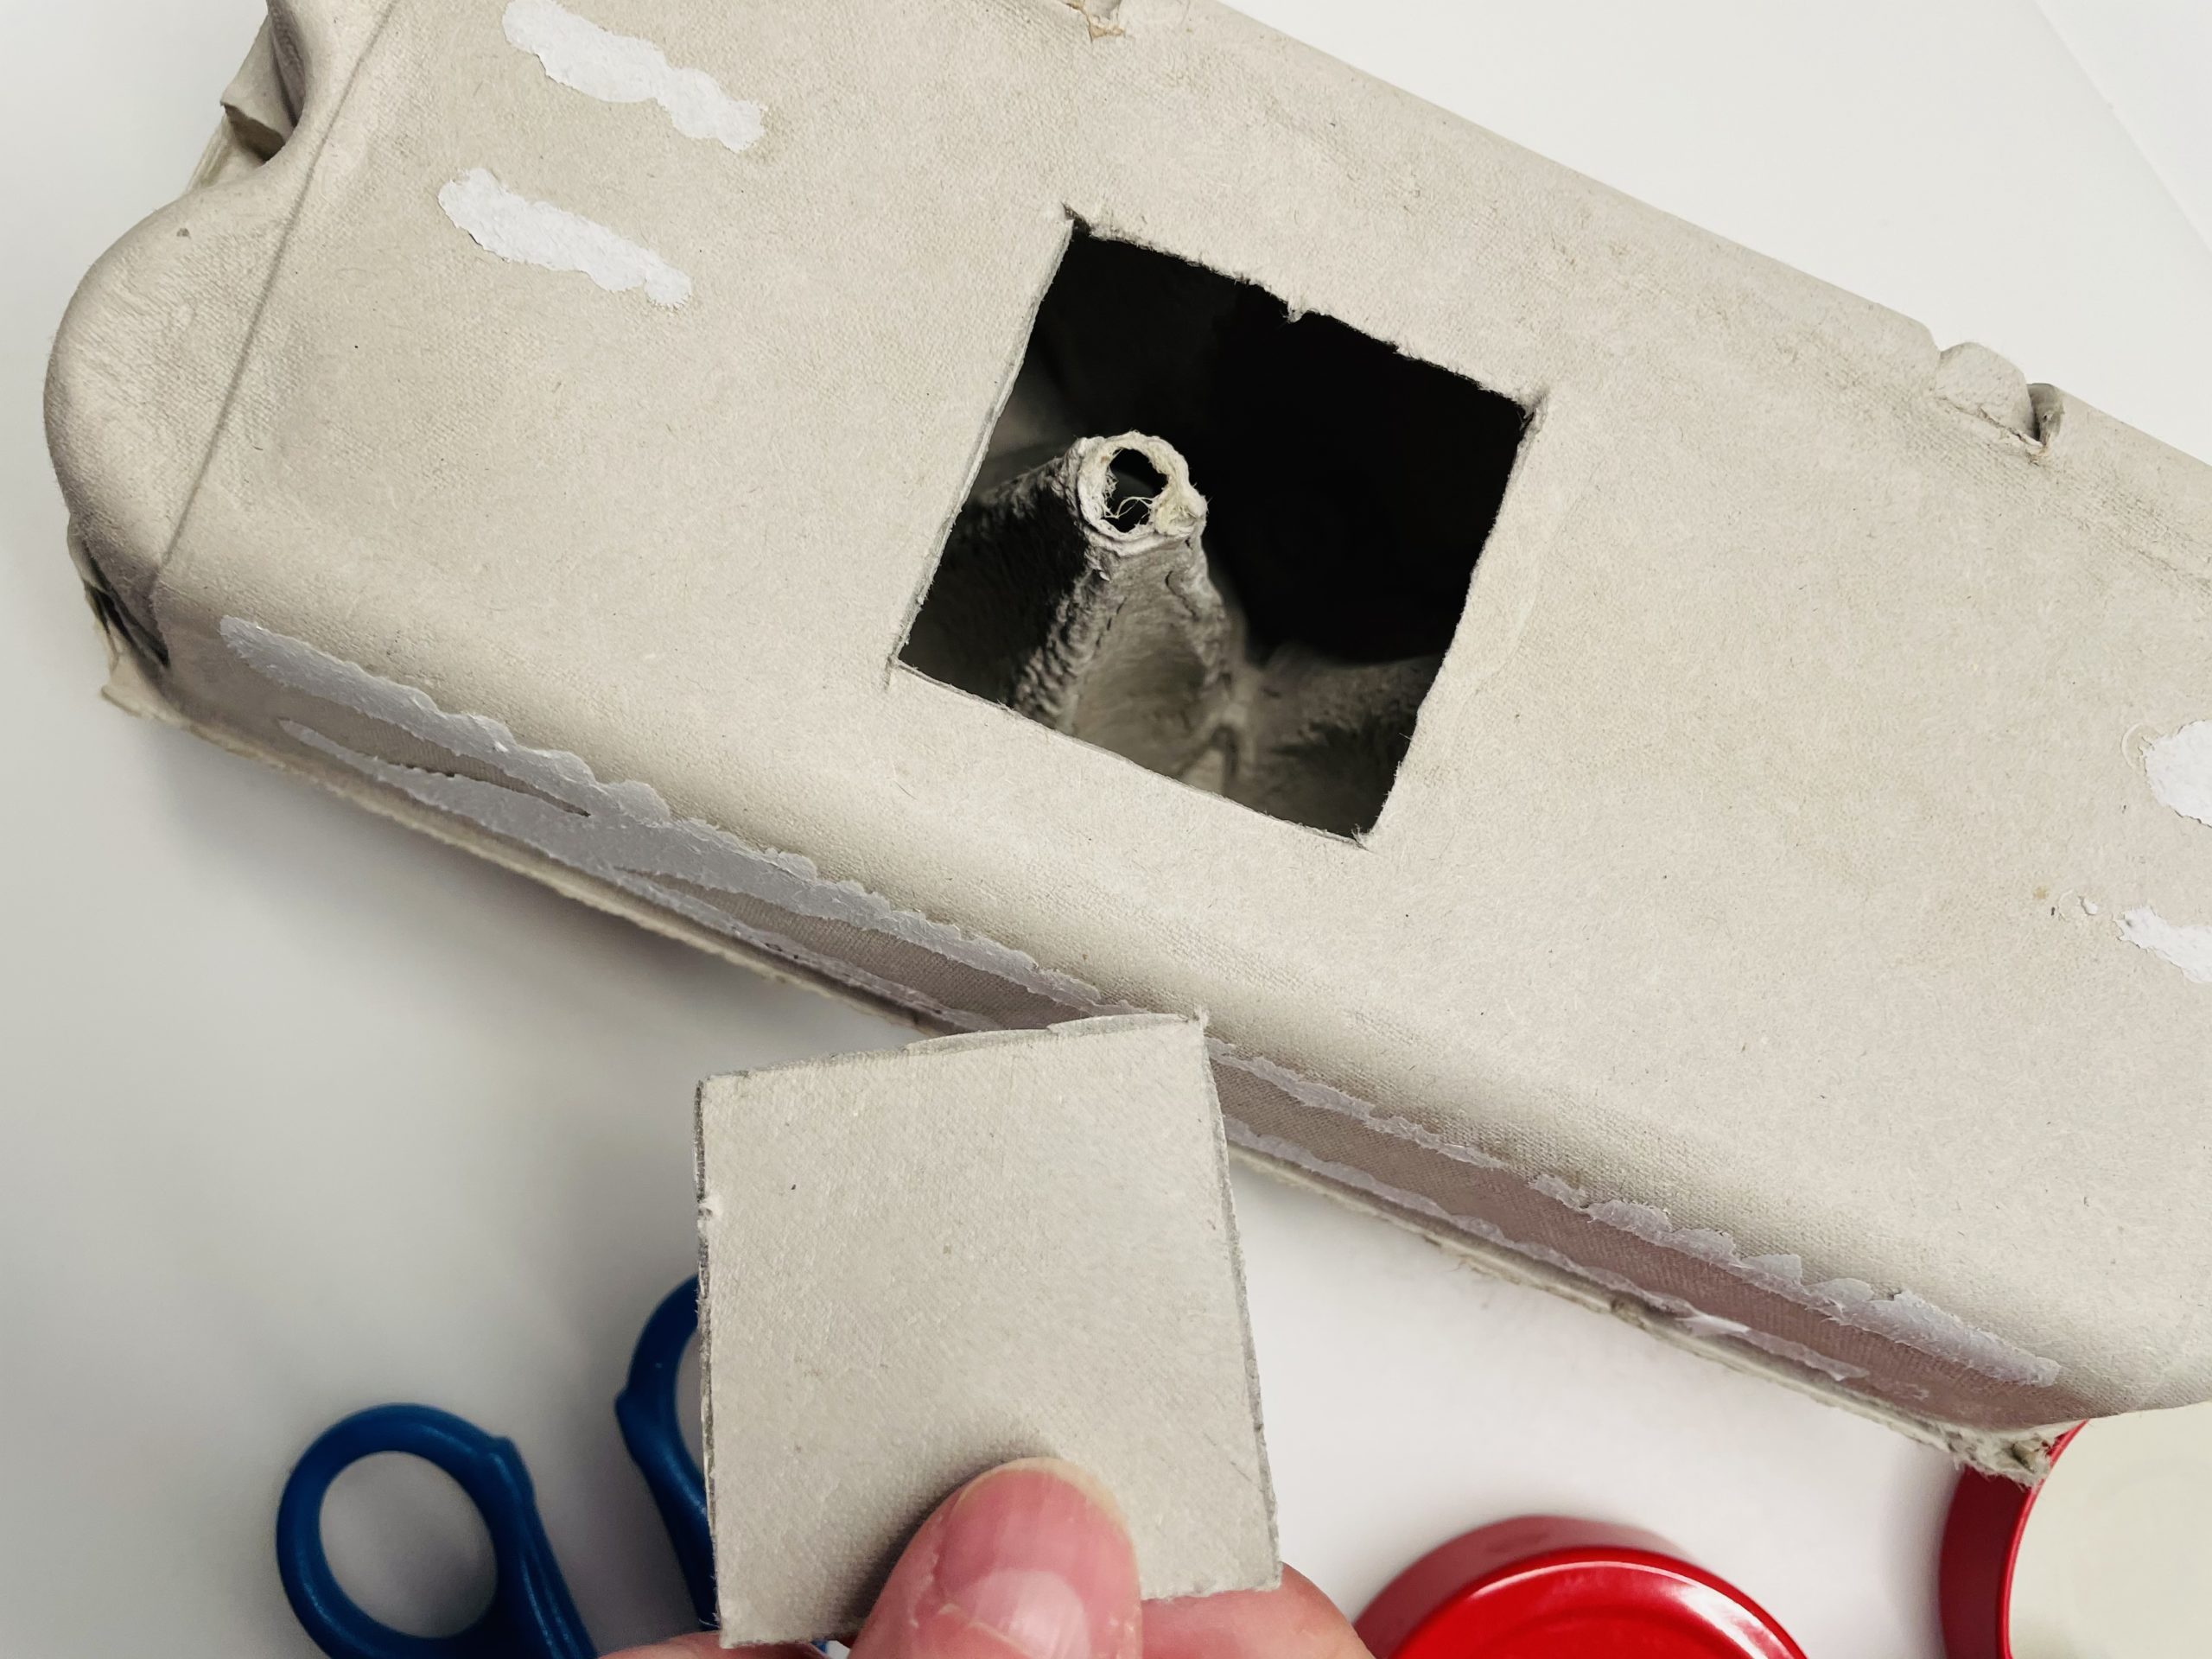
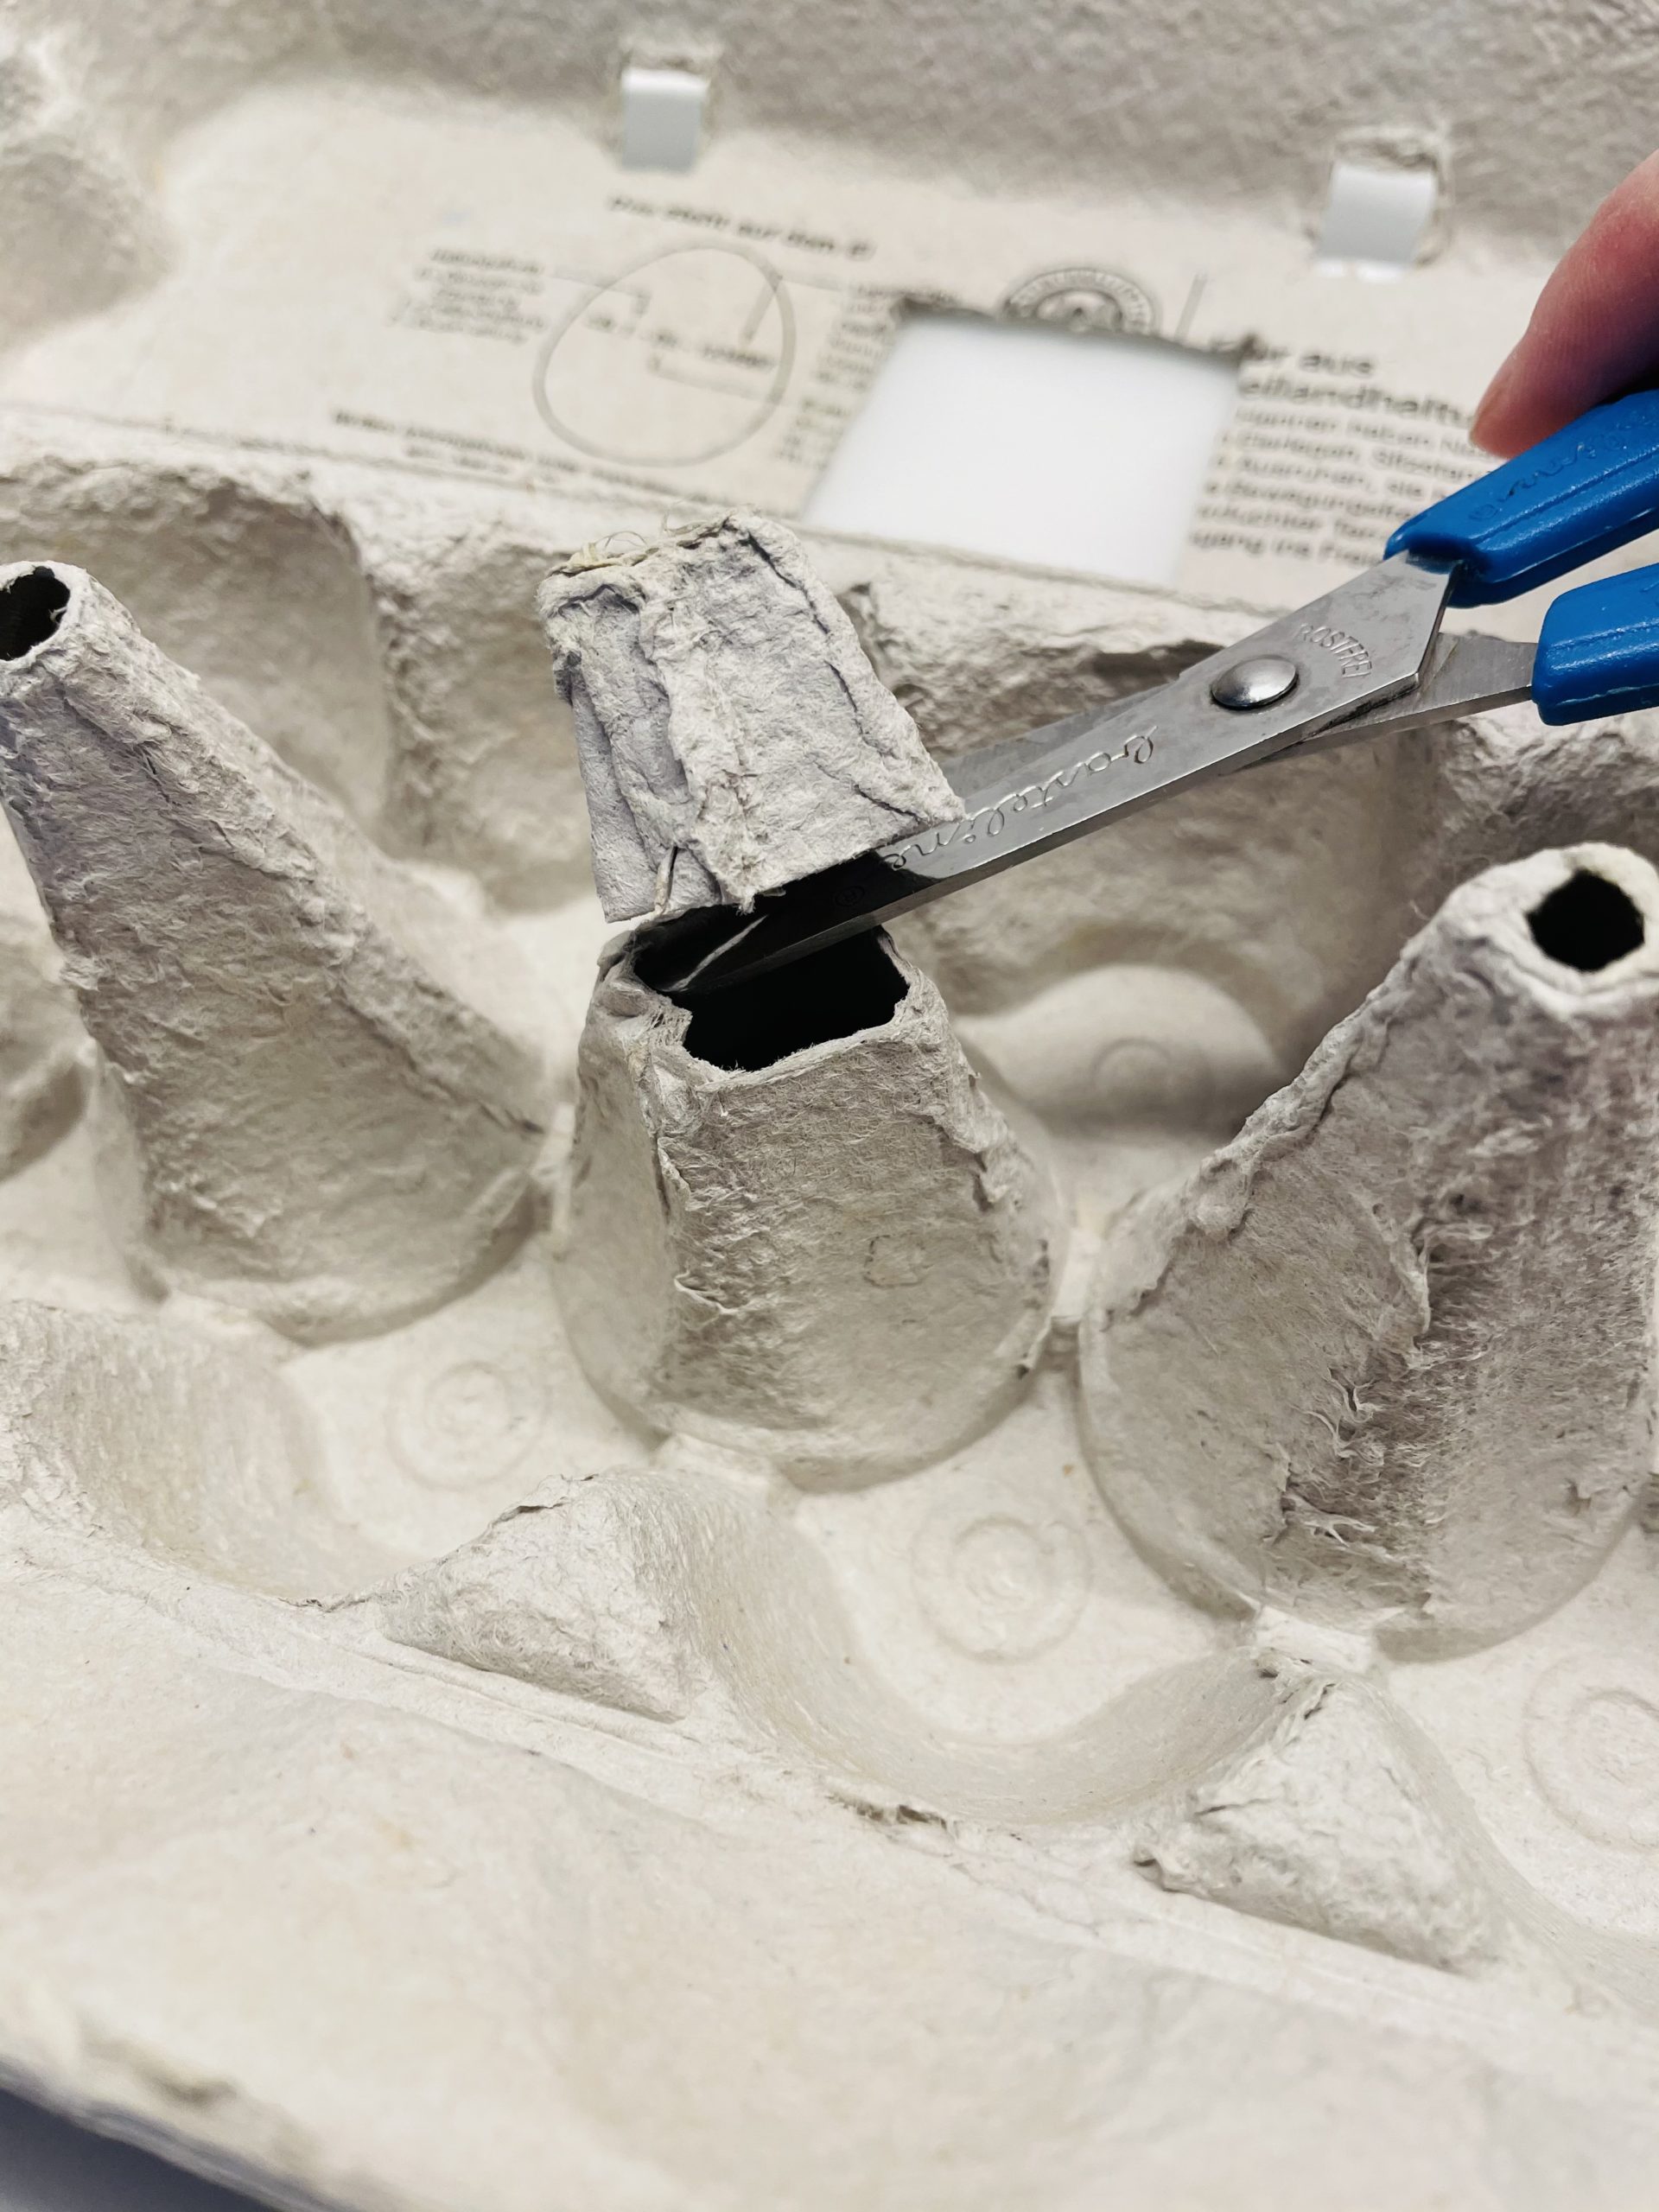
Then cut out the square with the scissors or a cutter knife. Attention: Let an adult help you with this - risk of injury!
Since you still need the square later, you should cut it out so that it remains completely.
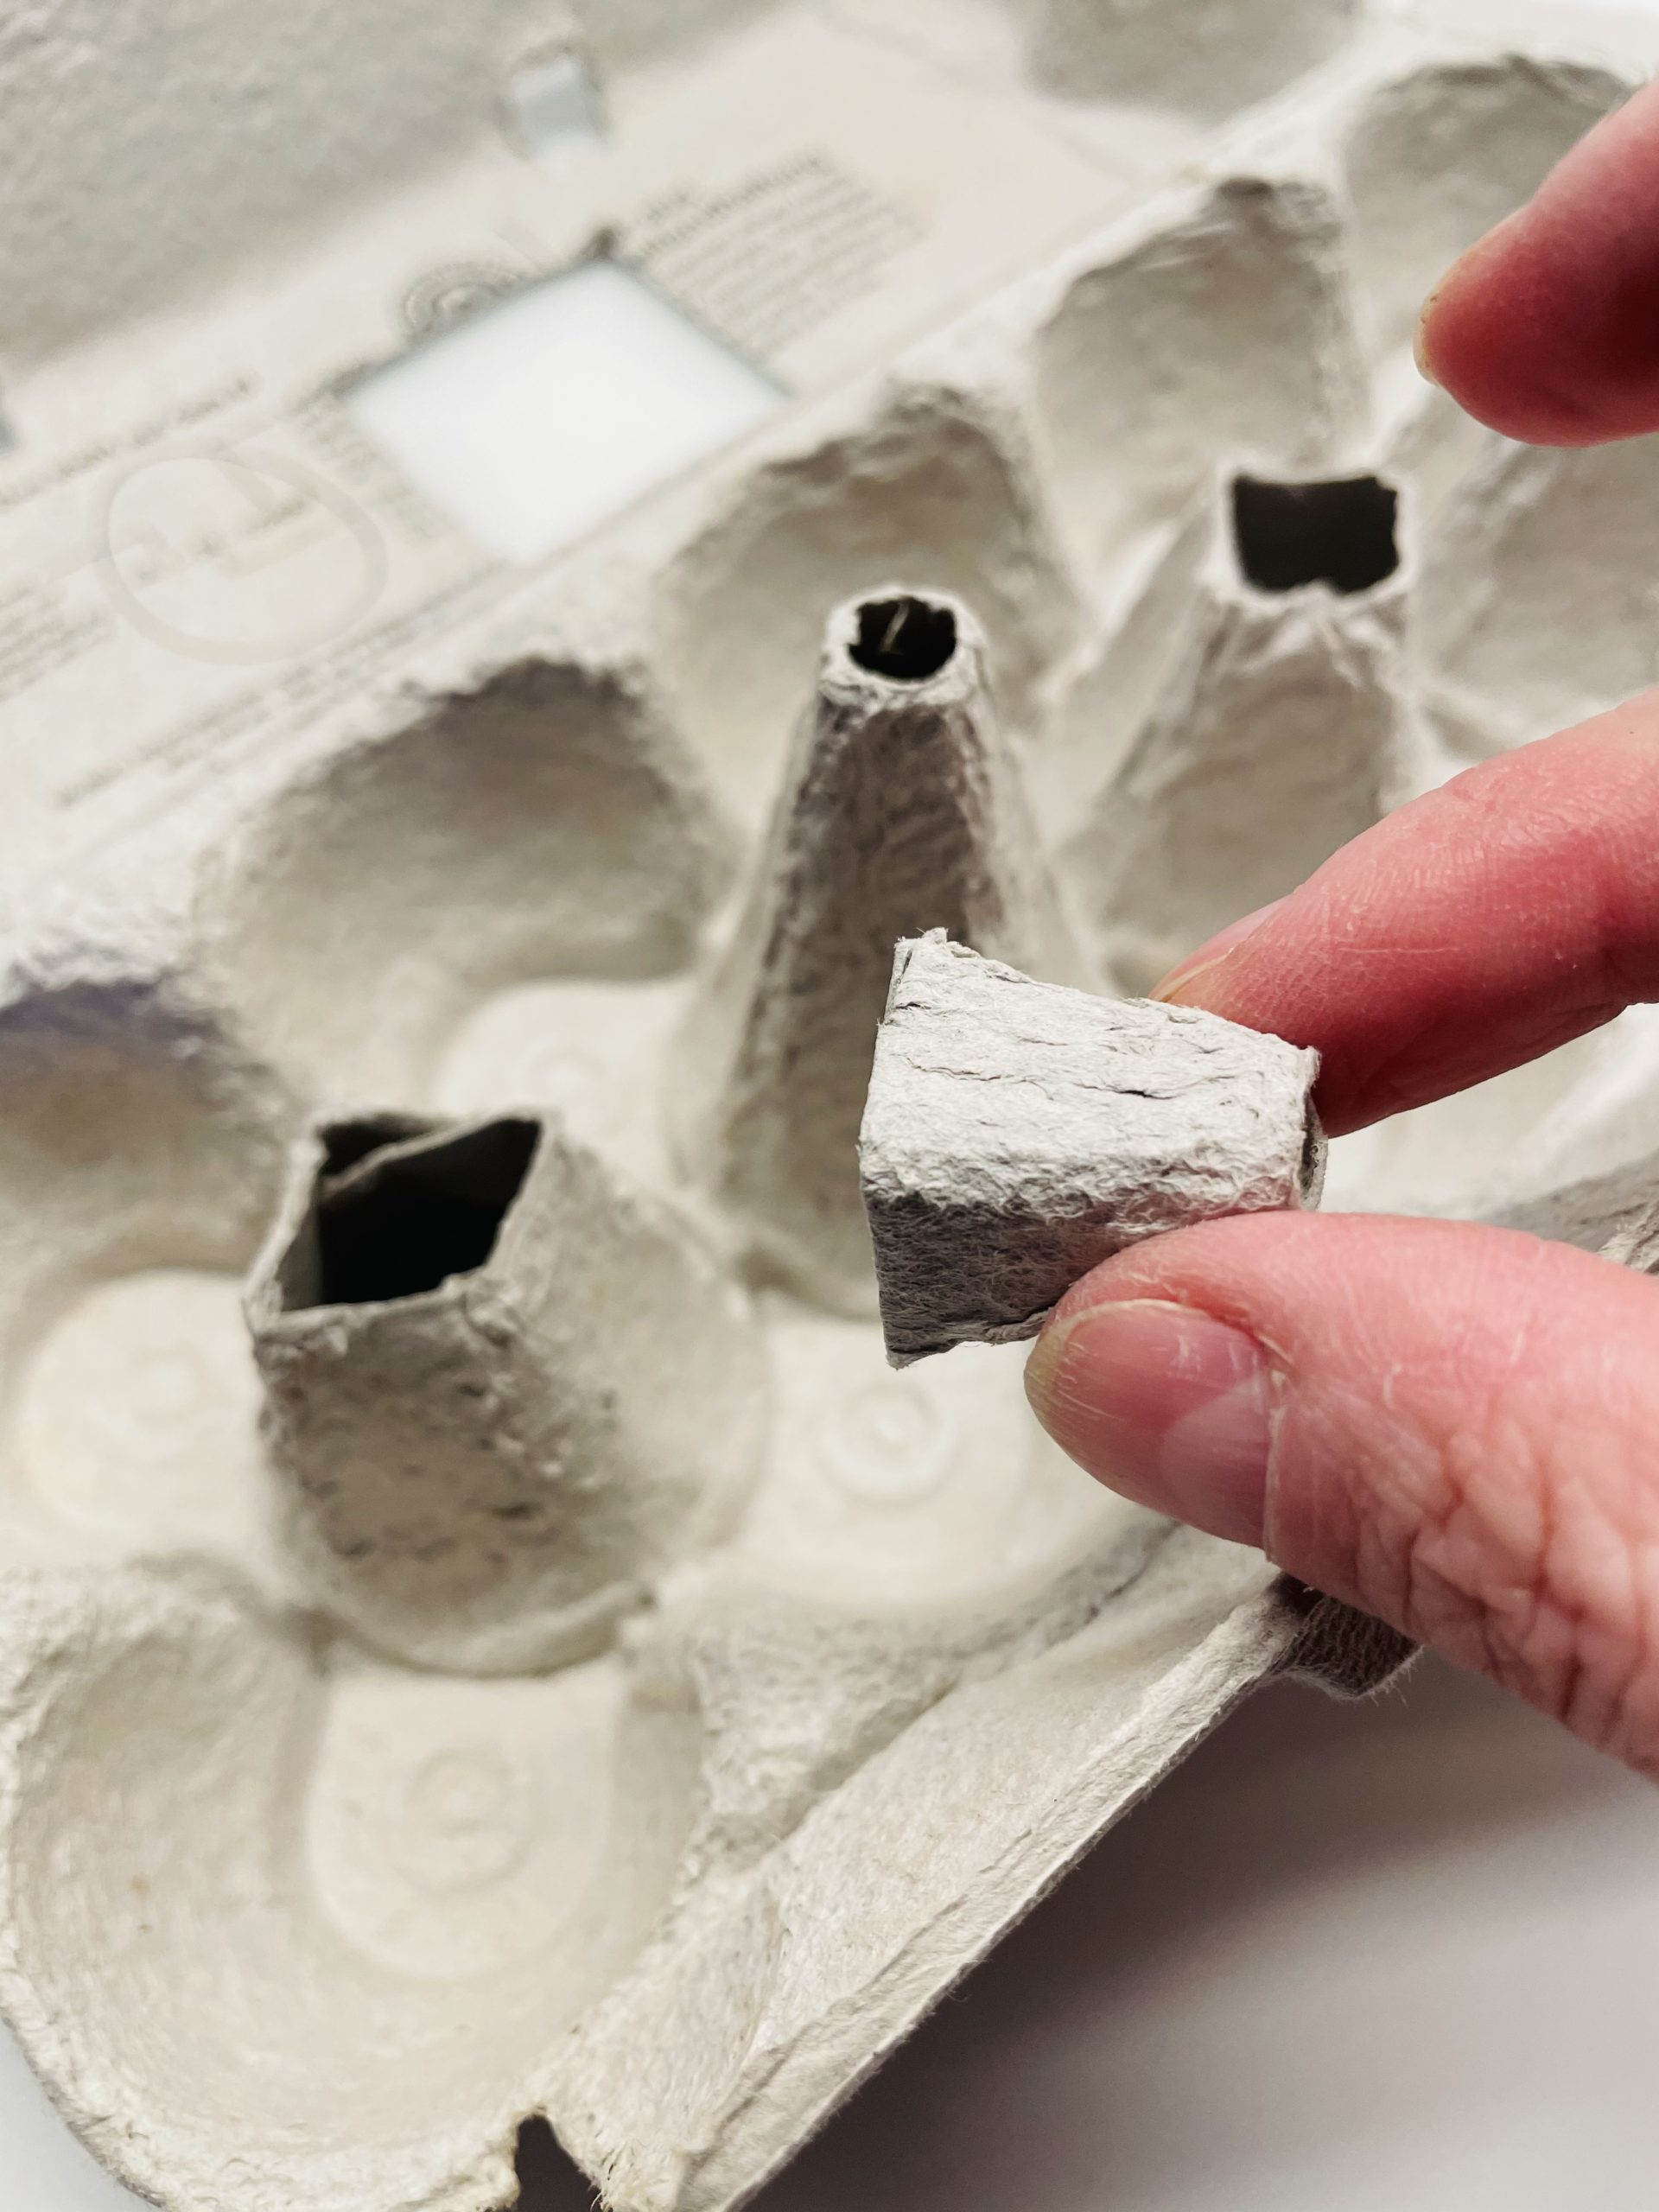
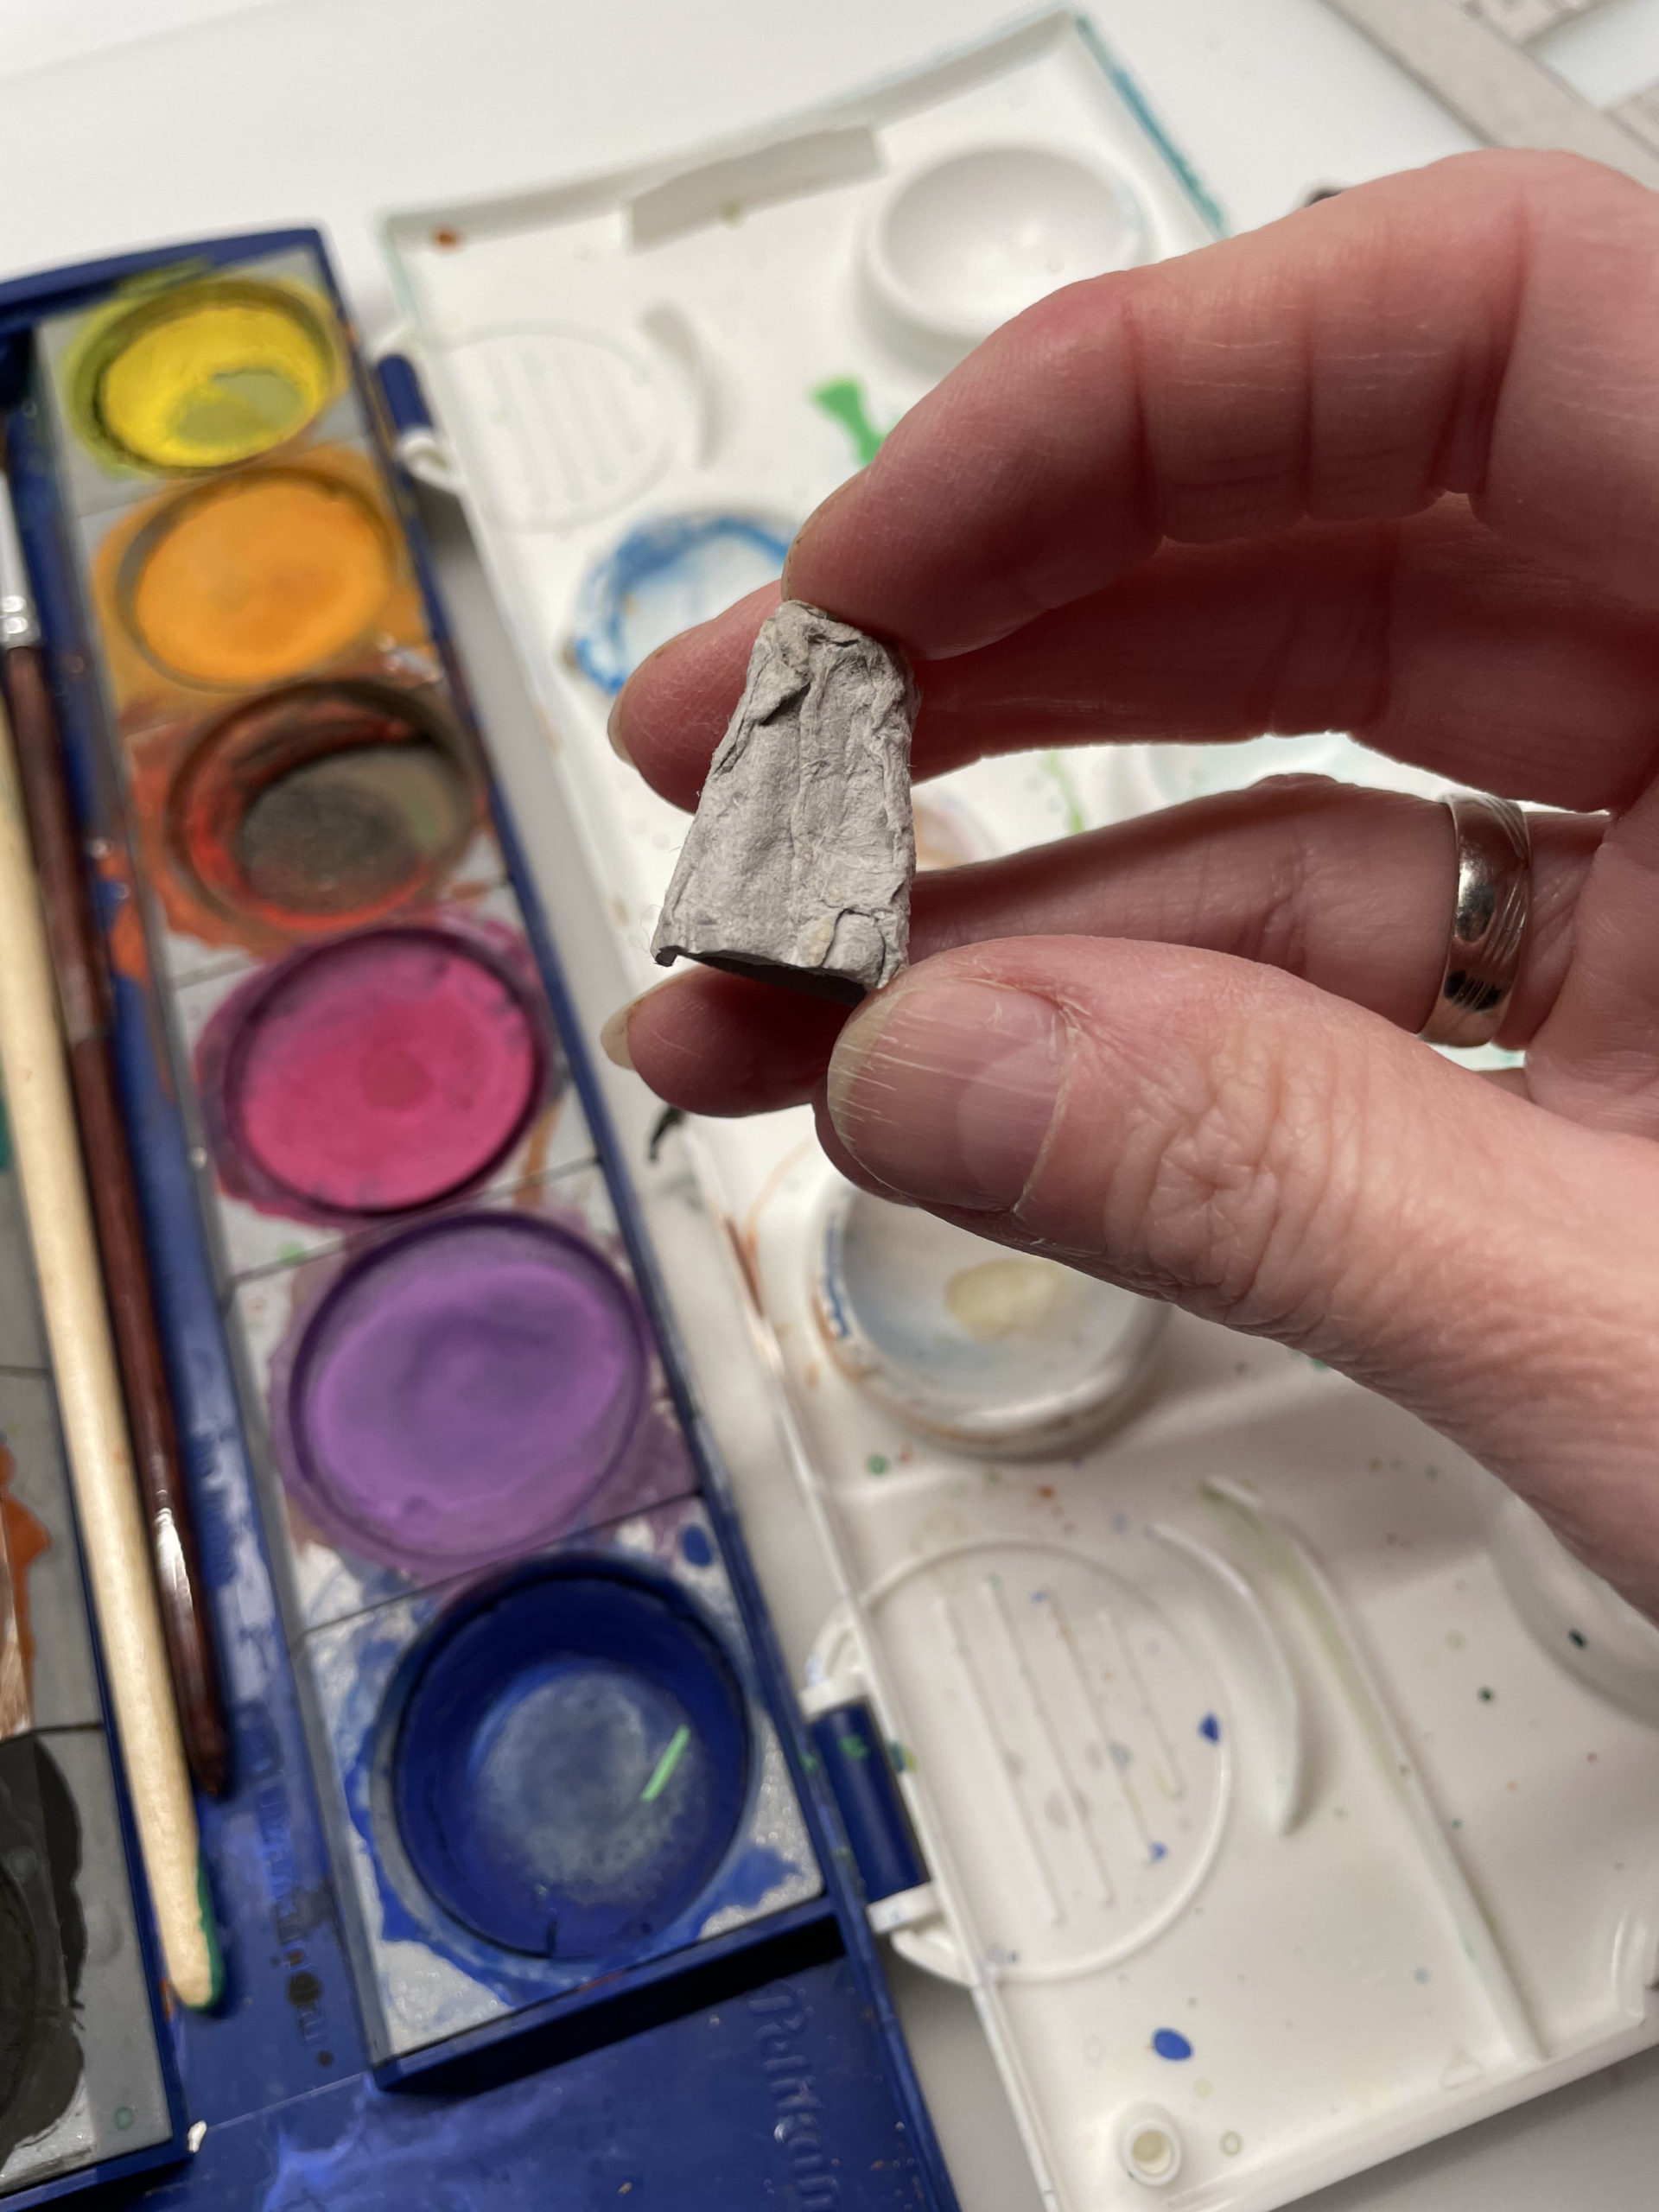
Then you shorten the tip of the egg box by one centimeter.
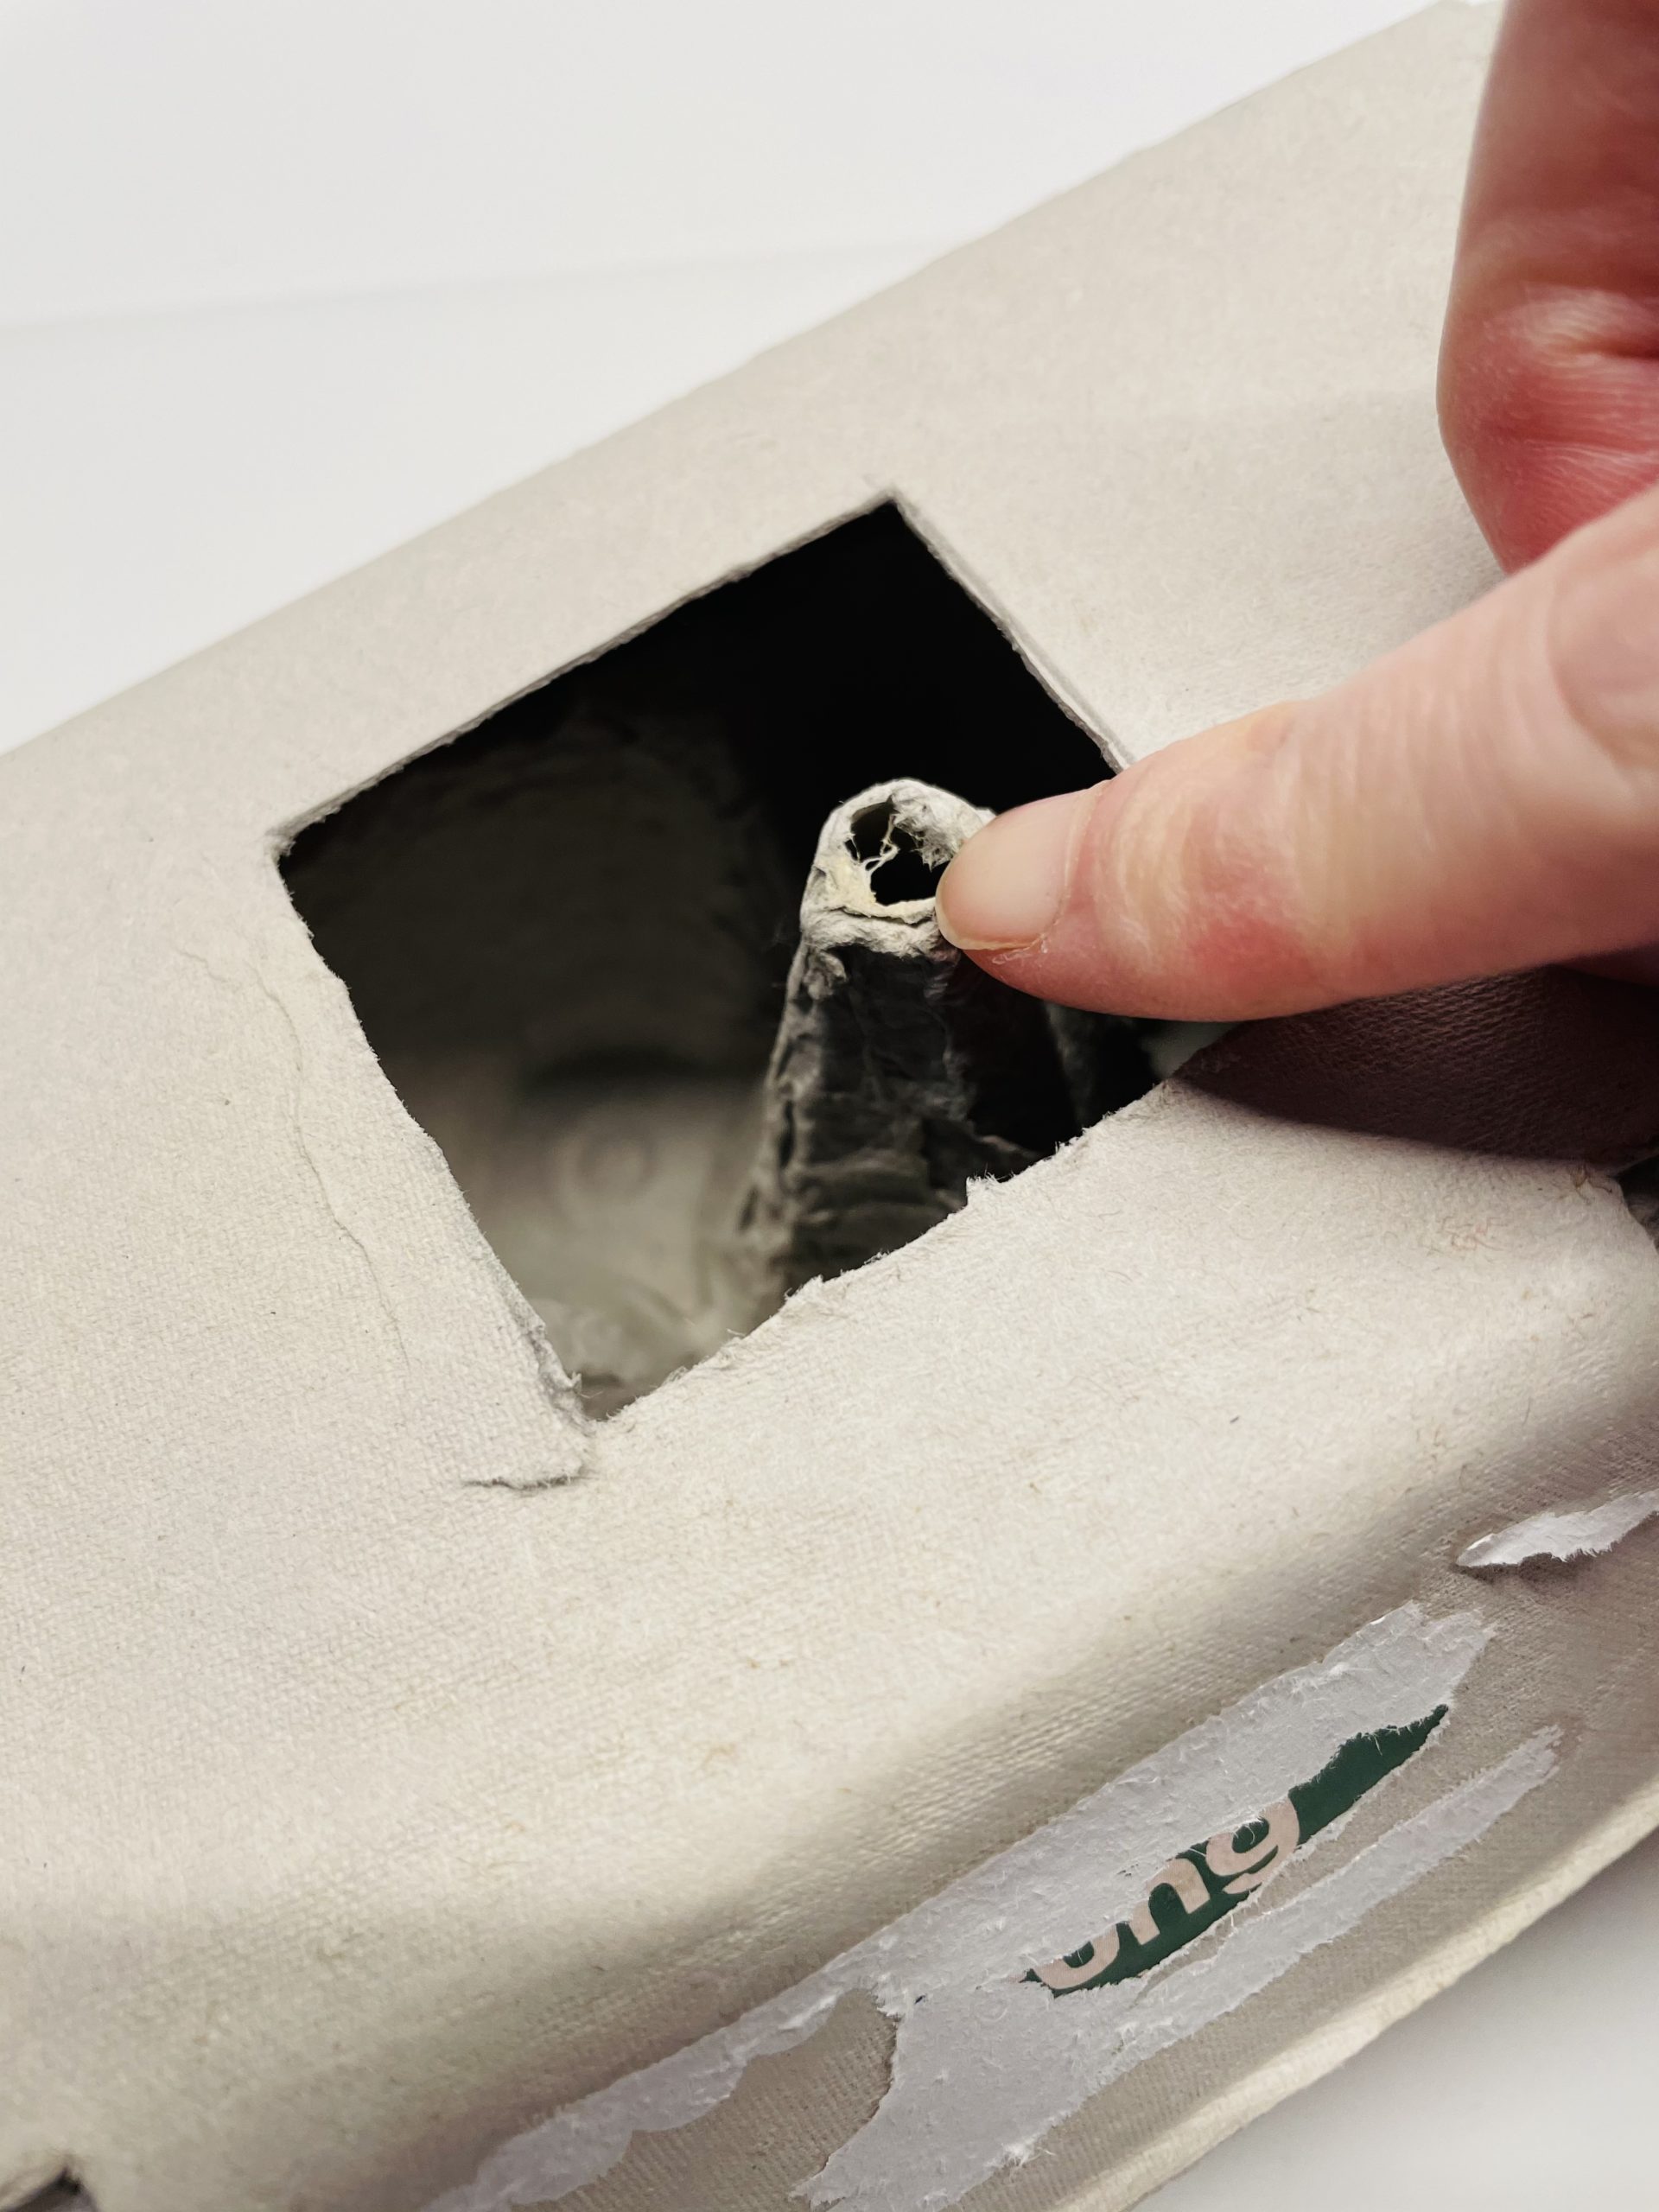
This tip is also needed later!
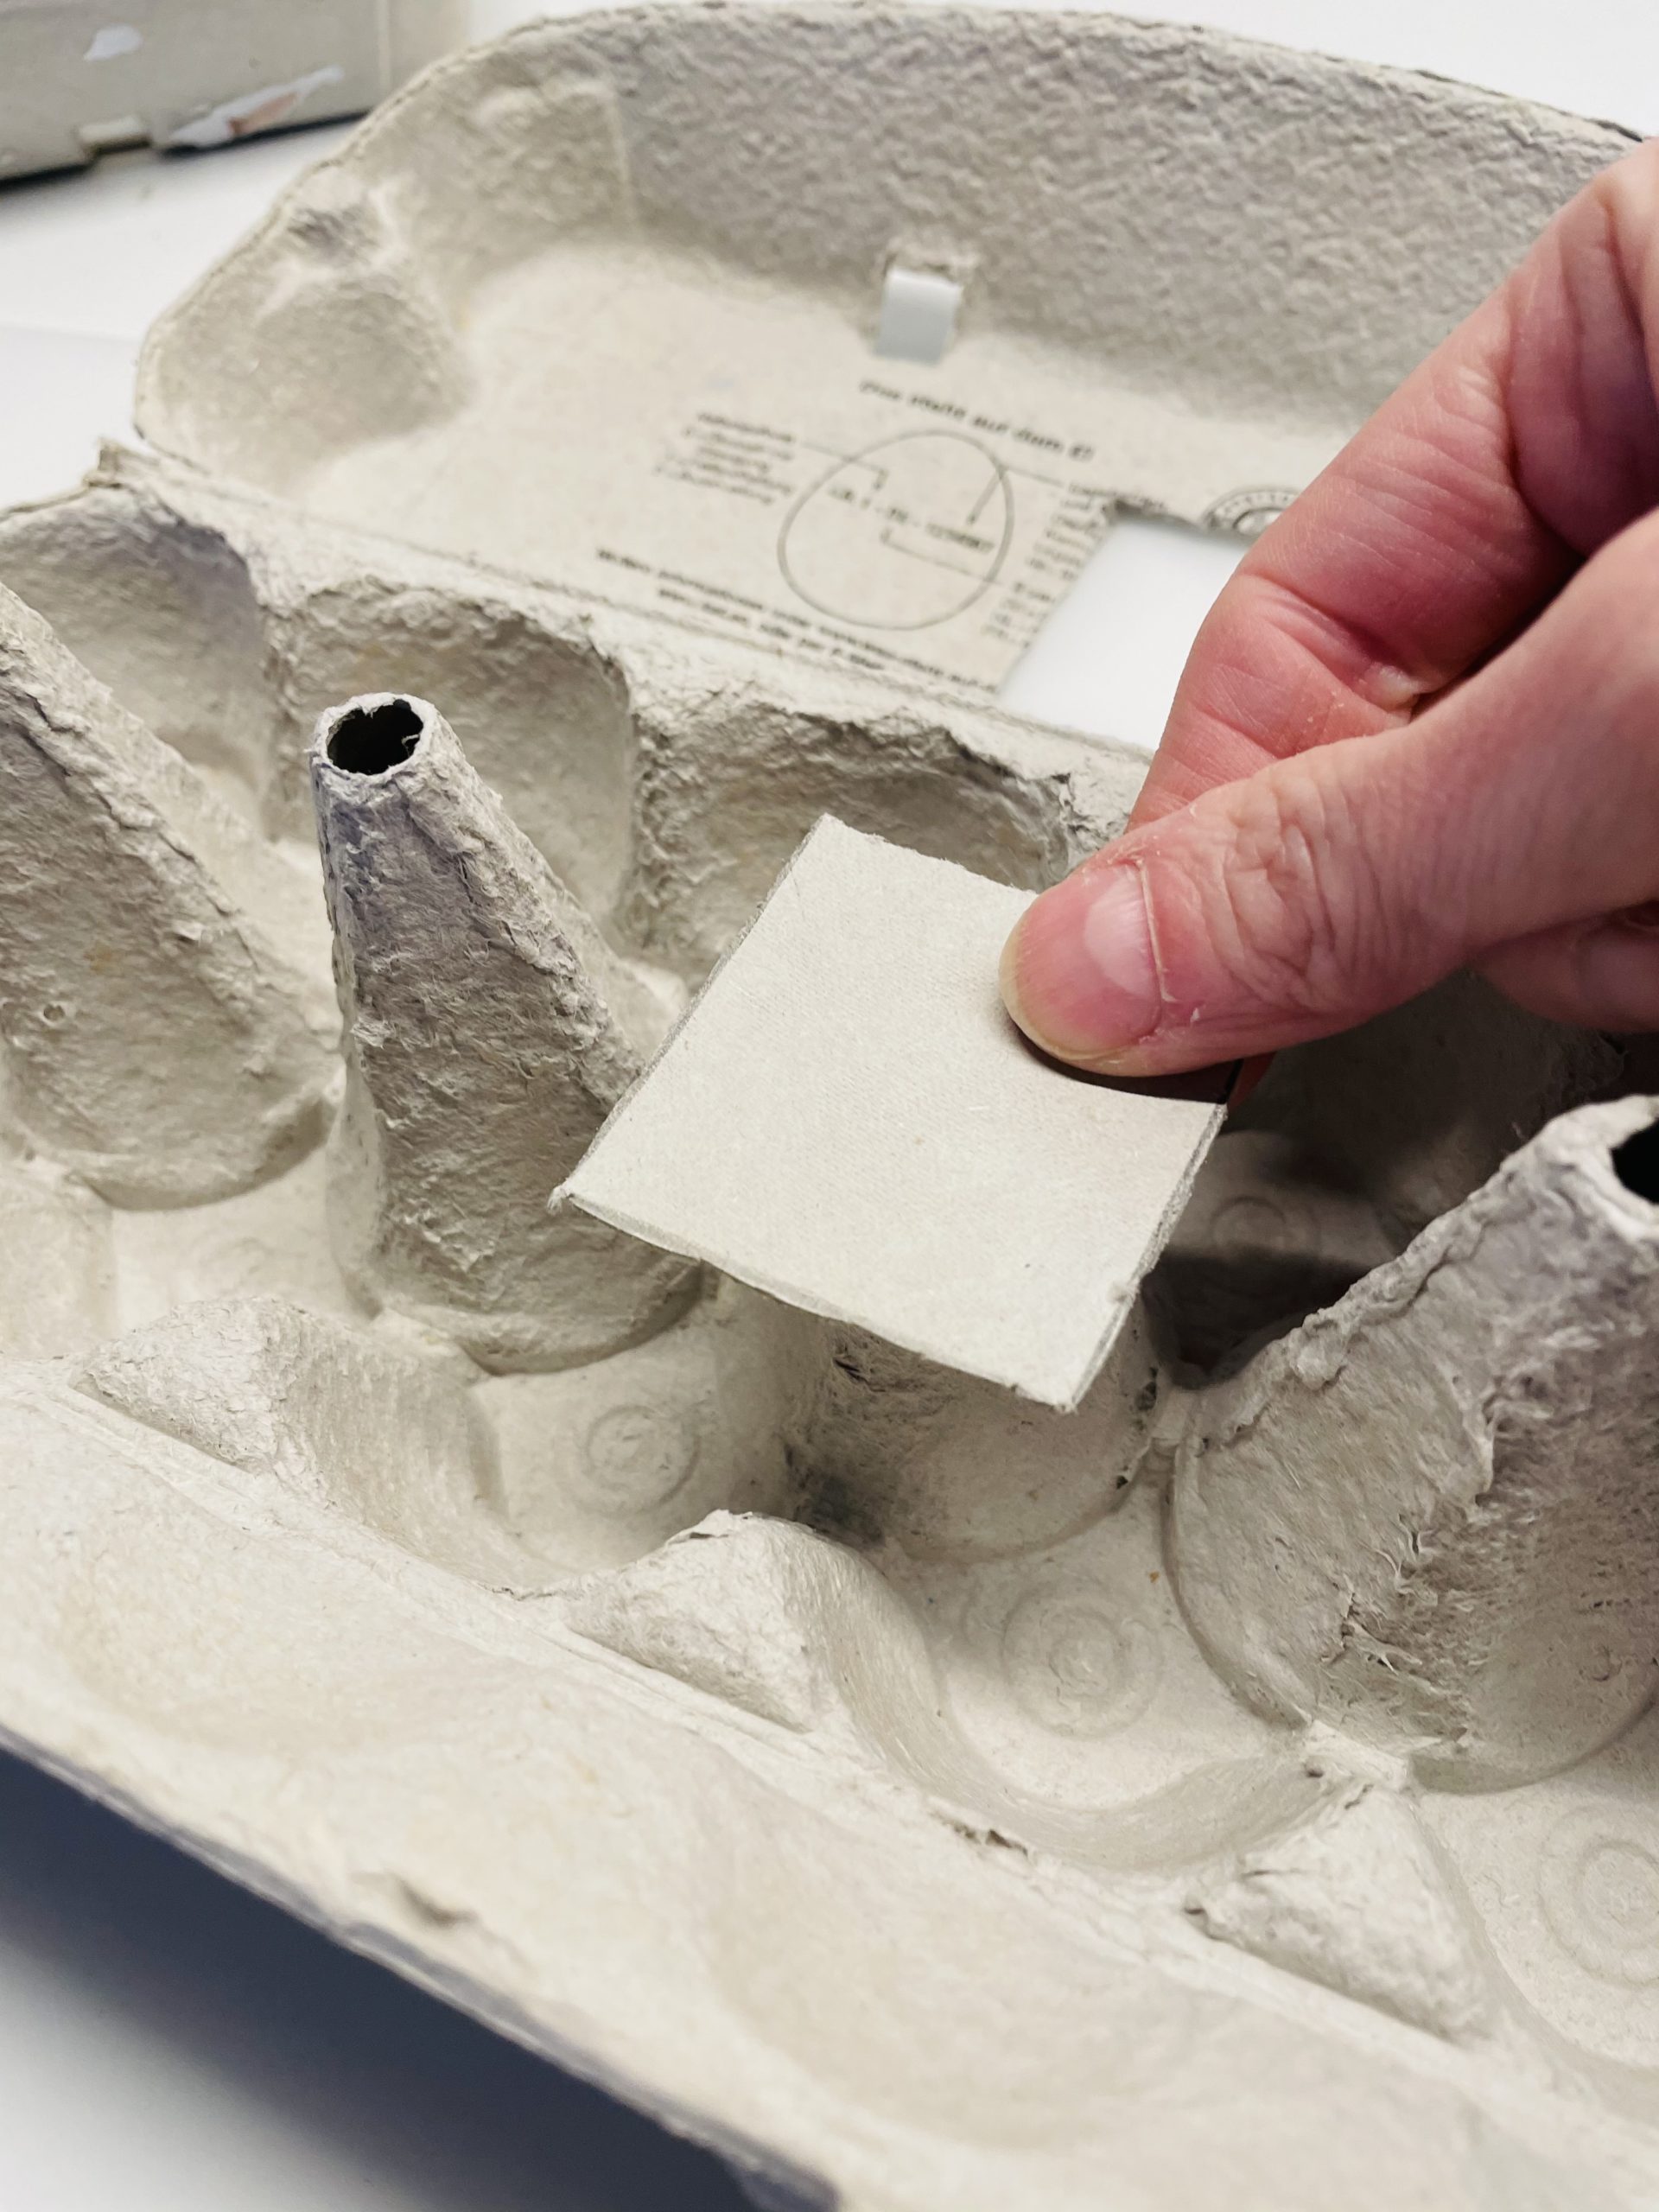
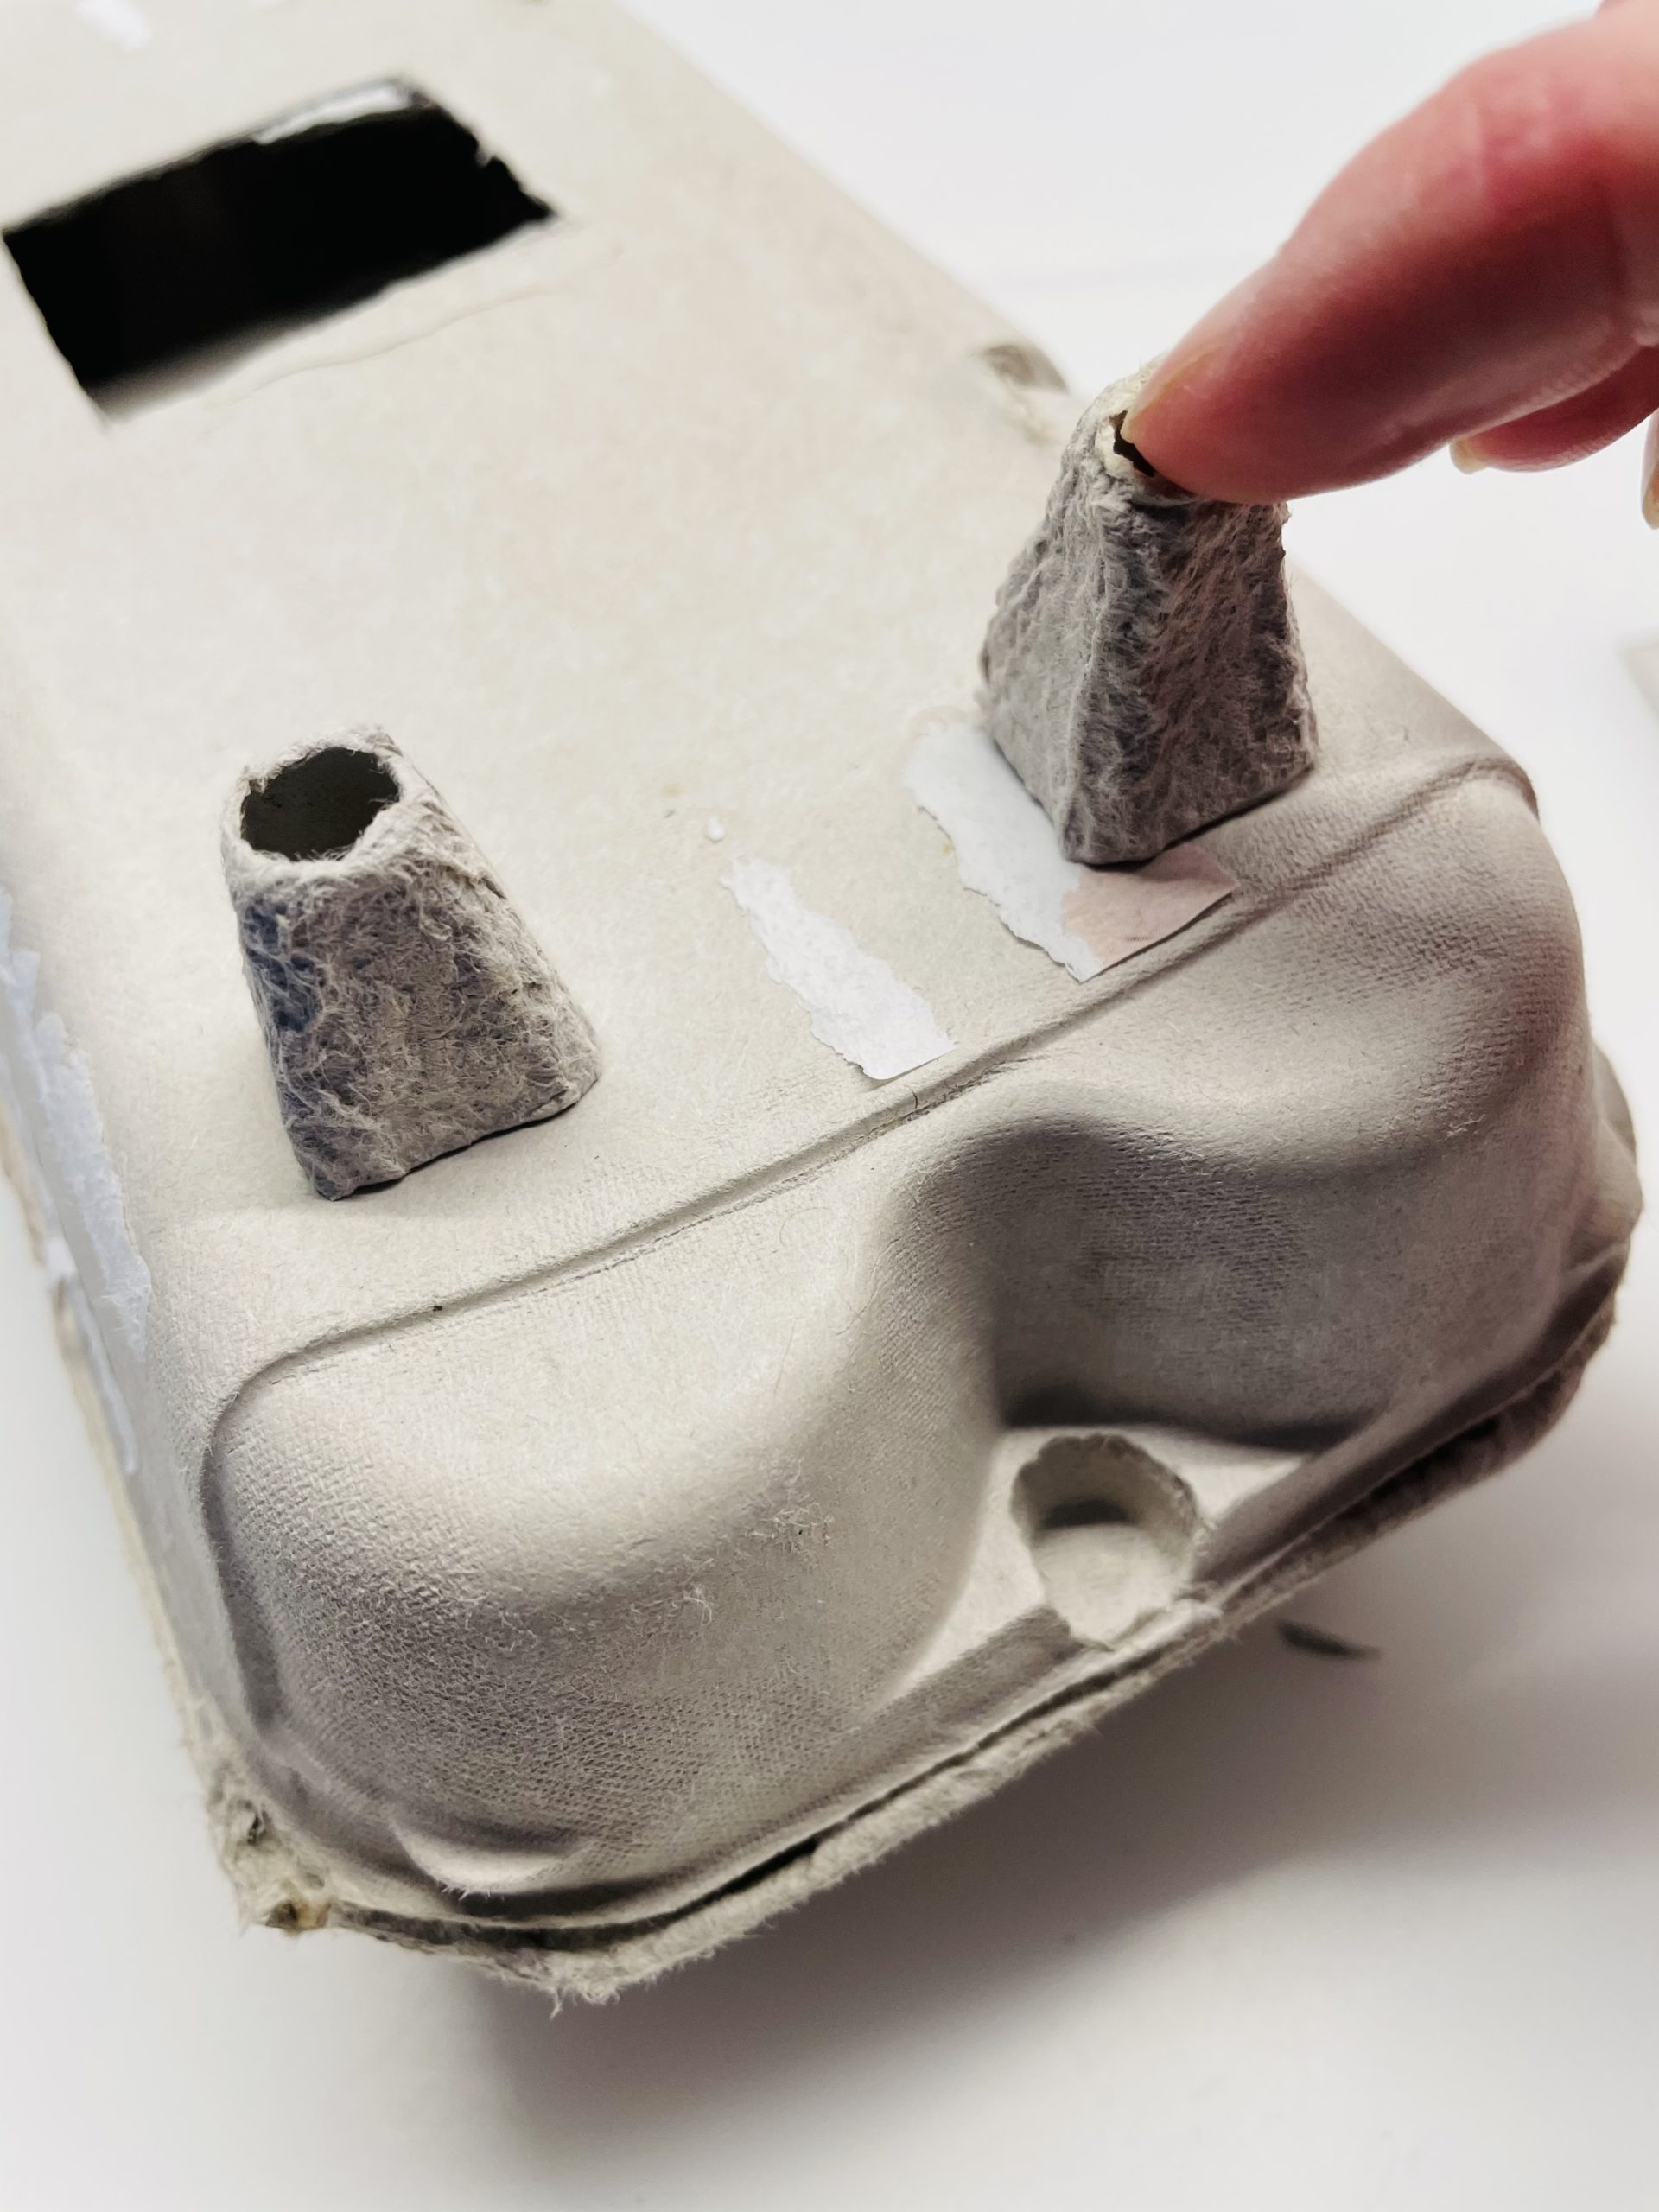
Now you stick the square to the shortened tip.
Cut off another tip at the same height.
Both tips become lights on the fire truck.
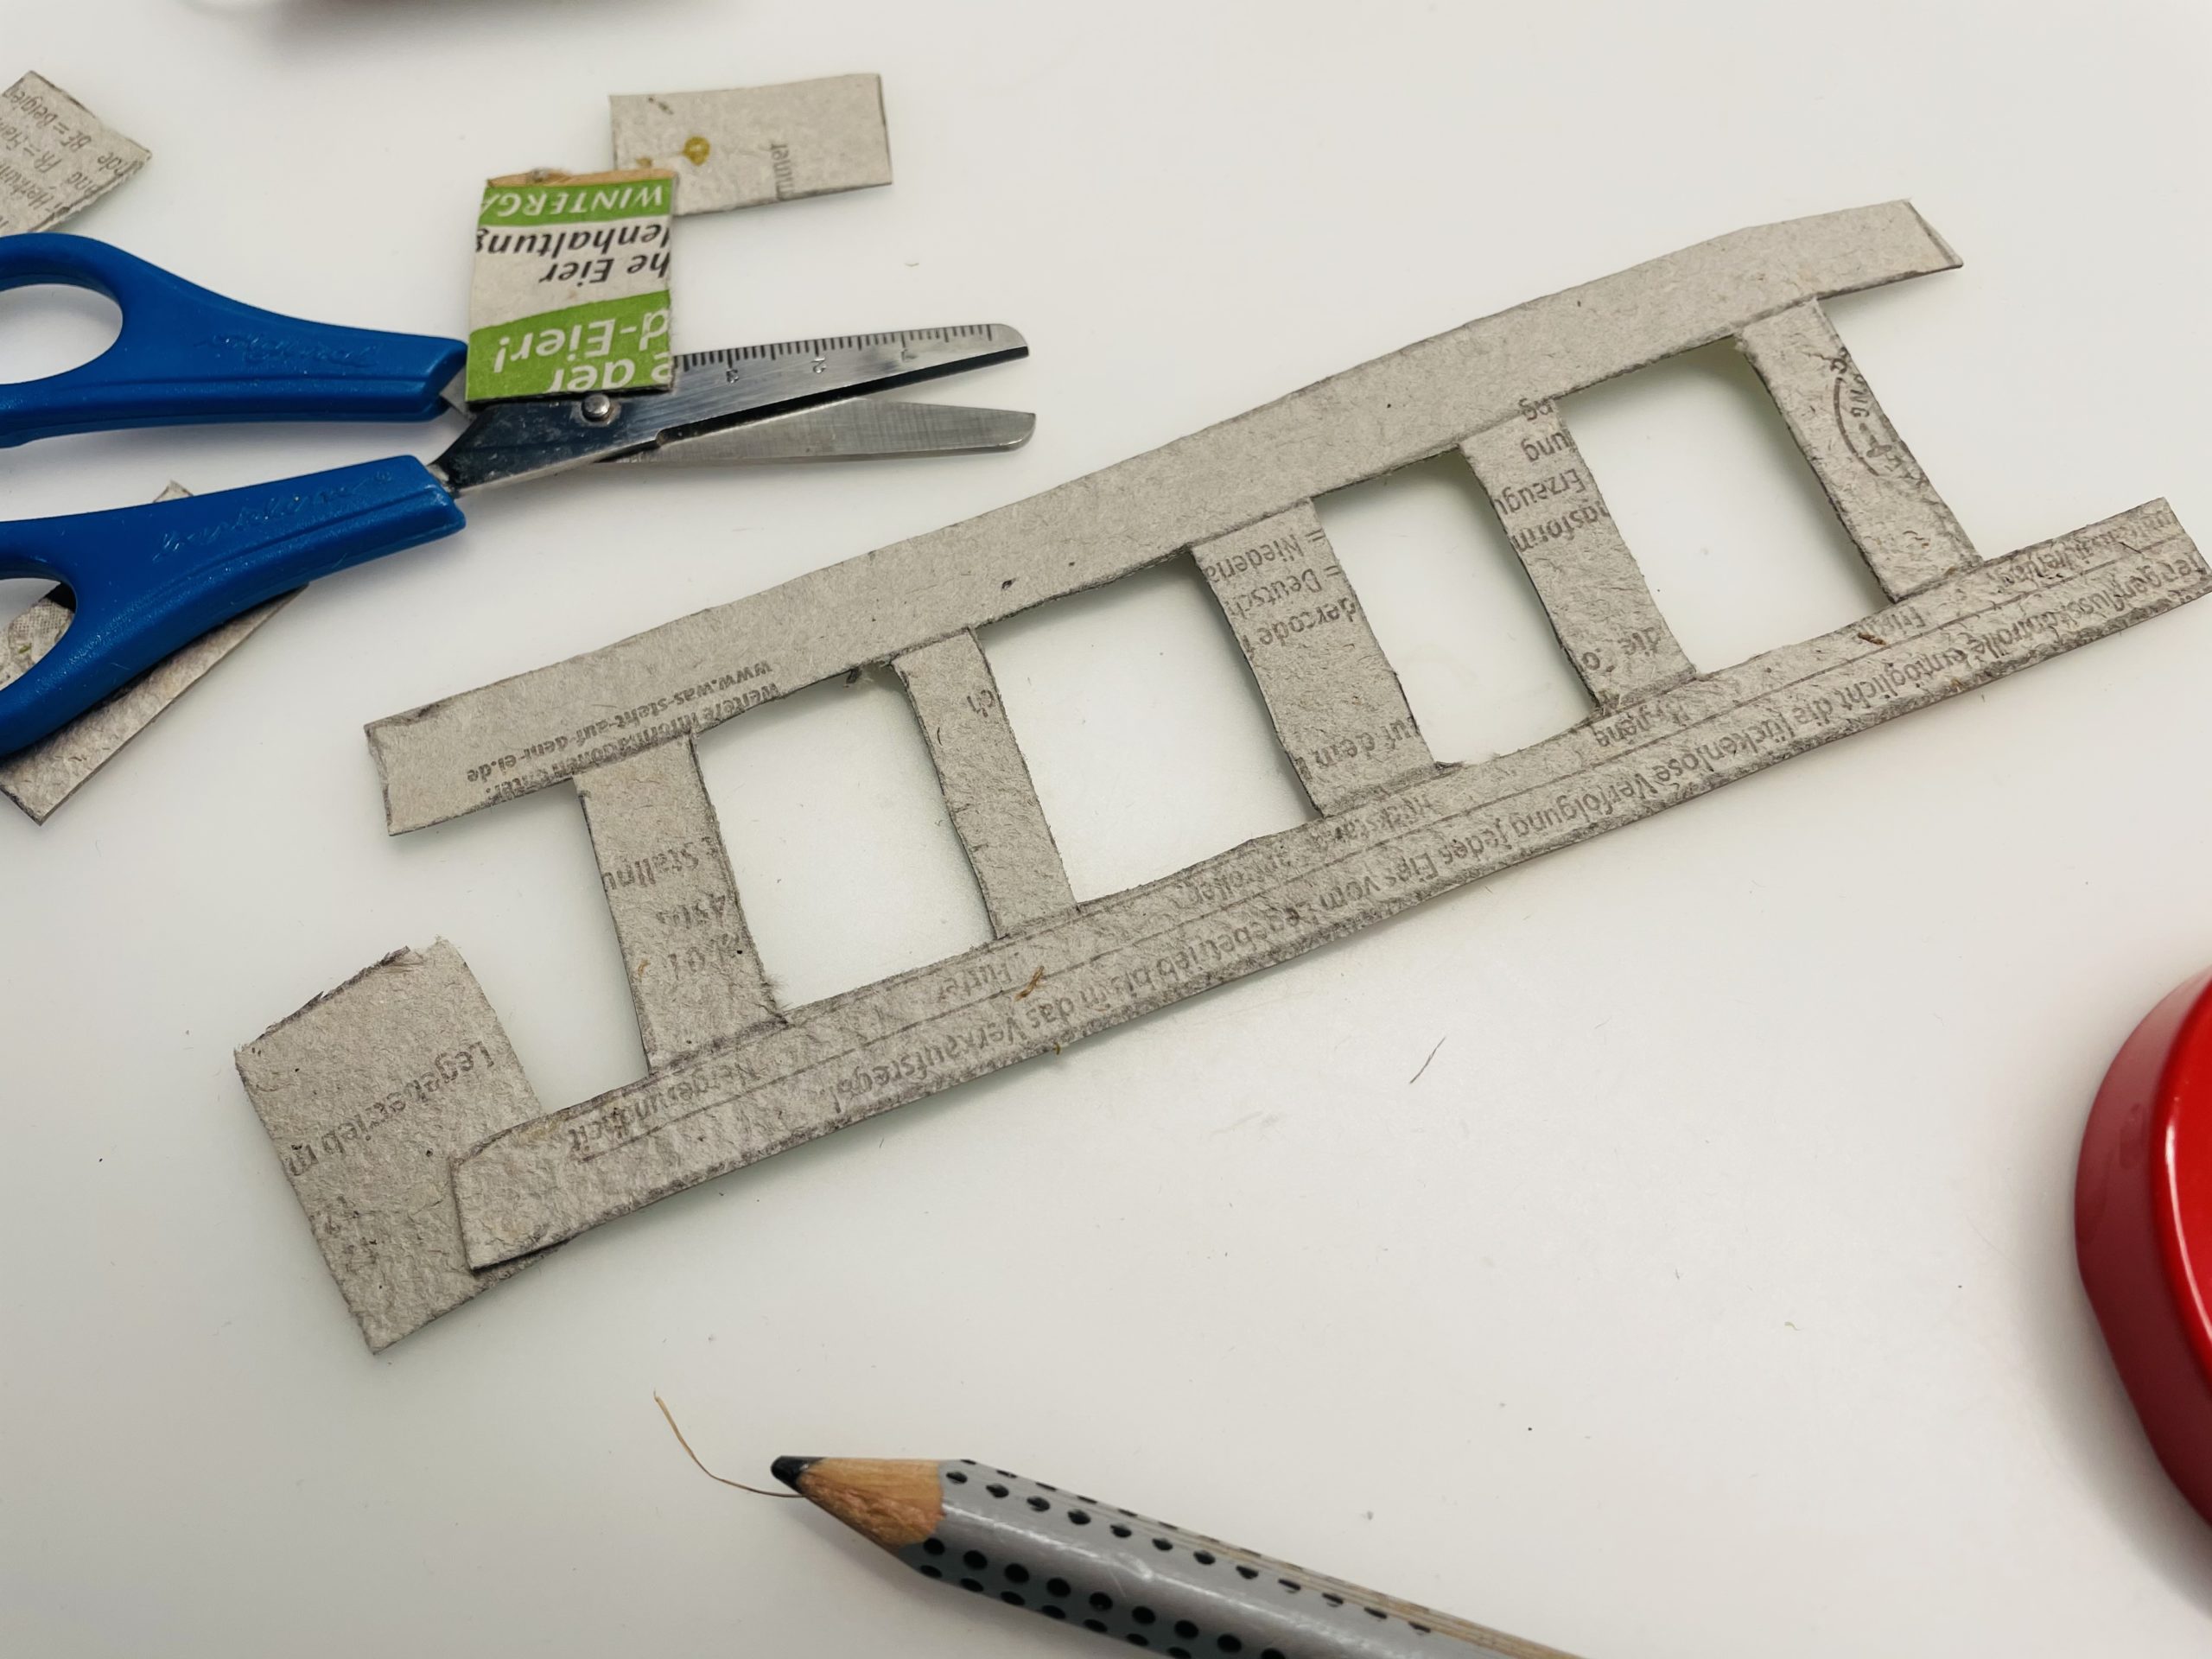
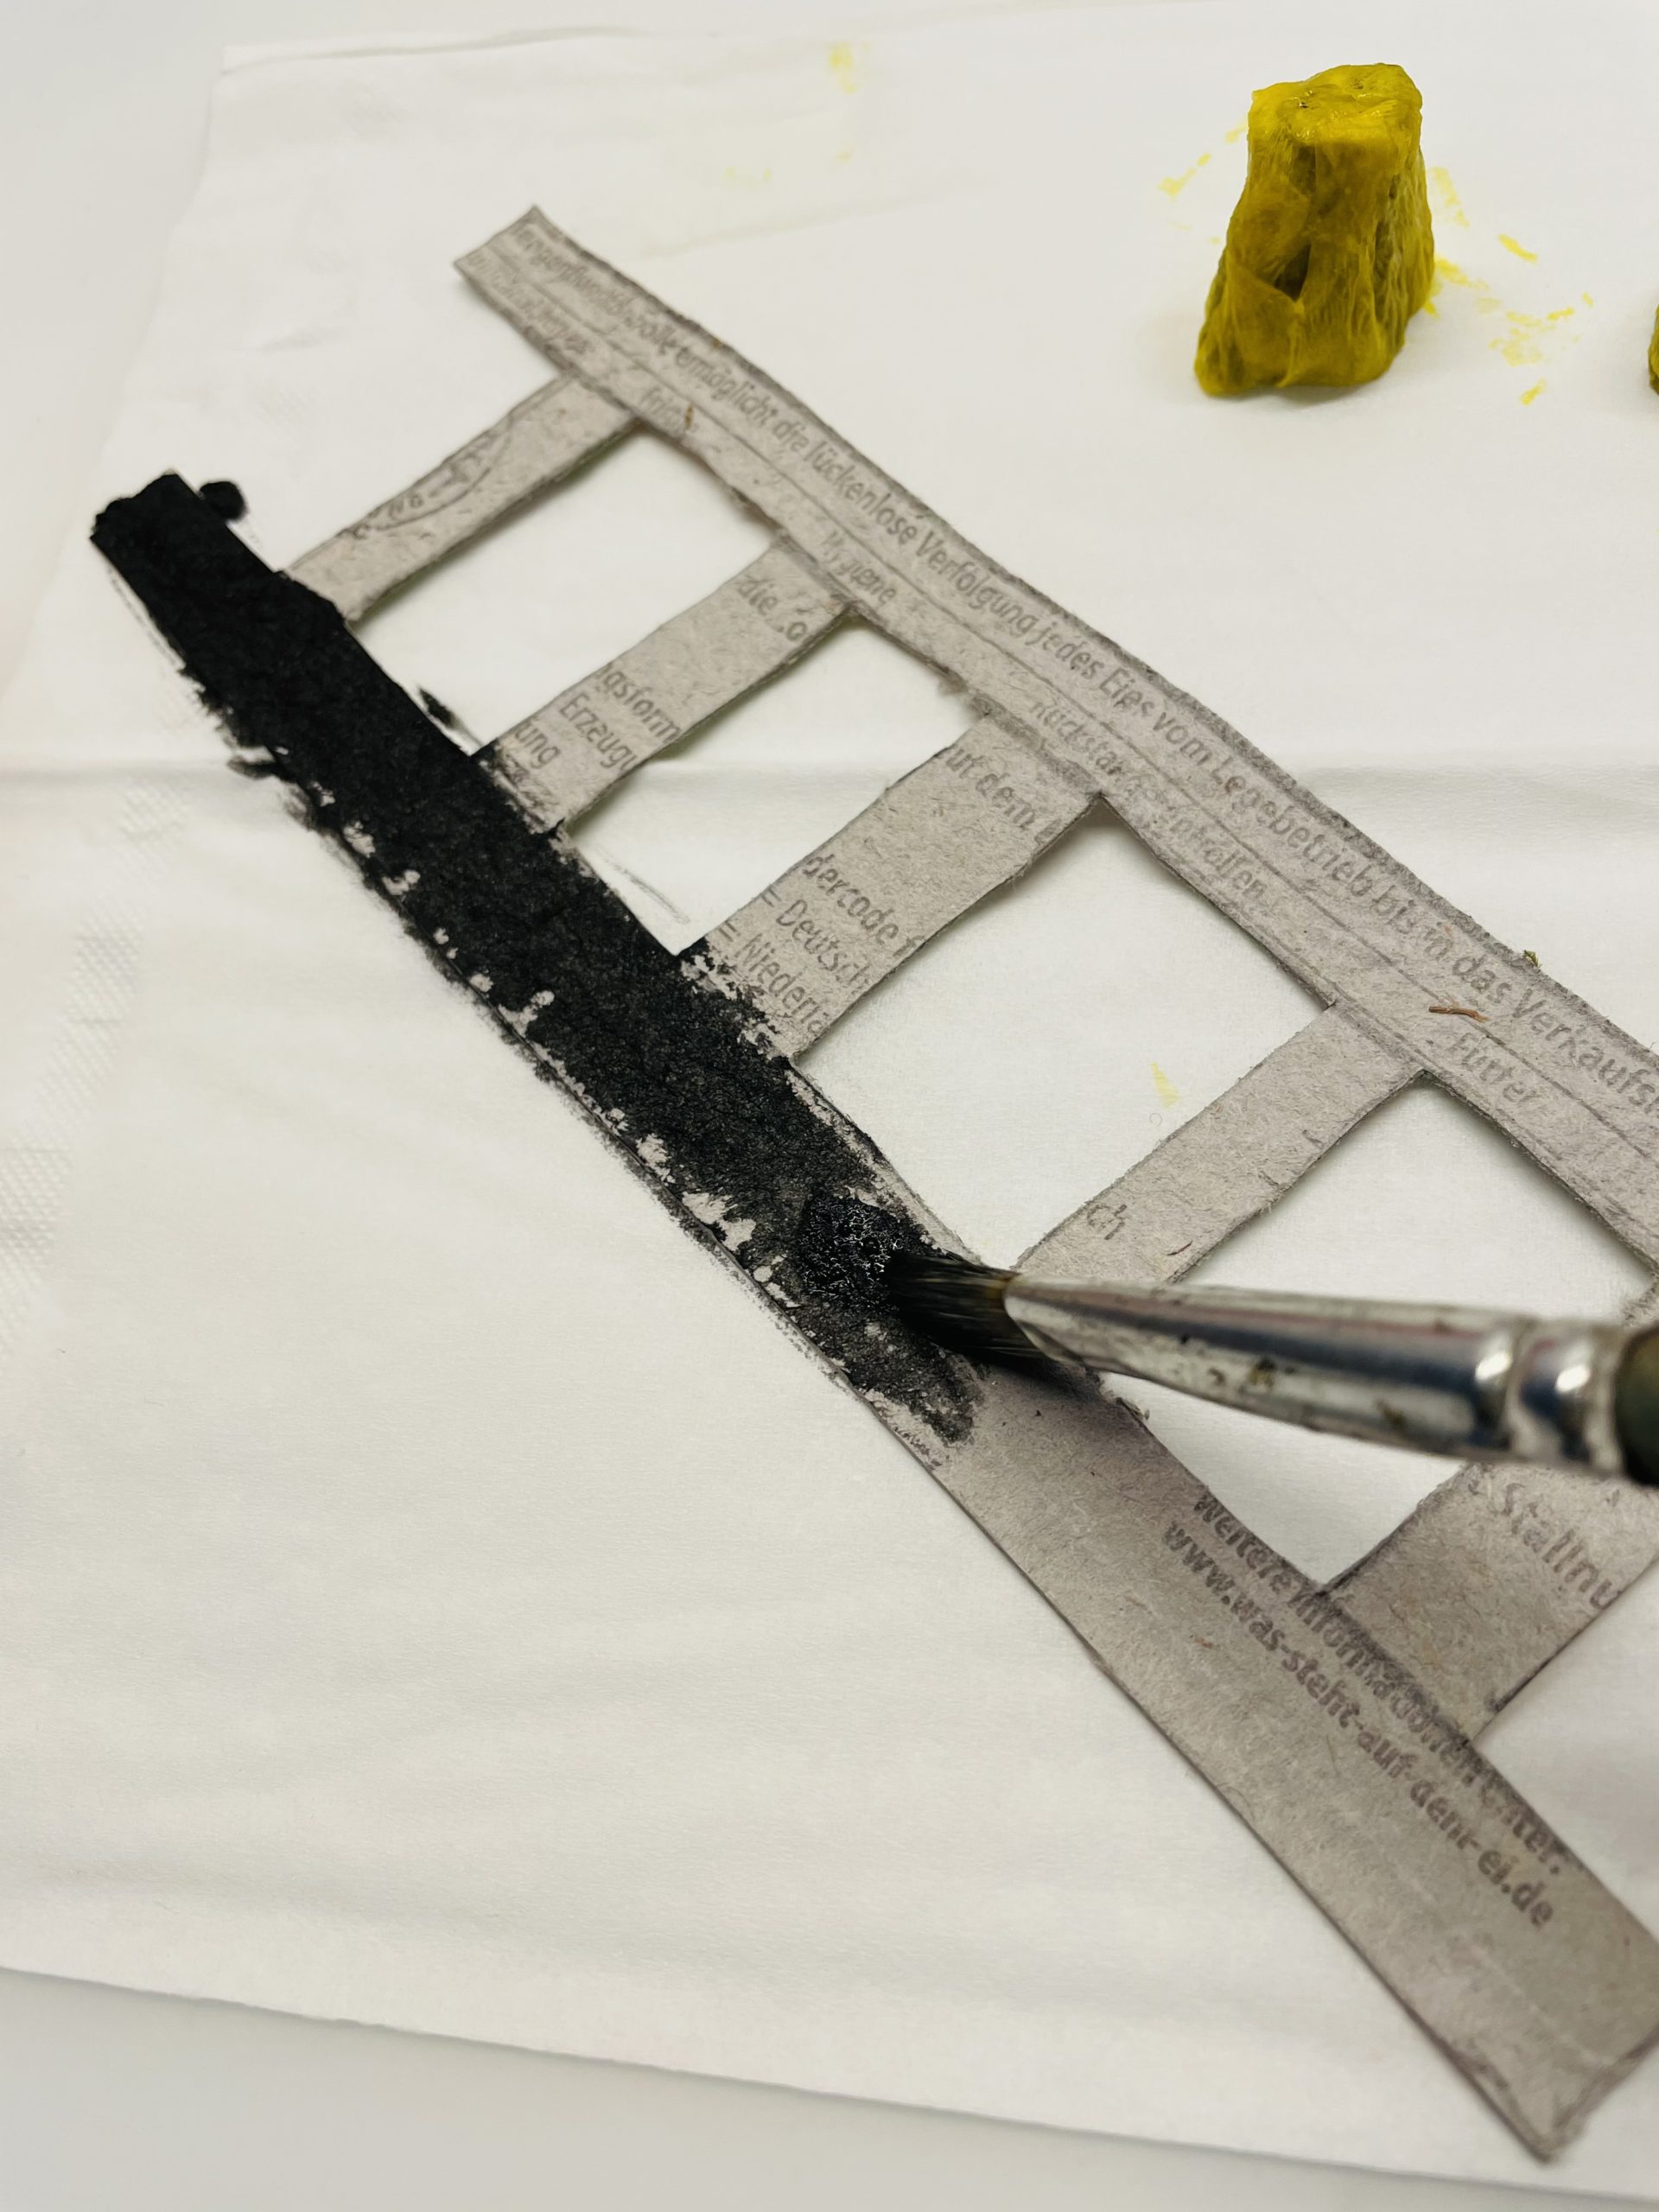
Now you need the second egg box. Paint a ladder on the lid.
Cuts them out with the scissors.

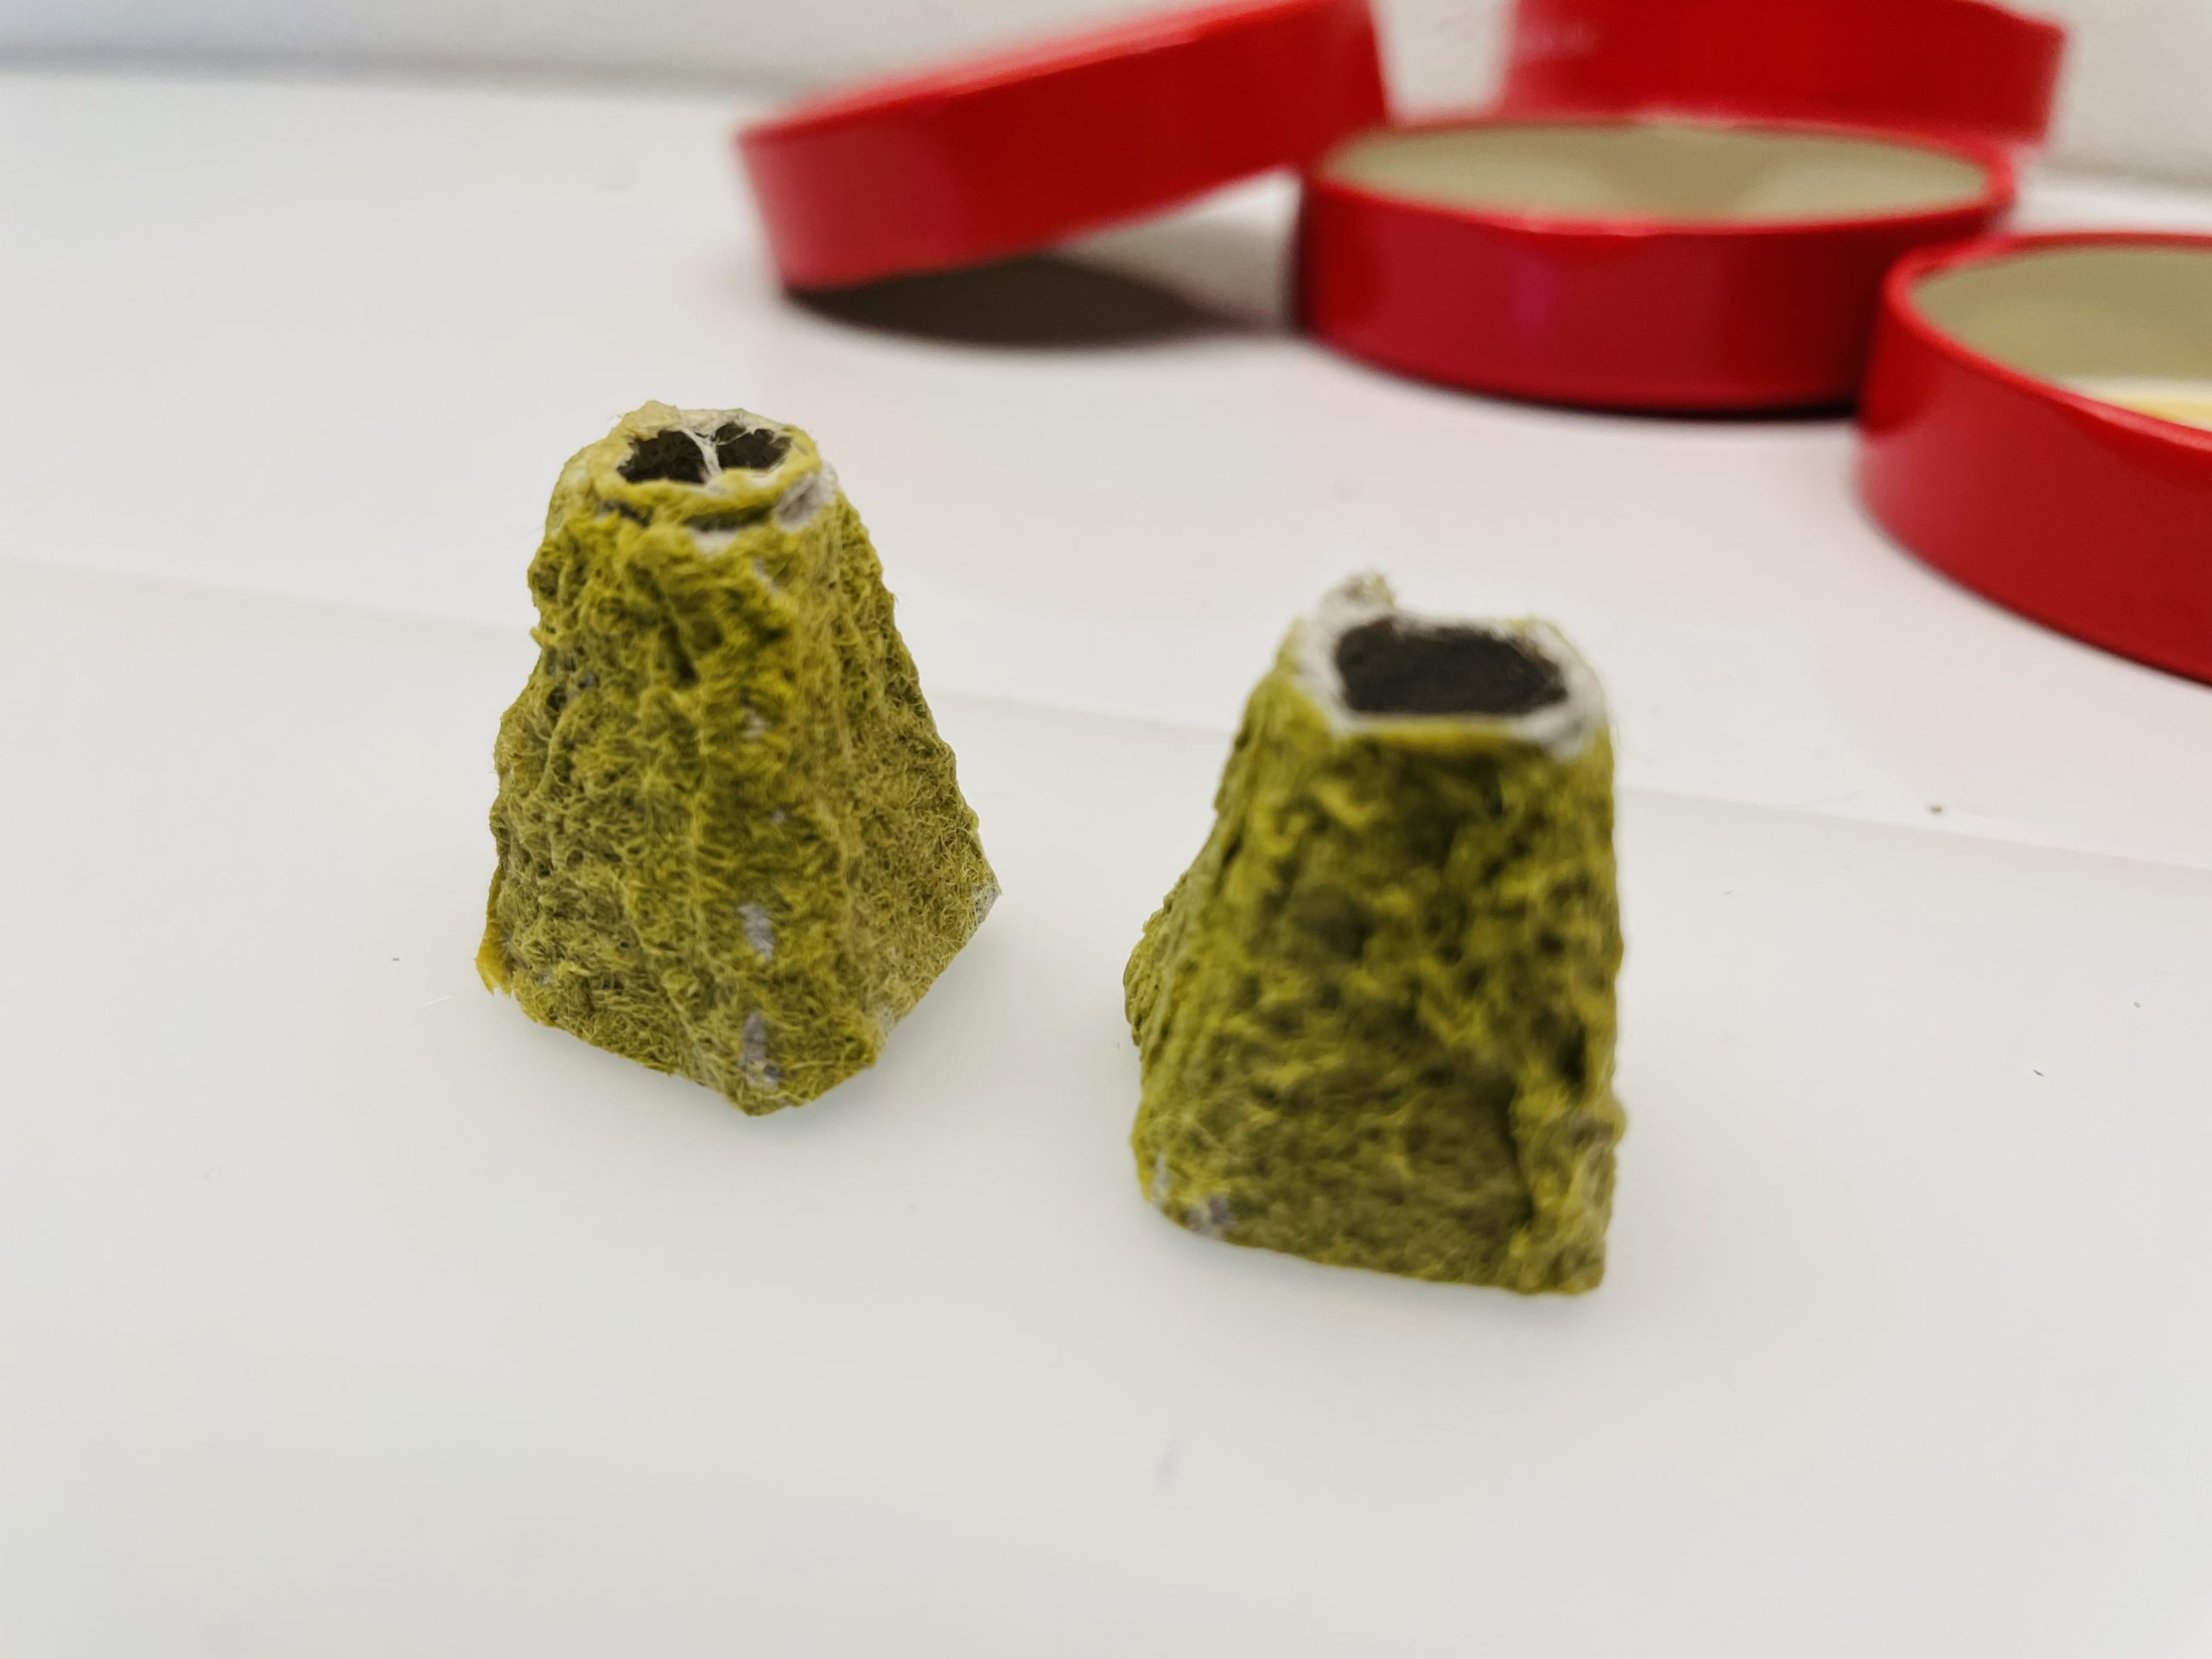
Now you paint the tips with water colours yellow.
Then place it for drying.
Then paint the ladder with water colors black.
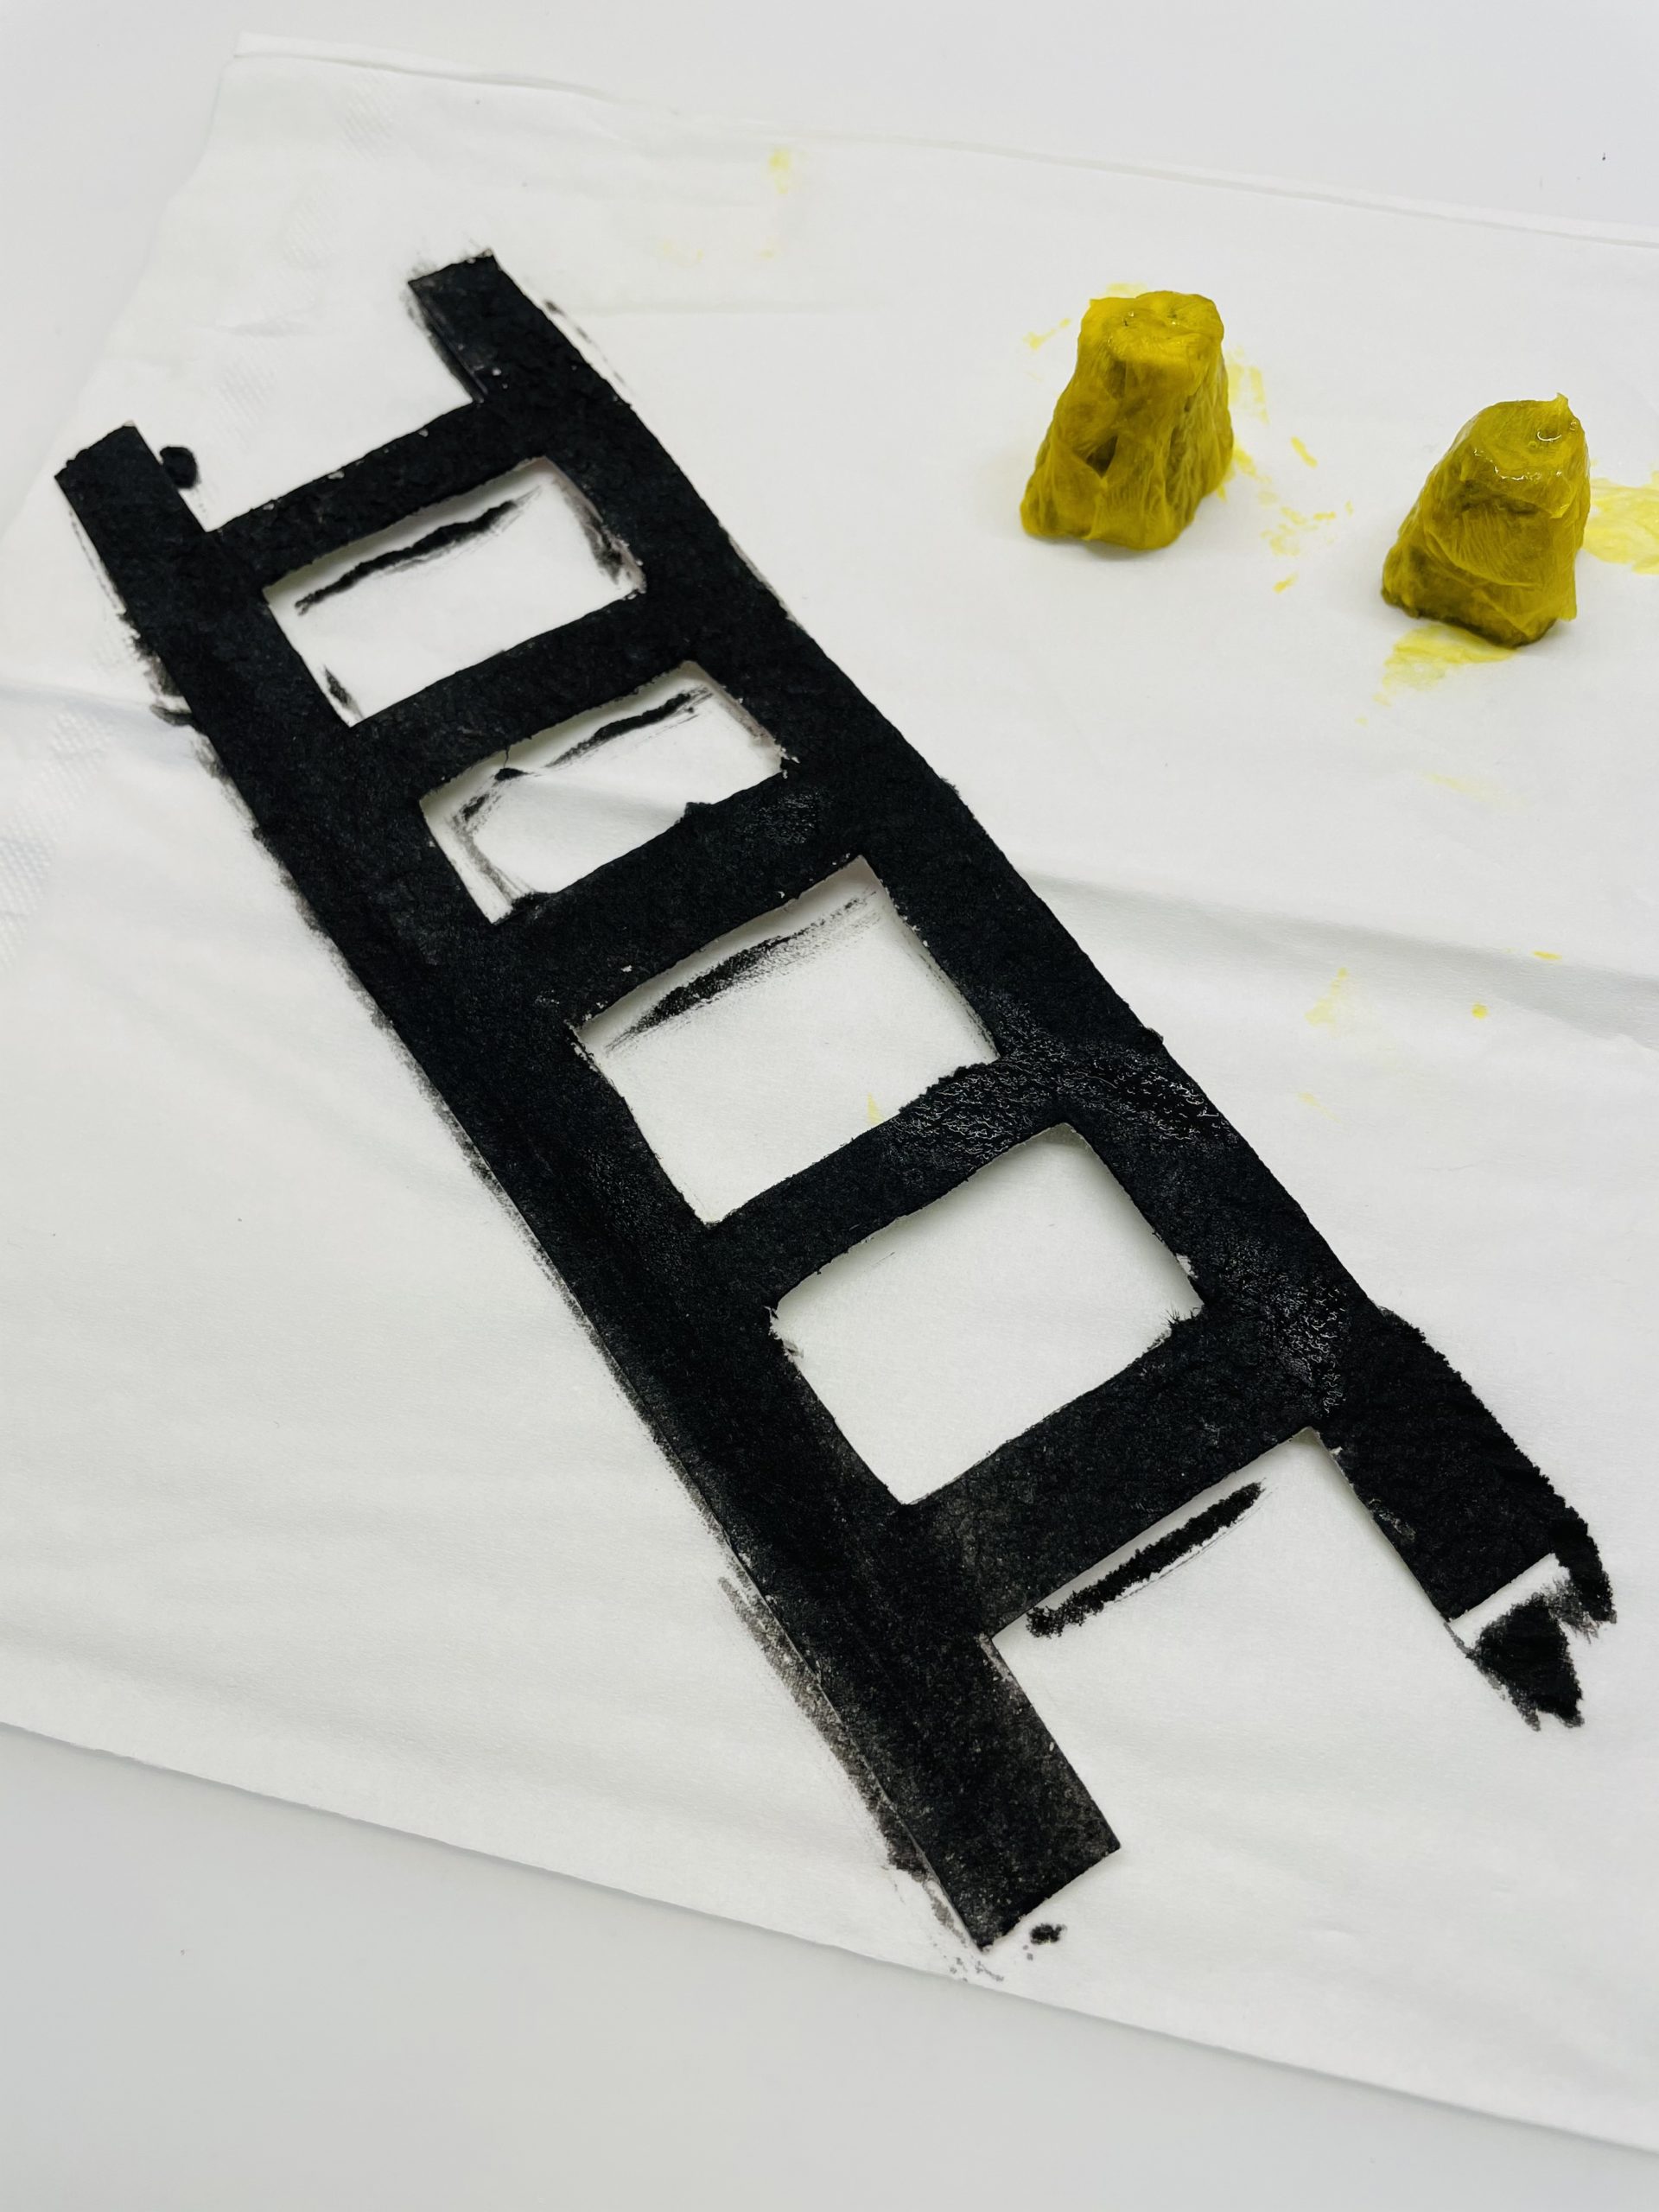
Then you put these to dry. As soon as the paint is dry you paint the other side of the ladder black.
The ladder is thus painted black from both sides.
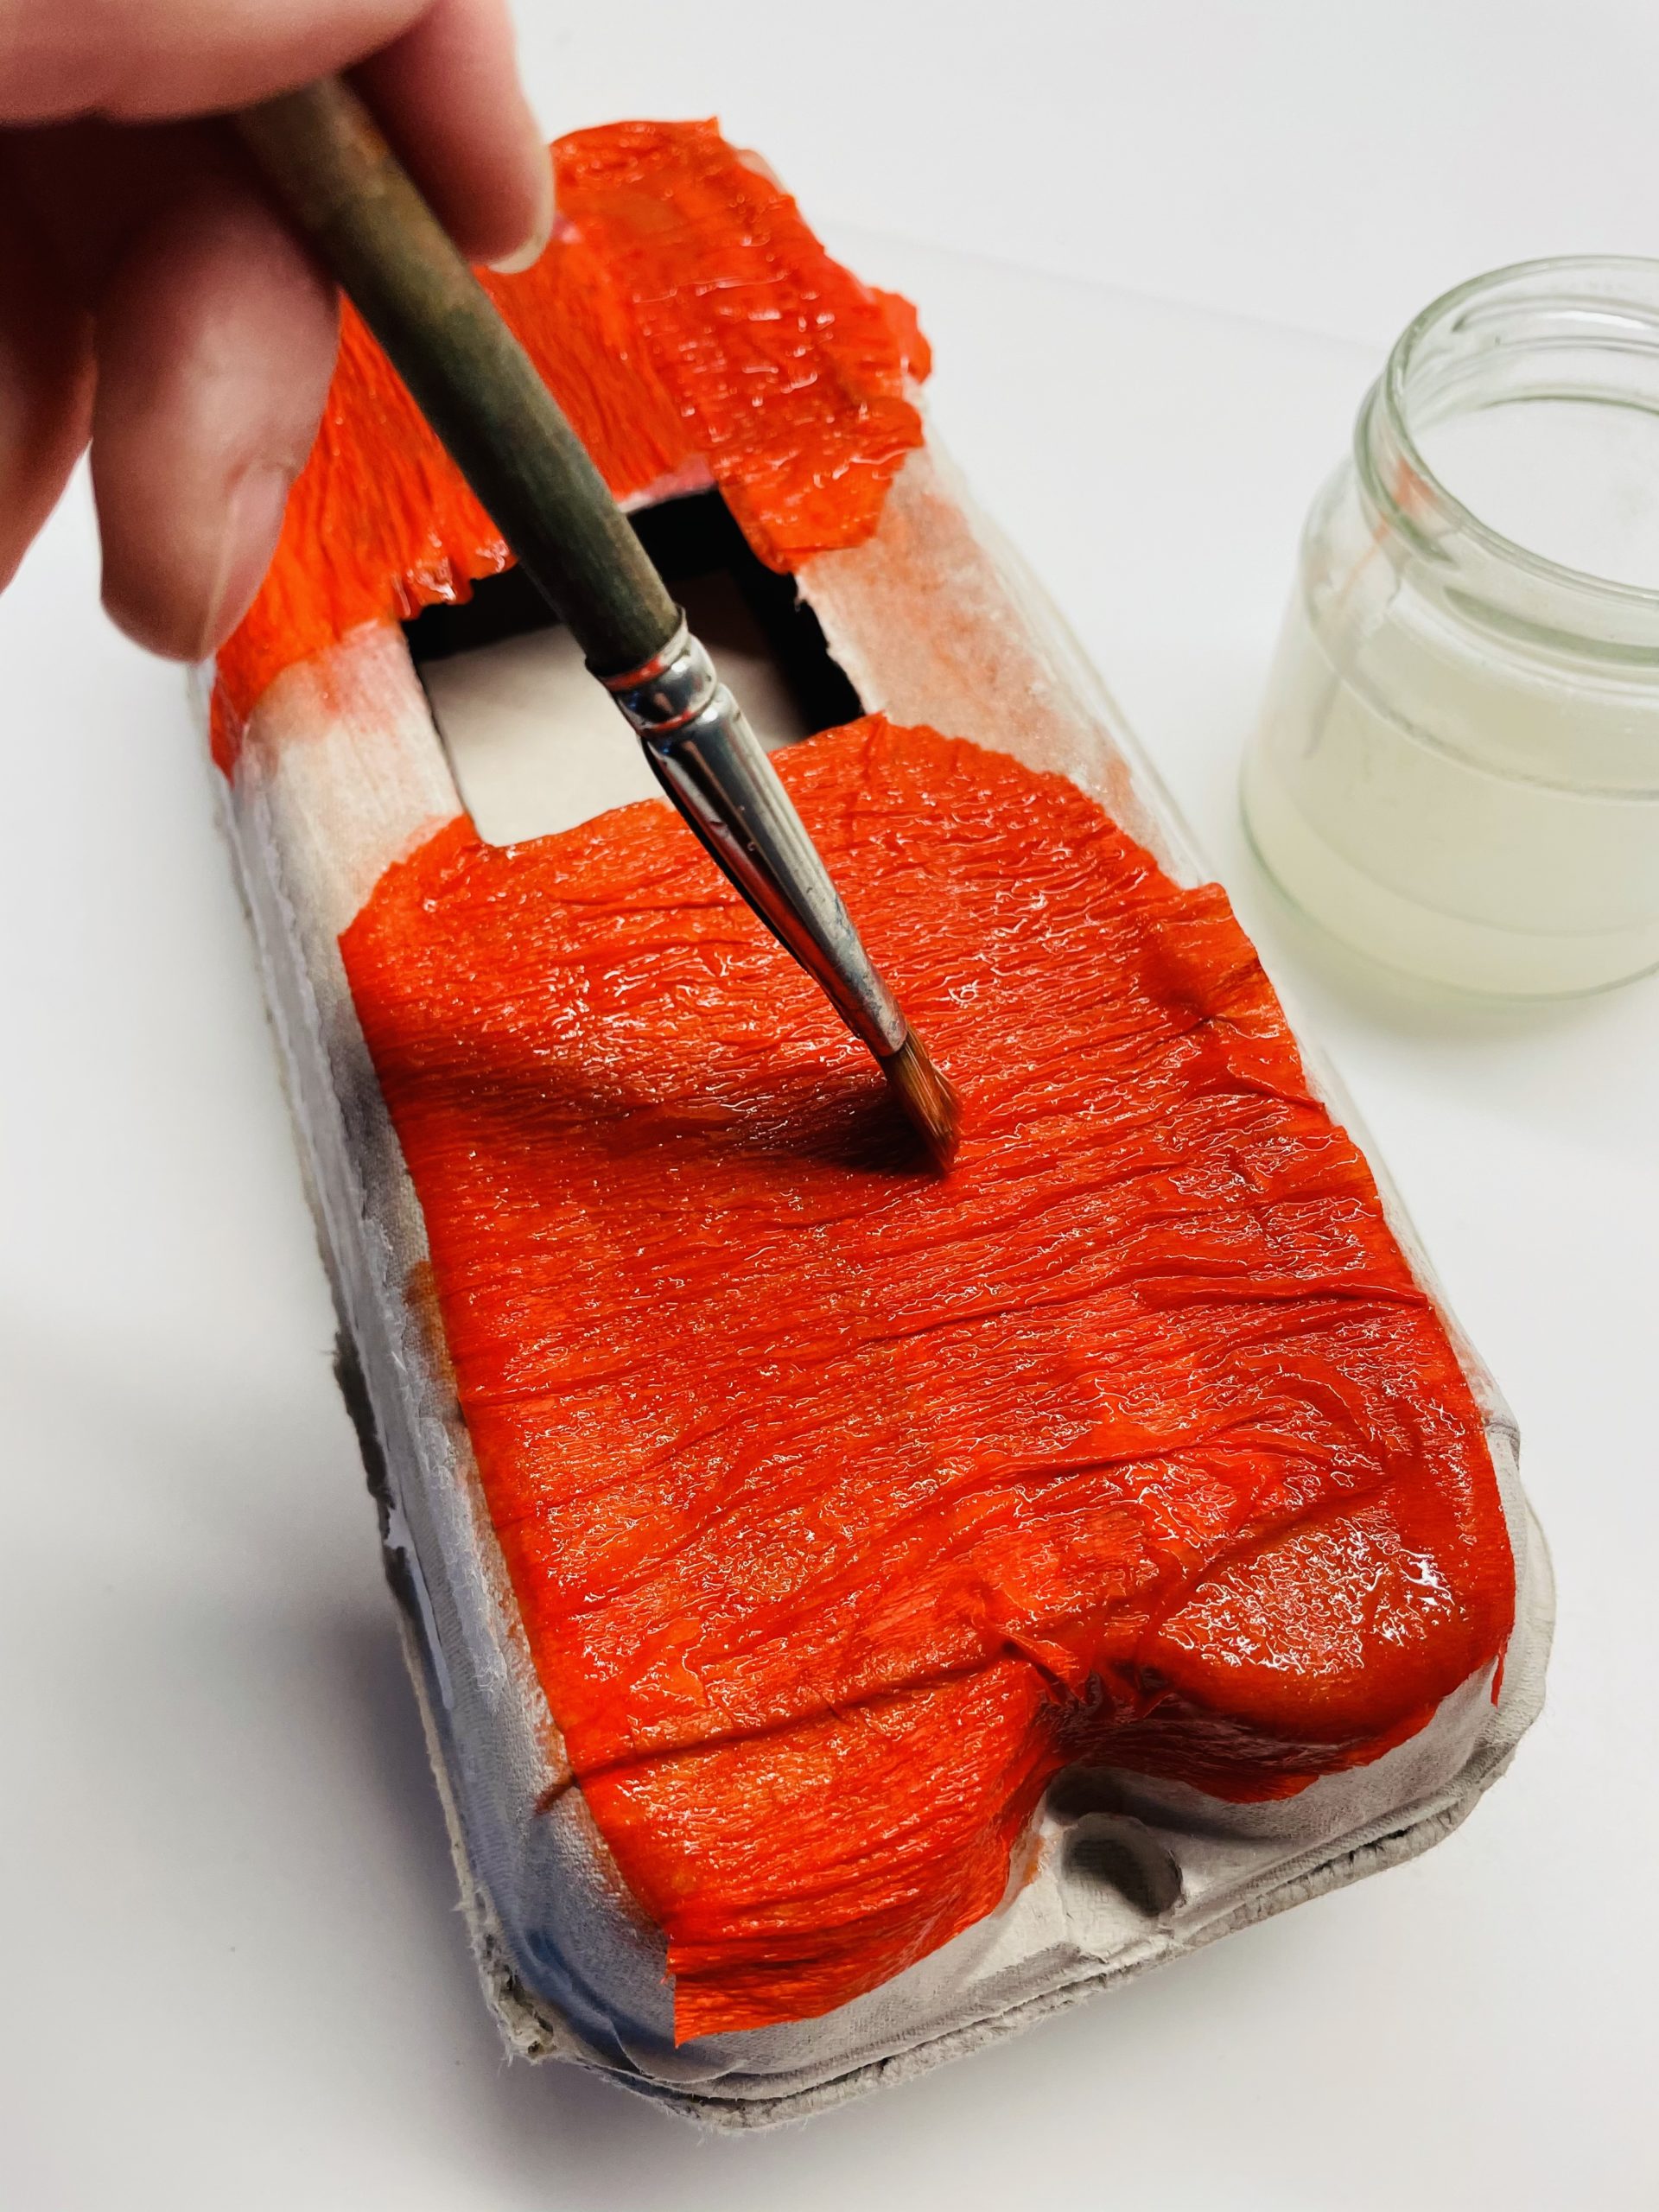
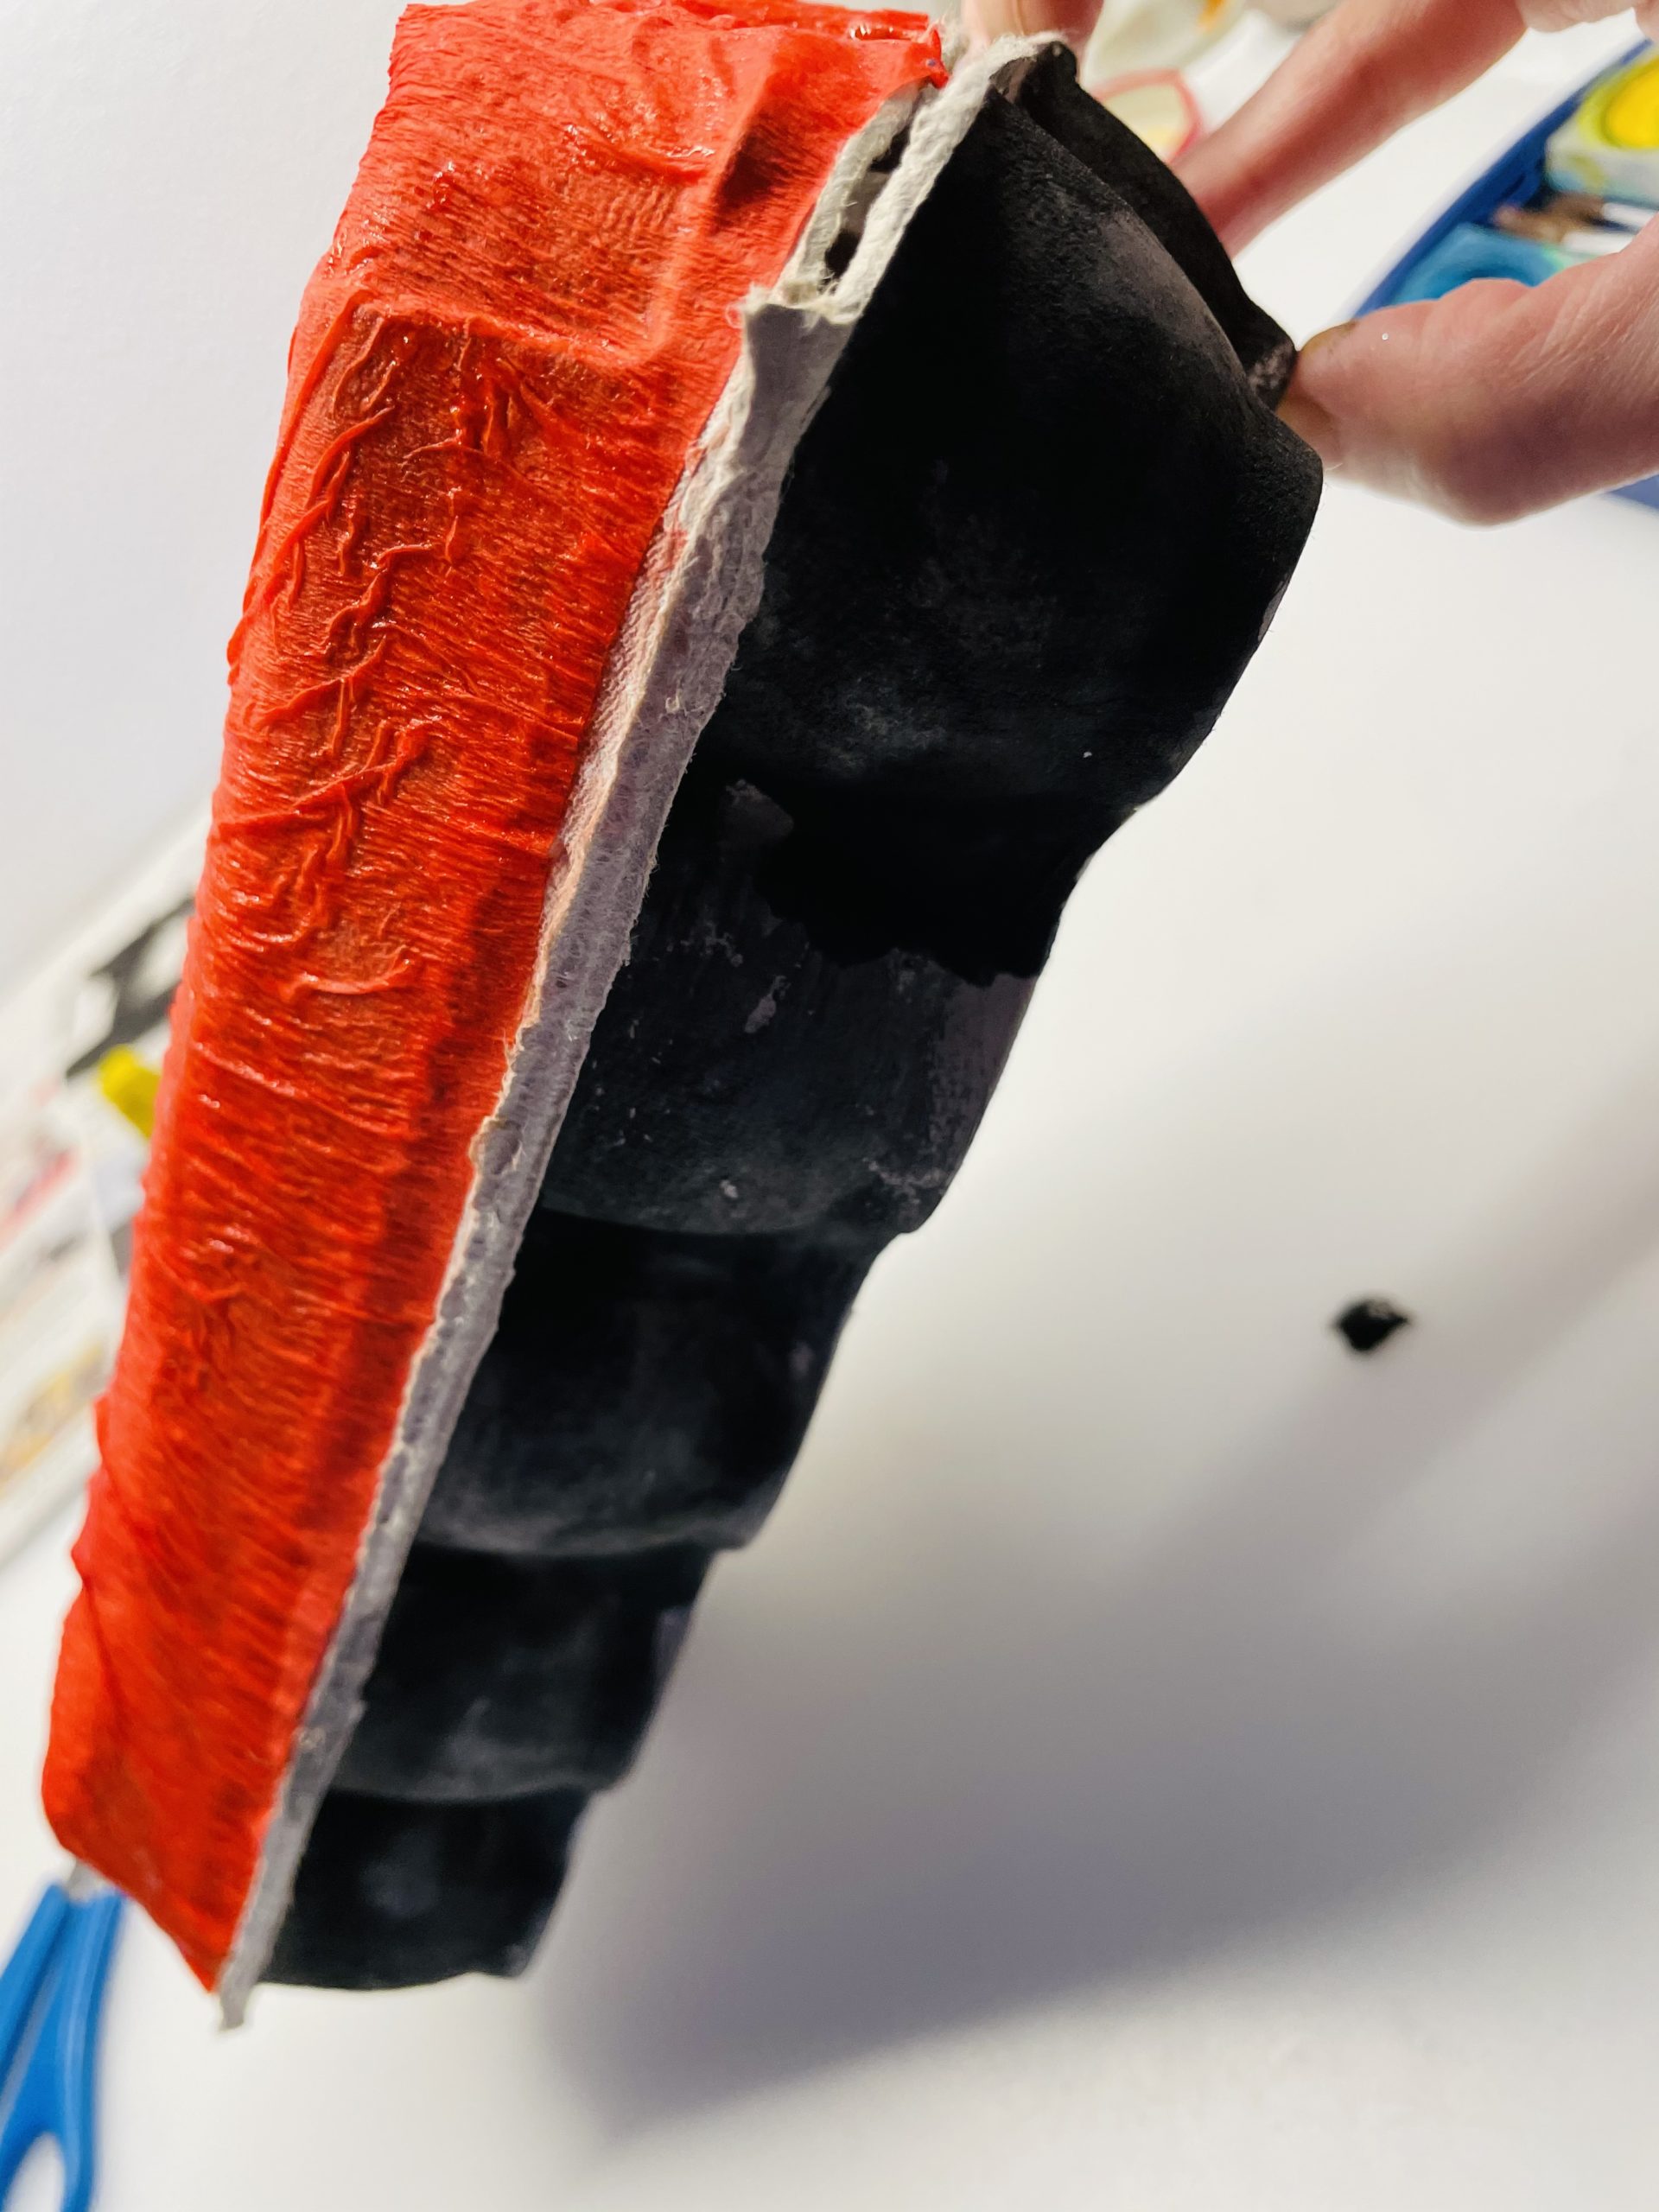
Now you paint the entire egg box with red water paint.
Alternatively, glue the egg carton with red crepe paper or paper snippets.
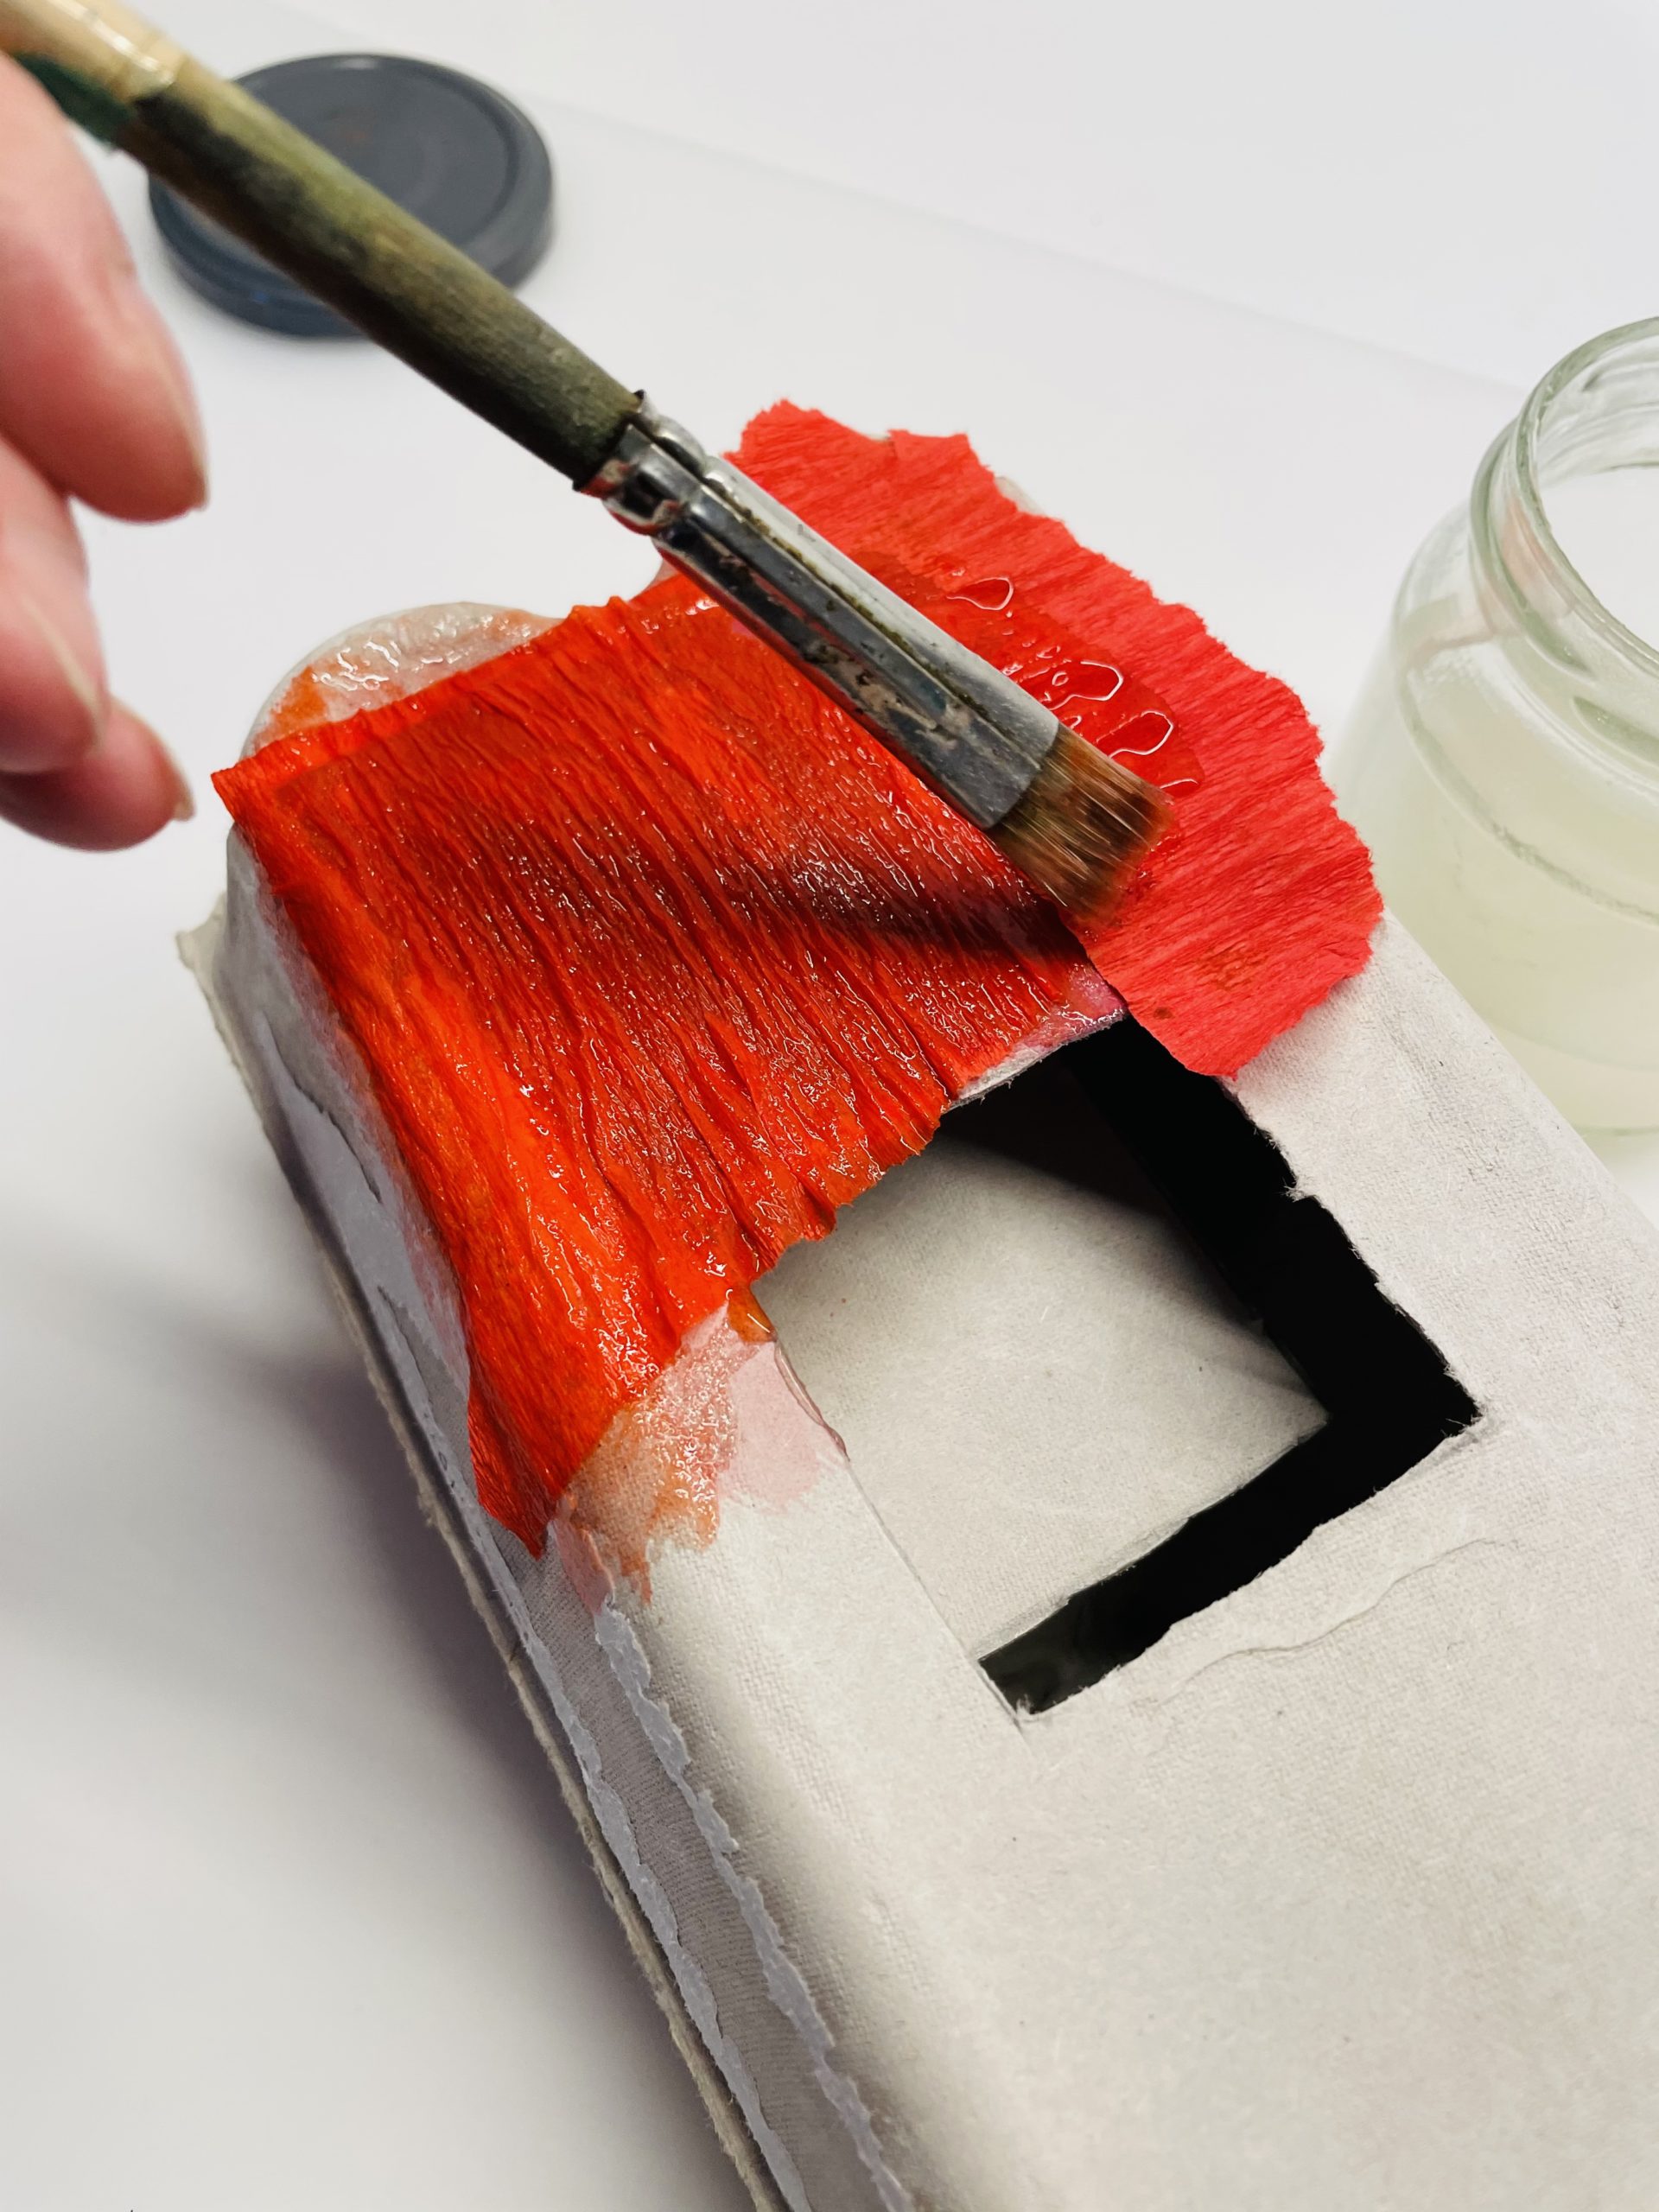
For the adhesive variants you pin the cardboard first with wallpaper paste. Then you stick the snippets on it.
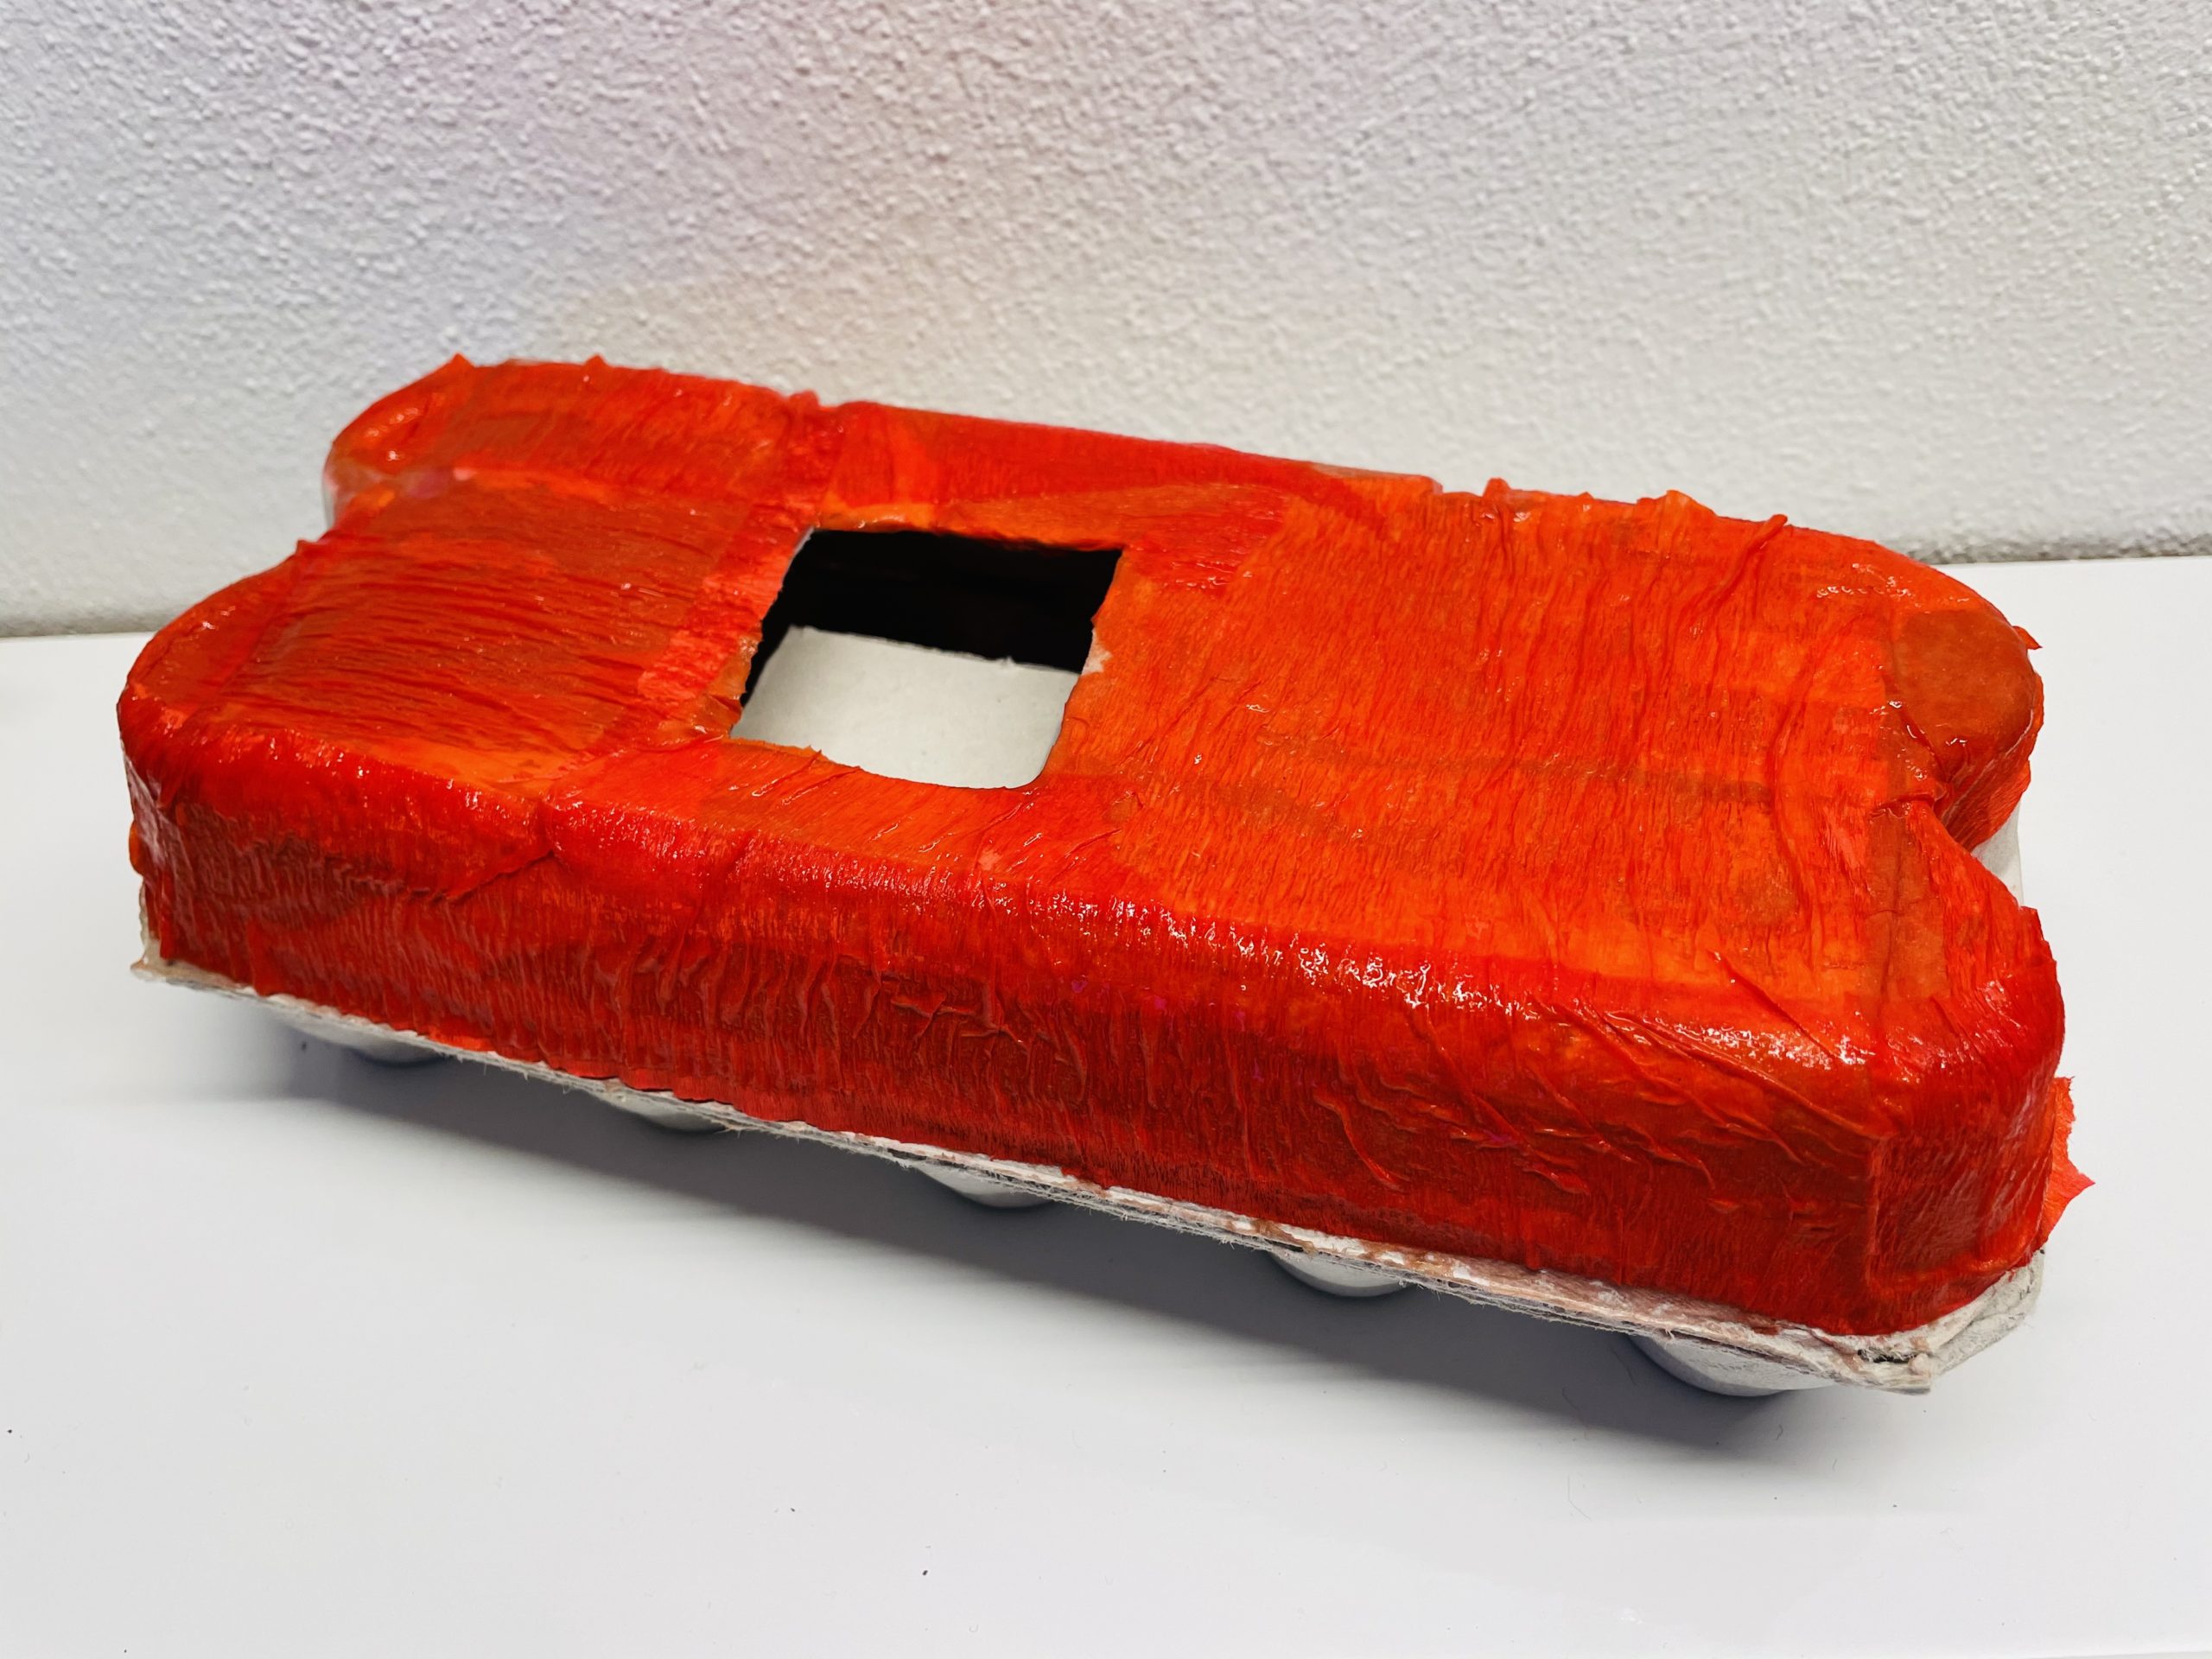
Let the box dry well.
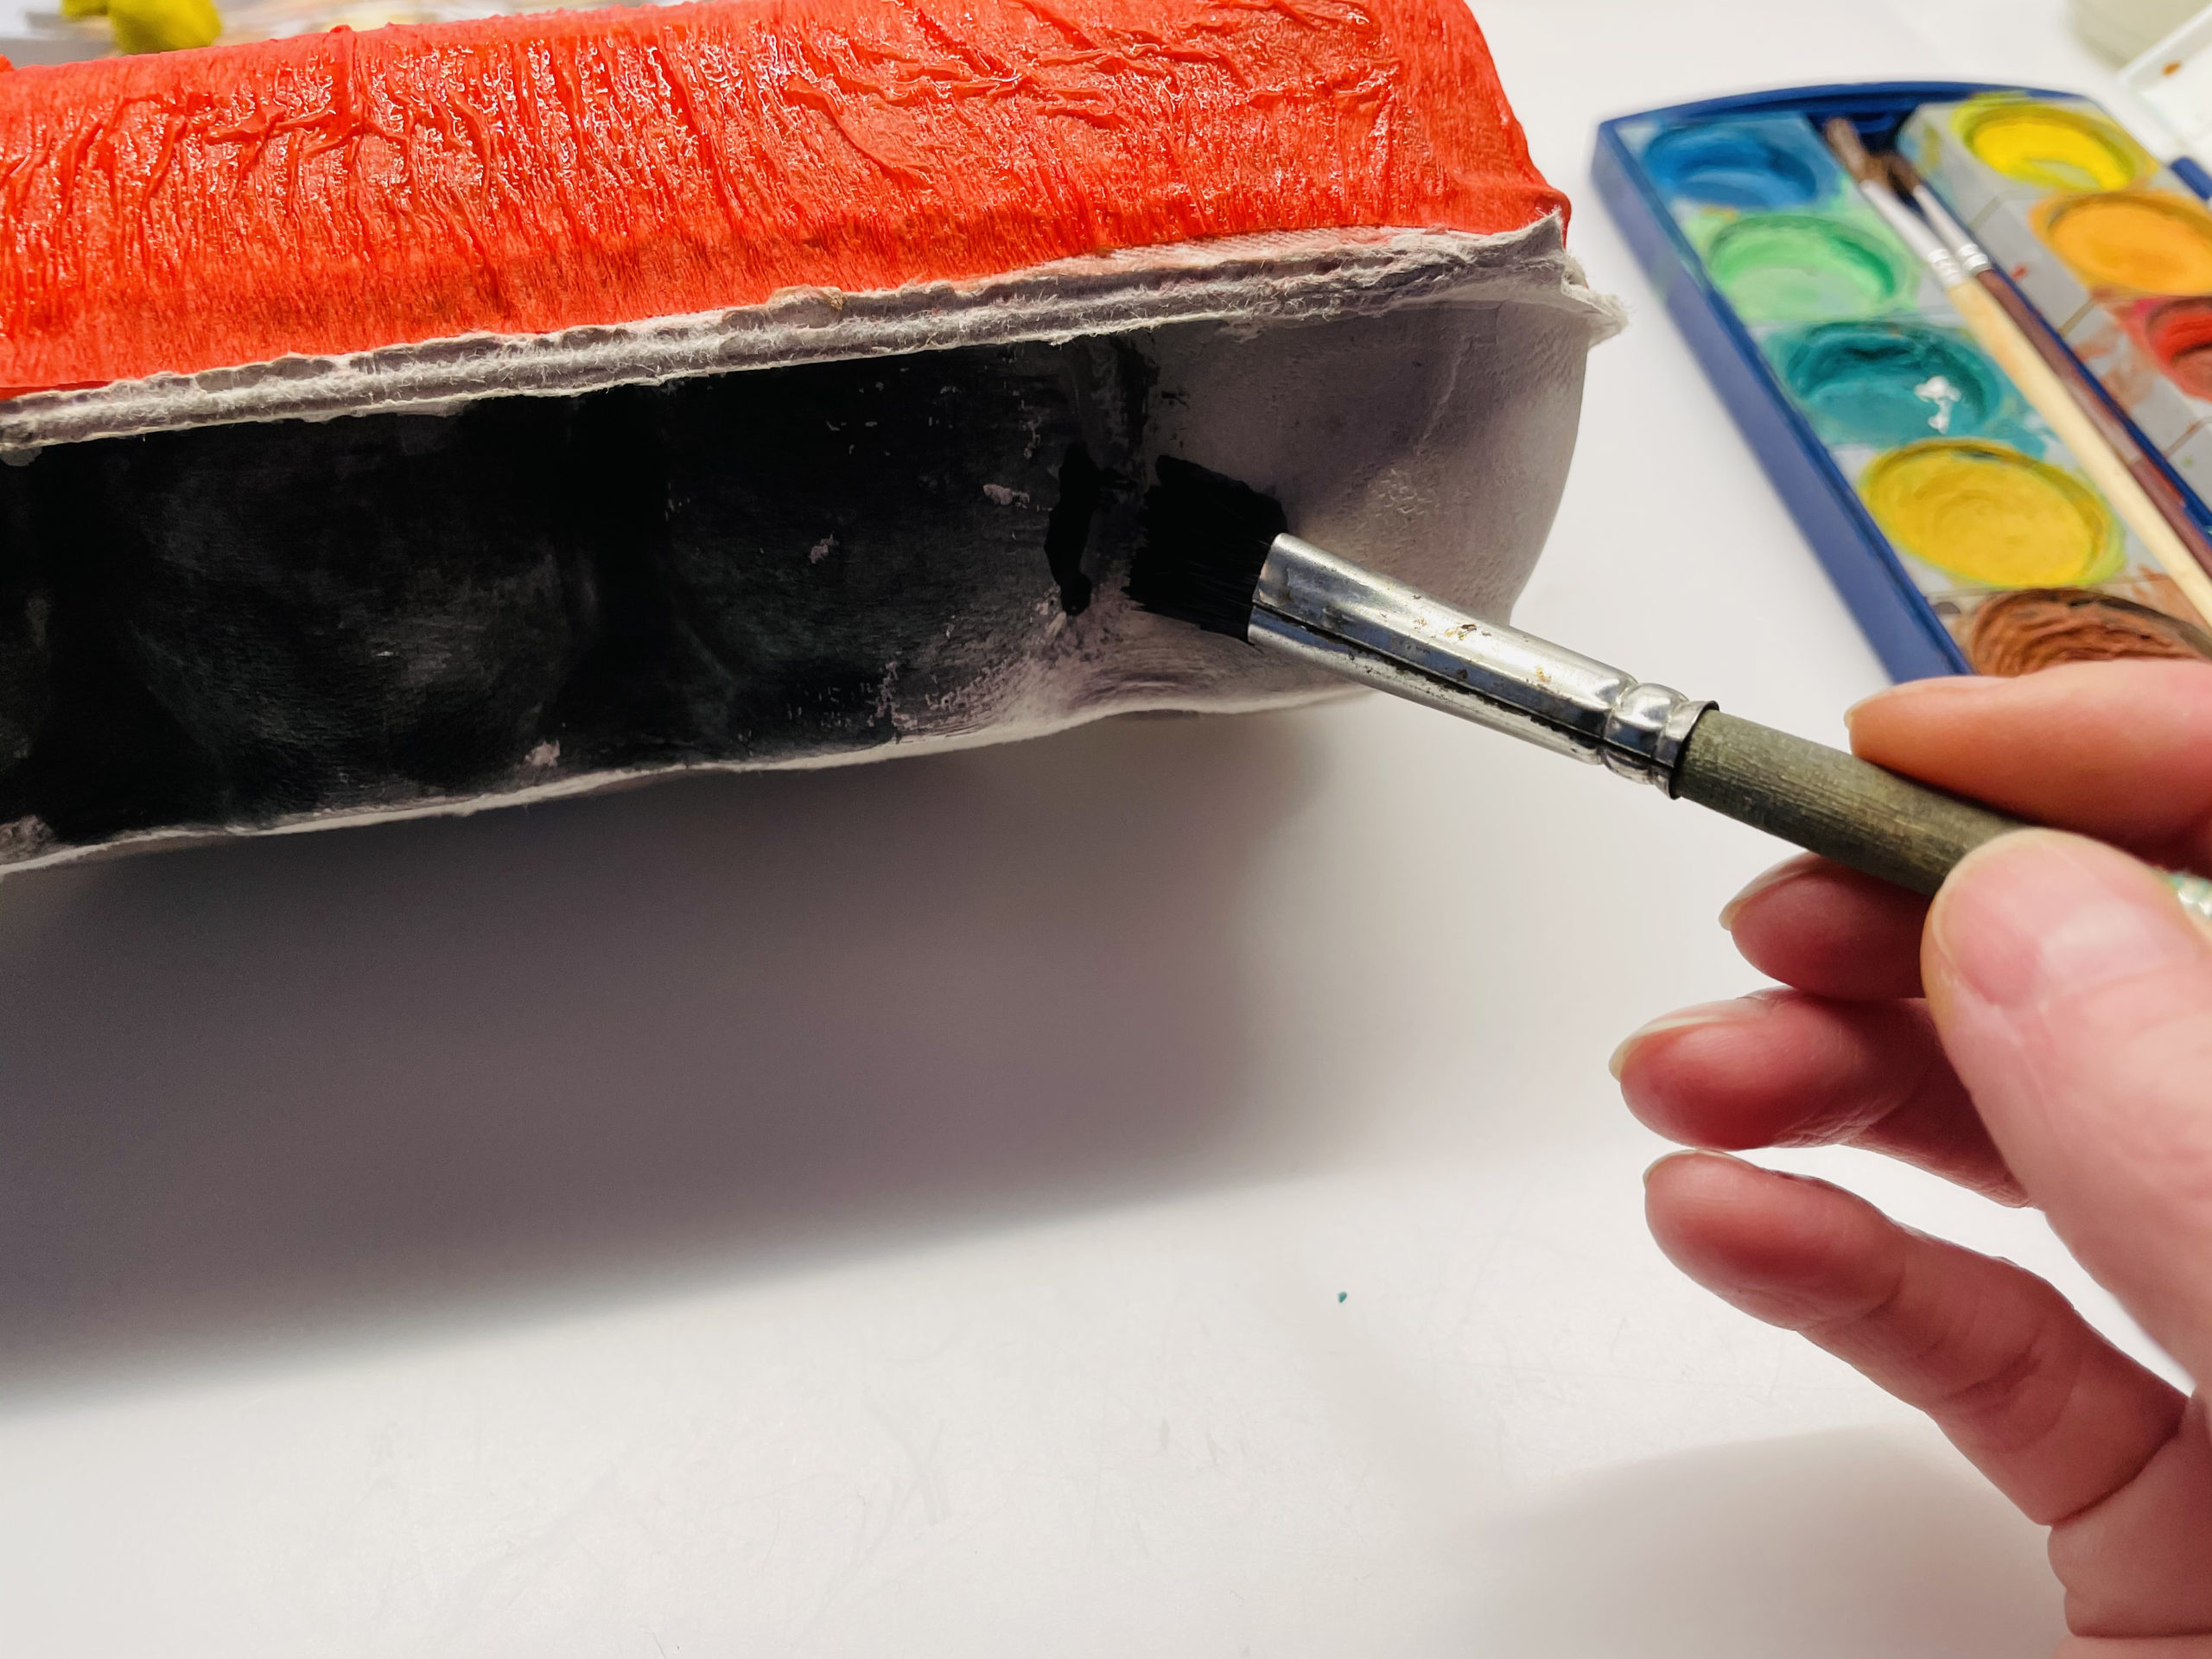
She paints the underside of the egg box with black water colours.
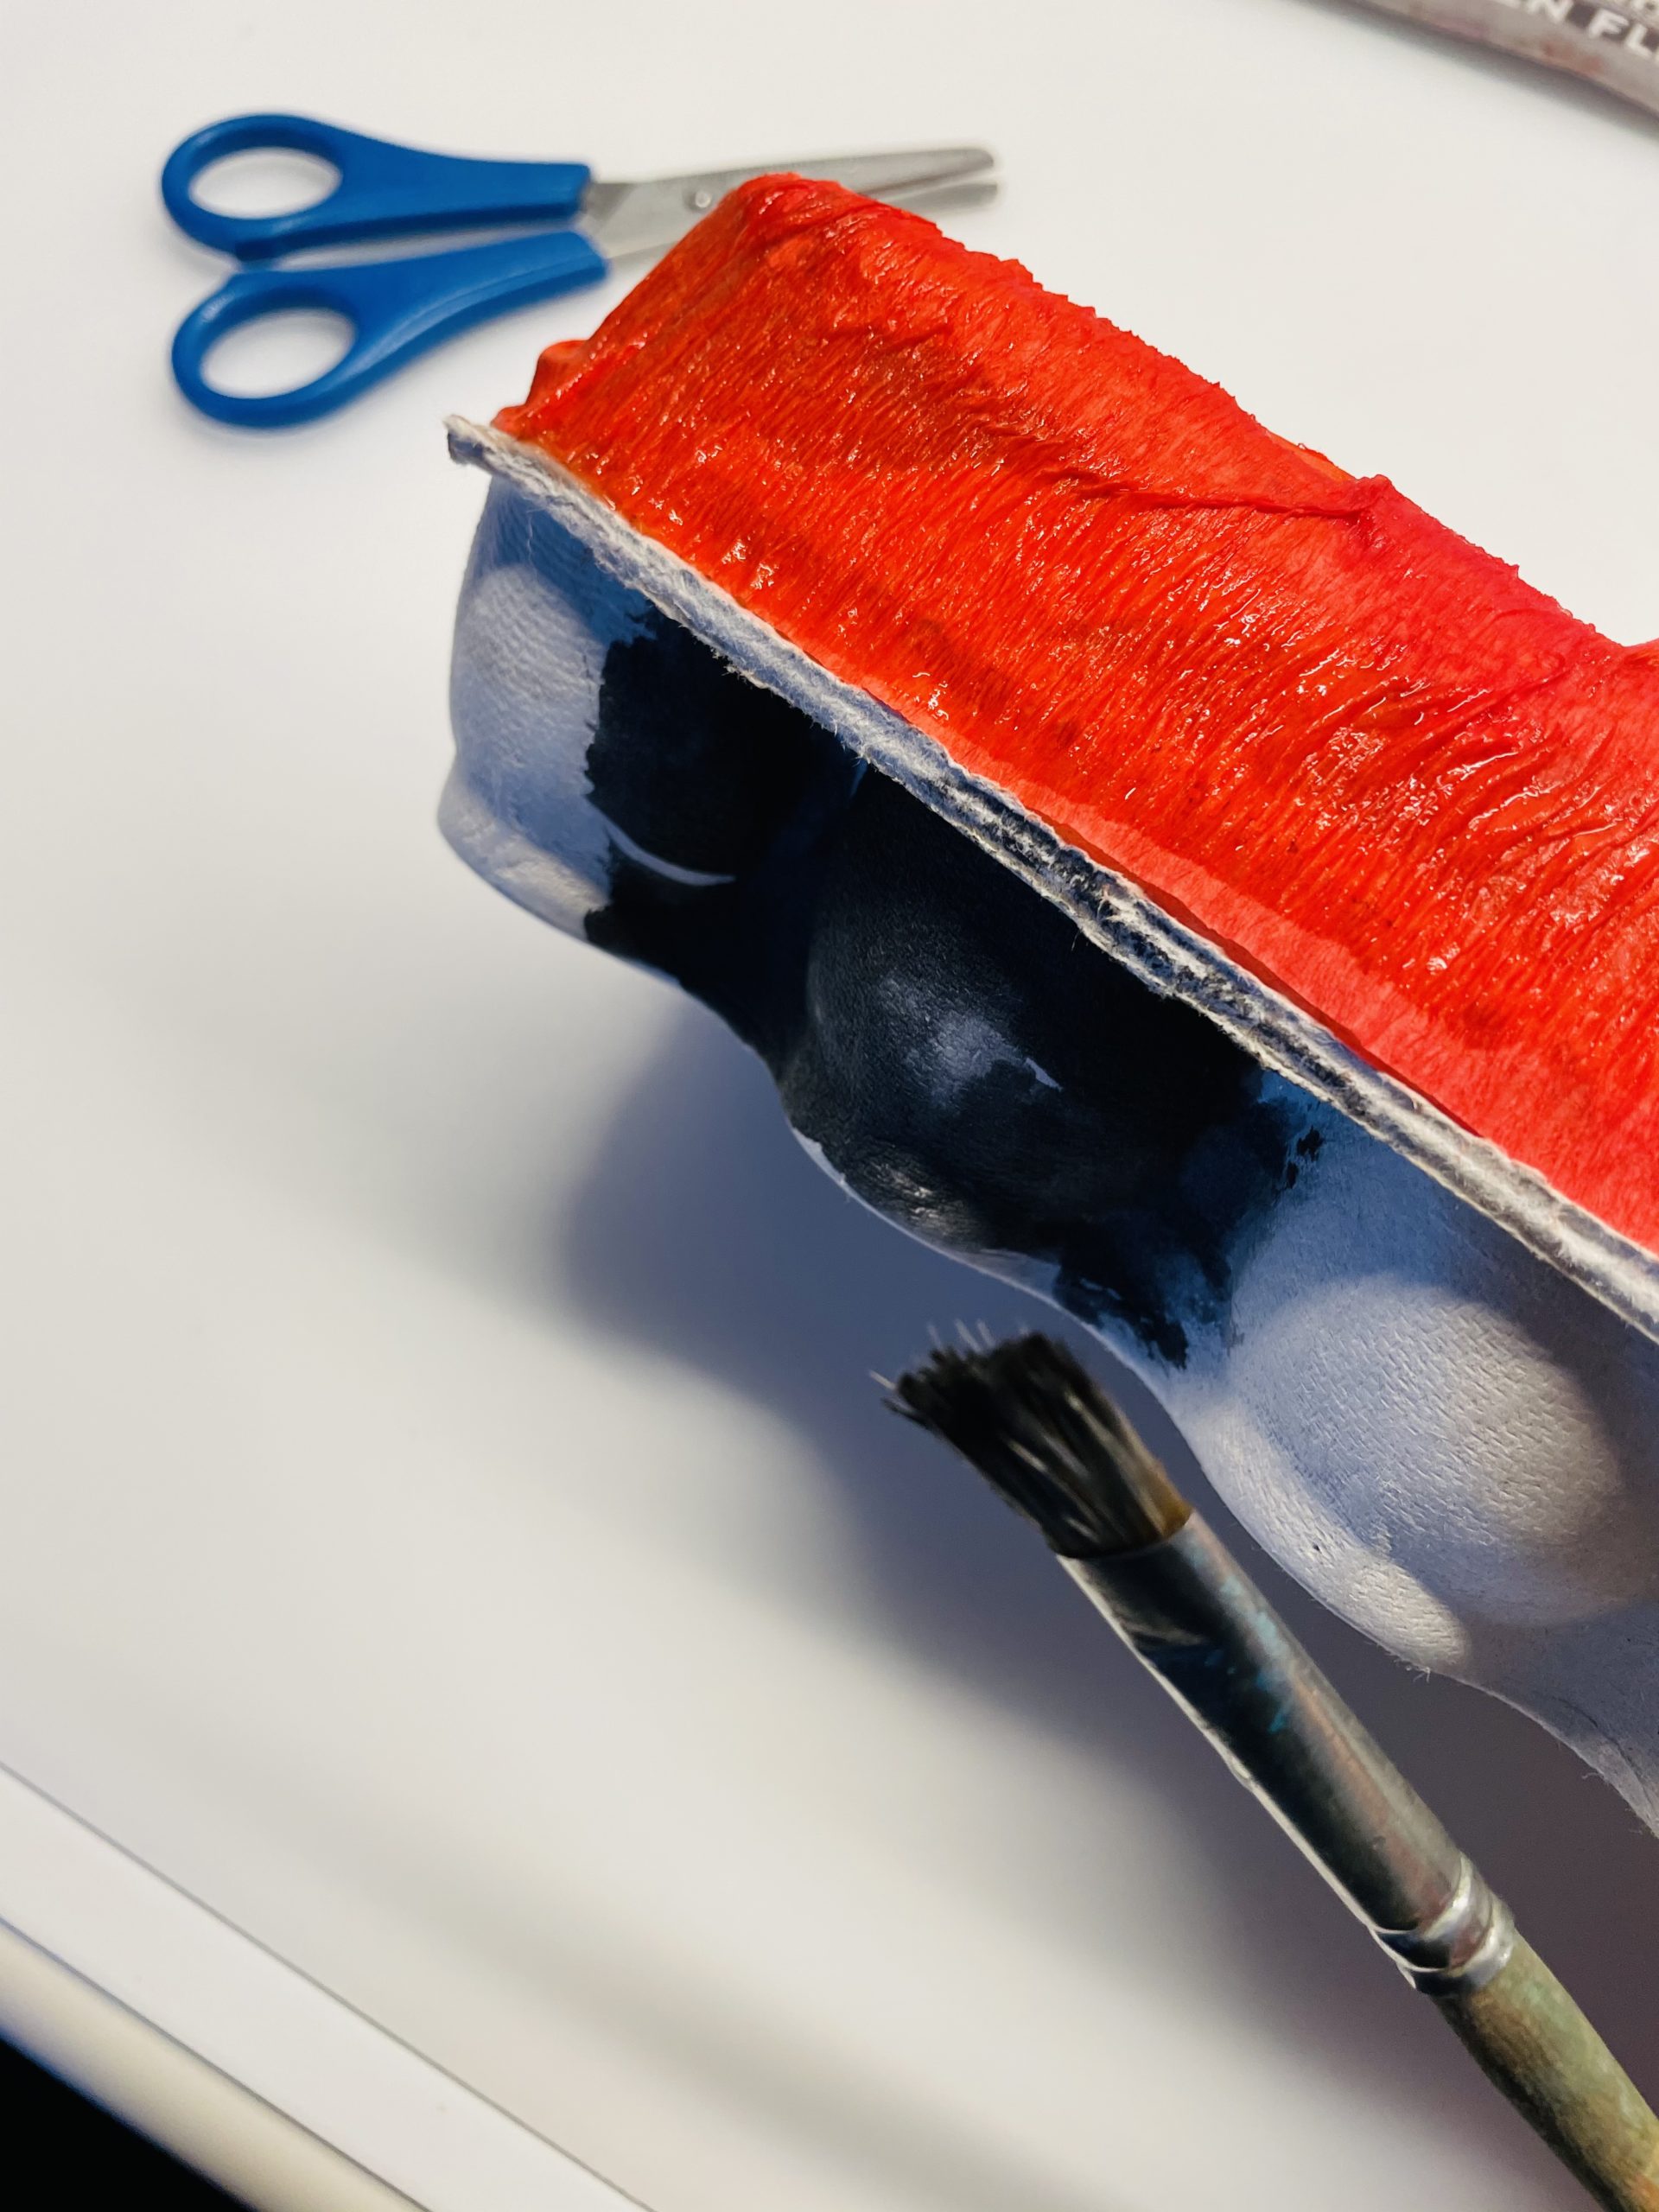
Let the paint dry.
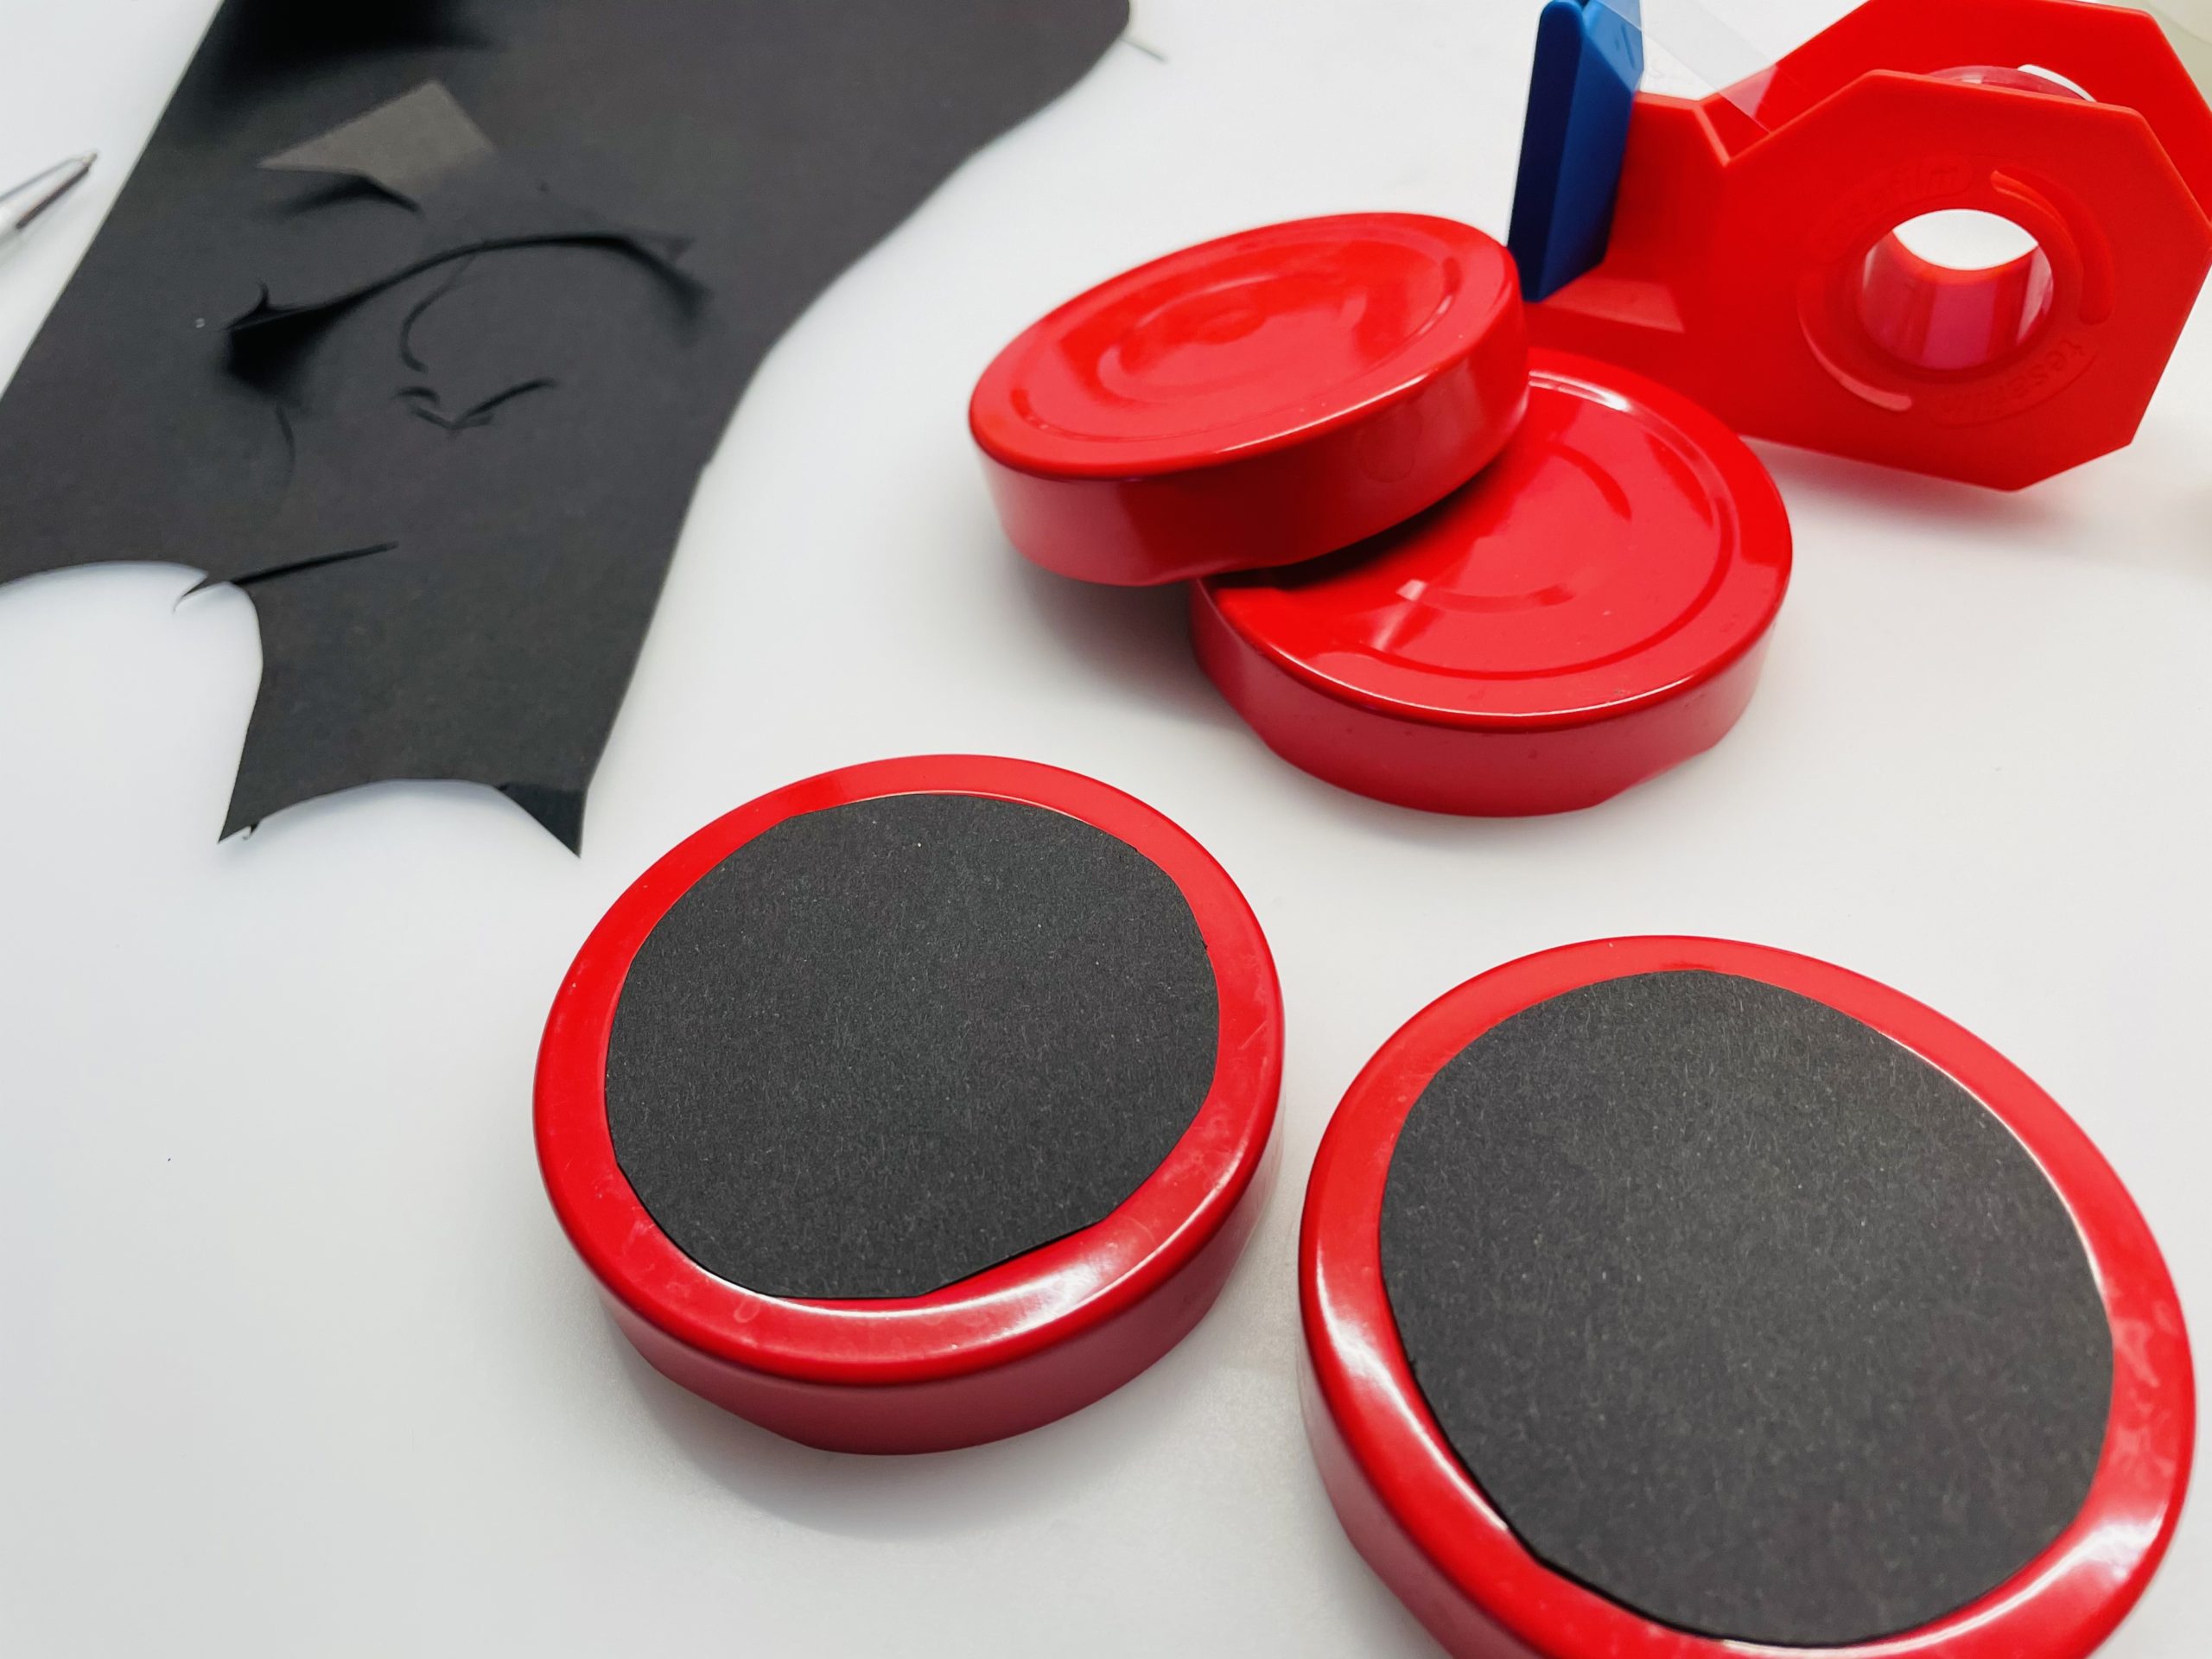
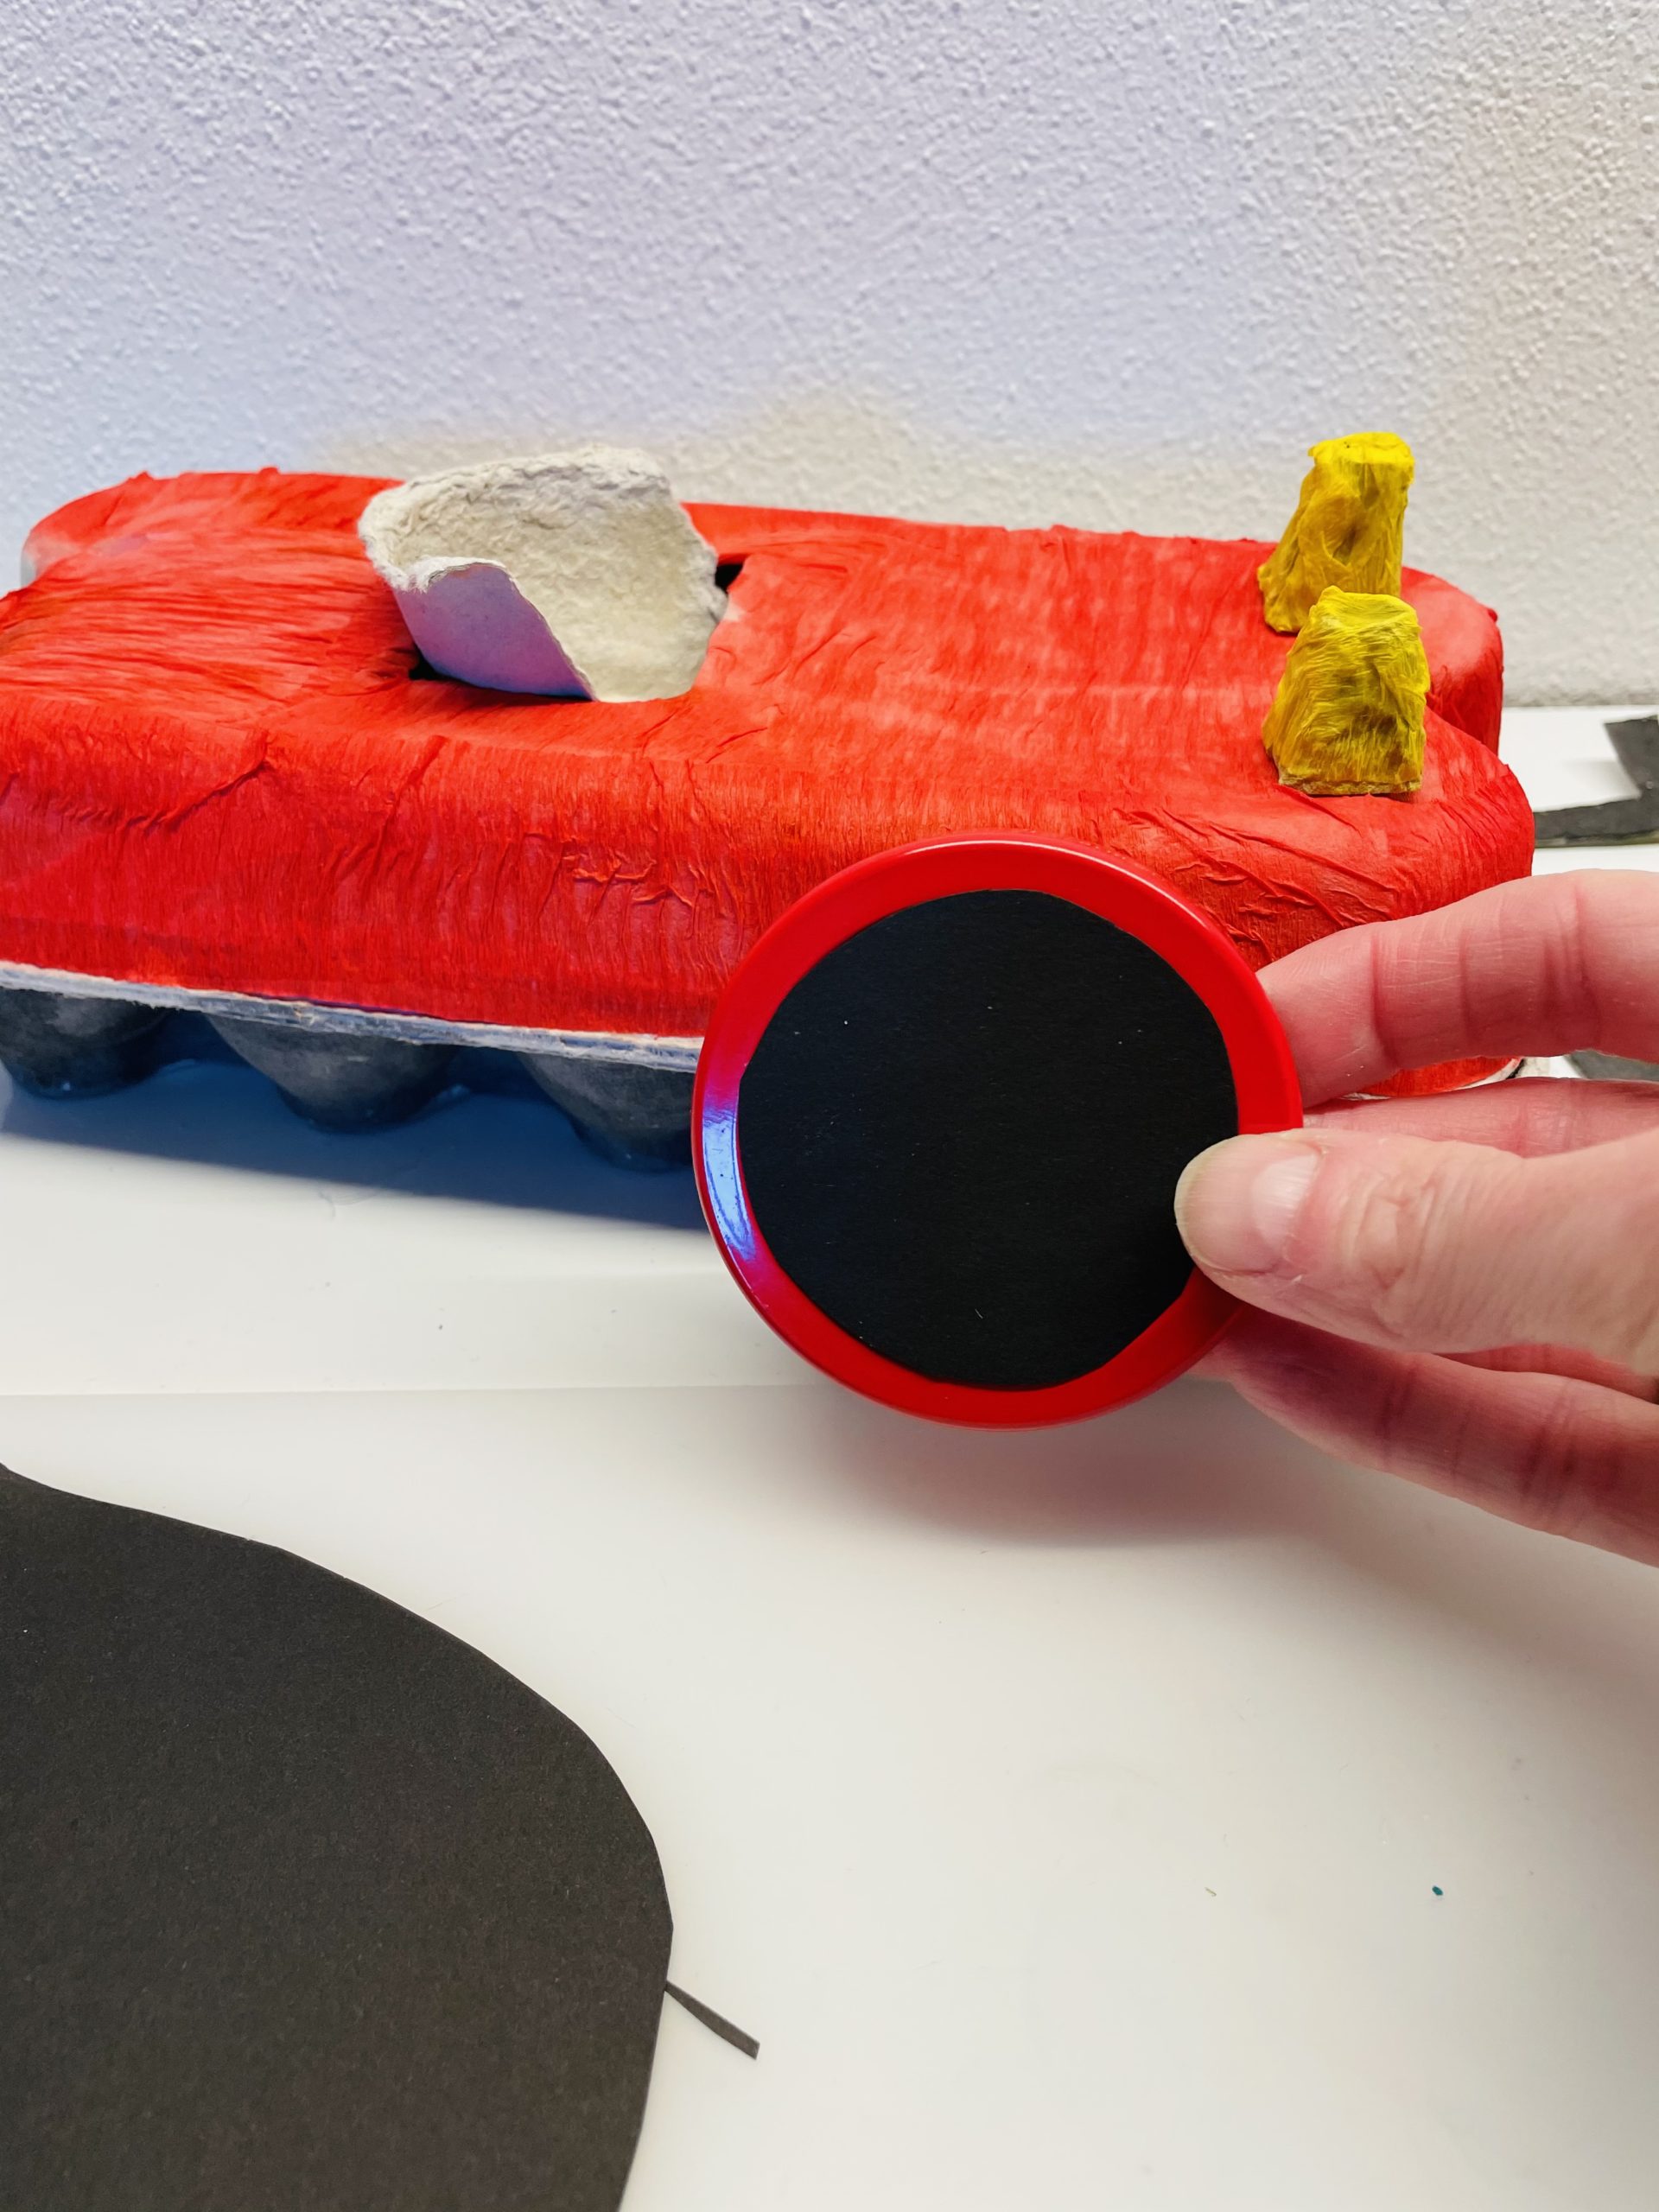
Meanwhile, you make the tires of the fire truck. For this you paint circles on black clay paper and cut them out. Then you stick them as rims in the middle of the lids.
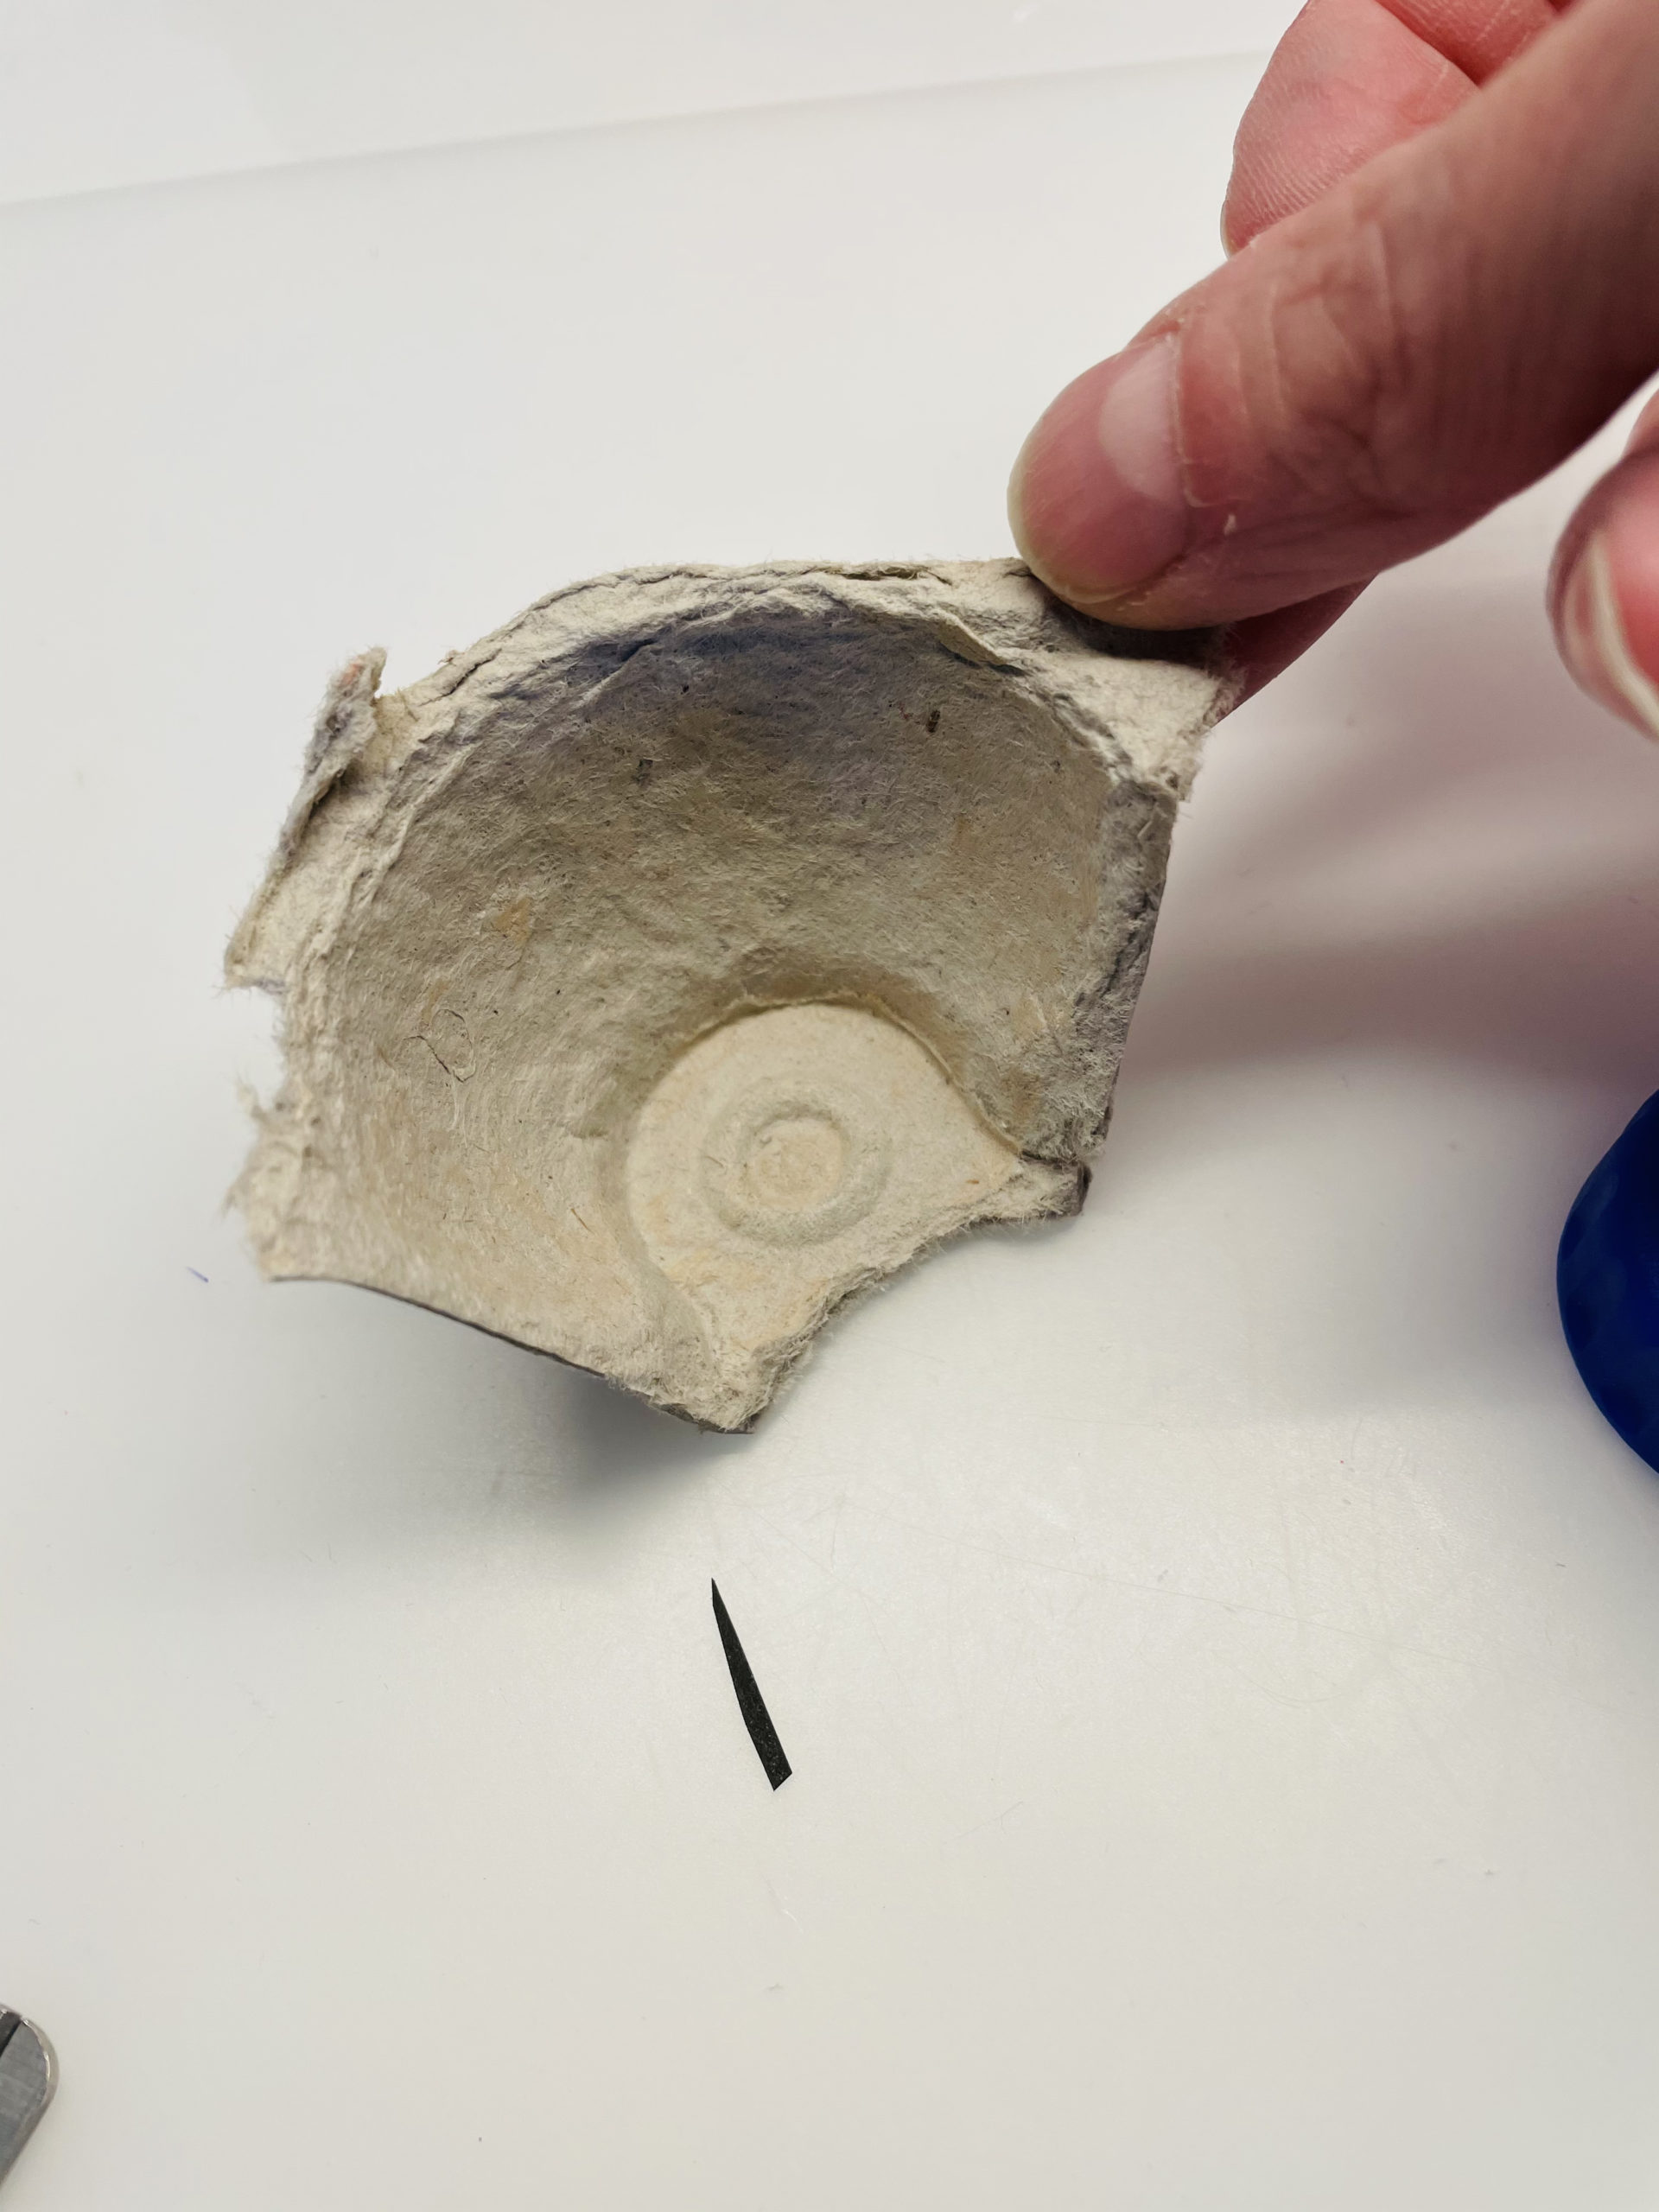
Cuts out two roundings from the second egg carton.
These are later used to the car seat and as a support for the ladder.
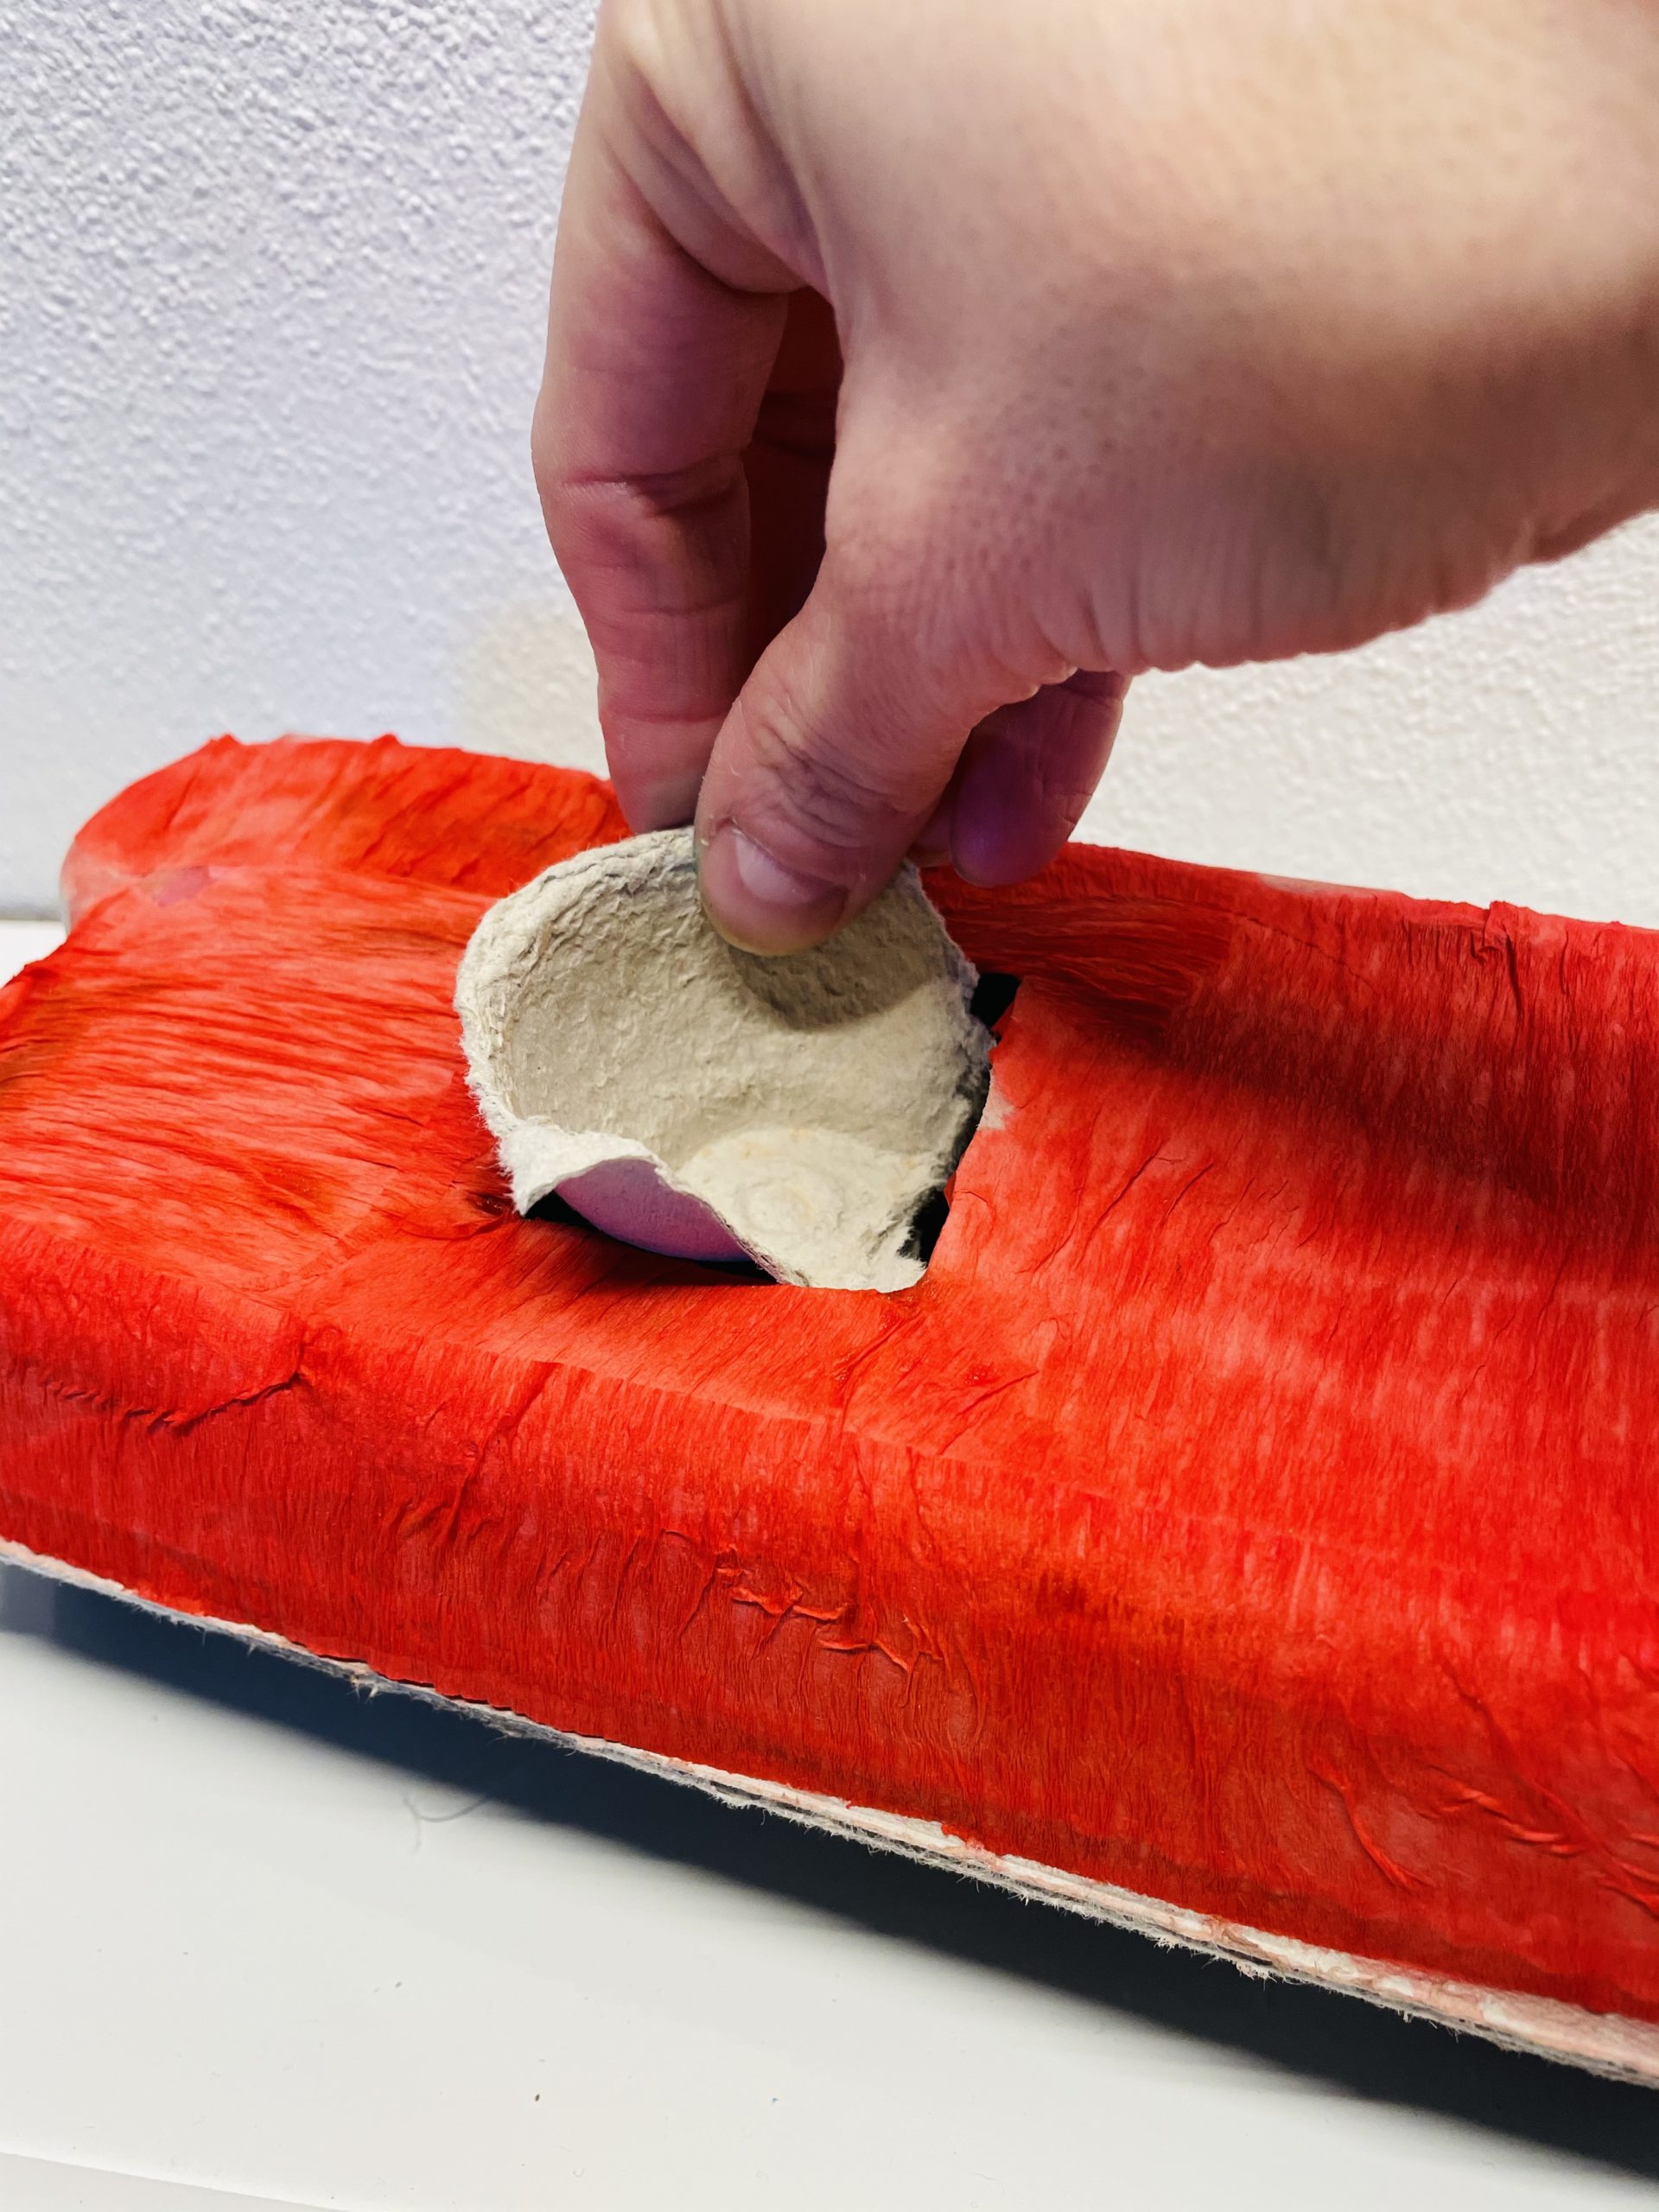
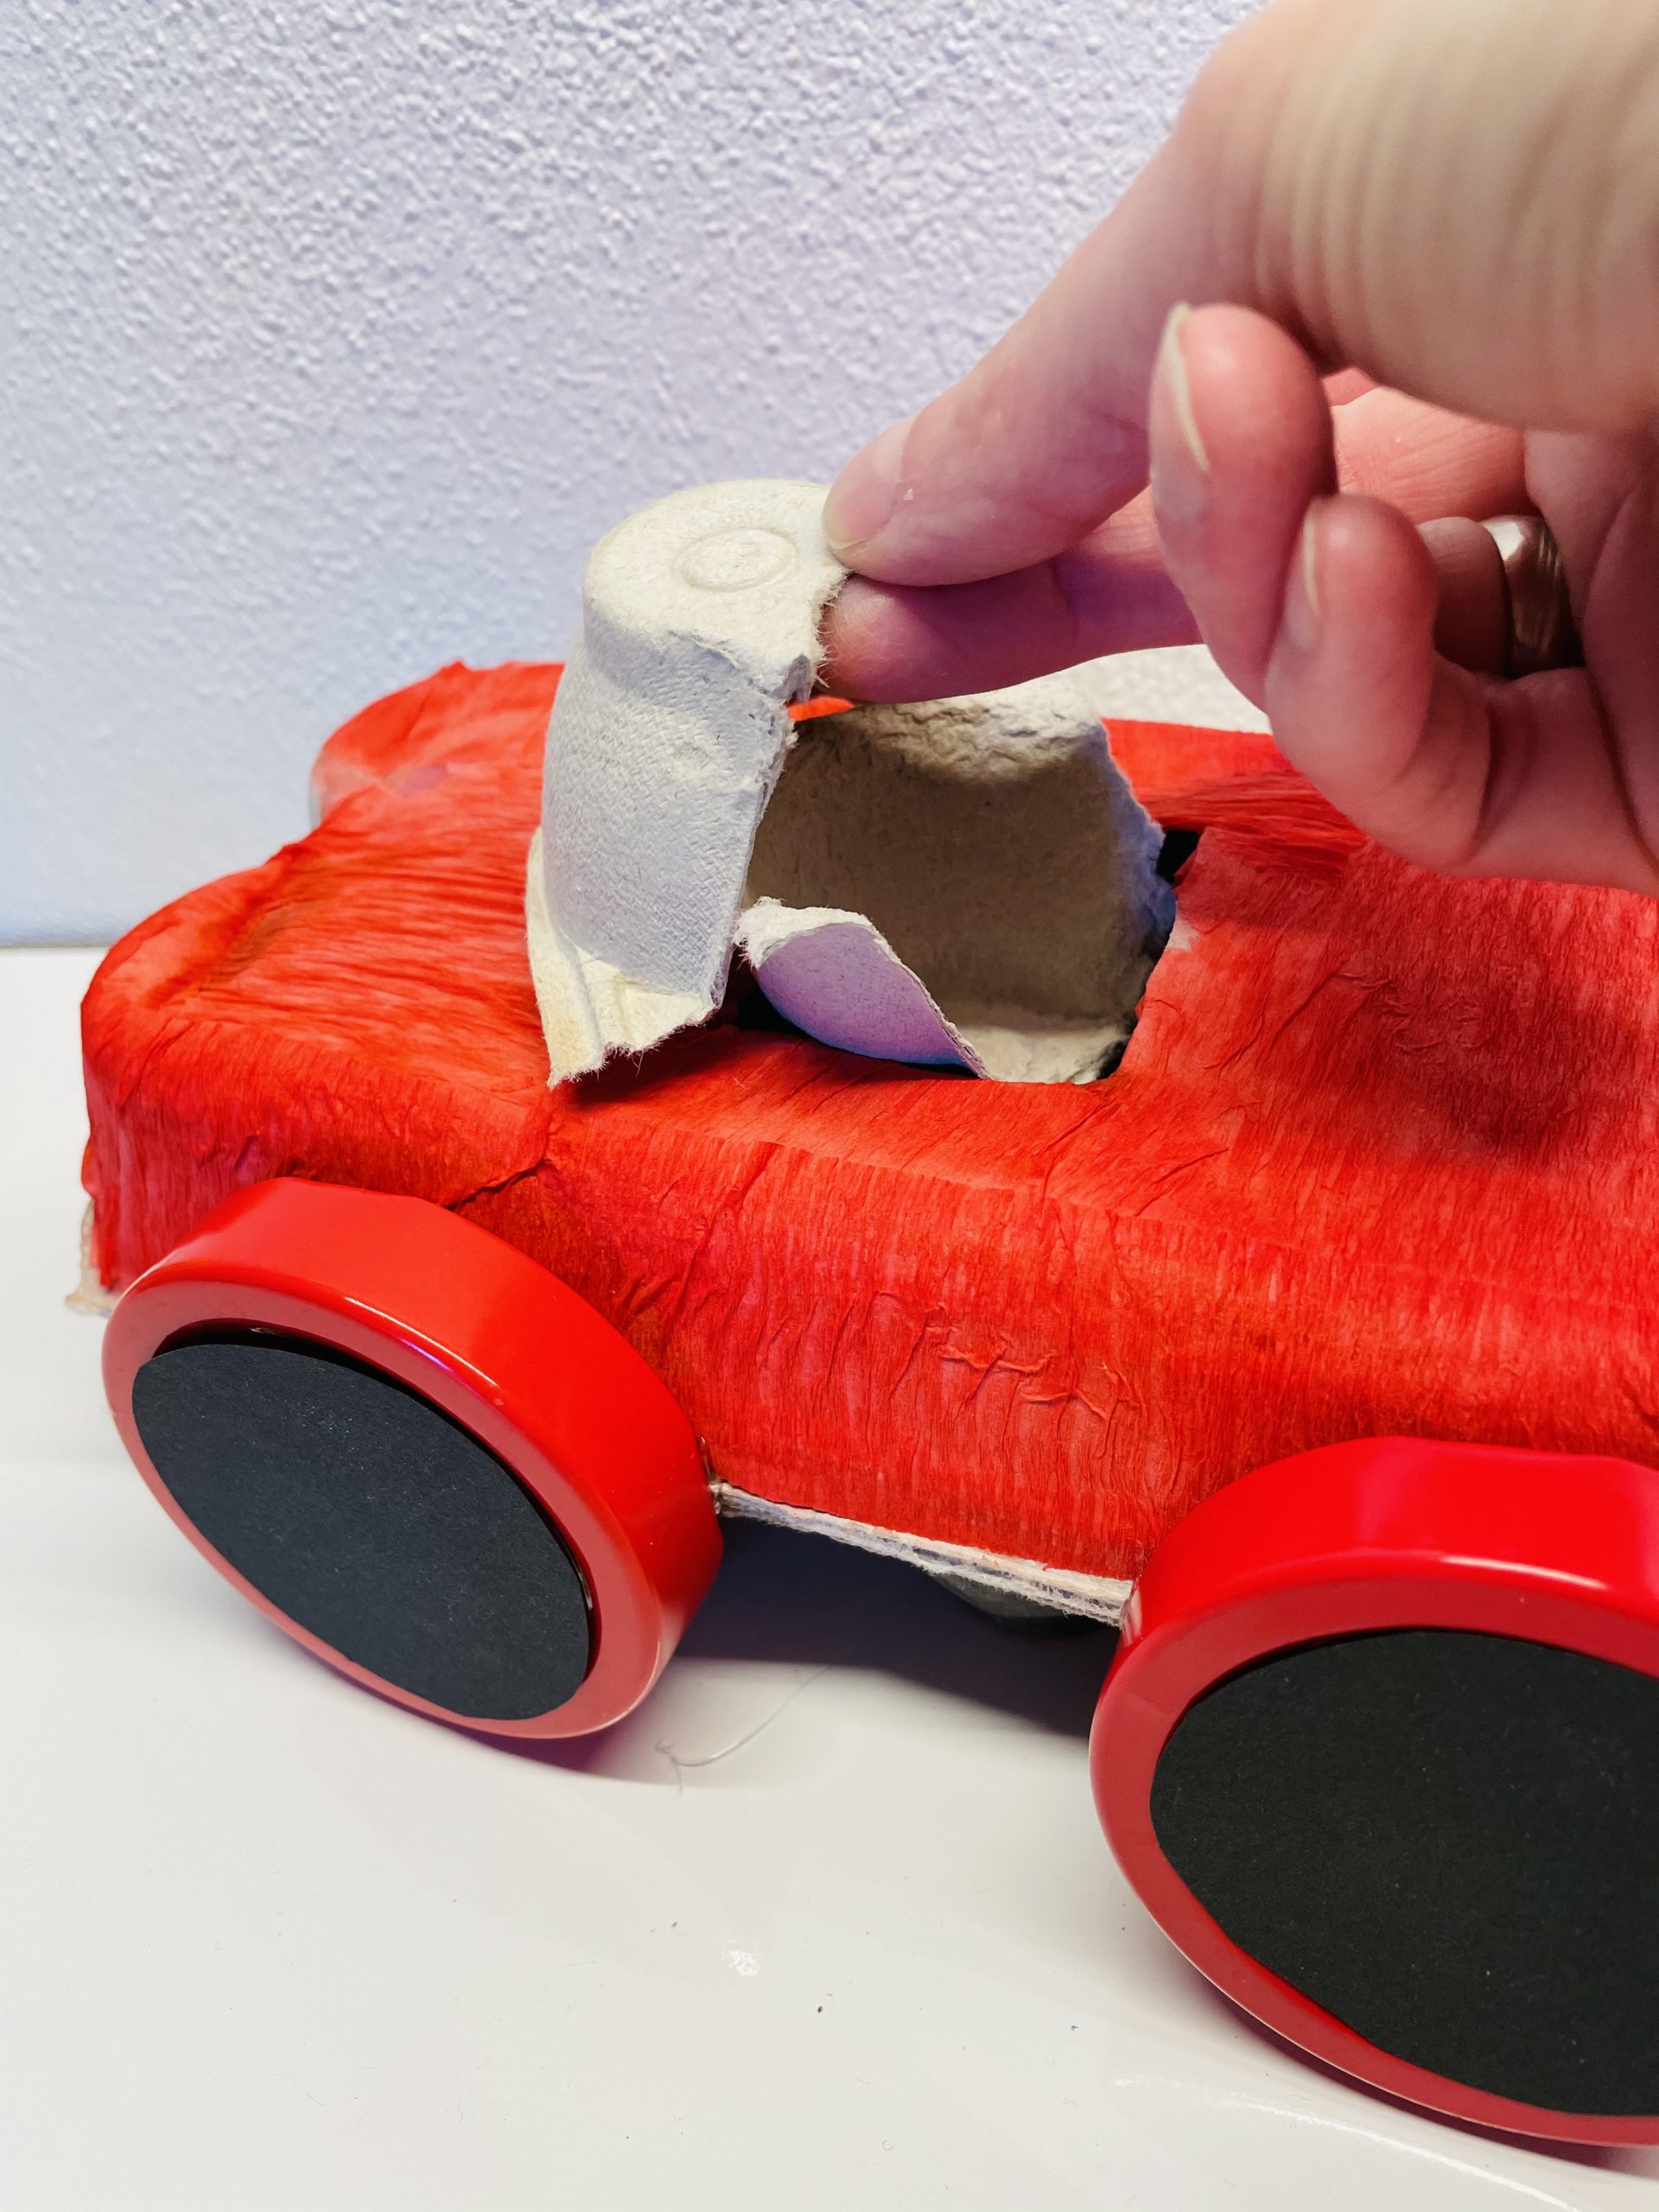
First stick the seat in the cut-out in the lid.
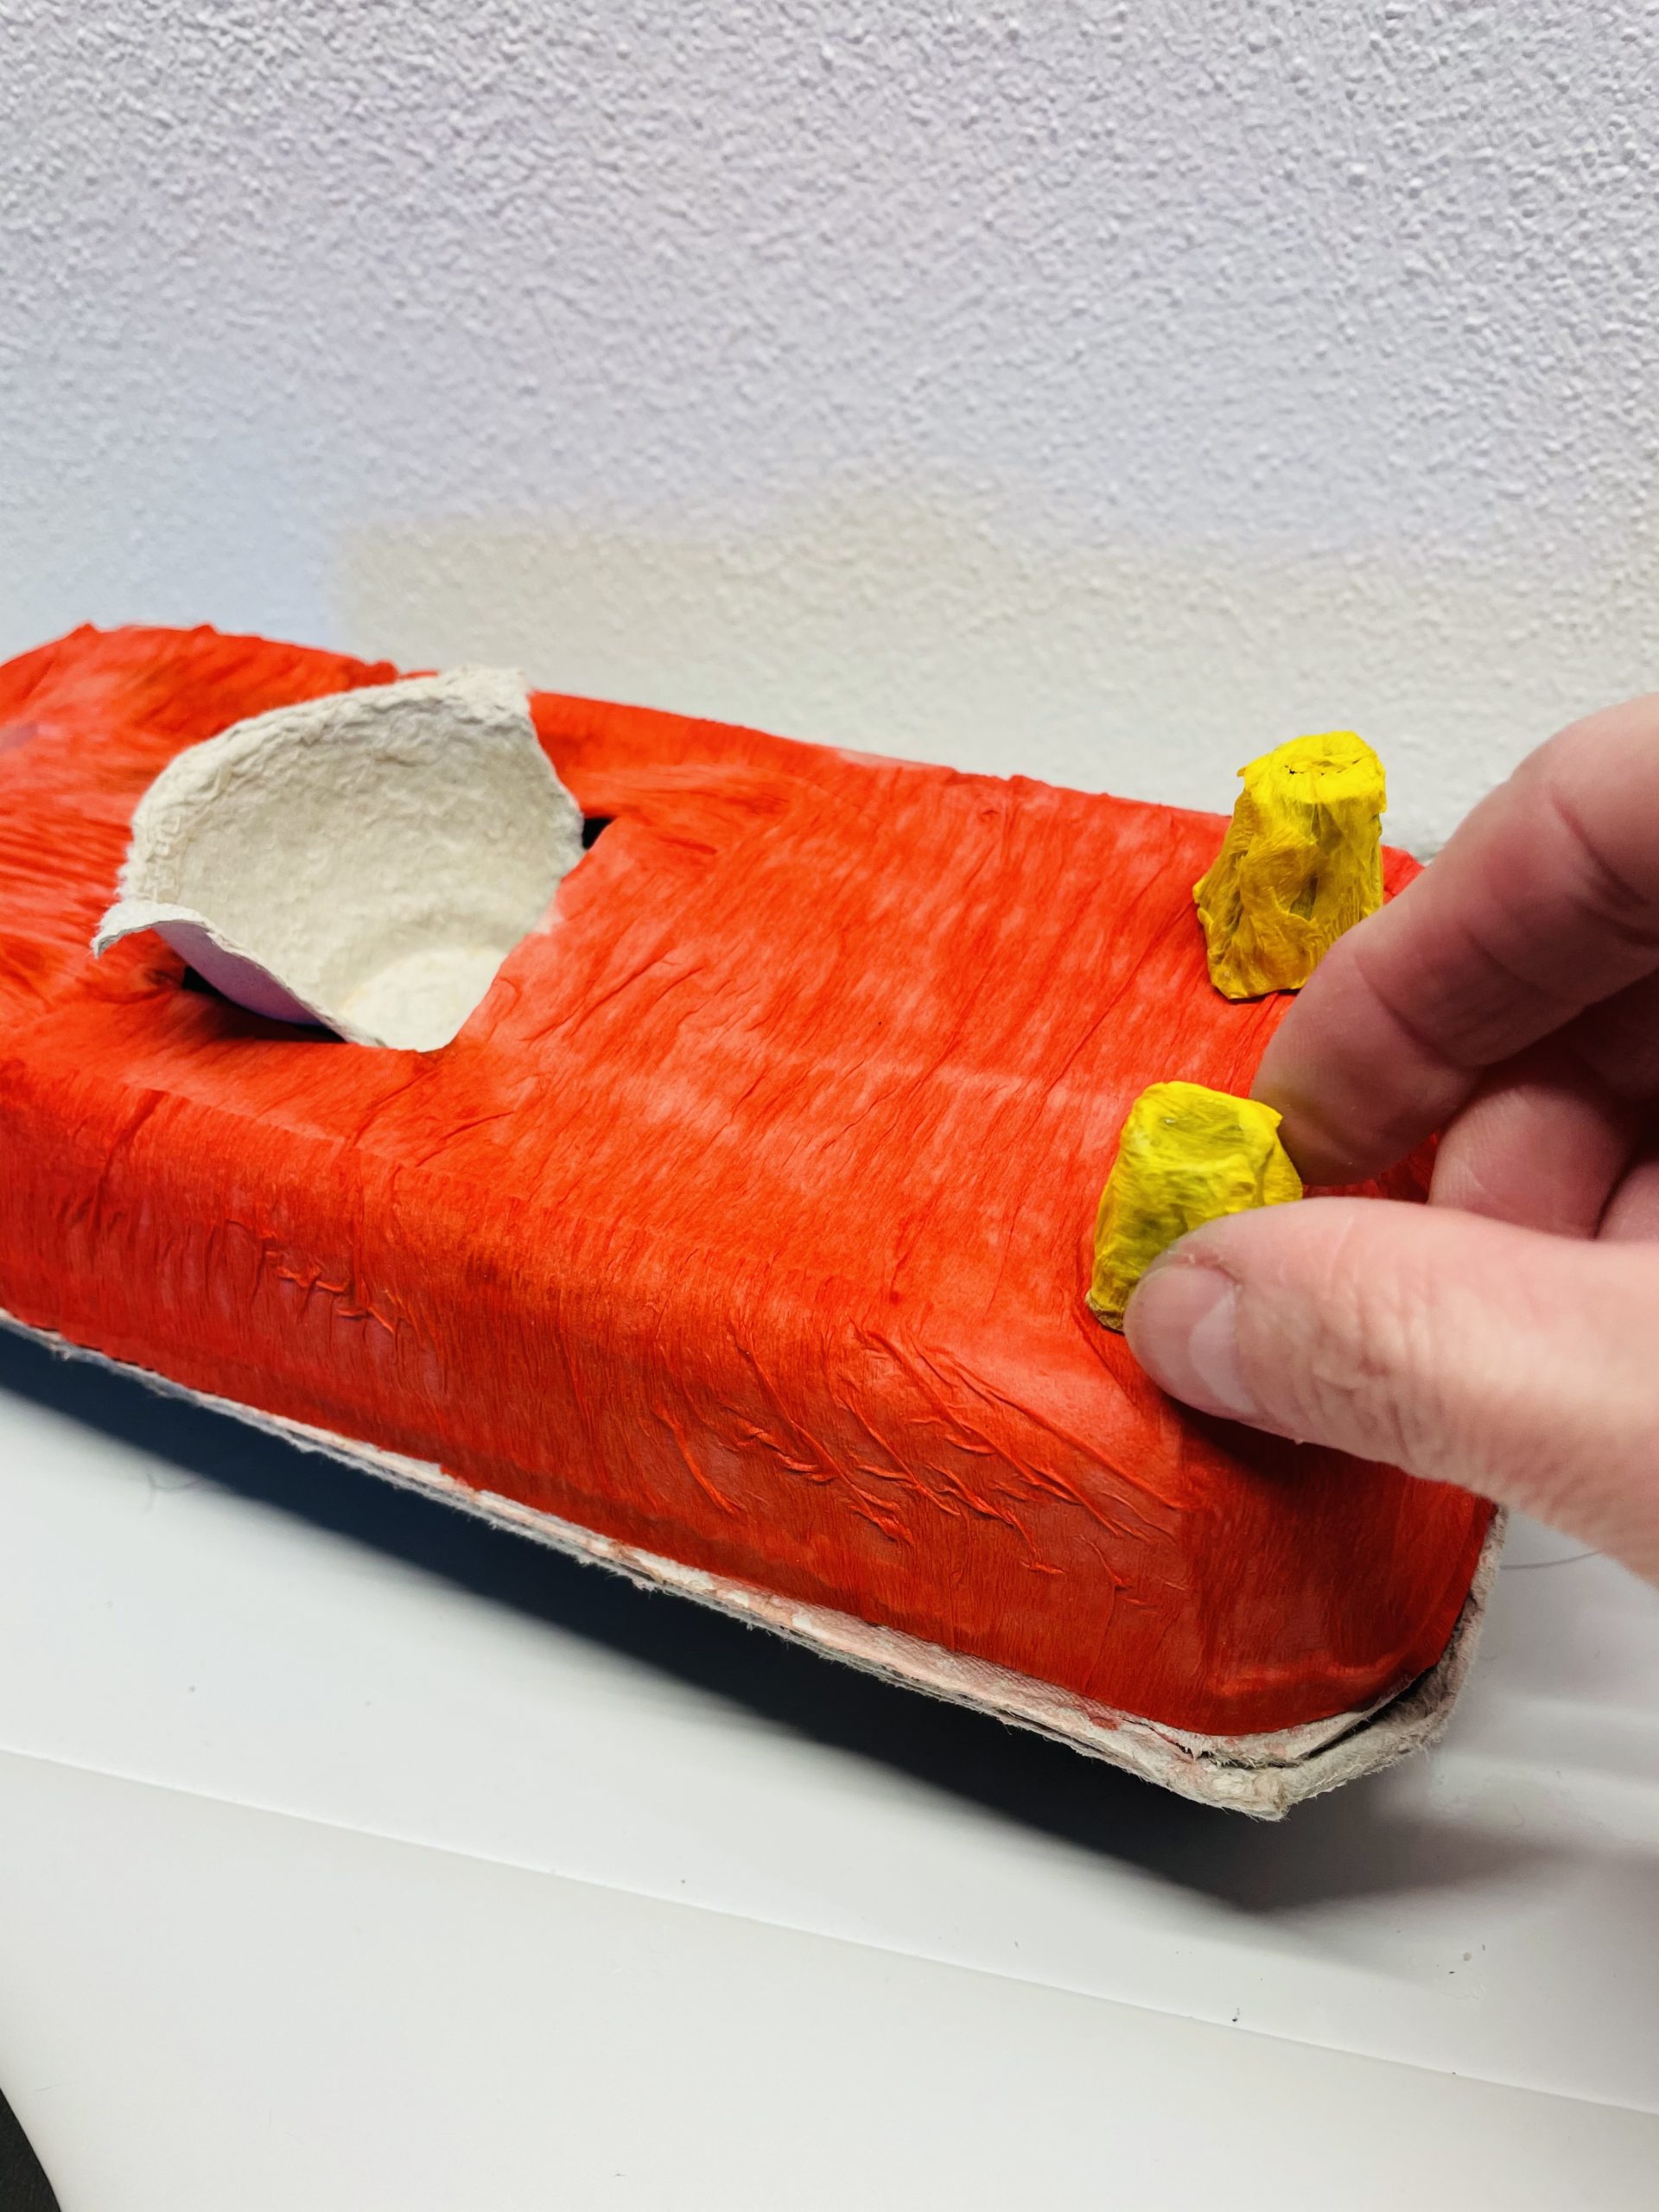
Then you stick the headlights on the egg box at the front.
With hot glue, the headlights hold best. Attention: Let an adult help you with the hot glue - risk of injury!
Then glue the tires with hot glue points to the sides of the fire truck.
Attach the rounding of the egg box, above the seat, on the box.
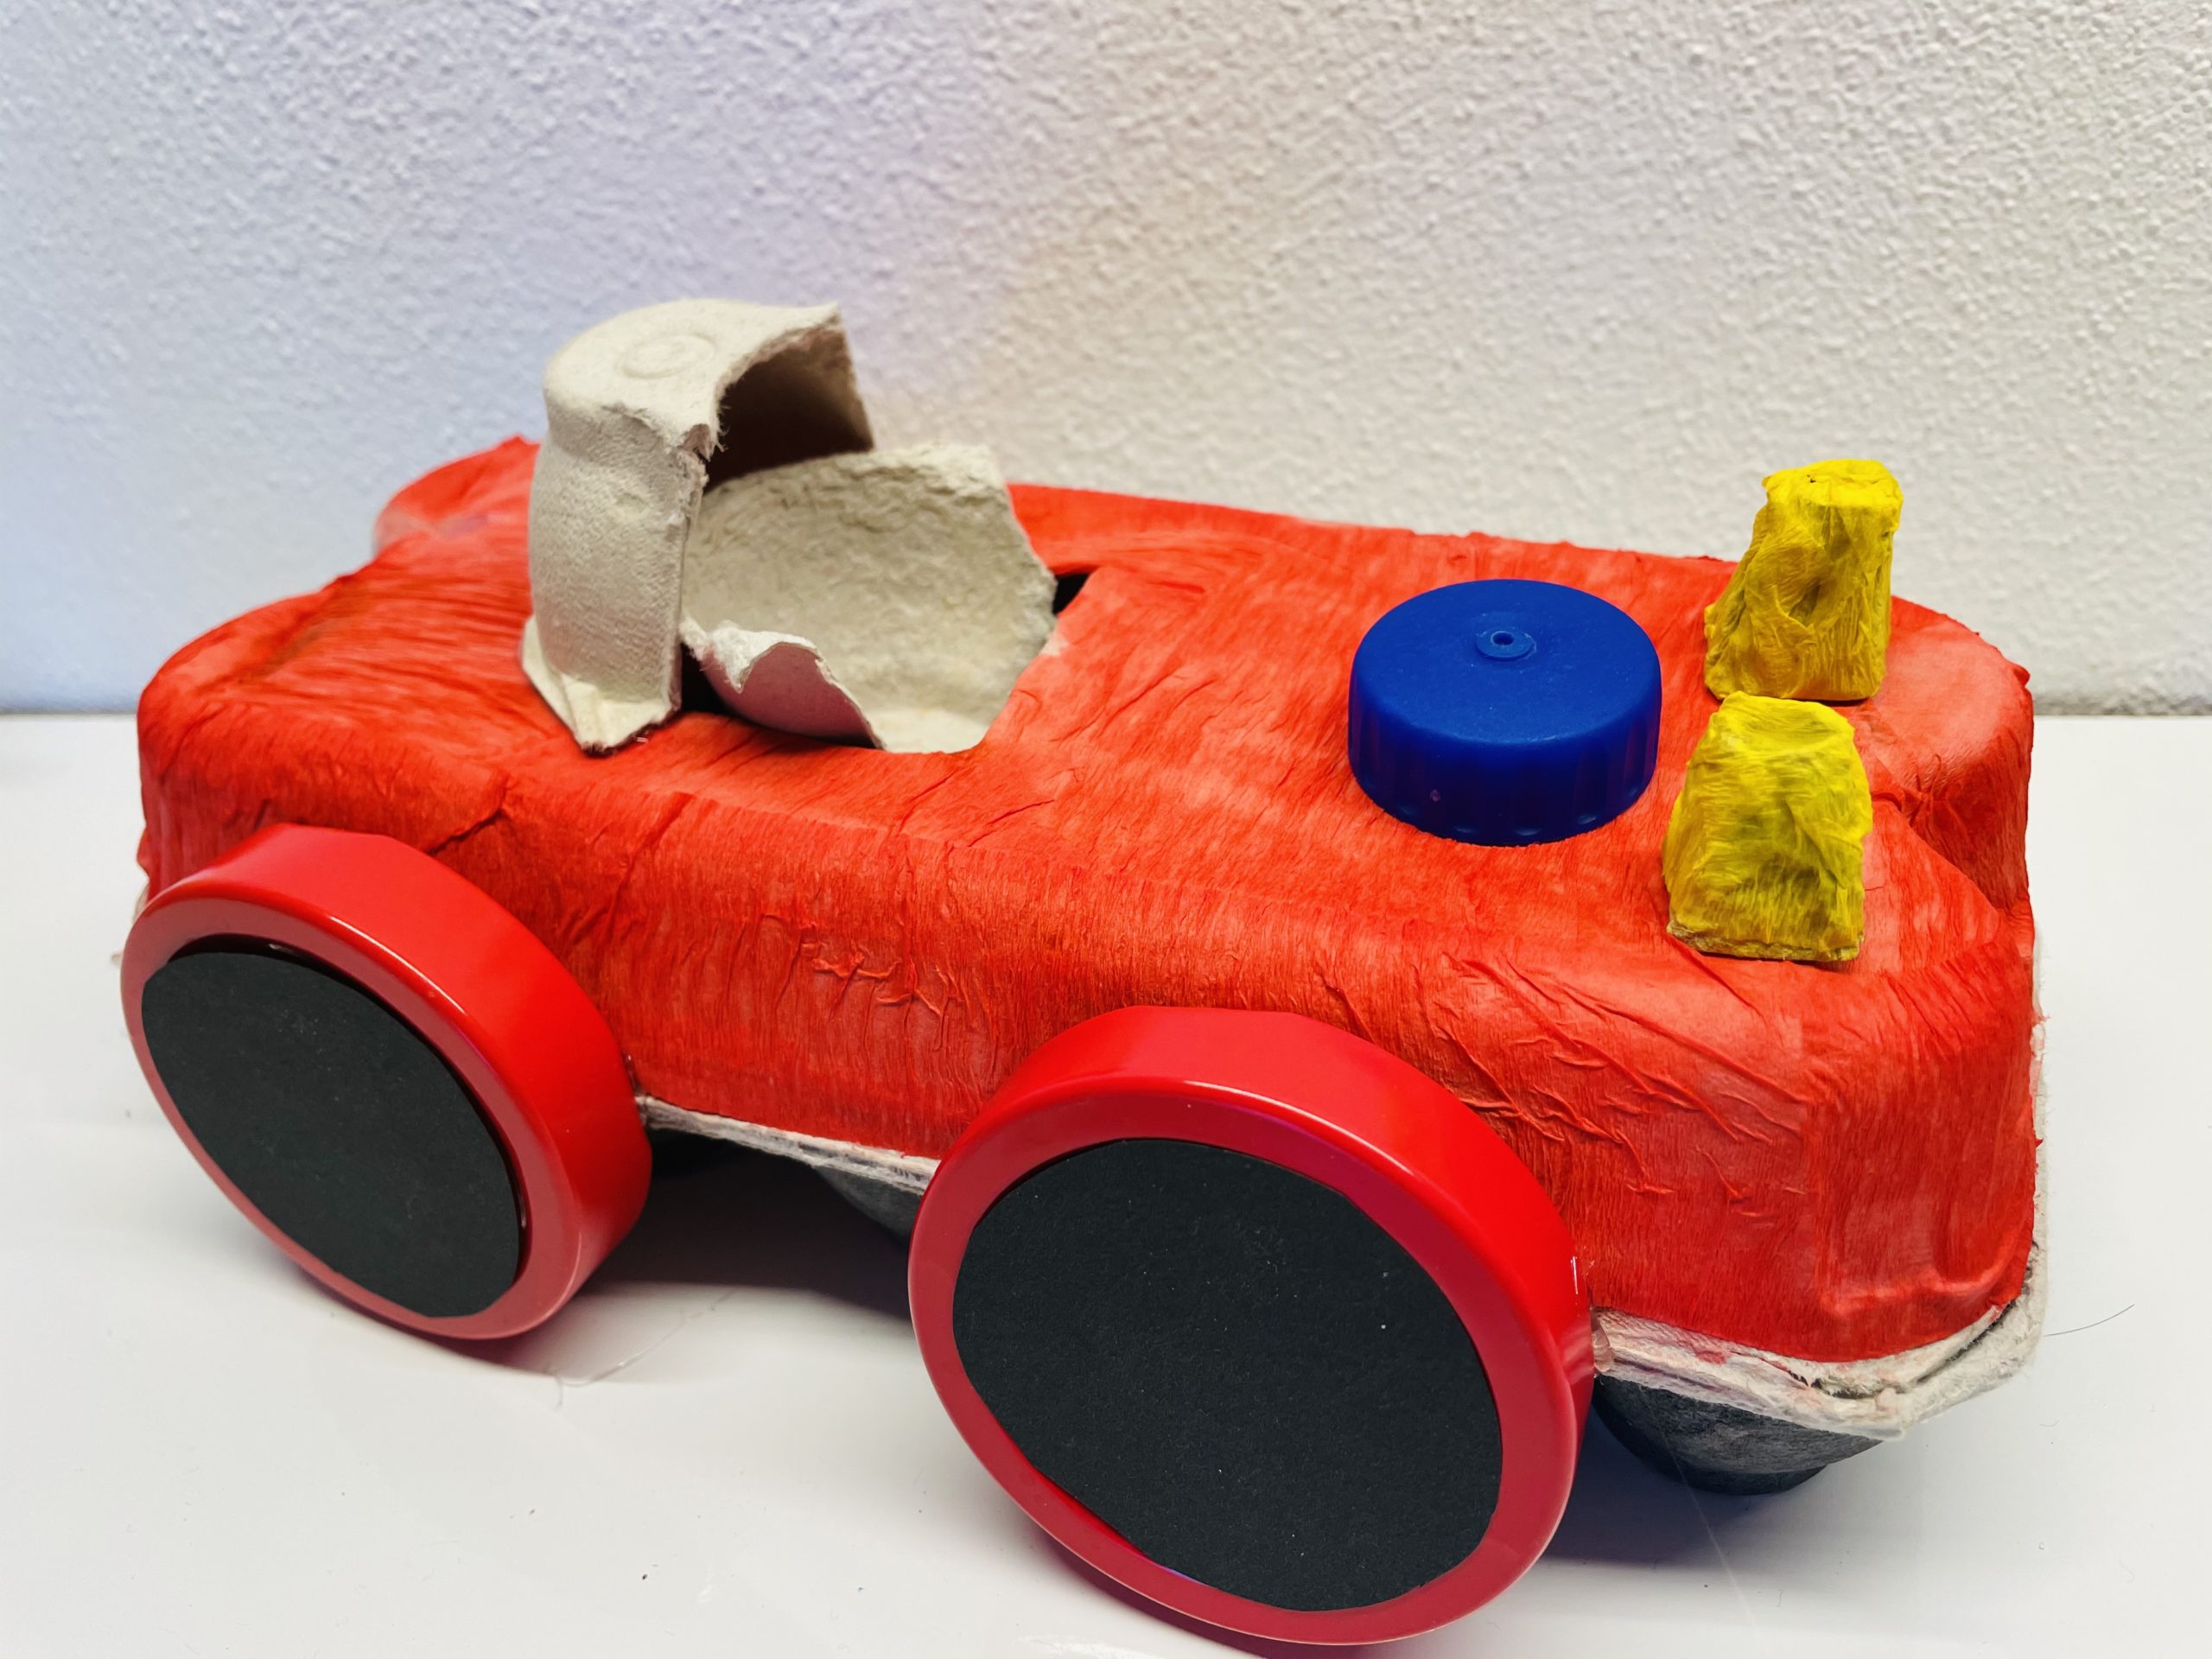
As a blue light you use a blue screw cap. Sticks this also tight.
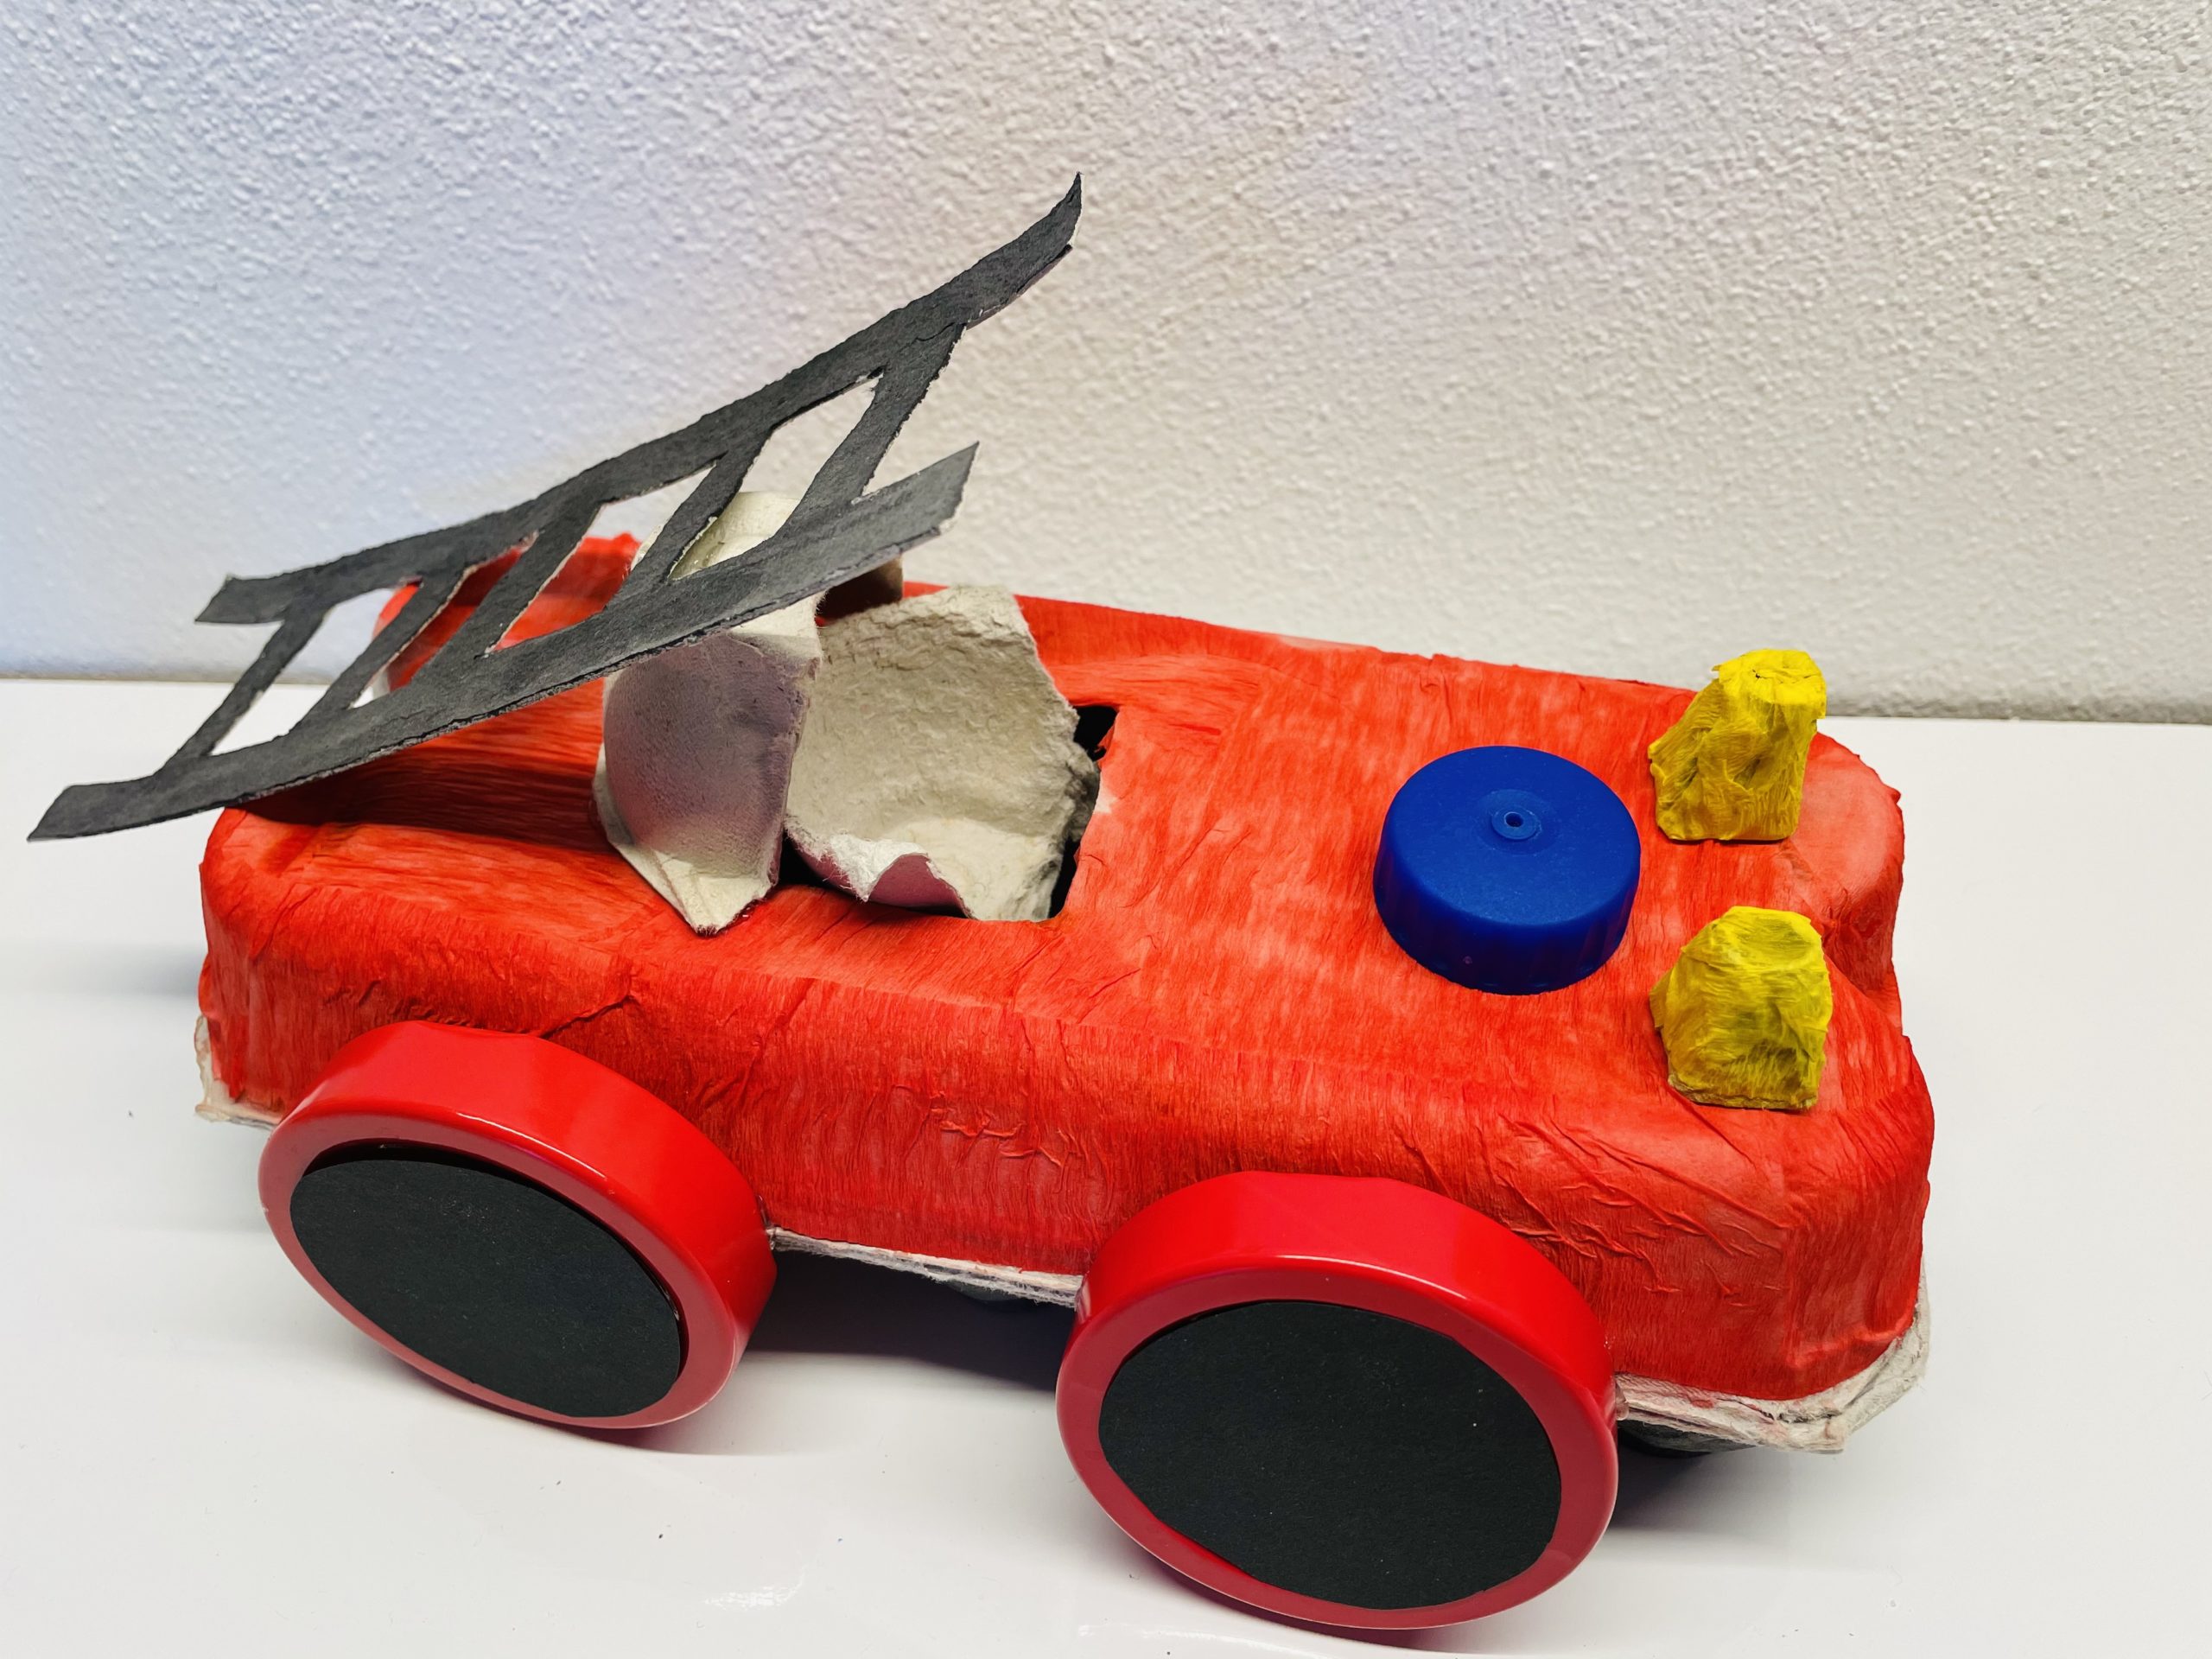
Now you stick the ladder behind the seat to the rounding.

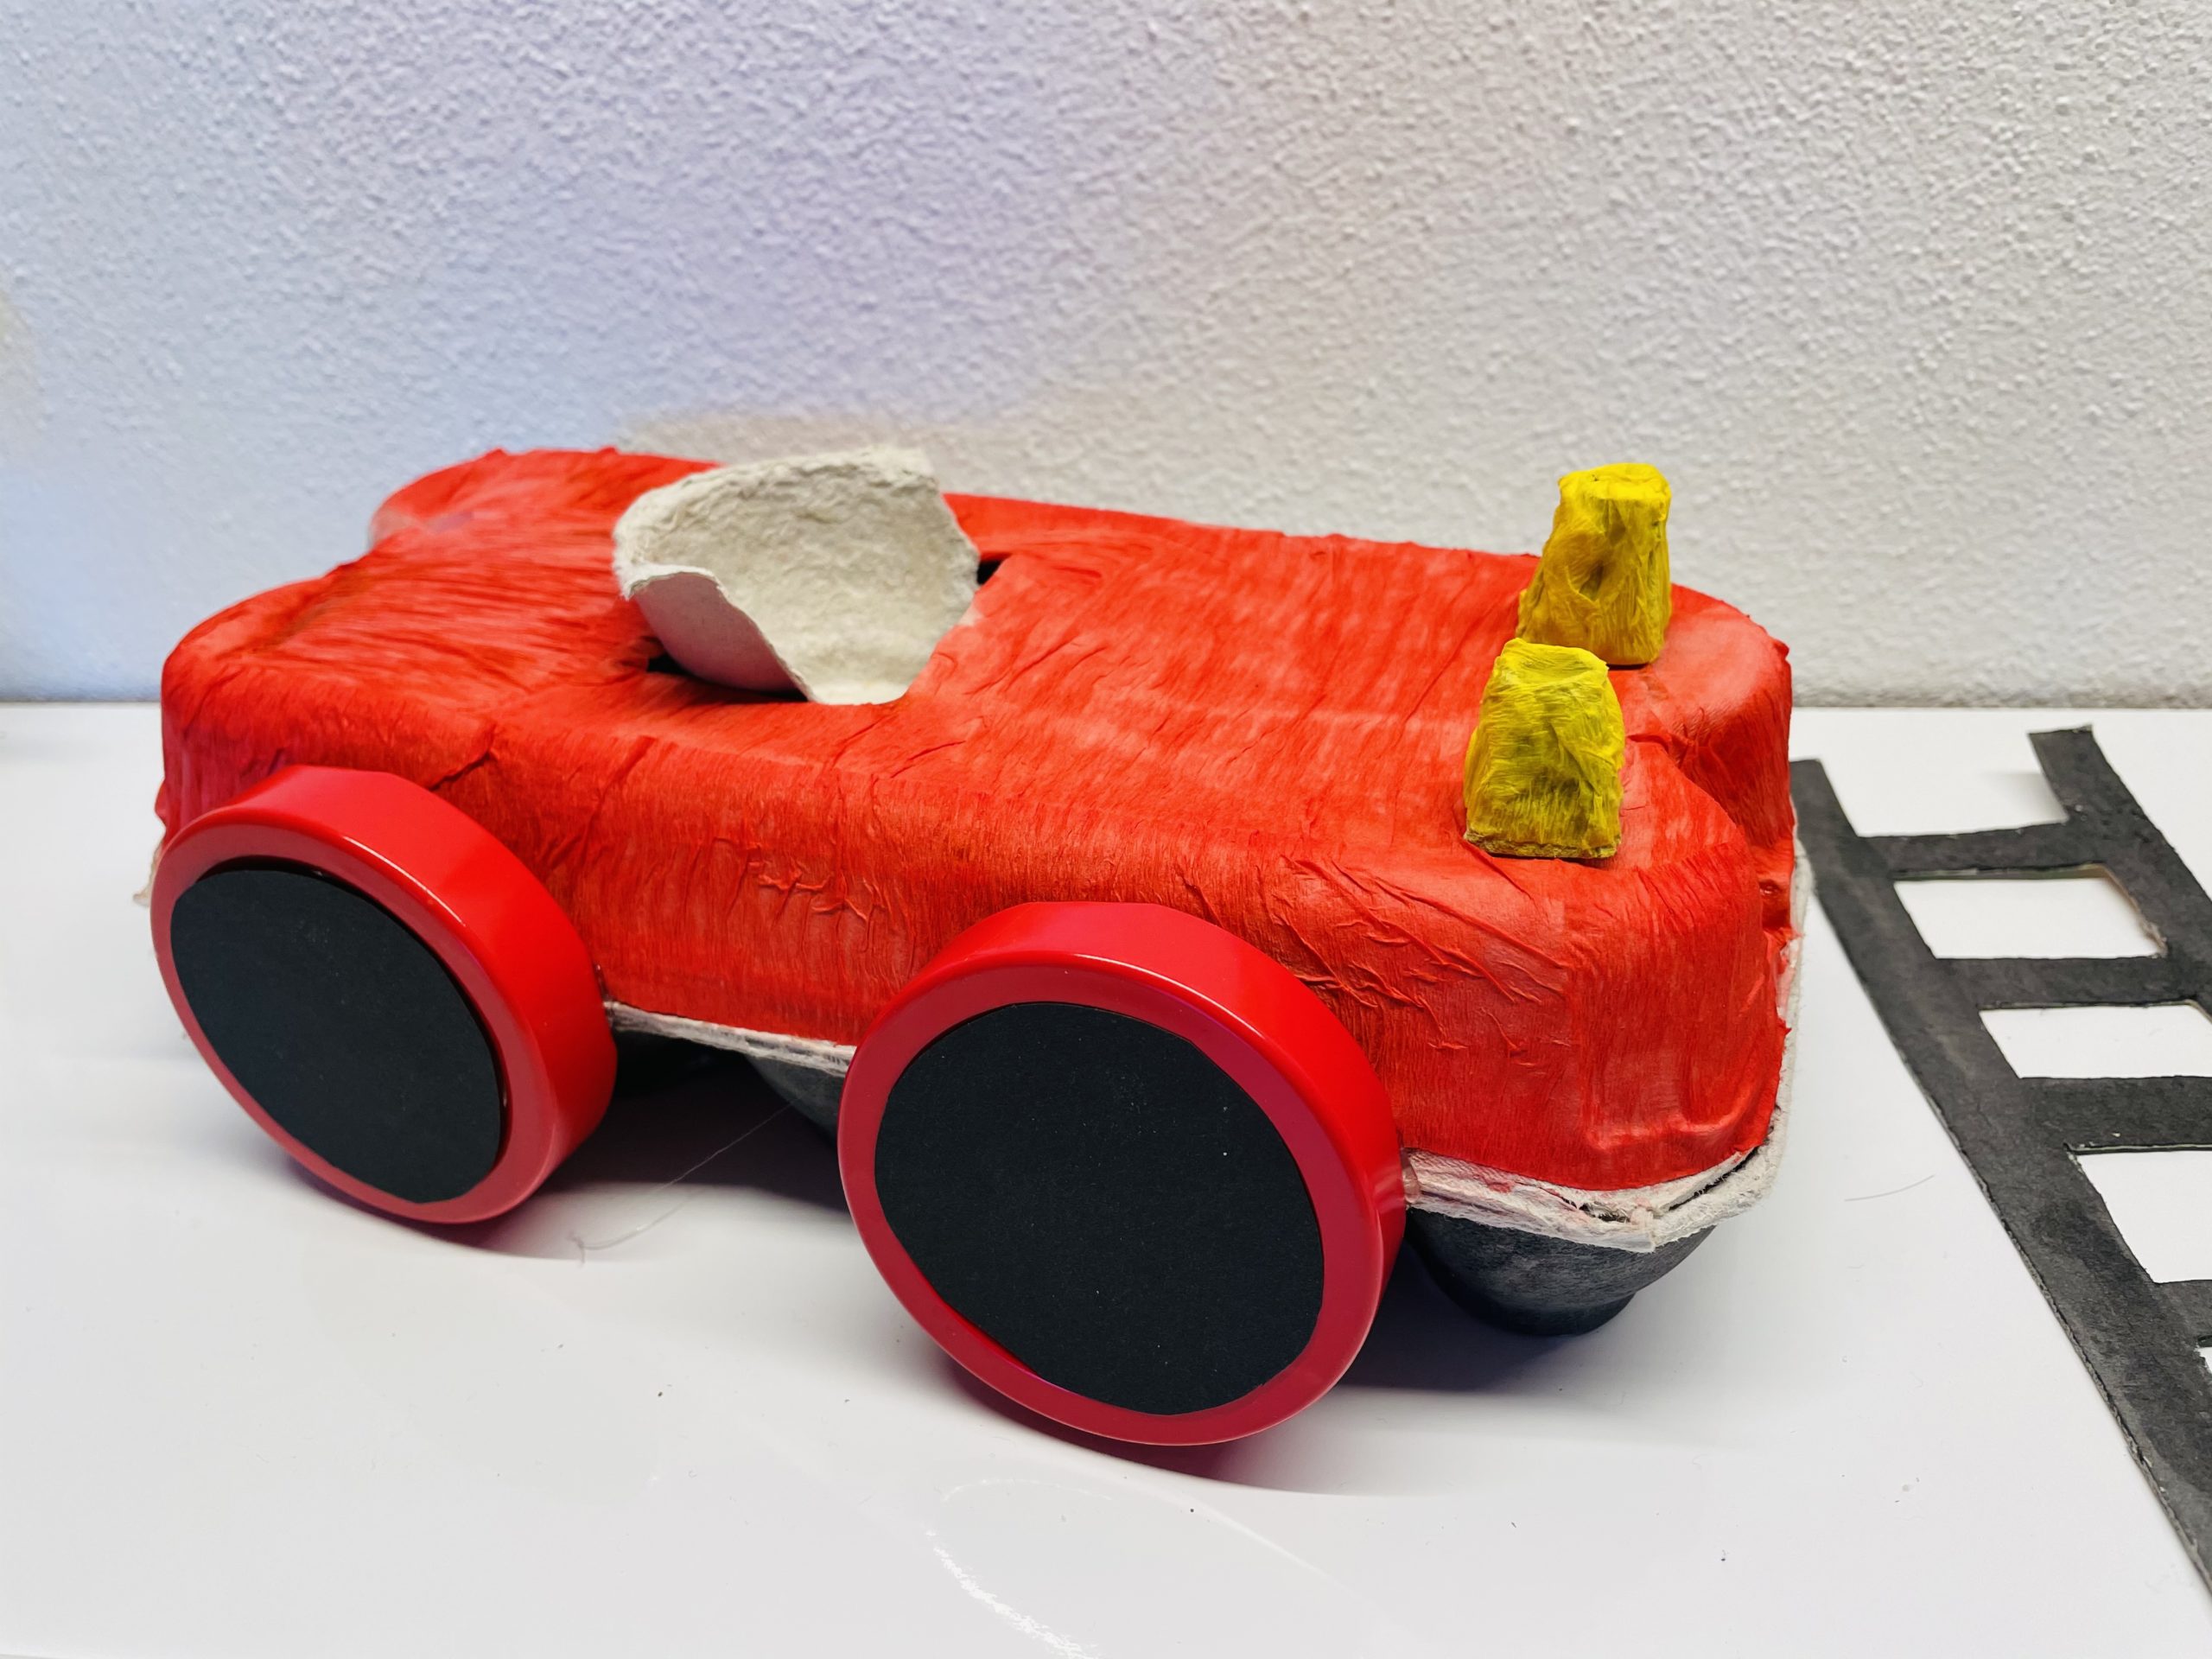
The fire truck is now ready for use!
Ready to play! Whoever wants to get in, may go.
Tatütata Tatütata the fire department is here!
Have fun doing crafts and playing! Stay creative!
Materials
Directions
Prepare the materials and a craft pad and put on a paint coat.
First paint a square on the box lid of the egg box.
Then cut out the square with the scissors or a cutter knife. Attention: Let an adult help you with this - risk of injury!
Since you still need the square later, you should cut it out so that it remains completely.
Then you shorten the tip of the egg box by one centimeter.
This tip is also needed later!
Now you stick the square to the shortened tip.
Cut off another tip at the same height.
Both tips become lights on the fire truck.
Now you need the second egg box. Paint a ladder on the lid.
Cuts them out with the scissors.
Now you paint the tips with water colours yellow.
Then place it for drying.
Then paint the ladder with water colors black.
Then you put these to dry. As soon as the paint is dry you paint the other side of the ladder black.
The ladder is thus painted black from both sides.
Now you paint the entire egg box with red water paint.
Alternatively, glue the egg carton with red crepe paper or paper snippets.
For the adhesive variants you pin the cardboard first with wallpaper paste. Then you stick the snippets on it.
Let the box dry well.
She paints the underside of the egg box with black water colours.
Let the paint dry.
Meanwhile, you make the tires of the fire truck. For this you paint circles on black clay paper and cut them out. Then you stick them as rims in the middle of the lids.
Cuts out two roundings from the second egg carton.
These are later used to the car seat and as a support for the ladder.
First stick the seat in the cut-out in the lid.
Then you stick the headlights on the egg box at the front.
With hot glue, the headlights hold best. Attention: Let an adult help you with the hot glue - risk of injury!
Then glue the tires with hot glue points to the sides of the fire truck.
Attach the rounding of the egg box, above the seat, on the box.
As a blue light you use a blue screw cap. Sticks this also tight.
Now you stick the ladder behind the seat to the rounding.
The fire truck is now ready for use!
Ready to play! Whoever wants to get in, may go.
Tatütata Tatütata the fire department is here!
Have fun doing crafts and playing! Stay creative!
Follow us on Facebook , Instagram and Pinterest
Don't miss any more adventures: Our bottle mail


We're gonna make it!