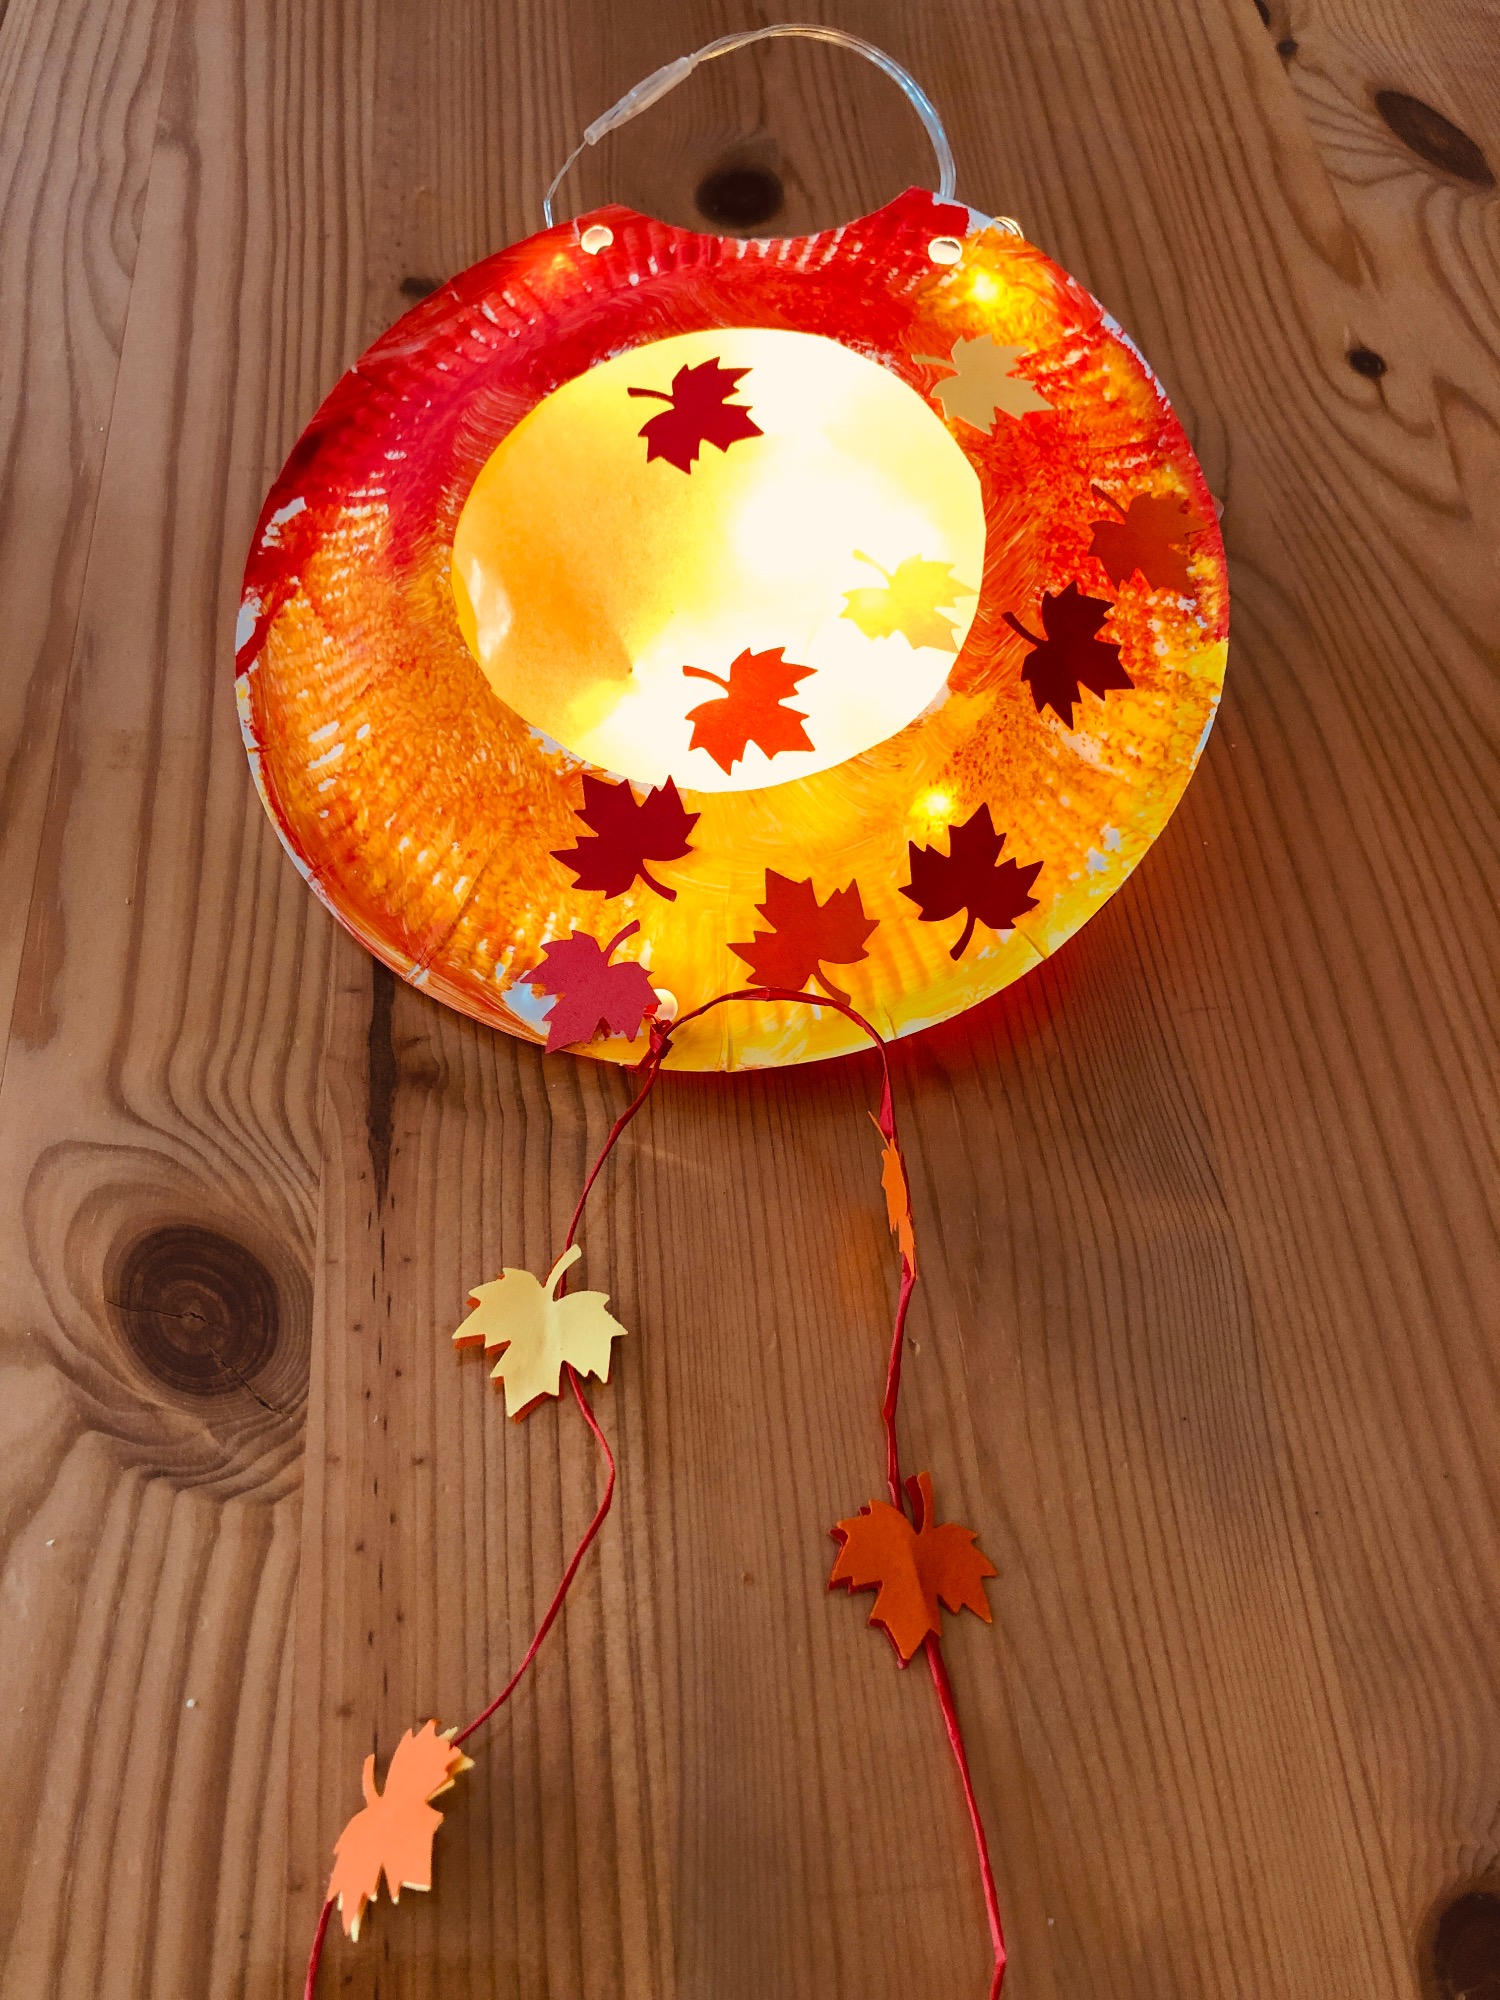
Autumn time is lantern time.
Crafting with a cardboard plate and punched leaves is also possible for crib children. The little ones are happy to paint and glue the lantern and can do a lot of things themselves and help everywhere.
Media Education for Kindergarten and Hort

Relief in everyday life, targeted promotion of individual children, independent learning and - without any pre-knowledge already usable by the youngest!
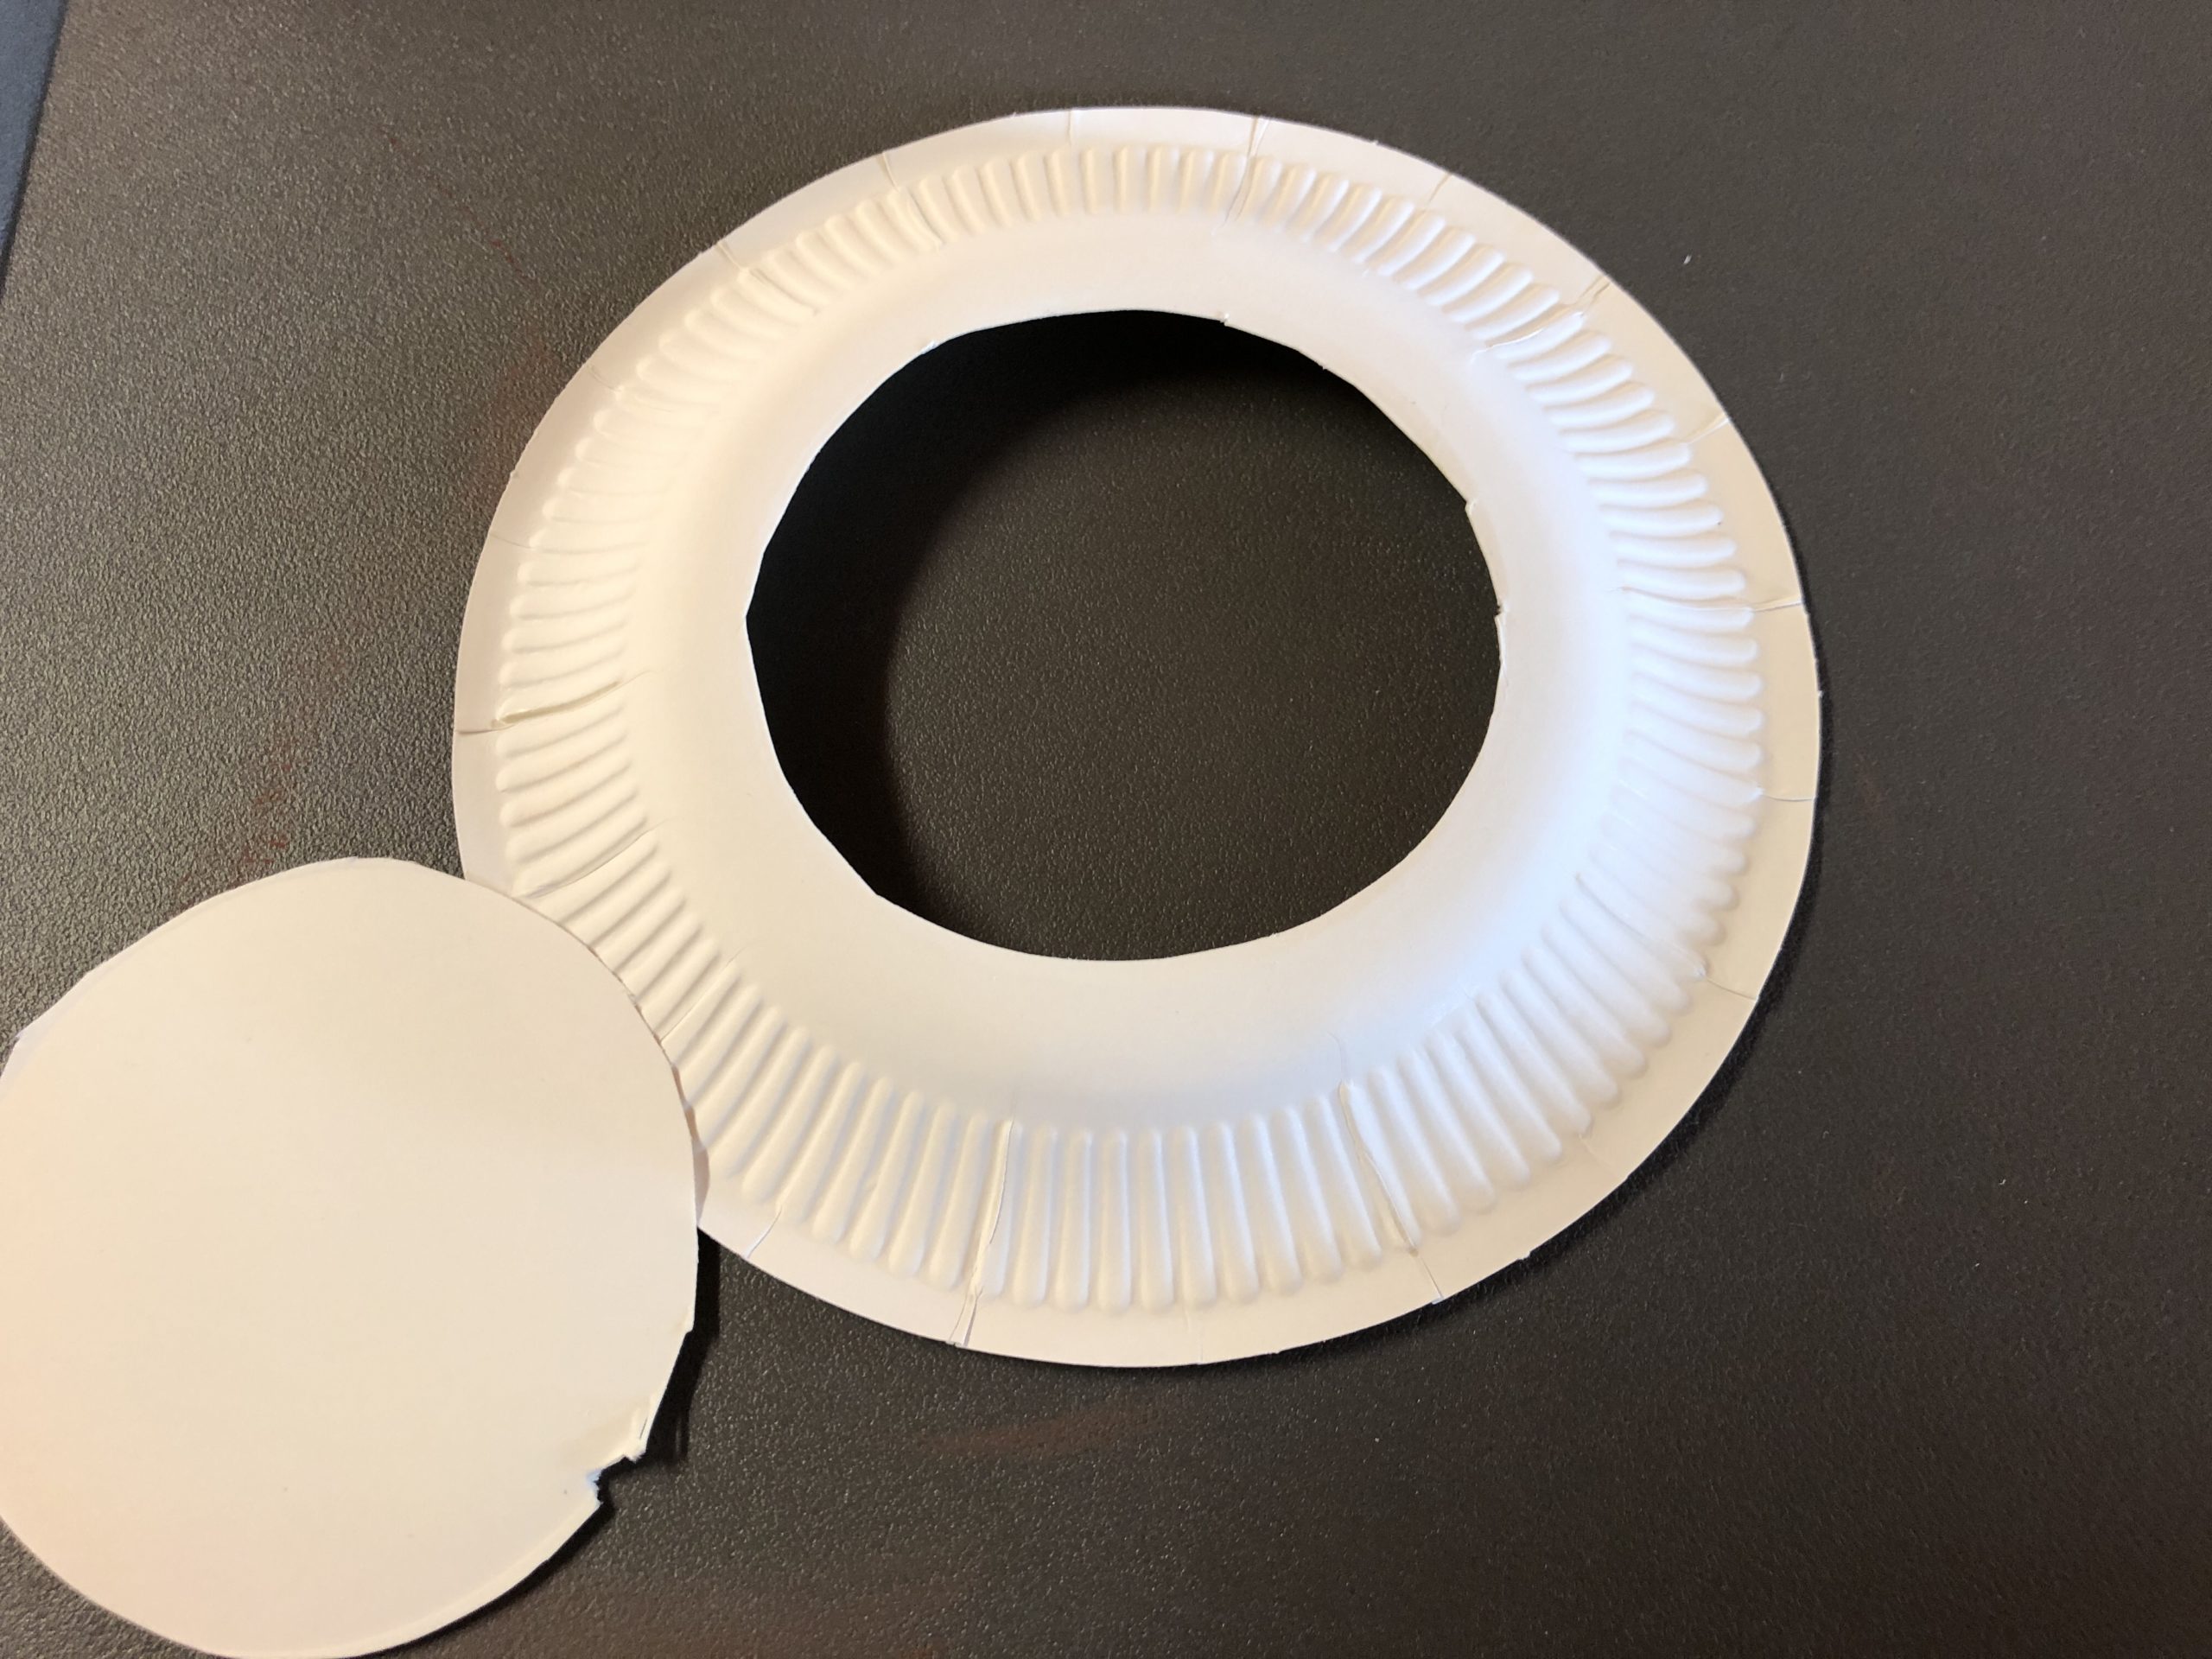
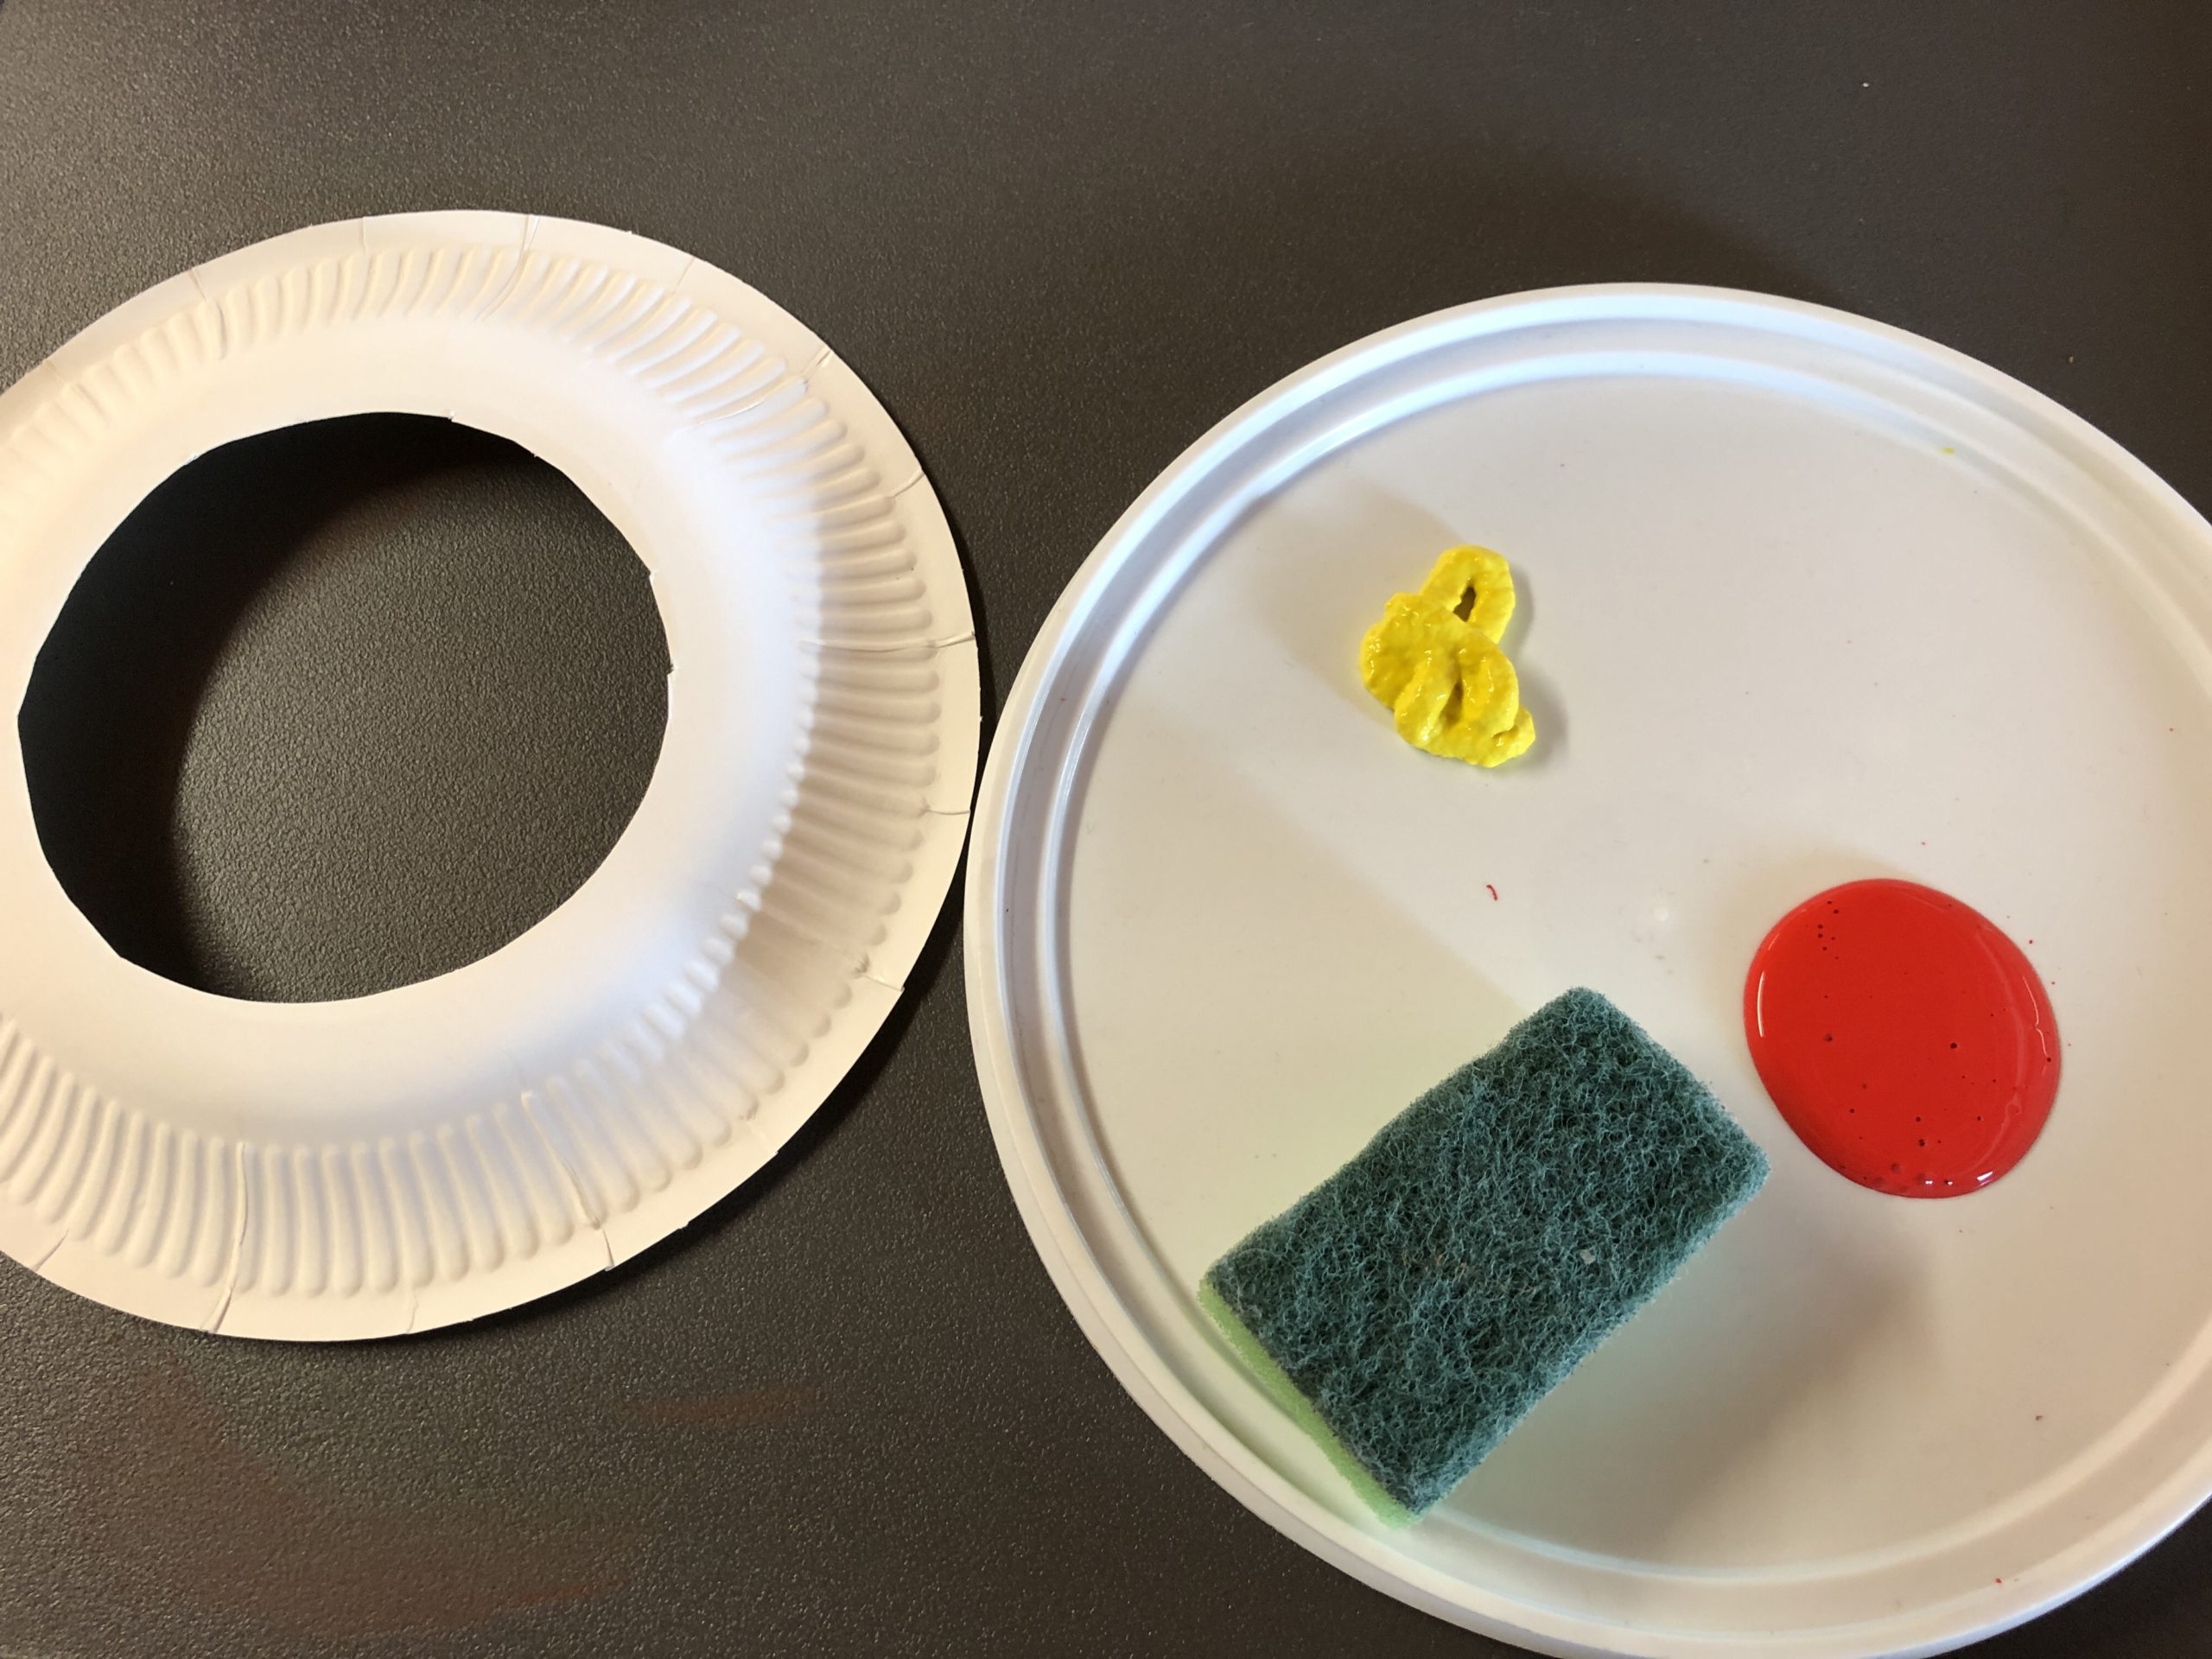
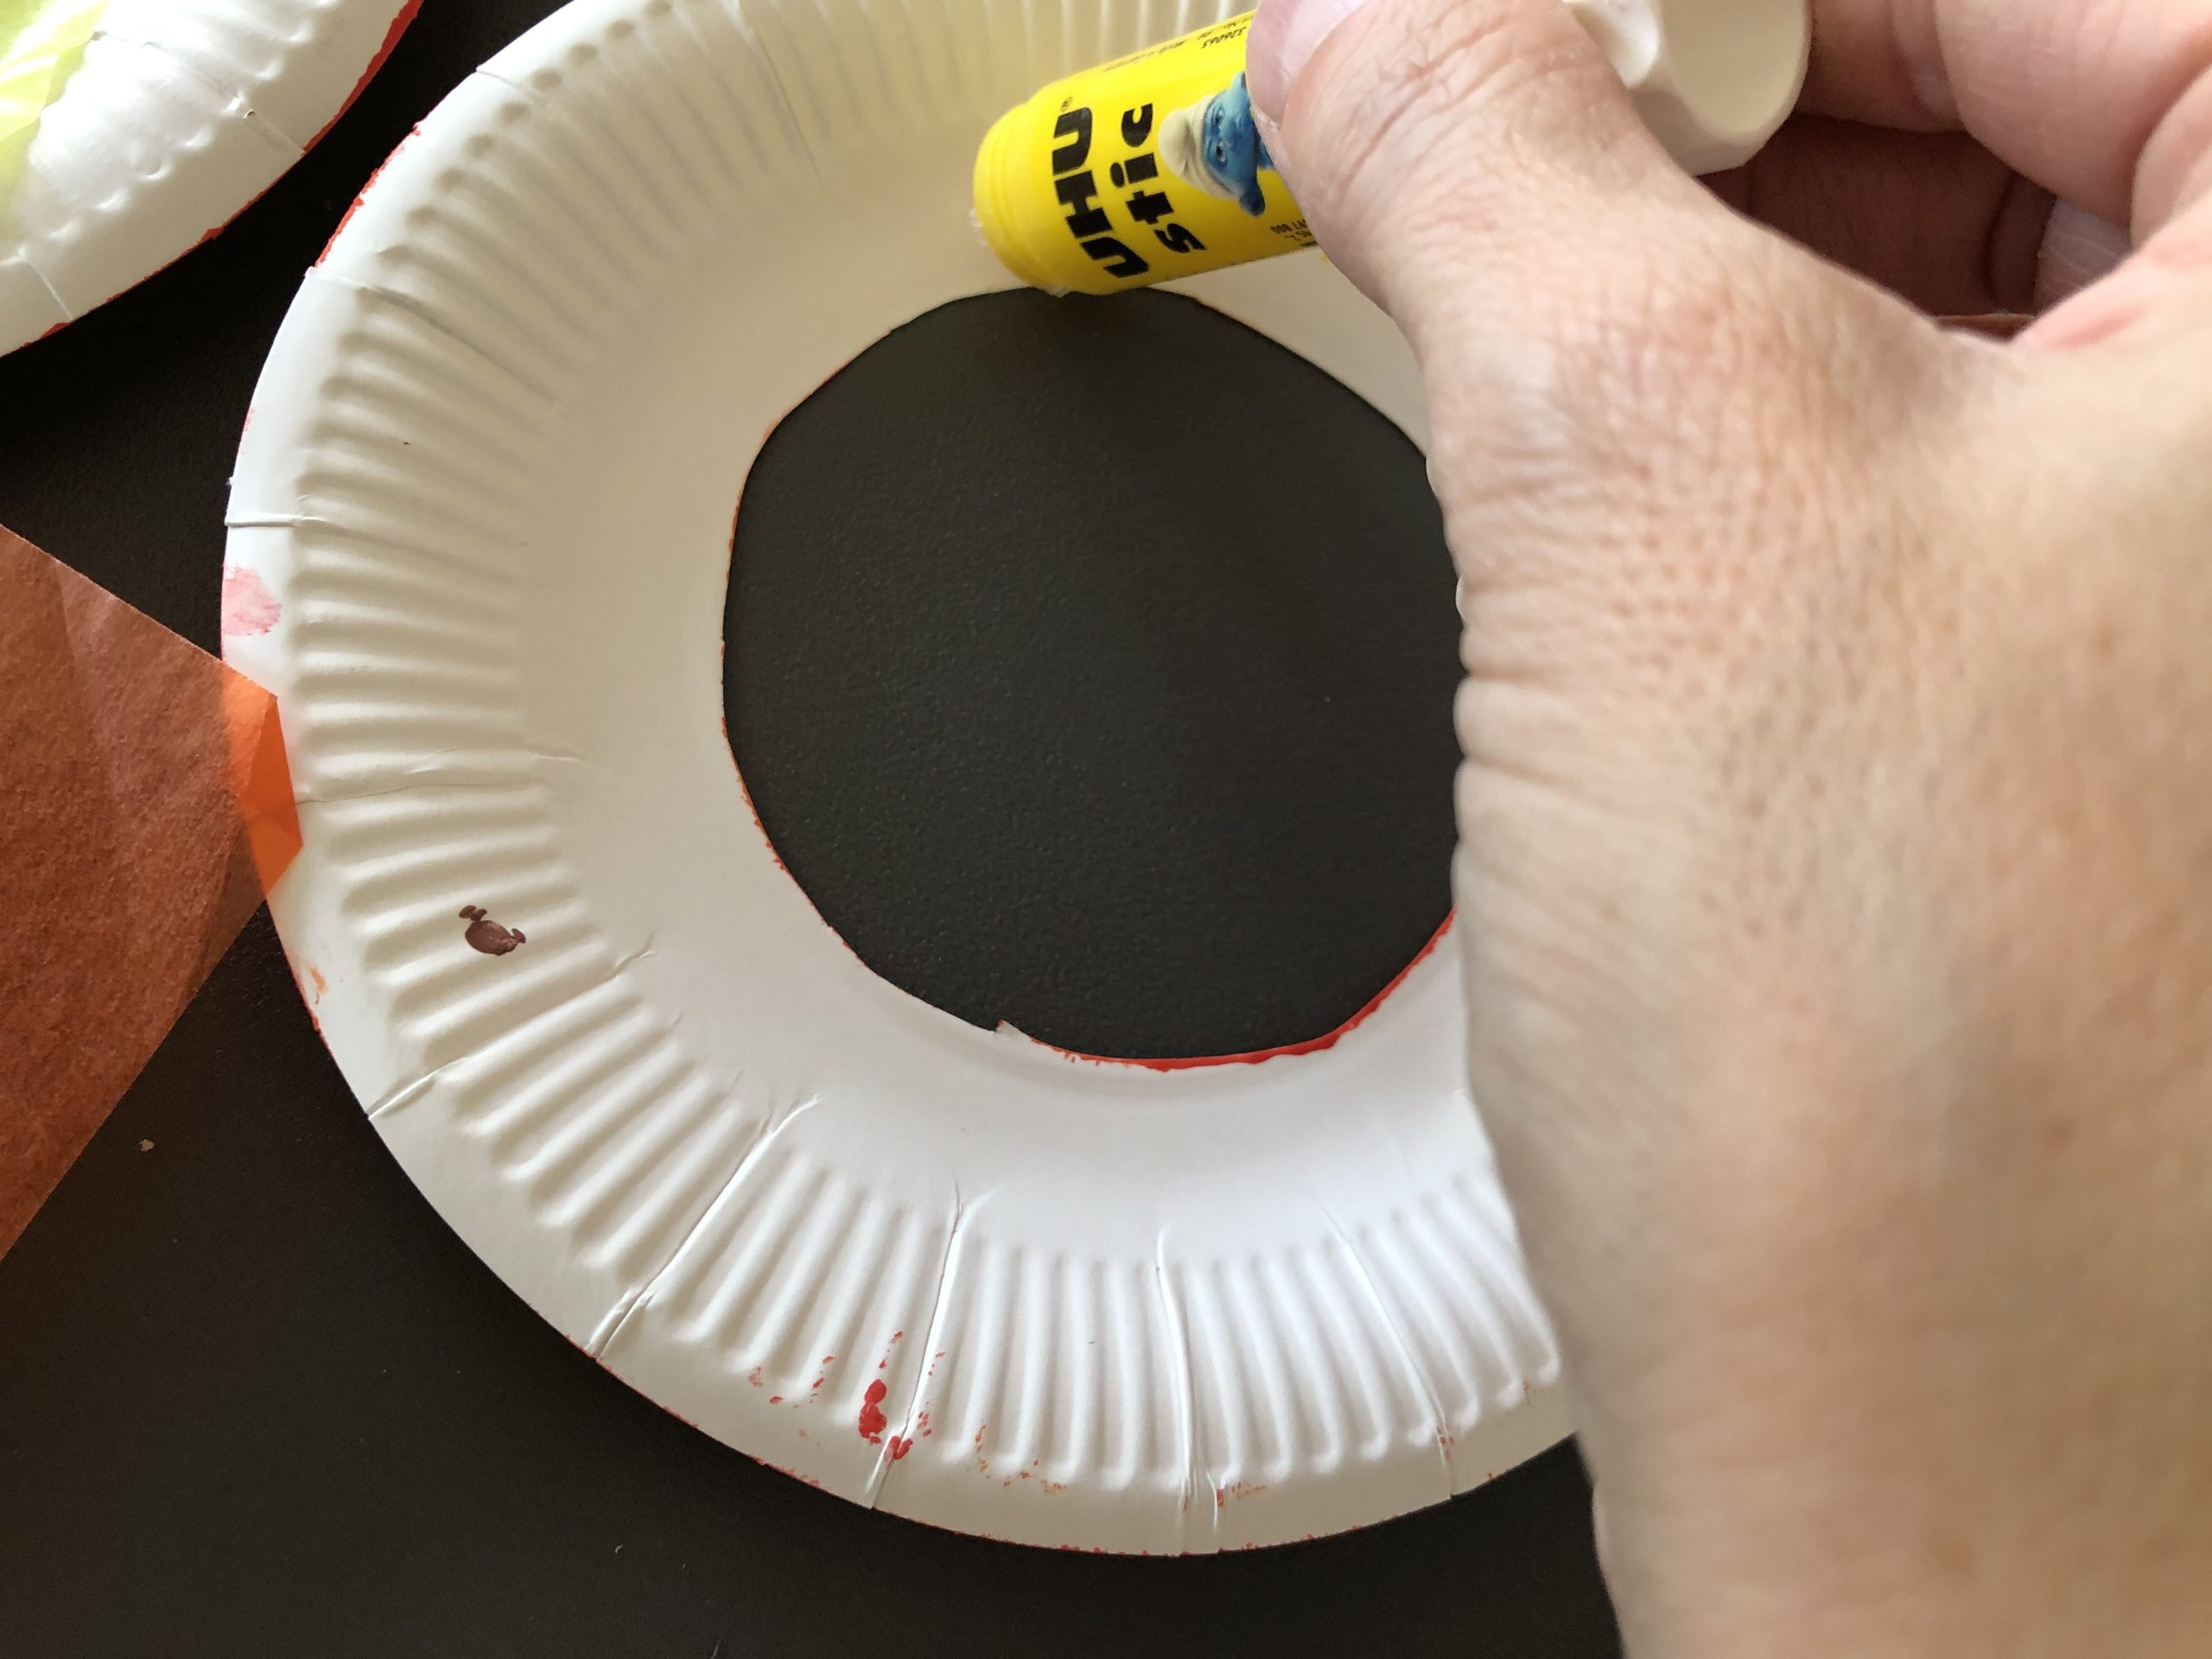
Cuts out a large circle from the two cardboard plates in the middle.
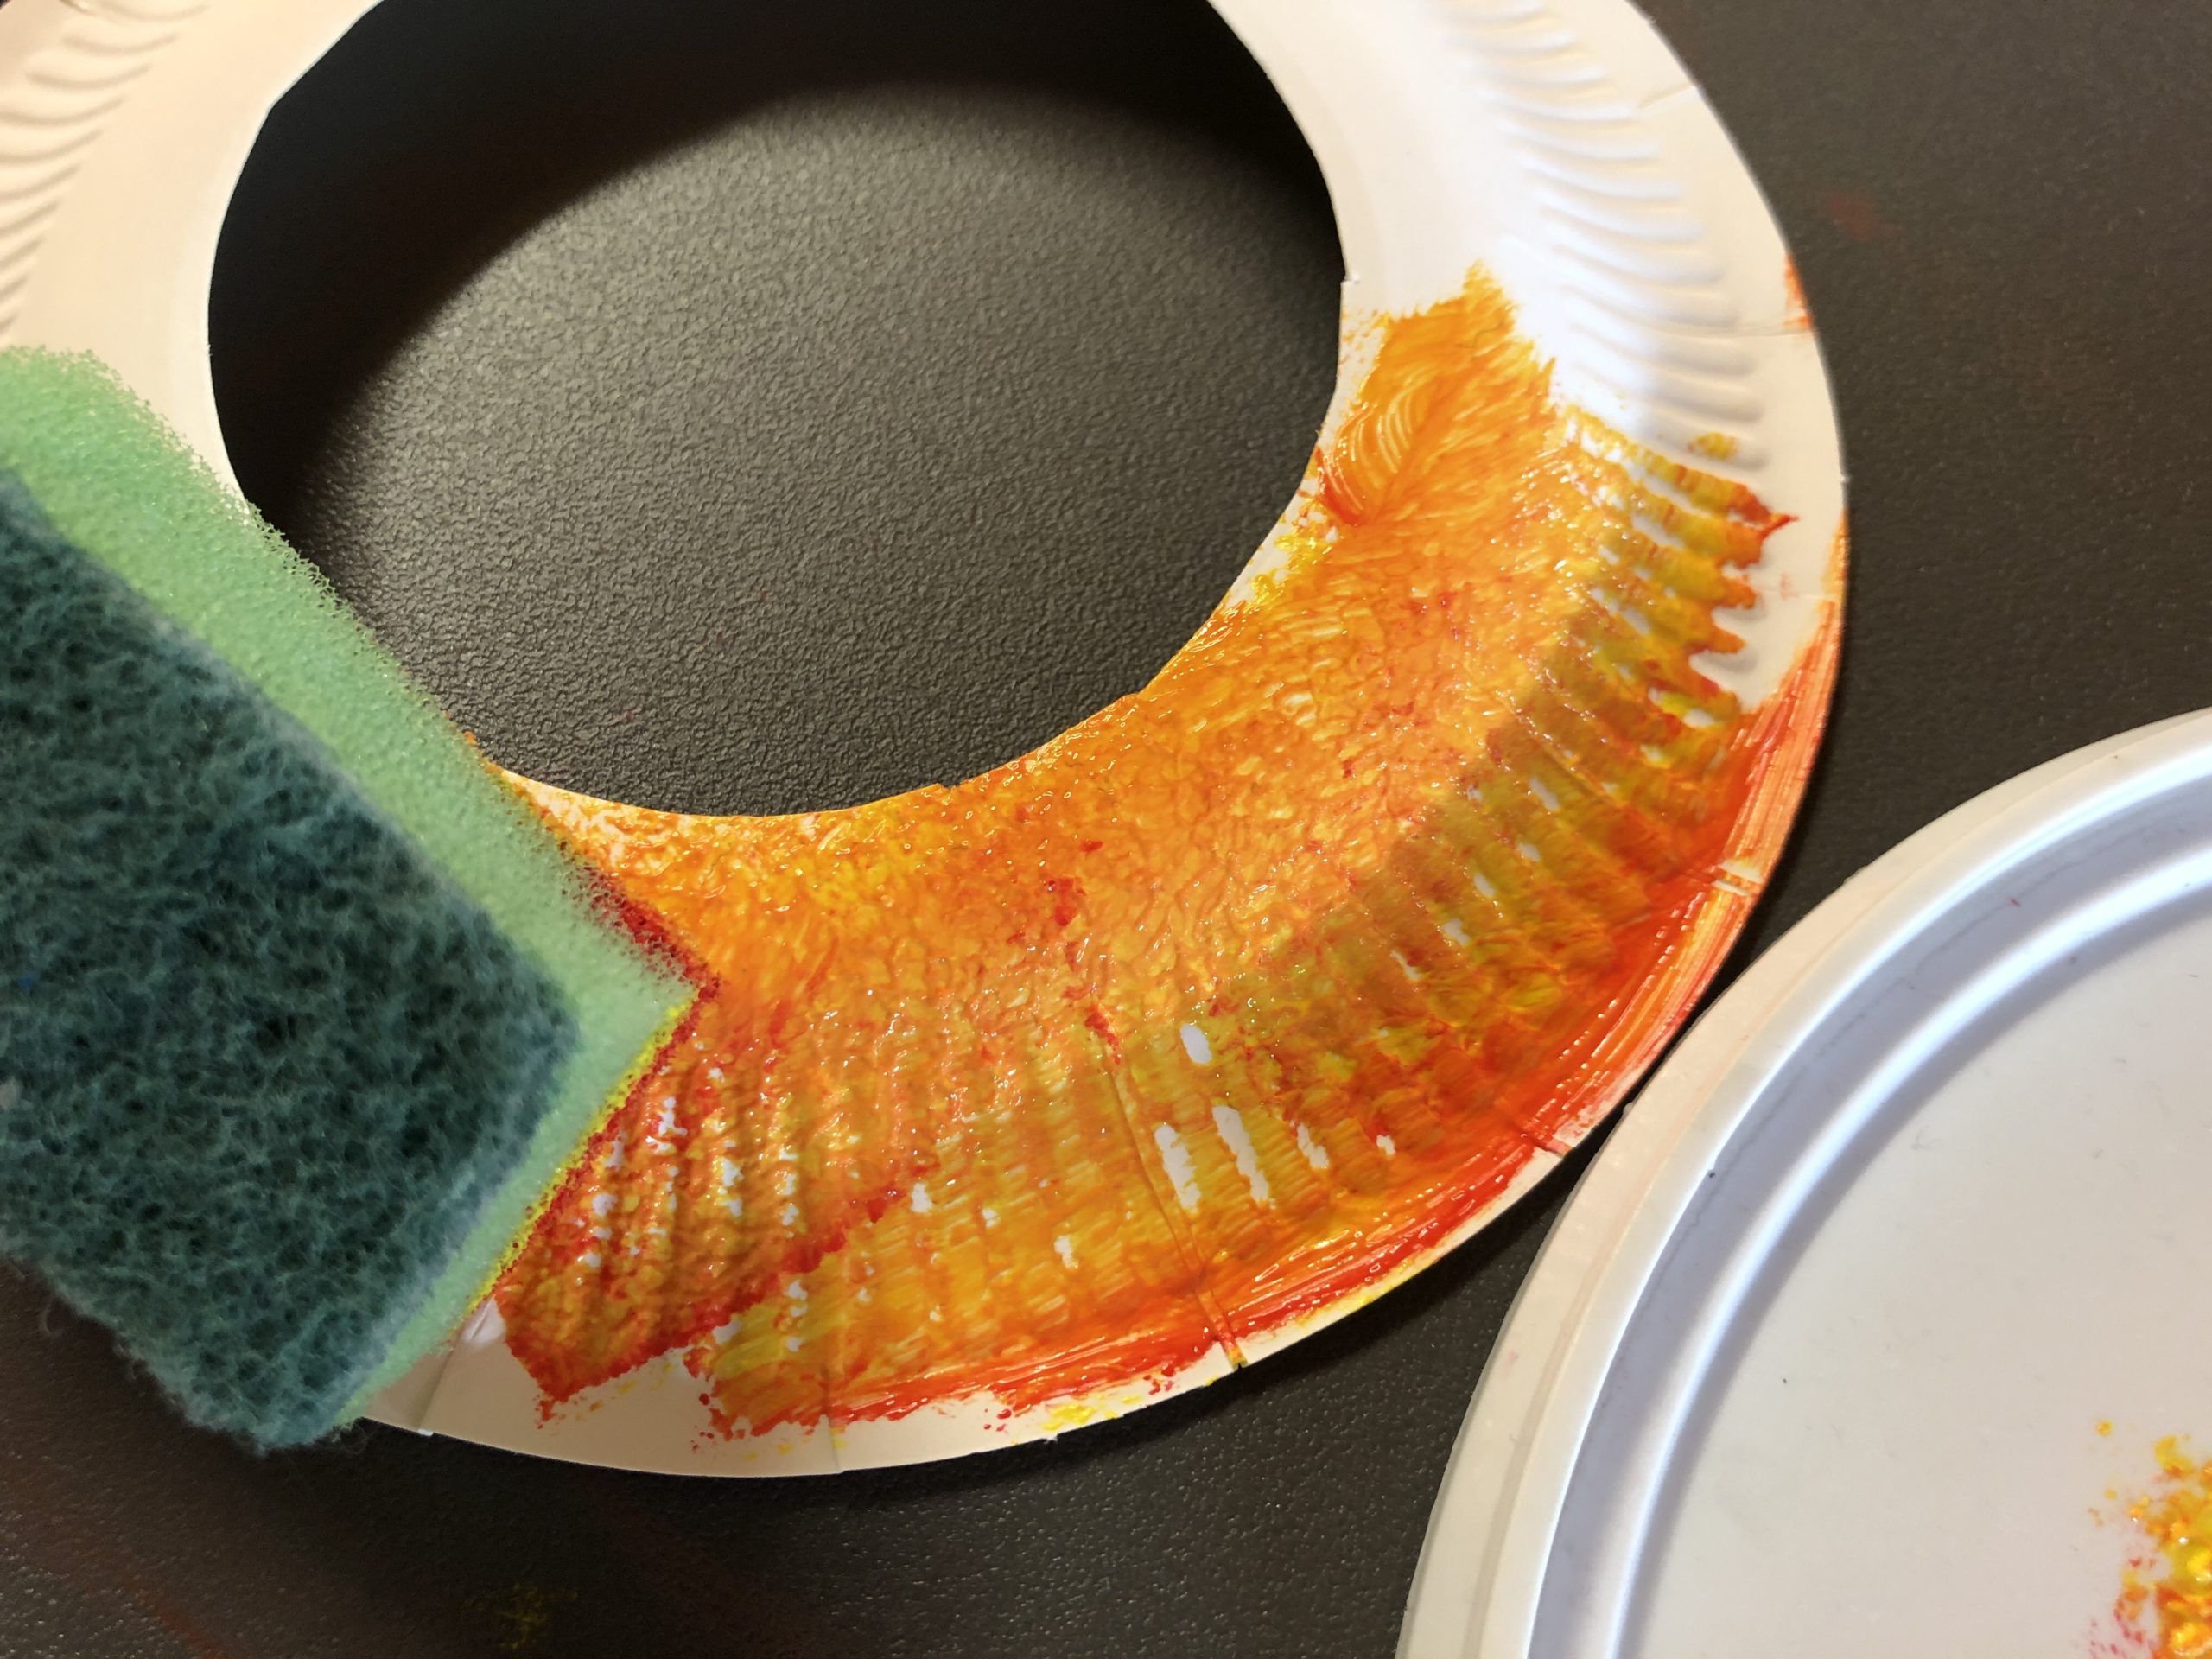
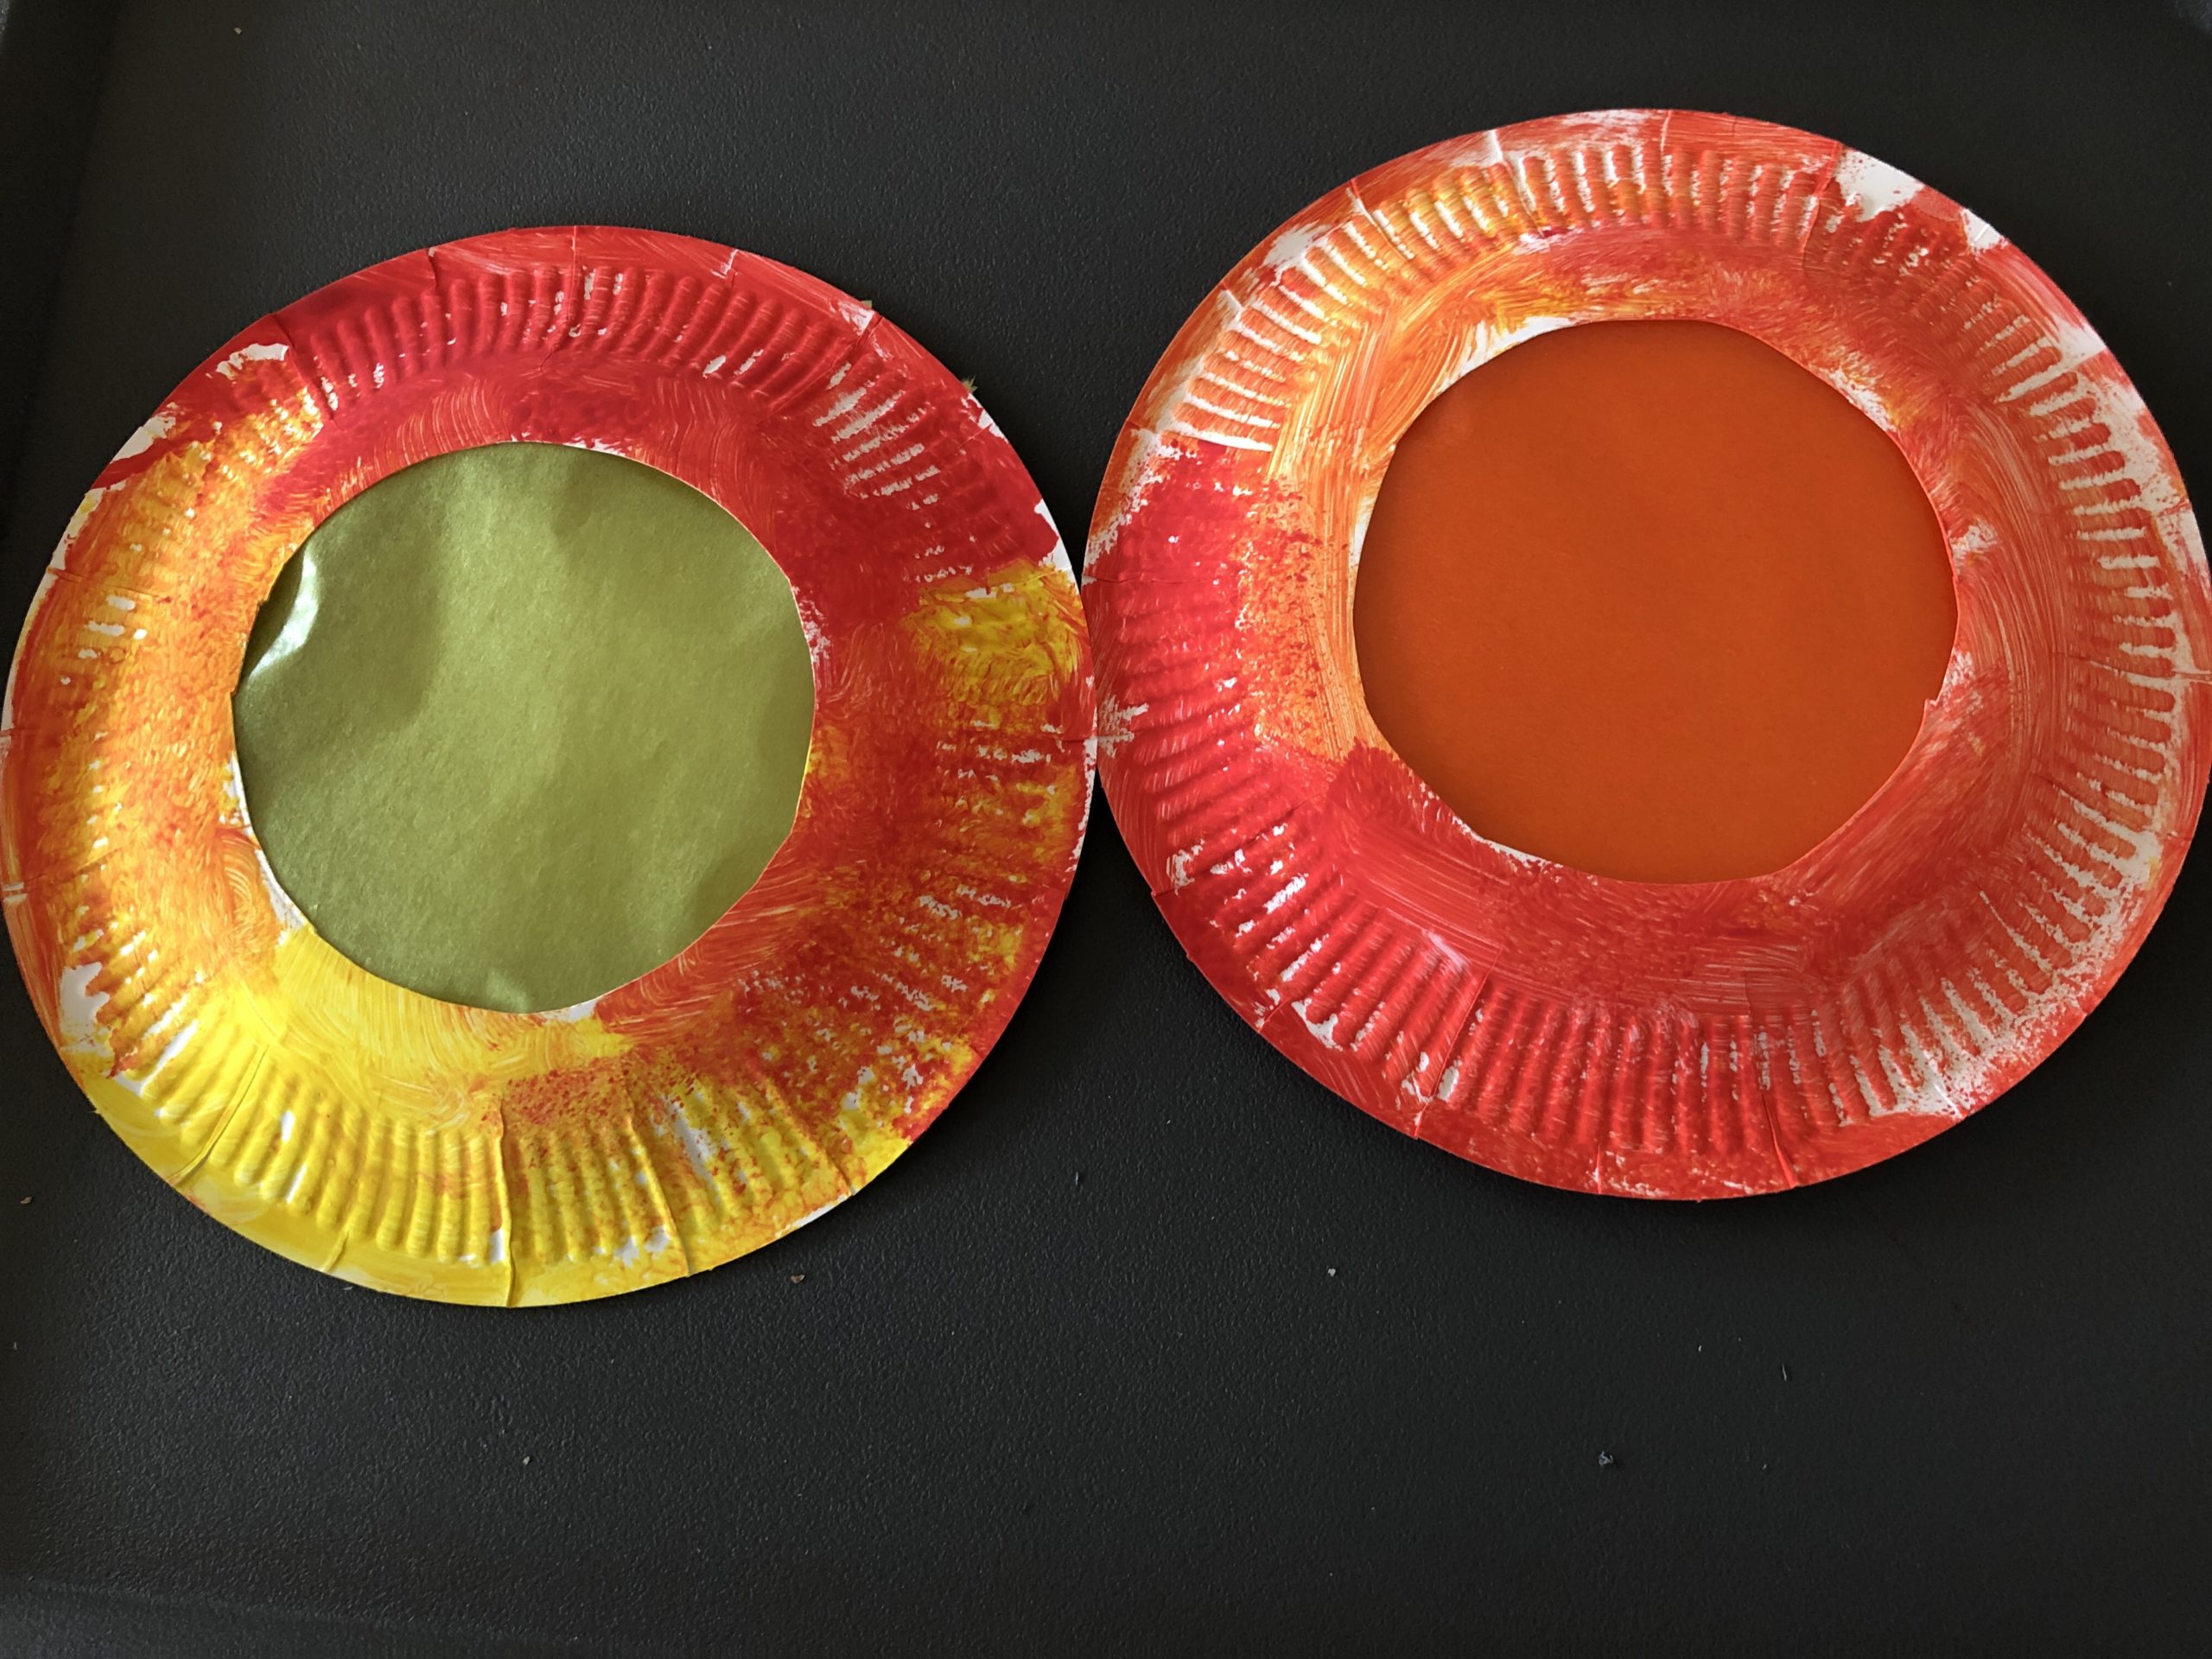
Take red and yellow paint and a sponge (e.g. a sponge). Now swab or wipe the paint with the sponge on the outside curved side of the cardboard plates. (bottom side of the plate)
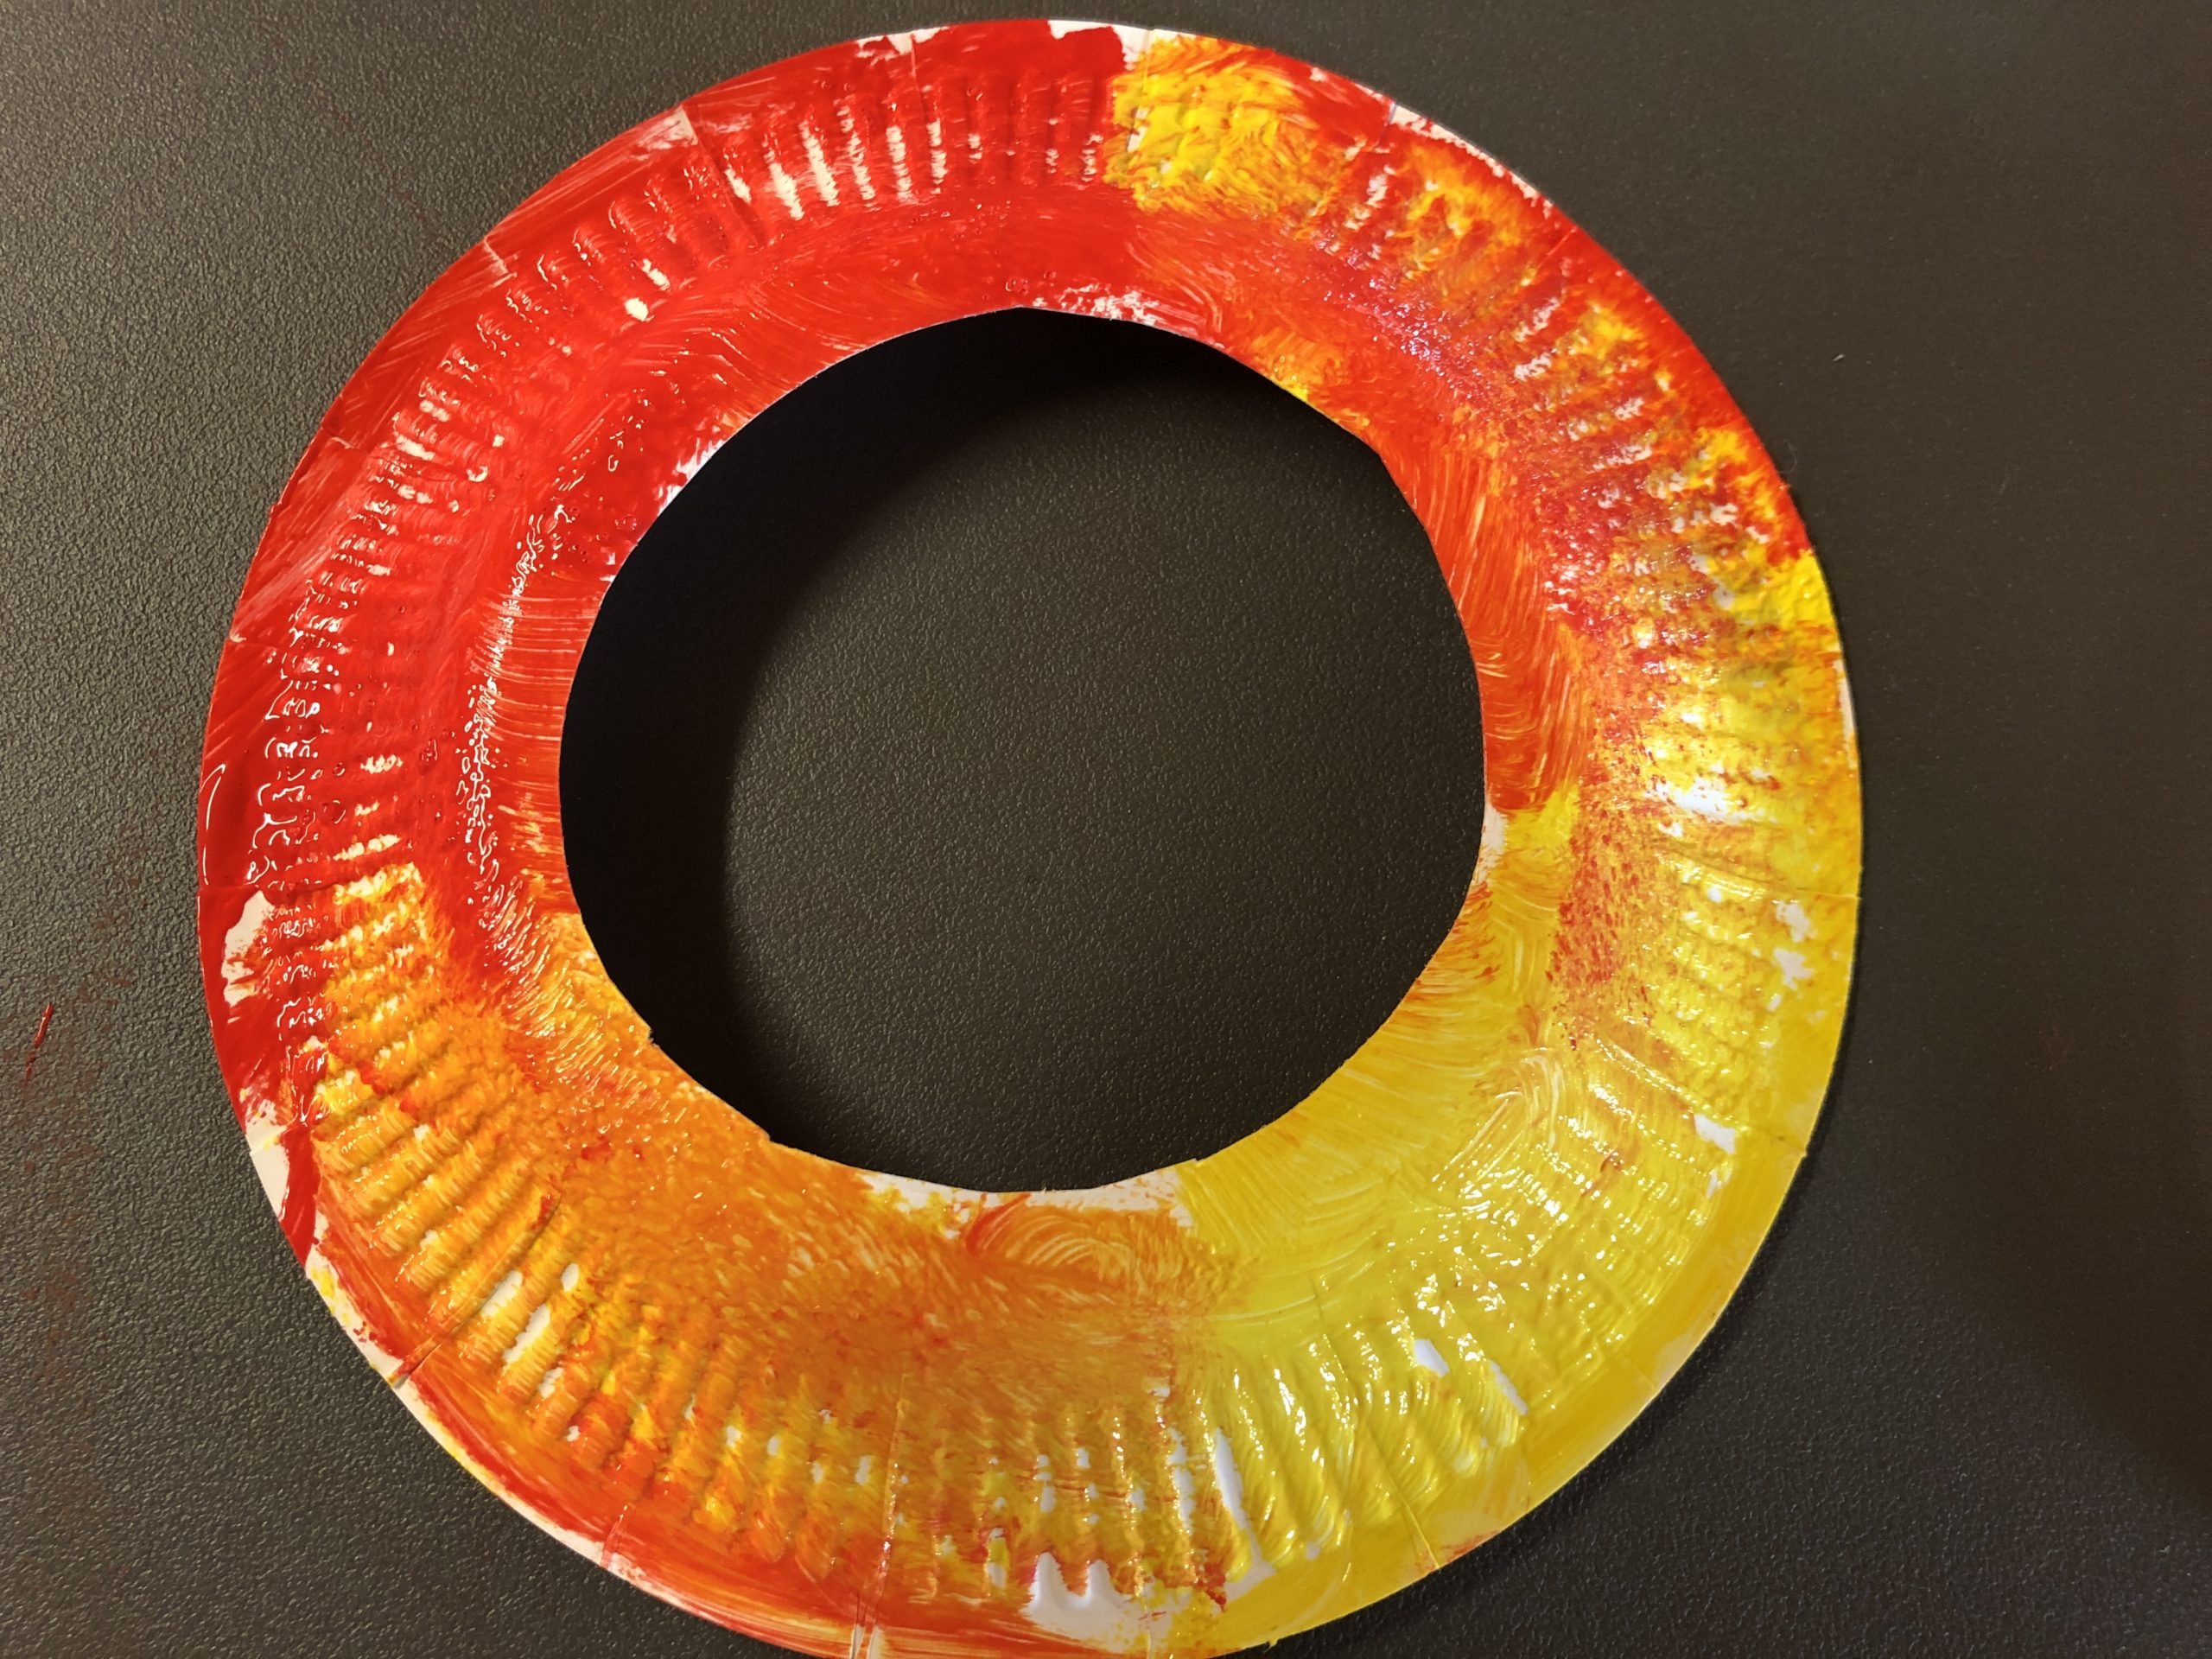
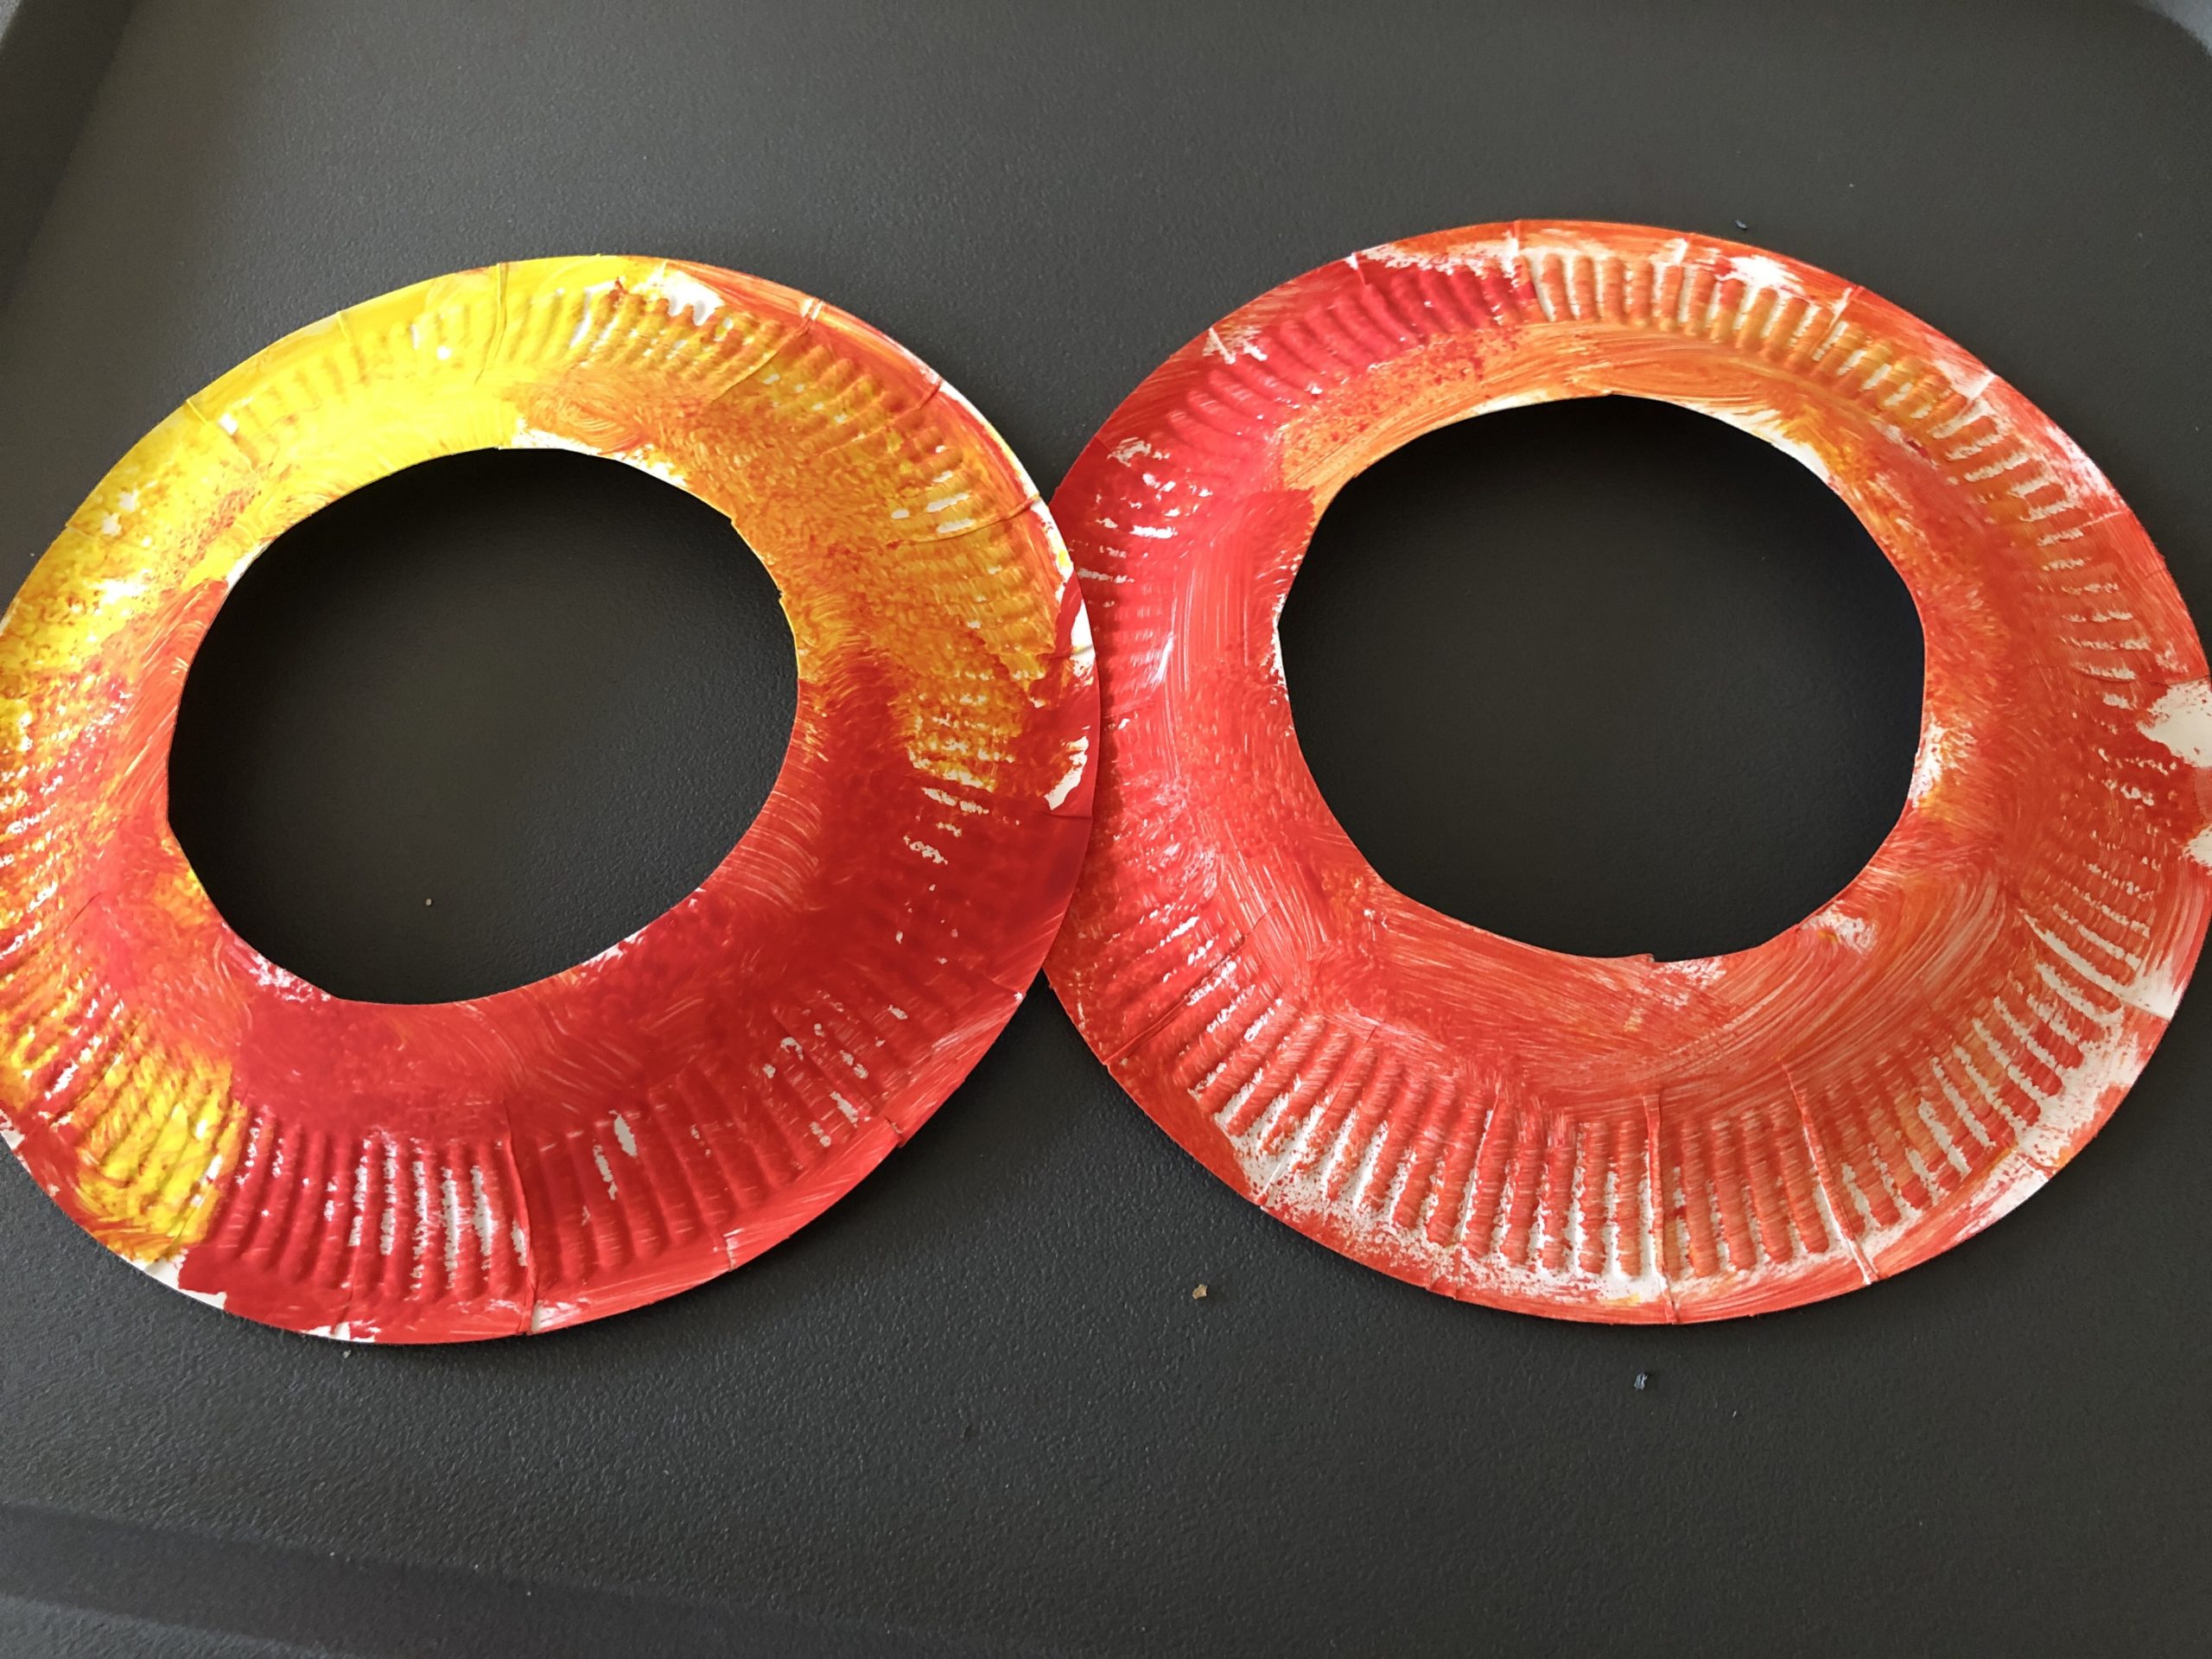
Put both plates to dry.
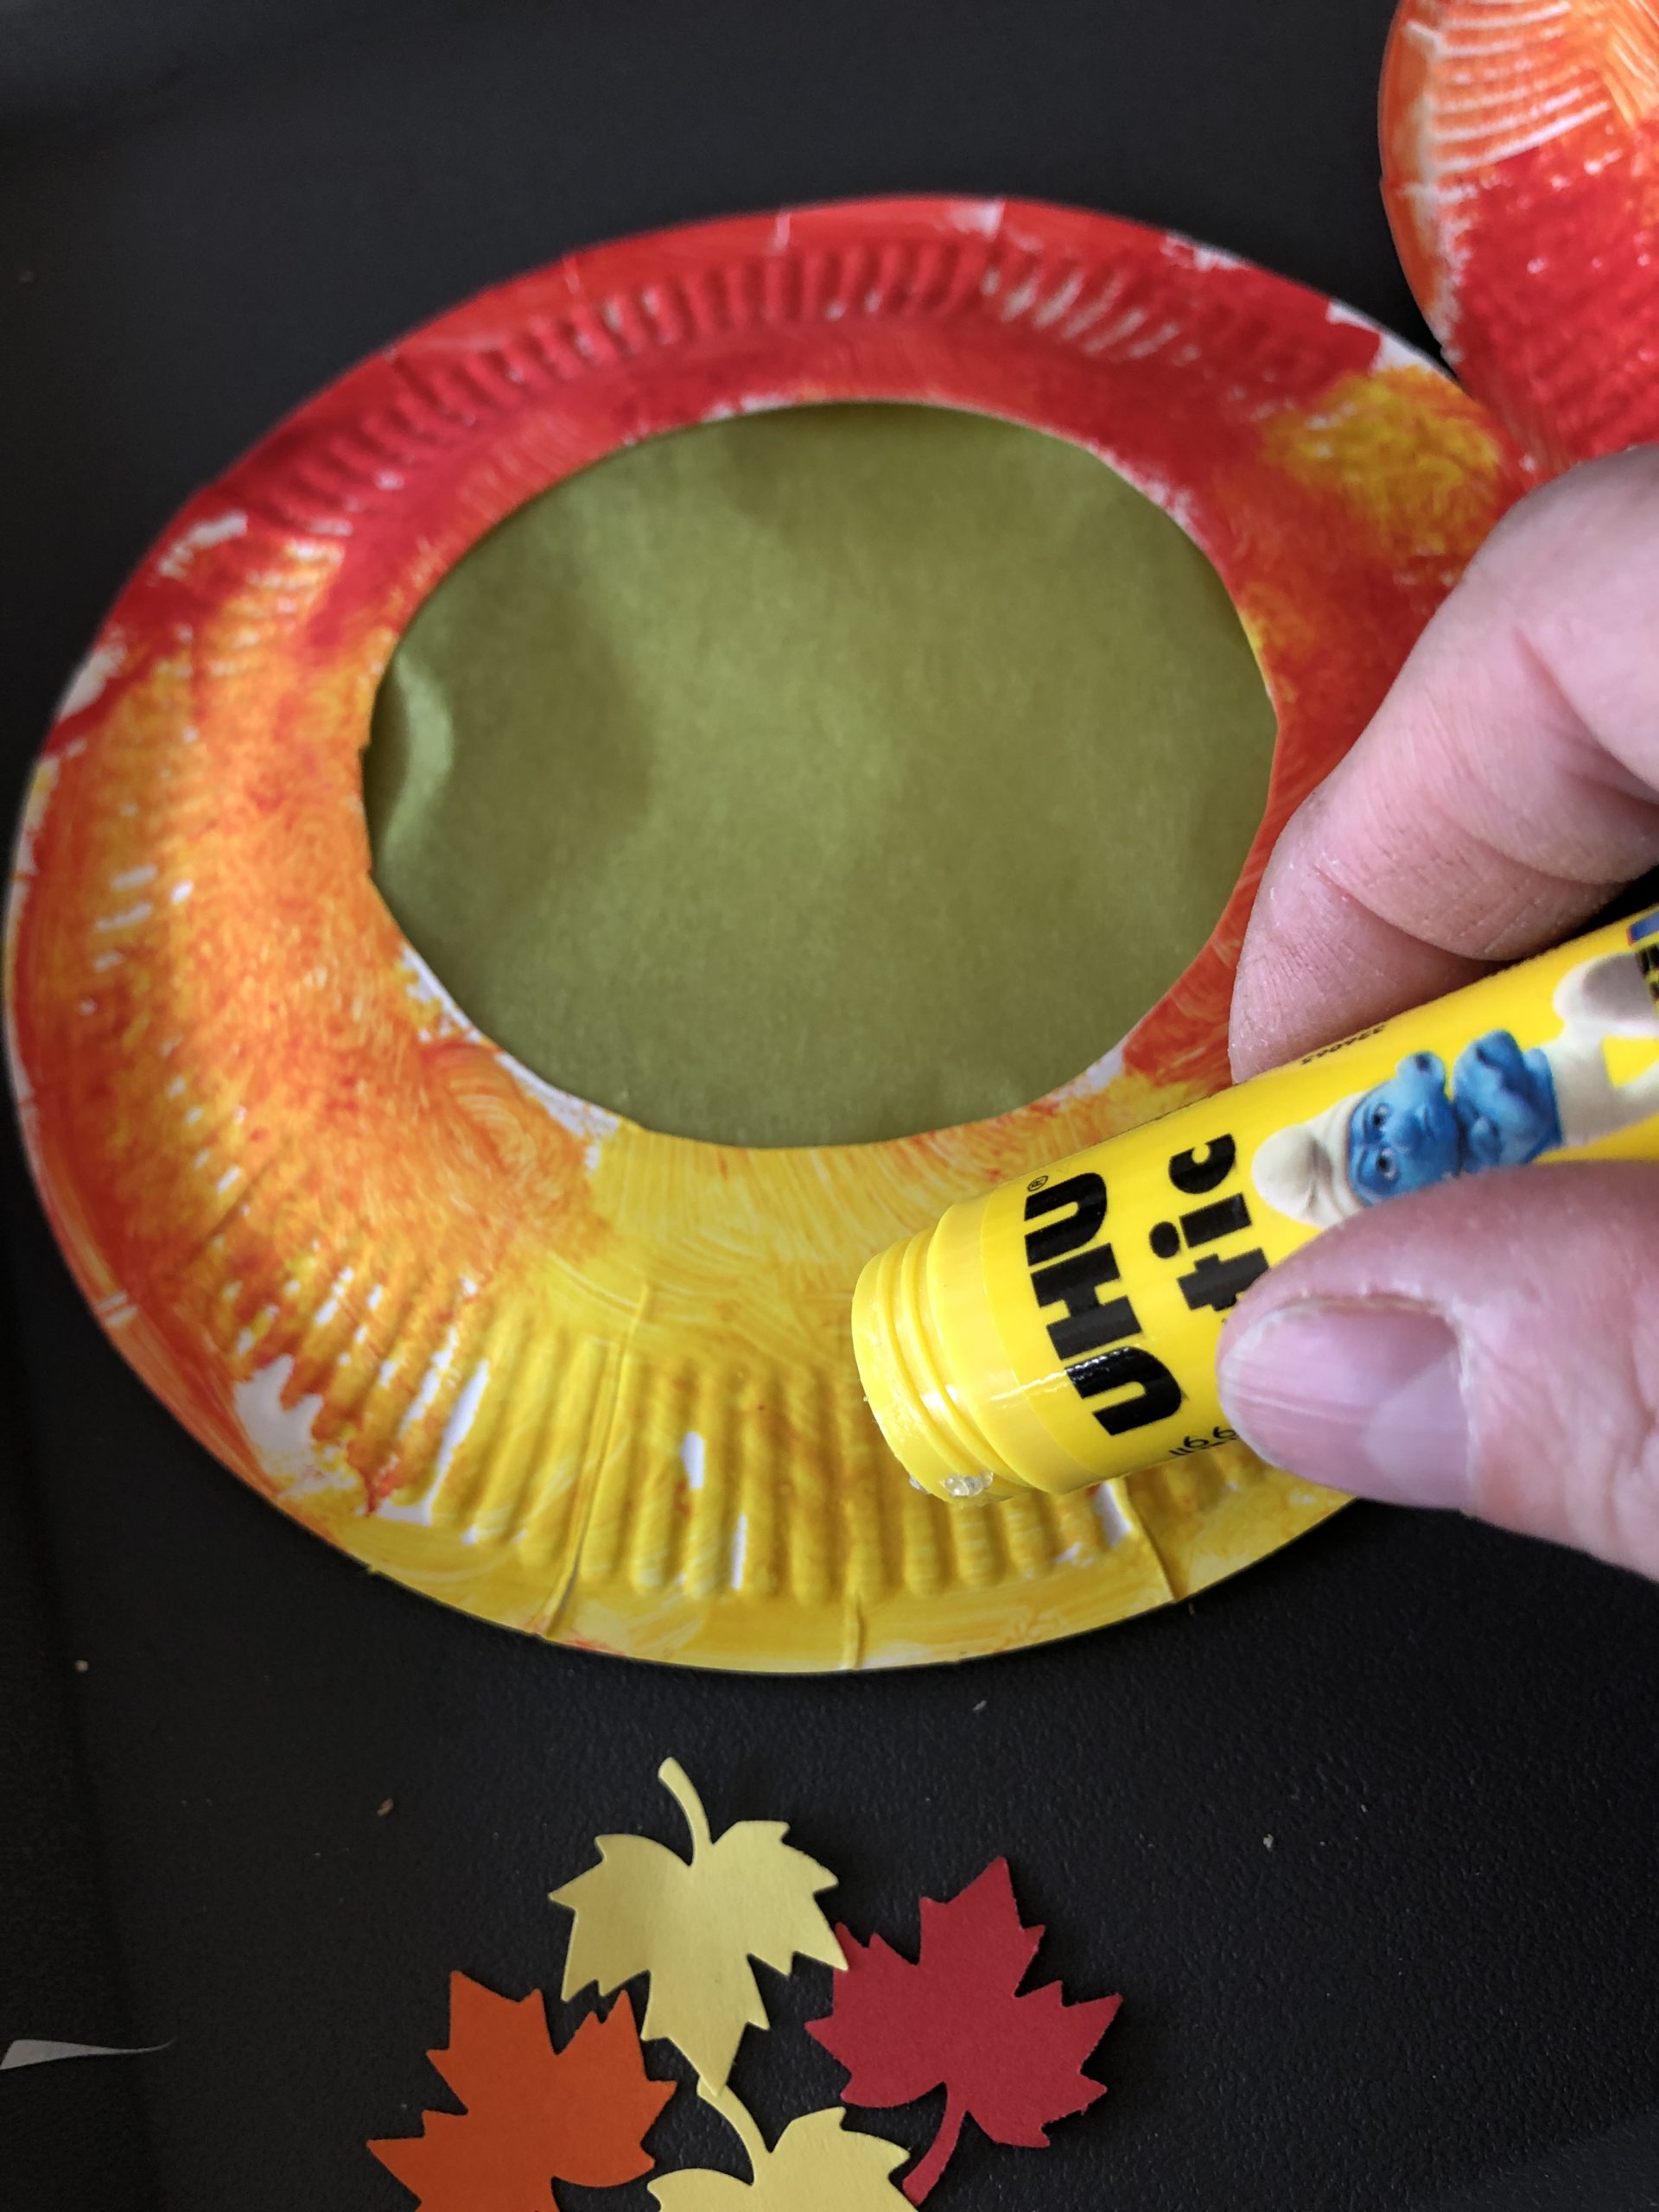
Cut the transparent paper to about 10cm x 10 cm.
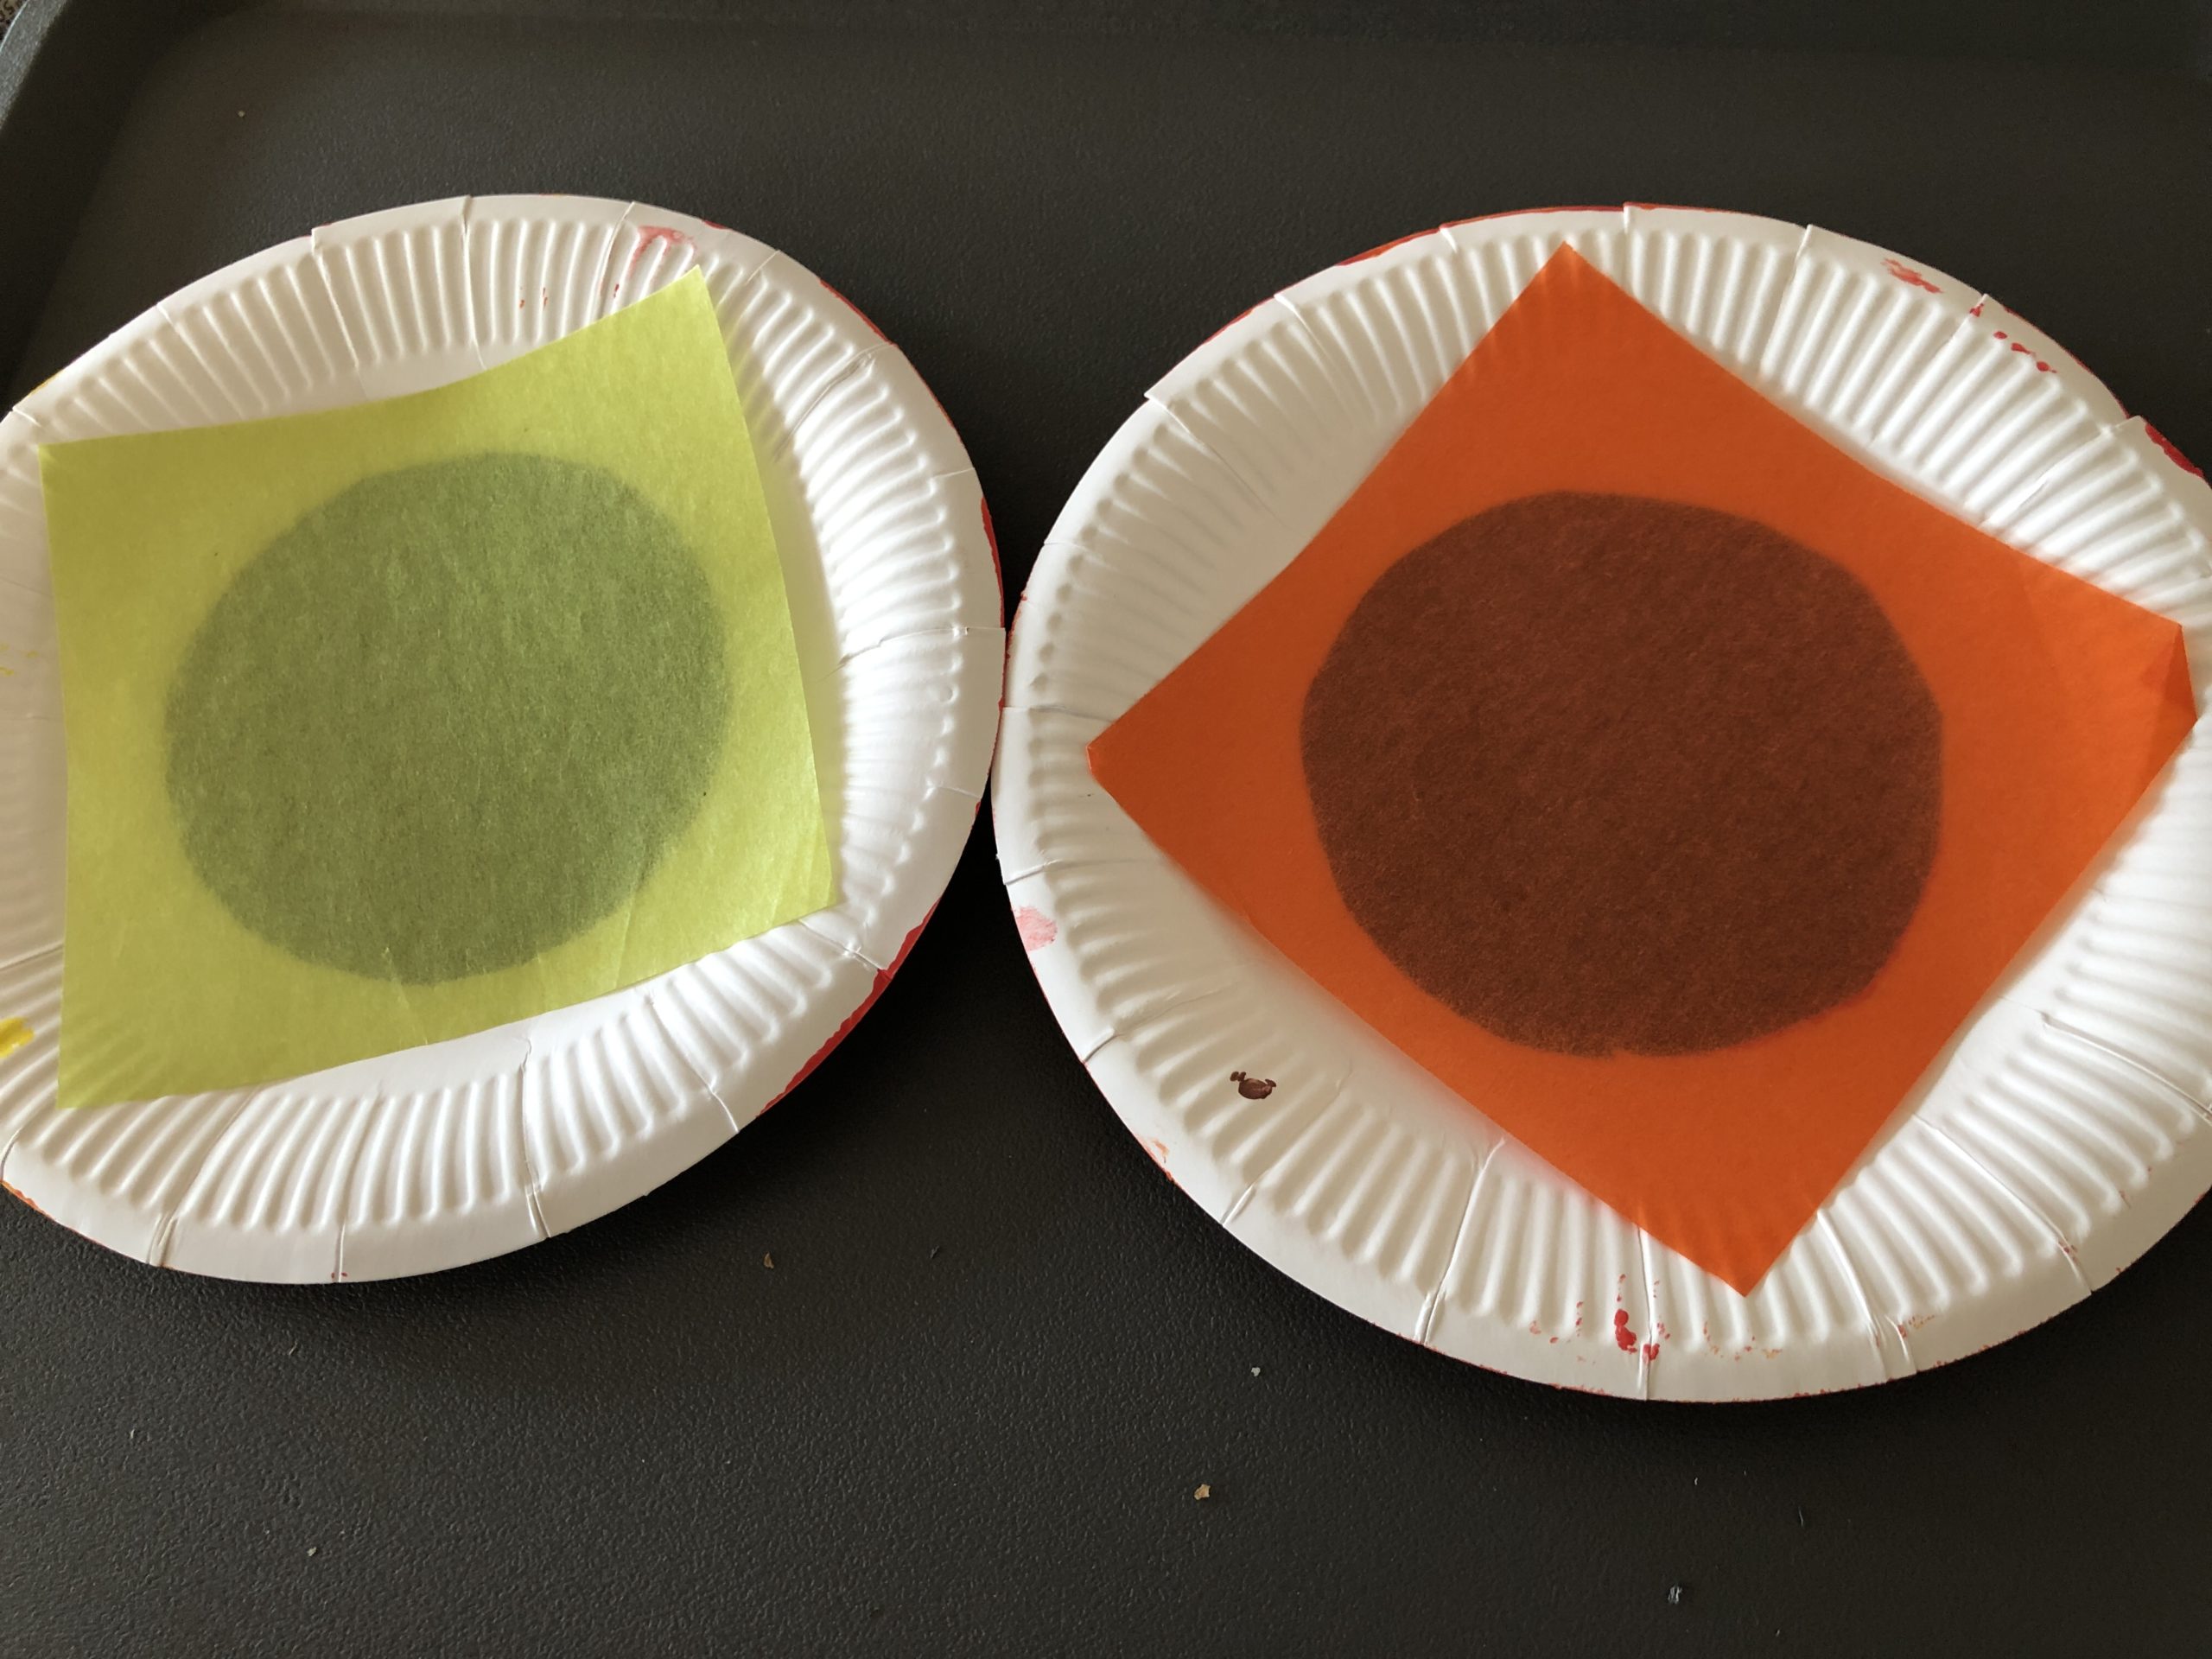
Then it sticks to the back of the painted plates over the cut out holes.
The plates are ready. Now you can think about how you want to punch your leaves, look at my ideas:
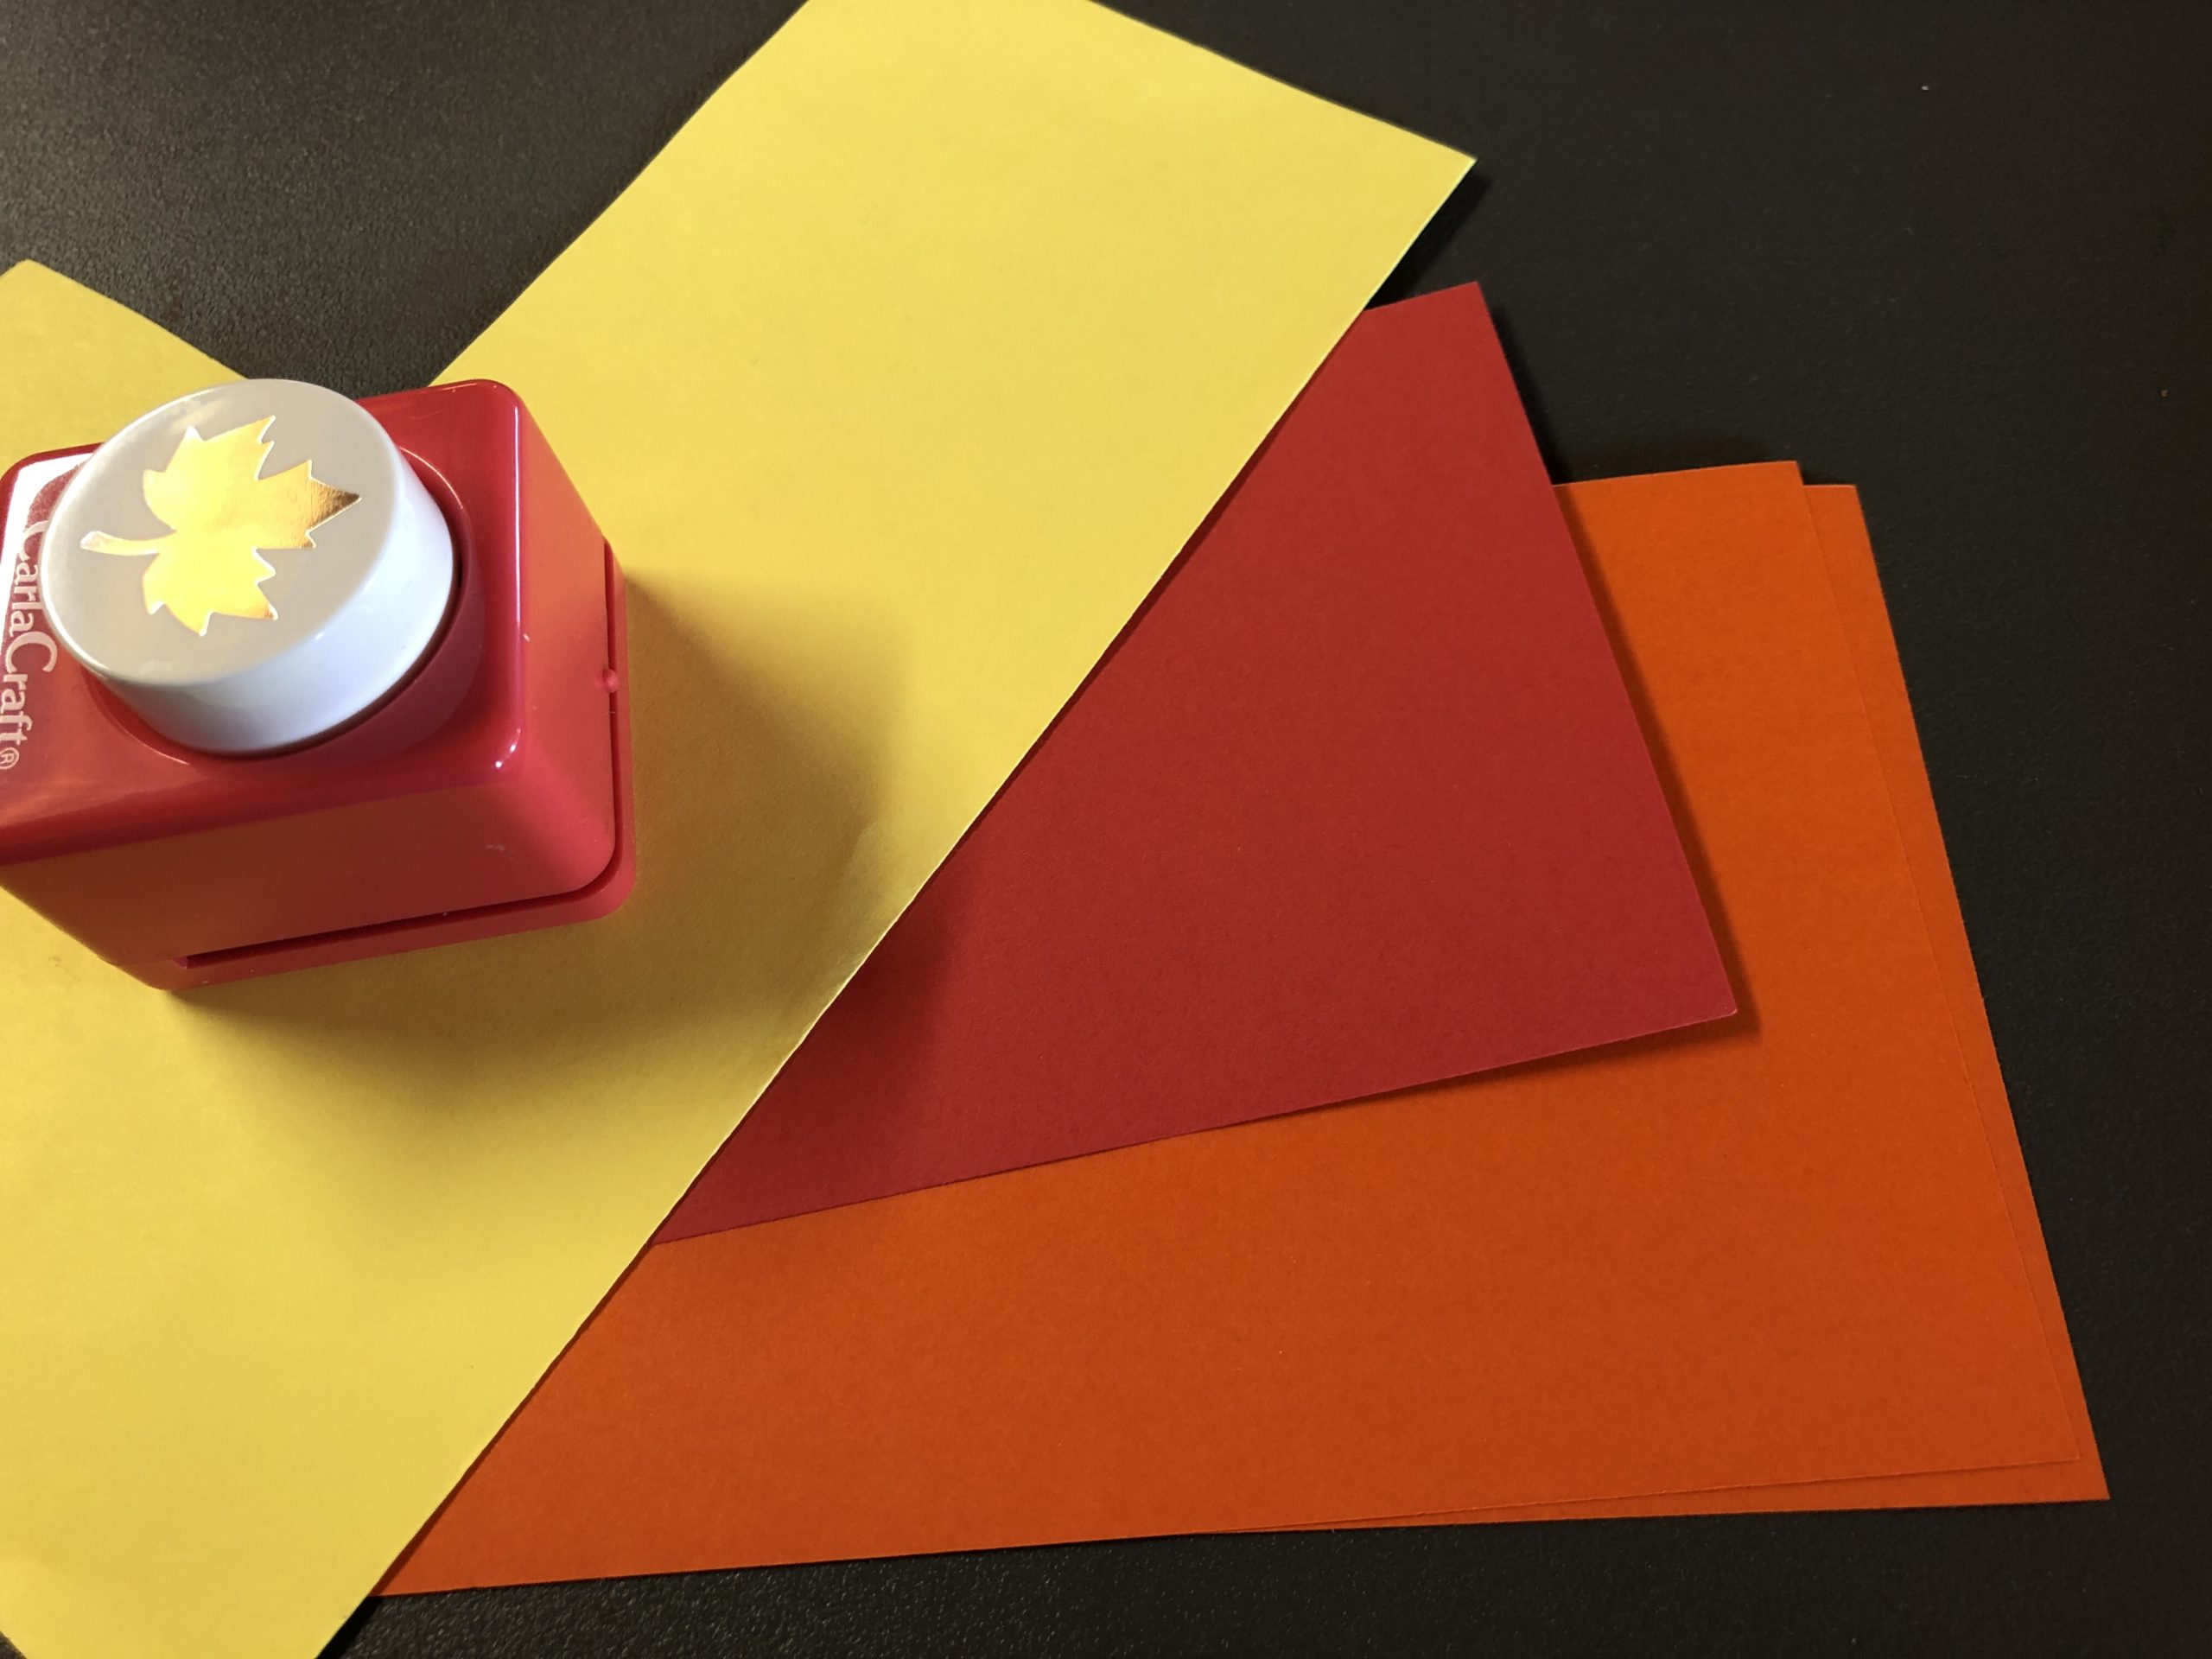
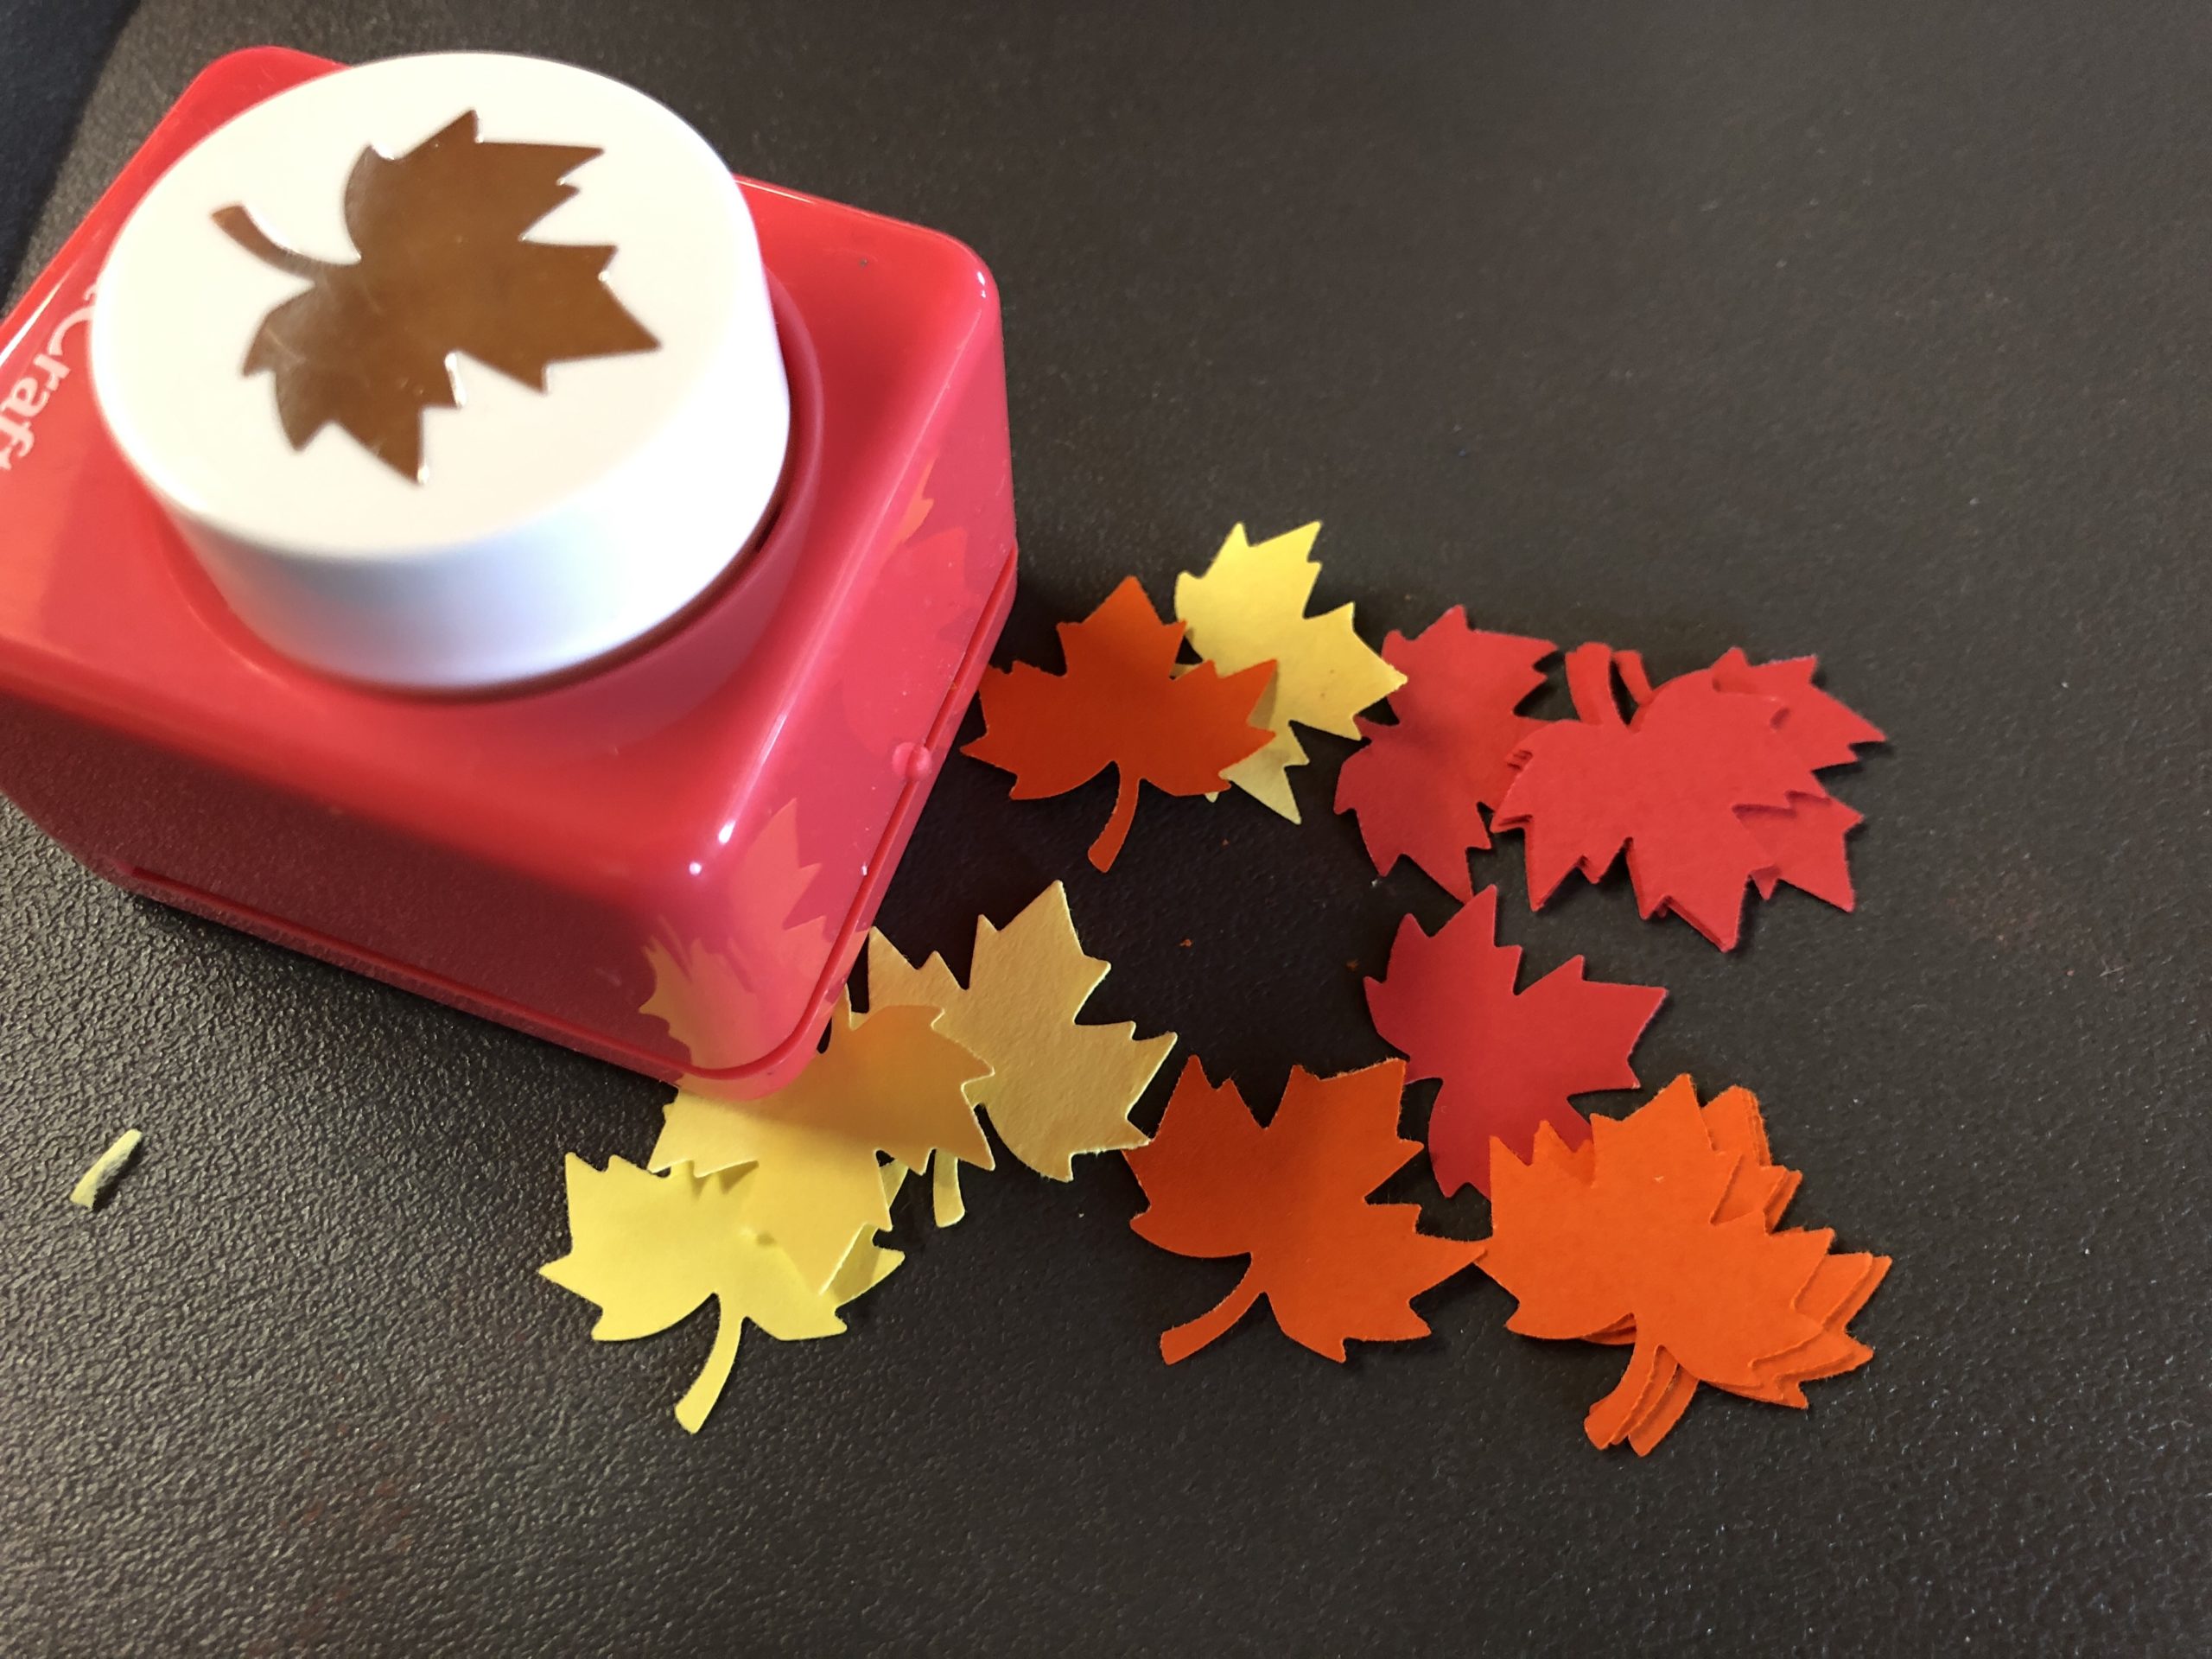
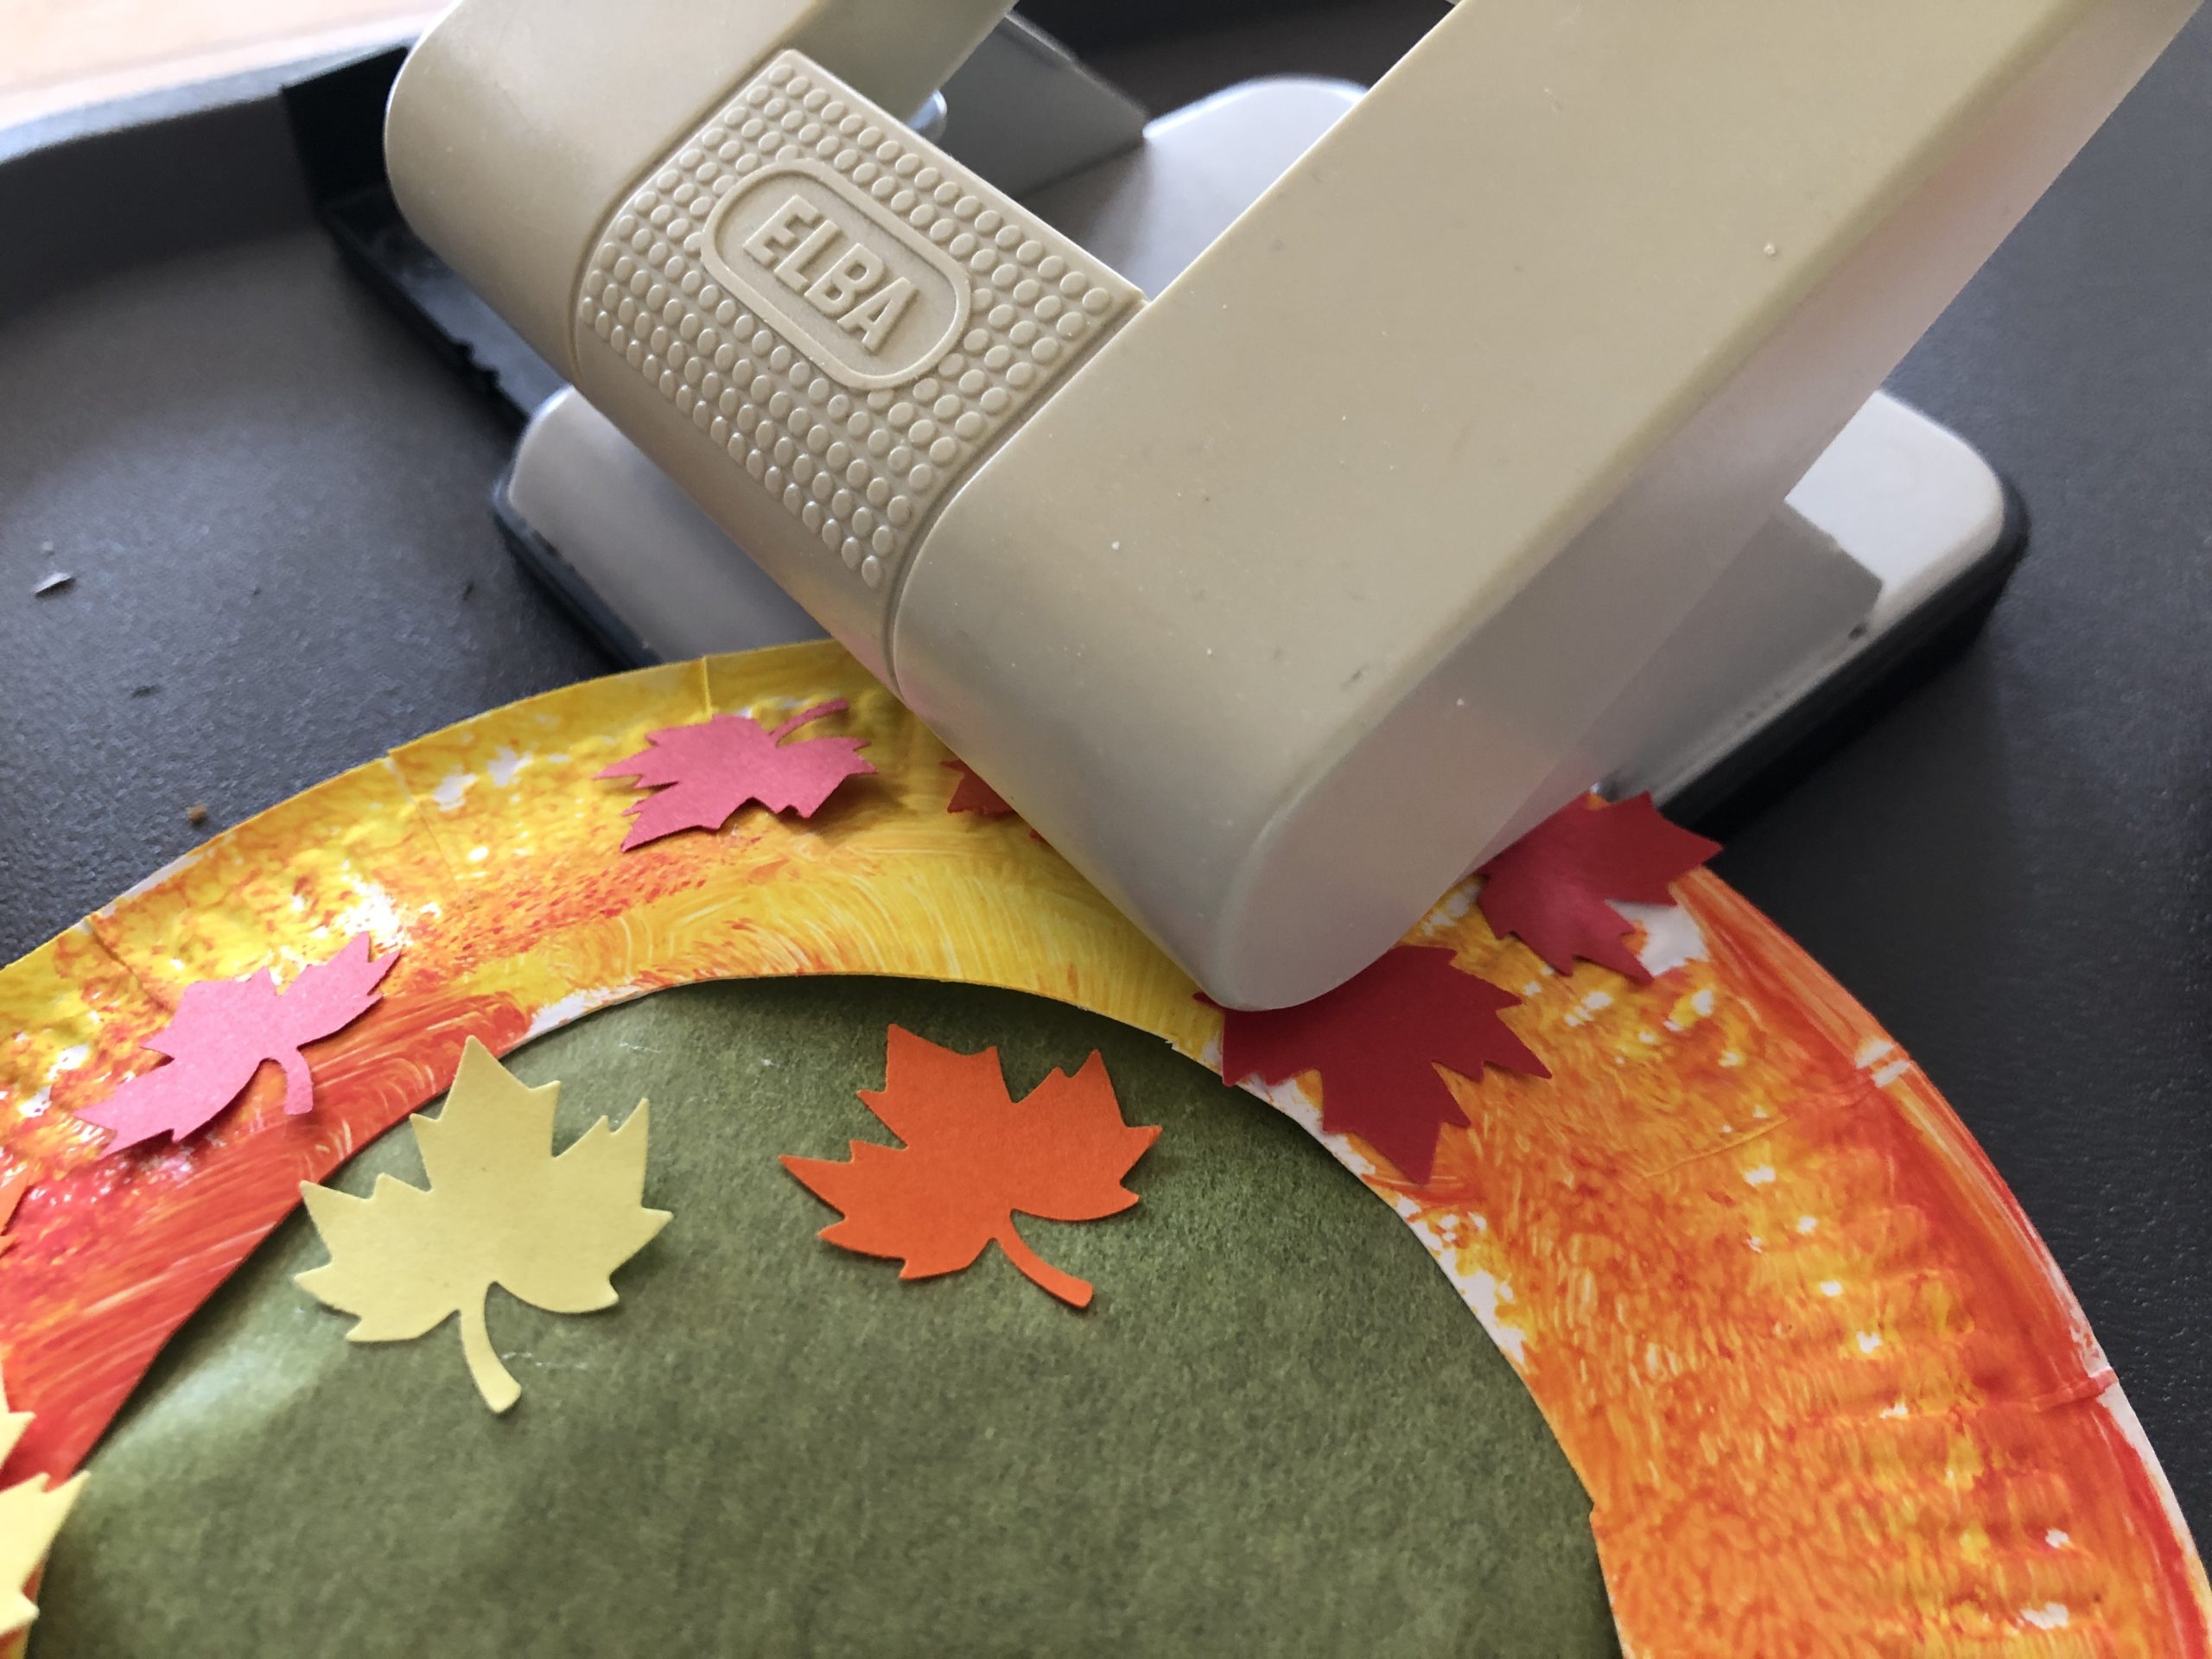
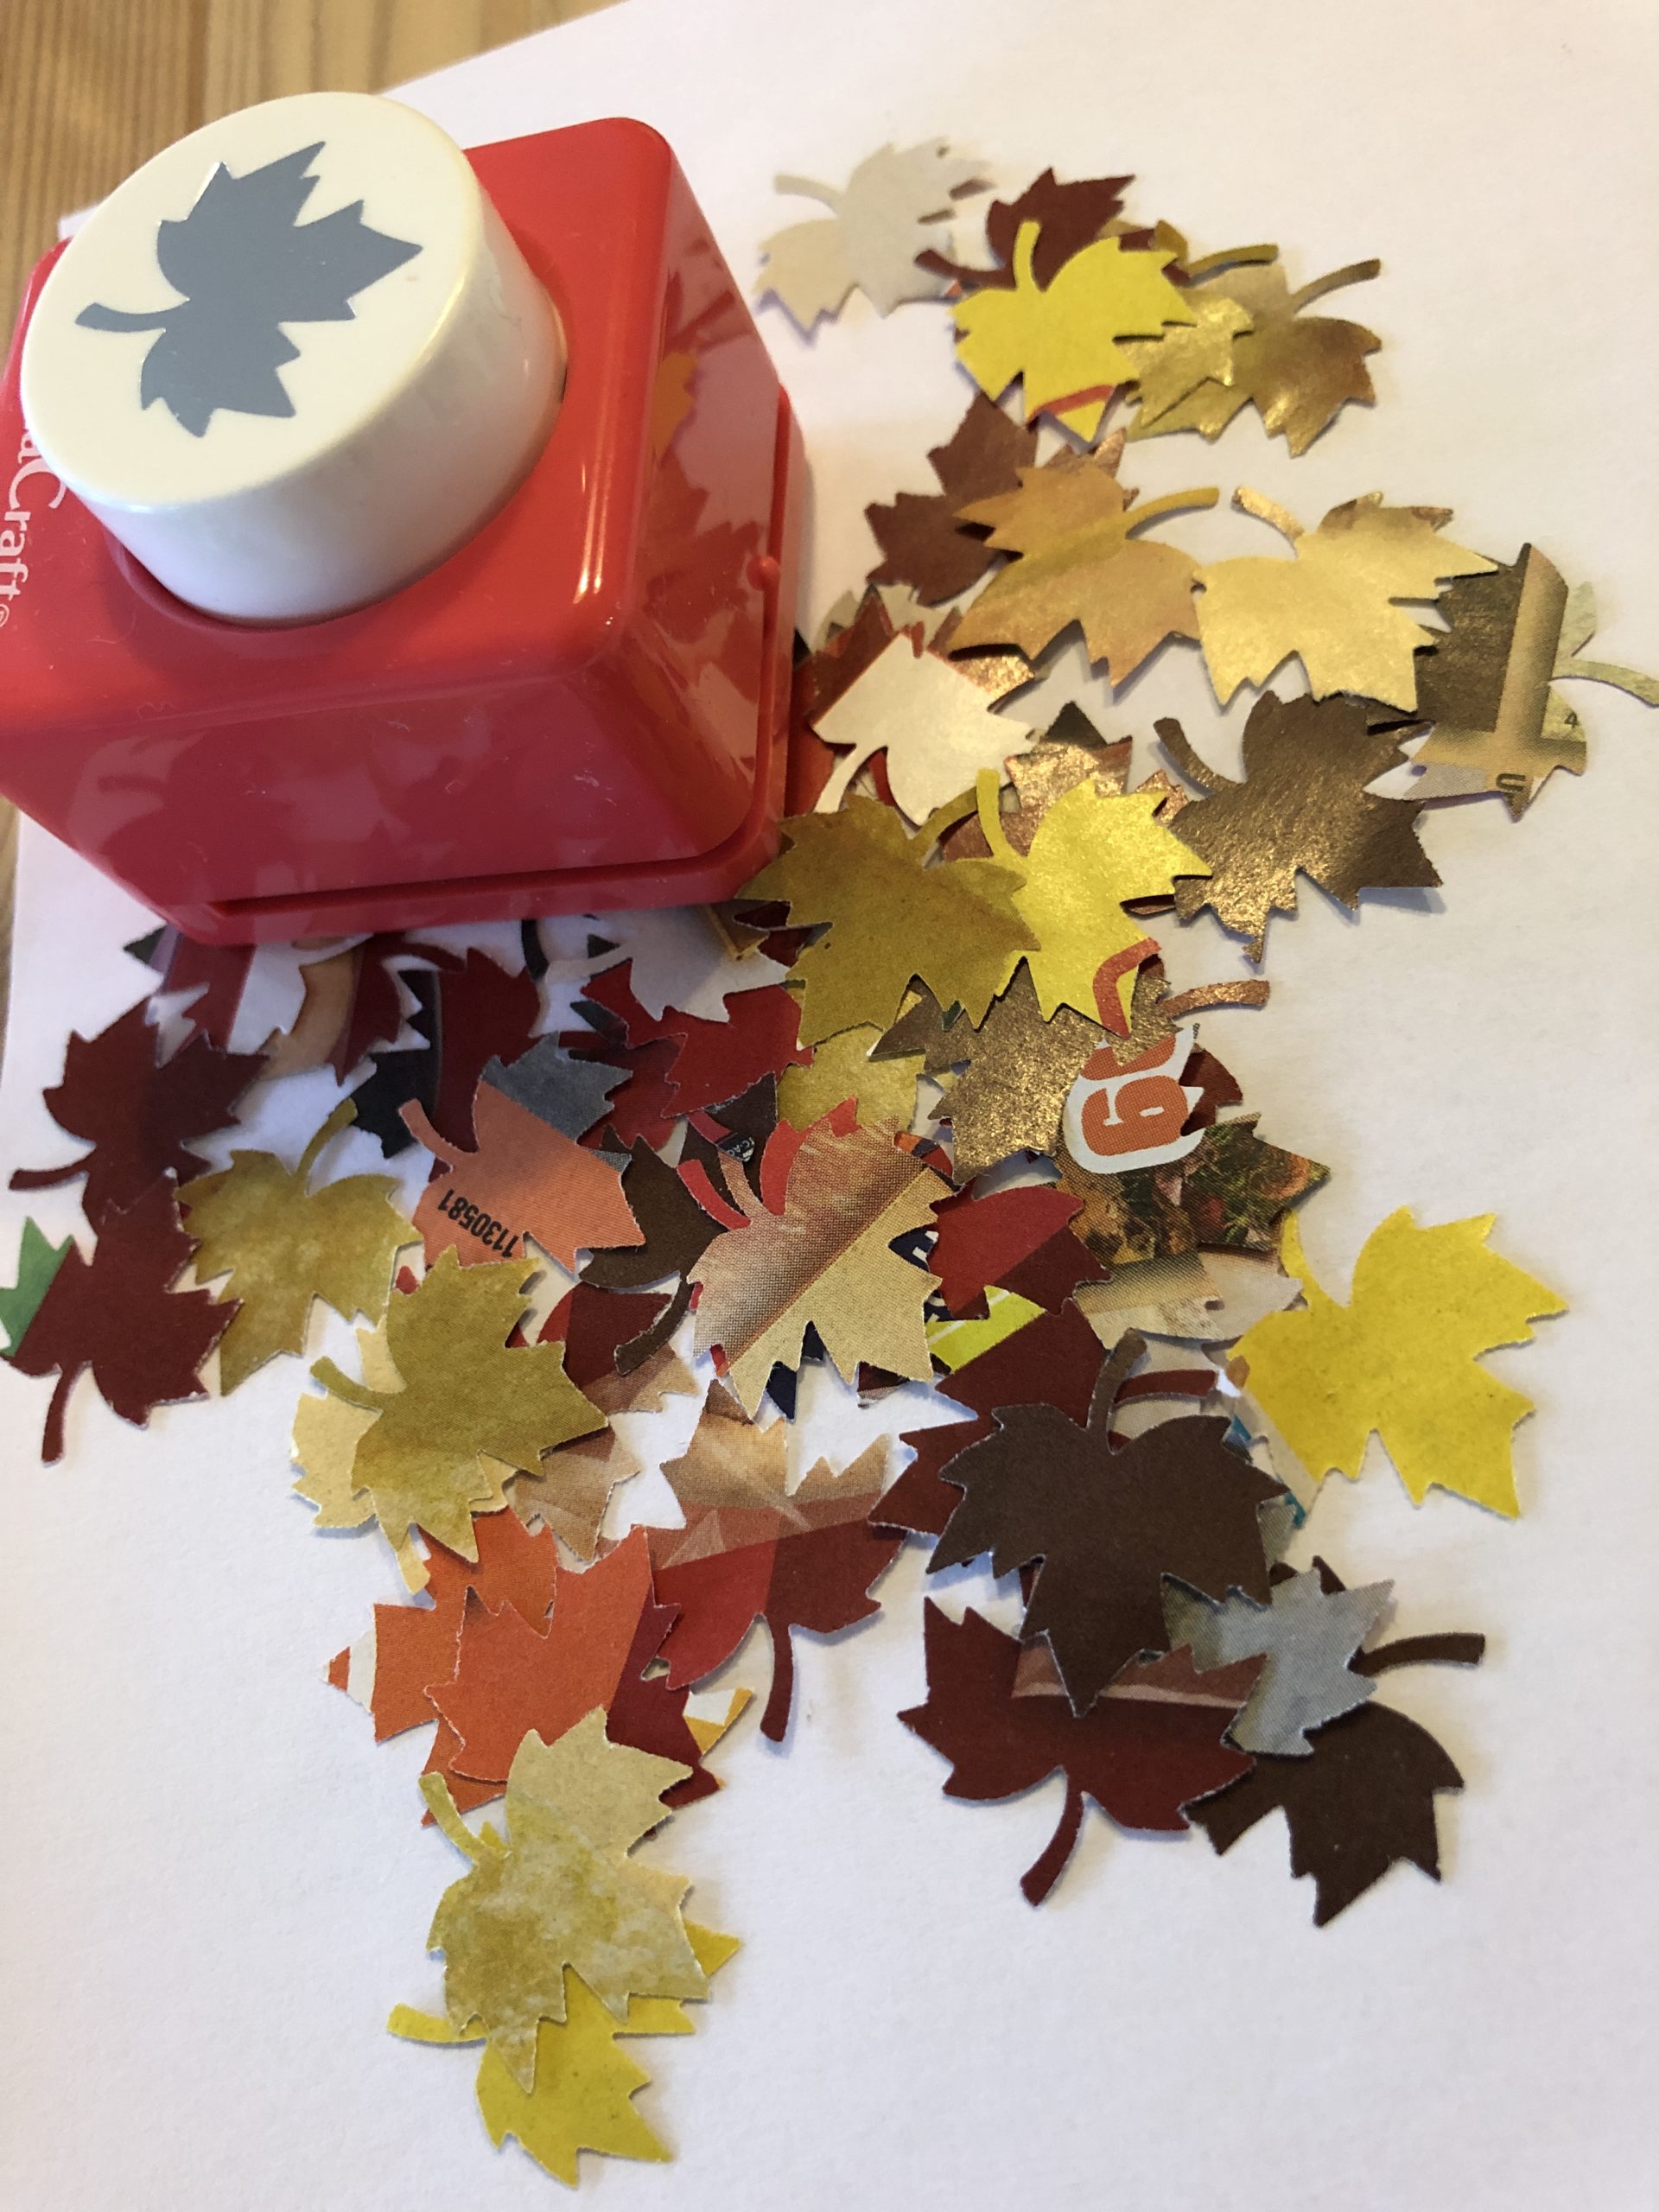
Punched with the maple leaf dancer red, yellow and orange leaves from the folding paper.
The folding paper is very well suited for punching out, because it is very thin and thus also small children succeed in punching out.
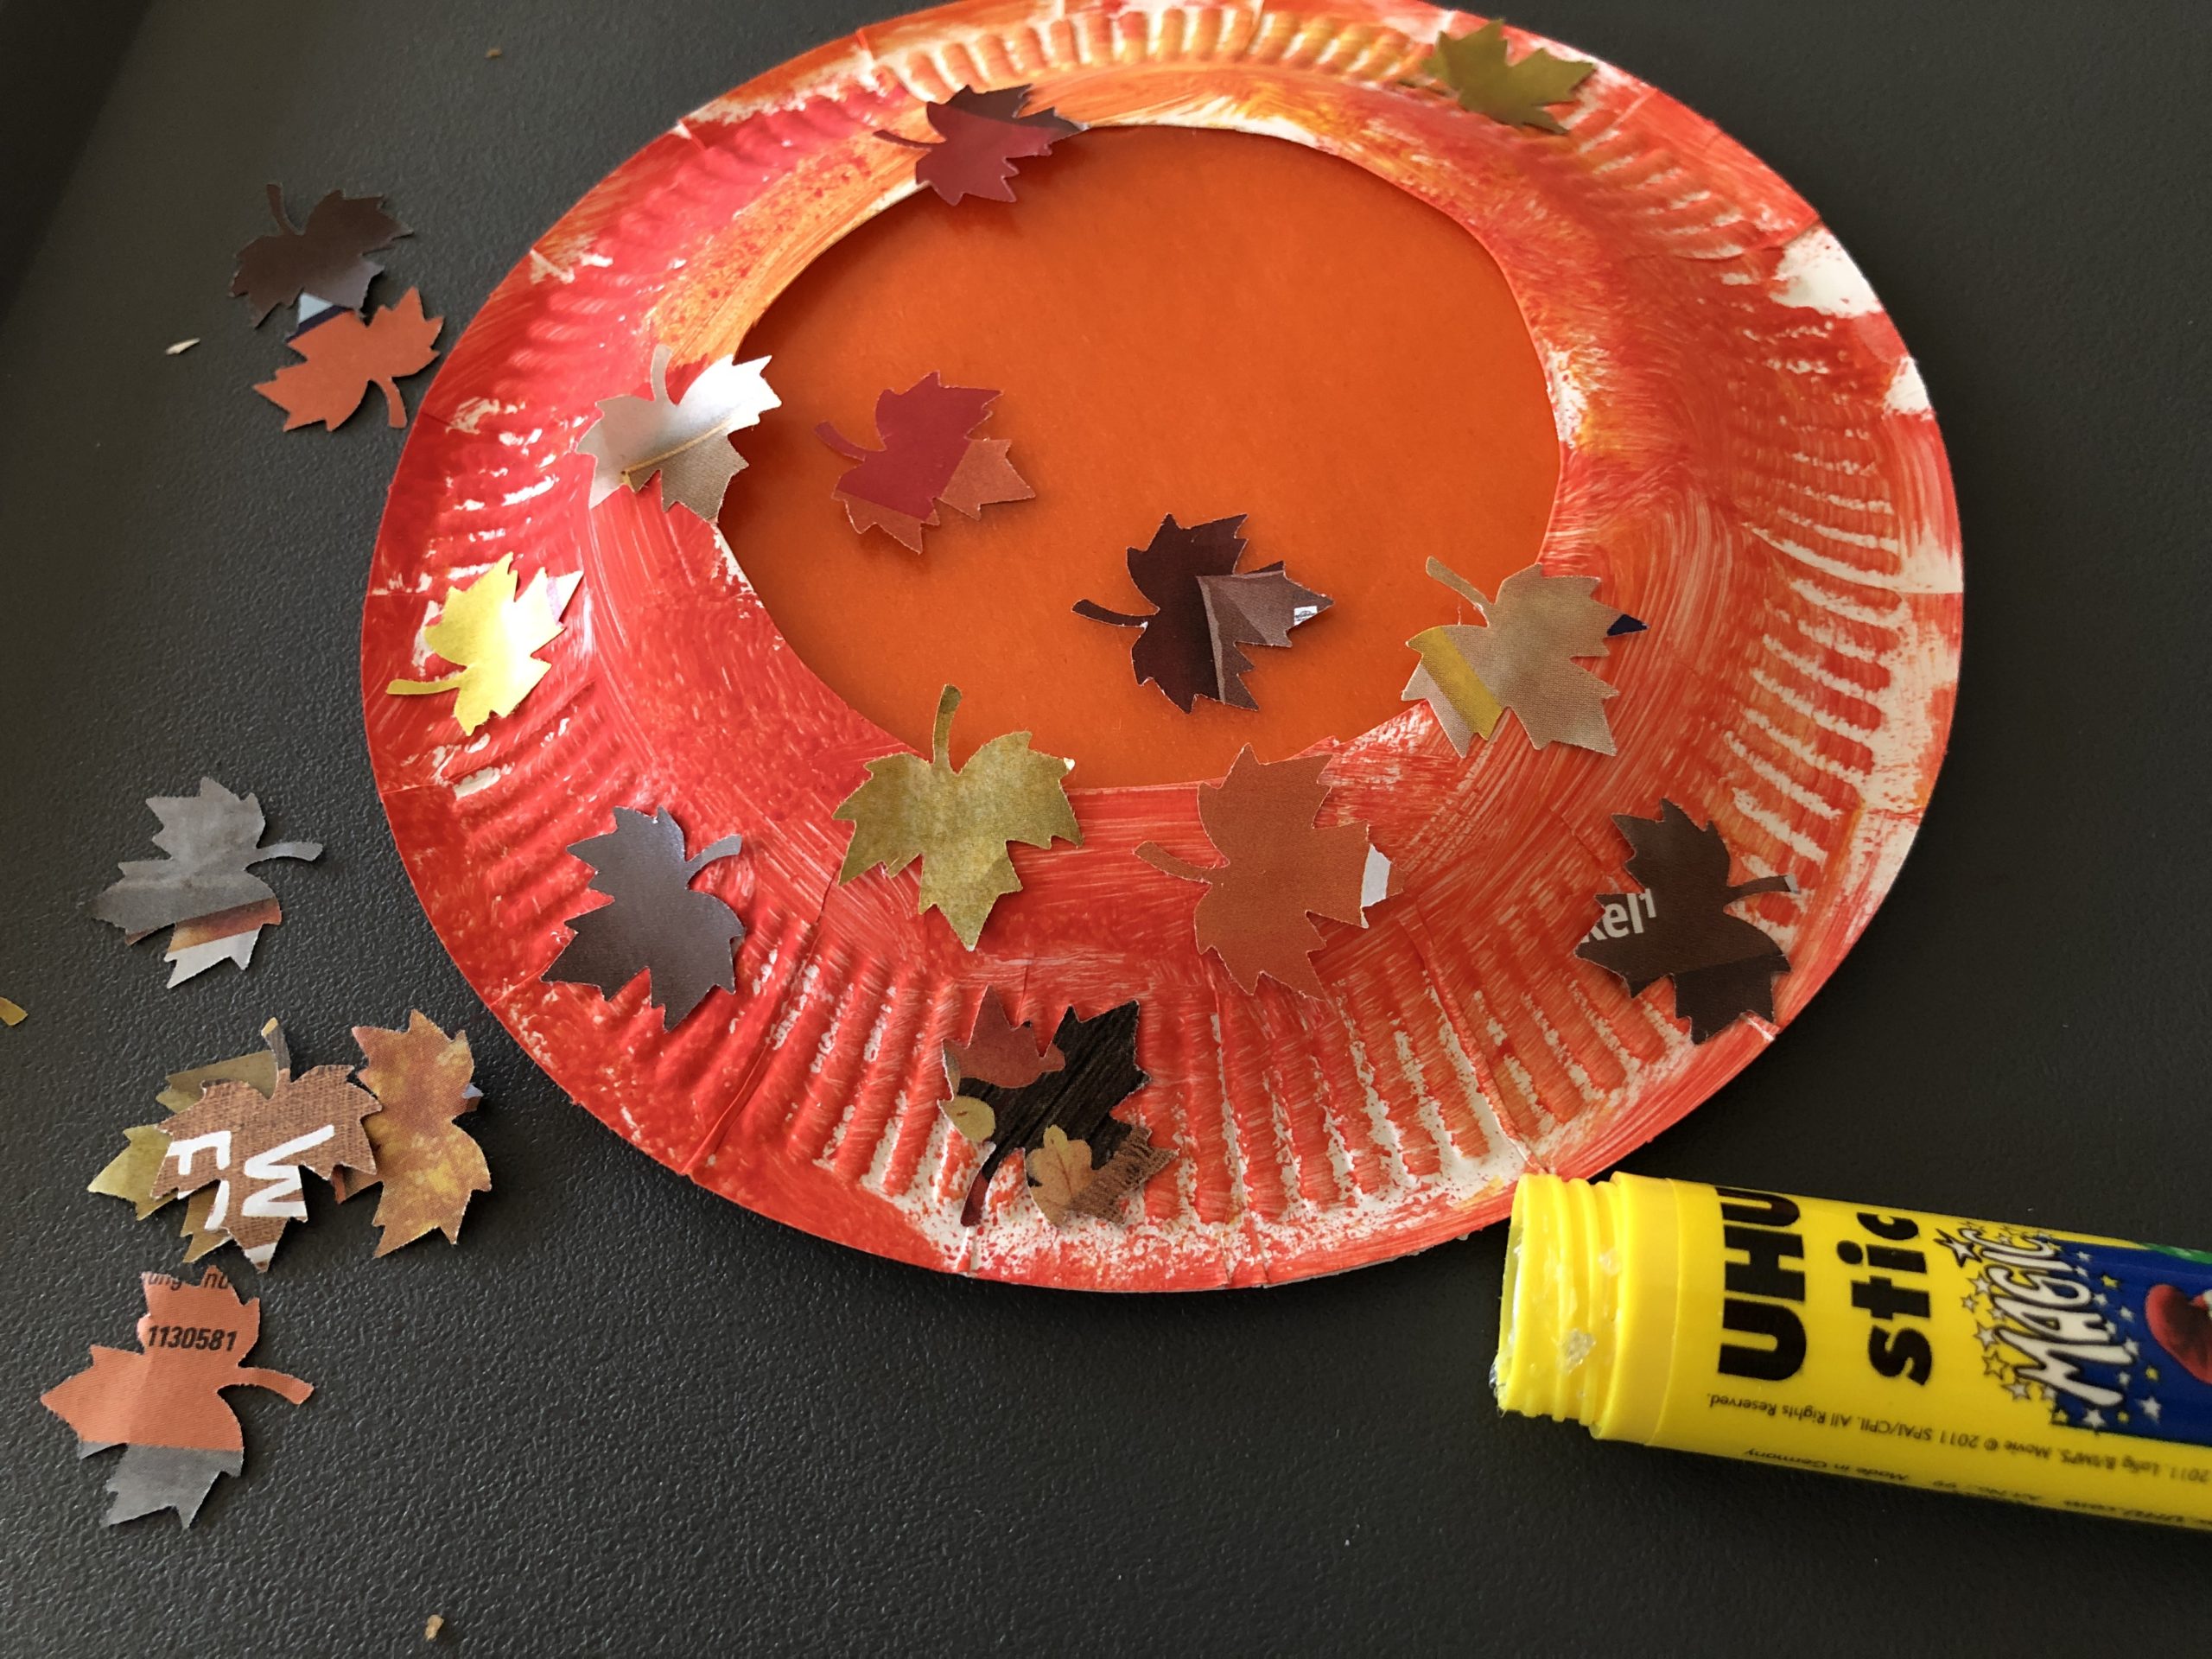
Take the glue stick and put some glue dots on your cardboard plates. Now you can attach the maple leaves individually.
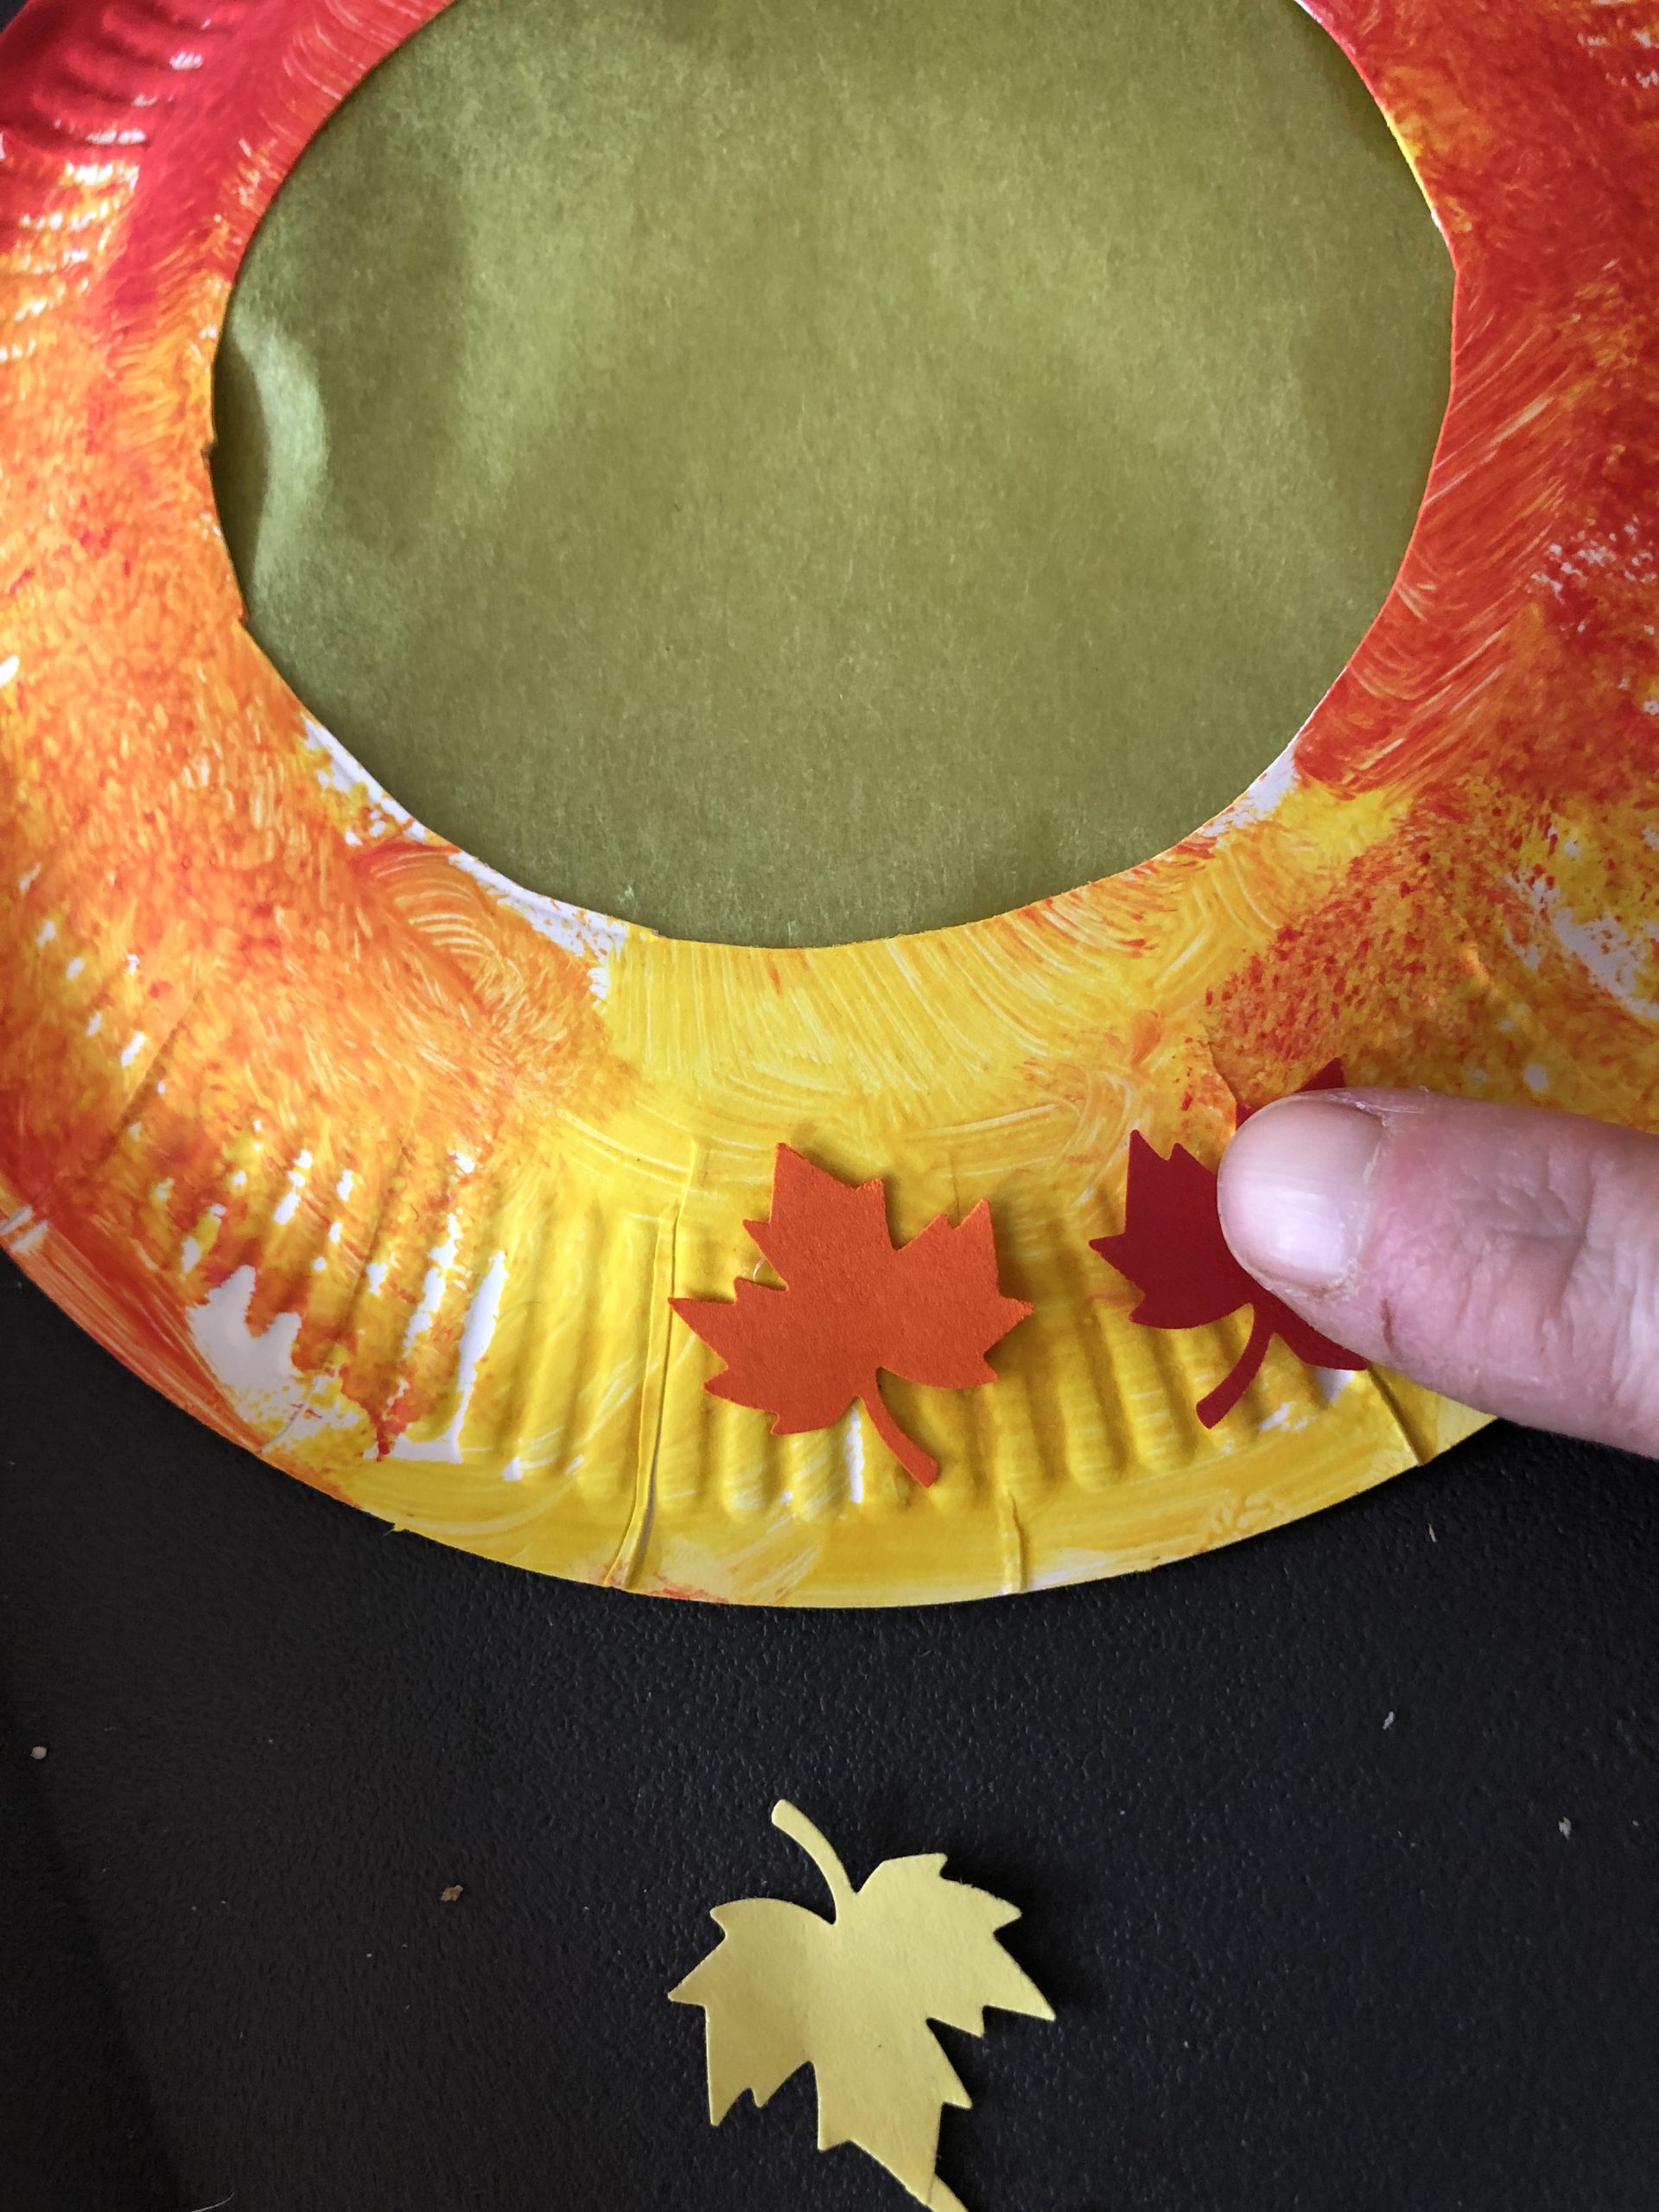
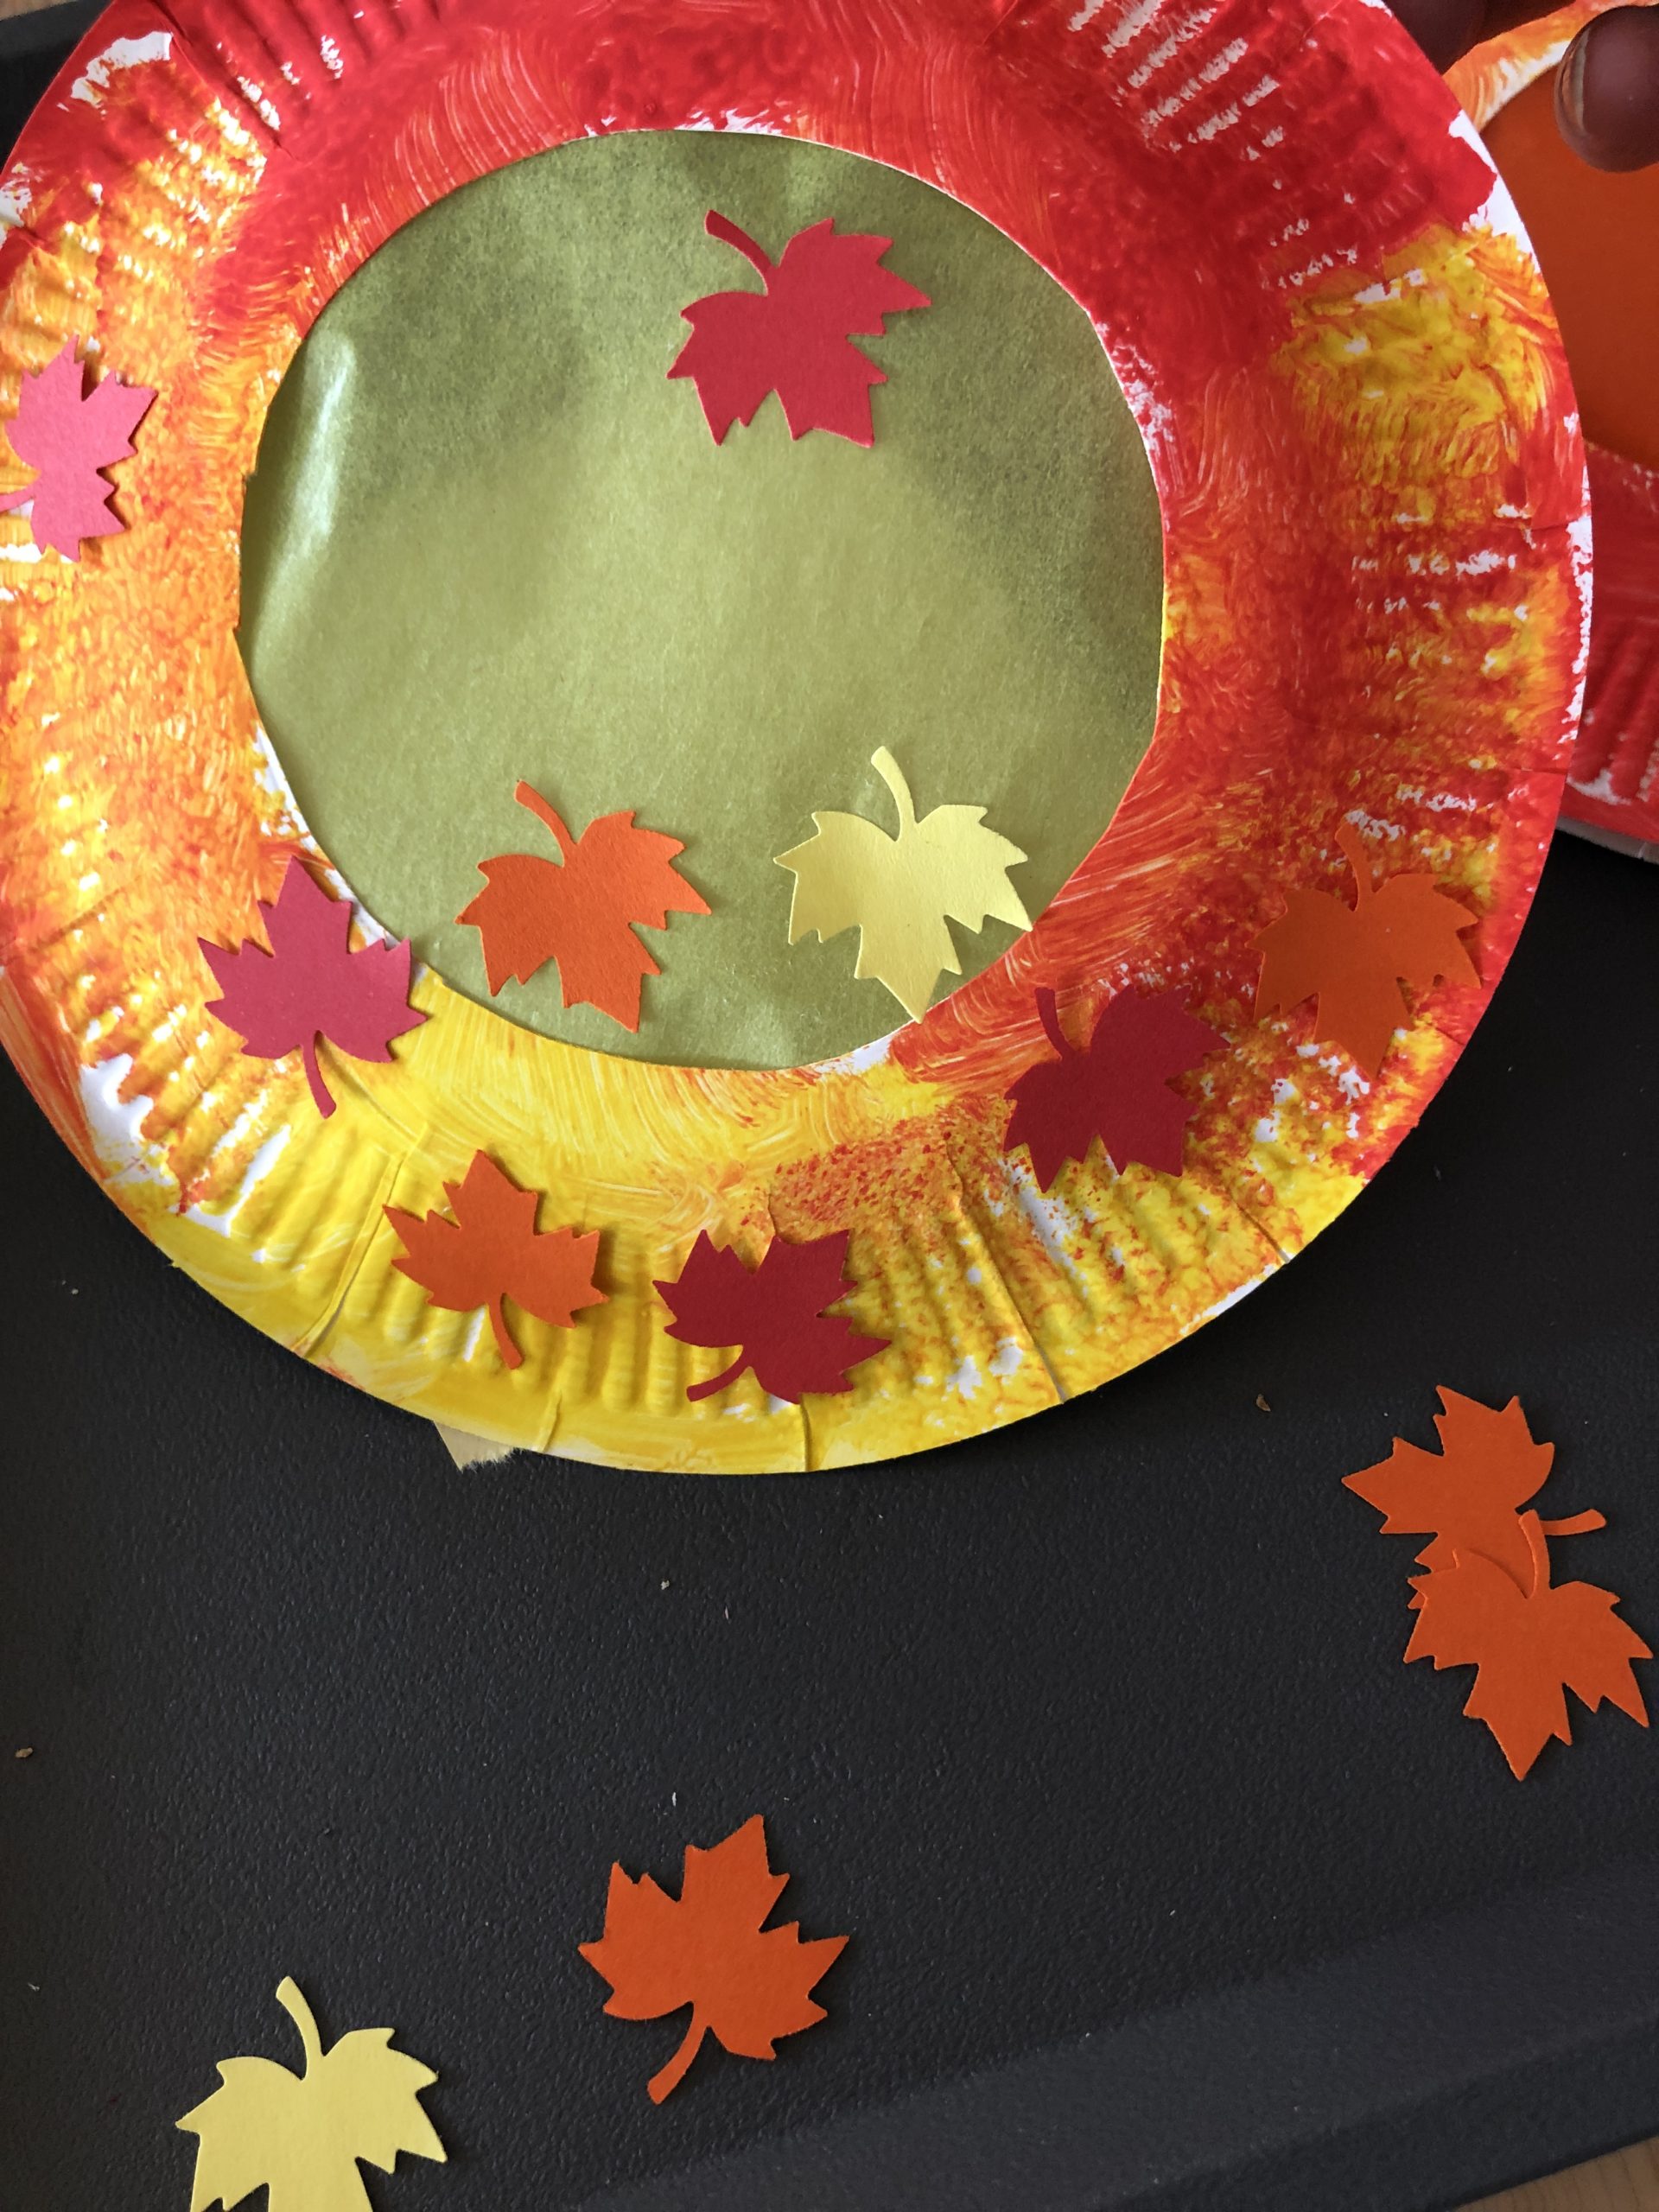
Spread the leaves as you like!
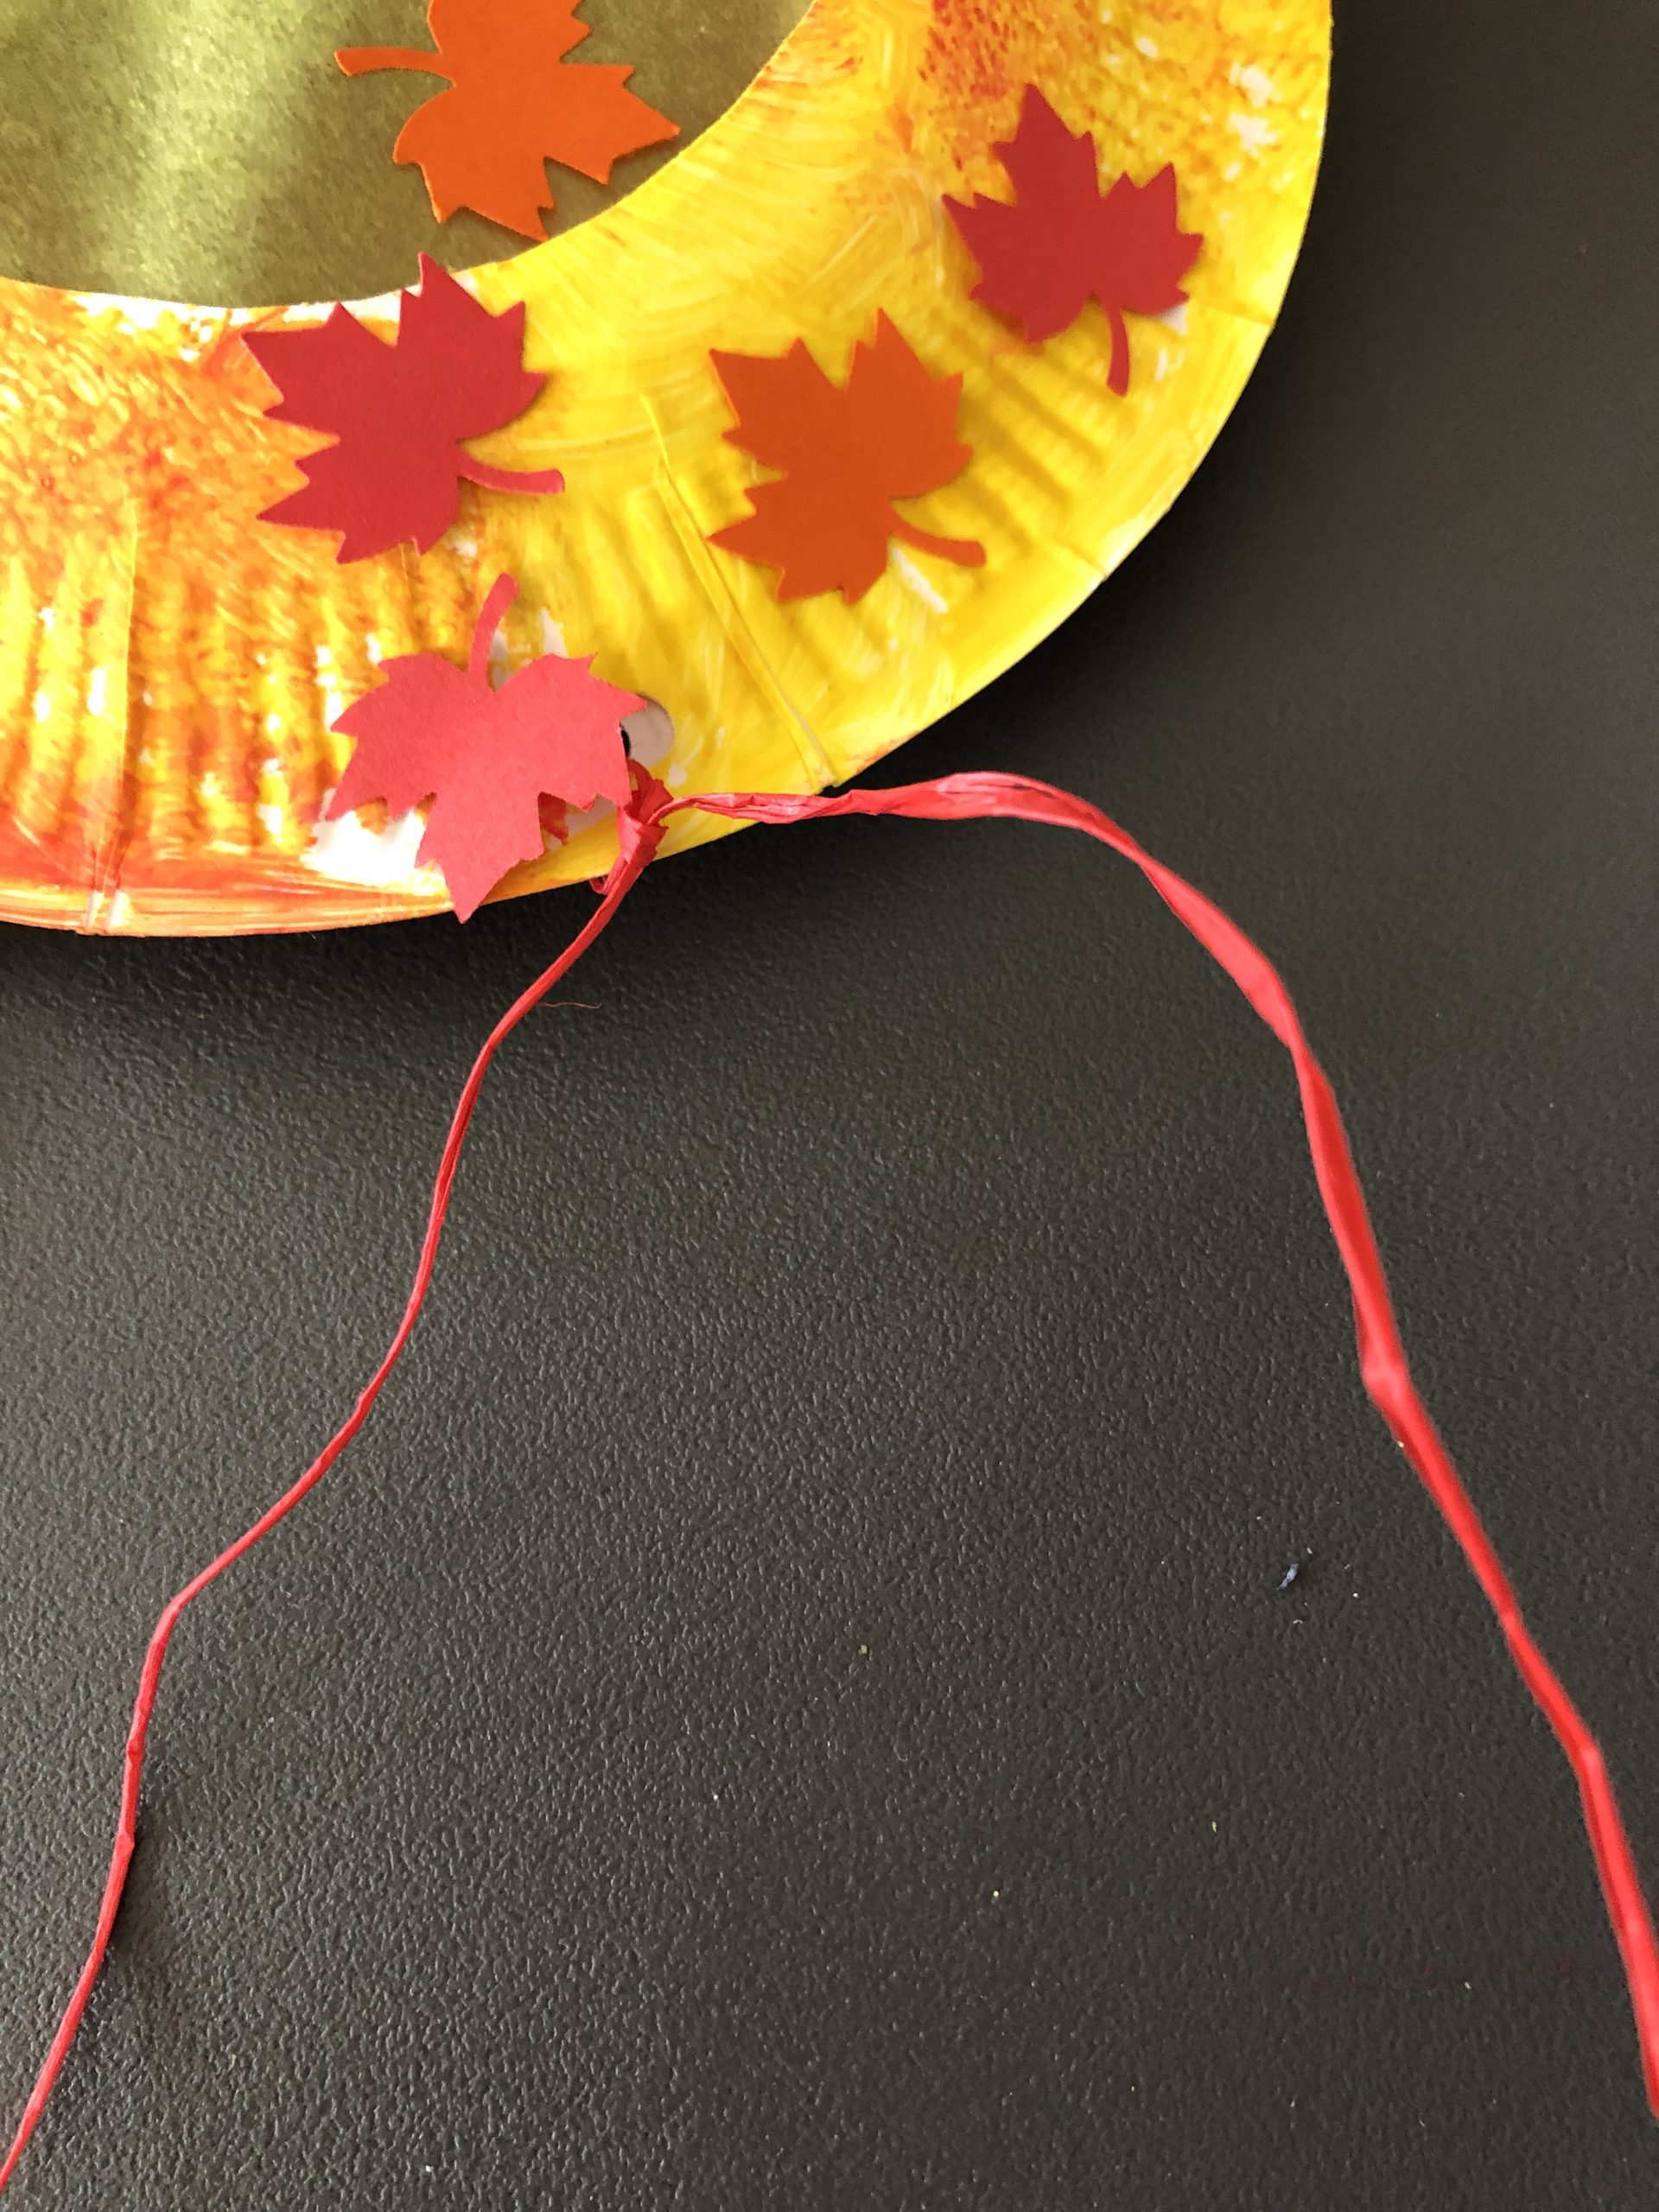
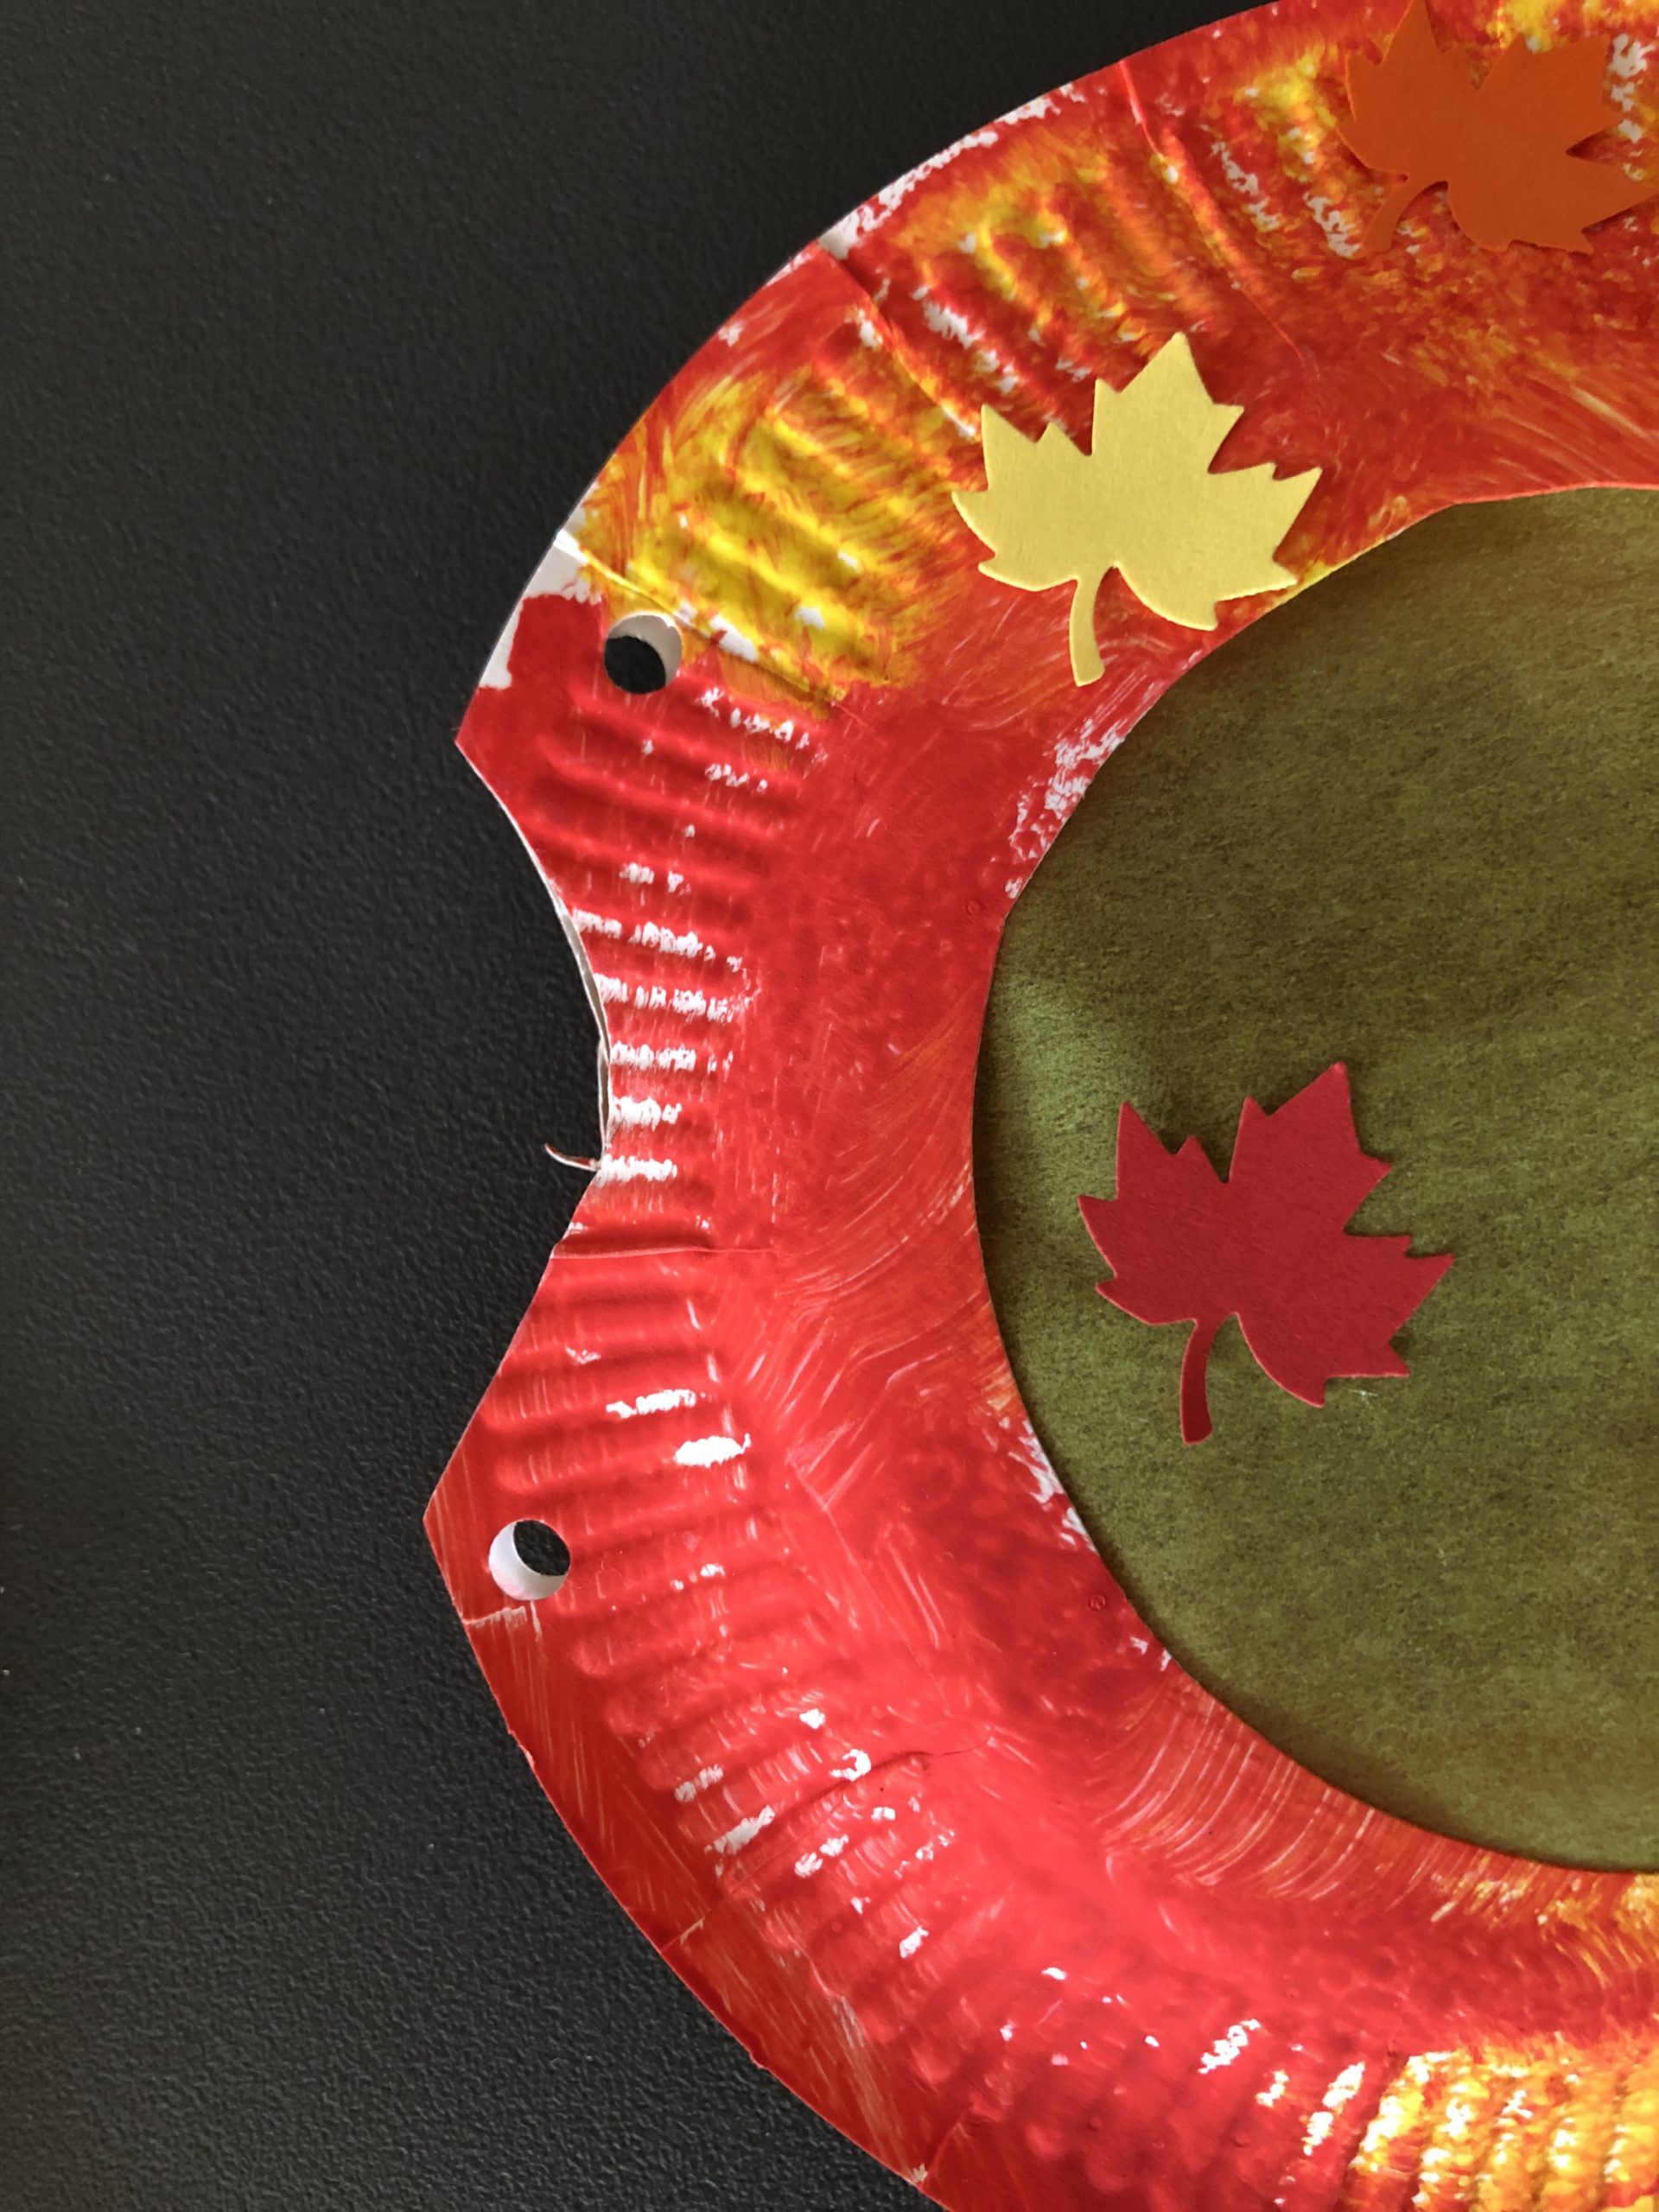
Now punch a hole in a plate at the bottom of your lantern. I used a holer for this!
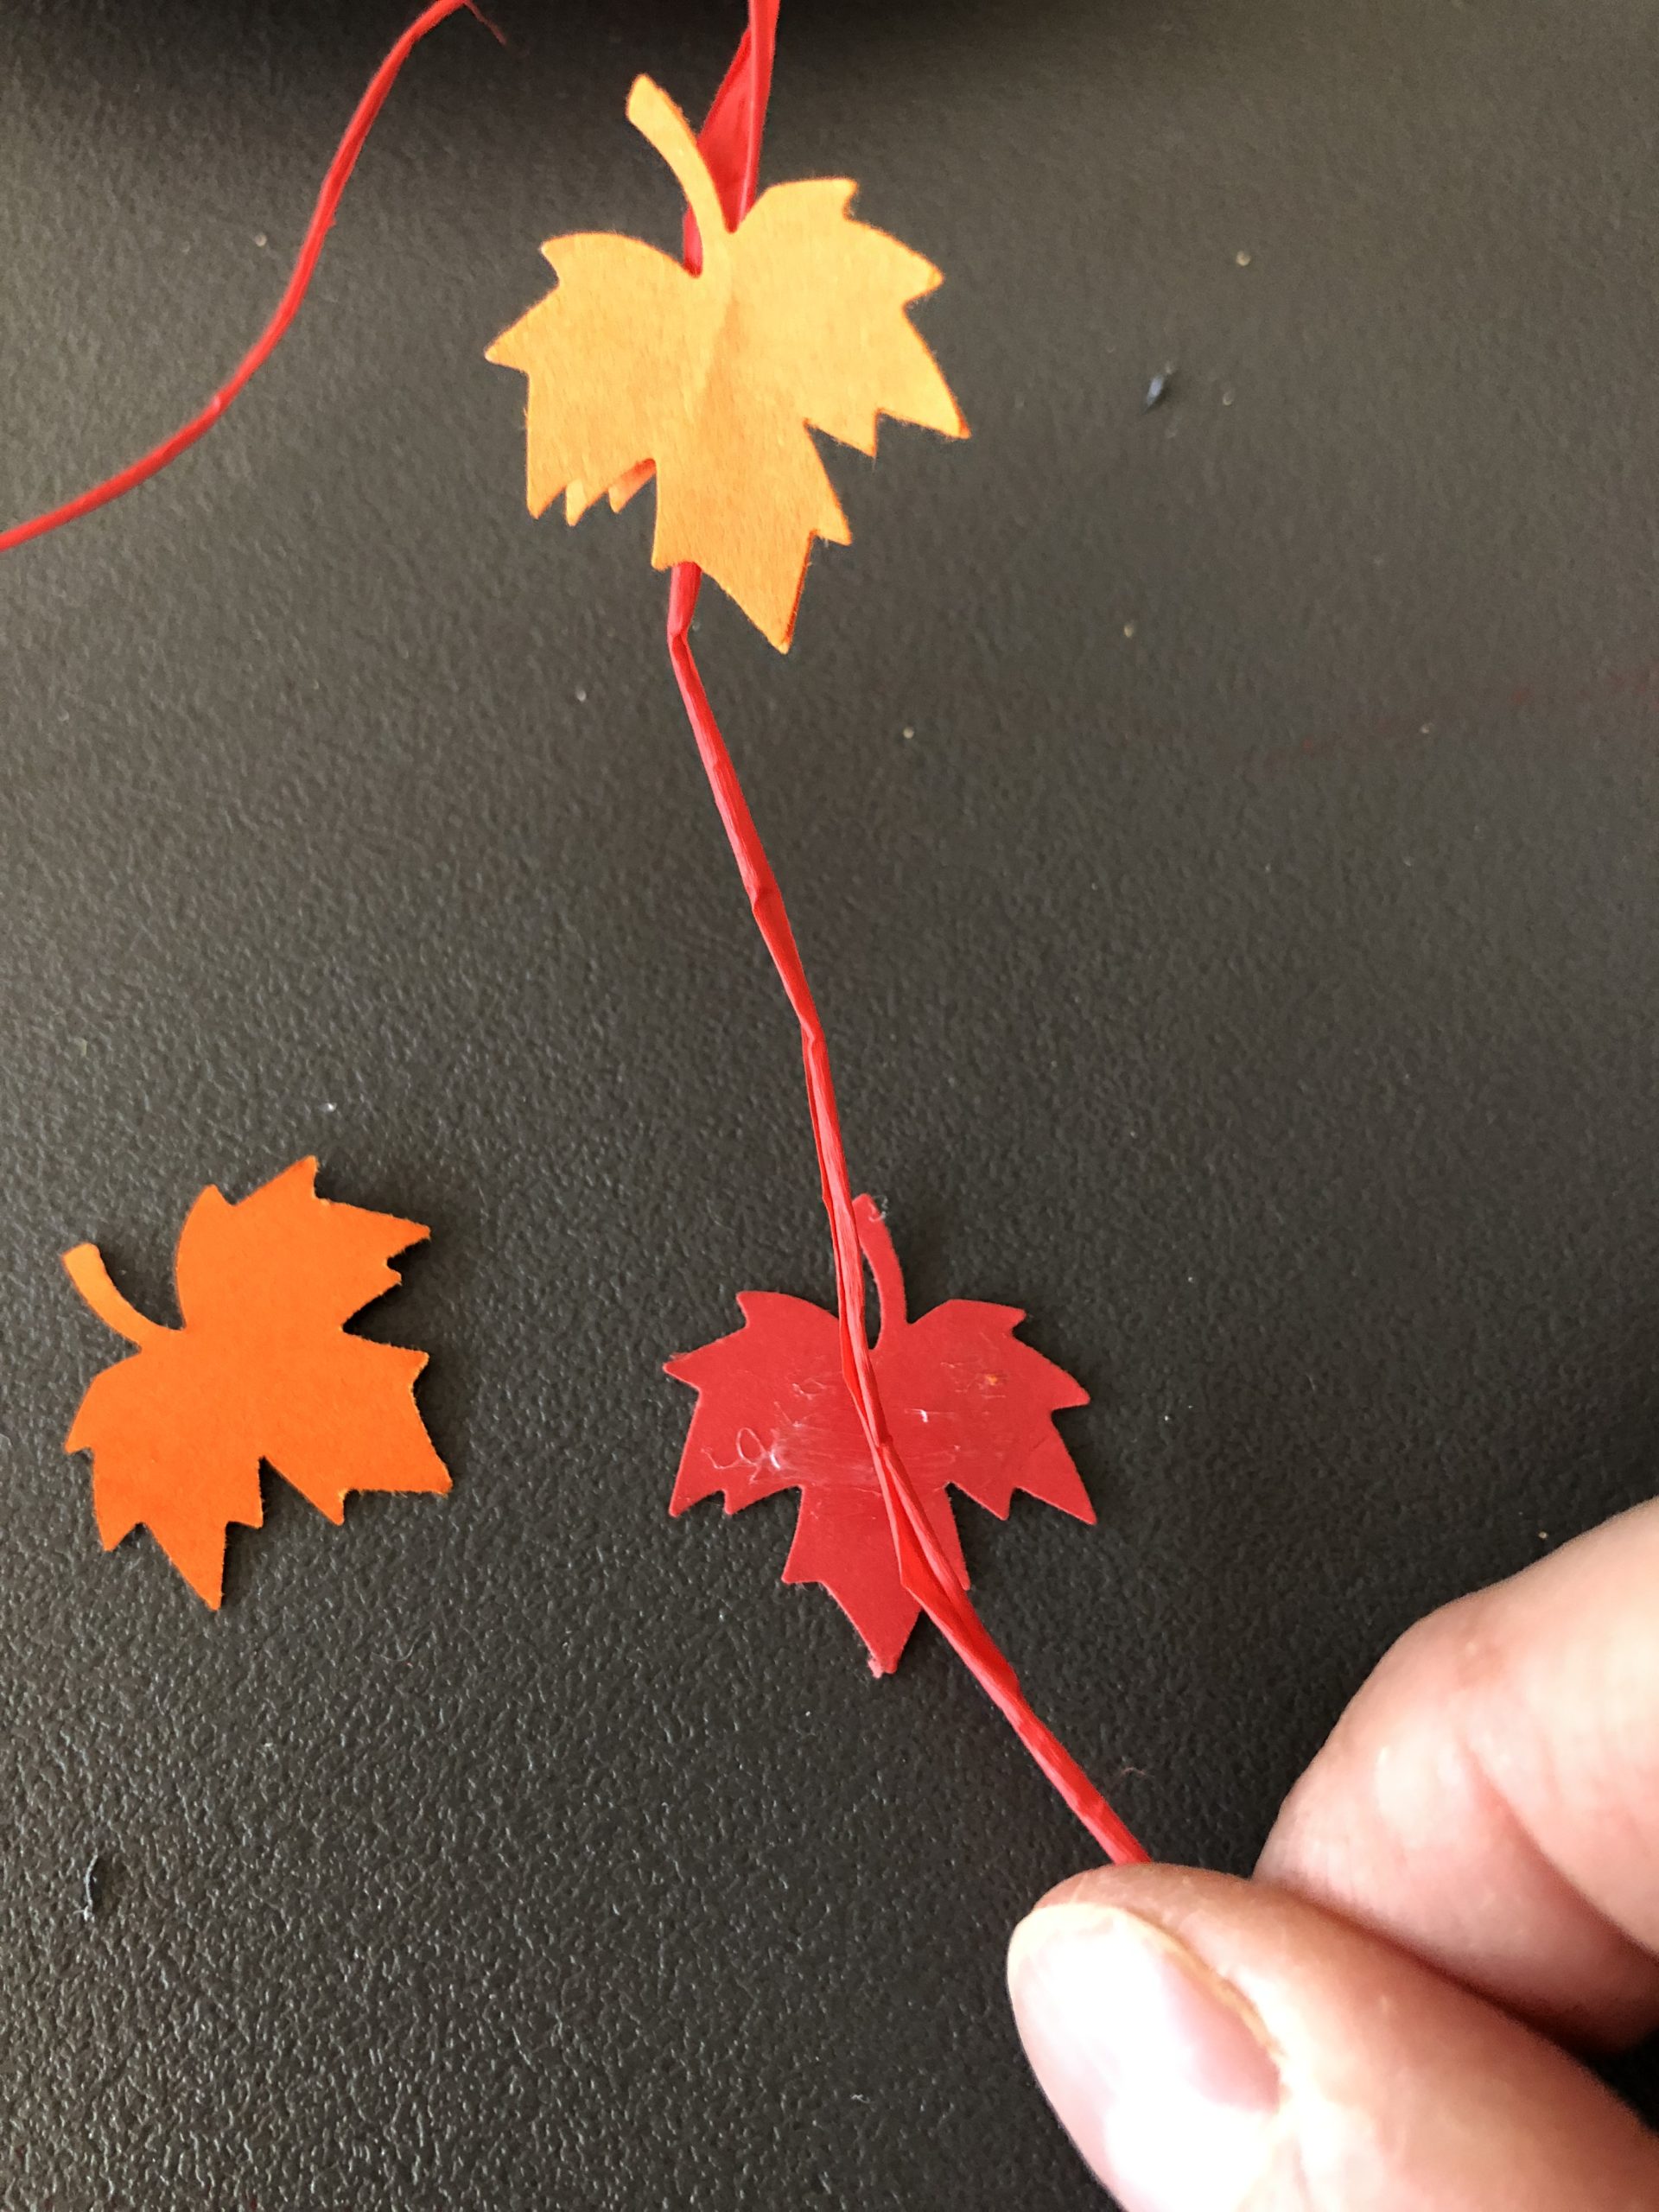
Through the hole you now thread a bast cord. Knot it firmly, so that you have two approximately equal long ends. On the two bast strands you can now also stick cut out leaves.
Now put both plates together (the painted and glued sides are on the outside). Then glue the plates together with hot glue on the edge. Important: leave 10cm of edge open above!
Attention when handling the hot glue gun: Injury risk!
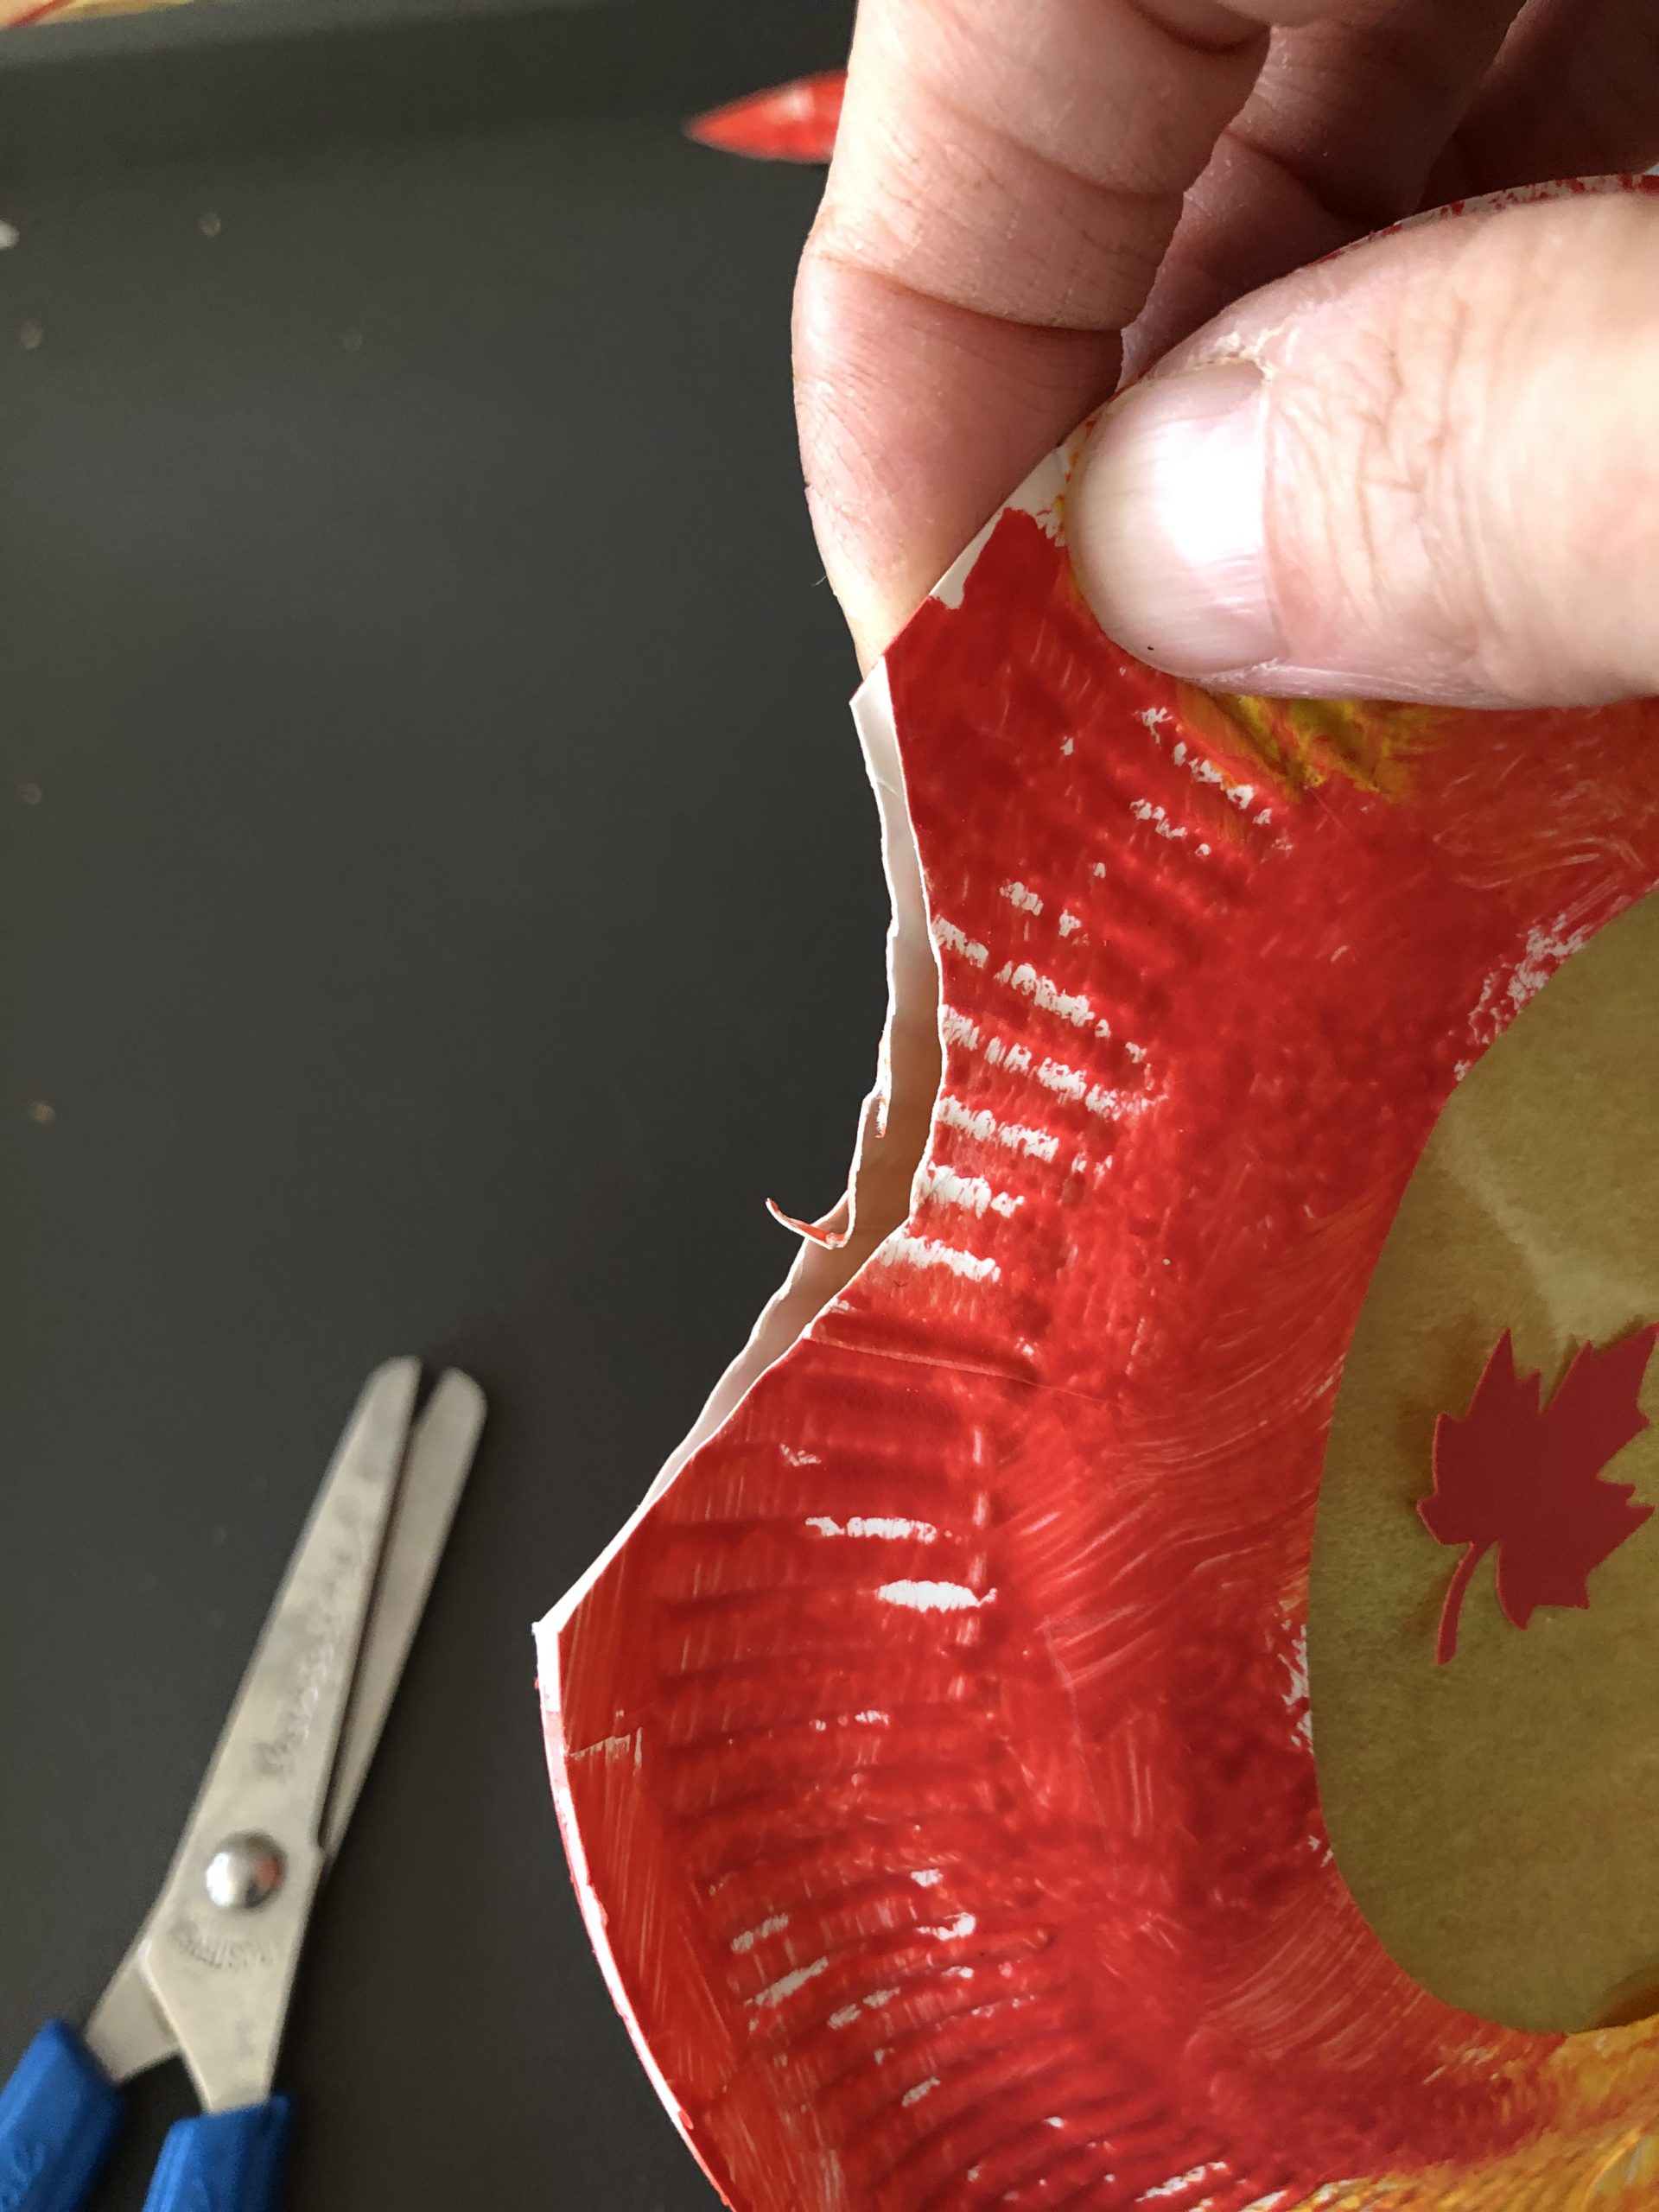
Now cut out the open upper edge a piece.
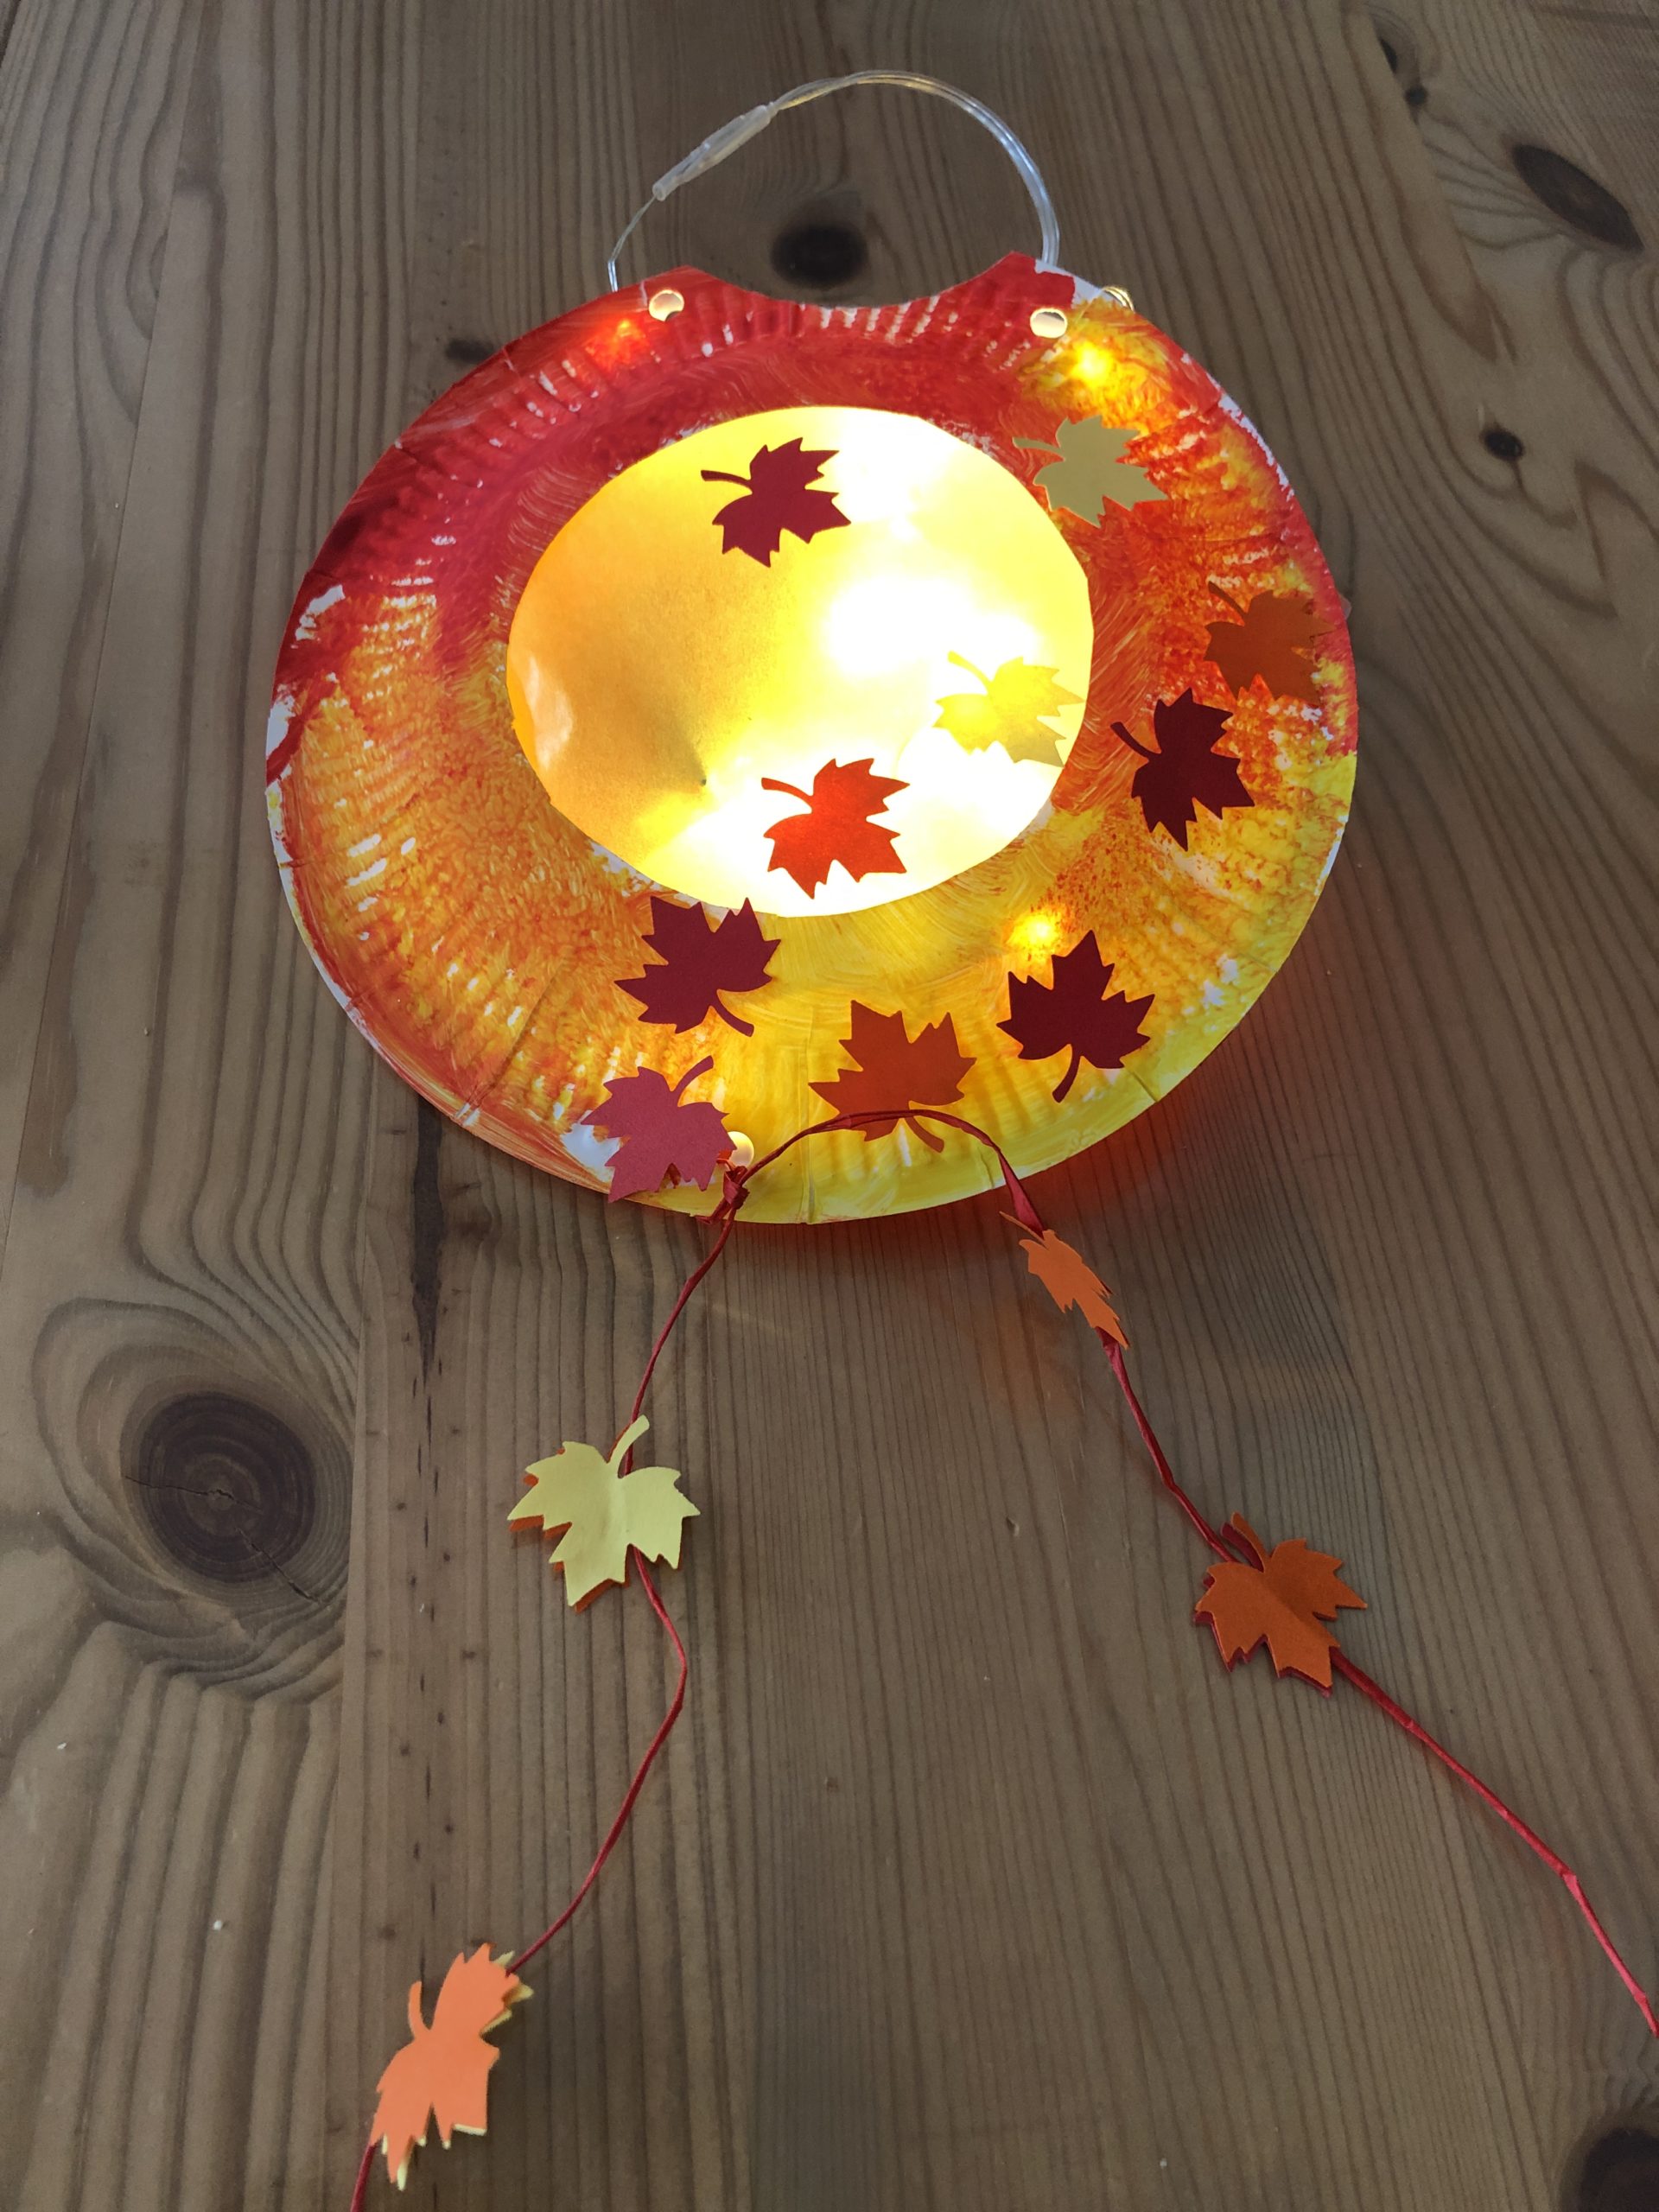
Now punch with the holer to the left and right into this upper, open piece from the edge. Through the holes you put a short wire. Rotate it at the ends and hang the lantern on it. Alternatively, you can also attach a battery-powered lantern rod or...
...you use a mini-light chain that pushes you into the inside of the lantern.
Punched out of advertising brochures colored leaves in the autumn colors!
Glue your cardboard plates with it.
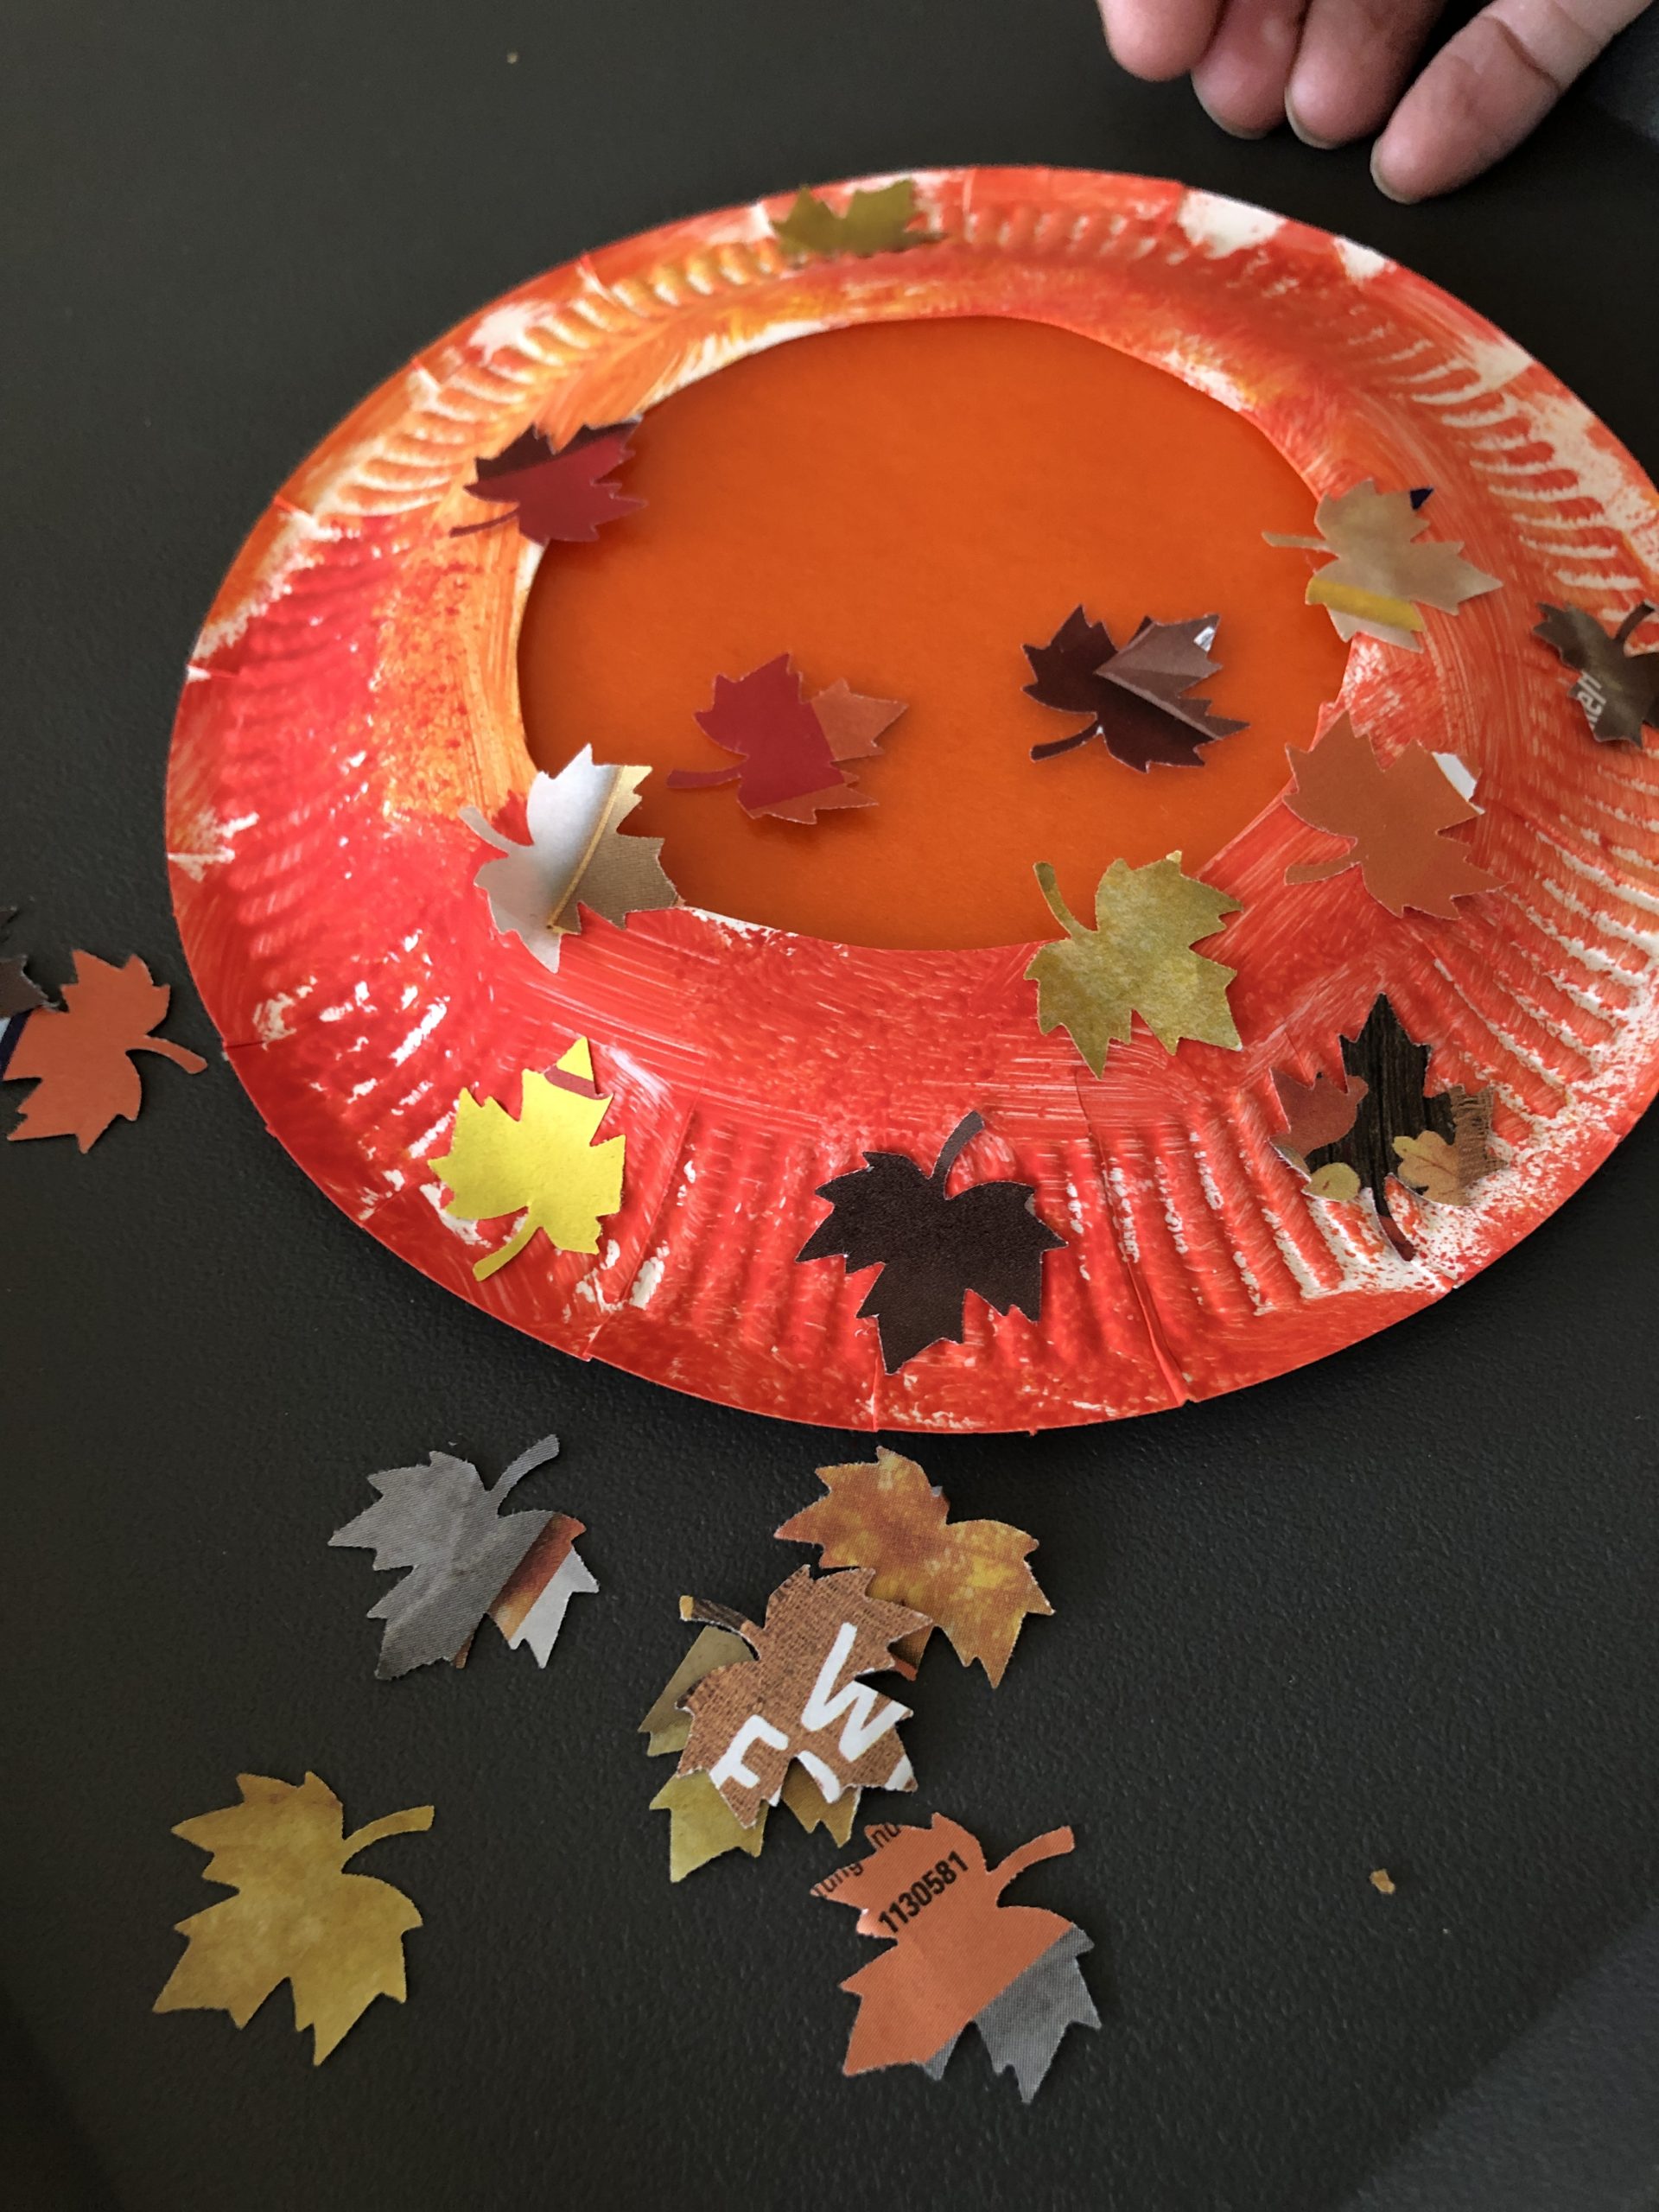
This variant is suitable if you don't have any coloured paper at home and/or if you want to make resource-saving. Alternatively, butterbread paper can also be used for pasting instead of transparent paper.
Take what you have and take care of what you use!
Have fun trying it out!
Materials
Directions
Cuts out a large circle from the two cardboard plates in the middle.
Take red and yellow paint and a sponge (e.g. a sponge). Now swab or wipe the paint with the sponge on the outside curved side of the cardboard plates. (bottom side of the plate)
Put both plates to dry.
Cut the transparent paper to about 10cm x 10 cm.
Then it sticks to the back of the painted plates over the cut out holes.
The plates are ready. Now you can think about how you want to punch your leaves, look at my ideas:
Punched with the maple leaf dancer red, yellow and orange leaves from the folding paper.
The folding paper is very well suited for punching out, because it is very thin and thus also small children succeed in punching out.
Take the glue stick and put some glue dots on your cardboard plates. Now you can attach the maple leaves individually.
Spread the leaves as you like!
Now punch a hole in a plate at the bottom of your lantern. I used a holer for this!
Through the hole you now thread a bast cord. Knot it firmly, so that you have two approximately equal long ends. On the two bast strands you can now also stick cut out leaves.
Now put both plates together (the painted and glued sides are on the outside). Then glue the plates together with hot glue on the edge. Important: leave 10cm of edge open above!
Attention when handling the hot glue gun: Injury risk!
Now cut out the open upper edge a piece.
Now punch with the holer to the left and right into this upper, open piece from the edge. Through the holes you put a short wire. Rotate it at the ends and hang the lantern on it. Alternatively, you can also attach a battery-powered lantern rod or...
...you use a mini-light chain that pushes you into the inside of the lantern.
Punched out of advertising brochures colored leaves in the autumn colors!
Glue your cardboard plates with it.
This variant is suitable if you don't have any coloured paper at home and/or if you want to make resource-saving. Alternatively, butterbread paper can also be used for pasting instead of transparent paper.
Take what you have and take care of what you use!
Have fun trying it out!
Follow us on Facebook , Instagram and Pinterest
Don't miss any more adventures: Our bottle mail