Apple cider

AdventurerKatzi
Rating4.56.7 thousand times & (2) DifficultyIntermediate

This cake is prepared very quickly. Ideal is this when unexpected guests come.
Then roll out the rest of the dough and cut it into strips. On the dough in the spring form you pick the apple mustard and on it you put the strips to a grid. Take it into the oven and after half an hour this juicy cake is finished. With these cakes even small children can help wonderfully.

Media Education for Kindergarten and Hort

Kind bastelt eine Rassel mit dem Navi
The Adventure Navi, the app for DIY projects, enables media education for the youngest.

Relief in everyday life, targeted promotion of individual children, independent learning and - without any pre-knowledge already usable by the youngest!
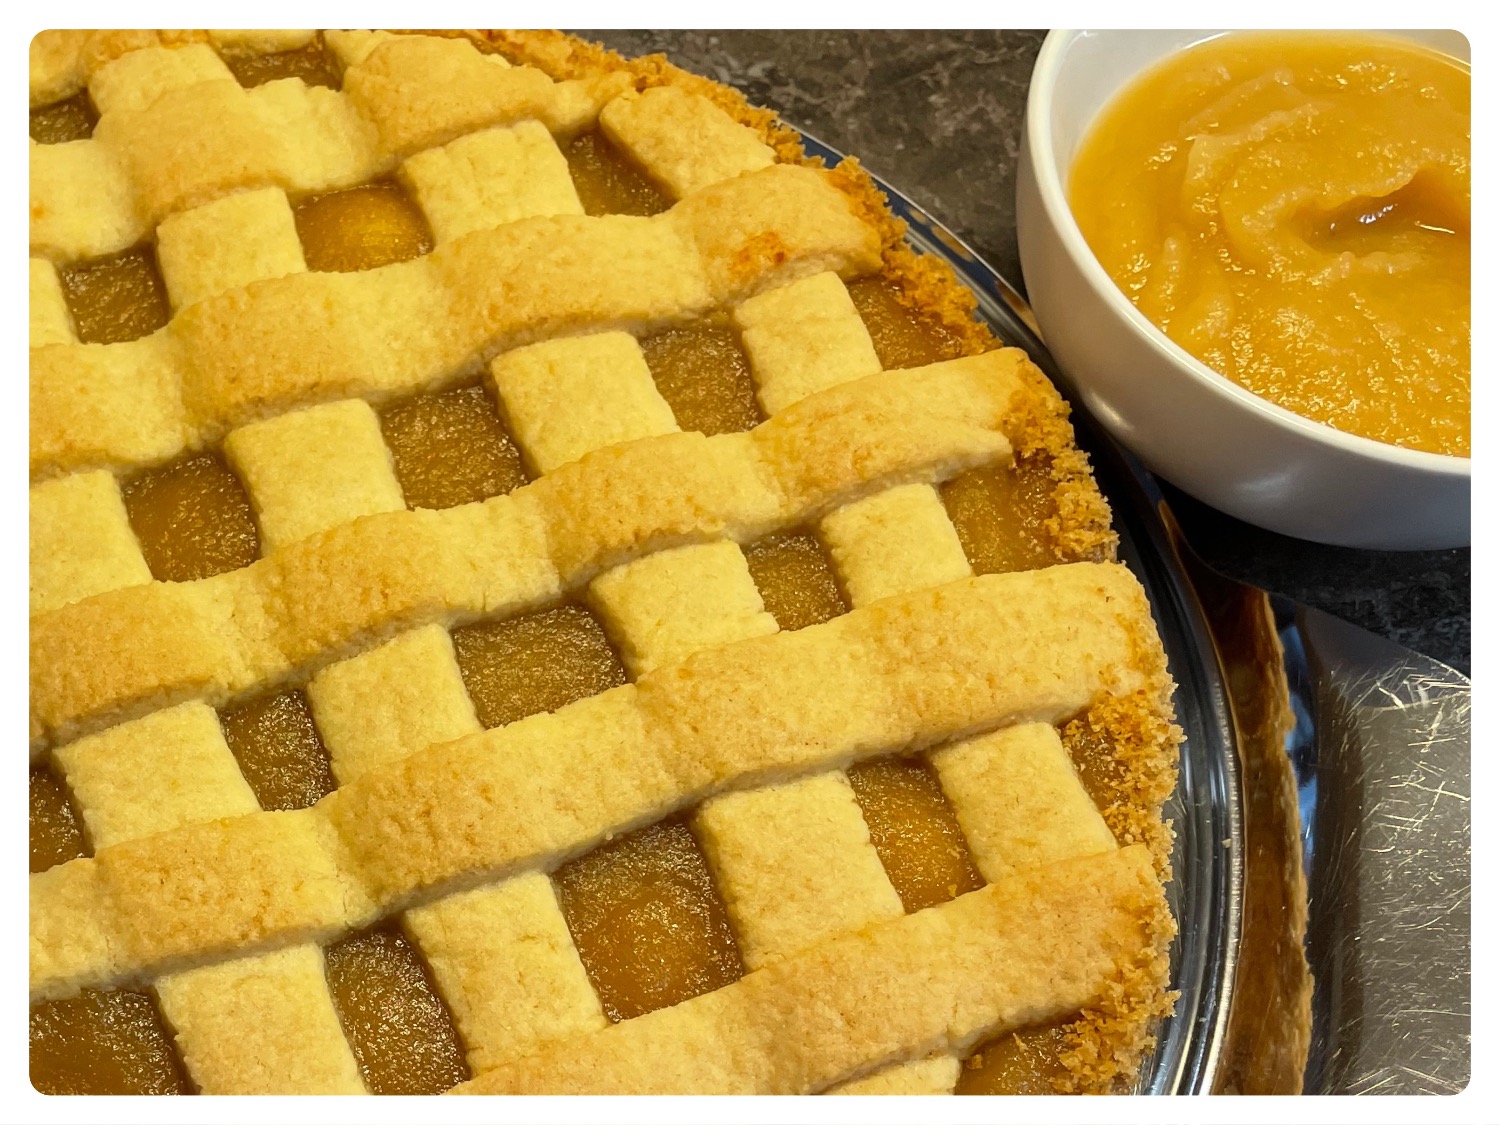


Titelbild zur Bastel- und DIY-Idee für Kinder '(782) Apfelmuskuchen'
Material for1 Child
Prep Time5 min.Adv. Time30 min.Total Time35 min.
Make cloves:
 80 g Sugar
 1 gal Vanilla sugar
 1 pinch Salt
 125 g Butter
 1 Egg
 275 g Flour
 1 gal Baking powder
 1 tbsp Lemon juice
Other ingredients:
 500 g Apple carrots
 FlourFor roll-out
 1 lb Margarine
 2 lbs Breadcrumbs or ground almonds
Other tools:
 1 Kitchen machine Thermomix
 ==References==
 1 Pasta wood
 1 Spring Form
 1 Knives
 1 Table spoons
 1 Teaspoon
Preheat the oven to 160 degrees of hot air and bake the cake for 20-30 minutes.
Let the cake cool in the form!
All links marked with a shopping cart lead to Amazon - here we have selected products that we would order ourselves and in part also ordered. In a qualified purchase via the advertising link, we as Amazon partner receive a commission, for you there are no costs. You thus support our cost- and advertising banner-free, educational offer.
1

First make the knetteig. For this you weigh all the ingredients and fill them in a bowl (thermomix). Then knead everything together.
Tip: Let children knead with their hands. This is huge fun and promotes motor skills.

2

1. Bild zum Schritt 1 für das Bastel- und DIY-Abenteuer für Kinder: 'Stellt zuerst den Knetteig her. Dafür wiegt ihr alle Zutaten...'

3

Then you throw the dough out of the bowl onto the work surface and knead it to a smooth ball.
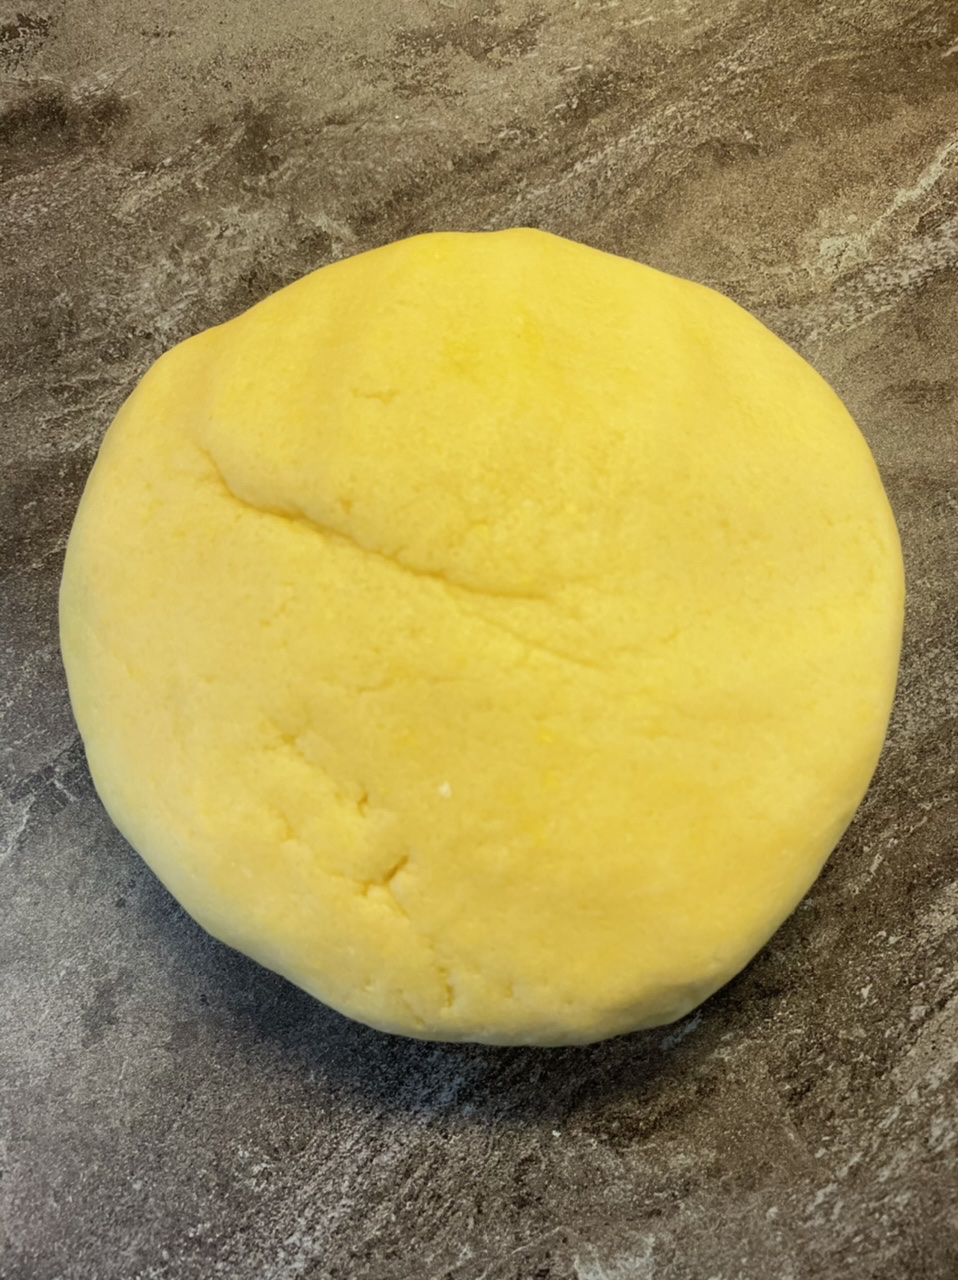
Bild zum Schritt 3 für das Bastel- und DIY-Abenteuer für Kinder: 'Anschließend stürzt ihr den Teig aus der Schüssel auf die...'

4

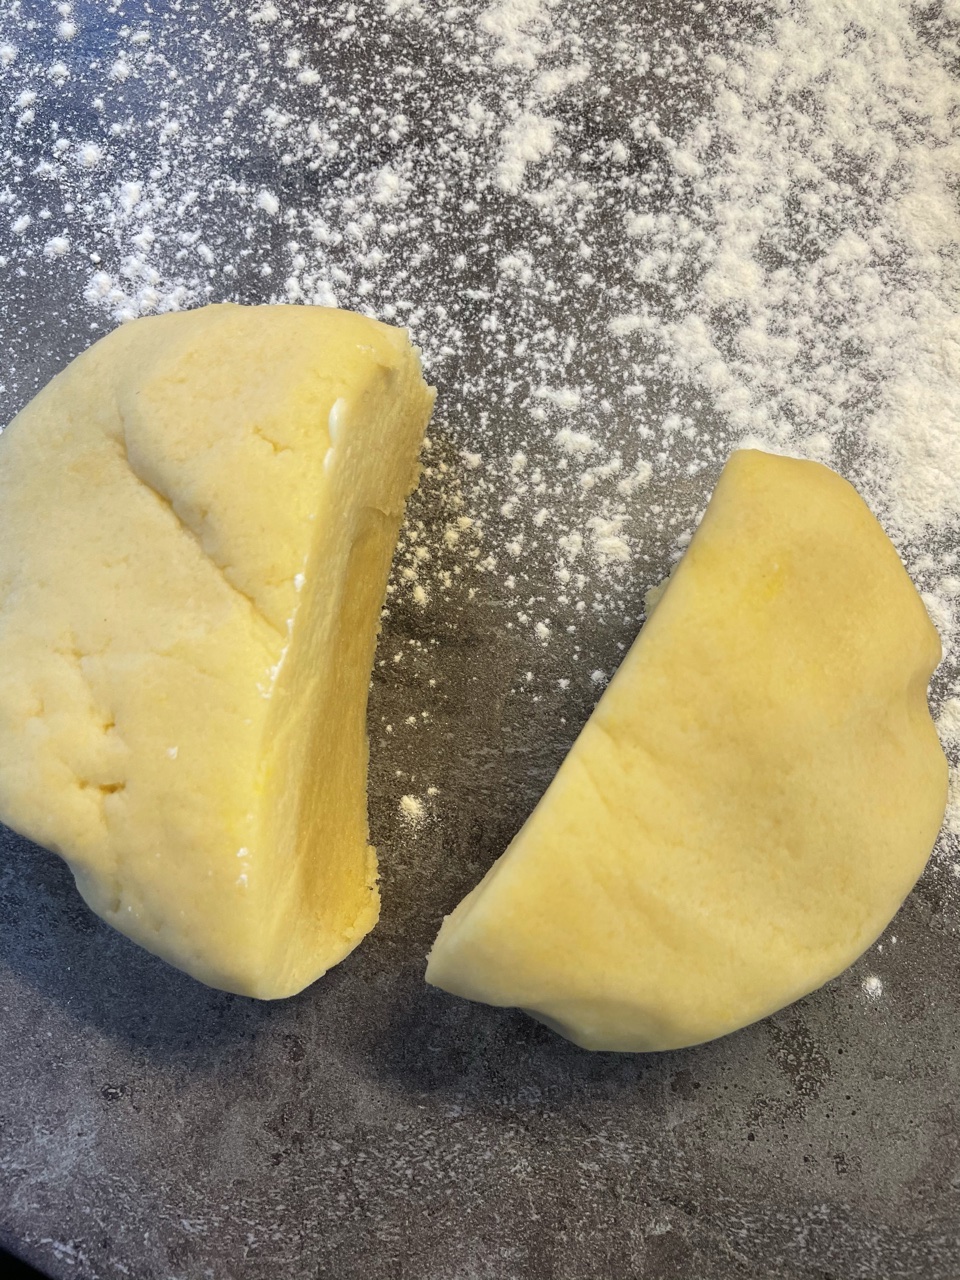
Now cut the dough in half.

Bild zum Schritt 4 für das Bastel- und DIY-Abenteuer für Kinder: 'Halbiert jetzt den Teig.'

5

Then roll out one half for the springform. Try rolling out the dough round.

Bild zum Schritt 5 für das Bastel- und DIY-Abenteuer für Kinder: 'Dann rollt ihr eine Hälfte für die Springform aus. Versucht...'

6

Then divide the rolled out dough circle with the knife into four parts.

Bild zum Schritt 6 für das Bastel- und DIY-Abenteuer für Kinder: 'Danach teilt ihr den ausgerollten Teigkreis mit dem Messer in...'

7

Preheat the oven to 160 degrees hot air.

8

Then you grease a spring shape with margarine and then spread it out with bread crumbs. Now you put the dough quarter one after the other in the form.

Bild zum Schritt 8 für das Bastel- und DIY-Abenteuer für Kinder: 'Dann fettet ihr eine Springform mit Margarine ein und streut...'

9

Then press the interfaces together with the hands. This creates an even ground. The edge can be one to two centimeters high. However, it also works without the edge.

Bild zum Schritt 9 für das Bastel- und DIY-Abenteuer für Kinder: 'Drückt anschließend die Schnittstellen mit den Händen zusammen. So entsteht...'

10

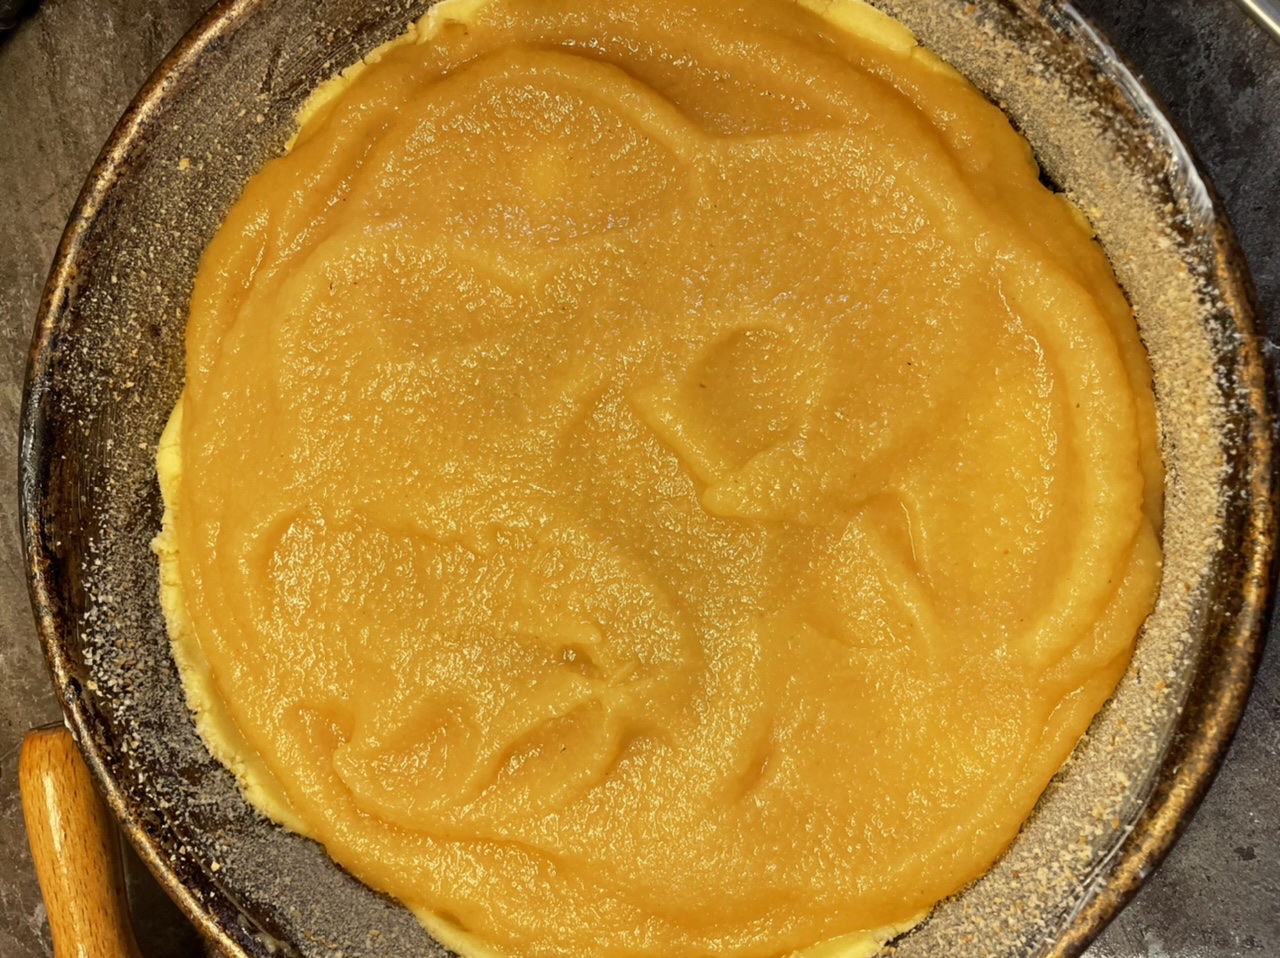
Now fill the apple sauce in the form.

Bild zum Schritt 10 für das Bastel- und DIY-Abenteuer für Kinder: 'Nun füllt ihr den Apfelmus in die Form.'

11

Pass it with a tablespoon.

Bild zum Schritt 11 für das Bastel- und DIY-Abenteuer für Kinder: 'Verstreicht diesen mit einem Esslöffel.'

12

Now you roll the other half of the dough round as well. This can be a little smaller than your cake shape.

Bild zum Schritt 12 für das Bastel- und DIY-Abenteuer für Kinder: 'Jetzt rollt ihr die andere Hälfte des Teigs ebenfalls rund...'

13

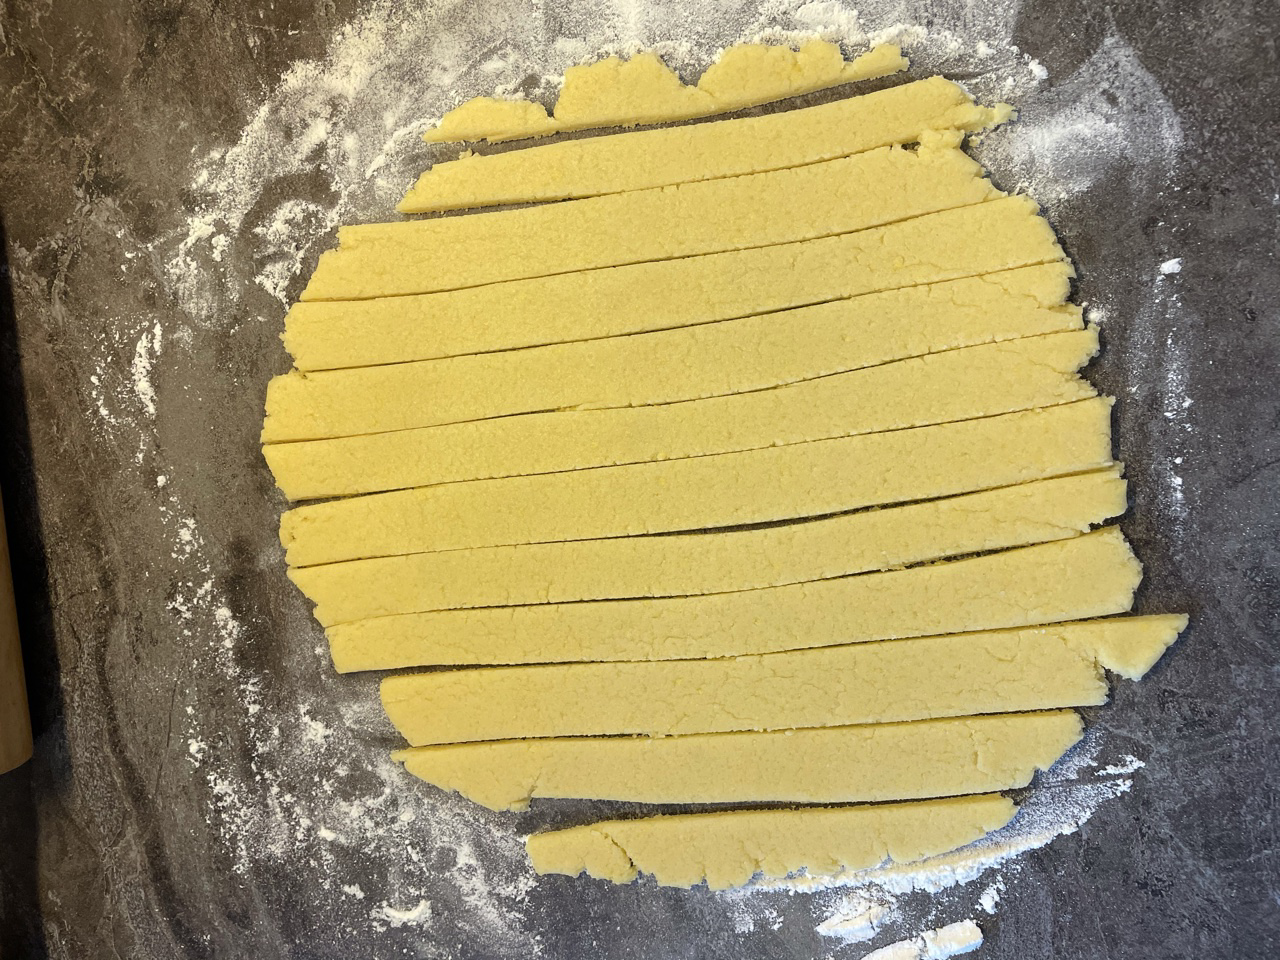
Then cut the dough into narrow strips.

Bild zum Schritt 13 für das Bastel- und DIY-Abenteuer für Kinder: 'Schneidet danach den Teig in schmale Streifen.'

14

2. Bild zum Schritt 13 für das Bastel- und DIY-Abenteuer für Kinder: 'Schneidet danach den Teig in schmale Streifen.'

15

Now you put the strips on the apple sauce with a little distance.

Bild zum Schritt 15 für das Bastel- und DIY-Abenteuer für Kinder: 'Jetzt legt ihr die Streifen mit etwas Abstand auf den...'

16

First you put strips among each other. Select strips that fit the length best in shape.

Bild zum Schritt 16 für das Bastel- und DIY-Abenteuer für Kinder: 'Zuerst legt ihr die Streifen untereinander. Wählt die Streifen aus,...'

17

Then you put the stripes across her, creating a lattice.

Now put the cake in the oven. On 160 degrees of hot air, the cake takes about 30 minutes.

Bild zum Schritt 17 für das Bastel- und DIY-Abenteuer für Kinder: 'Danach legt ihr ihr die Streifen quer darüber. So entsteht...'

18

The cake is ready when the grill of the cake is slightly browned.
Let the cake cool for about 20 minutes.

Bild zum Schritt 18 für das Bastel- und DIY-Abenteuer für Kinder: 'Der Kuchen ist fertig, wenn das Gitter des Kuchens leicht...'

19

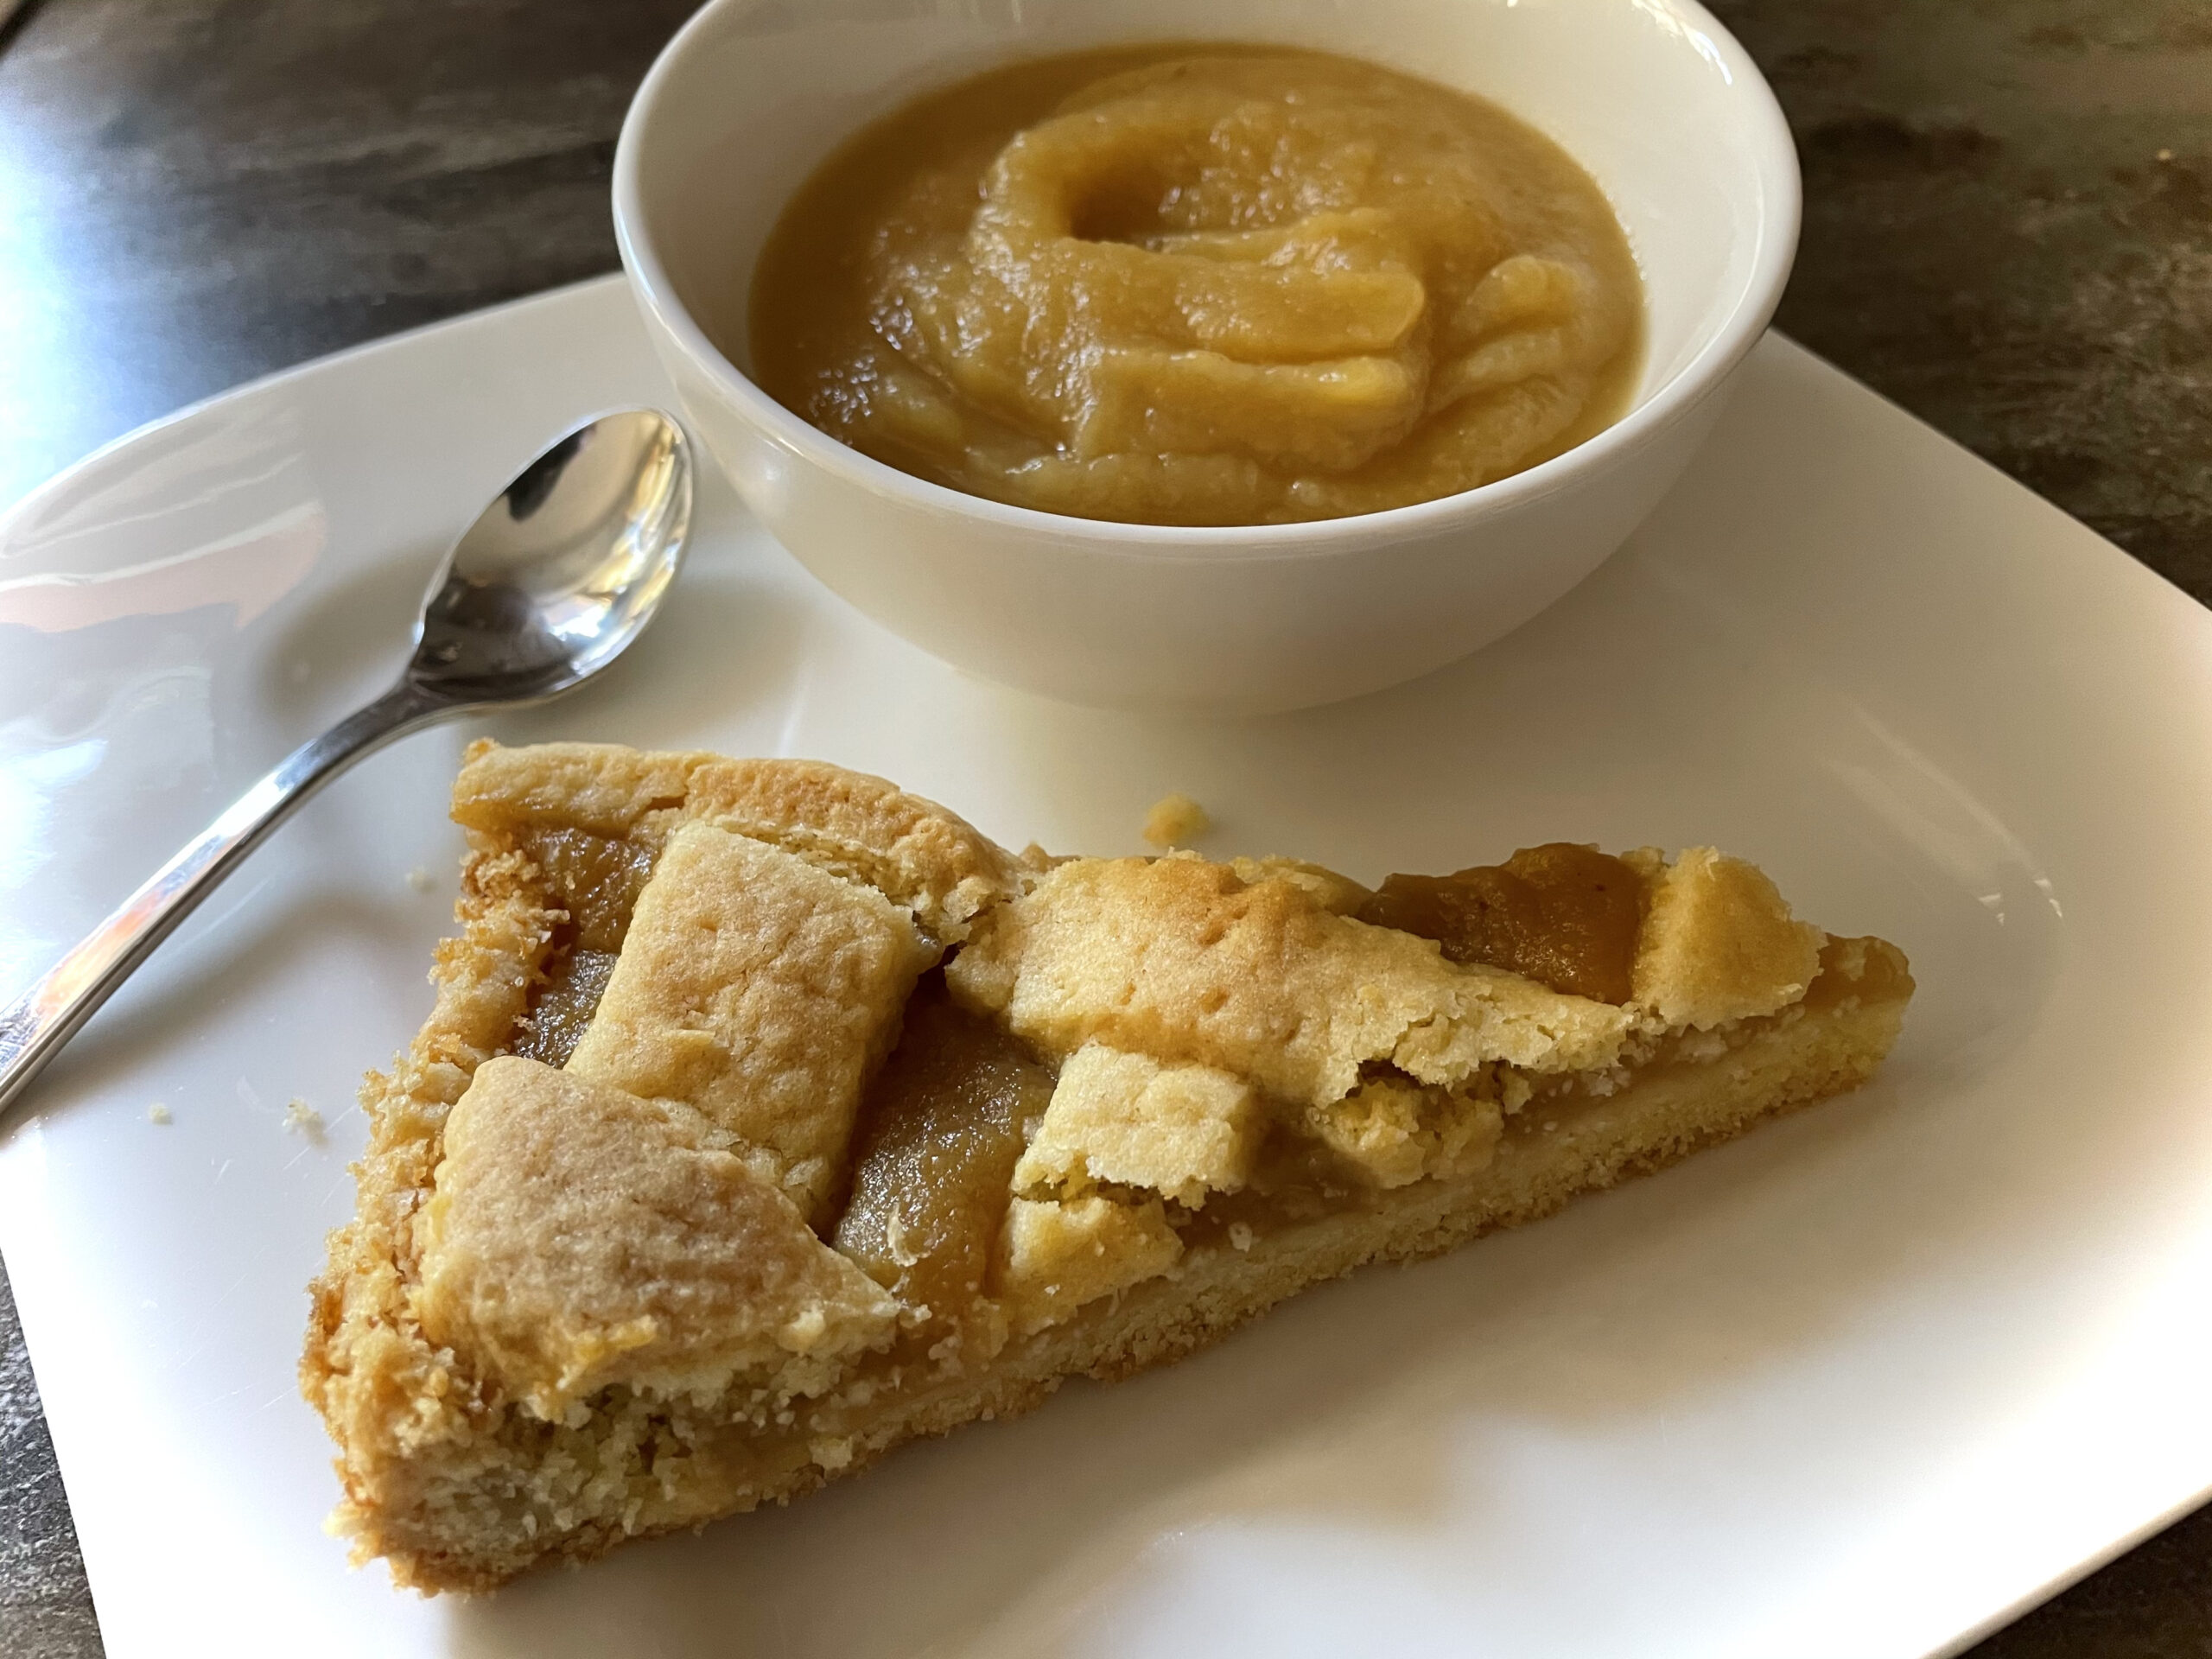
Serve it with apple sauce.

Bild zum Schritt 19 für das Bastel- und DIY-Abenteuer für Kinder: 'Serviert ihn evtl. mit Apfelmus.'

20

The cake is made quickly and therefore also suitable for short-term announced coffee visits. Let it taste good.

21

Have fun baking!

Materials

Make cloves:
 80 g Sugar
 1 gal Vanilla sugar
 1 pinch Salt
 125 g Butter
 1 Egg
 275 g Flour
 1 gal Baking powder
 1 tbsp Lemon juice
Other ingredients:
 500 g Apple carrots
 FlourFor roll-out
 1 lb Margarine
 2 lbs Breadcrumbs or ground almonds
Other tools:
 1 Kitchen machine Thermomix
 ==References==
 1 Pasta wood
 1 Spring Form
 1 Knives
 1 Table spoons
 1 Teaspoon
Preheat the oven to 160 degrees of hot air and bake the cake for 20-30 minutes.
Let the cake cool in the form!
All links marked with a shopping cart lead to Amazon - here we have selected products that we would order ourselves and in part also ordered. In a qualified purchase via the advertising link, we as Amazon partner receive a commission, for you there are no costs. You thus support our cost- and advertising banner-free, educational offer.

Directions

1

First make the knetteig. For this you weigh all the ingredients and fill them in a bowl (thermomix). Then knead everything together.
Tip: Let children knead with their hands. This is huge fun and promotes motor skills.

2

1. Bild zum Schritt 1 für das Bastel- und DIY-Abenteuer für Kinder: 'Stellt zuerst den Knetteig her. Dafür wiegt ihr alle Zutaten...'

3

Then you throw the dough out of the bowl onto the work surface and knead it to a smooth ball.

Bild zum Schritt 3 für das Bastel- und DIY-Abenteuer für Kinder: 'Anschließend stürzt ihr den Teig aus der Schüssel auf die...'

4

Now cut the dough in half.

Bild zum Schritt 4 für das Bastel- und DIY-Abenteuer für Kinder: 'Halbiert jetzt den Teig.'

5

Then roll out one half for the springform. Try rolling out the dough round.
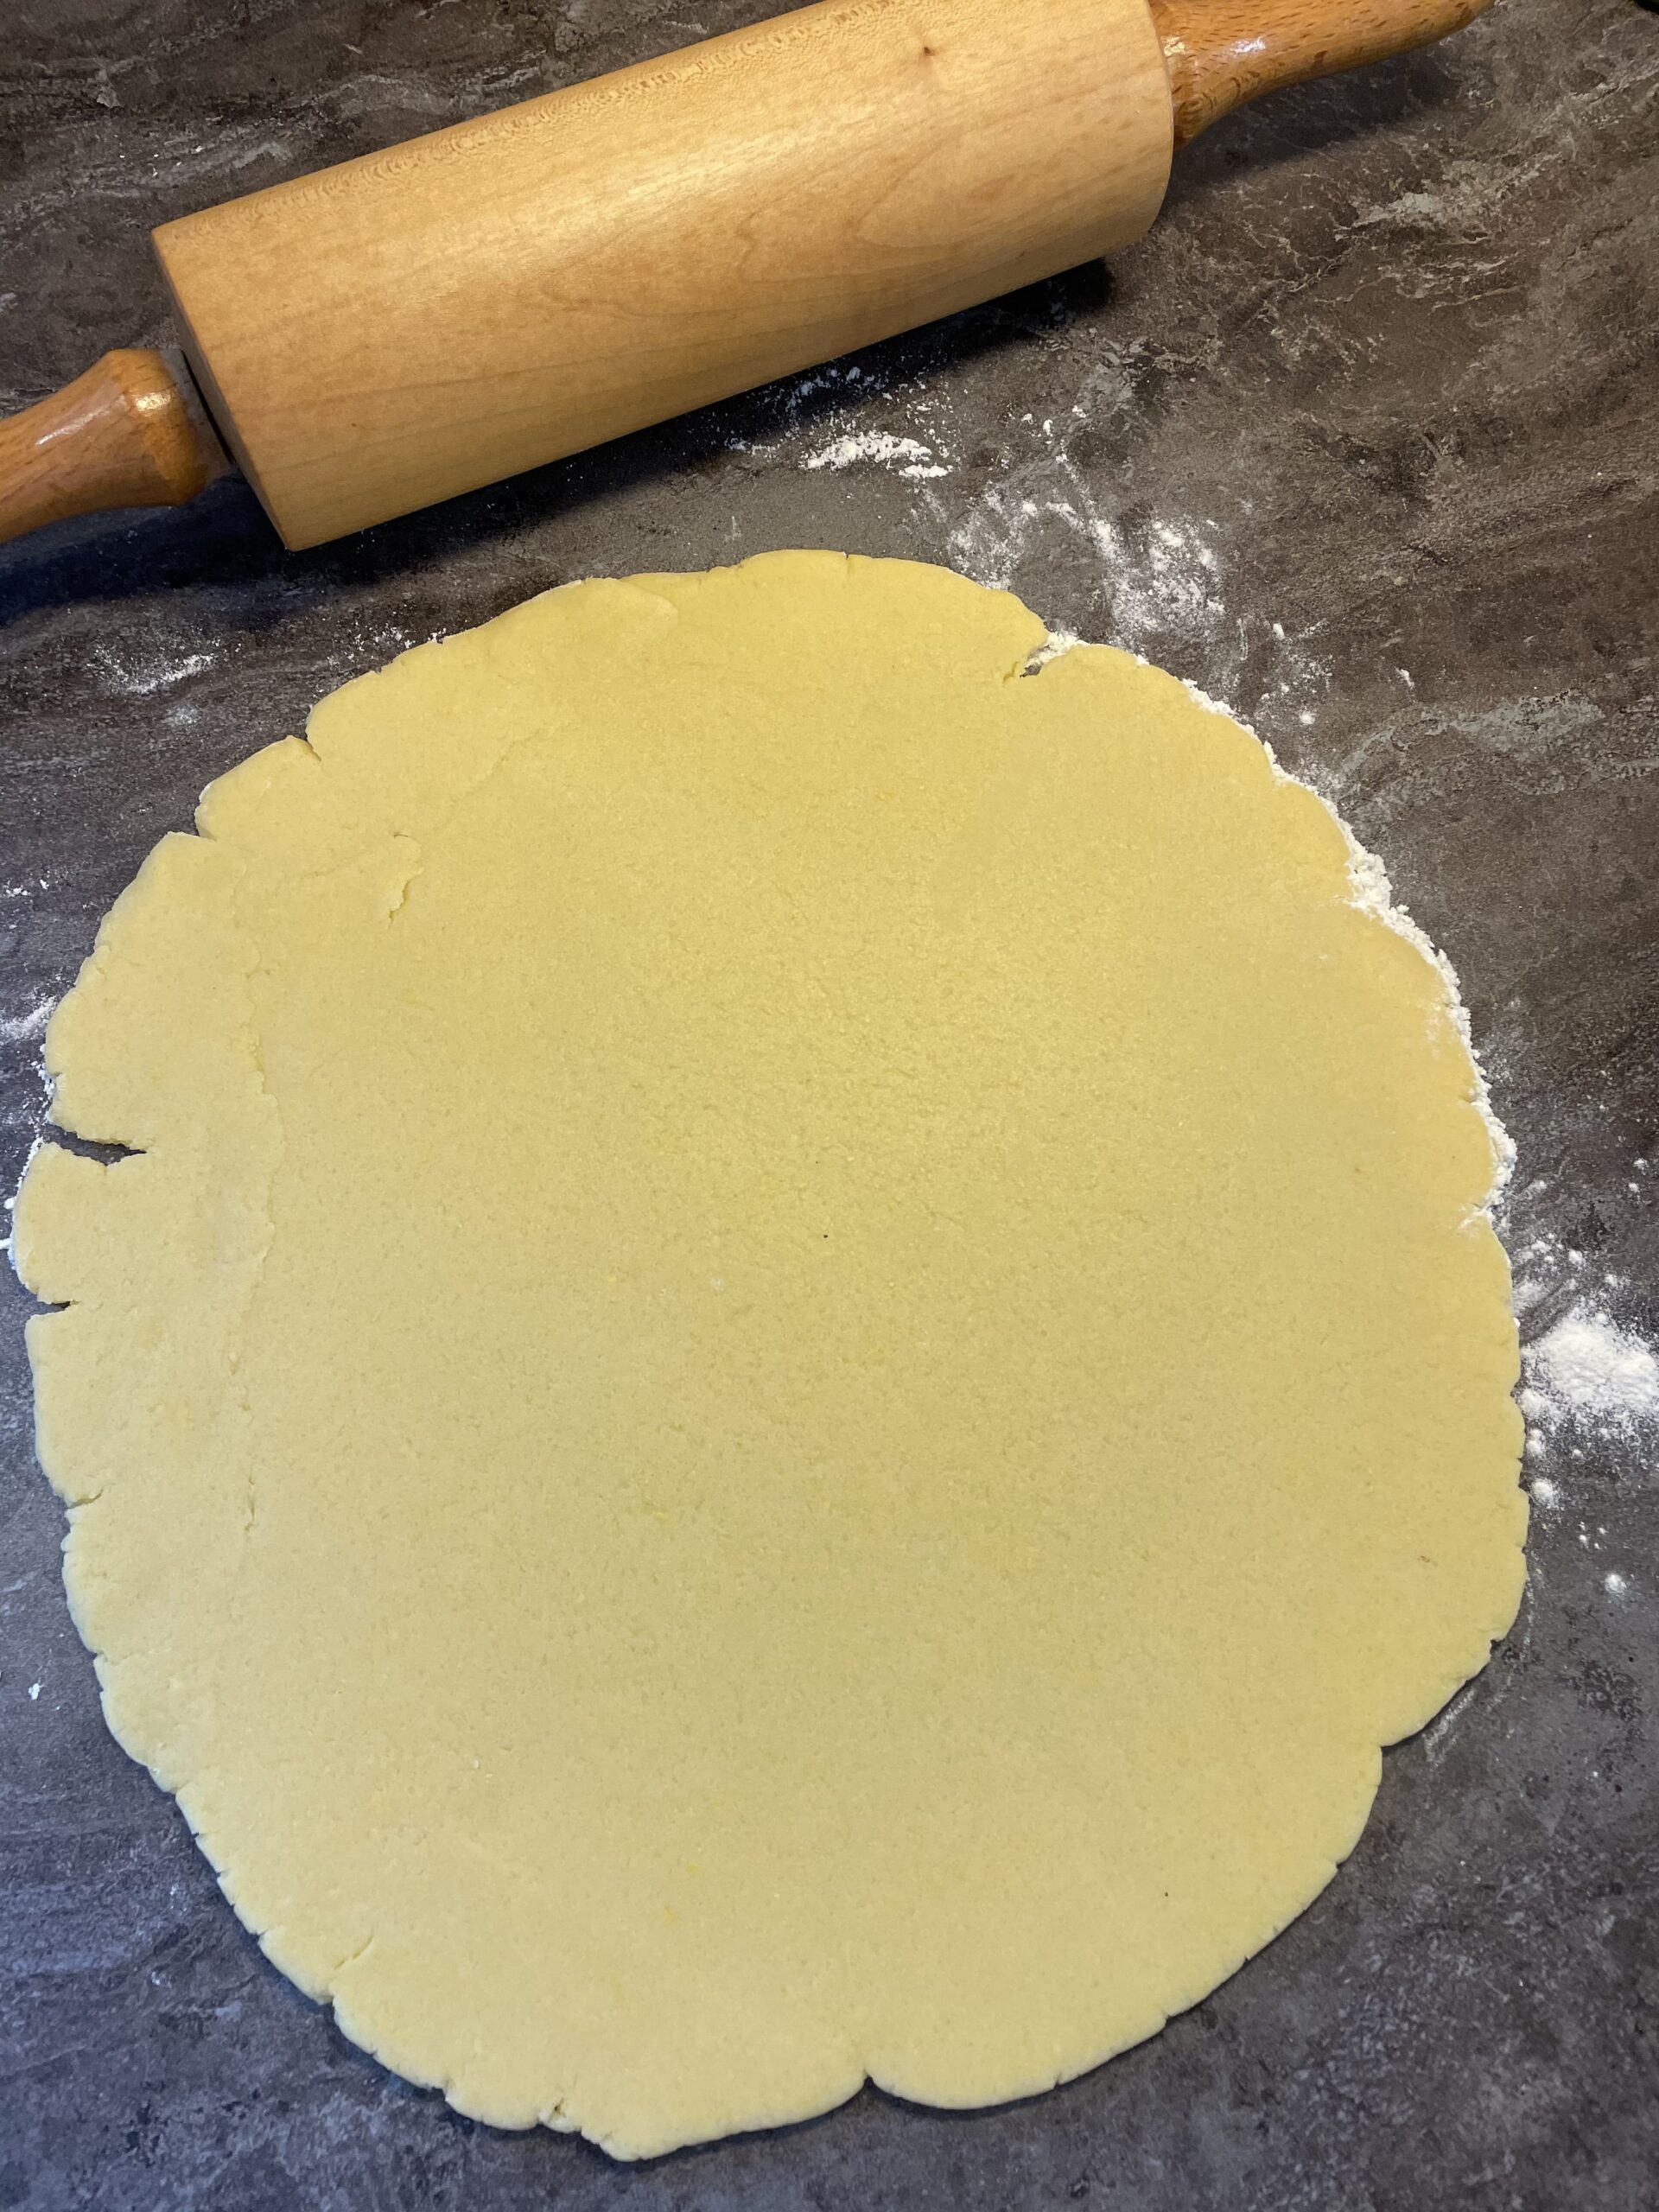
Bild zum Schritt 5 für das Bastel- und DIY-Abenteuer für Kinder: 'Dann rollt ihr eine Hälfte für die Springform aus. Versucht...'

6

Then divide the rolled out dough circle with the knife into four parts.
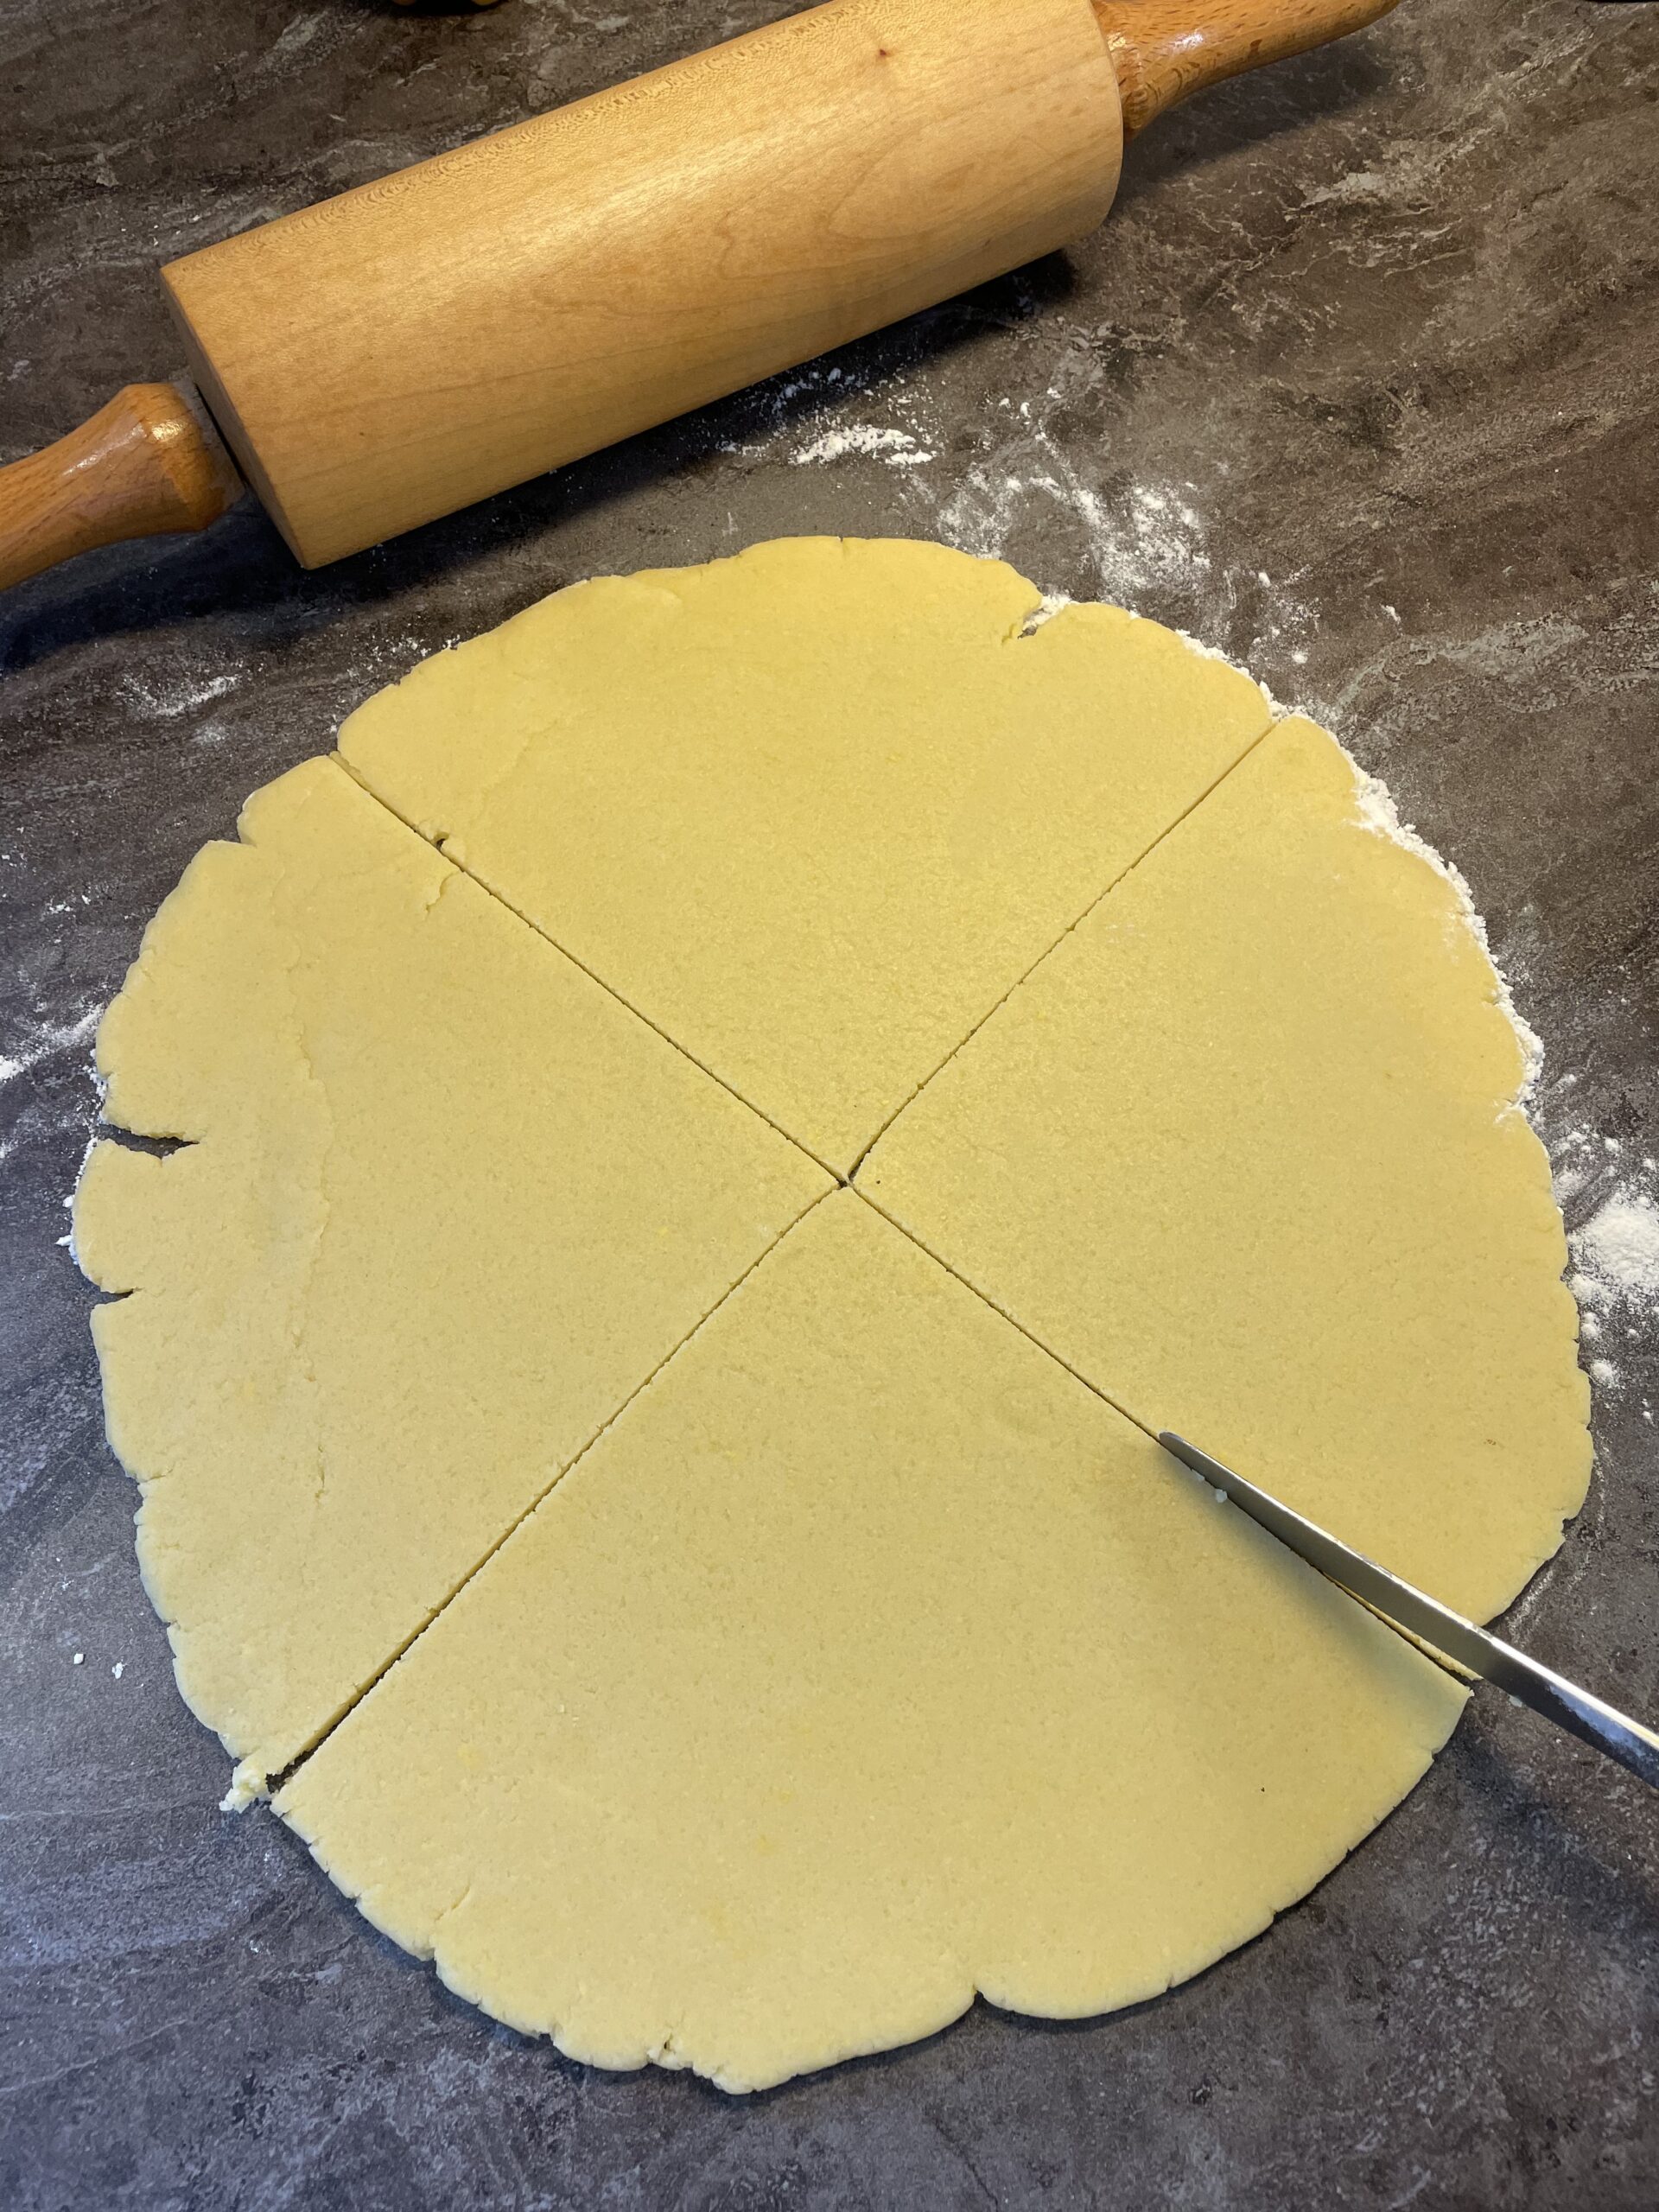
Bild zum Schritt 6 für das Bastel- und DIY-Abenteuer für Kinder: 'Danach teilt ihr den ausgerollten Teigkreis mit dem Messer in...'

7

Preheat the oven to 160 degrees hot air.

8

Then you grease a spring shape with margarine and then spread it out with bread crumbs. Now you put the dough quarter one after the other in the form.
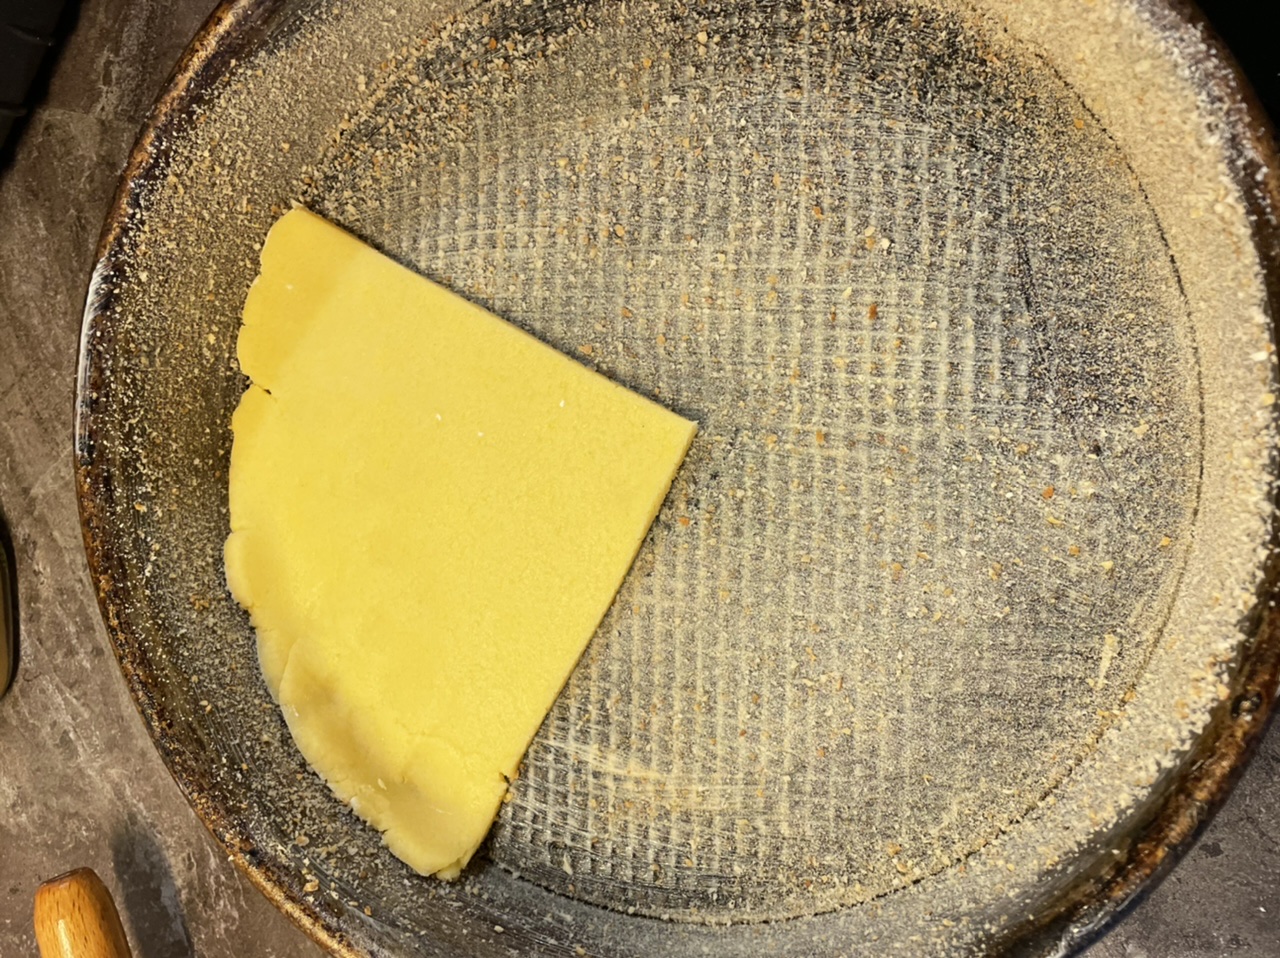
Bild zum Schritt 8 für das Bastel- und DIY-Abenteuer für Kinder: 'Dann fettet ihr eine Springform mit Margarine ein und streut...'

9

Then press the interfaces together with the hands. This creates an even ground. The edge can be one to two centimeters high. However, it also works without the edge.
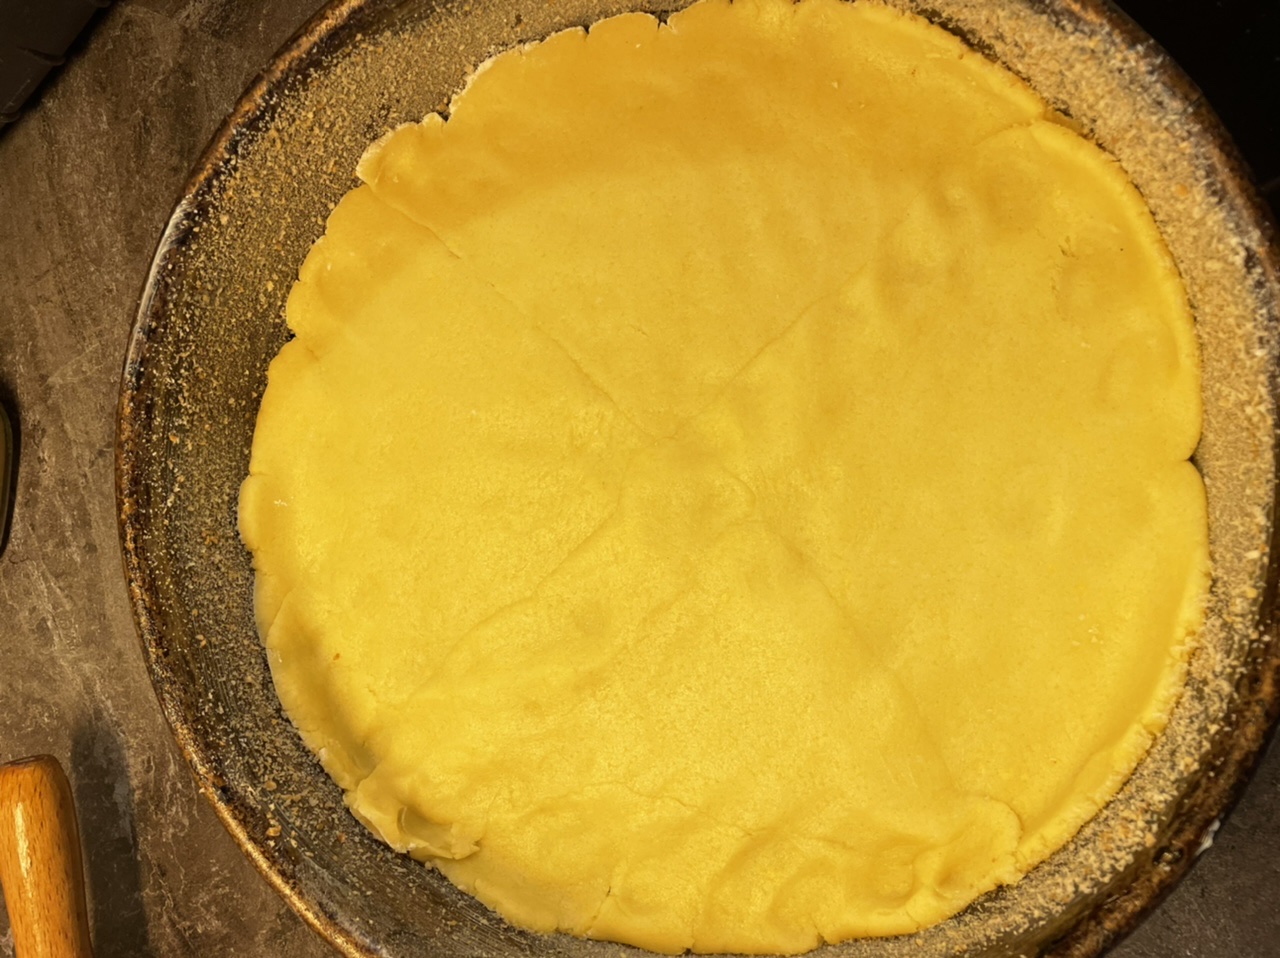
Bild zum Schritt 9 für das Bastel- und DIY-Abenteuer für Kinder: 'Drückt anschließend die Schnittstellen mit den Händen zusammen. So entsteht...'

10

Now fill the apple sauce in the form.
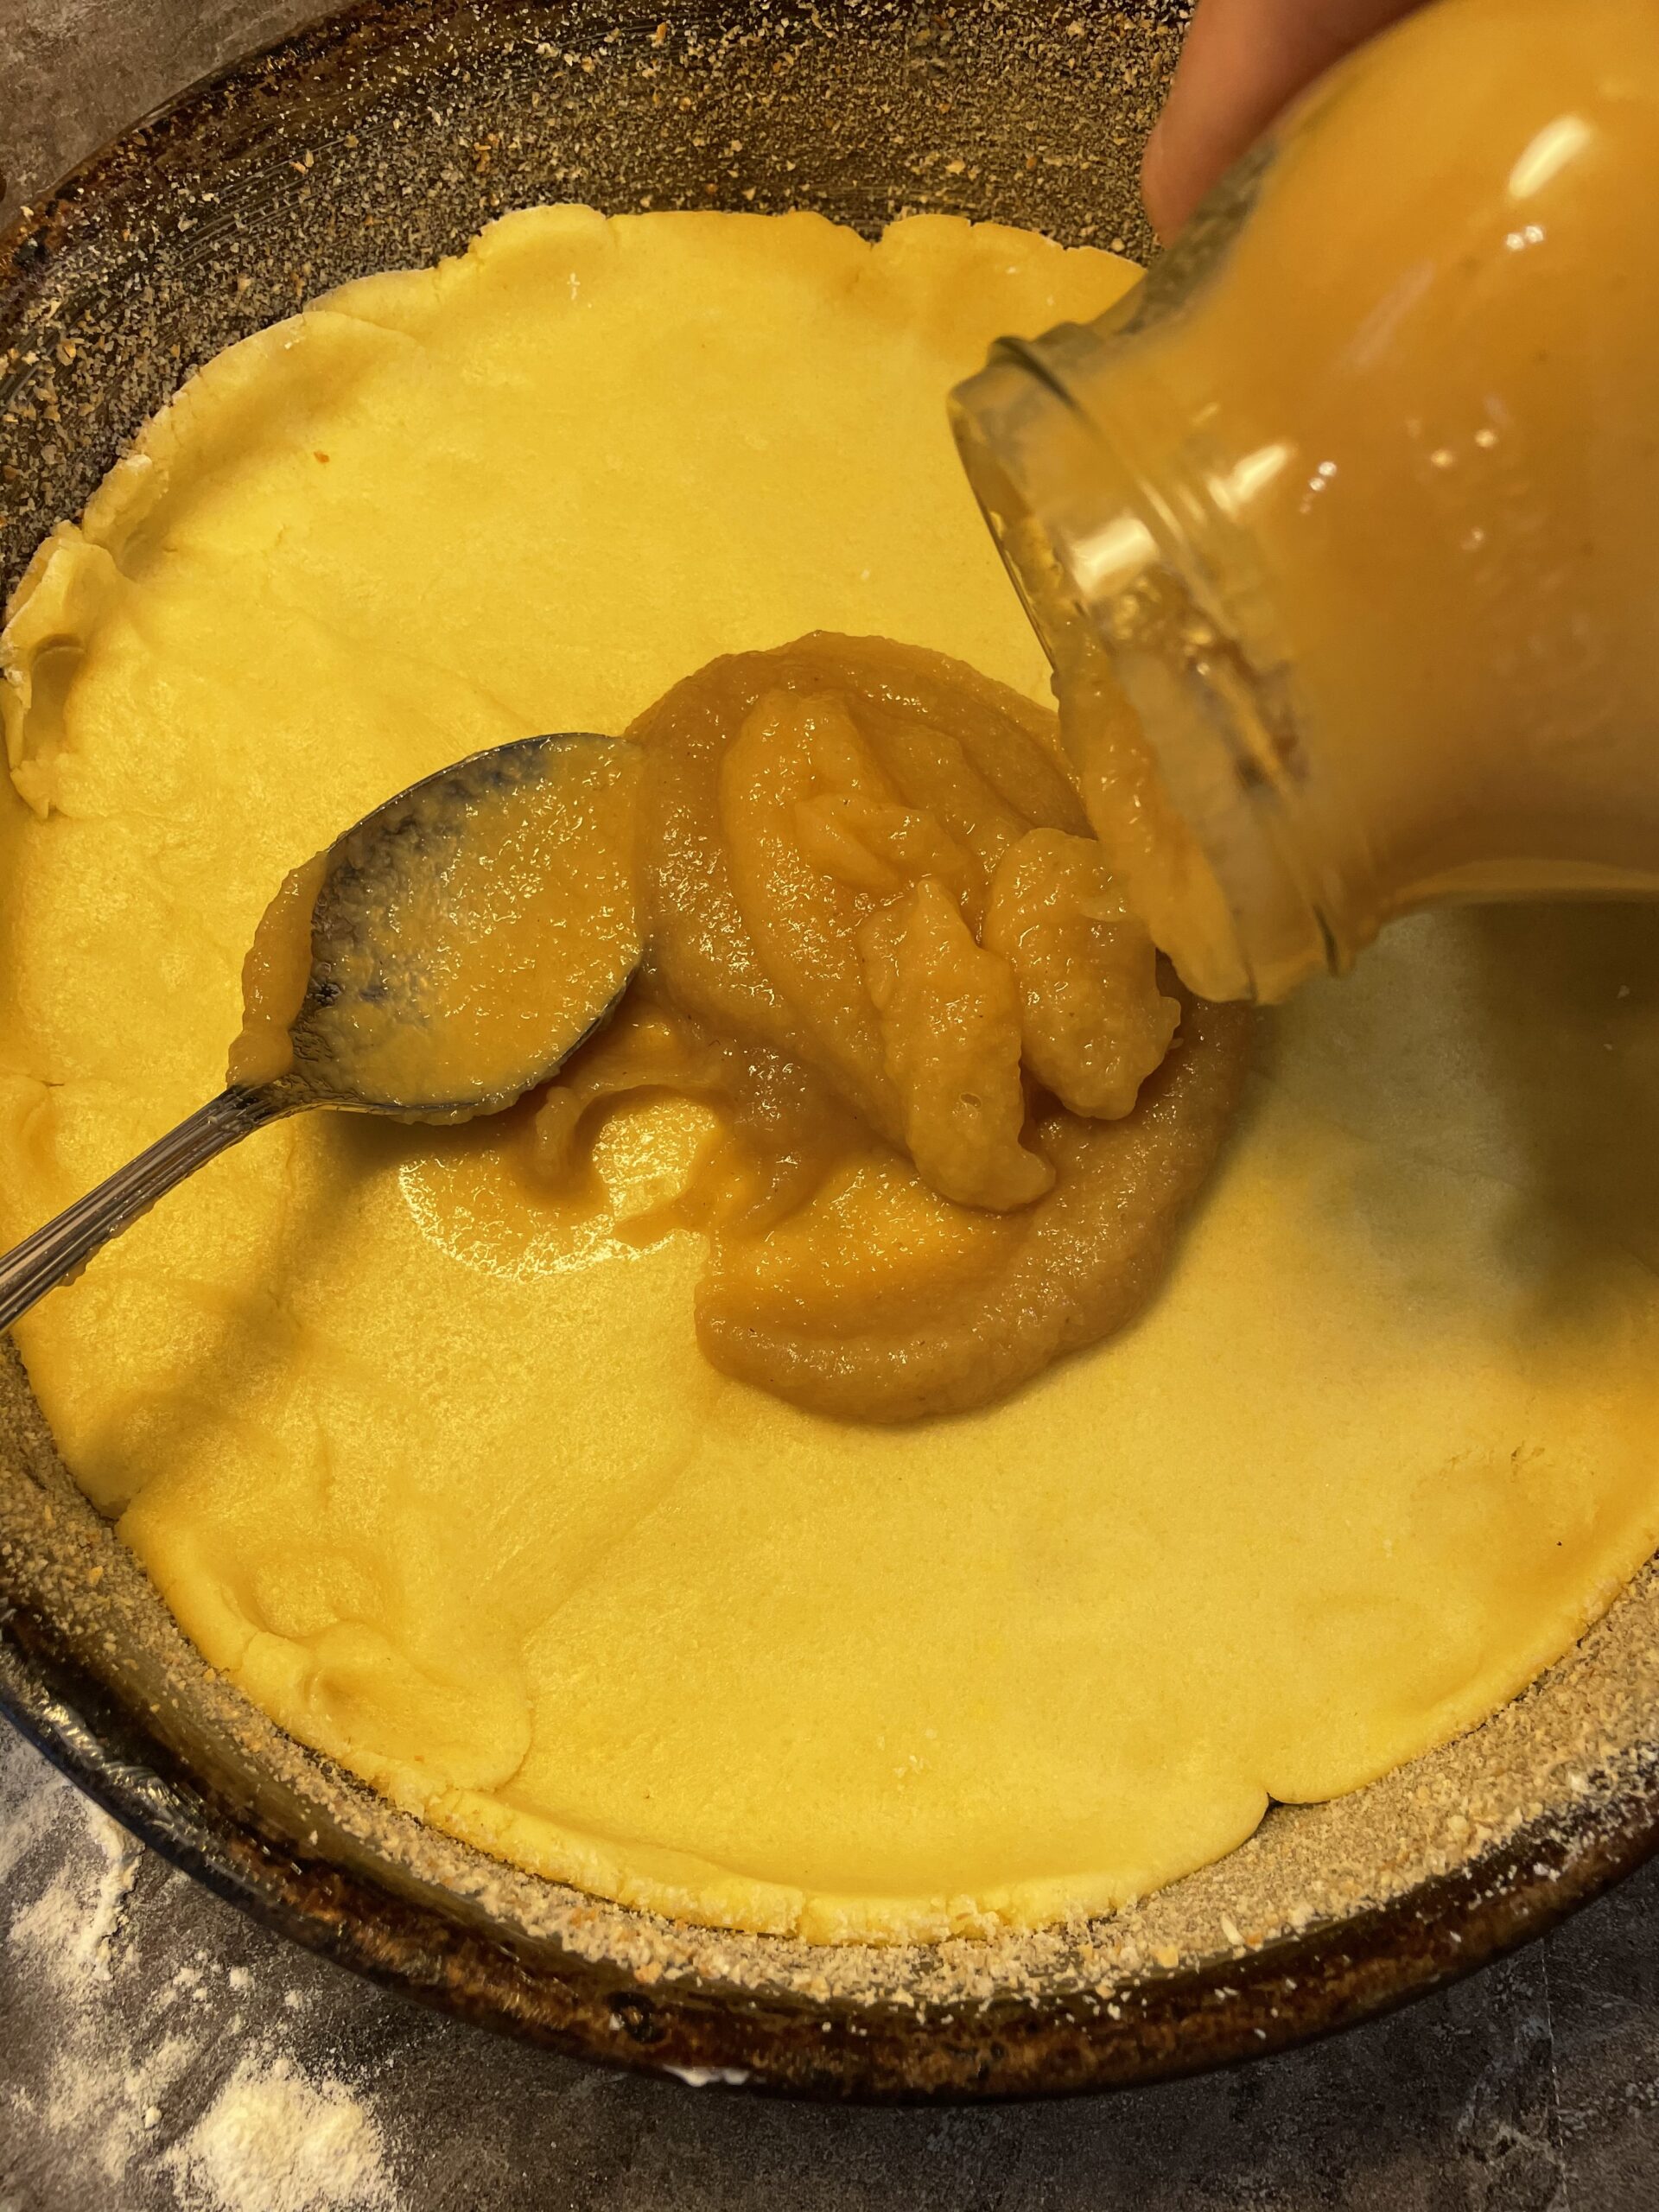
Bild zum Schritt 10 für das Bastel- und DIY-Abenteuer für Kinder: 'Nun füllt ihr den Apfelmus in die Form.'

11

Pass it with a tablespoon.

Bild zum Schritt 11 für das Bastel- und DIY-Abenteuer für Kinder: 'Verstreicht diesen mit einem Esslöffel.'

12

Now you roll the other half of the dough round as well. This can be a little smaller than your cake shape.
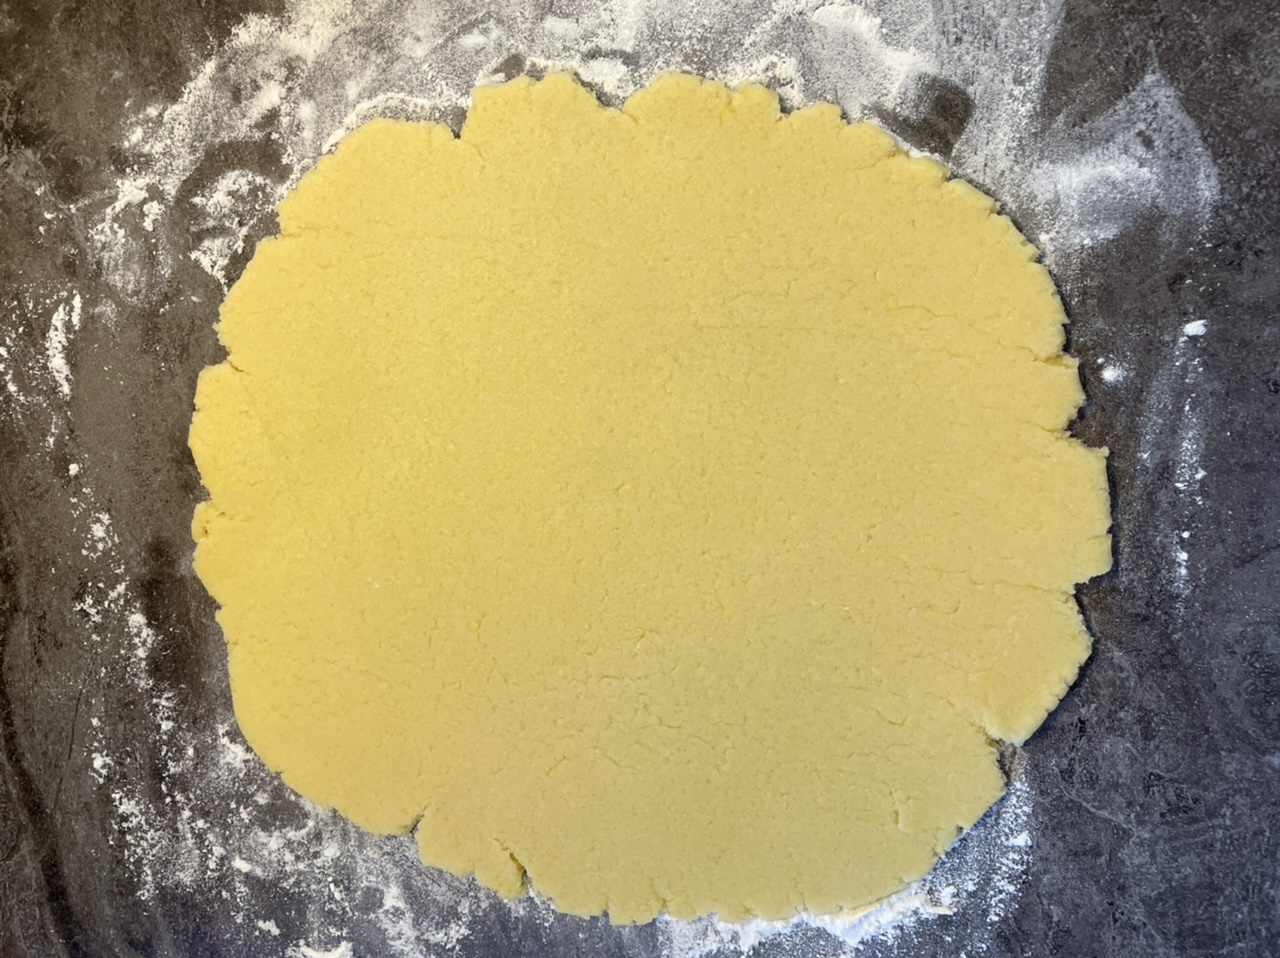
Bild zum Schritt 12 für das Bastel- und DIY-Abenteuer für Kinder: 'Jetzt rollt ihr die andere Hälfte des Teigs ebenfalls rund...'

13

Then cut the dough into narrow strips.
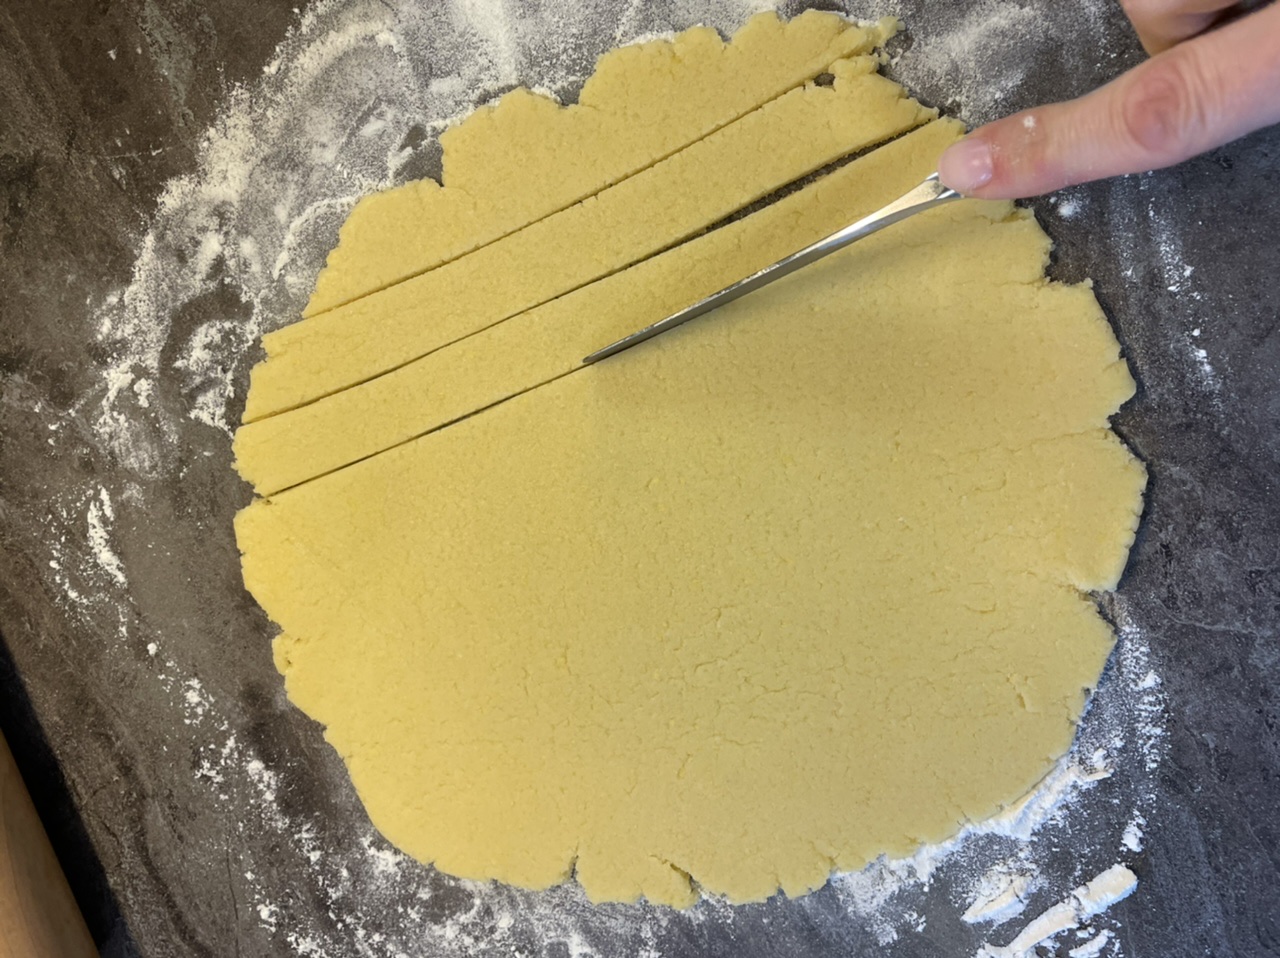
Bild zum Schritt 13 für das Bastel- und DIY-Abenteuer für Kinder: 'Schneidet danach den Teig in schmale Streifen.'

14

2. Bild zum Schritt 13 für das Bastel- und DIY-Abenteuer für Kinder: 'Schneidet danach den Teig in schmale Streifen.'

15

Now you put the strips on the apple sauce with a little distance.
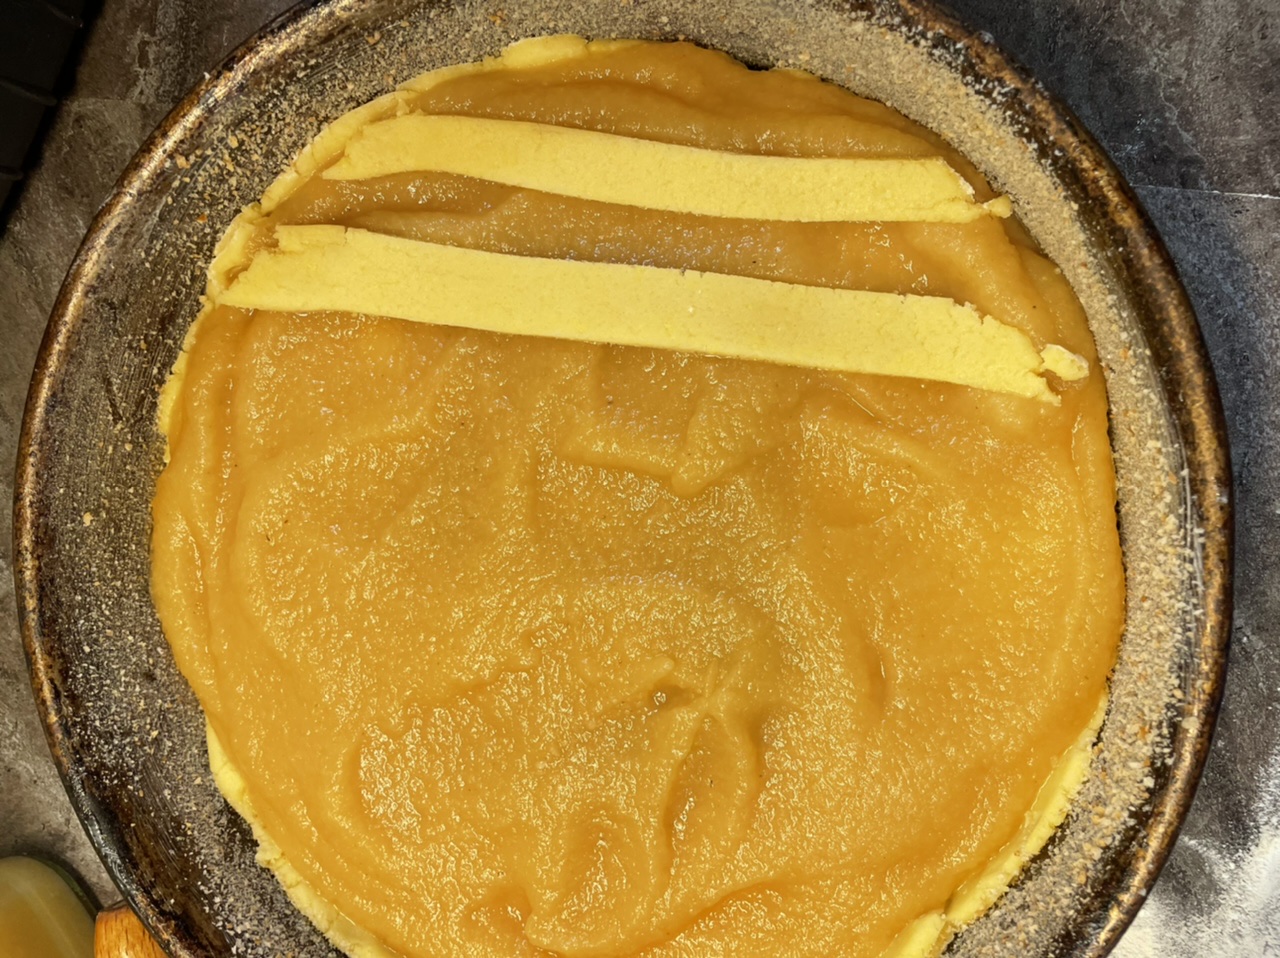
Bild zum Schritt 15 für das Bastel- und DIY-Abenteuer für Kinder: 'Jetzt legt ihr die Streifen mit etwas Abstand auf den...'

16

First you put strips among each other. Select strips that fit the length best in shape.
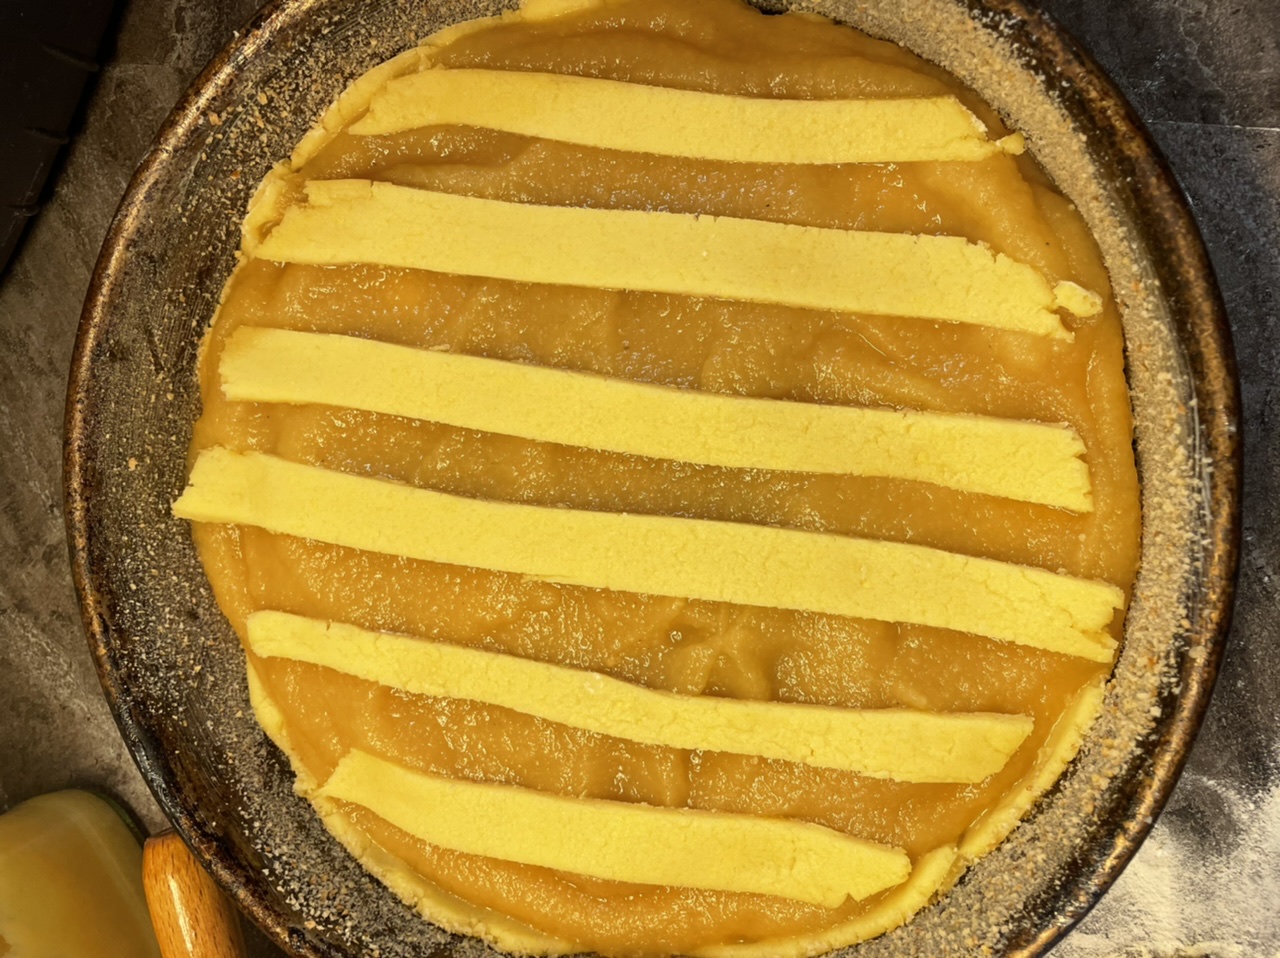
Bild zum Schritt 16 für das Bastel- und DIY-Abenteuer für Kinder: 'Zuerst legt ihr die Streifen untereinander. Wählt die Streifen aus,...'

17

Then you put the stripes across her, creating a lattice.

Now put the cake in the oven. On 160 degrees of hot air, the cake takes about 30 minutes.
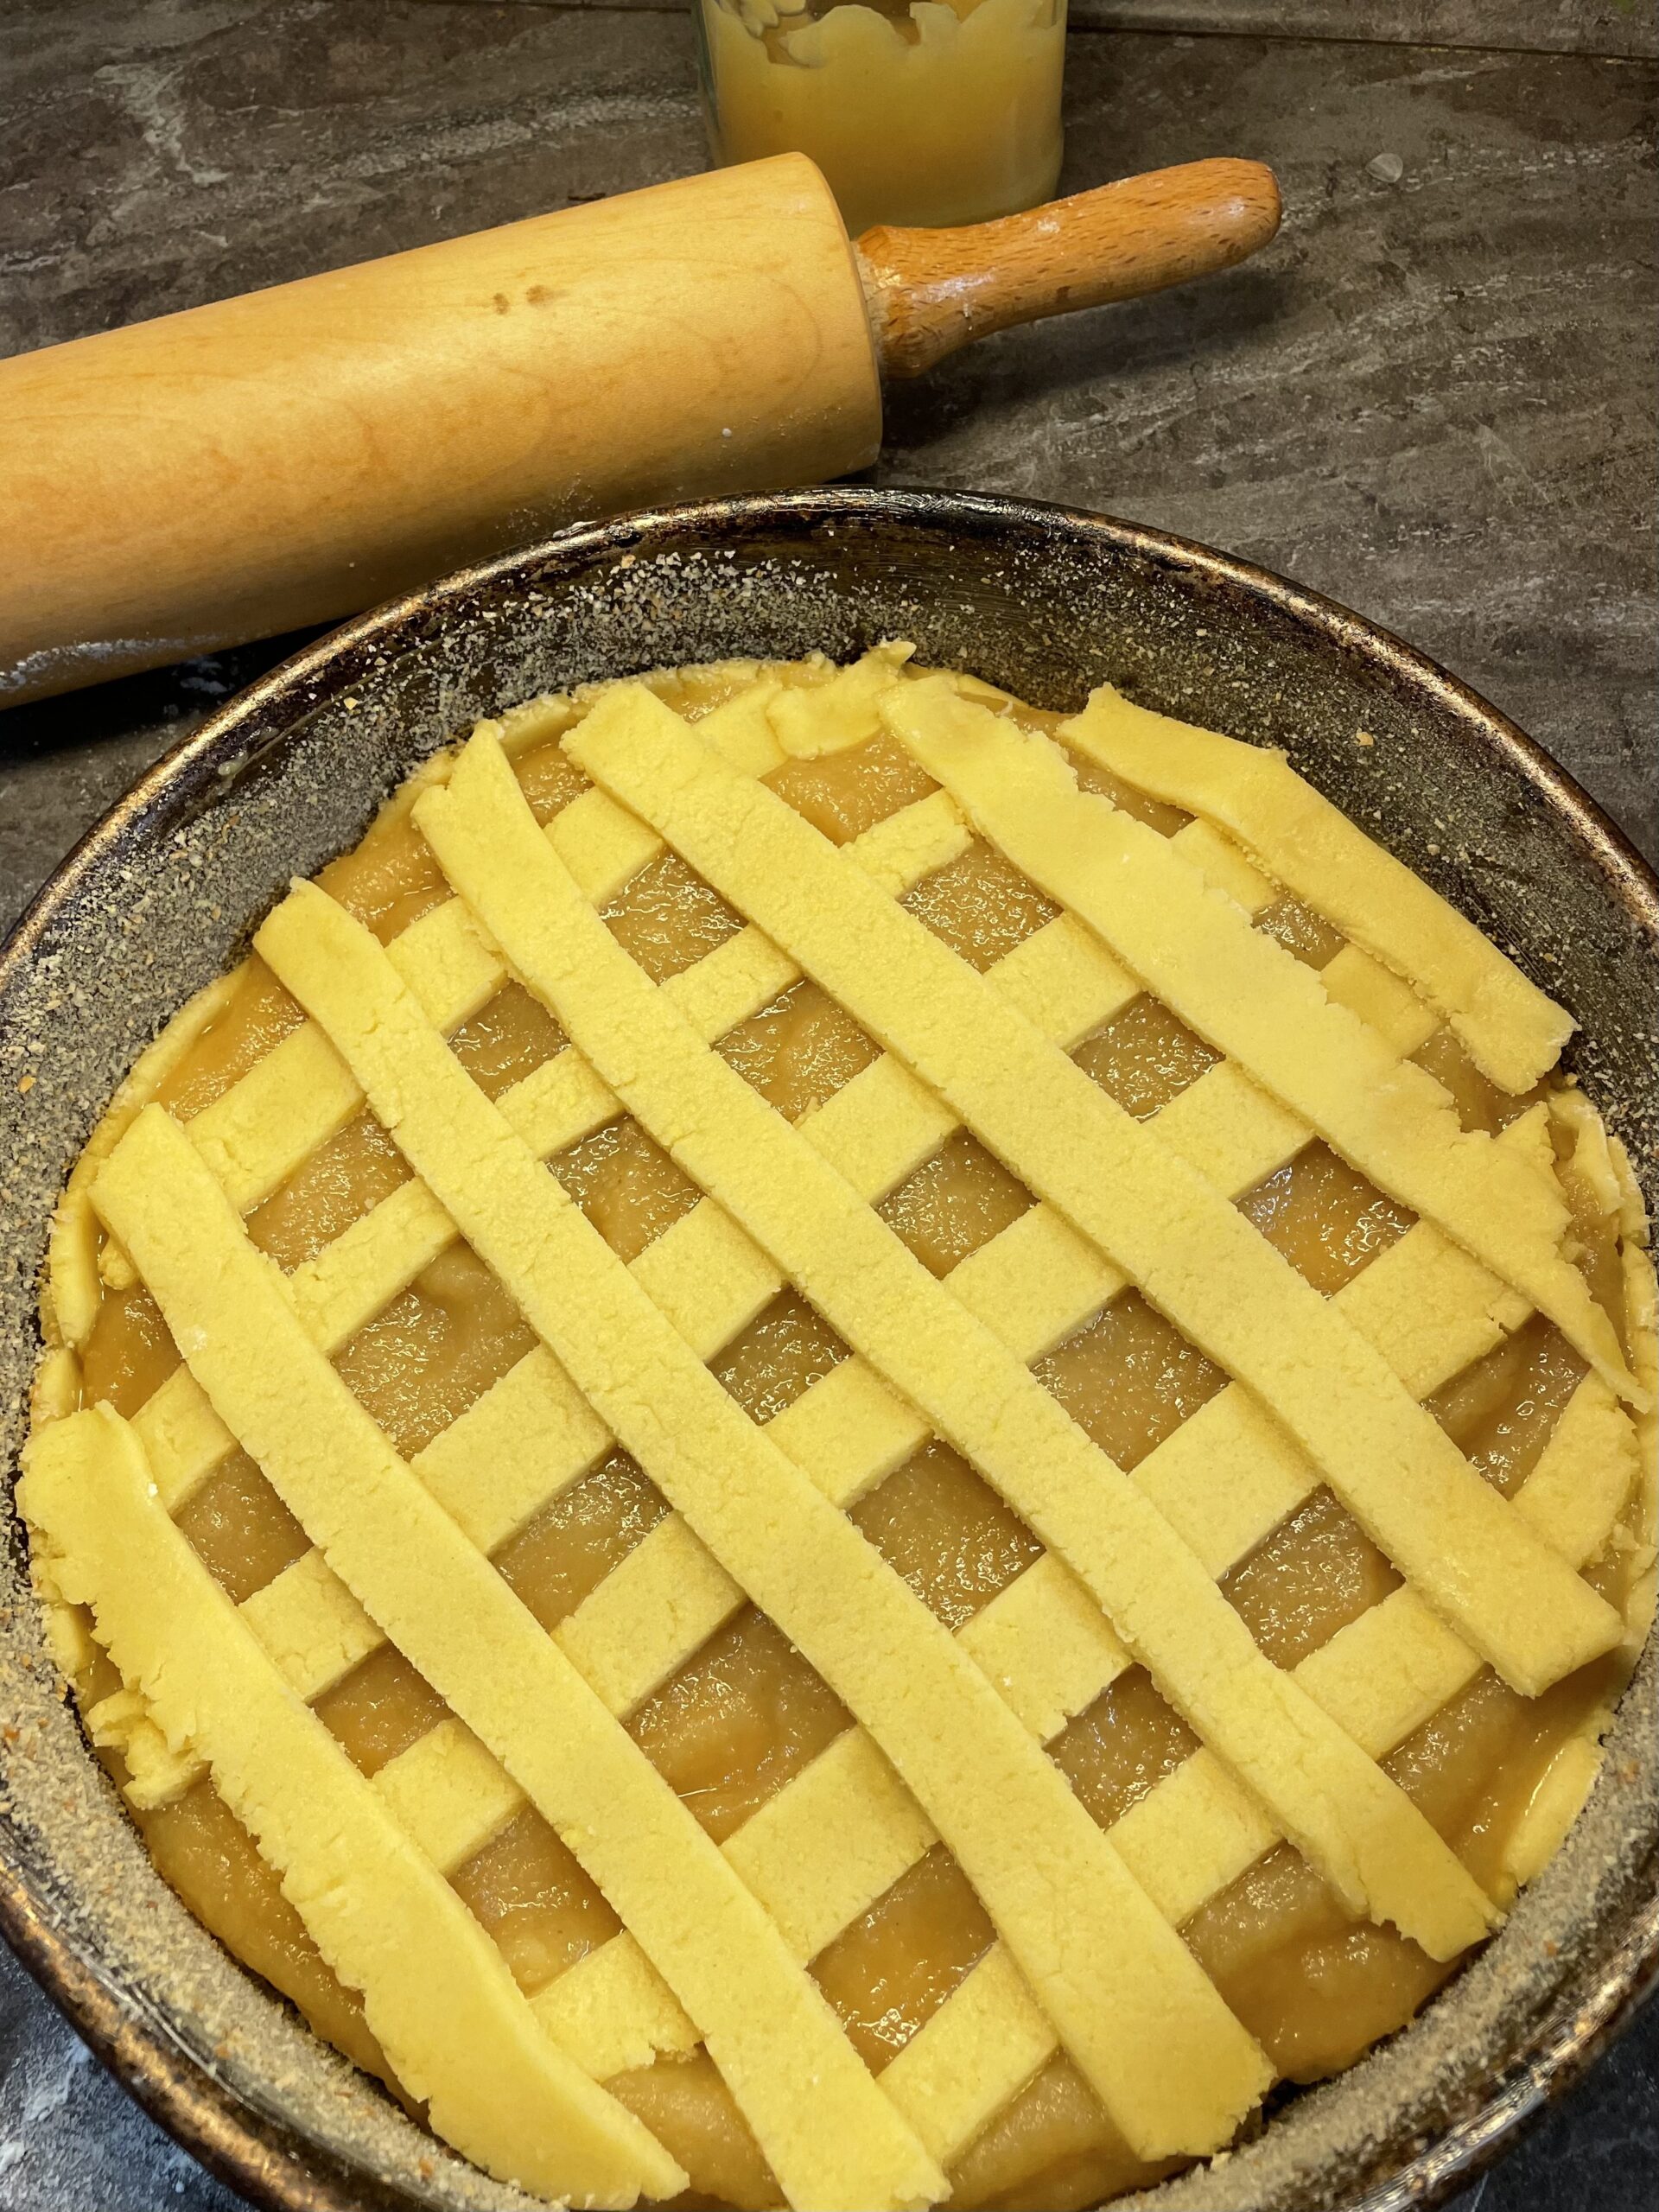
Bild zum Schritt 17 für das Bastel- und DIY-Abenteuer für Kinder: 'Danach legt ihr ihr die Streifen quer darüber. So entsteht...'

18

The cake is ready when the grill of the cake is slightly browned.
Let the cake cool for about 20 minutes.
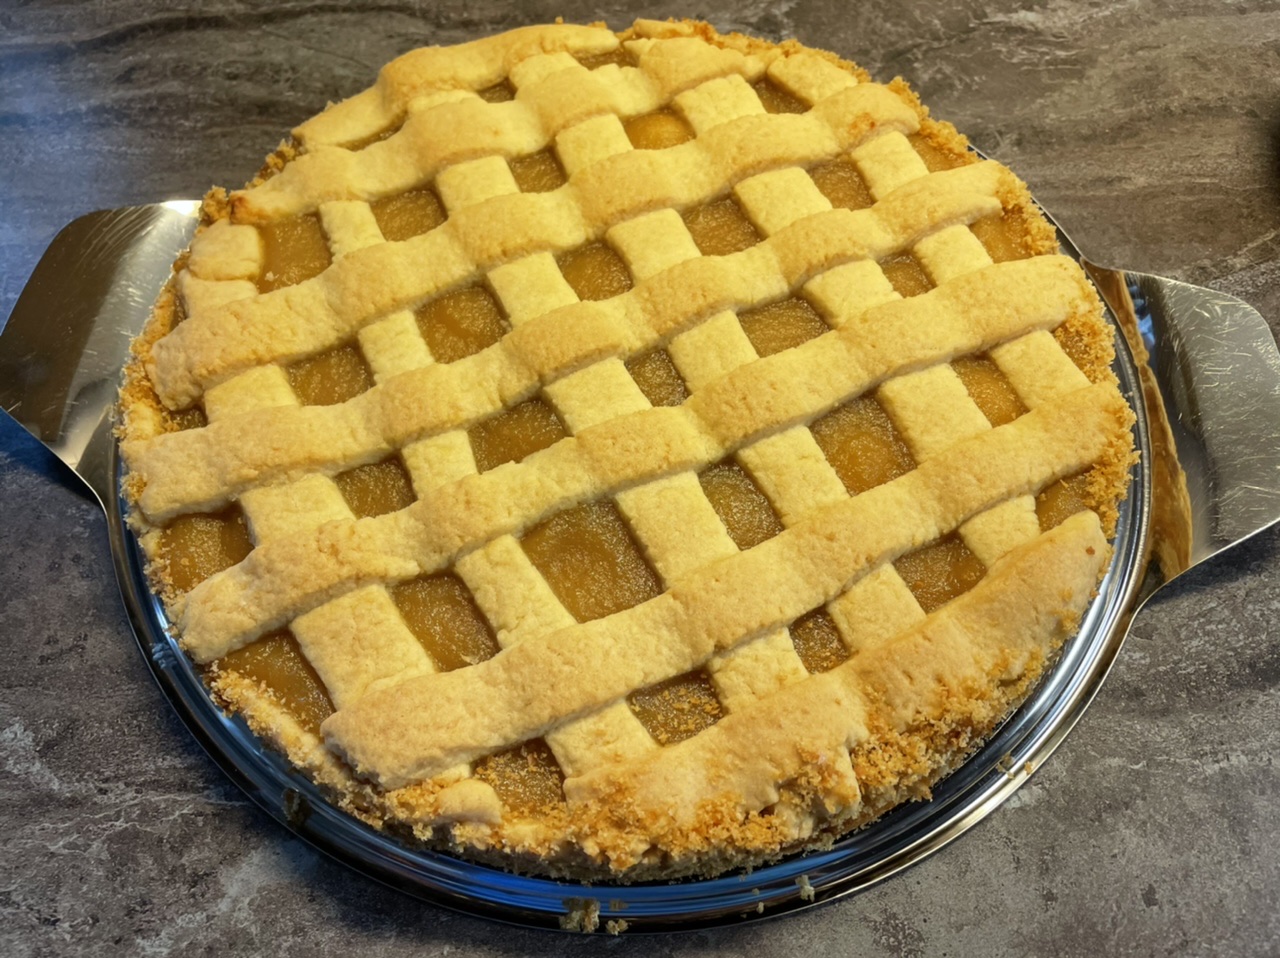
Bild zum Schritt 18 für das Bastel- und DIY-Abenteuer für Kinder: 'Der Kuchen ist fertig, wenn das Gitter des Kuchens leicht...'

19

Serve it with apple sauce.

Bild zum Schritt 19 für das Bastel- und DIY-Abenteuer für Kinder: 'Serviert ihn evtl. mit Apfelmus.'

20

The cake is made quickly and therefore also suitable for short-term announced coffee visits. Let it taste good.

21

Have fun baking!

Apple cider

Follow us on Facebook , Instagram and Pinterest
Don't miss any more adventures: Our bottle mail

Leave a Reply

Your email address will not be published.

The maximum upload file size: 5 MB. You can upload: image, document. Drop file here