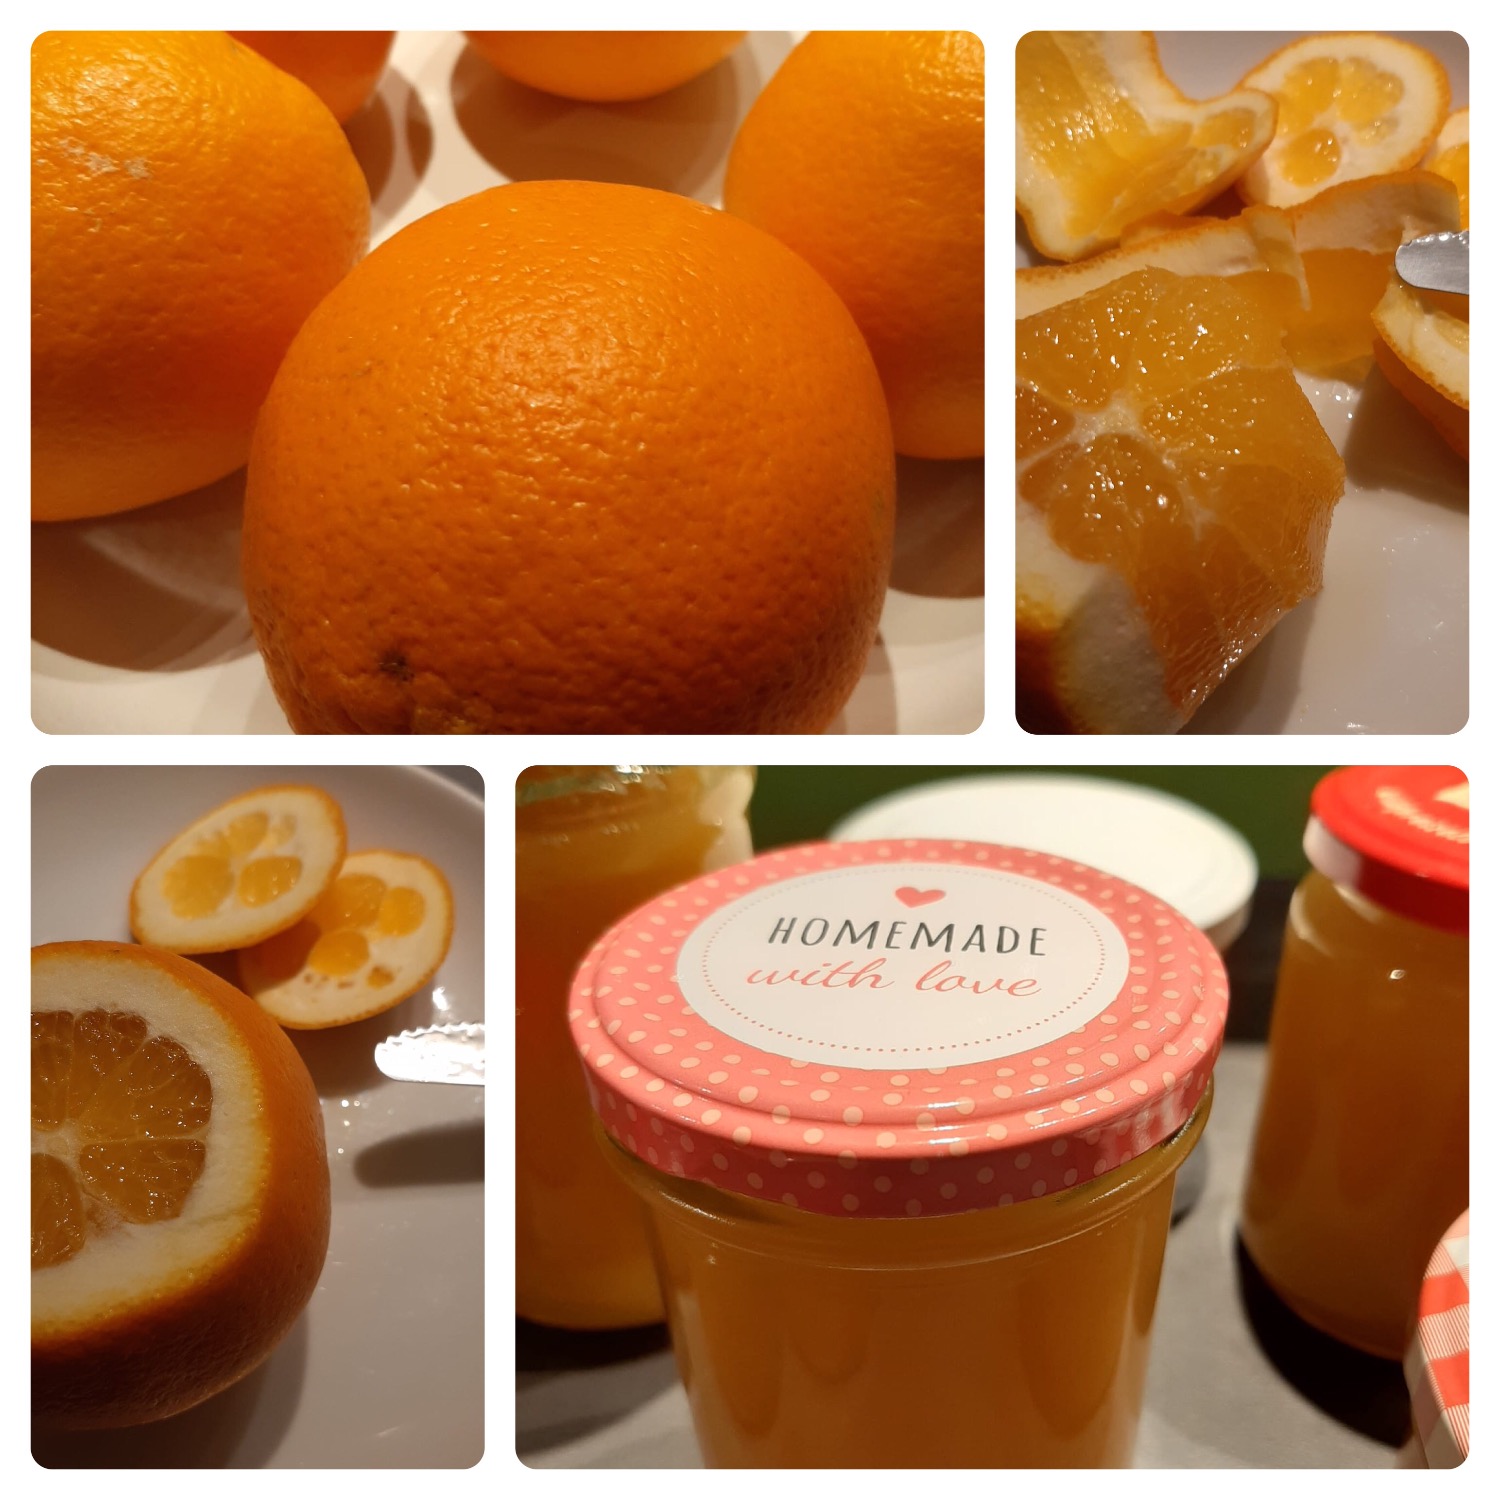
Orange jam homemade

AdventurerKatzi
Rating5.010.8 thousand times & (2) DifficultyAdvanced

Cooking jam is not so complicated. This delicious orange jam is best done in the winter months, because at this time the oranges are particularly tasty and juicy.

Media Education for Kindergarten and Hort

Kind bastelt eine Rassel mit dem Navi
The Adventure Navi, the app for DIY projects, enables media education for the youngest.

Relief in everyday life, targeted promotion of individual children, independent learning and - without any pre-knowledge already usable by the youngest!

Titelbild zur Bastel- und DIY-Idee für Kinder '(547) Orangen-Marmelade selbstgemacht'
Material for1 Child
Prep Time10 min.Adv. Time30 min.Total Time40 min.
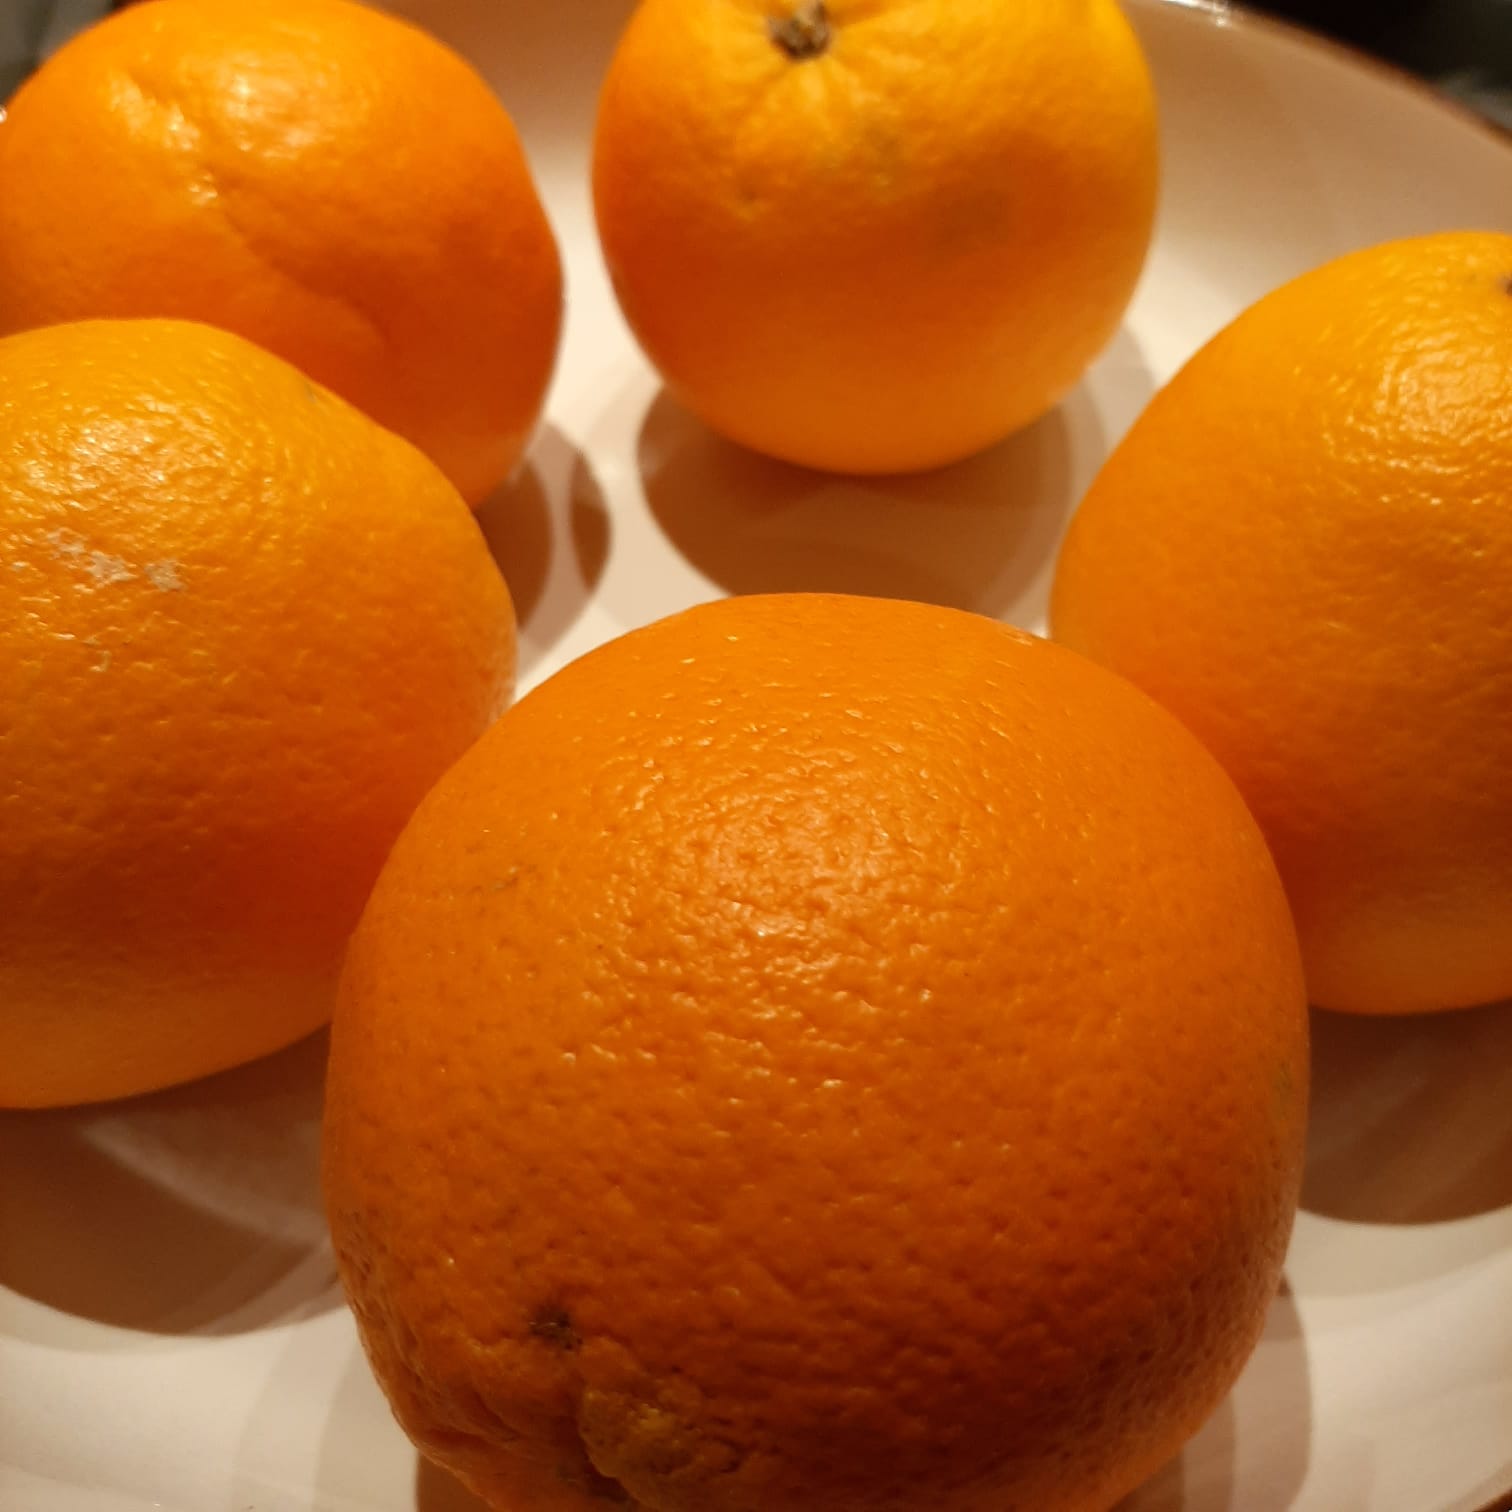
 7 Shelled organic oranges
 750 g Orange juice with flesh
 grated orange peel
 500 g Gelling sugar 3:1
That's what you need.
 Thermomix Alternatively, you use a high-performance mixer and a pot
 1 Cutting pad
 Possibly kettle to rinse the glasses hot
 Jam jars with matching lids
All links marked with a shopping cart lead to Amazon - here we have selected products that we would order ourselves and in part also ordered. In a qualified purchase via the advertising link, we as Amazon partner receive a commission, for you there are no costs. You thus support our cost- and advertising banner-free, educational offer.
1

2. Bild zum Abenteuer für das Bastel- und DIY-Abenteuer für Kinder: '(547) Orangen-Marmelade selbstgemacht'

2

First, peel the oranges. First, cut off the top and bottom.
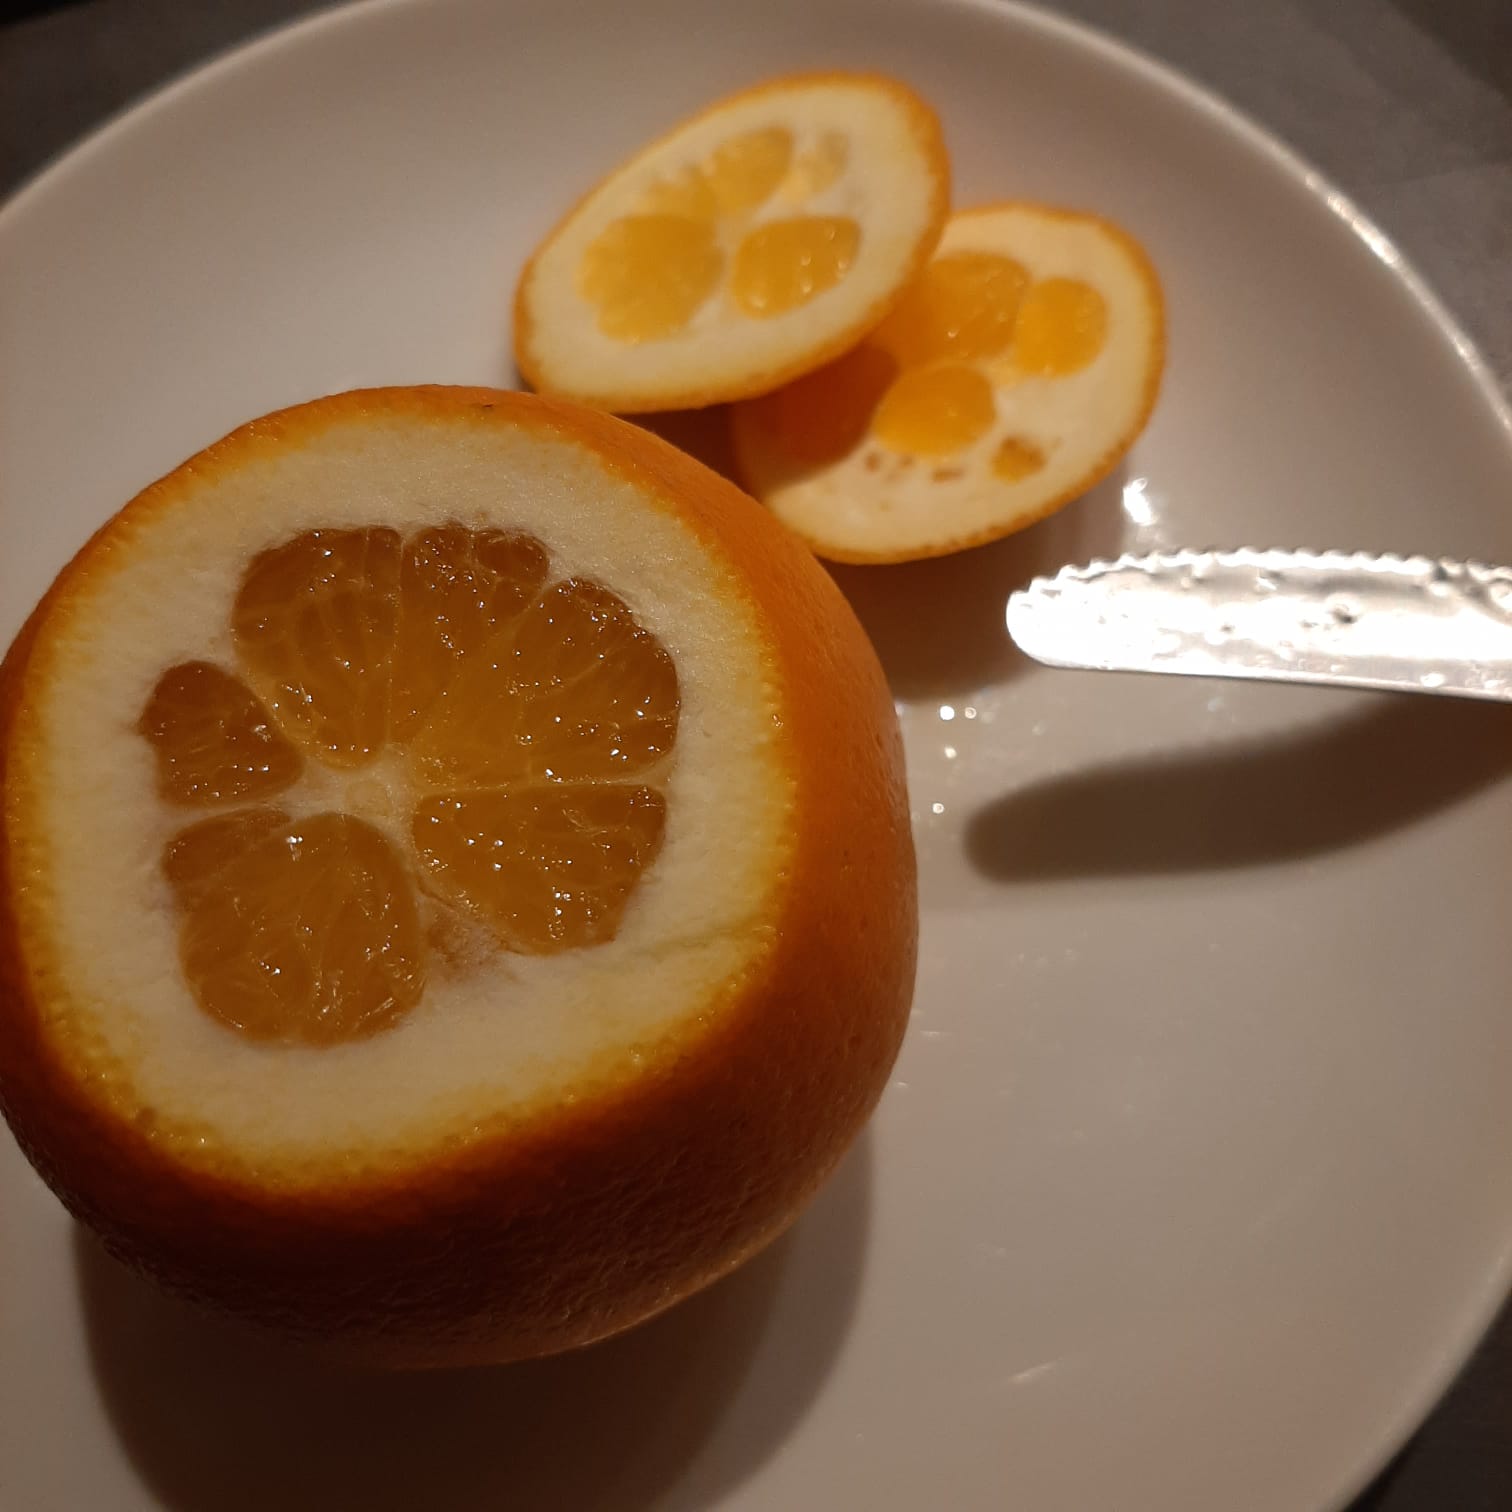
Bild zum Schritt 2 für das Bastel- und DIY-Abenteuer für Kinder: 'Schält zuerst die Orangen. Dafür schneidet zunächst die Ober-und Unterseite...'

3

Then remove the white skin. To do this, use a sharp knife to cut off the sides from the top. This thin white skin tastes bitter.

Bild zum Schritt 3 für das Bastel- und DIY-Abenteuer für Kinder: 'Anschließend entfernt ihr die weiße Haut. Dafür schneidet ihr mit...'

4

Then cut out the middle trunk of the orange. Then remove all the nuclei - if any are present.

Bild zum Schritt 4 für das Bastel- und DIY-Abenteuer für Kinder: 'Anschließend schneidet ihr den mittleren Strunk der Orange heraus. Danach...'

5

Now you cut the orange into large cubes and put it in the thermomix or high-performance mixer.

6

Now you're purging the orange pieces.

7

Then give the gelling sugar, the juice and the grated orange peel to the pureed oranges and make all this boil.

Thermomix: 19 minutes / 100 degrees / level 2-3
8

Attention: Stay with it!i

9

Now make the gelling test and check if the jam is solid enough. Possibly, it cooks again for one minute.

10

Then rinse the jam jars with hot water.
Now you can fill the glasses with the jam.

11

Screw the glasses and place them on the head (cover) for 5 to 10 minutes.

Bild zum Schritt 12 für das Bastel- und DIY-Abenteuer für Kinder: 'Schraubt die Gläser zu und stellt sie für 5 bis...'

12

Then you turn her around again and let her cool down.

Bild zum Schritt 13 für das Bastel- und DIY-Abenteuer für Kinder: 'Danach dreht ihr sie wieder um und lasst sie abkühlen.'

13

This jam is also a nice gift!

14

Have fun trying it out!

Materials

 7 Shelled organic oranges
 750 g Orange juice with flesh
 grated orange peel
 500 g Gelling sugar 3:1
That's what you need.
 Thermomix Alternatively, you use a high-performance mixer and a pot
 1 Cutting pad
 Possibly kettle to rinse the glasses hot
 Jam jars with matching lids
All links marked with a shopping cart lead to Amazon - here we have selected products that we would order ourselves and in part also ordered. In a qualified purchase via the advertising link, we as Amazon partner receive a commission, for you there are no costs. You thus support our cost- and advertising banner-free, educational offer.

Directions

1

2. Bild zum Abenteuer für das Bastel- und DIY-Abenteuer für Kinder: '(547) Orangen-Marmelade selbstgemacht'

2

First, peel the oranges. First, cut off the top and bottom.

Bild zum Schritt 2 für das Bastel- und DIY-Abenteuer für Kinder: 'Schält zuerst die Orangen. Dafür schneidet zunächst die Ober-und Unterseite...'

3

Then remove the white skin. To do this, use a sharp knife to cut off the sides from the top. This thin white skin tastes bitter.
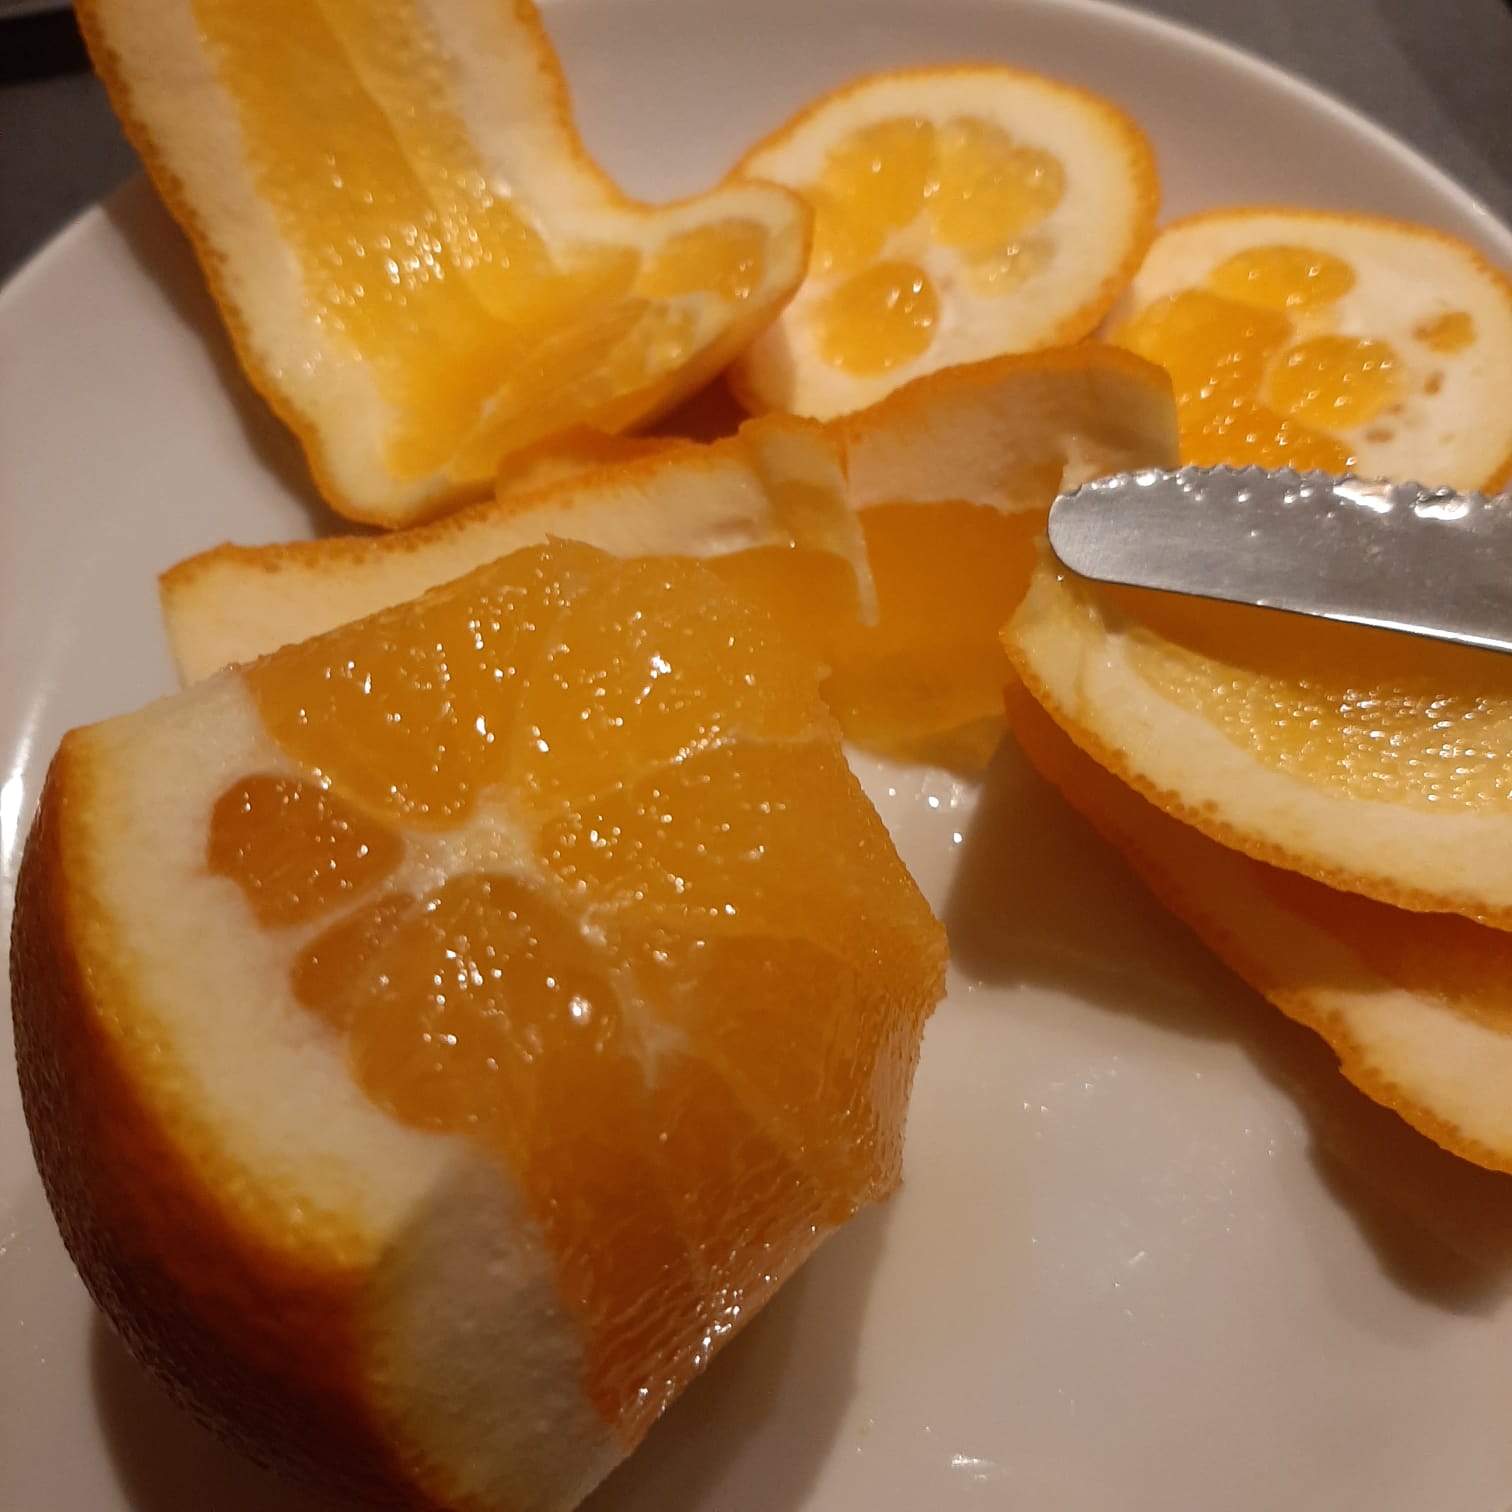
Bild zum Schritt 3 für das Bastel- und DIY-Abenteuer für Kinder: 'Anschließend entfernt ihr die weiße Haut. Dafür schneidet ihr mit...'

4

Then cut out the middle trunk of the orange. Then remove all the nuclei - if any are present.
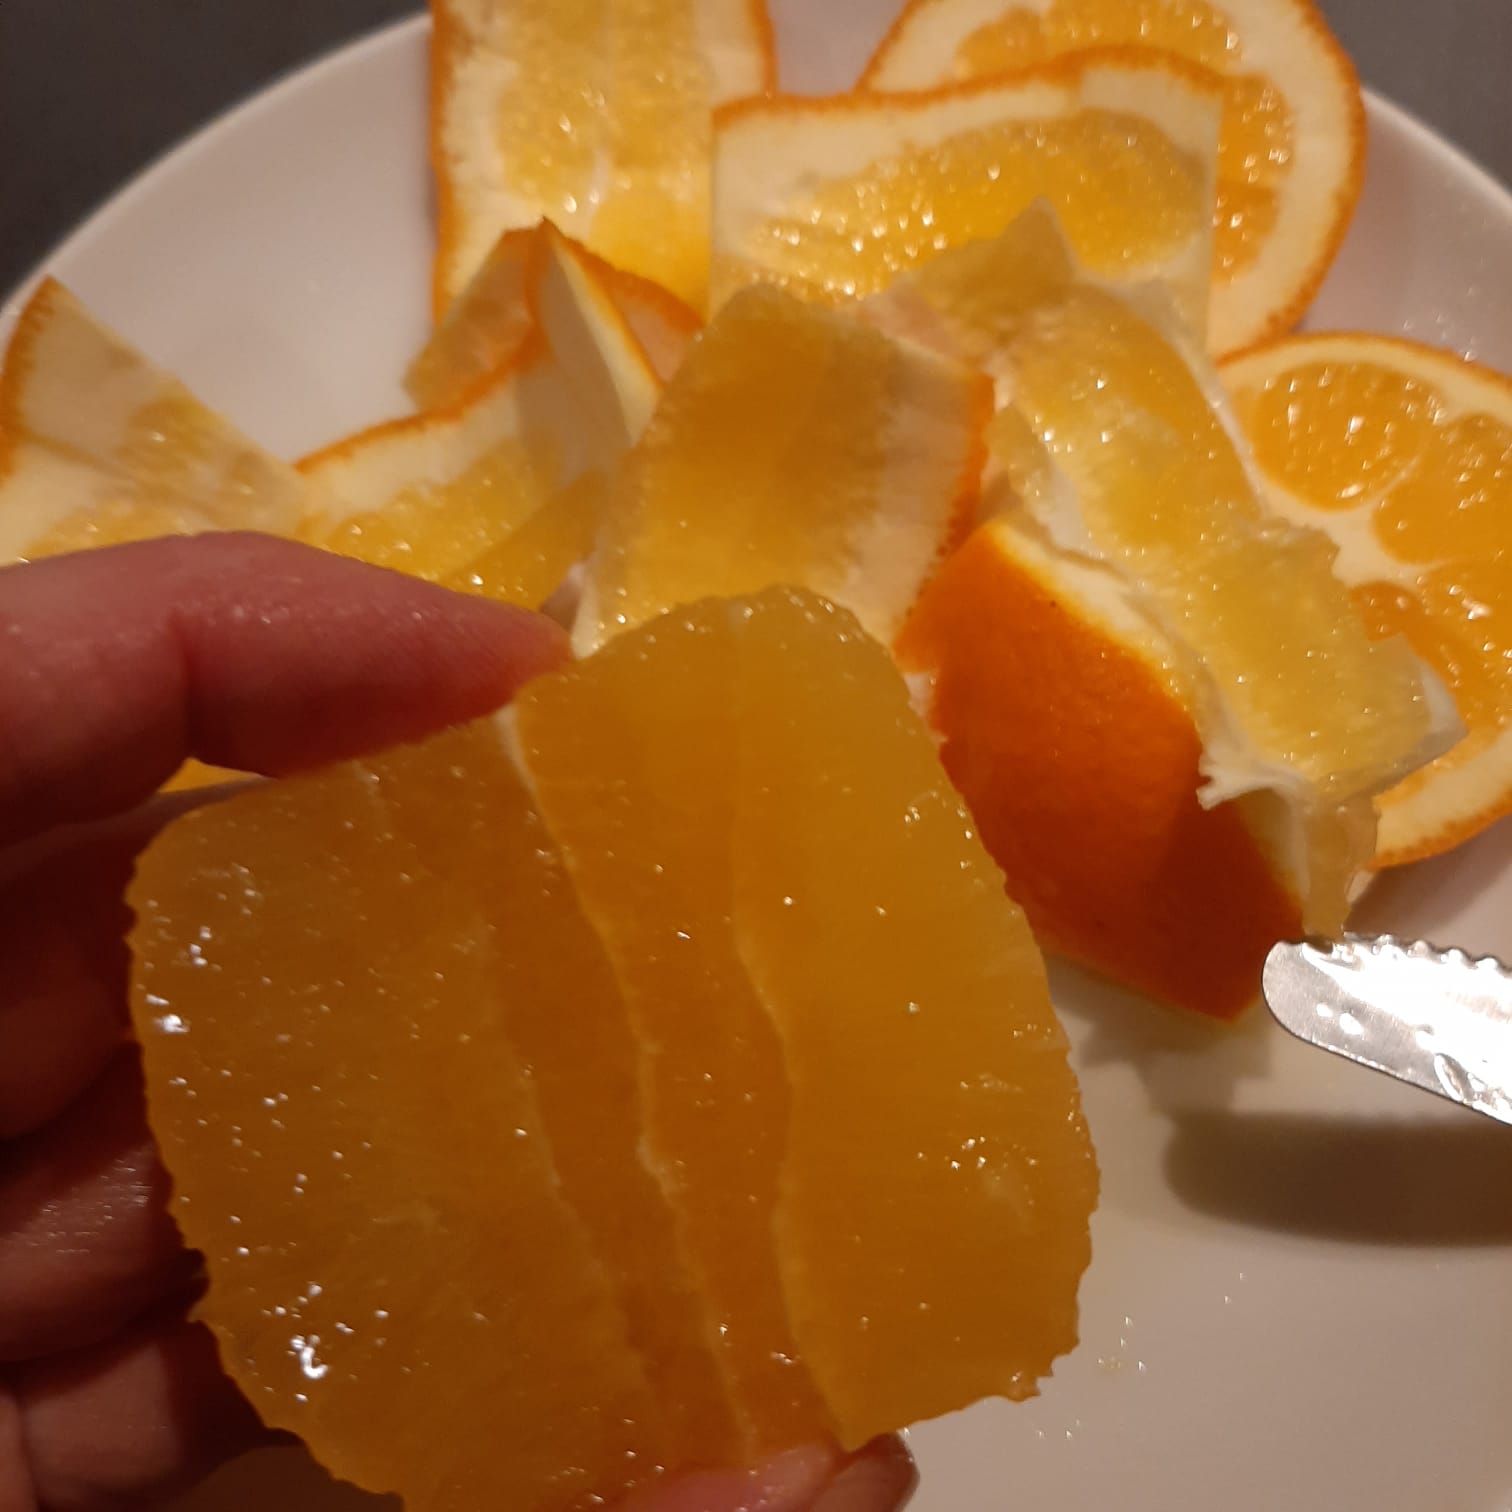
Bild zum Schritt 4 für das Bastel- und DIY-Abenteuer für Kinder: 'Anschließend schneidet ihr den mittleren Strunk der Orange heraus. Danach...'

5

Now you cut the orange into large cubes and put it in the thermomix or high-performance mixer.

6

Now you're purging the orange pieces.

7

Then give the gelling sugar, the juice and the grated orange peel to the pureed oranges and make all this boil.

Thermomix: 19 minutes / 100 degrees / level 2-3
8

Attention: Stay with it!i

9

Now make the gelling test and check if the jam is solid enough. Possibly, it cooks again for one minute.

10

Then rinse the jam jars with hot water.
Now you can fill the glasses with the jam.

11

Screw the glasses and place them on the head (cover) for 5 to 10 minutes.

Bild zum Schritt 12 für das Bastel- und DIY-Abenteuer für Kinder: 'Schraubt die Gläser zu und stellt sie für 5 bis...'

12

Then you turn her around again and let her cool down.
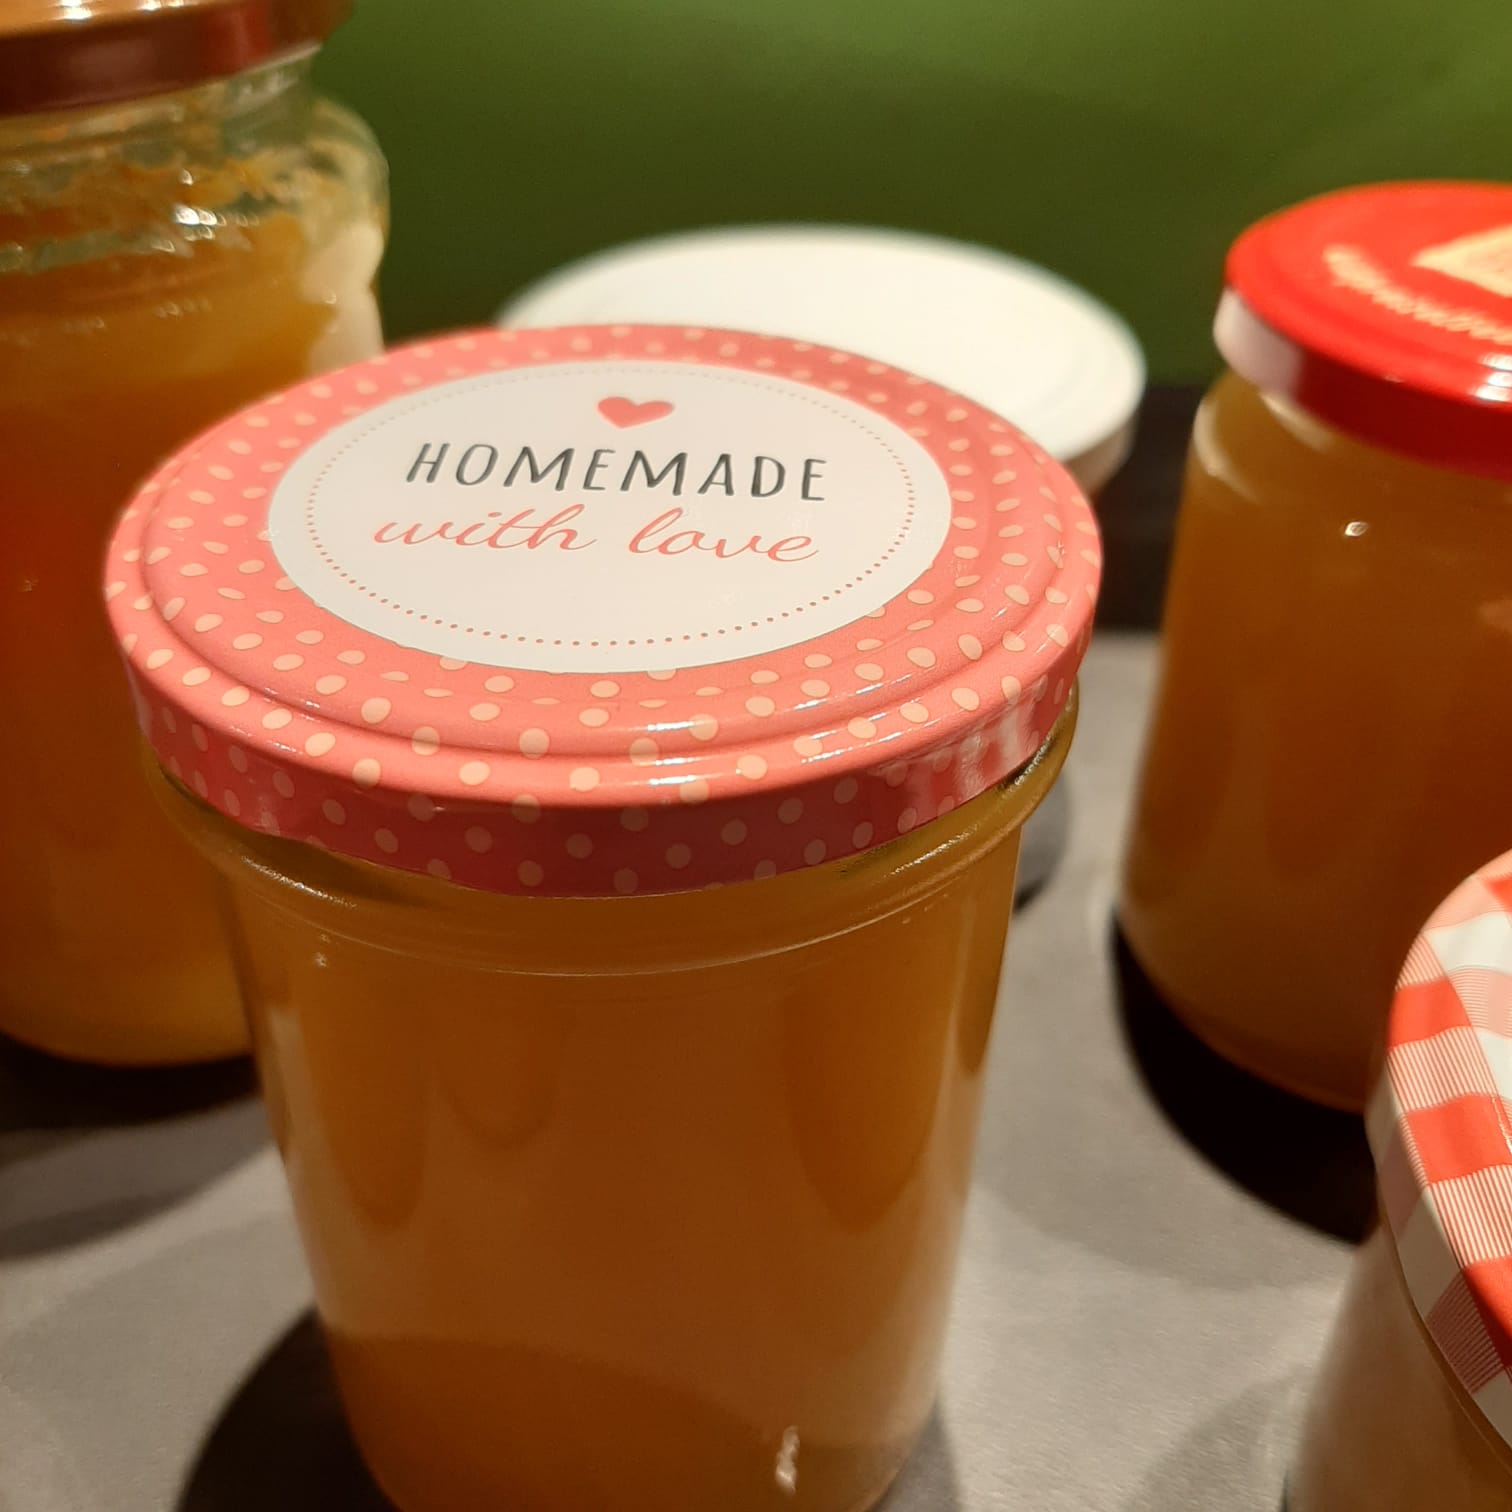
Bild zum Schritt 13 für das Bastel- und DIY-Abenteuer für Kinder: 'Danach dreht ihr sie wieder um und lasst sie abkühlen.'

13

This jam is also a nice gift!

14

Have fun trying it out!

Orange jam homemade

Follow us on Facebook , Instagram and Pinterest
Don't miss any more adventures: Our bottle mail

One Comment

  1. 2.0 thousand times & ()

    This jam is so delicious that we emptied the first glass within a few days.
    Absolute recommendation! Who likes it sweet and fruity, will love it?

Leave a Reply

Your email address will not be published.

The maximum upload file size: 5 MB. You can upload: image, document. Drop file here