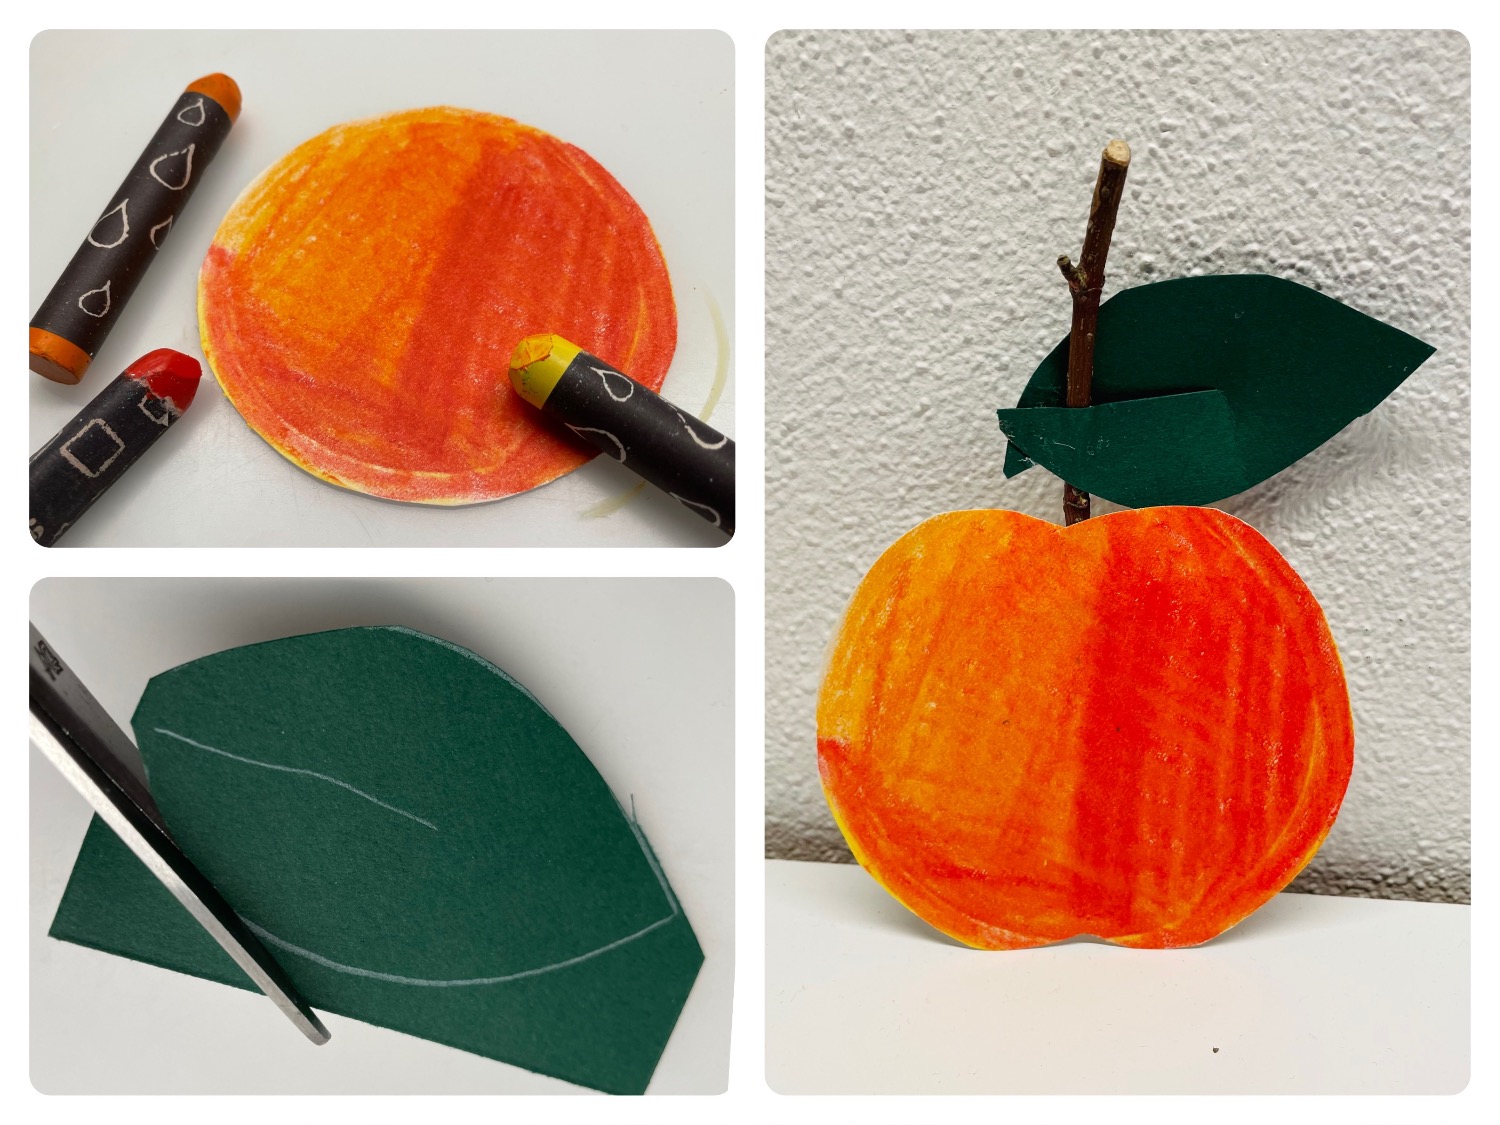
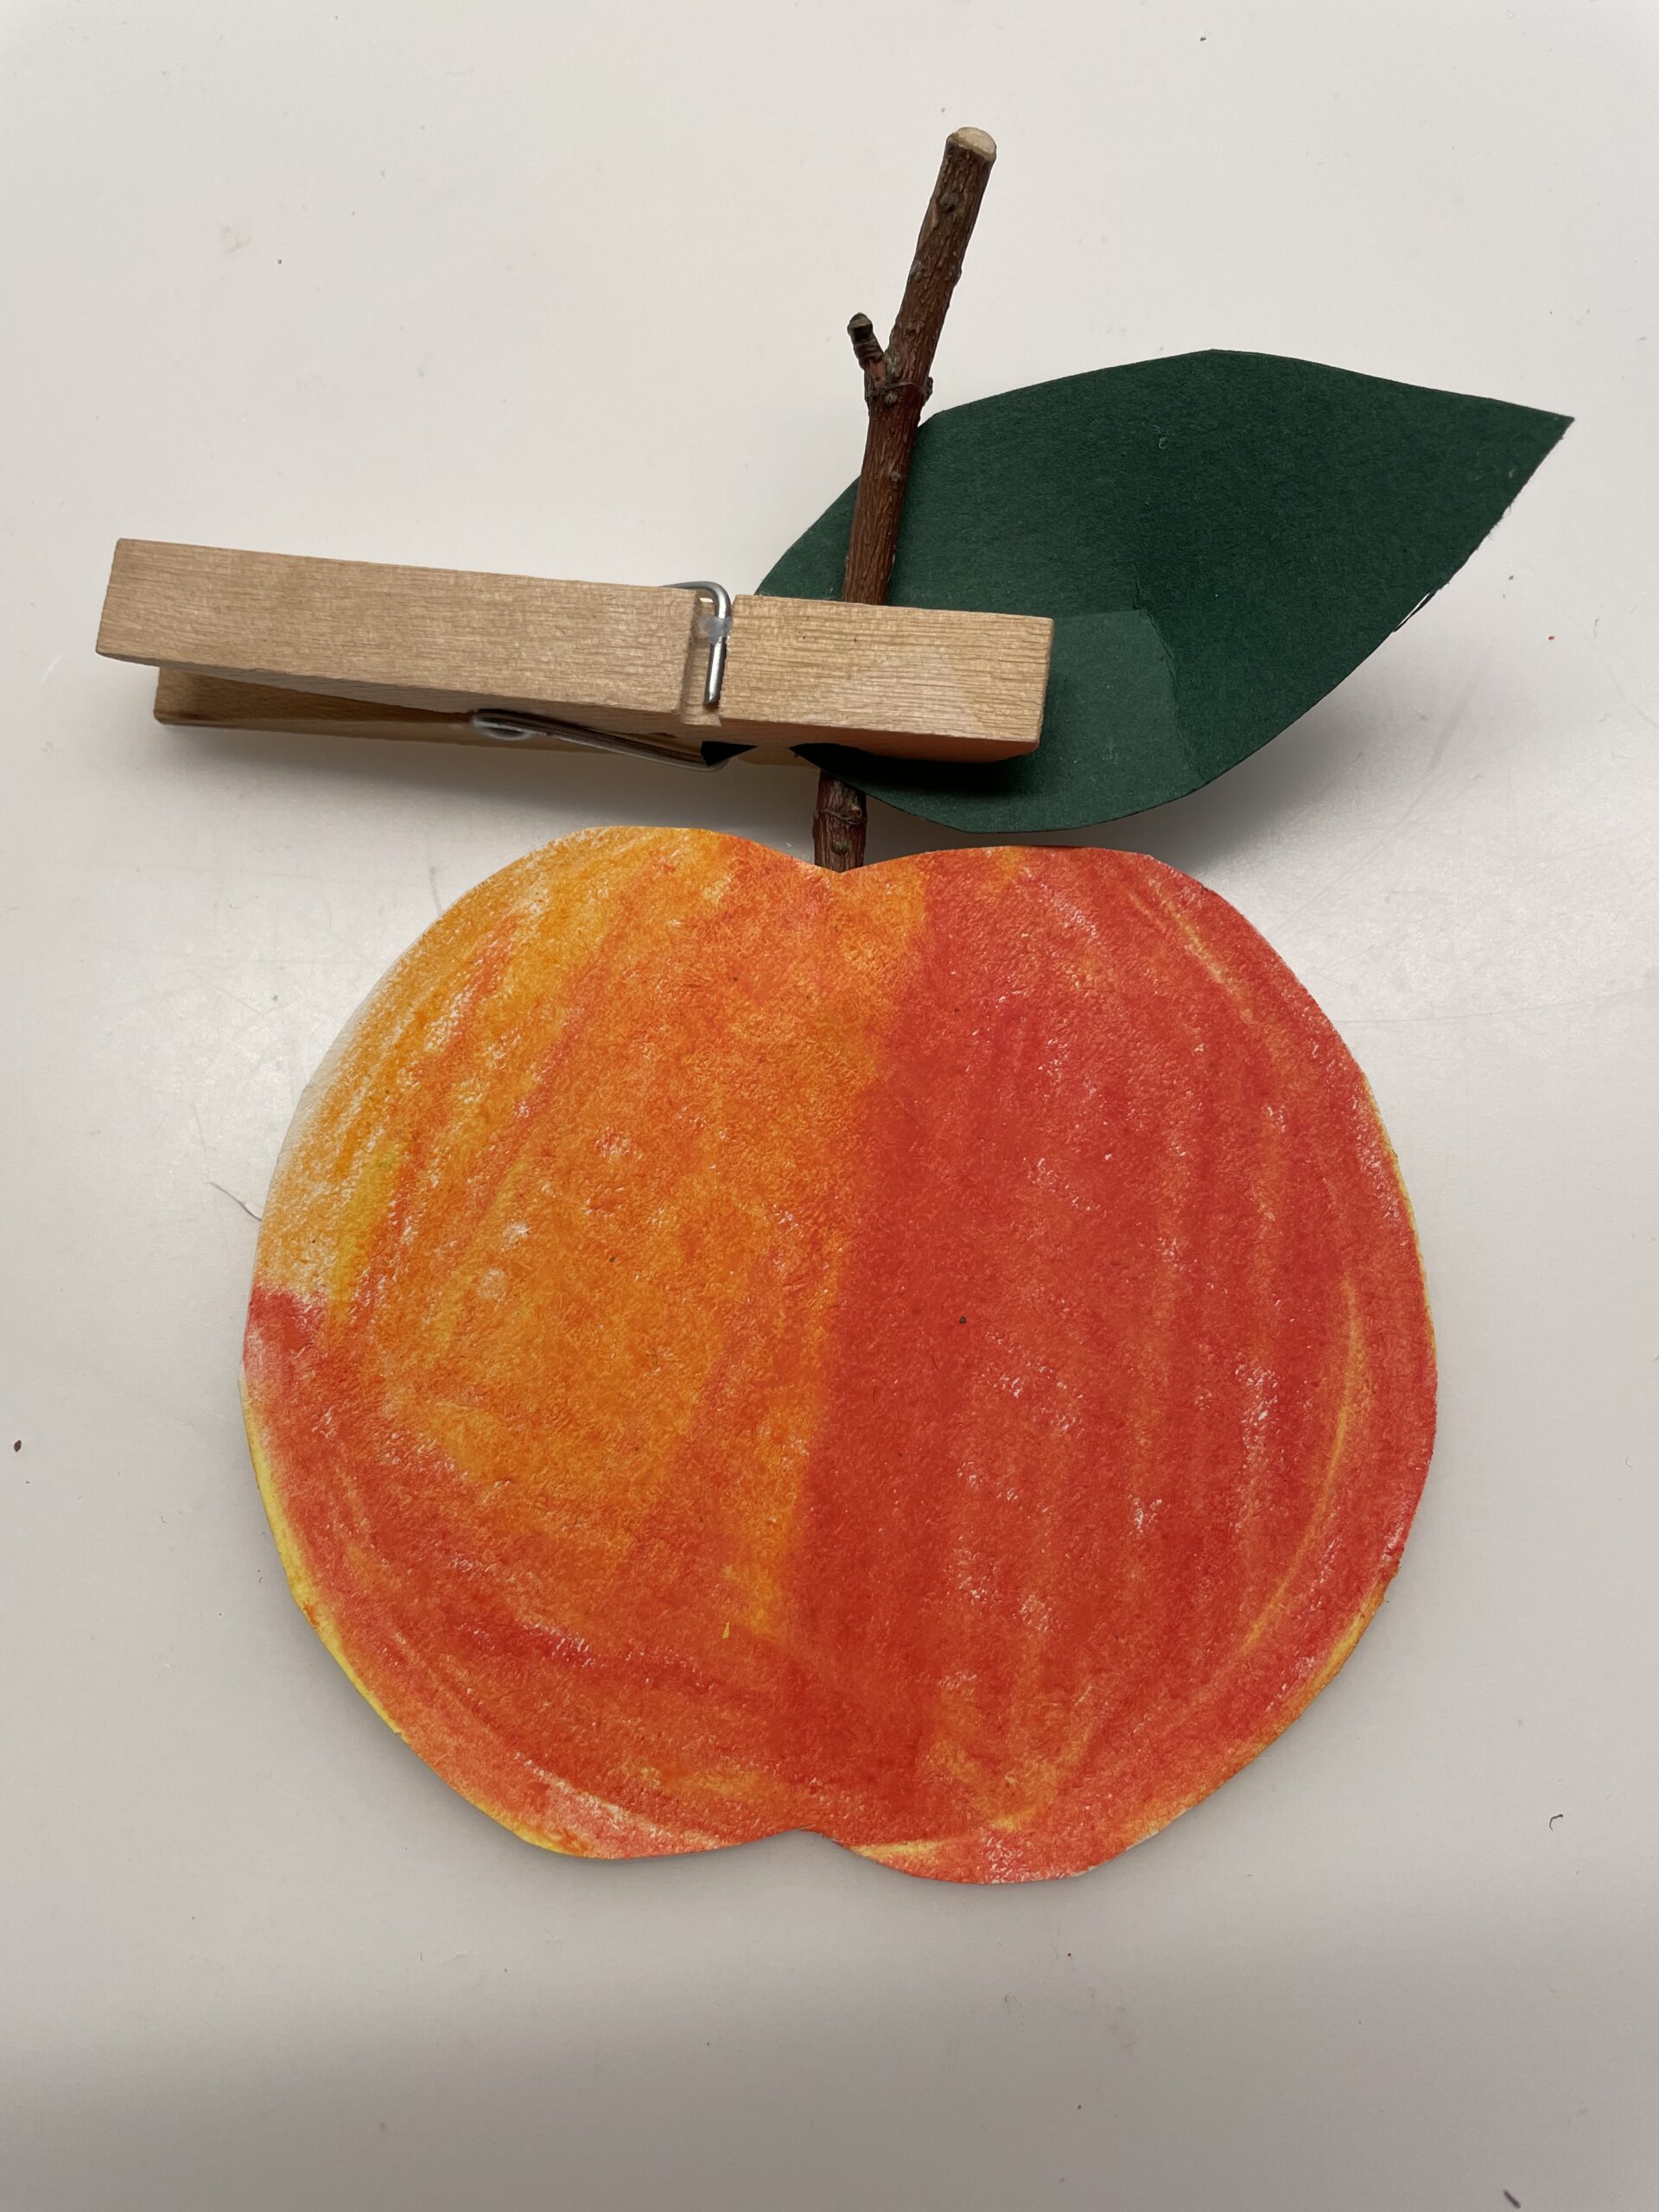
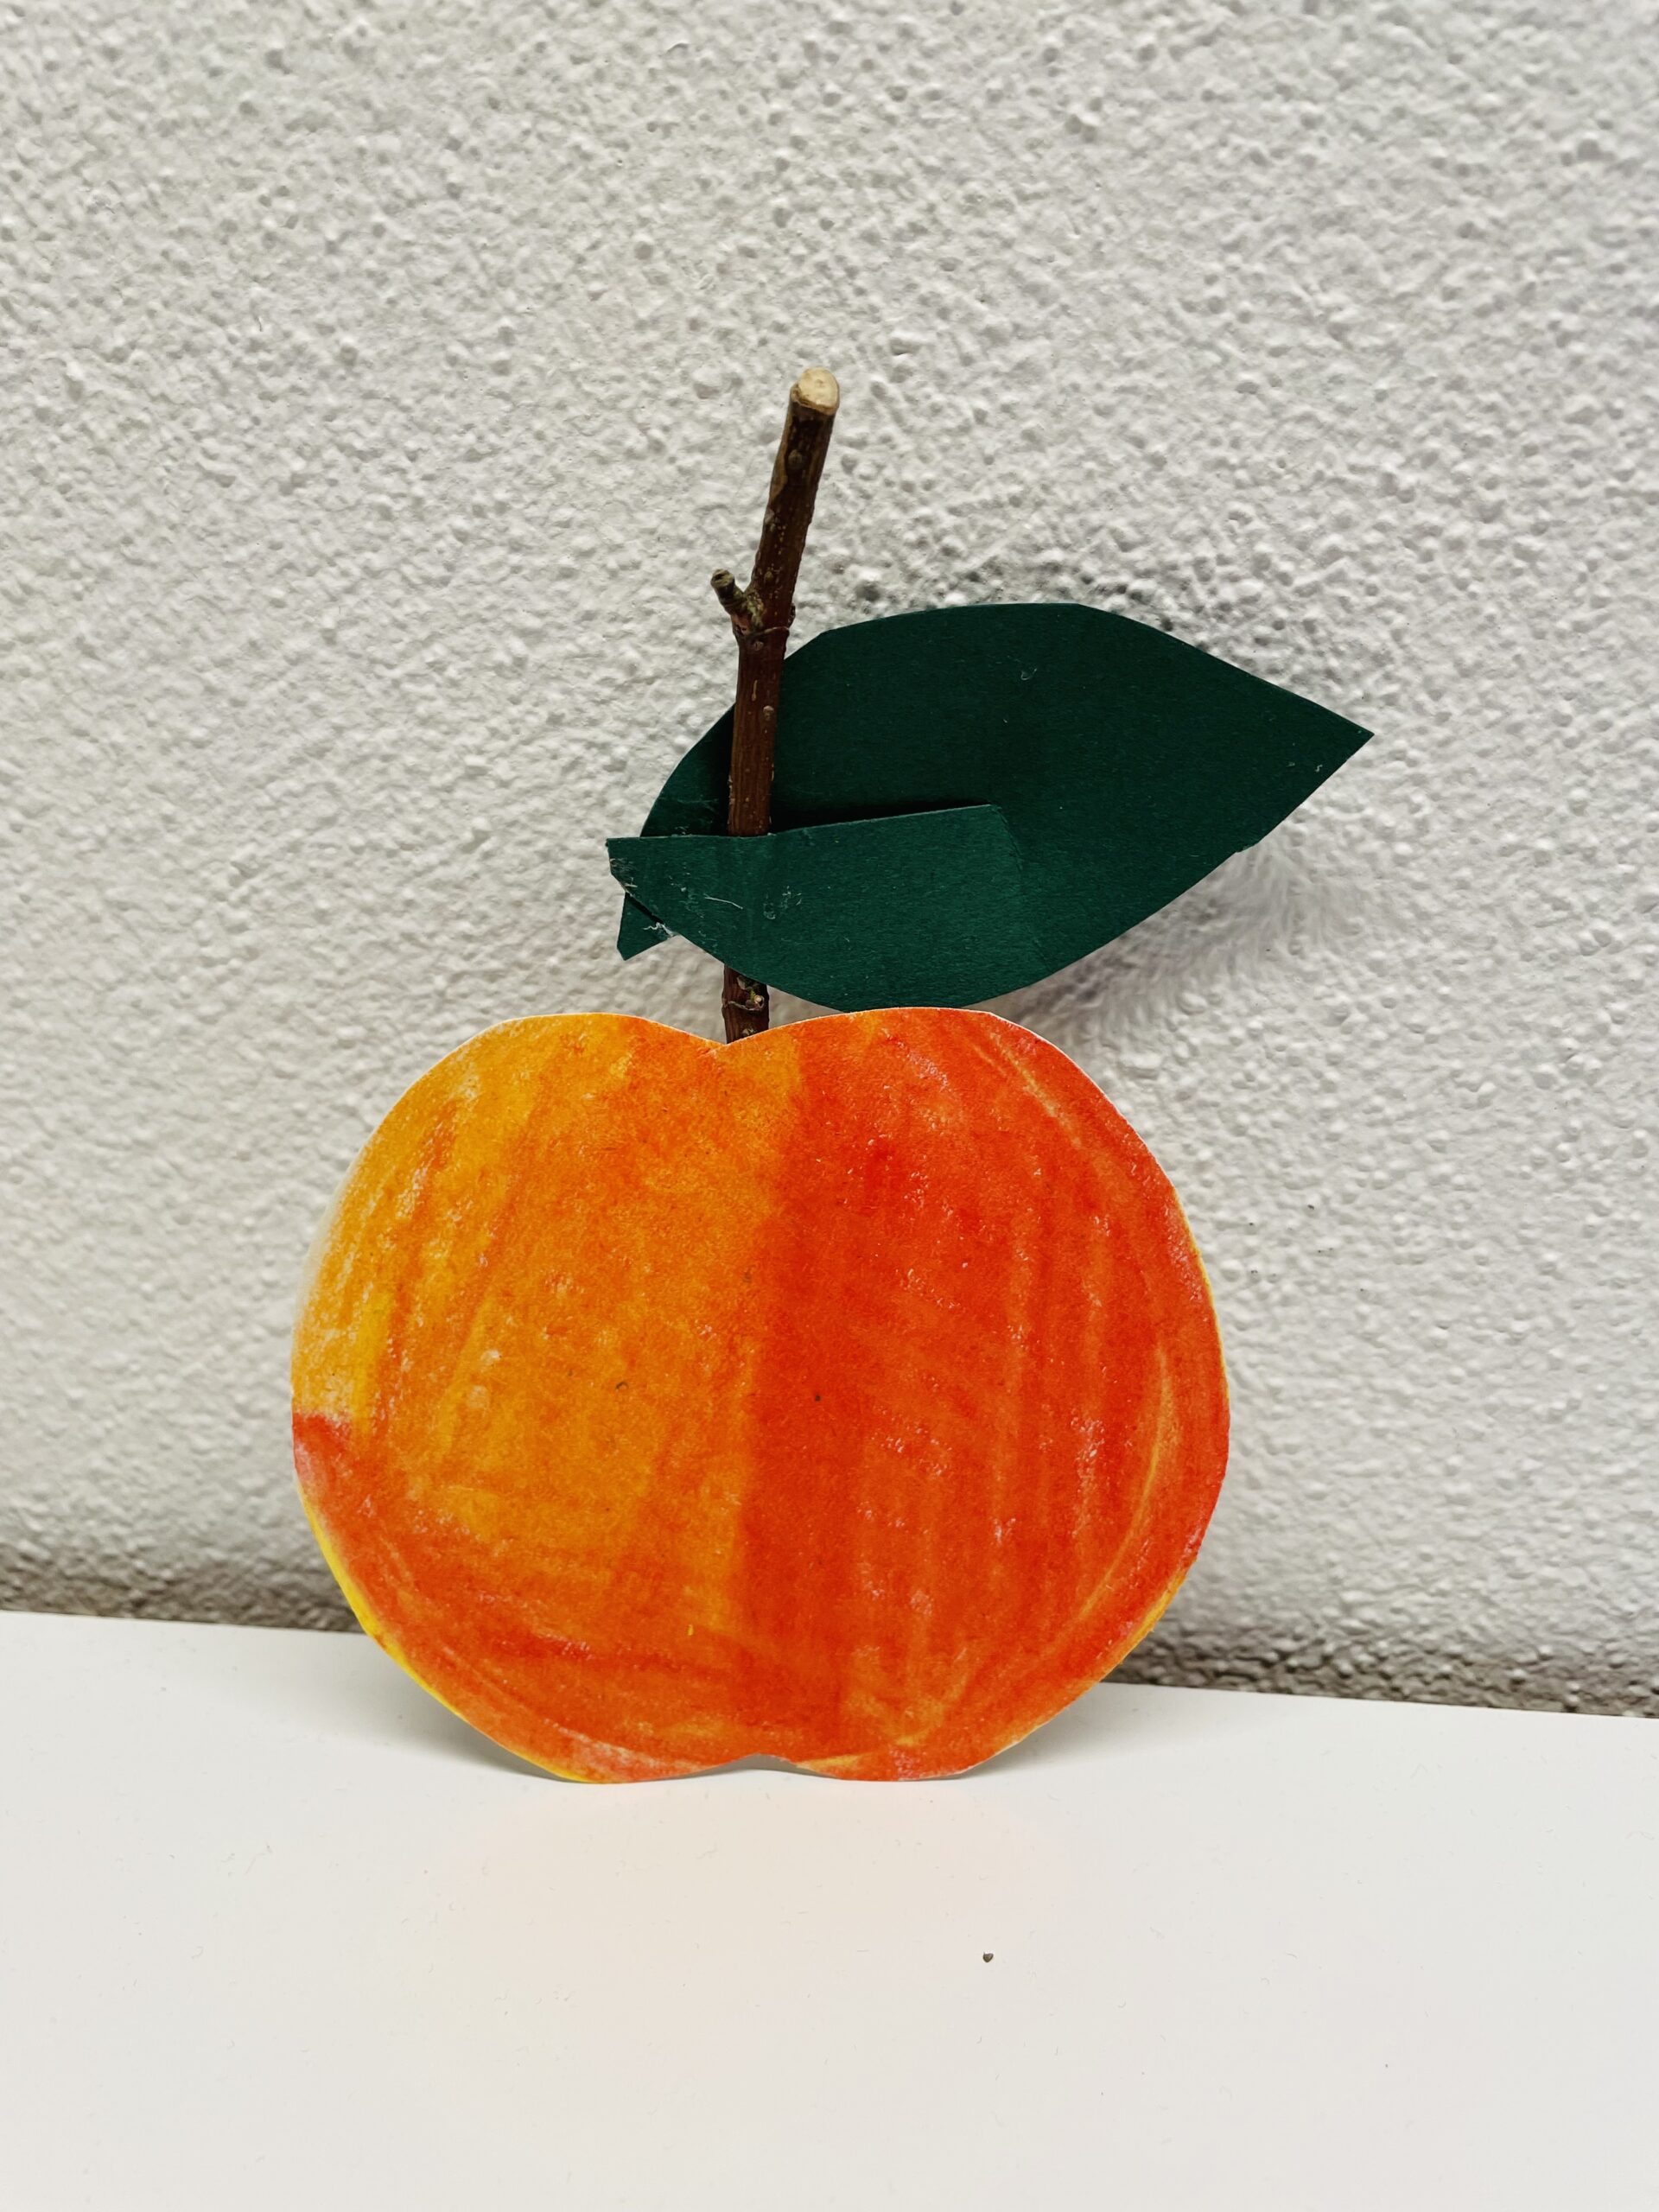
This bright apple is painted with crayons. Then a small branch and a leaf are attached to it.Finished is this pretty and bright apple. Use it for example as a gift pendant, for decoration for a table in autumn or hang it on a branch. Enjoy!
Media Education for Kindergarten and Hort

Relief in everyday life, targeted promotion of individual children, independent learning and - without any pre-knowledge already usable by the youngest!
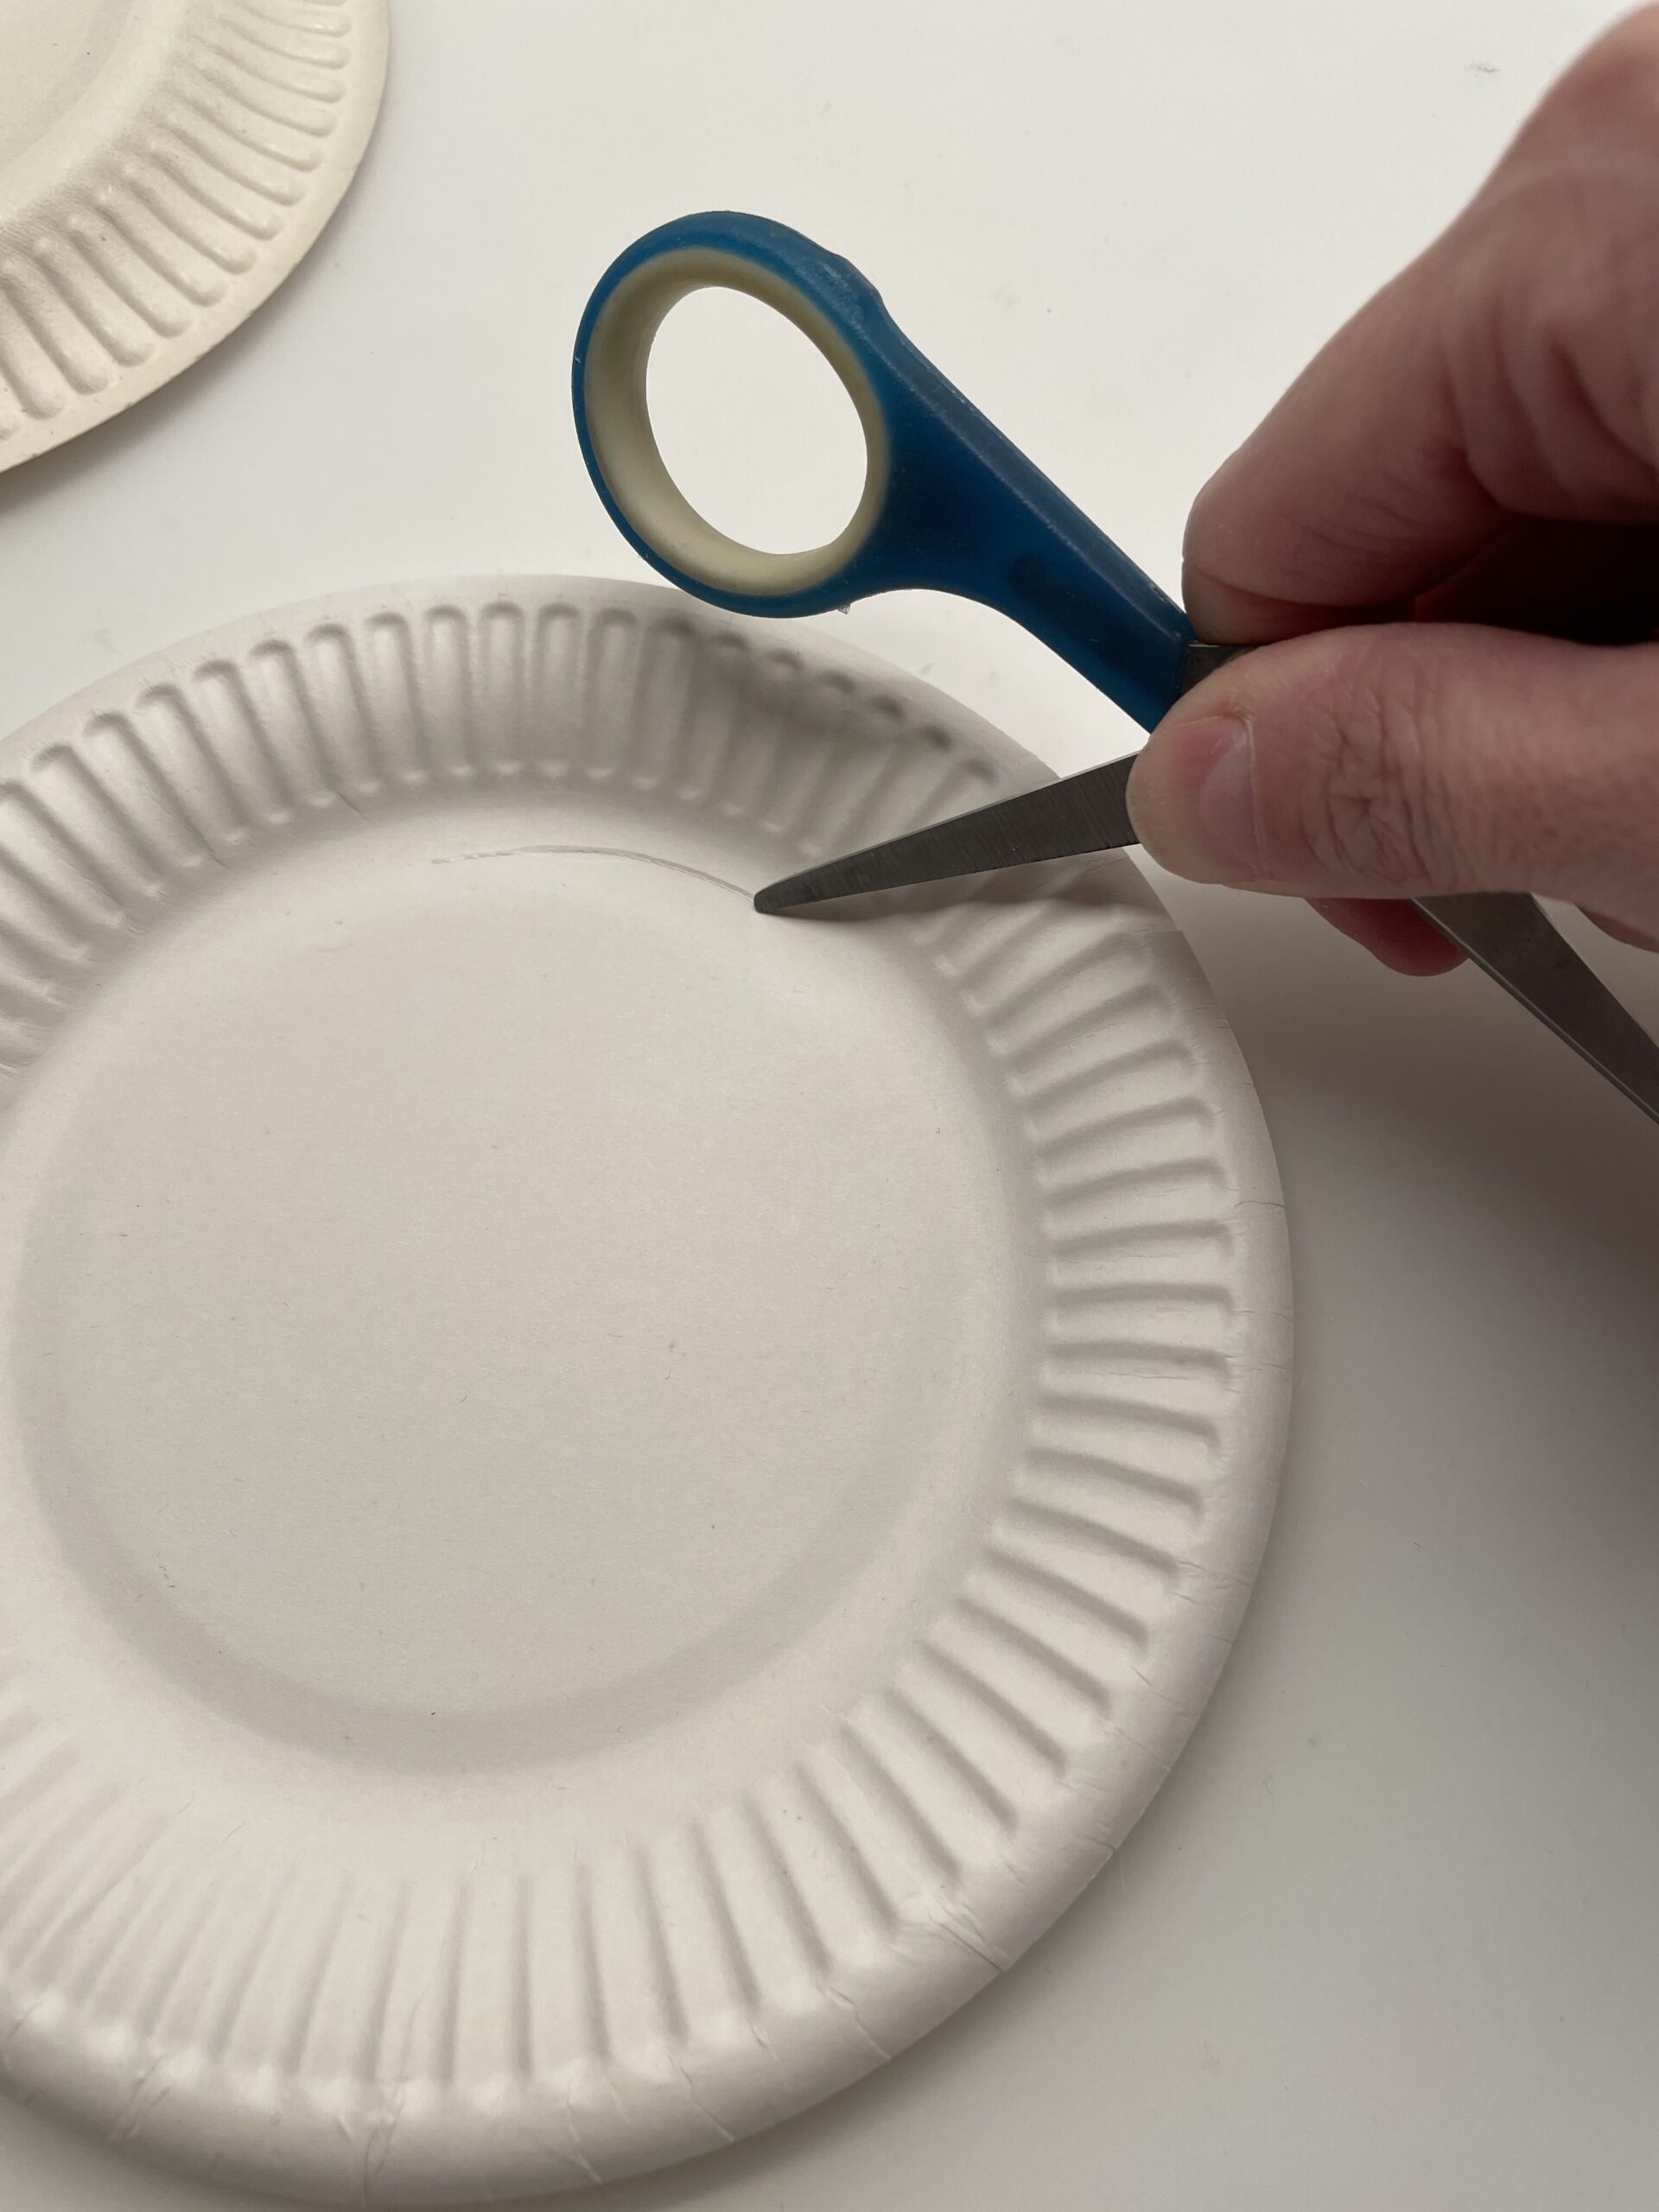
Use a small cardboard plate and scratch a piece about 3cm long at the bottom of the plate. Let an adult help you with this.
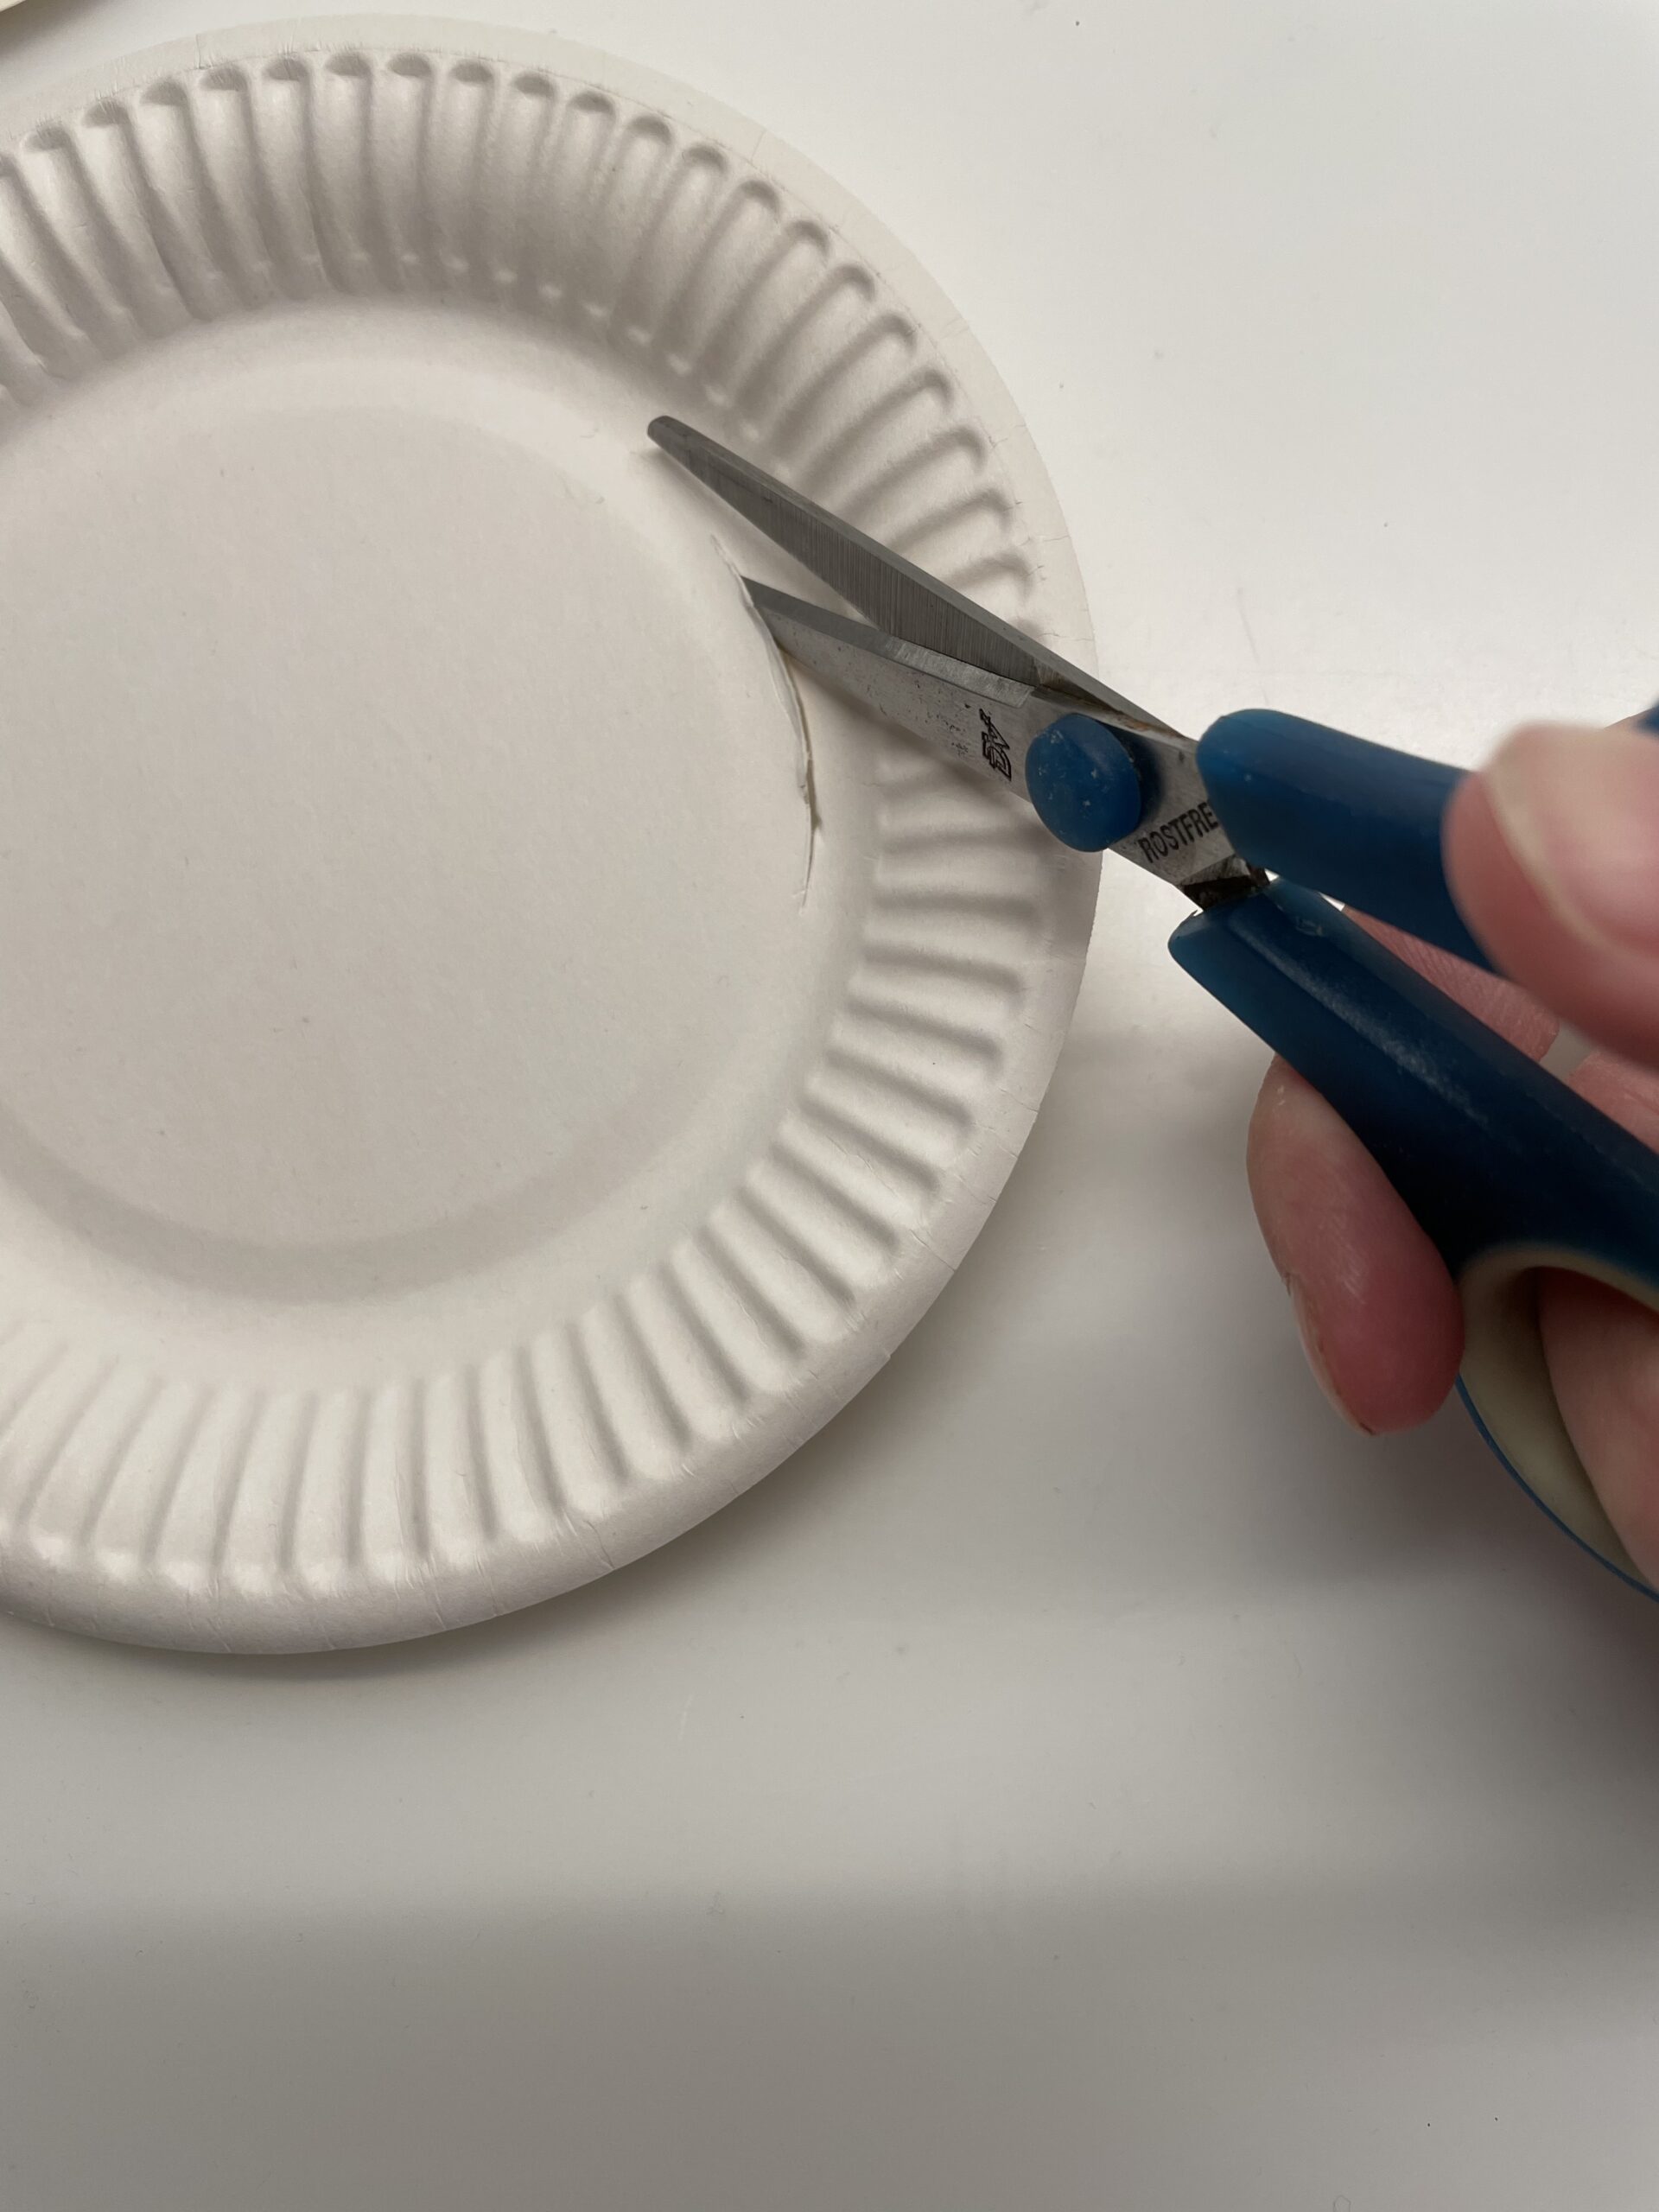
Now you put the scissors through the incision and cut out the inner circle of the plate floor.
From the bottom of the plate (circle) you now make the apple.
Tip: Makes an apple lantern from the edge of the plate (ring).

Alternatively, you cut out a circle of thin cardboard. A small round bowl is suitable as a template for the circle.
Always use a painting sheet at the latest.
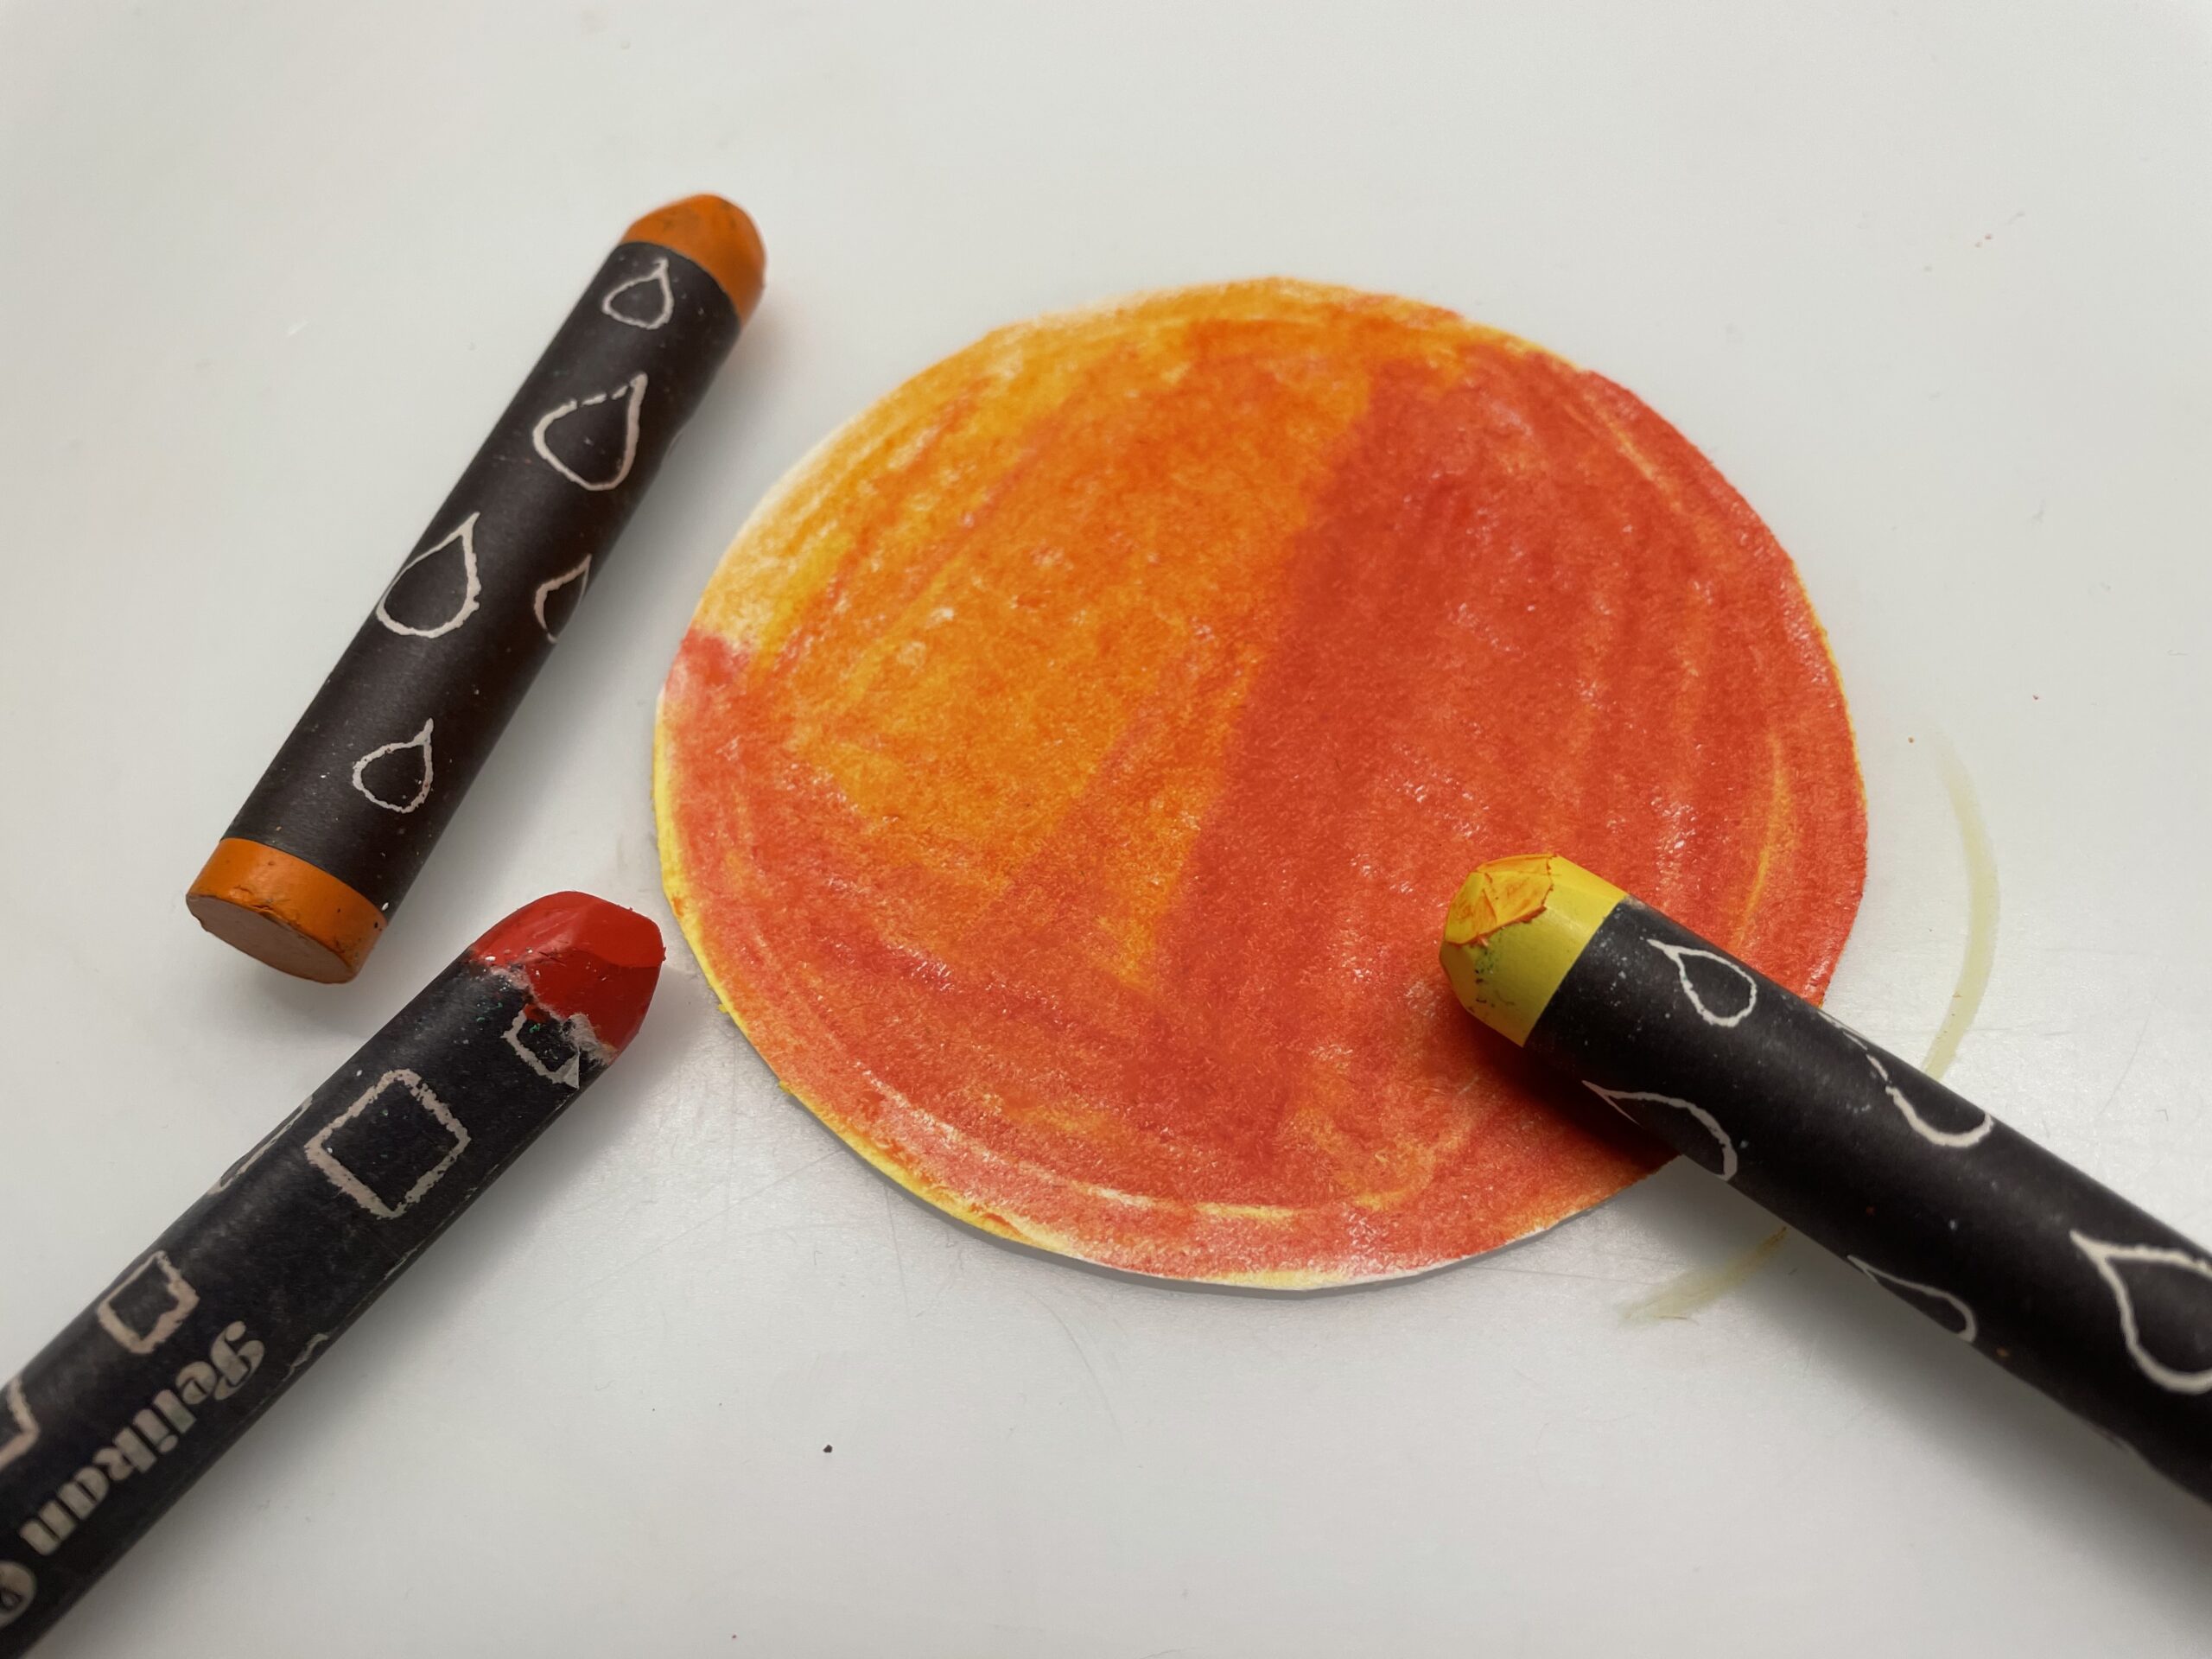
Paint the cardboard circle with crayons in red, orange and yellow.
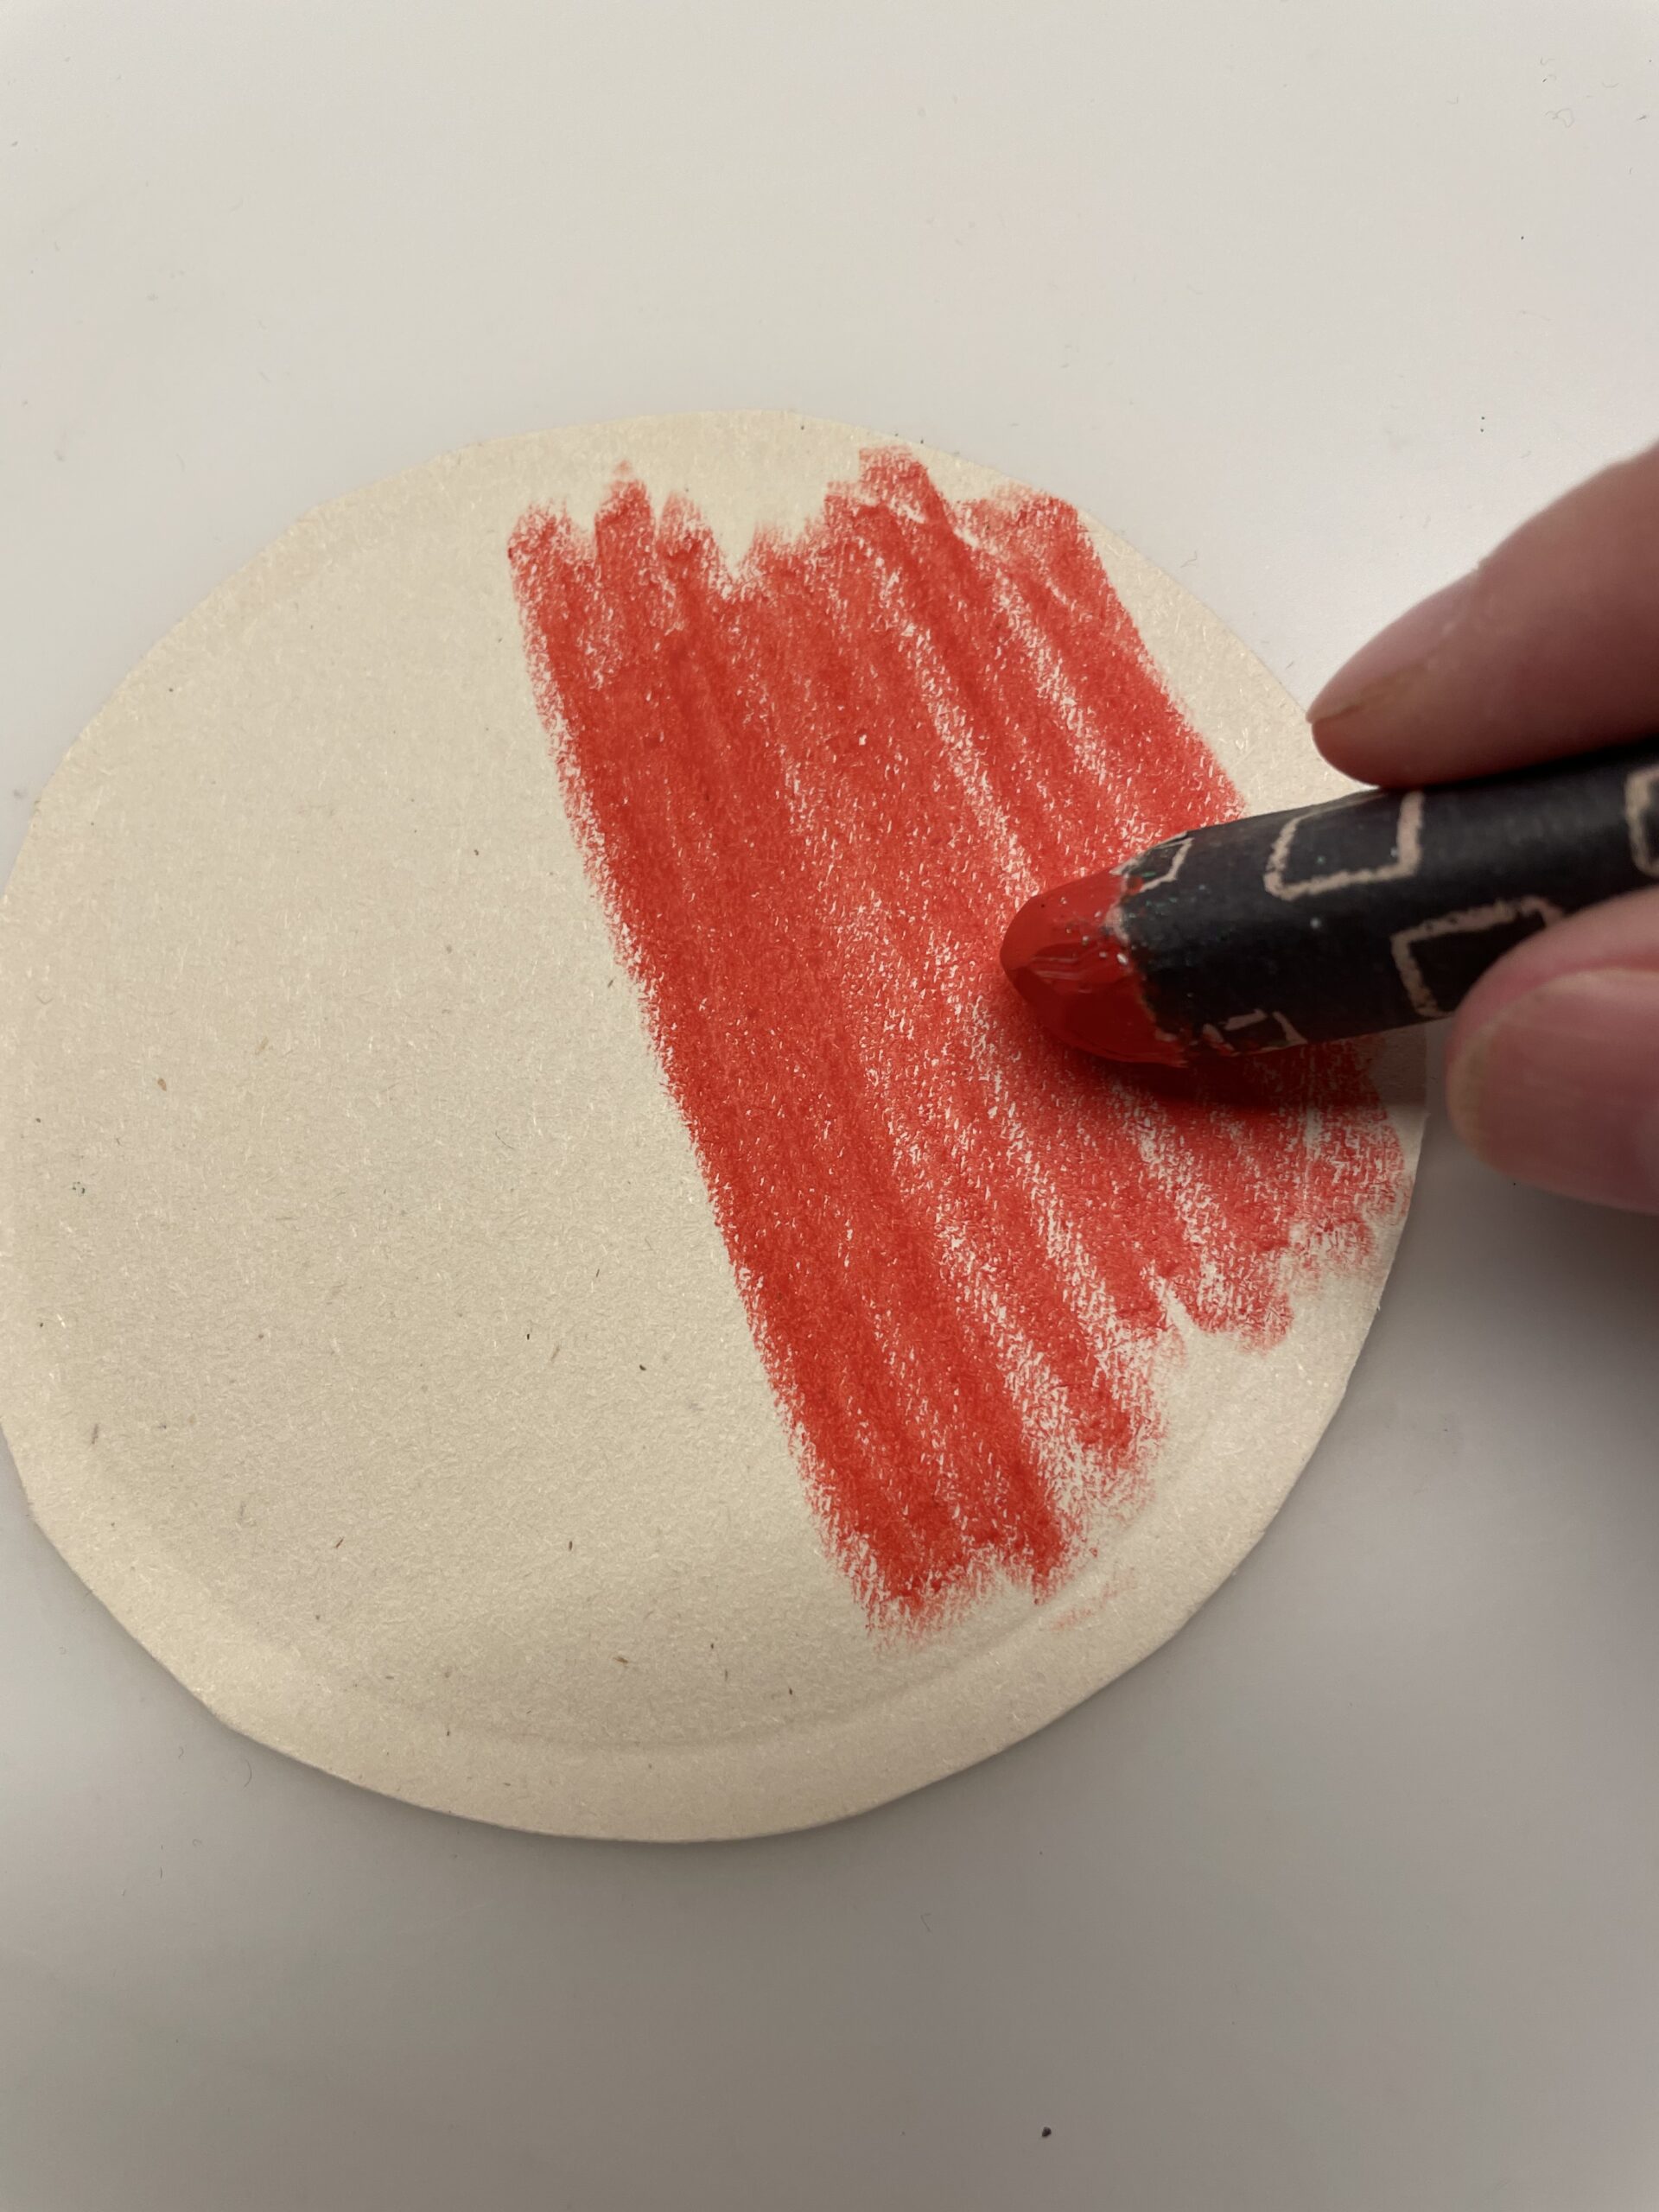
Pushes up strongly when painting, because that's how the colors shine particularly well.
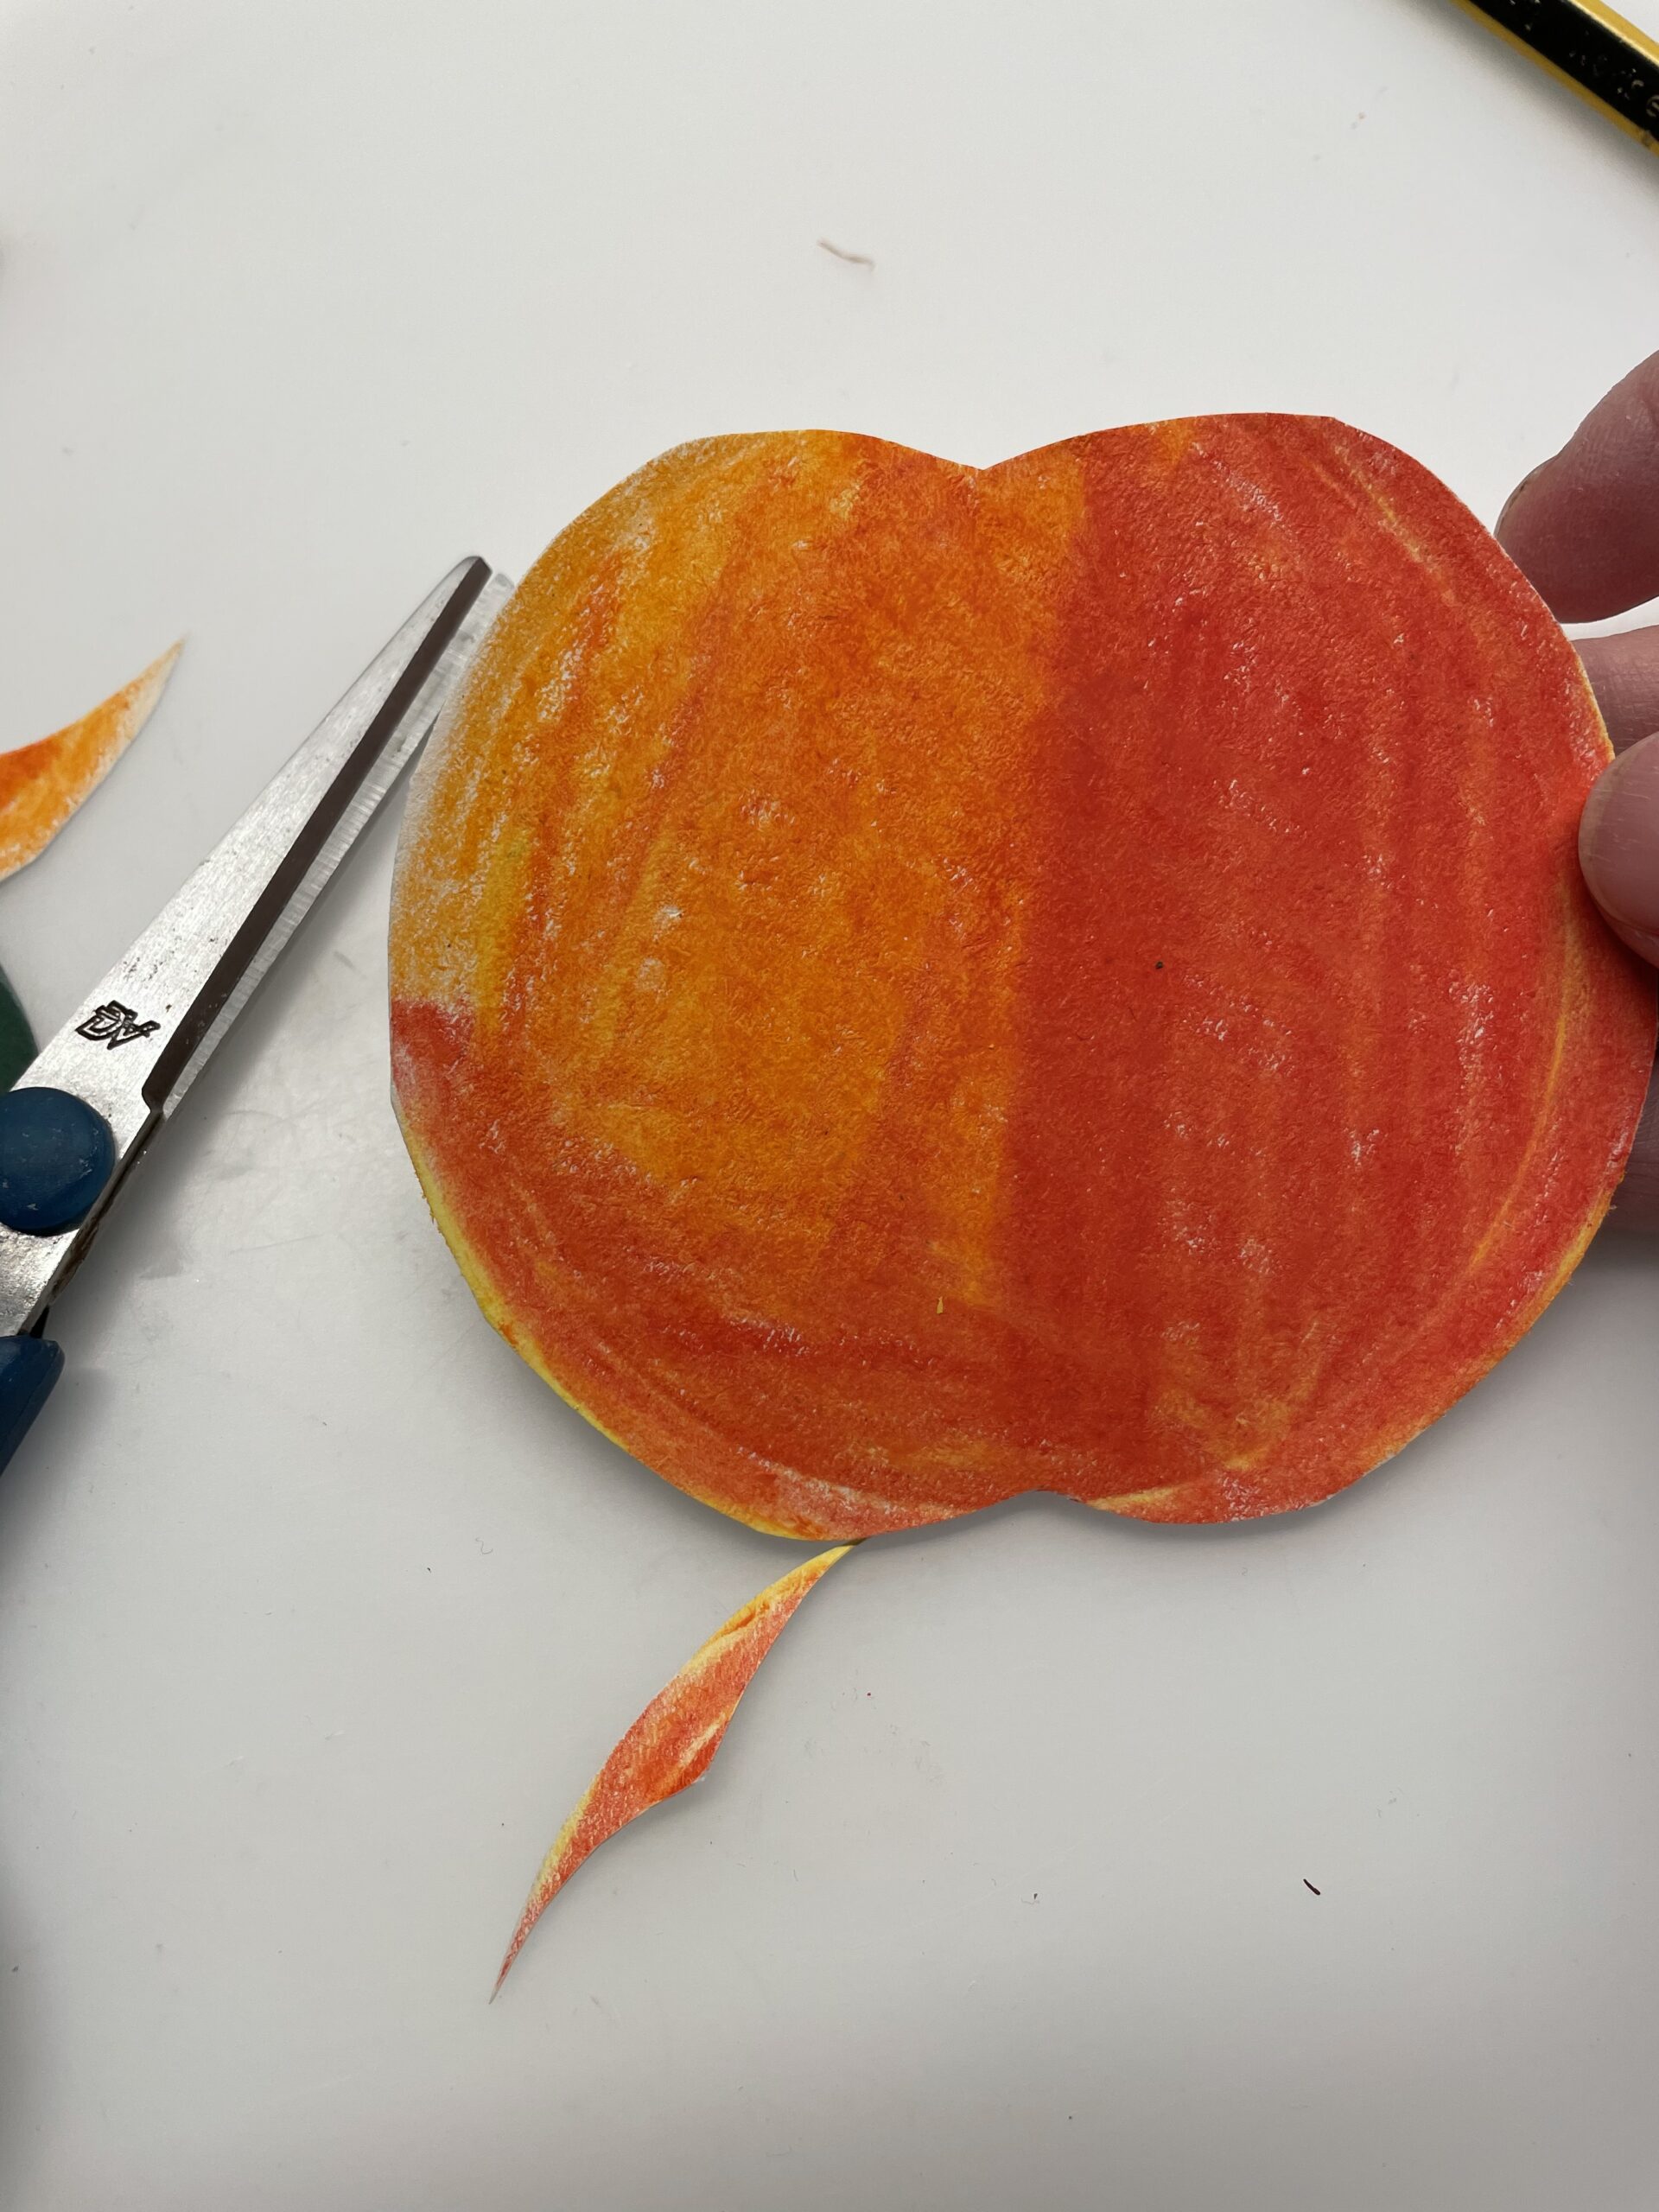
Now you turn the cardboard plate around and draw the "typical apple shape" on two opposite sides with a pencil. Cut the apple.
Tip: The roundings of the apple look like two birds flying away.

Now paint the back of the apple as well.
Alternatively, you design a second apple in the same way and stick both apples together.
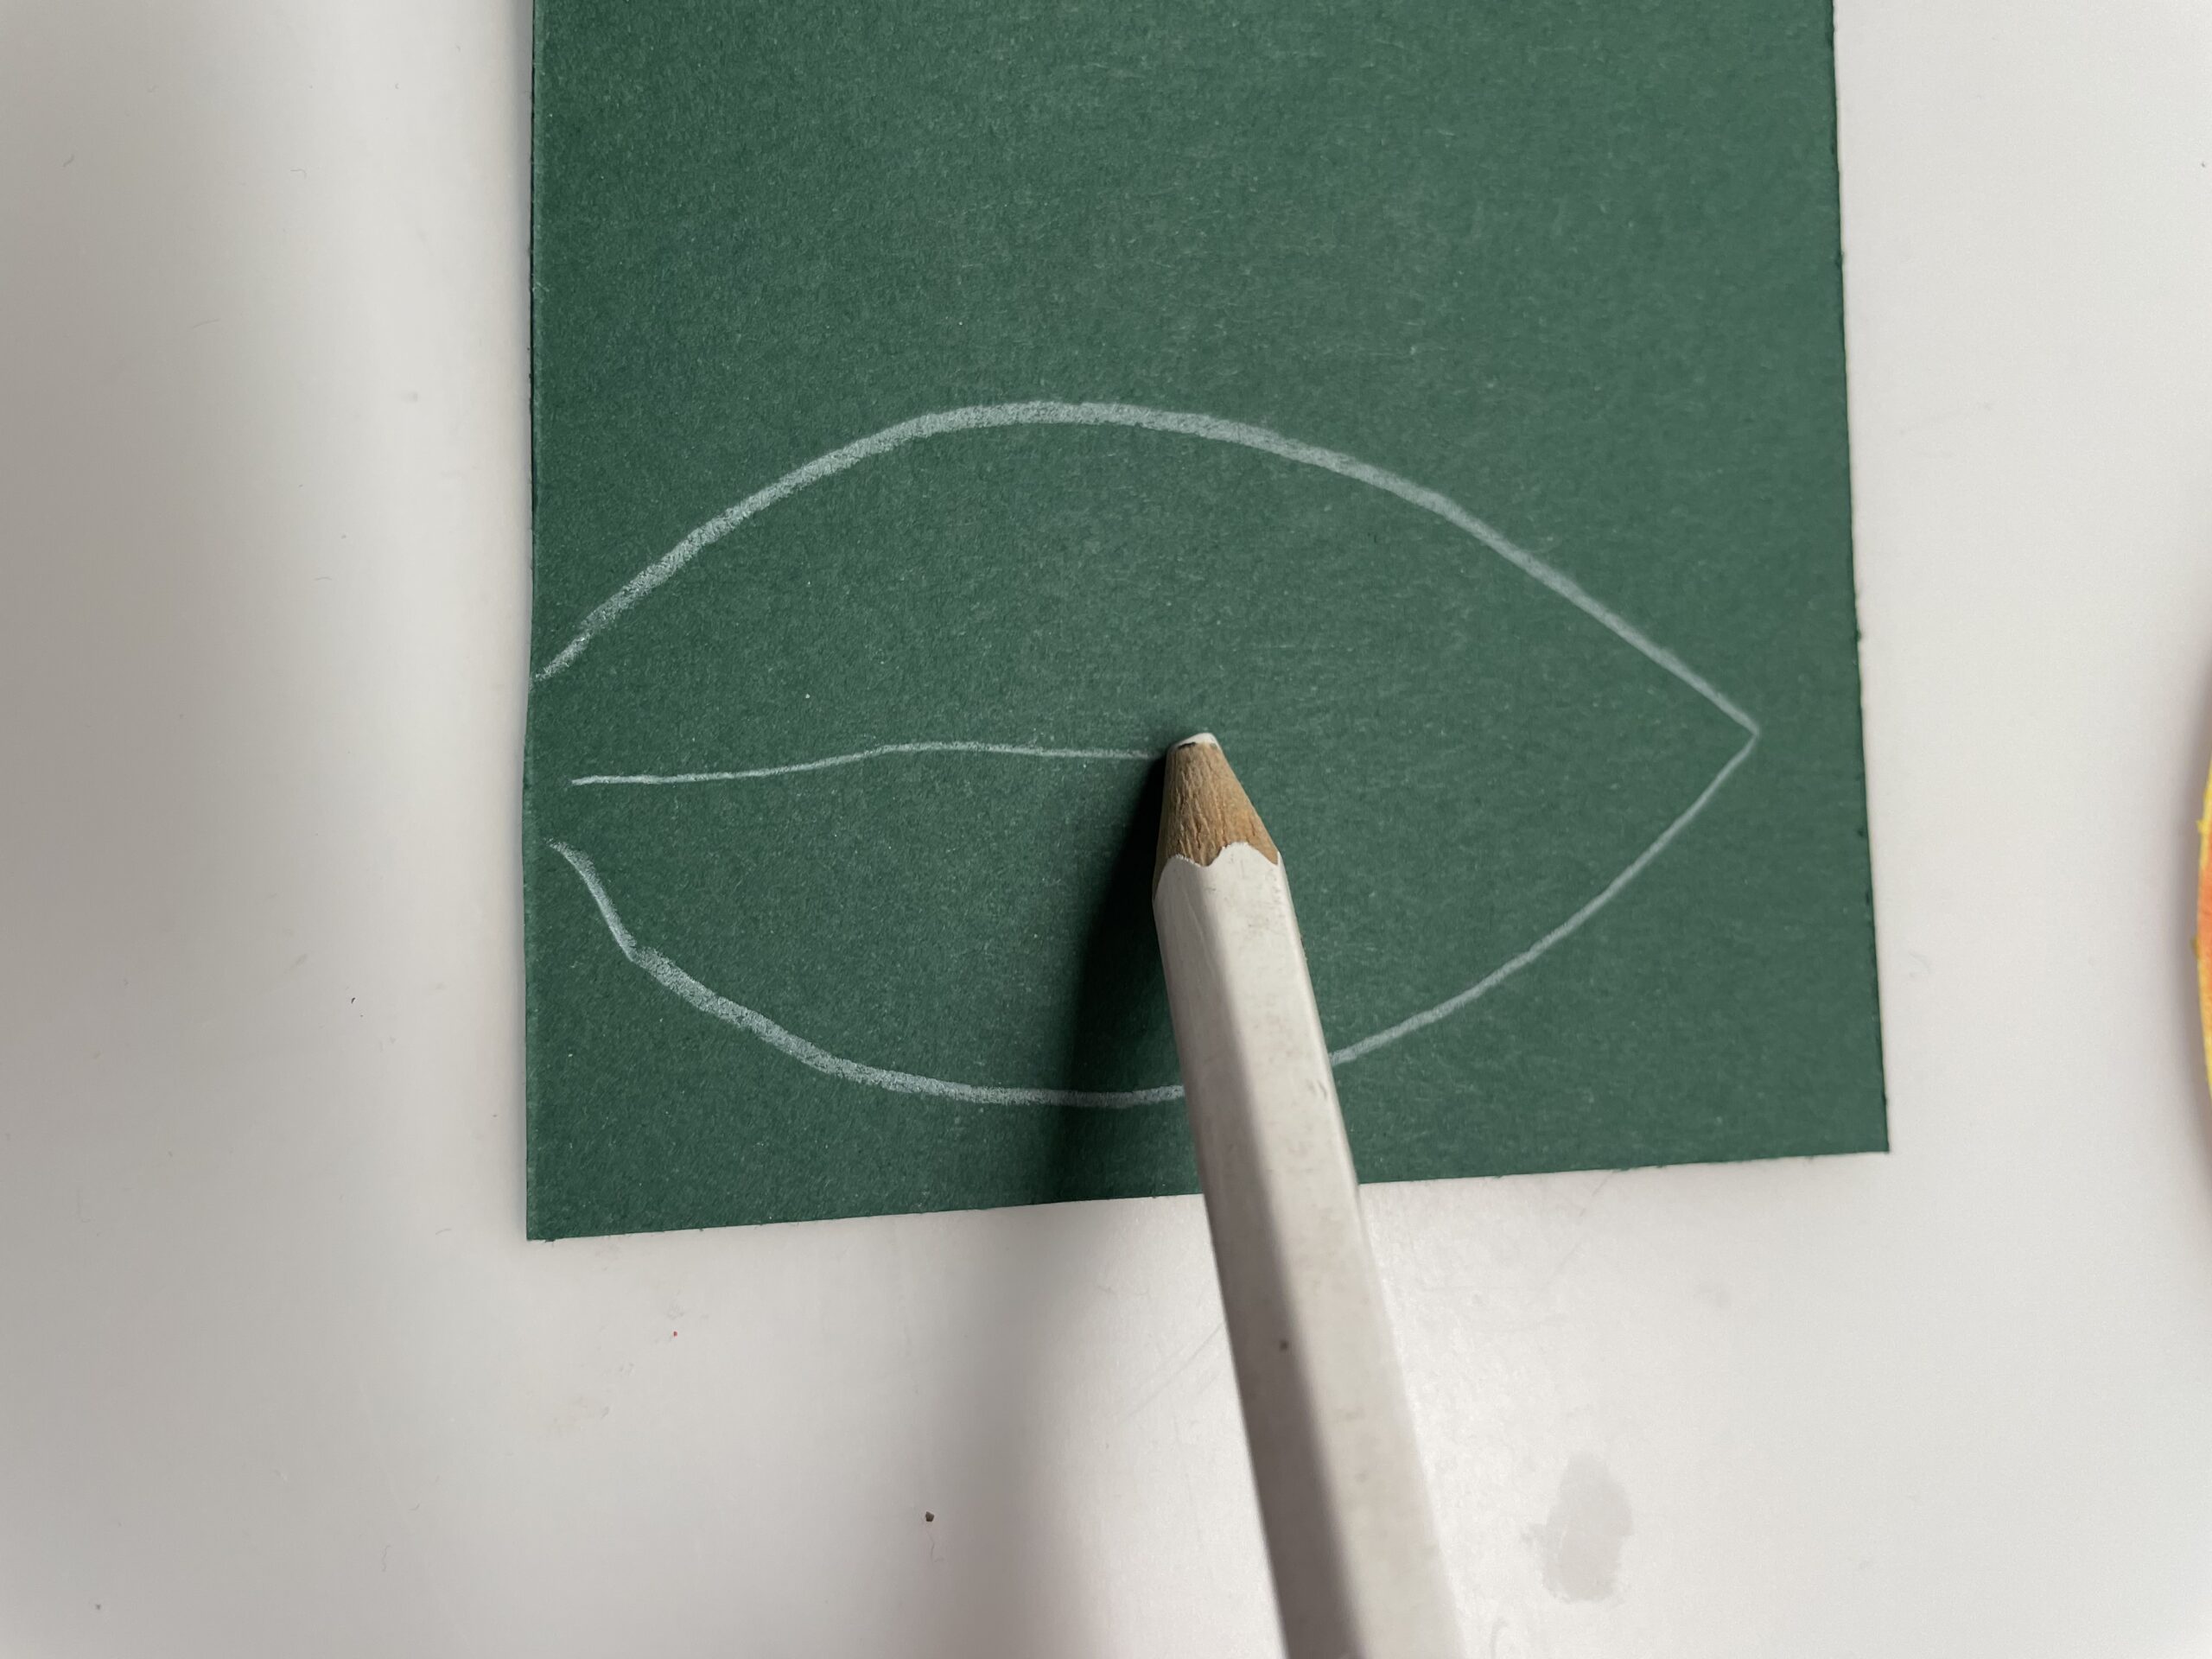
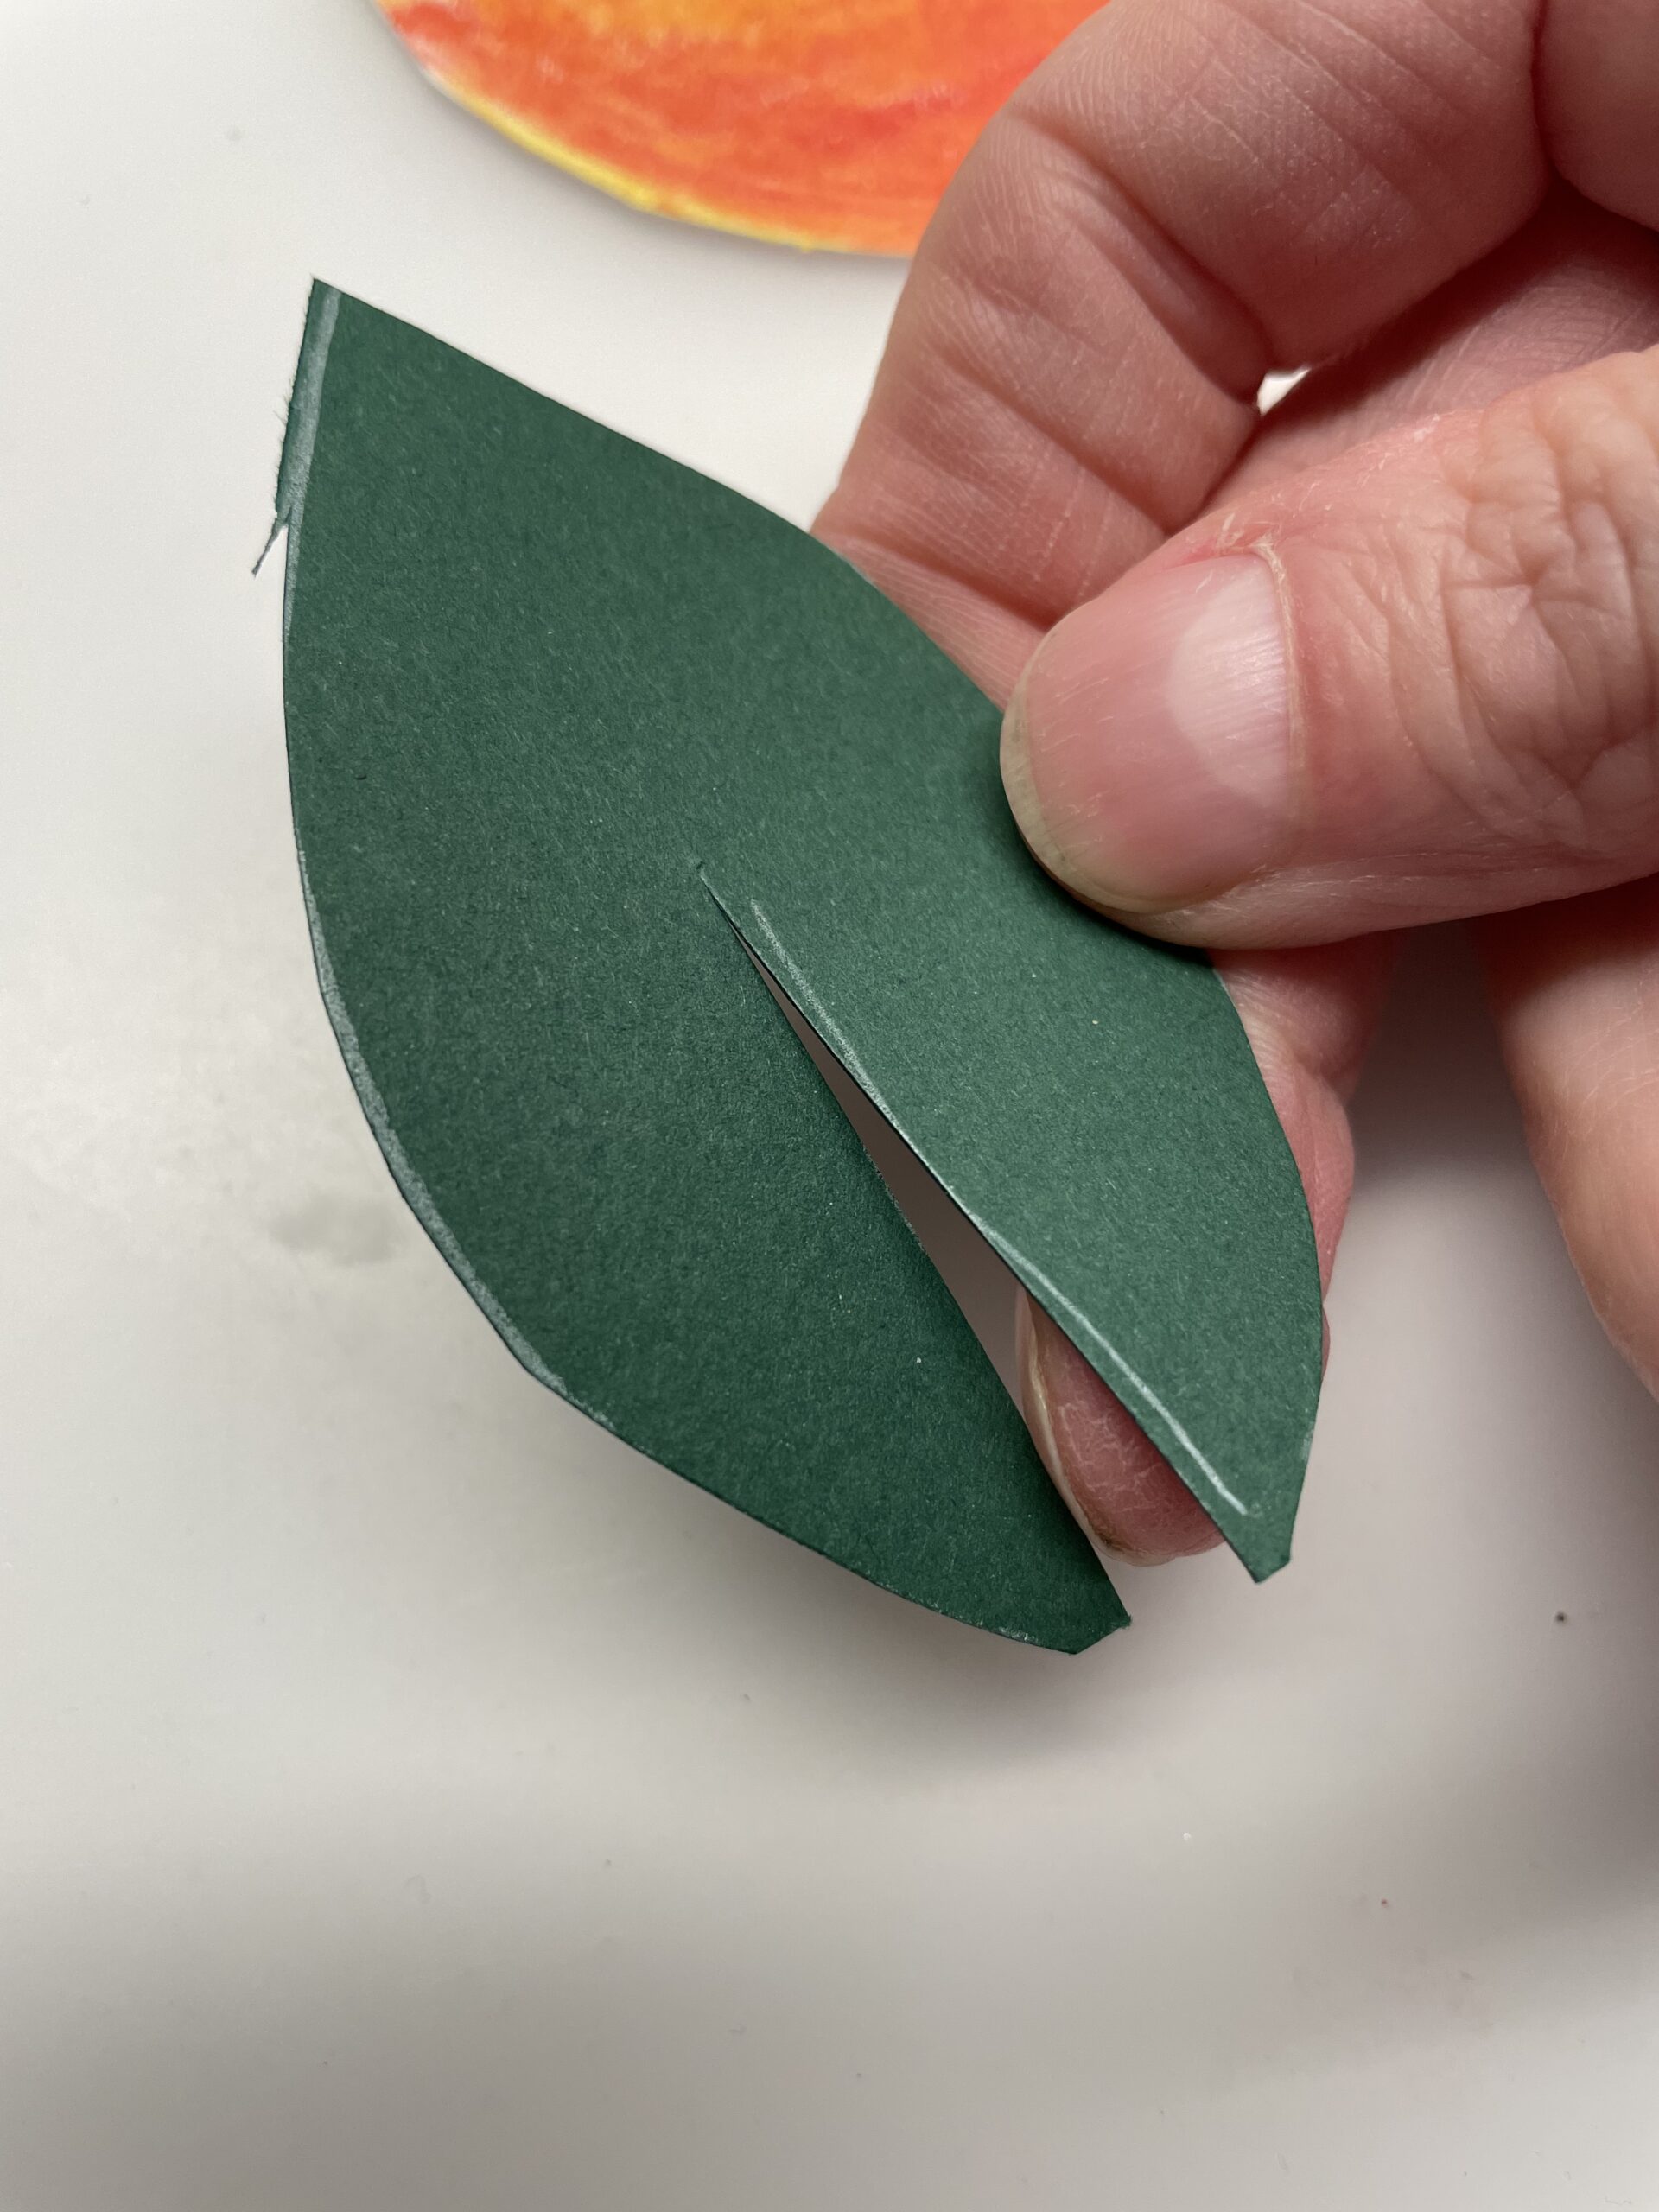
Then you paint a sheet on a piece of dark green paper. One side of the sheet is pointed towards.

On one side you put on in the middle and paint a rope up to half of the leaf.
Cut out the sheet with the scissors now.
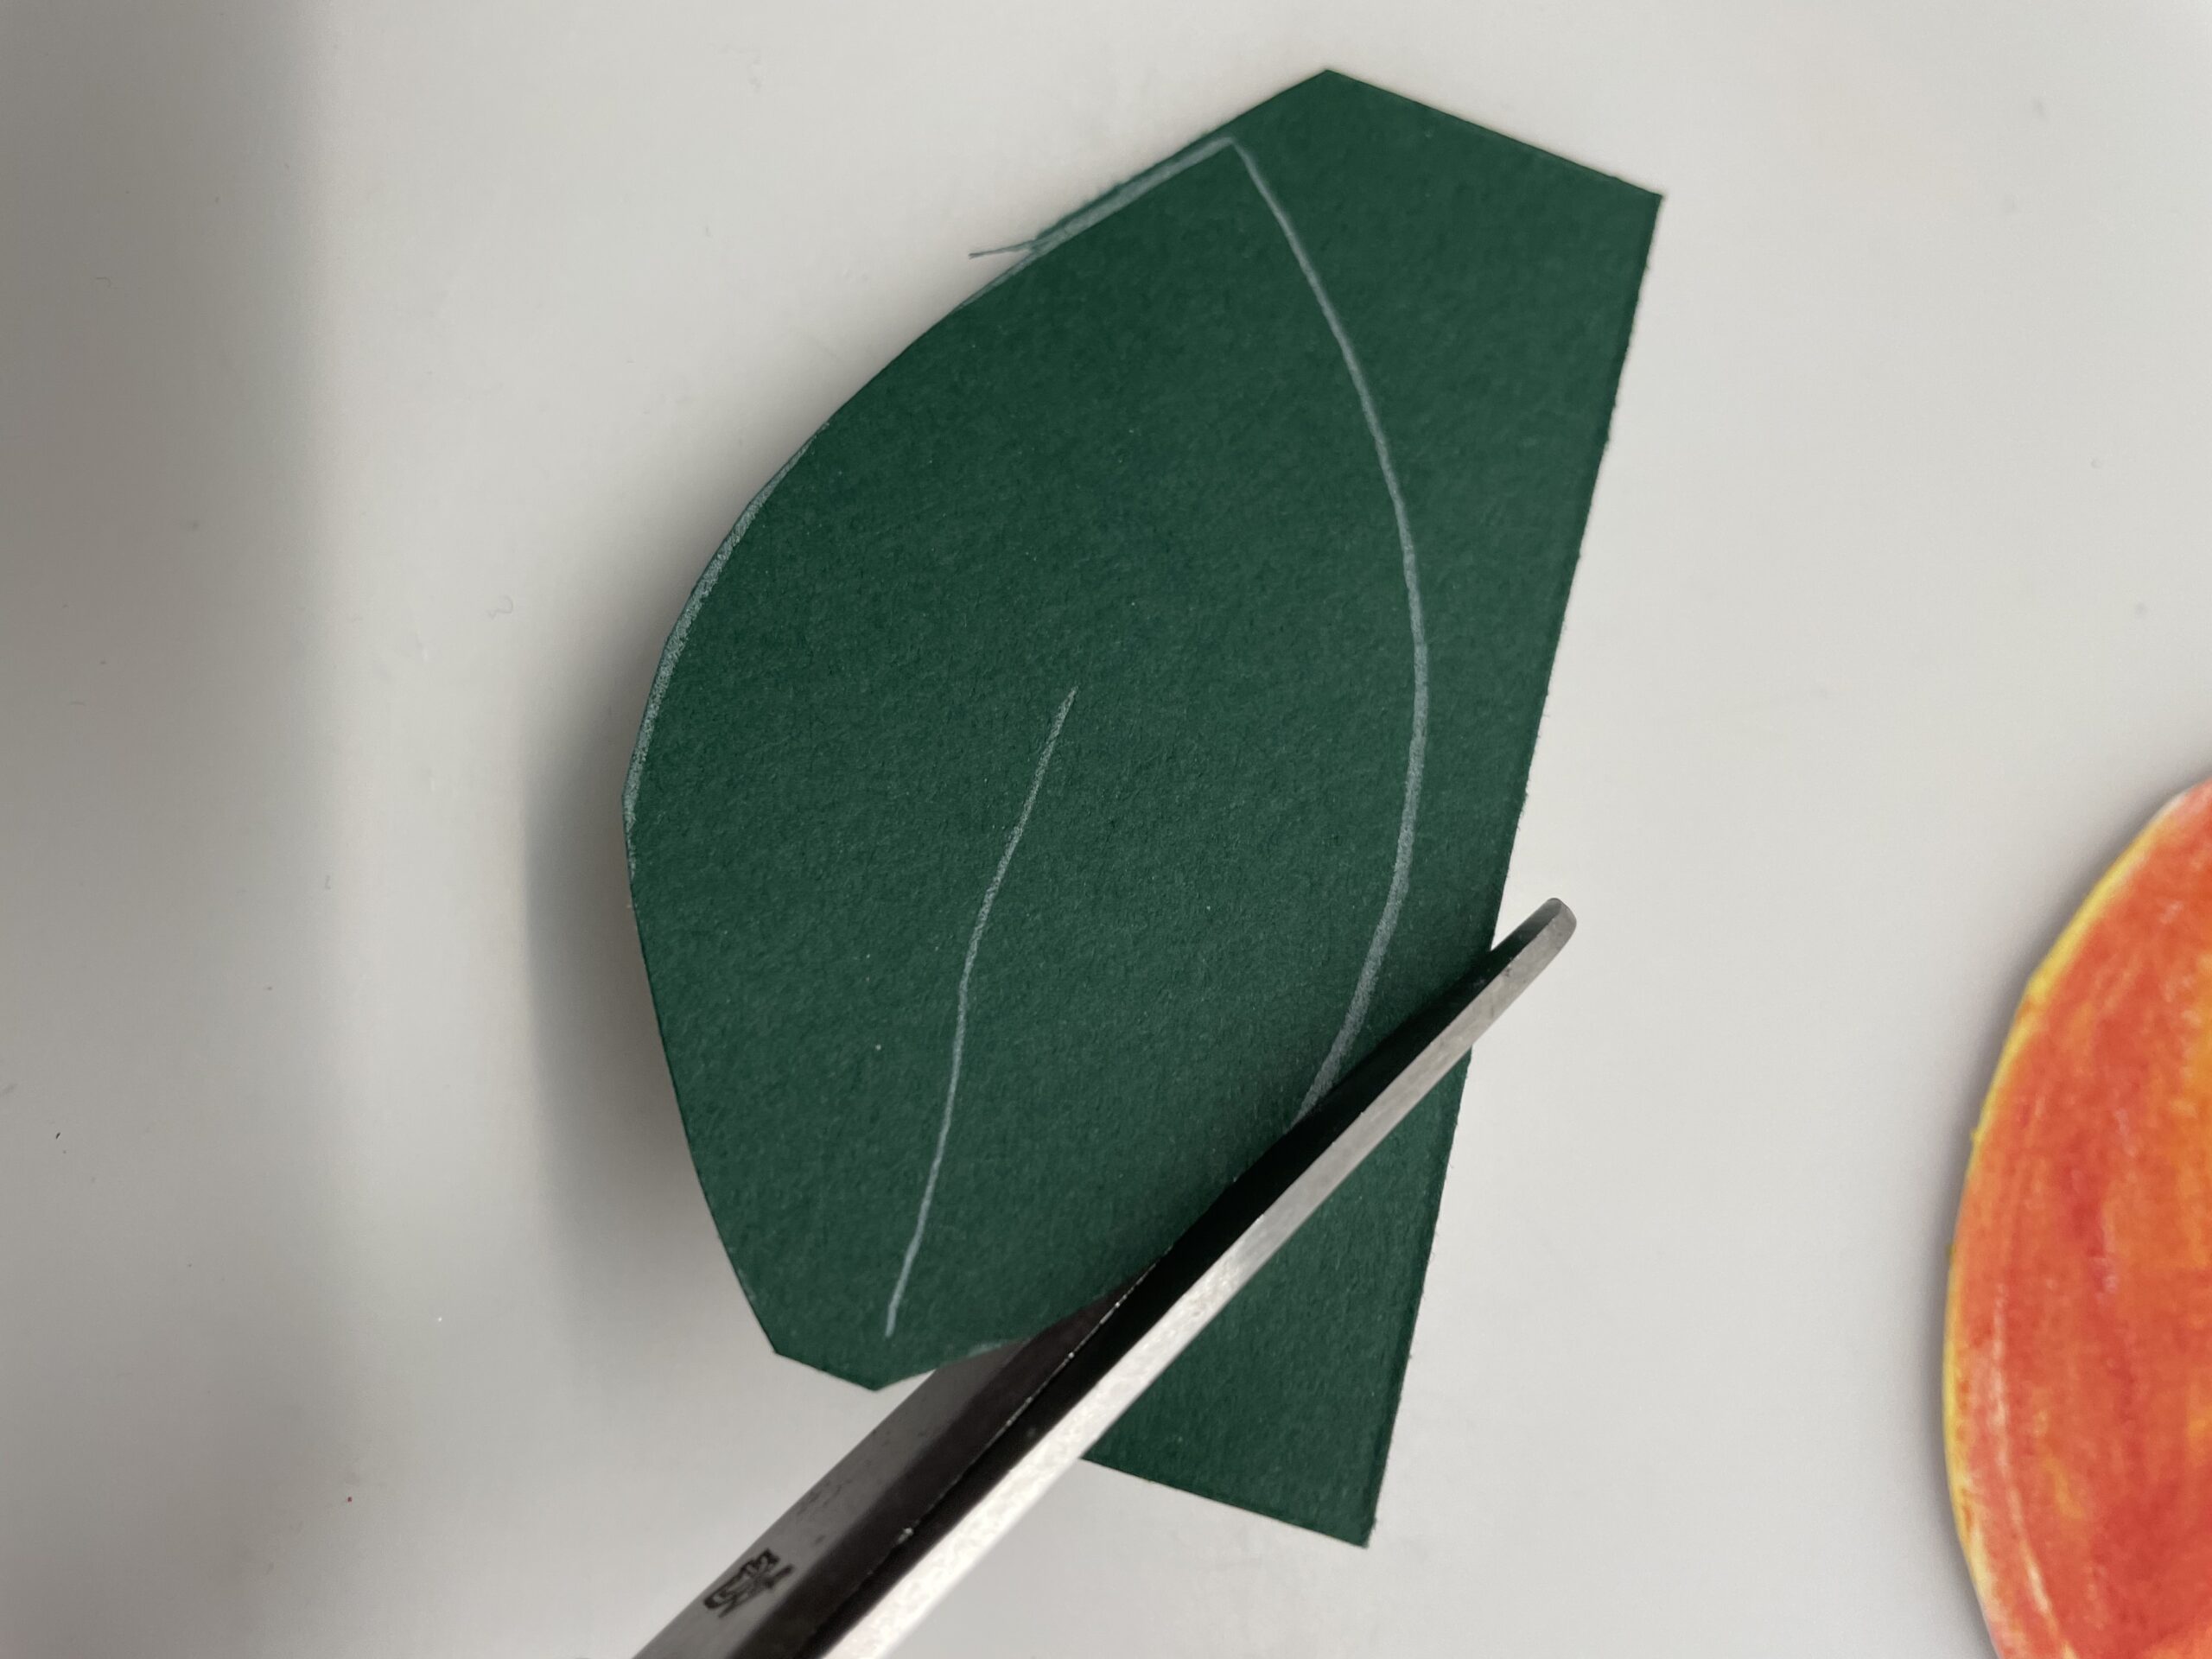
Then cut along the line in the middle of the leaf. The leaf is ready.
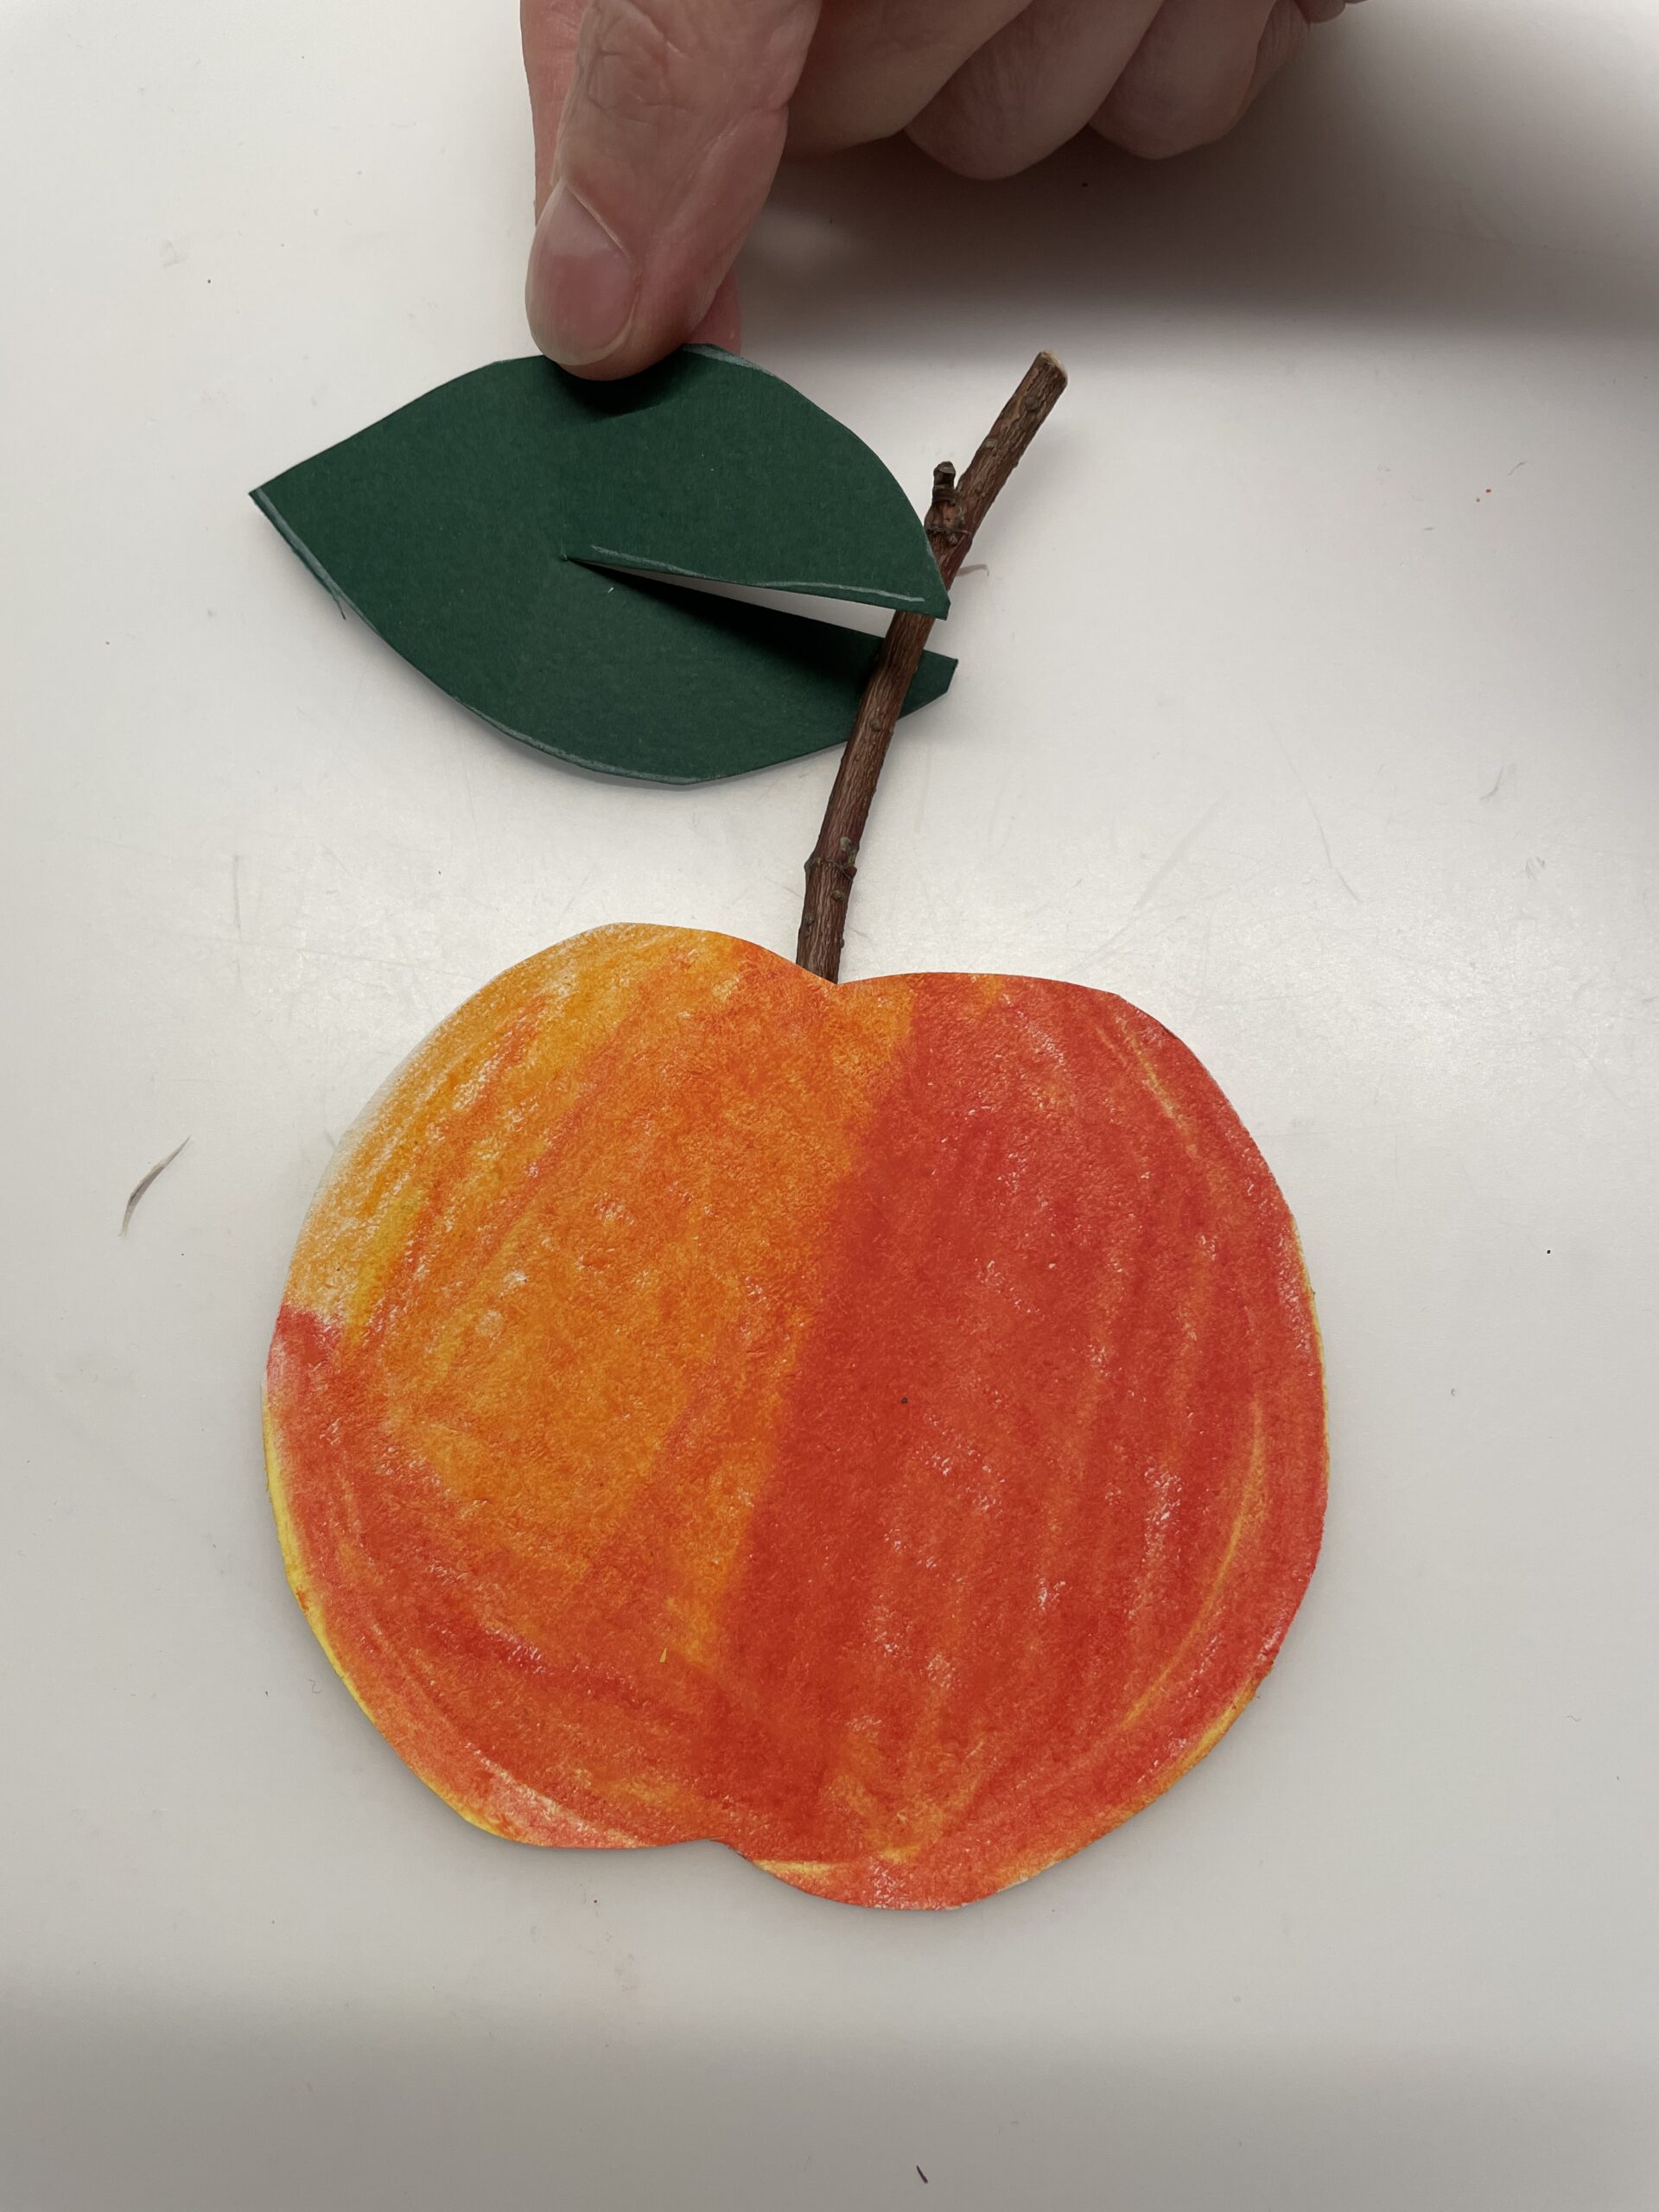
Now place a small thick branch (best of an apple tree) on the apple. Season the branch to the desired length.

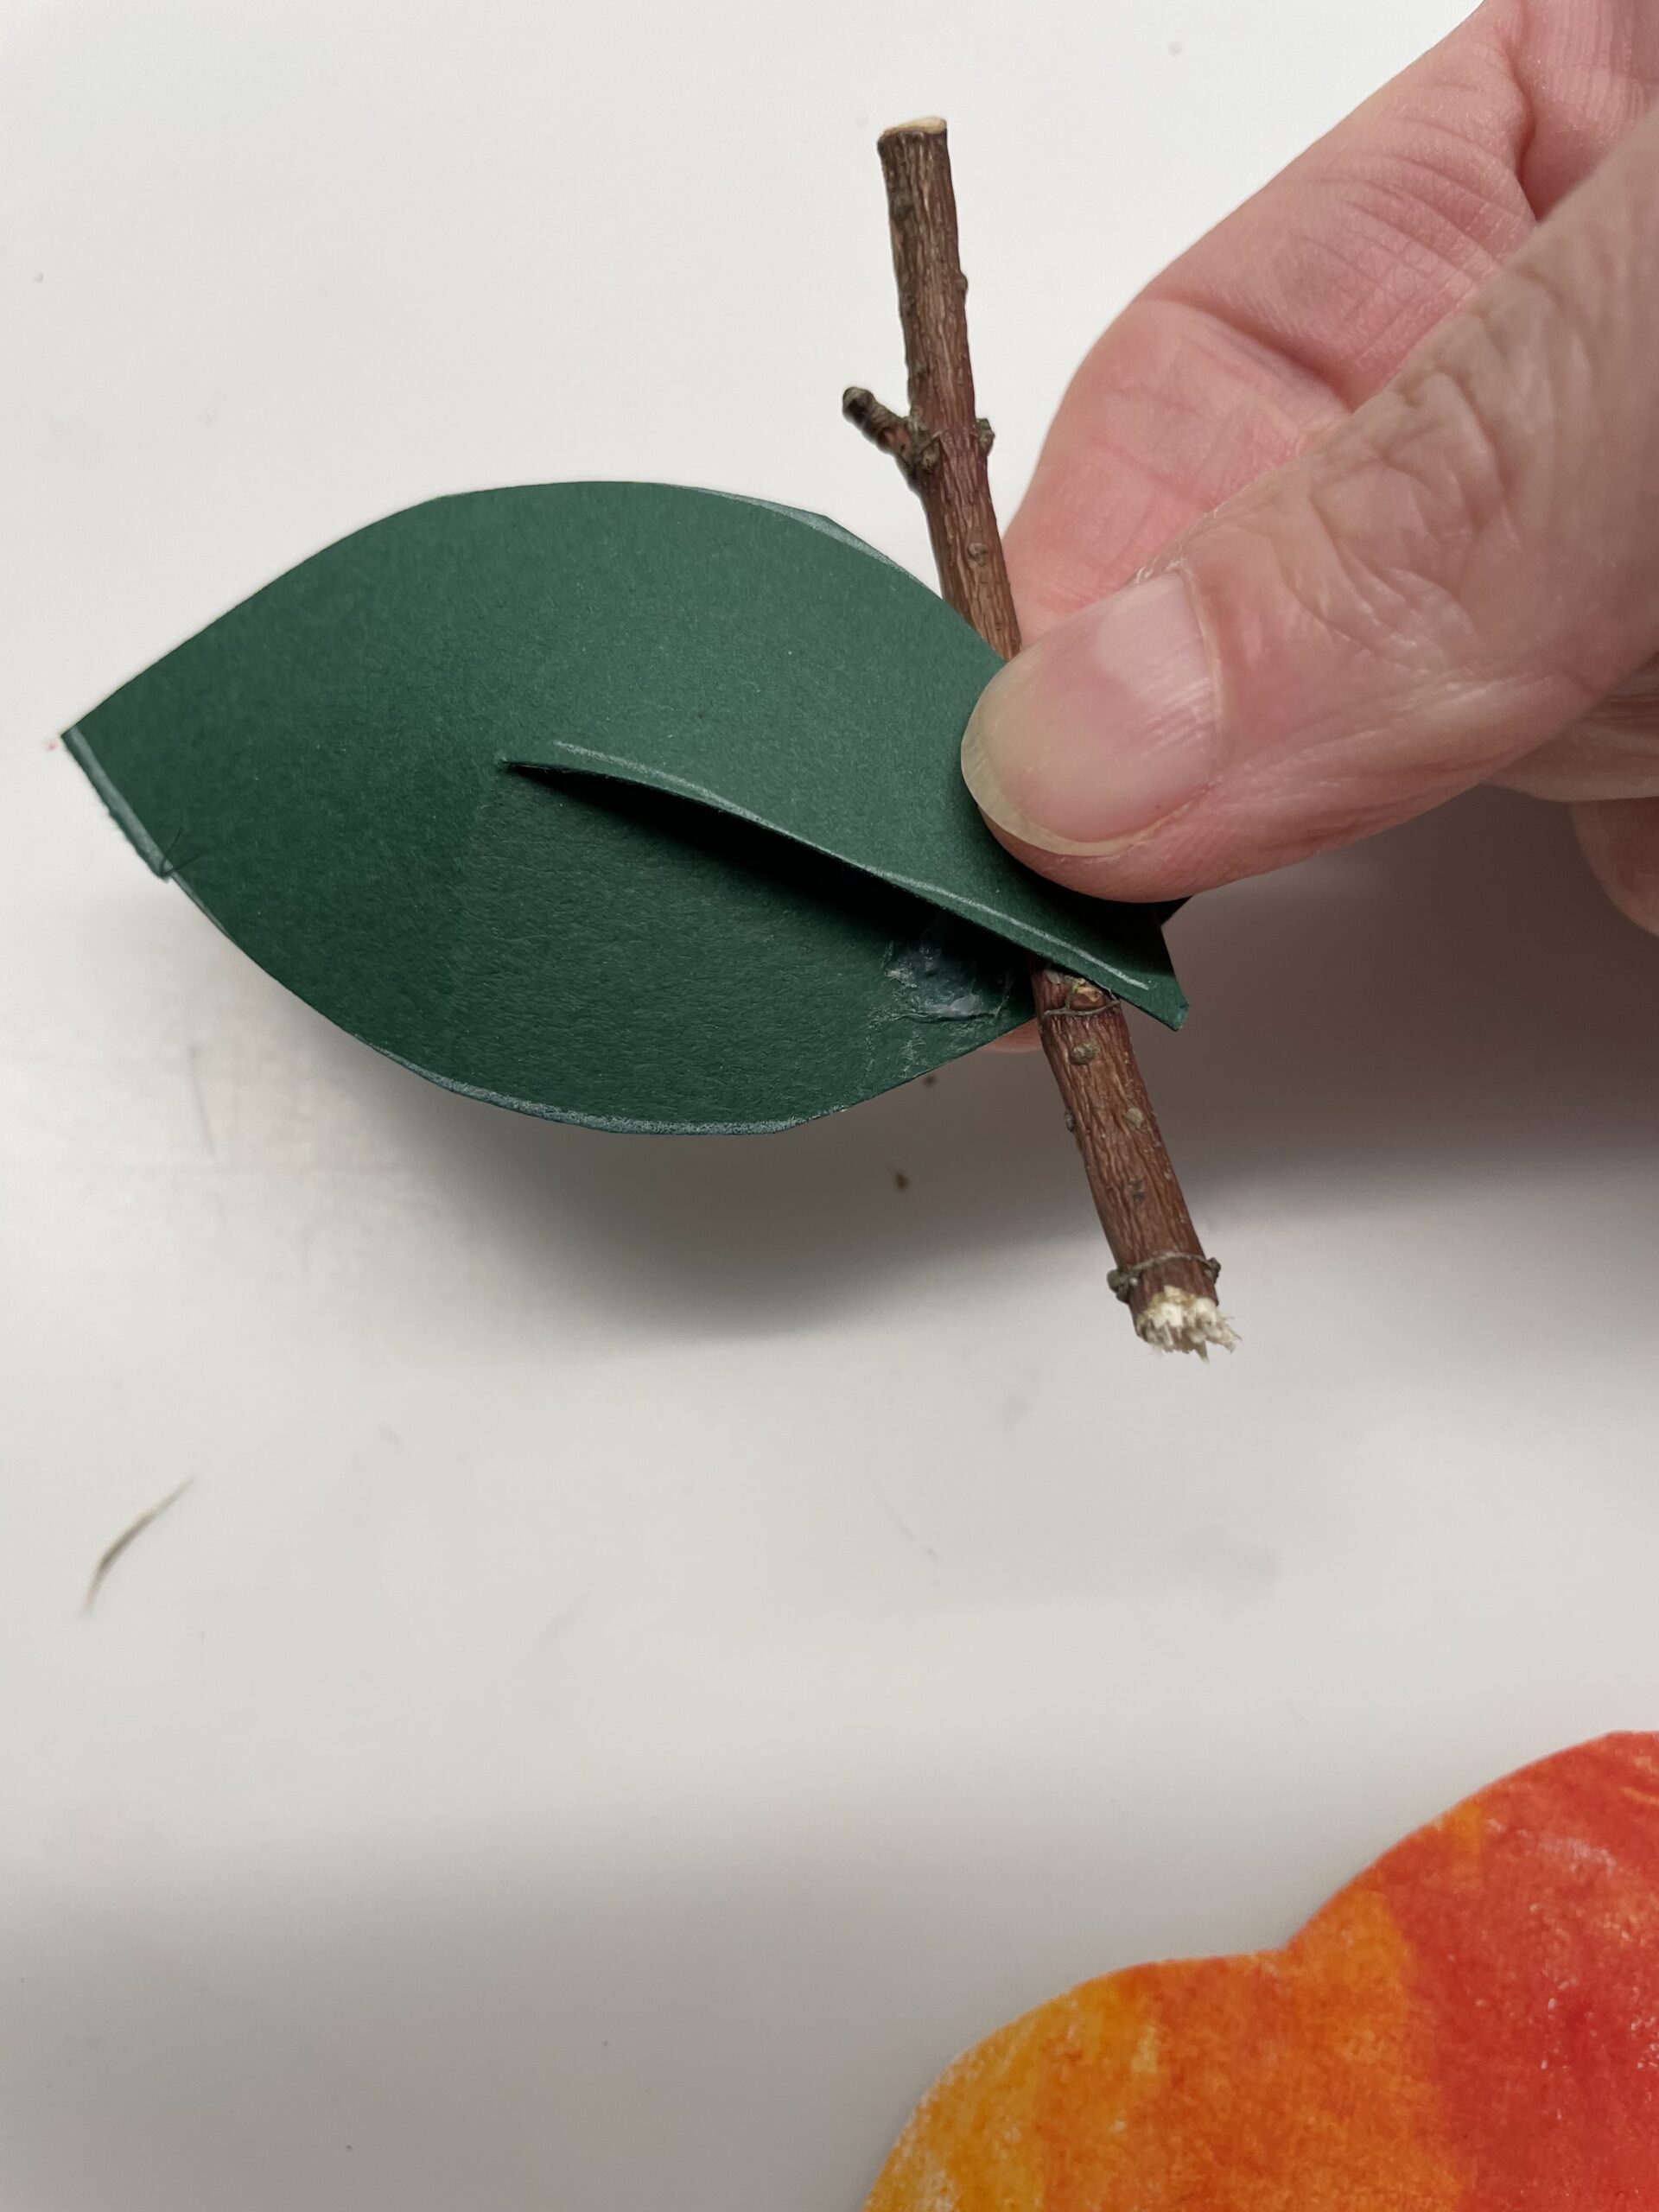
Then you attach the leaf to the stem. In doing so, you push the leaf to the stem at the incision.
She then sticks the leaf together overlappingly.

Now push the stem into the opening of the leaf and squeeze the leaf firmly.
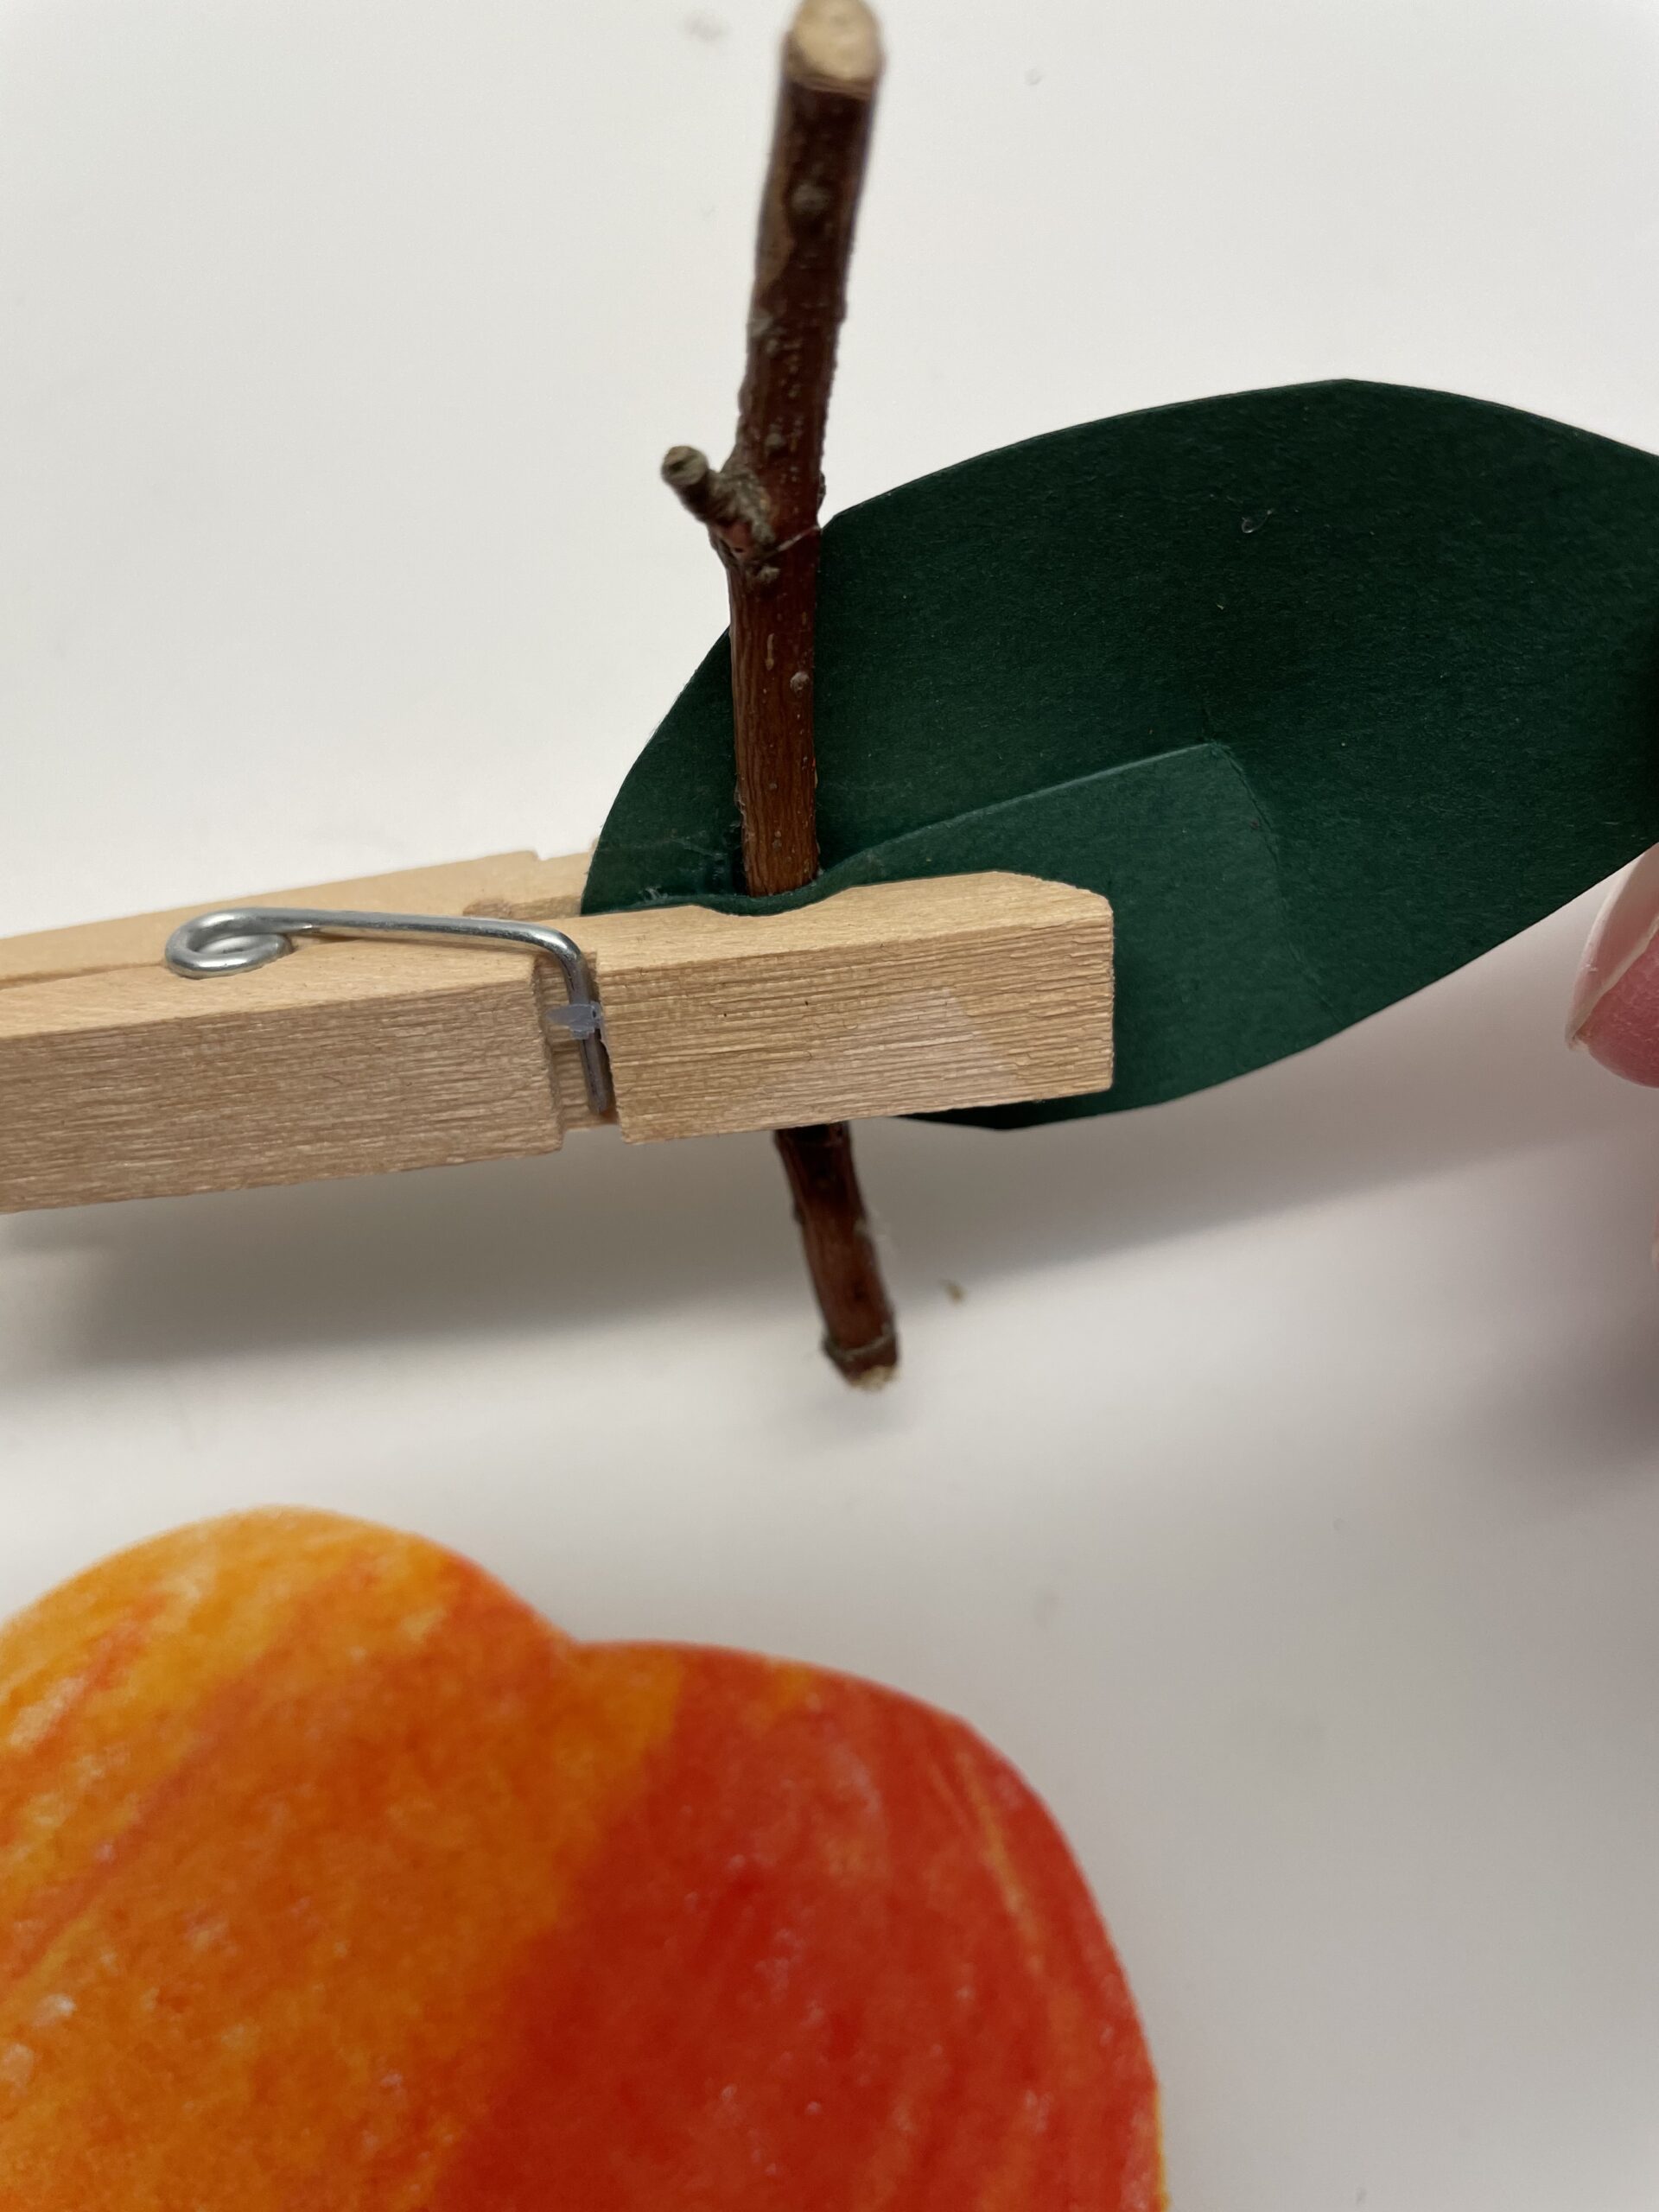
Hold the glue together or use a clothes clip.
Finally, you stick the stalk to the apple.
Either you use a hot glue gun or a glue stick or a adhesive tape. Be careful when handling the hot glue - risk of injury!
The apple is ready.
Materials
Directions
Use a small cardboard plate and scratch a piece about 3cm long at the bottom of the plate. Let an adult help you with this.
Now you put the scissors through the incision and cut out the inner circle of the plate floor.
From the bottom of the plate (circle) you now make the apple.
Tip: Makes an apple lantern from the edge of the plate (ring).
Alternatively, you cut out a circle of thin cardboard. A small round bowl is suitable as a template for the circle.
Always use a painting sheet at the latest.
Paint the cardboard circle with crayons in red, orange and yellow.
Pushes up strongly when painting, because that's how the colors shine particularly well.
Now you turn the cardboard plate around and draw the "typical apple shape" on two opposite sides with a pencil. Cut the apple.
Tip: The roundings of the apple look like two birds flying away.
Now paint the back of the apple as well.
Alternatively, you design a second apple in the same way and stick both apples together.
Then you paint a sheet on a piece of dark green paper. One side of the sheet is pointed towards.
On one side you put on in the middle and paint a rope up to half of the leaf.
Cut out the sheet with the scissors now.
Then cut along the line in the middle of the leaf. The leaf is ready.
Now place a small thick branch (best of an apple tree) on the apple. Season the branch to the desired length.
Then you attach the leaf to the stem. In doing so, you push the leaf to the stem at the incision.
She then sticks the leaf together overlappingly.
Now push the stem into the opening of the leaf and squeeze the leaf firmly.
Hold the glue together or use a clothes clip.
Finally, you stick the stalk to the apple.
Either you use a hot glue gun or a glue stick or a adhesive tape. Be careful when handling the hot glue - risk of injury!
The apple is ready.
Follow us on Facebook , Instagram and Pinterest
Don't miss any more adventures: Our bottle mail


Great idea! We made the apples today and it was a lot of fun! We used a real leaf, which also worked great.??