Apple tearing technique

AdventurerKatzi
Rating5.05.0 thousand times & (2) DifficultyIntermediate

This apple is made from a paper cover, which is glued with colorful paper snippets. From crepe paper another stalk, a leaf and the apple blossom are added. The little apple is finished. You can hang it on the branch of an apple tree and have a beautiful autumn decoration super fast.

Media Education for Kindergarten and Hort

Kind bastelt eine Rassel mit dem Navi
The Adventure Navi, the app for DIY projects, enables media education for the youngest.

Relief in everyday life, targeted promotion of individual children, independent learning and - without any pre-knowledge already usable by the youngest!
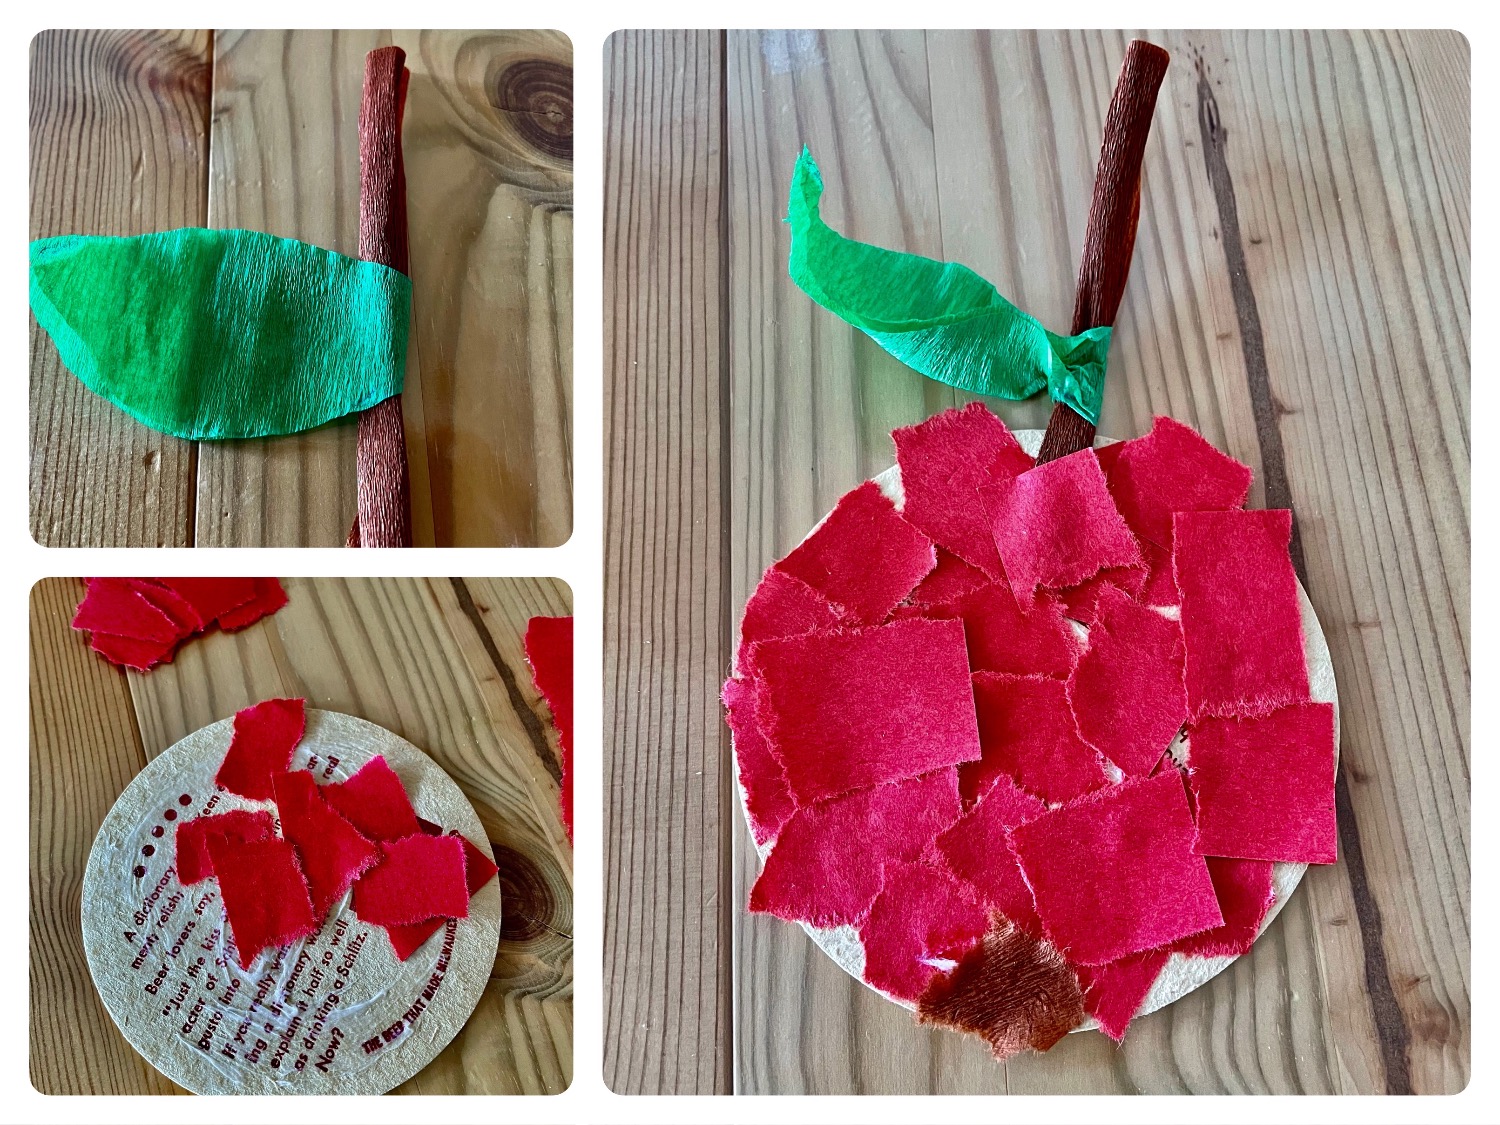


Titelbild zur Bastel- und DIY-Idee für Kinder '(840) Apfel Reißtechnik'
Material for1 Child
Prep Time5 min.Adv. Time20 min.Total Time25 min.
 1 Beer lids
 Folding paper red
 Crepe paper green
 Crepe paper brown
 1 Pen
 1 Builder's pad
 1 Thread and needle
All links marked with a shopping cart lead to Amazon - here we have selected products that we would order ourselves and in part also ordered. In a qualified purchase via the advertising link, we as Amazon partner receive a commission, for you there are no costs. You thus support our cost- and advertising banner-free, educational offer.
1

For very small children, their thin red paper (e.g. folding paper) breaks down slightly at the upper edge. Thus, the children can tear the leaf into long thin strips from there.
Older children tear the leaf into strips themselves.

Bild zum Schritt 1 für das Bastel- und DIY-Abenteuer für Kinder: 'Für ganz kleine Kinder reißt ihr dünnes rotes Papier (z.B....'

2

Then you tear every single strip into small pieces.
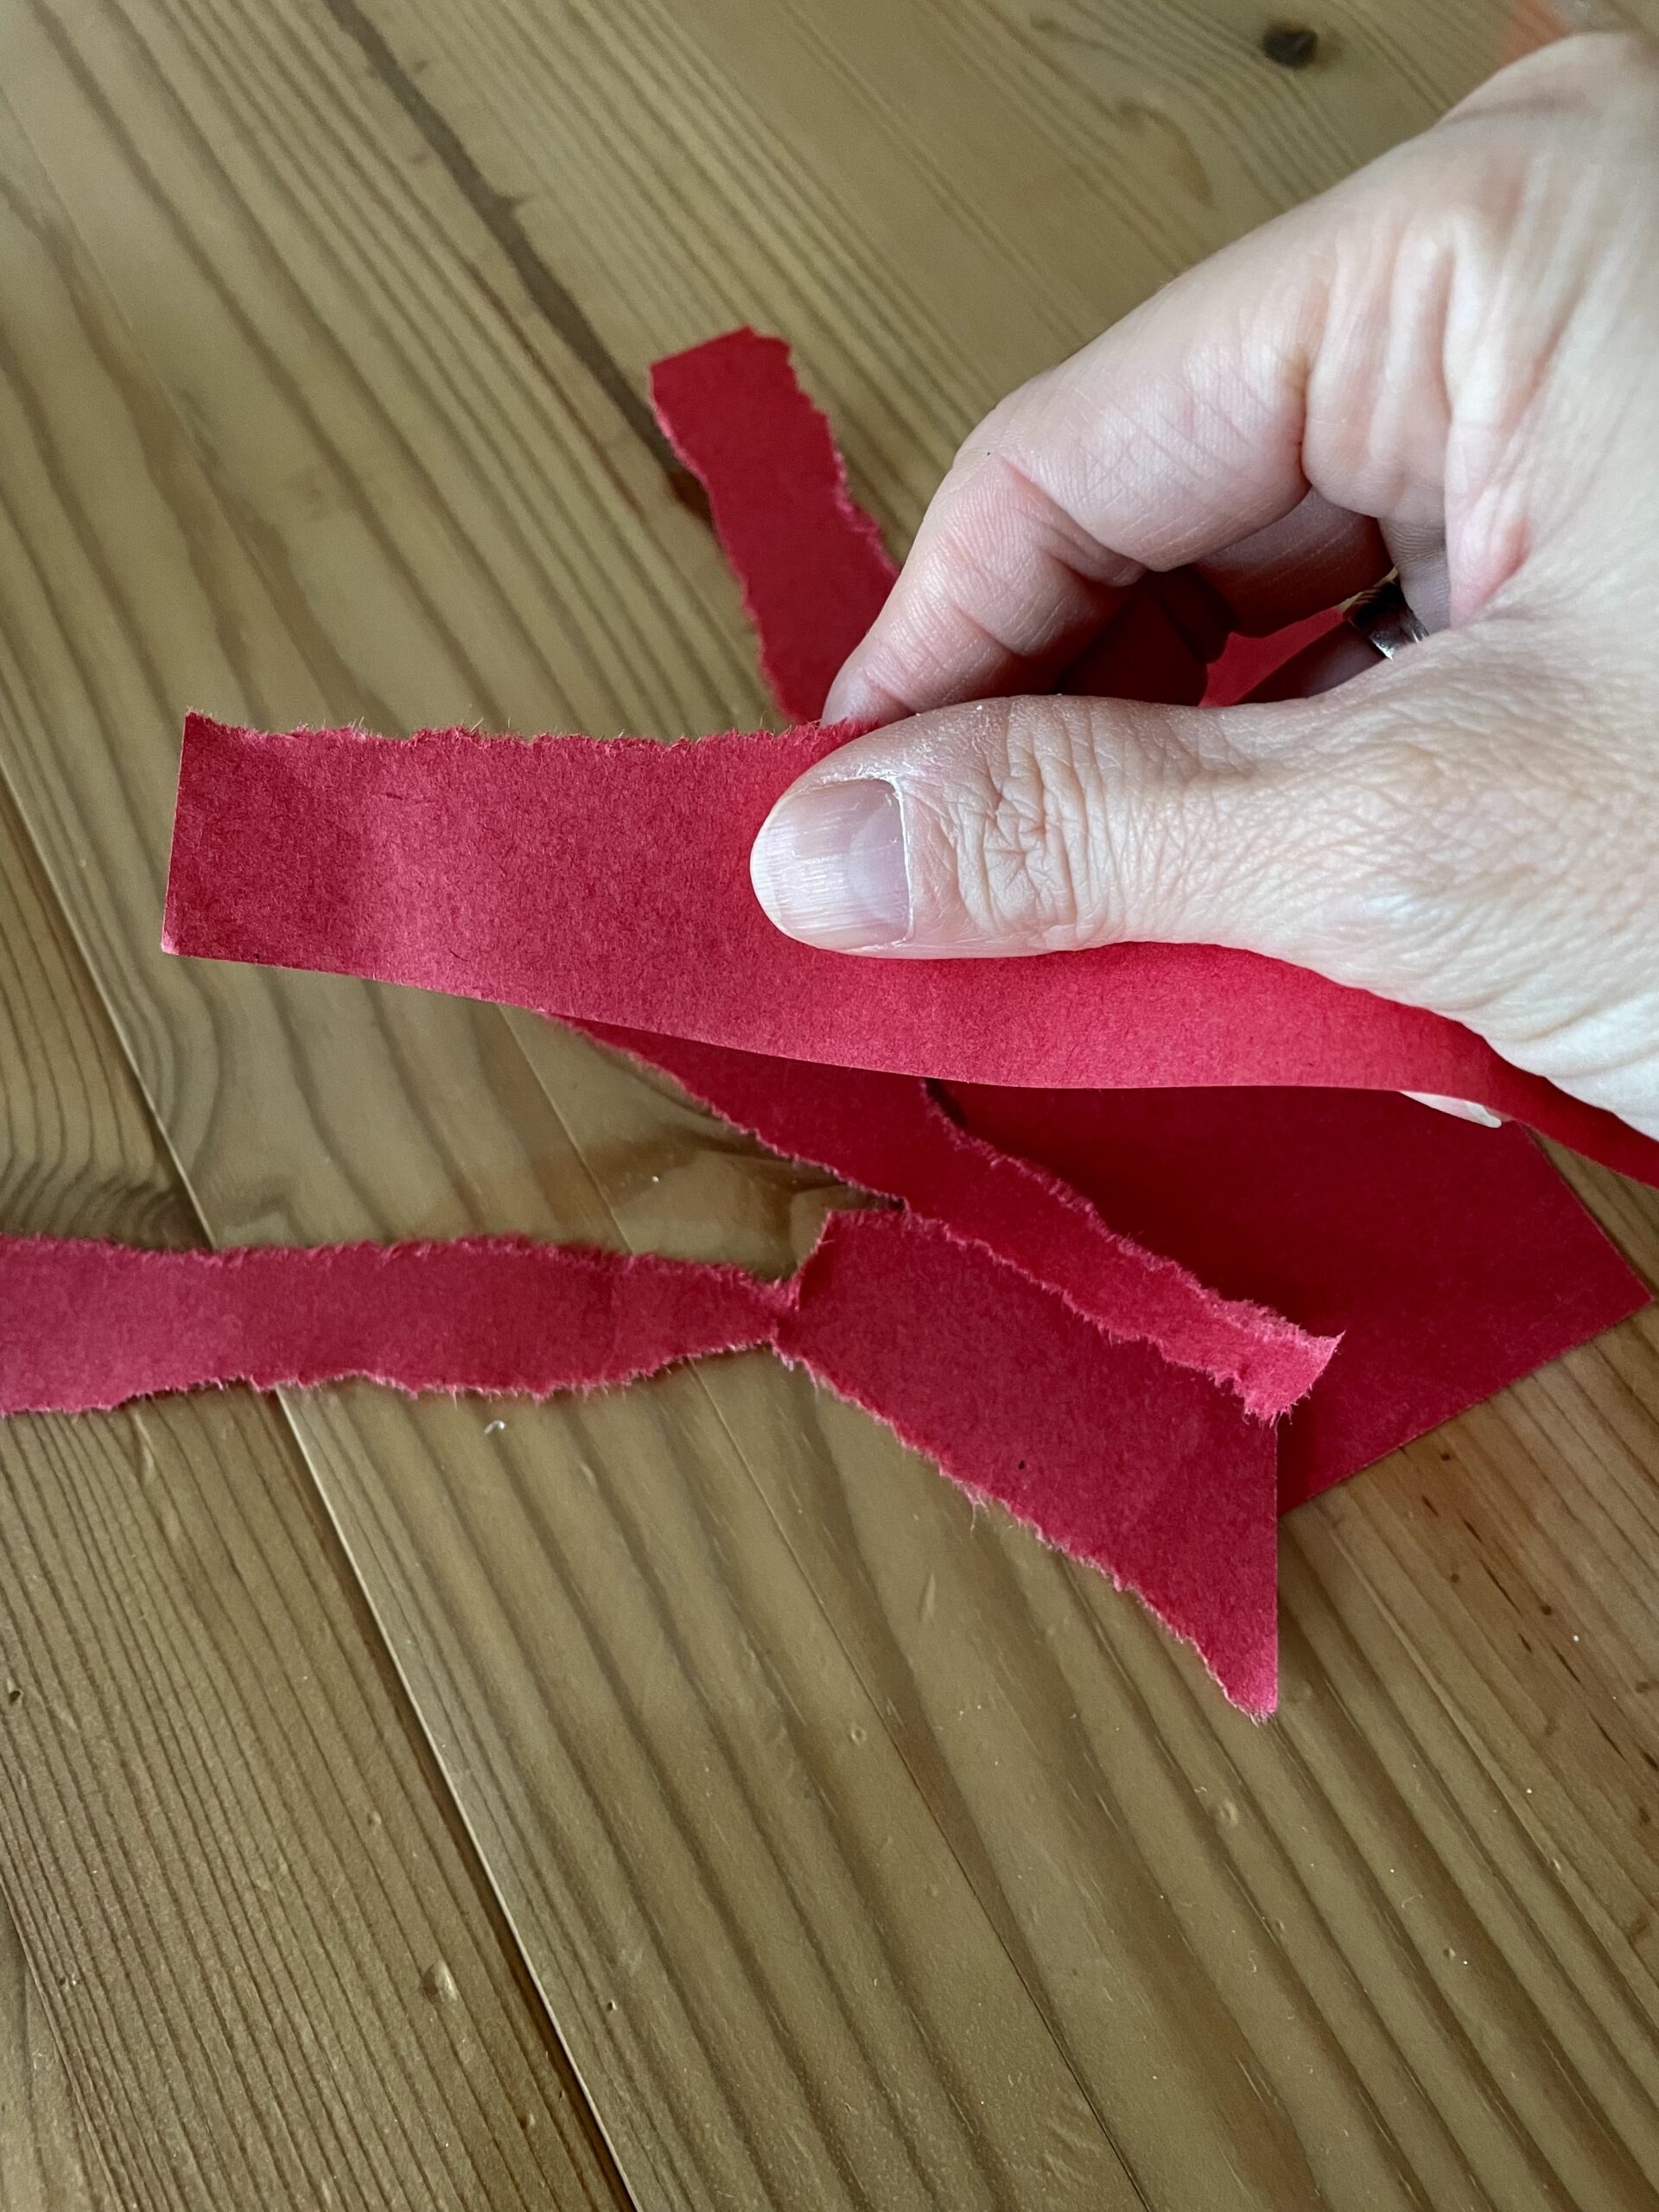
Bild zum Schritt 2 für das Bastel- und DIY-Abenteuer für Kinder: 'Anschließend reißt ihr jeden einzelnen Streifen in kleine Stücke.'

3

Tears as evenly as possible large snippets.

Bild zum Schritt 3 für das Bastel- und DIY-Abenteuer für Kinder: 'Reißt möglichst gleichmäßig große Schnipsel.'

4

Now rip all the strips to snippets.

Bild zum Schritt 4 für das Bastel- und DIY-Abenteuer für Kinder: 'Reißt nun alle Streifen zu Schnipseln.'

5

After that, you cover a round beer lid with glue.

Bild zum Schritt 5 für das Bastel- und DIY-Abenteuer für Kinder: 'Danach bestreicht ihr einen runden Bierdeckel mit Kleber.'

6

Now stick the snippets on the beer lid. Make sure that the lid is completely covered.

Bild zum Schritt 6 für das Bastel- und DIY-Abenteuer für Kinder: 'Klebt nun die Schnipsel auf den Bierdeckel. Achtet darauf, dass...'

7

Glue the back, then put the beer lid to dry.

Bild zum Schritt 7 für das Bastel- und DIY-Abenteuer für Kinder: 'Beklebt auch die Rückseite. Dann legt ihr den Bierdeckel zum...'

8

Now you need a piece of brown crepe paper. This should be about 6-8 cm long and 4 cm wide. Make sure that the long side is well rolled in!

Bild zum Schritt 8 für das Bastel- und DIY-Abenteuer für Kinder: 'Jetzt braucht ihr ein Stück braunes Krepppapier. Das sollte ca.6-8...'

9

Now you're rolling the long side very closely.

Bild zum Schritt 9 für das Bastel- und DIY-Abenteuer für Kinder: 'Die lange Seite rollt ihr nun ganz eng auf.'

10

Embroidered the last piece of the roll with glue.

Bild zum Schritt 10 für das Bastel- und DIY-Abenteuer für Kinder: 'Bestreicht das letzte Stück der Rolle mit Kleber.'

11

Then you press the end piece well. This is how the stalk of the apple is created.

Bild zum Schritt 11 für das Bastel- und DIY-Abenteuer für Kinder: 'Dann drückt ihr das Endstück gut fest. So entsteht der...'

12

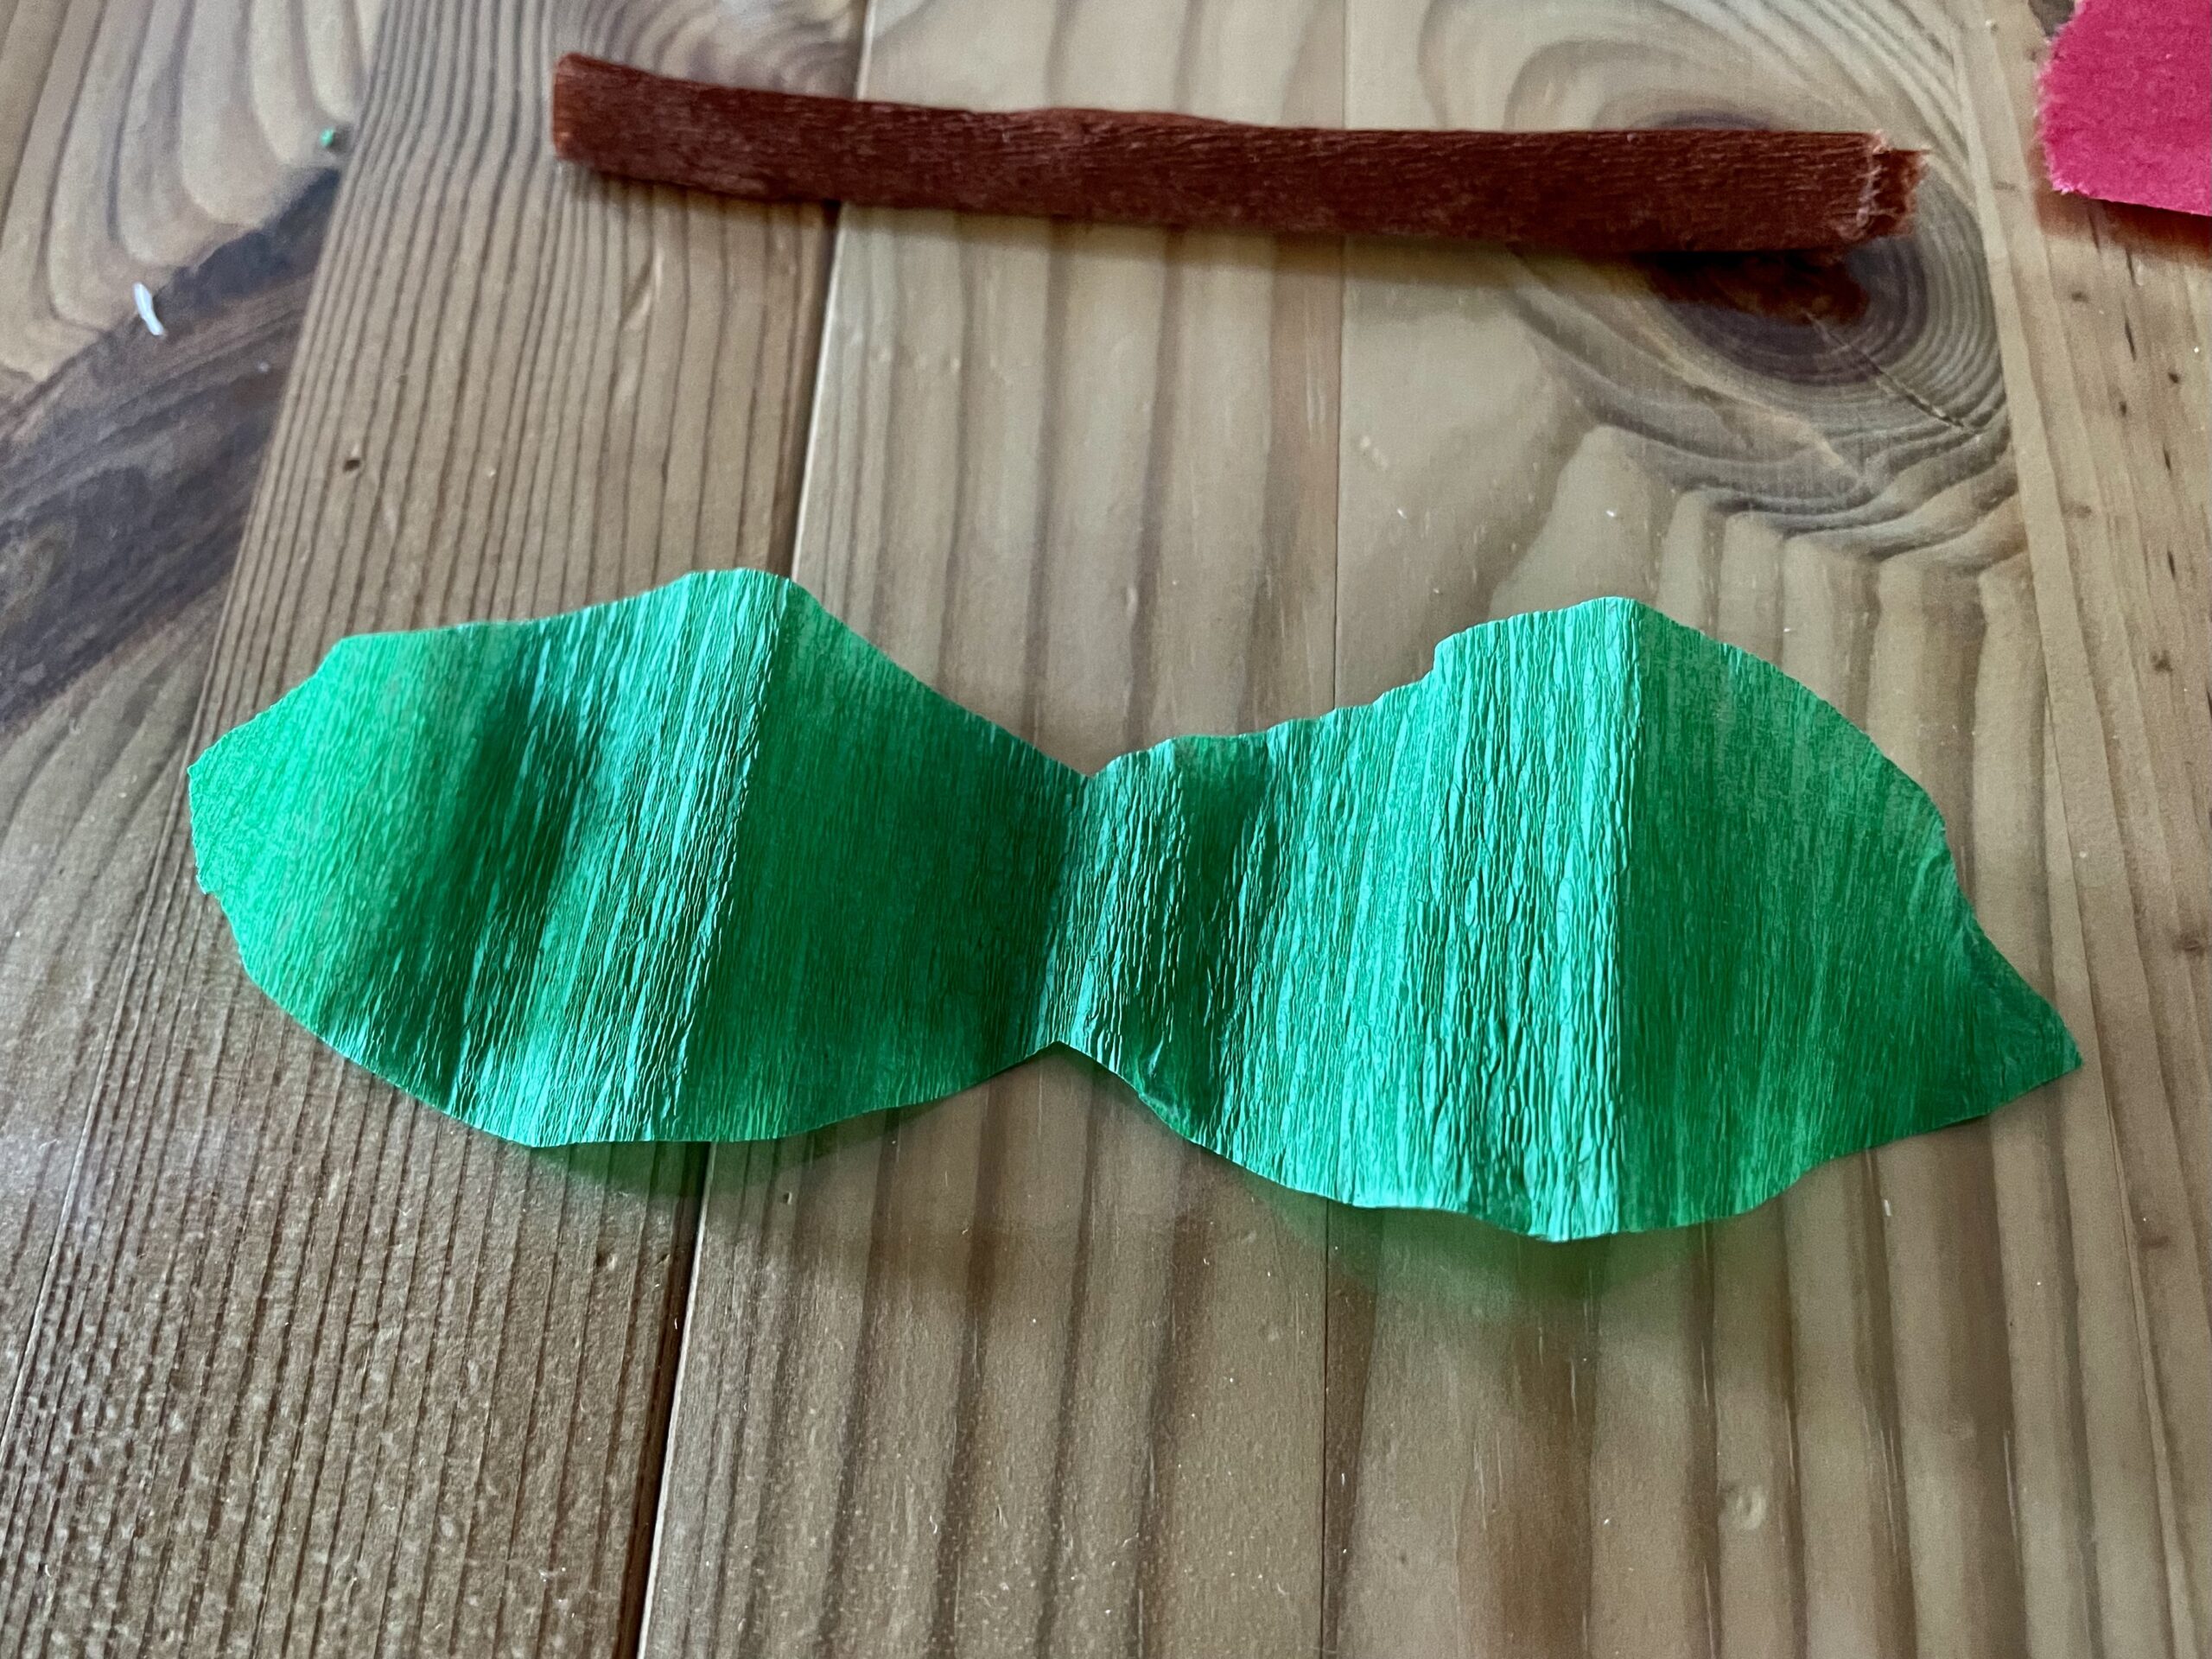
Then you take the green crepe paper and fold it together.

Bild zum Schritt 12 für das Bastel- und DIY-Abenteuer für Kinder: 'Danach nehmt ihr das grüne Krepppapier und faltet dieses zusammen.'

13

At the paper break you start painting a sheet with the pen. Then you cut out the sheet.

Bild zum Schritt 13 für das Bastel- und DIY-Abenteuer für Kinder: 'Am Papierbruch beginnt ihr nun mit dem Stift ein Blatt...'

14

Then she opens the leaf.

Bild zum Schritt 14 für das Bastel- und DIY-Abenteuer für Kinder: 'Anschließend klappt ihr das Blatt auf.'

15

Now you position the stem in the middle.

Bild zum Schritt 15 für das Bastel- und DIY-Abenteuer für Kinder: 'Nun positioniert ihr den Stiel in die Mitte.'

16

Now apply a leaf with glue and fold the leaves together. Press them firmly together.

Bild zum Schritt 16 für das Bastel- und DIY-Abenteuer für Kinder: 'Bestreicht jetzt ein Blatt mit Kleber und klappt die Blätter...'

17

Press the leaf just next to the stem.

Bild zum Schritt 17 für das Bastel- und DIY-Abenteuer für Kinder: 'Drückt dabei das Blatt knapp neben dem Stiel zusammen.'

18

Now stick the stalk with the leaves on the apple.

Bild zum Schritt 18 für das Bastel- und DIY-Abenteuer für Kinder: 'Klebt nun den Stiel mit den Blättern auf den Apfel.'

19

Then glue a red snippet over the sticky stem.

Bild zum Schritt 19 für das Bastel- und DIY-Abenteuer für Kinder: 'Danach klebt ihr einen roten Schnipsel über den aufgeklebten Stiel.'

20

Now you stick a small snippet of brown crepe paper on both sides as a flower opposite the stem.

Bild zum Schritt 20 für das Bastel- und DIY-Abenteuer für Kinder: 'Jetzt klebt ihr auf beide Seiten einen kleinen Schnipsel braunes...'

21

Finally, you punch the apple and thread through it. Hang the apple on a branch and find a nice place. Your decoration for autumn is ready.

Bild zum Schritt 21 für das Bastel- und DIY-Abenteuer für Kinder: 'Abschließend locht ihr den Apfel und fädelt einen Faden hindurch....'

22

Have fun doing crafts!

Tip: You can also hang several apples with glue film on the window frame, so they can dance beautifully in the wind.

Materials

 1 Beer lids
 Folding paper red
 Crepe paper green
 Crepe paper brown
 1 Pen
 1 Builder's pad
 1 Thread and needle
All links marked with a shopping cart lead to Amazon - here we have selected products that we would order ourselves and in part also ordered. In a qualified purchase via the advertising link, we as Amazon partner receive a commission, for you there are no costs. You thus support our cost- and advertising banner-free, educational offer.

Directions

1

For very small children, their thin red paper (e.g. folding paper) breaks down slightly at the upper edge. Thus, the children can tear the leaf into long thin strips from there.
Older children tear the leaf into strips themselves.

Bild zum Schritt 1 für das Bastel- und DIY-Abenteuer für Kinder: 'Für ganz kleine Kinder reißt ihr dünnes rotes Papier (z.B....'

2

Then you tear every single strip into small pieces.

Bild zum Schritt 2 für das Bastel- und DIY-Abenteuer für Kinder: 'Anschließend reißt ihr jeden einzelnen Streifen in kleine Stücke.'

3

Tears as evenly as possible large snippets.
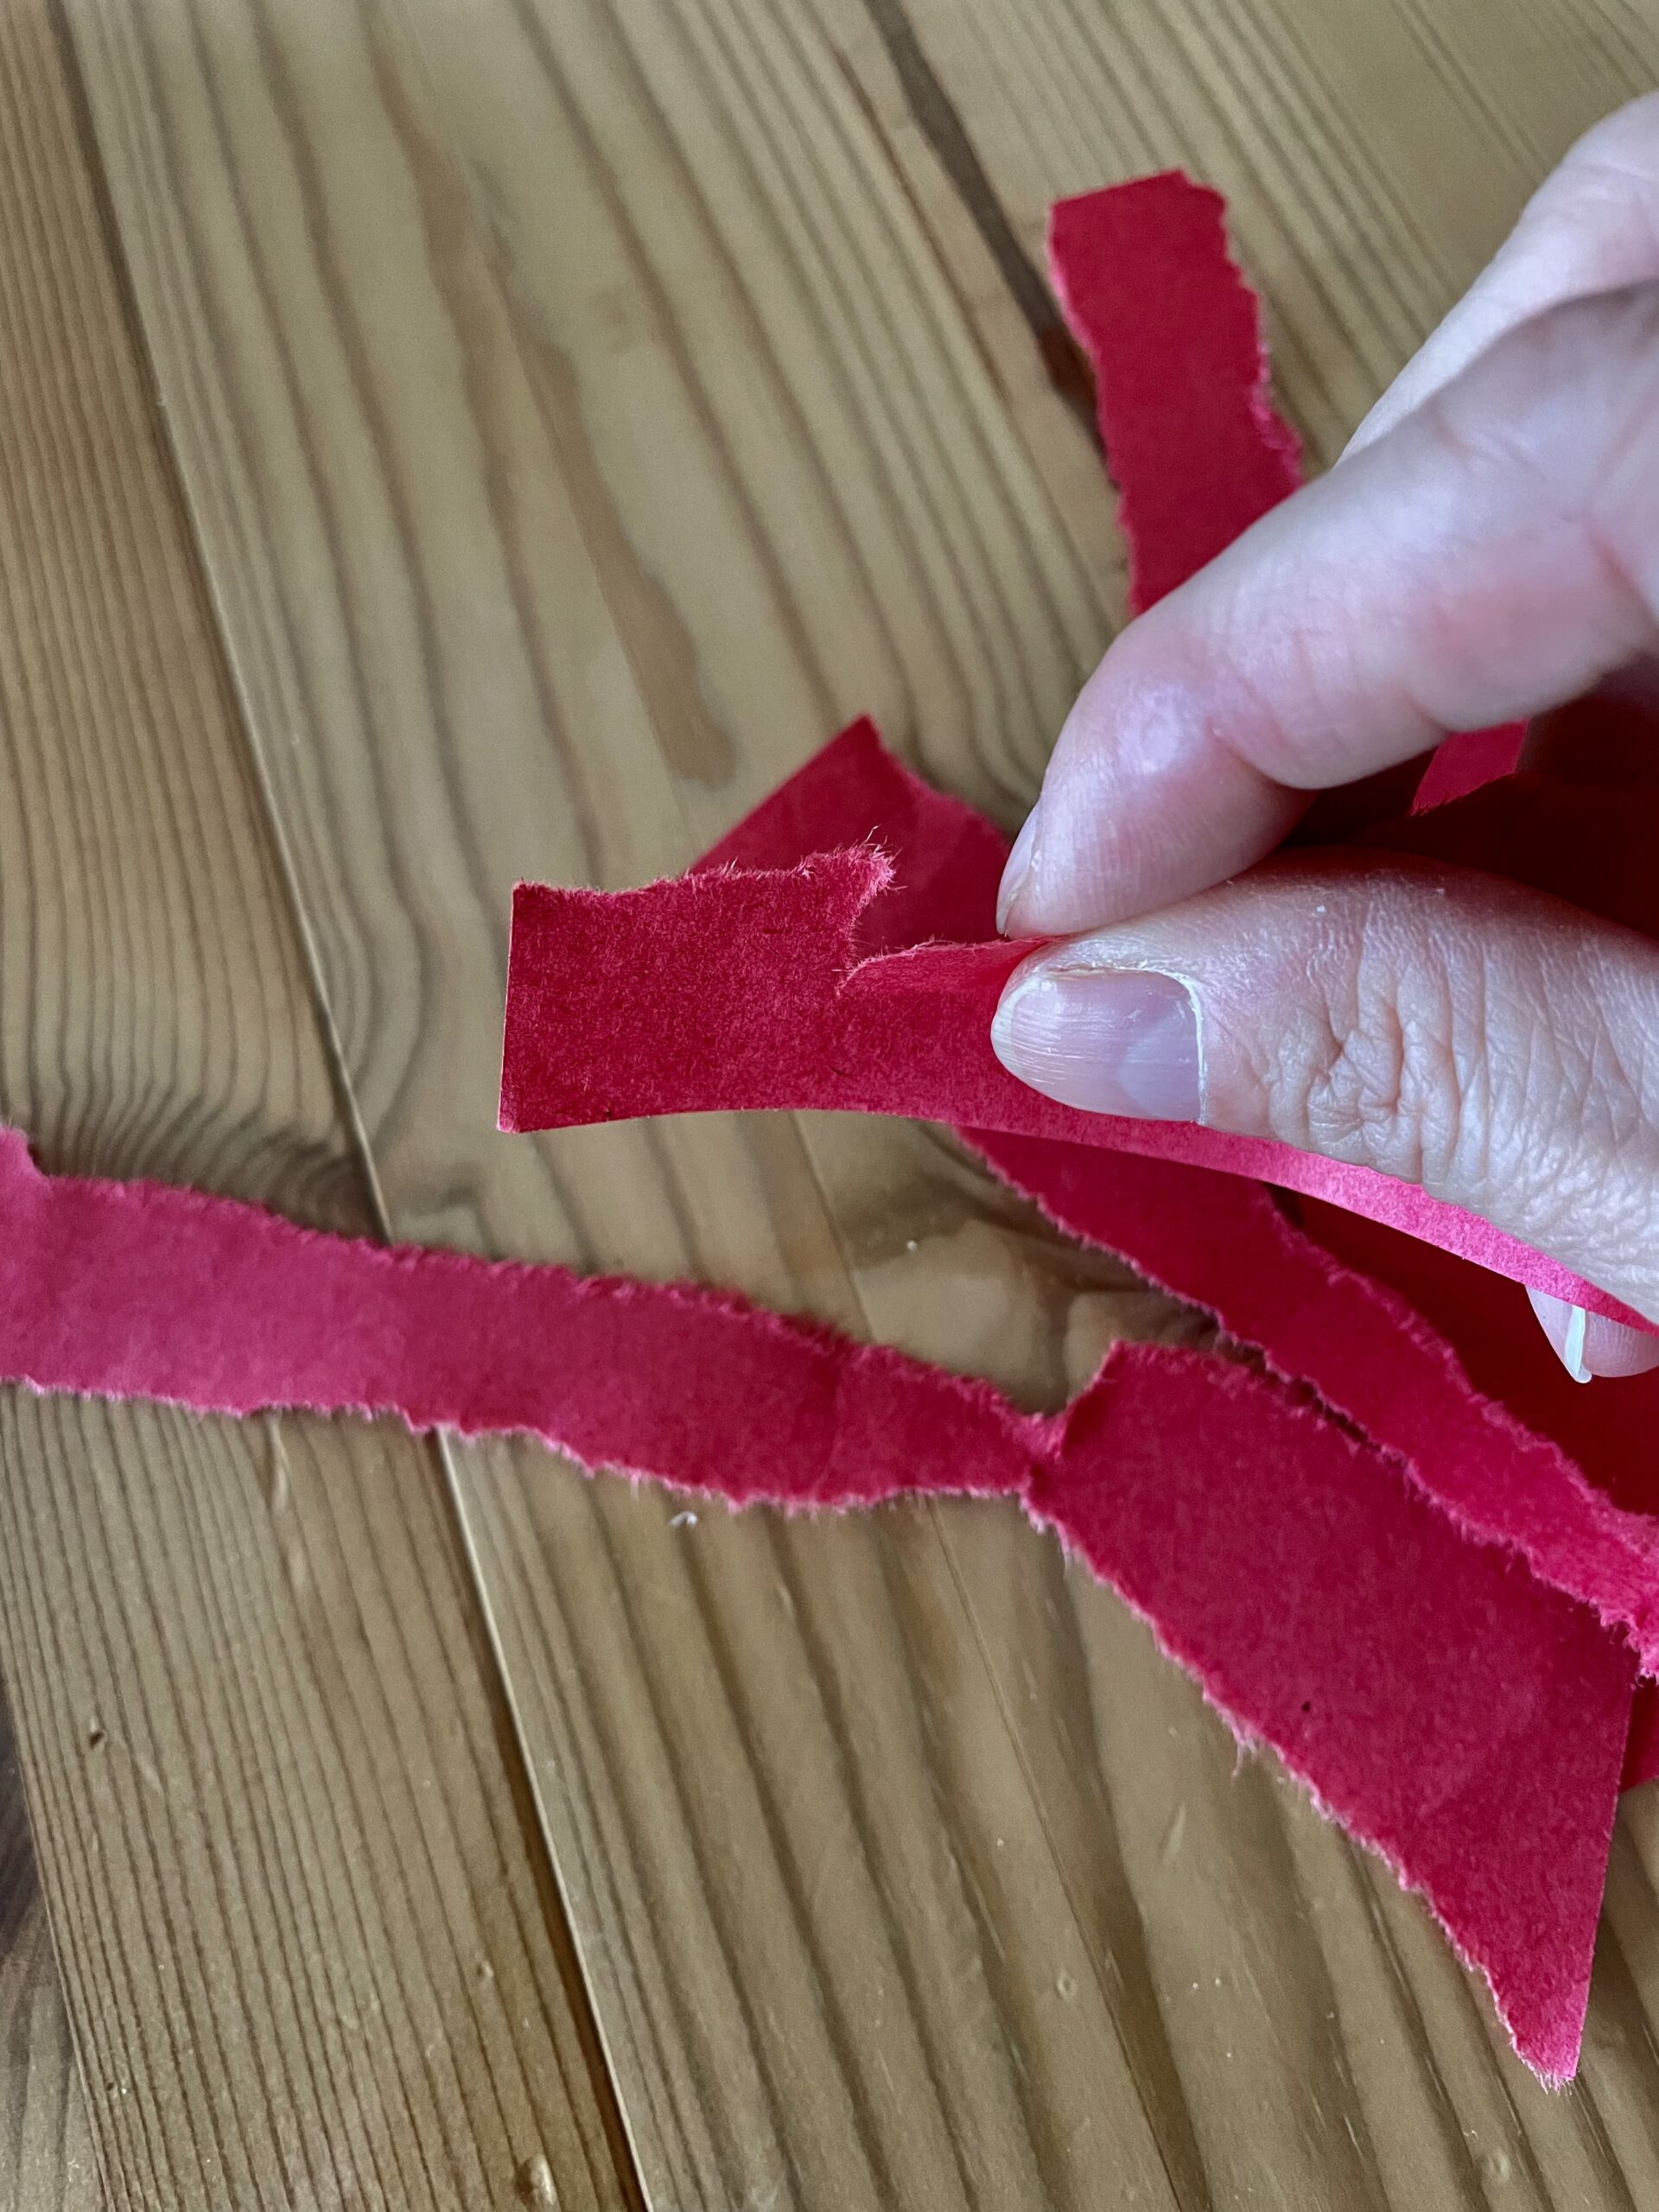
Bild zum Schritt 3 für das Bastel- und DIY-Abenteuer für Kinder: 'Reißt möglichst gleichmäßig große Schnipsel.'

4

Now rip all the strips to snippets.
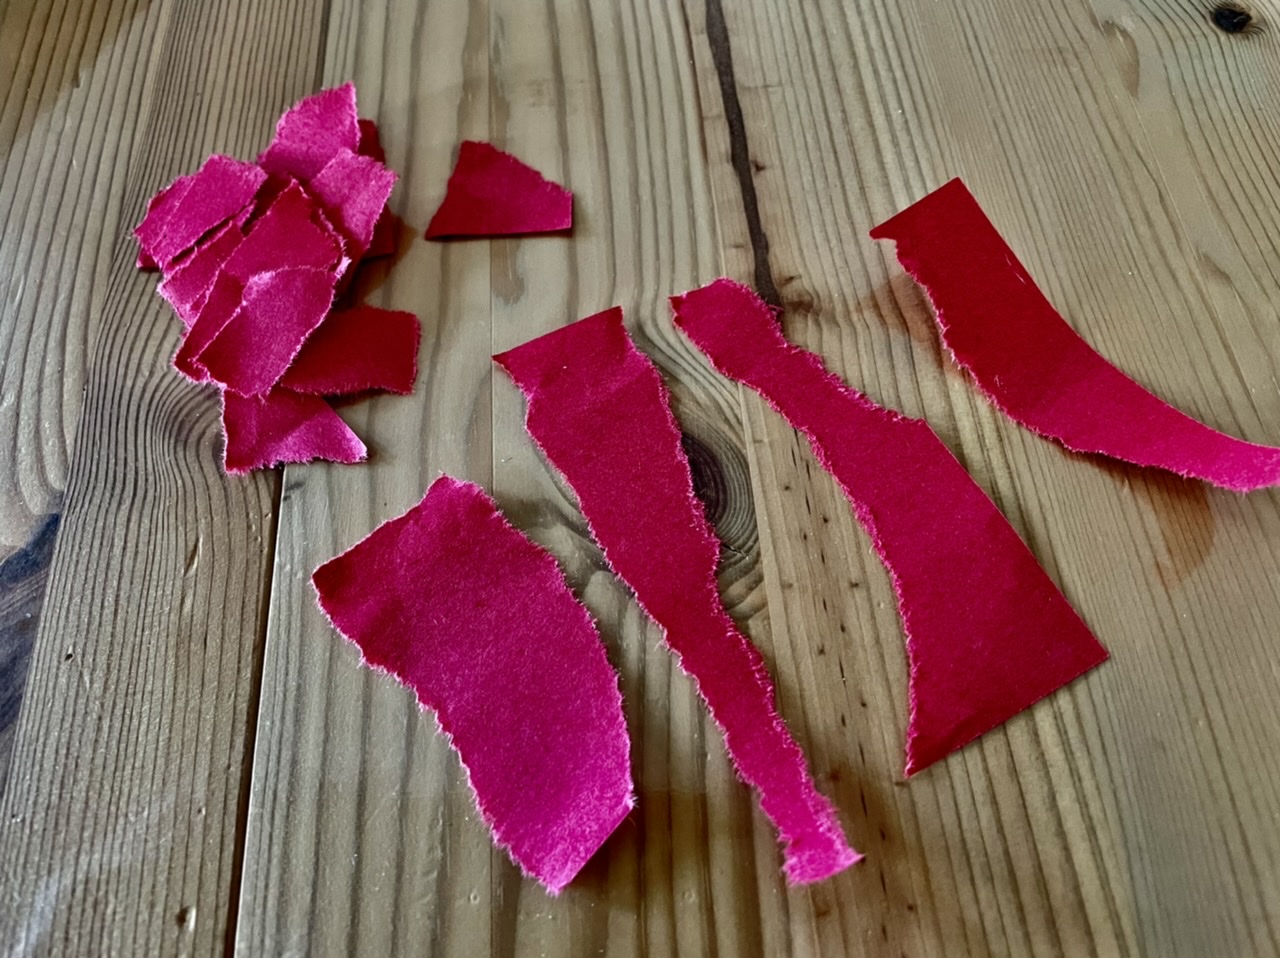
Bild zum Schritt 4 für das Bastel- und DIY-Abenteuer für Kinder: 'Reißt nun alle Streifen zu Schnipseln.'

5

After that, you cover a round beer lid with glue.
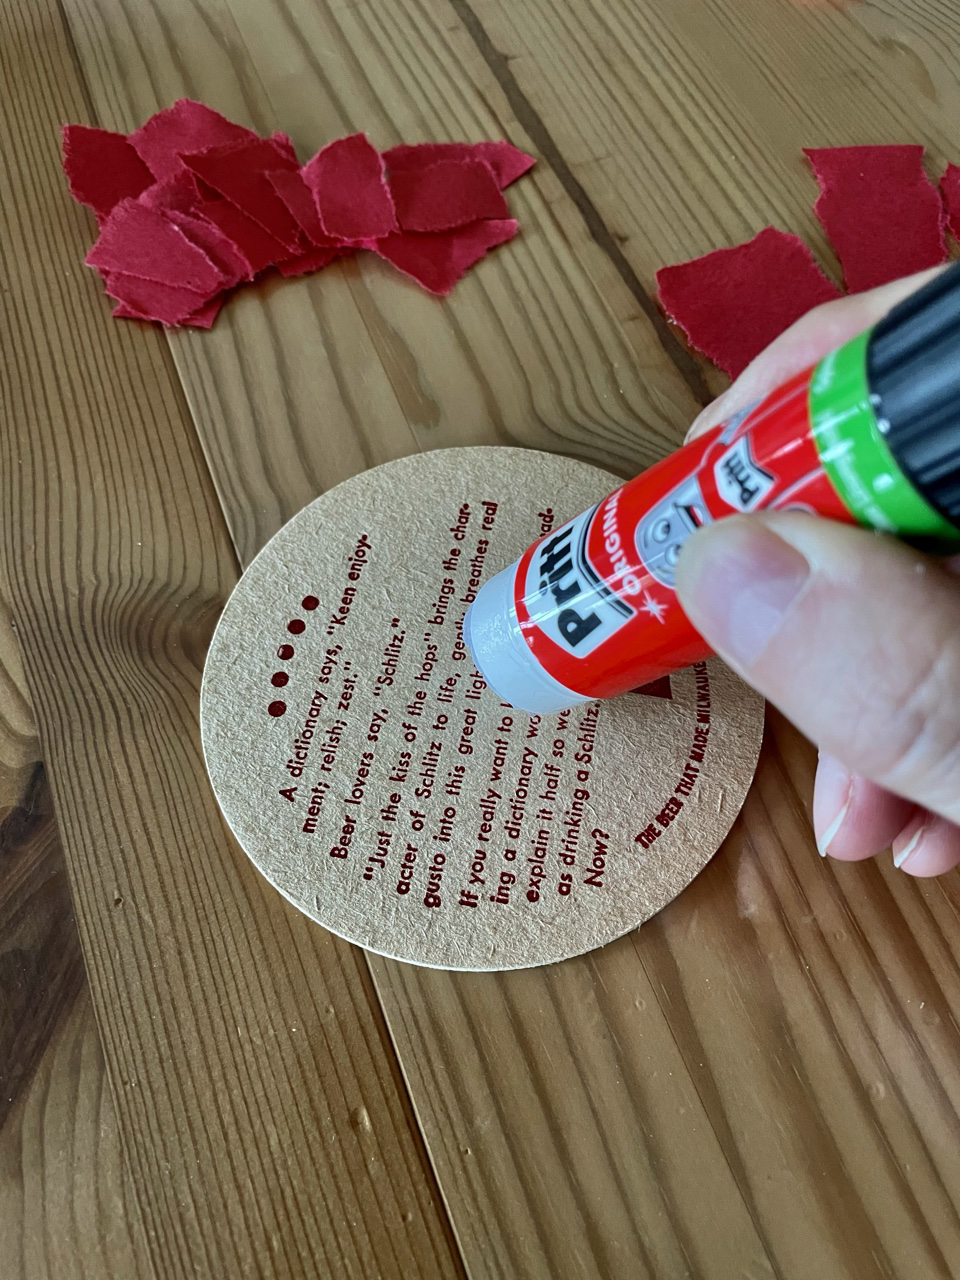
Bild zum Schritt 5 für das Bastel- und DIY-Abenteuer für Kinder: 'Danach bestreicht ihr einen runden Bierdeckel mit Kleber.'

6

Now stick the snippets on the beer lid. Make sure that the lid is completely covered.
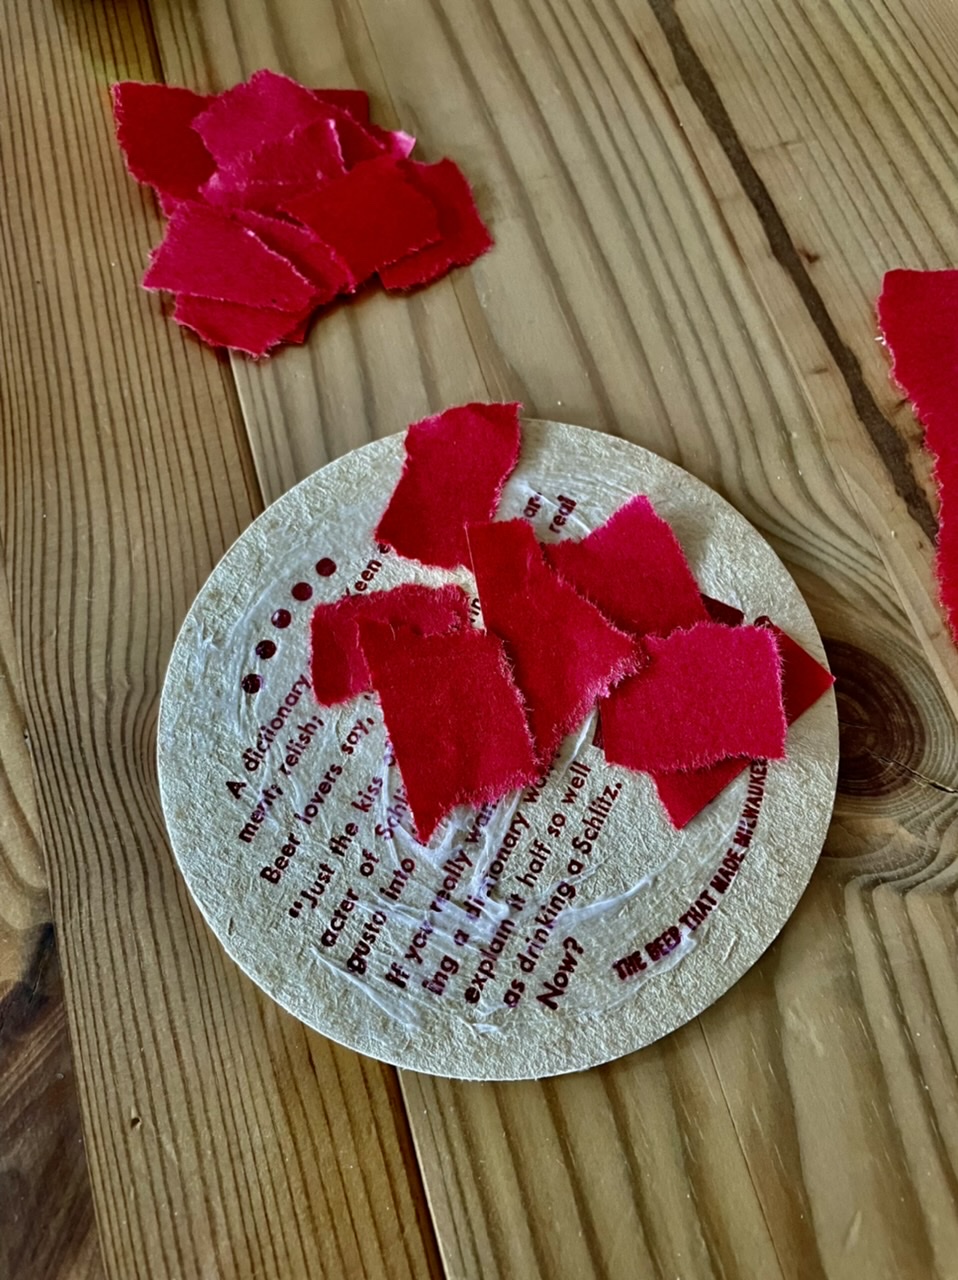
Bild zum Schritt 6 für das Bastel- und DIY-Abenteuer für Kinder: 'Klebt nun die Schnipsel auf den Bierdeckel. Achtet darauf, dass...'

7

Glue the back, then put the beer lid to dry.
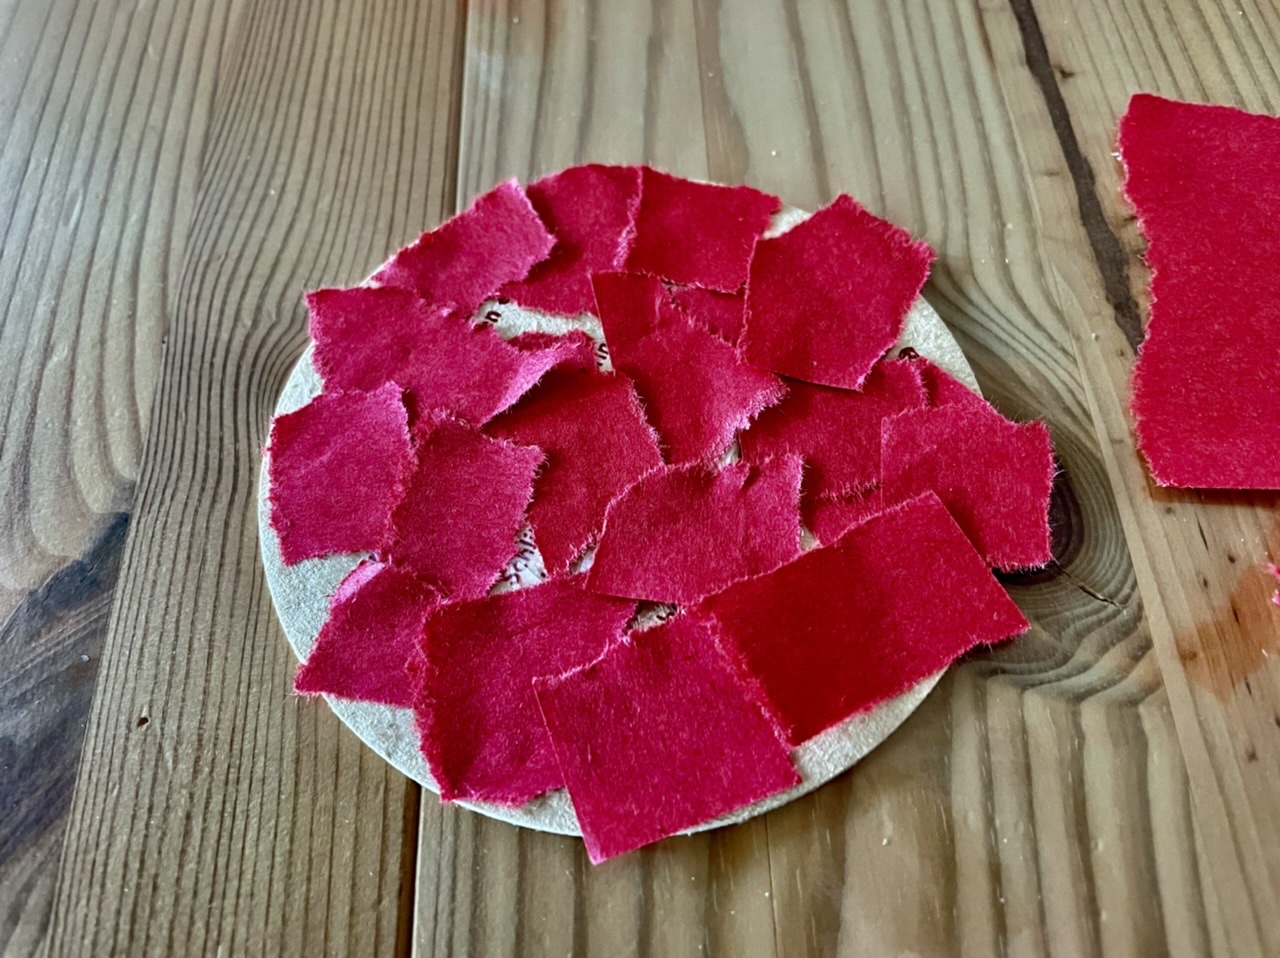
Bild zum Schritt 7 für das Bastel- und DIY-Abenteuer für Kinder: 'Beklebt auch die Rückseite. Dann legt ihr den Bierdeckel zum...'

8

Now you need a piece of brown crepe paper. This should be about 6-8 cm long and 4 cm wide. Make sure that the long side is well rolled in!

Bild zum Schritt 8 für das Bastel- und DIY-Abenteuer für Kinder: 'Jetzt braucht ihr ein Stück braunes Krepppapier. Das sollte ca.6-8...'

9

Now you're rolling the long side very closely.
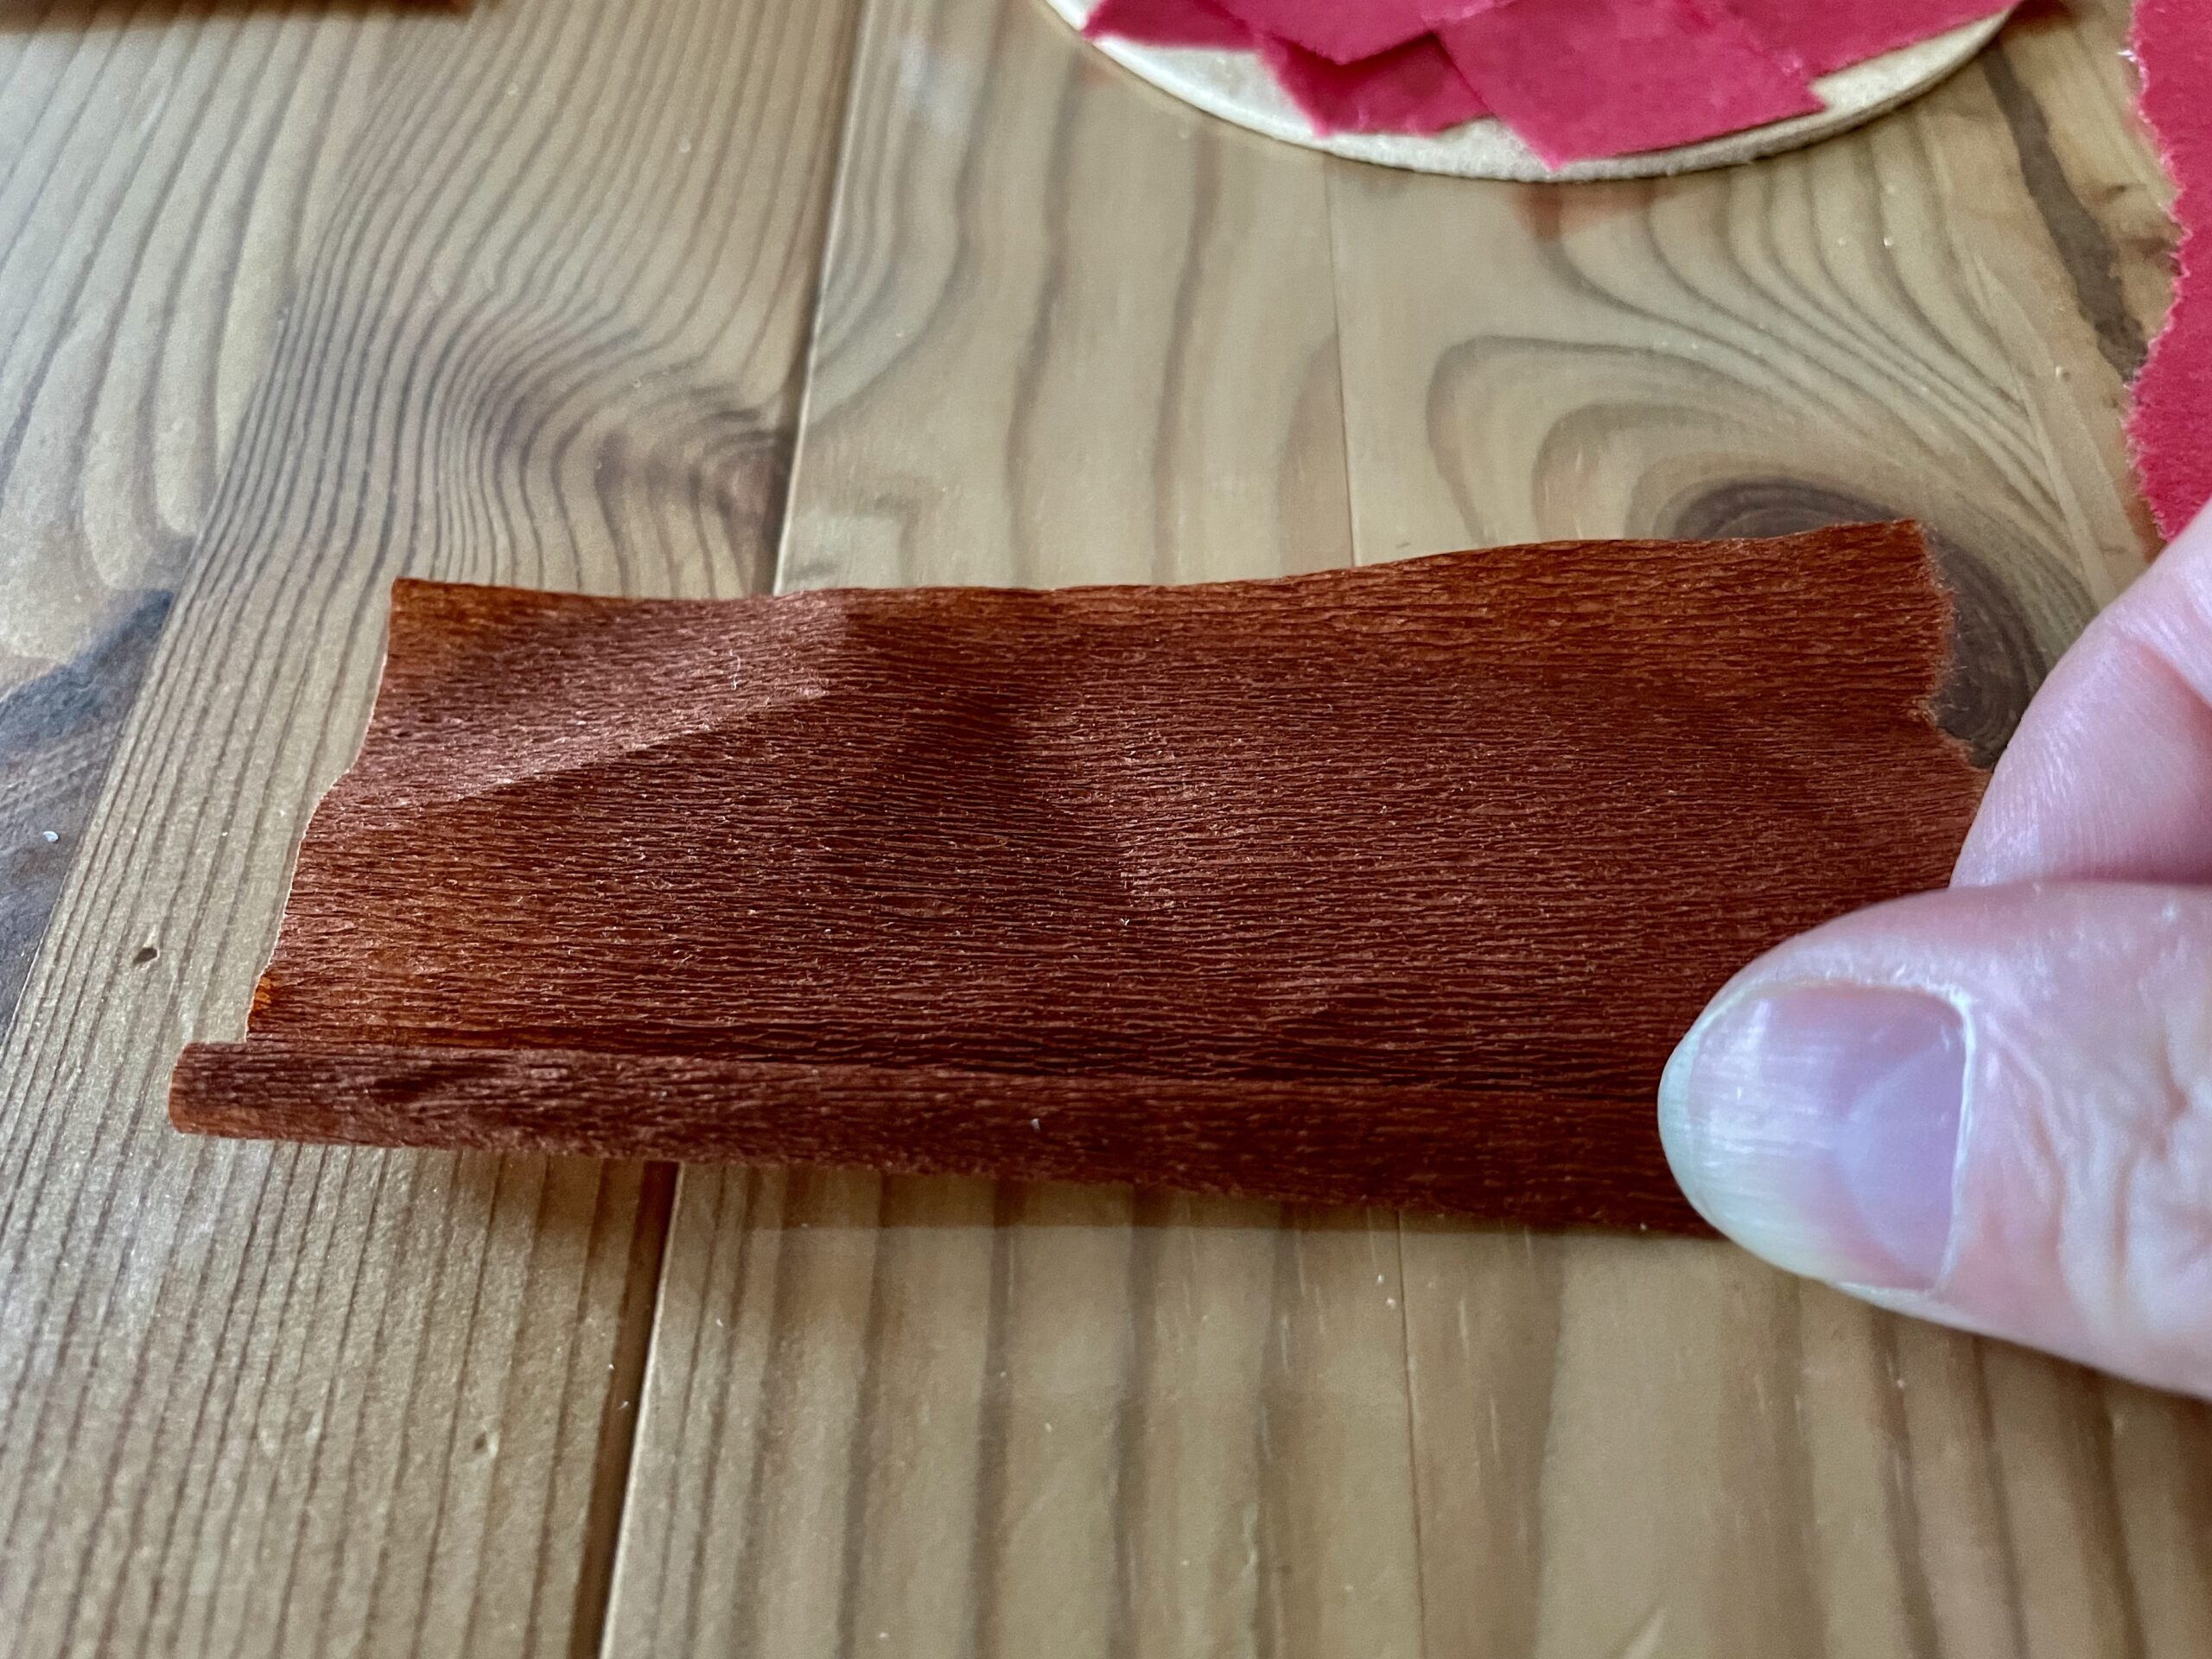
Bild zum Schritt 9 für das Bastel- und DIY-Abenteuer für Kinder: 'Die lange Seite rollt ihr nun ganz eng auf.'

10

Embroidered the last piece of the roll with glue.
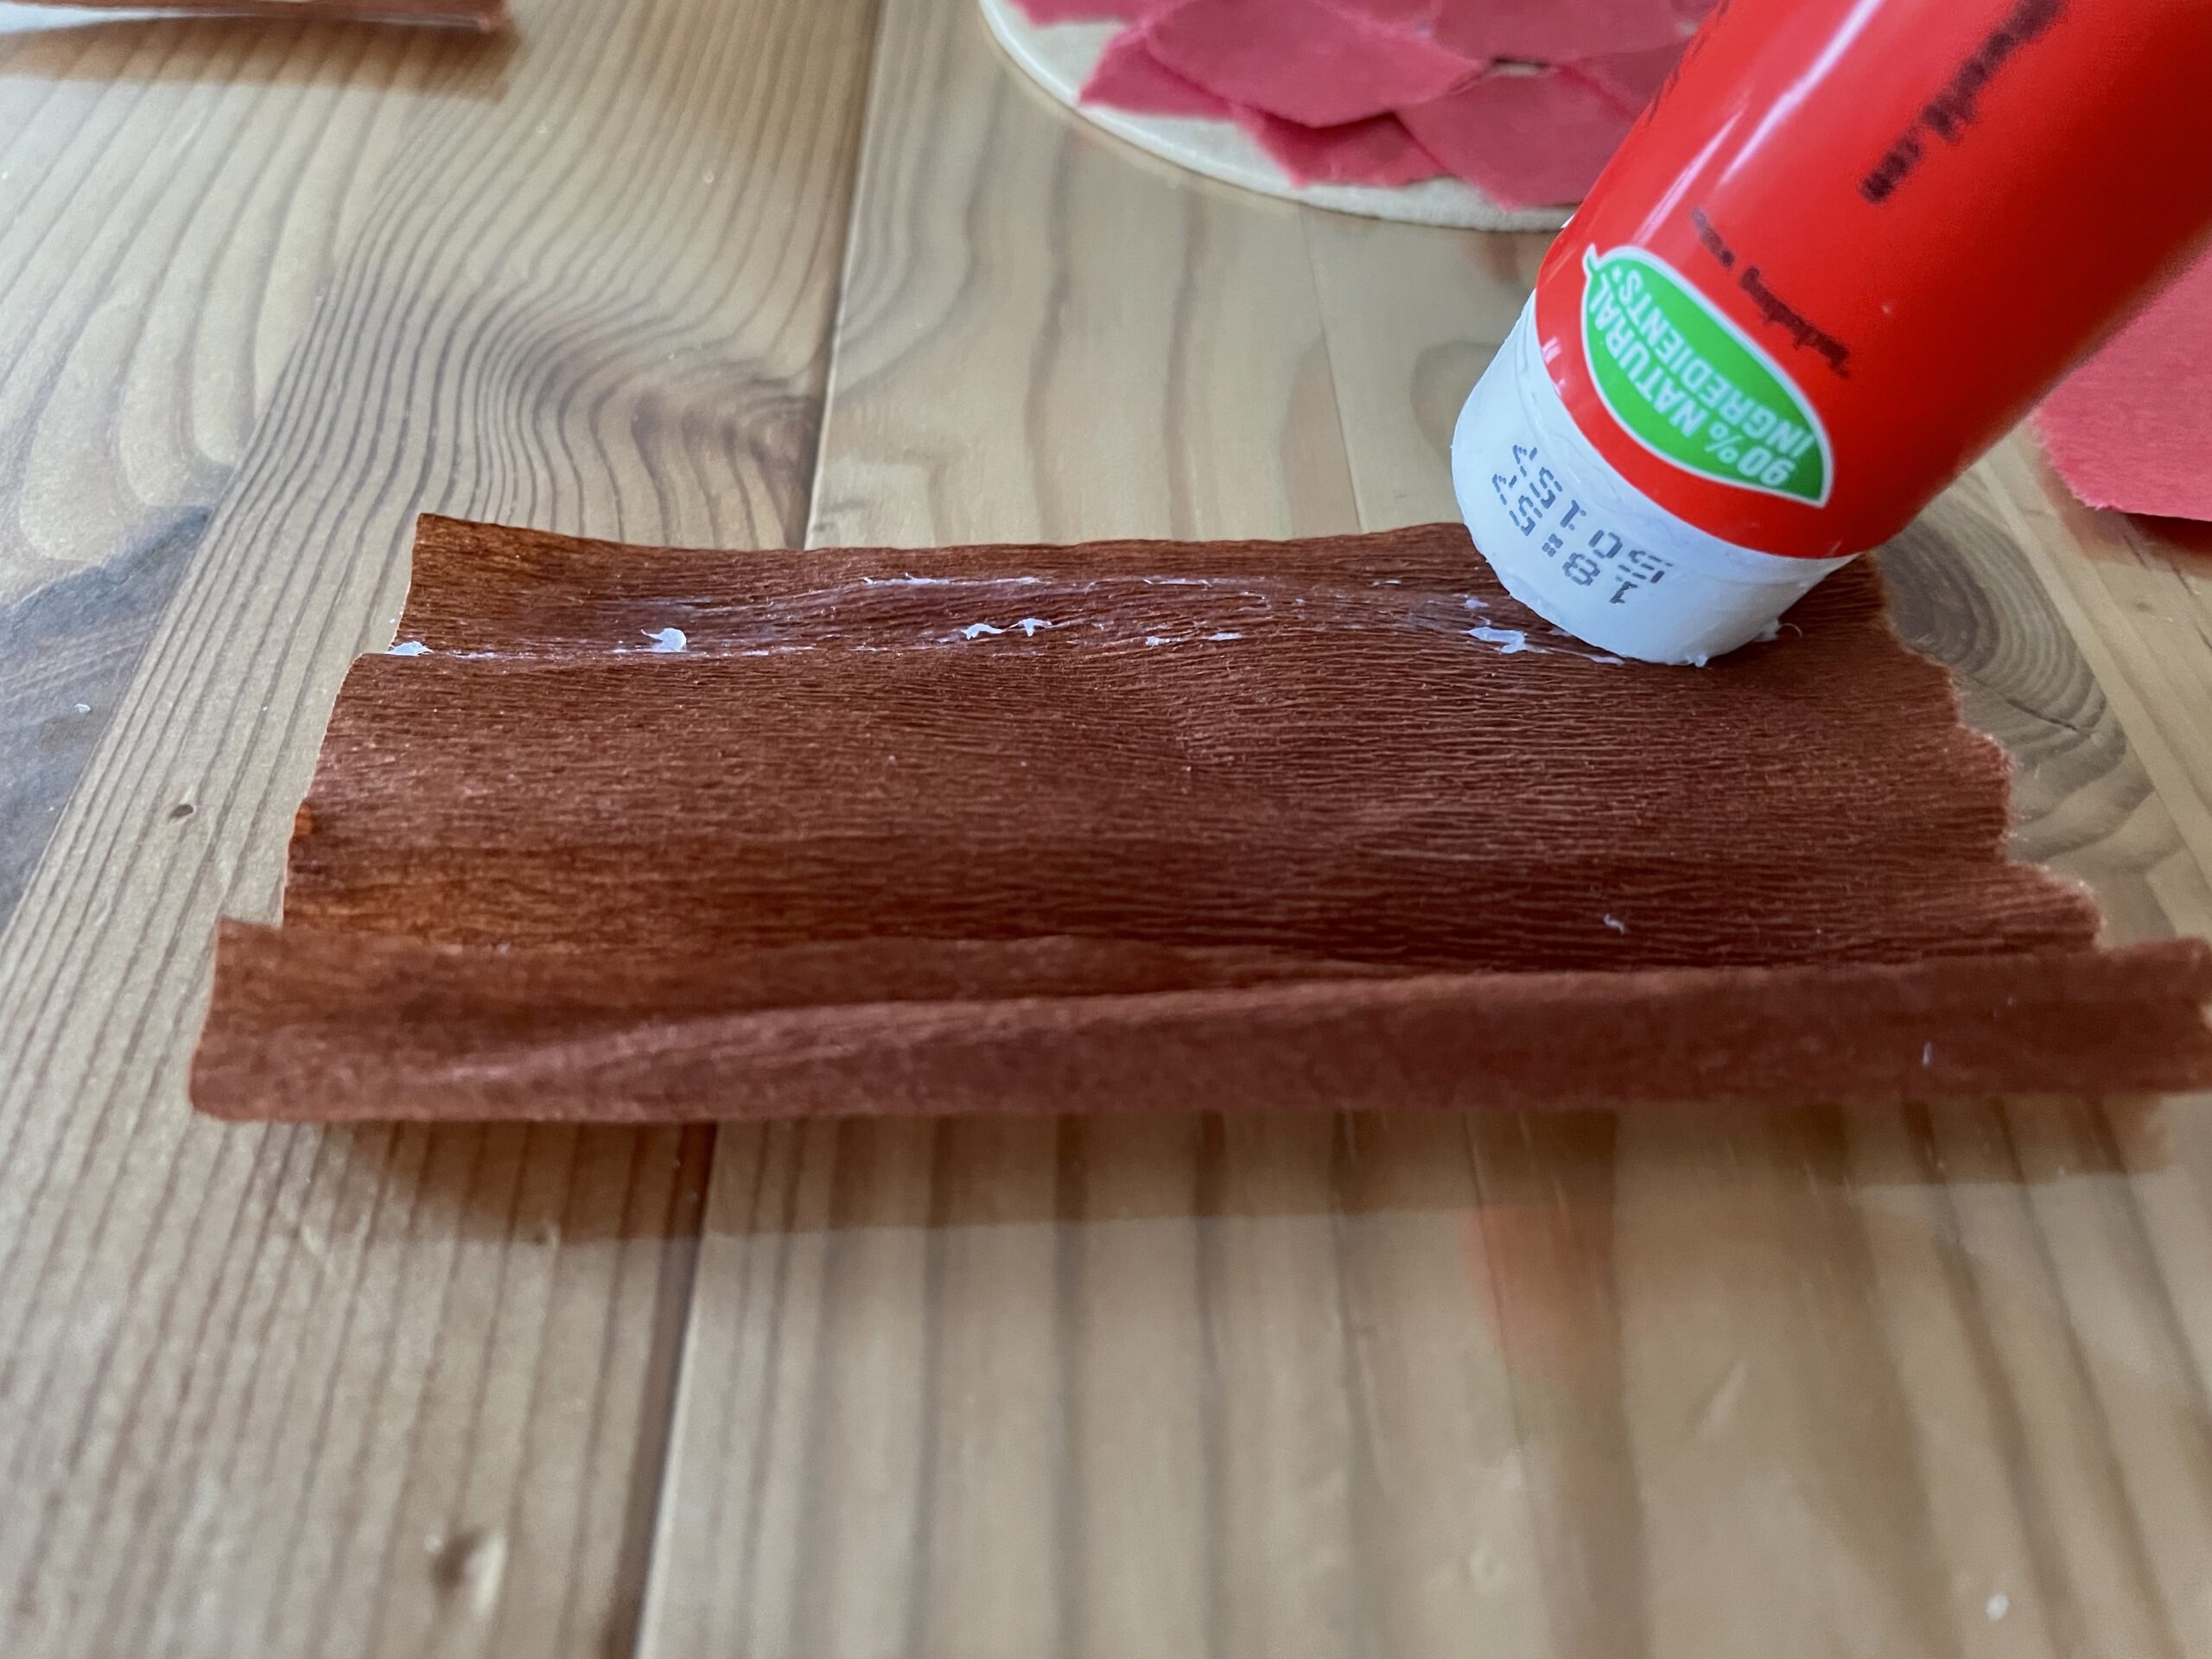
Bild zum Schritt 10 für das Bastel- und DIY-Abenteuer für Kinder: 'Bestreicht das letzte Stück der Rolle mit Kleber.'

11

Then you press the end piece well. This is how the stalk of the apple is created.
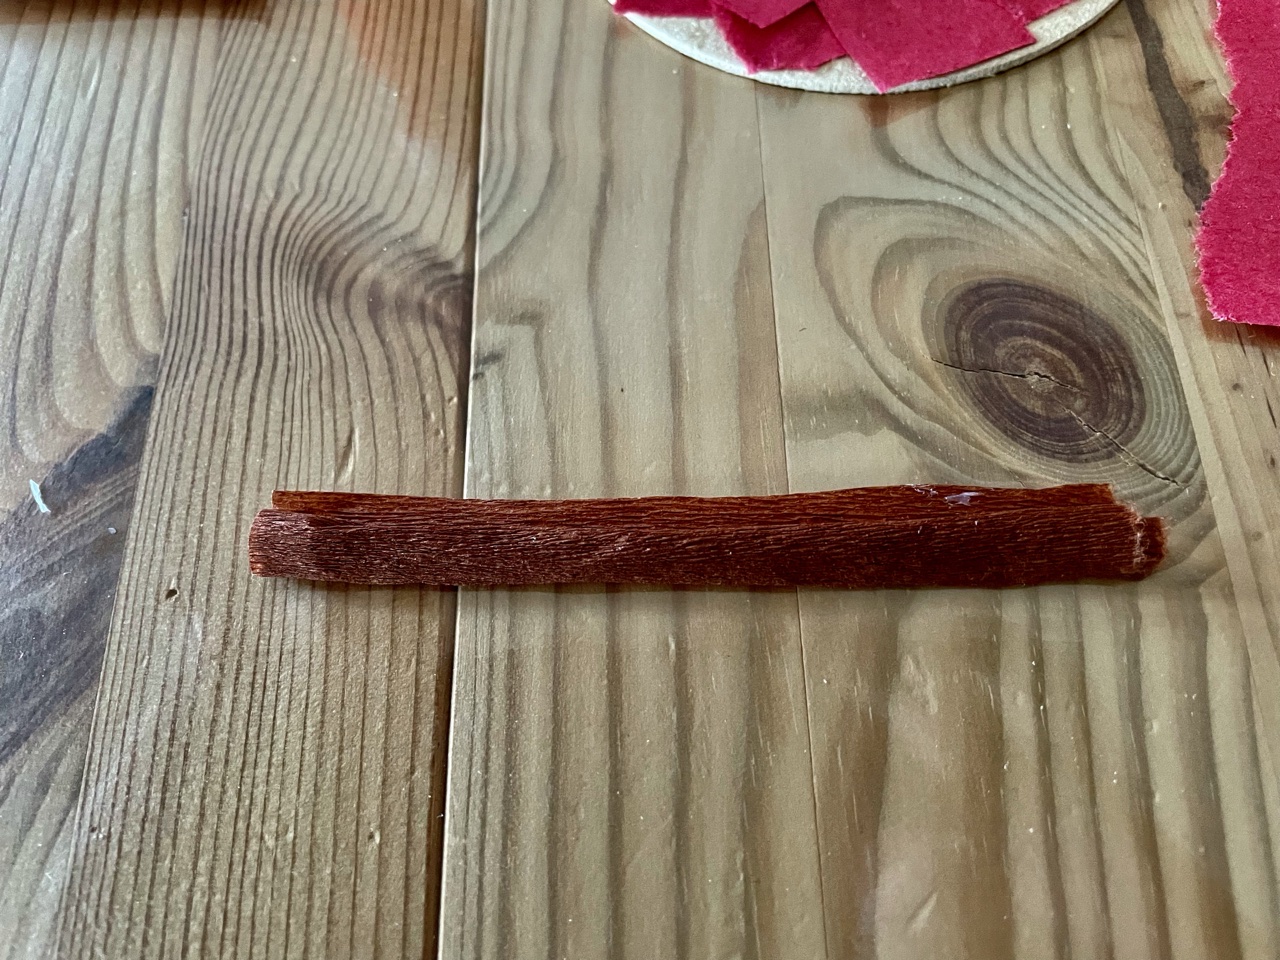
Bild zum Schritt 11 für das Bastel- und DIY-Abenteuer für Kinder: 'Dann drückt ihr das Endstück gut fest. So entsteht der...'

12

Then you take the green crepe paper and fold it together.
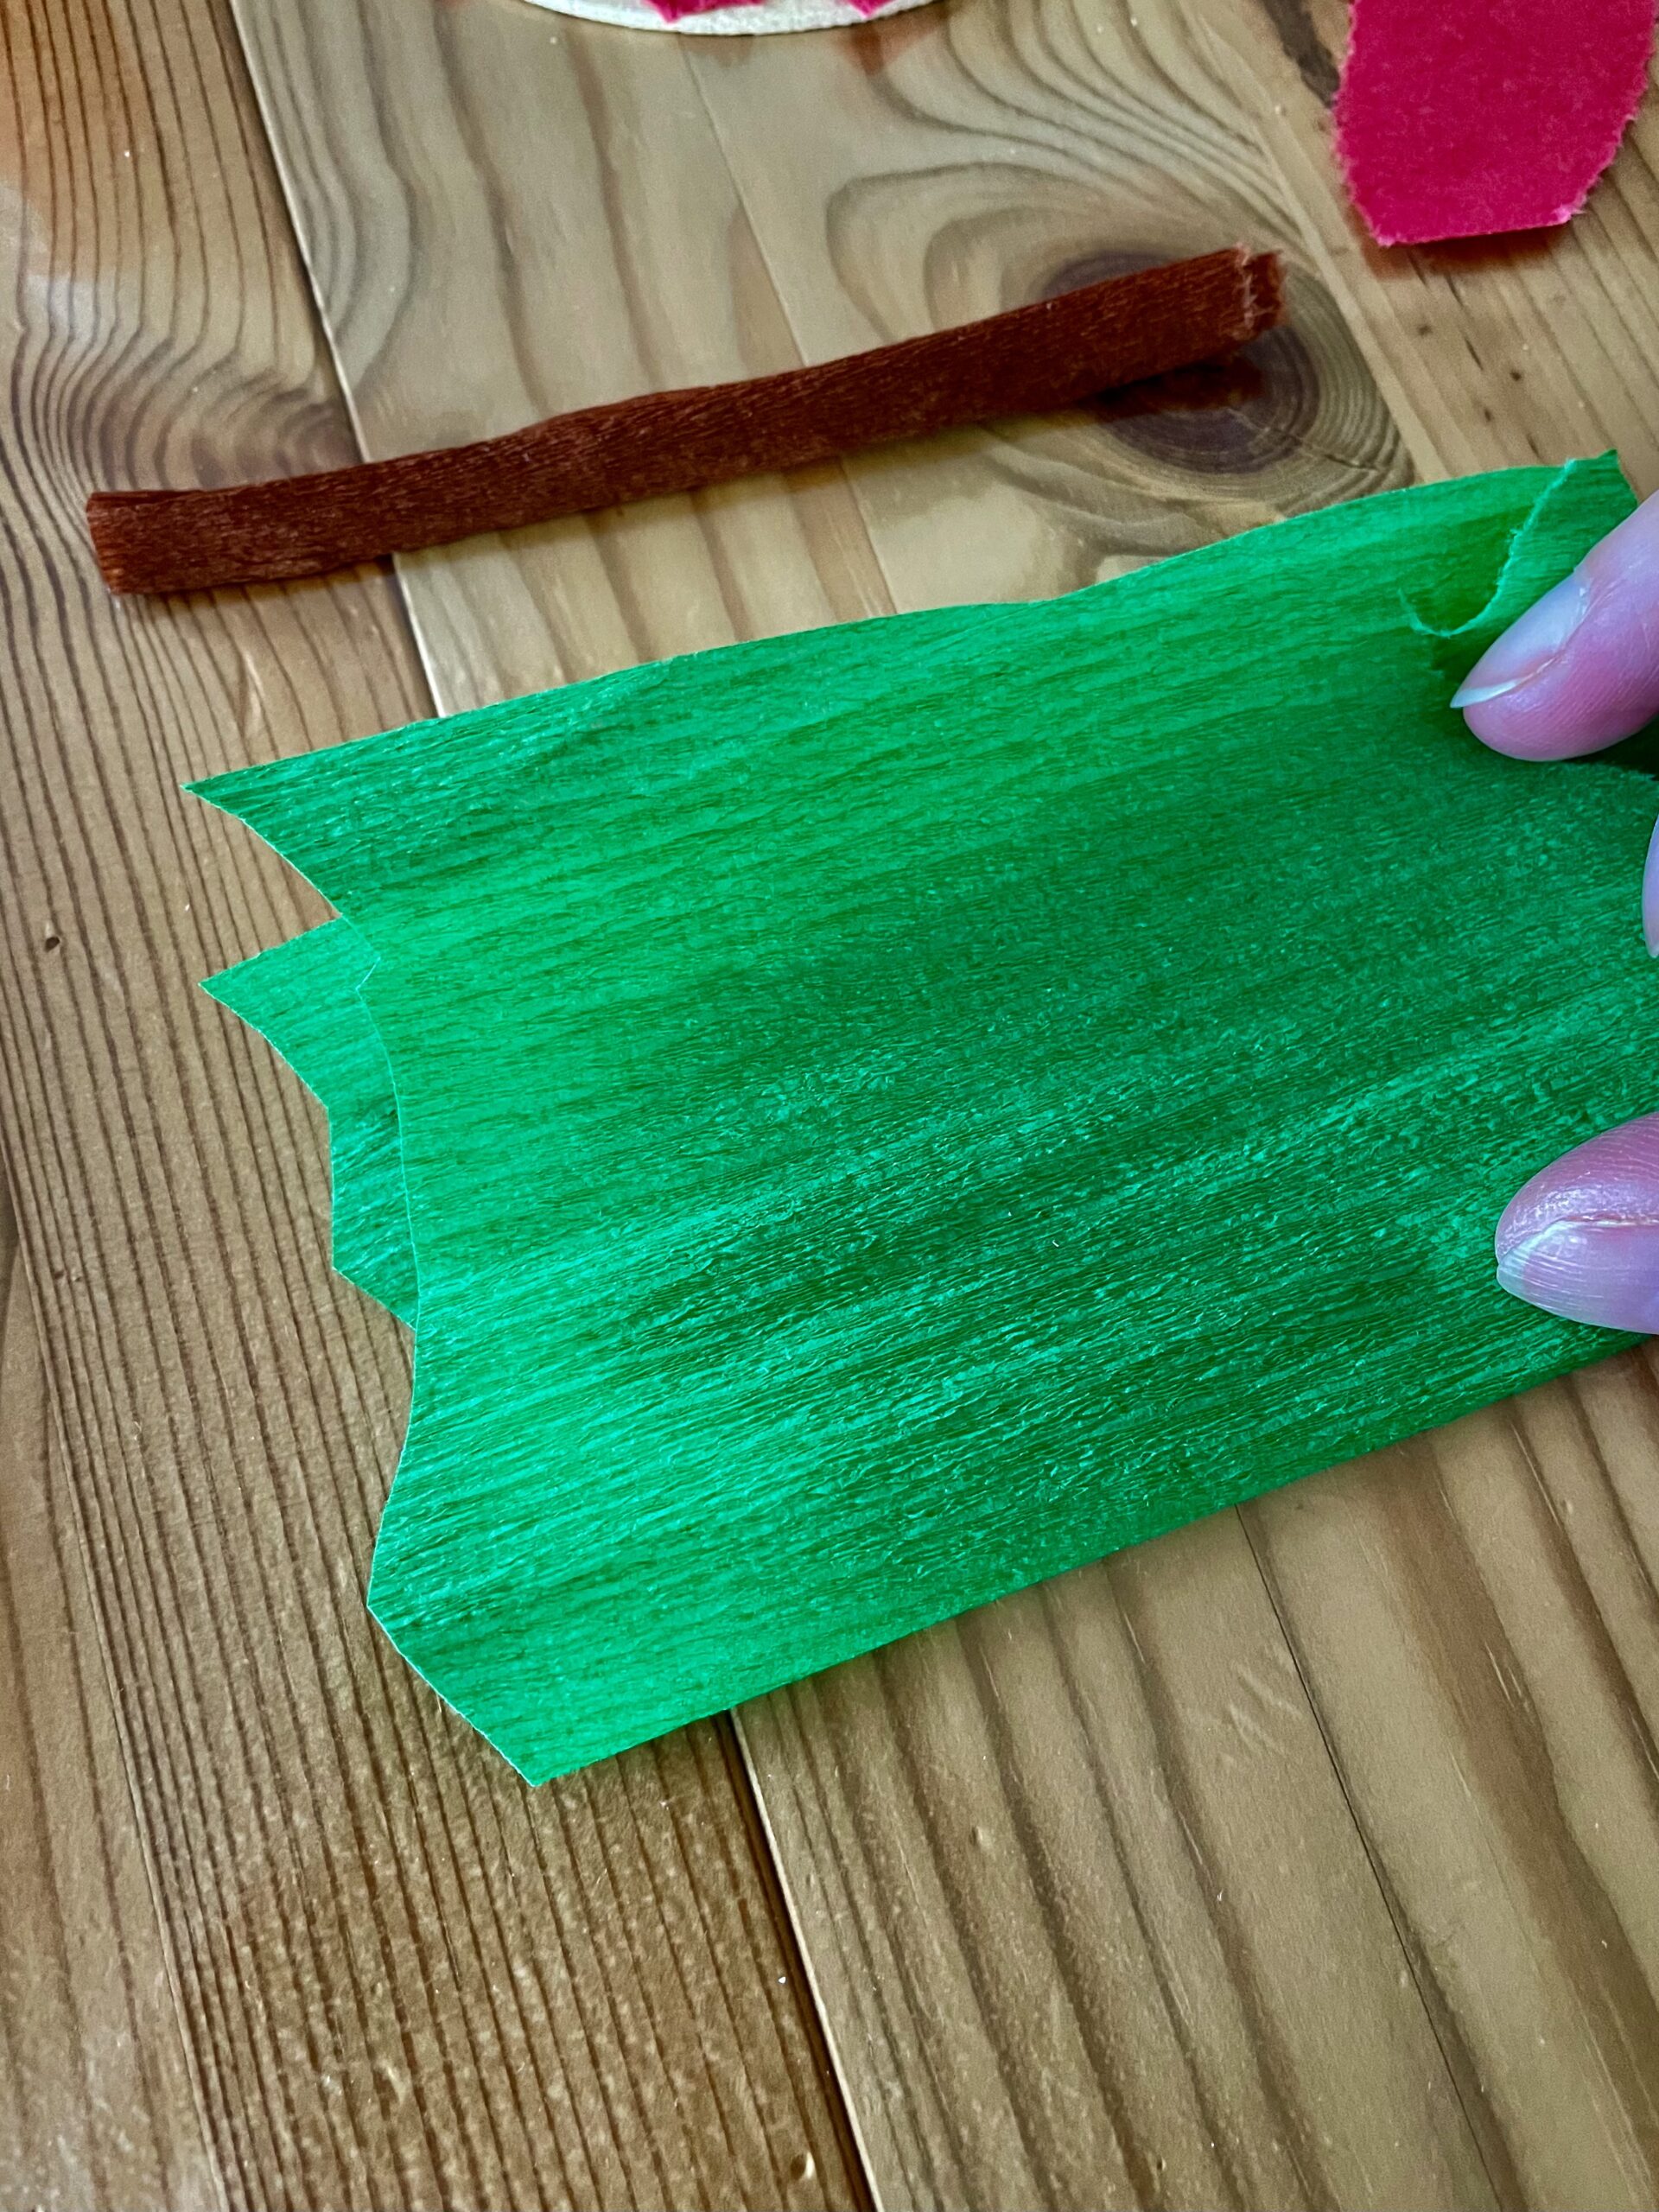
Bild zum Schritt 12 für das Bastel- und DIY-Abenteuer für Kinder: 'Danach nehmt ihr das grüne Krepppapier und faltet dieses zusammen.'

13

At the paper break you start painting a sheet with the pen. Then you cut out the sheet.
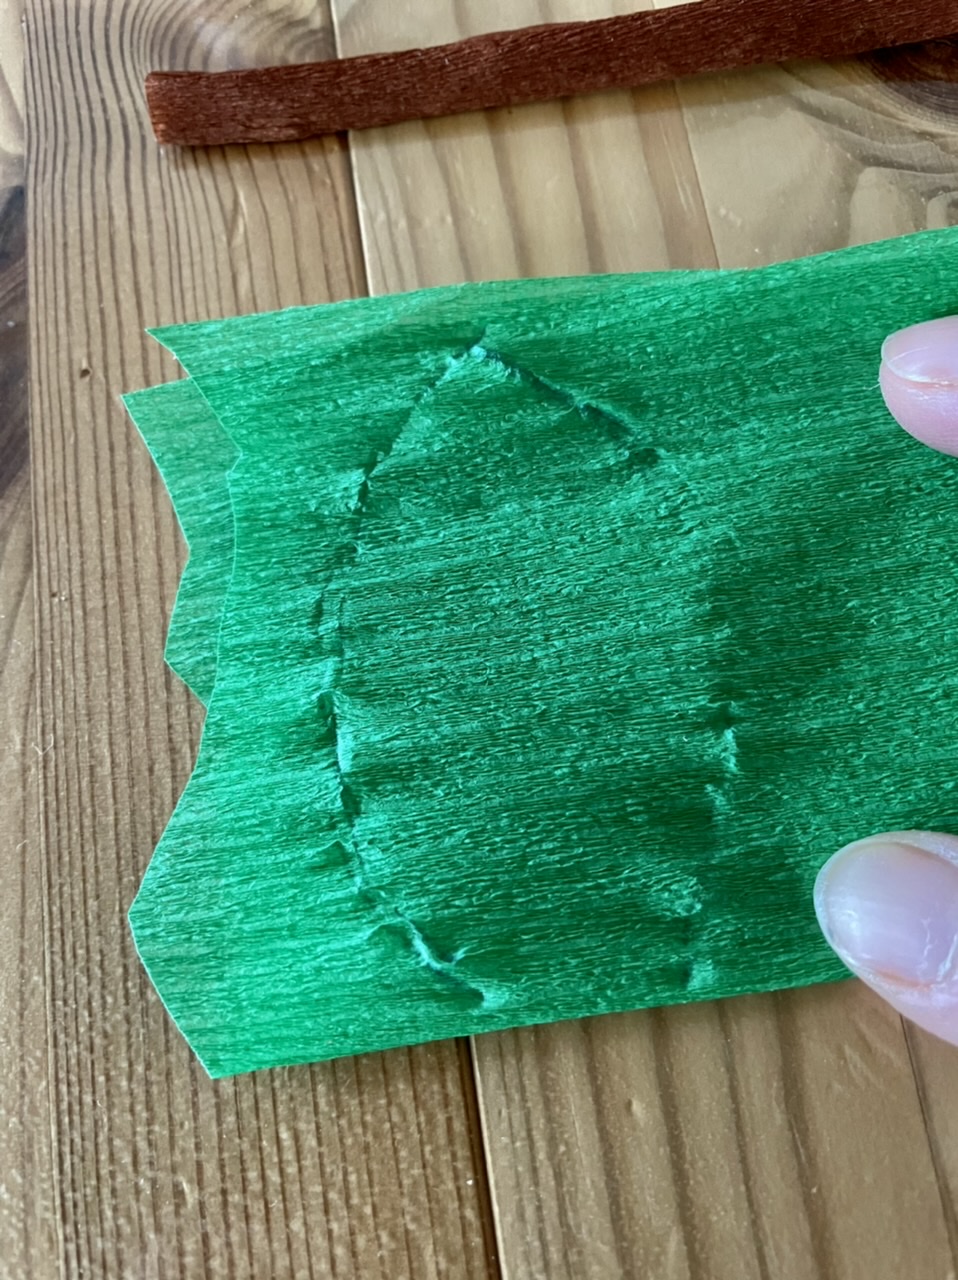
Bild zum Schritt 13 für das Bastel- und DIY-Abenteuer für Kinder: 'Am Papierbruch beginnt ihr nun mit dem Stift ein Blatt...'

14

Then she opens the leaf.

Bild zum Schritt 14 für das Bastel- und DIY-Abenteuer für Kinder: 'Anschließend klappt ihr das Blatt auf.'

15

Now you position the stem in the middle.
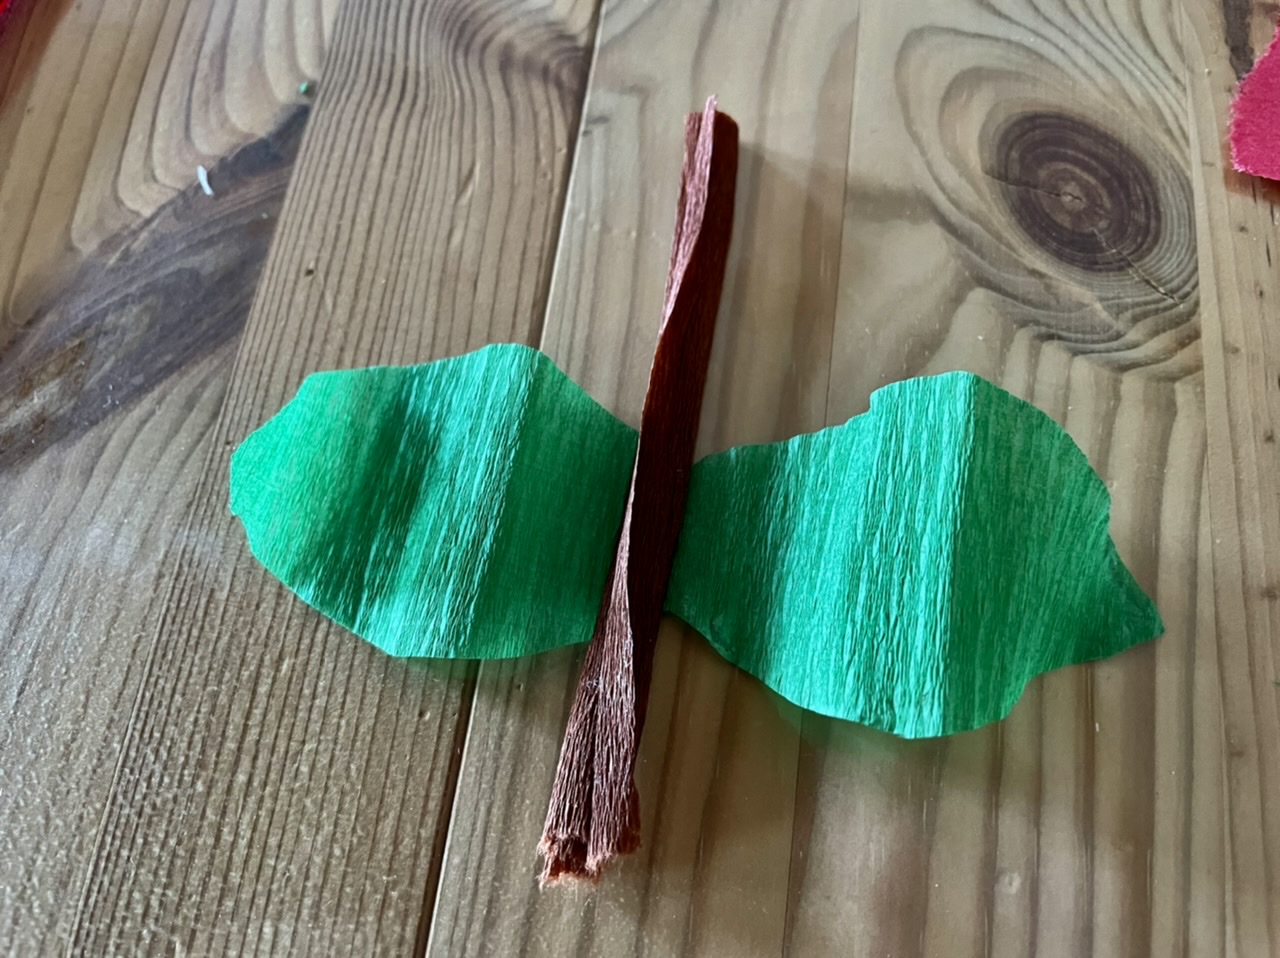
Bild zum Schritt 15 für das Bastel- und DIY-Abenteuer für Kinder: 'Nun positioniert ihr den Stiel in die Mitte.'

16

Now apply a leaf with glue and fold the leaves together. Press them firmly together.
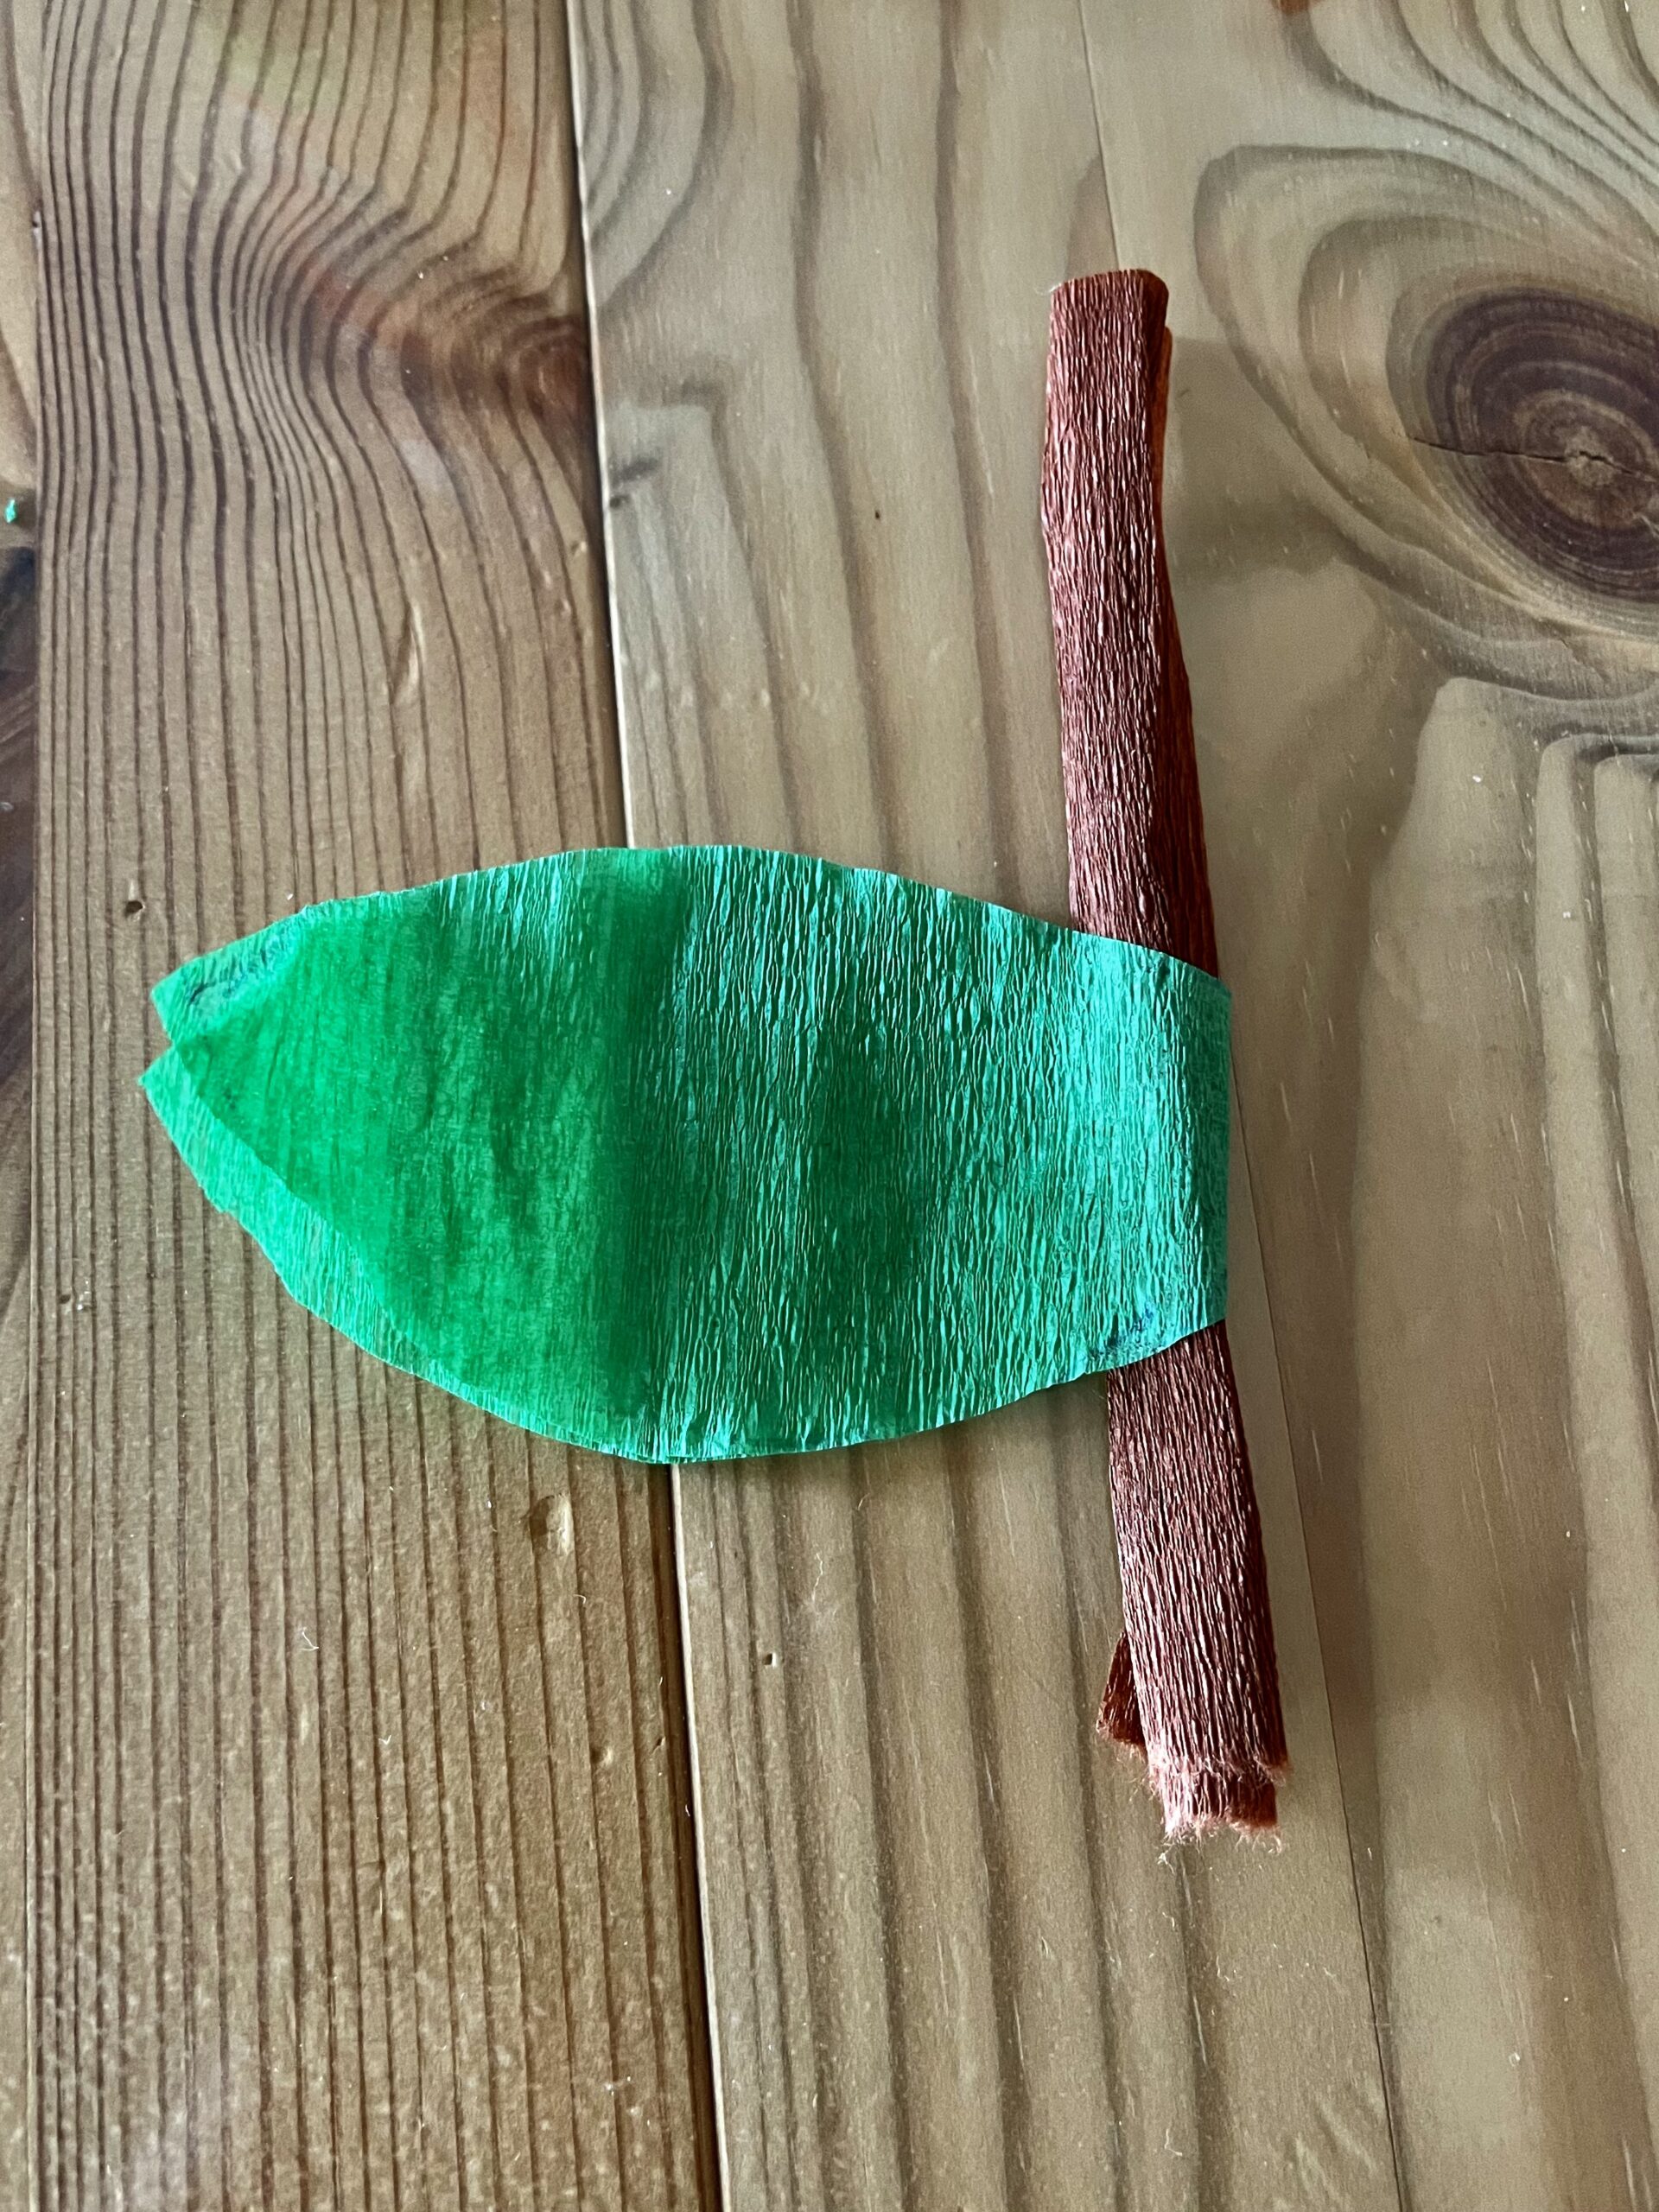
Bild zum Schritt 16 für das Bastel- und DIY-Abenteuer für Kinder: 'Bestreicht jetzt ein Blatt mit Kleber und klappt die Blätter...'

17

Press the leaf just next to the stem.
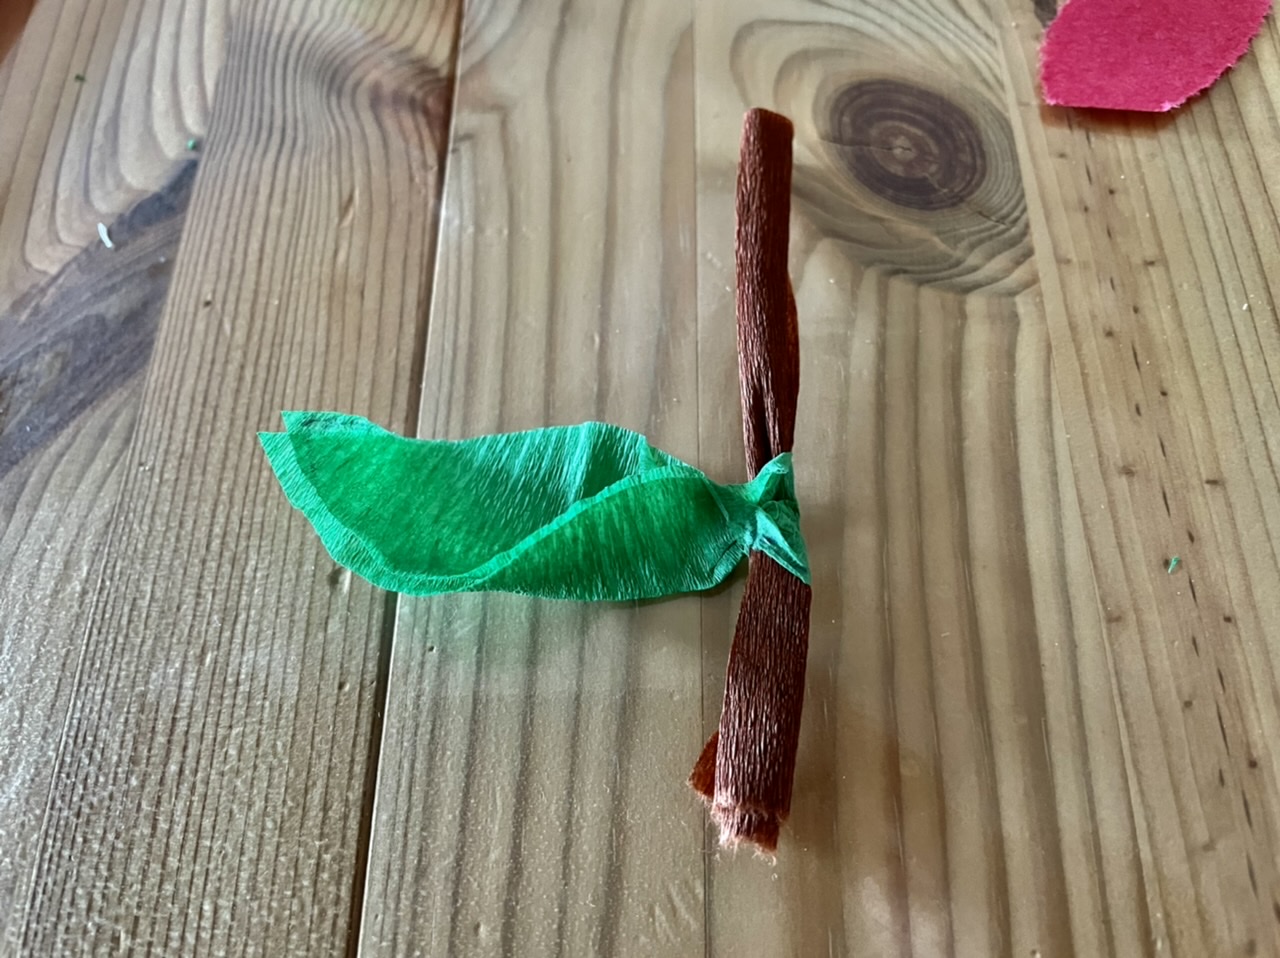
Bild zum Schritt 17 für das Bastel- und DIY-Abenteuer für Kinder: 'Drückt dabei das Blatt knapp neben dem Stiel zusammen.'

18

Now stick the stalk with the leaves on the apple.
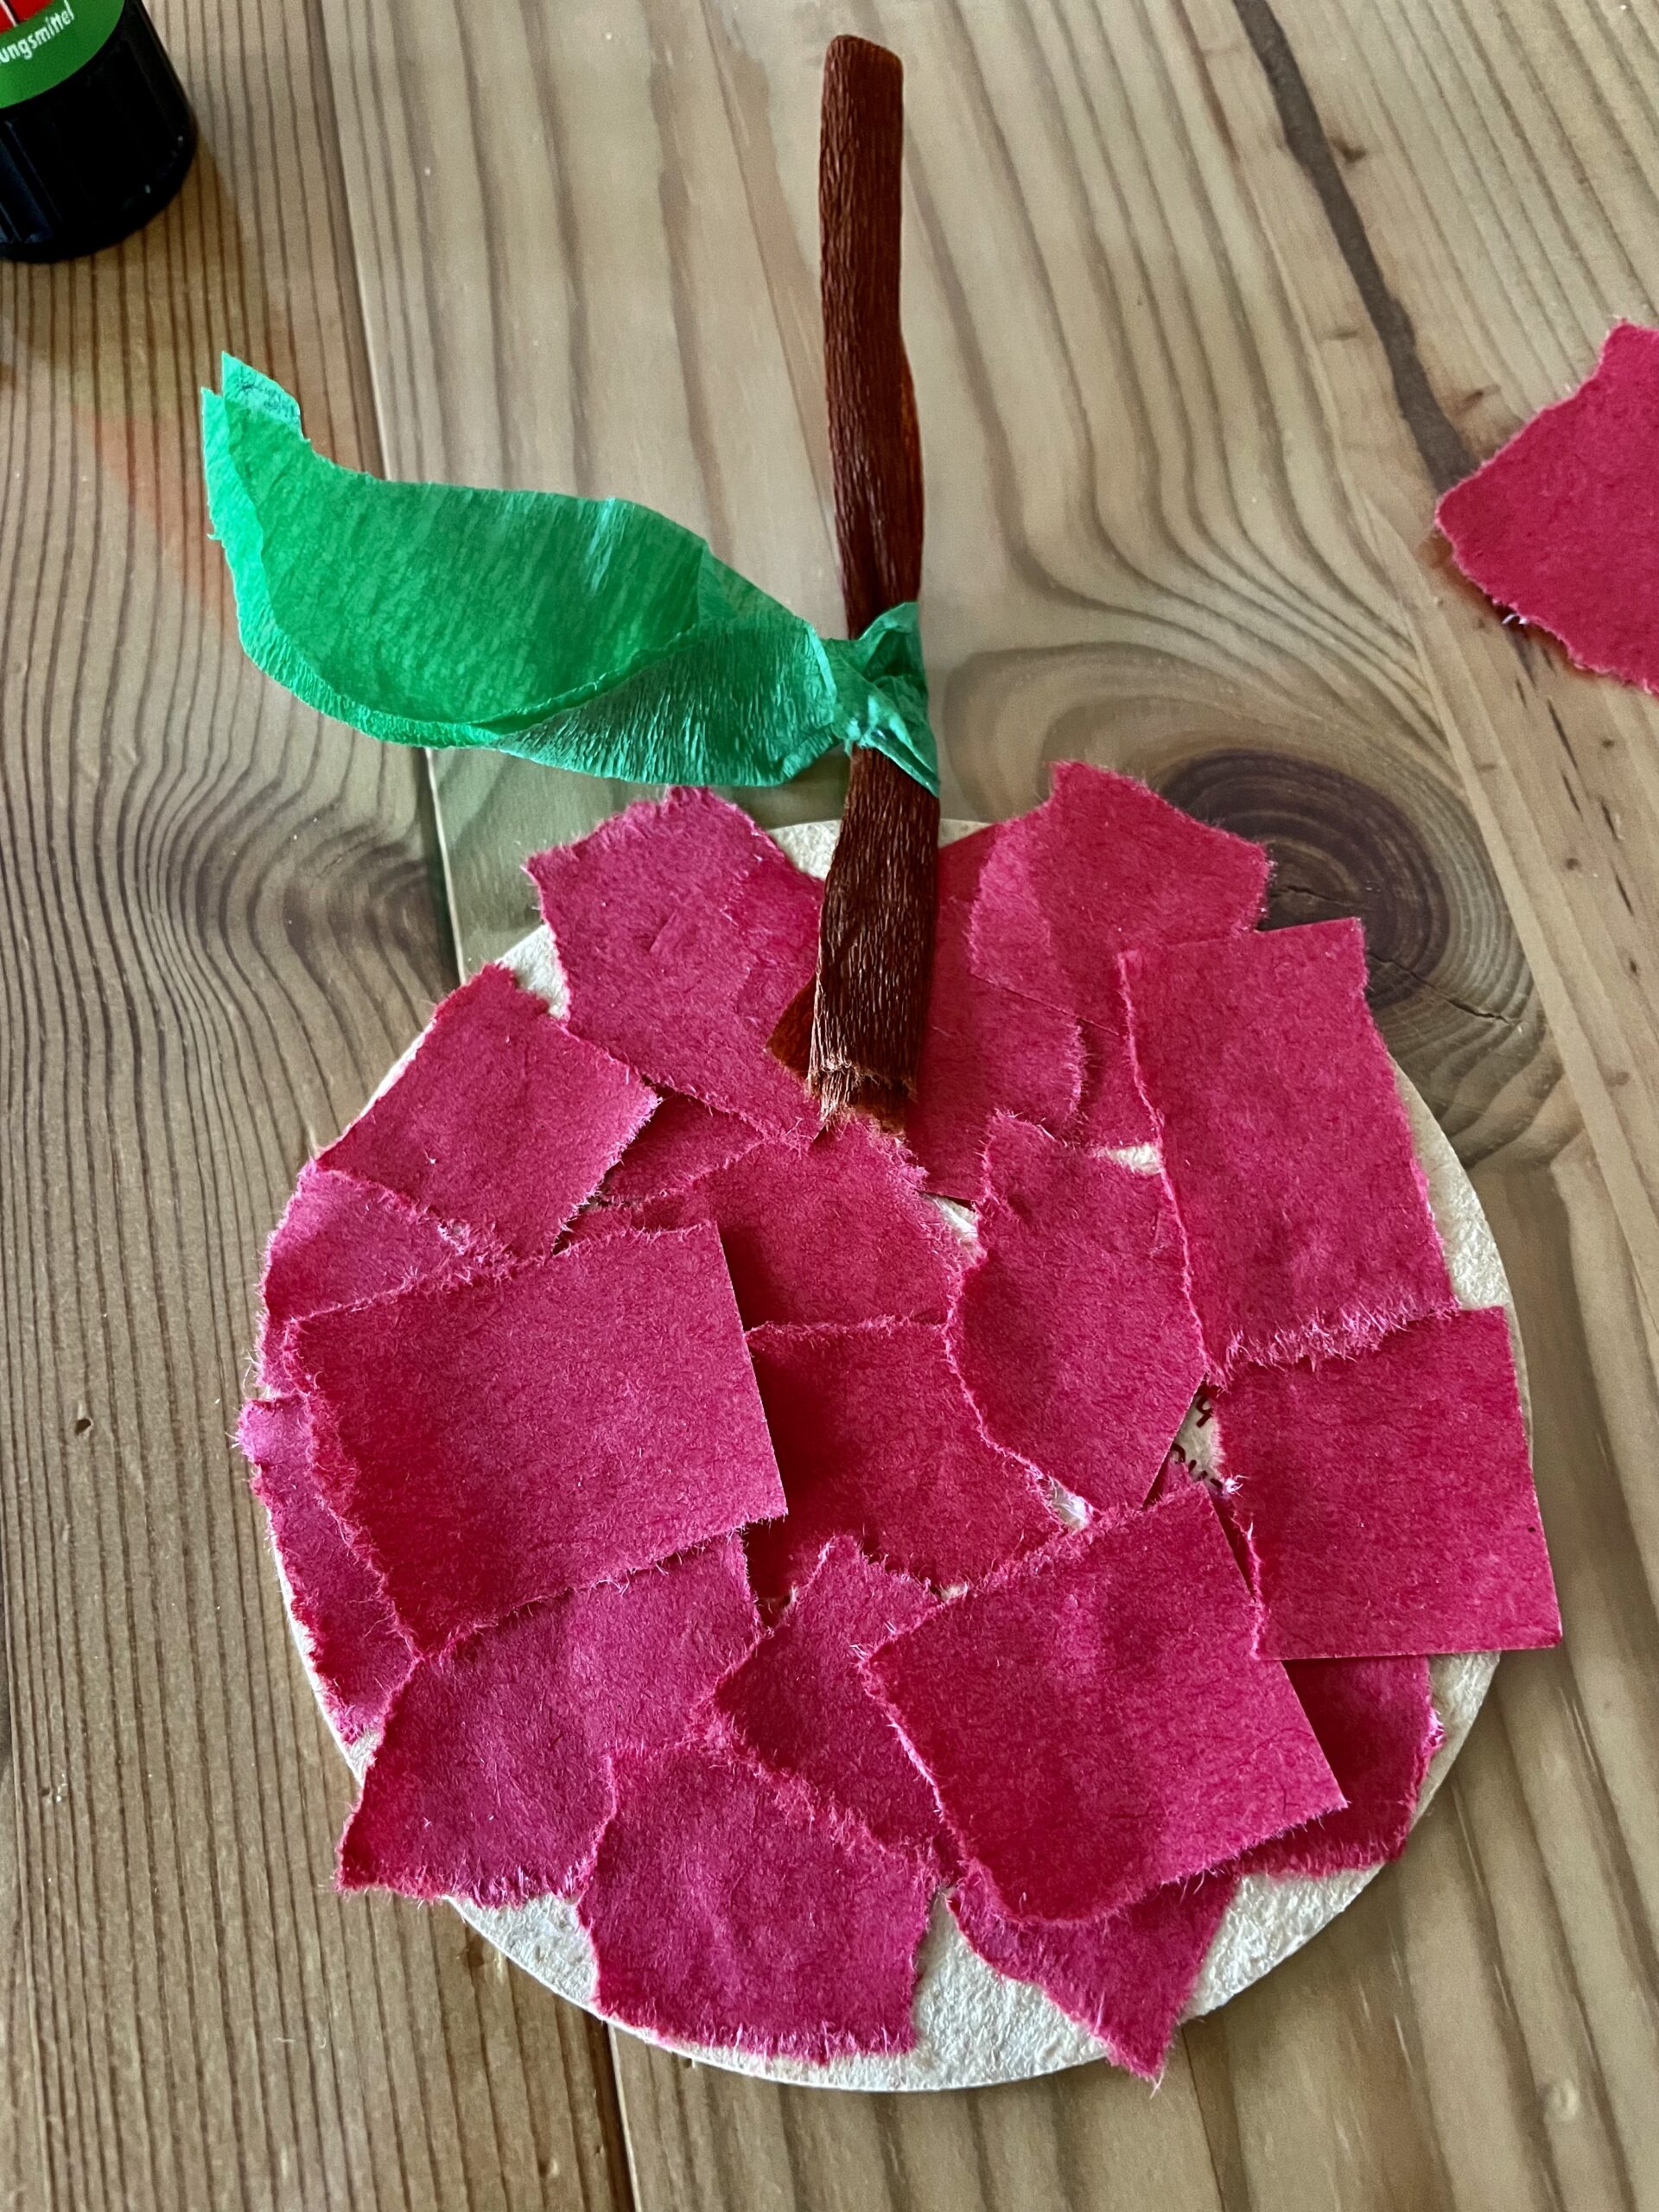
Bild zum Schritt 18 für das Bastel- und DIY-Abenteuer für Kinder: 'Klebt nun den Stiel mit den Blättern auf den Apfel.'

19

Then glue a red snippet over the sticky stem.
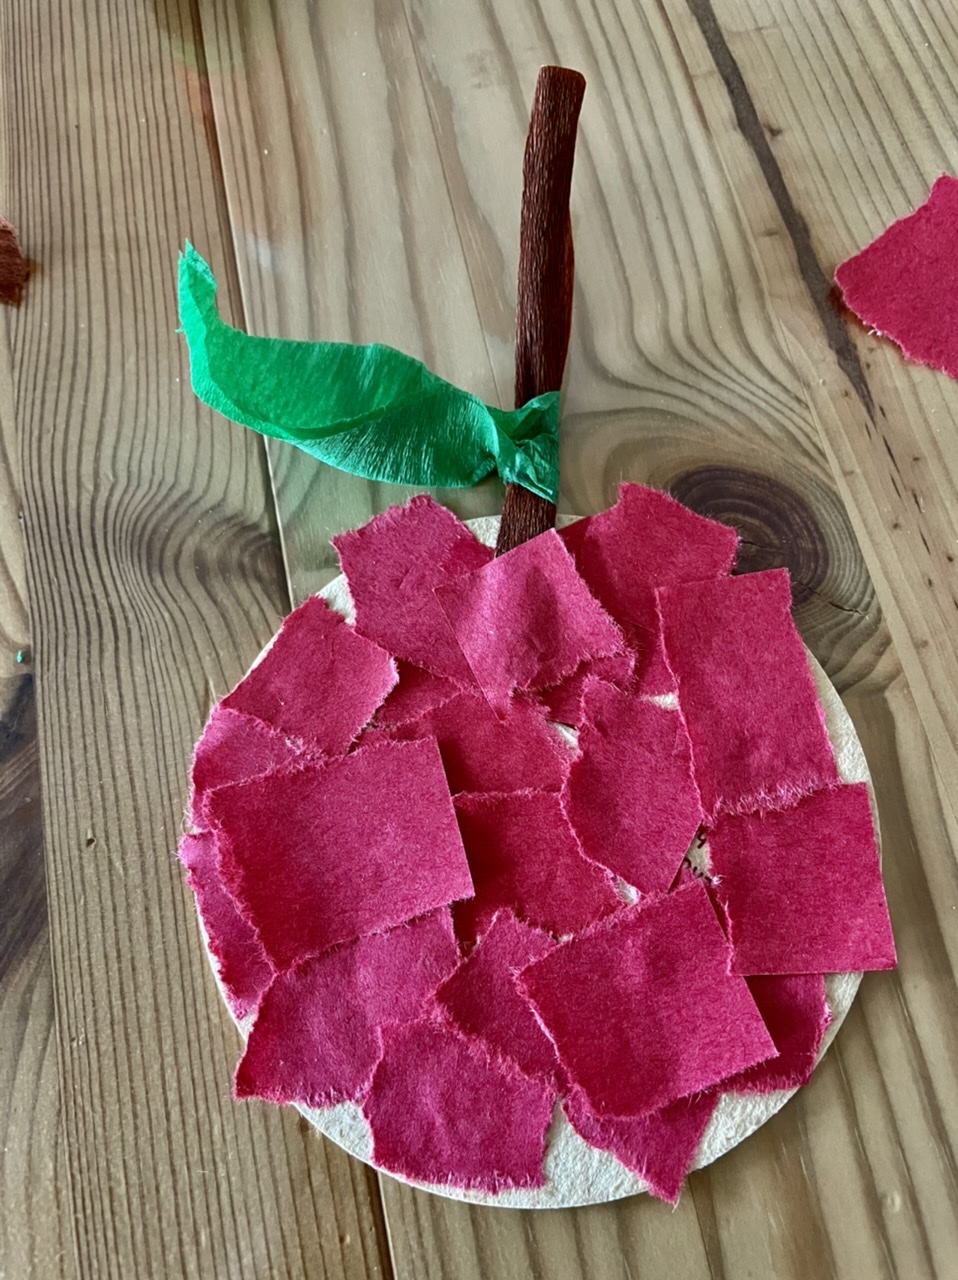
Bild zum Schritt 19 für das Bastel- und DIY-Abenteuer für Kinder: 'Danach klebt ihr einen roten Schnipsel über den aufgeklebten Stiel.'

20

Now you stick a small snippet of brown crepe paper on both sides as a flower opposite the stem.
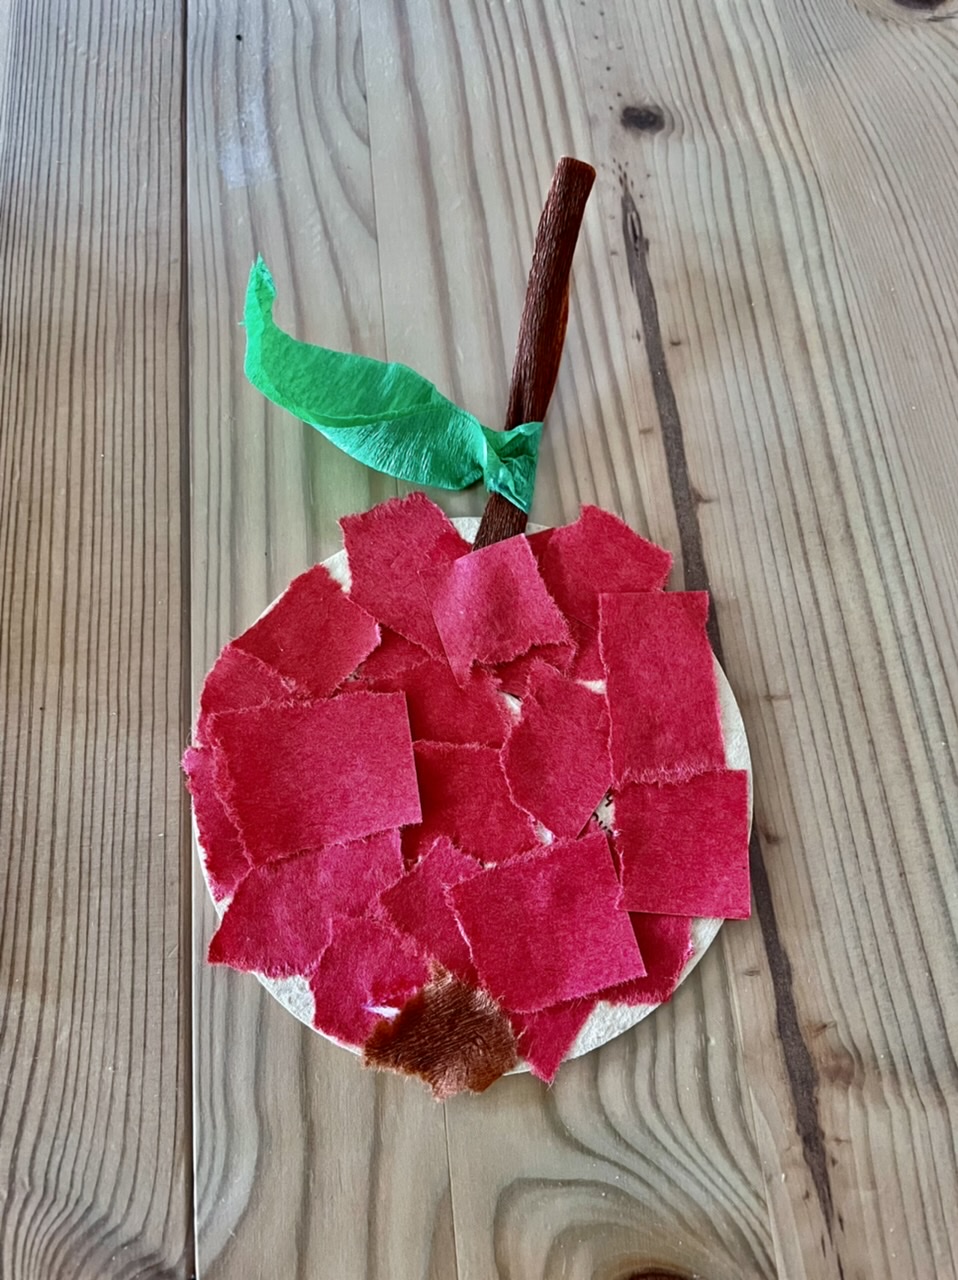
Bild zum Schritt 20 für das Bastel- und DIY-Abenteuer für Kinder: 'Jetzt klebt ihr auf beide Seiten einen kleinen Schnipsel braunes...'

21

Finally, you punch the apple and thread through it. Hang the apple on a branch and find a nice place. Your decoration for autumn is ready.
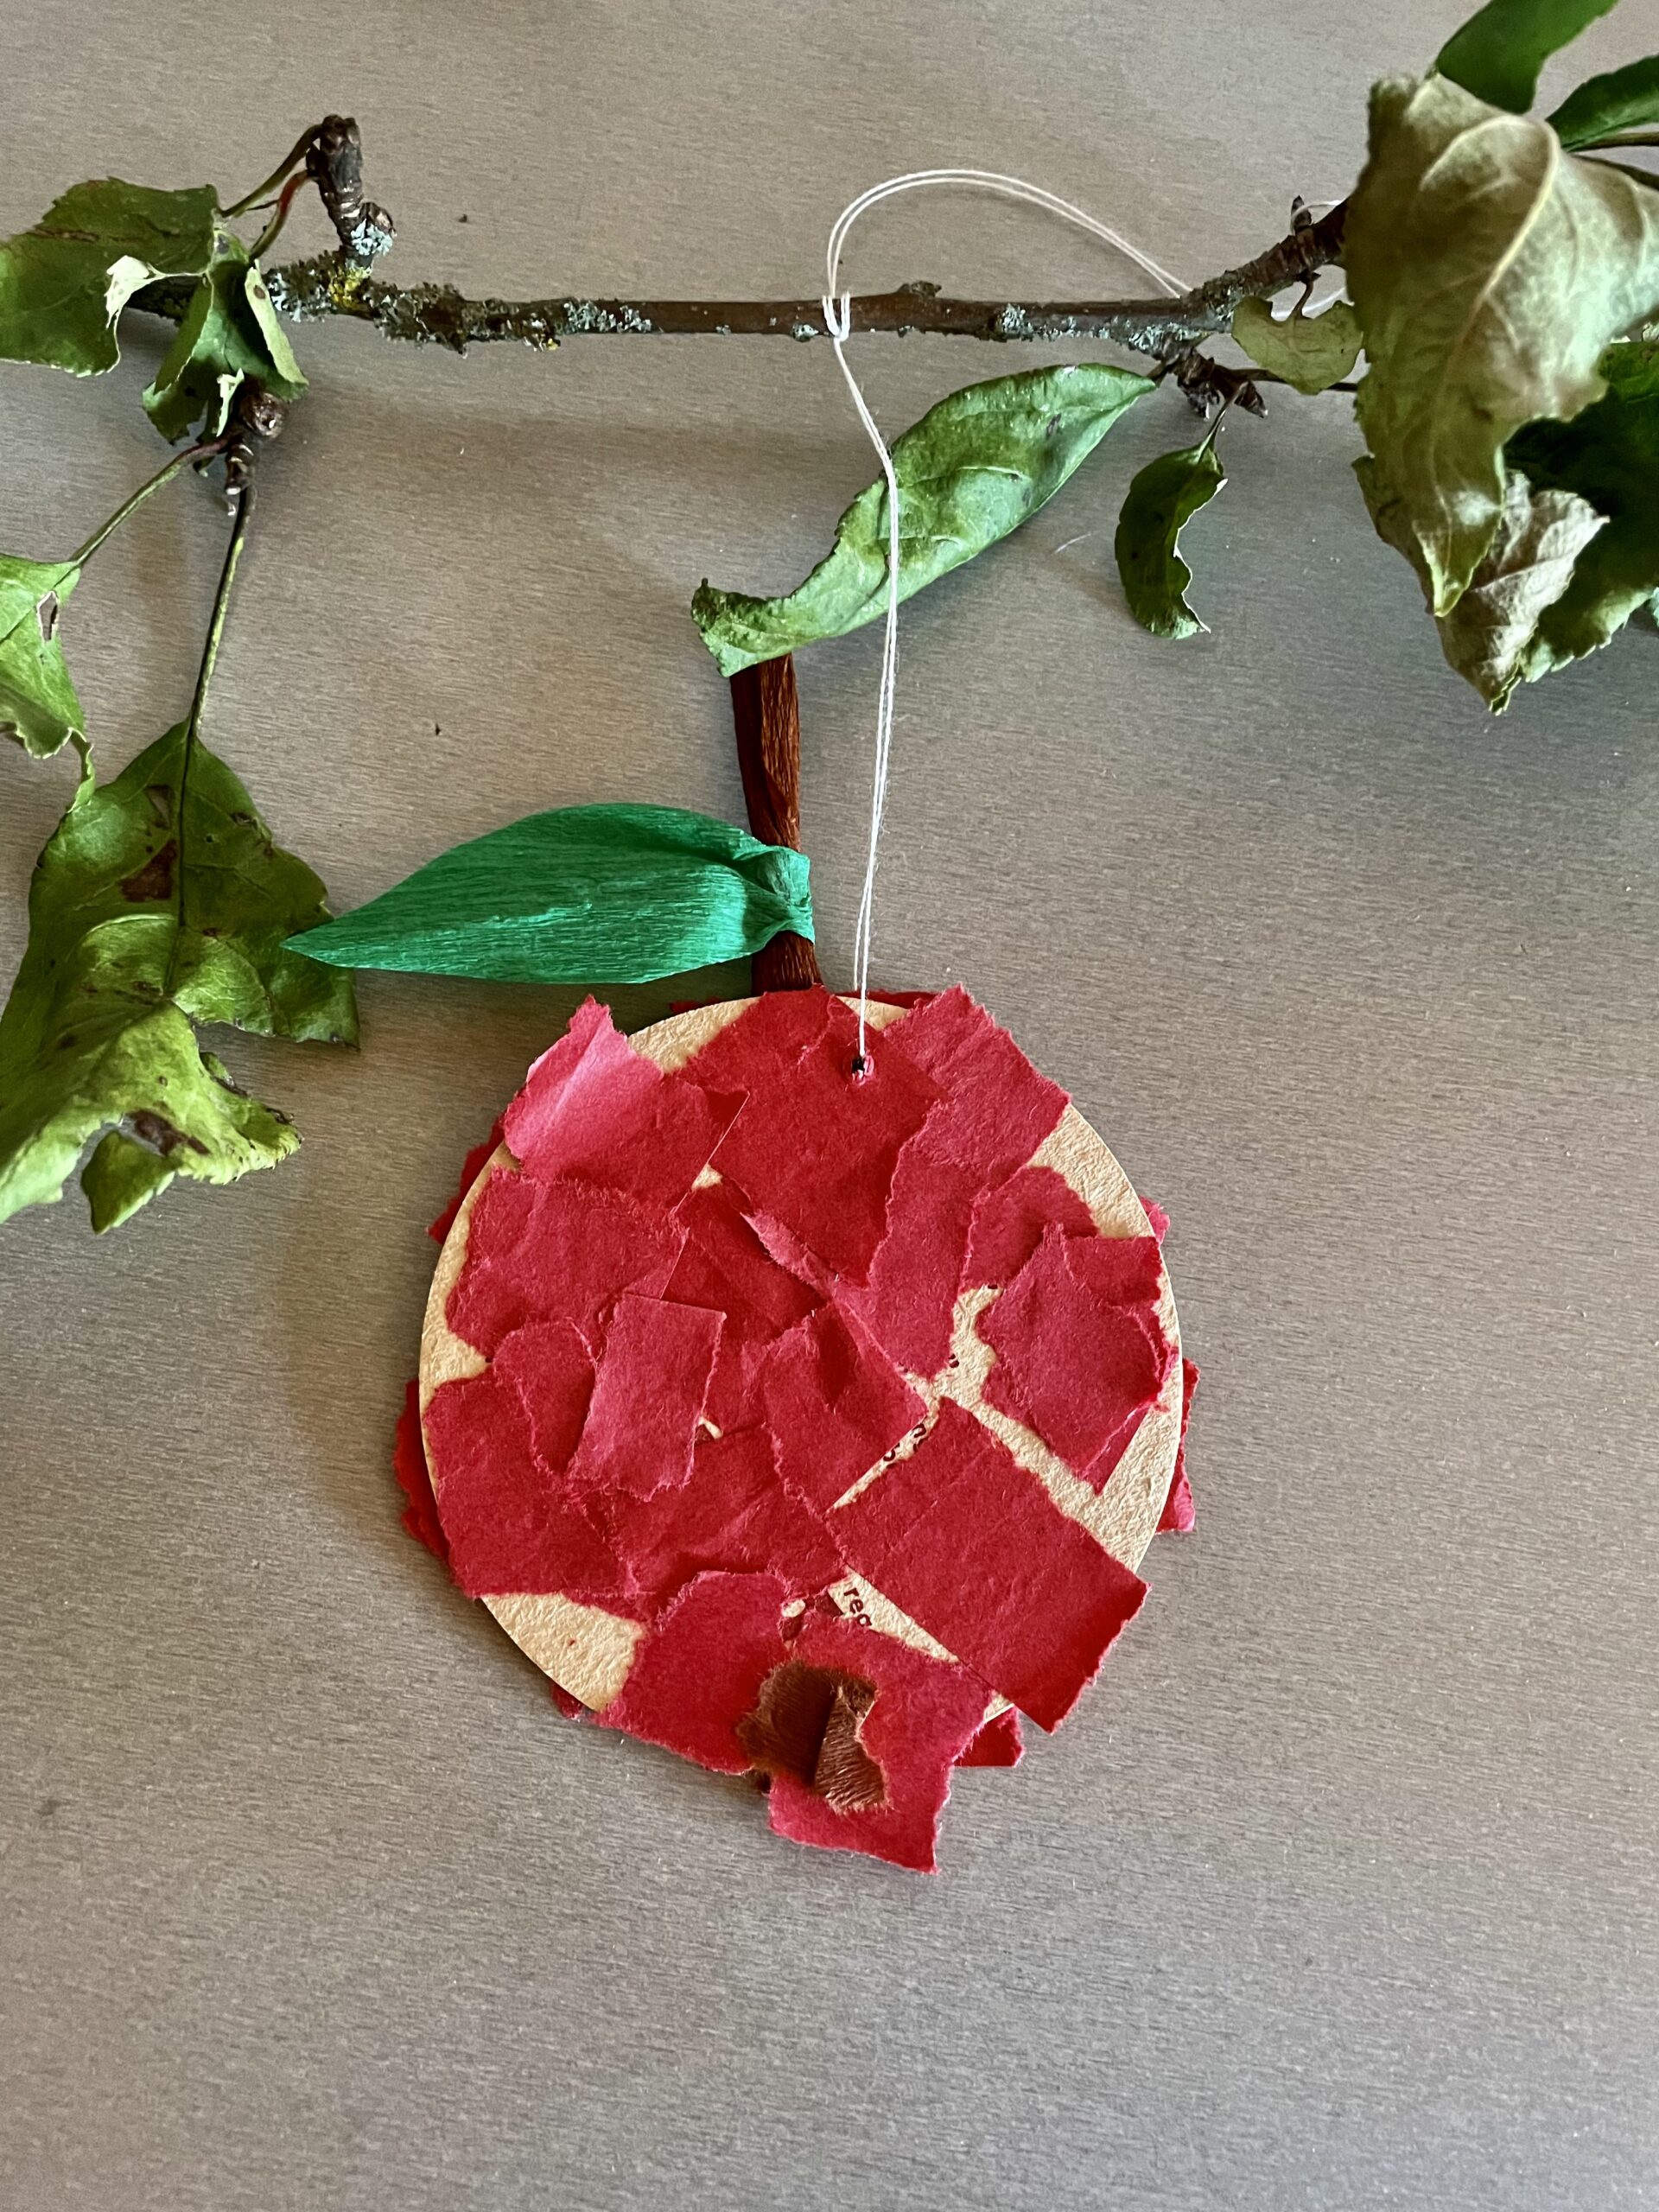
Bild zum Schritt 21 für das Bastel- und DIY-Abenteuer für Kinder: 'Abschließend locht ihr den Apfel und fädelt einen Faden hindurch....'

22

Have fun doing crafts!

Tip: You can also hang several apples with glue film on the window frame, so they can dance beautifully in the wind.

Apple tearing technique

Follow us on Facebook , Instagram and Pinterest
Don't miss any more adventures: Our bottle mail

Leave a Reply

Your email address will not be published.

The maximum upload file size: 5 MB. You can upload: image, document. Drop file here