Design funny birds (birds made of wood disk)

AdventurerKatzi
Rating5.05.4 Thousand times. (1) DifficultyAdvanced

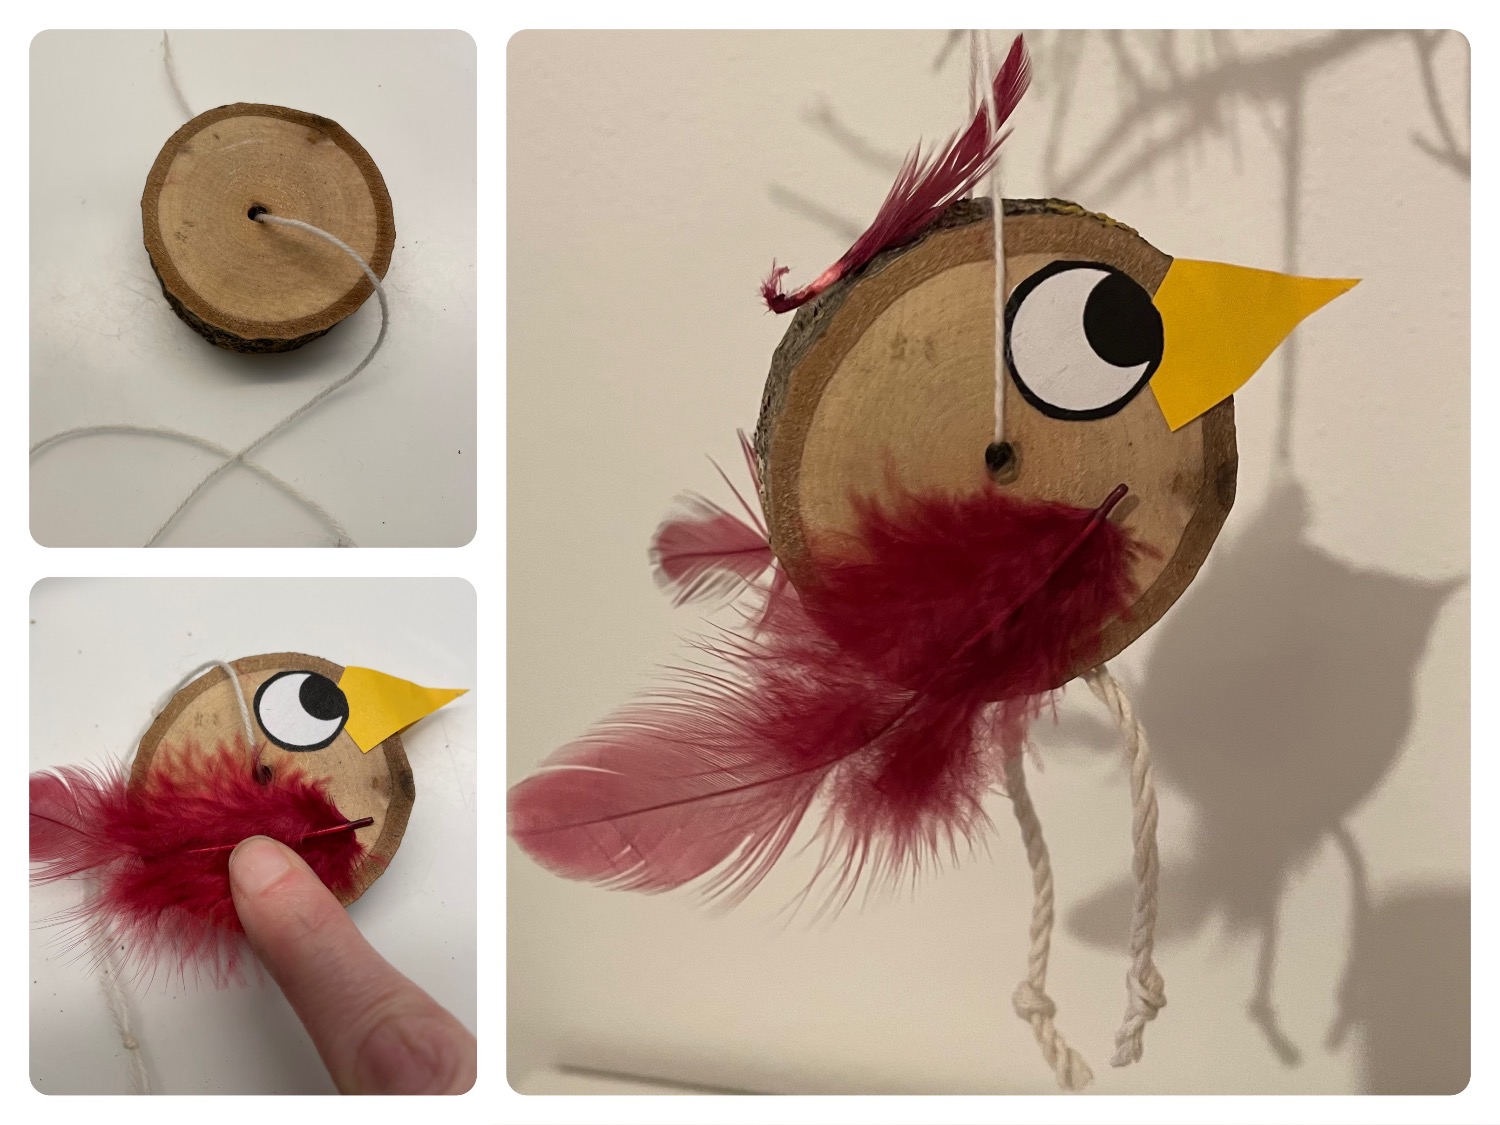
We are busy with birds especially in winter. Children like to feed and watch them. So many children have fun making birds. A unique possibility is the crafting of a bird from a wooden disc.
All you need for that are a few feathers, a pointed beak and thin legs.
The individual steps are described here and are very easy to implement. Have fun!

Media Education for Kindergarten and Hort

Kind bastelt eine Rassel mit dem Navi
The Adventure Navi, the app for DIY projects, enables media education for the youngest.

Relief in everyday life, targeted promotion of individual children, independent learning and - without any pre-knowledge already usable by the youngest!


Titelbild zur Bastel- und DIY-Idee für Kinder '(953) Lustige Vögel gestalten (Vogel aus Holzscheibe)'
Material for1 Child
Prep Time5 min.Adv. Time30 min.Total Time35 min.
 1 Wood disc with hole in the middle
 2 Springs large
 1 Spring small
 2 Eyes of paper circlesor wobble eyes
 1 Beak of paper2 identical triangles
 1 Wool thread for hanging 30 cm long
 1 Cord 10 cm long
 1 Pen
 1 Felt pen
 1 Builder's pad
All links marked with a shopping cart lead to Amazon - here we have selected products that we would order ourselves and in part also ordered. In a qualified purchase via the advertising link, we as Amazon partner receive a commission, for you there are no costs. You thus support our cost- and advertising banner-free, educational offer.
1

First prepare your materials and put out your craft pad. Then cut out your eyes and two triangles for the paper beak.

Bild zum Schritt 1 für das Bastel- und DIY-Abenteuer für Kinder: 'Legt zuerst eure Materialien bereit und legt eure Bastelunterlage aus....'

2

Now thread the thread through the hole in the wood disc.
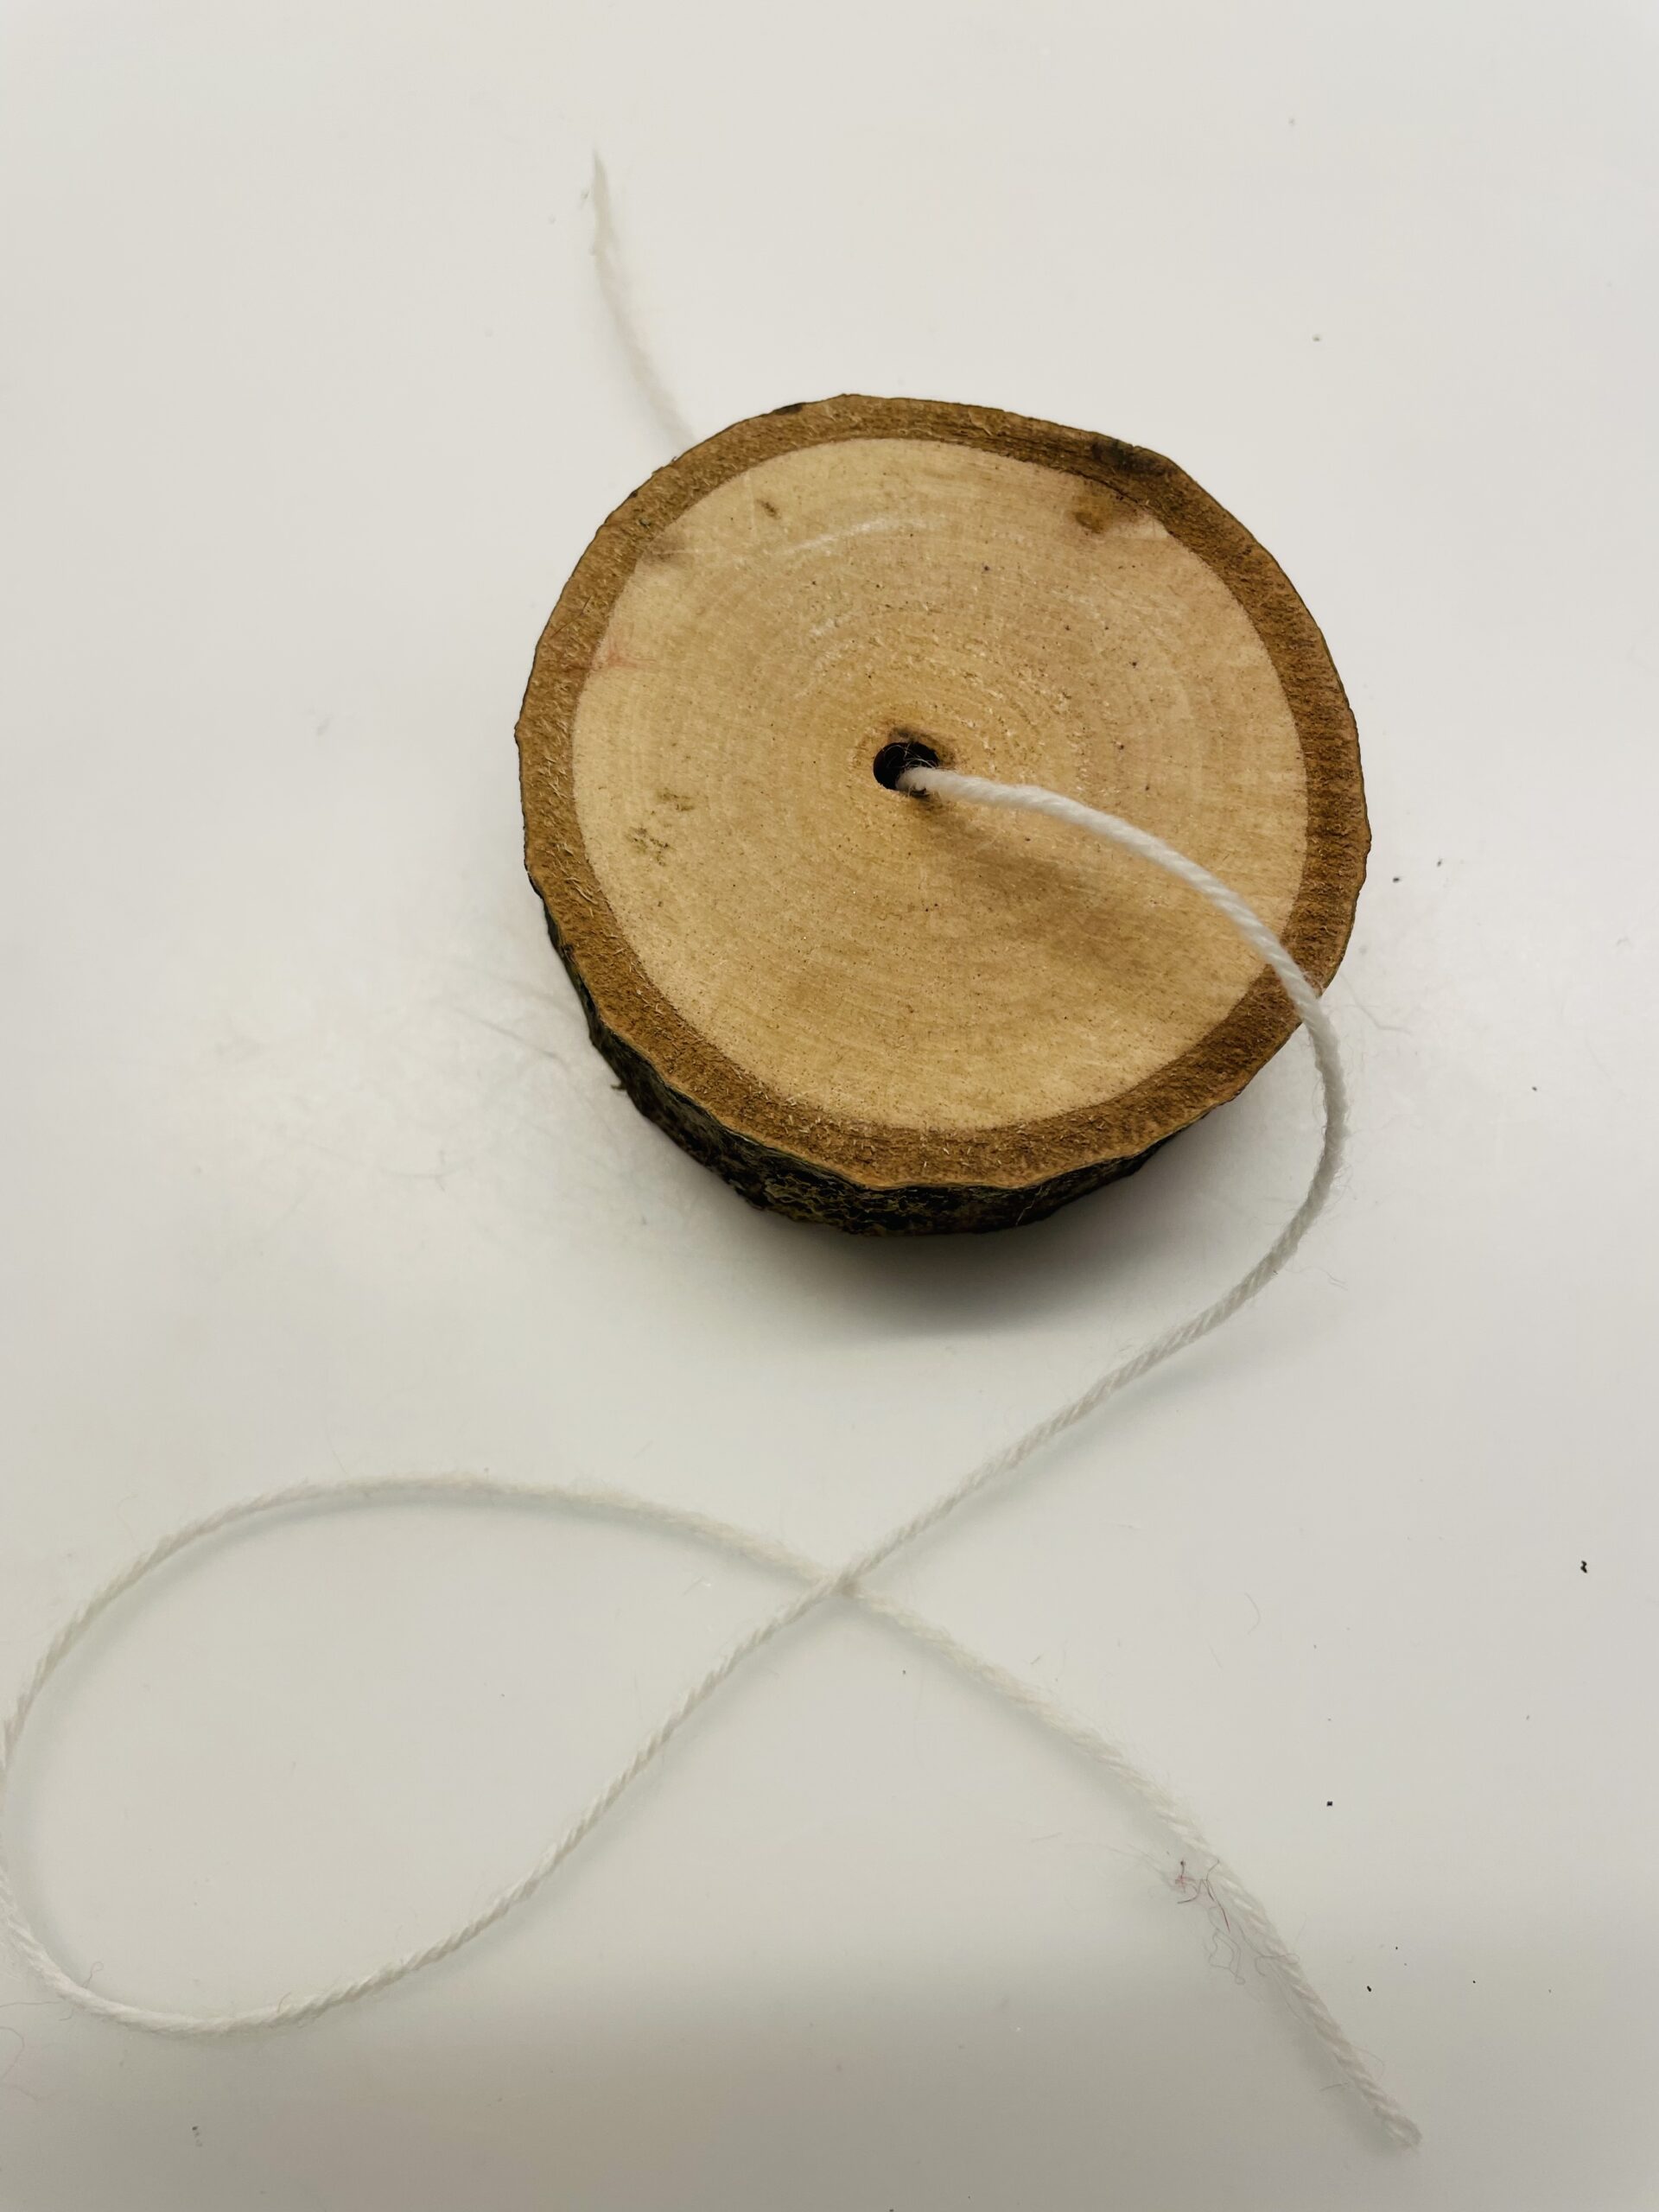
Bild zum Schritt 2 für das Bastel- und DIY-Abenteuer für Kinder: 'Fädelt nun den Faden durch das Loch in der Holzscheibe.'

3

Then you place the thread ends on top of each other and knot the thread directly above the wooden disc.

Bild zum Schritt 3 für das Bastel- und DIY-Abenteuer für Kinder: 'Dann legt ihr die Fadenenden übereinander und verknotet den Faden...'

4

Then you tie the ends of the thread together.

Bild zum Schritt 4 für das Bastel- und DIY-Abenteuer für Kinder: 'Danach knotet ihr die Enden des Fadens zusammen.'

5

Now you stick a triangle for the beak to the left and right of the wooden disc from the back and front at the same height.

Bild zum Schritt 5 für das Bastel- und DIY-Abenteuer für Kinder: 'Jetzt klebt ihr links und rechts der Holzscheibe von hinten...'

6

Then glue her beak together at the front.

Bild zum Schritt 6 für das Bastel- und DIY-Abenteuer für Kinder: 'Anschließend klebt ihr den Schnabel vorne zusammen.'

7

After that, her eyes stick to the front and back of her beak.

Bild zum Schritt 7 für das Bastel- und DIY-Abenteuer für Kinder: 'Danach klebt ihr die Augen vorne und hinten neben den...'

8

Now a large feather sticks to the side of the bird.

Bild zum Schritt 8 für das Bastel- und DIY-Abenteuer für Kinder: 'Klebt jetzt je eine große Feder seitlich auf den Vogel.'

9

Then you stick a small feather between the thread on the bark of the wood disc. Let the feather stand up, because this is how the bird looks more alive.

Bild zum Schritt 9 für das Bastel- und DIY-Abenteuer für Kinder: 'Anschließend klebt ihr auf die Rinde der Holzscheibe eine kleine...'

10

2. Bild zum Schritt 9 für das Bastel- und DIY-Abenteuer für Kinder: 'Anschließend klebt ihr auf die Rinde der Holzscheibe eine kleine...'

11

Now you make the legs and feet of the bird out of a cord. First you make a knot at both ends of the cord. For this you first place a loop through which you then put the above cord.

Bild zum Schritt 11 für das Bastel- und DIY-Abenteuer für Kinder: 'Jetzt bastelt ihr die Beine und Füße des Vogels aus...'

12

When the loop is tightened, a knot is created.

Bild zum Schritt 12 für das Bastel- und DIY-Abenteuer für Kinder: 'Zieht danach die Schlaufe fest, dann entsteht ein Knoten.'

13

2. Bild zum Schritt 12 für das Bastel- und DIY-Abenteuer für Kinder: 'Zieht danach die Schlaufe fest, dann entsteht ein Knoten.'

14

Finally, the middle piece of the cord sticks to the lower side of the wooden disc. Halves the cord to know exactly where the center is.

Bild zum Schritt 14 für das Bastel- und DIY-Abenteuer für Kinder: 'Abschließend klebt ihr das mittlere Stück der Schnur an die...'

15

Press the string with your fingers.

Bild zum Schritt 15 für das Bastel- und DIY-Abenteuer für Kinder: 'Drückt die Schnur mit den Fingern fest.'

16

The small wooden disc bird is ready.

Bild zum Schritt 16 für das Bastel- und DIY-Abenteuer für Kinder: 'Fertig ist der kleine Holzscheiben-Vogel.'

17

Variety of your own feather. Enjoy creative design!

Materials

 1 Wood disc with hole in the middle
 2 Springs large
 1 Spring small
 2 Eyes of paper circlesor wobble eyes
 1 Beak of paper2 identical triangles
 1 Wool thread for hanging 30 cm long
 1 Cord 10 cm long
 1 Pen
 1 Felt pen
 1 Builder's pad
All links marked with a shopping cart lead to Amazon - here we have selected products that we would order ourselves and in part also ordered. In a qualified purchase via the advertising link, we as Amazon partner receive a commission, for you there are no costs. You thus support our cost- and advertising banner-free, educational offer.

Directions

1

First prepare your materials and put out your craft pad. Then cut out your eyes and two triangles for the paper beak.

Bild zum Schritt 1 für das Bastel- und DIY-Abenteuer für Kinder: 'Legt zuerst eure Materialien bereit und legt eure Bastelunterlage aus....'

2

Now thread the thread through the hole in the wood disc.

Bild zum Schritt 2 für das Bastel- und DIY-Abenteuer für Kinder: 'Fädelt nun den Faden durch das Loch in der Holzscheibe.'

3

Then you place the thread ends on top of each other and knot the thread directly above the wooden disc.

Bild zum Schritt 3 für das Bastel- und DIY-Abenteuer für Kinder: 'Dann legt ihr die Fadenenden übereinander und verknotet den Faden...'

4

Then you tie the ends of the thread together.

Bild zum Schritt 4 für das Bastel- und DIY-Abenteuer für Kinder: 'Danach knotet ihr die Enden des Fadens zusammen.'

5

Now you stick a triangle for the beak to the left and right of the wooden disc from the back and front at the same height.

Bild zum Schritt 5 für das Bastel- und DIY-Abenteuer für Kinder: 'Jetzt klebt ihr links und rechts der Holzscheibe von hinten...'

6

Then glue her beak together at the front.

Bild zum Schritt 6 für das Bastel- und DIY-Abenteuer für Kinder: 'Anschließend klebt ihr den Schnabel vorne zusammen.'

7

After that, her eyes stick to the front and back of her beak.

Bild zum Schritt 7 für das Bastel- und DIY-Abenteuer für Kinder: 'Danach klebt ihr die Augen vorne und hinten neben den...'

8

Now a large feather sticks to the side of the bird.

Bild zum Schritt 8 für das Bastel- und DIY-Abenteuer für Kinder: 'Klebt jetzt je eine große Feder seitlich auf den Vogel.'

9

Then you stick a small feather between the thread on the bark of the wood disc. Let the feather stand up, because this is how the bird looks more alive.

Bild zum Schritt 9 für das Bastel- und DIY-Abenteuer für Kinder: 'Anschließend klebt ihr auf die Rinde der Holzscheibe eine kleine...'

10

2. Bild zum Schritt 9 für das Bastel- und DIY-Abenteuer für Kinder: 'Anschließend klebt ihr auf die Rinde der Holzscheibe eine kleine...'

11

Now you make the legs and feet of the bird out of a cord. First you make a knot at both ends of the cord. For this you first place a loop through which you then put the above cord.

Bild zum Schritt 11 für das Bastel- und DIY-Abenteuer für Kinder: 'Jetzt bastelt ihr die Beine und Füße des Vogels aus...'

12

When the loop is tightened, a knot is created.

Bild zum Schritt 12 für das Bastel- und DIY-Abenteuer für Kinder: 'Zieht danach die Schlaufe fest, dann entsteht ein Knoten.'

13

2. Bild zum Schritt 12 für das Bastel- und DIY-Abenteuer für Kinder: 'Zieht danach die Schlaufe fest, dann entsteht ein Knoten.'

14

Finally, the middle piece of the cord sticks to the lower side of the wooden disc. Halves the cord to know exactly where the center is.

Bild zum Schritt 14 für das Bastel- und DIY-Abenteuer für Kinder: 'Abschließend klebt ihr das mittlere Stück der Schnur an die...'

15

Press the string with your fingers.

Bild zum Schritt 15 für das Bastel- und DIY-Abenteuer für Kinder: 'Drückt die Schnur mit den Fingern fest.'

16

The small wooden disc bird is ready.

Bild zum Schritt 16 für das Bastel- und DIY-Abenteuer für Kinder: 'Fertig ist der kleine Holzscheiben-Vogel.'

17

Variety of your own feather. Enjoy creative design!

Design funny birds (birds made of wood disk)

Follow us on Facebook , Instagram and Pinterest
Don't miss any more adventures: Our bottle mail

Leave a Reply

Your email address will not be published.

The maximum upload file size: 5 MB. You can upload: image, document. Drop file here