Door wreath with pearls

AdventurerKatzi
Rating5.03.5 thousand times & (3) DifficultyAdvanced

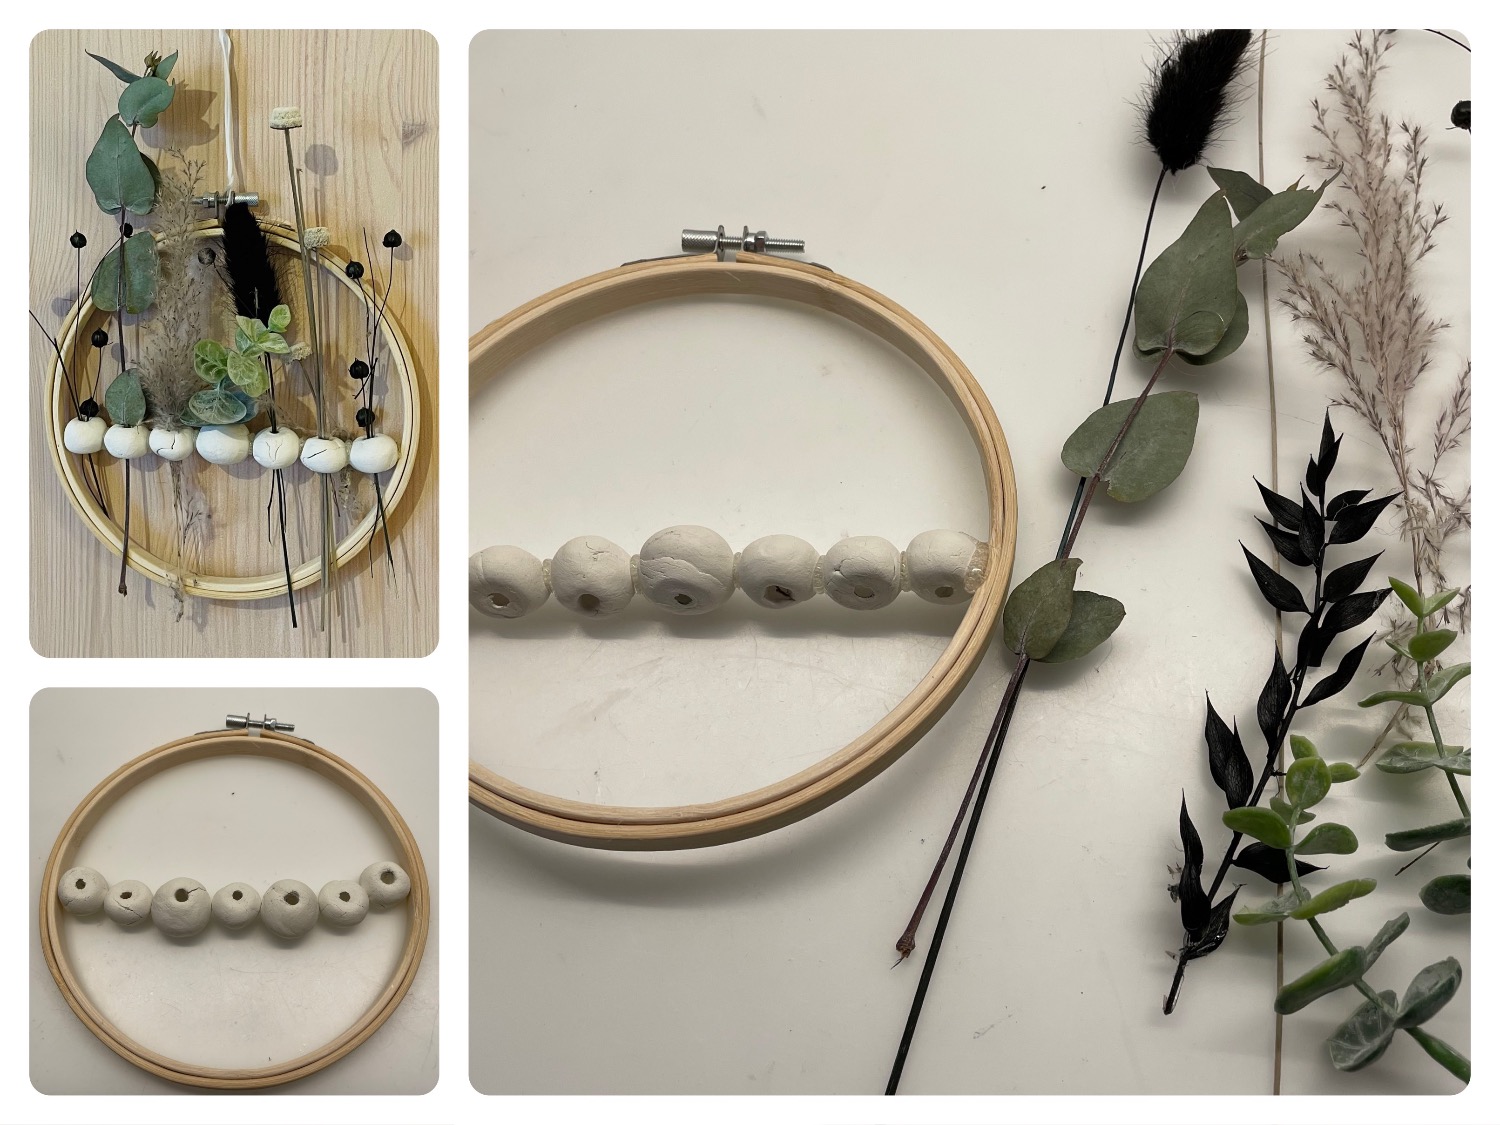
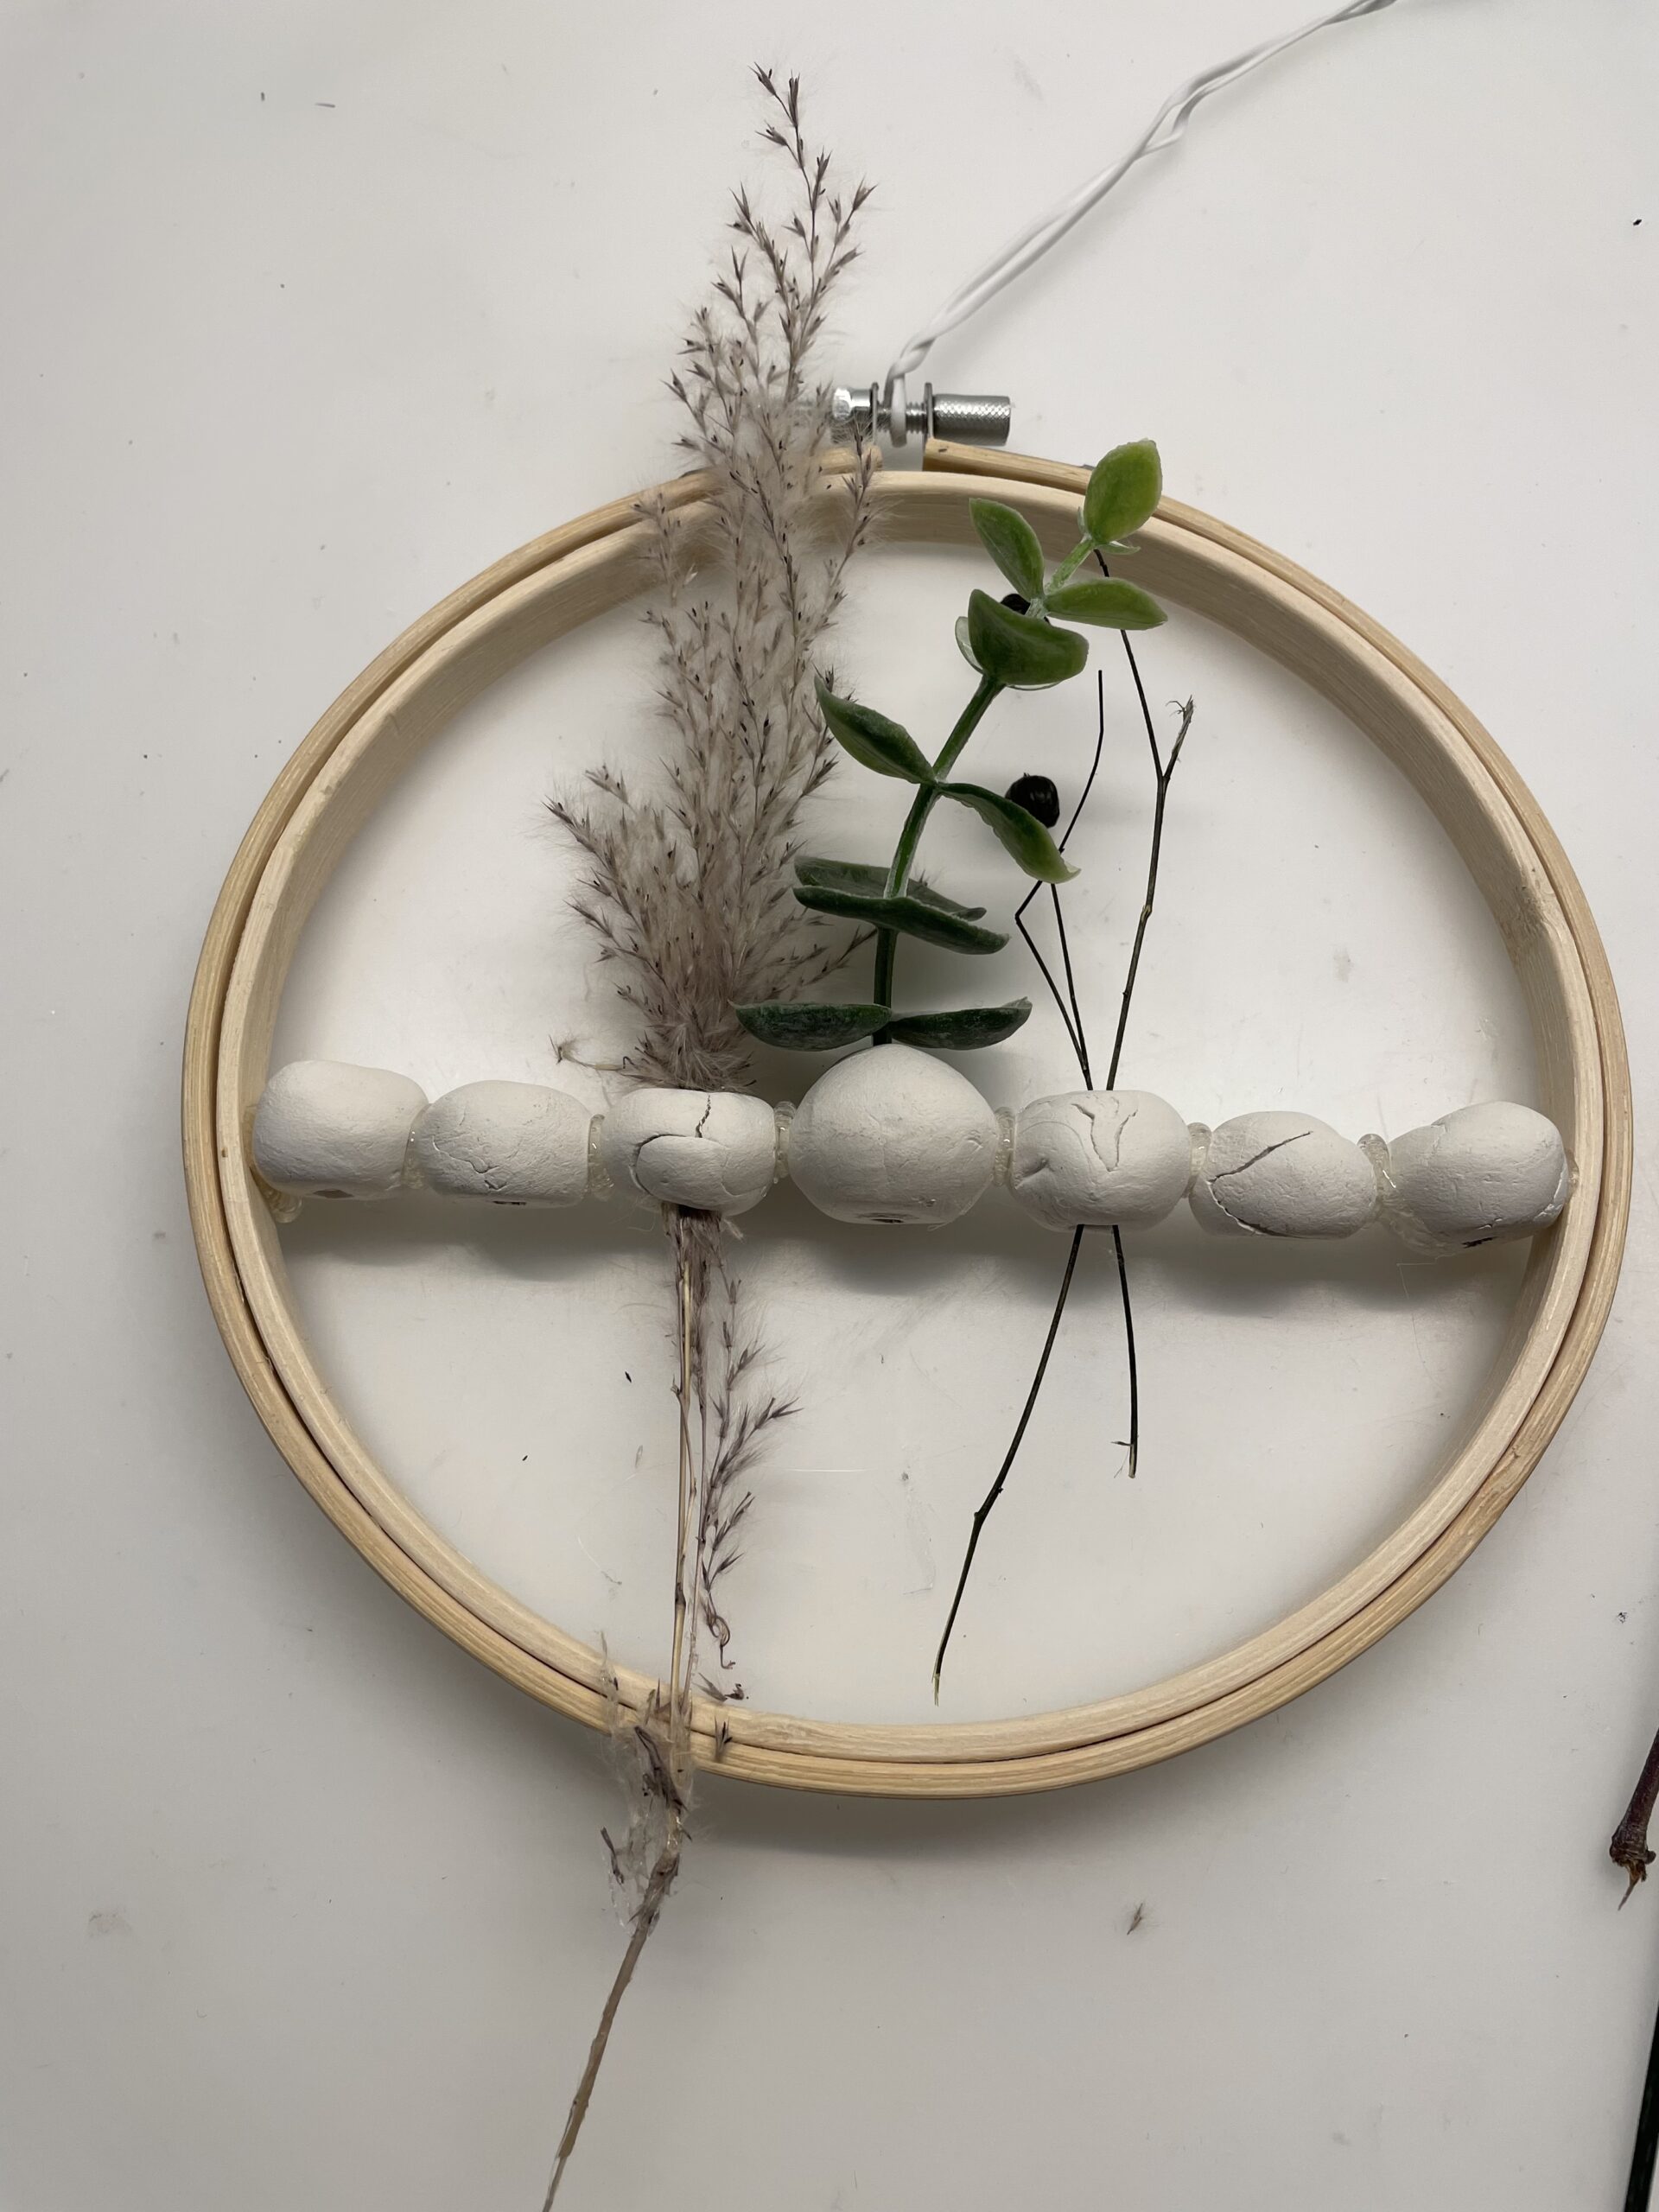
For this beautiful door wreath you use beads made of self-drying clay. As you do this, you see here. You place the beads side by side in the width of the ring and connect them with hot glue. Then you add the finished row of beads into the ring and stick them to it. The openings of the beads point upwards, because so you can put something into each bead opening. For this purpose, for example, individual dried grasses, leaves, feathers or twigs are suitable. Let yourself be inspired and shape your own door wreath.

Titelbild zur Bastel- und DIY-Idee für Kinder '(1048) Türkranz mit Perlen'
Material for1 Child
Prep Time5 min.Adv. Time30 min.Total Time35 min.
 1 Wood clasp ringor metal ring
 Beads largeOf self-drying clay
 BranchesStraws, decograss, flowers, etc.
 Springs
 1 Cord
 1 Hot glue gun
 1 Builder's pad
All links marked with a shopping cart lead to Amazon - here we have selected products that we would order ourselves and in part also ordered. In a qualified purchase via the advertising link, we as Amazon partner receive a commission, for you there are no costs. You thus support our cost- and advertising banner-free, educational offer.
1

First, lay out all the materials and the craft material.

If you work with self-made beads made of clay, then you should prepare them a few days before, so that they can dry out.

Tip: You can also use wooden beads.
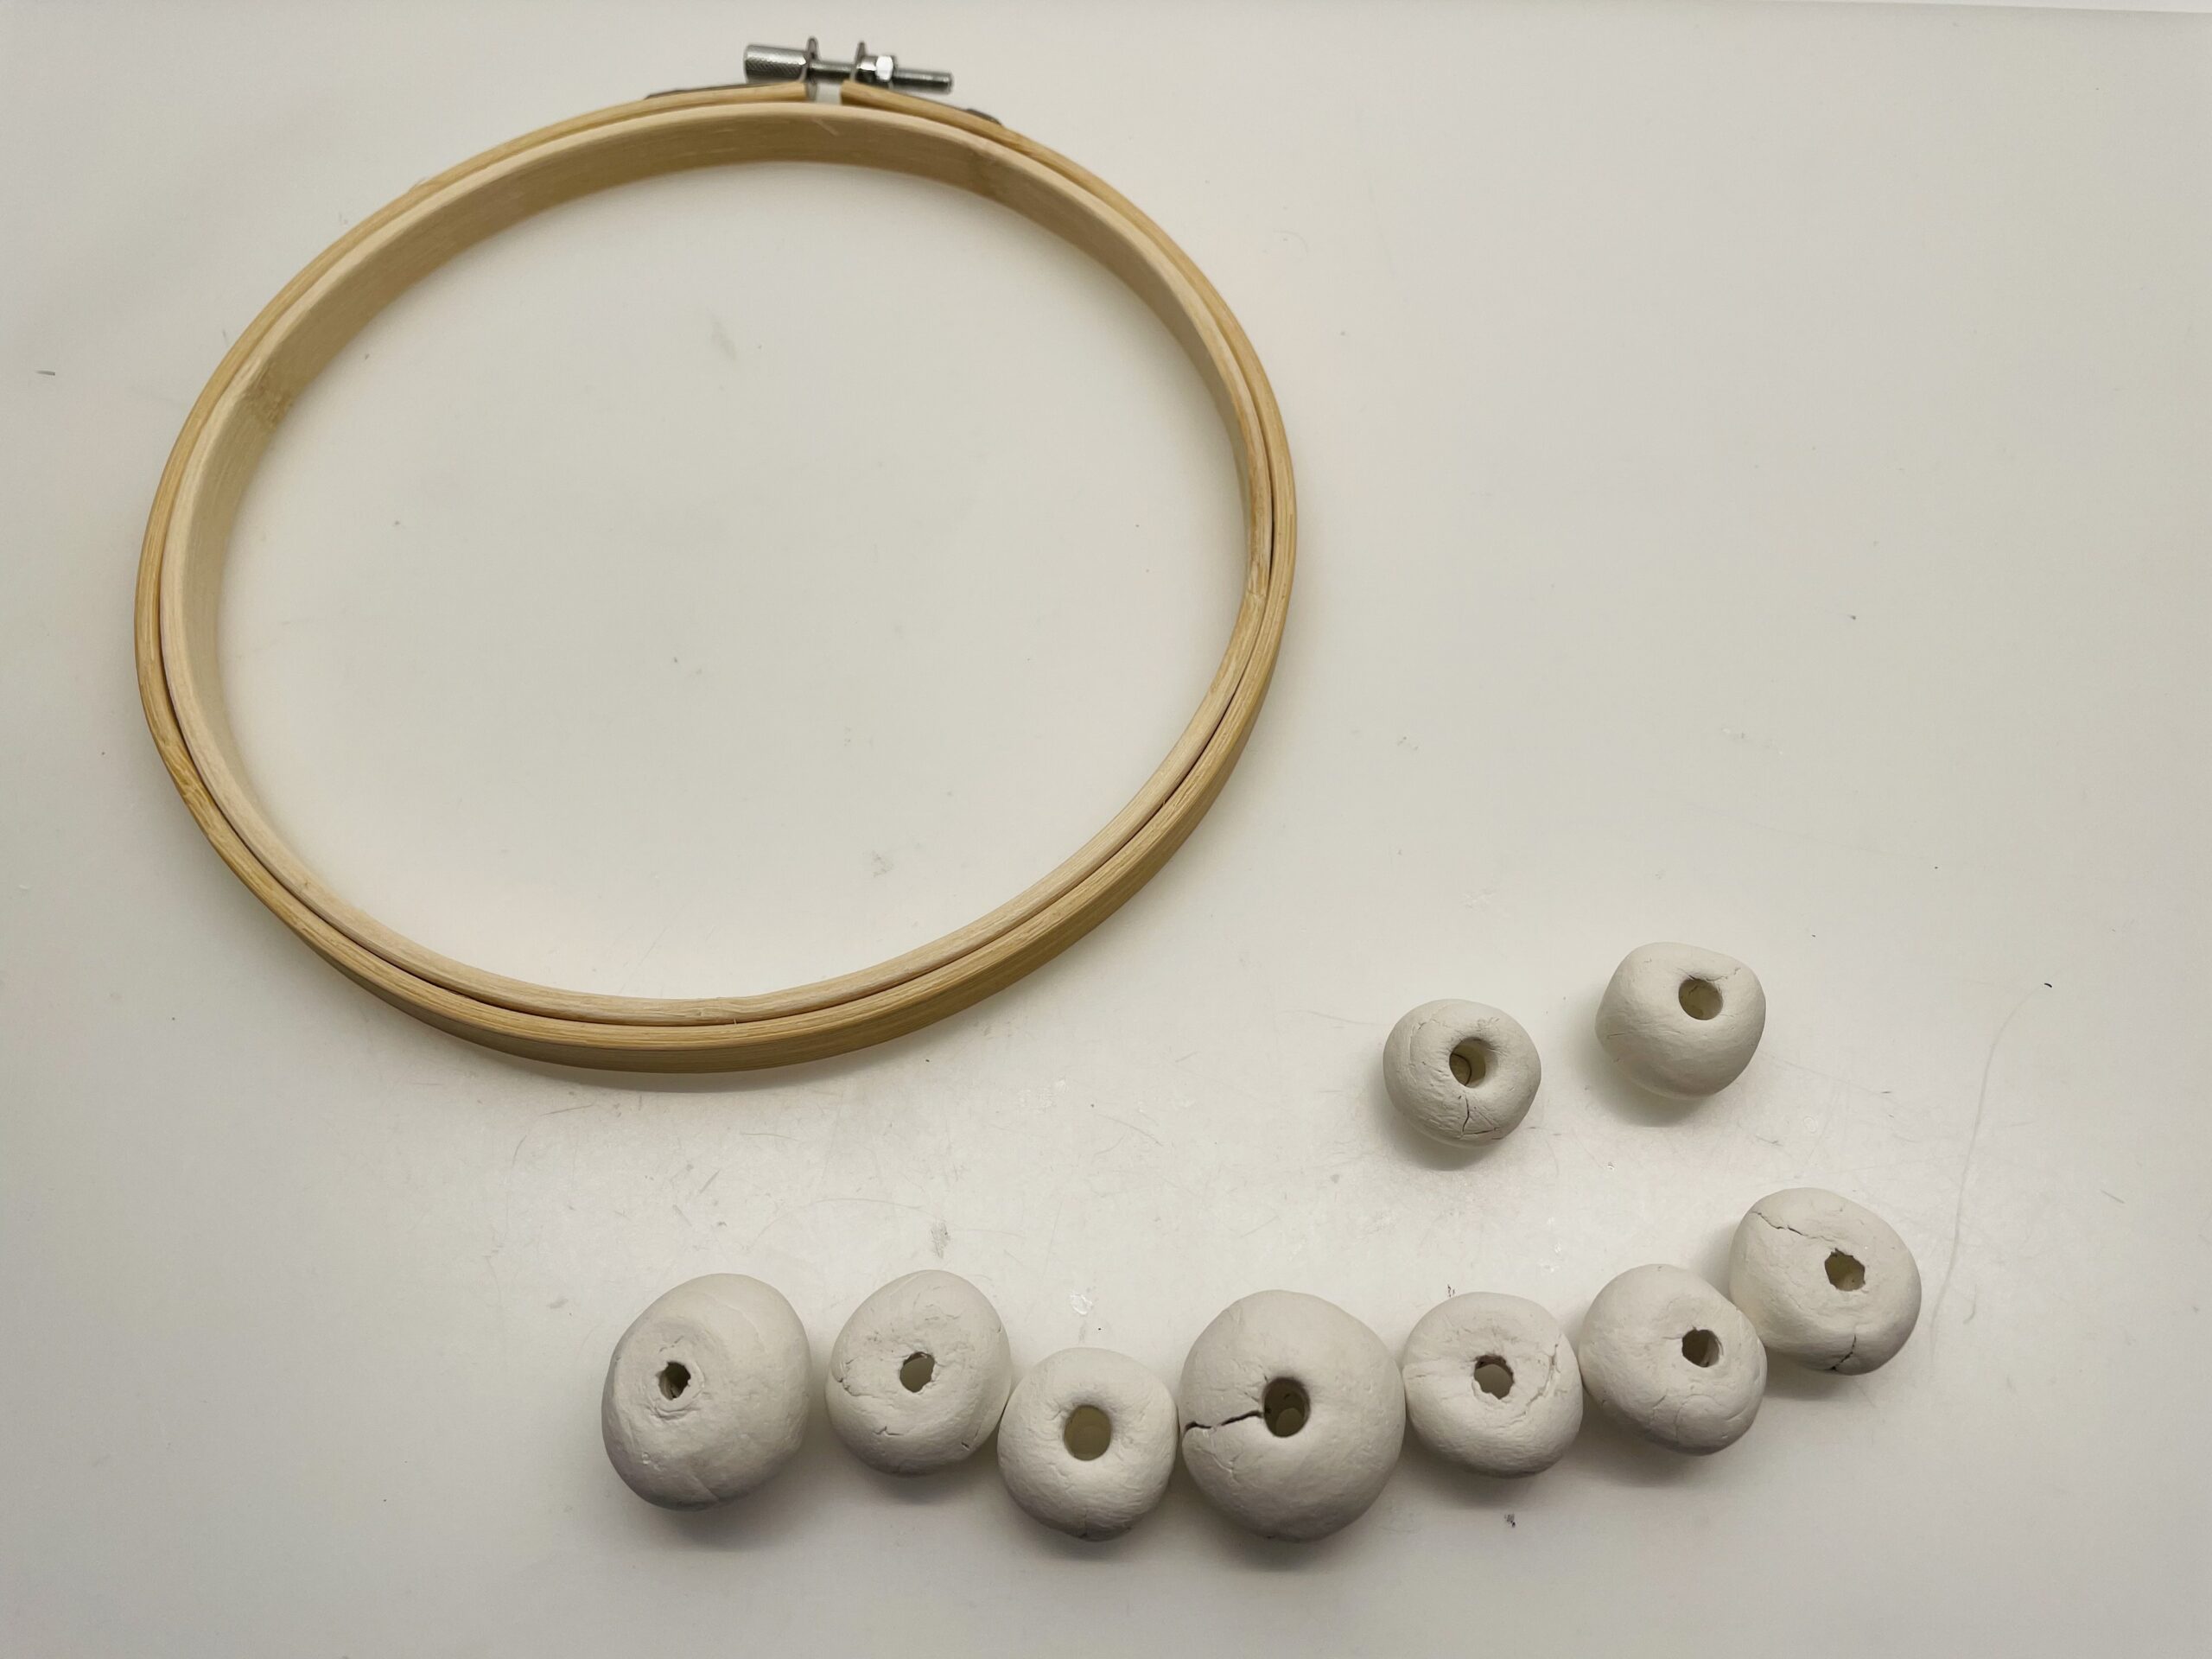
Bild zum Schritt 1 für das Bastel- und DIY-Abenteuer für Kinder: 'Legt euch zuerst alle Materialien bereit und die Bastelunterlage aus....'

2

Now place with the beads a row that is slightly smaller the width of your ring and try to place the row in the ring. You may need different size beads until you can place a matching row. All holes in the beads point upwards.
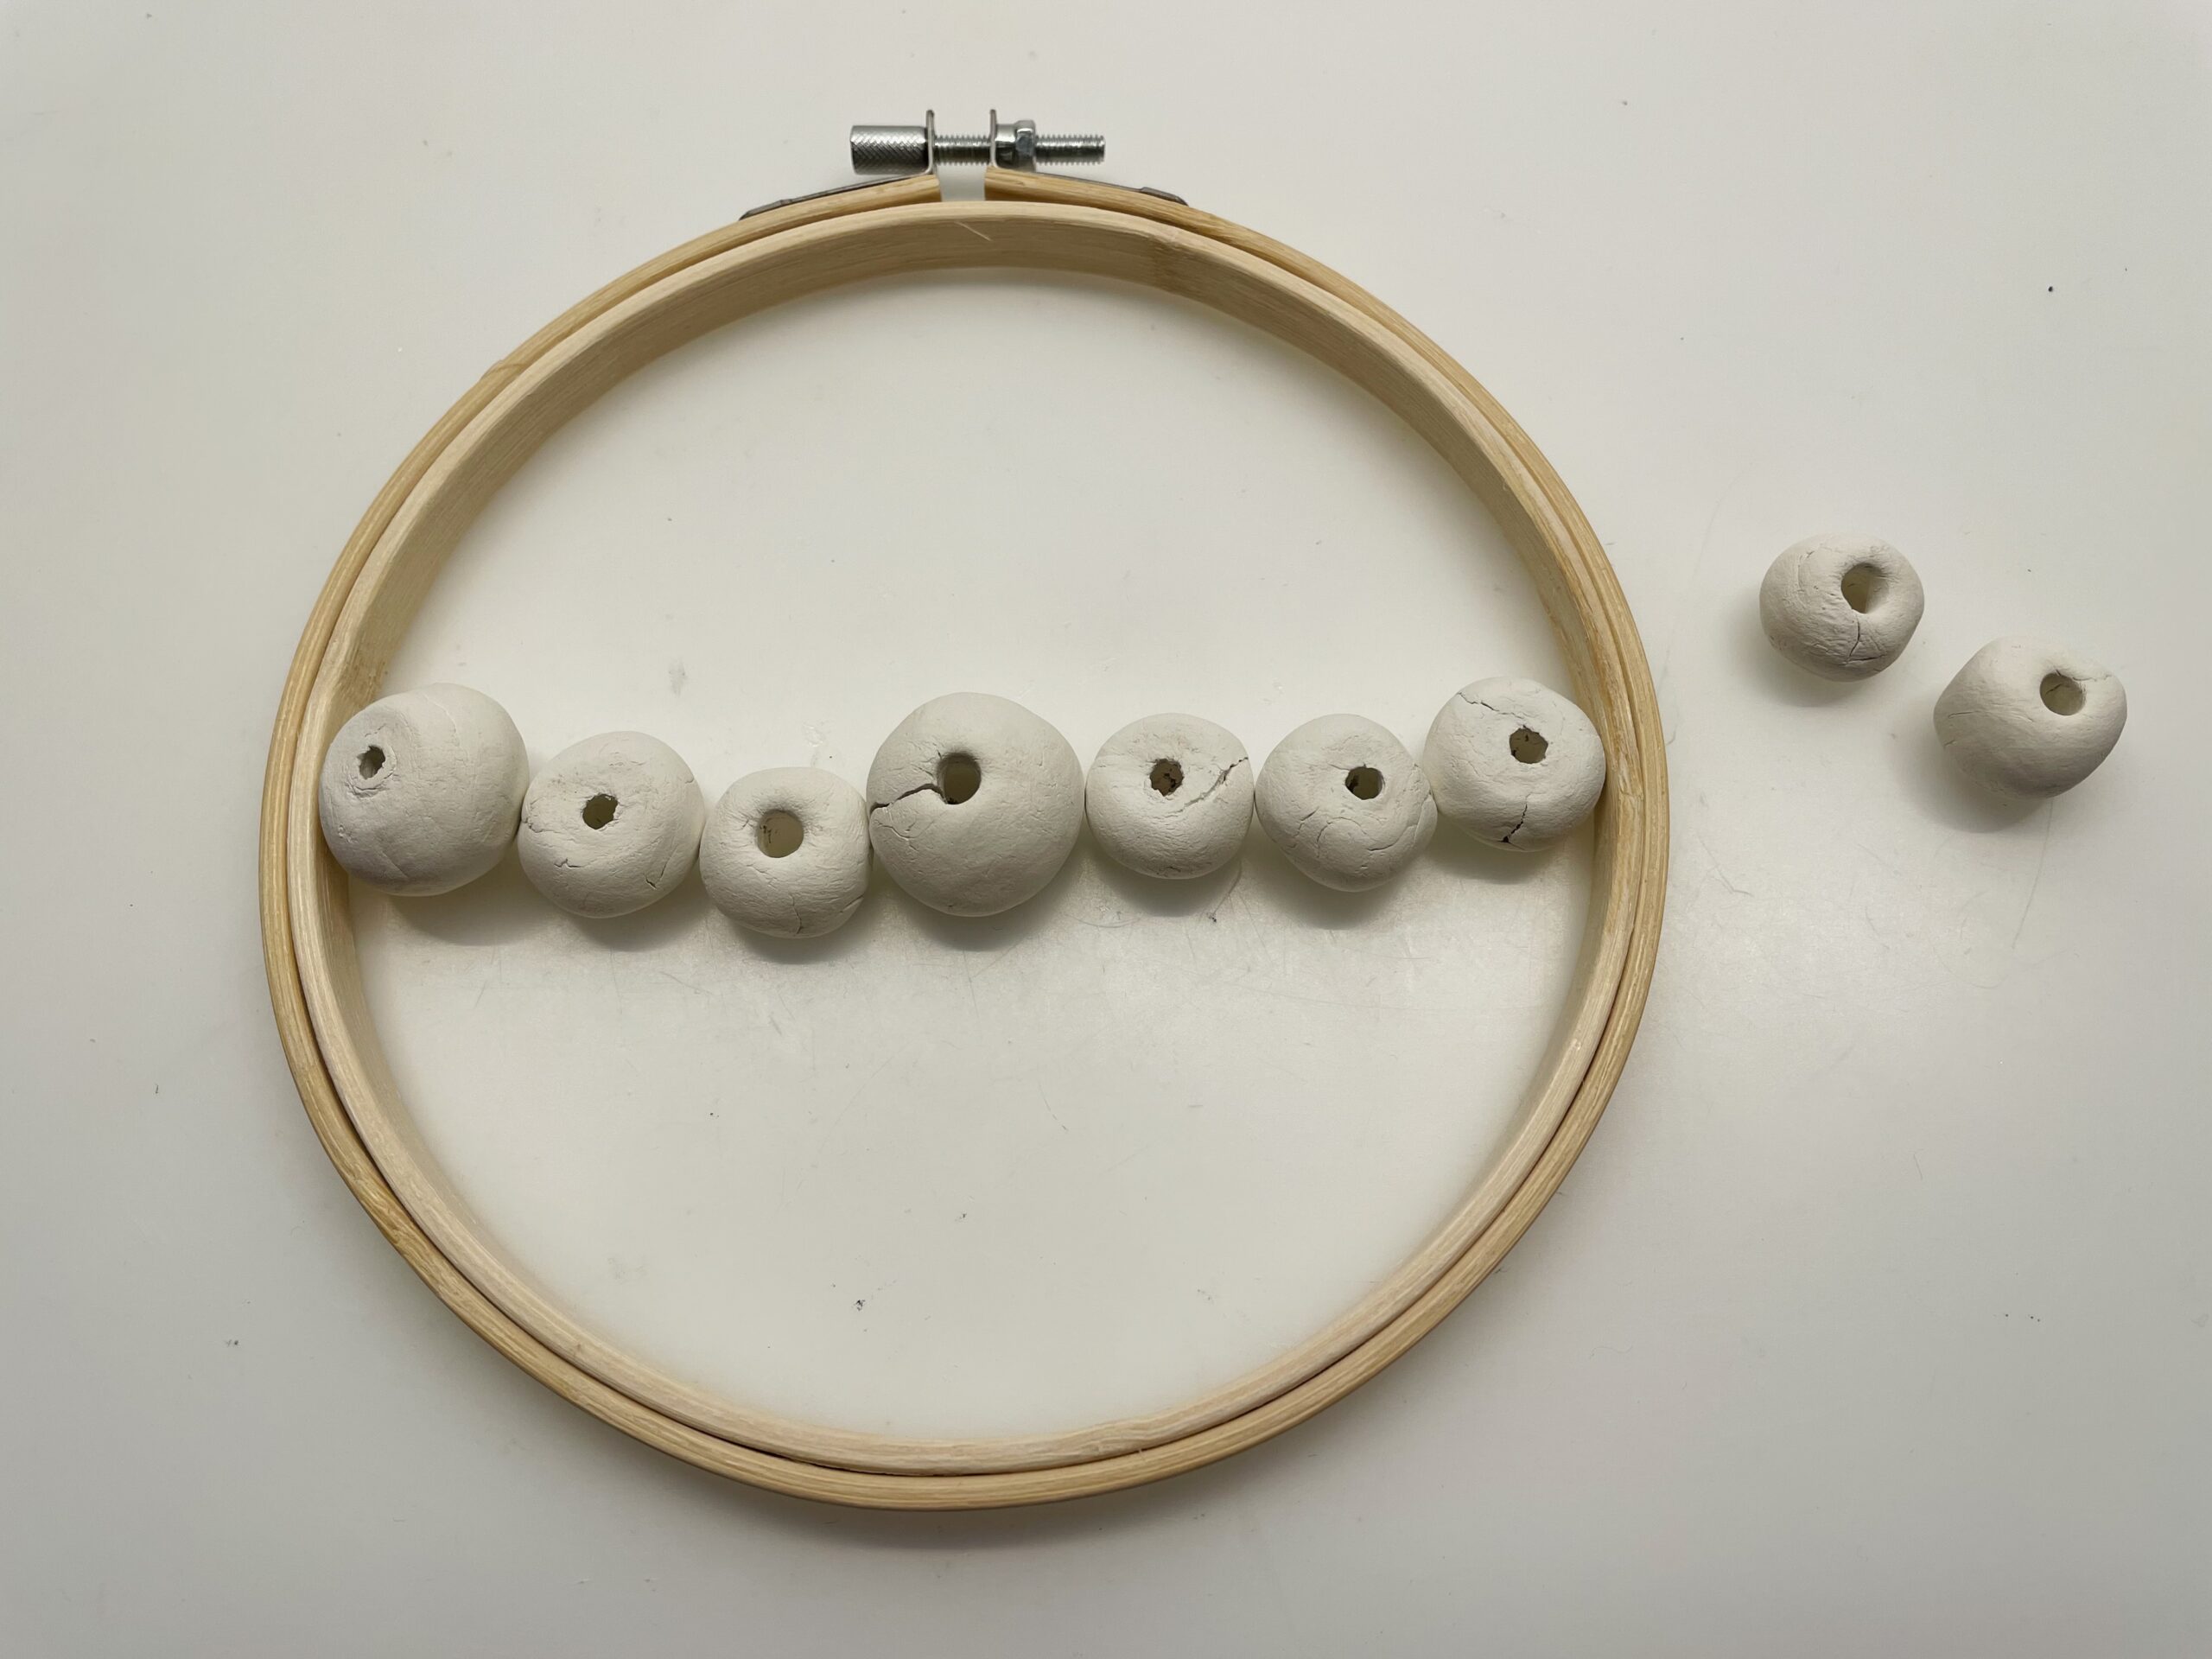
Bild zum Schritt 2 für das Bastel- und DIY-Abenteuer für Kinder: 'Legt nun mit den Perlen eine Reihe, die etwas kleiner...'

3

Now you stick one bead at a time to each other with hot glue. To do this, place the beads flat on the table and squeeze them together.
Attention when handling the hot glue - risk of injury!

Bild zum Schritt 3 für das Bastel- und DIY-Abenteuer für Kinder: 'Jetzt klebt ihr eine Perle nach der anderen mit Heißkleber...'

4

Checks again and again whether the row still fits in the ring! Because by the applied glue the row becomes longer!

Bild zum Schritt 4 für das Bastel- und DIY-Abenteuer für Kinder: 'Kontrolliert immer wieder ob die Reihe noch in den Ring...'

5

After that, you stick the row of pearls in the ring.

Bild zum Schritt 5 für das Bastel- und DIY-Abenteuer für Kinder: 'Danach klebt ihr die Perlenreihe in den Ring.'

6

For this you put up the ring and put the bead row in it, so that all openings point upwards. Now you put some hot glue on one end of the bead row and put the bead row in the ring. As soon as the glue holds, you fix the bead row also on the other side.

Bild zum Schritt 6 für das Bastel- und DIY-Abenteuer für Kinder: 'Dafür stellt ihr den Ring auf und legt die Perlenreihe...'

7

Now the basic frame stands for the door wreath.

Bild zum Schritt 7 für das Bastel- und DIY-Abenteuer für Kinder: 'Jetzt steht das Grundgerüst für den Türkranz.'

8

Now put as many grasses, leaves, branches, feathers or flowers into the holes of the beads.

Bild zum Schritt 8 für das Bastel- und DIY-Abenteuer für Kinder: 'Steckt jetzt beliebig viele Gräser, Blätter, Äste, Federn oder Blumen...'

9

Be careful when plugging in, and shorten the stems as desired.

Bild zum Schritt 9 für das Bastel- und DIY-Abenteuer für Kinder: 'Seid beim Einstecken vorsichtig, und kürzt die Stiele beliebig.'

10

2. Bild zum Schritt 9 für das Bastel- und DIY-Abenteuer für Kinder: 'Seid beim Einstecken vorsichtig, und kürzt die Stiele beliebig.'

11

Make sure that the inserted materials sit tight and do not slide down. In this case, simply add more items.

Bild zum Schritt 11 für das Bastel- und DIY-Abenteuer für Kinder: 'Achtet darauf, dass die eingesteckten Materialien fest sitzen und nicht...'

12

Finally lift up the wreath and see if your decoration holds.

Bild zum Schritt 12 für das Bastel- und DIY-Abenteuer für Kinder: 'Hebt den Kranz abschließend hoch und prüft, ob eure Dekoration...'

13

Finally you tie a band or cord to the ring and hang it e.g. the door.

Tip: The finished wreath can also be used as a wonderful gift.

Bild zum Schritt 13 für das Bastel- und DIY-Abenteuer für Kinder: 'Abschließend bindet ihr ein Band oder eine Schnur an den...'

14

Have fun in designing!

Tip: After all objects are only plugged in, you can remodel and decorate the wreath again and again.

Materials

 1 Wood clasp ringor metal ring
 Beads largeOf self-drying clay
 BranchesStraws, decograss, flowers, etc.
 Springs
 1 Cord
 1 Hot glue gun
 1 Builder's pad
All links marked with a shopping cart lead to Amazon - here we have selected products that we would order ourselves and in part also ordered. In a qualified purchase via the advertising link, we as Amazon partner receive a commission, for you there are no costs. You thus support our cost- and advertising banner-free, educational offer.

Directions

1

First, lay out all the materials and the craft material.

If you work with self-made beads made of clay, then you should prepare them a few days before, so that they can dry out.

Tip: You can also use wooden beads.

Bild zum Schritt 1 für das Bastel- und DIY-Abenteuer für Kinder: 'Legt euch zuerst alle Materialien bereit und die Bastelunterlage aus....'

2

Now place with the beads a row that is slightly smaller the width of your ring and try to place the row in the ring. You may need different size beads until you can place a matching row. All holes in the beads point upwards.

Bild zum Schritt 2 für das Bastel- und DIY-Abenteuer für Kinder: 'Legt nun mit den Perlen eine Reihe, die etwas kleiner...'

3

Now you stick one bead at a time to each other with hot glue. To do this, place the beads flat on the table and squeeze them together.
Attention when handling the hot glue - risk of injury!
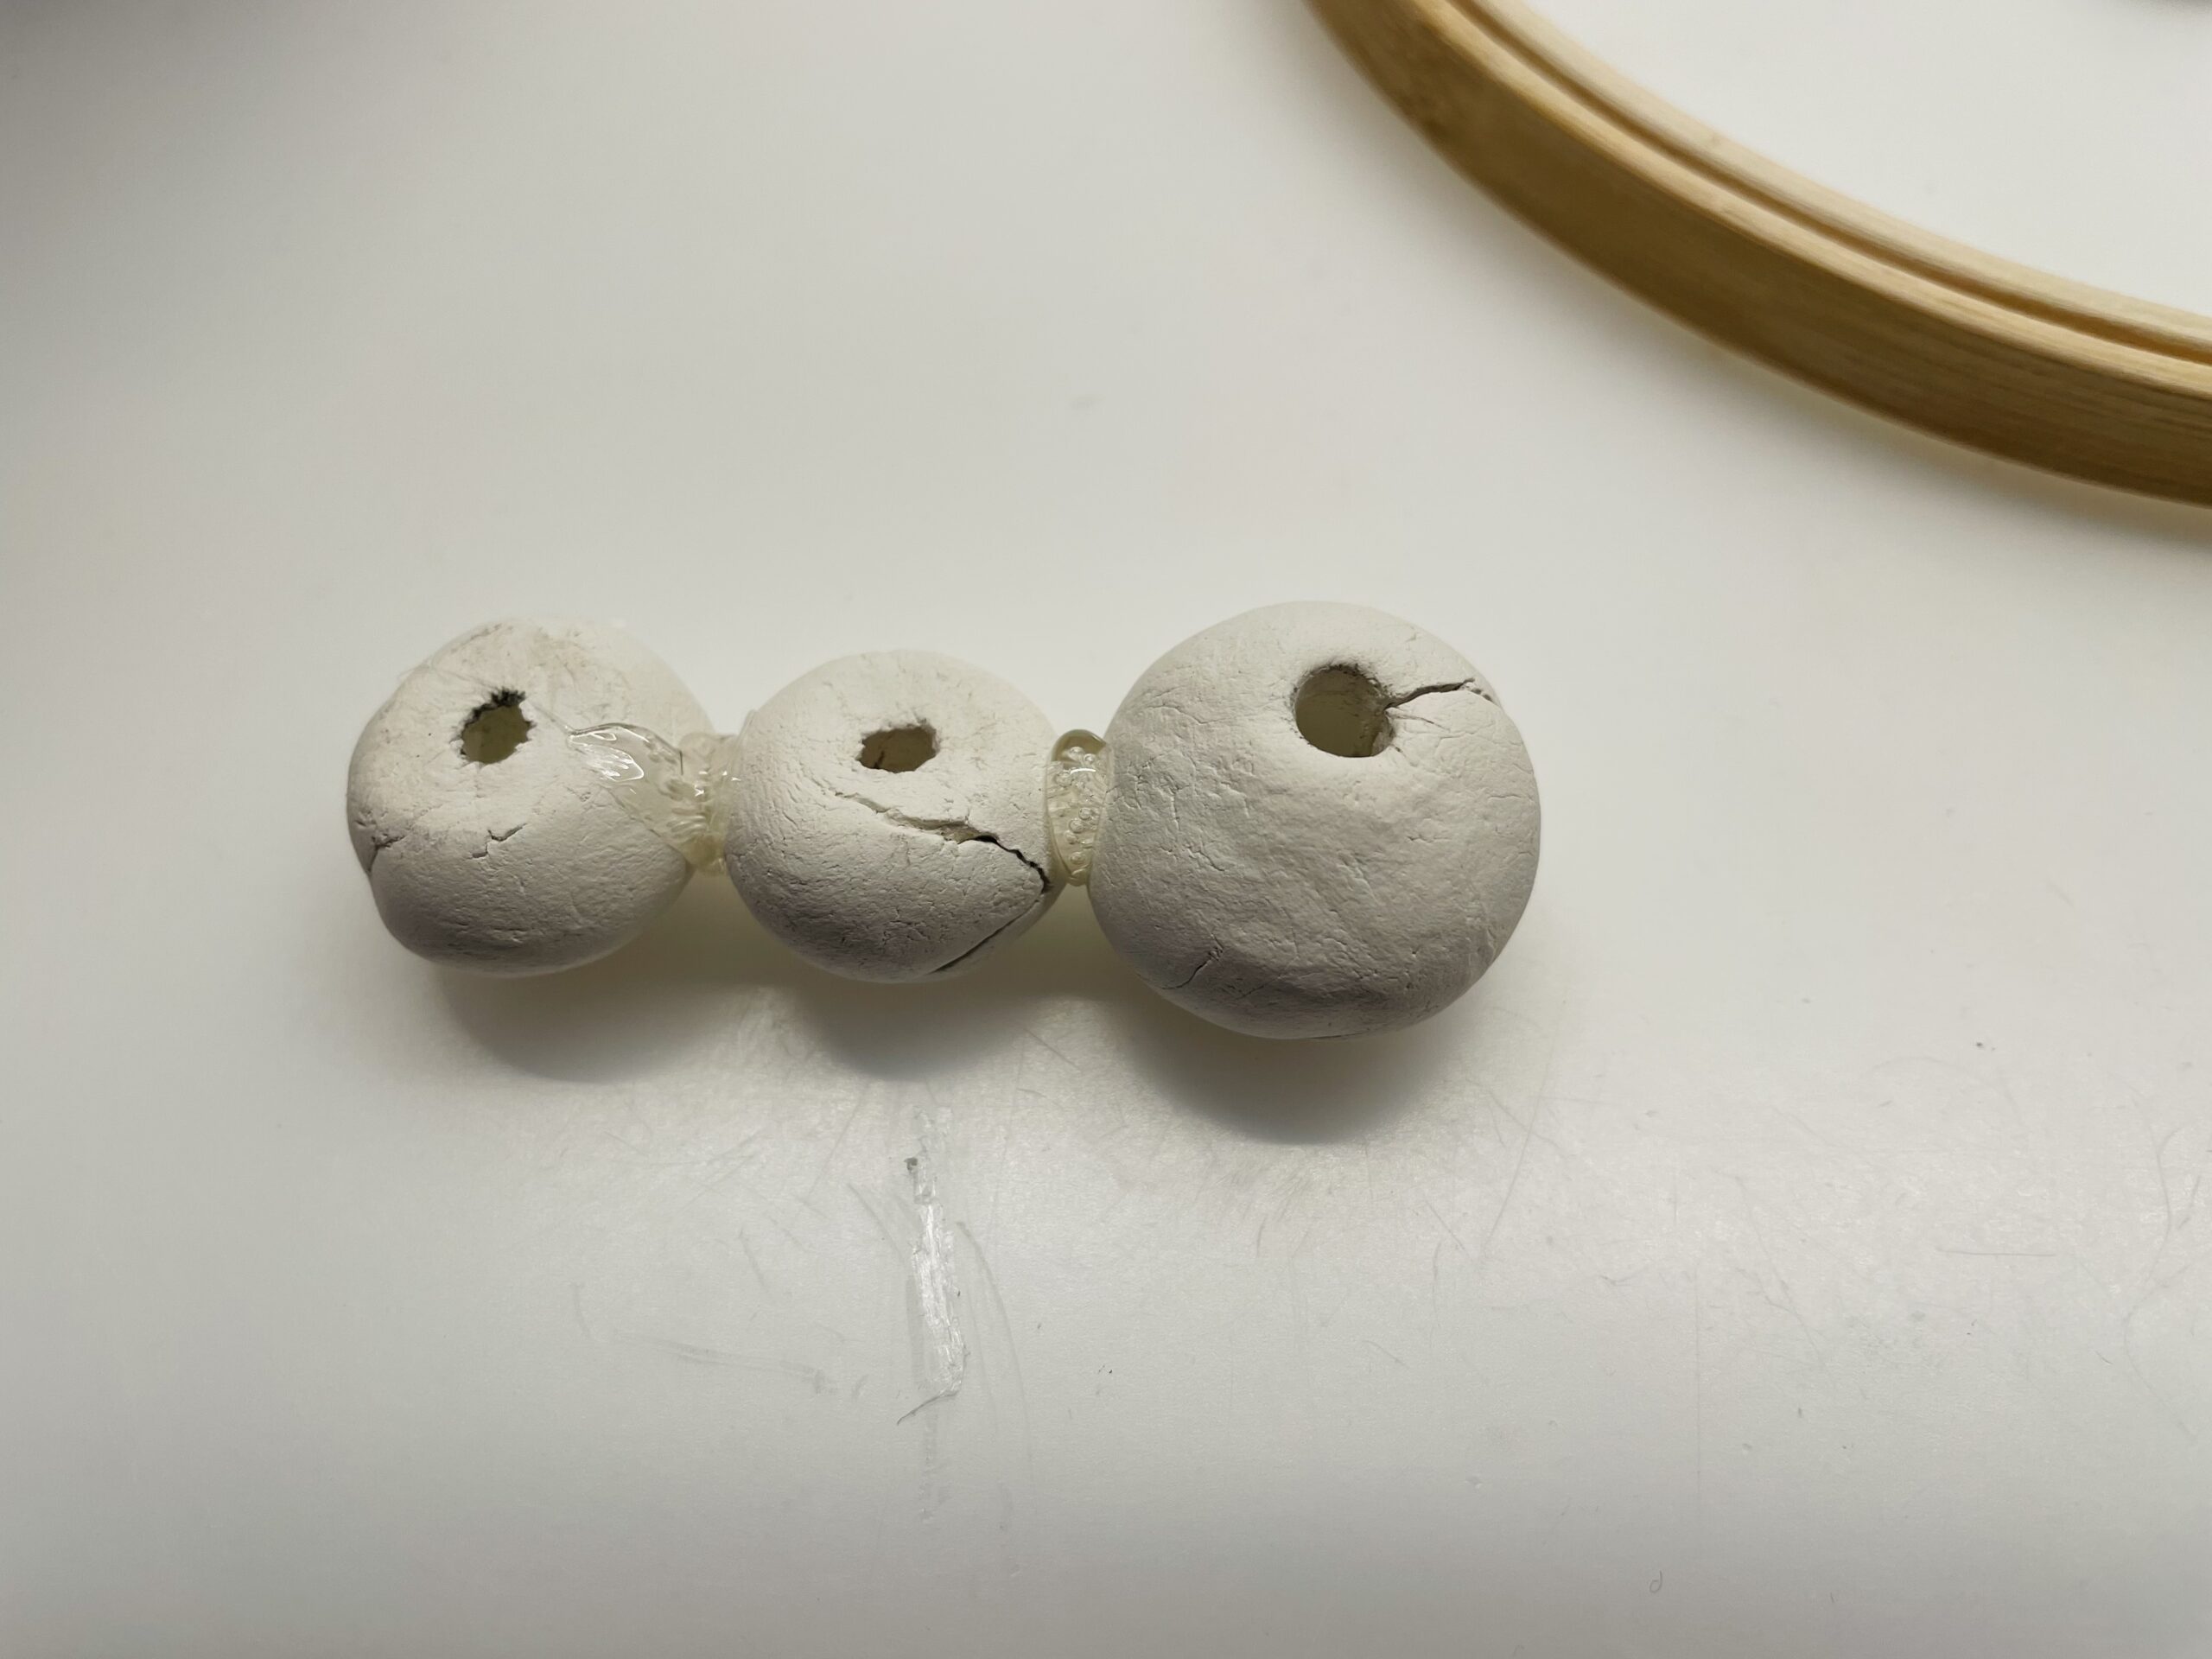
Bild zum Schritt 3 für das Bastel- und DIY-Abenteuer für Kinder: 'Jetzt klebt ihr eine Perle nach der anderen mit Heißkleber...'

4

Checks again and again whether the row still fits in the ring! Because by the applied glue the row becomes longer!

Bild zum Schritt 4 für das Bastel- und DIY-Abenteuer für Kinder: 'Kontrolliert immer wieder ob die Reihe noch in den Ring...'

5

After that, you stick the row of pearls in the ring.
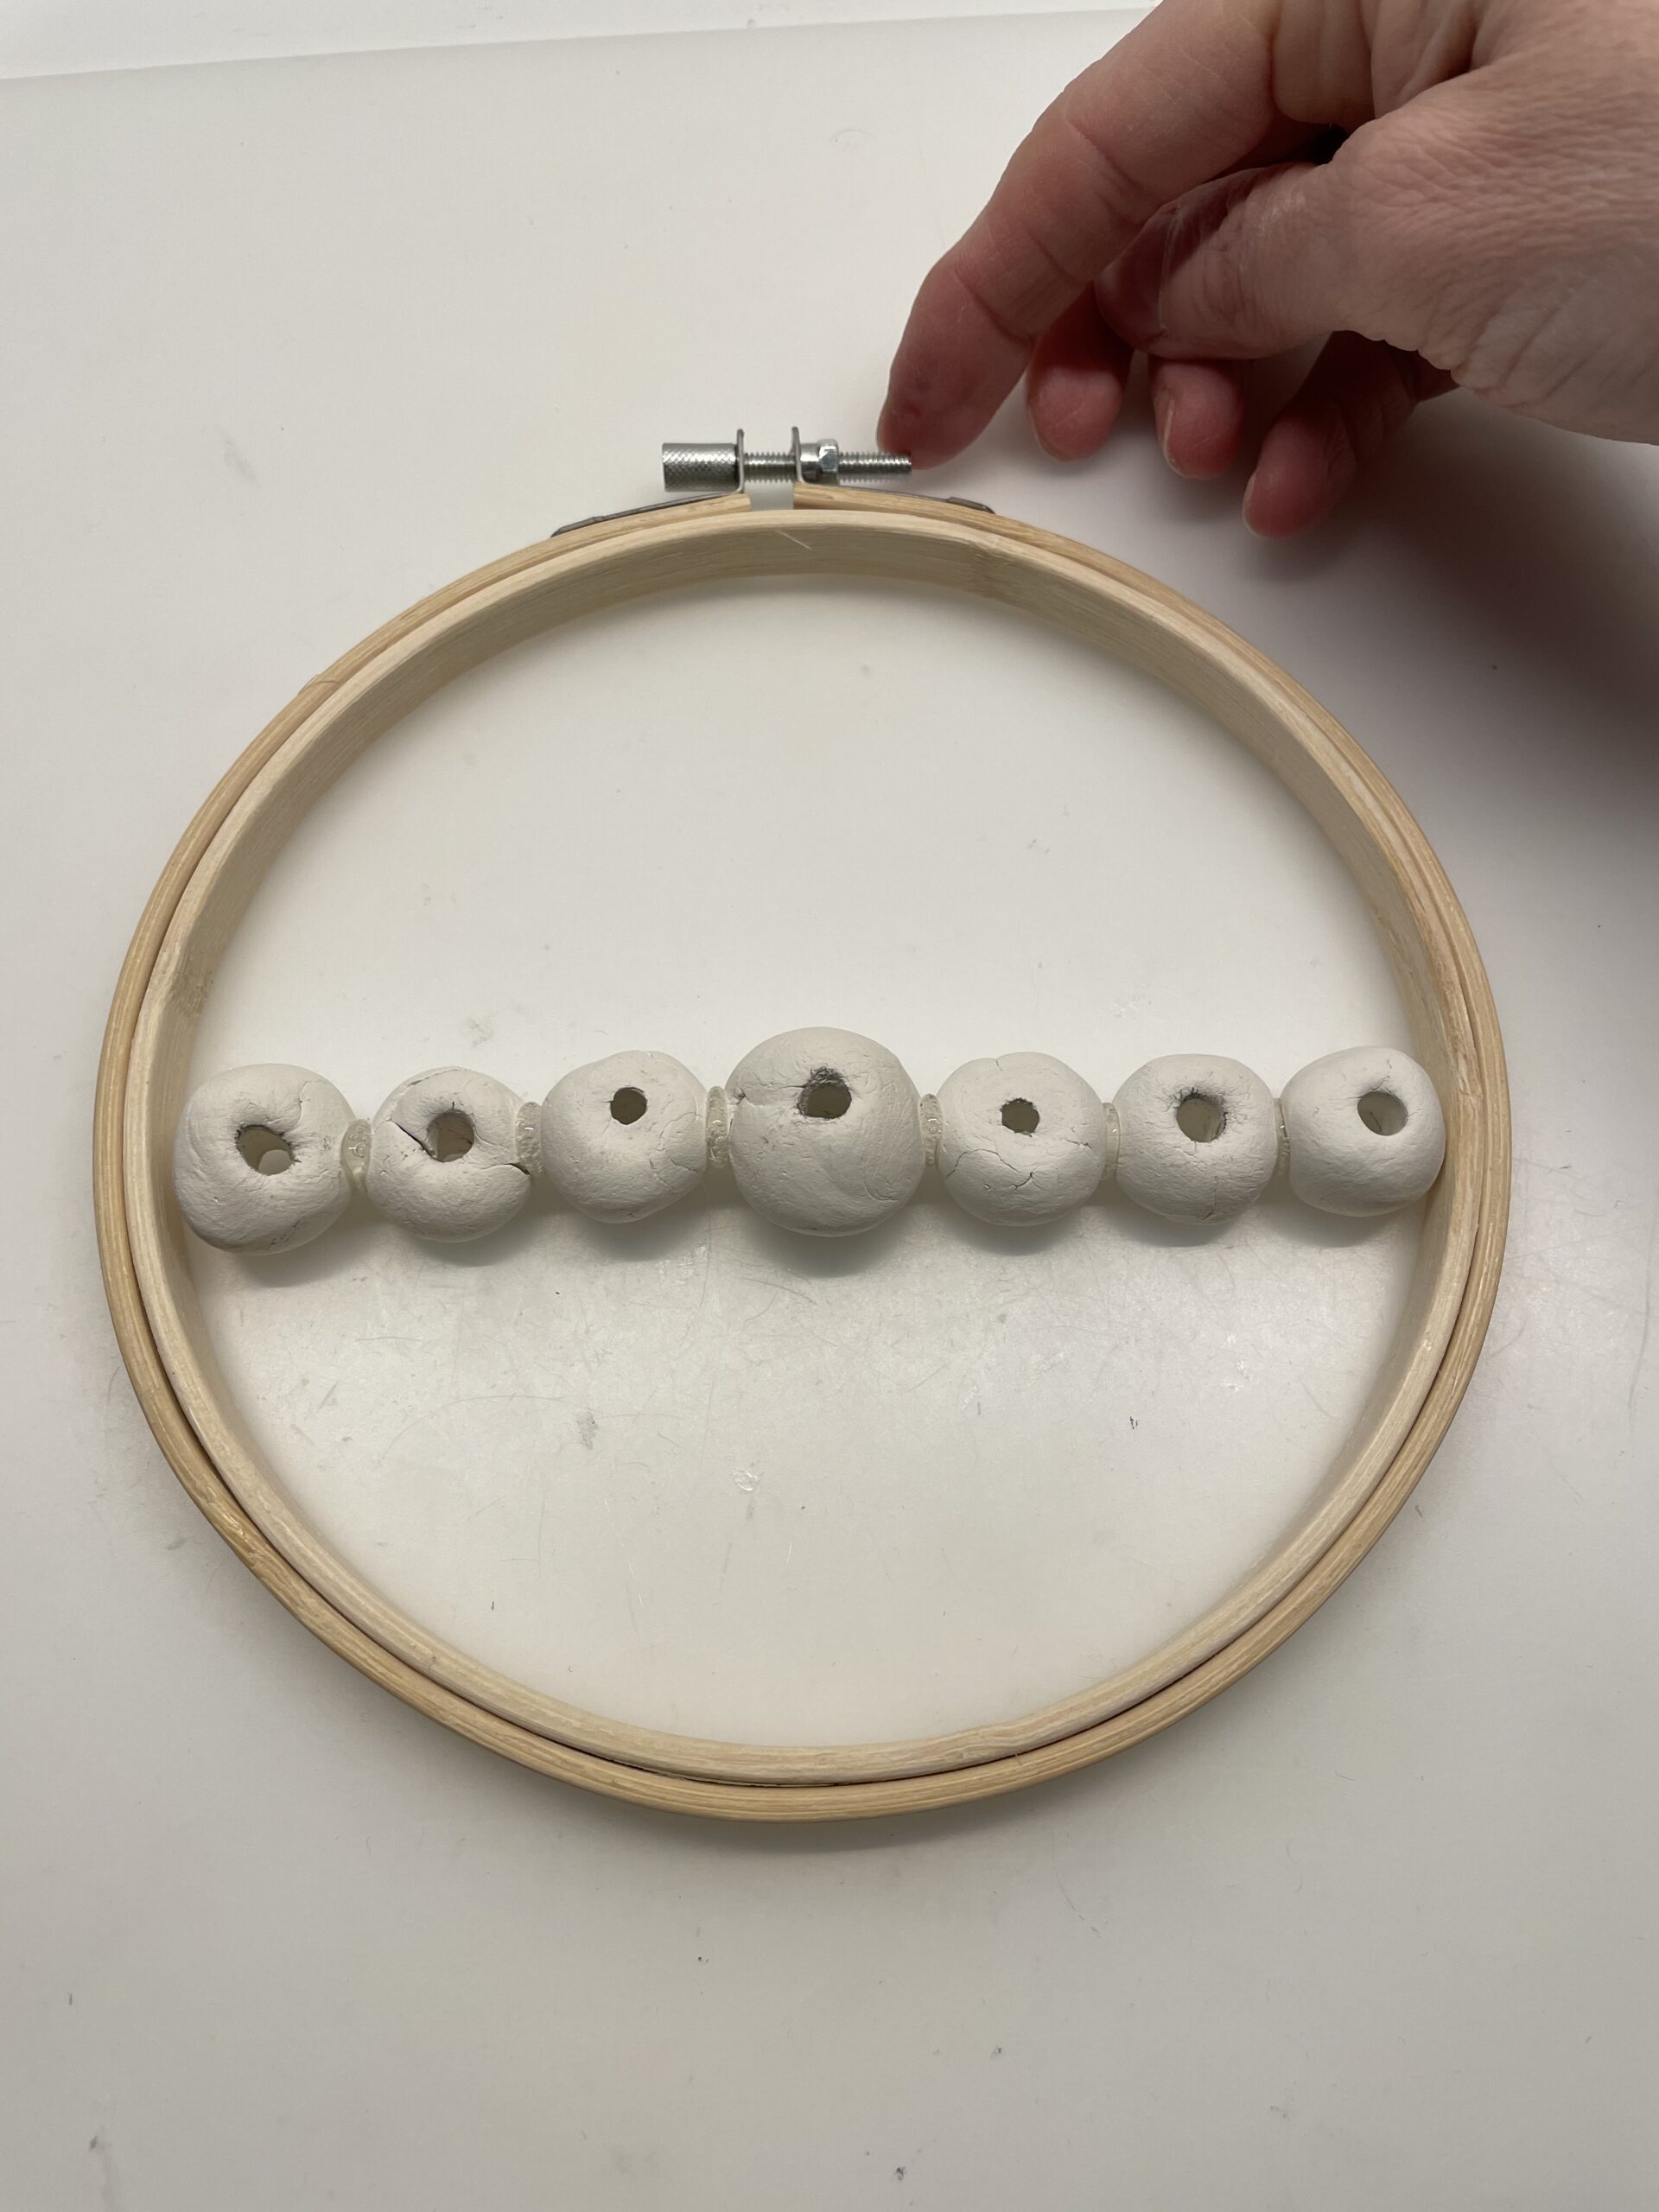
Bild zum Schritt 5 für das Bastel- und DIY-Abenteuer für Kinder: 'Danach klebt ihr die Perlenreihe in den Ring.'

6

For this you put up the ring and put the bead row in it, so that all openings point upwards. Now you put some hot glue on one end of the bead row and put the bead row in the ring. As soon as the glue holds, you fix the bead row also on the other side.
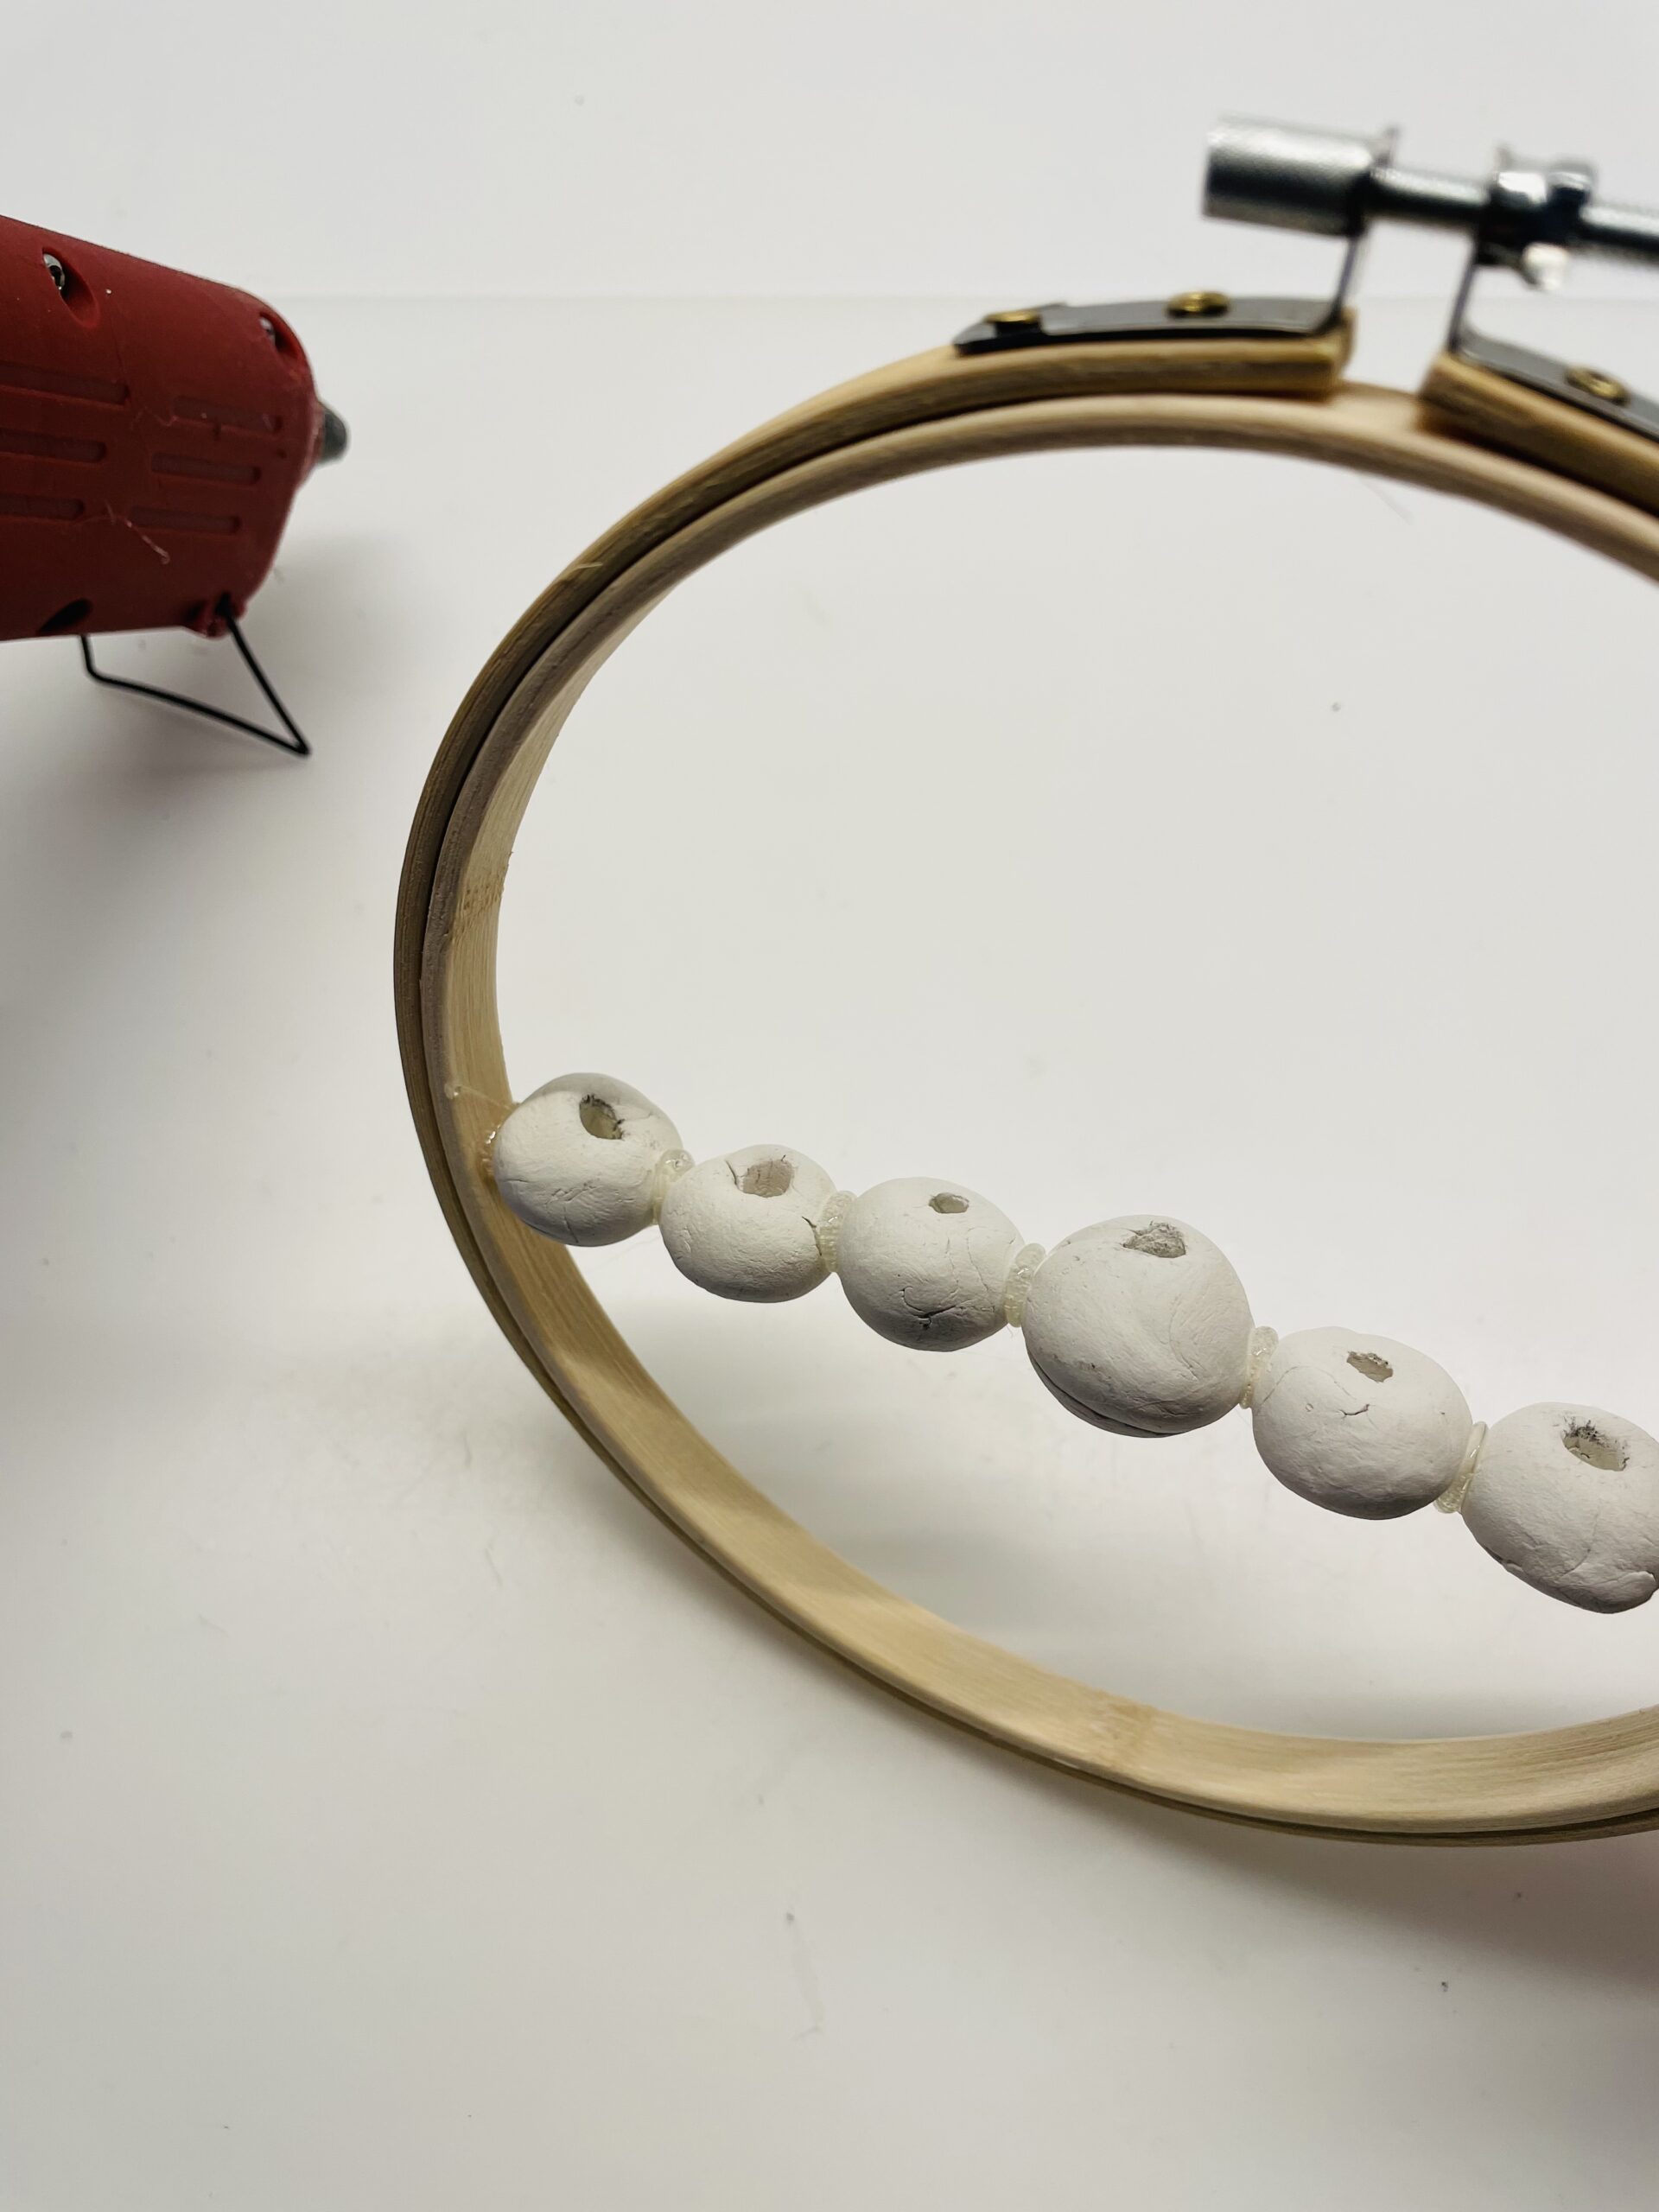
Bild zum Schritt 6 für das Bastel- und DIY-Abenteuer für Kinder: 'Dafür stellt ihr den Ring auf und legt die Perlenreihe...'

7

Now the basic frame stands for the door wreath.
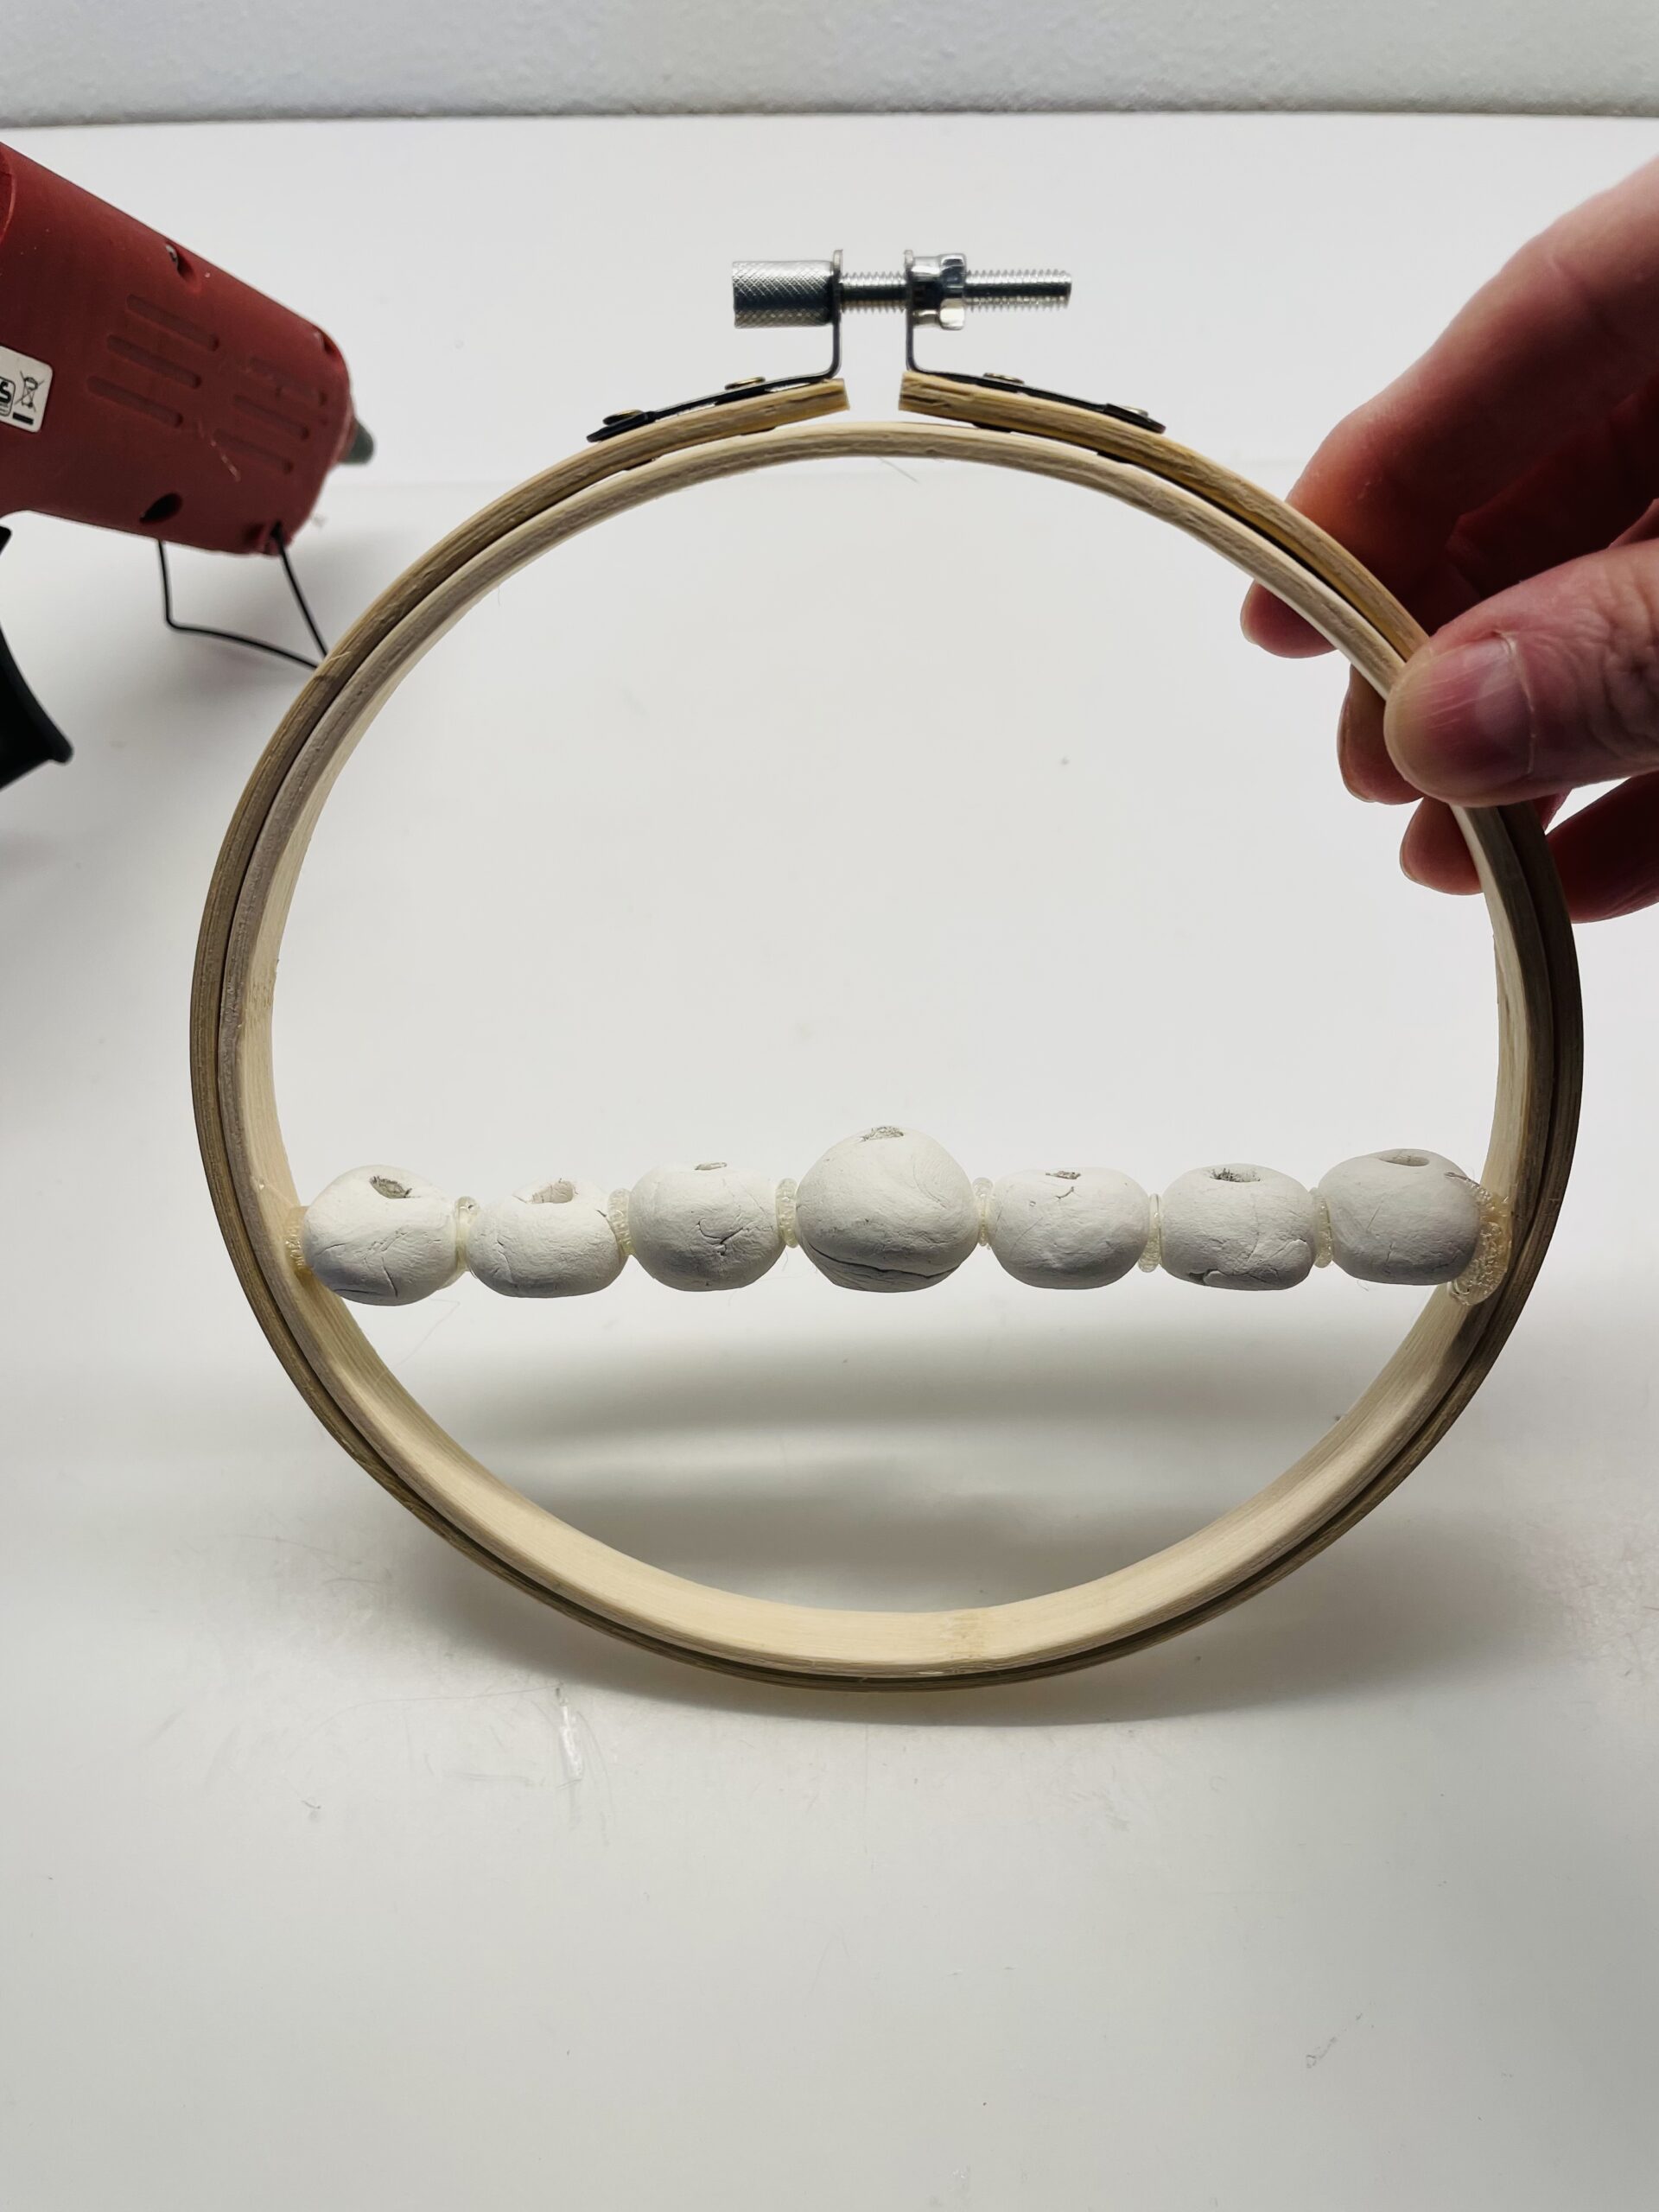
Bild zum Schritt 7 für das Bastel- und DIY-Abenteuer für Kinder: 'Jetzt steht das Grundgerüst für den Türkranz.'

8

Now put as many grasses, leaves, branches, feathers or flowers into the holes of the beads.
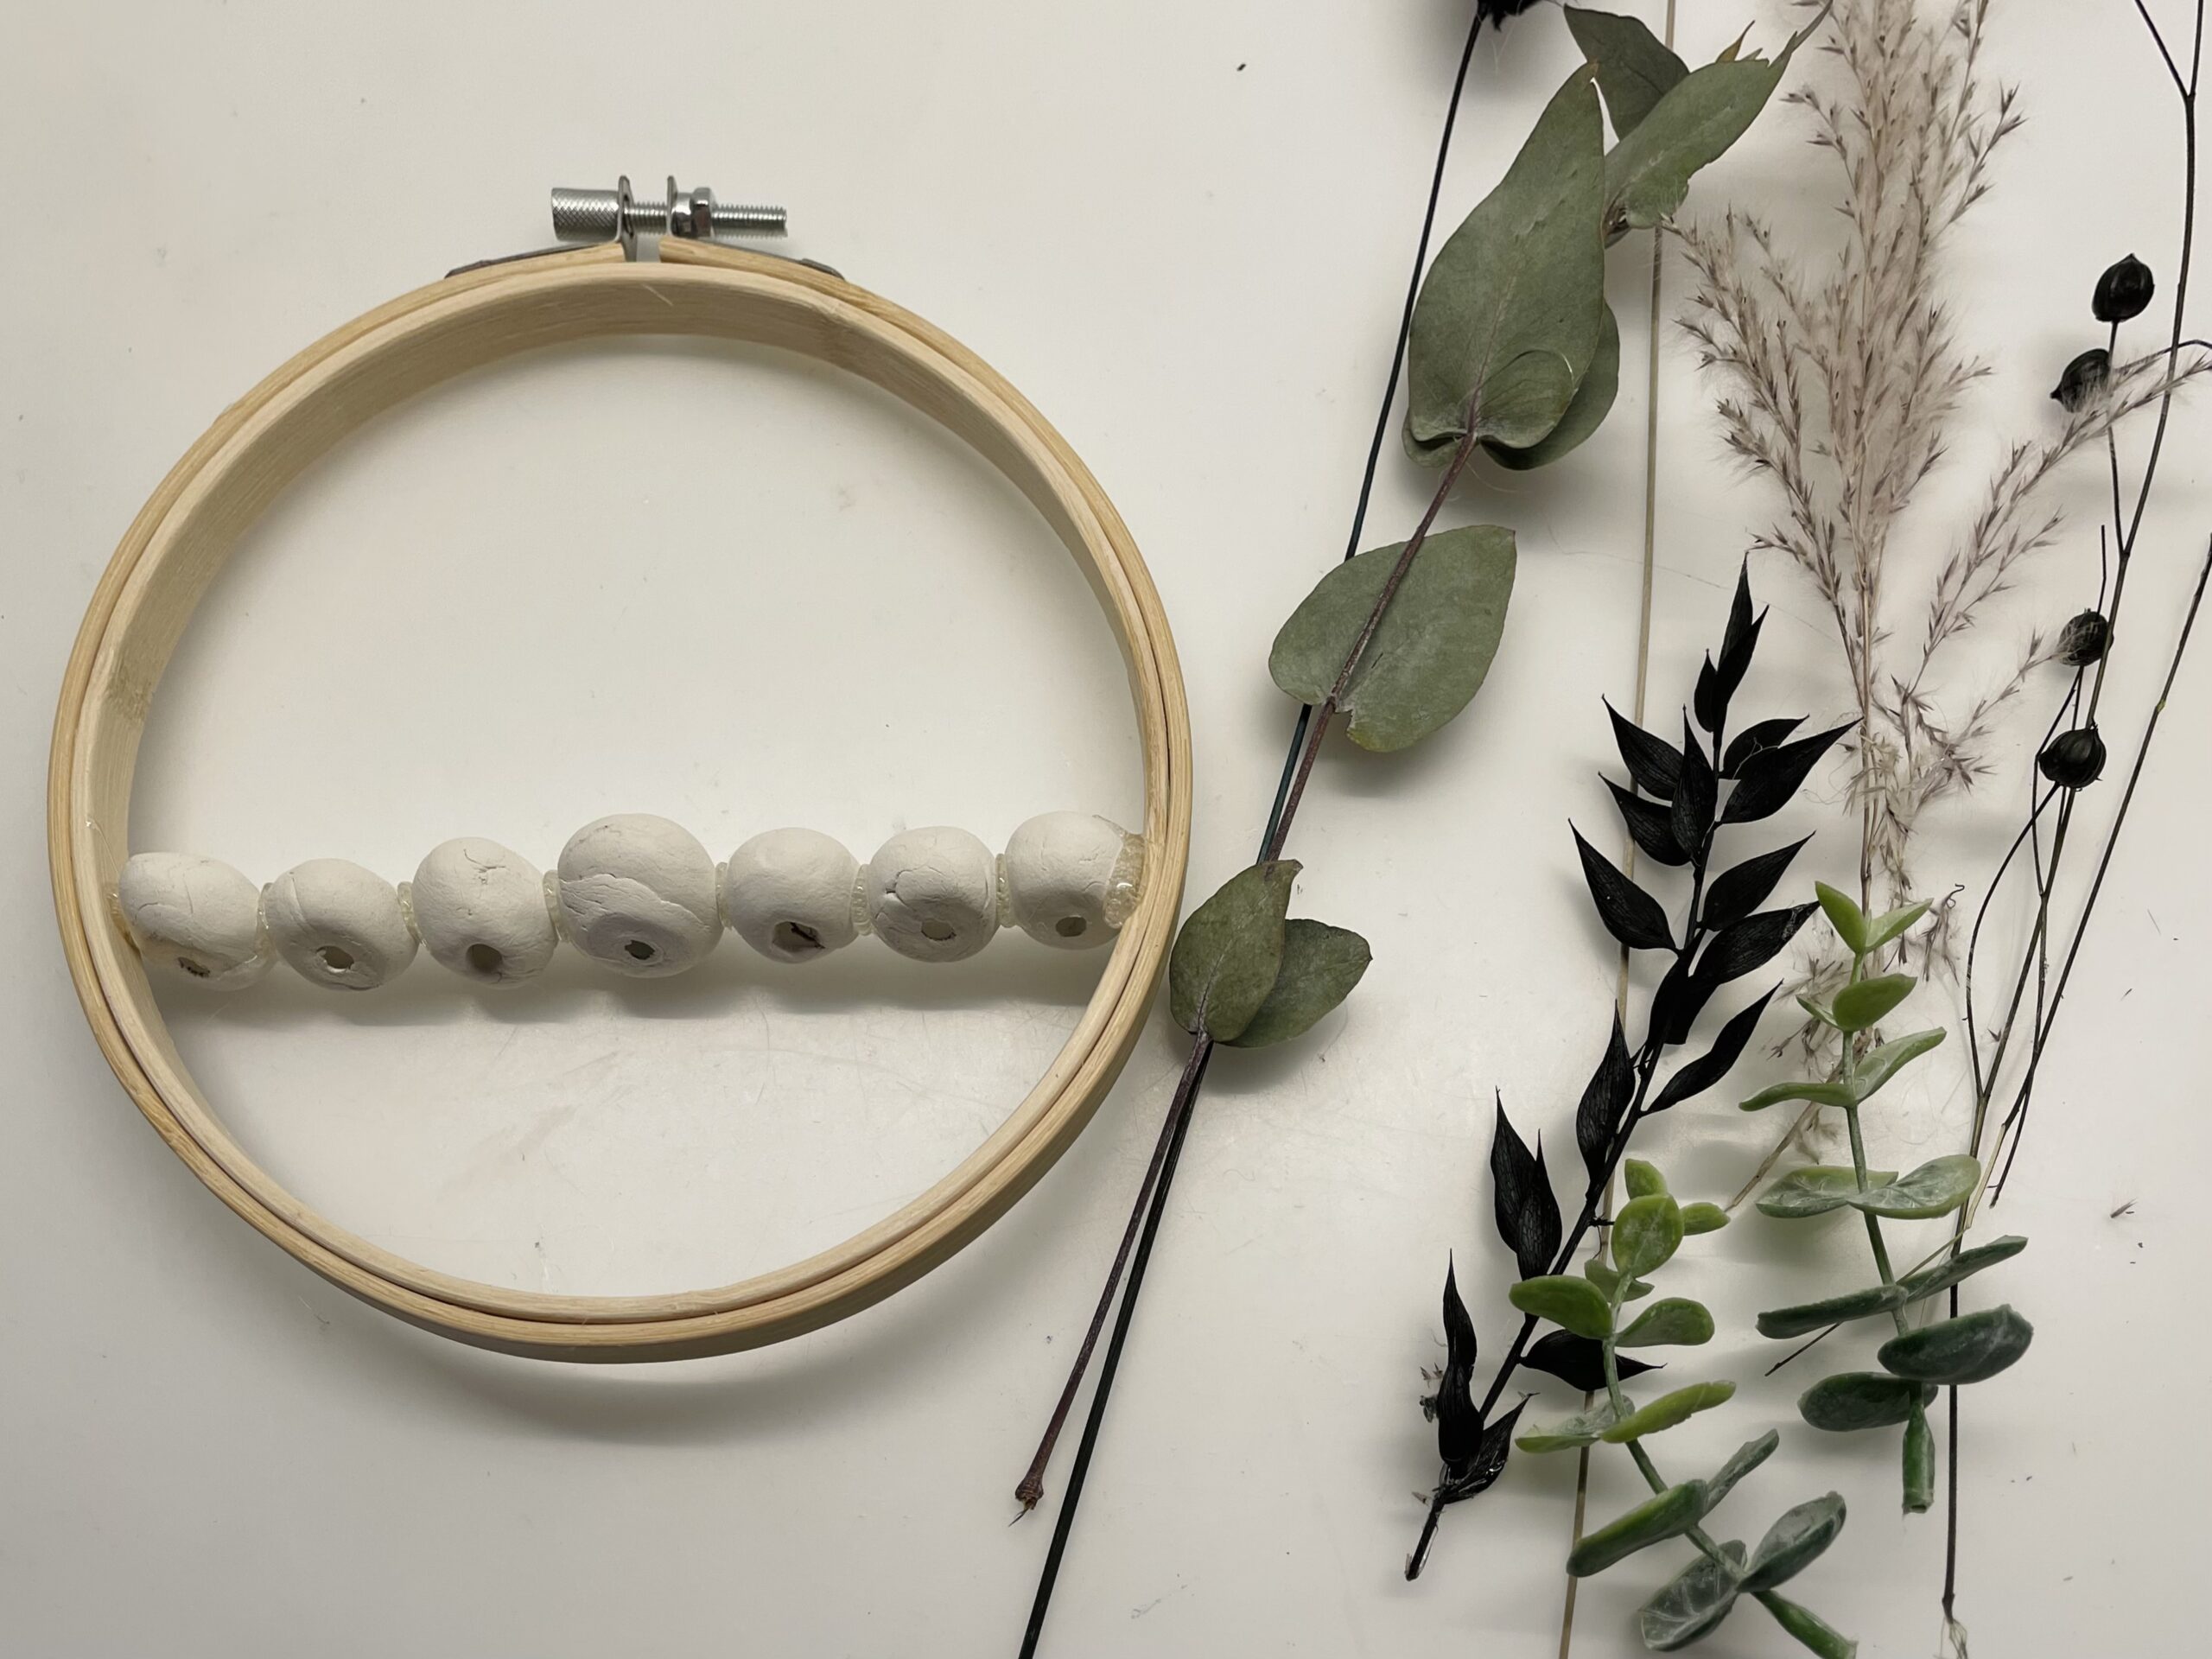
Bild zum Schritt 8 für das Bastel- und DIY-Abenteuer für Kinder: 'Steckt jetzt beliebig viele Gräser, Blätter, Äste, Federn oder Blumen...'

9

Be careful when plugging in, and shorten the stems as desired.
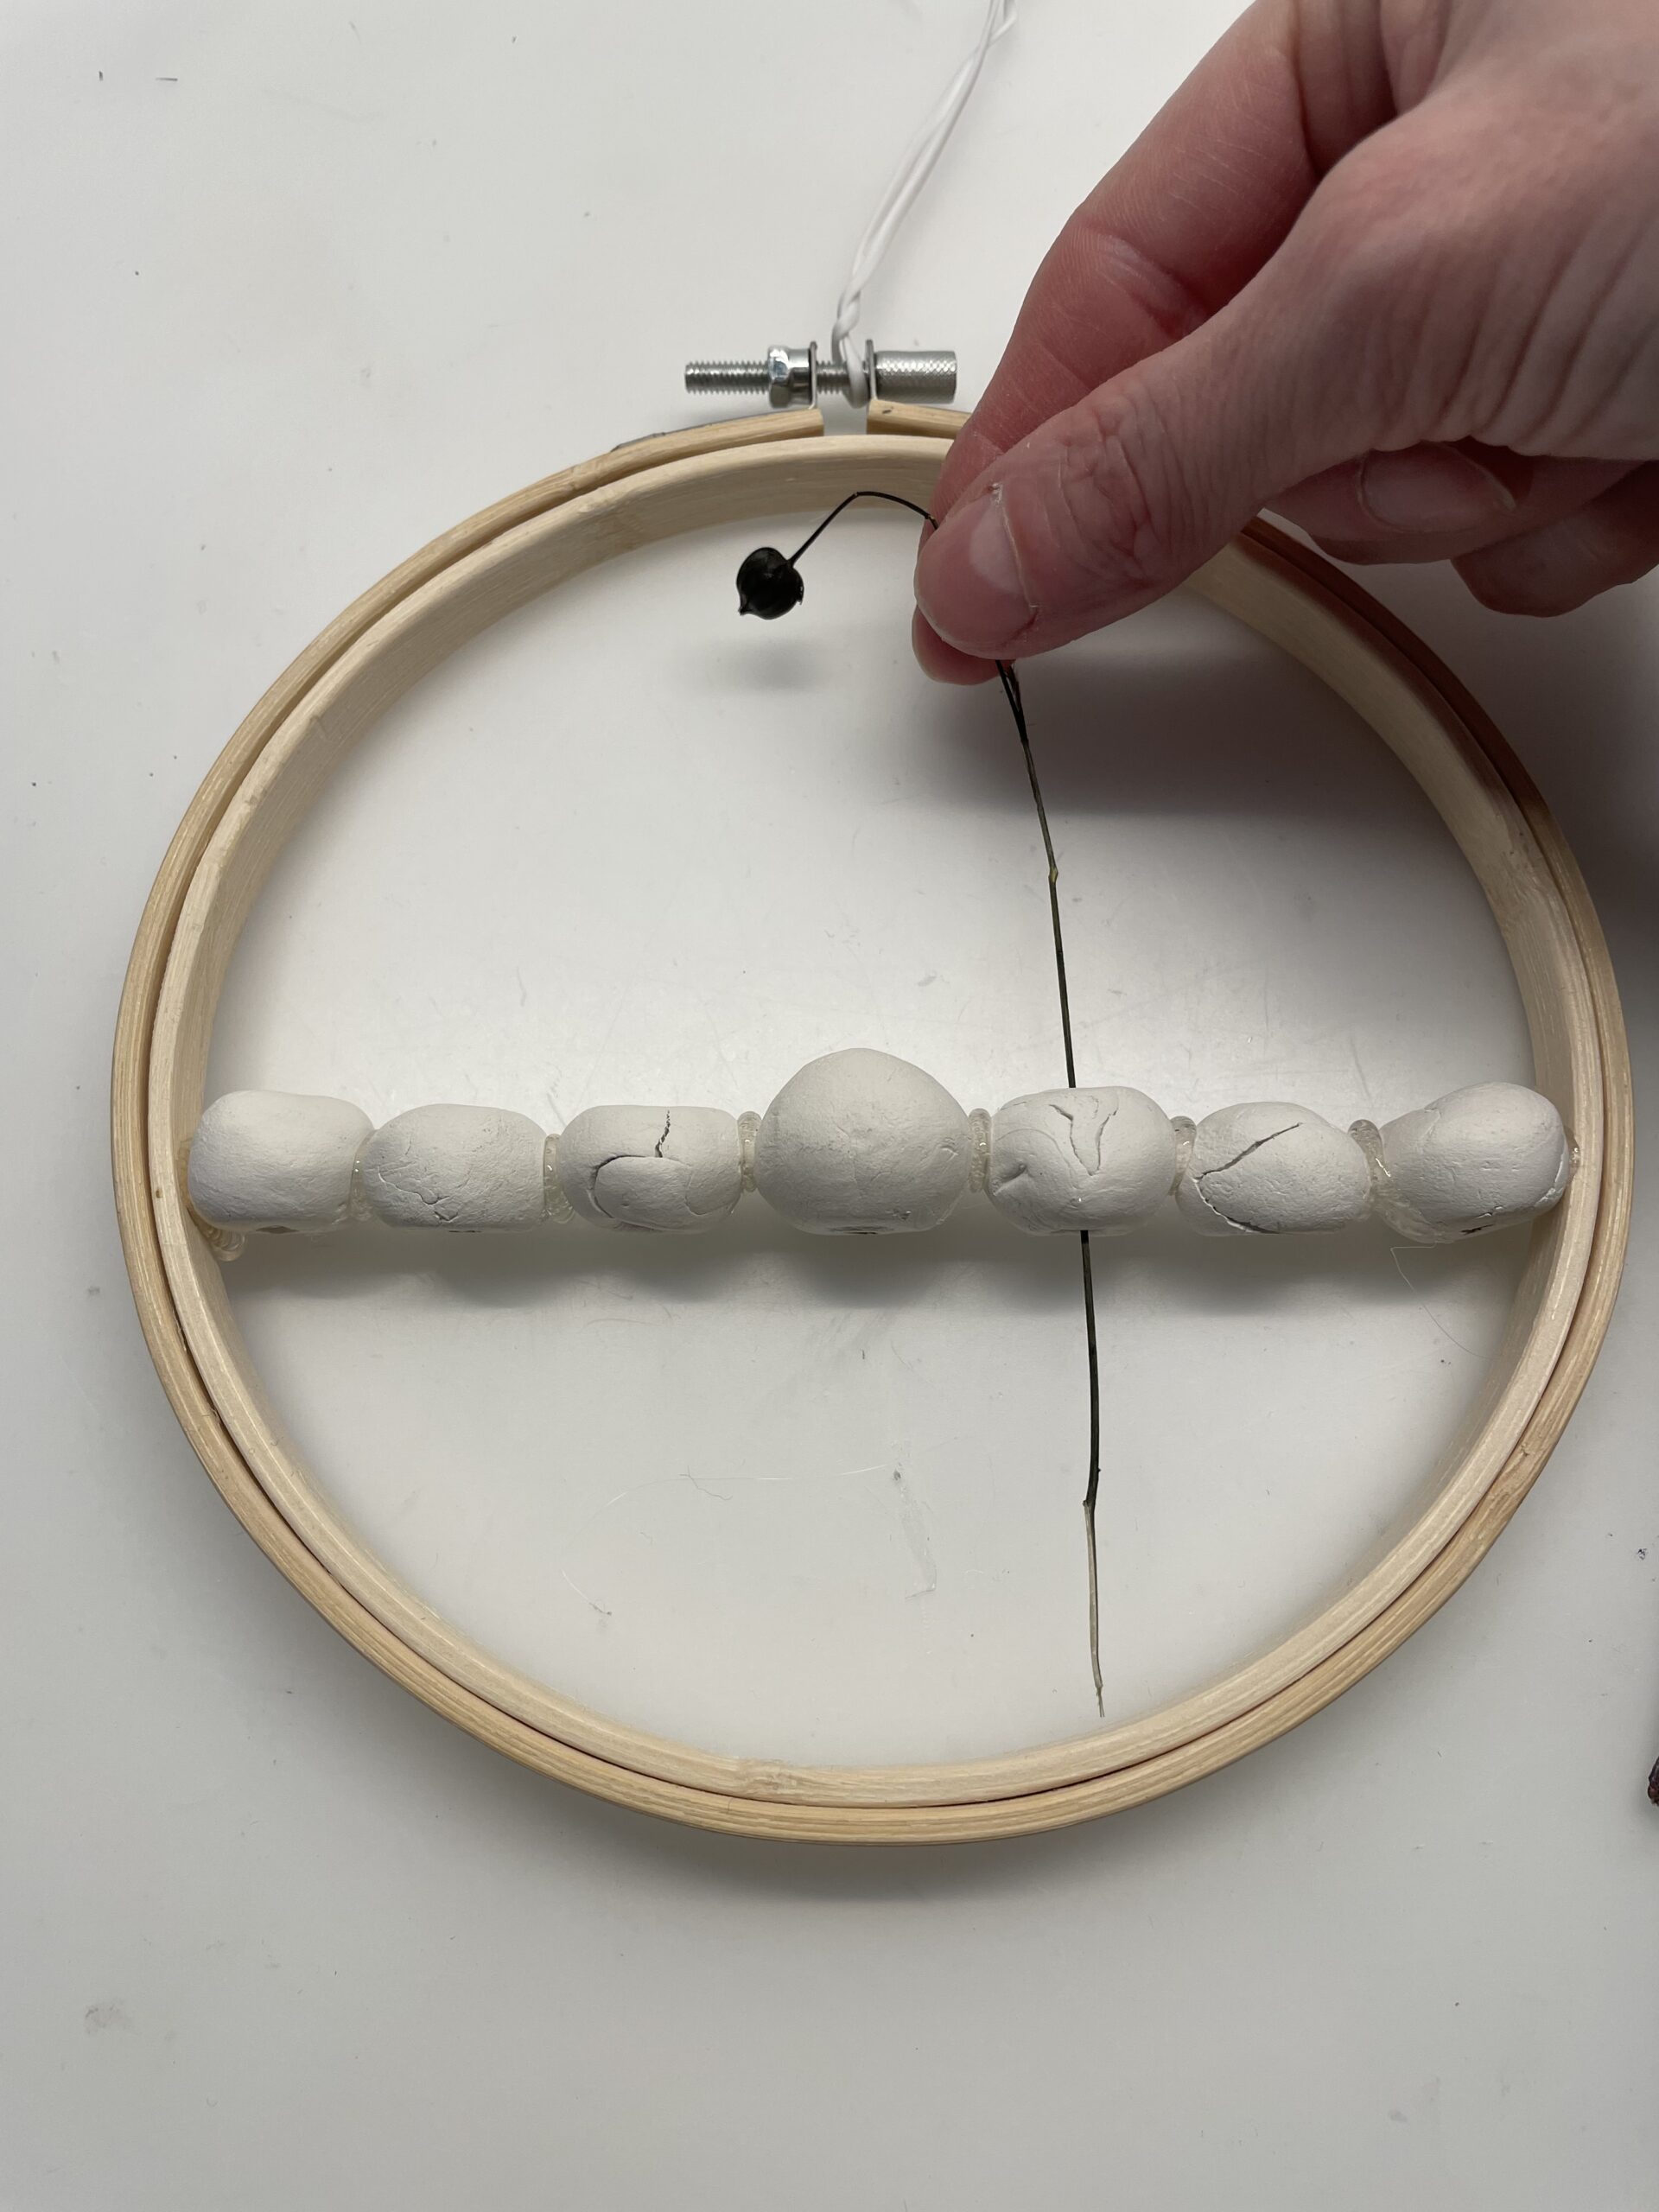
Bild zum Schritt 9 für das Bastel- und DIY-Abenteuer für Kinder: 'Seid beim Einstecken vorsichtig, und kürzt die Stiele beliebig.'

10

2. Bild zum Schritt 9 für das Bastel- und DIY-Abenteuer für Kinder: 'Seid beim Einstecken vorsichtig, und kürzt die Stiele beliebig.'

11

Make sure that the inserted materials sit tight and do not slide down. In this case, simply add more items.
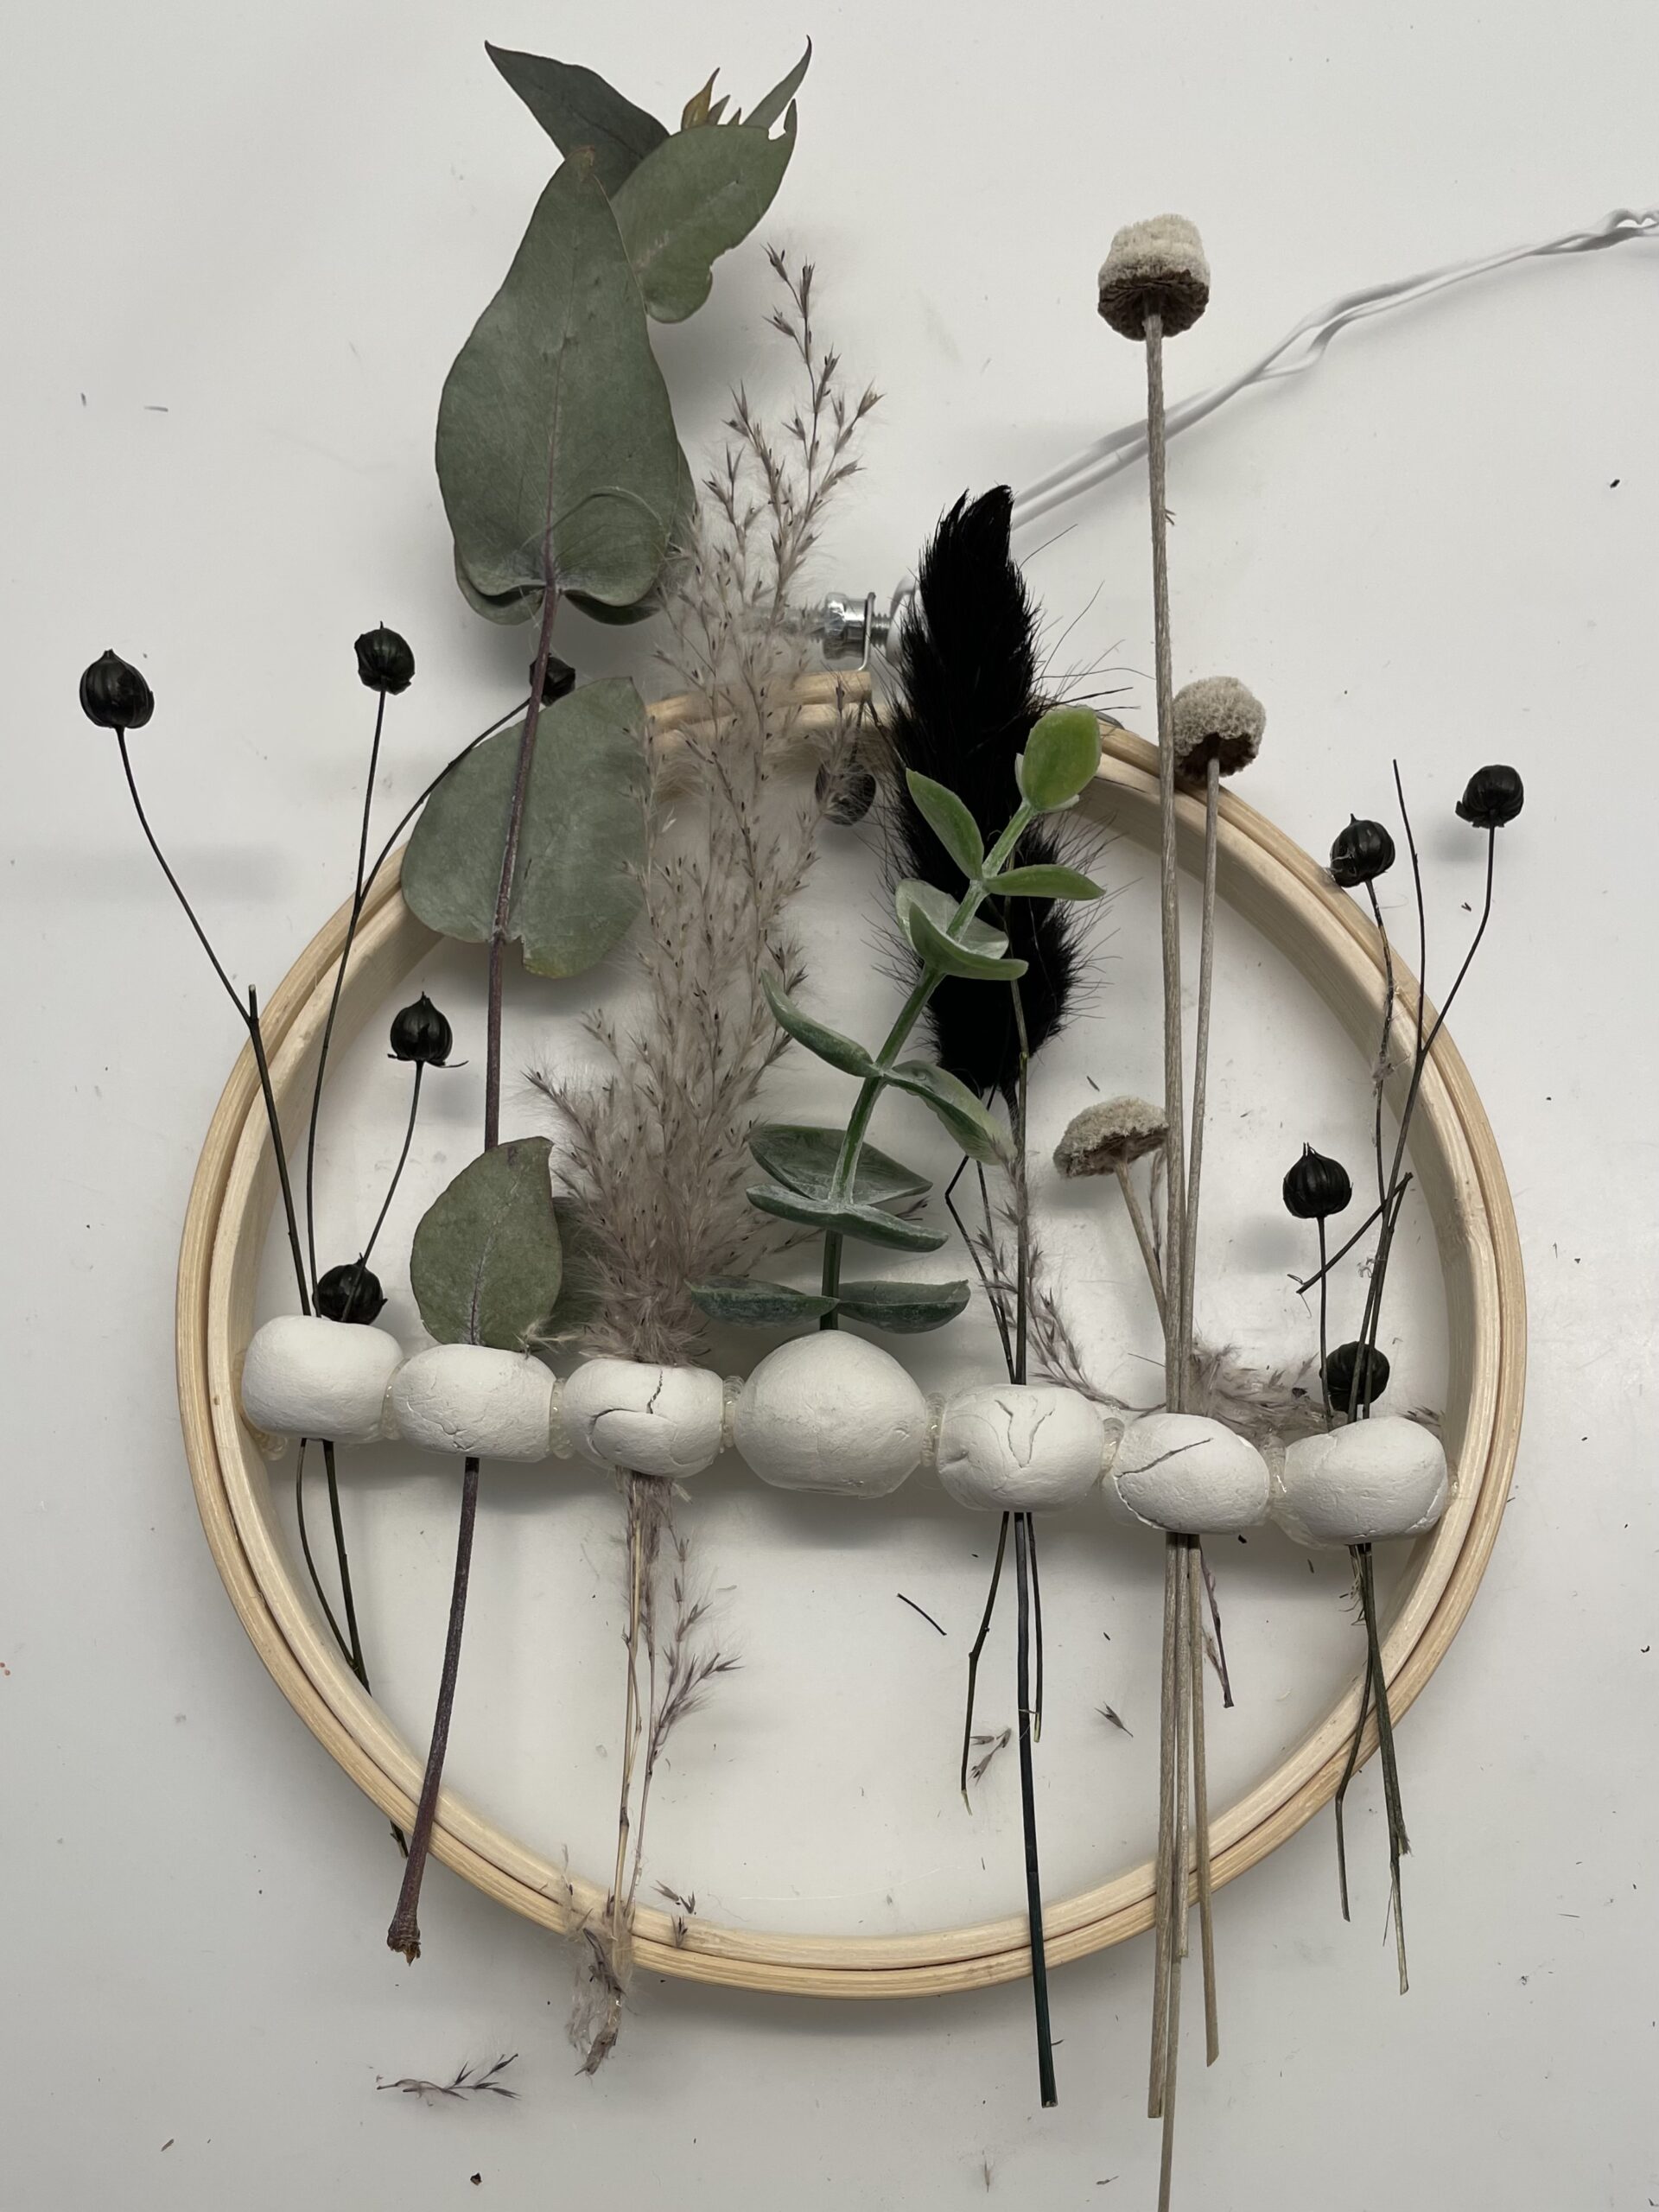
Bild zum Schritt 11 für das Bastel- und DIY-Abenteuer für Kinder: 'Achtet darauf, dass die eingesteckten Materialien fest sitzen und nicht...'

12

Finally lift up the wreath and see if your decoration holds.
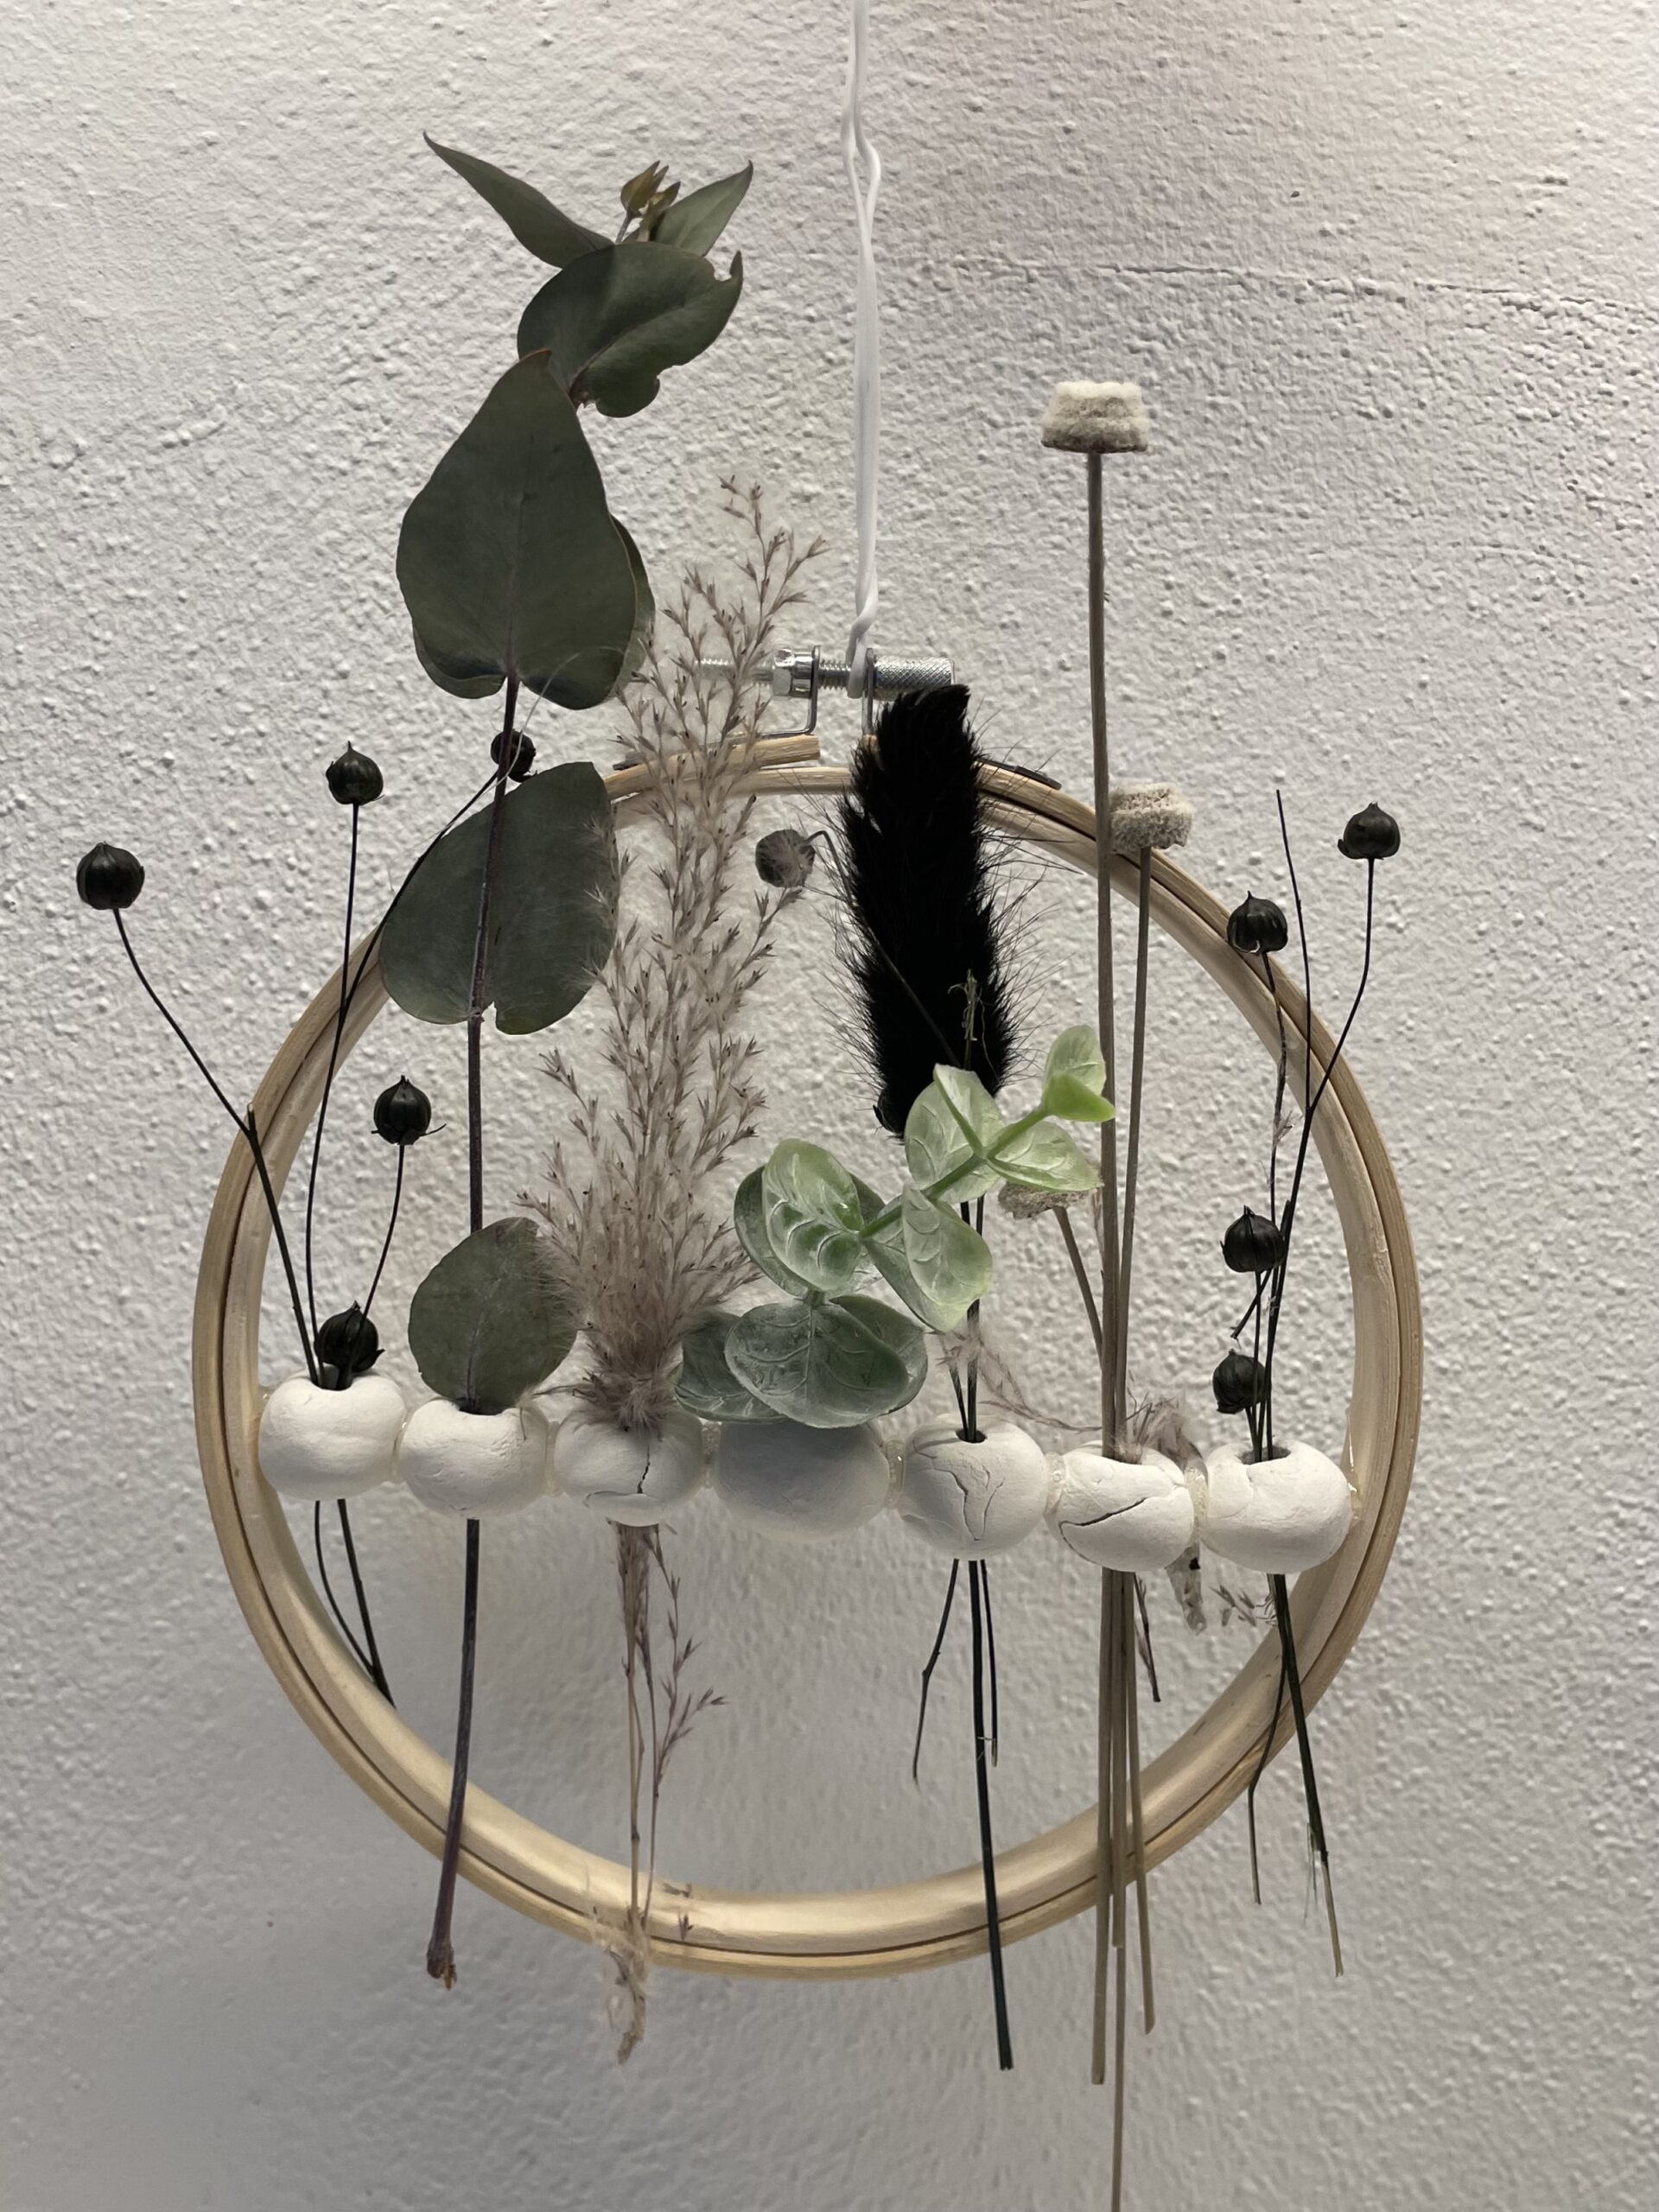
Bild zum Schritt 12 für das Bastel- und DIY-Abenteuer für Kinder: 'Hebt den Kranz abschließend hoch und prüft, ob eure Dekoration...'

13

Finally you tie a band or cord to the ring and hang it e.g. the door.

Tip: The finished wreath can also be used as a wonderful gift.
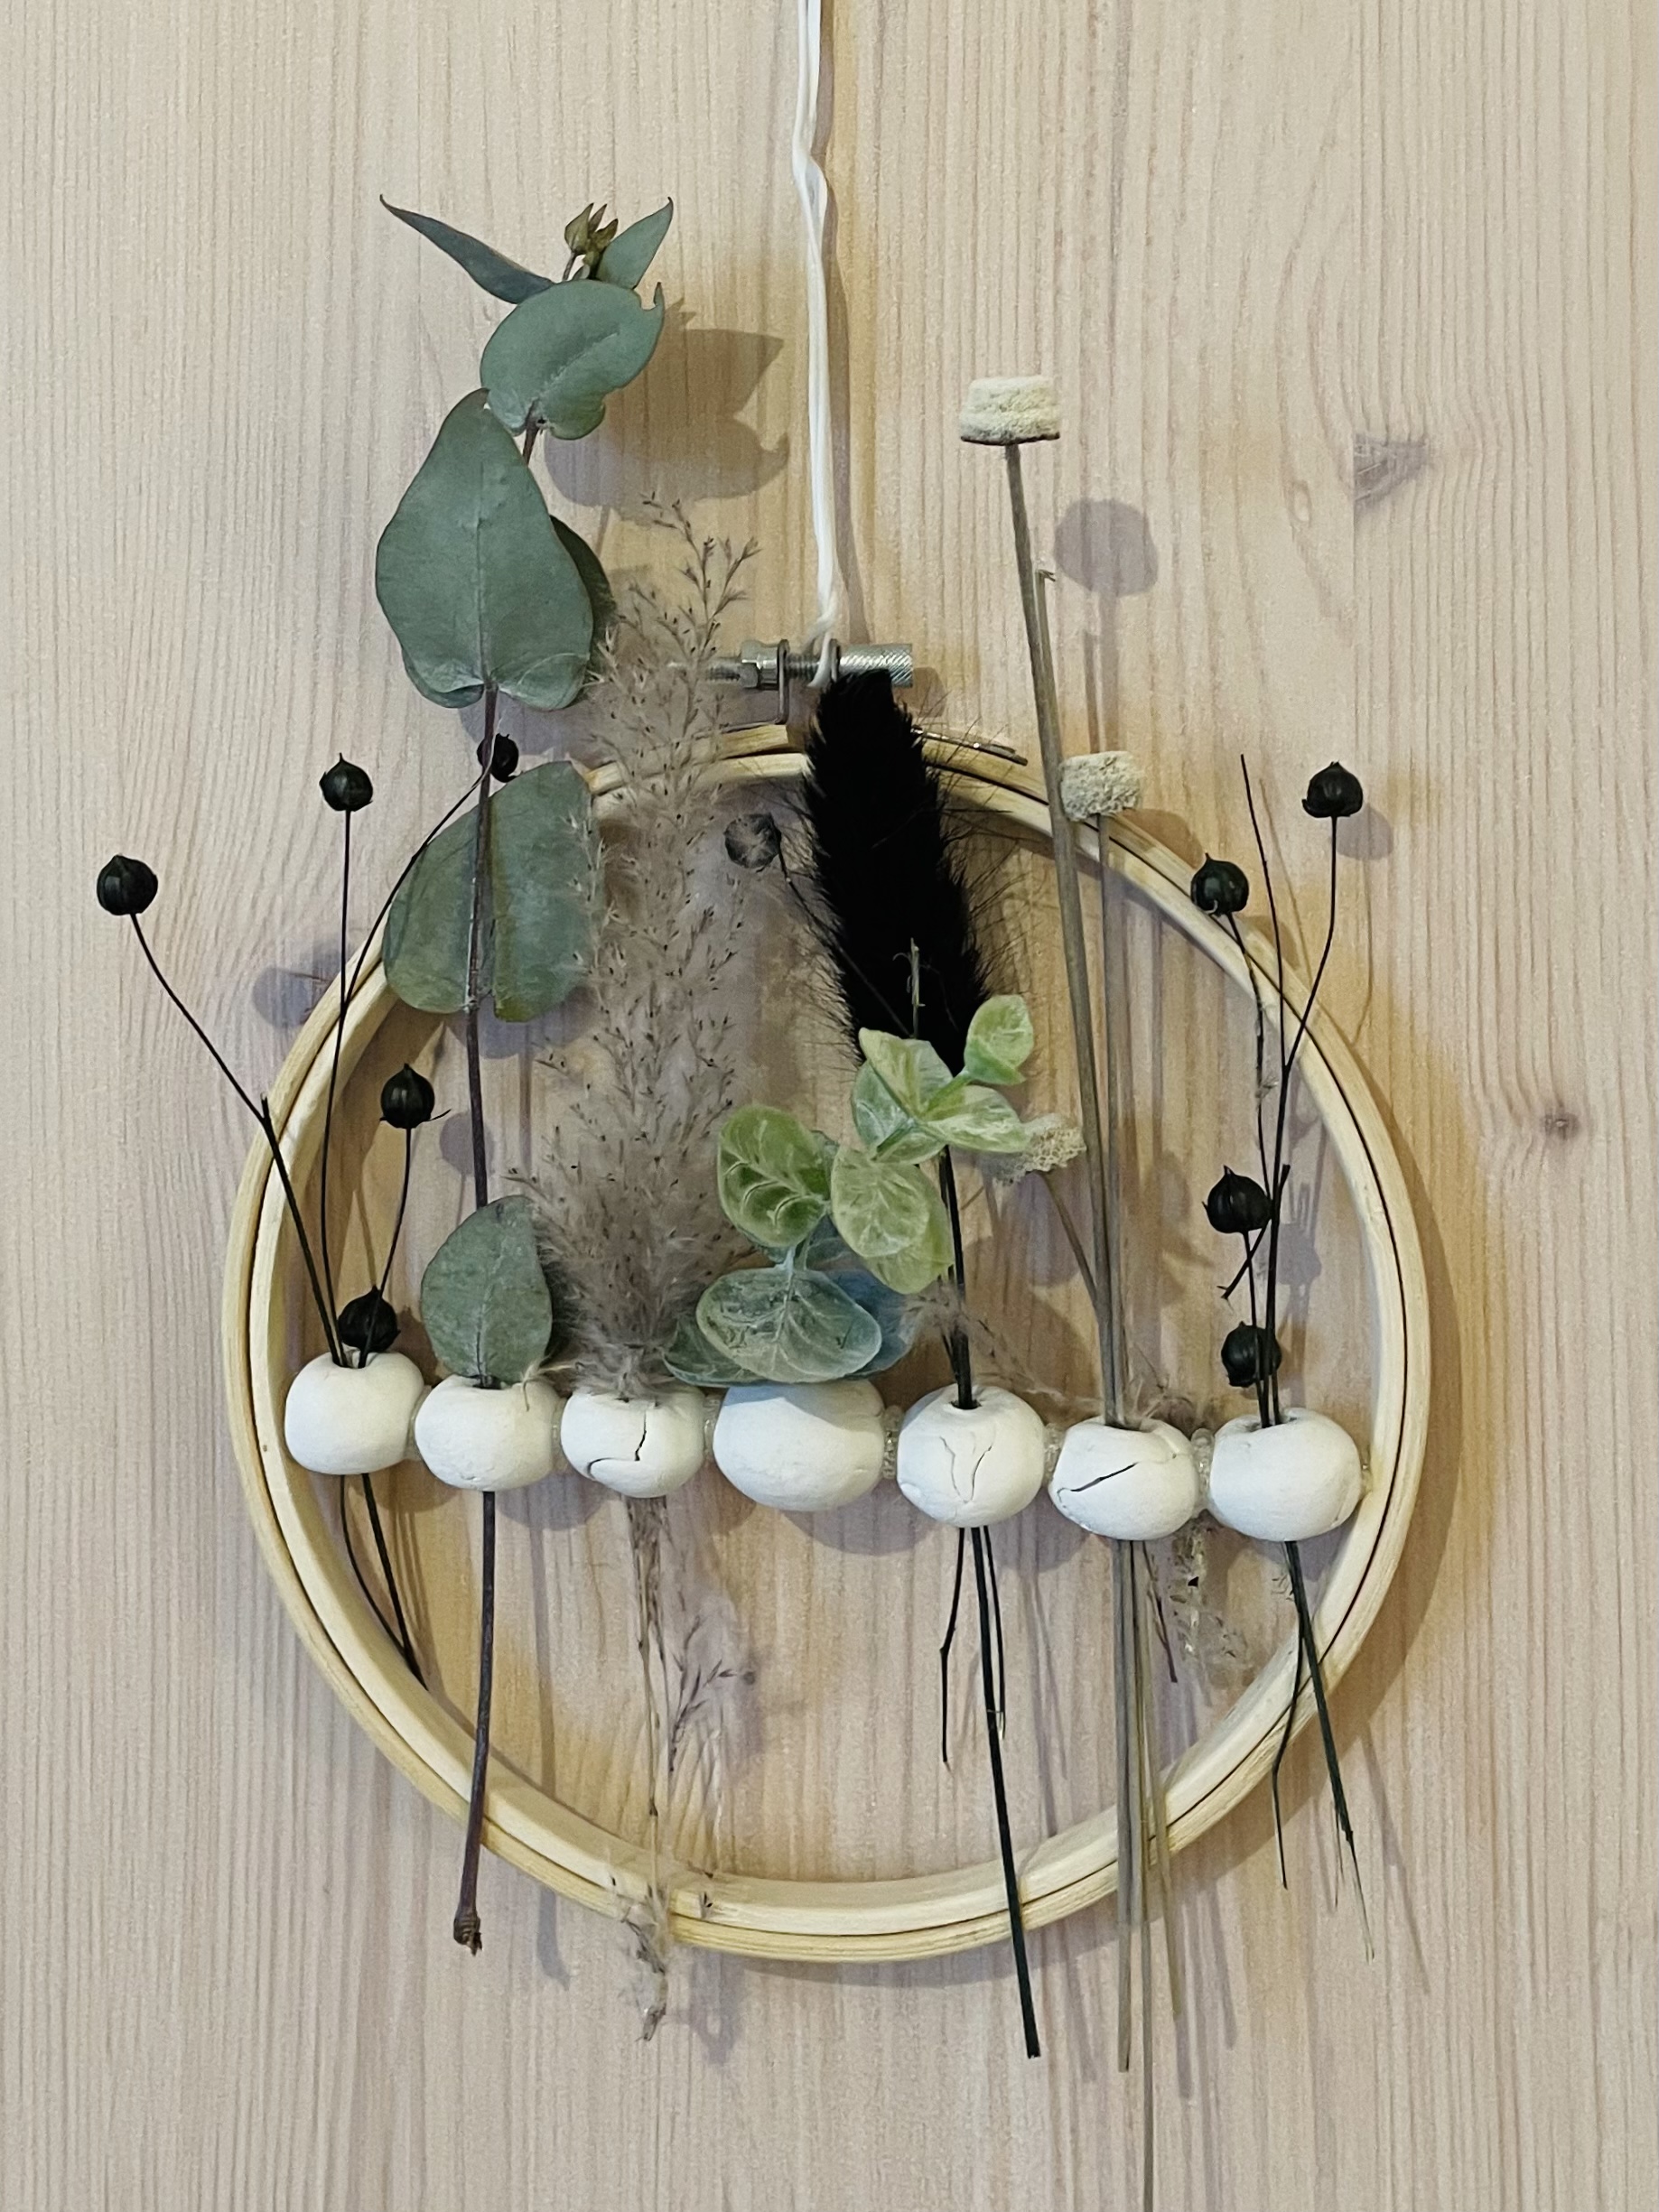
Bild zum Schritt 13 für das Bastel- und DIY-Abenteuer für Kinder: 'Abschließend bindet ihr ein Band oder eine Schnur an den...'

14

Have fun in designing!

Tip: After all objects are only plugged in, you can remodel and decorate the wreath again and again.

Door wreath with pearls

Follow us on Facebook , Instagram and Pinterest
Don't miss any more adventures: Our bottle mail

Leave a Reply

Your email address will not be published.

The maximum upload file size: 5 MB. You can upload: image, document. Drop file here