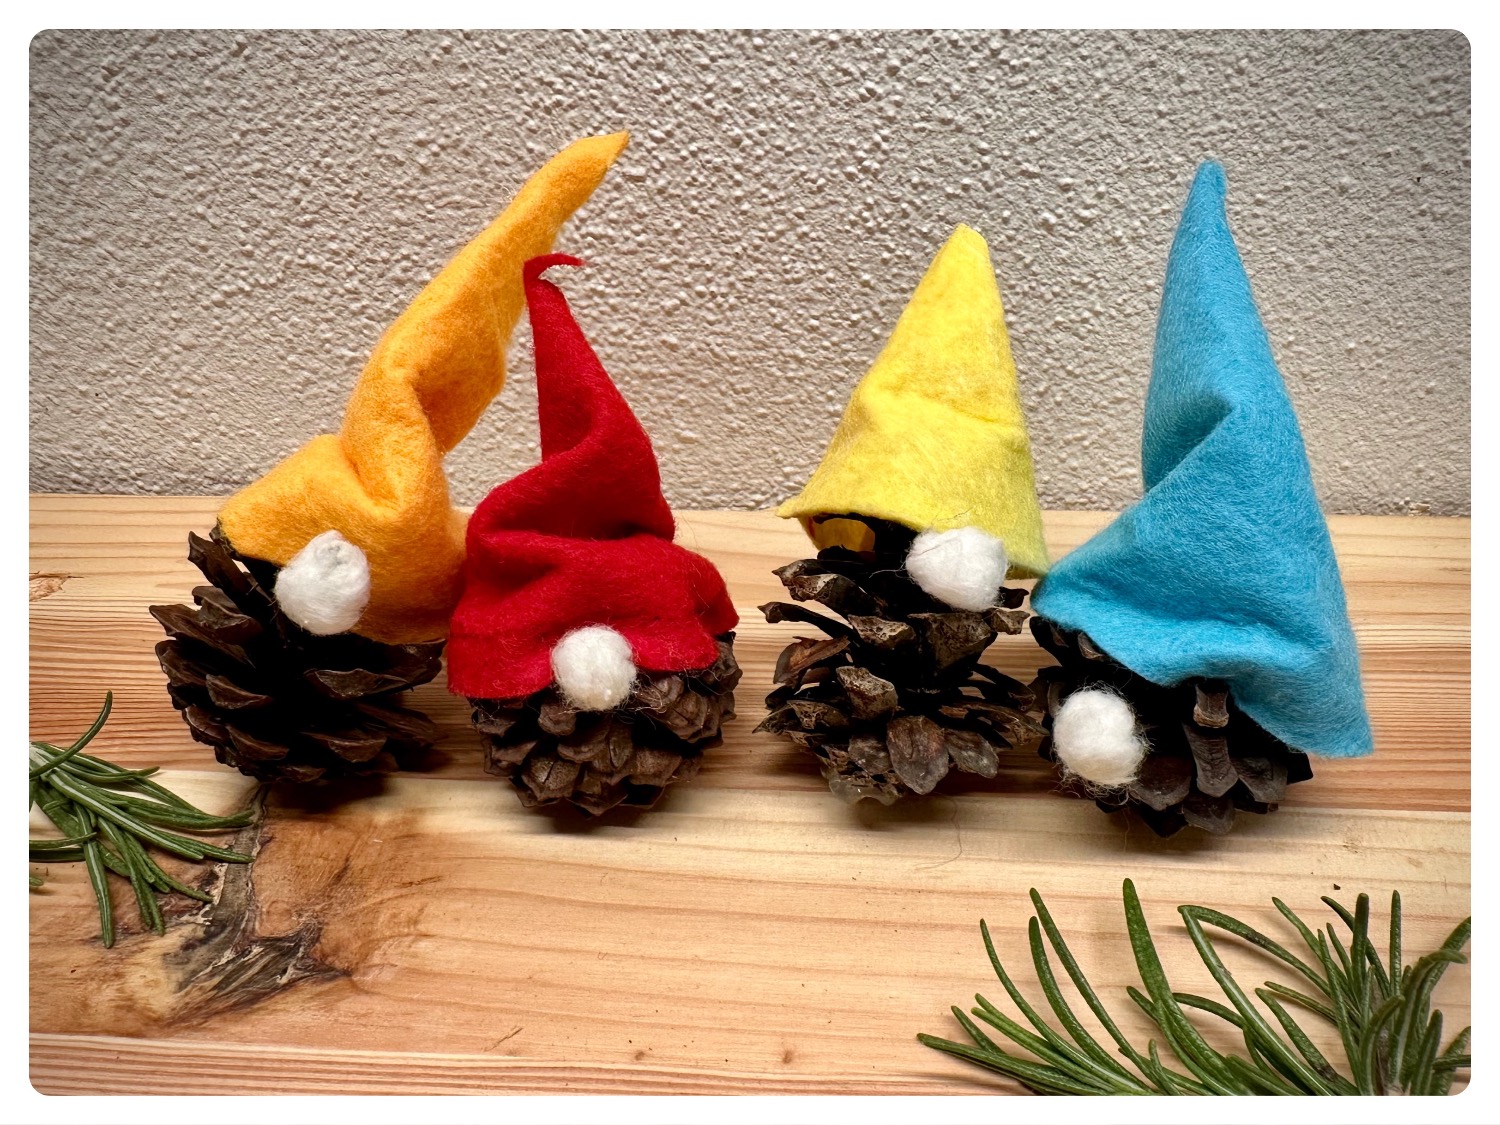
Don't these fir cone bodies look cute? In itself, this handicraft work is not a big deal, yet requires some dexterity and manual skill.
With the pine cones you can use freshly collected ones or you can use which you might have found in the Christmas box from the previous year. The pine cones can be stored over several years and used again and again for great crafts or for decorating.
If you want to do the crafting as an upcycle project, you can use old clean felt cloths for your wicker hats. Alternatively, new felt wipes or thin craft felt are also suitable. The cut-up of the hat is made quickly, only when rolling and glueing the cap a little patience is required. Check out the instructions for this, then you can do it well.
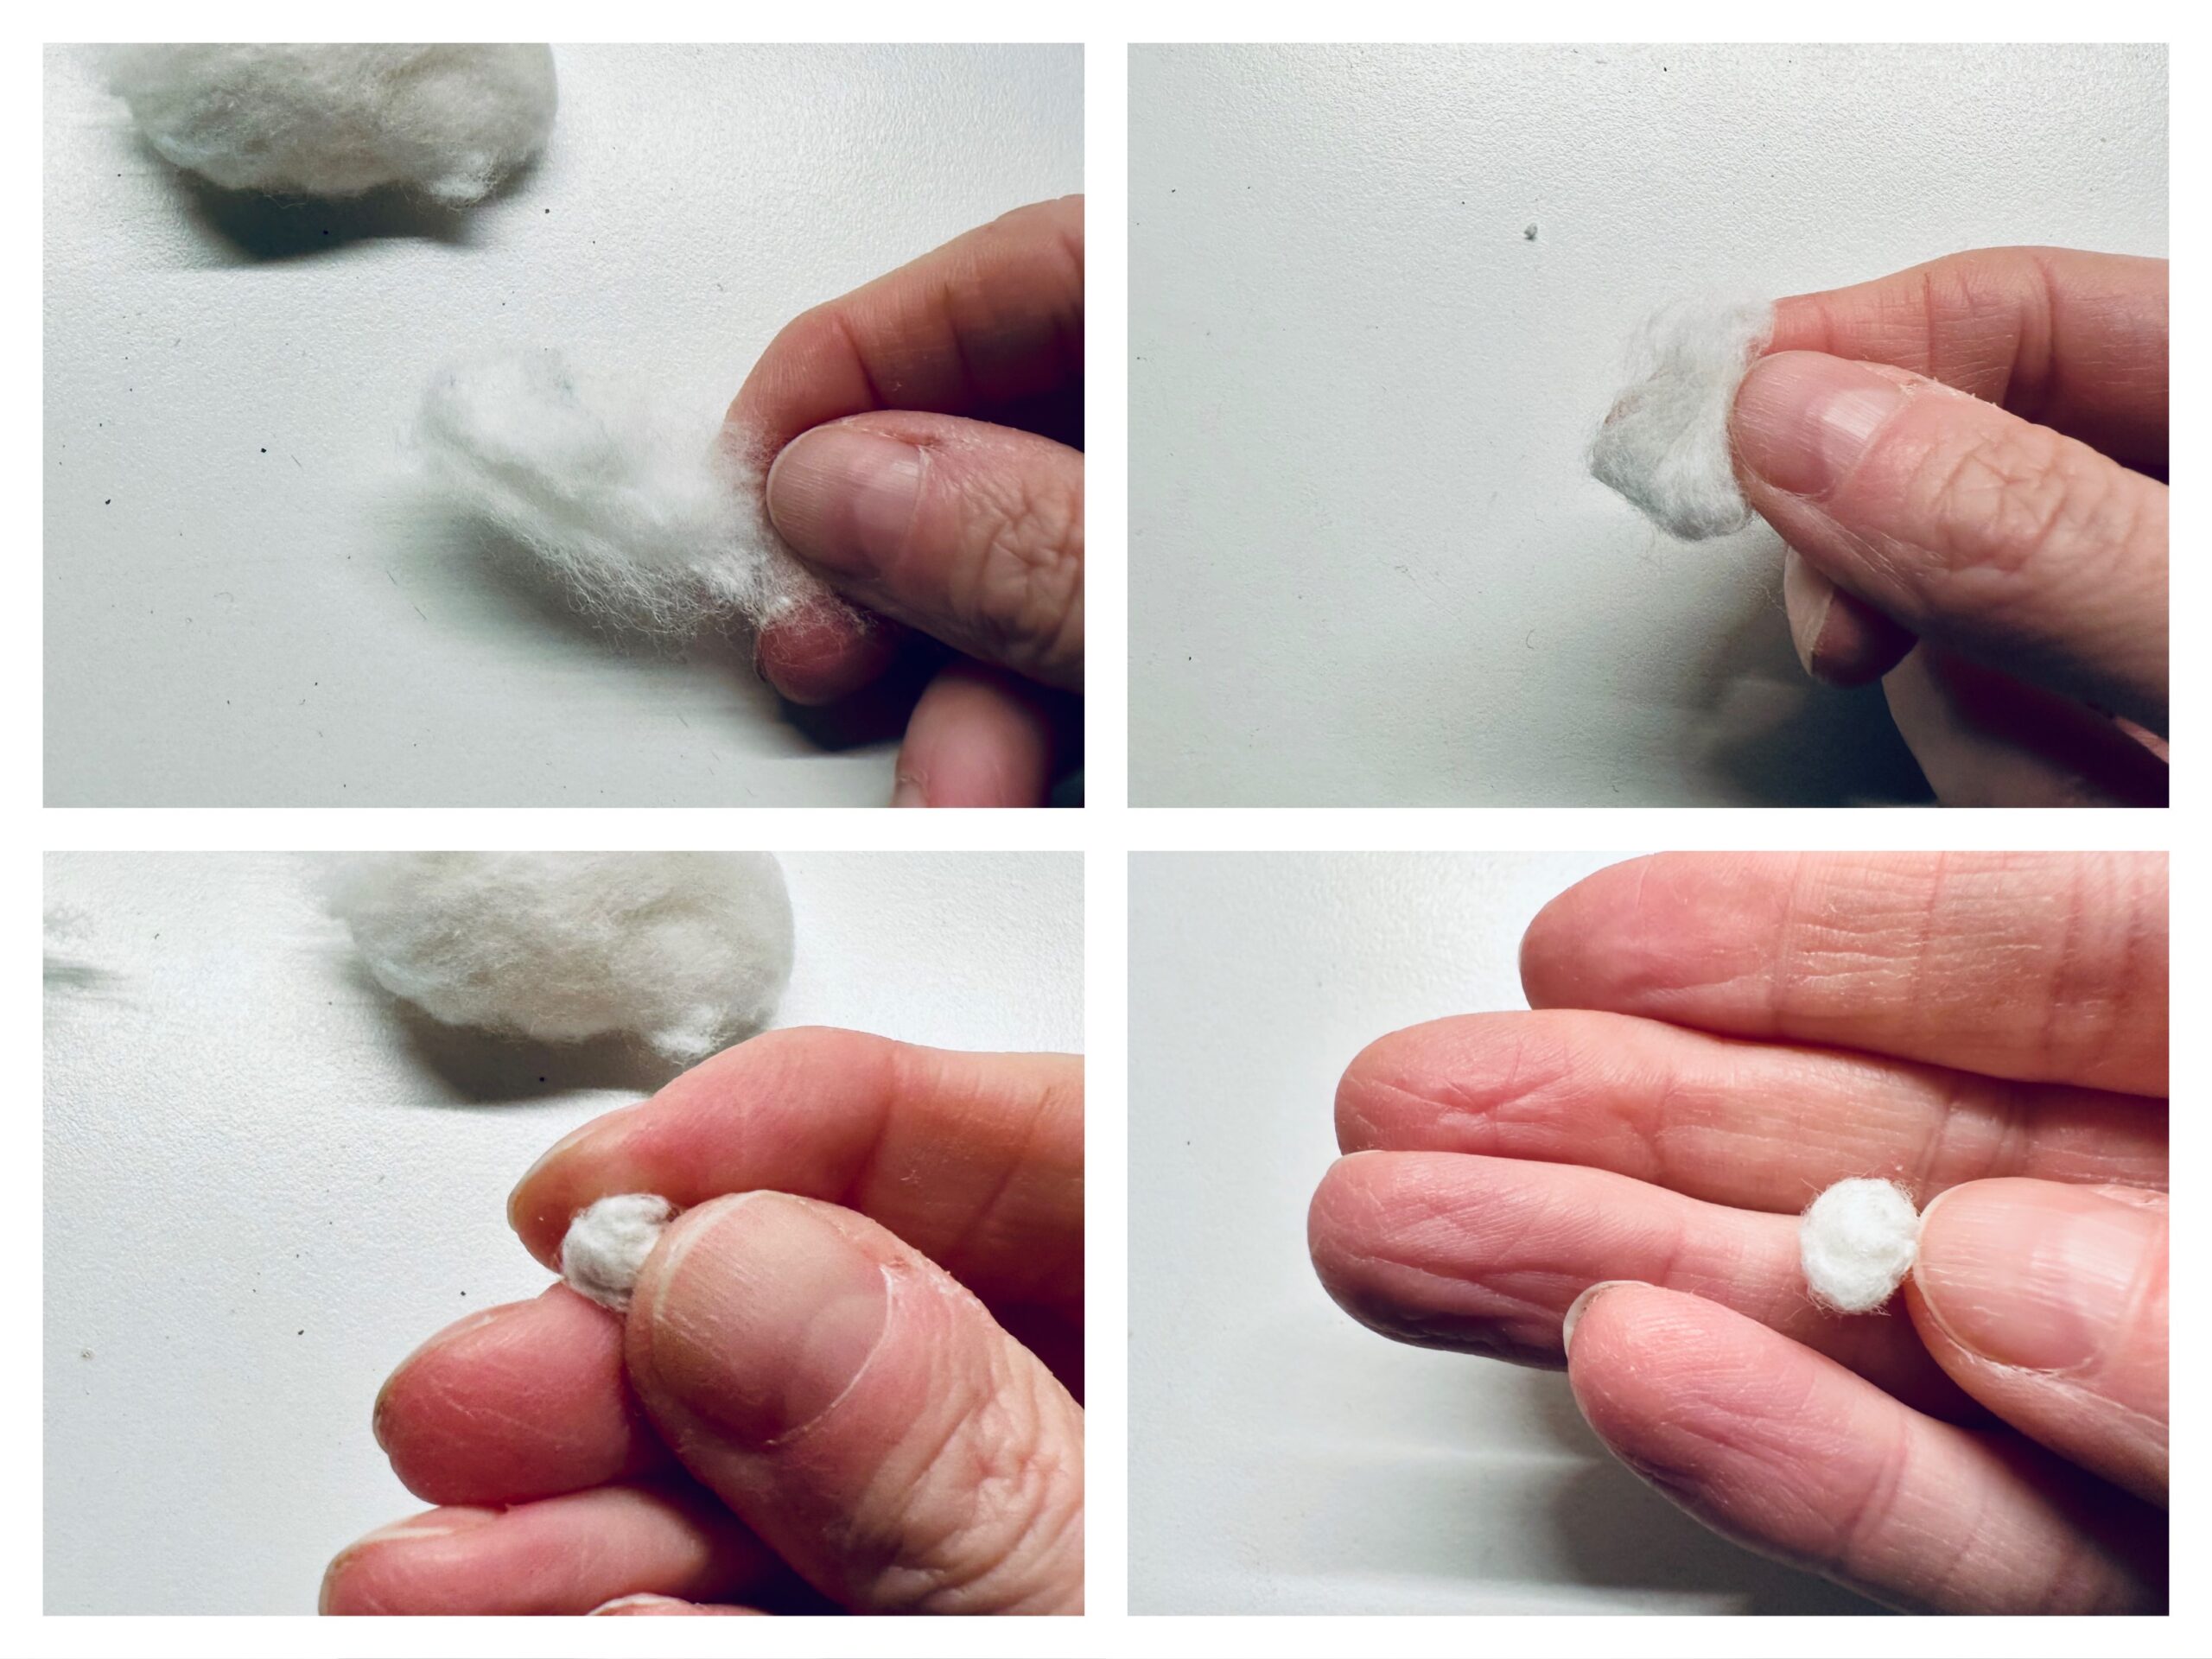
Have you ever made a small cotton ball yourself? - no, then it's time! Because you need it for the waggle nose. Have fun trying it out.
Media Education for Kindergarten and Hort

Relief in everyday life, targeted promotion of individual children, independent learning and - without any pre-knowledge already usable by the youngest!
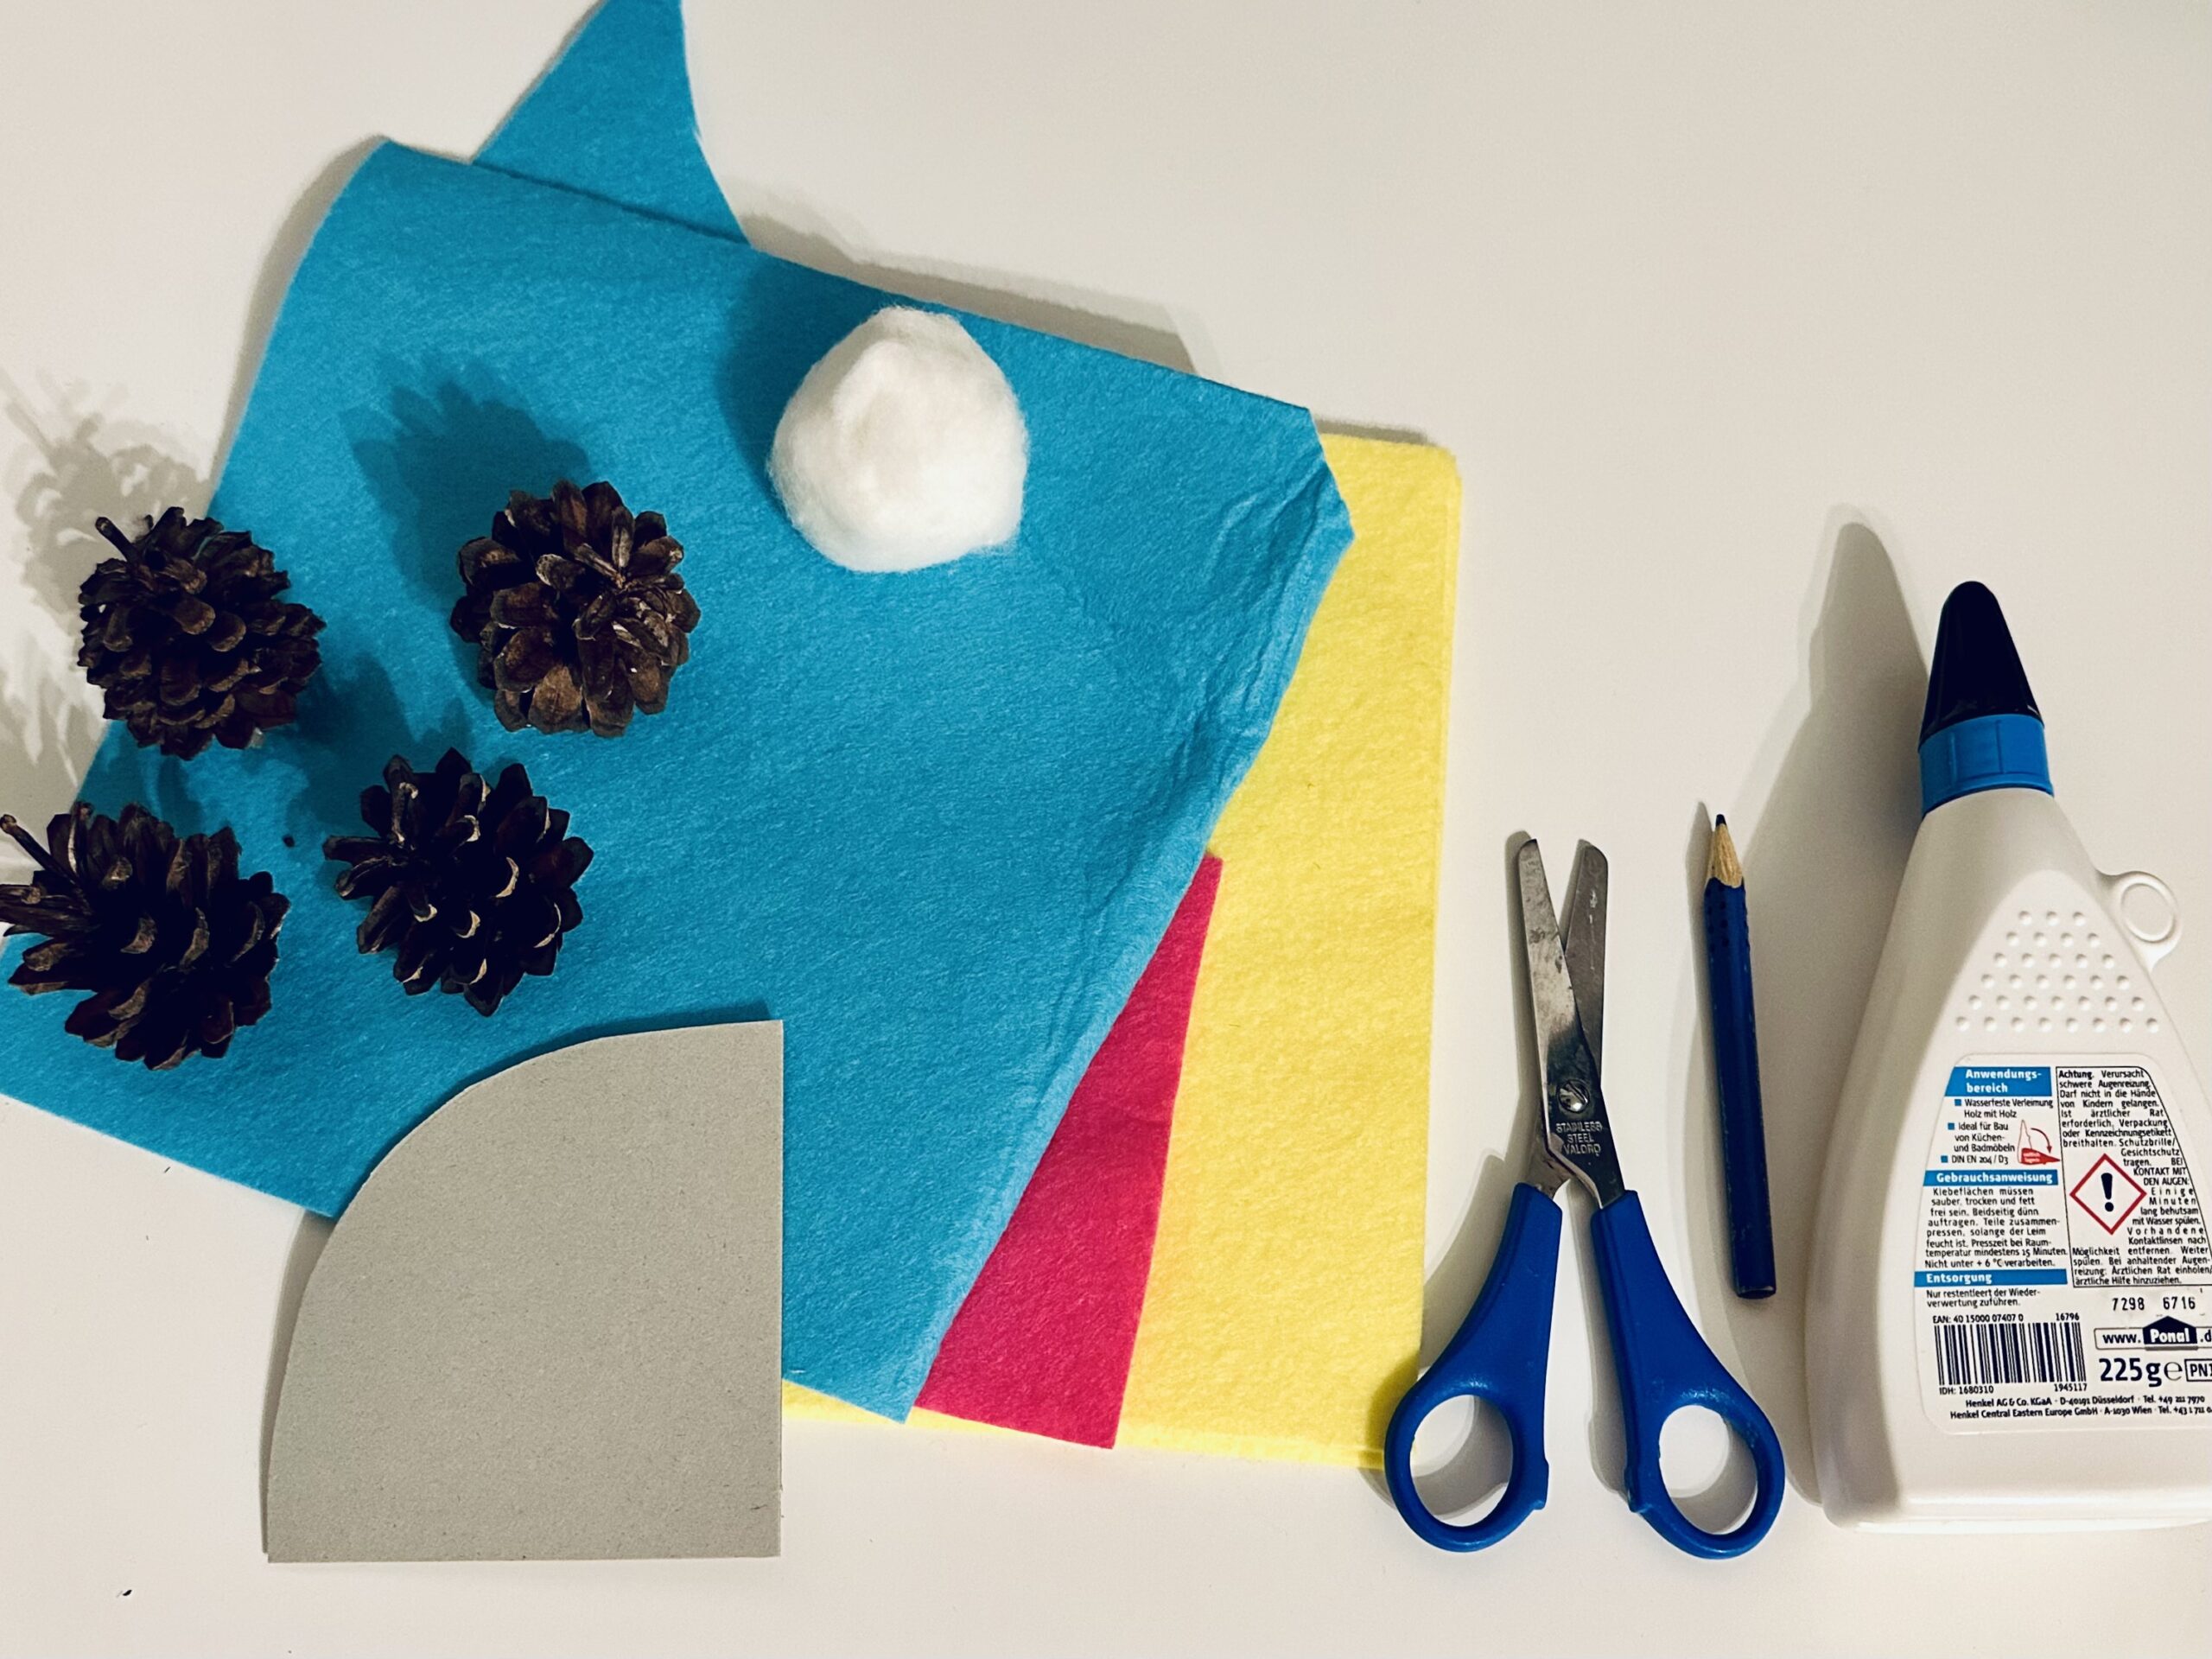
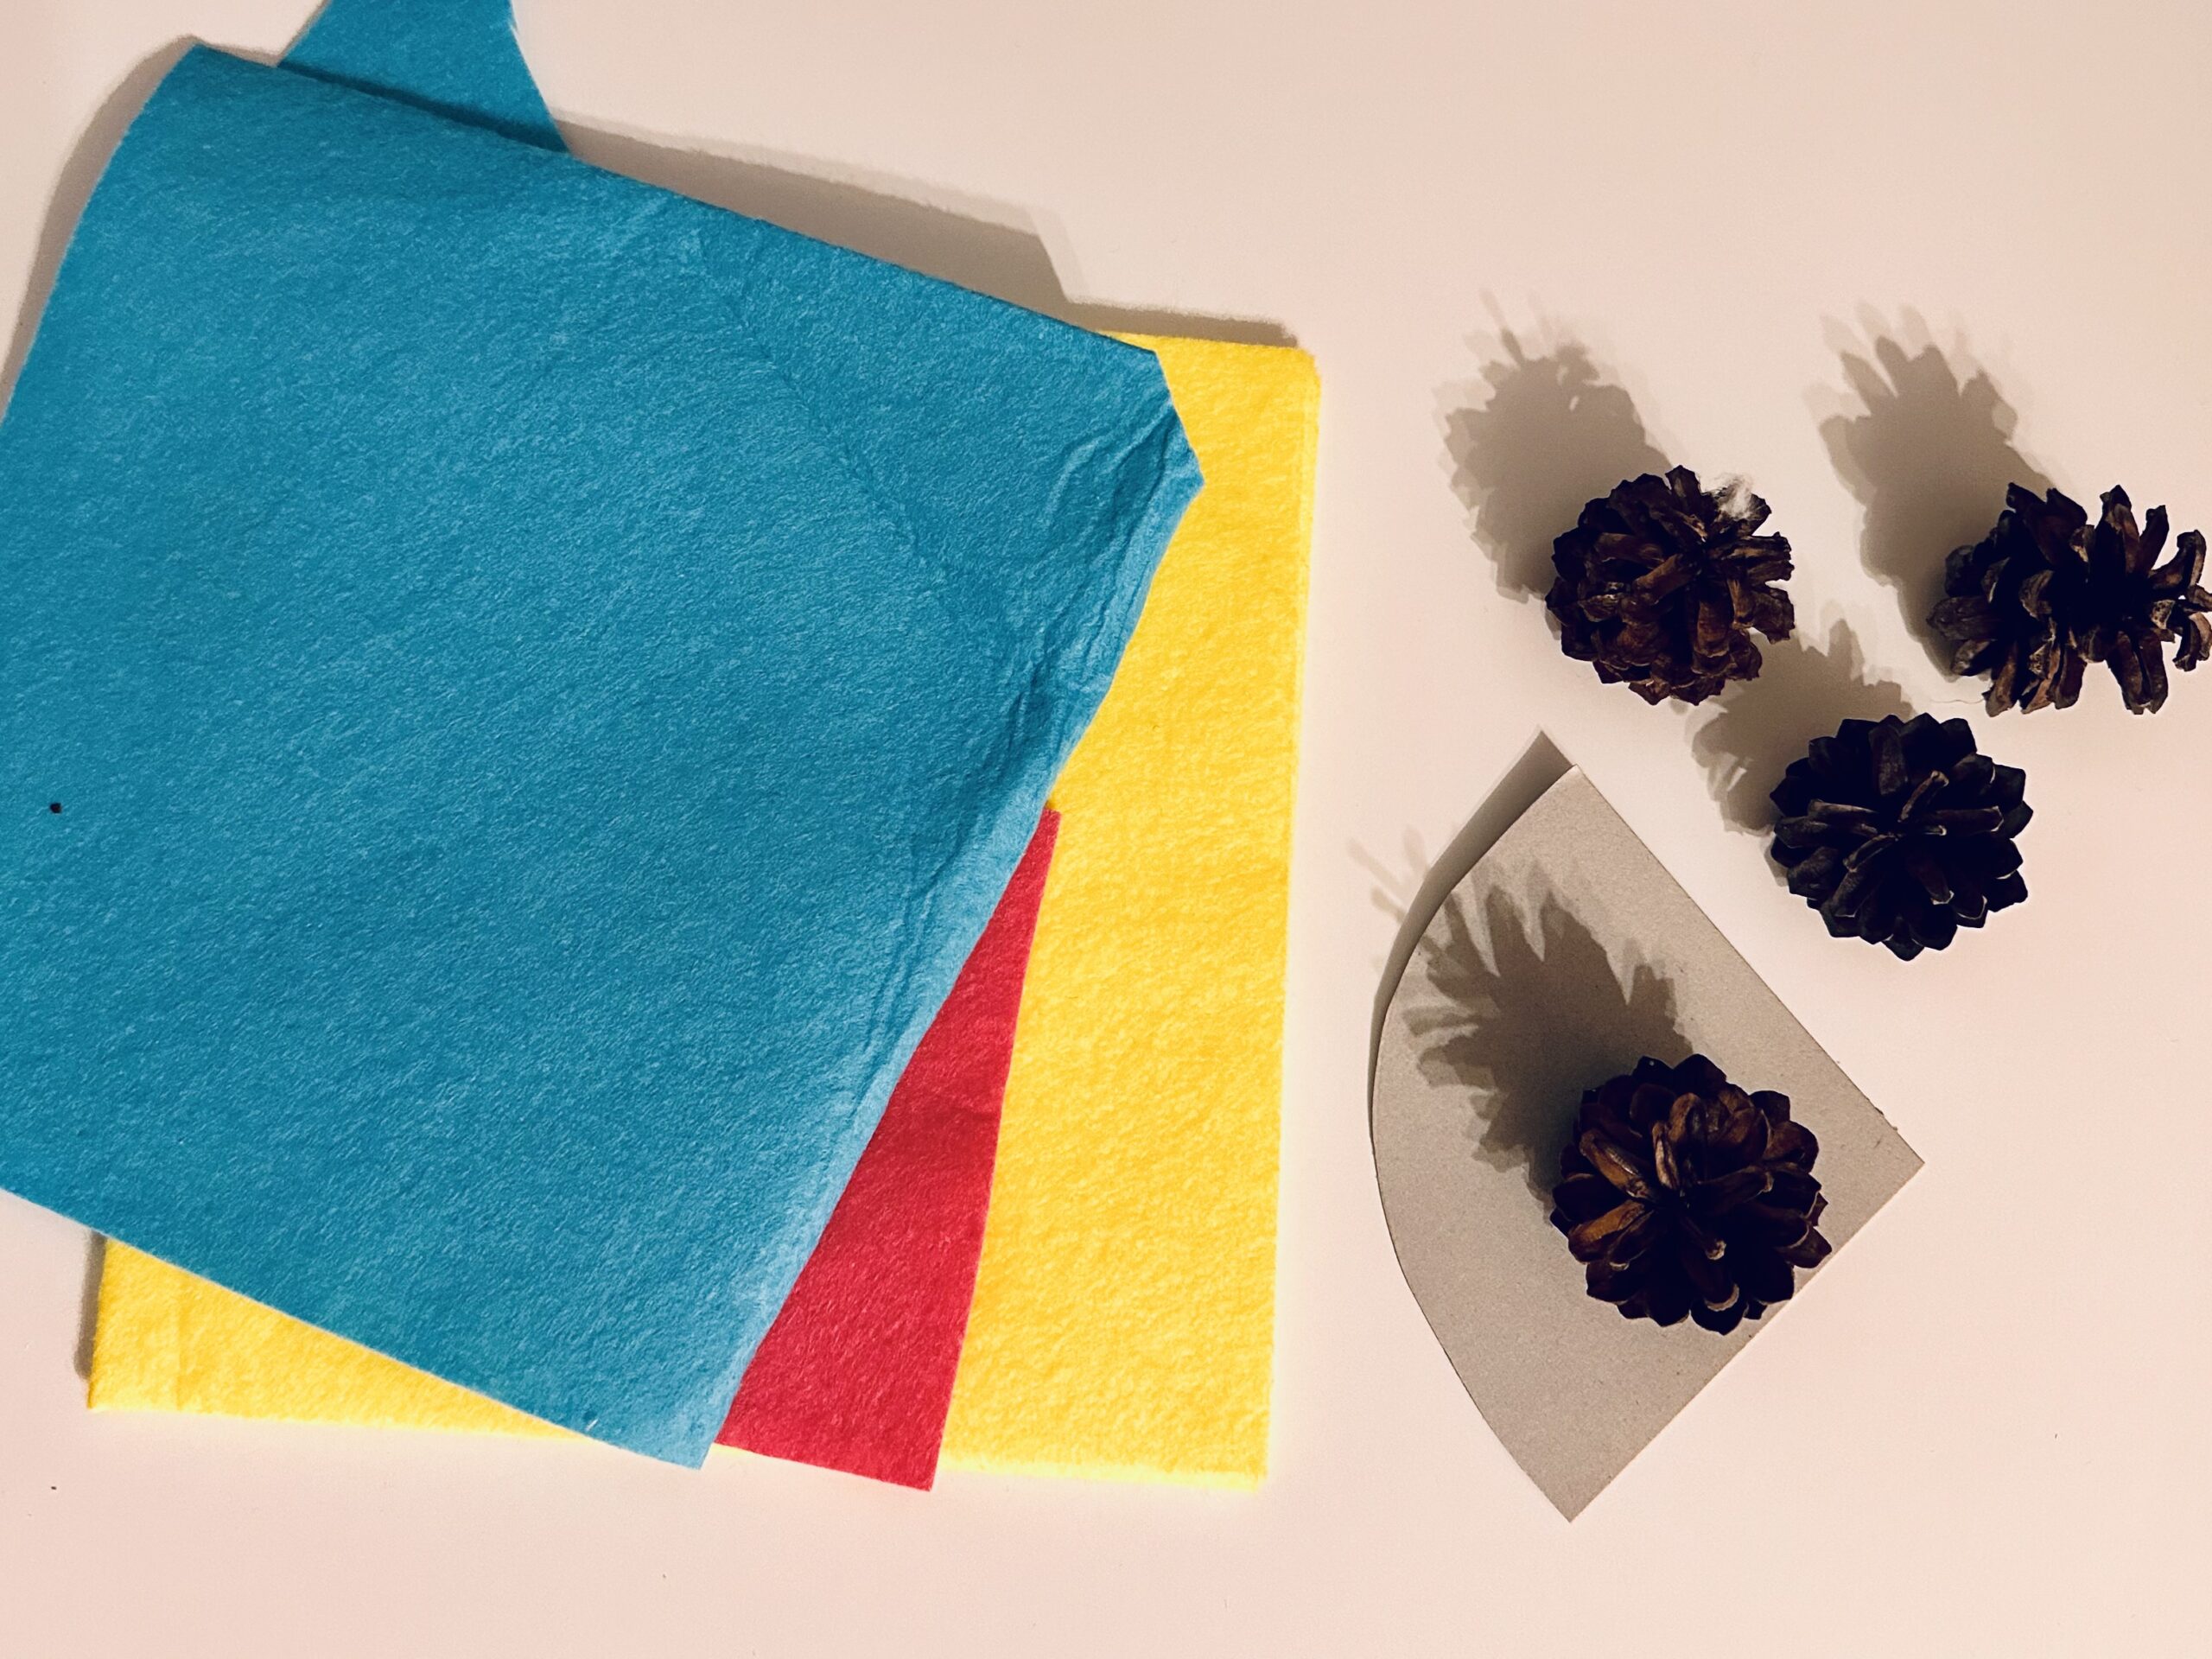
For this craft you need fir cones and thin felt or felt dishcloths. Get ready.
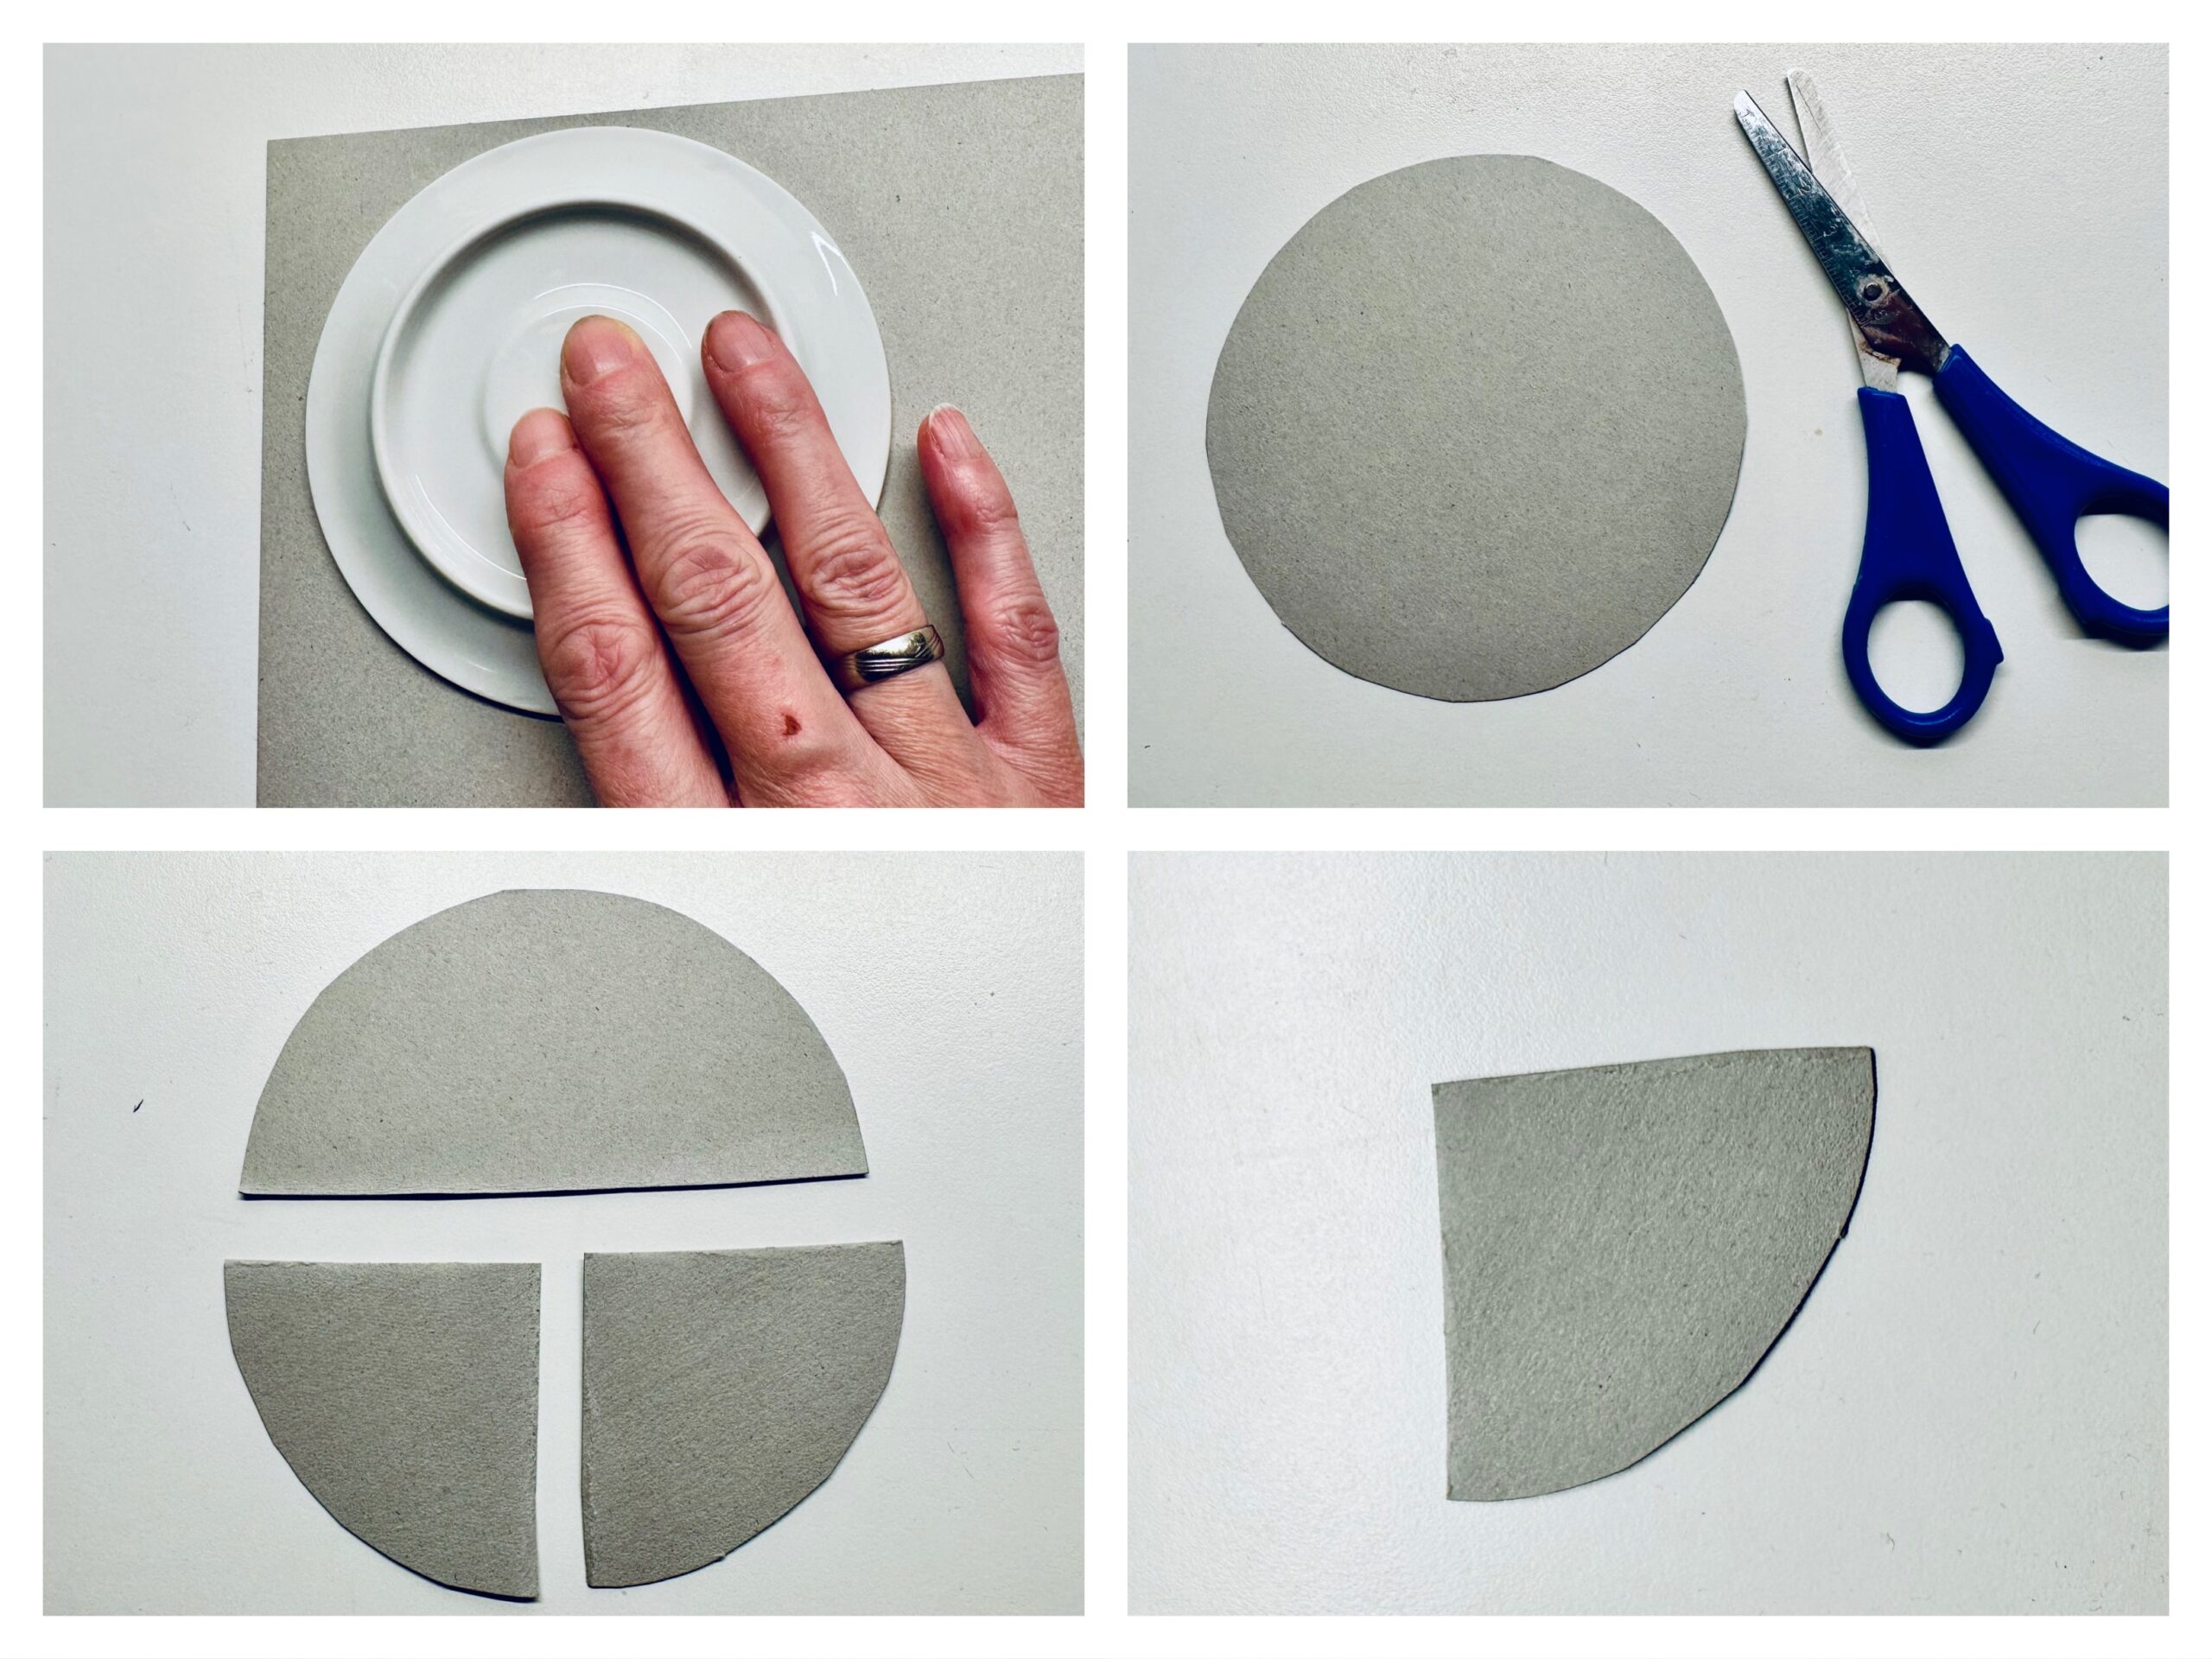
Prepare a quarter circle stencil from a paper. Place a round small bowl on the paper and paint it. Cut out the circle with the scissors.
Fold the circle to half and the half circle to the quarter circle. You need this quarter circle as a stencil for the wicker cap.


With the help of the quarter circle template, cut a felt (for the tip cap) for each wanker.


Take the cut out felt in your hand. For orientation: The tip is also the tip of the wicker cap. The round (quarter circle) is placed to the ring. Both straight sides lie slightly overlapping and are glued together.
This is not so easy and the thinner the felt is, the better.
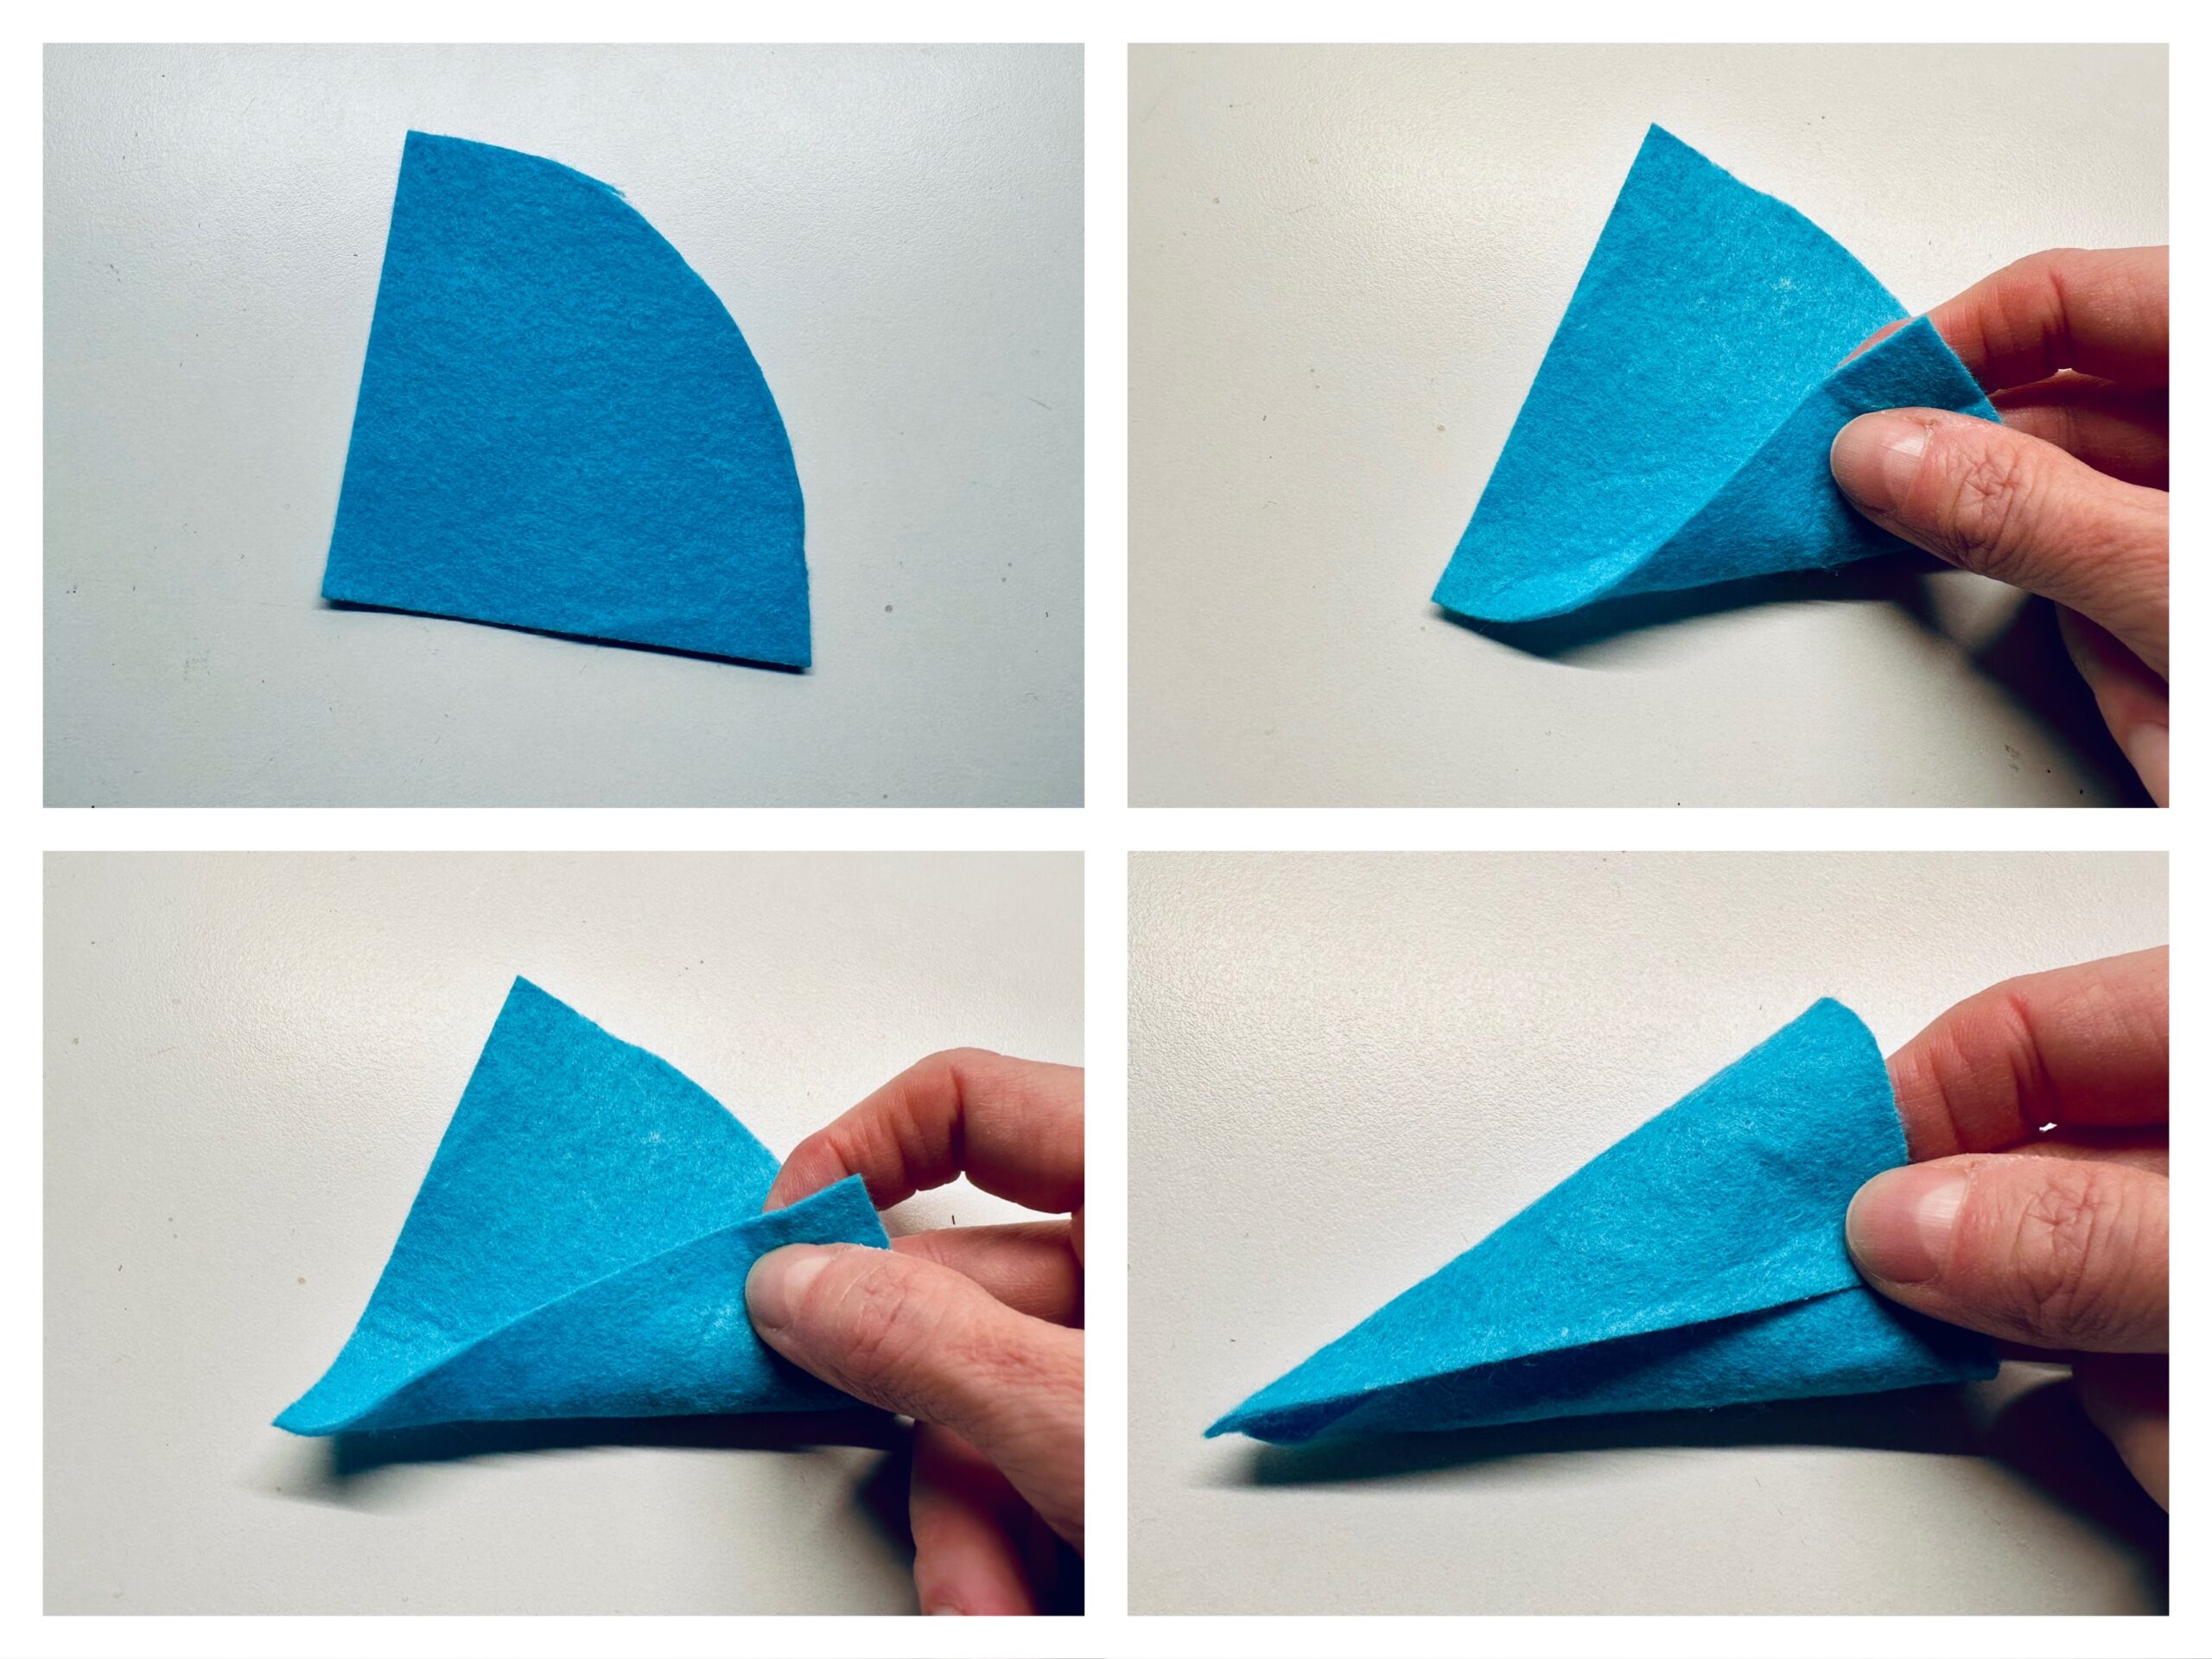


You can get very different lengths of zip hats, depending on how much you let the straight sides of the felt overlap. If the felt more overlaps the hat becomes sharper and longer.
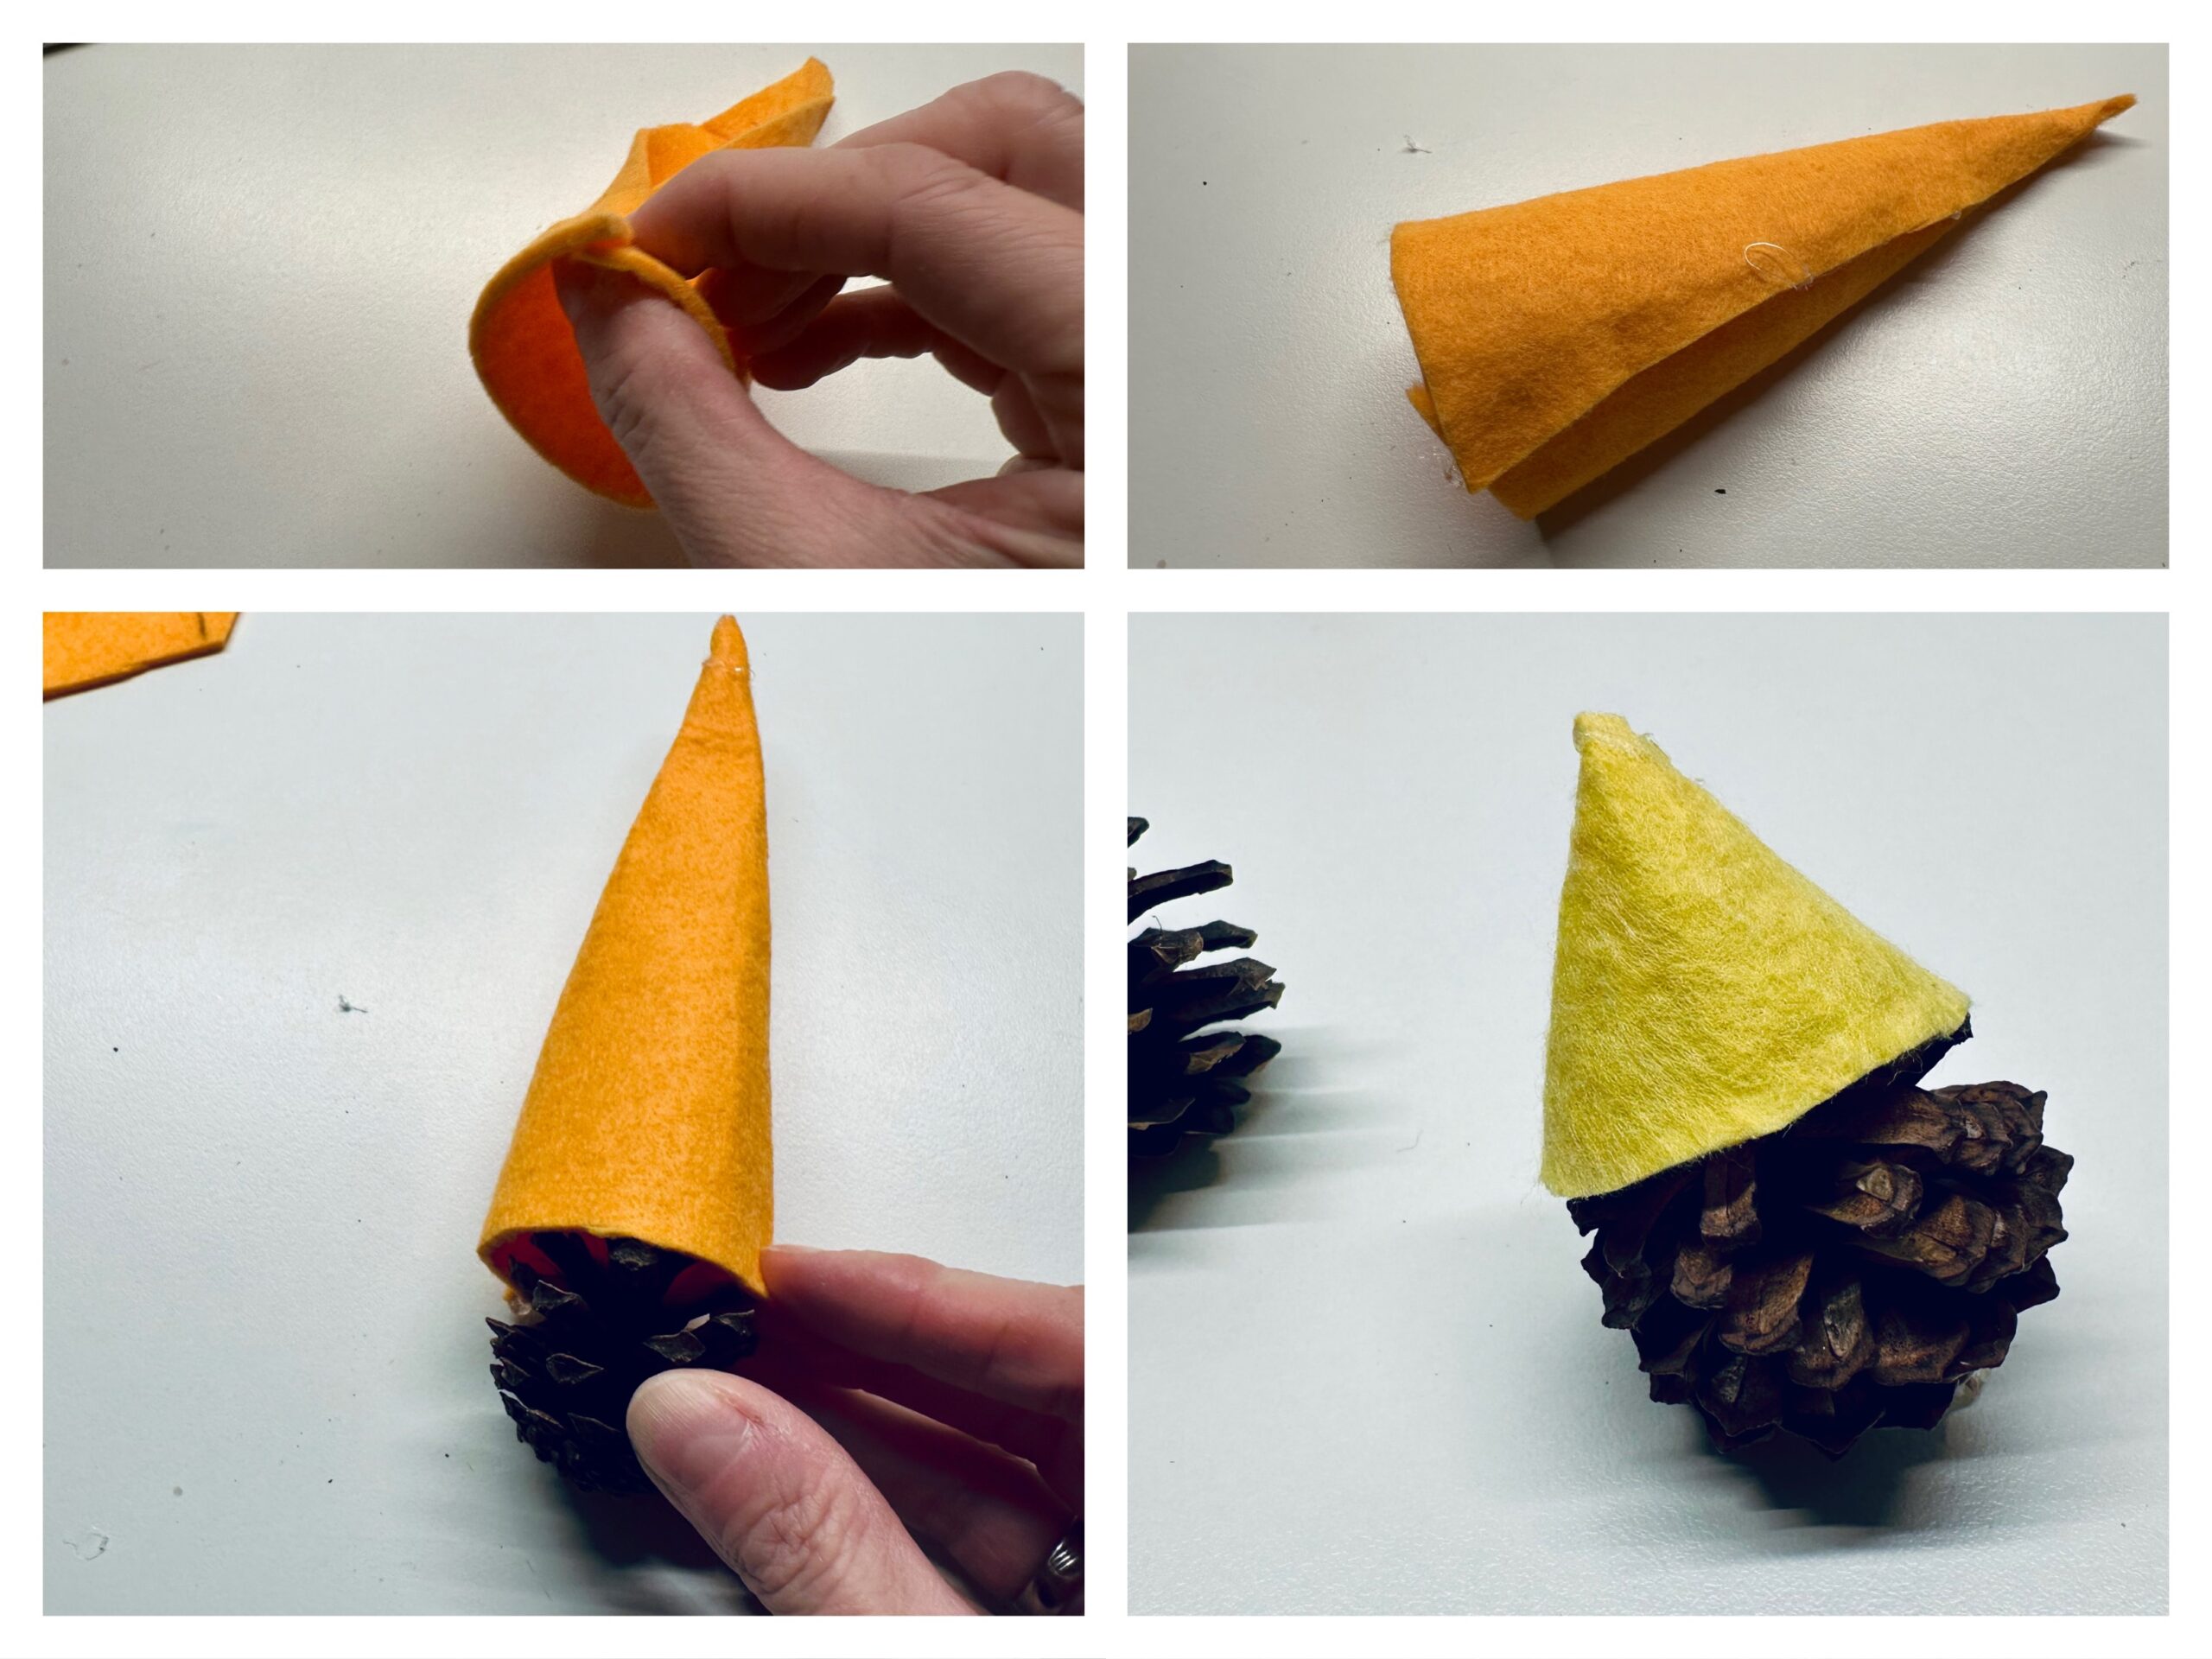
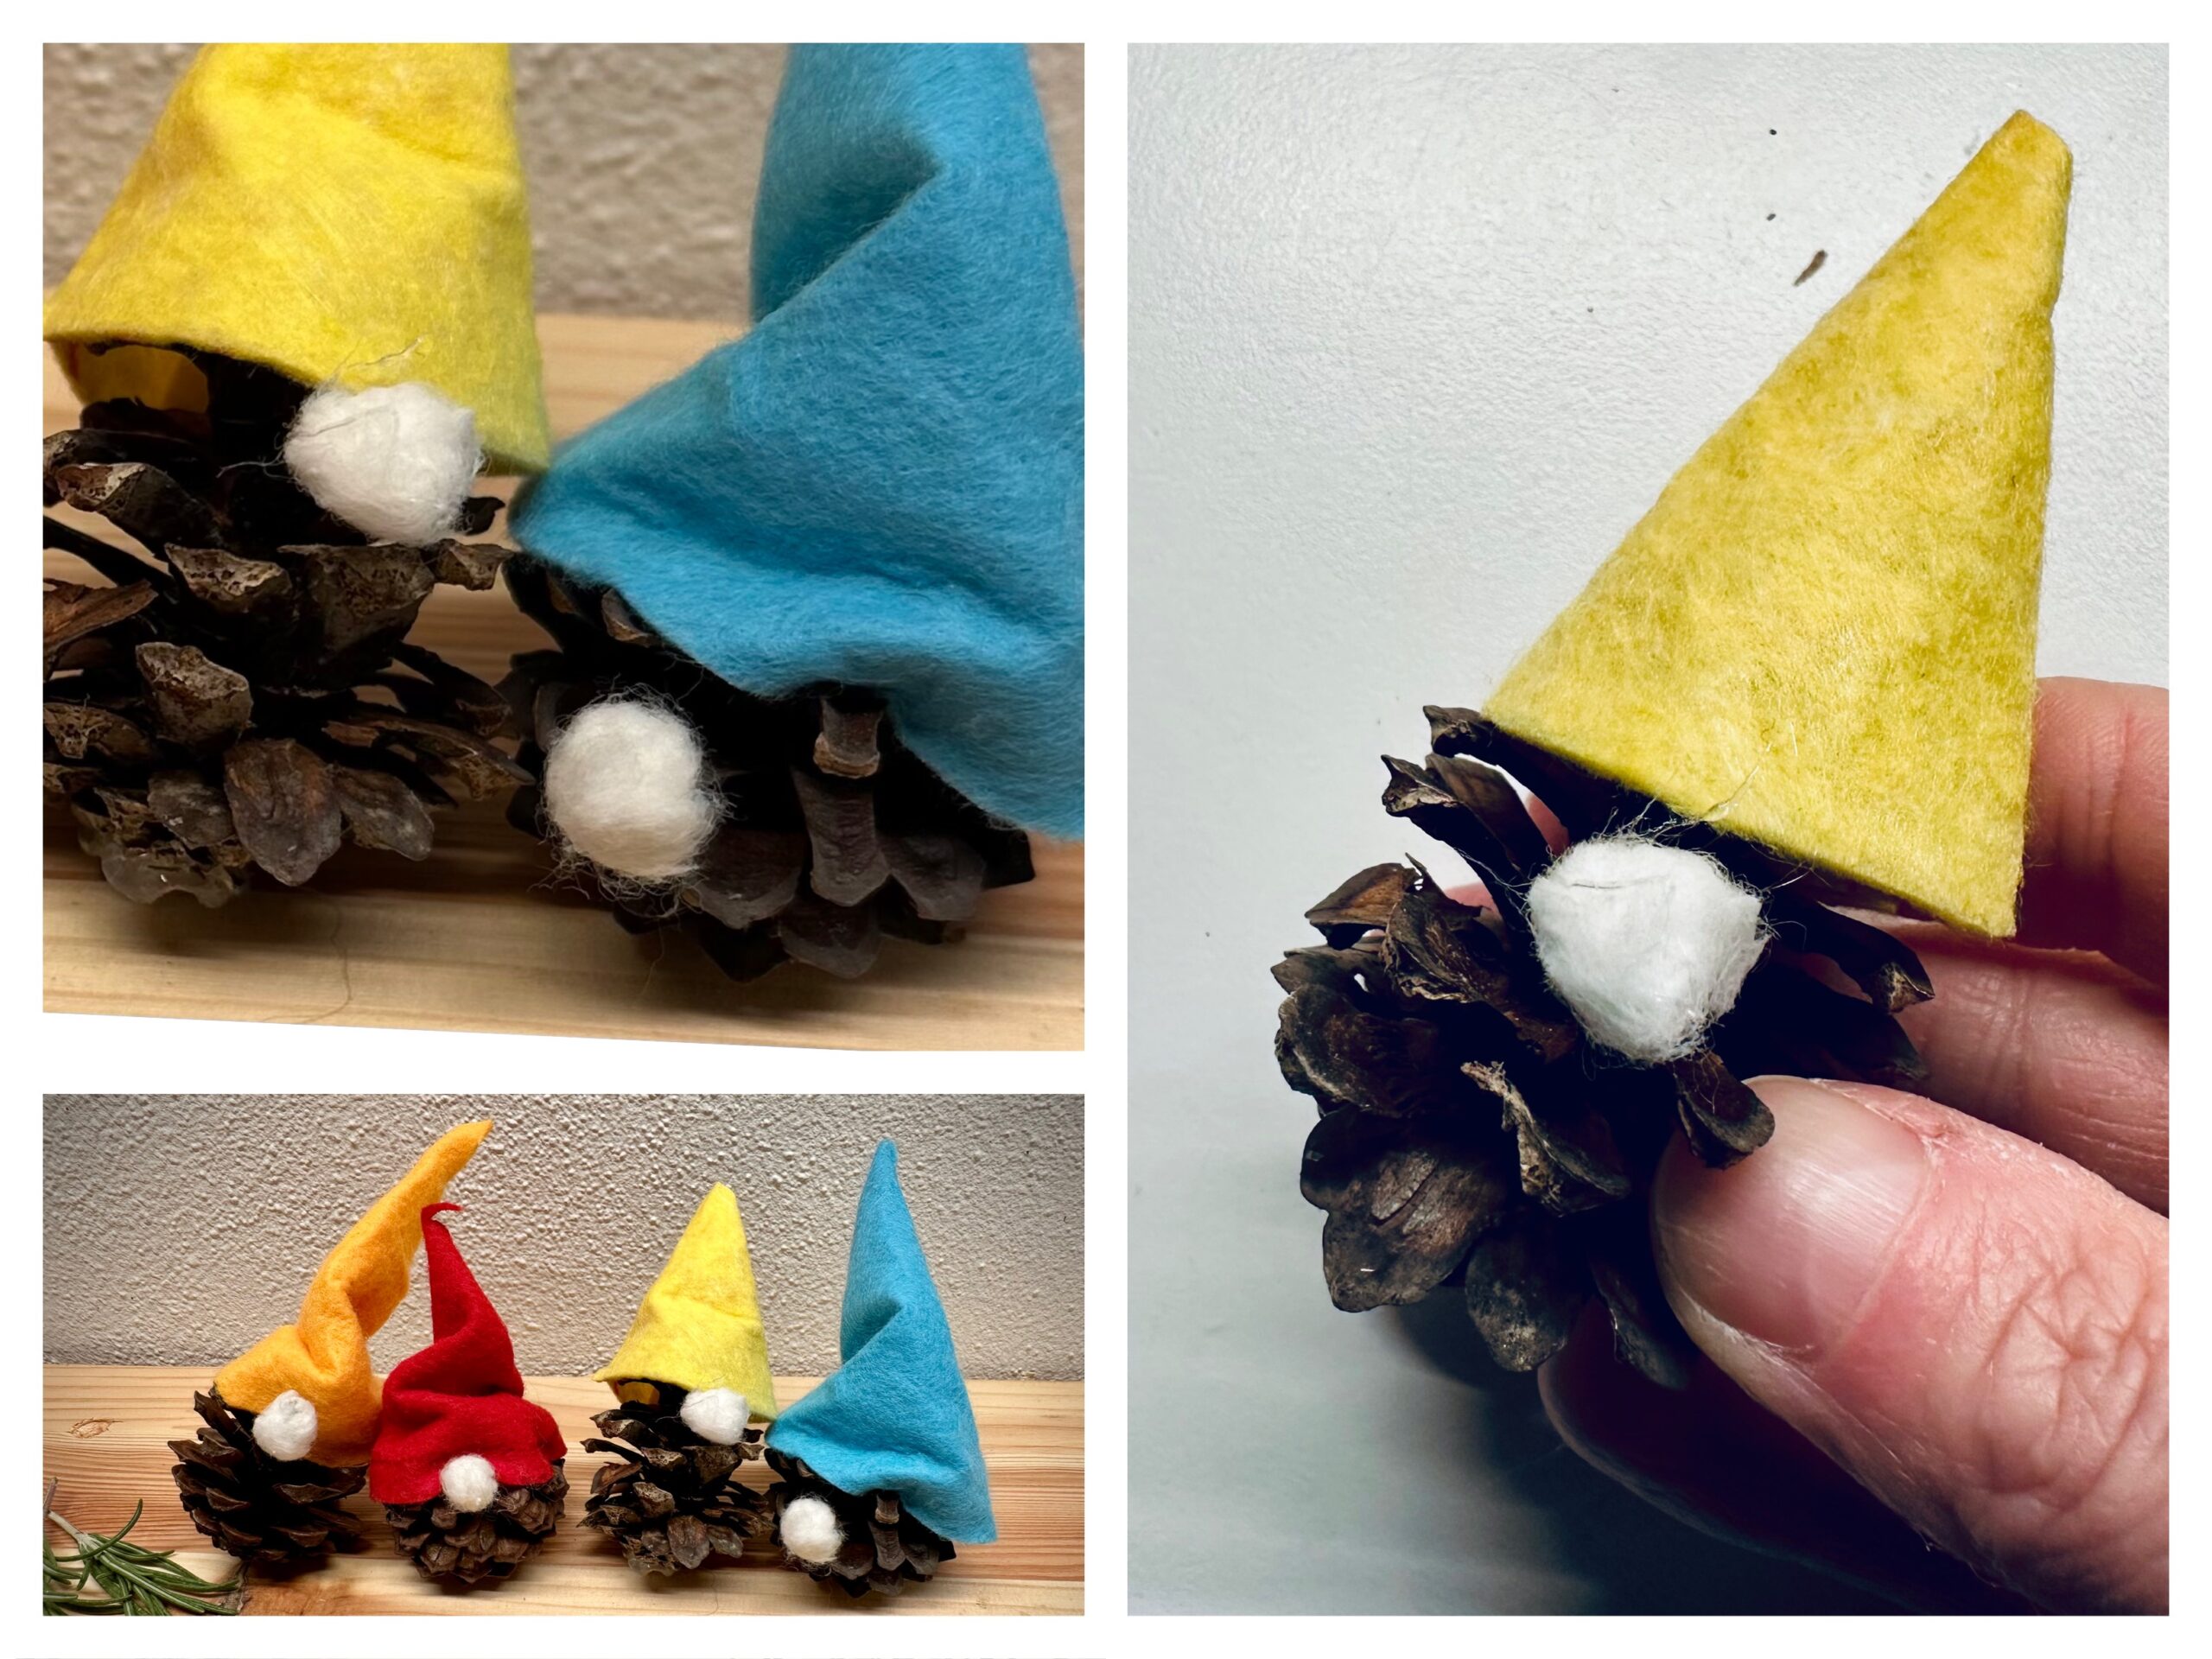
Place the finished hat on a fir cone. If the cone with hat stops alone and does not fall over, you can fix the hat with some craft glue / wood glue or a hot glue point.


Take a cotton swab. You can use it to form several noses for the wanker.
Take some cotton wool, as much as fits between your thumb and index finger. Pull out the cotton wool slowly from the cotton wool.
Now you can squeeze the cotton wool between your thumb and index finger firmly.
Tip: The easiest way to do this is to moisten your fingers a little bit, so you can easily turn a small cotton ball between your fingers.


Sticks the cotton ball as a nose directly below the hat edge on the fir cone. This works well with wood glue / craft glue or a glue stick.


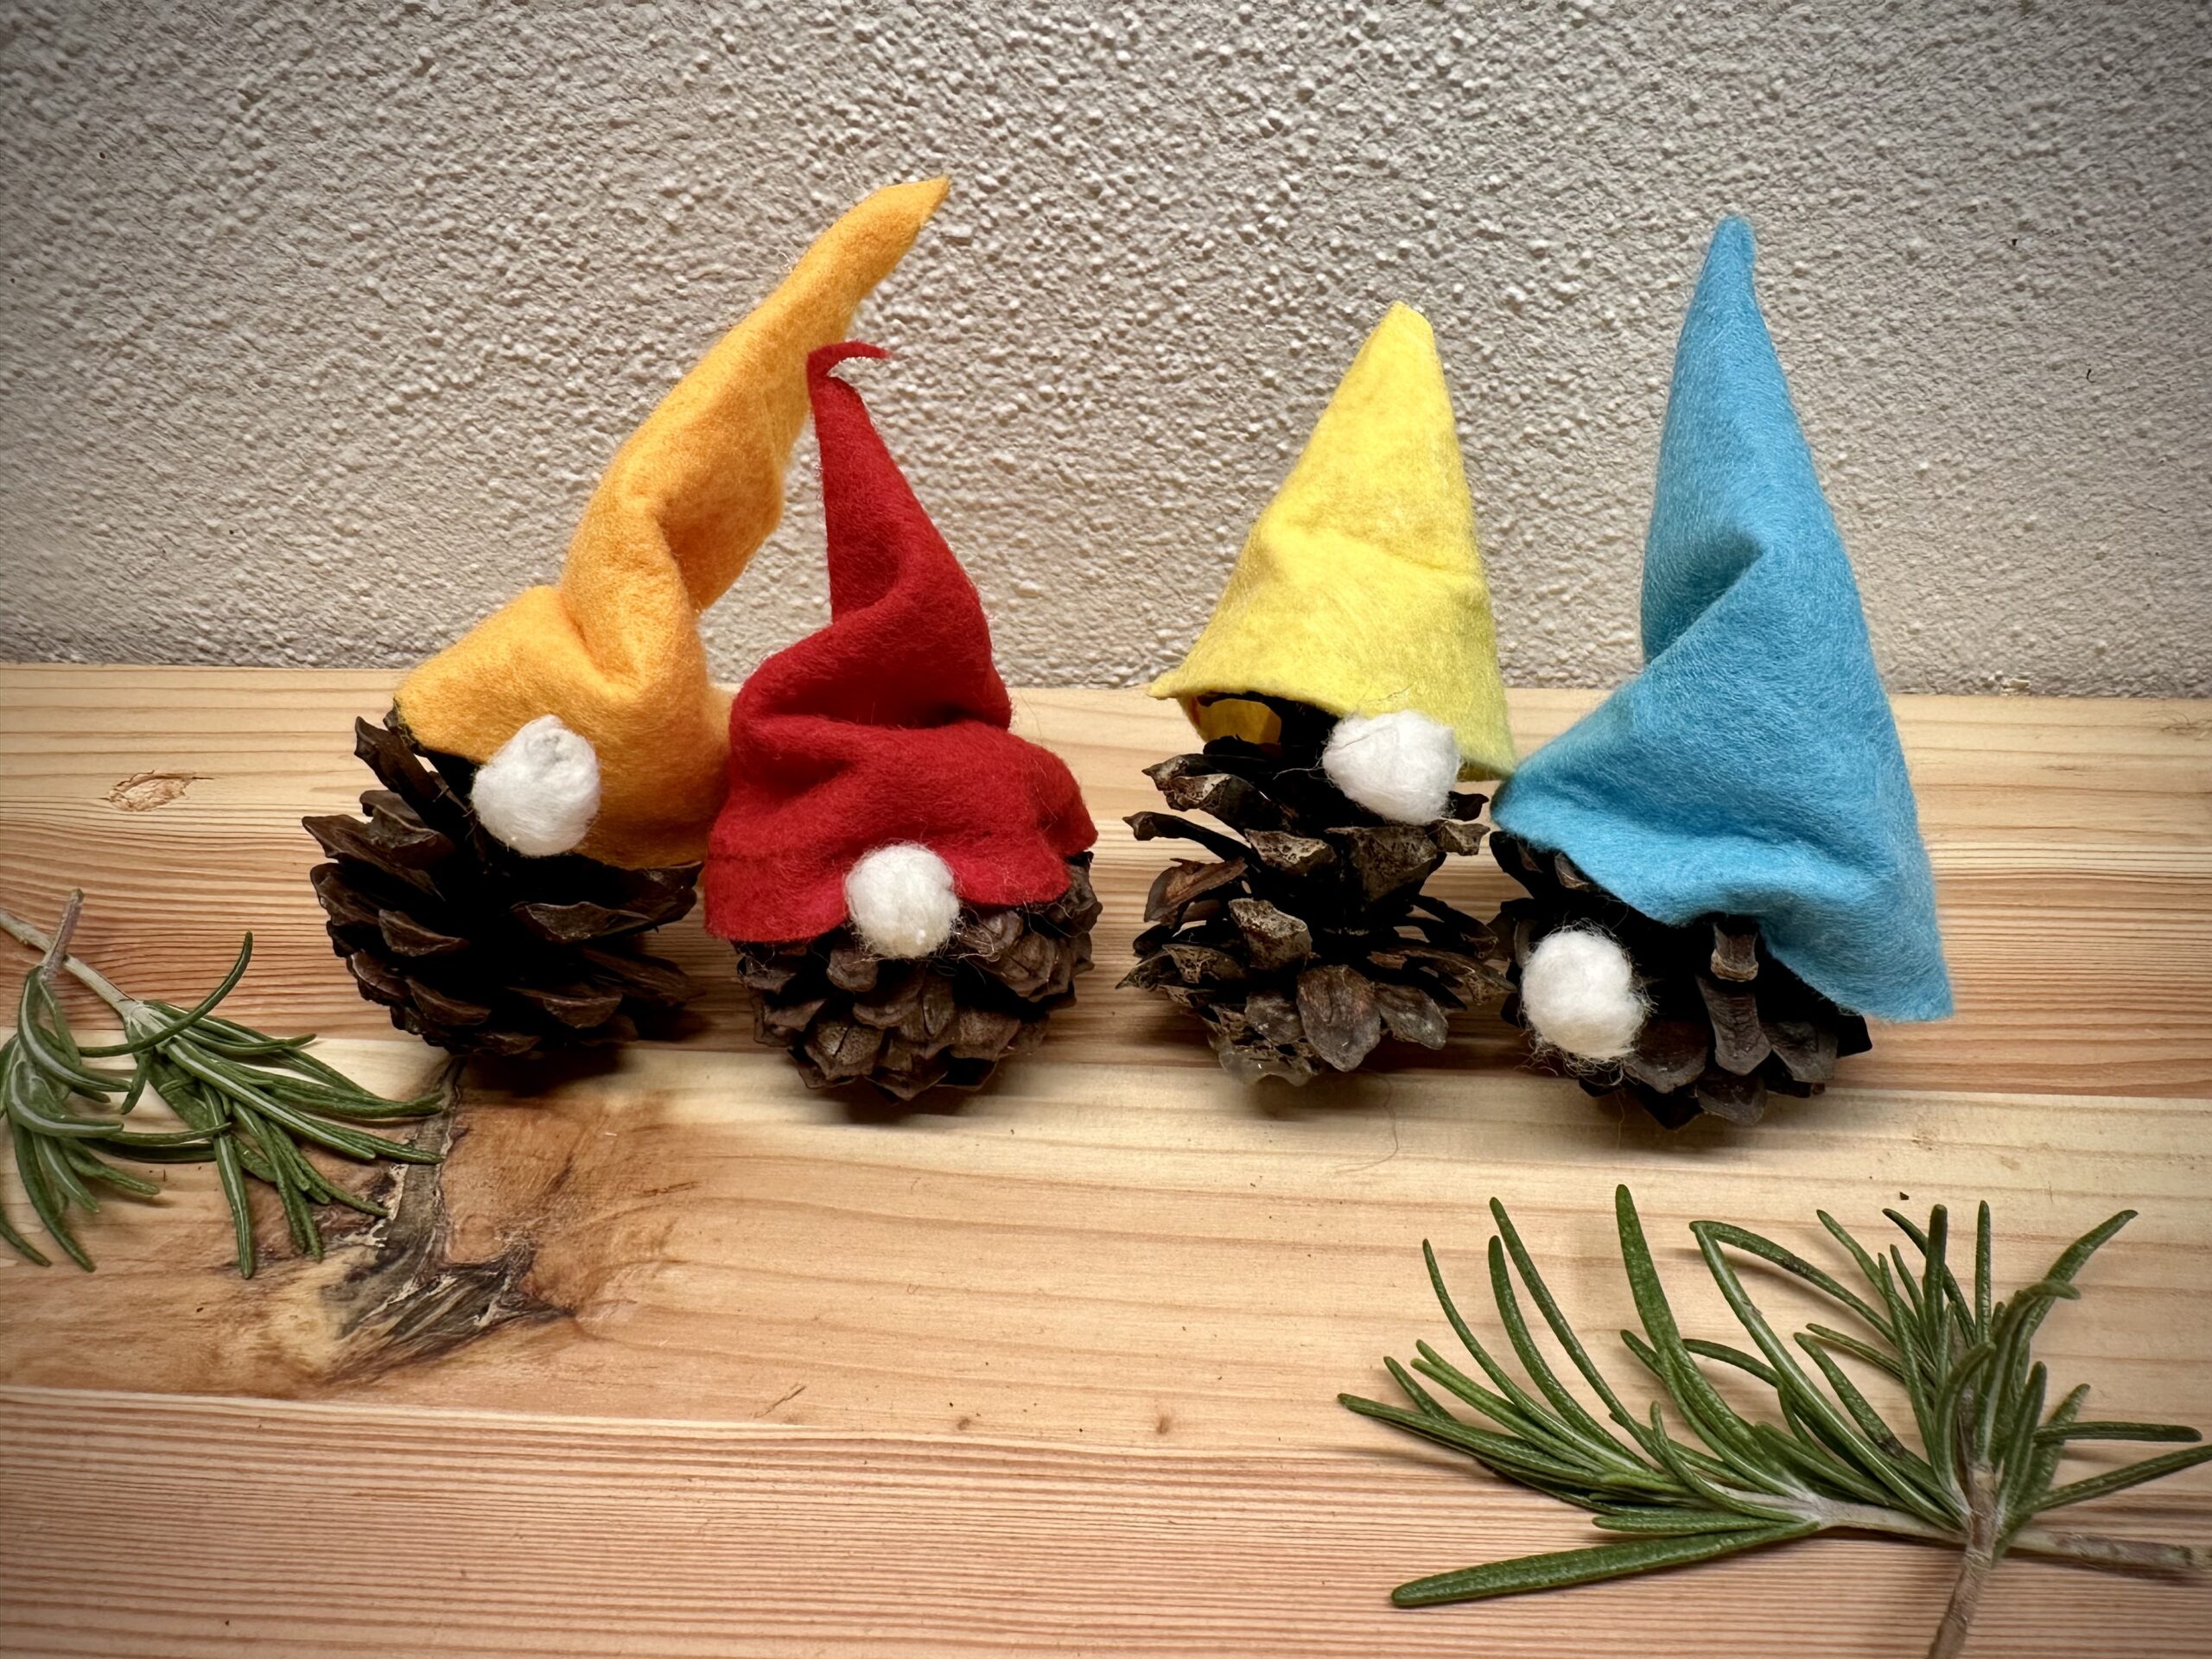
You can make a colorful cunt family with different coloured felt caps. Stay creative, maybe these are also the 4 Advent wanks.
Have fun doing crafts.


Materials
Directions
For this craft you need fir cones and thin felt or felt dishcloths. Get ready.


Prepare a quarter circle stencil from a paper. Place a round small bowl on the paper and paint it. Cut out the circle with the scissors.
Fold the circle to half and the half circle to the quarter circle. You need this quarter circle as a stencil for the wicker cap.


With the help of the quarter circle template, cut a felt (for the tip cap) for each wanker.


Take the cut out felt in your hand. For orientation: The tip is also the tip of the wicker cap. The round (quarter circle) is placed to the ring. Both straight sides lie slightly overlapping and are glued together.
This is not so easy and the thinner the felt is, the better.


You can get very different lengths of zip hats, depending on how much you let the straight sides of the felt overlap. If the felt more overlaps the hat becomes sharper and longer.
Place the finished hat on a fir cone. If the cone with hat stops alone and does not fall over, you can fix the hat with some craft glue / wood glue or a hot glue point.


Take a cotton swab. You can use it to form several noses for the wanker.
Take some cotton wool, as much as fits between your thumb and index finger. Pull out the cotton wool slowly from the cotton wool.
Now you can squeeze the cotton wool between your thumb and index finger firmly.
Tip: The easiest way to do this is to moisten your fingers a little bit, so you can easily turn a small cotton ball between your fingers.


Sticks the cotton ball as a nose directly below the hat edge on the fir cone. This works well with wood glue / craft glue or a glue stick.


You can make a colorful cunt family with different coloured felt caps. Stay creative, maybe these are also the 4 Advent wanks.
Have fun doing crafts.


Follow us on Facebook , Instagram and Pinterest
Don't miss any more adventures: Our bottle mail


