Easter napkin ring rabbit

AdventurerKatzi
Rating5.03.0 thousand times & (4) DifficultyBeginner

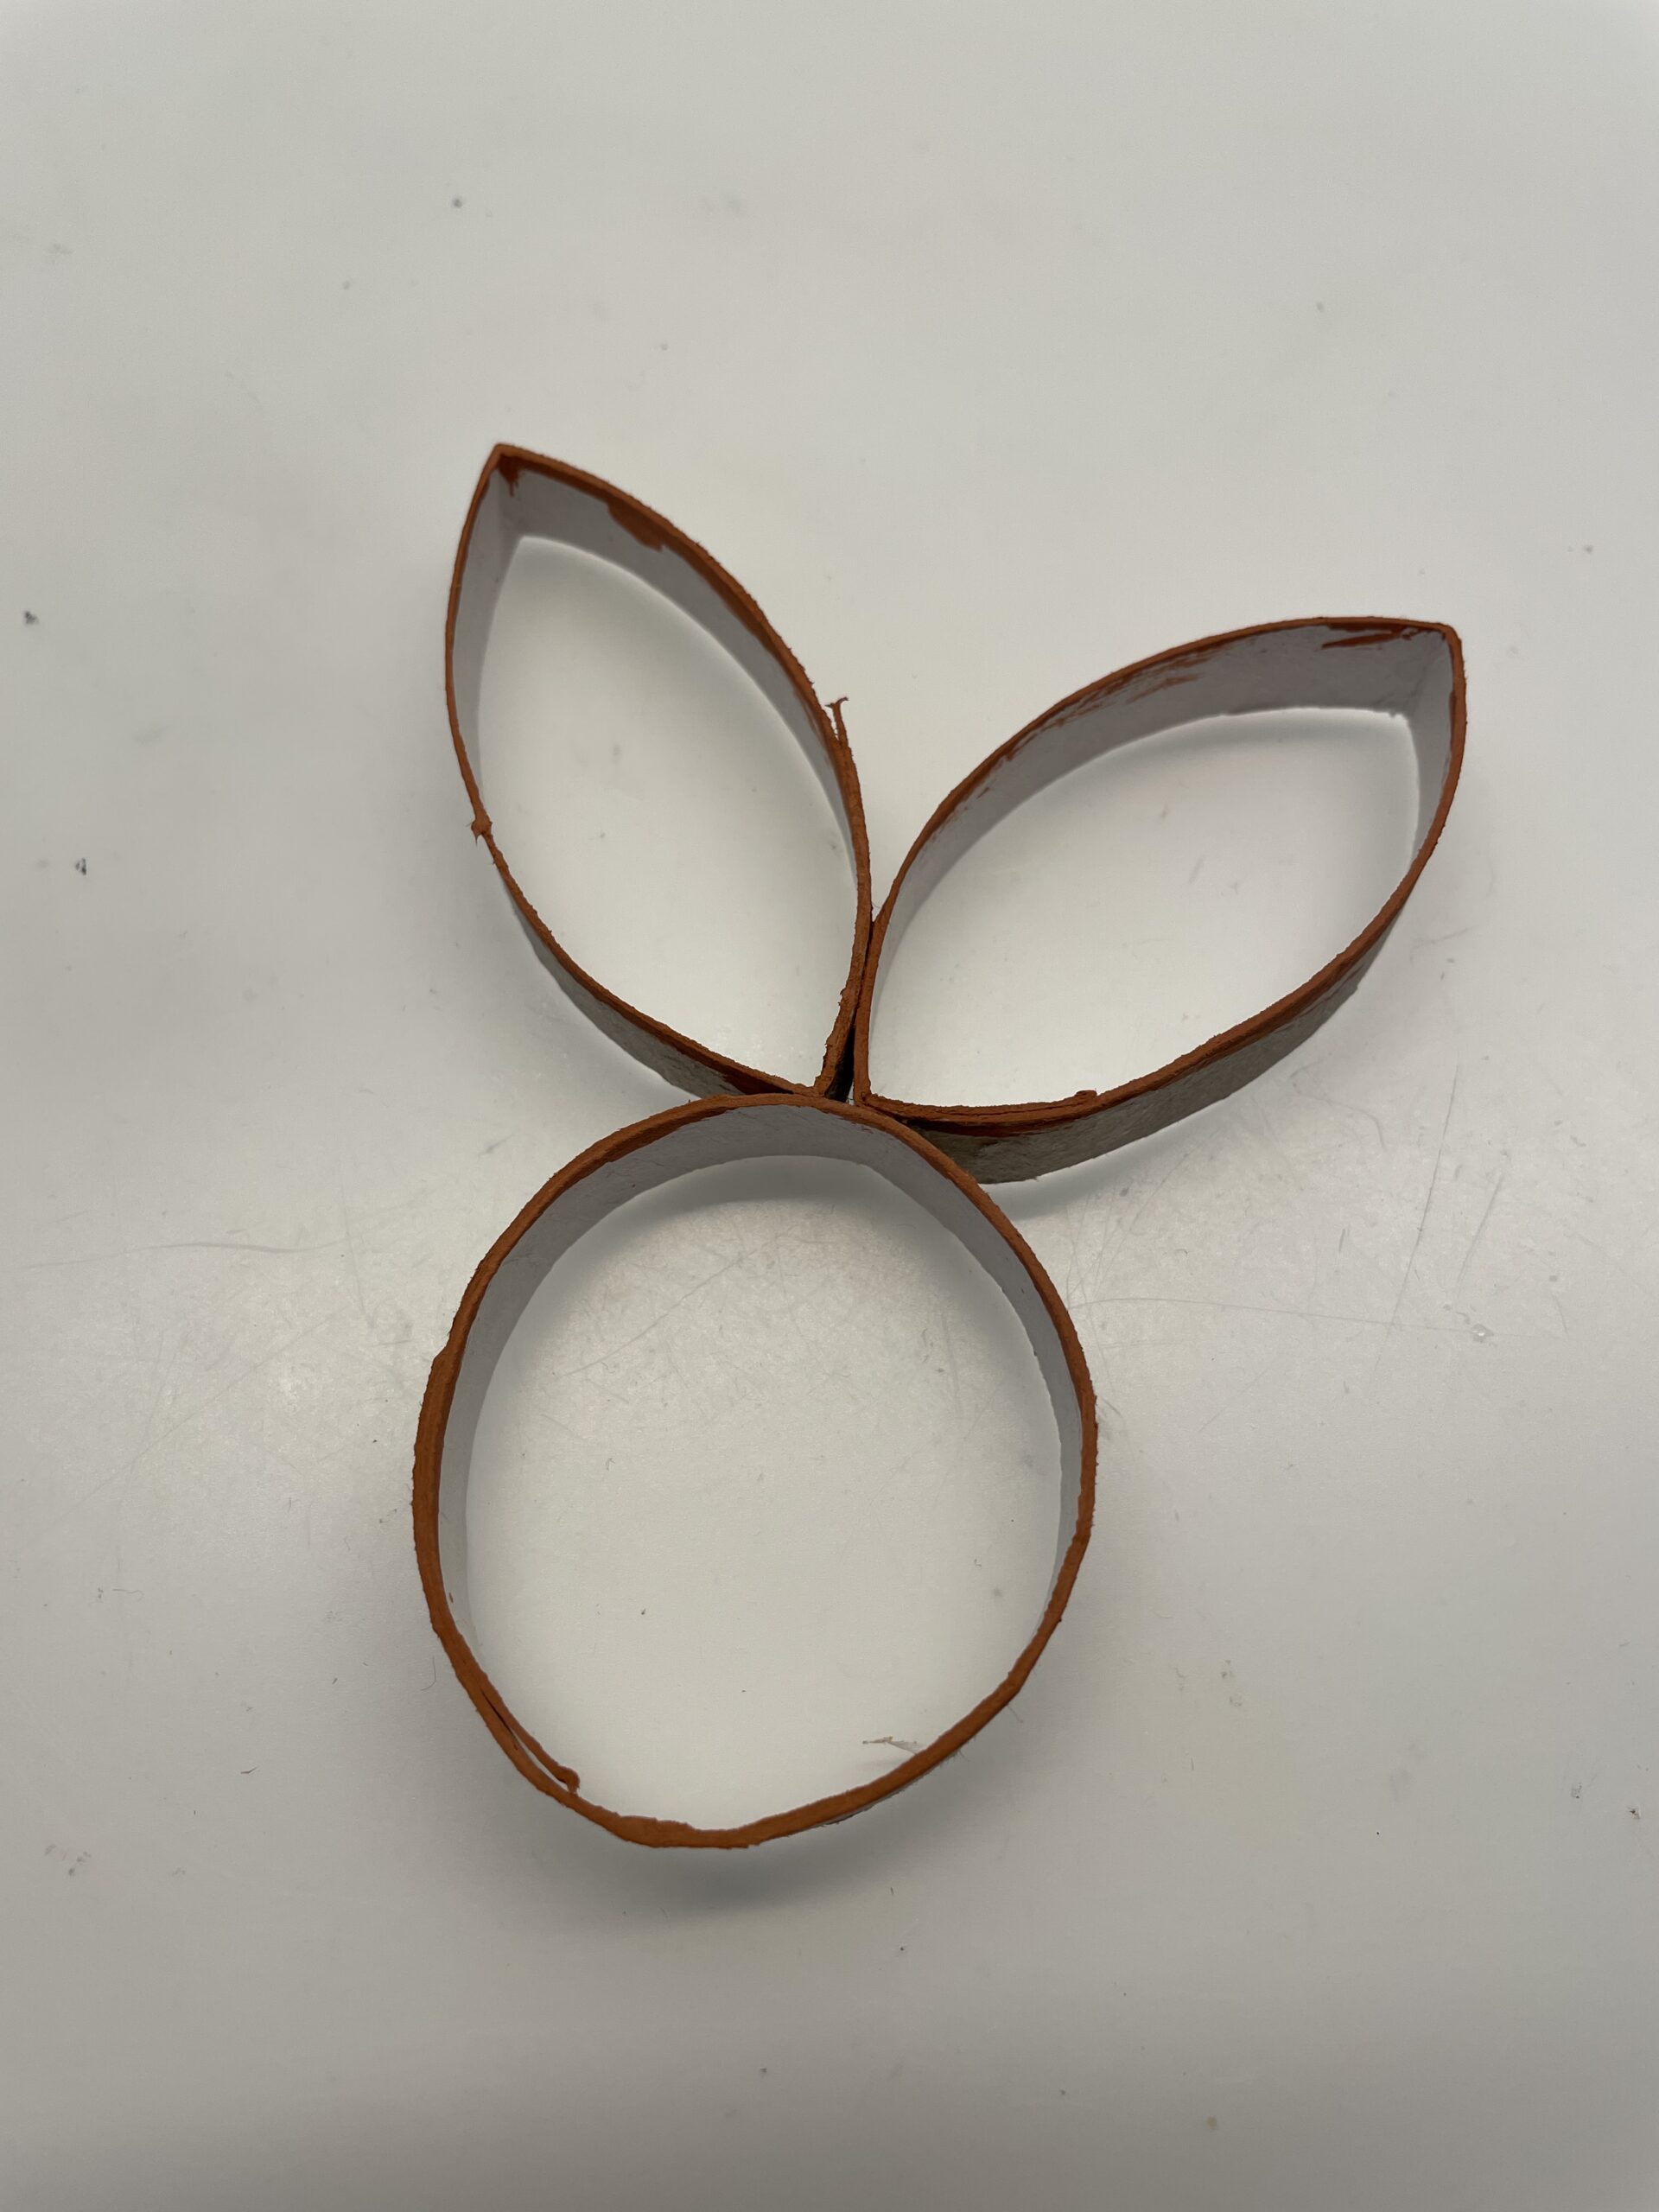
Makes an Easter napkin ring from a cardboard roll without much effort. You still need glue and brown water colors. Just try it out.

Media Education for Kindergarten and Hort

Kind bastelt eine Rassel mit dem Navi
The Adventure Navi, the app for DIY projects, enables media education for the youngest.

Relief in everyday life, targeted promotion of individual children, independent learning and - without any pre-knowledge already usable by the youngest!


Titelbild zur Bastel- und DIY-Idee für Kinder '(1040) Oster-Serviettenring Hase'
Material for1 Child
Prep Time5 min.Adv. Time10 min.Total Time15 min.
 1 Rolled paper
 1 Scissorsor cutter knives
 1 Water colours
 1 Brushes
 1 Glass with water
 1 Builder's pad
 1 Serviette
All links marked with a shopping cart lead to Amazon - here we have selected products that we would order ourselves and in part also ordered. In a qualified purchase via the advertising link, we as Amazon partner receive a commission, for you there are no costs. You thus support our cost- and advertising banner-free, educational offer.
1

Put out your craft material and prepare all craft materials.
First of all, you need a cardboard roll, the inside of a toilet paper roll or kitchen roll.
Cut off 2 strips of a width of 2 cm. Now cut off another 4cm wide strip. For each napkin ring you need these 3 strips.
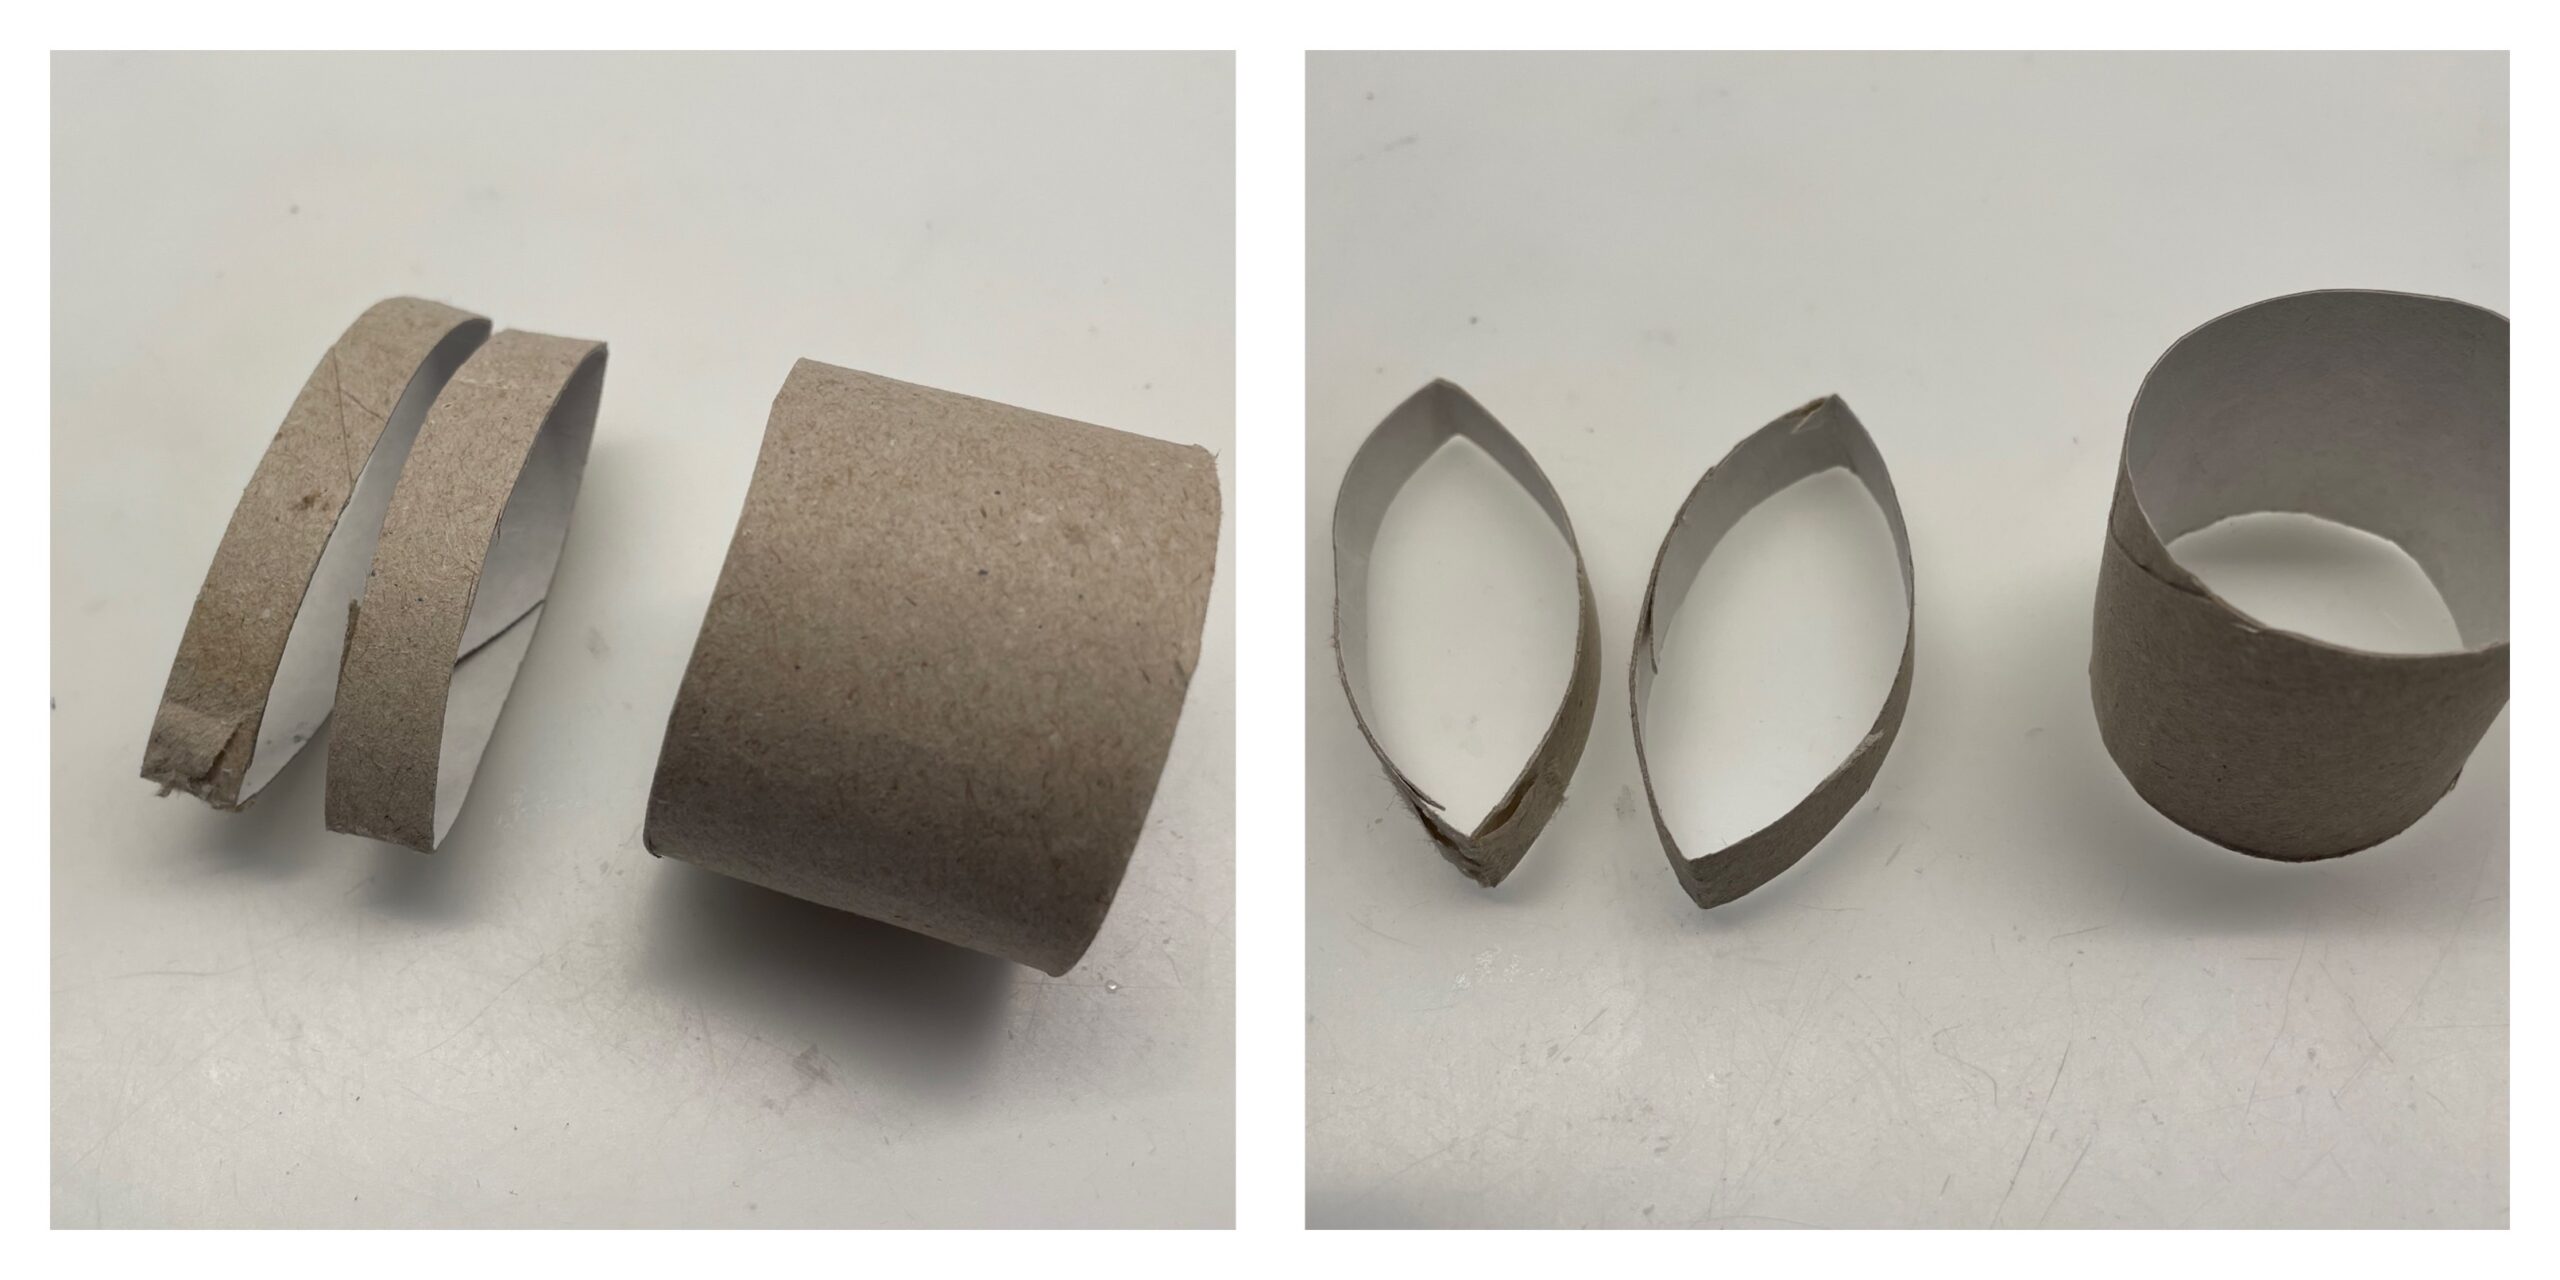
Bild zum Schritt 1 für das Bastel- und DIY-Abenteuer für Kinder: 'Legt eure Bastelunterlage aus und legt alle Bastelmaterialien bereit. ...'

2

Glue the two thinner stripes as seen in the photo is together.
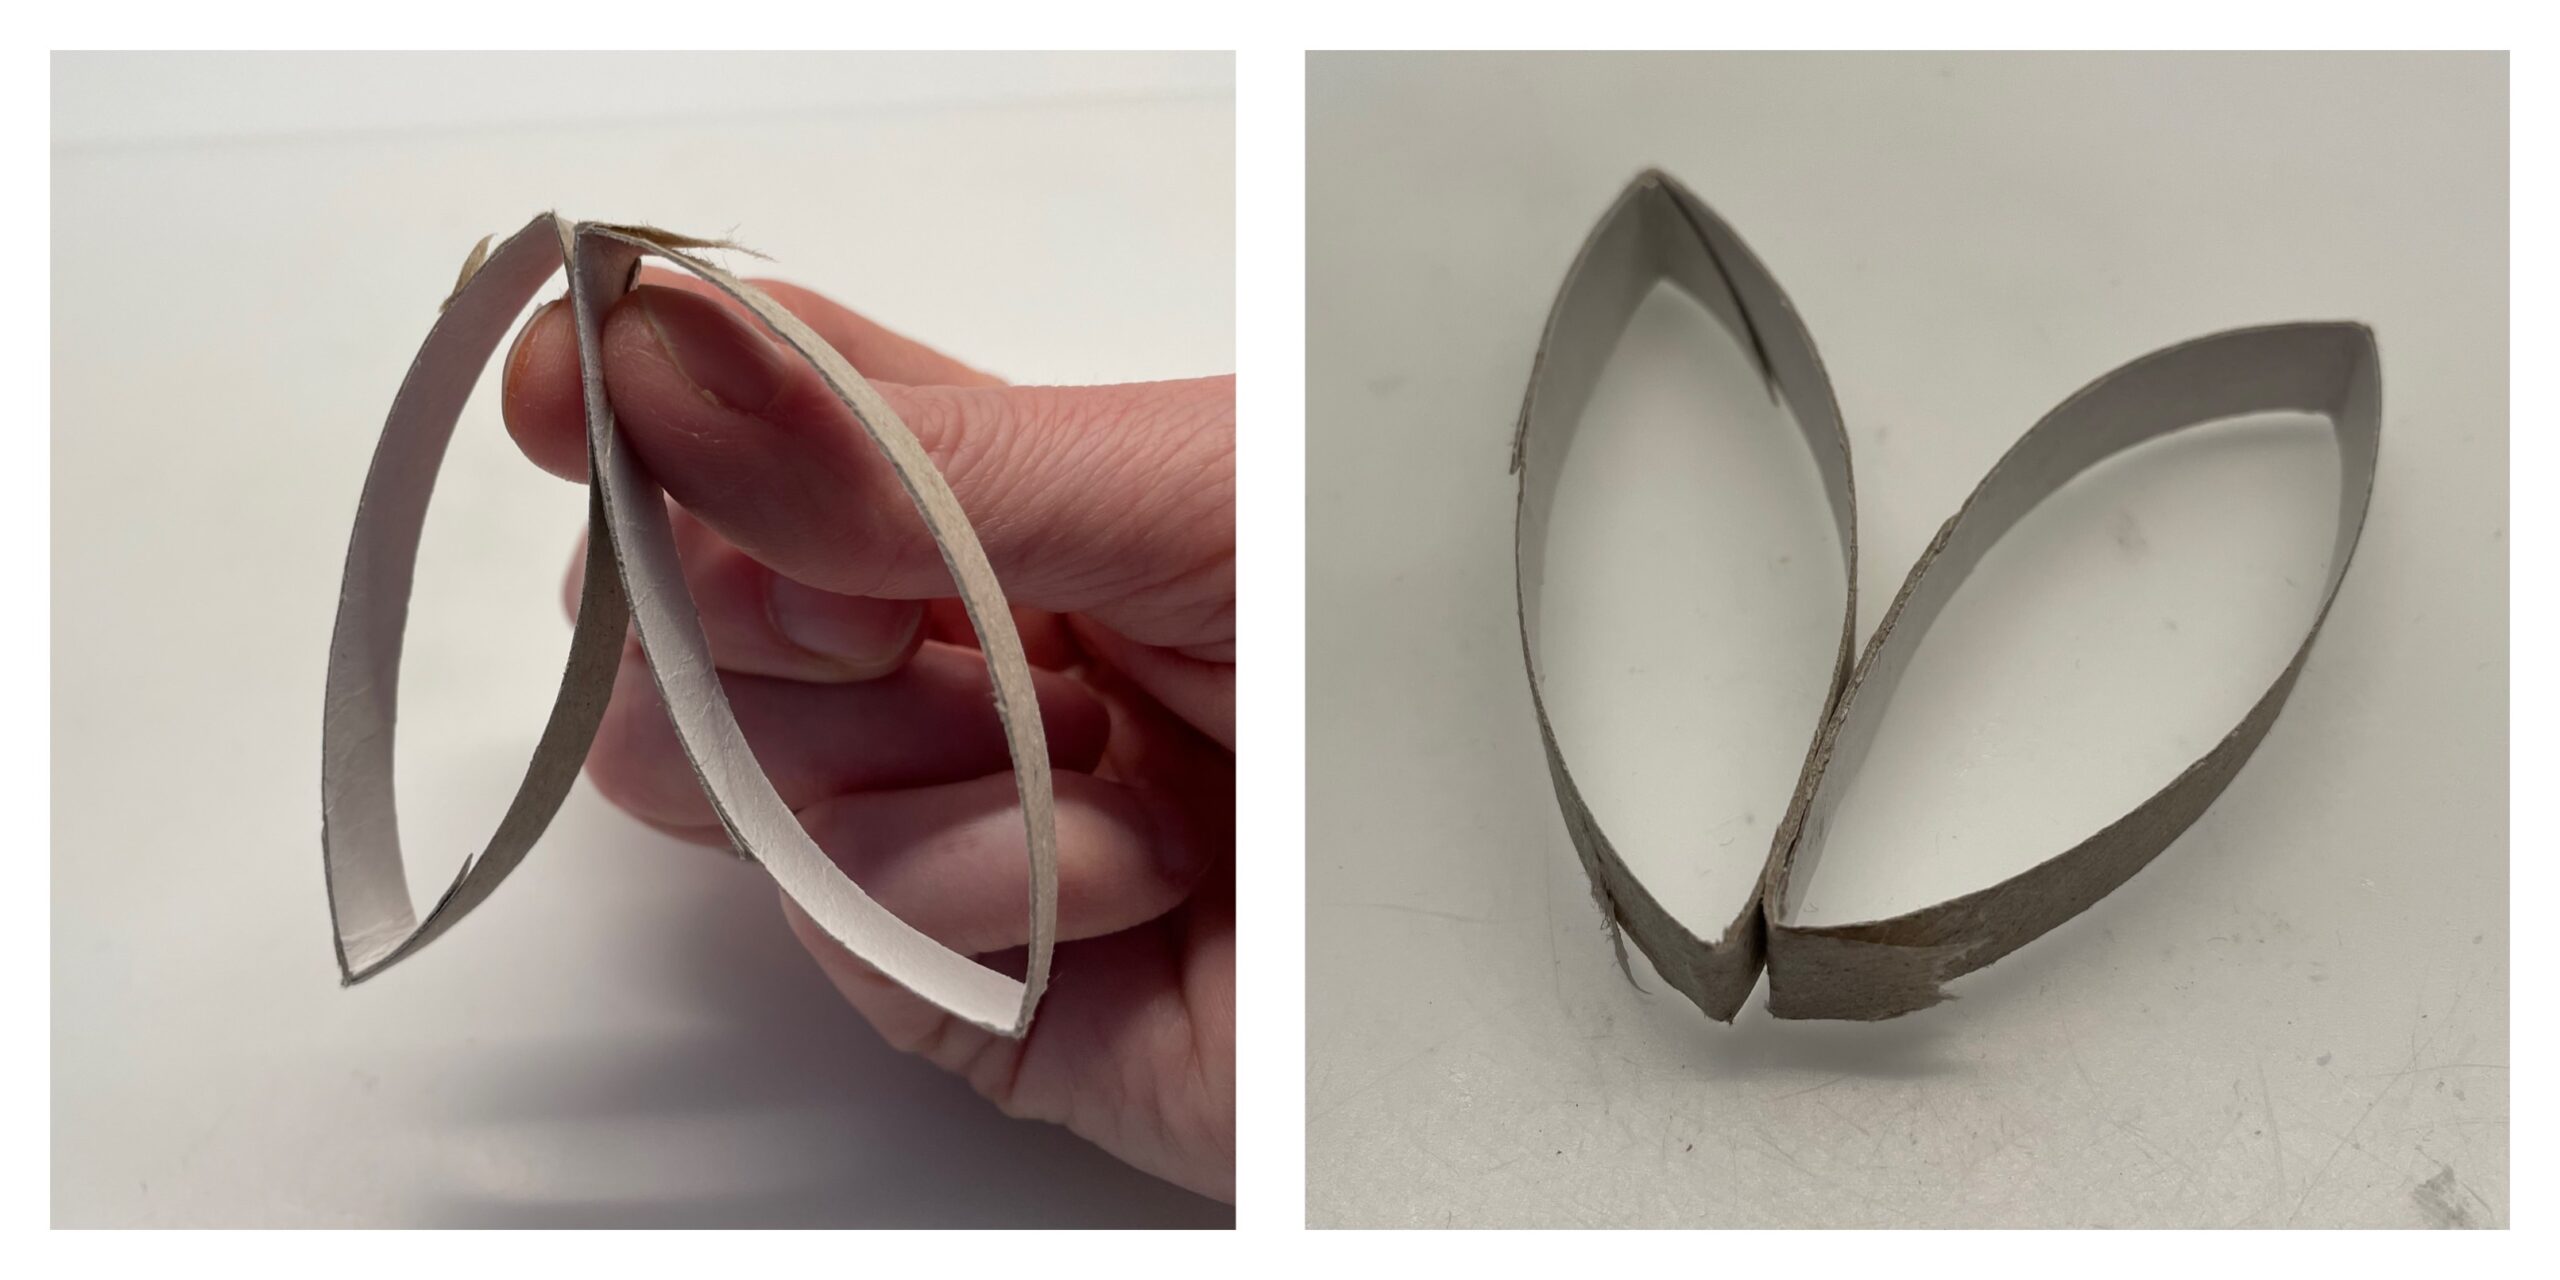
Bild zum Schritt 2 für das Bastel- und DIY-Abenteuer für Kinder: 'Klebt die zwei dünneren Streifen wie am Foto zu sehen...'

3

Then glue the two stripes to the wider ring.

Bild zum Schritt 3 für das Bastel- und DIY-Abenteuer für Kinder: 'Anschließend klebt ihr die zwei Streifen an den breiteren ...'

4

Now you get the water paints, dip the brush in water and water paints and paint the cardboard strips brown.

Bild zum Schritt 4 für das Bastel- und DIY-Abenteuer für Kinder: 'Nun holt ihr die Wasserfarben, taucht den Pinsel in Wasser...'

5

You can only paint the edge brown.

Bild zum Schritt 5 für das Bastel- und DIY-Abenteuer für Kinder: 'Ihr könnt auch nur den Rand braun anmalen.'

6

Now the paint has to dry first.

Bild zum Schritt 6 für das Bastel- und DIY-Abenteuer für Kinder: 'Nun muss die Farbe erst trocknen.'

7

In the meantime, get the napkins.

Bild zum Schritt 7 für das Bastel- und DIY-Abenteuer für Kinder: 'Holt in der Zwischenzeit euch die Servietten.'

8

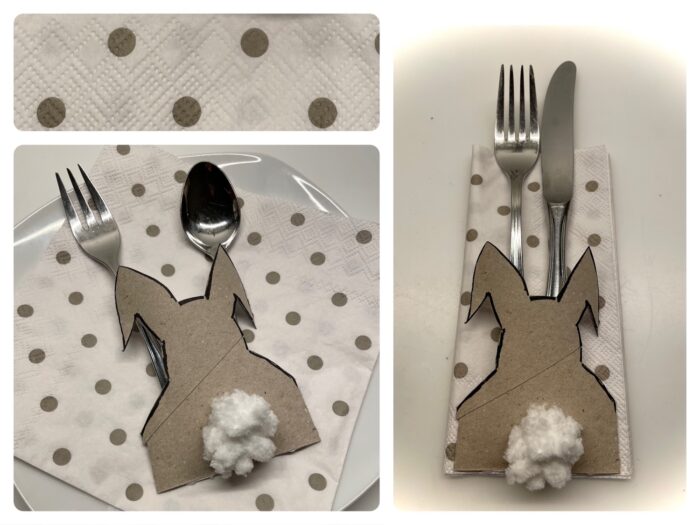
Now fold the right tip to the left tip, strip out the fracture and open the napkin again. Now take the right and left side and fold the serrated to the middle line and strip it out.

Bild zum Schritt 8 für das Bastel- und DIY-Abenteuer für Kinder: 'Legt die Servierte mit einer Spitze an die Tischkante. Faltet...'

9

When your cardboard strips are dried, you can fold the napkin together and slide the folded side into the thicker cardboard ring.

Bild zum Schritt 9 für das Bastel- und DIY-Abenteuer für Kinder: 'Wenn eure Pappstreifen getrocknet sind , könnt ihr die Serviette...'

10

This is what your Easter napkin ring looks like now.

Bild zum Schritt 10 für das Bastel- und DIY-Abenteuer für Kinder: 'So sieht nun euer Oster Serviettenring jetzt aus.'

11

You can also paint a nice picture with a happy Easter, and add it as a decoration.

Bild zum Schritt 11 für das Bastel- und DIY-Abenteuer für Kinder: 'Ihr könnt noch ein schönes Bildchen mit frohe Ostern dazu...'

12

With a few small Easter eggs you can cover a nice Easter table.

Bild zum Schritt 12 für das Bastel- und DIY-Abenteuer für Kinder: 'Mit ein paar kleinen Ostereiern könnt  ihr einen schönen...'

Materials

 1 Rolled paper
 1 Scissorsor cutter knives
 1 Water colours
 1 Brushes
 1 Glass with water
 1 Builder's pad
 1 Serviette
All links marked with a shopping cart lead to Amazon - here we have selected products that we would order ourselves and in part also ordered. In a qualified purchase via the advertising link, we as Amazon partner receive a commission, for you there are no costs. You thus support our cost- and advertising banner-free, educational offer.

Directions

1

Put out your craft material and prepare all craft materials.
First of all, you need a cardboard roll, the inside of a toilet paper roll or kitchen roll.
Cut off 2 strips of a width of 2 cm. Now cut off another 4cm wide strip. For each napkin ring you need these 3 strips.

Bild zum Schritt 1 für das Bastel- und DIY-Abenteuer für Kinder: 'Legt eure Bastelunterlage aus und legt alle Bastelmaterialien bereit. ...'

2

Glue the two thinner stripes as seen in the photo is together.

Bild zum Schritt 2 für das Bastel- und DIY-Abenteuer für Kinder: 'Klebt die zwei dünneren Streifen wie am Foto zu sehen...'

3

Then glue the two stripes to the wider ring.
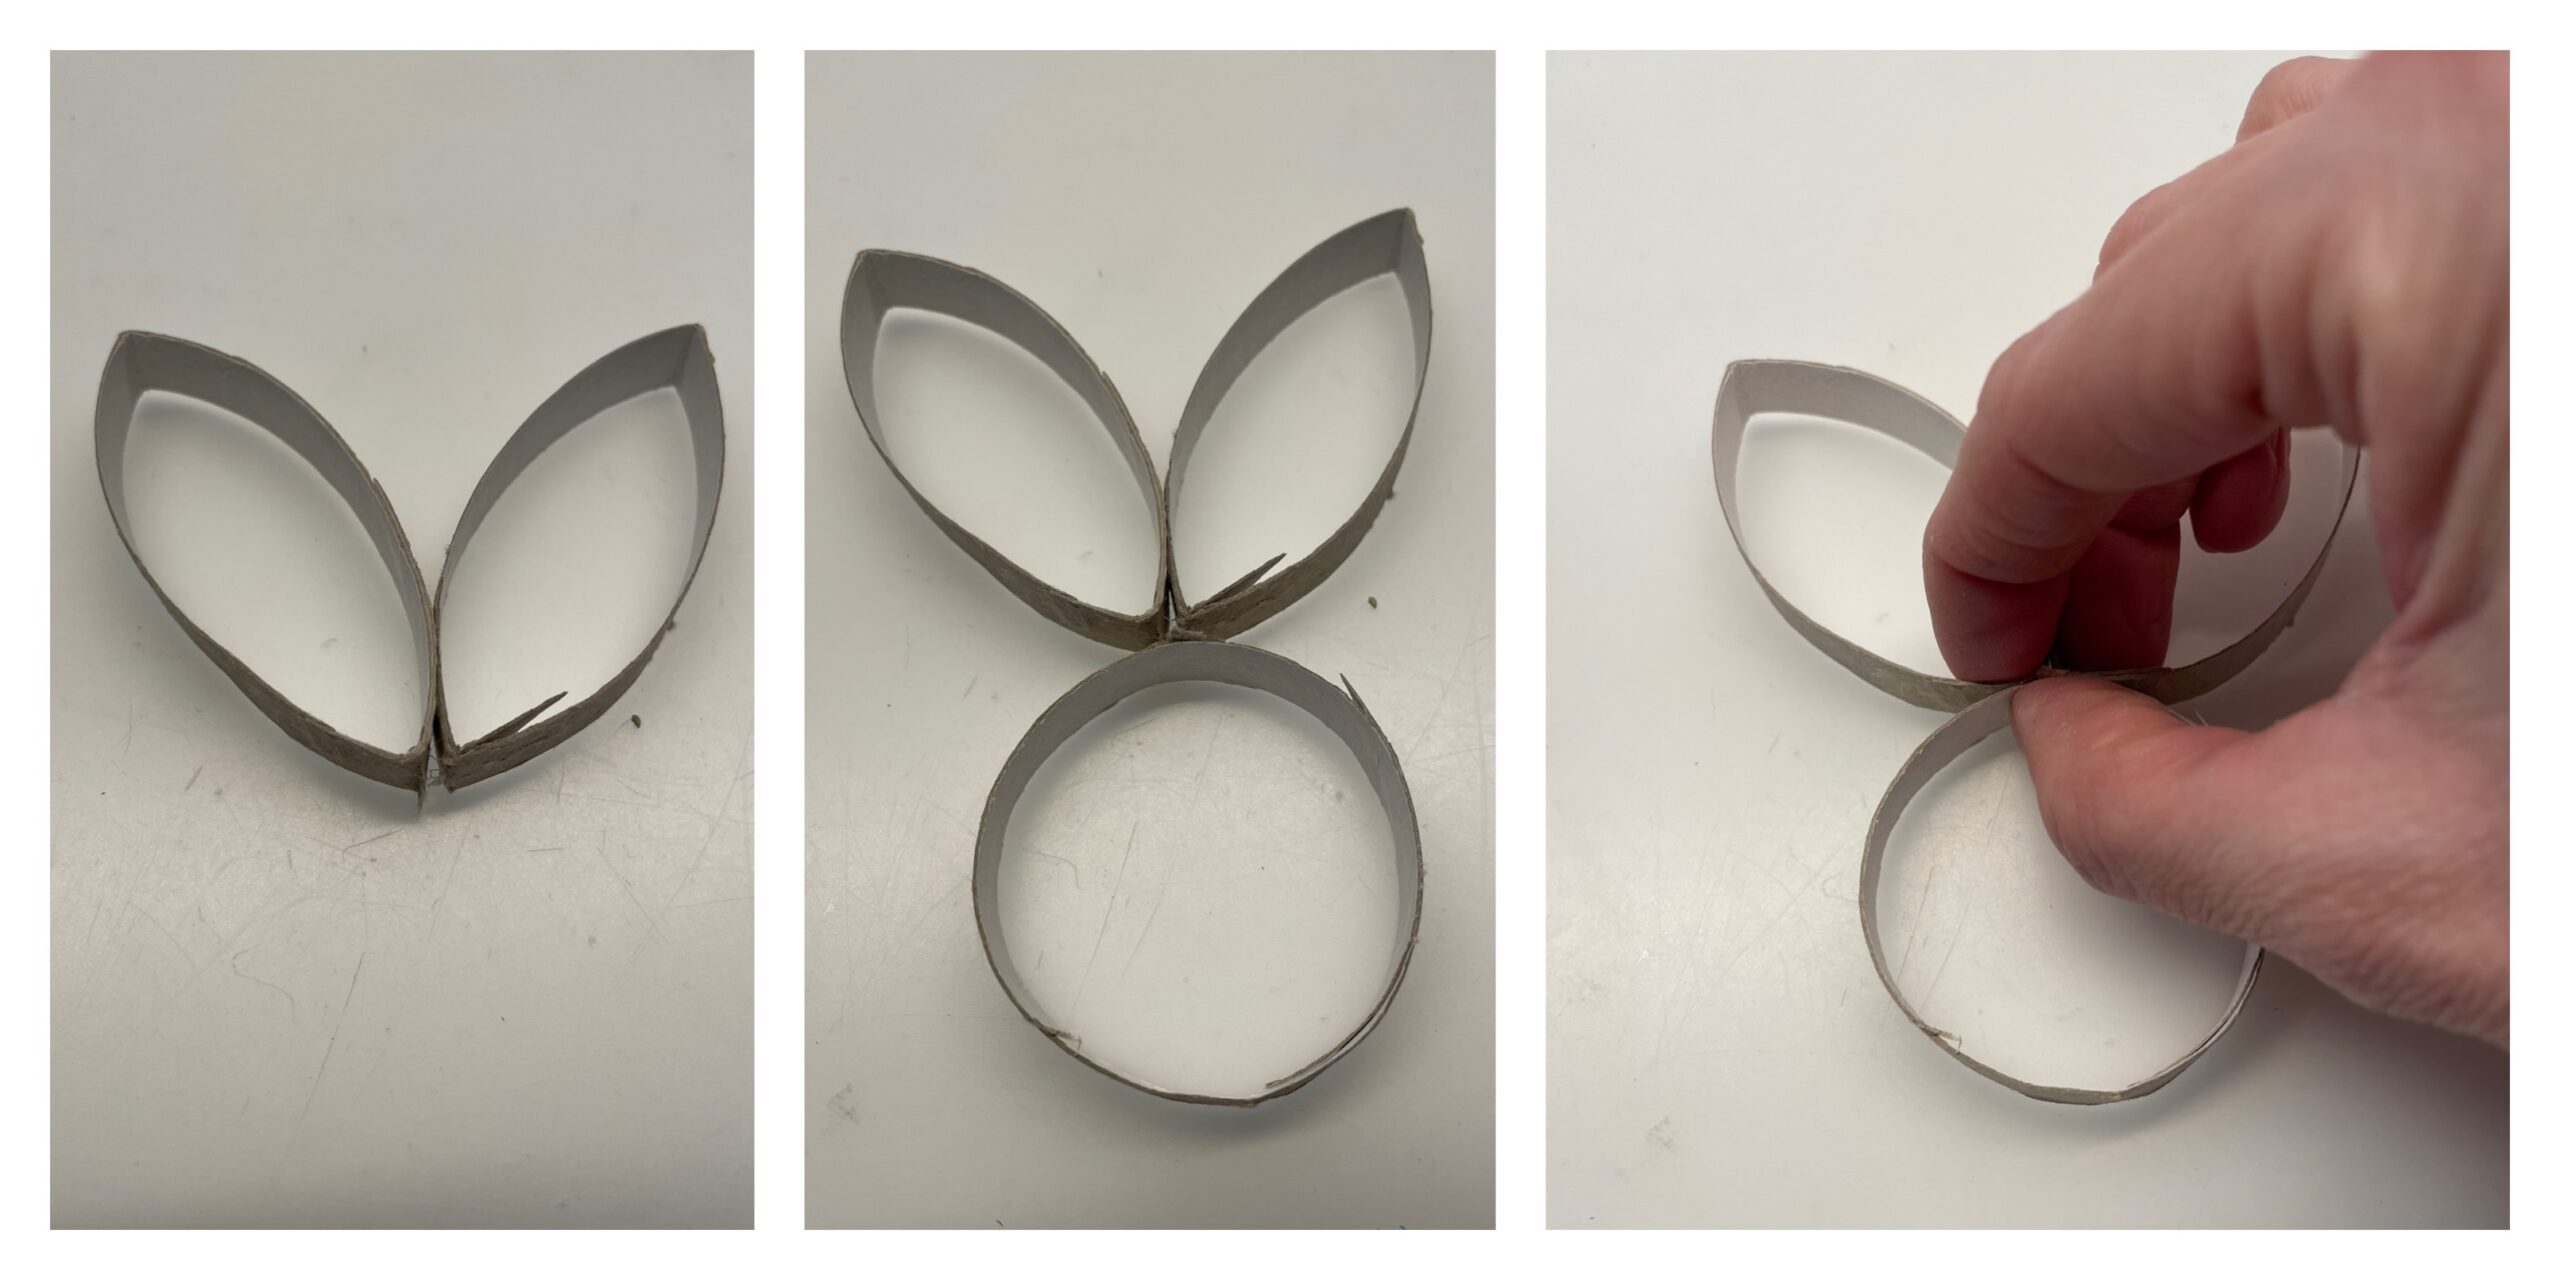
Bild zum Schritt 3 für das Bastel- und DIY-Abenteuer für Kinder: 'Anschließend klebt ihr die zwei Streifen an den breiteren ...'

4

Now you get the water paints, dip the brush in water and water paints and paint the cardboard strips brown.
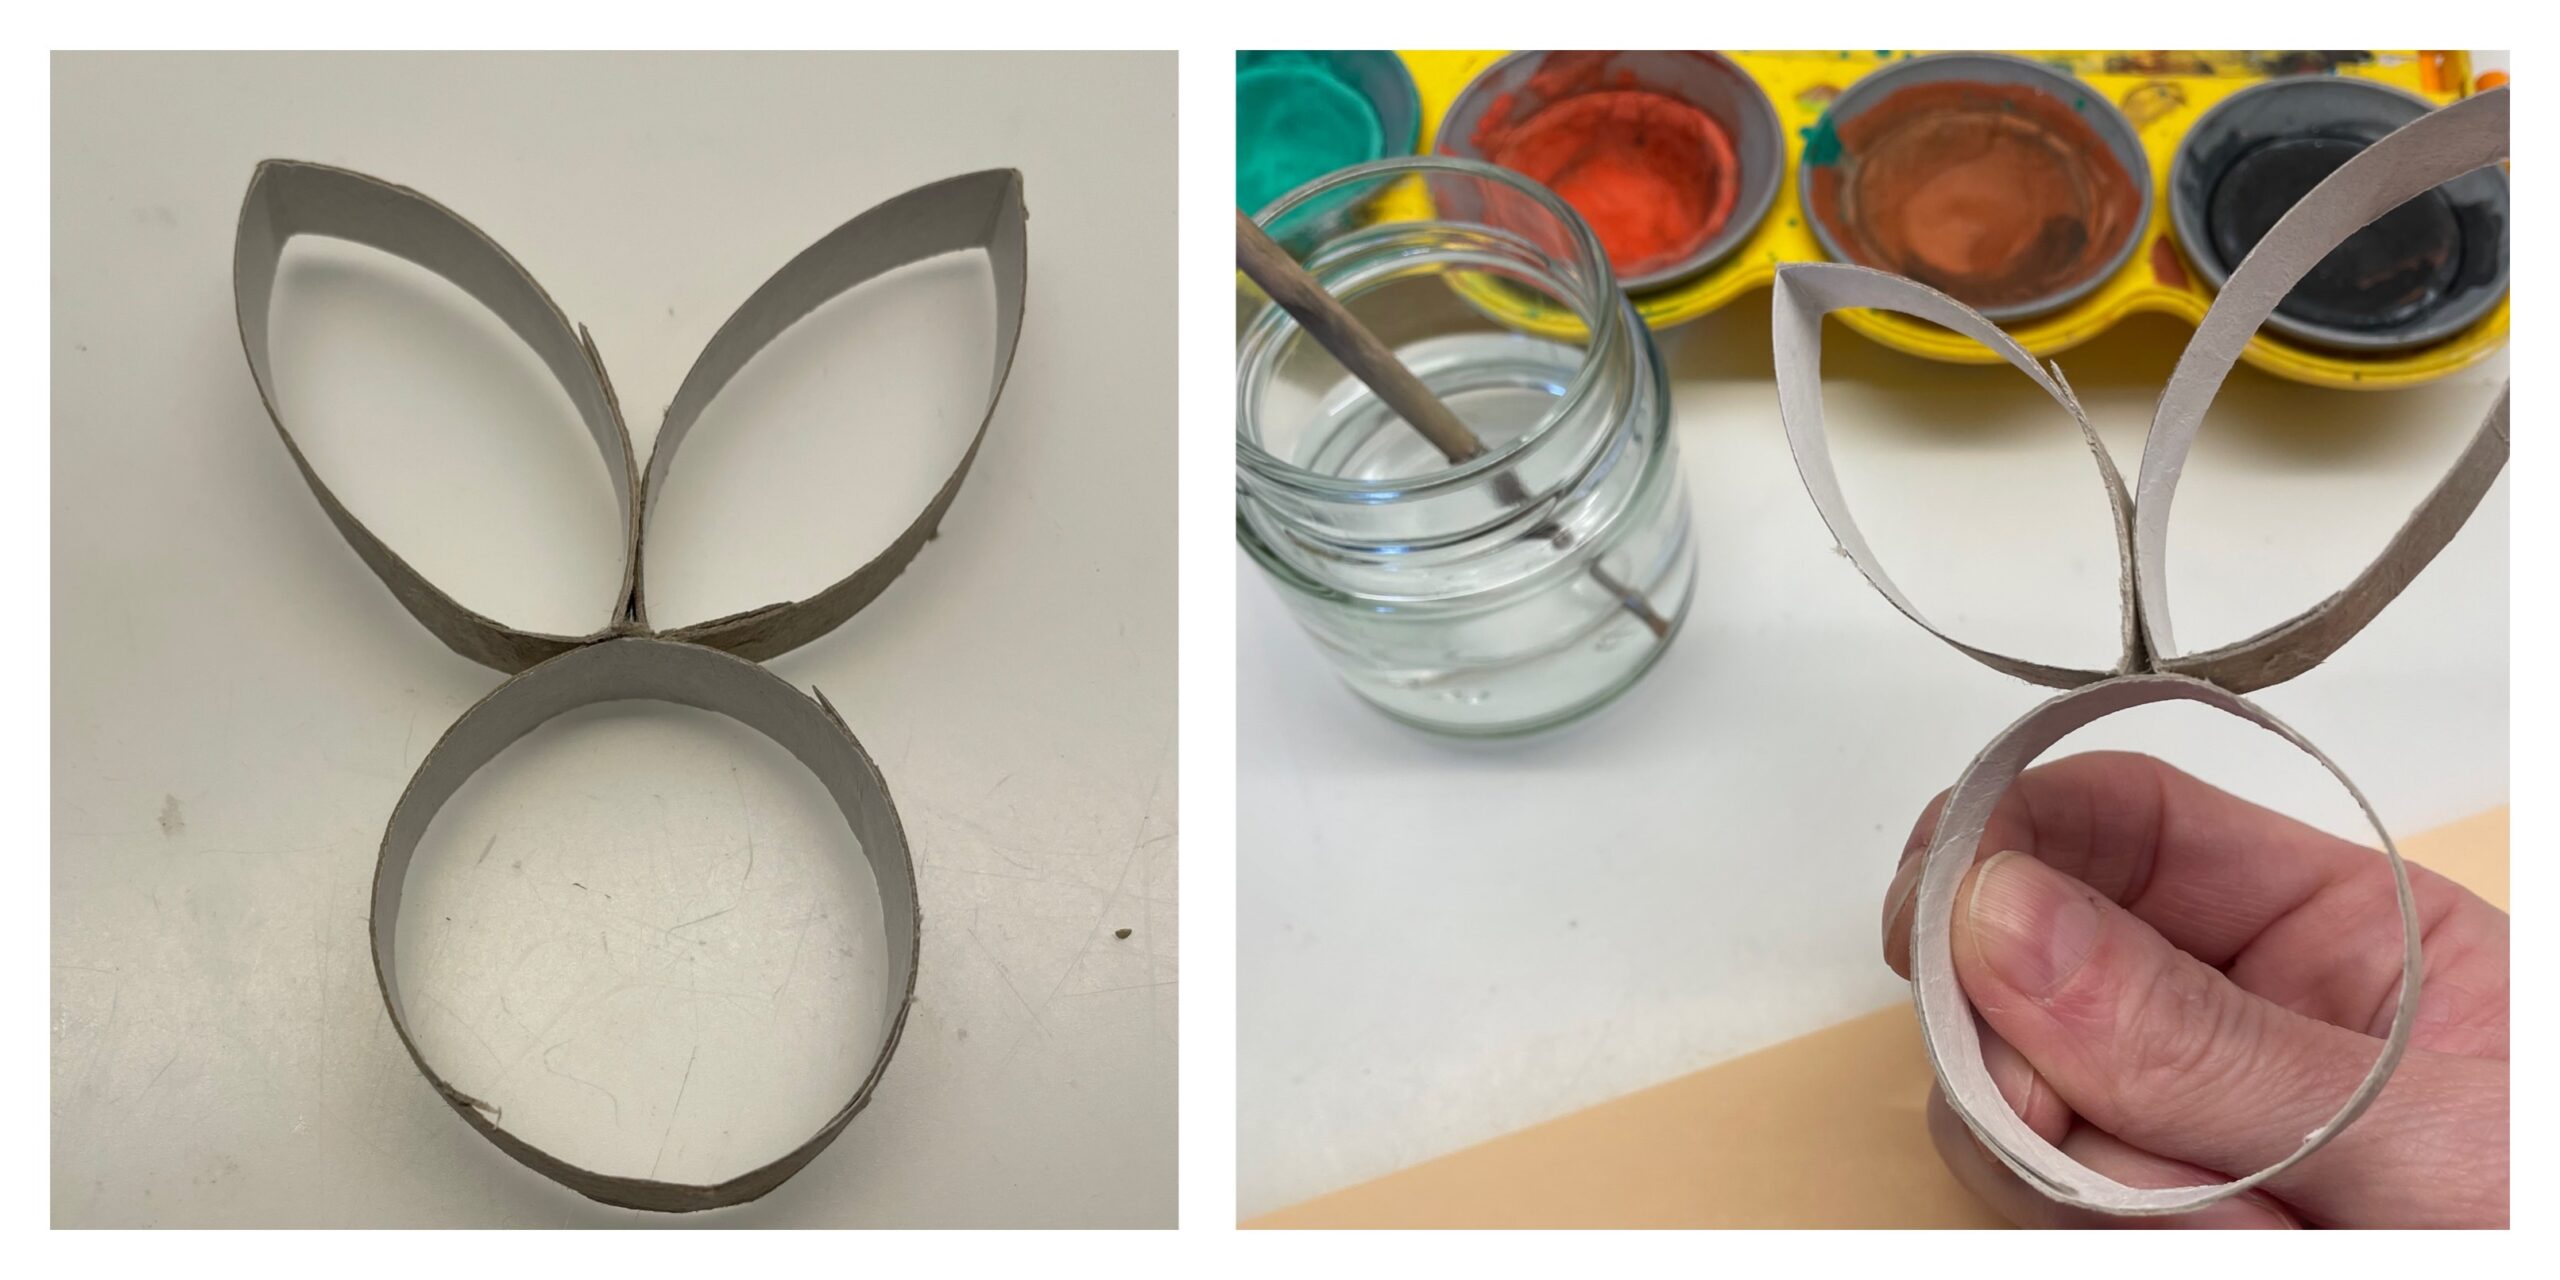
Bild zum Schritt 4 für das Bastel- und DIY-Abenteuer für Kinder: 'Nun holt ihr die Wasserfarben, taucht den Pinsel in Wasser...'

5

You can only paint the edge brown.
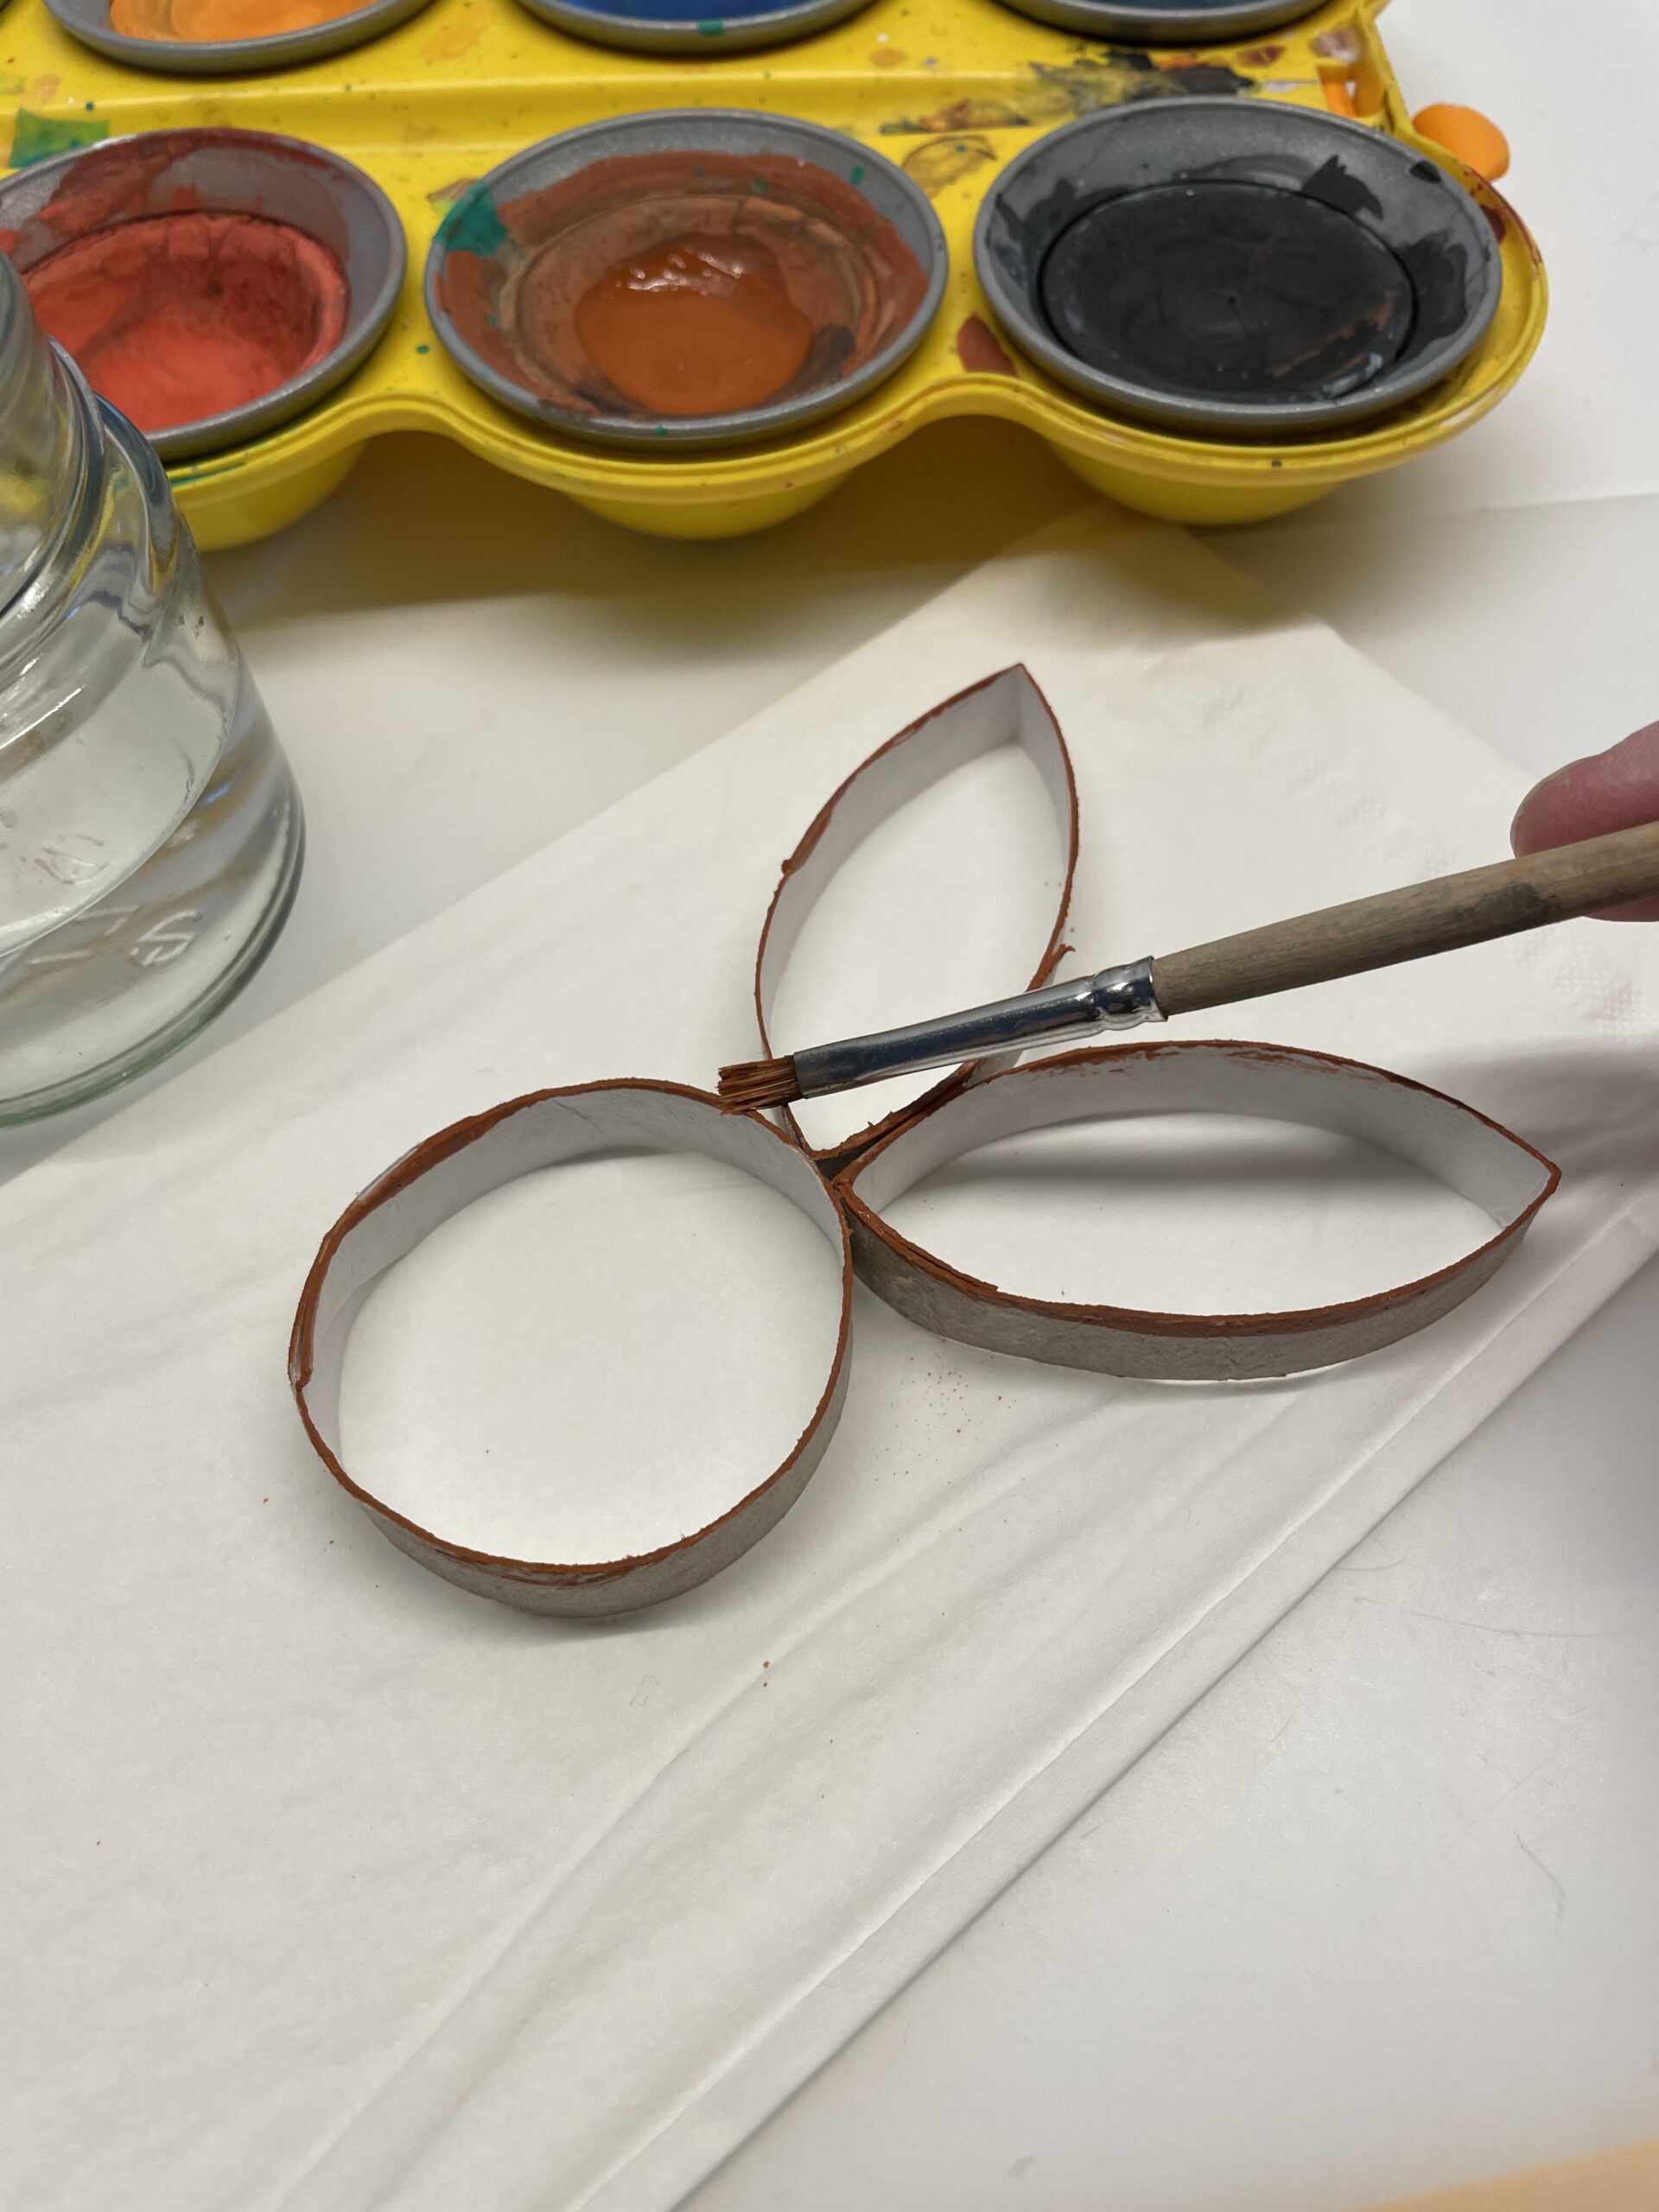
Bild zum Schritt 5 für das Bastel- und DIY-Abenteuer für Kinder: 'Ihr könnt auch nur den Rand braun anmalen.'

6

Now the paint has to dry first.

Bild zum Schritt 6 für das Bastel- und DIY-Abenteuer für Kinder: 'Nun muss die Farbe erst trocknen.'

7

In the meantime, get the napkins.

Bild zum Schritt 7 für das Bastel- und DIY-Abenteuer für Kinder: 'Holt in der Zwischenzeit euch die Servietten.'

8

Now fold the right tip to the left tip, strip out the fracture and open the napkin again. Now take the right and left side and fold the serrated to the middle line and strip it out.
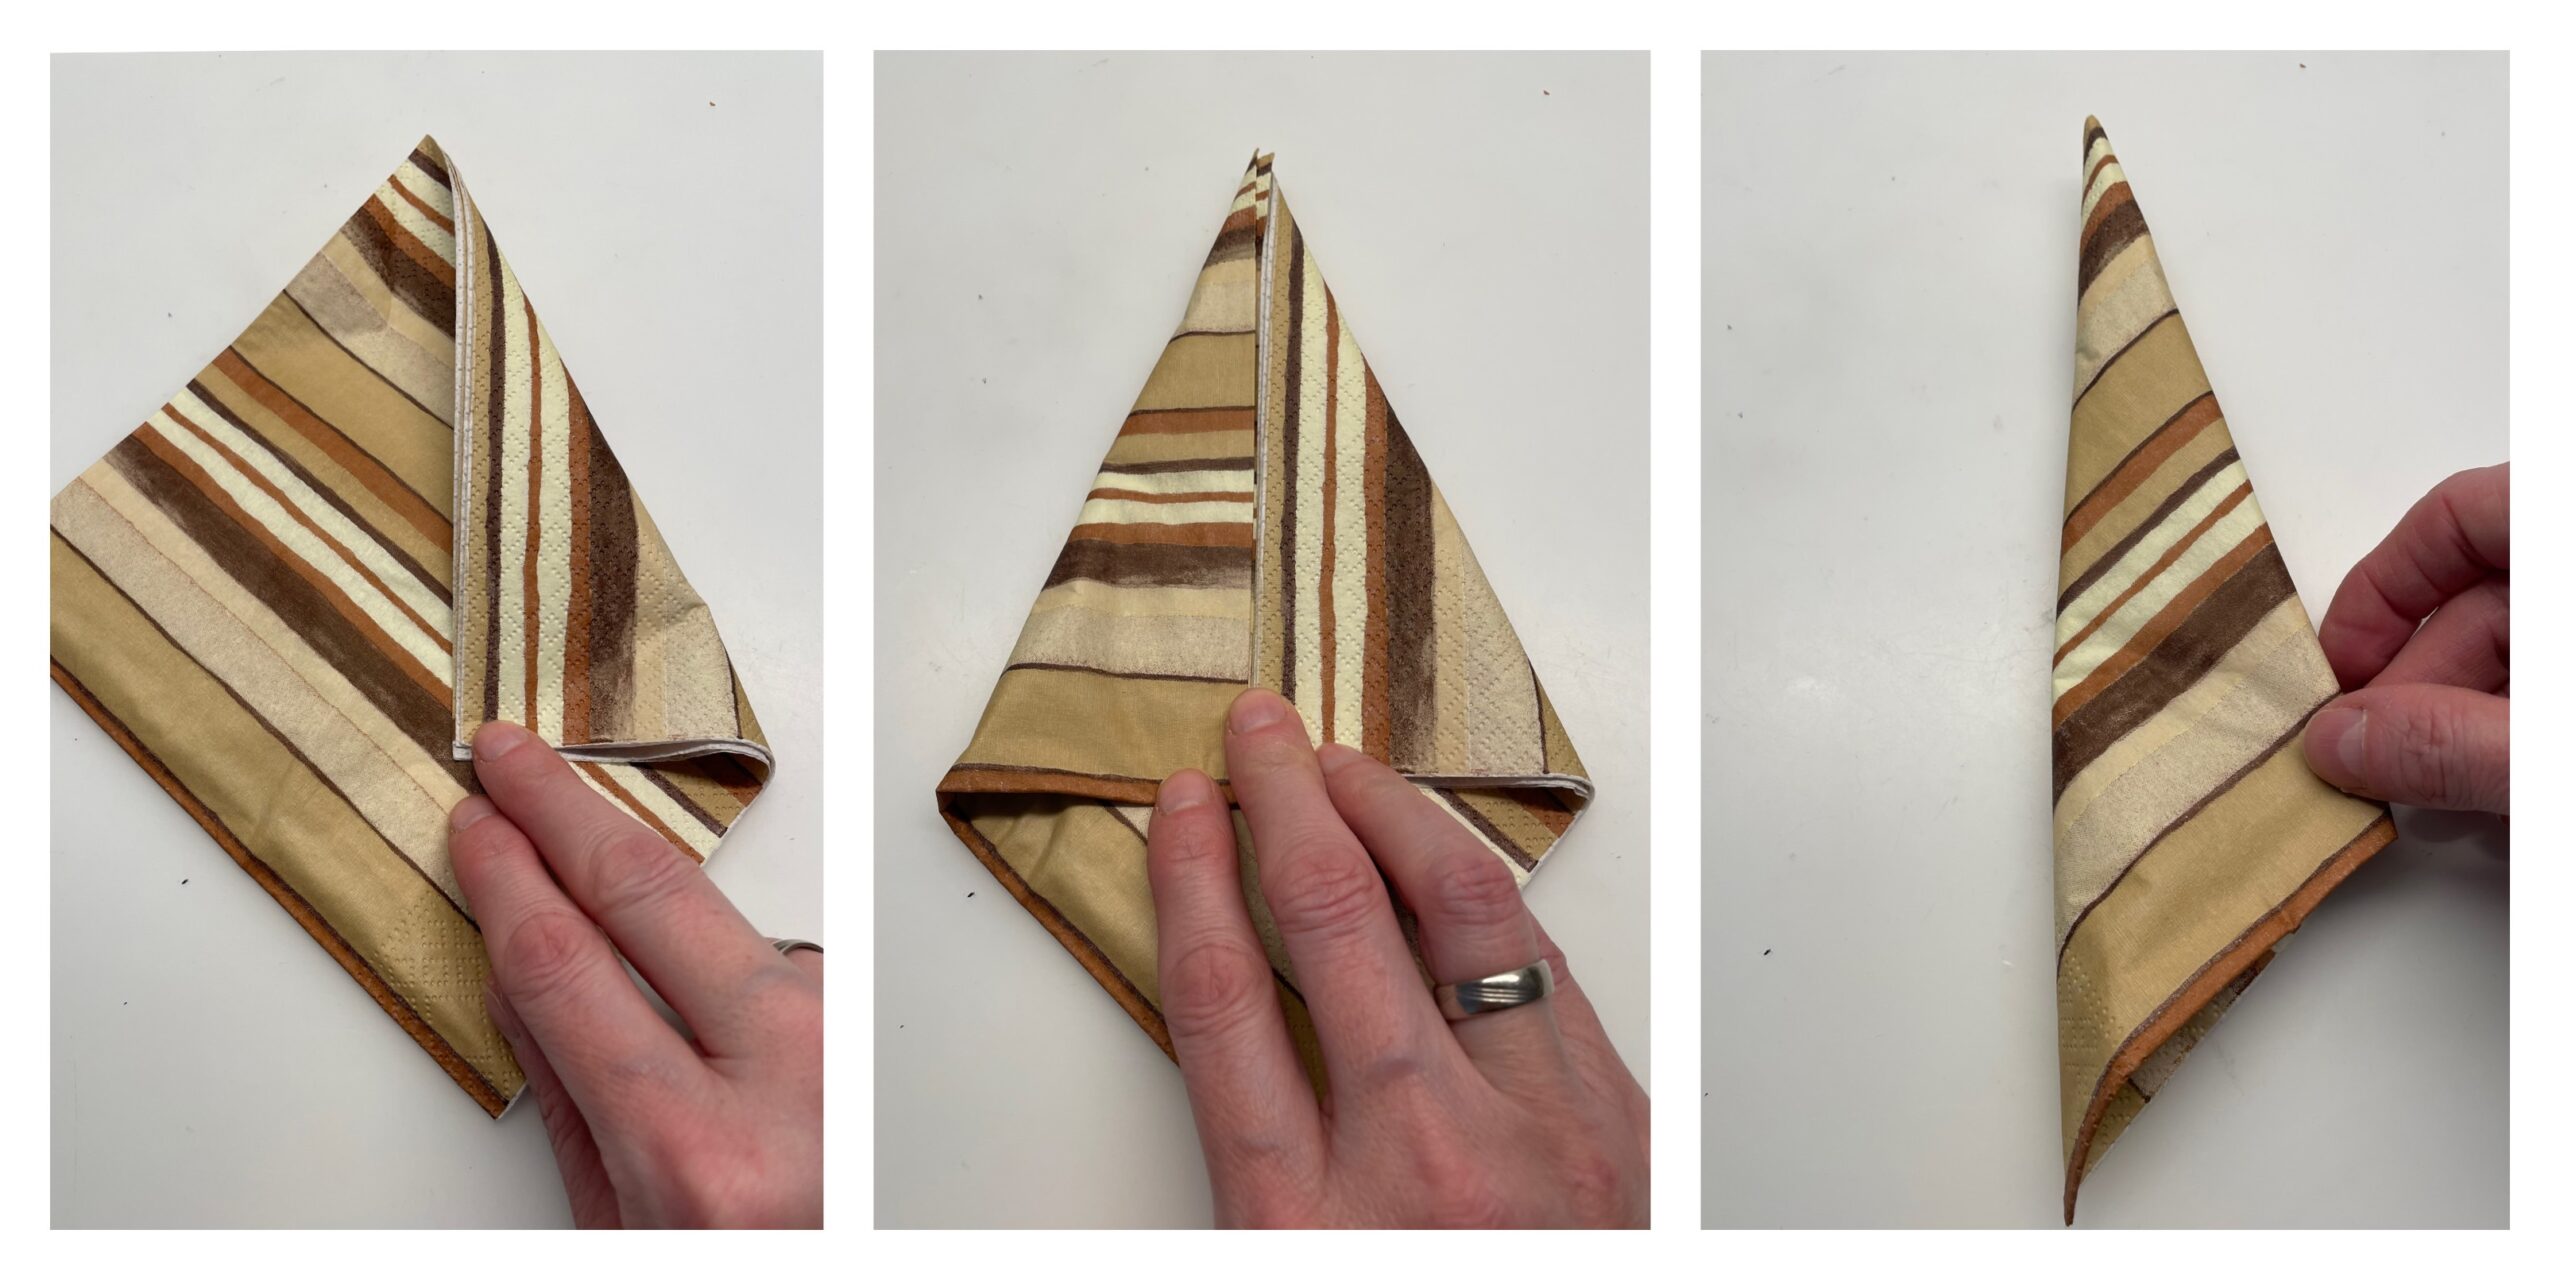
Bild zum Schritt 8 für das Bastel- und DIY-Abenteuer für Kinder: 'Legt die Servierte mit einer Spitze an die Tischkante. Faltet...'

9

When your cardboard strips are dried, you can fold the napkin together and slide the folded side into the thicker cardboard ring.
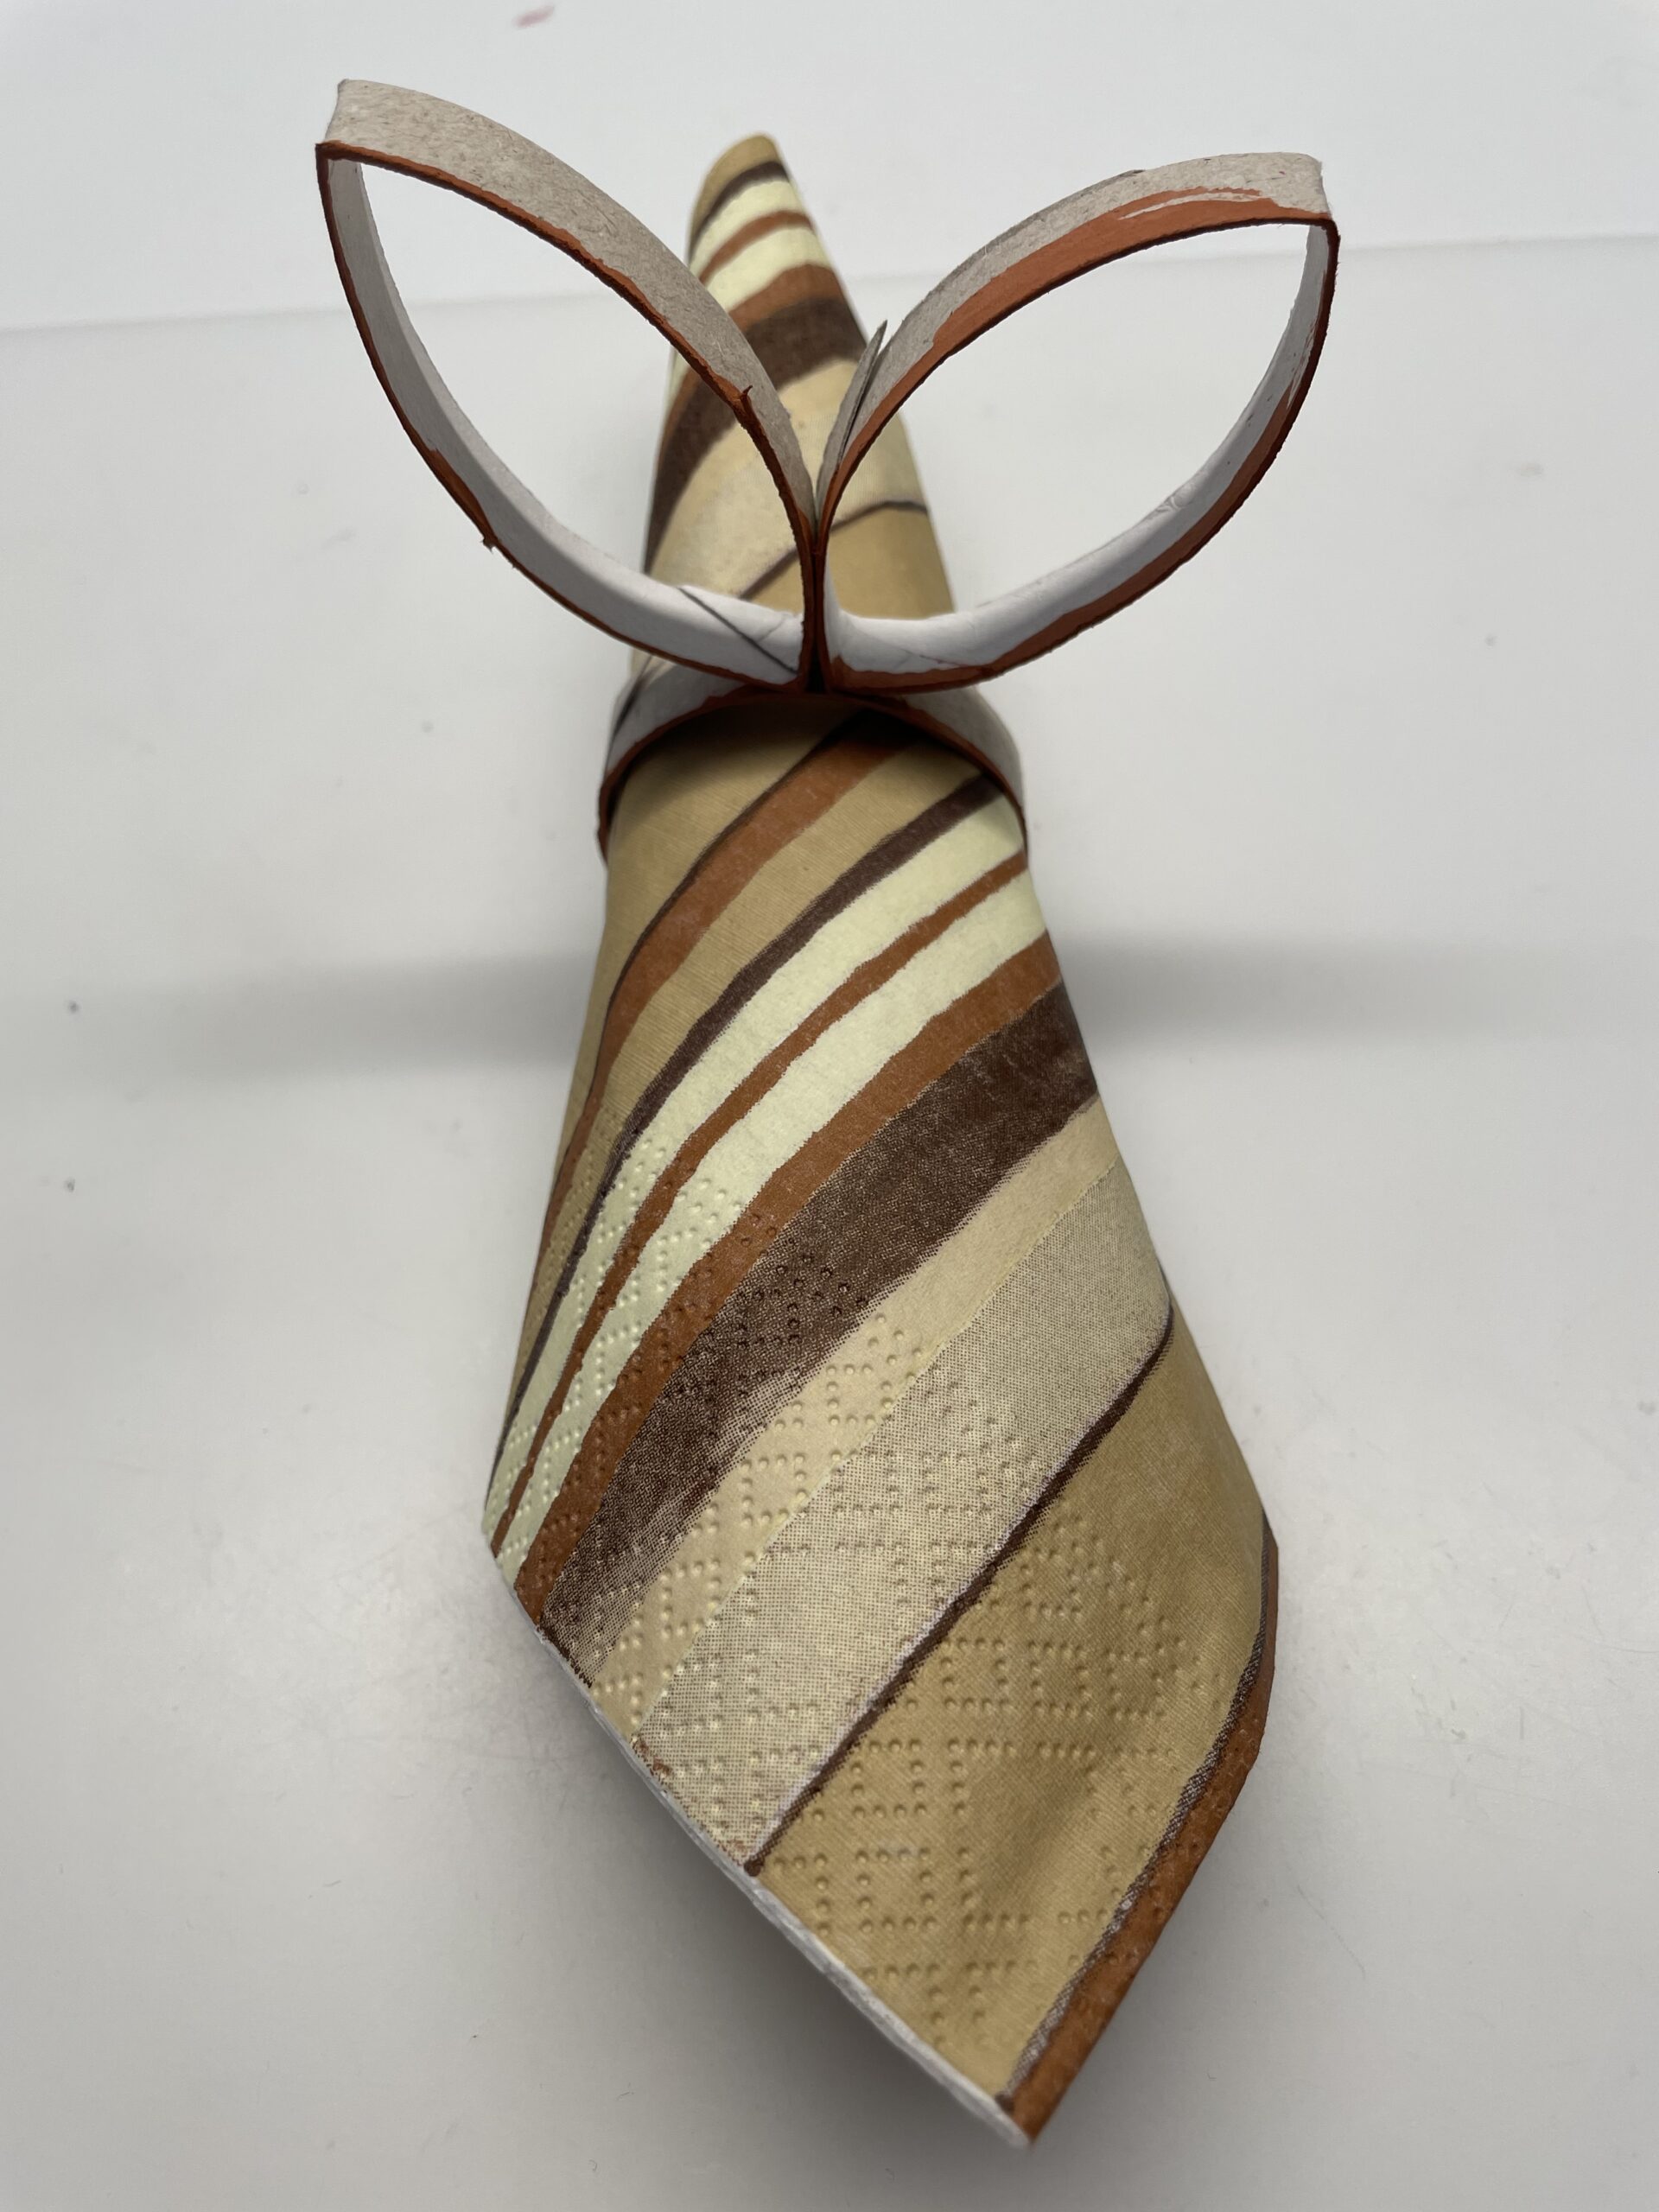
Bild zum Schritt 9 für das Bastel- und DIY-Abenteuer für Kinder: 'Wenn eure Pappstreifen getrocknet sind , könnt ihr die Serviette...'

10

This is what your Easter napkin ring looks like now.
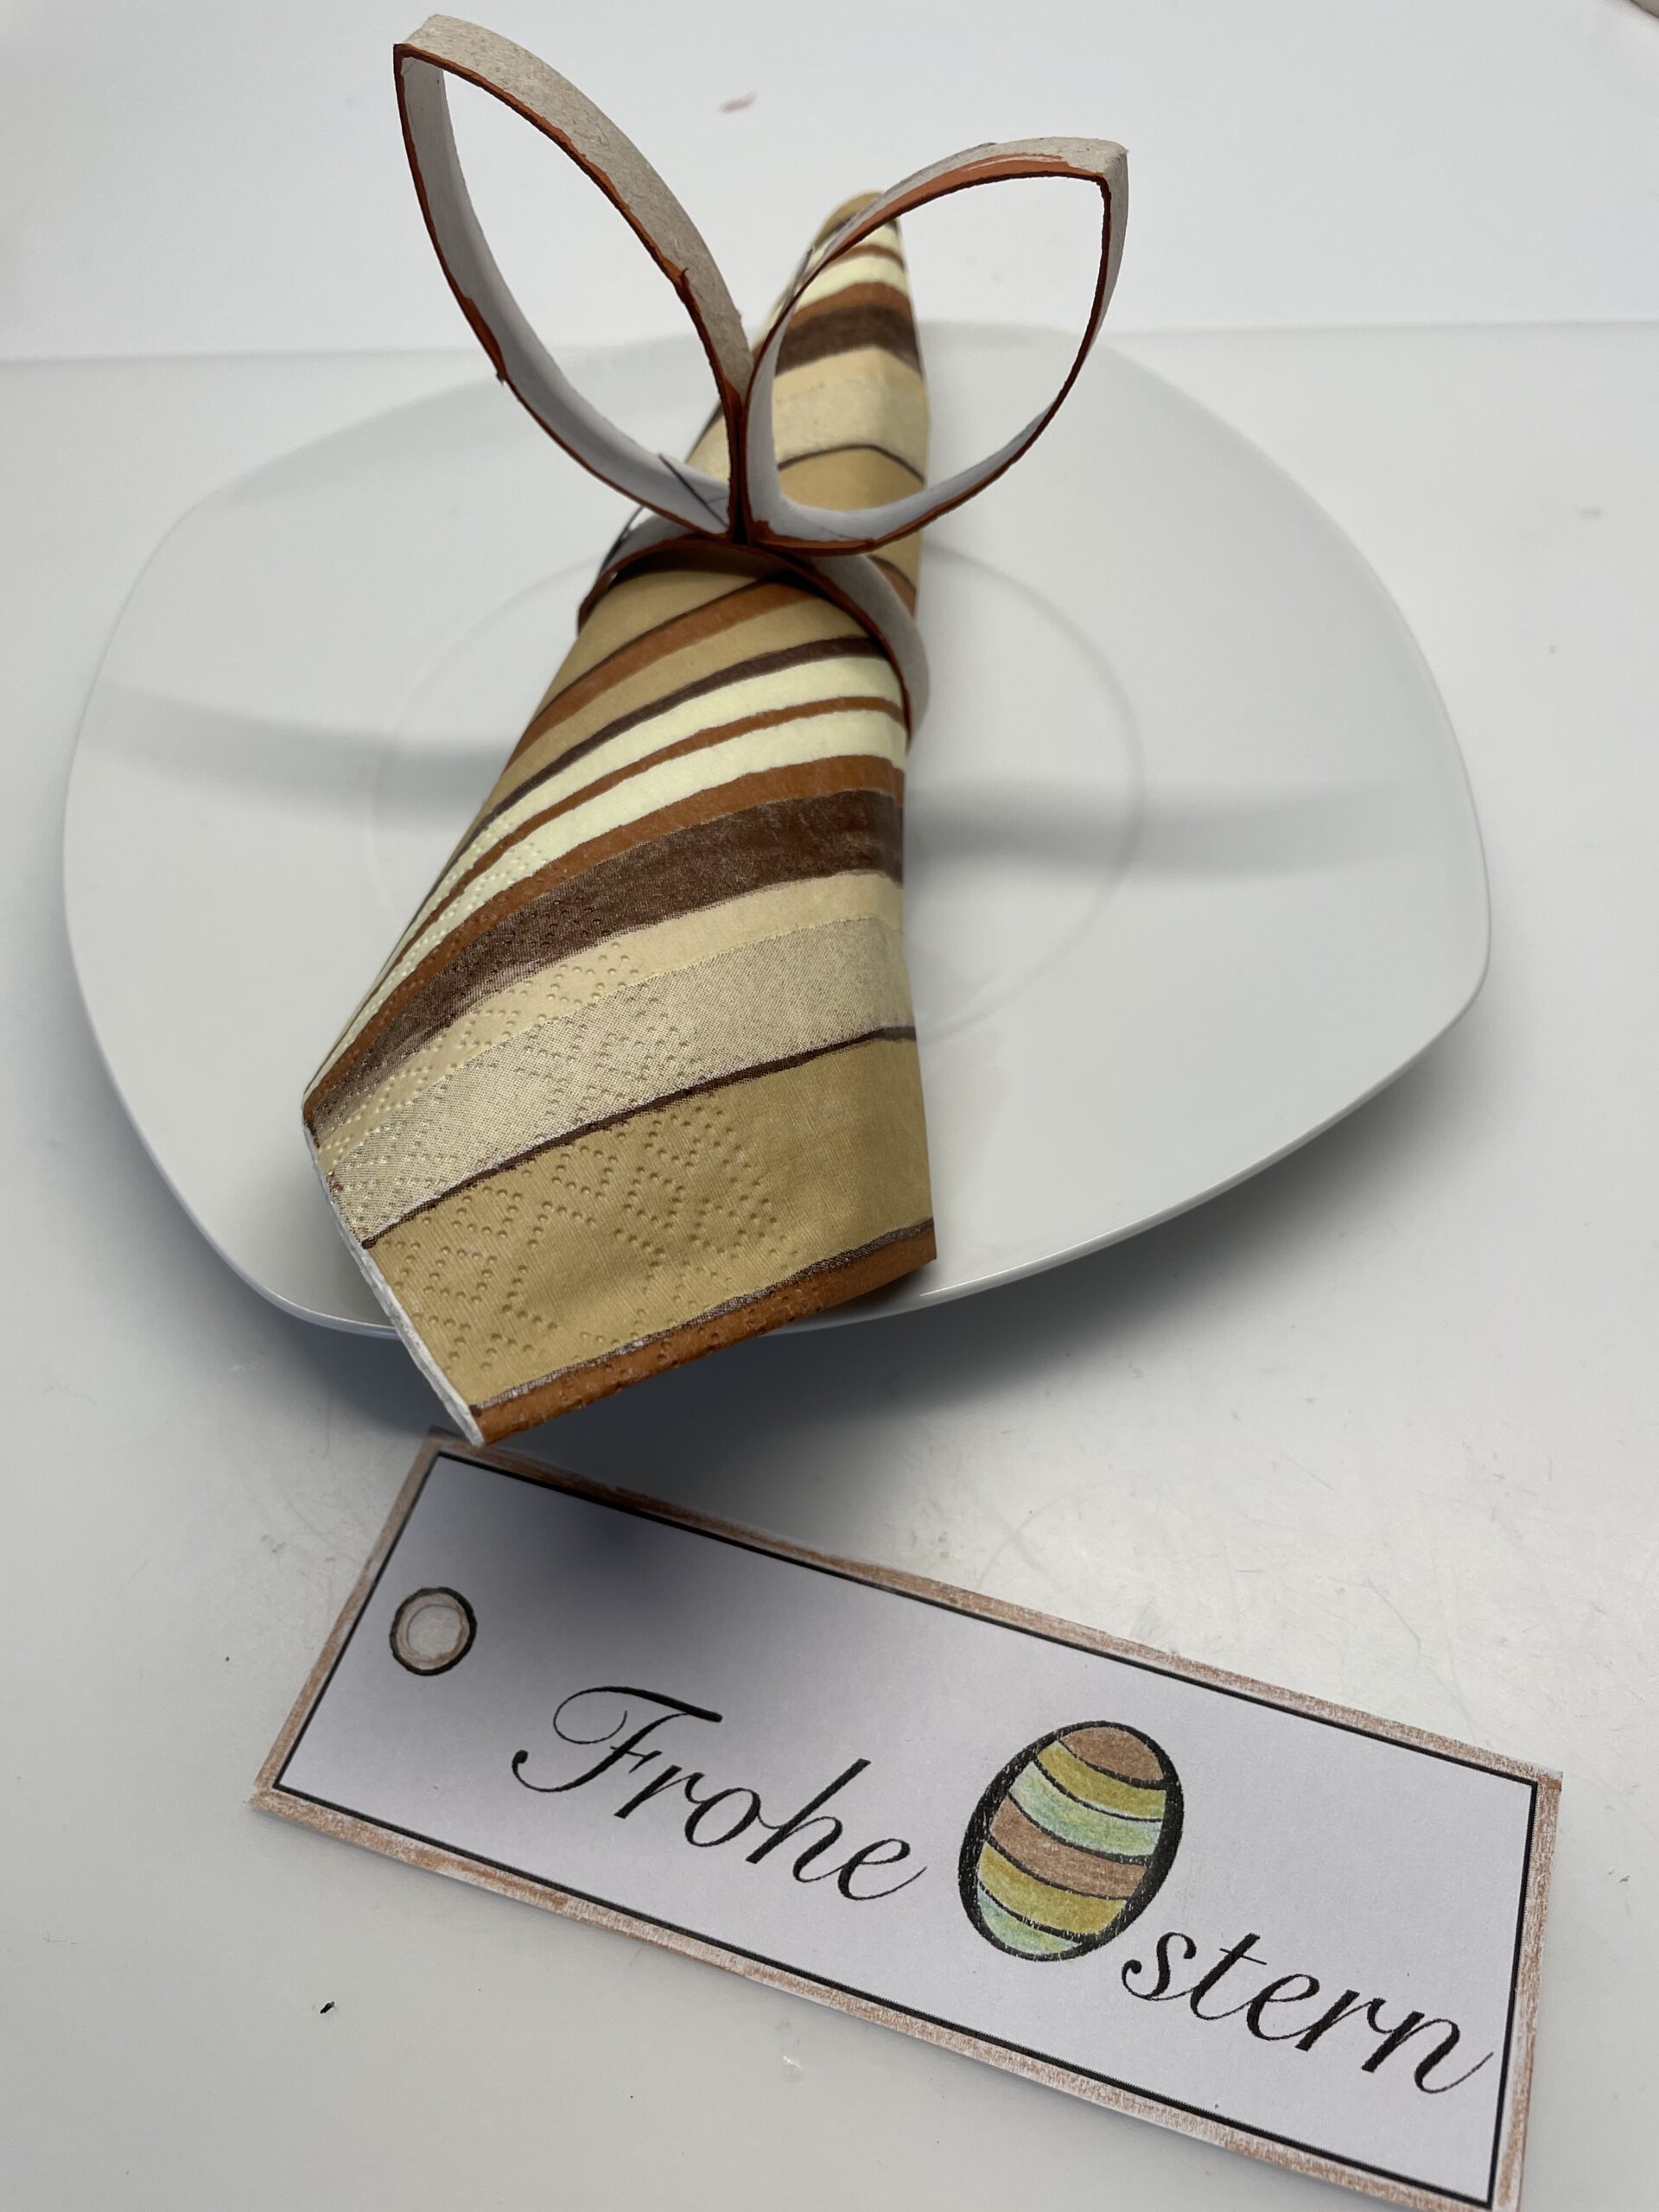
Bild zum Schritt 10 für das Bastel- und DIY-Abenteuer für Kinder: 'So sieht nun euer Oster Serviettenring jetzt aus.'

11

You can also paint a nice picture with a happy Easter, and add it as a decoration.
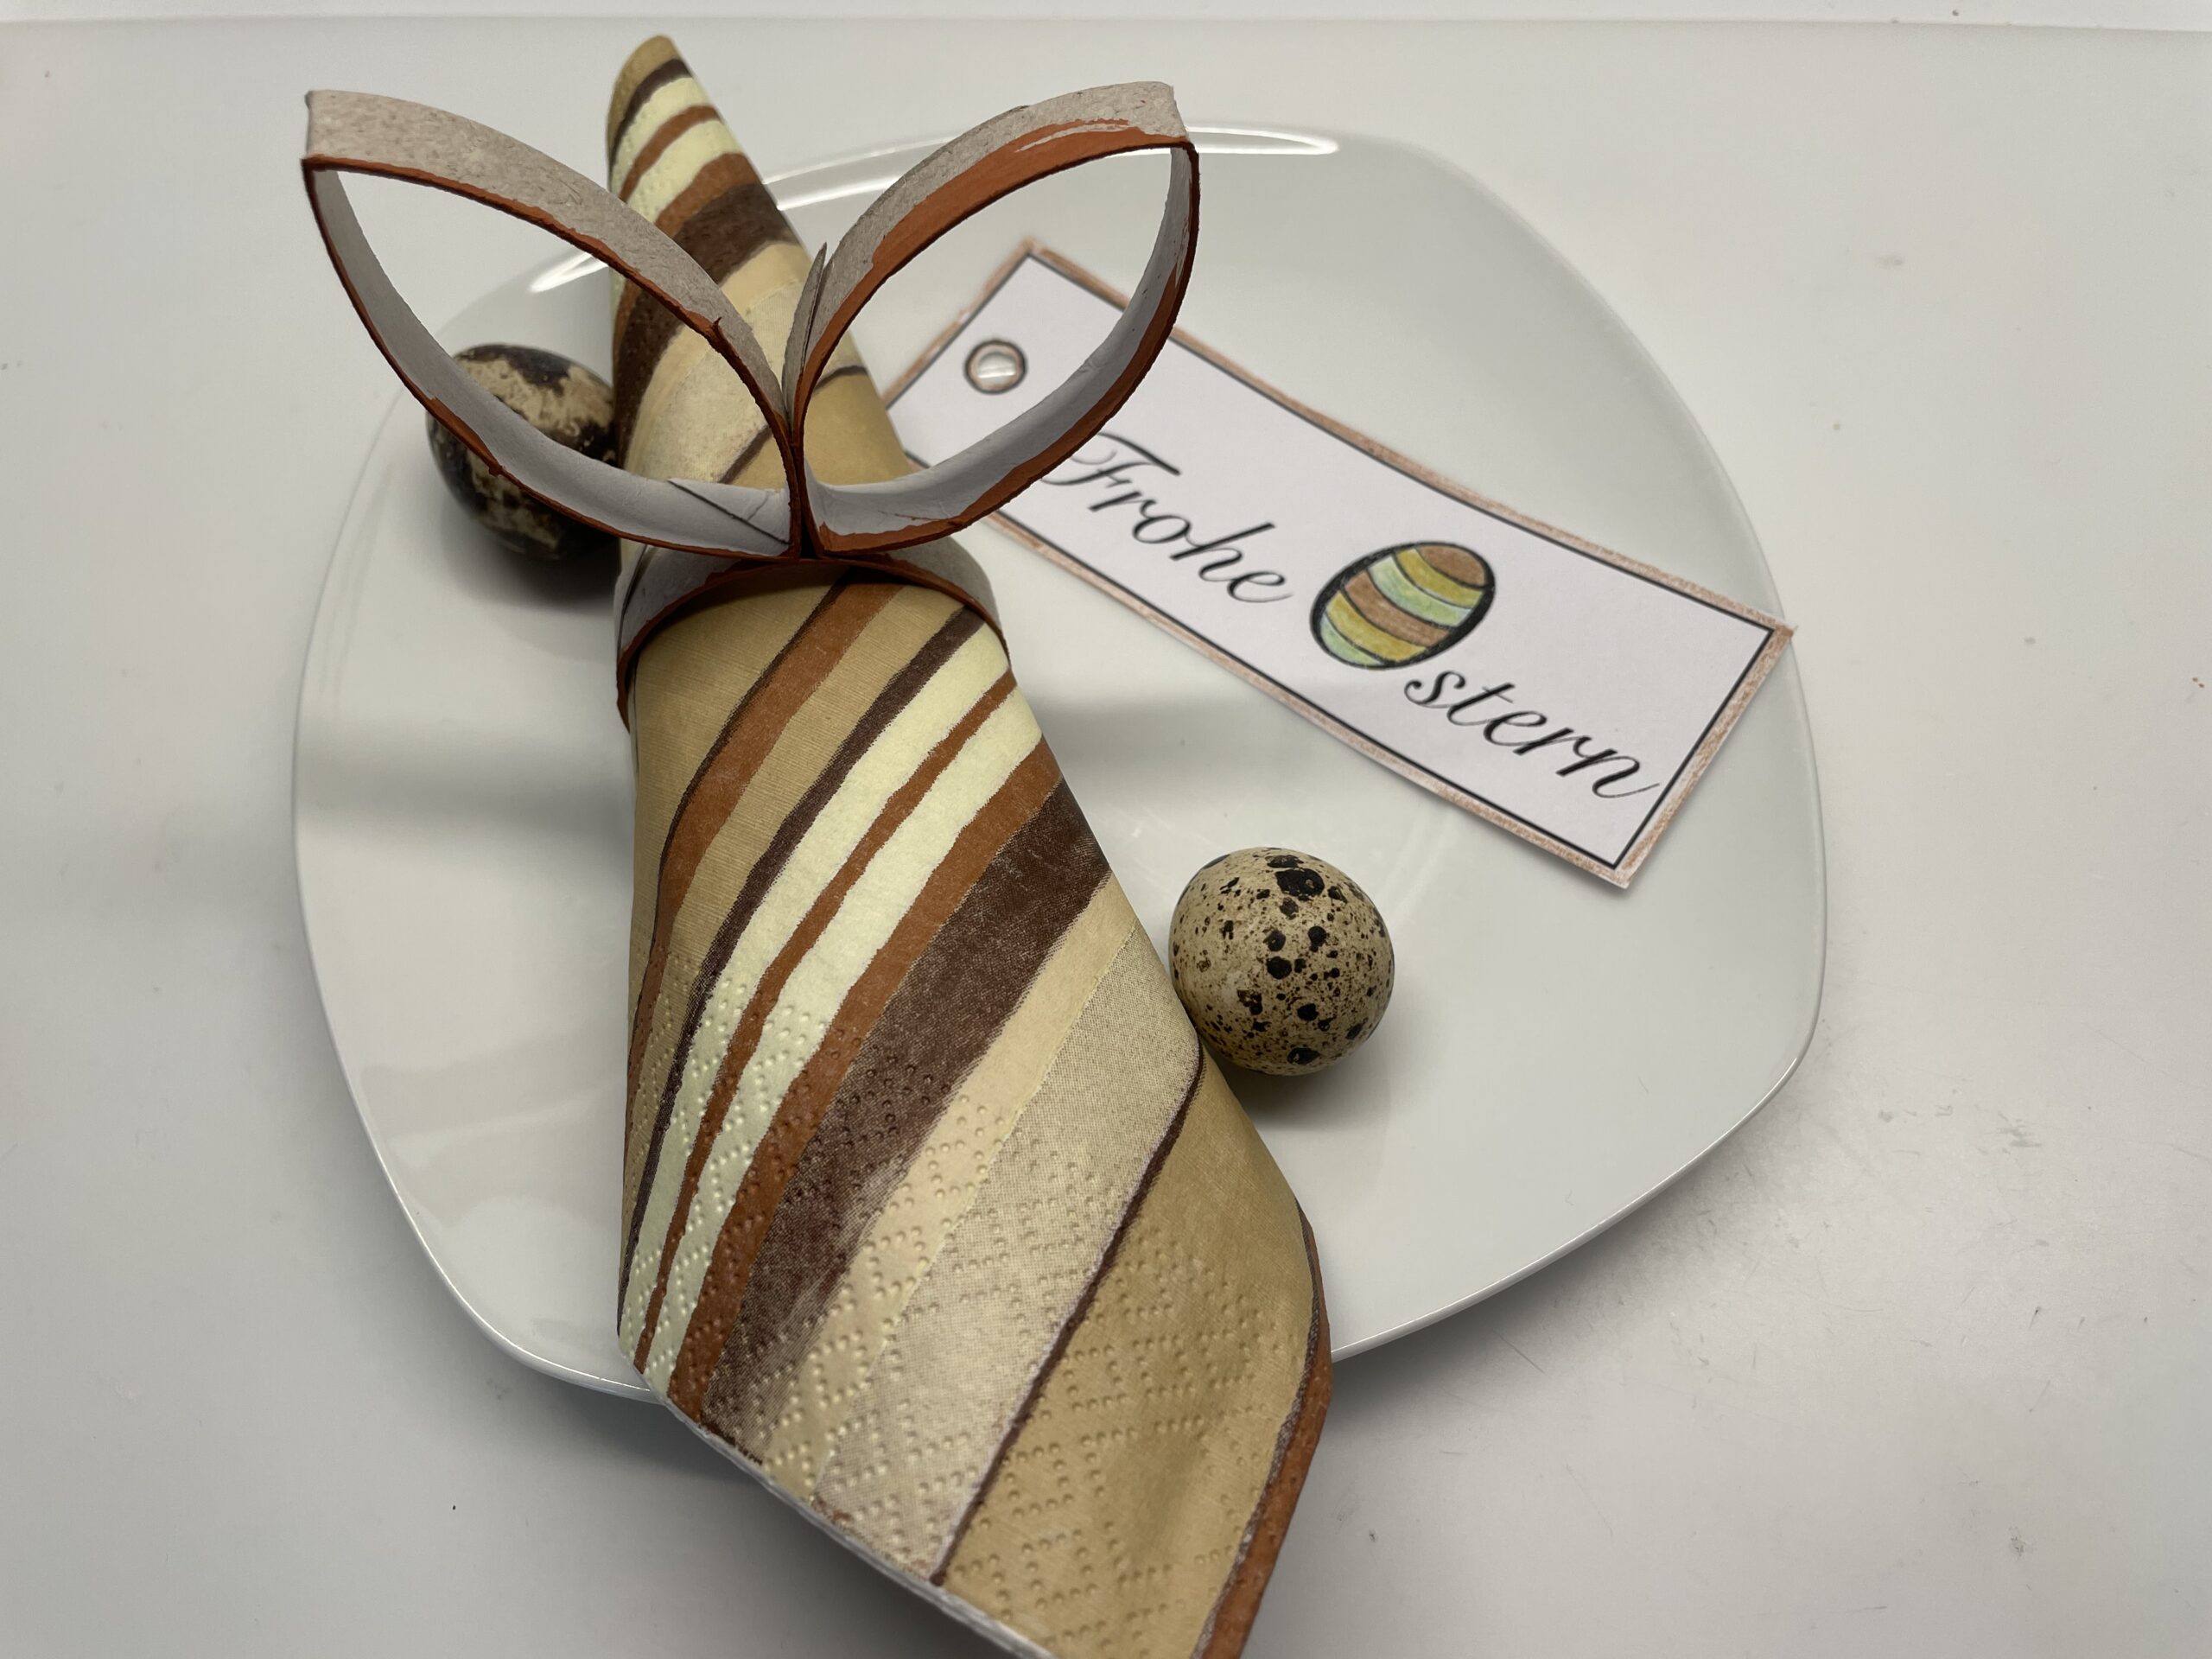
Bild zum Schritt 11 für das Bastel- und DIY-Abenteuer für Kinder: 'Ihr könnt noch ein schönes Bildchen mit frohe Ostern dazu...'

12

With a few small Easter eggs you can cover a nice Easter table.
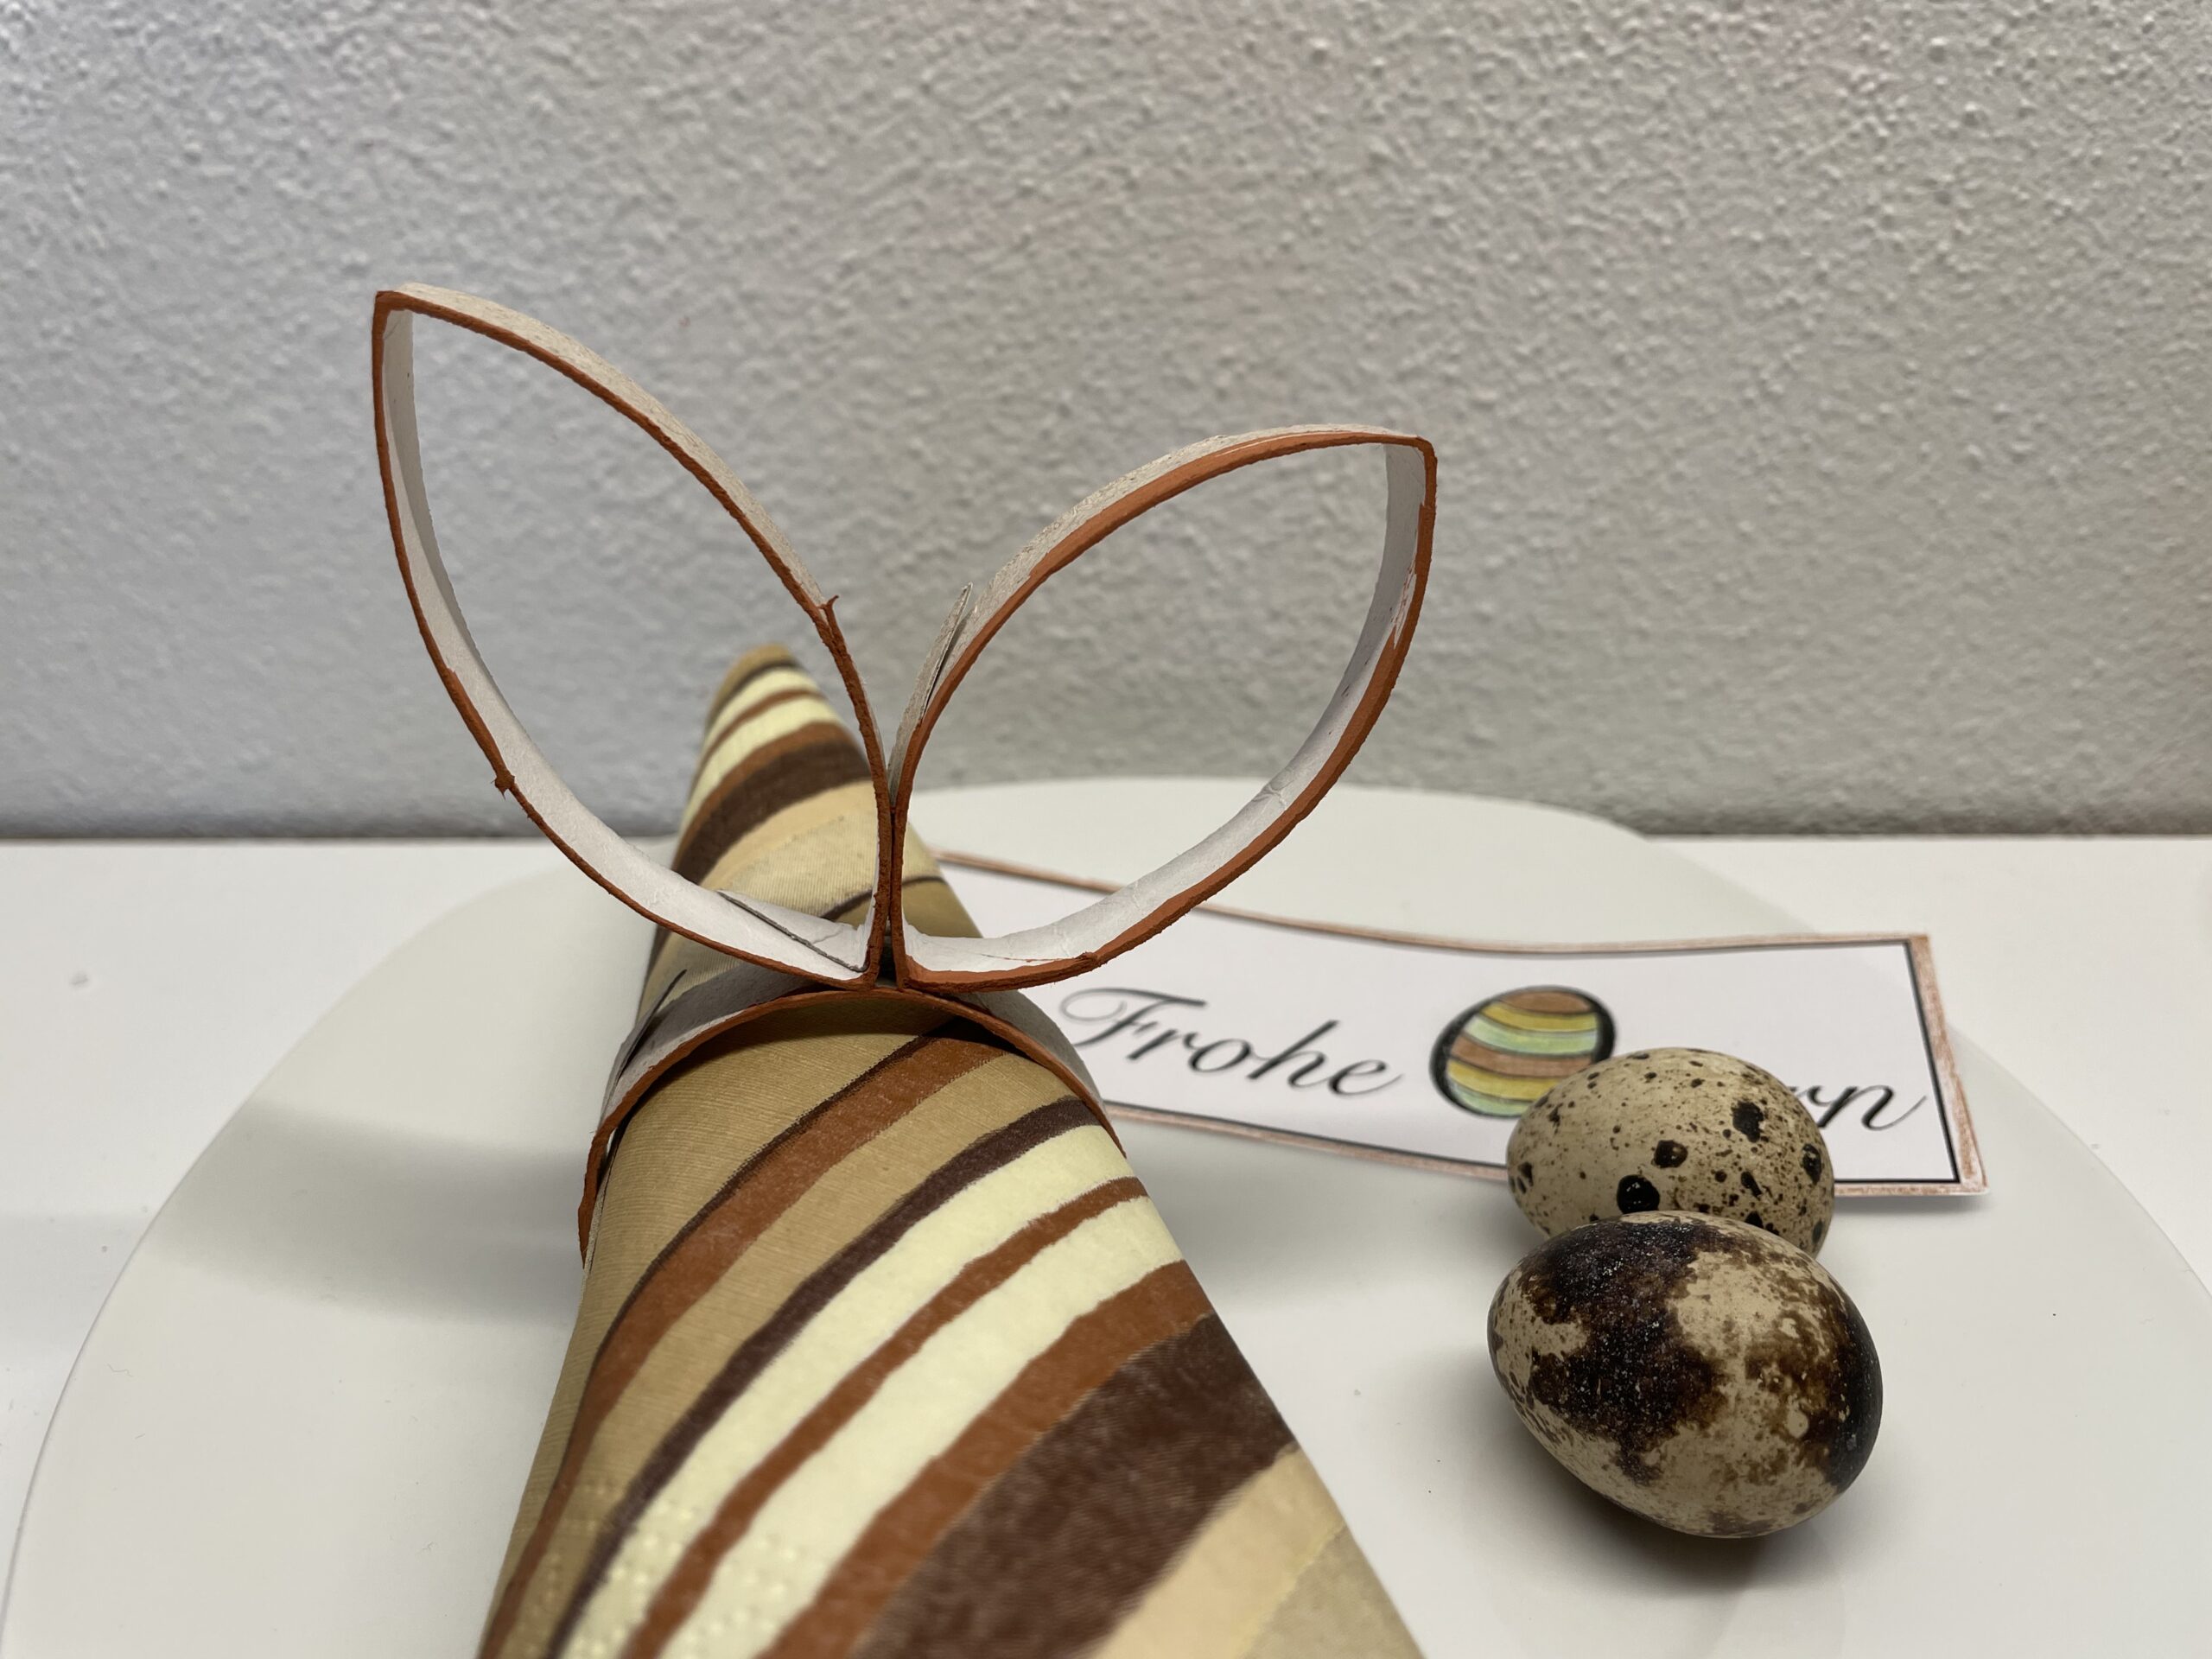
Bild zum Schritt 12 für das Bastel- und DIY-Abenteuer für Kinder: 'Mit ein paar kleinen Ostereiern könnt  ihr einen schönen...'

Easter napkin ring rabbit

Follow us on Facebook , Instagram and Pinterest
Don't miss any more adventures: Our bottle mail

Leave a Reply

Your email address will not be published.

The maximum upload file size: 5 MB. You can upload: image, document. Drop file here