Spine tinkering

AdventurerKatzi
Rating5.03.4 Thousand times & (1) DifficultyIntermediate

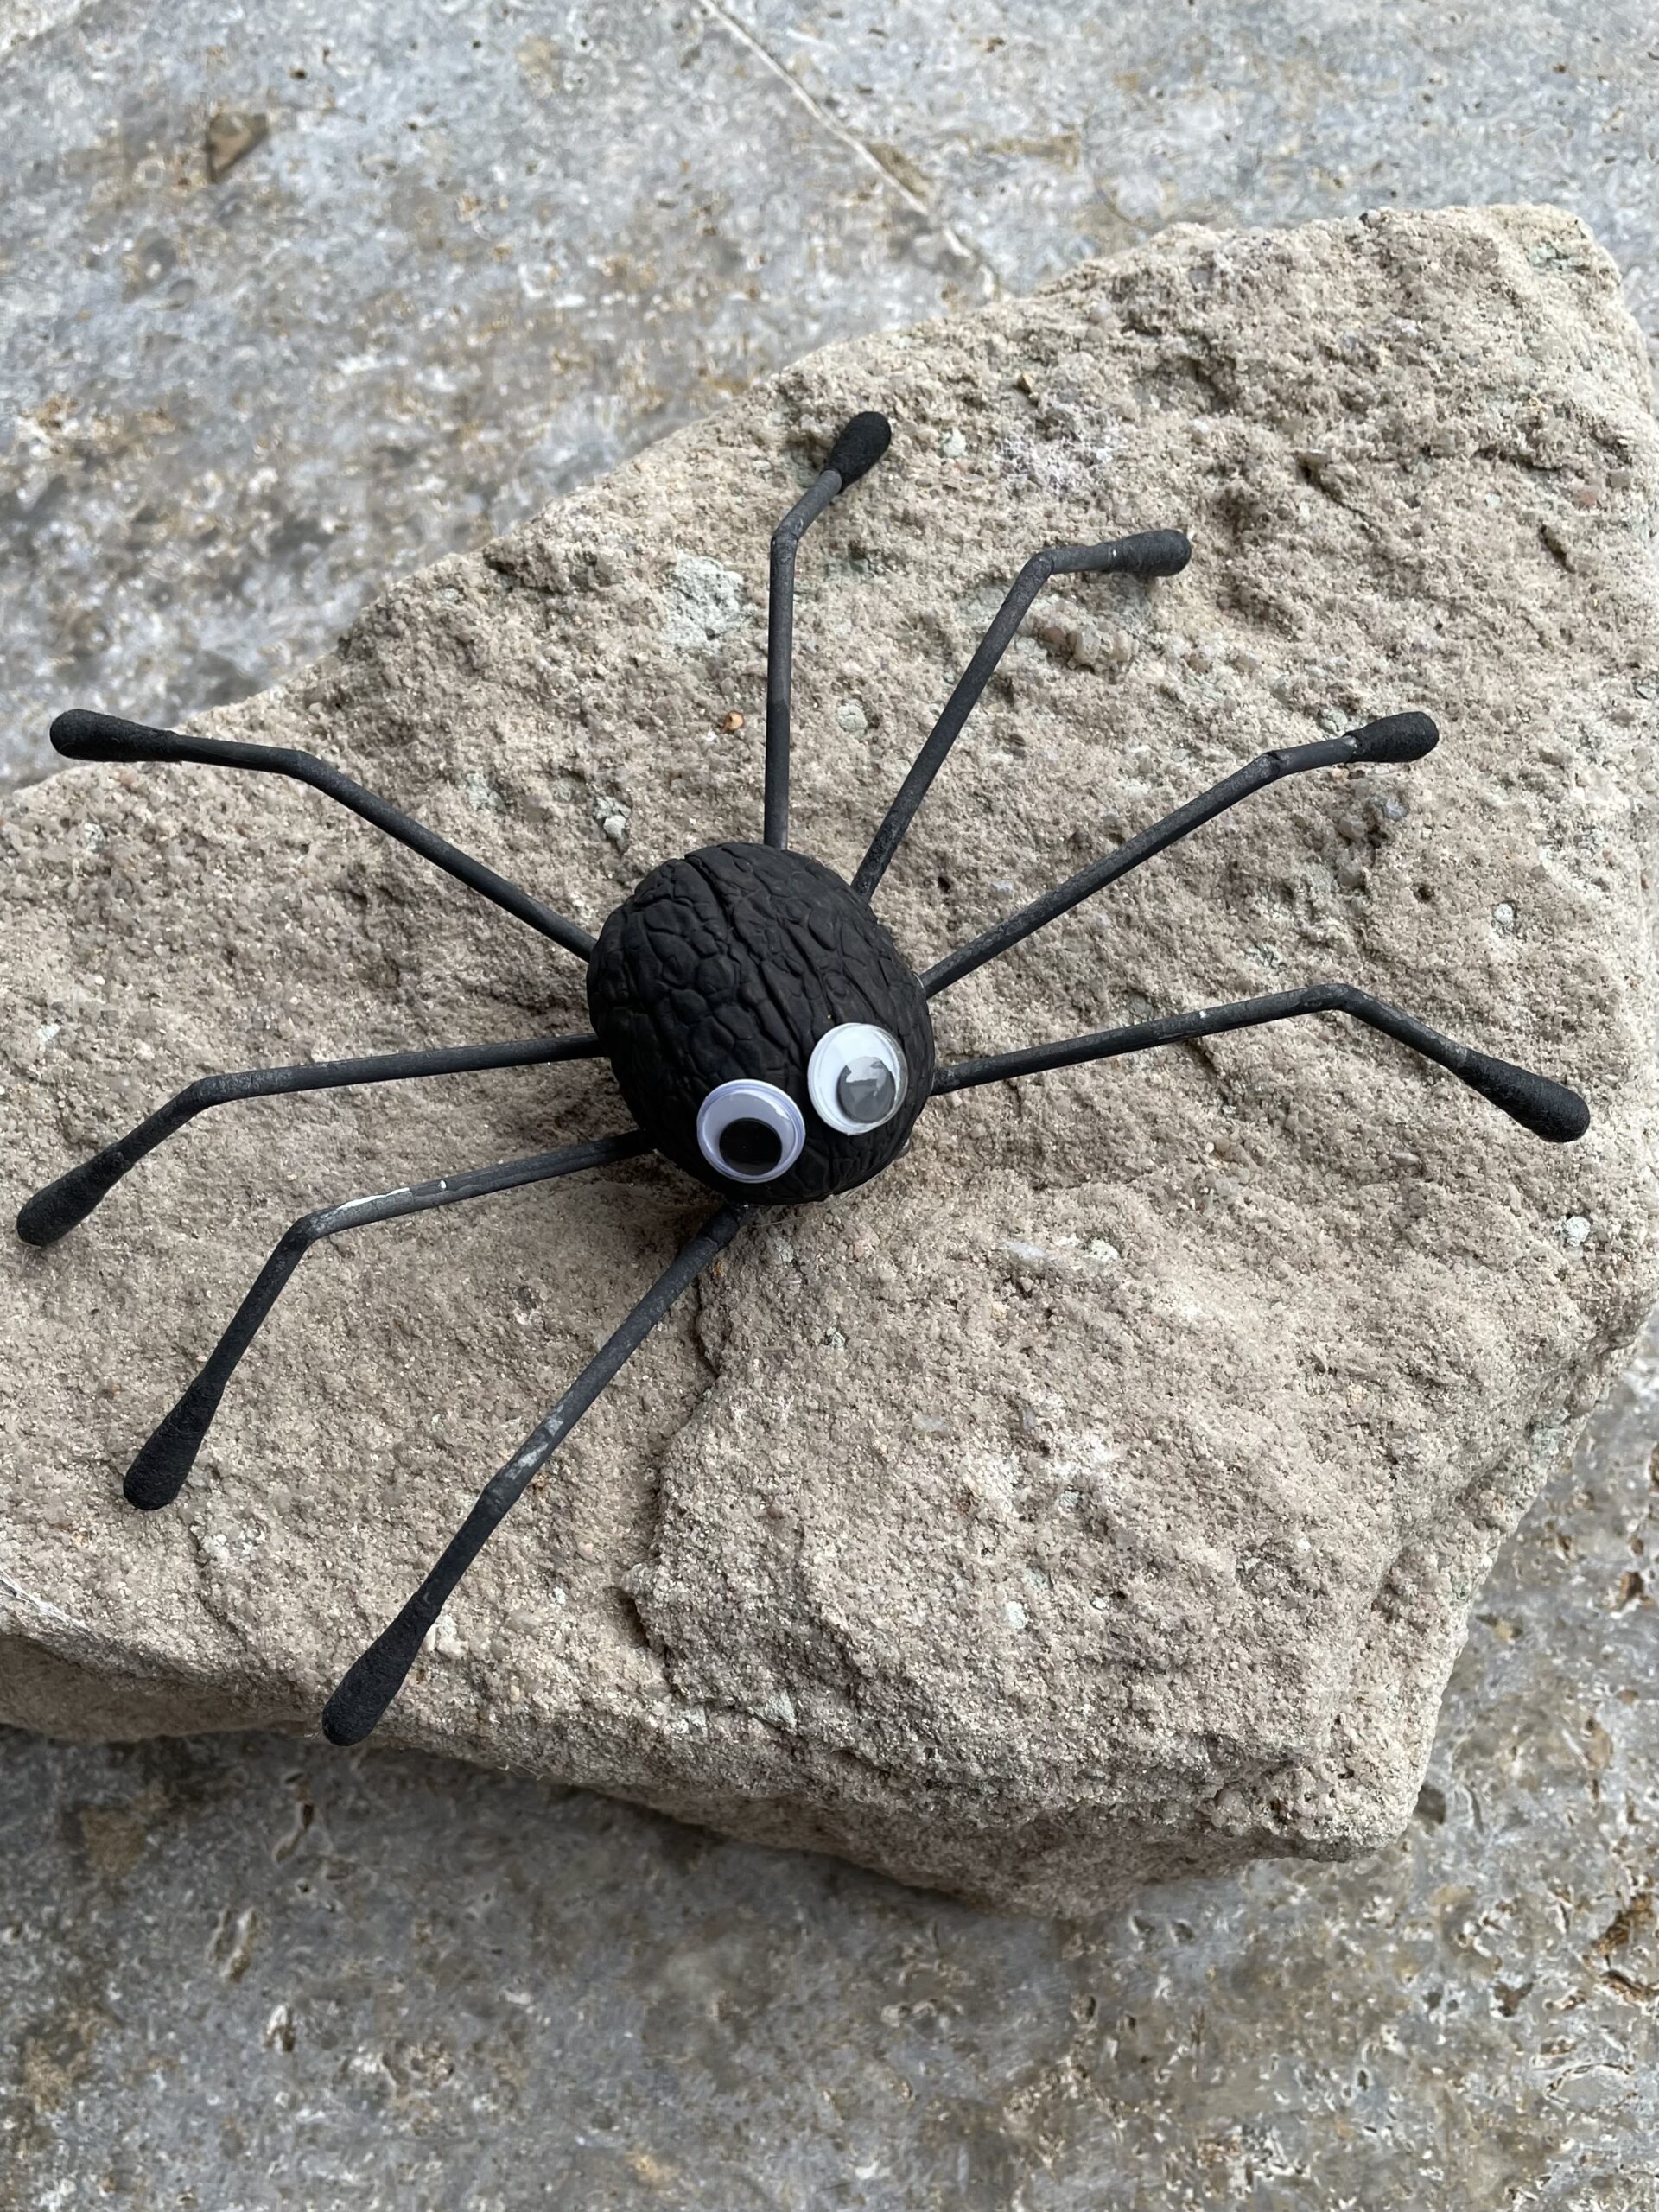
For this creepy spider you need a half nutshell, 8 cotton swabs and wobble eyes. It is a perfect decoration for a Halloween party. For this you only paint everything with black water color and glue the individual parts together. Have fun crafting!

Media Education for Kindergarten and Hort

Kind bastelt eine Rassel mit dem Navi
The Adventure Navi, the app for DIY projects, enables media education for the youngest.

Relief in everyday life, targeted promotion of individual children, independent learning and - without any pre-knowledge already usable by the youngest!
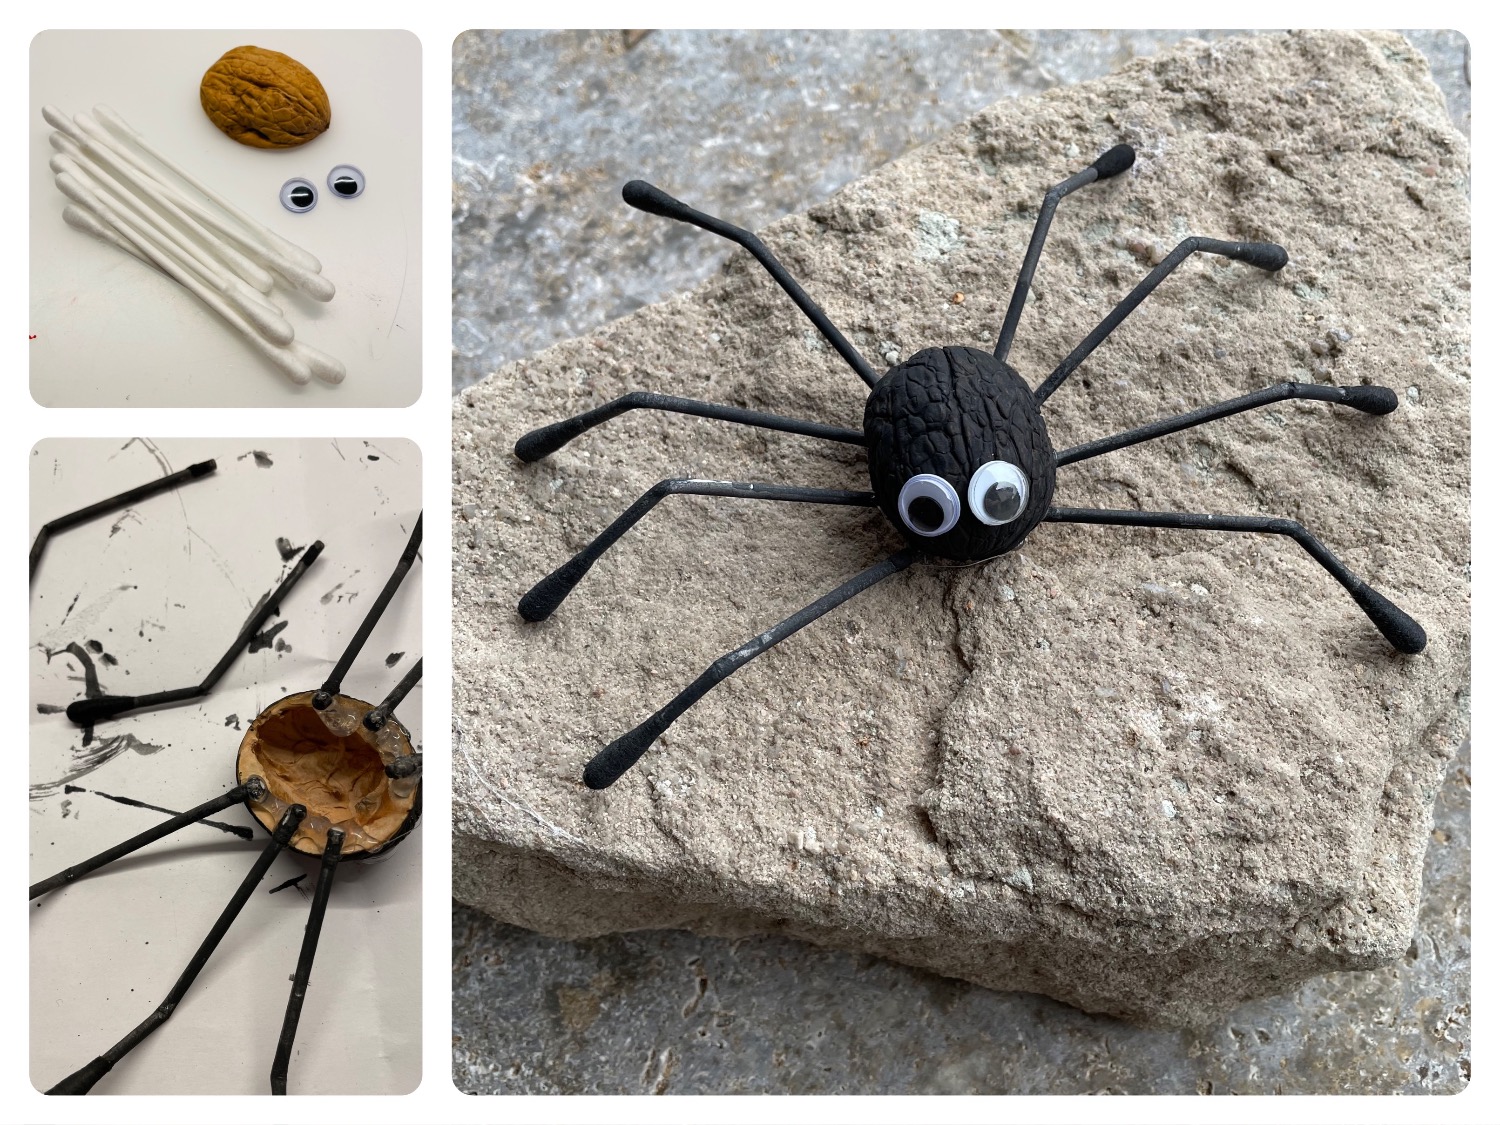


Titelbild zur Bastel- und DIY-Idee für Kinder '(870) Spinne basteln'
Material for1 Child
Prep Time5 min.Adv. Time20 min.Total Time25 min.
 1 Half walnut peel
 8 Cotton swabs
 1 Water colour black
 1 Brushes
 1 Small pliersor large tweezers, sugar pliers
 1 Water glass
 1 Builder's pad
 1 Newsprint
 1 Paint coats
 1 Hot glue gun
 2 Wax eyes
1

First, prepare the materials and the craft file.
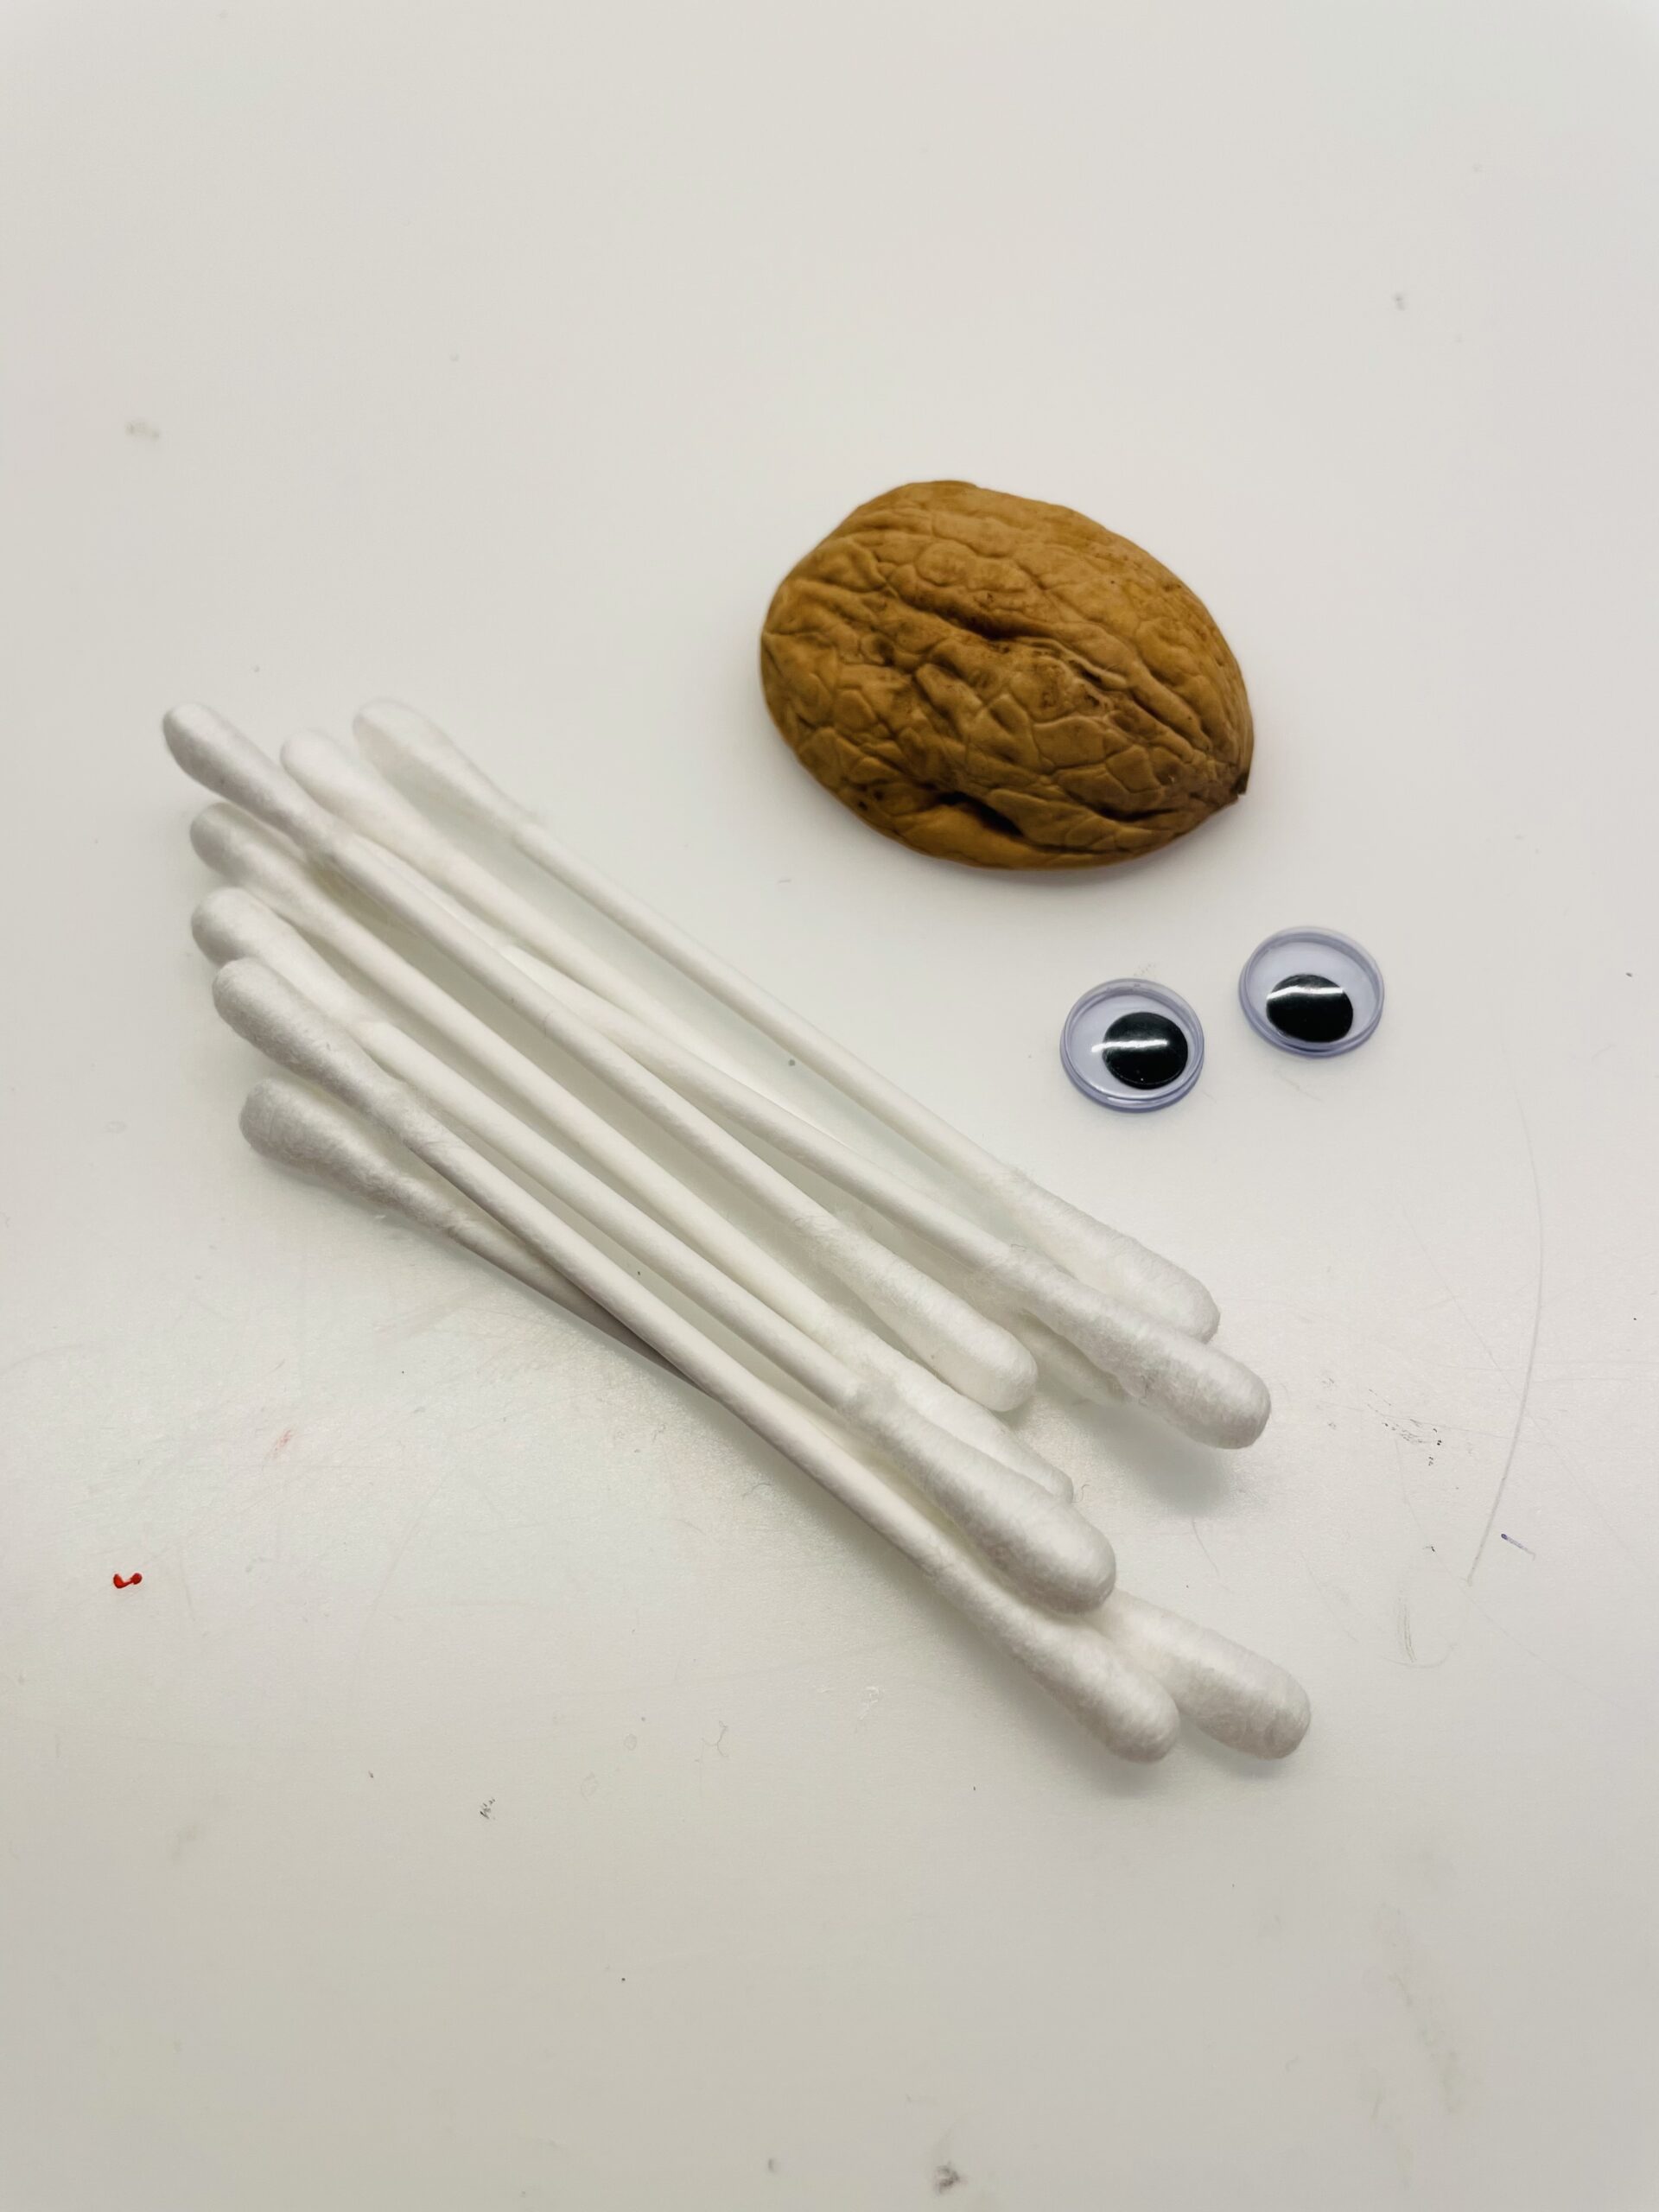
Bild zum Schritt 1 für das Bastel- und DIY-Abenteuer für Kinder: 'Legt euch zuerst die Materialien bereit und die Bastelunterlage aus.'

2

First, remove the cotton wool from one side of the cotton swabs. Pick it off with your fingers.
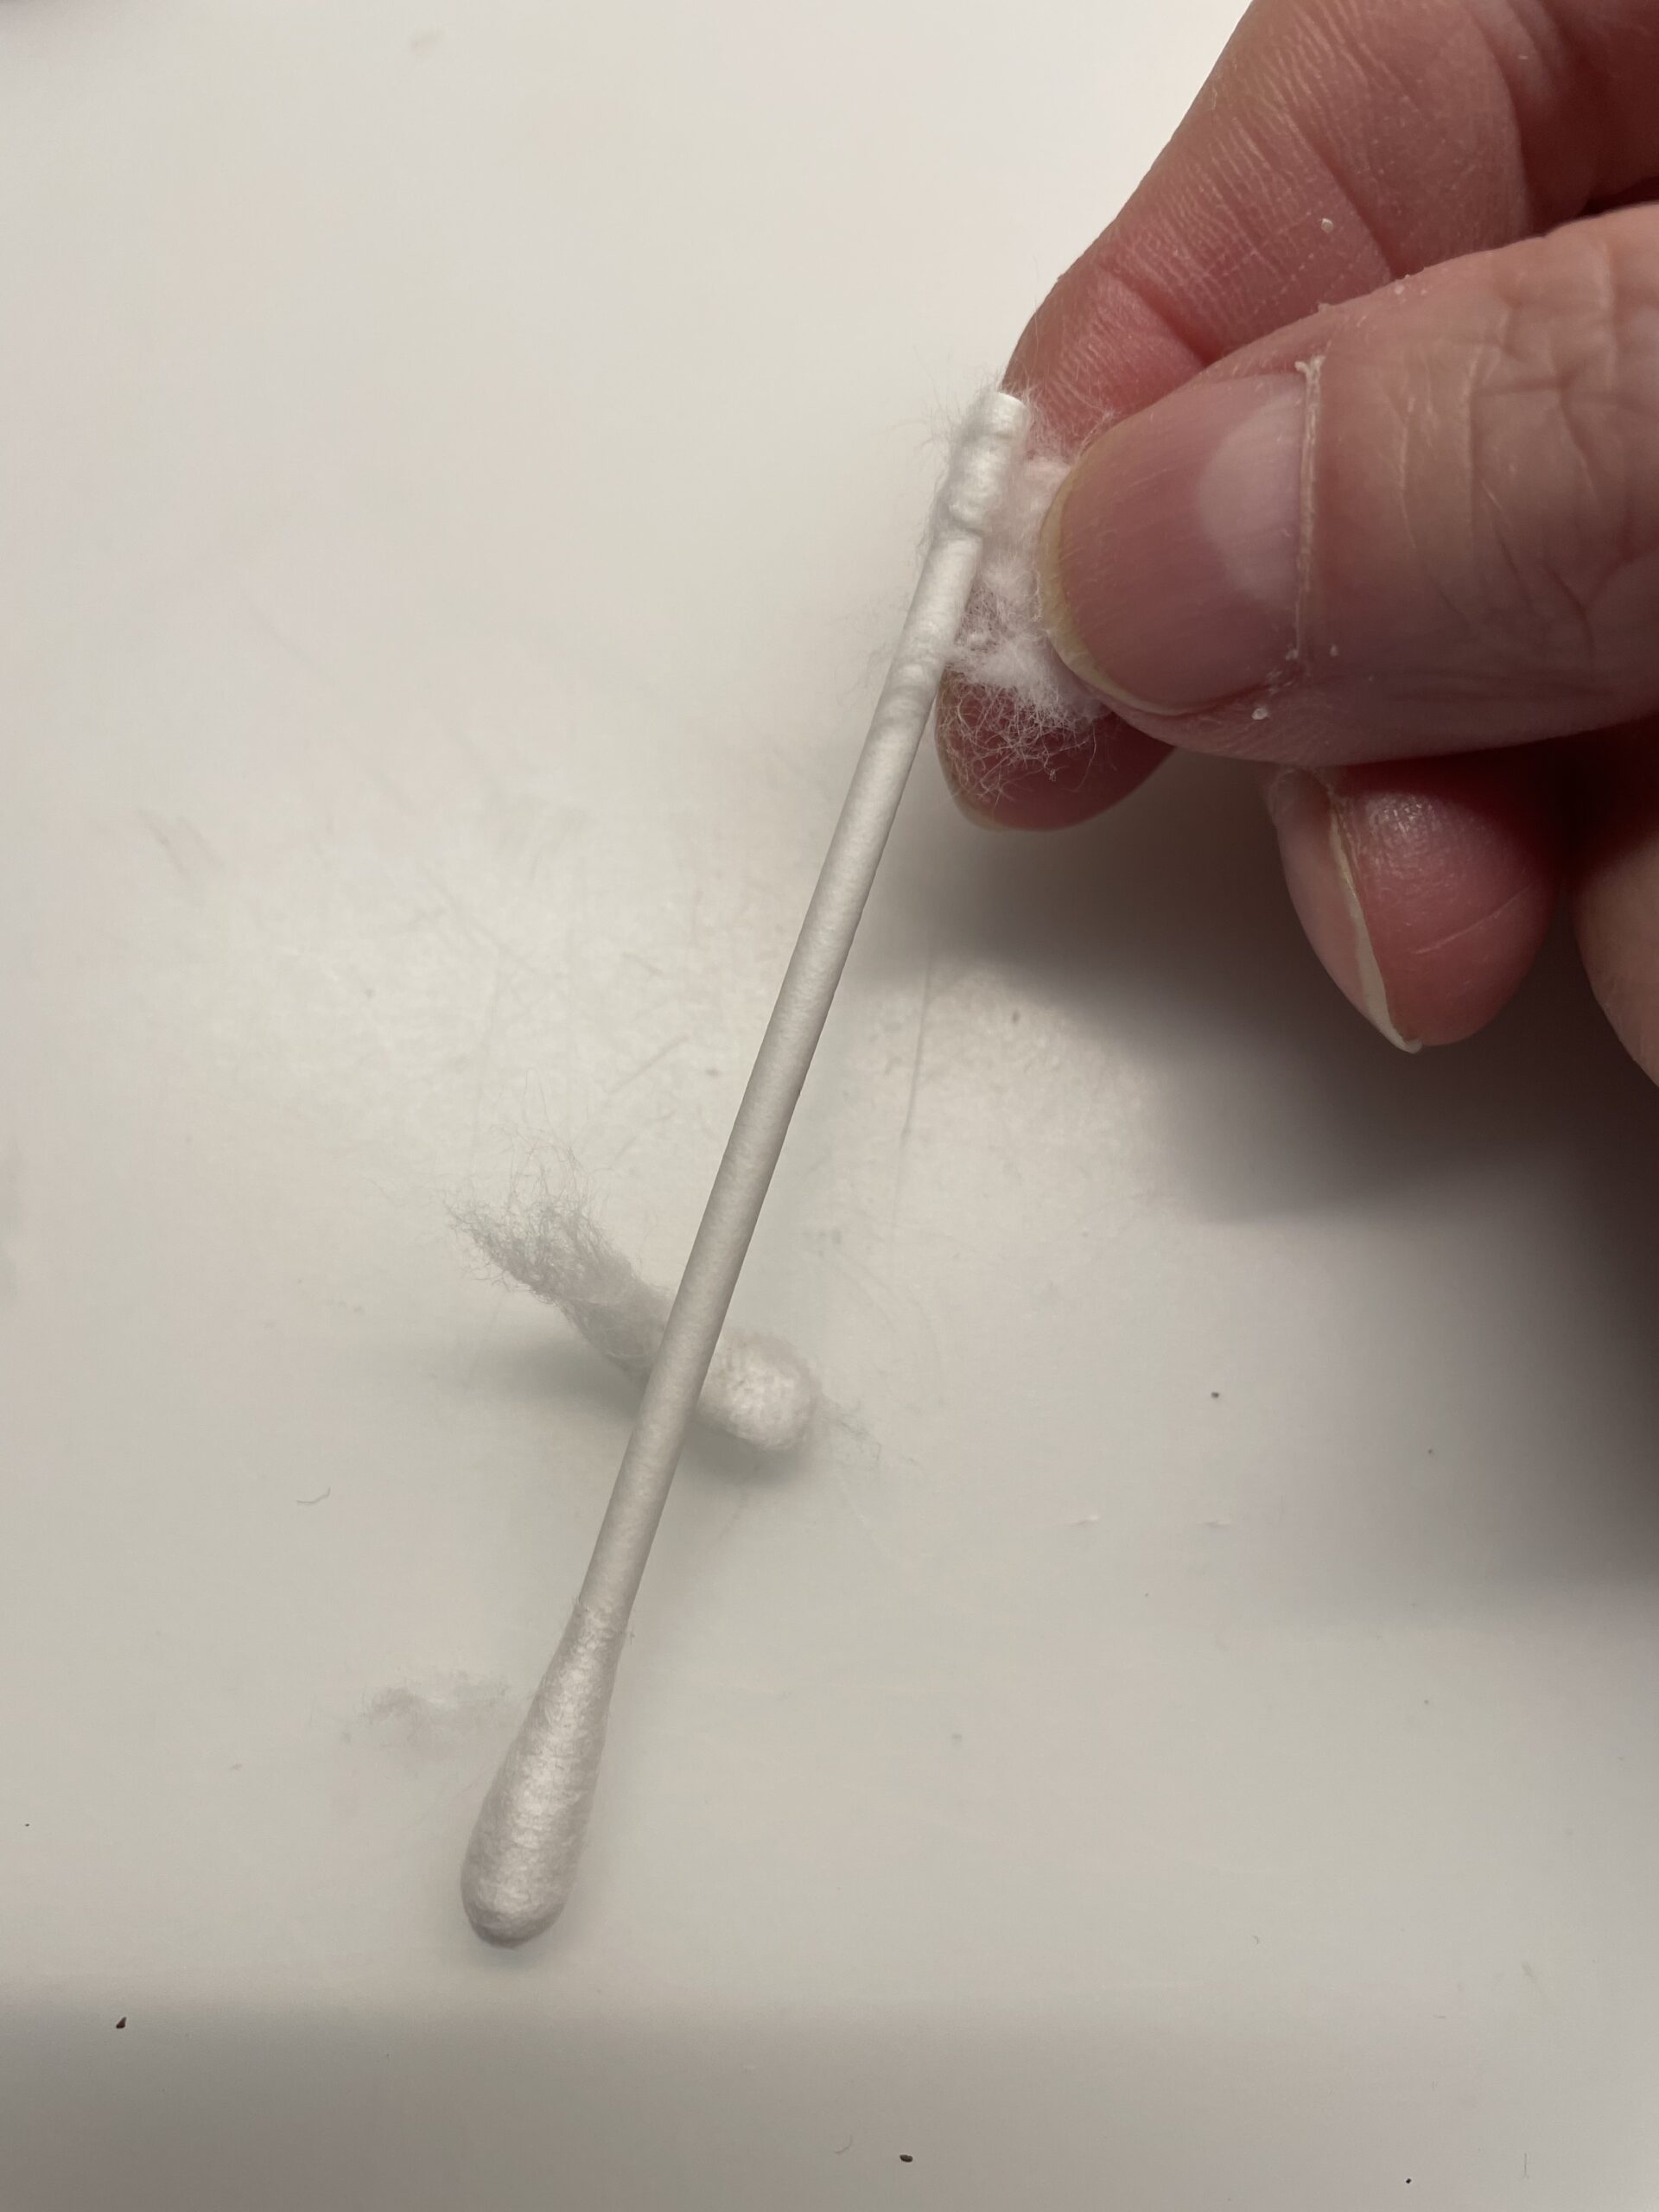
Bild zum Schritt 2 für das Bastel- und DIY-Abenteuer für Kinder: 'Als erstes entfernt ihr die Watte von einer Seite der...'

3

The cotton wool should be removed as completely as possible.

Bild zum Schritt 3 für das Bastel- und DIY-Abenteuer für Kinder: 'Die Watte sollte möglichst komplett entfernt werden.'

4

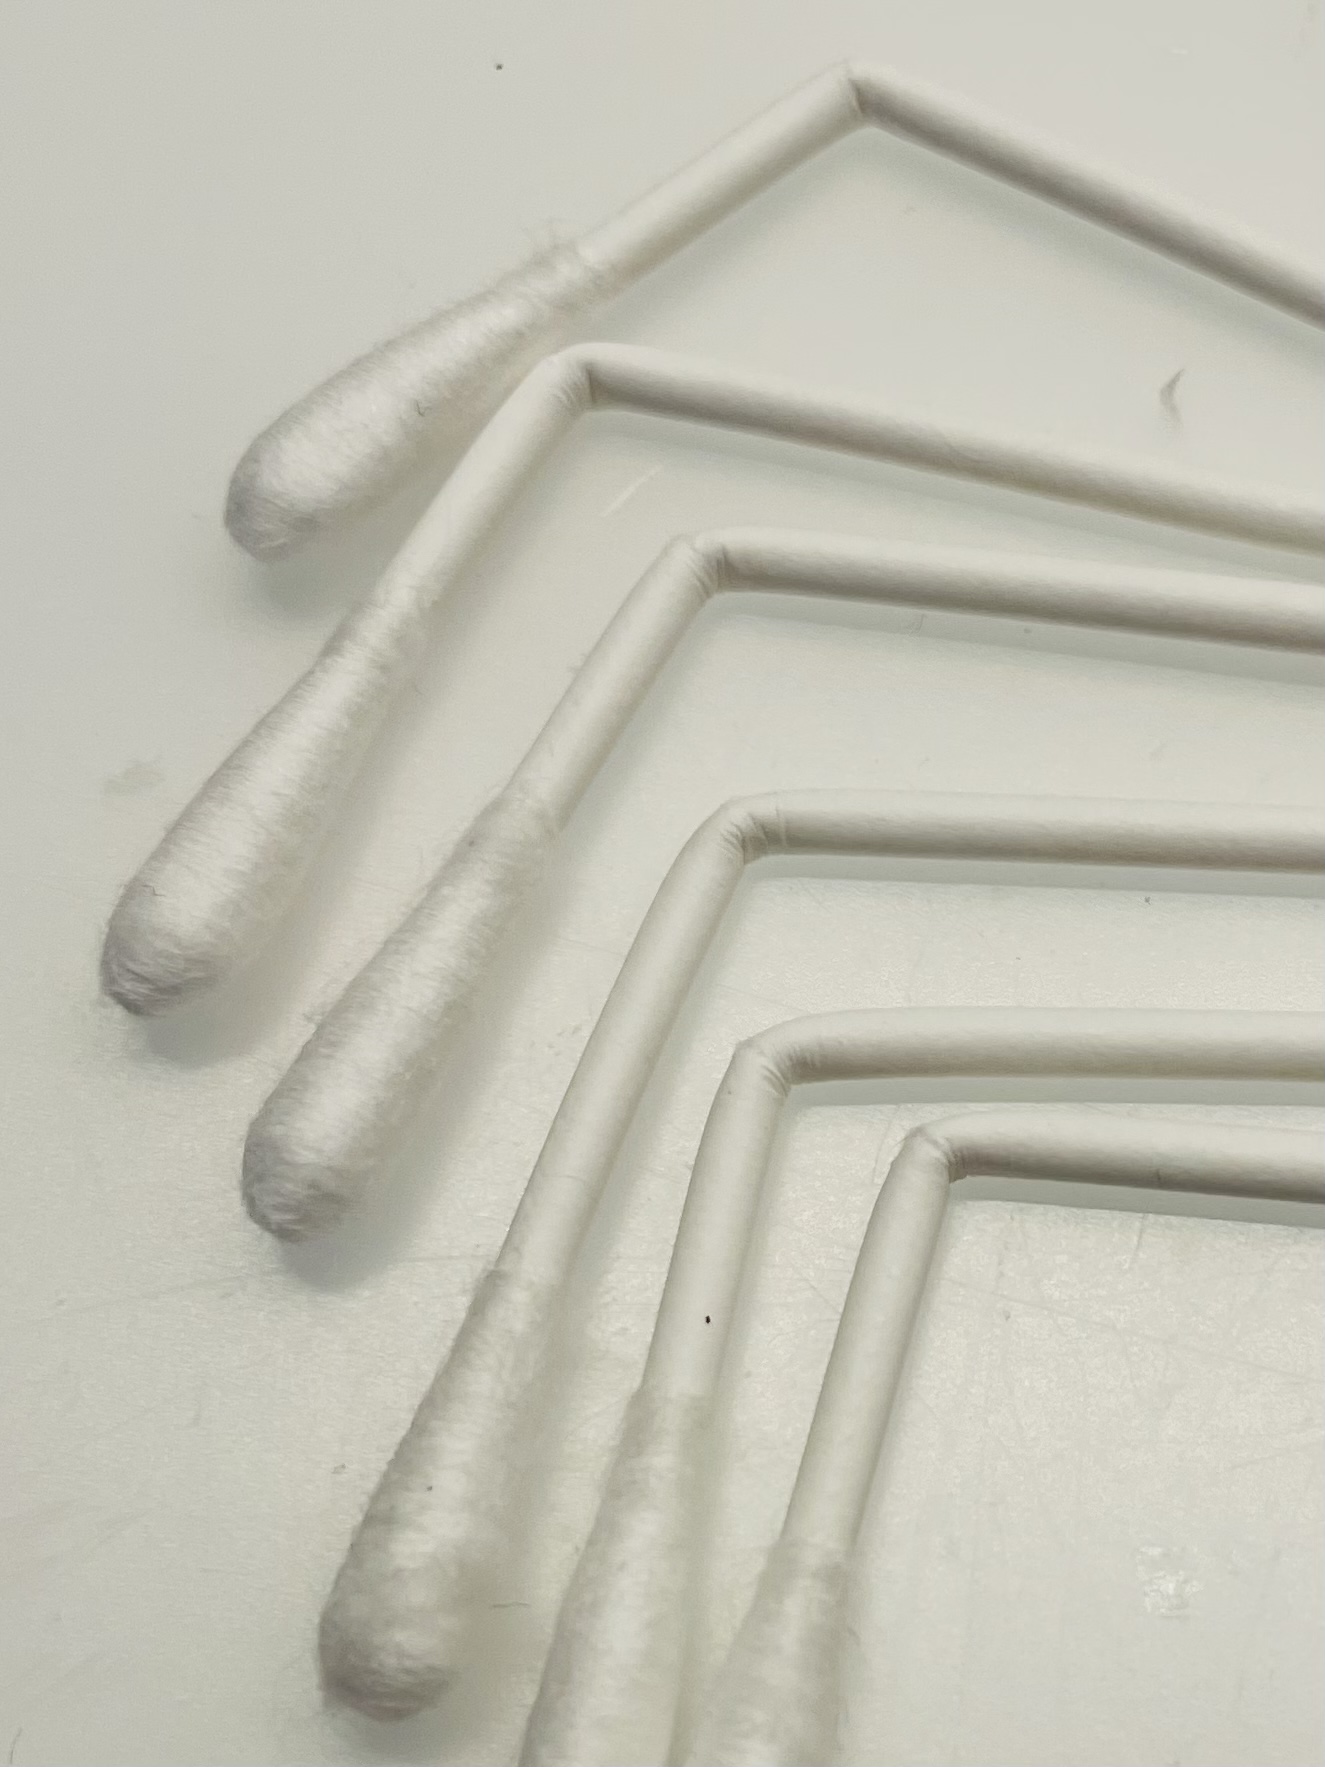
Then you pinch in every cotton swab. The part on which the cotton swab is still should be a little shorter. Attention: the cotton swab does not bend too much, otherwise the legs of the spider become unstable afterwards.

Bild zum Schritt 4 für das Bastel- und DIY-Abenteuer für Kinder: 'Dann knickt ihr jedes Wattestäbchen ein. Der Teil an dem...'

5

Prepare all 8 cotton swabs.

Bild zum Schritt 5 für das Bastel- und DIY-Abenteuer für Kinder: 'Bereitet so alle 8 Wattestäbchen vor.'

6

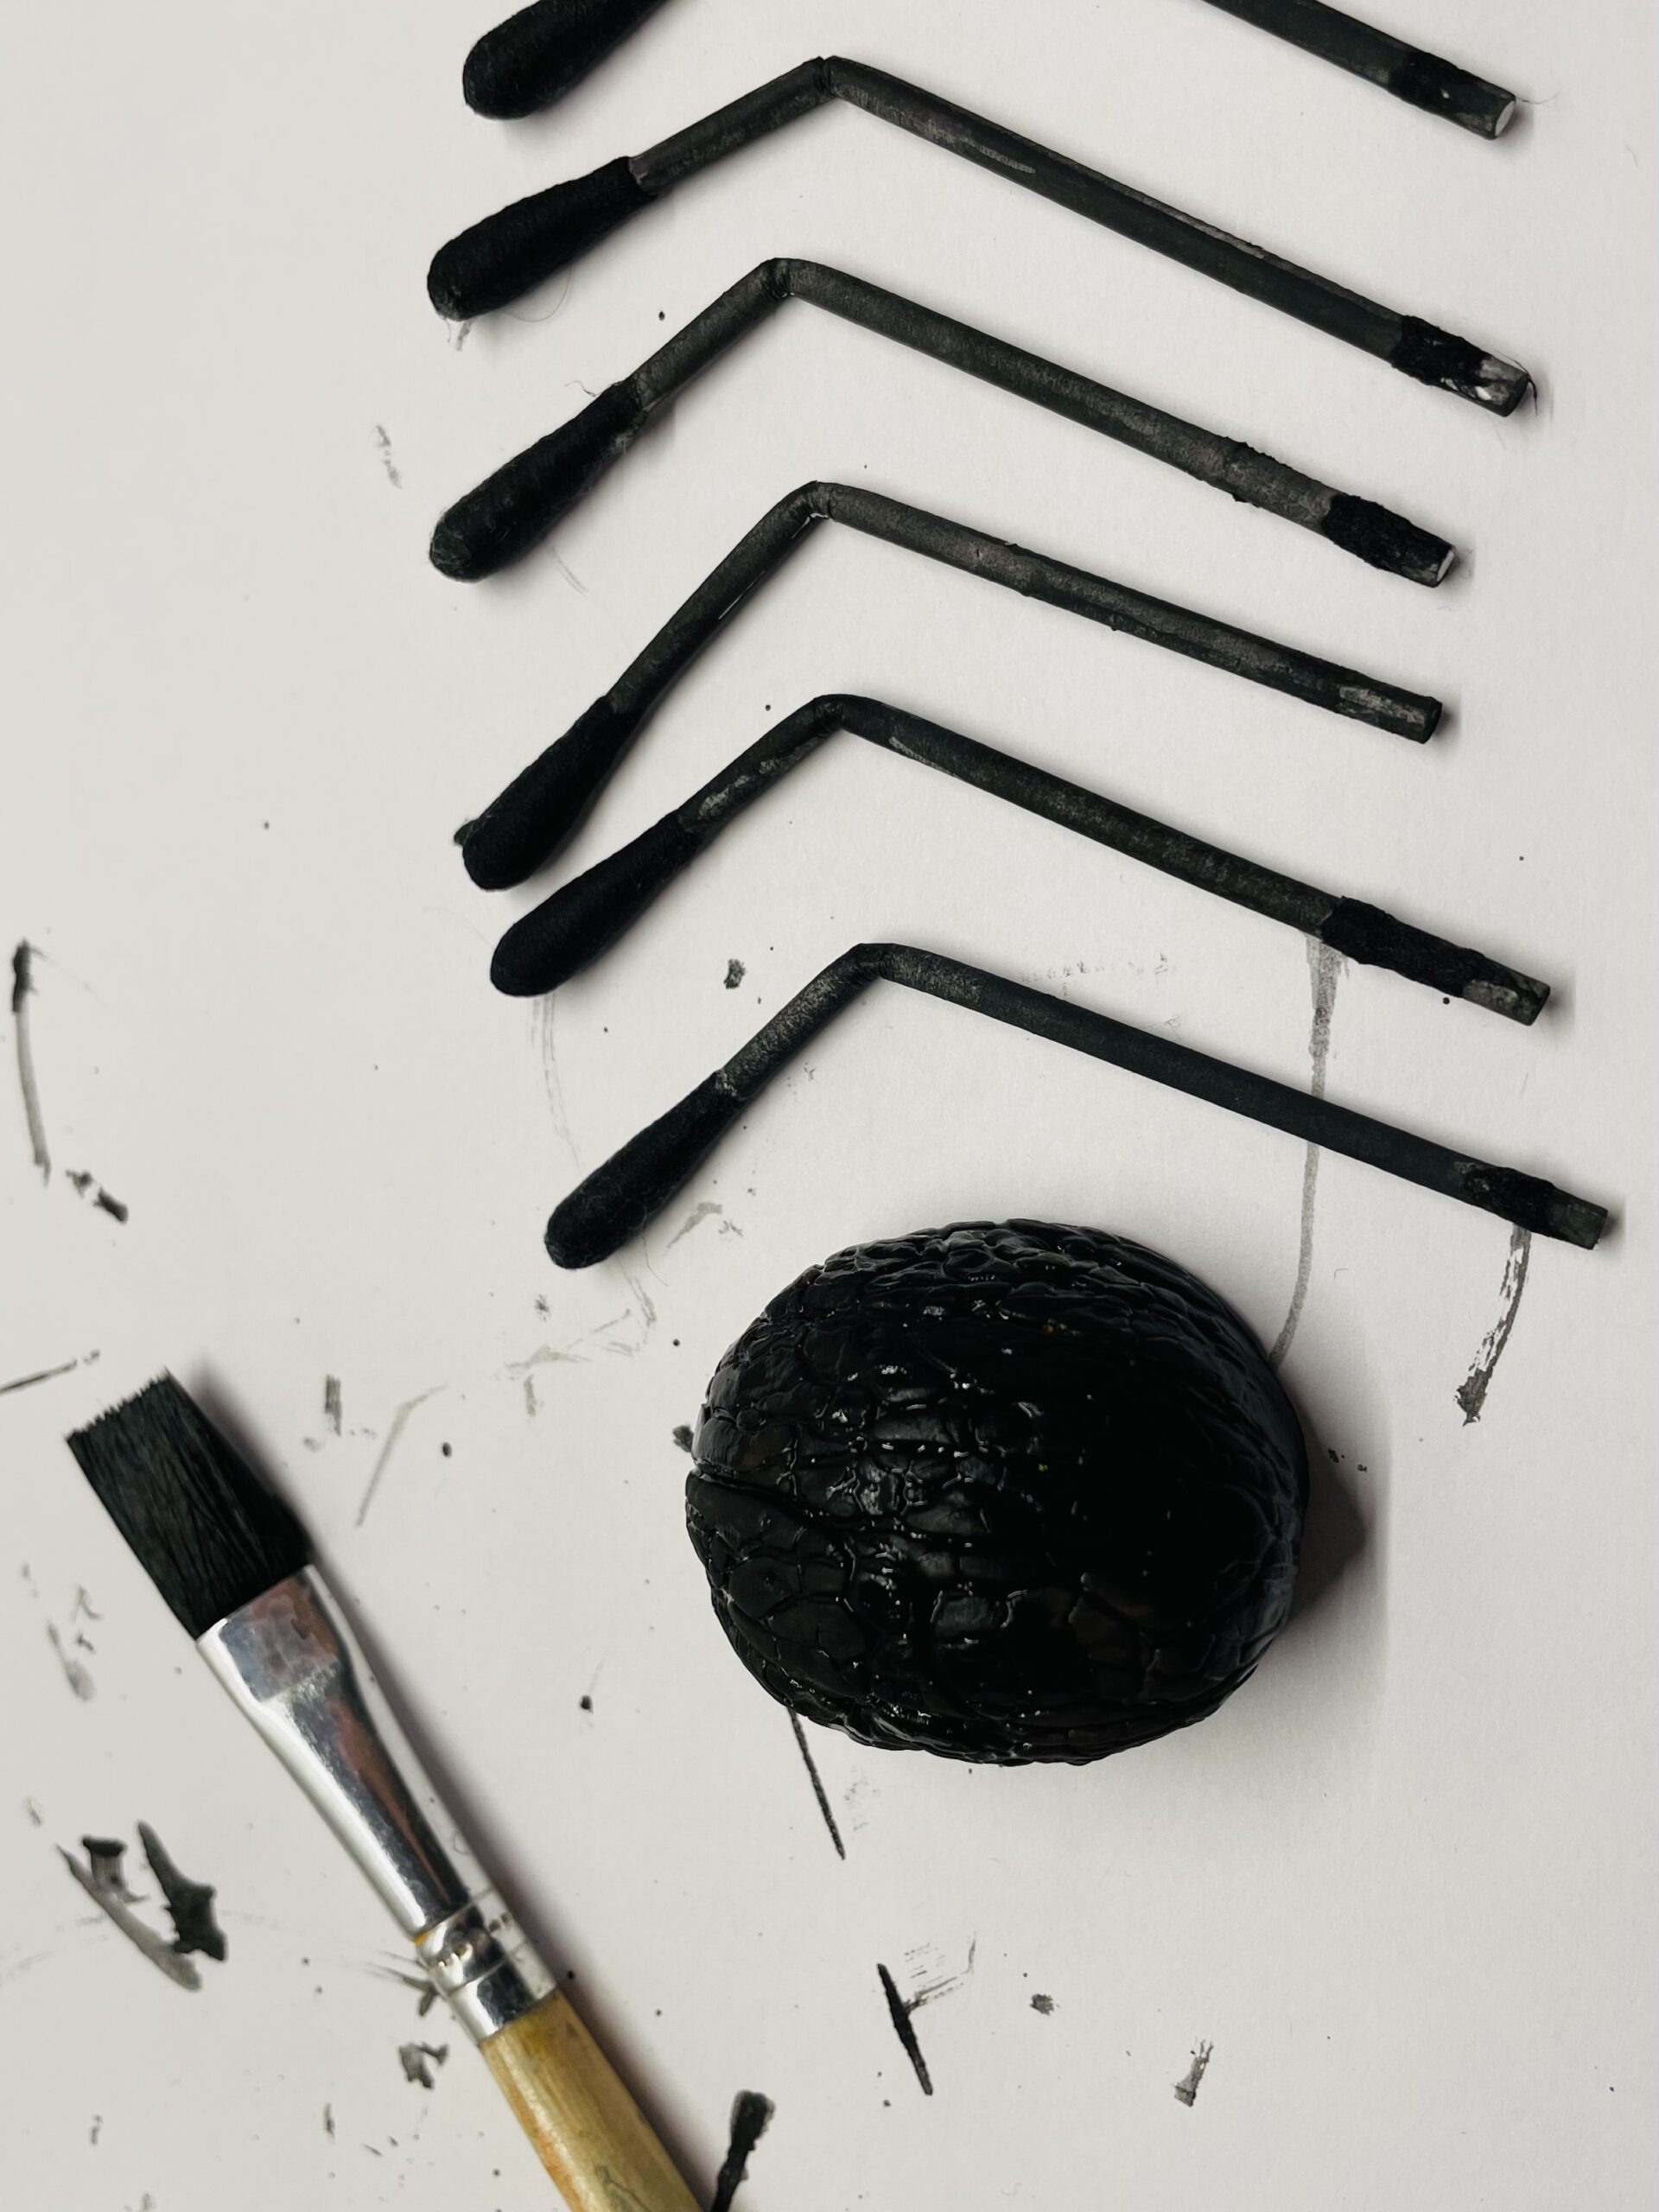
After that you paint each cotton swab with black water color. Make sure that you use as little water and a lot of color as possible.

Bild zum Schritt 6 für das Bastel- und DIY-Abenteuer für Kinder: 'Danach malt ihr jedes Wattestäbchen mit schwarzer Wasserfarbe an. Achtet...'

7

In order to reach all places when painting, it is suitable a craft plier for turning. So the fingers remain clean!

Bild zum Schritt 7 für das Bastel- und DIY-Abenteuer für Kinder: 'Um beim Bemalen alle Stellen zu erreichen, eignet es sich...'

8

Then you paint the half of the walnut bowl with the water color.

Bild zum Schritt 8 für das Bastel- und DIY-Abenteuer für Kinder: 'Danach malt ihr die halbe Wallnussschale auch mit der Wasserfarbe...'

9

Then you let everything dry.

Bild zum Schritt 9 für das Bastel- und DIY-Abenteuer für Kinder: 'Anschließend lasst ihr alles trocknen.'

10

After that, her wobble eyes stick to one side of the wallnut bowl. Use a glue stick or the hot glue gun. Attention when handling the hot glue - risk of injury!

Bild zum Schritt 10 für das Bastel- und DIY-Abenteuer für Kinder: 'Danach klebt ihr Wackelaugen auf eine Seite der Wallnussschale. Nutzt...'

11

You should be helped by an adult when you put your legs on!
To do this, turn the Wallnut Bowl on the round outside. Then stick the spider's legs with hot glue on the open shell. Attention when handling the hot glue - risk of injury! The side with the cotton wool is outside.
Tip: Use the pliers to fix the legs!

Bild zum Schritt 11 für das Bastel- und DIY-Abenteuer für Kinder: 'Beim Anbringen der Beine solltet ihr euch von einem Erwachsenen...'

12

Glue the legs one after the other and make sure they are stable.

Bild zum Schritt 12 für das Bastel- und DIY-Abenteuer für Kinder: 'Klebt die Beine nacheinander an und achtet darauf, dass diese...'

13

Hold the spider as the glue gets stuck until the spider's legs hold.

Bild zum Schritt 13 für das Bastel- und DIY-Abenteuer für Kinder: 'Haltet die Spinne beim Festwerden des Klebers so lange fest,...'

14

Only then do you turn the spider around and put it on her legs.

Bild zum Schritt 14 für das Bastel- und DIY-Abenteuer für Kinder: 'Erst dann dreht ihr die Spinne um und stellt ihr...'

15

That's what the spider looks like now!

Bild zum Schritt 15 für das Bastel- und DIY-Abenteuer für Kinder: 'So sieht die Spinne jetzt aus!'

16

Use it to decorate.

Bild zum Schritt 16 für das Bastel- und DIY-Abenteuer für Kinder: 'Verwendet sie zur Dekoration.'

17

For Halloween a really great eye-catcher.

Bild zum Schritt 17 für das Bastel- und DIY-Abenteuer für Kinder: 'Für Halloween ein wirklich toller Hingucker.'

18

Have fun crafting the spider and decorating.

Materials

 1 Half walnut peel
 8 Cotton swabs
 1 Water colour black
 1 Brushes
 1 Small pliersor large tweezers, sugar pliers
 1 Water glass
 1 Builder's pad
 1 Newsprint
 1 Paint coats
 1 Hot glue gun
 2 Wax eyes

Directions

1

First, prepare the materials and the craft file.

Bild zum Schritt 1 für das Bastel- und DIY-Abenteuer für Kinder: 'Legt euch zuerst die Materialien bereit und die Bastelunterlage aus.'

2

First, remove the cotton wool from one side of the cotton swabs. Pick it off with your fingers.

Bild zum Schritt 2 für das Bastel- und DIY-Abenteuer für Kinder: 'Als erstes entfernt ihr die Watte von einer Seite der...'

3

The cotton wool should be removed as completely as possible.
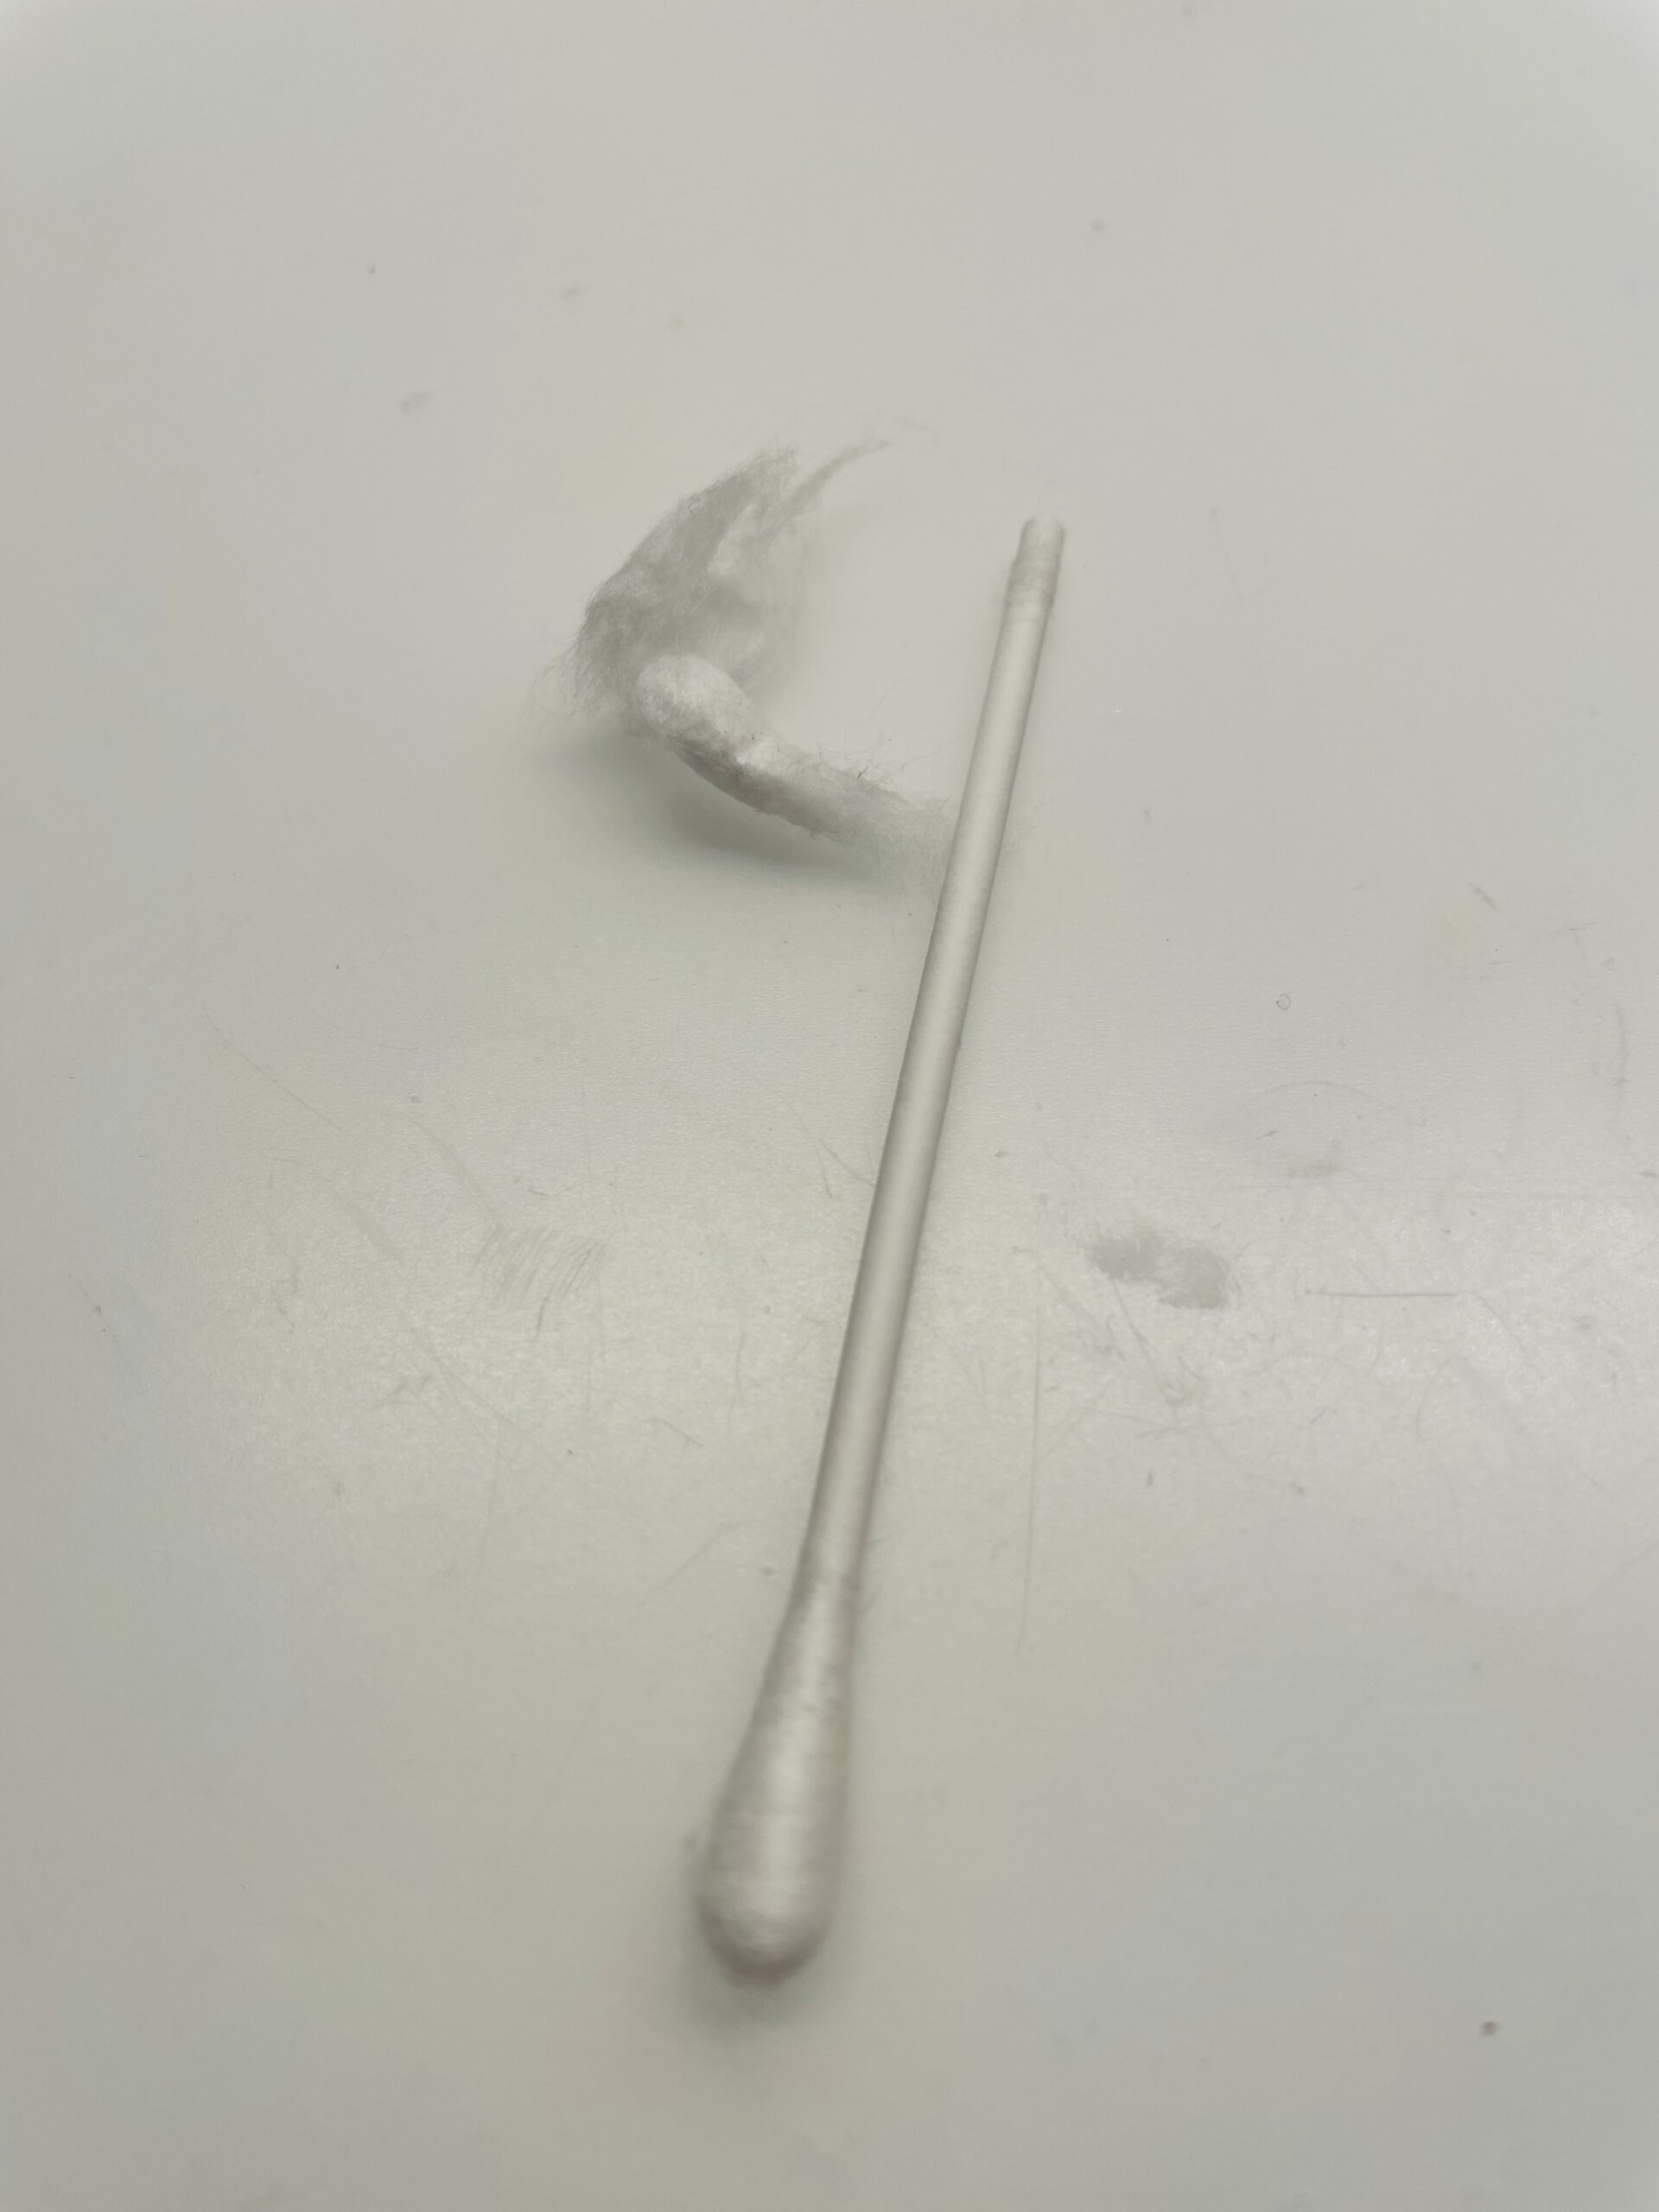
Bild zum Schritt 3 für das Bastel- und DIY-Abenteuer für Kinder: 'Die Watte sollte möglichst komplett entfernt werden.'

4

Then you pinch in every cotton swab. The part on which the cotton swab is still should be a little shorter. Attention: the cotton swab does not bend too much, otherwise the legs of the spider become unstable afterwards.
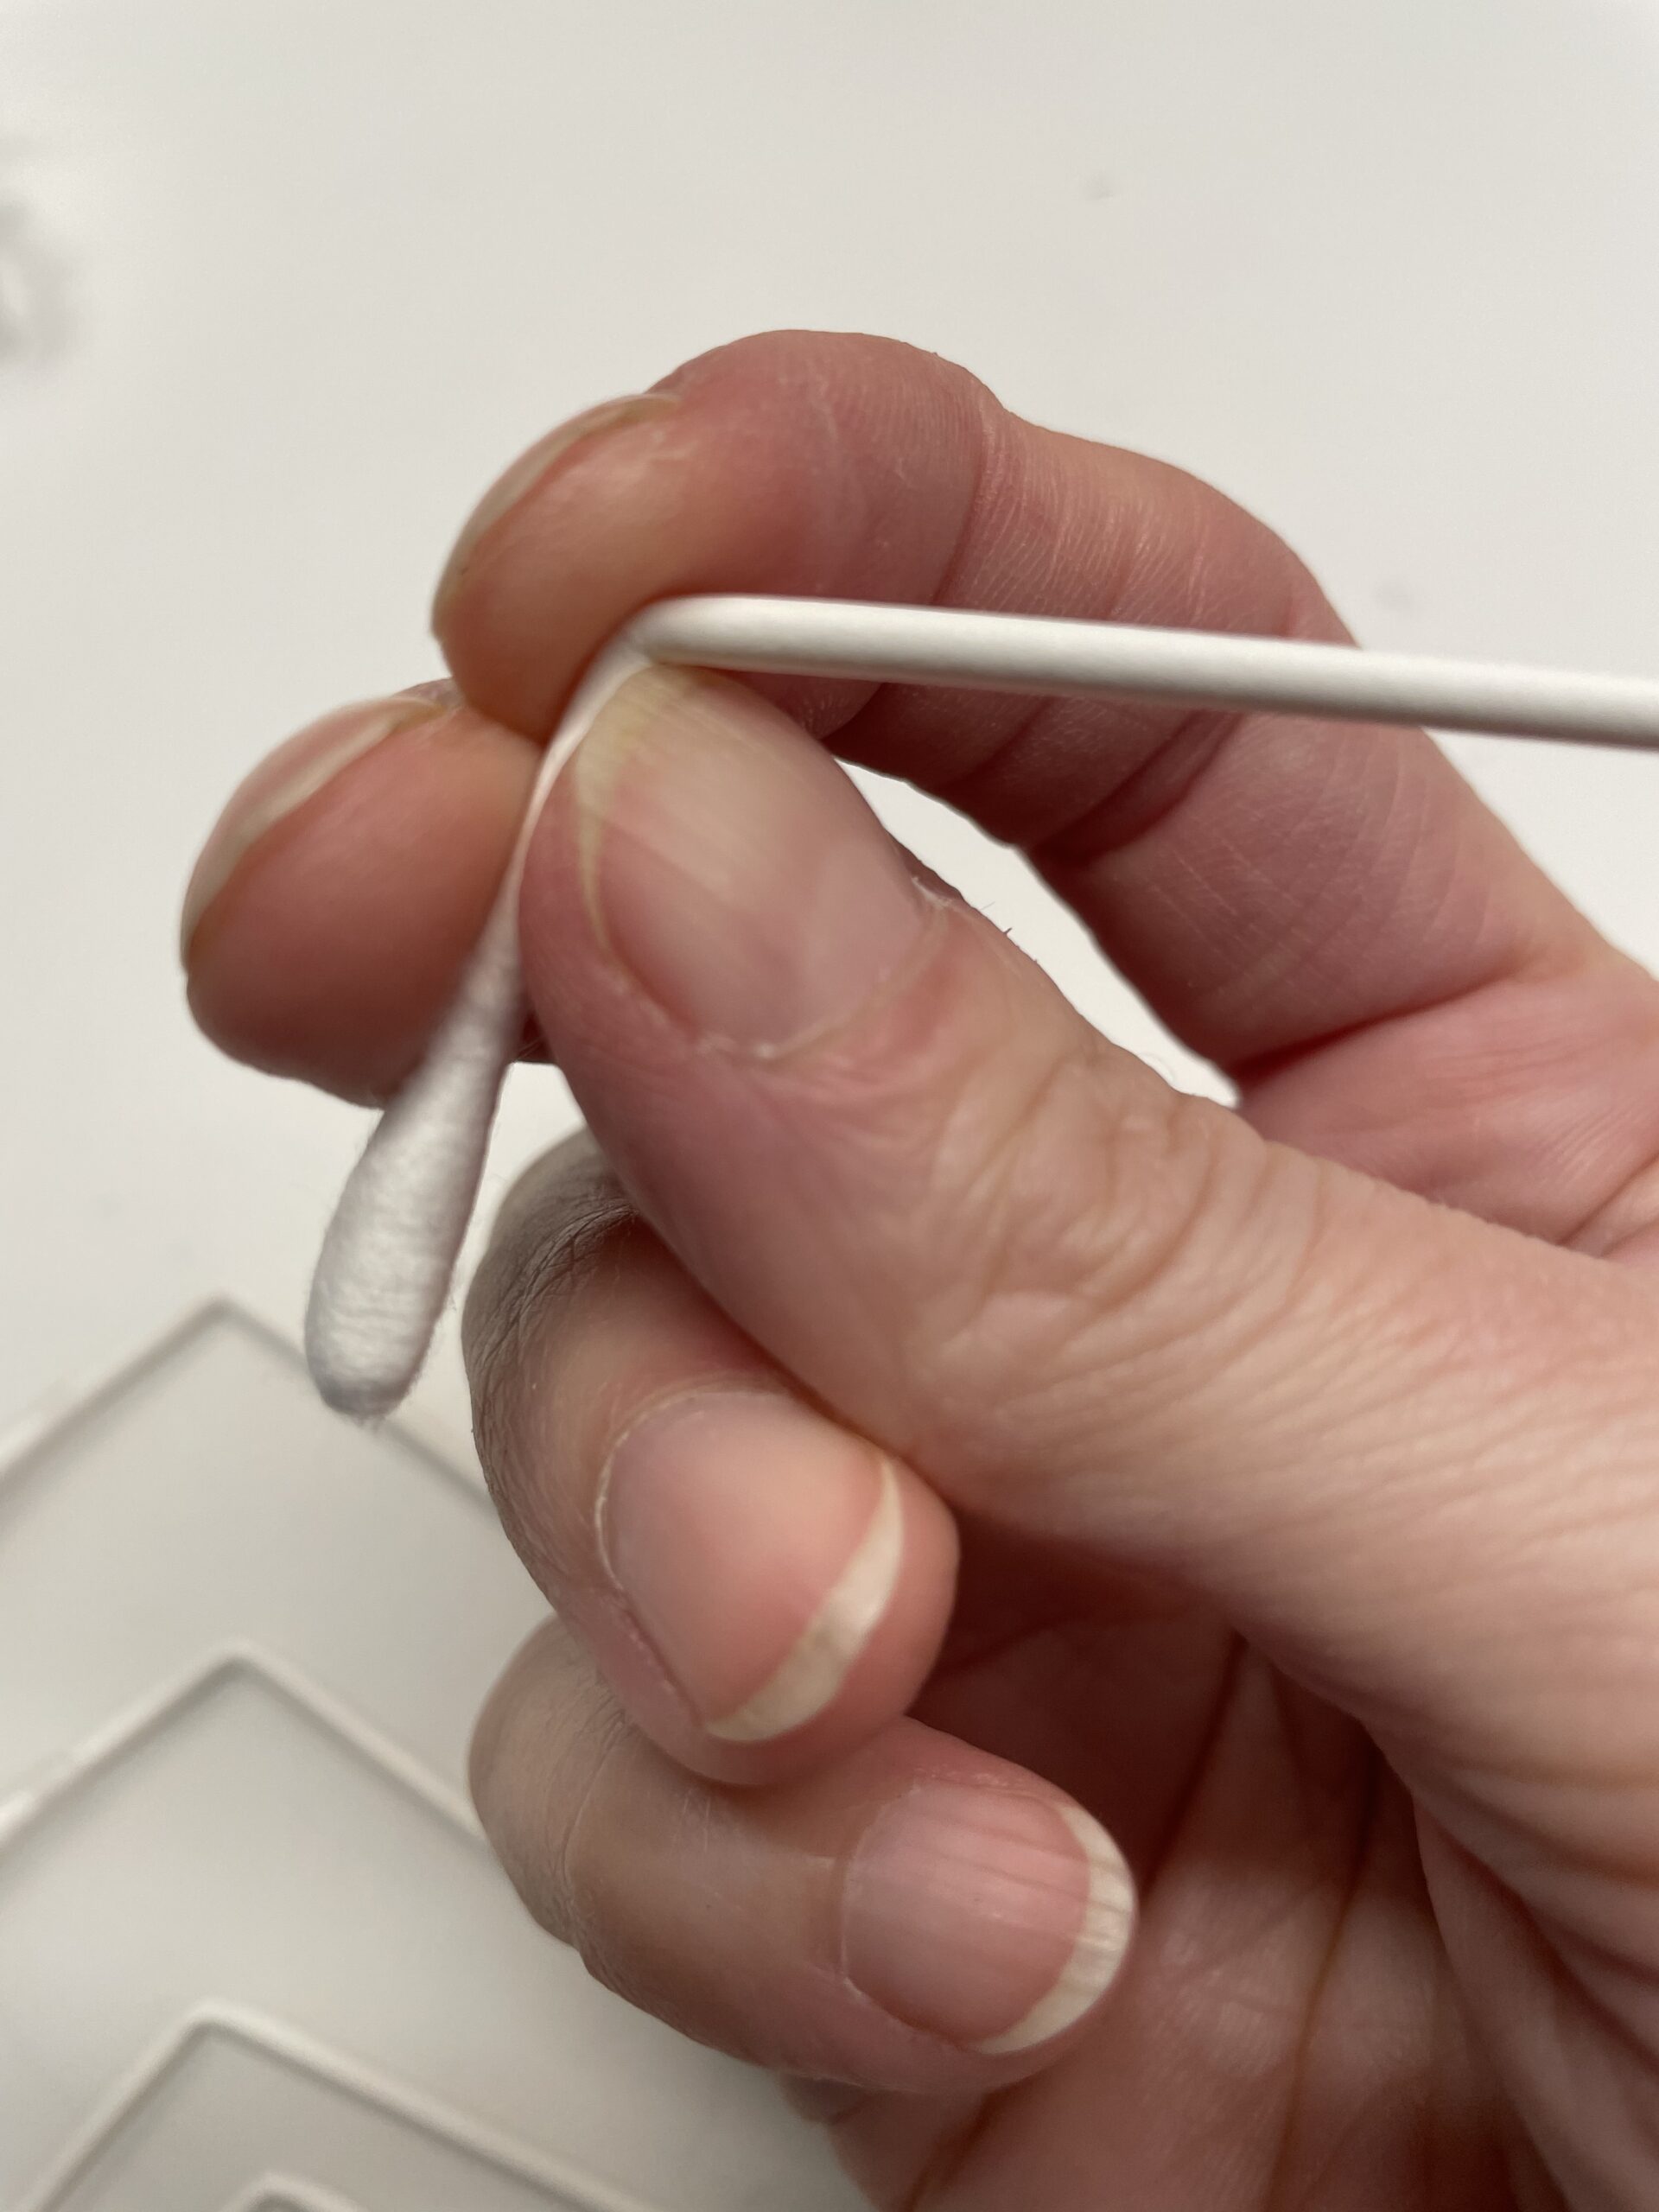
Bild zum Schritt 4 für das Bastel- und DIY-Abenteuer für Kinder: 'Dann knickt ihr jedes Wattestäbchen ein. Der Teil an dem...'

5

Prepare all 8 cotton swabs.

Bild zum Schritt 5 für das Bastel- und DIY-Abenteuer für Kinder: 'Bereitet so alle 8 Wattestäbchen vor.'

6

After that you paint each cotton swab with black water color. Make sure that you use as little water and a lot of color as possible.
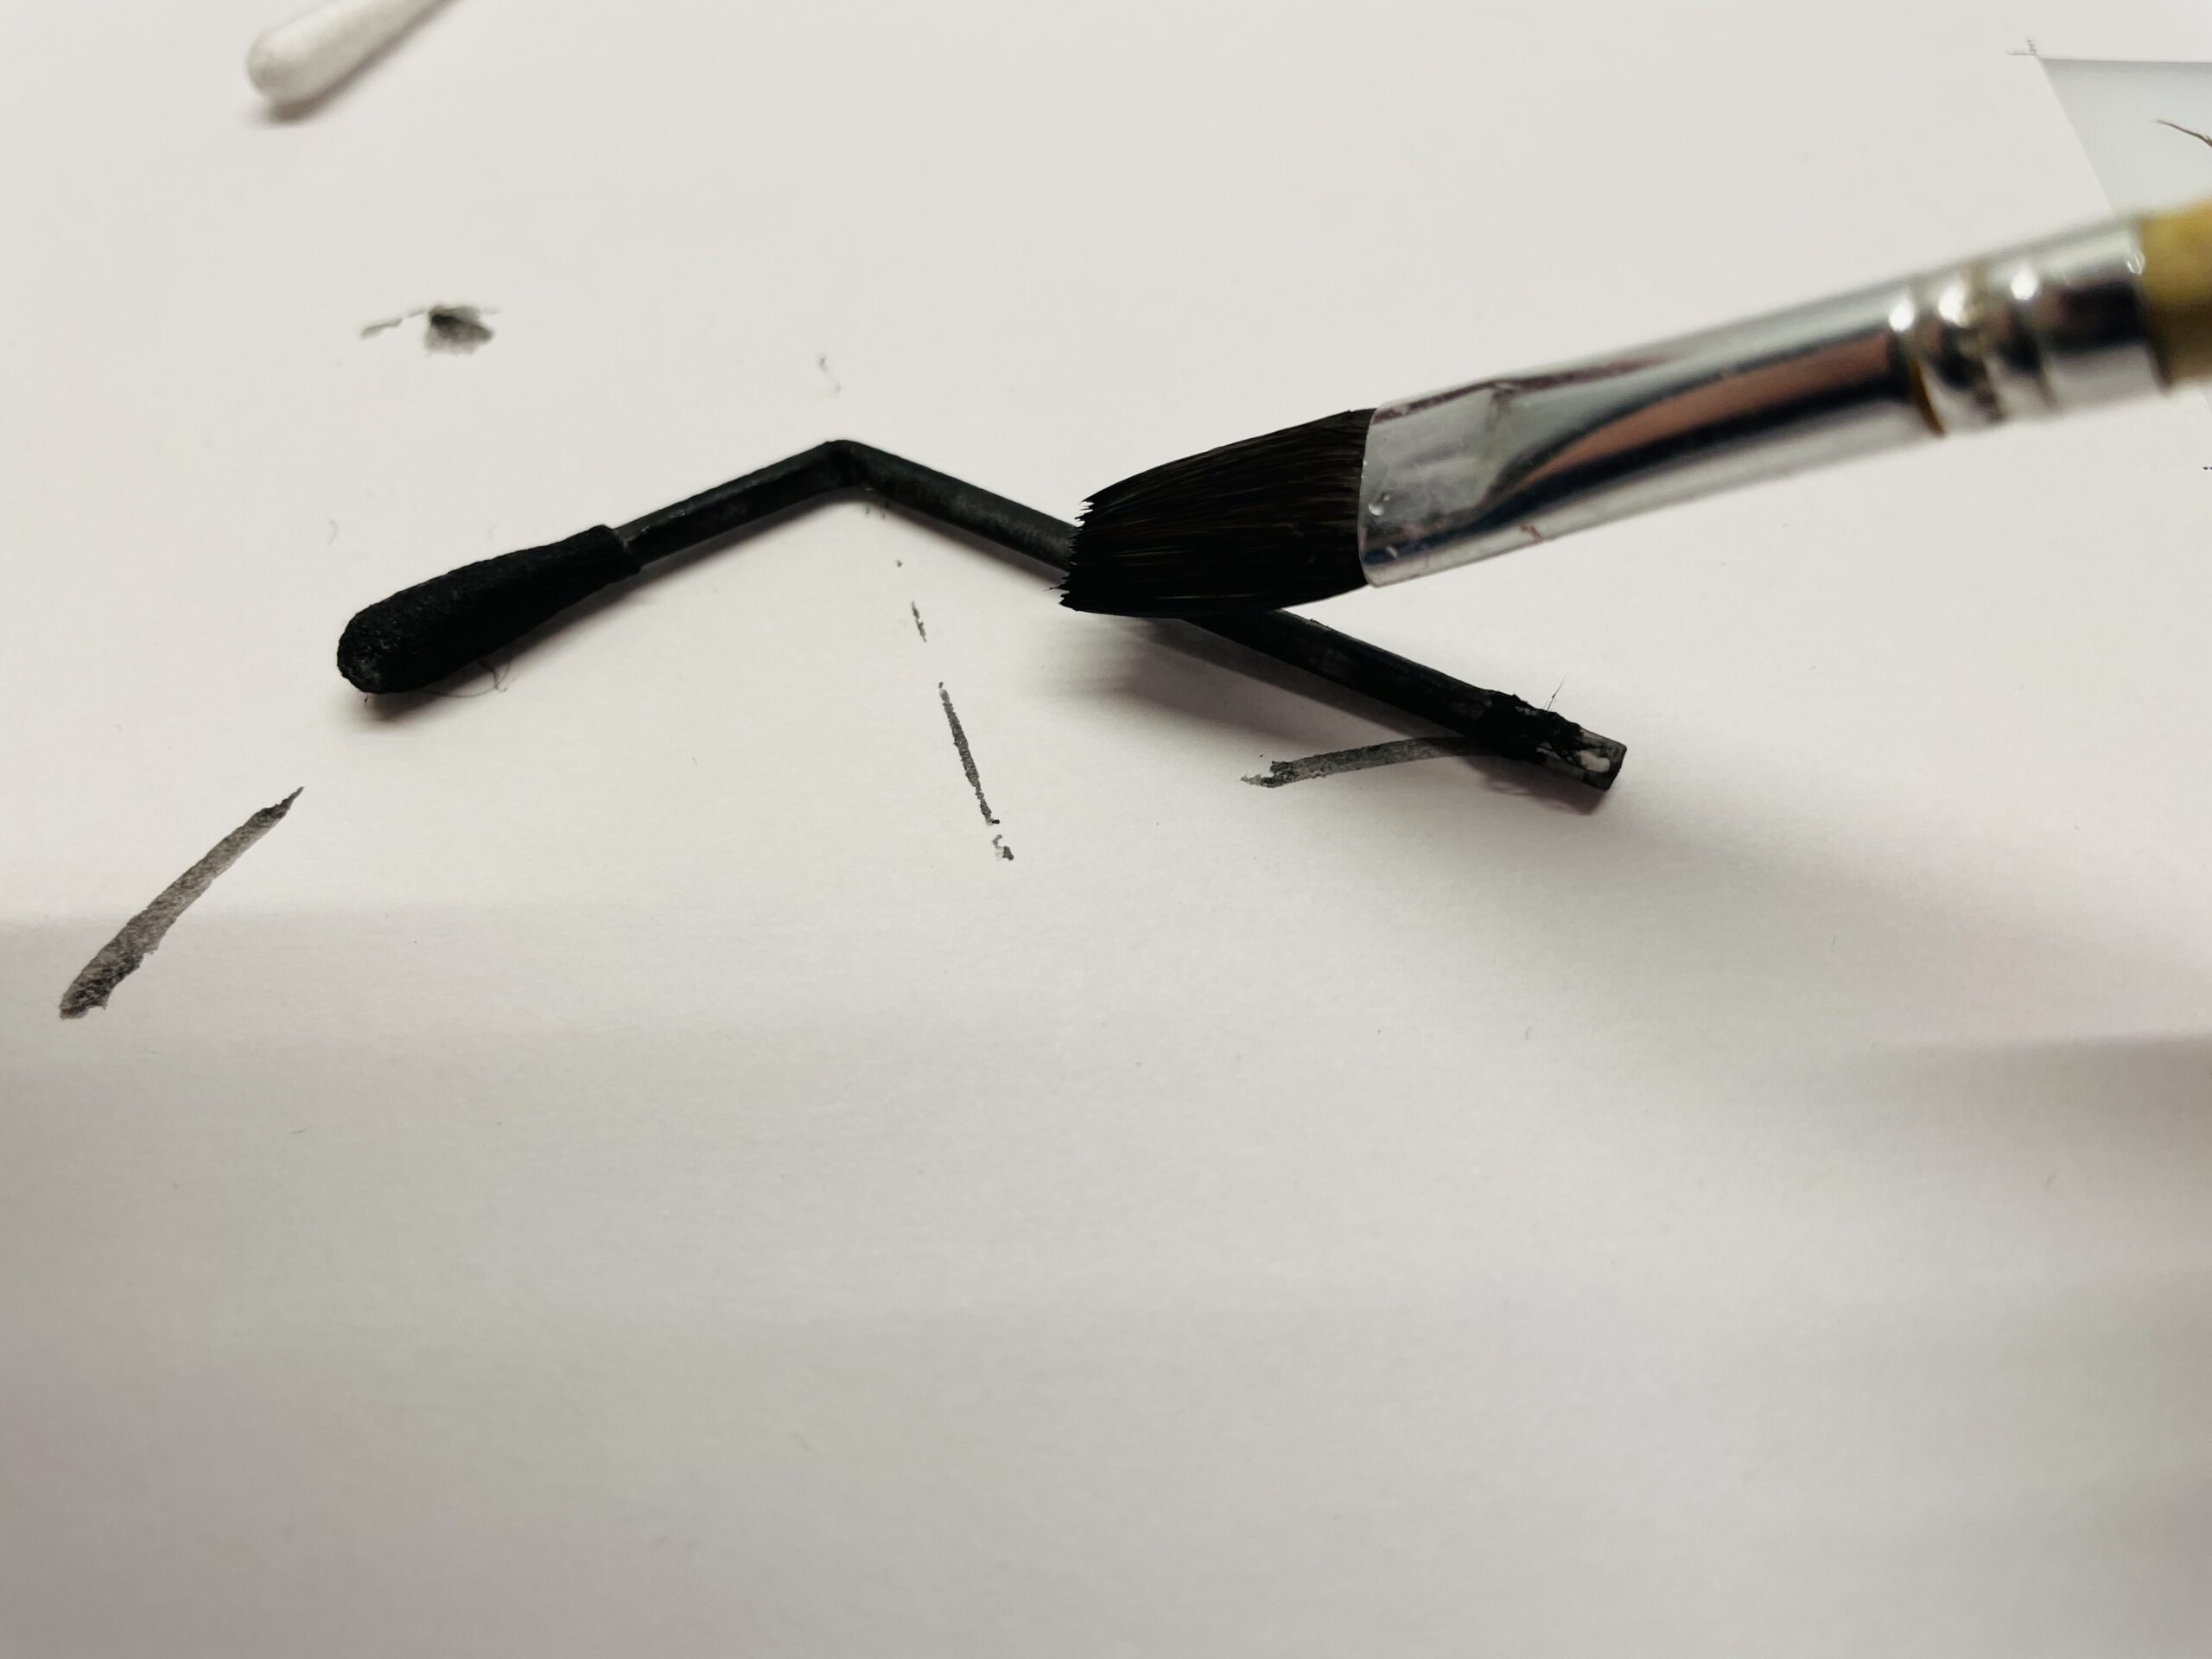
Bild zum Schritt 6 für das Bastel- und DIY-Abenteuer für Kinder: 'Danach malt ihr jedes Wattestäbchen mit schwarzer Wasserfarbe an. Achtet...'

7

In order to reach all places when painting, it is suitable a craft plier for turning. So the fingers remain clean!
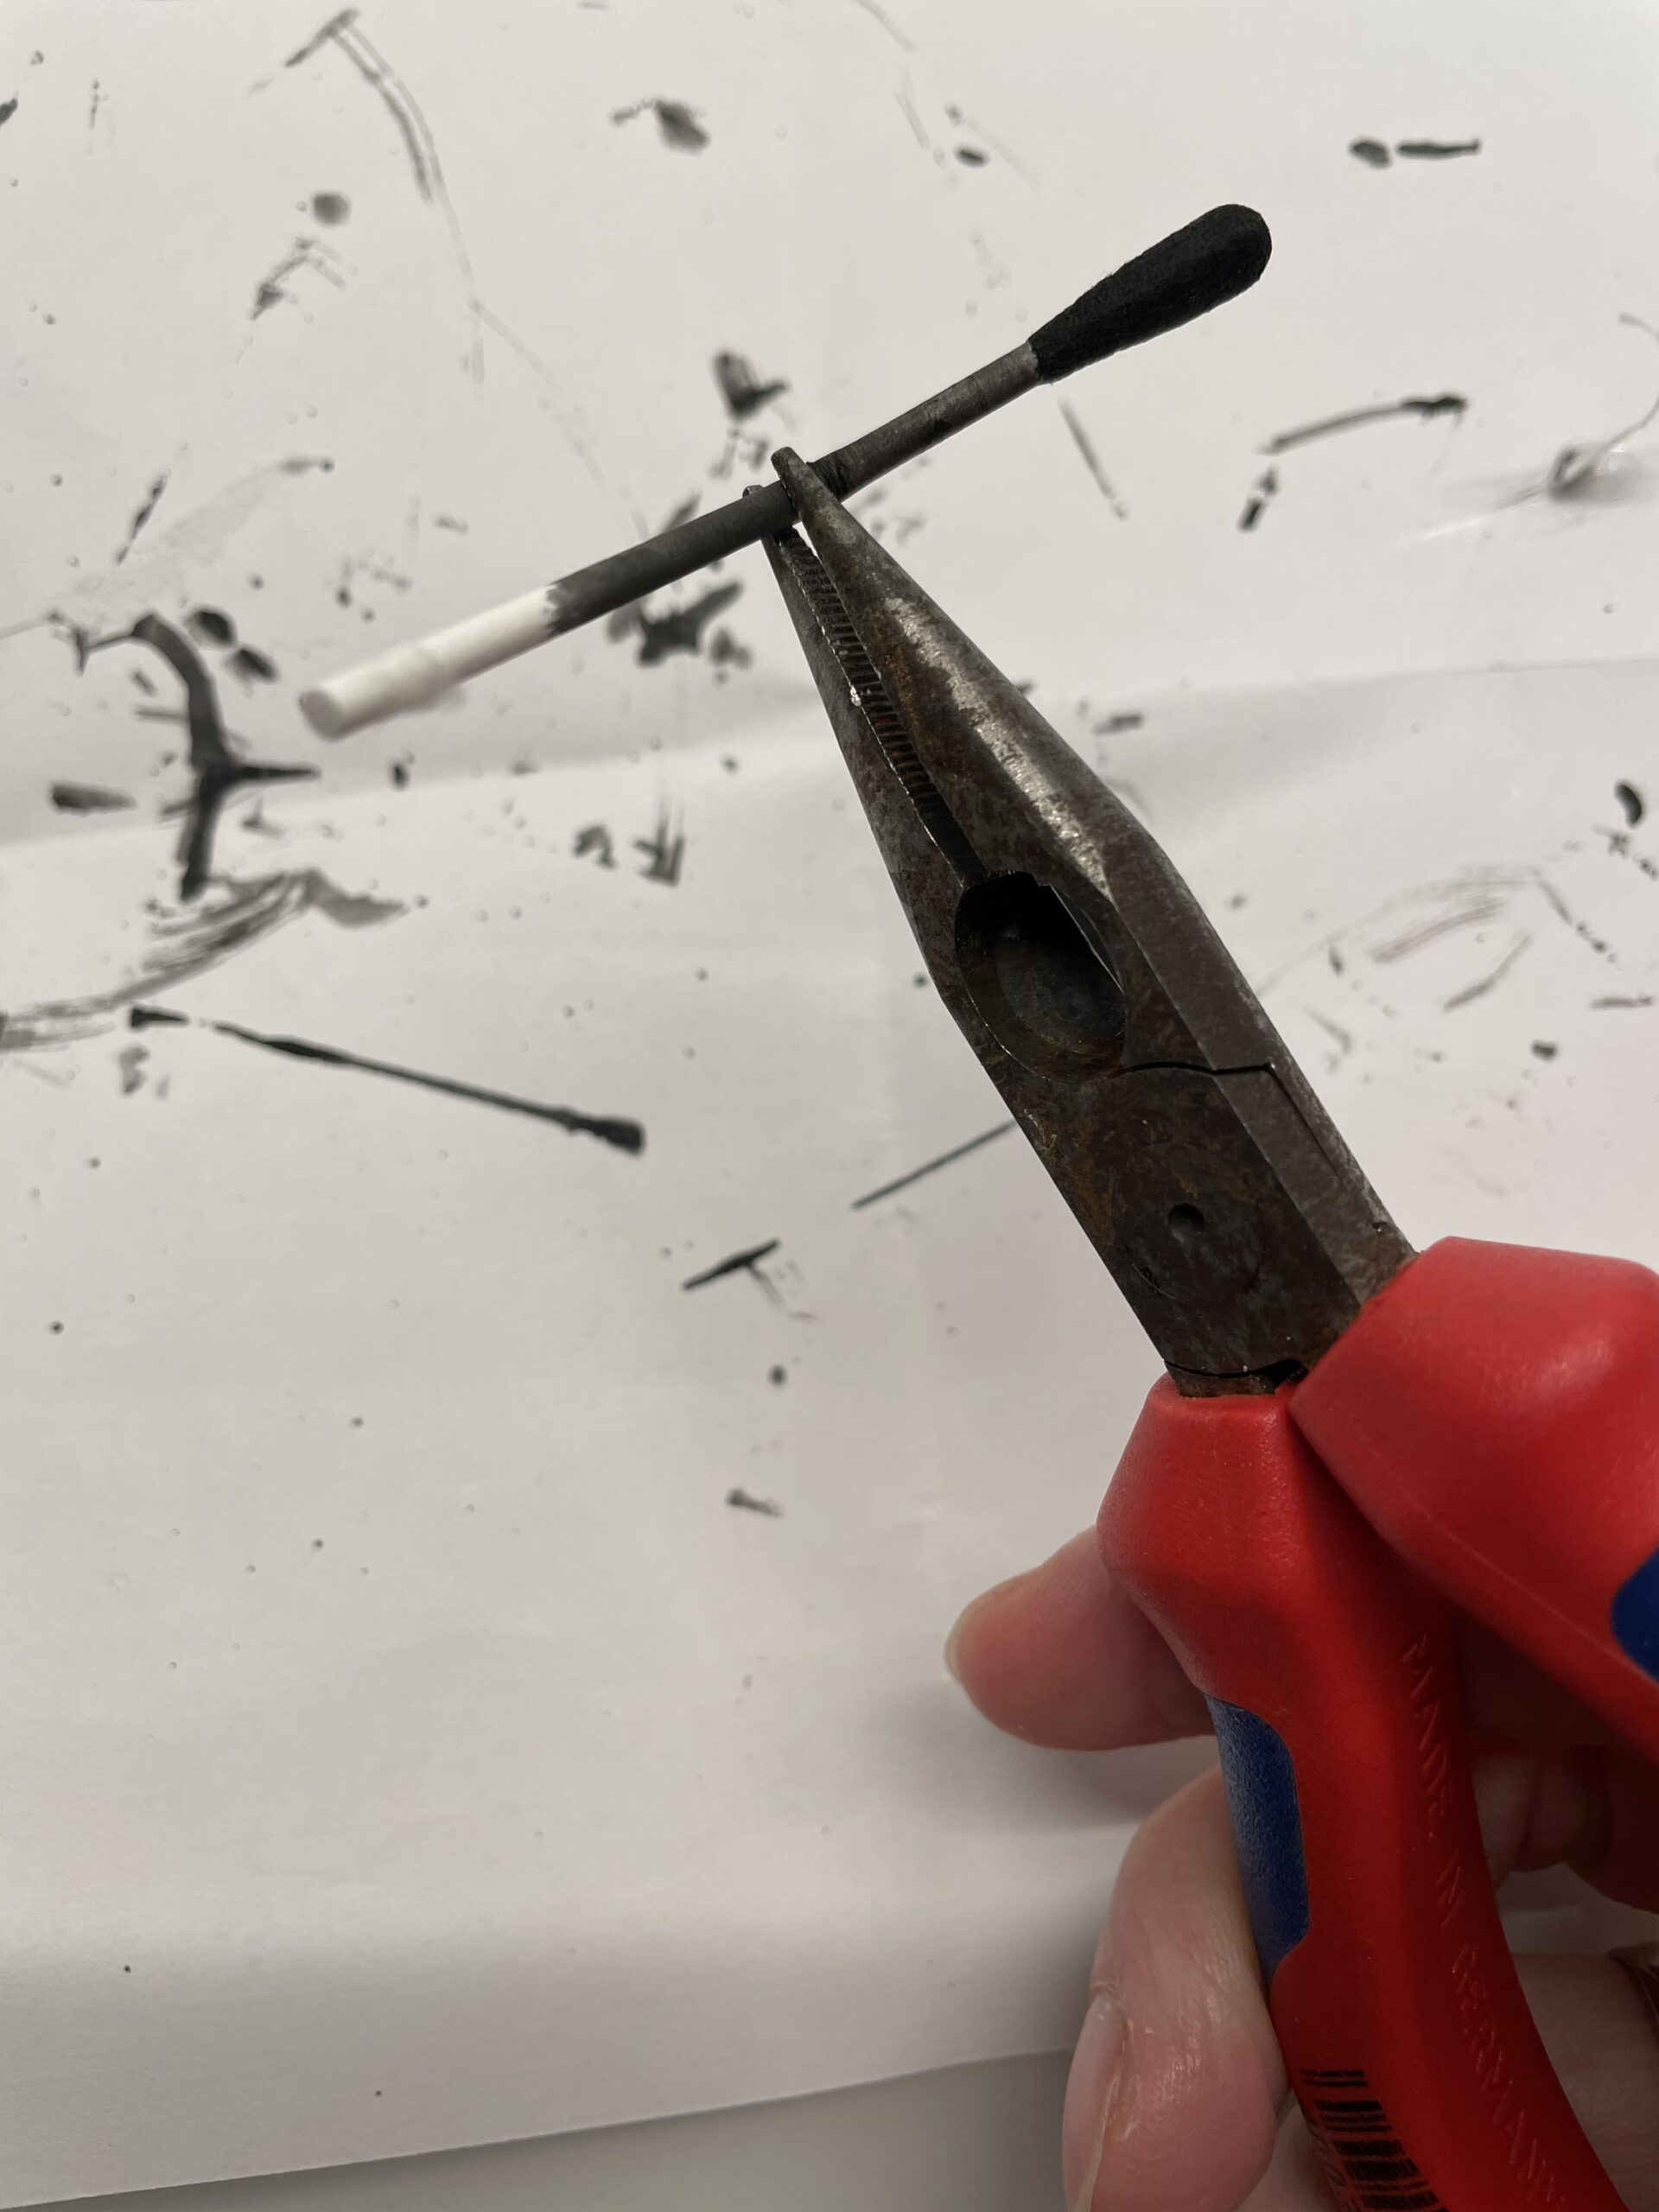
Bild zum Schritt 7 für das Bastel- und DIY-Abenteuer für Kinder: 'Um beim Bemalen alle Stellen zu erreichen, eignet es sich...'

8

Then you paint the half of the walnut bowl with the water color.
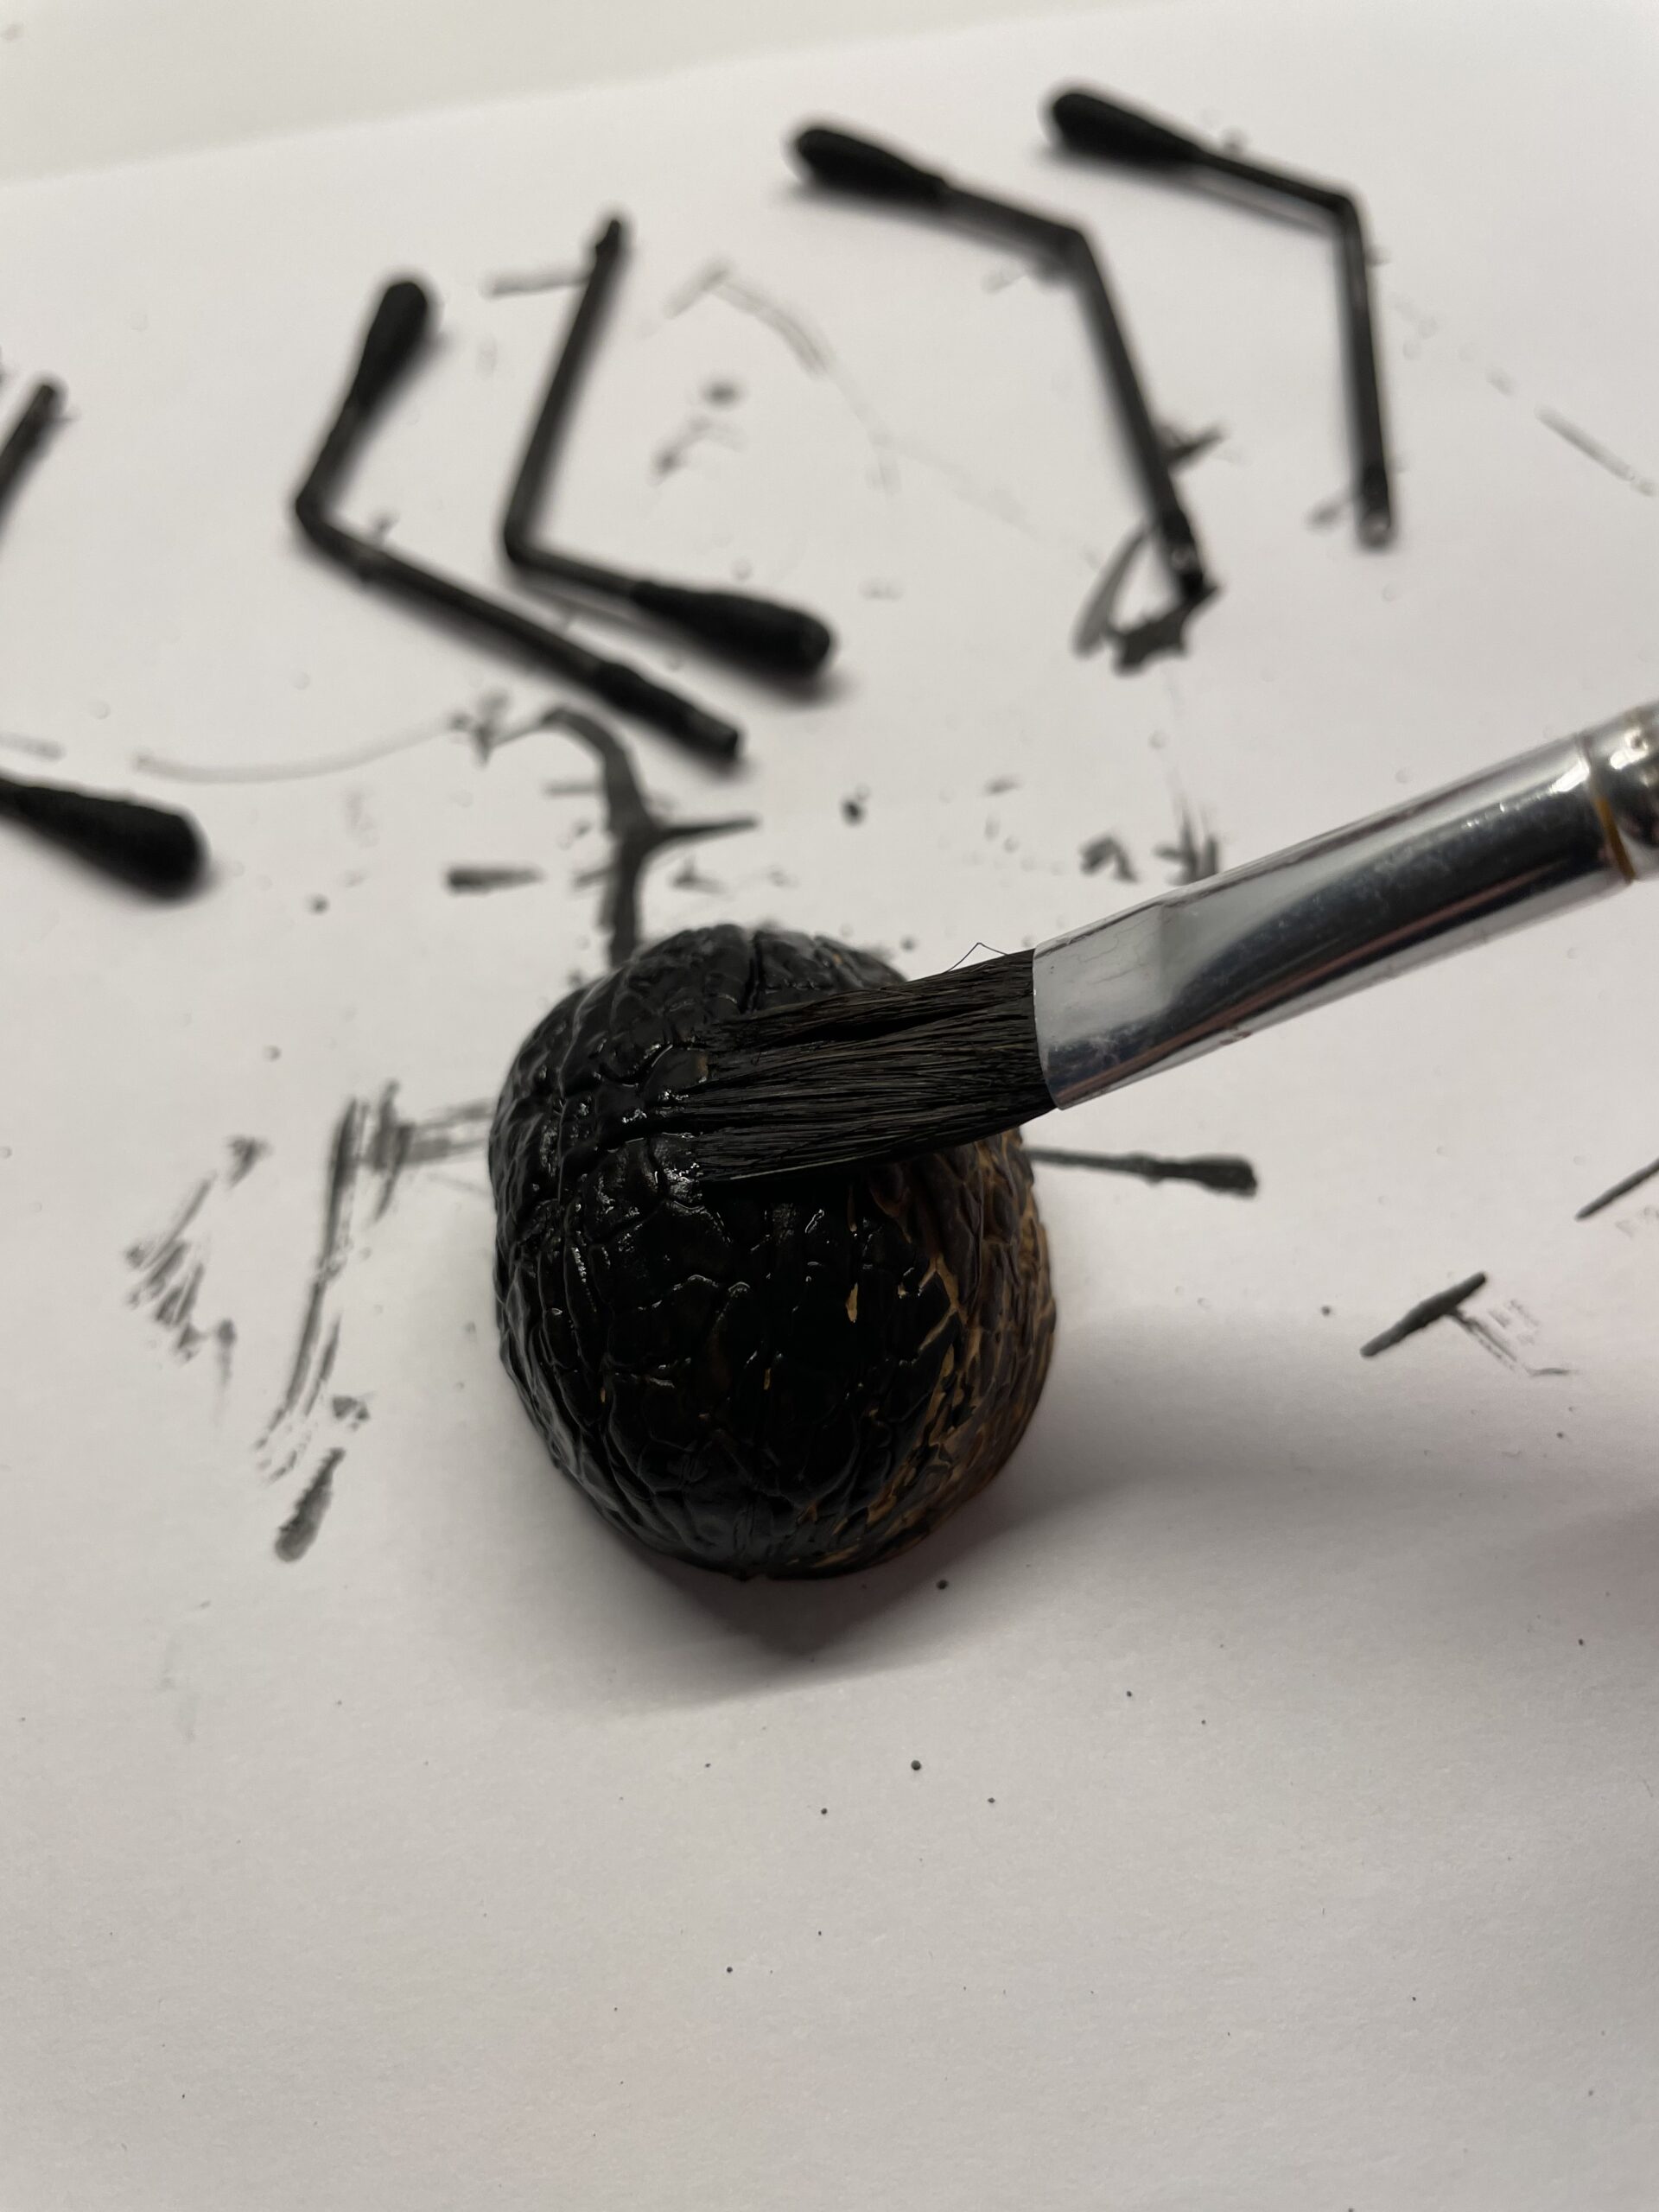
Bild zum Schritt 8 für das Bastel- und DIY-Abenteuer für Kinder: 'Danach malt ihr die halbe Wallnussschale auch mit der Wasserfarbe...'

9

Then you let everything dry.

Bild zum Schritt 9 für das Bastel- und DIY-Abenteuer für Kinder: 'Anschließend lasst ihr alles trocknen.'

10

After that, her wobble eyes stick to one side of the wallnut bowl. Use a glue stick or the hot glue gun. Attention when handling the hot glue - risk of injury!
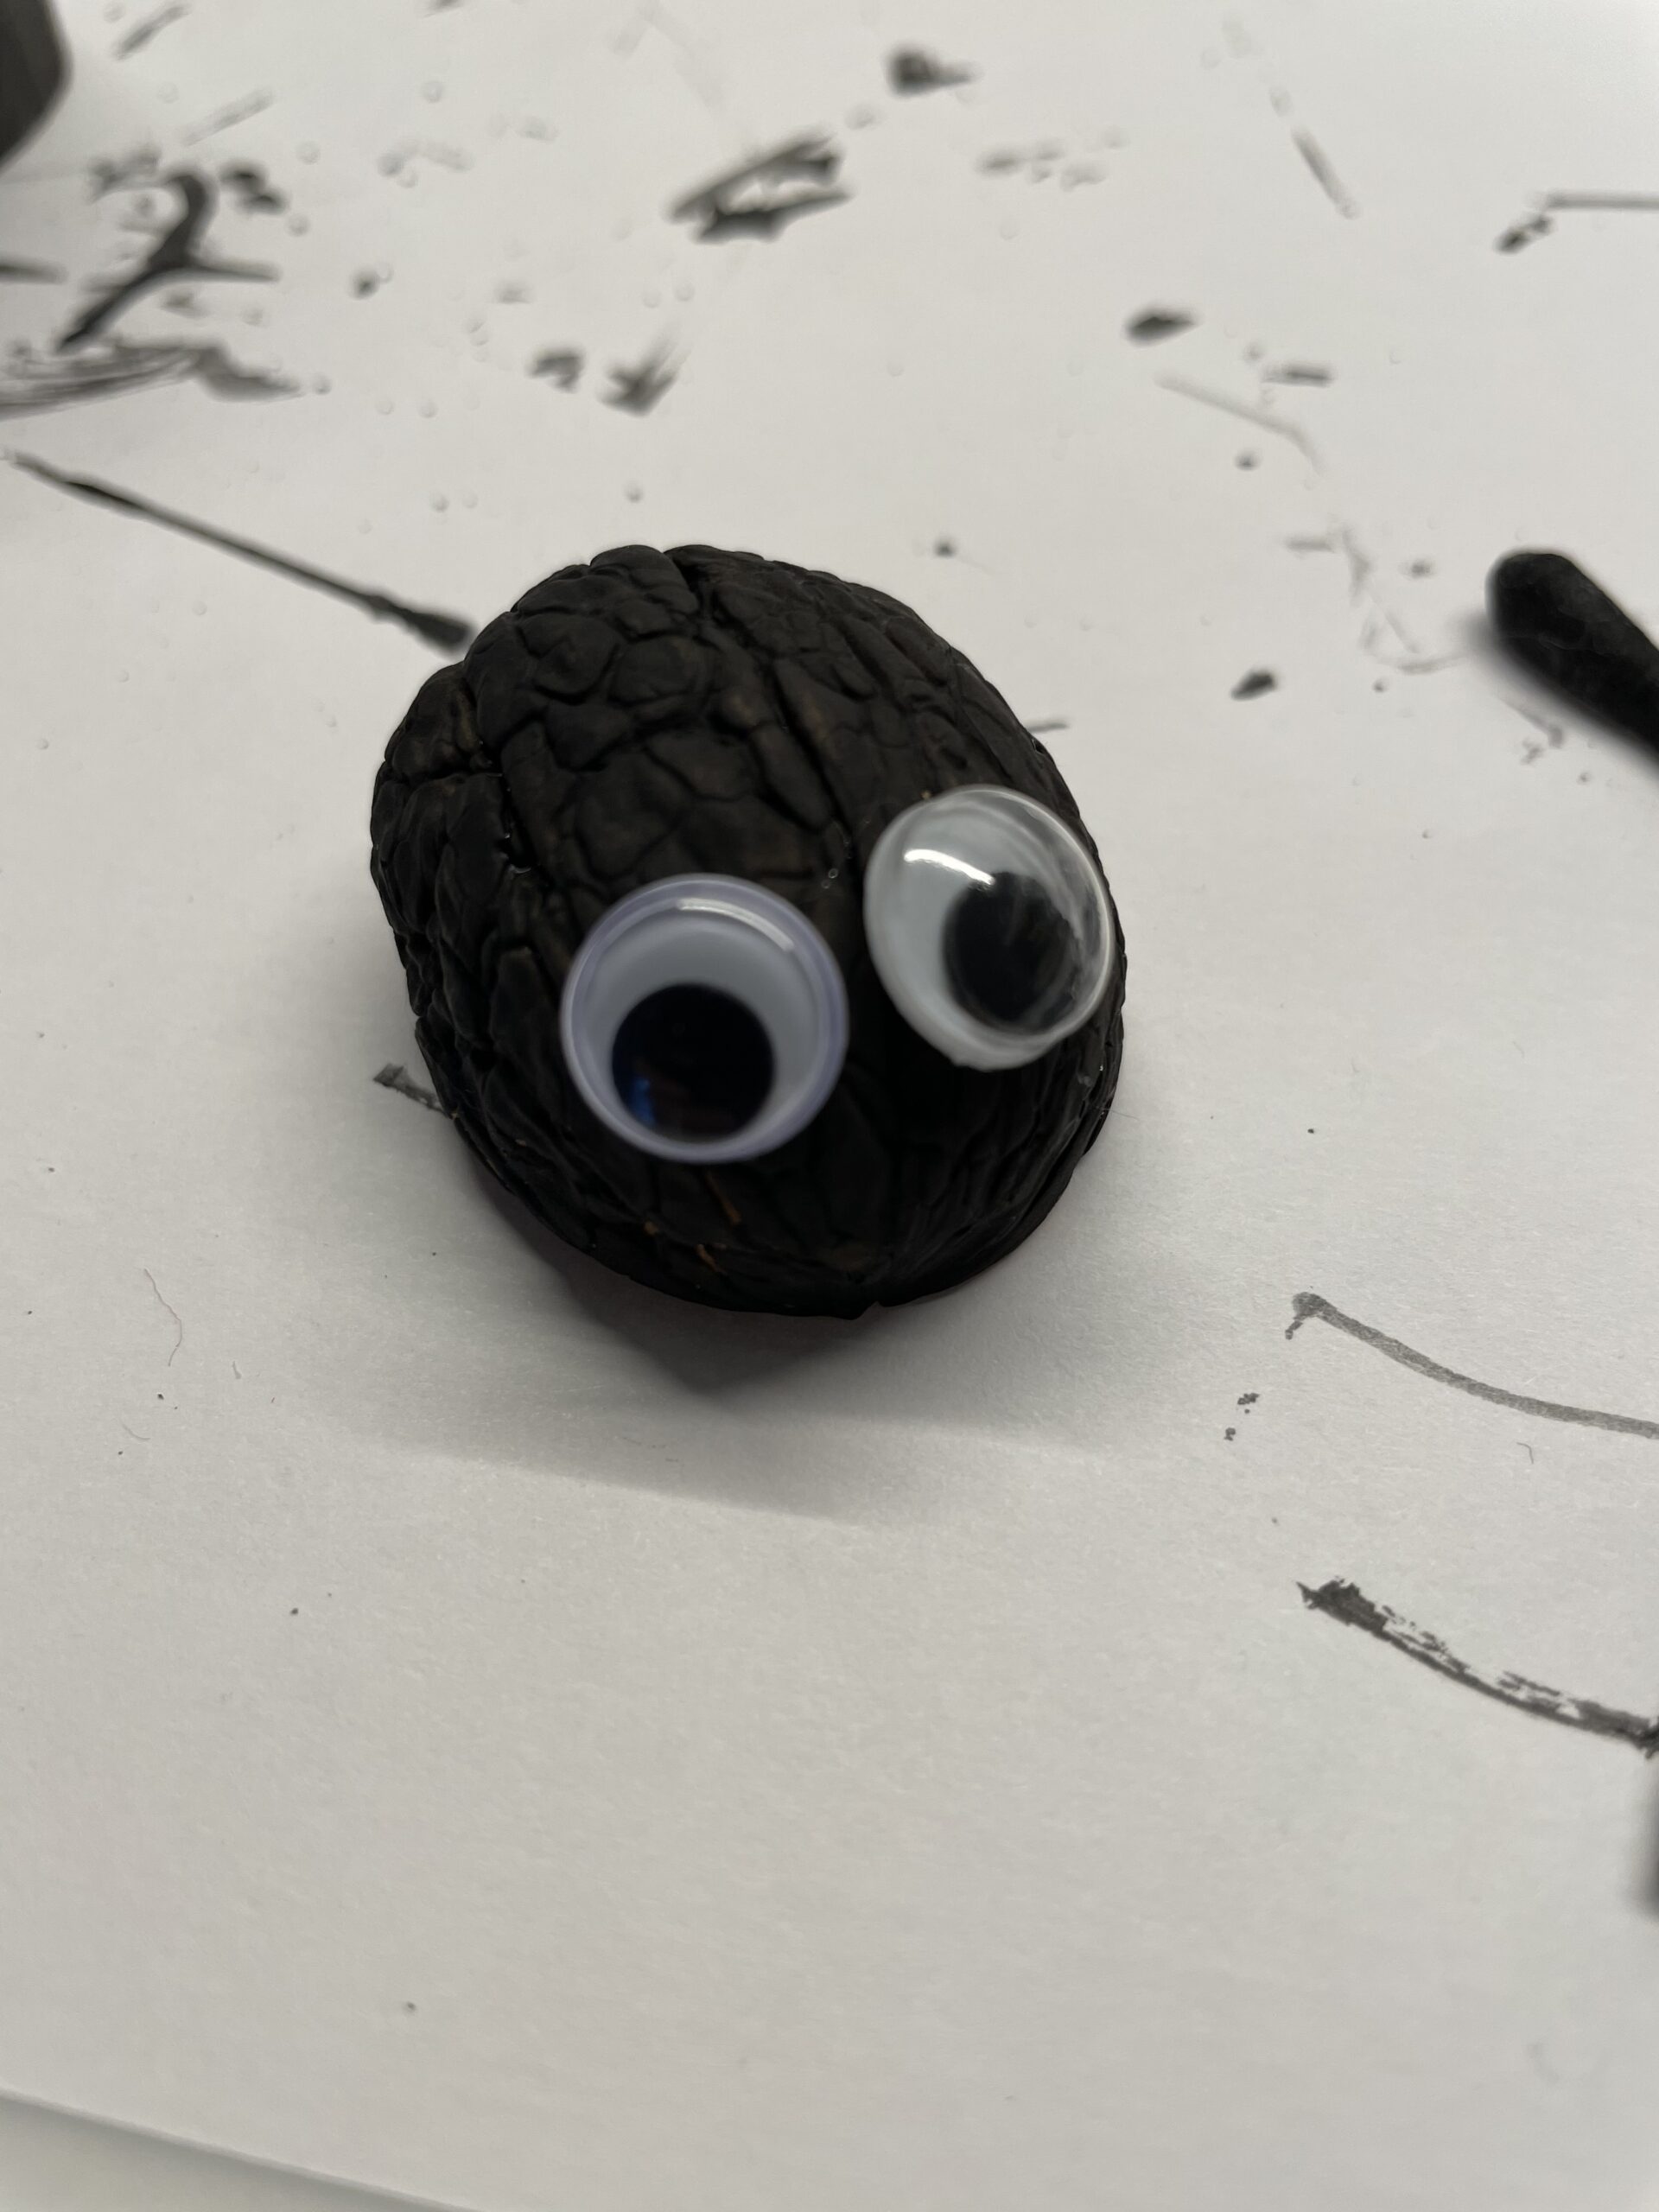
Bild zum Schritt 10 für das Bastel- und DIY-Abenteuer für Kinder: 'Danach klebt ihr Wackelaugen auf eine Seite der Wallnussschale. Nutzt...'

11

You should be helped by an adult when you put your legs on!
To do this, turn the Wallnut Bowl on the round outside. Then stick the spider's legs with hot glue on the open shell. Attention when handling the hot glue - risk of injury! The side with the cotton wool is outside.
Tip: Use the pliers to fix the legs!

Bild zum Schritt 11 für das Bastel- und DIY-Abenteuer für Kinder: 'Beim Anbringen der Beine solltet ihr euch von einem Erwachsenen...'

12

Glue the legs one after the other and make sure they are stable.

Bild zum Schritt 12 für das Bastel- und DIY-Abenteuer für Kinder: 'Klebt die Beine nacheinander an und achtet darauf, dass diese...'

13

Hold the spider as the glue gets stuck until the spider's legs hold.
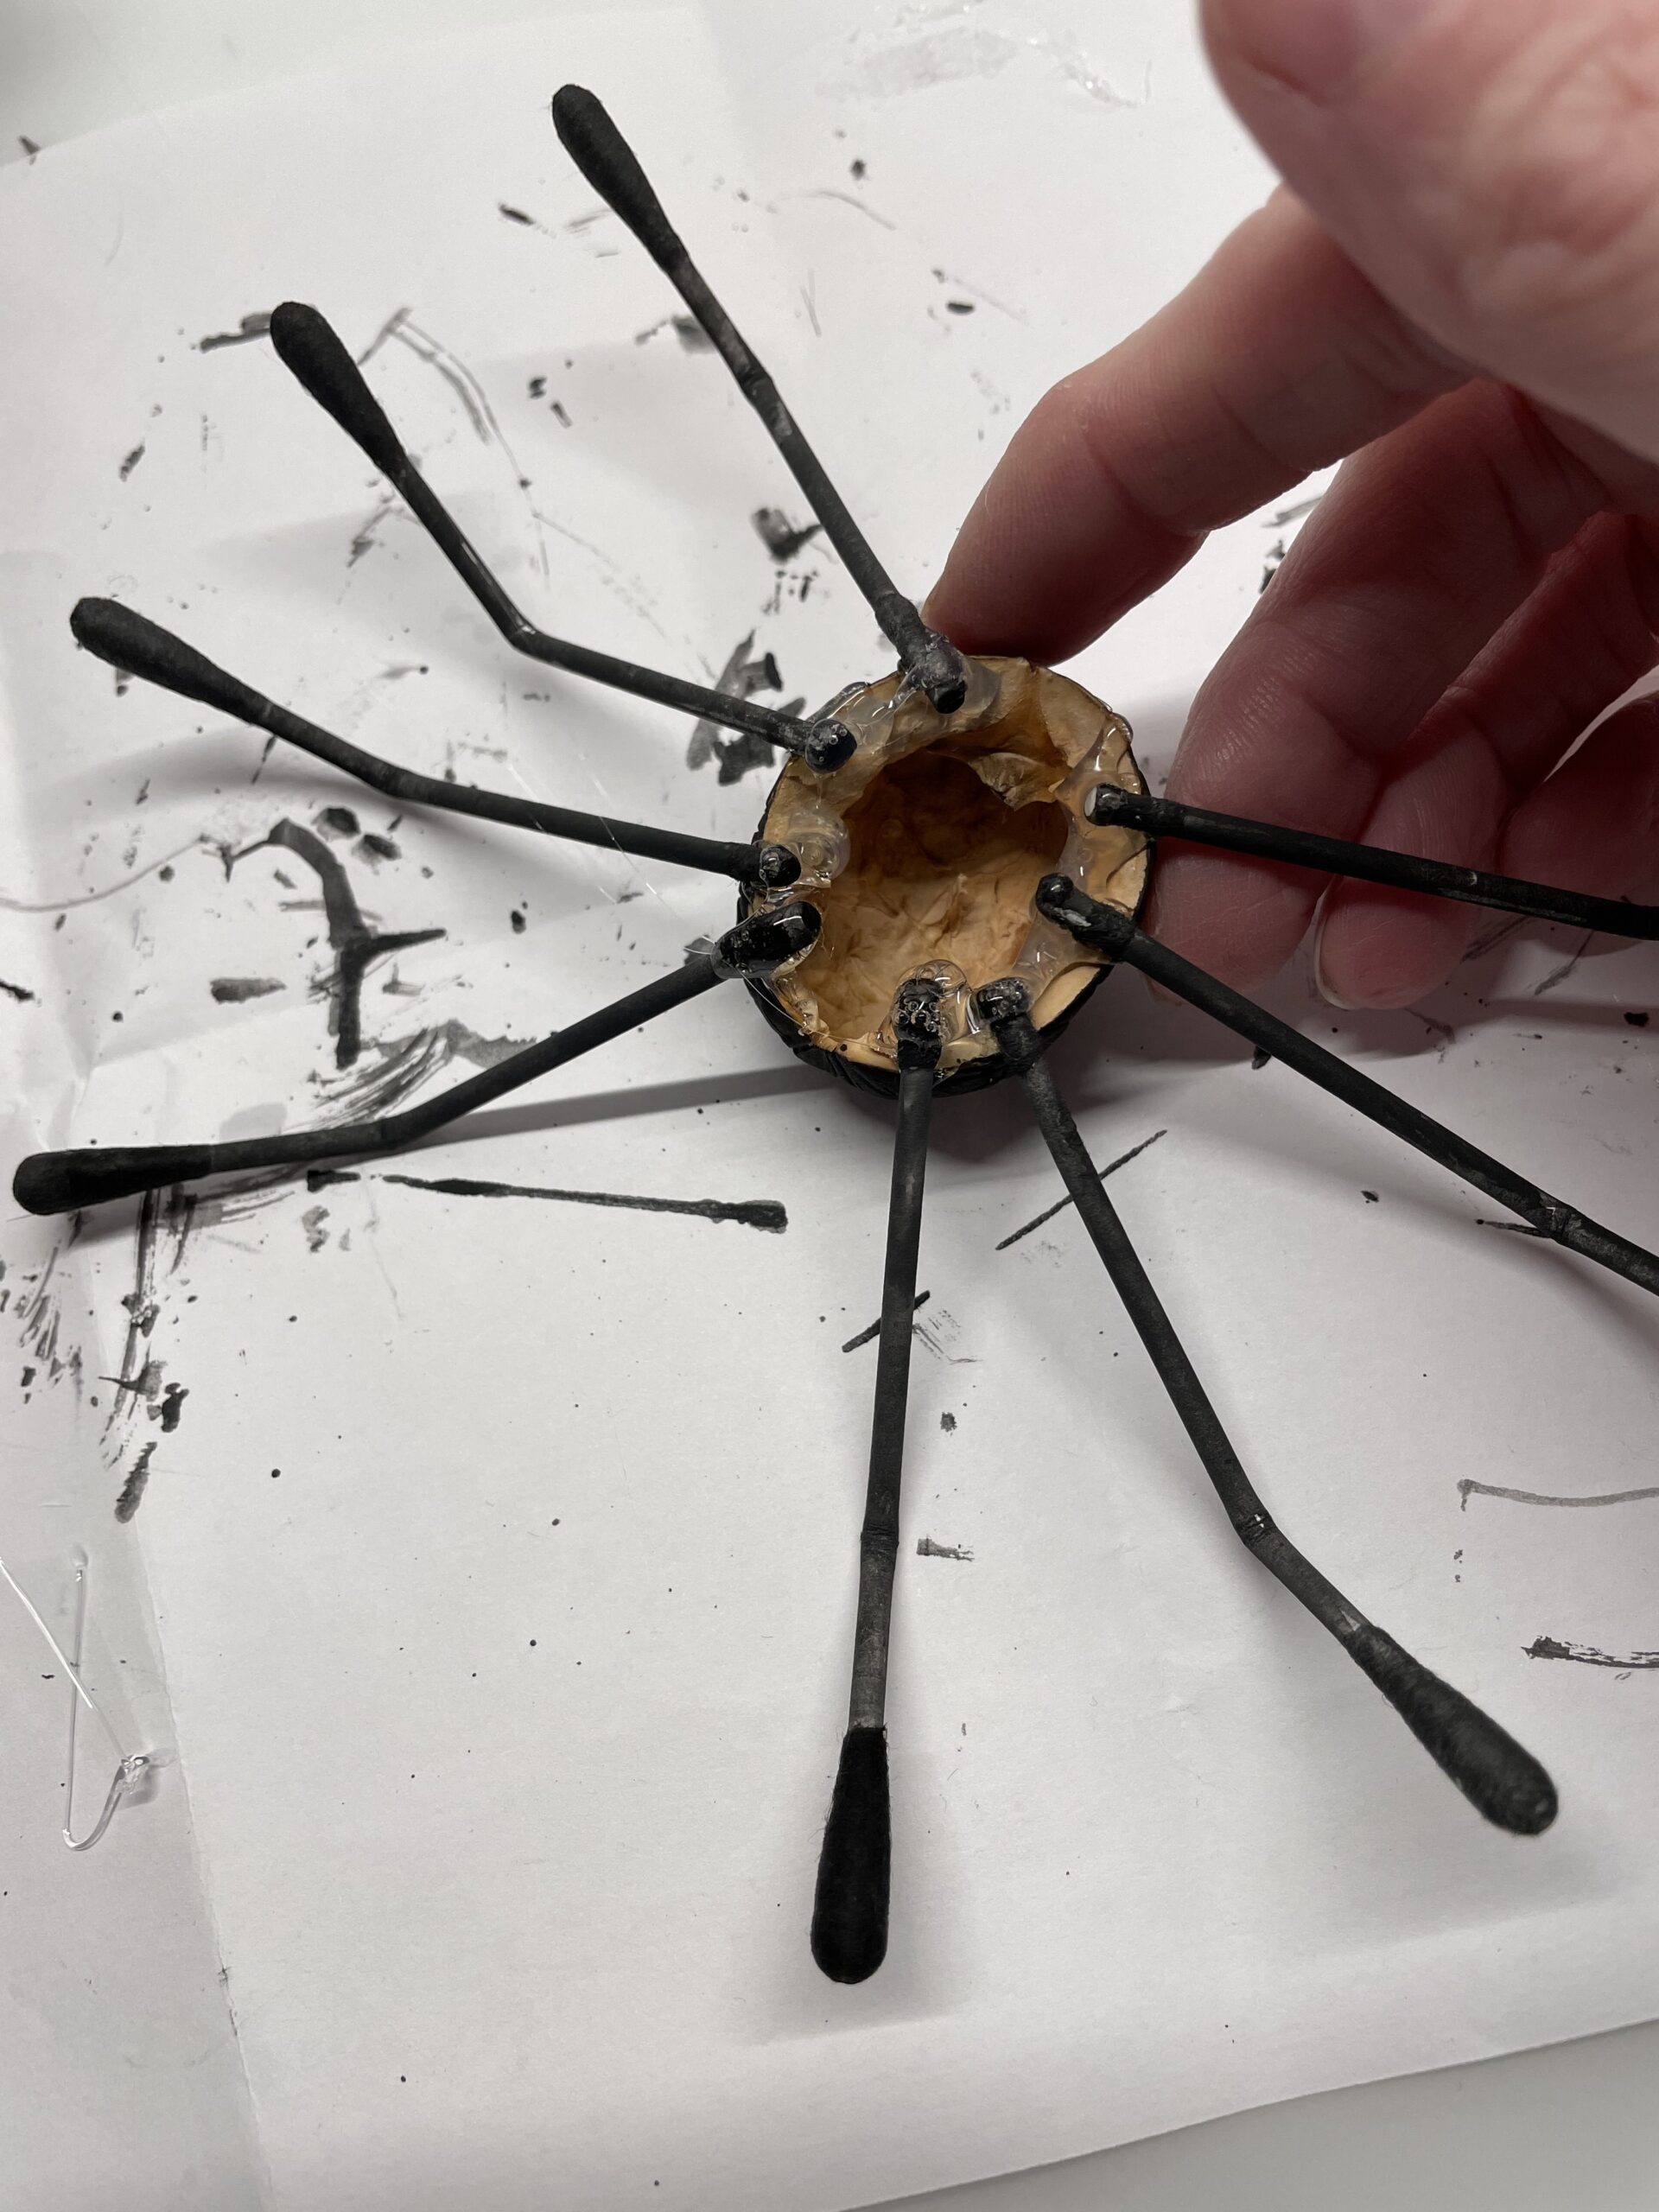
Bild zum Schritt 13 für das Bastel- und DIY-Abenteuer für Kinder: 'Haltet die Spinne beim Festwerden des Klebers so lange fest,...'

14

Only then do you turn the spider around and put it on her legs.
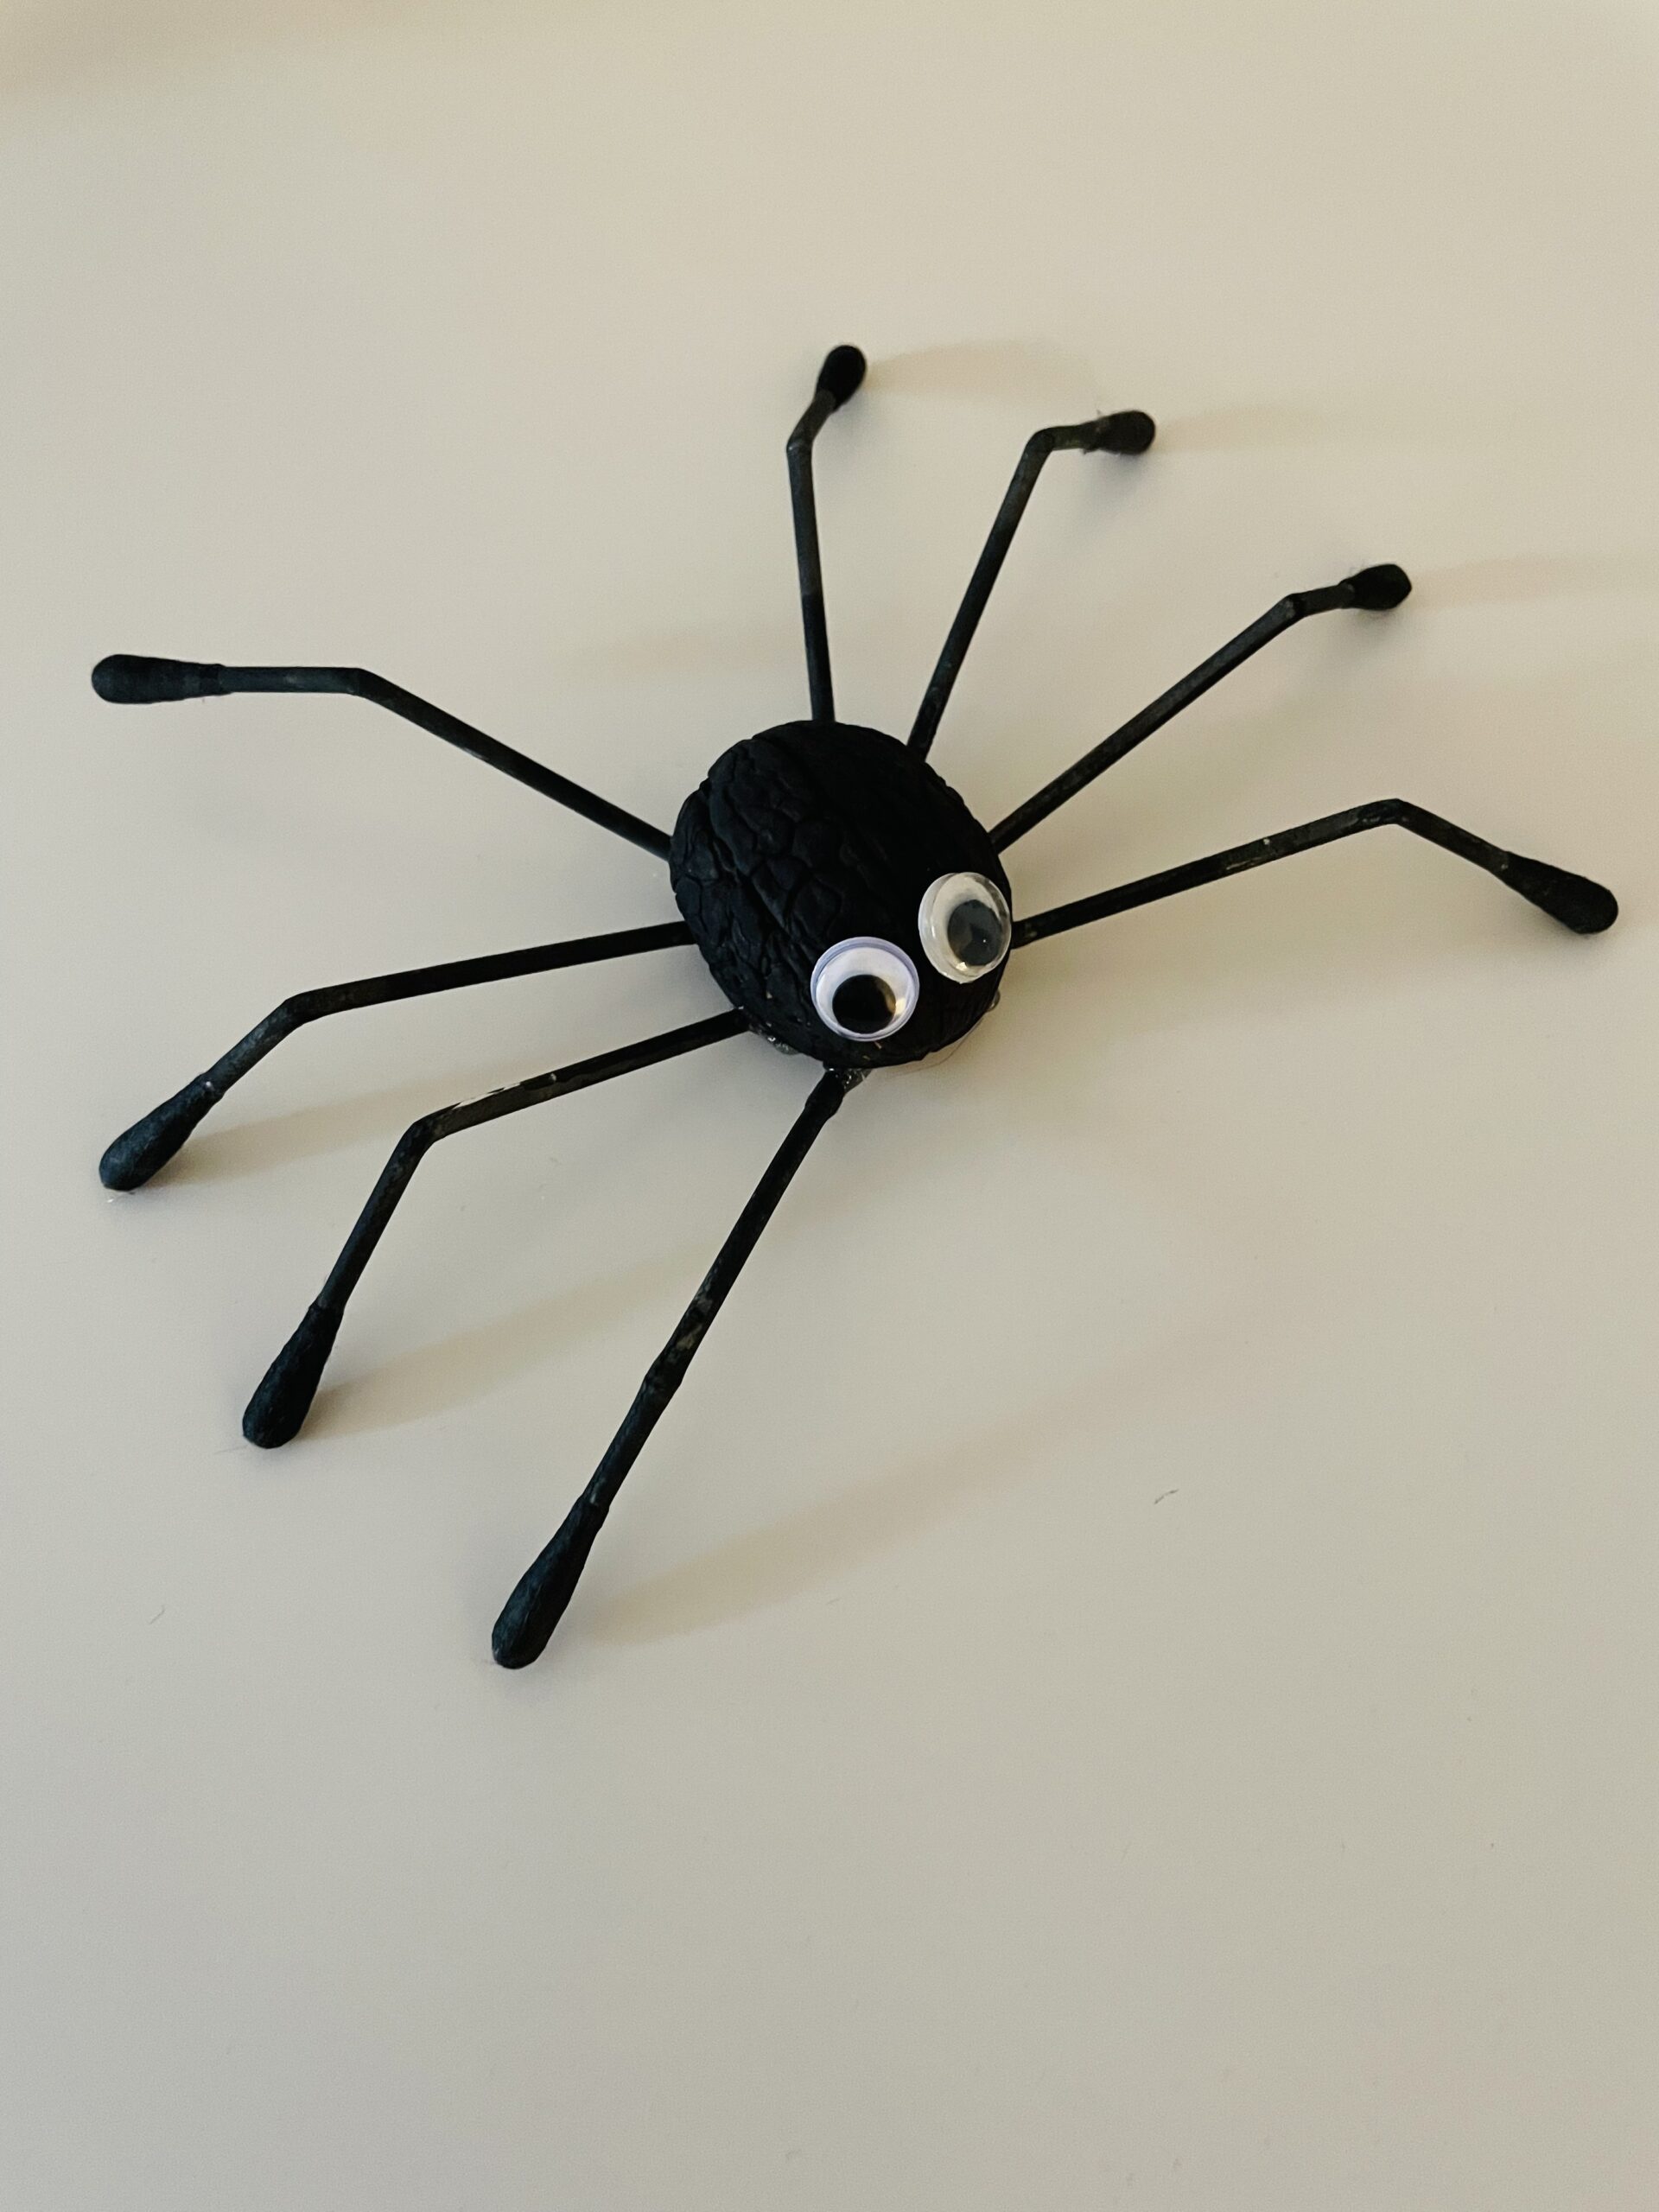
Bild zum Schritt 14 für das Bastel- und DIY-Abenteuer für Kinder: 'Erst dann dreht ihr die Spinne um und stellt ihr...'

15

That's what the spider looks like now!
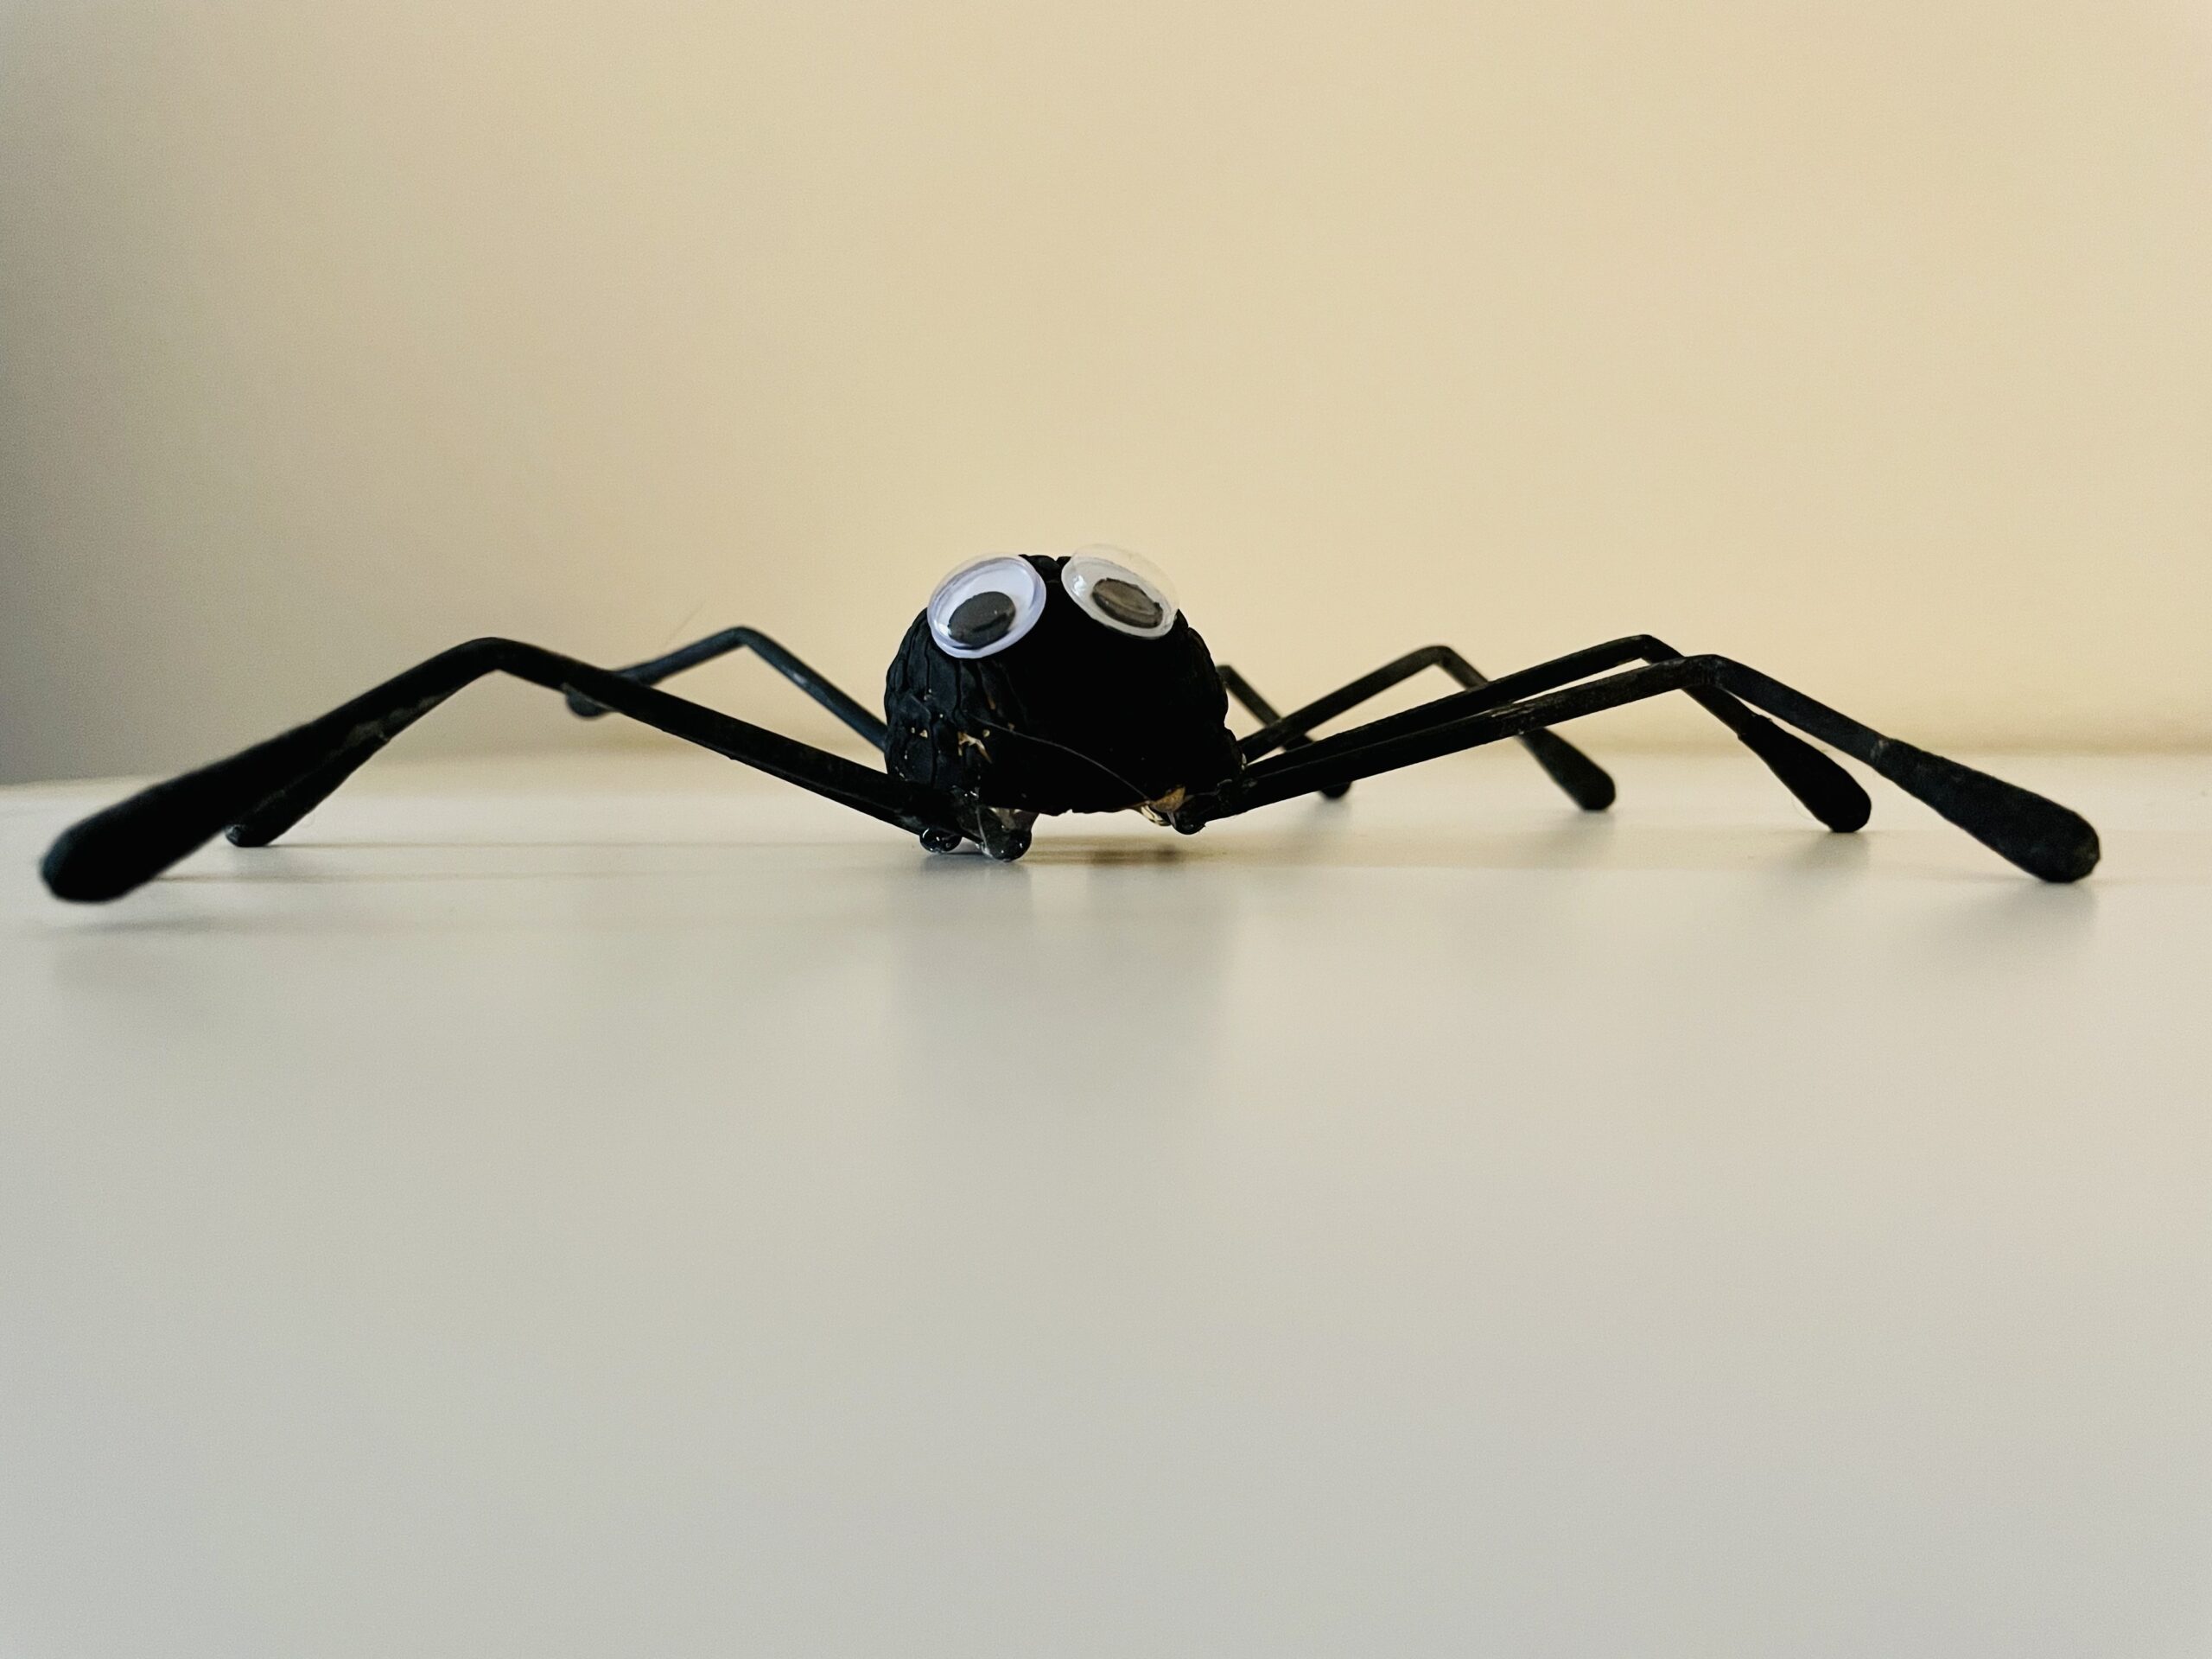
Bild zum Schritt 15 für das Bastel- und DIY-Abenteuer für Kinder: 'So sieht die Spinne jetzt aus!'

16

Use it to decorate.

Bild zum Schritt 16 für das Bastel- und DIY-Abenteuer für Kinder: 'Verwendet sie zur Dekoration.'

17

For Halloween a really great eye-catcher.
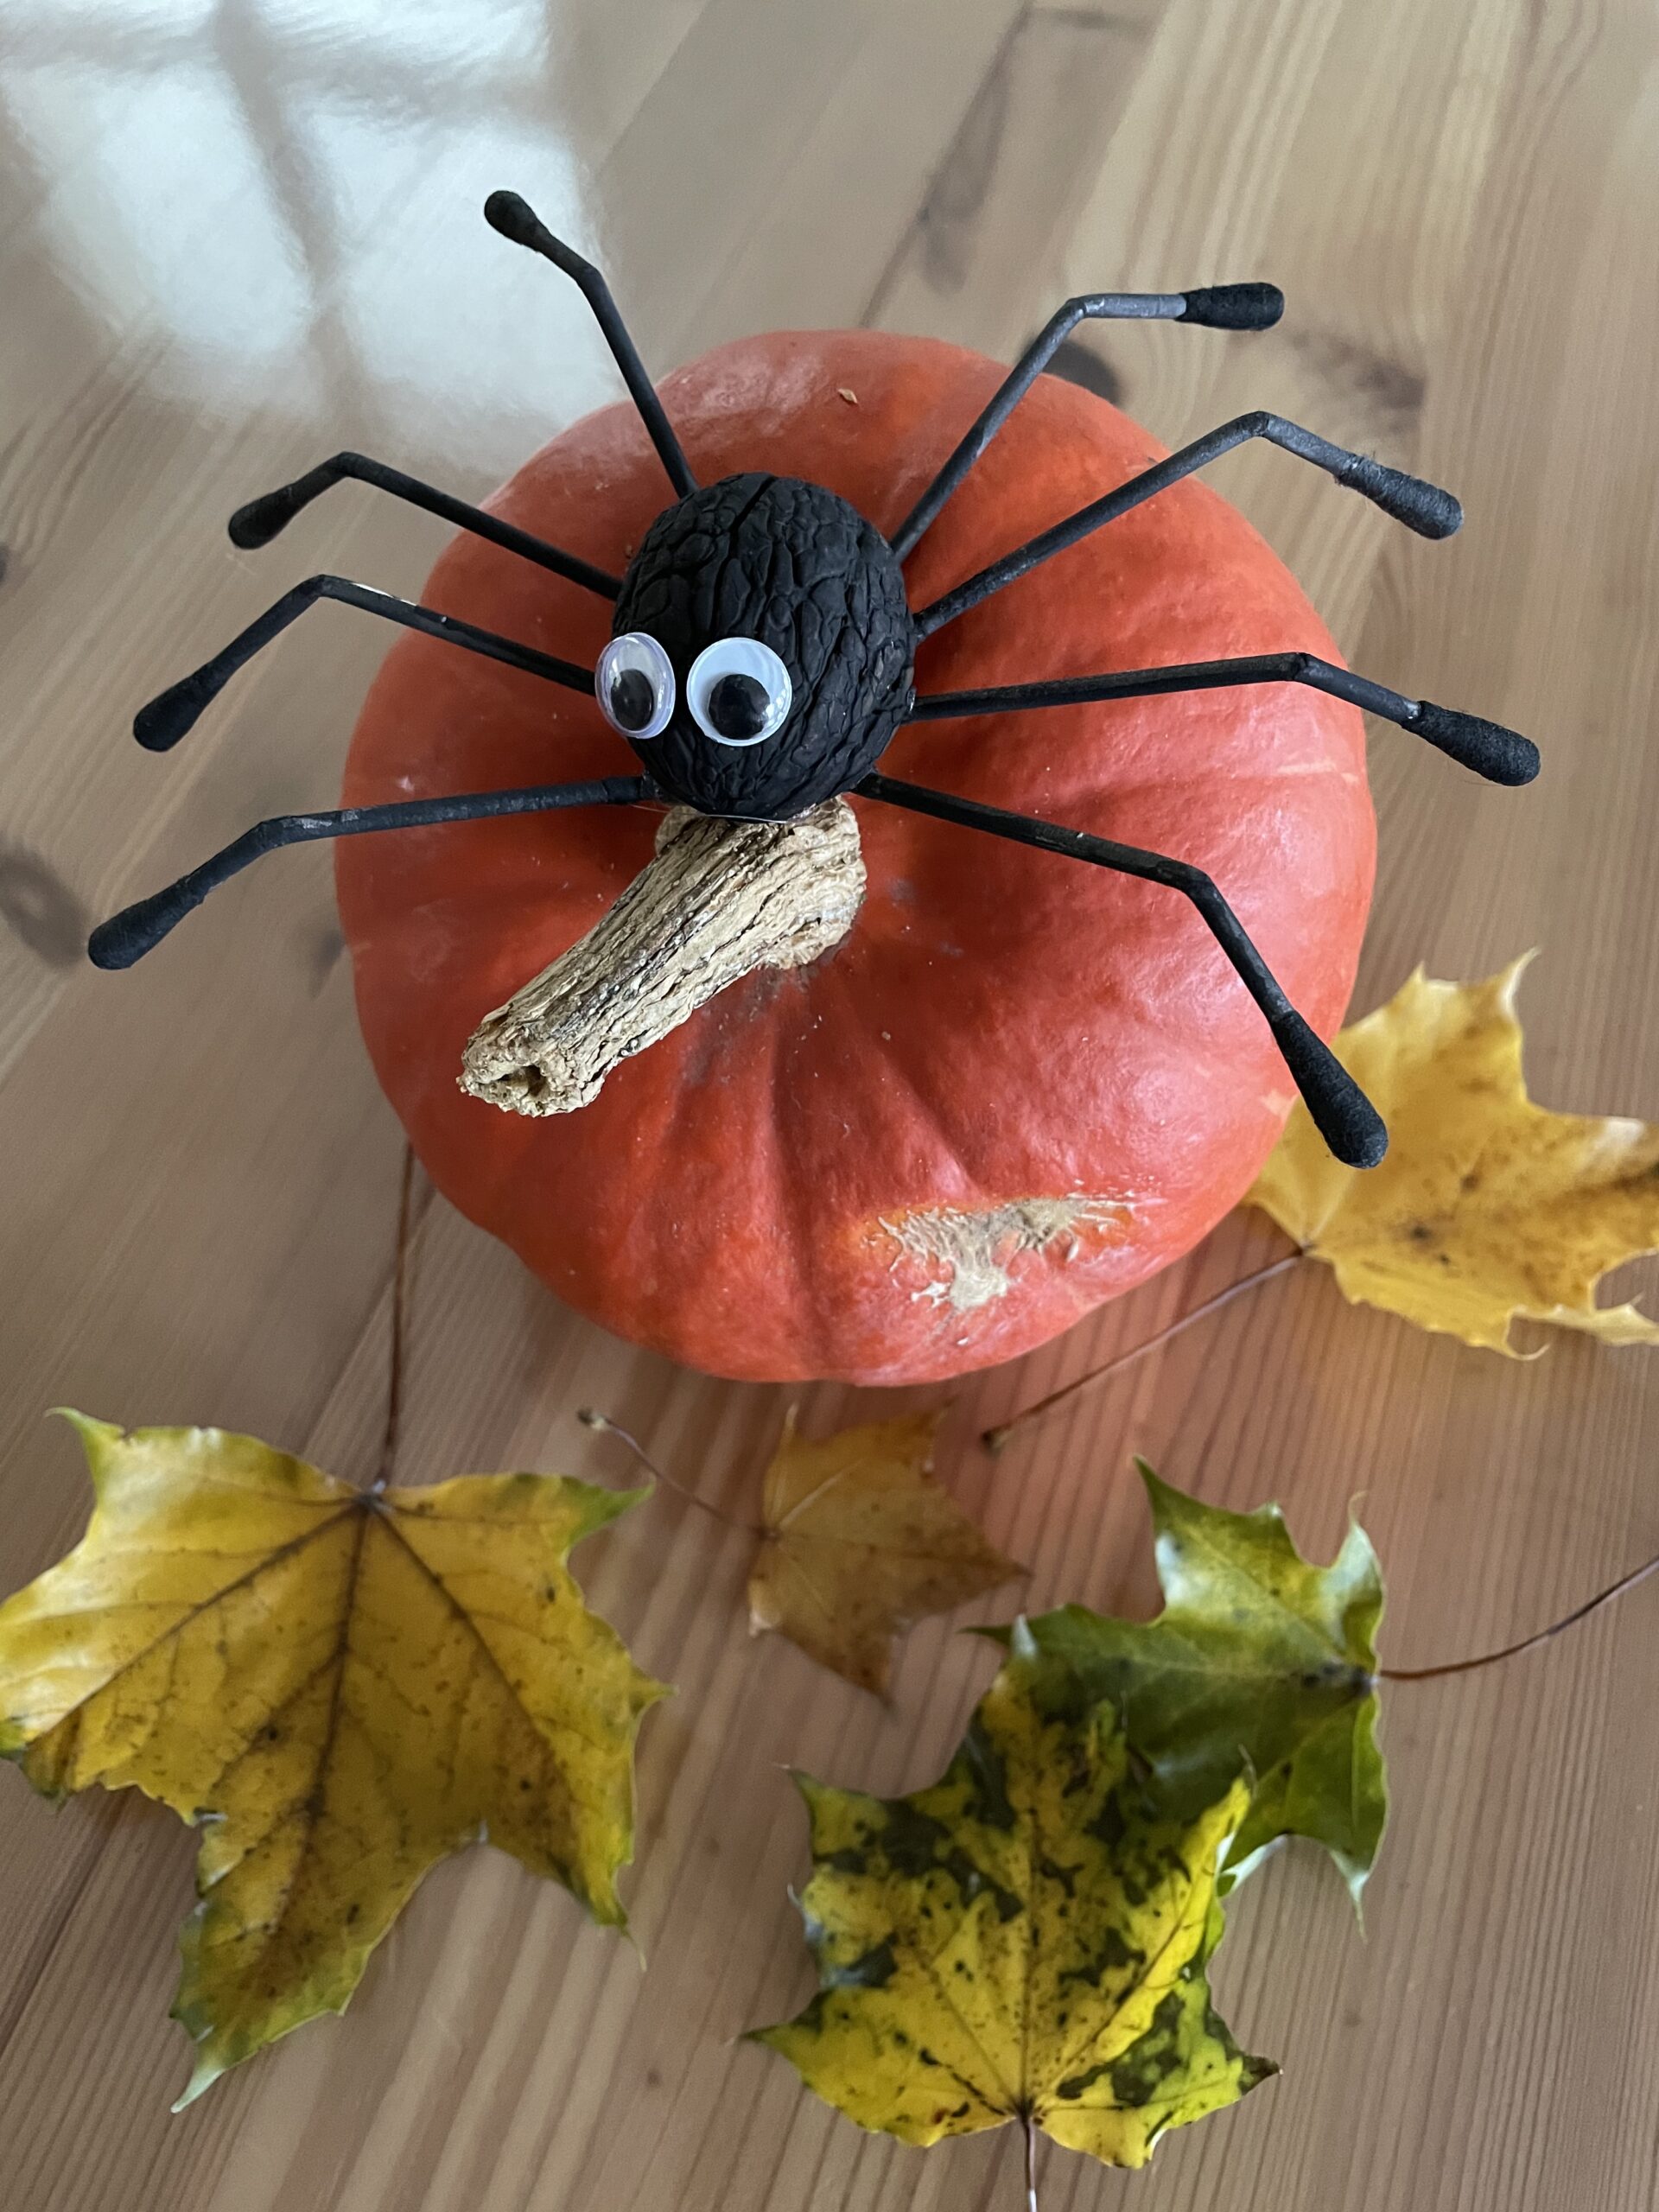
Bild zum Schritt 17 für das Bastel- und DIY-Abenteuer für Kinder: 'Für Halloween ein wirklich toller Hingucker.'

18

Have fun crafting the spider and decorating.

Spine tinkering

Follow us on Facebook , Instagram and Pinterest
Don't miss any more adventures: Our bottle mail

Leave a Reply

Your email address will not be published.

The maximum upload file size: 5 MB. You can upload: image, document. Drop file here