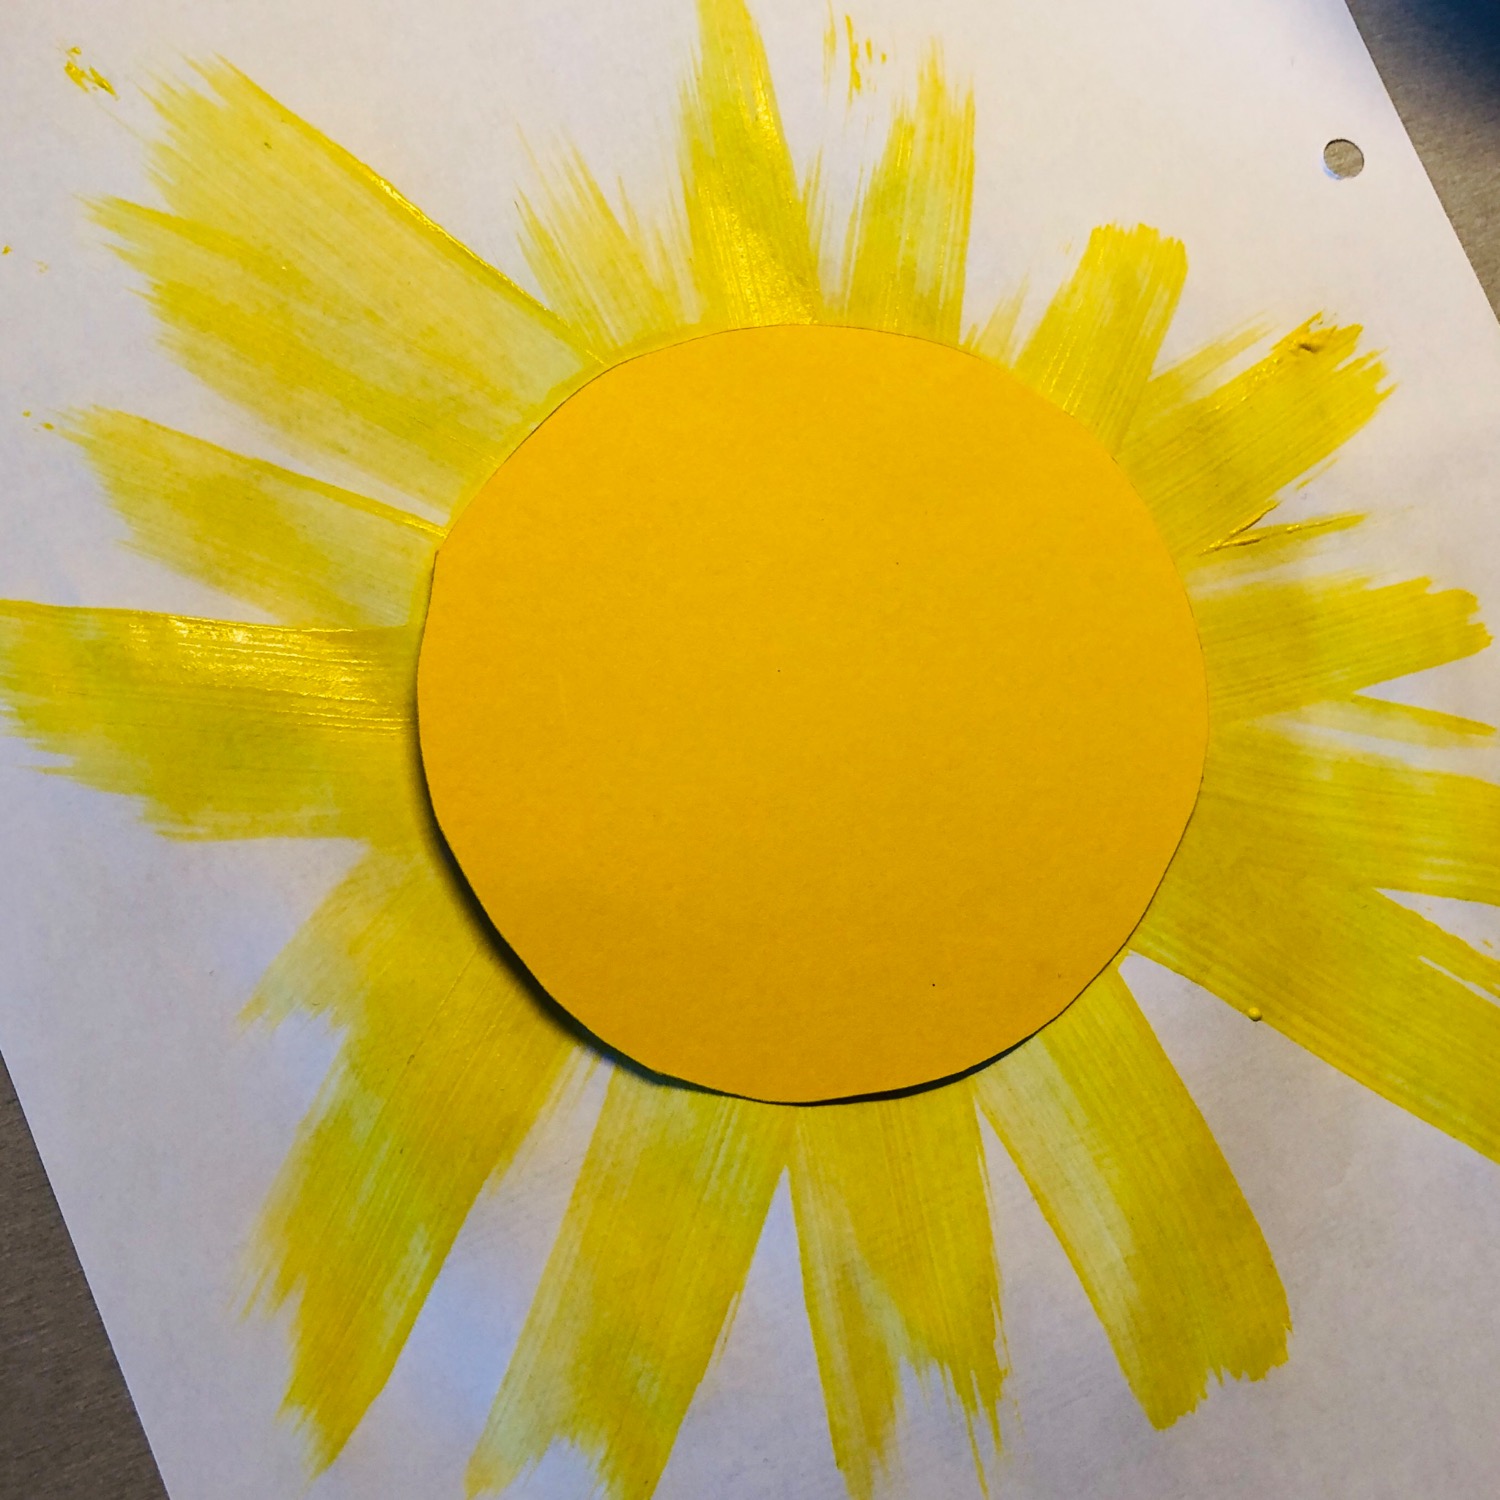
An idea for sunny days! Wiping technique with sponges. Also suitable for small children. The rays are wiped from the center of the sun to the outside or "painted" with the sponge. Circular arrangement is required here, bigger children succeed this already very well, small ones still need support.
Media Education for Kindergarten and Hort

Relief in everyday life, targeted promotion of individual children, independent learning and - without any pre-knowledge already usable by the youngest!
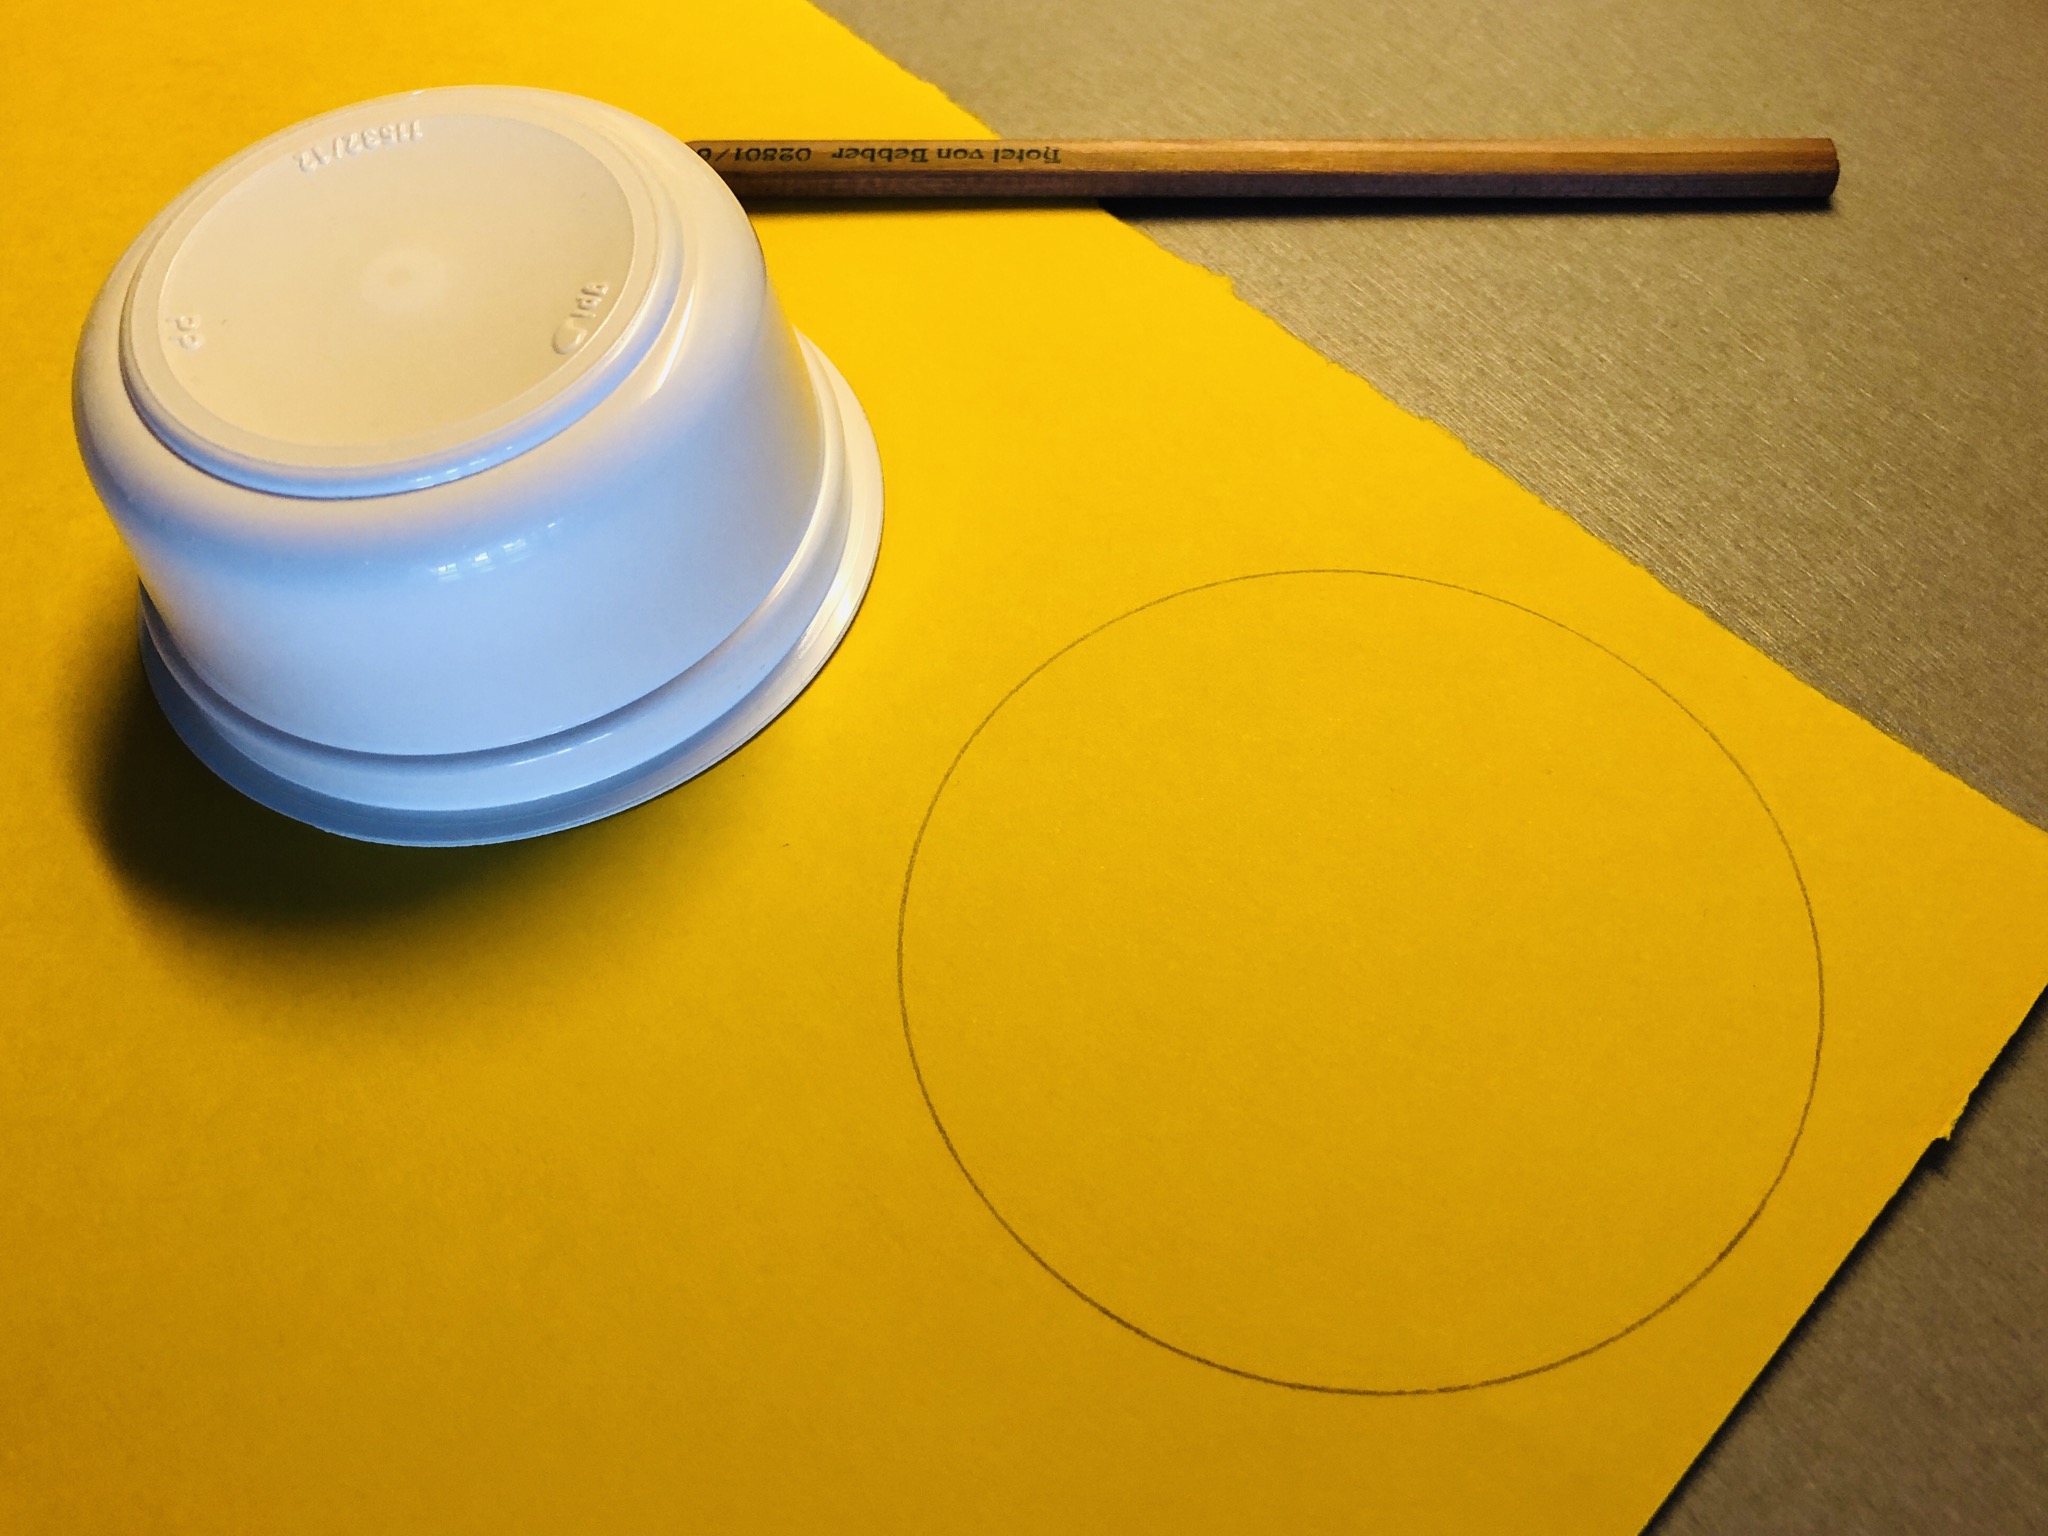
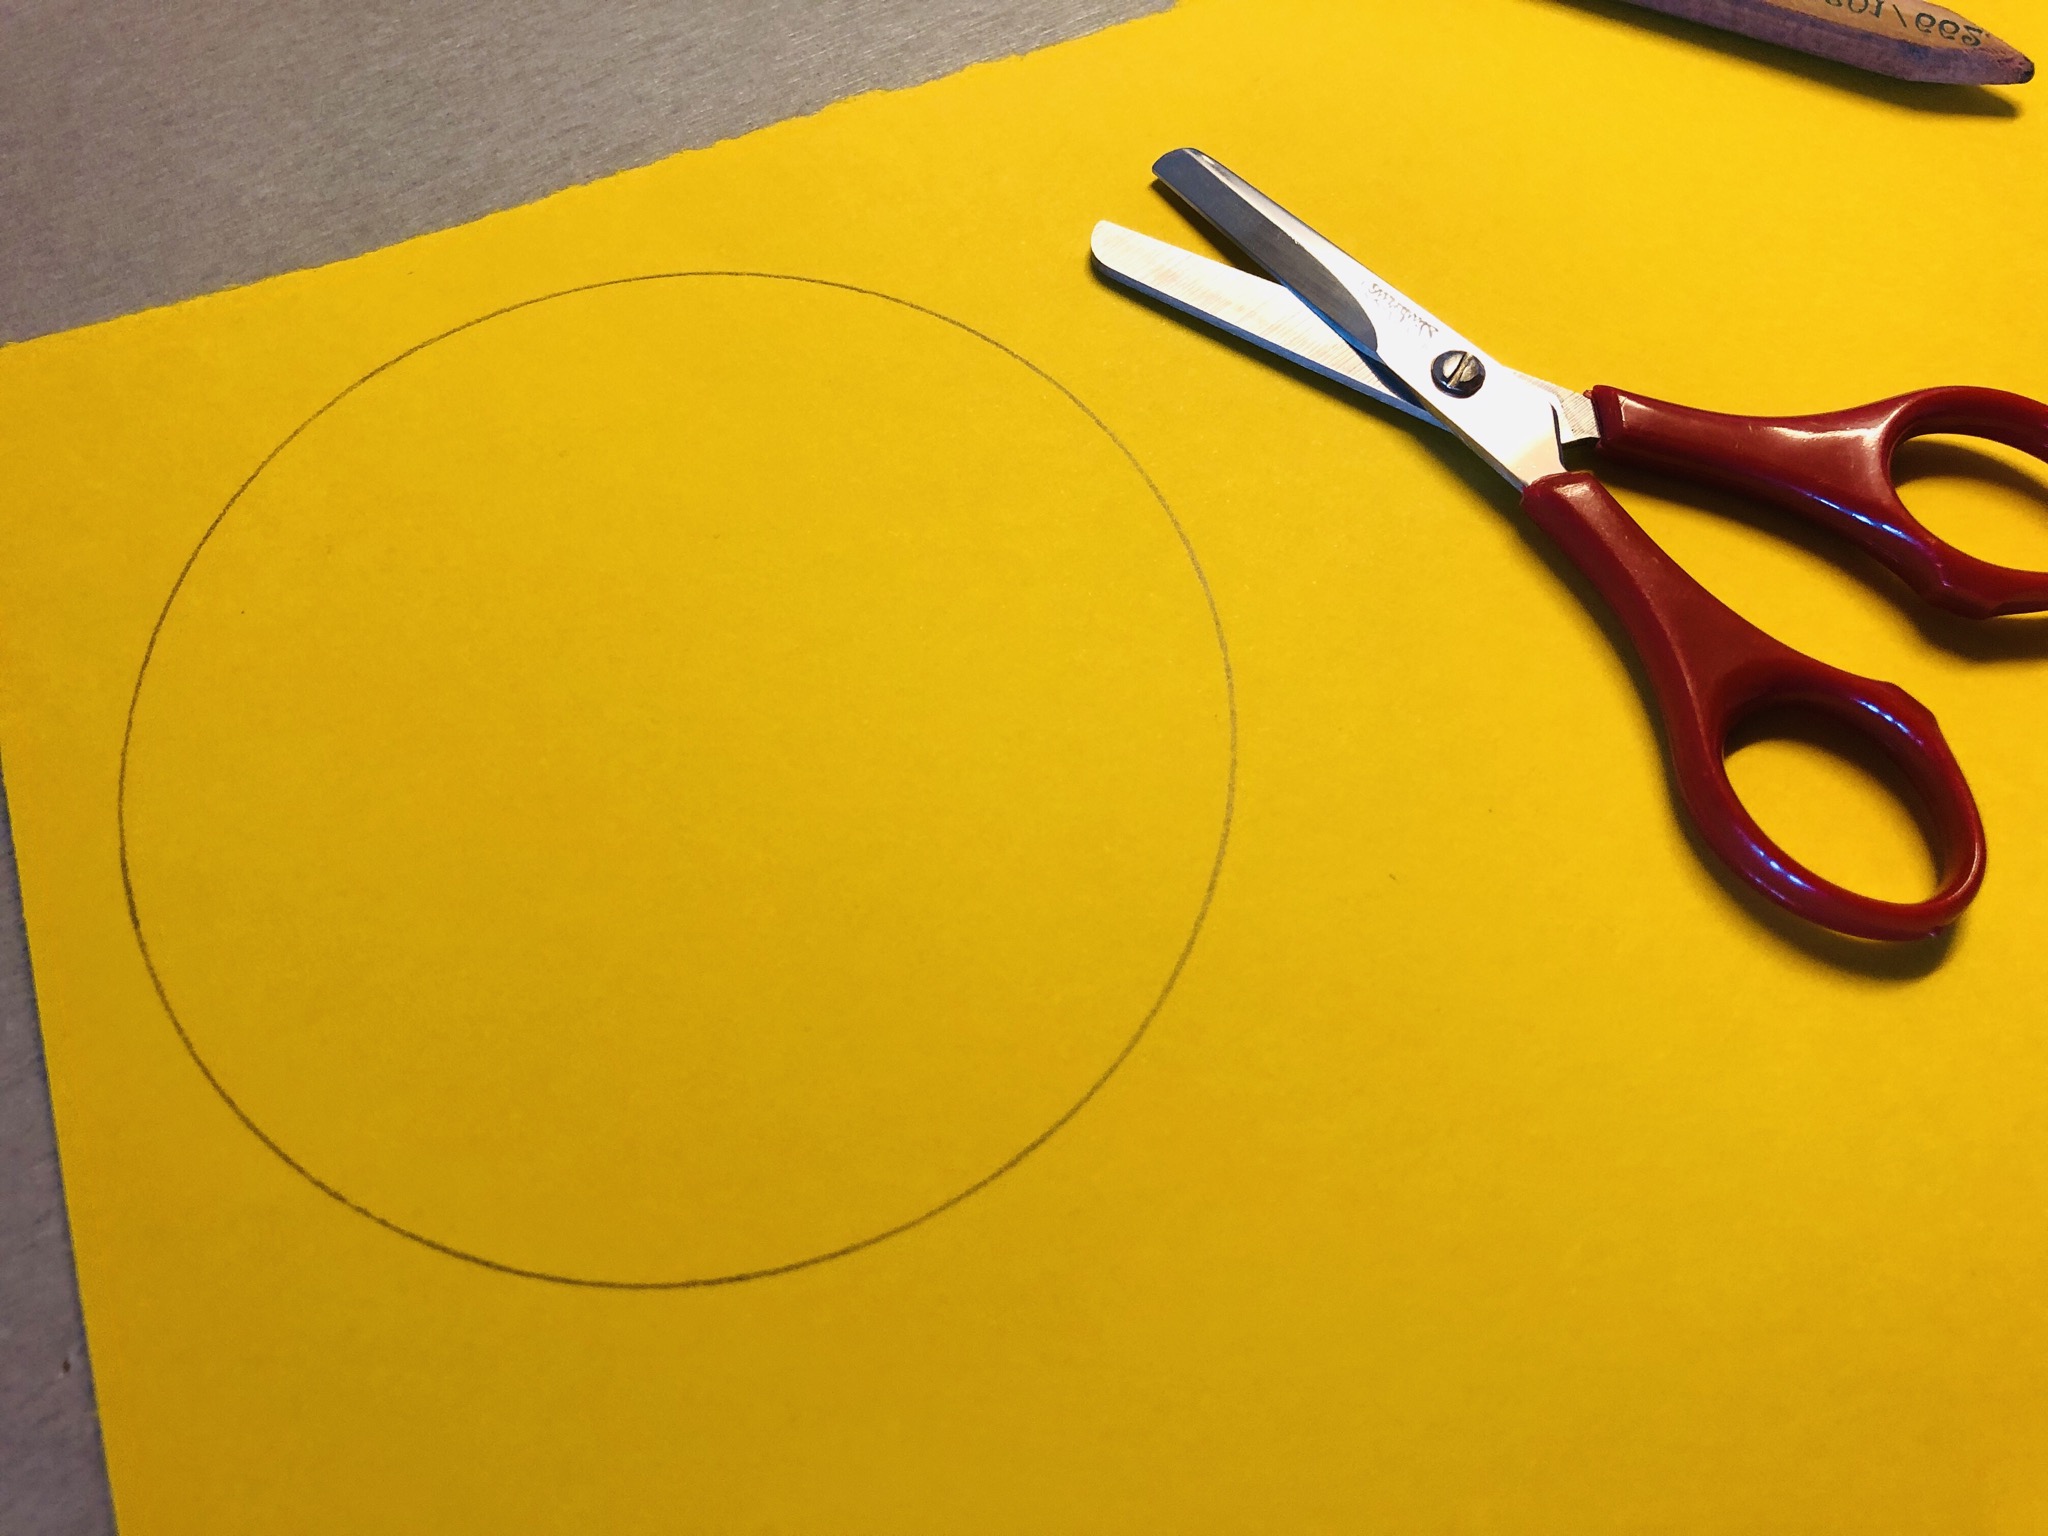
Paint a circle on the clay paper in the size of your sun... (for example, a small bowl or a yoghurt cup can be used as a template).
Cut out the circle.


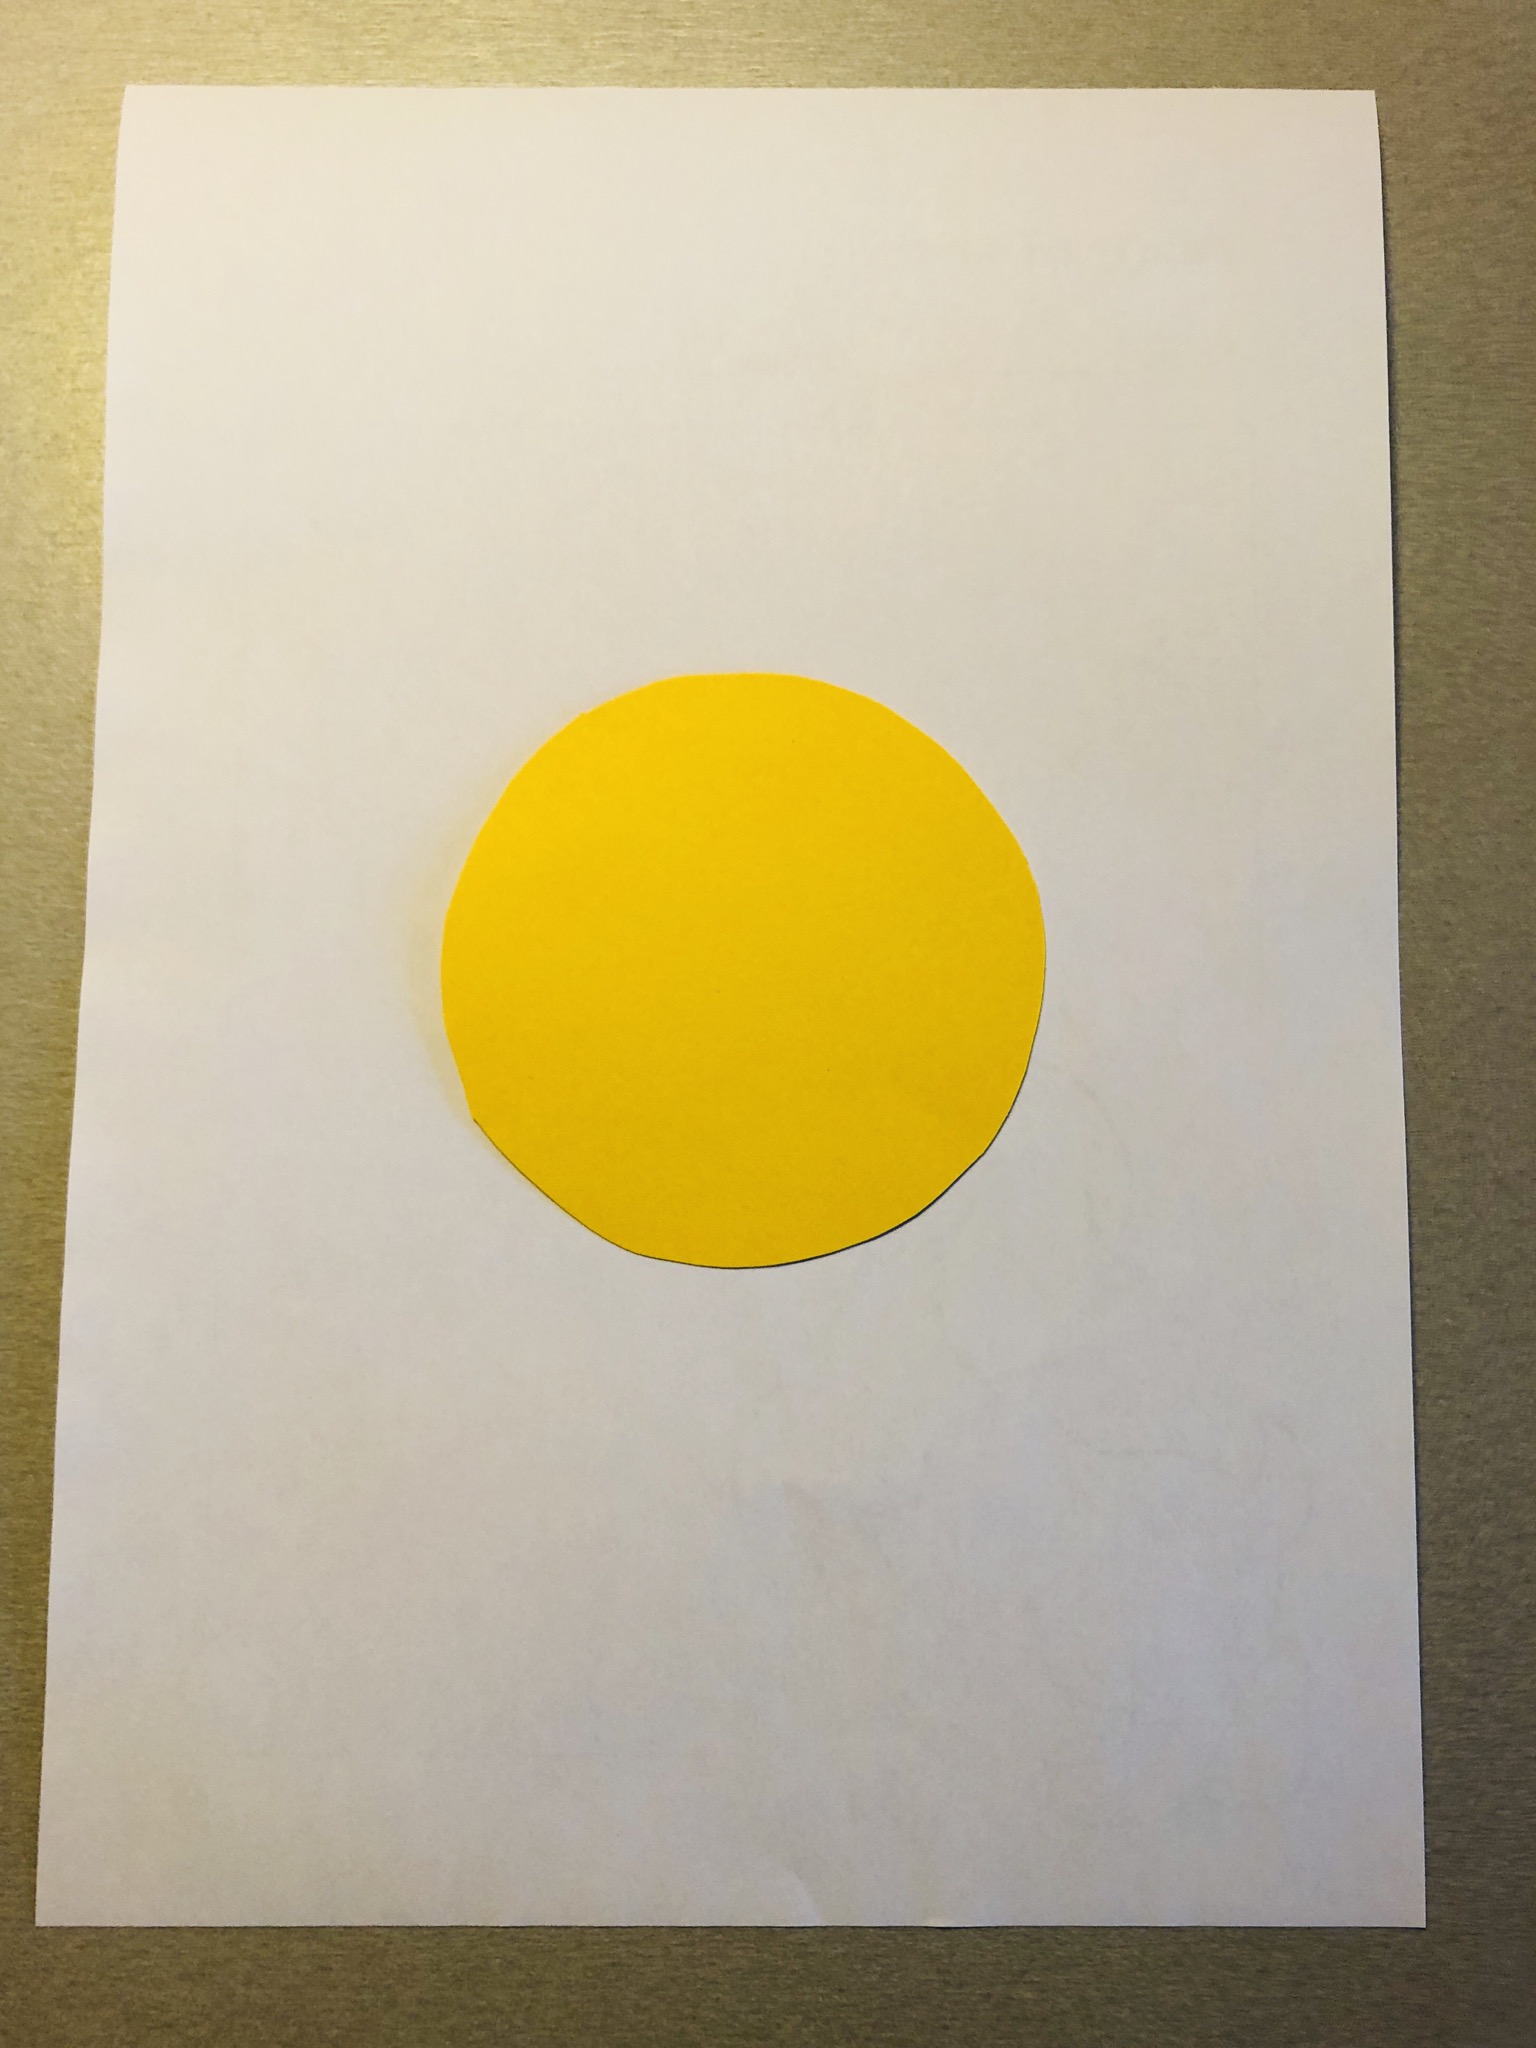
Place the yellow clay paper circle on the white DIN A4 sheet.


Transfer your circle with a yellow pen to the white leaf.
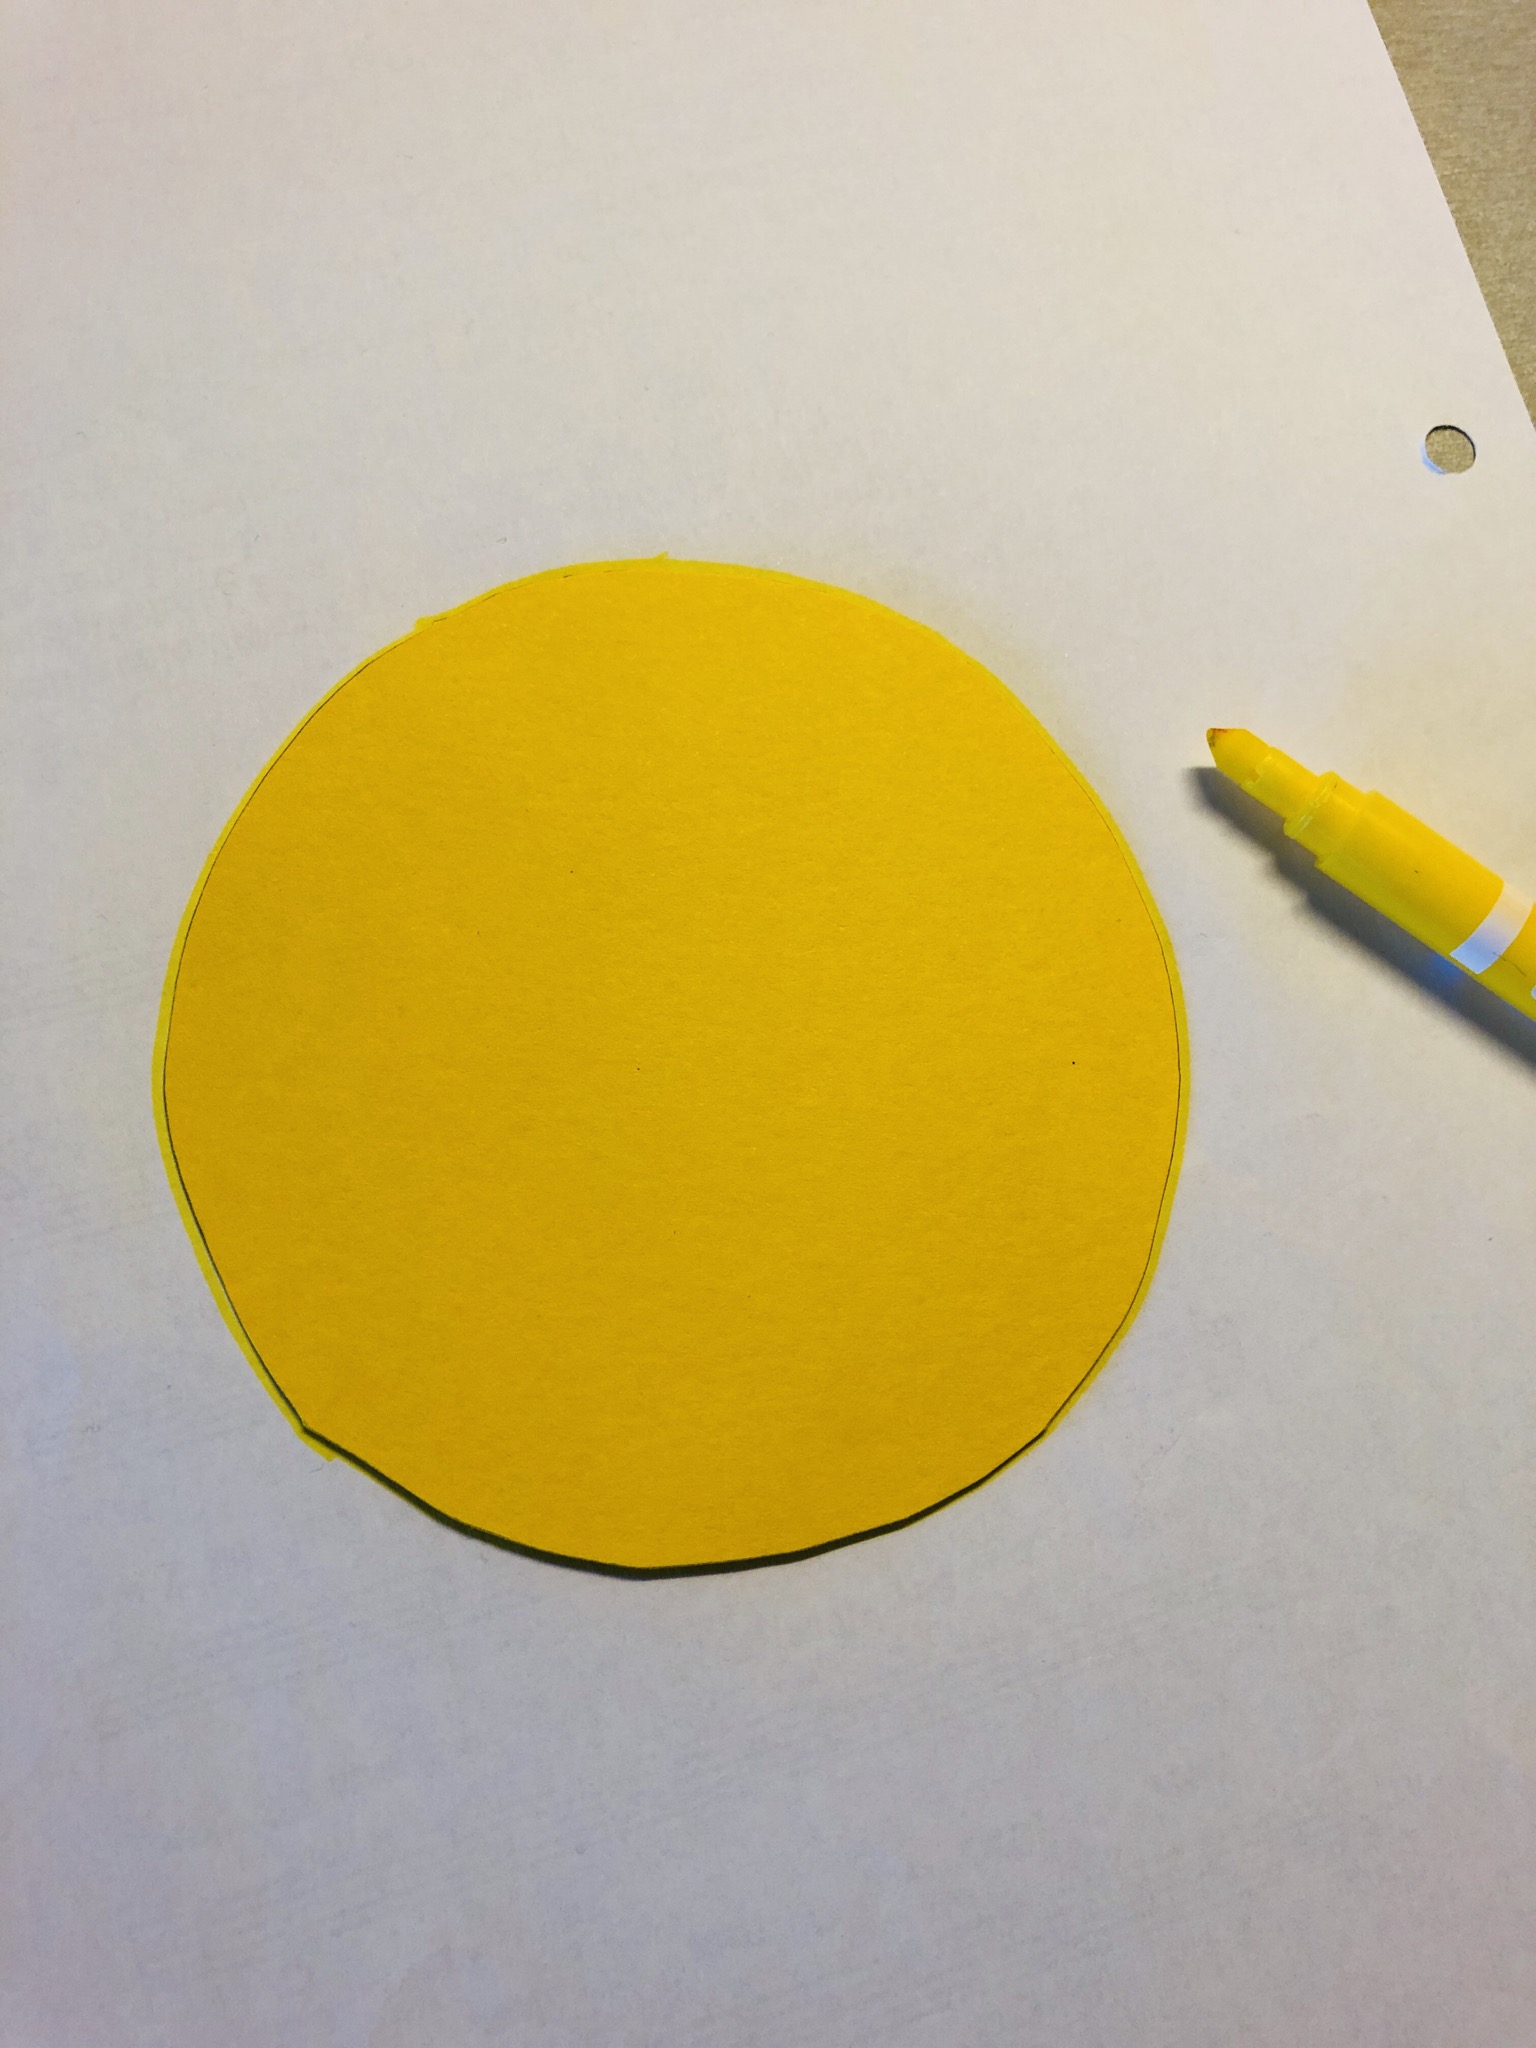


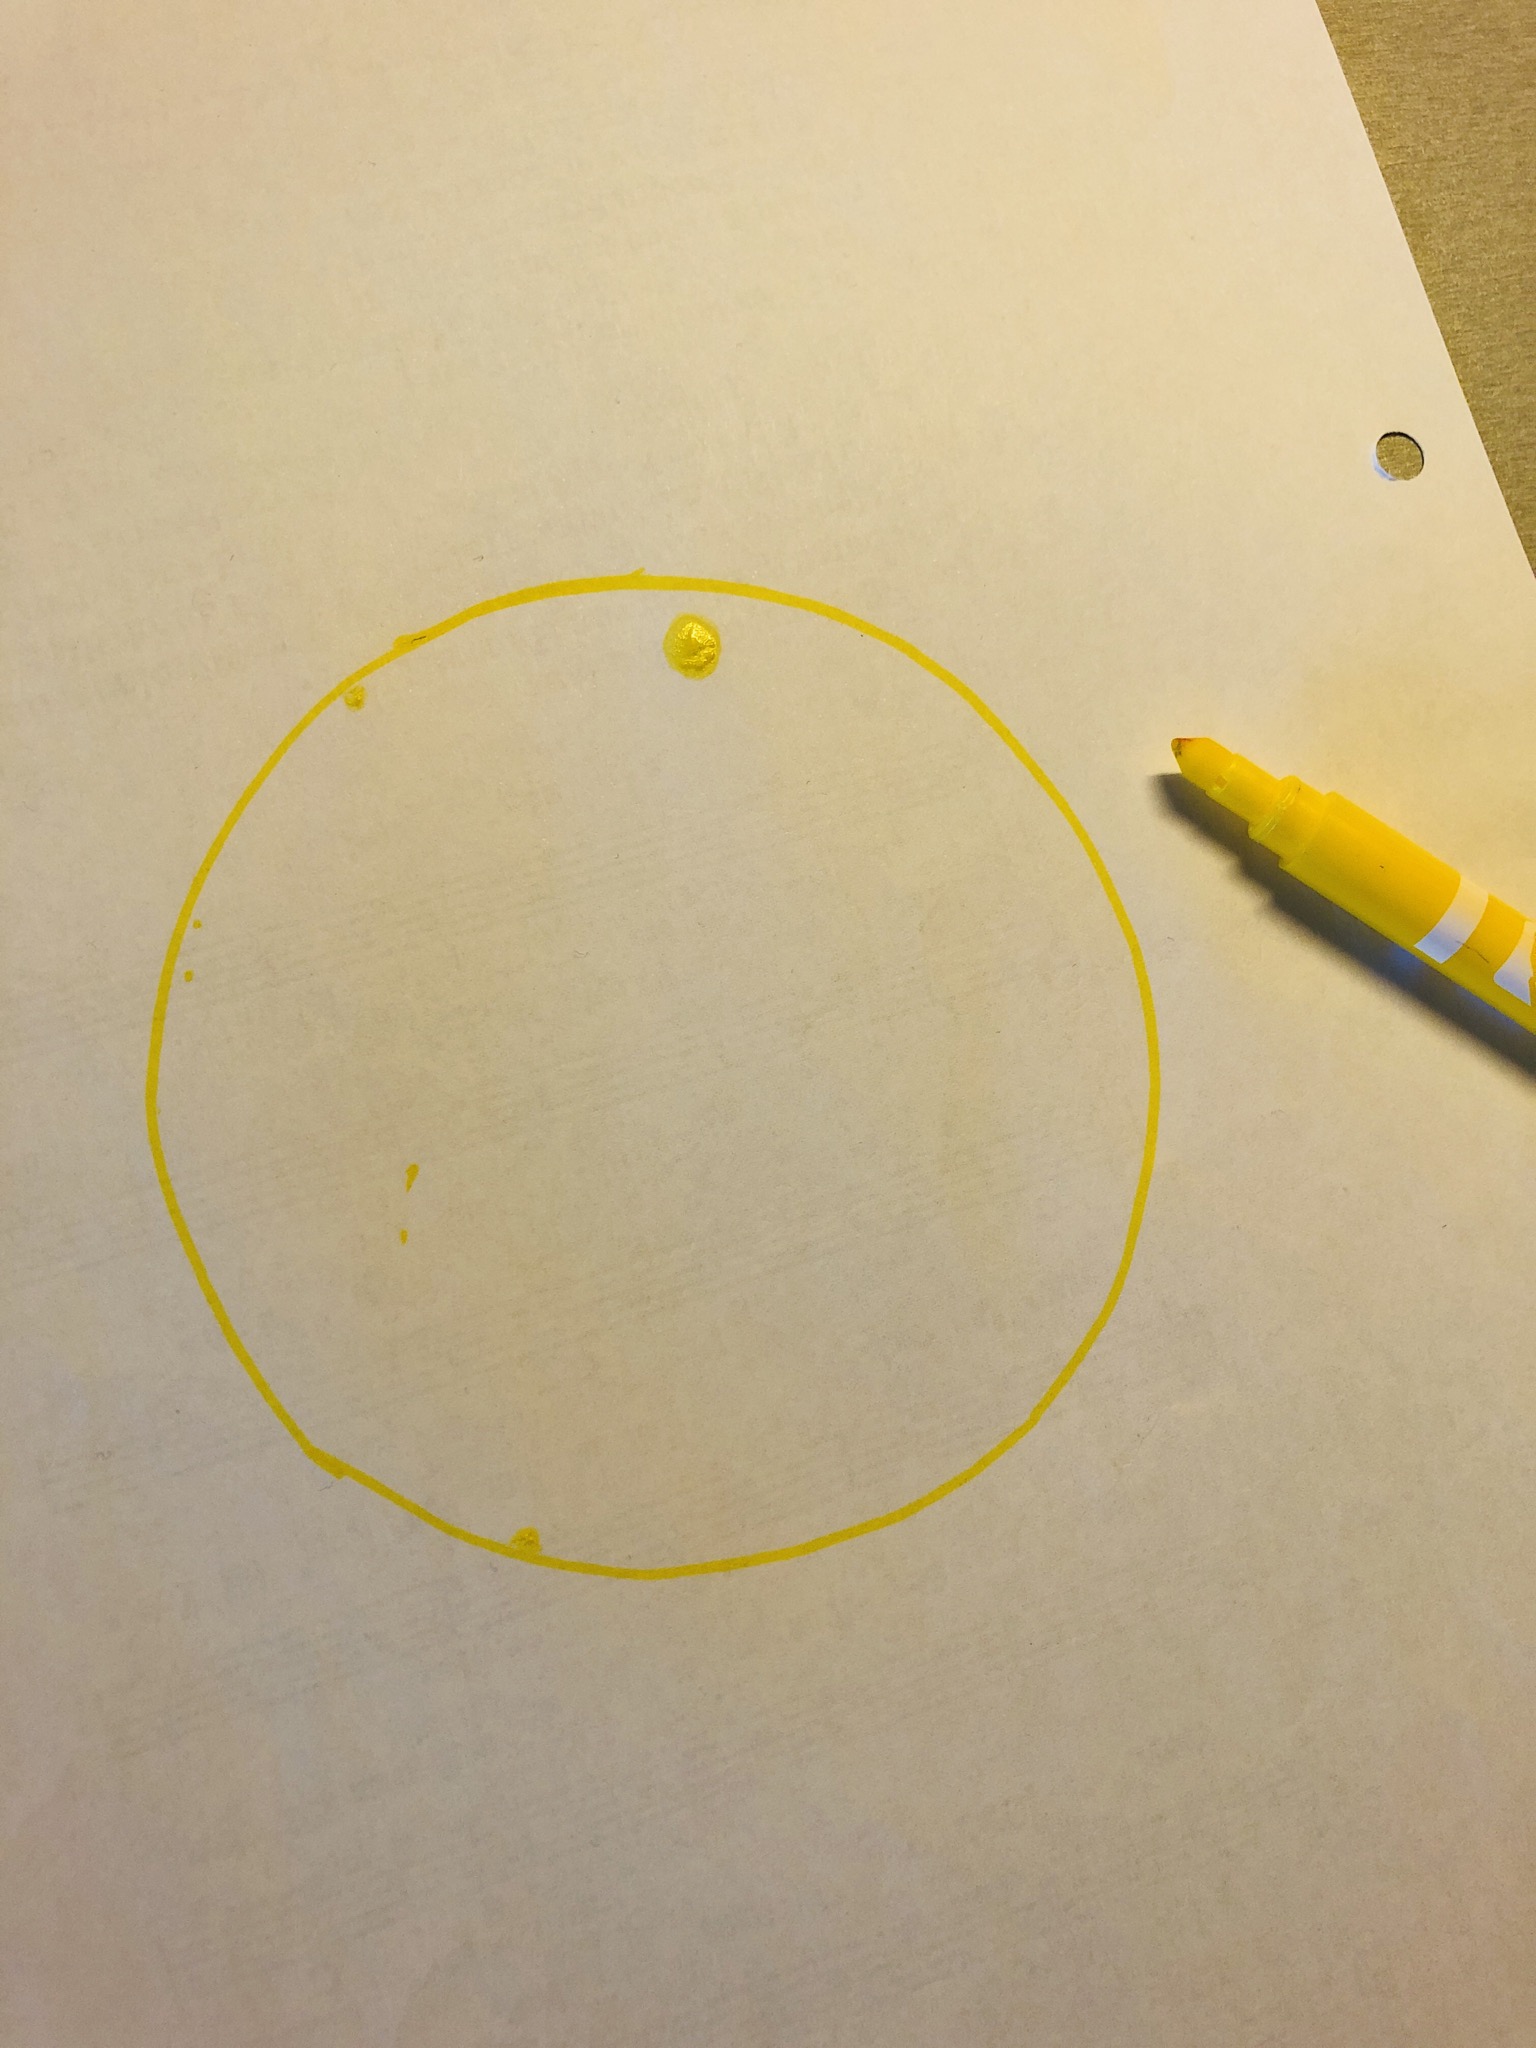


Take the yellow color (it should not be too thick!) and a piece of a kitchen sponge (cut off a piece with scissors). With the size of the sponge you determine the size of the rays!
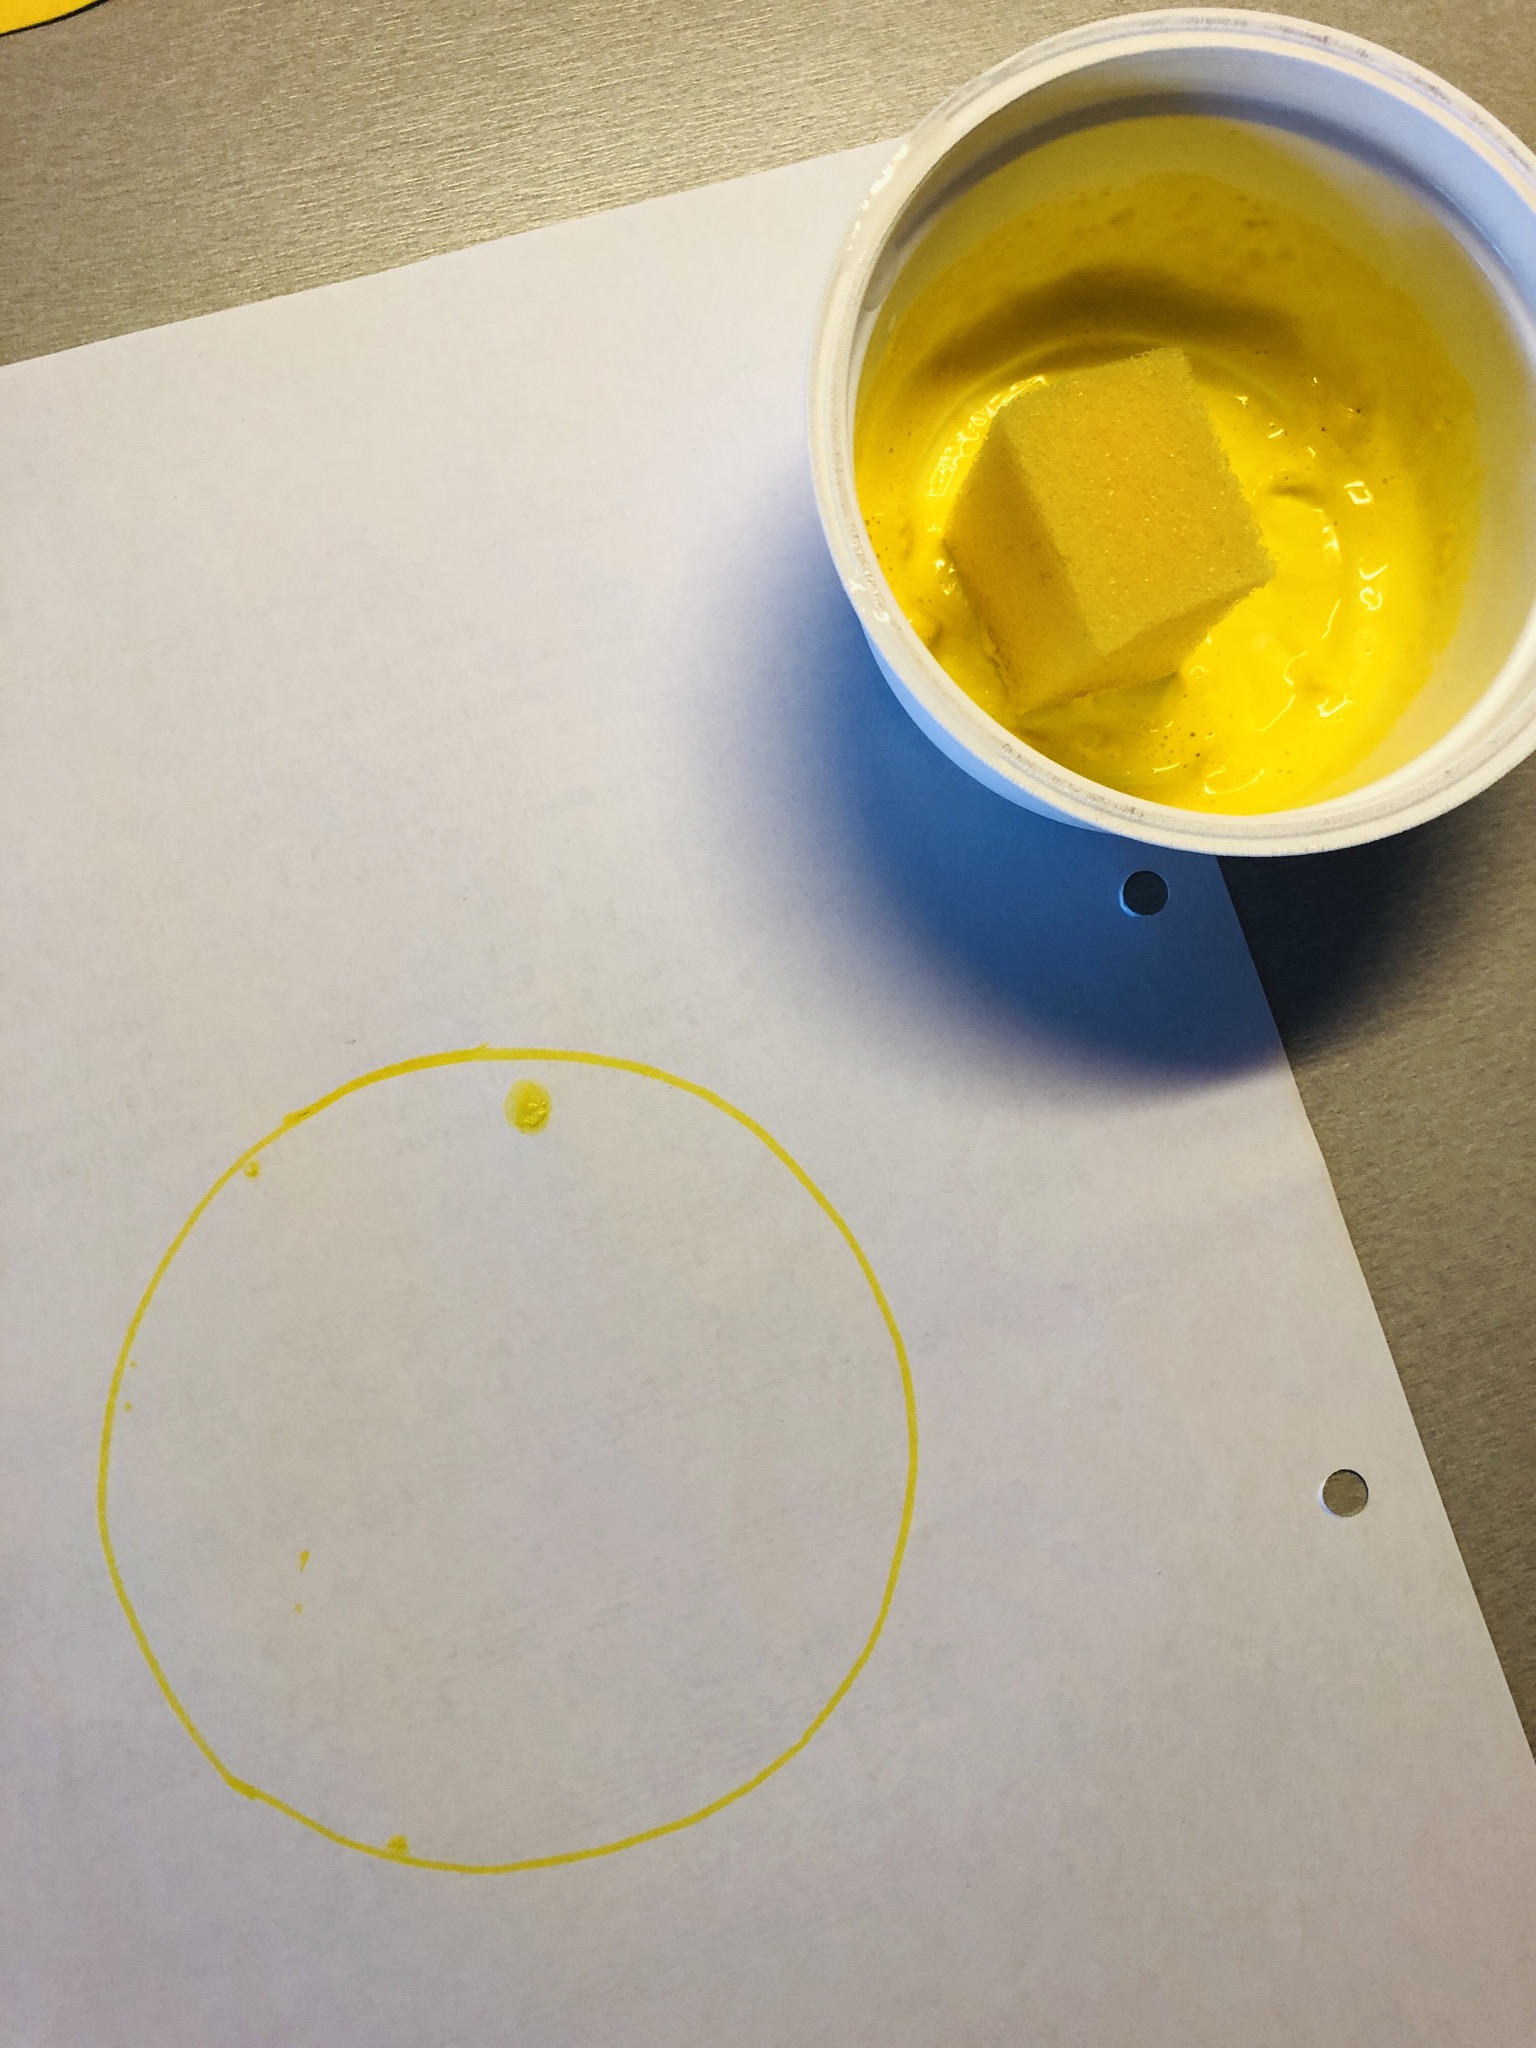


Then immerse the sponge in the color. Put it in the center of the circle and then wipe the sponge out of the circle with pressure on the paper. This is how the rays of the sun emerge!
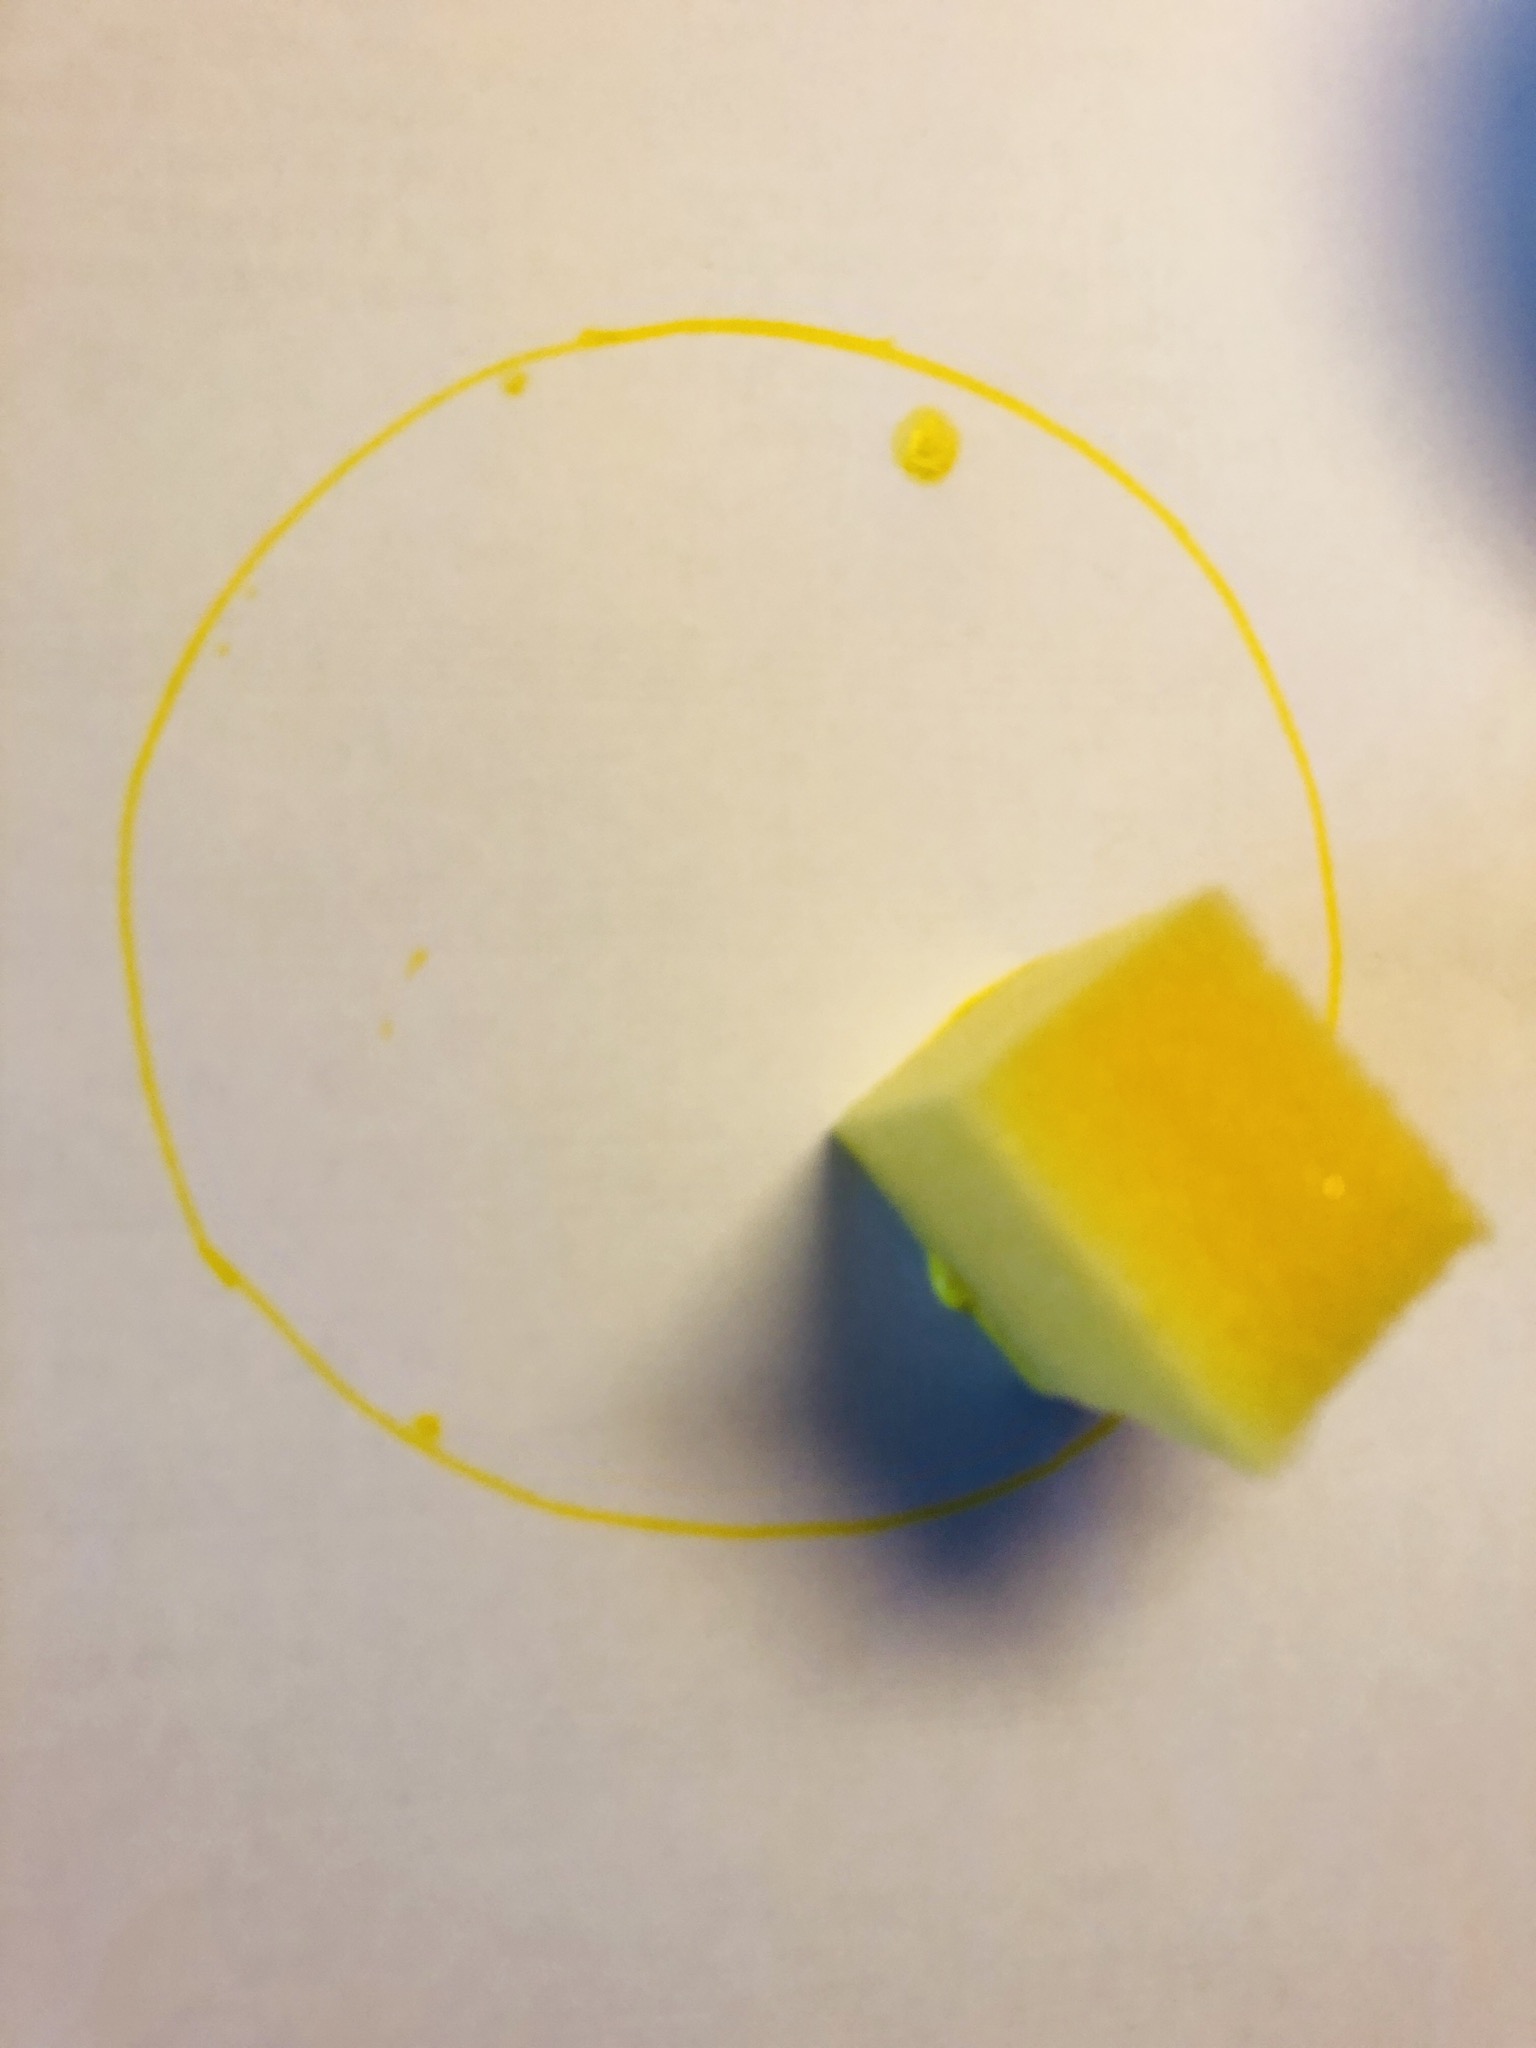


After each "ray" pick up color again and arrange another sunray in circular form.
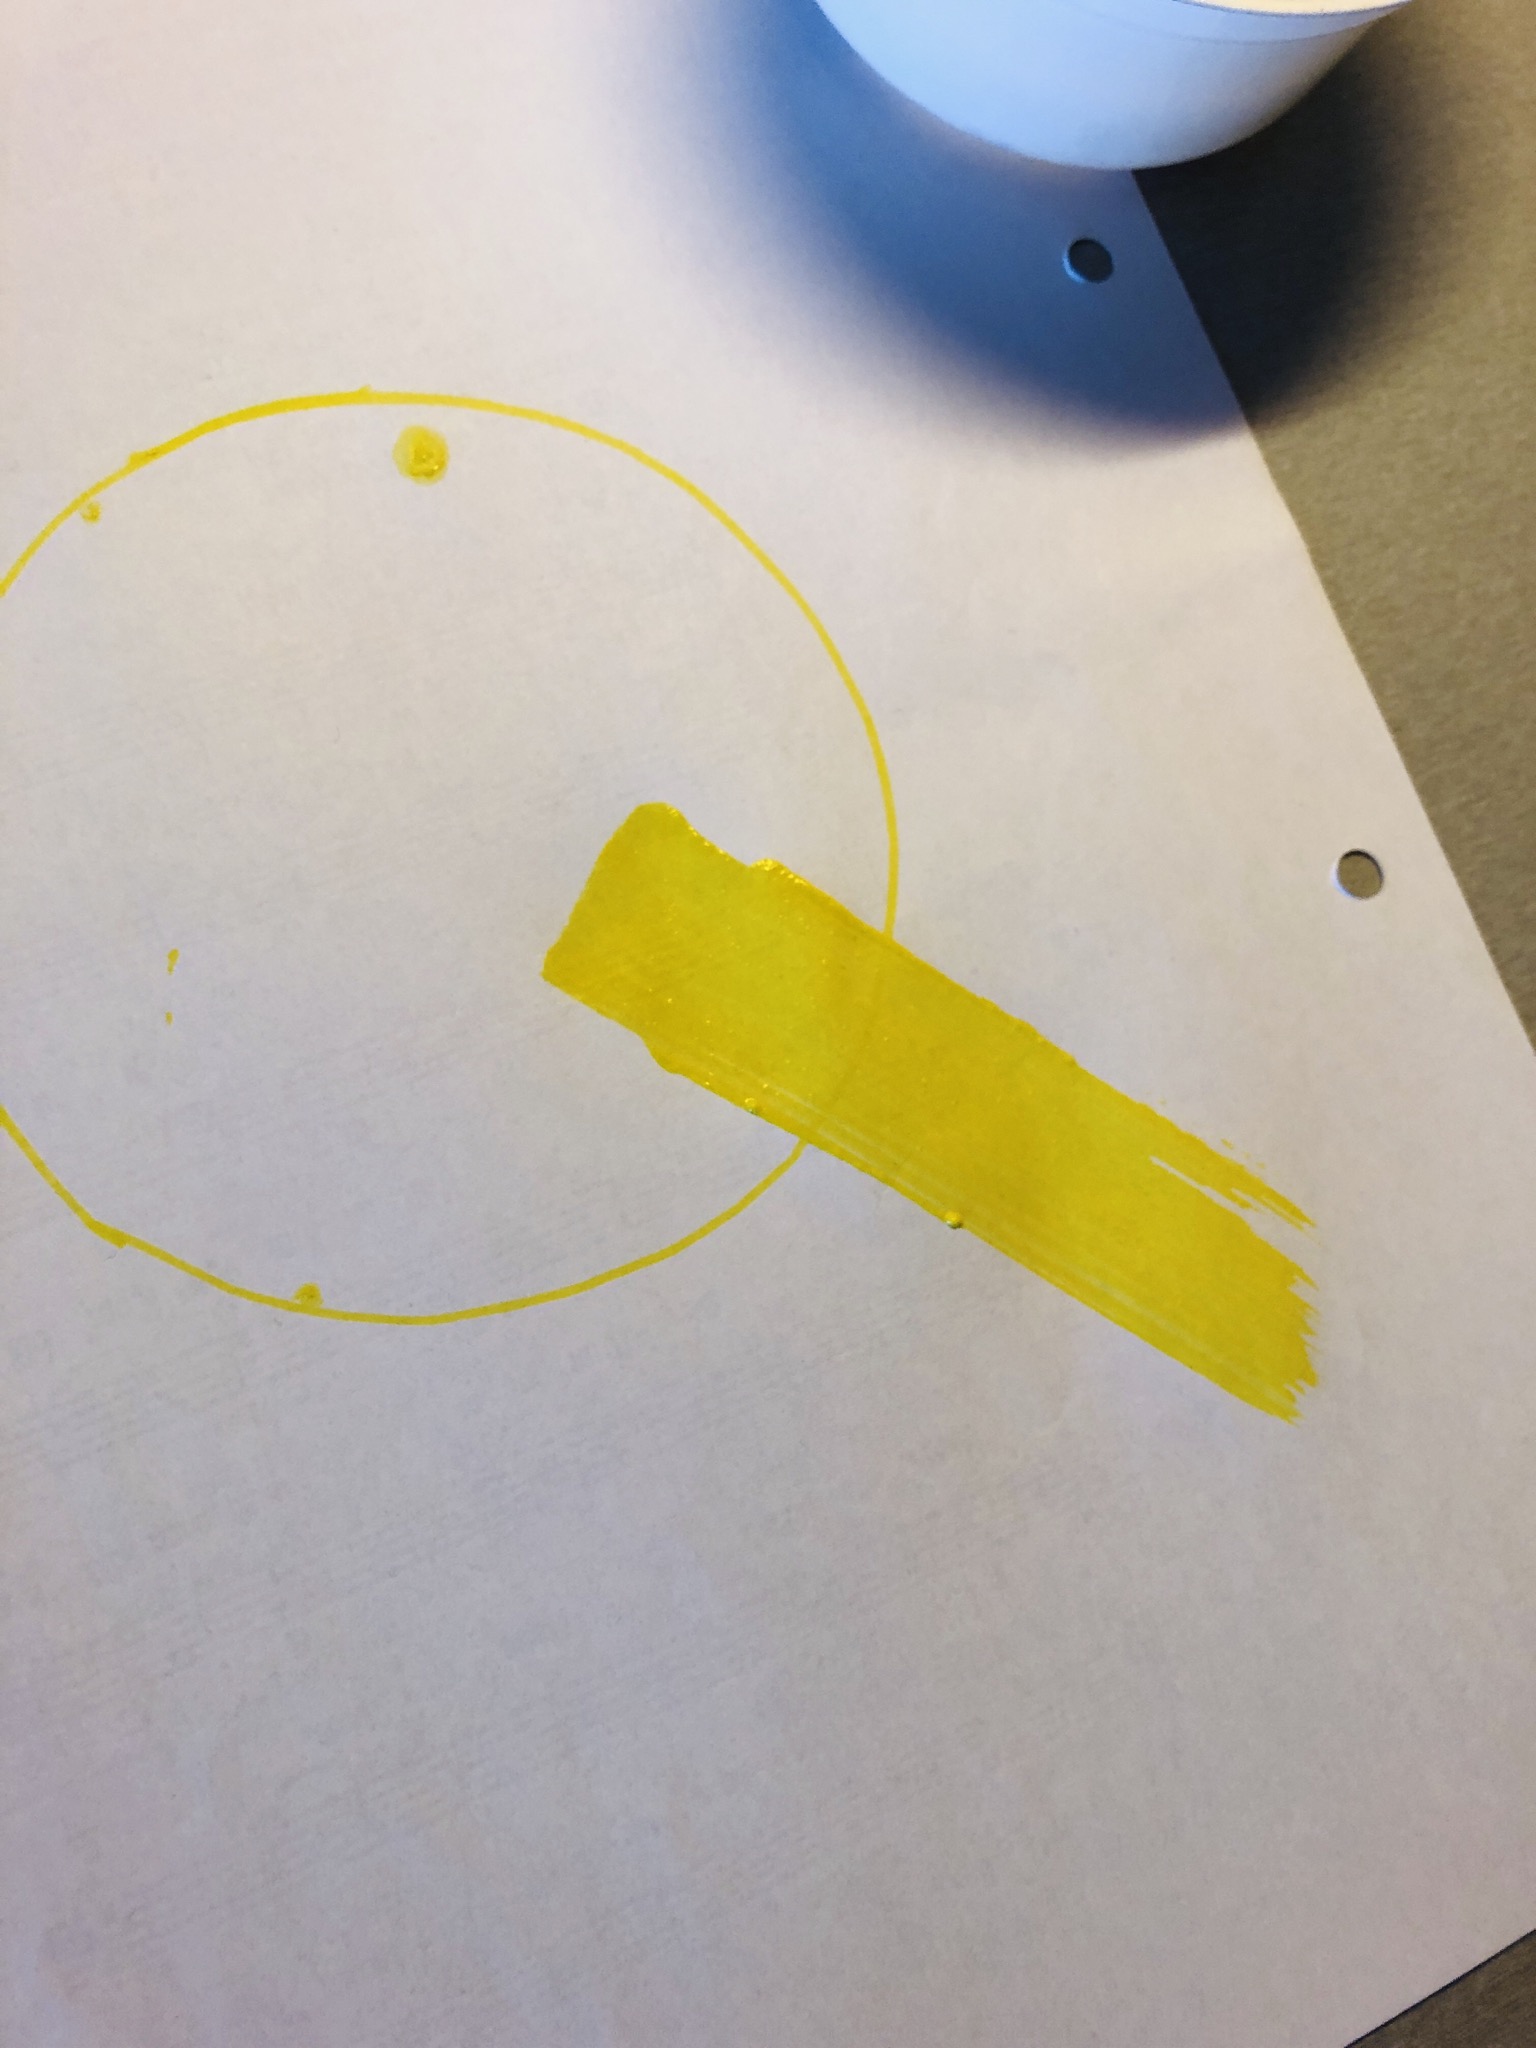


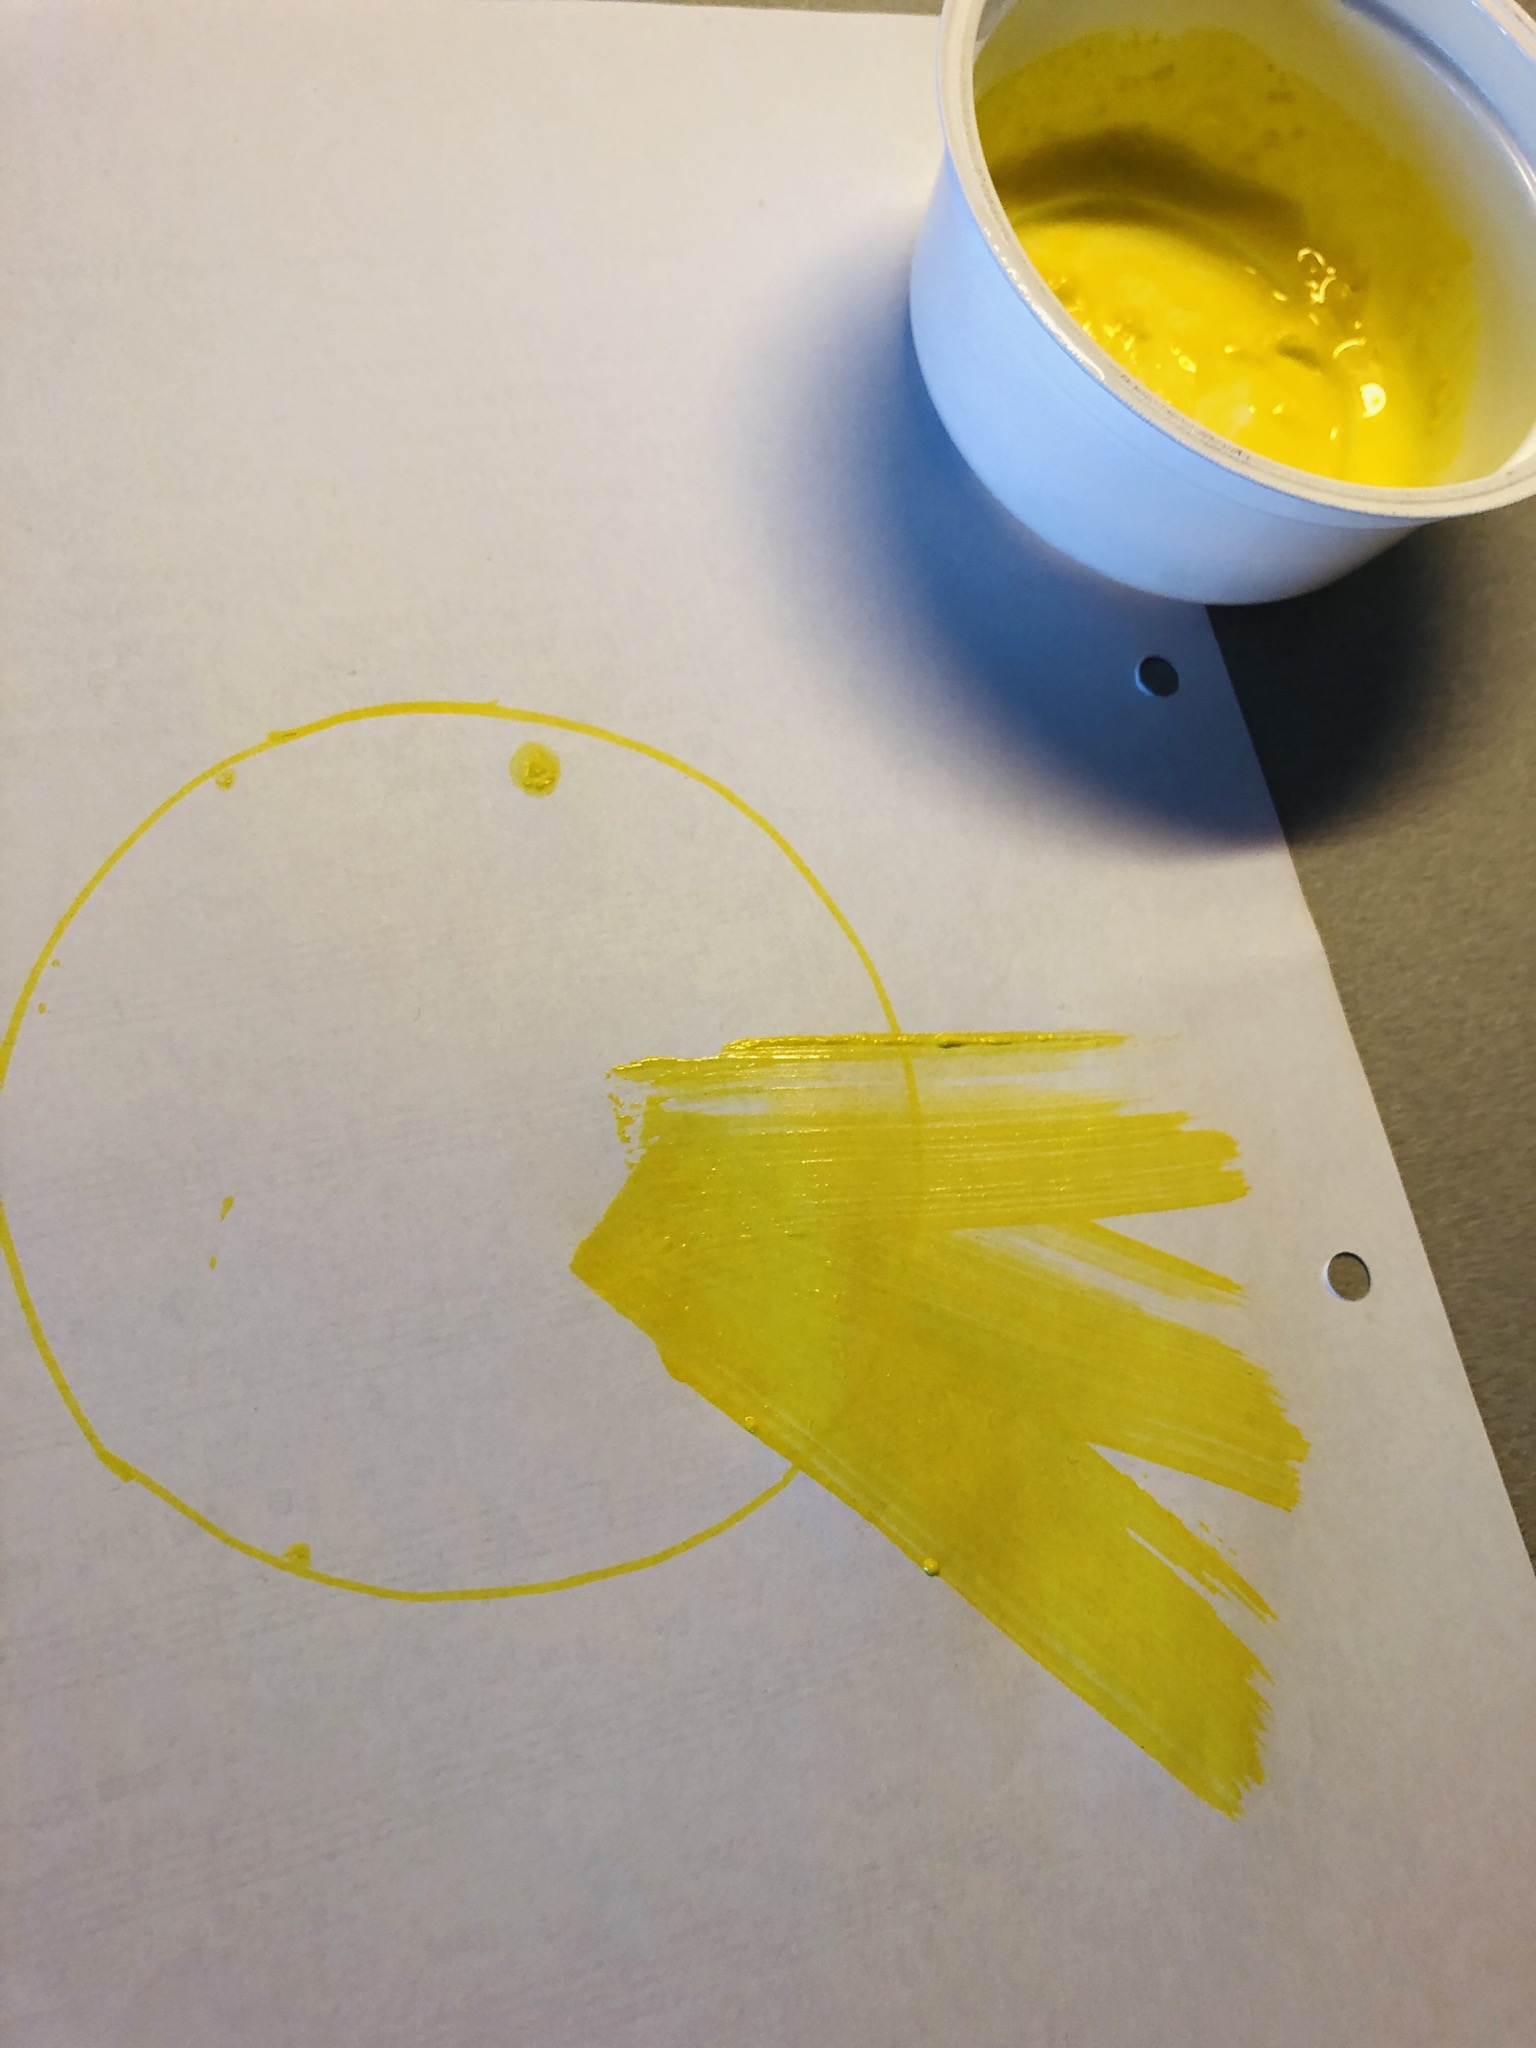


Wipe the rays with the sponge from the inside out until the circle is closed.


Now let the paint dry.
Glue the yellow clay paper circle over the dried centre of the circle (with a glue stick).
The sun is ready.


You can design the sun in the context of a weather project as well as on hot summer days. Also suitable as an idea for a sunny map!
Decide for yourself where the sun shall shine in you!
Materials
Directions
Paint a circle on the clay paper in the size of your sun... (for example, a small bowl or a yoghurt cup can be used as a template).


Cut out the circle.


Place the yellow clay paper circle on the white DIN A4 sheet.


Transfer your circle with a yellow pen to the white leaf.


Take the yellow color (it should not be too thick!) and a piece of a kitchen sponge (cut off a piece with scissors). With the size of the sponge you determine the size of the rays!


Then immerse the sponge in the color. Put it in the center of the circle and then wipe the sponge out of the circle with pressure on the paper. This is how the rays of the sun emerge!


After each "ray" pick up color again and arrange another sunray in circular form.


Wipe the rays with the sponge from the inside out until the circle is closed.


Now let the paint dry.
Glue the yellow clay paper circle over the dried centre of the circle (with a glue stick).
The sun is ready.


You can design the sun in the context of a weather project as well as on hot summer days. Also suitable as an idea for a sunny map!
Decide for yourself where the sun shall shine in you!
Follow us on Facebook , Instagram and Pinterest
Don't miss any more adventures: Our bottle mail


