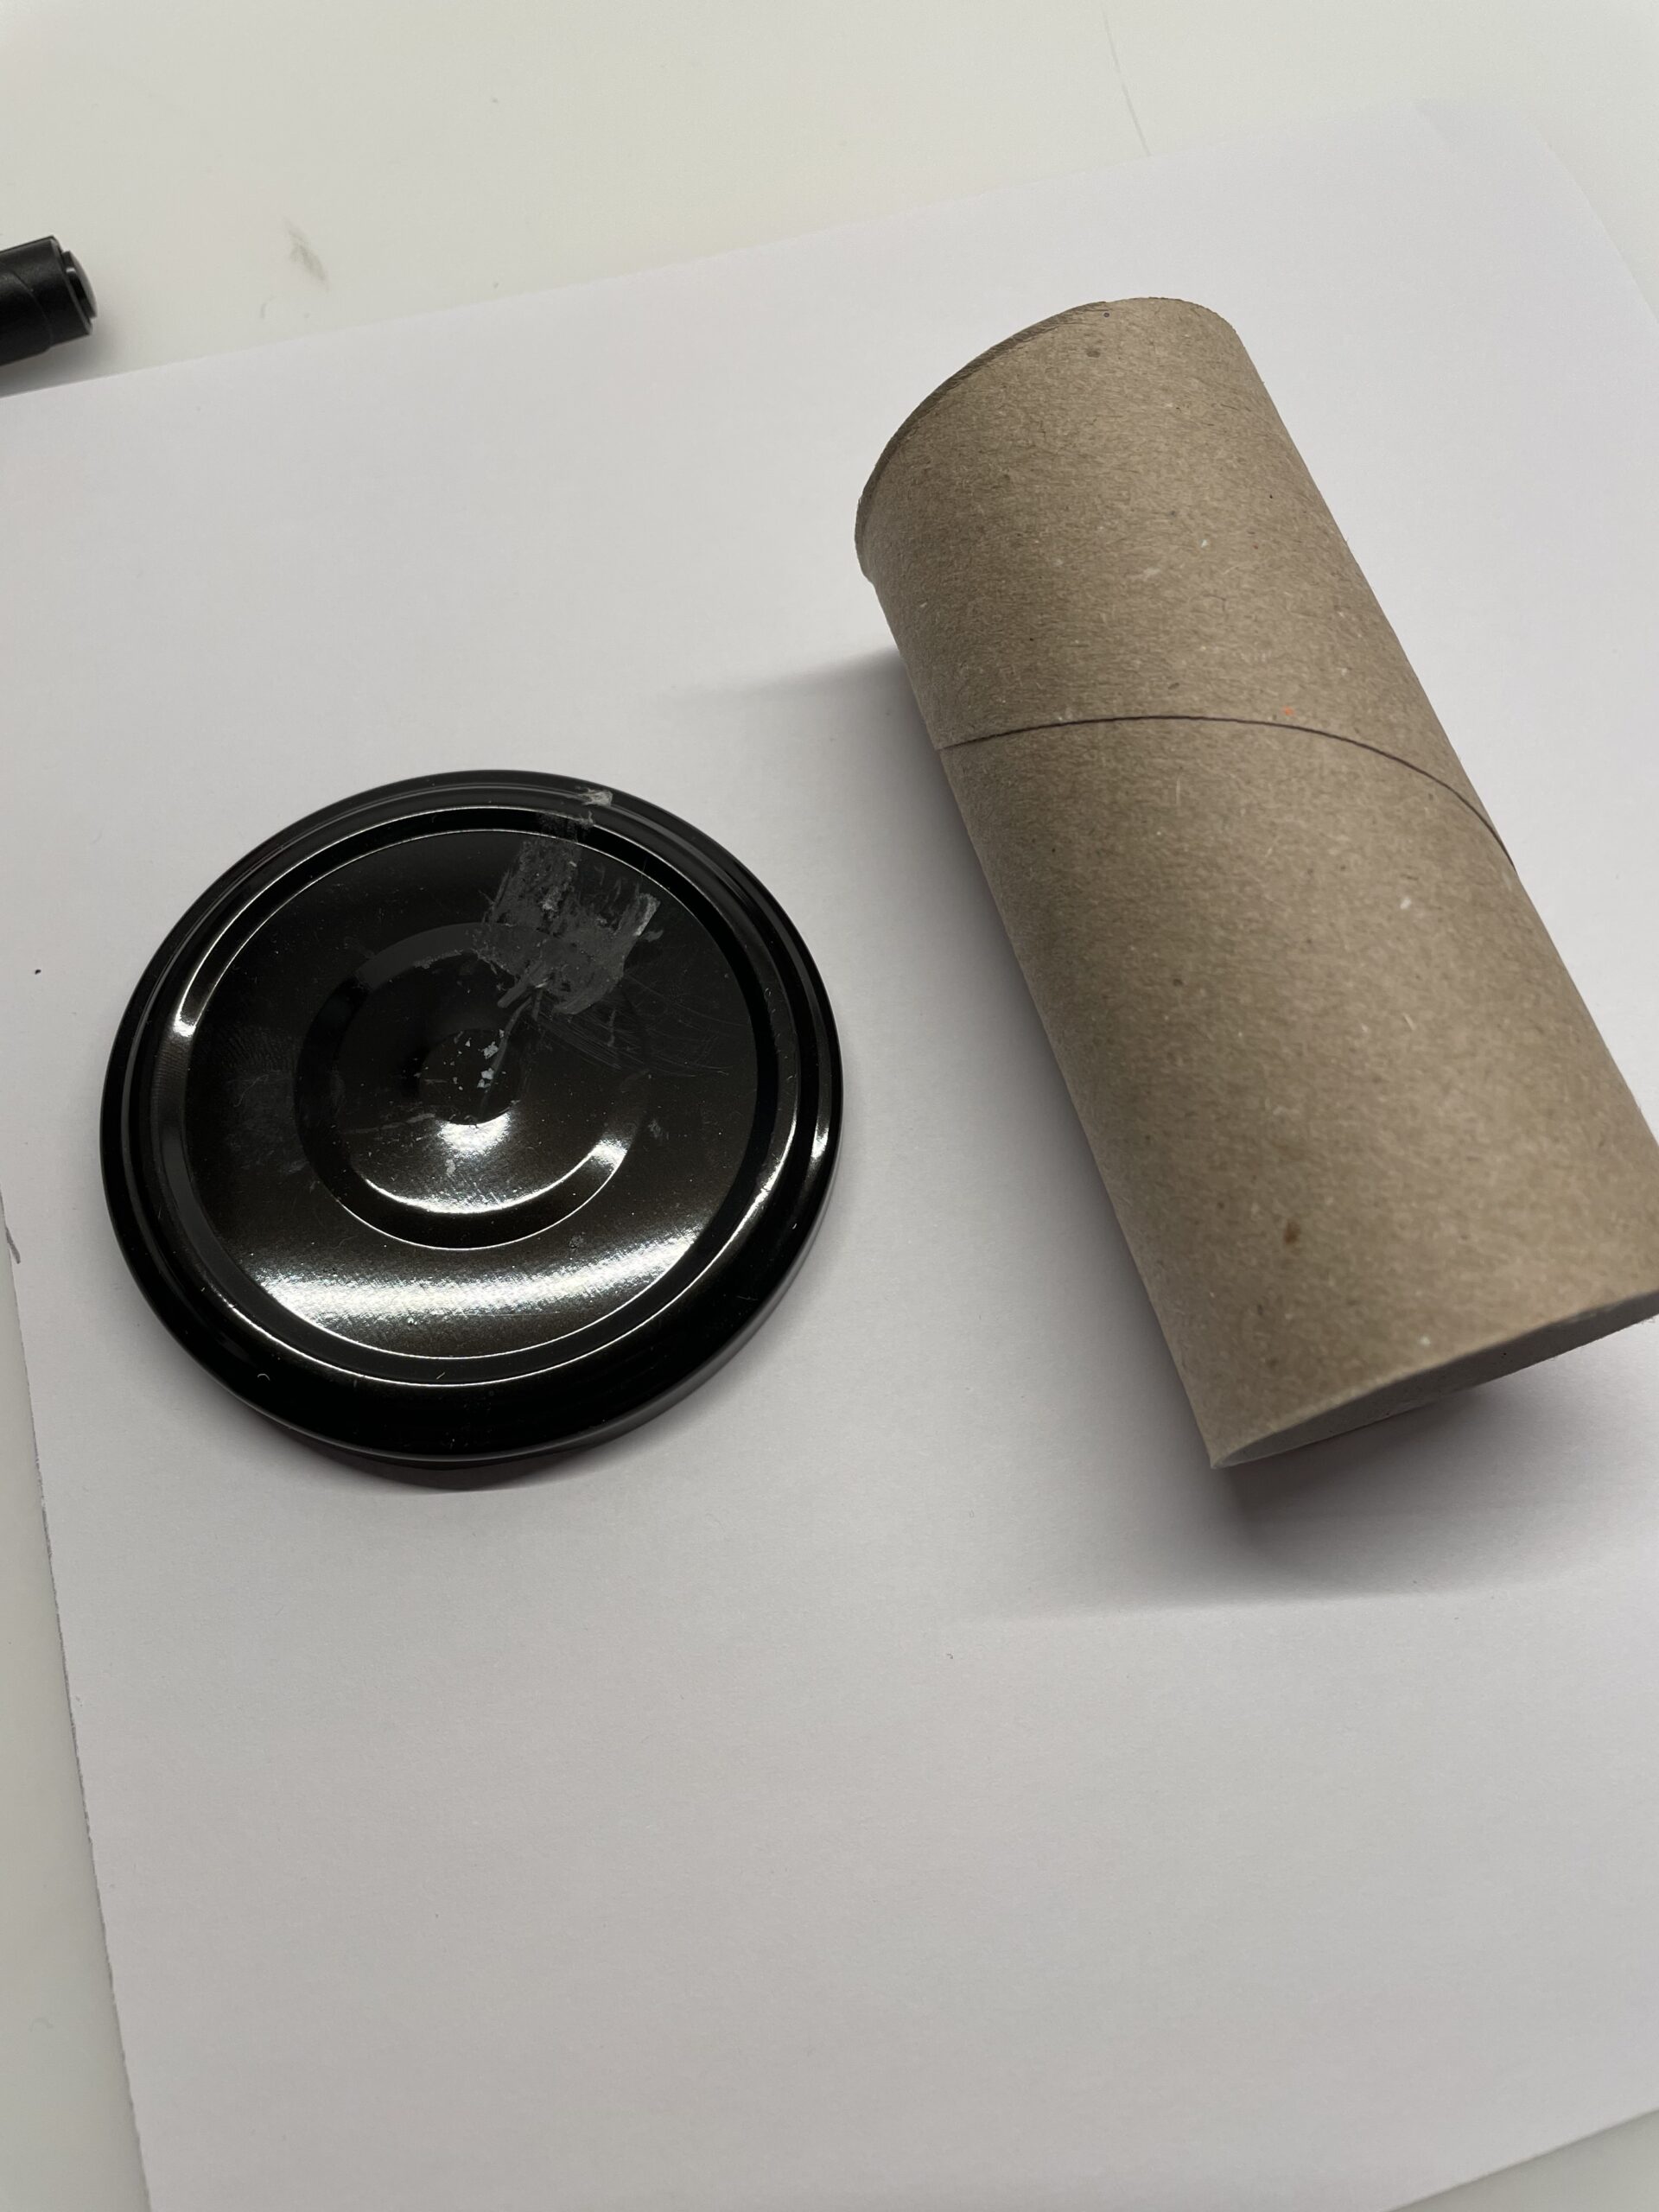
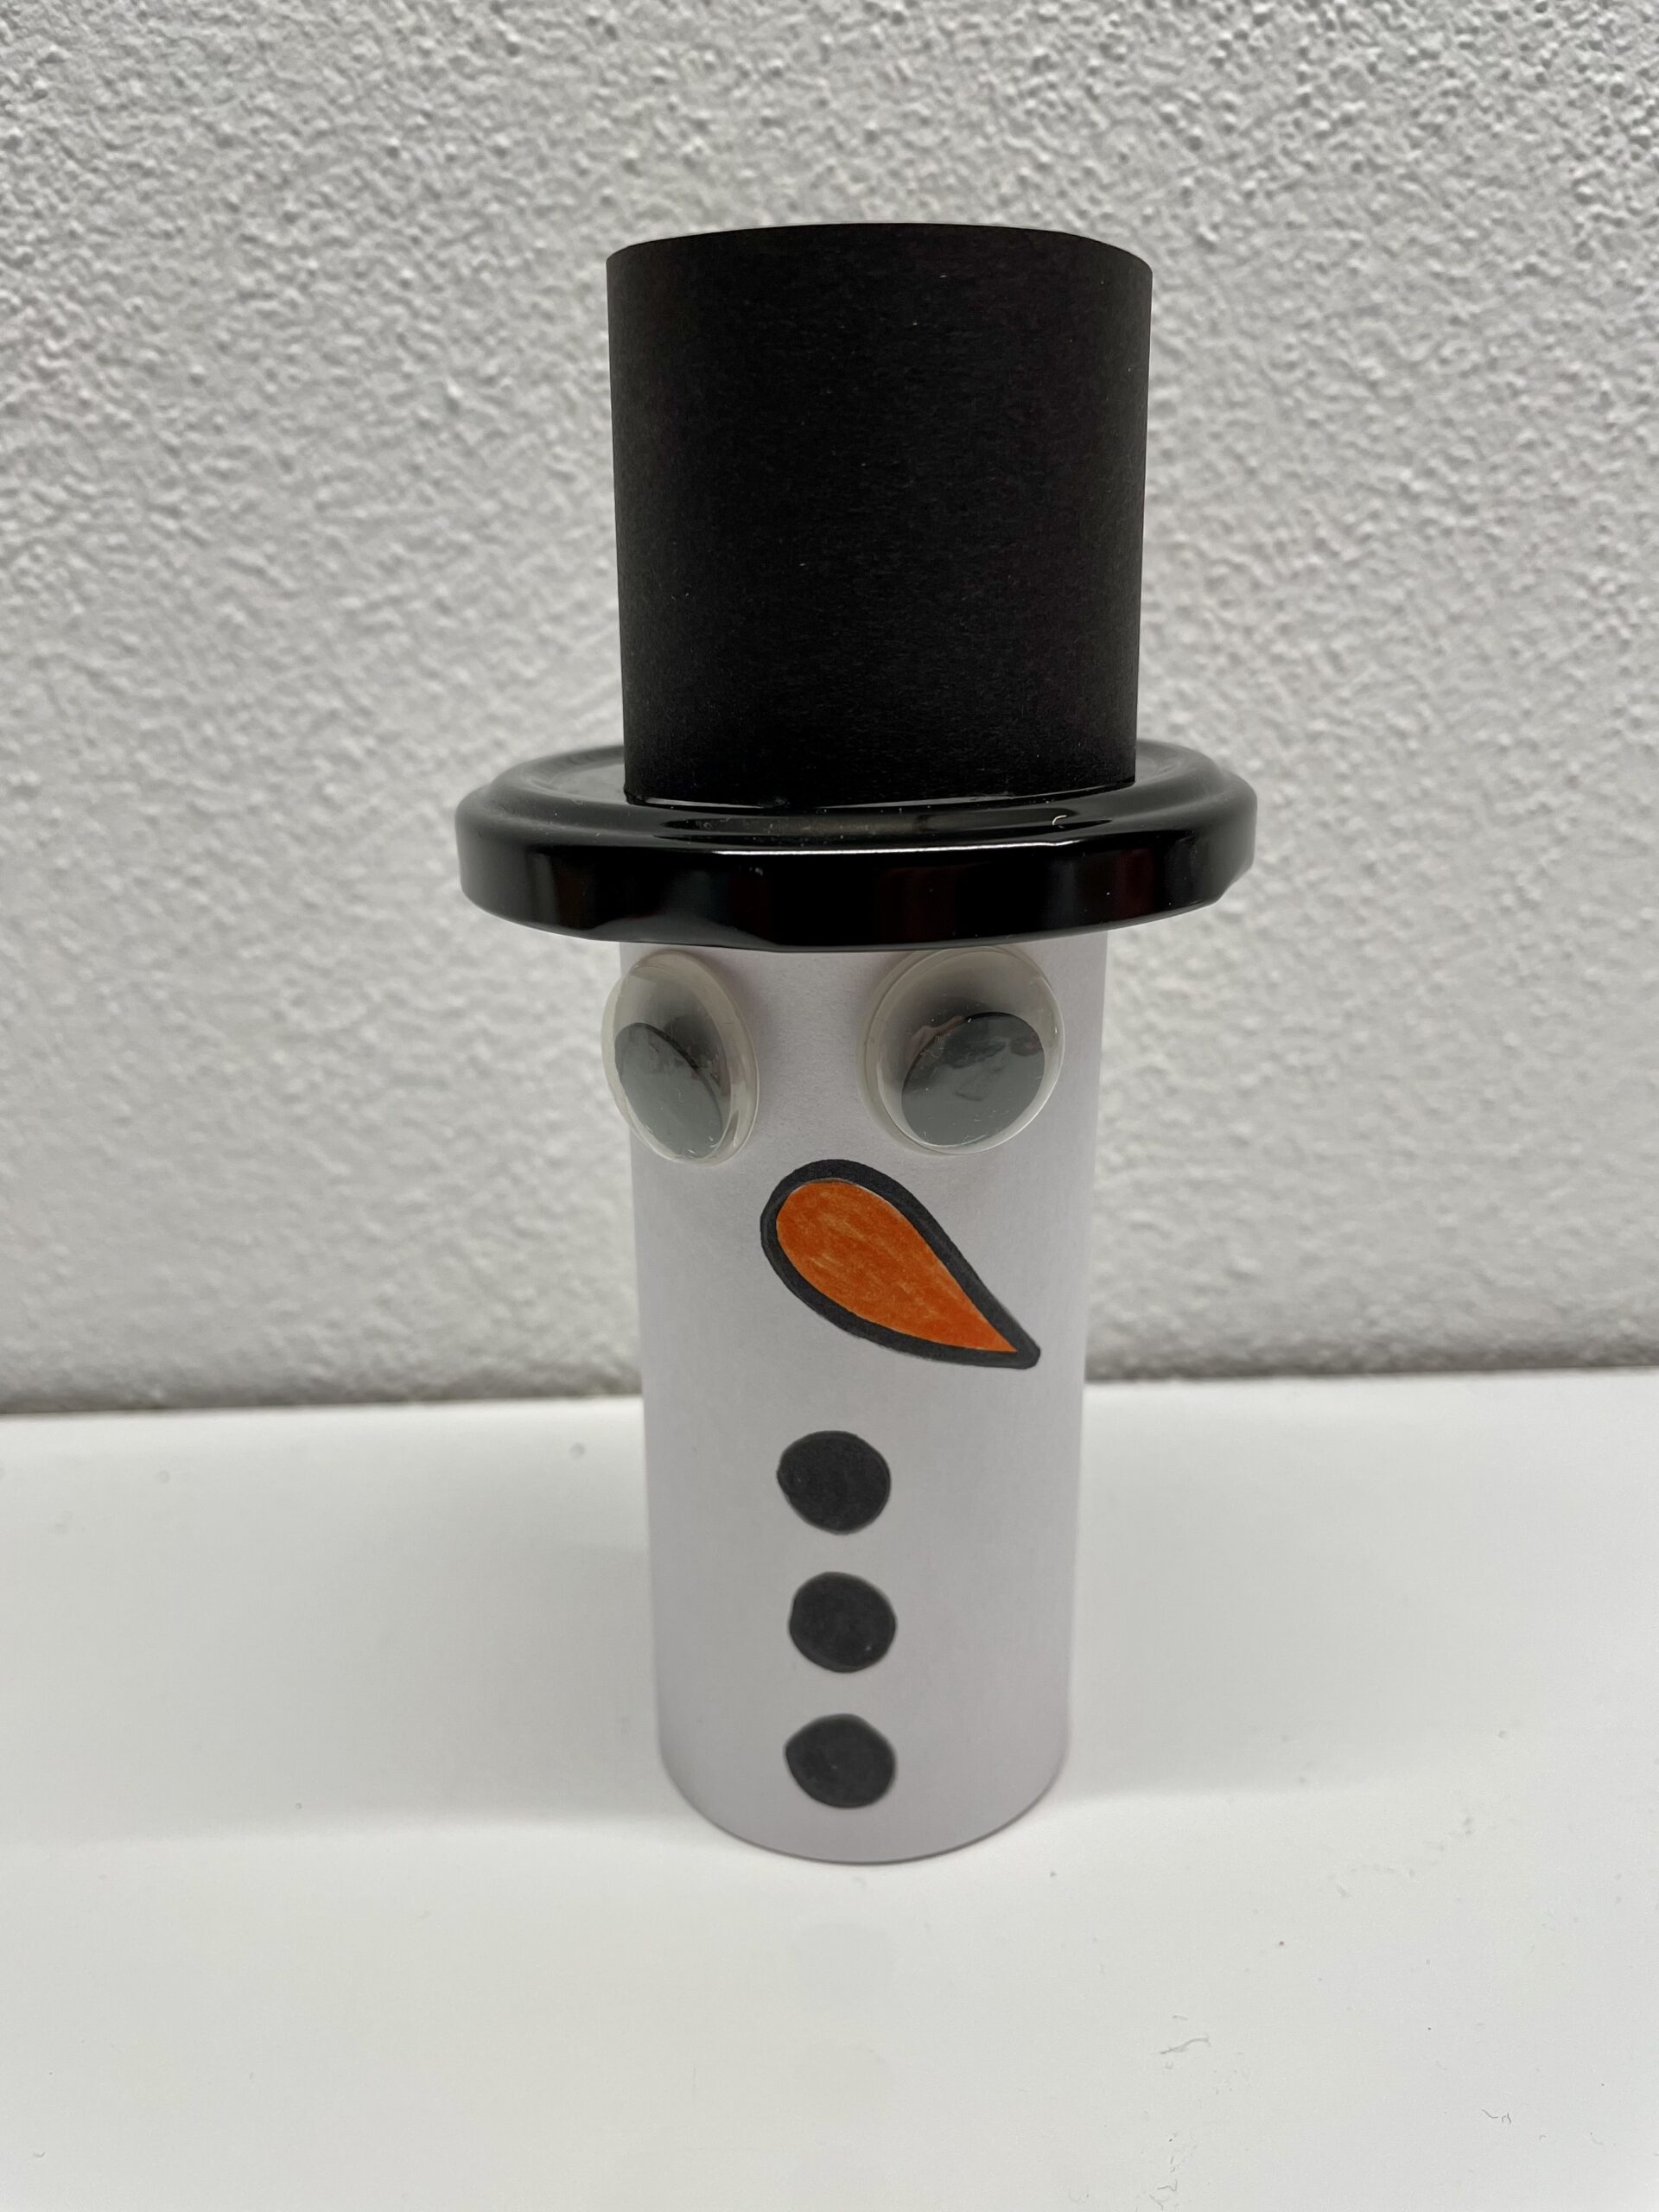
This little snowman consists of two cardboard rolls (clorolls) or a kitchen roll and a black lid of a screw glass. First you glue the cardboard roll with a white paper, paint a nose and buttons and glue two wobble eyes on it. Then you make the hat. For this you use a piece of cardboard roll, which glues it with black paper and this glues it on the lid. This creates in no time this beautiful snowman.
Here you will find the step by step instructions. Enjoy crafting!
Media Education for Kindergarten and Hort

Relief in everyday life, targeted promotion of individual children, independent learning and - without any pre-knowledge already usable by the youngest!

Put out the craft file and first select your materials.
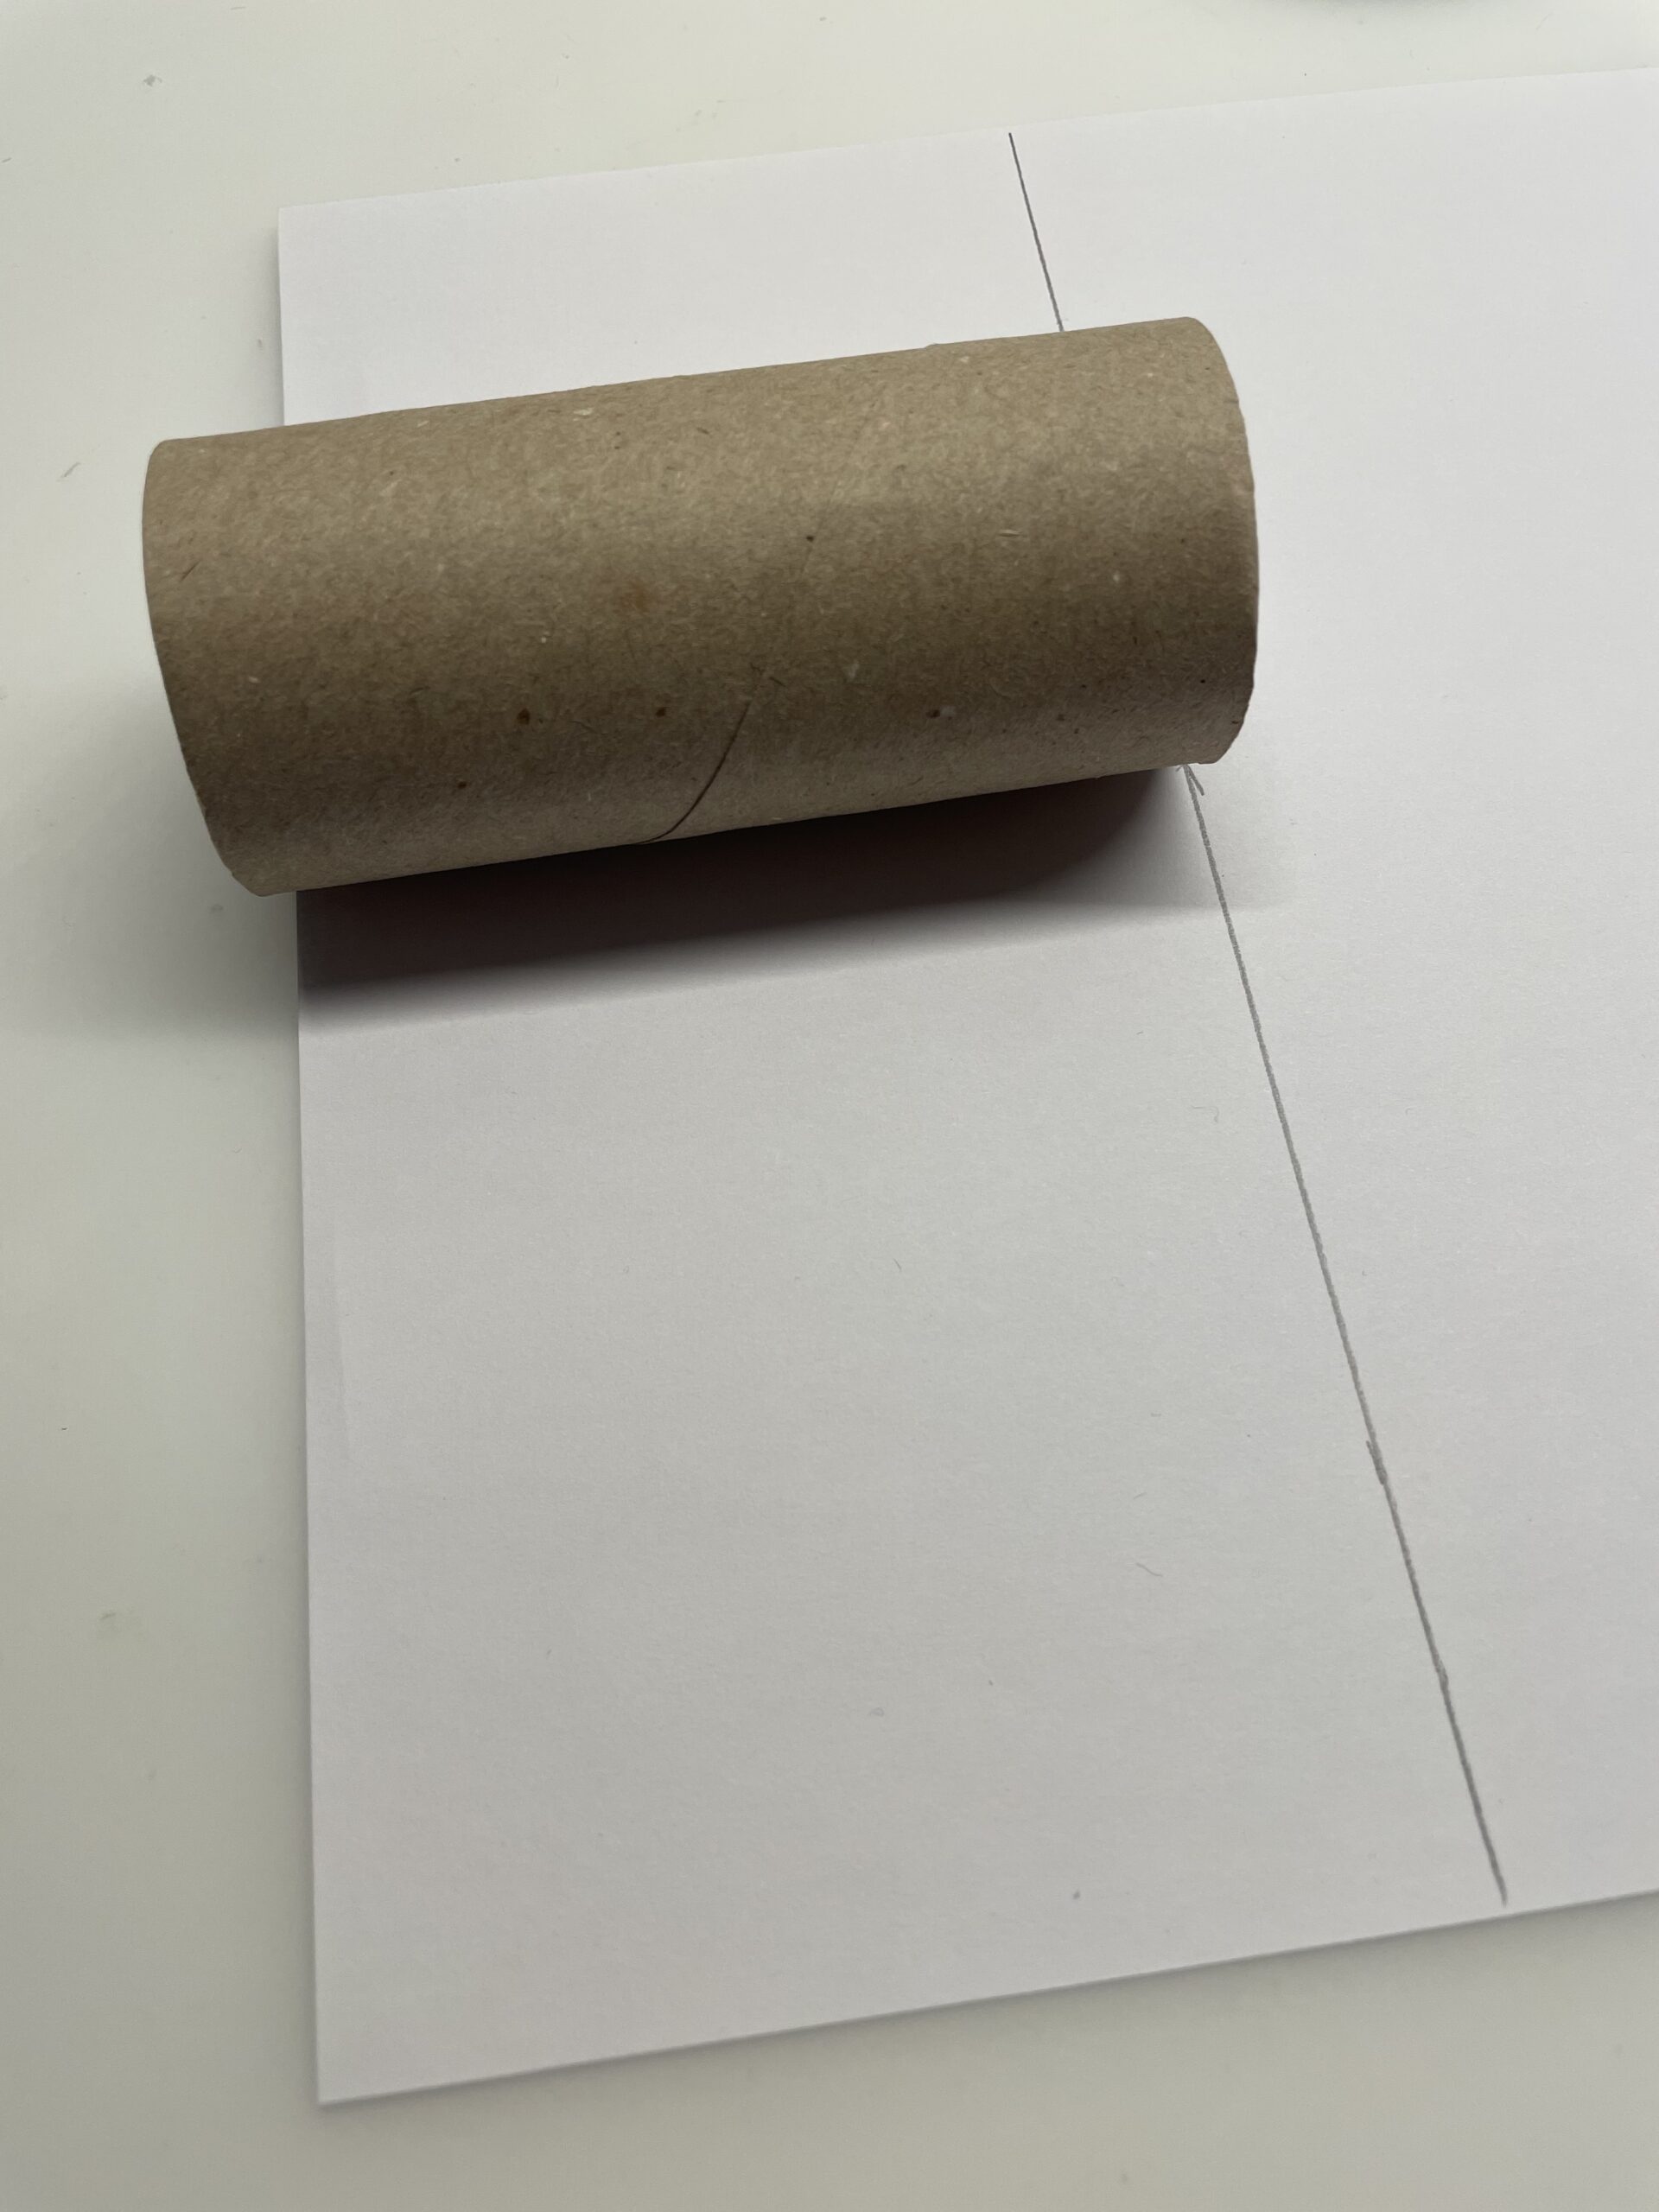
Then cut the white paper to the size 9cm x 15 cm.
Check whether the dimensions fit for your cardboard roll or cut the kitchen roll accordingly.
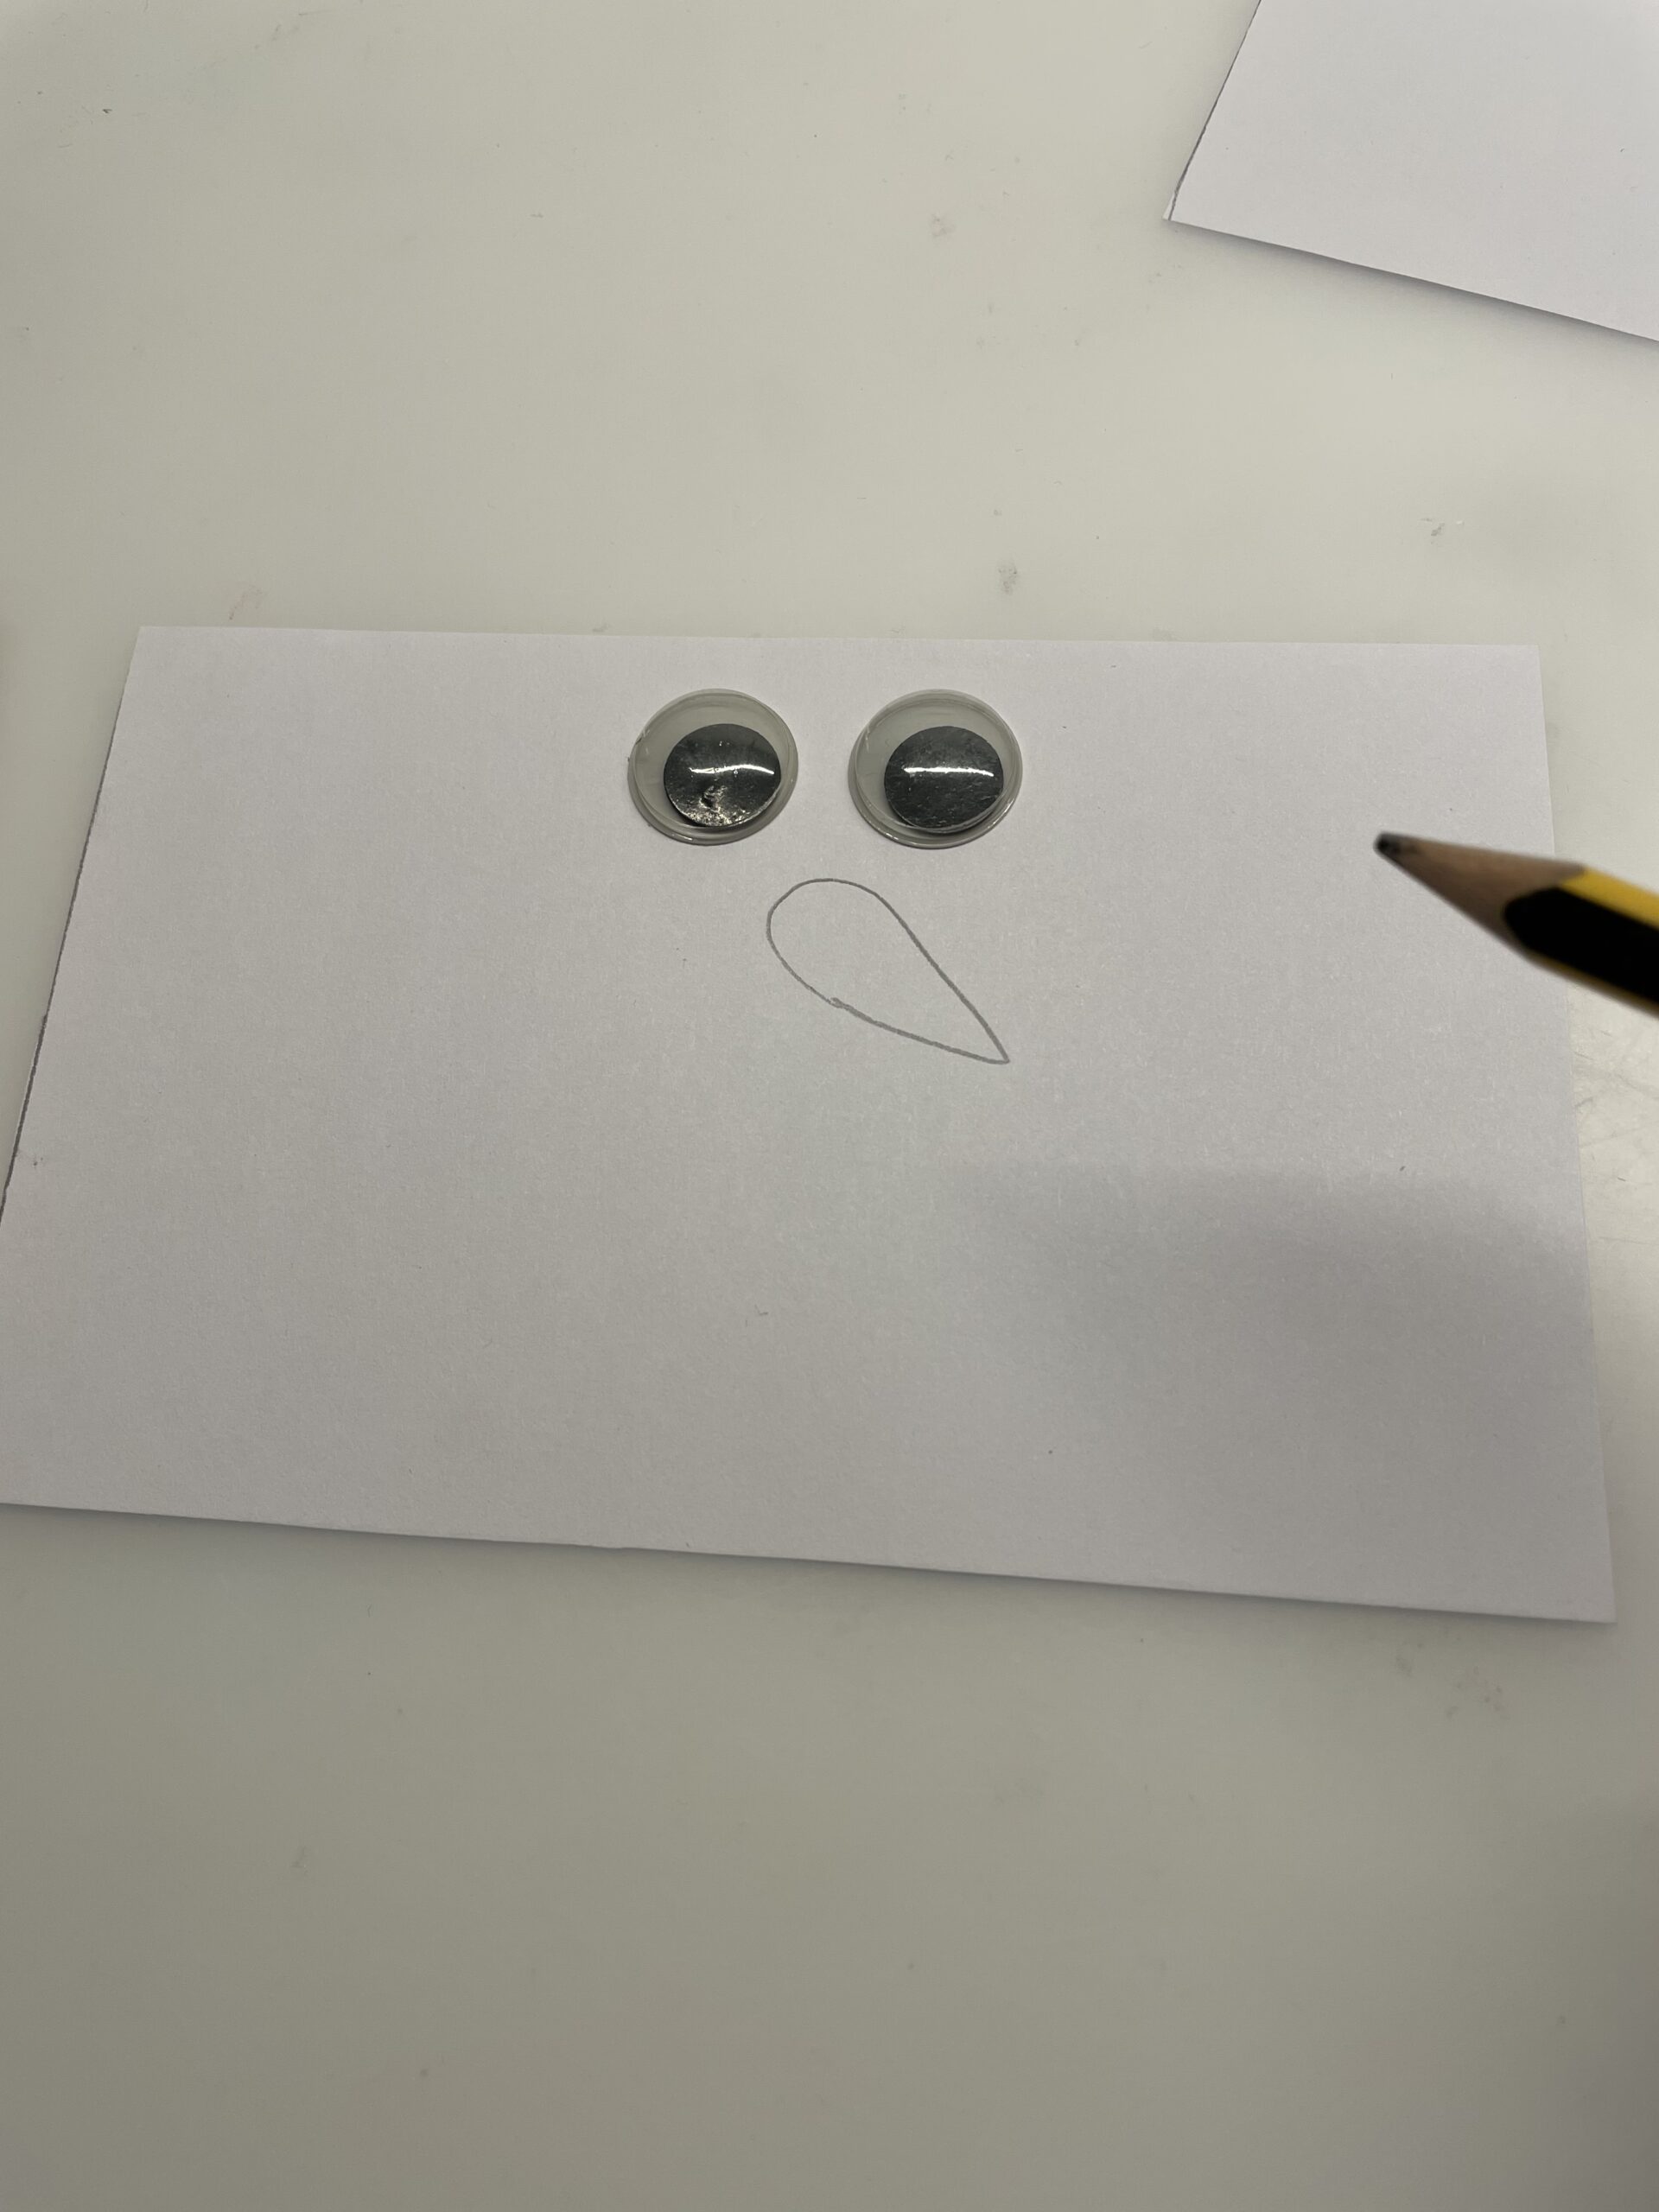
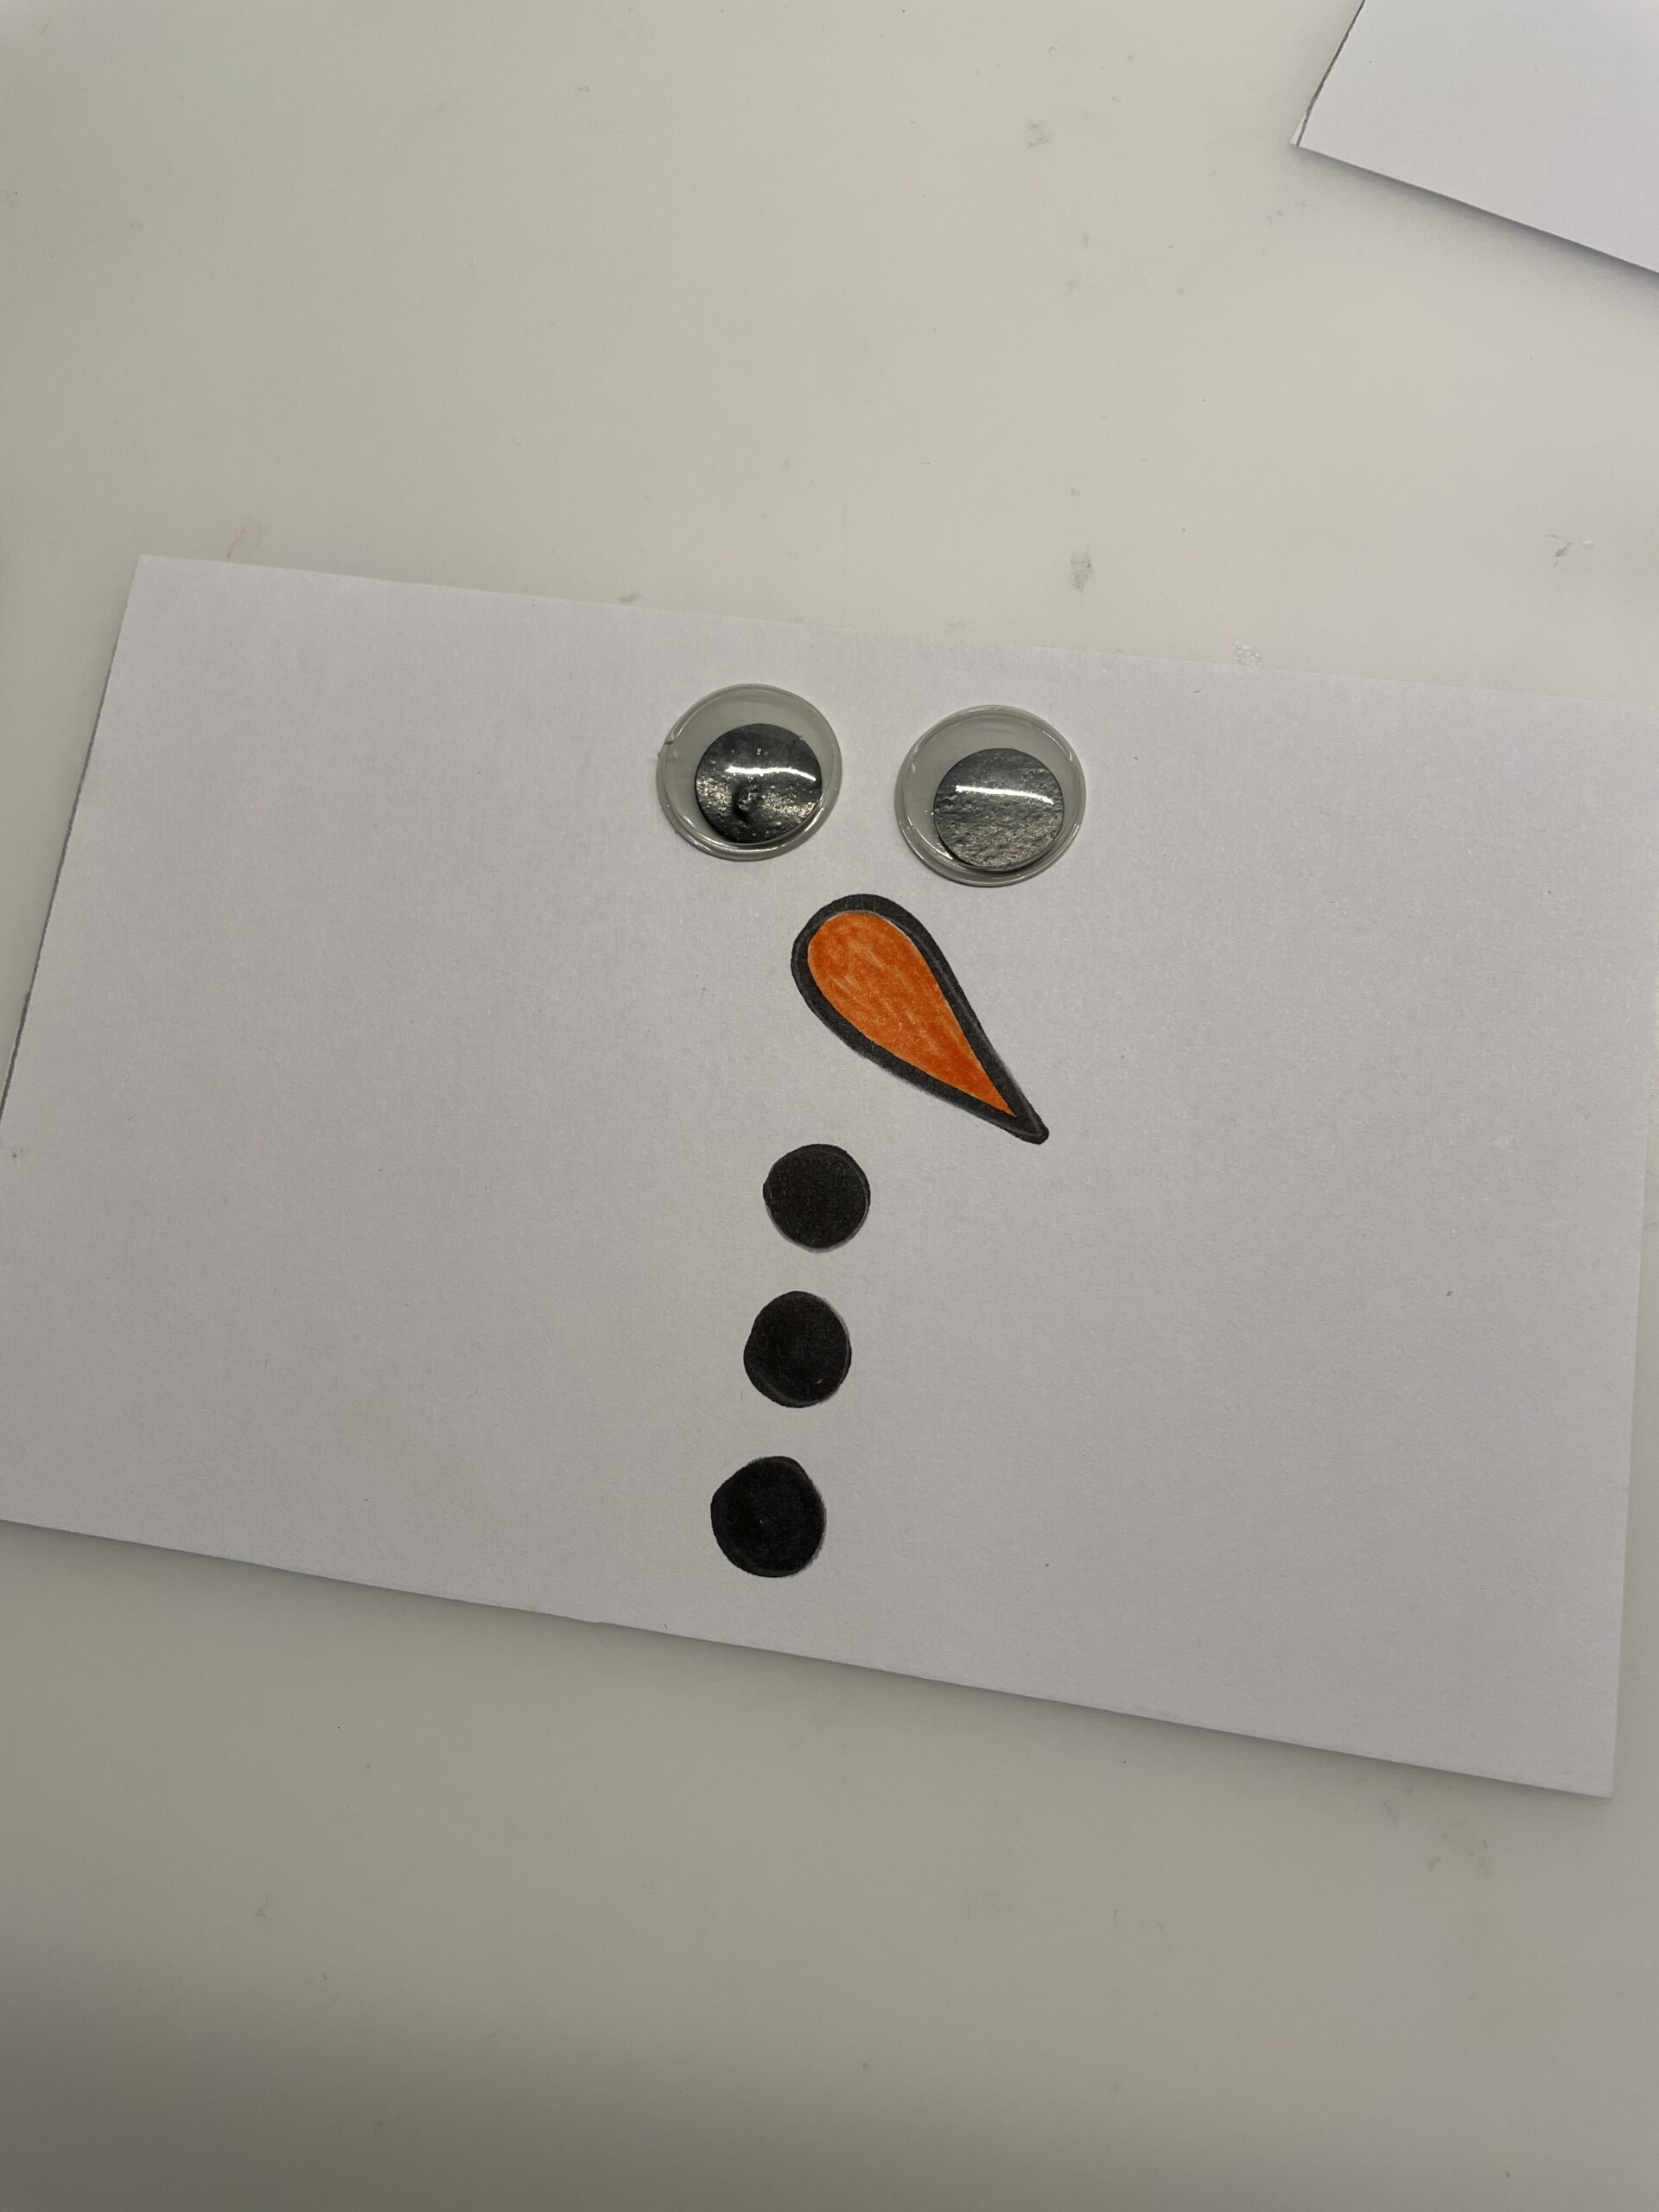
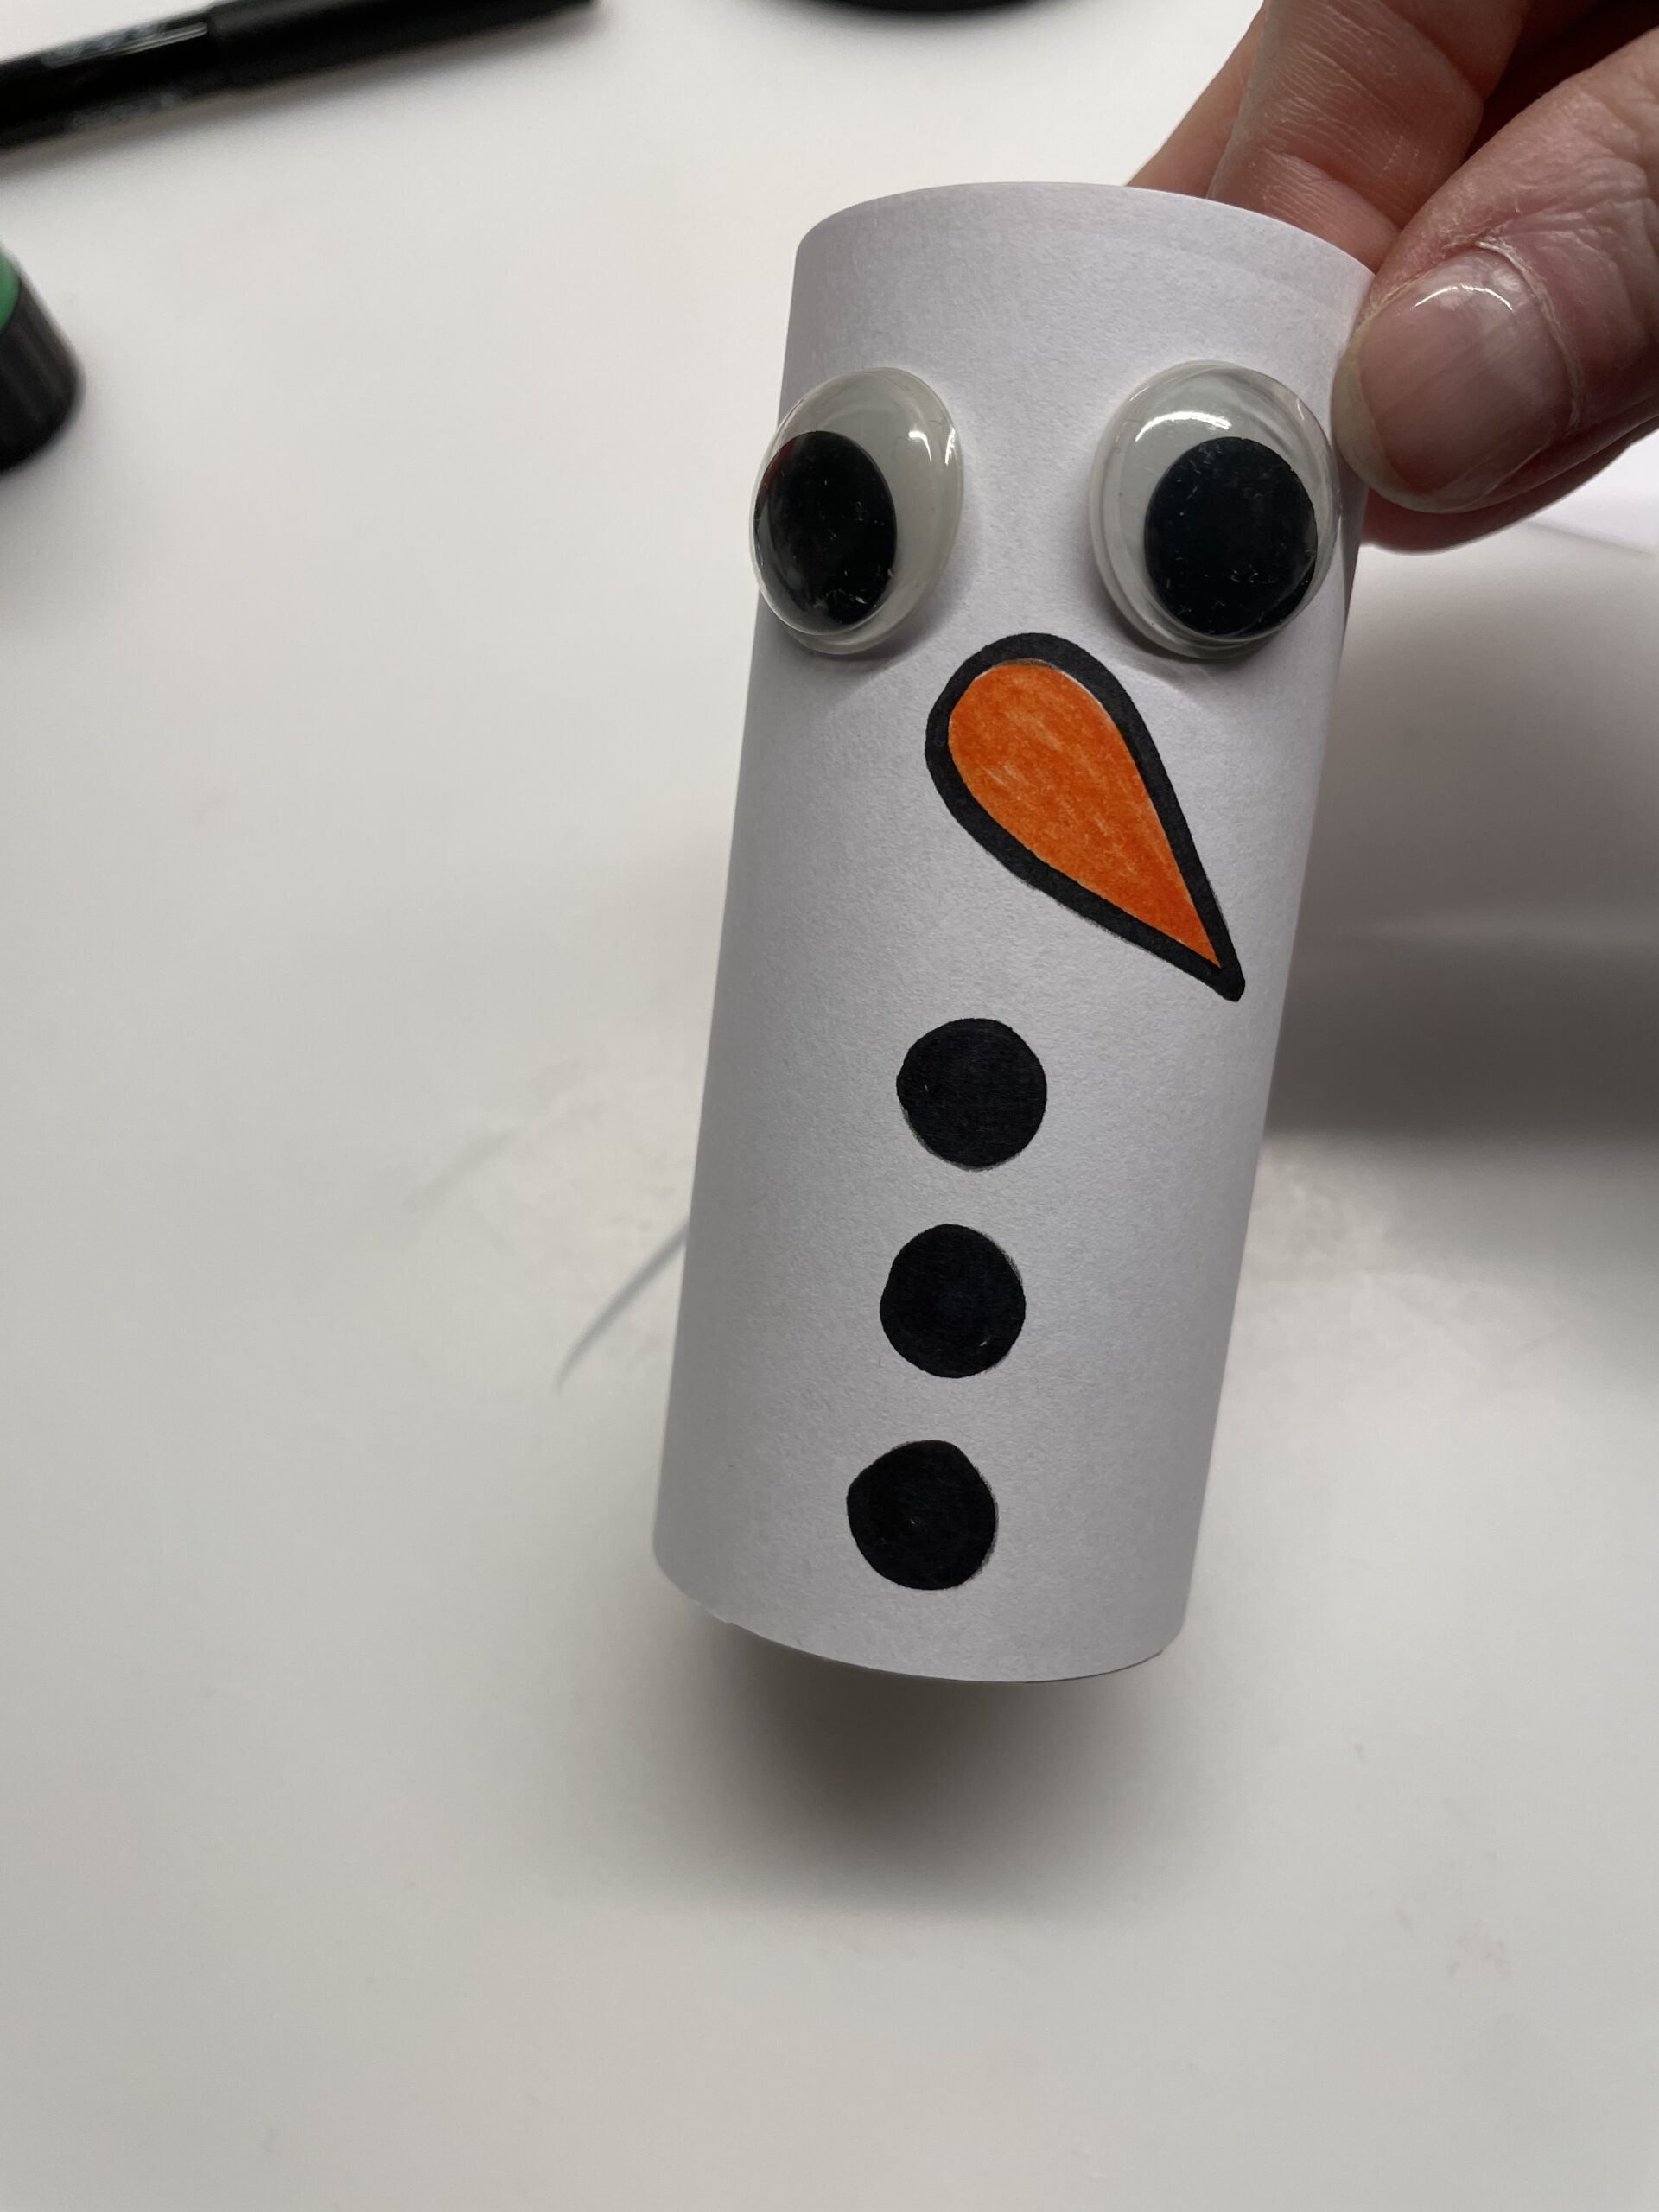
Now you paint in the middle of the paper the face of the snowman. For the eyes stick her wobble eyes on. Alternatively, you paint the eyes with a black pen.
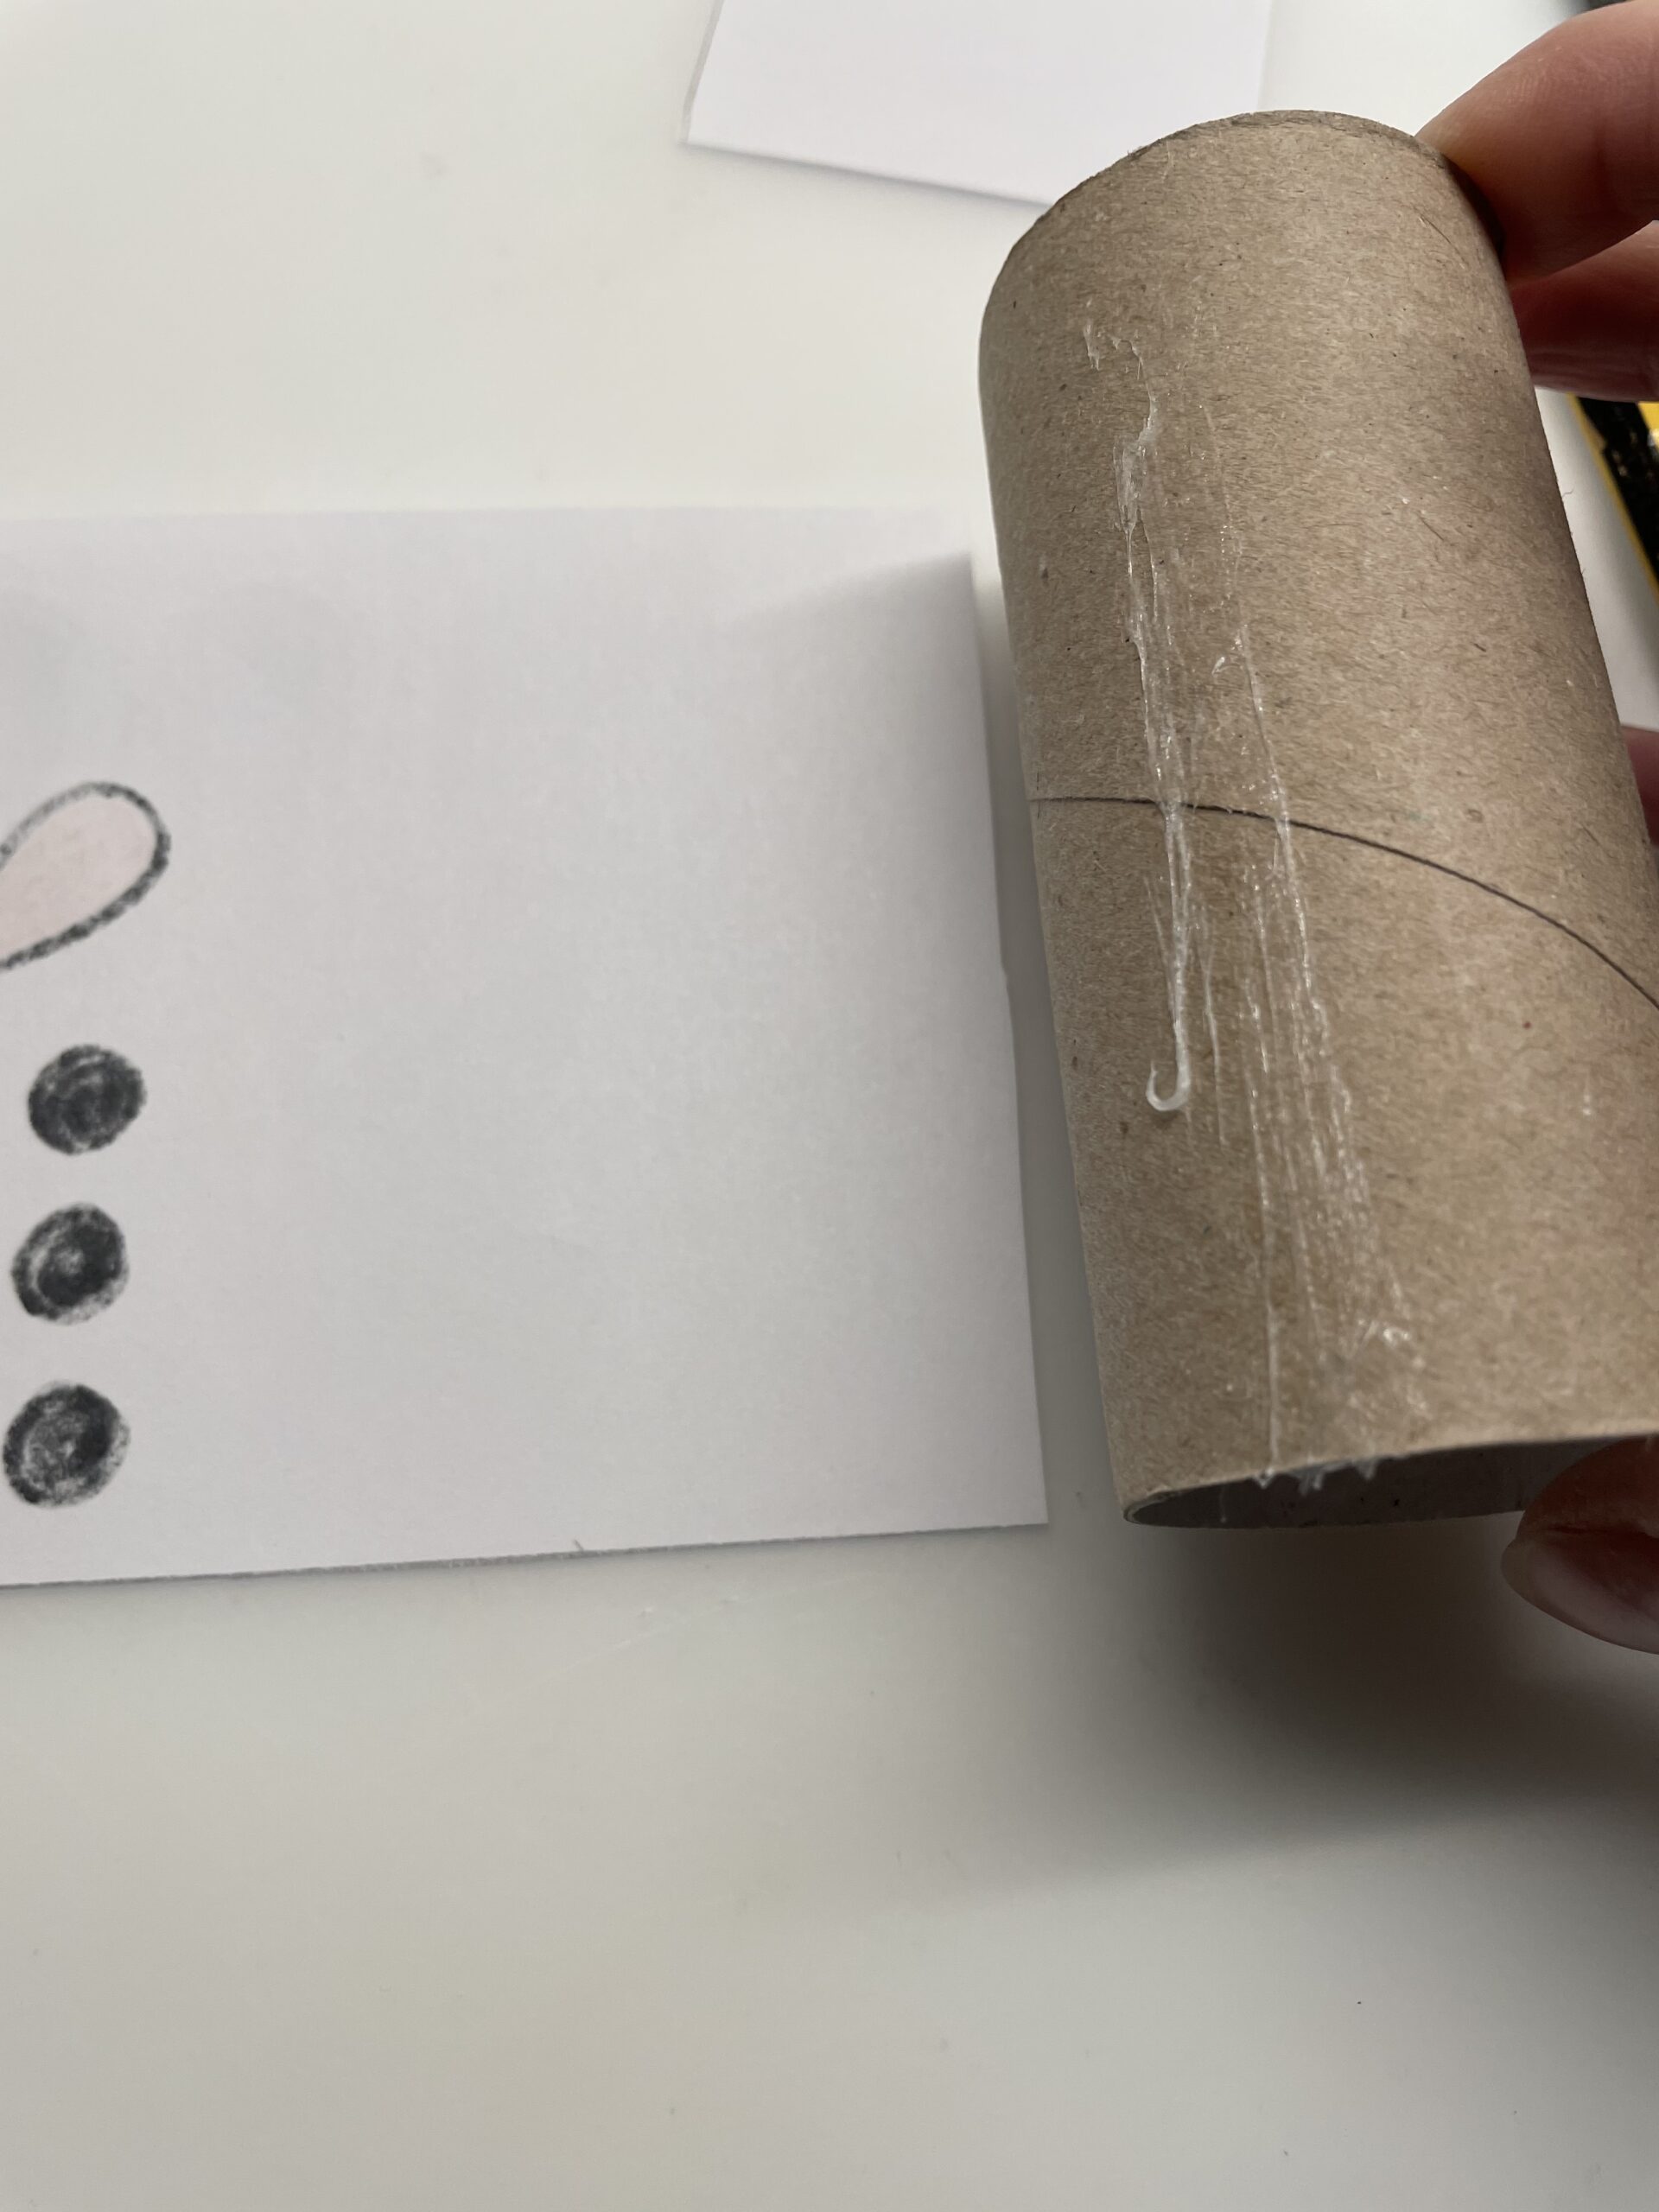
Then apply glue to a piece of the cardboard roll from top to bottom.
At this point you attach the short side of the paper.
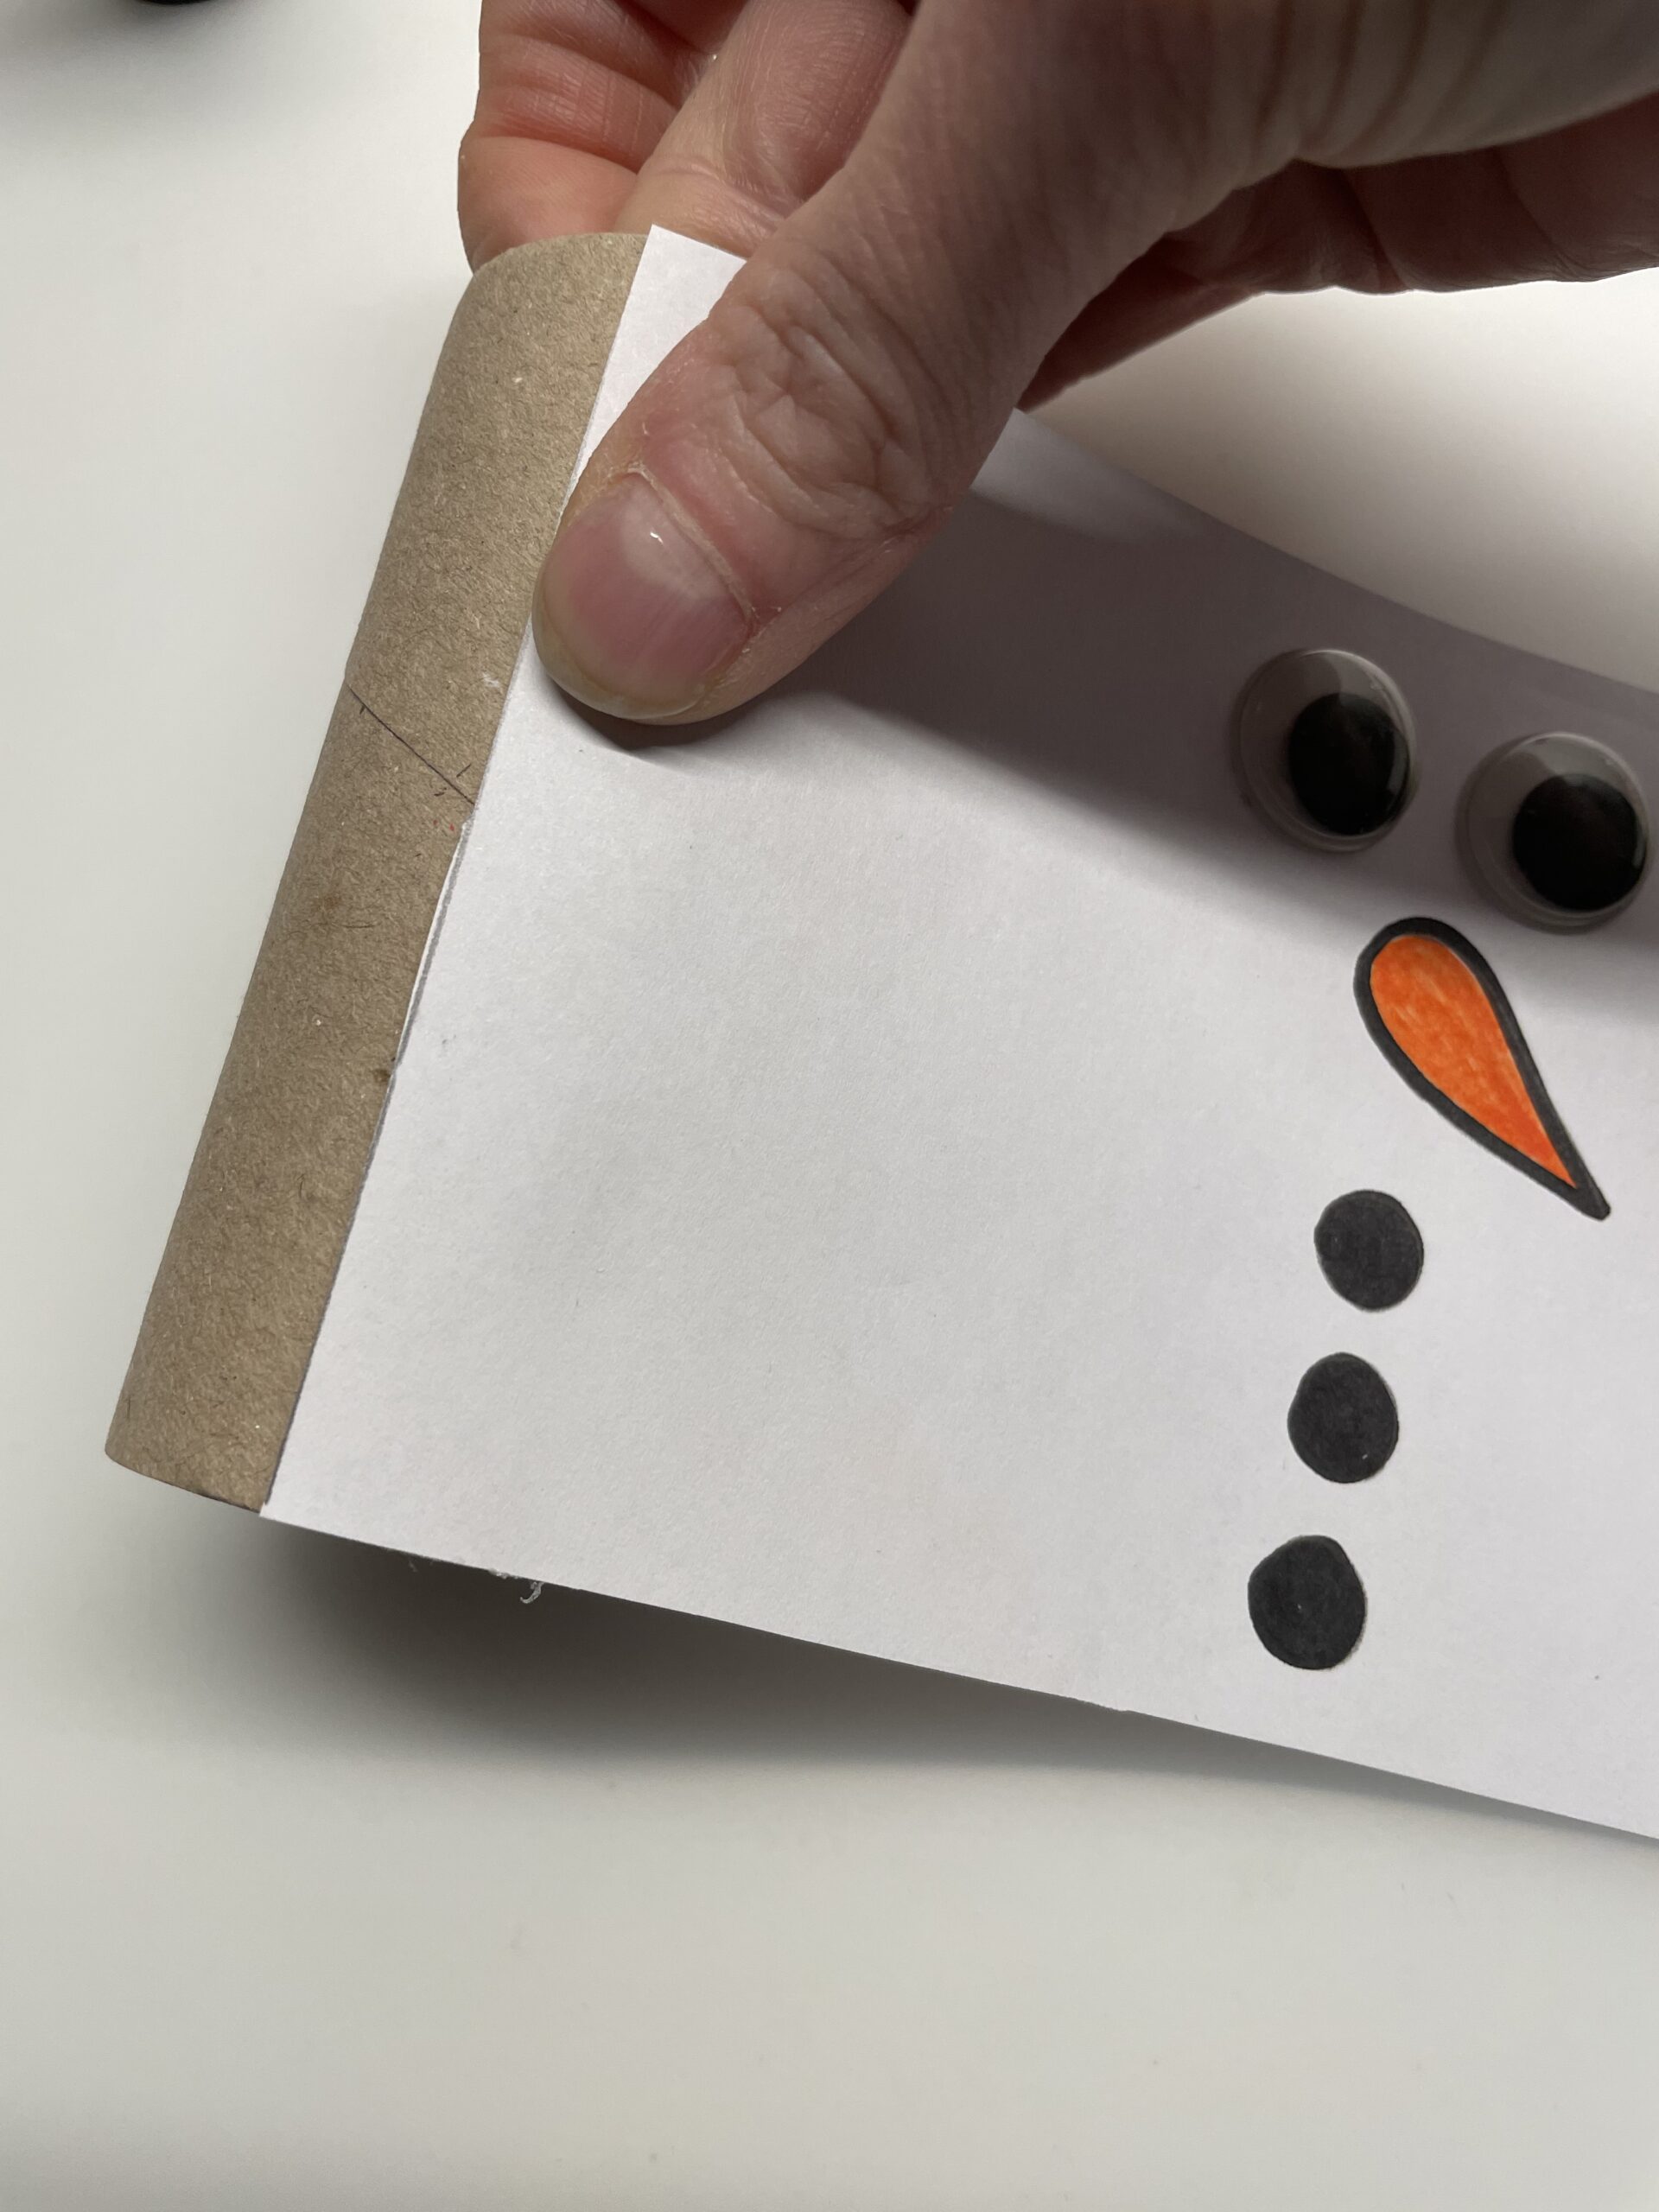
Then you put the paper around the roll.
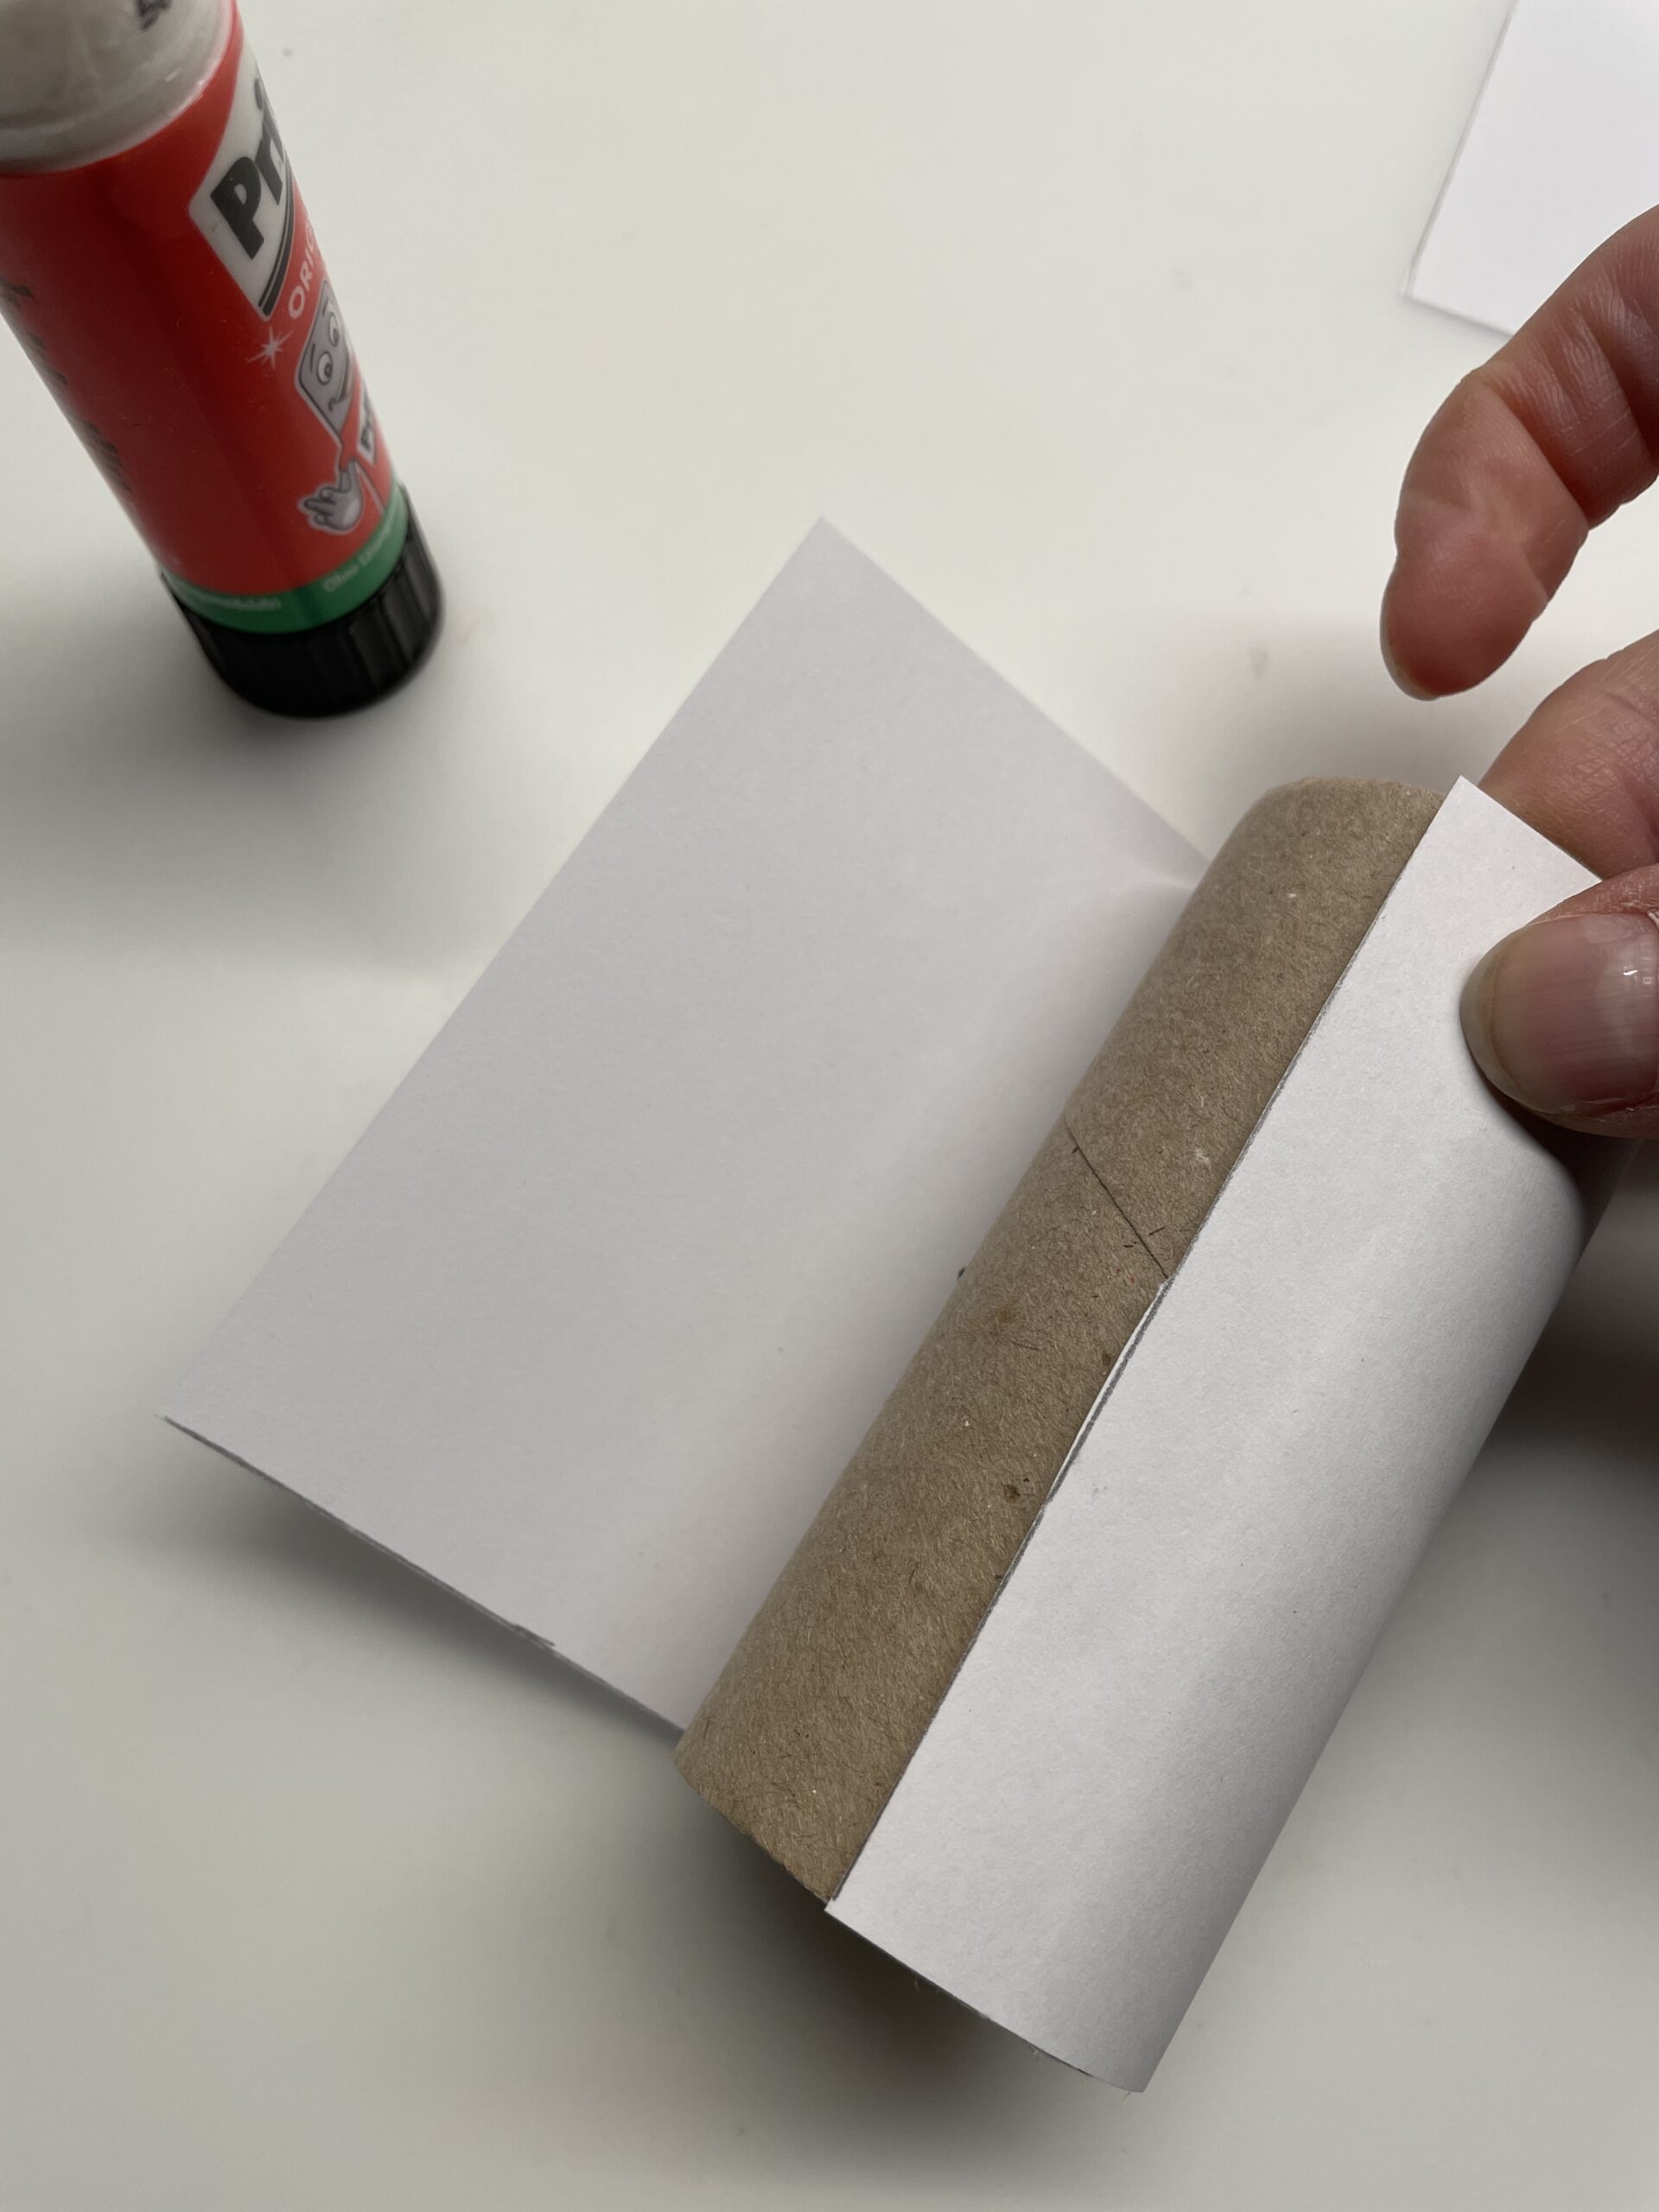
At the point where both papers overlap, apply glue to the paper roll and the already glued paper.
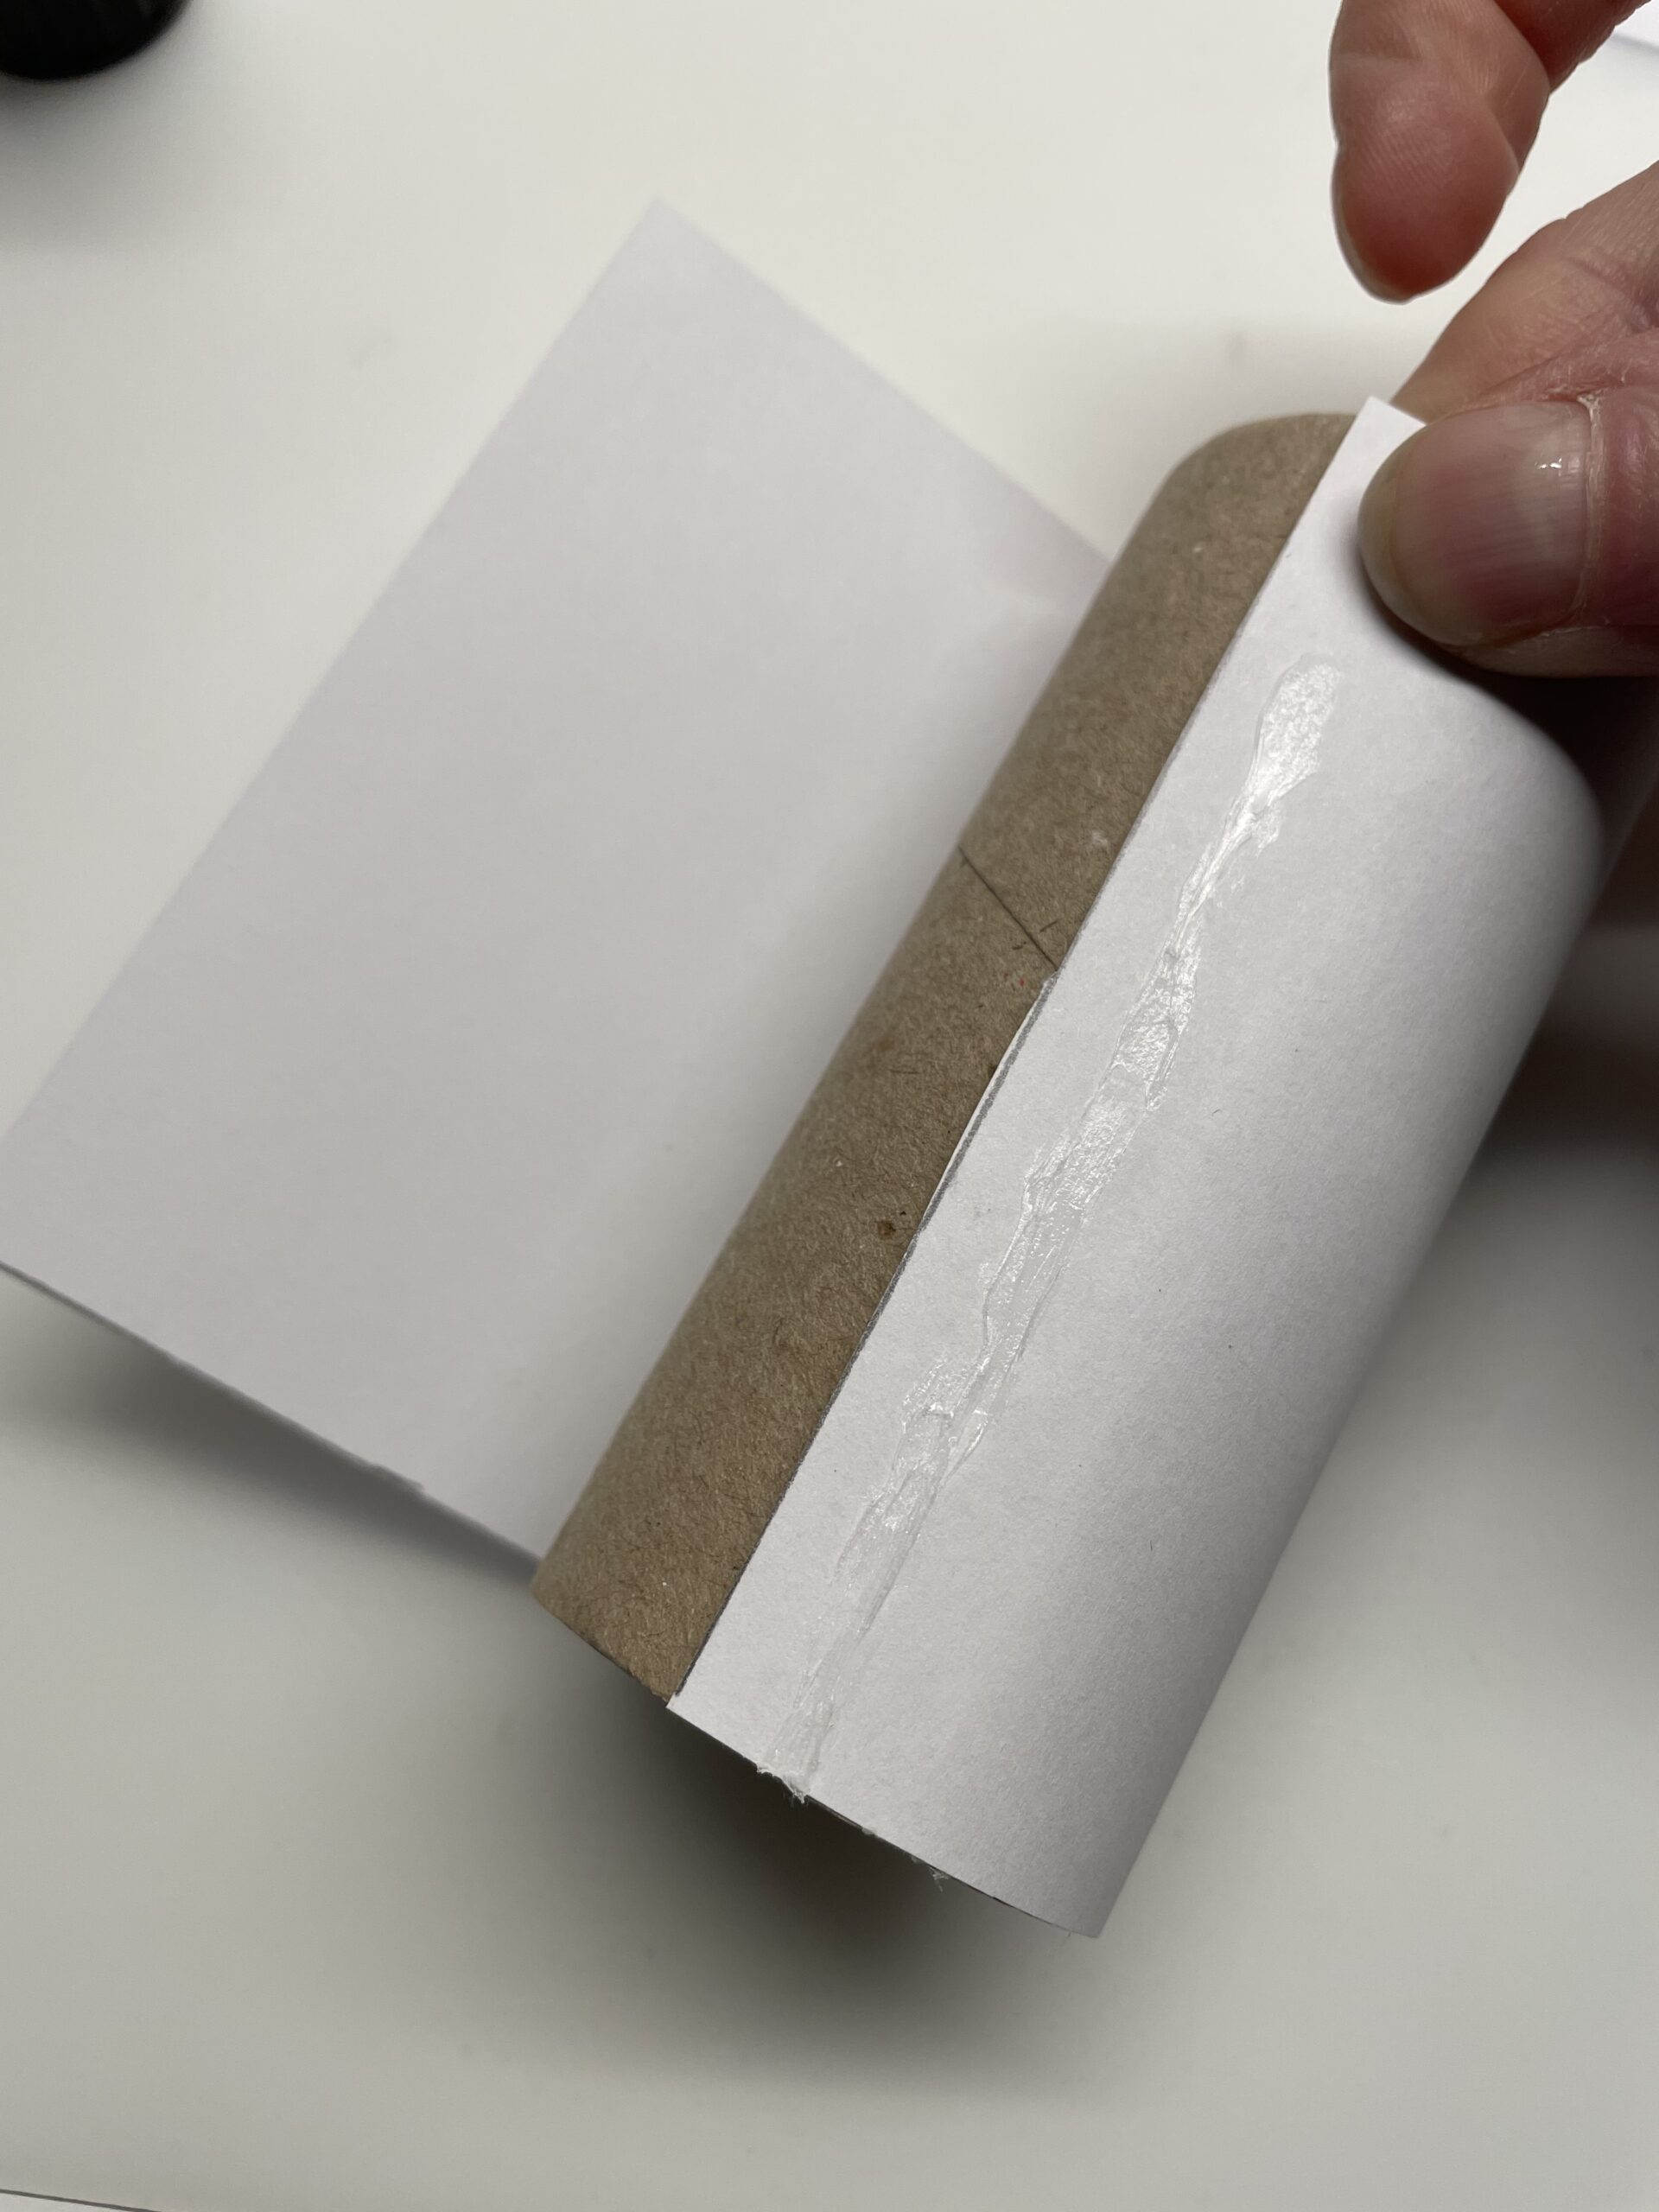
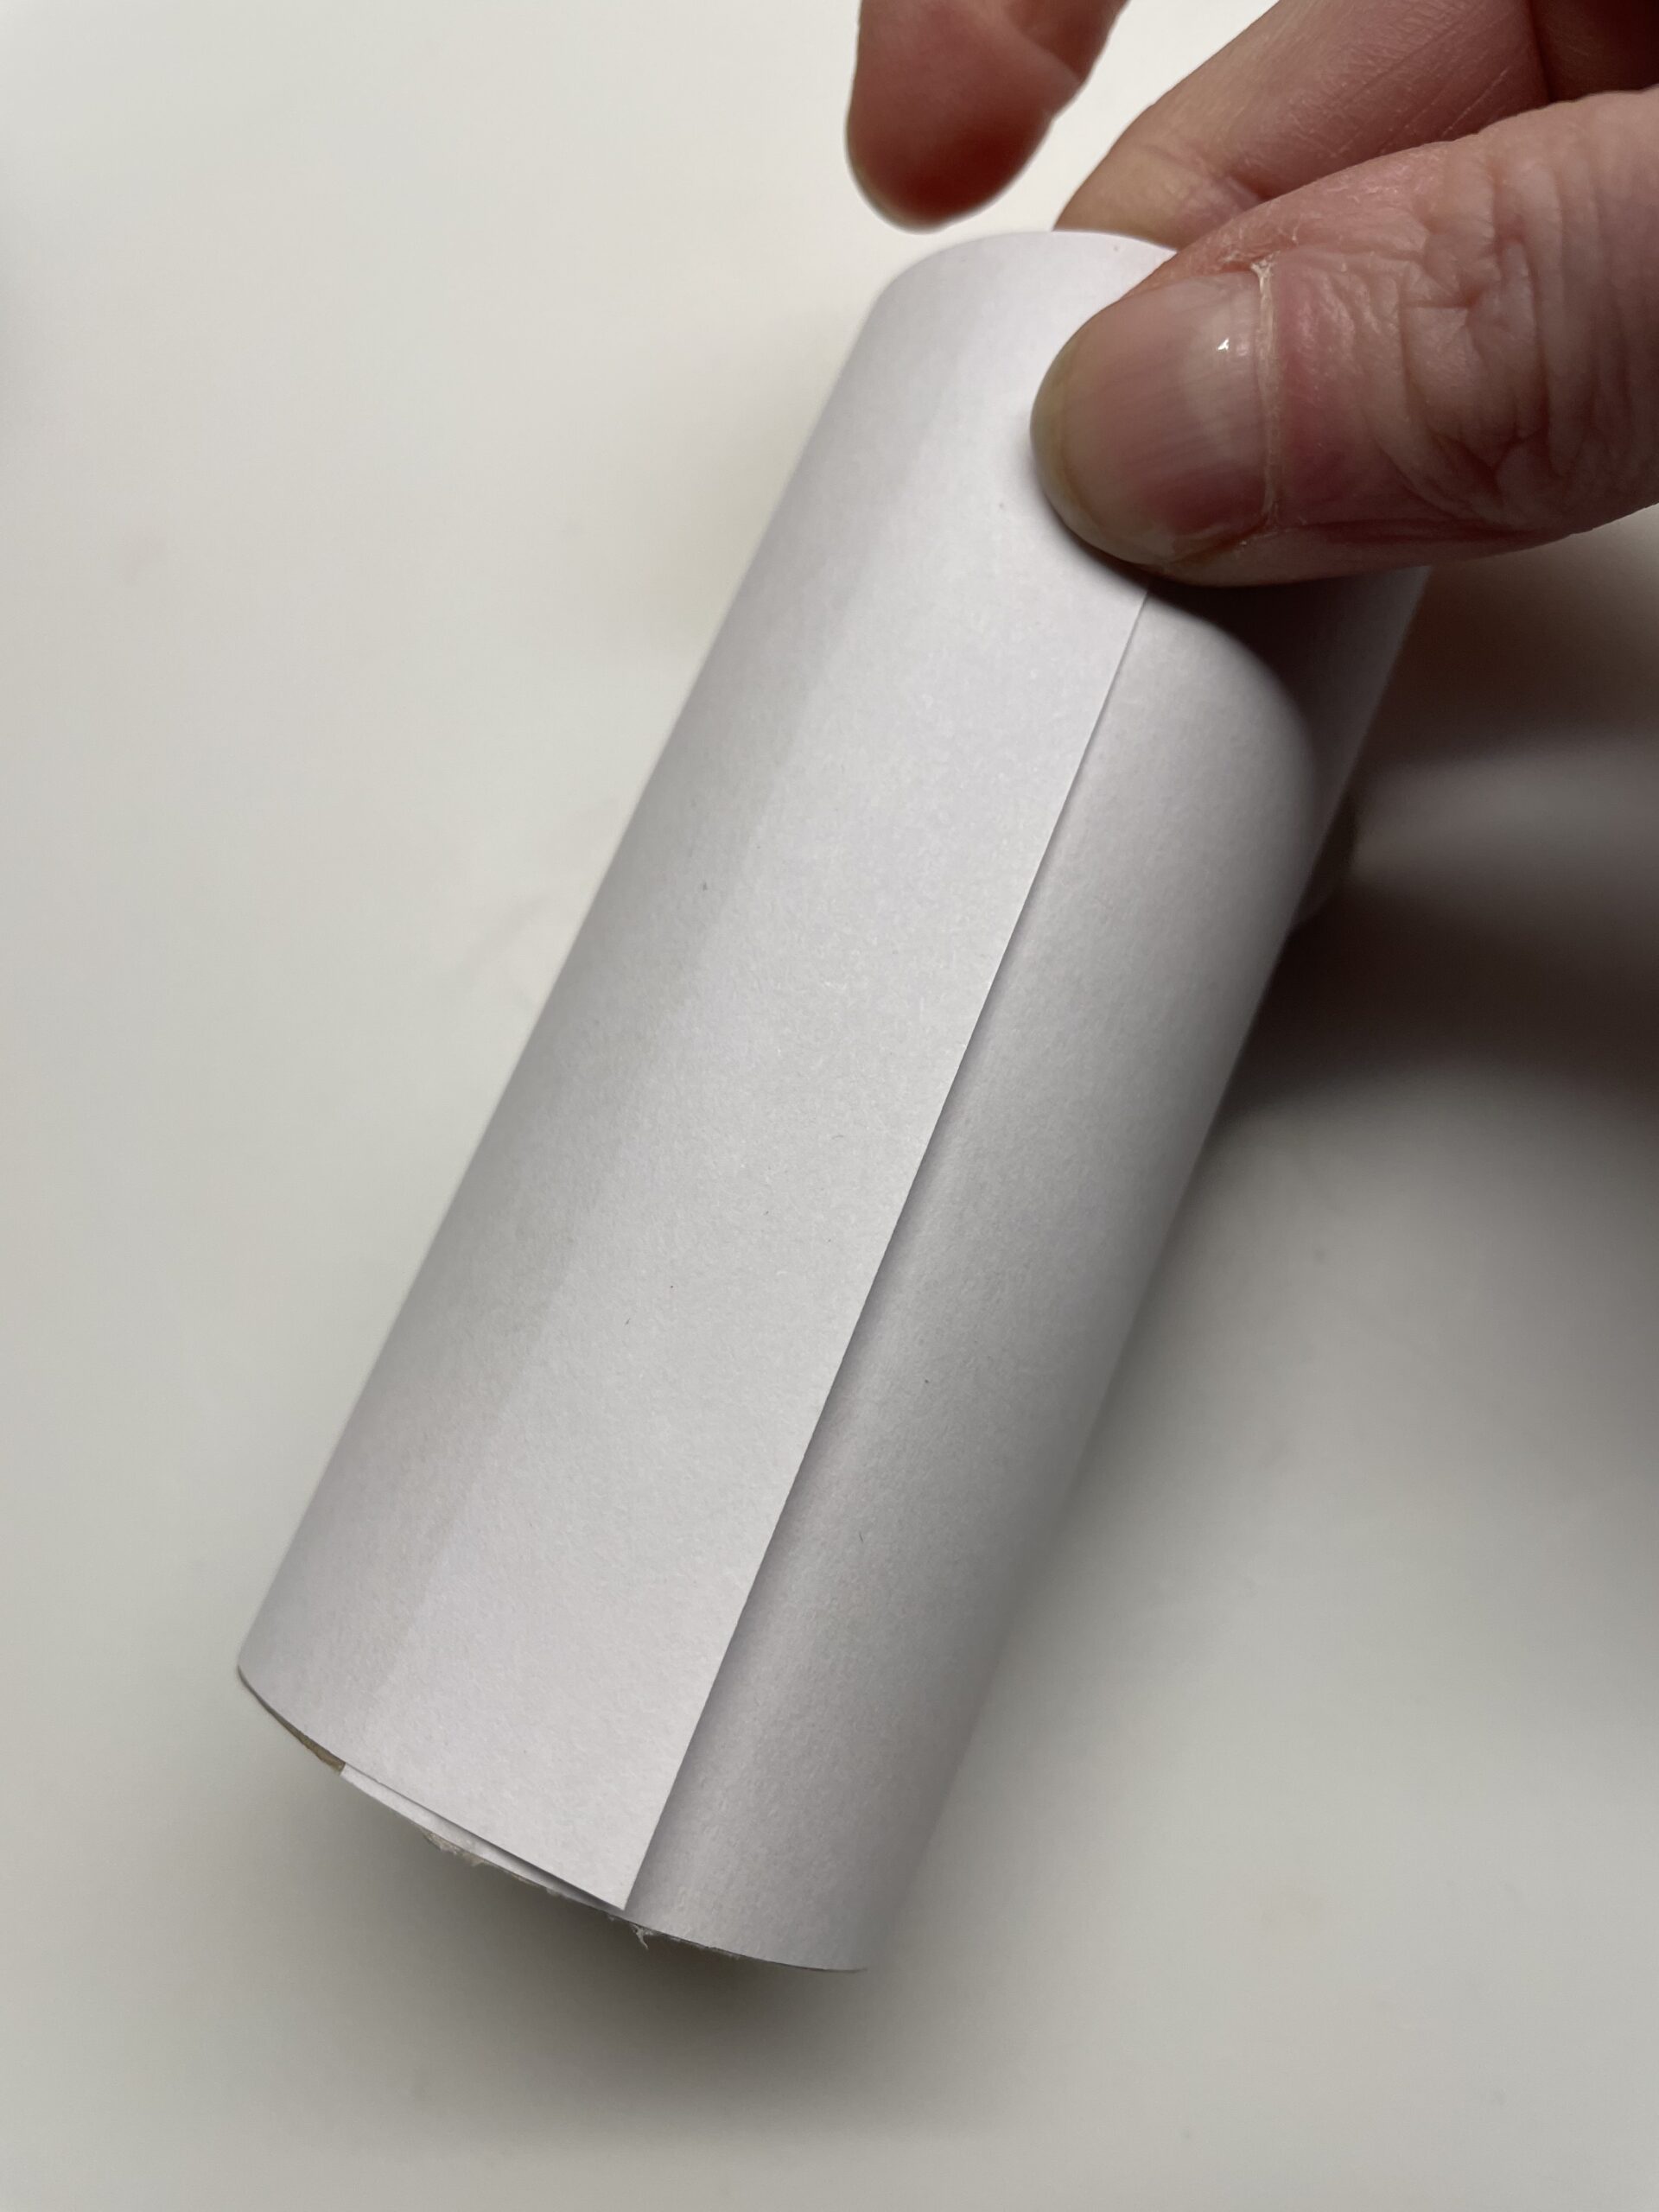
Now you put the end of the paper strip on it and press on the paper. Make sure that the paper is tightly wrapped around the paper roll.
Now you're making the hat.
Tip: If you don't have a black lid, paint a coloured screw glass lid in black!
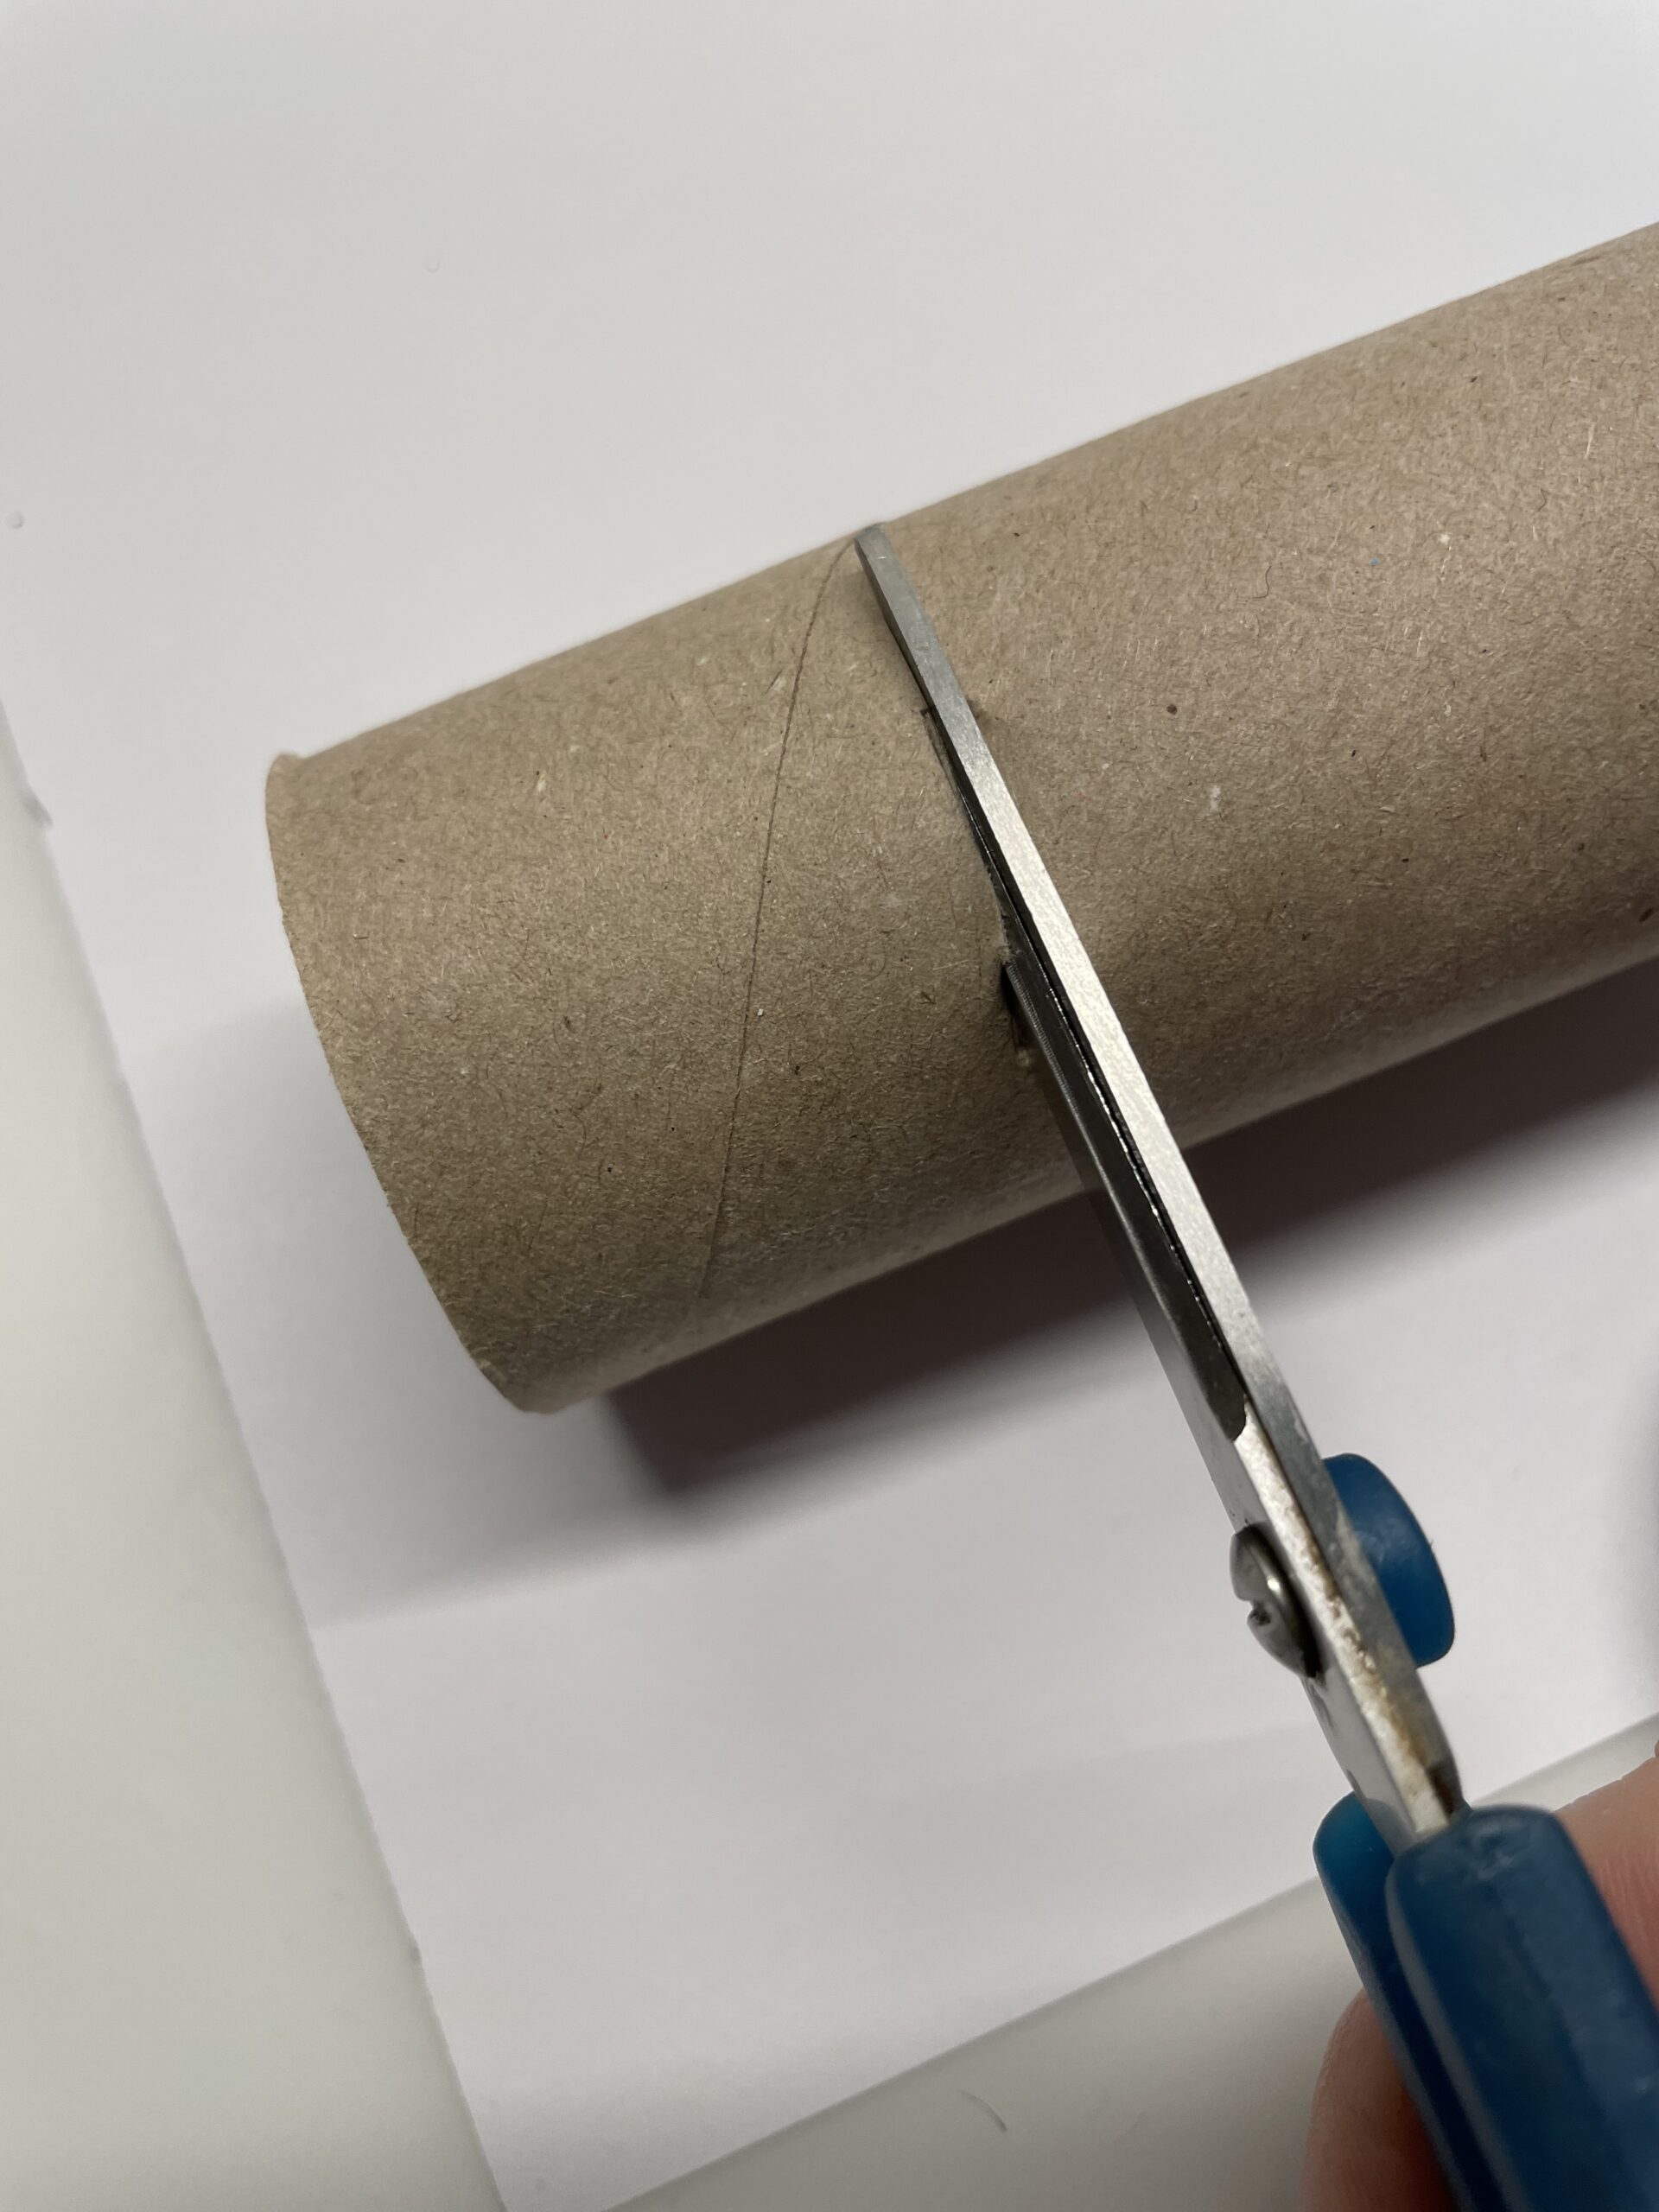
Cuts off a 4cm wide piece of the cardboard roll.
Thus, both parts are later placed on each other.
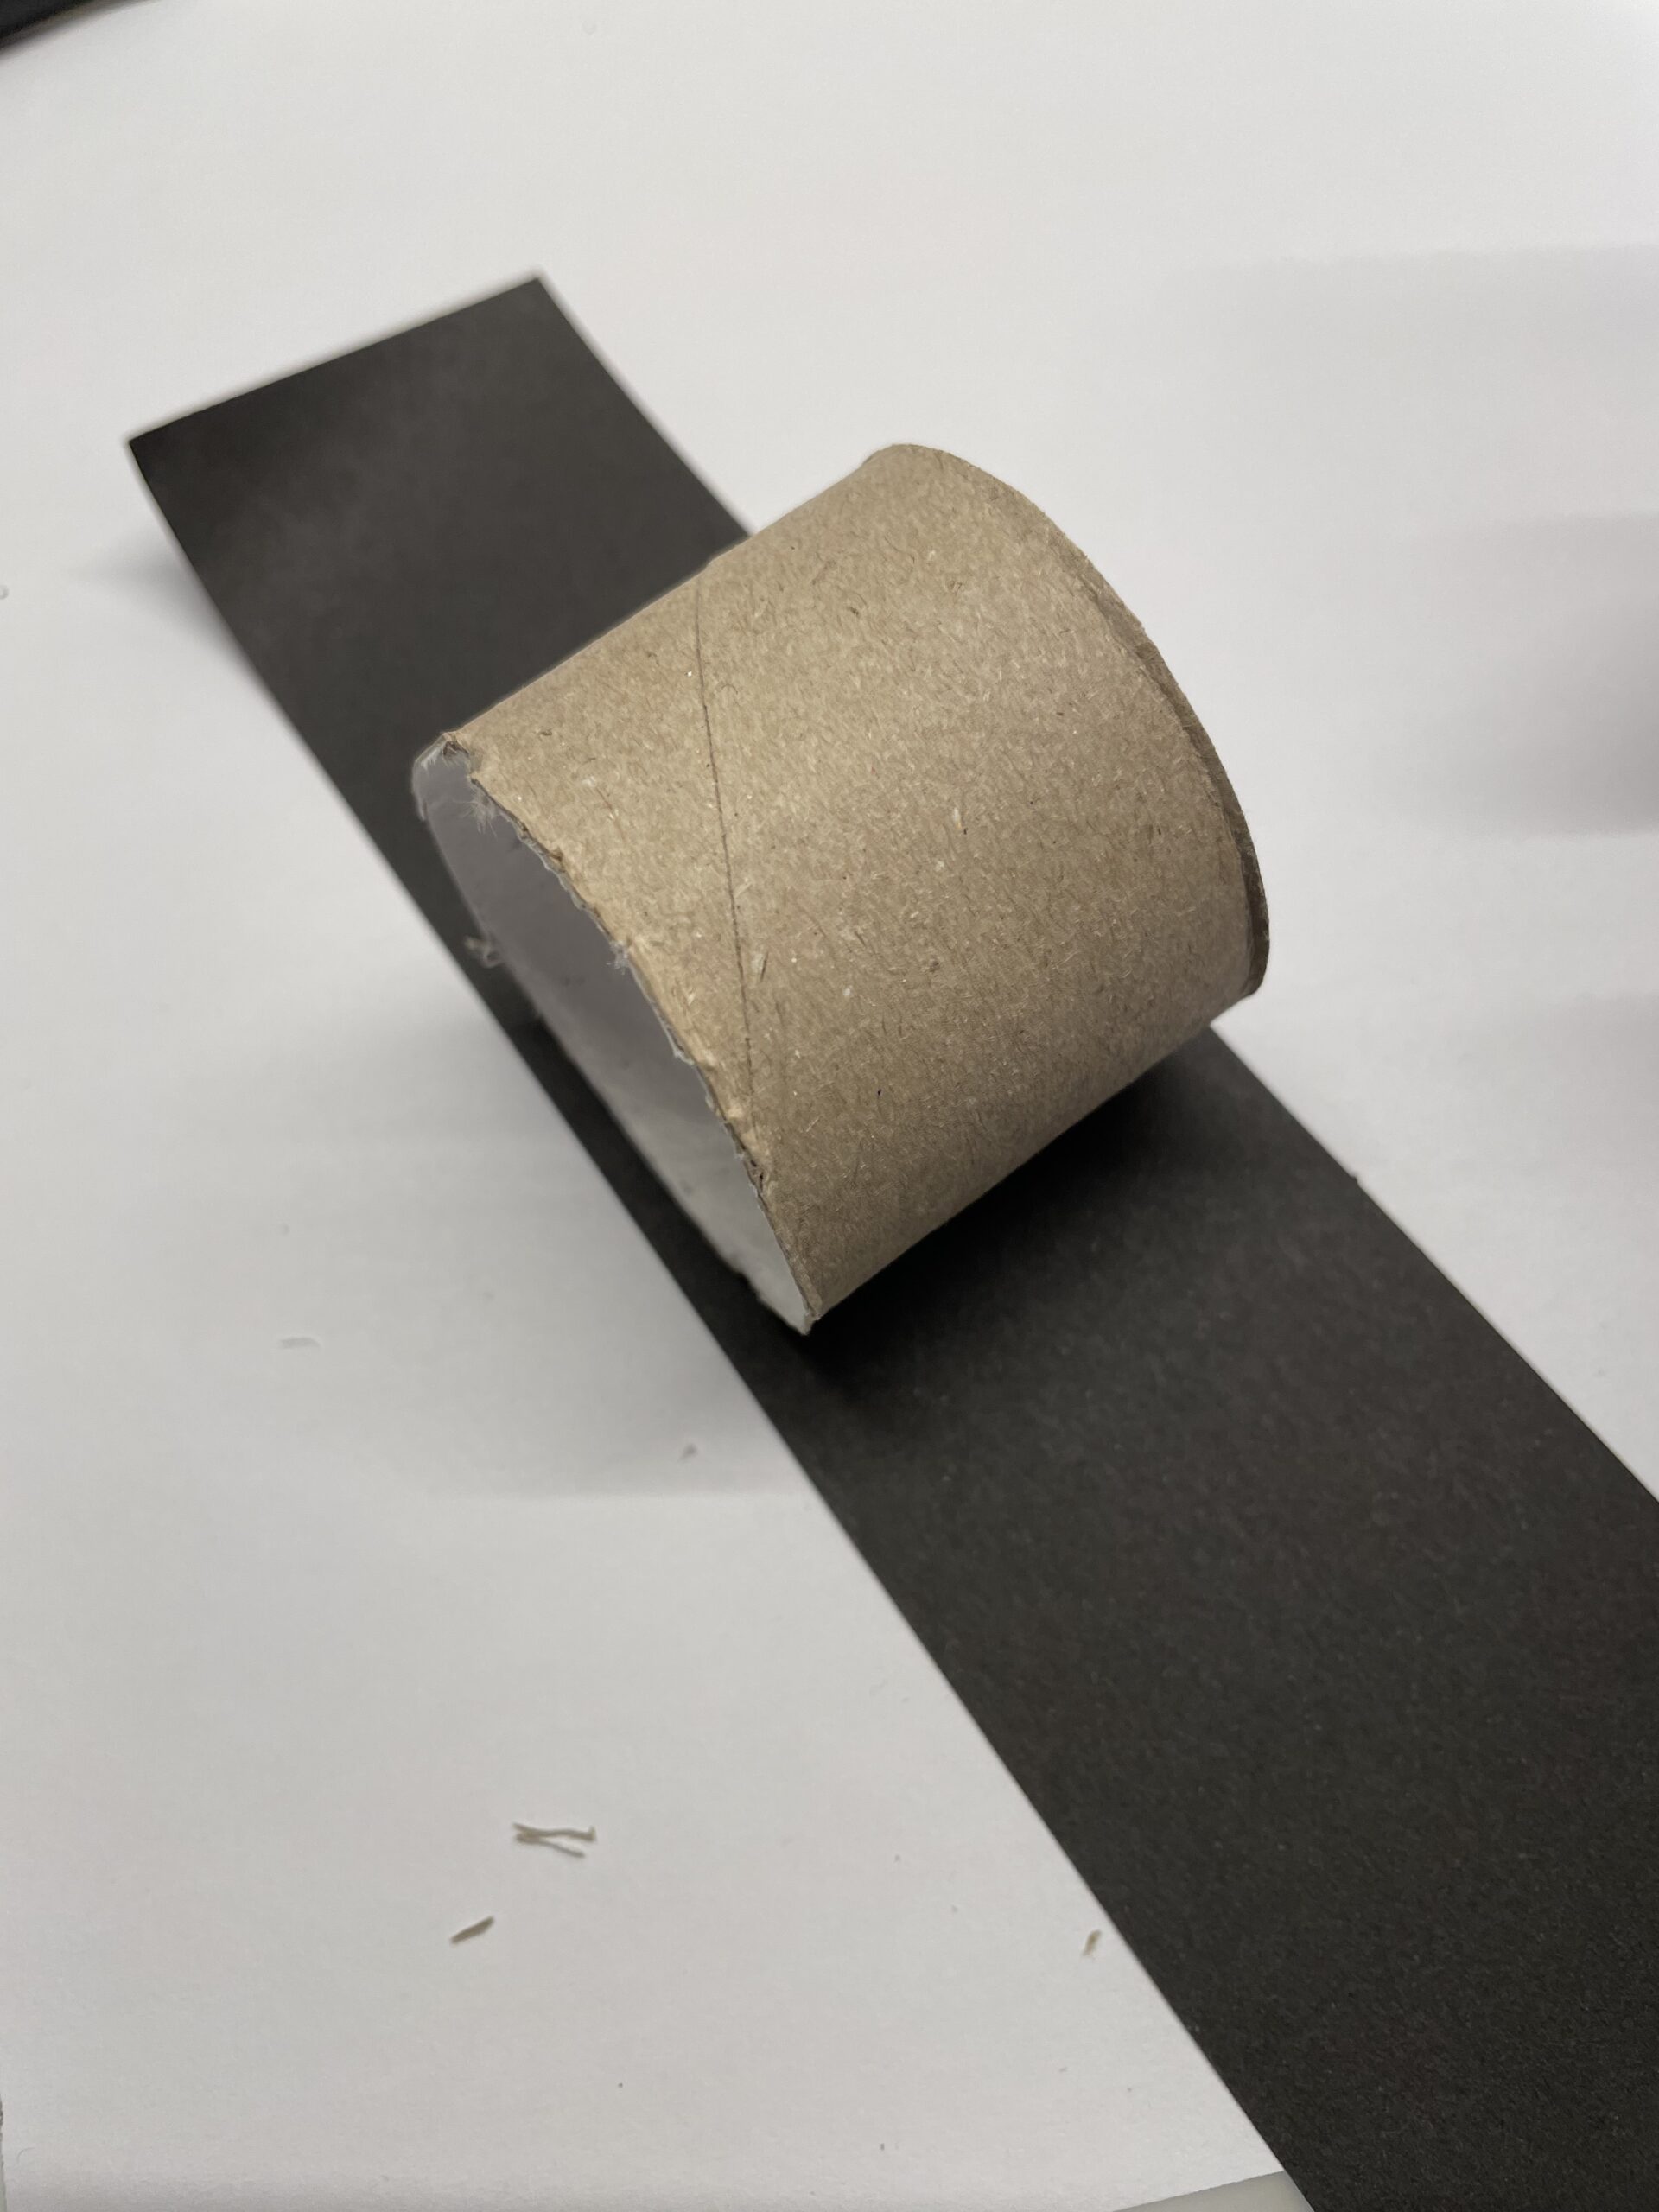
Then cut a strip of black paper to the size 4cm x 15cm.
After that, you stick the paper strip around the cardboard roll (see above!).
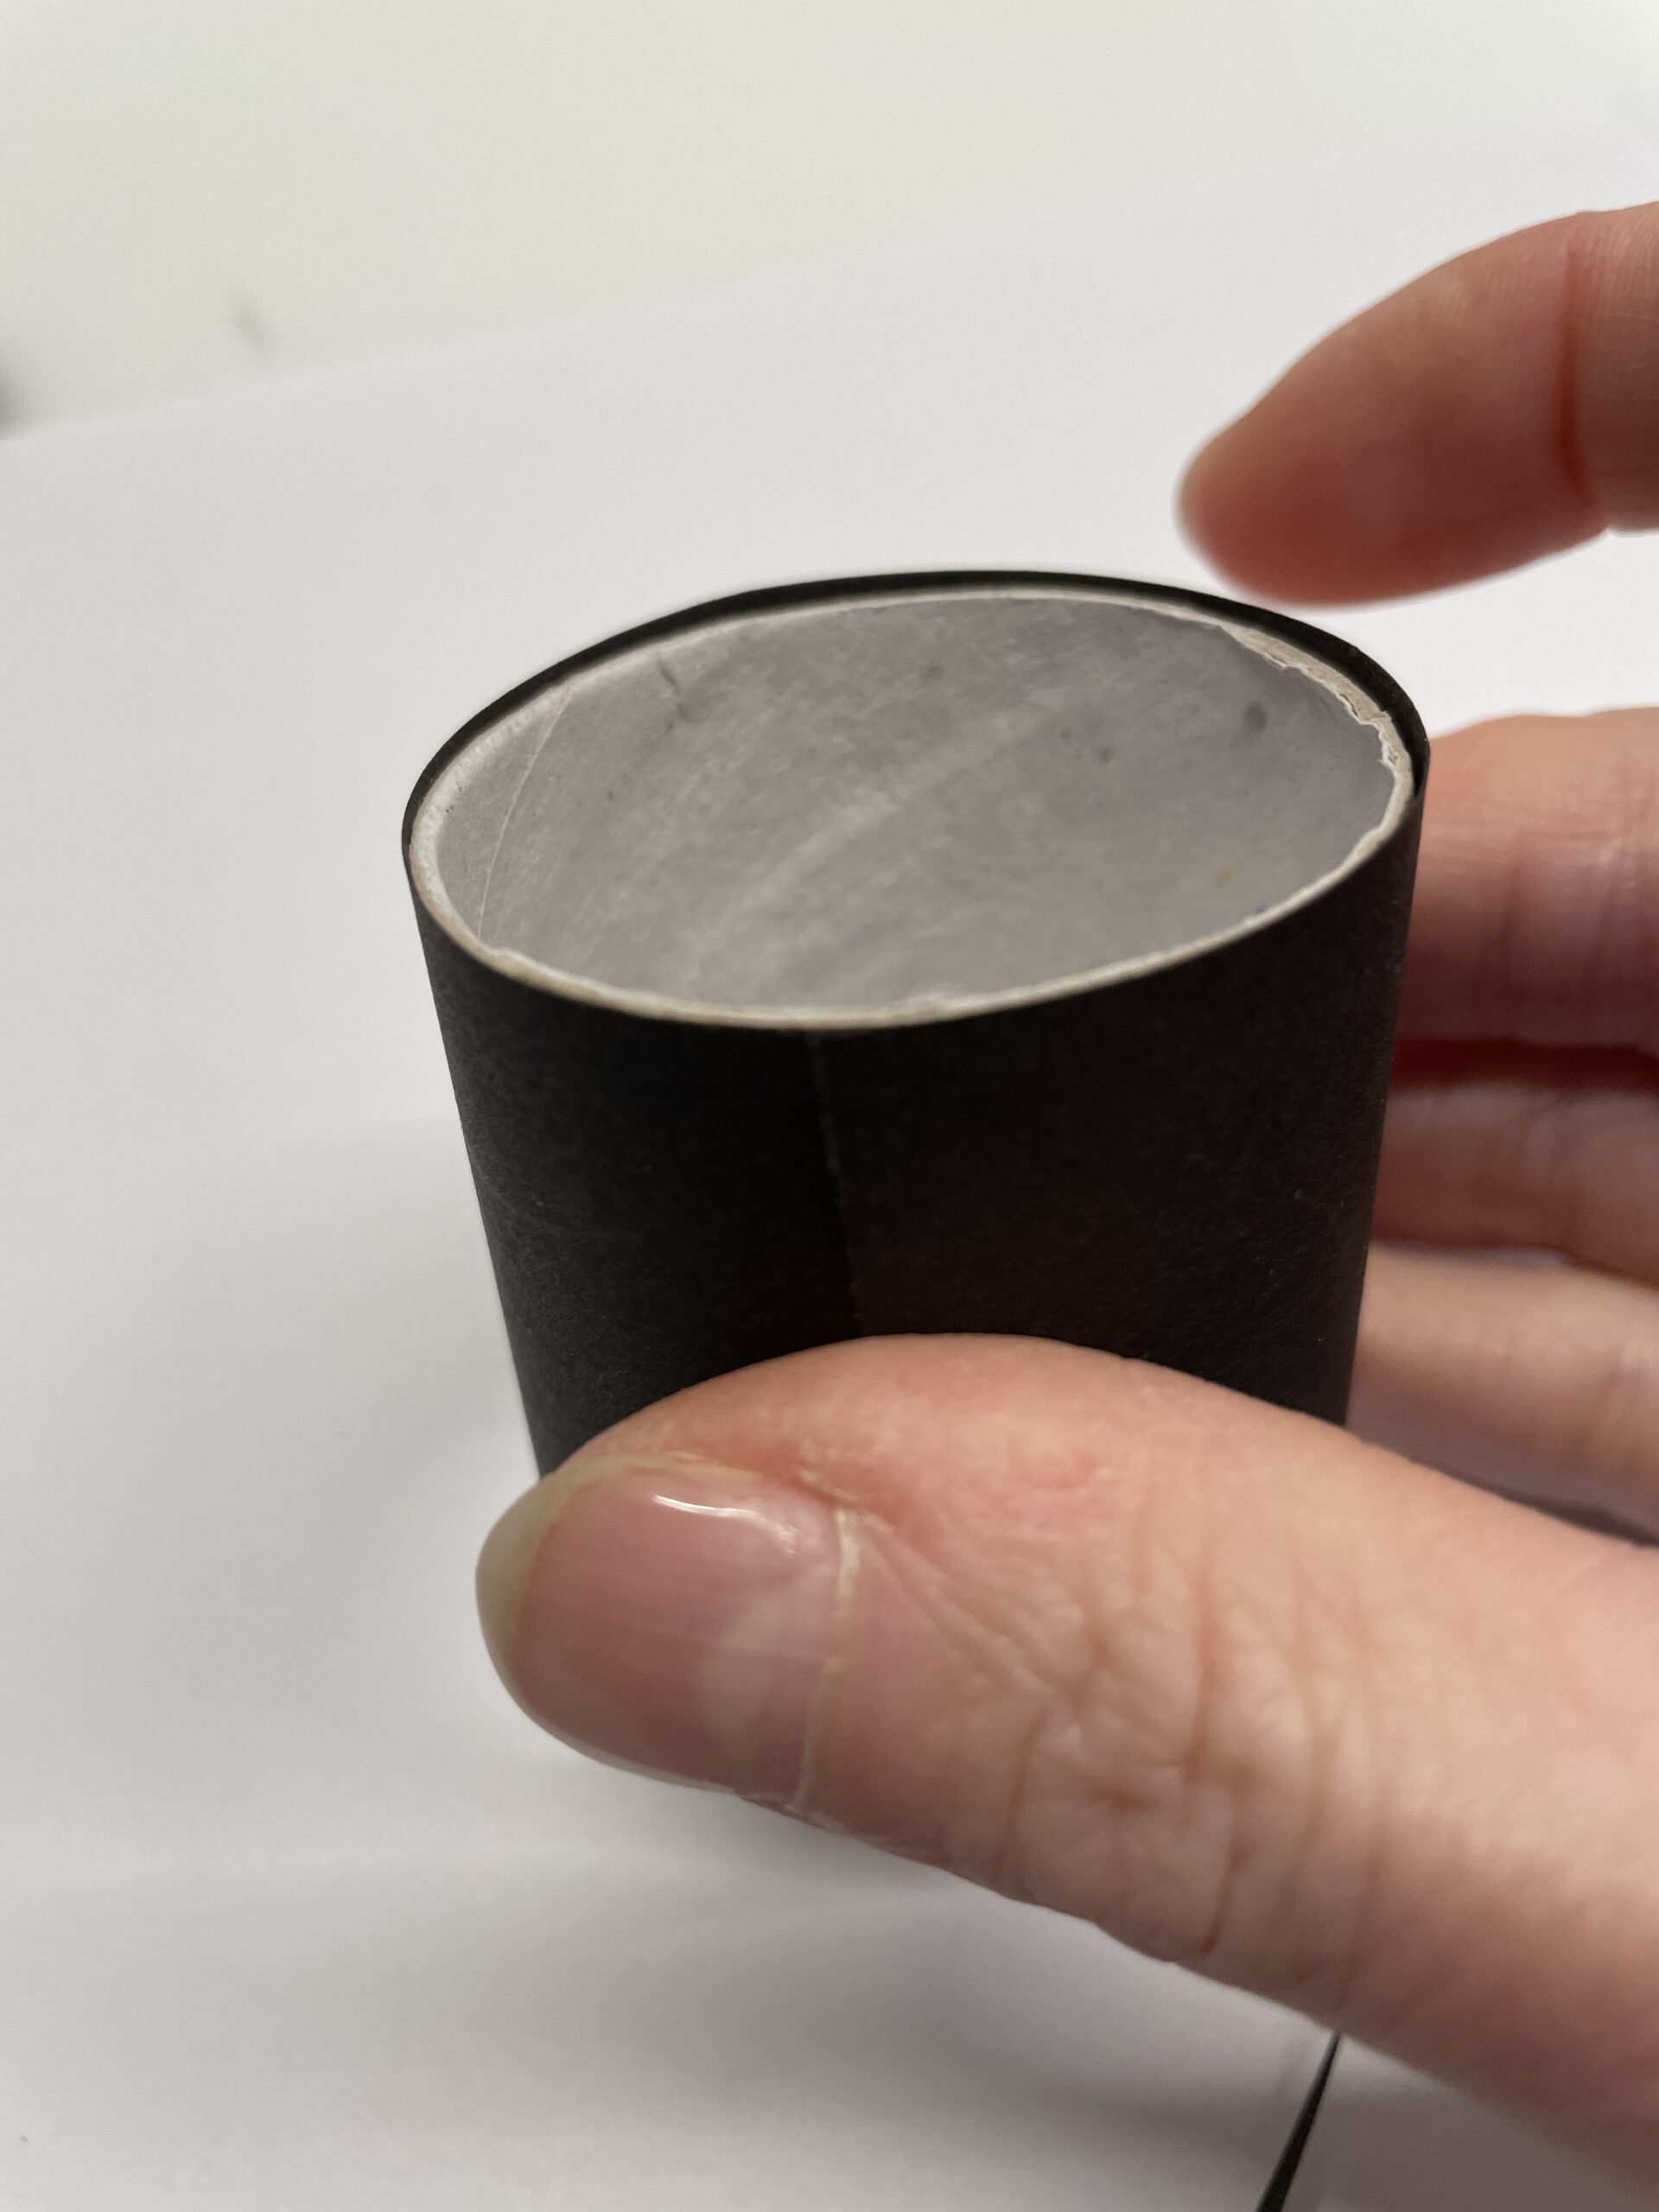
Cut off overhanging paper edges with scissors.
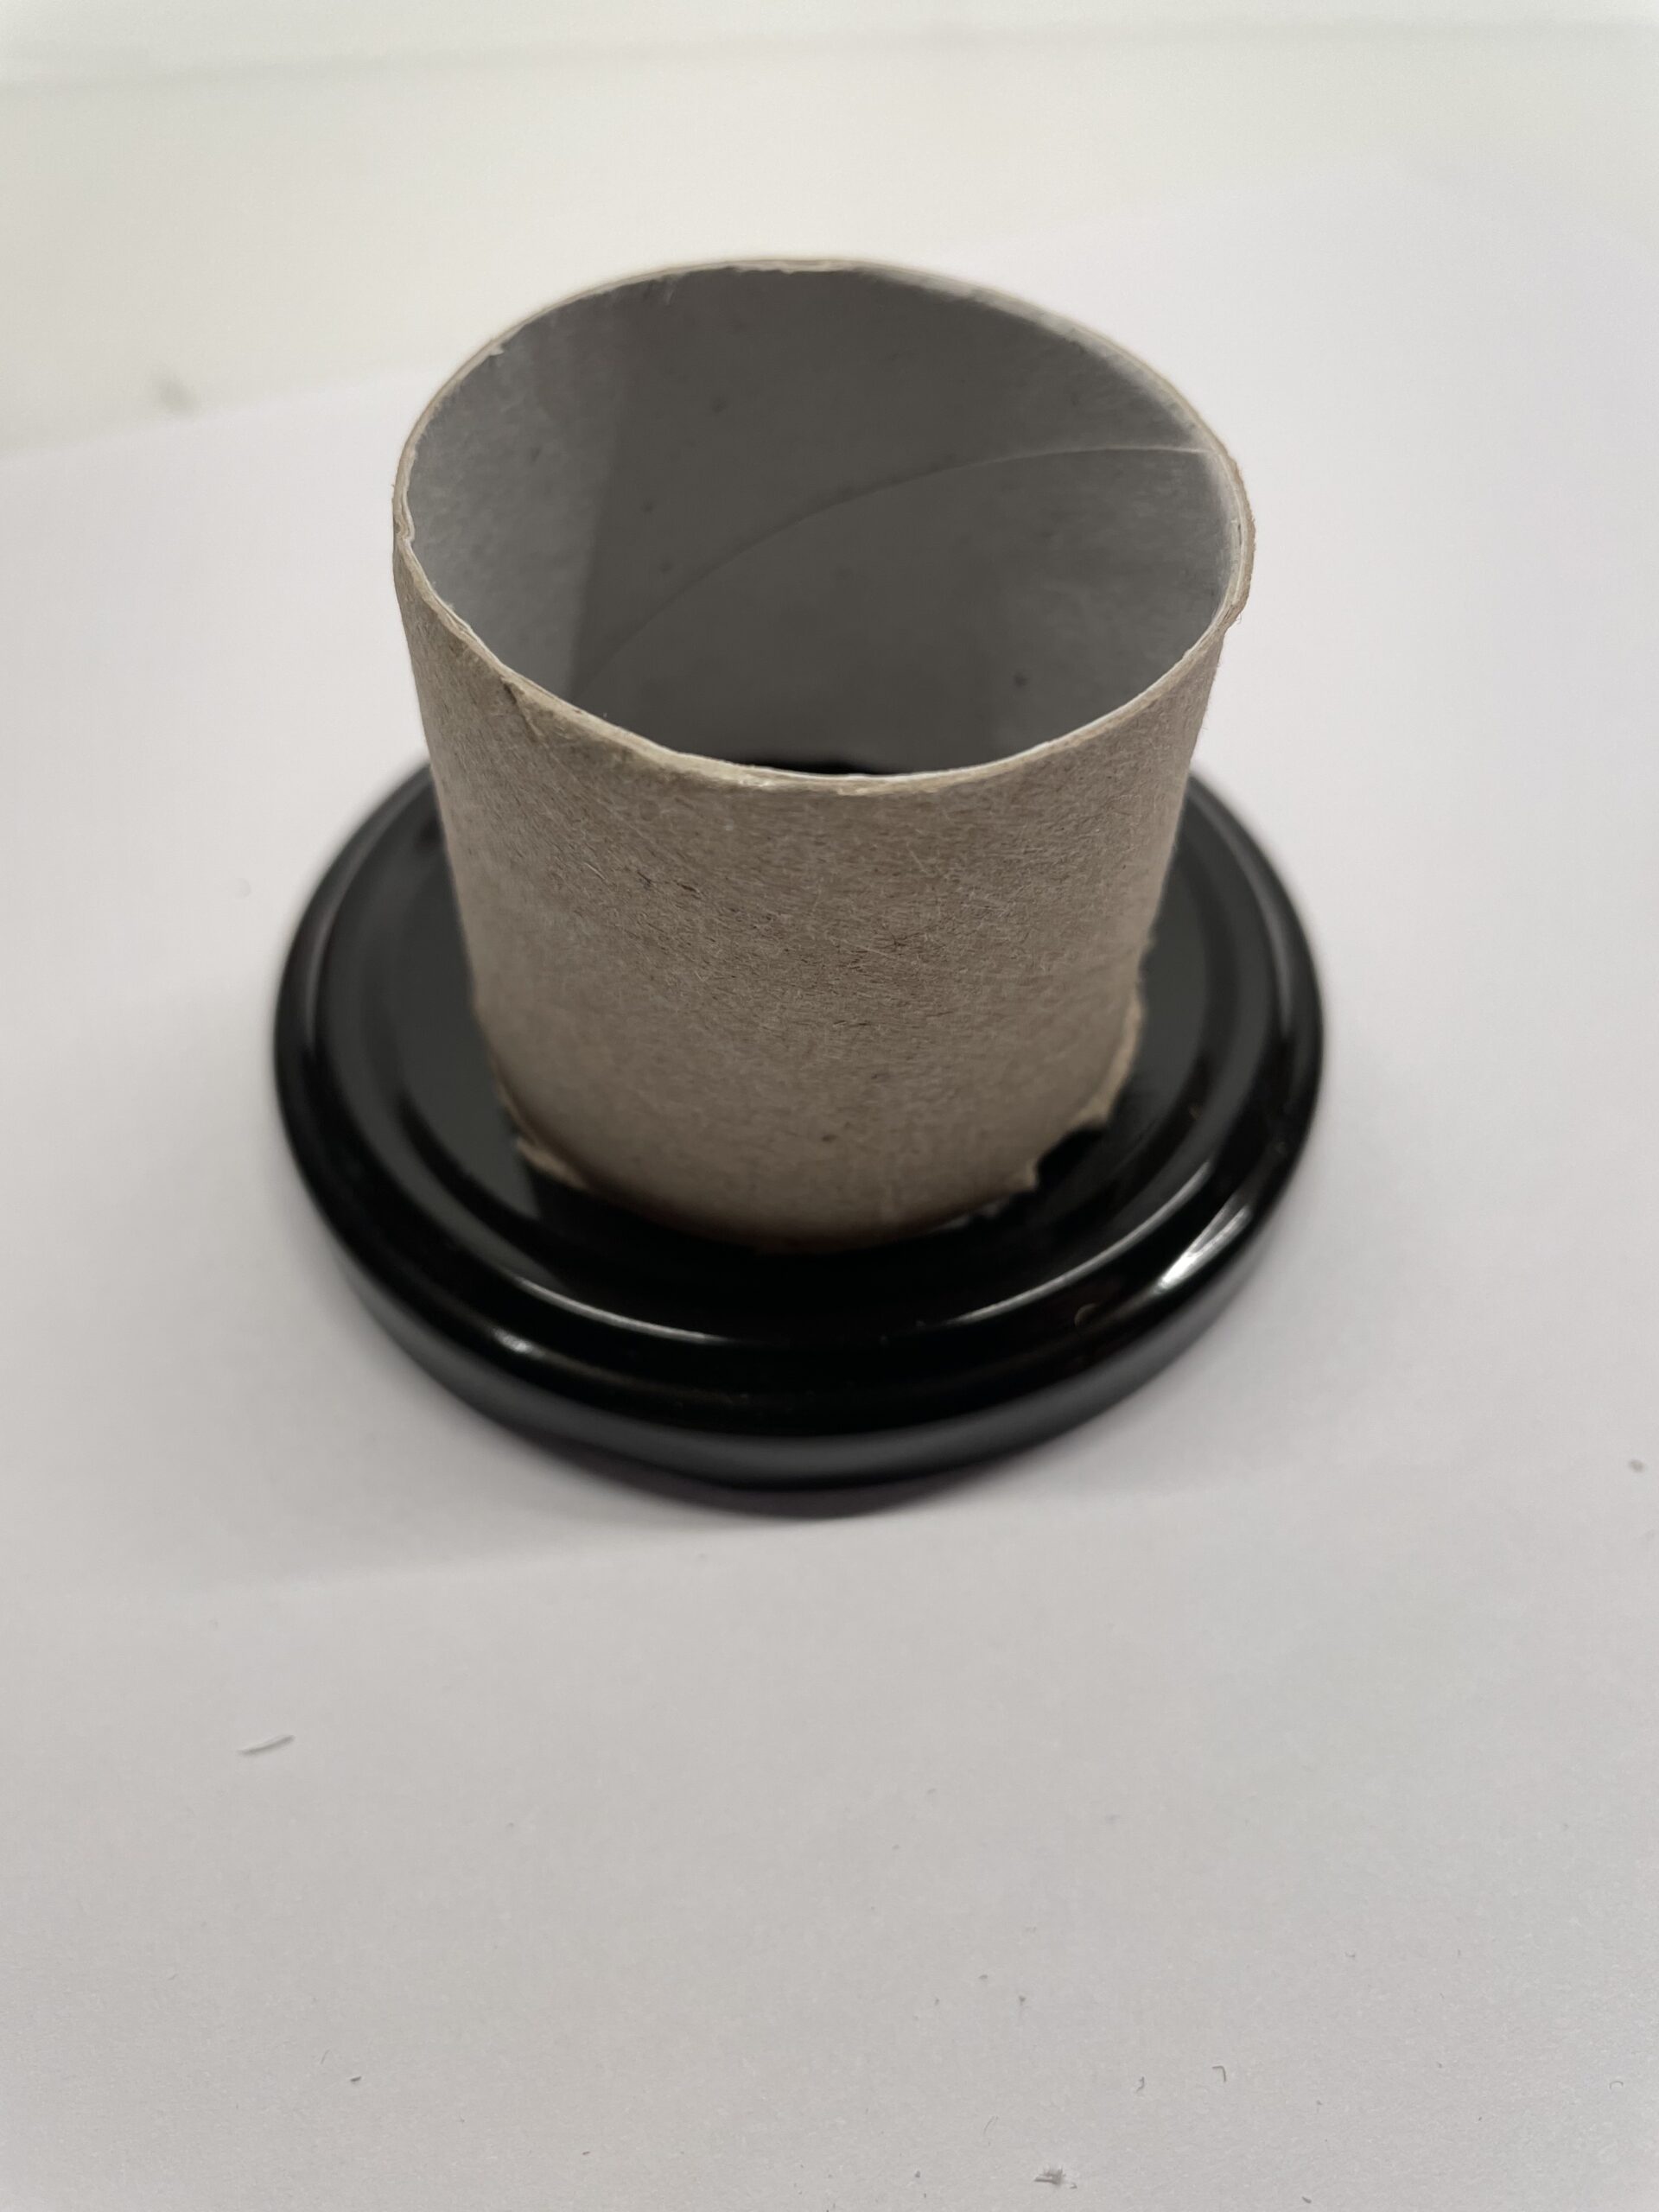
Now put the lid on the snowman and stick the lid on the cardboard roll. To do this, apply the glue to the cardboard roll and place the lid on it.

Then brush the edge on the black roll with glue and stick it on the lid.
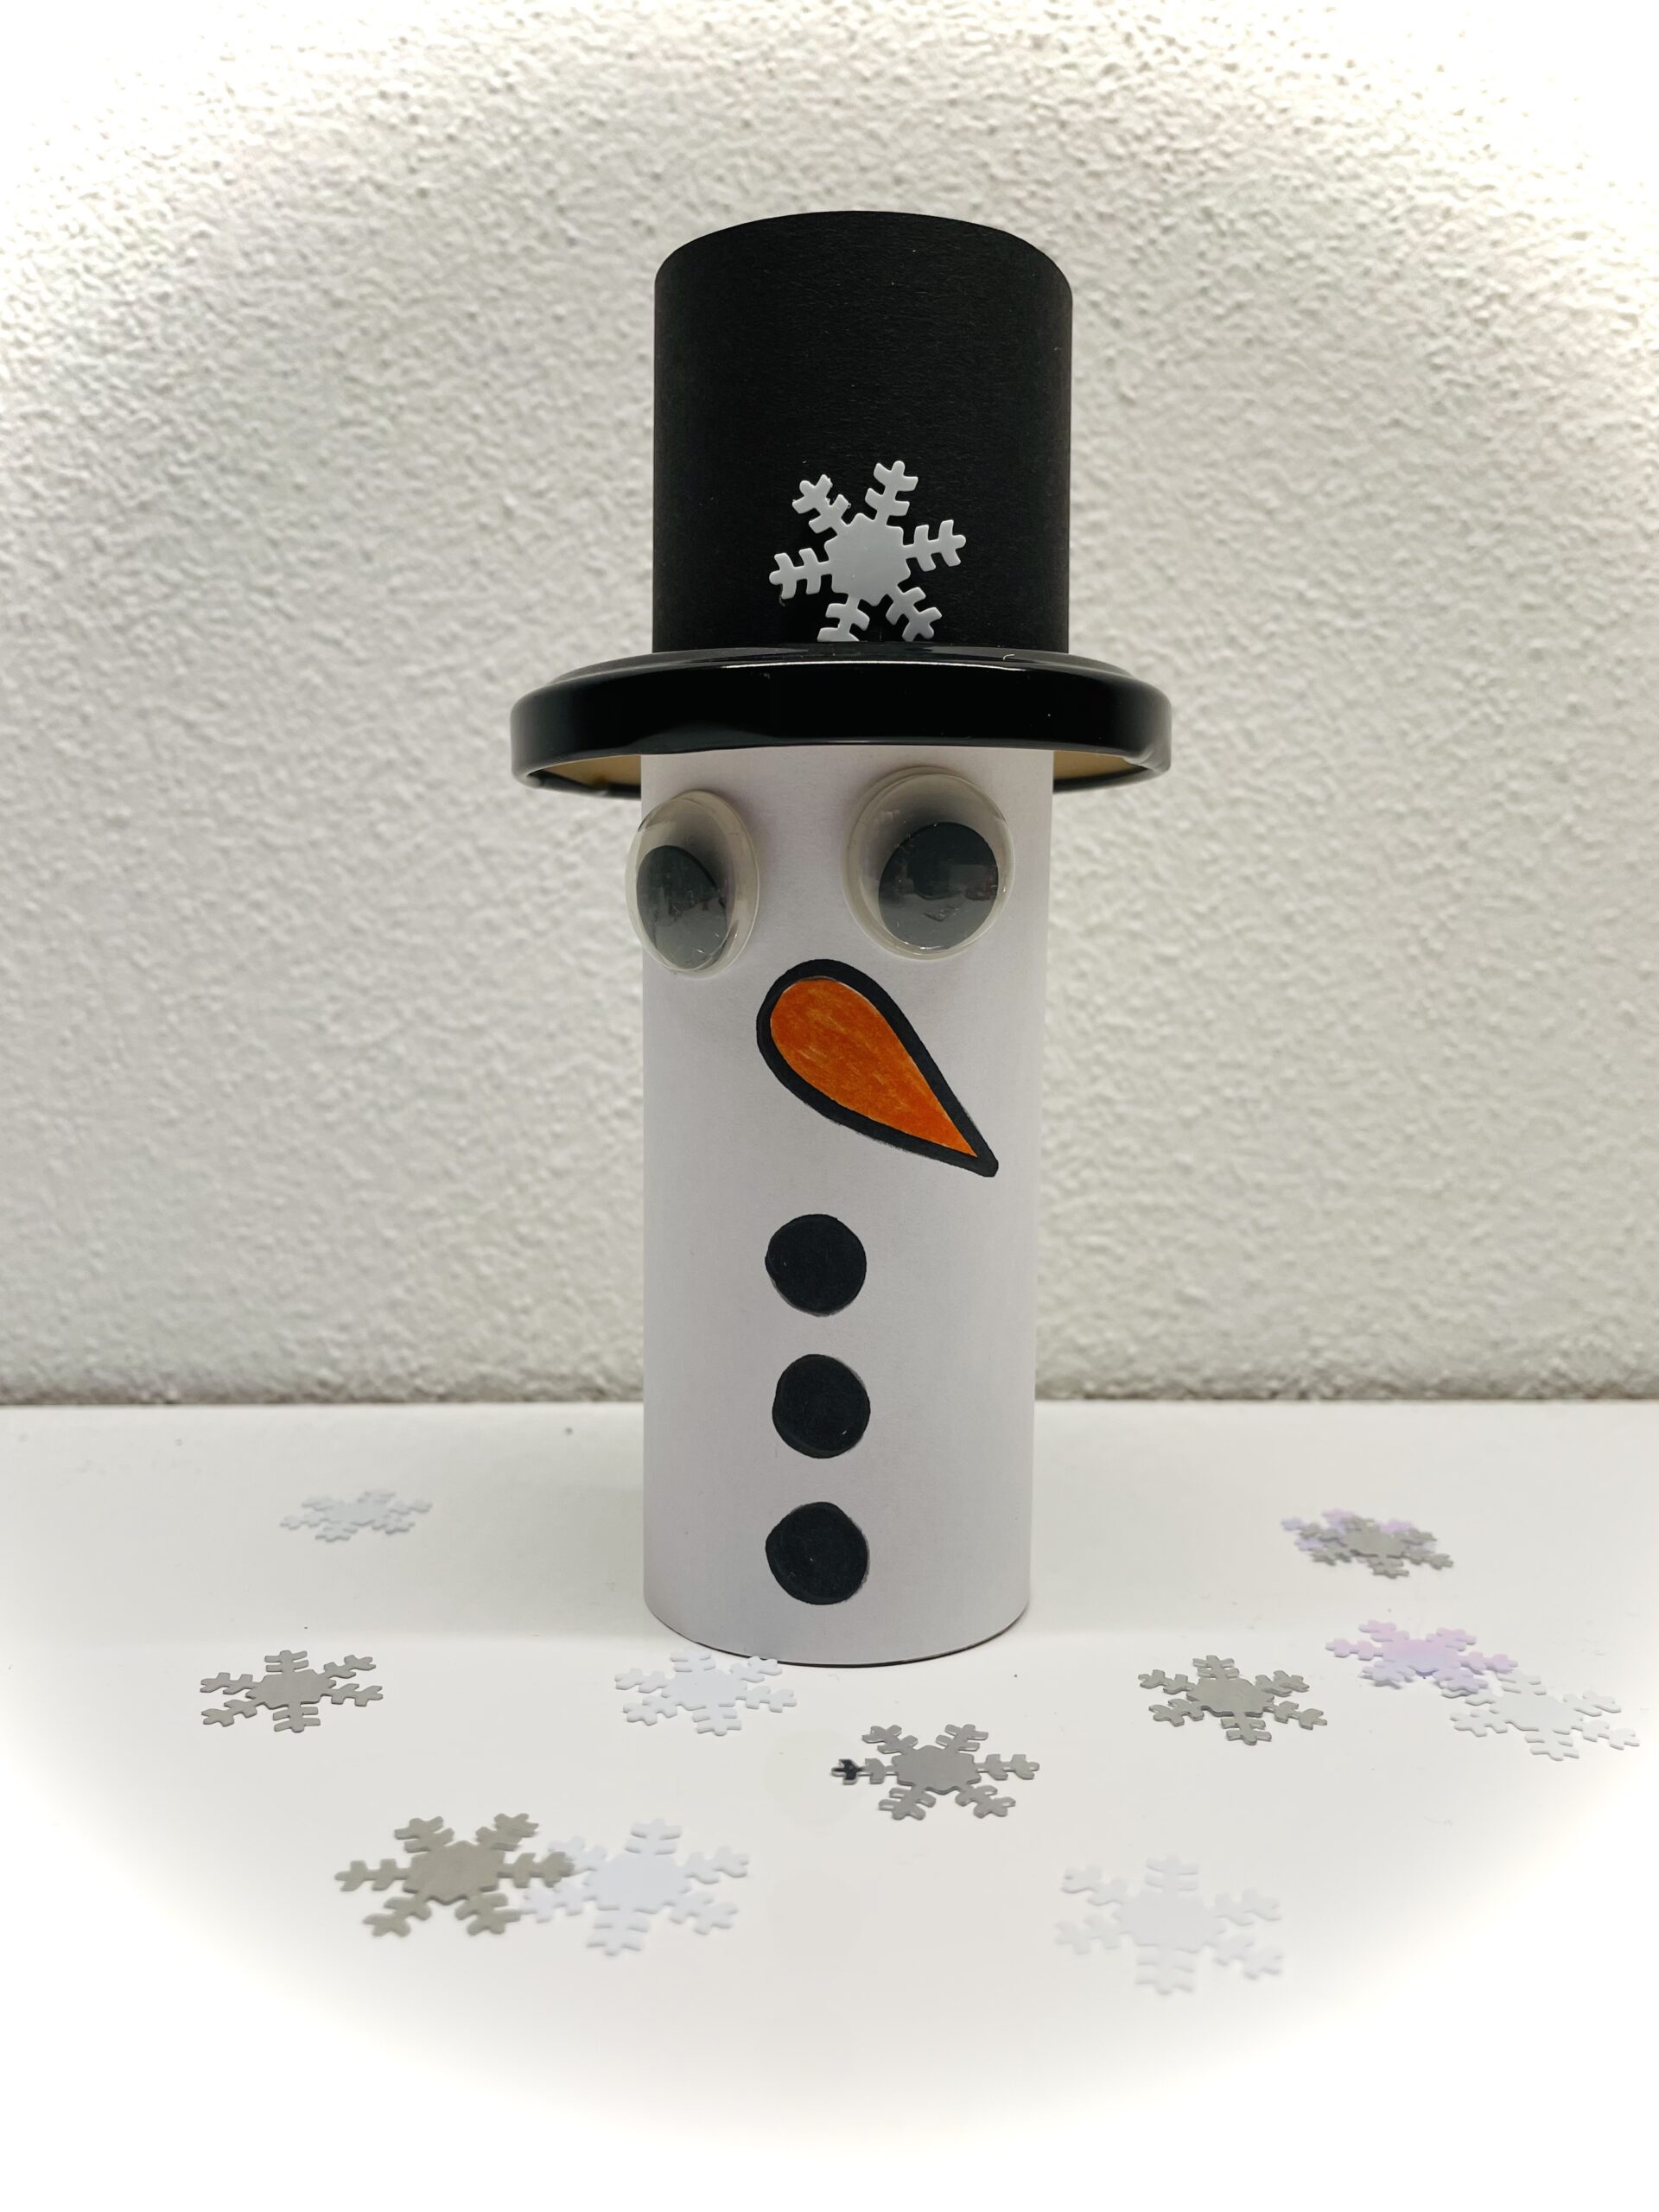
Scattered deco-snow crystals or cotton swabs are suitable for decorating.
Stay creative.
Have fun doing crafts!
Materials
Directions
Put out the craft file and first select your materials.
Then cut the white paper to the size 9cm x 15 cm.
Check whether the dimensions fit for your cardboard roll or cut the kitchen roll accordingly.
Now you paint in the middle of the paper the face of the snowman. For the eyes stick her wobble eyes on. Alternatively, you paint the eyes with a black pen.
Then apply glue to a piece of the cardboard roll from top to bottom.
At this point you attach the short side of the paper.
Then you put the paper around the roll.
At the point where both papers overlap, apply glue to the paper roll and the already glued paper.
Now you put the end of the paper strip on it and press on the paper. Make sure that the paper is tightly wrapped around the paper roll.
Now you're making the hat.
Tip: If you don't have a black lid, paint a coloured screw glass lid in black!
Cuts off a 4cm wide piece of the cardboard roll.
Thus, both parts are later placed on each other.
Then cut a strip of black paper to the size 4cm x 15cm.
After that, you stick the paper strip around the cardboard roll (see above!).
Cut off overhanging paper edges with scissors.
Now put the lid on the snowman and stick the lid on the cardboard roll. To do this, apply the glue to the cardboard roll and place the lid on it.
Then brush the edge on the black roll with glue and stick it on the lid.
Scattered deco-snow crystals or cotton swabs are suitable for decorating.
Stay creative.
Have fun doing crafts!
Follow us on Facebook , Instagram and Pinterest
Don't miss any more adventures: Our bottle mail