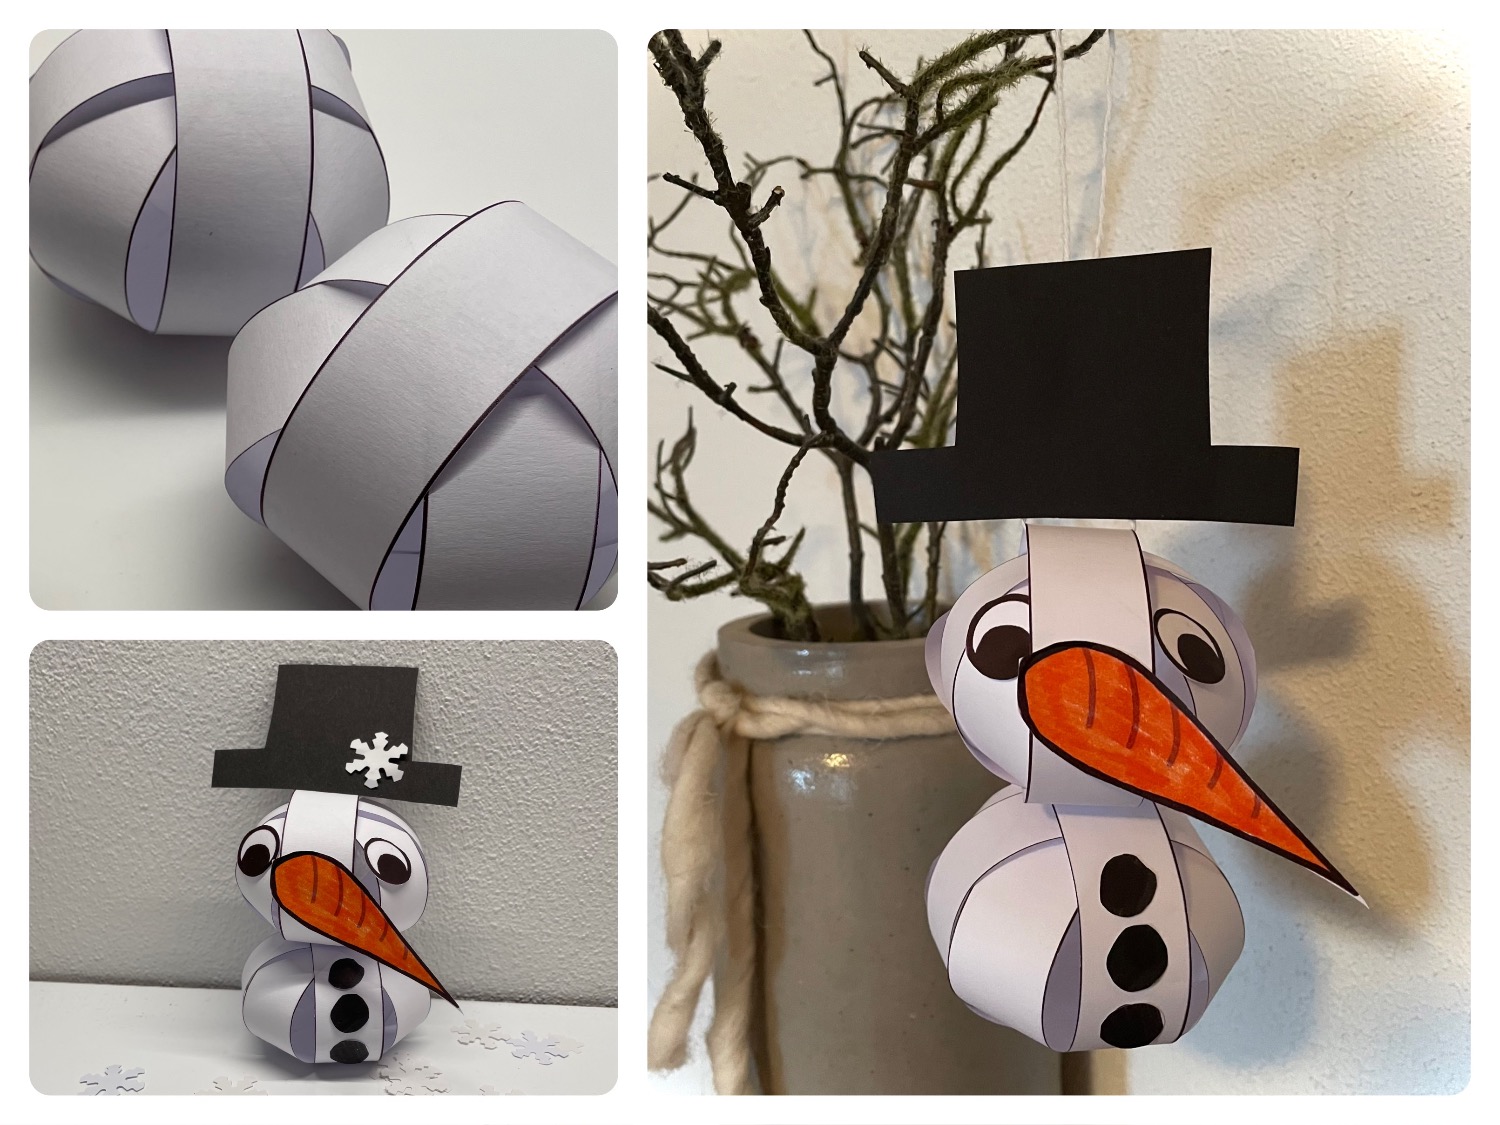
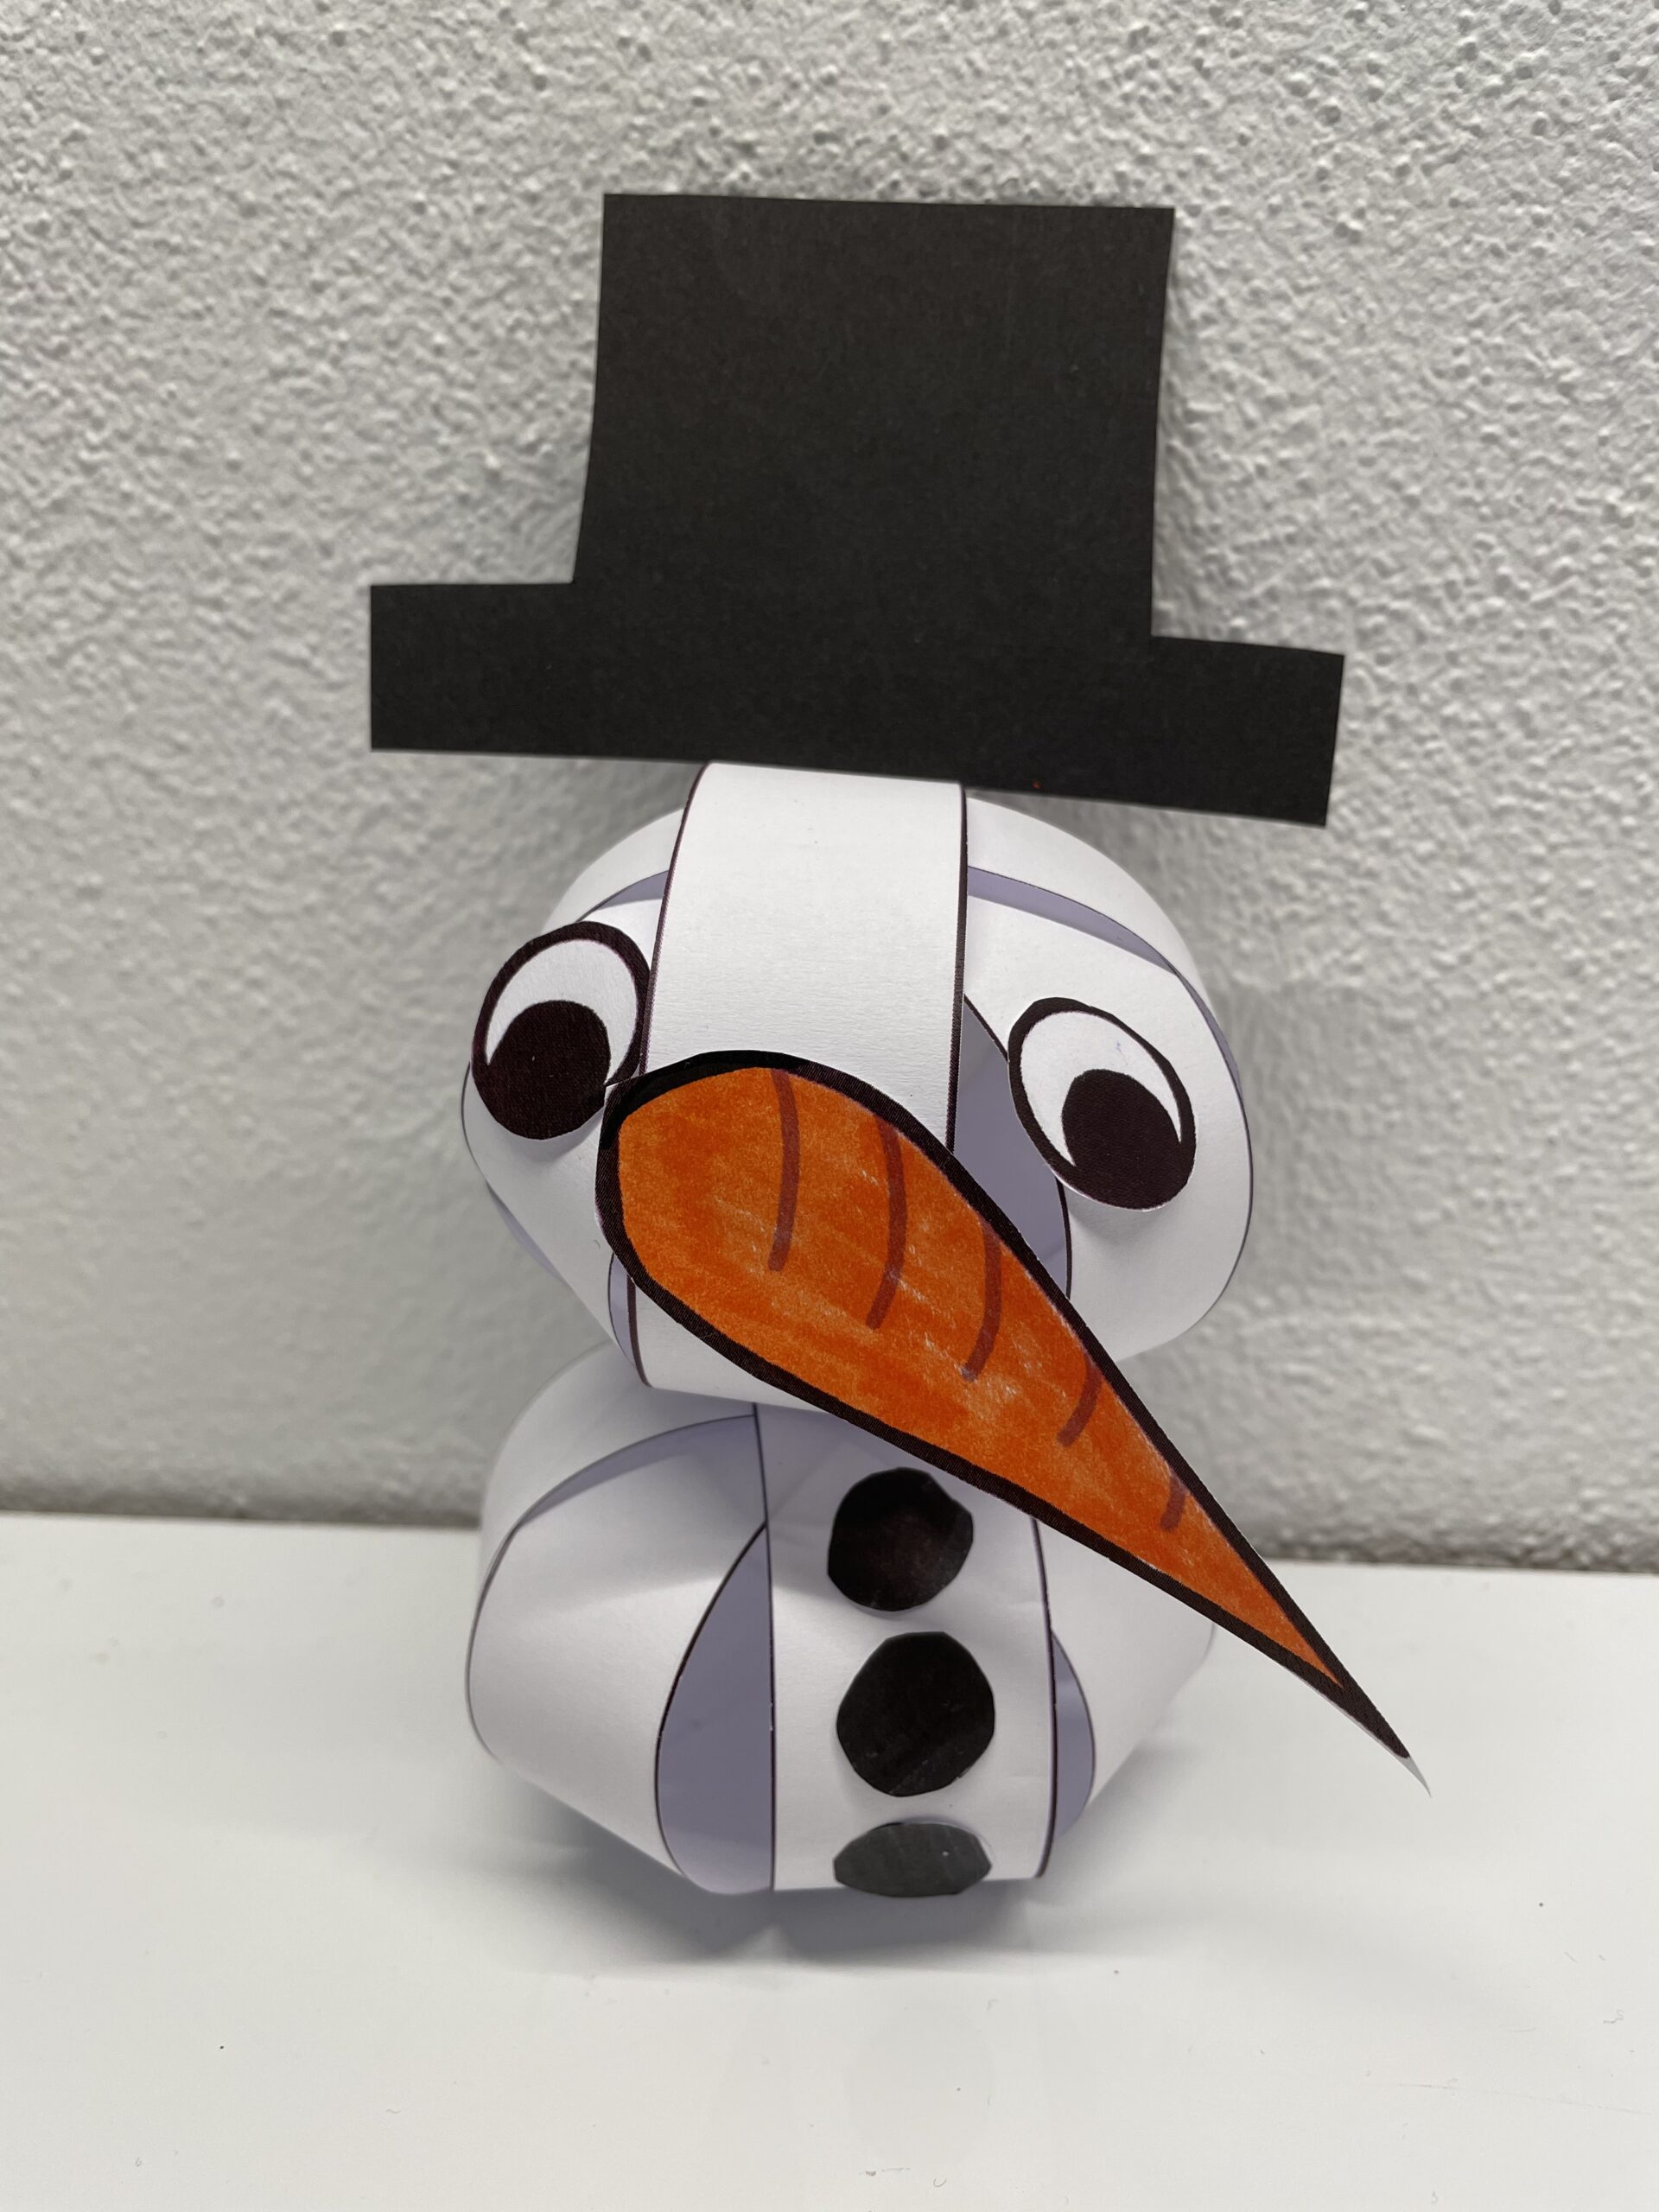
This little snowman is a craft action for experienced hobbyists. Here, finger skills are needed, especially when sticking together the snowman balls. Because from 8 equal-length strips of paper these two snowballs arise. Nose, eyes and buttons as well as the hat can be painted freely and cut out or use the attached template.
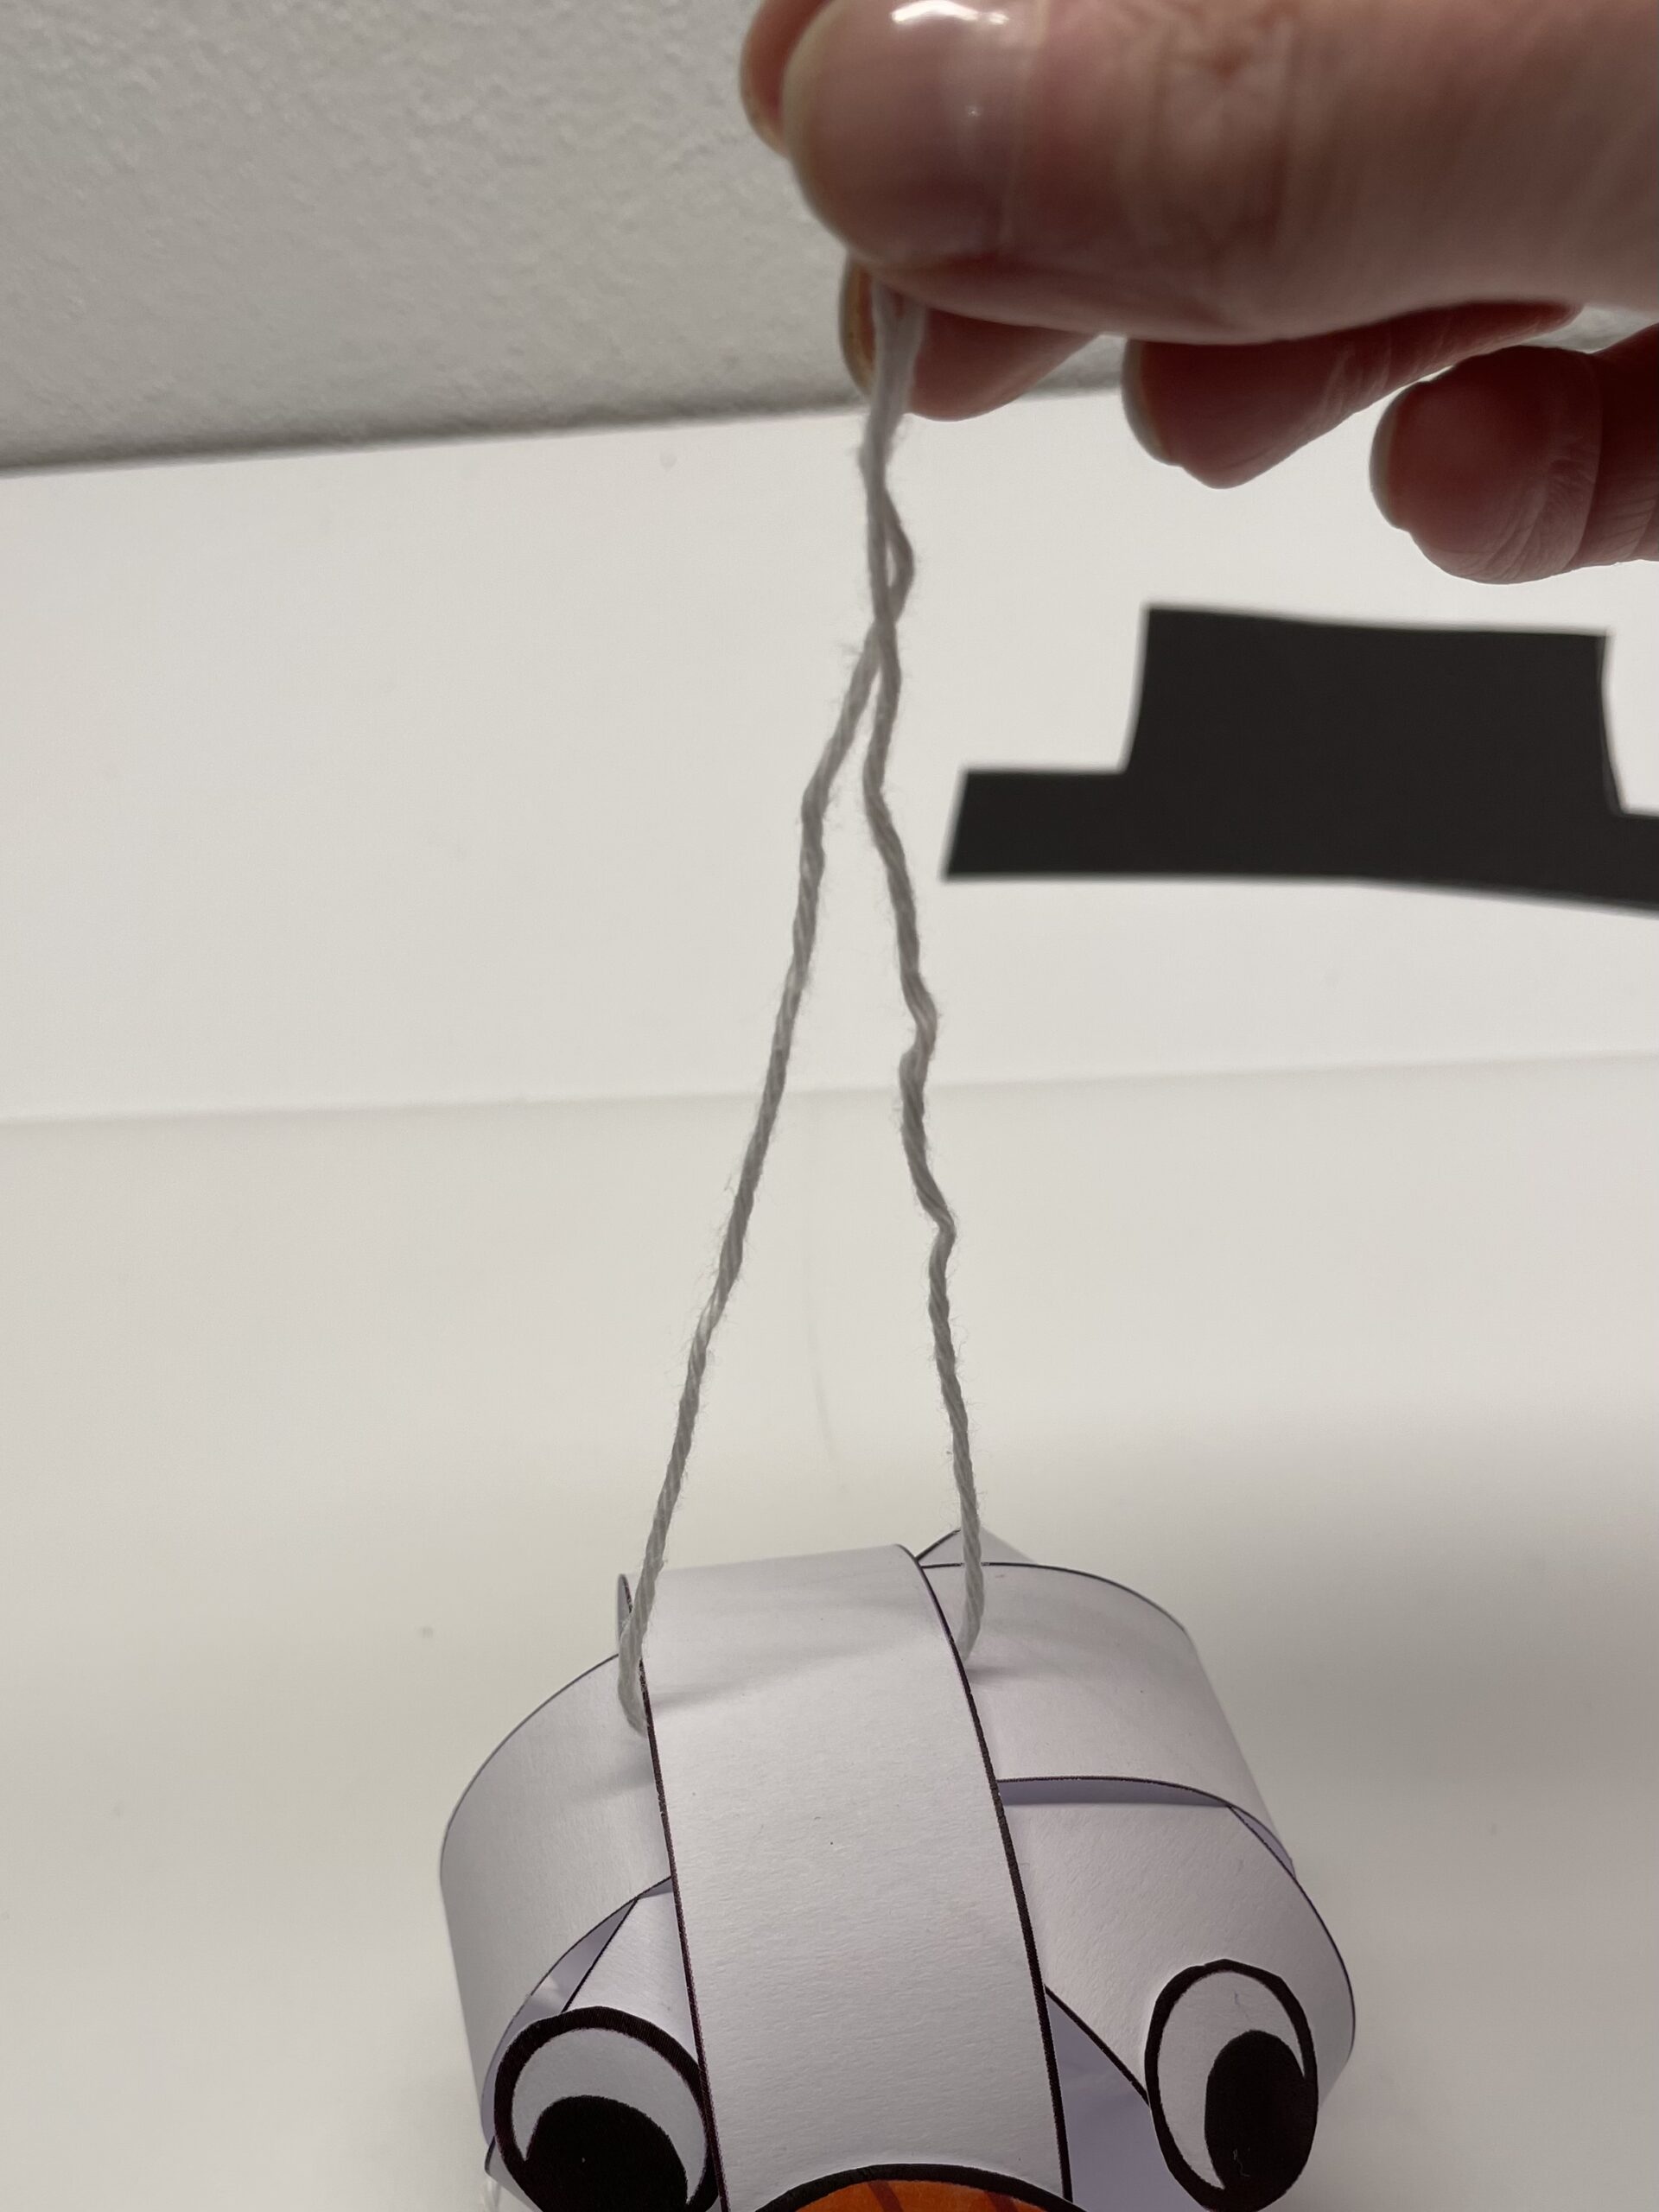
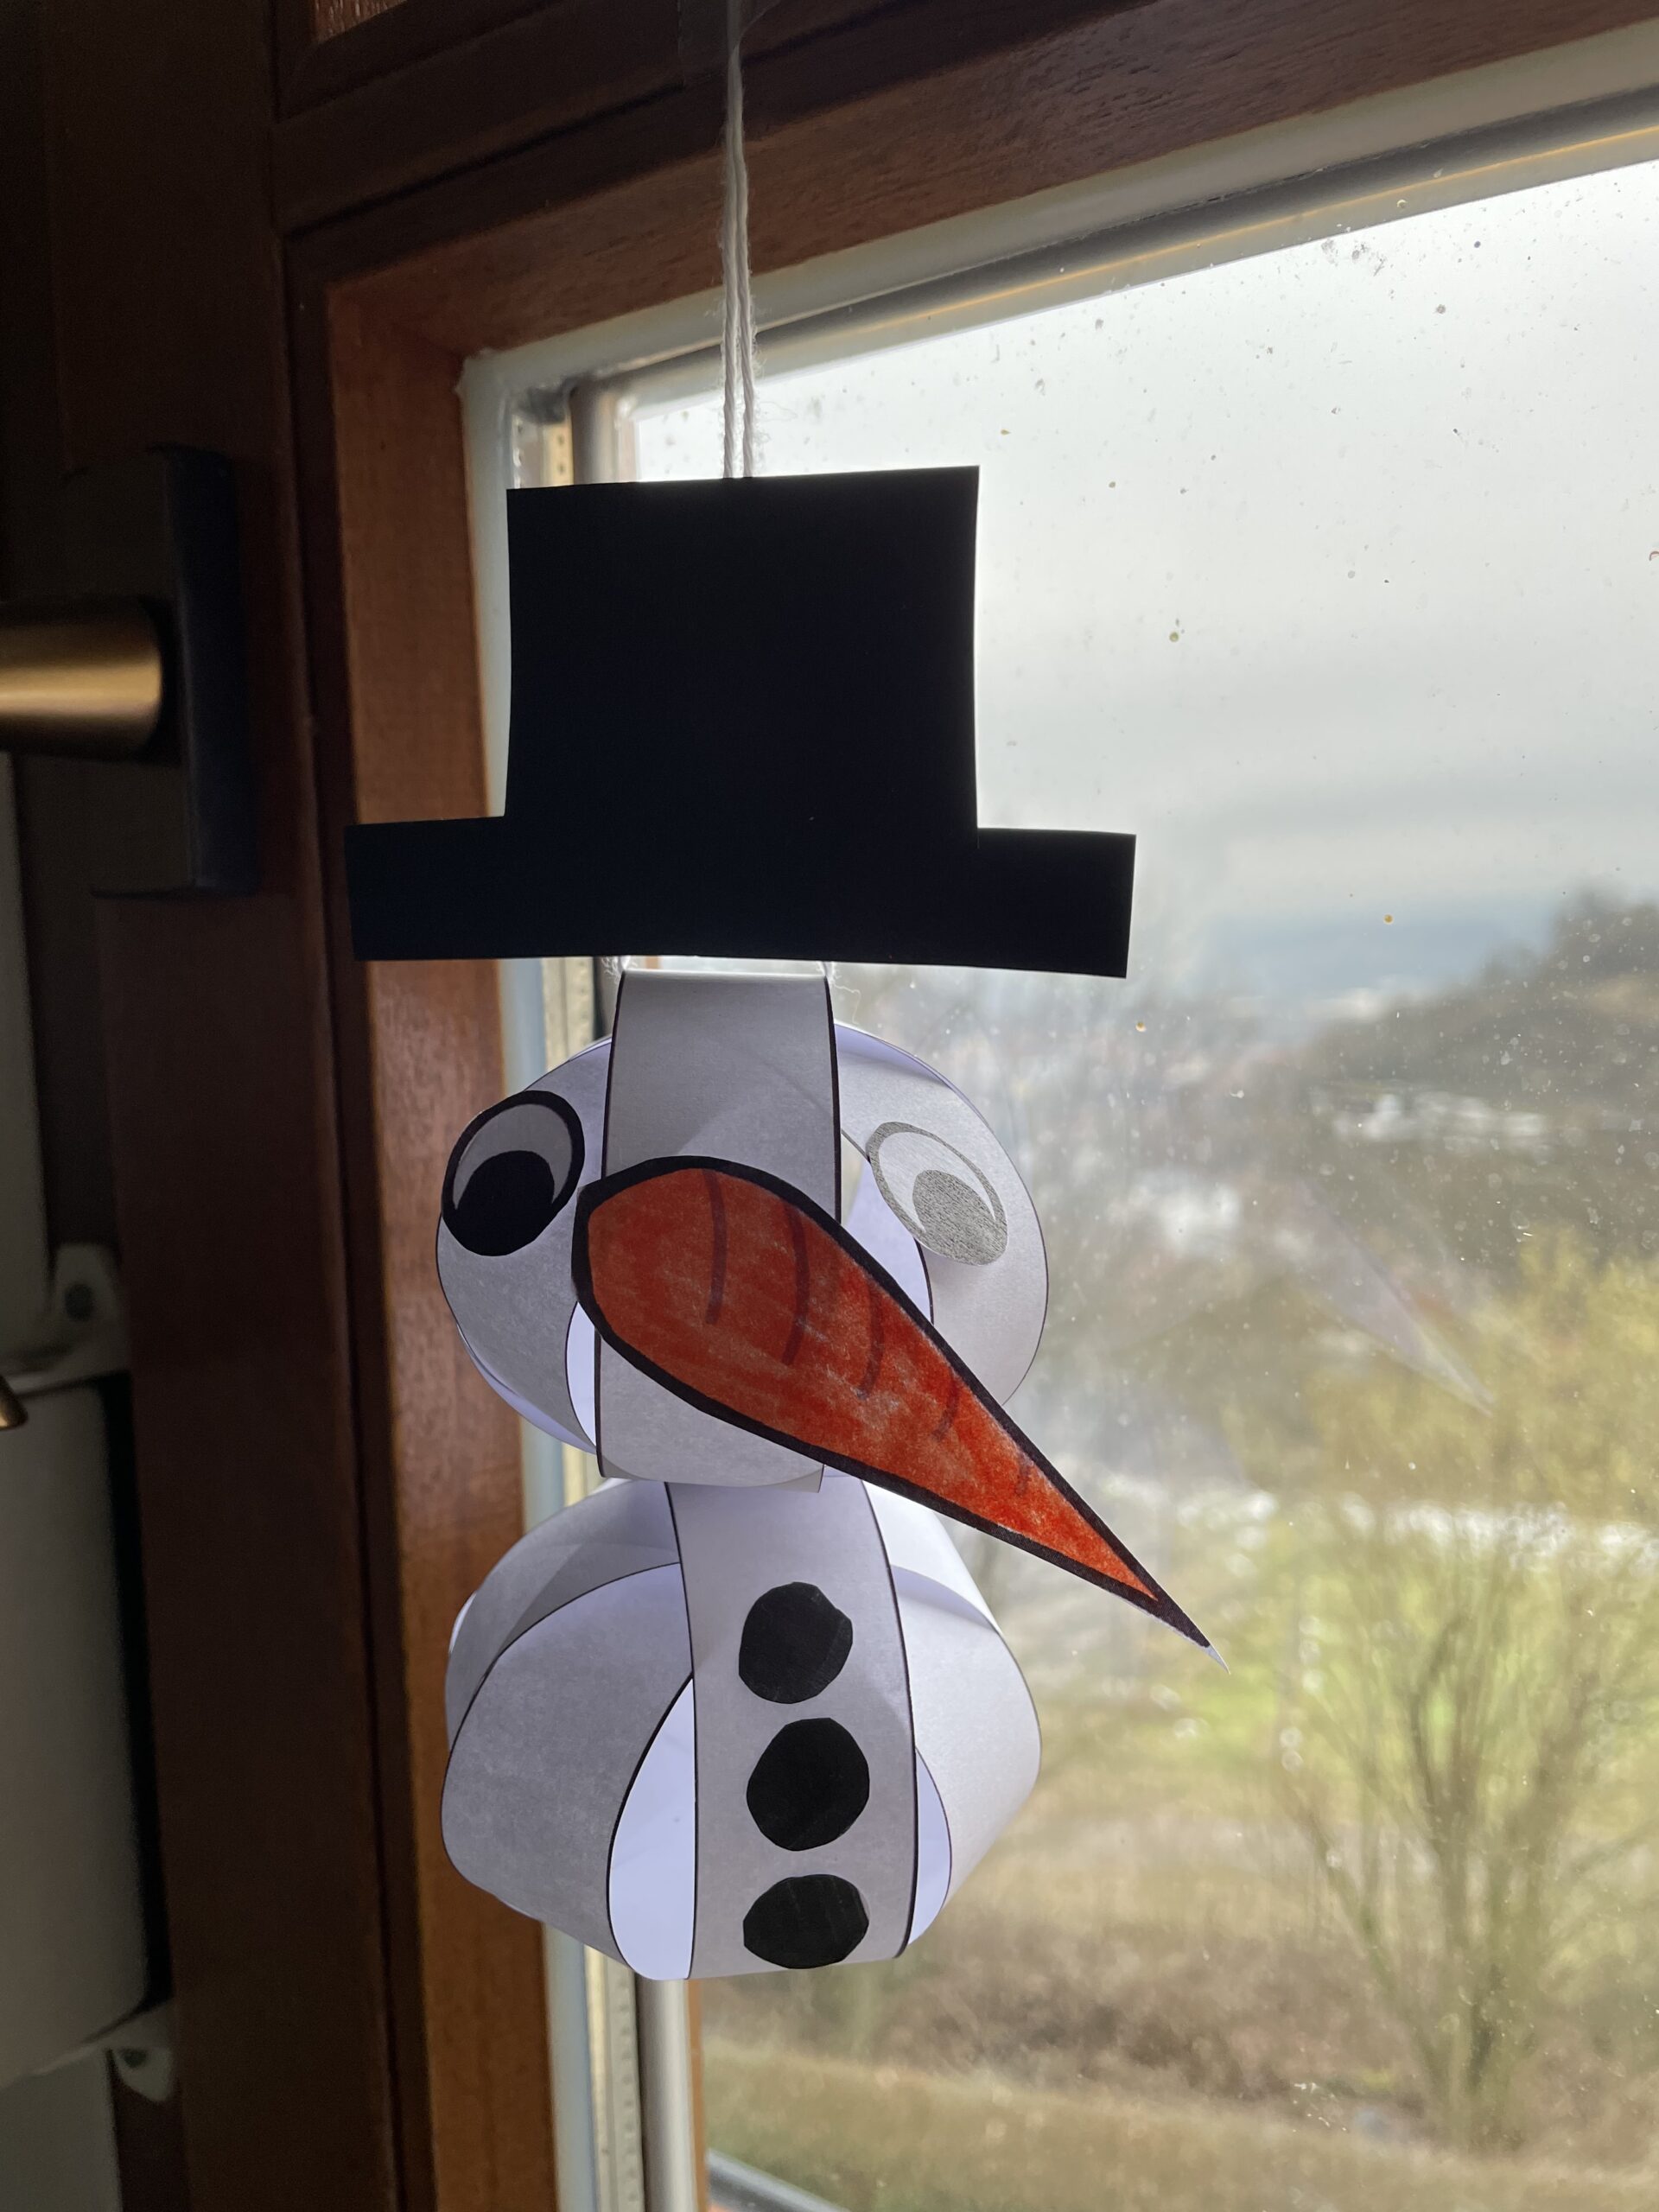
With a thread that is threaded through the top ball, the snowman can even be hung up.
Have fun trying it out!
Media Education for Kindergarten and Hort

Relief in everyday life, targeted promotion of individual children, independent learning and - without any pre-knowledge already usable by the youngest!
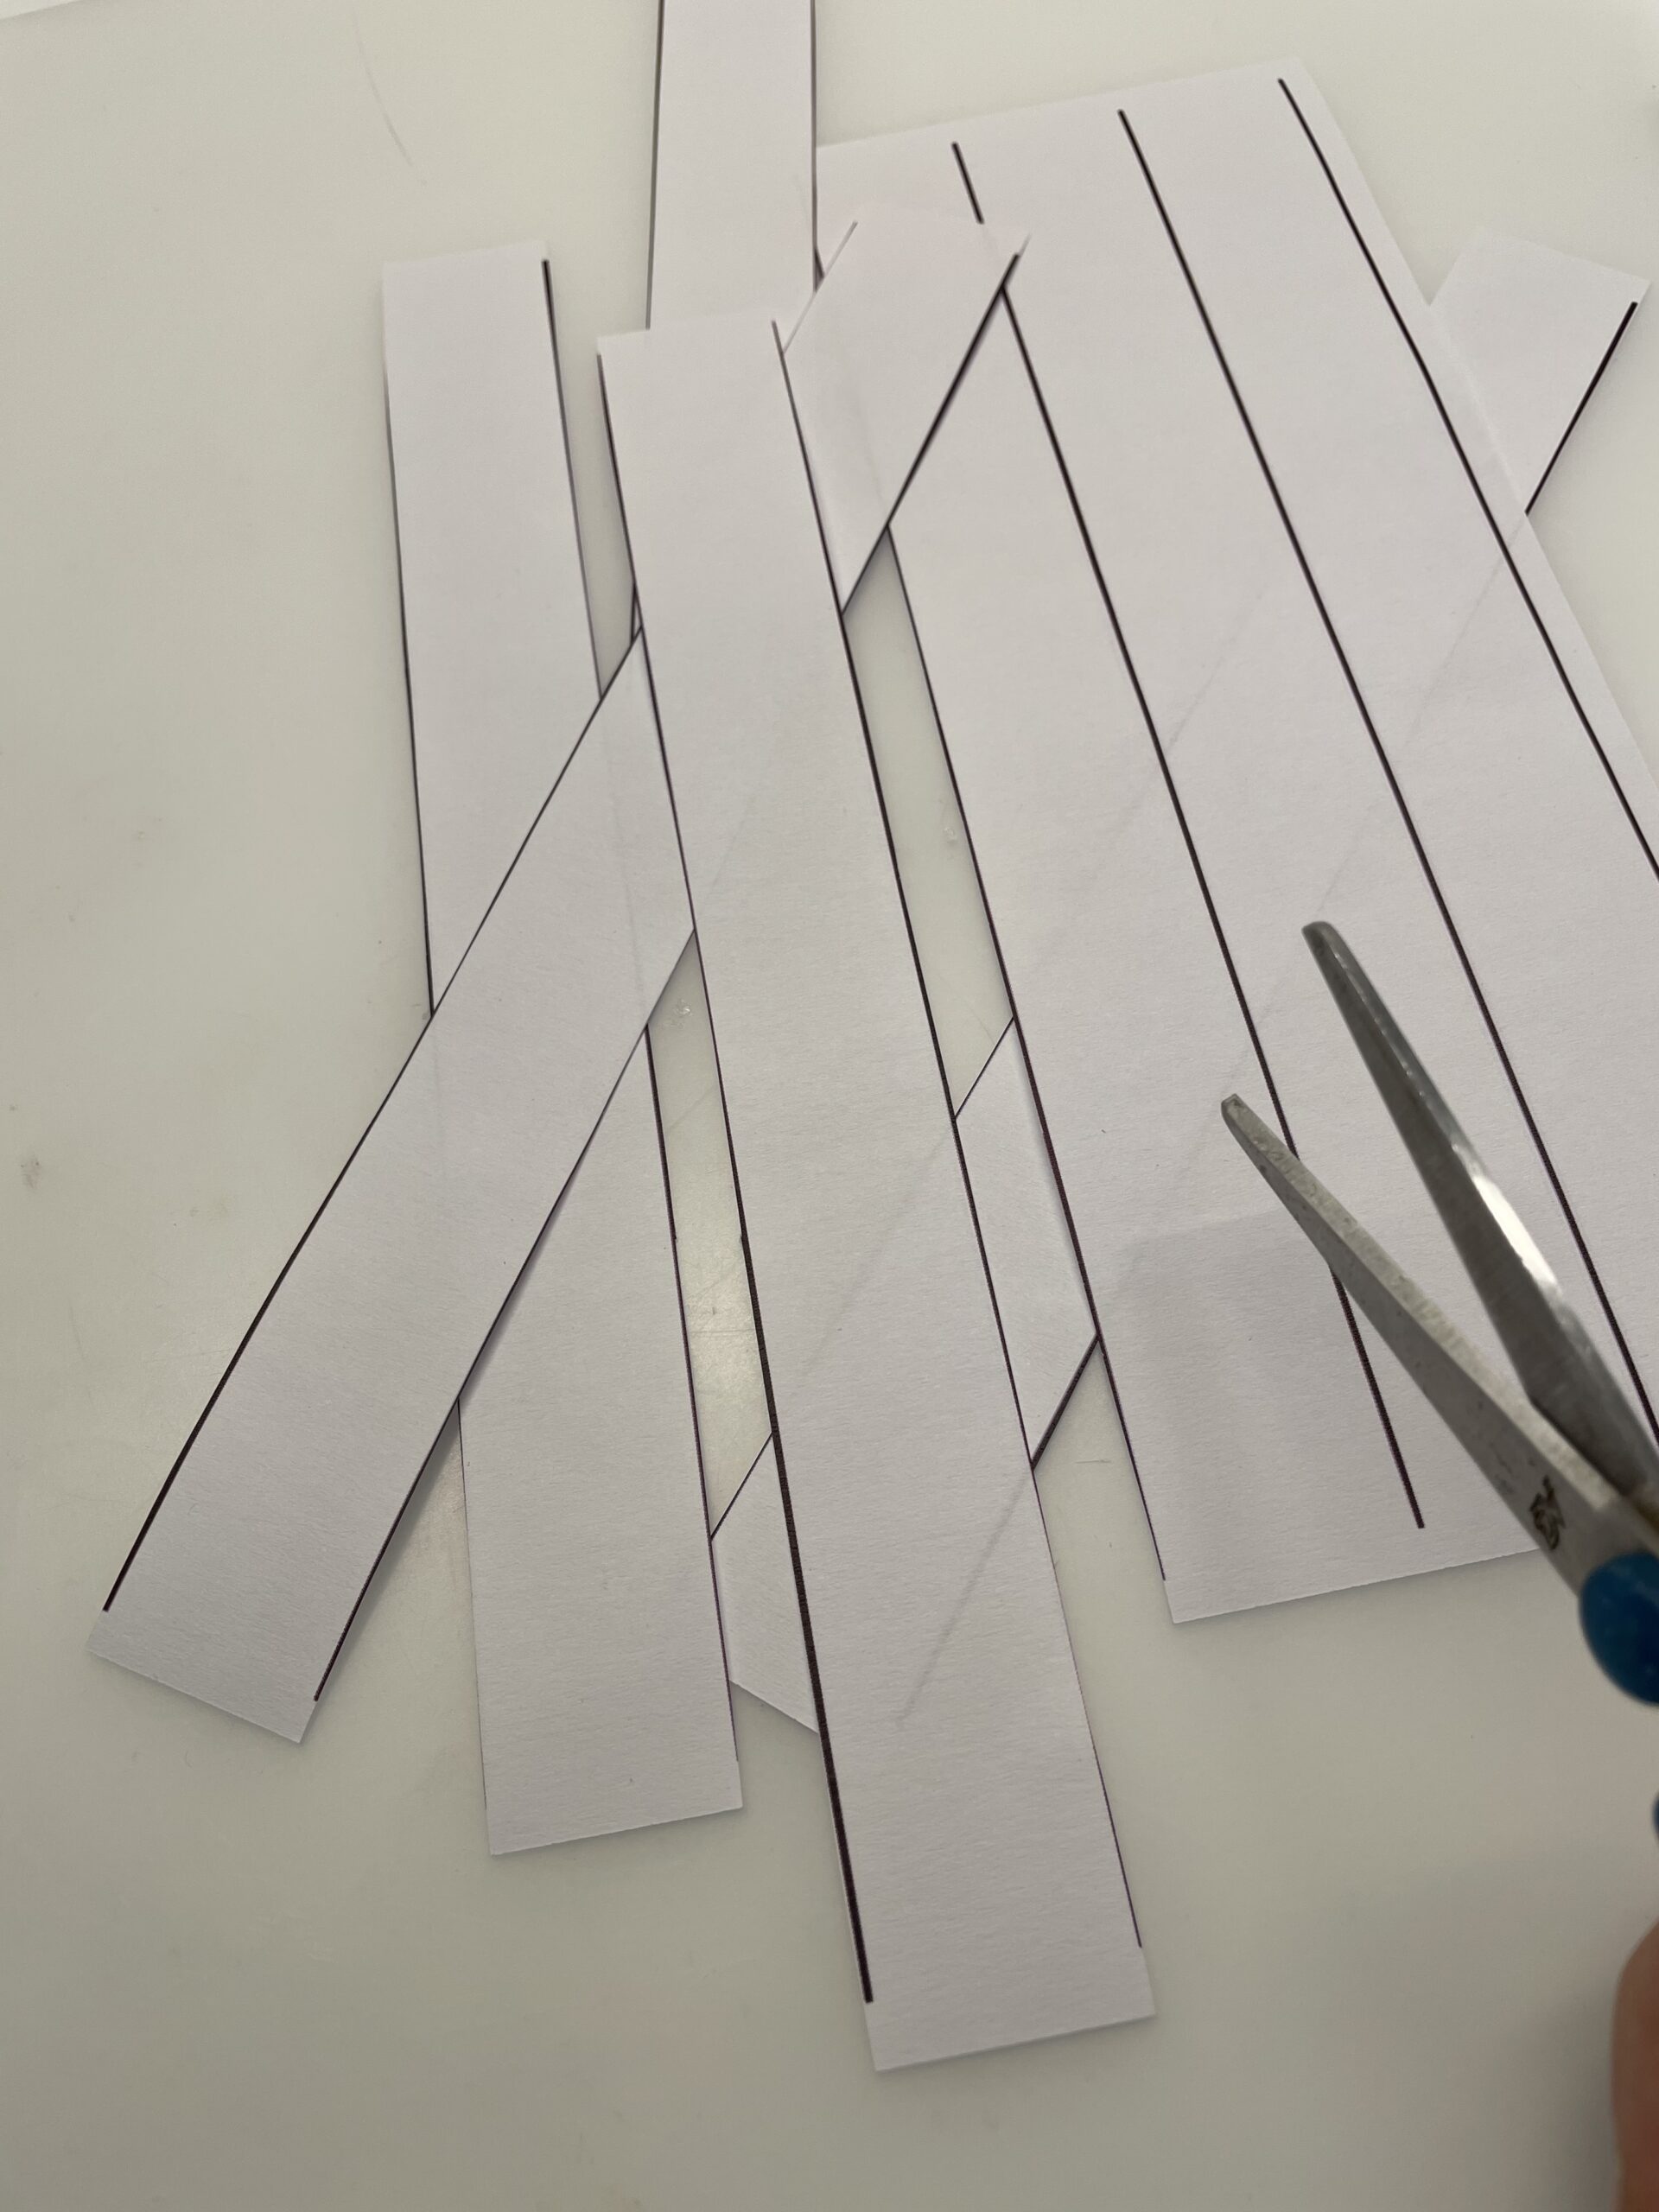
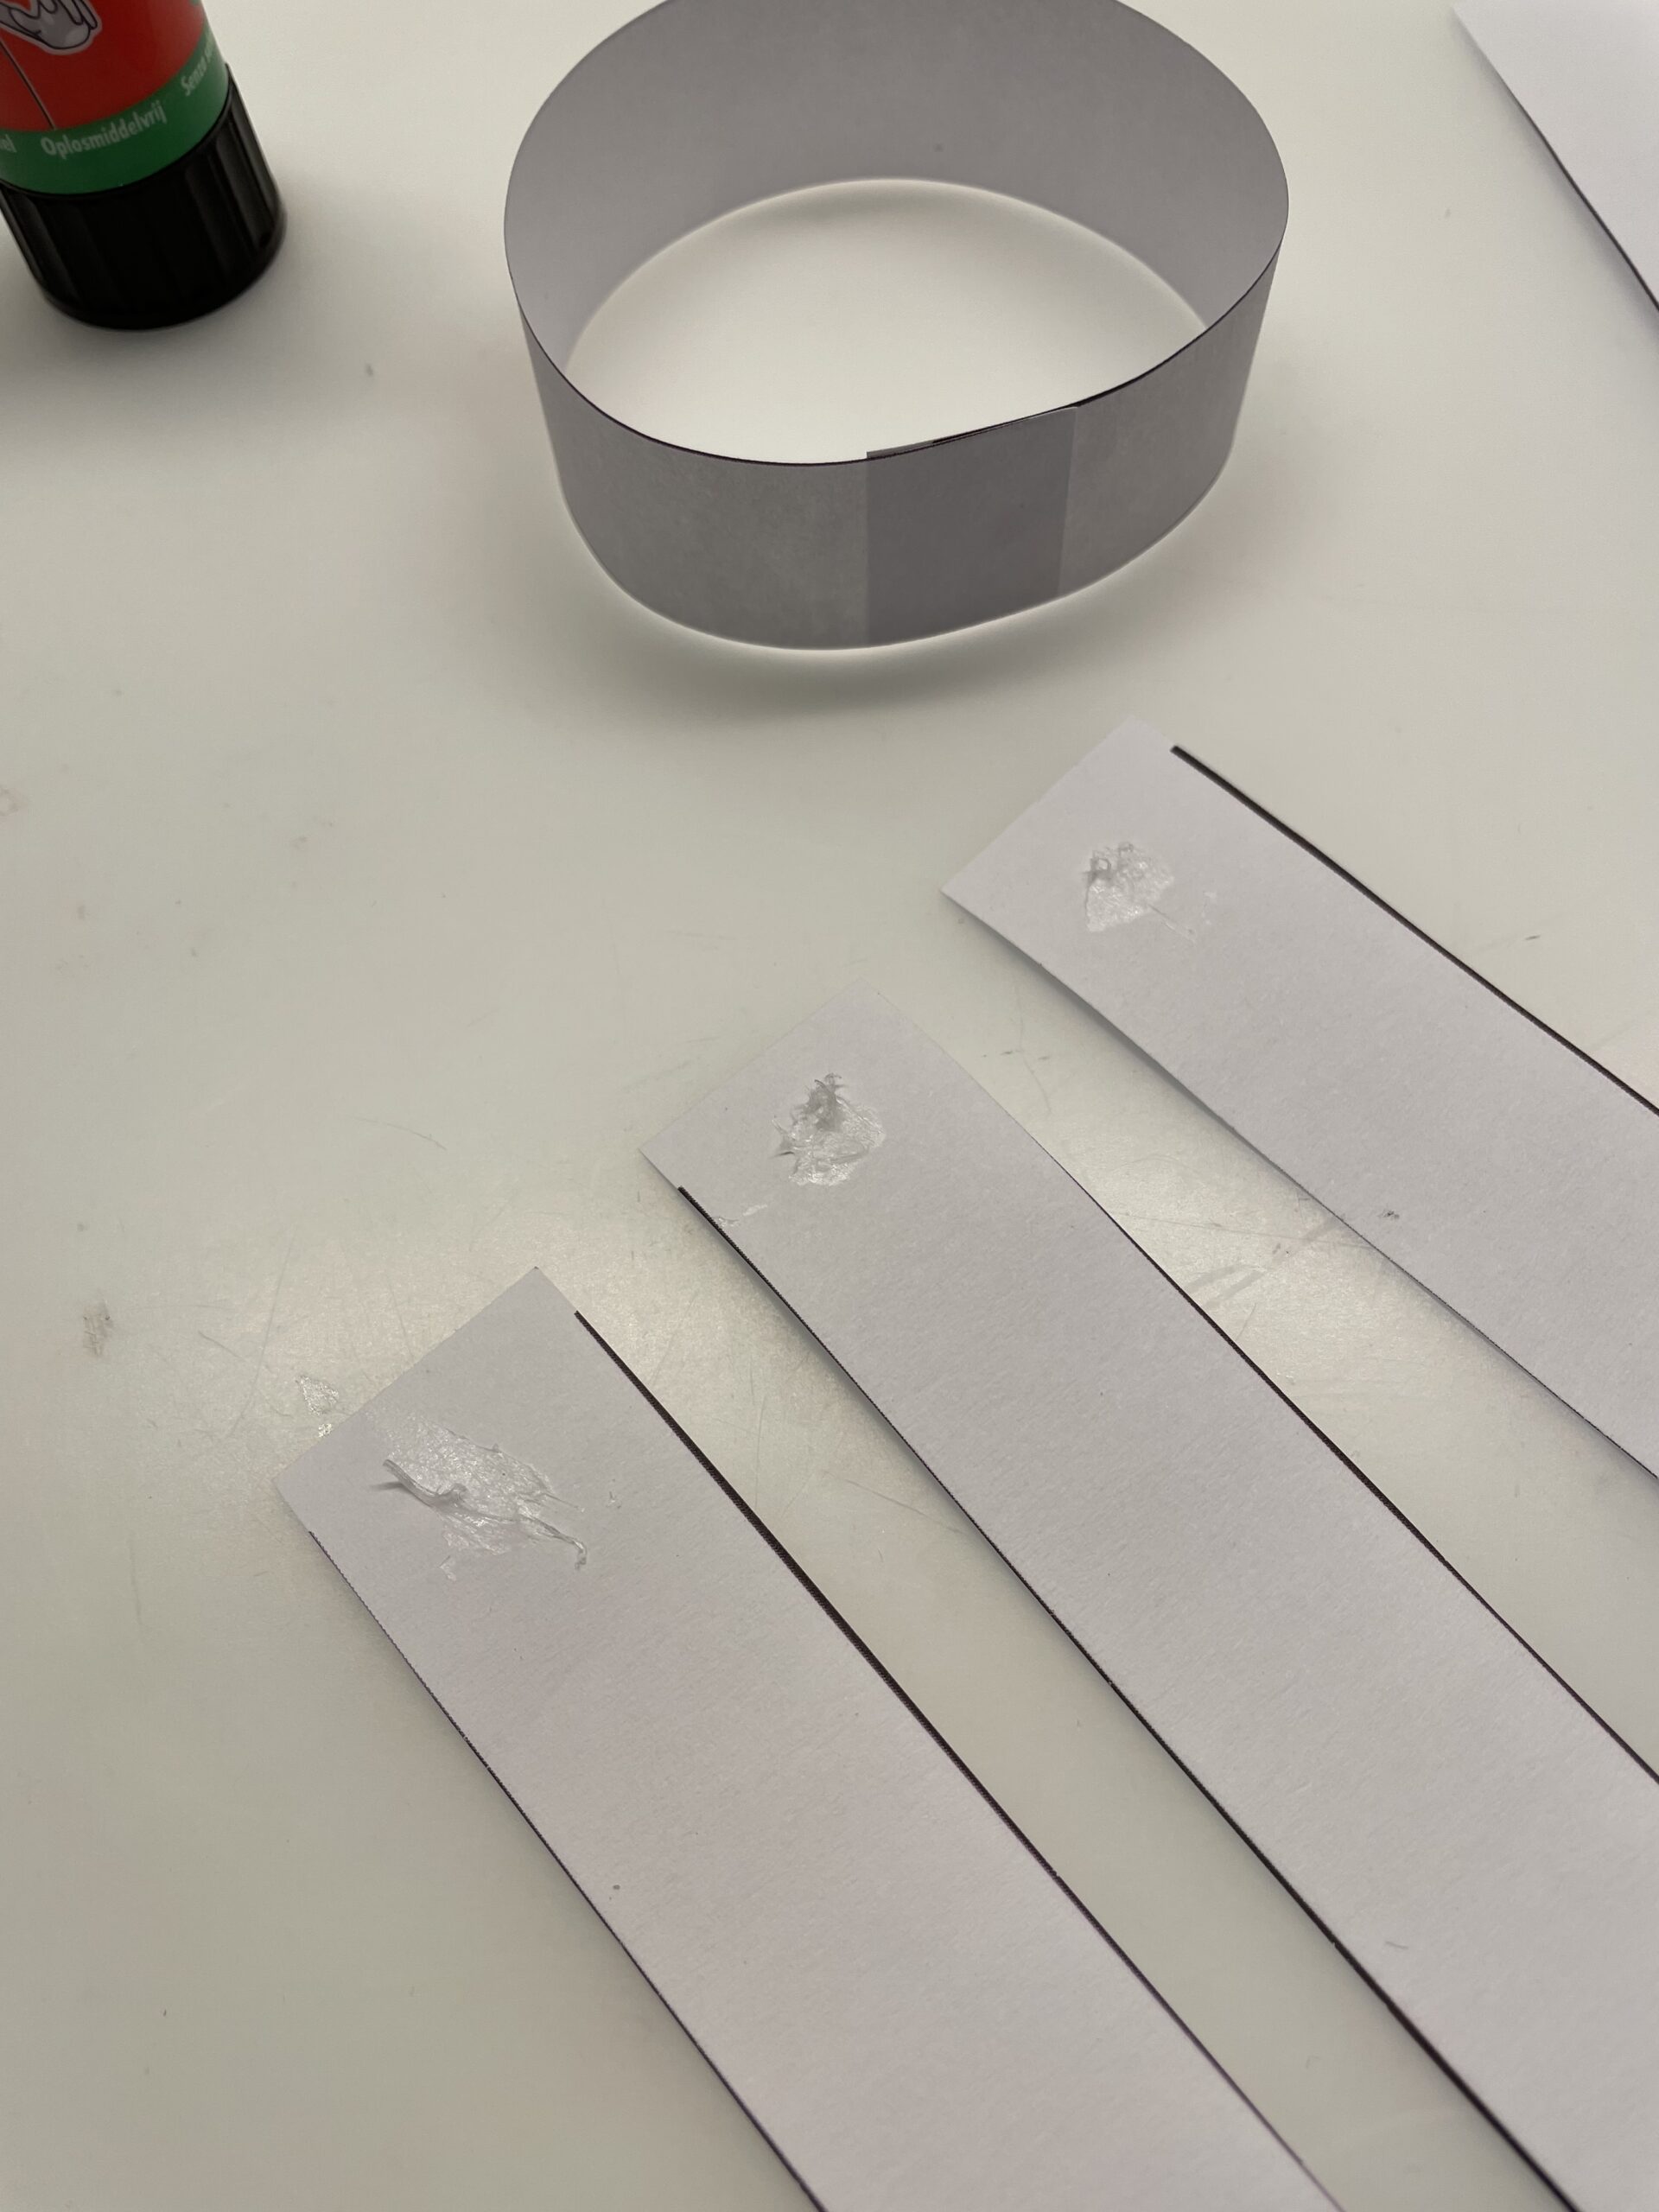
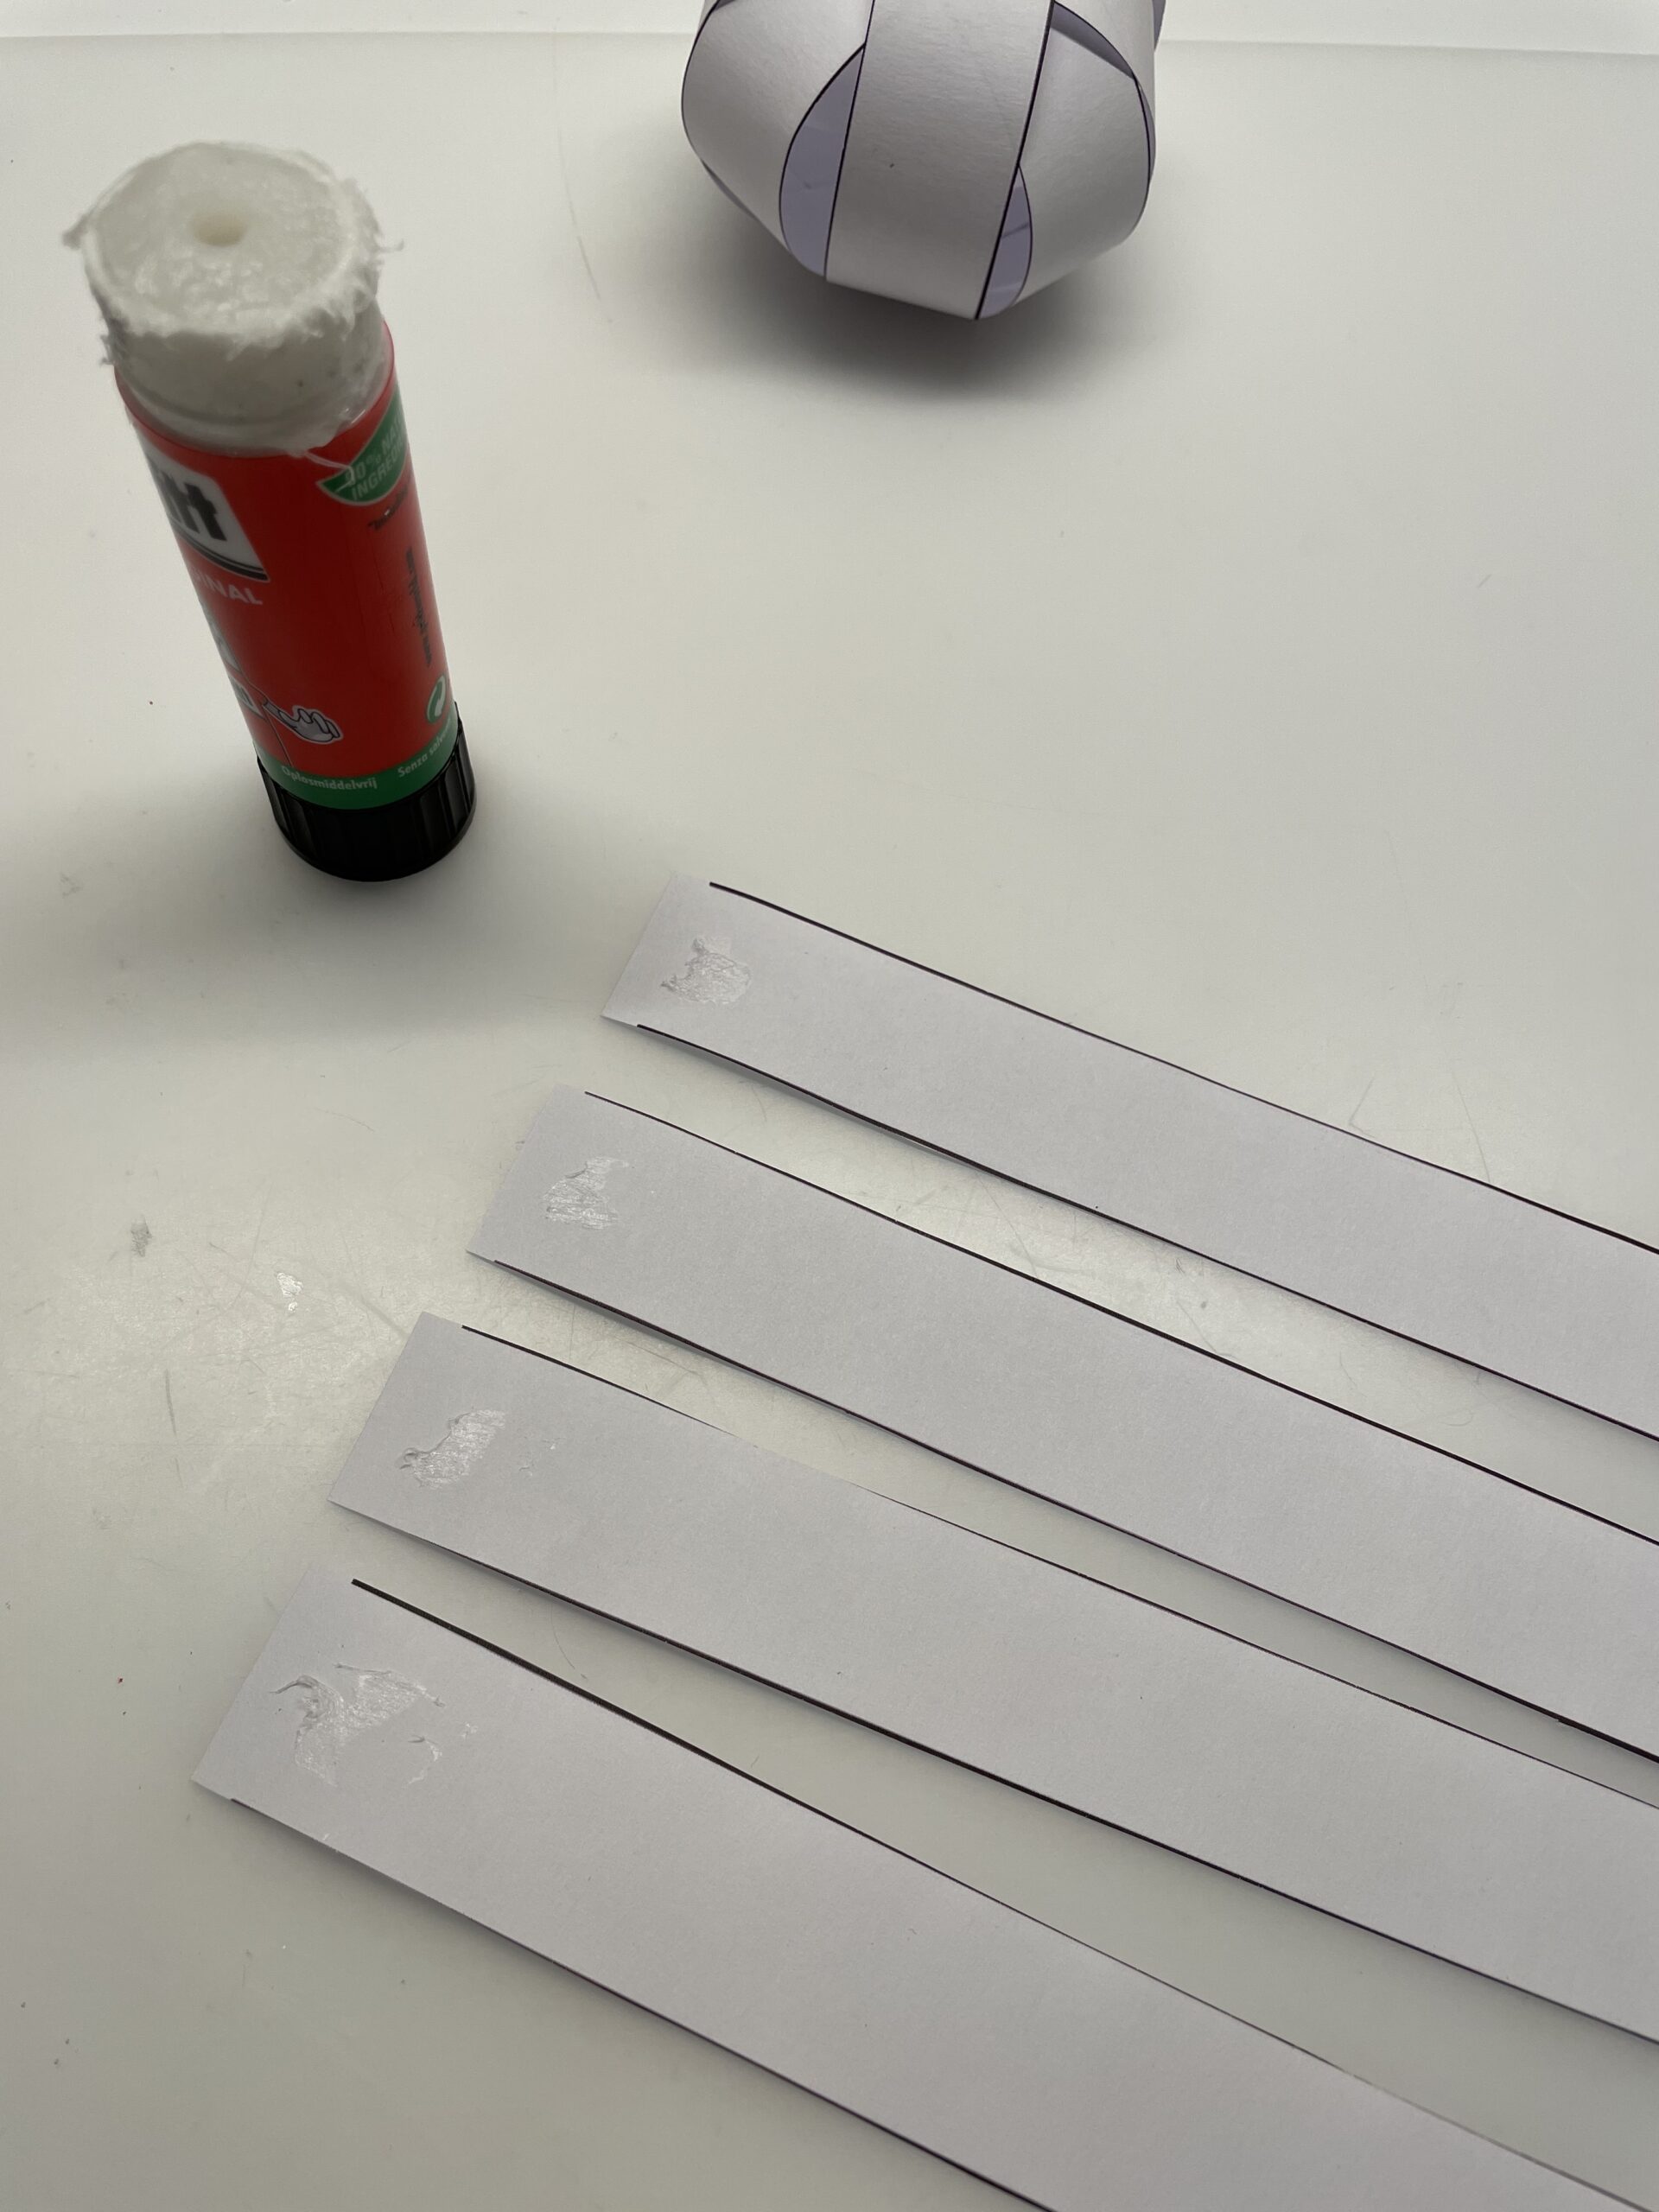
Print the template on a white copy pier (see below) or paint 8 strips with the dimensions 2cm x 21cm (DIN A4 landscape format). Use a long ruler for this.
Then cut the 8 strips.
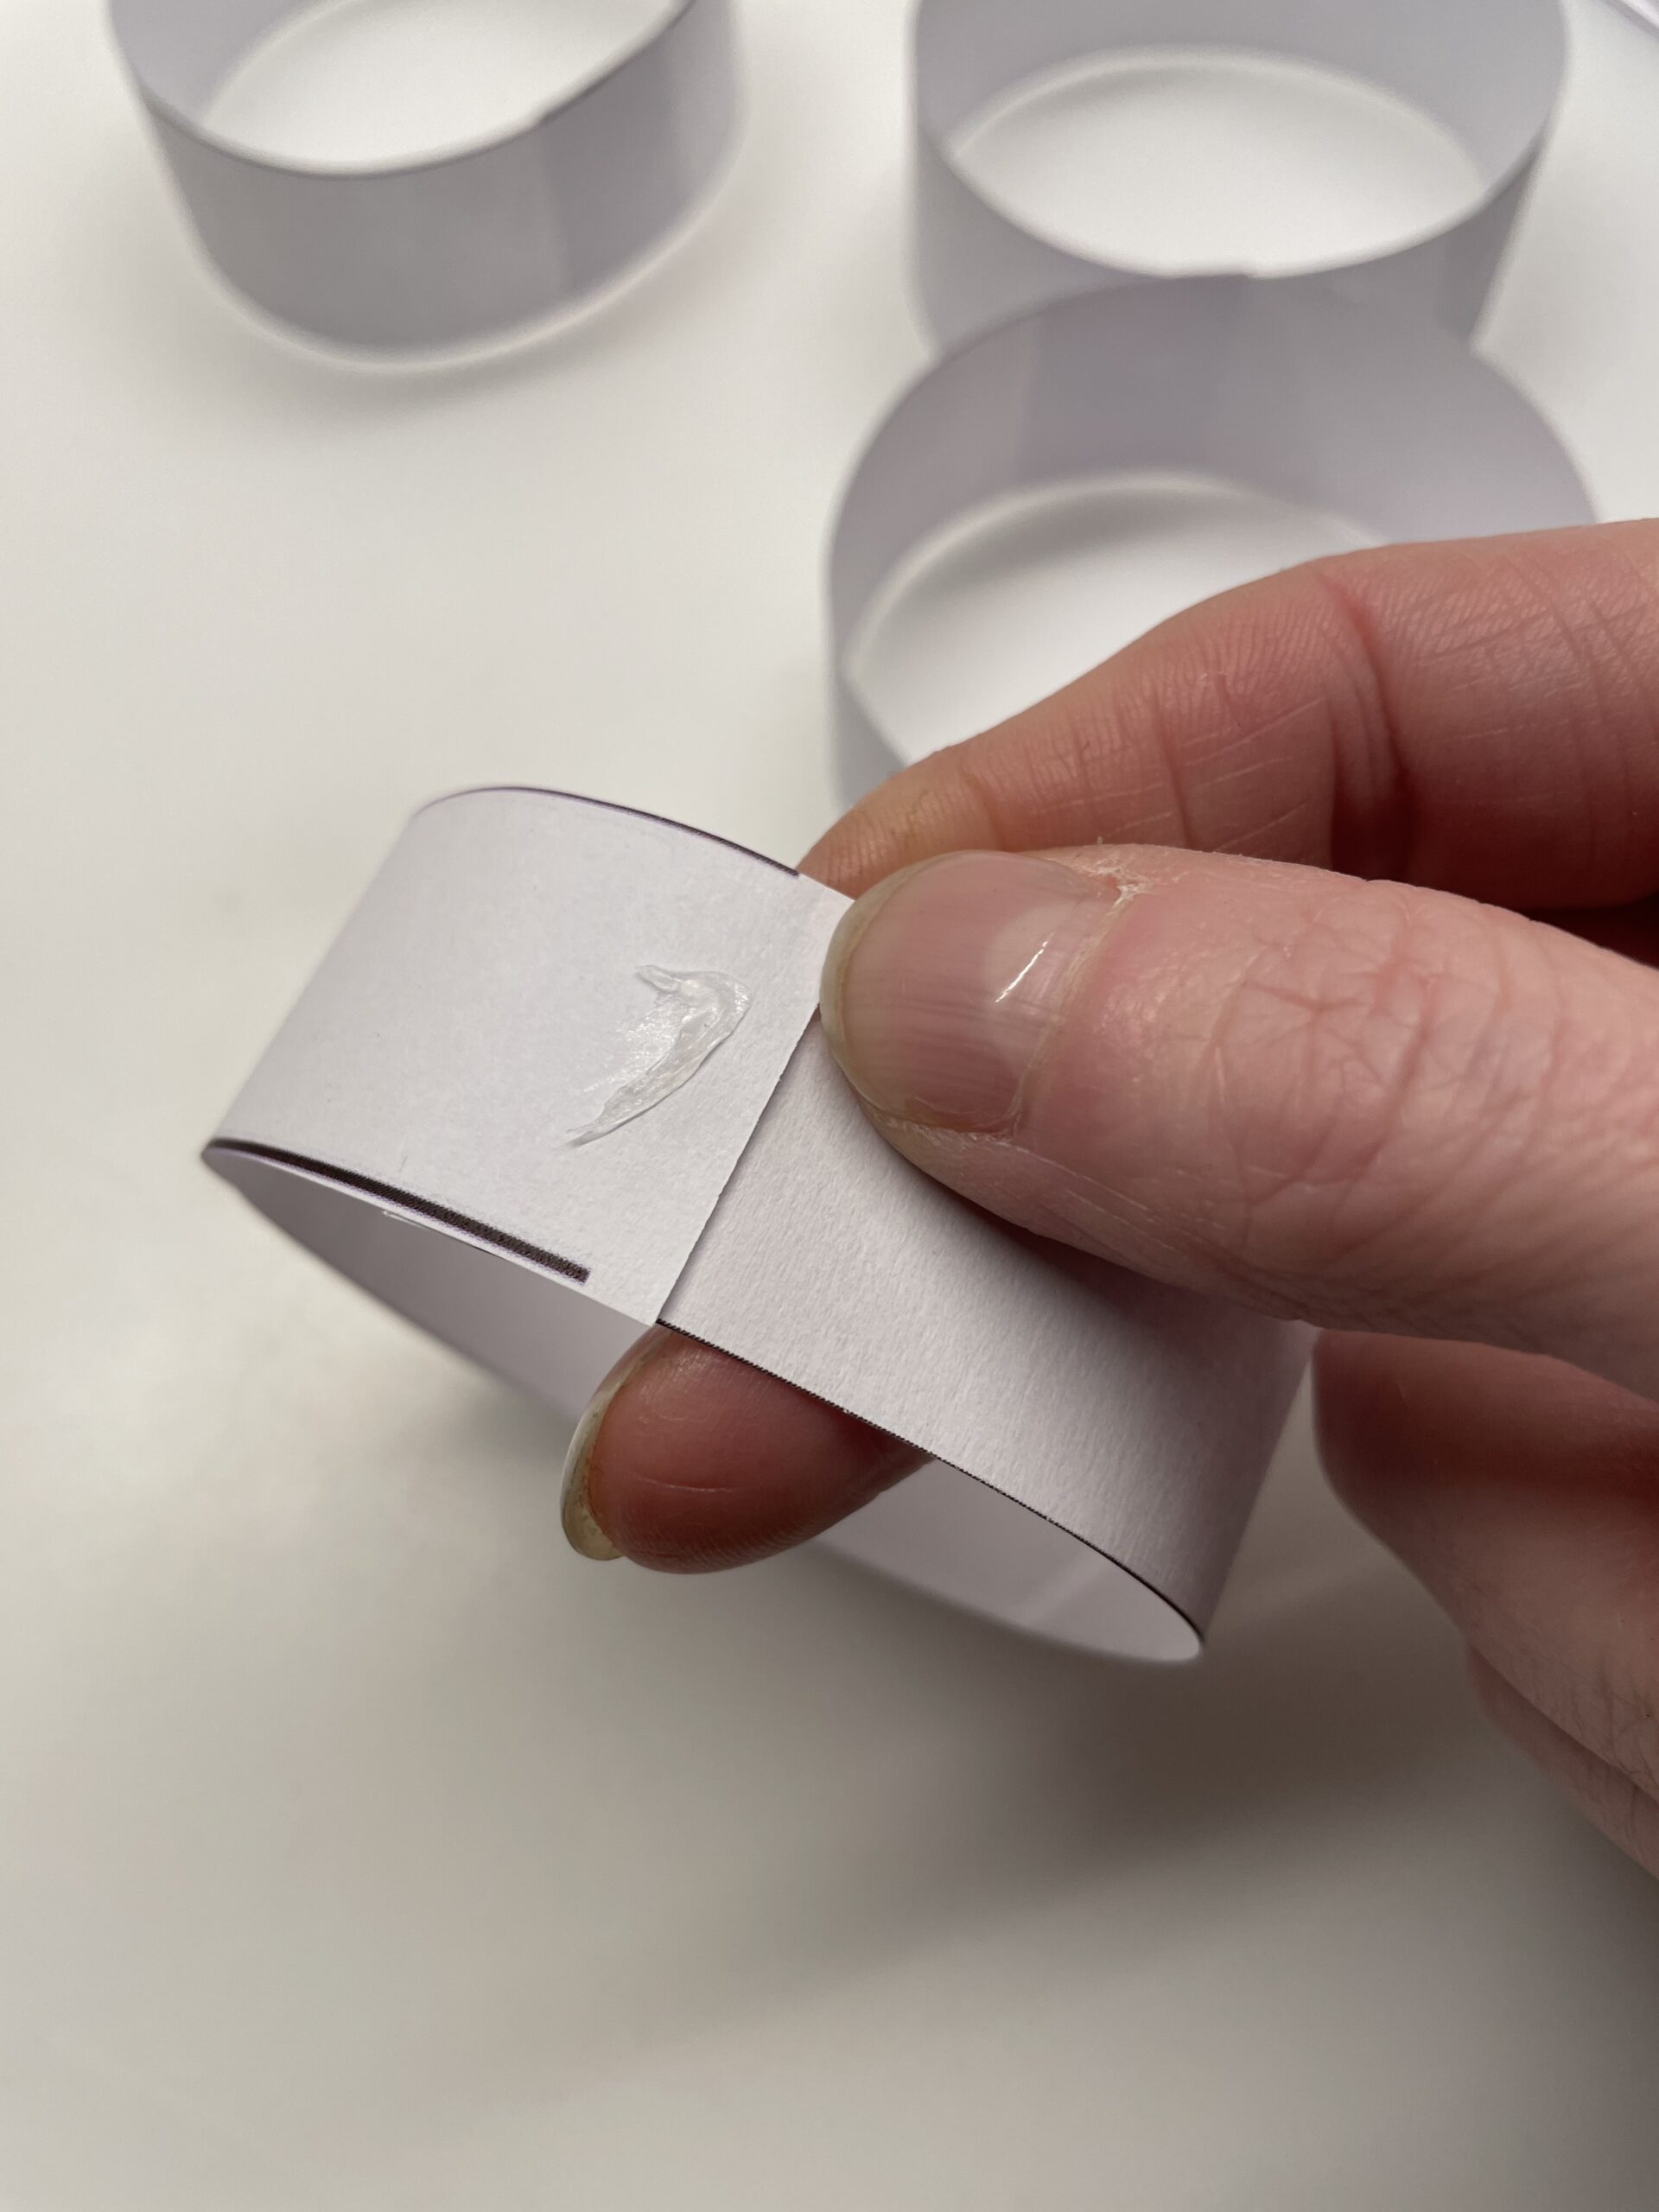
Now you stick each strip together to form a paper ring.
To do this, you put some glue on one side of the strip. In the template on the gray spot at the beginning of the strip.
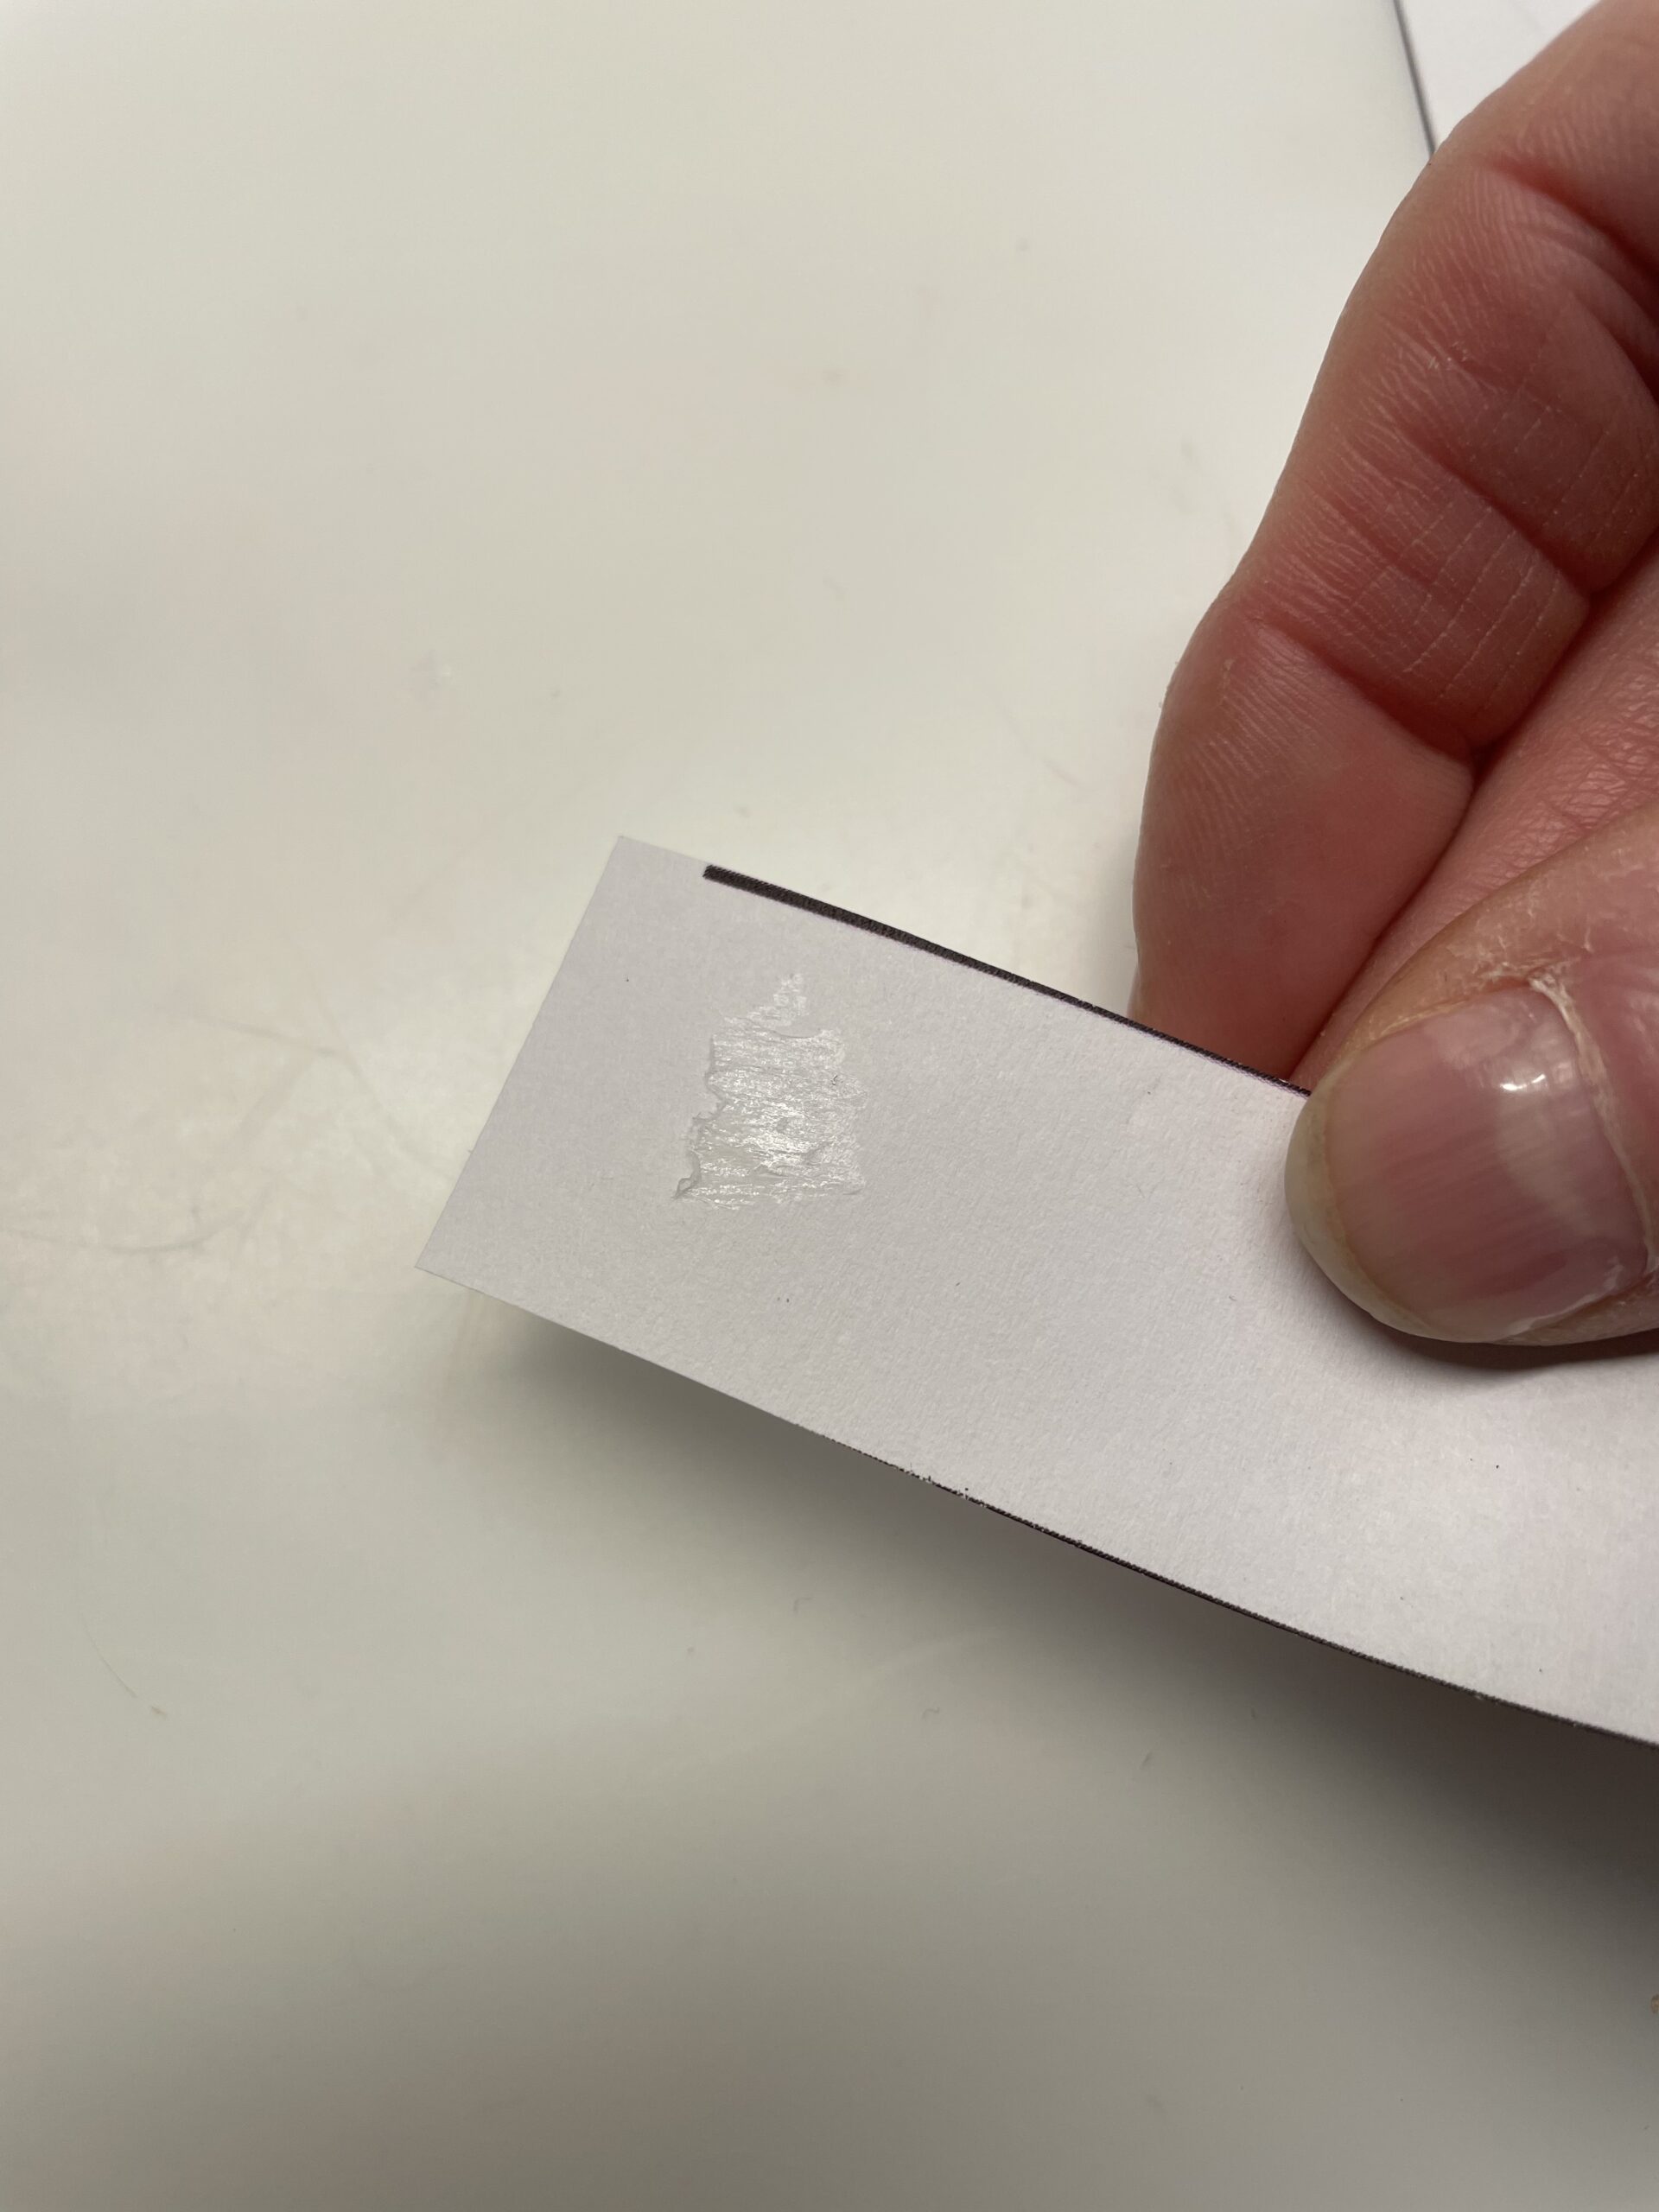
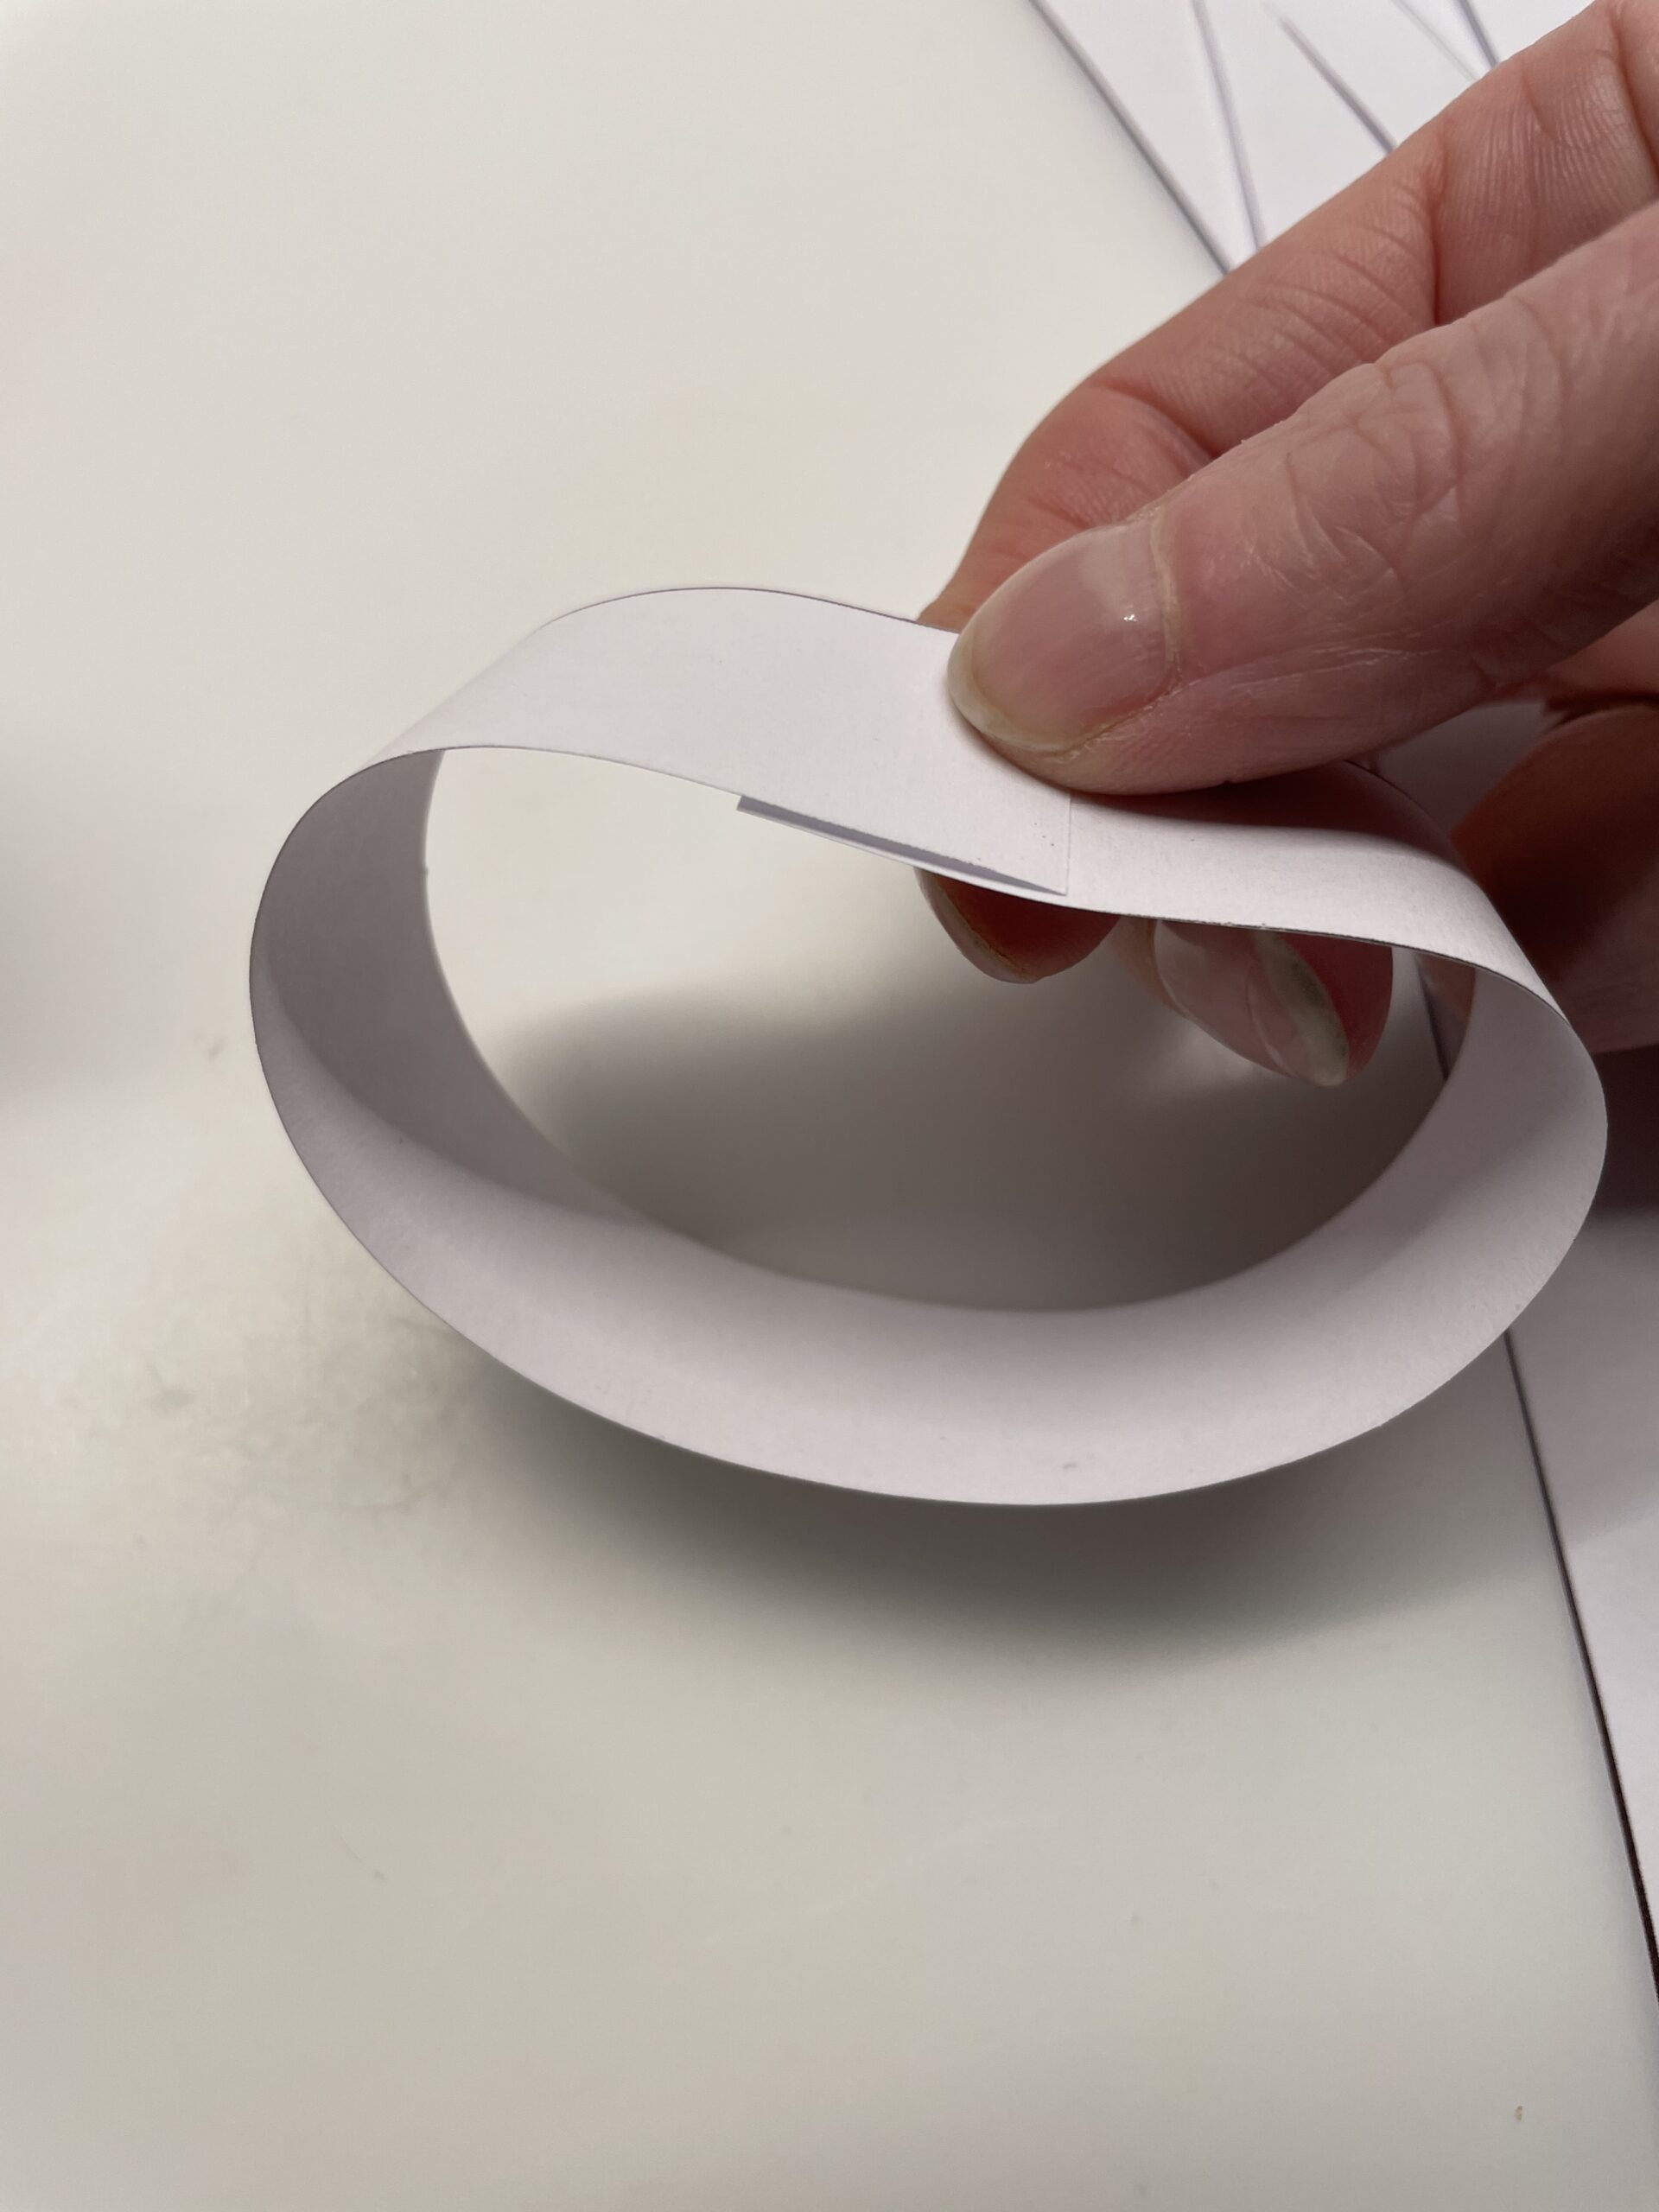
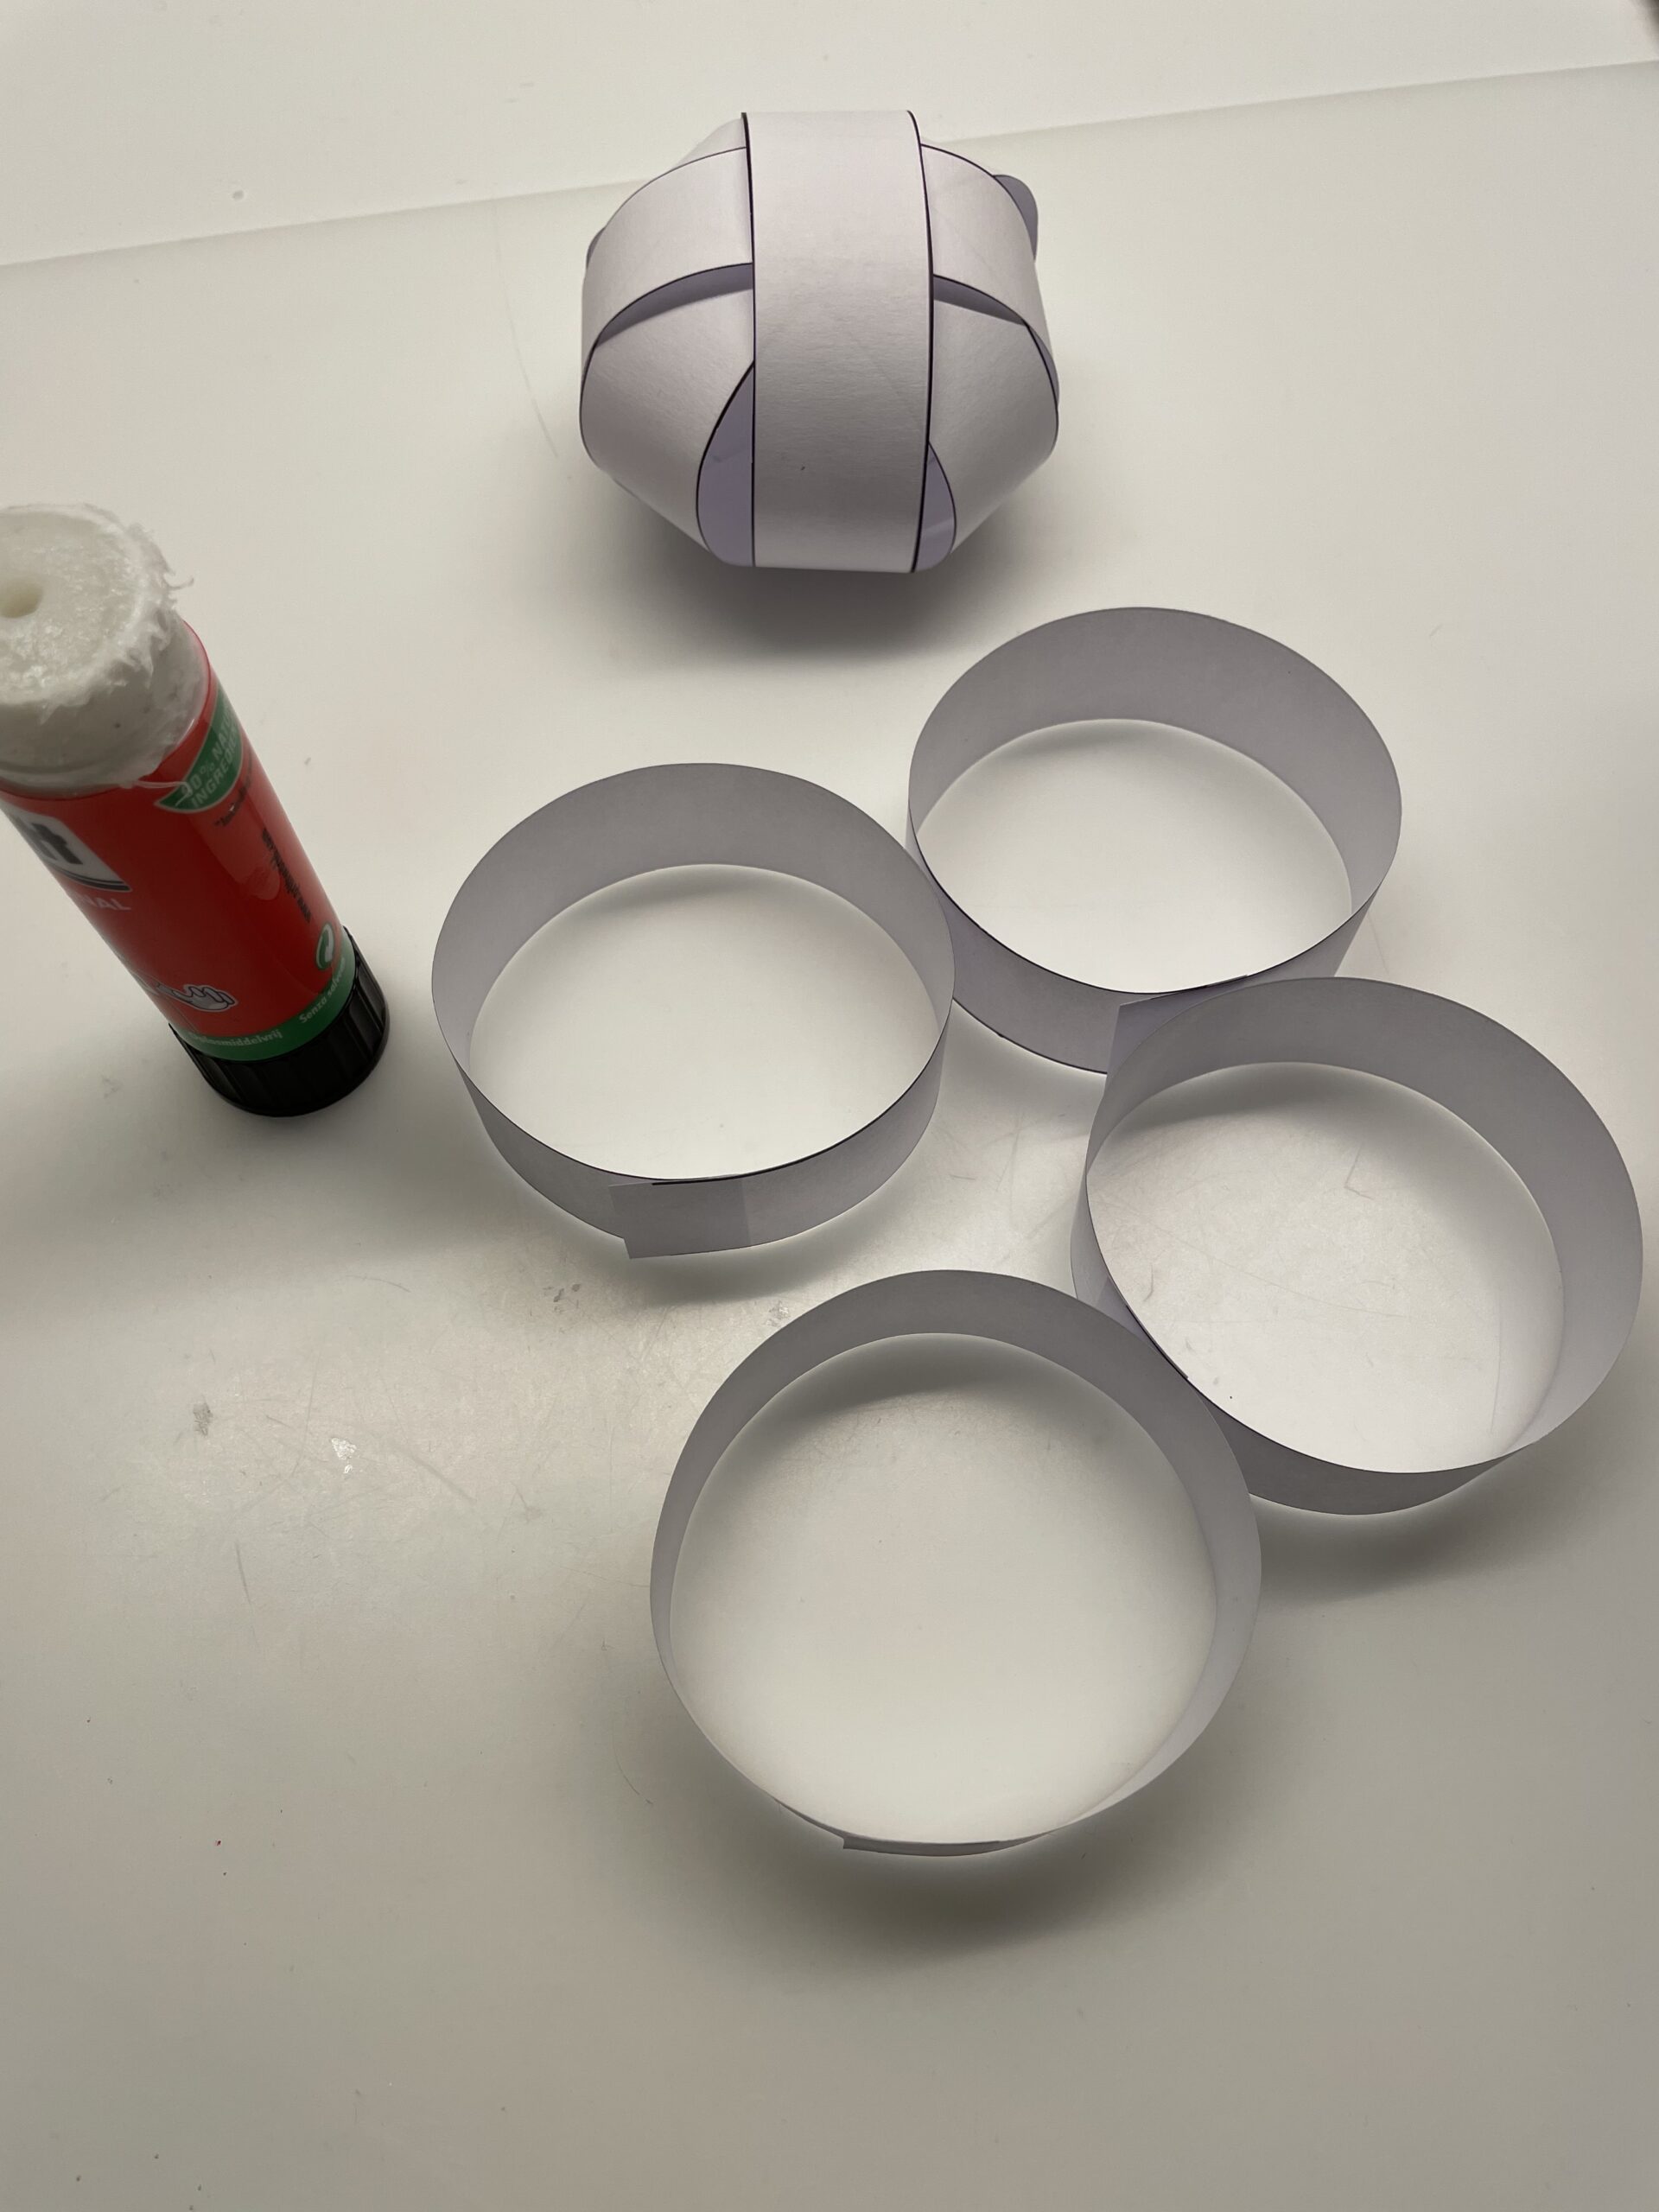
Then bend the paper to a ring and glue the ends of the strip together about 1cm overlapping.
Repeats the process first with 4 stripes.
The first snow globe is formed from these four paper rings.

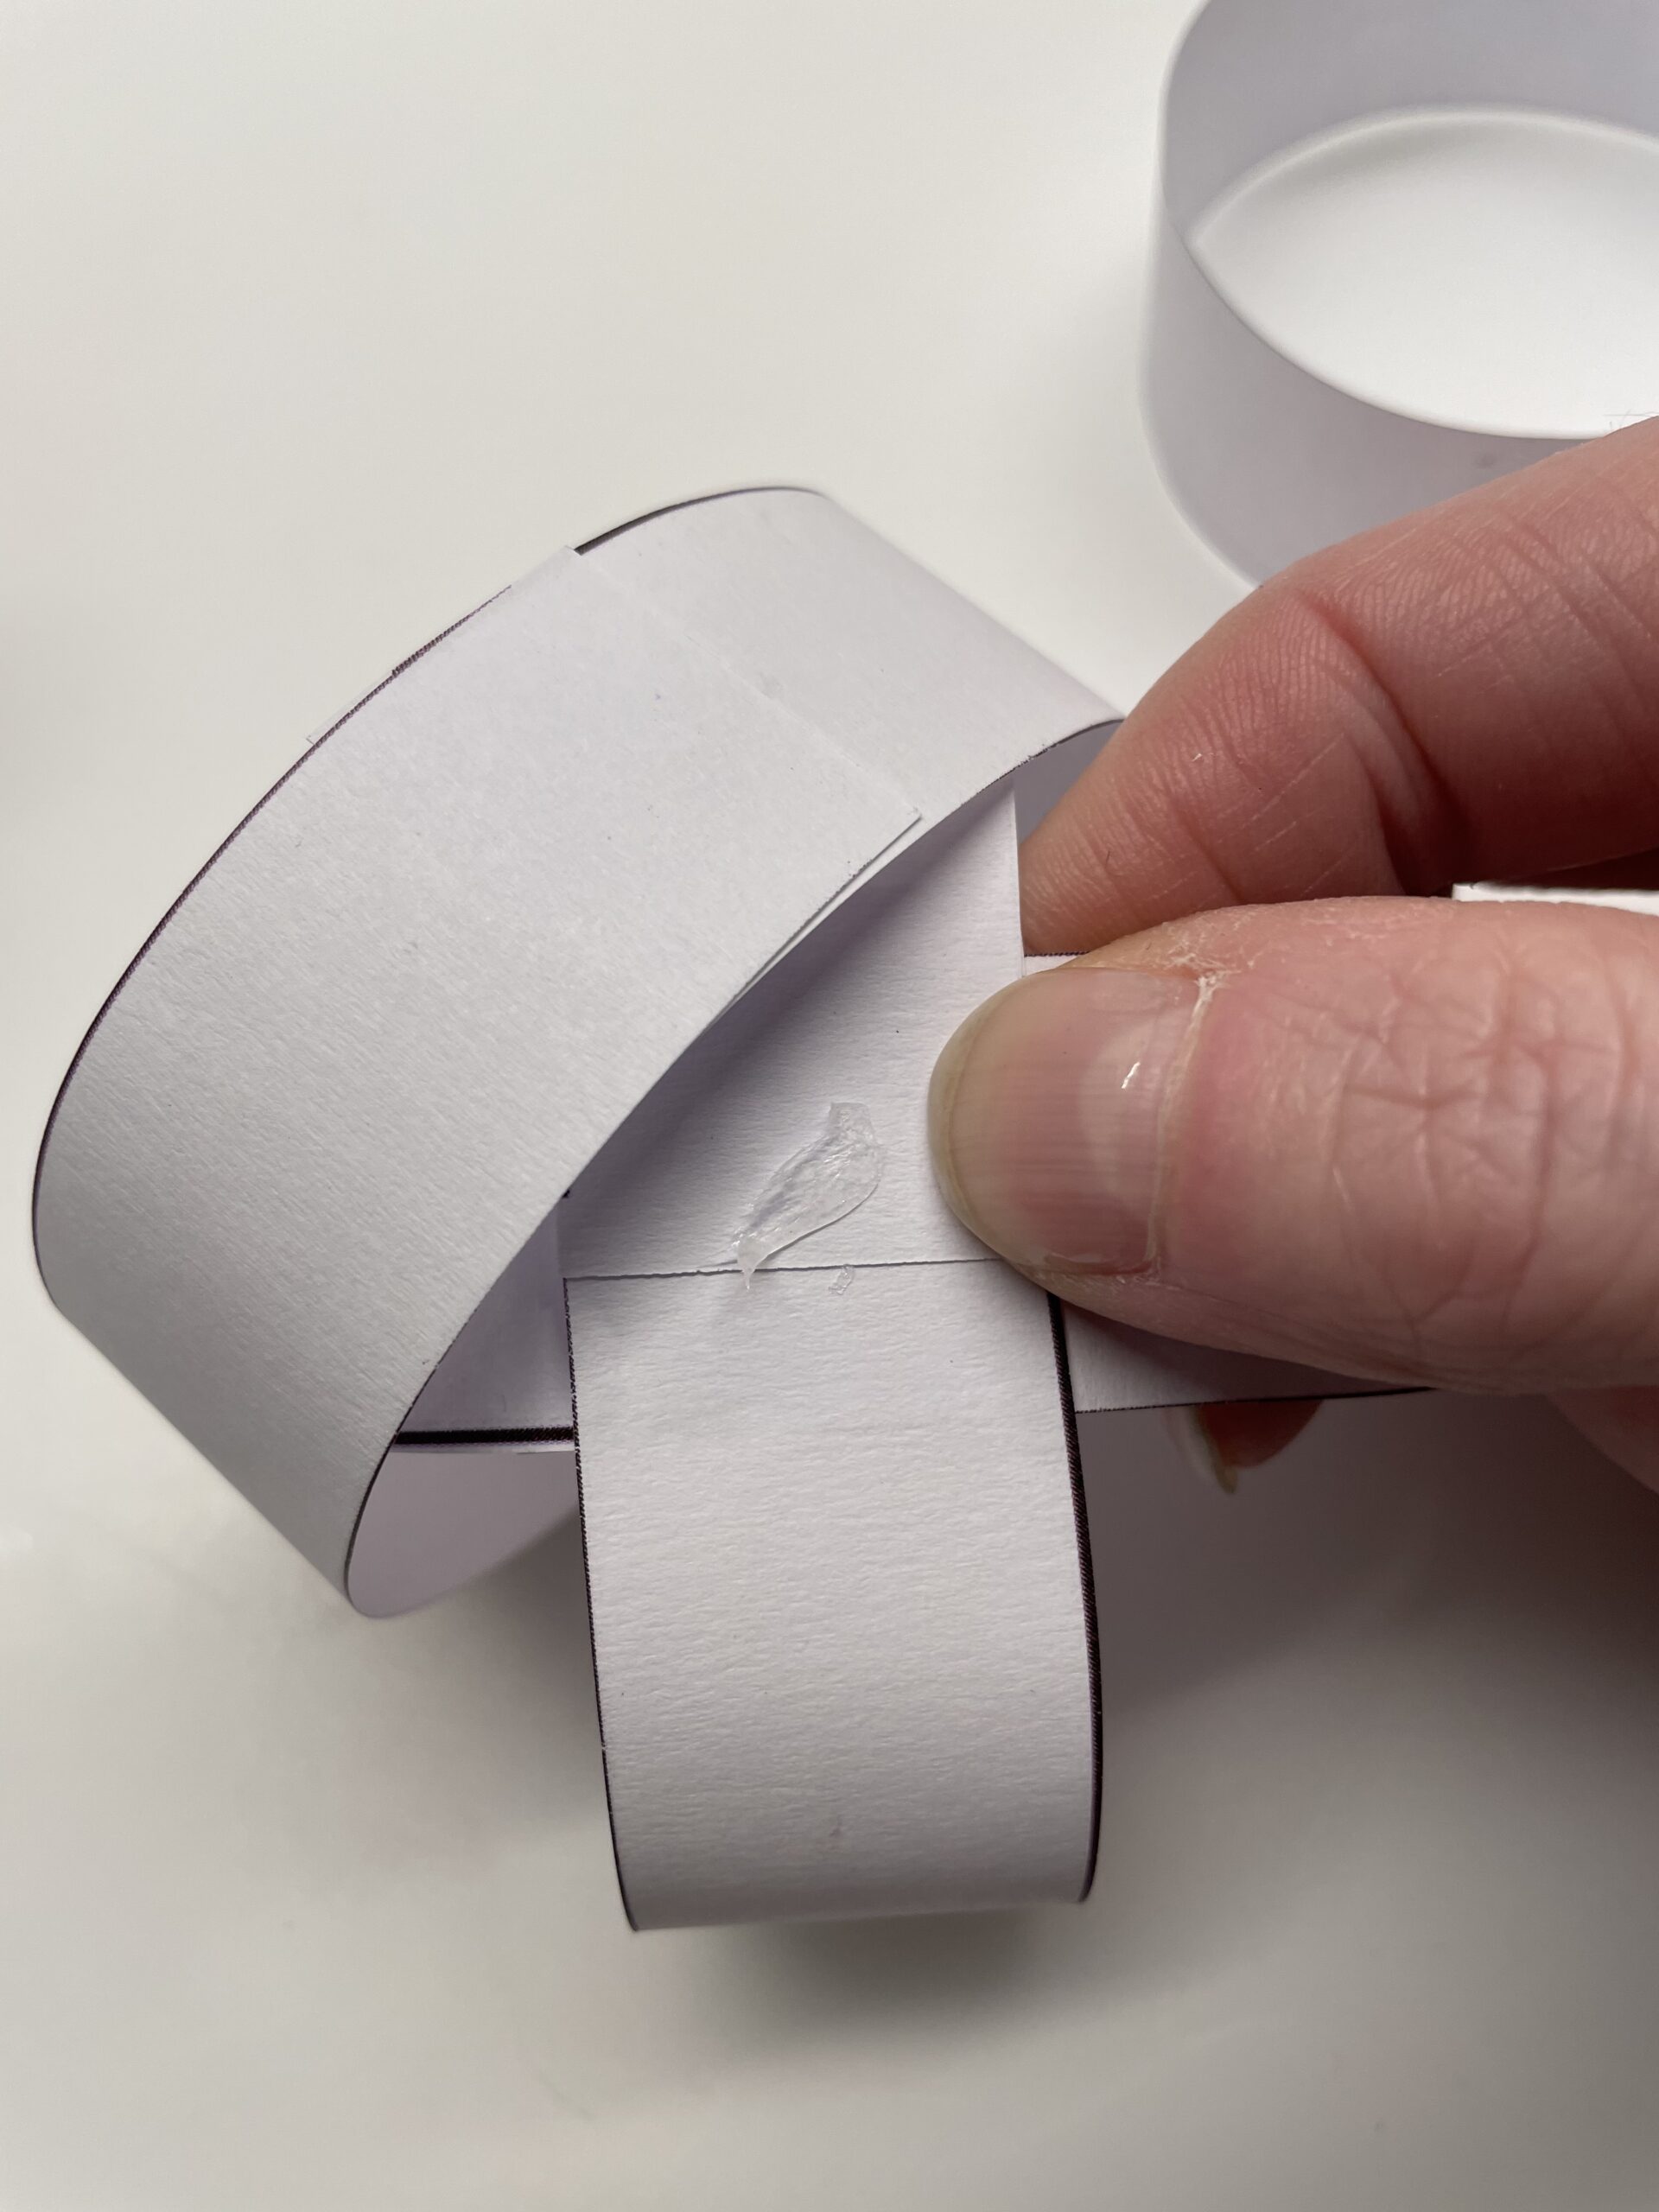
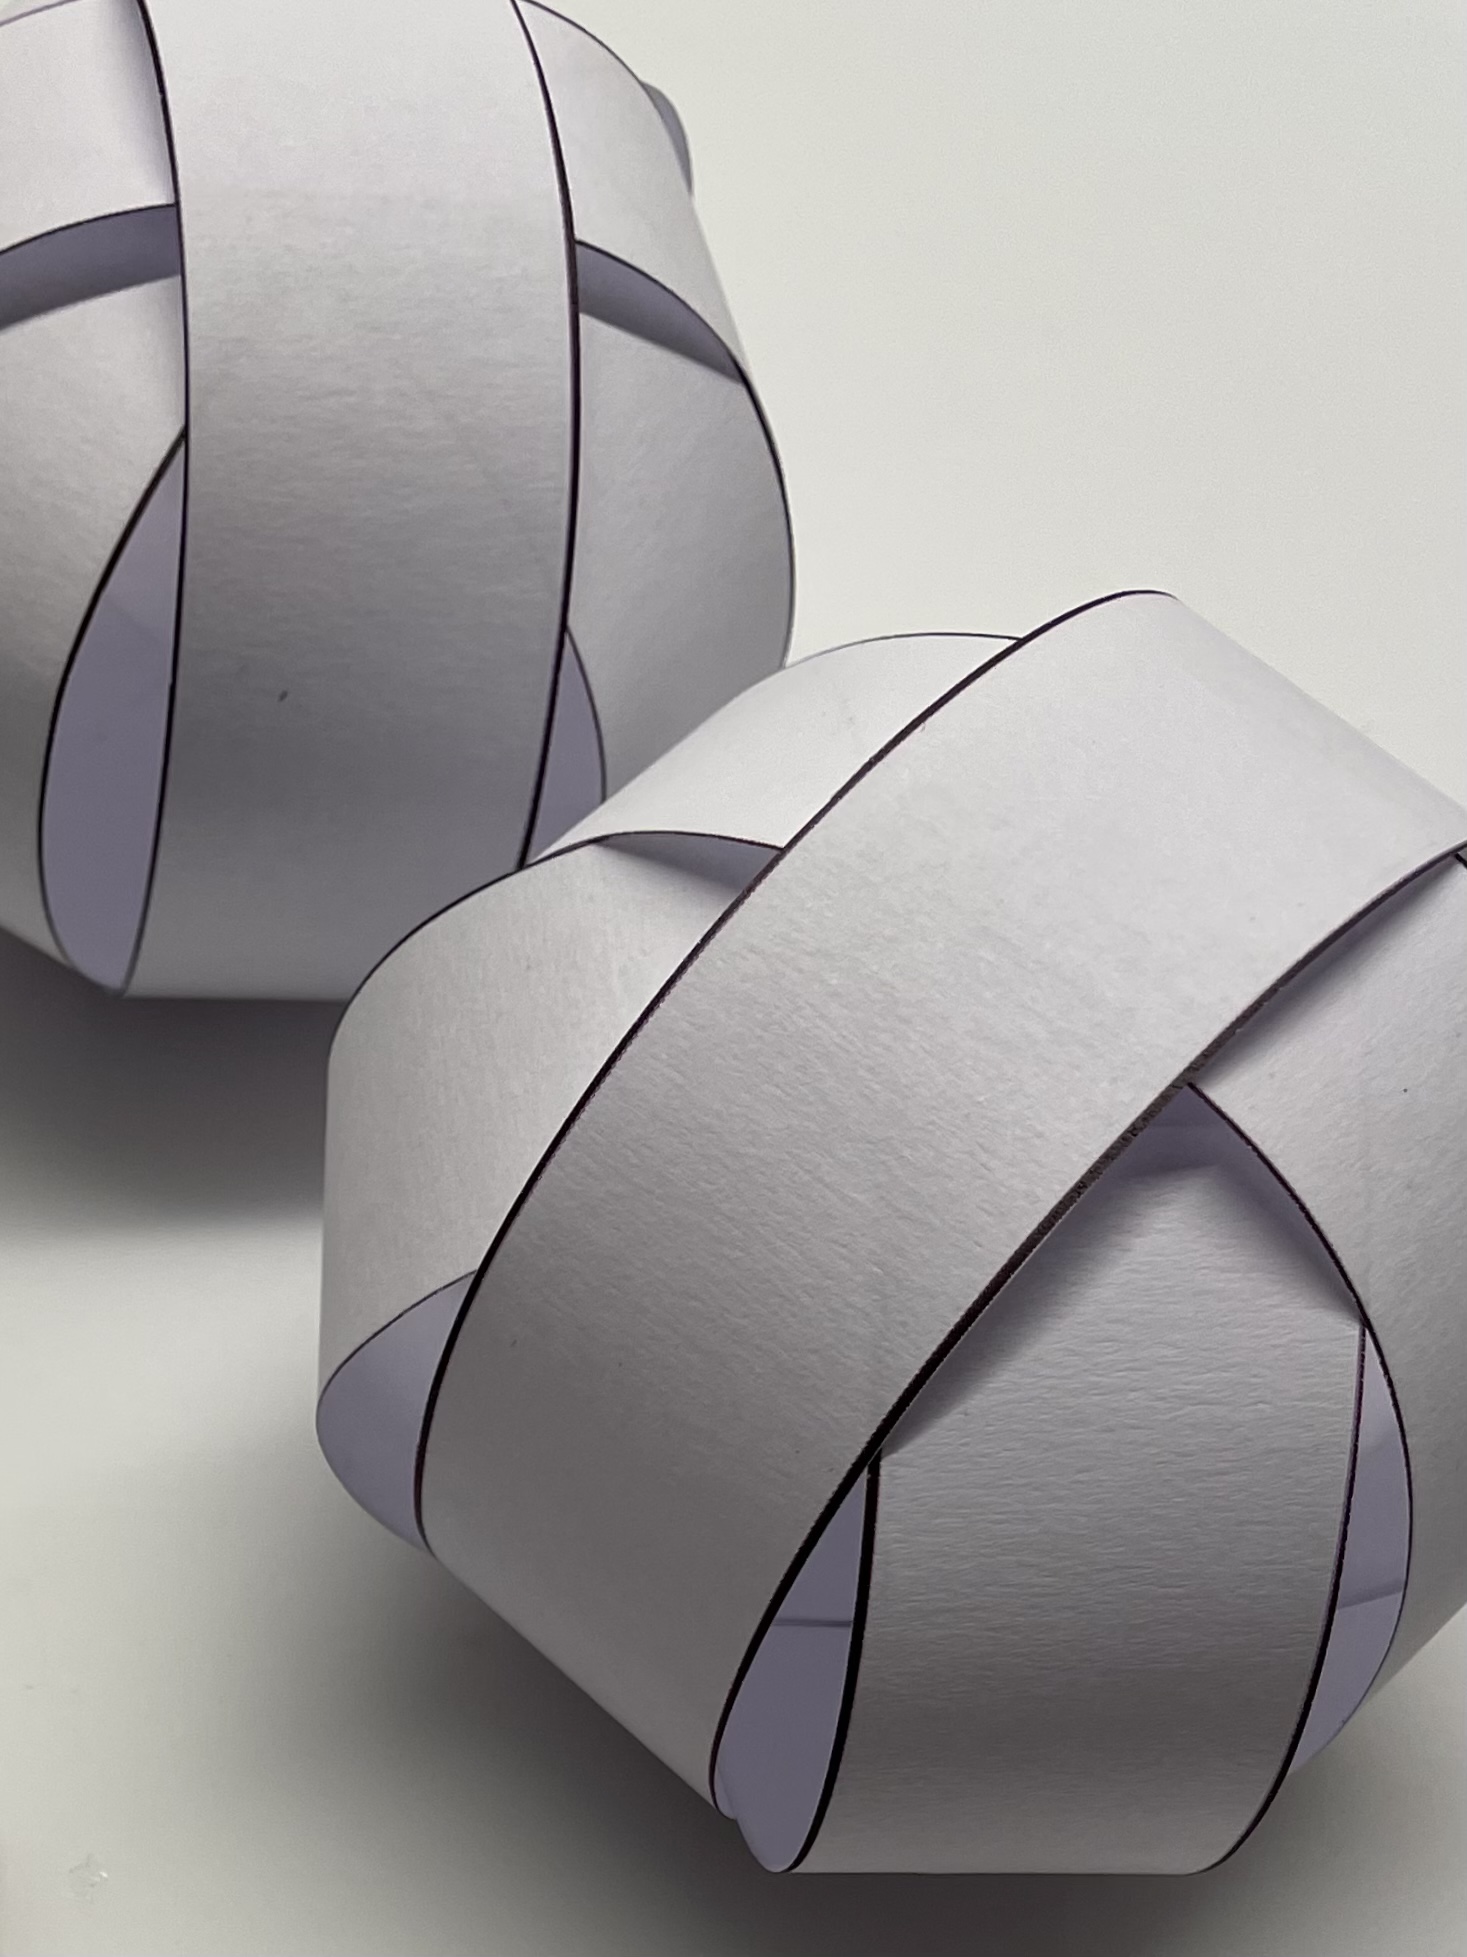
Now put two rings crossed into each other.

Then glue the two rings together at the two interfaces.
For this, you place the 2nd ring over the 1st ring and squeeze the resulting paper cross tightly together. The interface lies above!
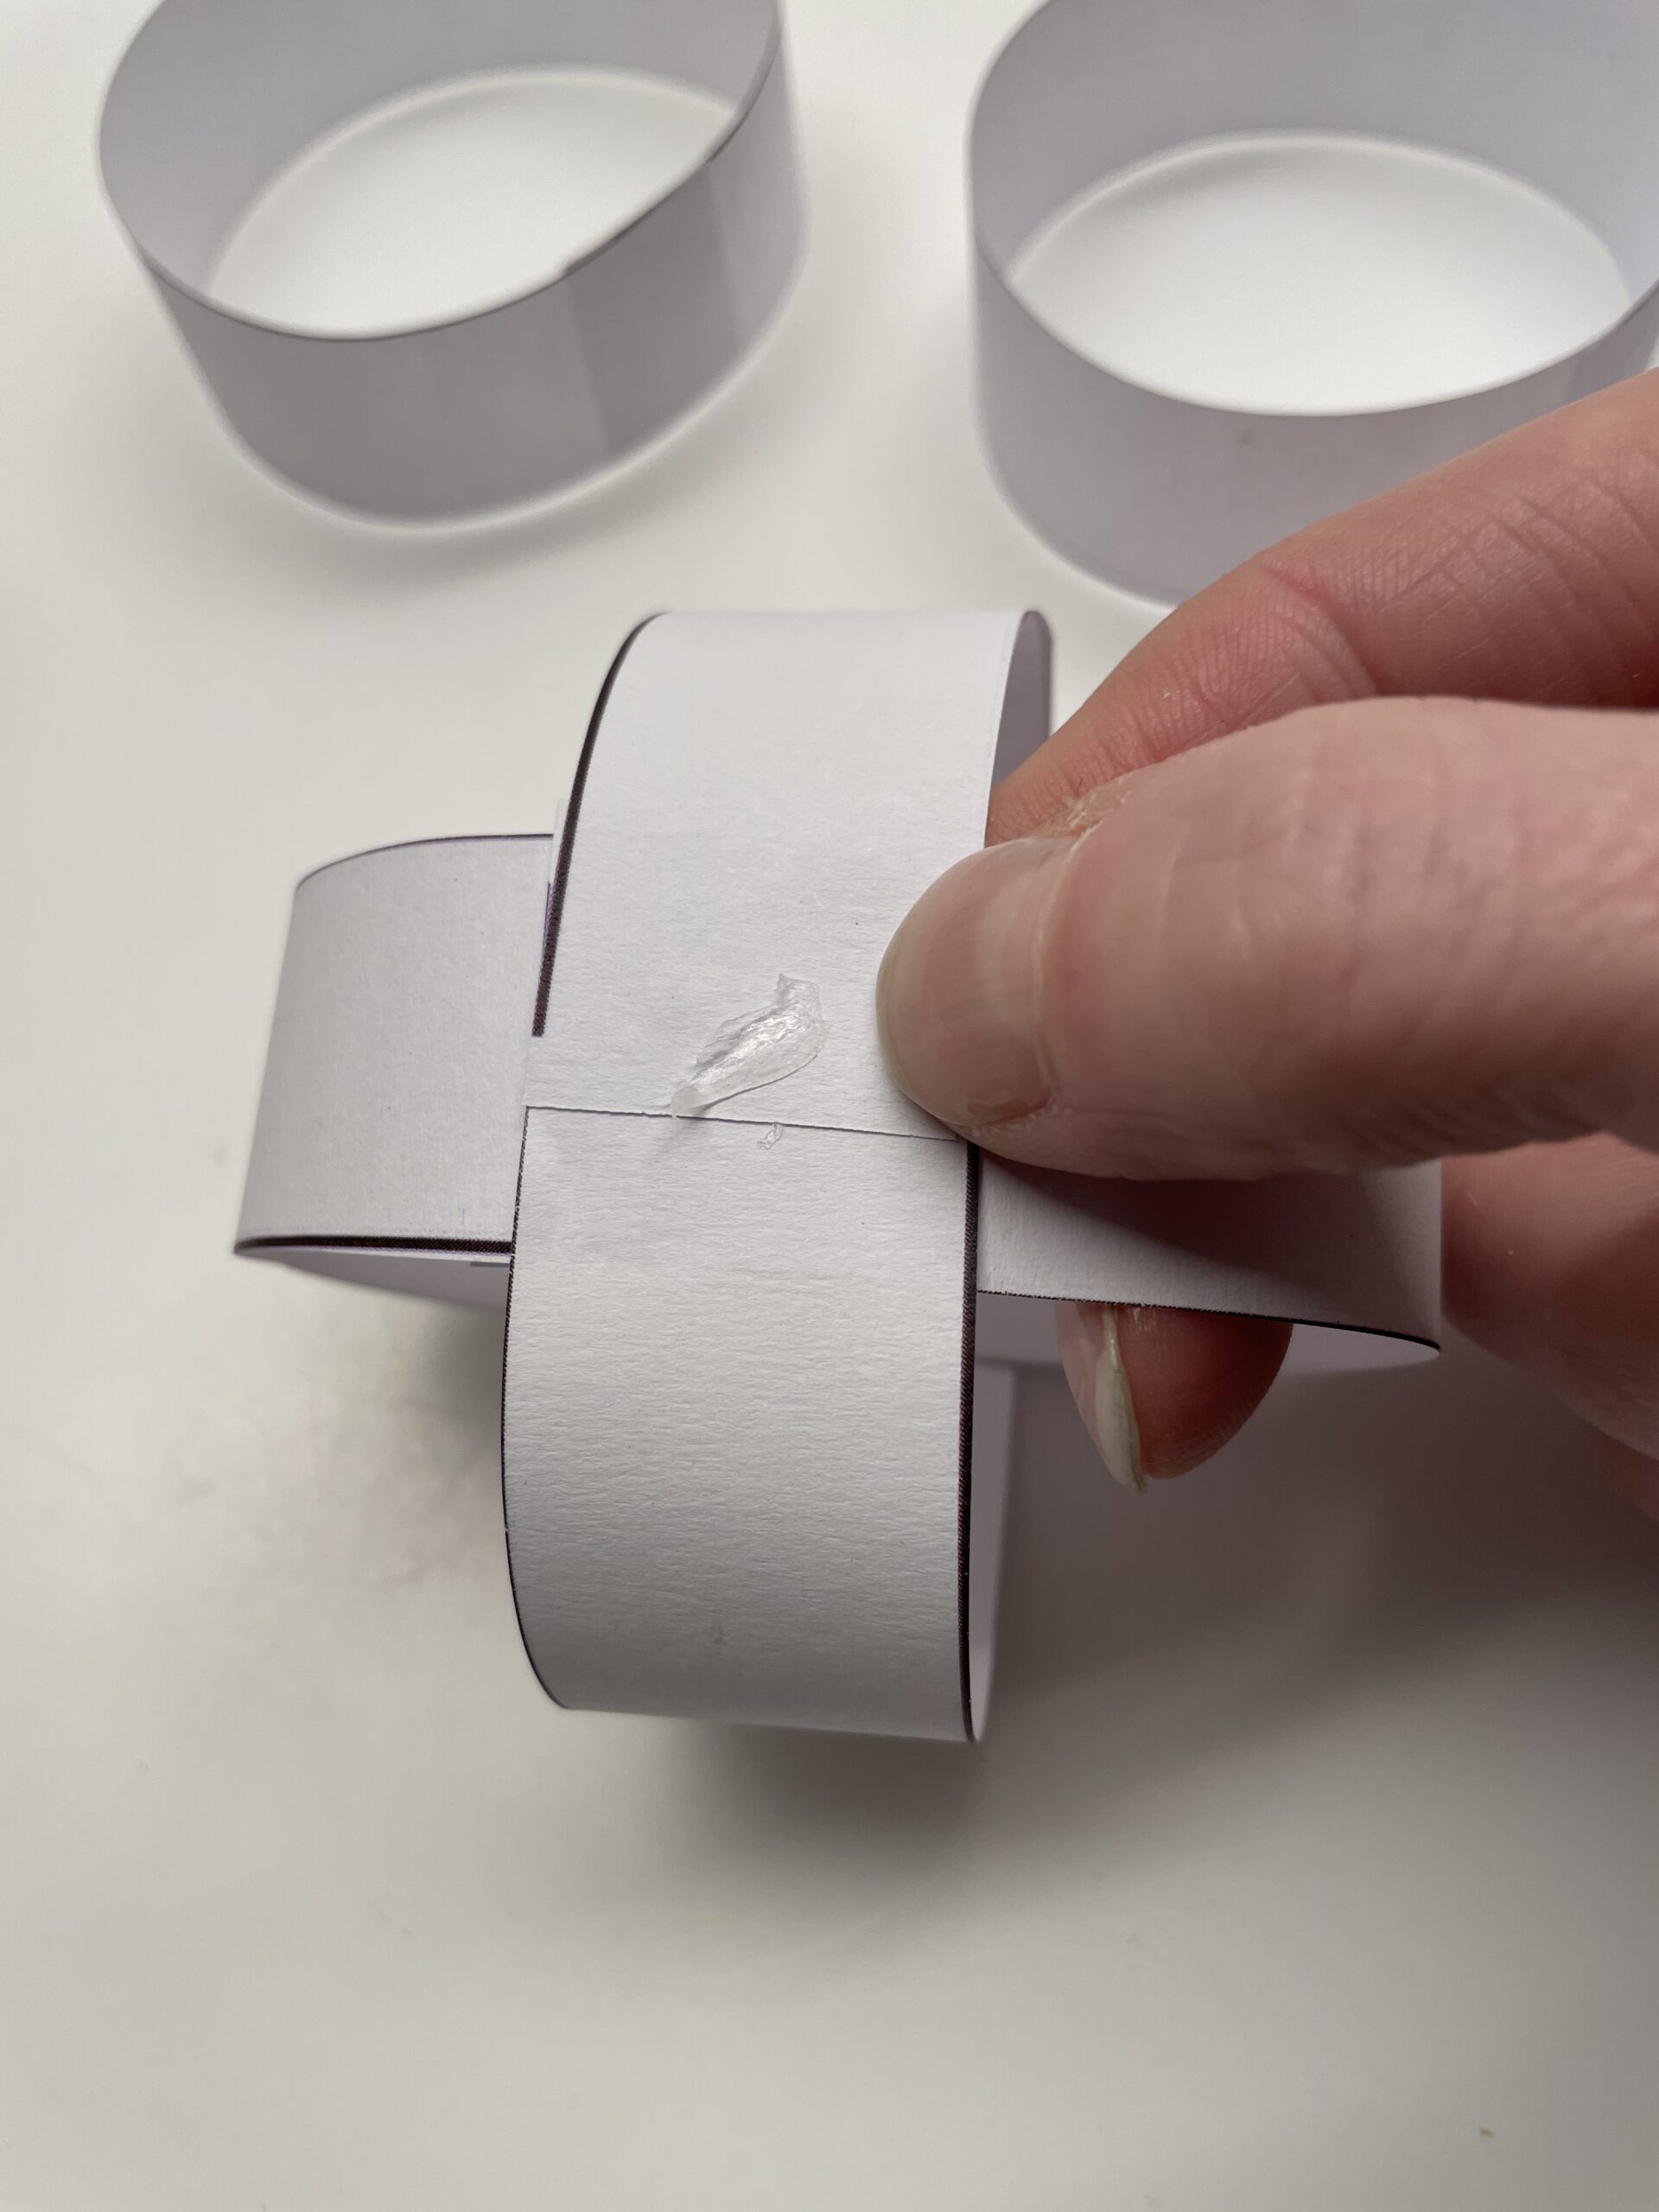
Now you put your glue on the paper cross and slide the 3rd ring diagonally over the paper cross.
Press the glue marks together again.
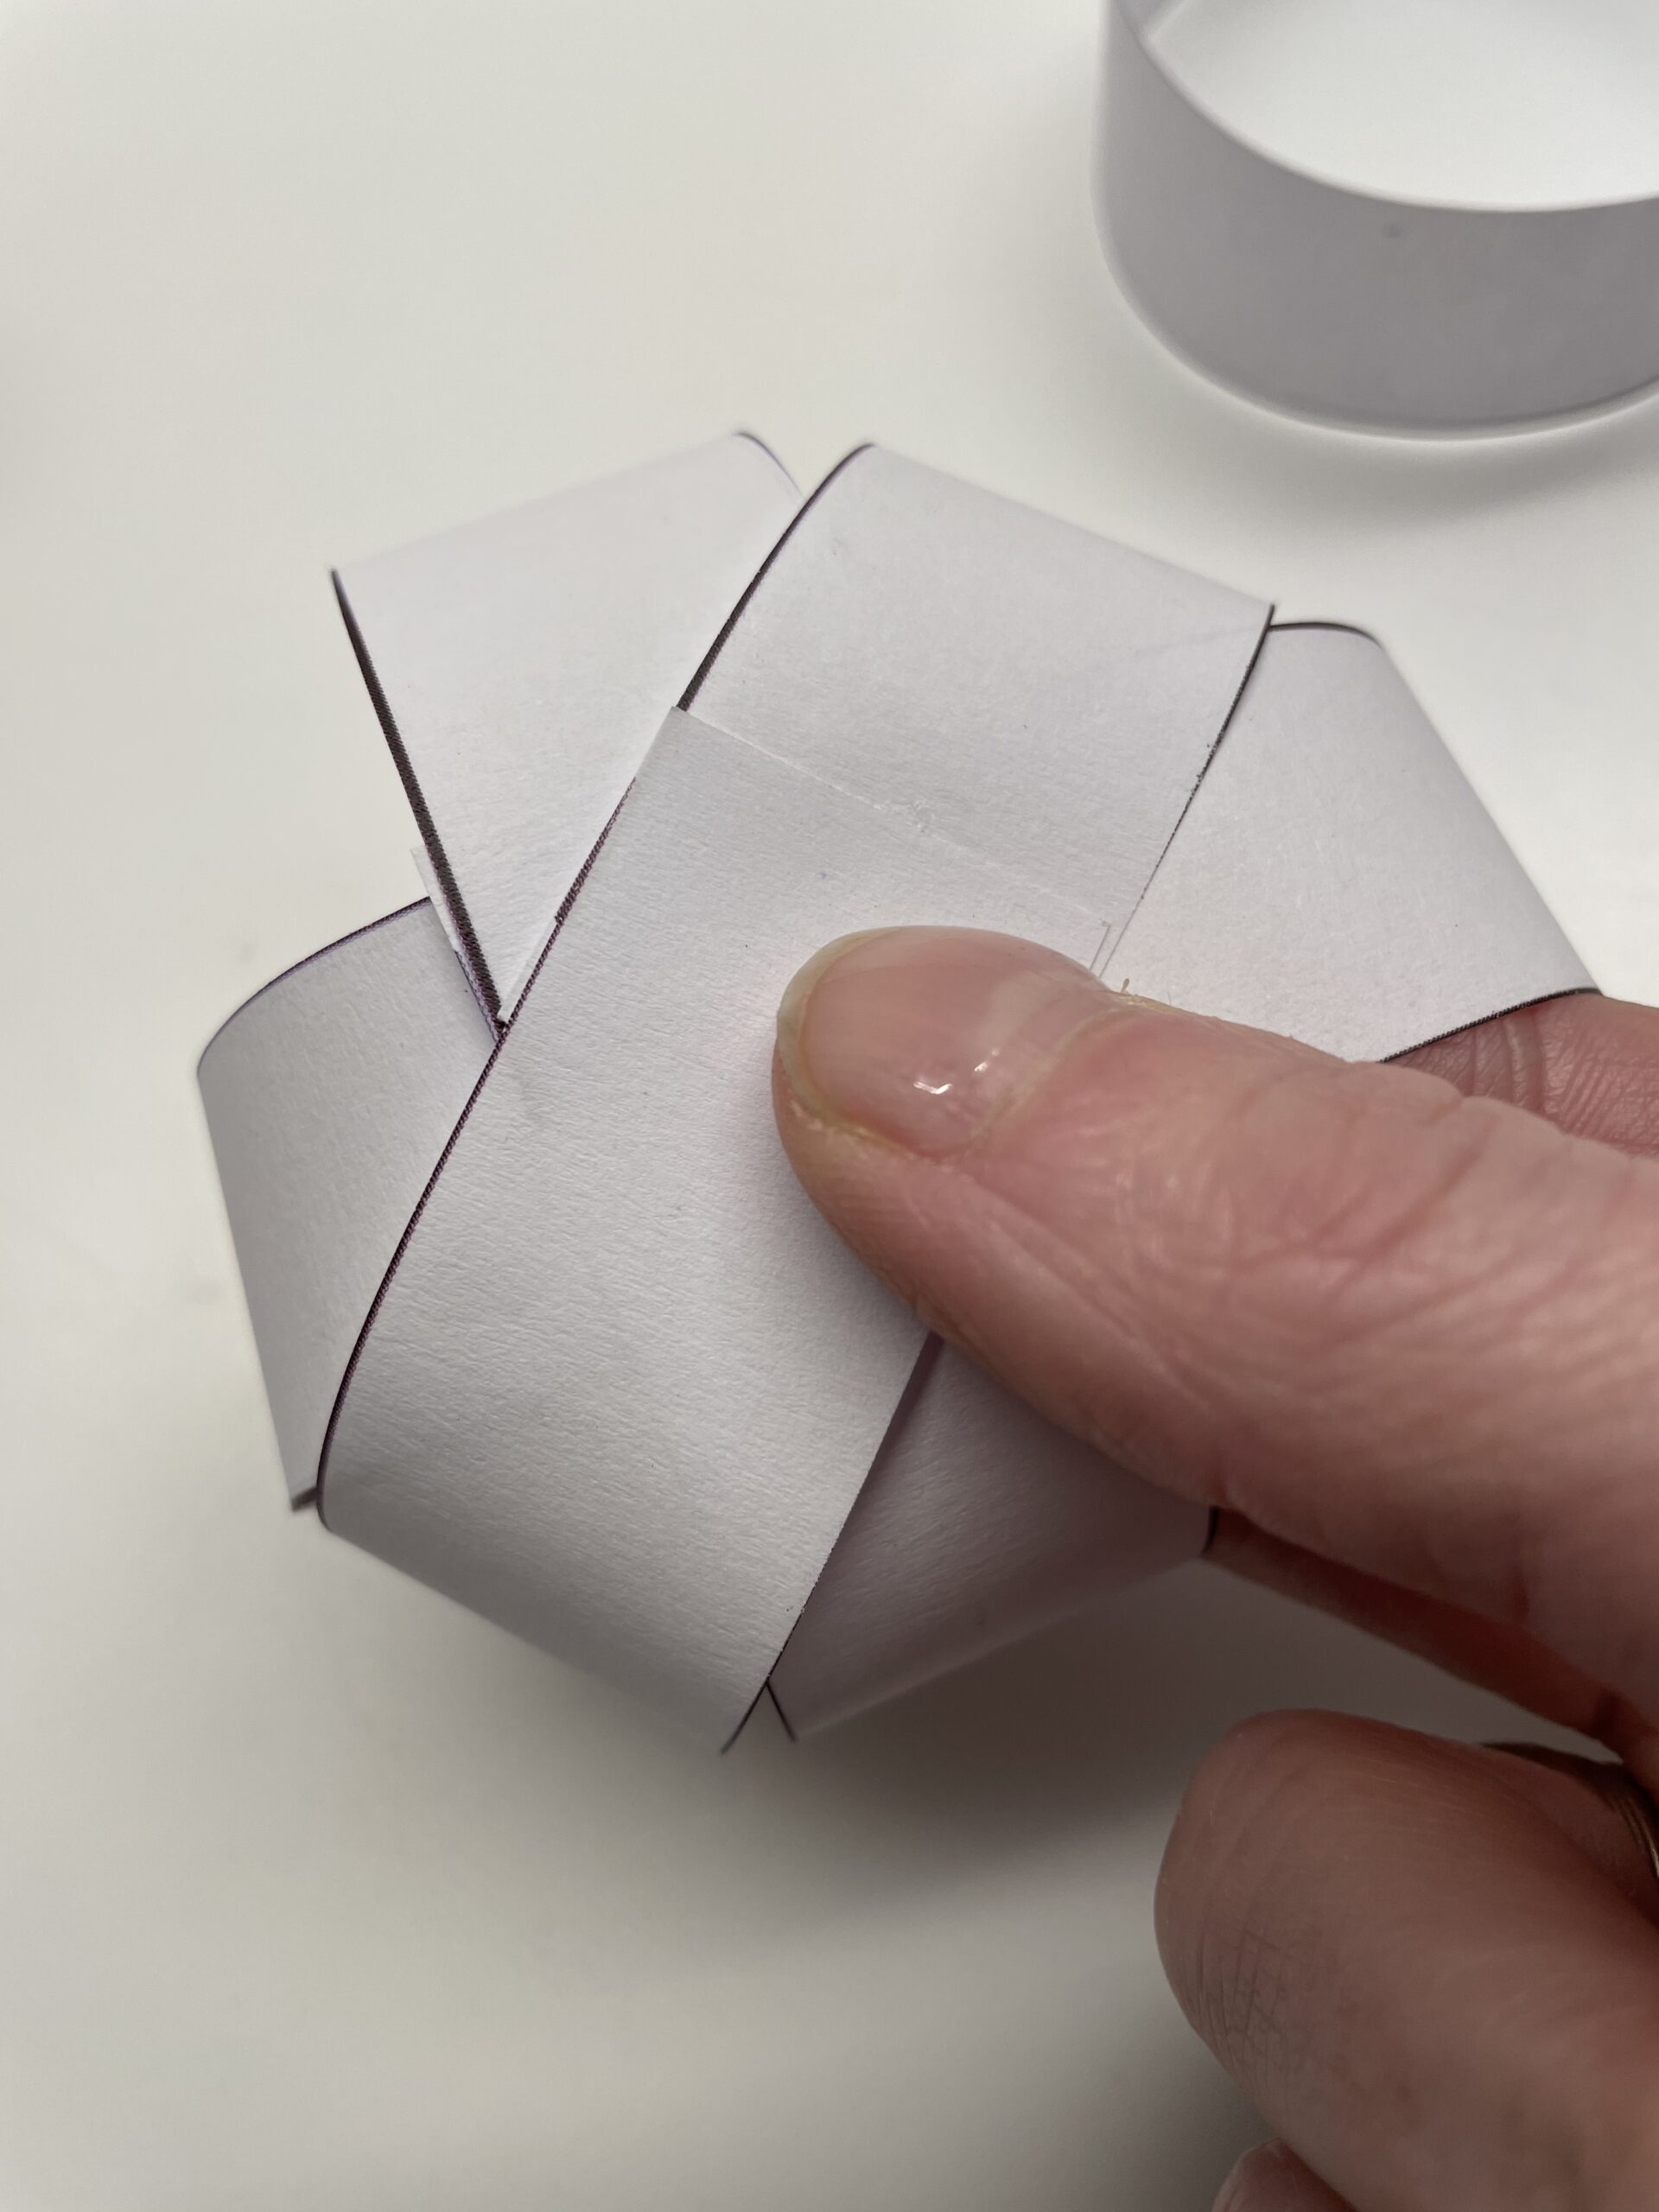
Now you put glue again in the middle of the paper cross.
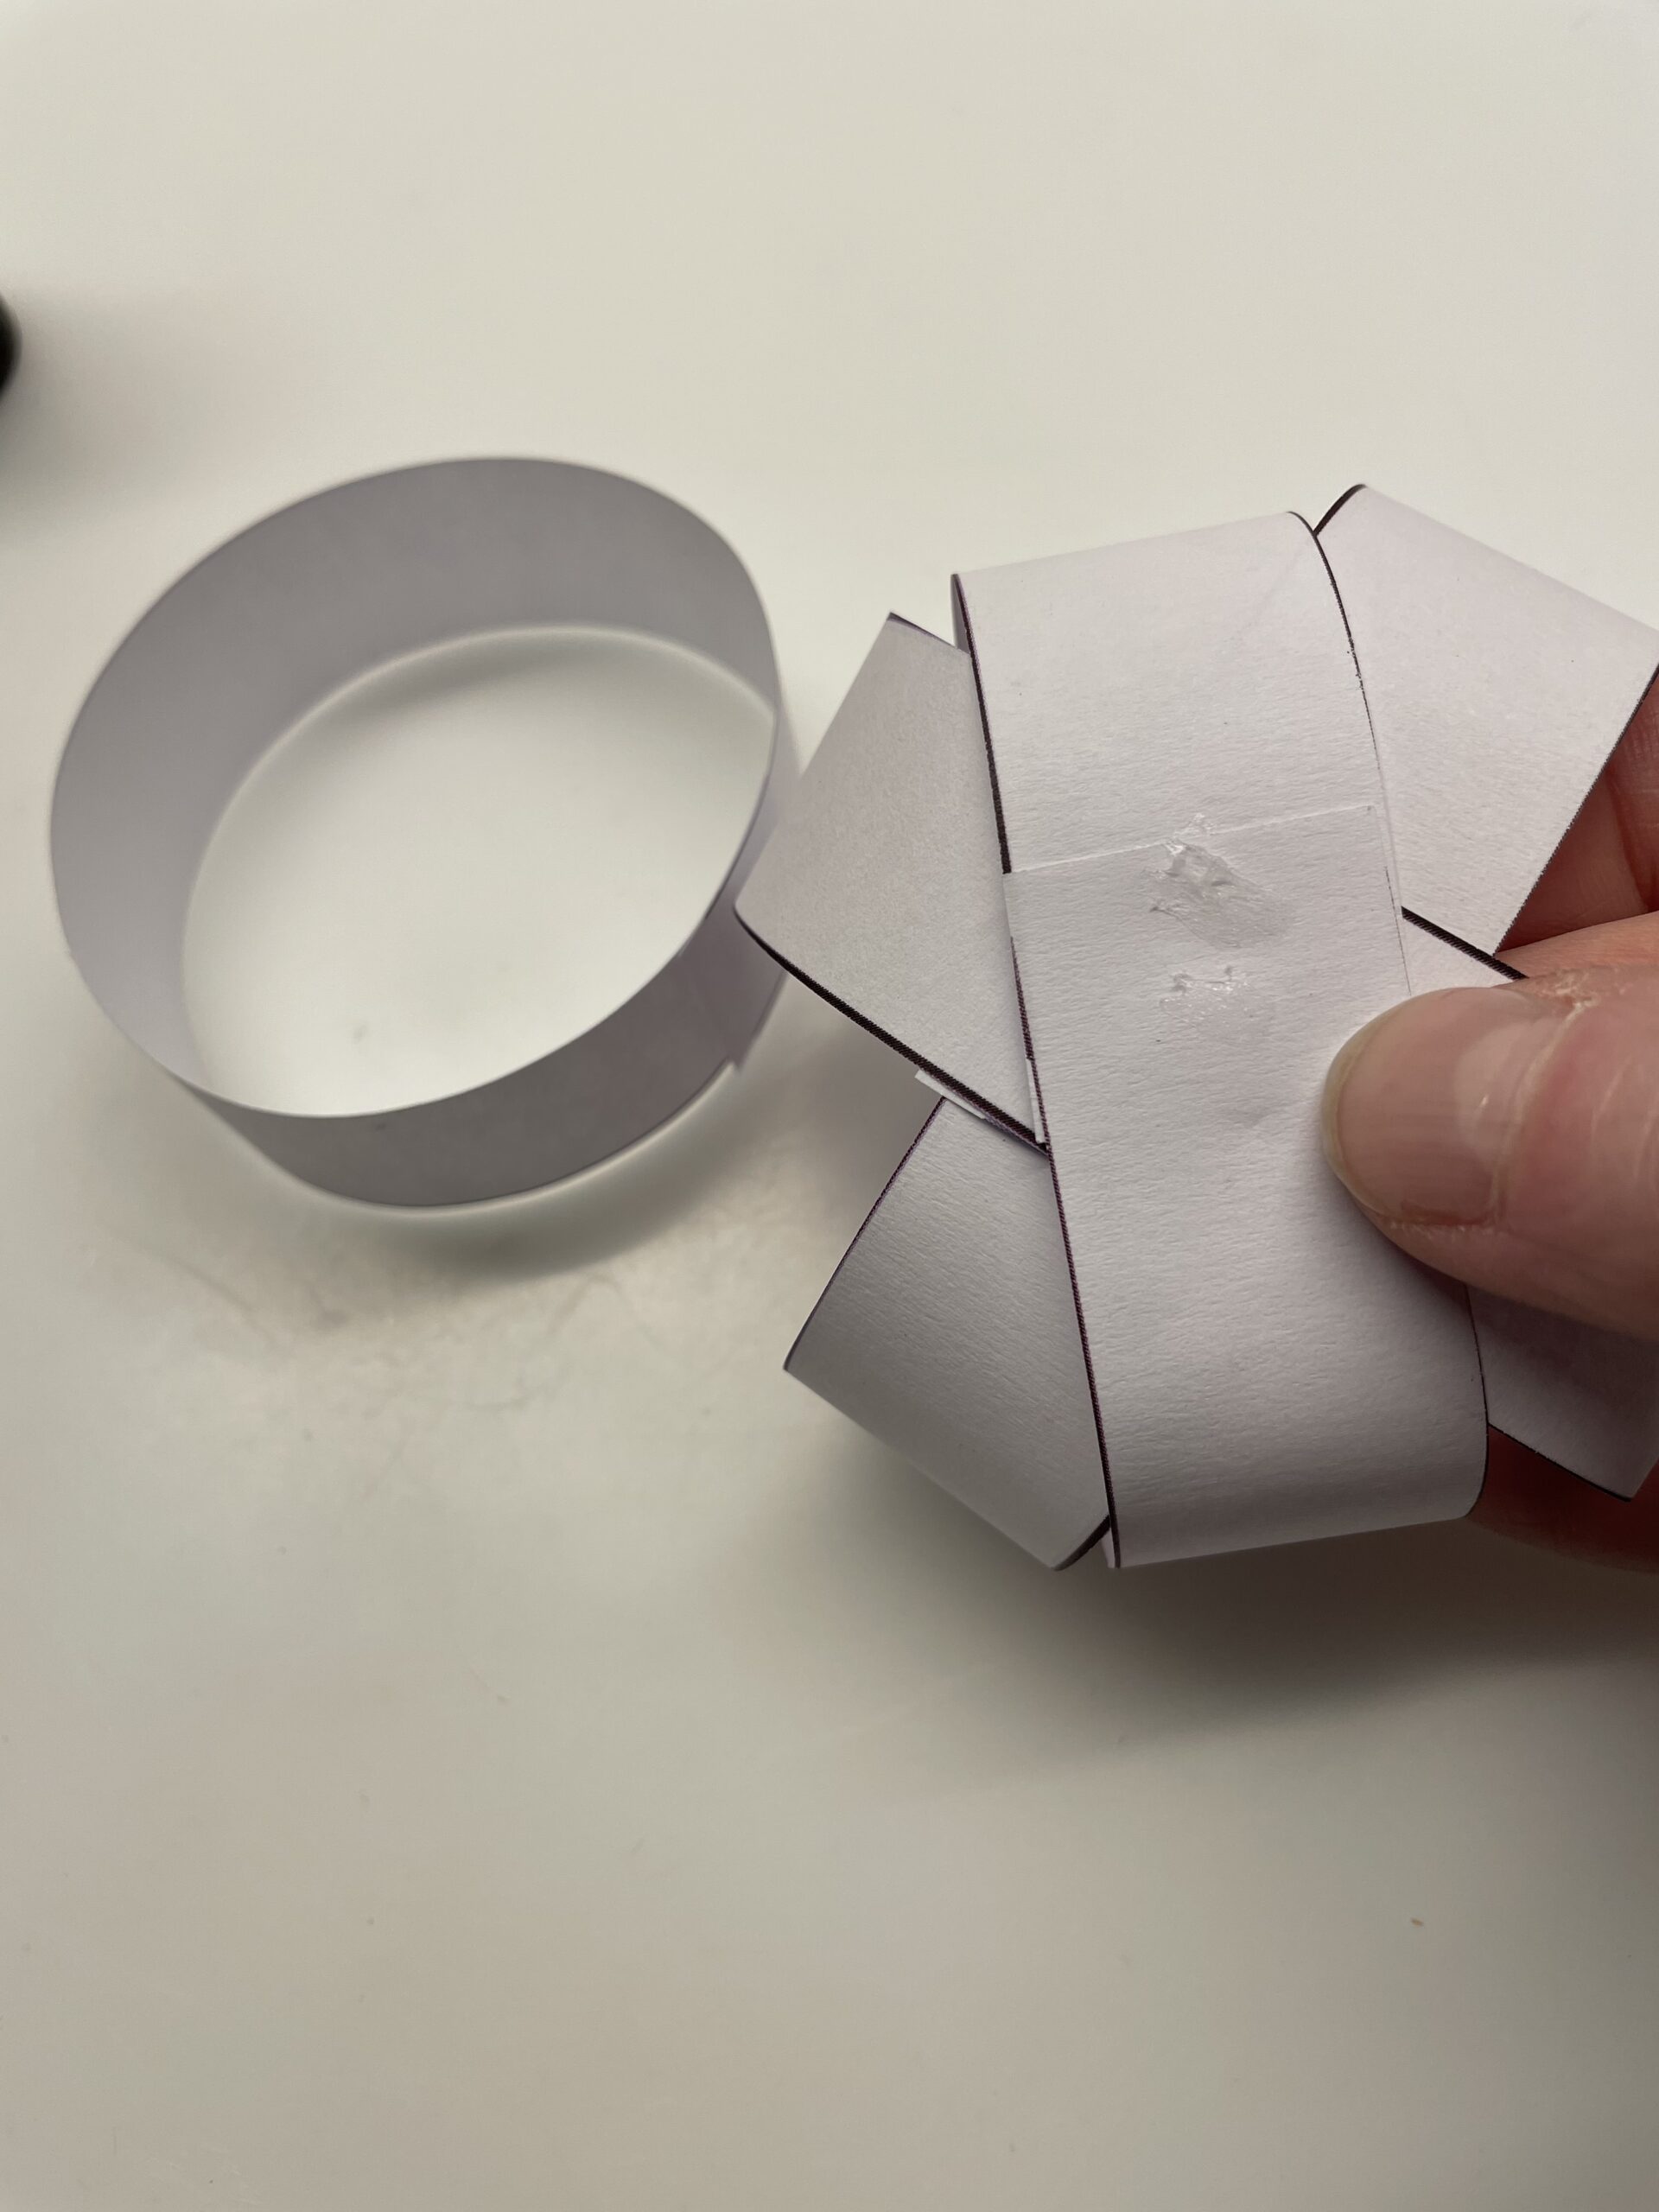
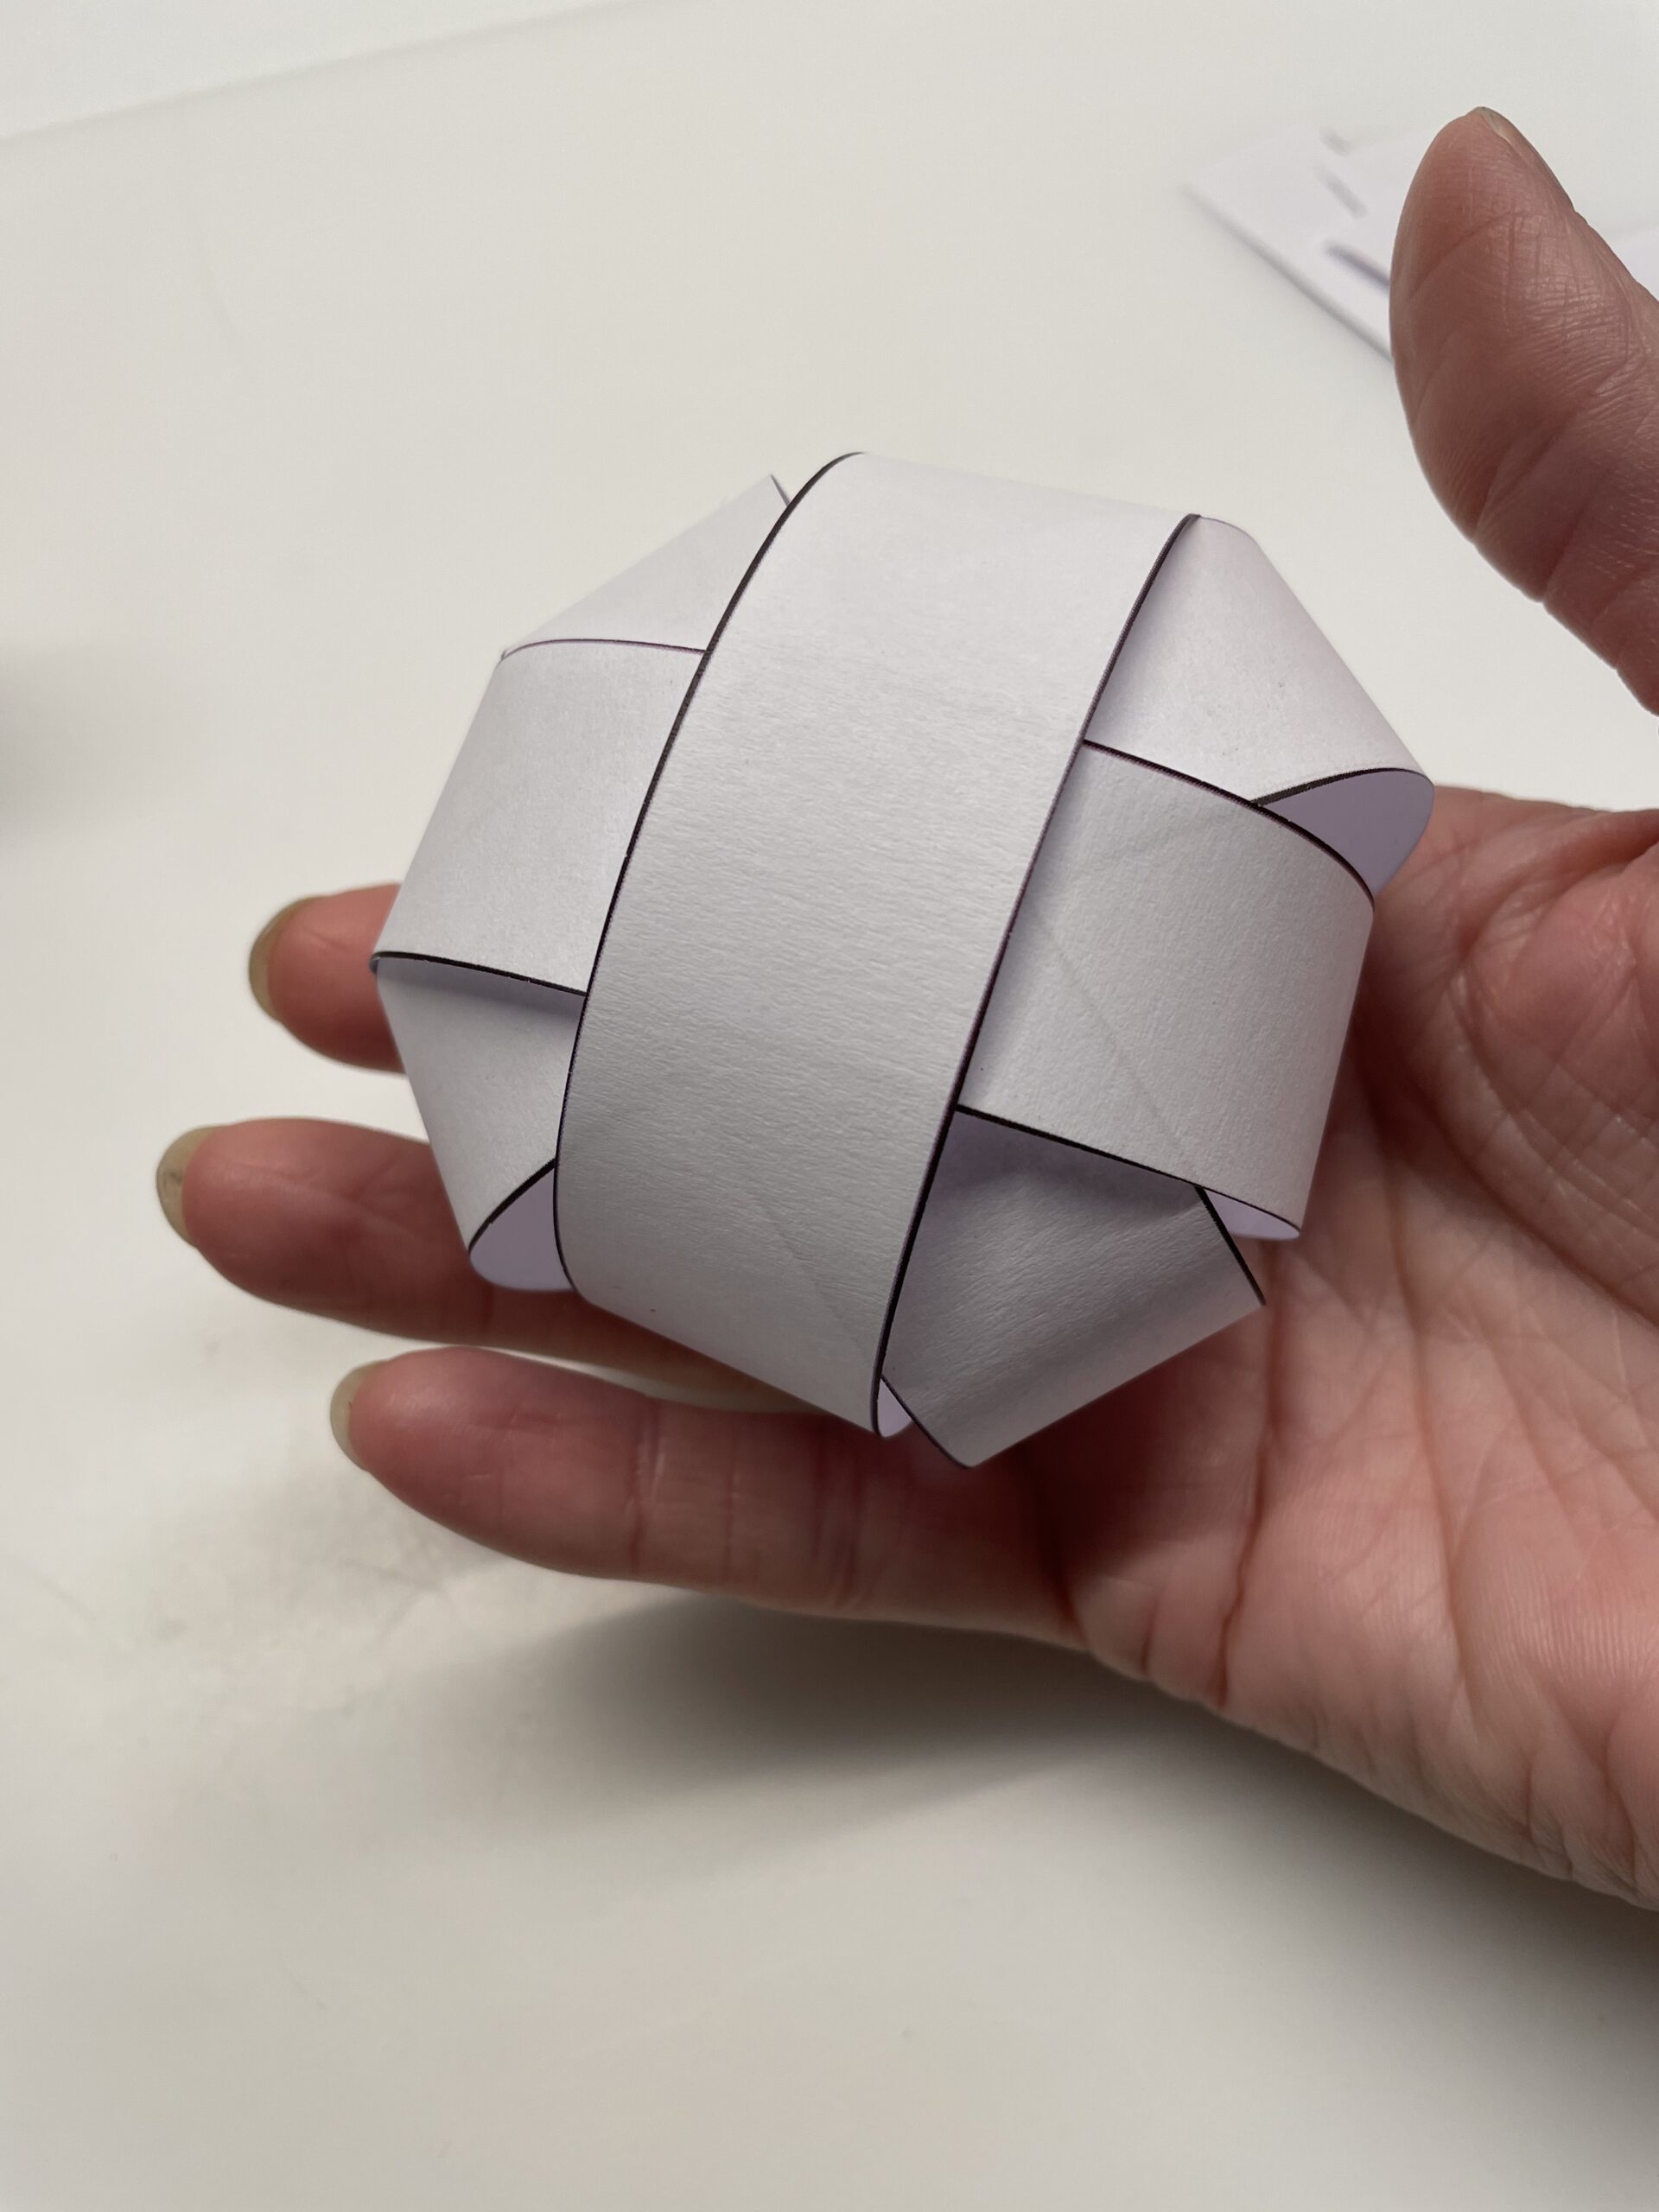
Then you push the 4th ring diagonally over it. Gently press the last ring and make sure not to flatten the resulting snow globe.
Then you rotate the ball so that the interfaces point downwards.
Now form and glue the last four strips into rings.
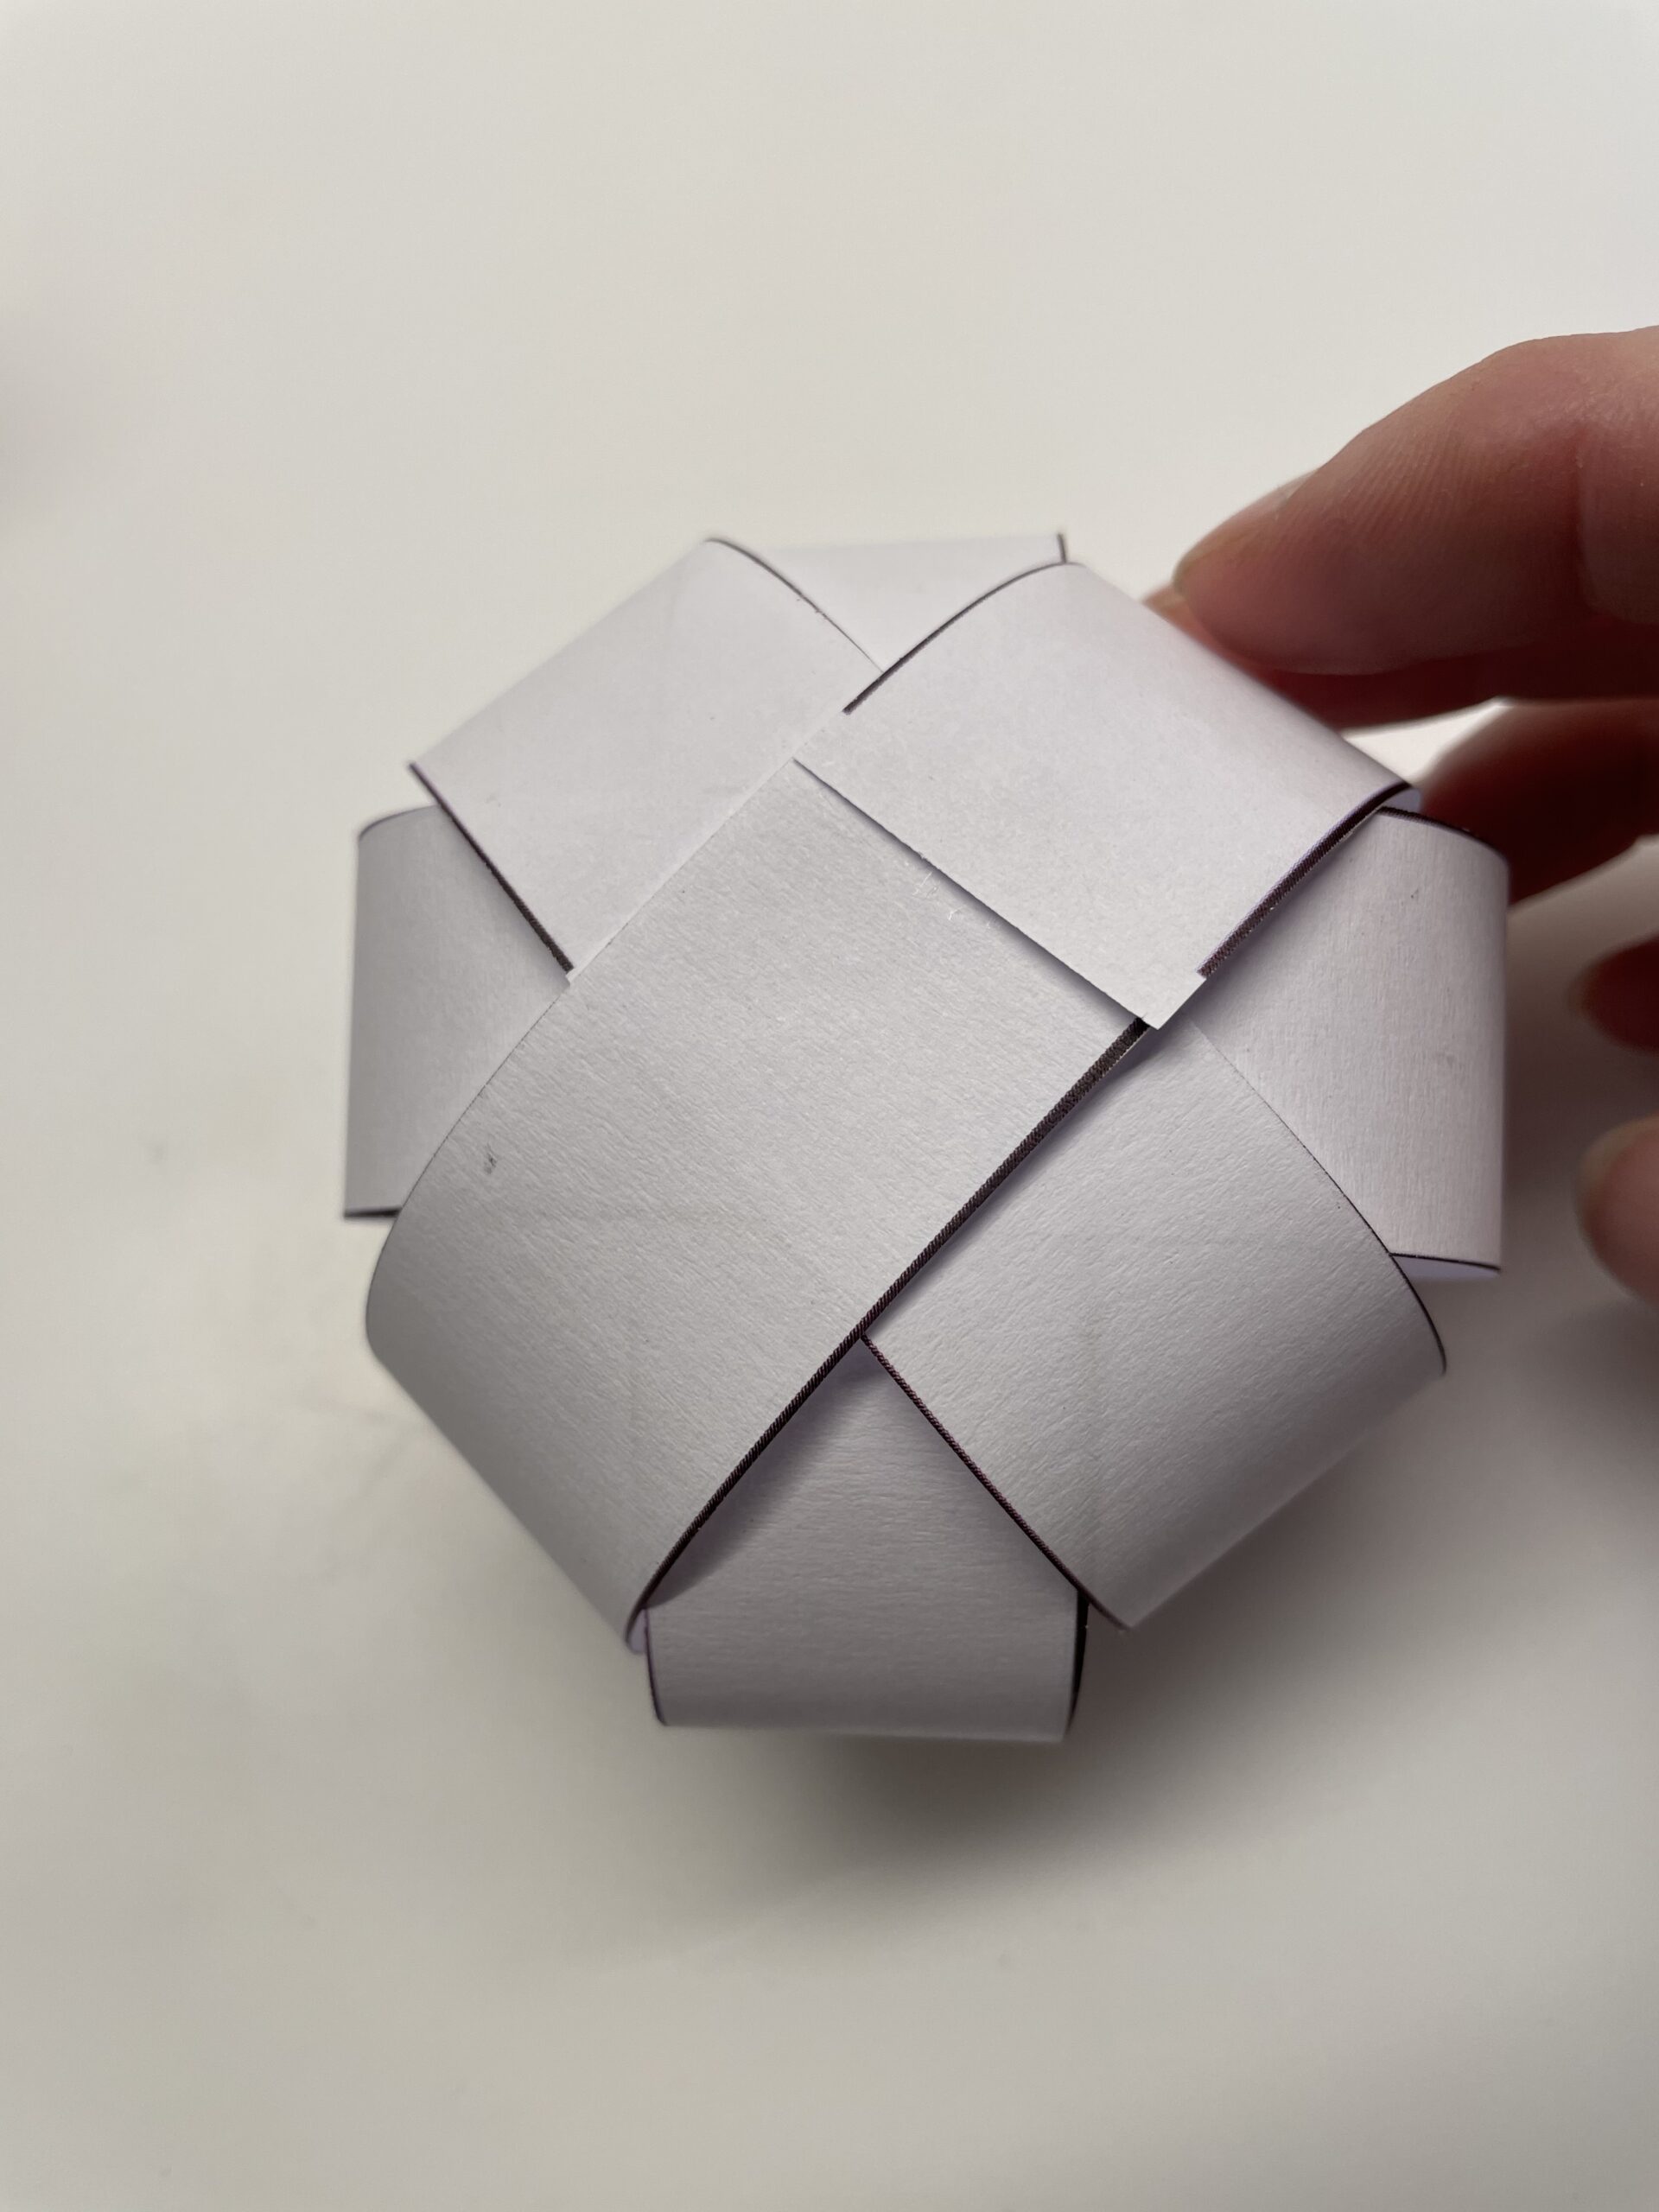
After that, you put them together and stick them together to form a snow globe.
Two snowballs are ready.
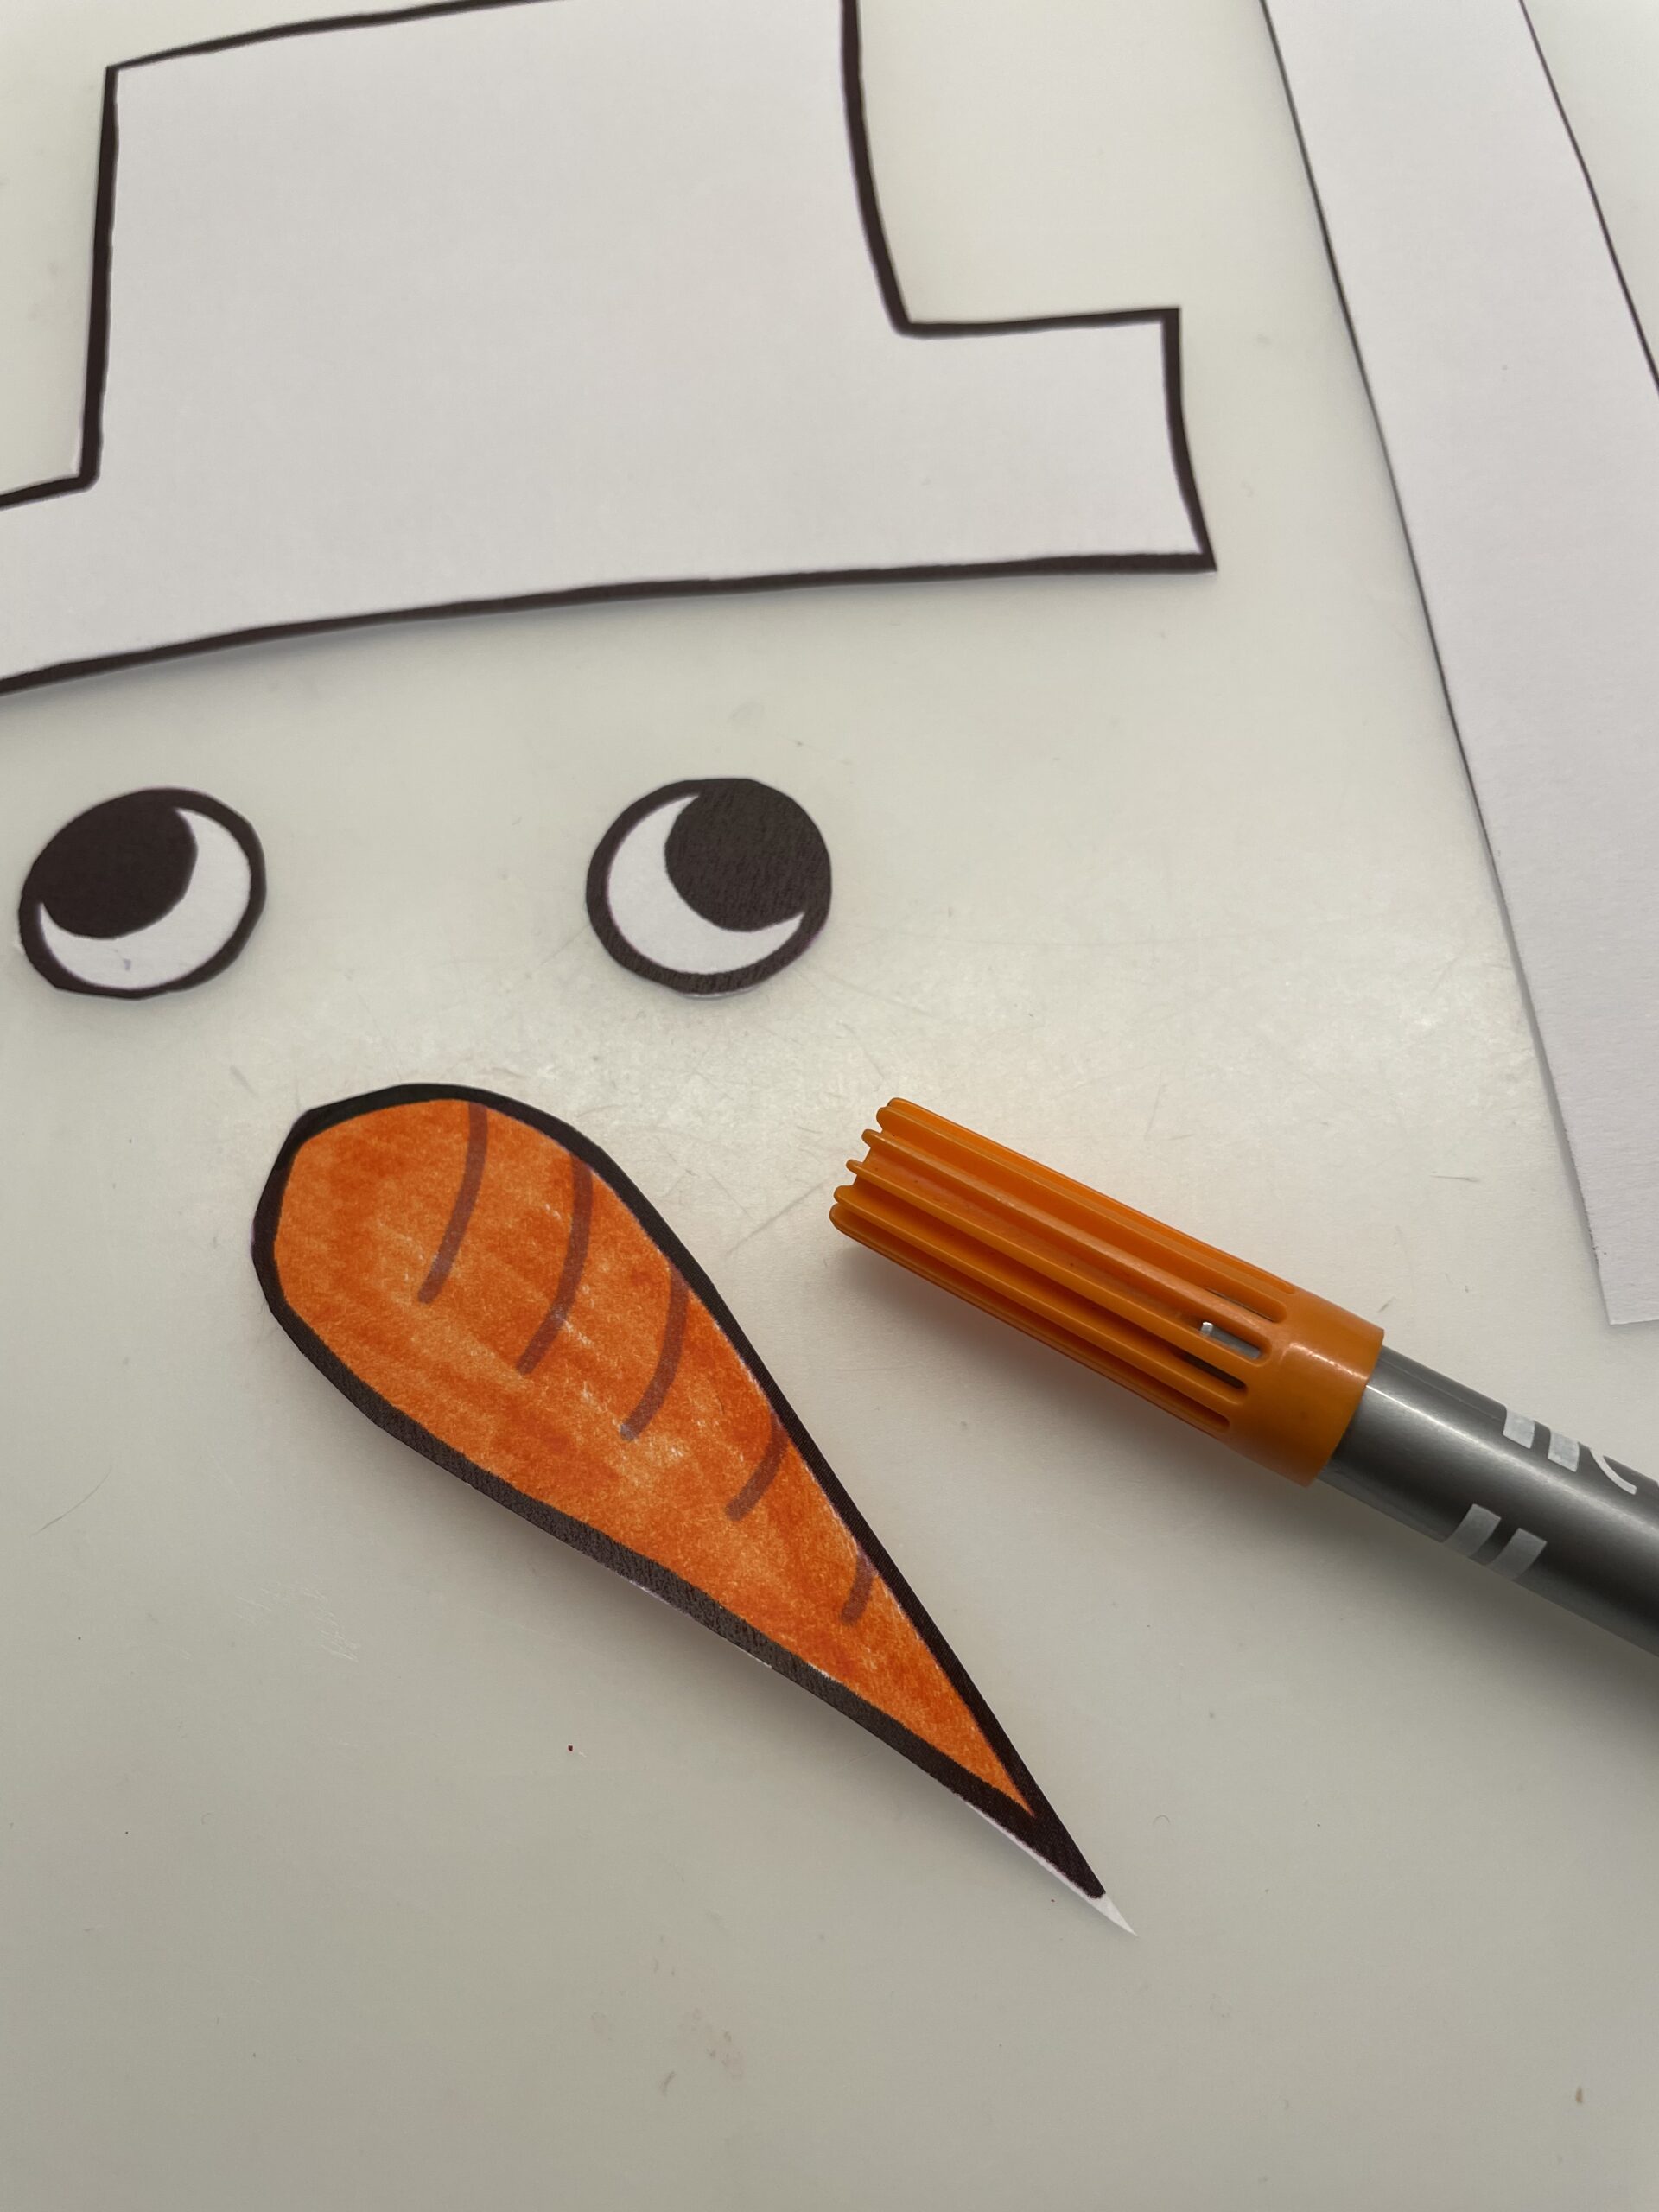
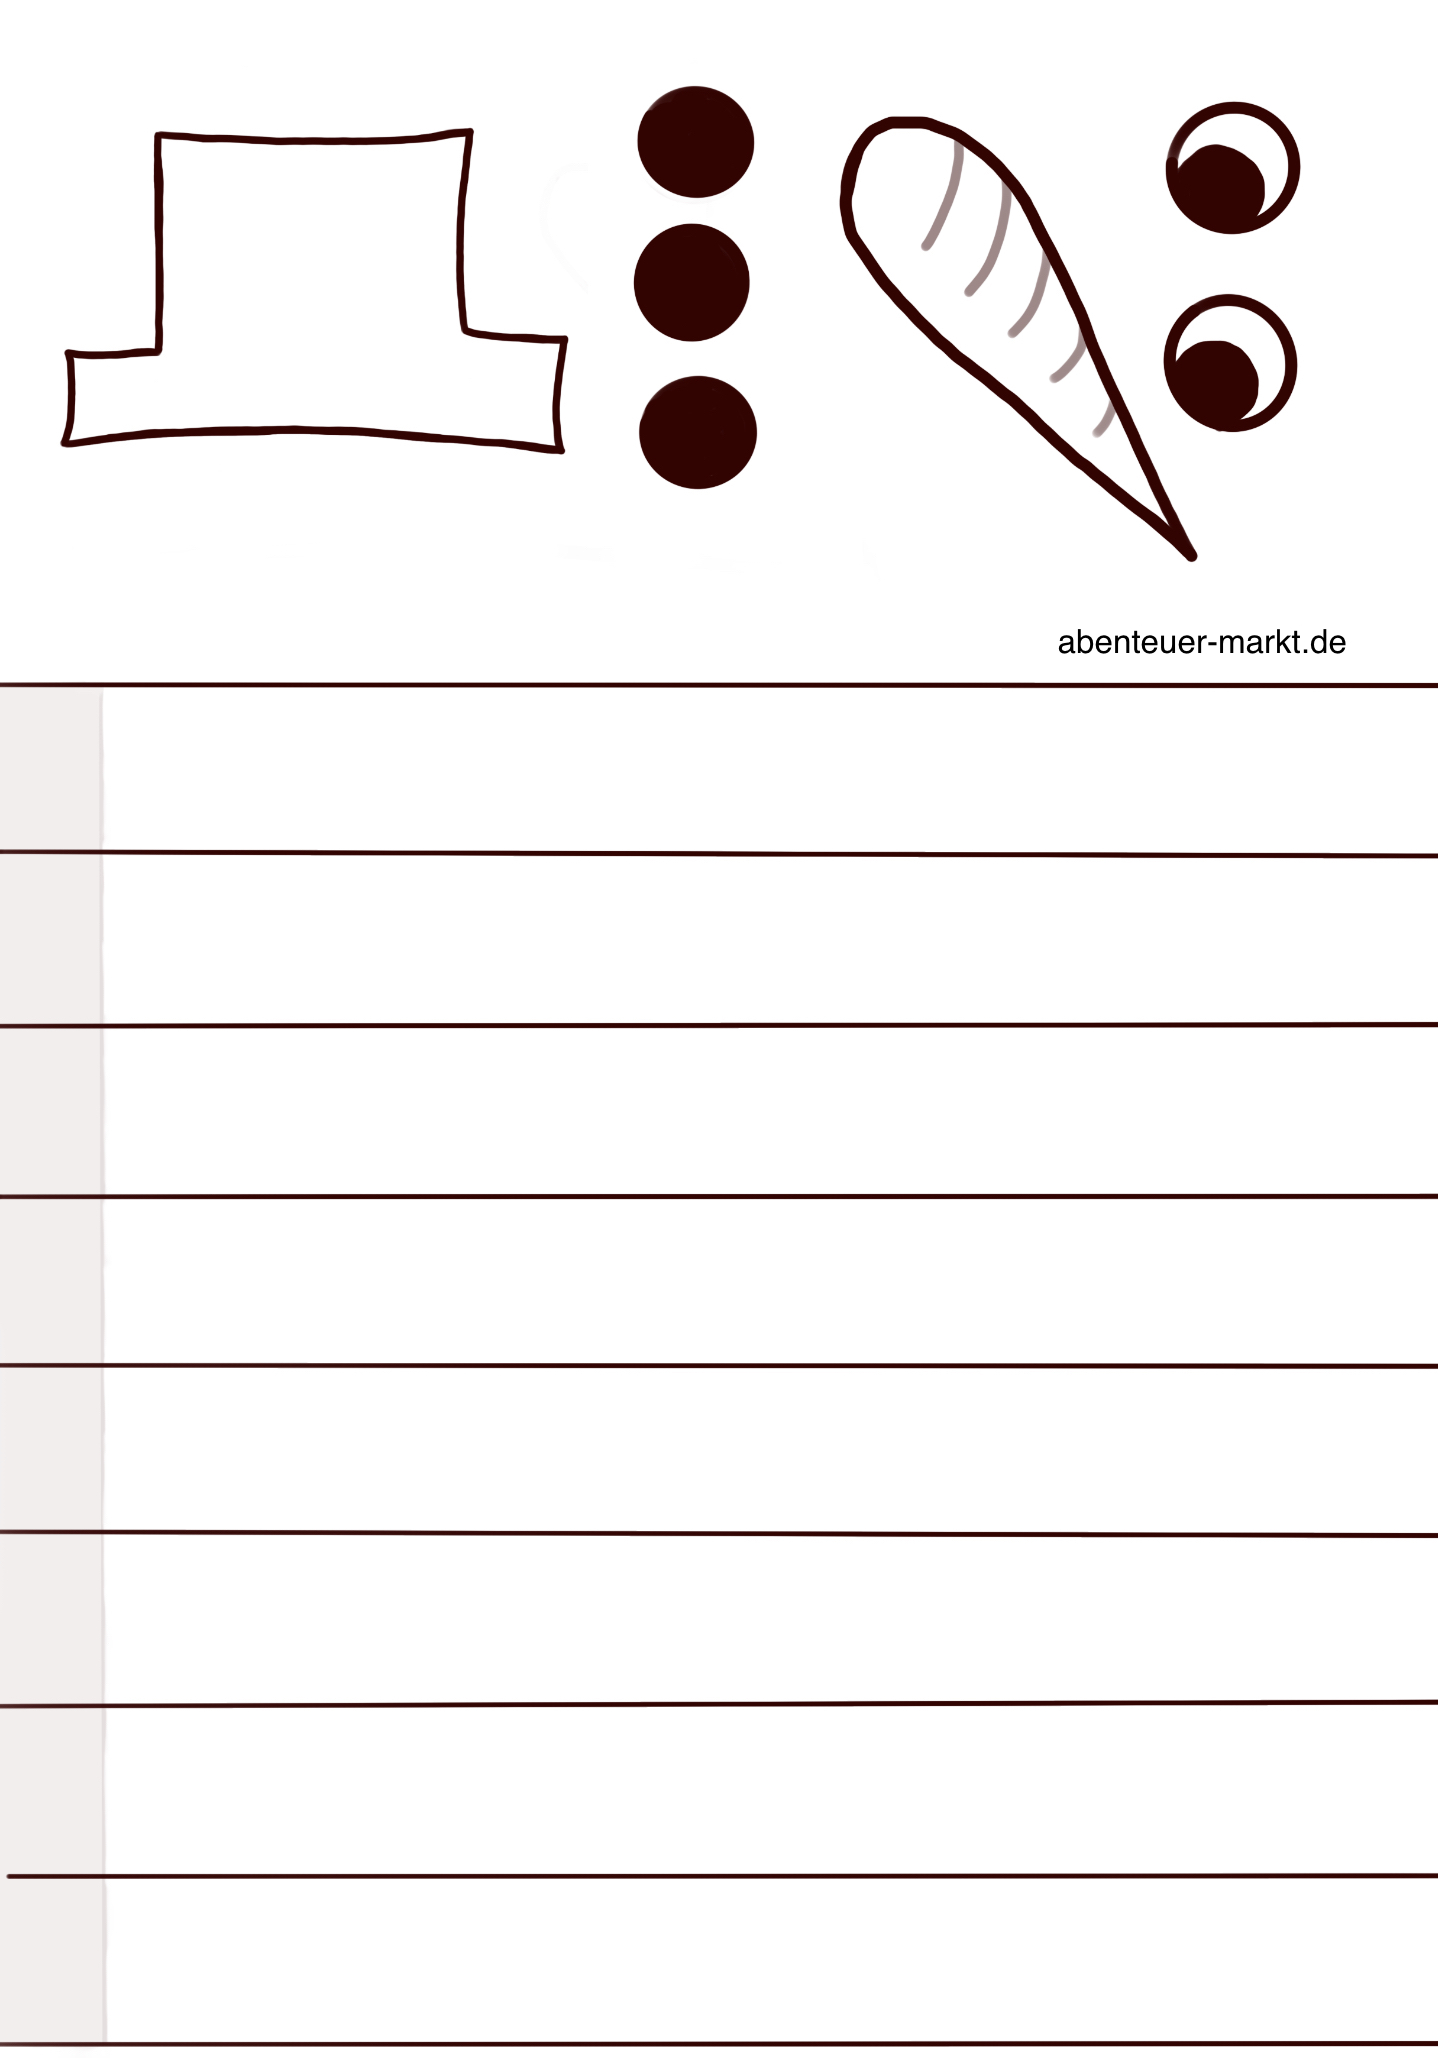
For face and hat you can use the template or you can paint it freely.
You can record the carrot and paint it orange or paint it on orange paper and cut it out.
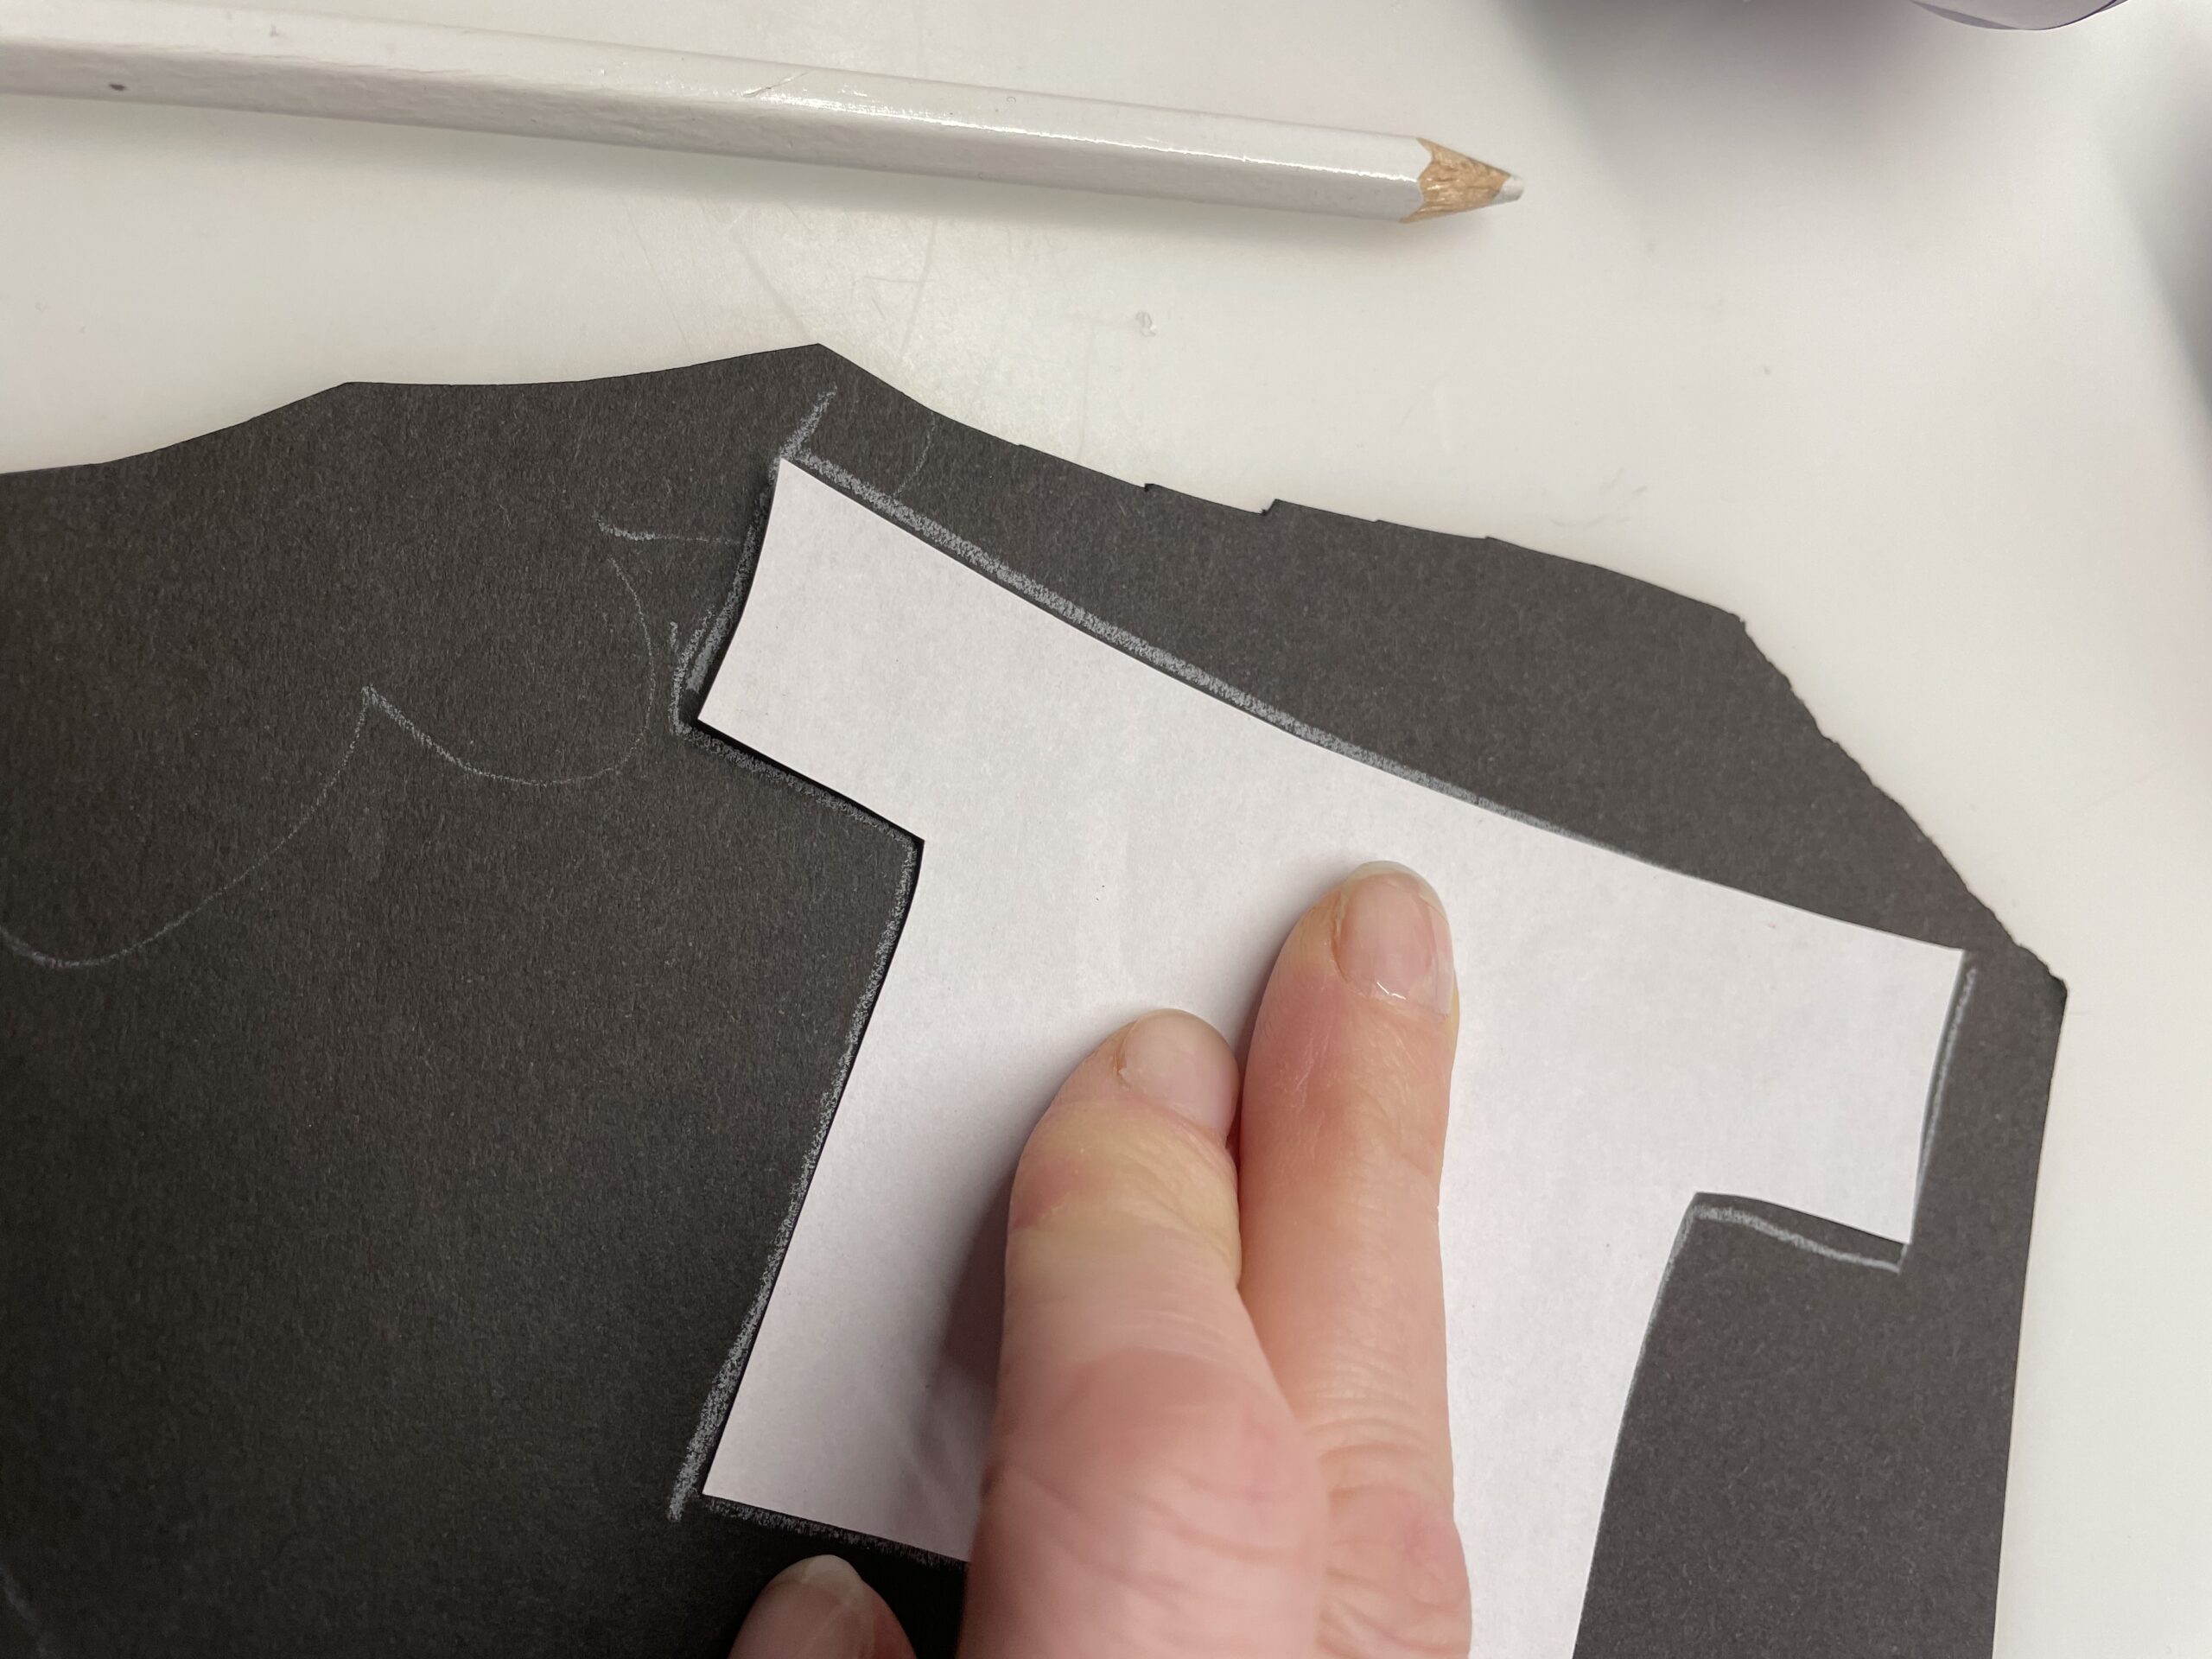
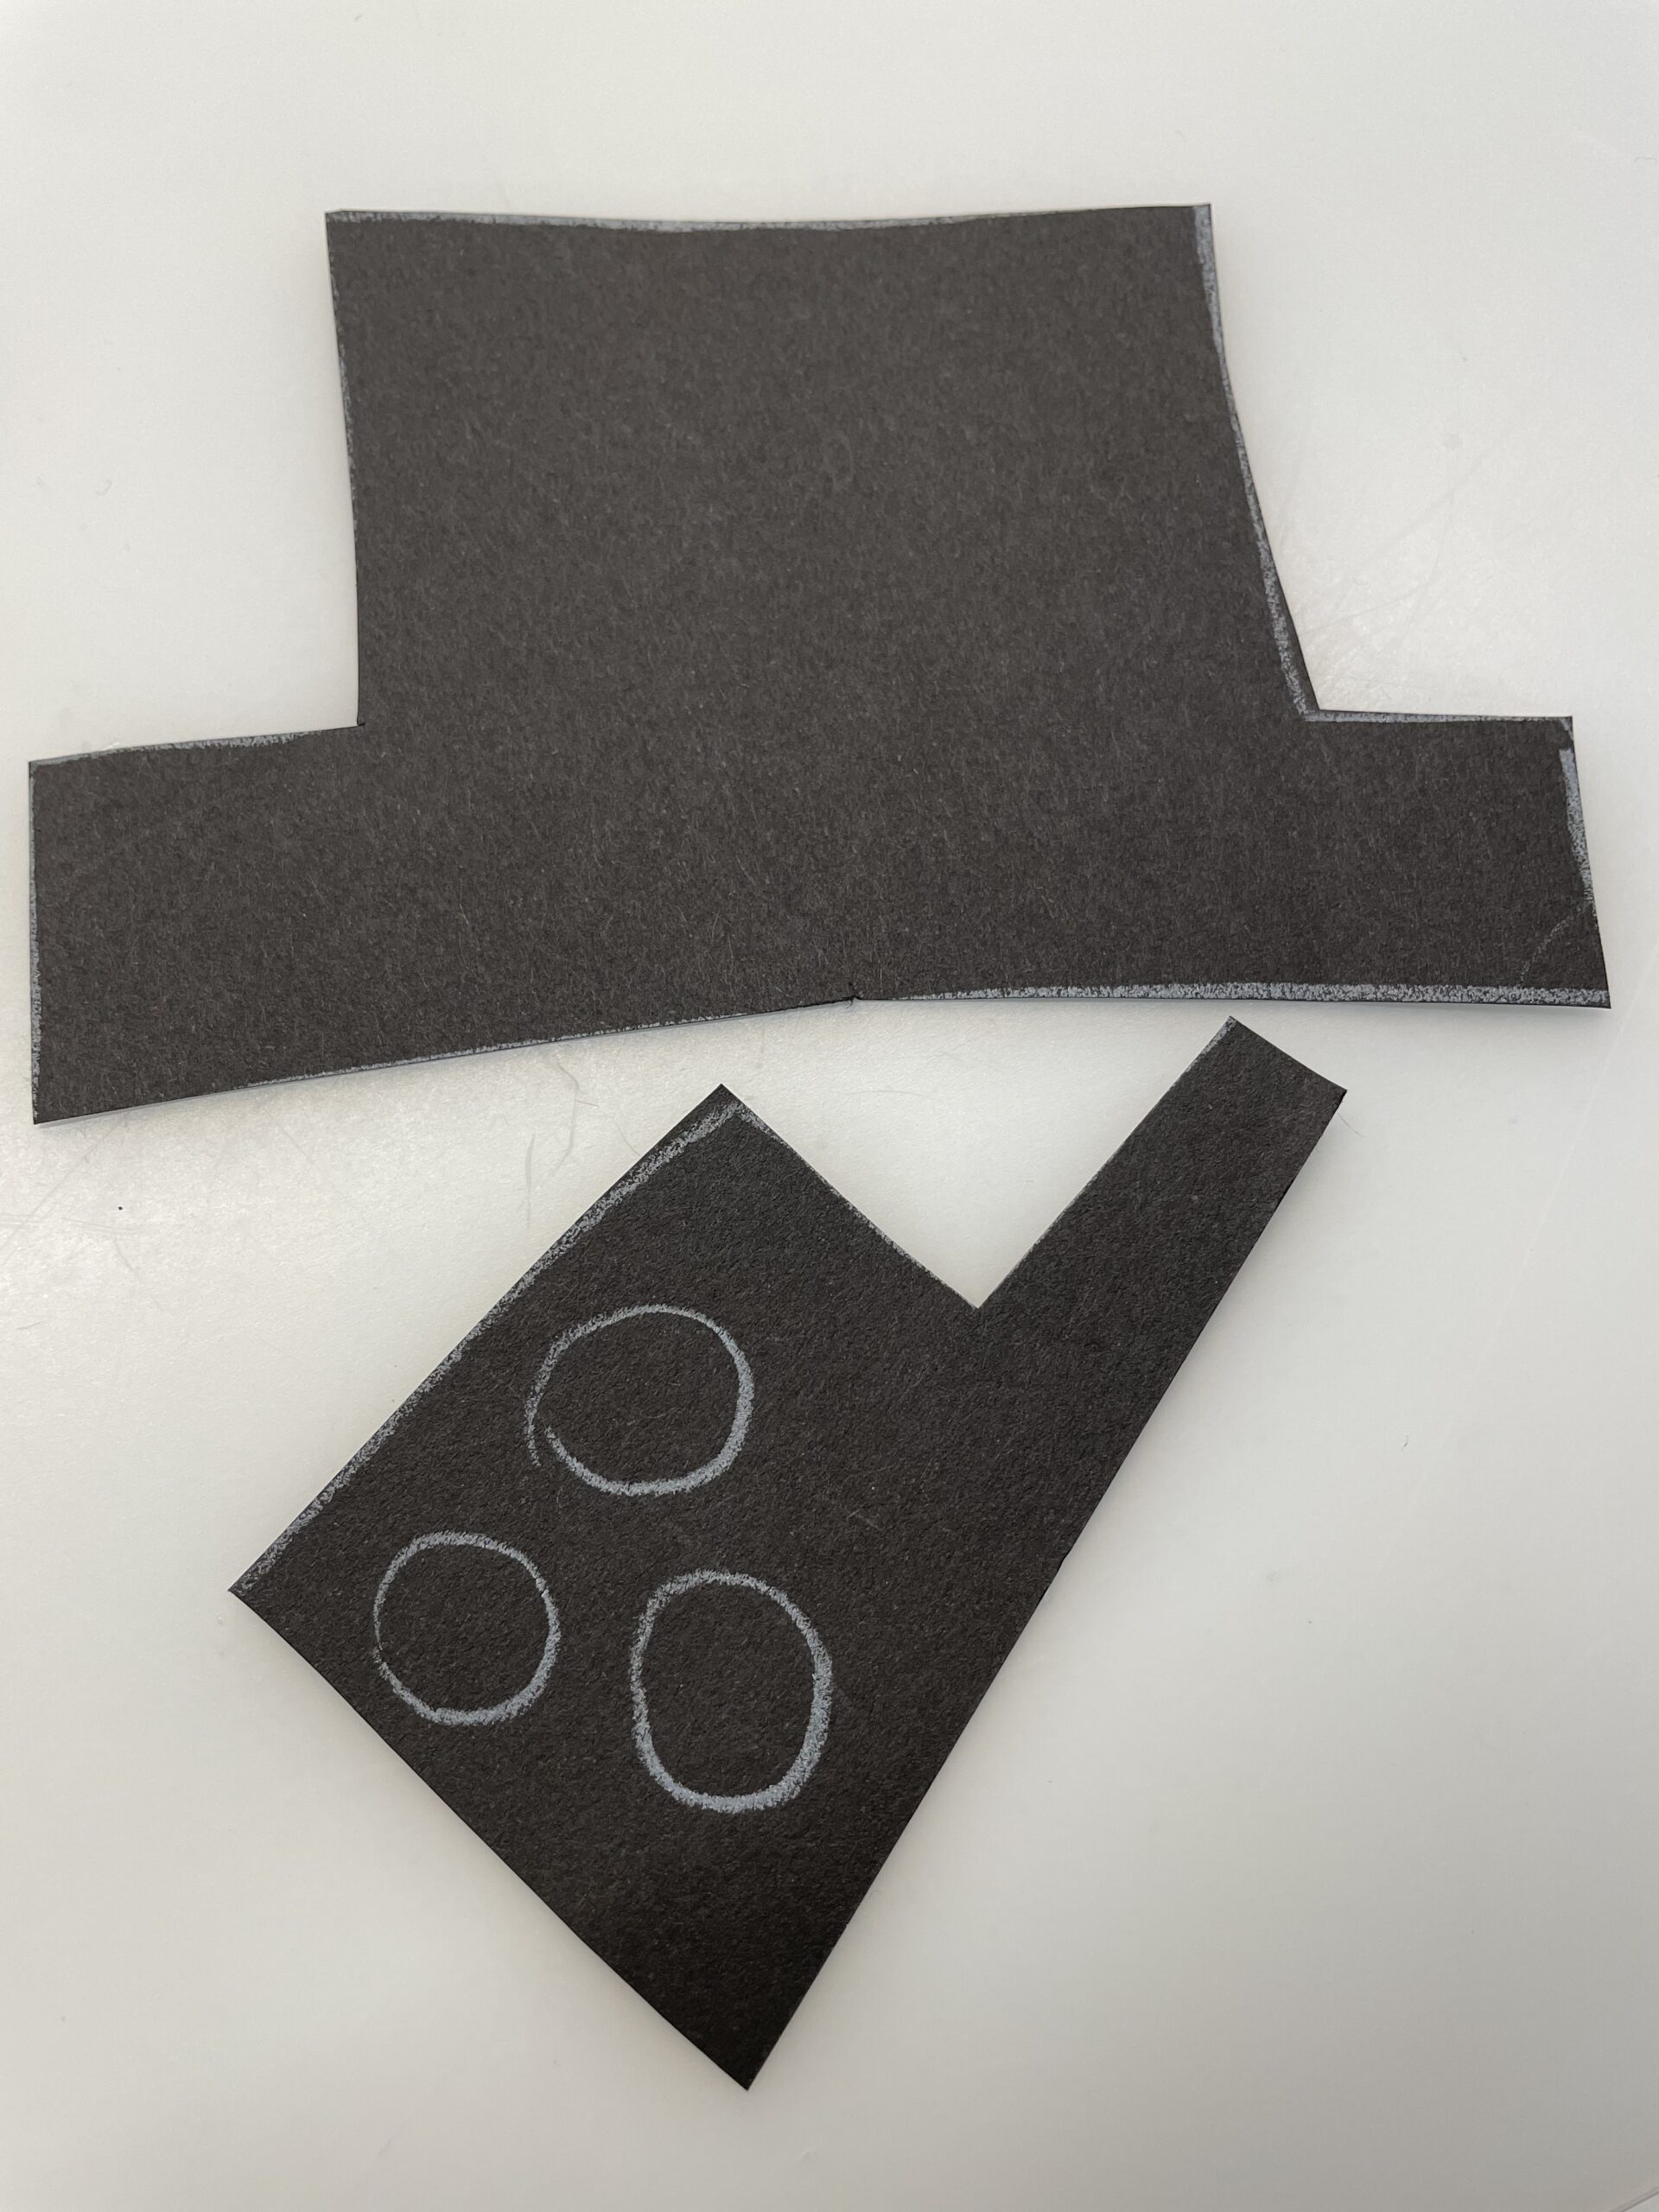
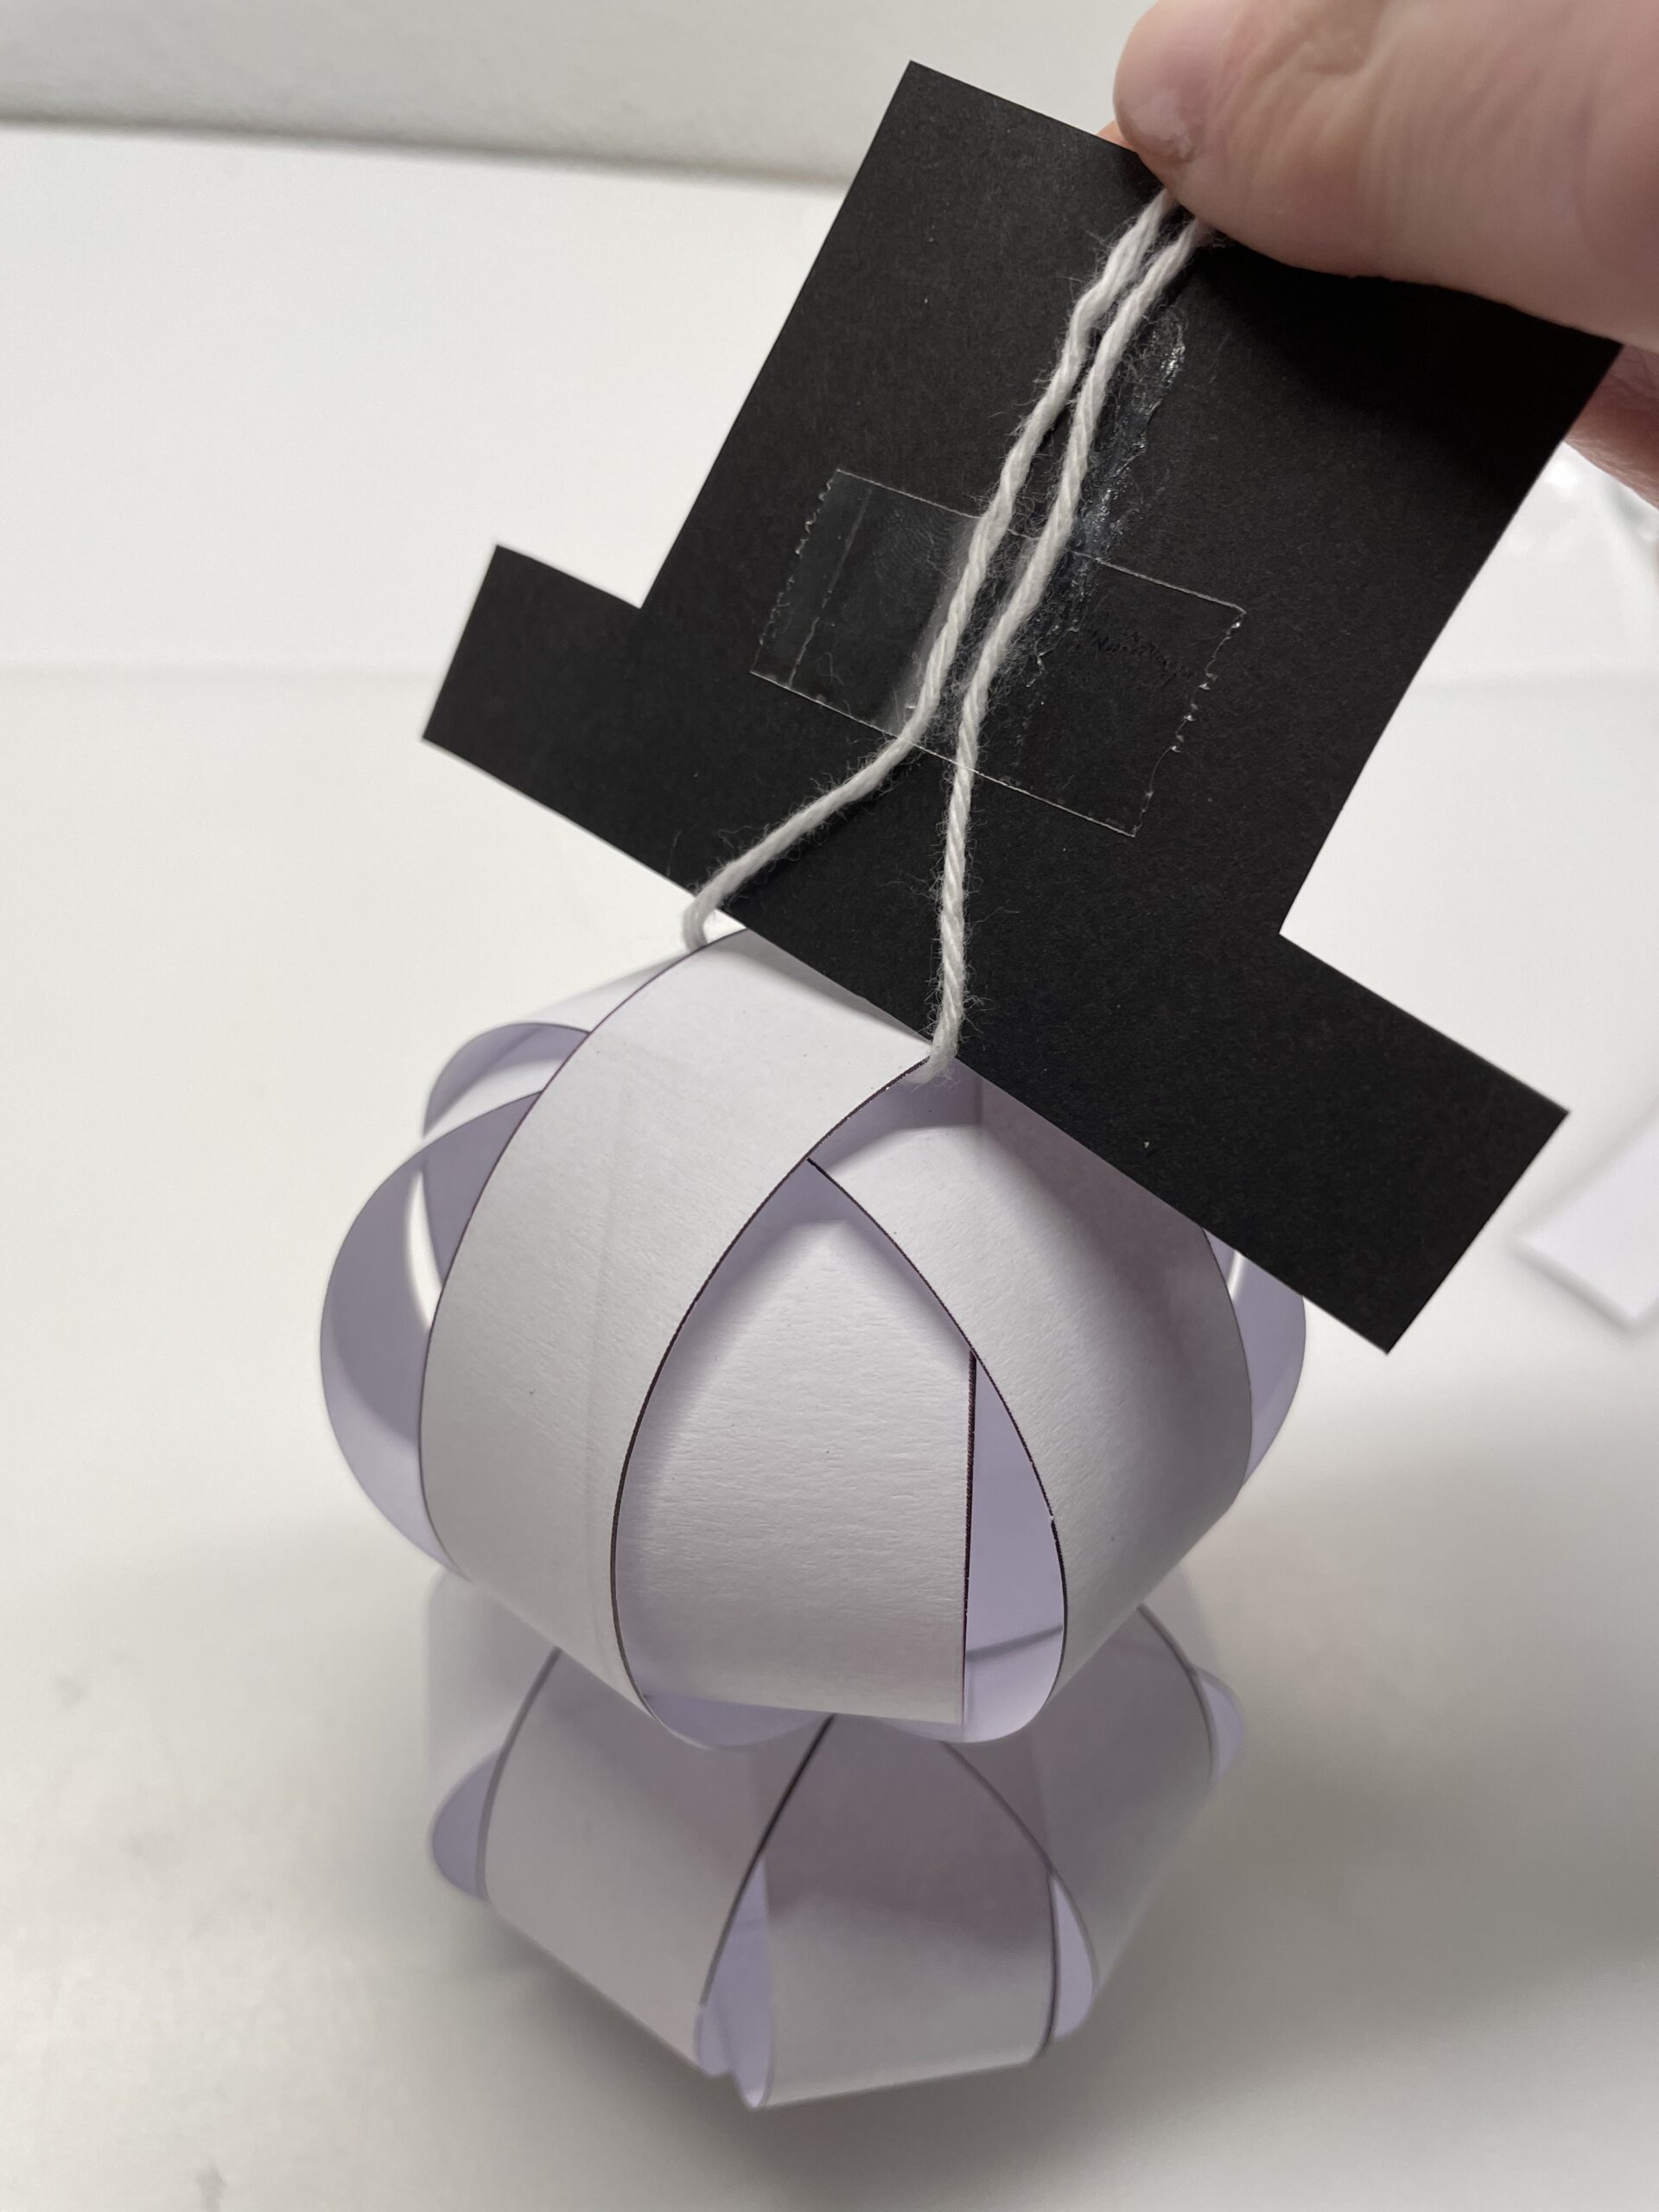
Transfer the template for the hat to a black clay paper or draw it on yourself and cut it out.
Then you paint three small circles for the buttons and cut them out.
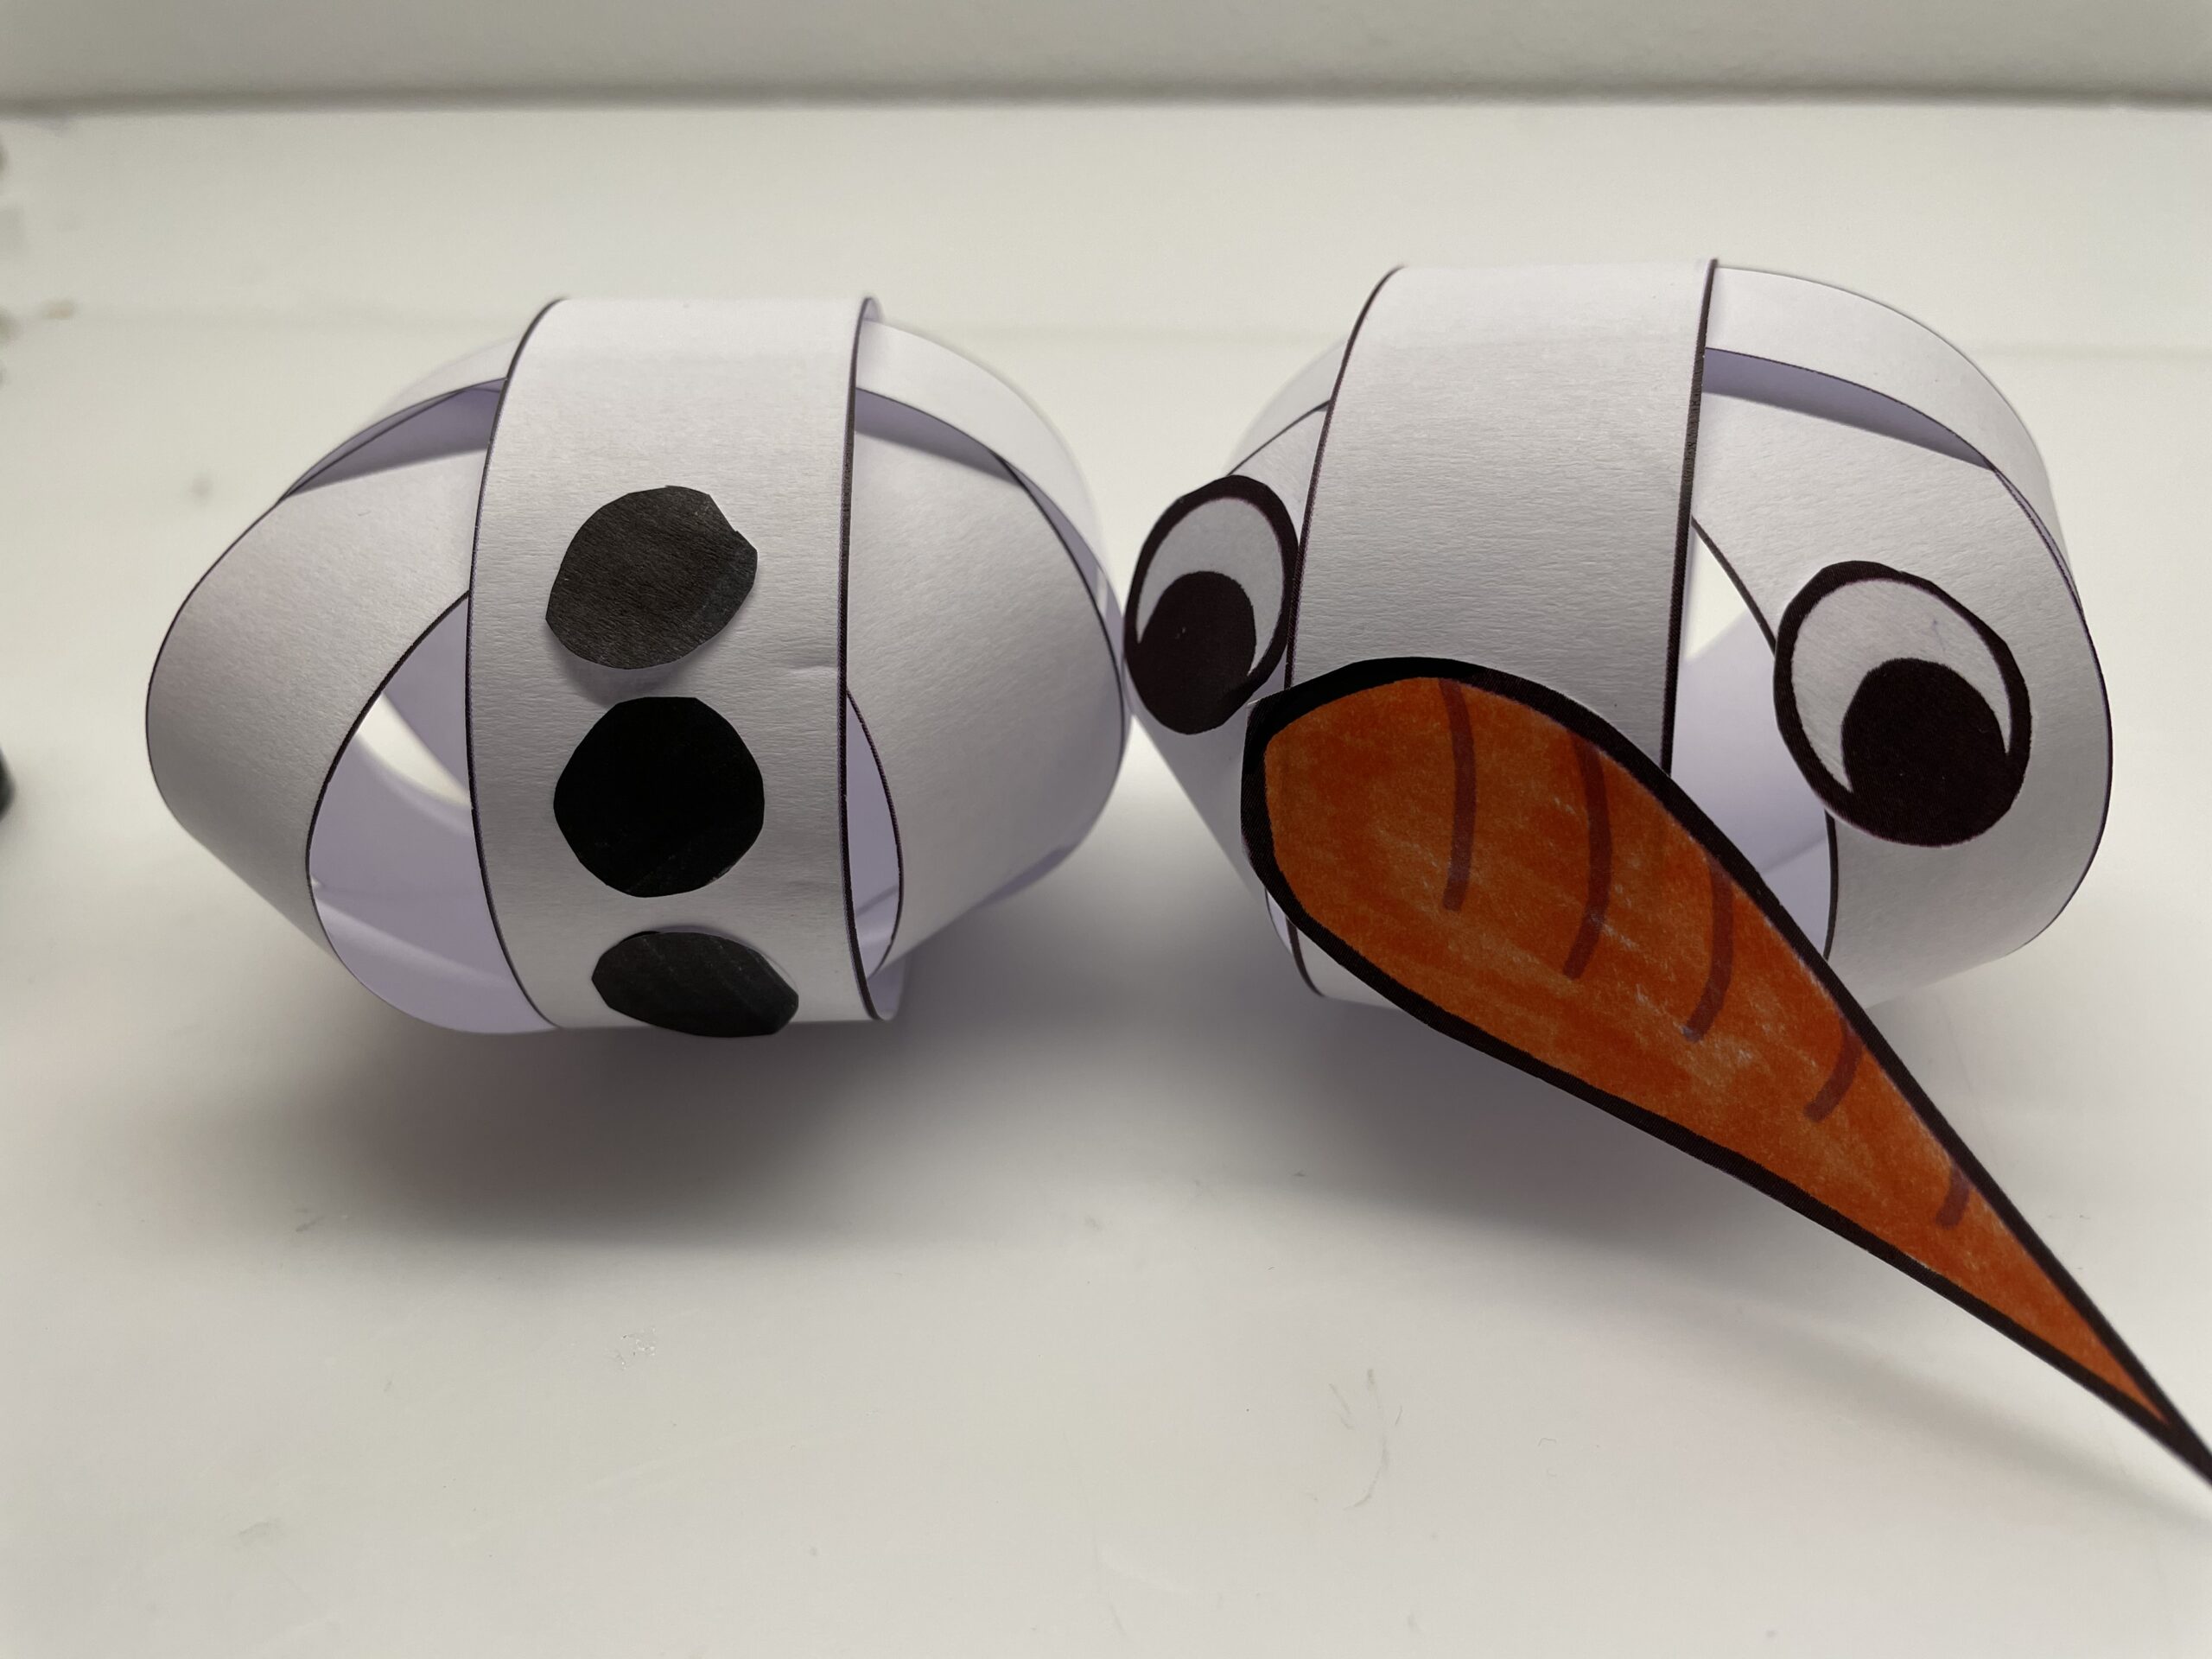
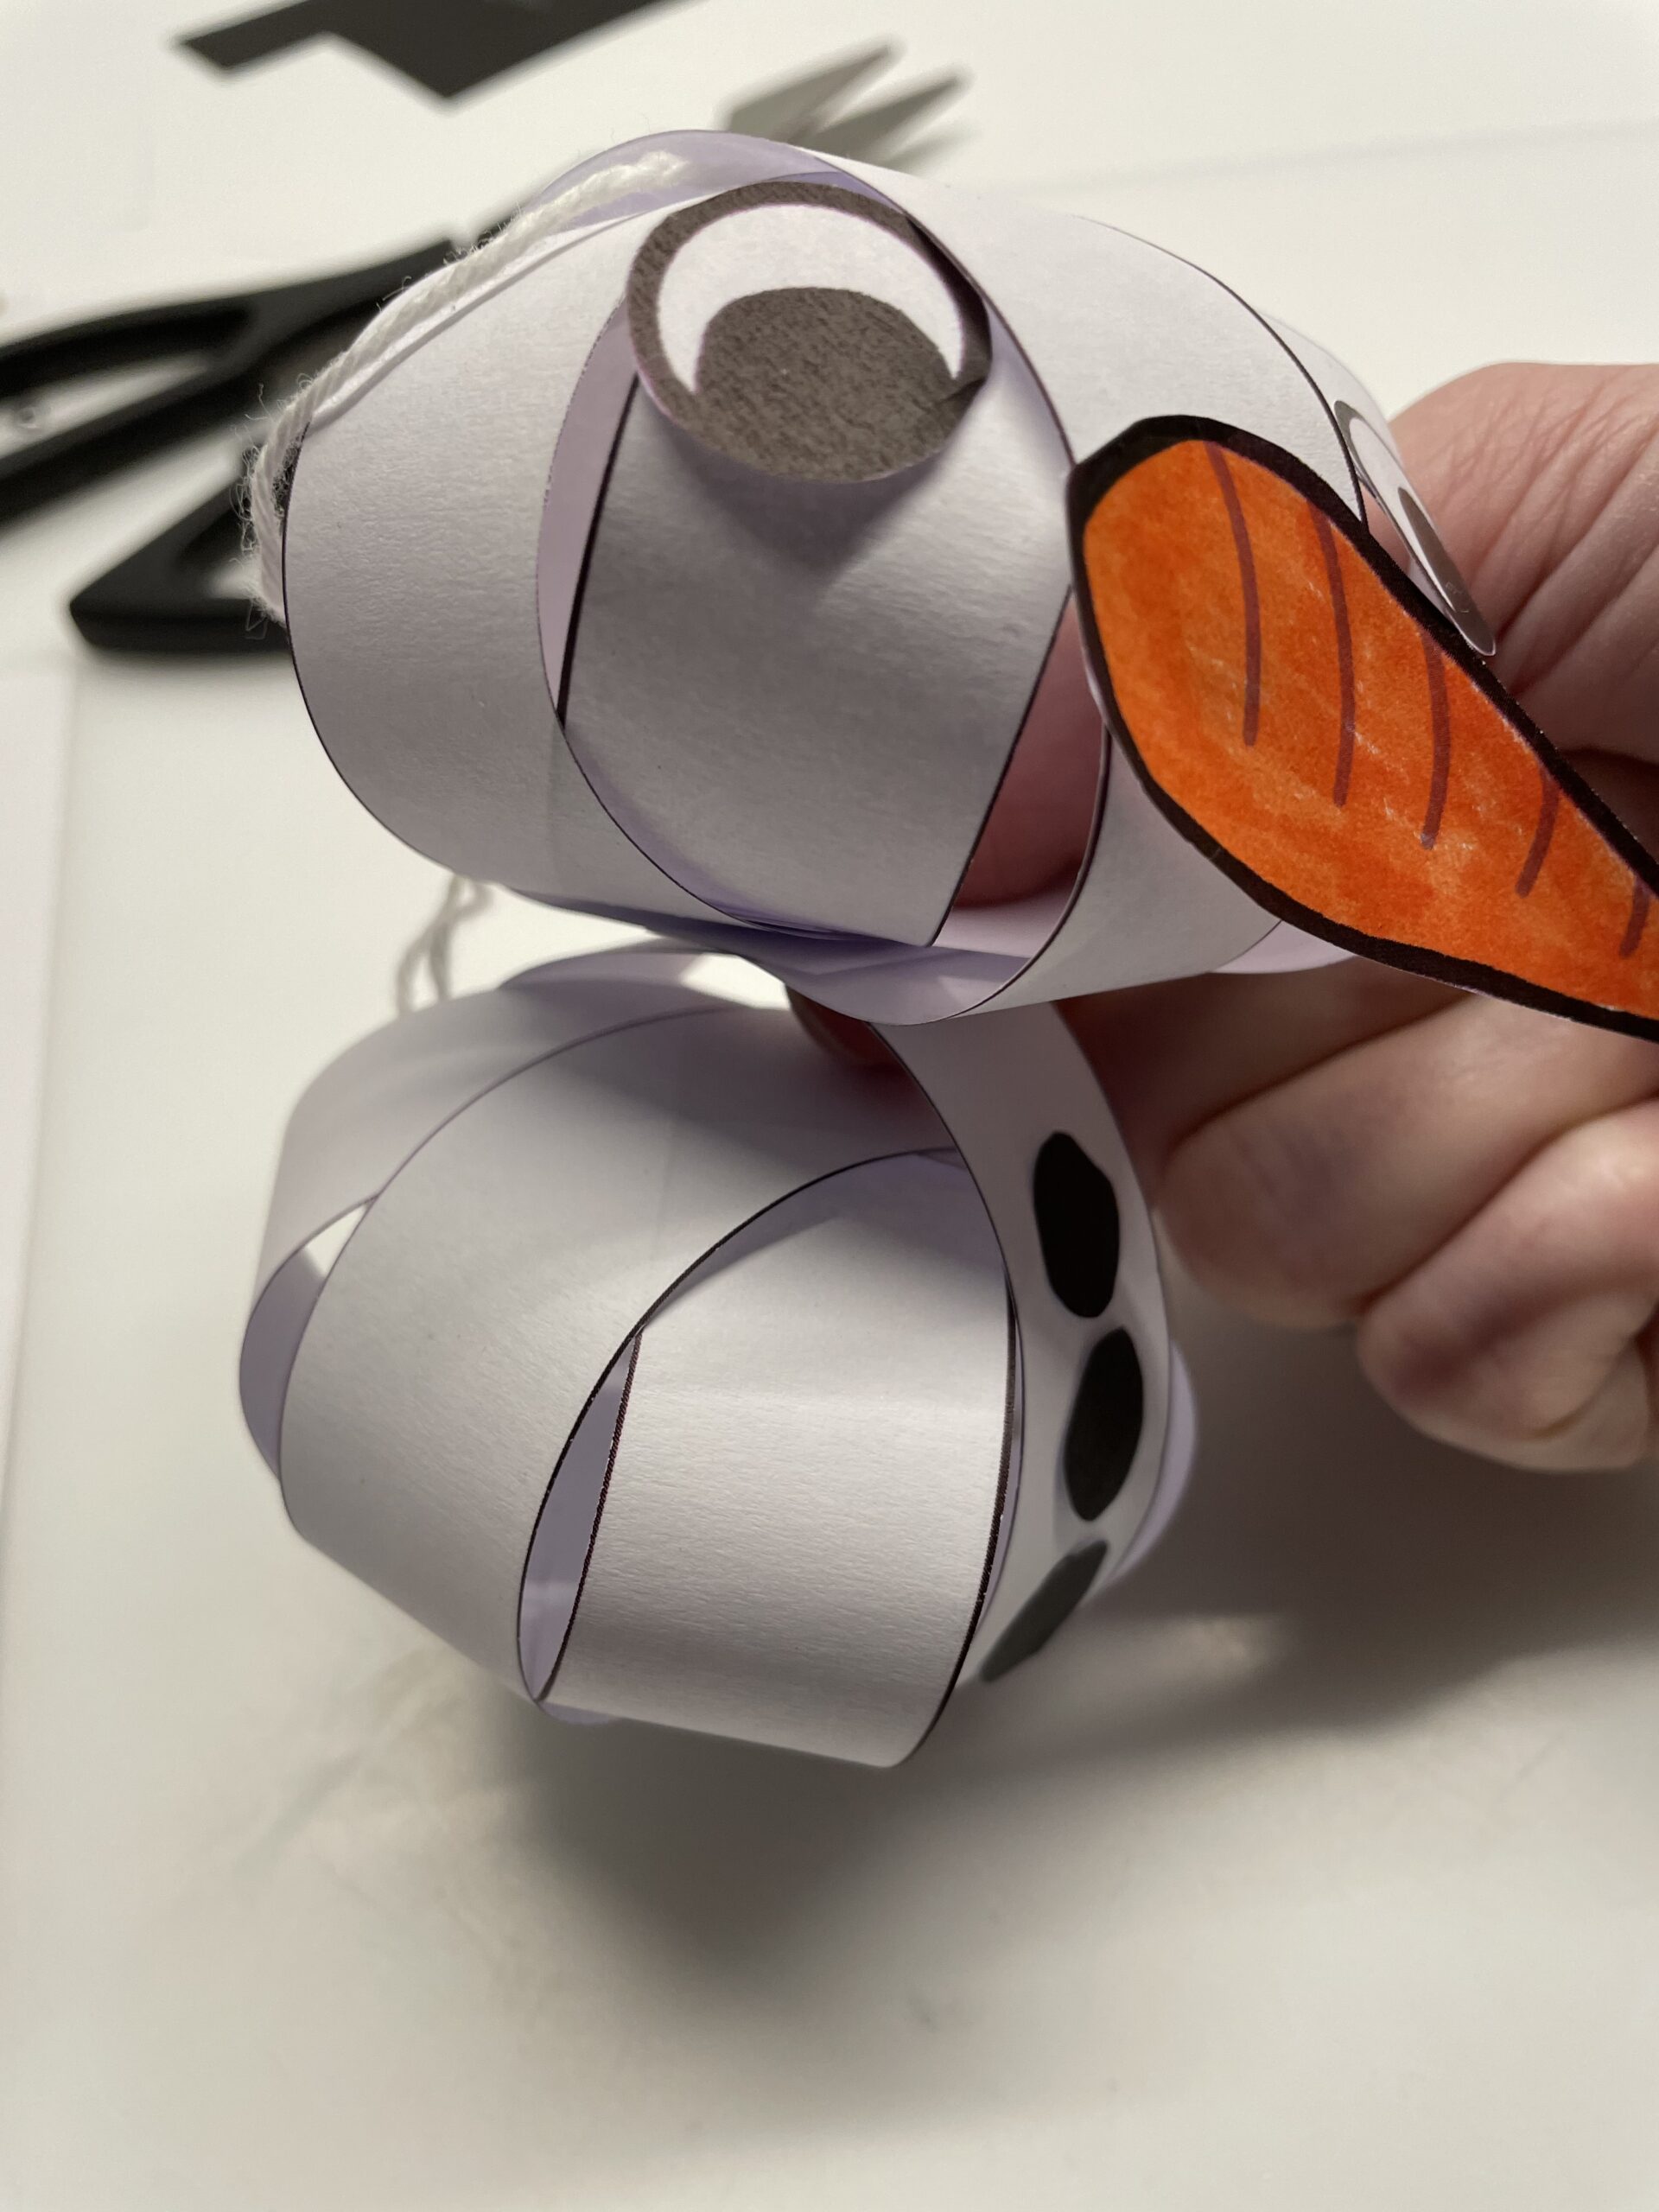
Now you stick your face on one snow globe and the buttons on the other. Make sure that the balls lie down with the interfaces.
Then you put both snowballs together. For this you reach into the paper ring with one or two fingers. So you avoid that flat pressing the balls when glued together.
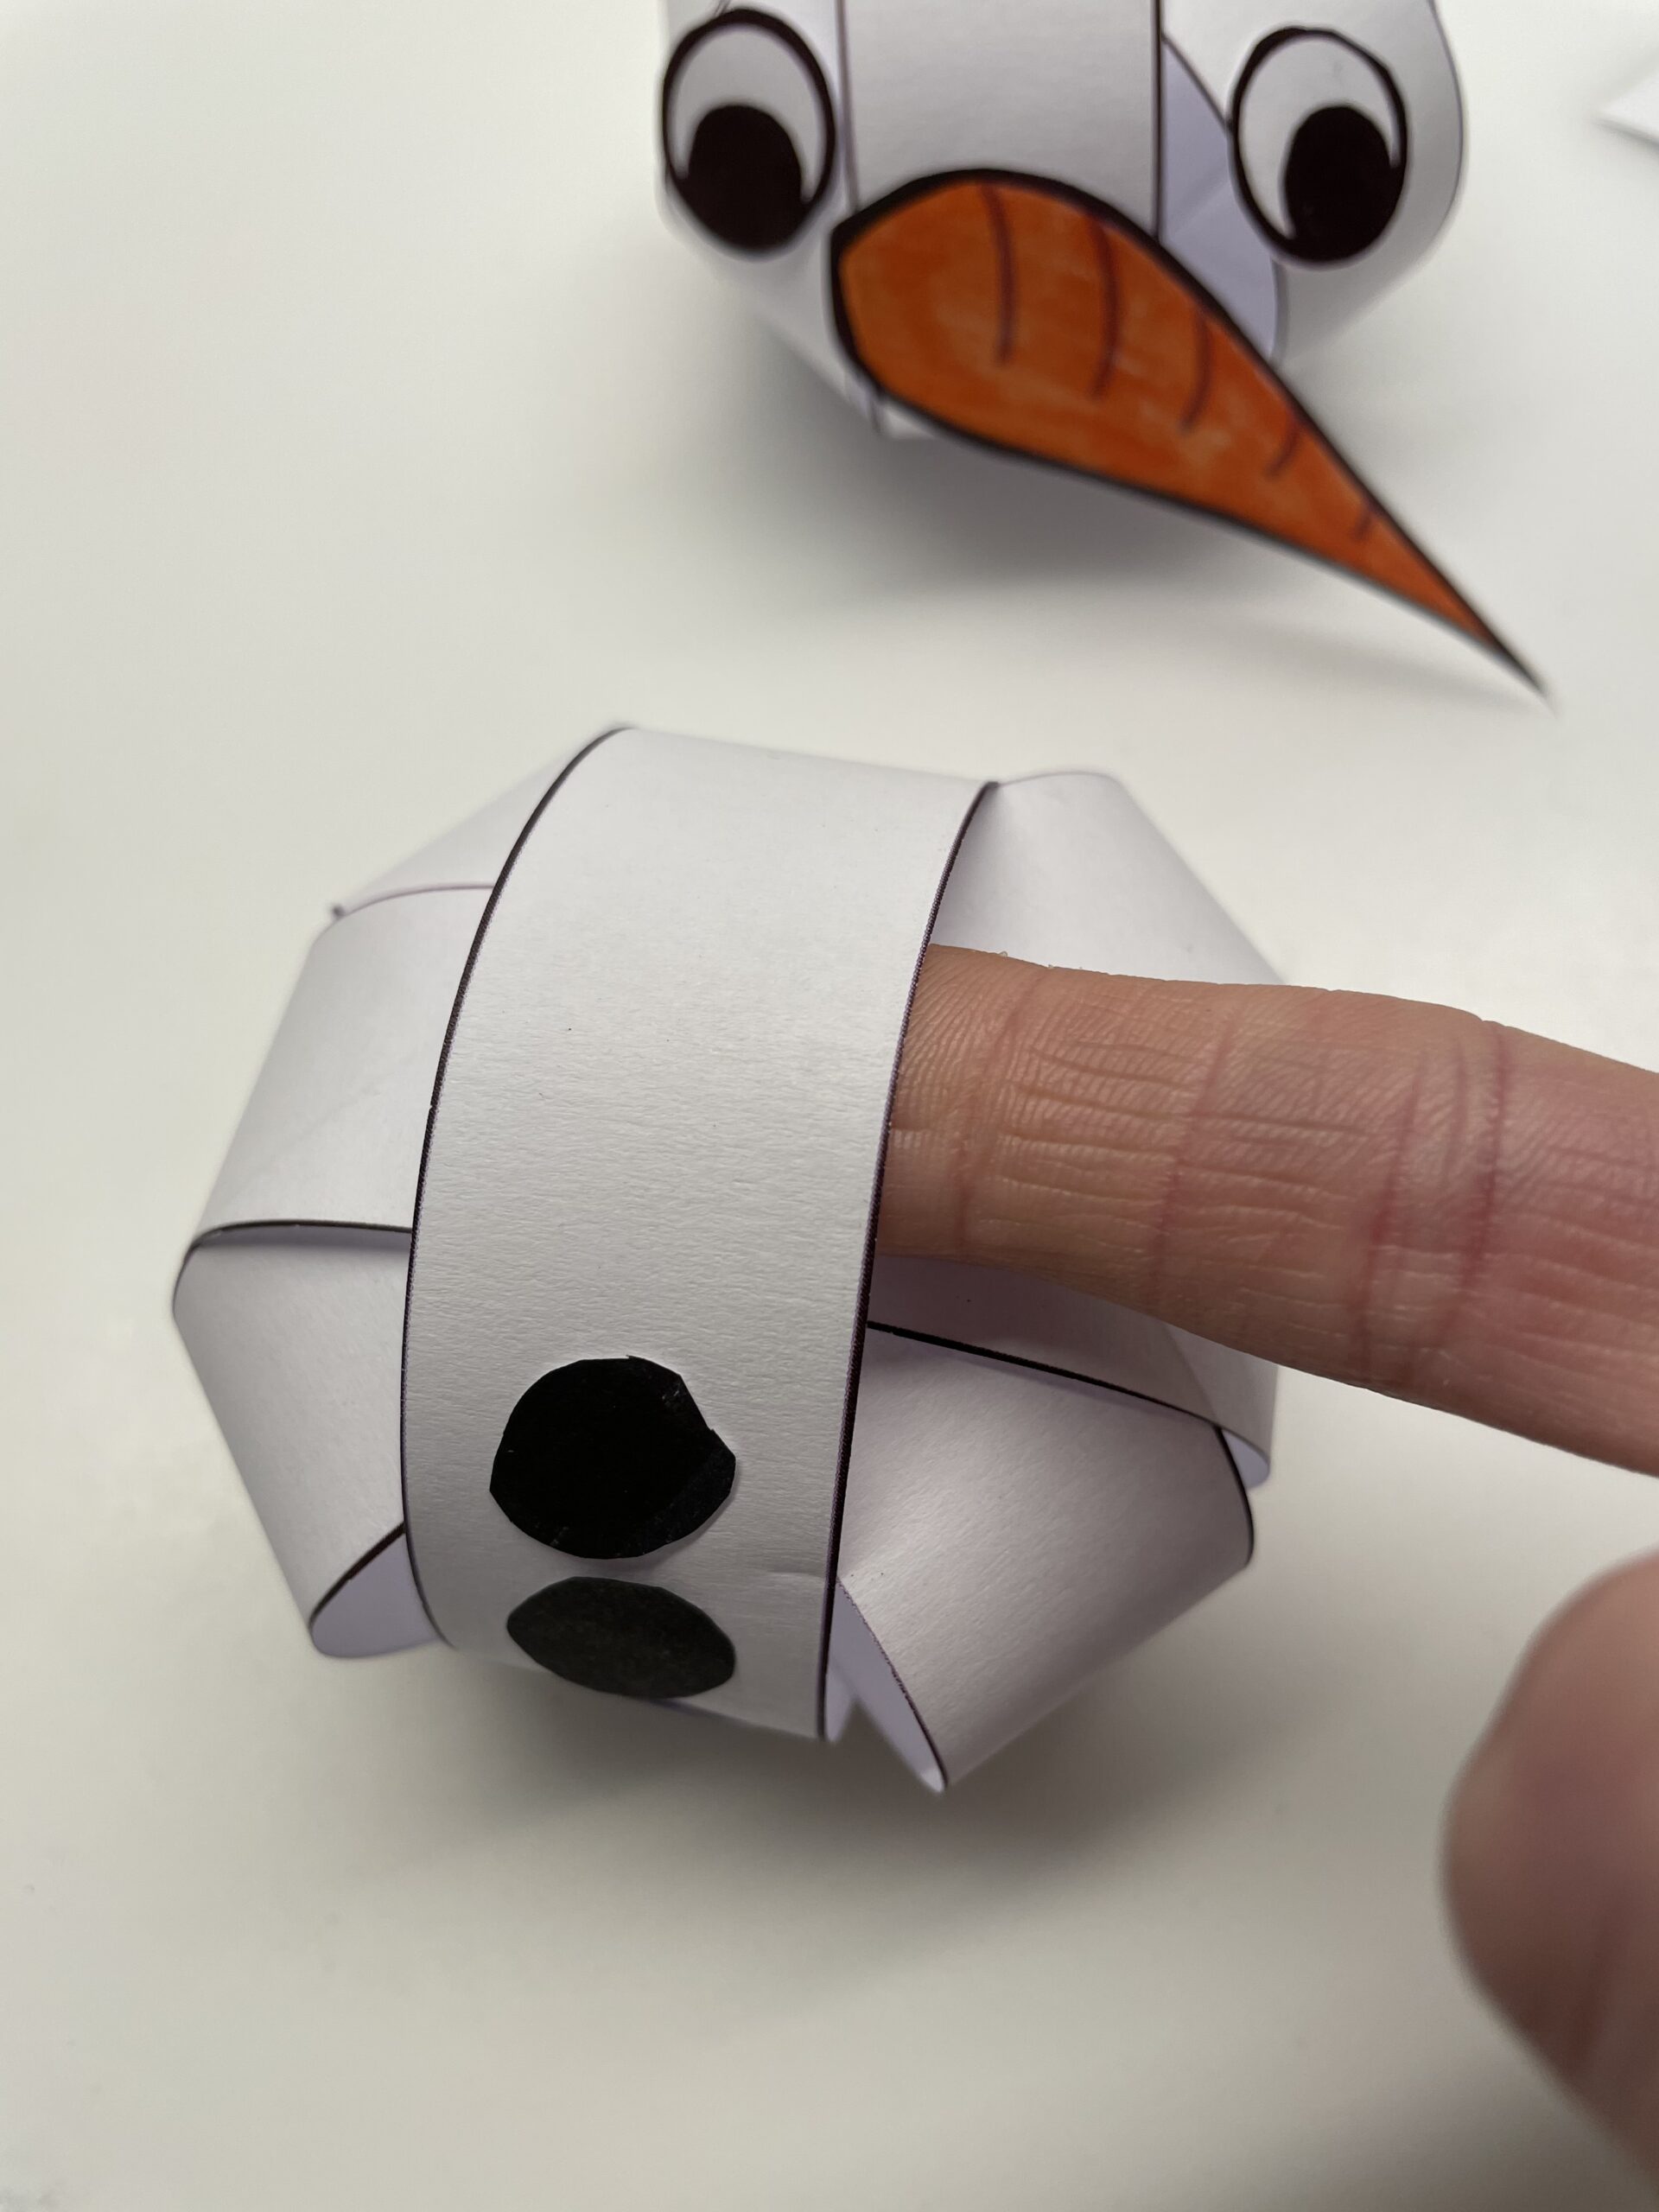
Now stroke some glue onto the lower snowball and press the upper one on it.

Make sure that the nose and buttons lie on top of each other. With the thumb and index finger of one hand you hold both balls together briefly.
Now cut off a piece of thread (about 30 cm) and thread it through the top paper ring and knot both ends together.
Then attach the hat to the threads with an adhesive tape.
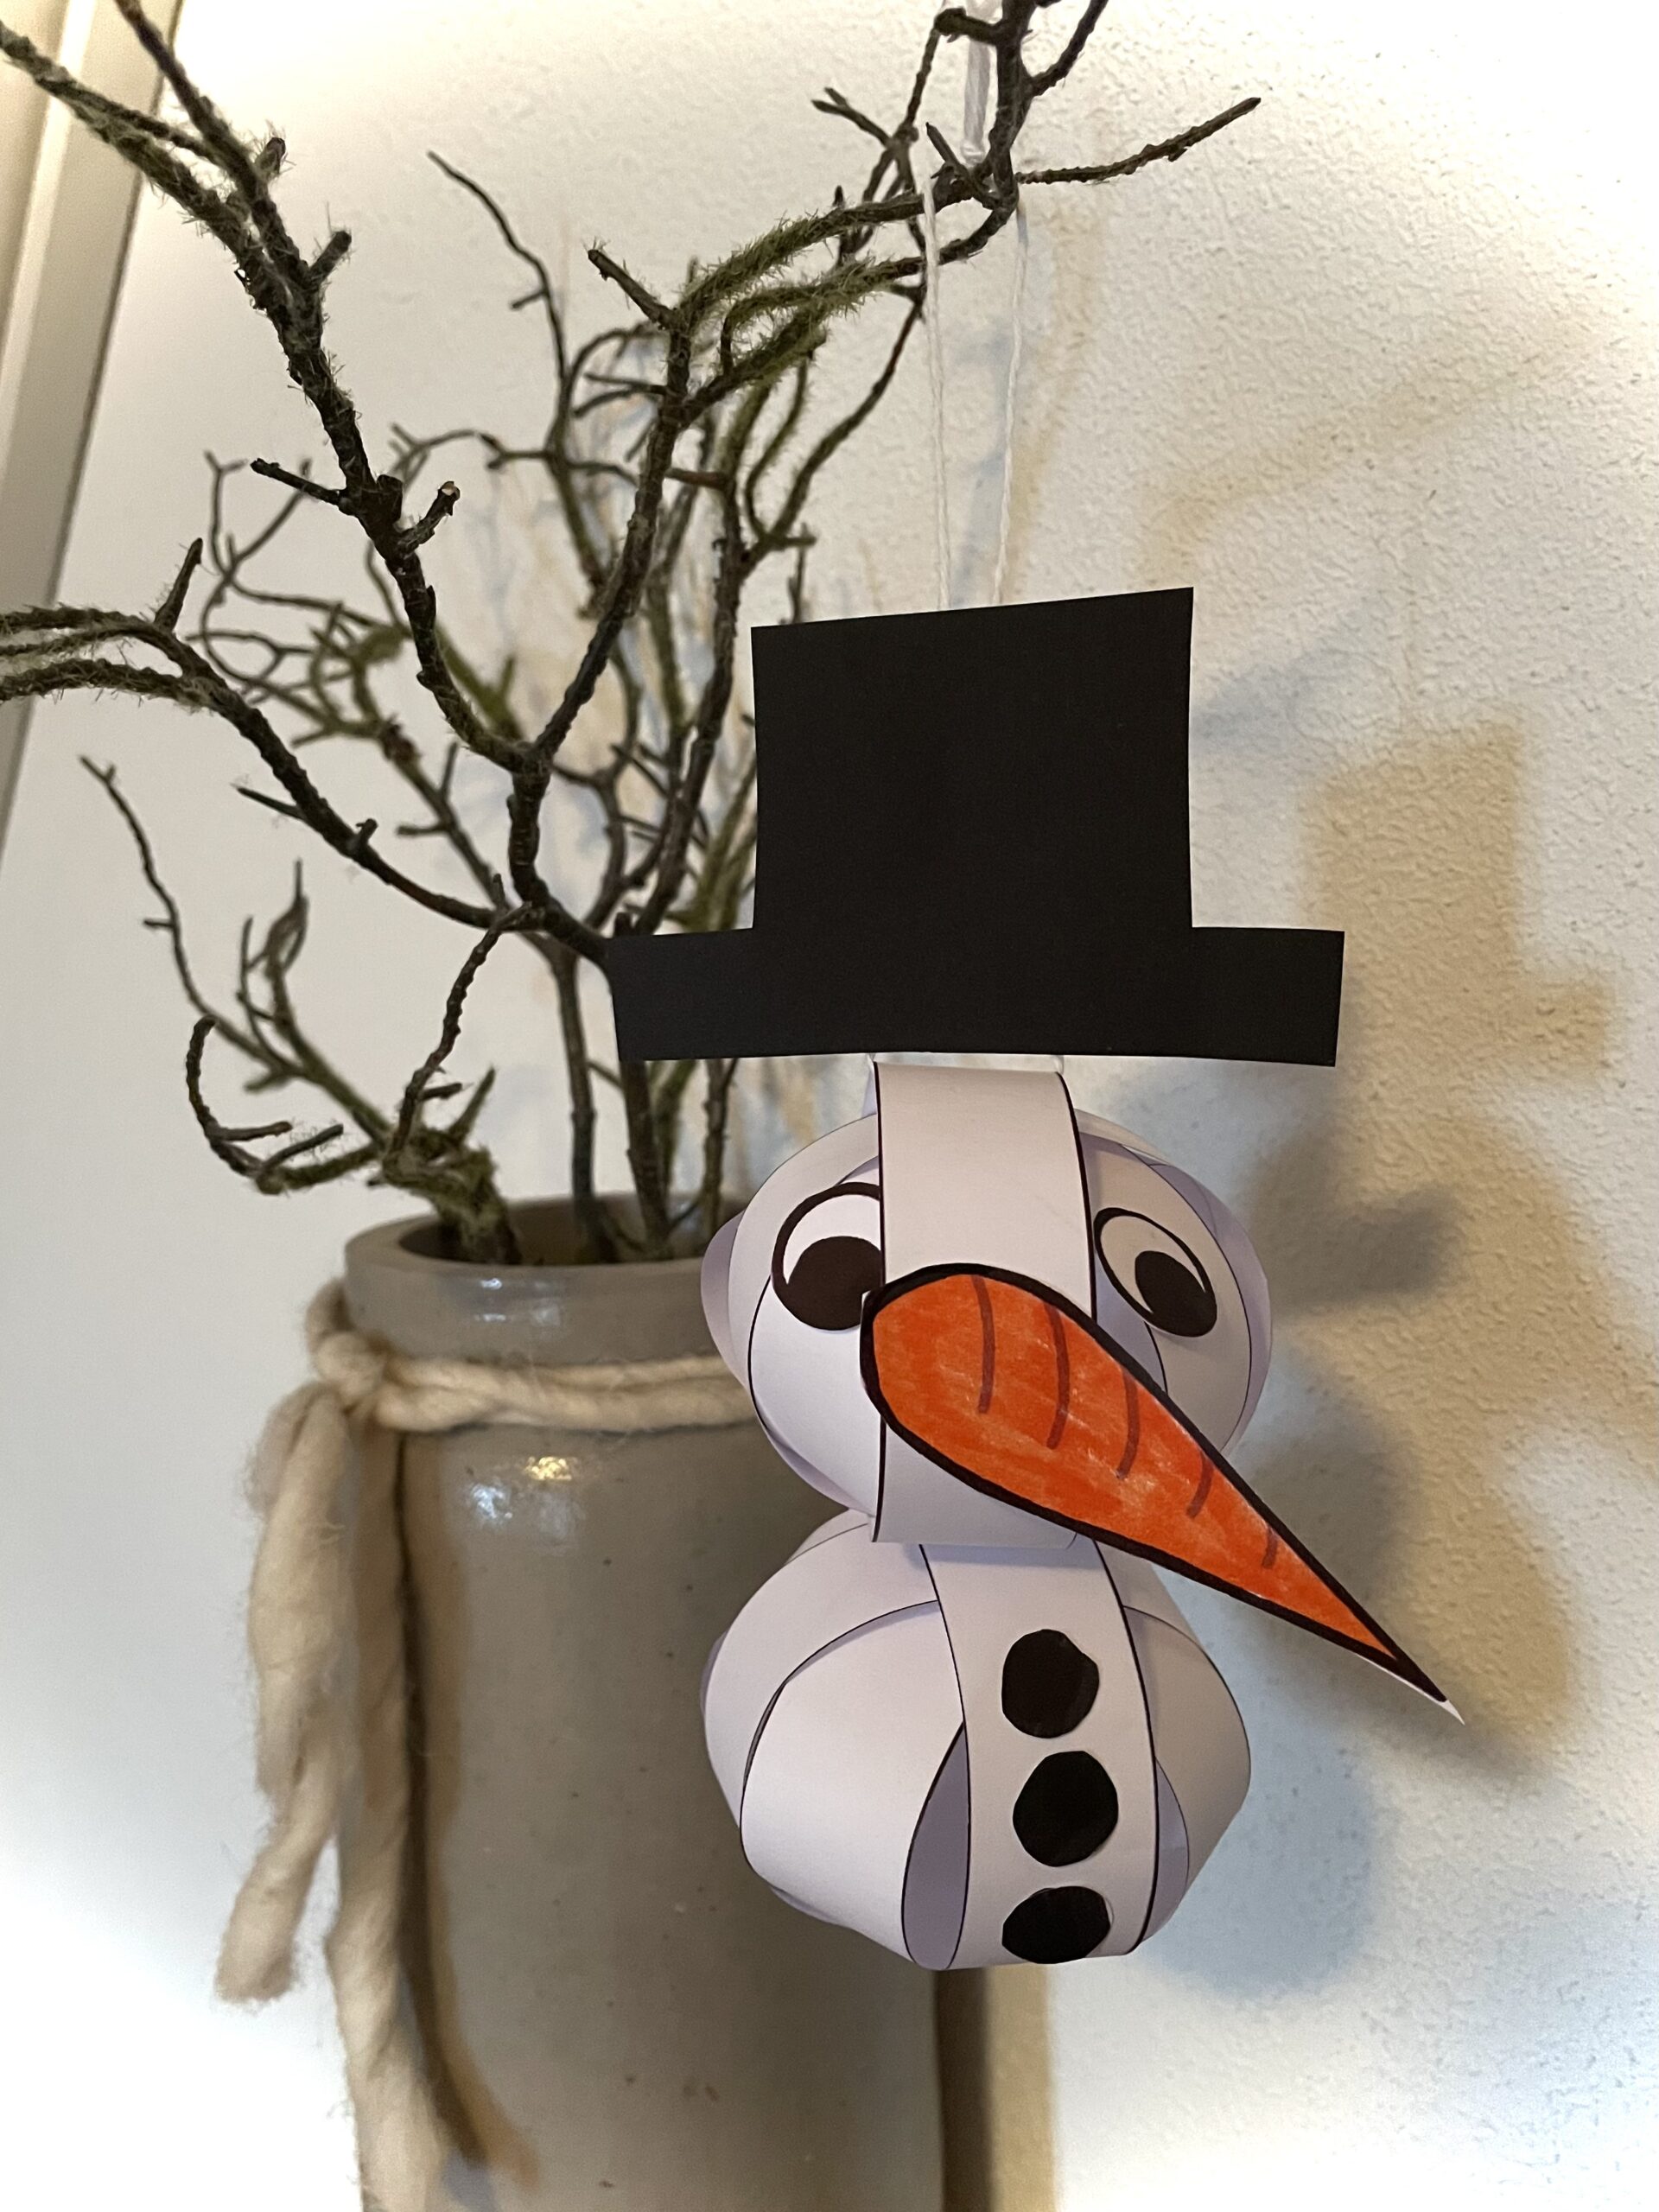
The snowman is ready.
Finally, find a place to hang up.
Print the template on a white copy paper and cut the pieces with the scissors.
Have fun trying it out!
Materials
Directions
Print the template on a white copy pier (see below) or paint 8 strips with the dimensions 2cm x 21cm (DIN A4 landscape format). Use a long ruler for this.
Then cut the 8 strips.
Now you stick each strip together to form a paper ring.
To do this, you put some glue on one side of the strip. In the template on the gray spot at the beginning of the strip.
Then bend the paper to a ring and glue the ends of the strip together about 1cm overlapping.
Repeats the process first with 4 stripes.
The first snow globe is formed from these four paper rings.
Now put two rings crossed into each other.
Then glue the two rings together at the two interfaces.
For this, you place the 2nd ring over the 1st ring and squeeze the resulting paper cross tightly together. The interface lies above!
Now you put your glue on the paper cross and slide the 3rd ring diagonally over the paper cross.
Press the glue marks together again.
Now you put glue again in the middle of the paper cross.
Then you push the 4th ring diagonally over it. Gently press the last ring and make sure not to flatten the resulting snow globe.
Then you rotate the ball so that the interfaces point downwards.
Now form and glue the last four strips into rings.
After that, you put them together and stick them together to form a snow globe.
Two snowballs are ready.
For face and hat you can use the template or you can paint it freely.
You can record the carrot and paint it orange or paint it on orange paper and cut it out.
Transfer the template for the hat to a black clay paper or draw it on yourself and cut it out.
Then you paint three small circles for the buttons and cut them out.
Now you stick your face on one snow globe and the buttons on the other. Make sure that the balls lie down with the interfaces.
Then you put both snowballs together. For this you reach into the paper ring with one or two fingers. So you avoid that flat pressing the balls when glued together.
Now stroke some glue onto the lower snowball and press the upper one on it.
Make sure that the nose and buttons lie on top of each other. With the thumb and index finger of one hand you hold both balls together briefly.
Now cut off a piece of thread (about 30 cm) and thread it through the top paper ring and knot both ends together.
Then attach the hat to the threads with an adhesive tape.
The snowman is ready.
Finally, find a place to hang up.
Print the template on a white copy paper and cut the pieces with the scissors.
Have fun trying it out!
Follow us on Facebook , Instagram and Pinterest
Don't miss any more adventures: Our bottle mail