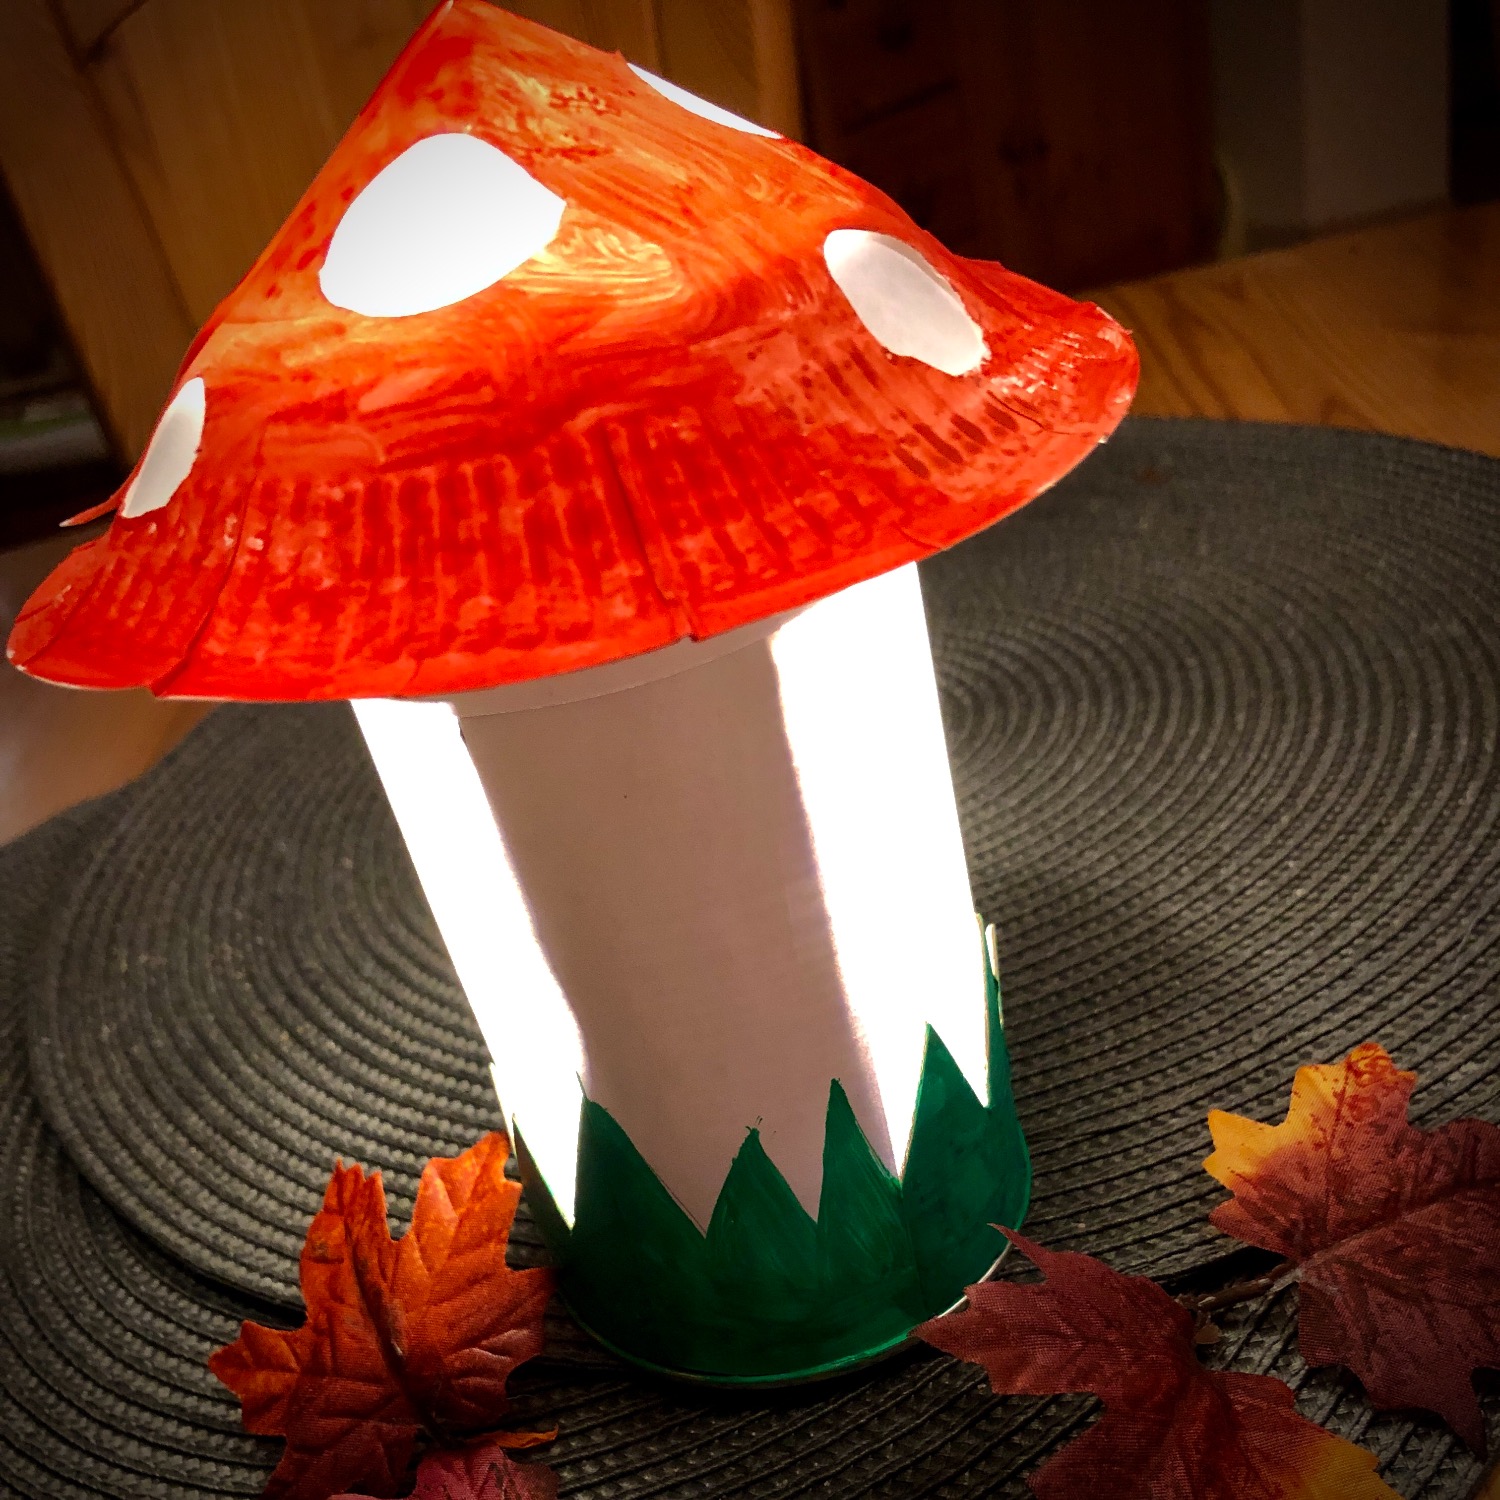
We're making a fungus lantern.
From an empty can of chips, a cardboard plate and butterbread paper.
With a bit of colors it becomes a great mushroom, which also conjures the autumn into the house as a table lamp.
Media Education for Kindergarten and Hort

Relief in everyday life, targeted promotion of individual children, independent learning and - without any pre-knowledge already usable by the youngest!
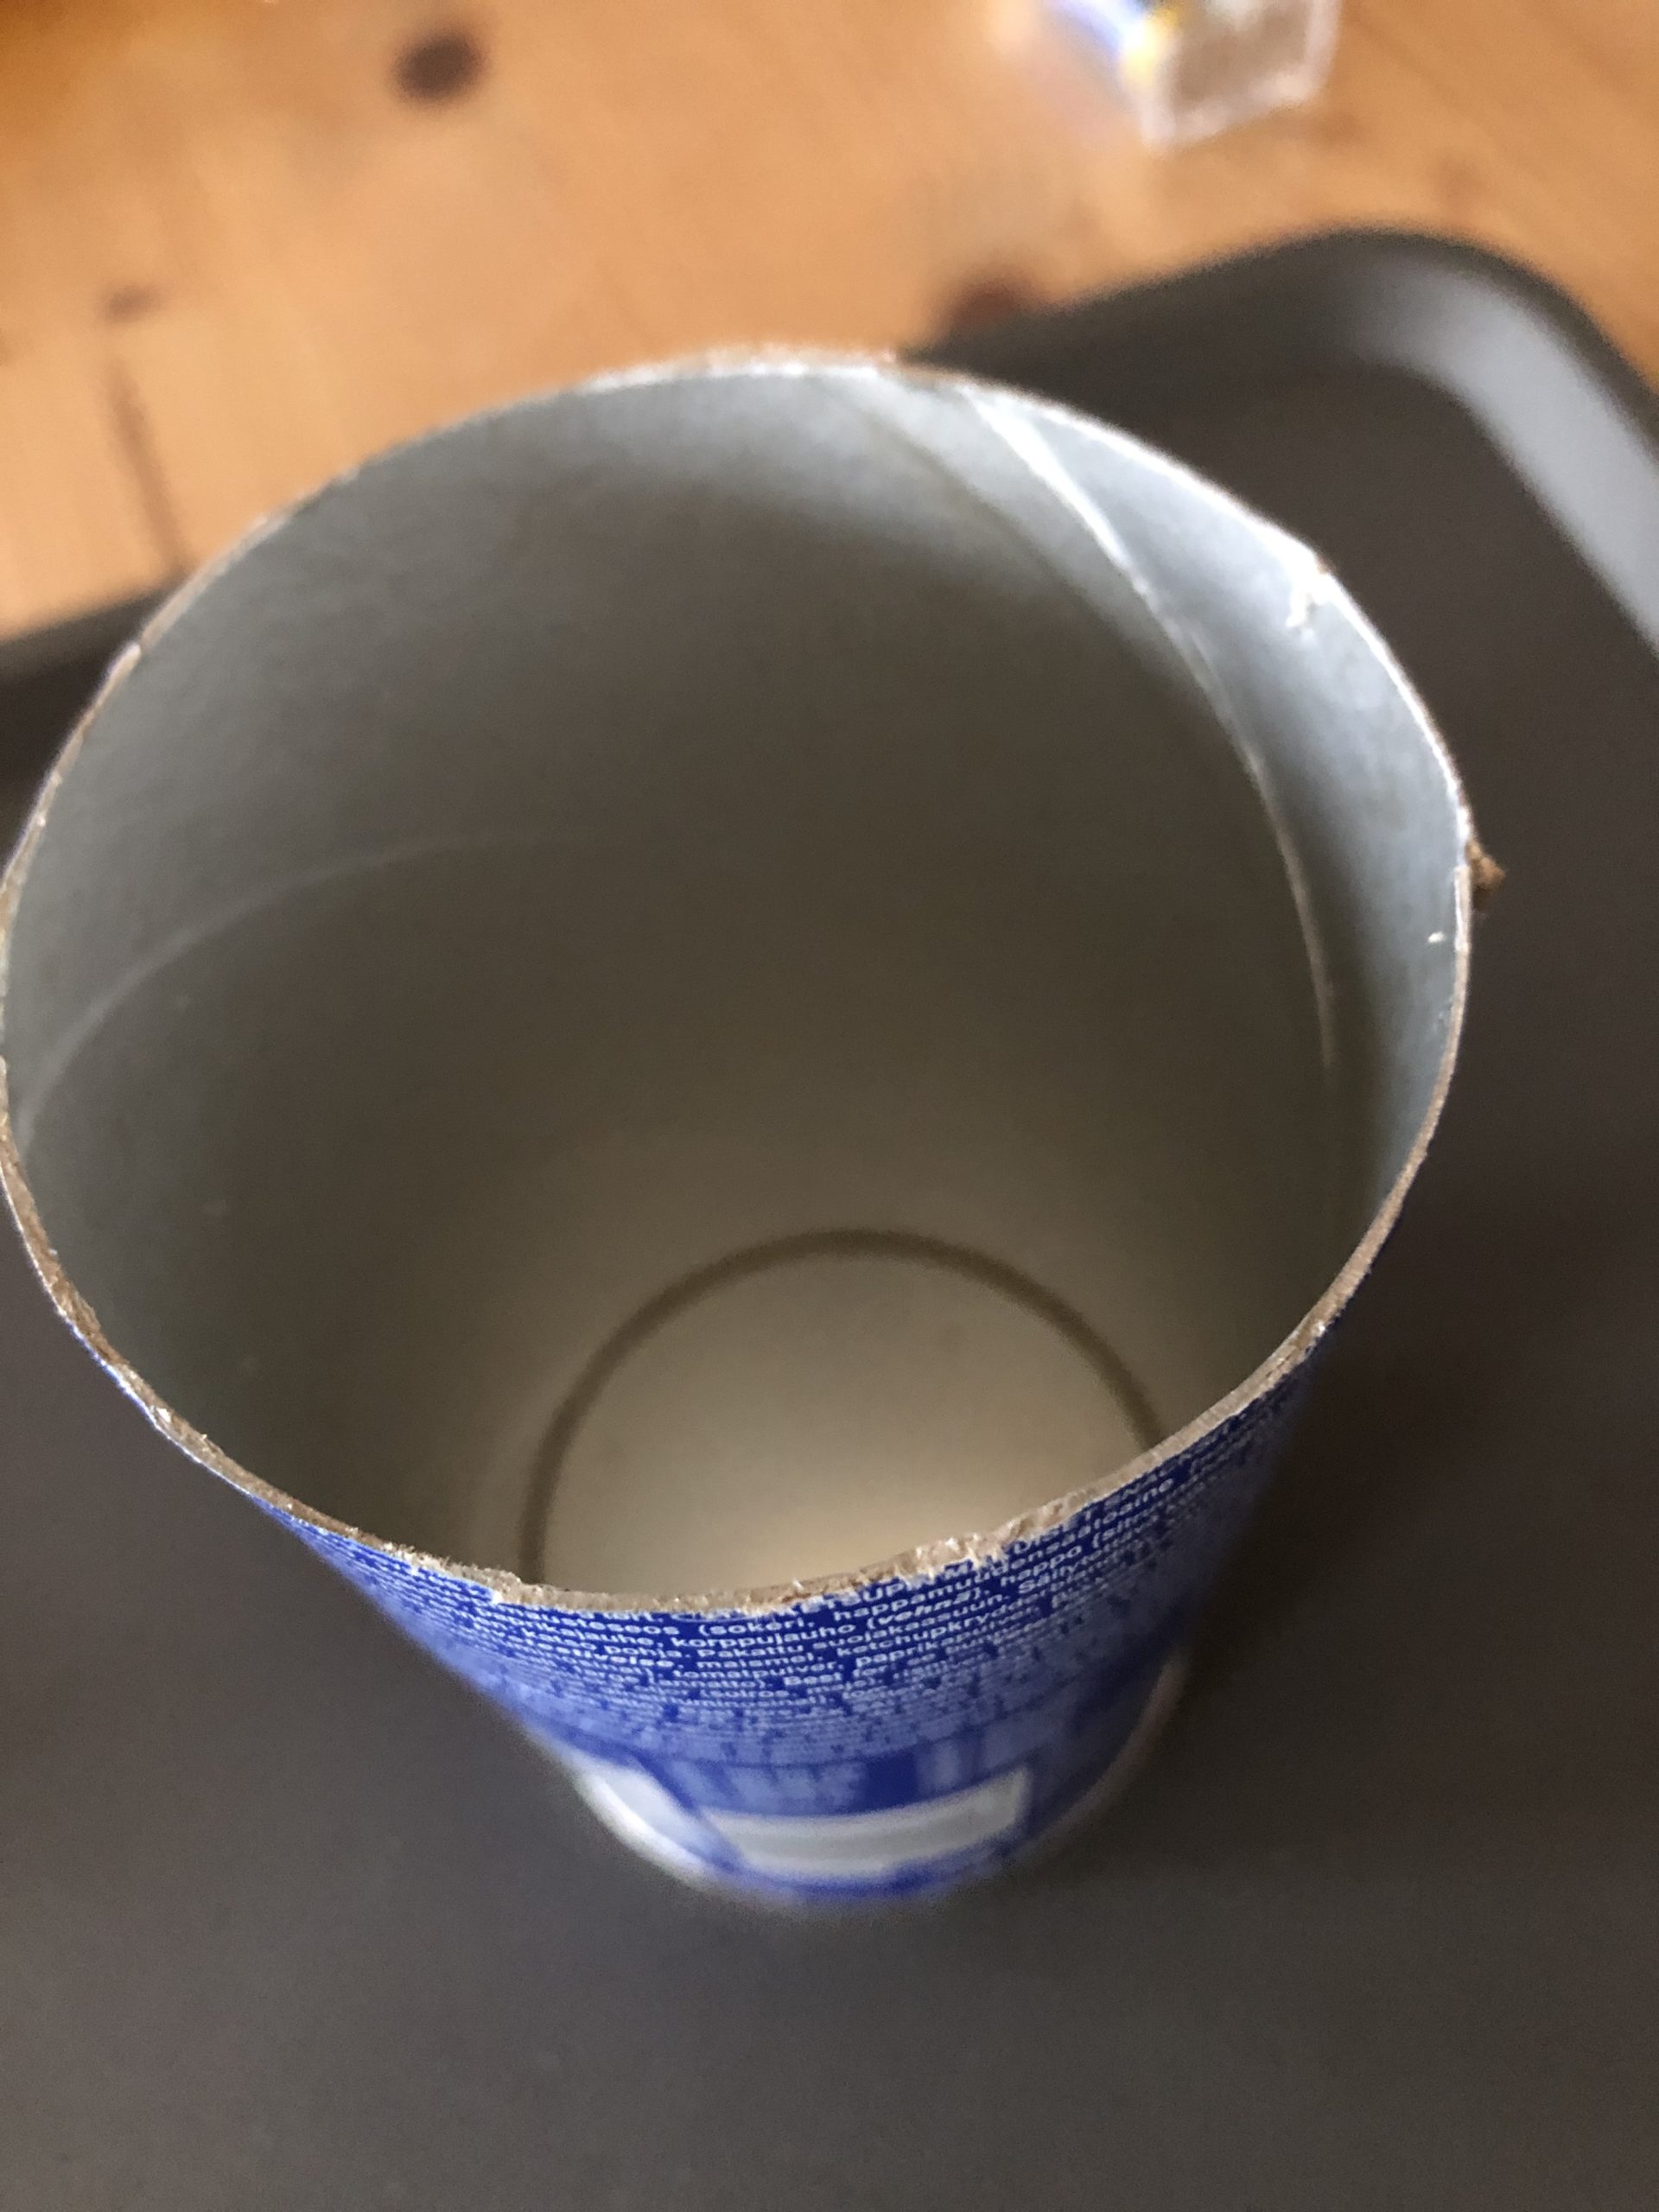
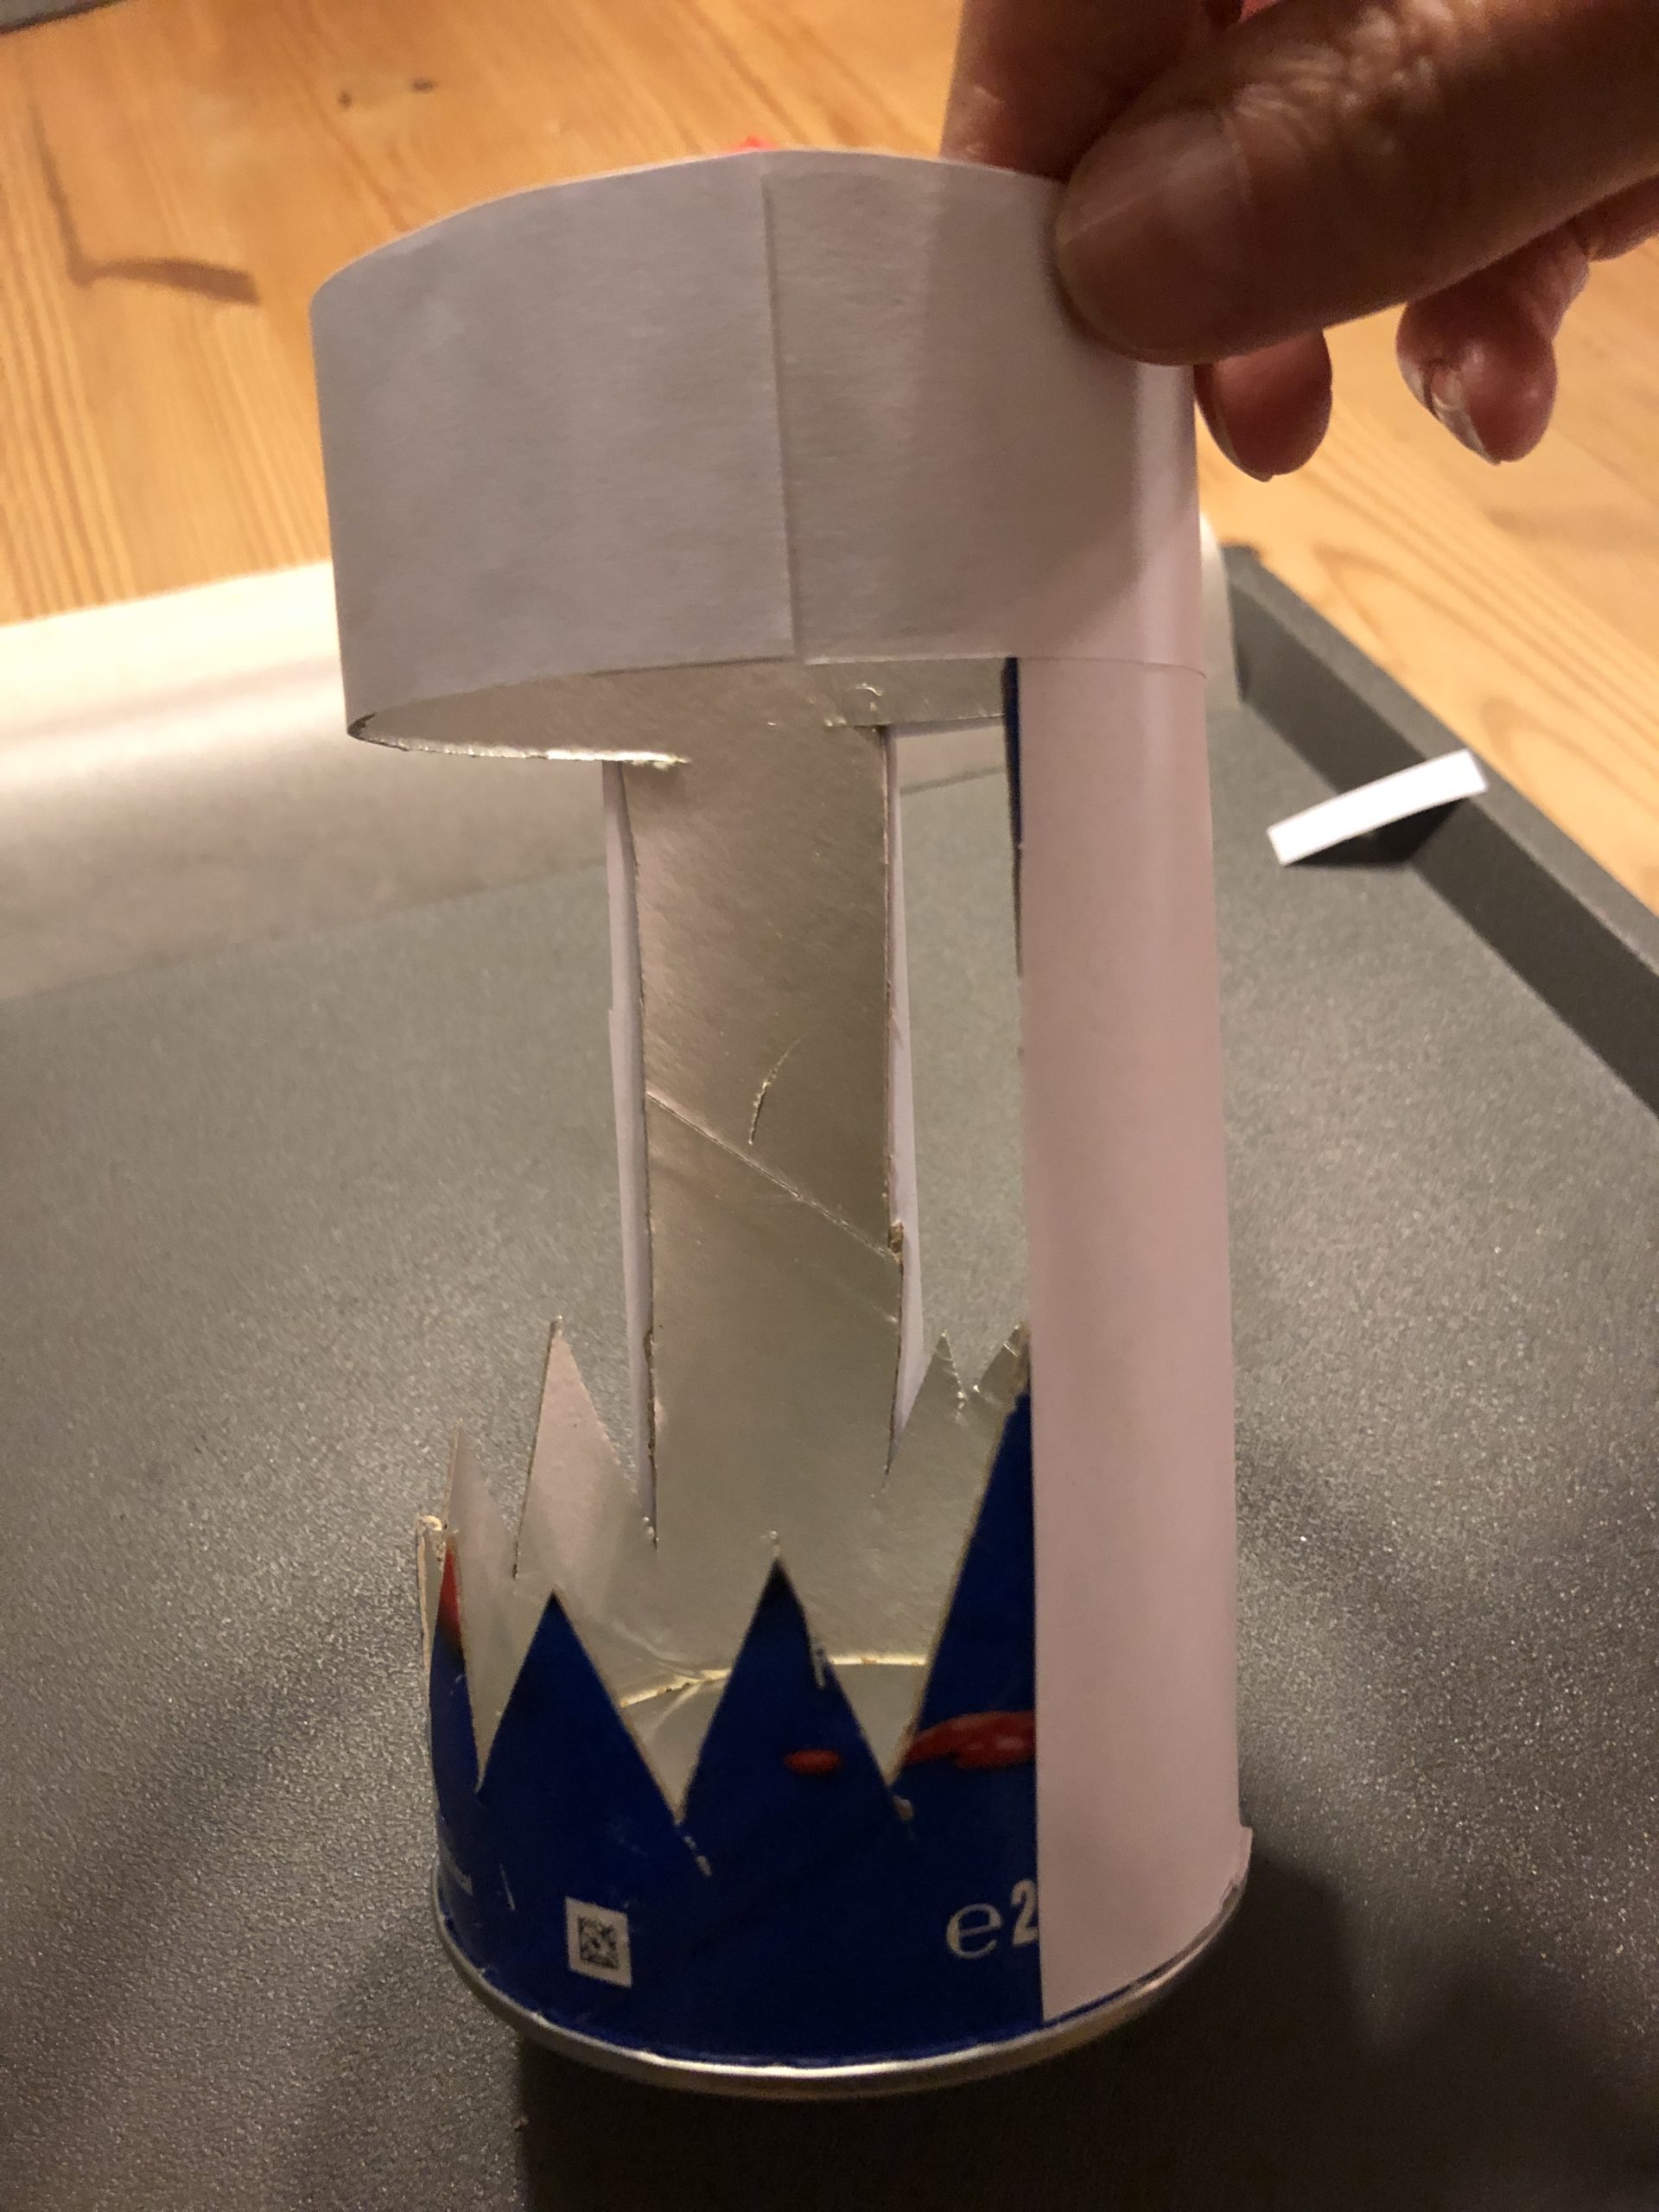
Cut off the chip can with the cutter knife to a length of 14cm.
The cardboard box is hard to cut. Let an adult help you!!!
Two parts are now cut out of the chip box.
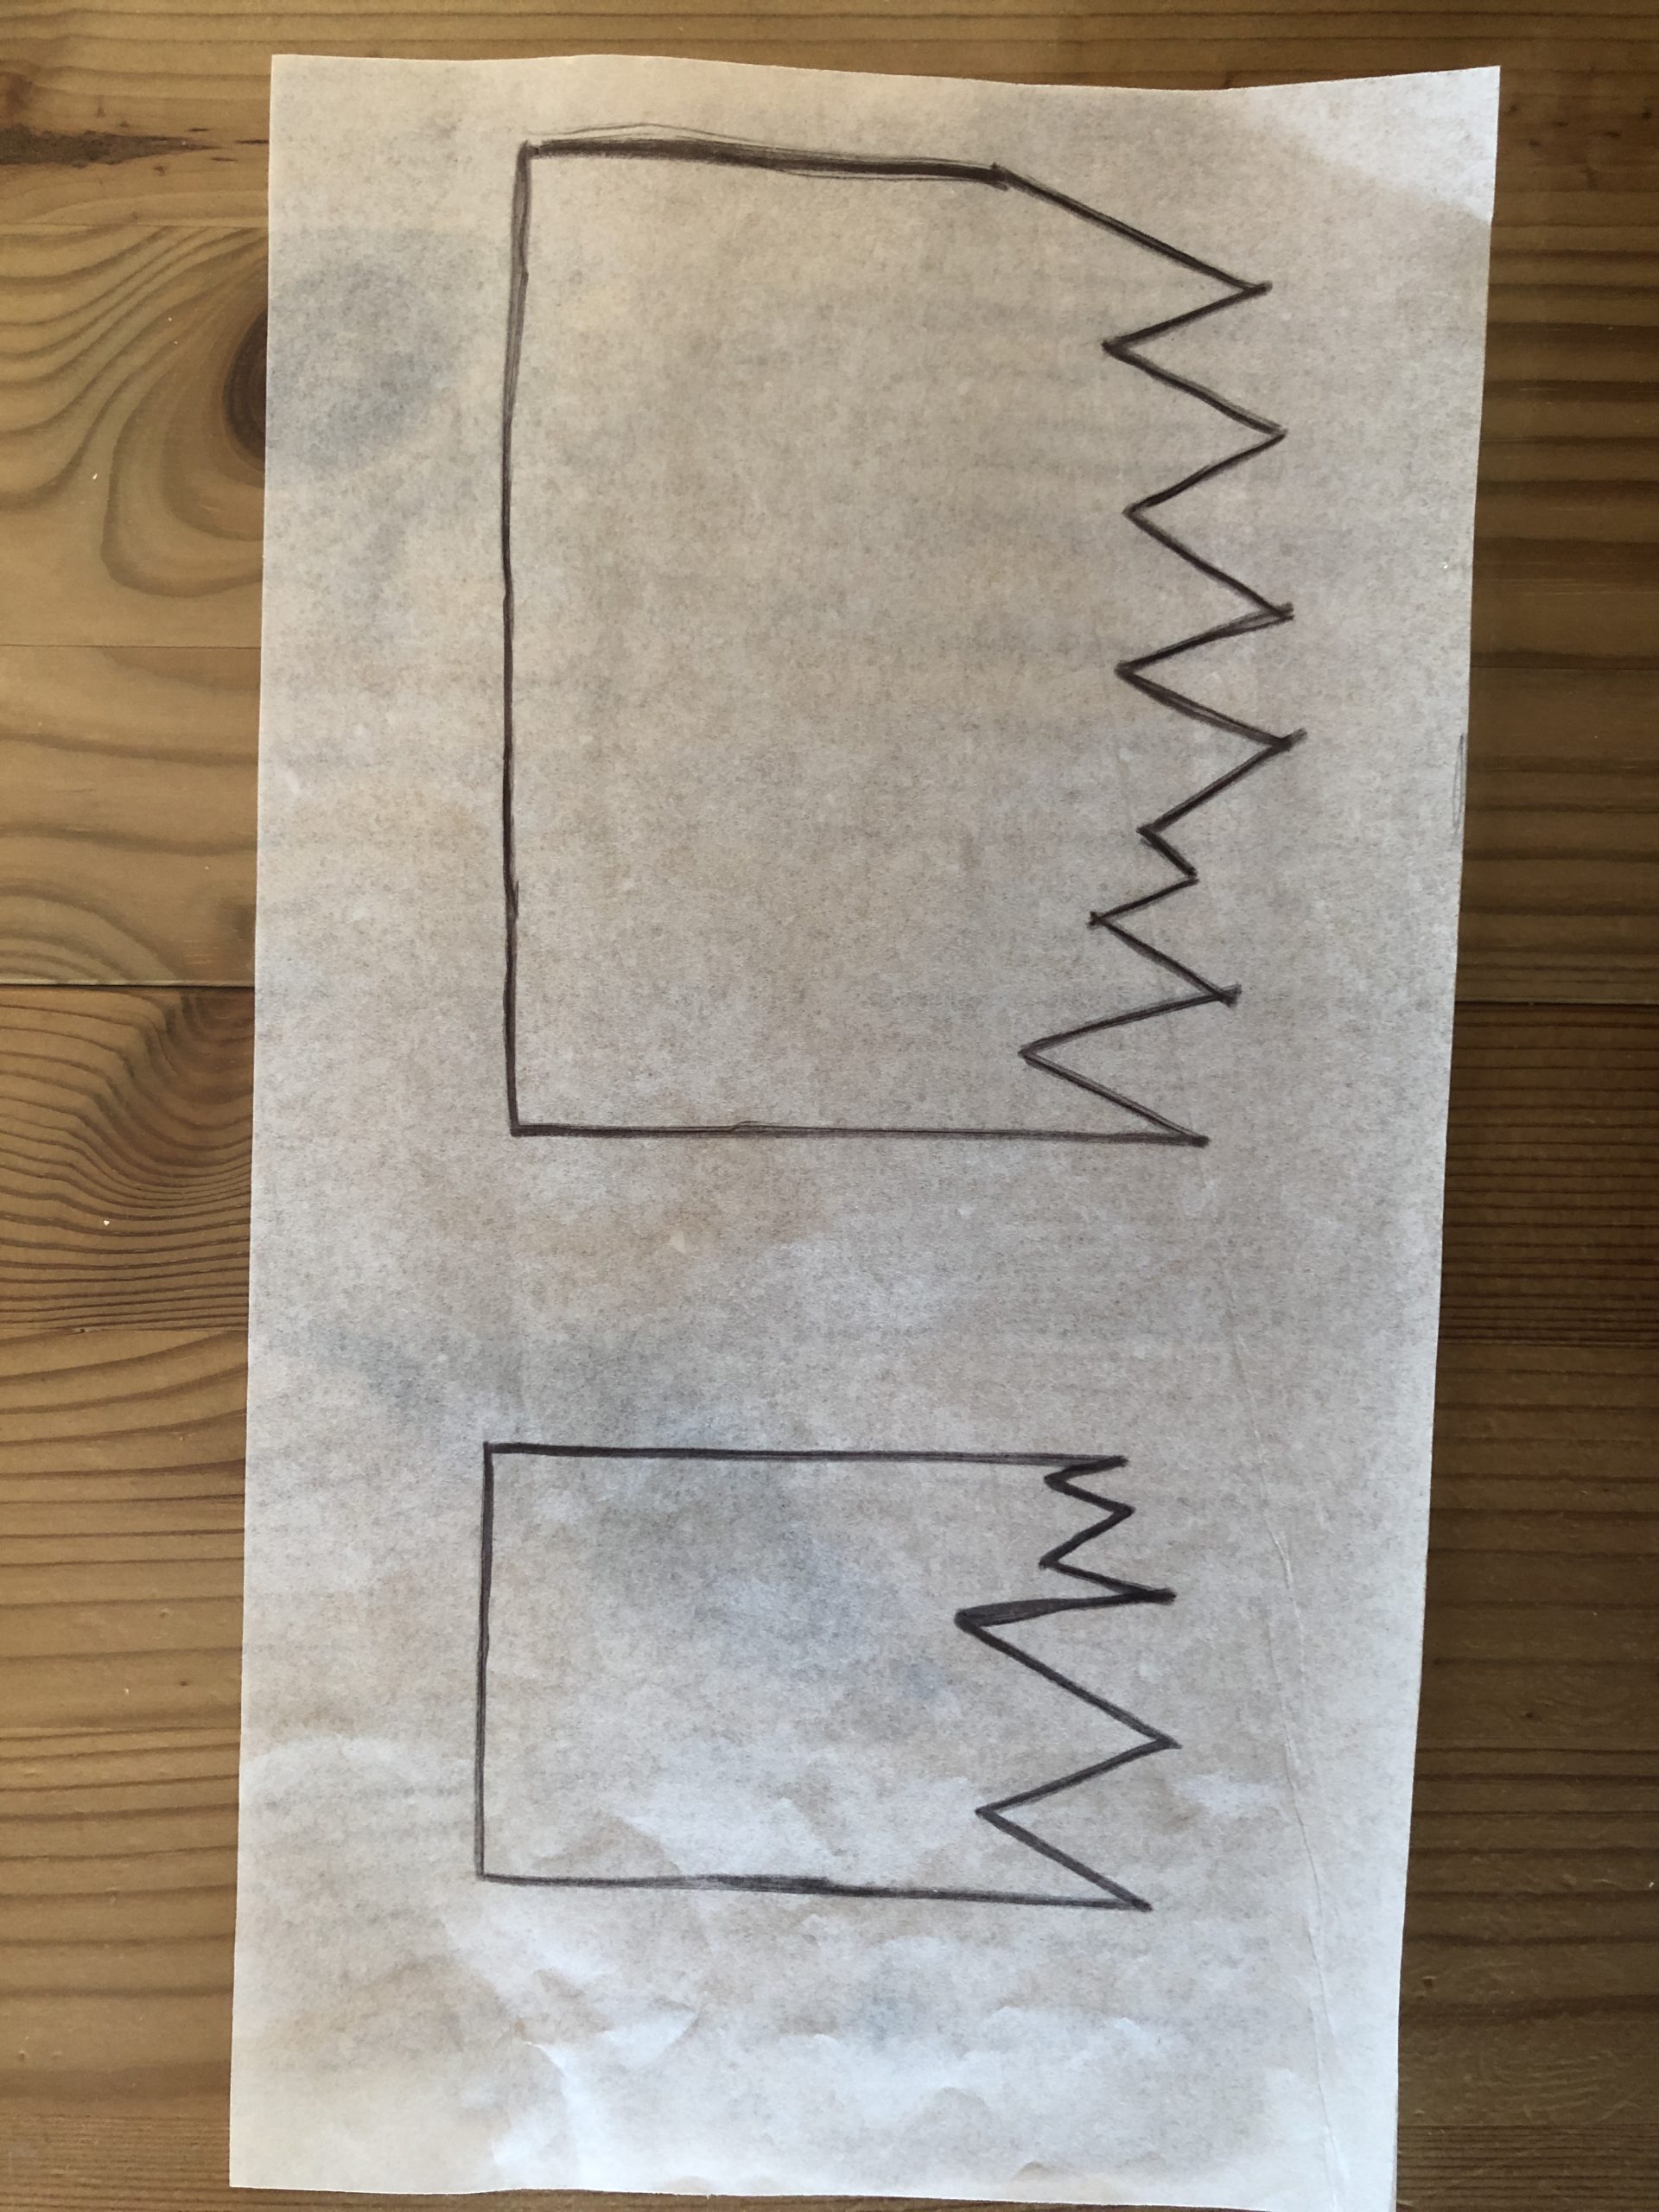
You can use the following template.
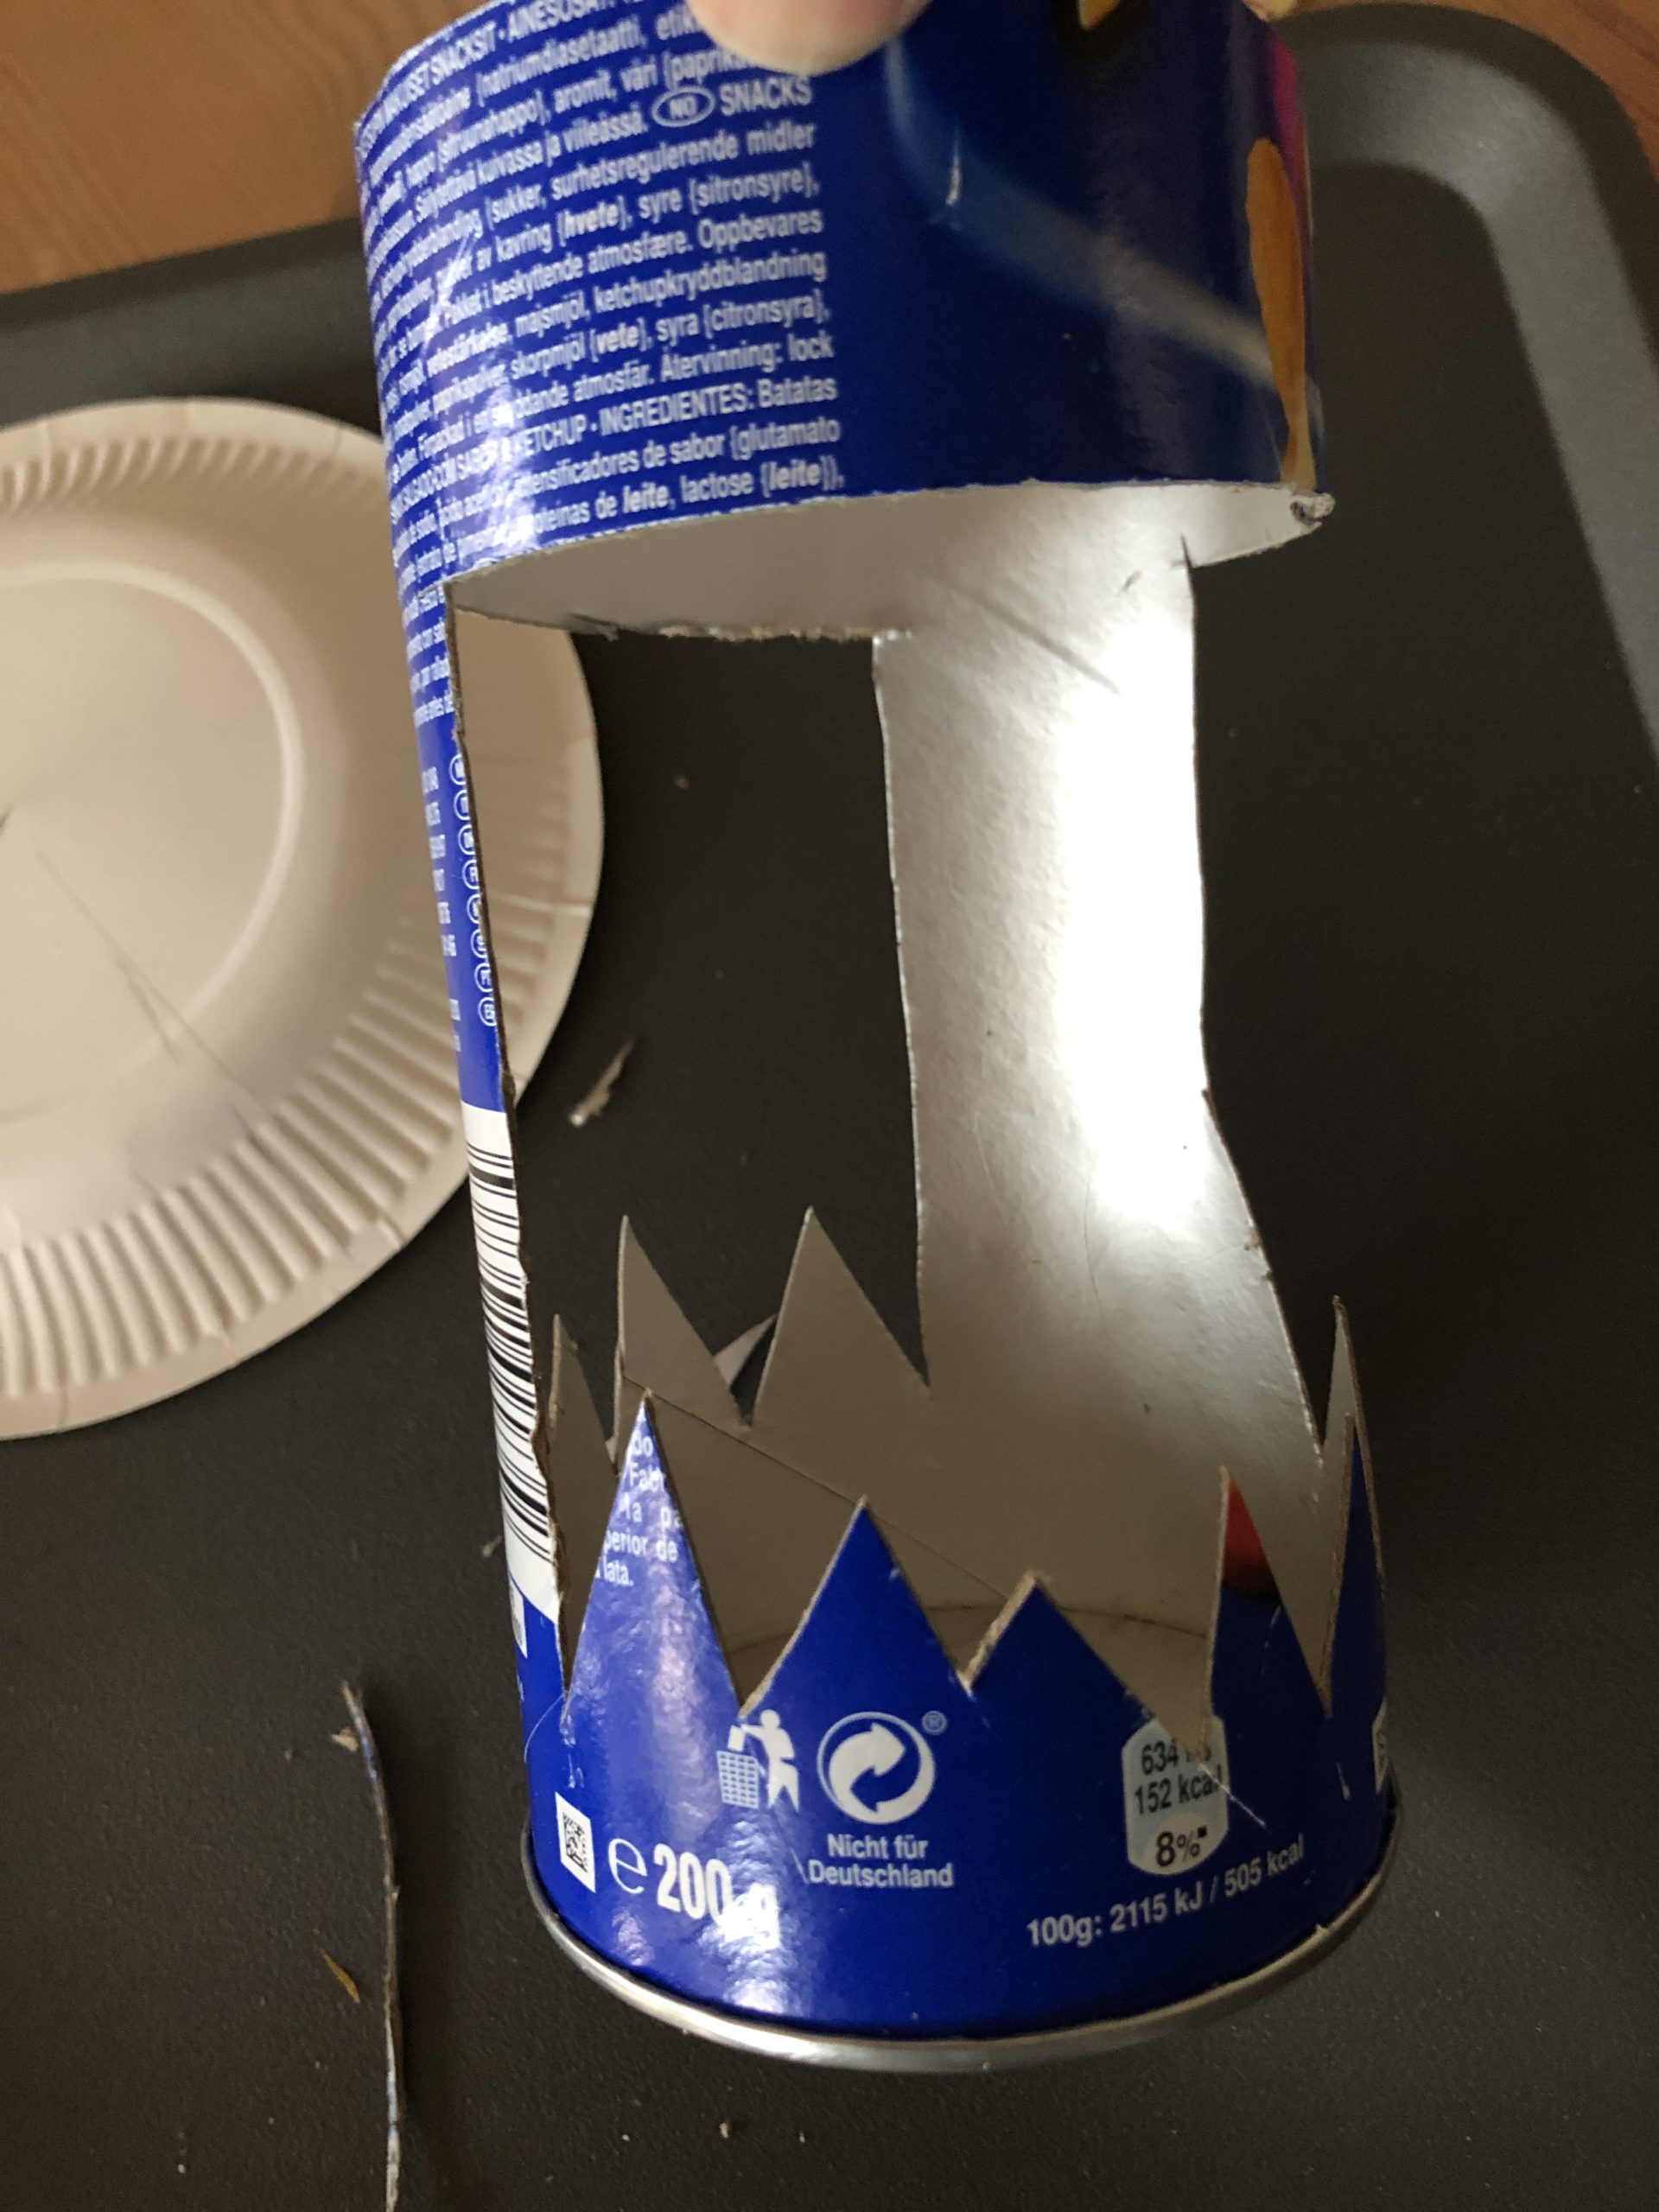
Alternatively, you cut out completely free two parts in the zigzag. These represent a meadow. Make sure that two bridges stand still so that the lantern remains stable.
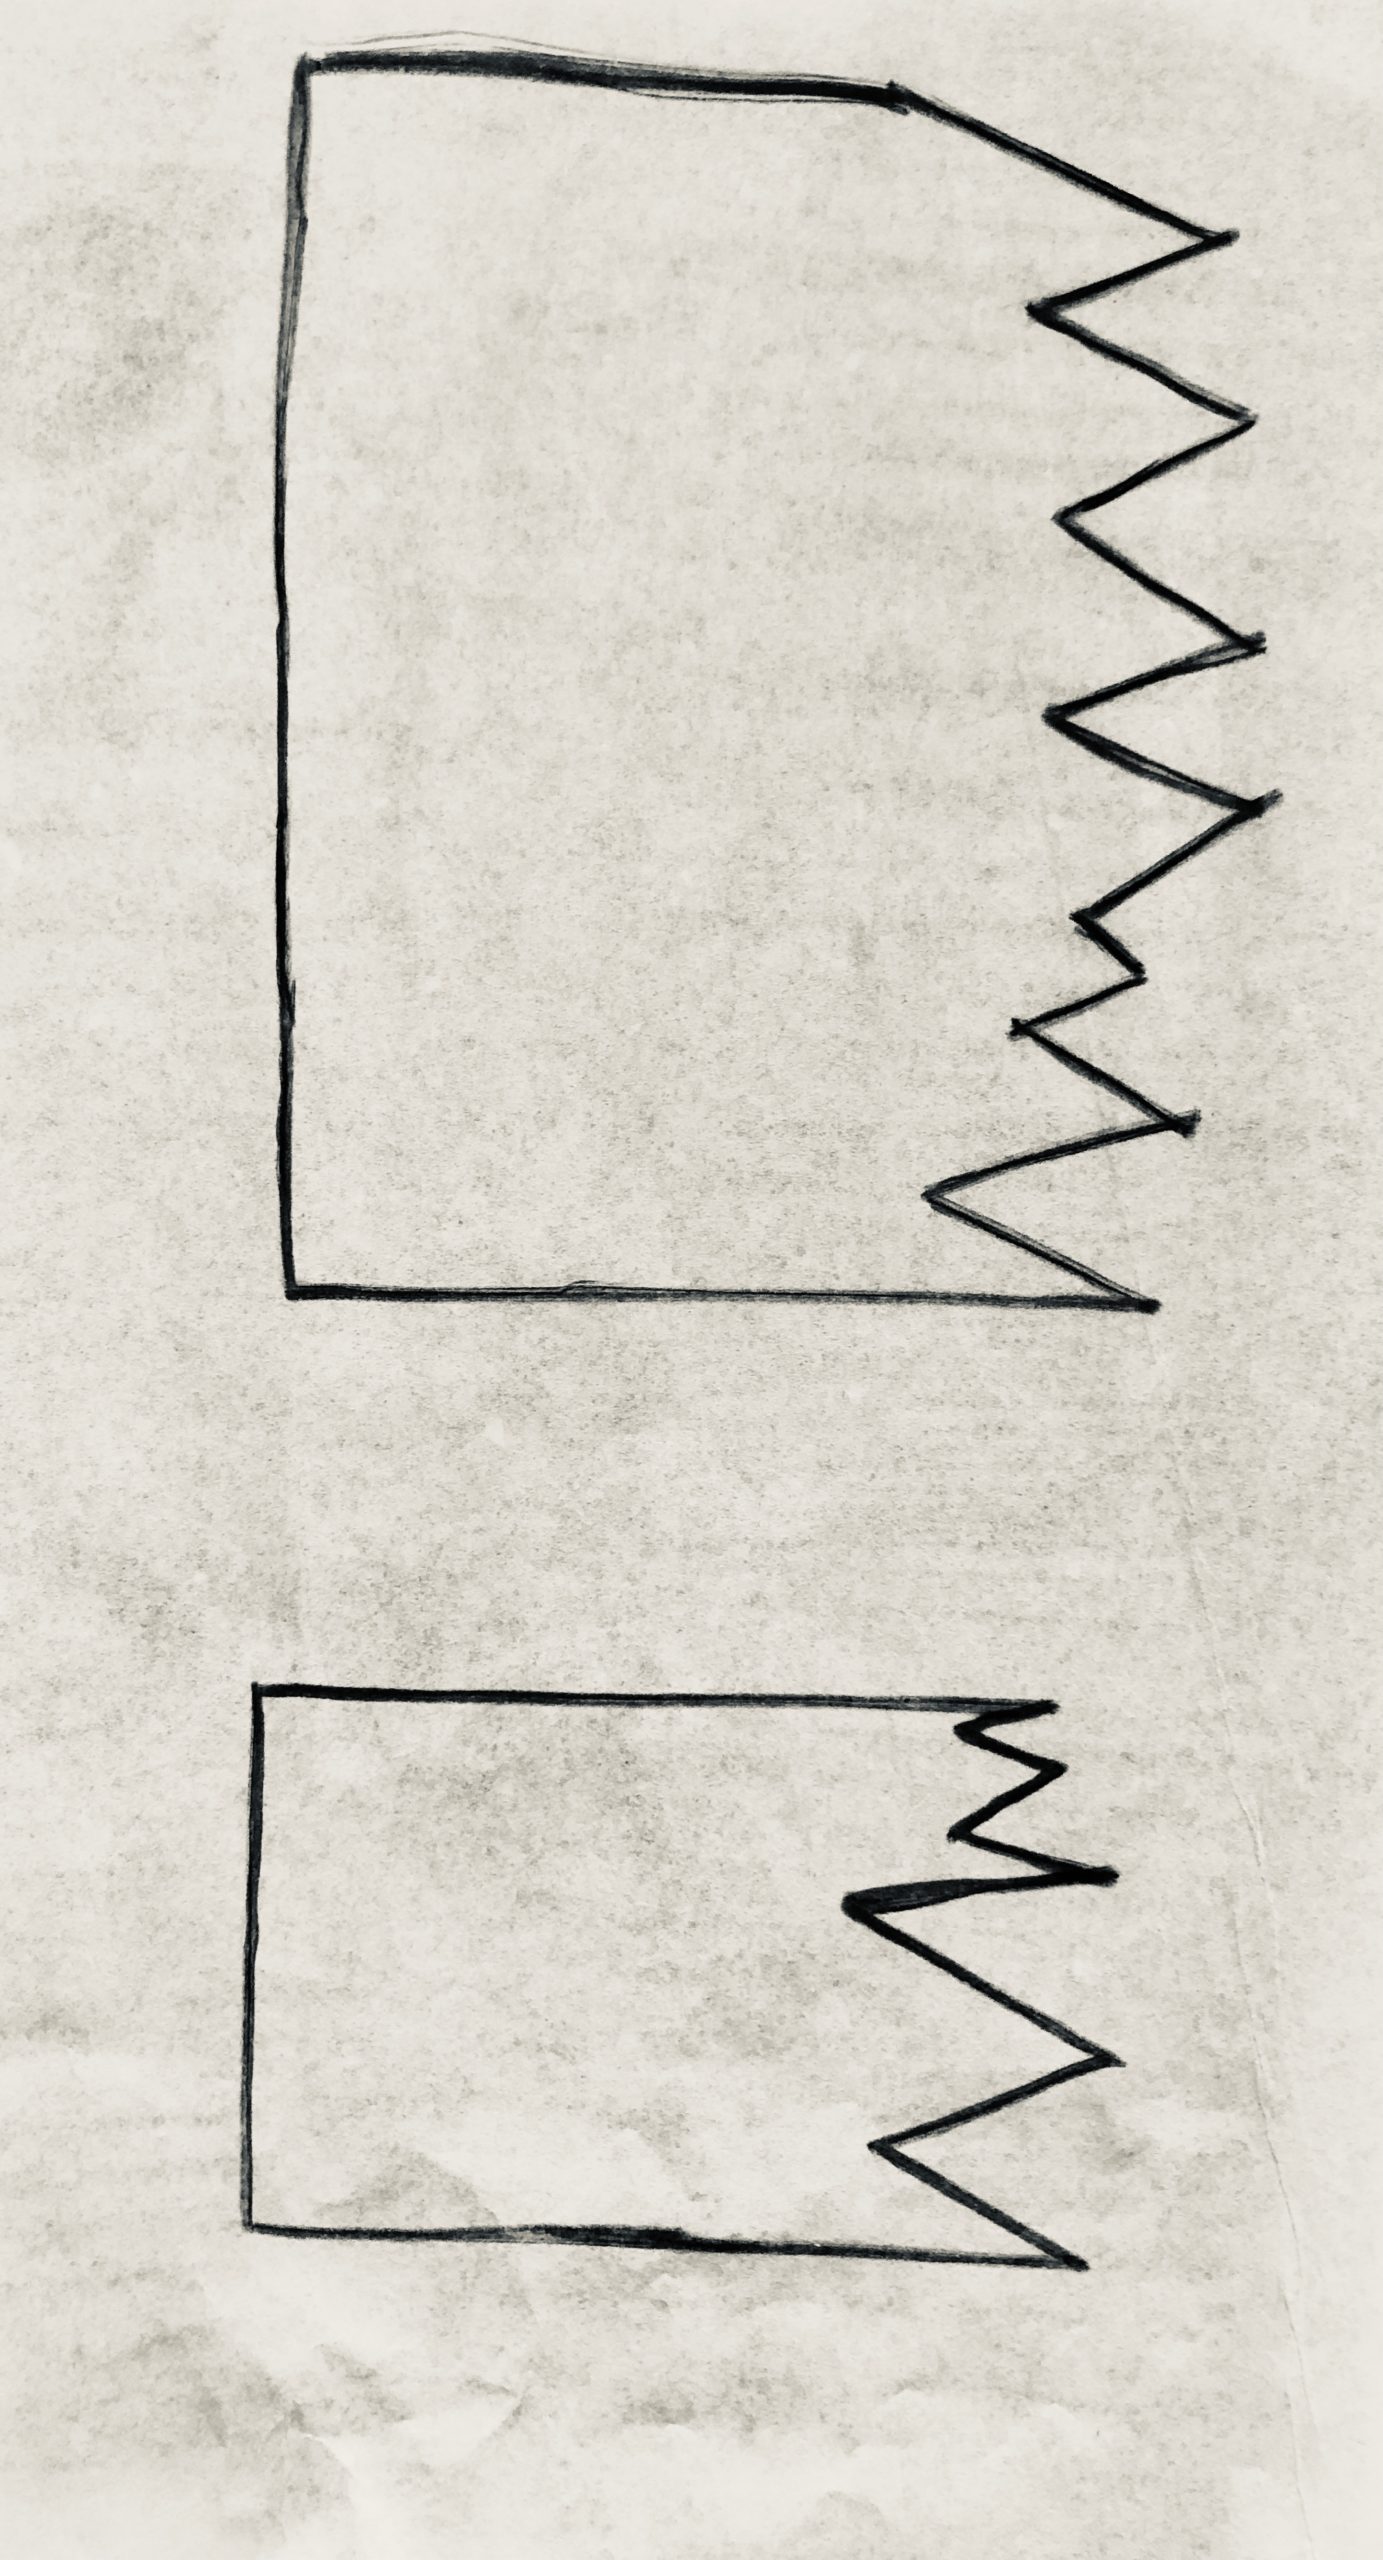
The neckline is 13cm high and 23cm wide.
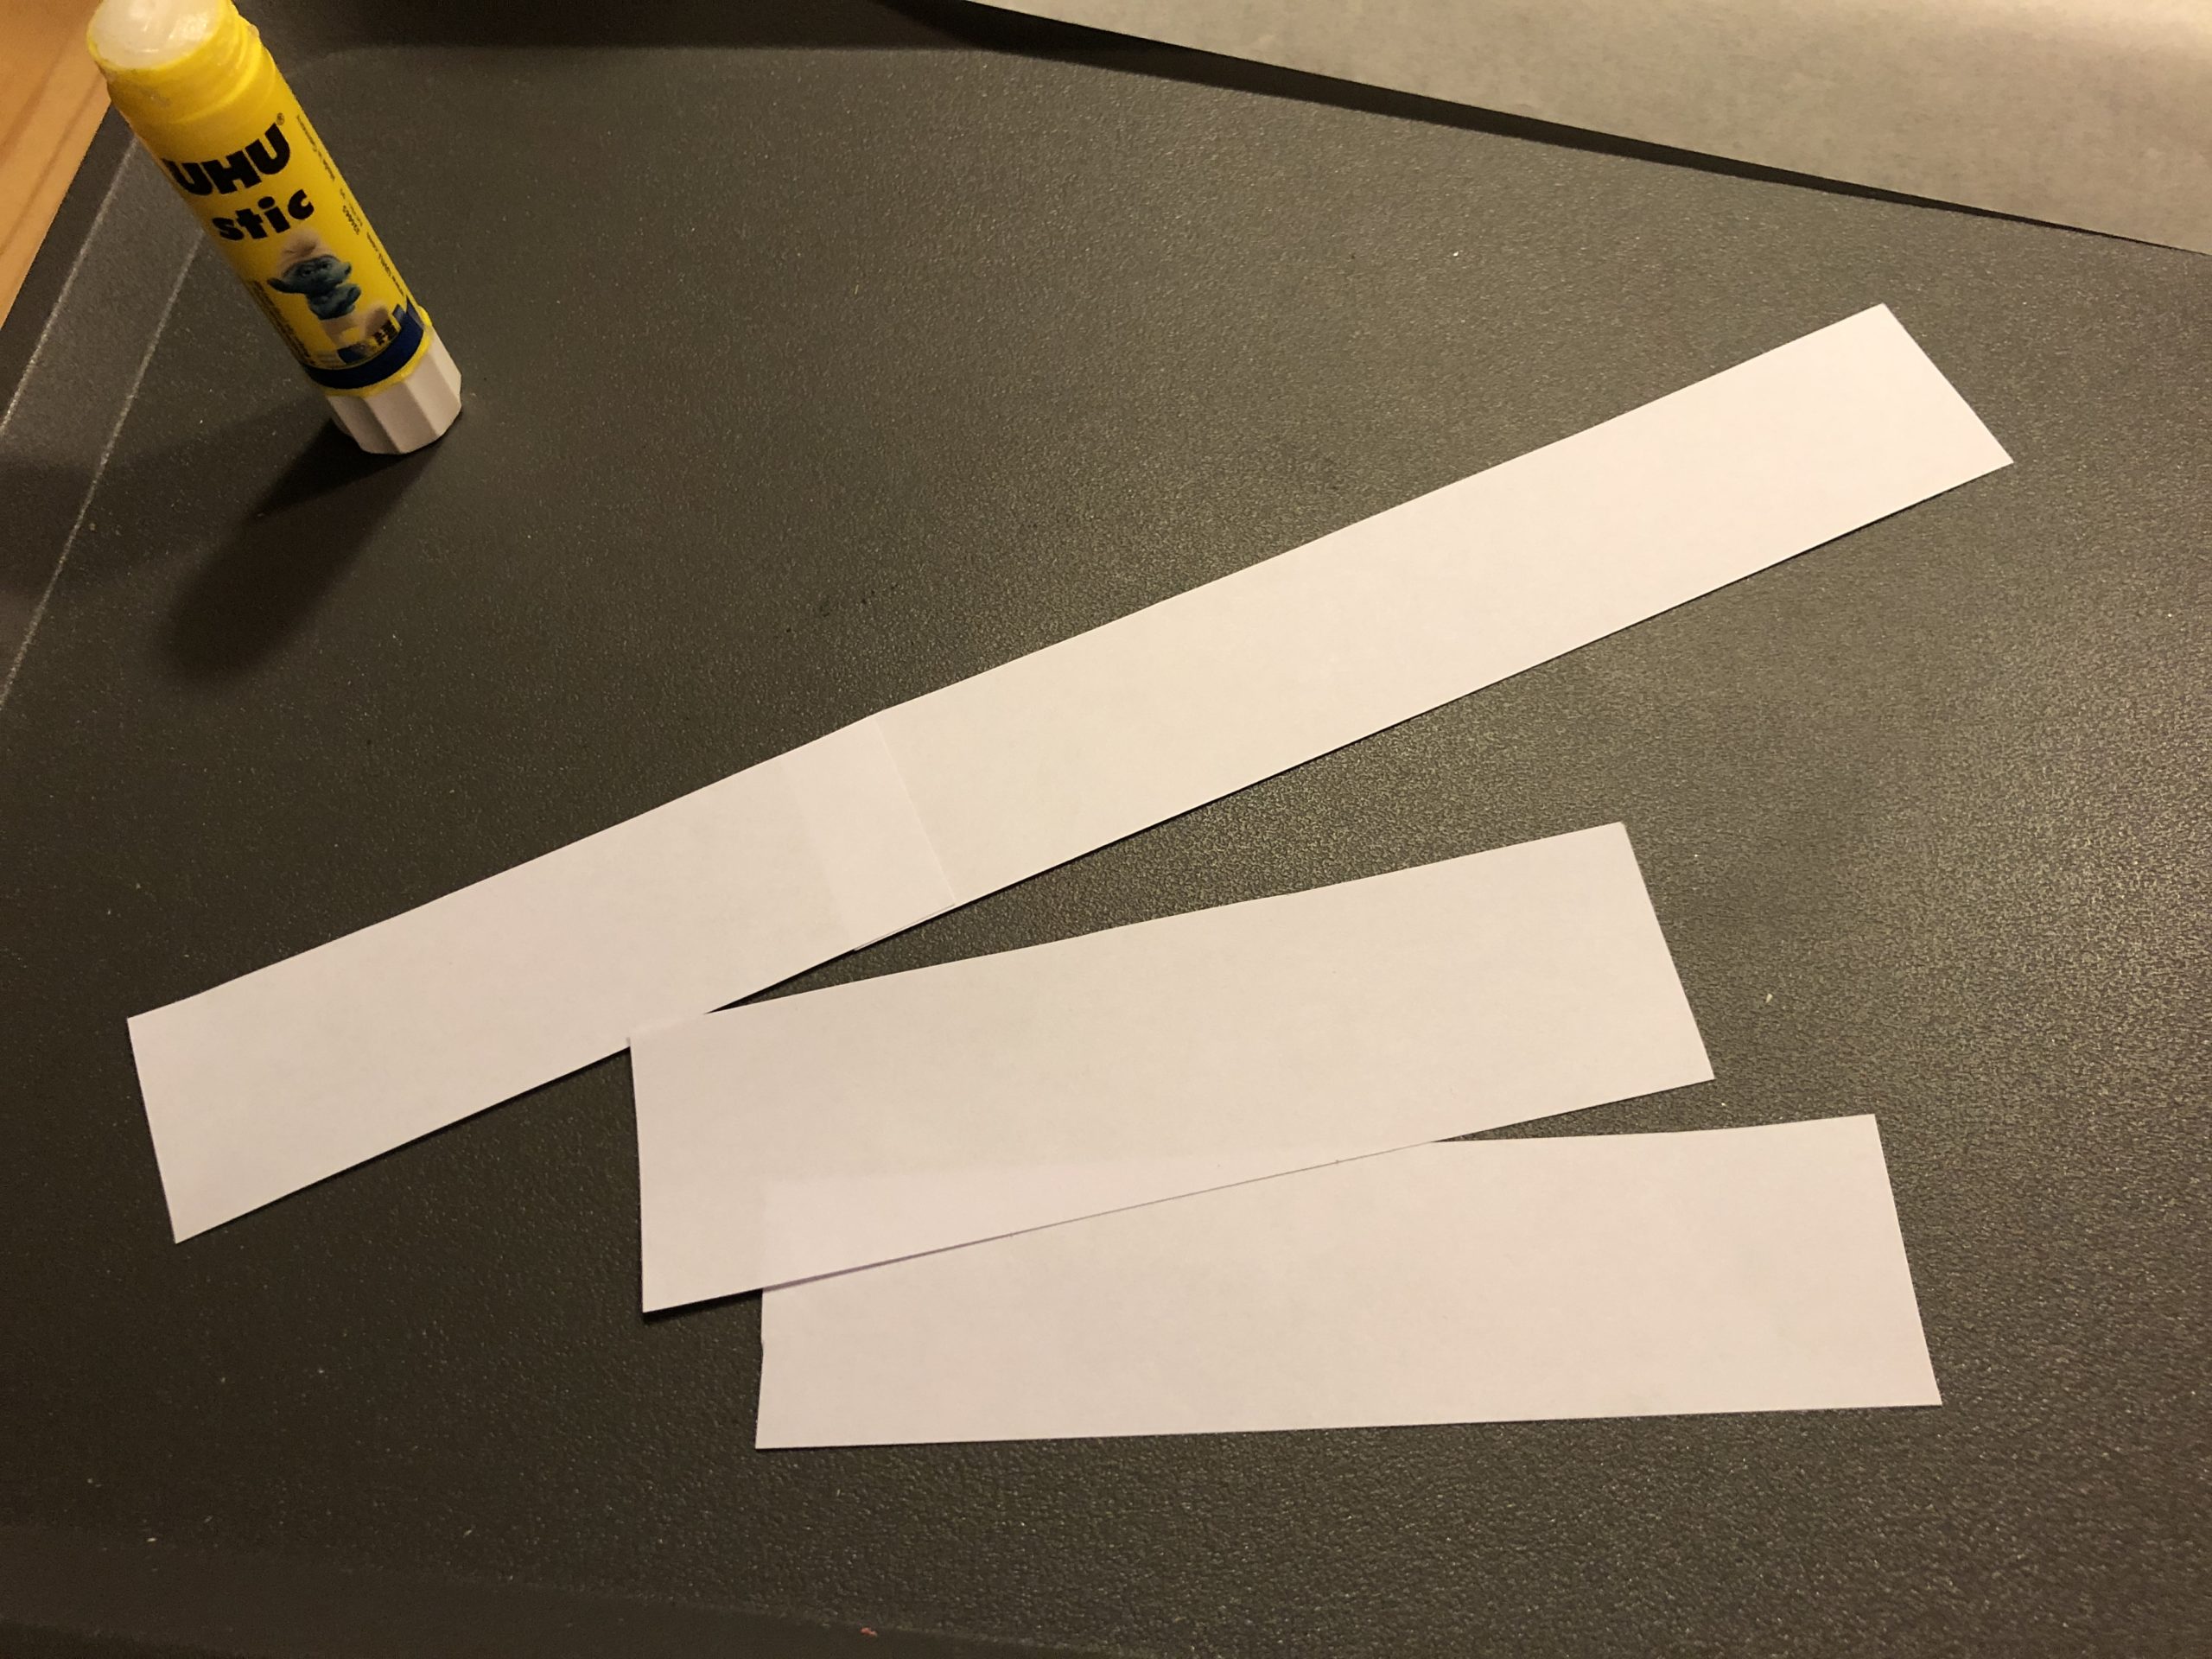
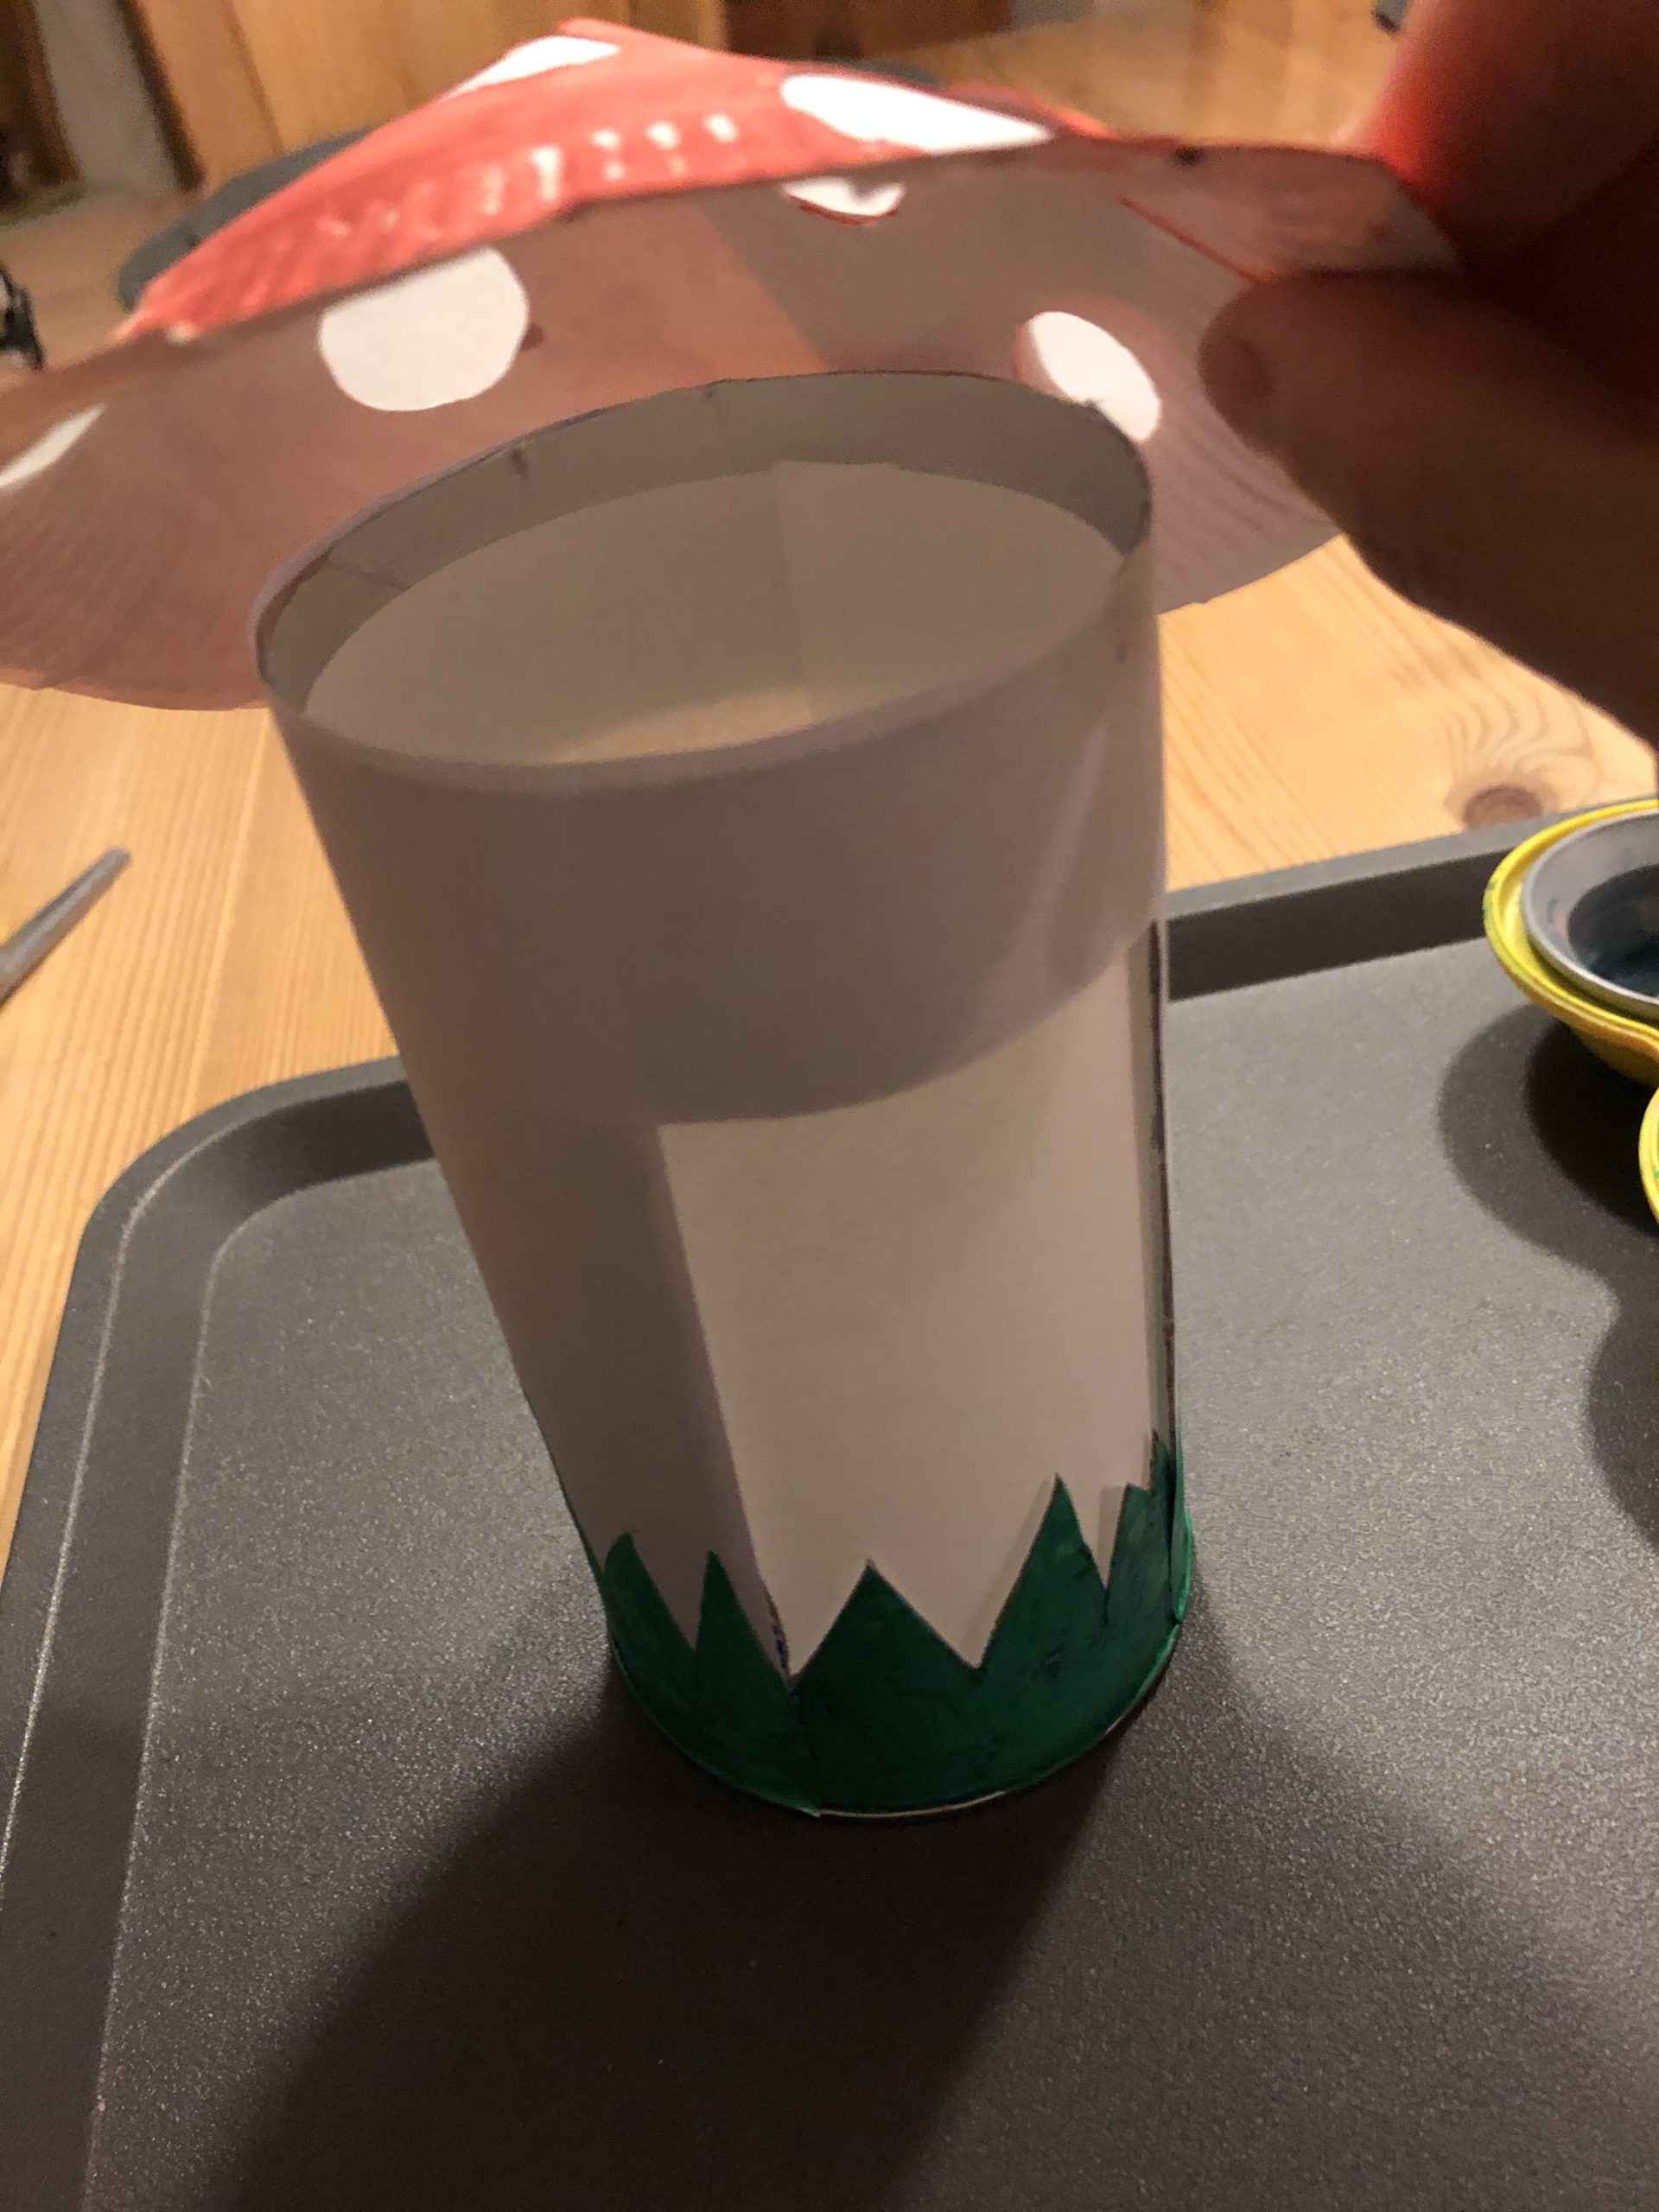
Cut out strips of white paper that you use to glue the chip can.
Sticks these around the still existing can. The cutouts remain open.
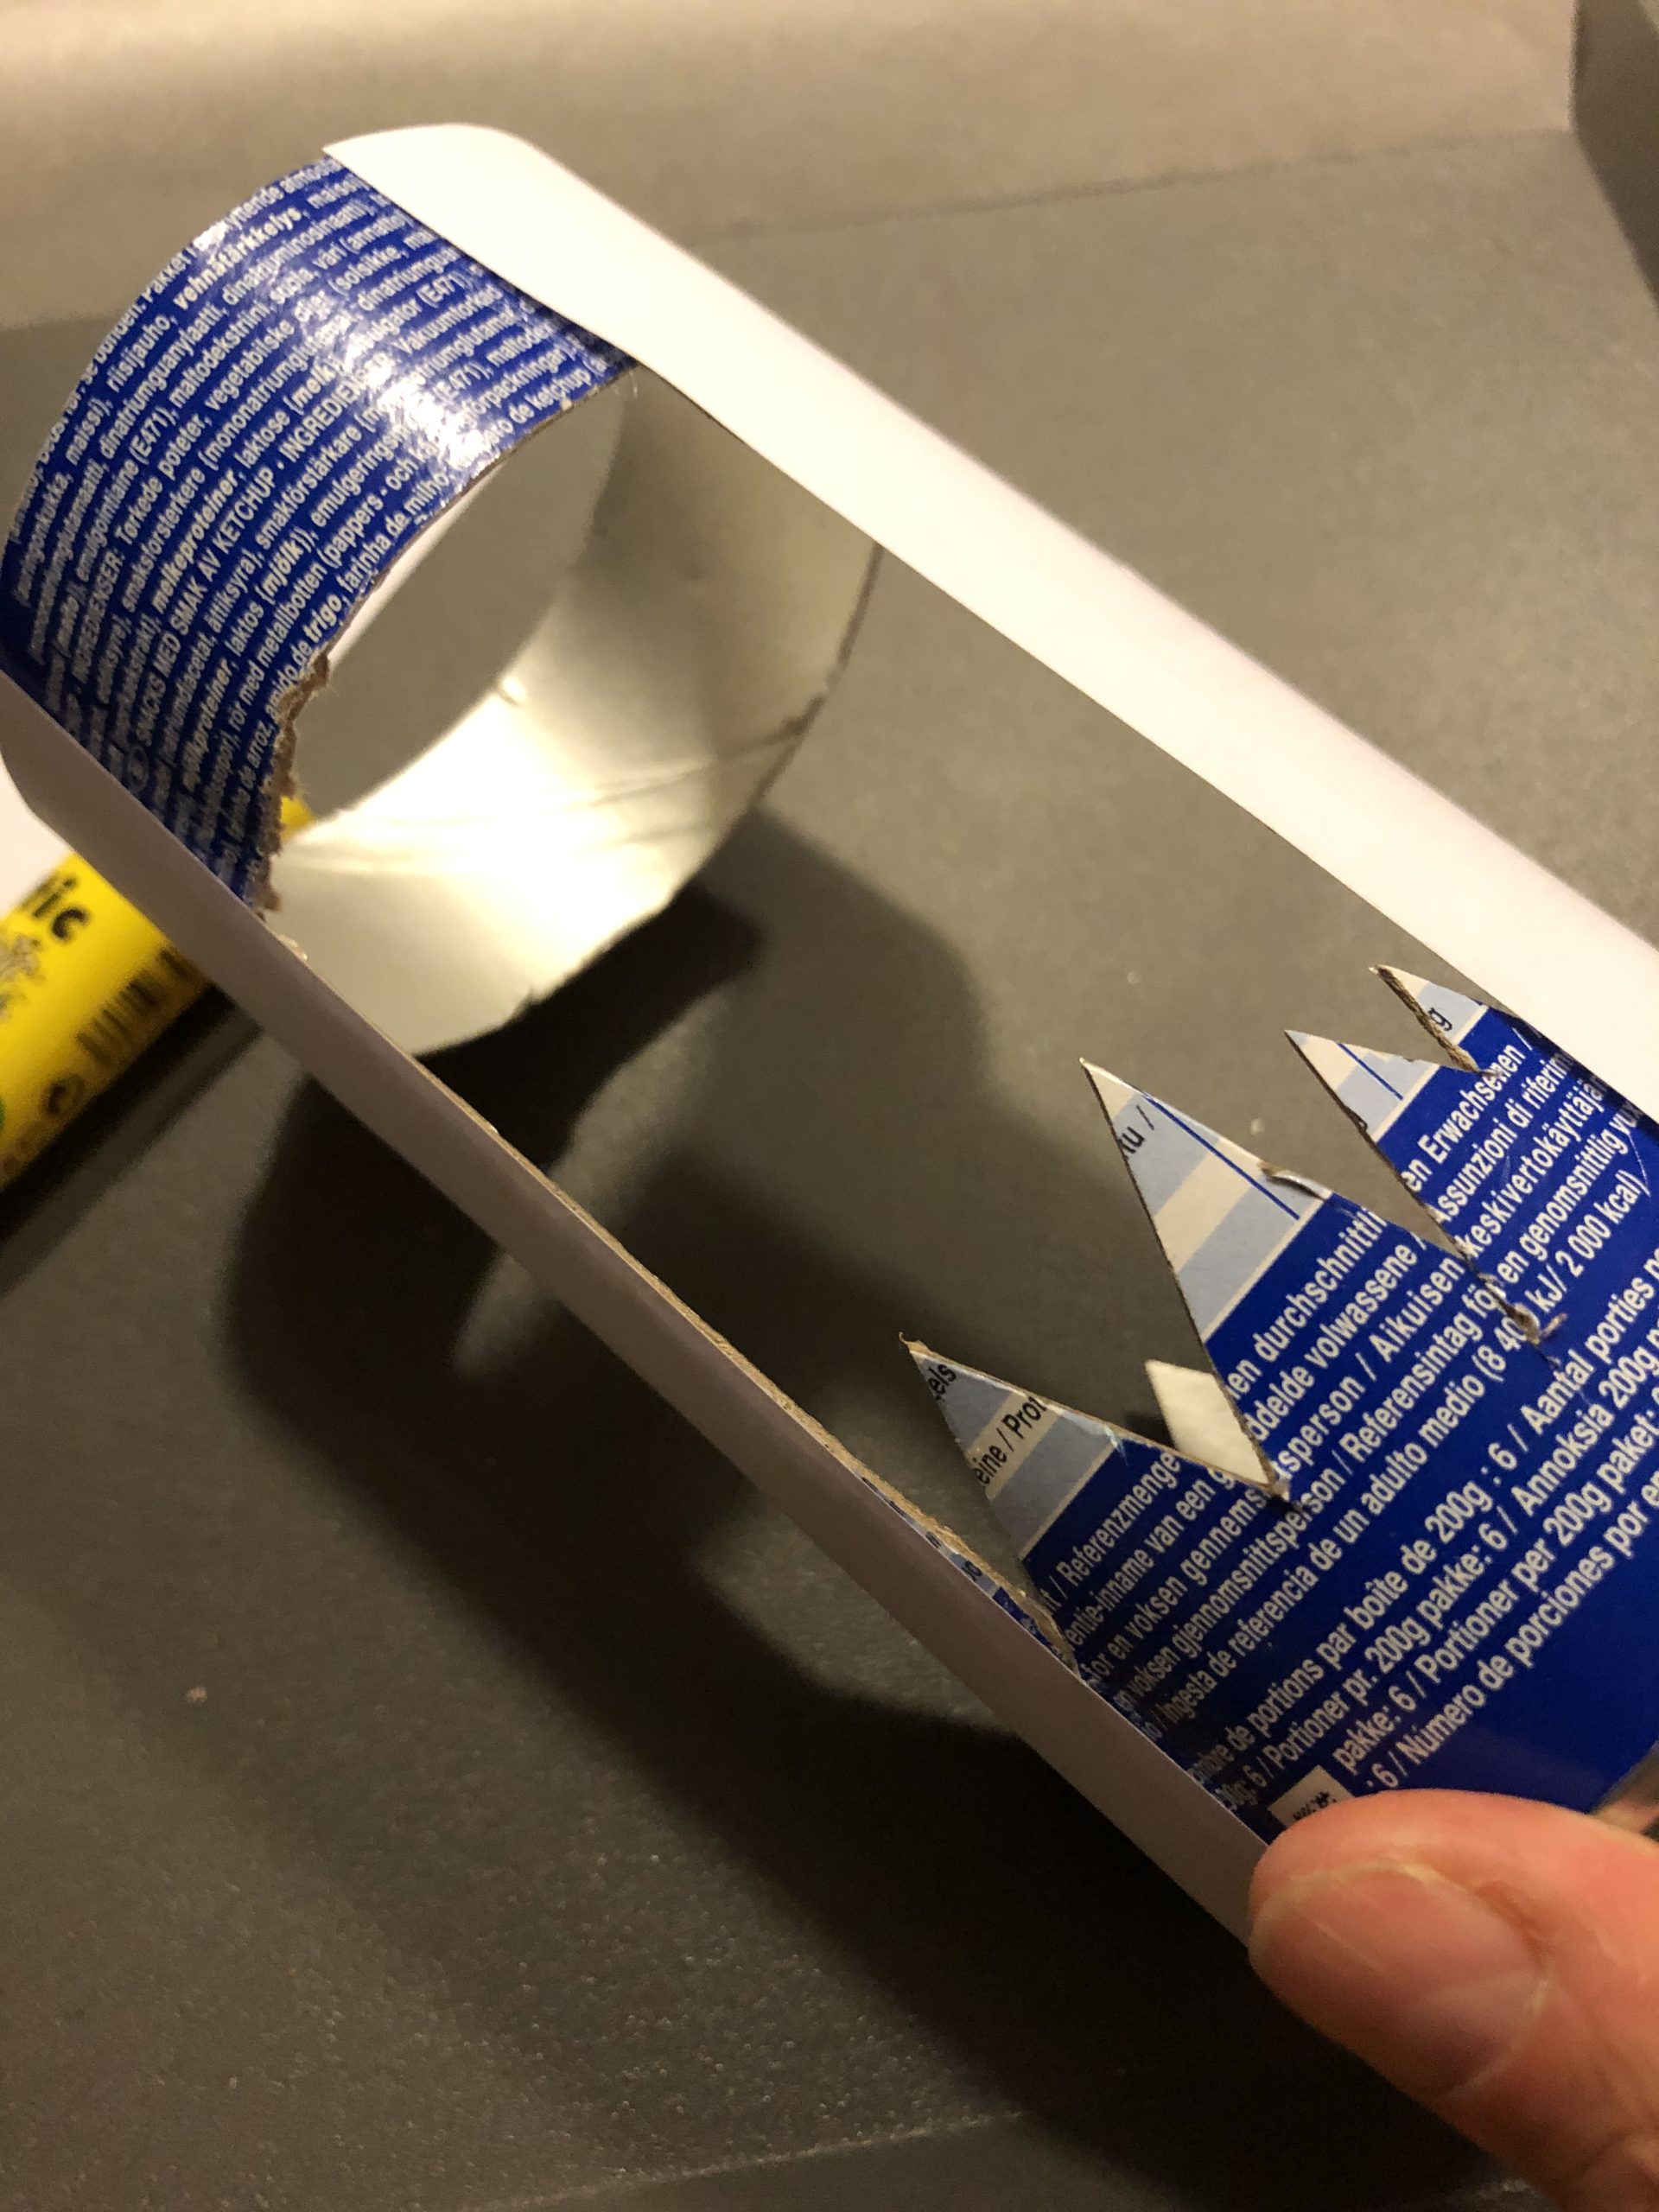
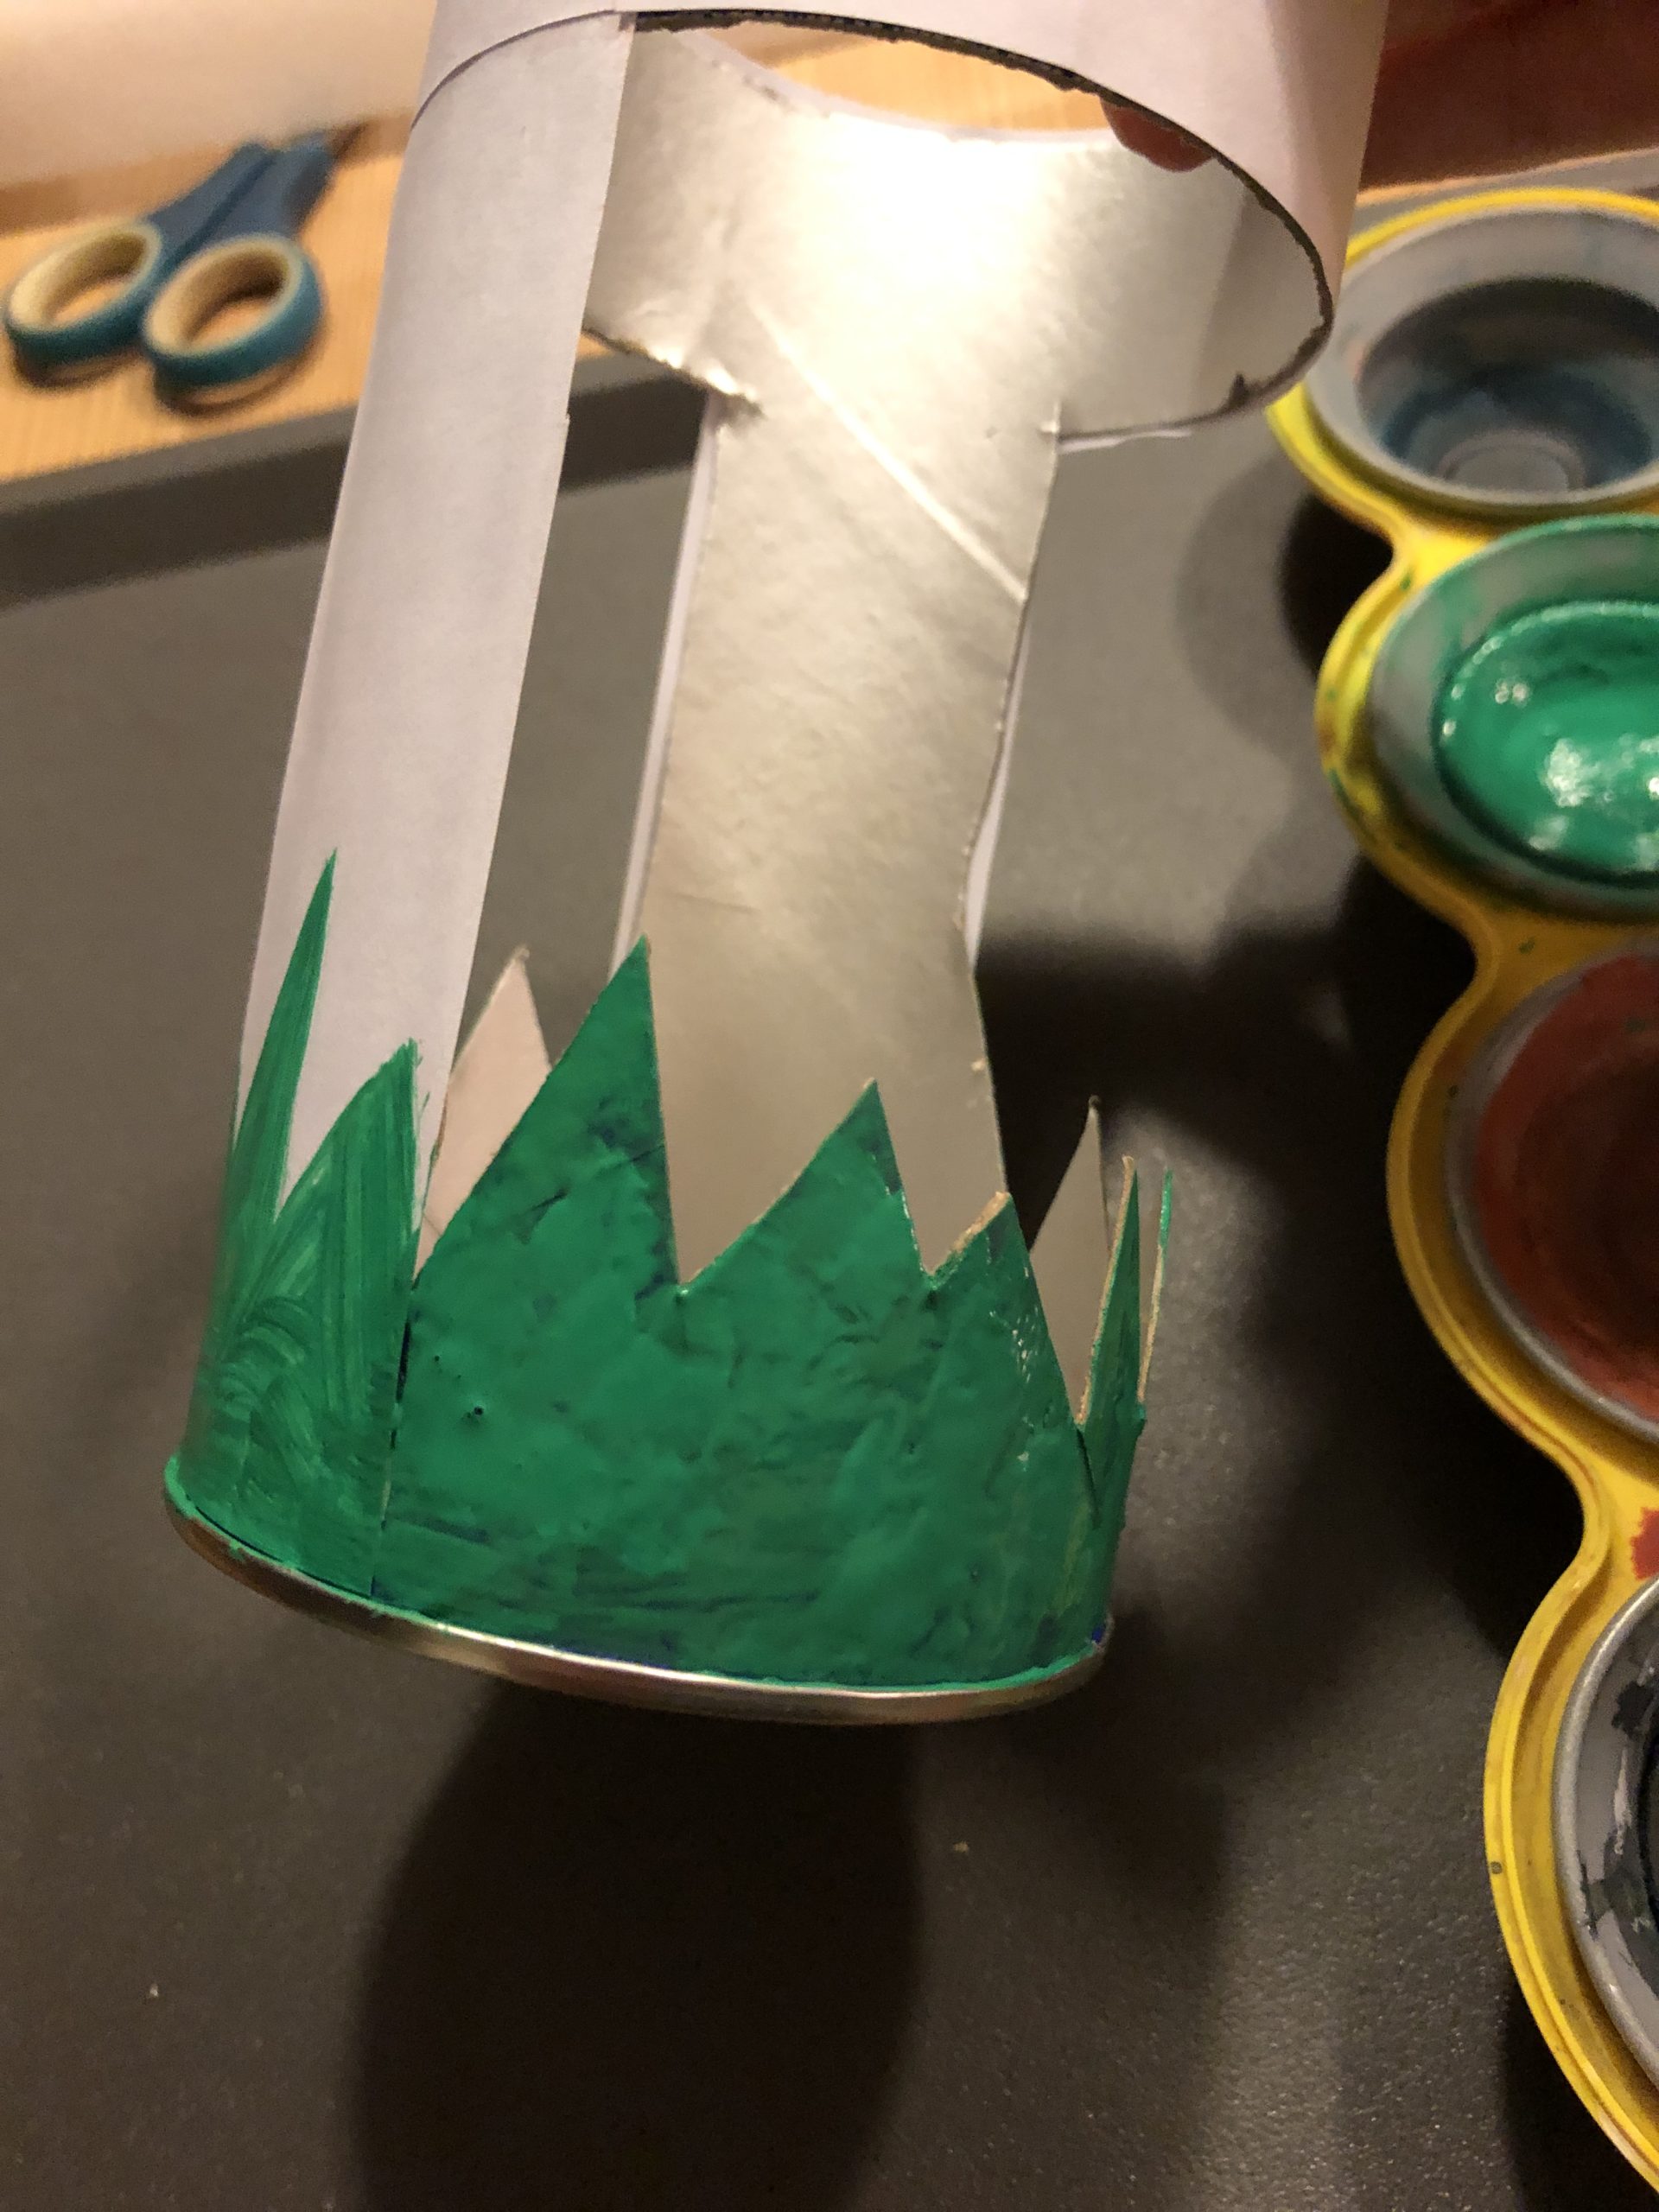
The zigzag edge of the can is painted green, like the meadow.
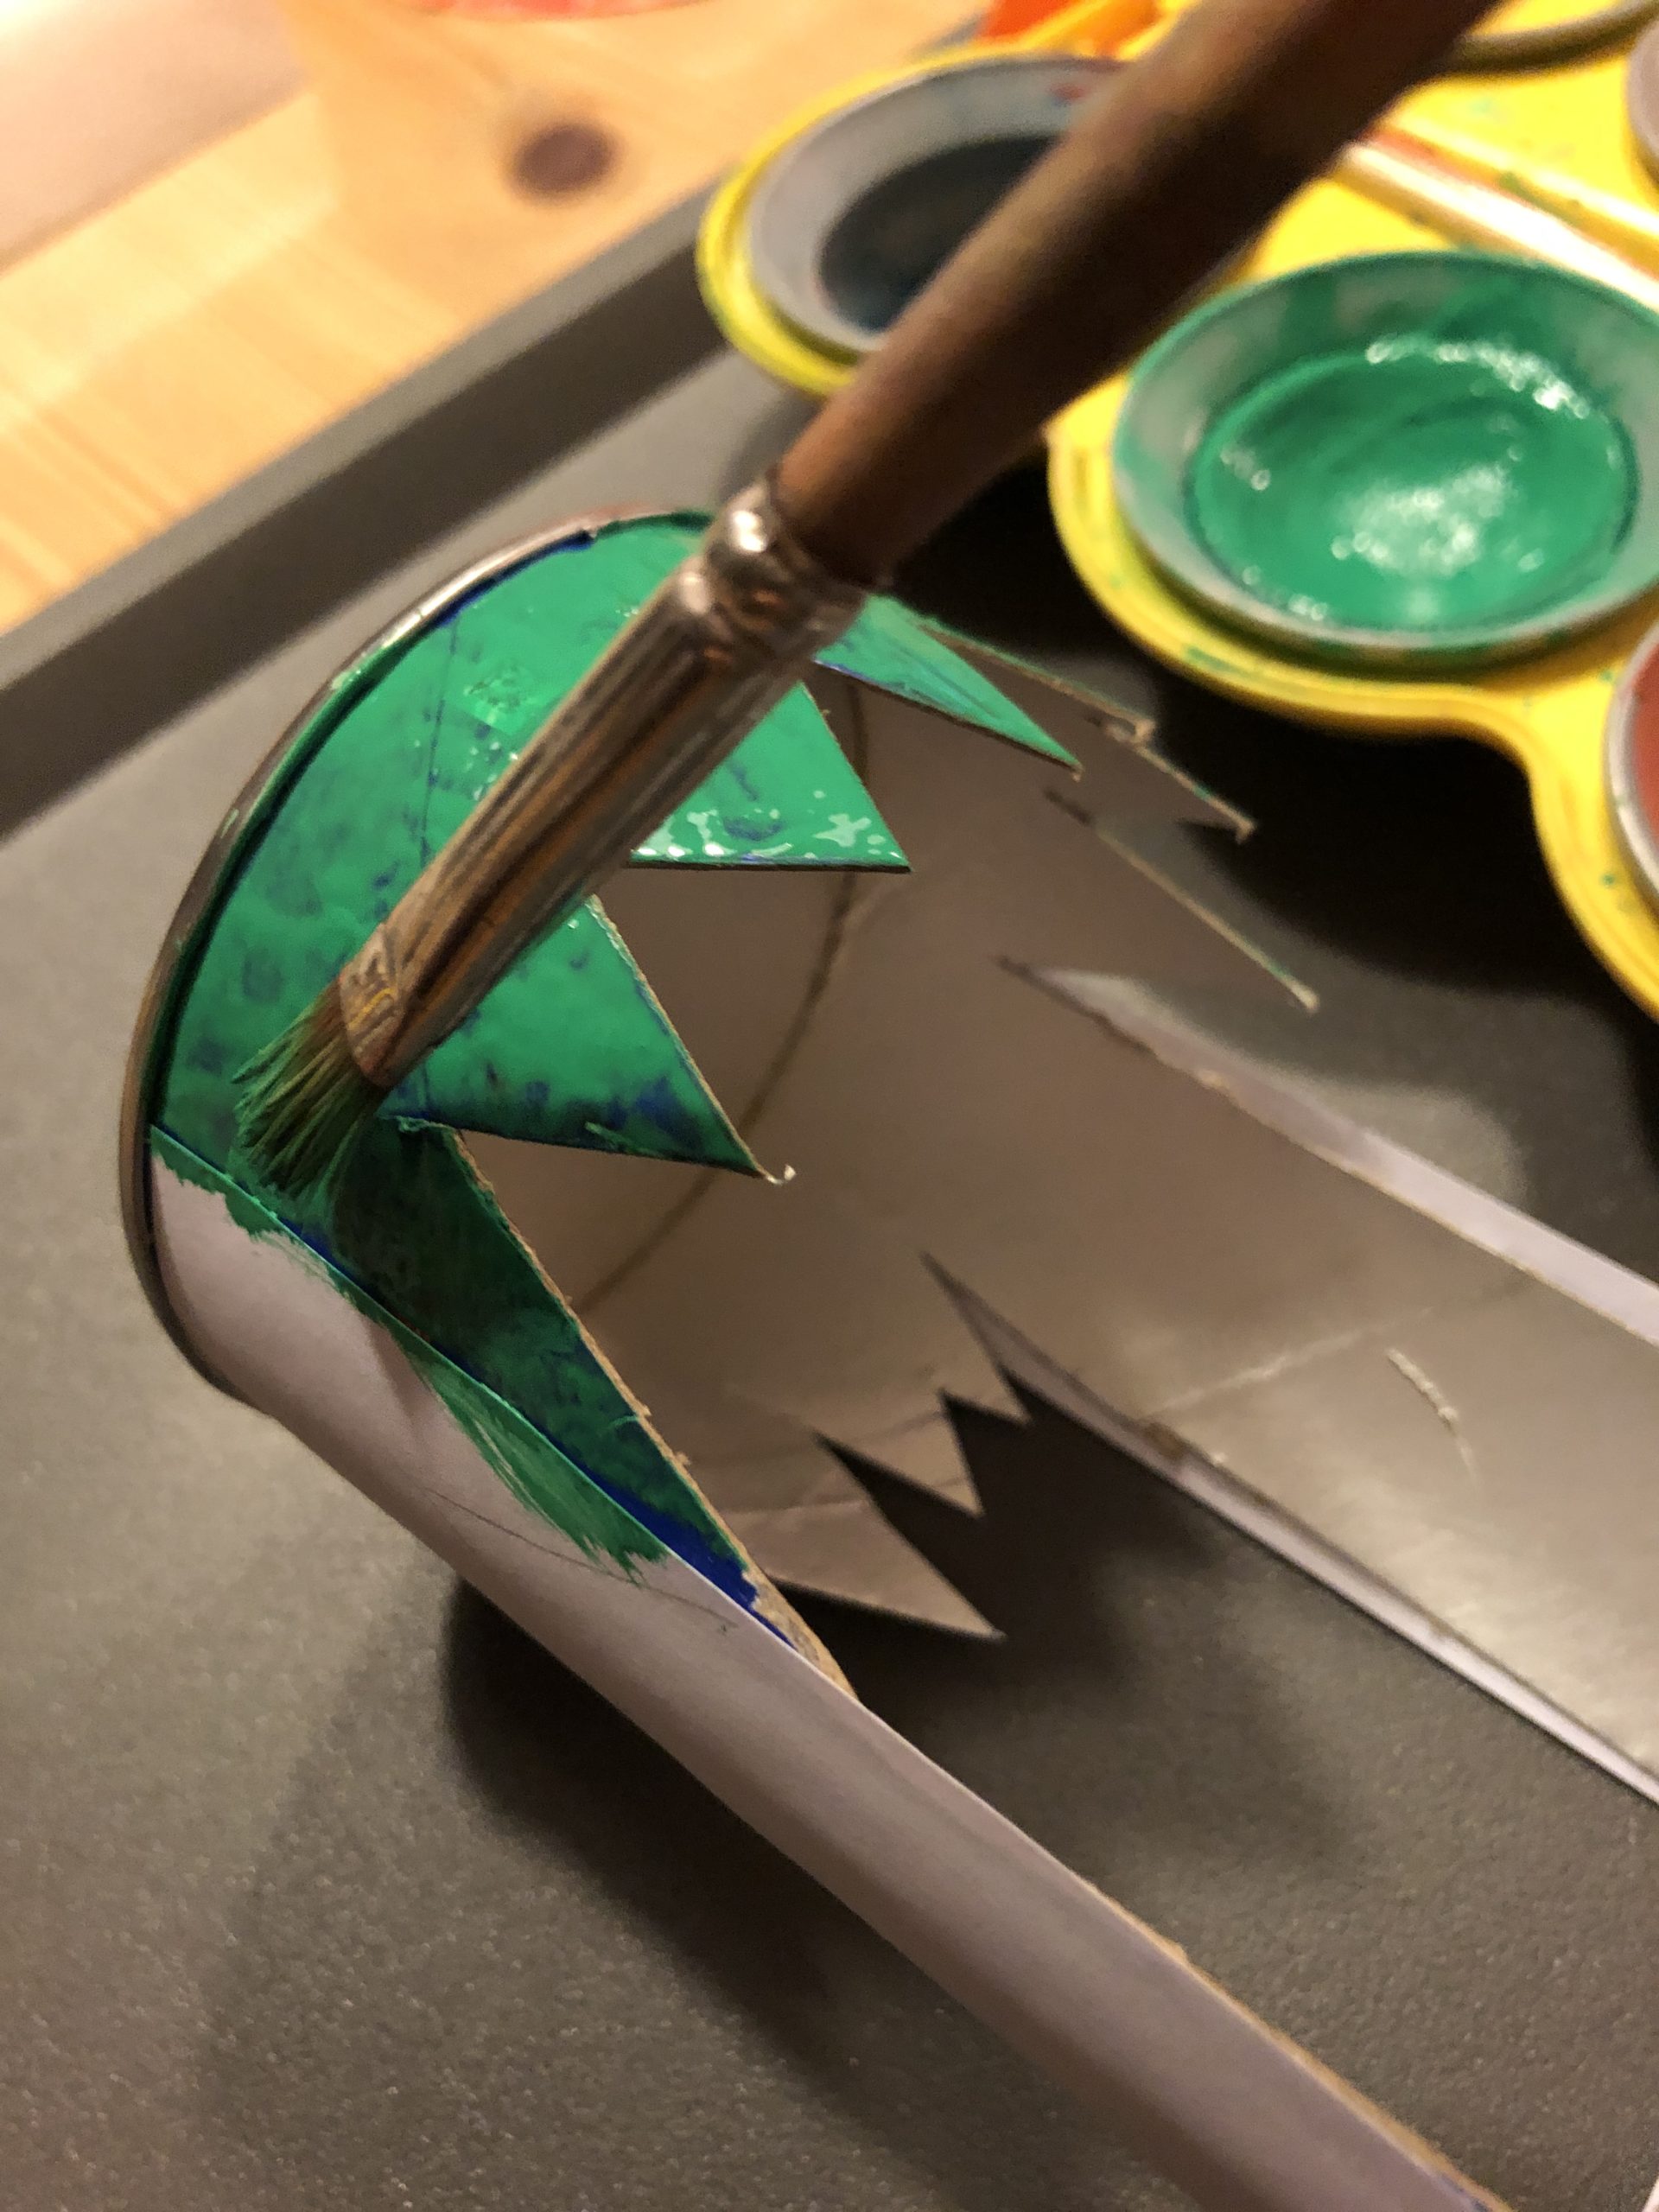
Then put the can to dry.
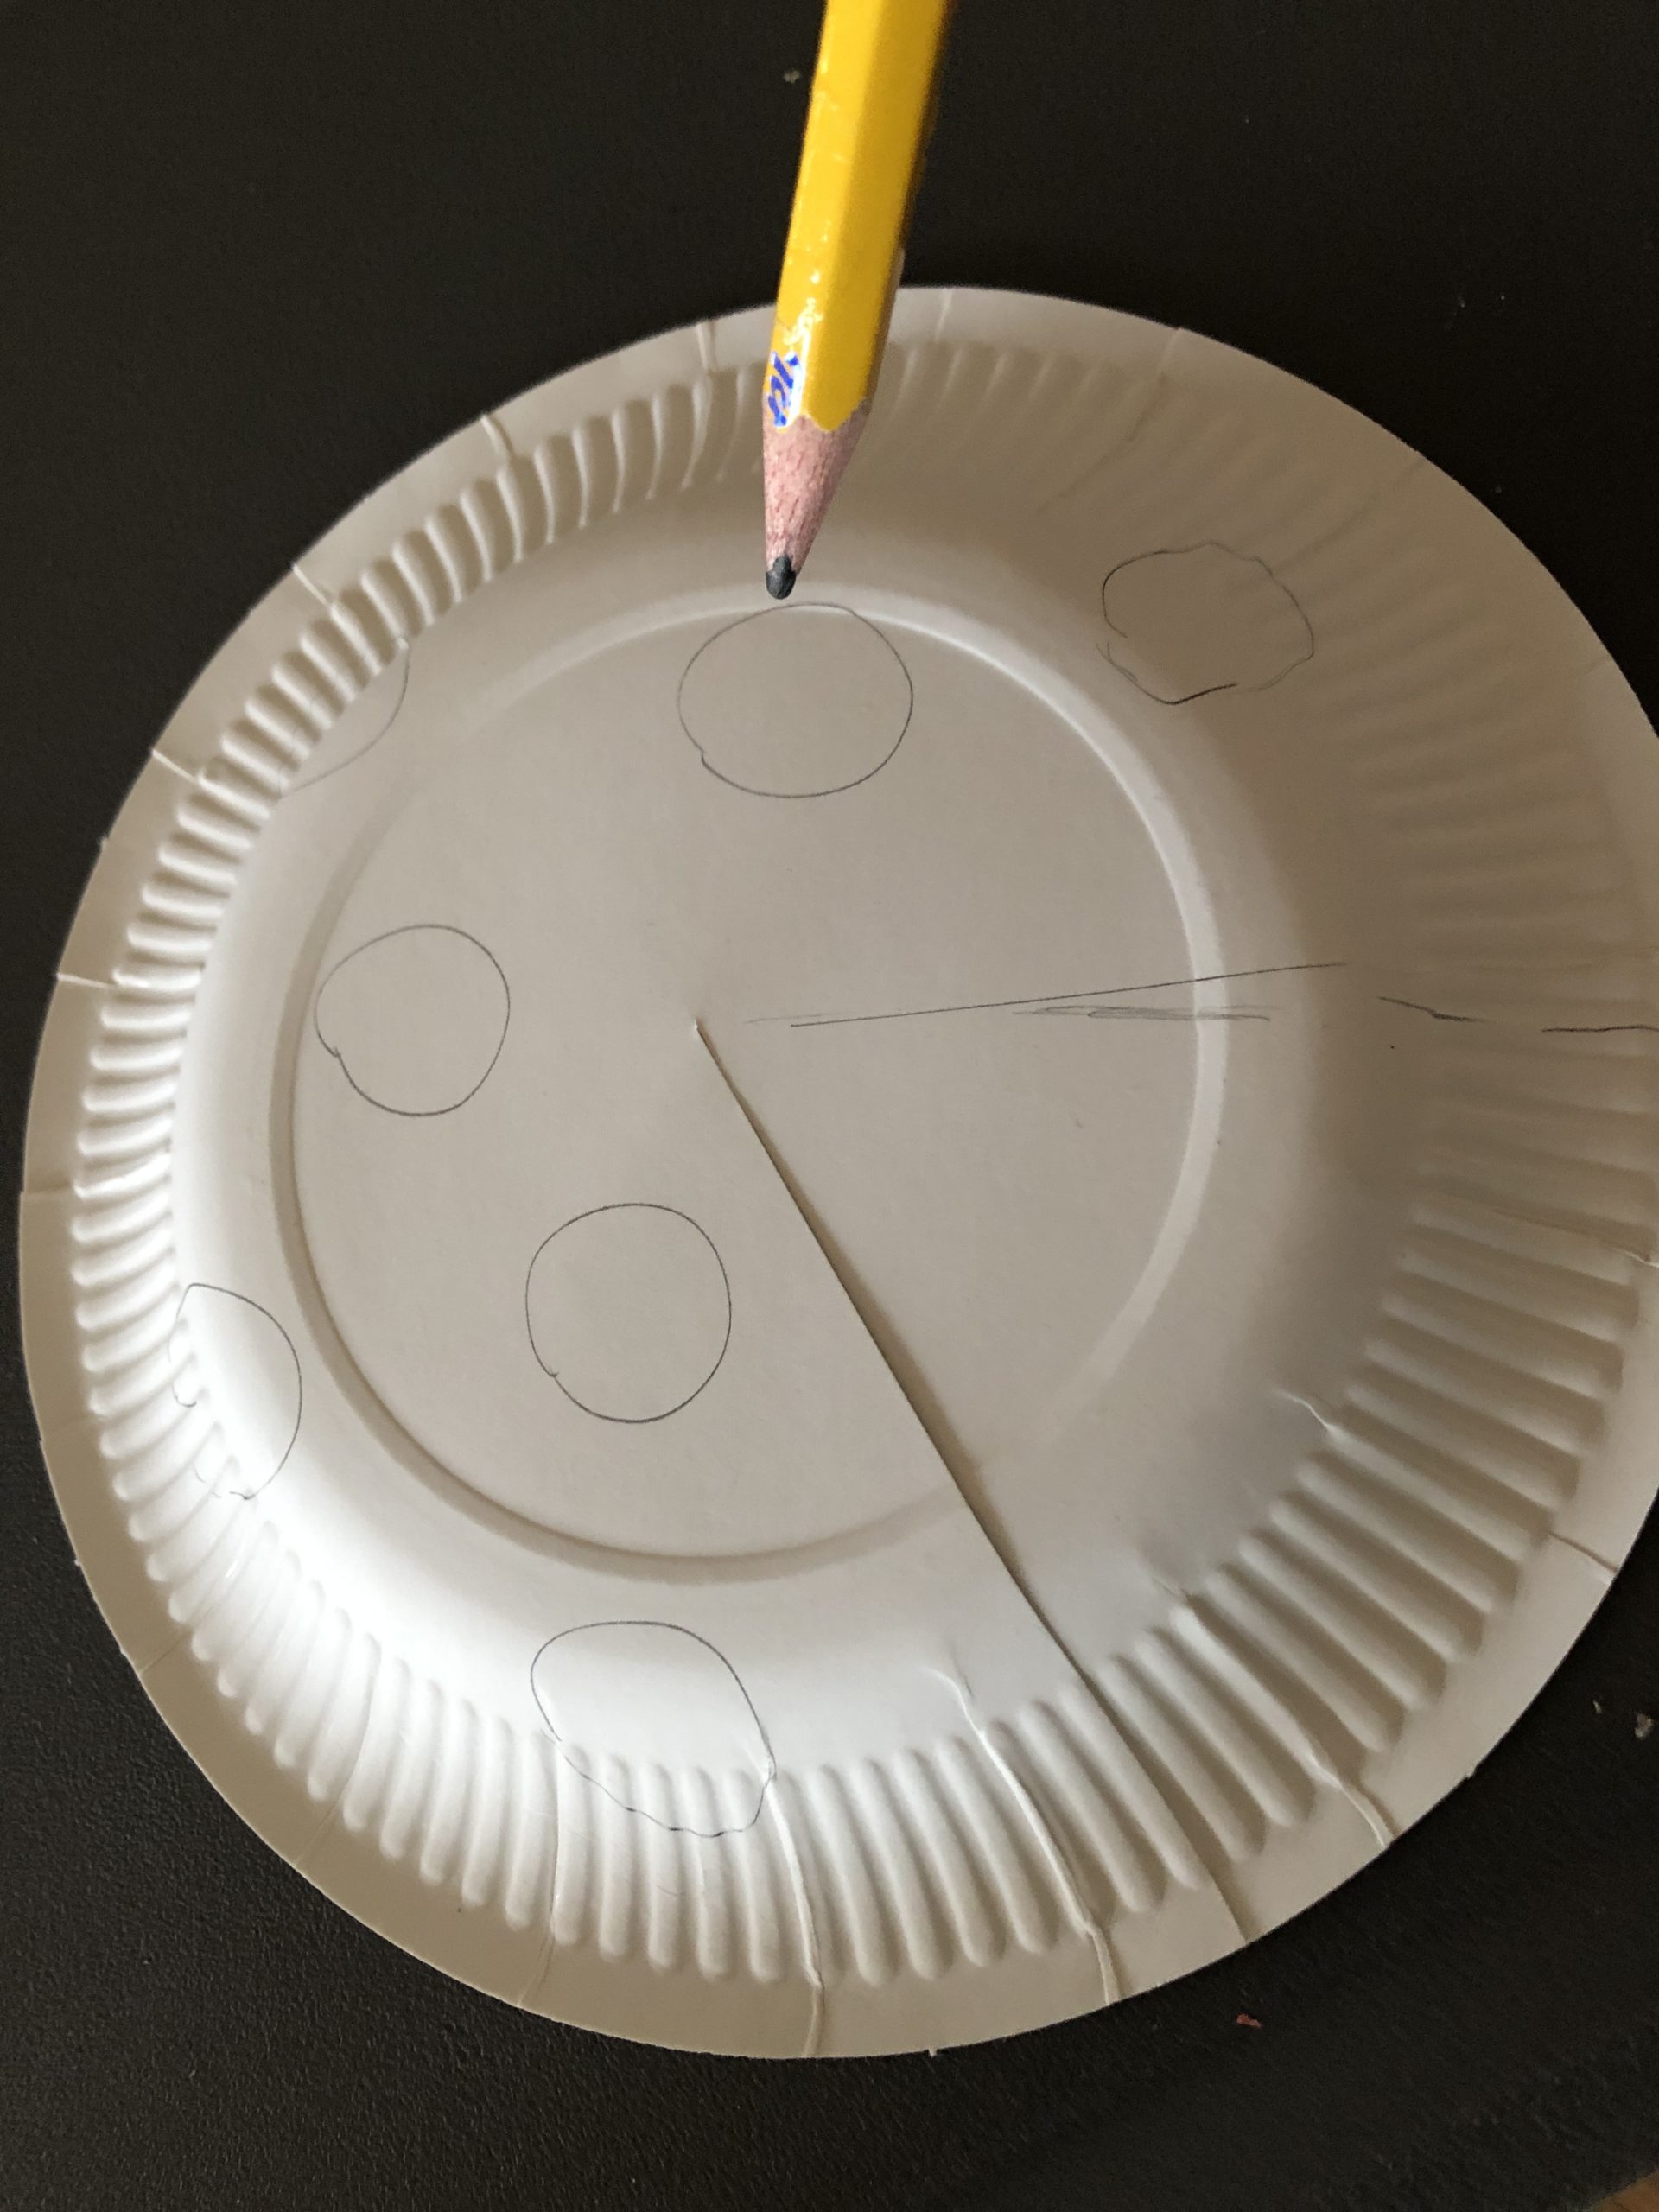
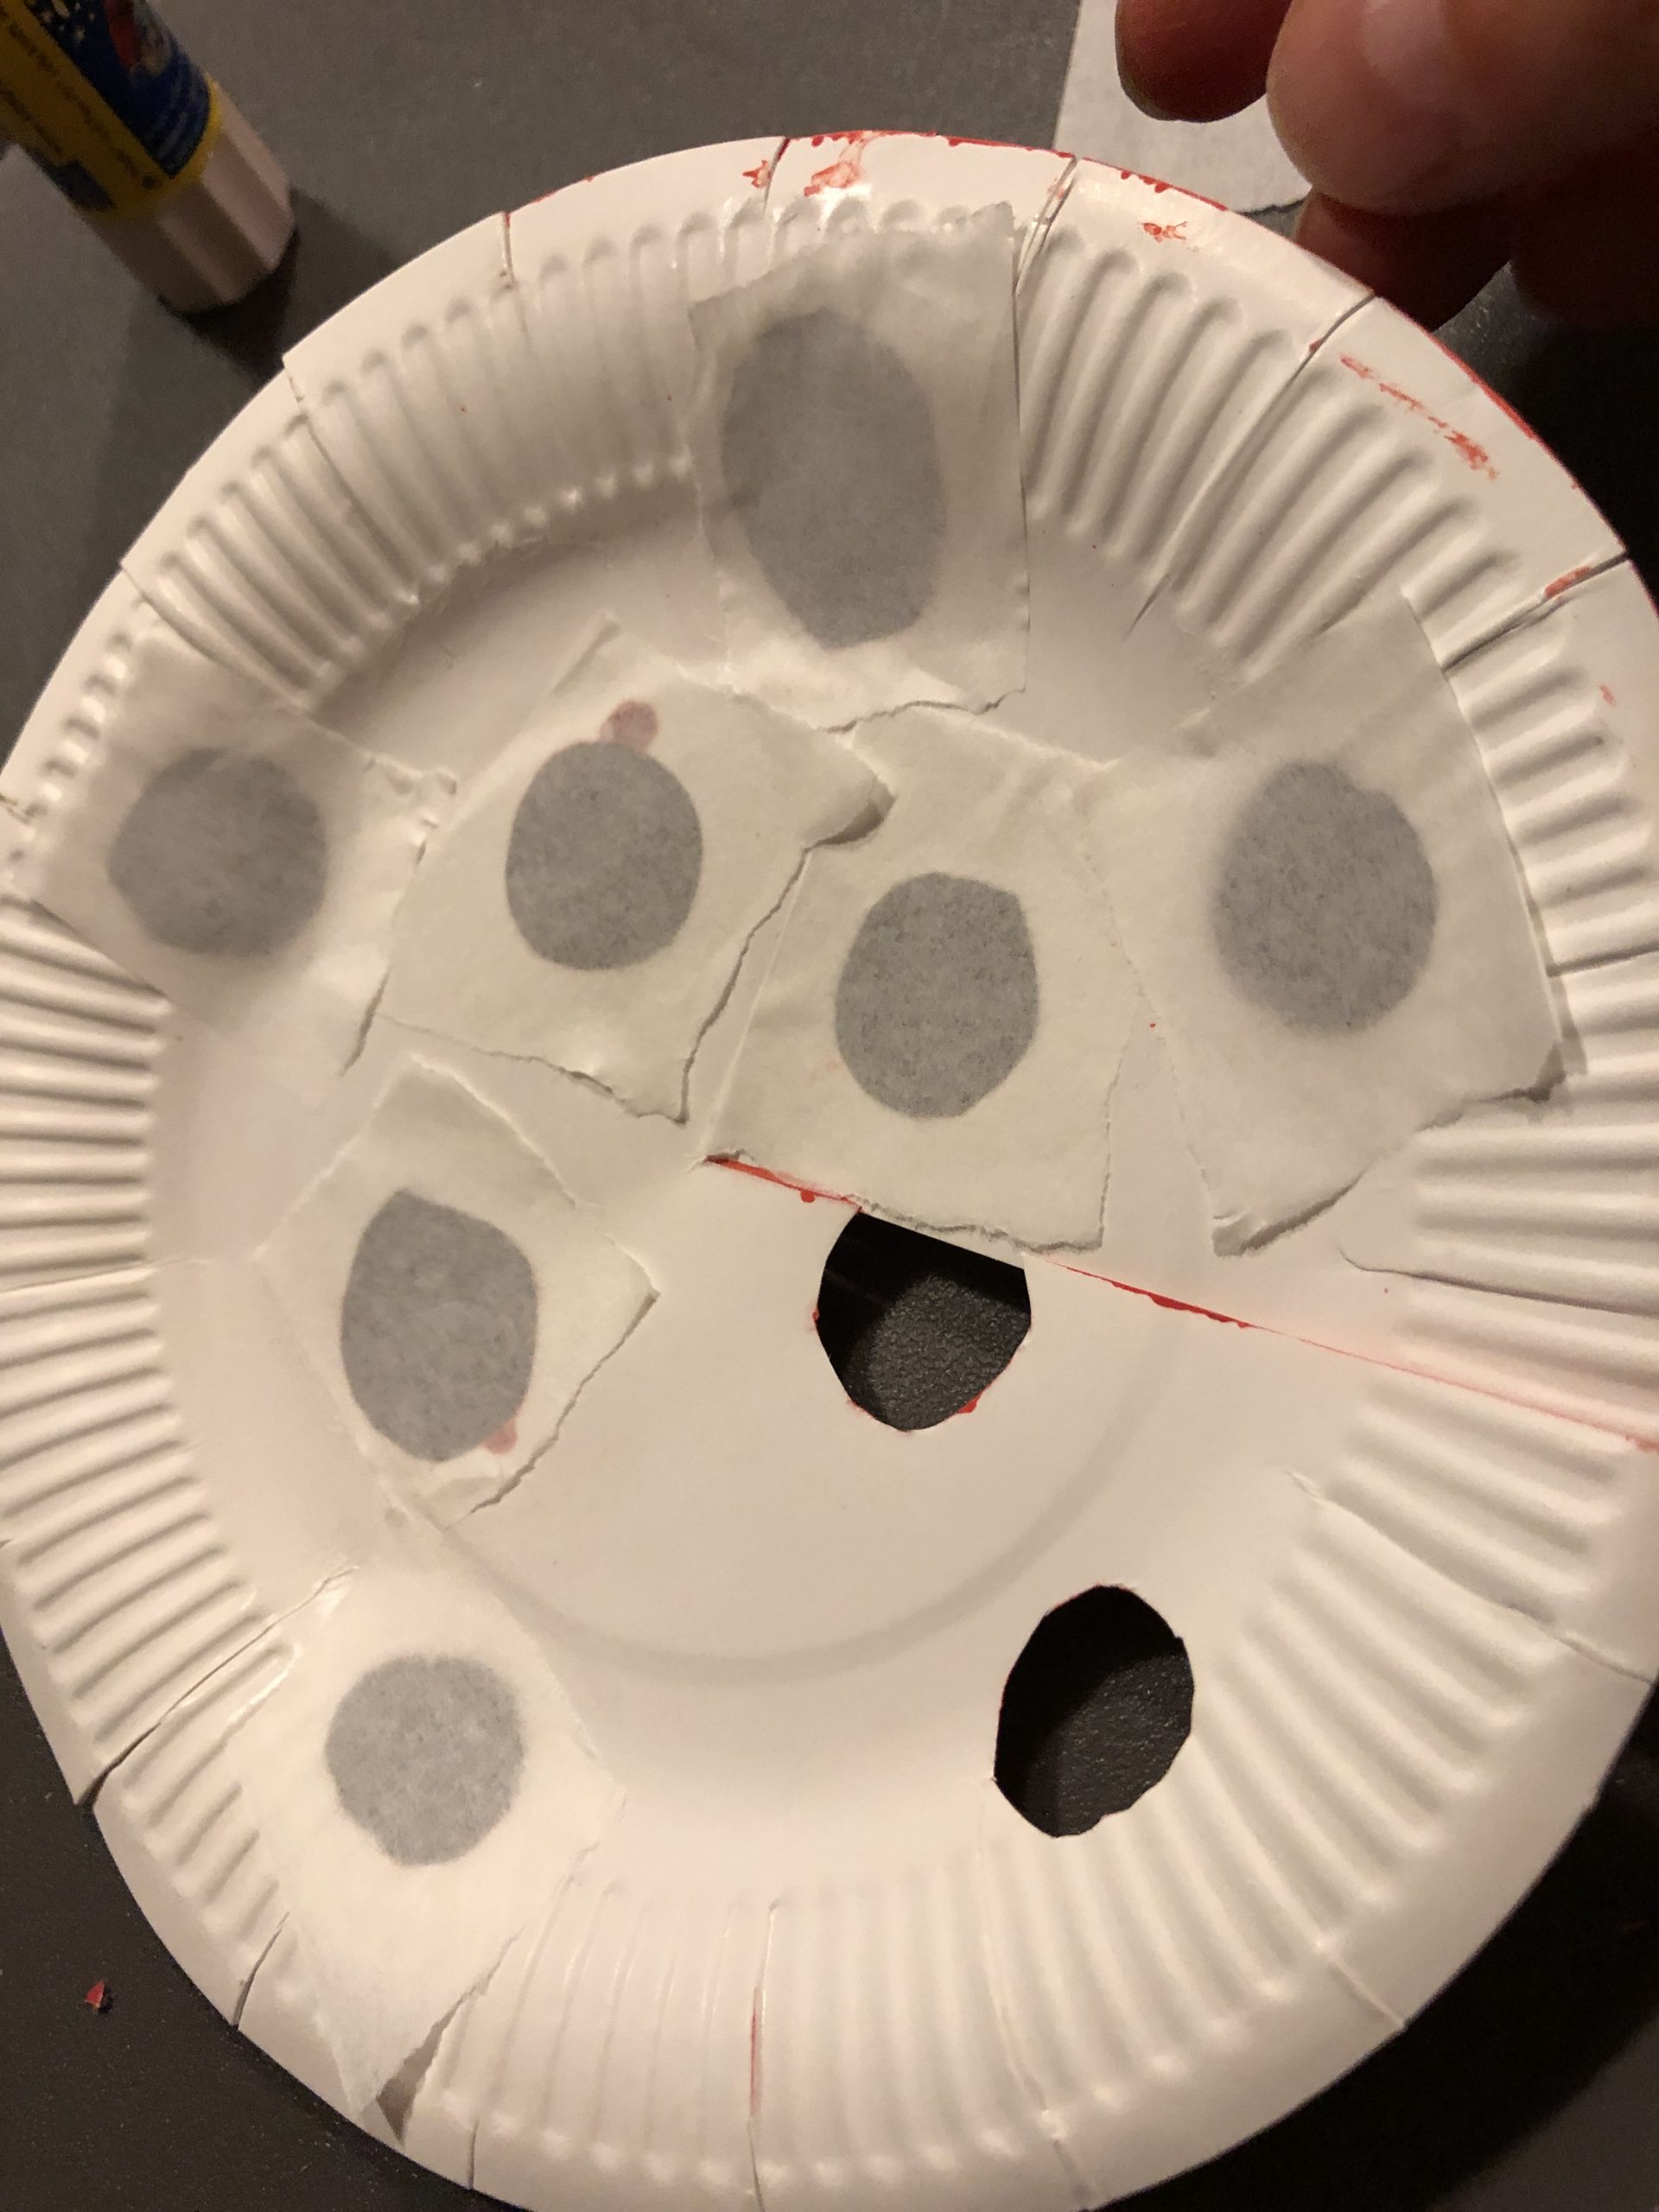
Meanwhile, you take the cardboard plate and cut it to the middle.
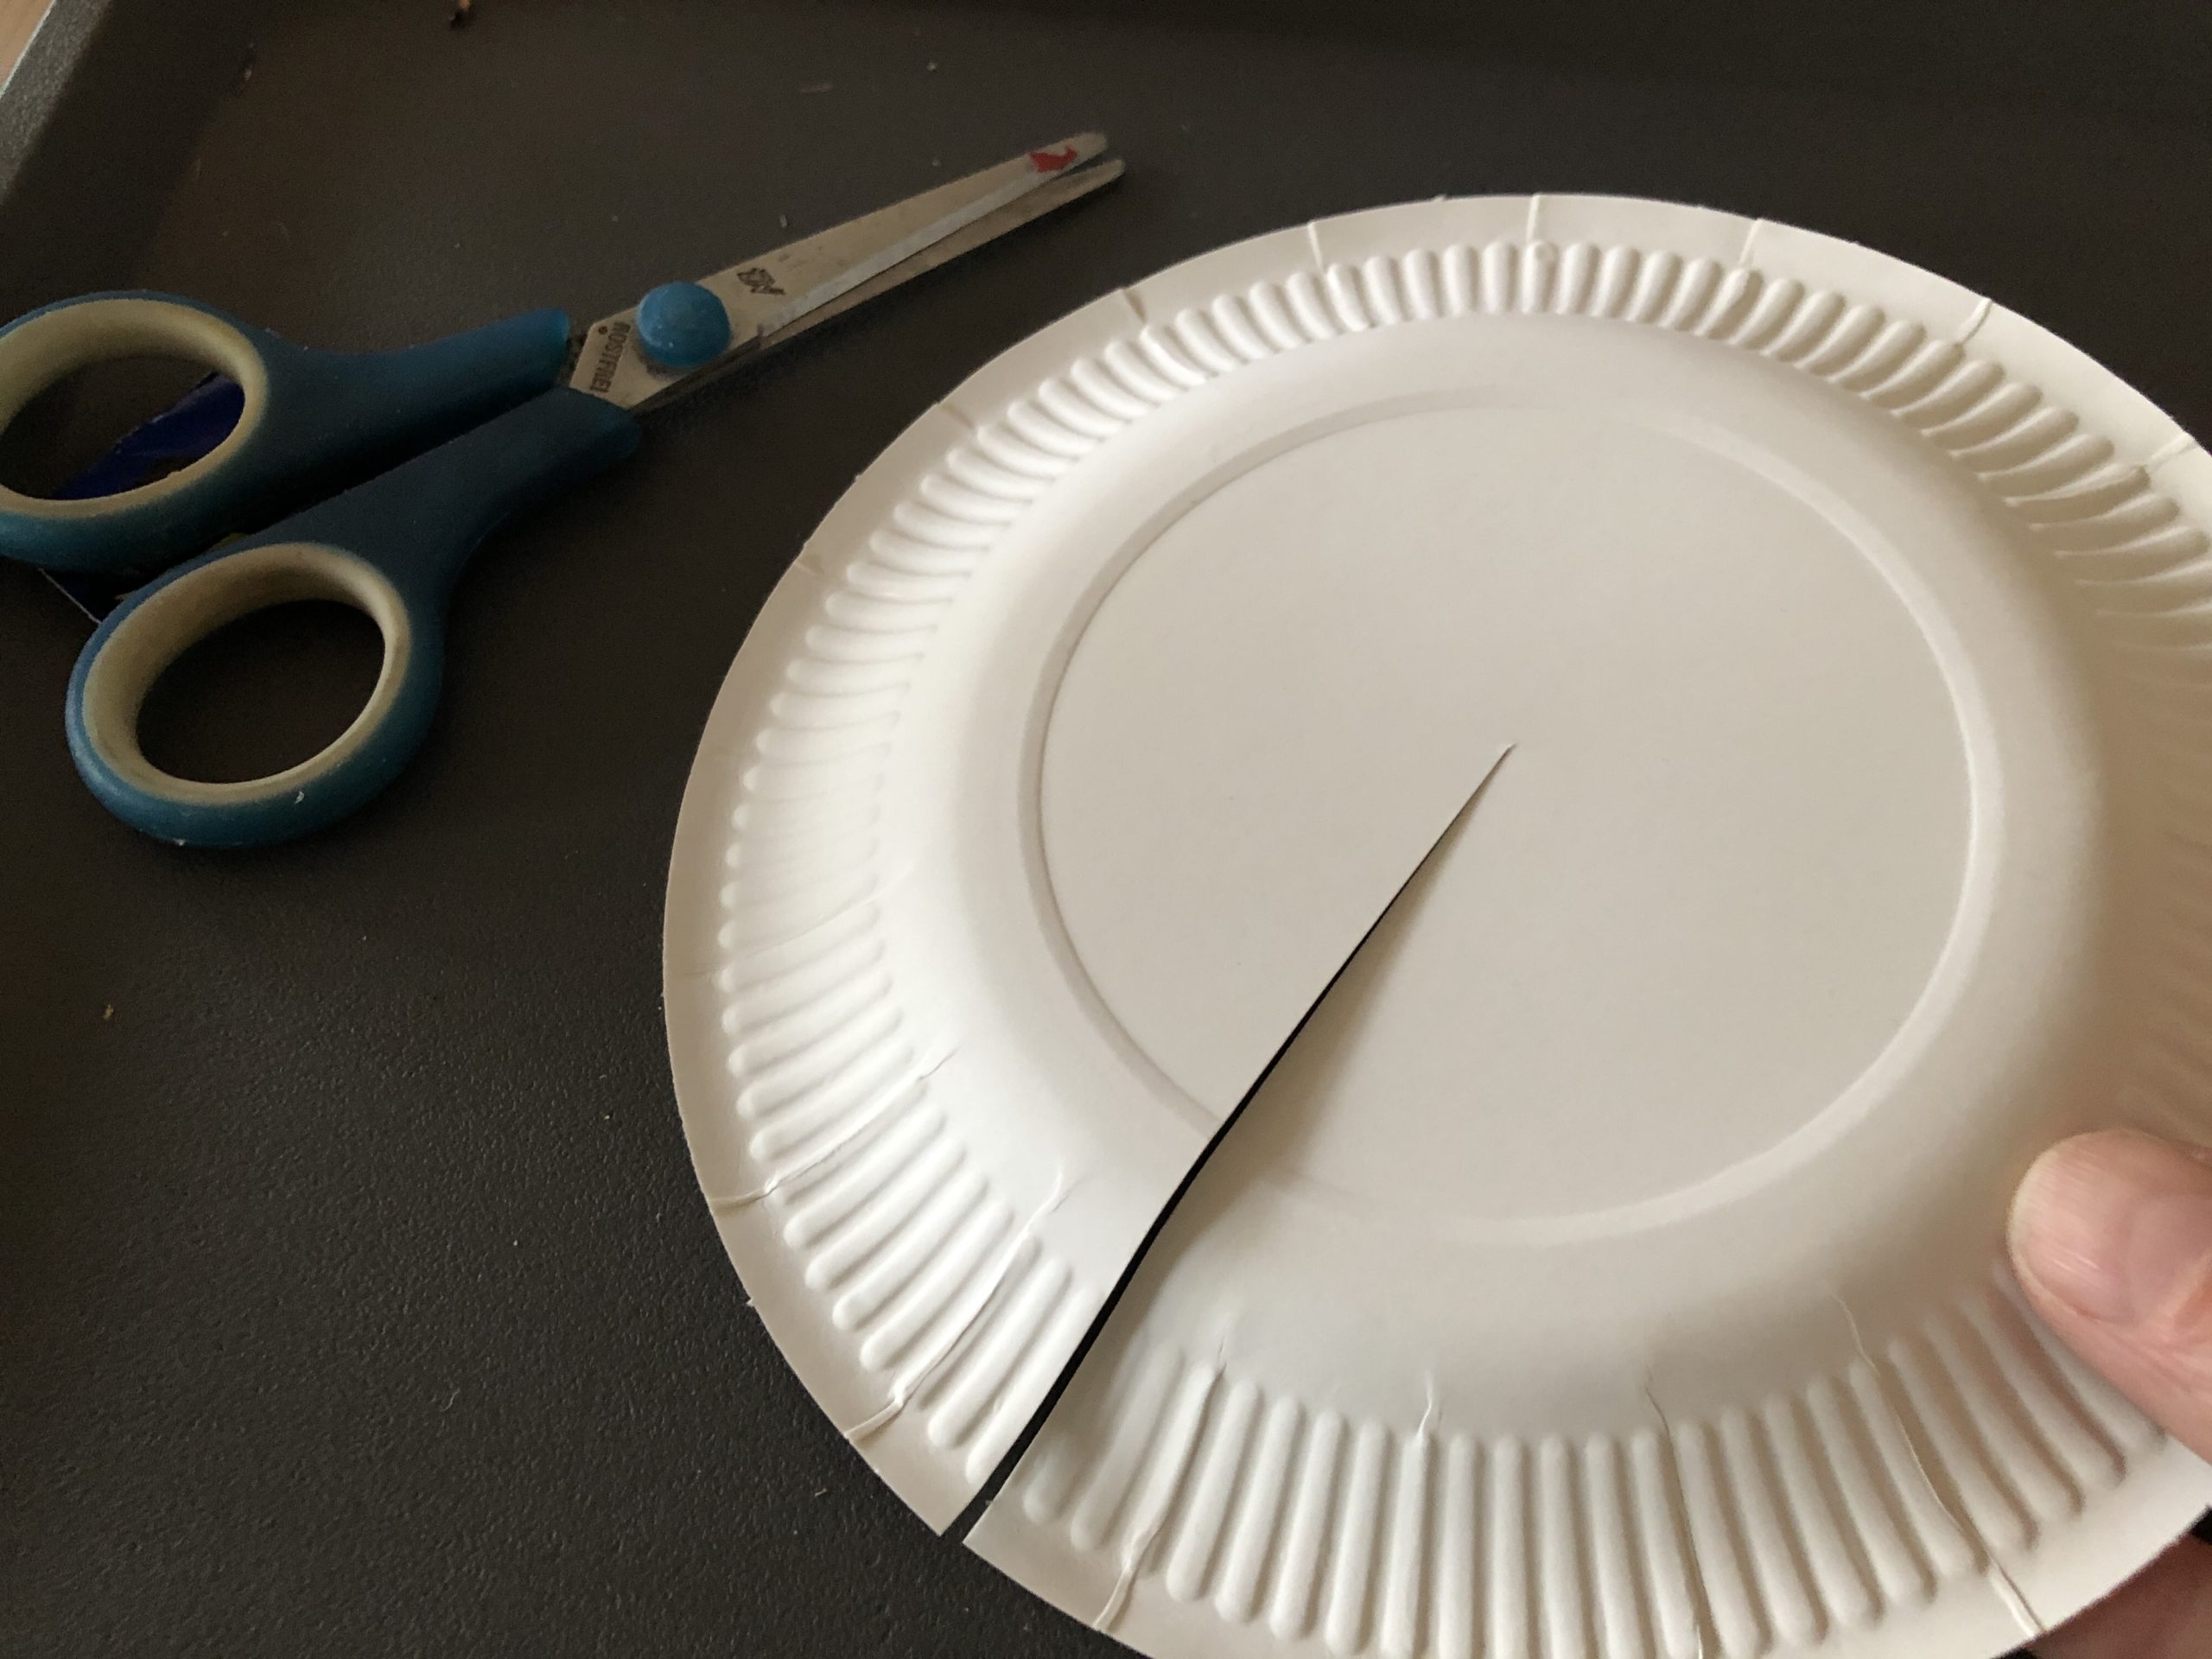
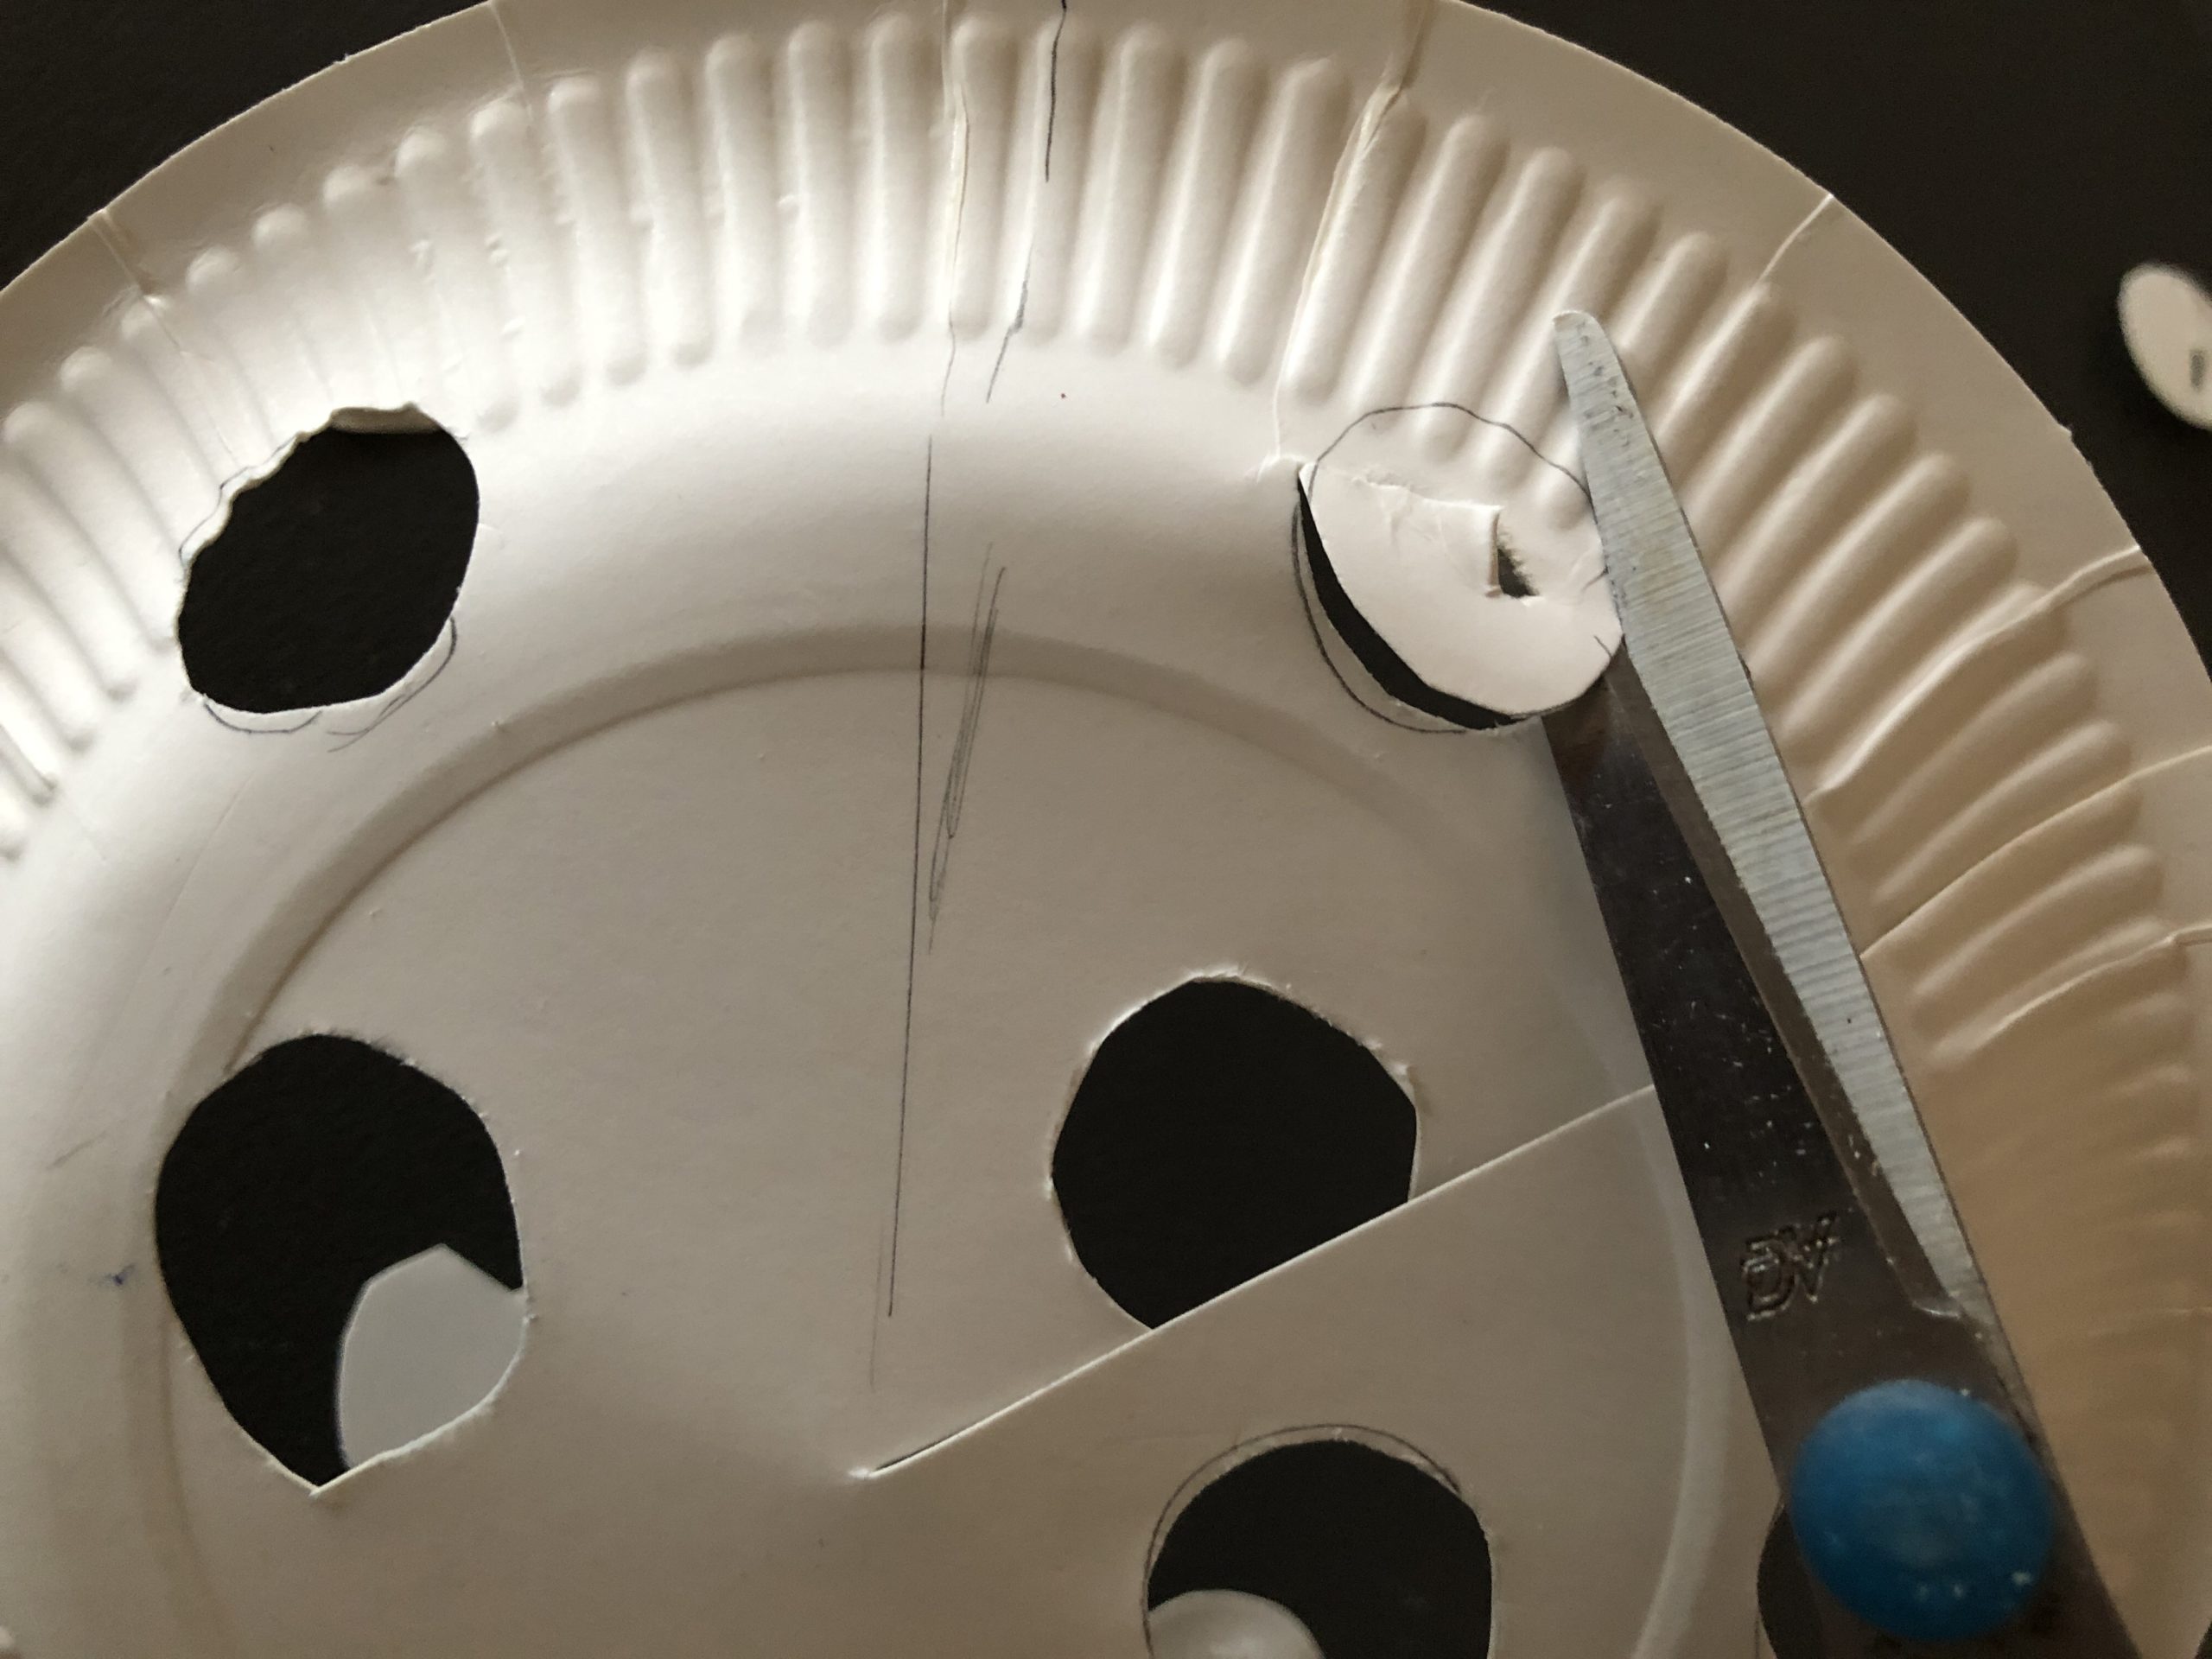
Then you record many small circles and cut them out.
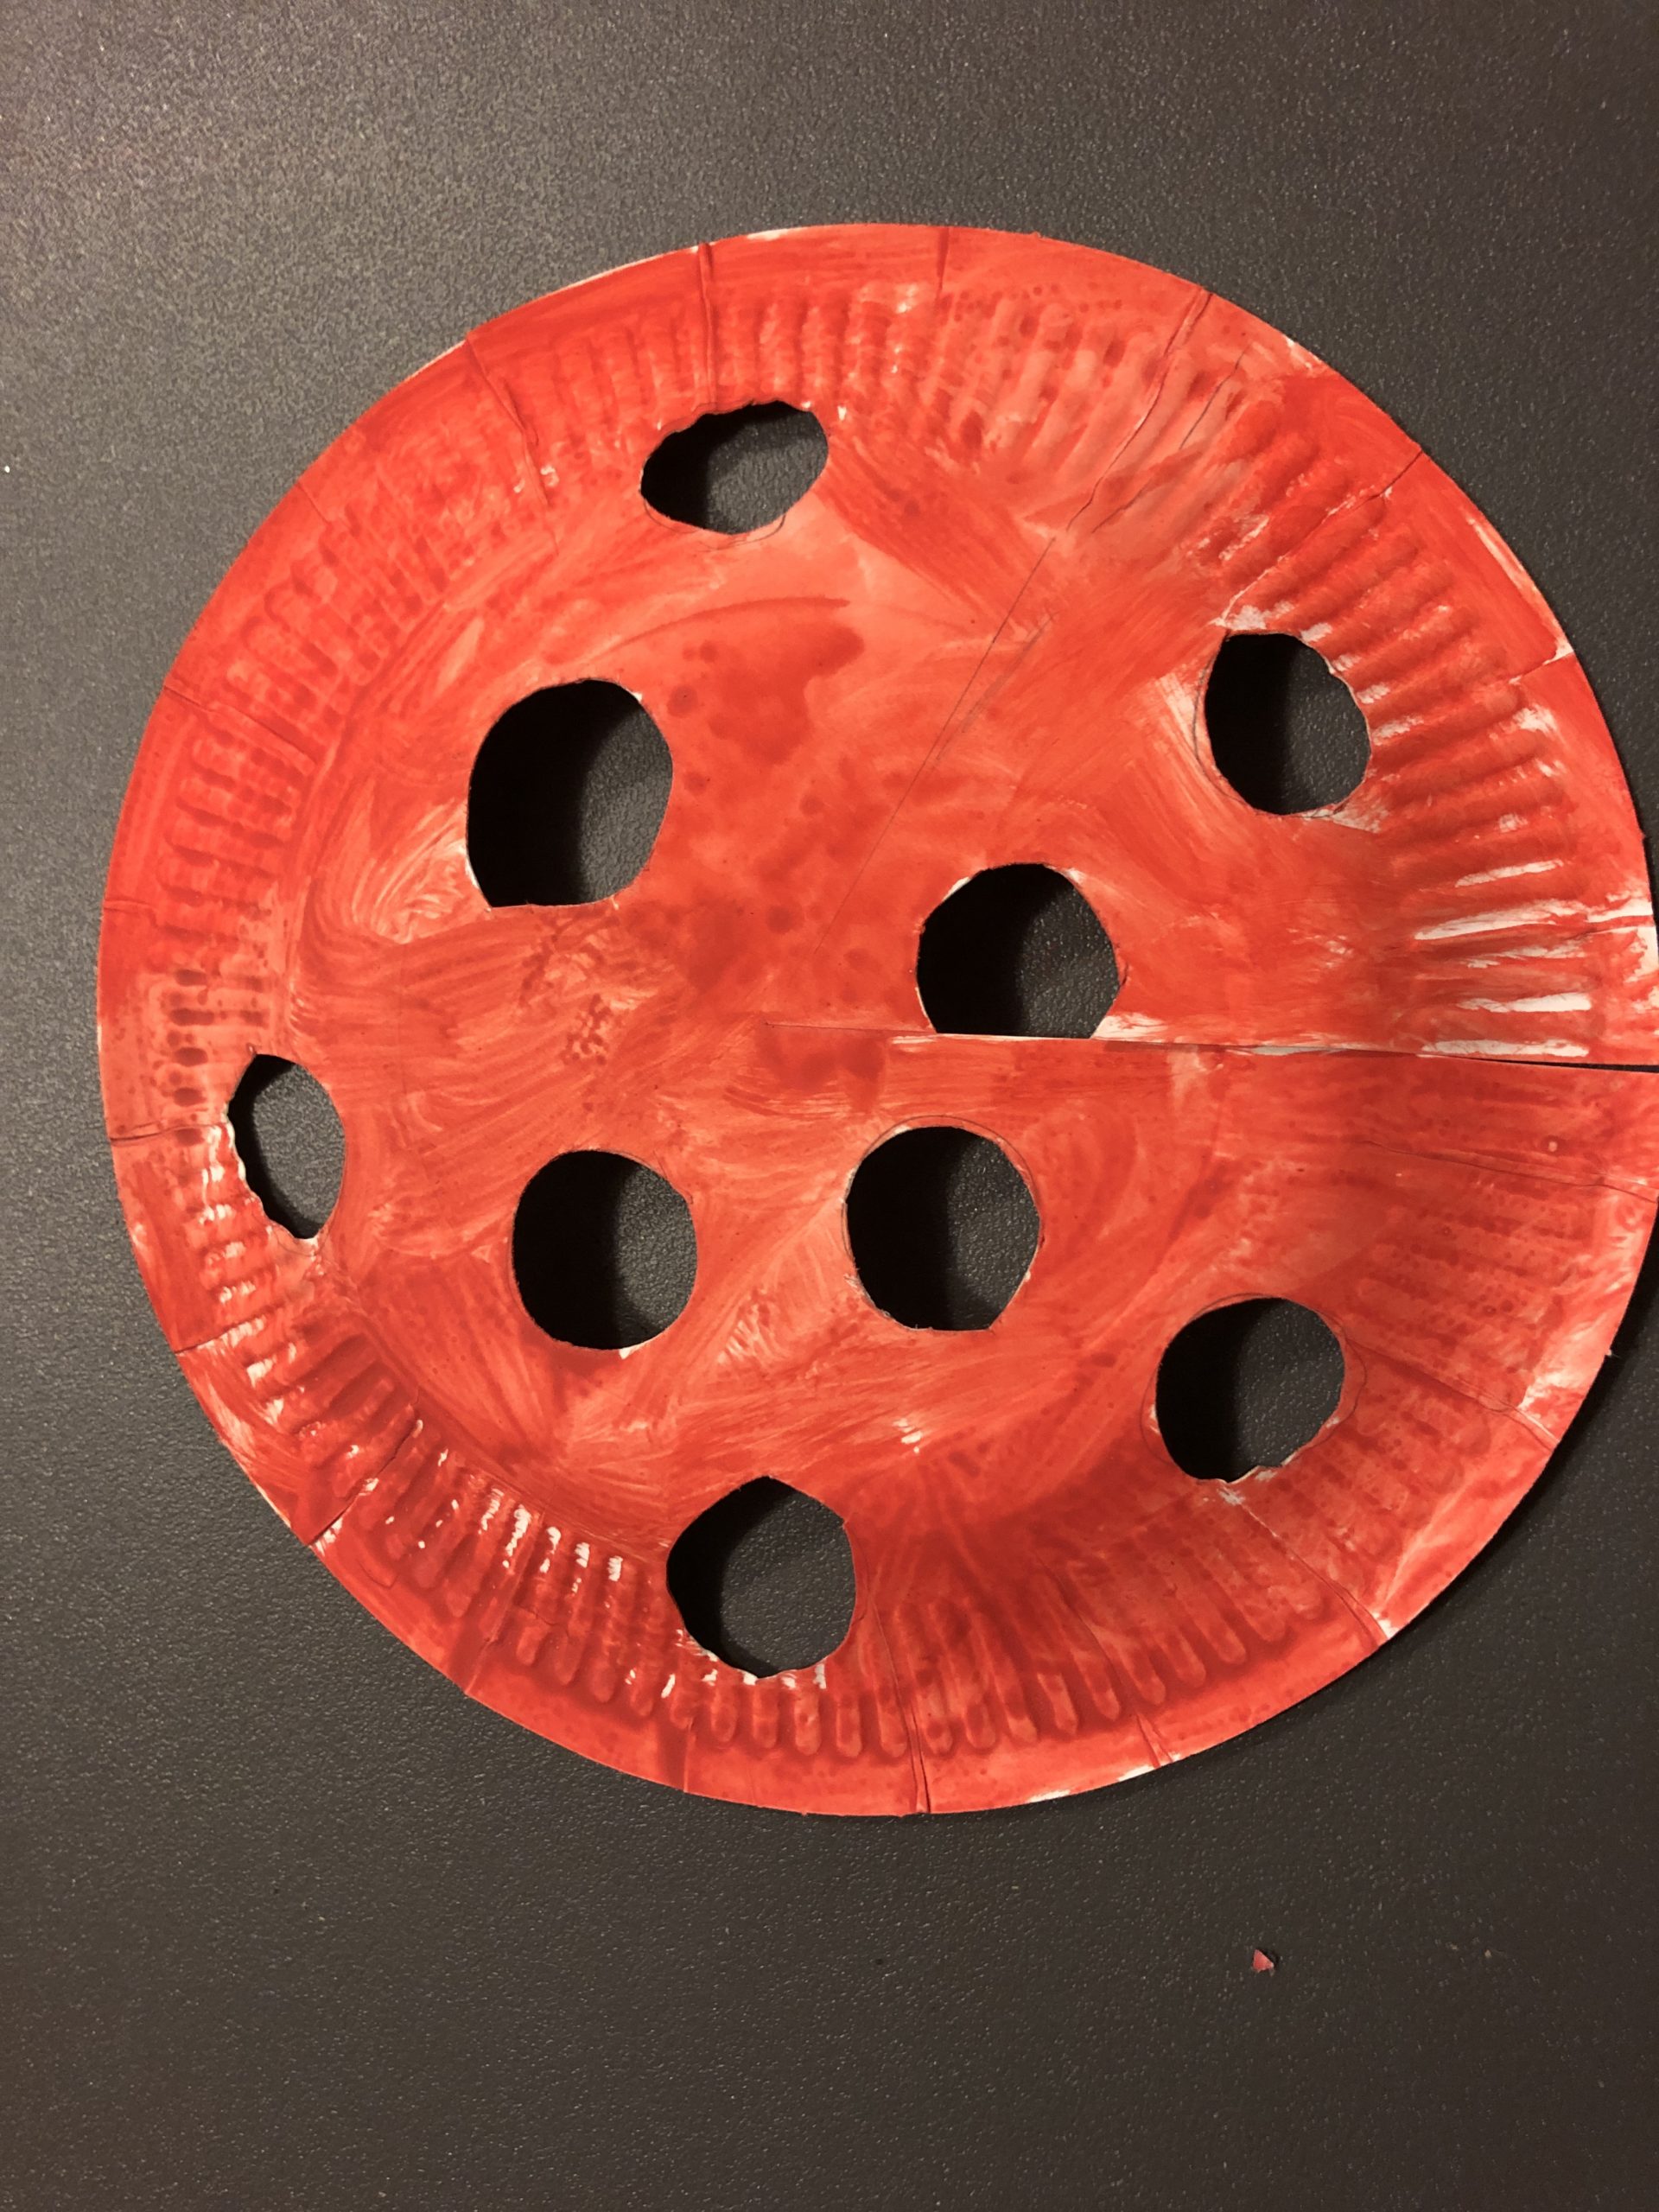
Paints the cardboard plate on the outside arched side (bottom side of the plate) with red colour.

Put it to dry.
After that you need small snippets of butterbread paper. The size and number depends on the cut holes. For each hole you need a snippets of butterbread paper.
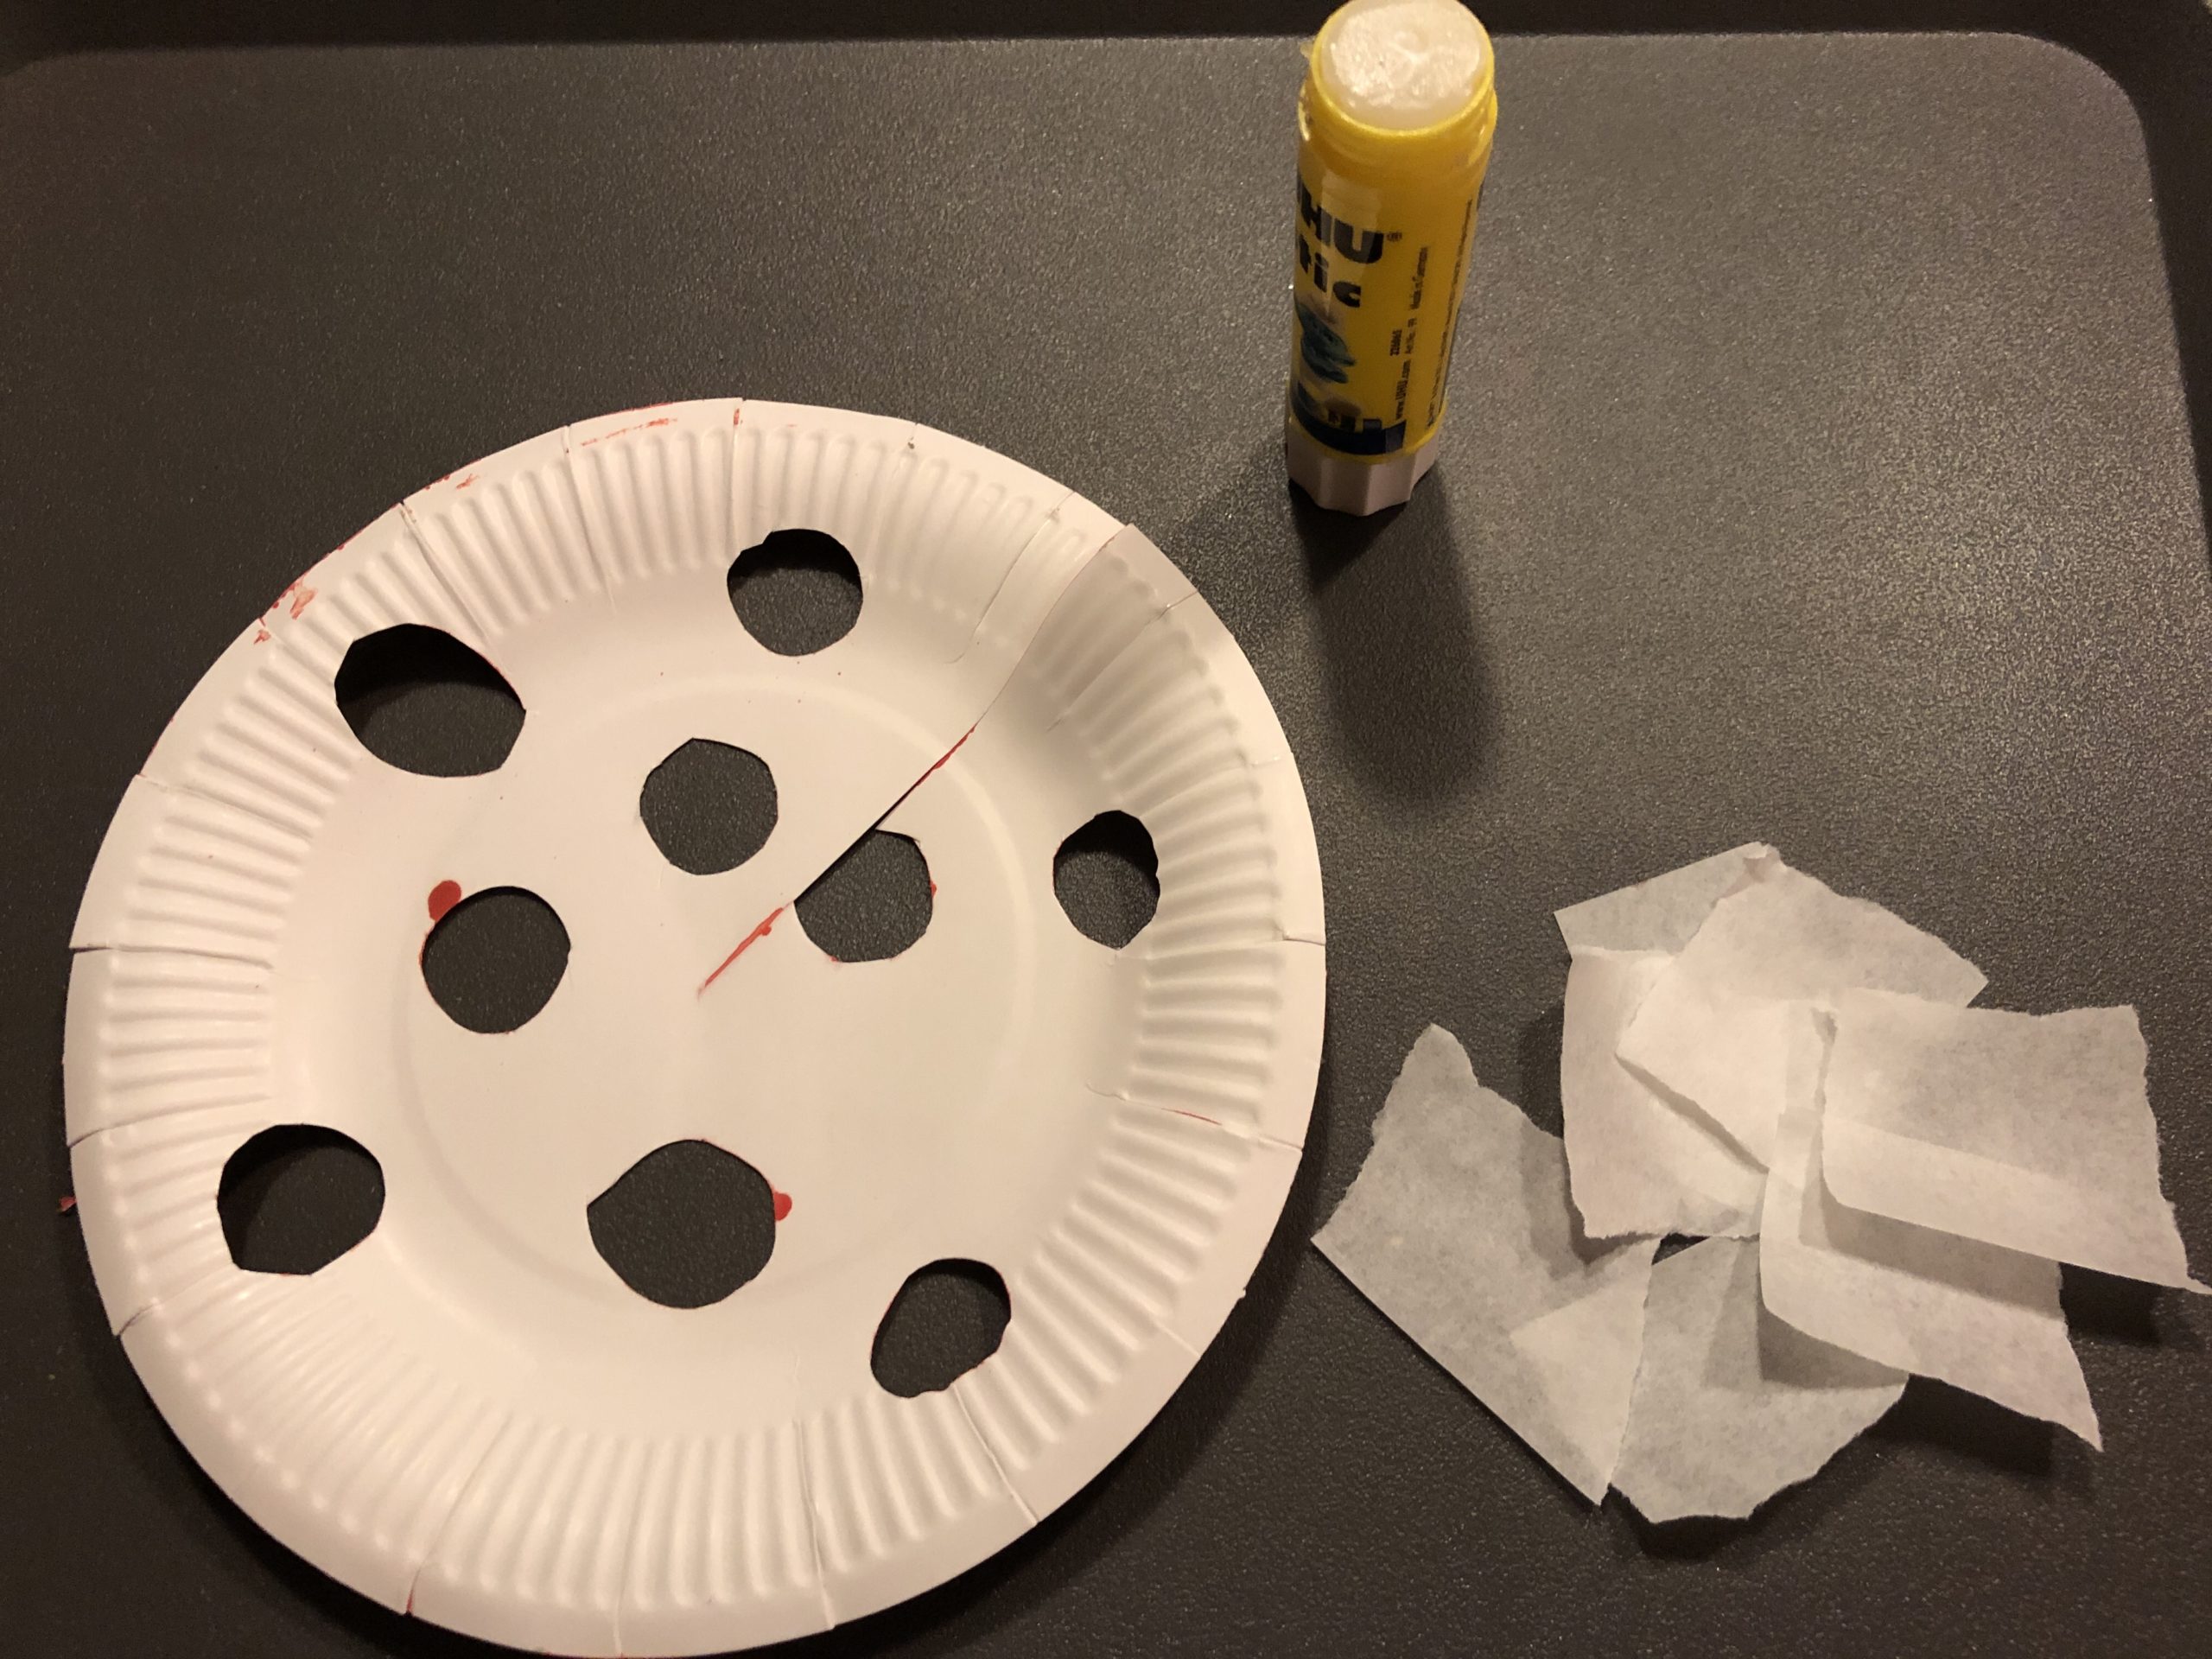
Then glue it over the holes on the inside of the fungus hat.
Turn the cardboard plate around and stick it at the cut-in place about 4cm above each other.
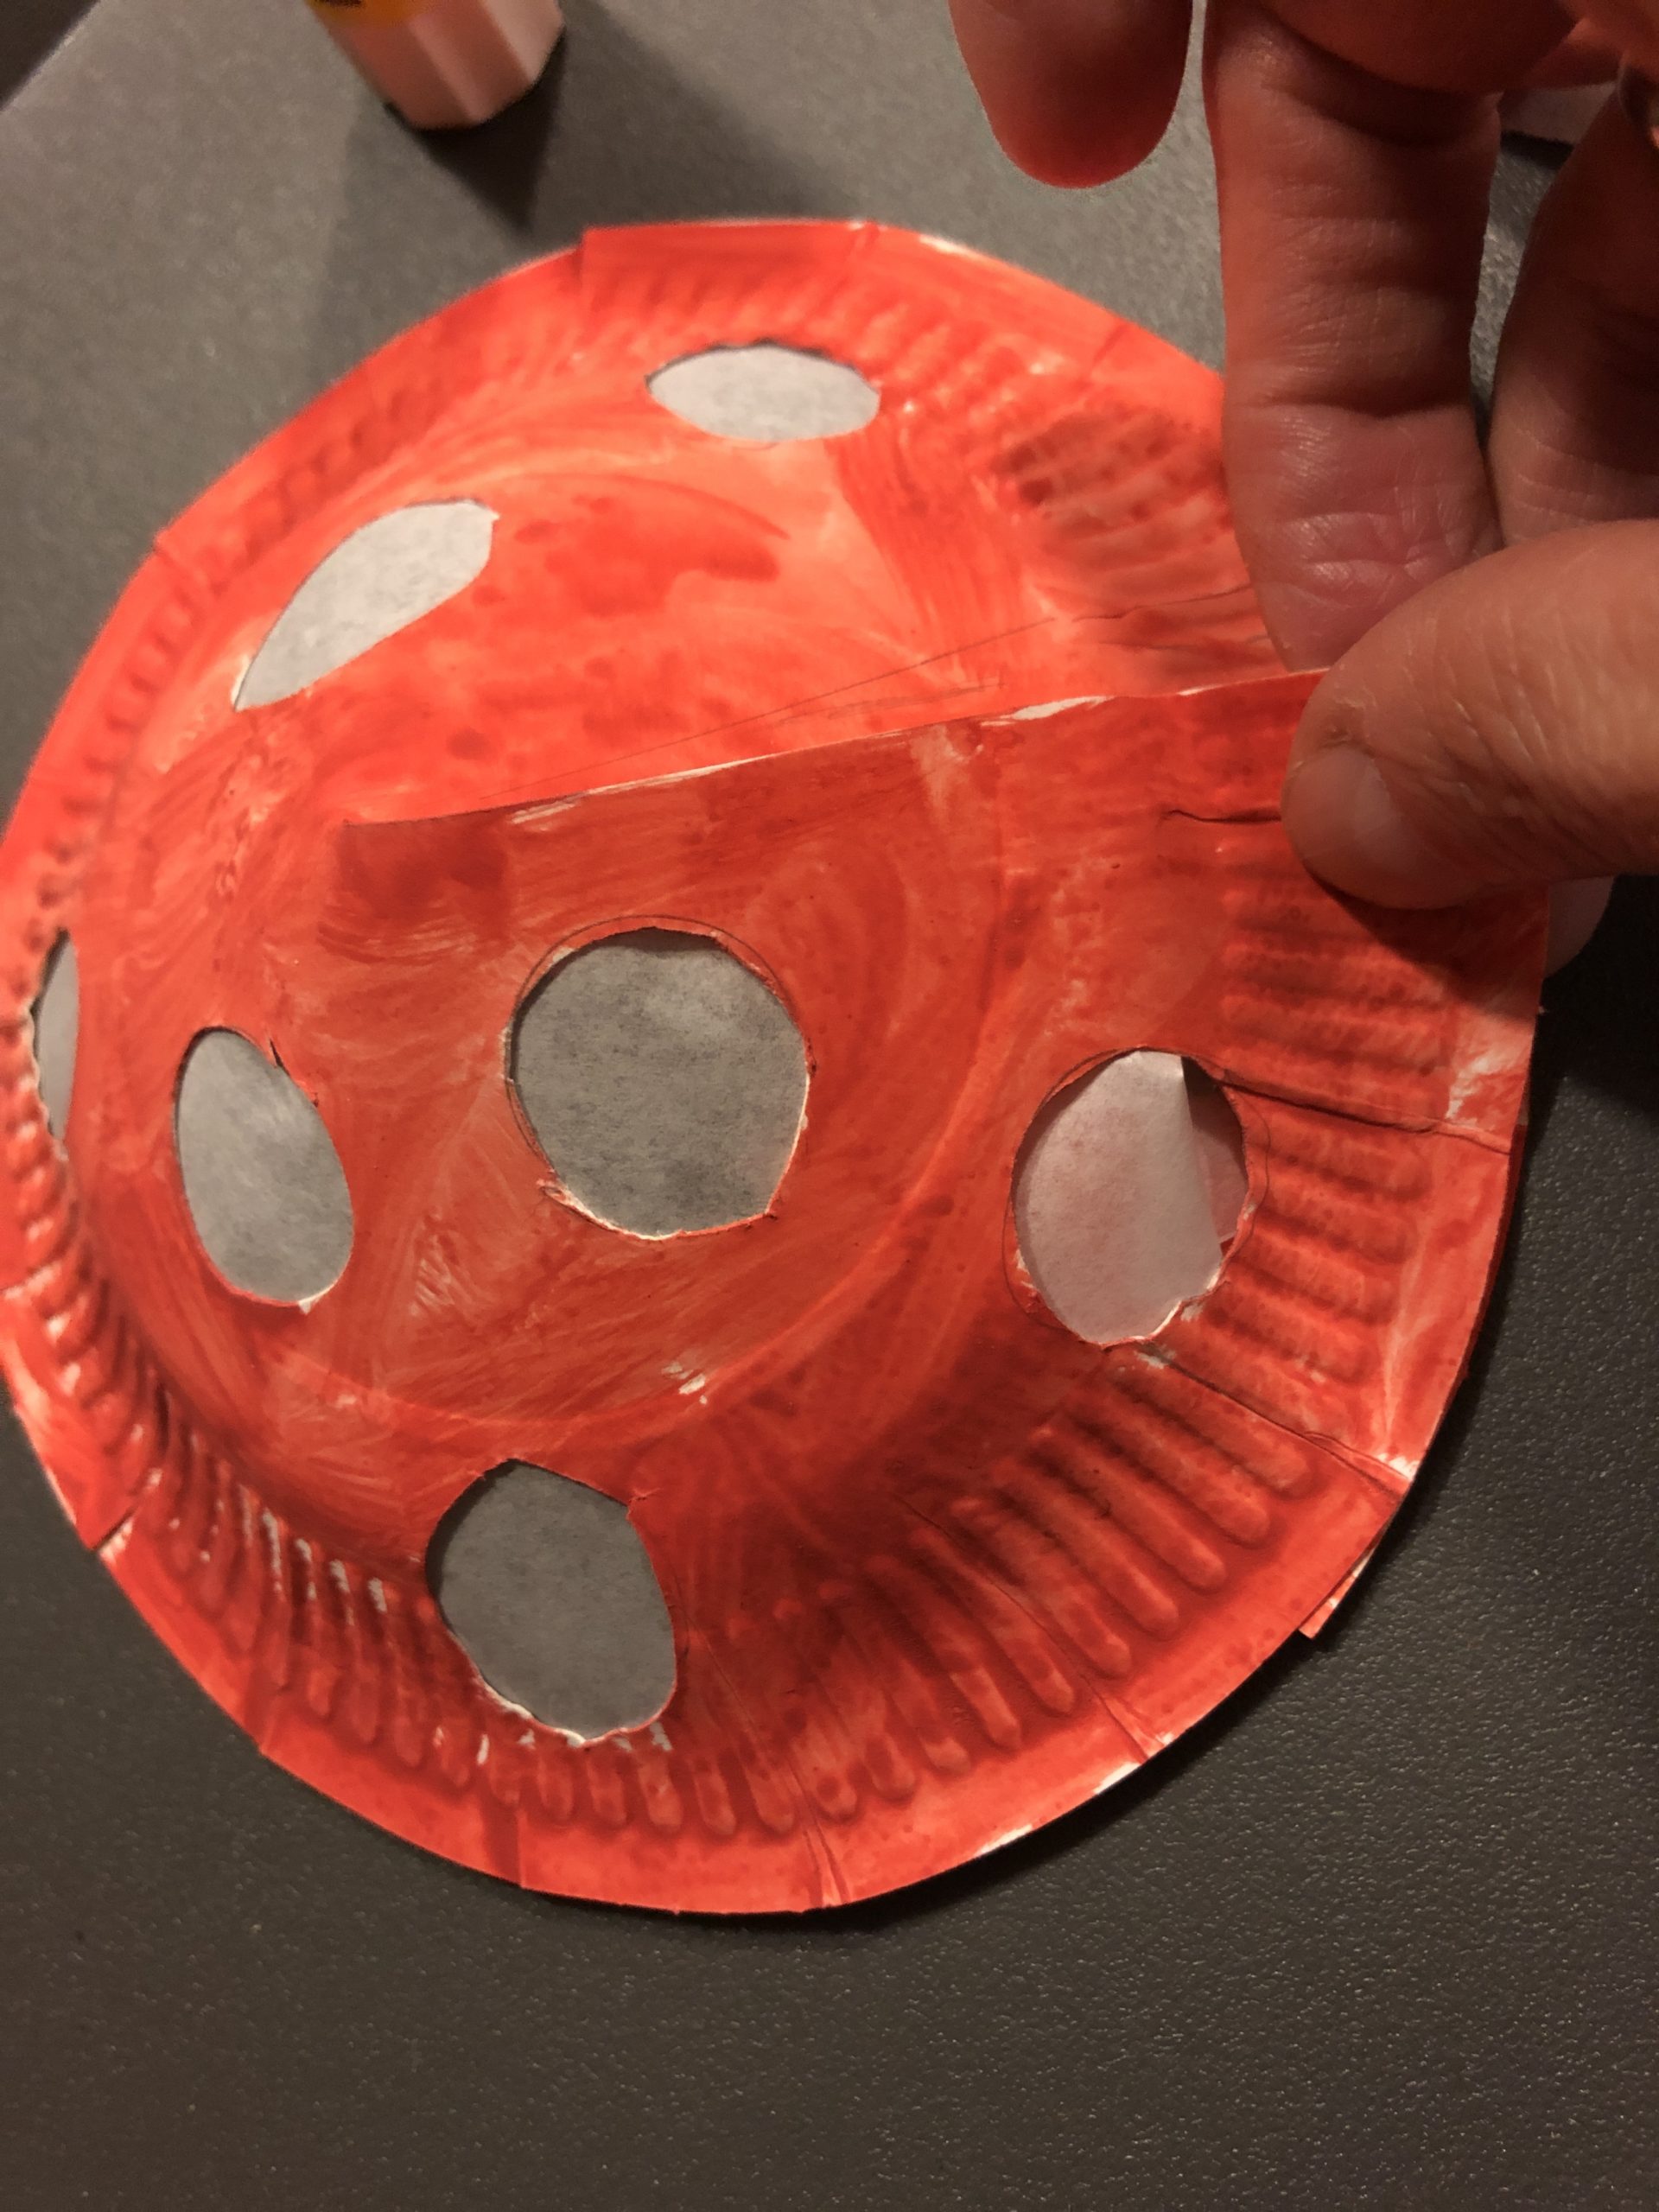
Now you have a mushroom hat.

Cut a butterbread paper to the dimensions 13cm x 24cm and glue it into the cut-outs of the chip can.
If you have cut your cut-outs freely, you may need the butterbread paper in the dimensions of your cut-outs slightly larger or smaller.


Now put the mushroom hat over the finished mushroom stem.
Before that you can put a small chain of lights (with battery) in the lantern.
Your table lamp is ready!

Have fun with it!

This is a craft idea on the topic of sustainability, crafting with "Müll", upcycling or crafting with things that almost everyone has at home!
Or simply a craft idea for the fall!
Materials
Directions
Cut off the chip can with the cutter knife to a length of 14cm.
The cardboard box is hard to cut. Let an adult help you!!!
Two parts are now cut out of the chip box.
You can use the following template.
Alternatively, you cut out completely free two parts in the zigzag. These represent a meadow. Make sure that two bridges stand still so that the lantern remains stable.
The neckline is 13cm high and 23cm wide.
Cut out strips of white paper that you use to glue the chip can.
Sticks these around the still existing can. The cutouts remain open.
The zigzag edge of the can is painted green, like the meadow.
Then put the can to dry.
Meanwhile, you take the cardboard plate and cut it to the middle.
Then you record many small circles and cut them out.
Paints the cardboard plate on the outside arched side (bottom side of the plate) with red colour.
Put it to dry.
After that you need small snippets of butterbread paper. The size and number depends on the cut holes. For each hole you need a snippets of butterbread paper.
Then glue it over the holes on the inside of the fungus hat.
Turn the cardboard plate around and stick it at the cut-in place about 4cm above each other.
Now you have a mushroom hat.
Cut a butterbread paper to the dimensions 13cm x 24cm and glue it into the cut-outs of the chip can.
If you have cut your cut-outs freely, you may need the butterbread paper in the dimensions of your cut-outs slightly larger or smaller.
Now put the mushroom hat over the finished mushroom stem.
Before that you can put a small chain of lights (with battery) in the lantern.
Your table lamp is ready!
Have fun with it!
This is a craft idea on the topic of sustainability, crafting with "Müll", upcycling or crafting with things that almost everyone has at home!
Or simply a craft idea for the fall!
Follow us on Facebook , Instagram and Pinterest
Don't miss any more adventures: Our bottle mail