A cuckoo of yellow wool is very quickly conjured!
You can find the paper mesh egg in a separate guide!
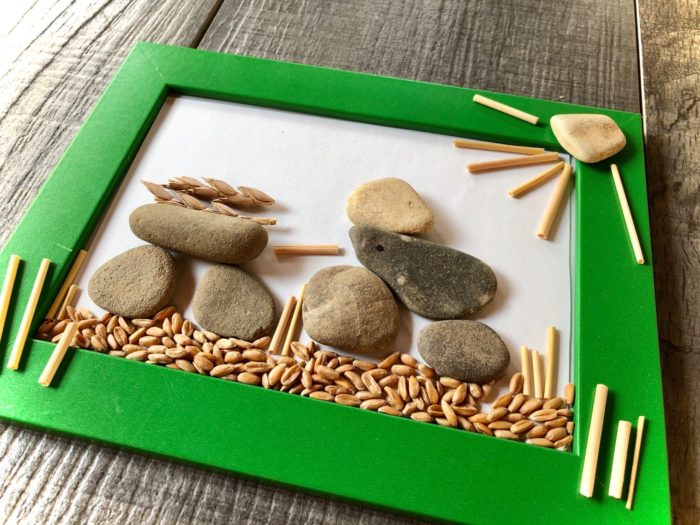
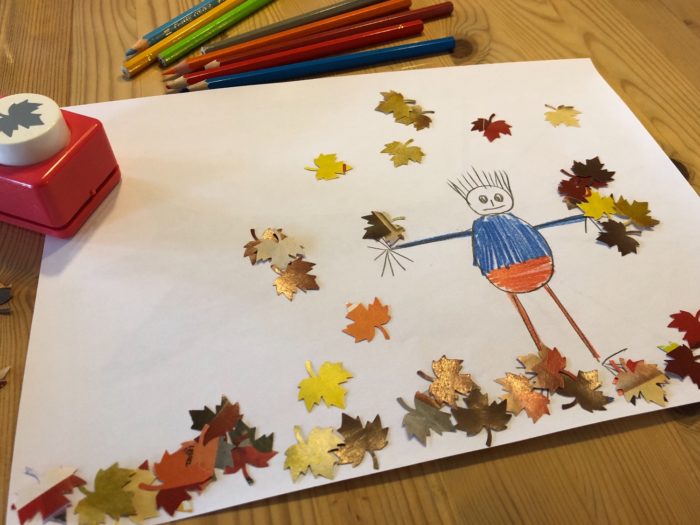
Media Education for Kindergarten and Hort

Relief in everyday life, targeted promotion of individual children, independent learning and - without any pre-knowledge already usable by the youngest!

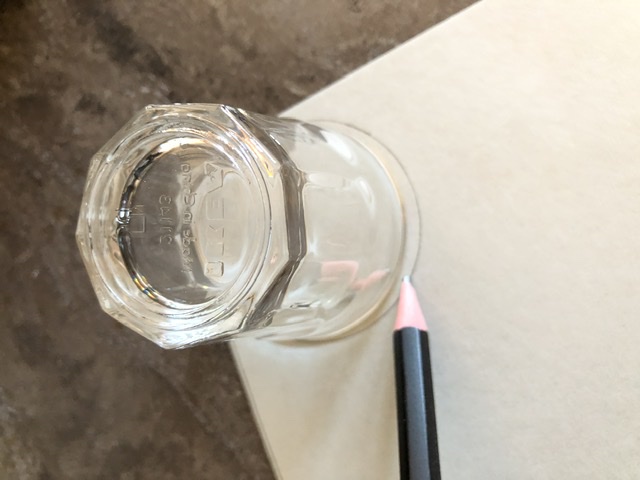
Provide paper, pen and possibly brandy glass as a circular template.
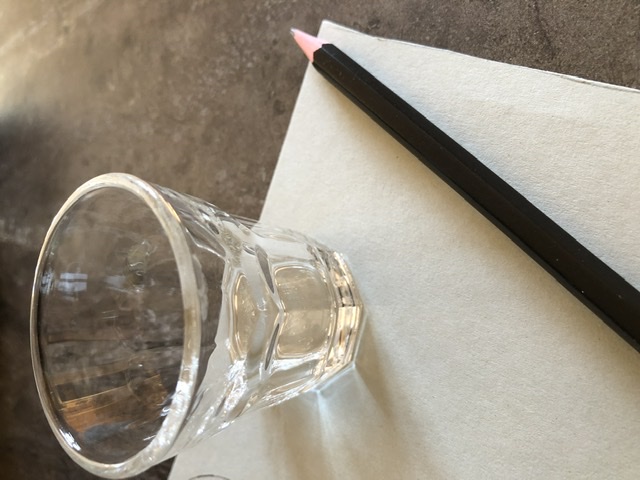
Draw the circle.
Paint a smaller one in the circle.
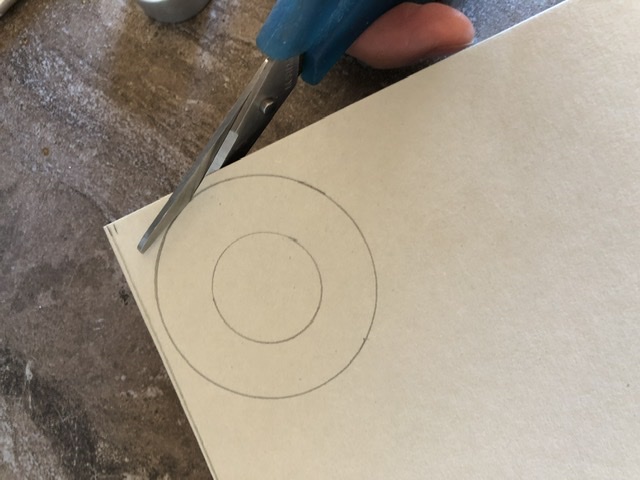
We need this twice.

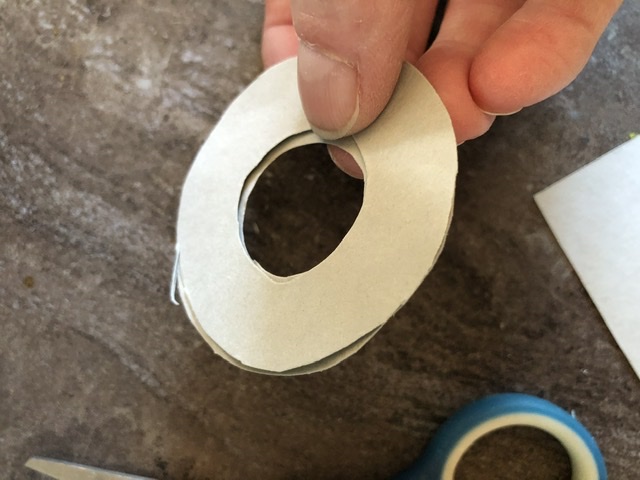
Put both circles together.
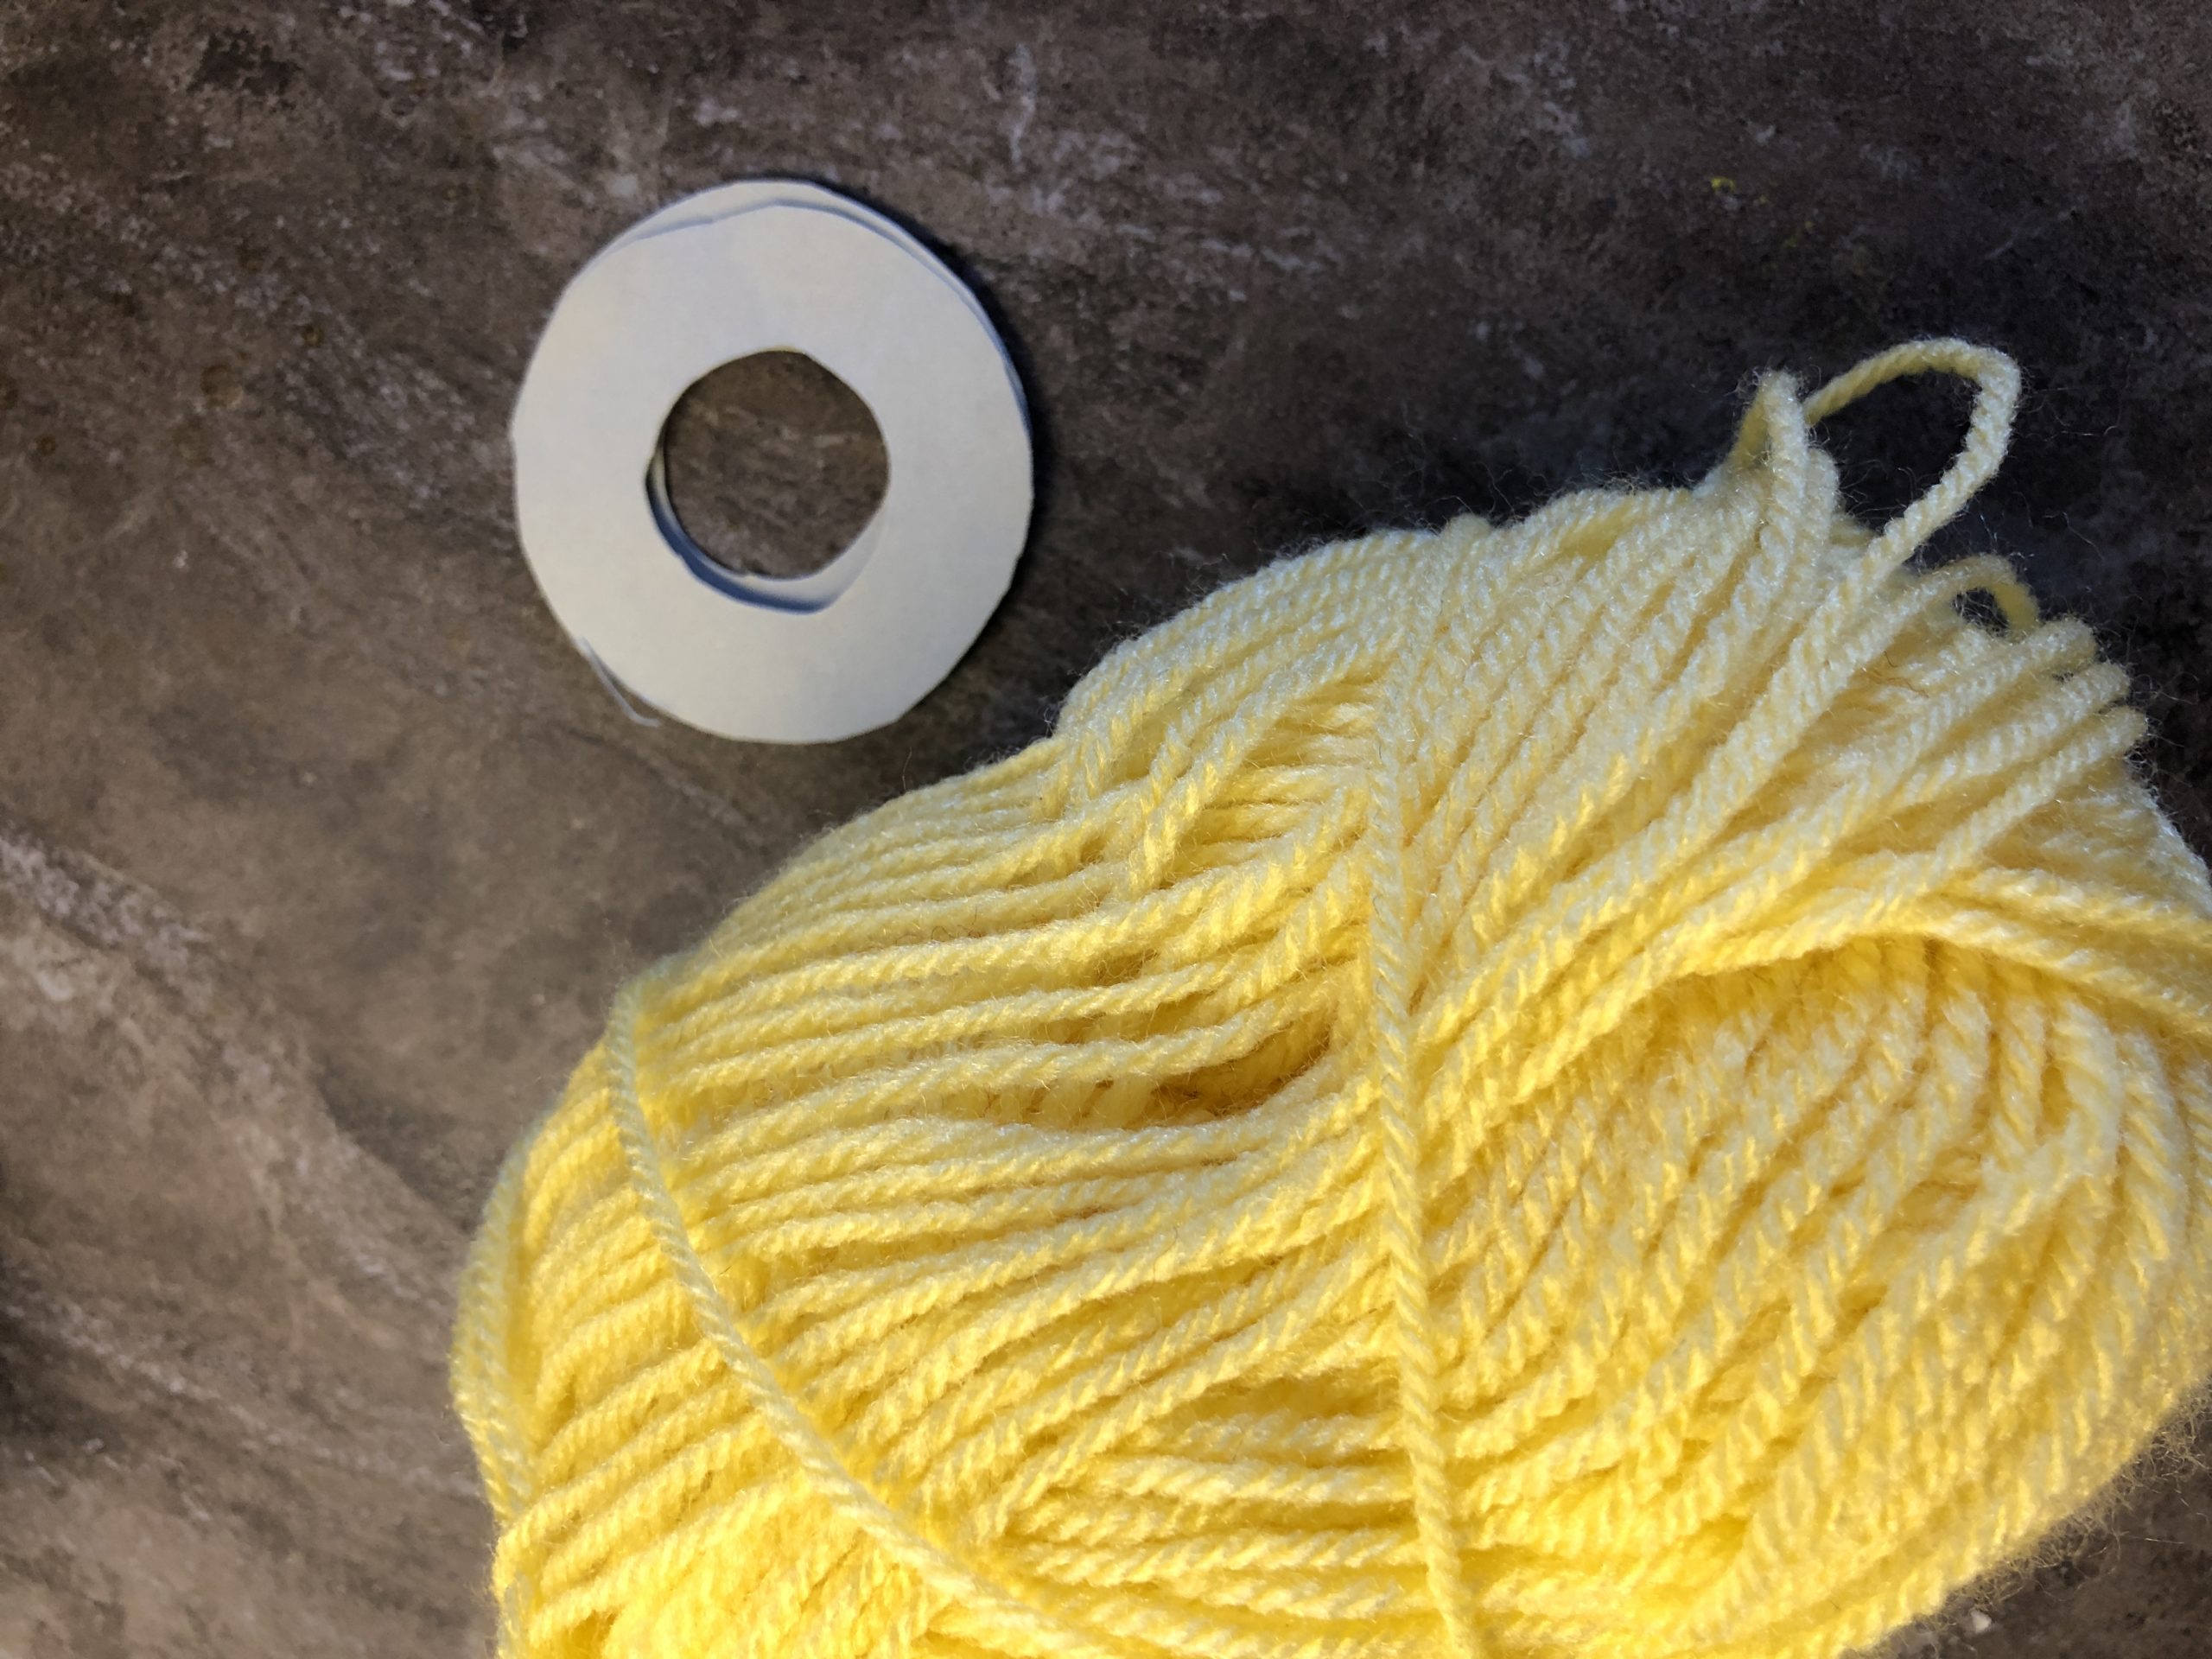
Now we need the yellow wool.
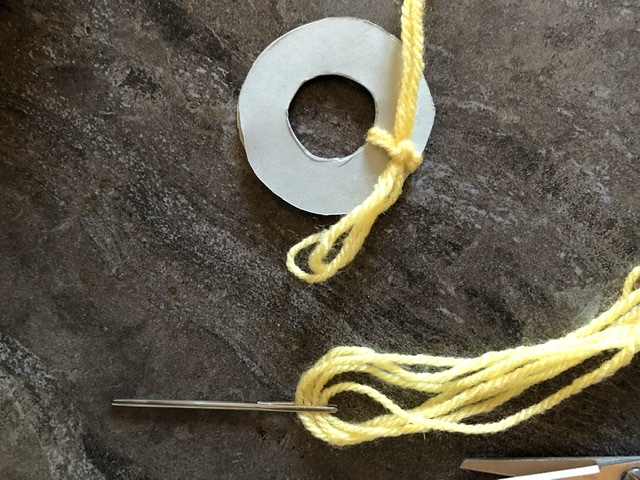
Thread several equally long wool threads (about 1.5-2m long) together through a thick blunt needle.
Tie the strand to the carton.
Now repeatedly pierce through the hole in the circle and so "sew" the complete carton. Until you no longer get through the middle with the thread. When the thread is finished, tie a second strand and proceed exactly like this.

You don't have to sew the remaining thread!
Now cut the wool ring with scissors on the outer edge.
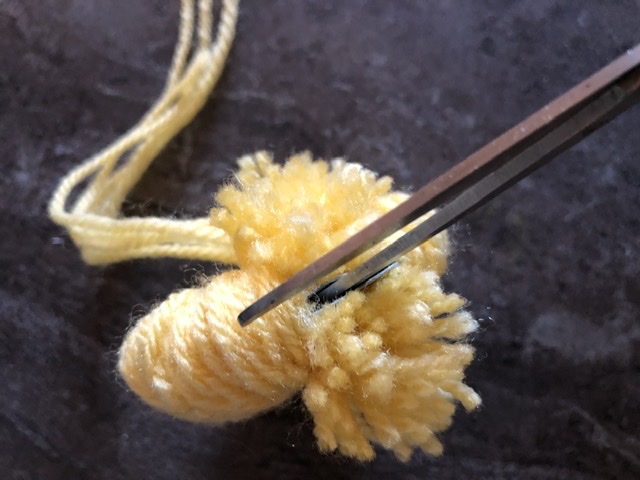
The scissors can be guided well between the two carton rings. Cut all around. But do not remove the carton yet!
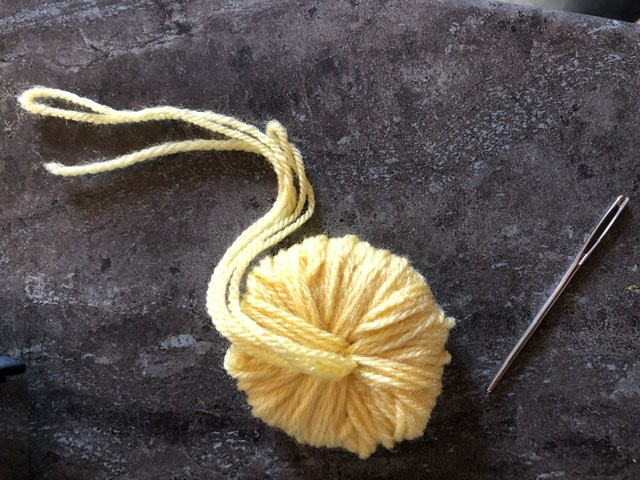
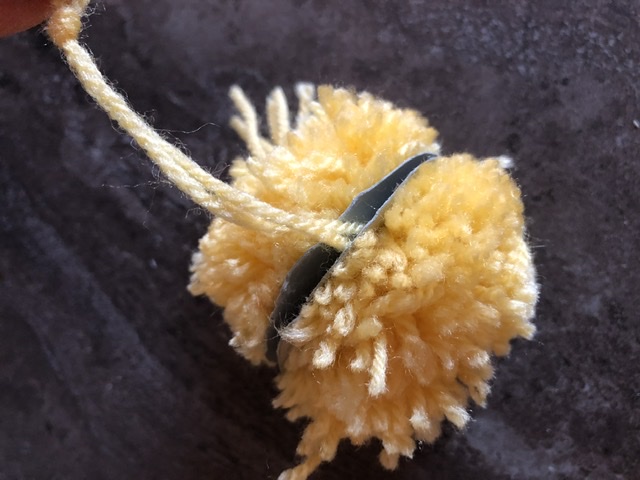
A thread about 20cm long is now drawn between the cardboard rings and knotted several times firmly.
Make a hanger out of the thread by knotting the thread at the end.
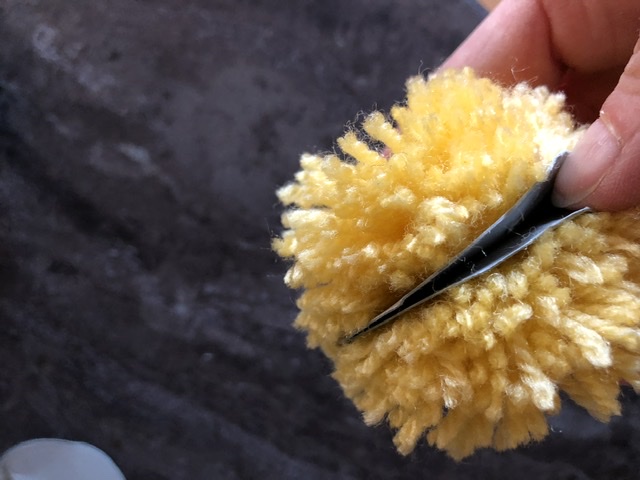
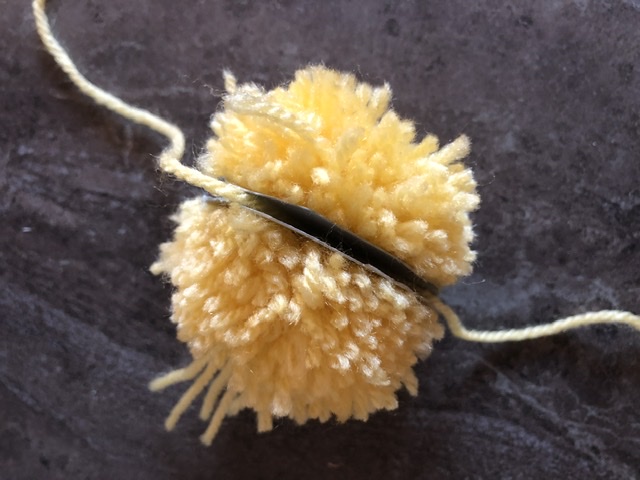
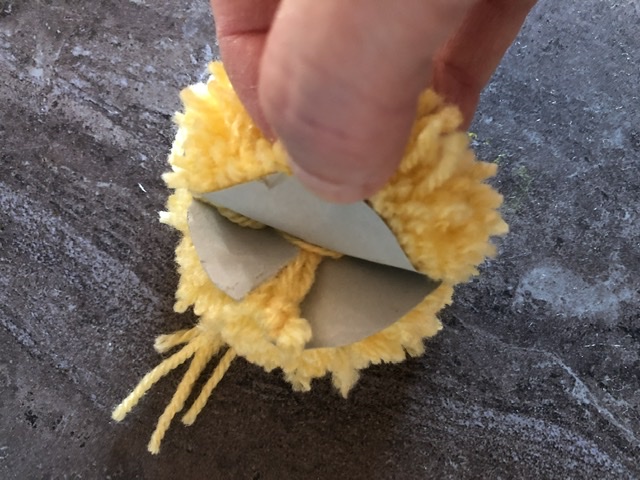
Now tear in one strip of cardboard at a time and slowly remove it.
??

Cut the wuschel into shape with a pair of scissors.

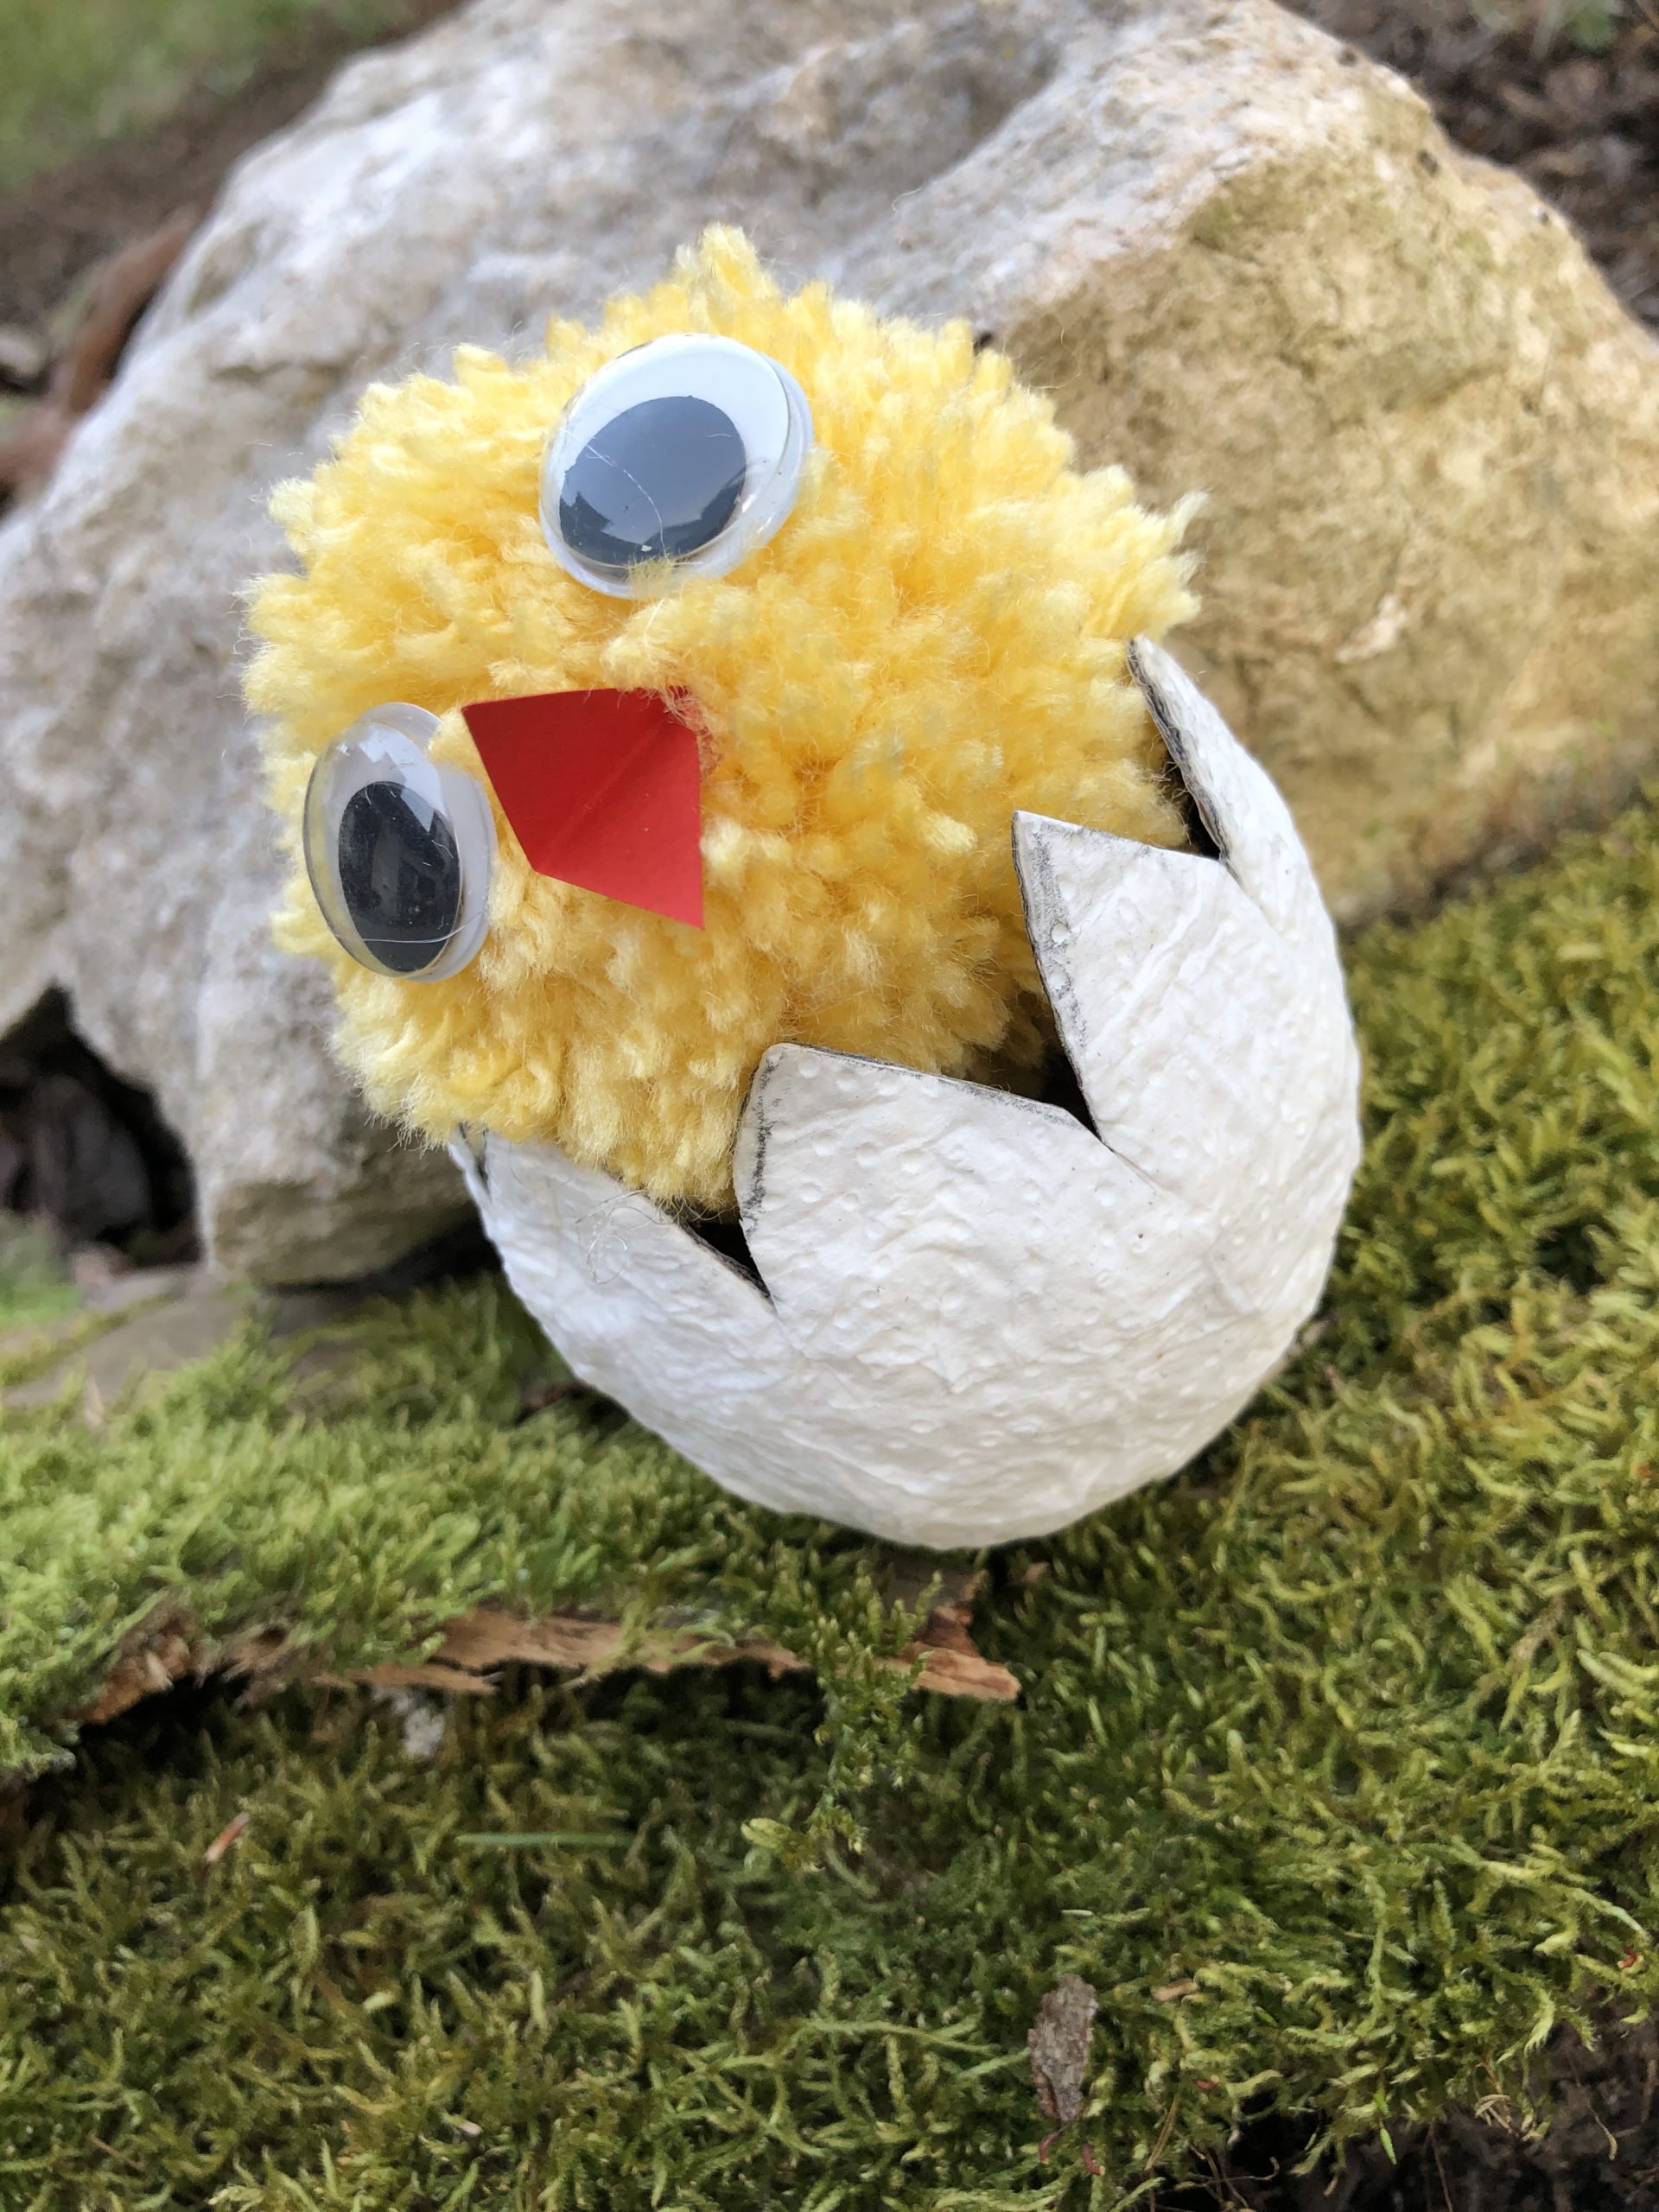
Place the wobble eyes and small red beak triangle.
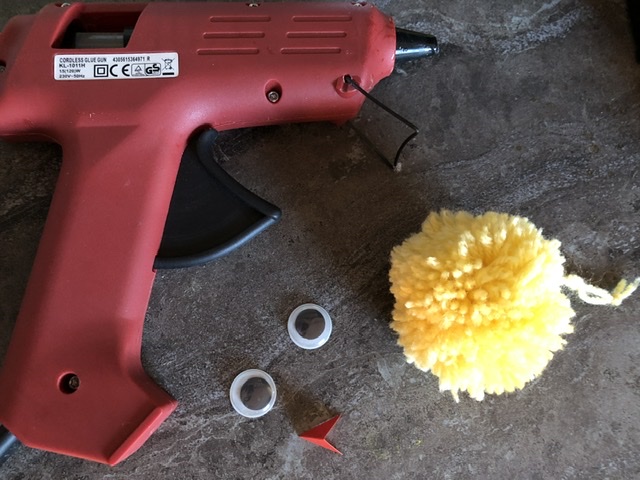
Use the hot glue to attach to the wuschel.
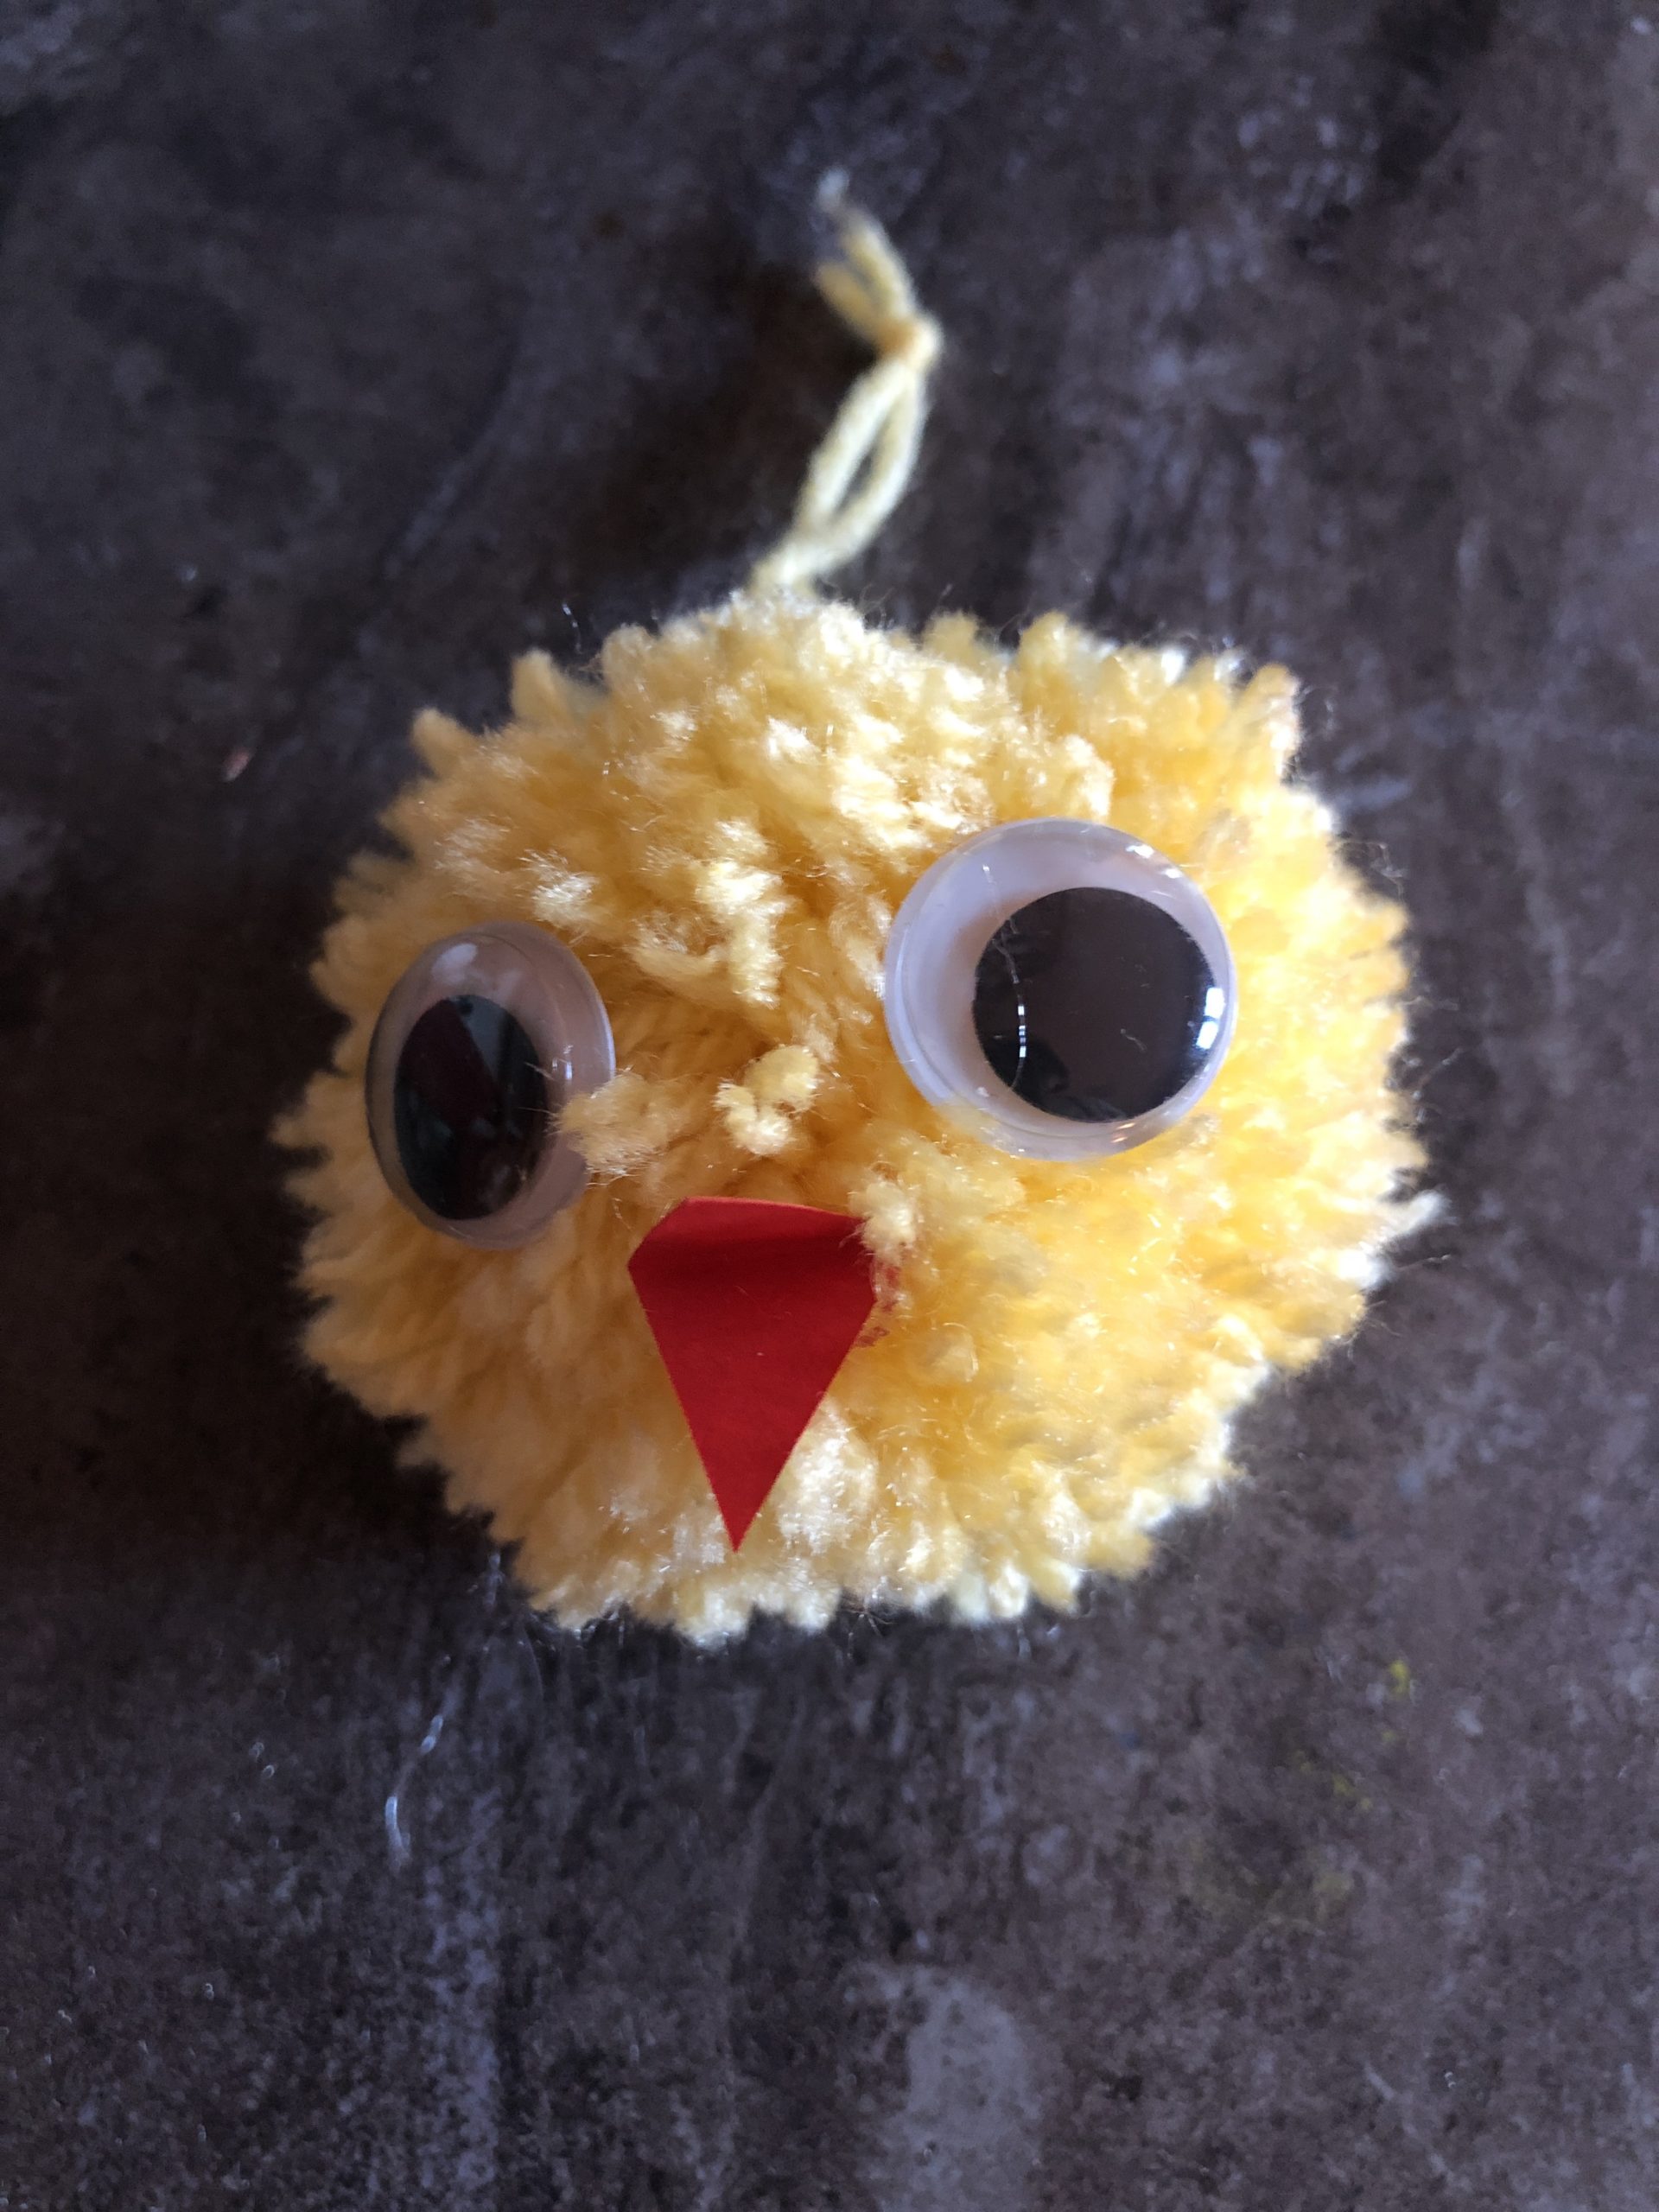
The Wuschel-Kücken can now be placed in a cardboard mesh egg (separate instructions available).
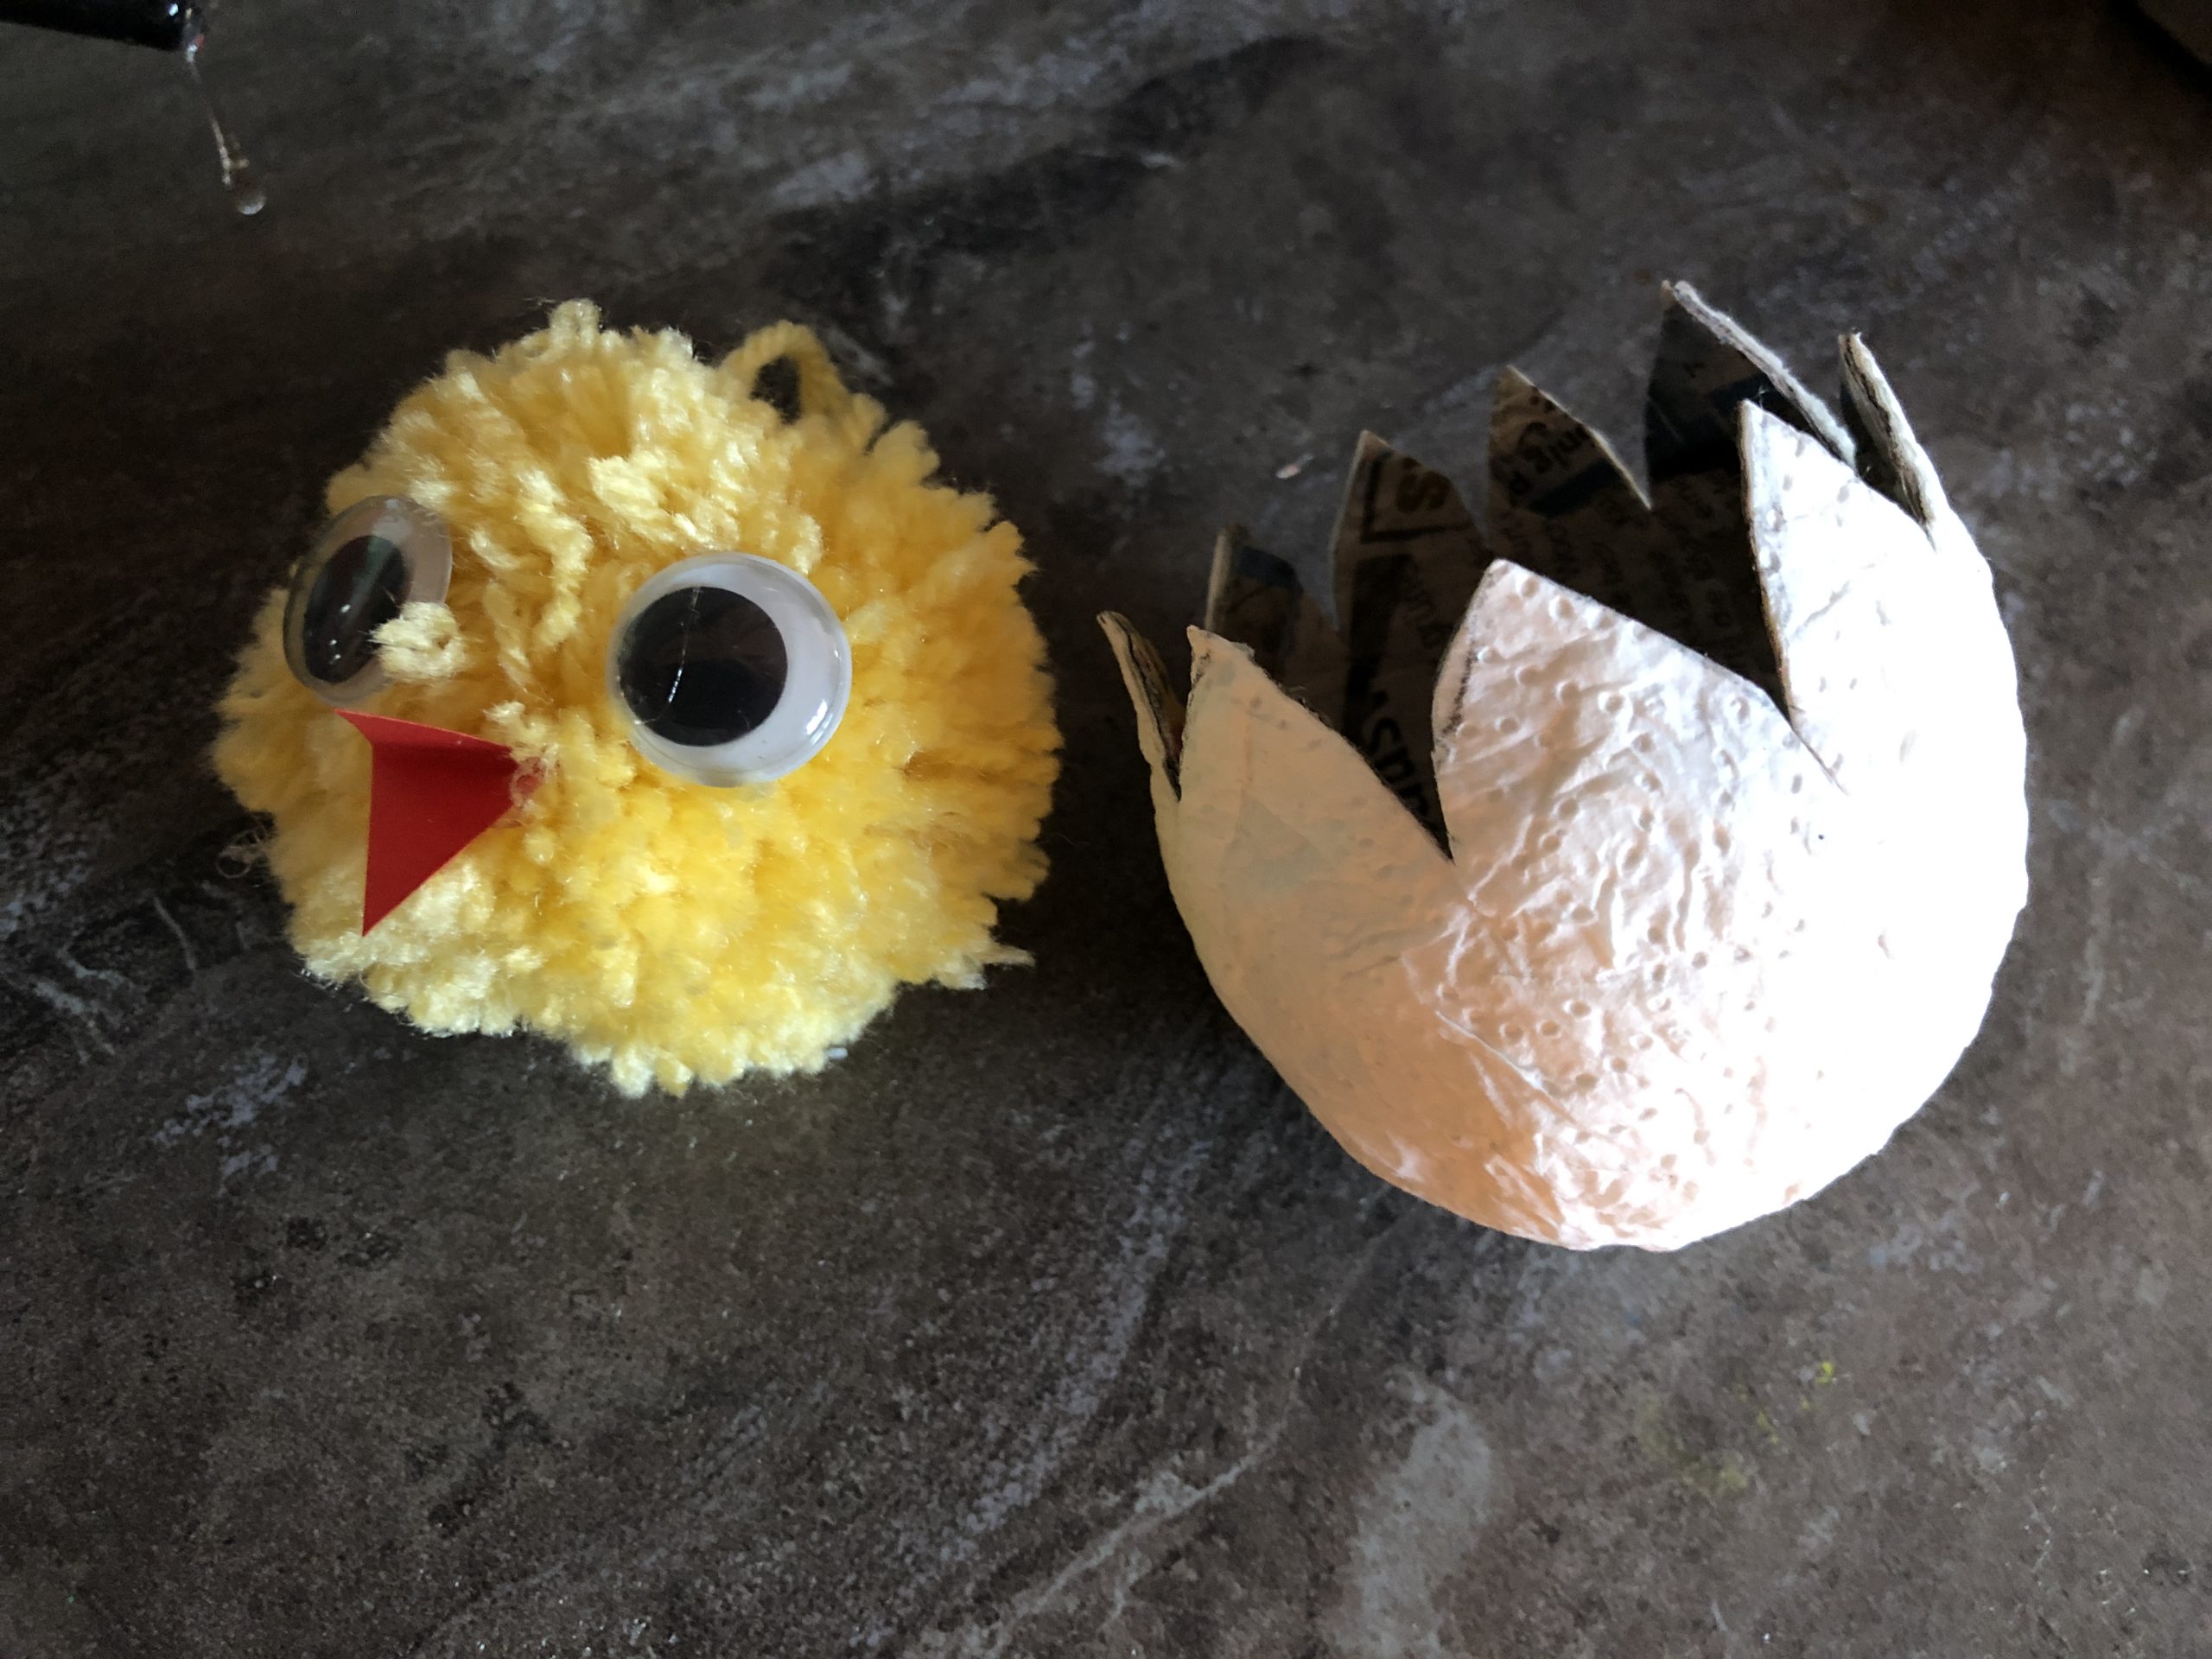
Deco example!
Materials
Directions
Provide paper, pen and possibly brandy glass as a circular template.
Draw the circle.
Paint a smaller one in the circle.
We need this twice.
Put both circles together.
Now we need the yellow wool.
Thread several equally long wool threads (about 1.5-2m long) together through a thick blunt needle.
Tie the strand to the carton.
Now repeatedly pierce through the hole in the circle and so "sew" the complete carton. Until you no longer get through the middle with the thread. When the thread is finished, tie a second strand and proceed exactly like this.
You don't have to sew the remaining thread!
Now cut the wool ring with scissors on the outer edge.
The scissors can be guided well between the two carton rings. Cut all around. But do not remove the carton yet!
A thread about 20cm long is now drawn between the cardboard rings and knotted several times firmly.
Make a hanger out of the thread by knotting the thread at the end.
Now tear in one strip of cardboard at a time and slowly remove it.
??
Cut the wuschel into shape with a pair of scissors.
Place the wobble eyes and small red beak triangle.
Use the hot glue to attach to the wuschel.
The Wuschel-Kücken can now be placed in a cardboard mesh egg (separate instructions available).
Deco example!
Follow us on Facebook , Instagram and Pinterest
Don't miss any more adventures: Our bottle mail