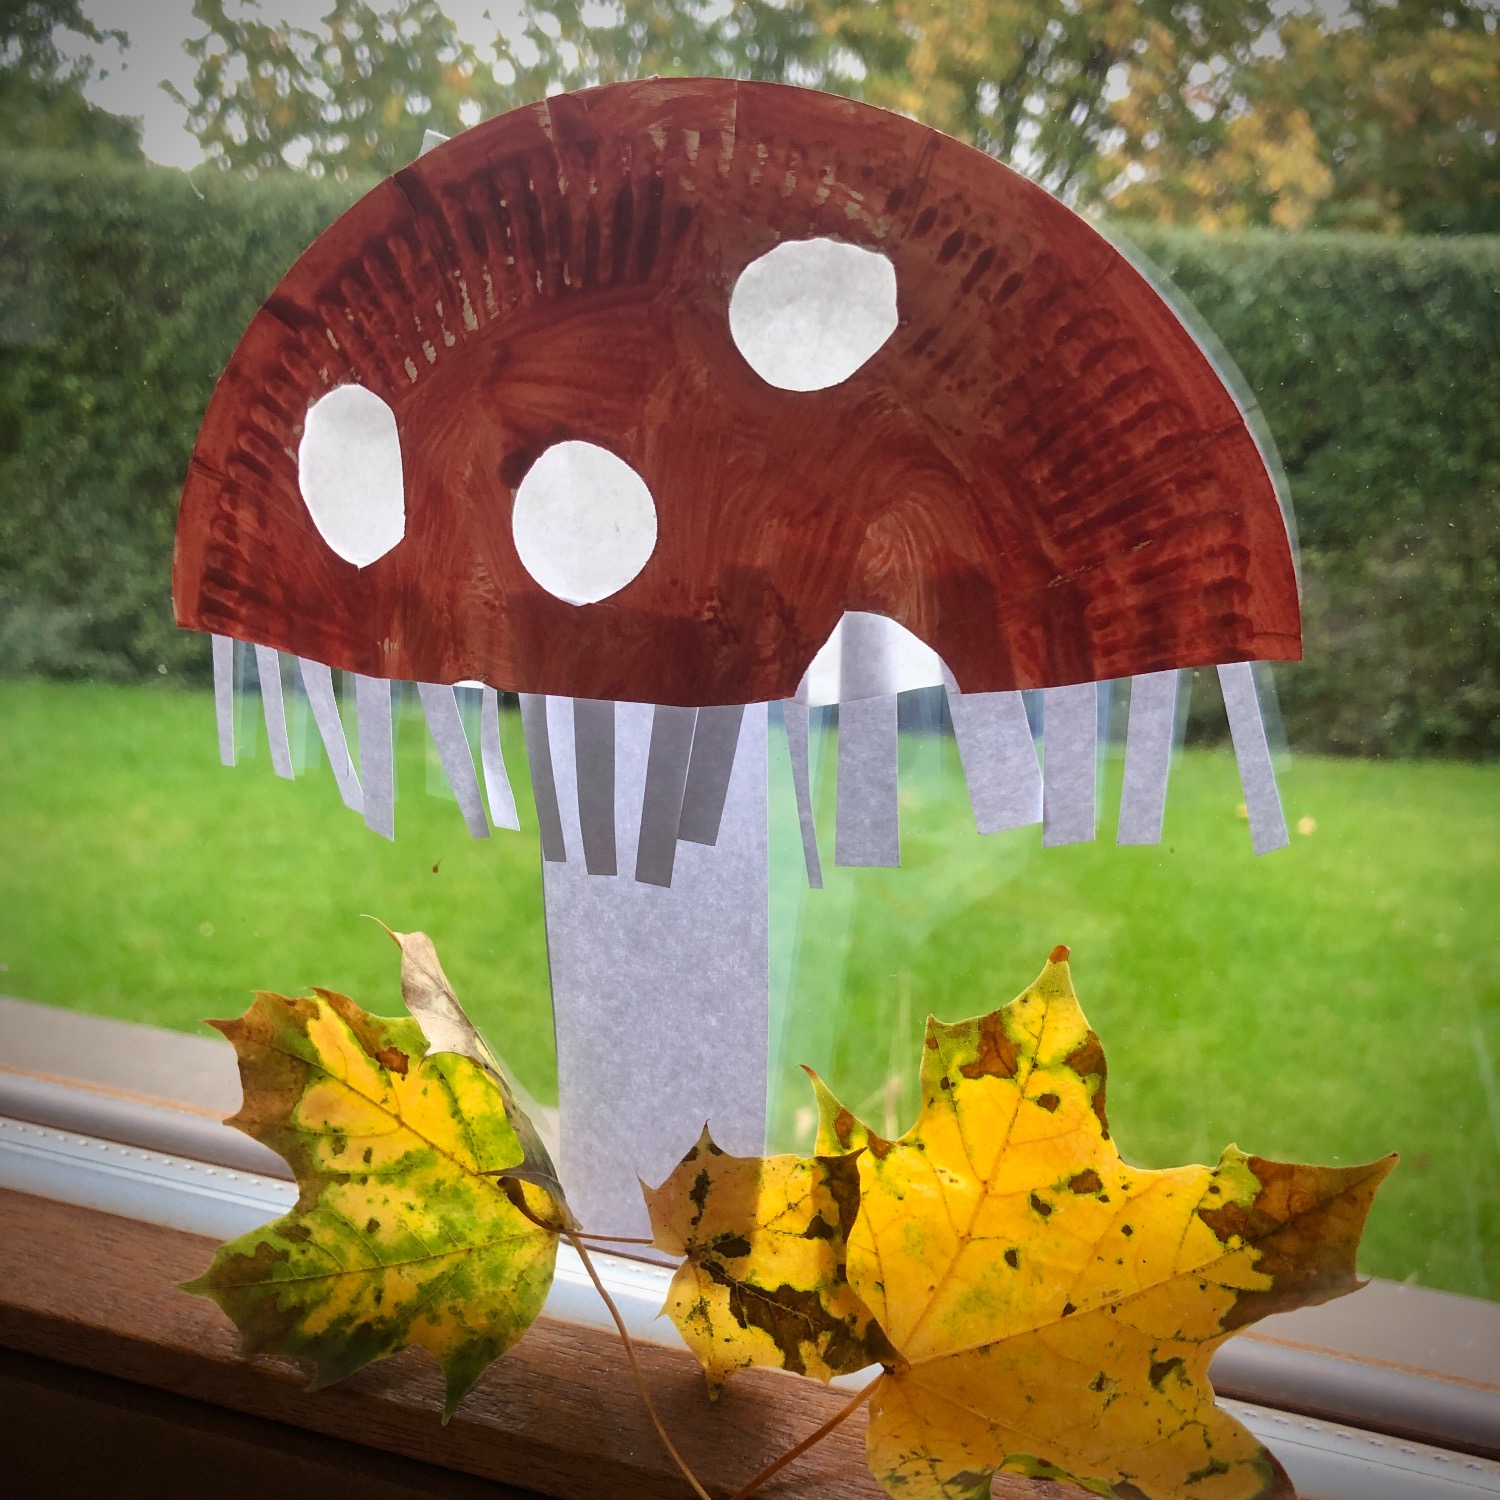
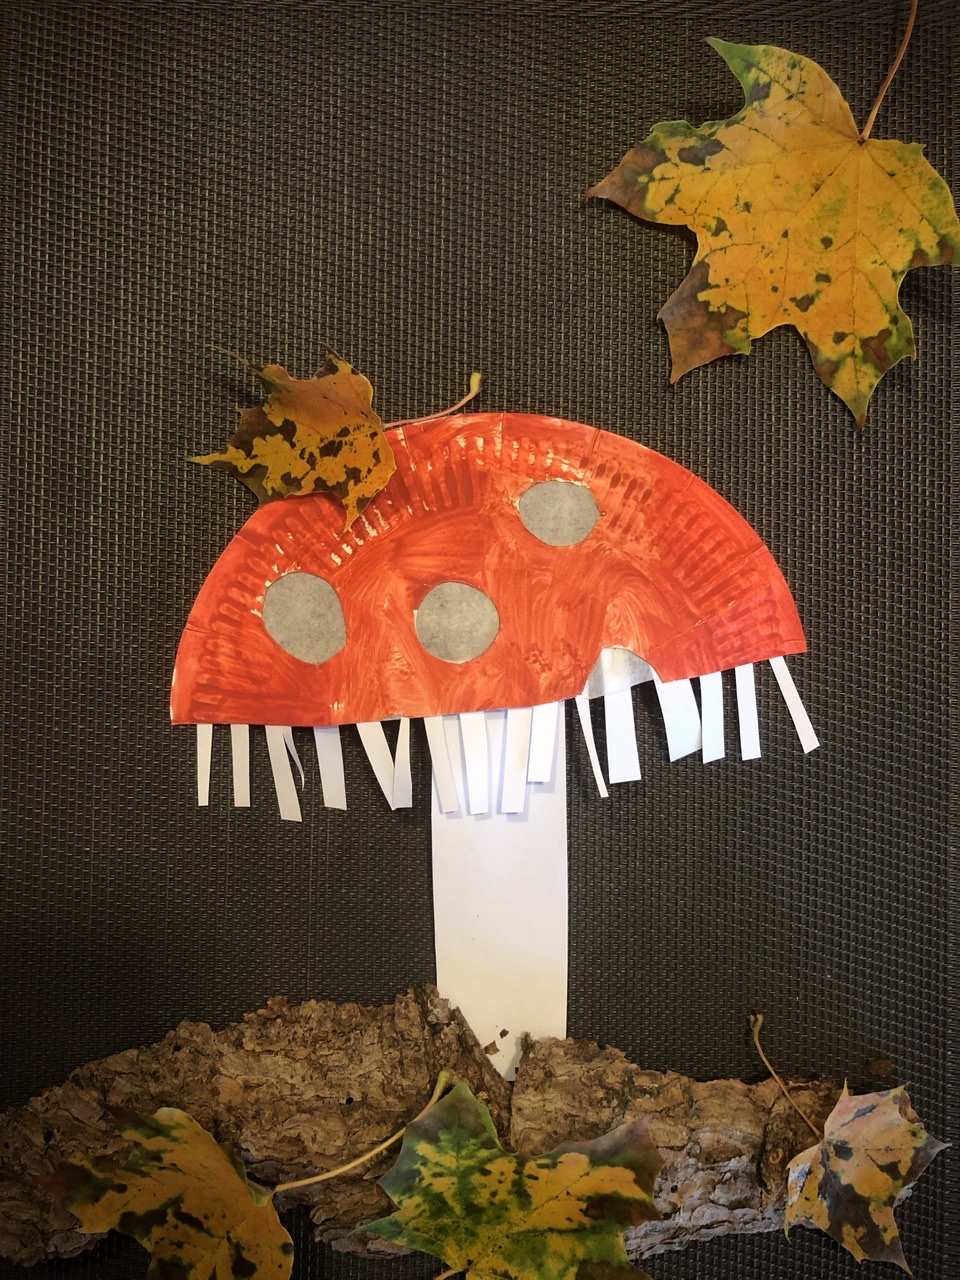
From July to October we can discover the fly mushroom on walks in the forest. This poisonous mushroom shines in a beautiful red. To look at is also the glowing fly mushroom, which we make for the window.
Media Education for Kindergarten and Hort

Relief in everyday life, targeted promotion of individual children, independent learning and - without any pre-knowledge already usable by the youngest!
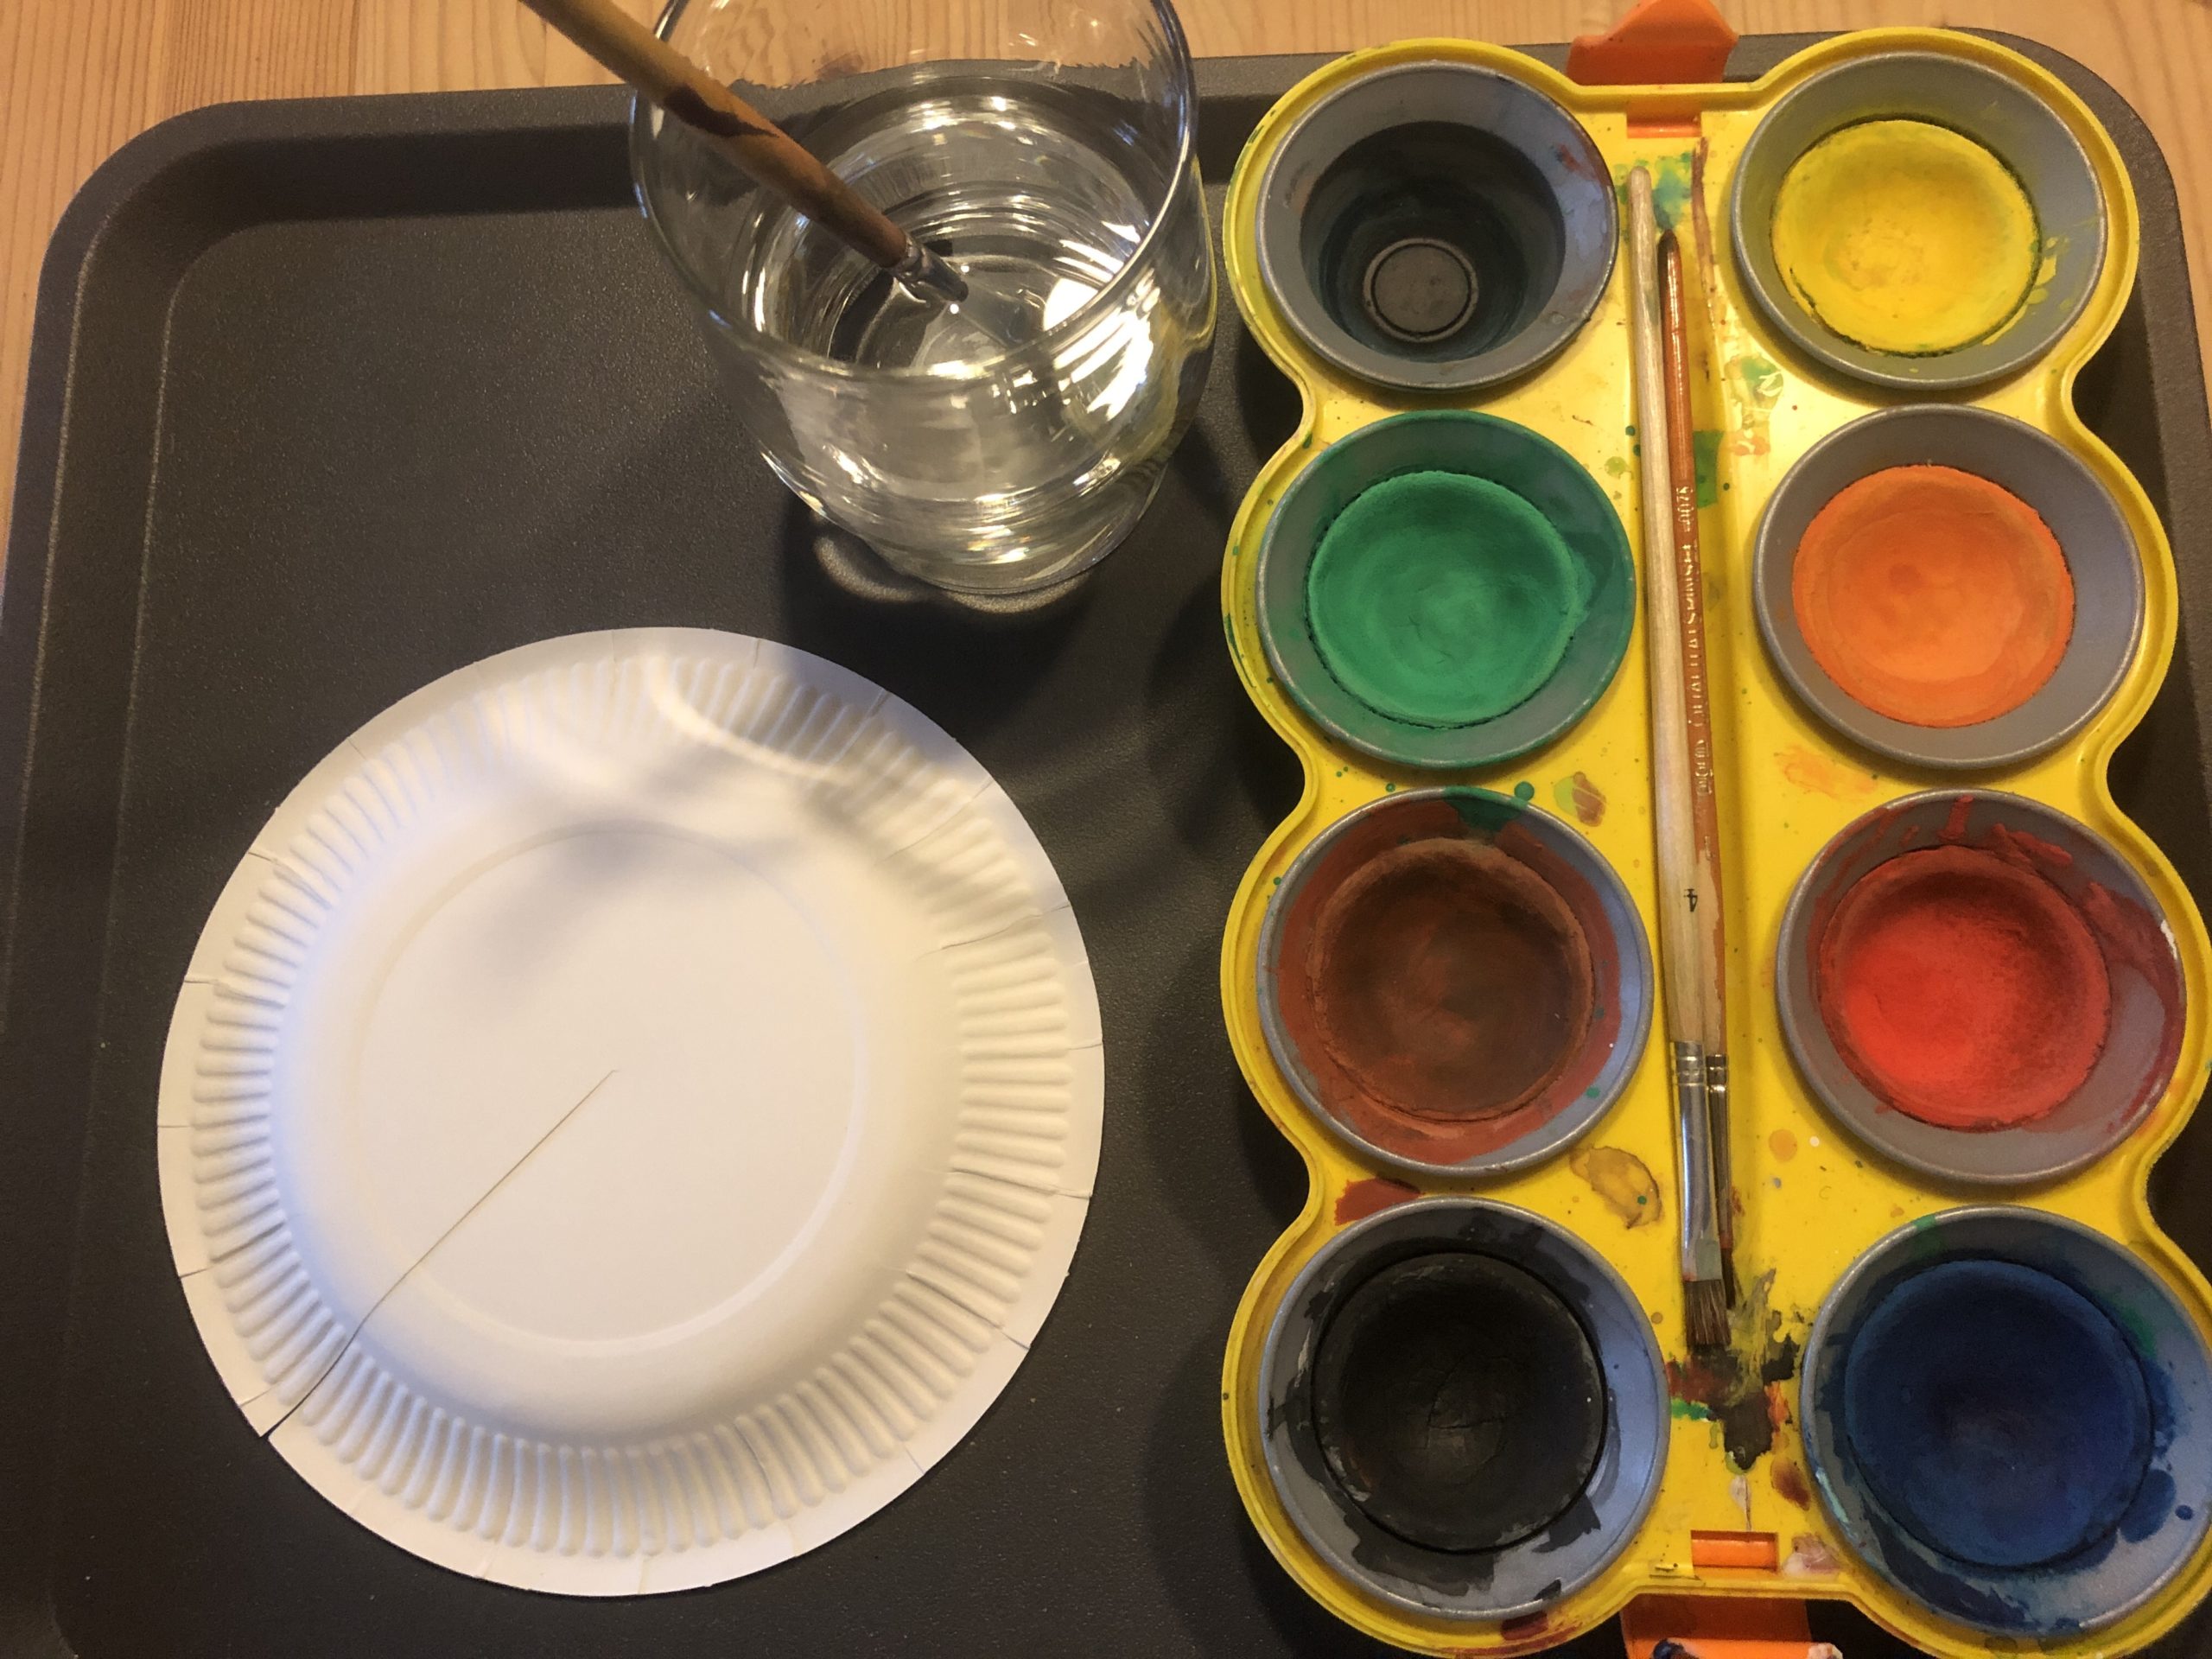
Provide the water colours, put a paint pad underneath and put on a paint coat if necessary.
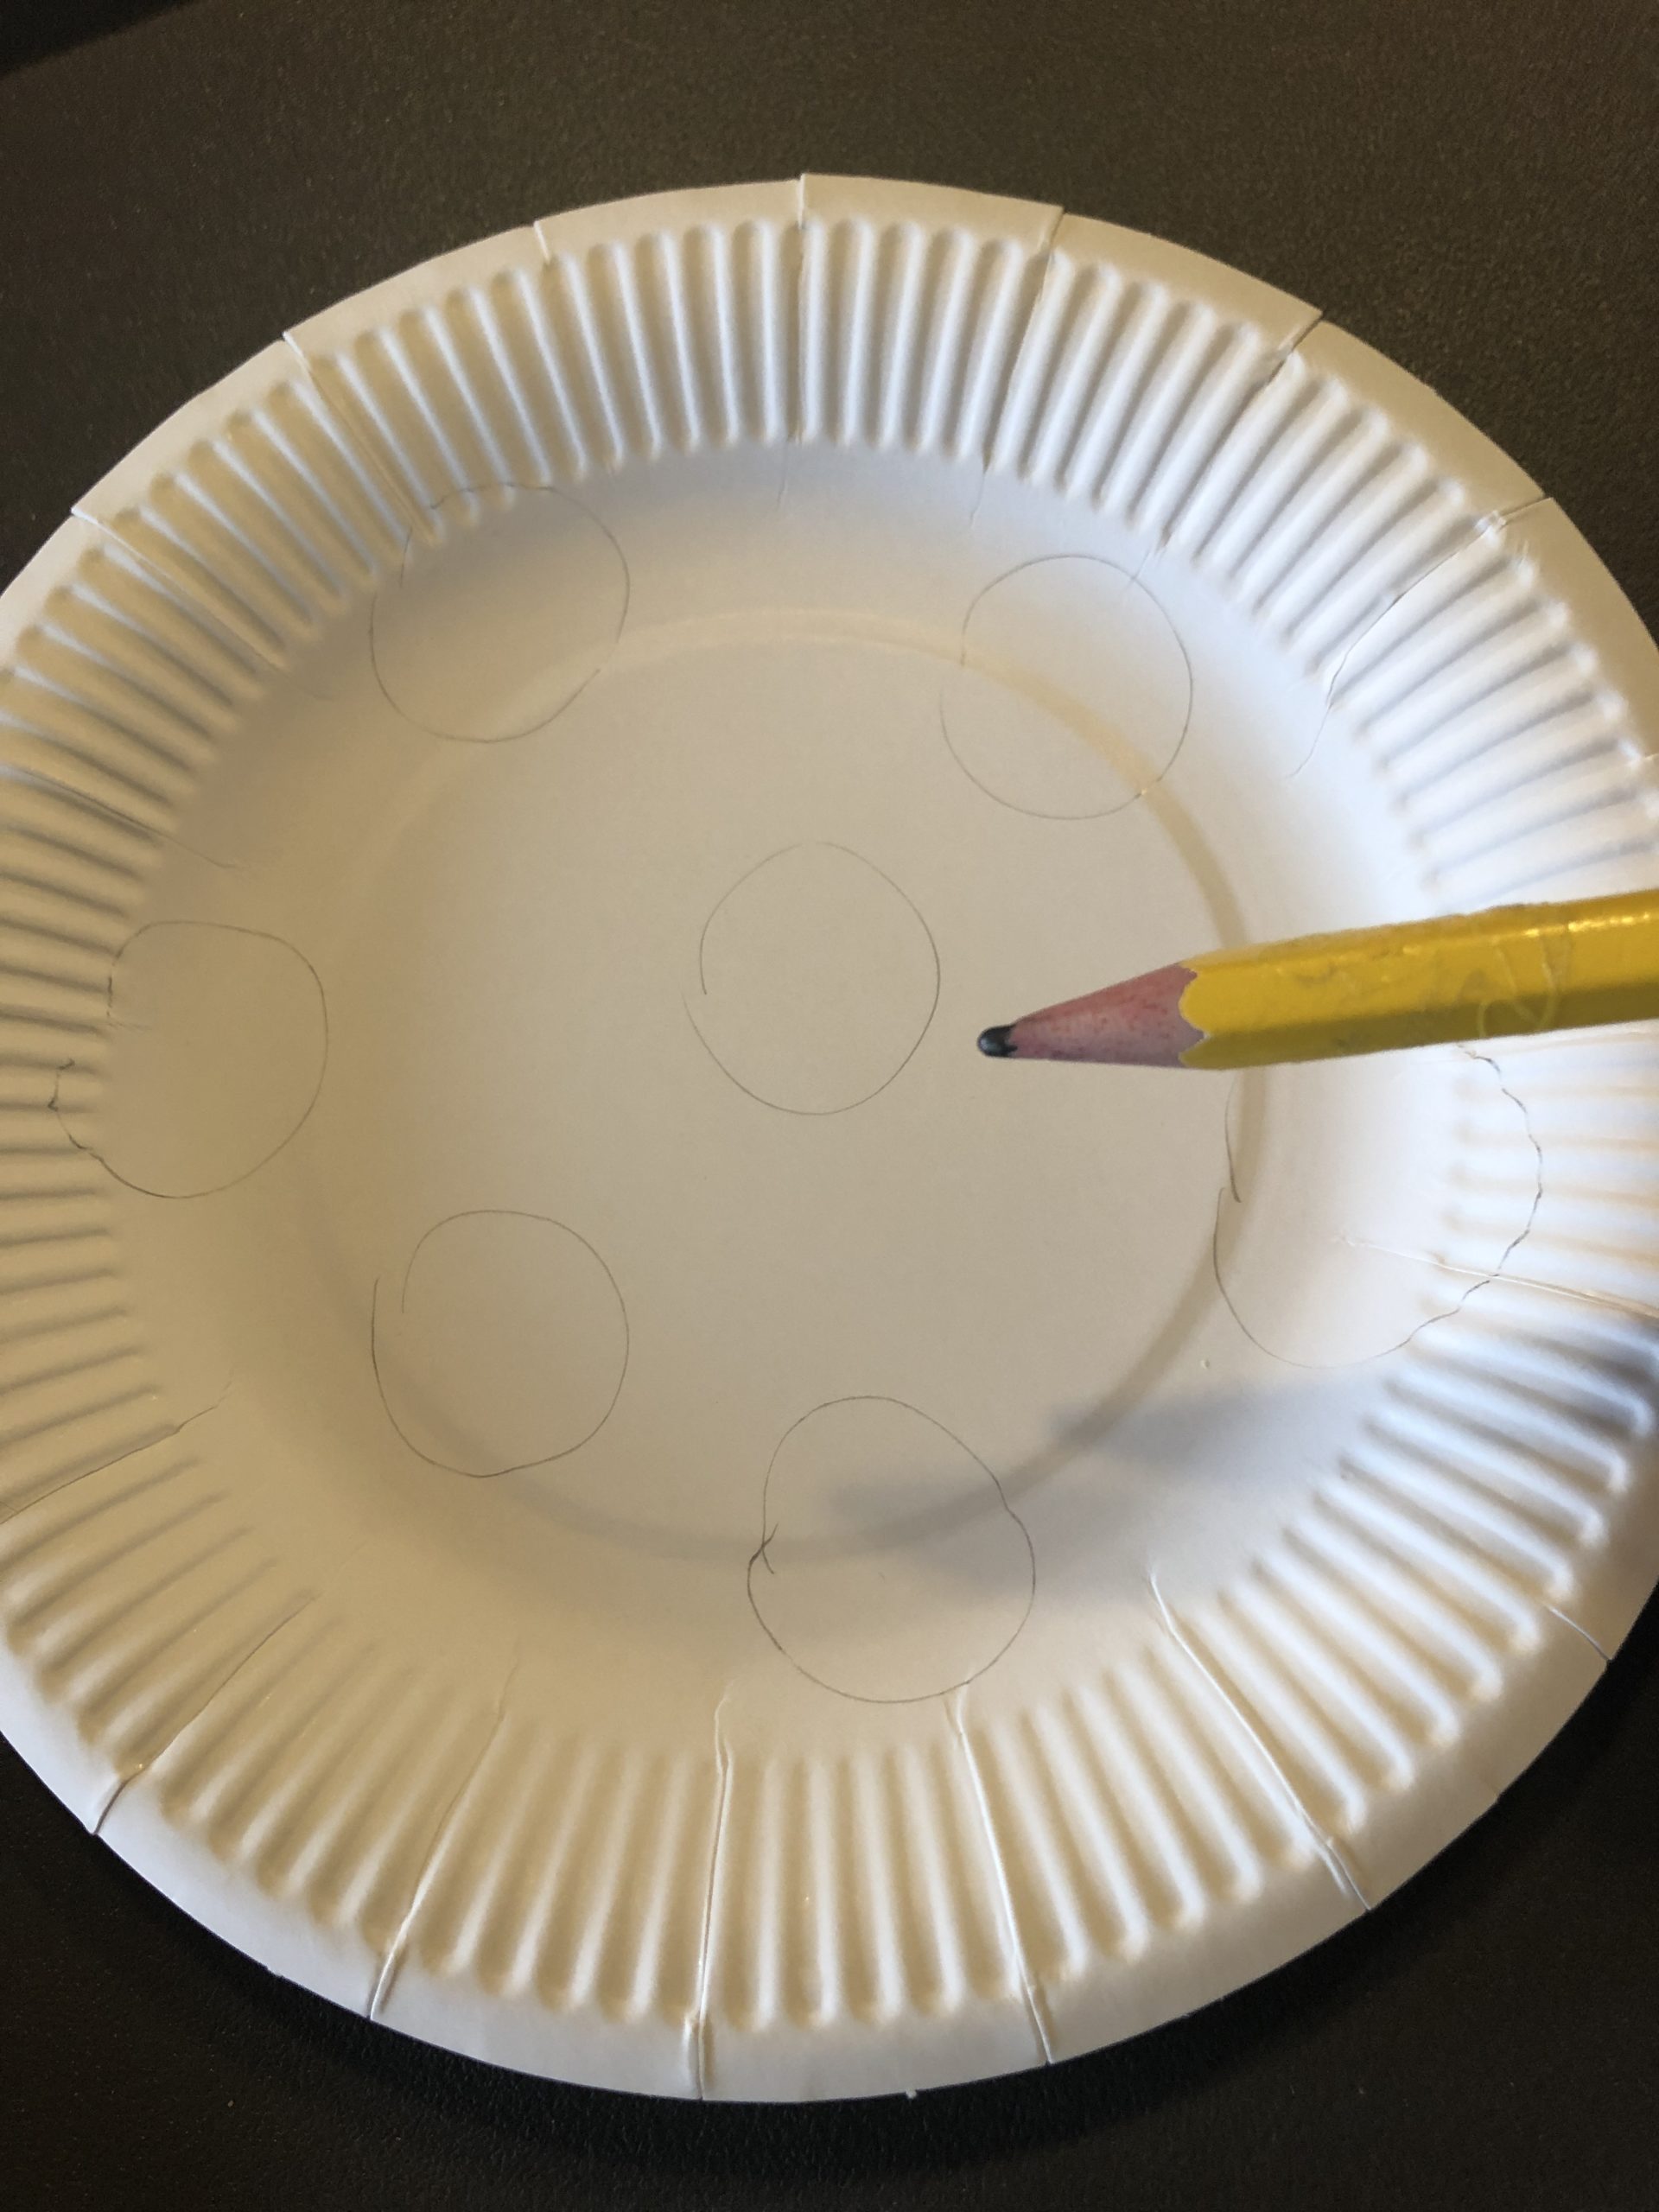
Now record small circles on the cardboard plate.
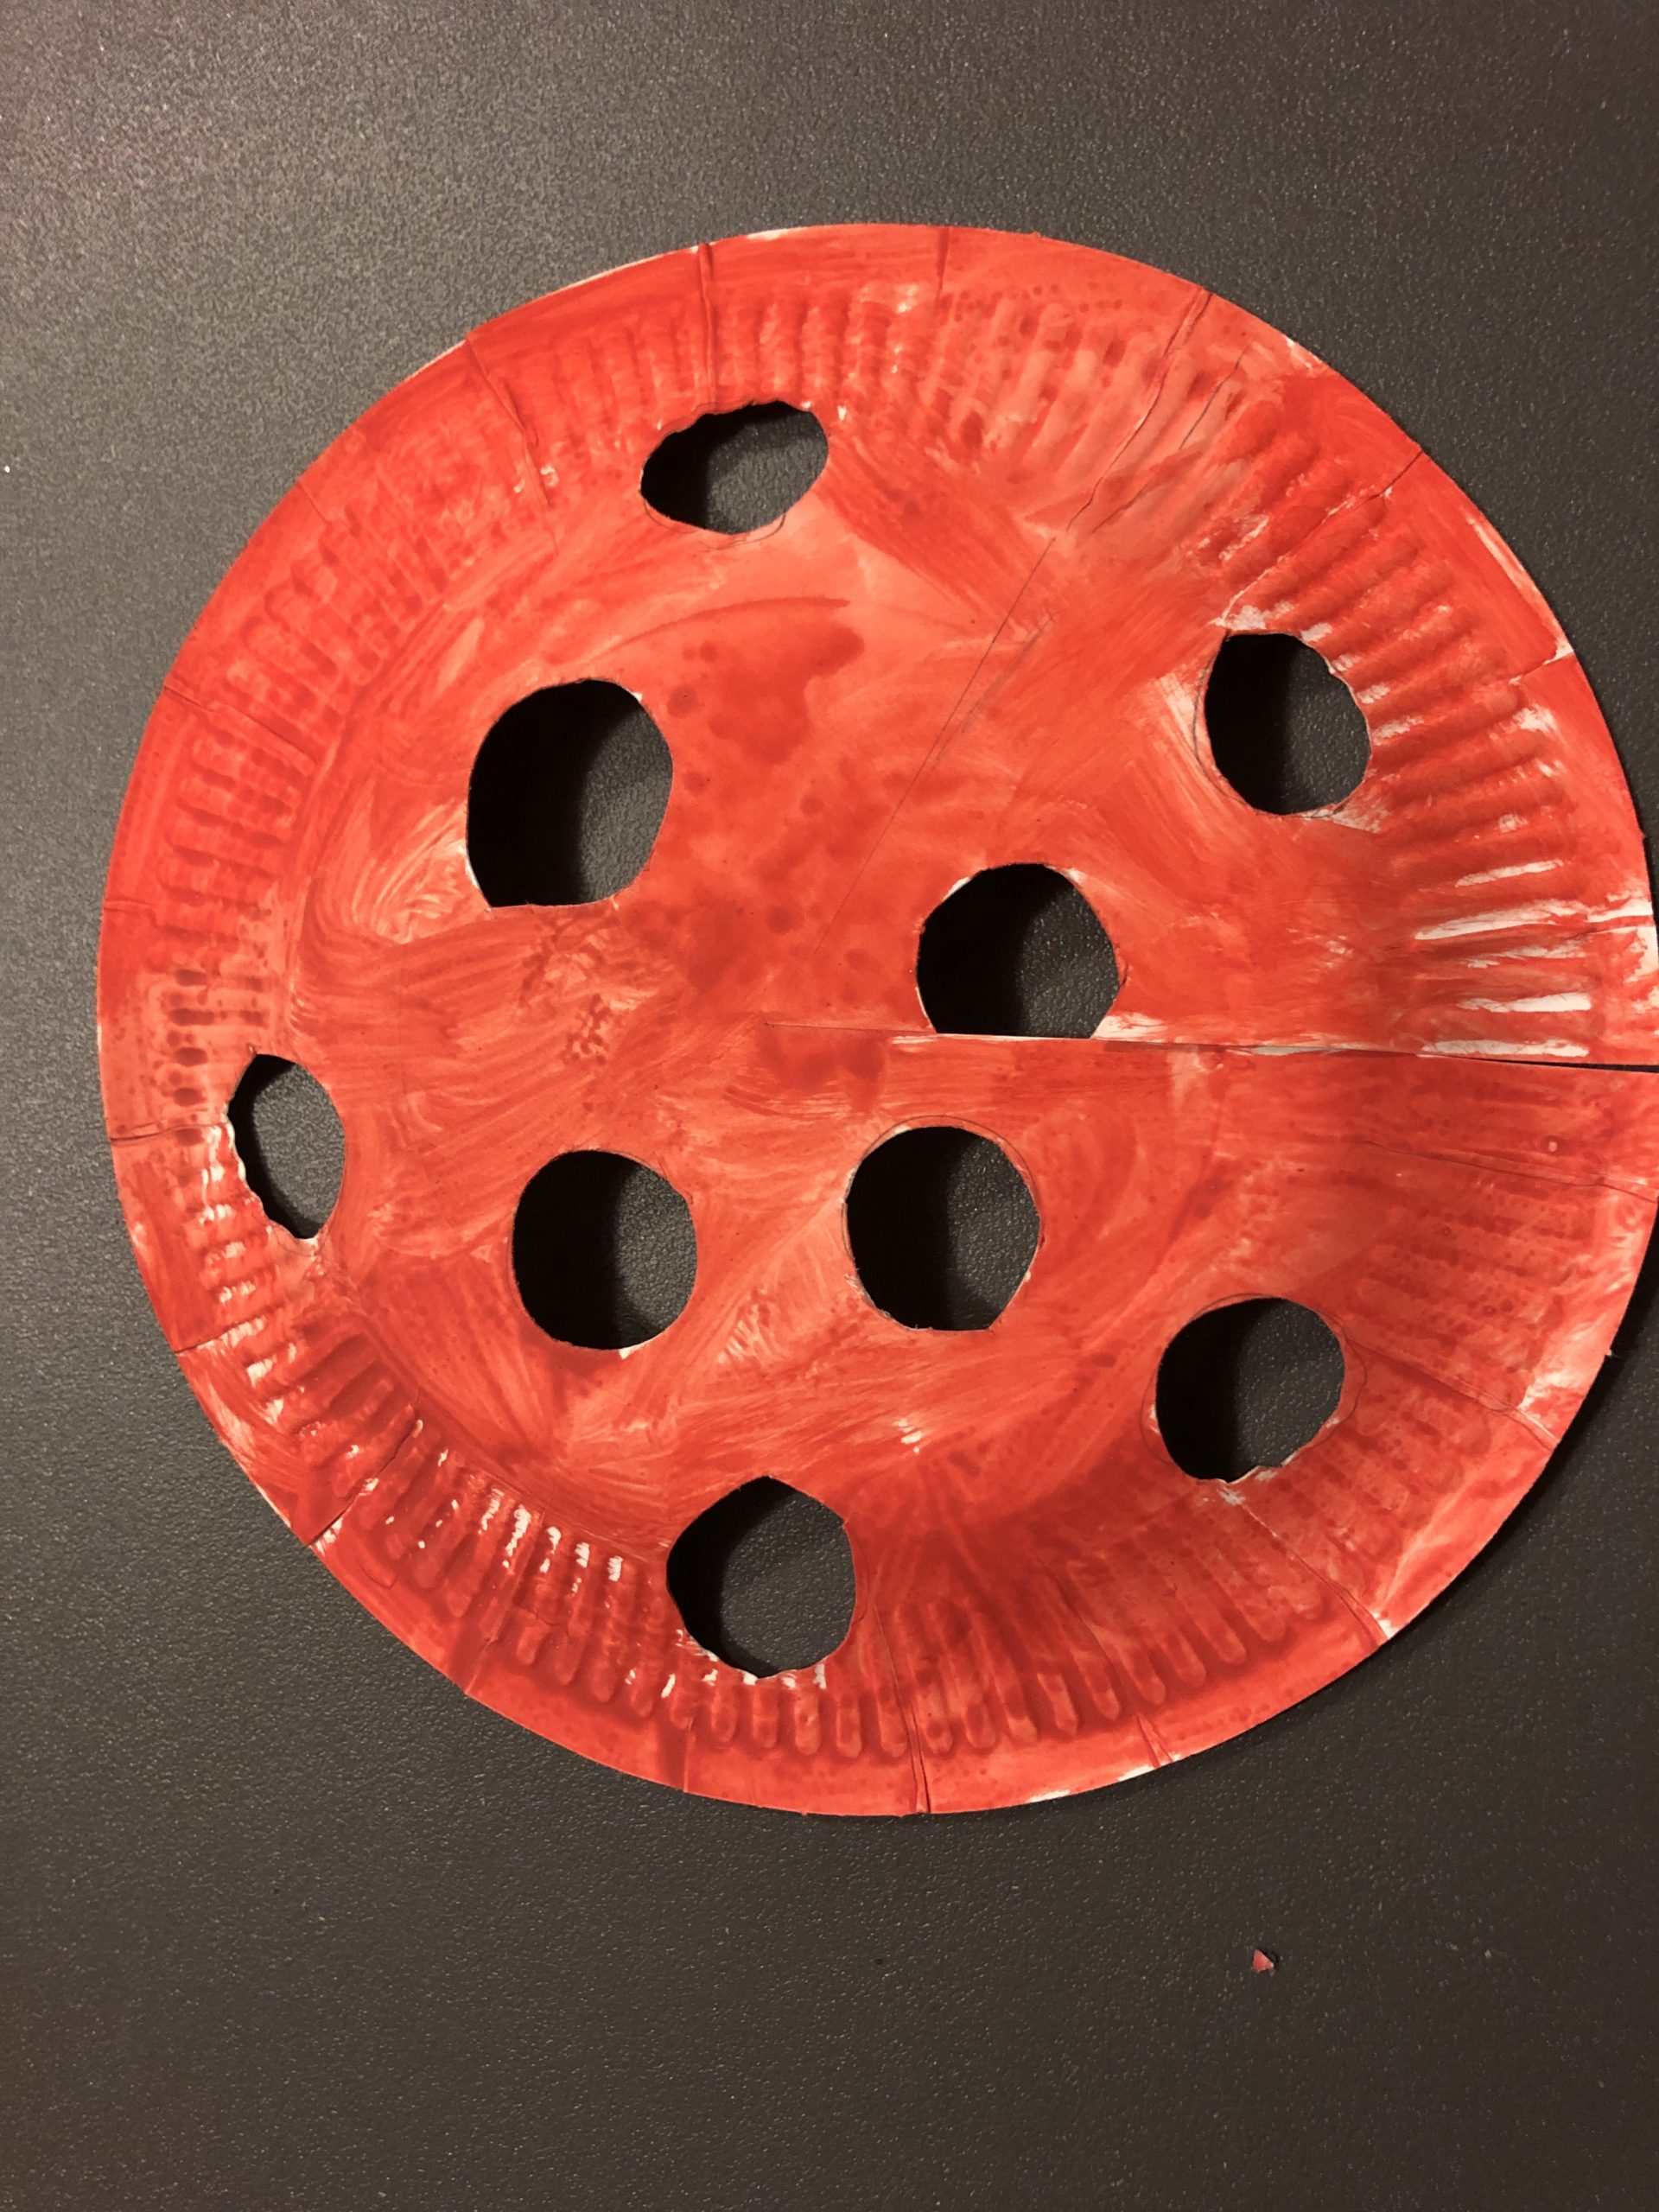
Then you cut them out.

Now paint the plate with red water paint and place it to dry.
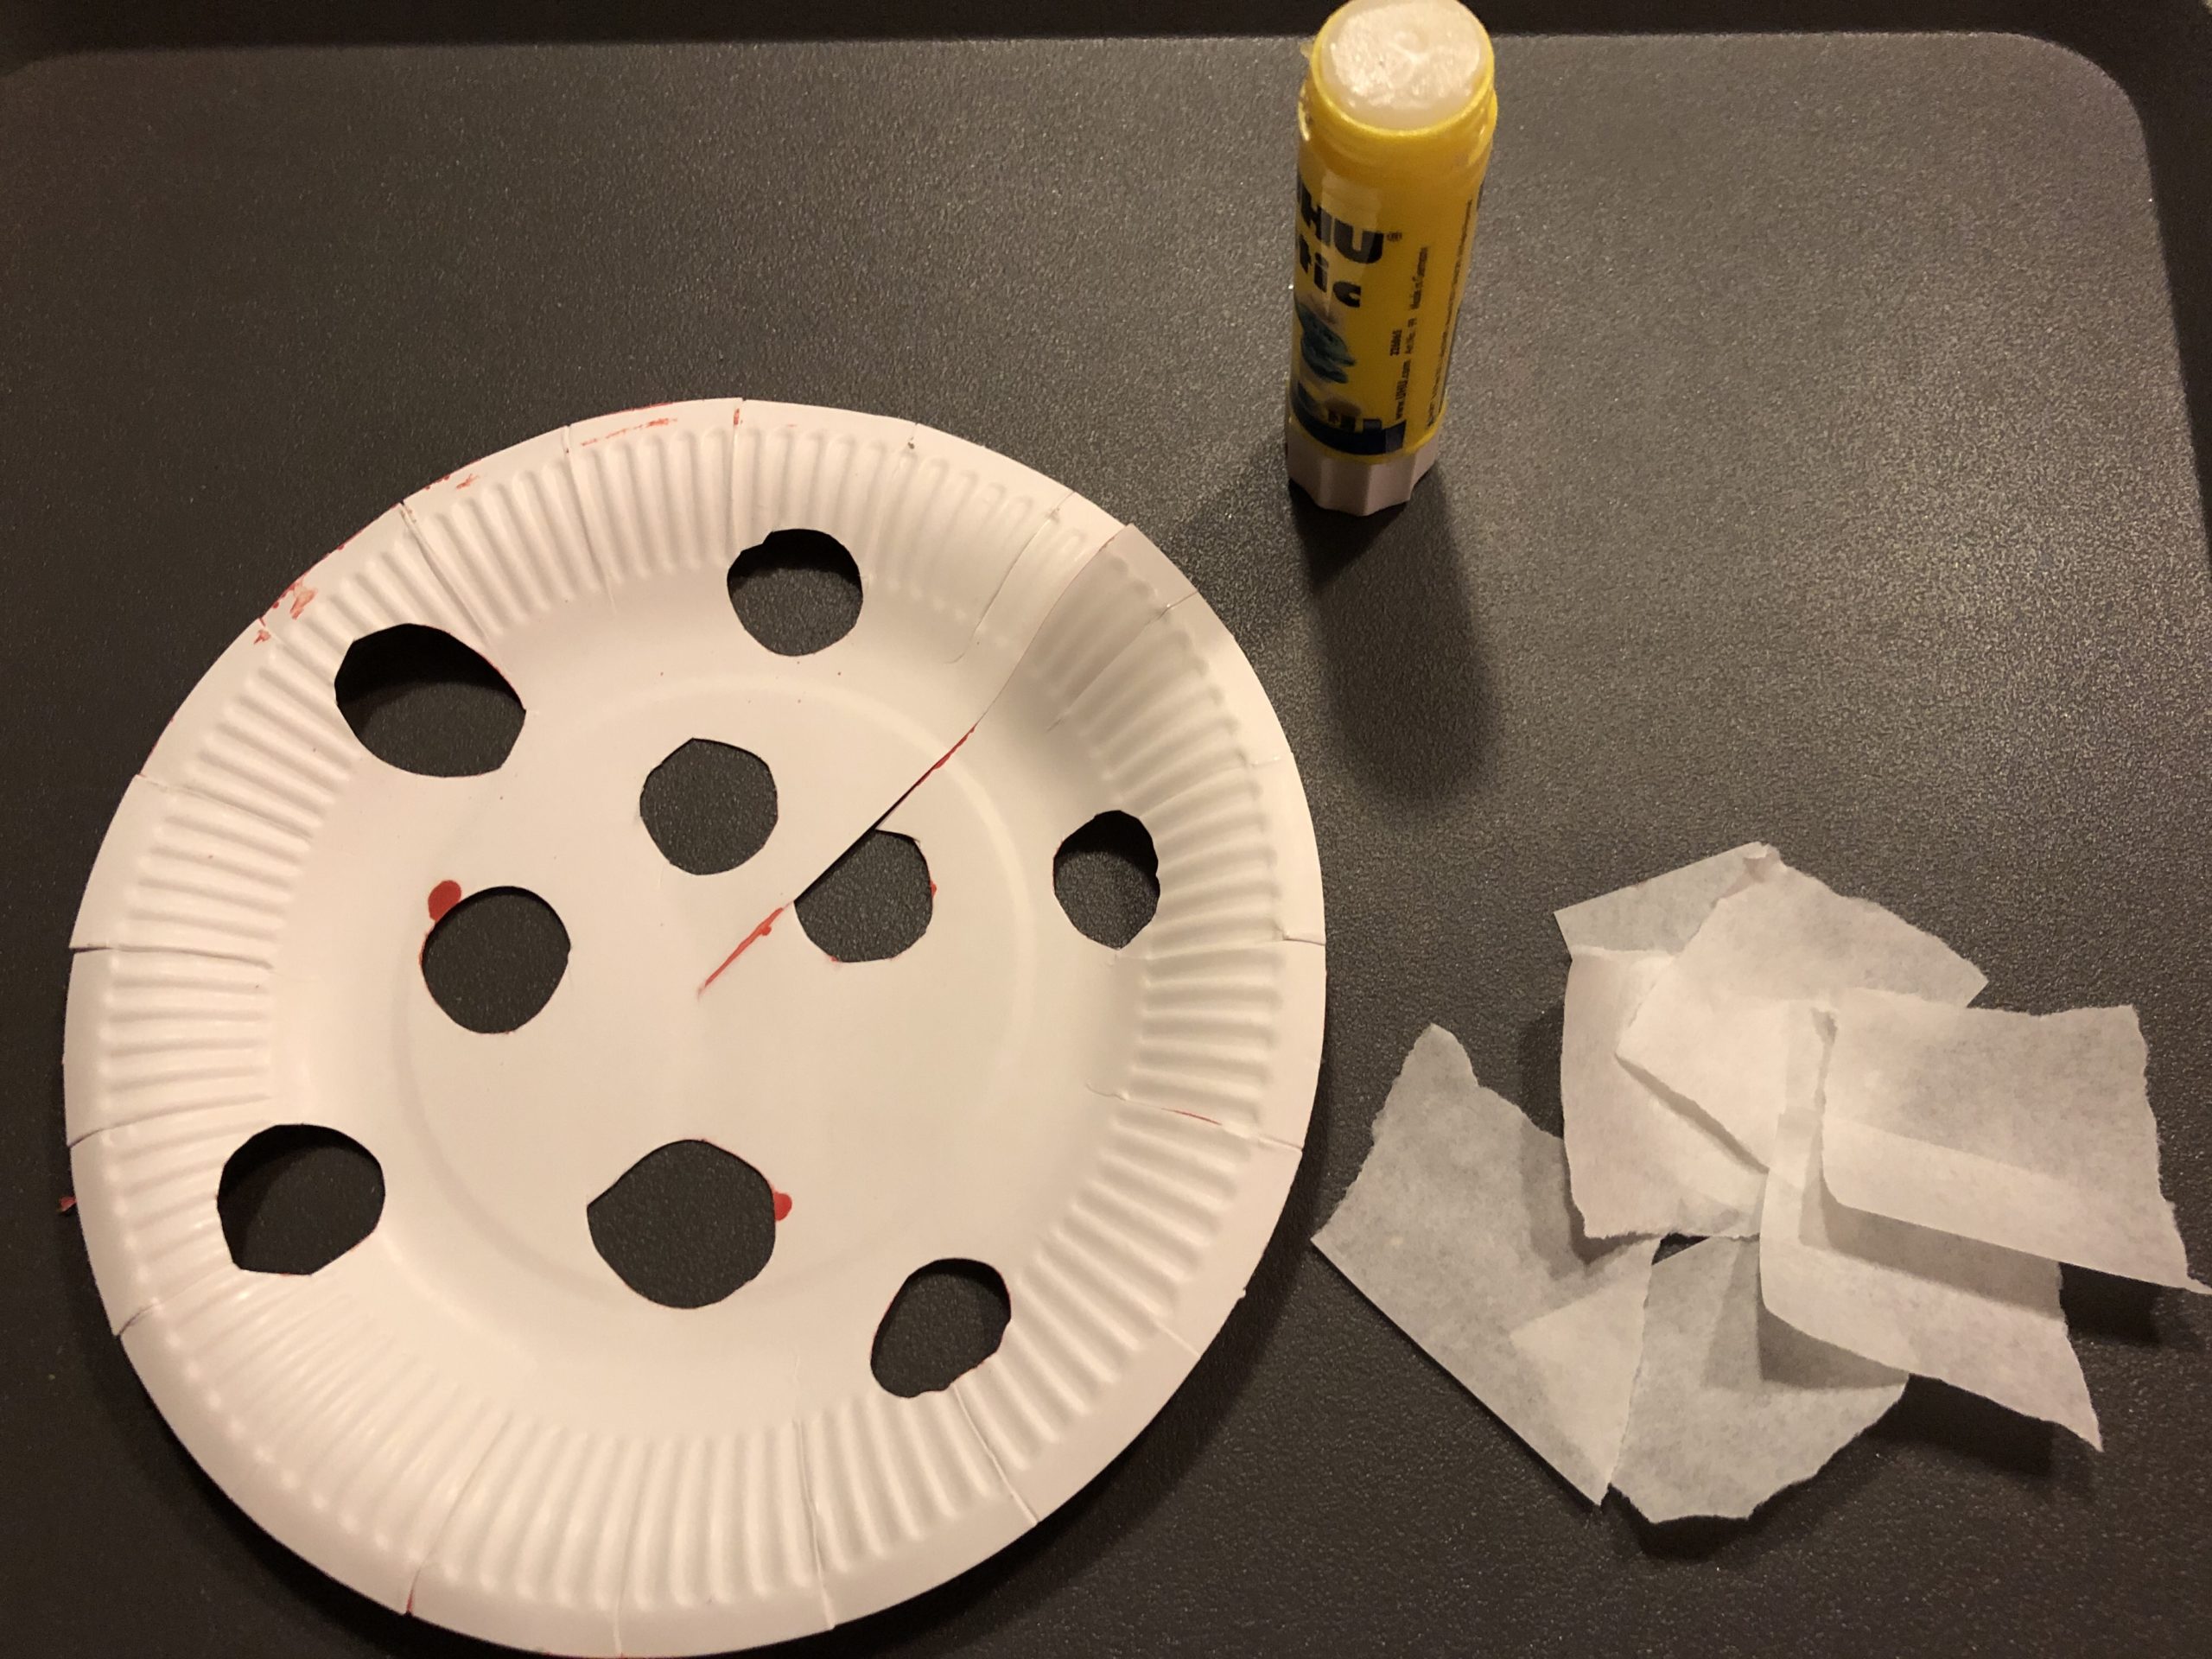
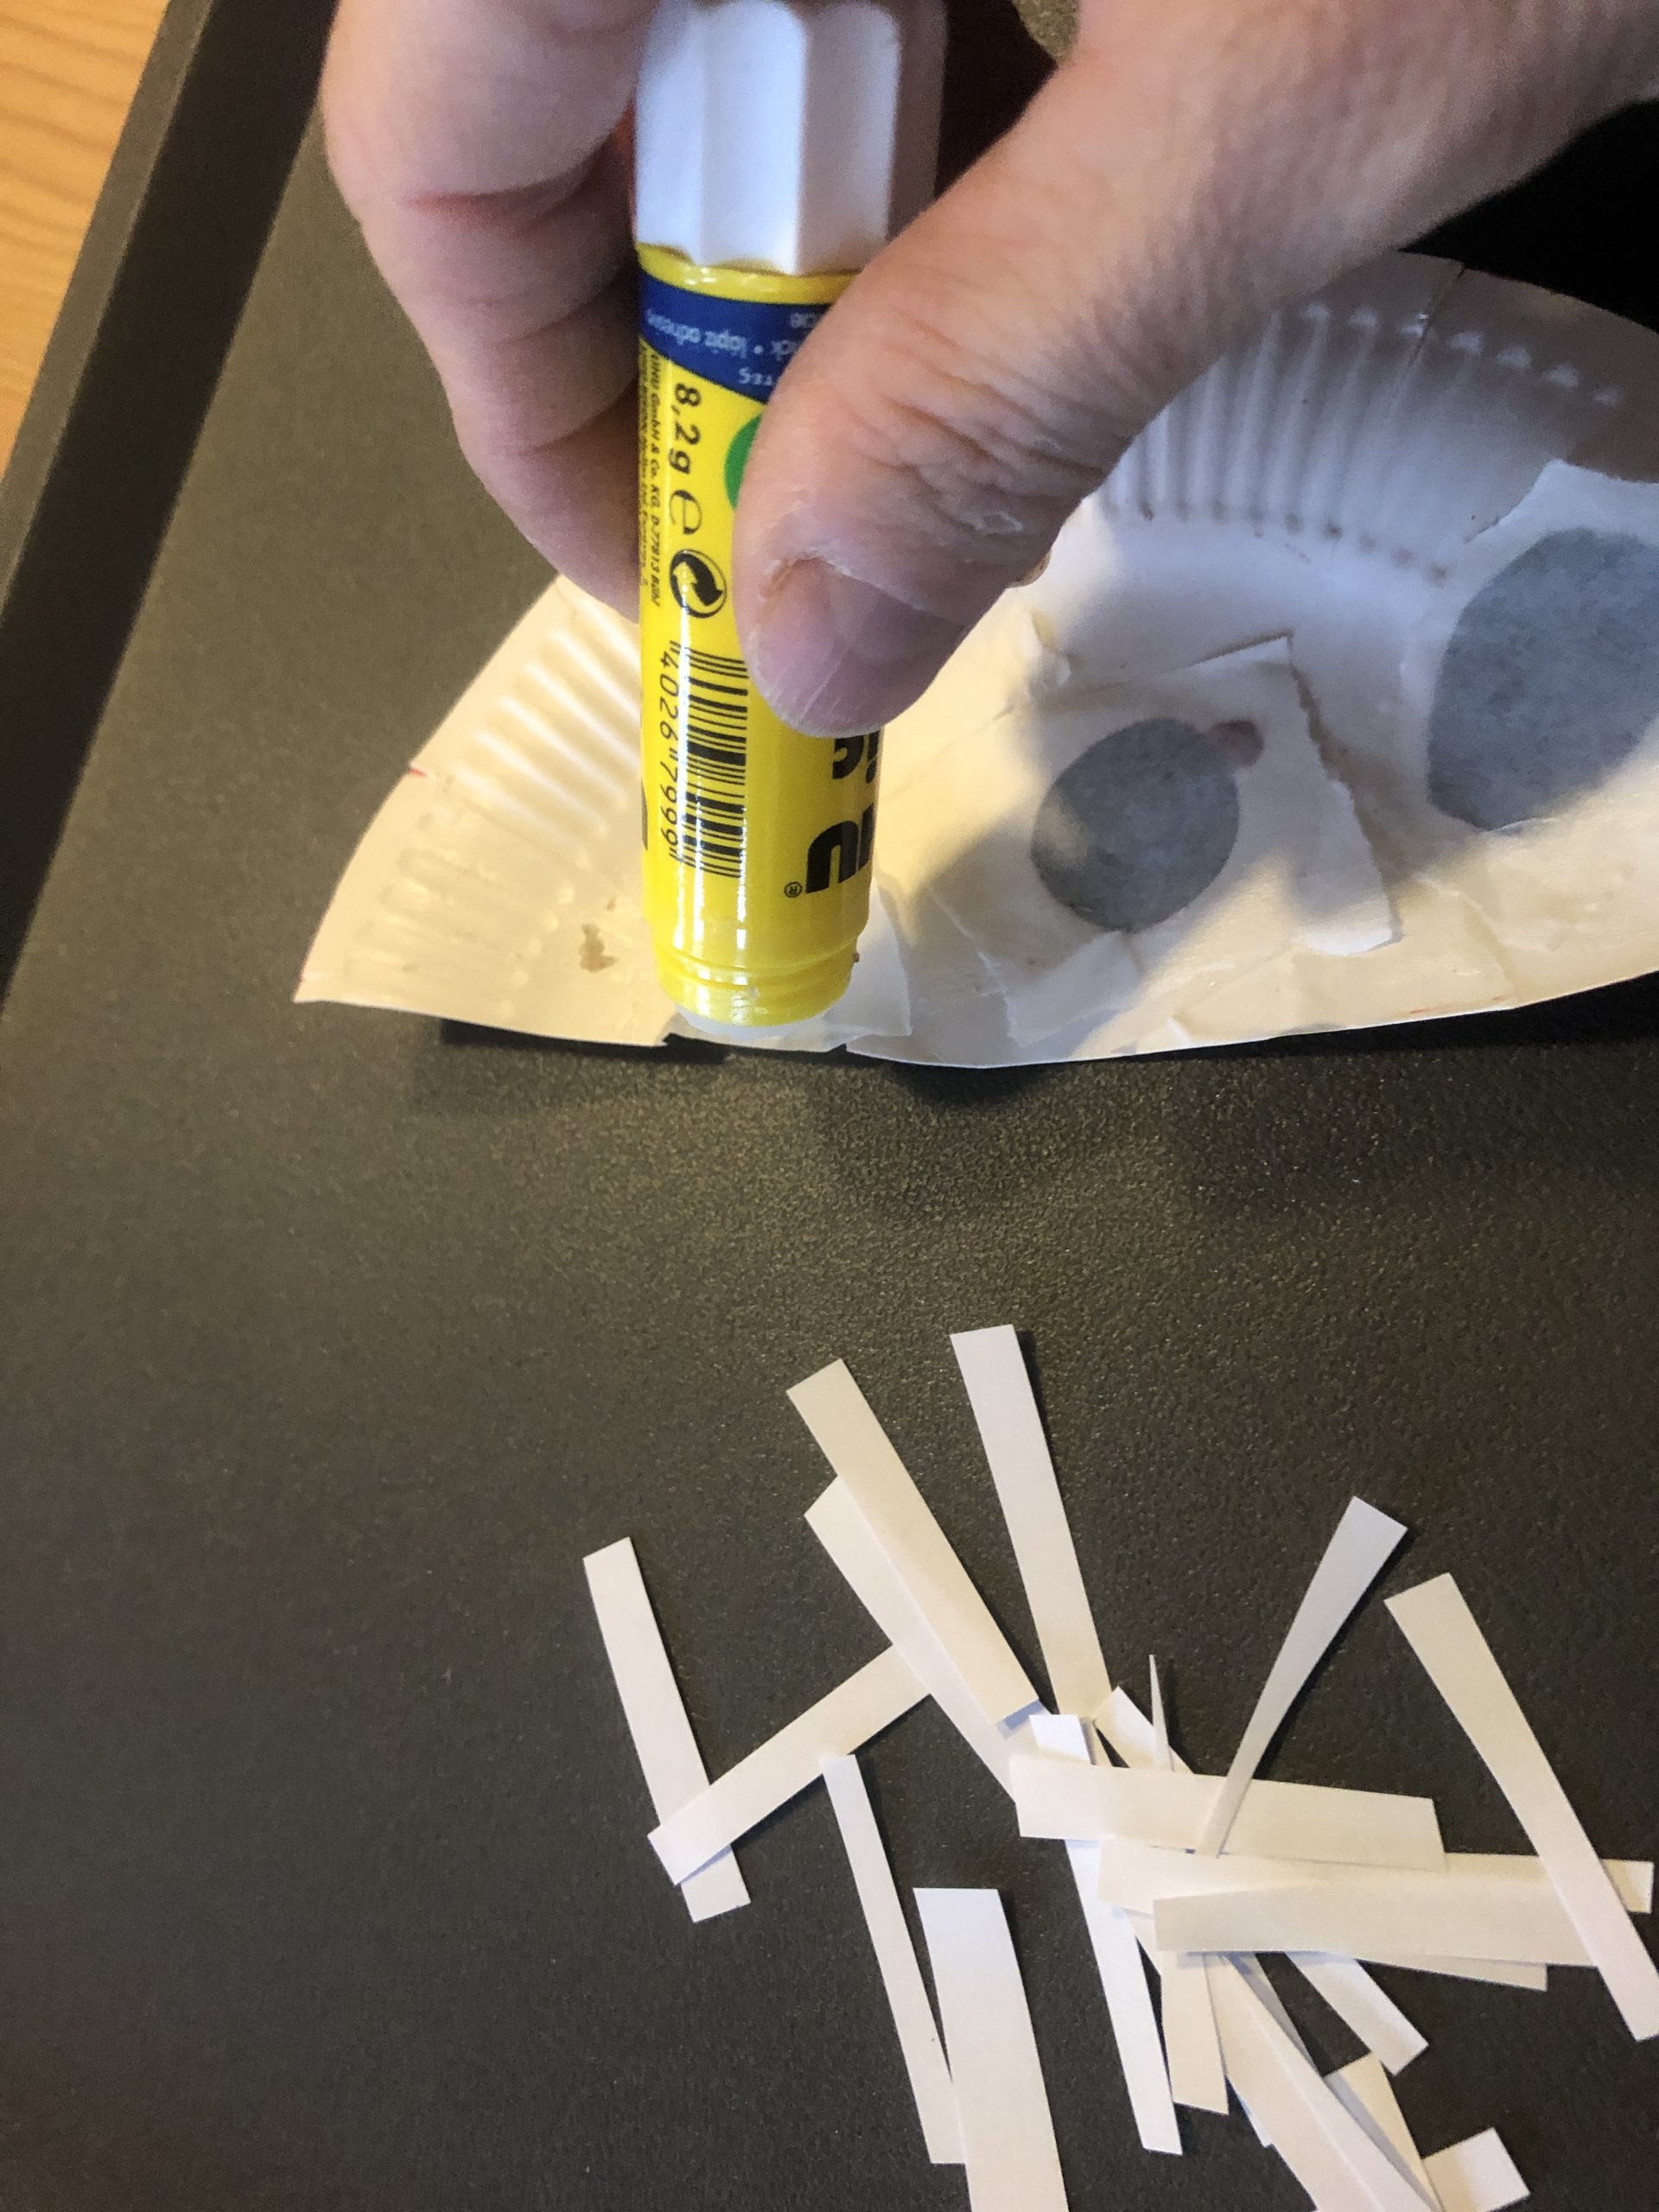
Now you tear snippets from butterbread paper in the size of your holes and glue the inside of the plate (is the back of the mushroom hat) with it.

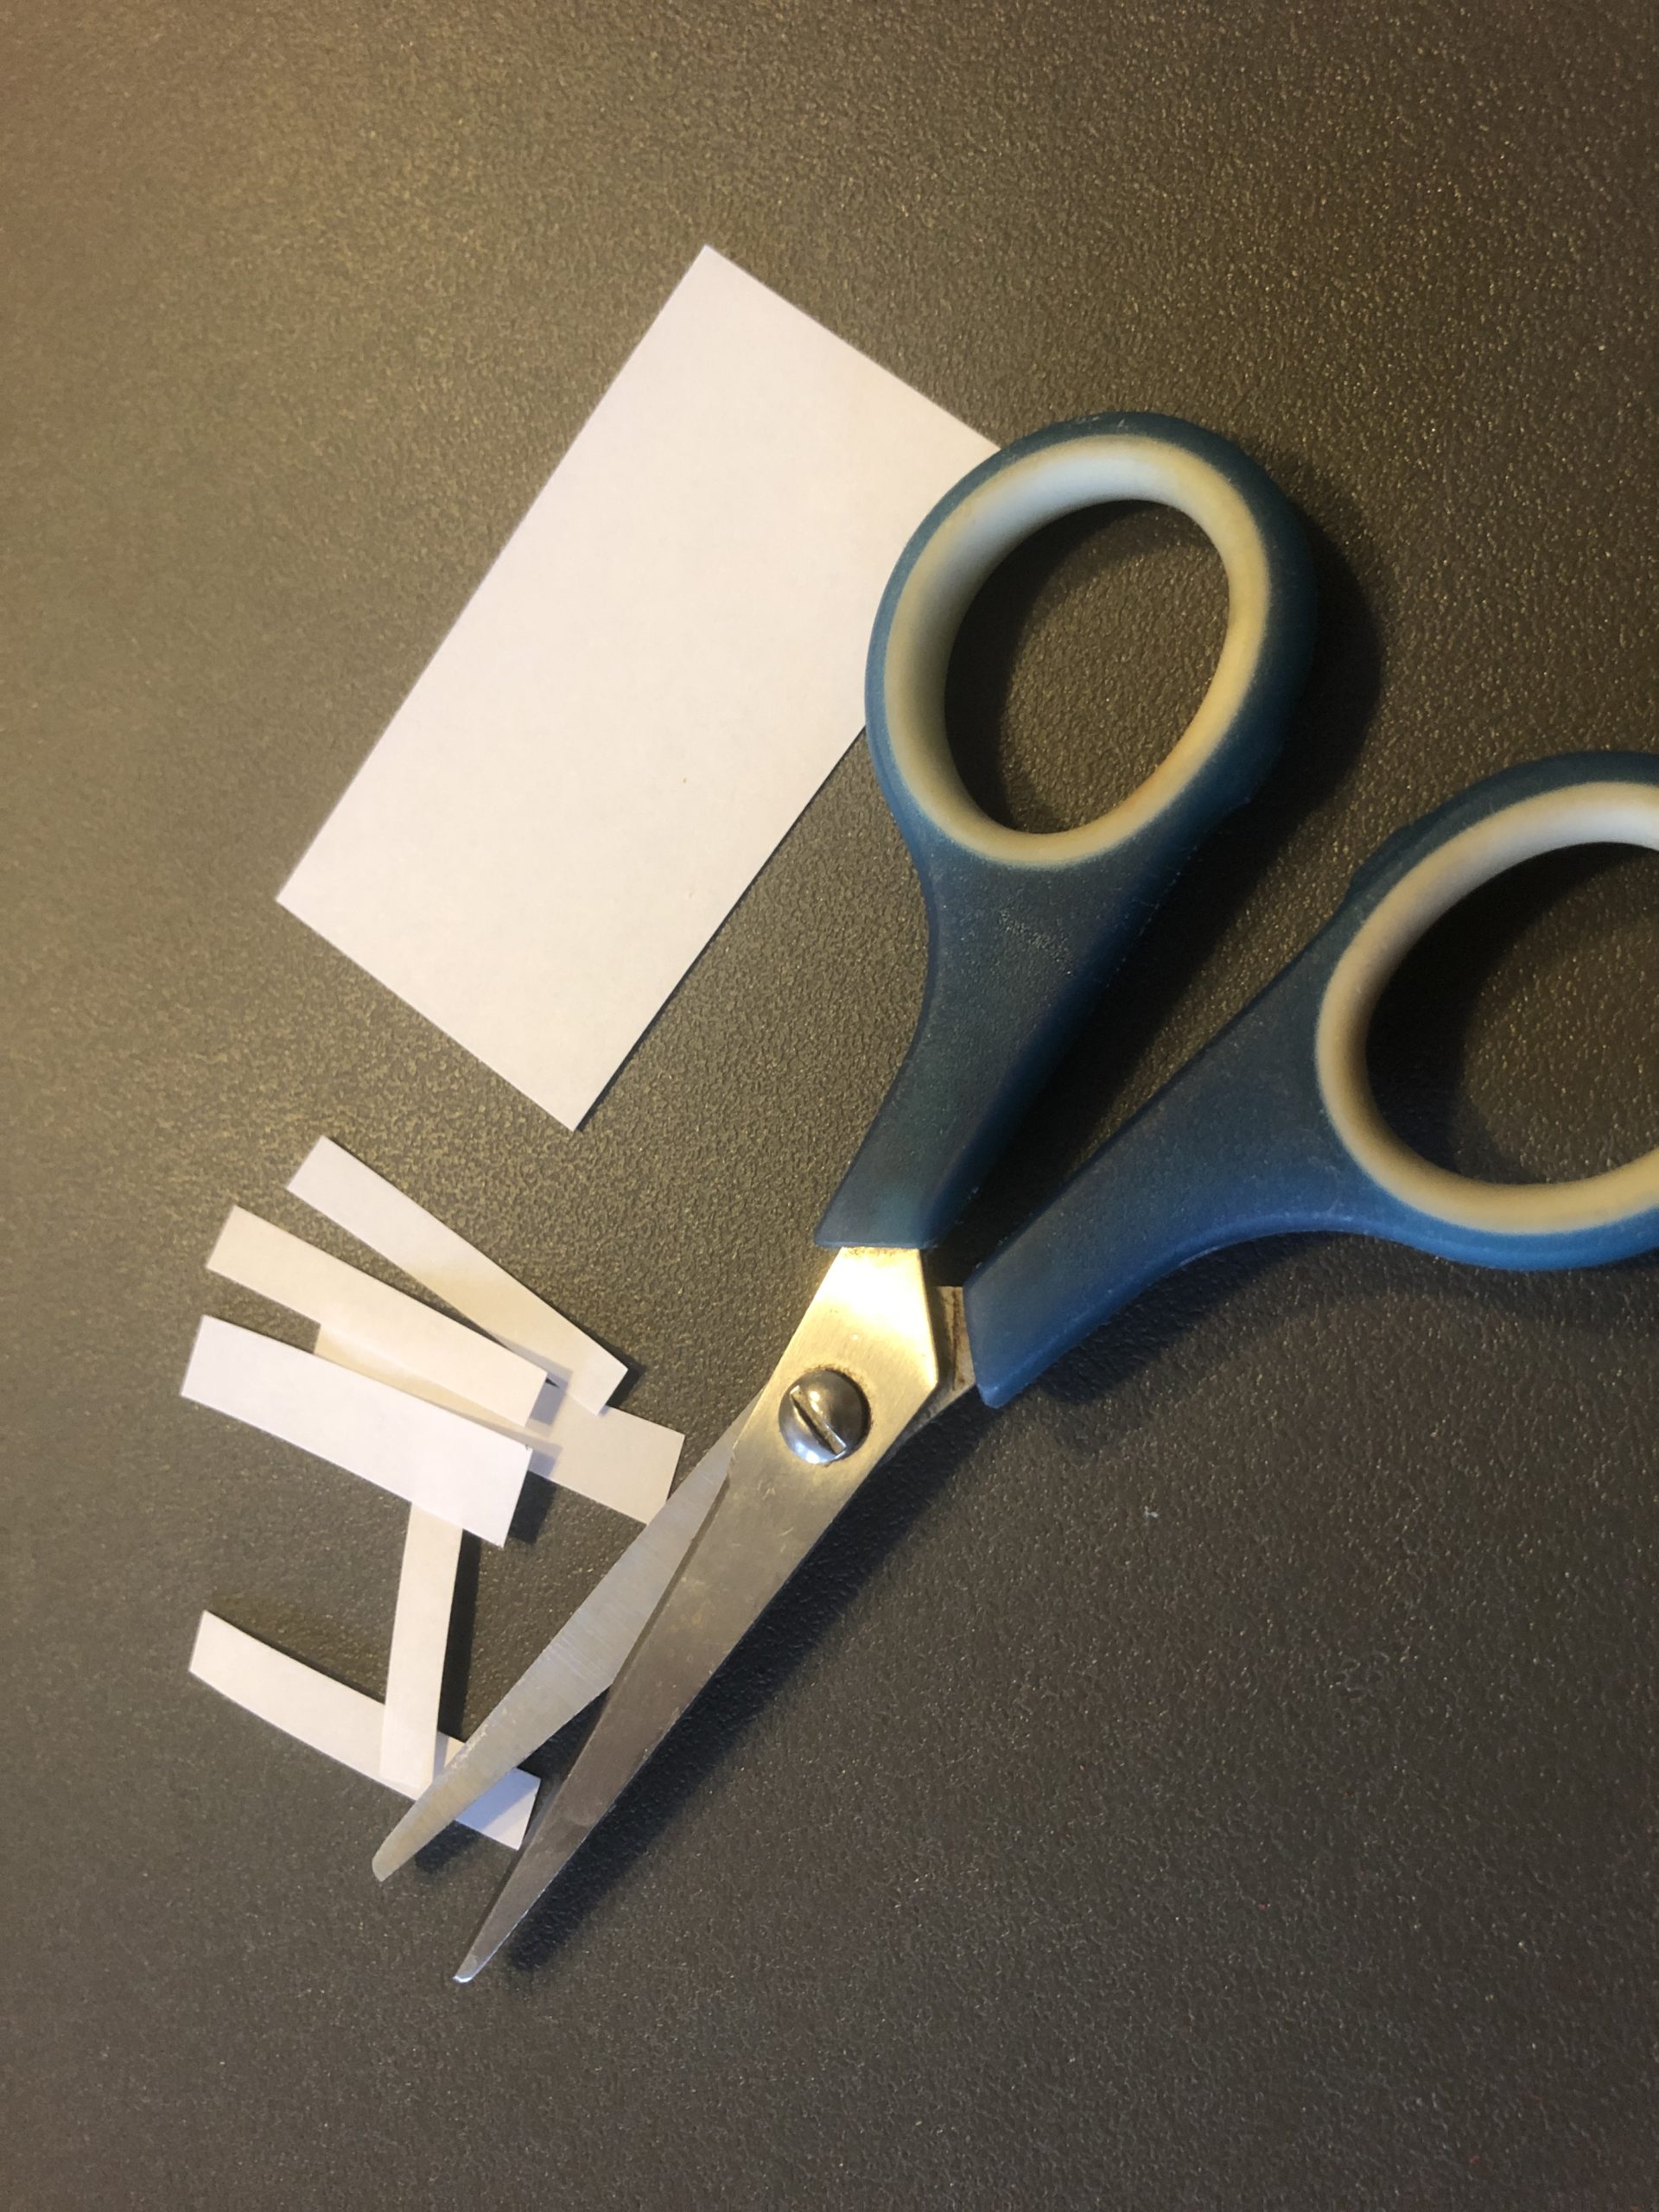
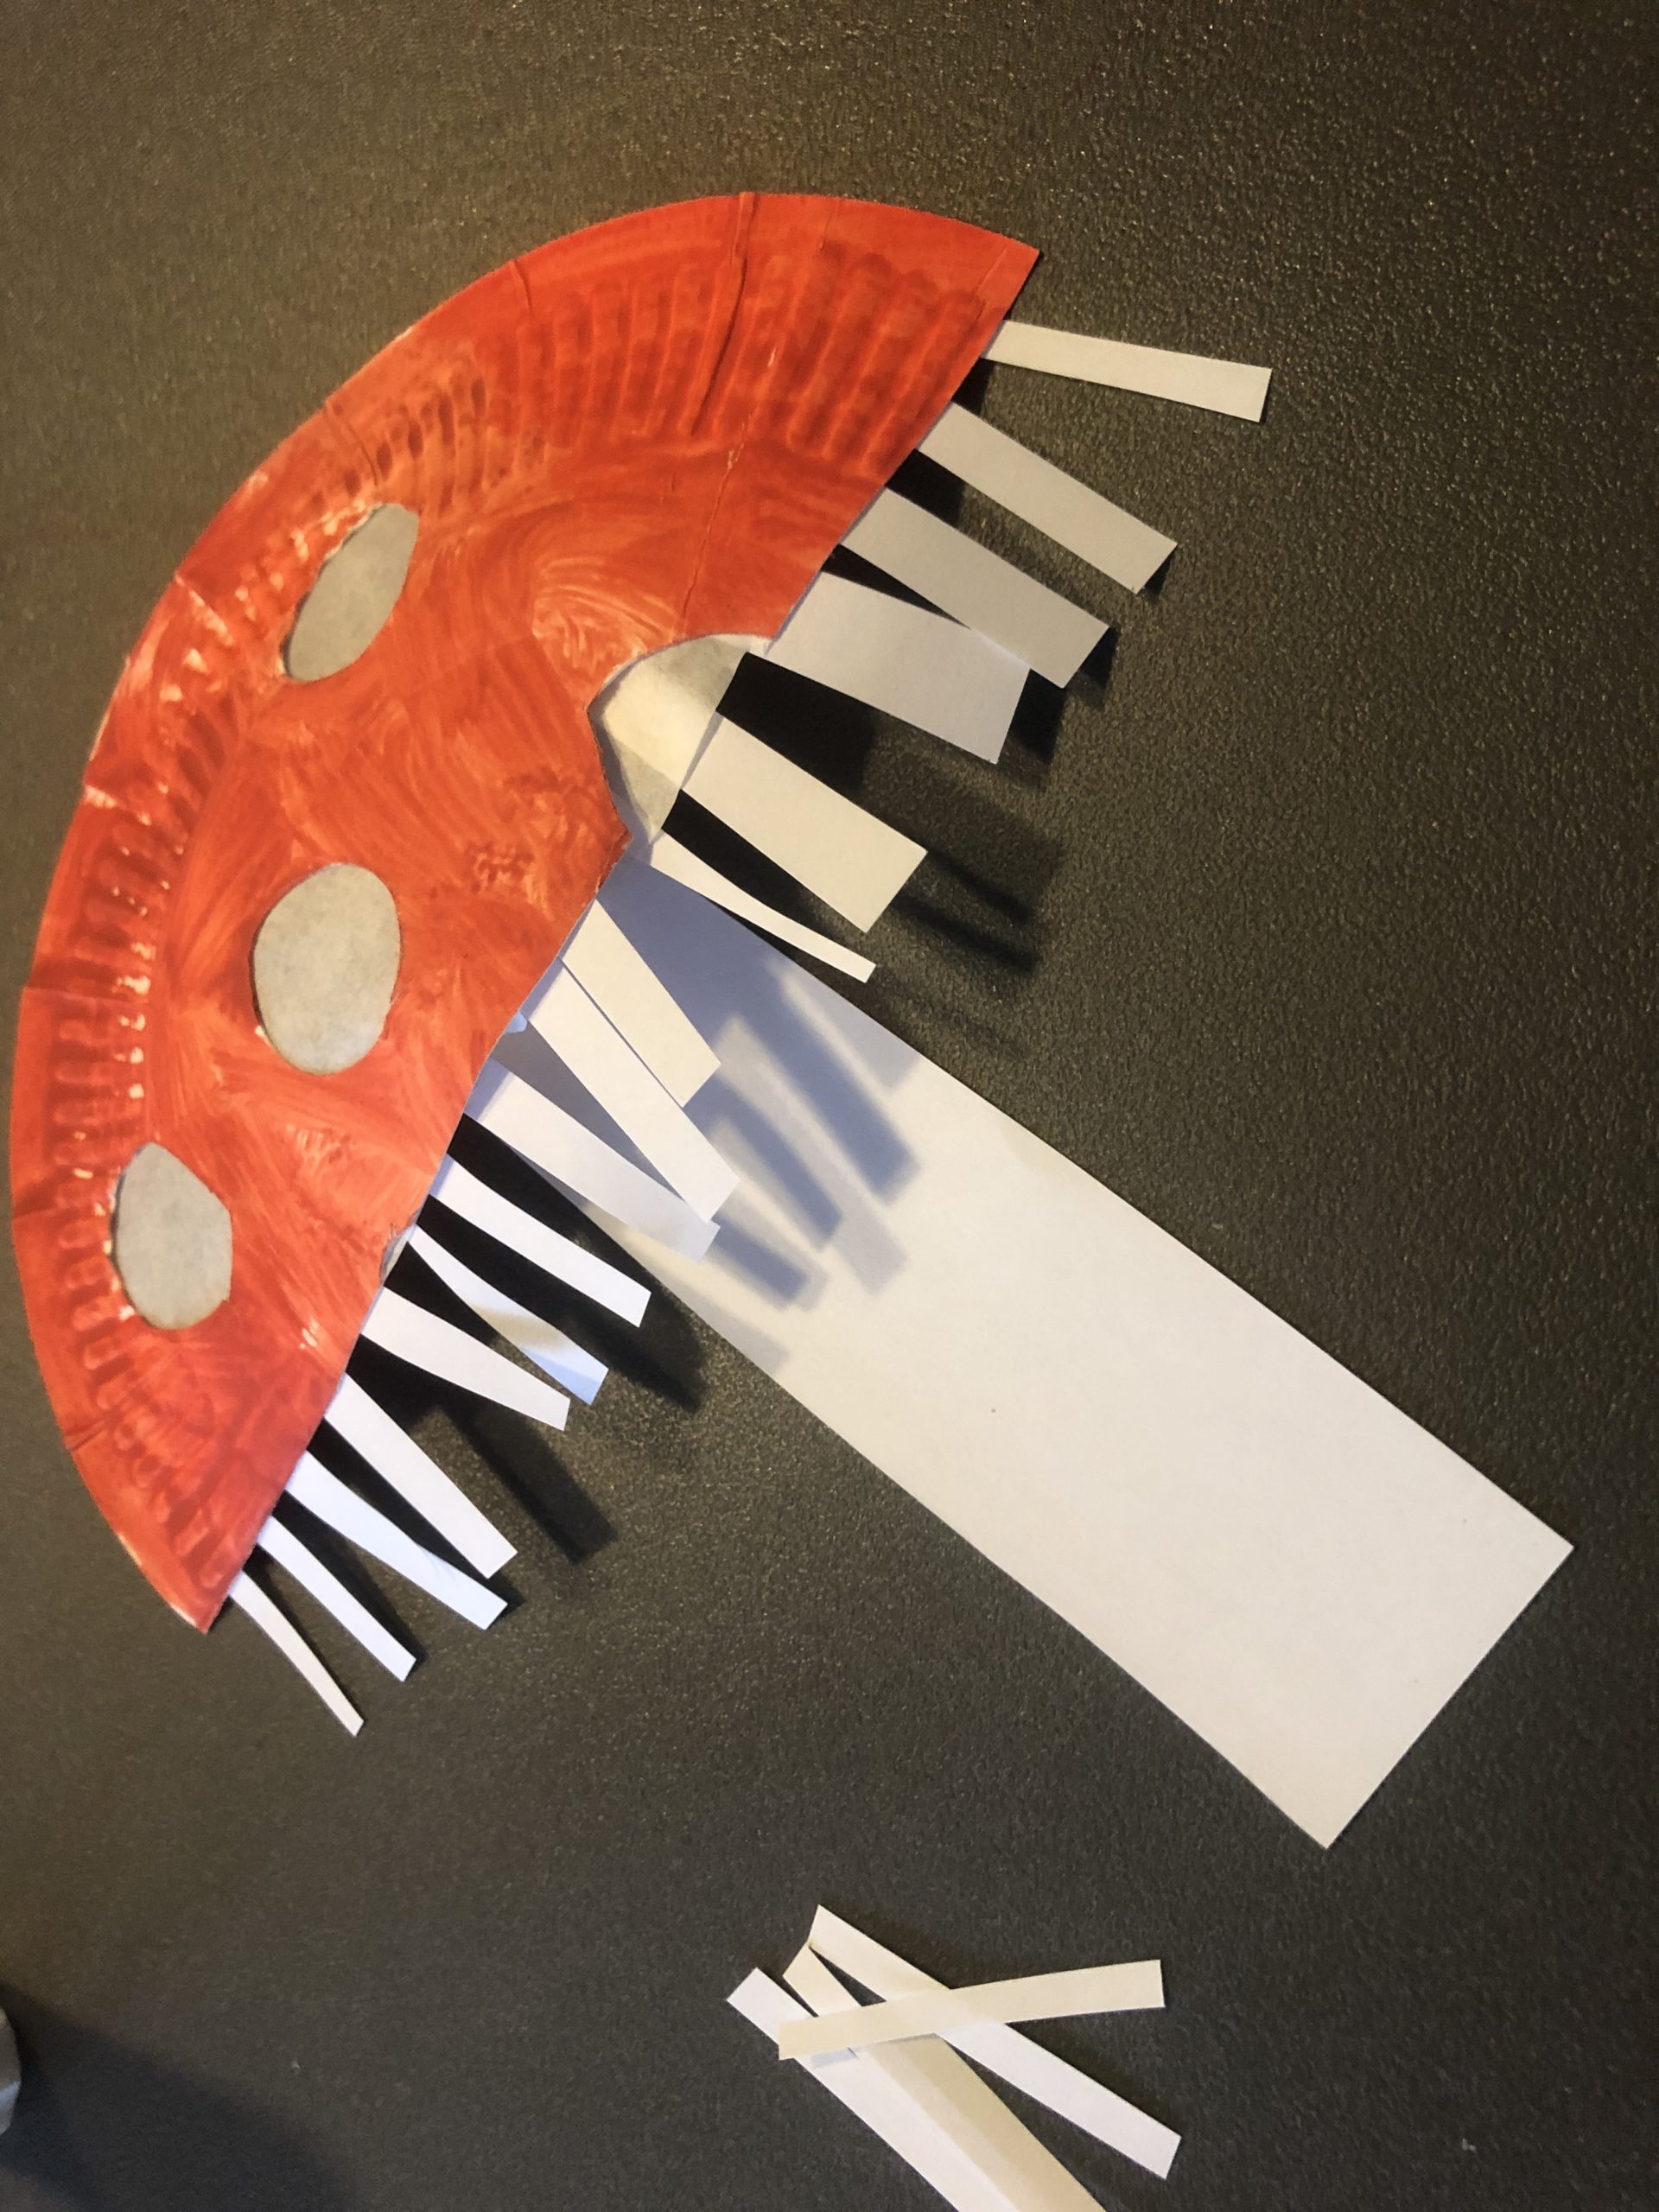
Cut off a 5cm wide strip from the white paper. You cut it into small thin strips of paper.
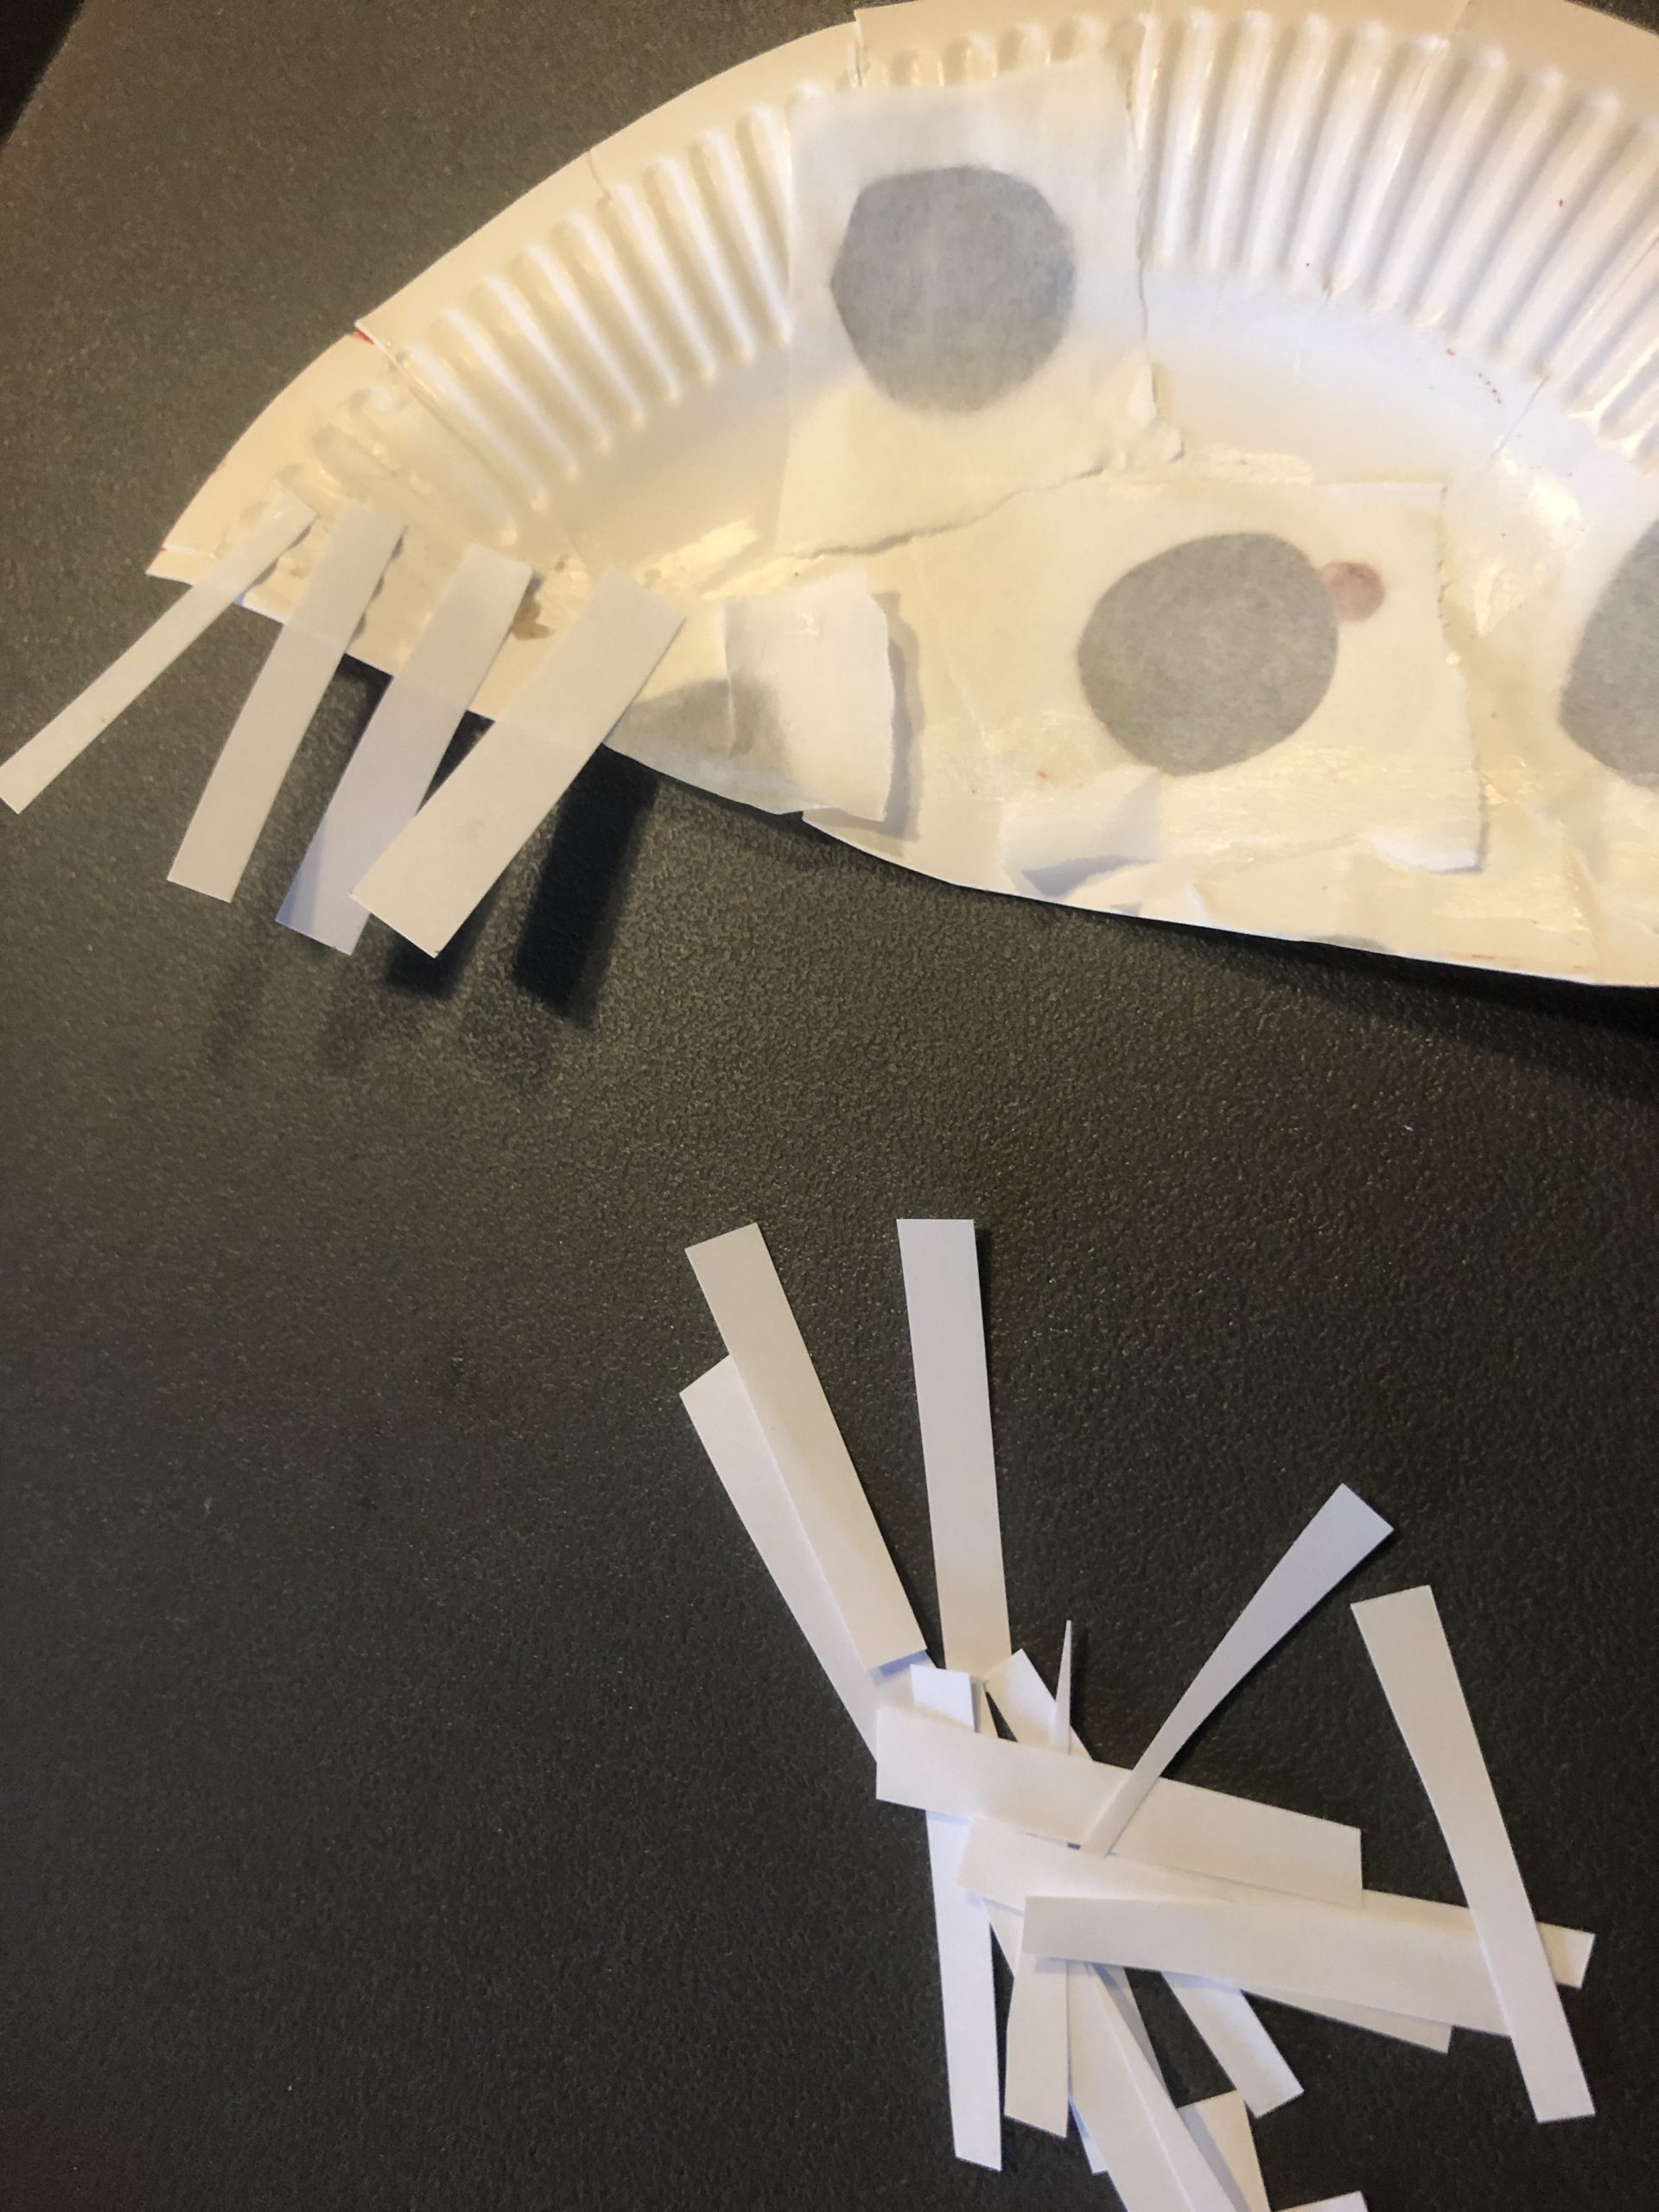
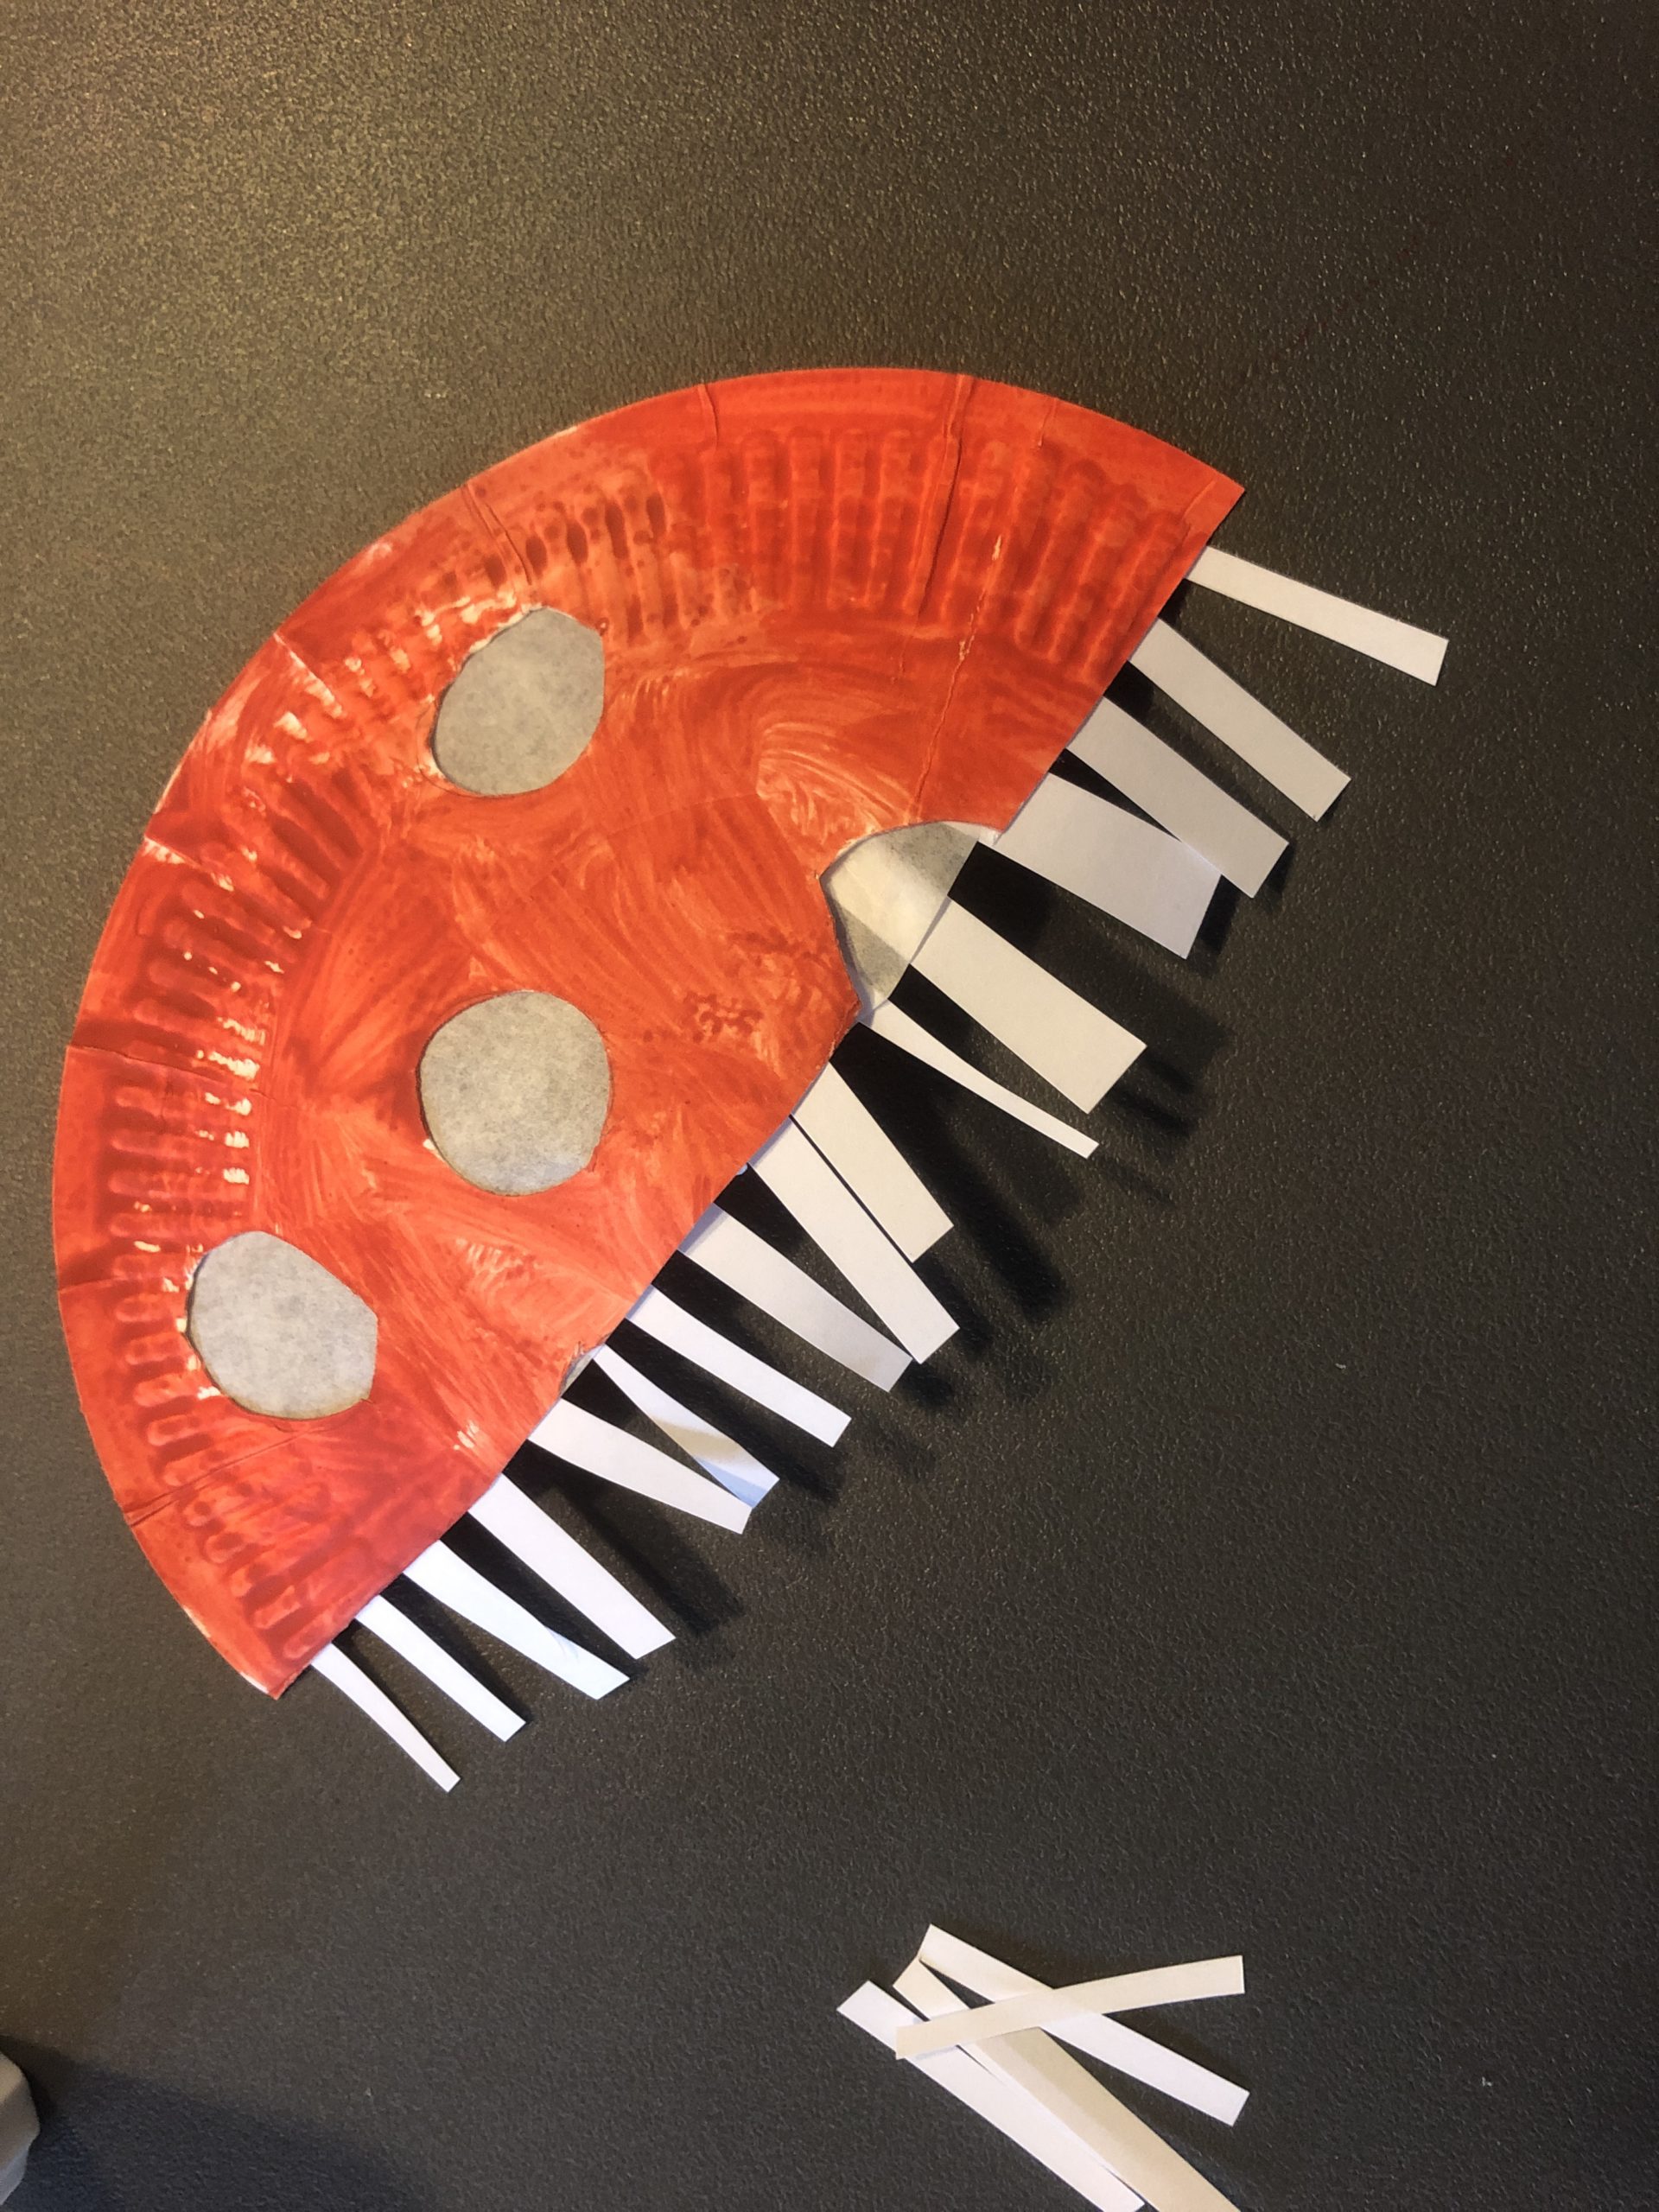
Now you halve the cardboard plate. For this you cut it apart with the scissors in the middle. Draw a line for this, if necessary, on which you then cut along.
Now glue the small strips of paper to the interface as lamellas. Glue the strips on the inside of the plate (the back of the mushroom hat).
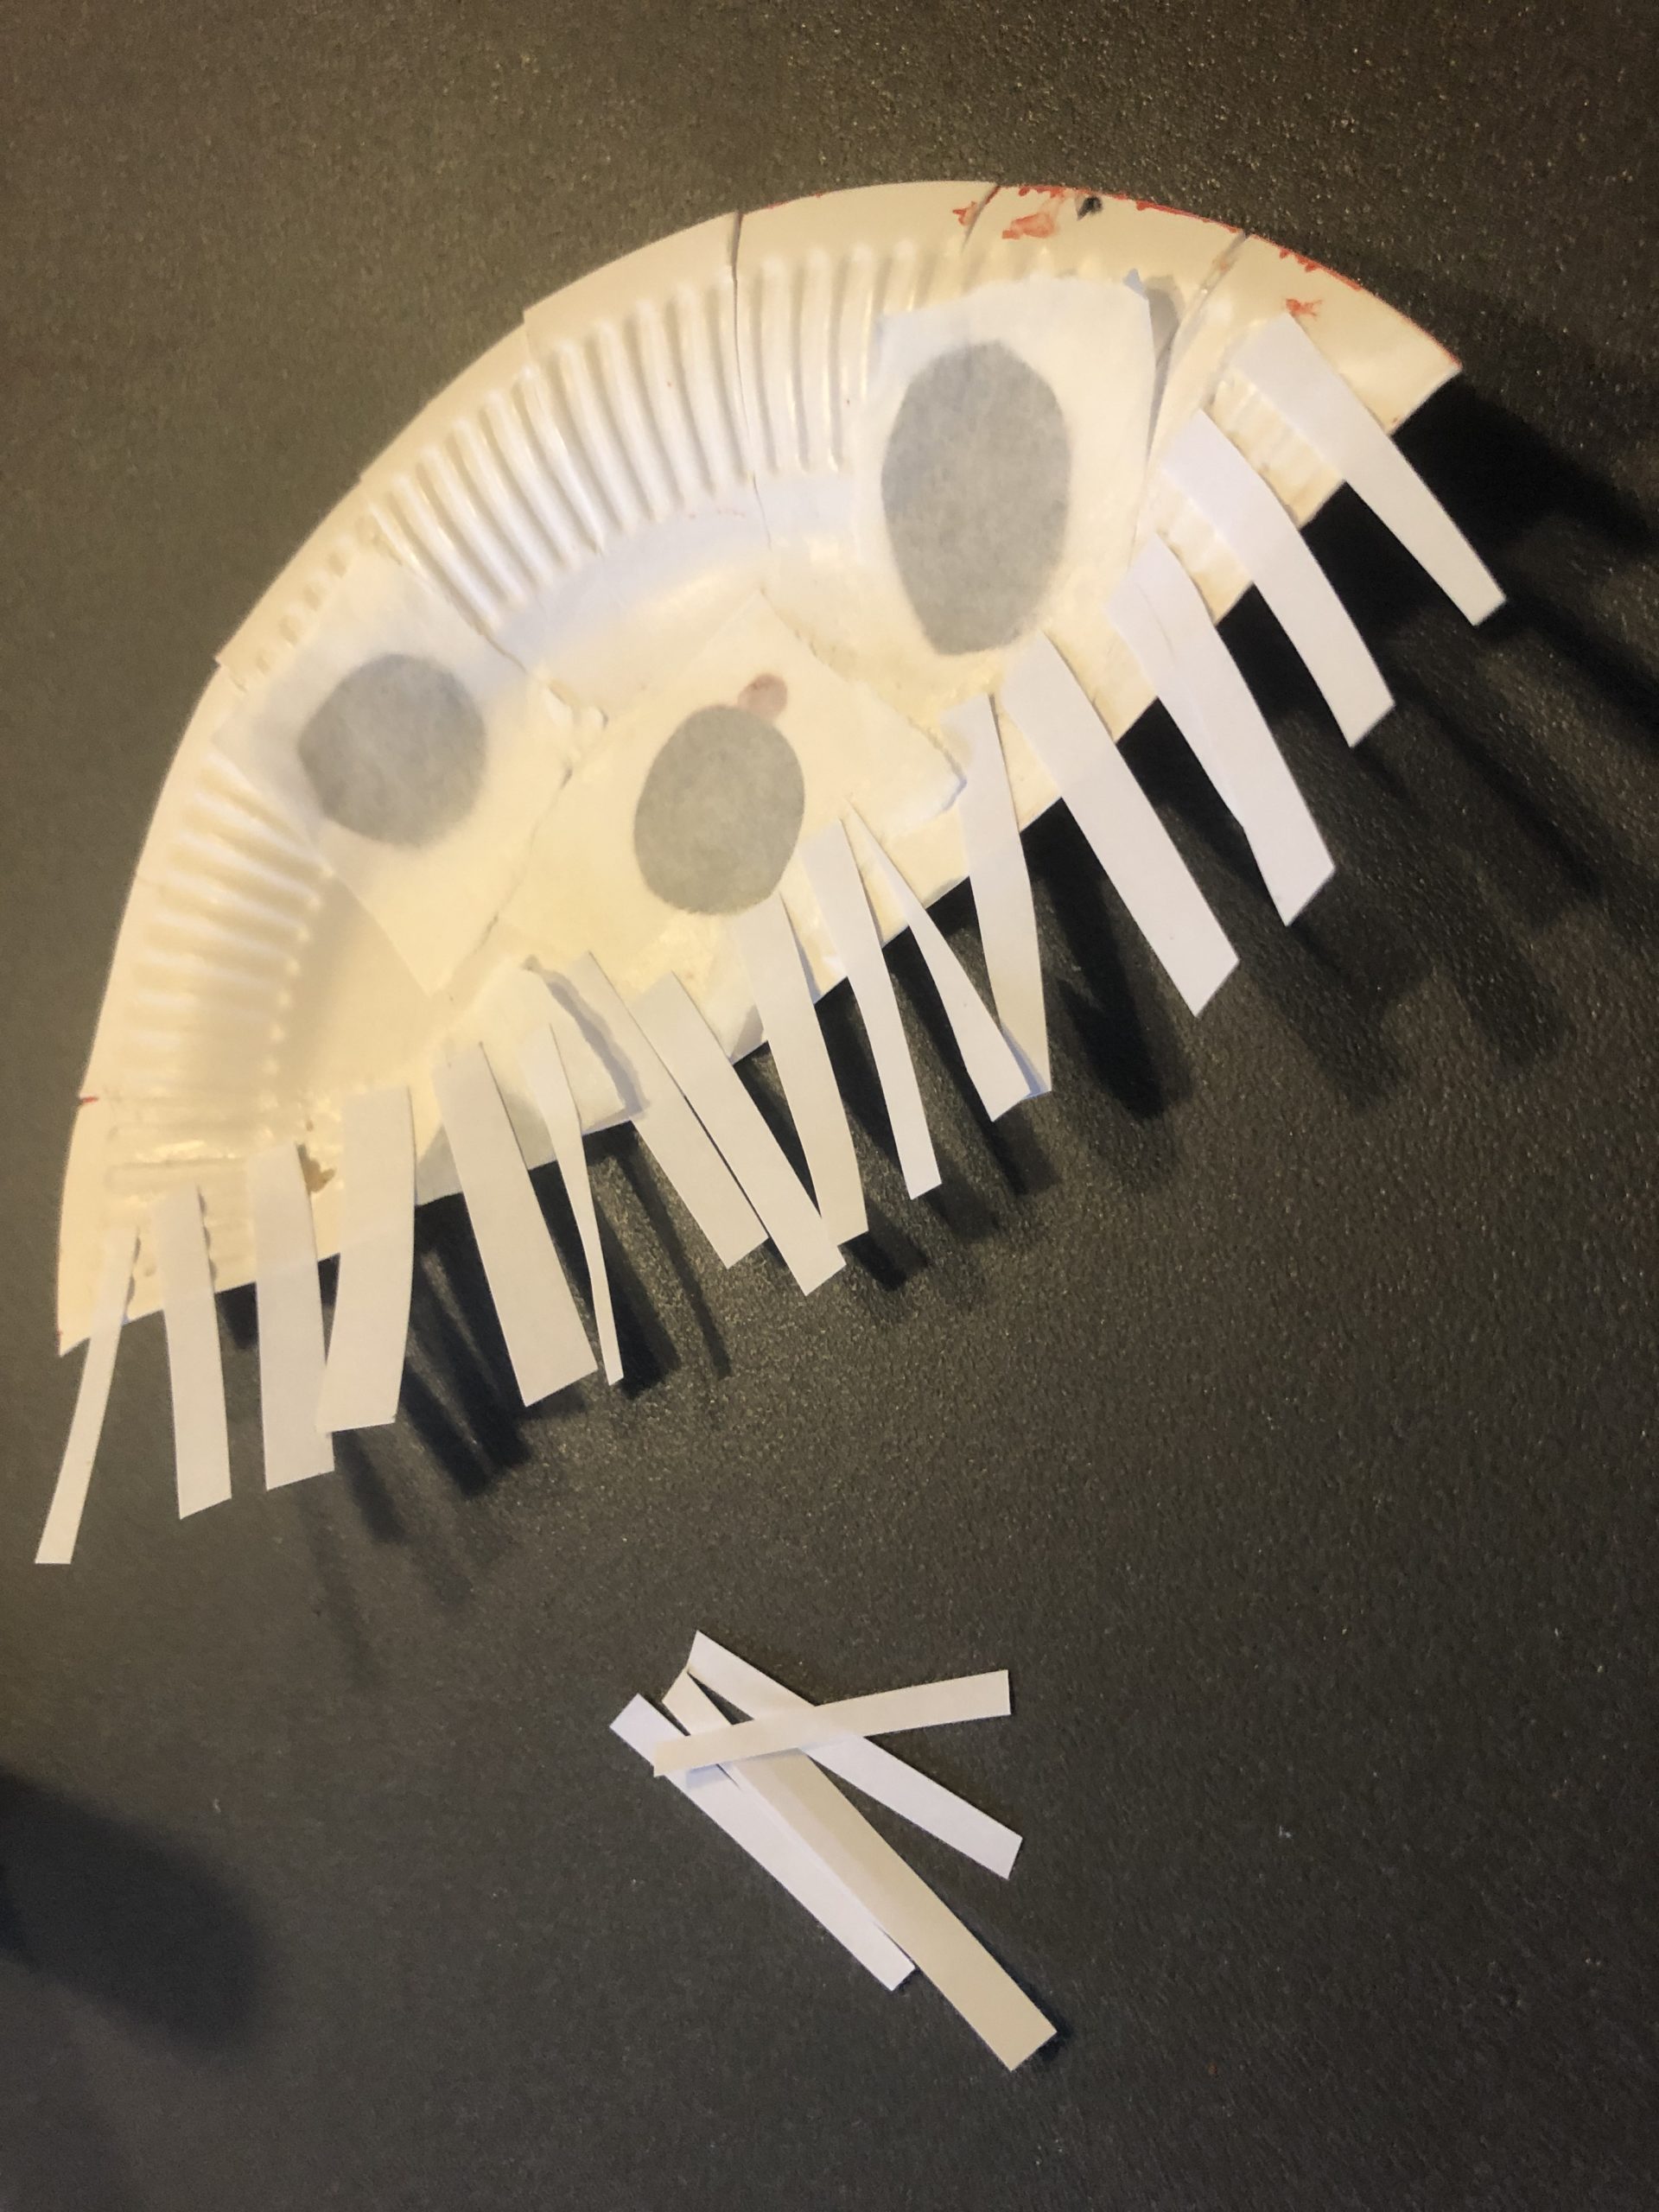
The mushroom hat is ready.
An additional strip of white paper serves as a mushroom stem. Let the children paint the mushroom stem freely. Thus, the children develop an understanding of size and shape.
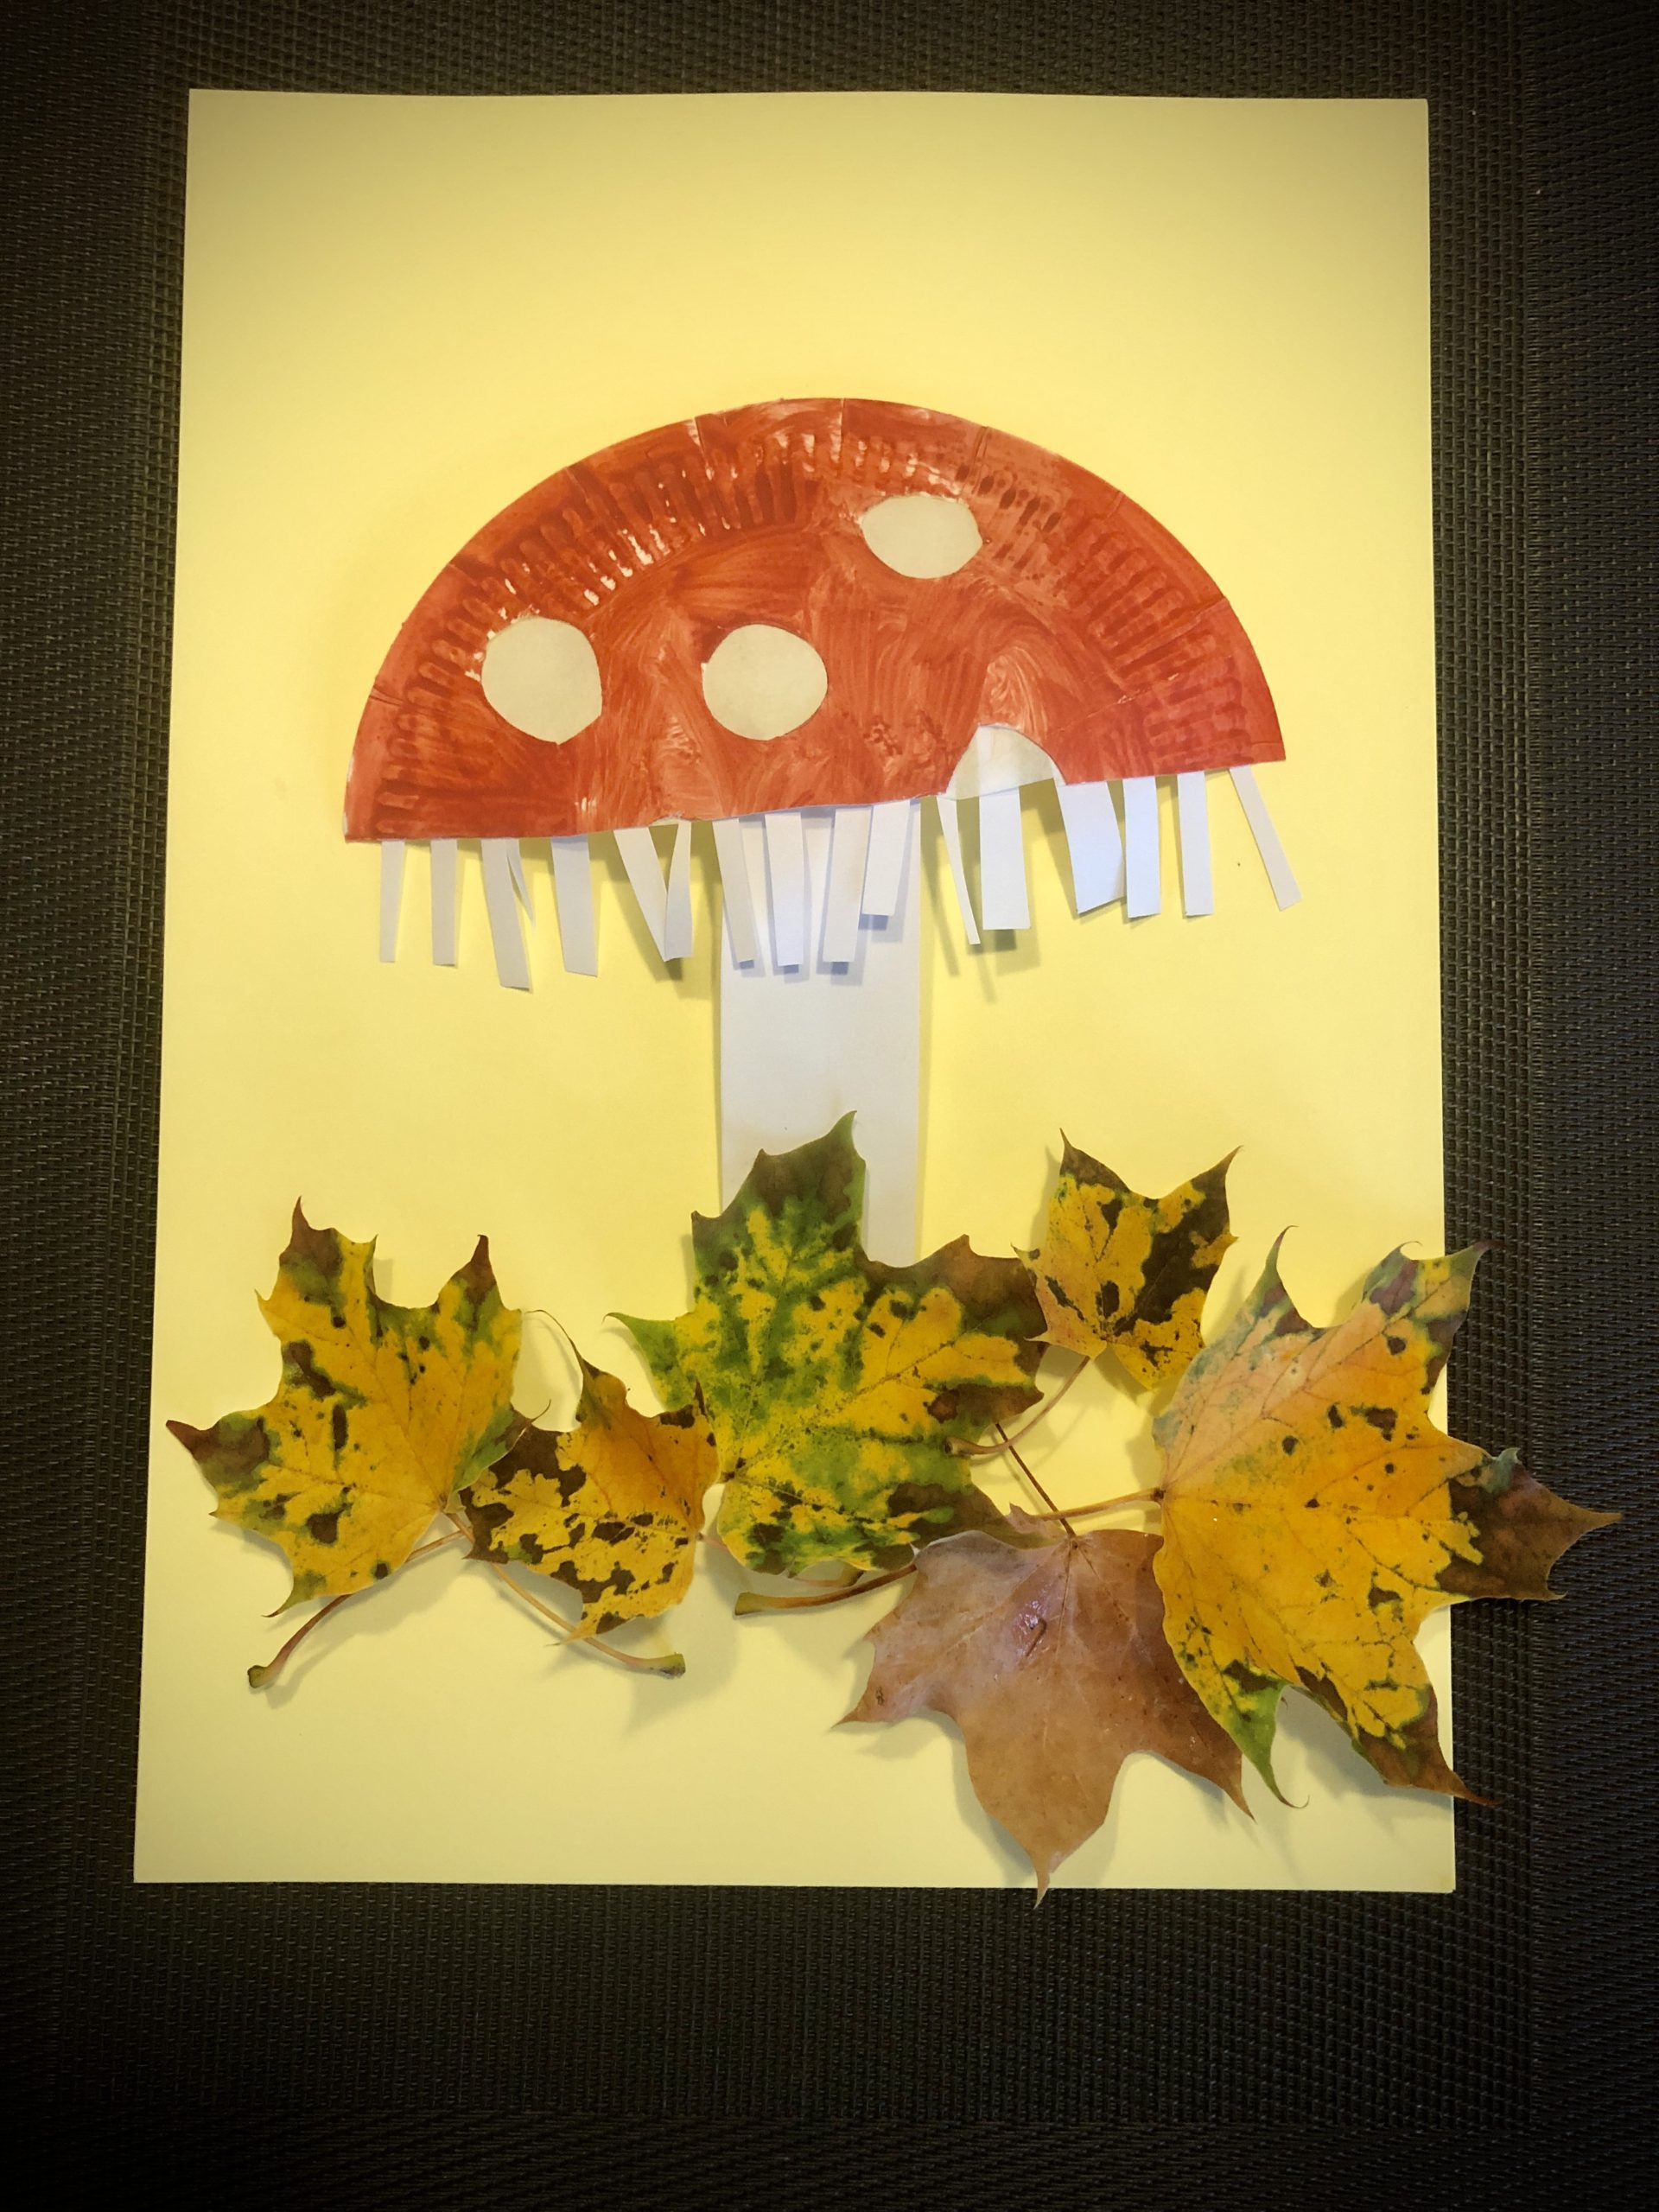
Now stick the mushroom to a window and embellish it with colorful autumn leaves.

Stick the mushroom on a leaf and decorate it with autumn leaves.
Or you can use a tree bark for decoration.
Have fun doing crafts.
Materials
Directions
Provide the water colours, put a paint pad underneath and put on a paint coat if necessary.
Now record small circles on the cardboard plate.
Then you cut them out.
Now paint the plate with red water paint and place it to dry.
Now you tear snippets from butterbread paper in the size of your holes and glue the inside of the plate (is the back of the mushroom hat) with it.
Cut off a 5cm wide strip from the white paper. You cut it into small thin strips of paper.
Now you halve the cardboard plate. For this you cut it apart with the scissors in the middle. Draw a line for this, if necessary, on which you then cut along.
Now glue the small strips of paper to the interface as lamellas. Glue the strips on the inside of the plate (the back of the mushroom hat).
The mushroom hat is ready.
An additional strip of white paper serves as a mushroom stem. Let the children paint the mushroom stem freely. Thus, the children develop an understanding of size and shape.
Now stick the mushroom to a window and embellish it with colorful autumn leaves.
Stick the mushroom on a leaf and decorate it with autumn leaves.
Or you can use a tree bark for decoration.
Have fun doing crafts.
Follow us on Facebook , Instagram and Pinterest
Don't miss any more adventures: Our bottle mail