This paper flyer glides gently. It is a real cloud glider. Due to its large wings, it has the ability to glide very slowly and gently. This looks very elegant and is beautiful to observe. For many smaller children, the flight course is difficult to follow with fast paper flyers. This is different with this paper flyer. When crafting the paper flyer you need strength and a little patience. The individual folding steps are not very complicated, but the increasingly increasing paper layers make folding harder. Hold through and you will be thrilled how unique this flyer glides.
Have fun trying out! There's certainly nothing in the way of a small flight show.
Media Education for Kindergarten and Hort

Relief in everyday life, targeted promotion of individual children, independent learning and - without any pre-knowledge already usable by the youngest!
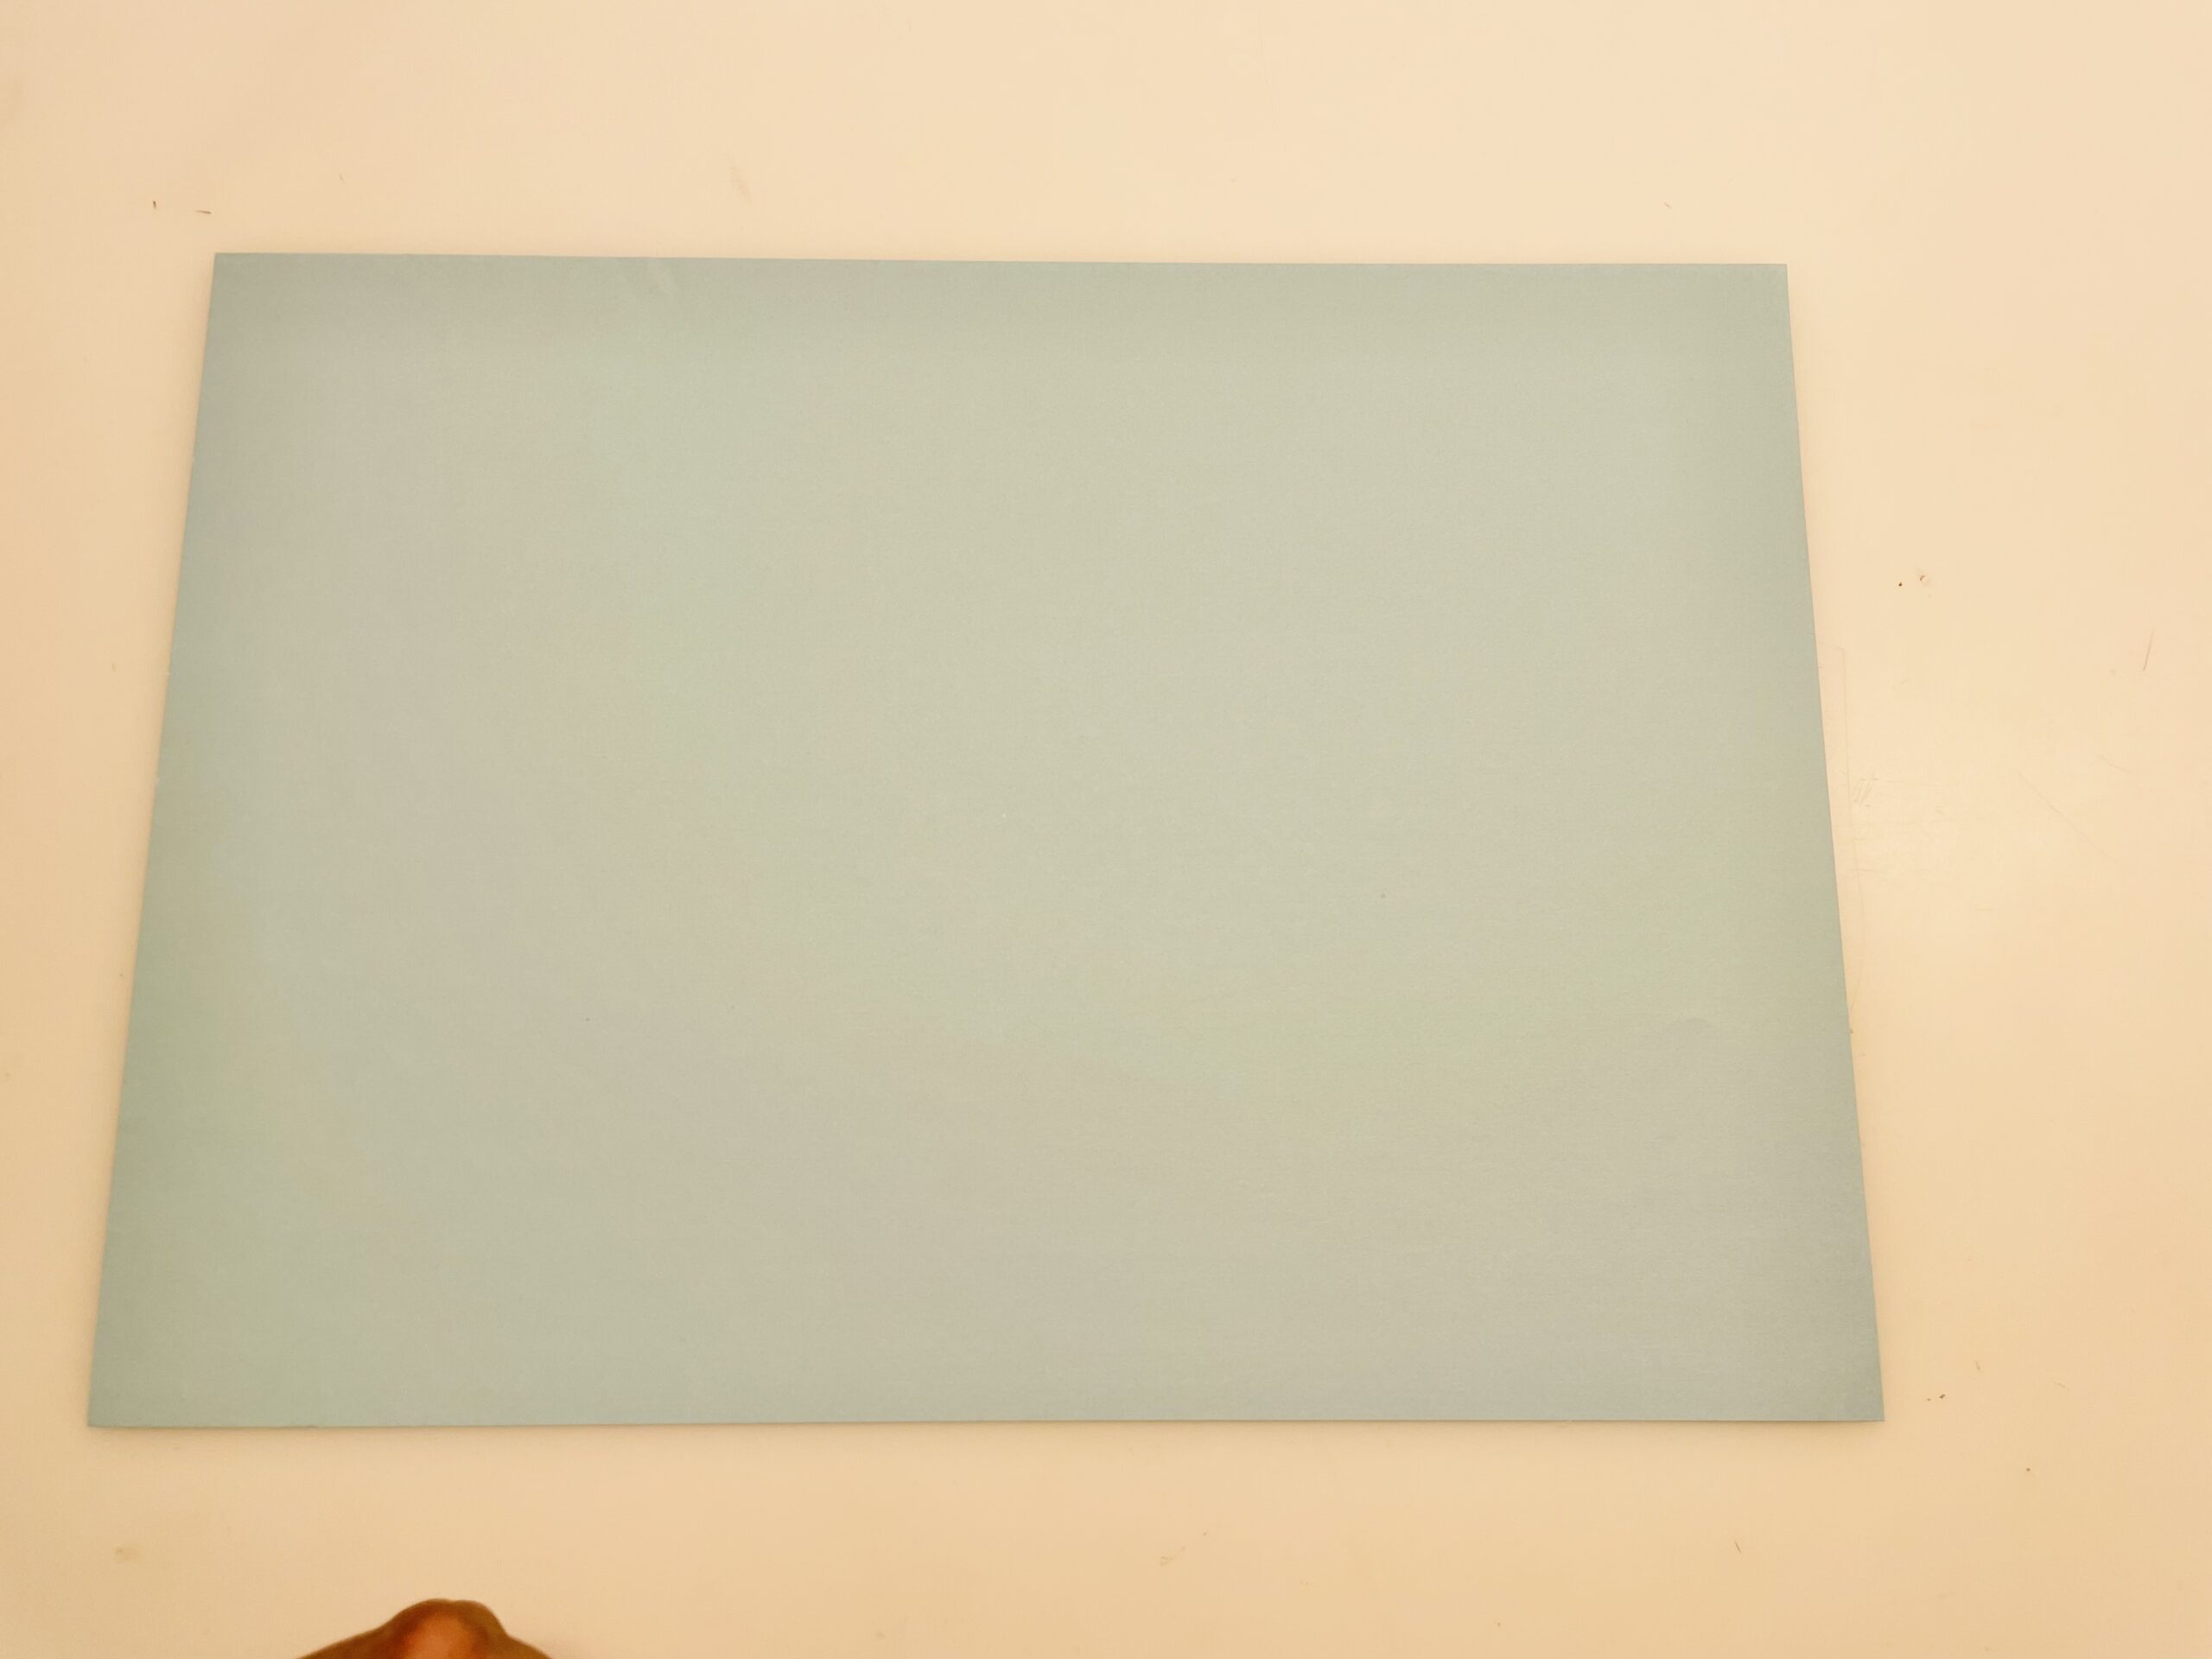
For this paper flyer you need a Din A4 sheet that can be folded easily. For example, use a copy paper that can be white or also colored.
Put the leaf, with the long side in front of you, on the table.
Now take a short side and fold it to the other short side. Make sure that both side edges lie exactly on each other.

Then you strip the resulting break with the fingertips or the flat hand smoothly.
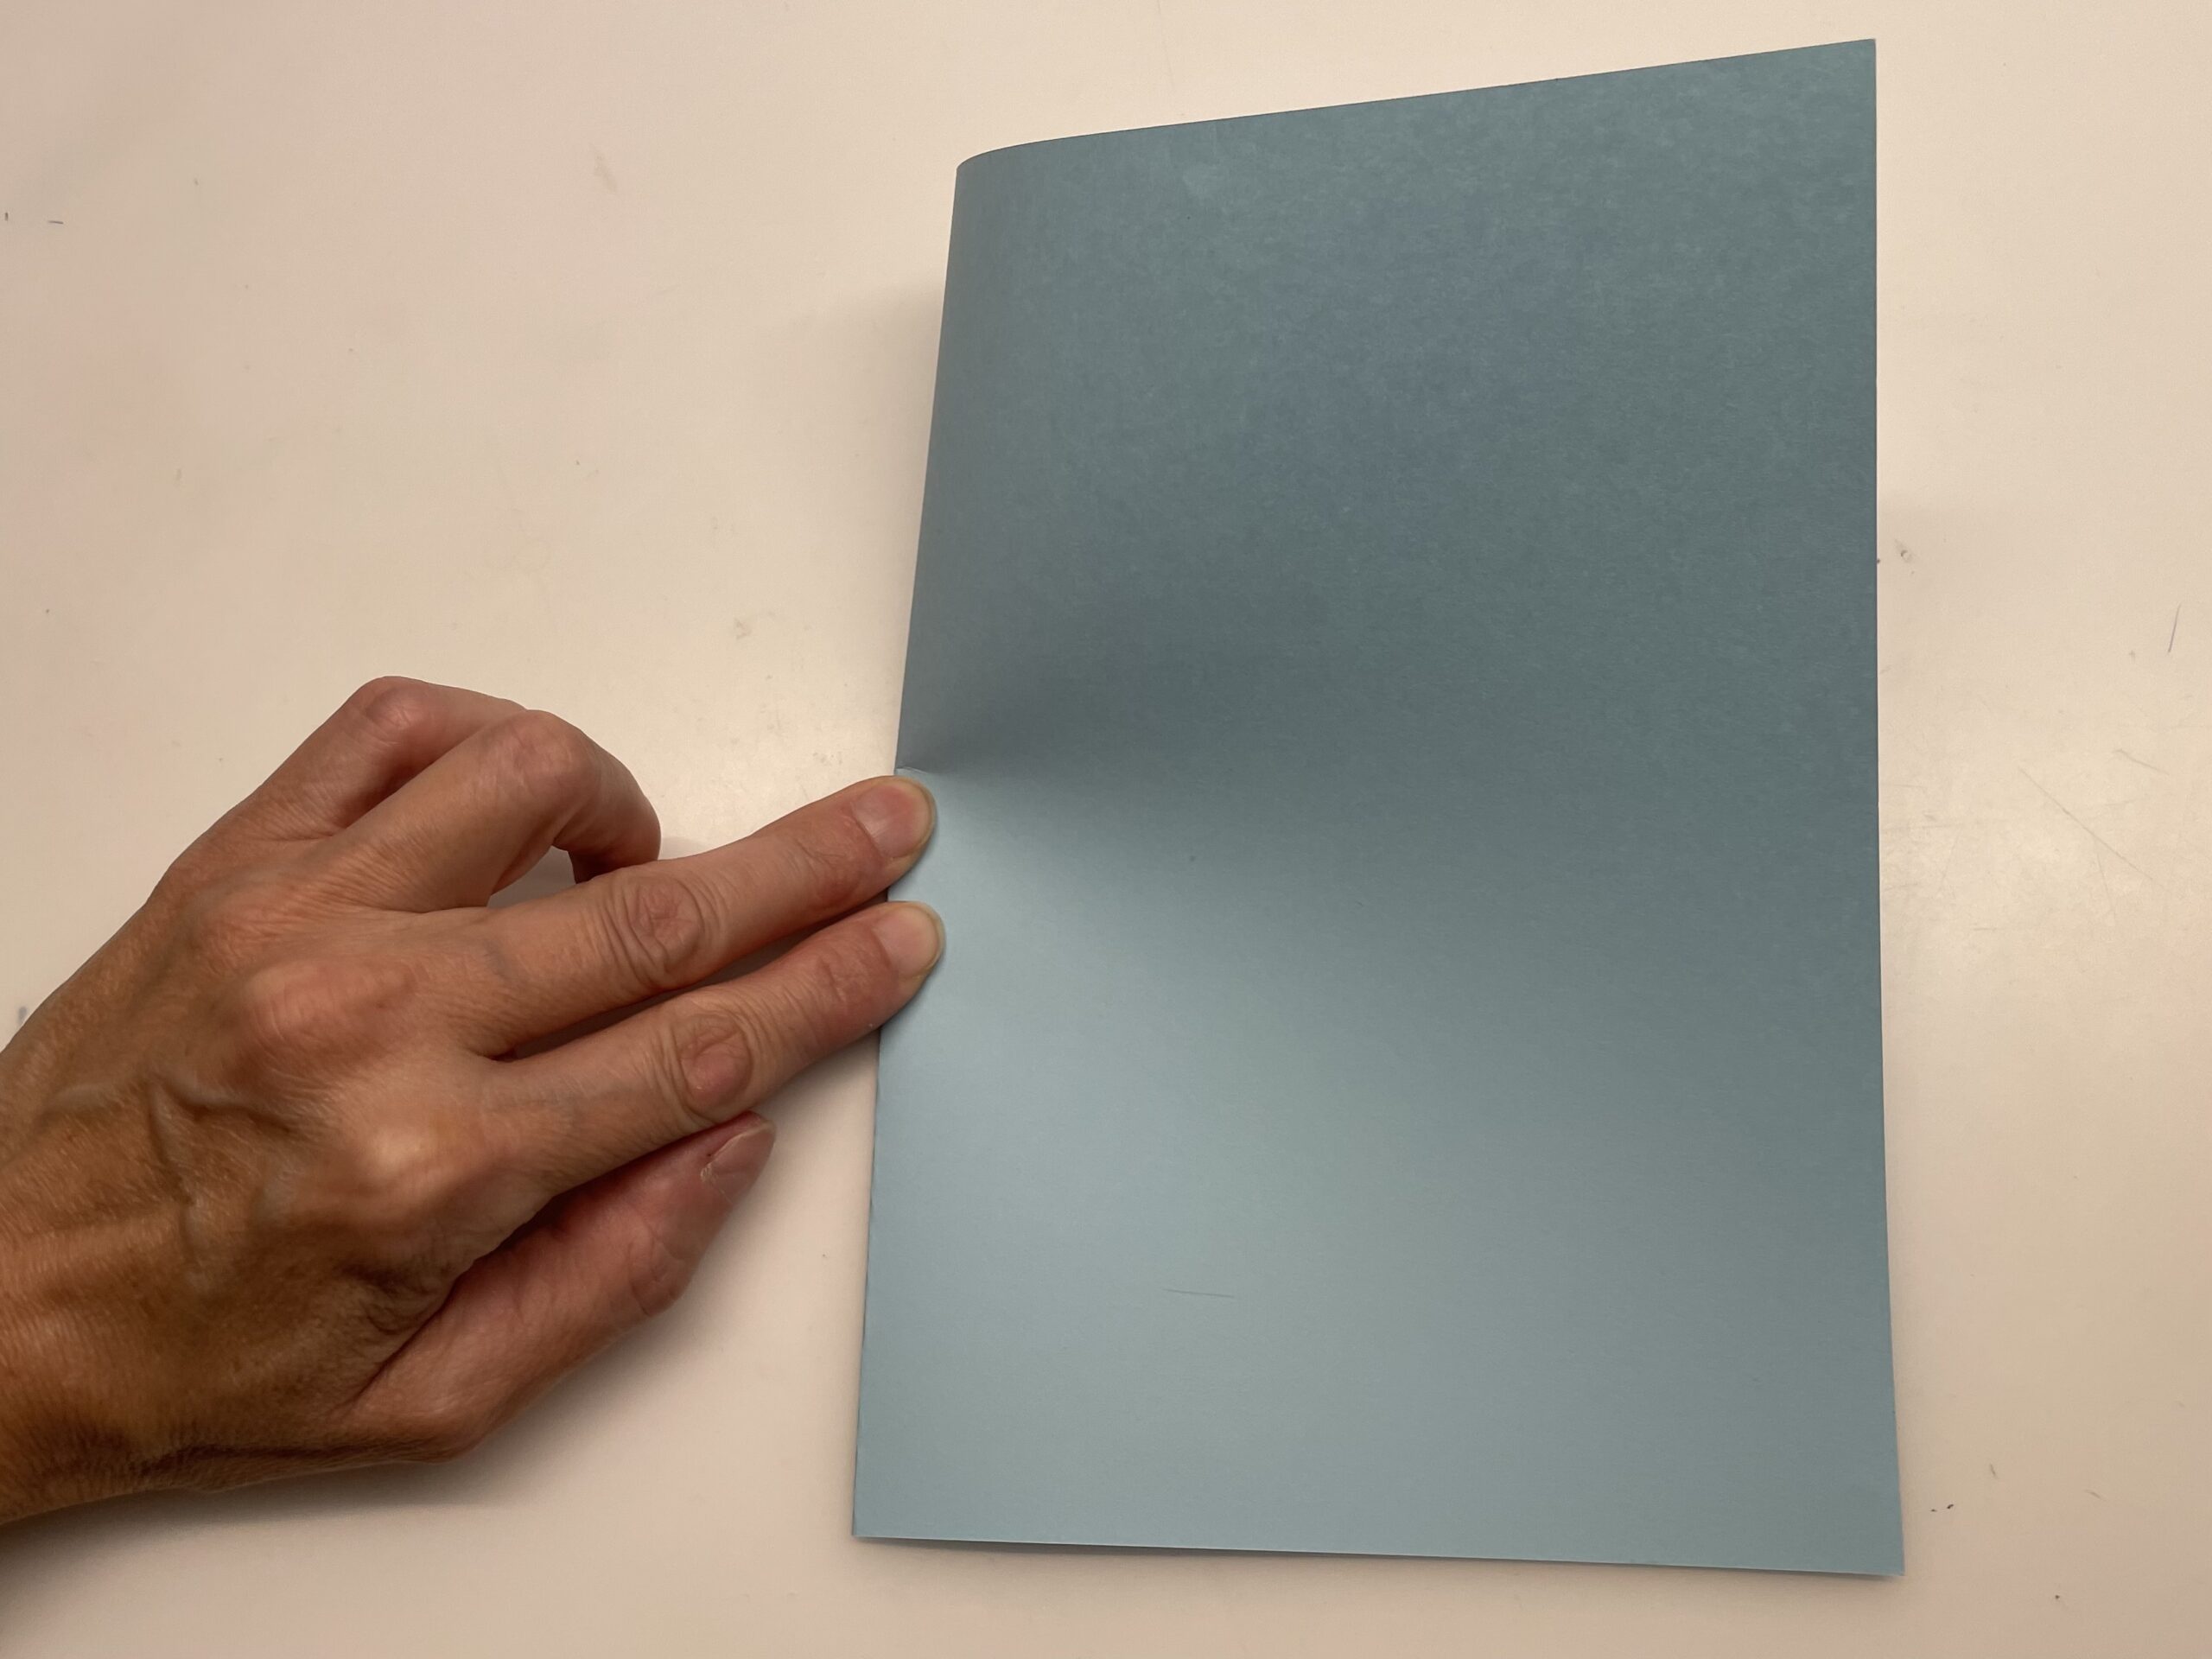
Alternatively, you strip the fracture with the long side of a ruler.
? This folding step is also called: folding a book.
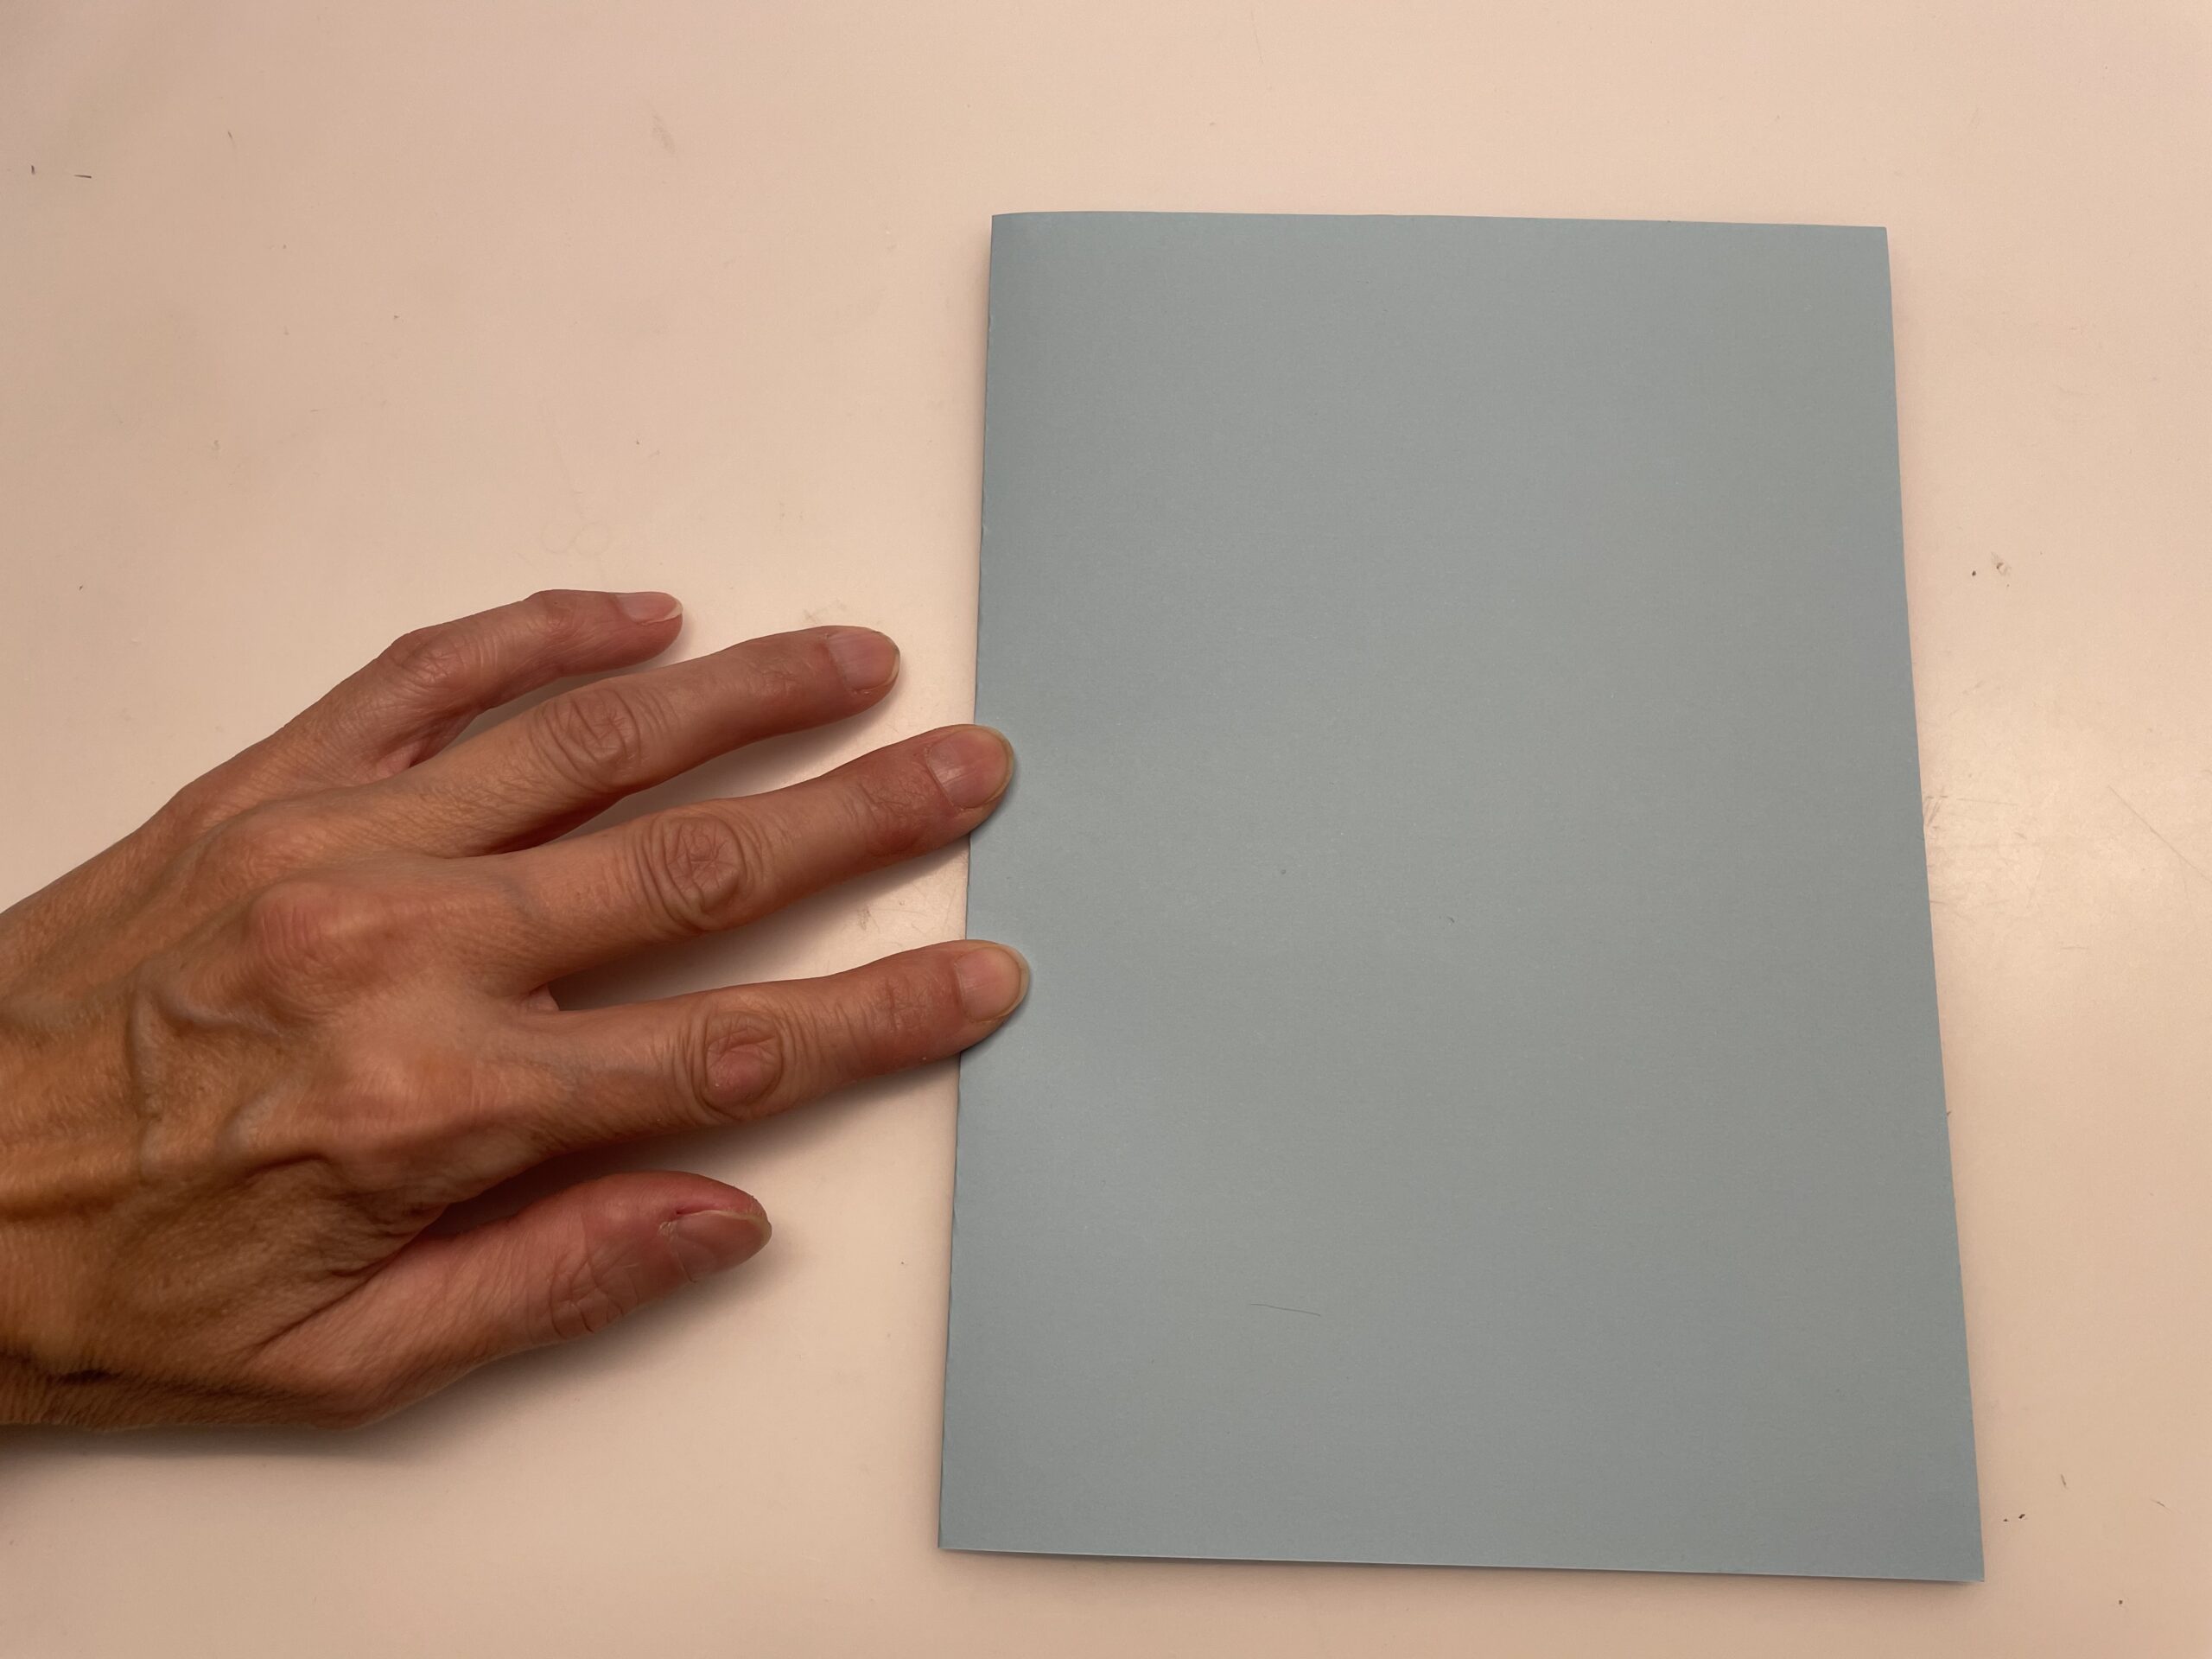
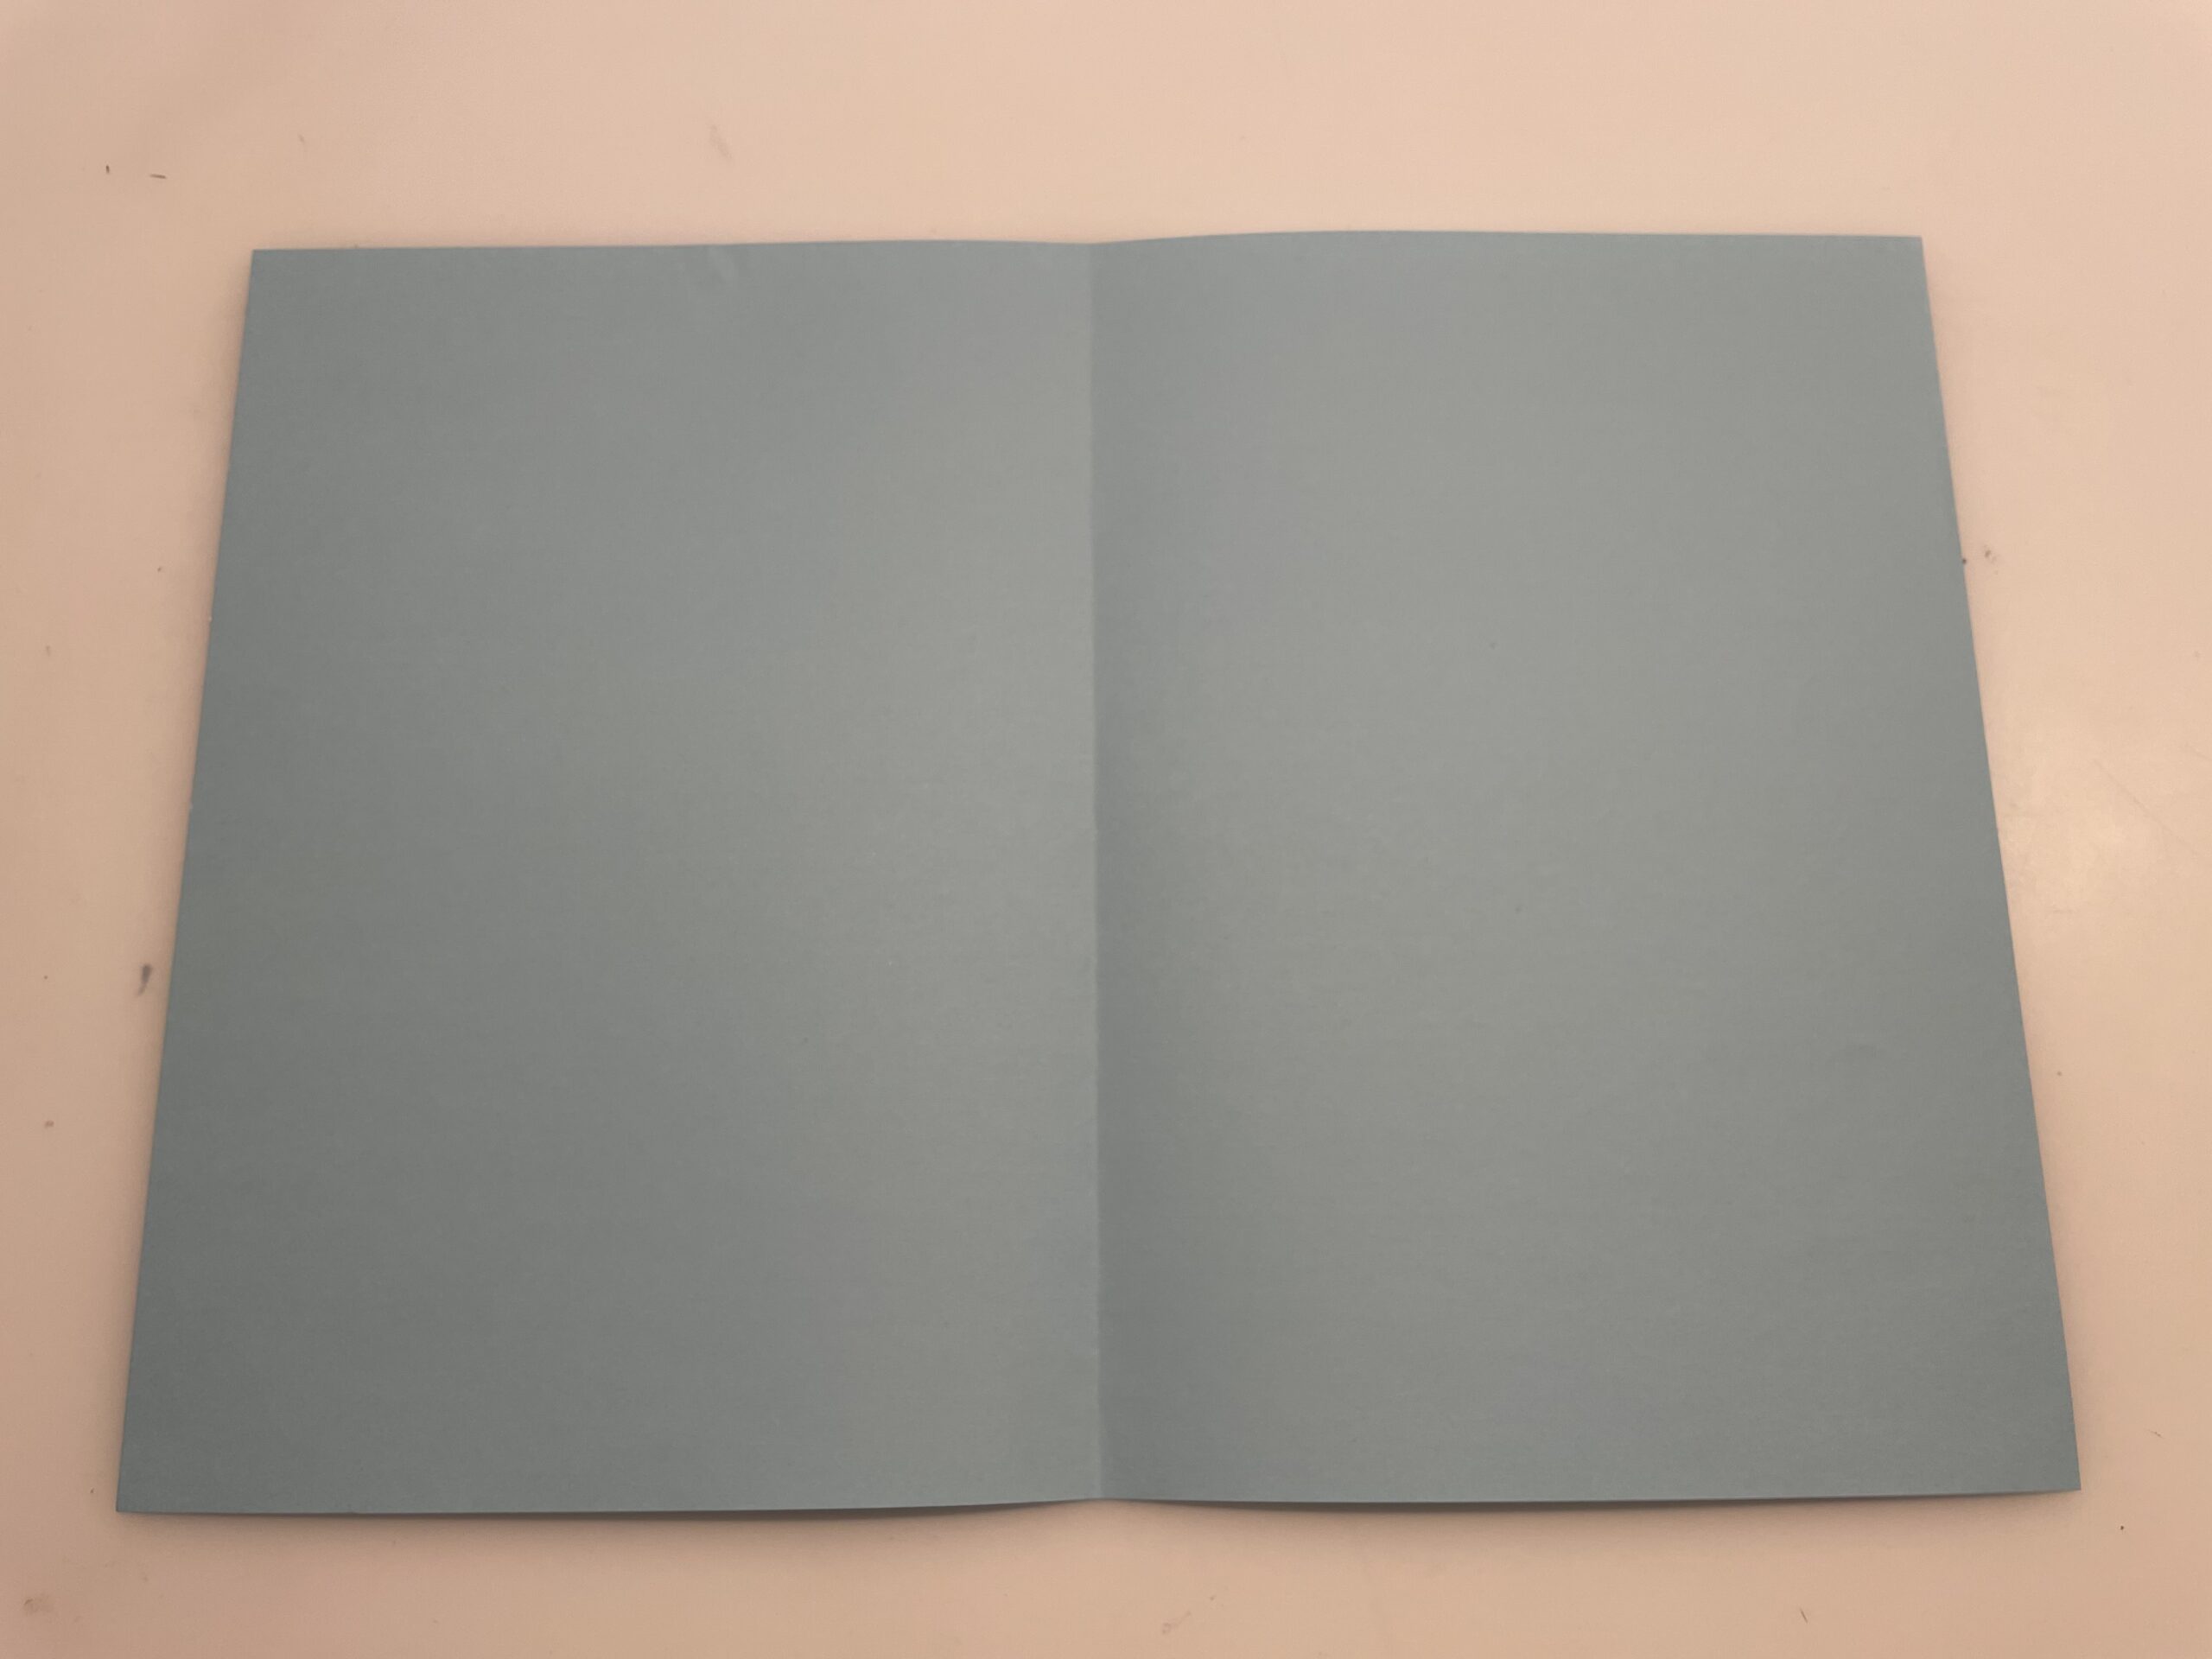
After that, she opens the resulting book again.

The center line is good to see.
Now you bend a lower corner up so that the lower edge is on the middle line.
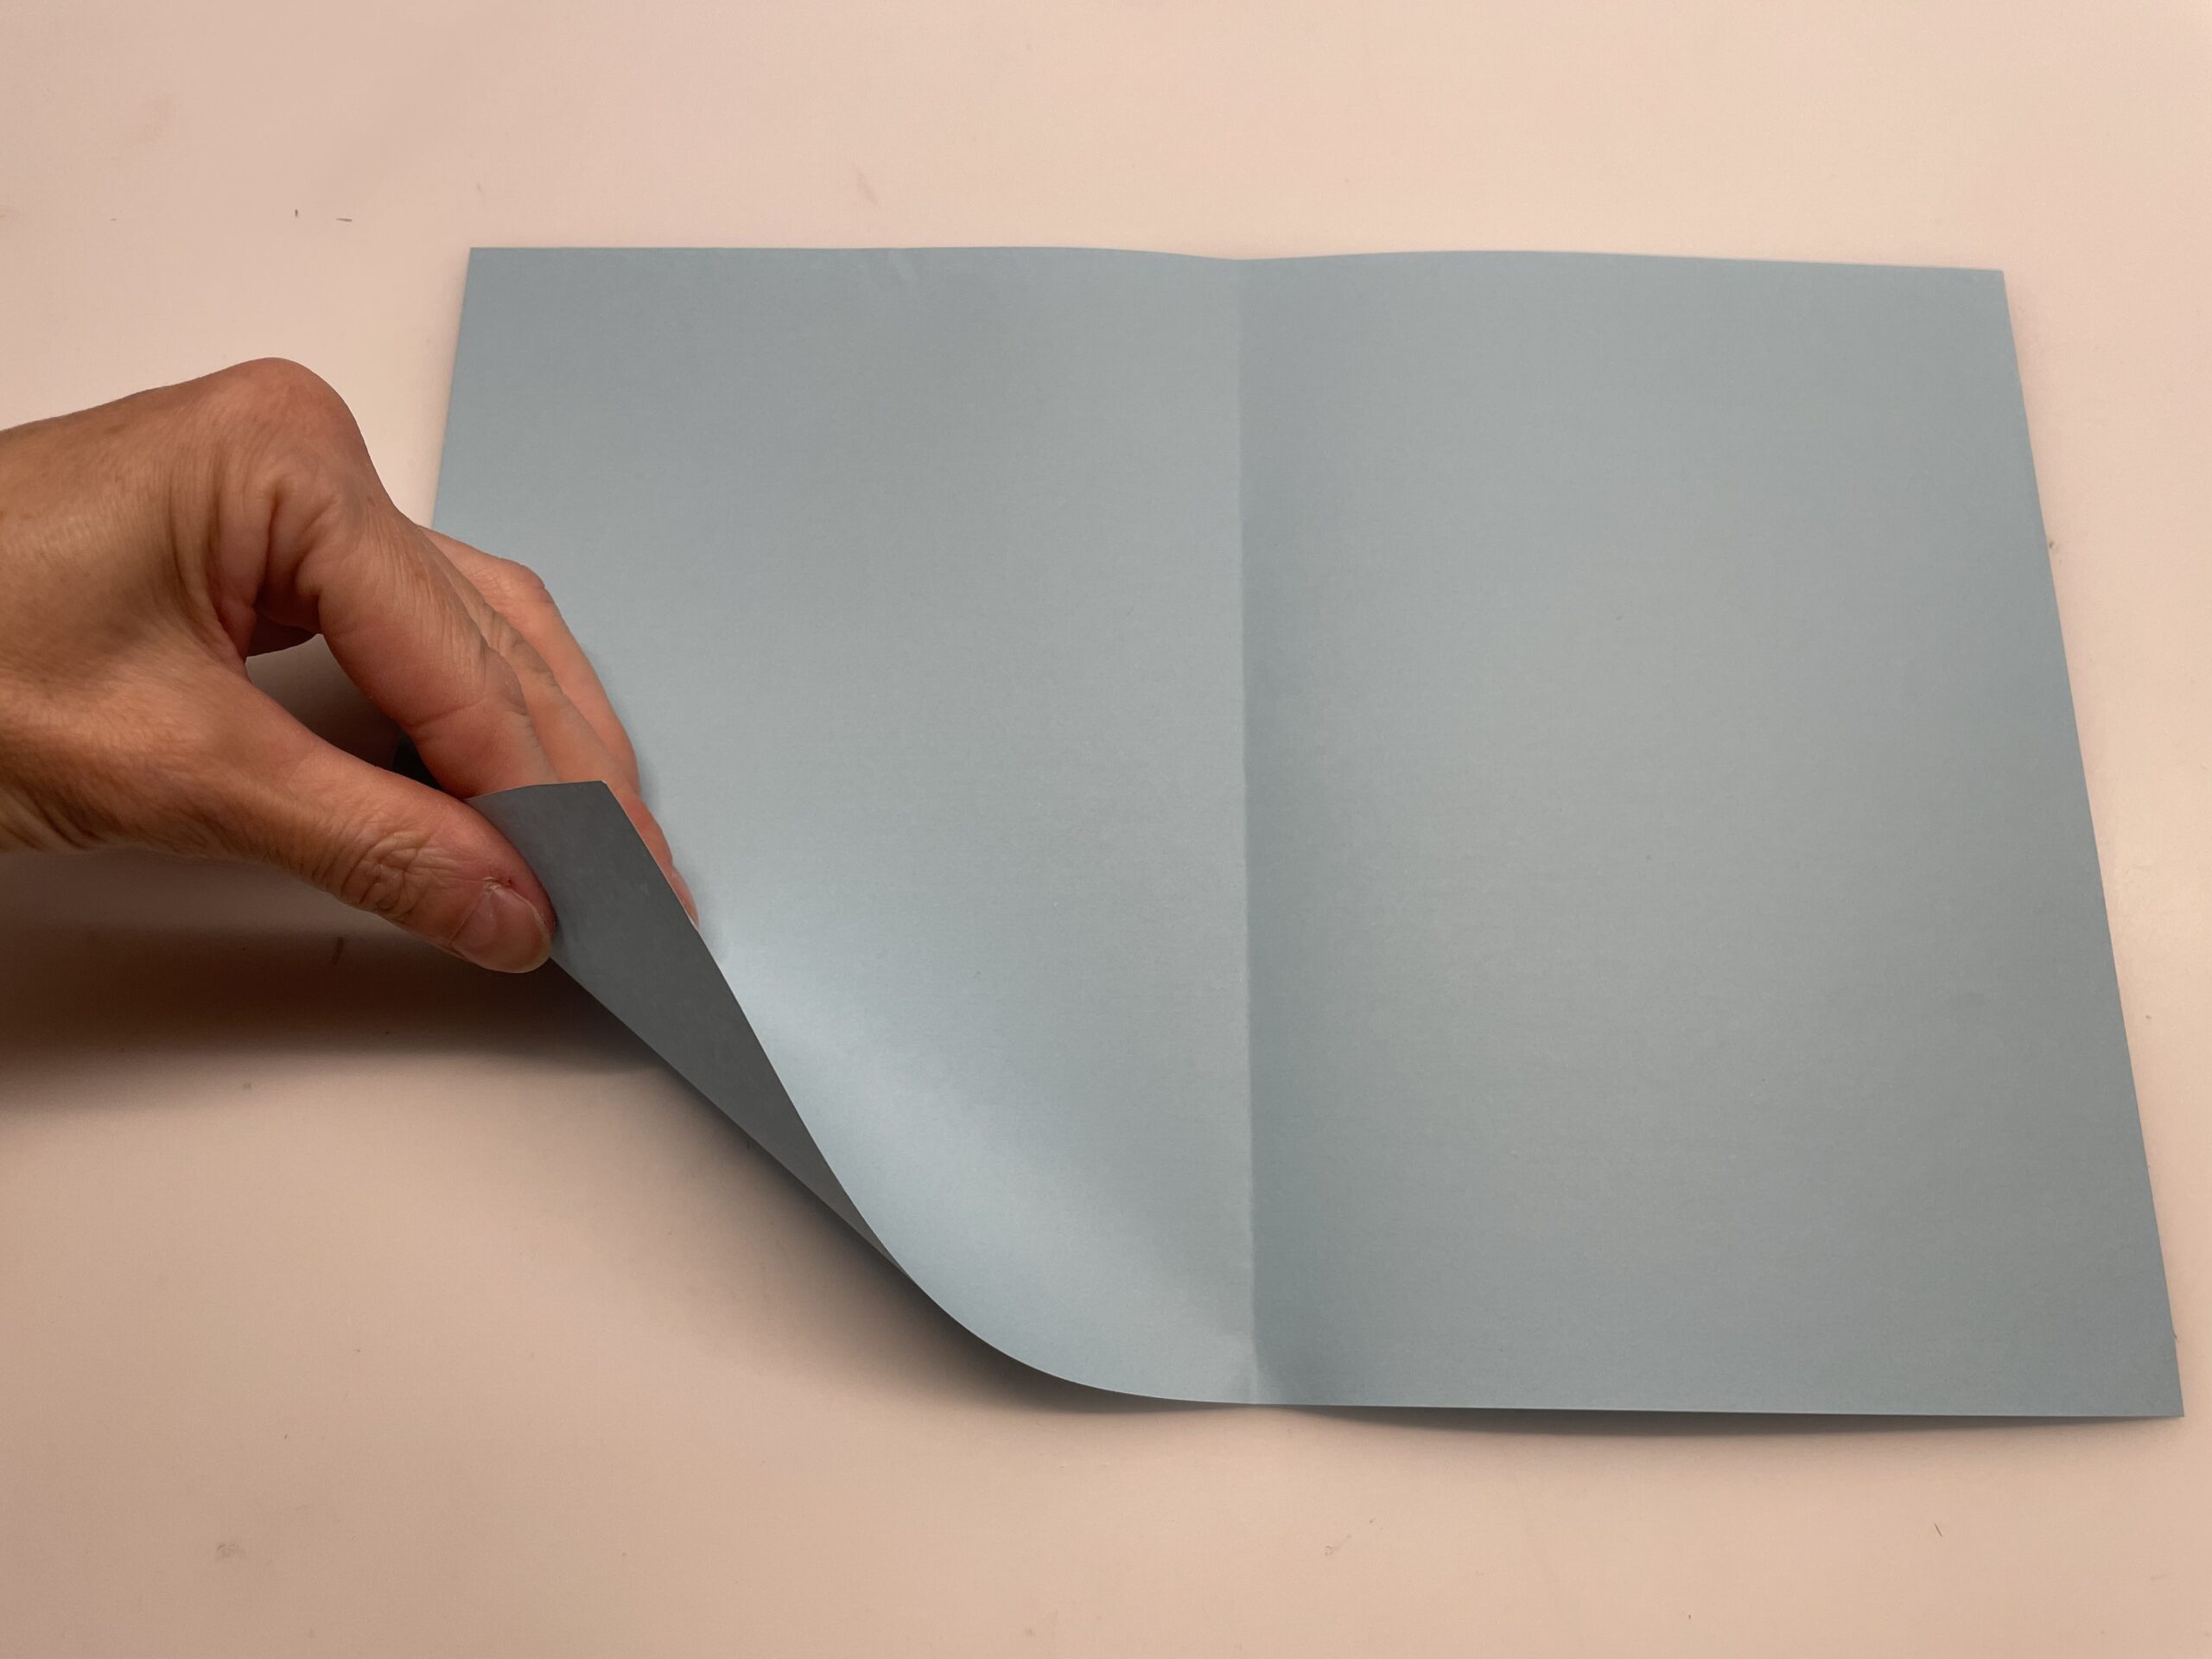
Press the paper corner with one hand to the center line.
Then with your other hand, you'll flatten the corner.
This diagonal folding creates a small triangle.
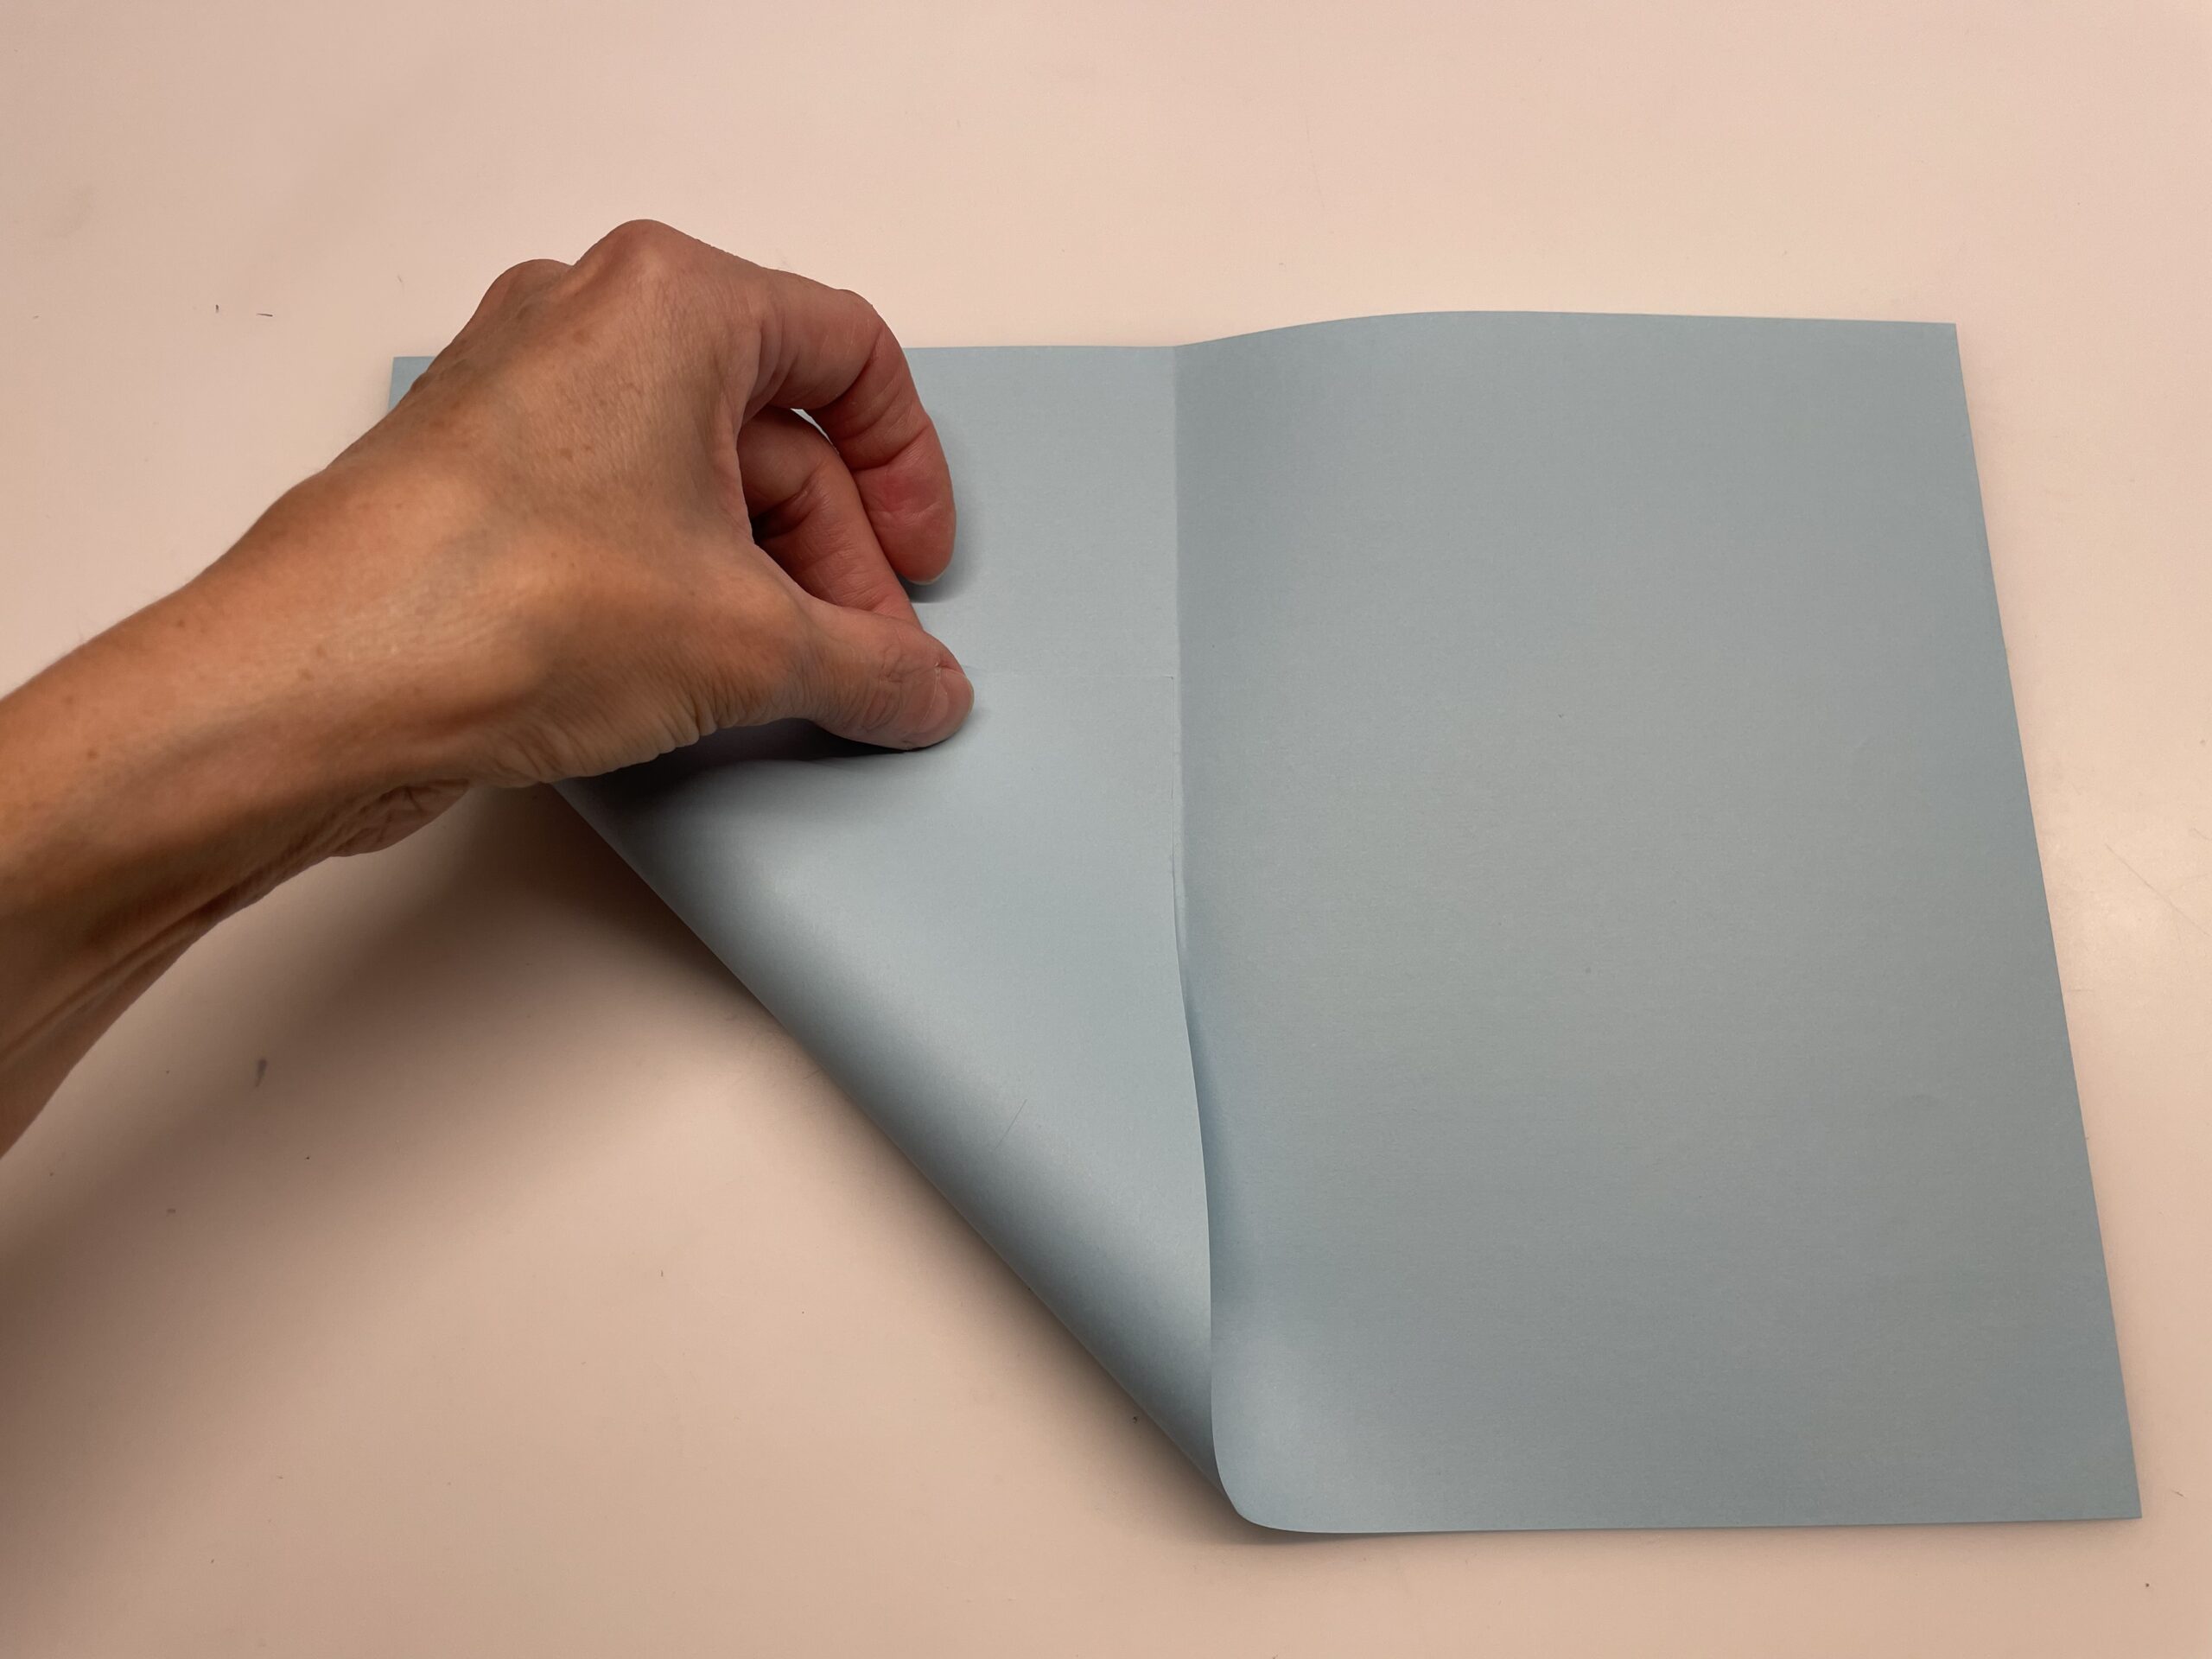
Roof repeats the process with the other corner.
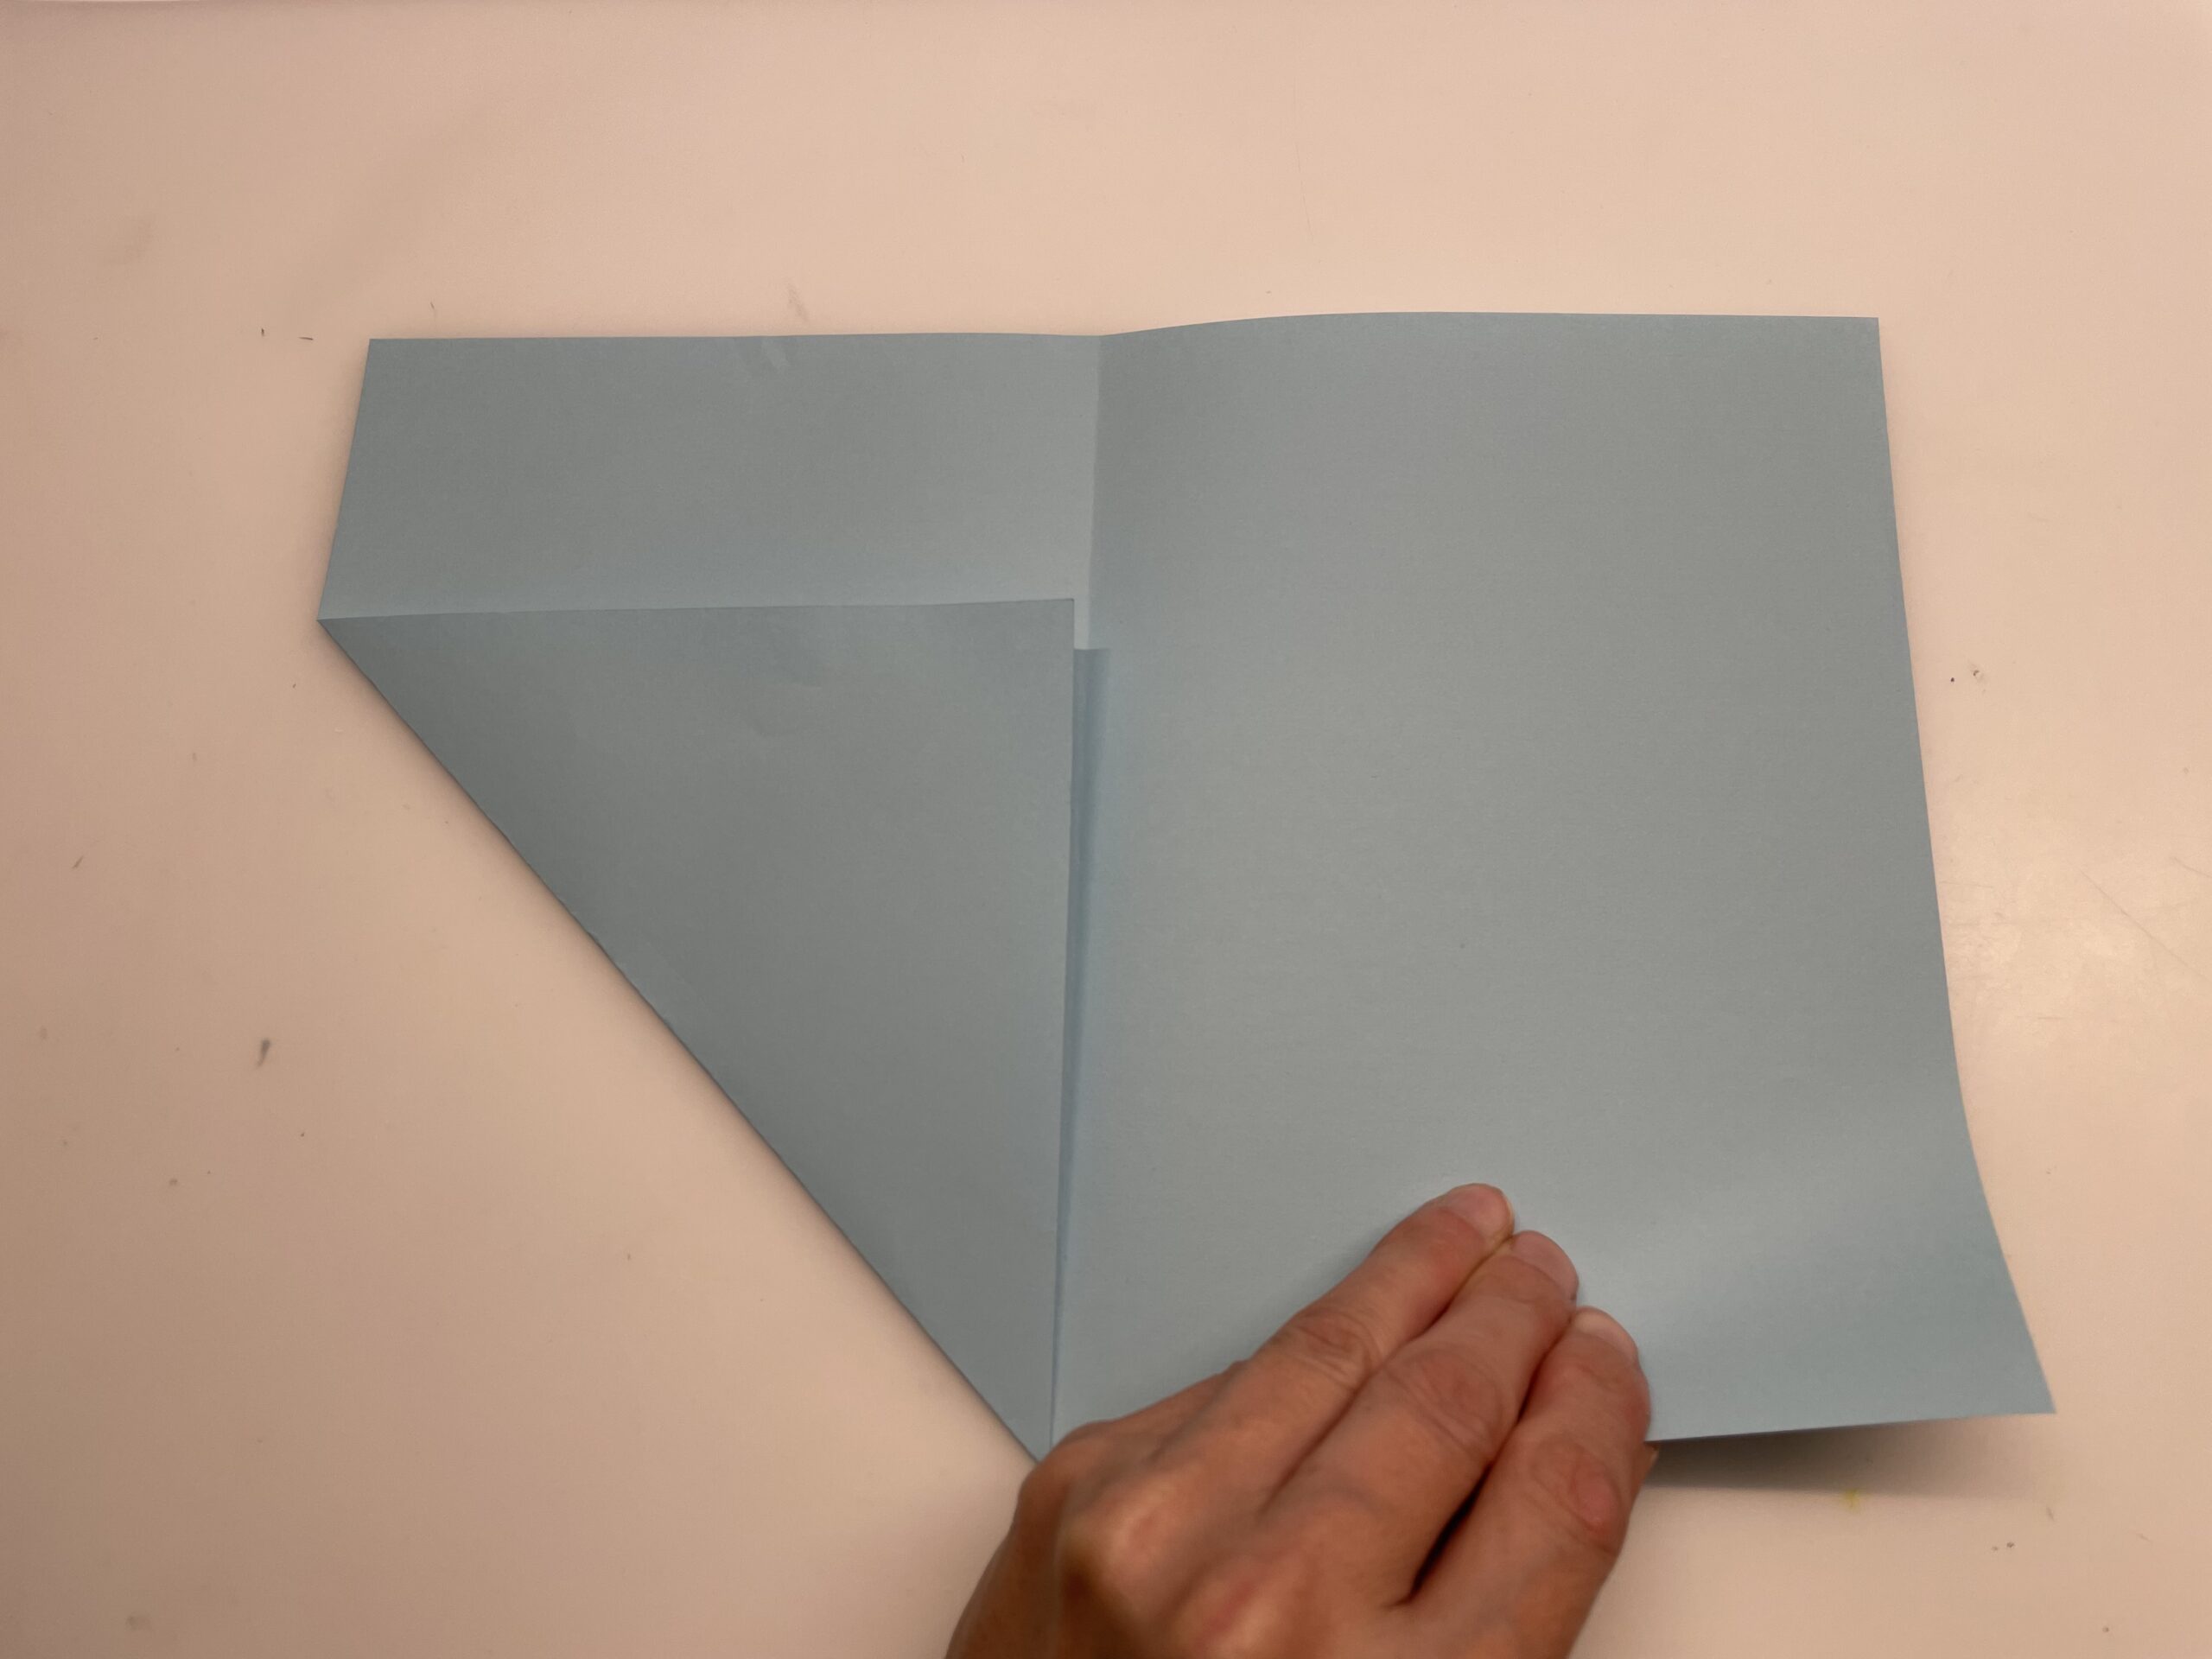
Fold it to the midline as well.

Hold on to the top again and gently strip the triangle down. Strip the fracture vigorously.

There is a house on your head. The top of the roof points to you.
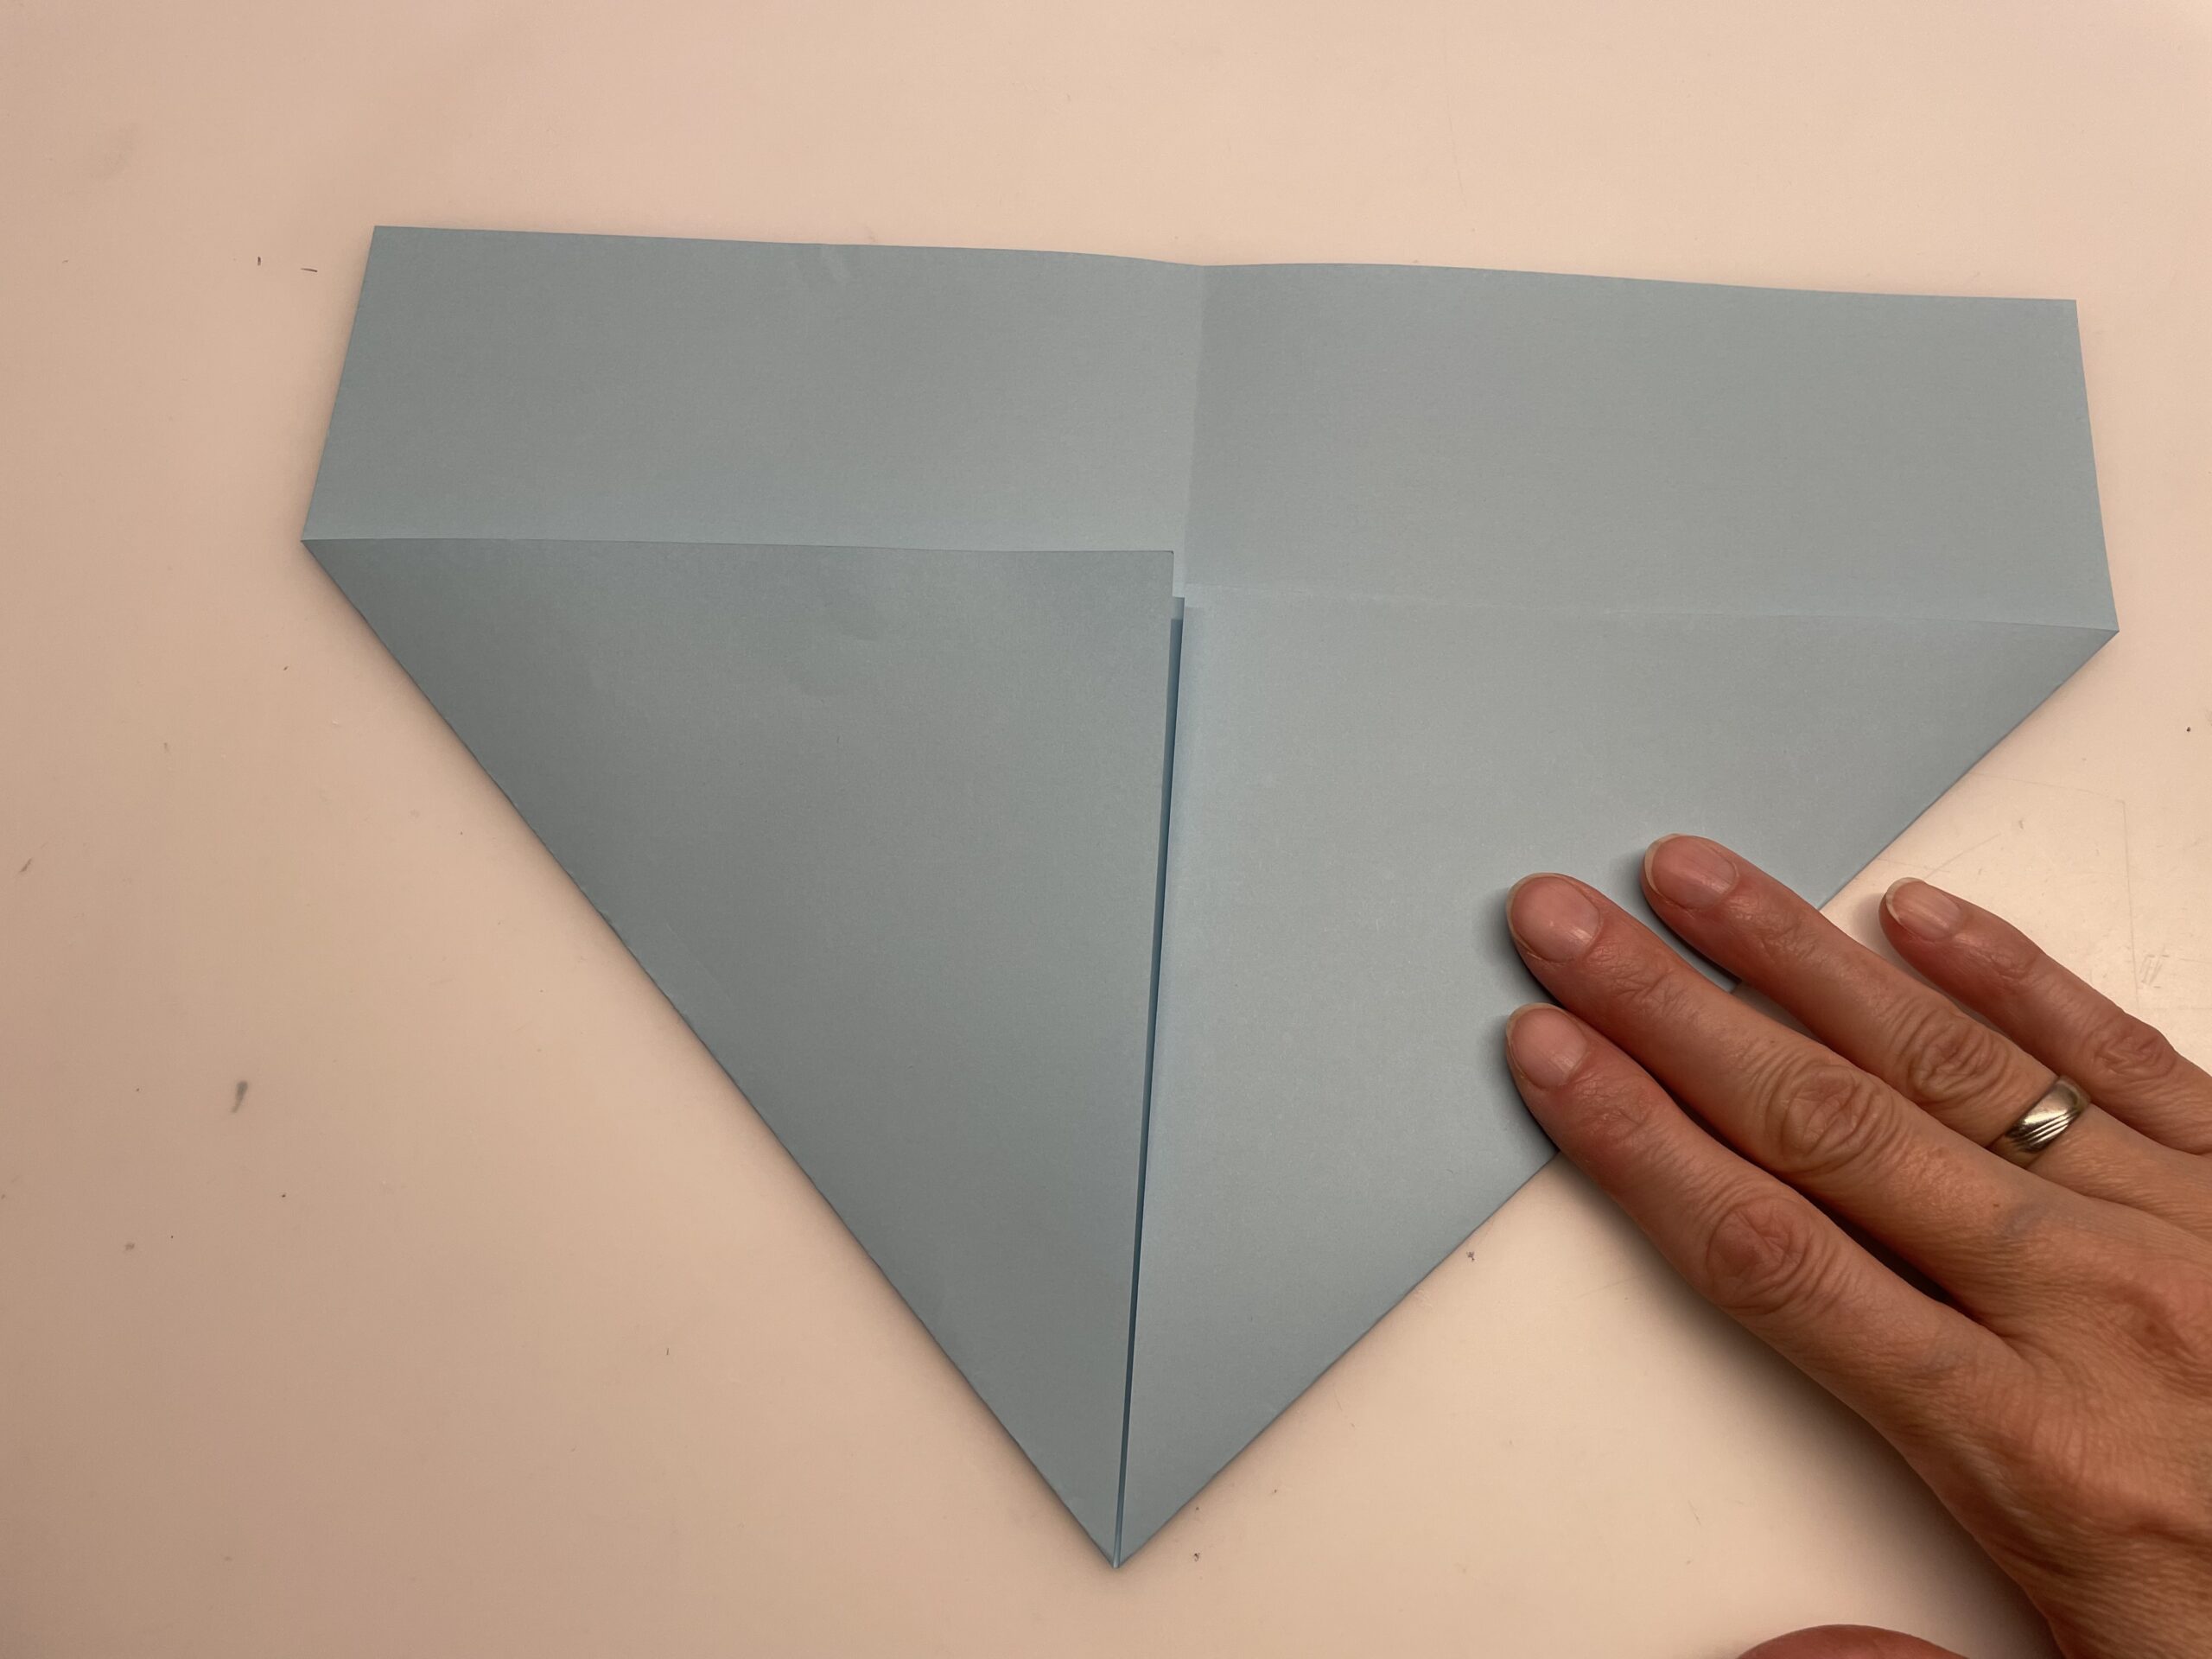
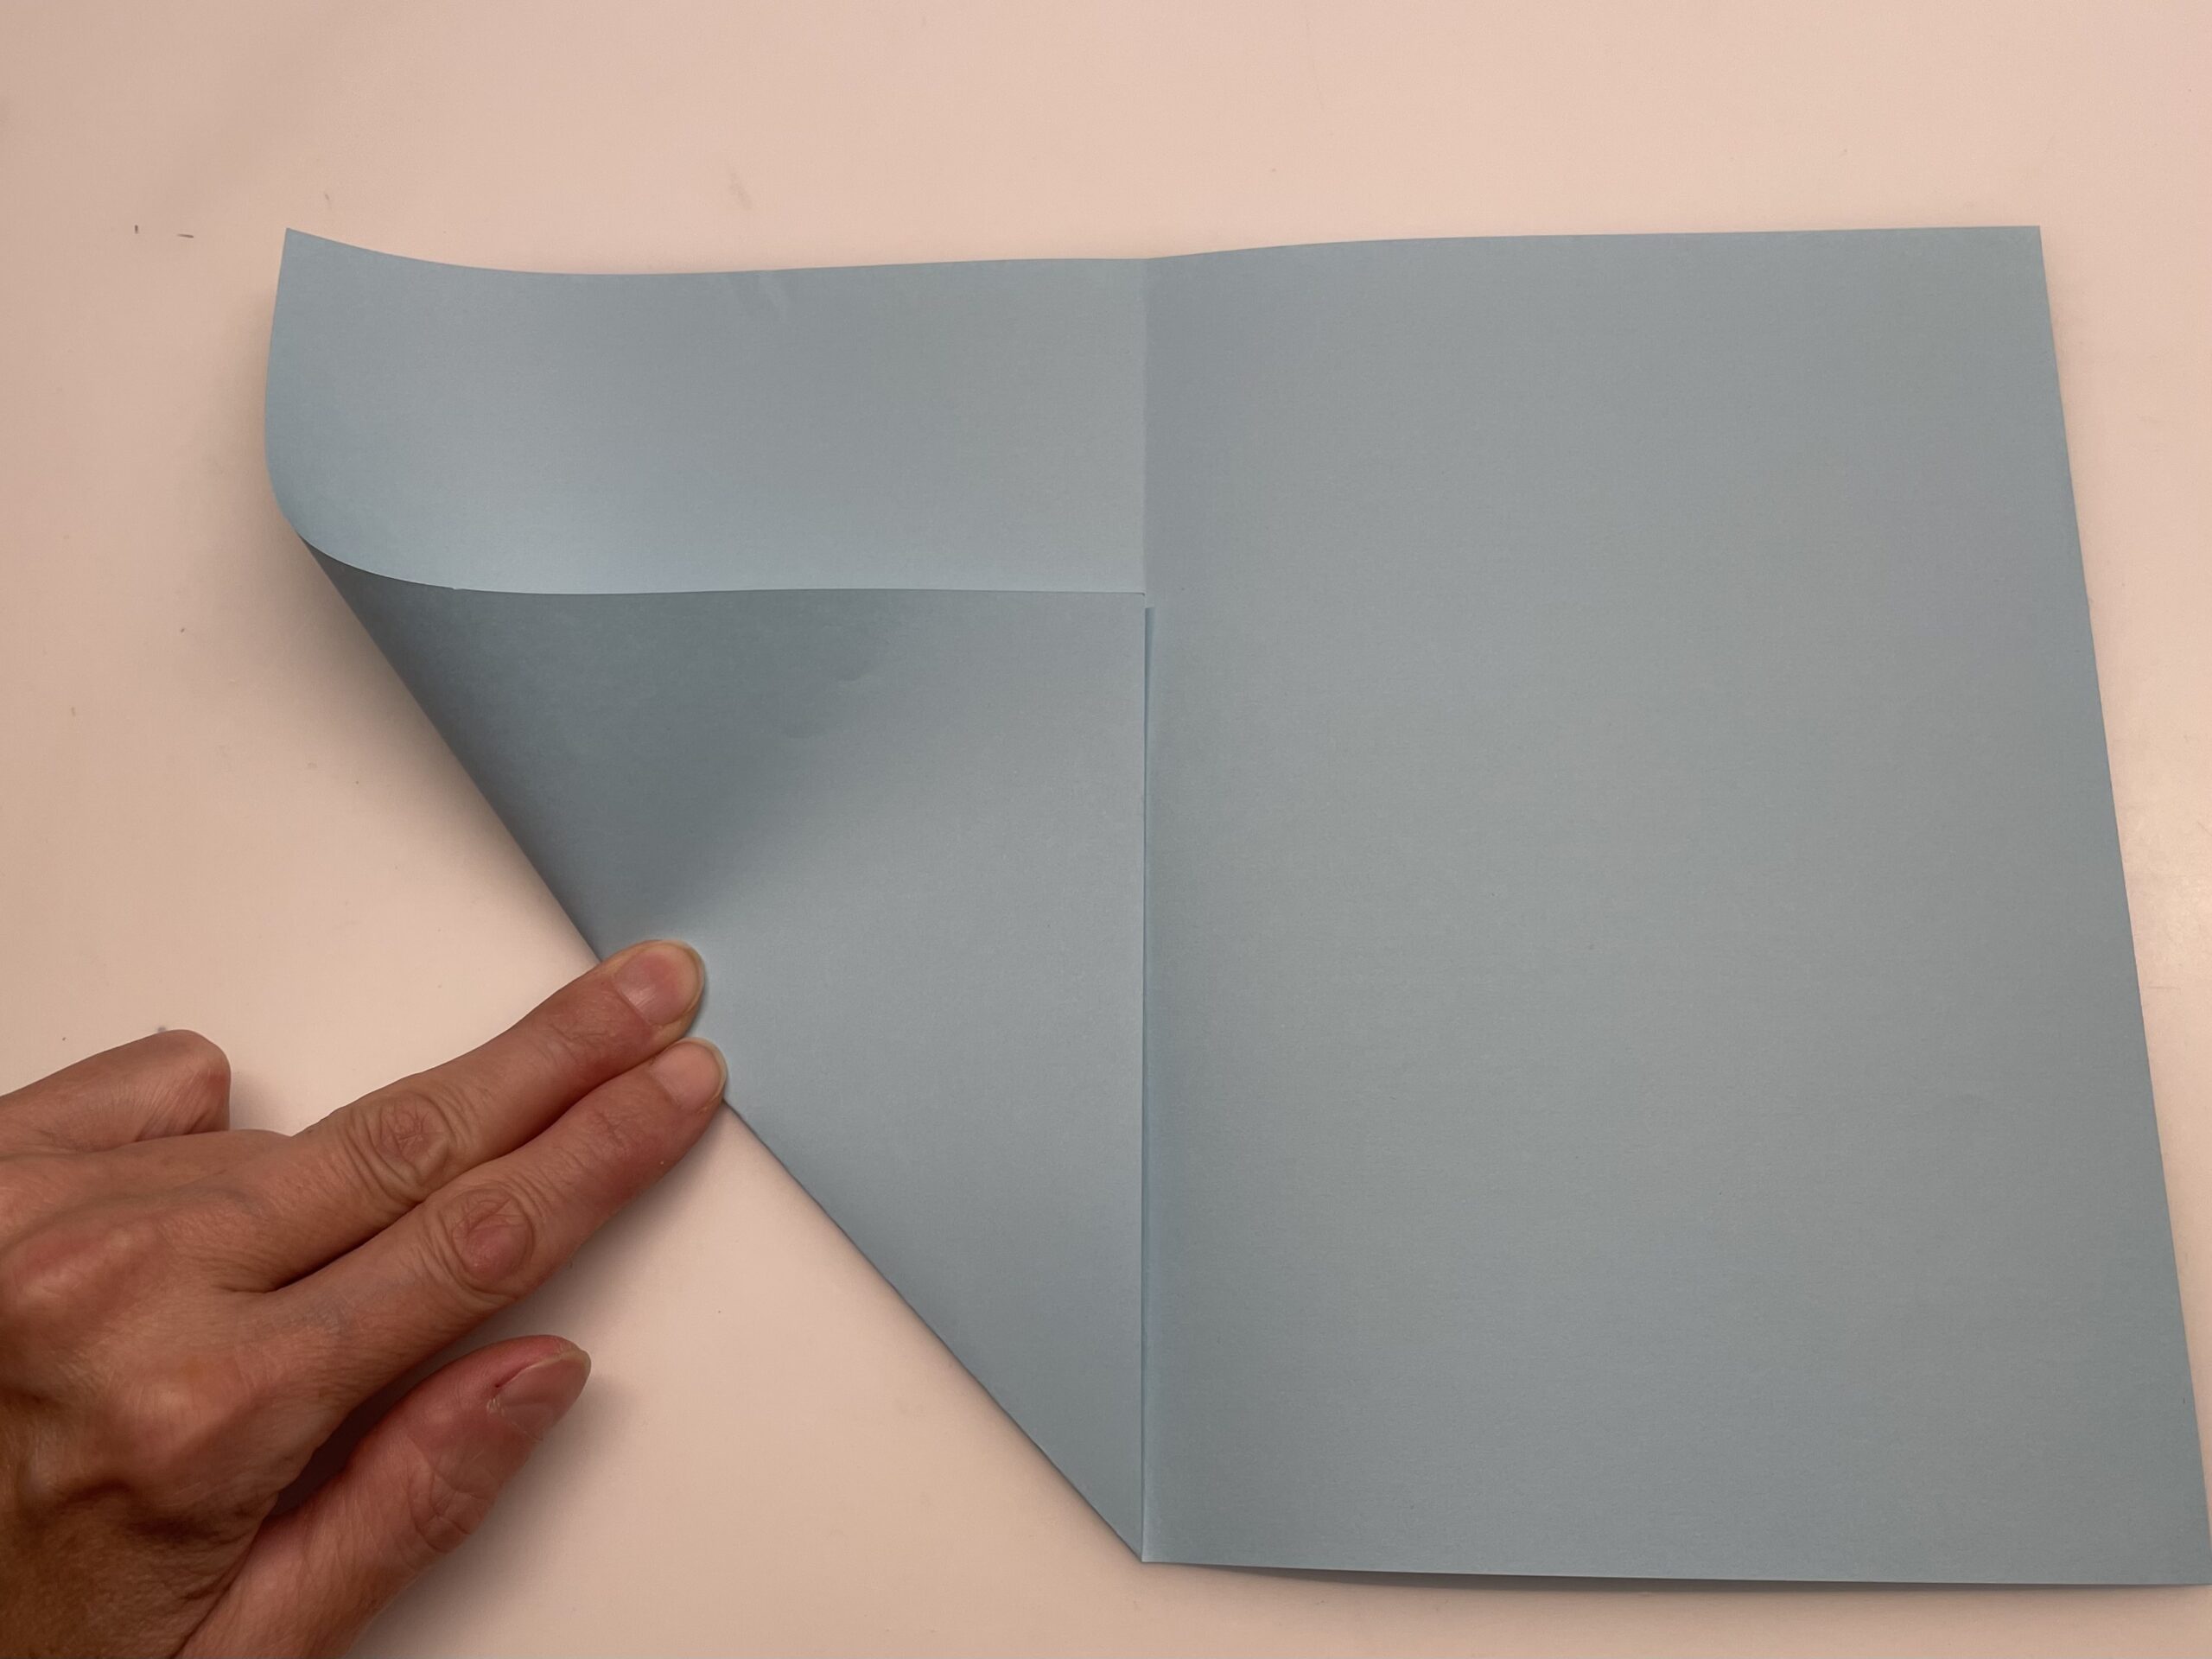
Then take the top of the roof and fold it to the top of the leaf.
The crease in the middle of the paper helps you fold the triangle upwards.
Hold the tip of the paper with one finger.
Now, with the other hand's finger, you brush down to the edge and smoothly strip the fracture with your finger.
This creates another triangle.
Then she opens the triangle.
Here you only need the resulting kink in the paper.

This should now be clearly visible.
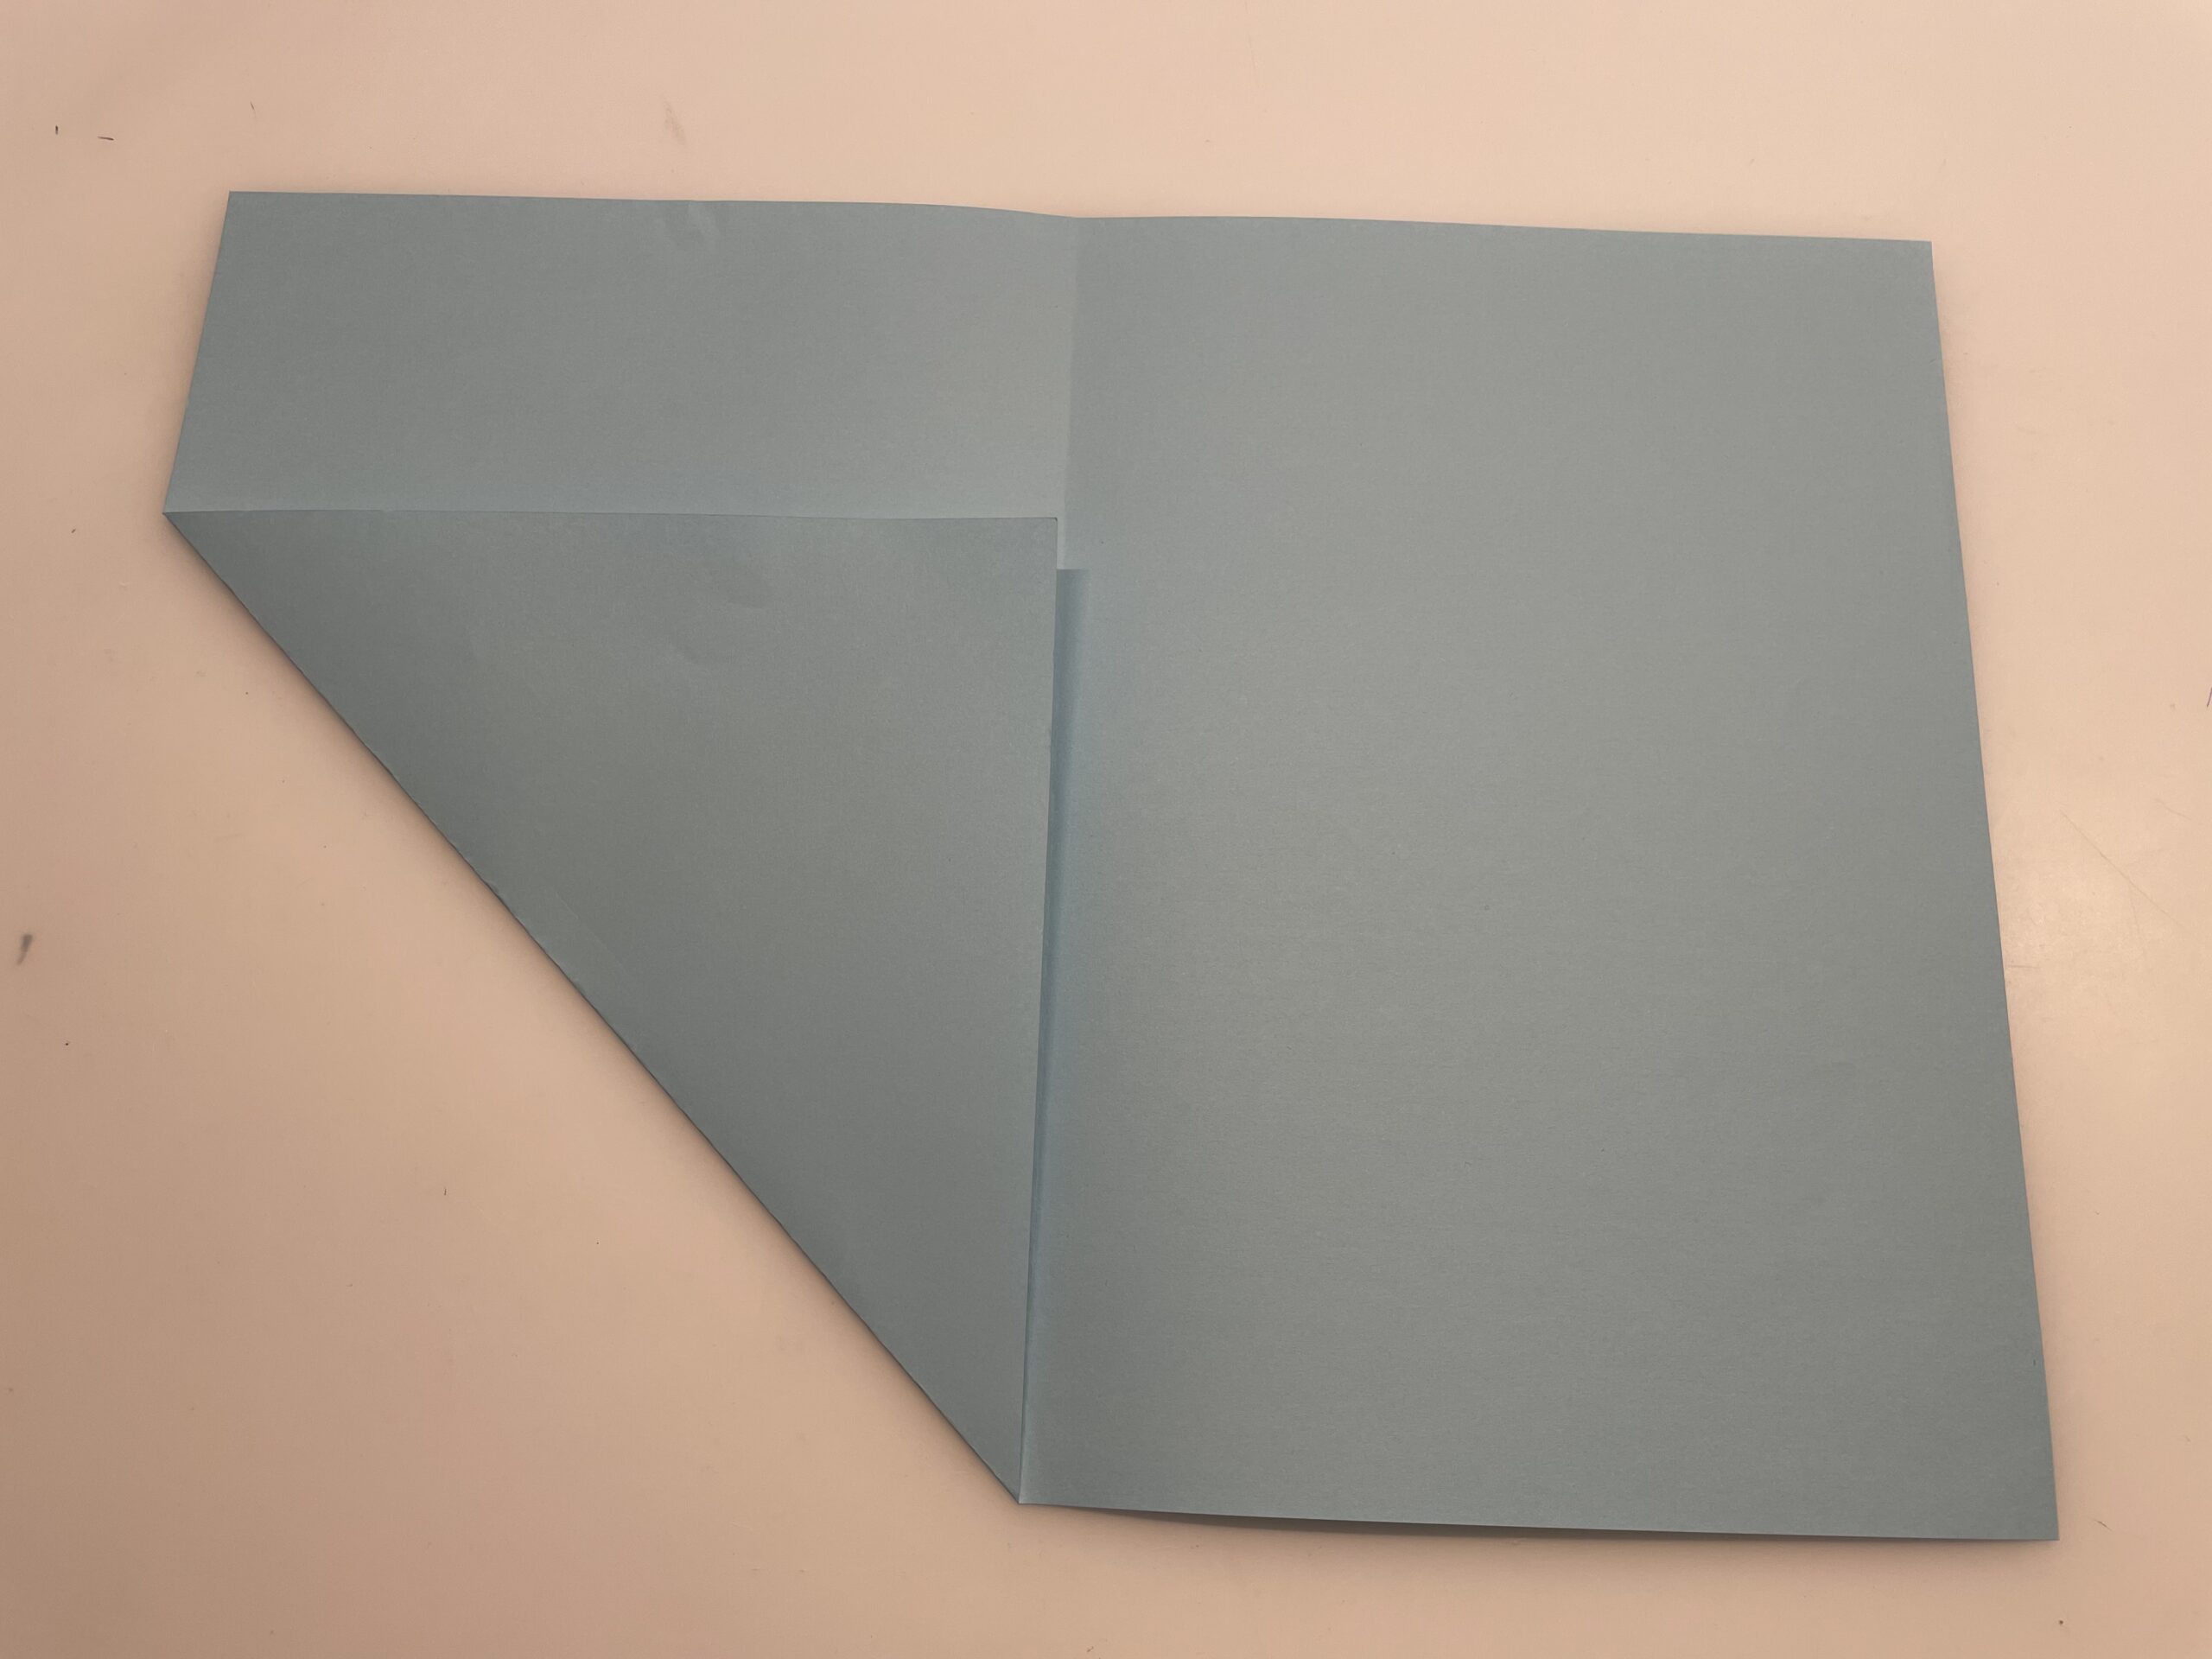
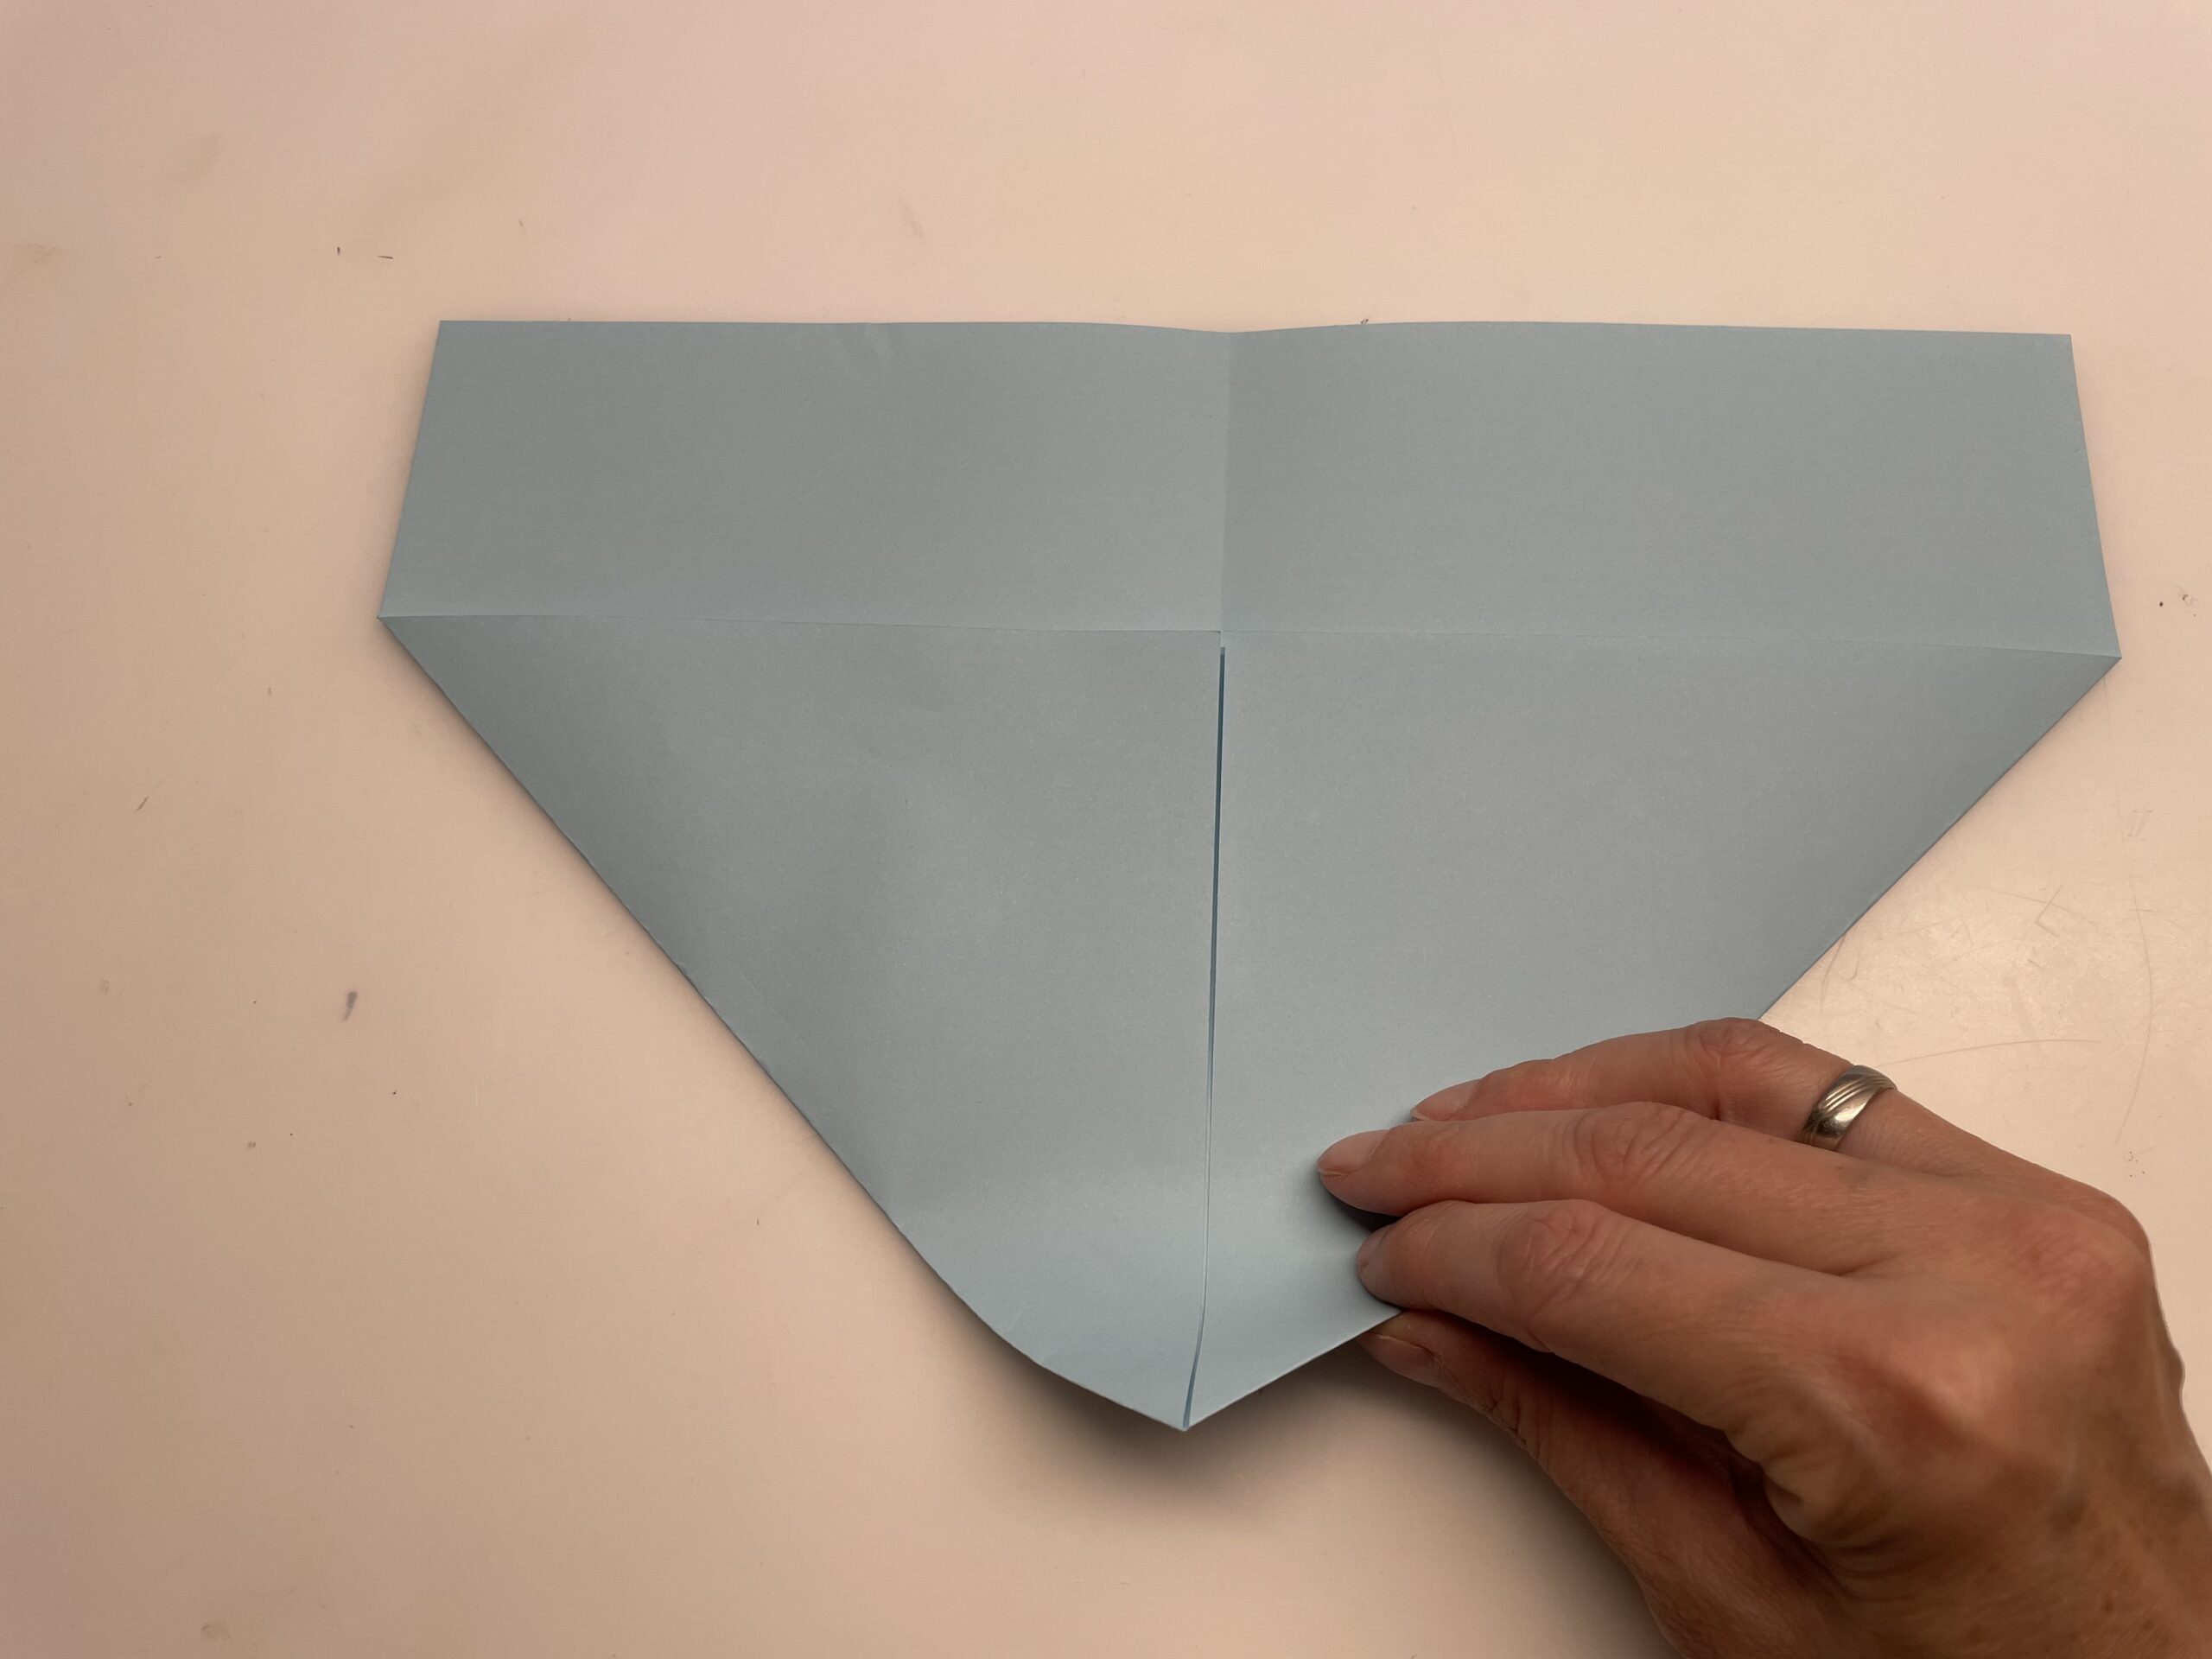
Now take the paper tip in your hand again and fold it up to the first kink.
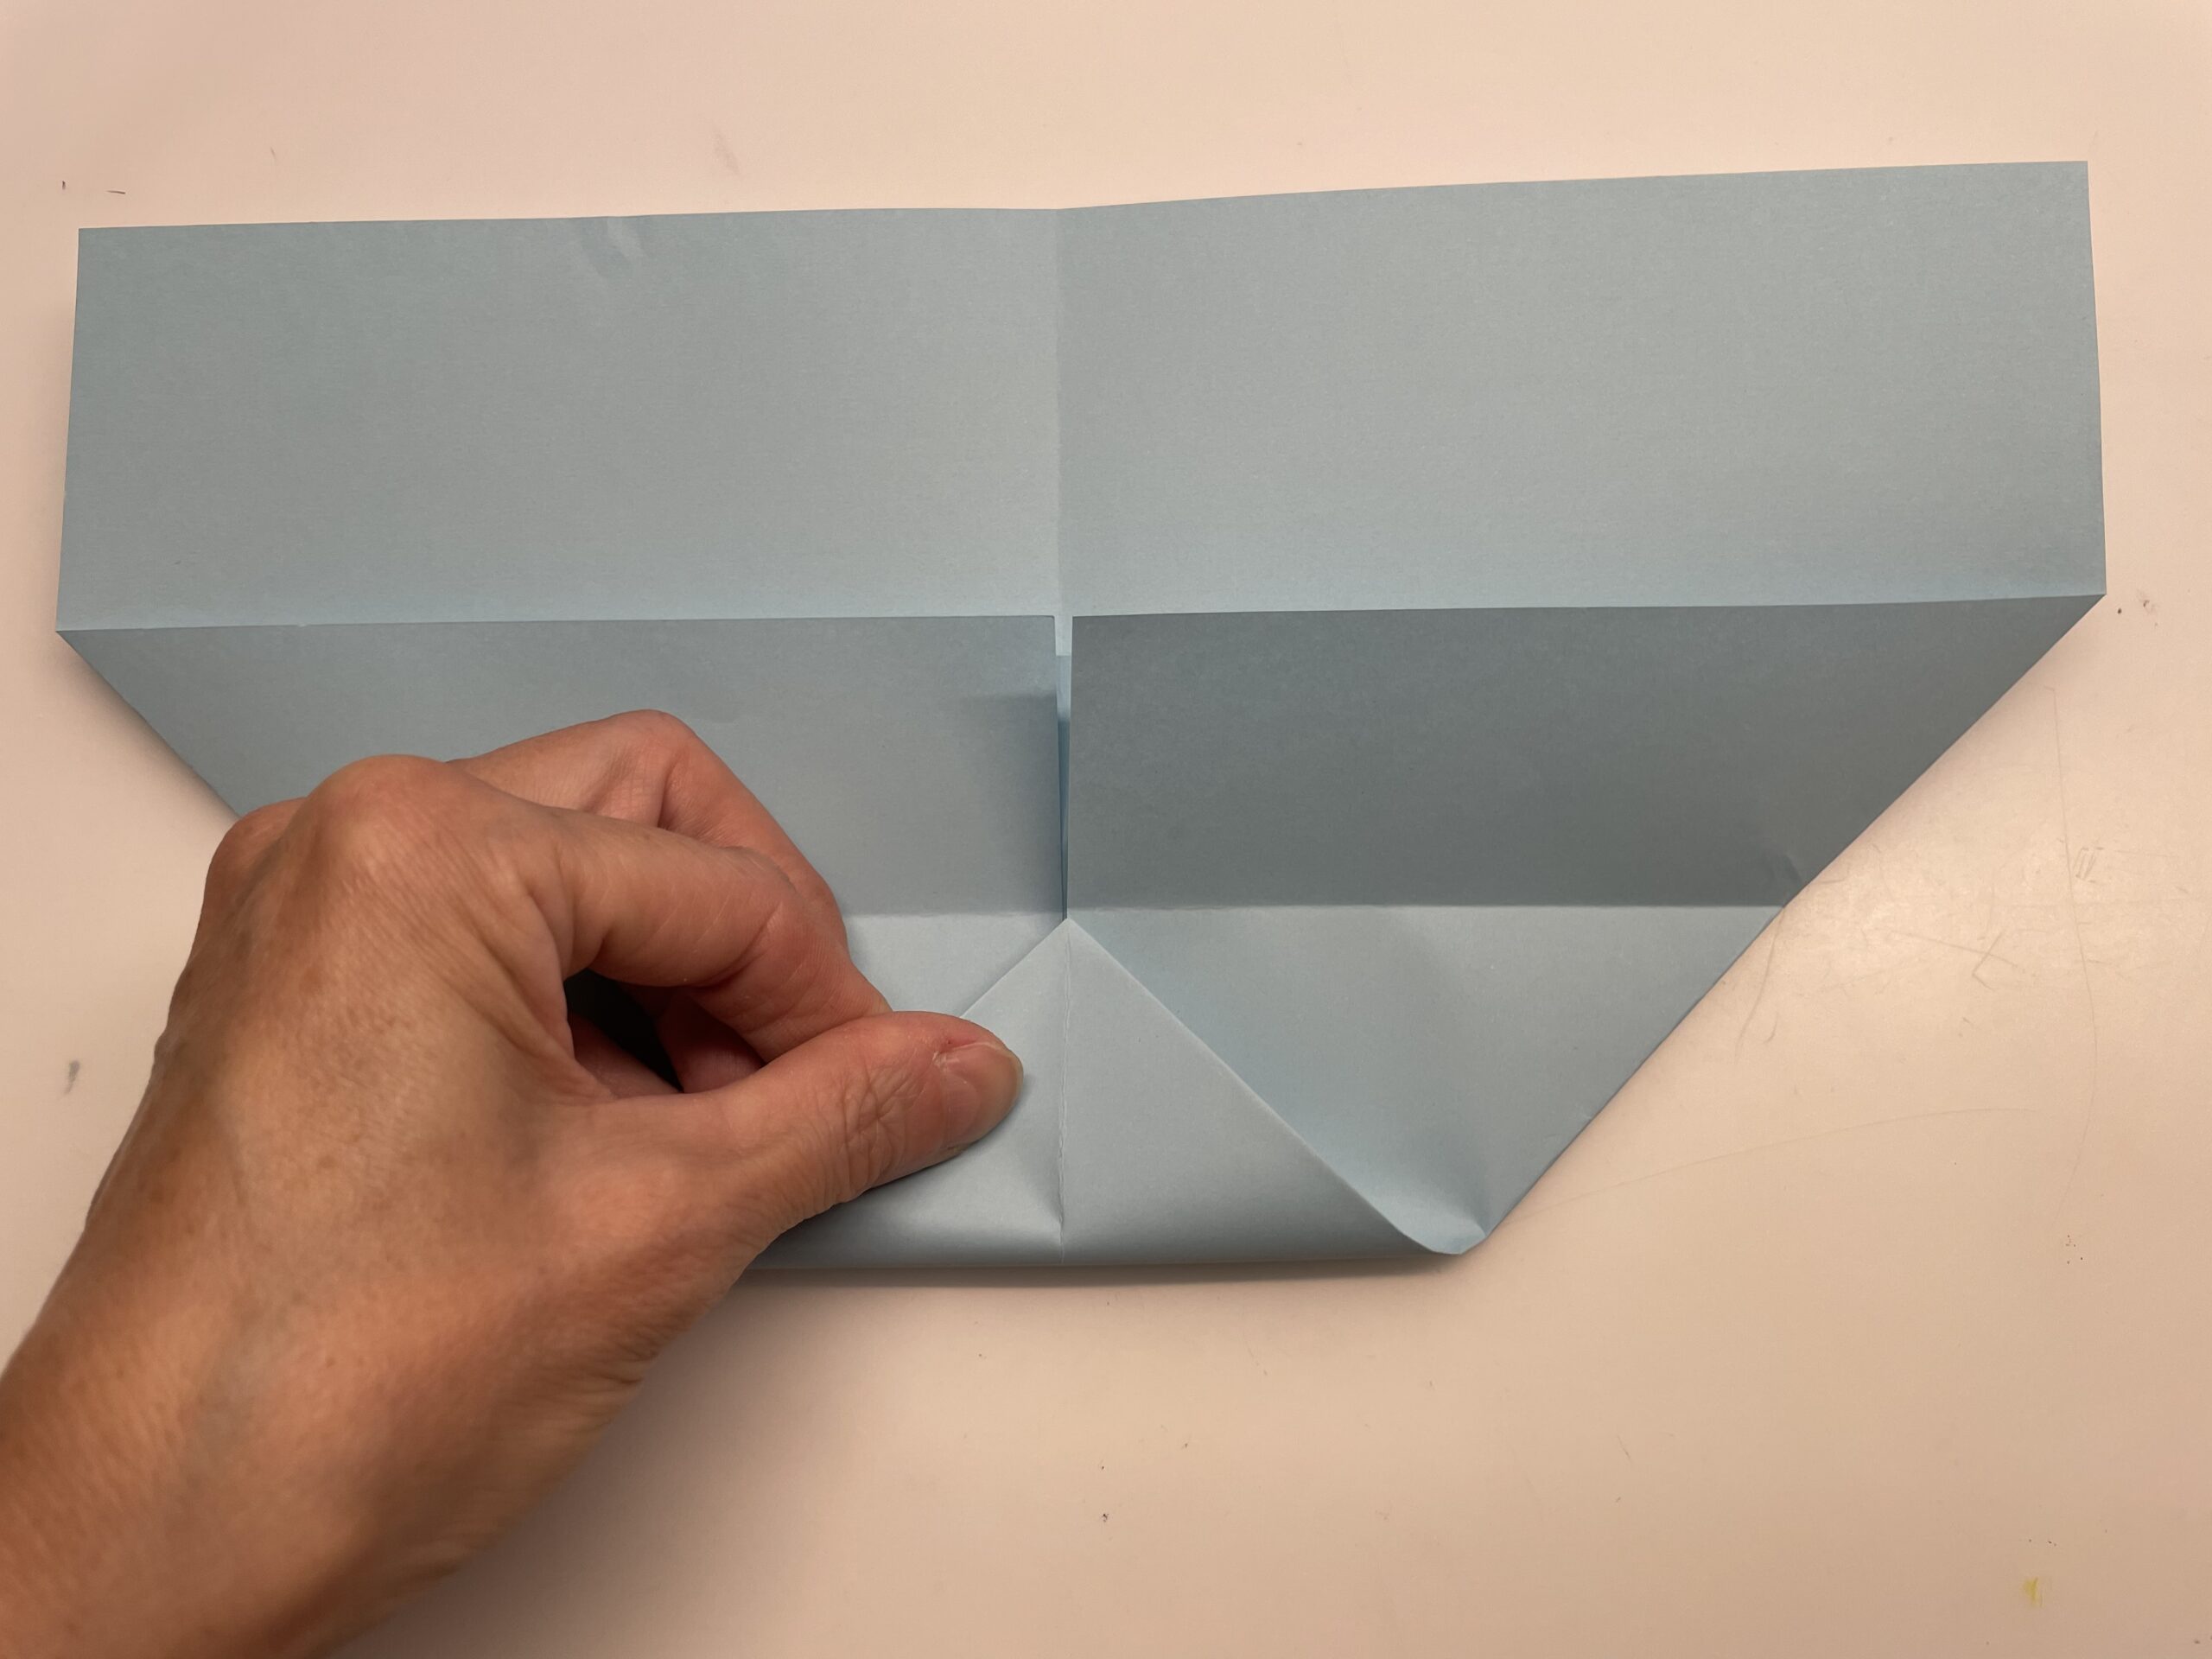
Stripes the small triangle with your fingers smoothly. Strips out the fracture again vigorously.
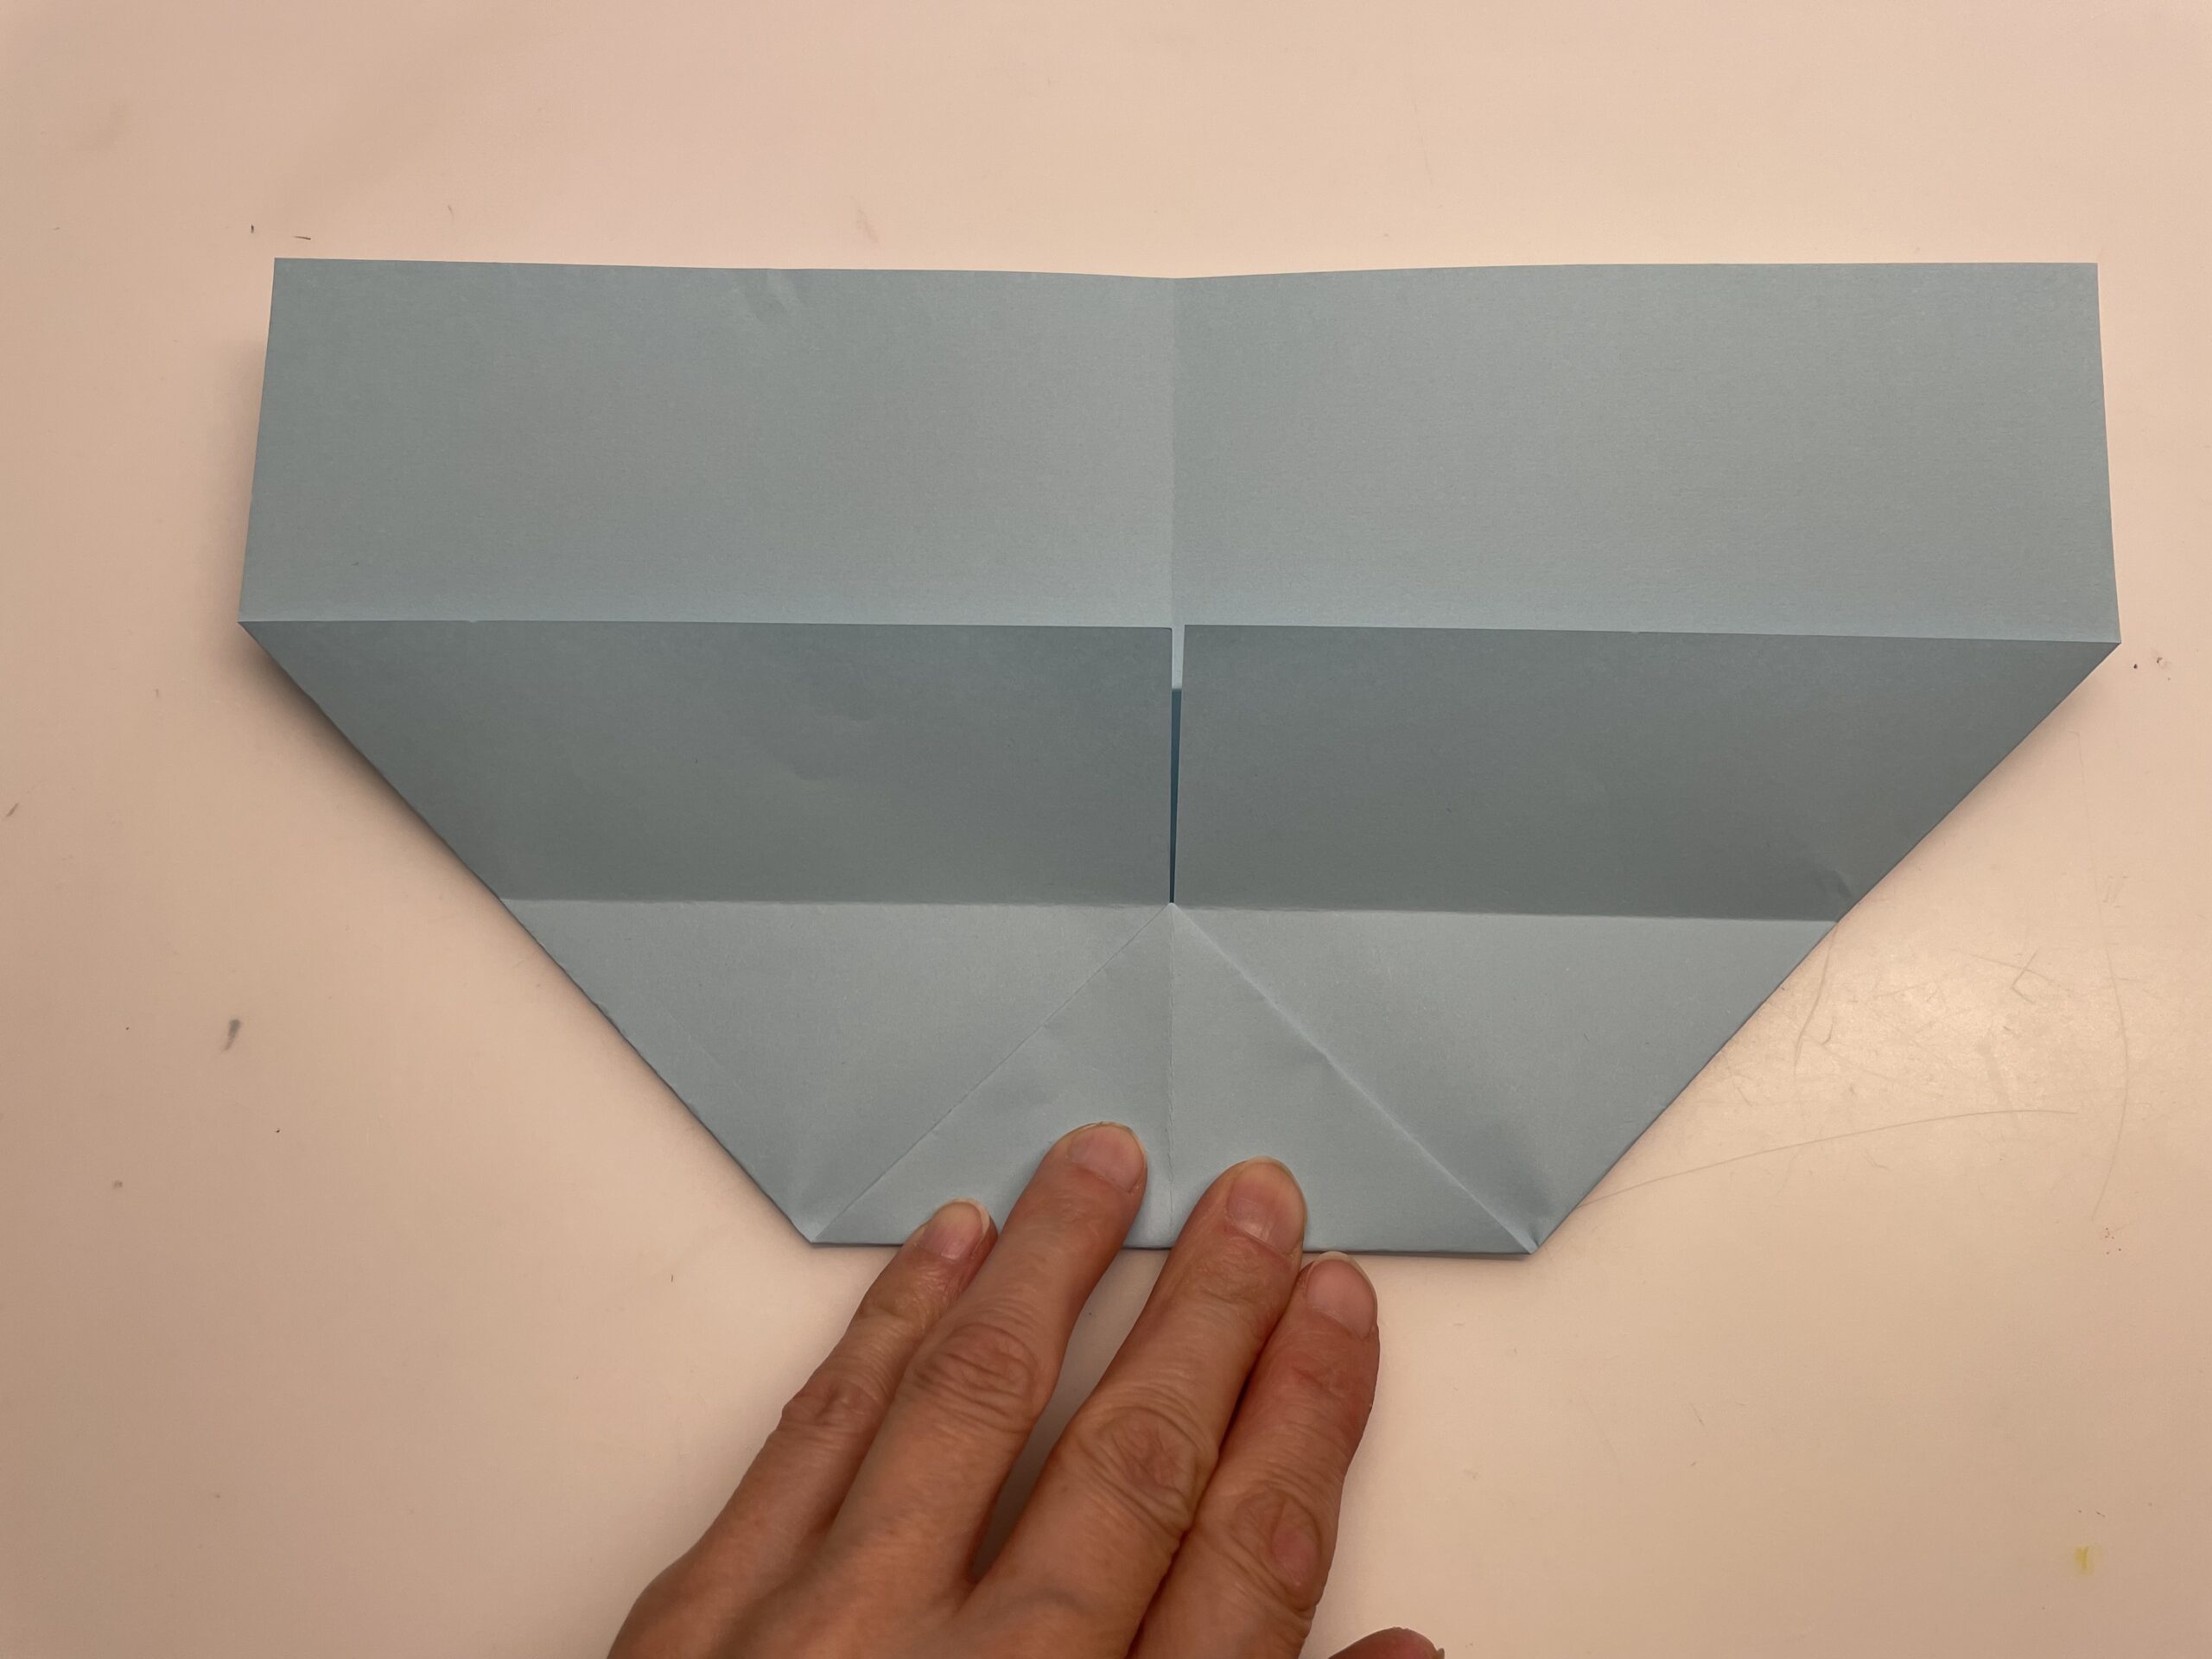
Now fold the lower edge of the paper up to the next bend.

Strip this fracture smooth as well.
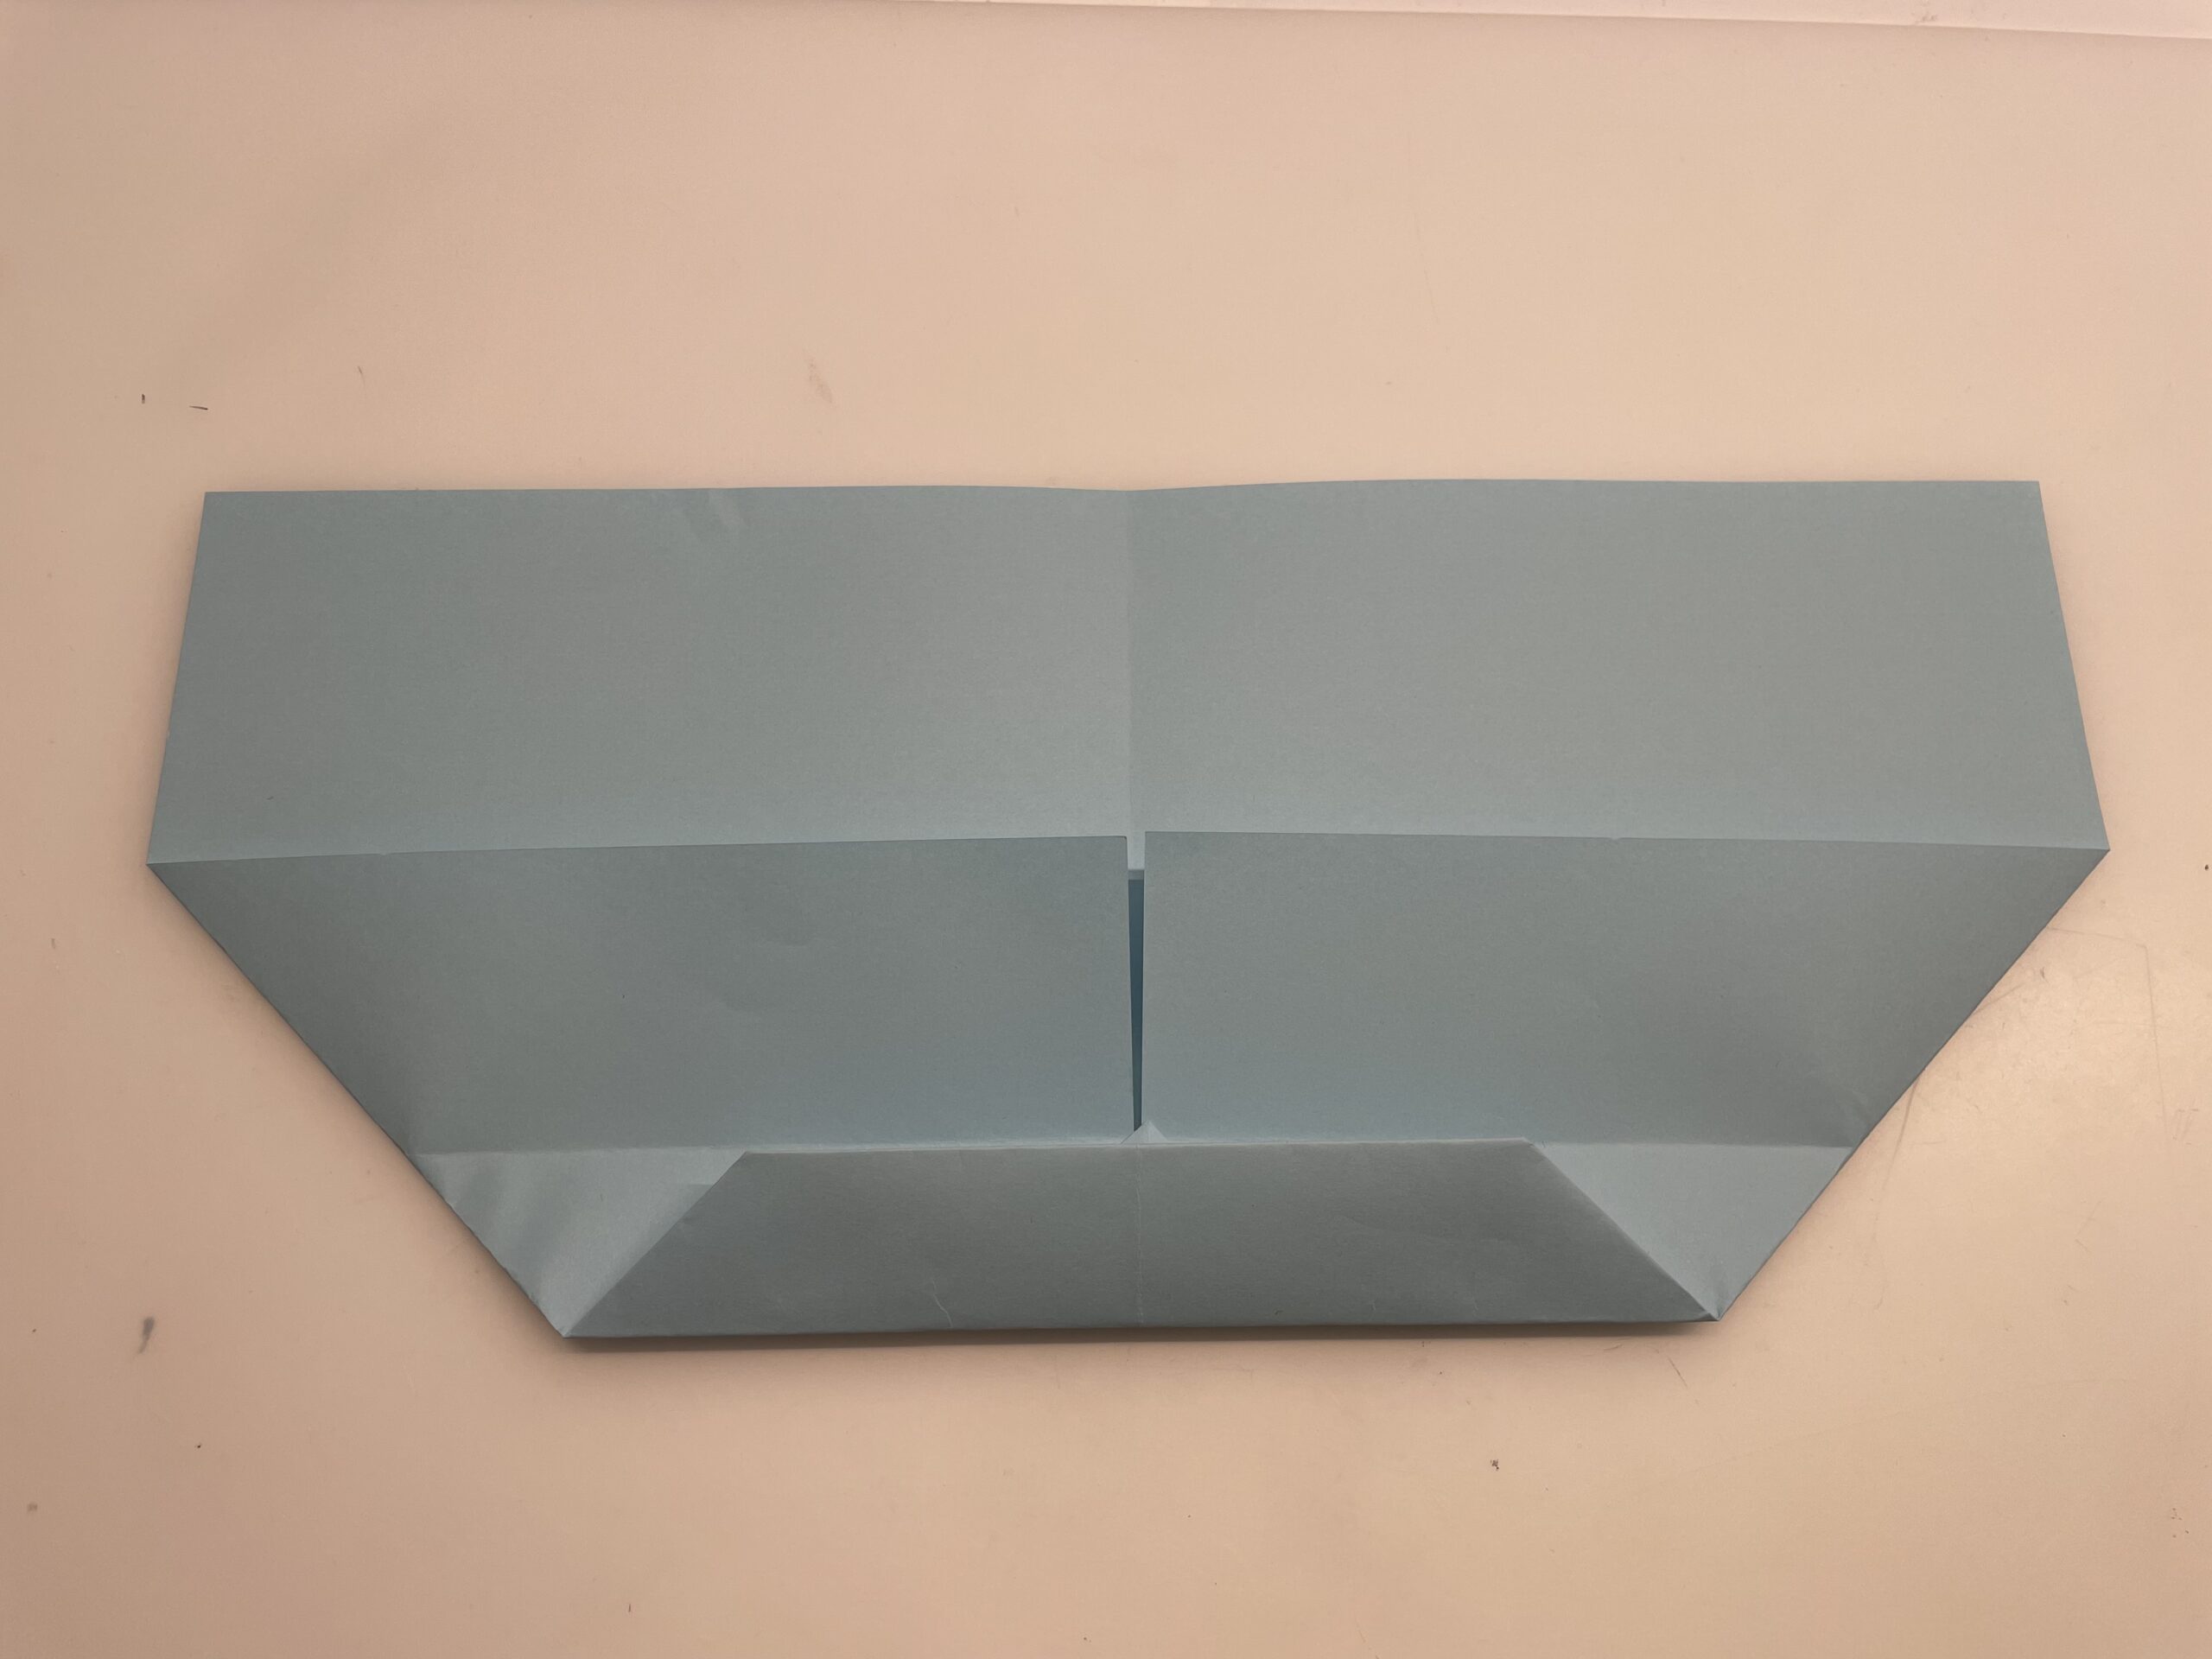
Once again folds the lower edge and folds it simply upwards at the already existing bend.
Strip the folded paper well again.

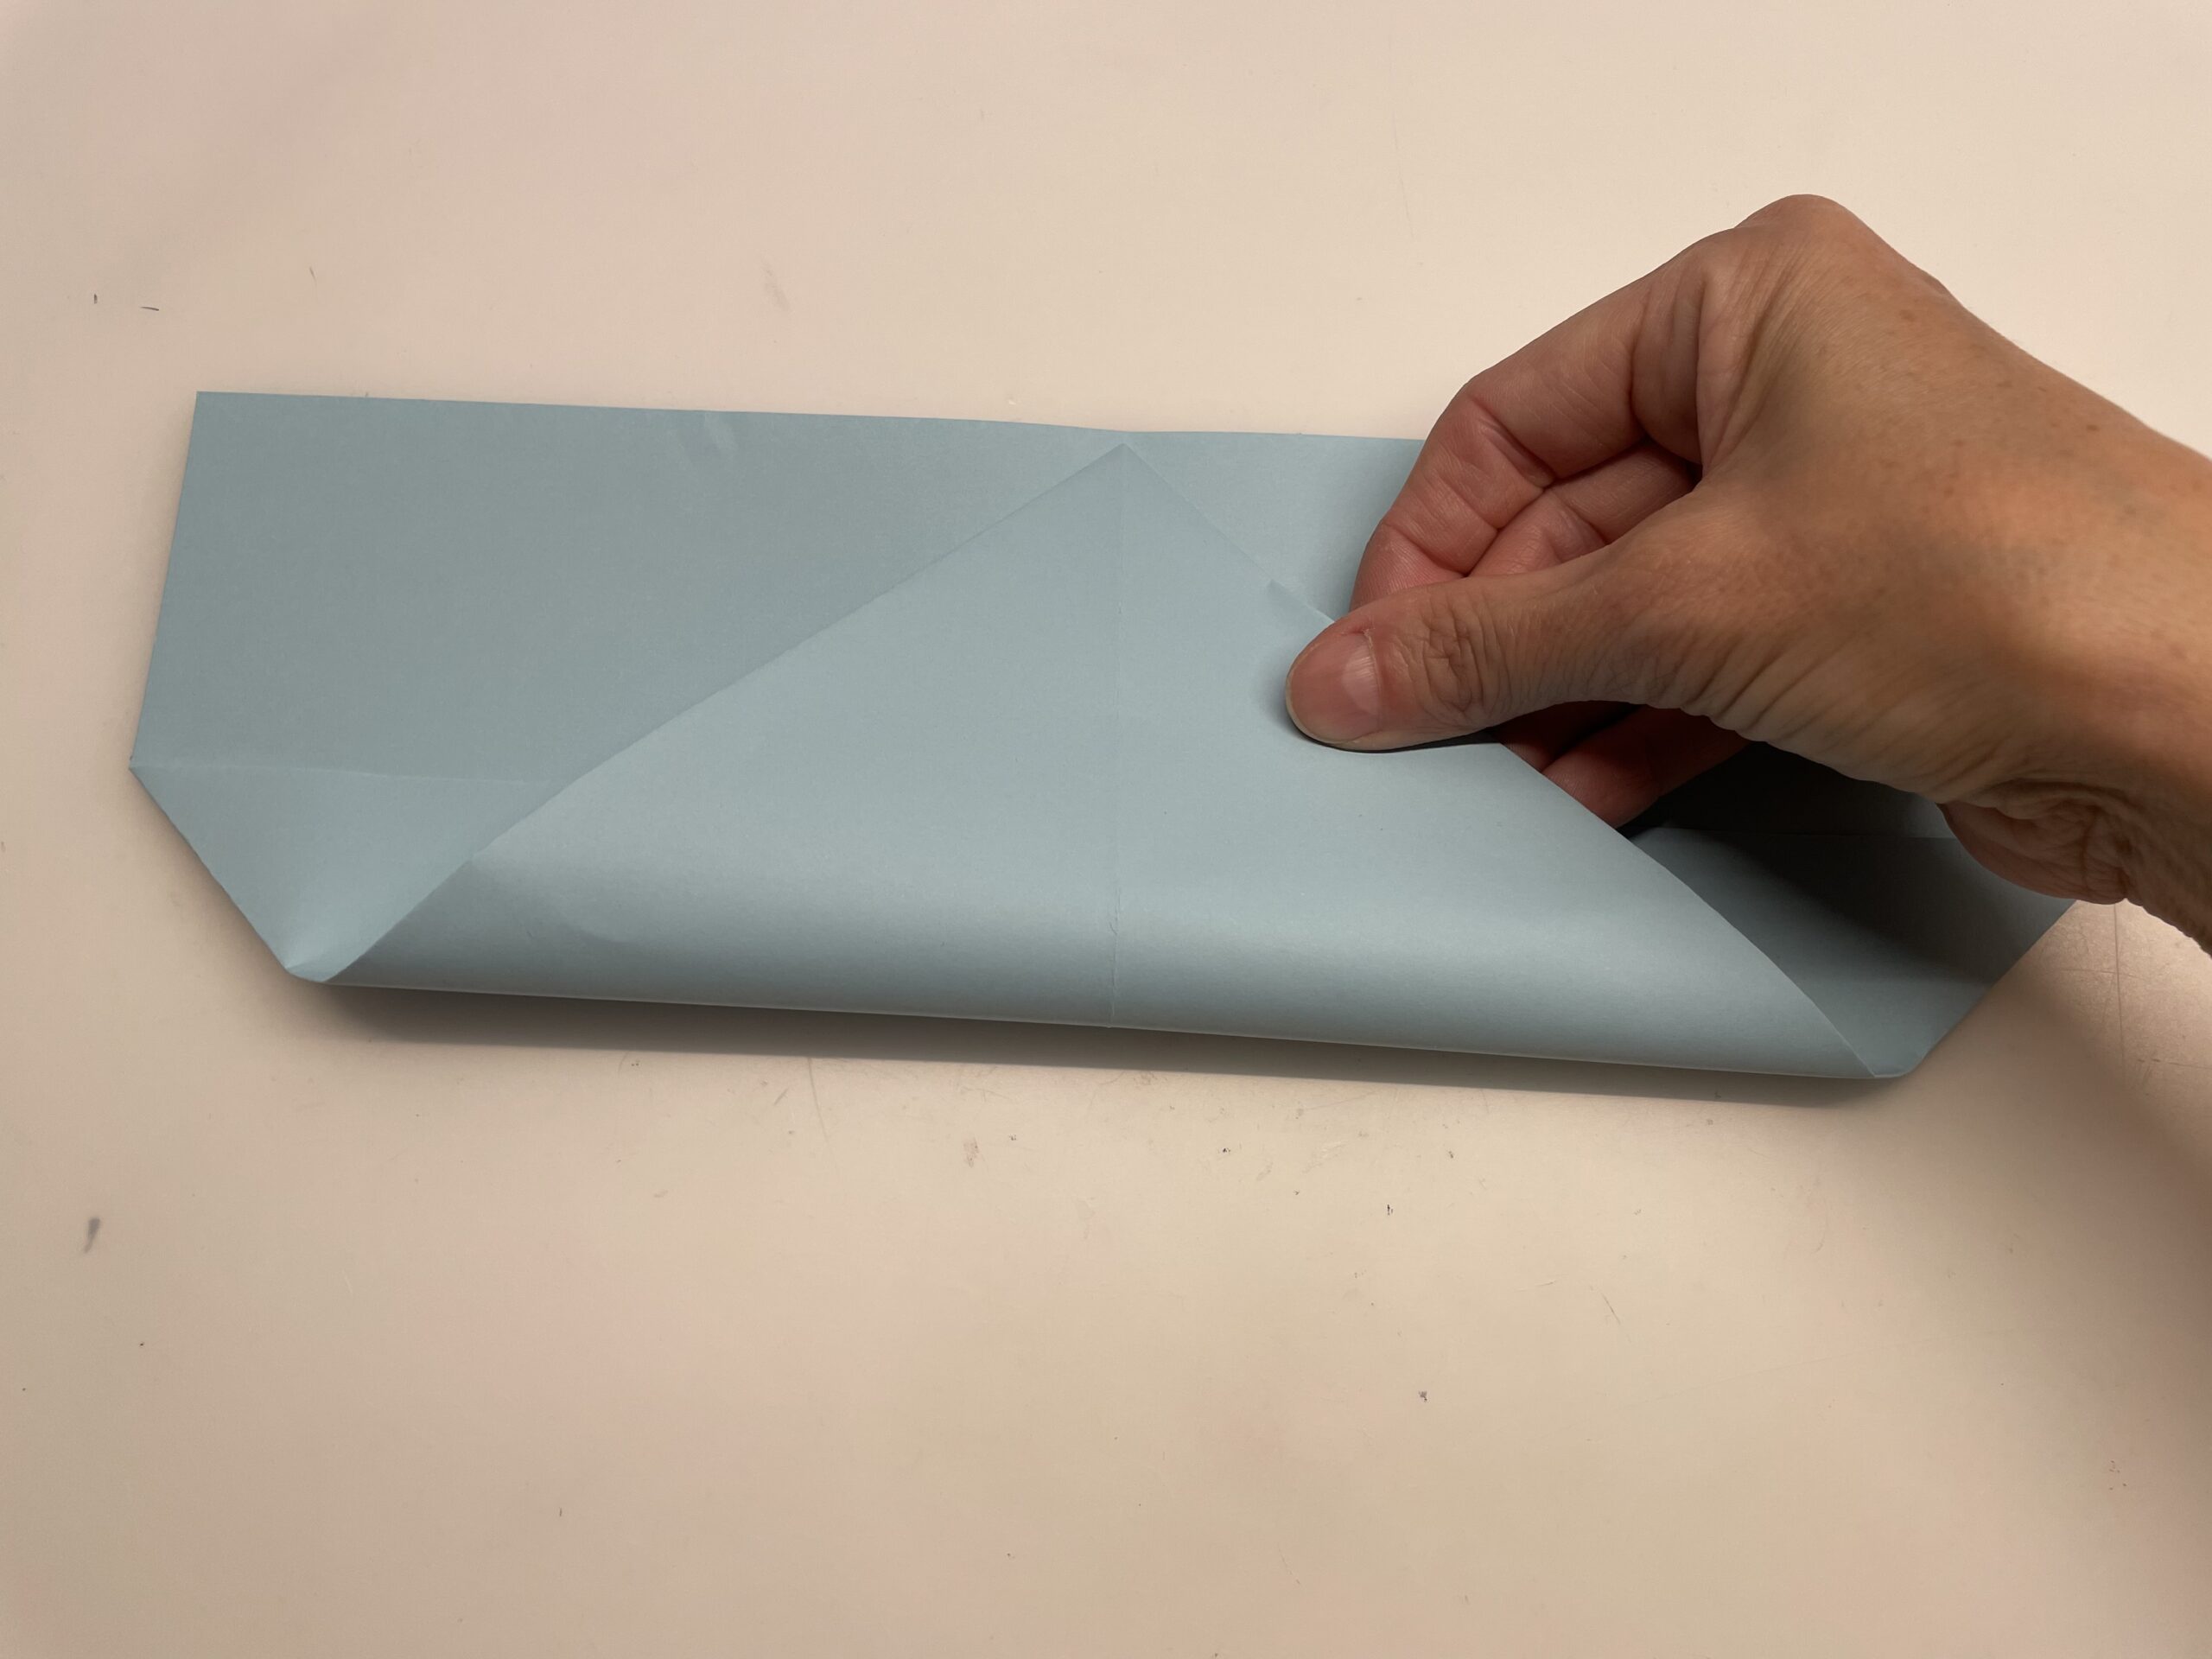
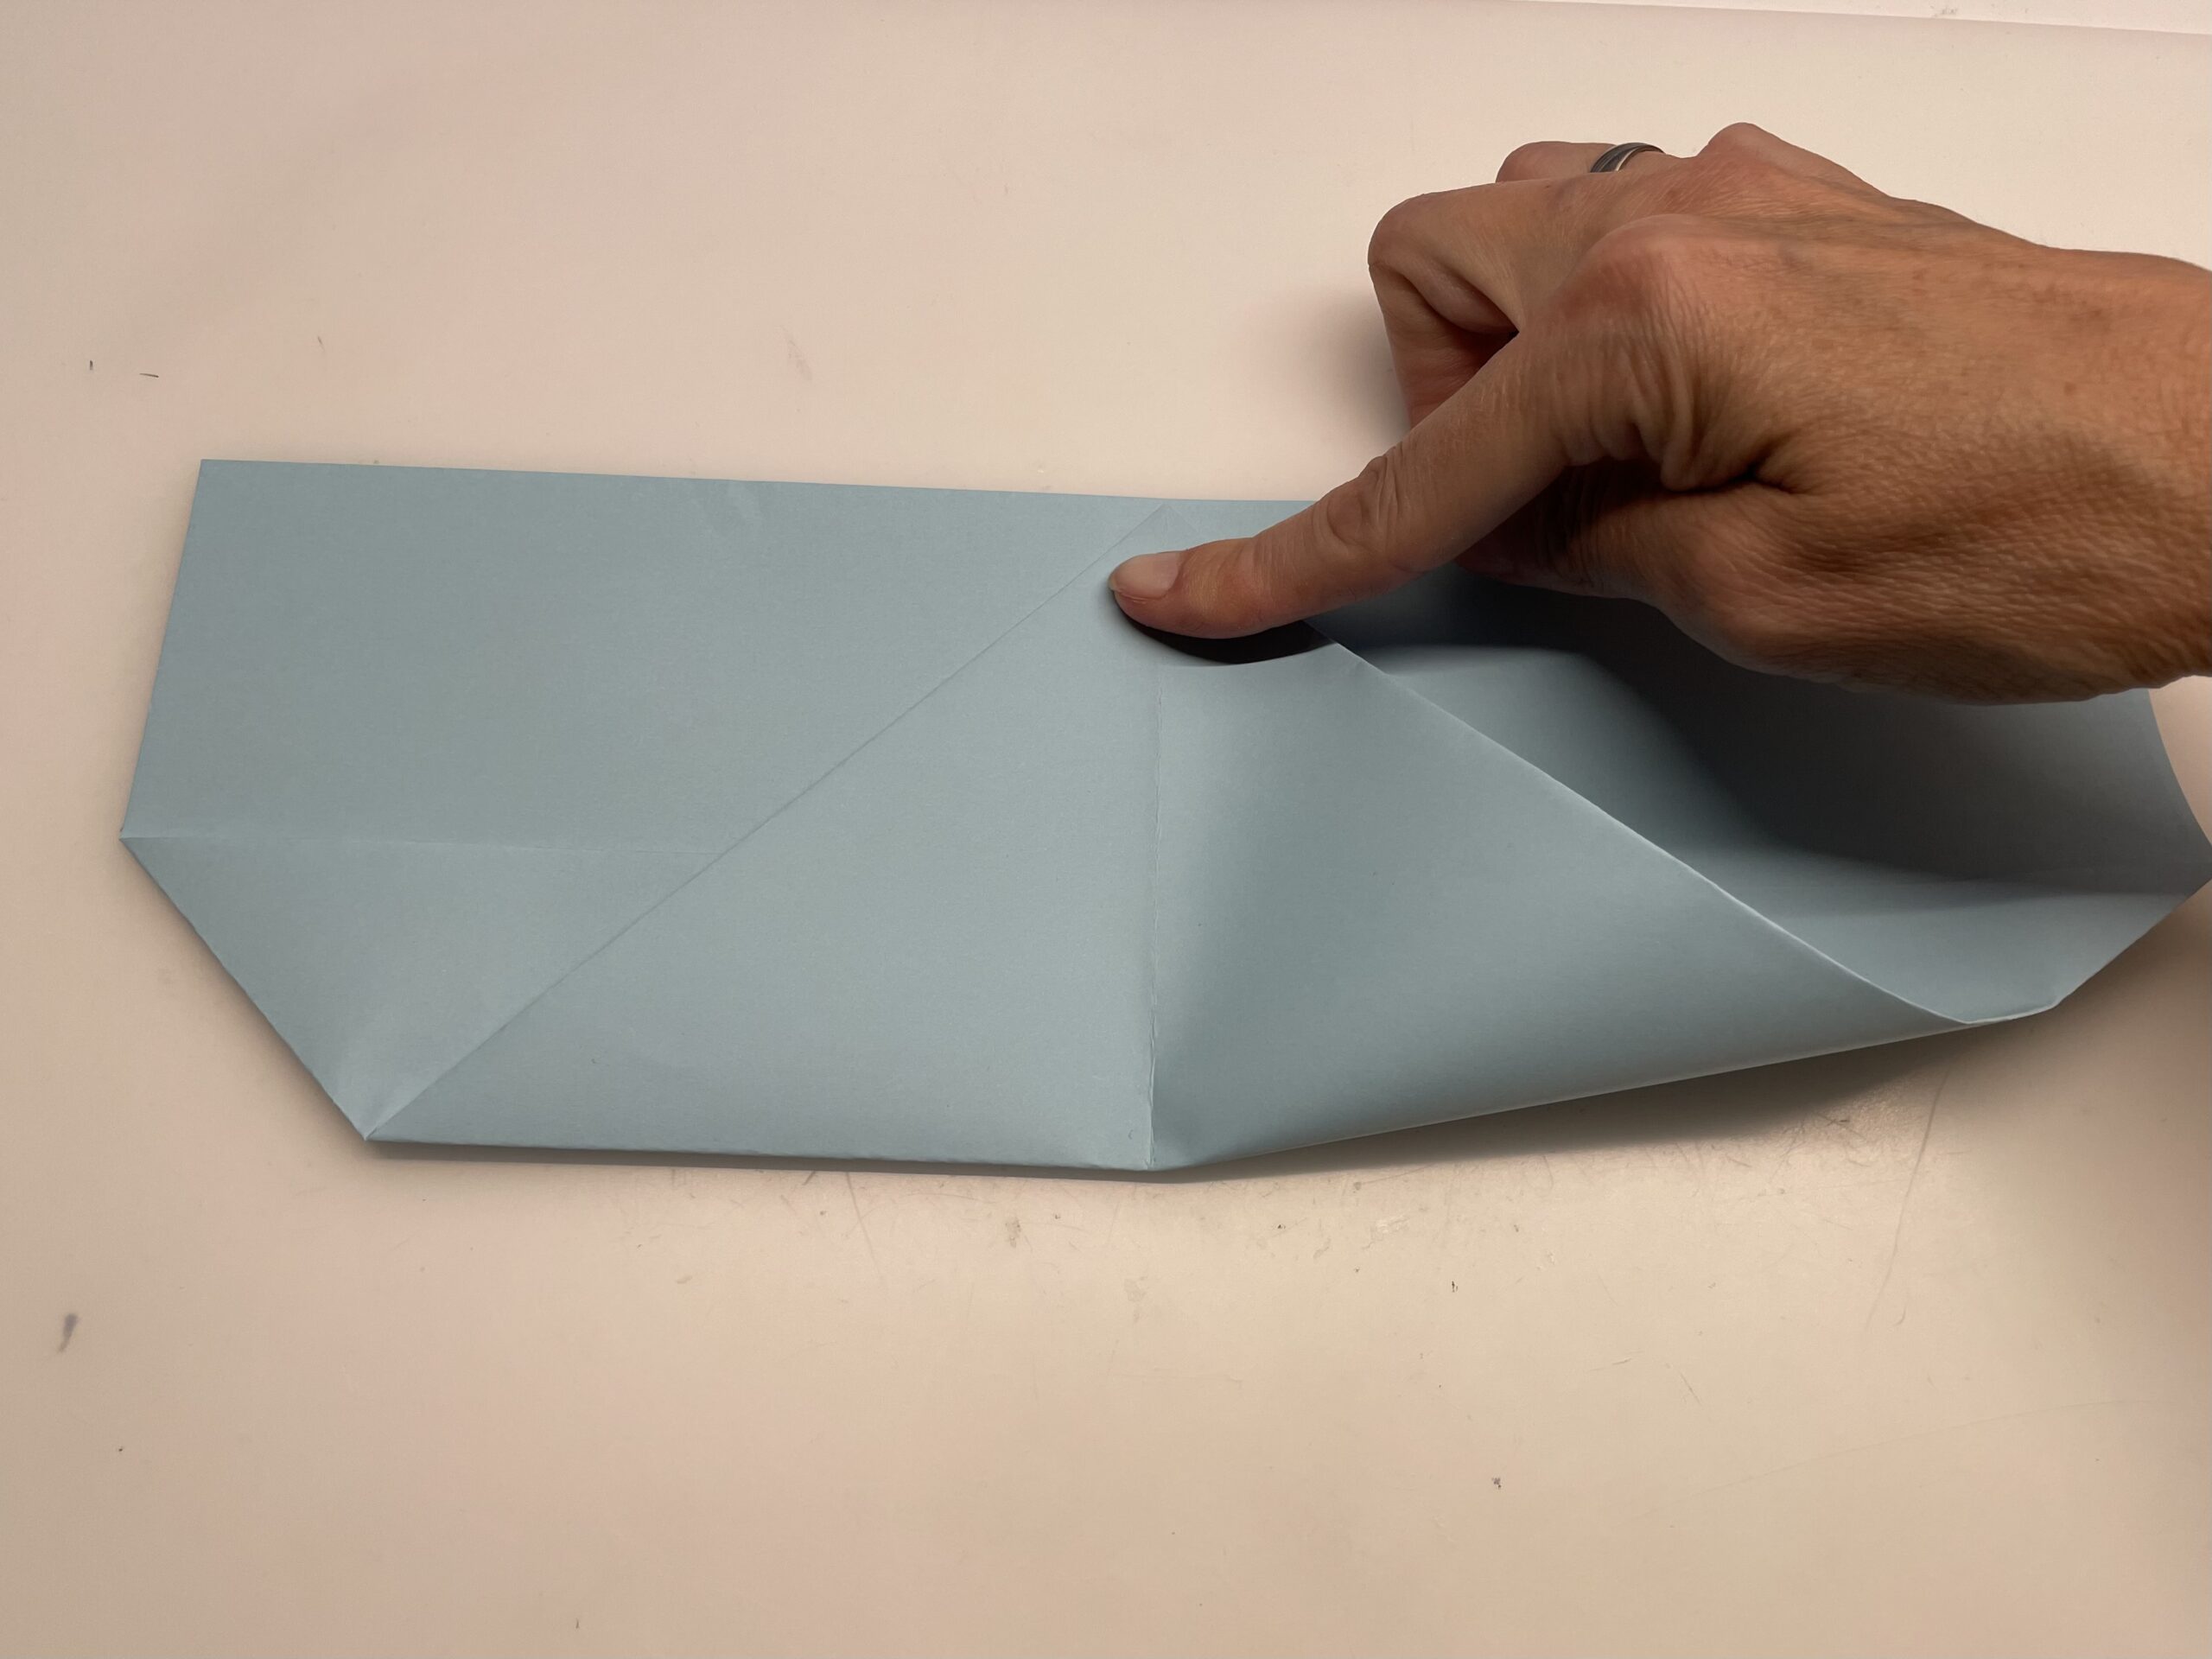
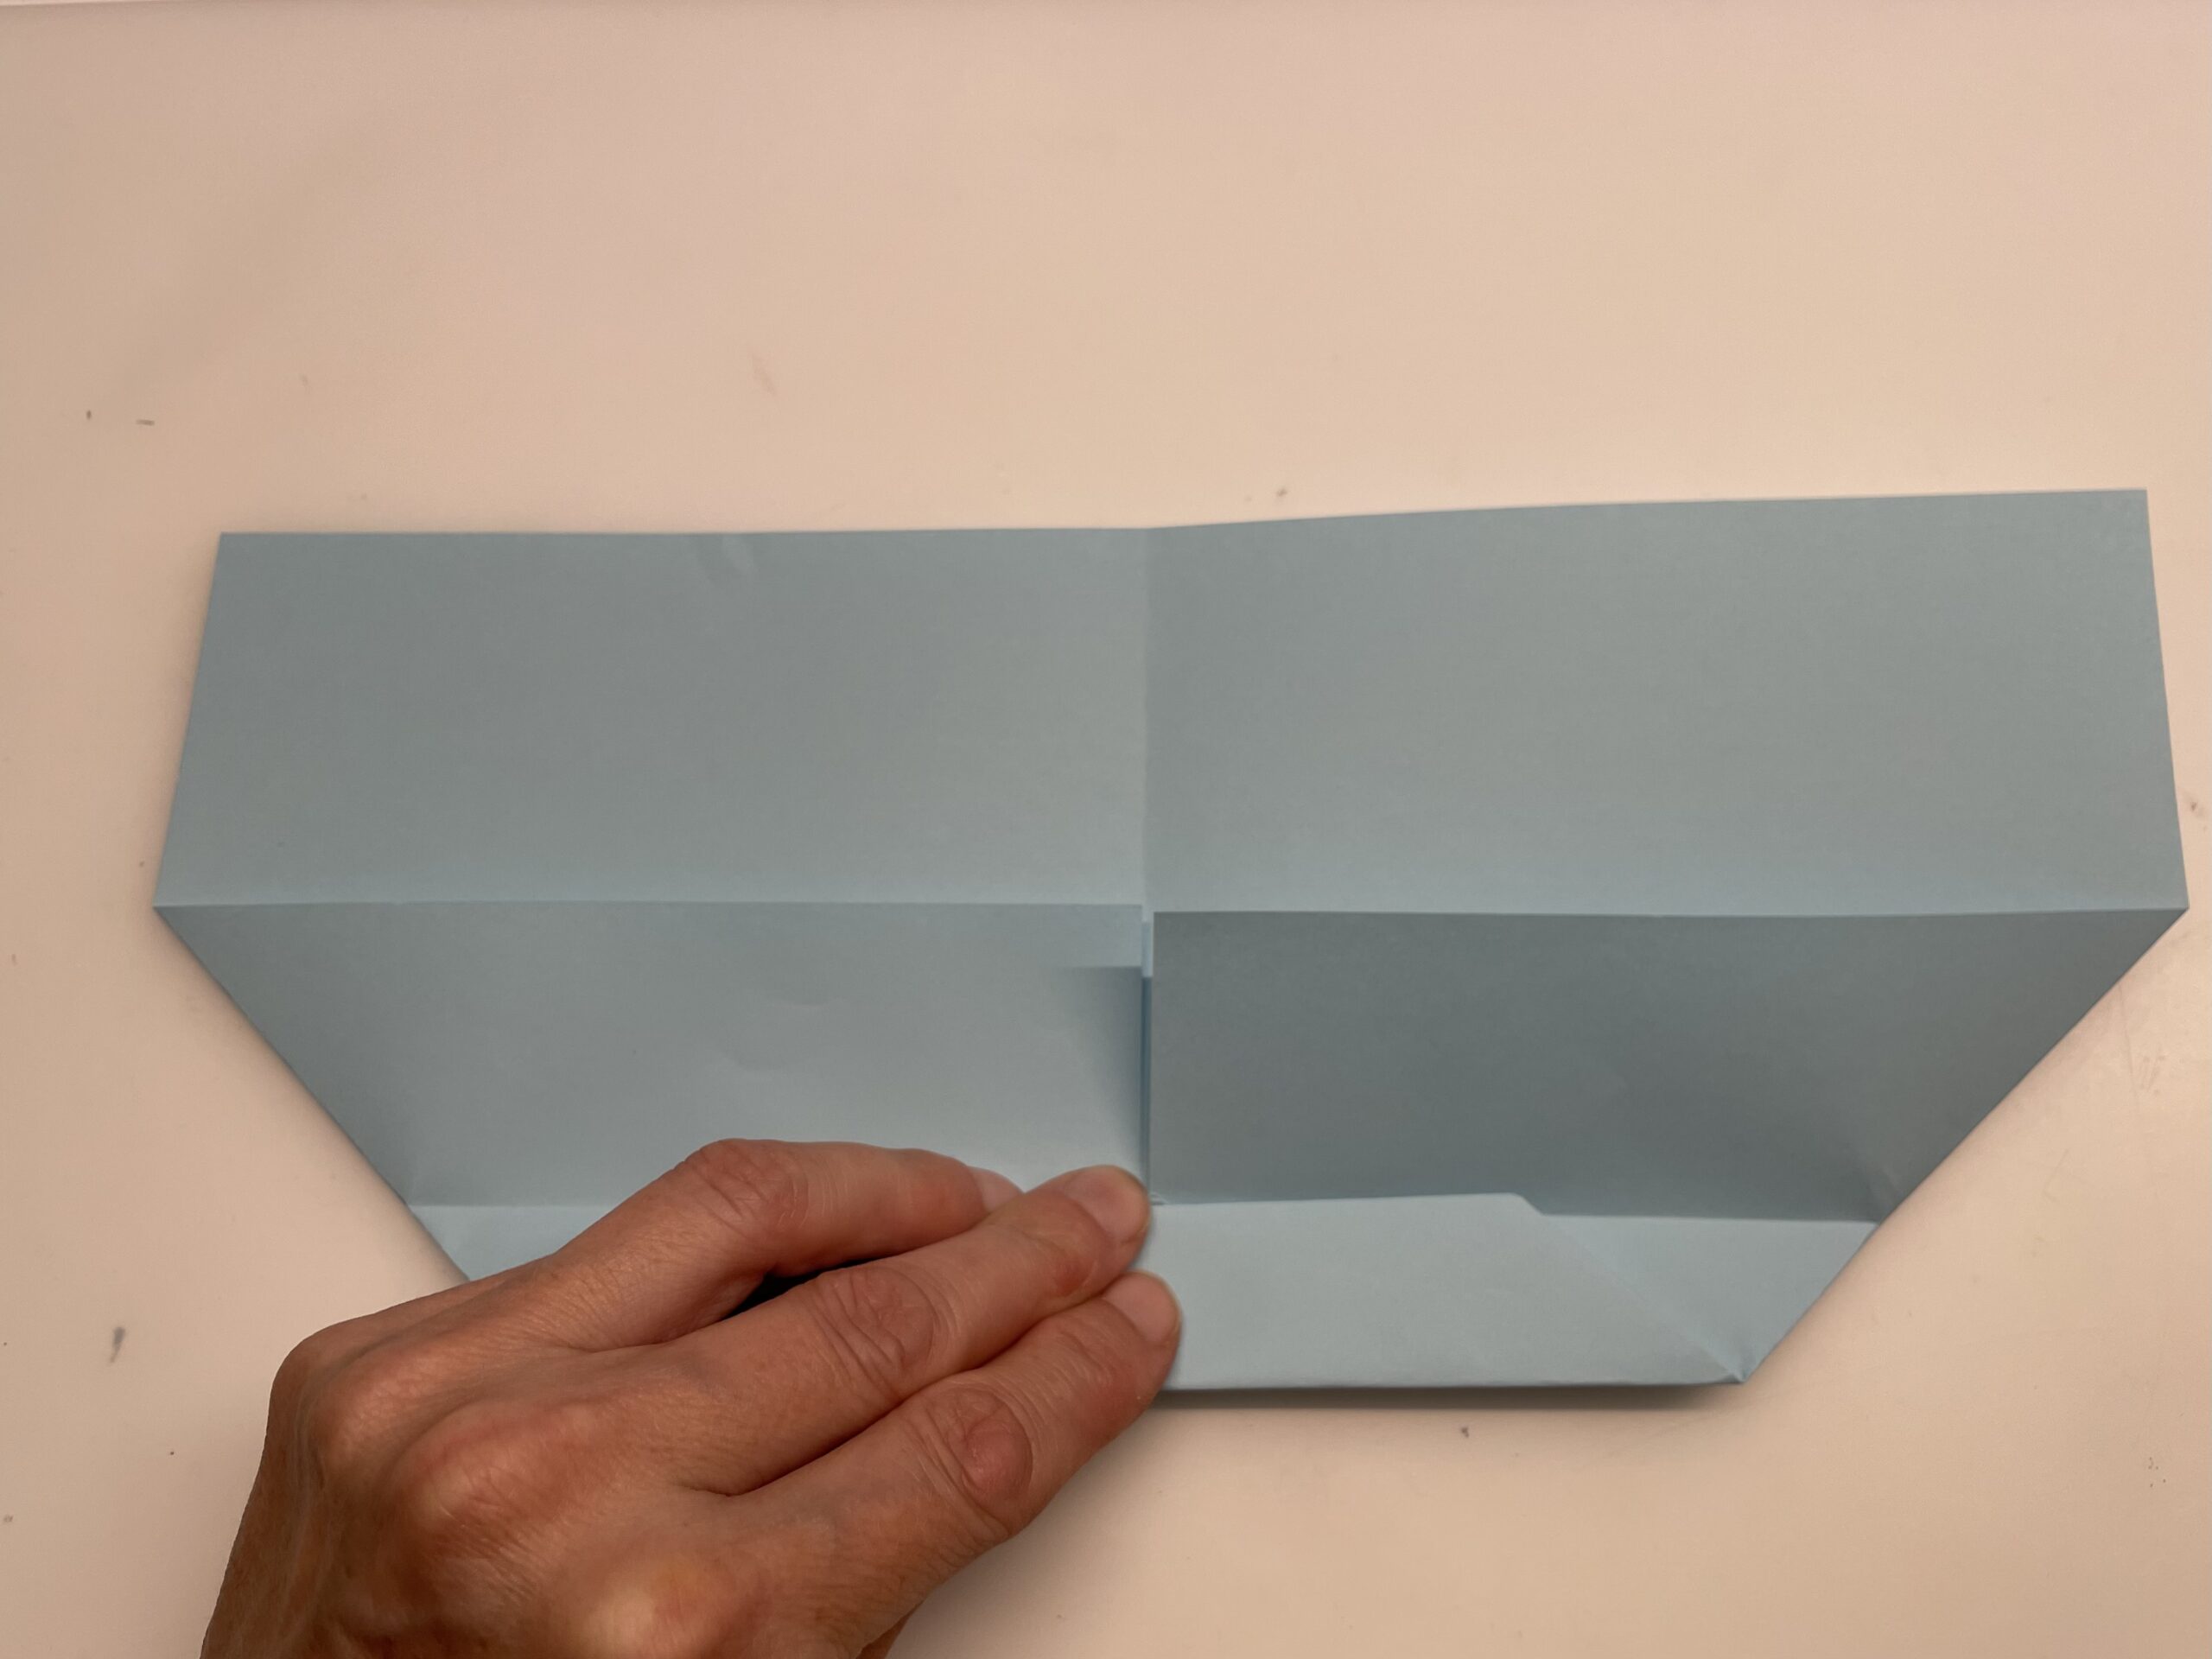
Roof take up the complete paper and turn it on the other back.
All folded stripes are on the back, on the table.
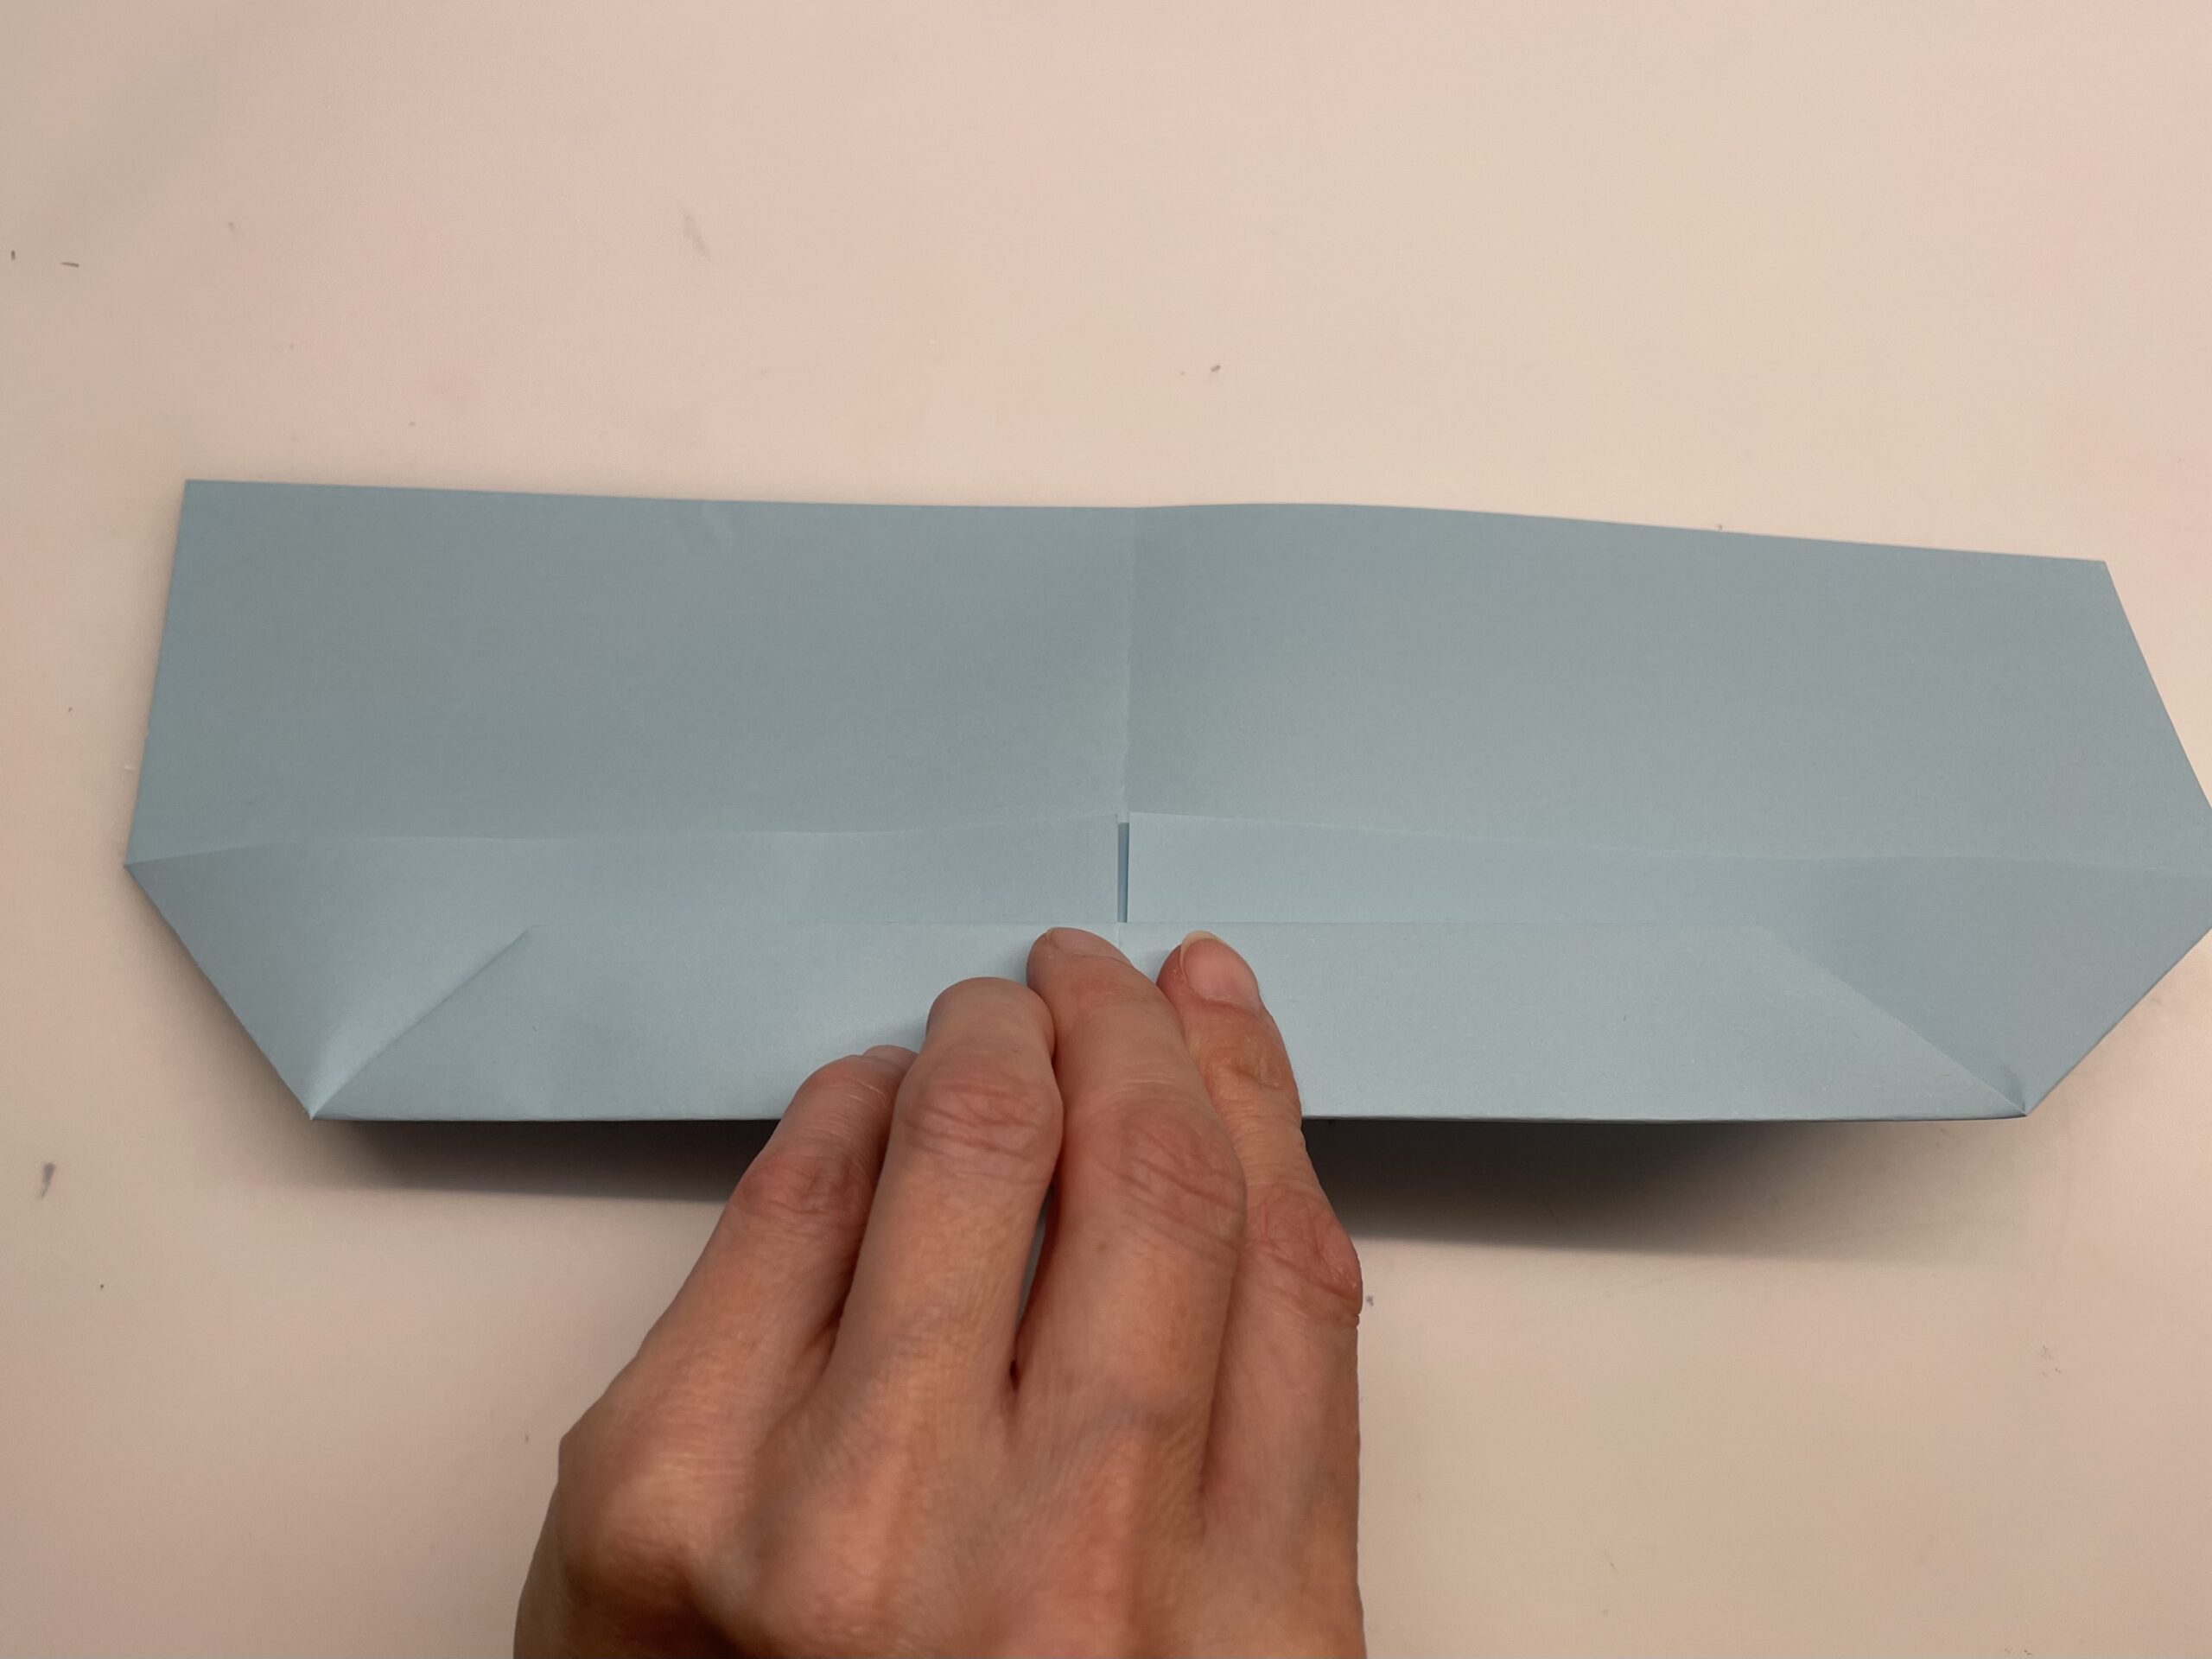
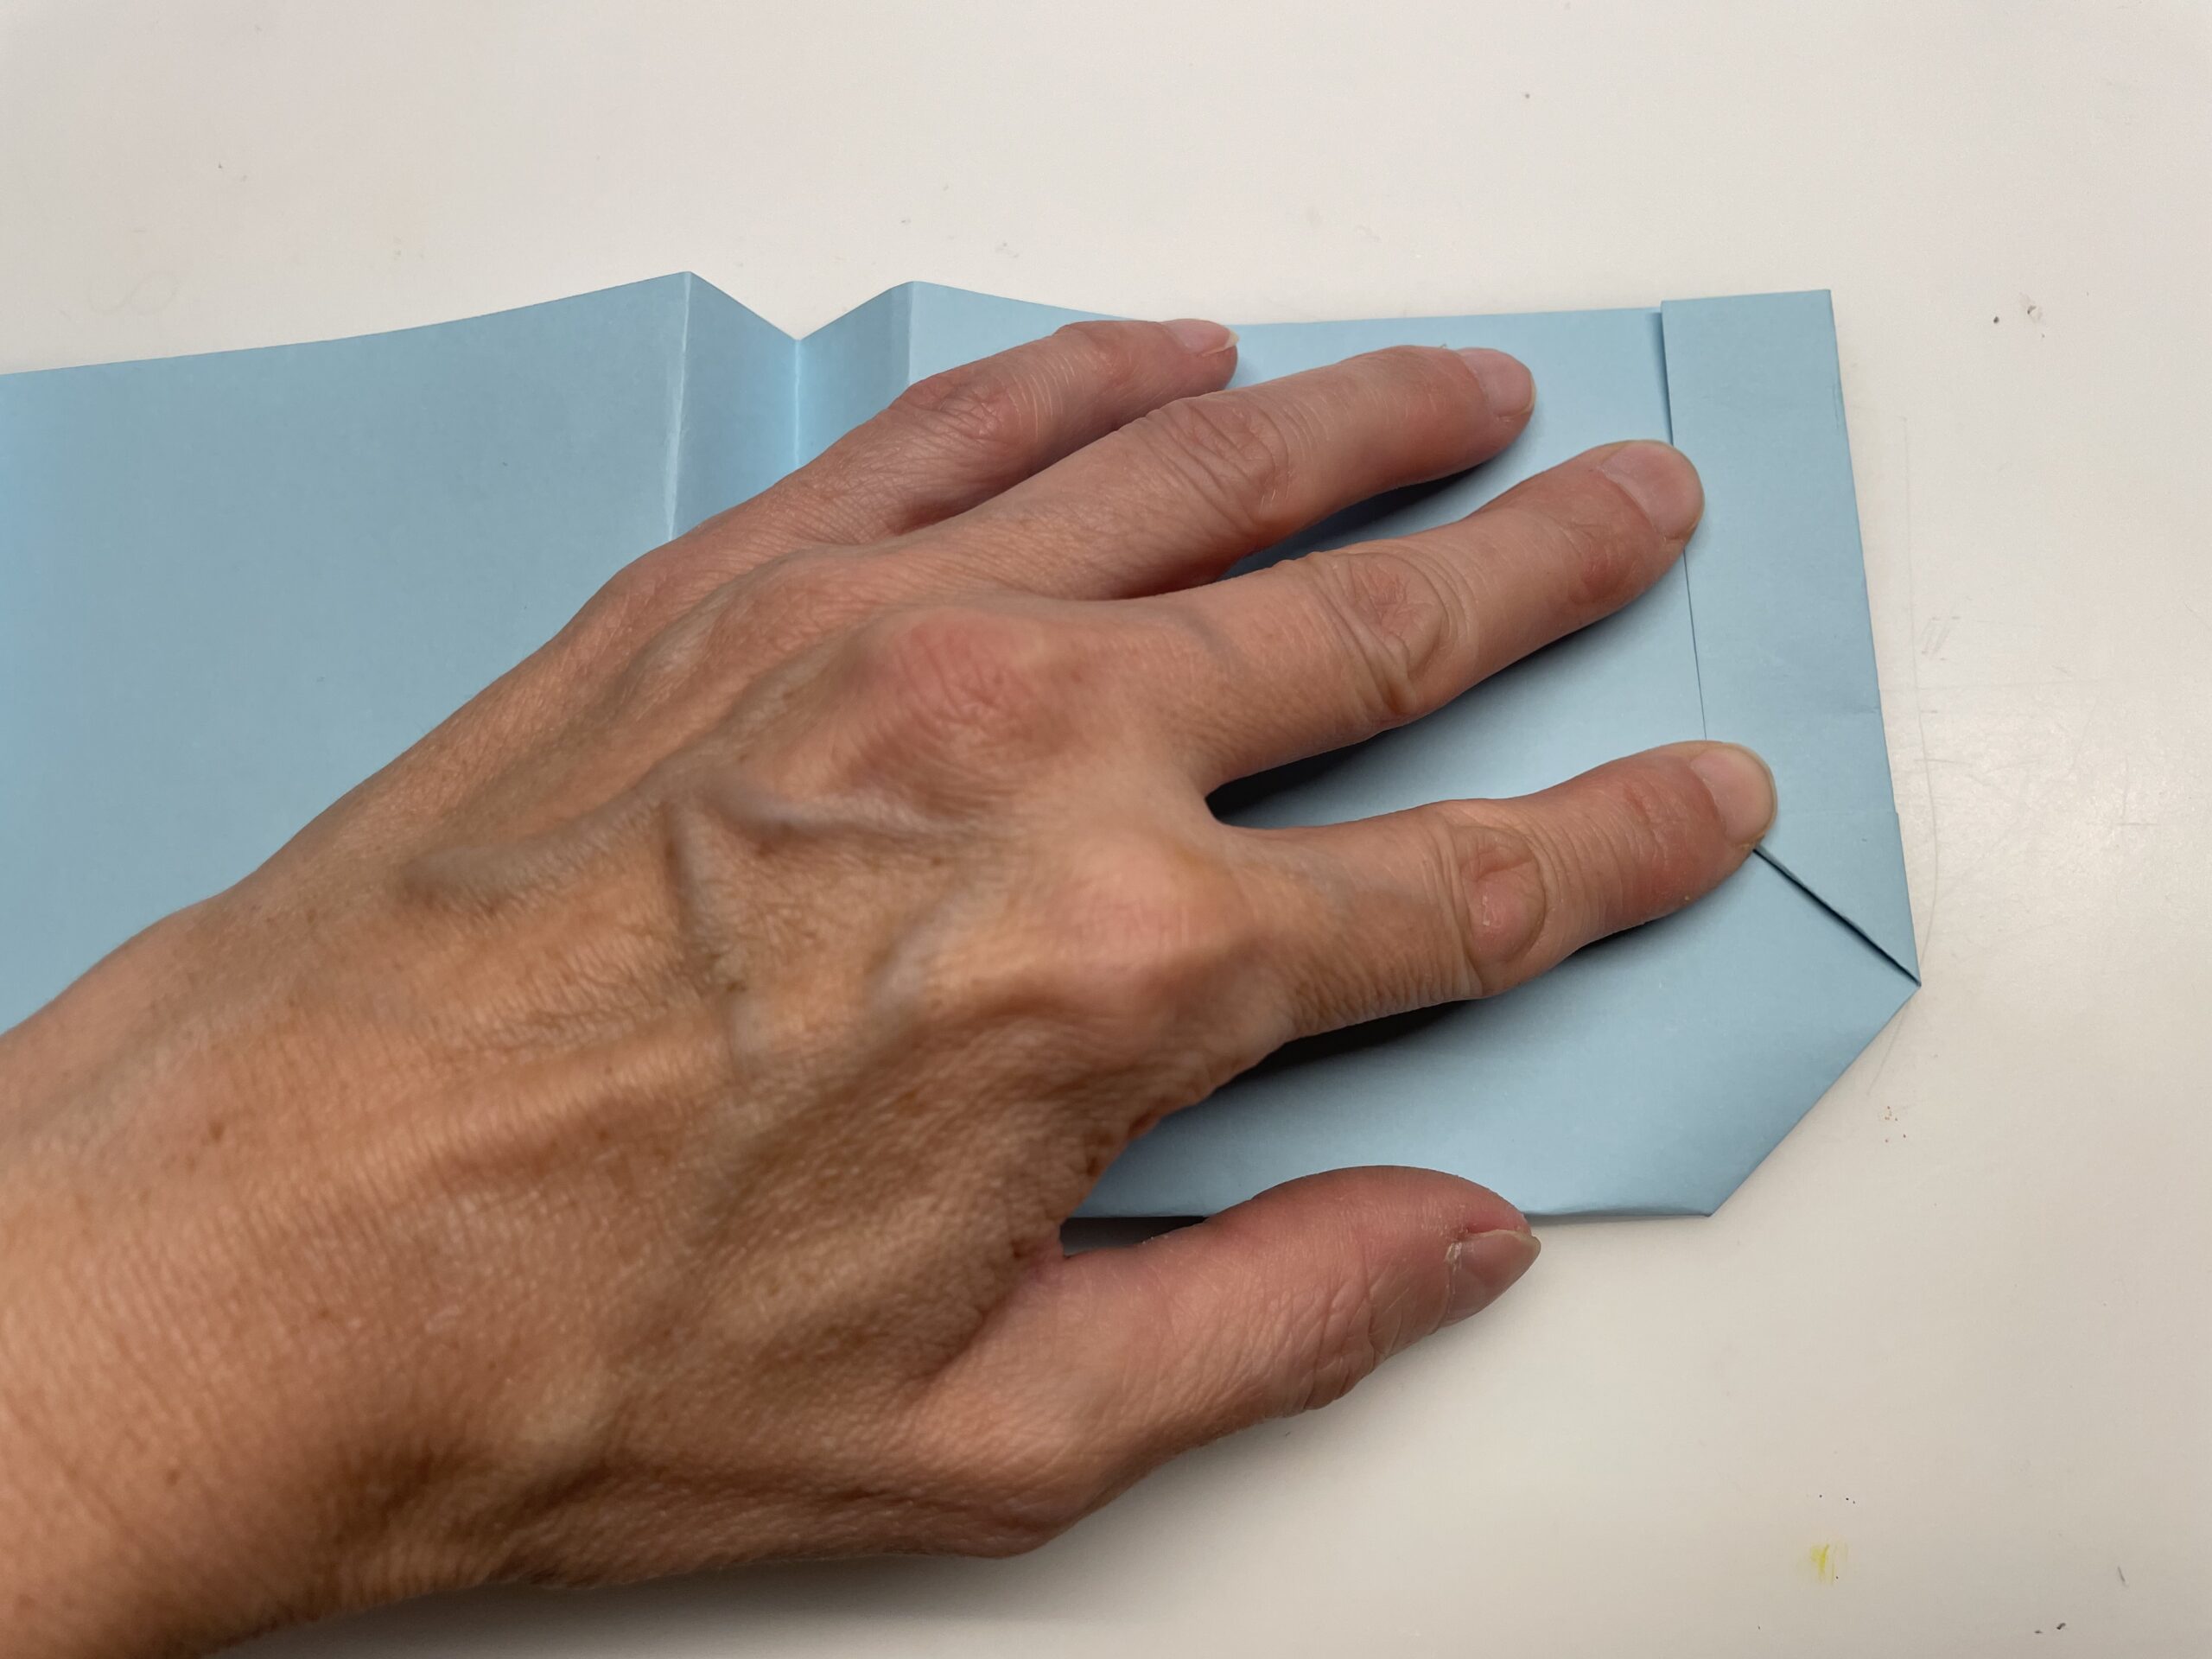
The rupture in the middle is still good to see.
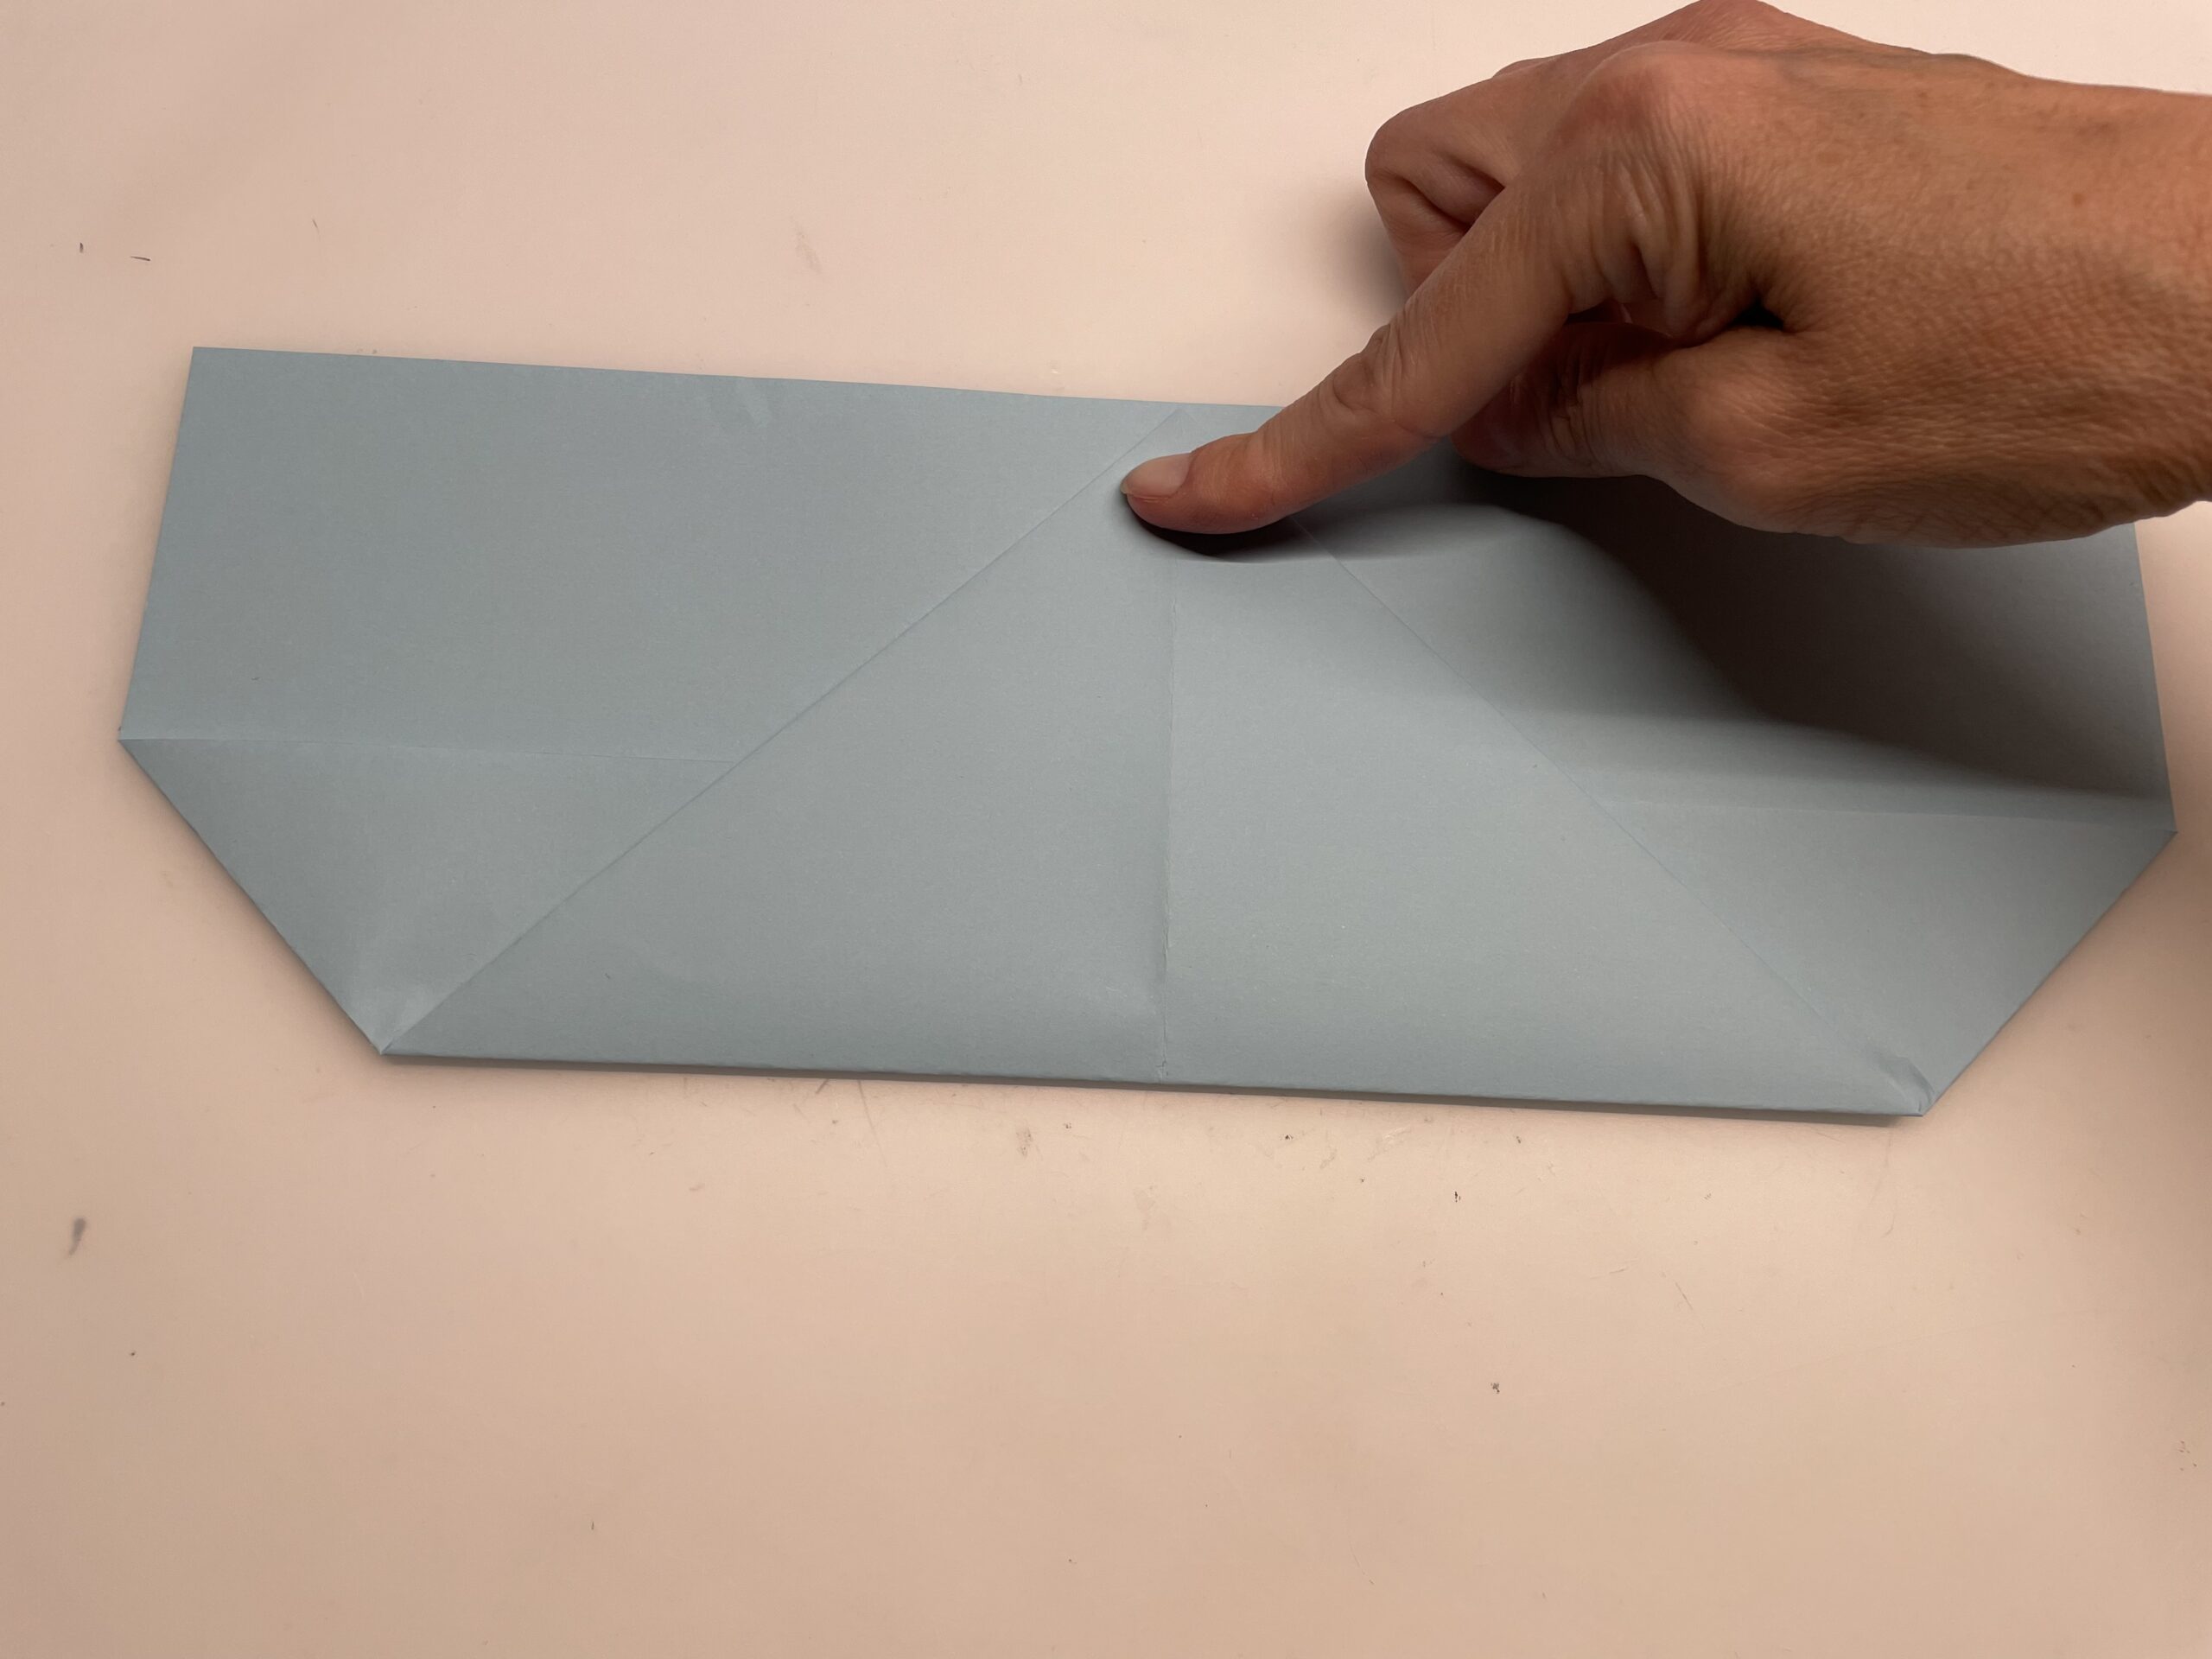
At this break you fold the paper together now.
This is a bit difficult because there are a lot of papers on top of each other. However, make sure that both sides are exactly on top of each other. You may use your hand bale to brush out the fold.
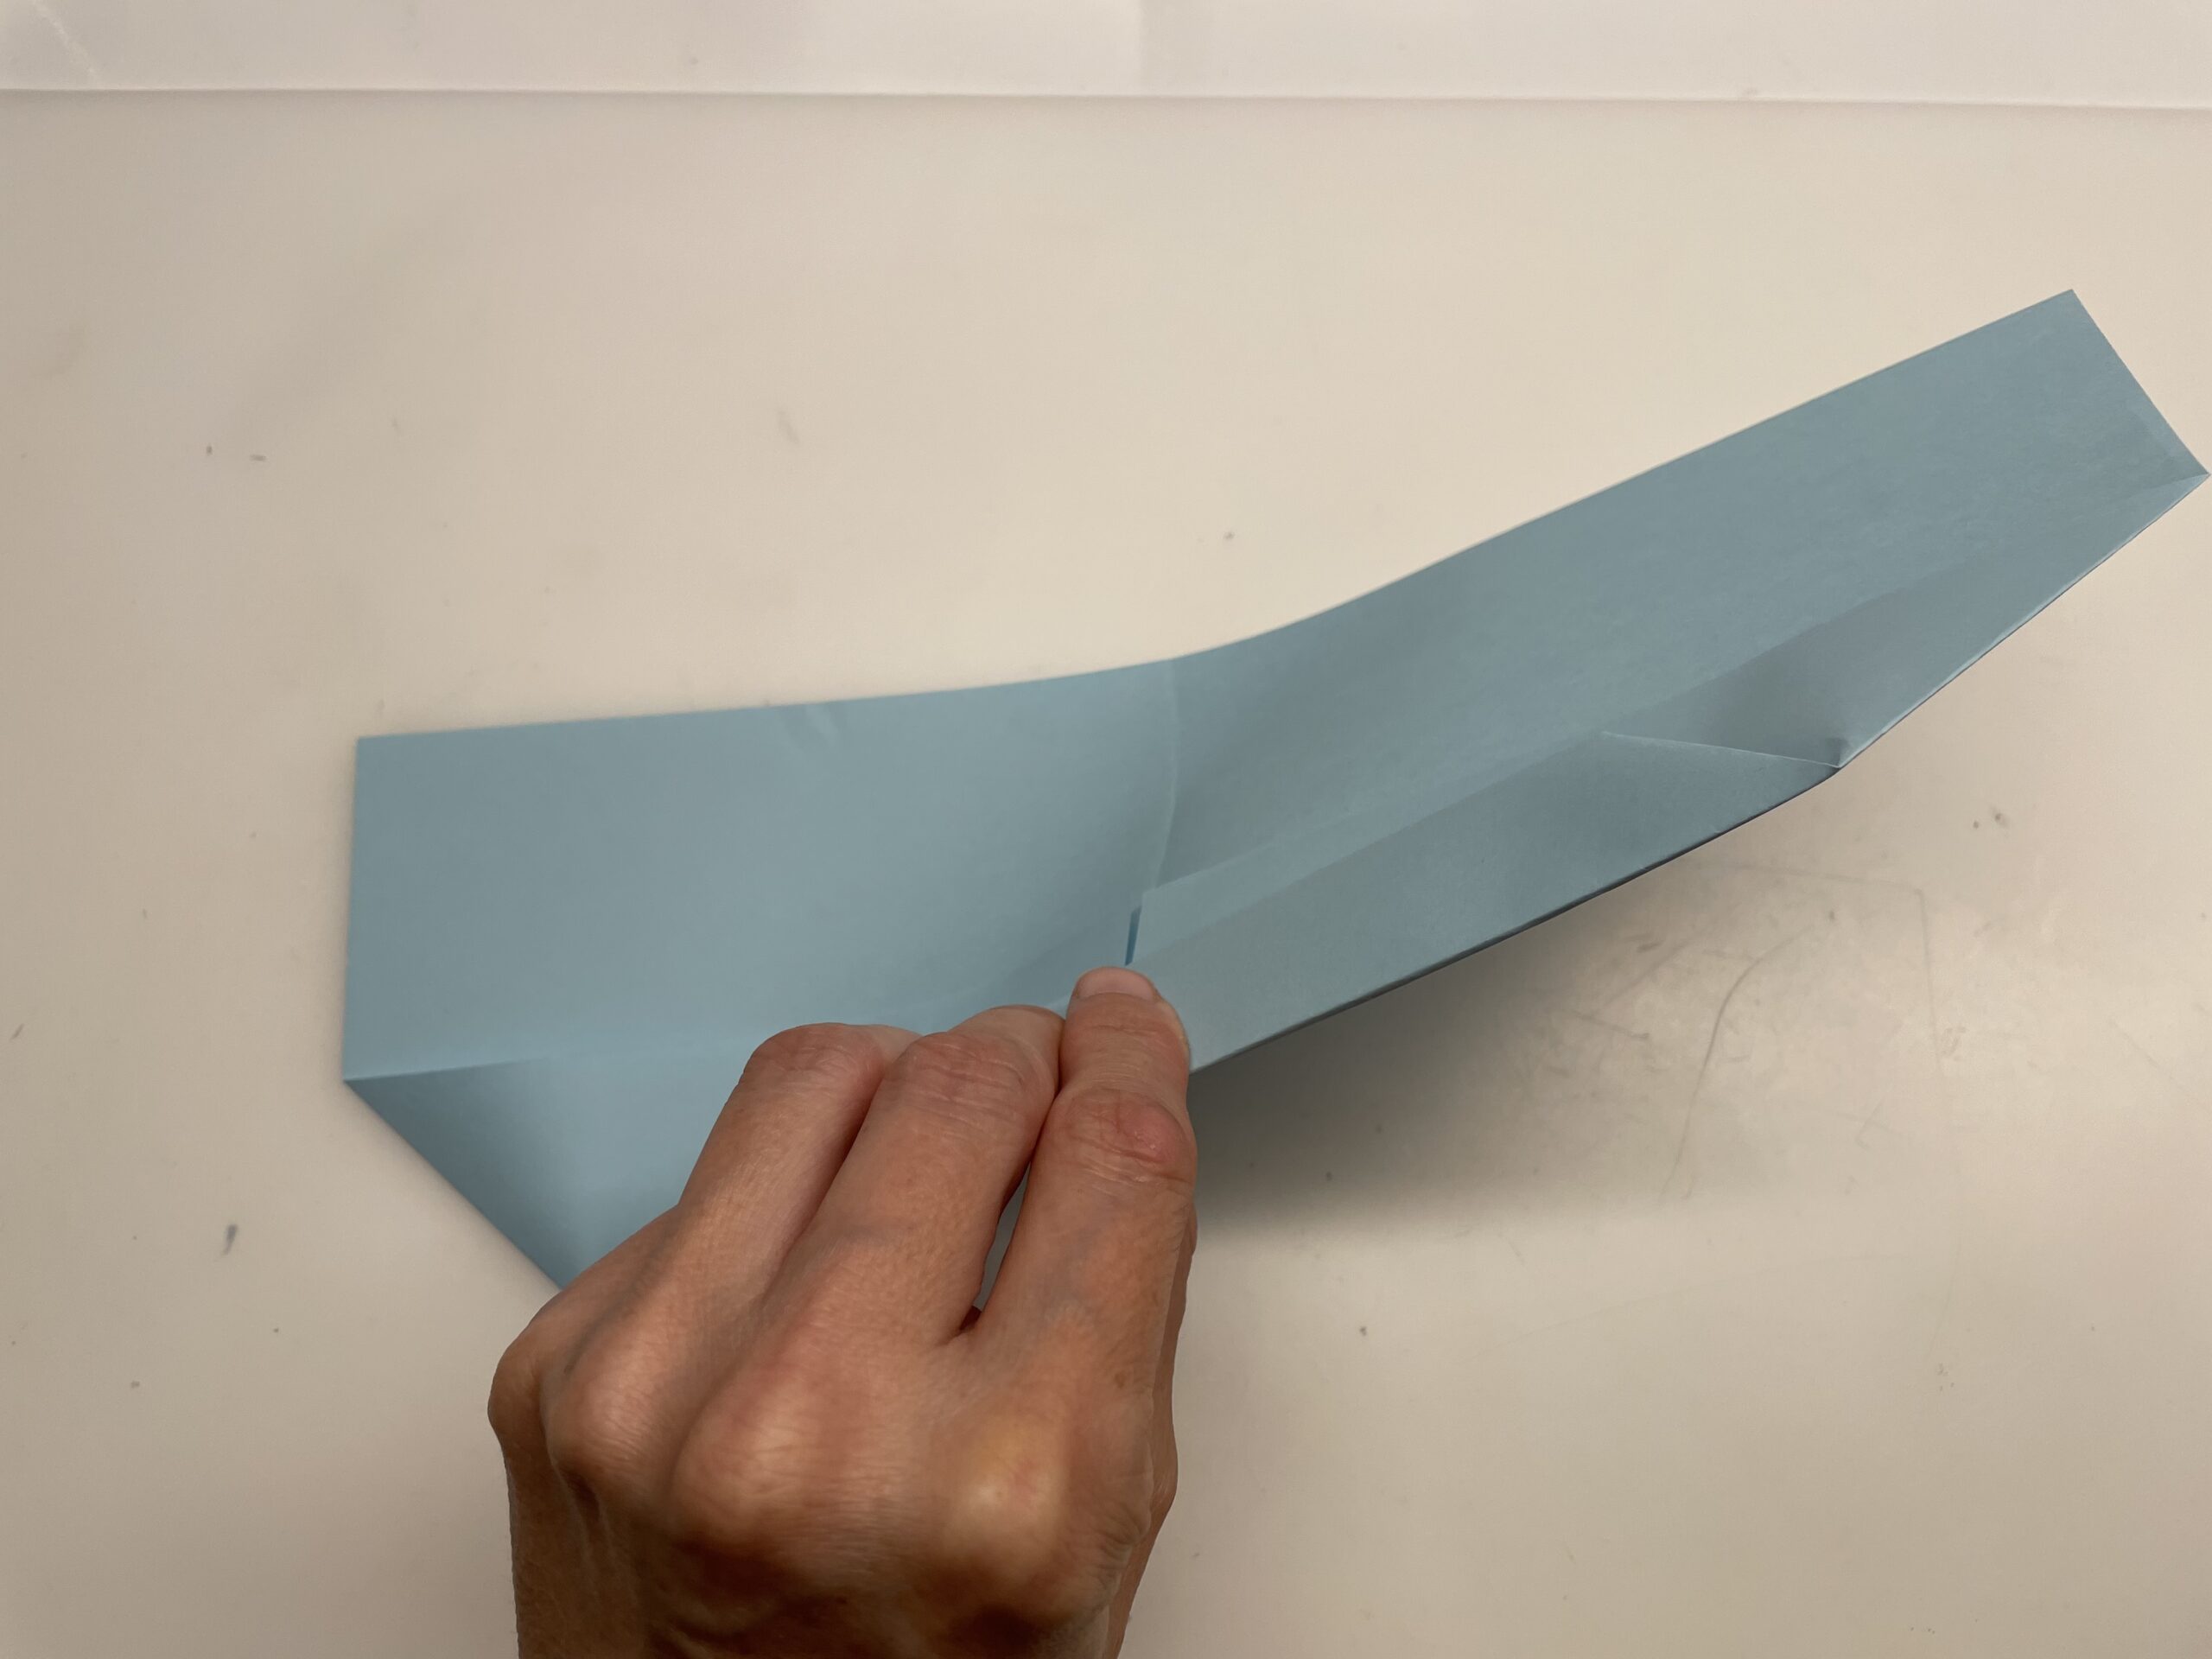
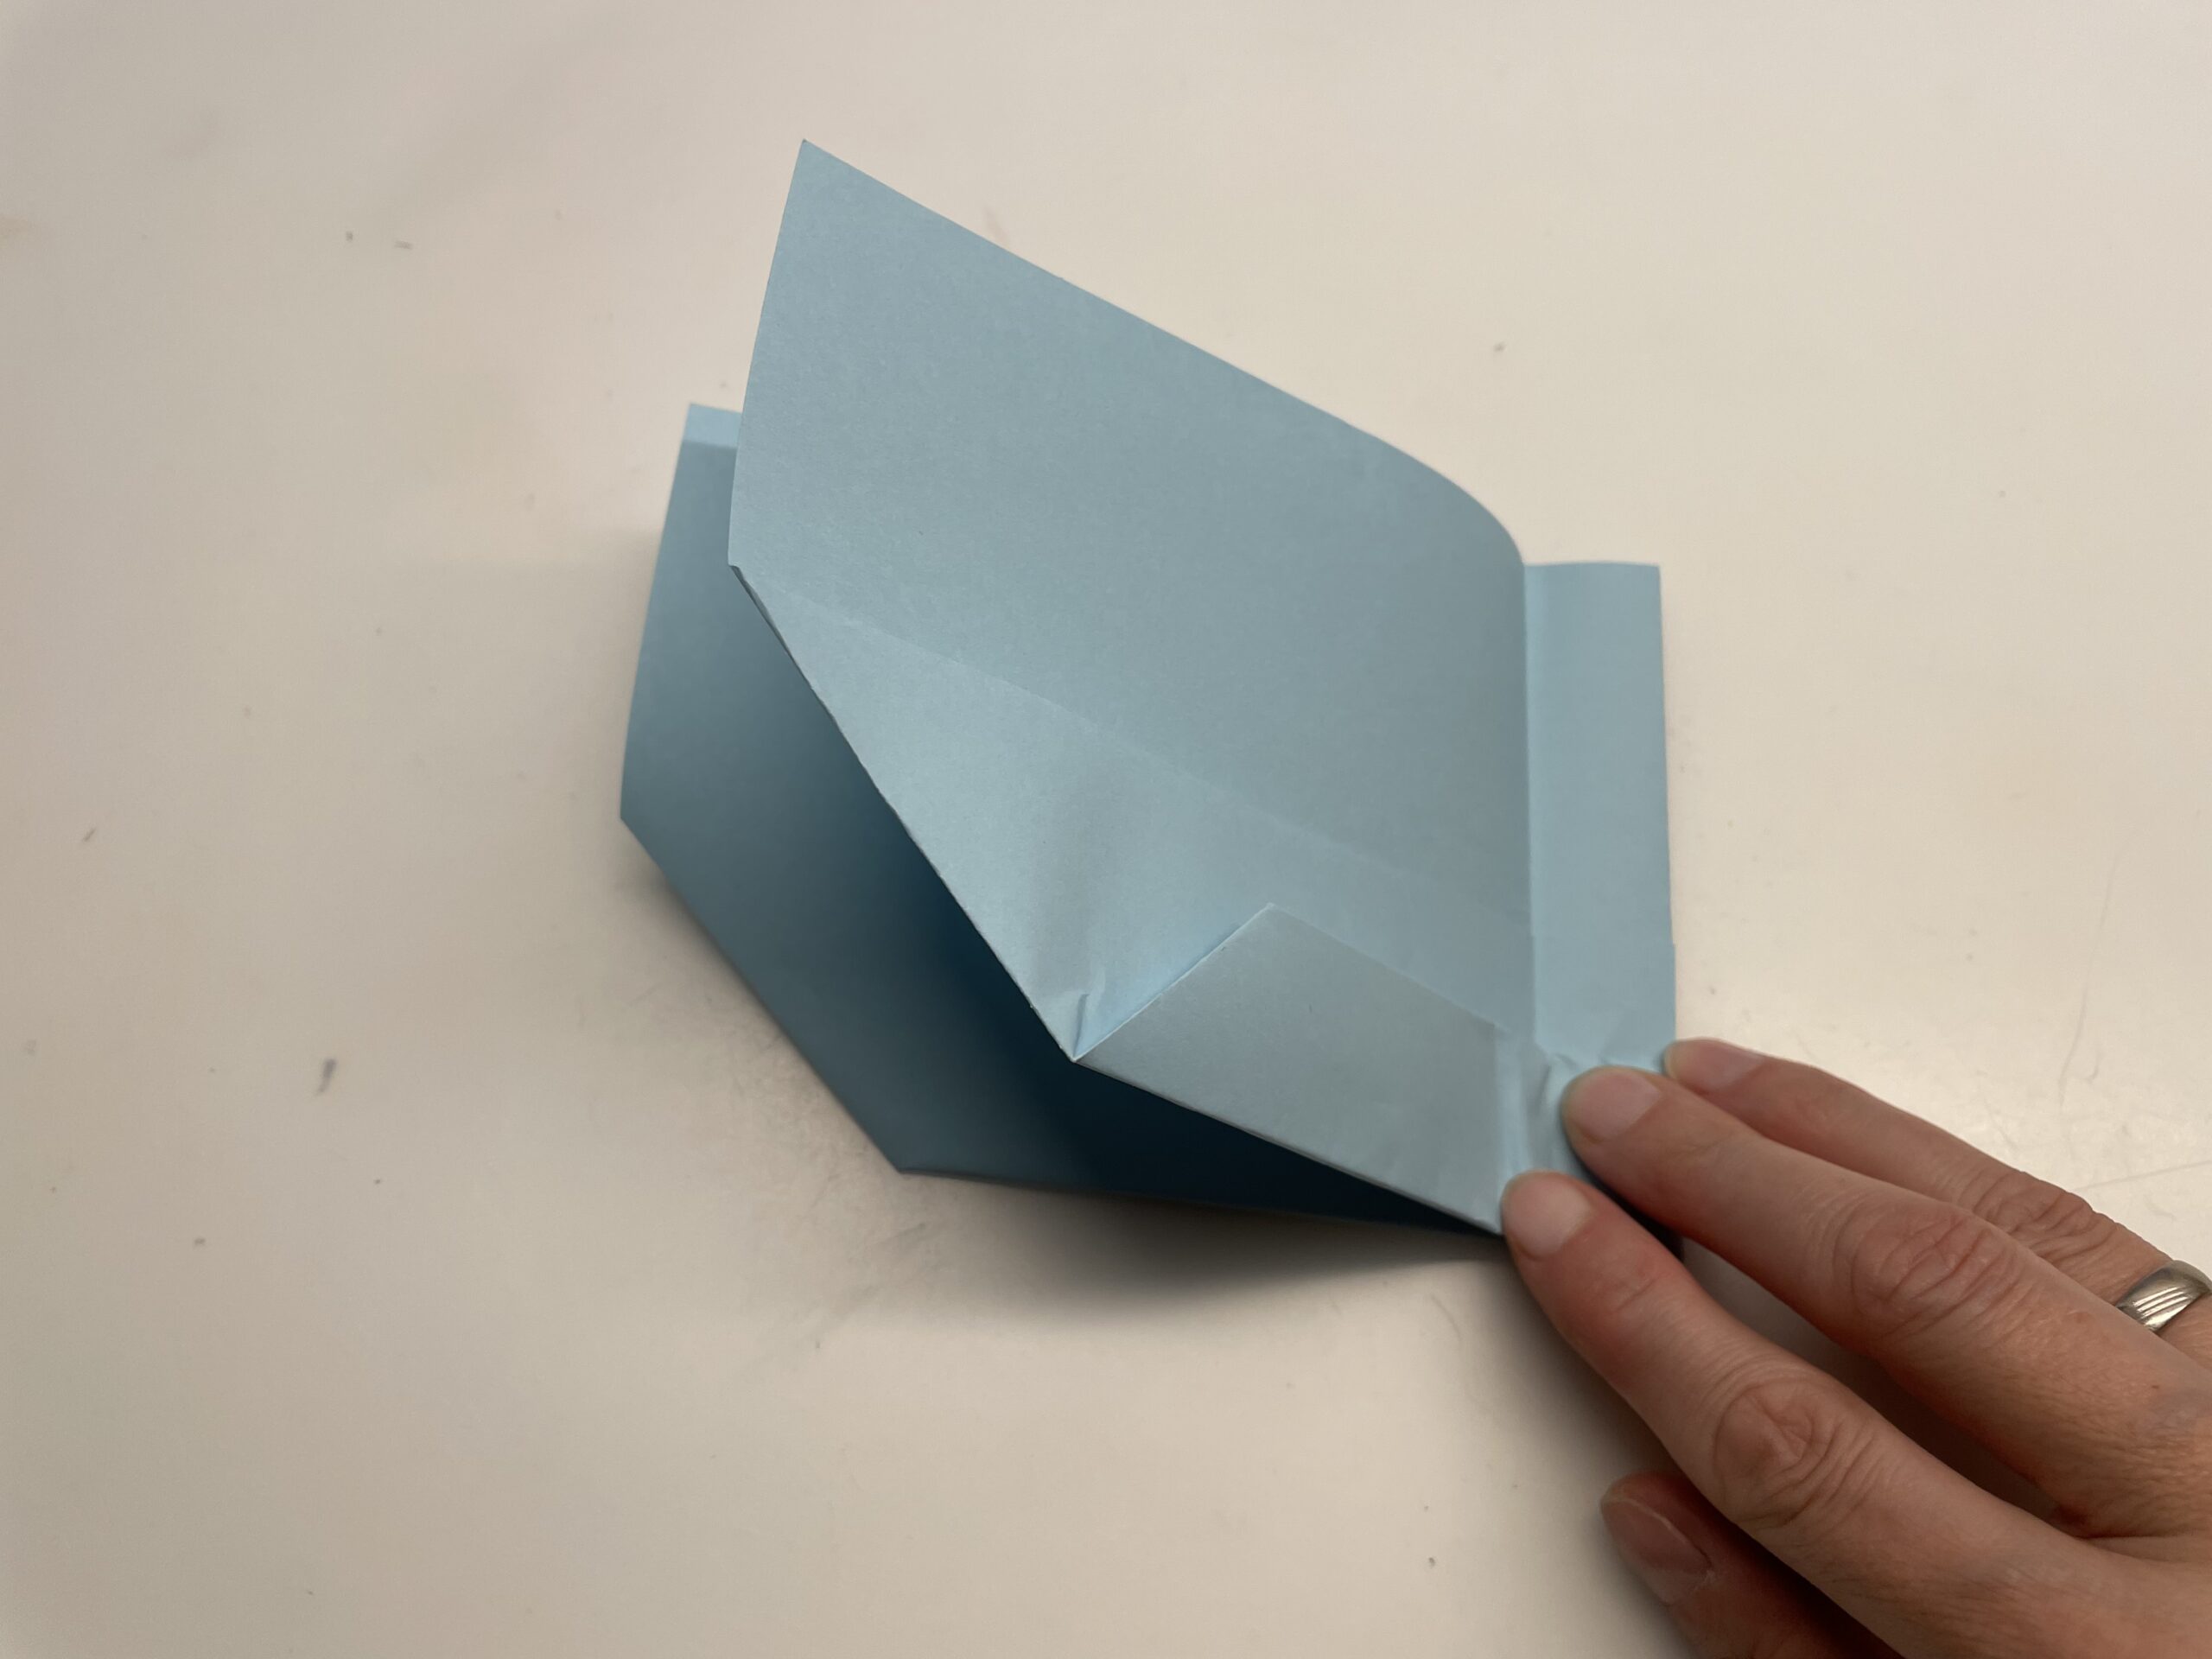
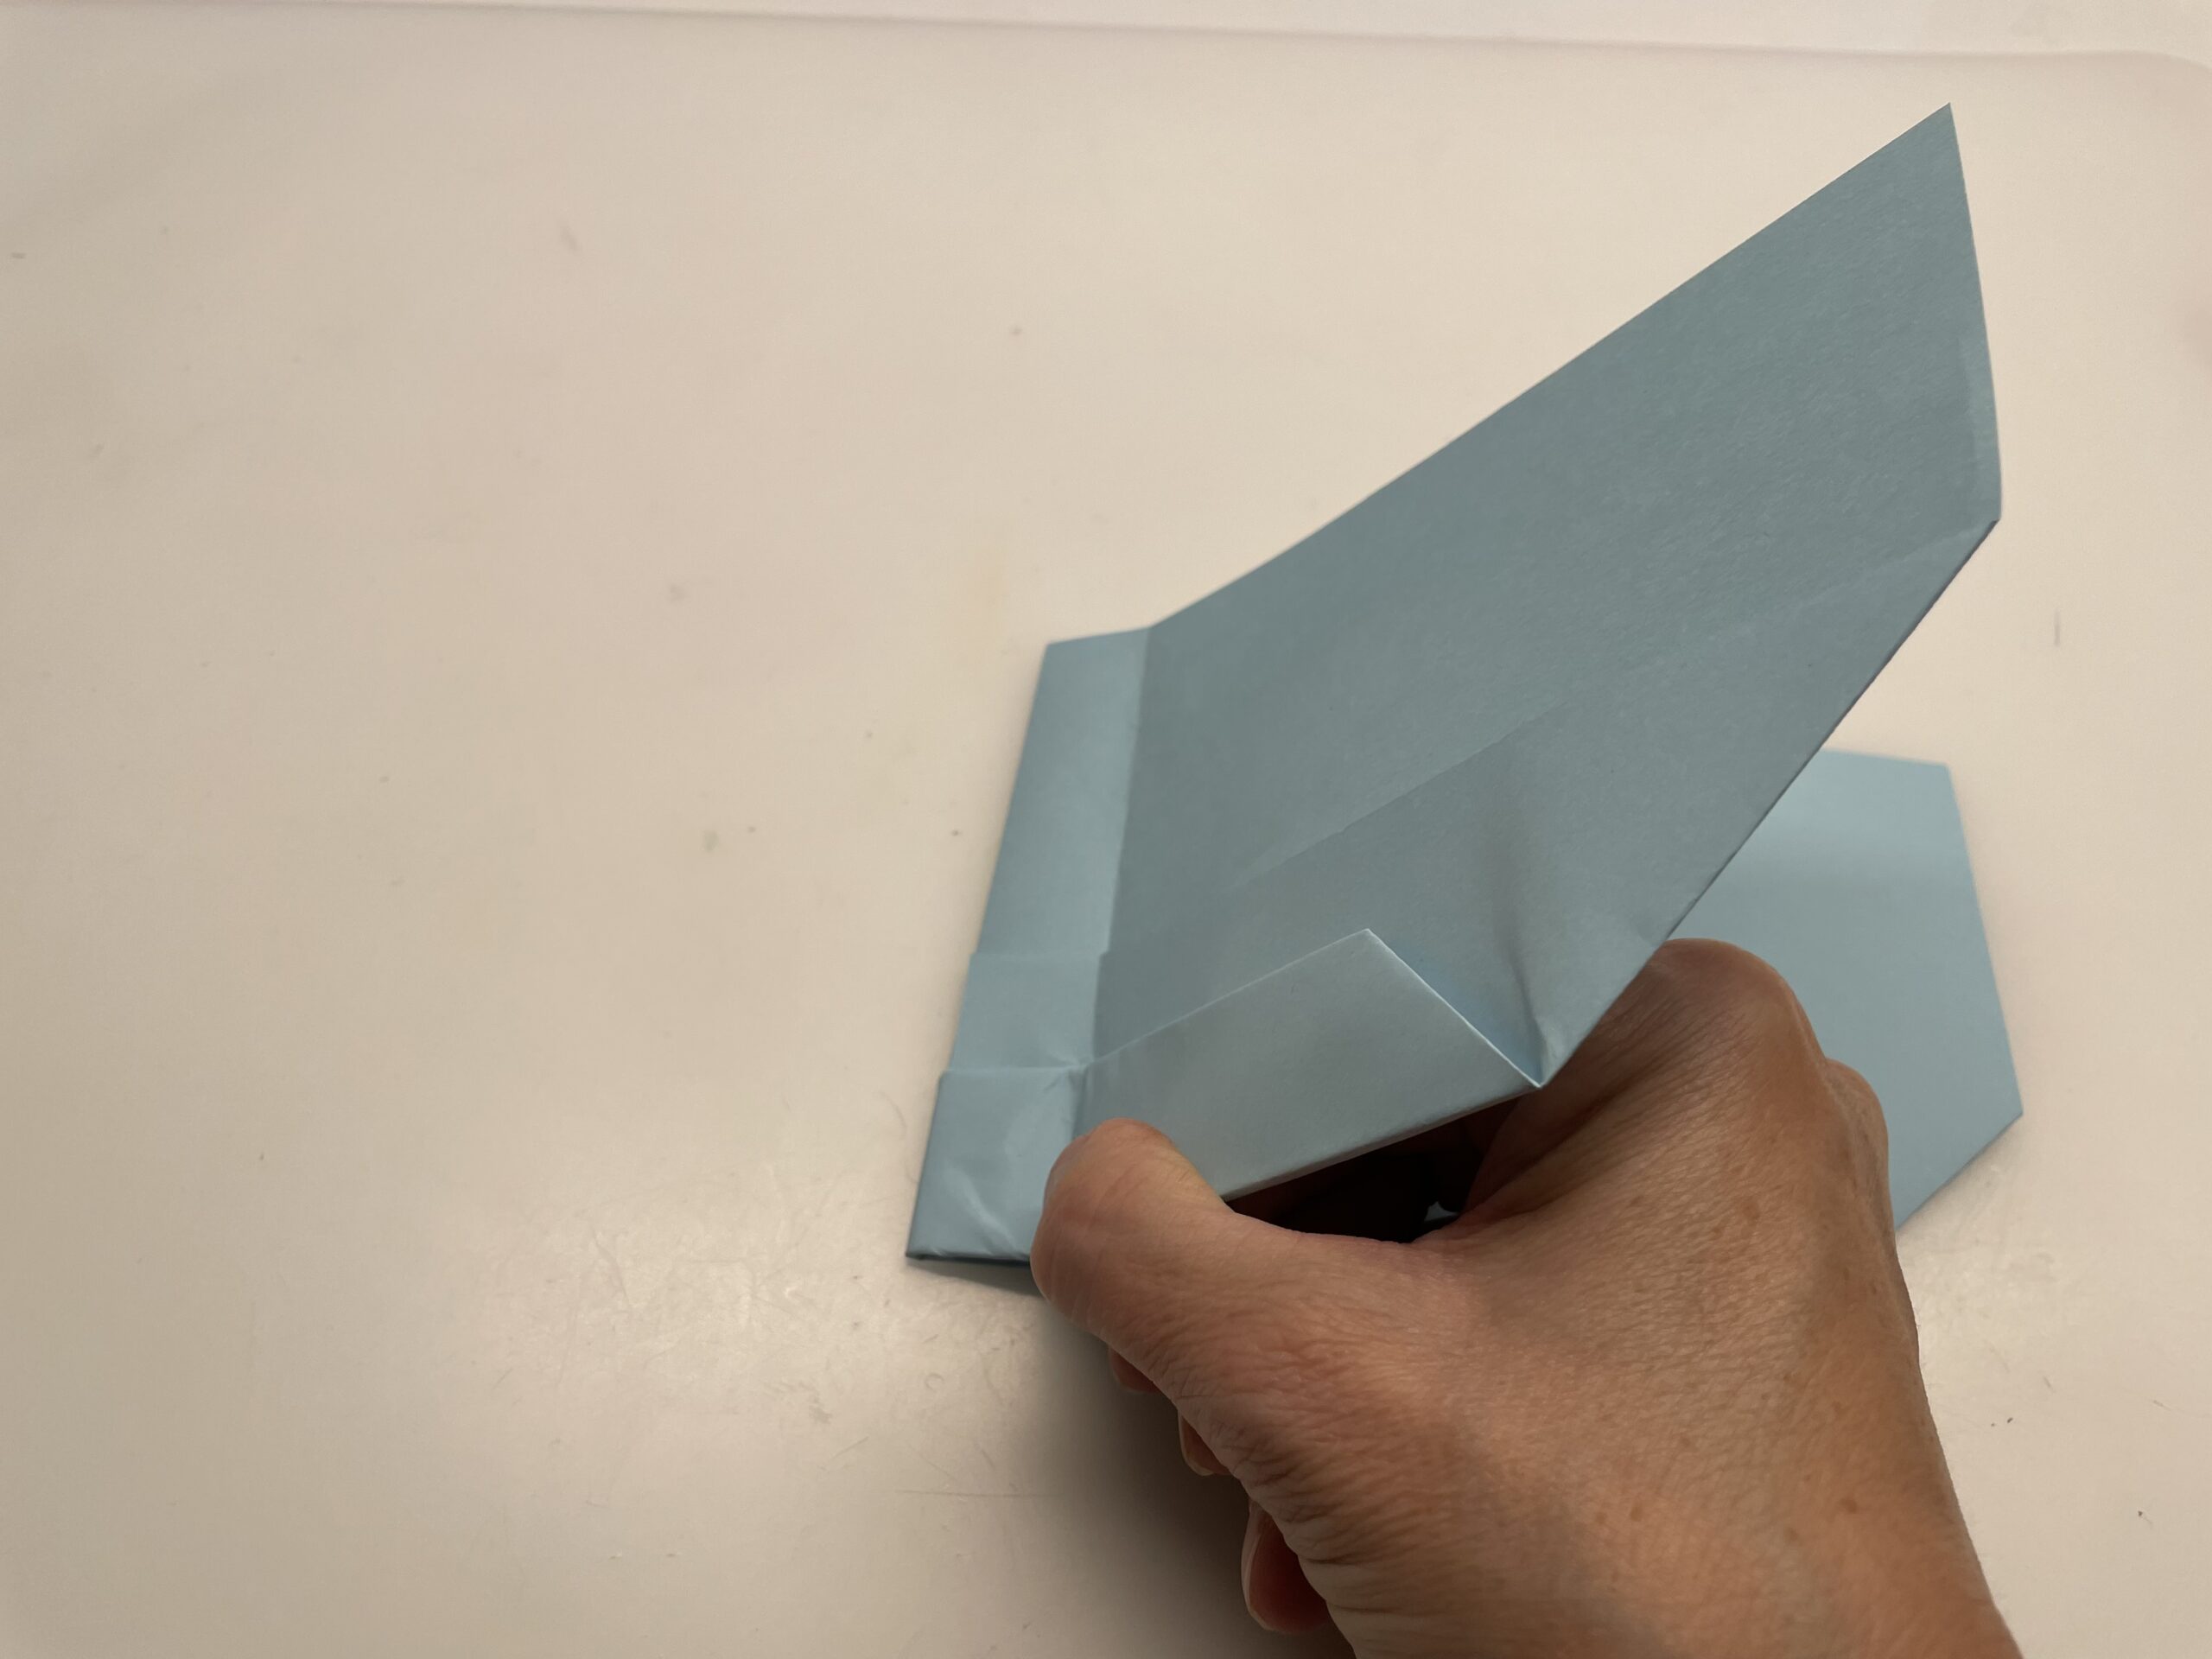
Now you still work the wings to the side. But this is not so easy, because again many papers lie on top of each other.

First, fold the upper leaf up a bit.
You can use a ruler as an aid. At the edge of the ruler you fold down the wing. Put the ruler about one centimetre wide on the closed edge of your paper and fold the top sheet over it.
Stirs out the kink well.
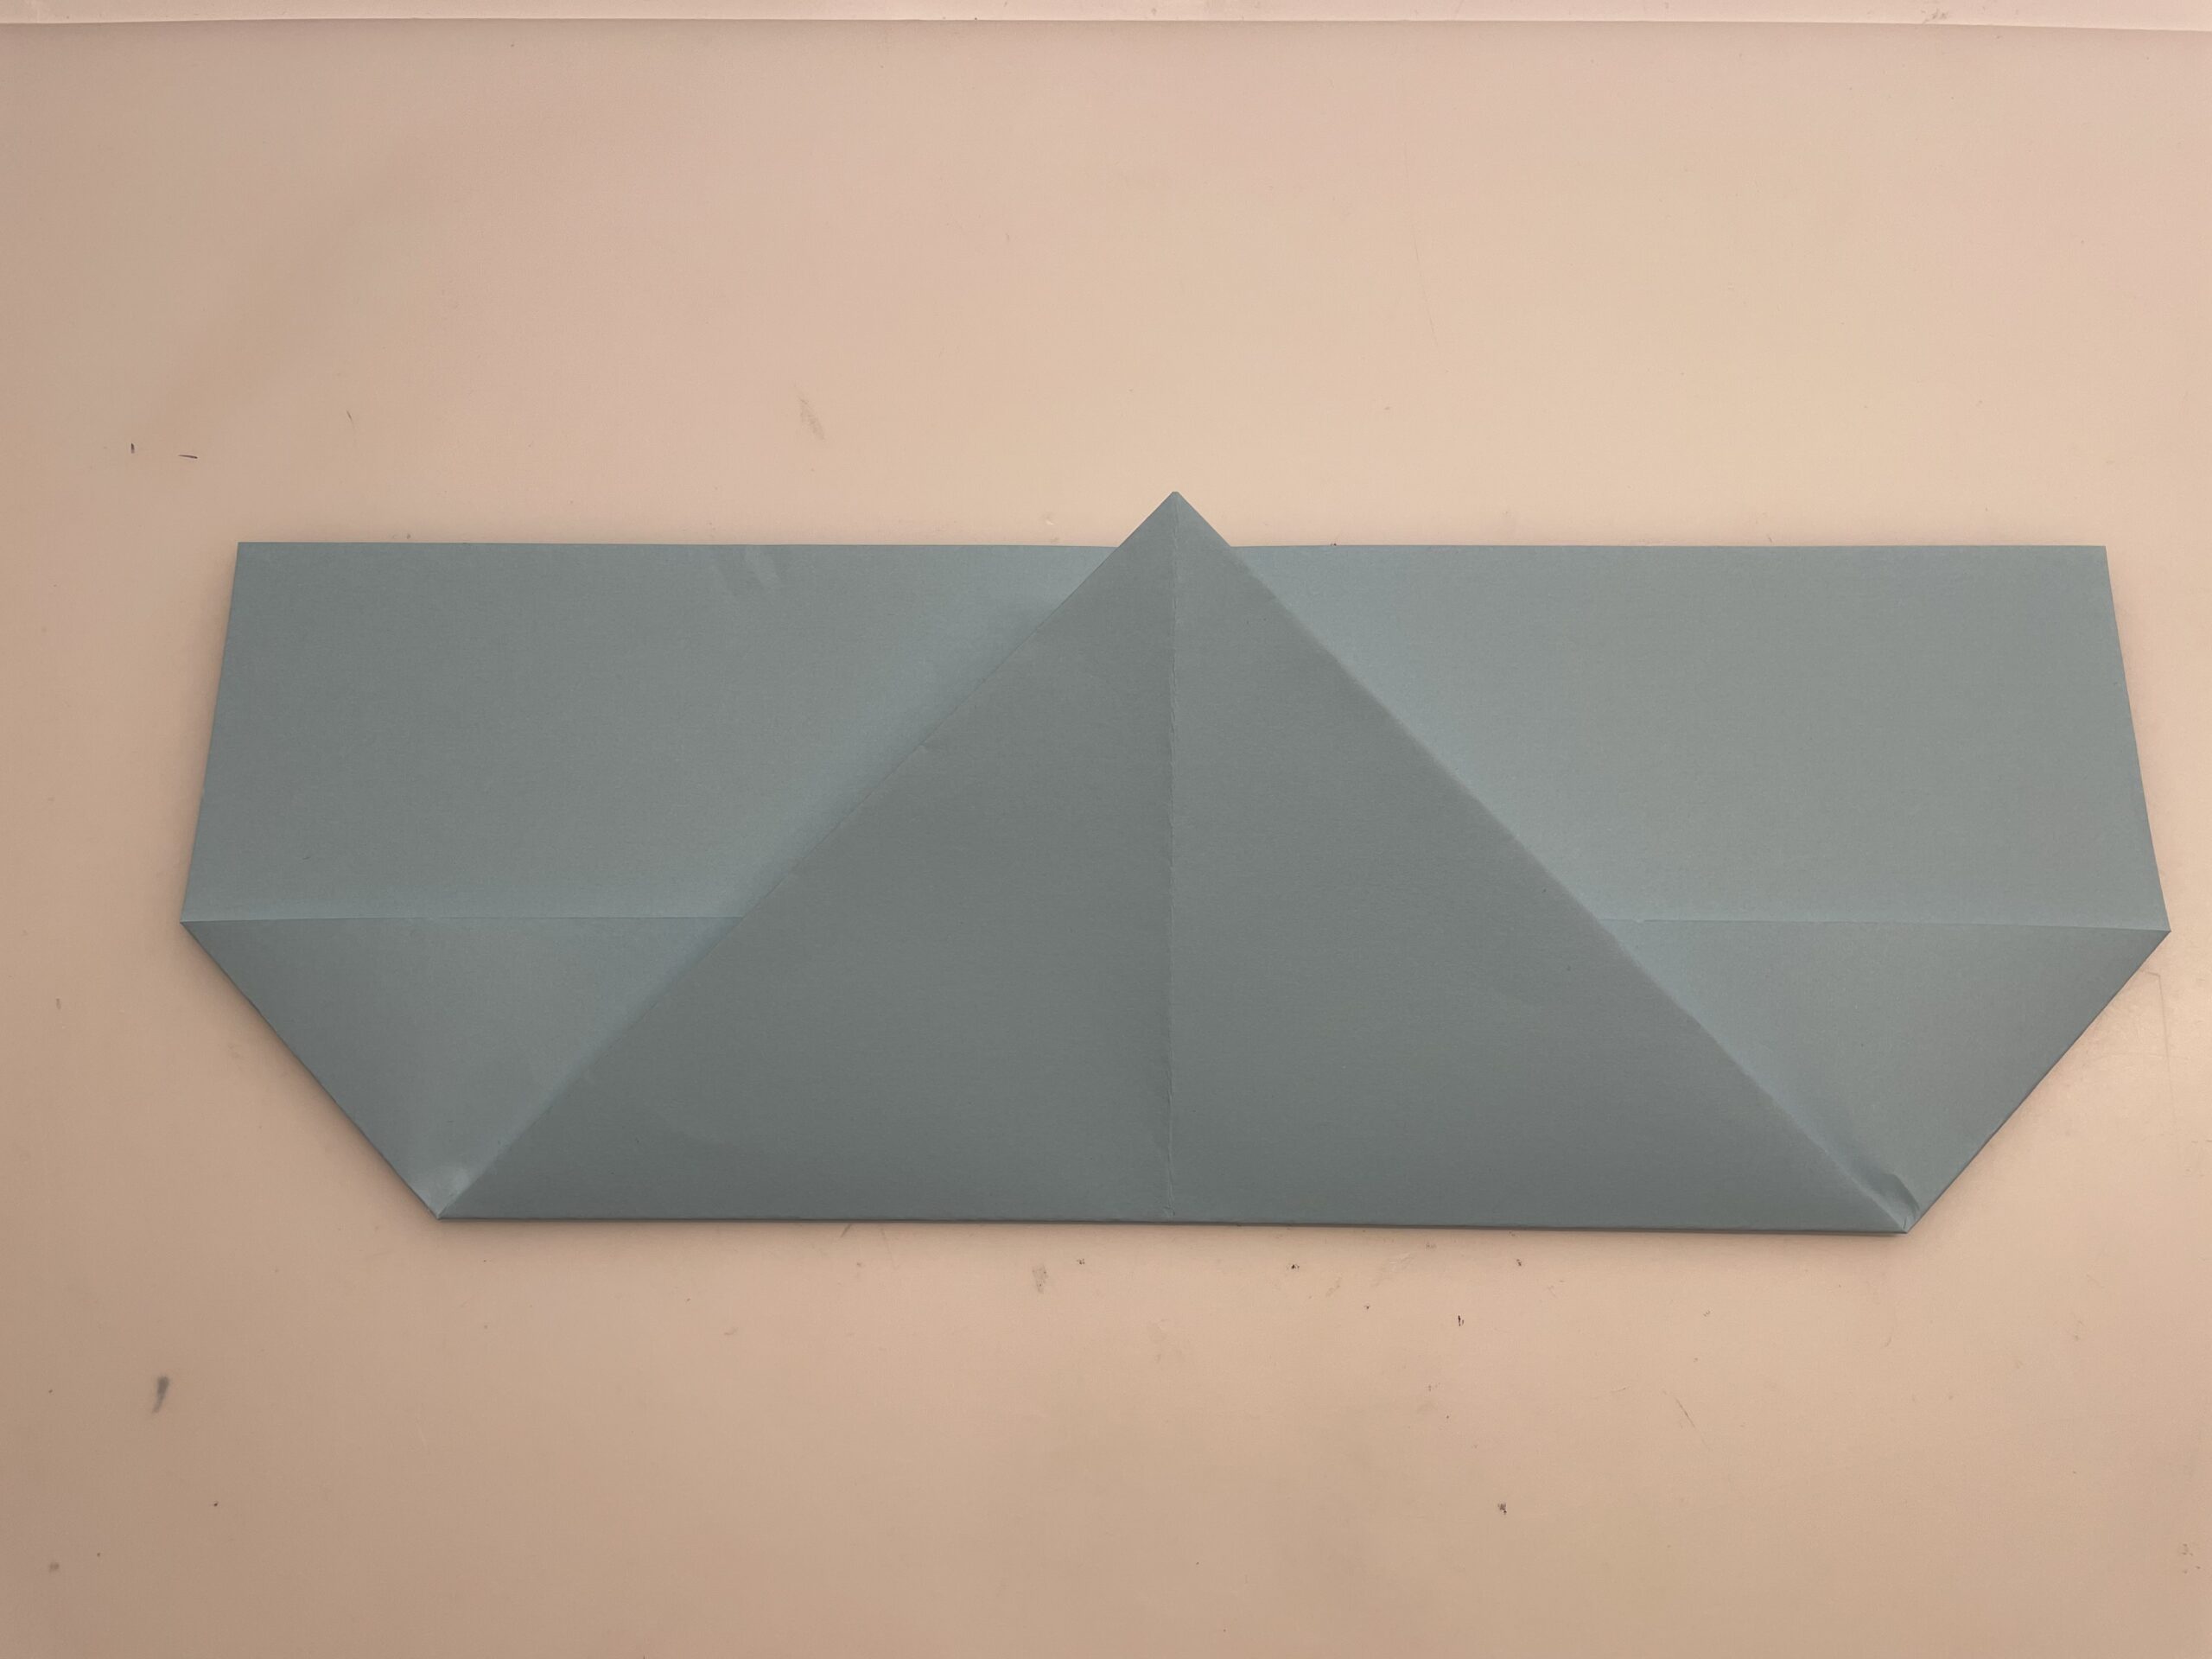
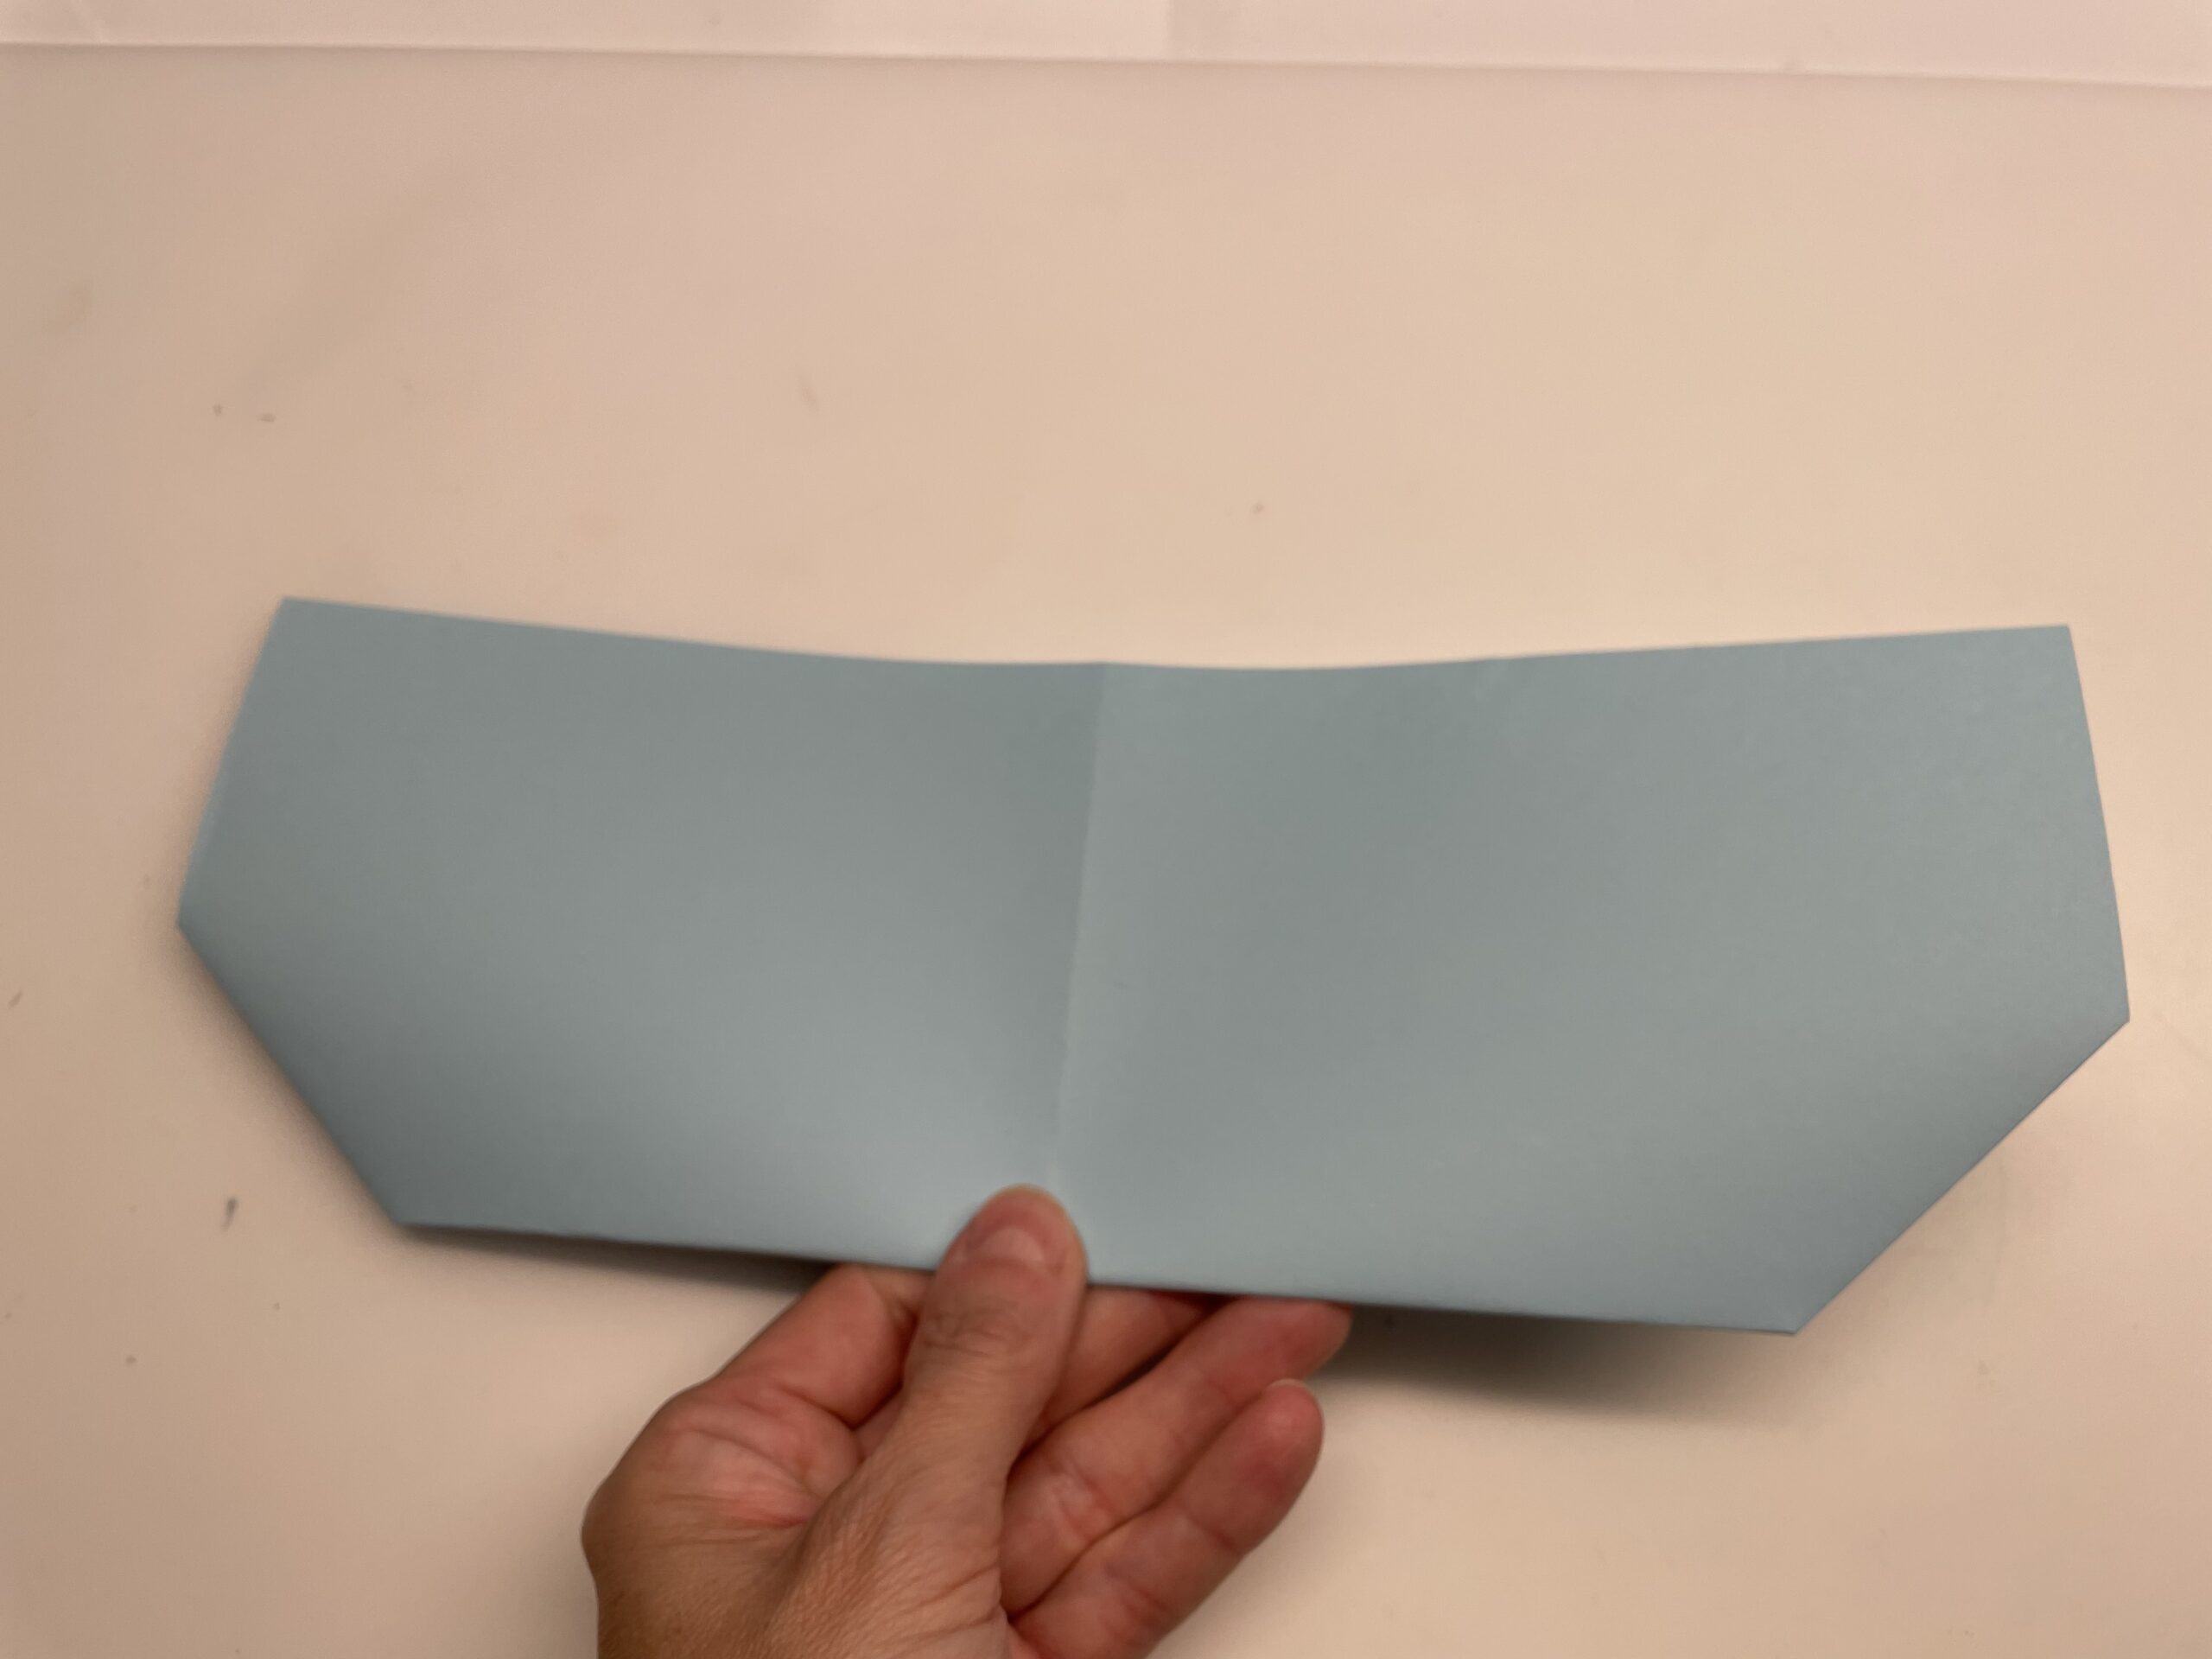
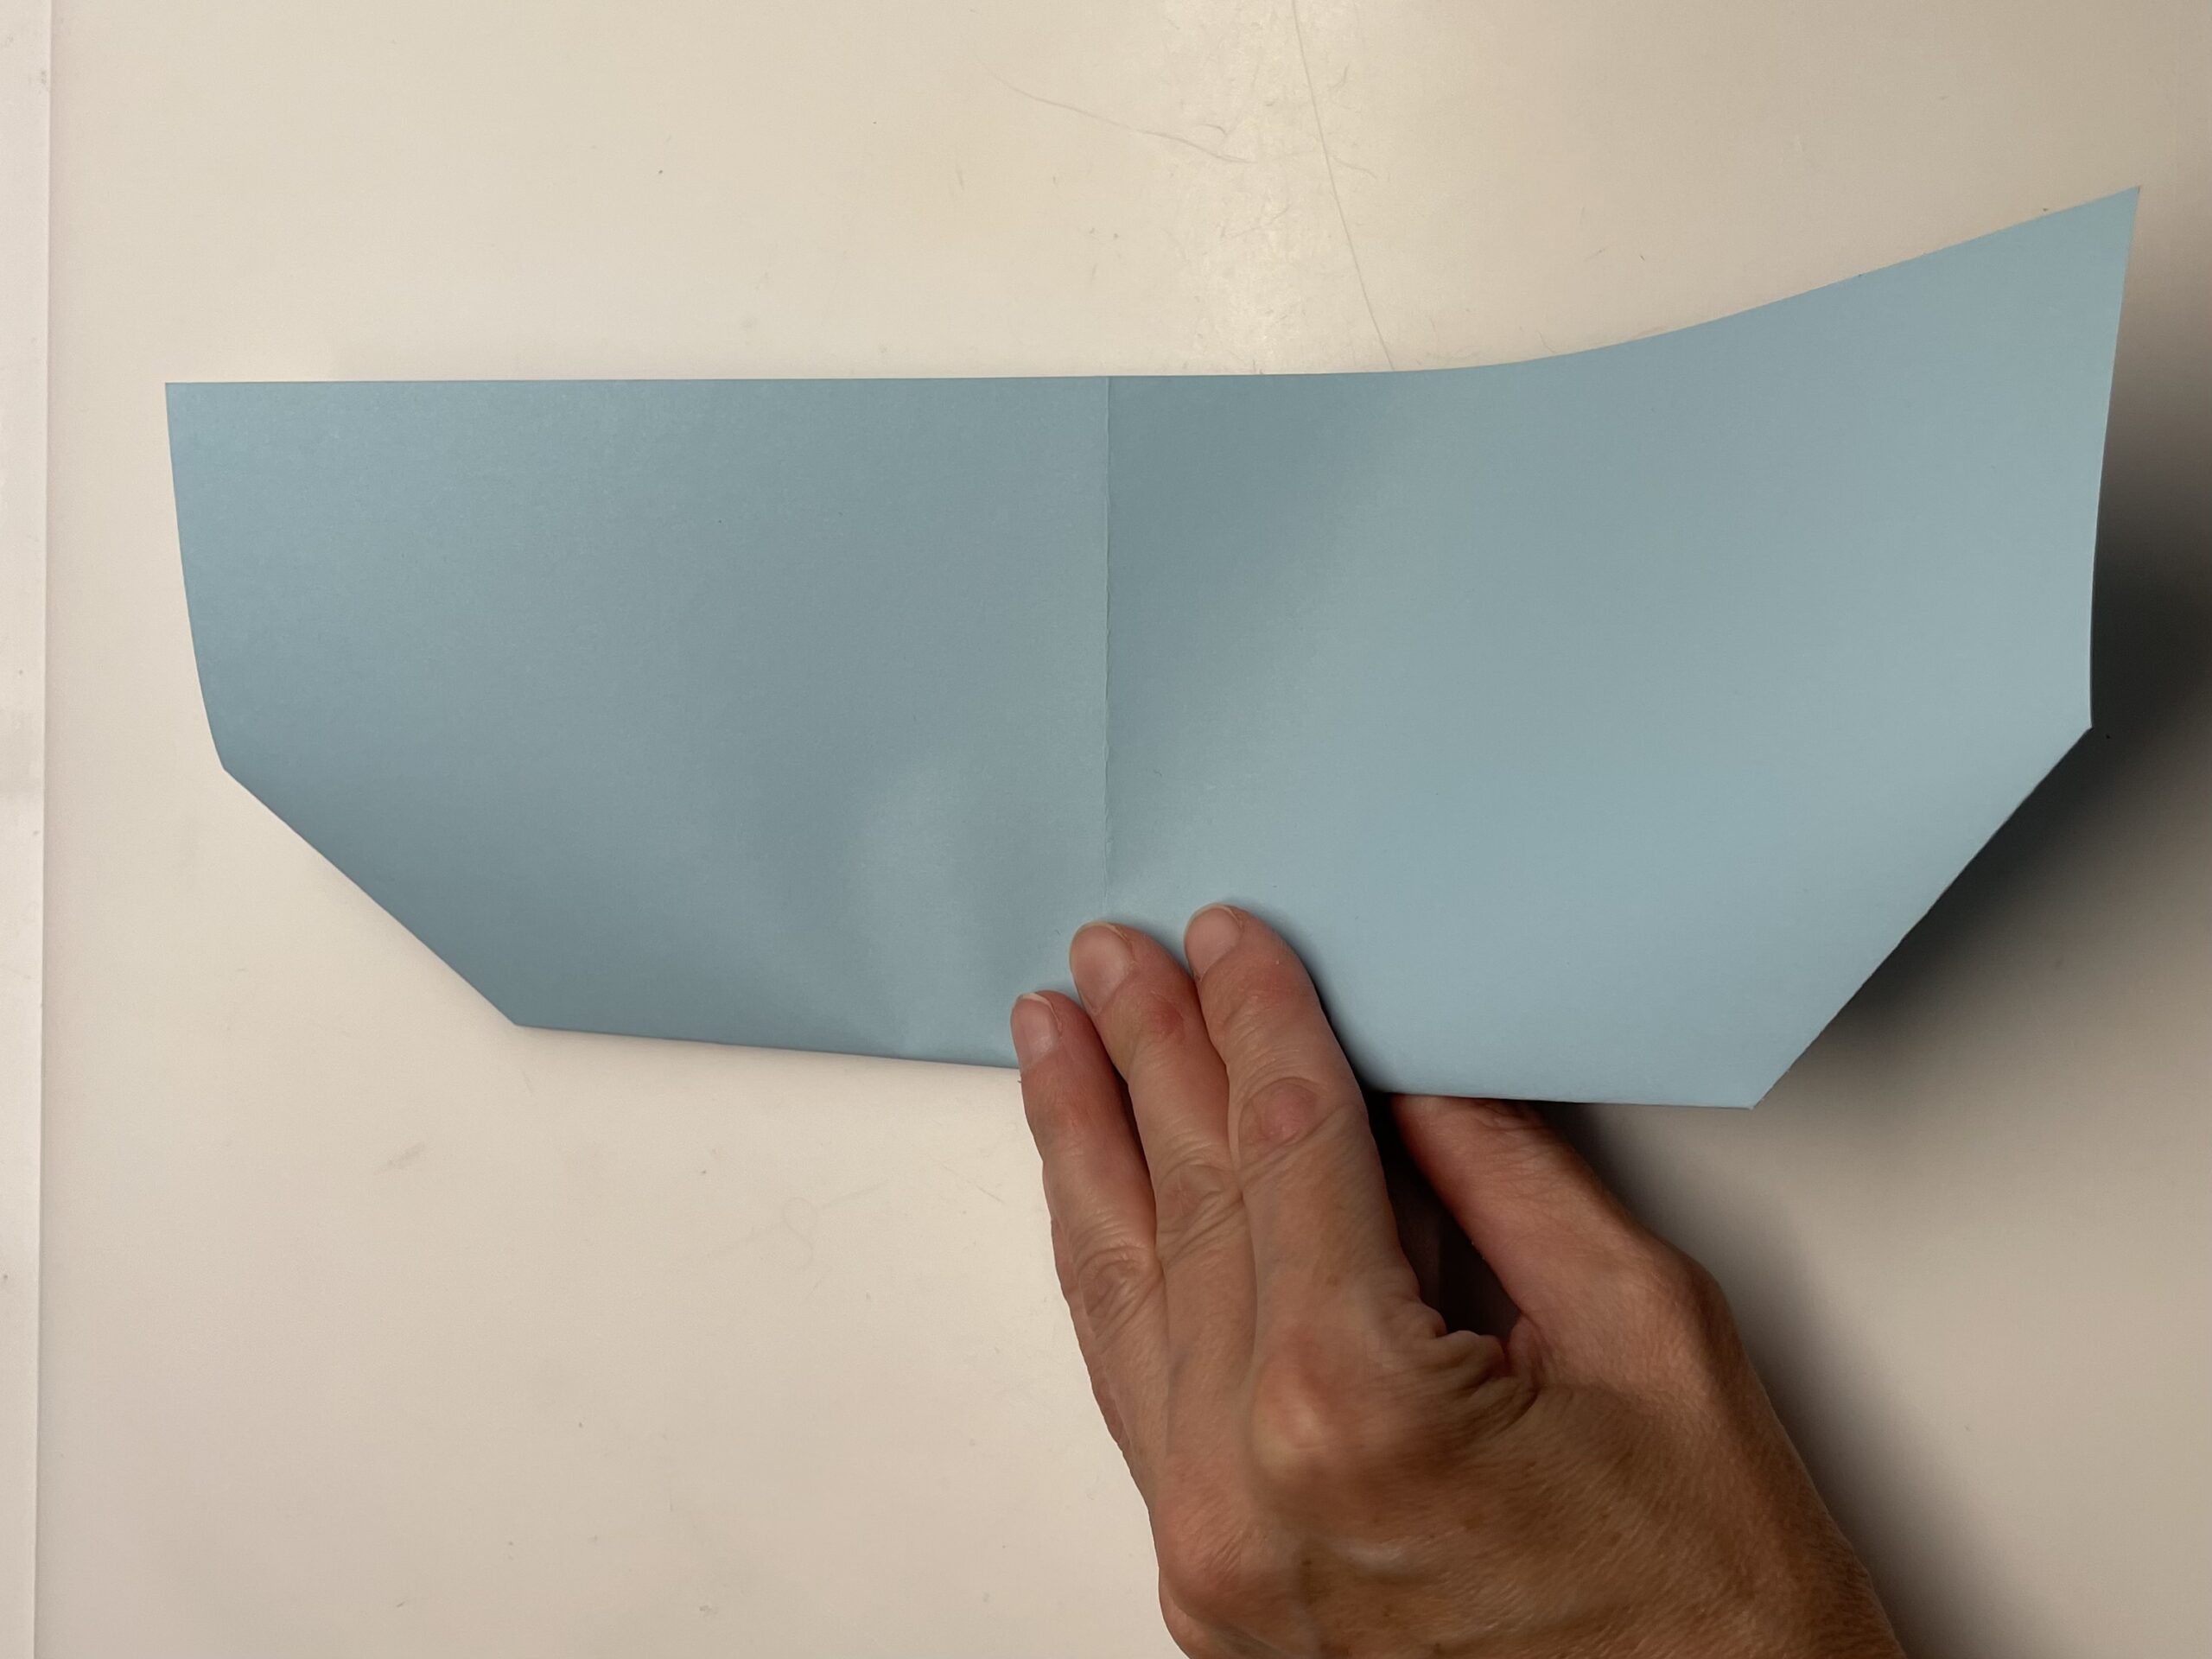
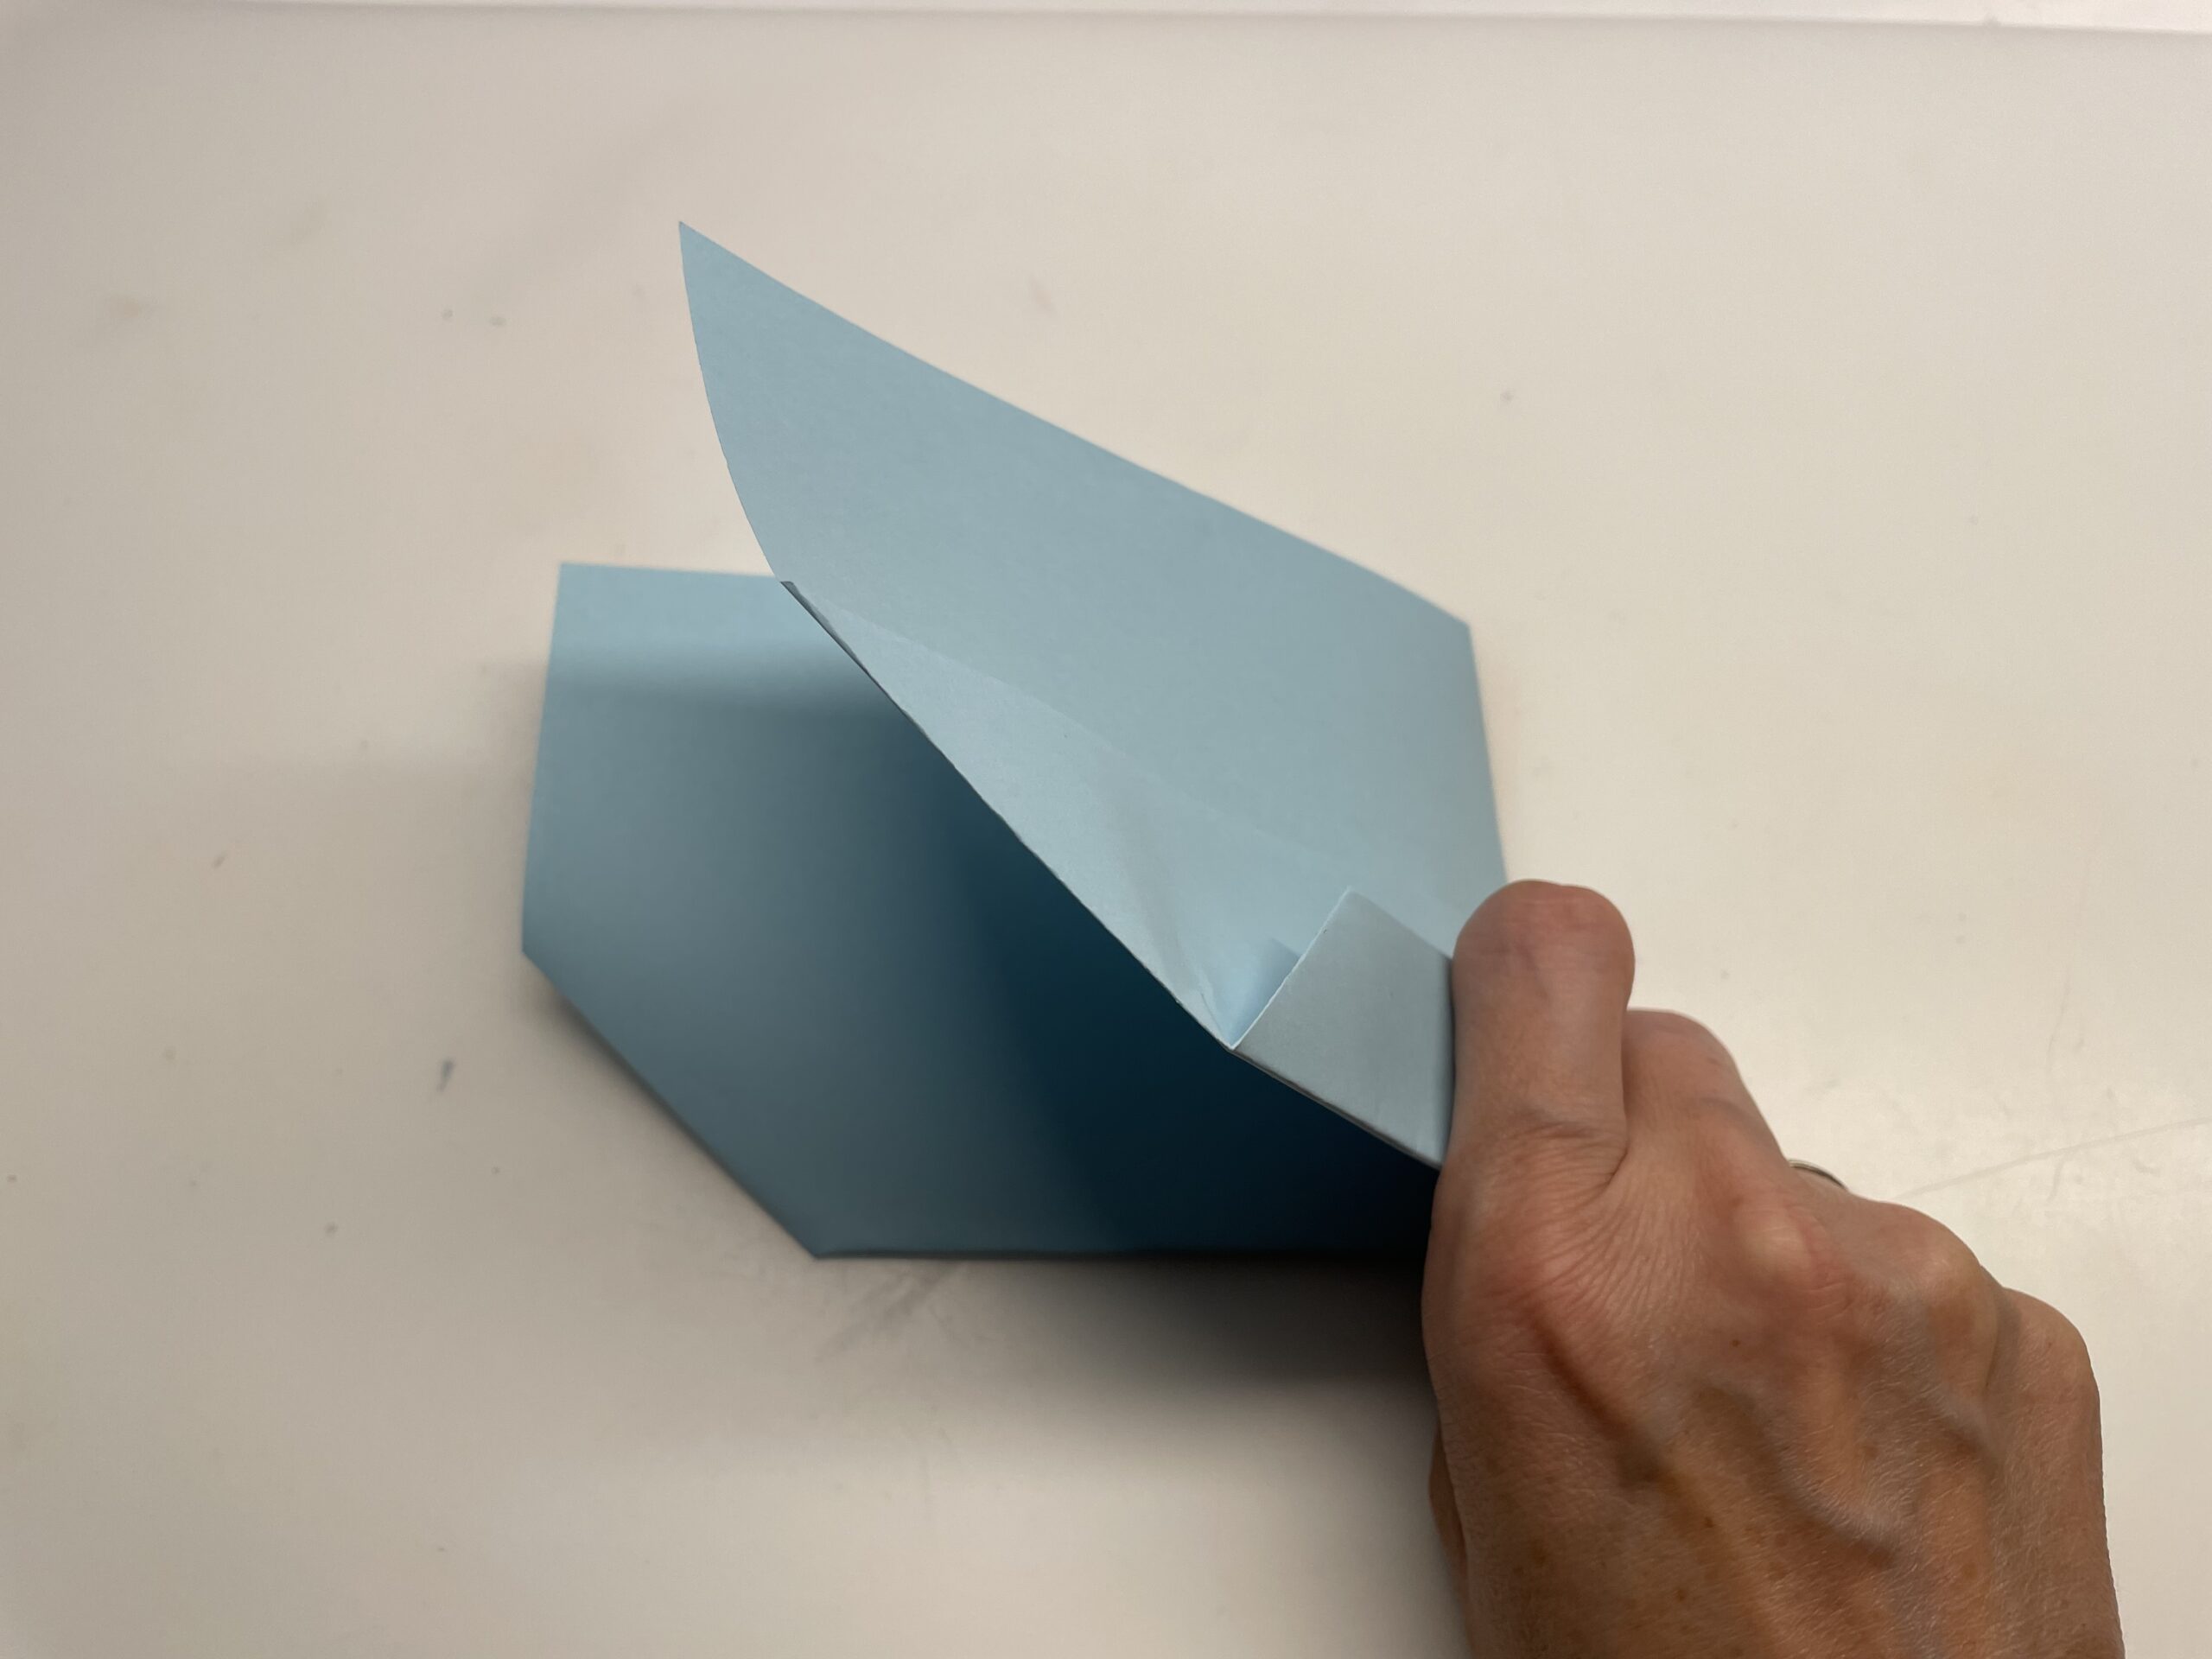
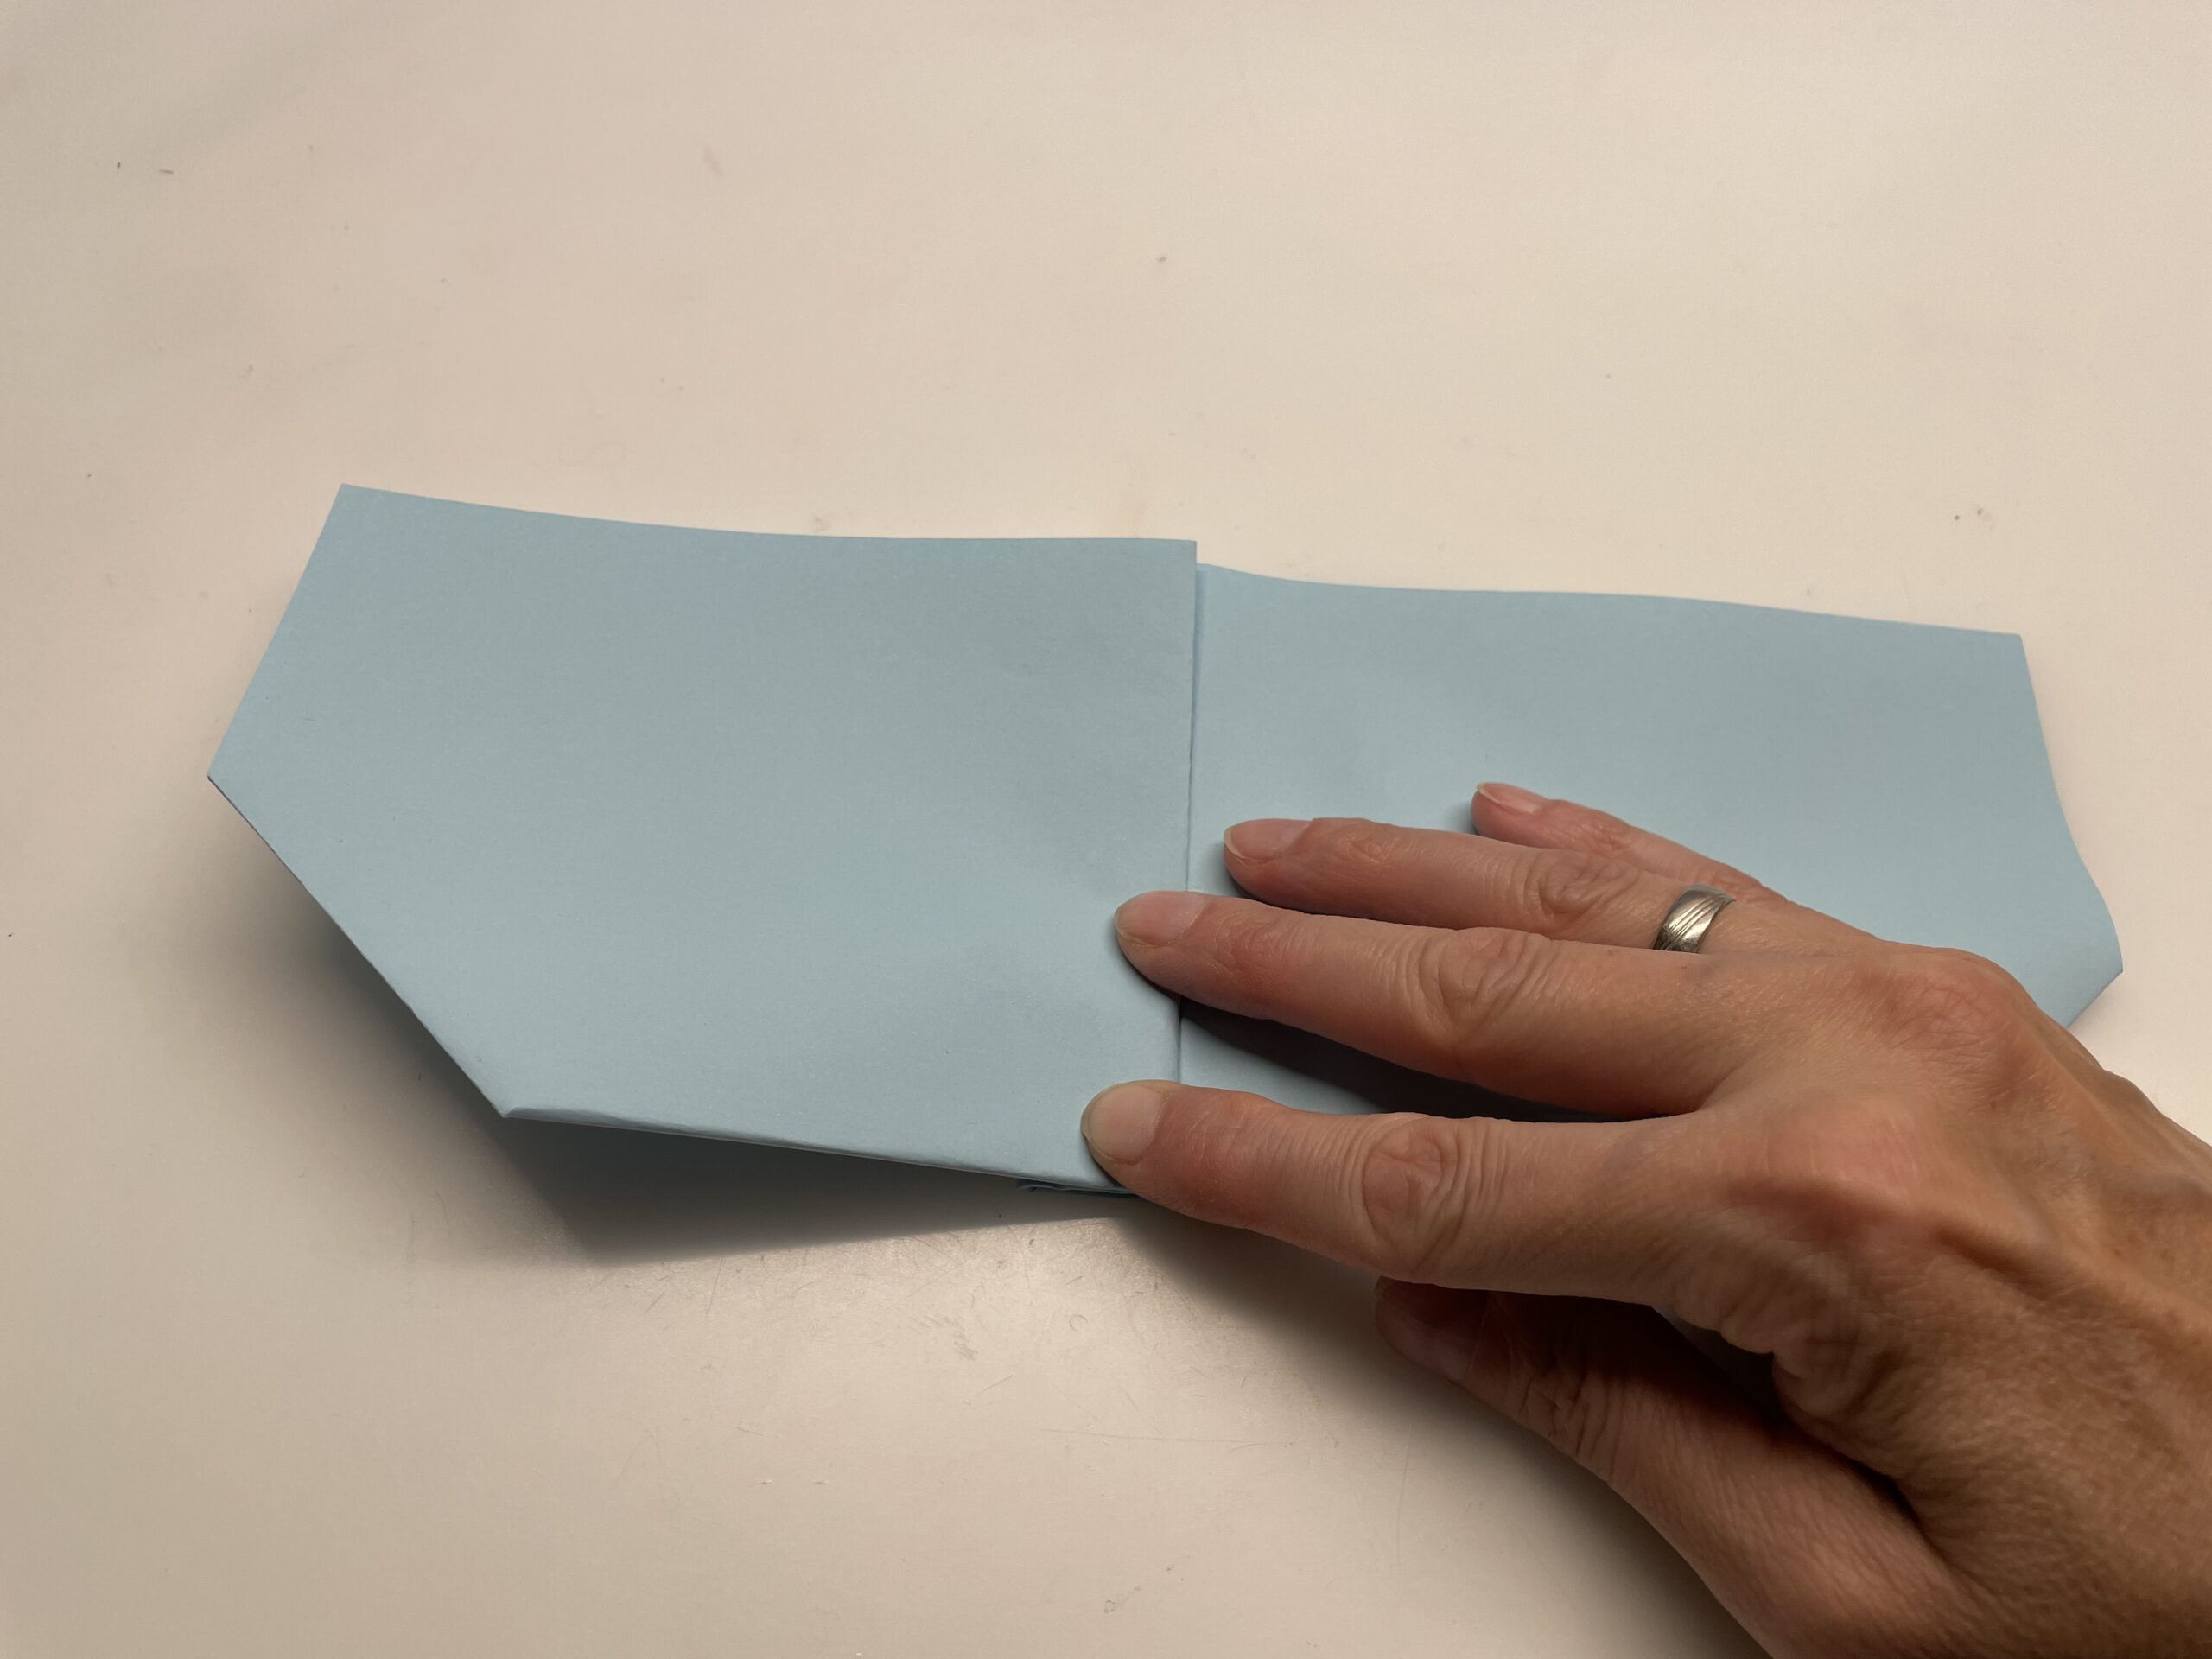
The first wing is almost ready.
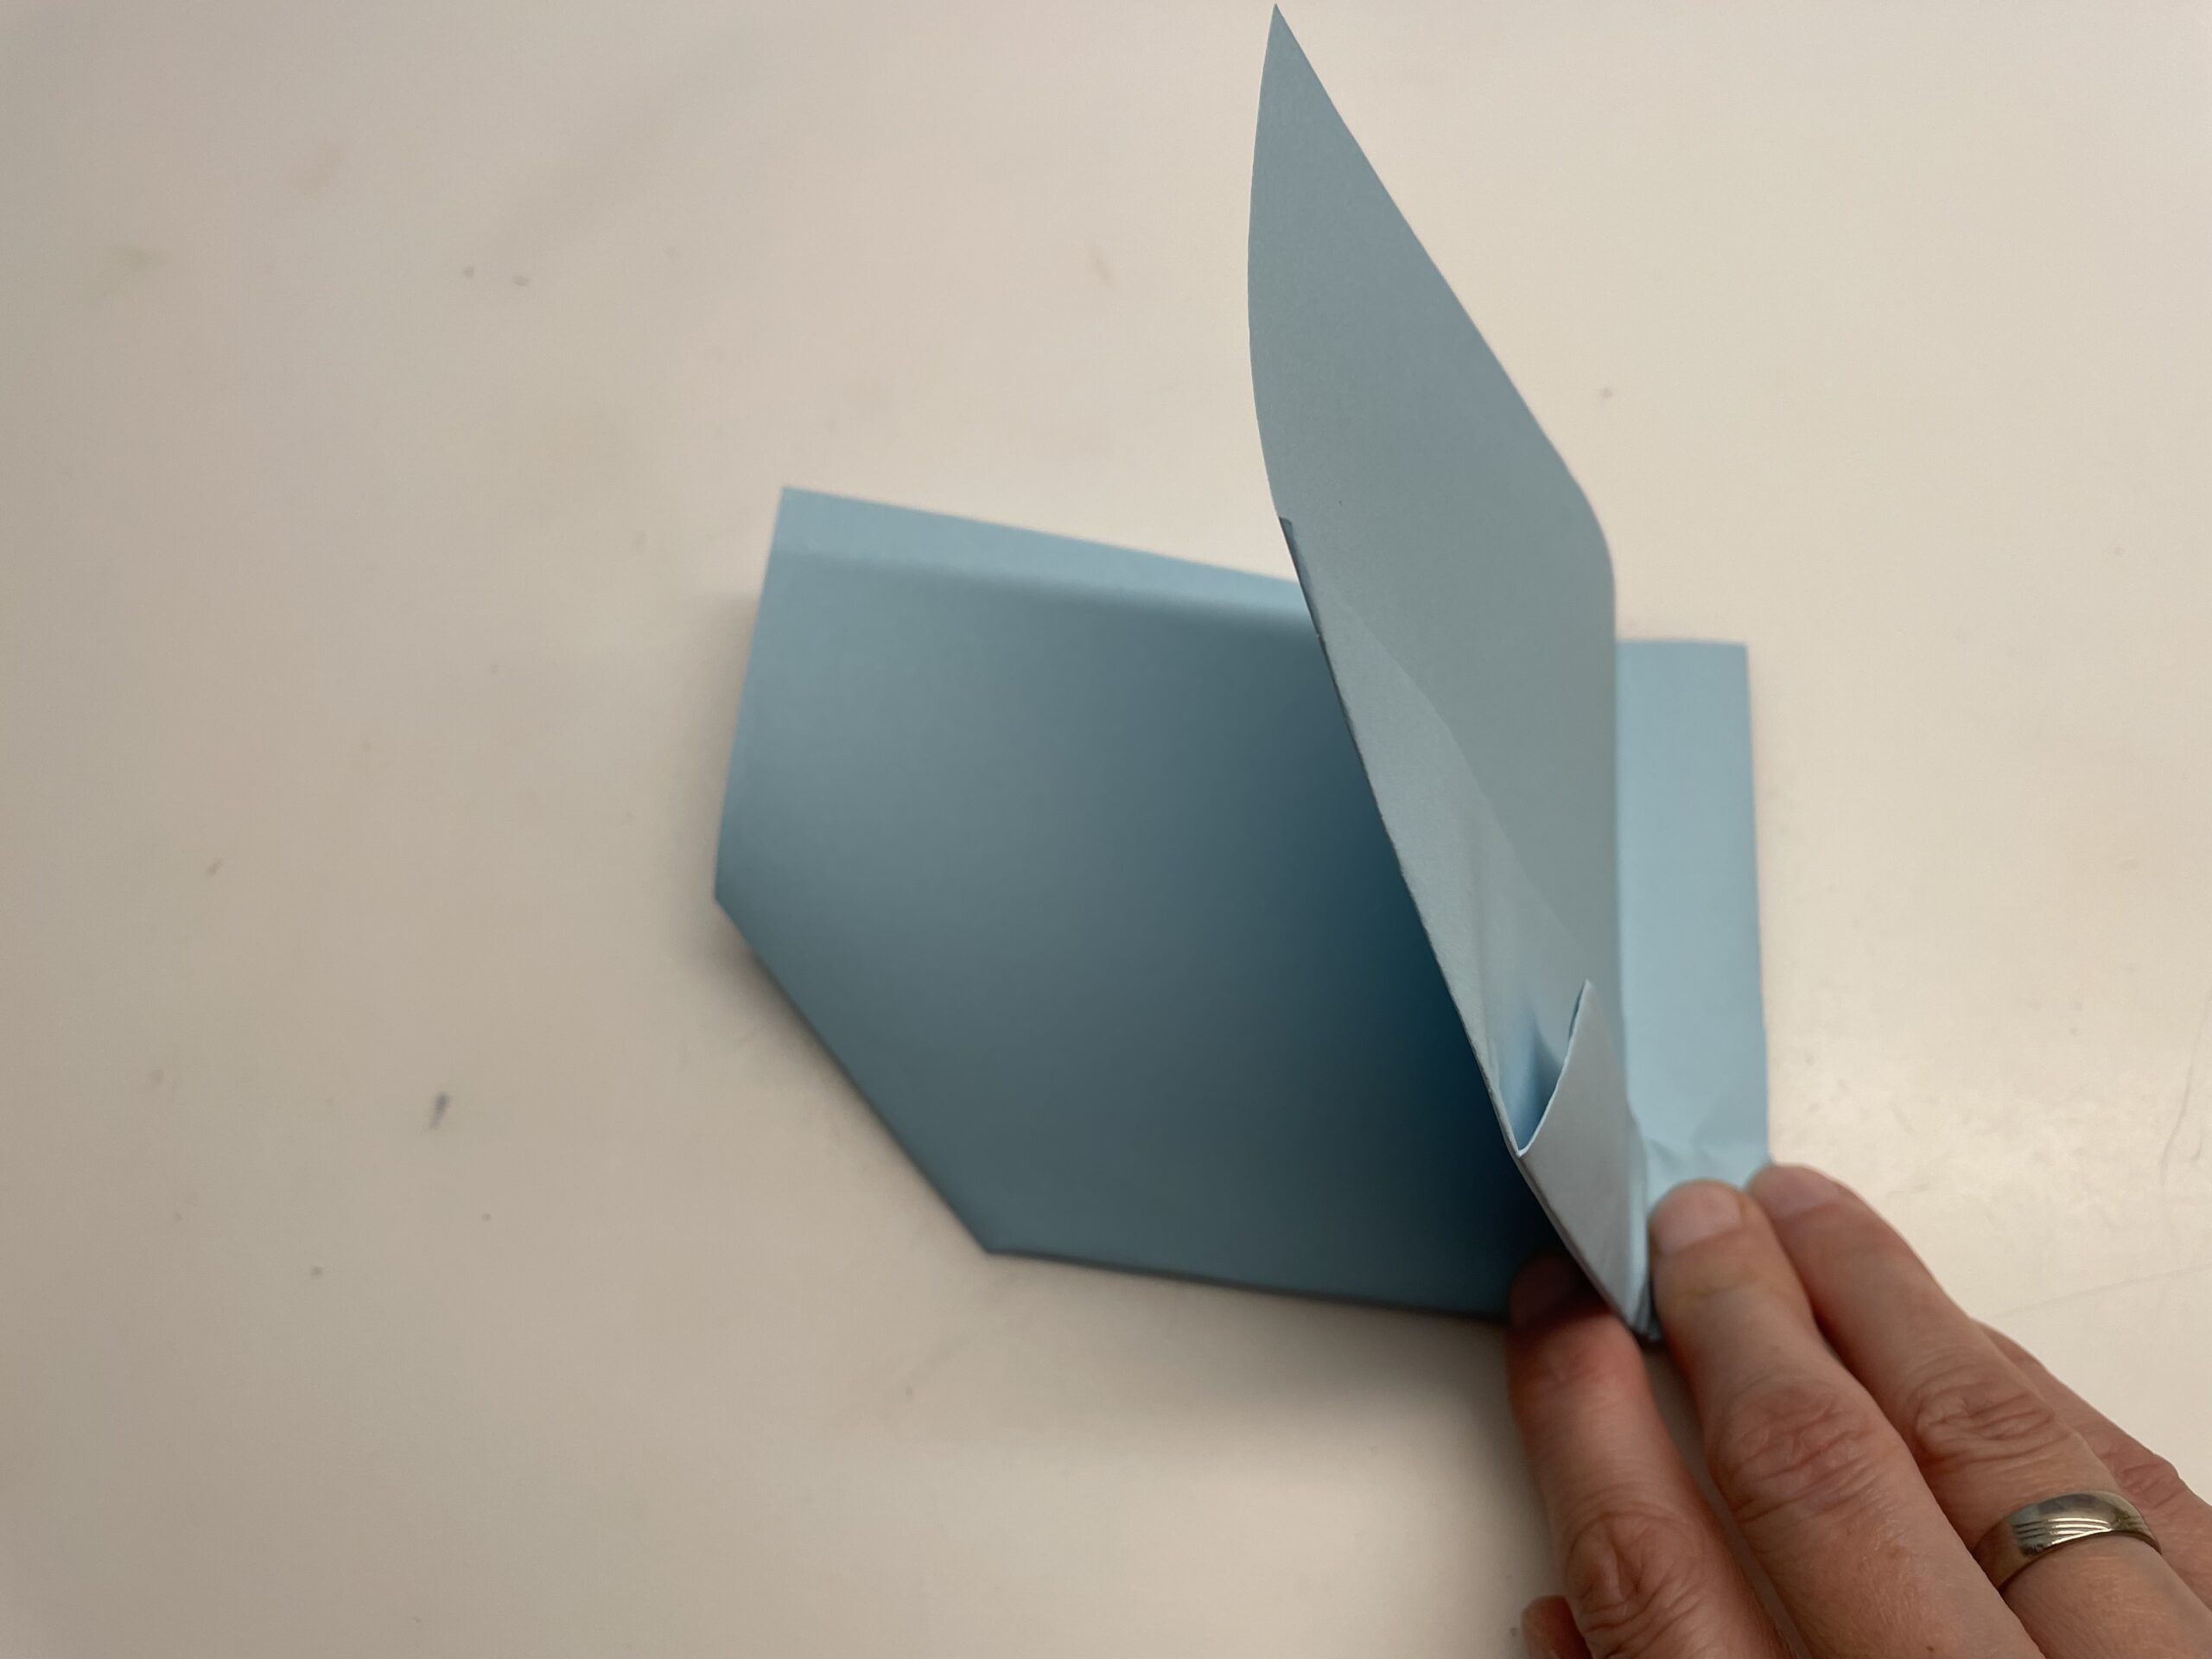
Bend it to the side again completely and strip the fracture vigorously smooth.
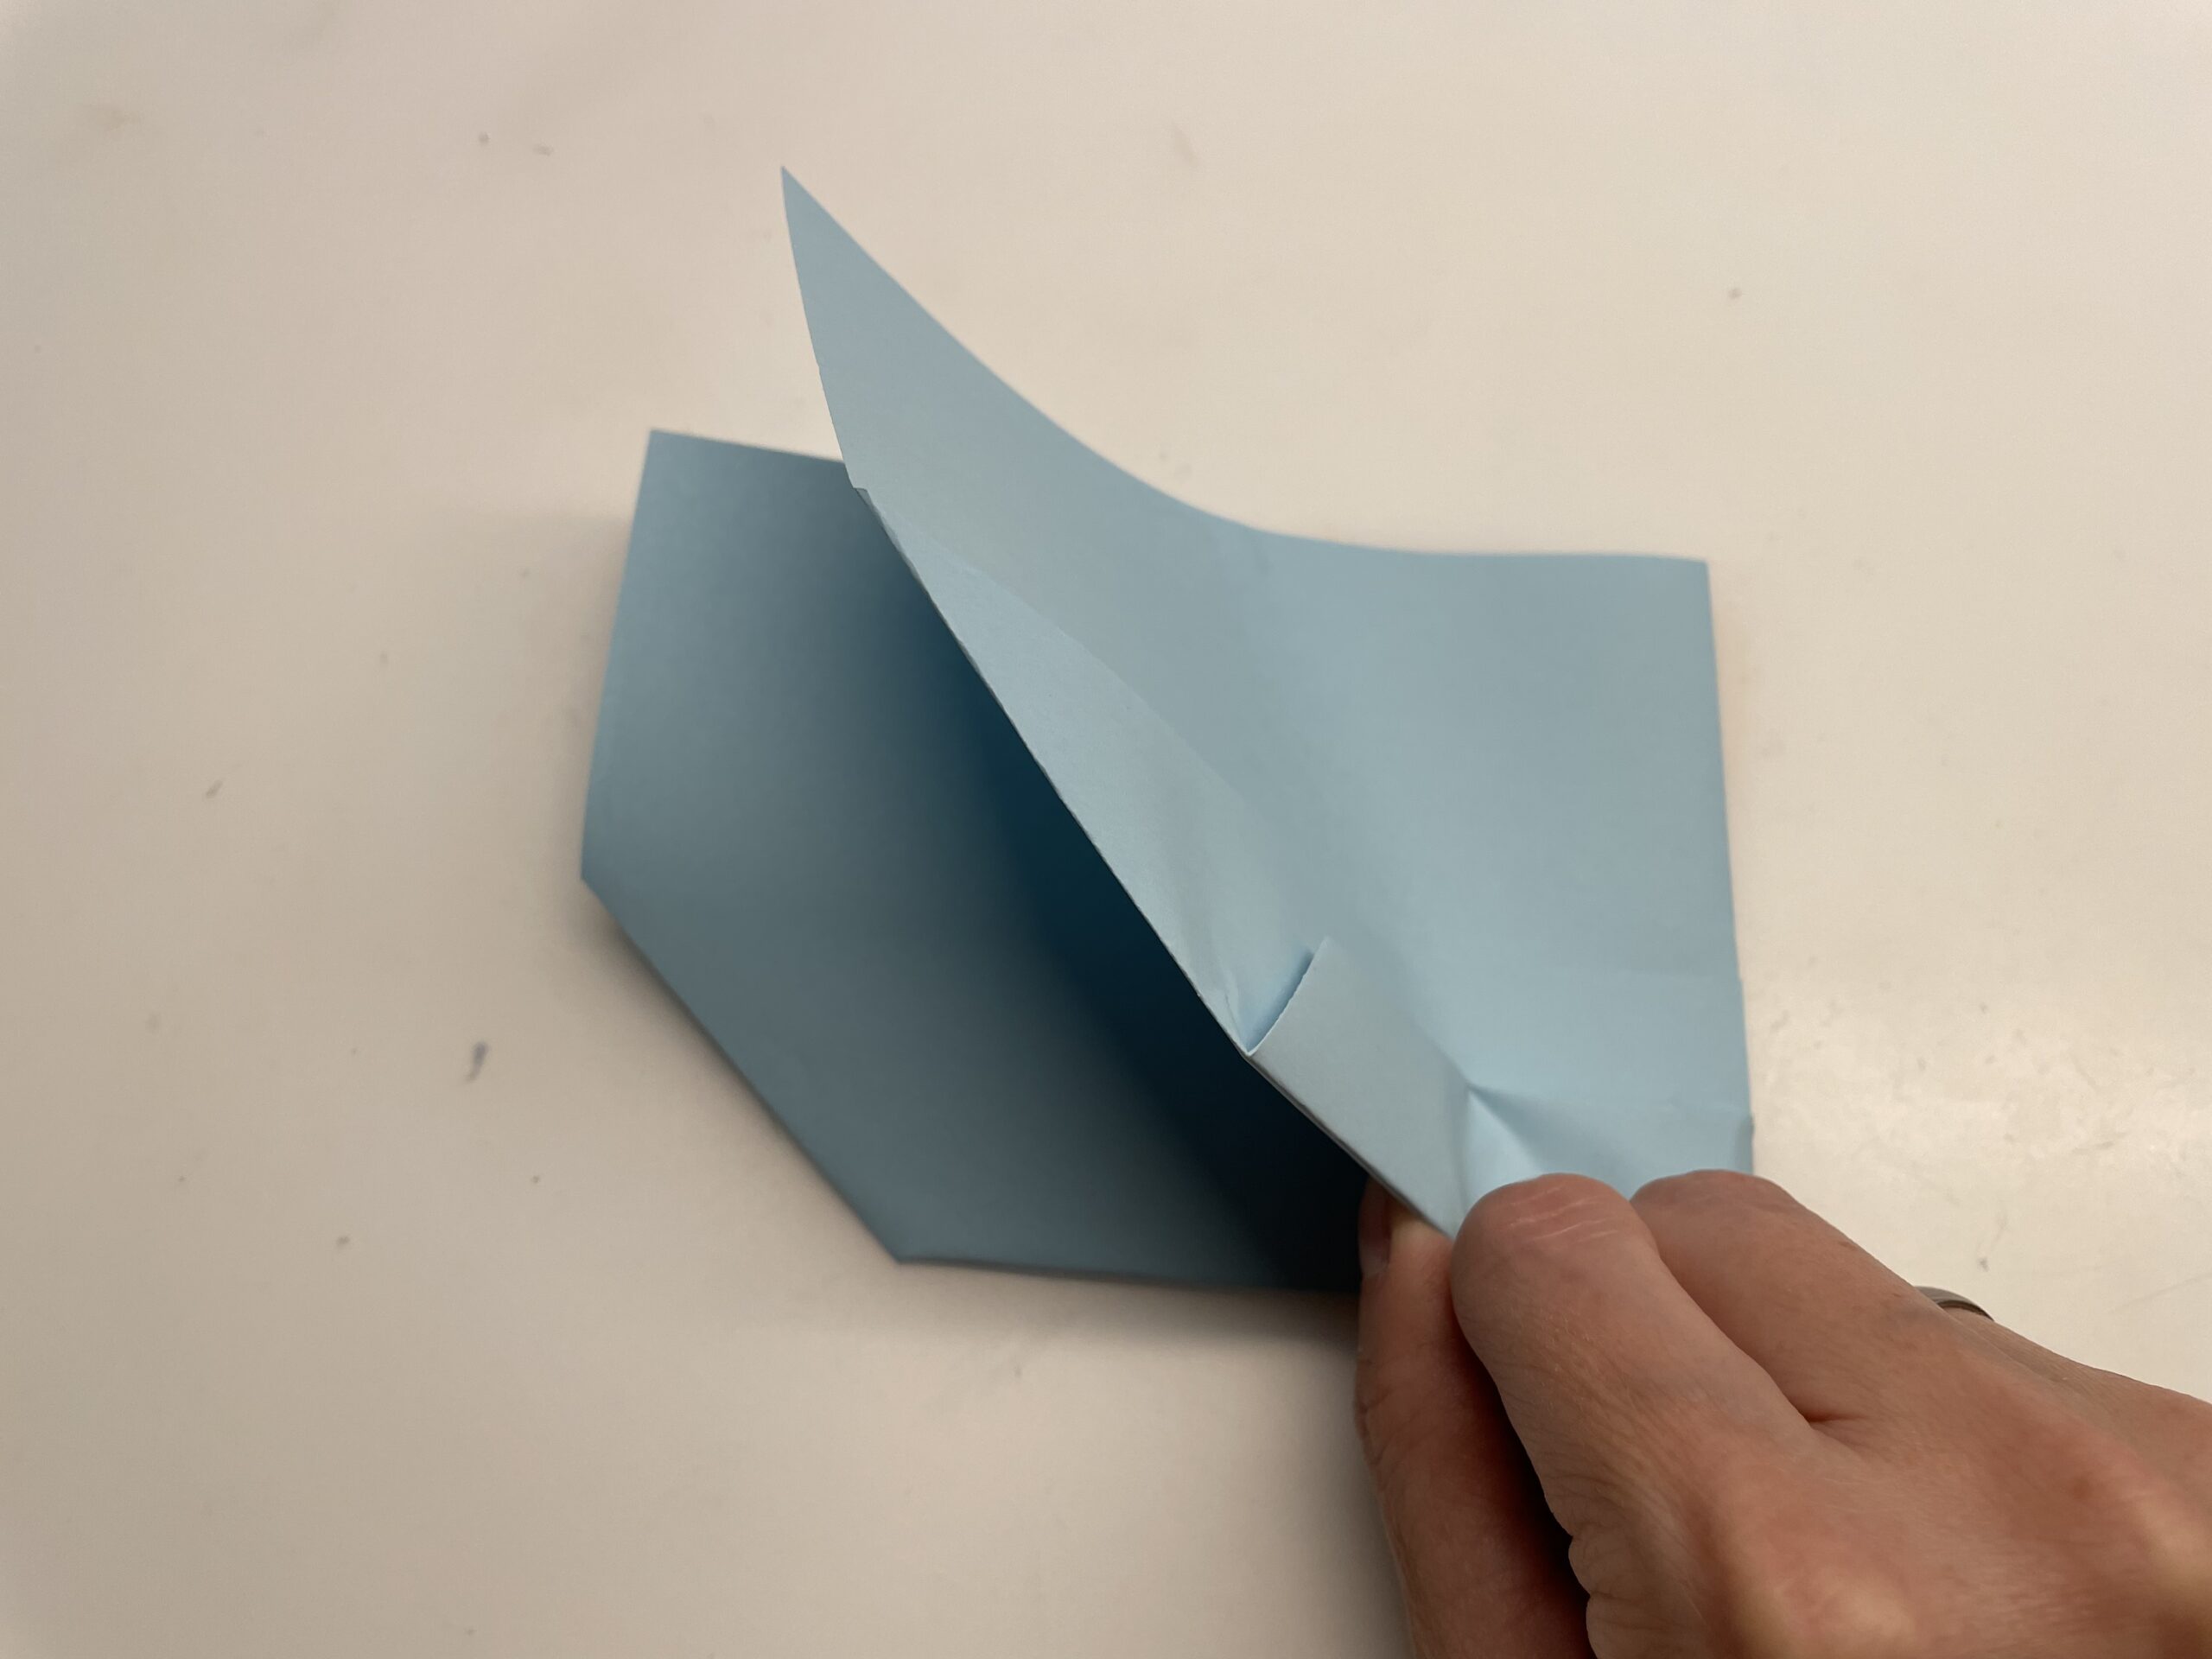
Repeat the process now on the other side. Here you can use the ruler again. Orient yourself at the kink of the other wing.
Fold this fracture as well.
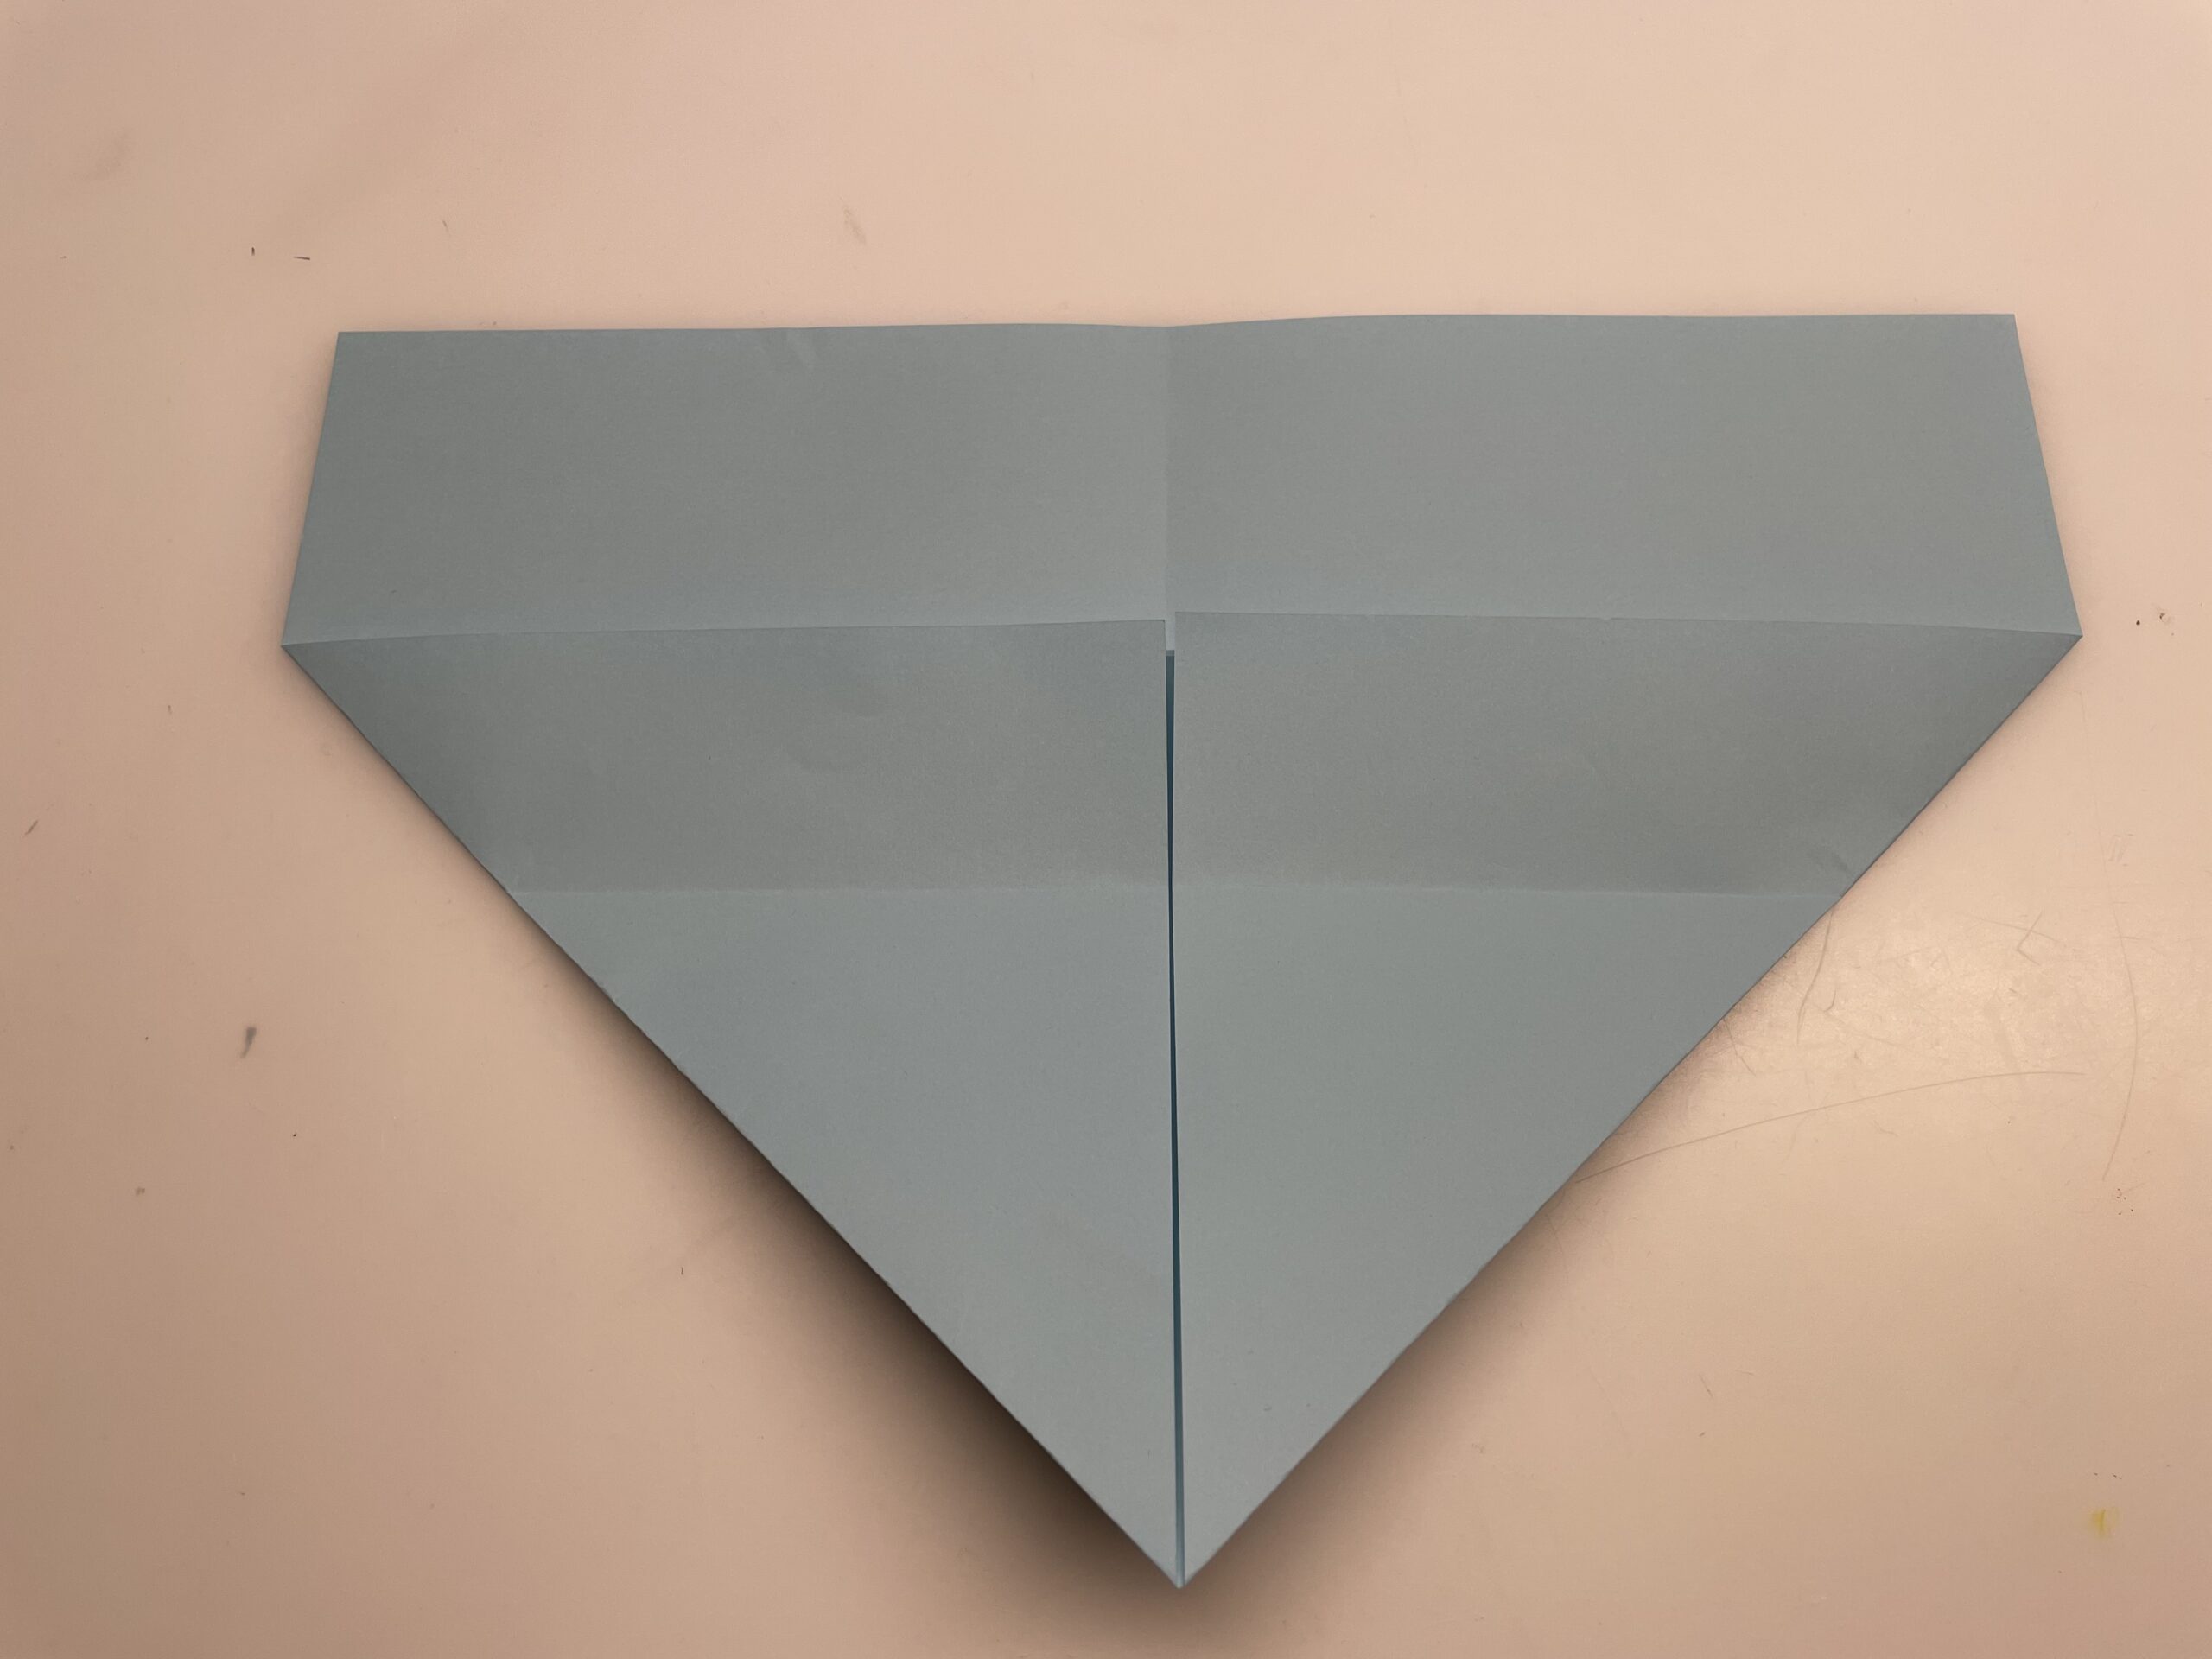
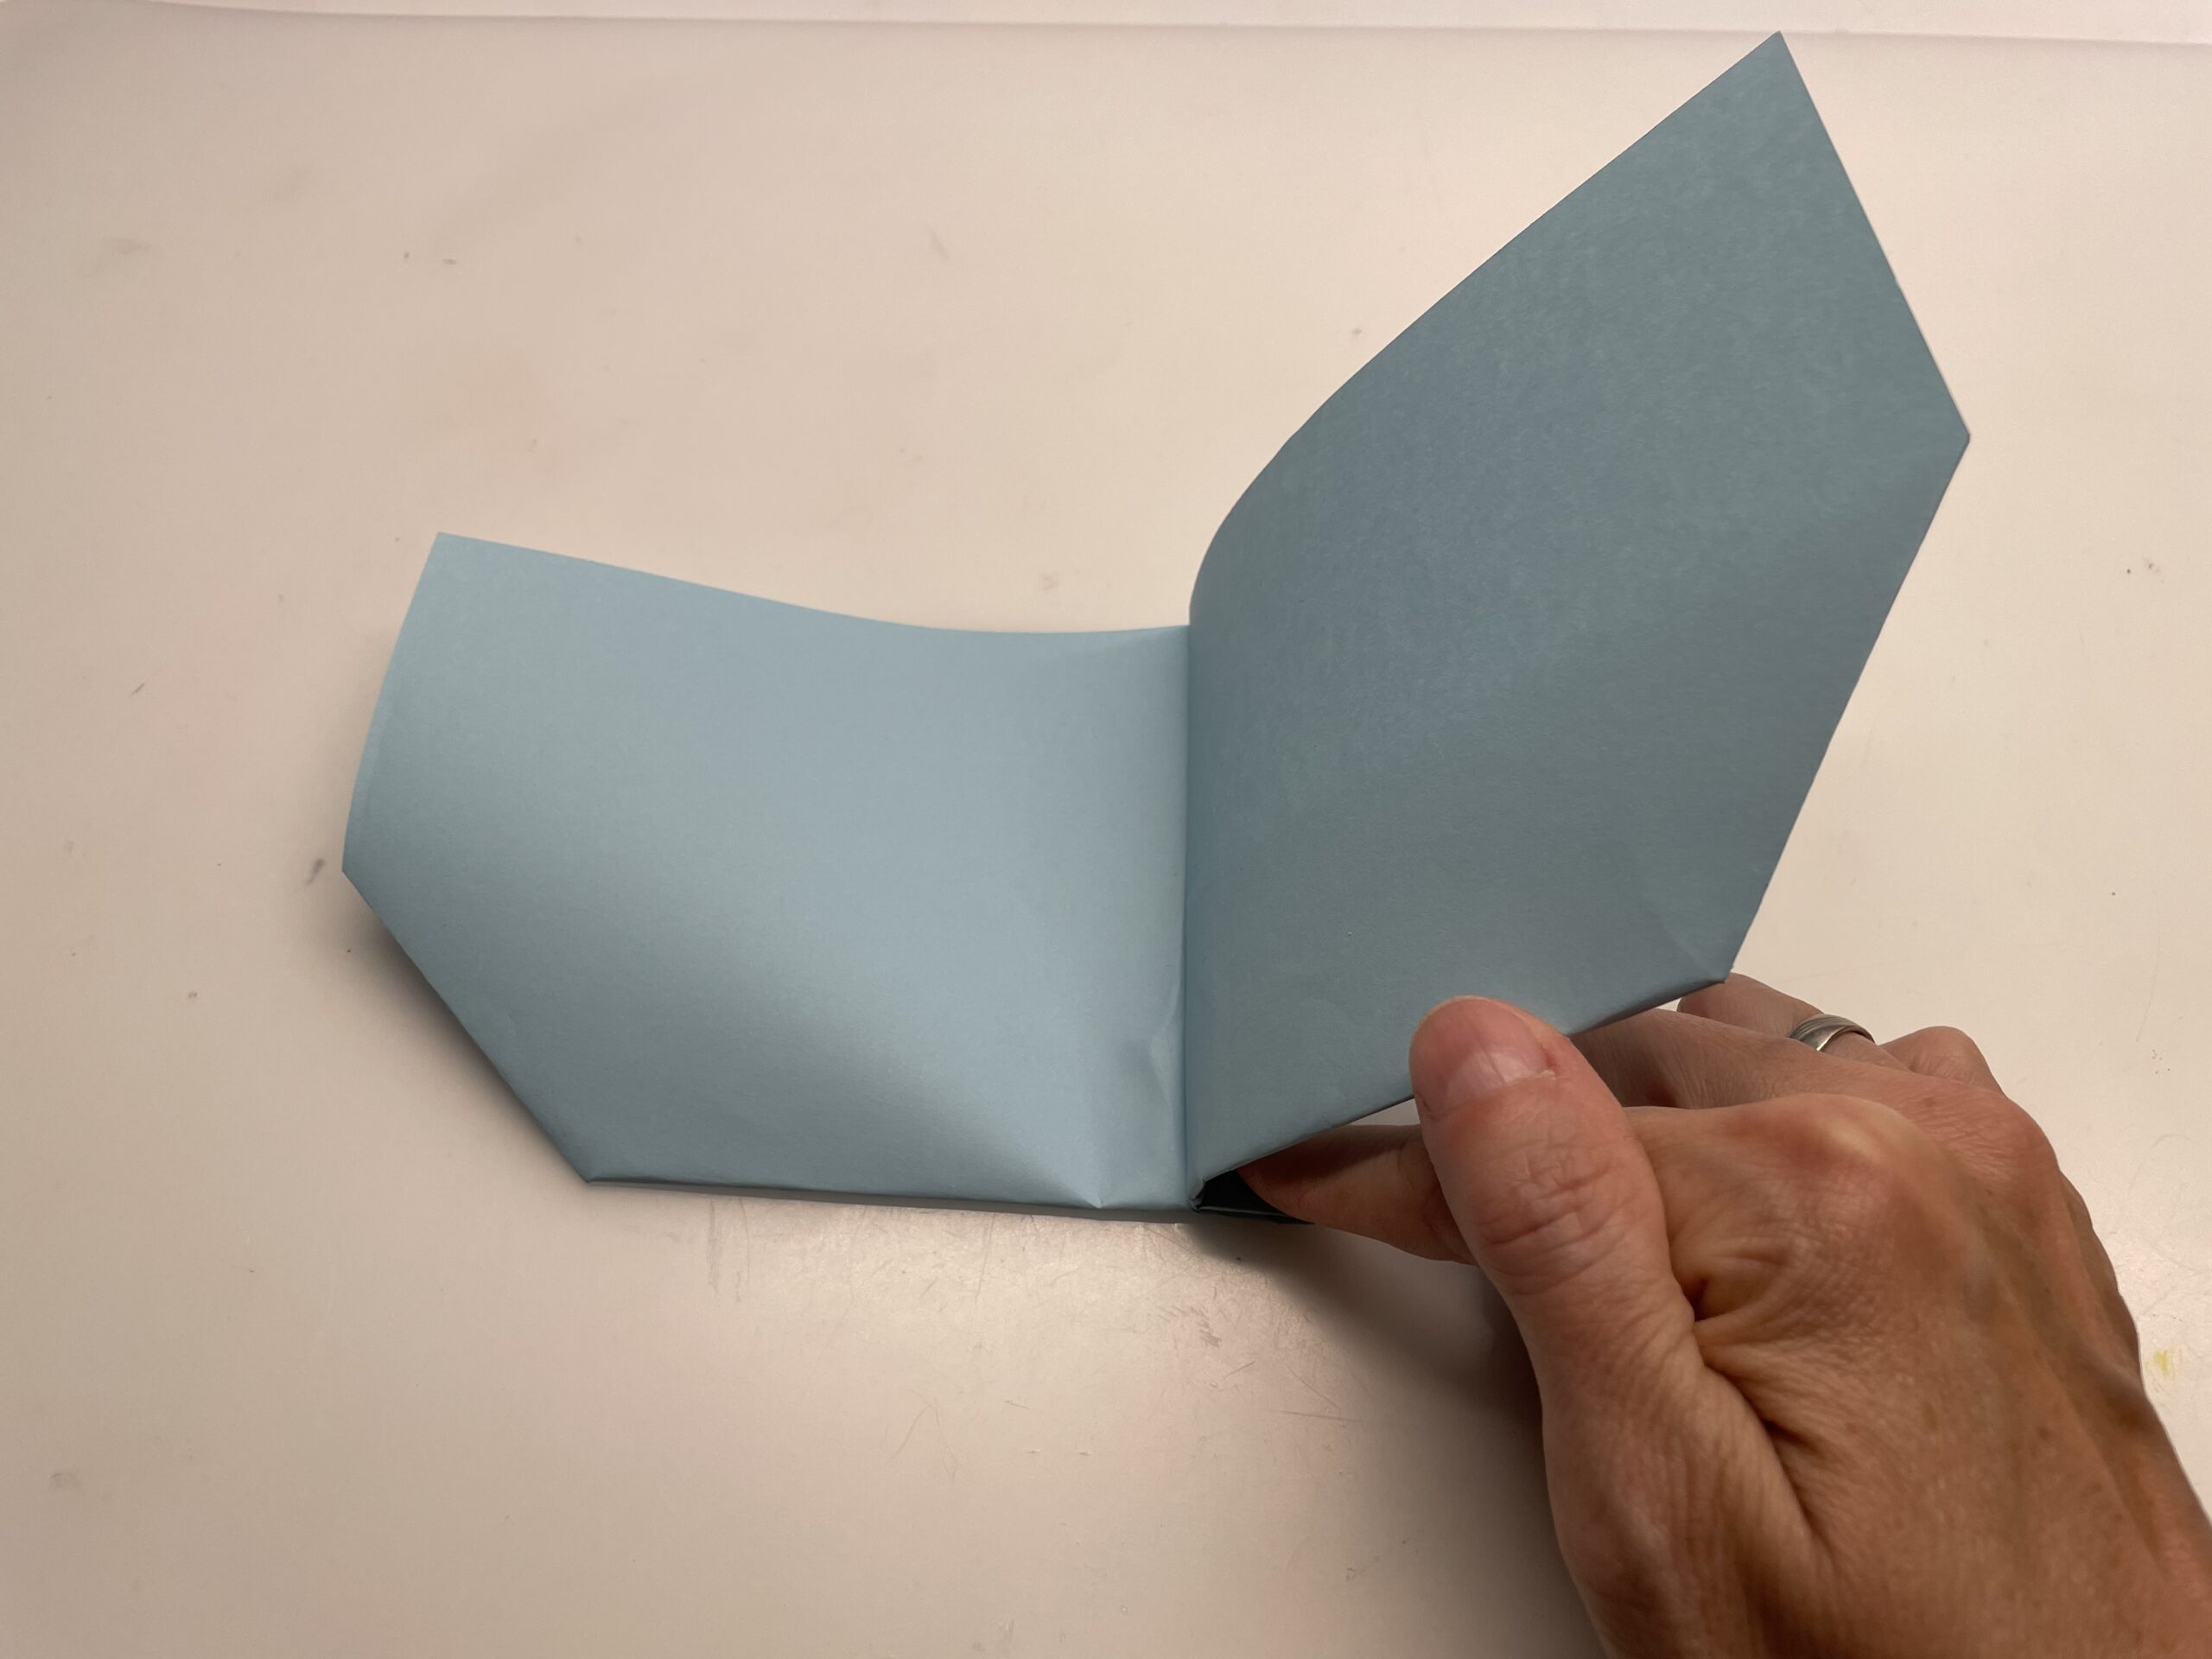
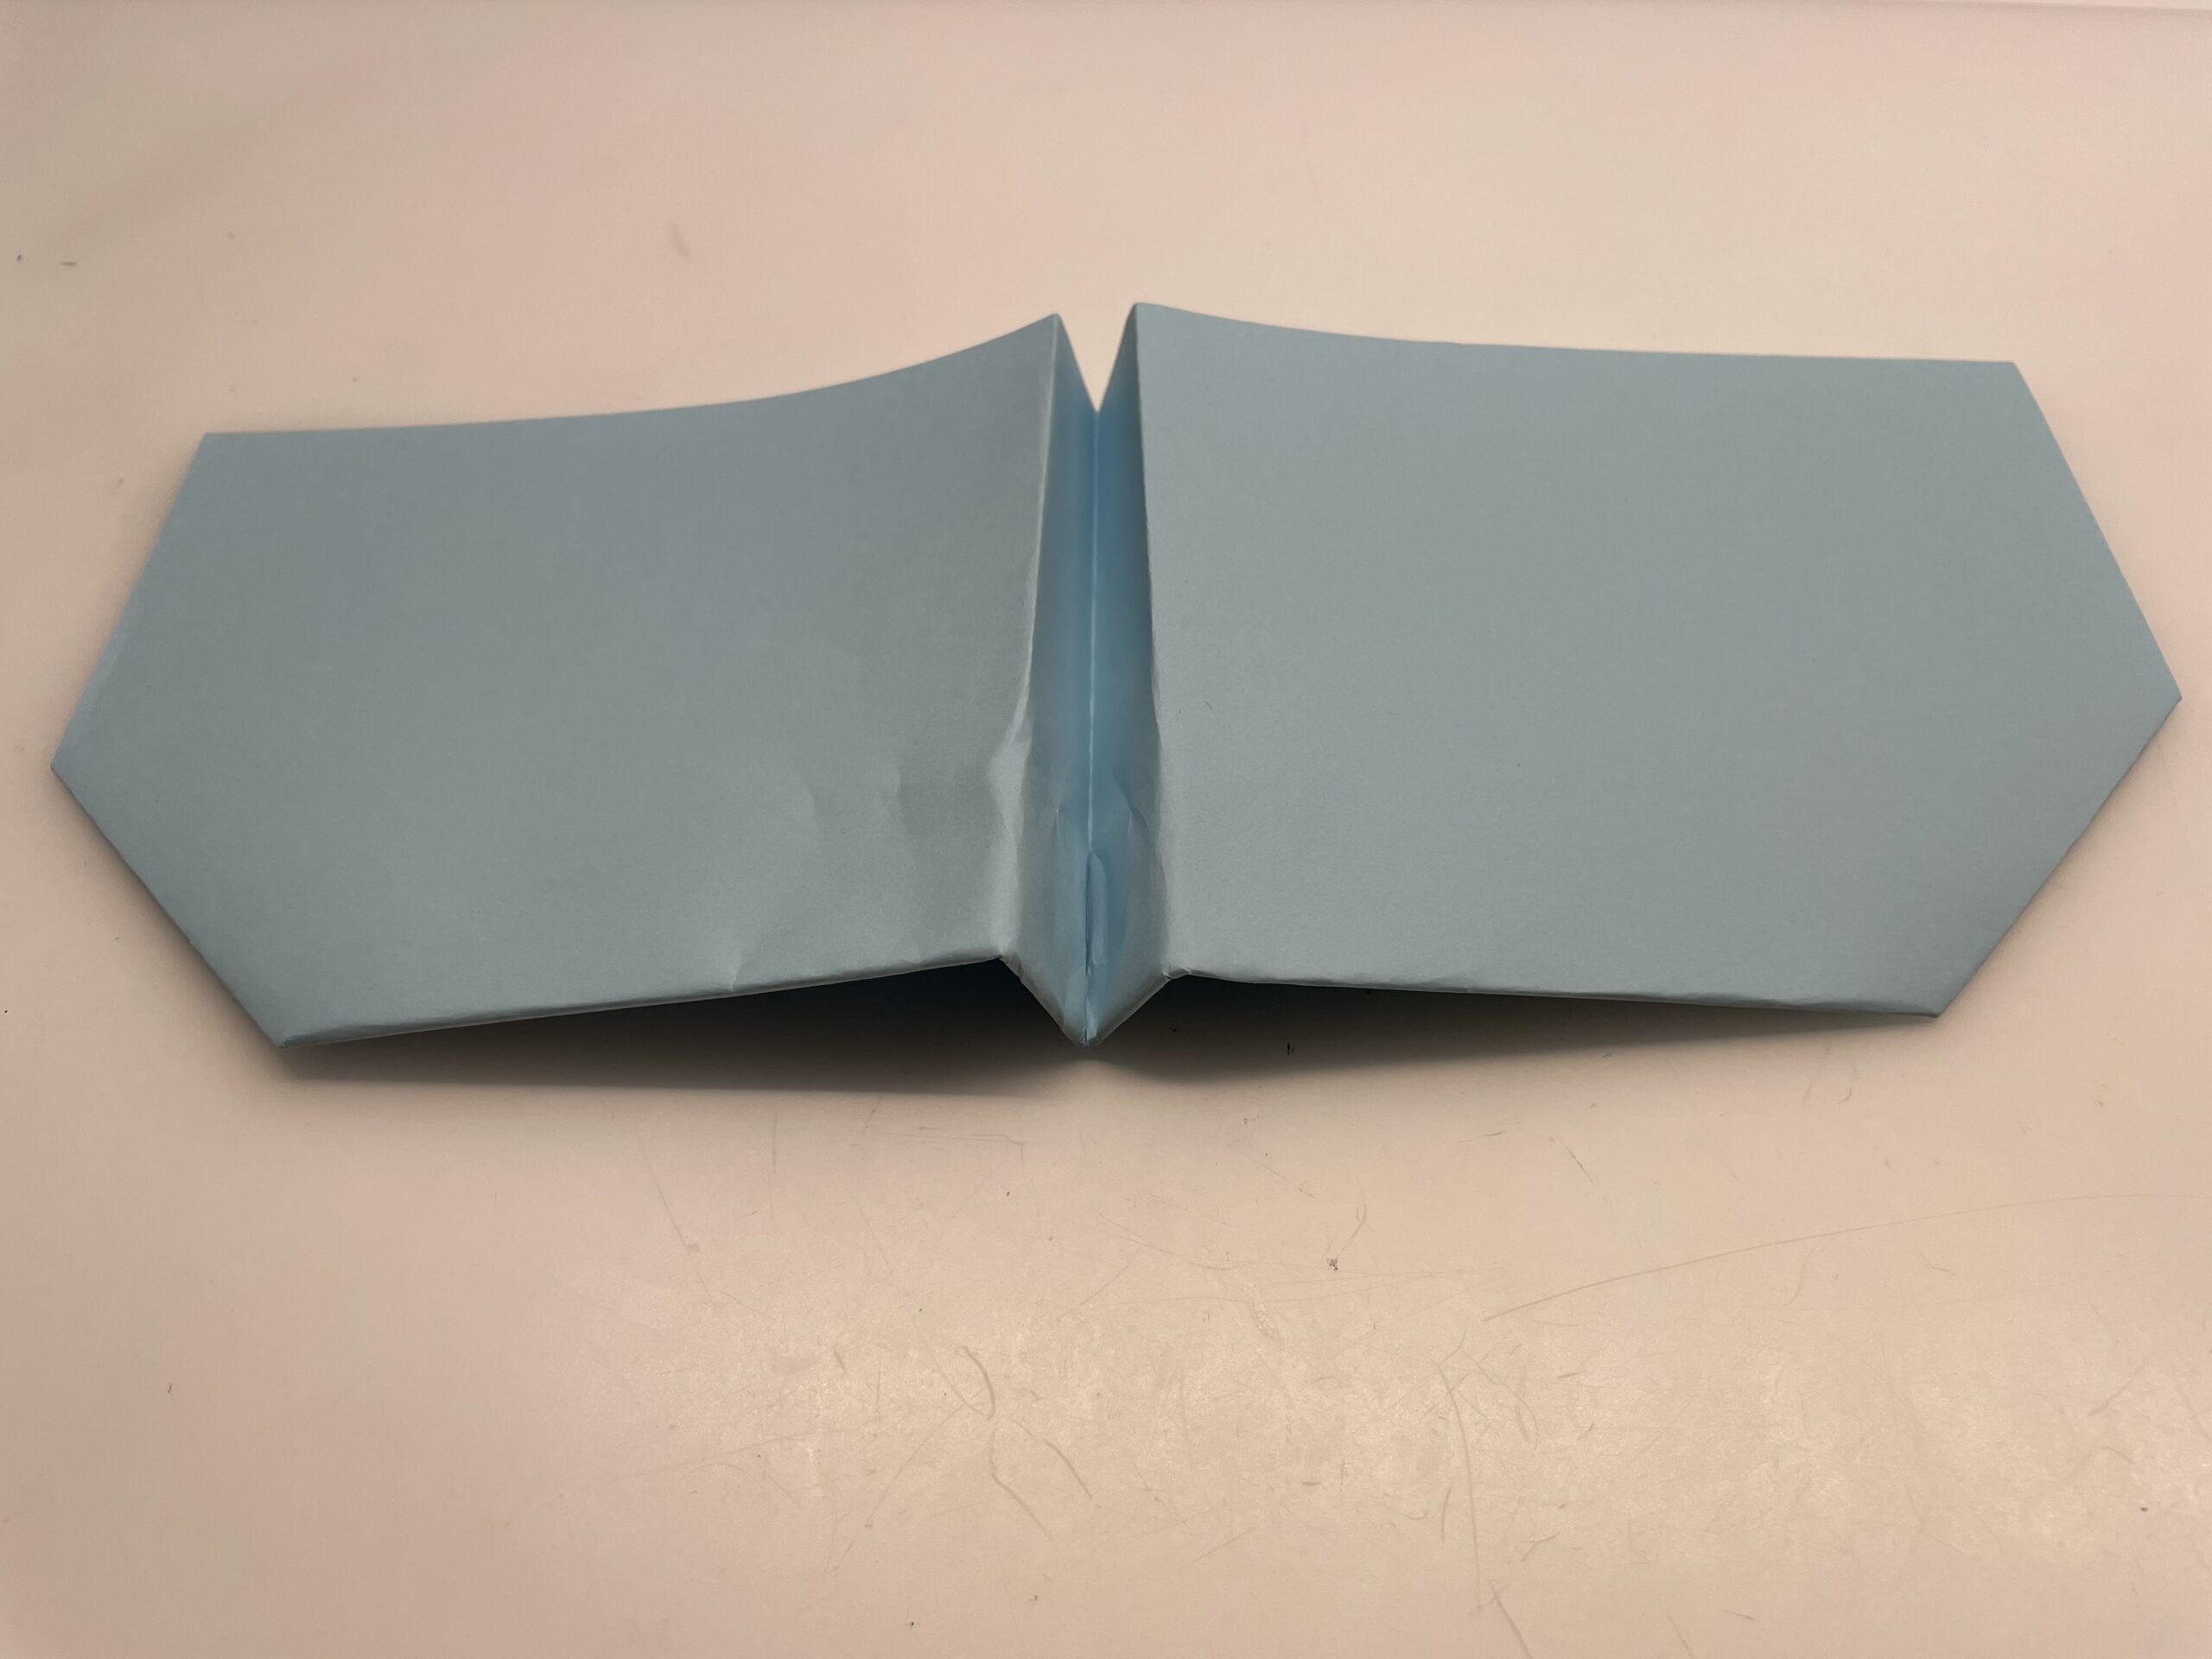
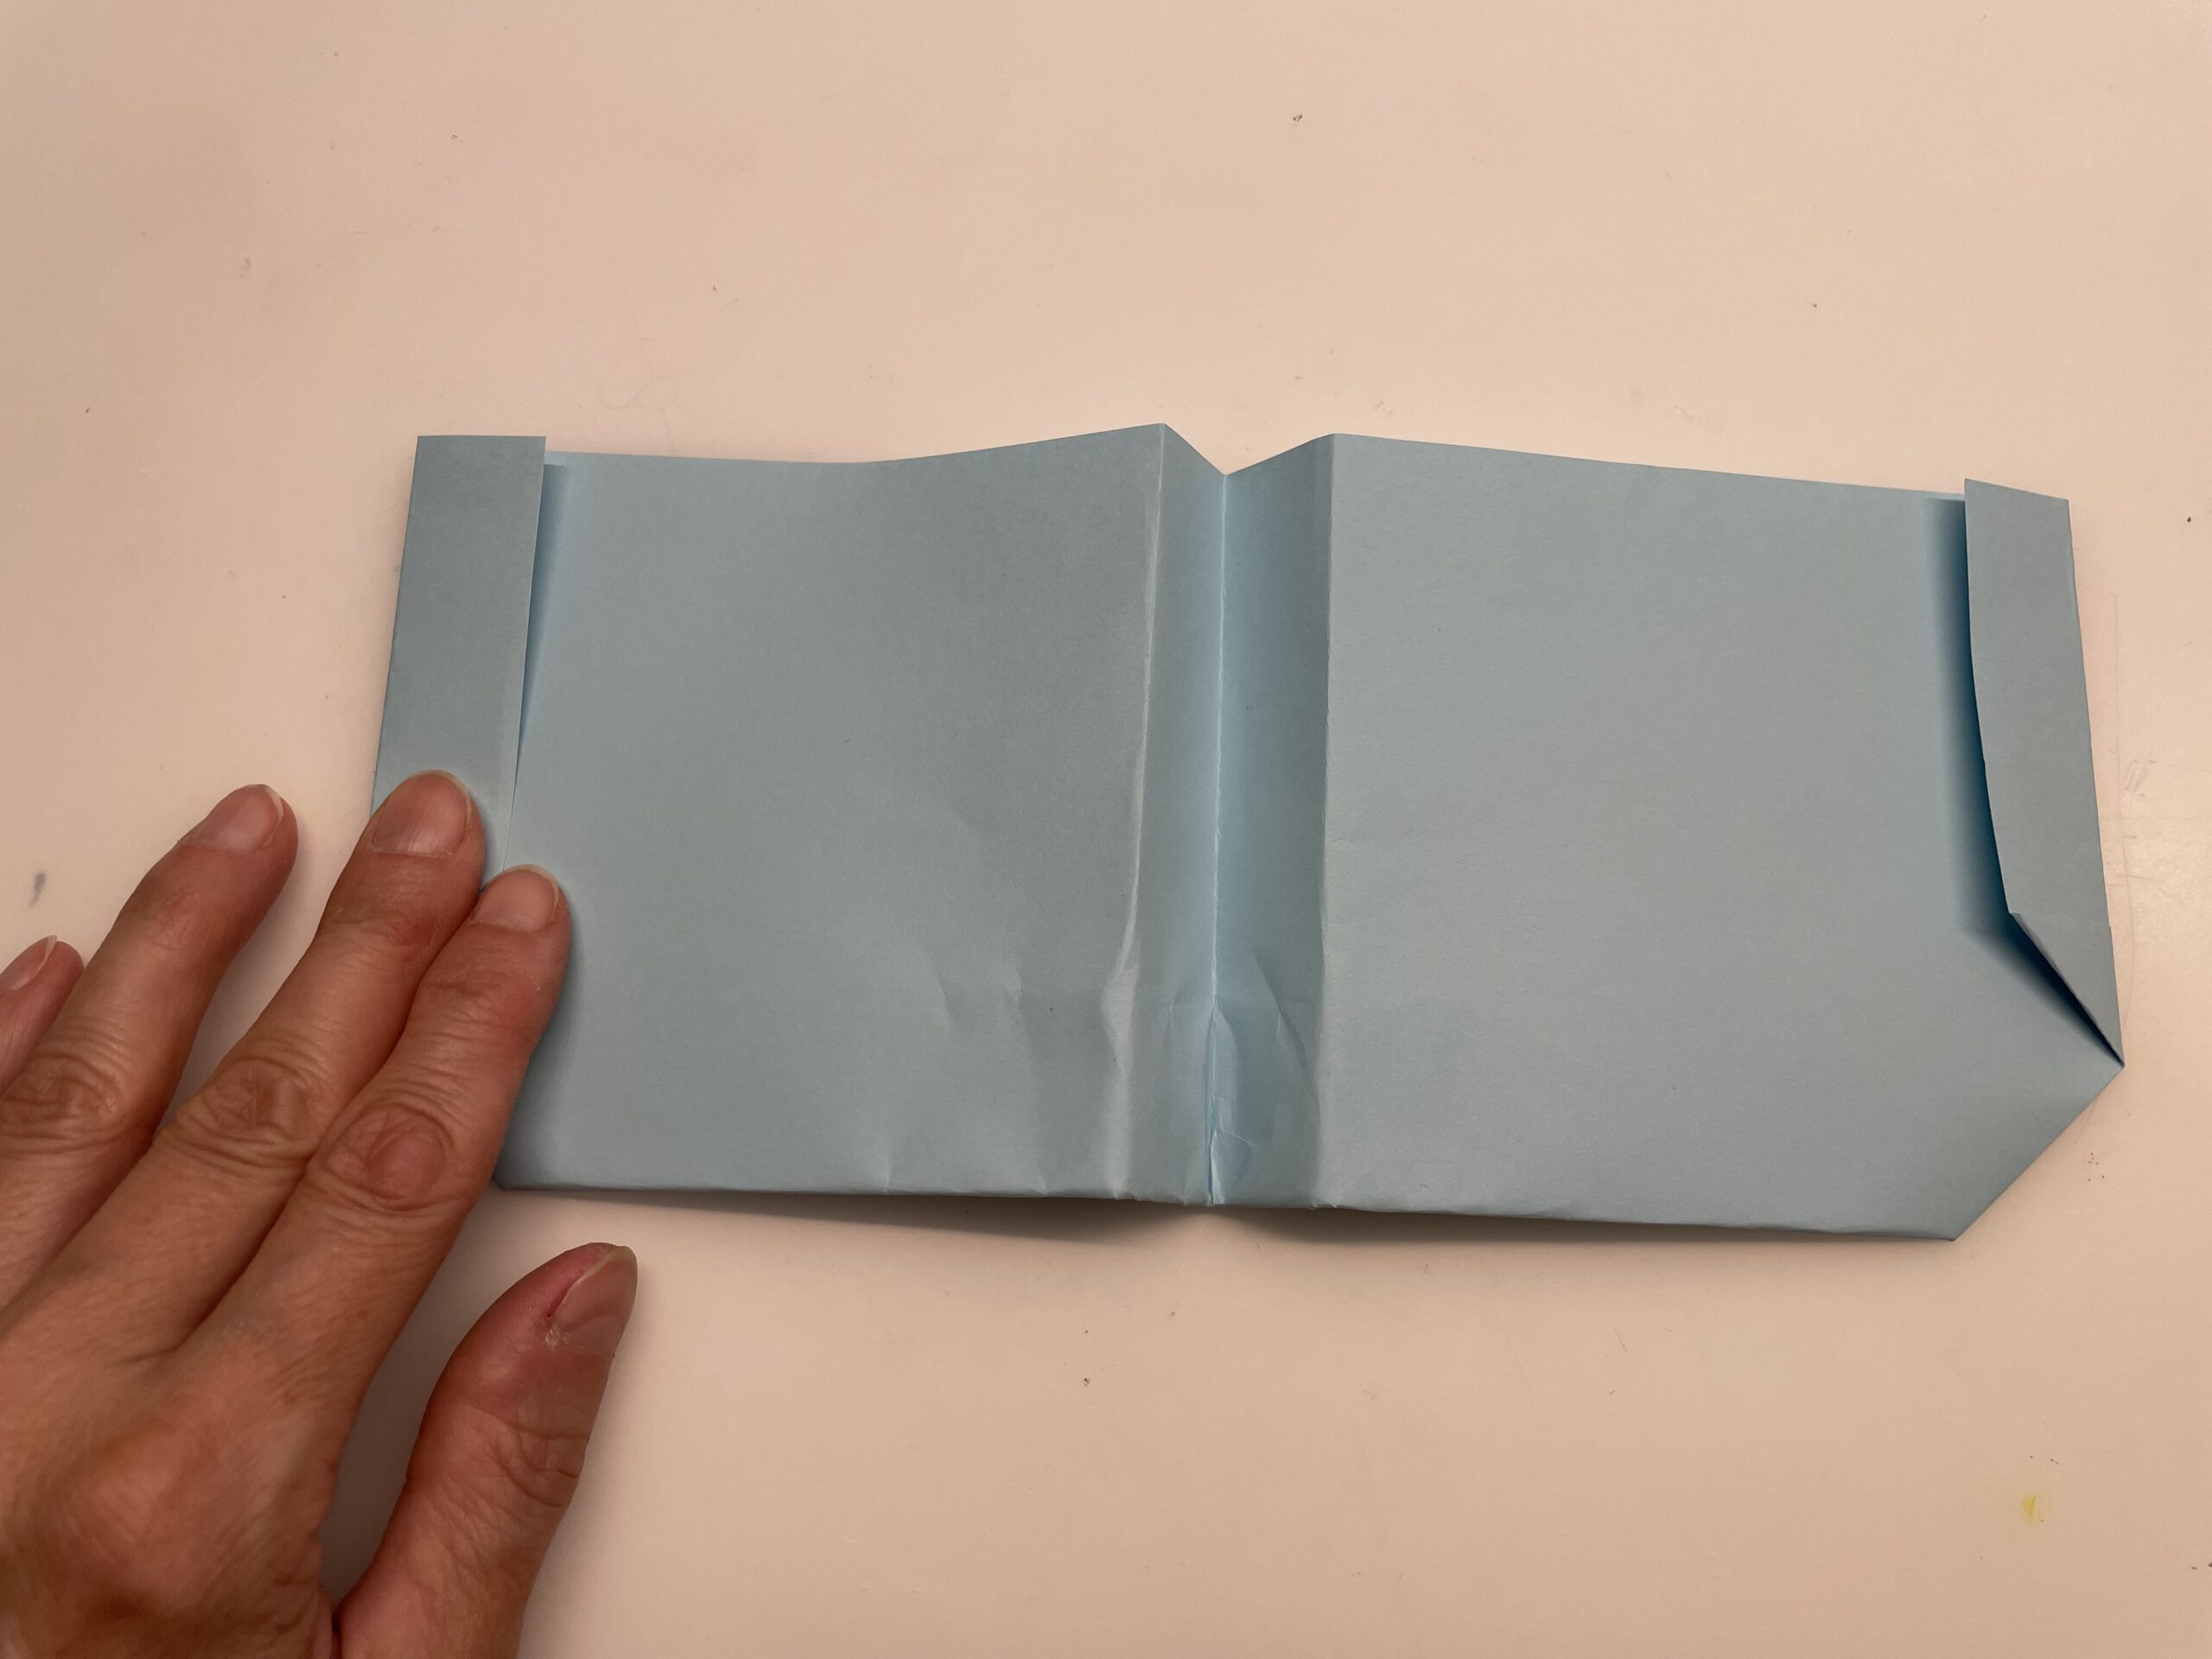
That's what your paper flyer looks like now.
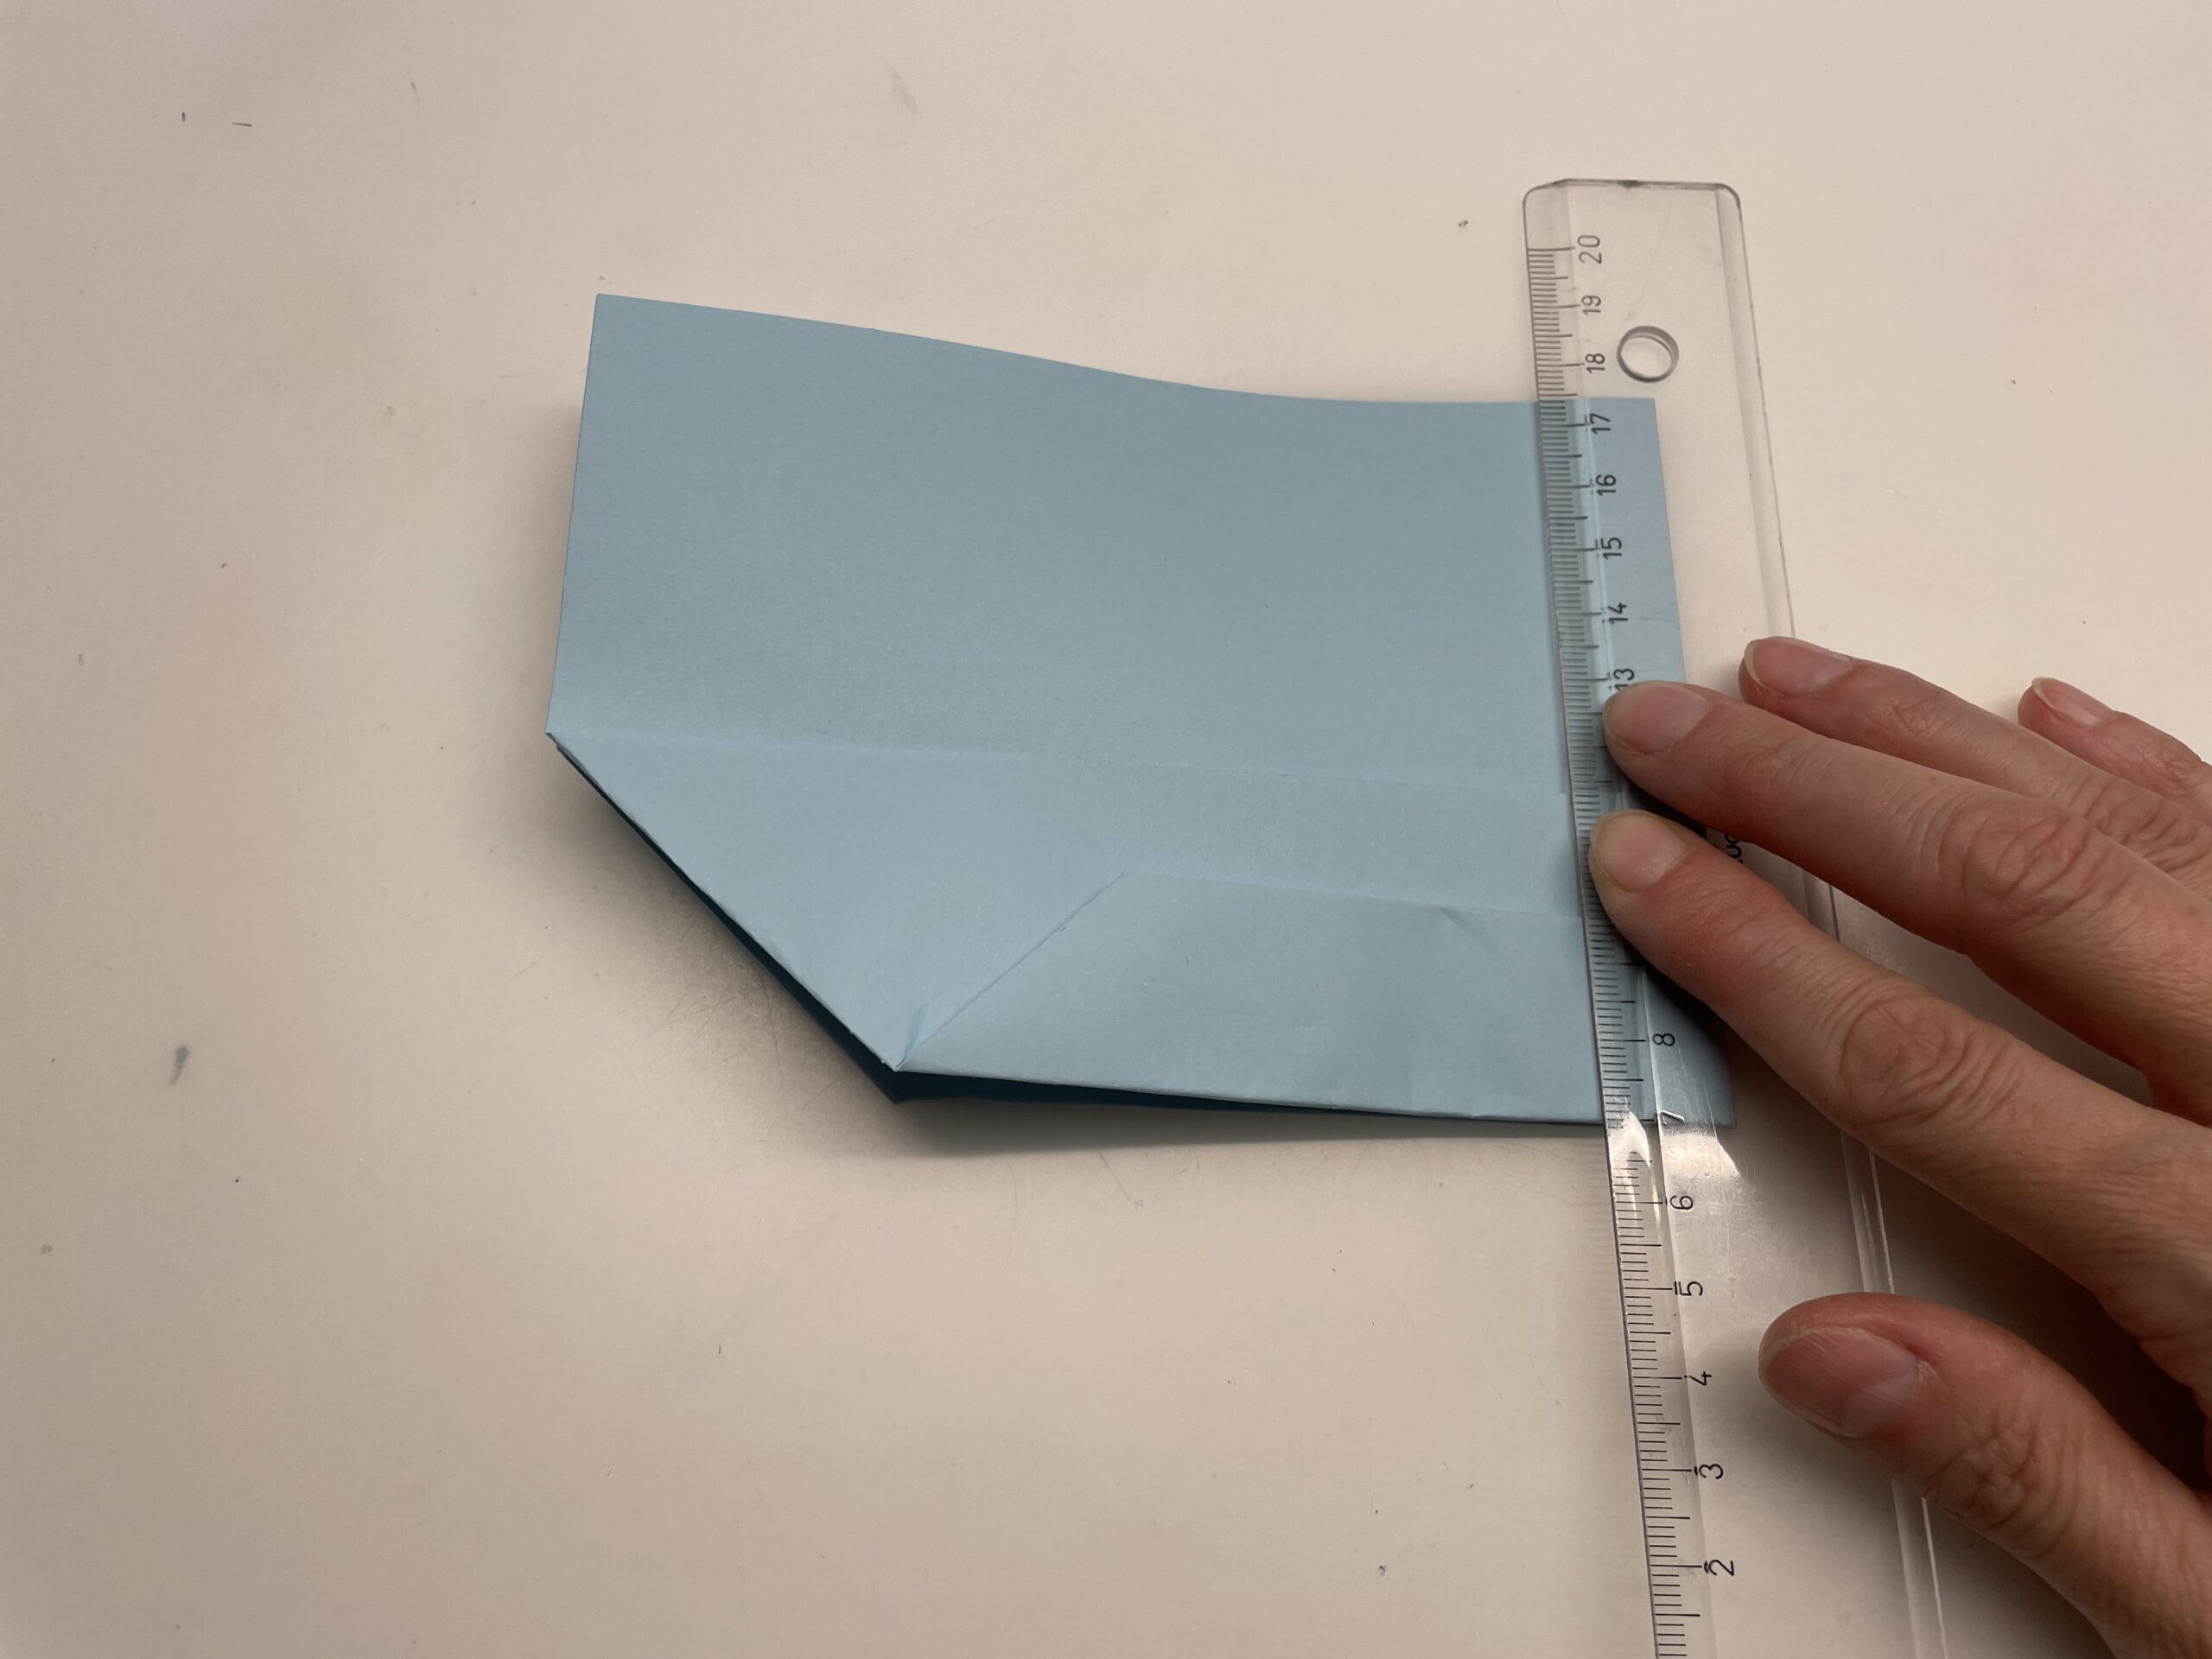
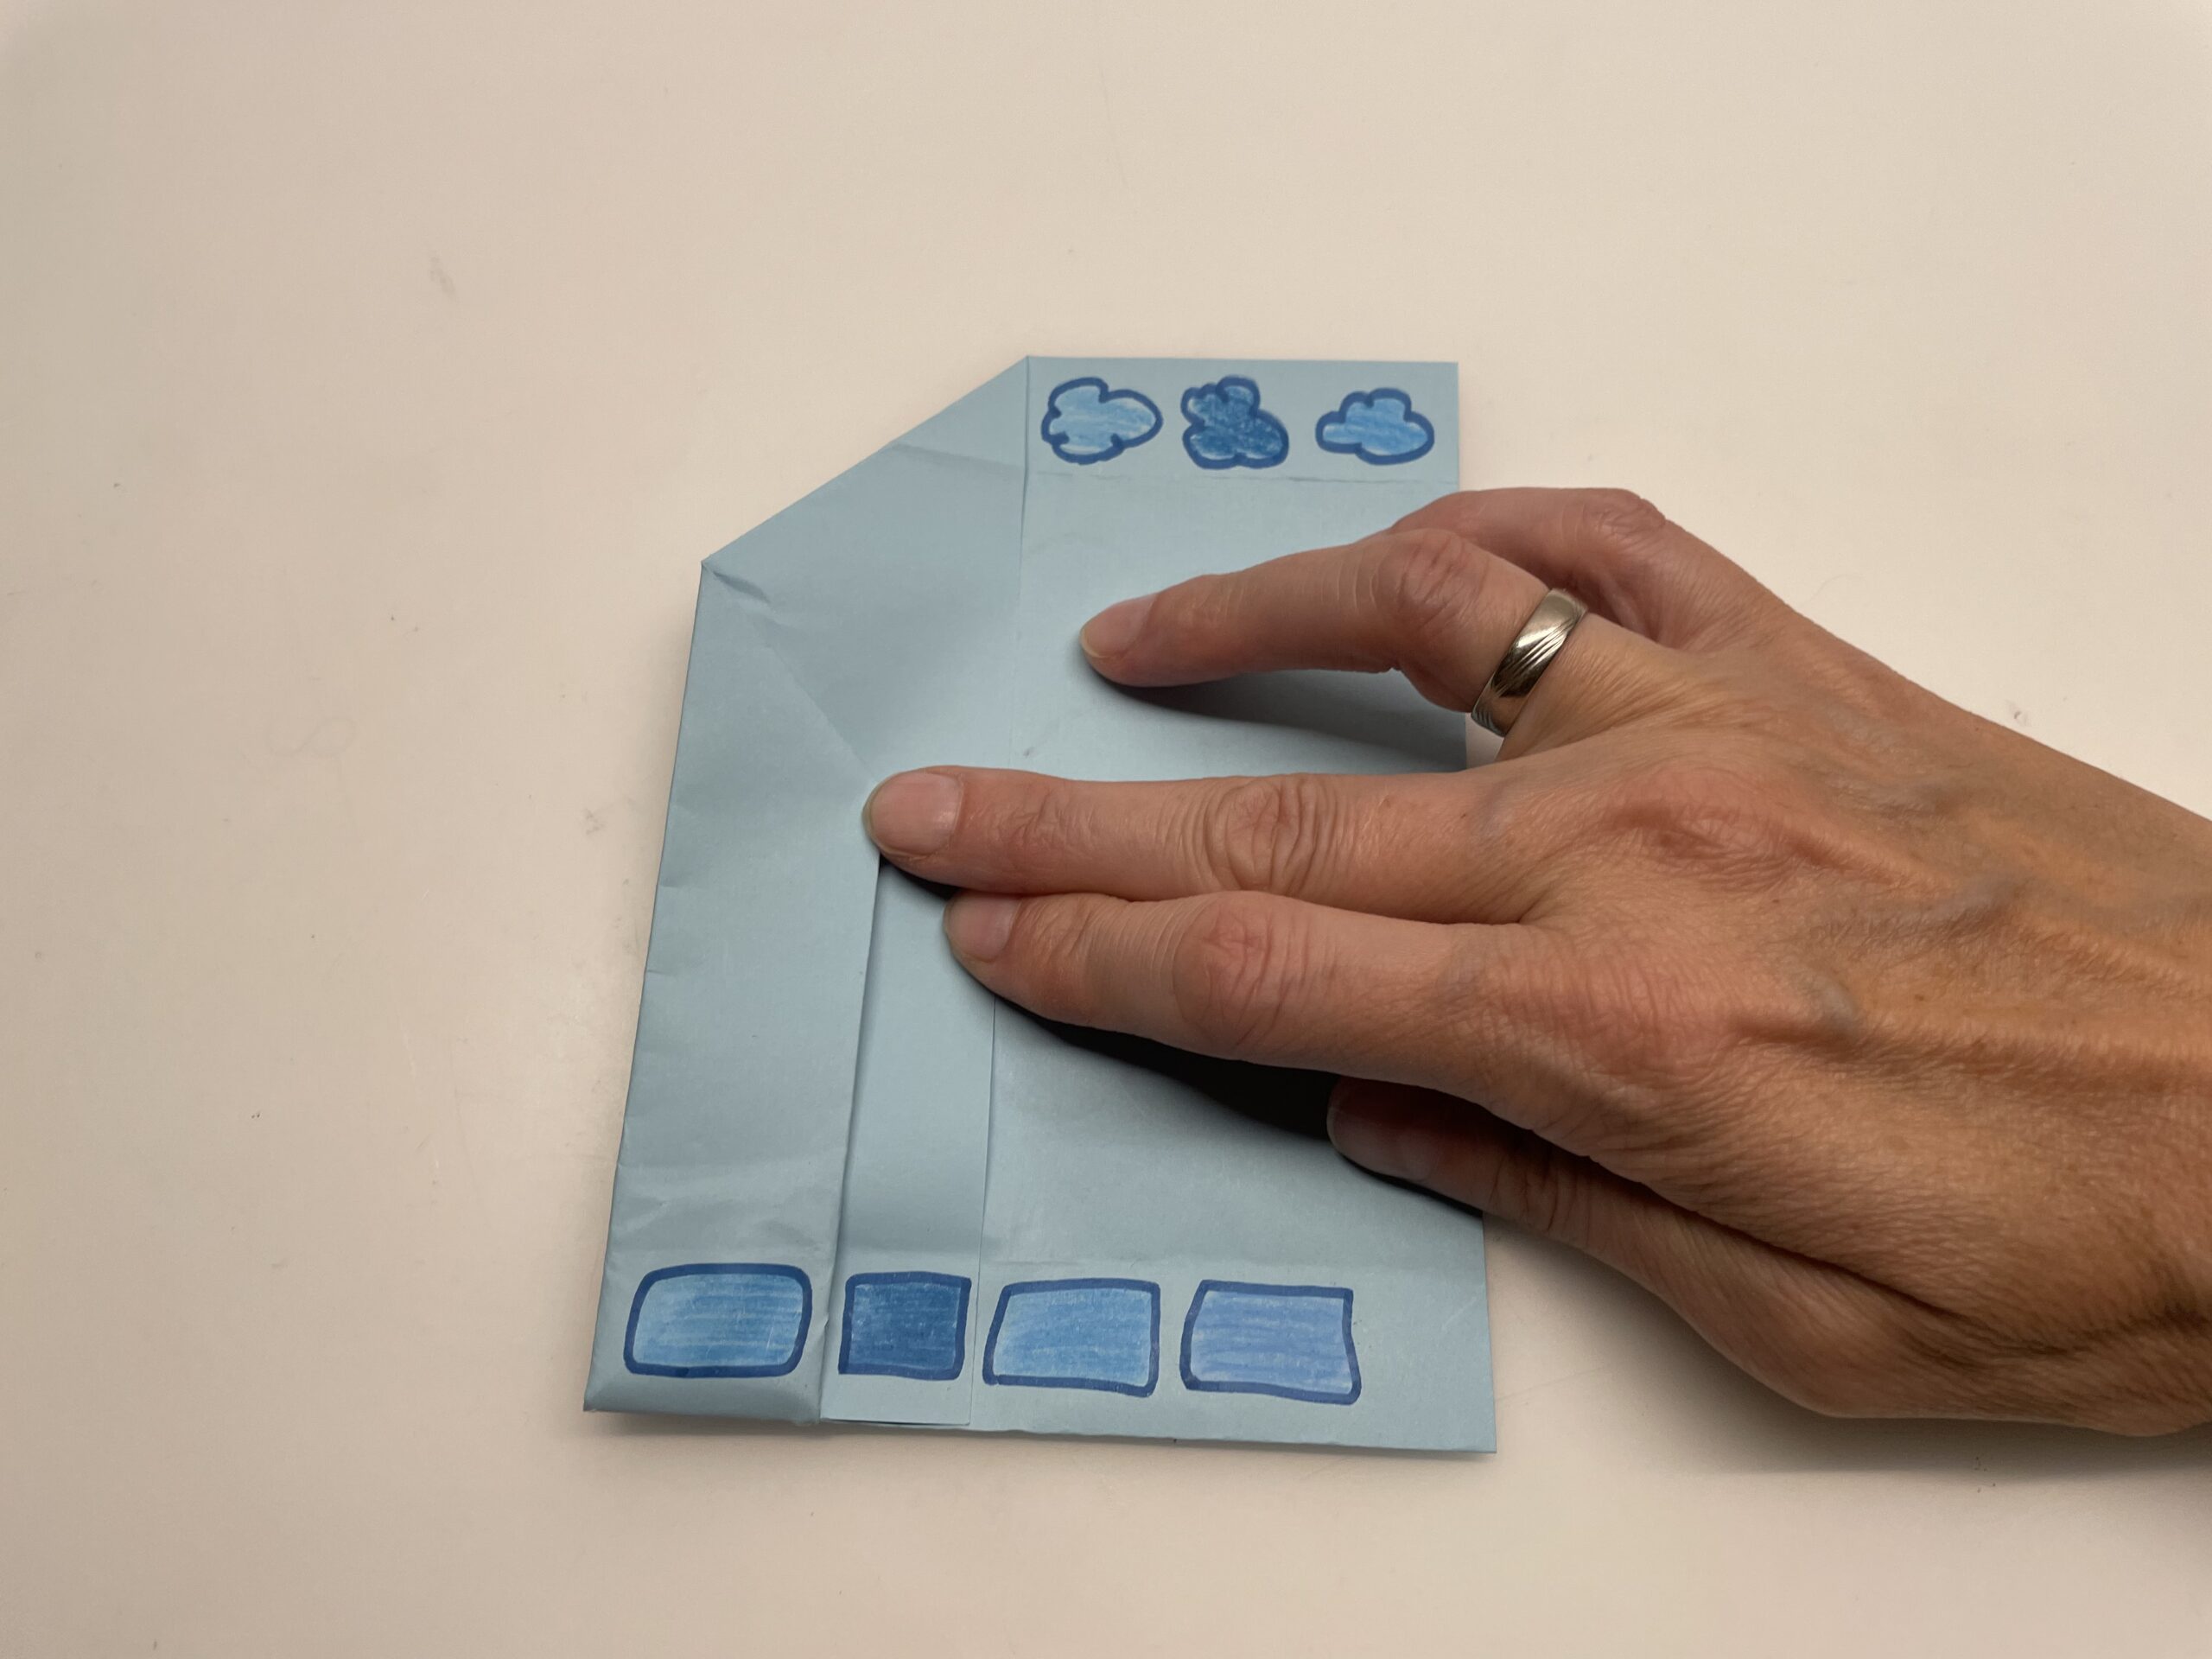
Folds a strip on the wings, as the plane glides even better later.
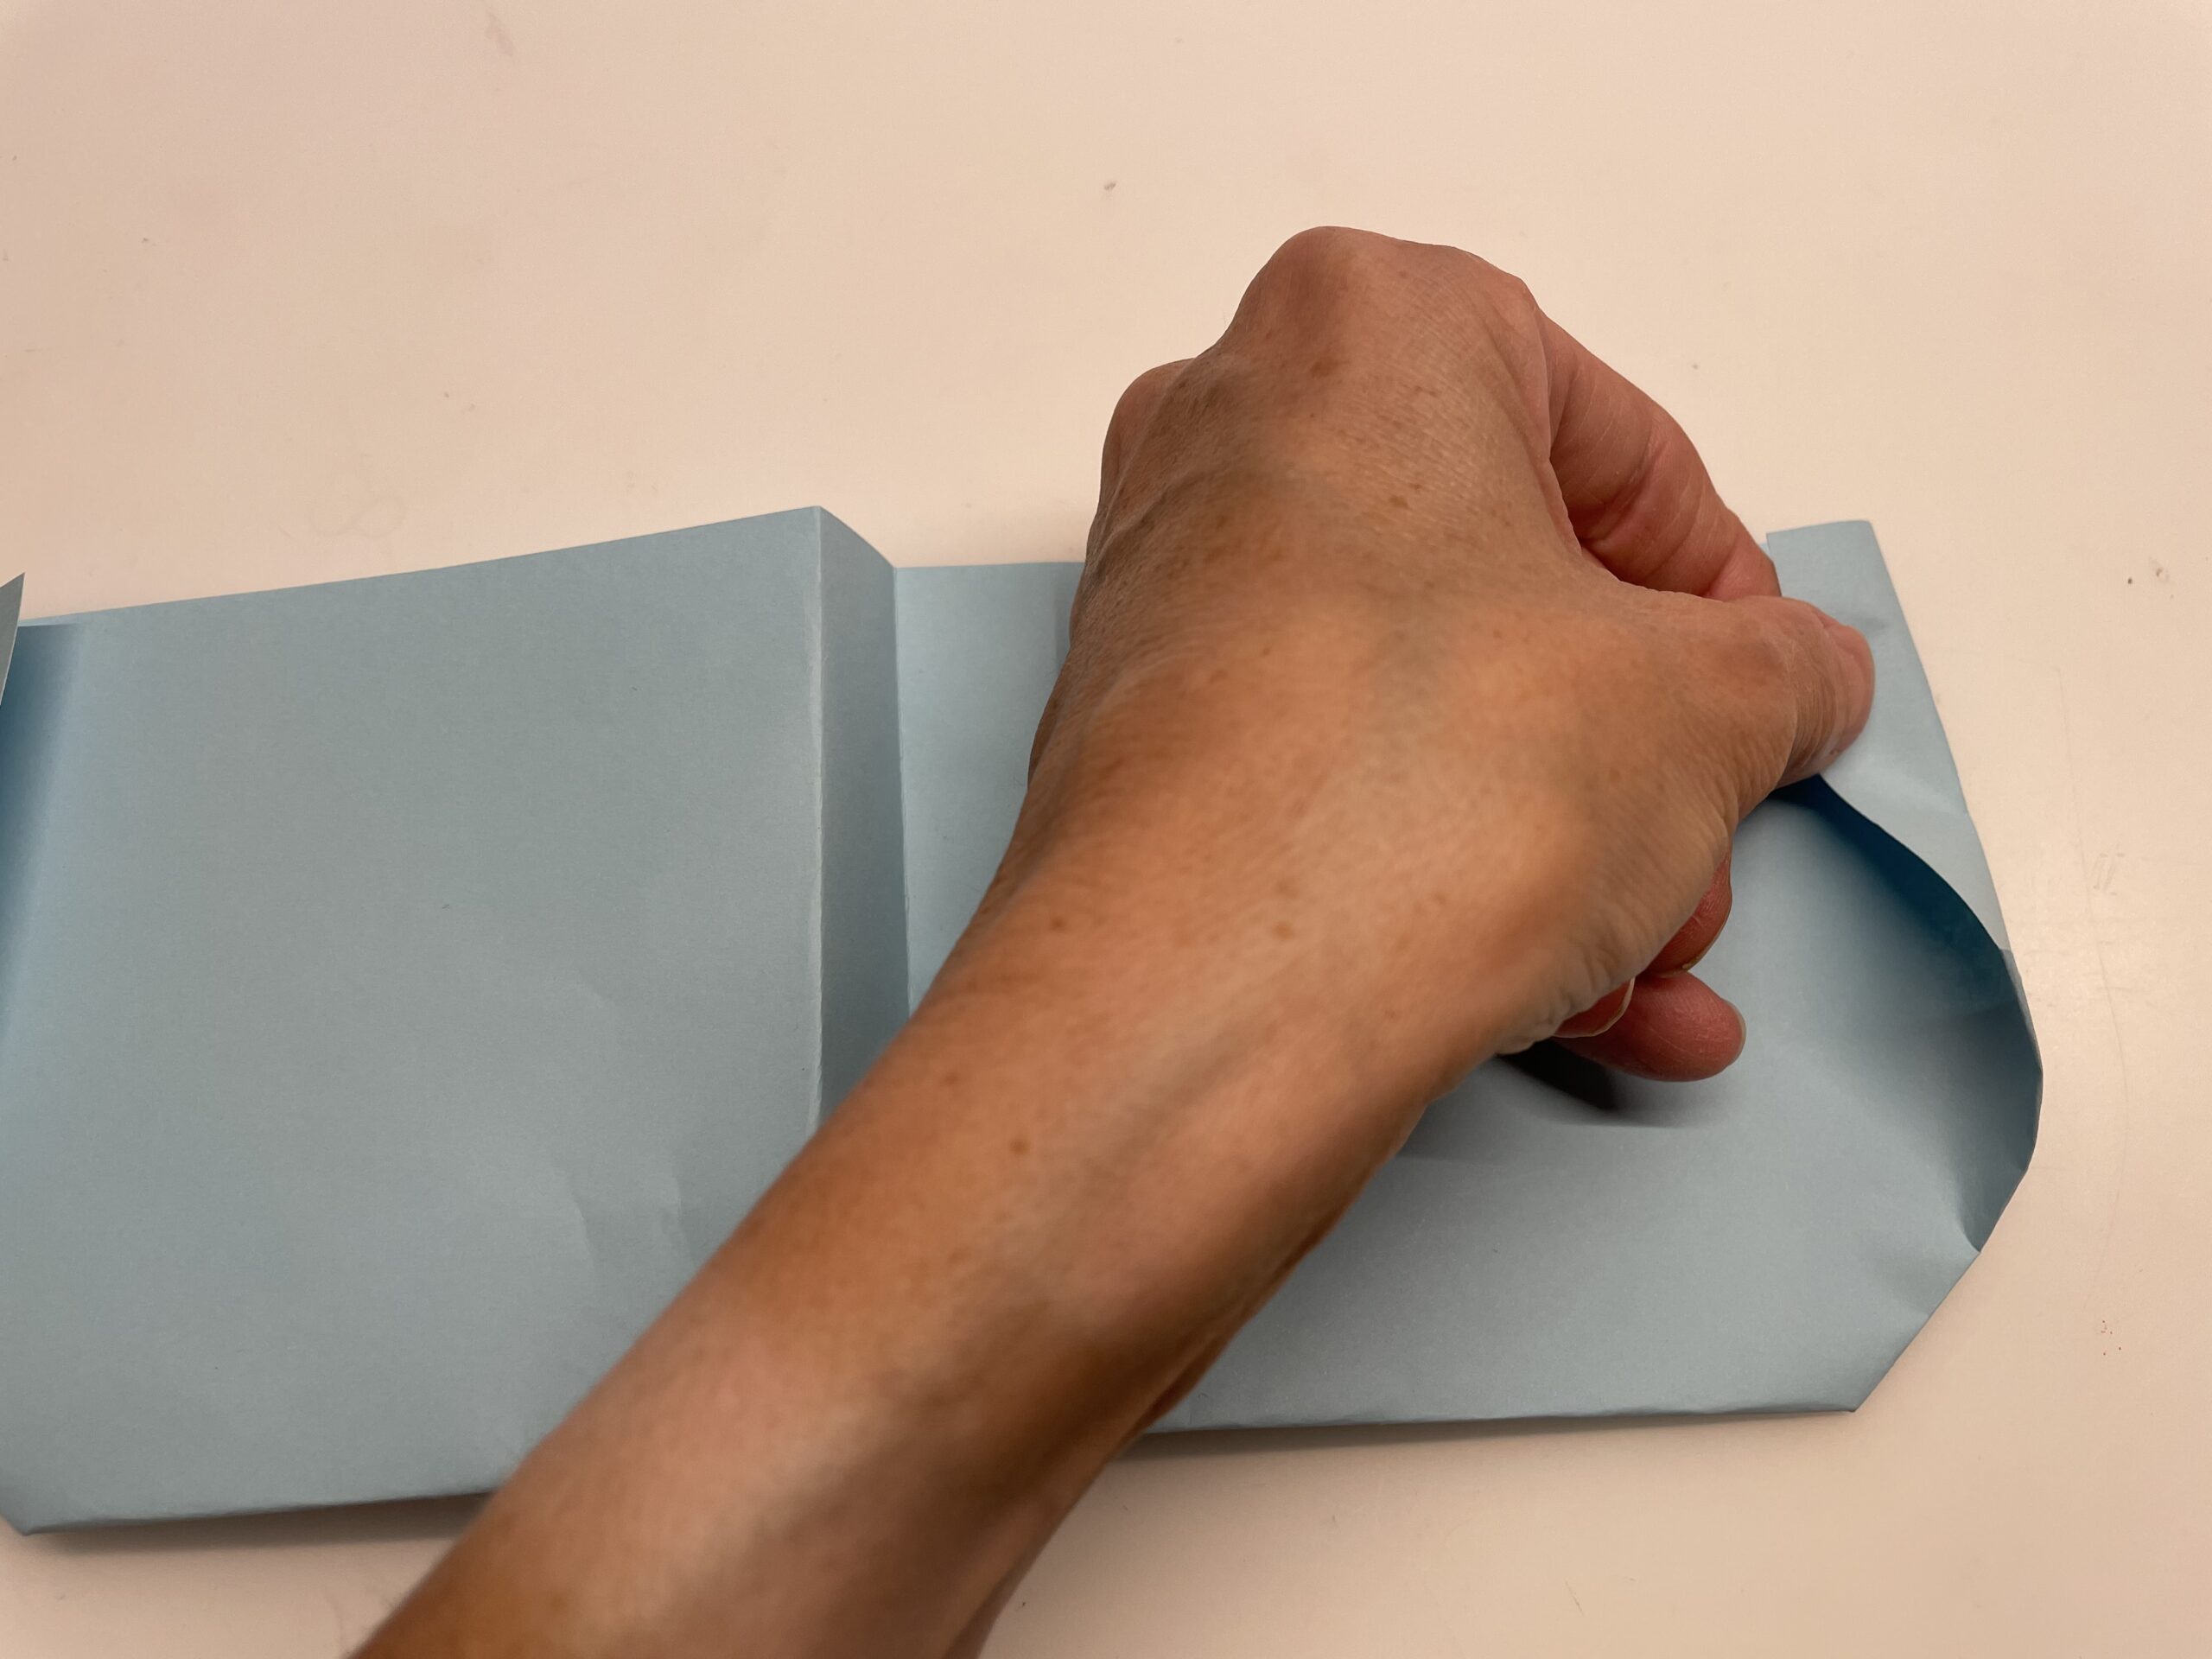
Strip the resulting edge out strongly here as well.
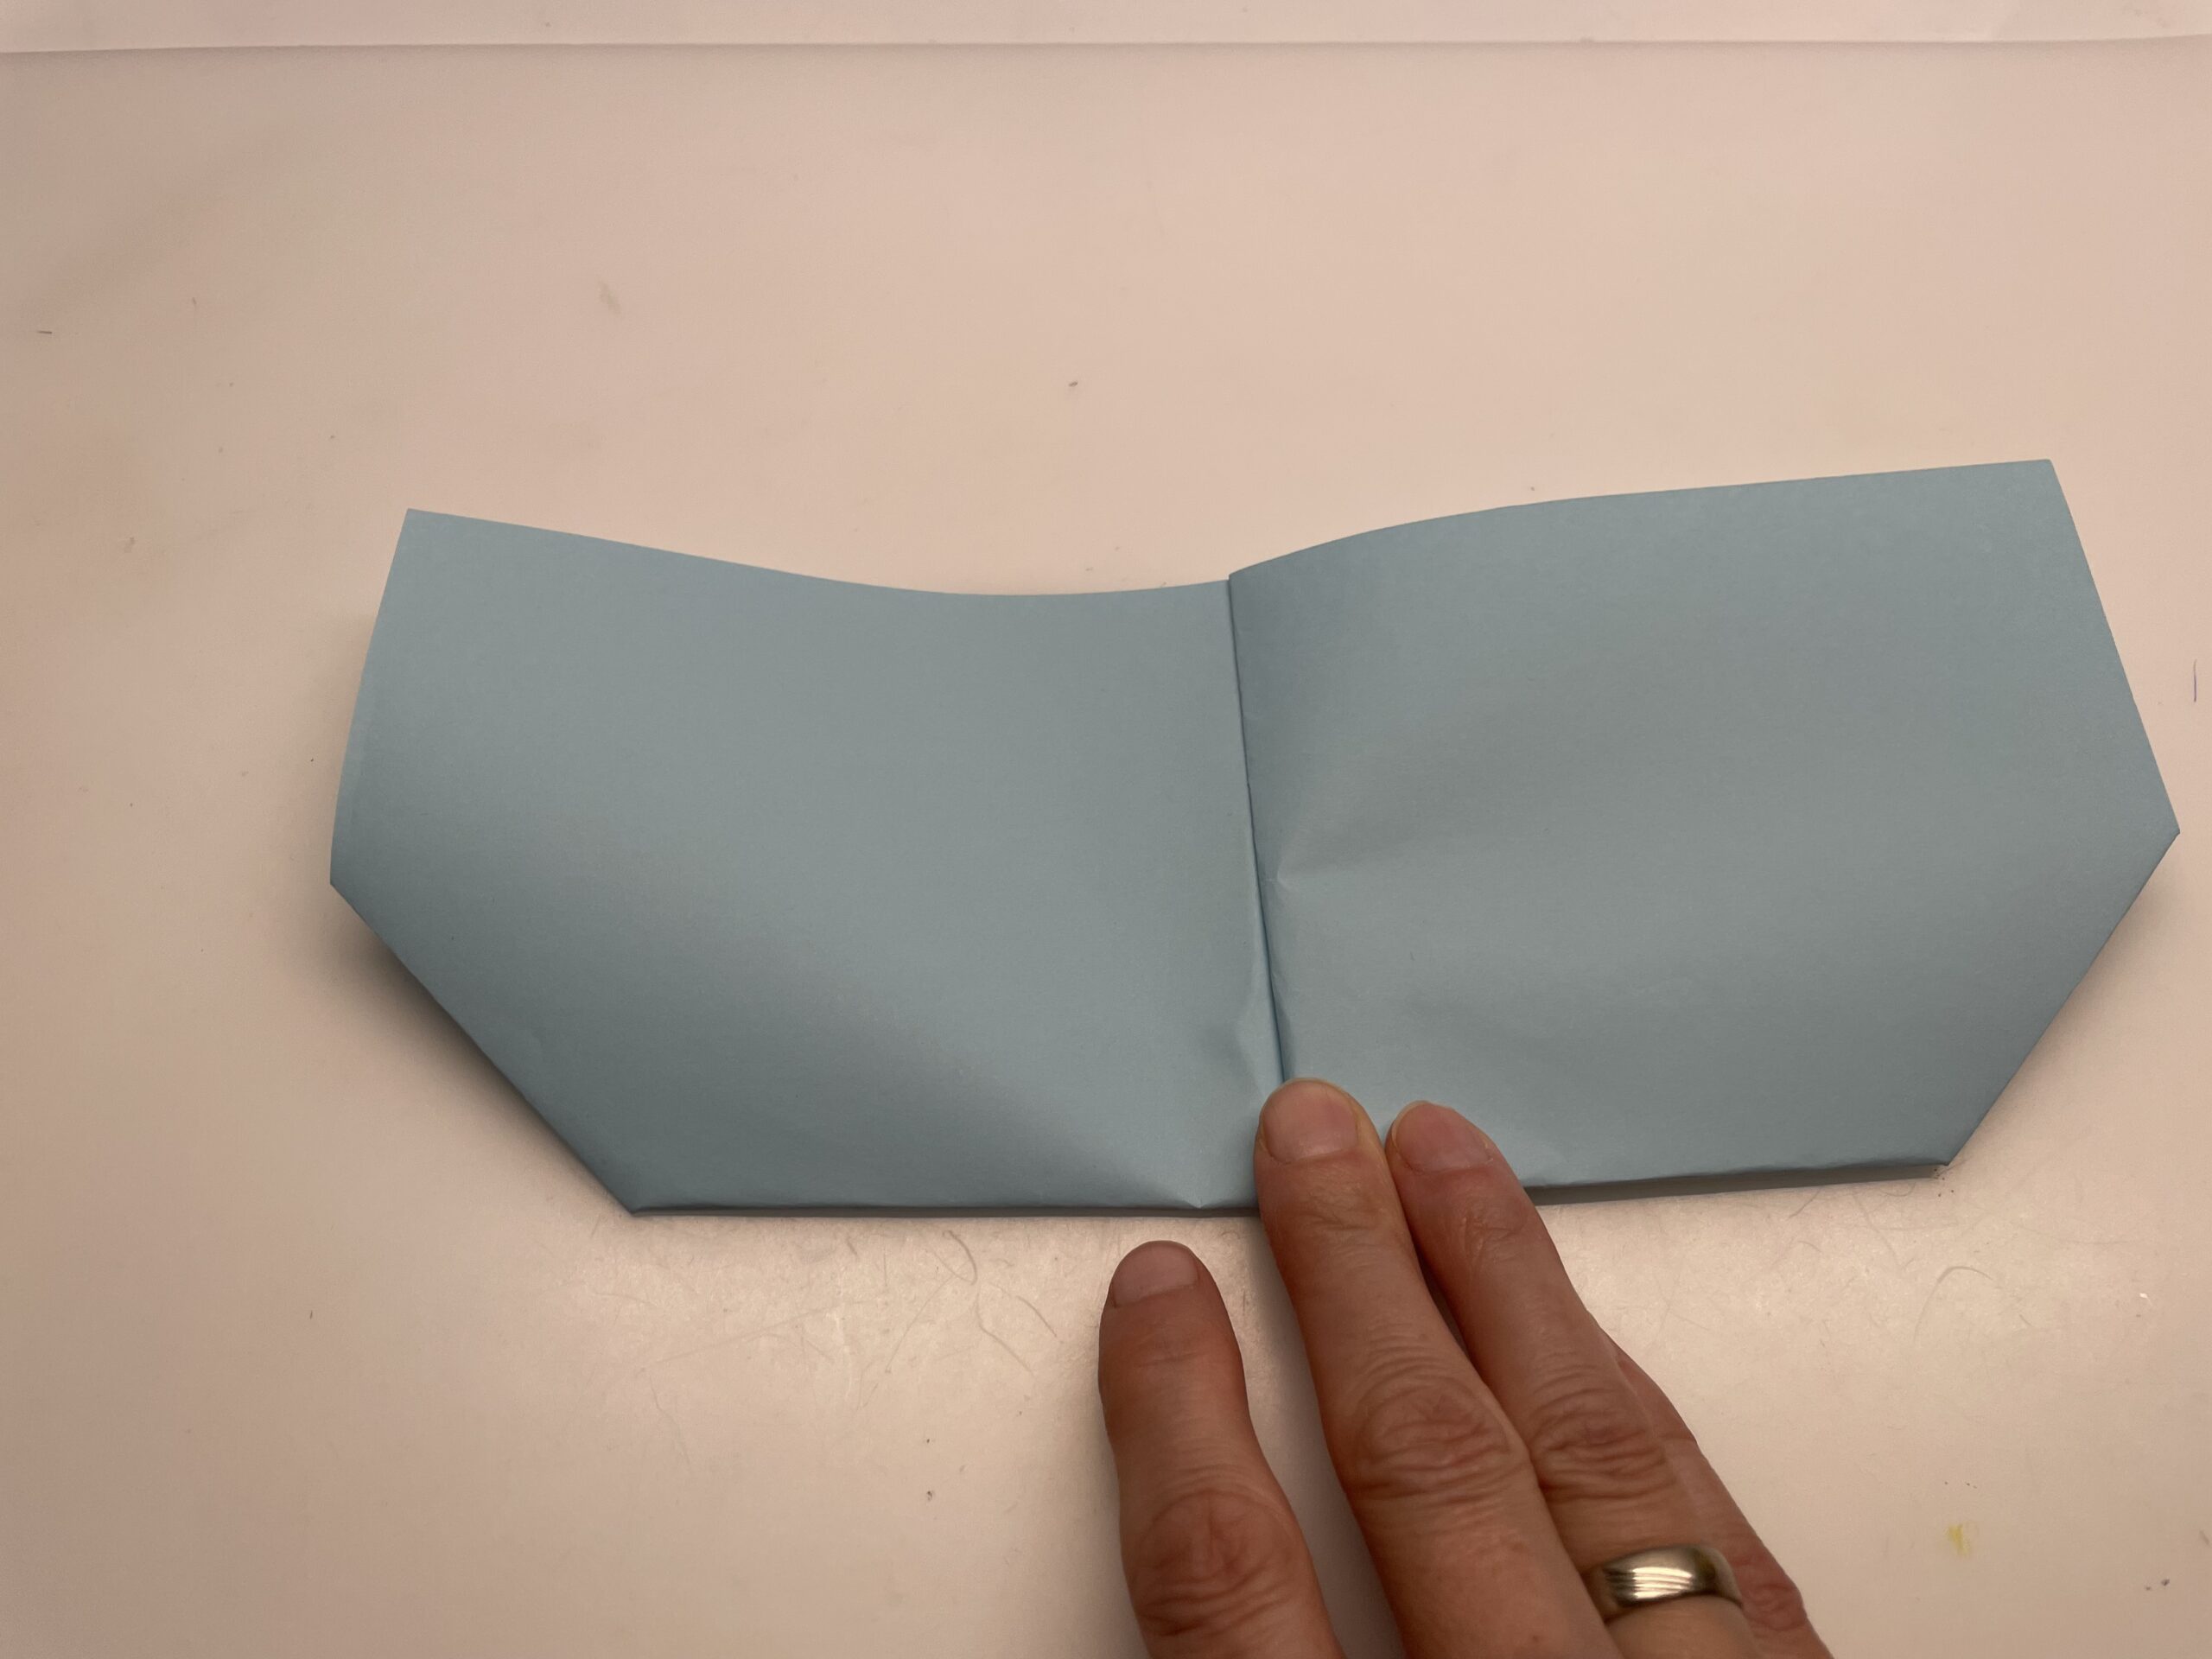
Repeat the process on the other wing and make sure that both distances are the same.
The side folds can point upwards or downwards. Try it out if the paper flyer flies better when the folds point upwards or downwards.
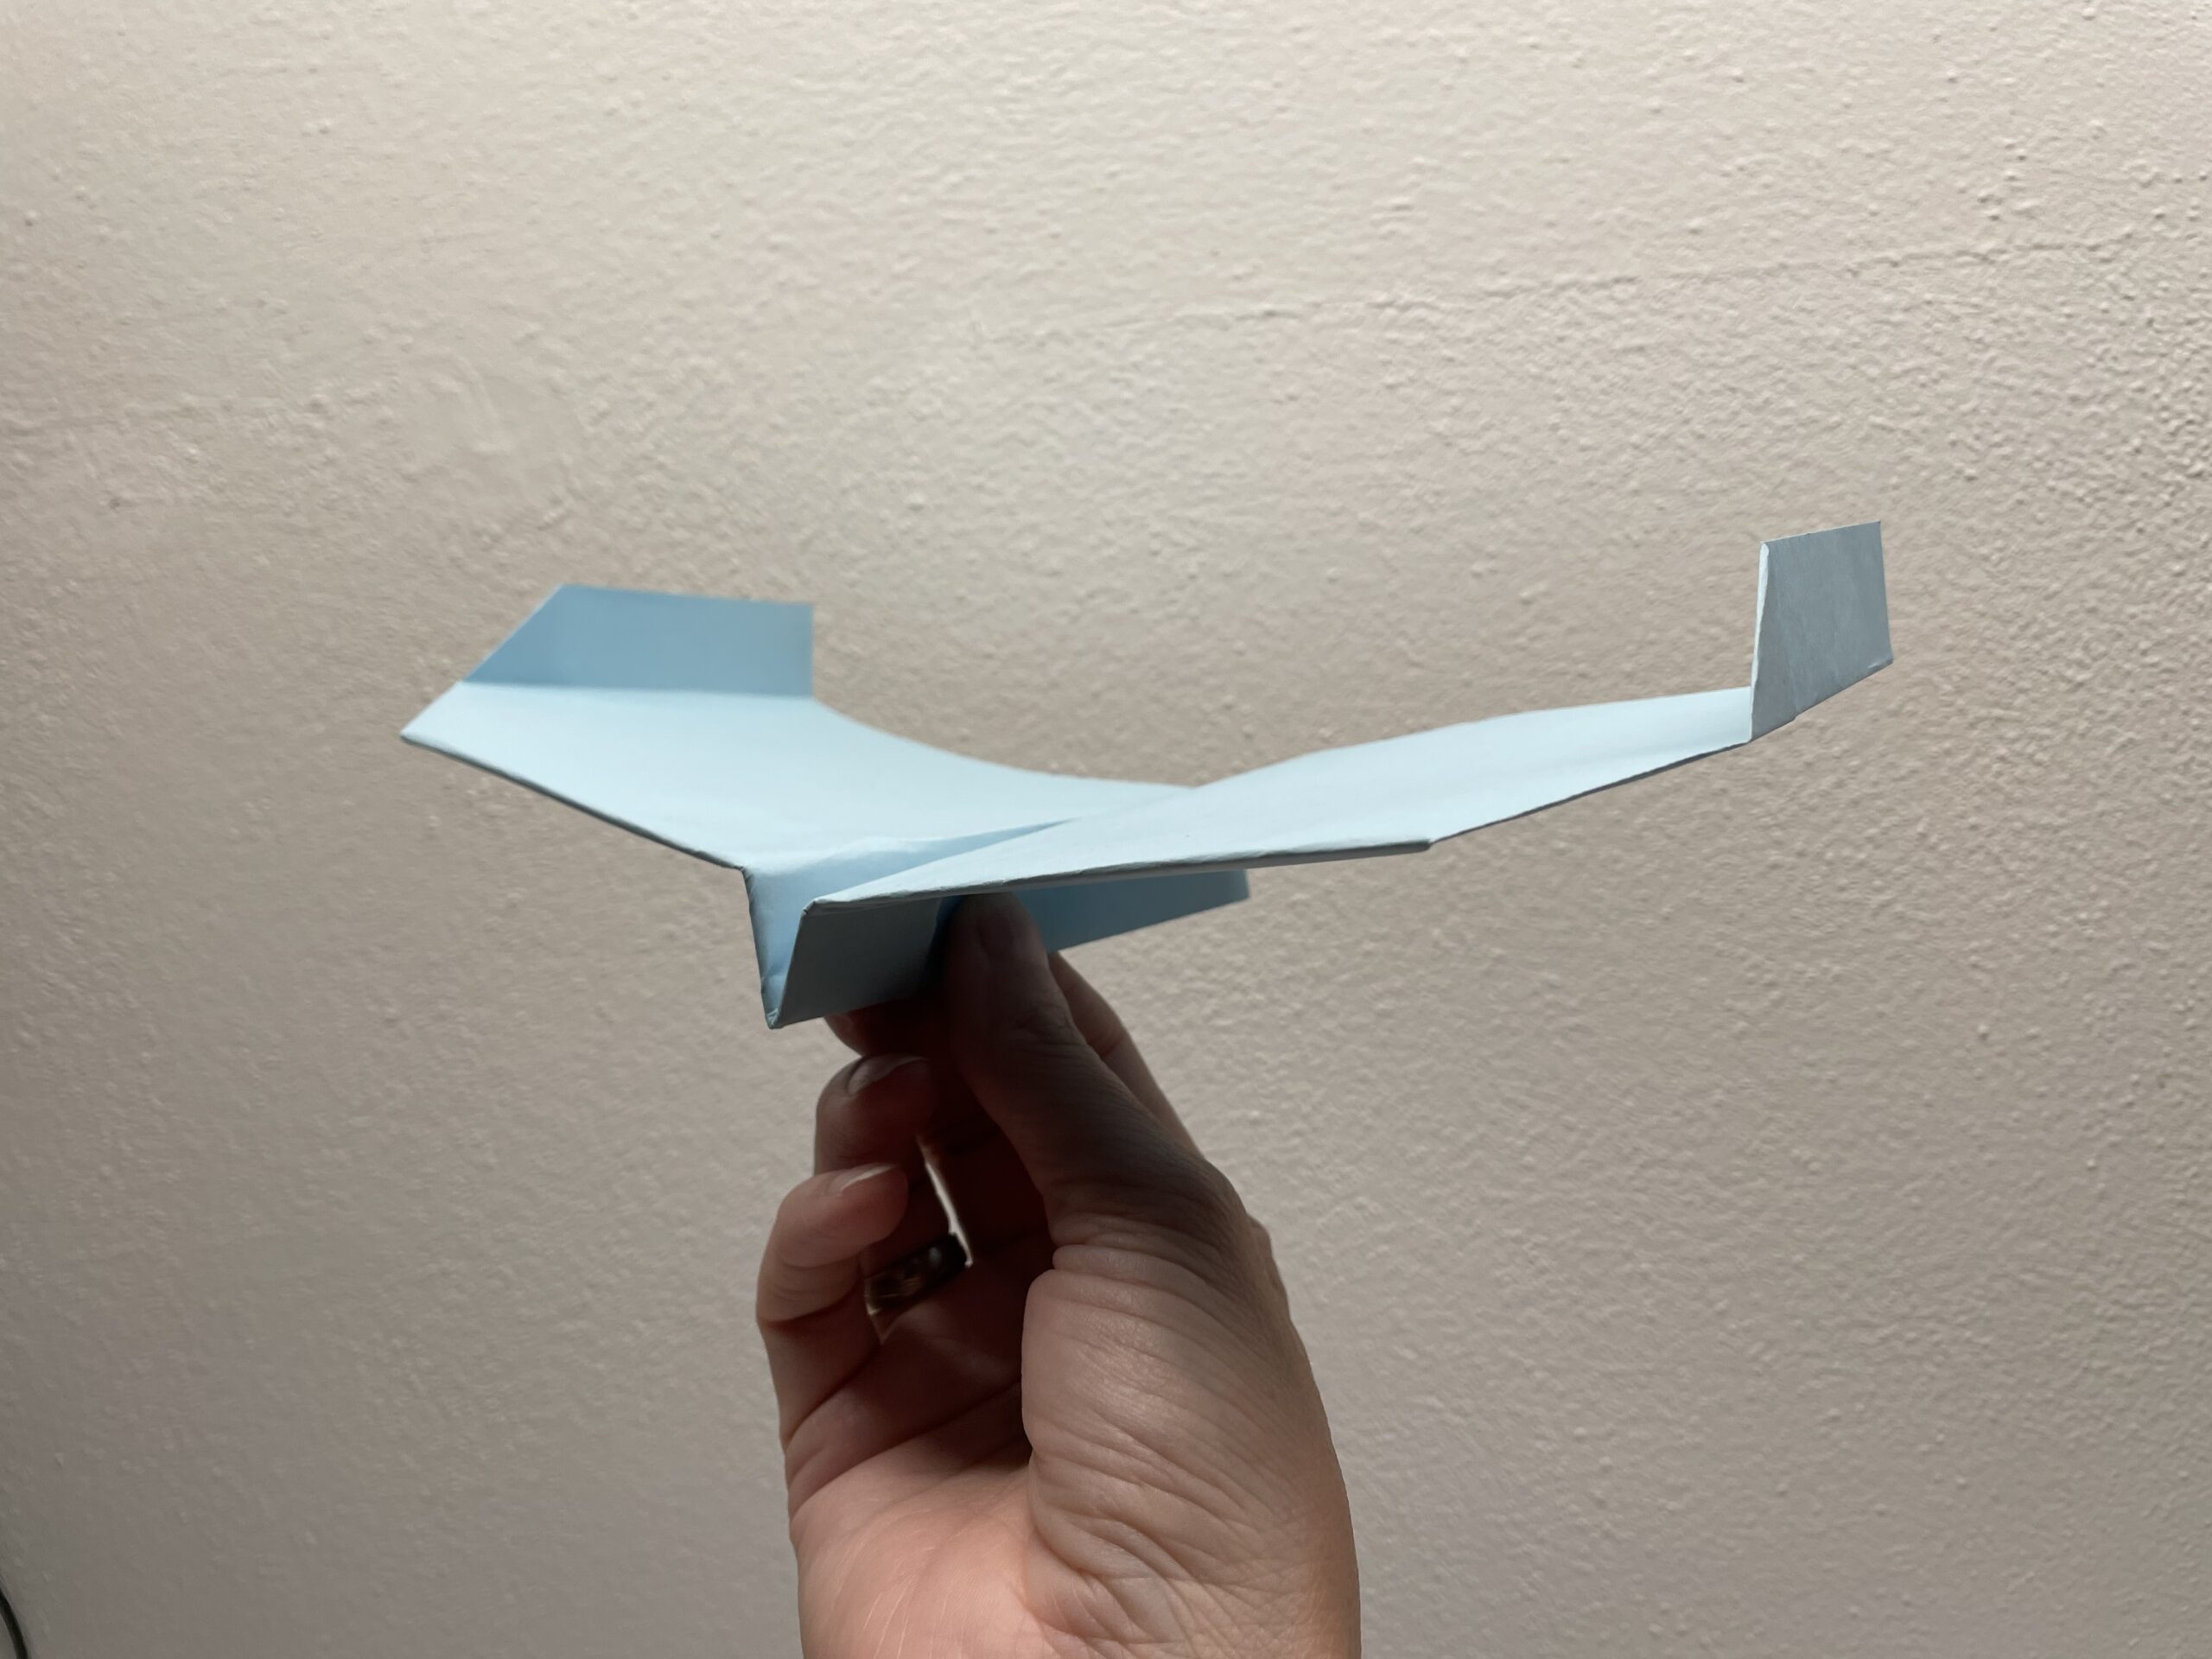
Now the plane is already ready.
Ready for a trial flight?
Tip: Show down the folds, then the paper flyer slides better.
If you still want to design your plane individually, paint it with crayons or markers. Watercolours are not suitable, because damp paper does not fly very well.

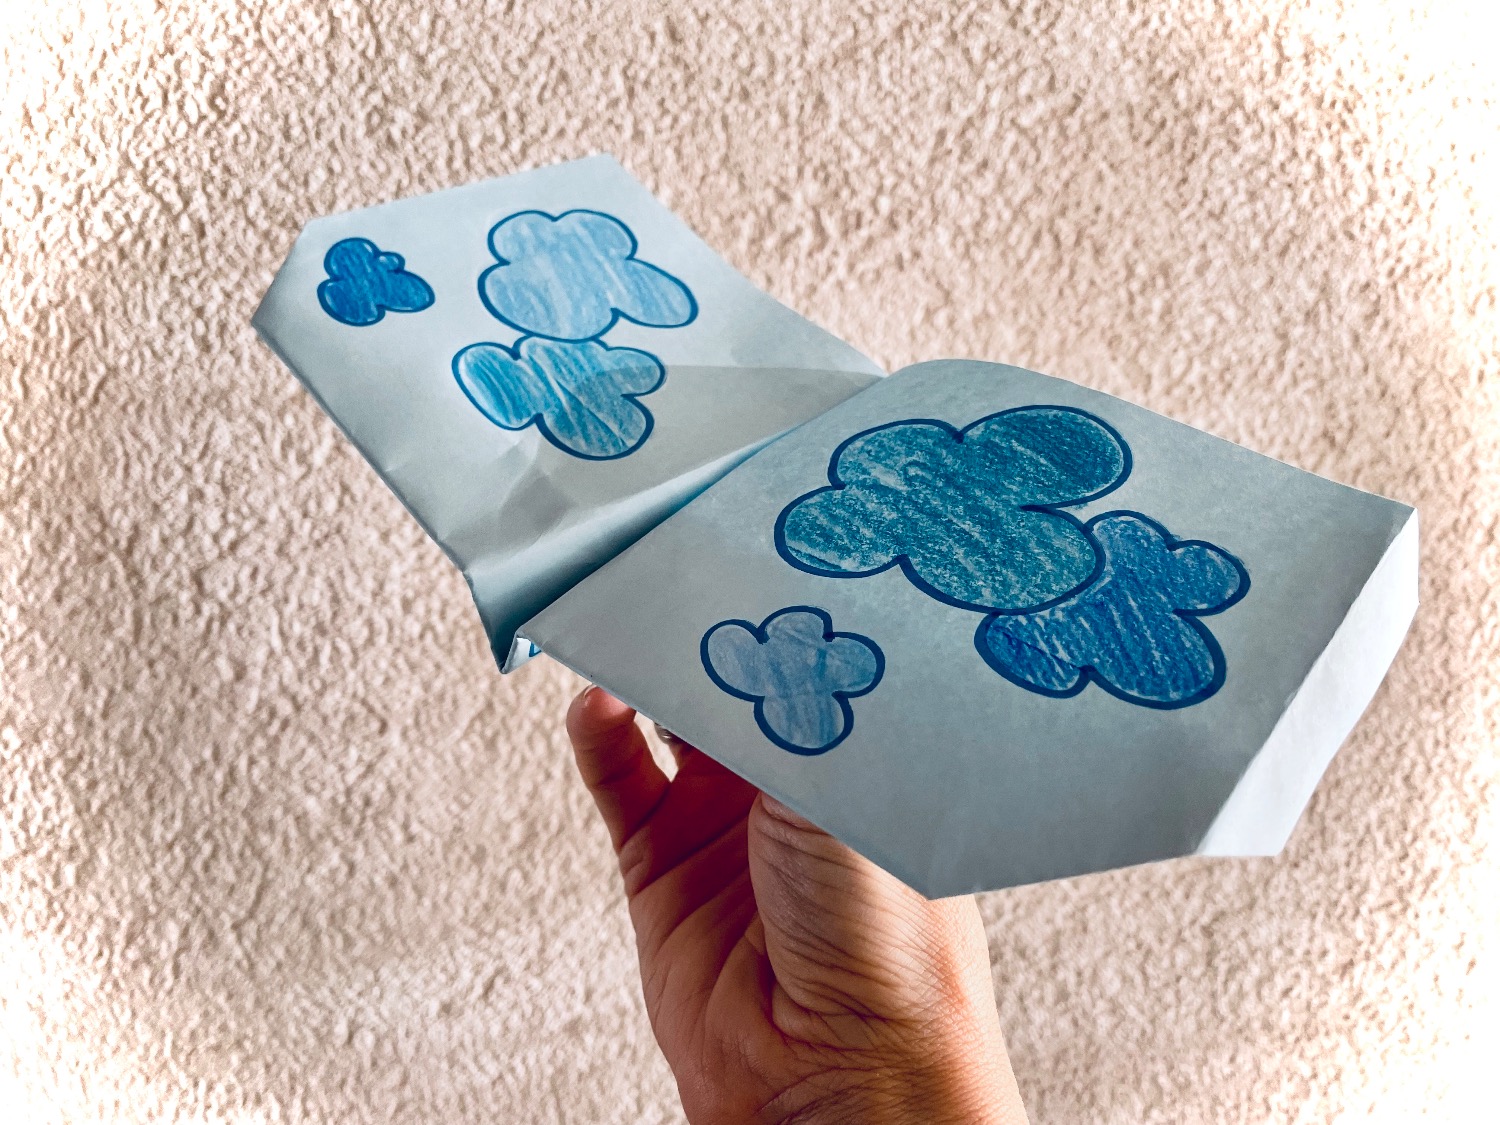
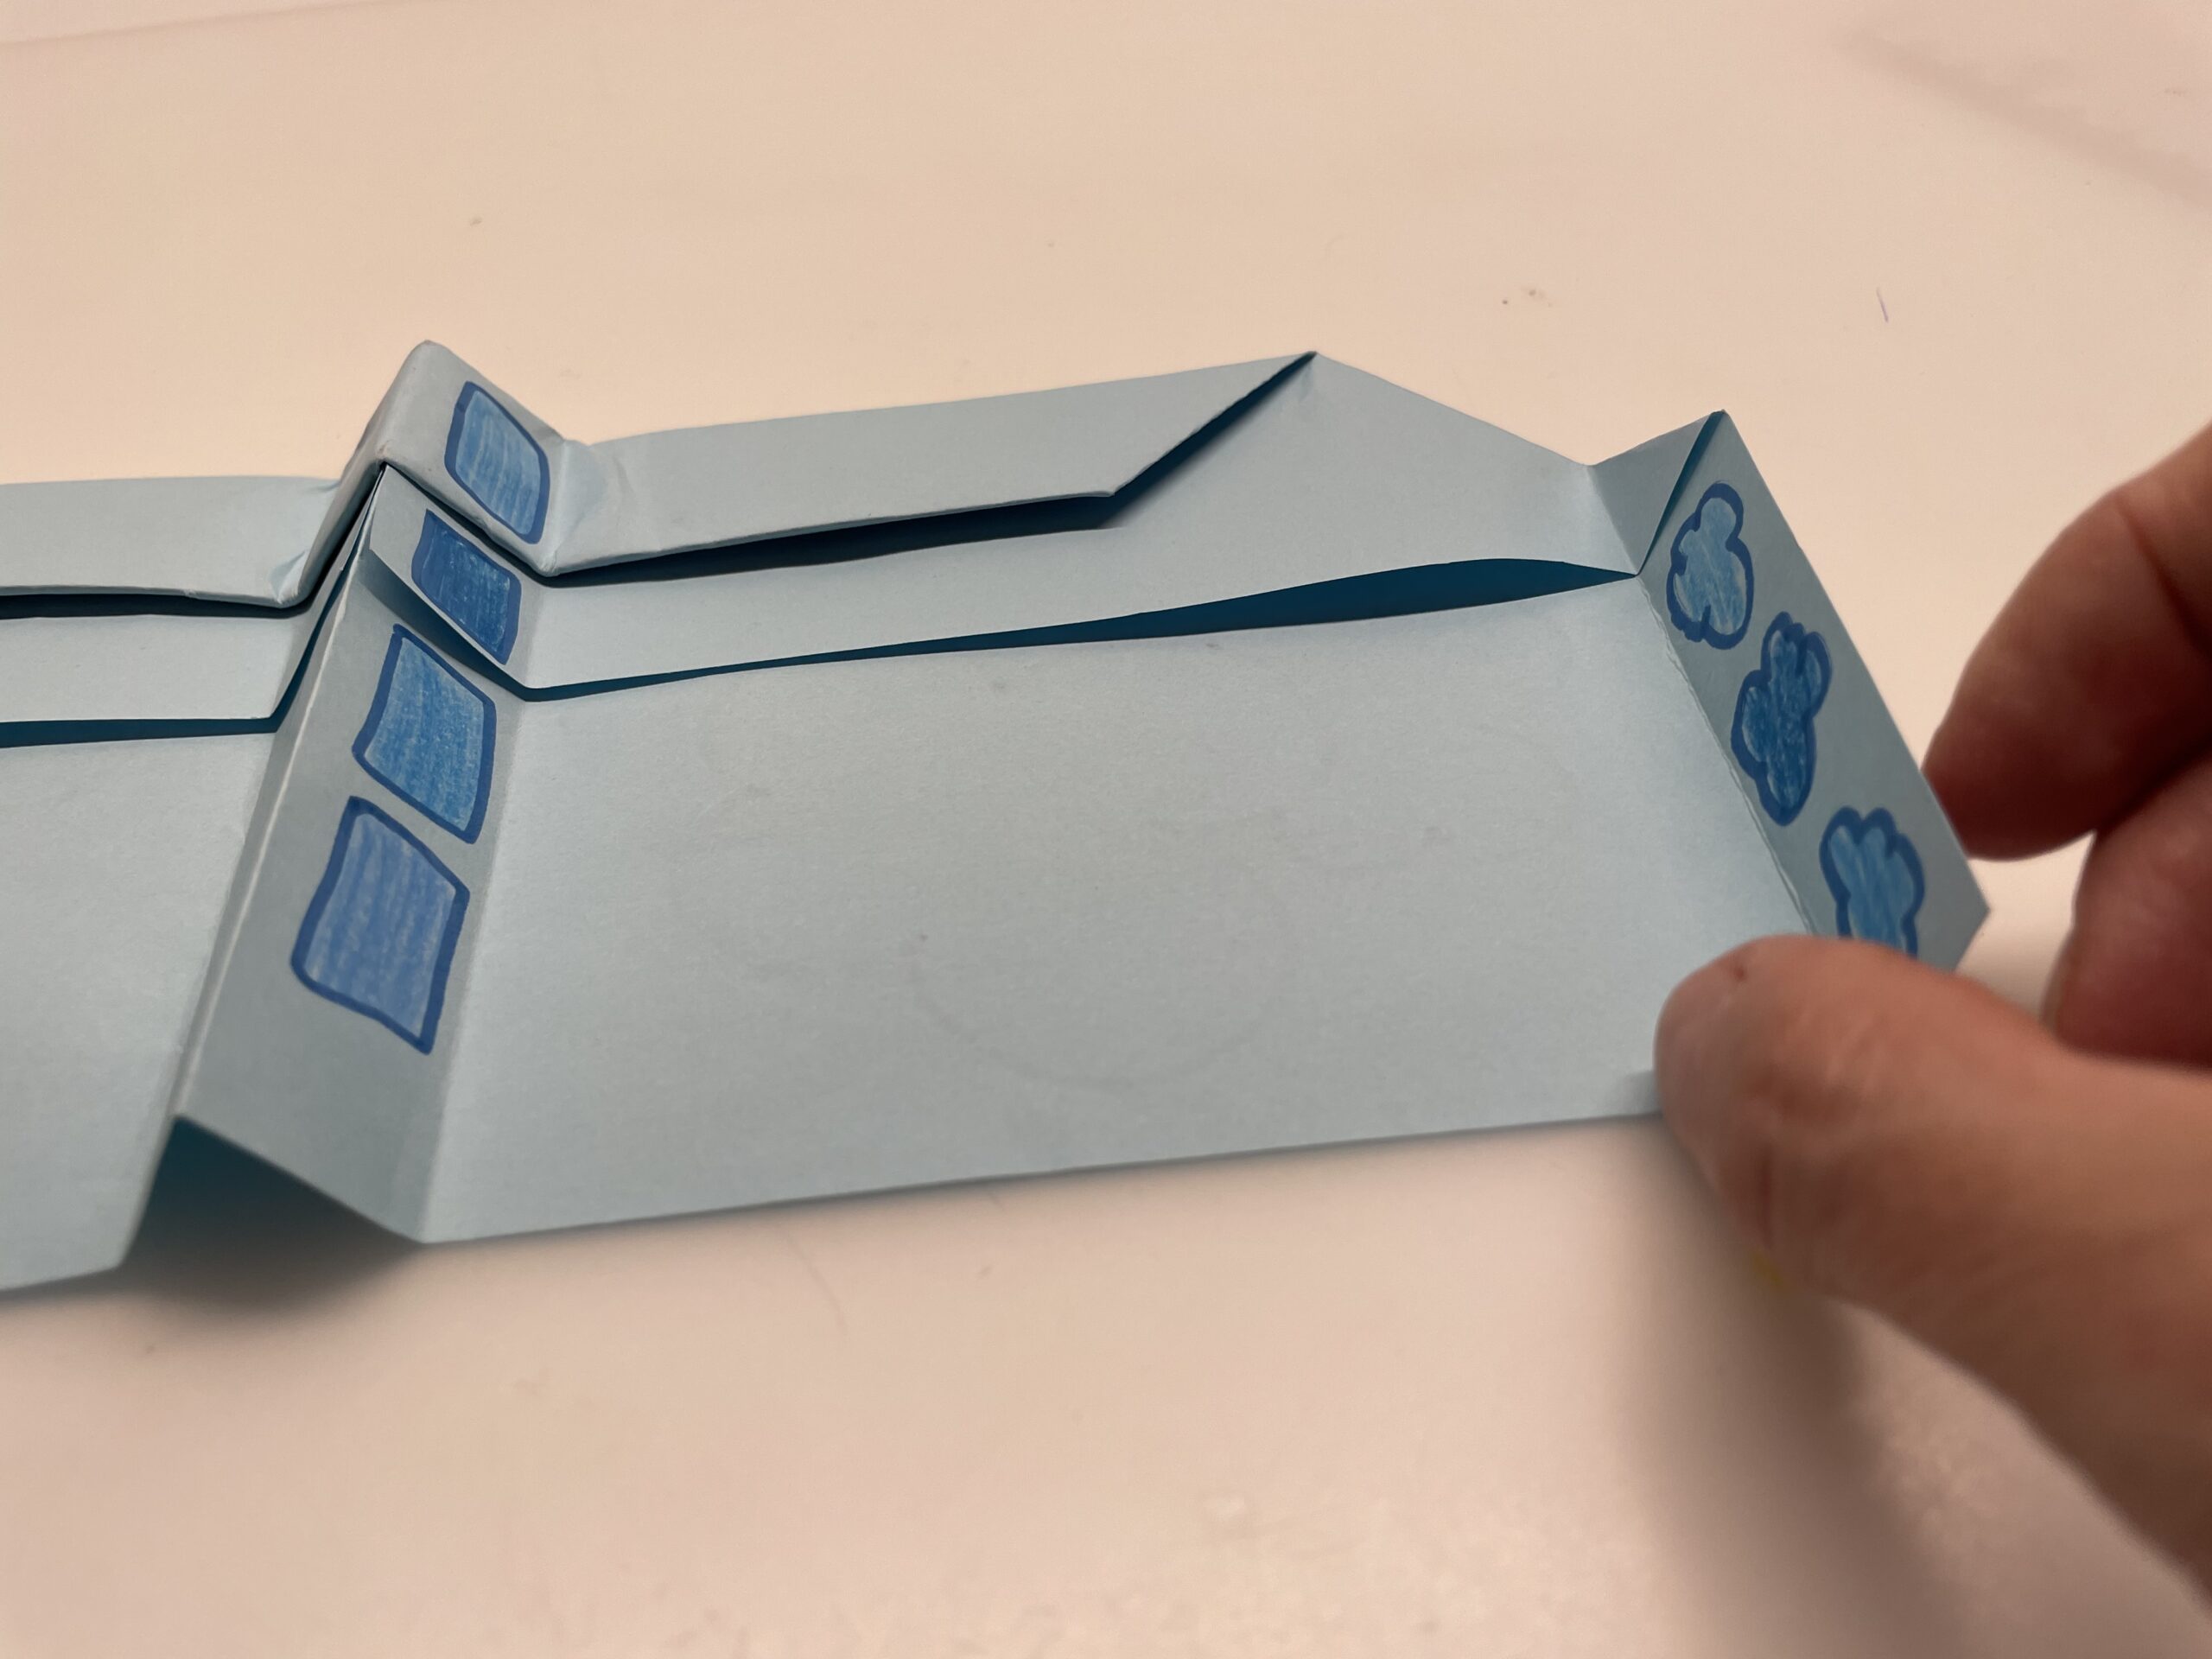
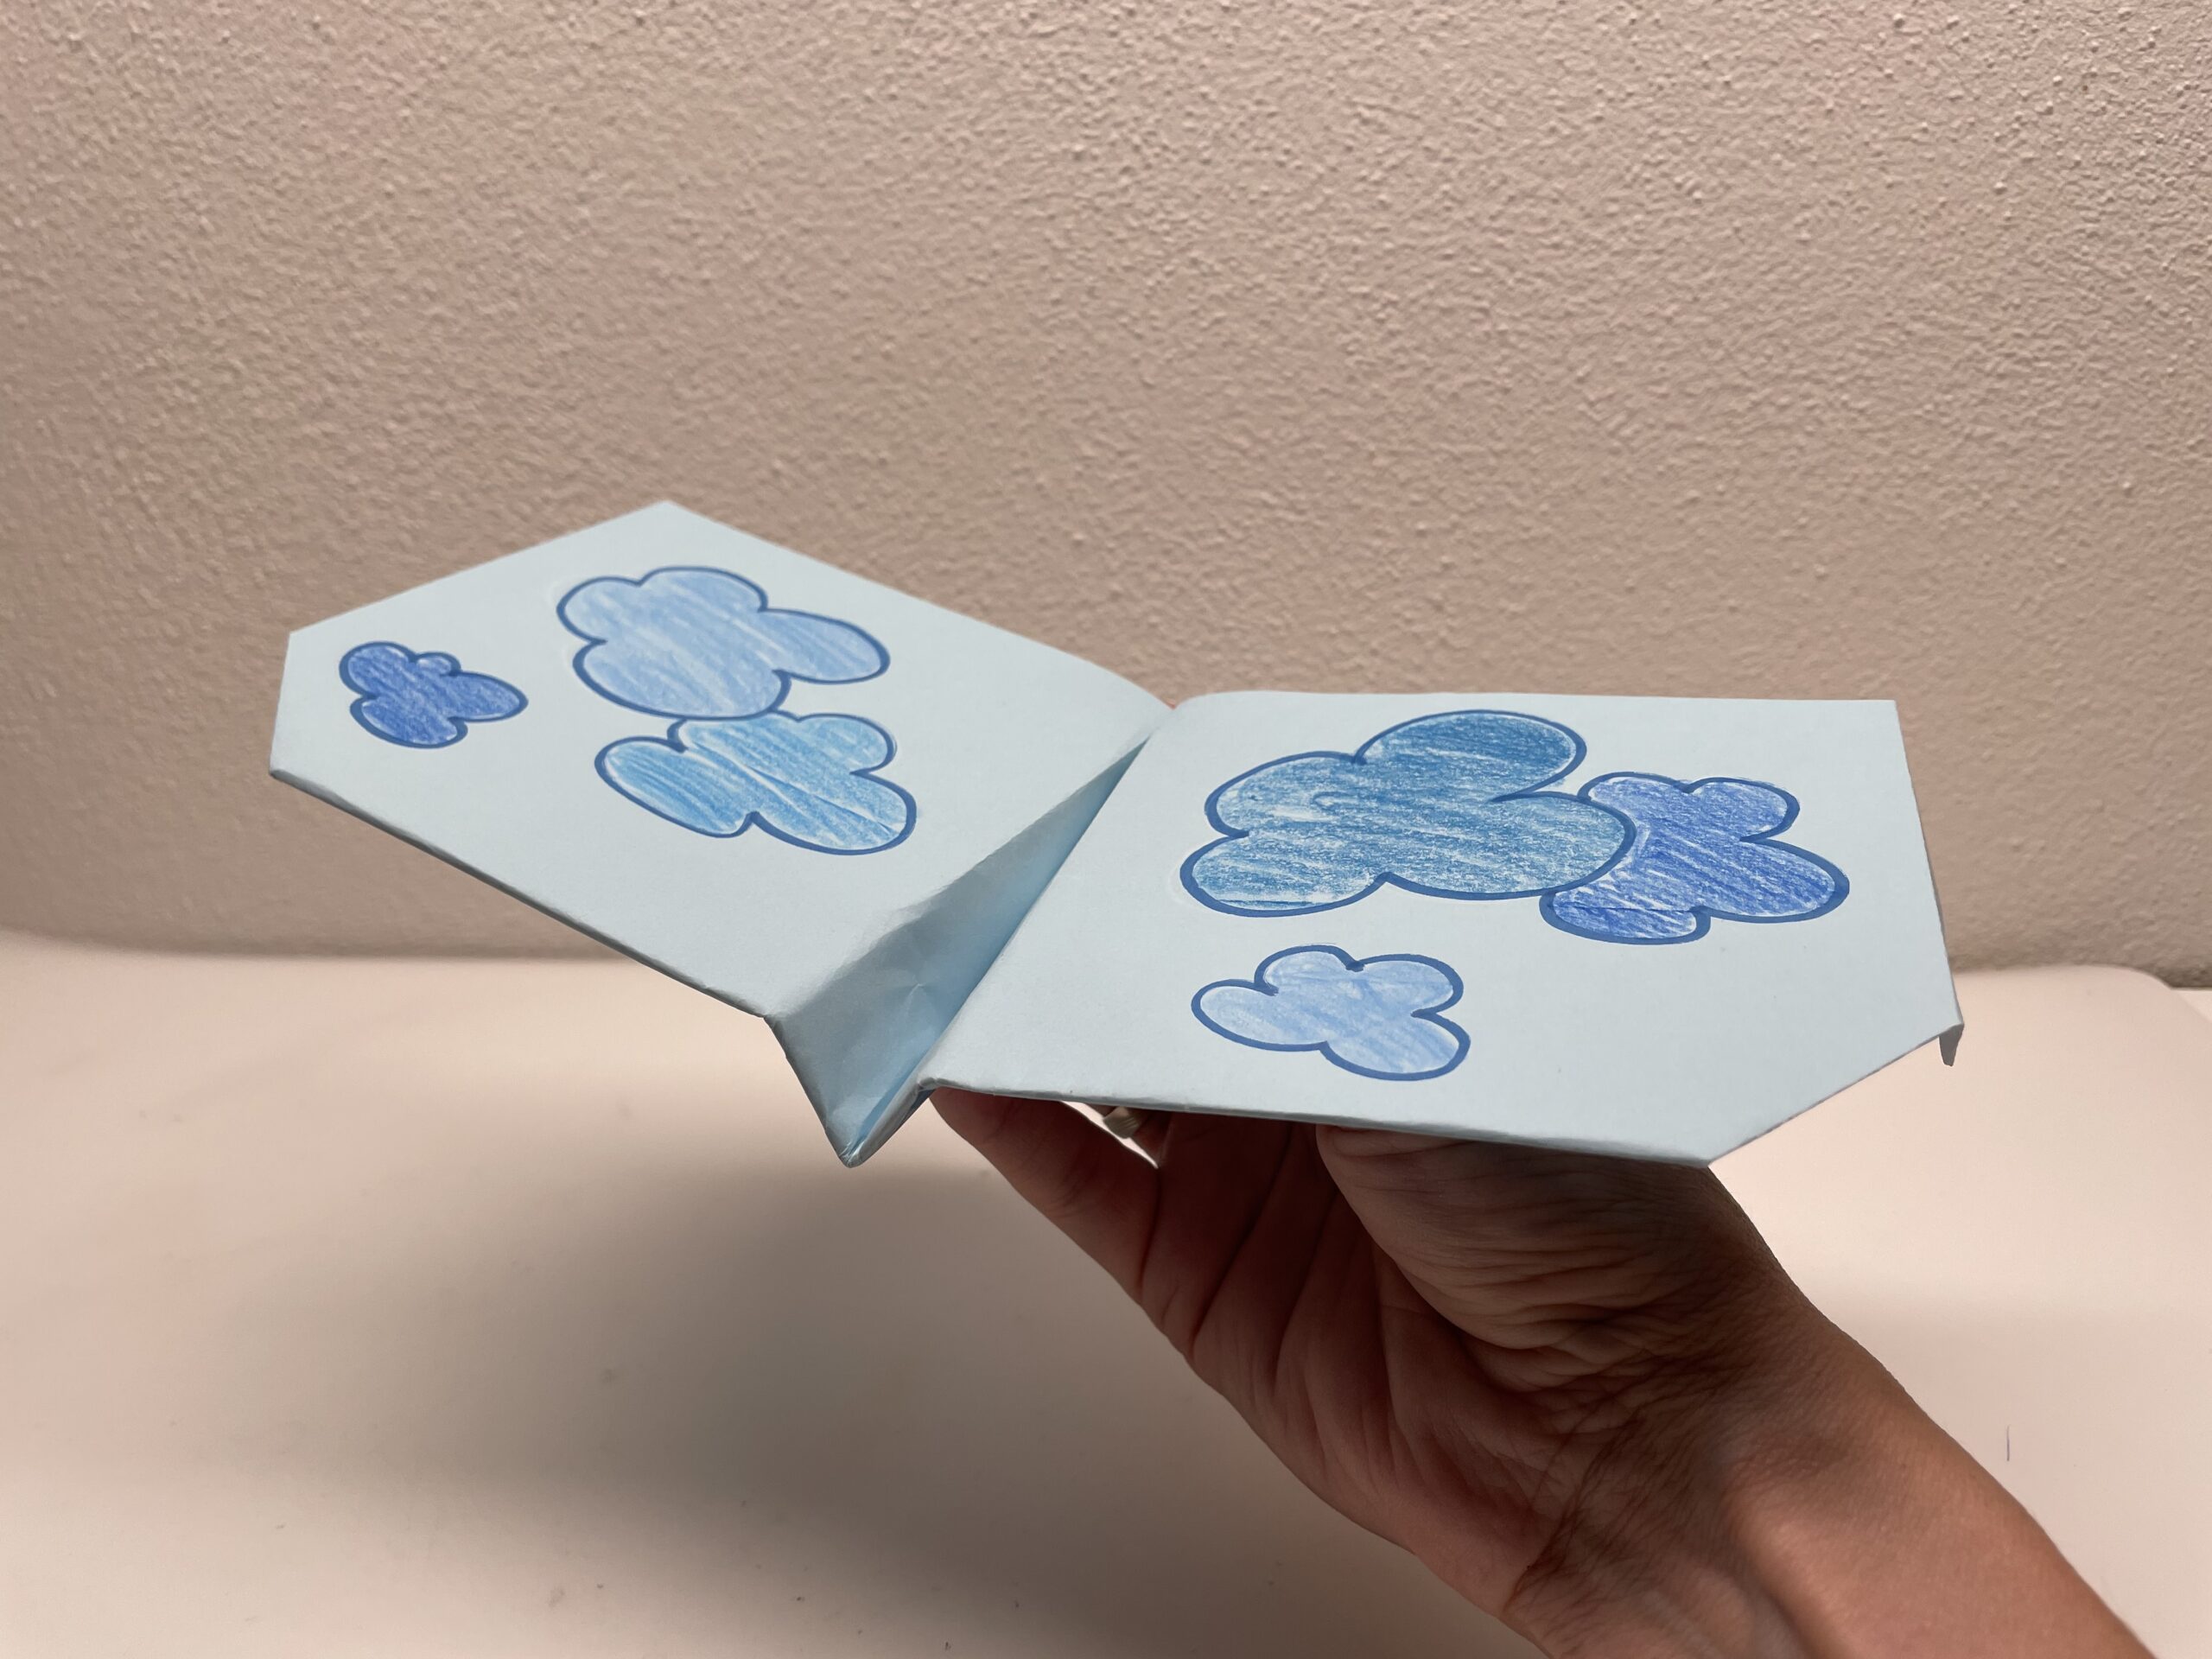
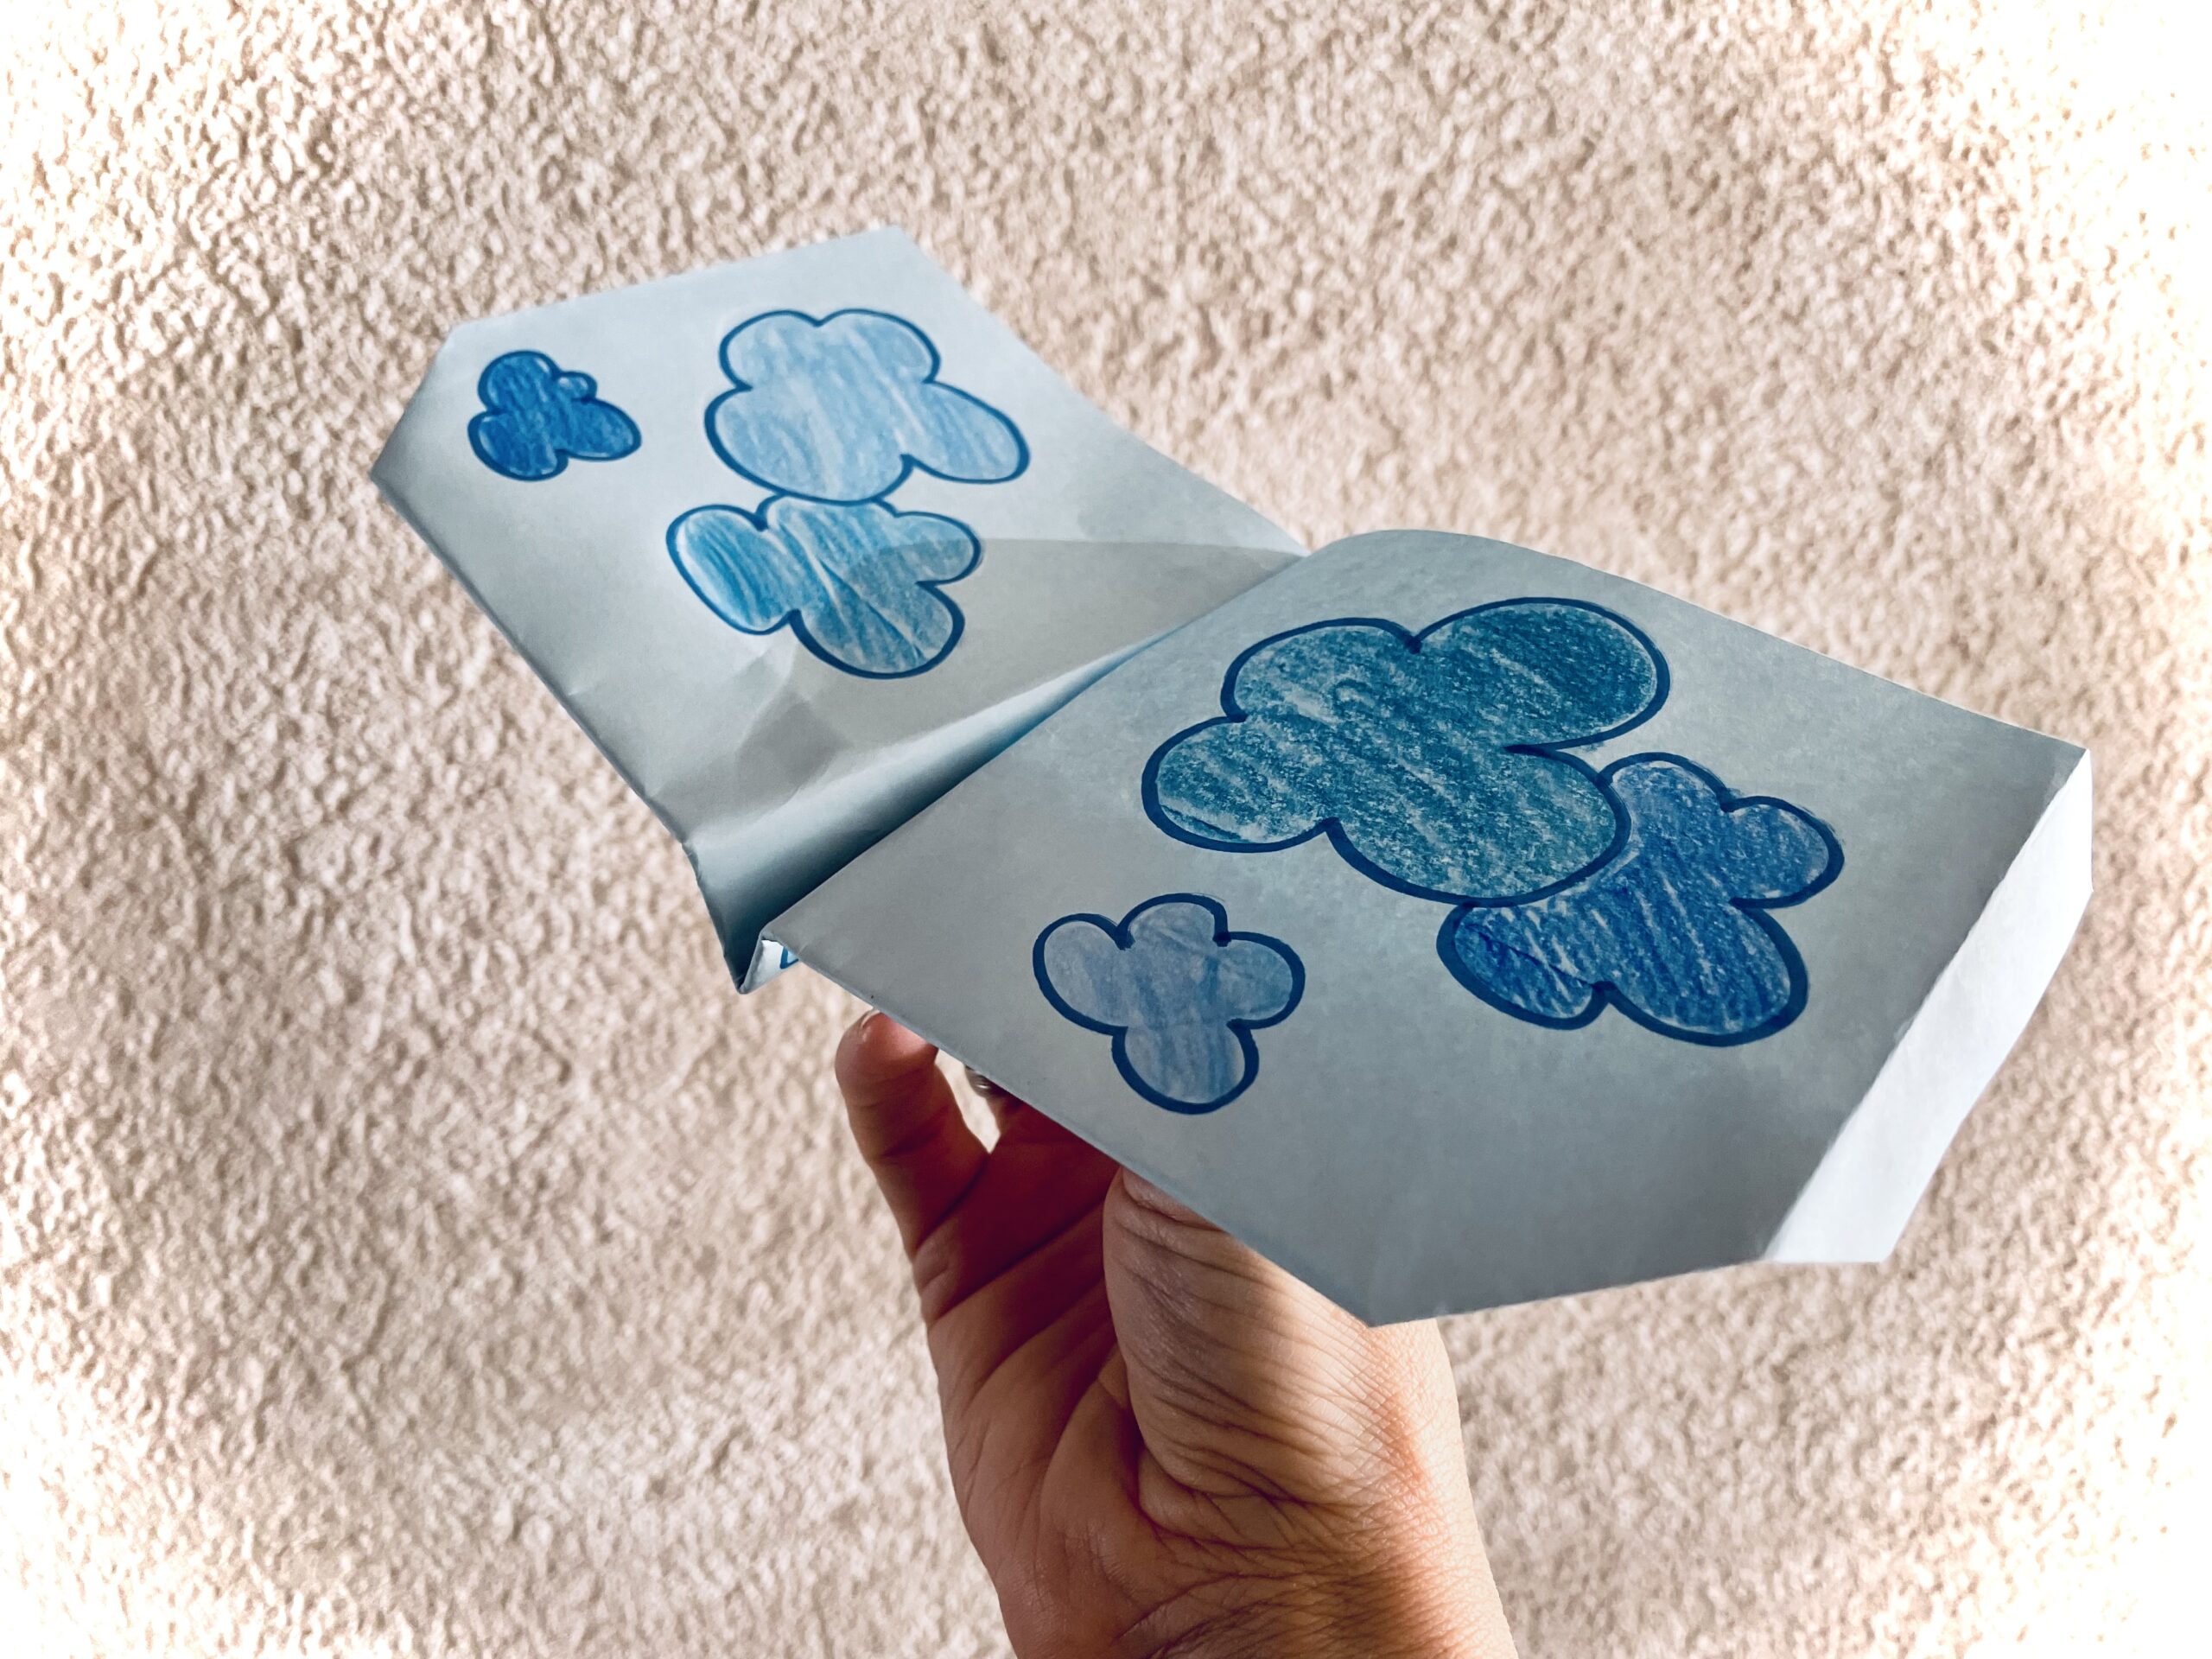
Paint clouds on the large wings. For example, you paint the border with a felt pen and then paint it with crayons in different shades of blue.
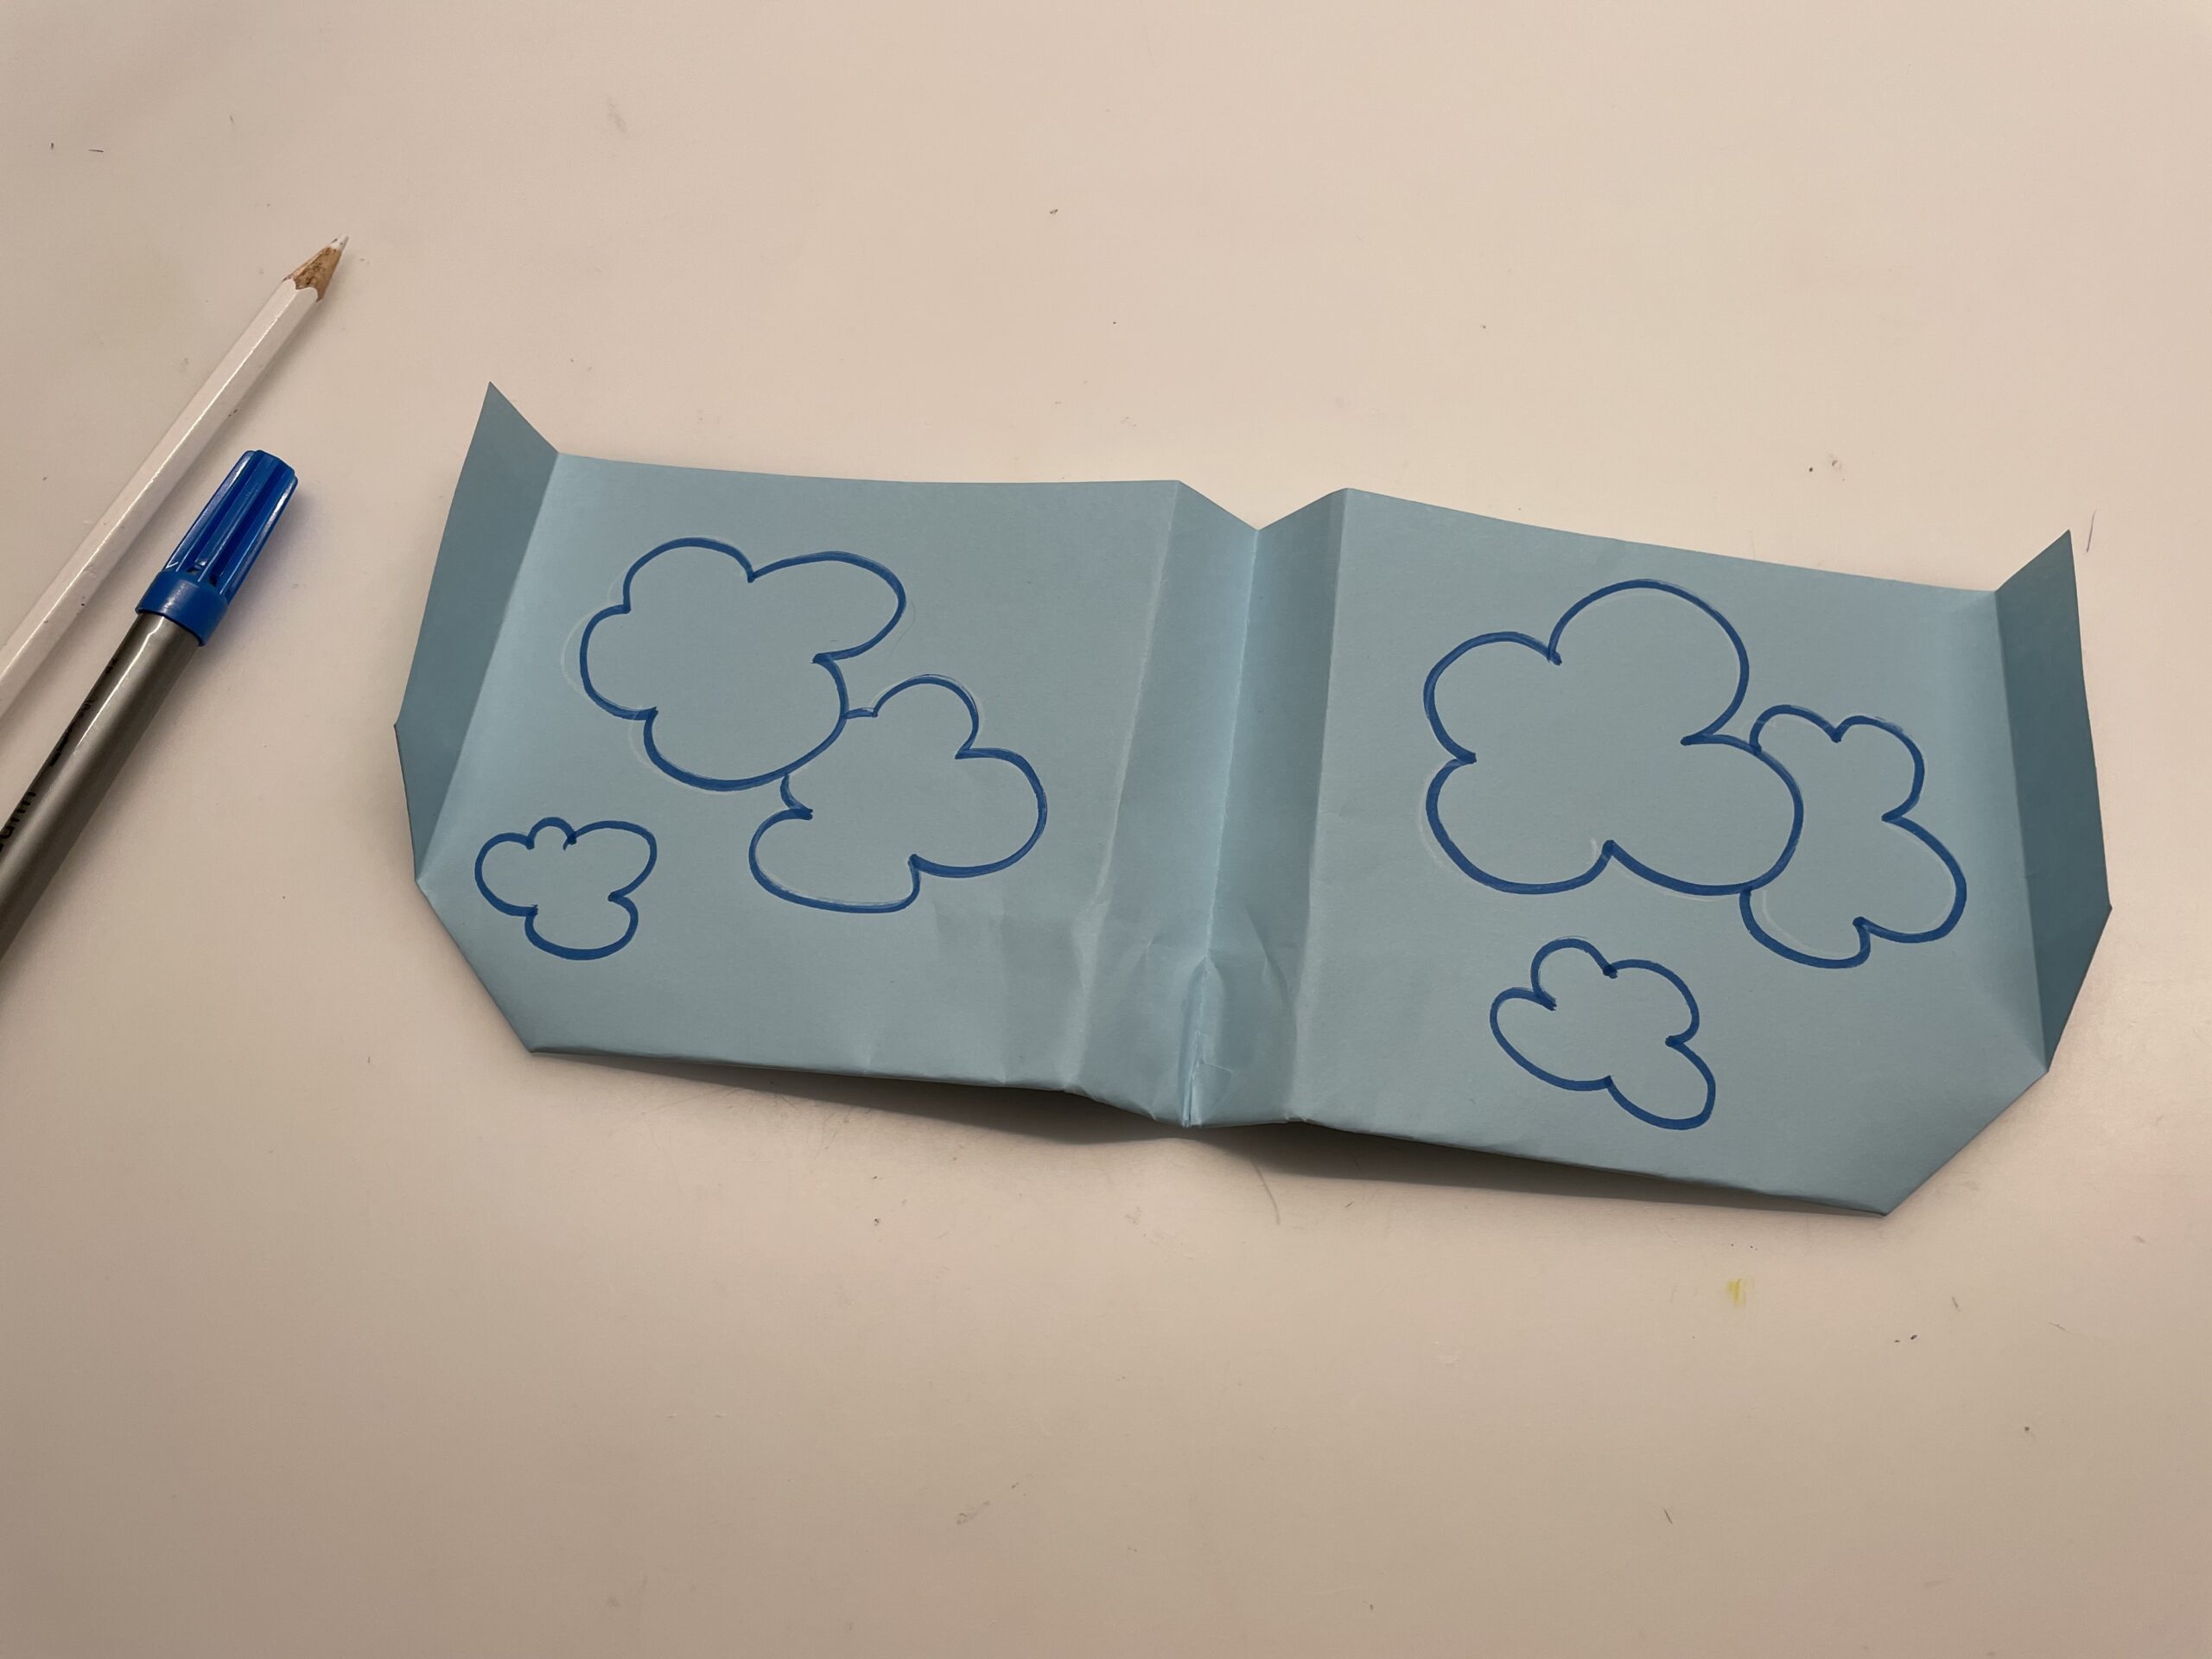

At the side wing flaps there is still room for small clouds.
At the middle fold you can paint the windows for the pilots and the passengers.

Your plane's ready to go.
To fly, hold the pilot at the bottom between the thumb and the forefinger. When you take off, make sure that the top of the plane is slightly pointing upwards. Hold him in starting position over your shoulder and then move him forward with the forearm, then let go first.
Try it out!

The first flight attempts in a long aisle or in the garden or on the meadow are best suited. The pilot glides gently.

Stay creative and have fun trying out and crafting other airplanes.
Maybe you can have a little flight show with your friends.
Through an individual design of each plane, you will certainly recognize yours.
Have fun!
Materials
Directions
For this paper flyer you need a Din A4 sheet that can be folded easily. For example, use a copy paper that can be white or also colored.
Put the leaf, with the long side in front of you, on the table.
Now take a short side and fold it to the other short side. Make sure that both side edges lie exactly on each other.
Then you strip the resulting break with the fingertips or the flat hand smoothly.
Alternatively, you strip the fracture with the long side of a ruler.
? This folding step is also called: folding a book.
After that, she opens the resulting book again.
The center line is good to see.
Now you bend a lower corner up so that the lower edge is on the middle line.
Press the paper corner with one hand to the center line.
Then with your other hand, you'll flatten the corner.
This diagonal folding creates a small triangle.
Roof repeats the process with the other corner.
Fold it to the midline as well.
Hold on to the top again and gently strip the triangle down. Strip the fracture vigorously.
There is a house on your head. The top of the roof points to you.
Then take the top of the roof and fold it to the top of the leaf.
The crease in the middle of the paper helps you fold the triangle upwards.
Hold the tip of the paper with one finger.
Now, with the other hand's finger, you brush down to the edge and smoothly strip the fracture with your finger.
This creates another triangle.
Then she opens the triangle.
Here you only need the resulting kink in the paper.
This should now be clearly visible.
Now take the paper tip in your hand again and fold it up to the first kink.
Stripes the small triangle with your fingers smoothly. Strips out the fracture again vigorously.
Now fold the lower edge of the paper up to the next bend.
Strip this fracture smooth as well.
Once again folds the lower edge and folds it simply upwards at the already existing bend.
Strip the folded paper well again.
Roof take up the complete paper and turn it on the other back.
All folded stripes are on the back, on the table.
The rupture in the middle is still good to see.
At this break you fold the paper together now.
This is a bit difficult because there are a lot of papers on top of each other. However, make sure that both sides are exactly on top of each other. You may use your hand bale to brush out the fold.
Now you still work the wings to the side. But this is not so easy, because again many papers lie on top of each other.
First, fold the upper leaf up a bit.
You can use a ruler as an aid. At the edge of the ruler you fold down the wing. Put the ruler about one centimetre wide on the closed edge of your paper and fold the top sheet over it.
Stirs out the kink well.
The first wing is almost ready.
Bend it to the side again completely and strip the fracture vigorously smooth.
Repeat the process now on the other side. Here you can use the ruler again. Orient yourself at the kink of the other wing.
Fold this fracture as well.
That's what your paper flyer looks like now.
Folds a strip on the wings, as the plane glides even better later.
Strip the resulting edge out strongly here as well.
Repeat the process on the other wing and make sure that both distances are the same.
The side folds can point upwards or downwards. Try it out if the paper flyer flies better when the folds point upwards or downwards.
Now the plane is already ready.
Ready for a trial flight?
Tip: Show down the folds, then the paper flyer slides better.
If you still want to design your plane individually, paint it with crayons or markers. Watercolours are not suitable, because damp paper does not fly very well.
Paint clouds on the large wings. For example, you paint the border with a felt pen and then paint it with crayons in different shades of blue.
At the side wing flaps there is still room for small clouds.
At the middle fold you can paint the windows for the pilots and the passengers.
Your plane's ready to go.
To fly, hold the pilot at the bottom between the thumb and the forefinger. When you take off, make sure that the top of the plane is slightly pointing upwards. Hold him in starting position over your shoulder and then move him forward with the forearm, then let go first.
Try it out!
The first flight attempts in a long aisle or in the garden or on the meadow are best suited. The pilot glides gently.
Stay creative and have fun trying out and crafting other airplanes.
Maybe you can have a little flight show with your friends.
Through an individual design of each plane, you will certainly recognize yours.
Have fun!
Follow us on Facebook , Instagram and Pinterest
Don't miss any more adventures: Our bottle mail