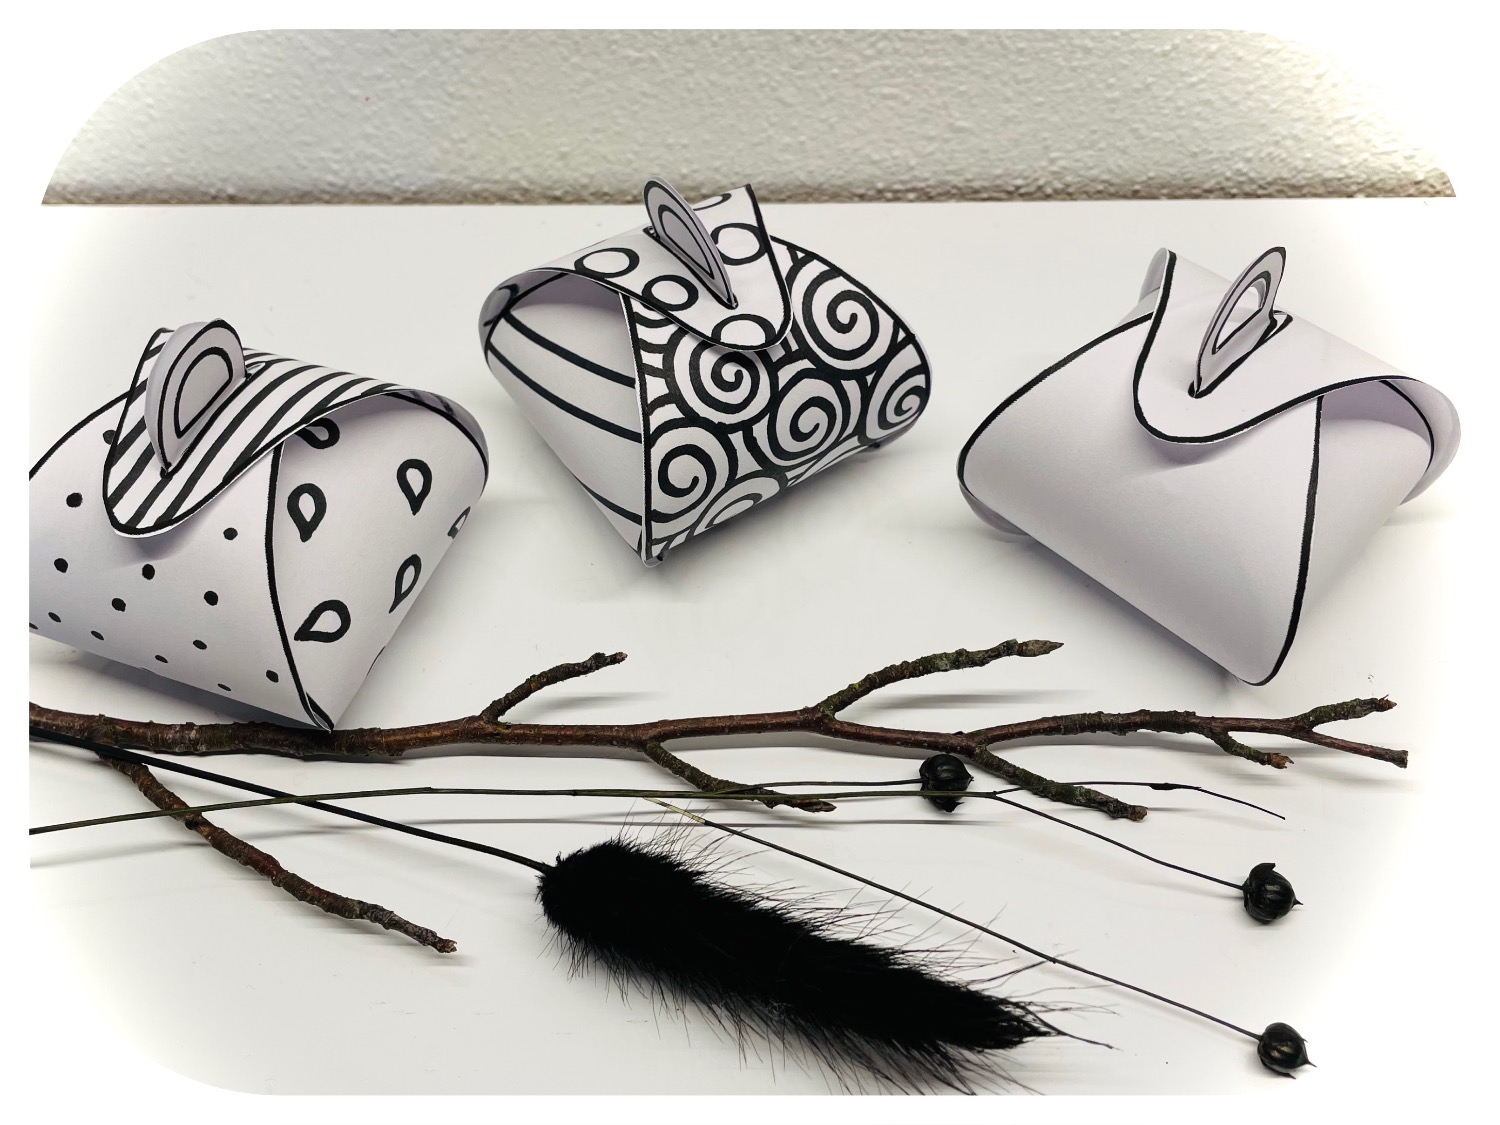
These small gift boxes are real jewels and are ideal for small gifts. You can design them individually and let your imagination run free. All you need for this is our print template and a pair of scissors. The putting together of the boxes requires a lot of dexterity and is therefore rather something for the trained. Otherwise help together, then the putting together will certainly succeed.
Have fun doing crafts and giving gifts!
Media Education for Kindergarten and Hort

Relief in everyday life, targeted promotion of individual children, independent learning and - without any pre-knowledge already usable by the youngest!
Print the template first.
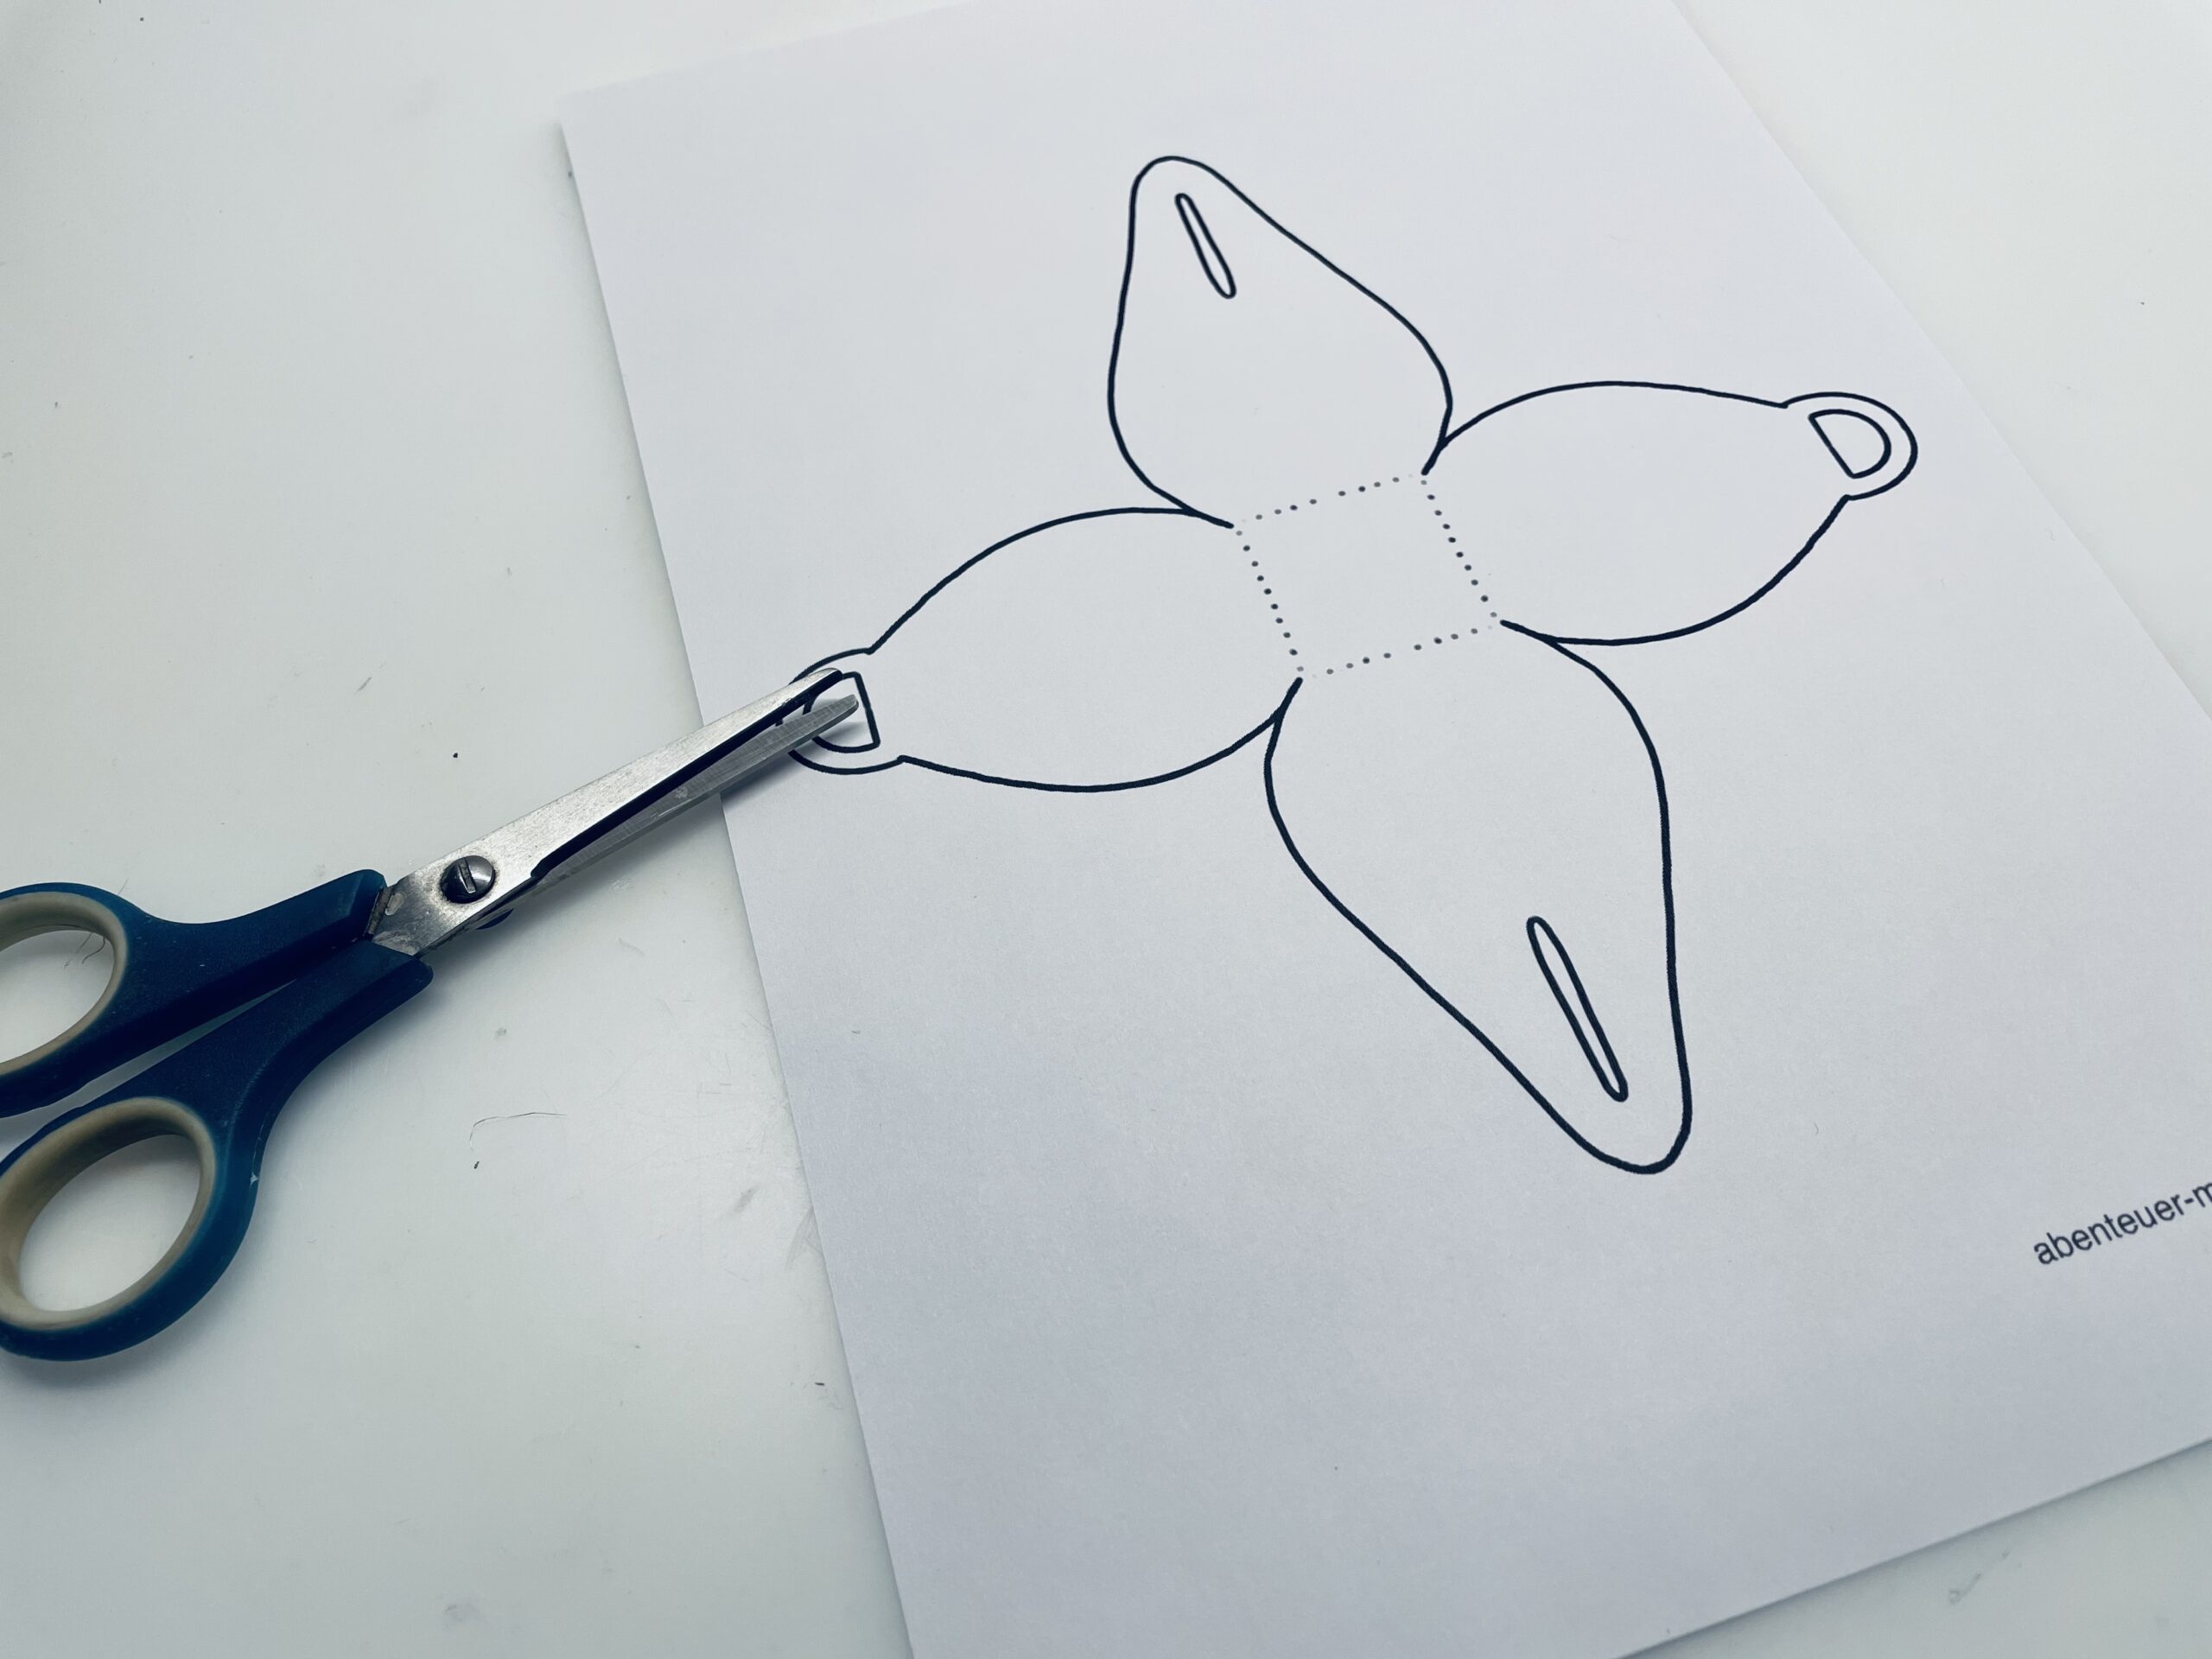
Then you cut them out on the outer lines. You cut out the small cutouts as well. For this you stick in first with a pointed scissors and then carefully cut out the semicircles and incisions.
Tip: A fingernail shear is ideal for fine cutting.
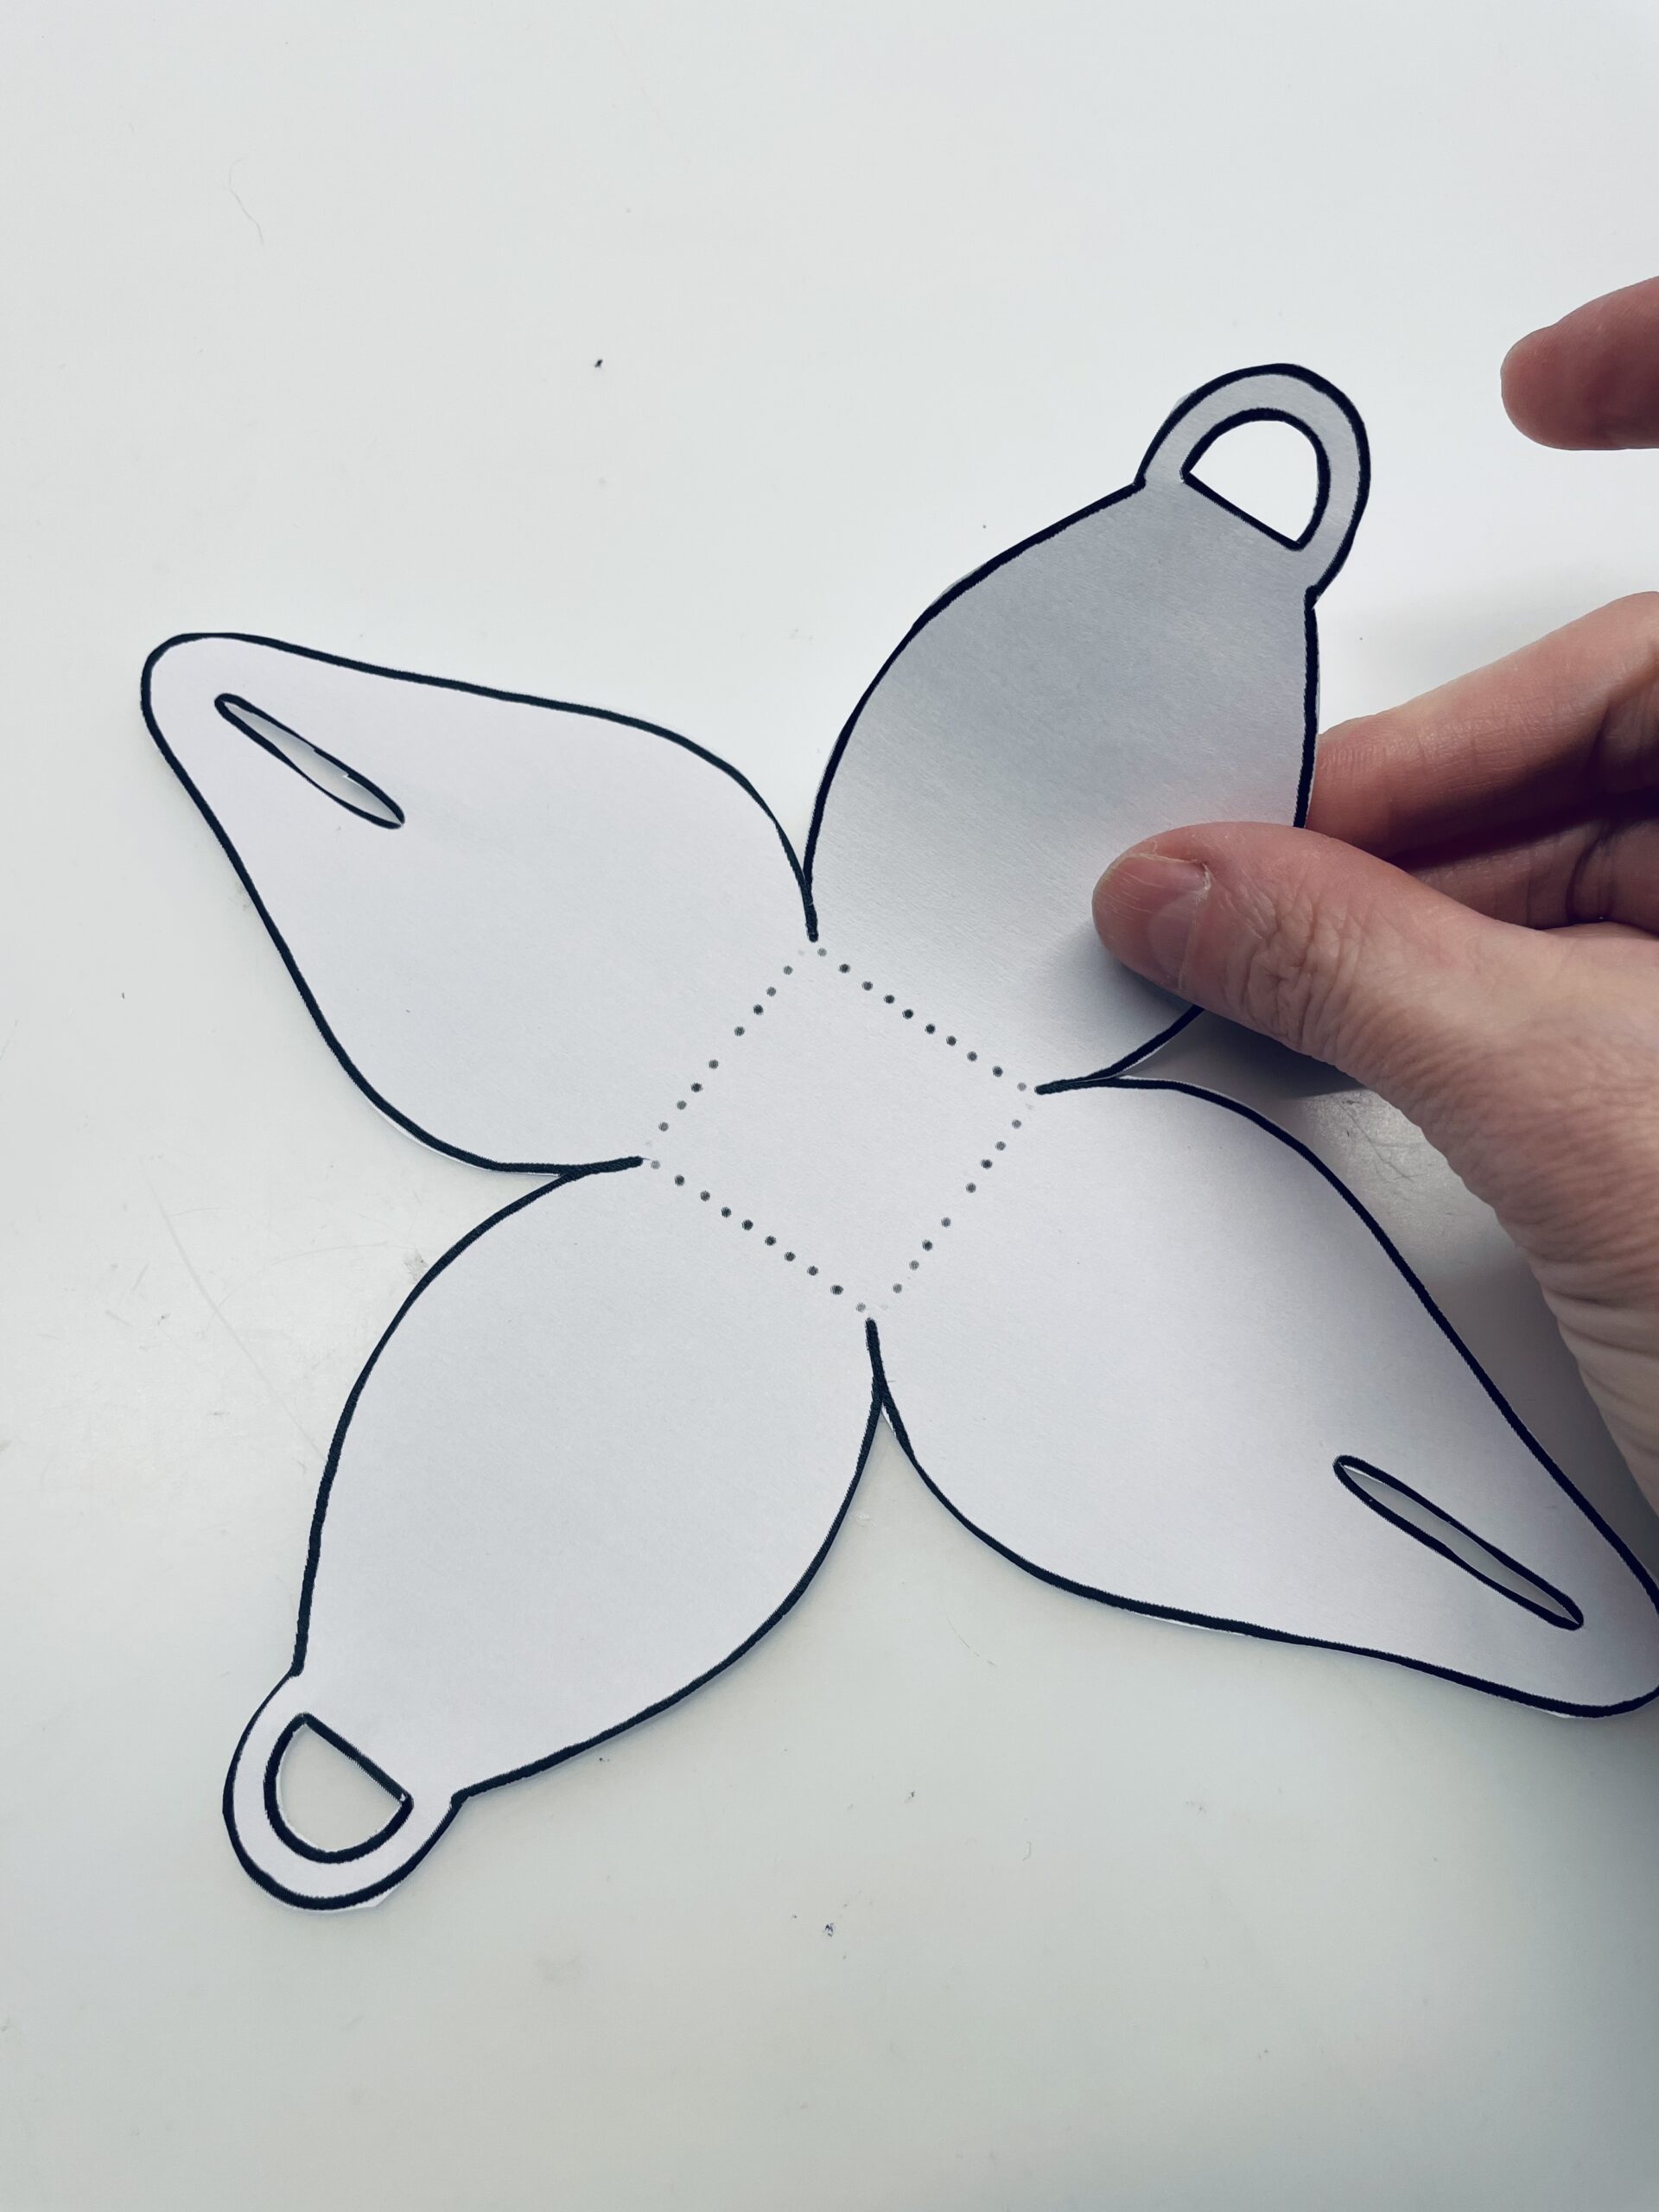


Now you put the paper in front of you on the table and fold the first corner from below to the folding line in the middle.
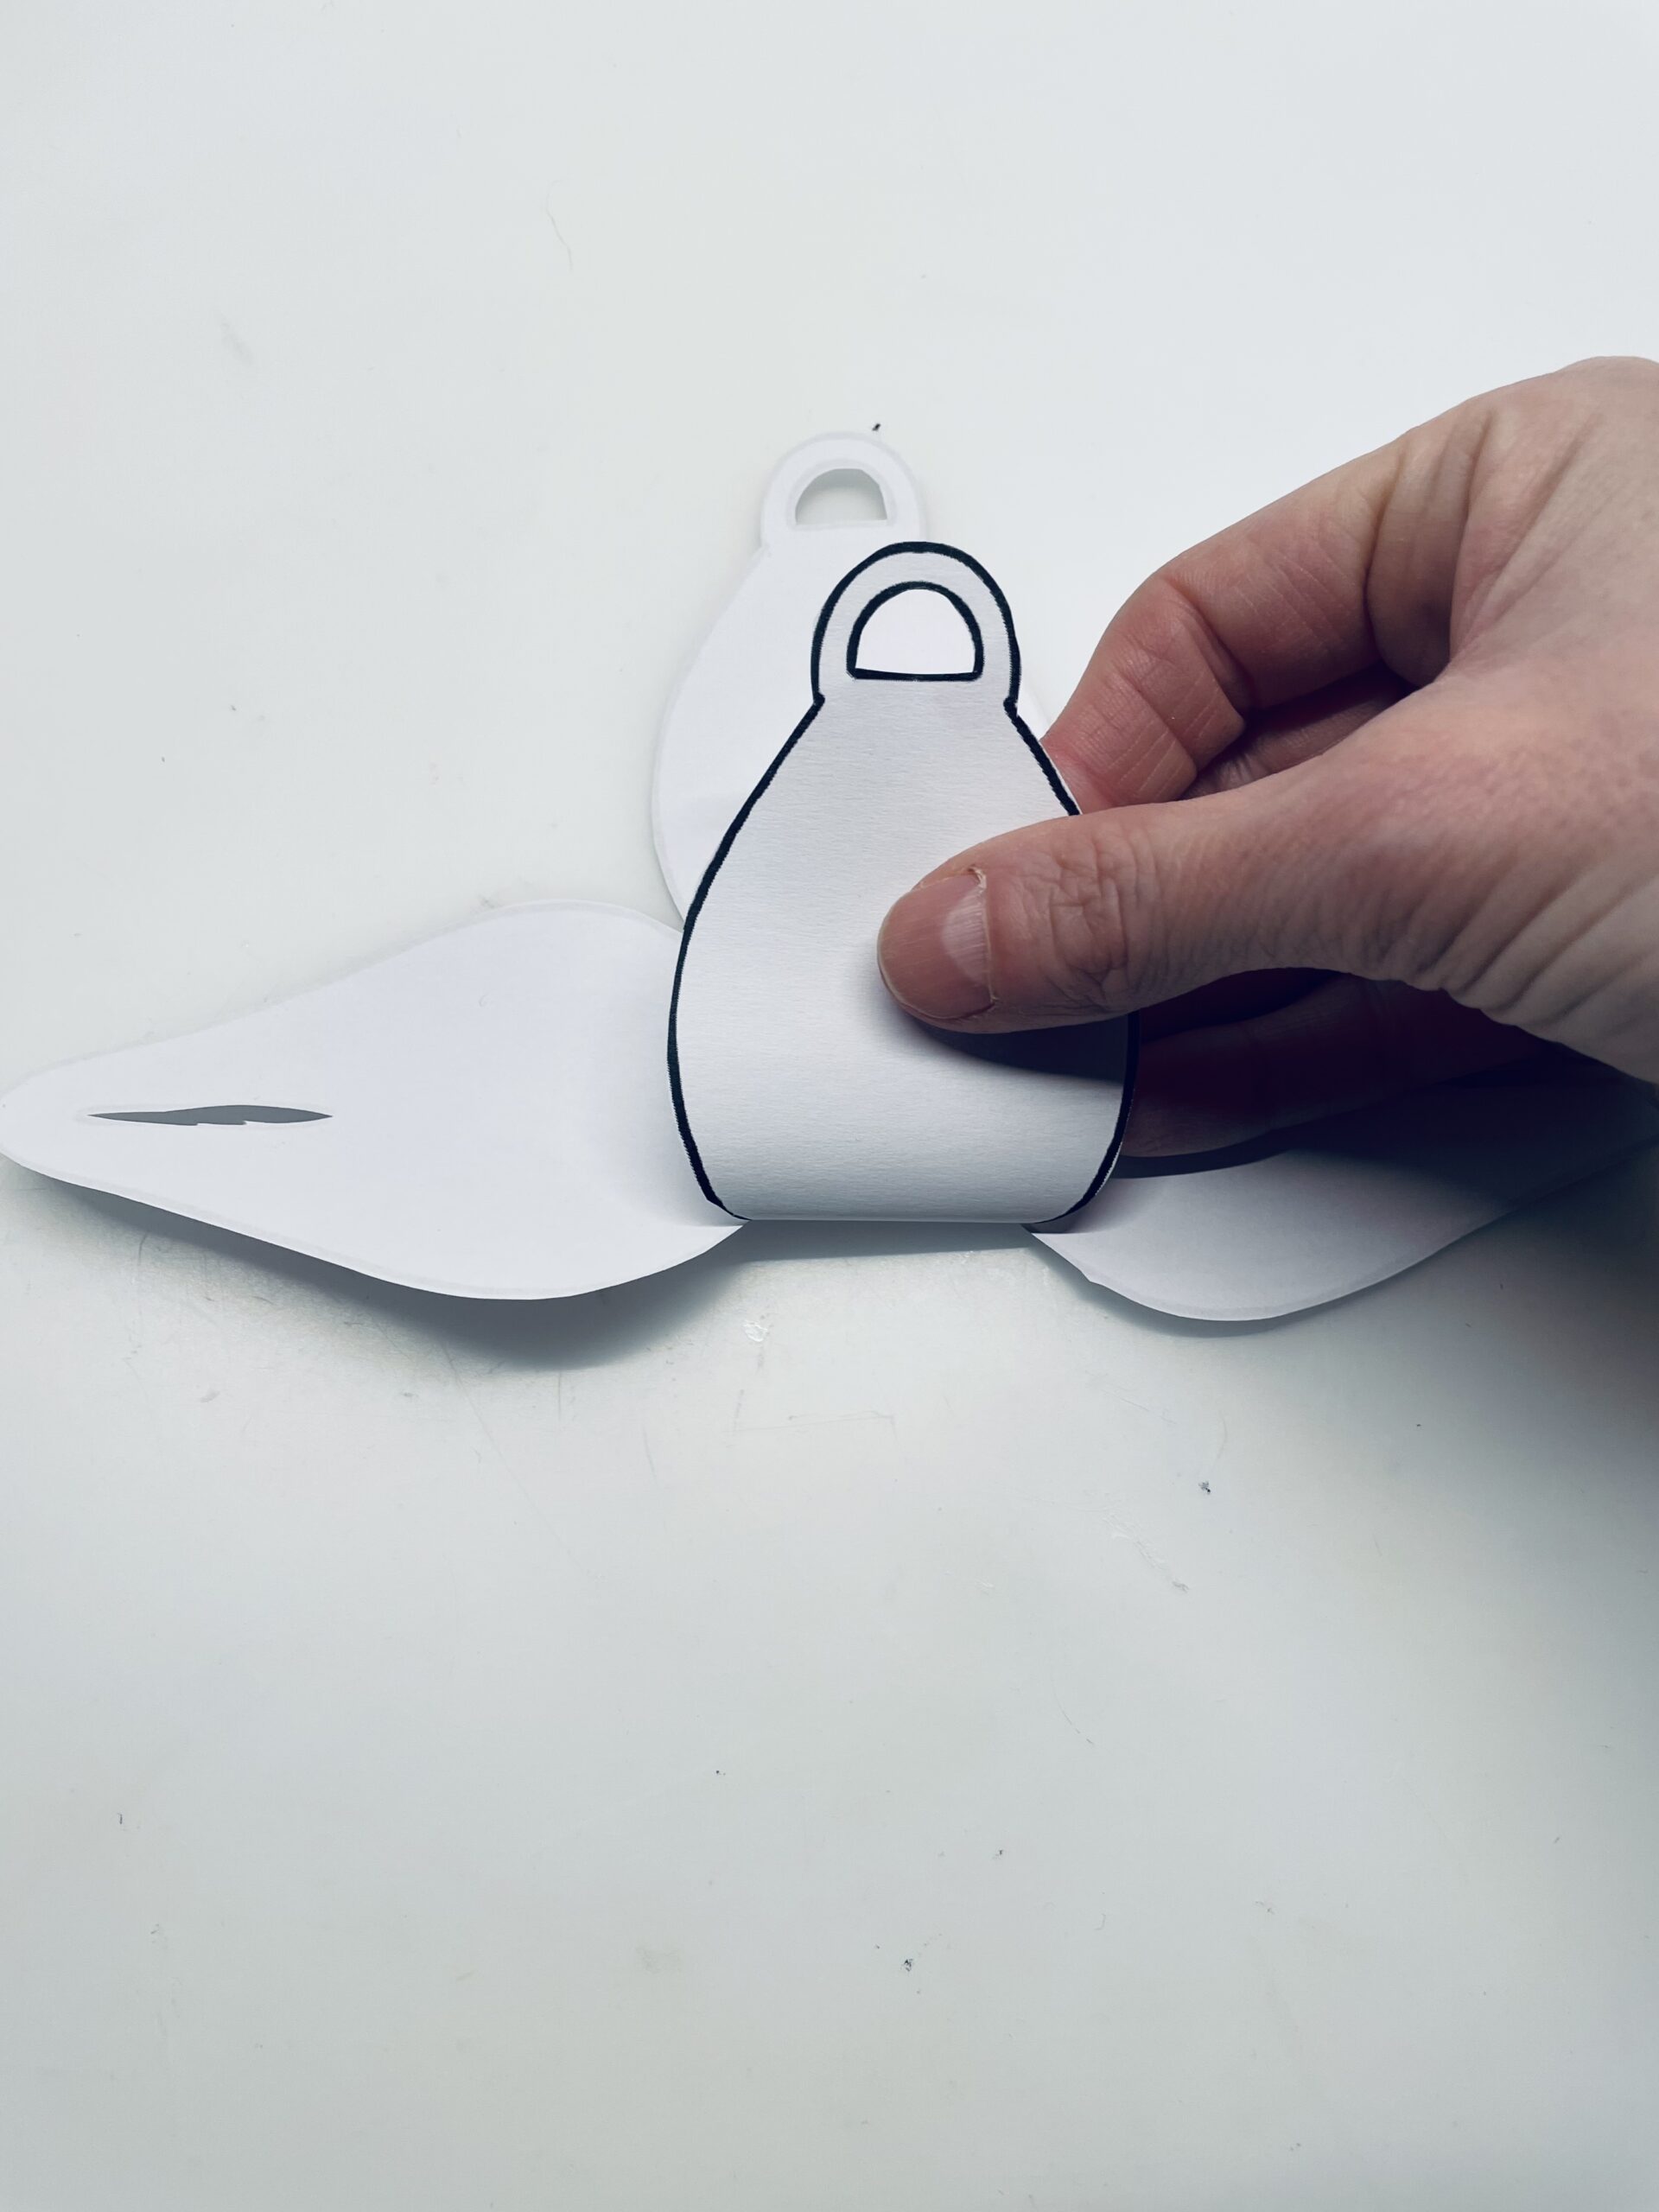


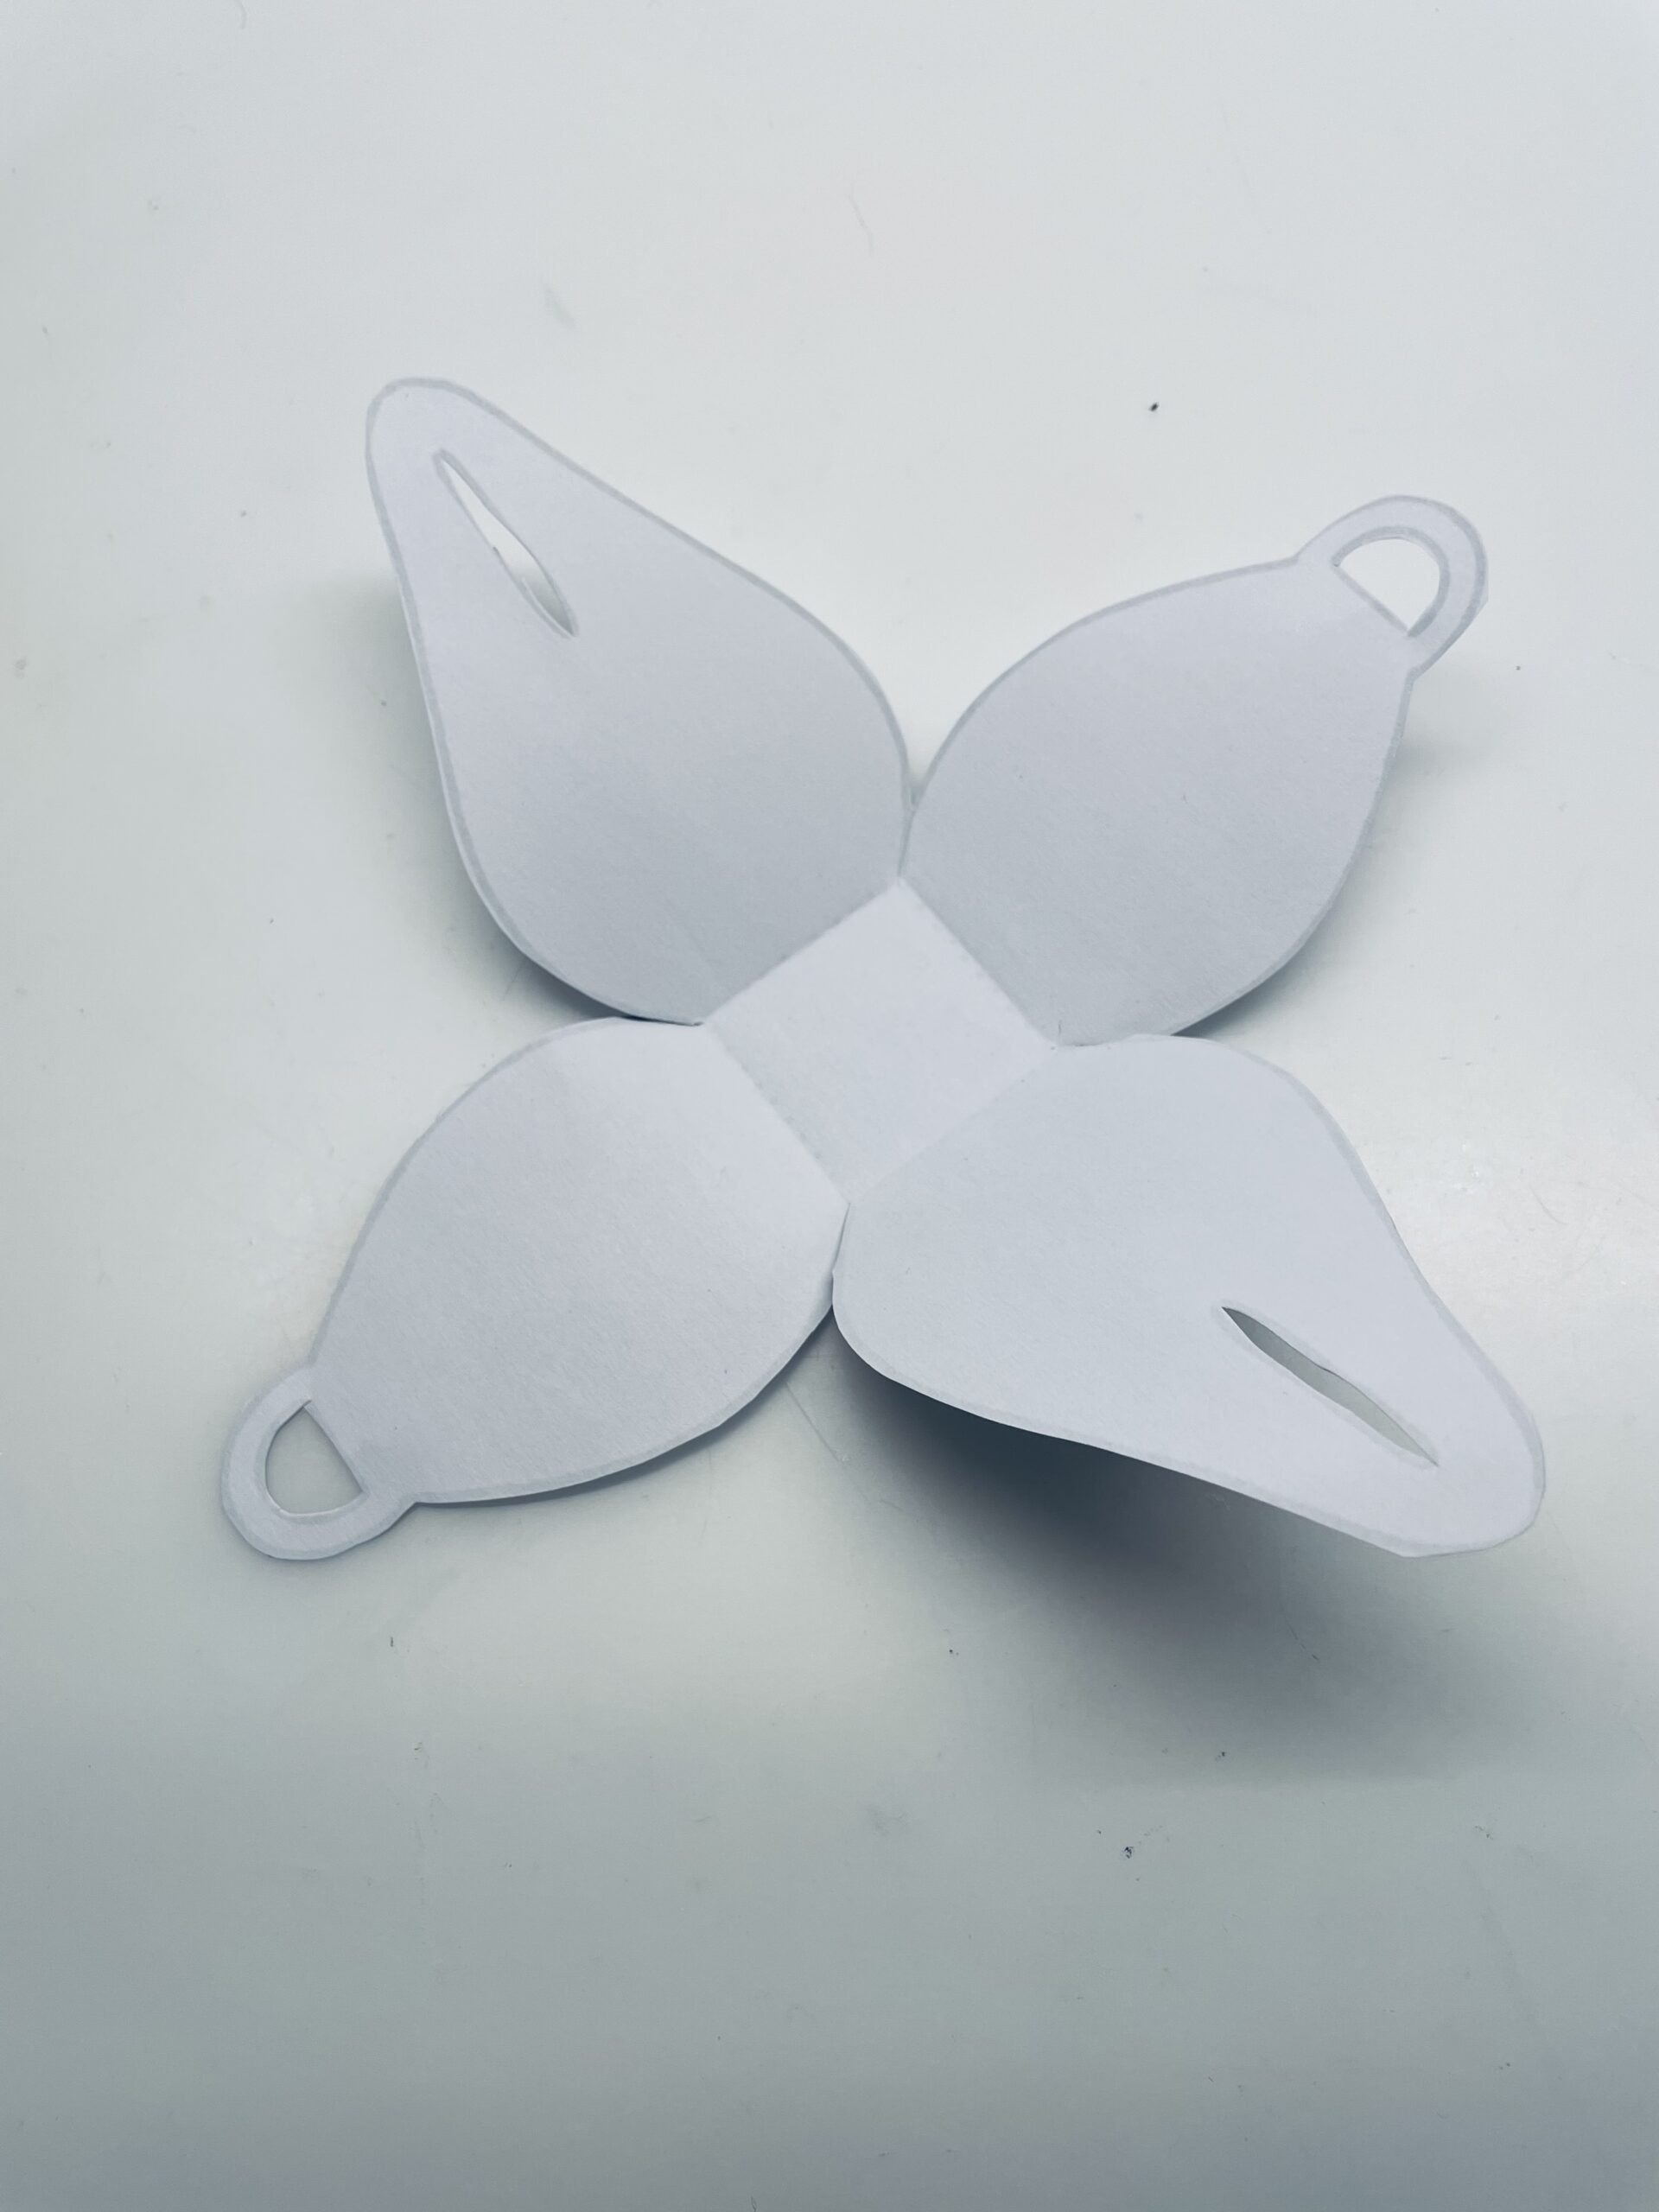
Turn the paper and travel with all four corners.


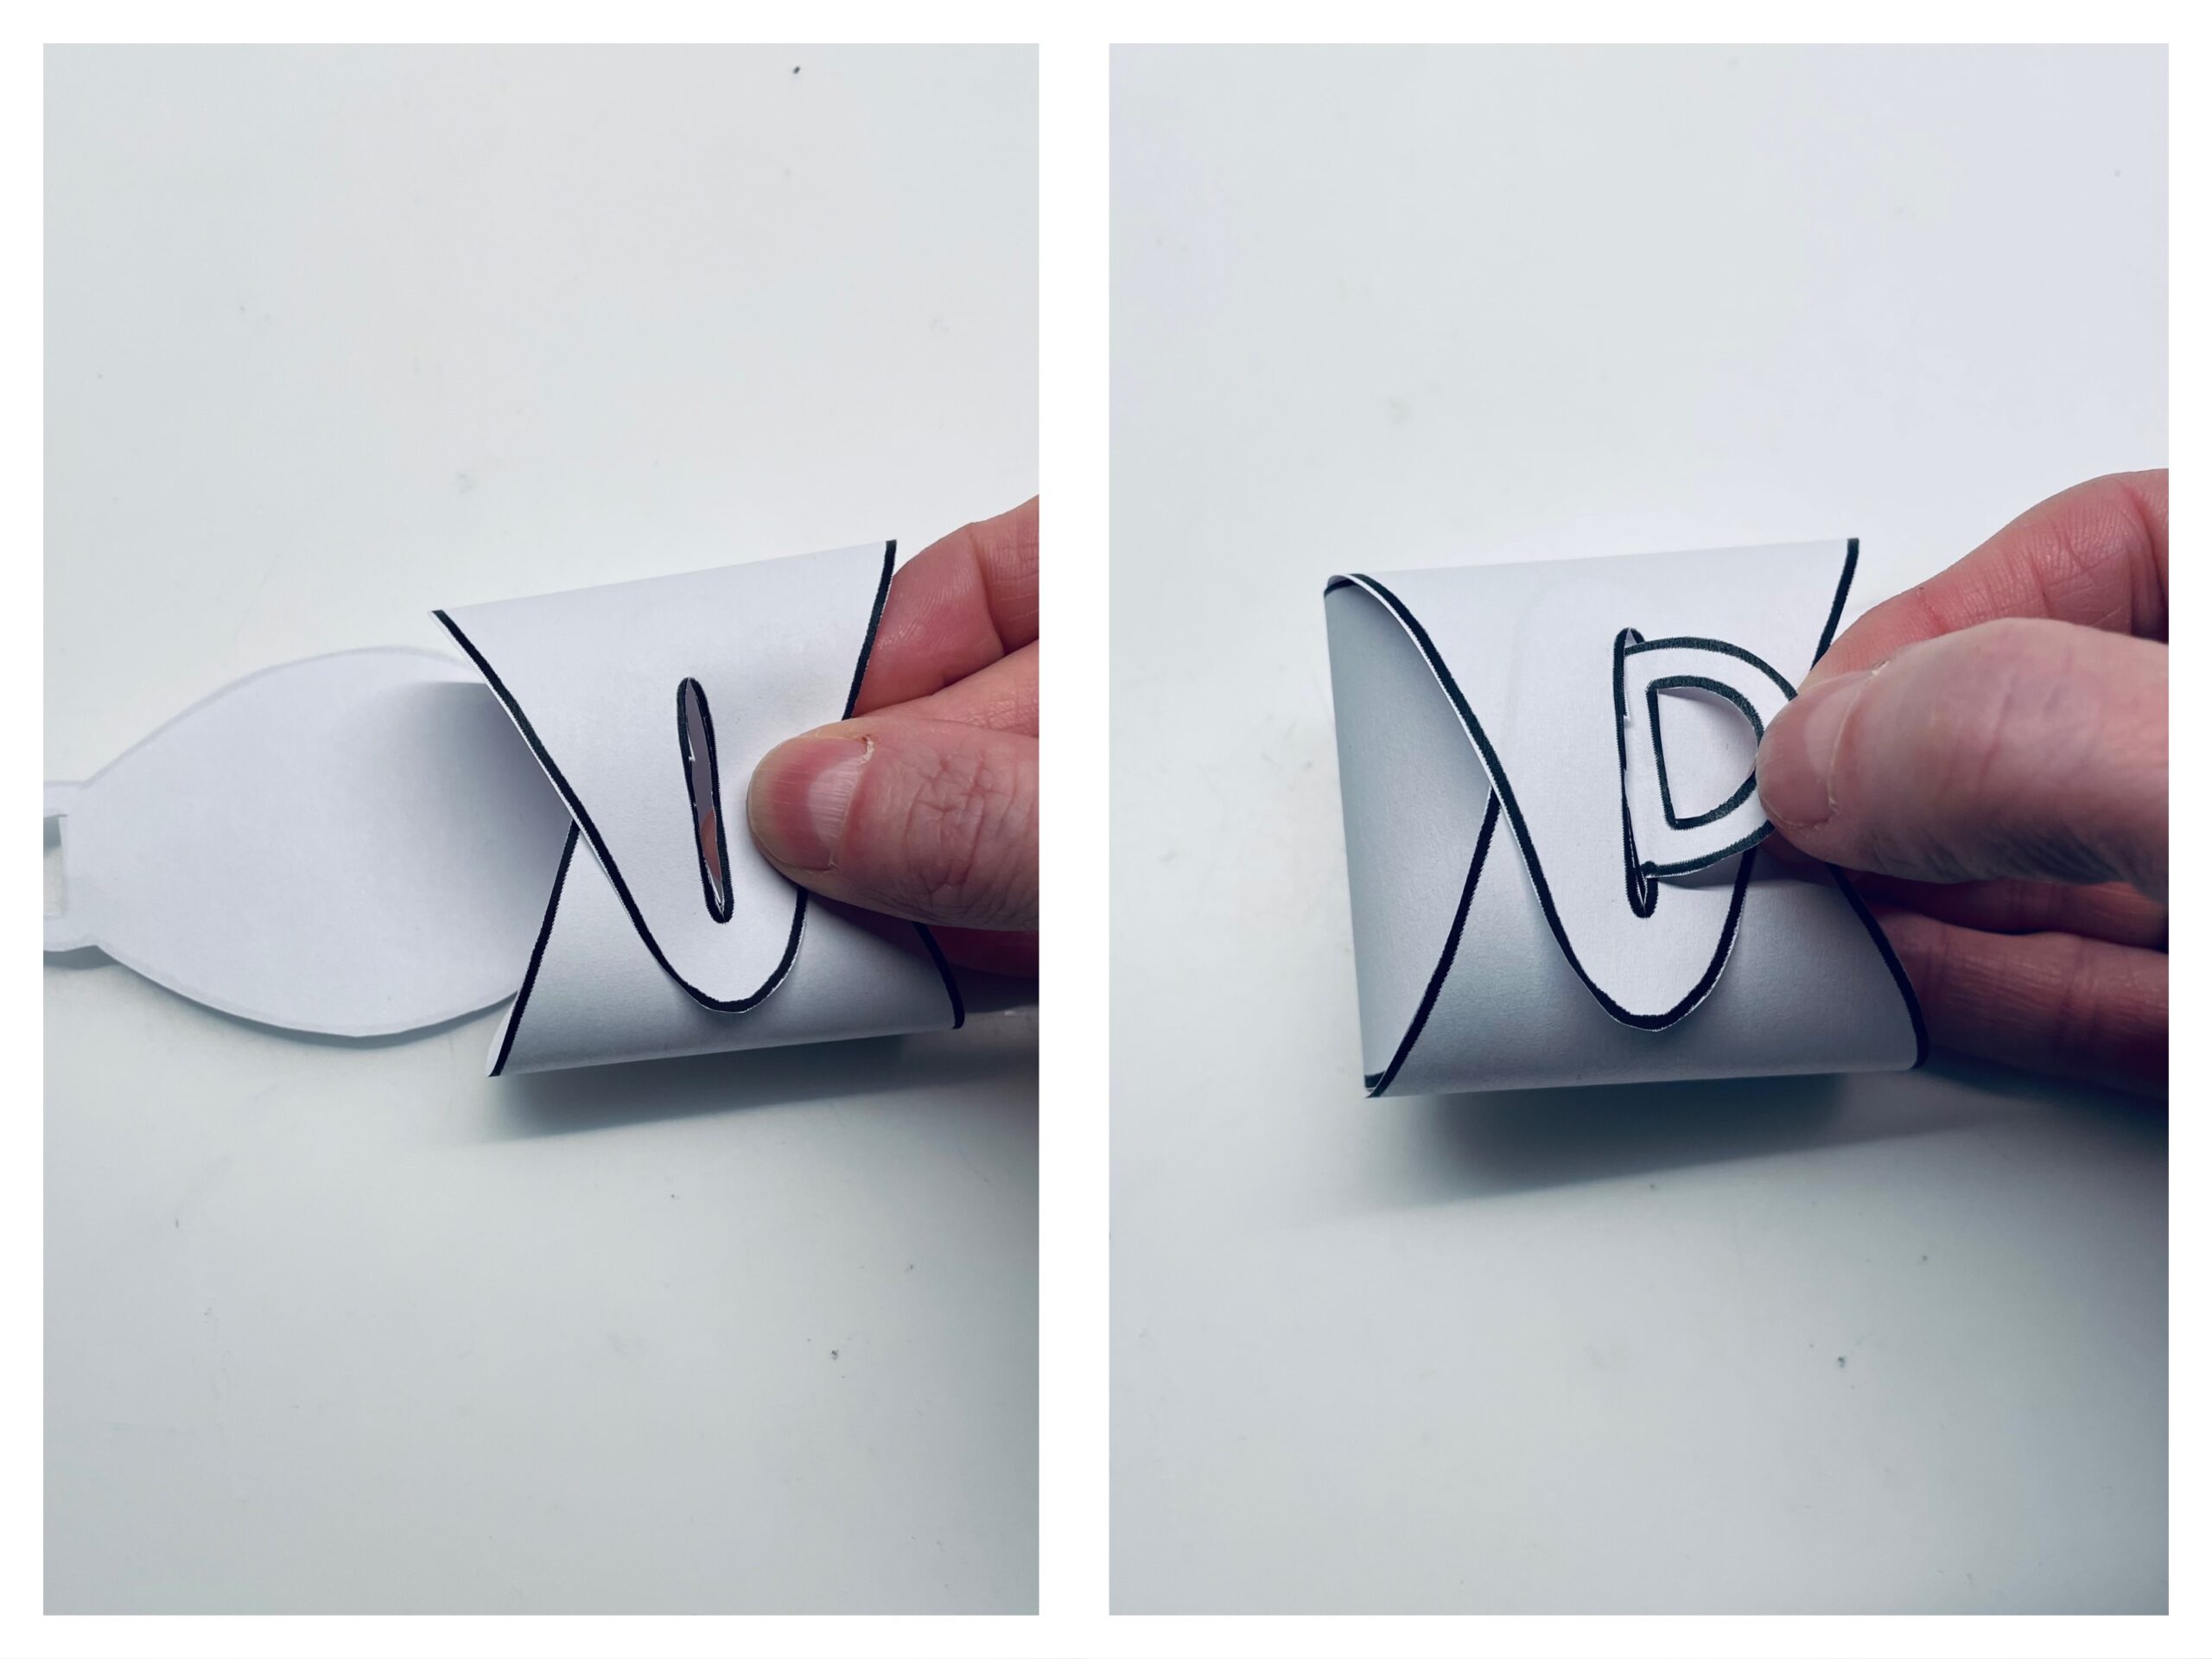
Then you put the gift box together. For this you put the paper with a corner with a cut-out semicircle pointing to you on the table. This corner you fold to the middle and then you pull the cut-out semicircle like a loop through the incision. The other side you put together as well and then connect both sides.


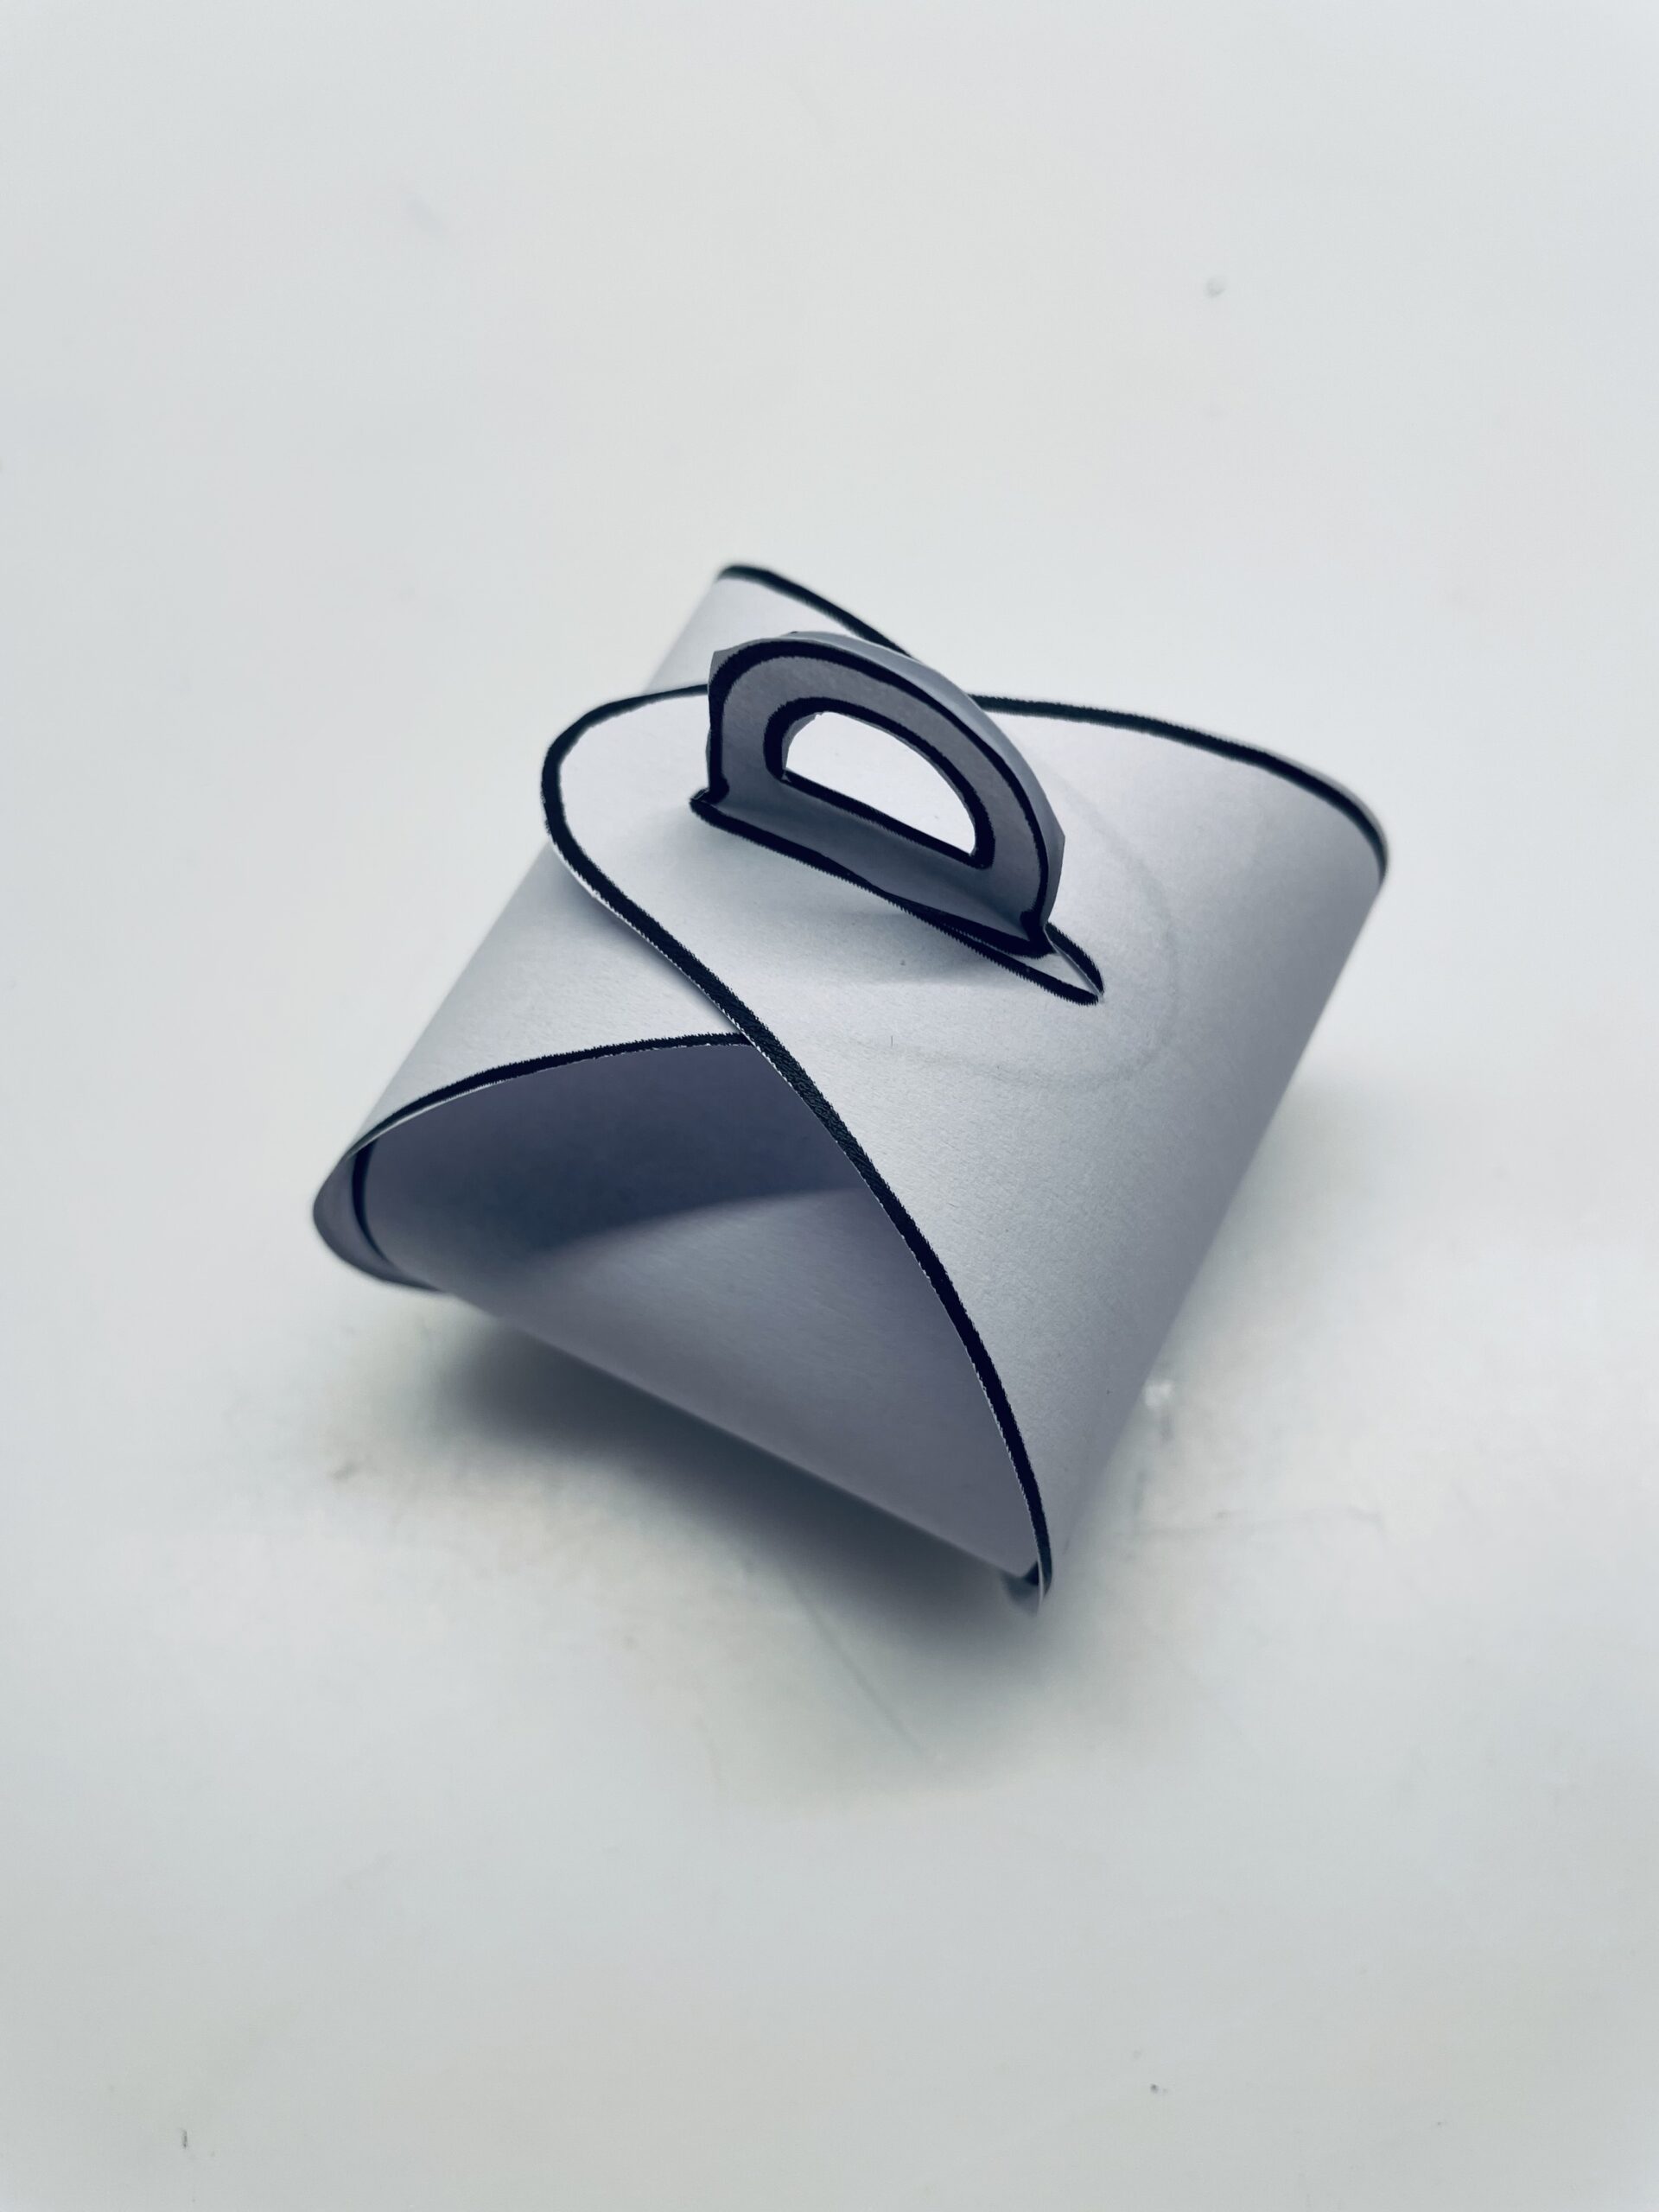
Finished is a beautiful gift box.


Gift idea
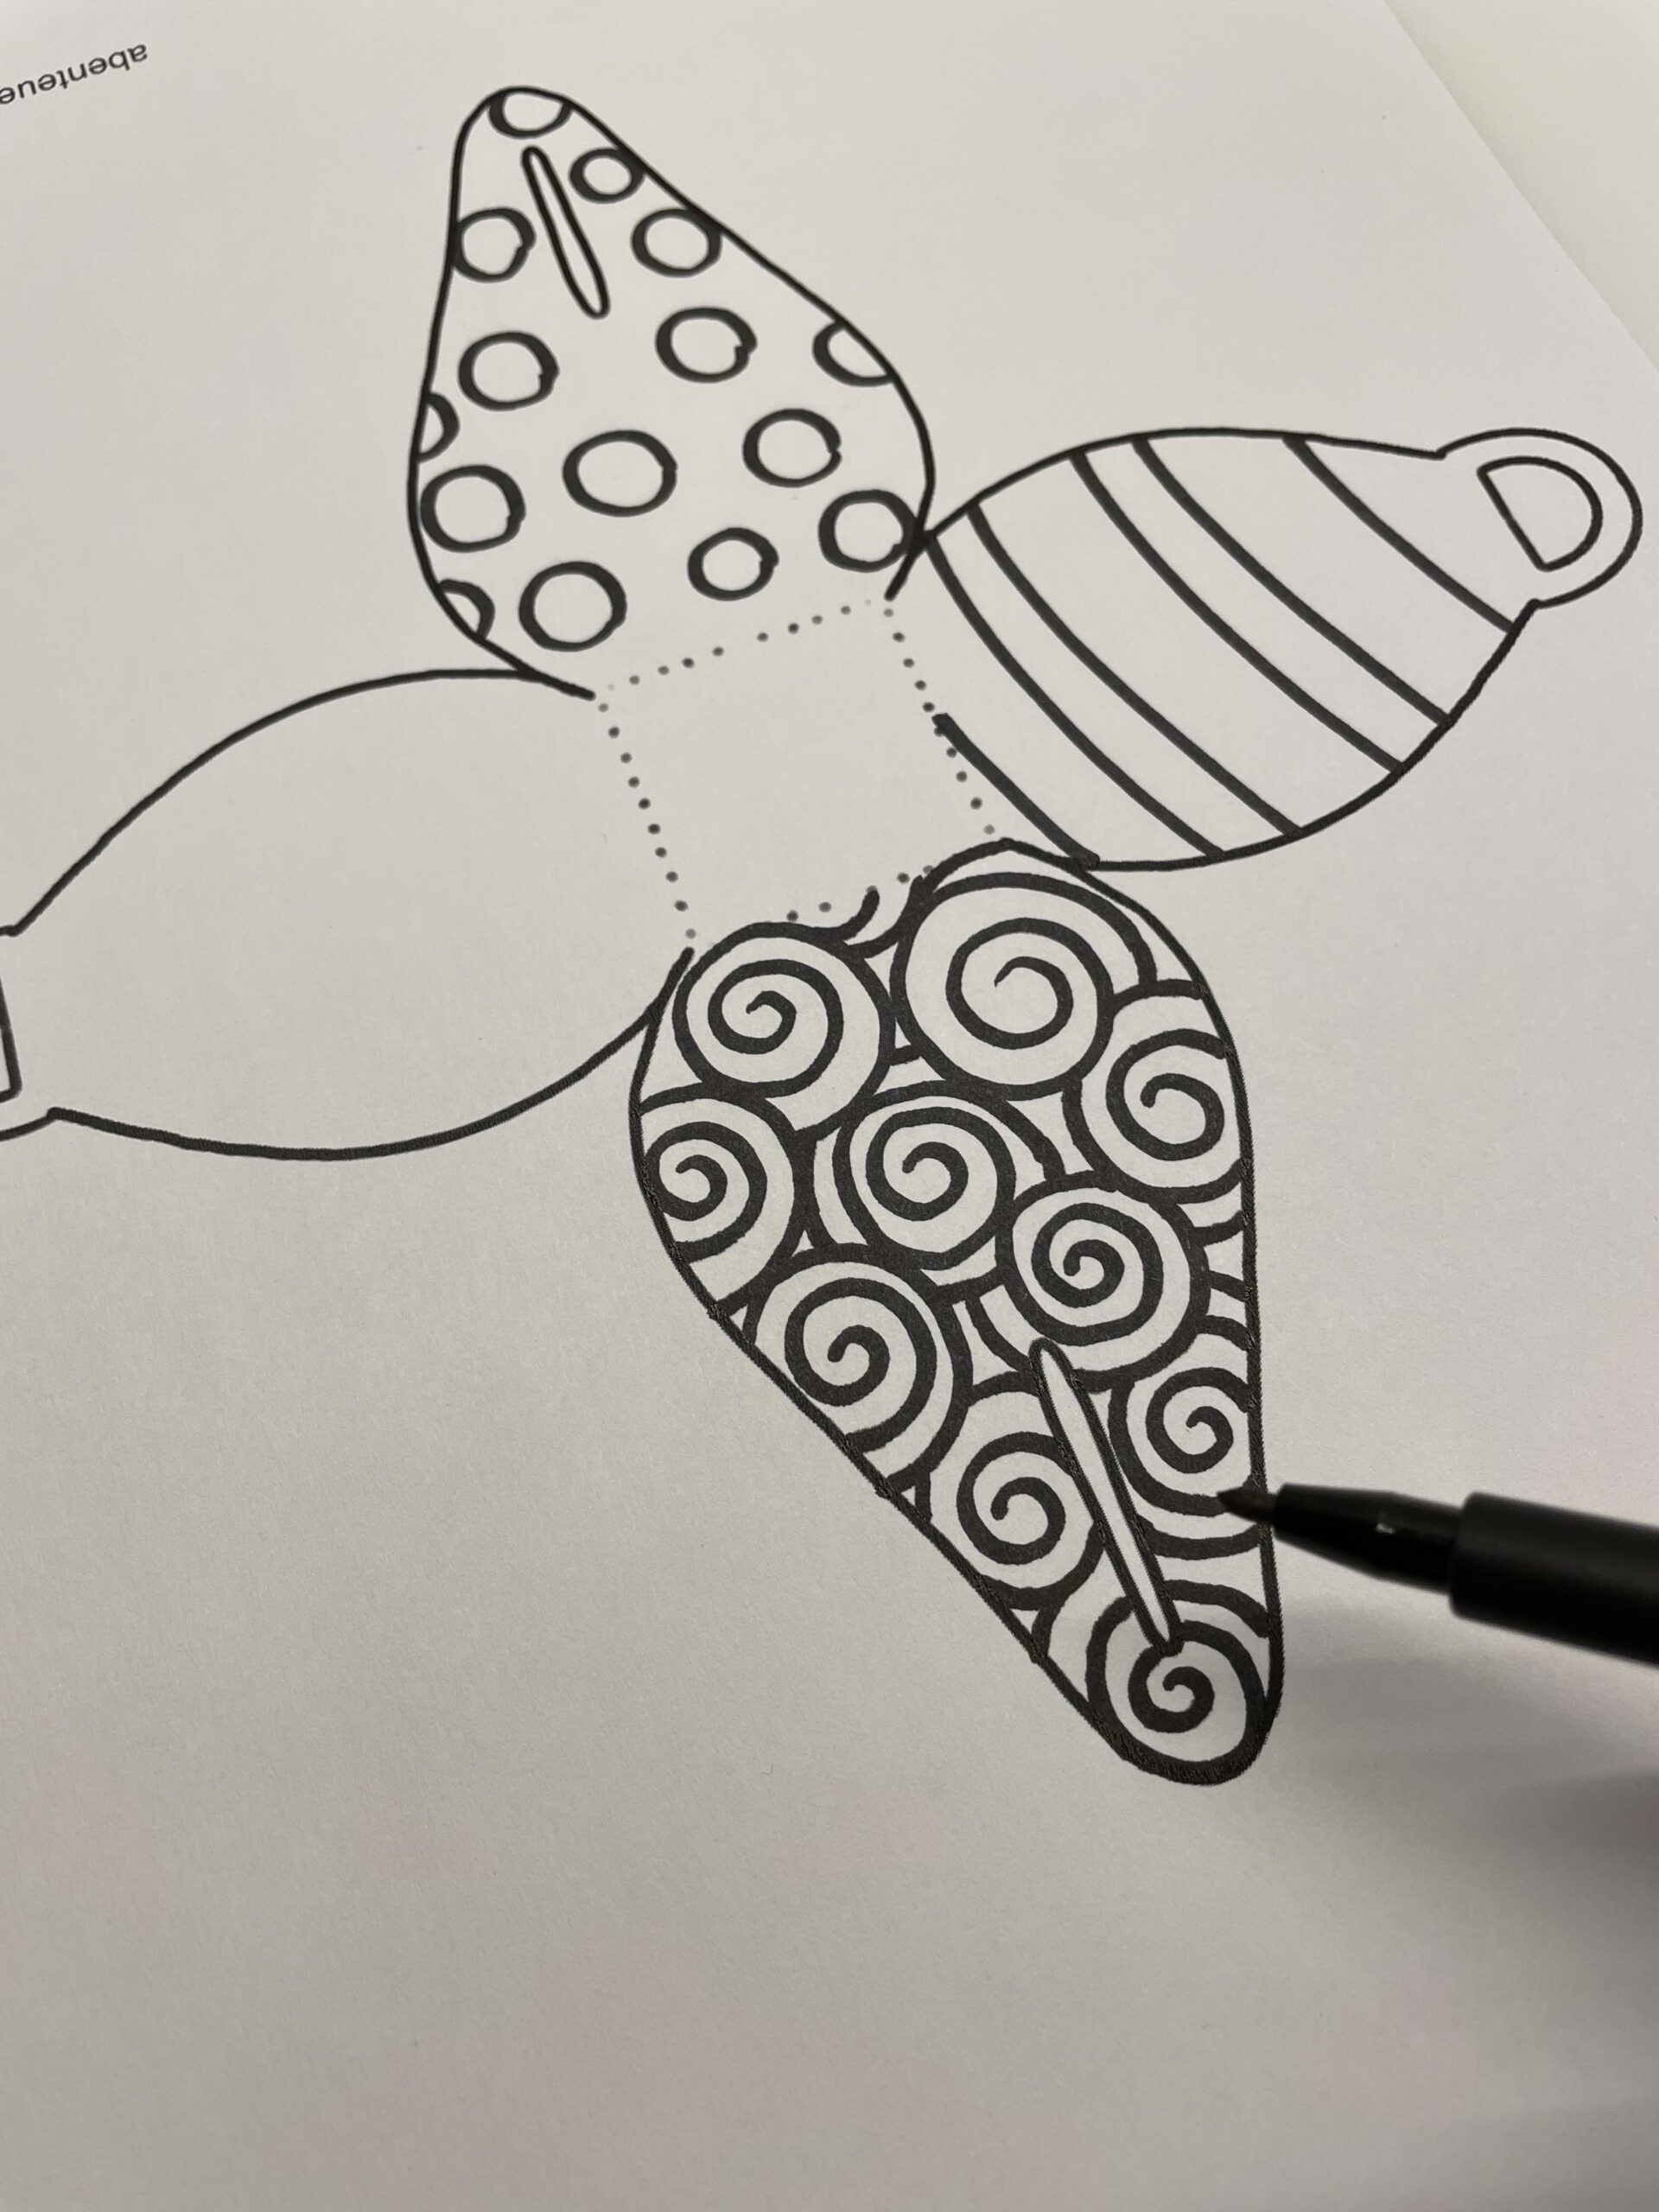
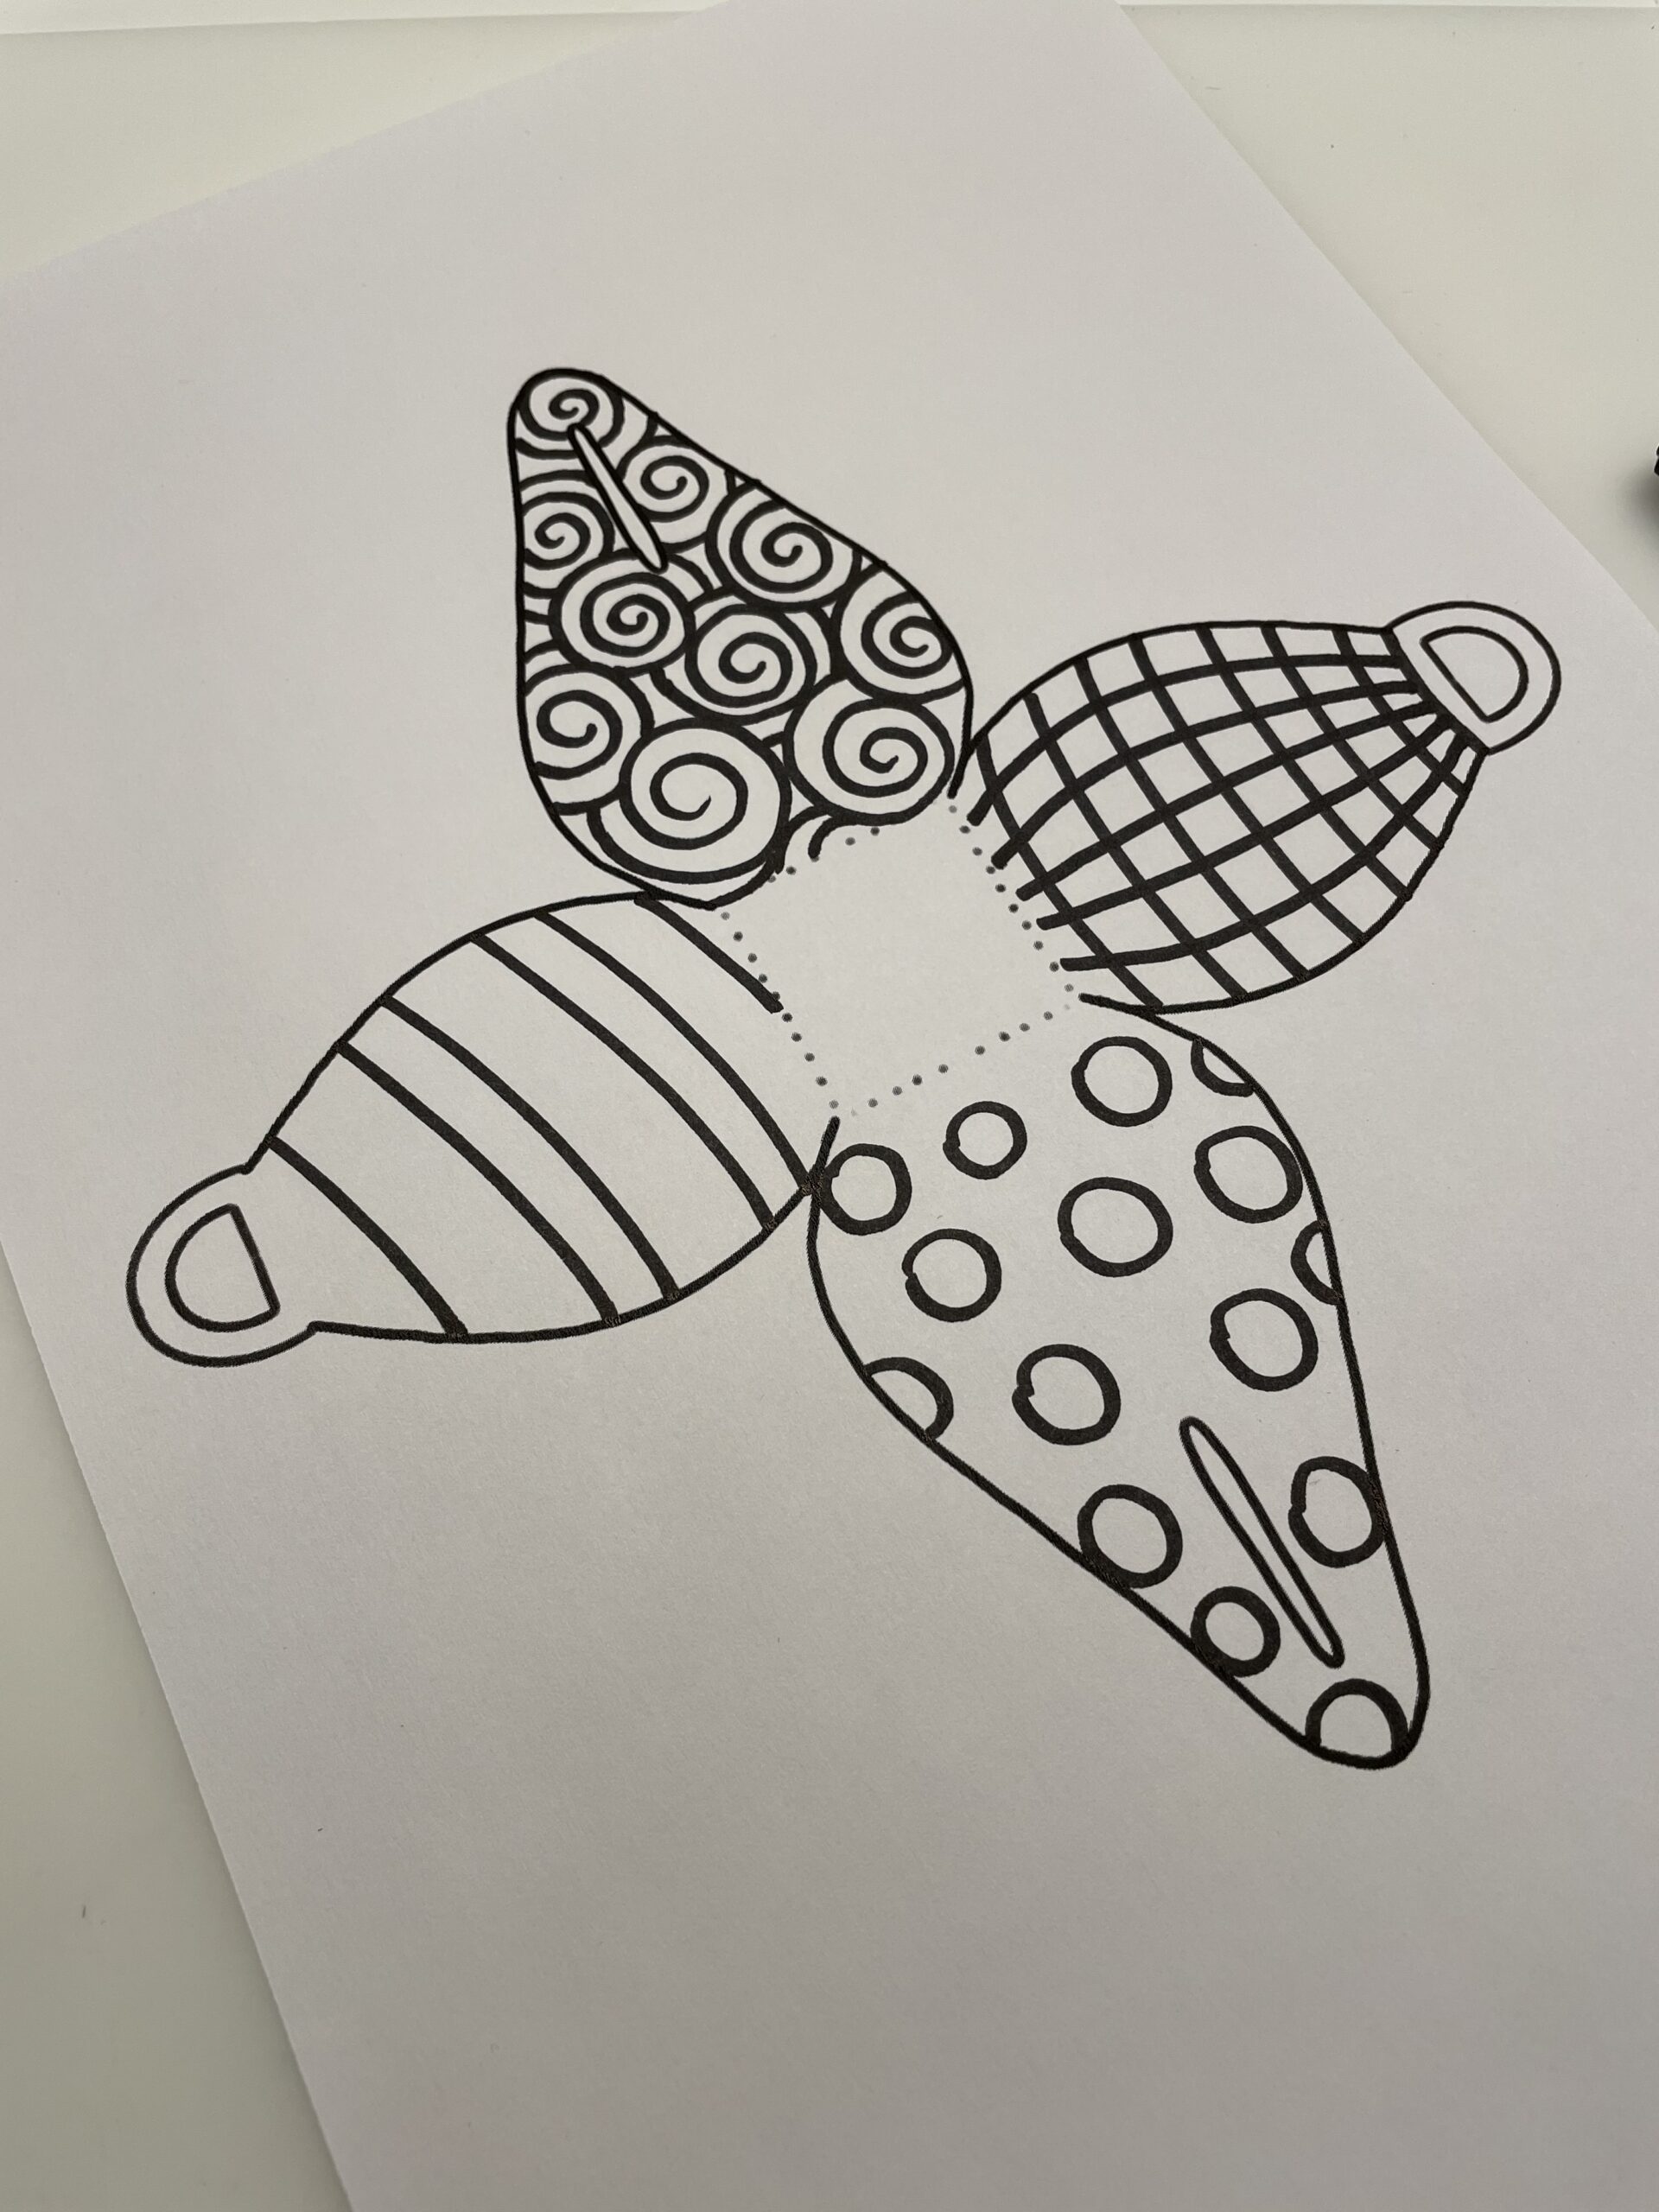
Design the four sides with patterns and shapes.
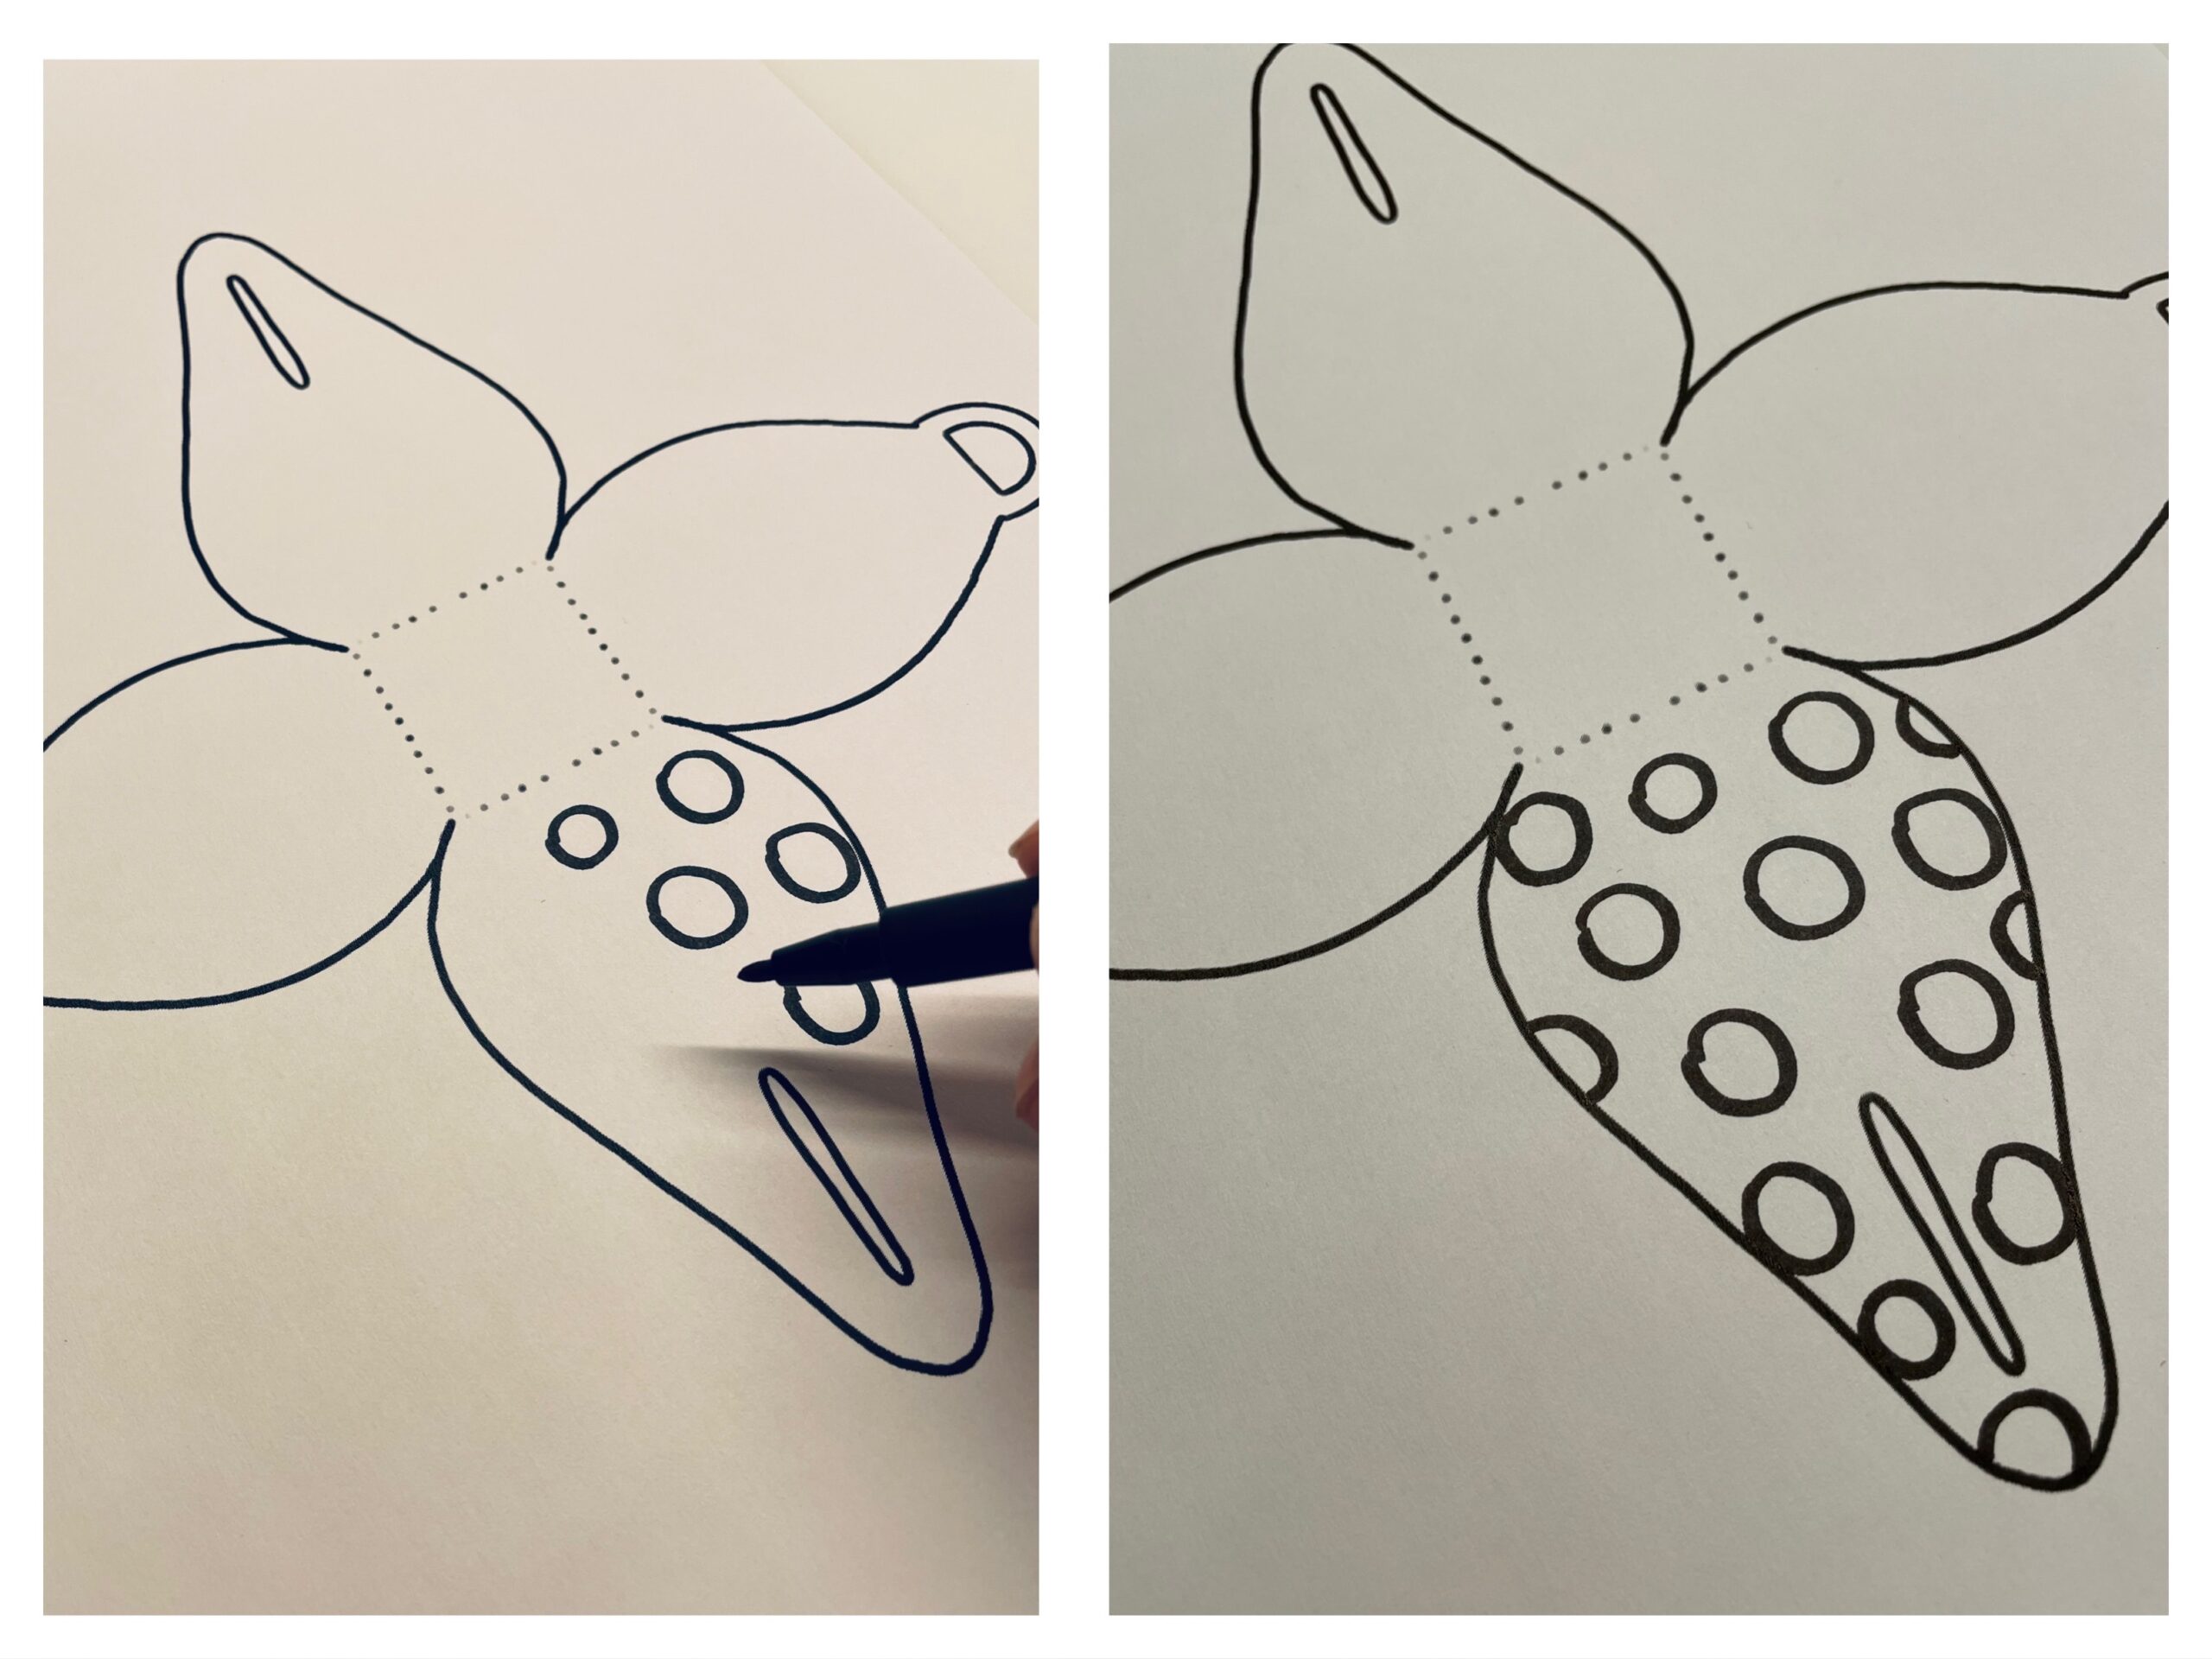


Paints, for example, circles, strokes, snails, diamonds.




Or you paint drops, dots, stars and stripes.
You can also paint the small gift boxes colorfully. There are no limits to your imagination.
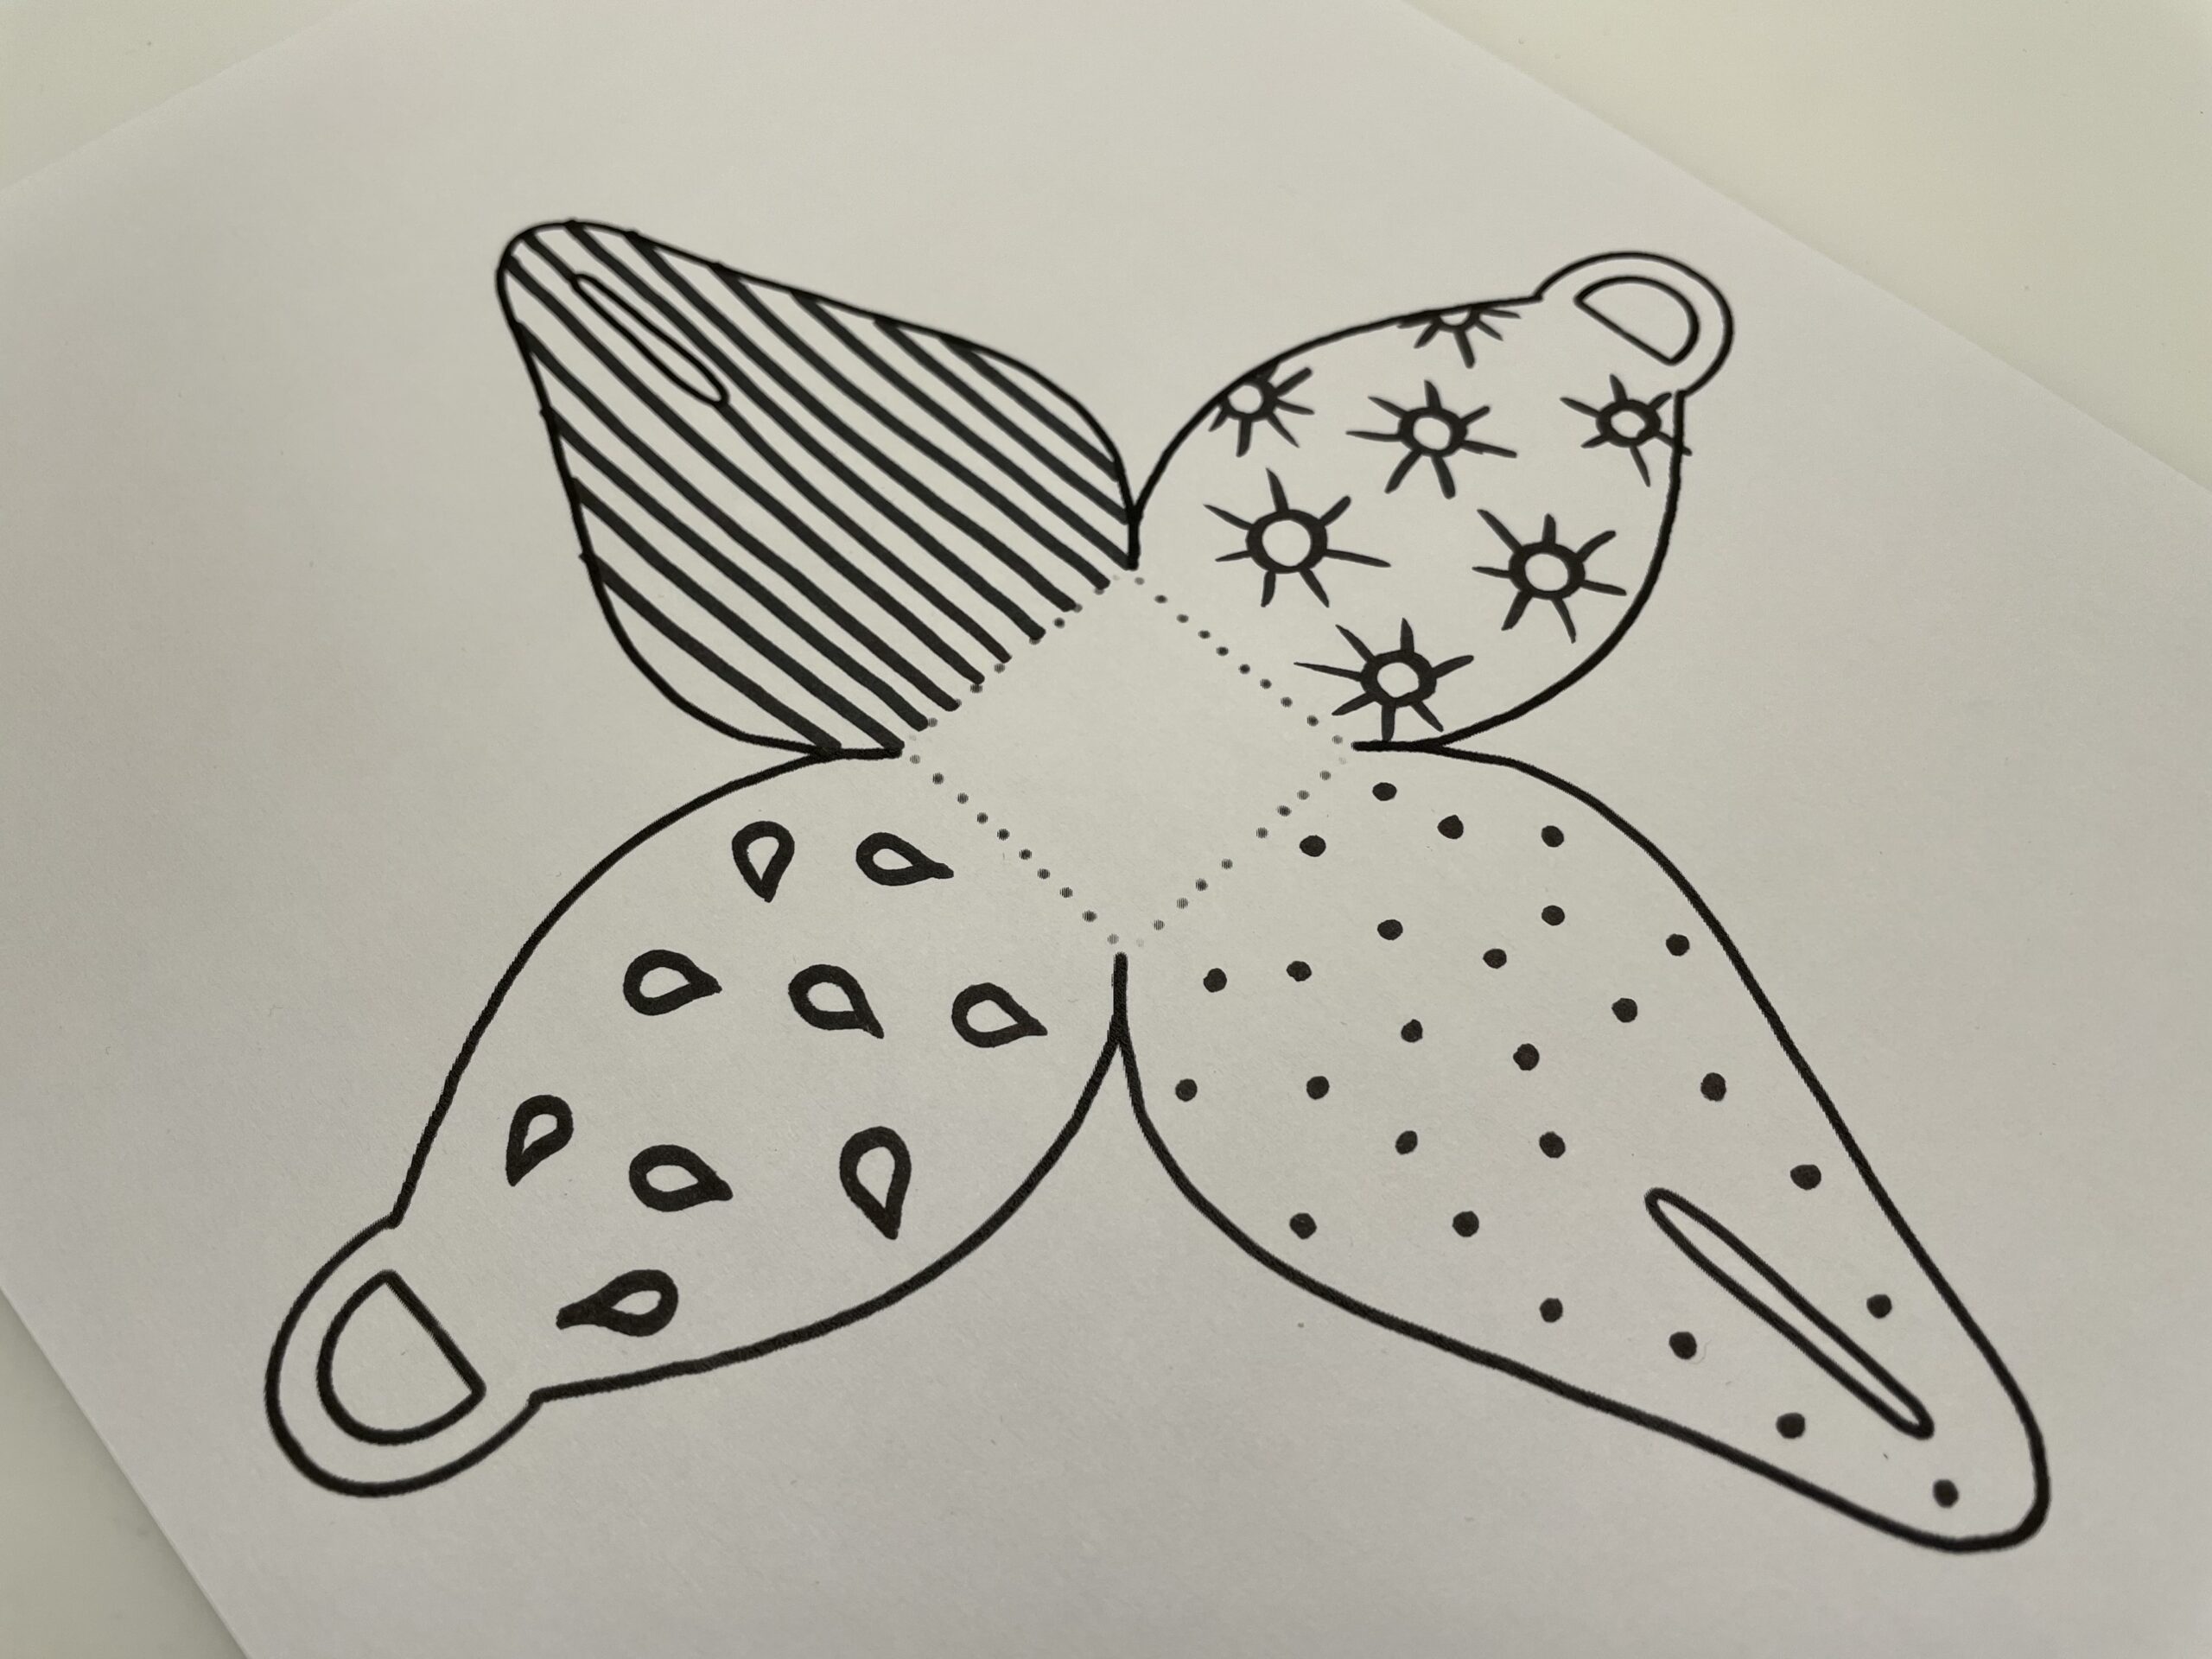


The painting creates beautiful unique gift boxes.
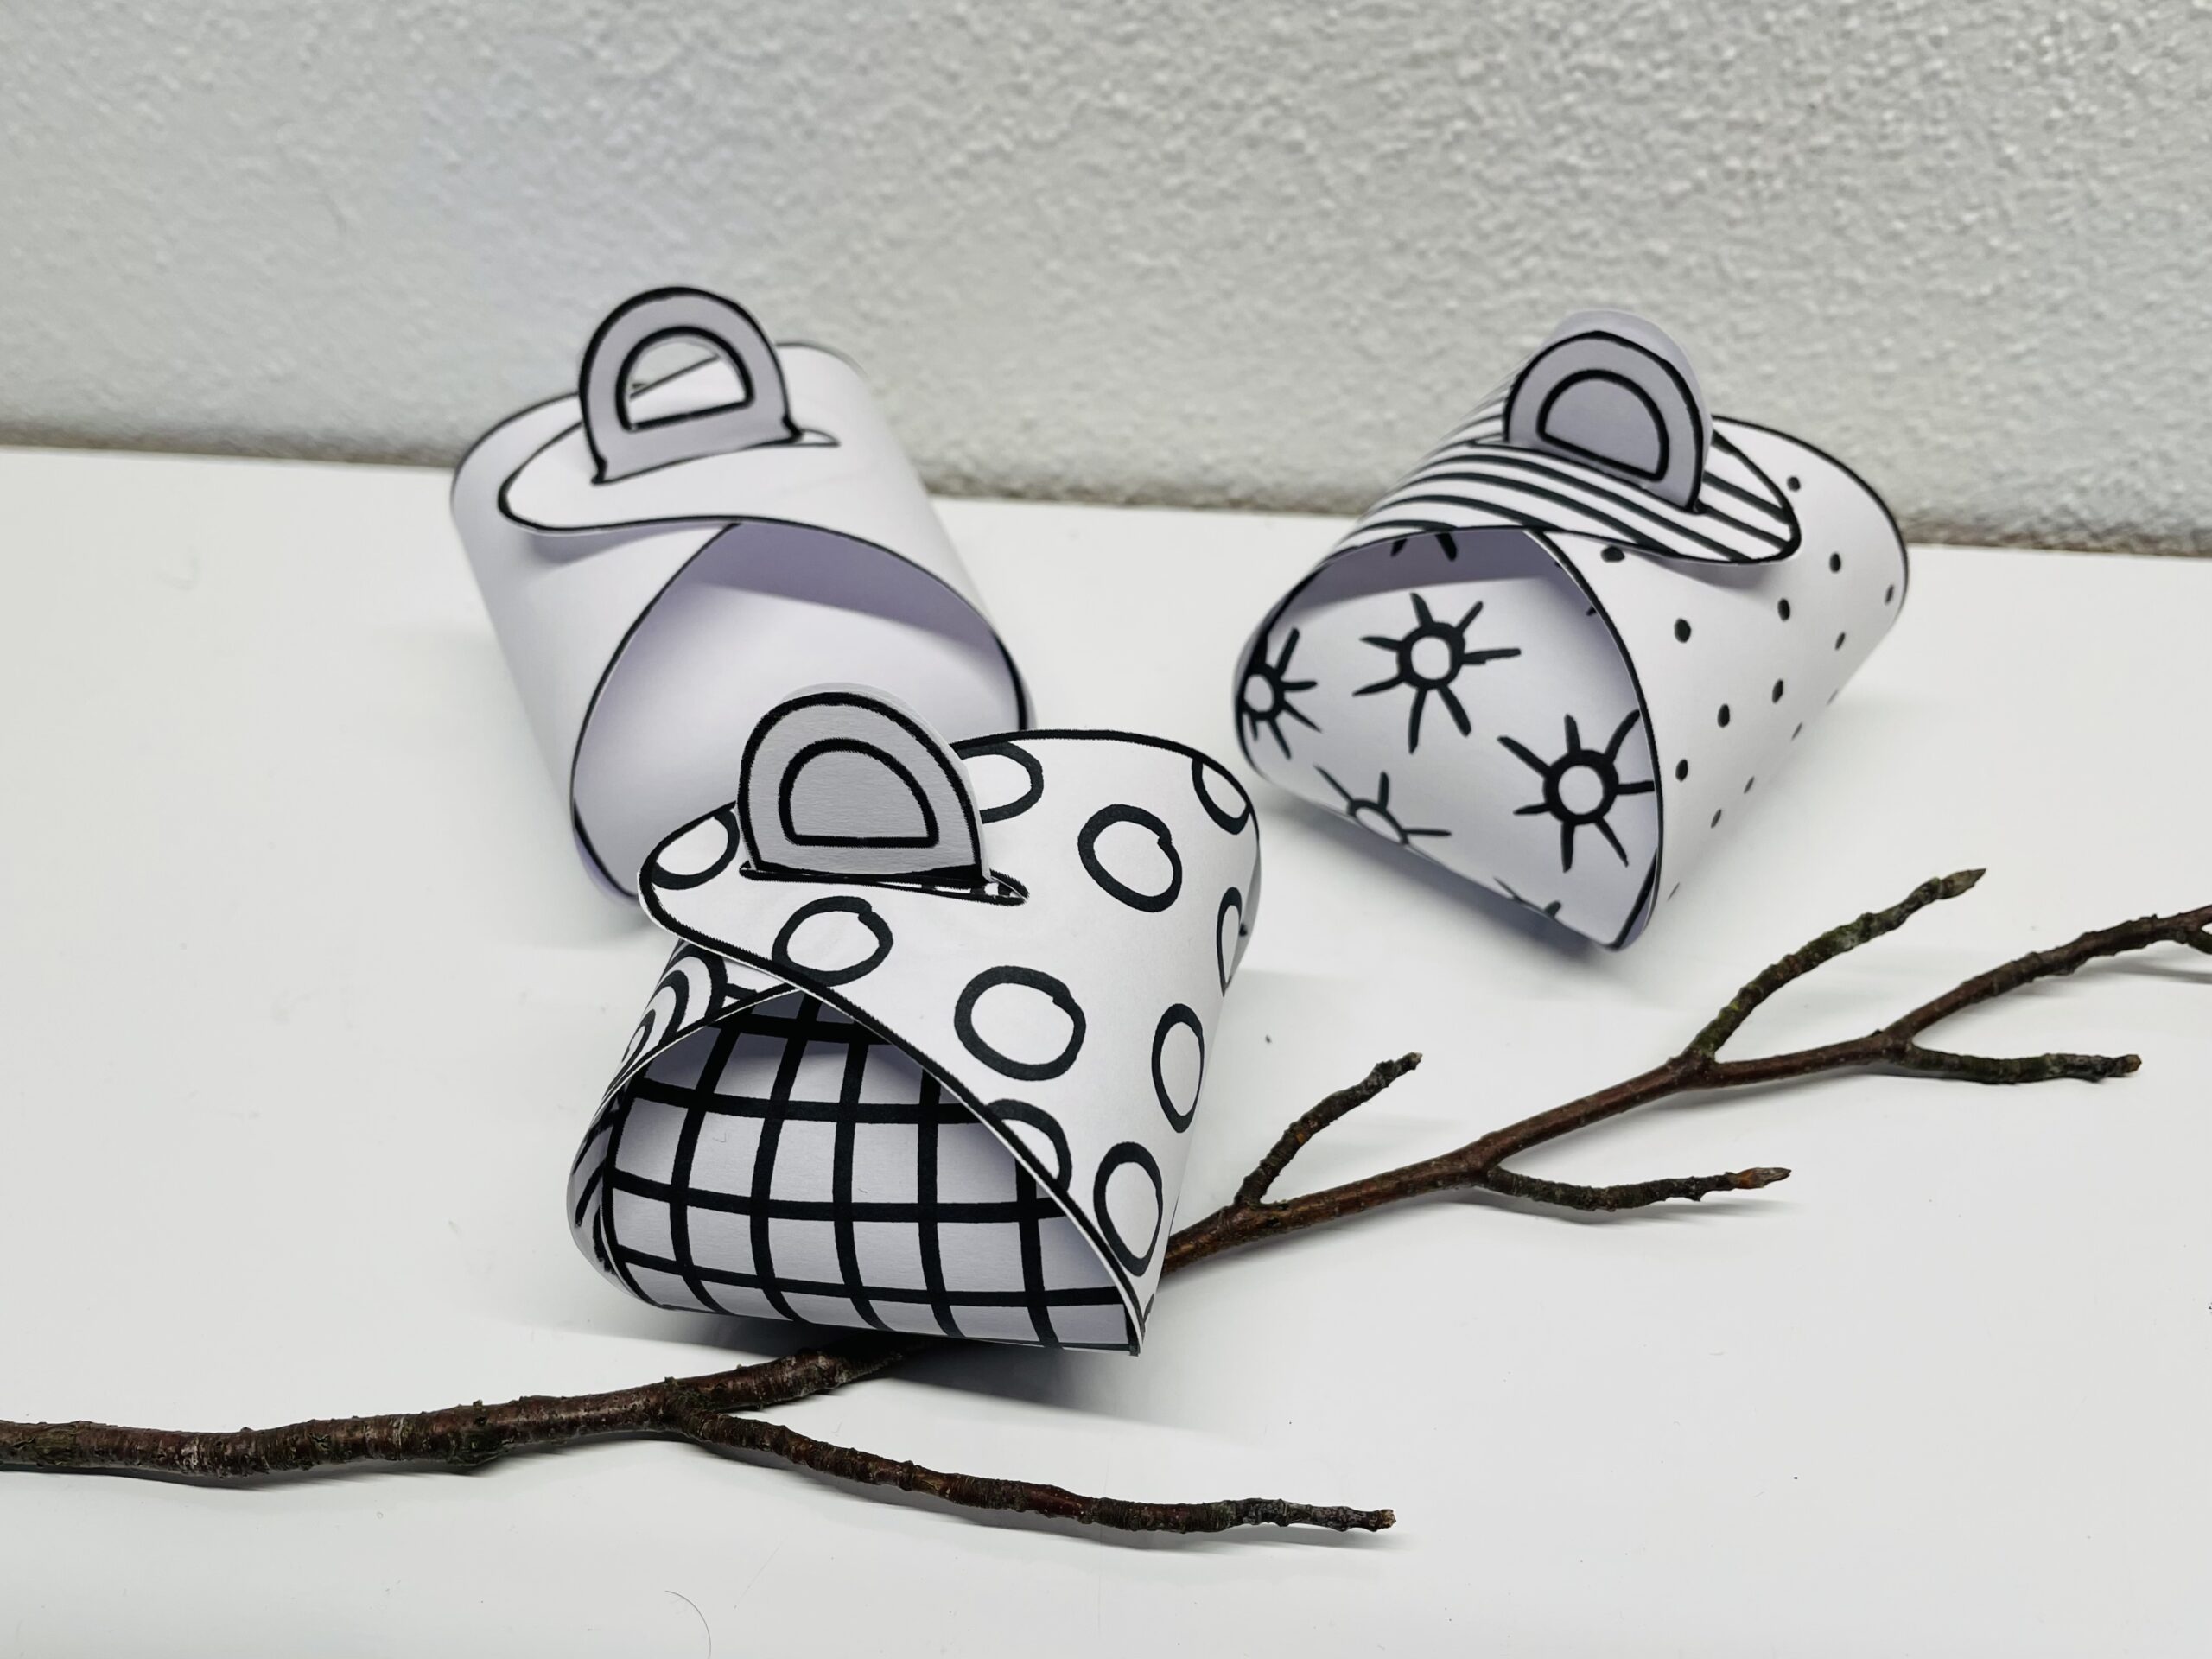


These own themselves to give away or as a surprise gift on a coffee table.
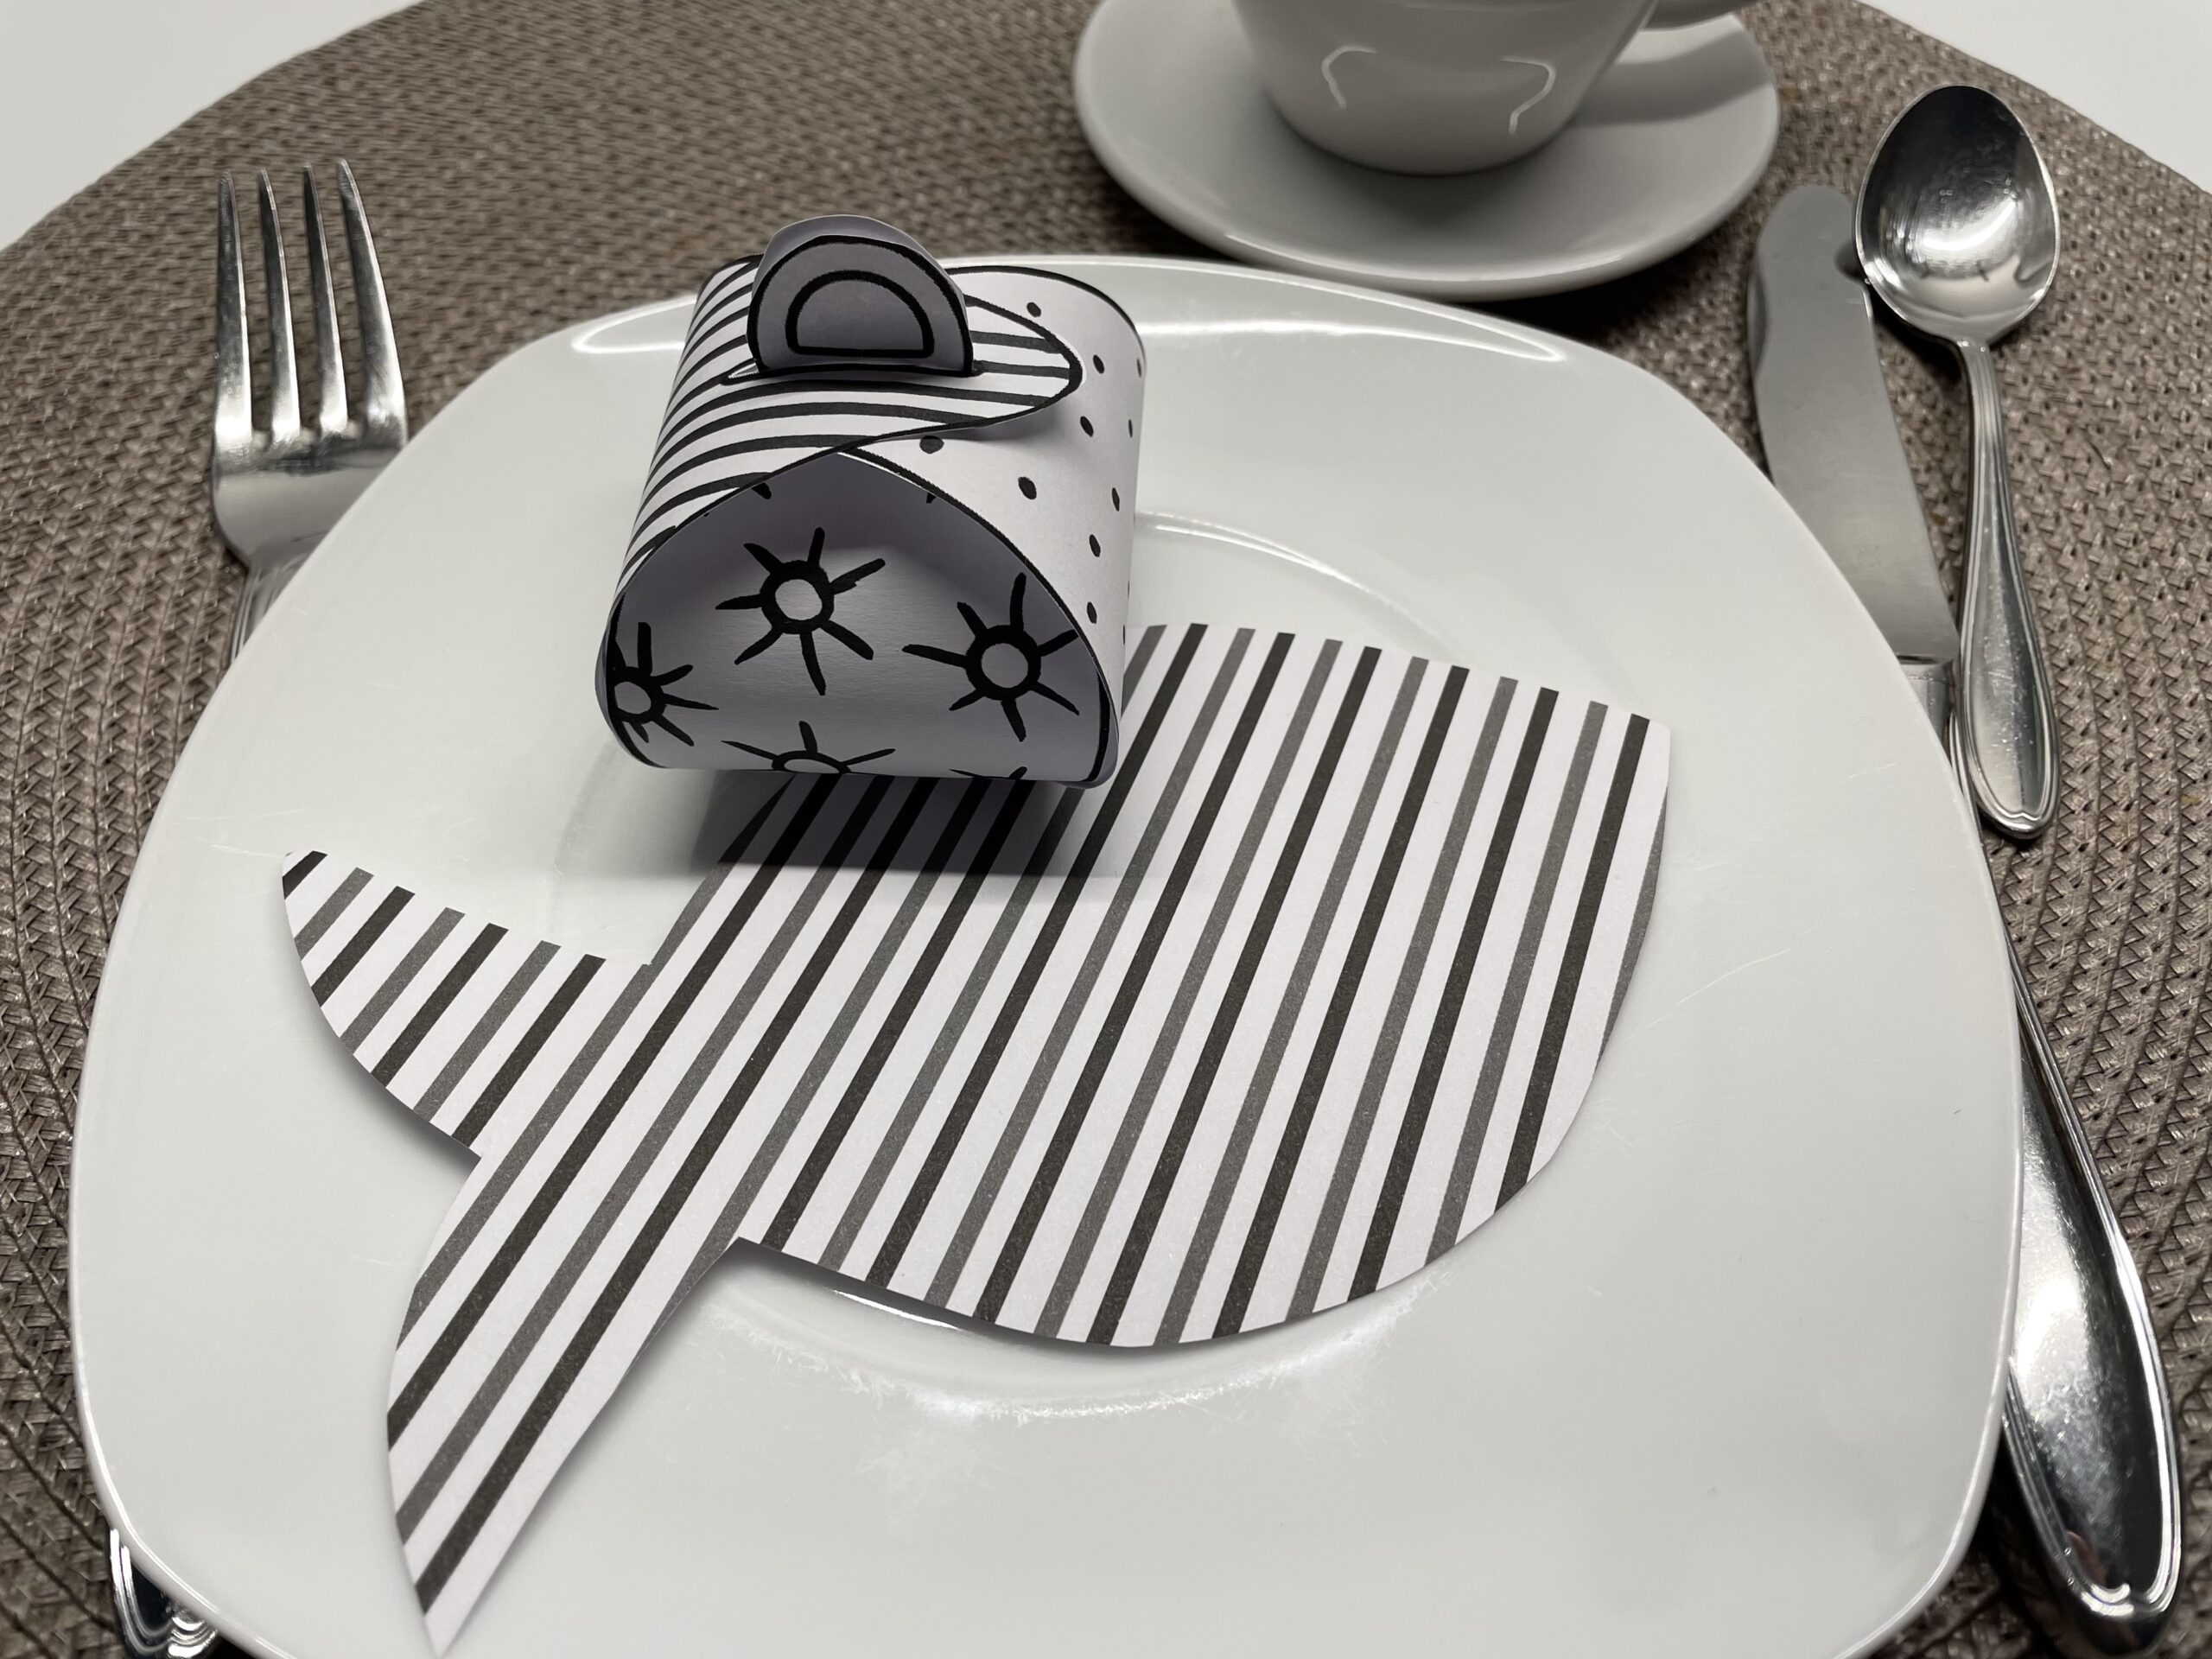


Enjoy crafting and giving away!
Materials
Directions
Print the template first.


Then you cut them out on the outer lines. You cut out the small cutouts as well. For this you stick in first with a pointed scissors and then carefully cut out the semicircles and incisions.
Tip: A fingernail shear is ideal for fine cutting.


Now you put the paper in front of you on the table and fold the first corner from below to the folding line in the middle.


Turn the paper and travel with all four corners.


Then you put the gift box together. For this you put the paper with a corner with a cut-out semicircle pointing to you on the table. This corner you fold to the middle and then you pull the cut-out semicircle like a loop through the incision. The other side you put together as well and then connect both sides.


Finished is a beautiful gift box.


Gift idea
Design the four sides with patterns and shapes.


Paints, for example, circles, strokes, snails, diamonds.


Or you paint drops, dots, stars and stripes.
You can also paint the small gift boxes colorfully. There are no limits to your imagination.


The painting creates beautiful unique gift boxes.


These own themselves to give away or as a surprise gift on a coffee table.


Enjoy crafting and giving away!
Follow us on Facebook , Instagram and Pinterest
Don't miss any more adventures: Our bottle mail


