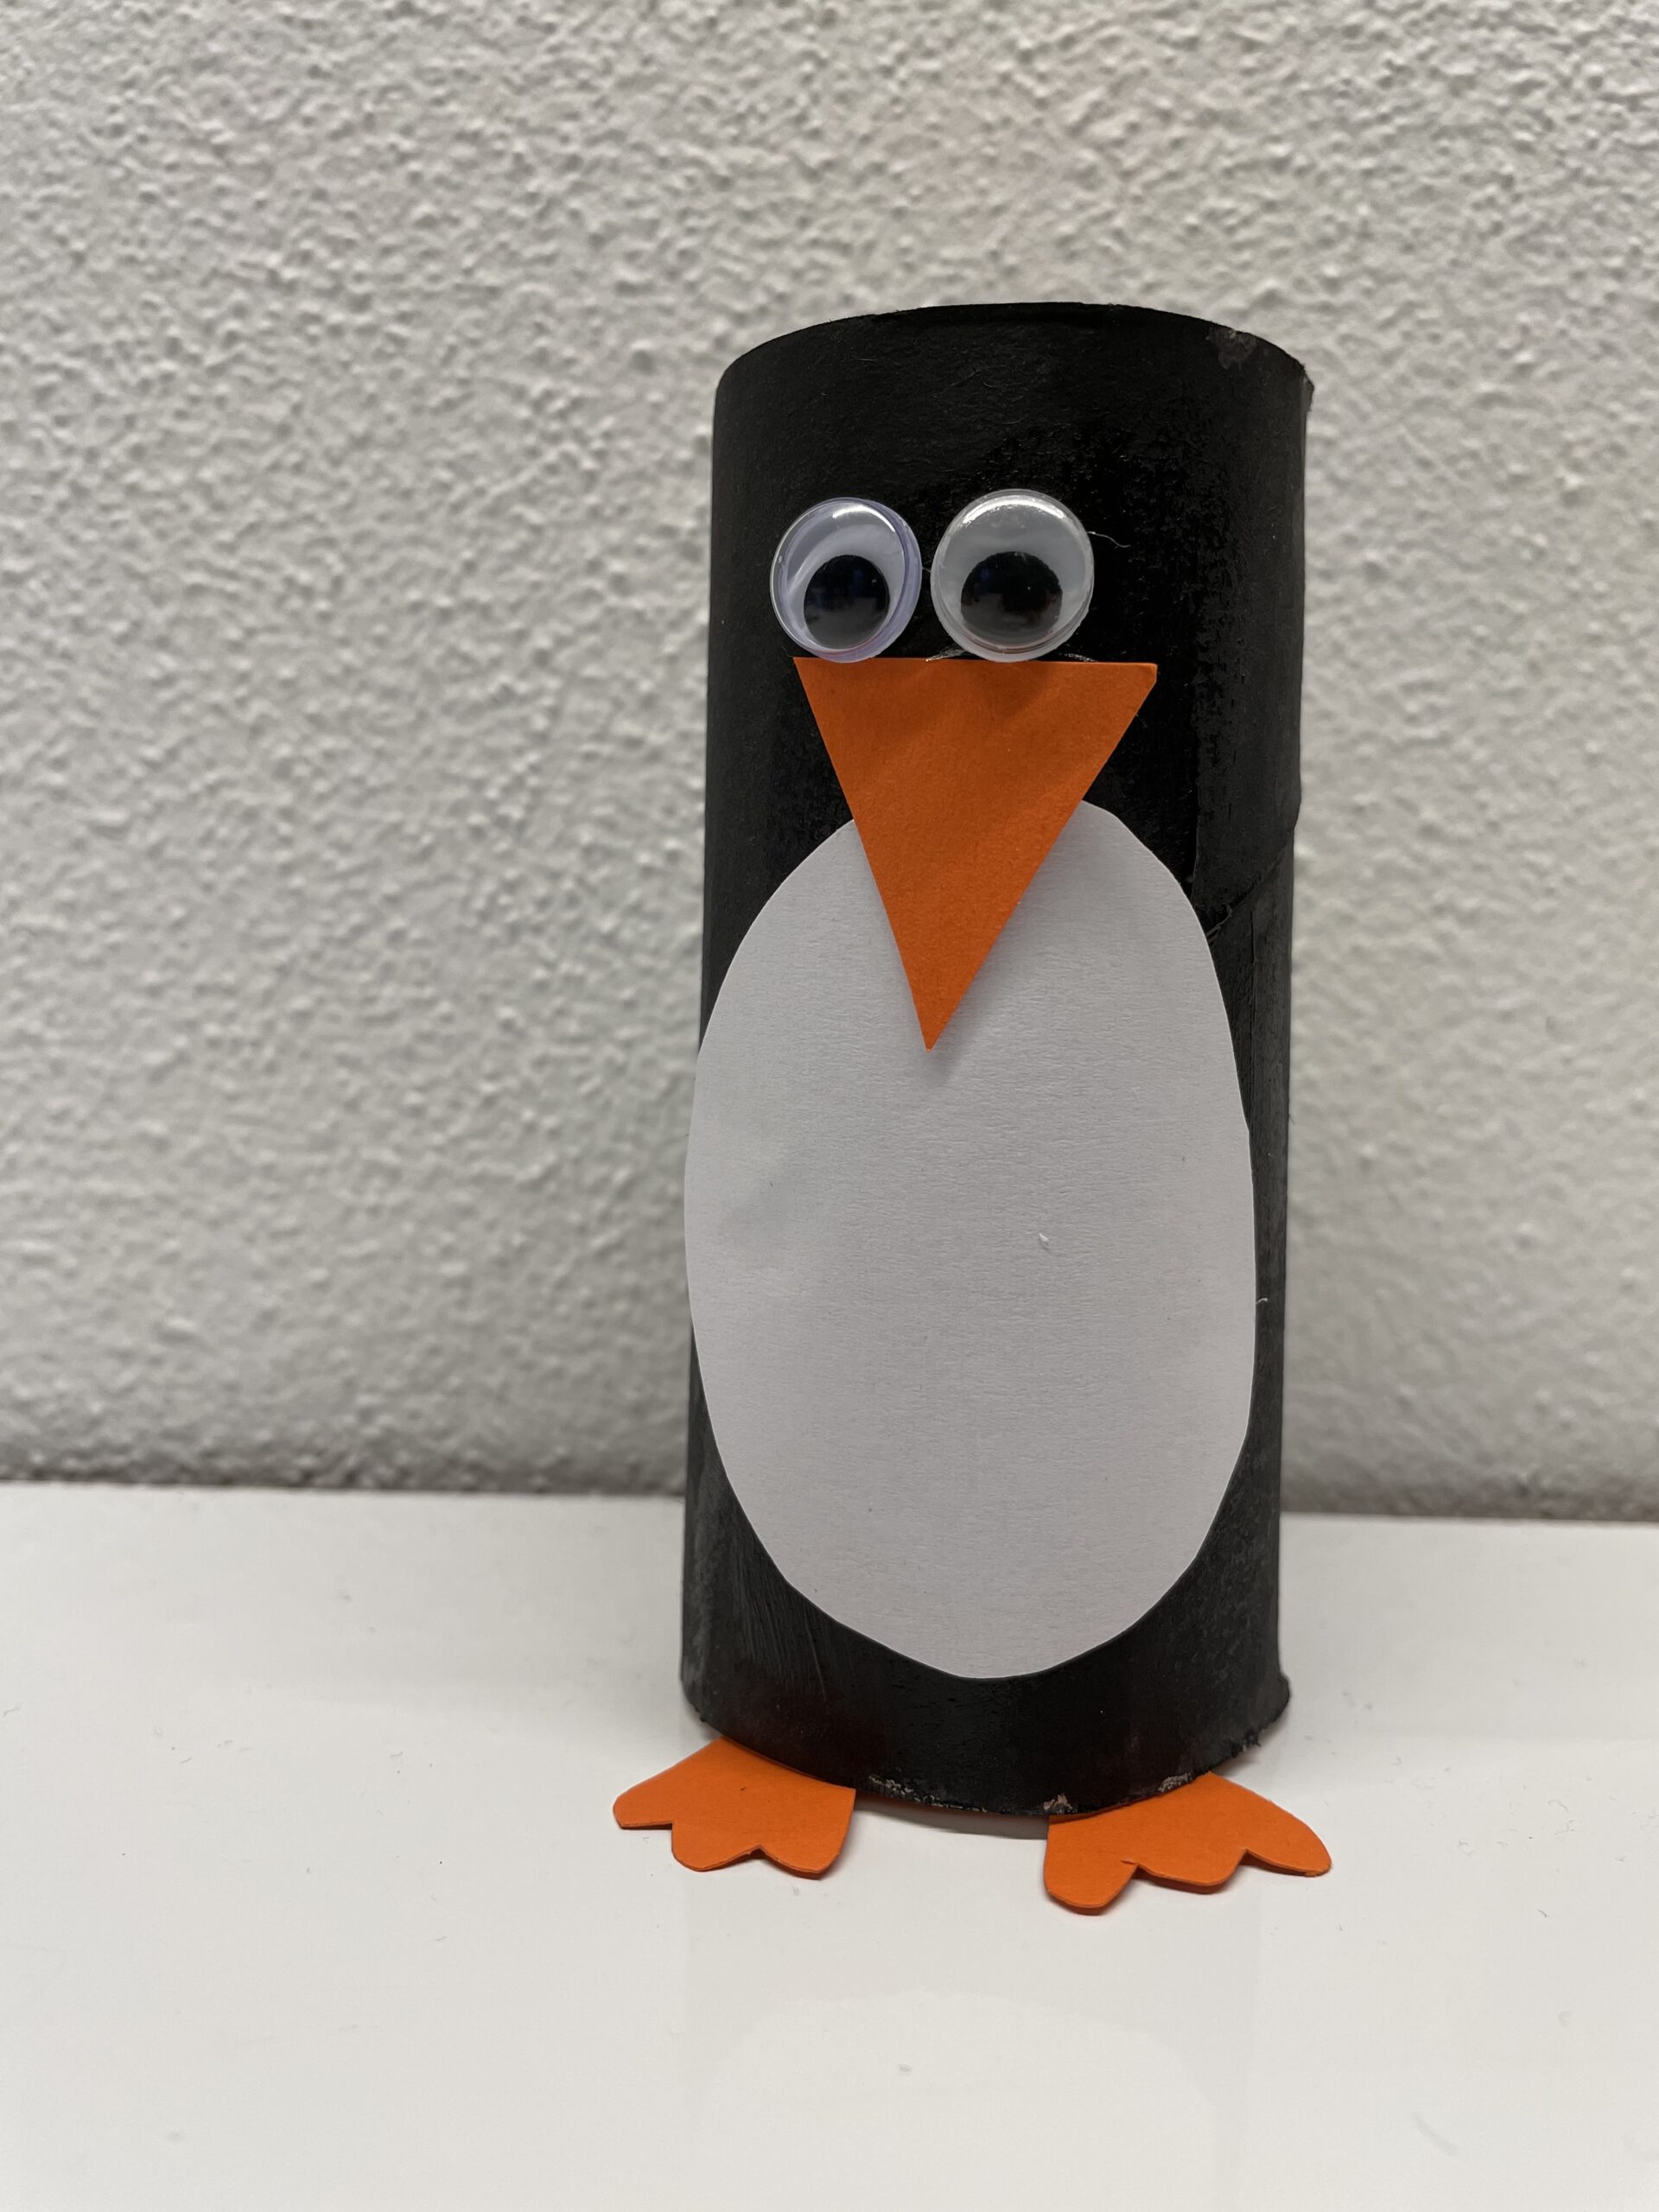
For the little fluttering penguin you only need a cardboard roll, which glues it with black paper. A white paper for the belly, an orange beak, two wobble eyes and two wings, which rings and sticks to the outside and it is ready, the small cardboard roll penguin.
You don't have black clay paper? No problem. Alternatively, you can paint the paper roll in black.
Have fun doing crafts! With this instruction it is easy!
Media Education for Kindergarten and Hort

Relief in everyday life, targeted promotion of individual children, independent learning and - without any pre-knowledge already usable by the youngest!

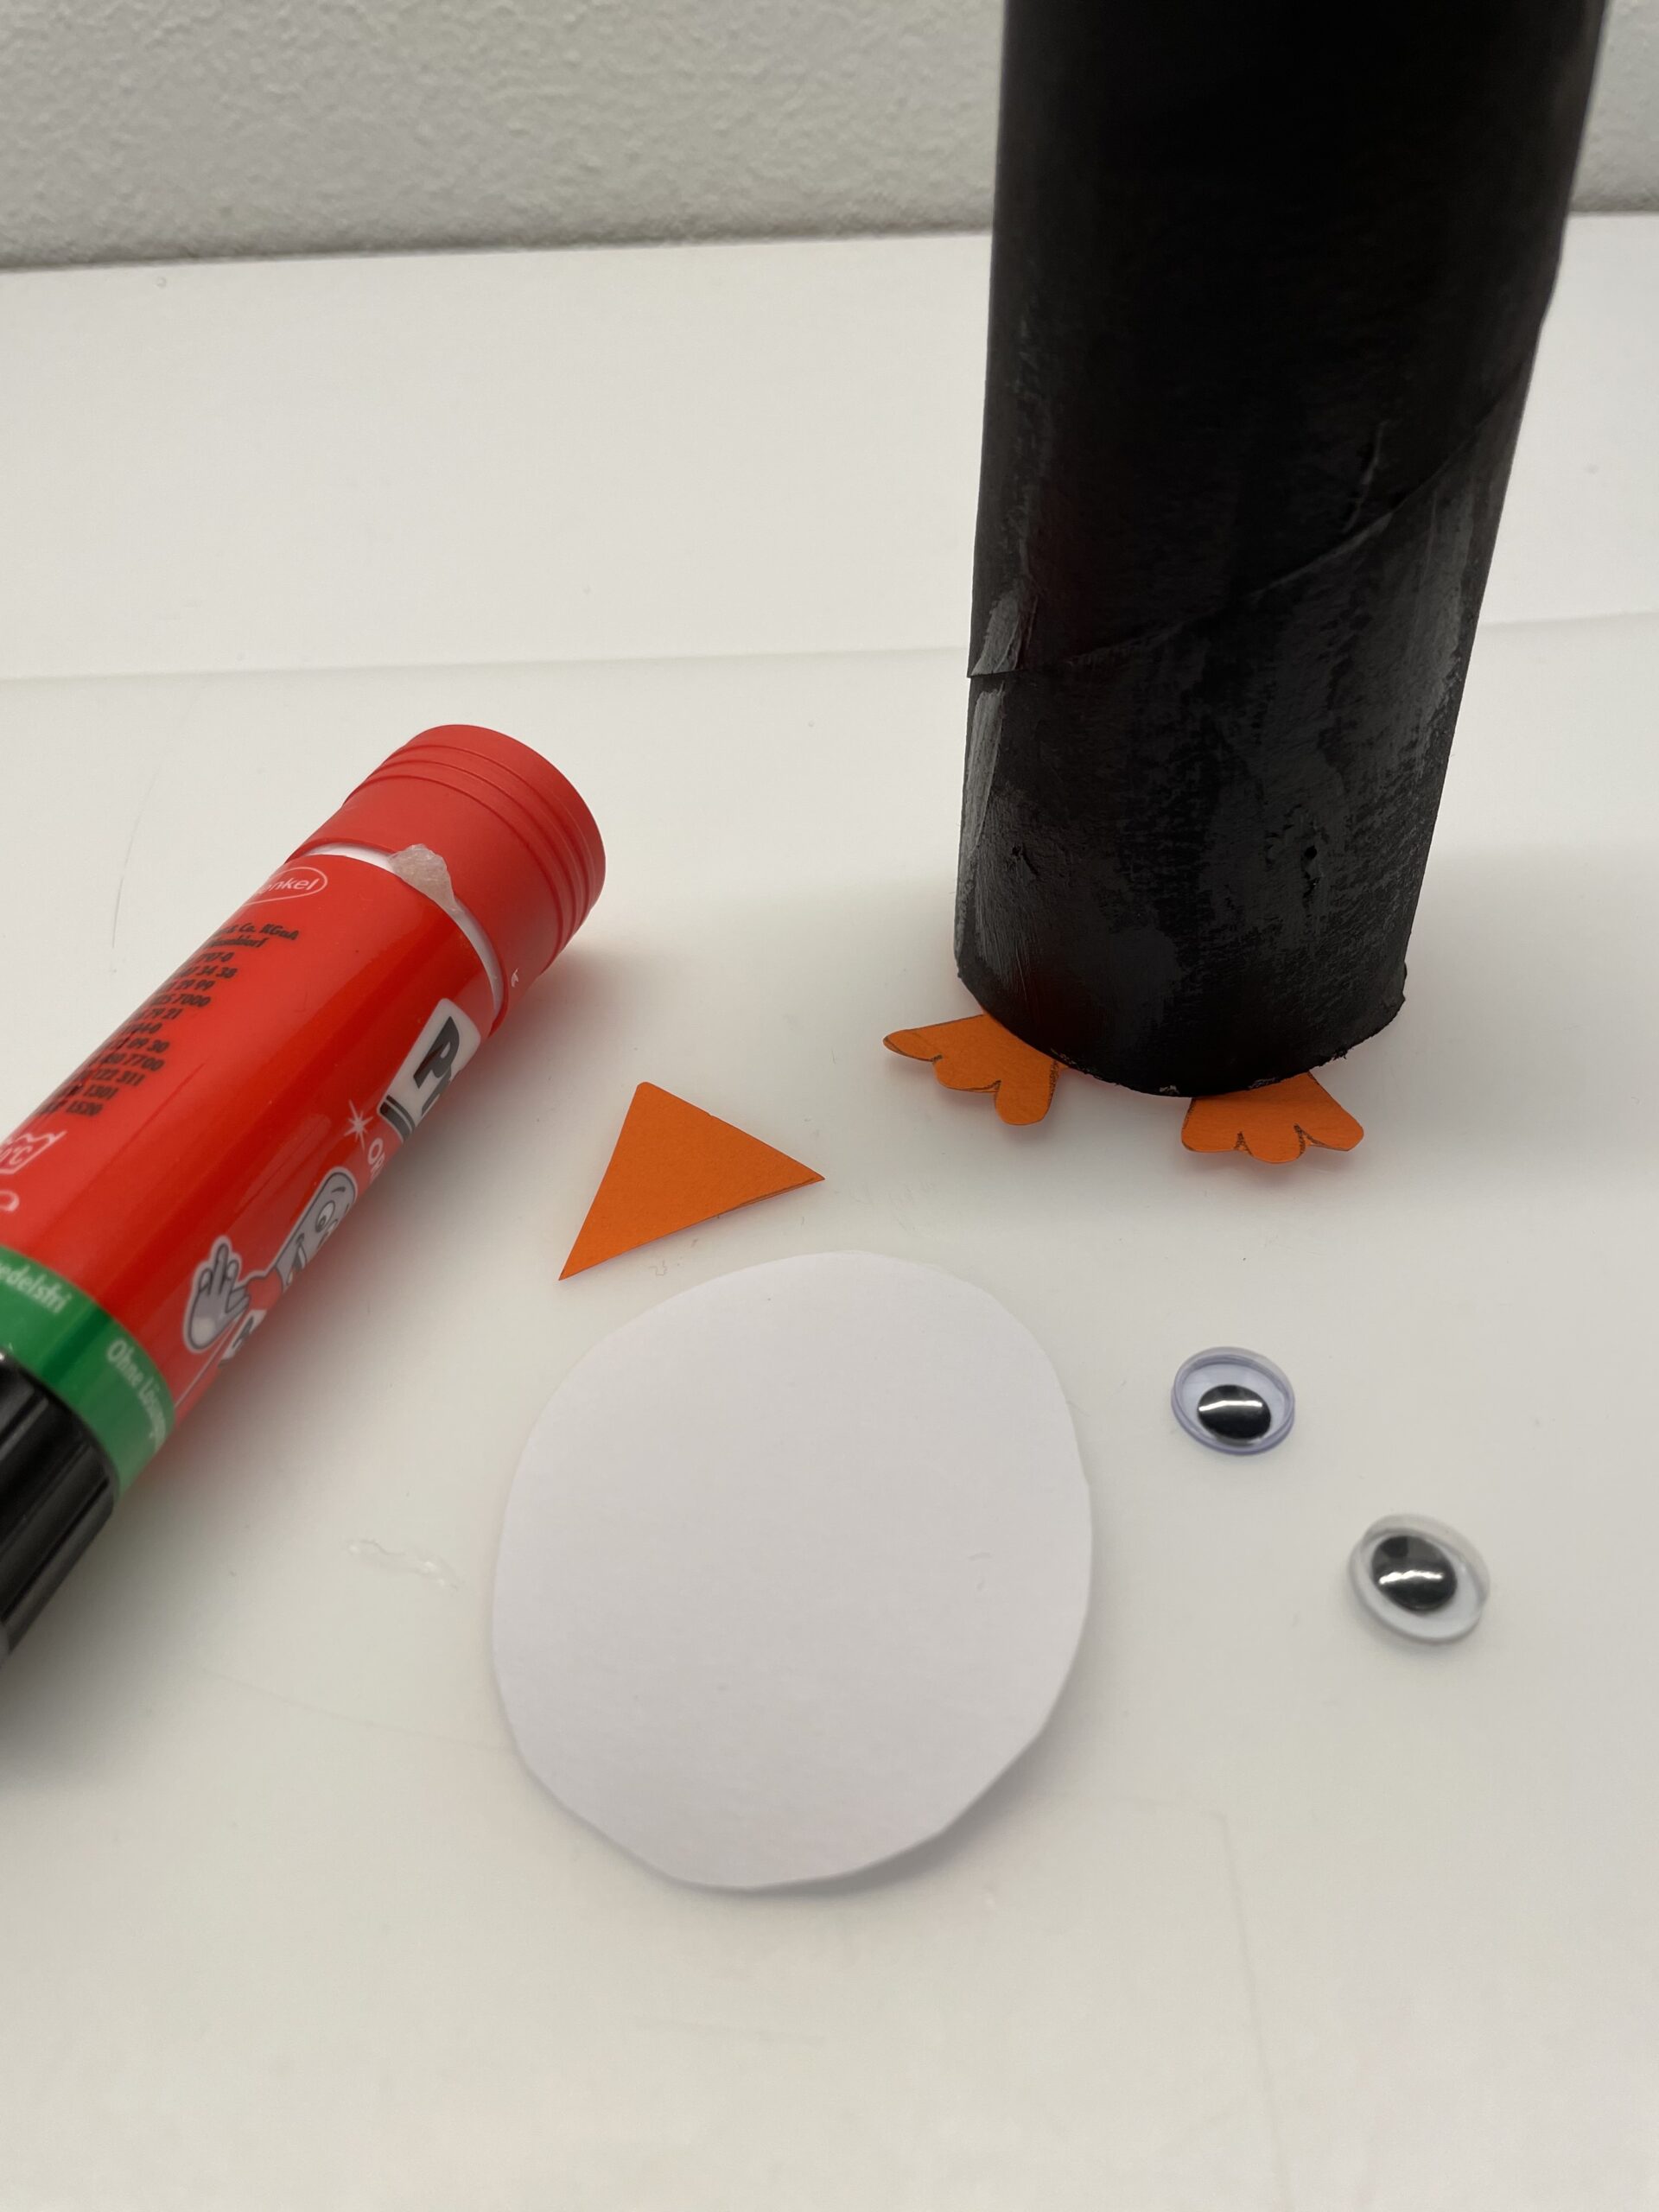
First you pick up your materials and put out the craft file.
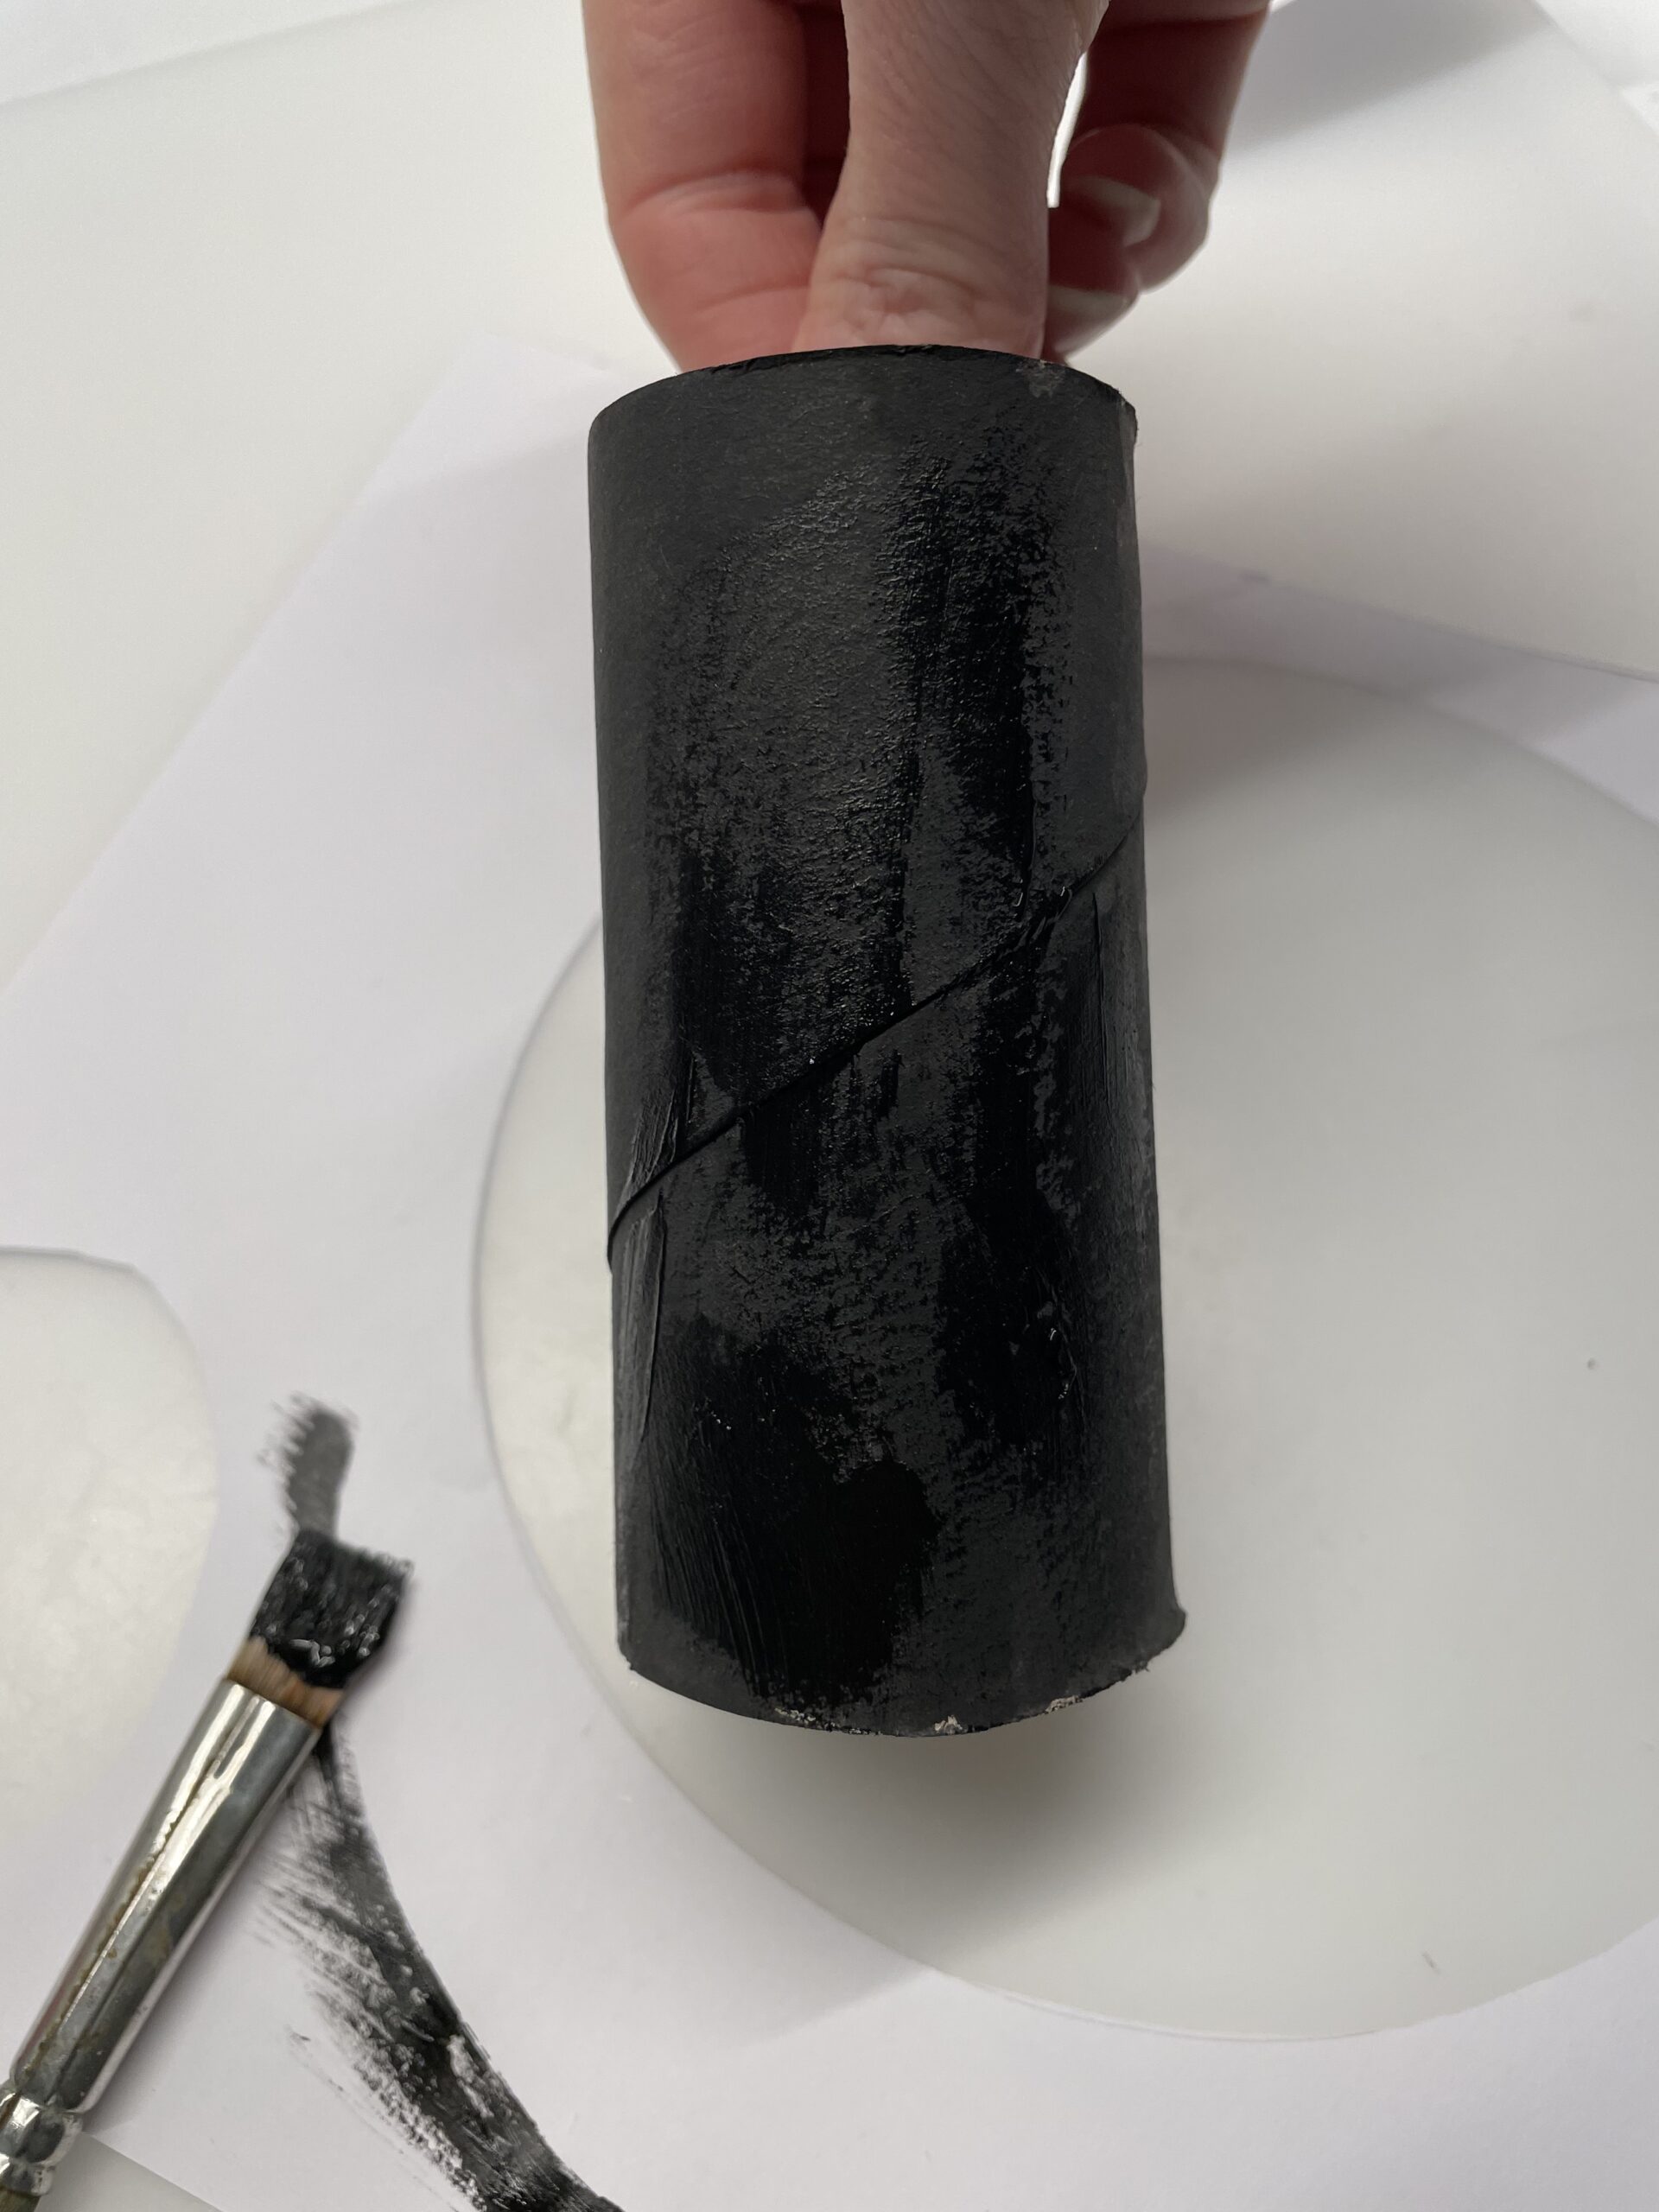
Now you paint the cardboard roll with black paint.
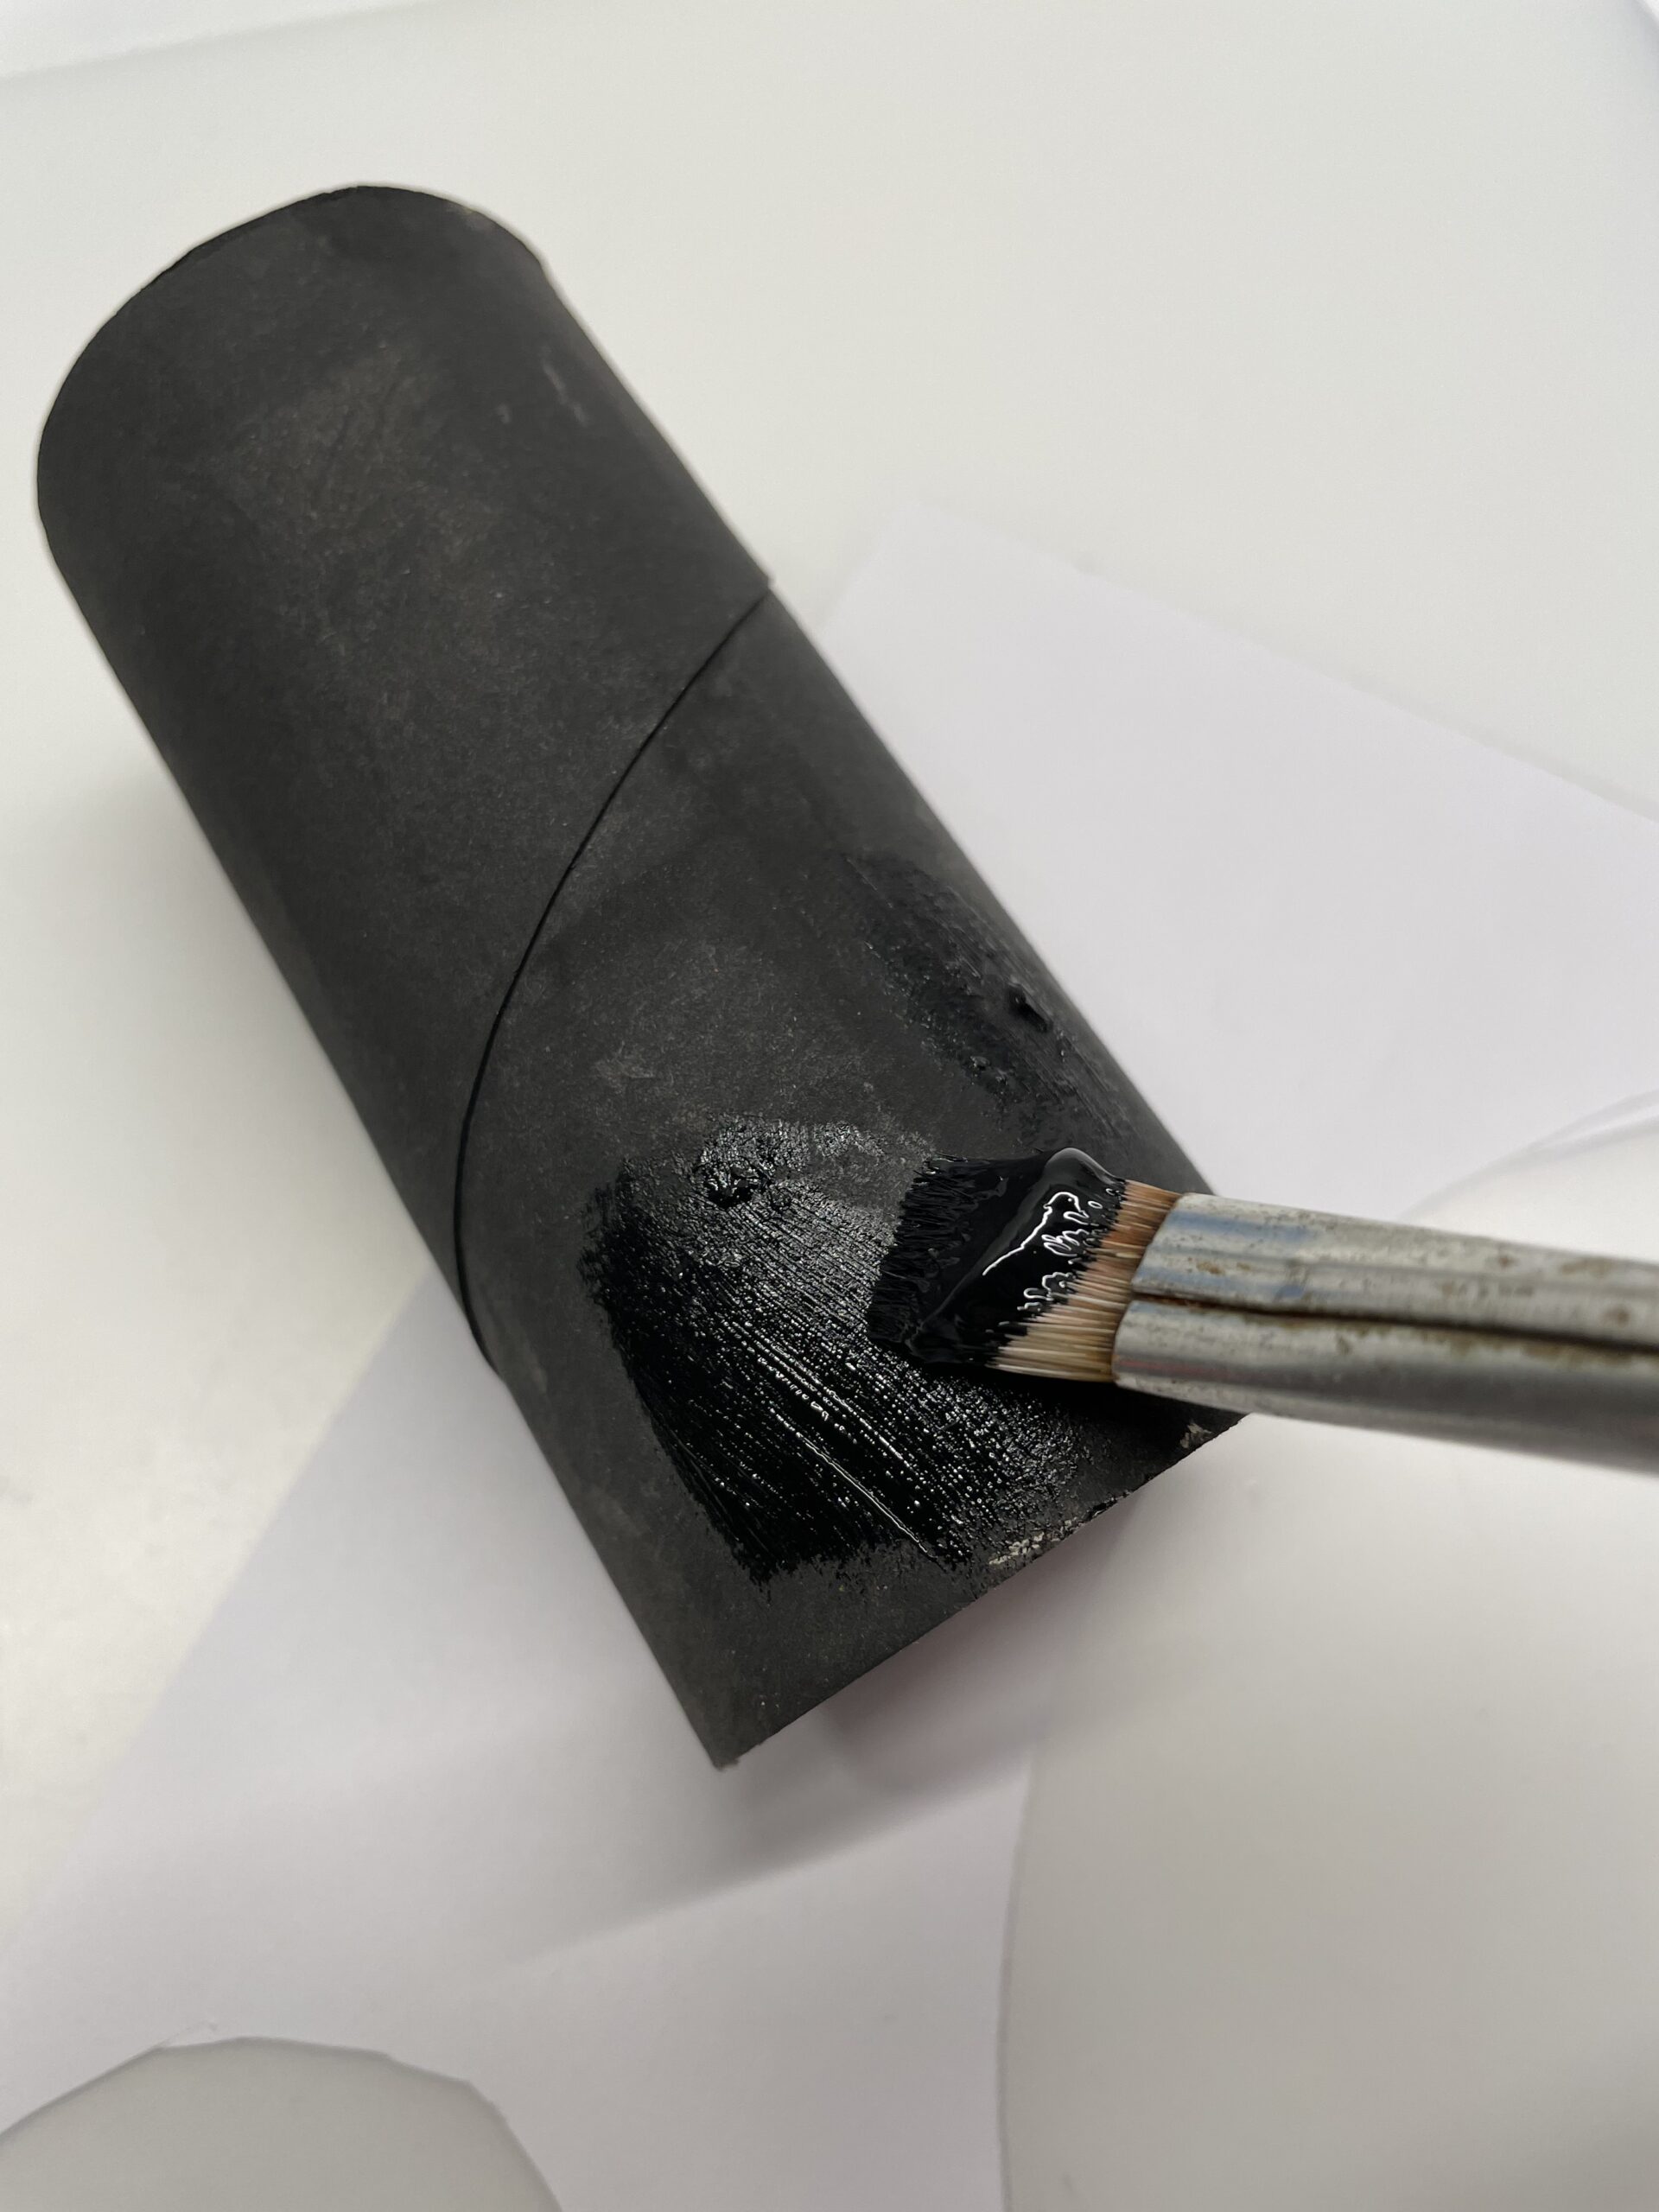
Then adjust the roll to dry.


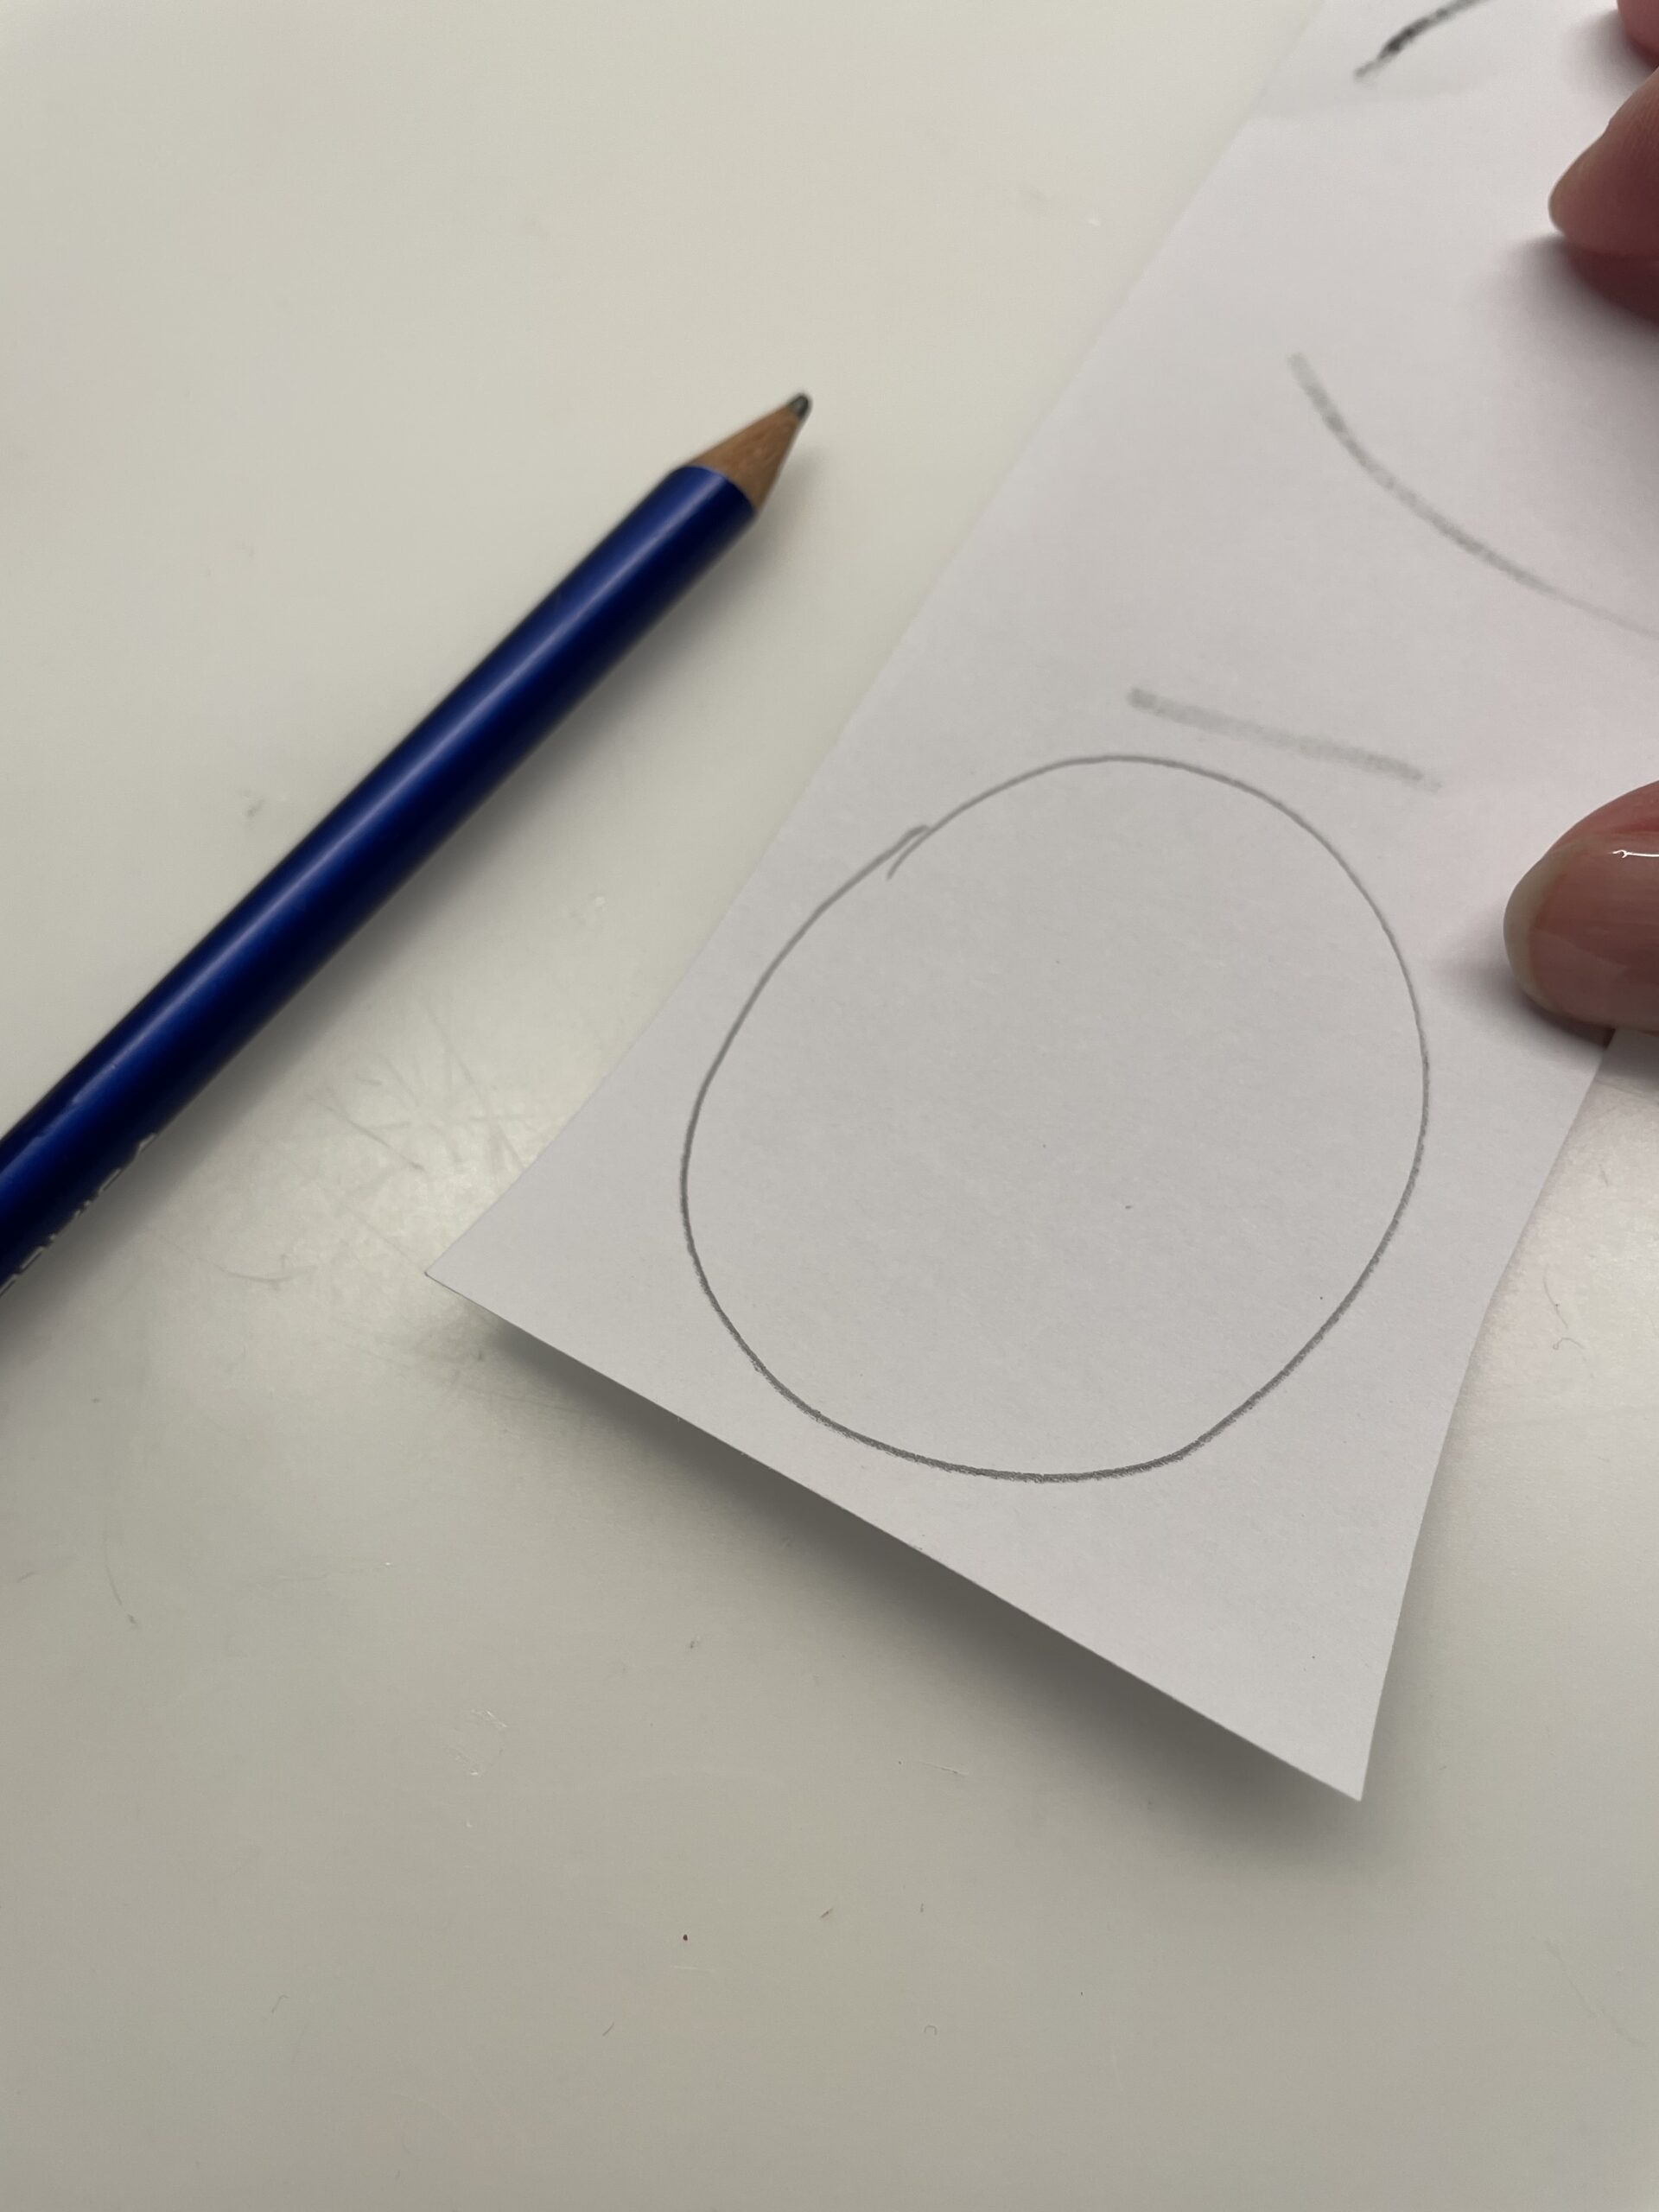
Now you paint on a white paper an oval circle for the white part of the belly and cut it out.


Then you paint a small triangle on orange paper and cut it out.


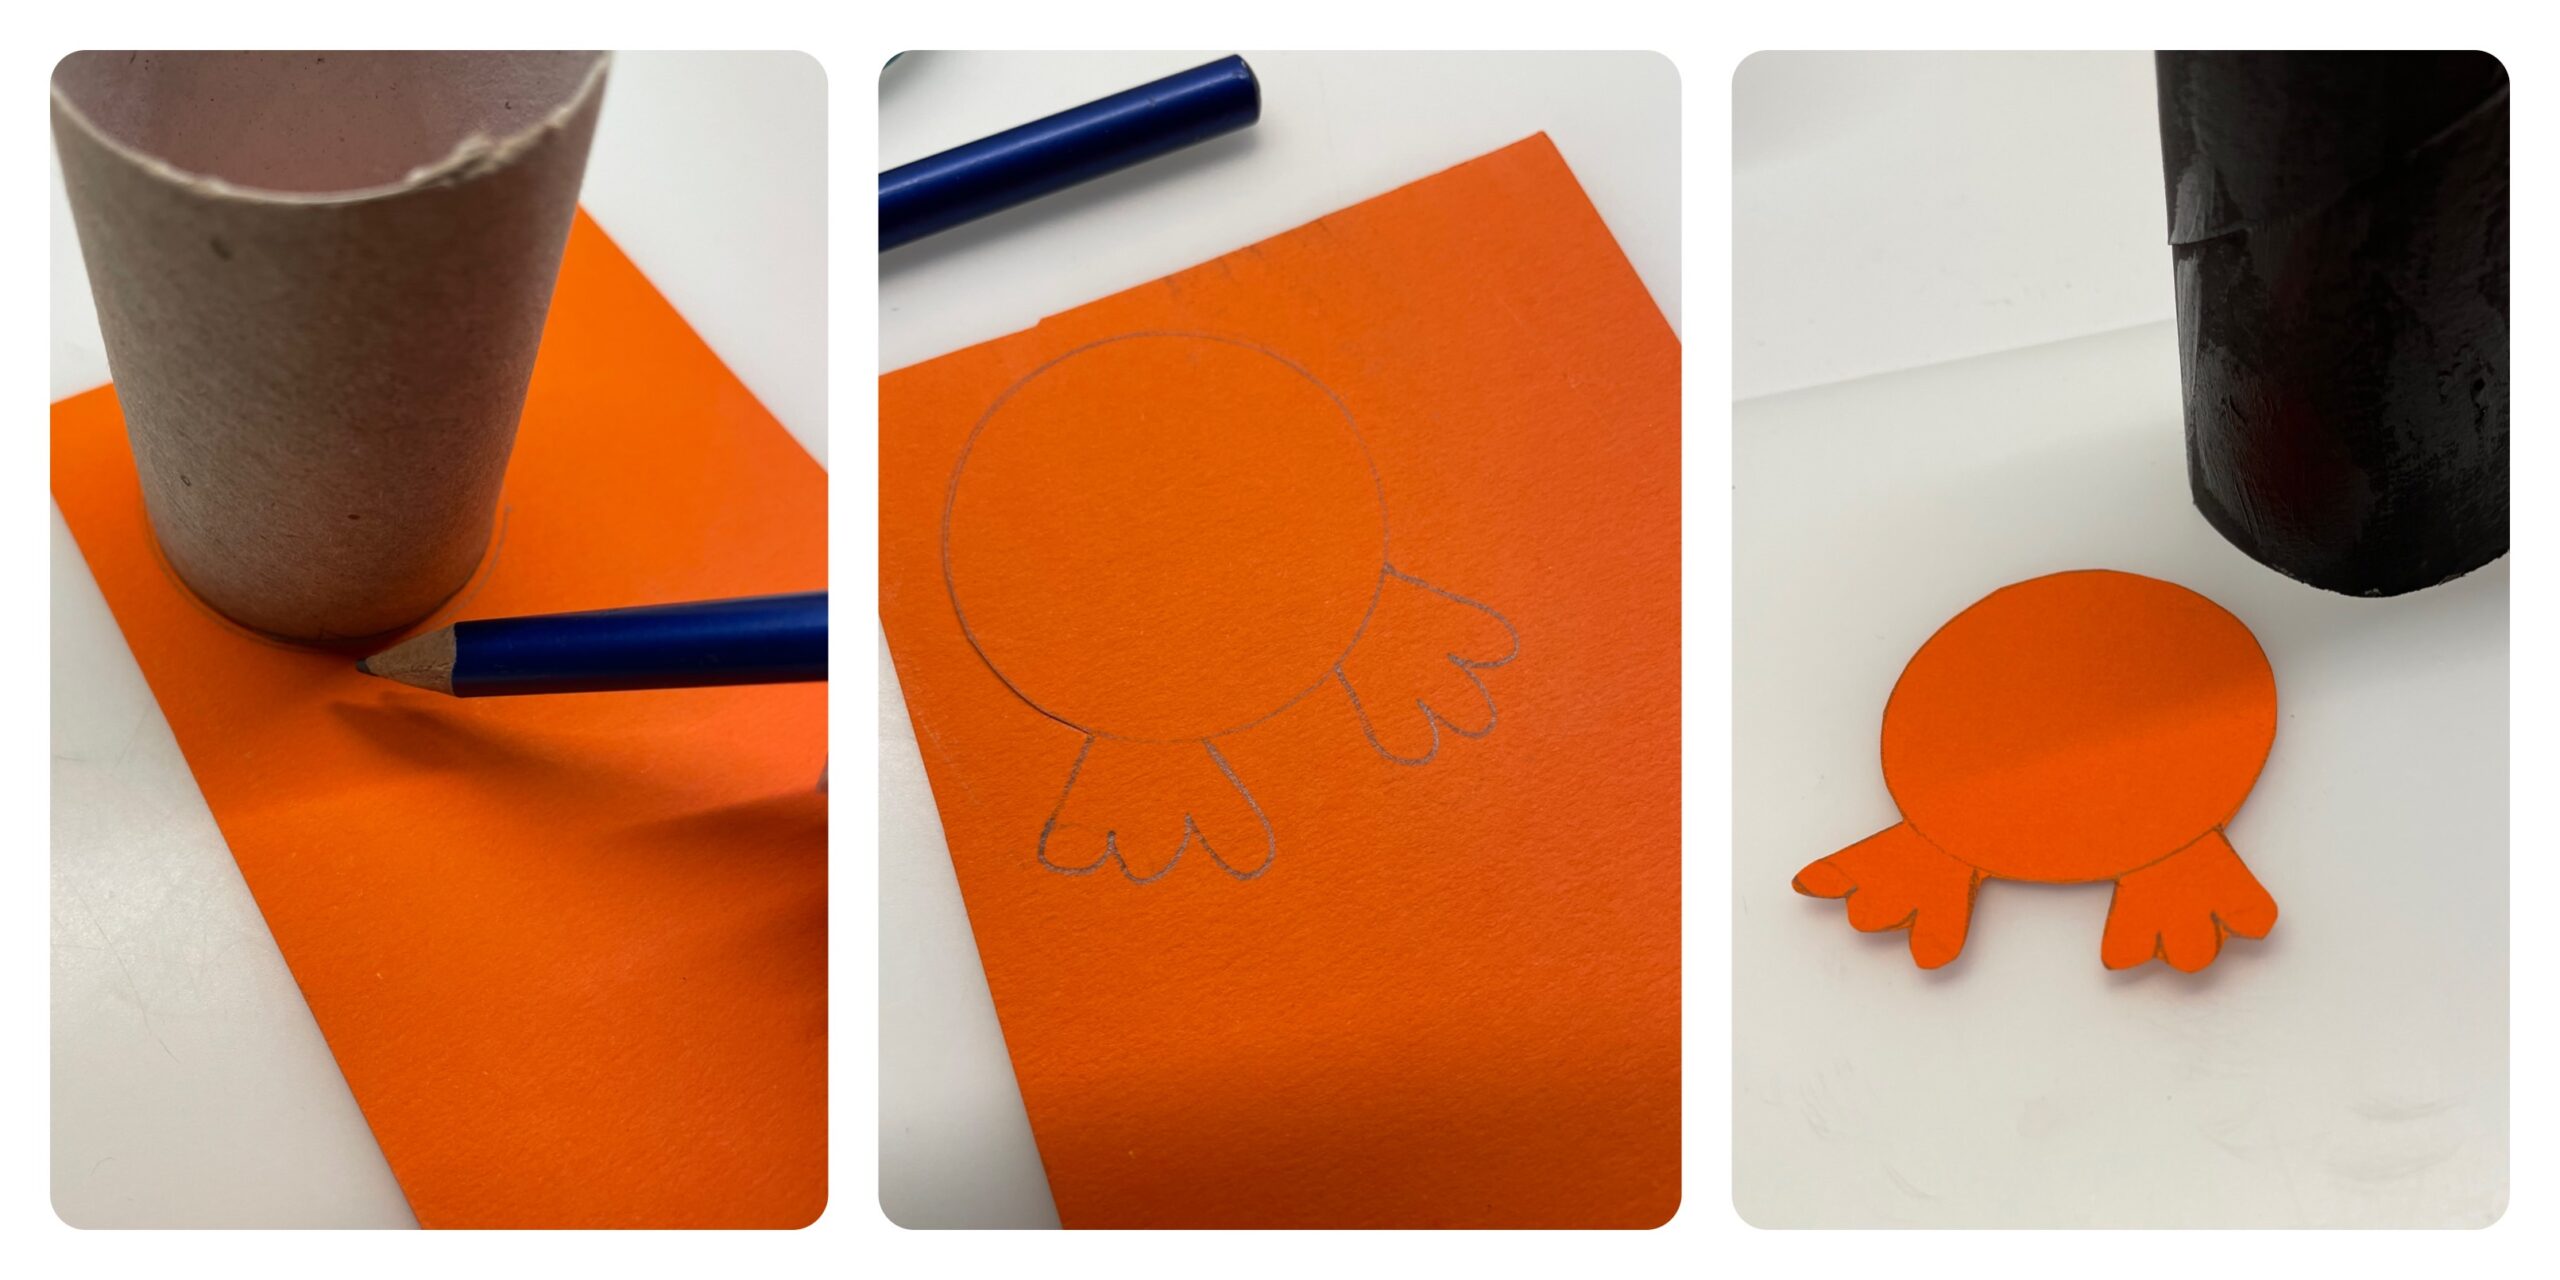
Now you put the cardboard roll on orange paper and draw with the pencil around the roll. Then you put the cardboard roll aside and paint two feet on the circle. Then you cut it out.


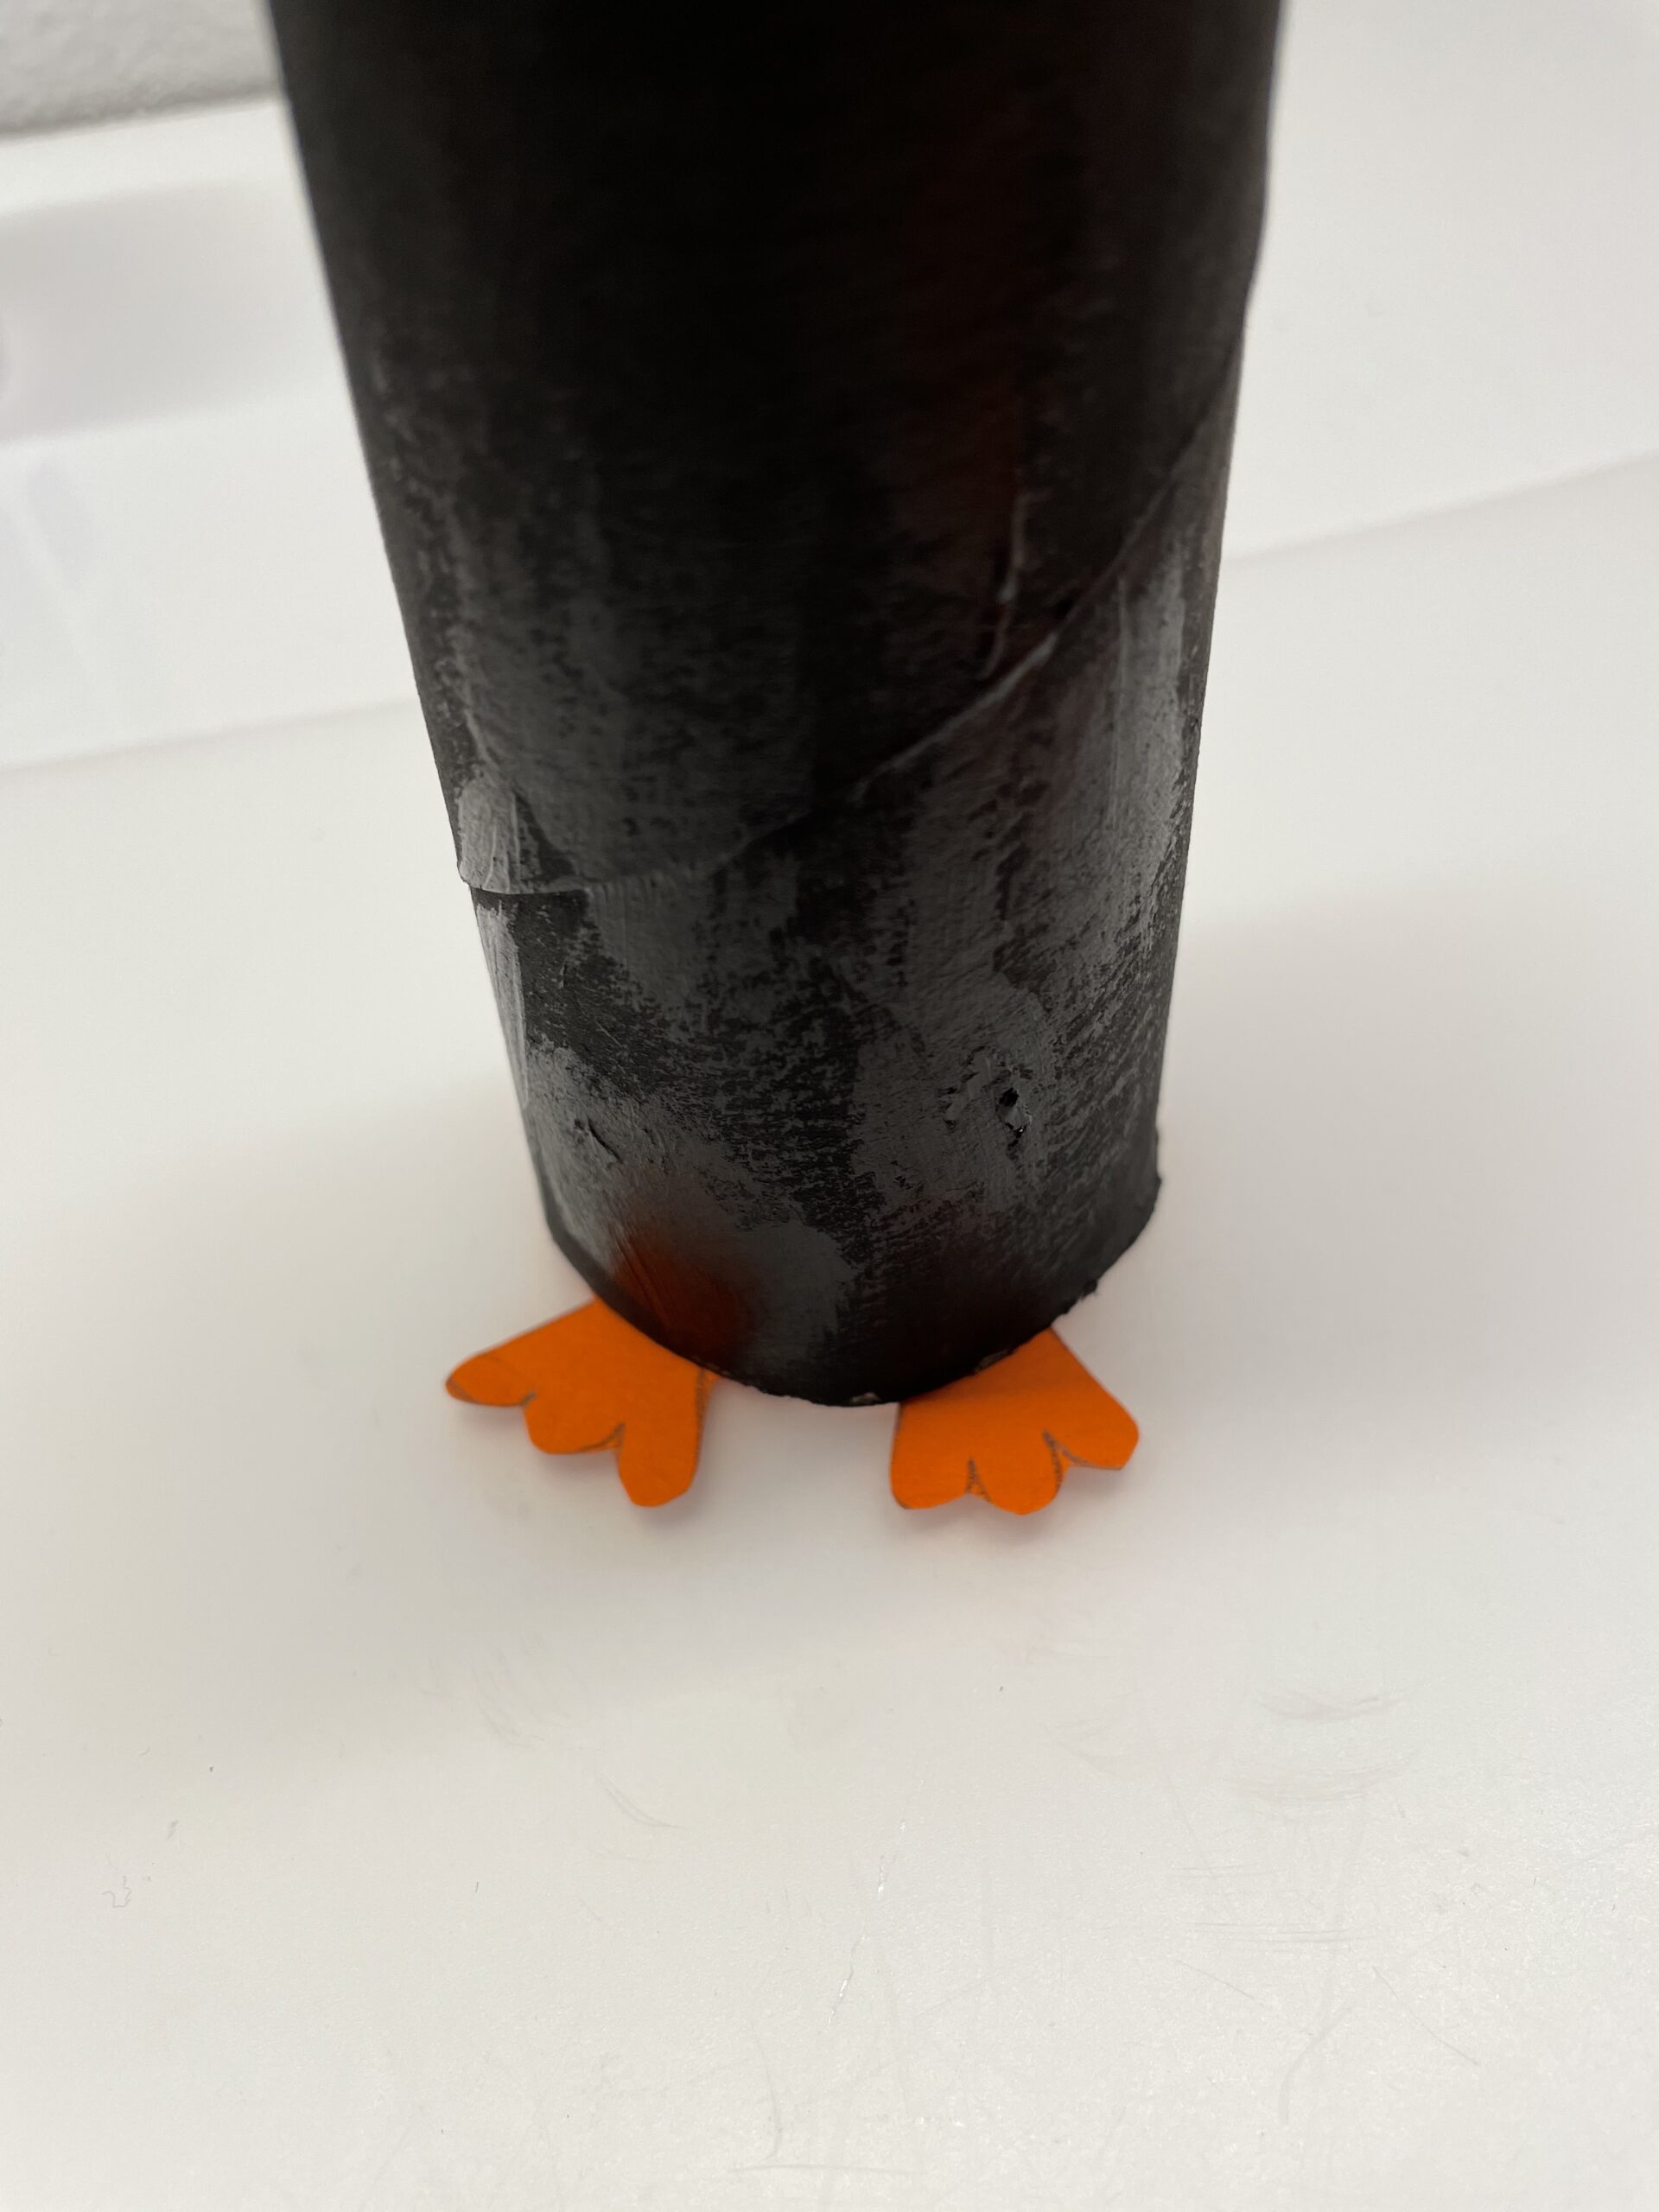
Then position your feet under the dried cardboard roll.


Now attach all other parts to the cardboard roll.


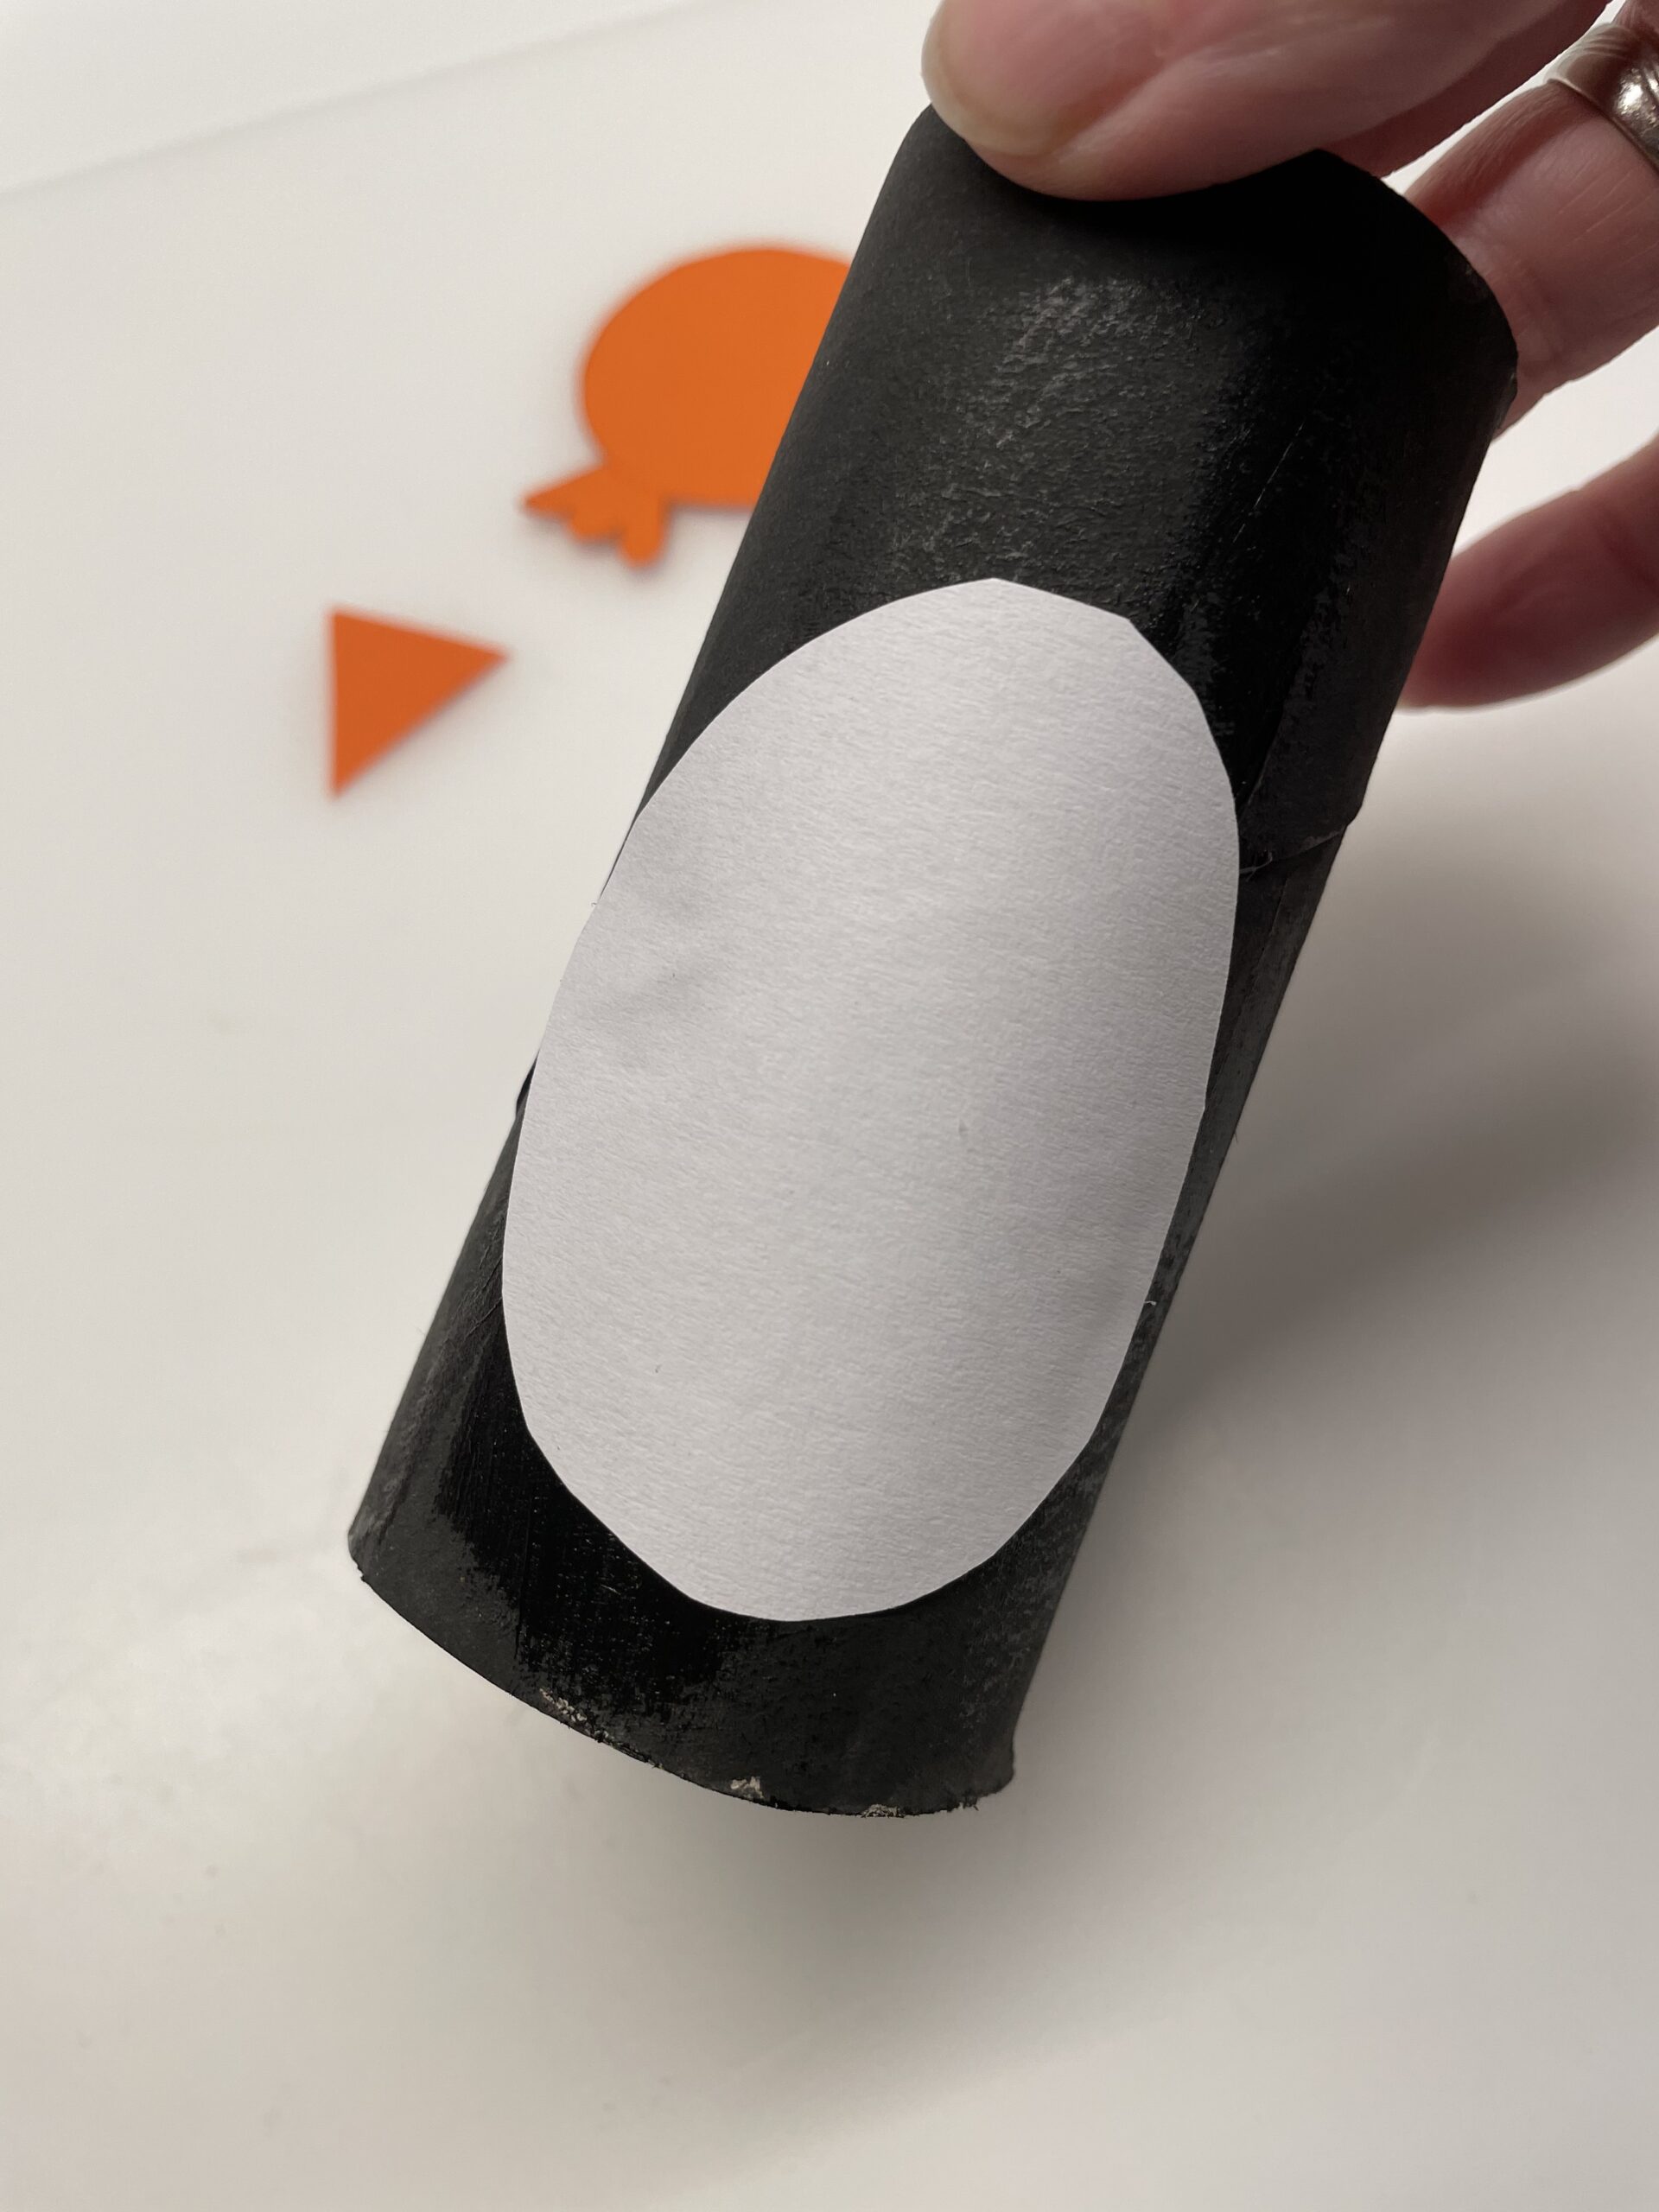
First stick the white part of the belly high on the roll.


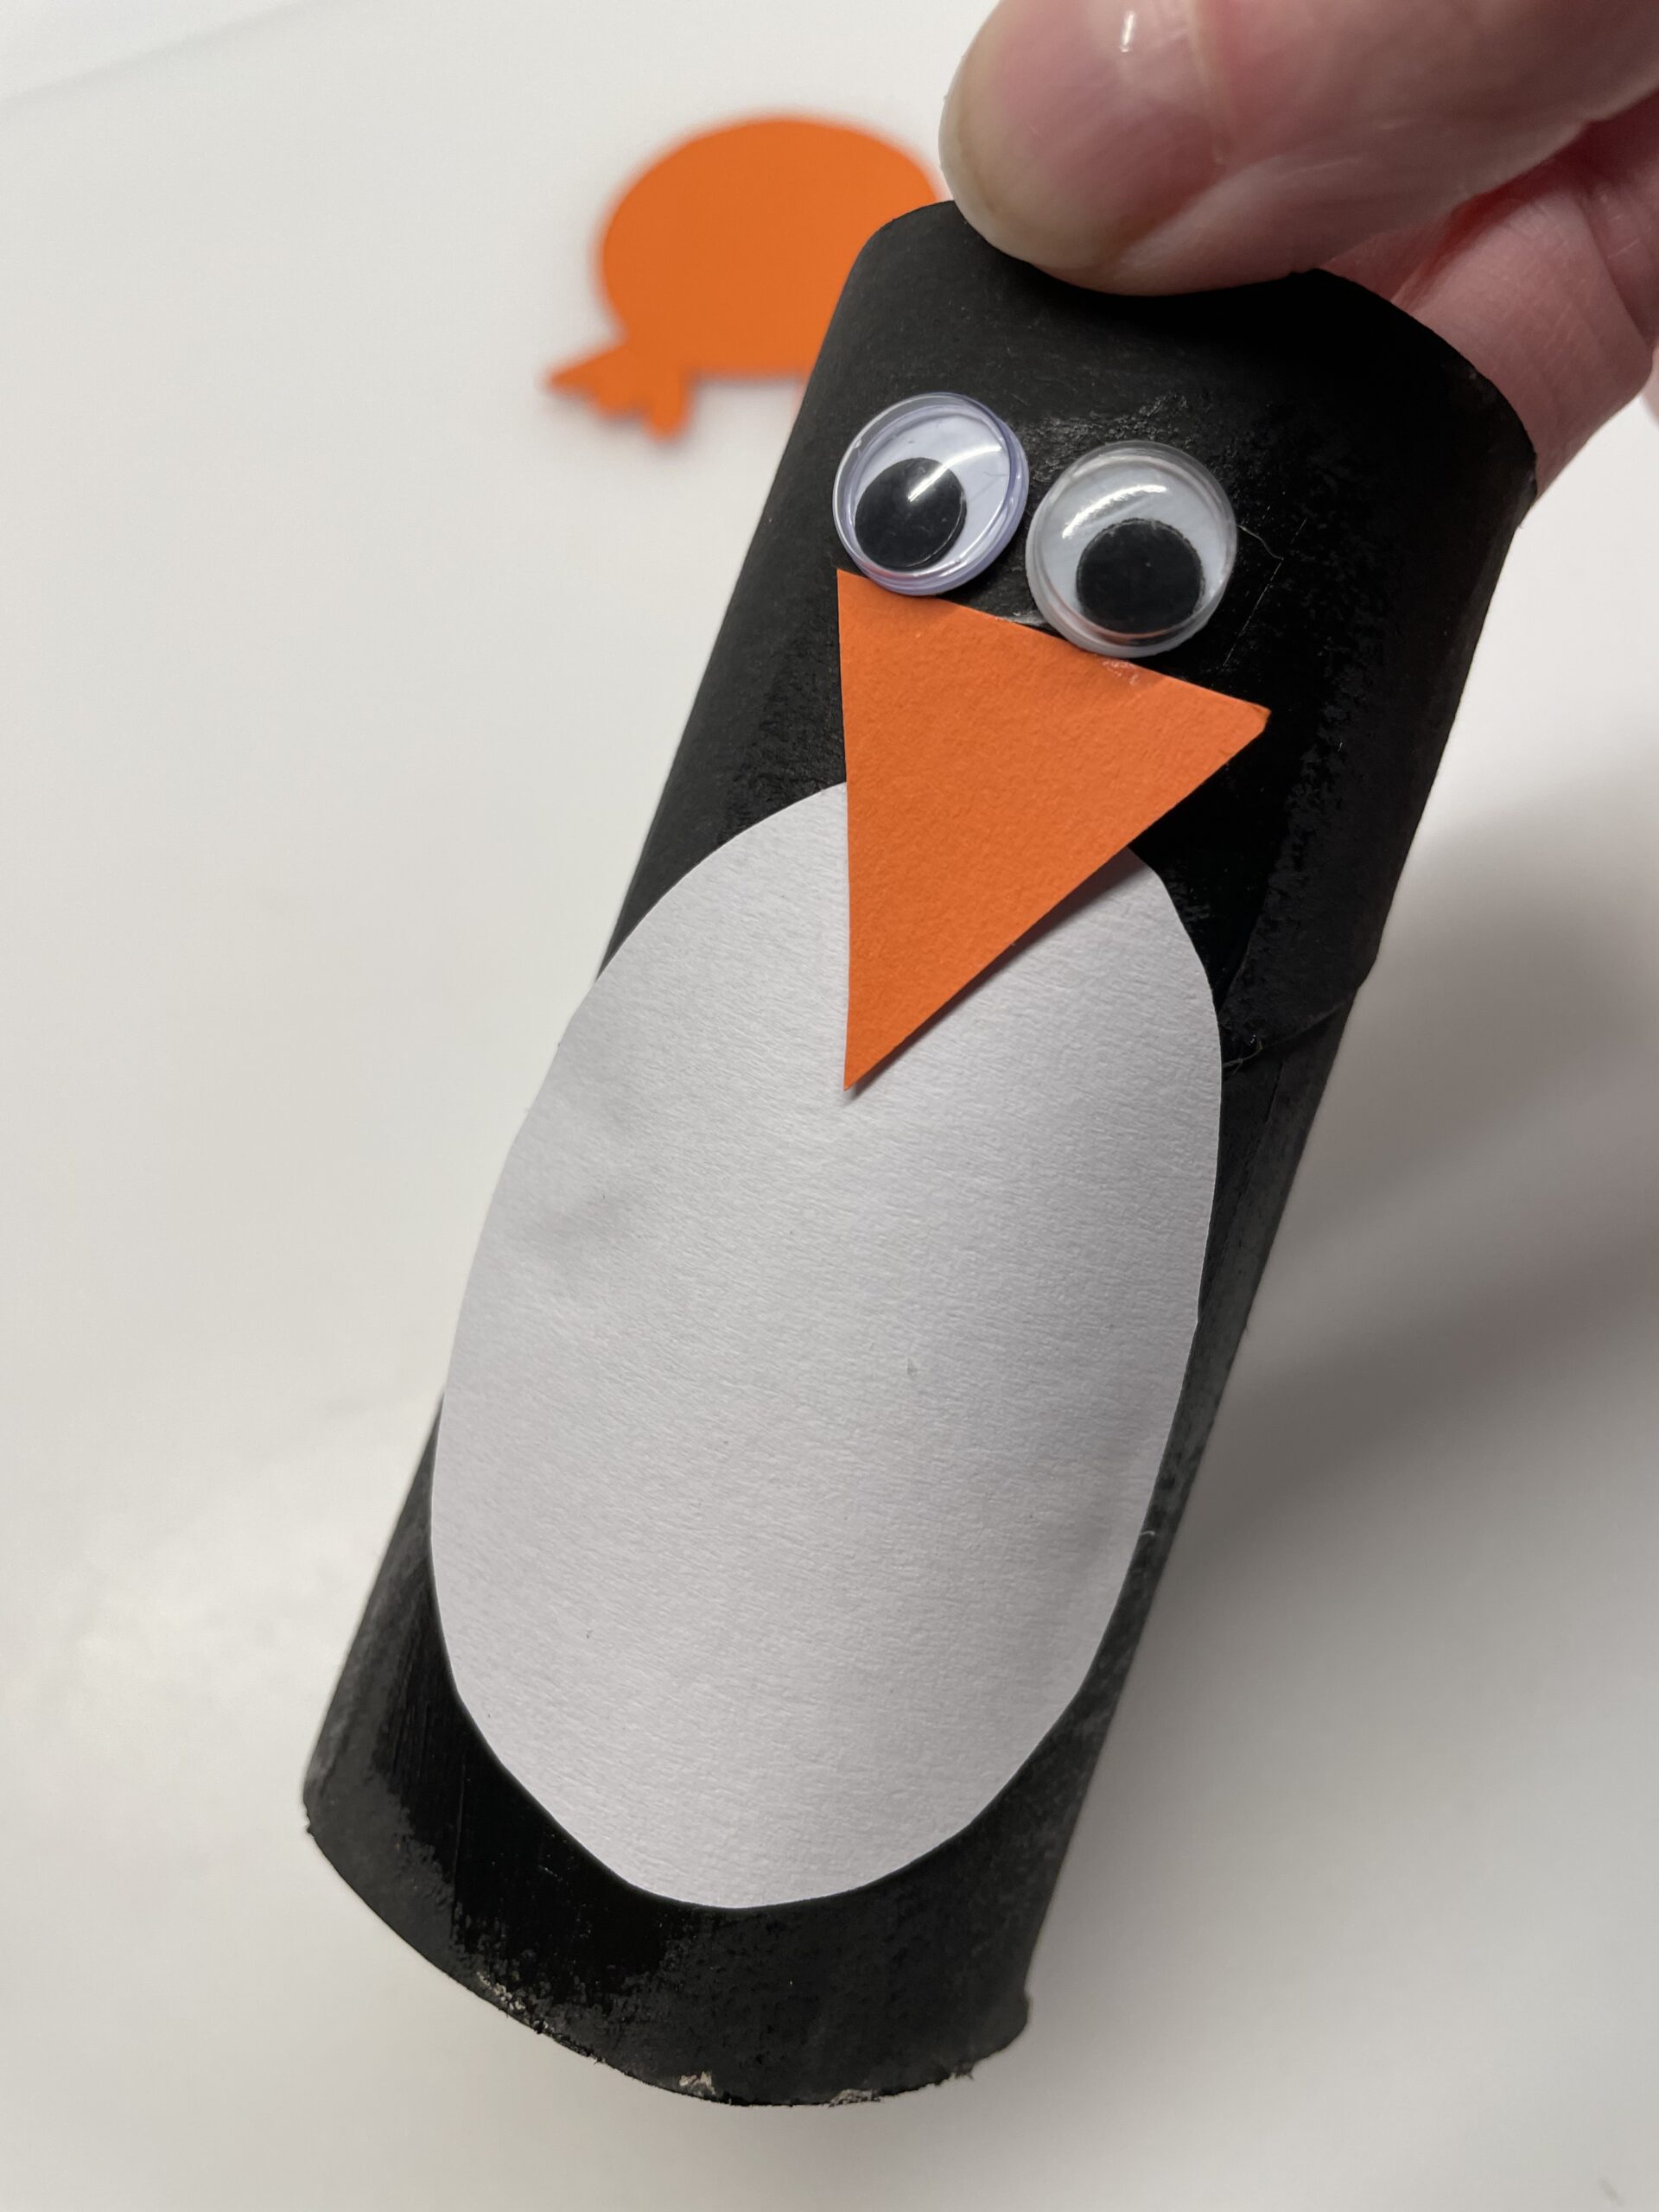
On top of that, you stick your beak and your eyes.




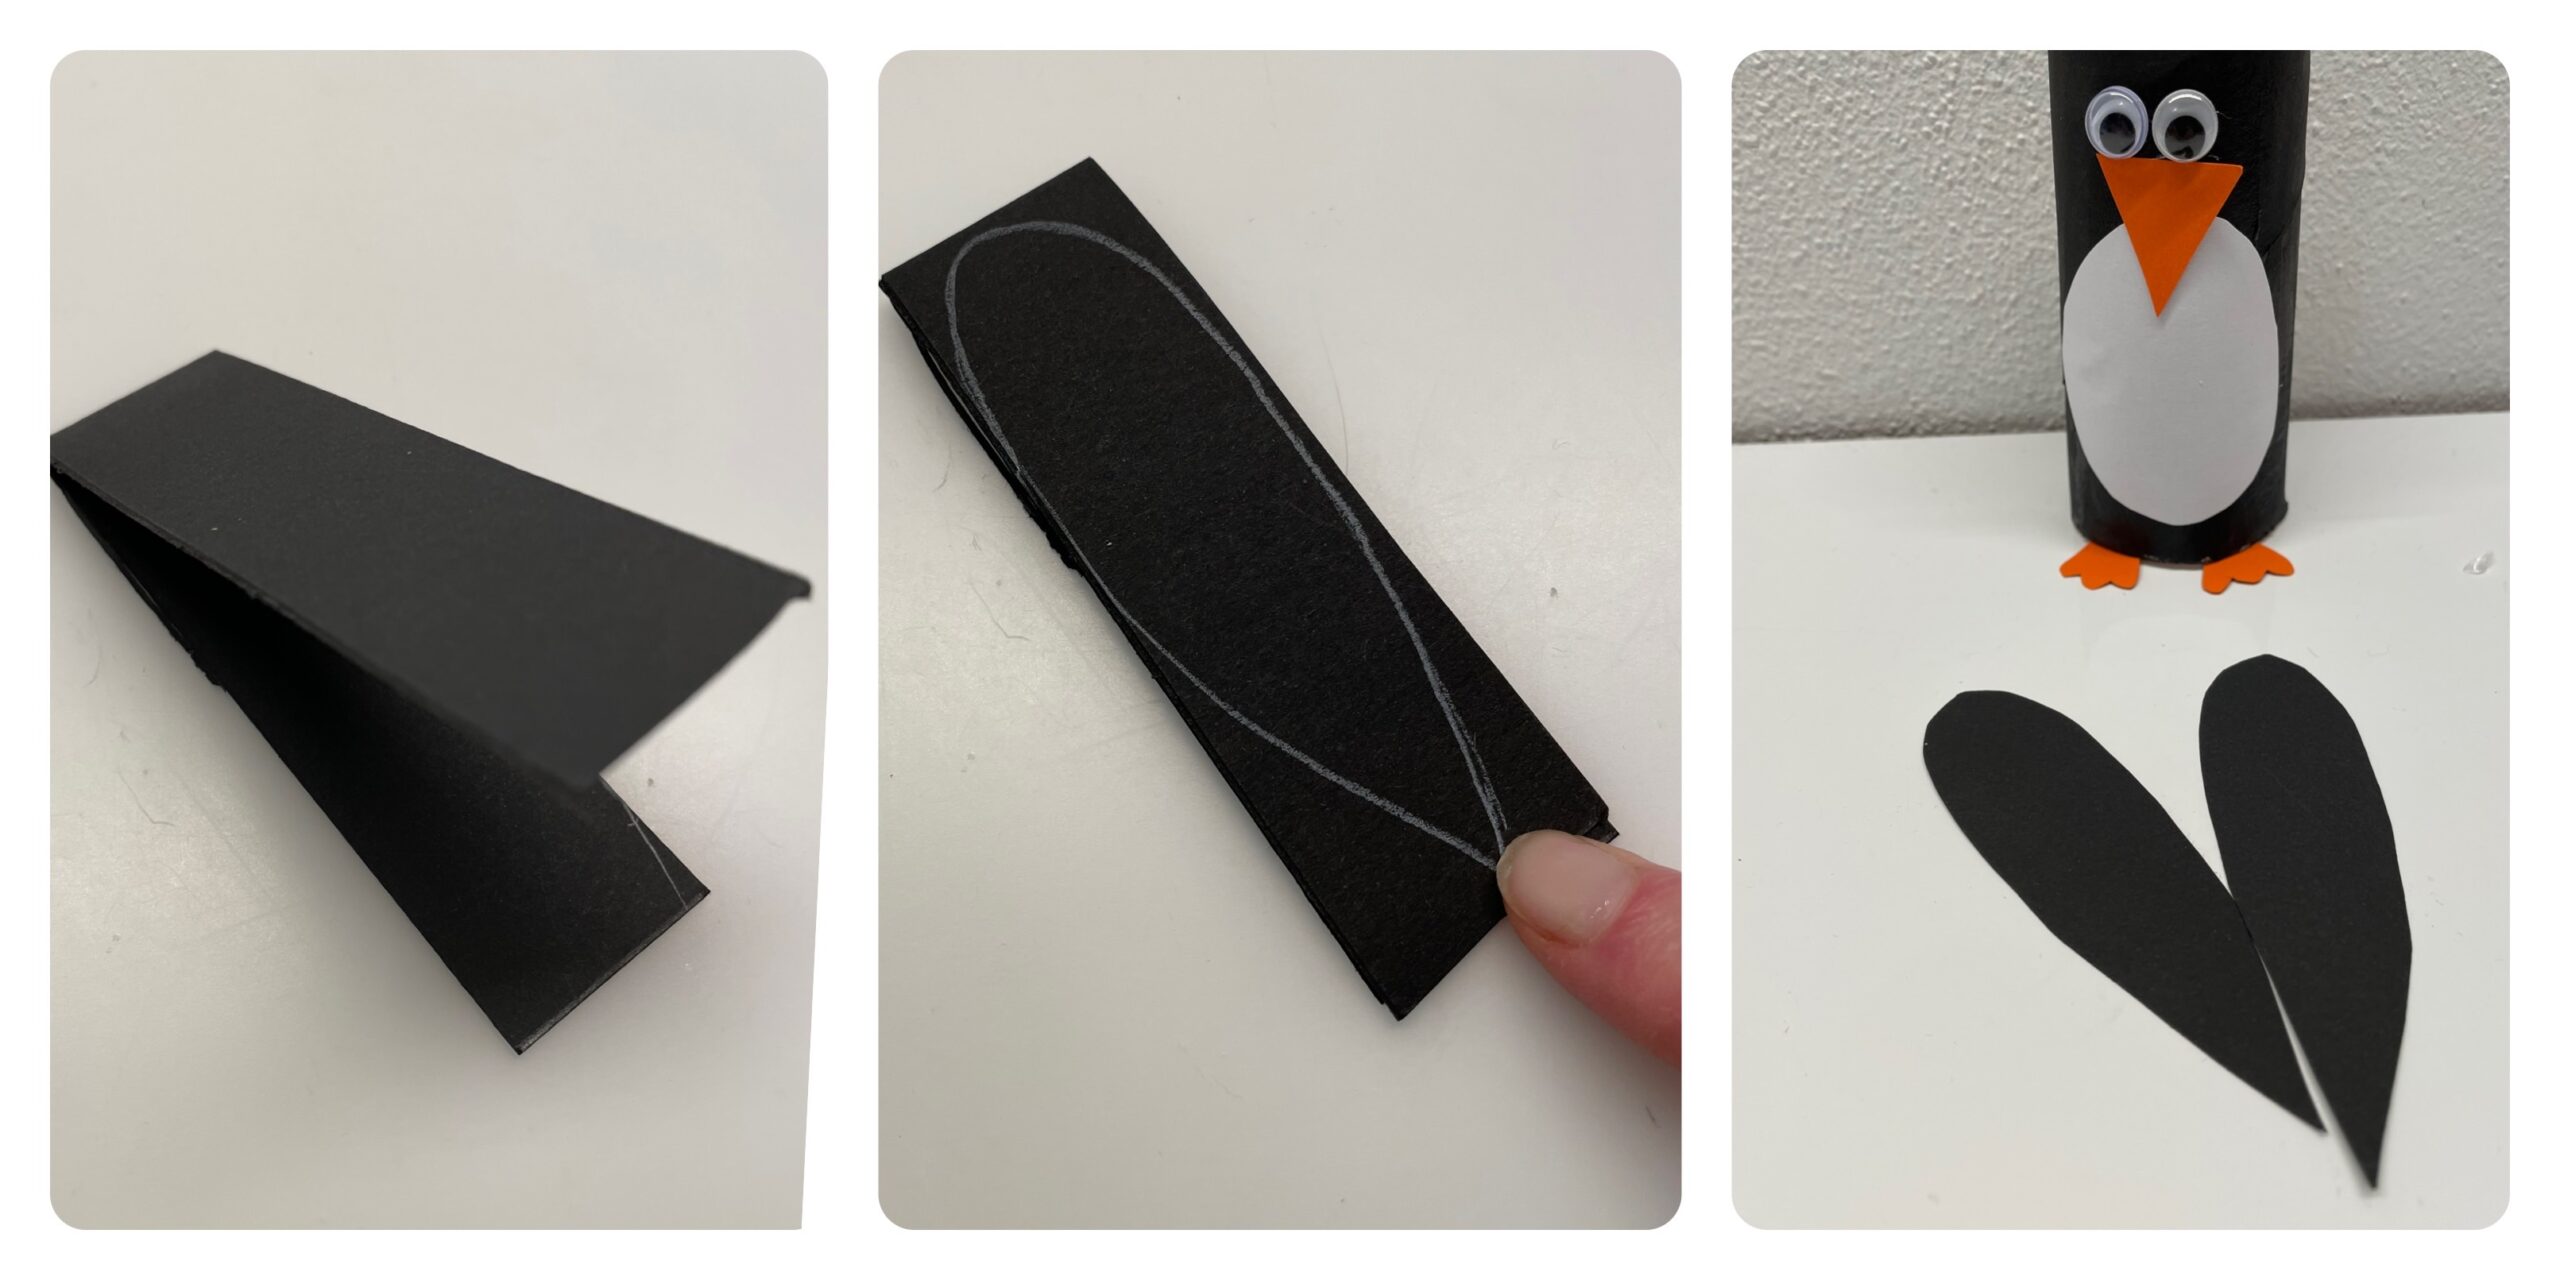
For the wings you cut a narrow strip of black clay paper to the dimensions of 15cm x 3cm. You fold this strip half in length. Now you paint the shape of a wing on the strip and cut it out. The paper is double, so that two wings are created at once.


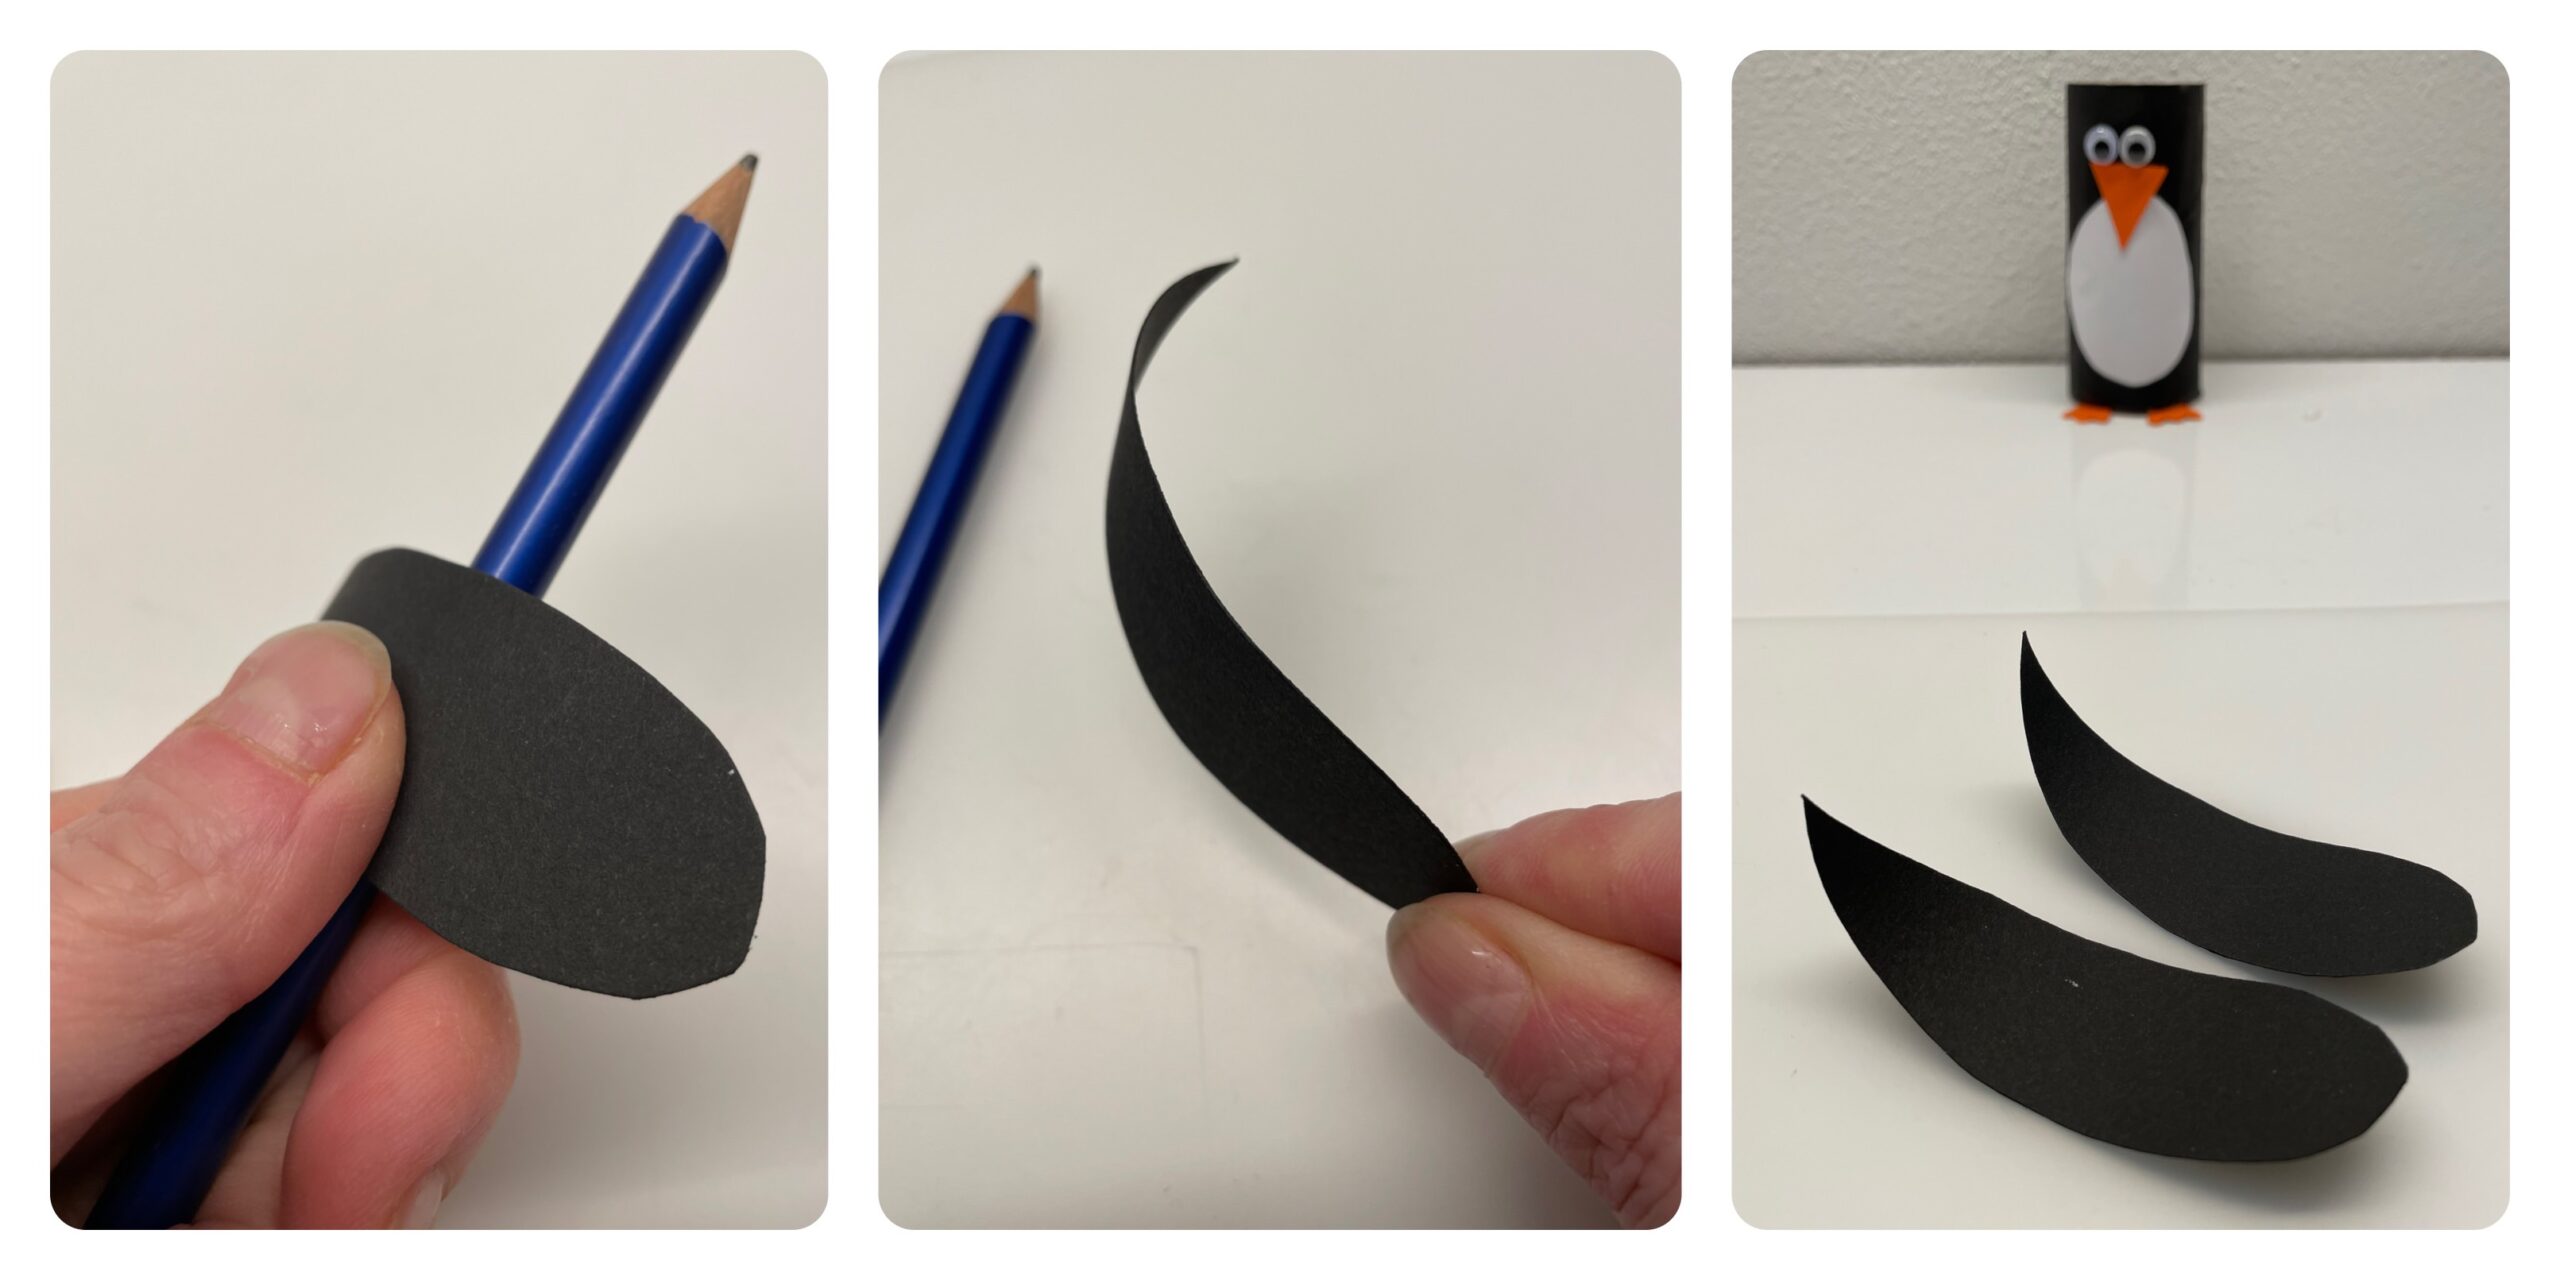
Now you pull each wing over a pen. Press the paper firmly on the pen. The paper bends very easily and wrinkles.


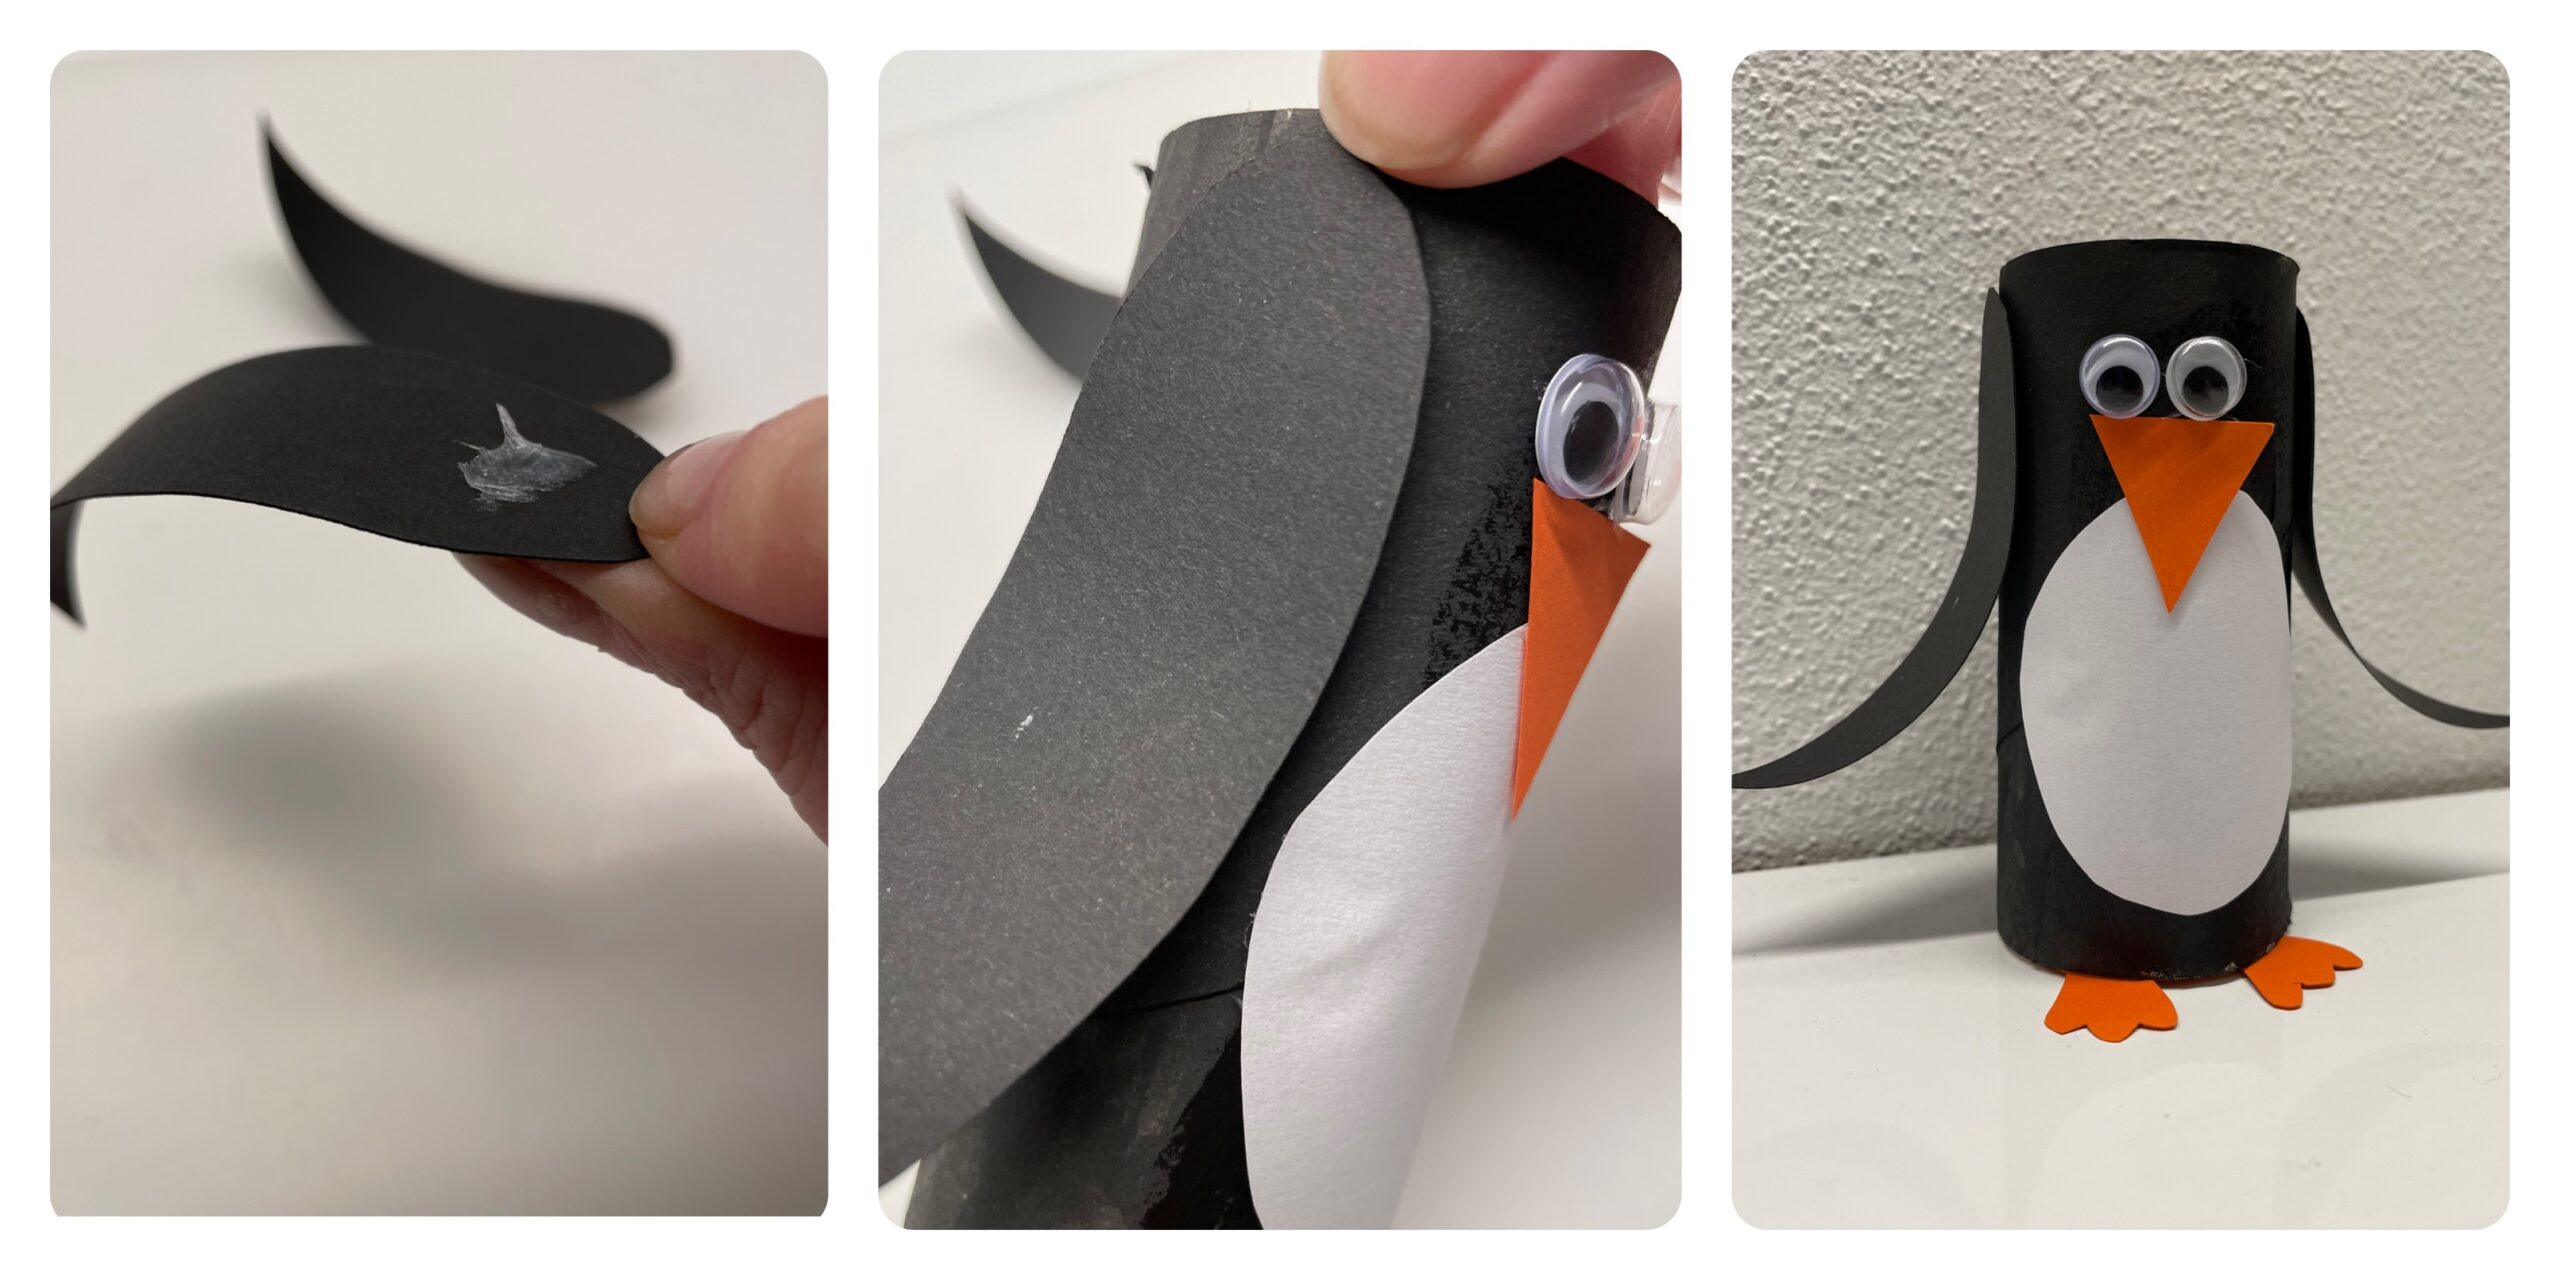
Then glue the wings to the cardboard roll with an adhesive point at the top of the round end. The wing now stands down a bit.


The penguin is ready.
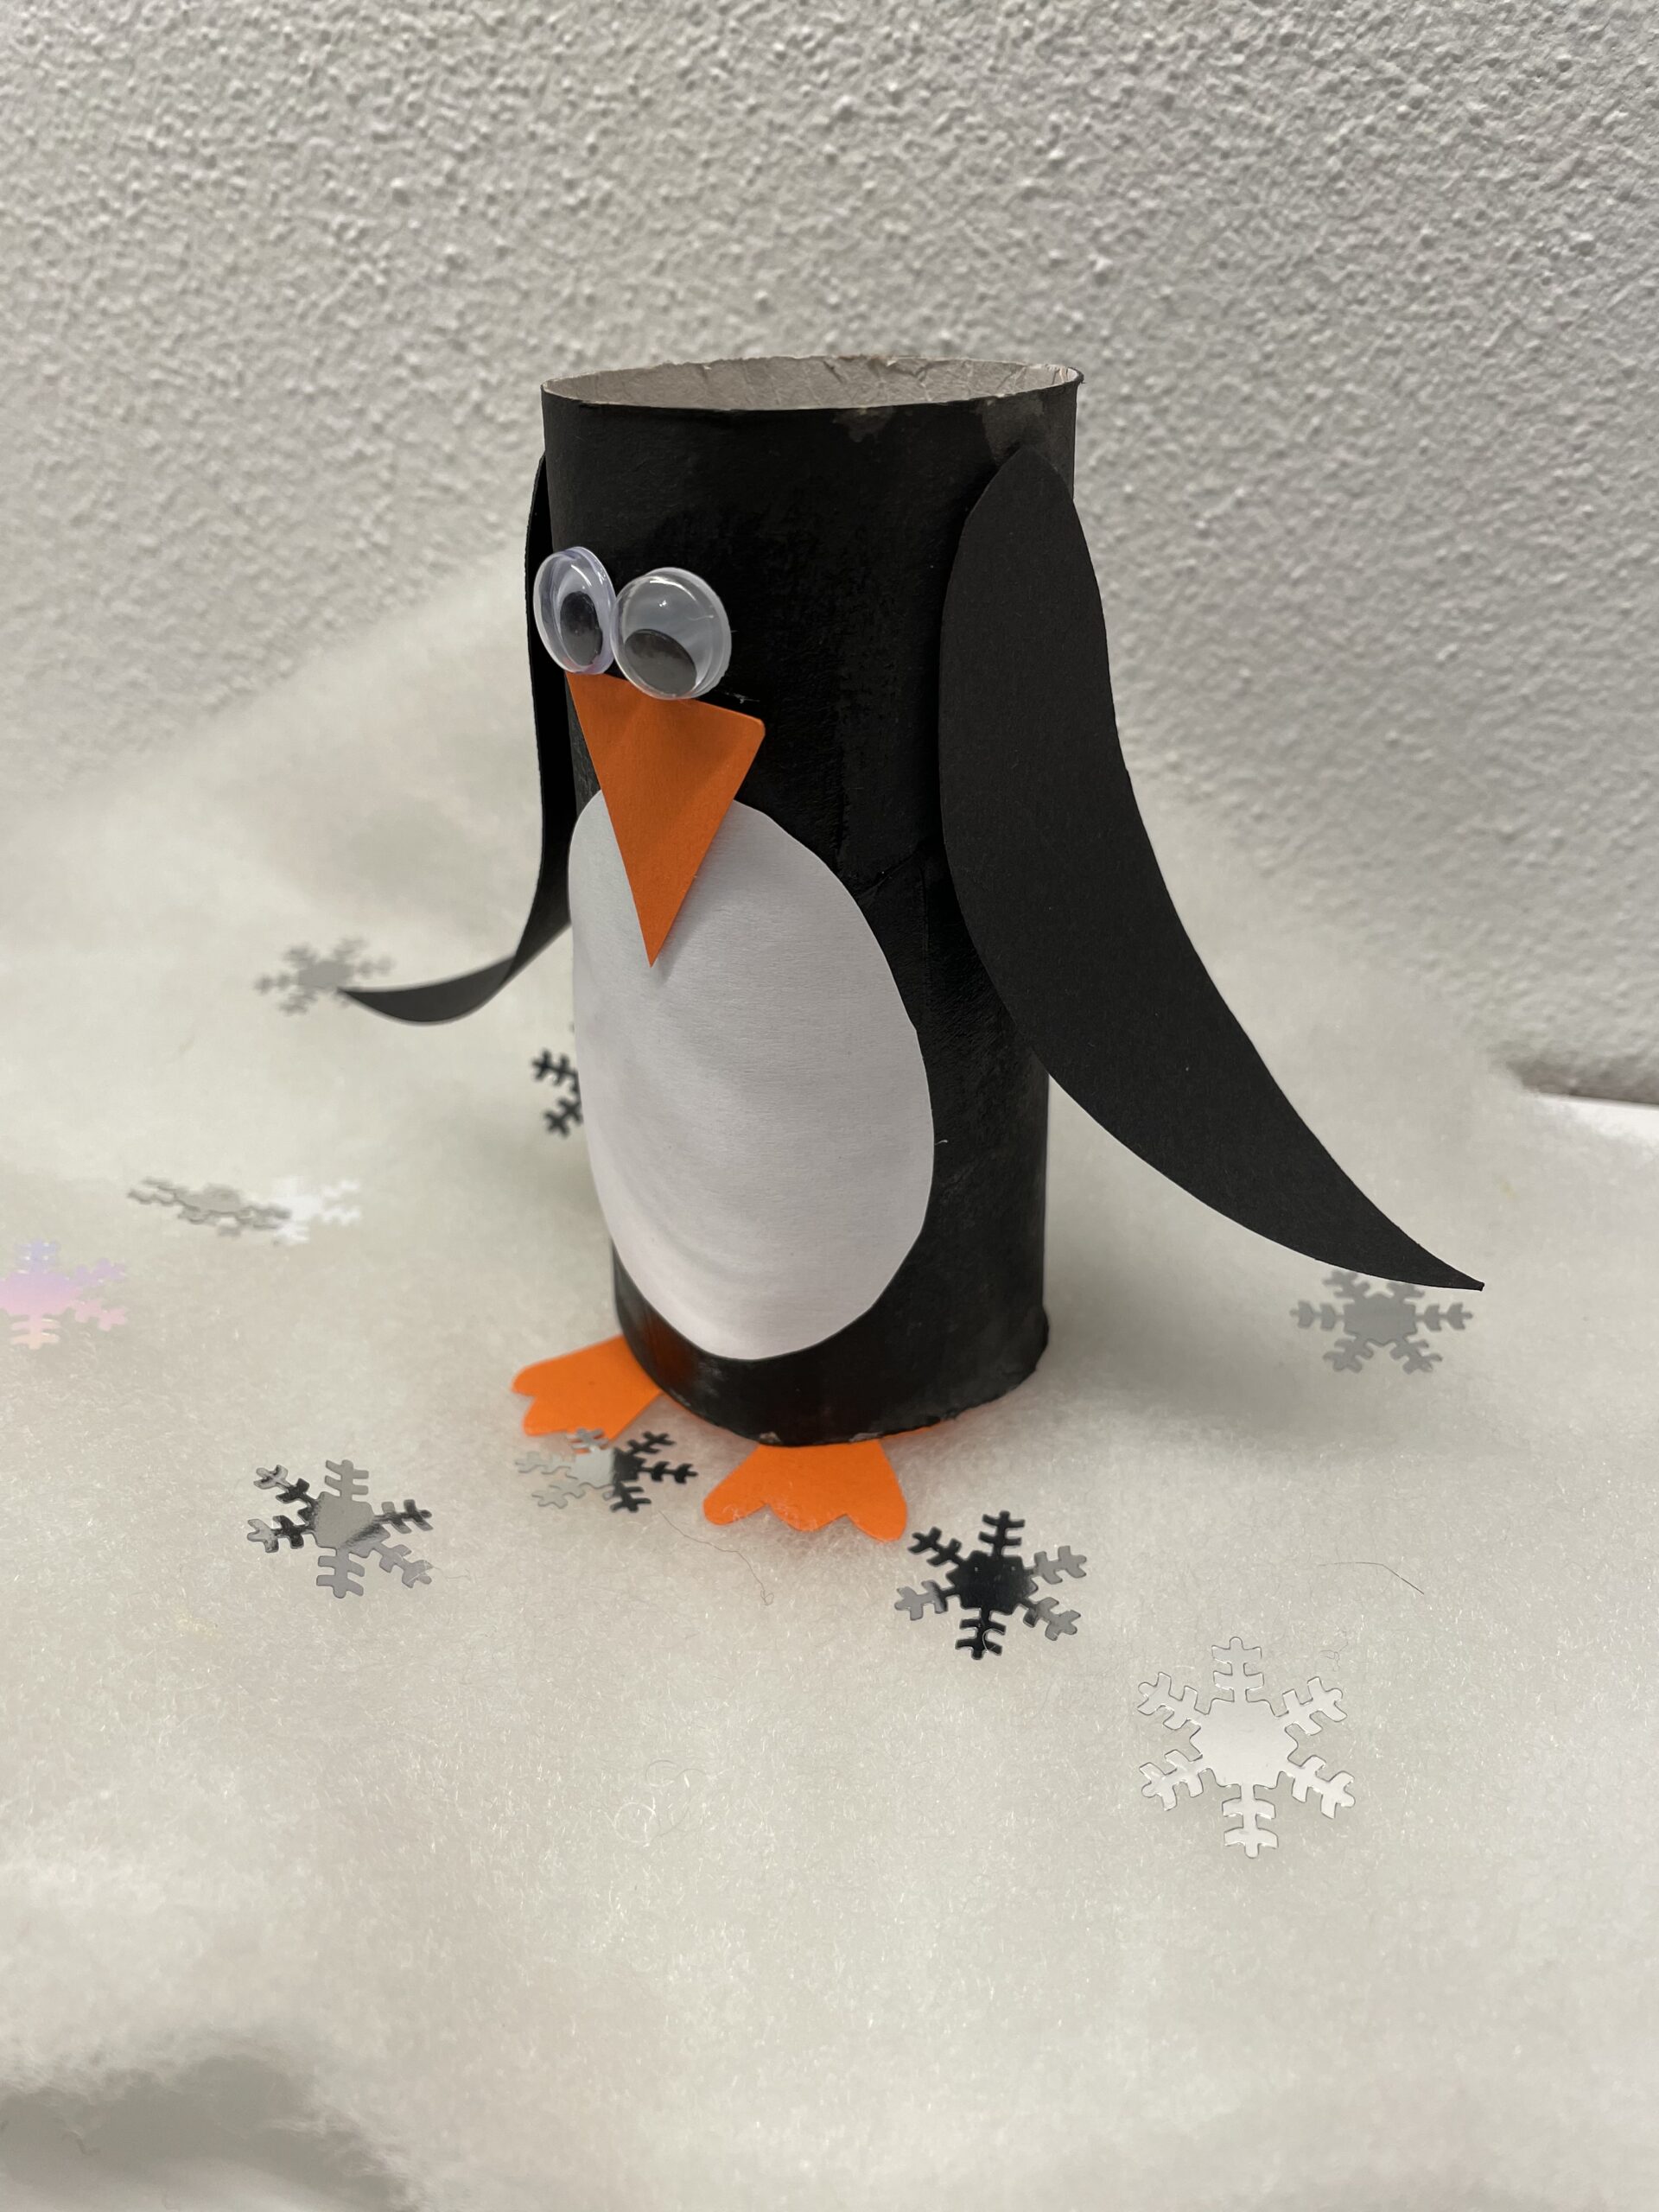


Have fun crafting the penguin! Maybe you want to make an entire penguin family.
Materials
Directions
First you pick up your materials and put out the craft file.
Now you paint the cardboard roll with black paint.


Then adjust the roll to dry.


Now you paint on a white paper an oval circle for the white part of the belly and cut it out.


Then you paint a small triangle on orange paper and cut it out.


Now you put the cardboard roll on orange paper and draw with the pencil around the roll. Then you put the cardboard roll aside and paint two feet on the circle. Then you cut it out.


Then position your feet under the dried cardboard roll.


Now attach all other parts to the cardboard roll.


First stick the white part of the belly high on the roll.


On top of that, you stick your beak and your eyes.


For the wings you cut a narrow strip of black clay paper to the dimensions of 15cm x 3cm. You fold this strip half in length. Now you paint the shape of a wing on the strip and cut it out. The paper is double, so that two wings are created at once.


Now you pull each wing over a pen. Press the paper firmly on the pen. The paper bends very easily and wrinkles.


Then glue the wings to the cardboard roll with an adhesive point at the top of the round end. The wing now stands down a bit.


The penguin is ready.


Have fun crafting the penguin! Maybe you want to make an entire penguin family.
Follow us on Facebook , Instagram and Pinterest
Don't miss any more adventures: Our bottle mail


