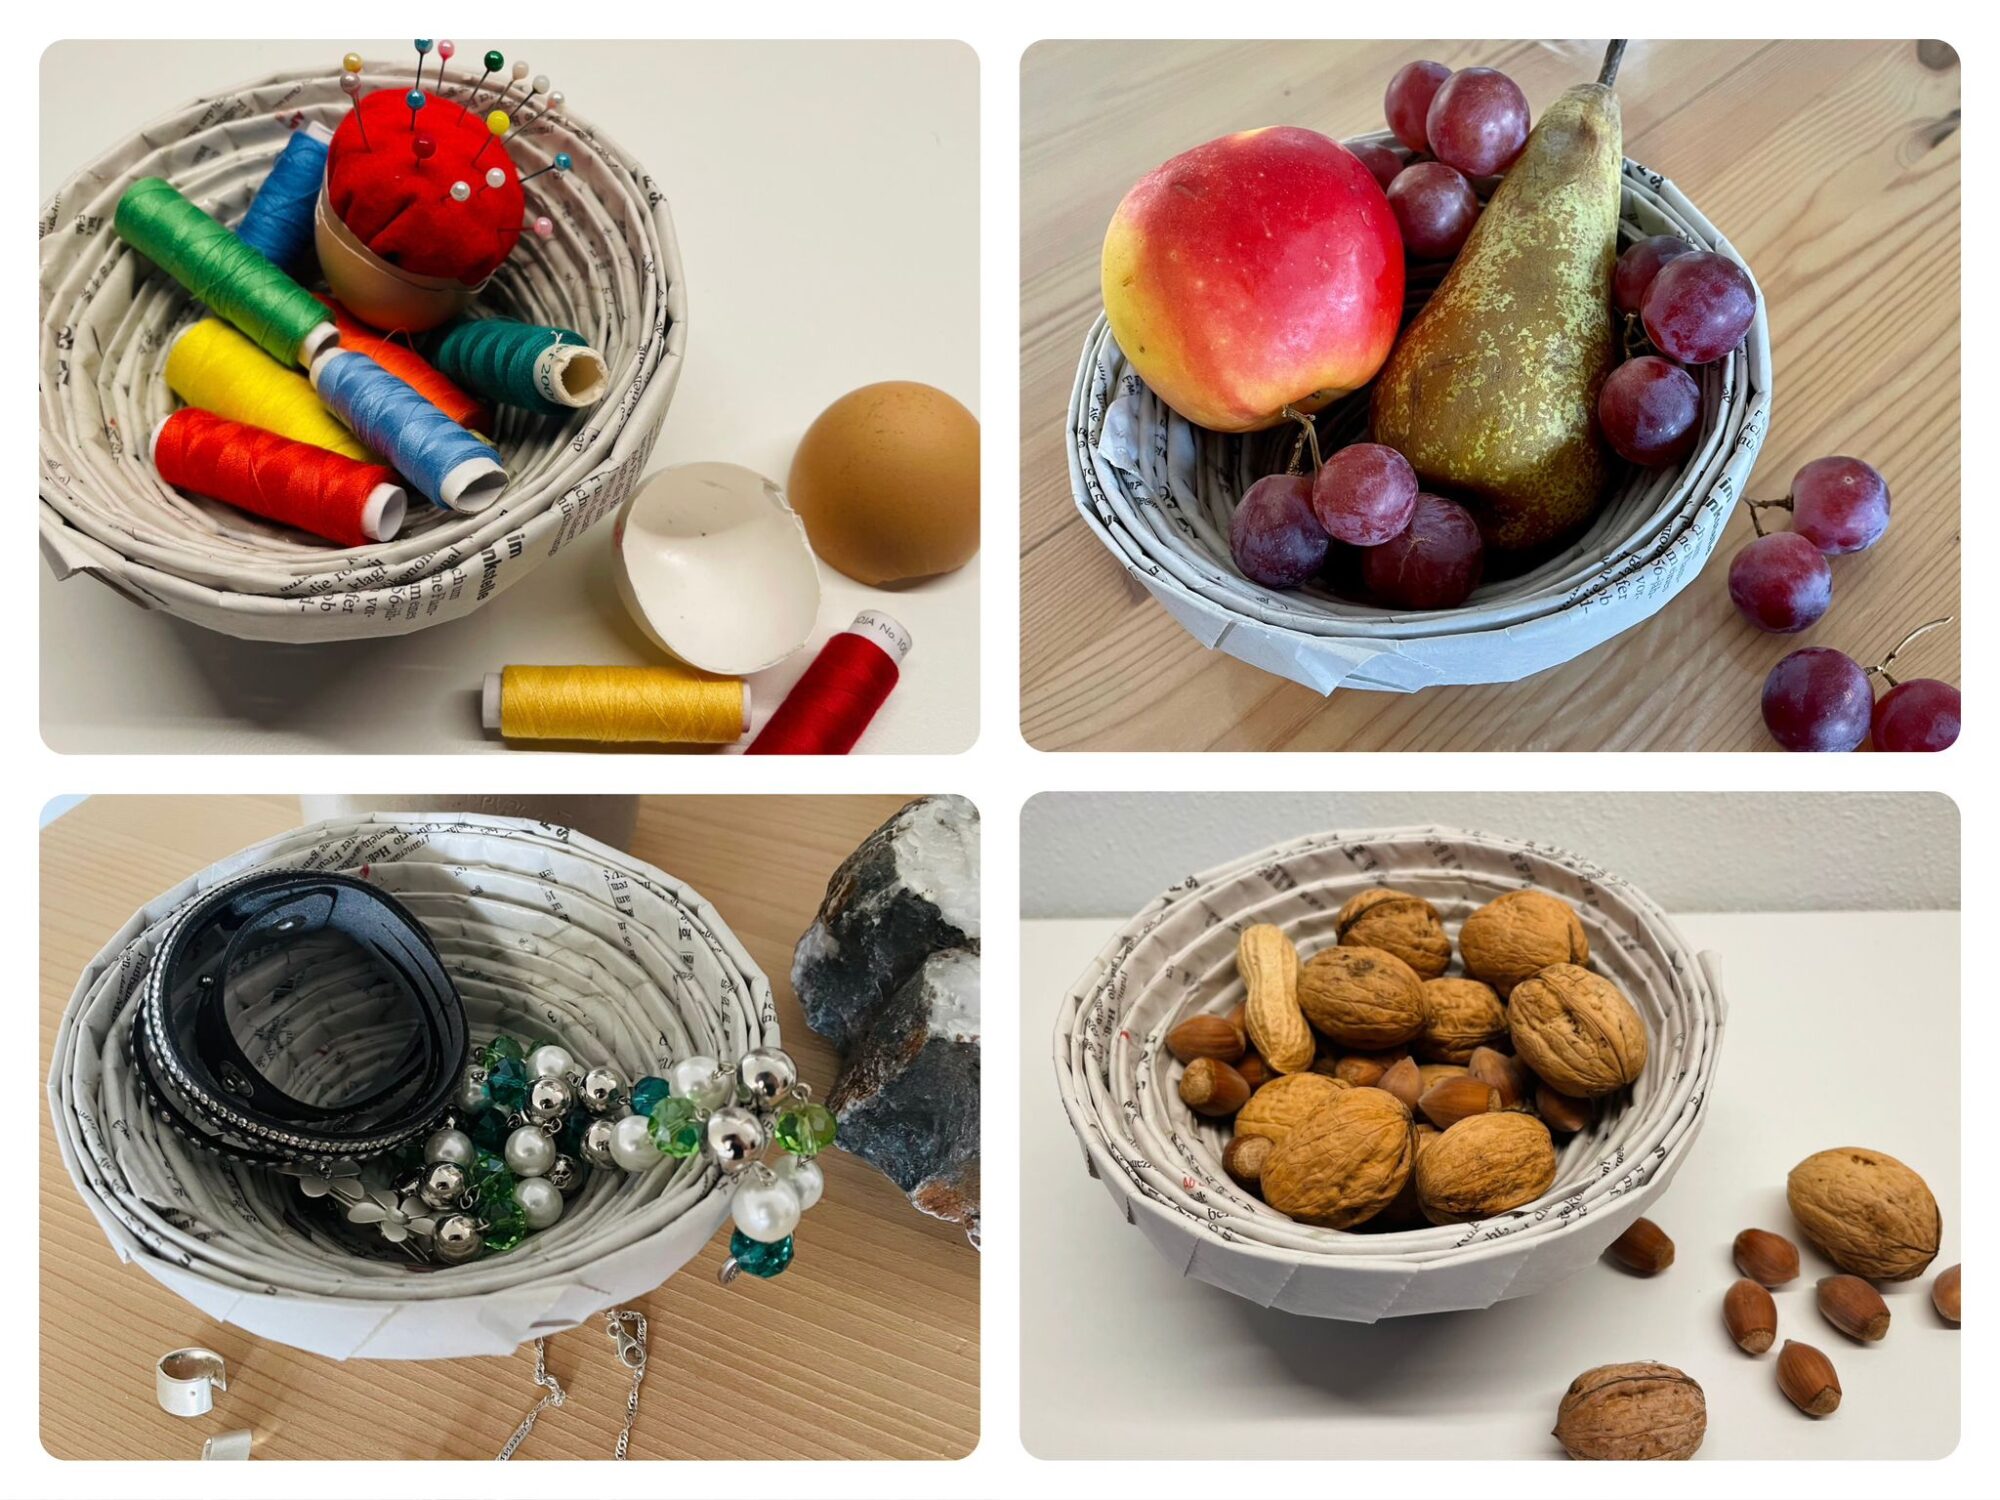
This upcycle project requires a lot of strength and perseverance! All you need for this is newspaper, glue and wood glue. First, all strips are rolled and pressed flat. Then the snail-shaped roll up follows. After bonding and drying, the paper bowl can be used individually. Whether for Mother's Day, as a jewelry or fruit bowl, for Father's Day for small snacks or for nuts for nibbles. Maybe also for the shop for playing or for collecting individual puzzle or small lego pieces. The bowl is also a cost-effective gift and a nice decoration.
Media Education for Kindergarten and Hort

Relief in everyday life, targeted promotion of individual children, independent learning and - without any pre-knowledge already usable by the youngest!
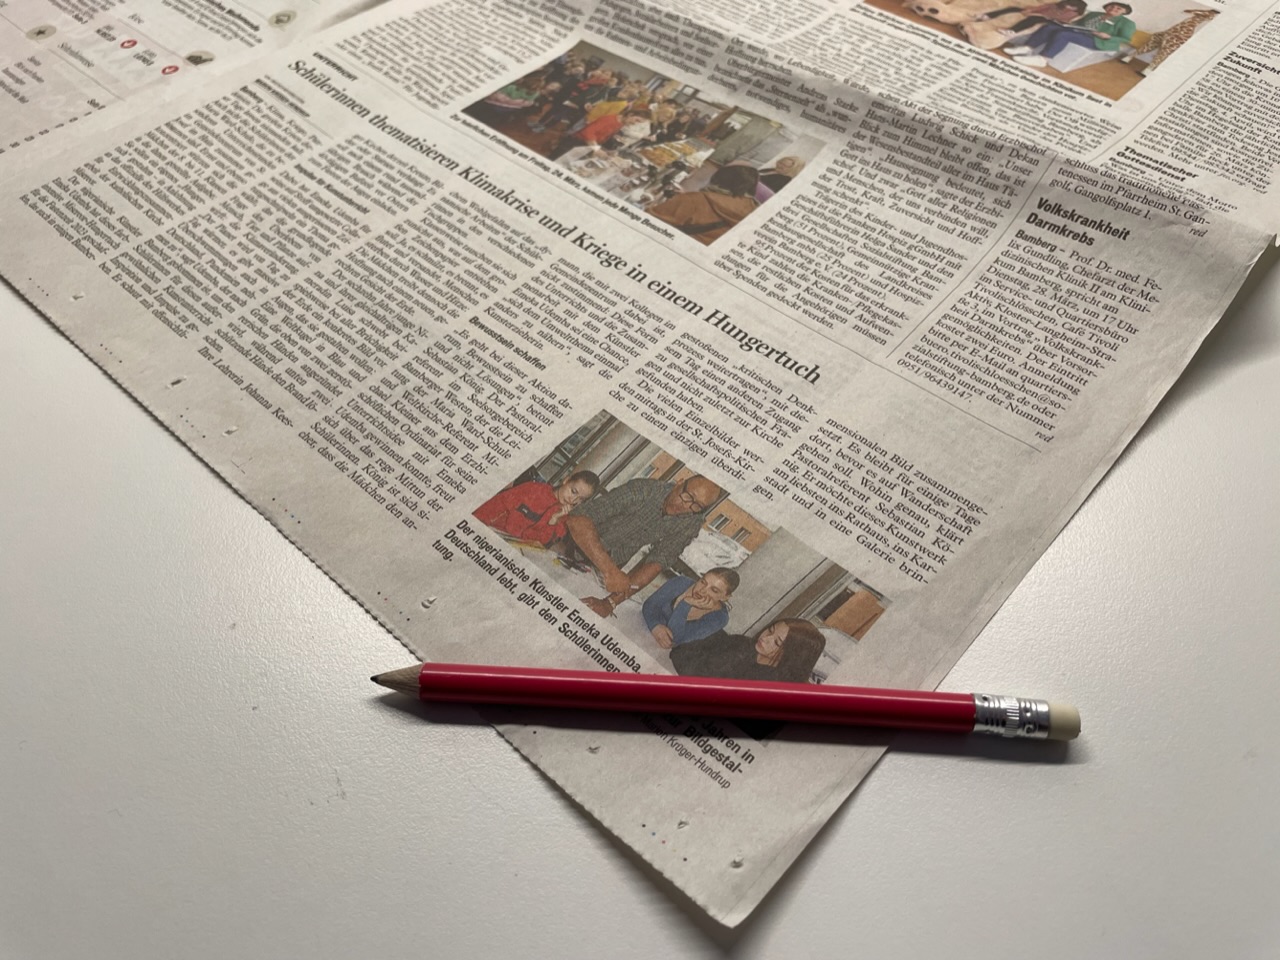
First of all, you prepare large sheets of a daily newspaper.
Next you put a large newspaper sheet diagonally in front of you, so that a tip points at you. With a thin round pen you start rolling the paper on the corner.
Roll the newspaper on the corner tightly over the pen.
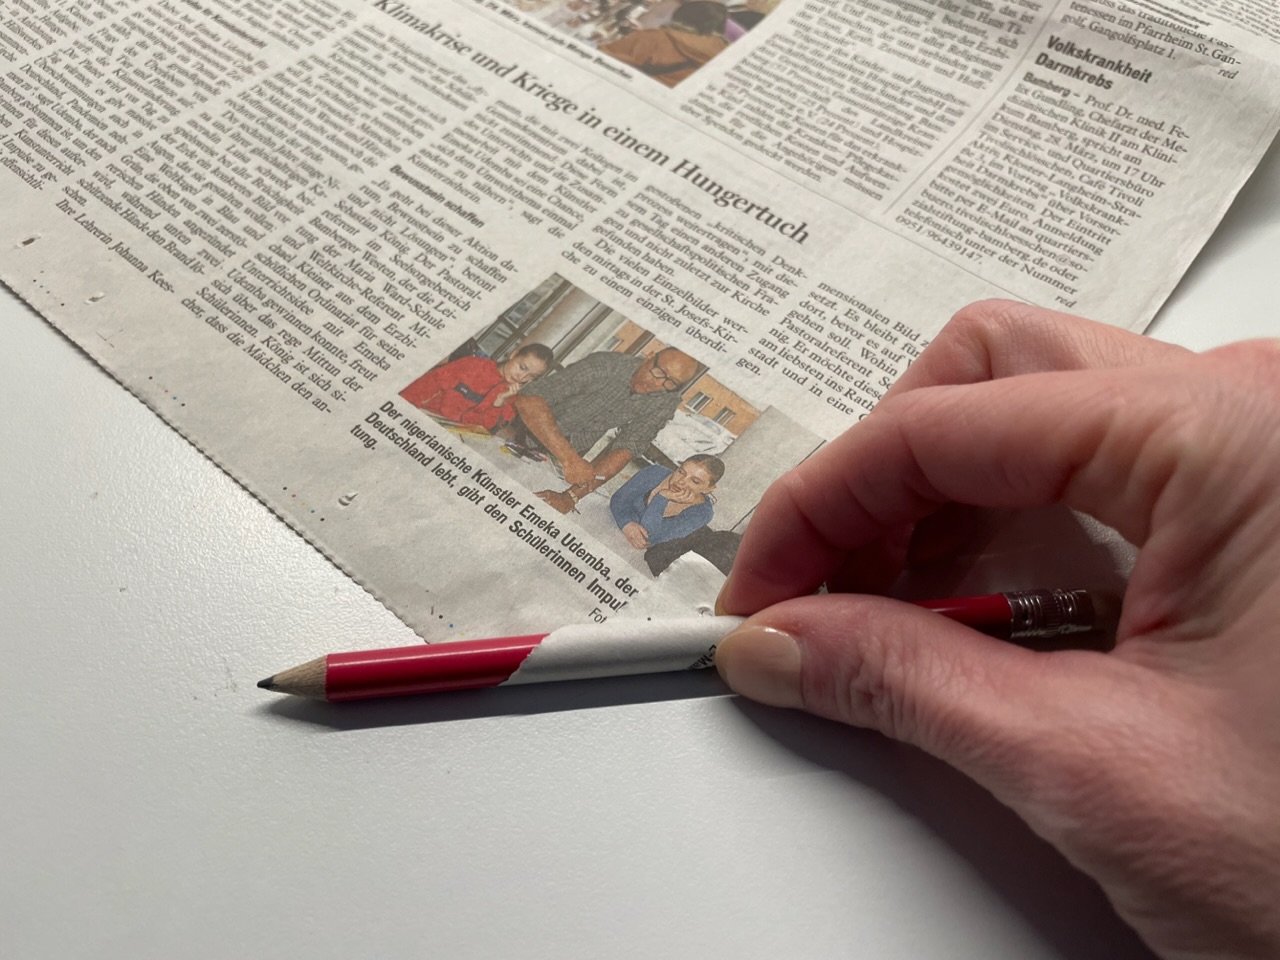


Make sure that the pen is pulled out again and again at the side and does not disappear in the roll.
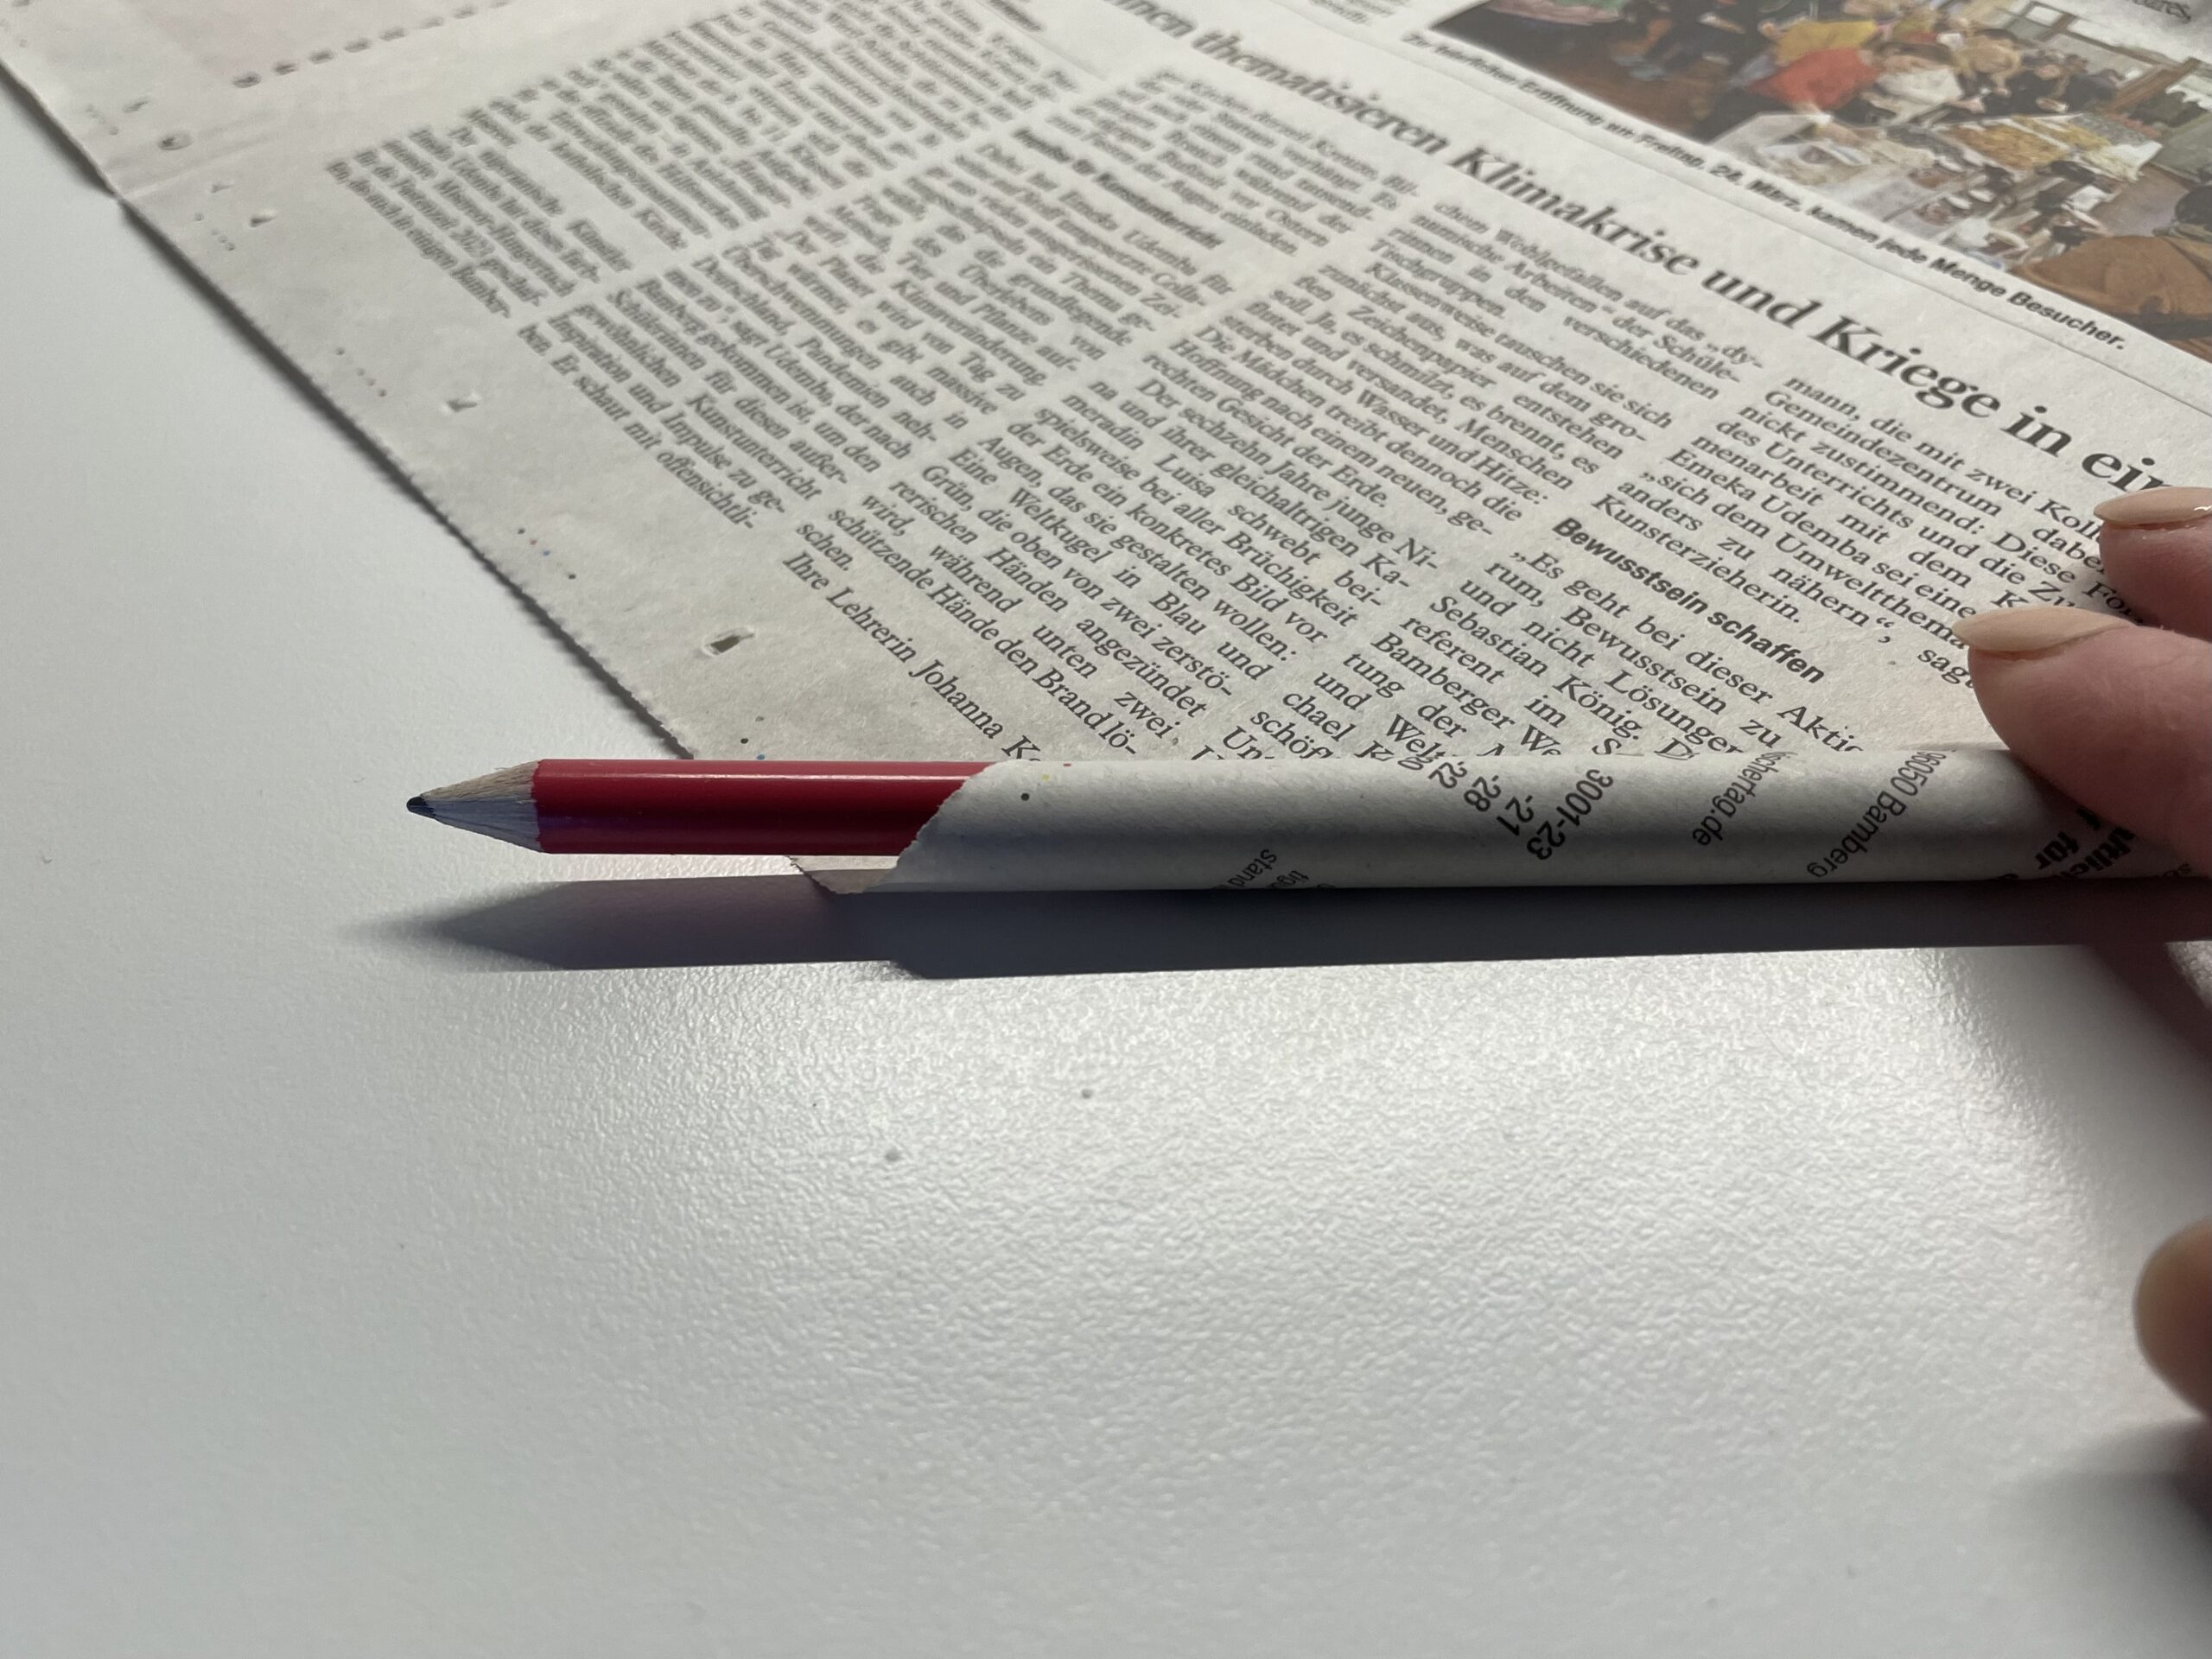


Because in hindsight you can only get the pen out of the roll very hard! If you have already rolled a whole piece, you can also pull the pen out and roll it to the end without a pen.
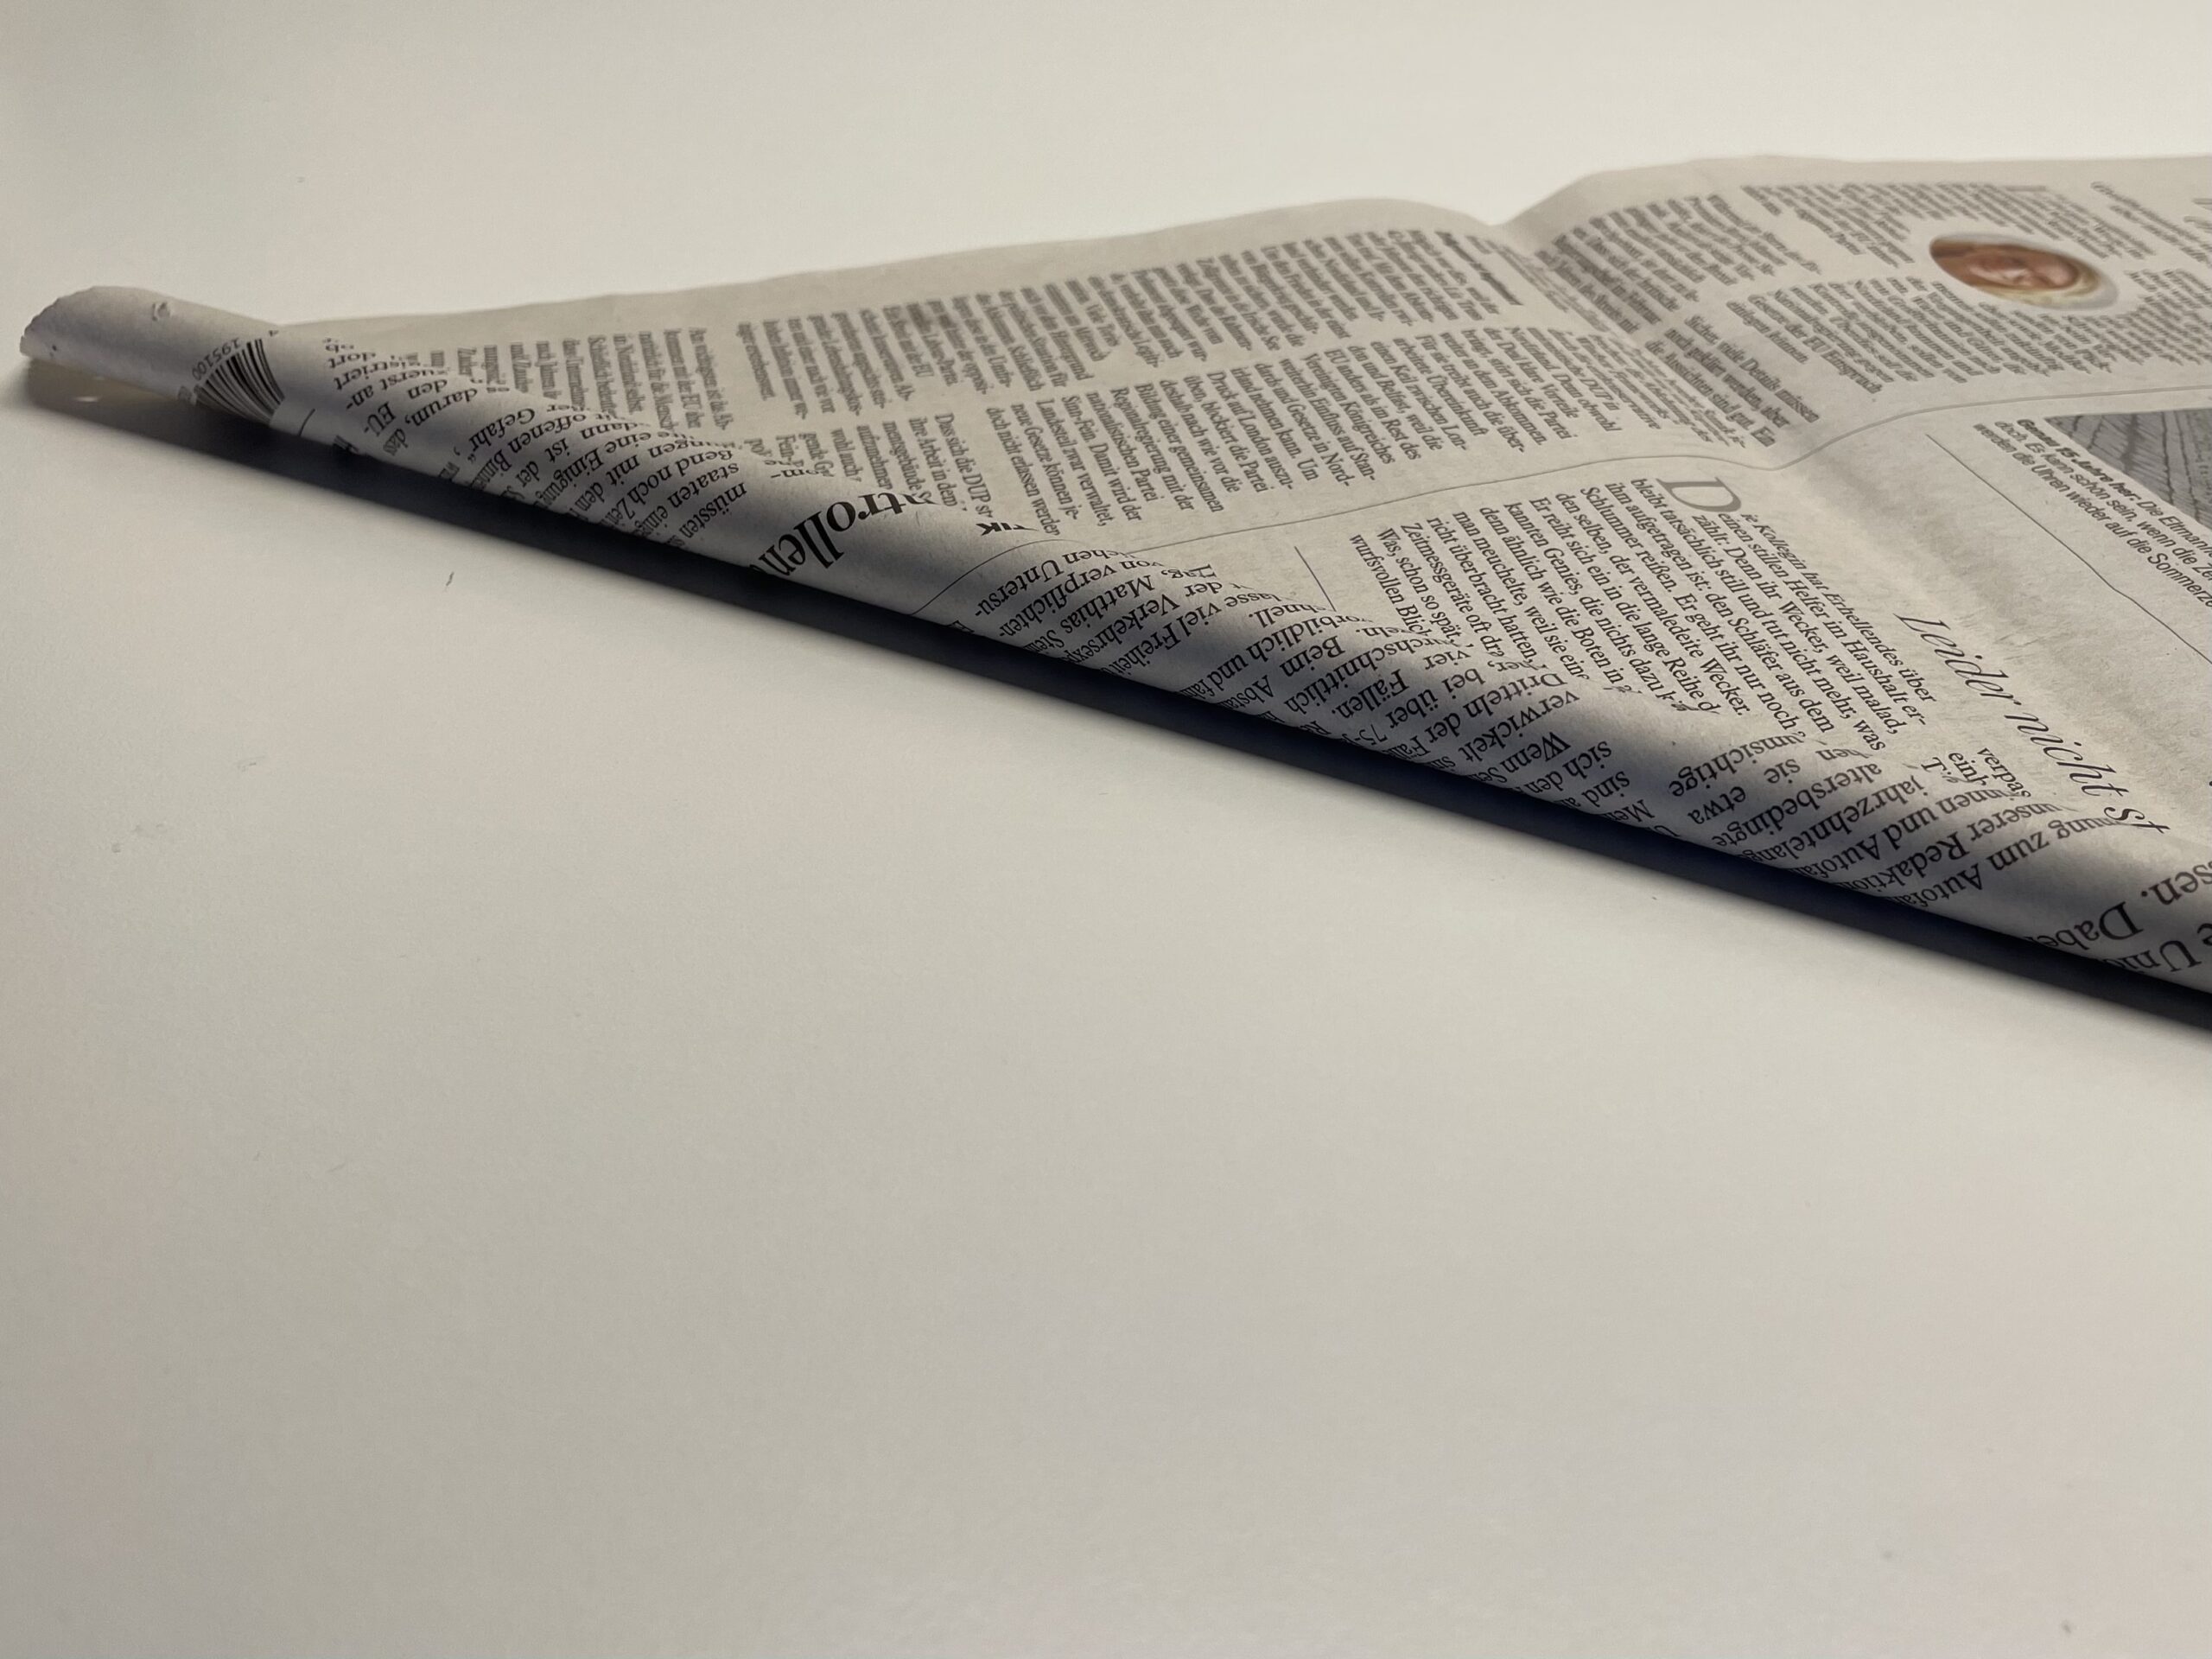


Roll up the newspaper completely. Let the tip look out at the end and hold the roll tight, otherwise it will roll up again!
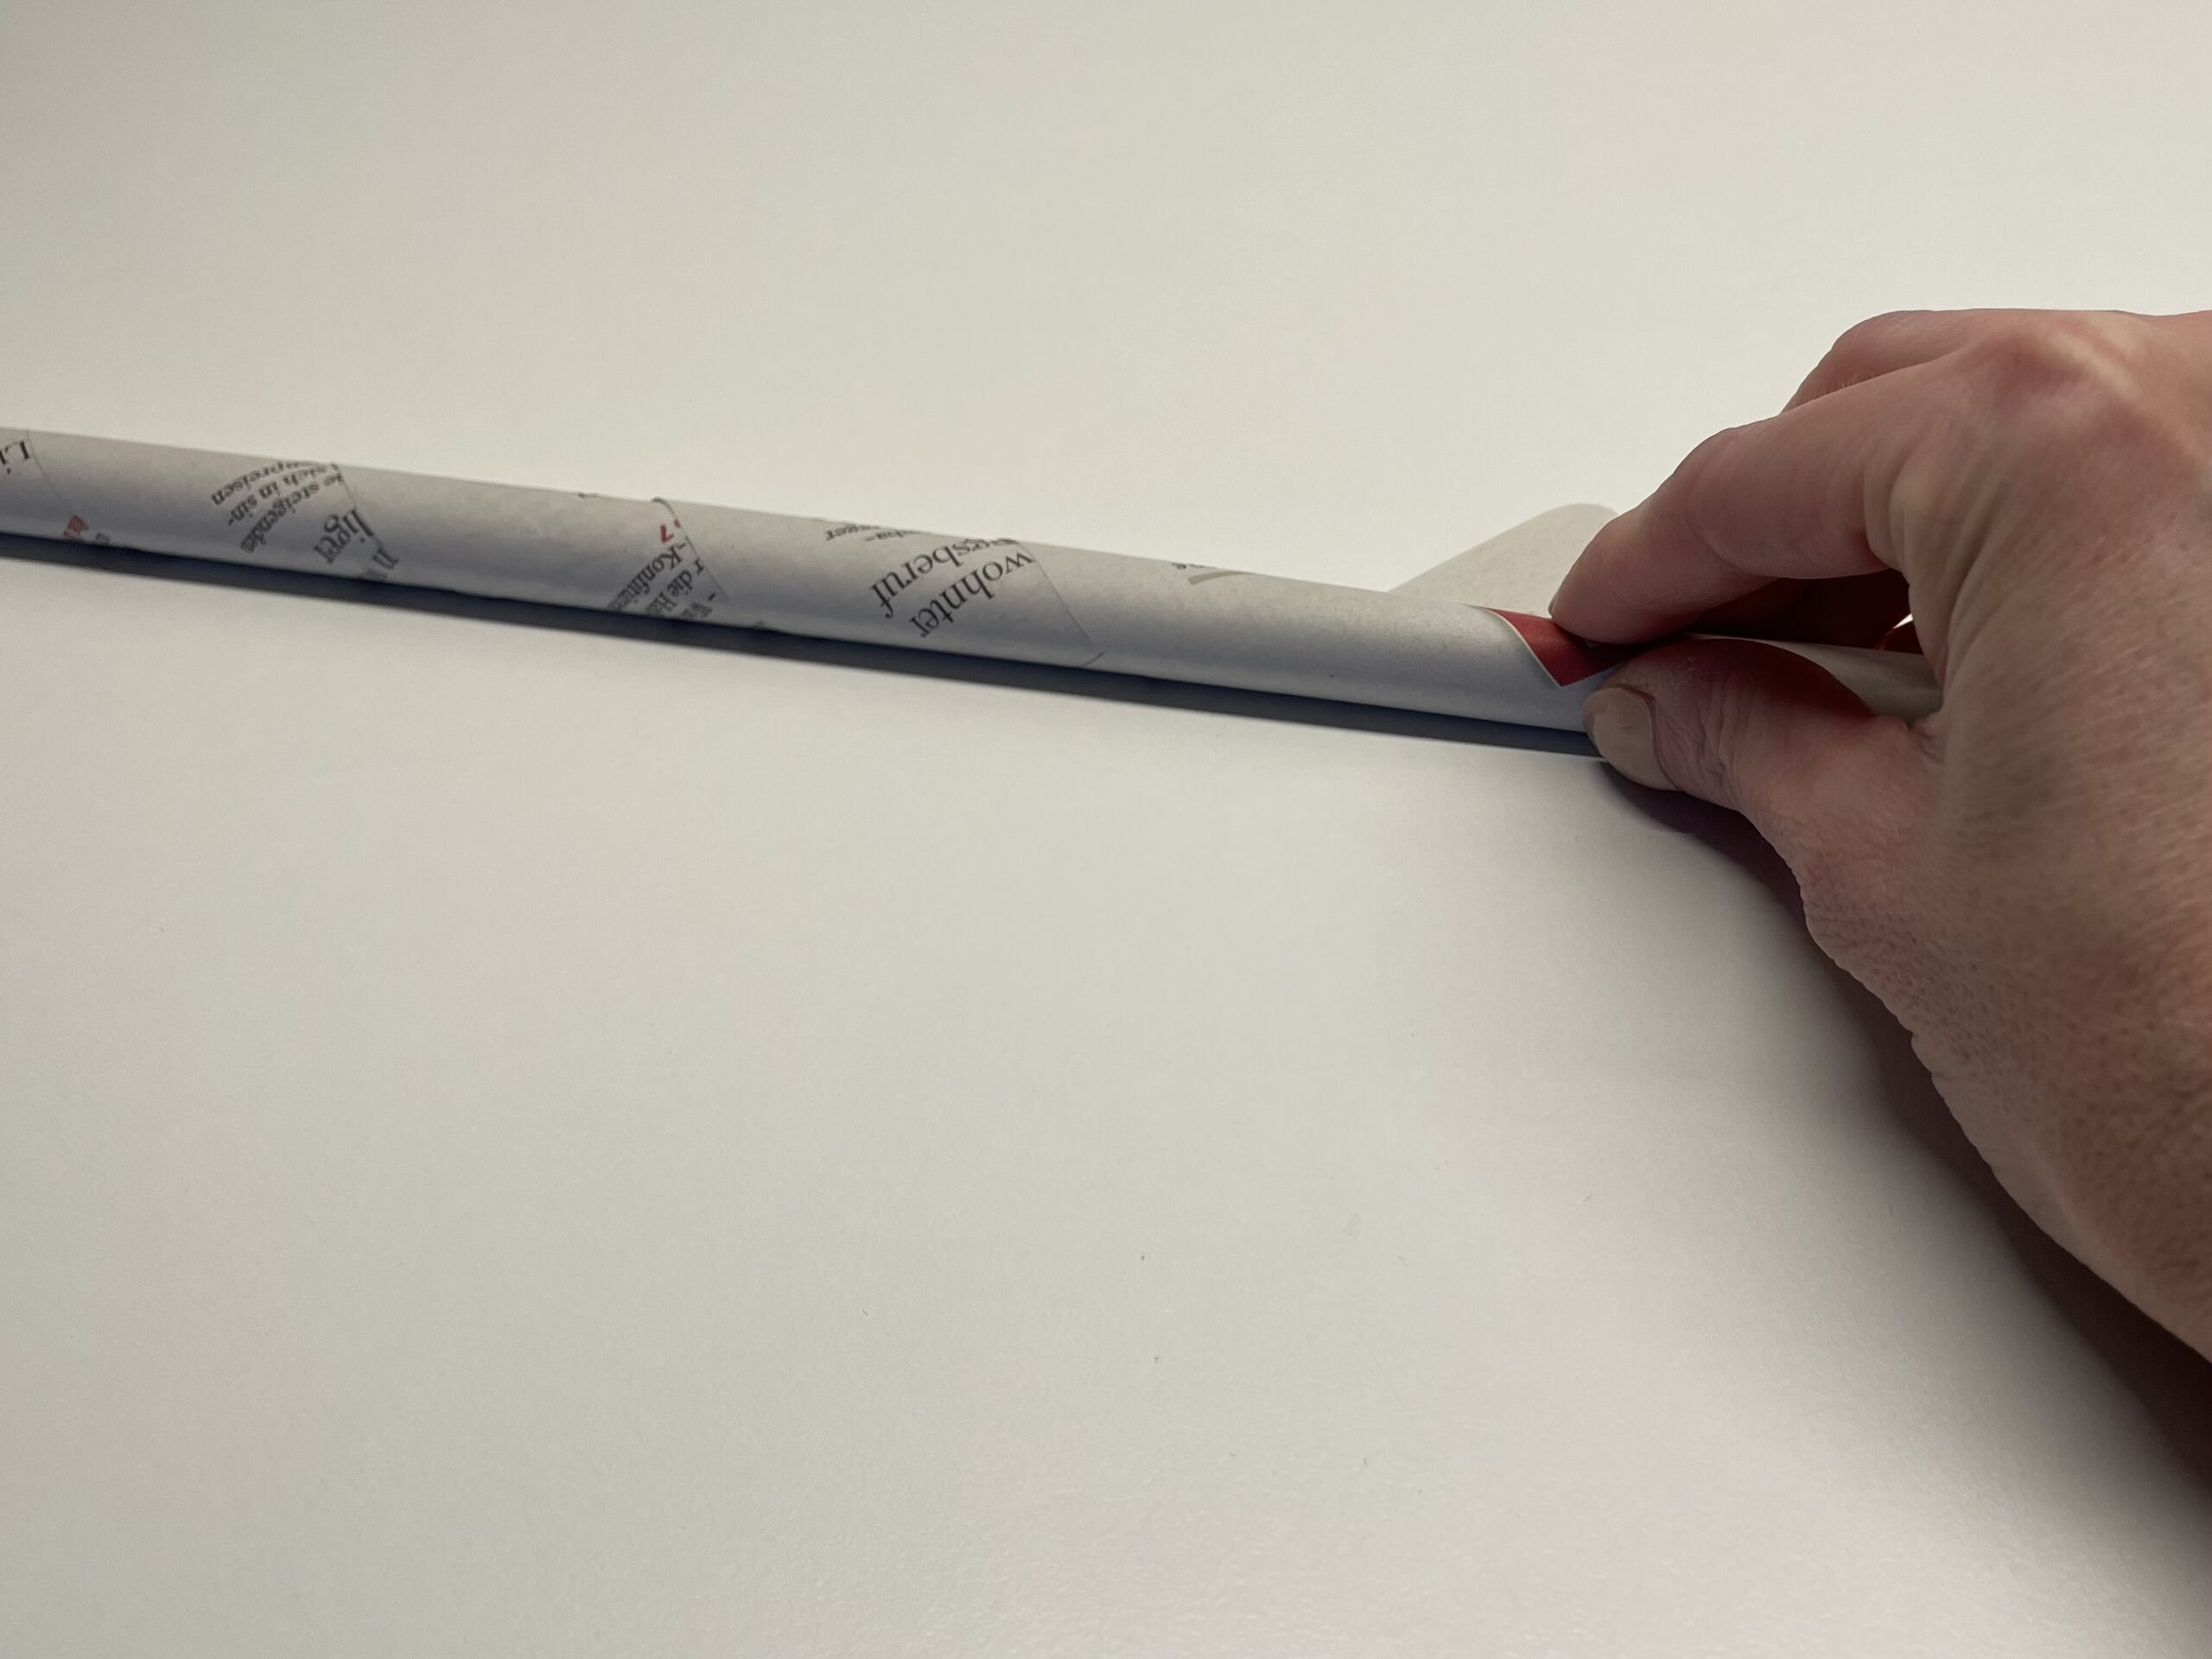


Now you pick up some glue on the tip and roll up the roll completely. So you push the tip to the newspaper roll.
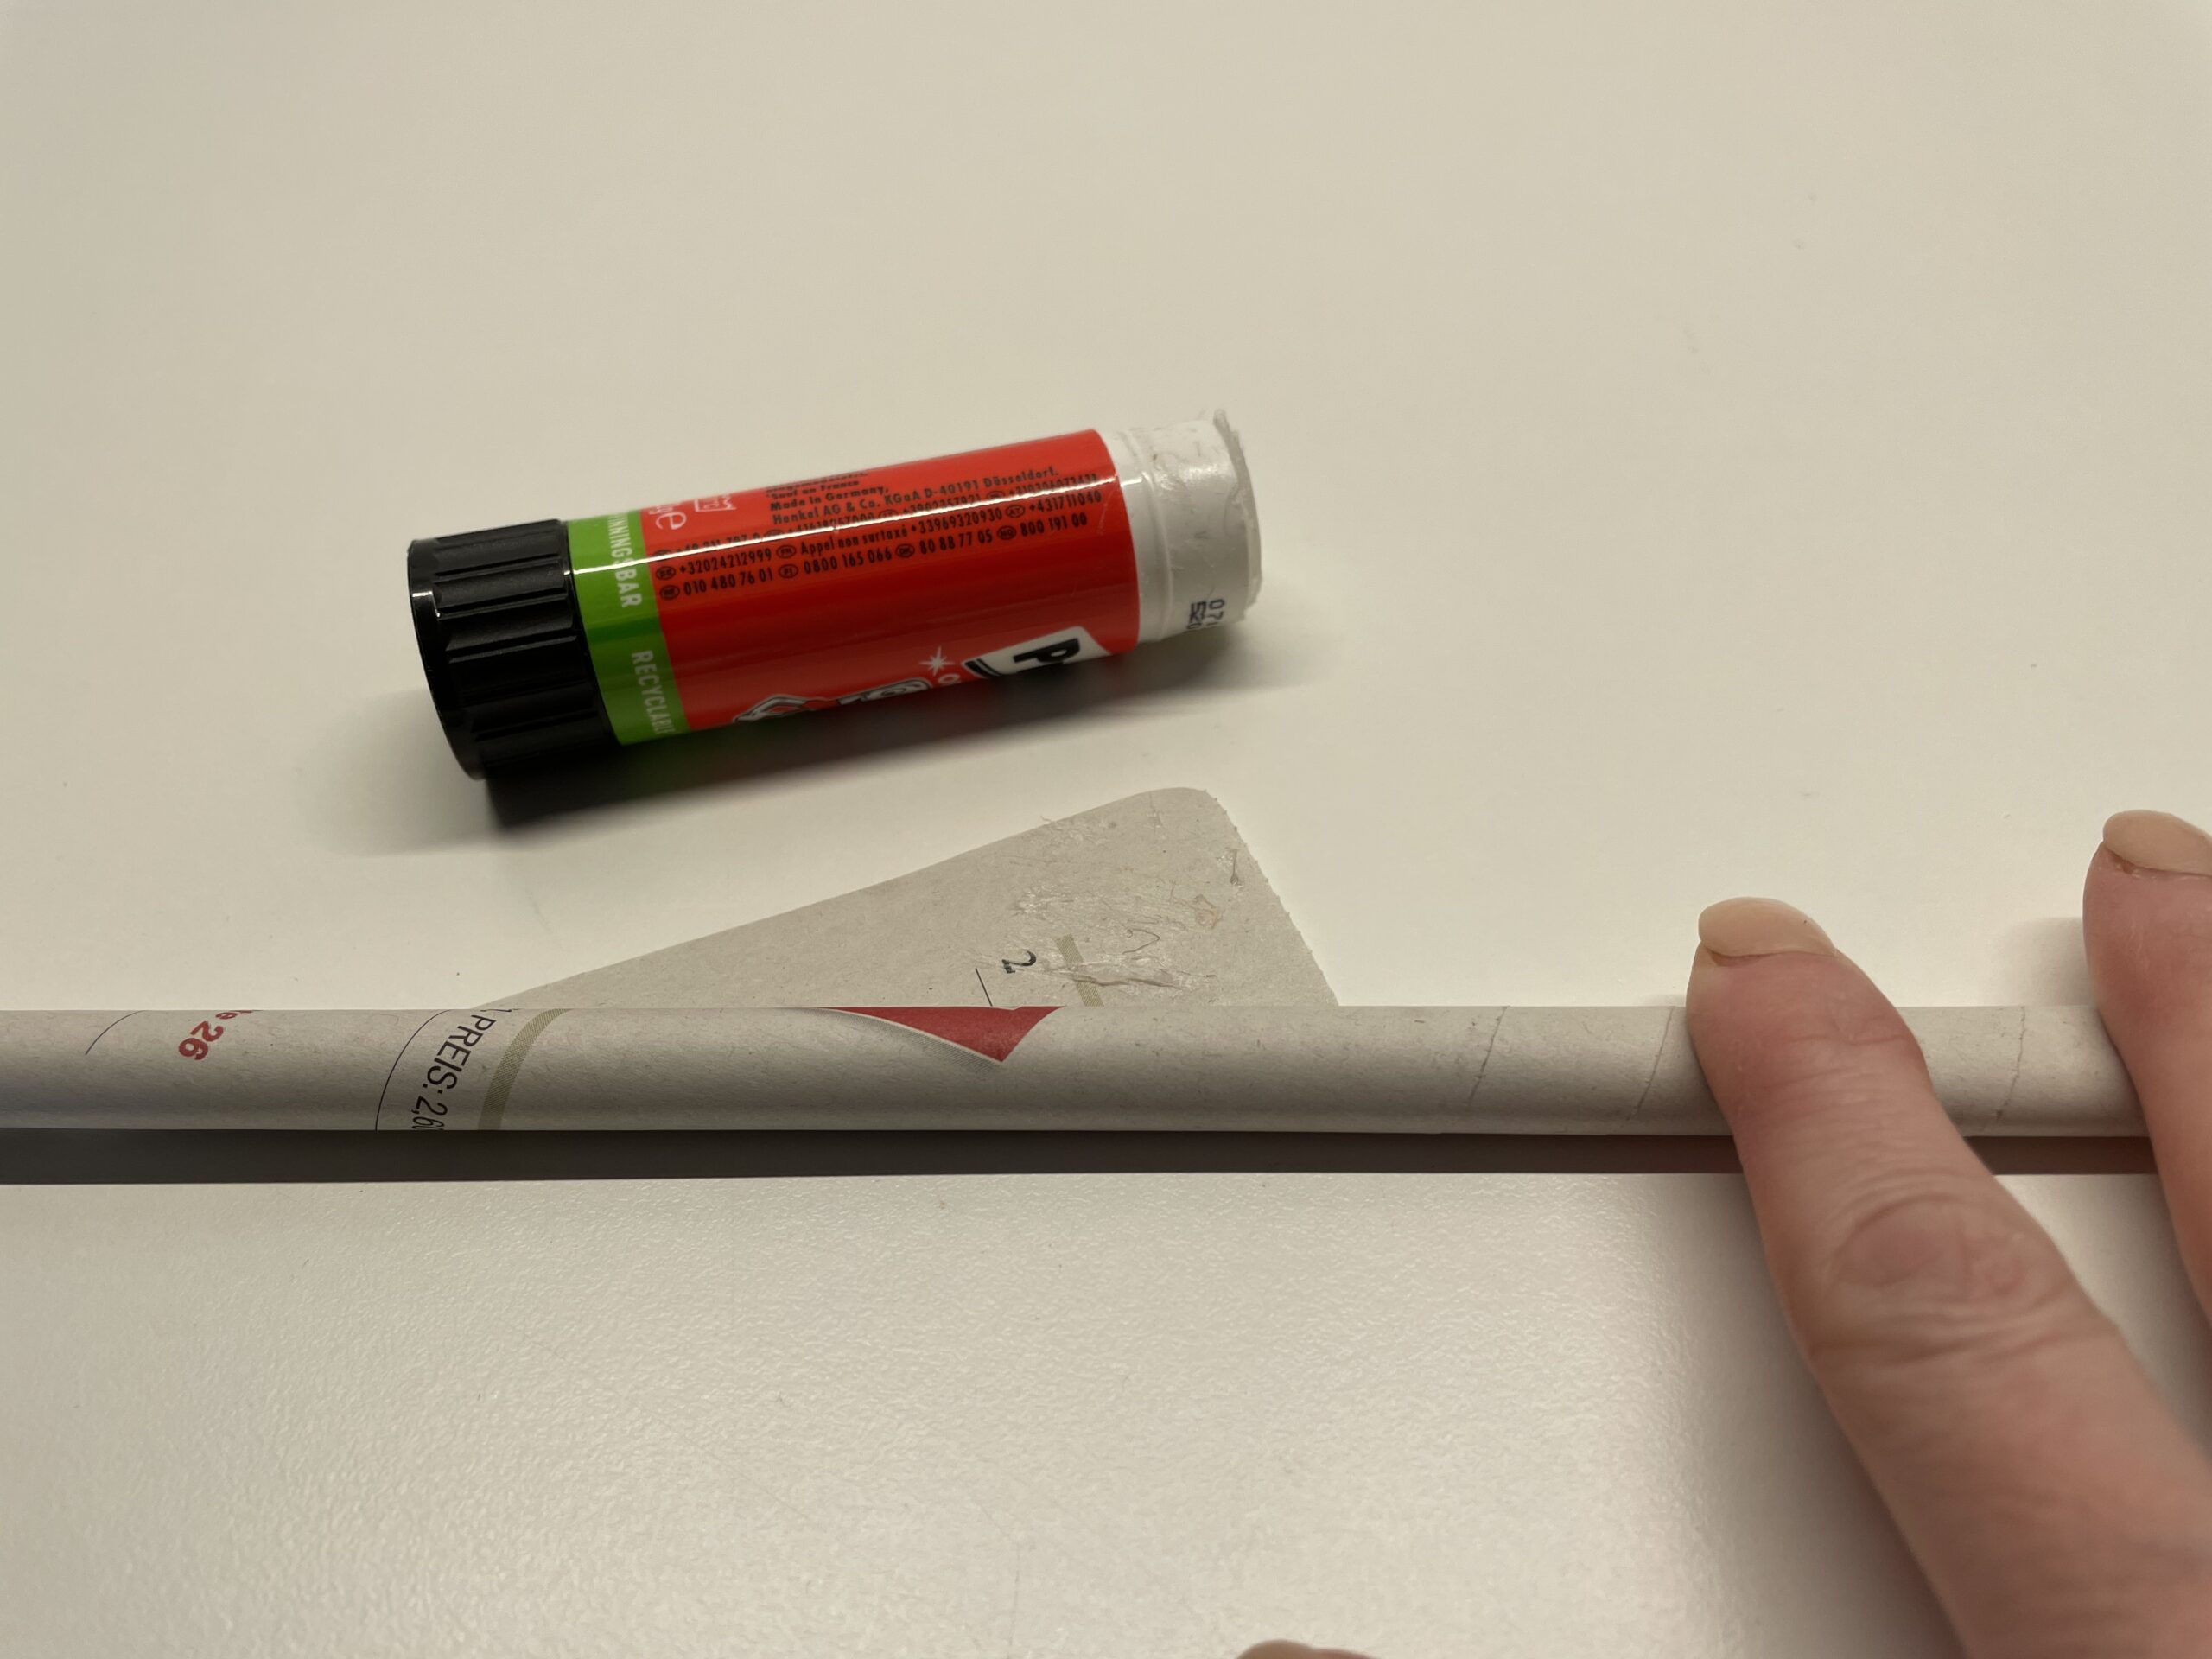


The first newspaper roll is ready.
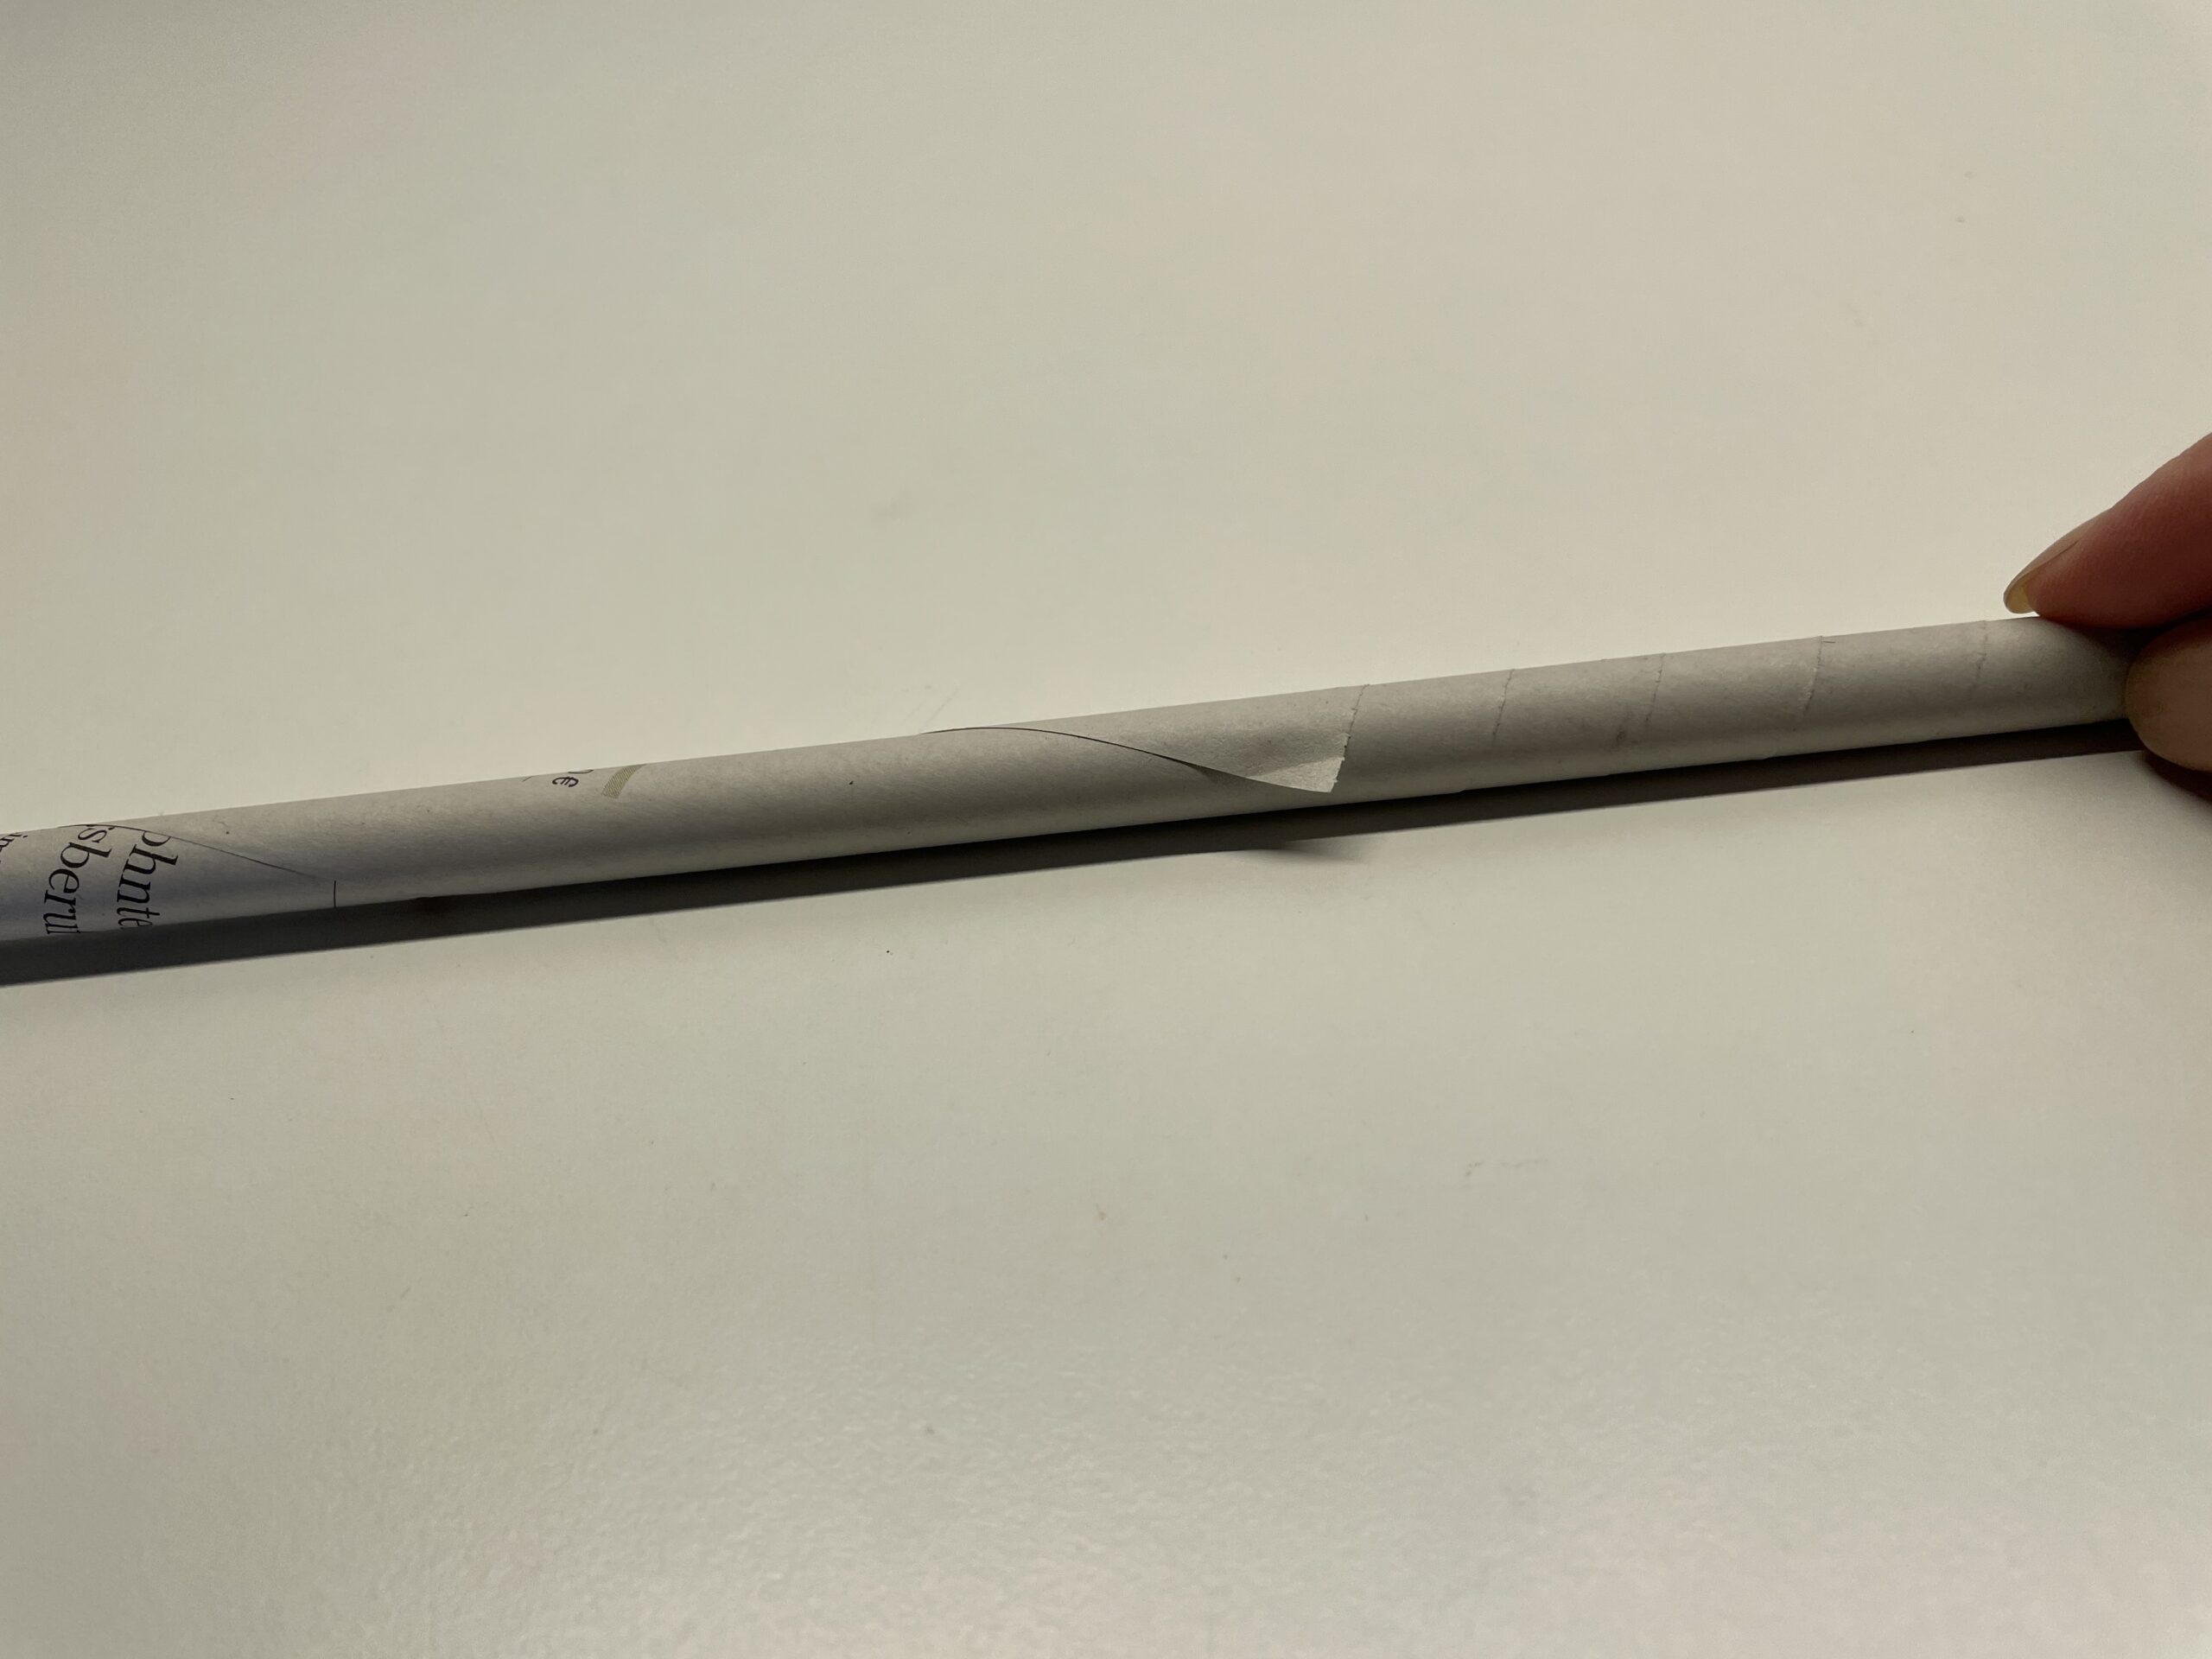


Press the roll completely flat with the back of the hand.
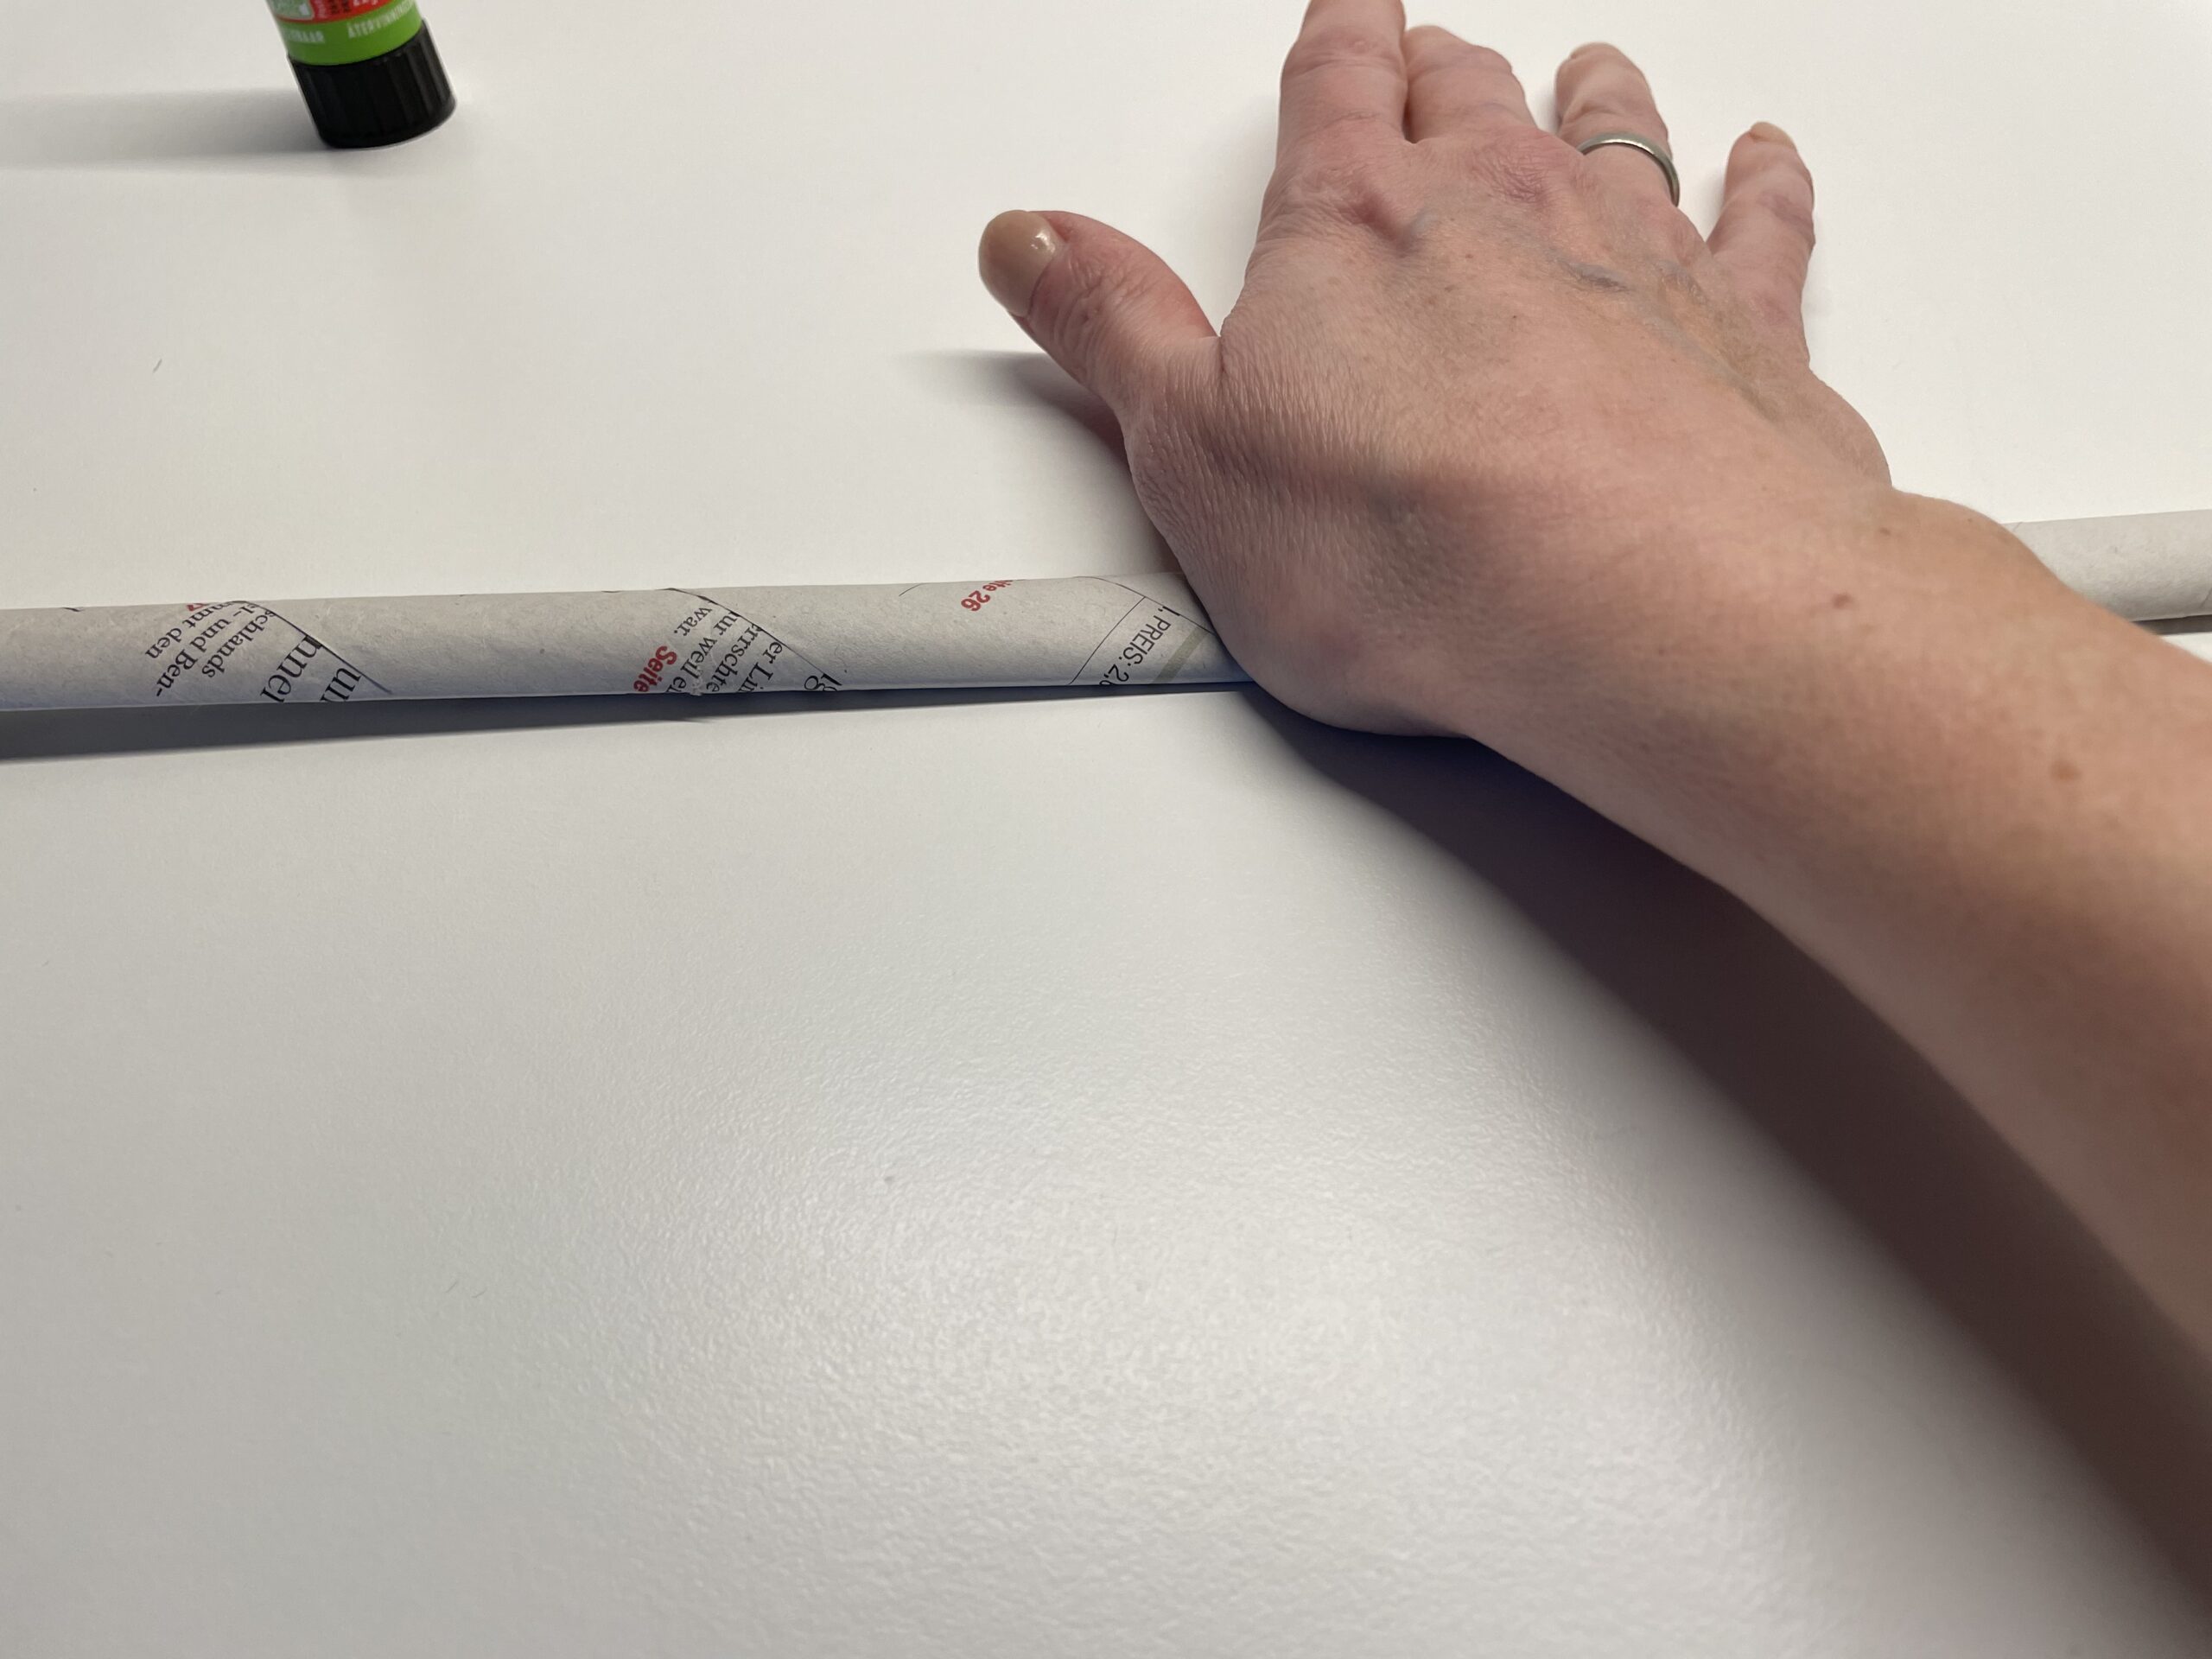


Creates 6-10 rolls in this way.
The more you roll, the bigger your Easter basket becomes.


Here you can see how many newspaper rolls you need for a small, medium, or larger bowl.
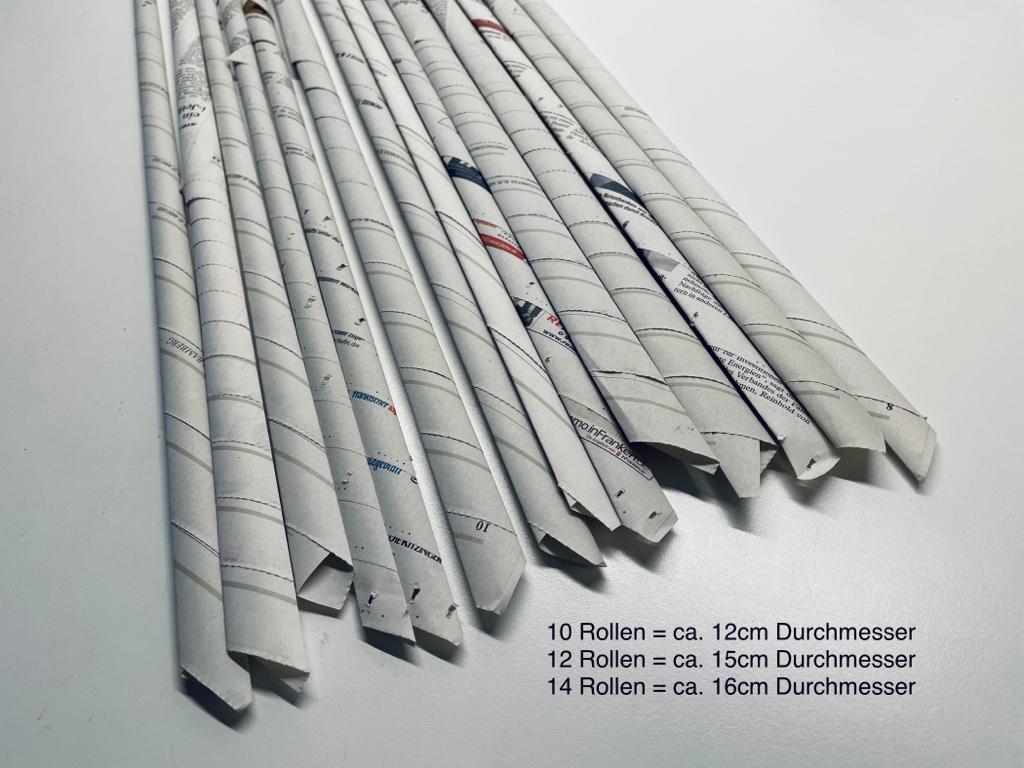


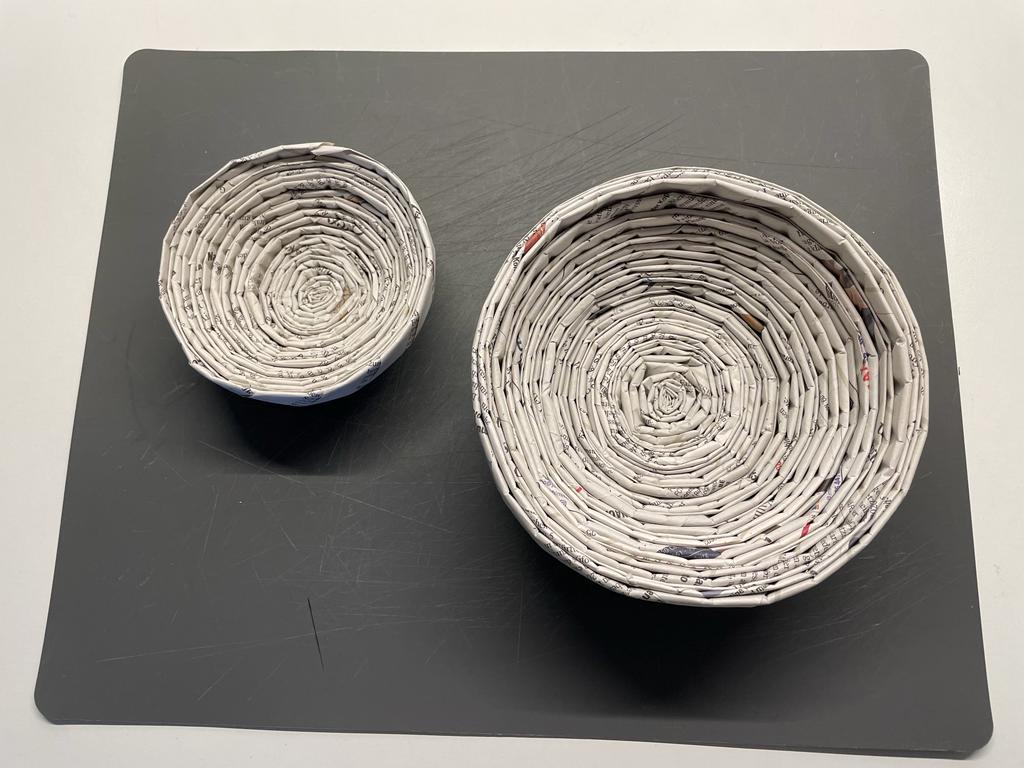
Here you can see different sizes of shells in comparison. Consider which size fits your project.


Now the roll-up begins. Start with a newspaper strip and wrap it up in a snail-shaped and tight way.
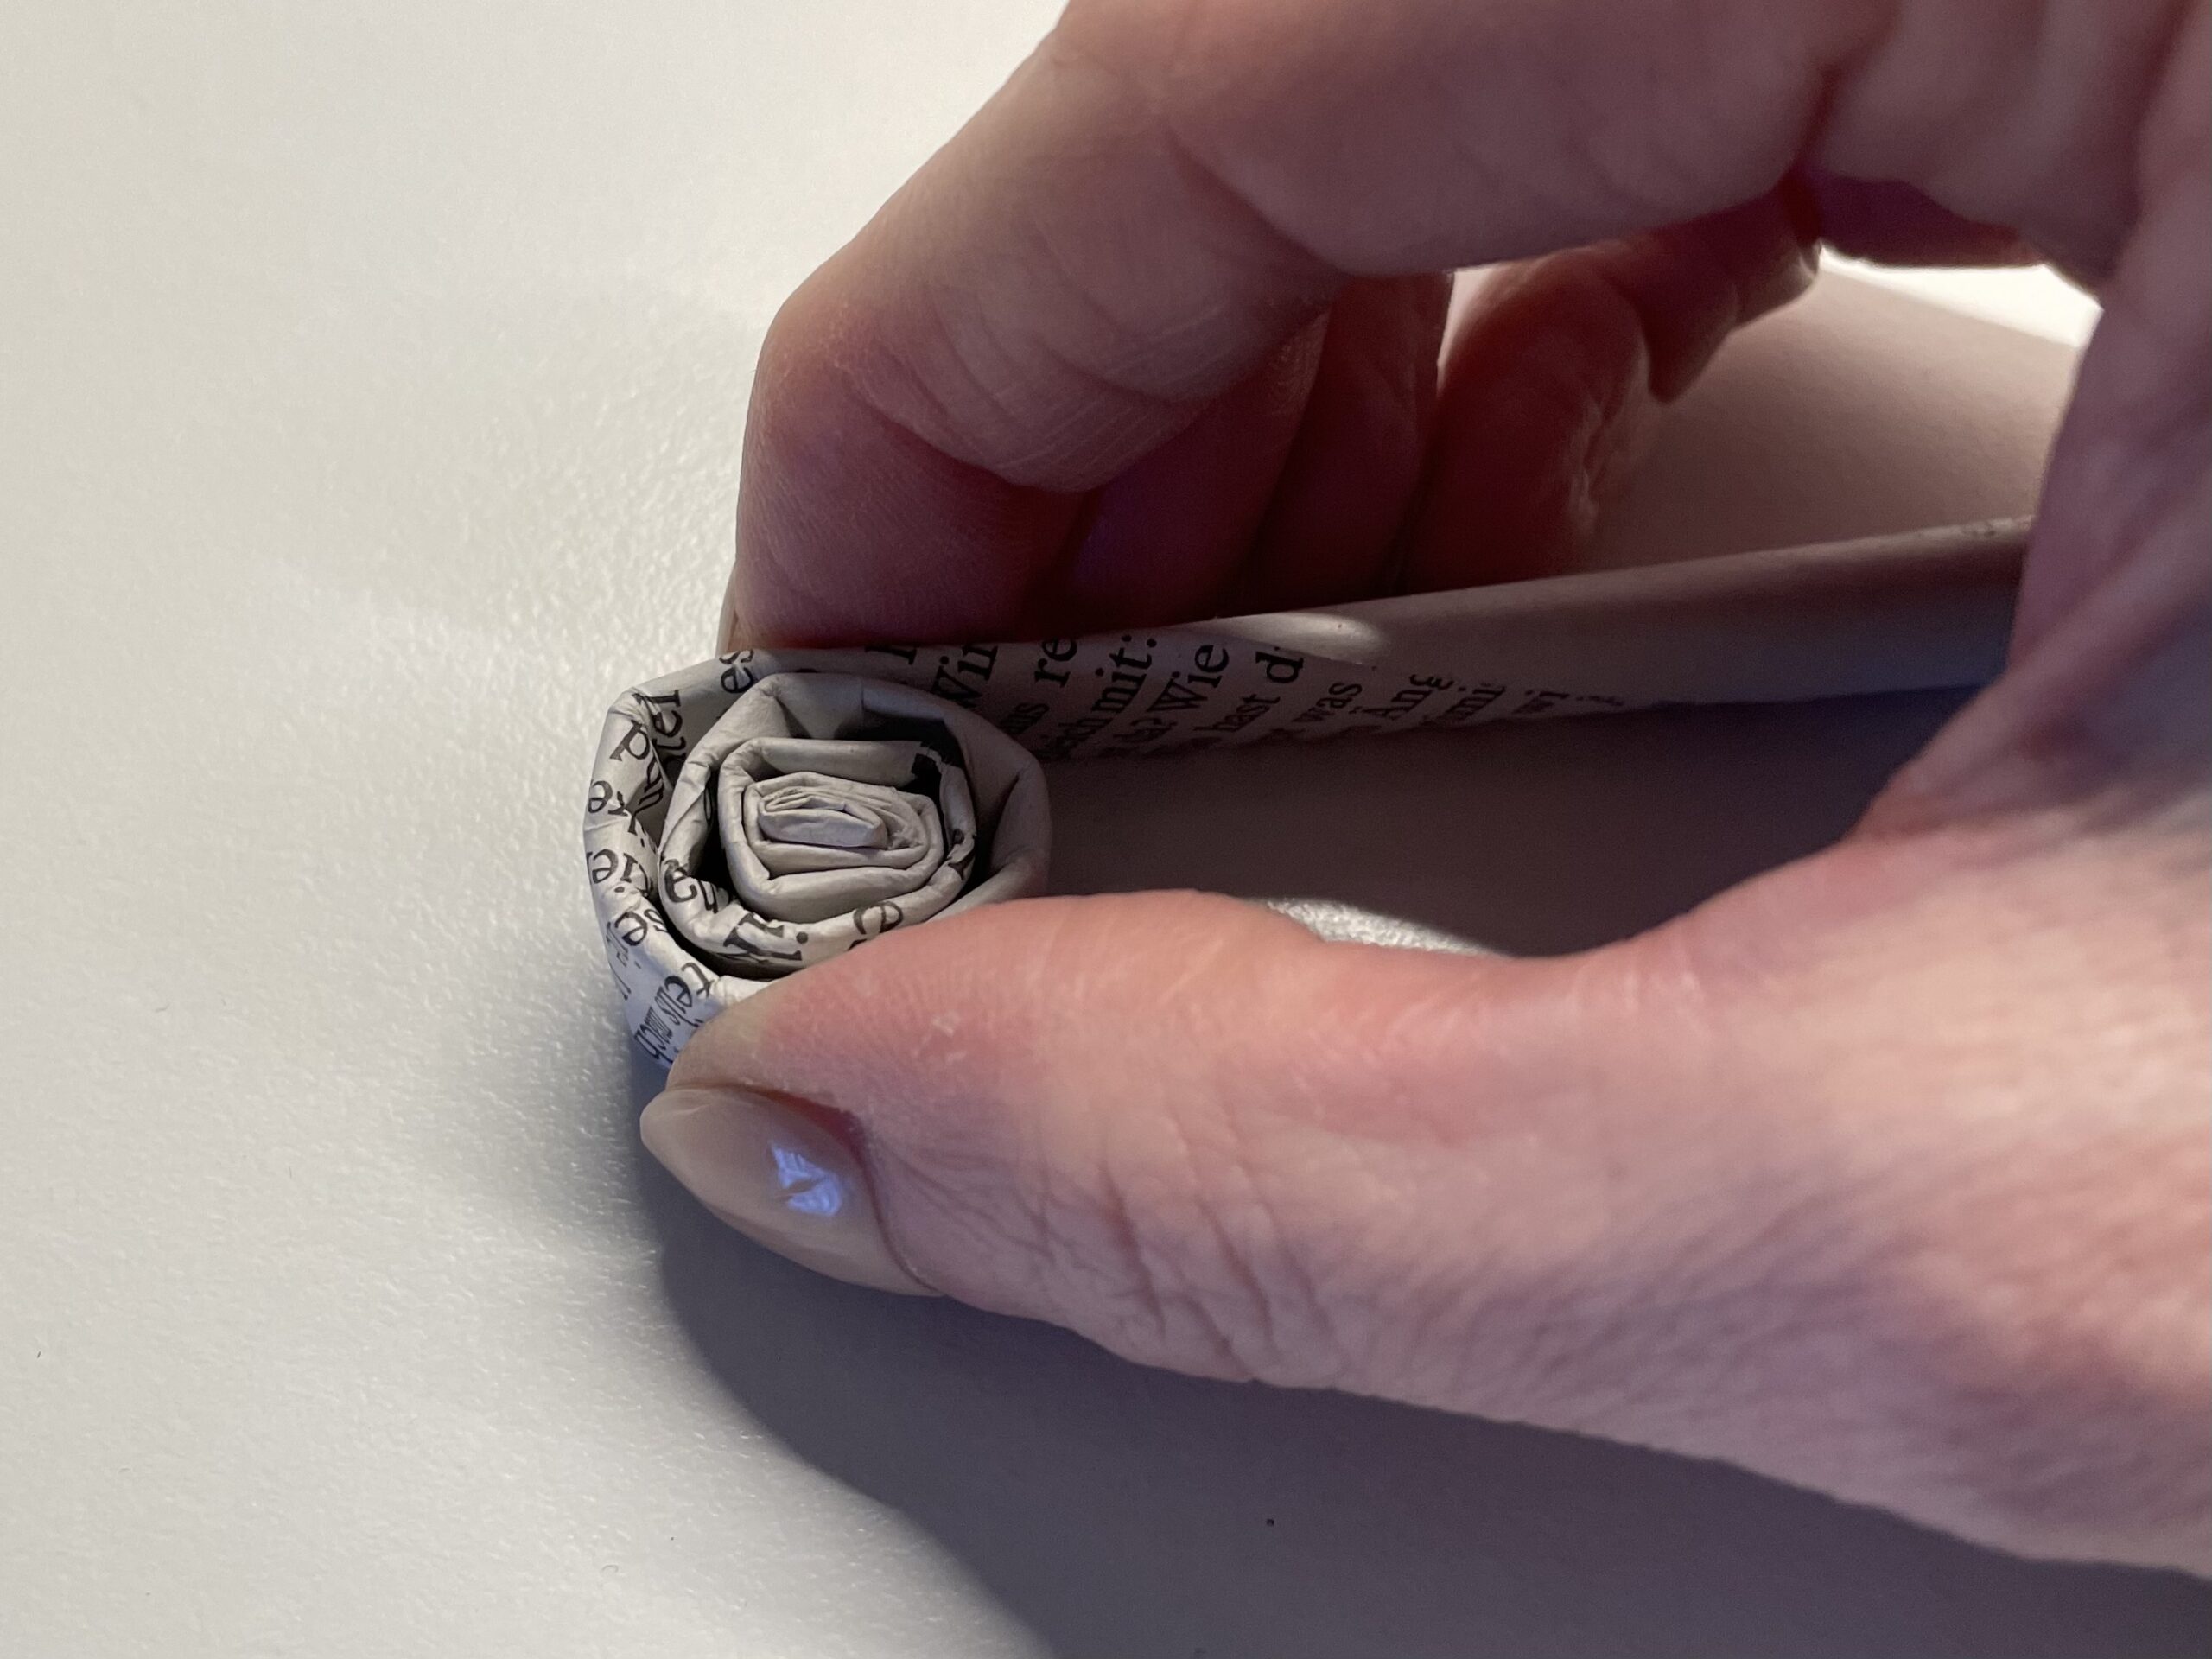


This is what the snail looks like now. Wrap until the last 5 cm are left.
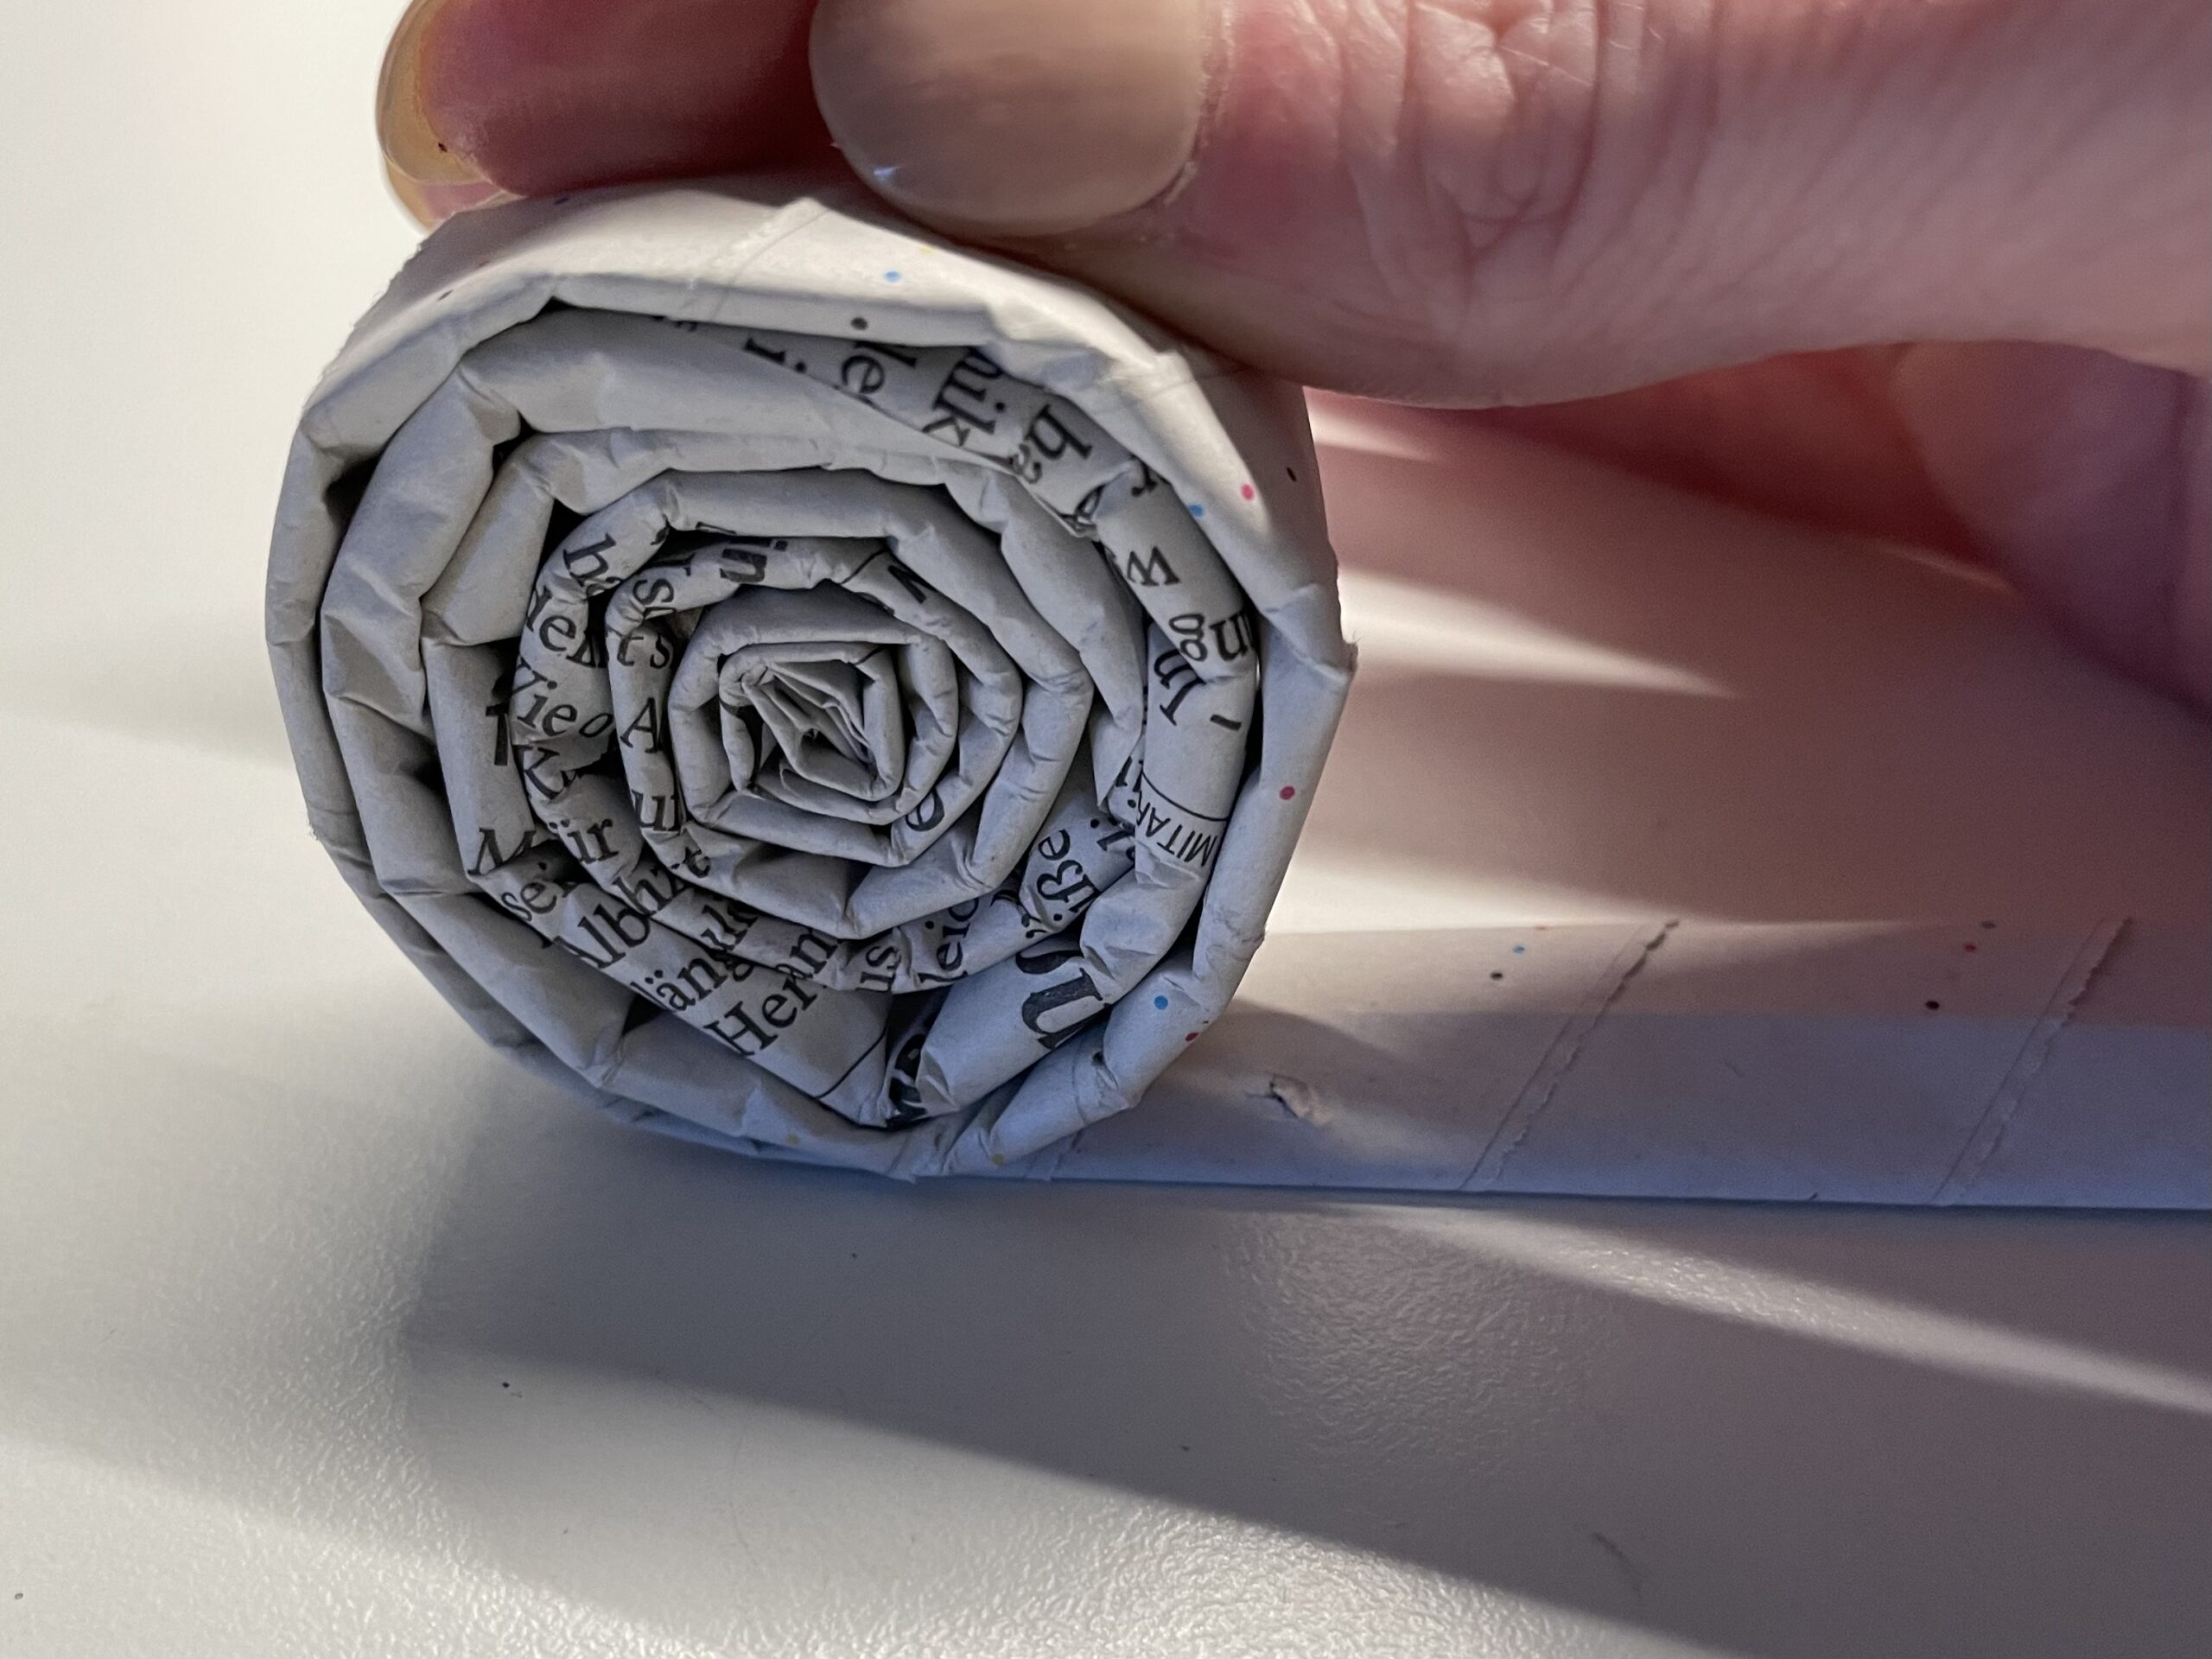


Now the next strip is glued on.
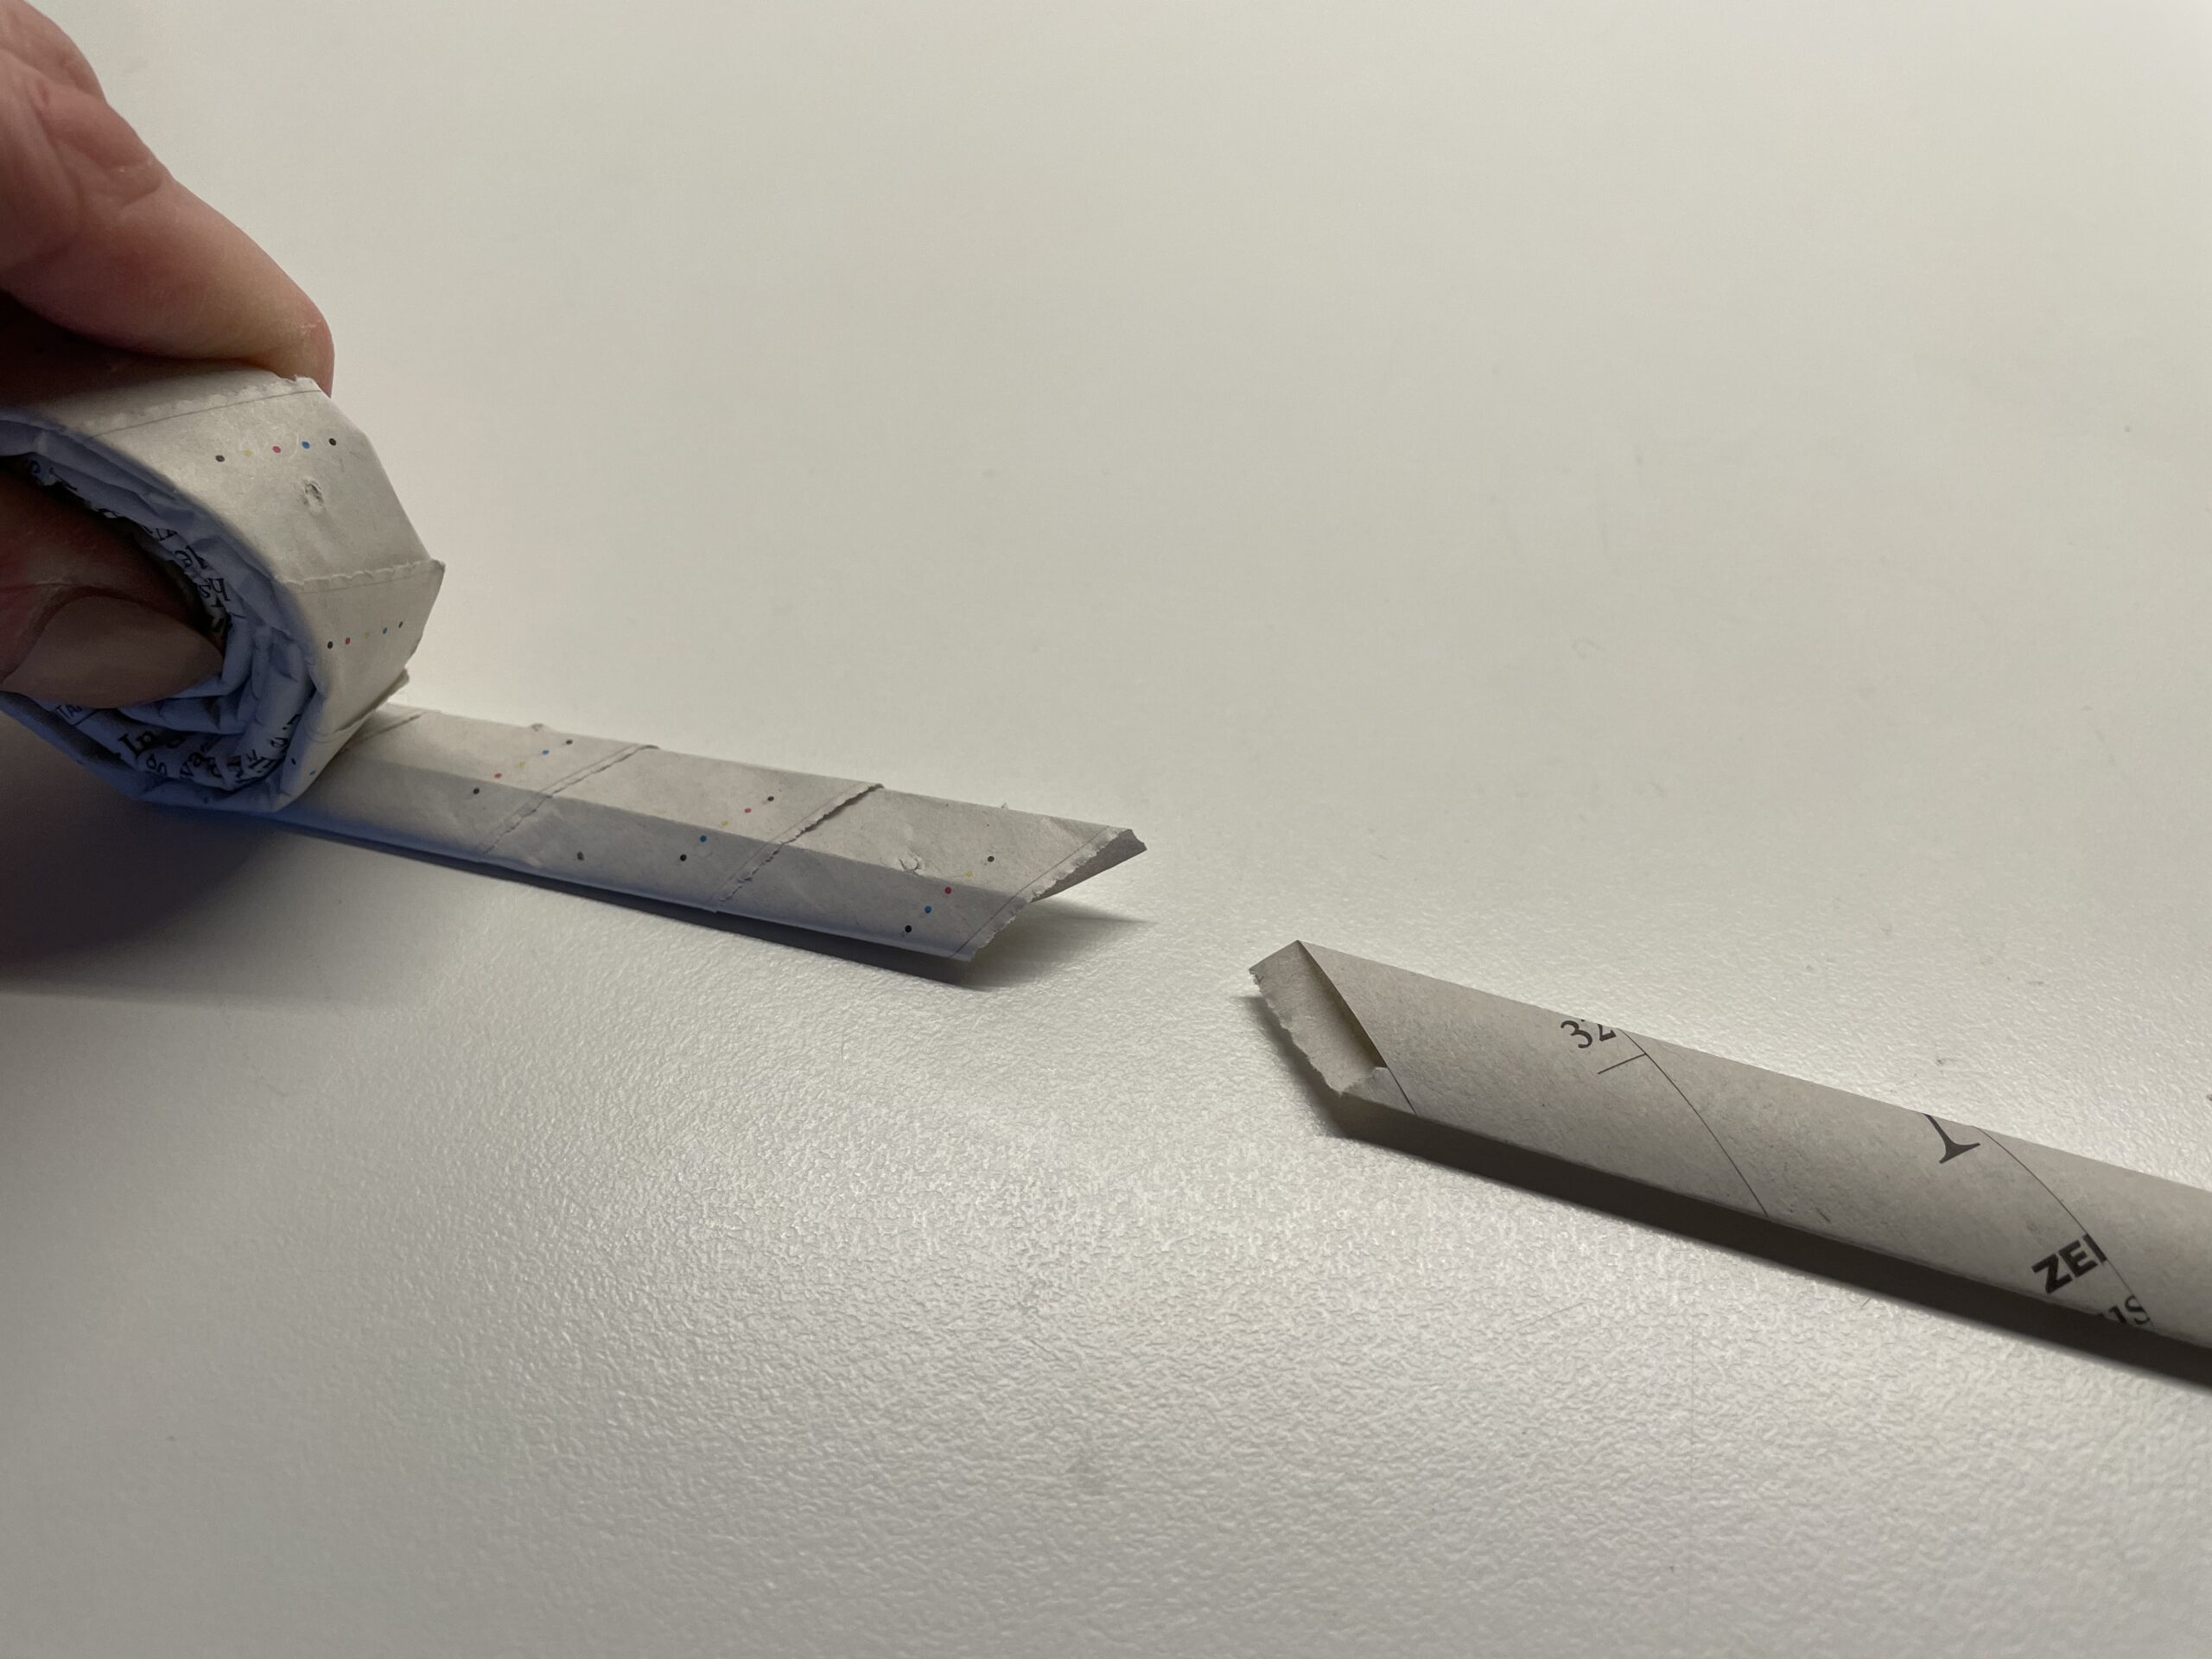


For this you go on the remaining piece of glue and put the beginning of the new strip over it. Press the overlapping strips together and then wrap further.
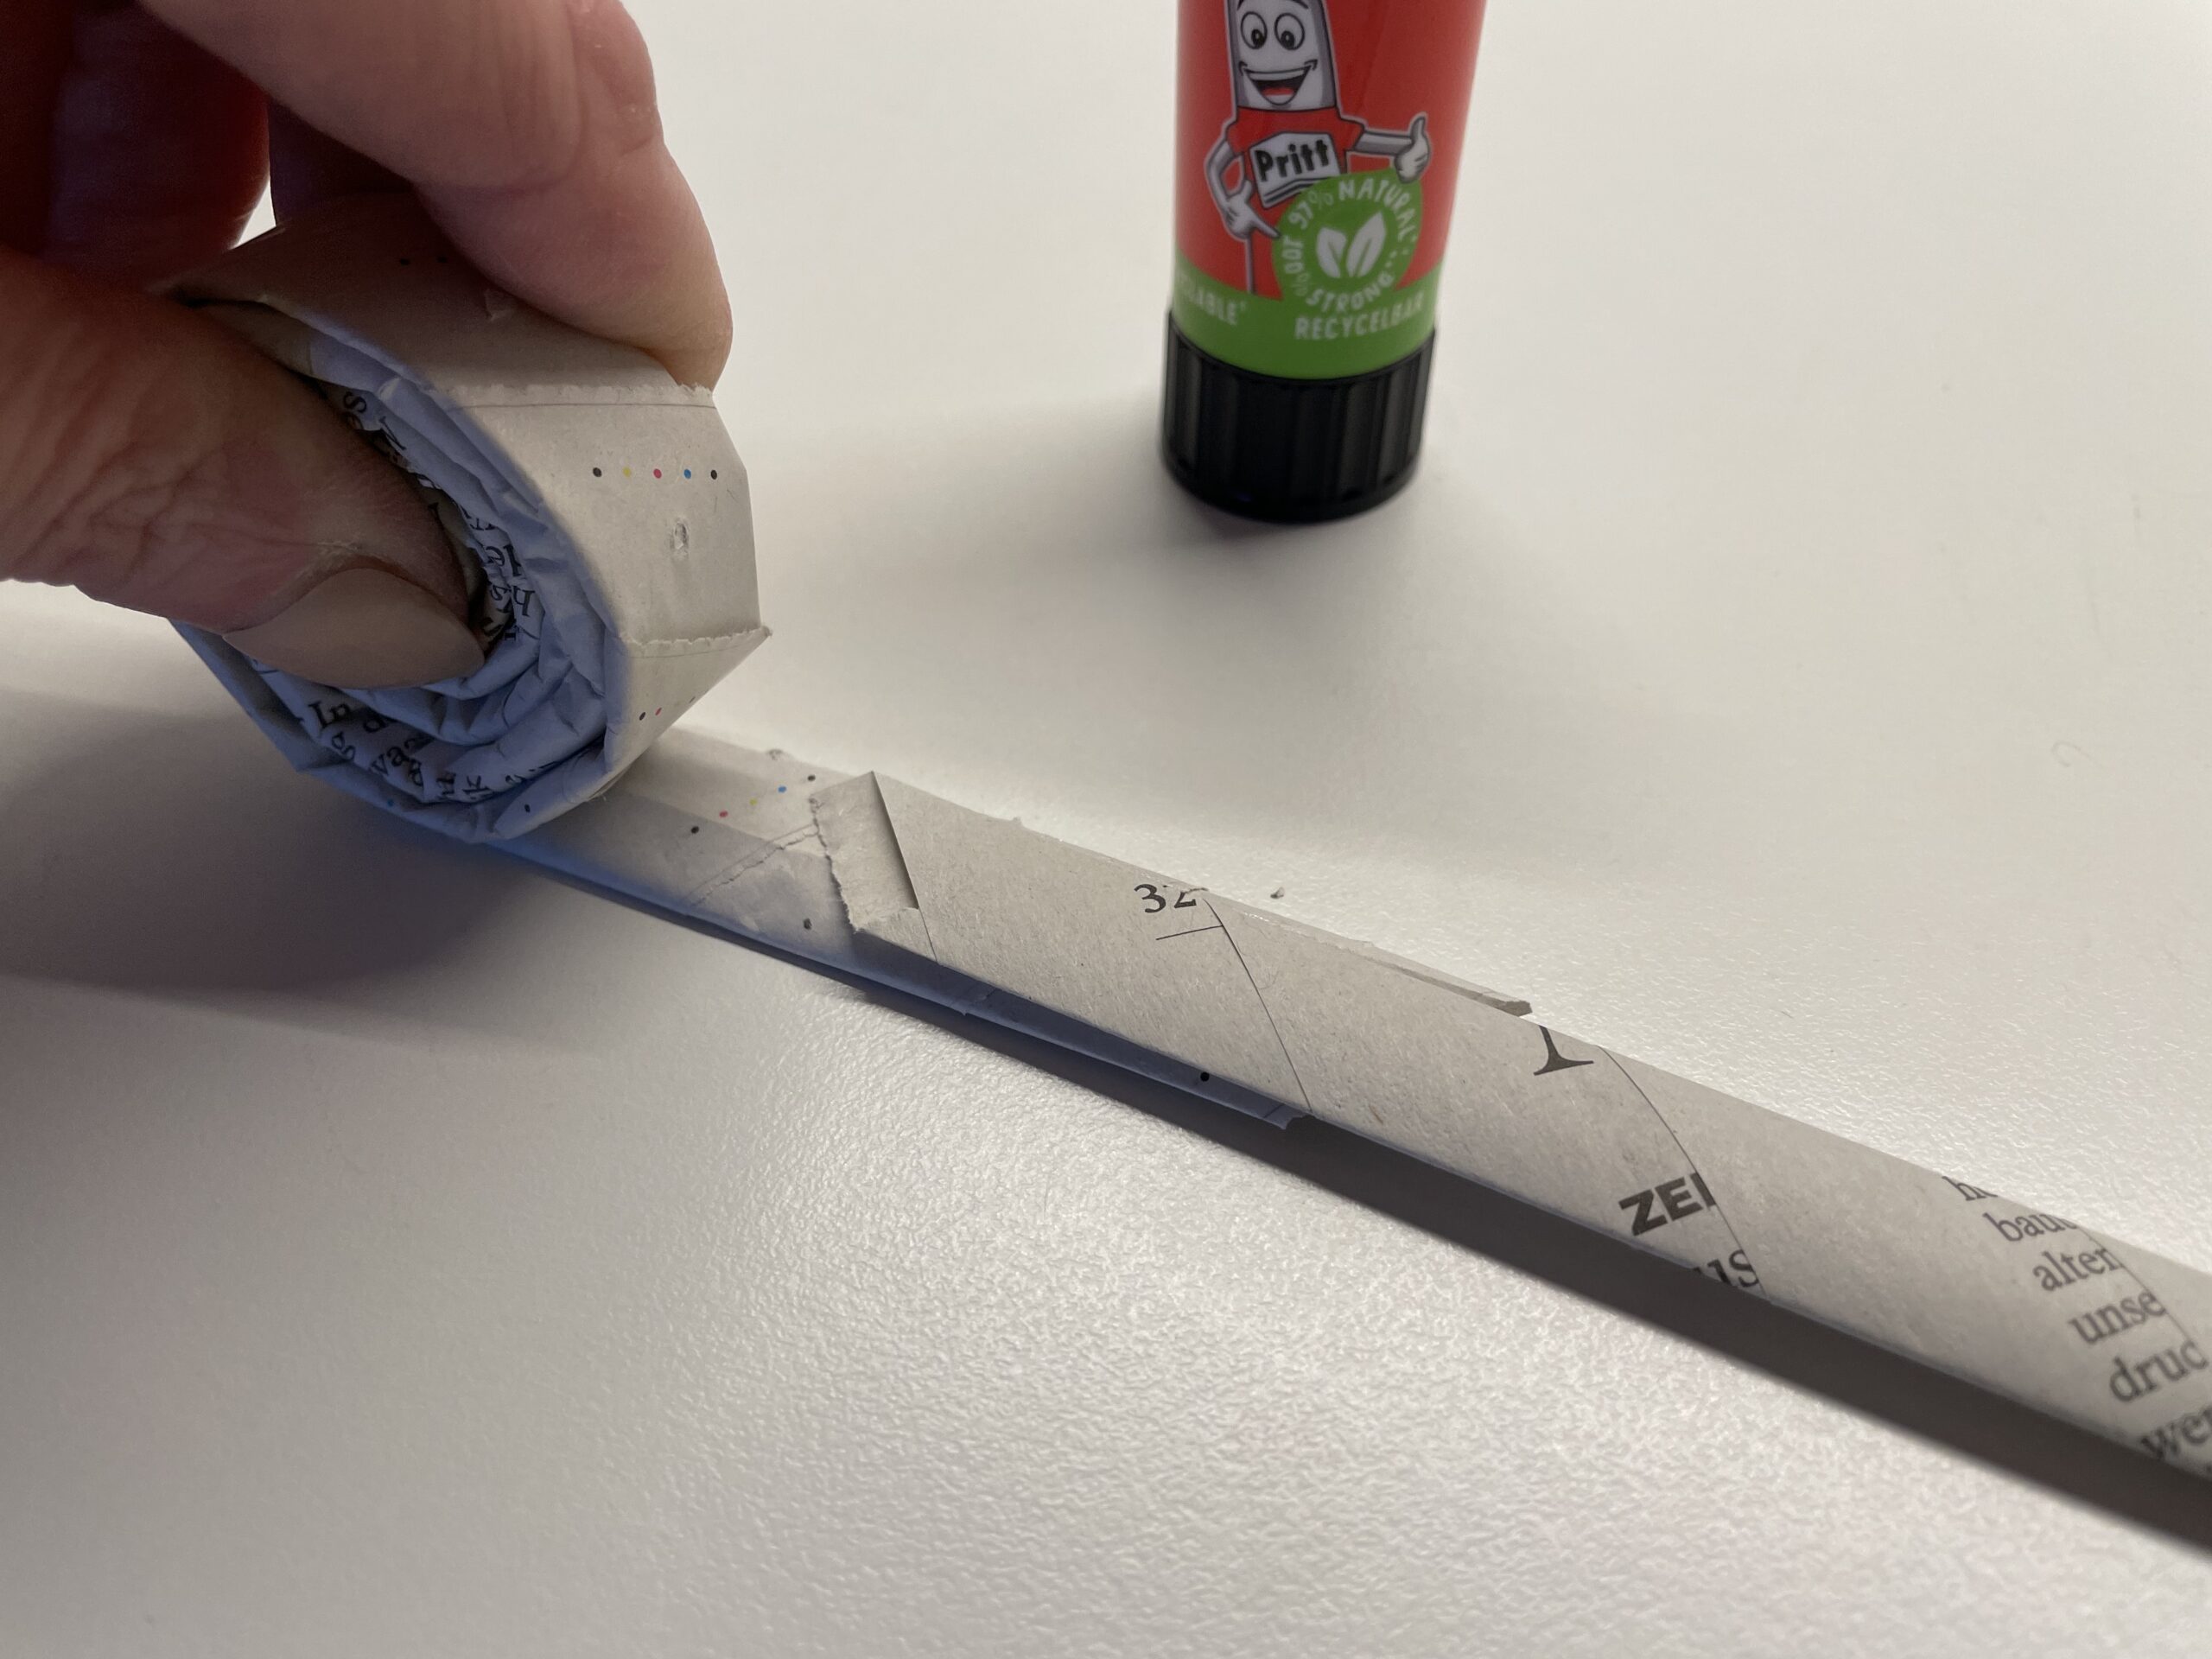


You wrap and stretch the strips until the paper snail is big enough for you.
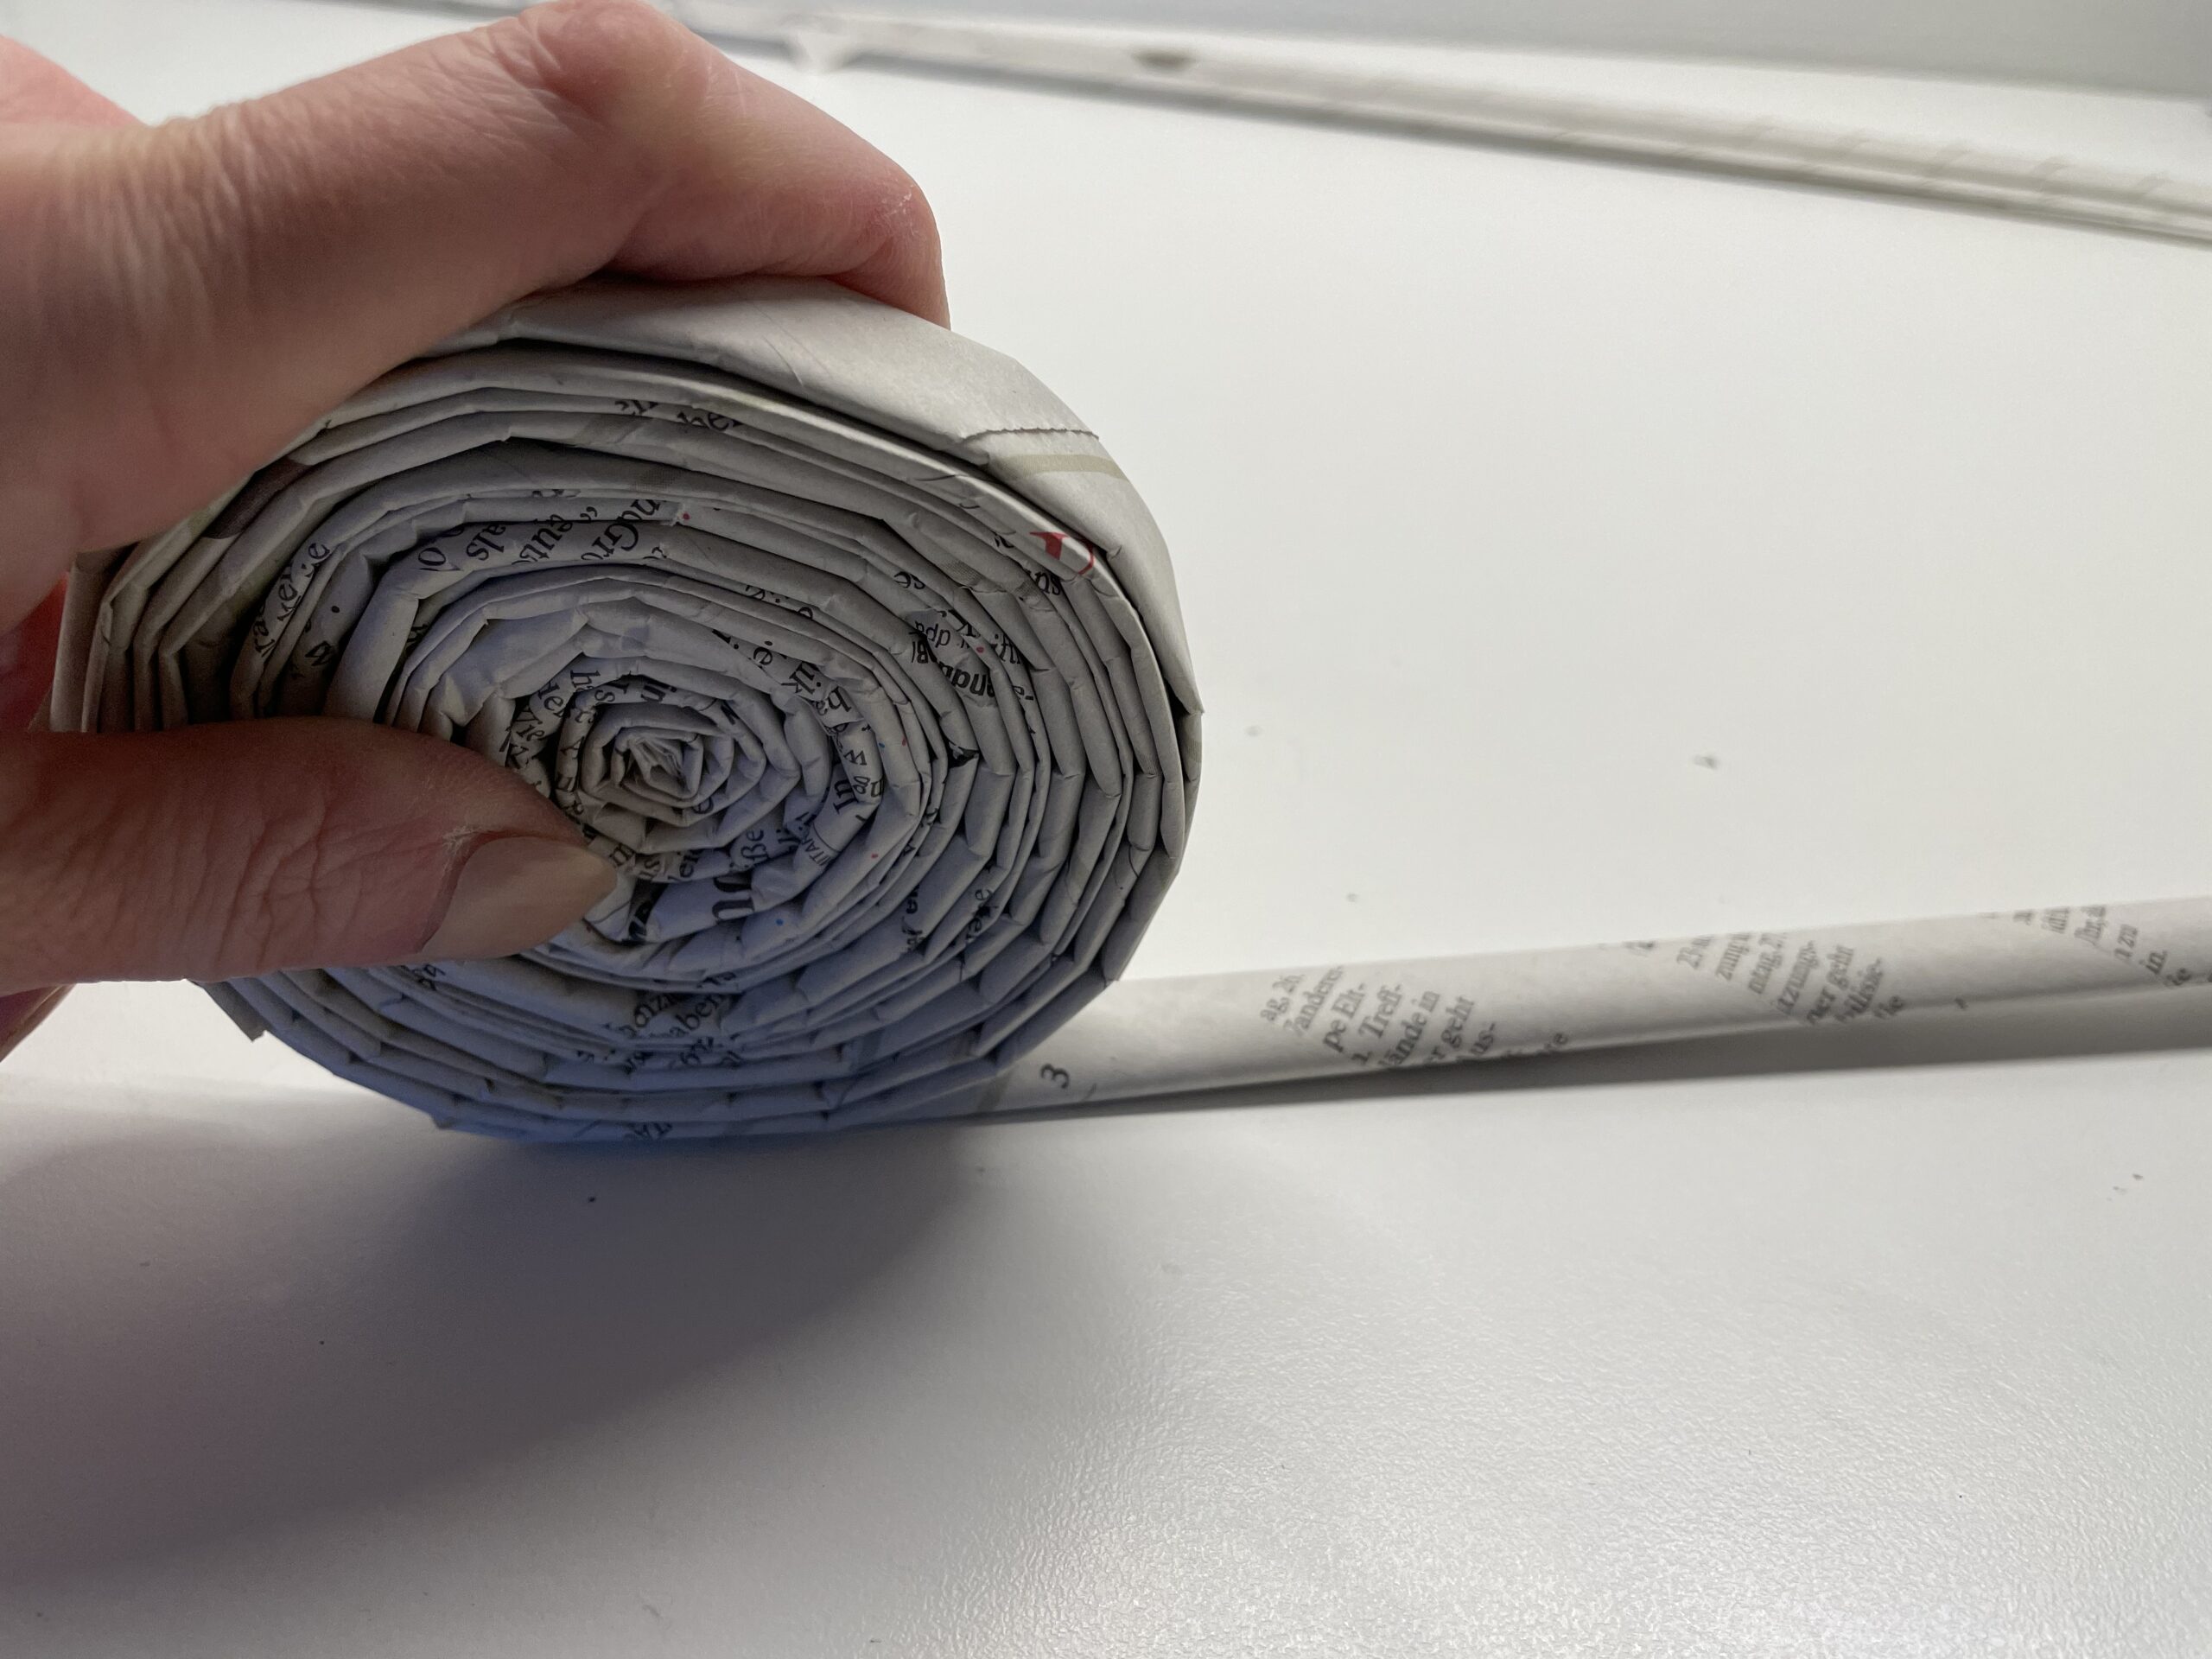


Always hold the rolled-up paper snail well, otherwise it immediately breaks apart again.


The end piece is fixed with glue.
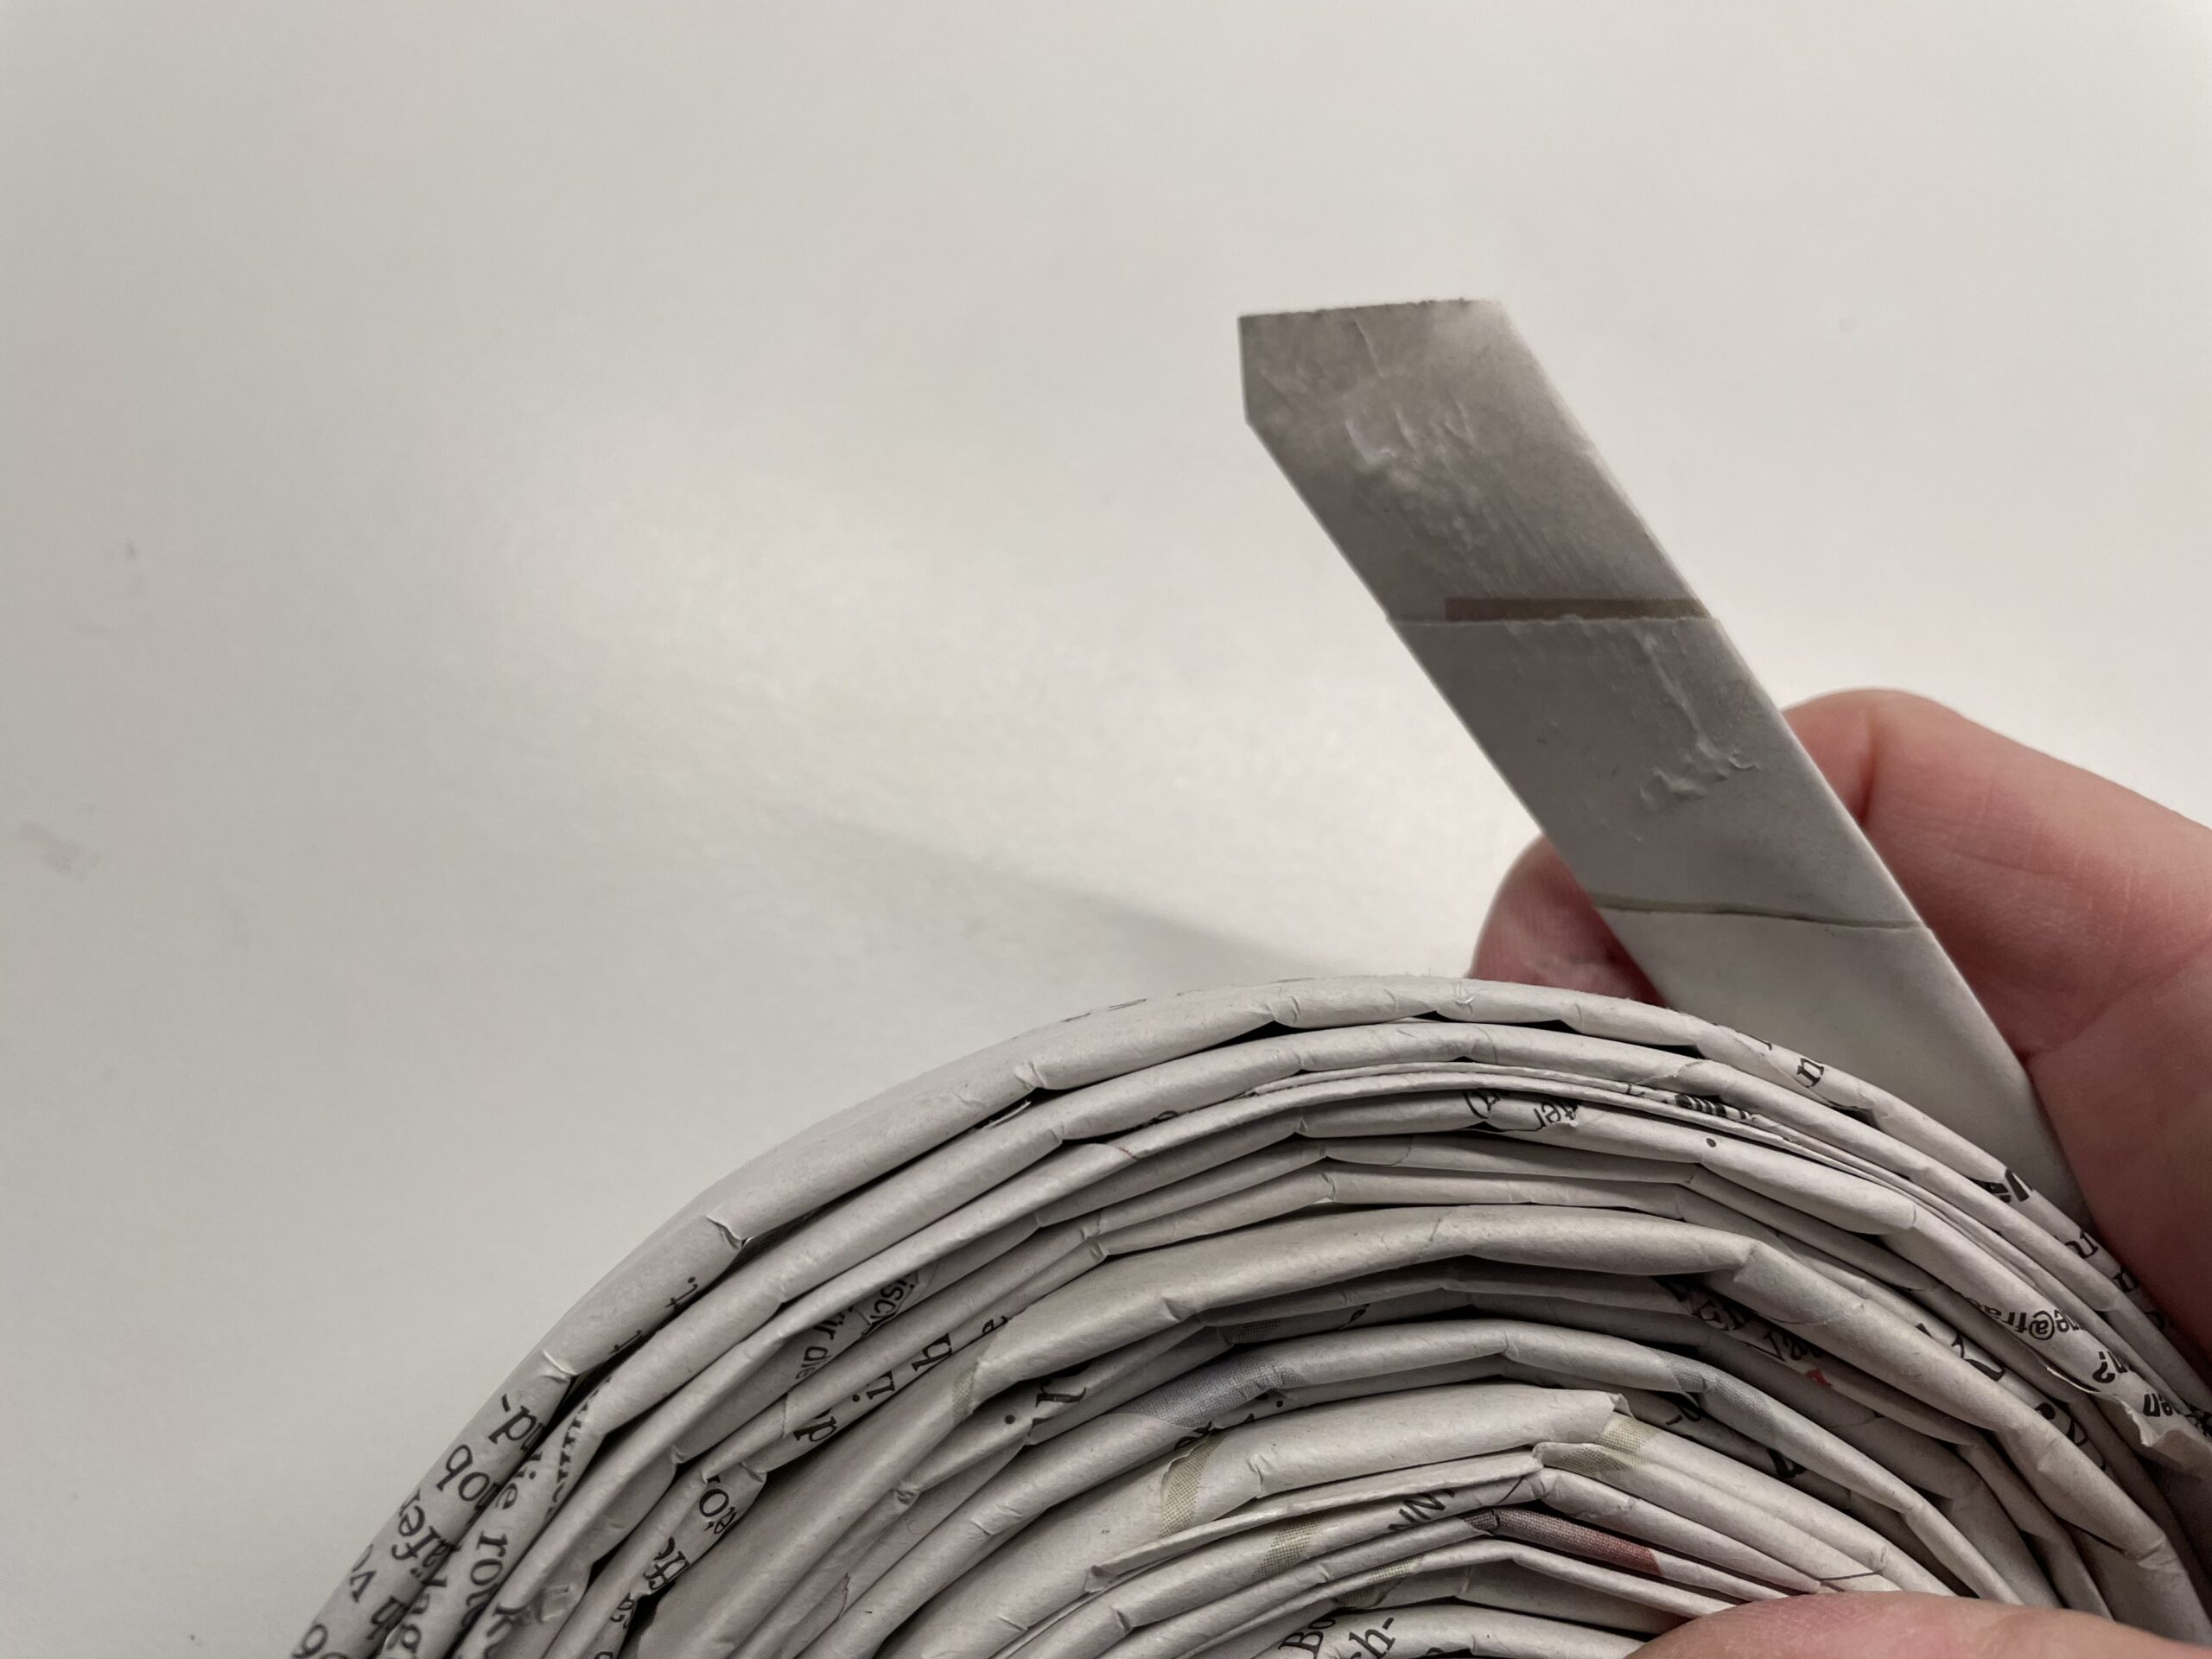


Hold on to the end of the paper with your finger until the glue has dried up a little. So the snail does not roll up again.
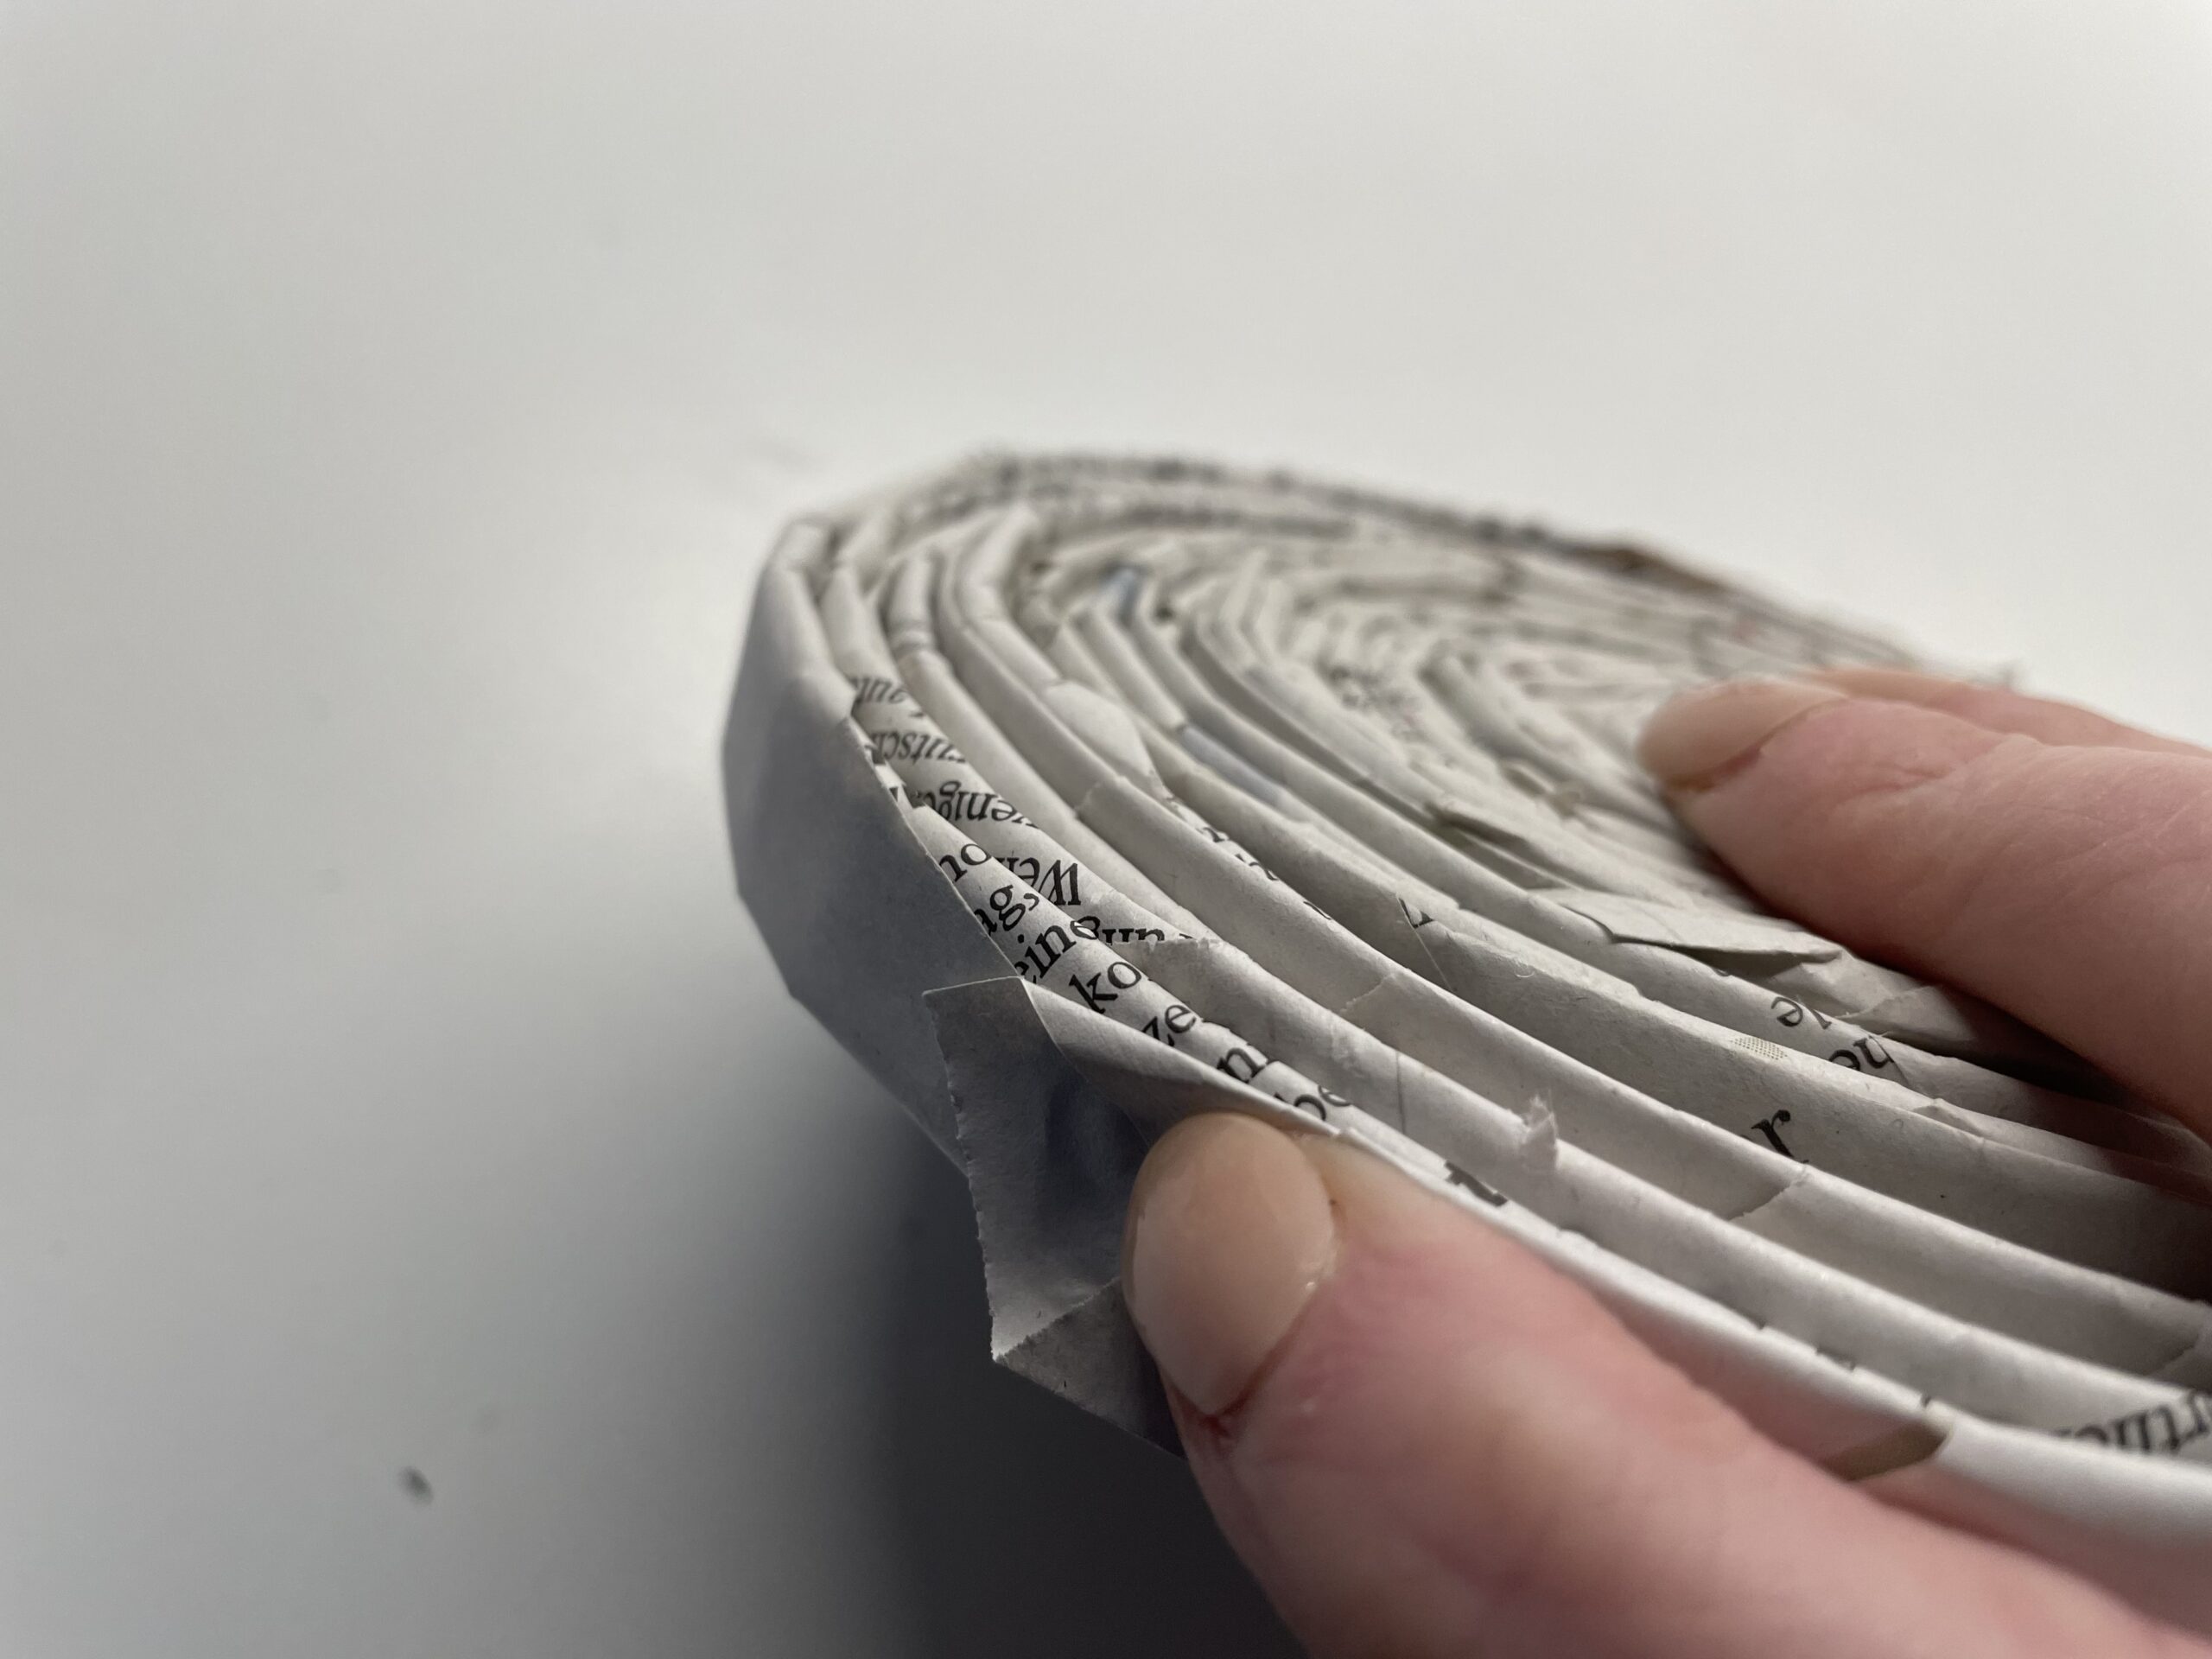


The paper snail is now ready.


Take the paper snail in both hands and press the snail slightly inwards with both thumbs at the same time. Do this very slowly so that you do not push the snail apart.
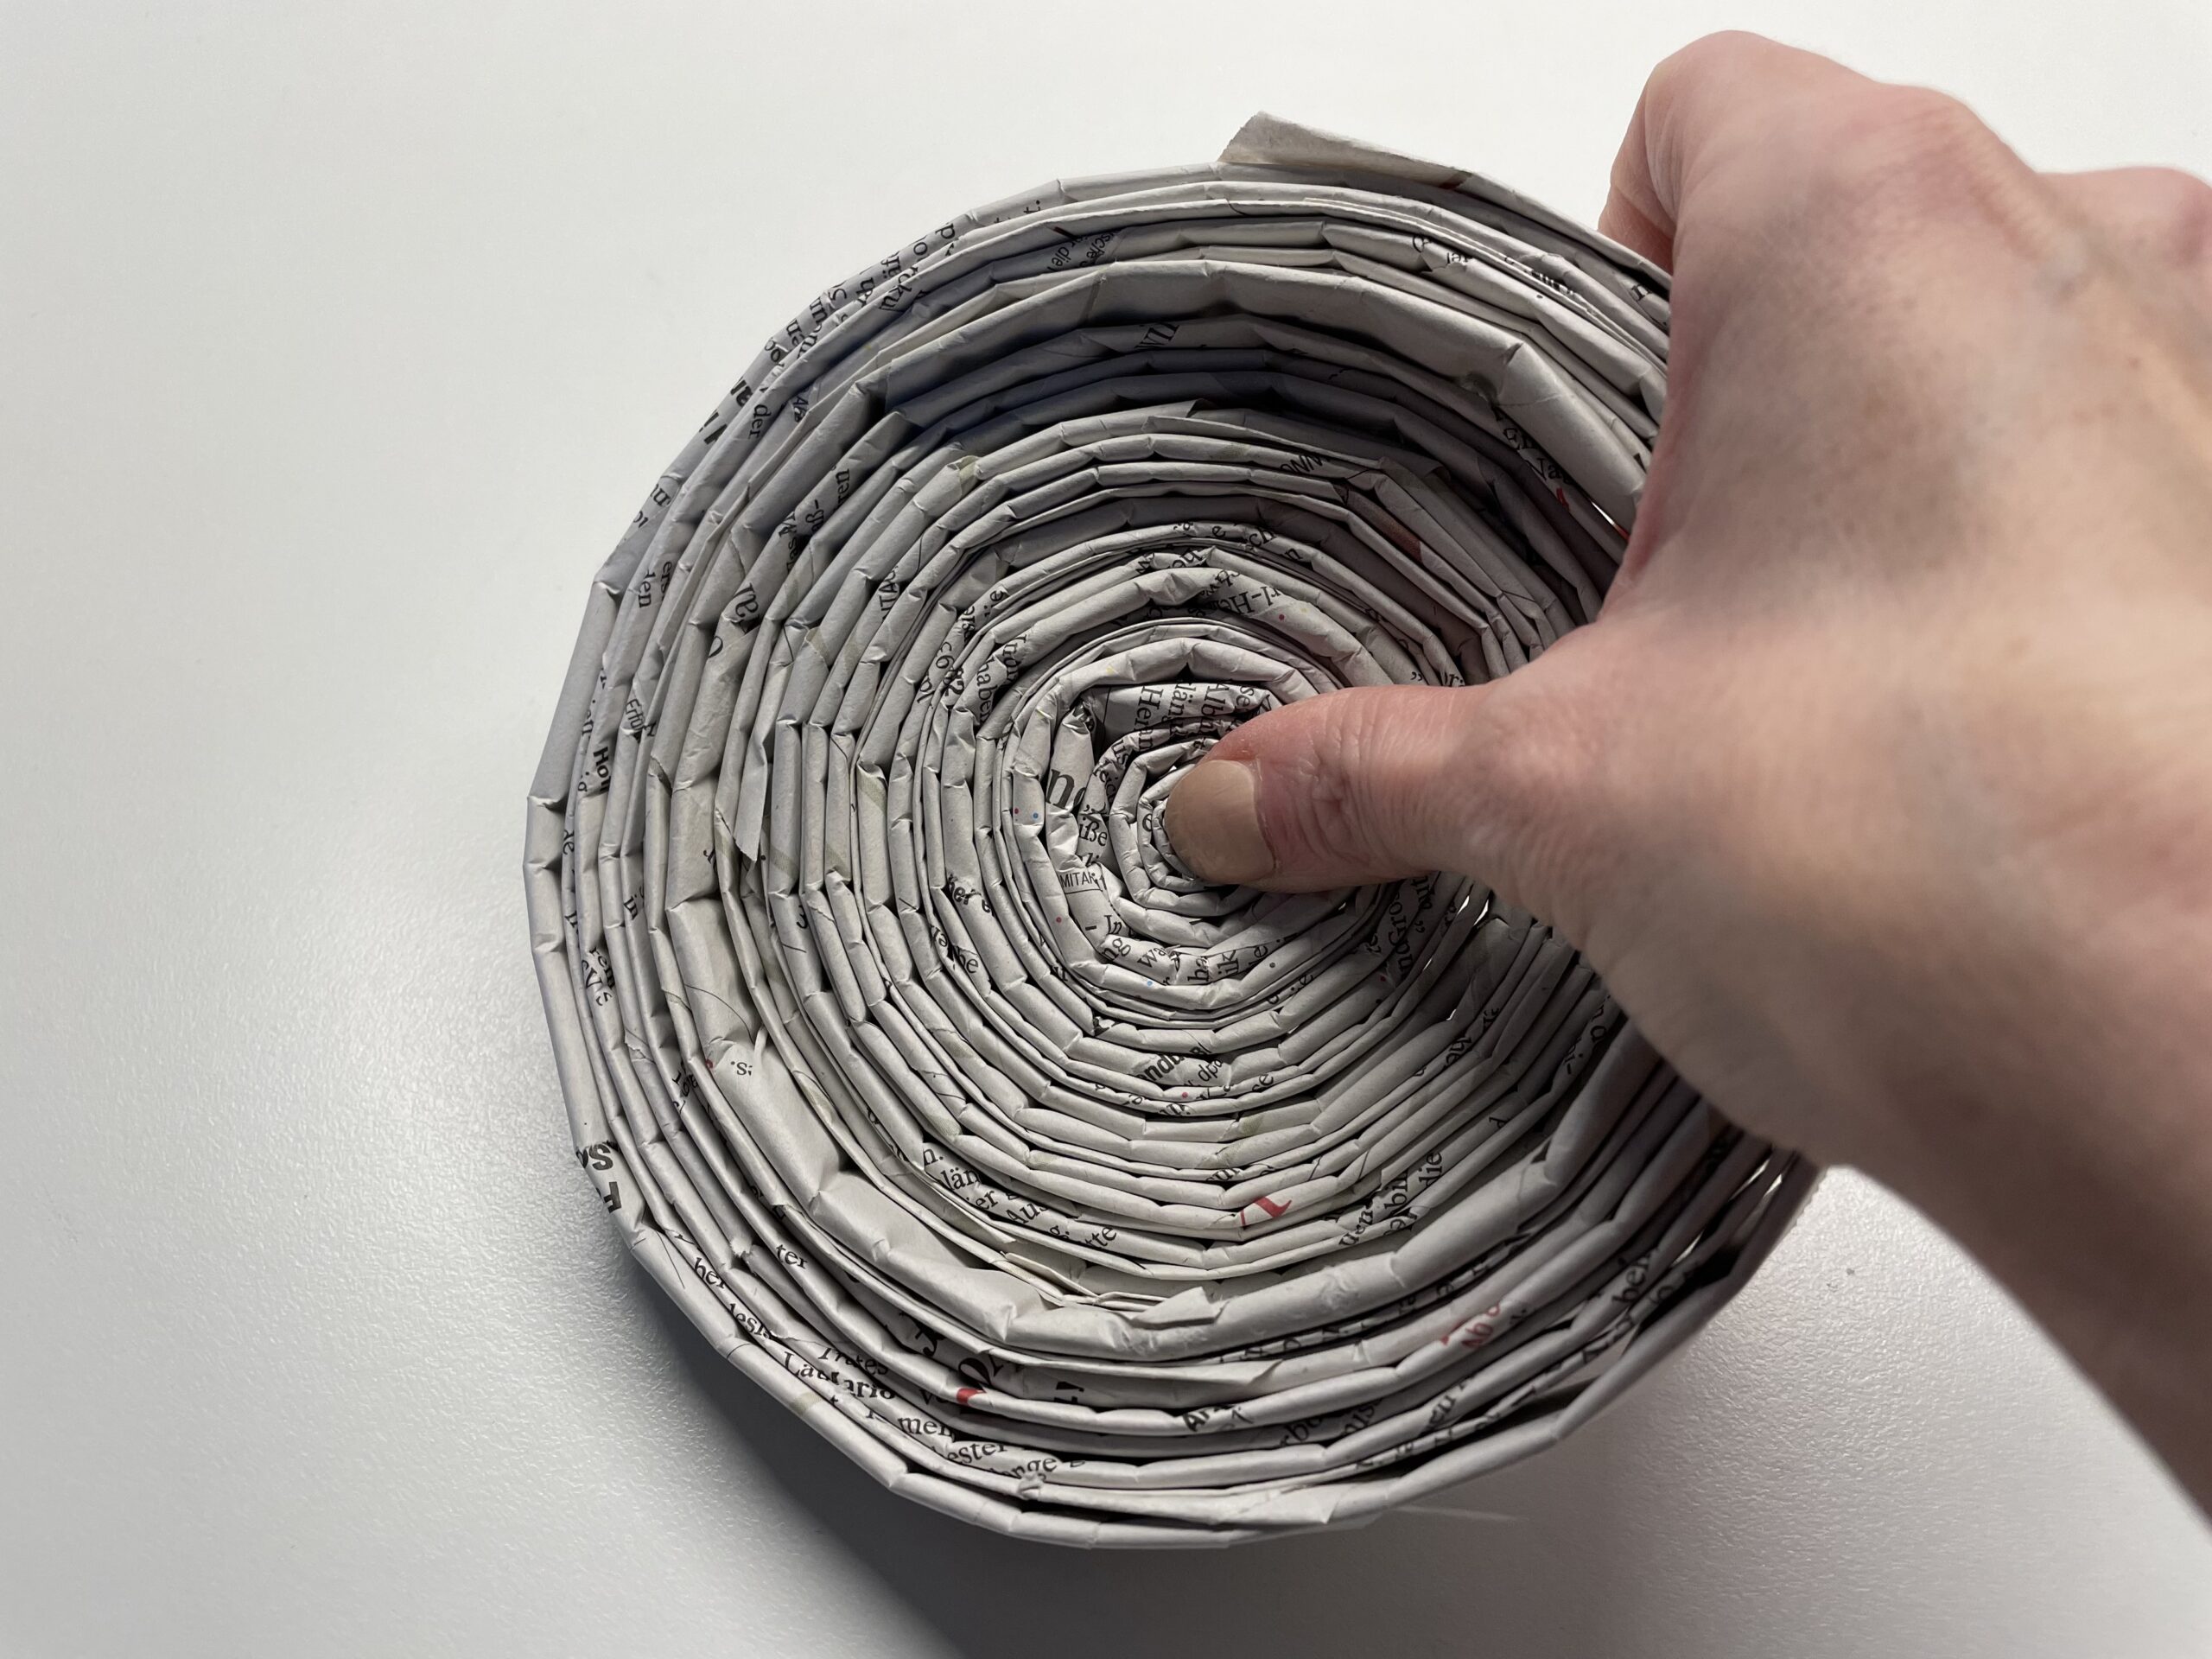


So you get a bowl. Form the bowl until you like it. Make sure that the bowl can stand well on the table. Therefore, it must not be too pointed below.
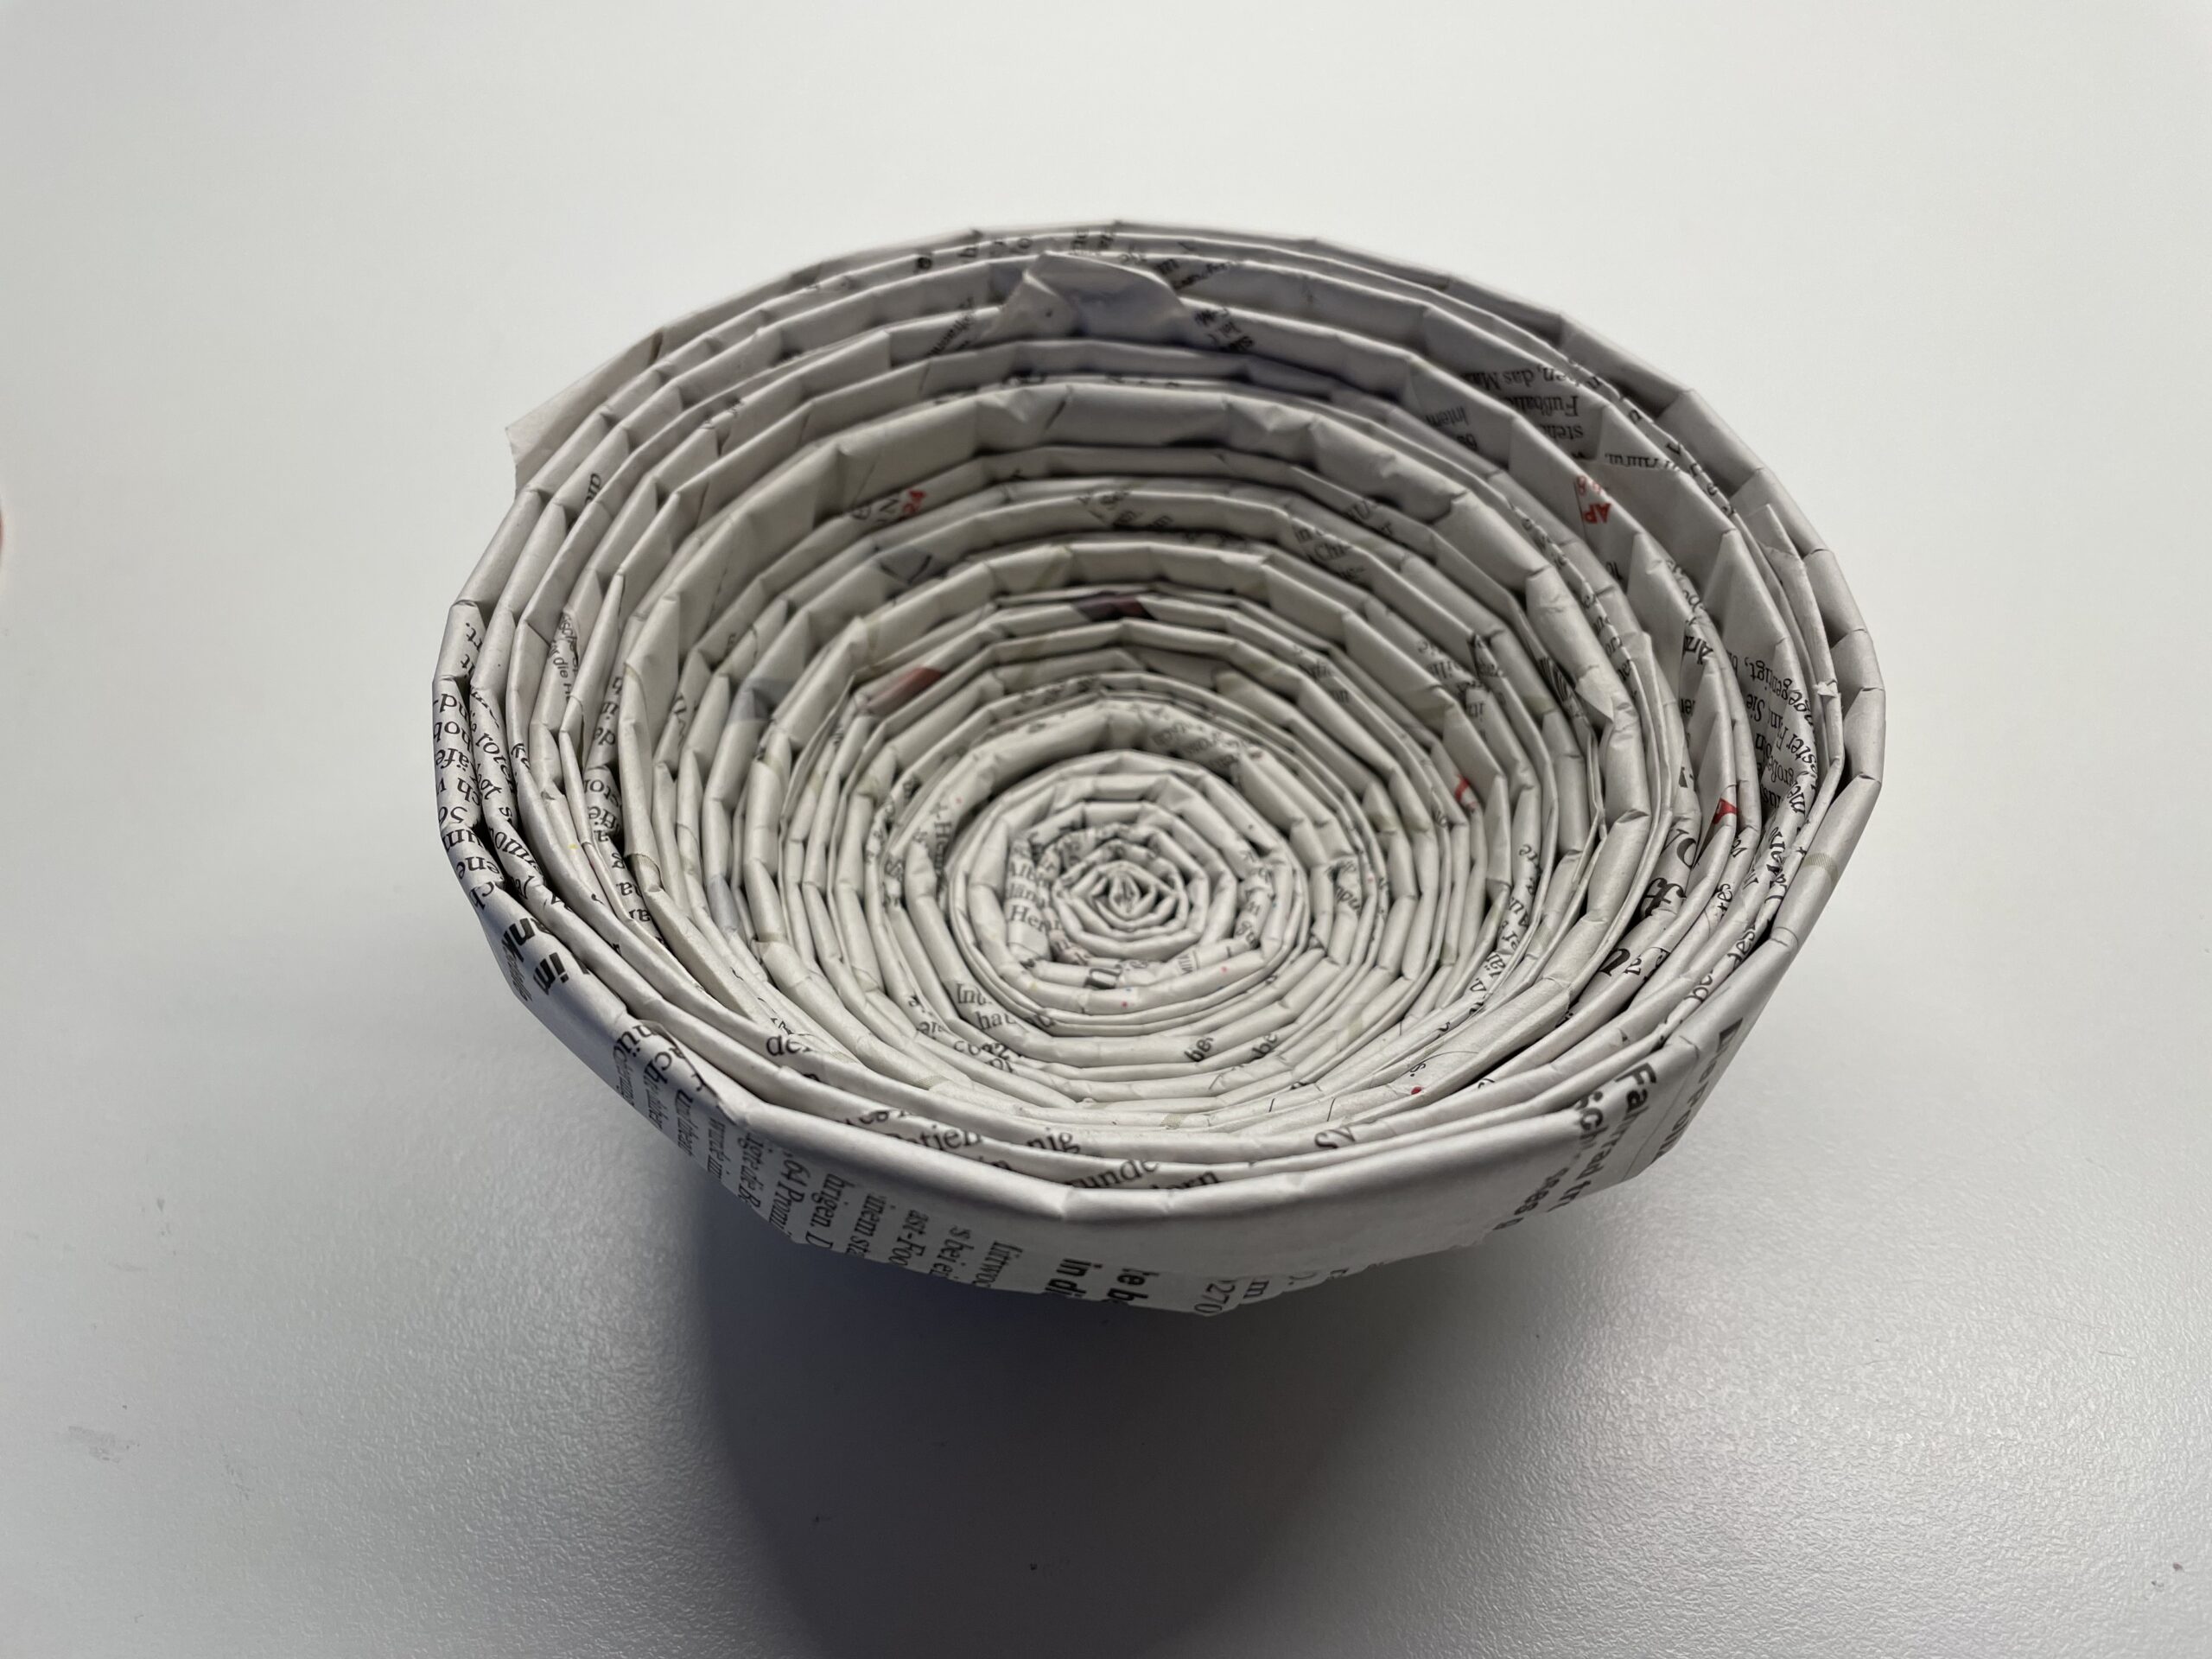


That's what the shell looks like from the outside.
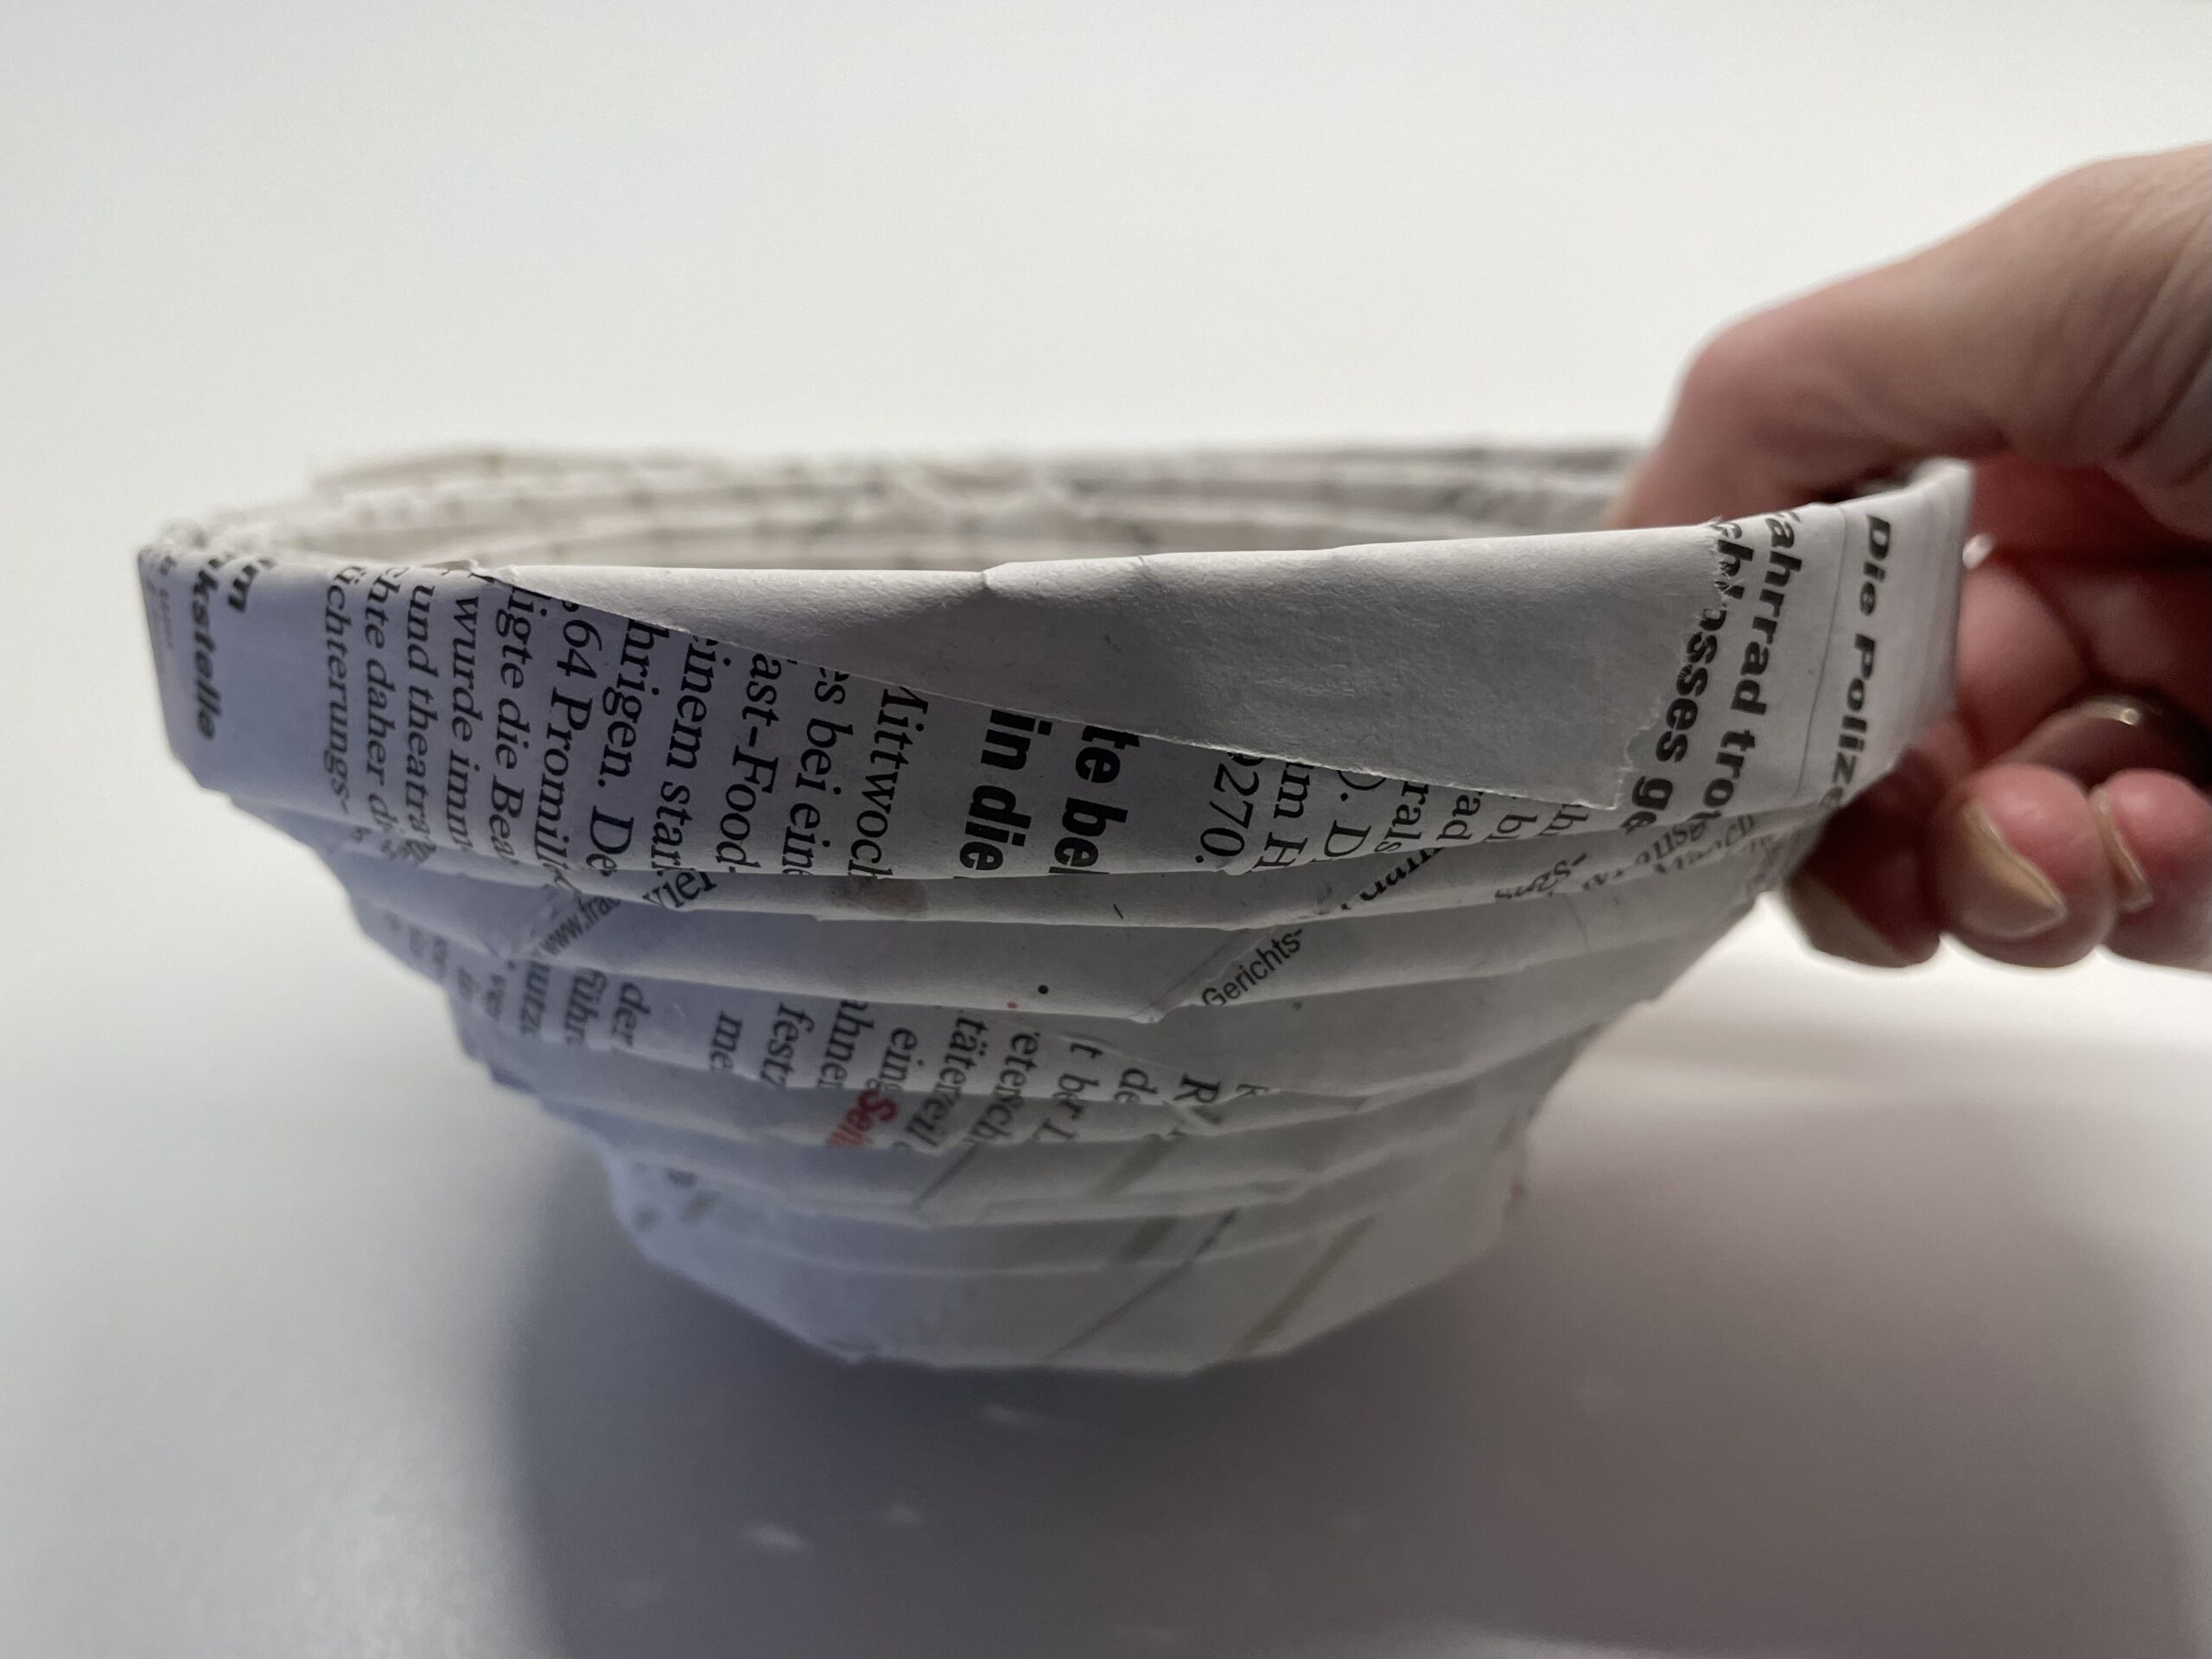


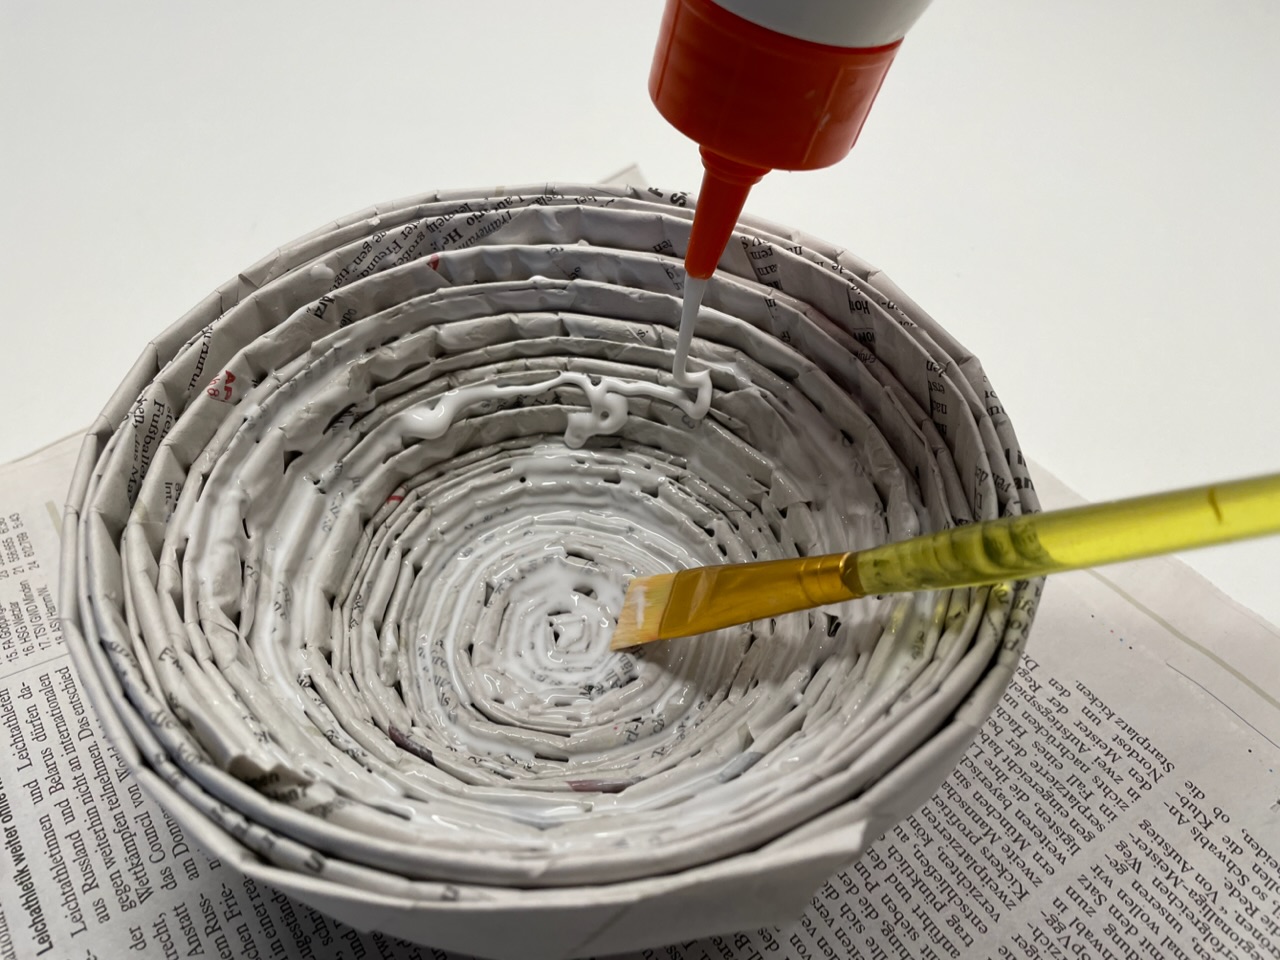
In order to get the bowl stable, it must be glued with glue. Uses wood glue, because it becomes transparent after drying.


Put glue in the bowl and spread it with a brush.
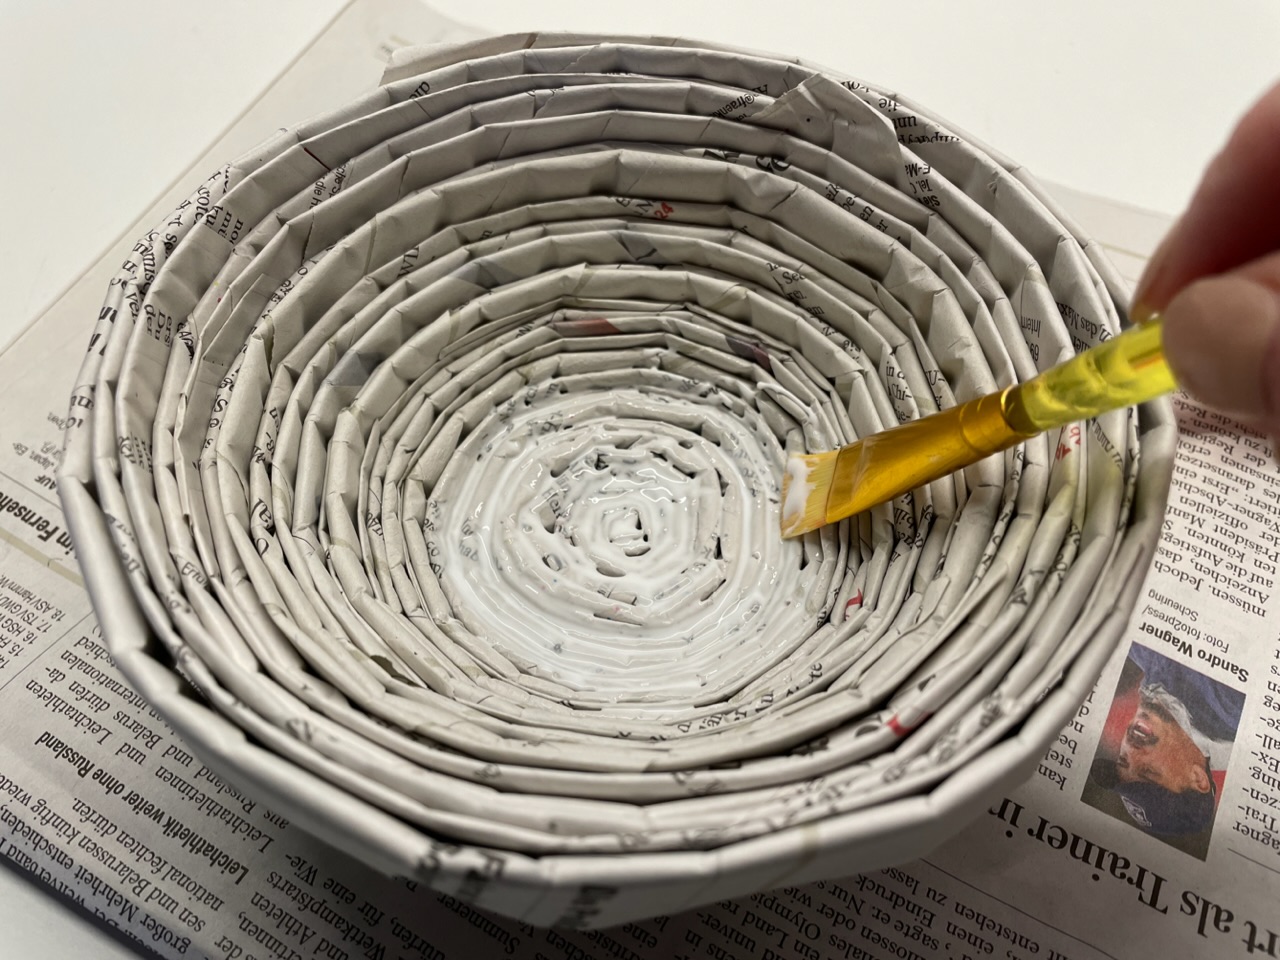


Goes step by step, otherwise the glue dries too fast.


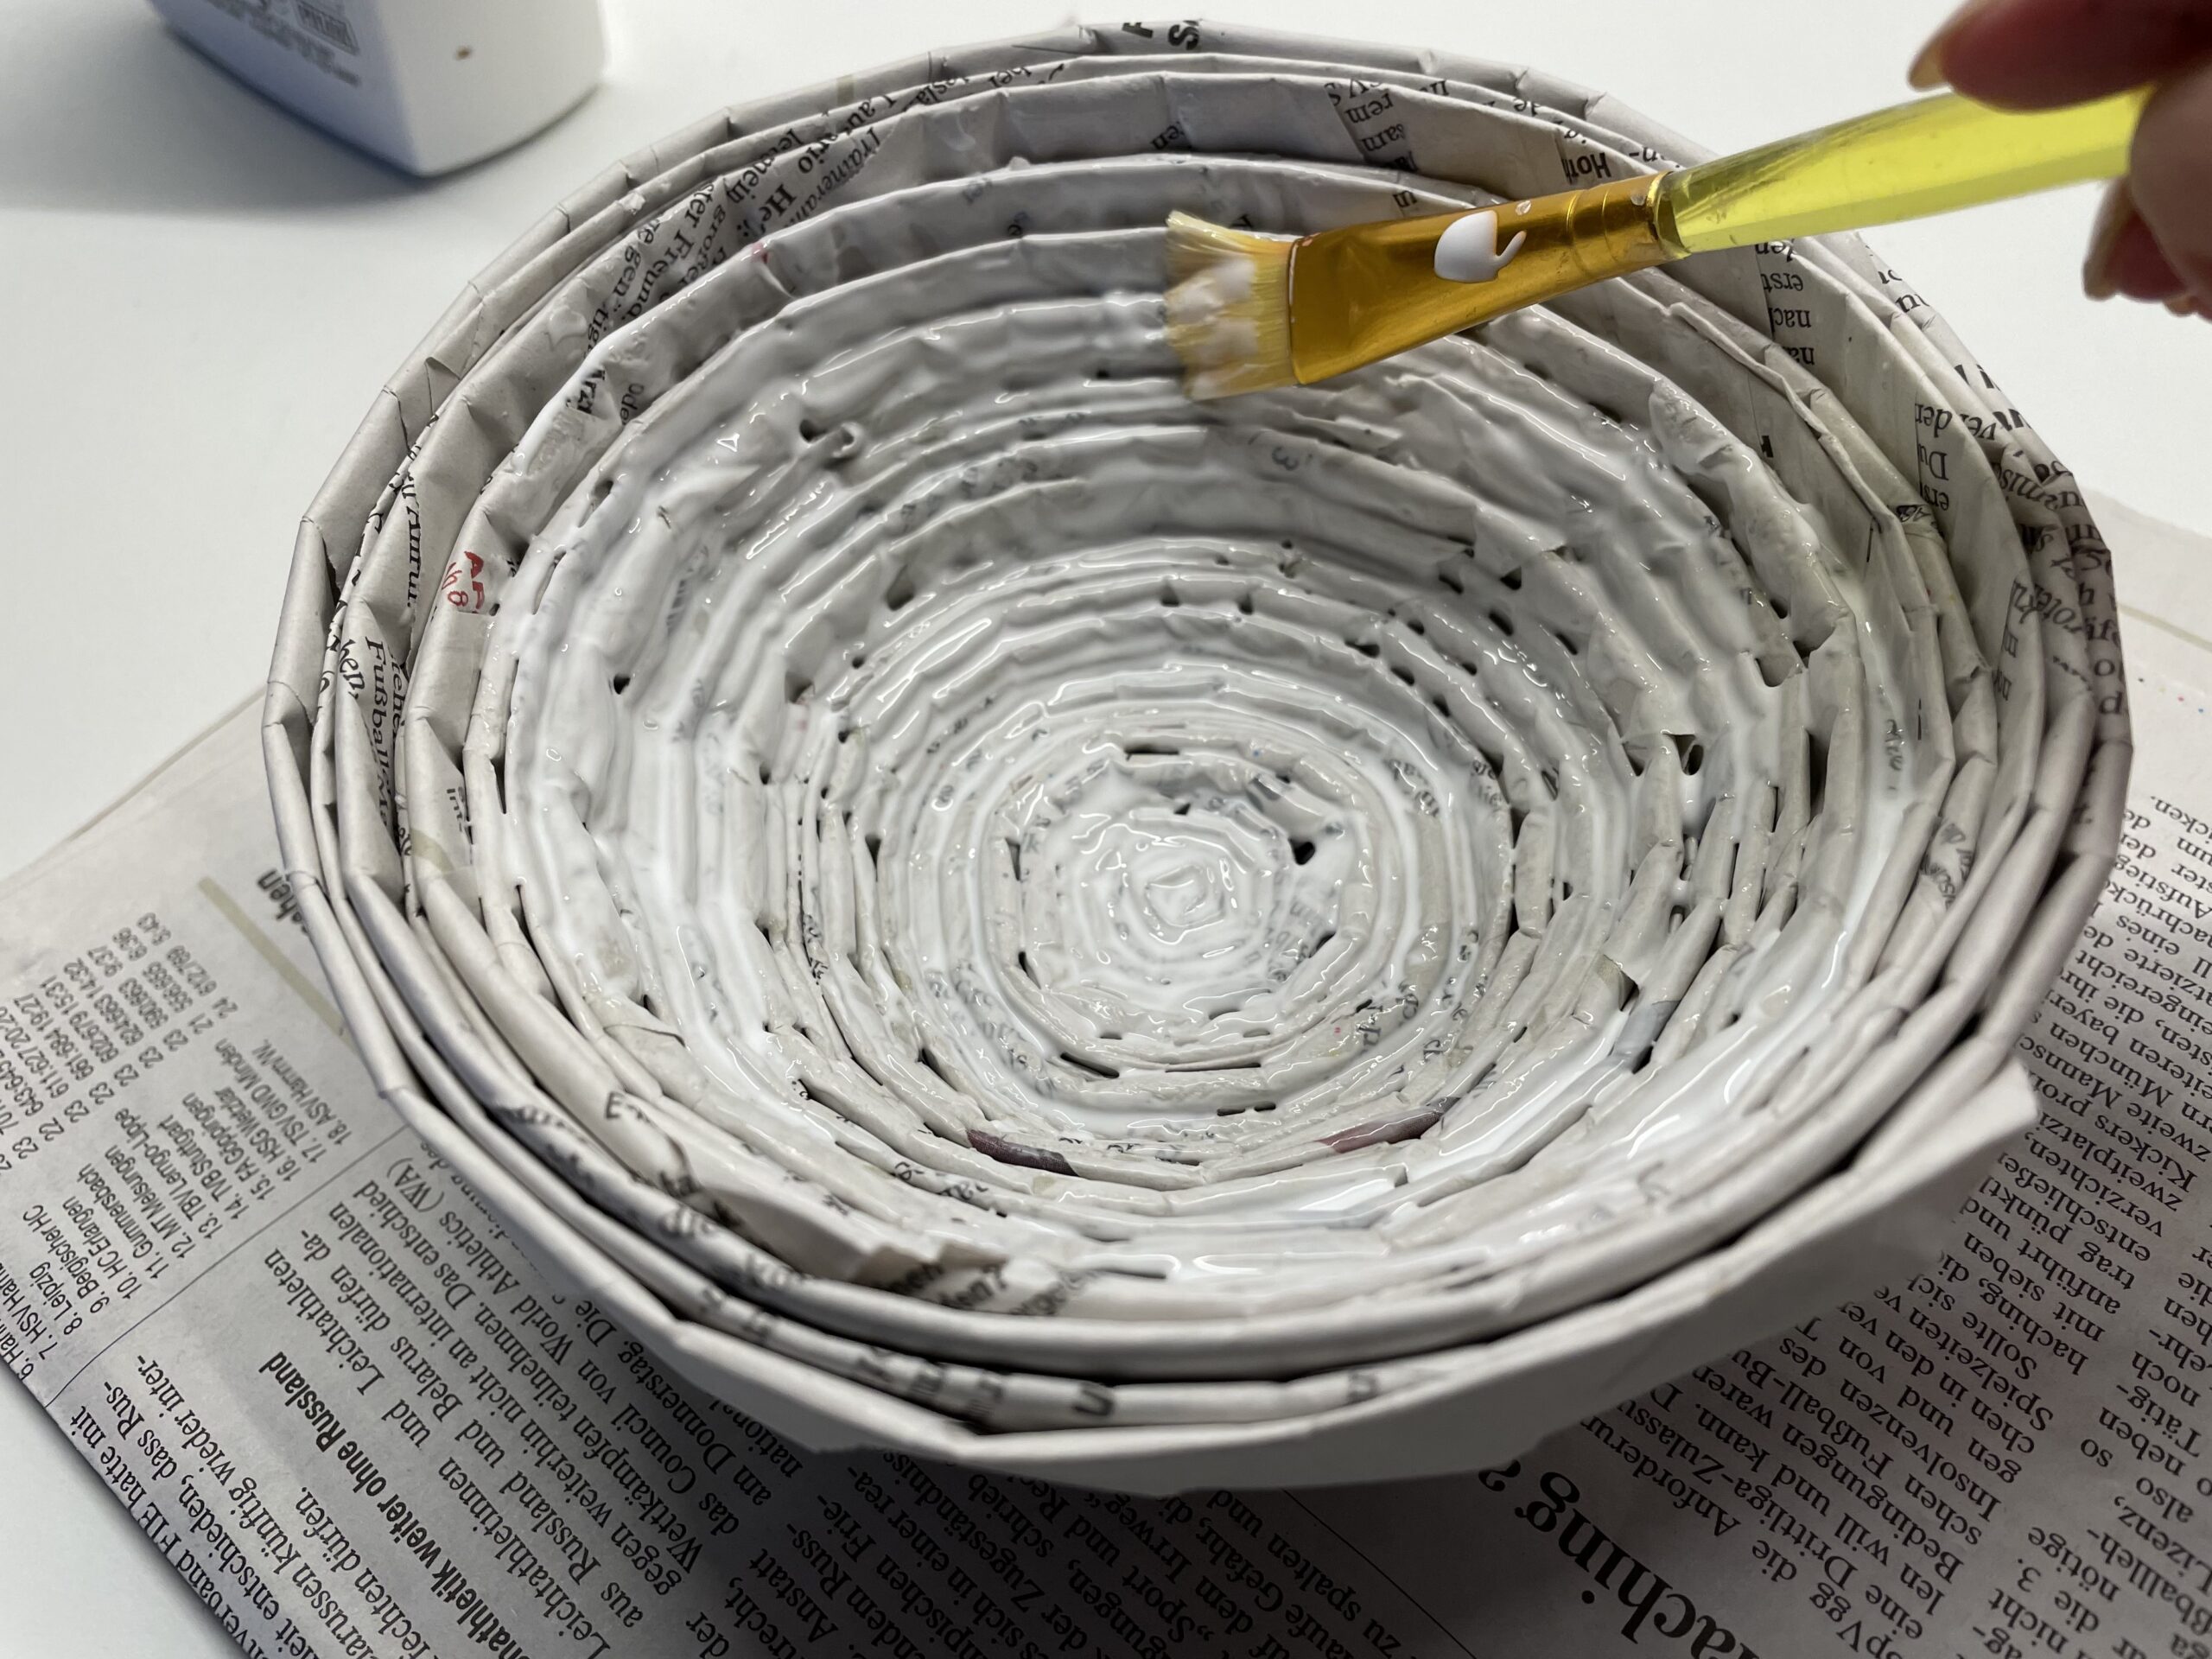
Covers only the inside of the shell. Make sure that the glue is well distributed.


Leave the bowl to dry or put it on the heater.
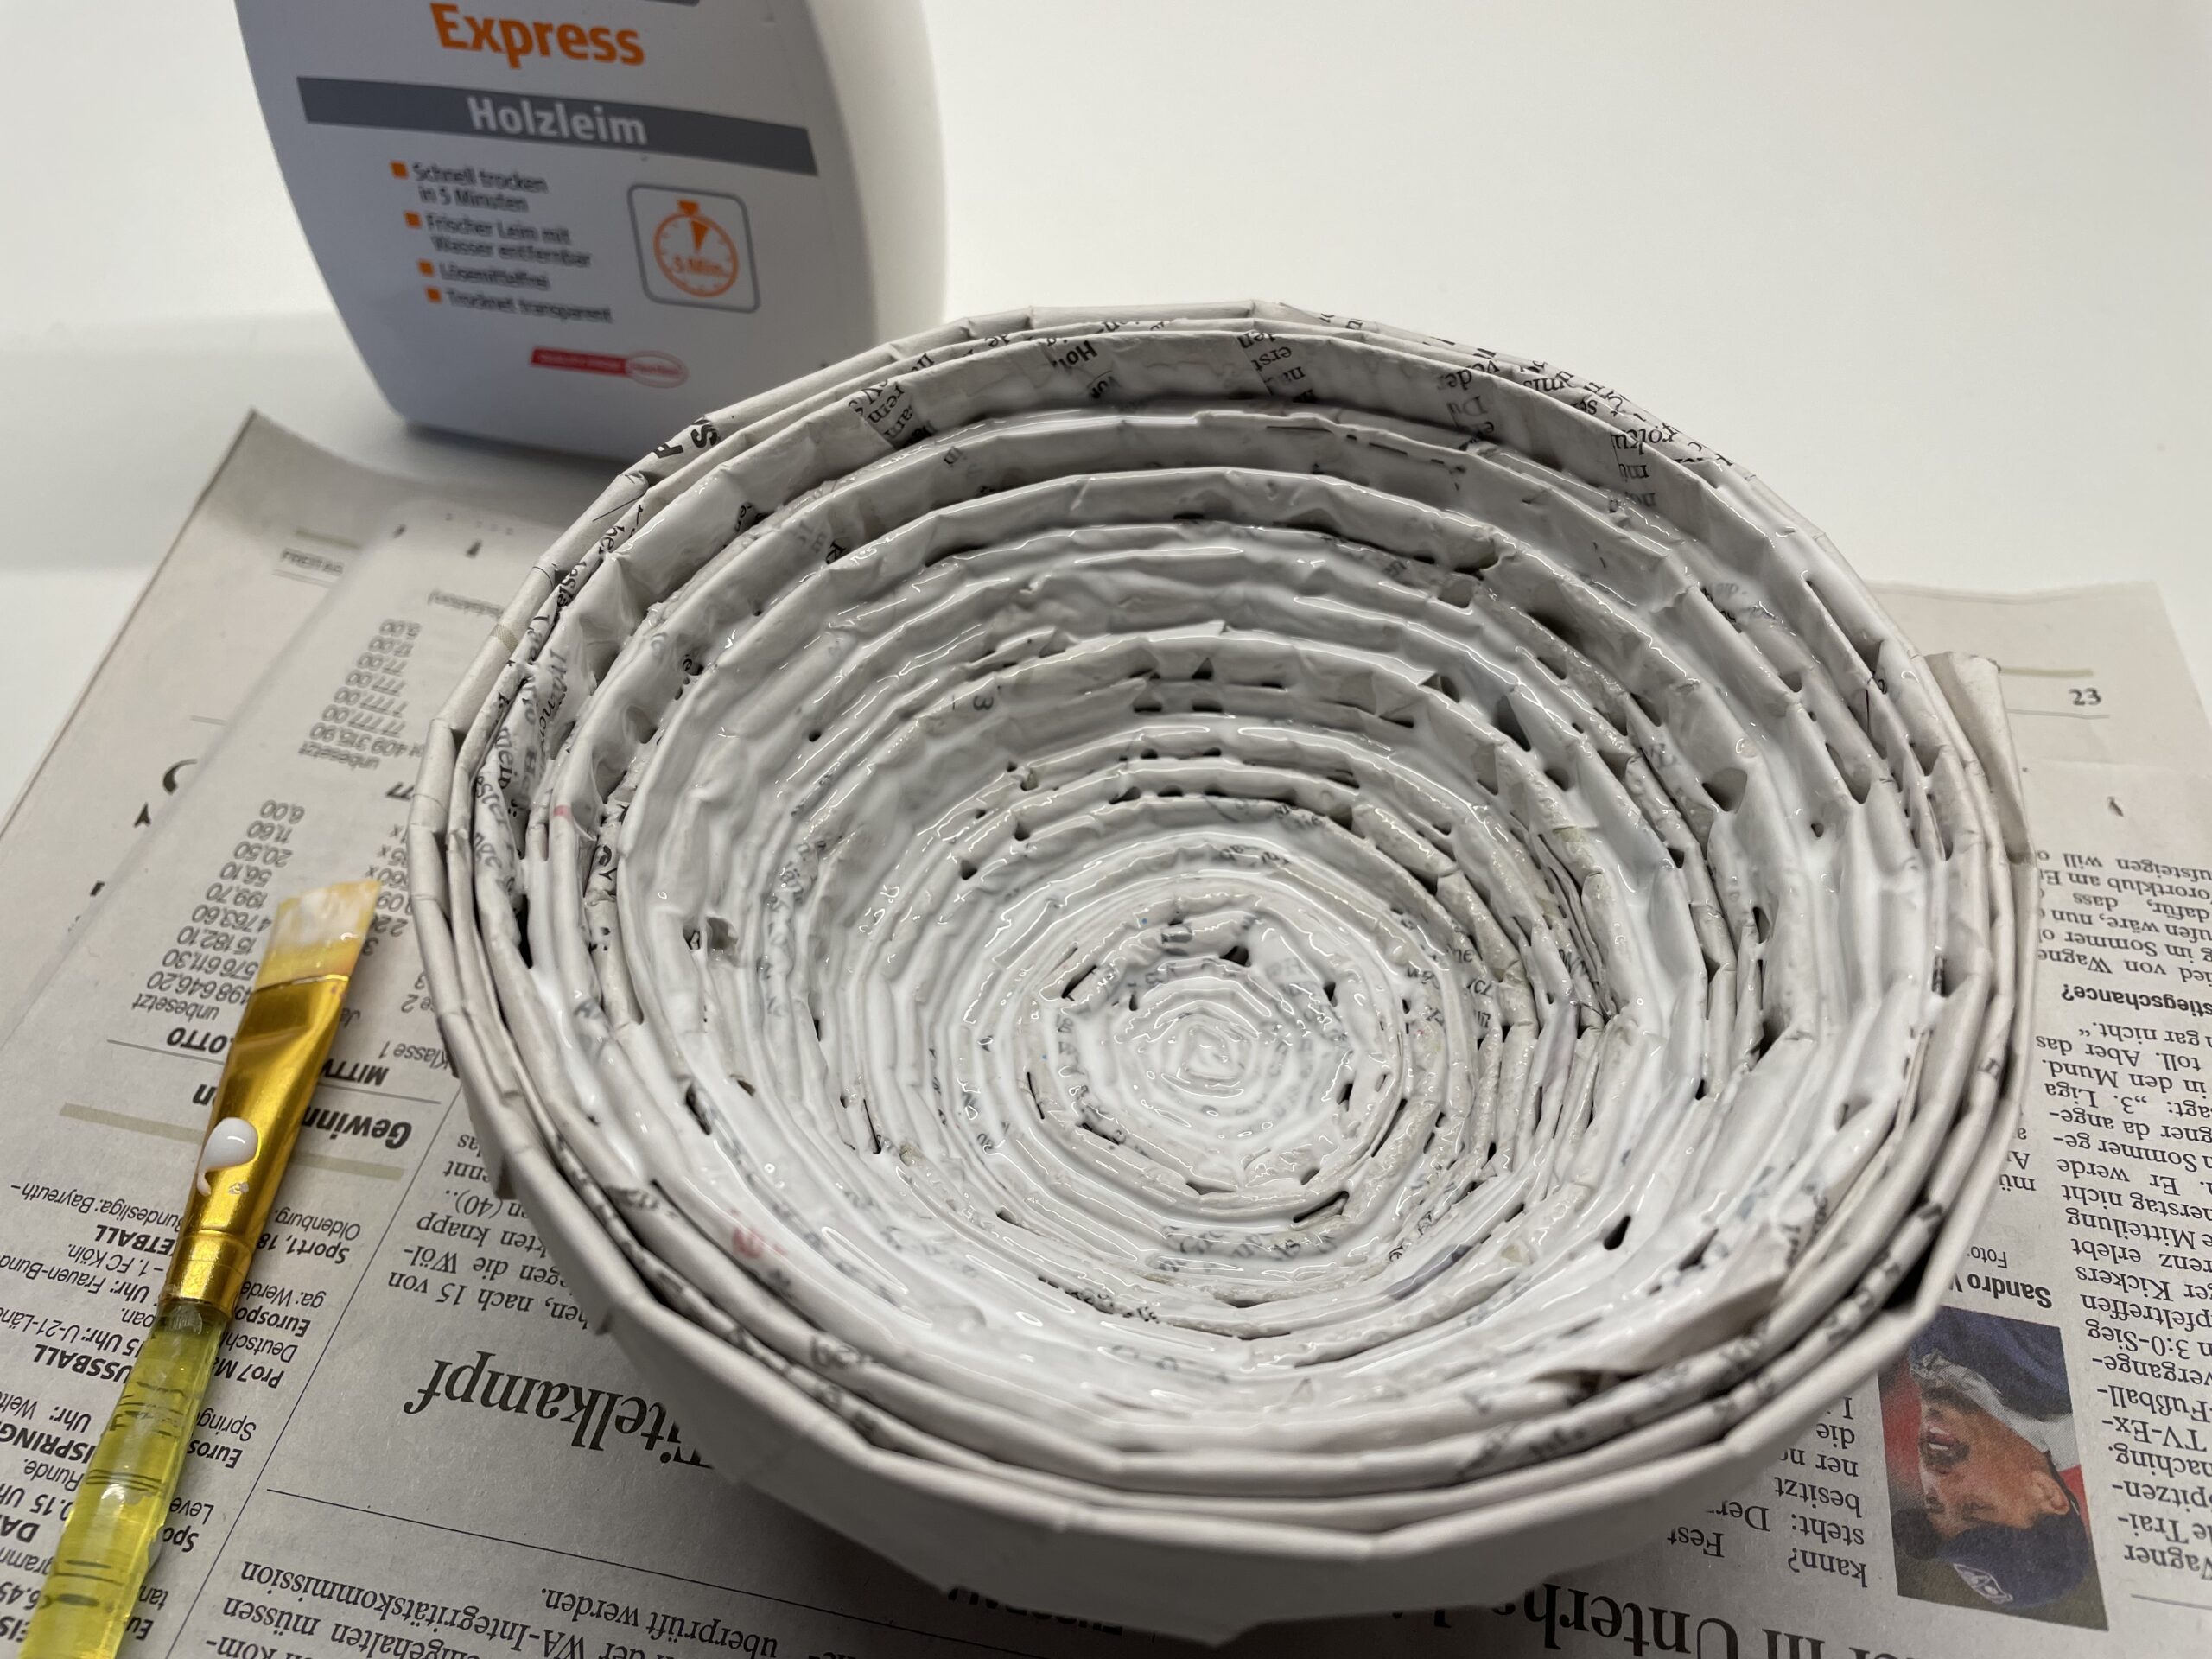


The inside is nicely smooth after drying and the shell is now stable.
Now you can use the paper bowl. You will find examples afterwards.
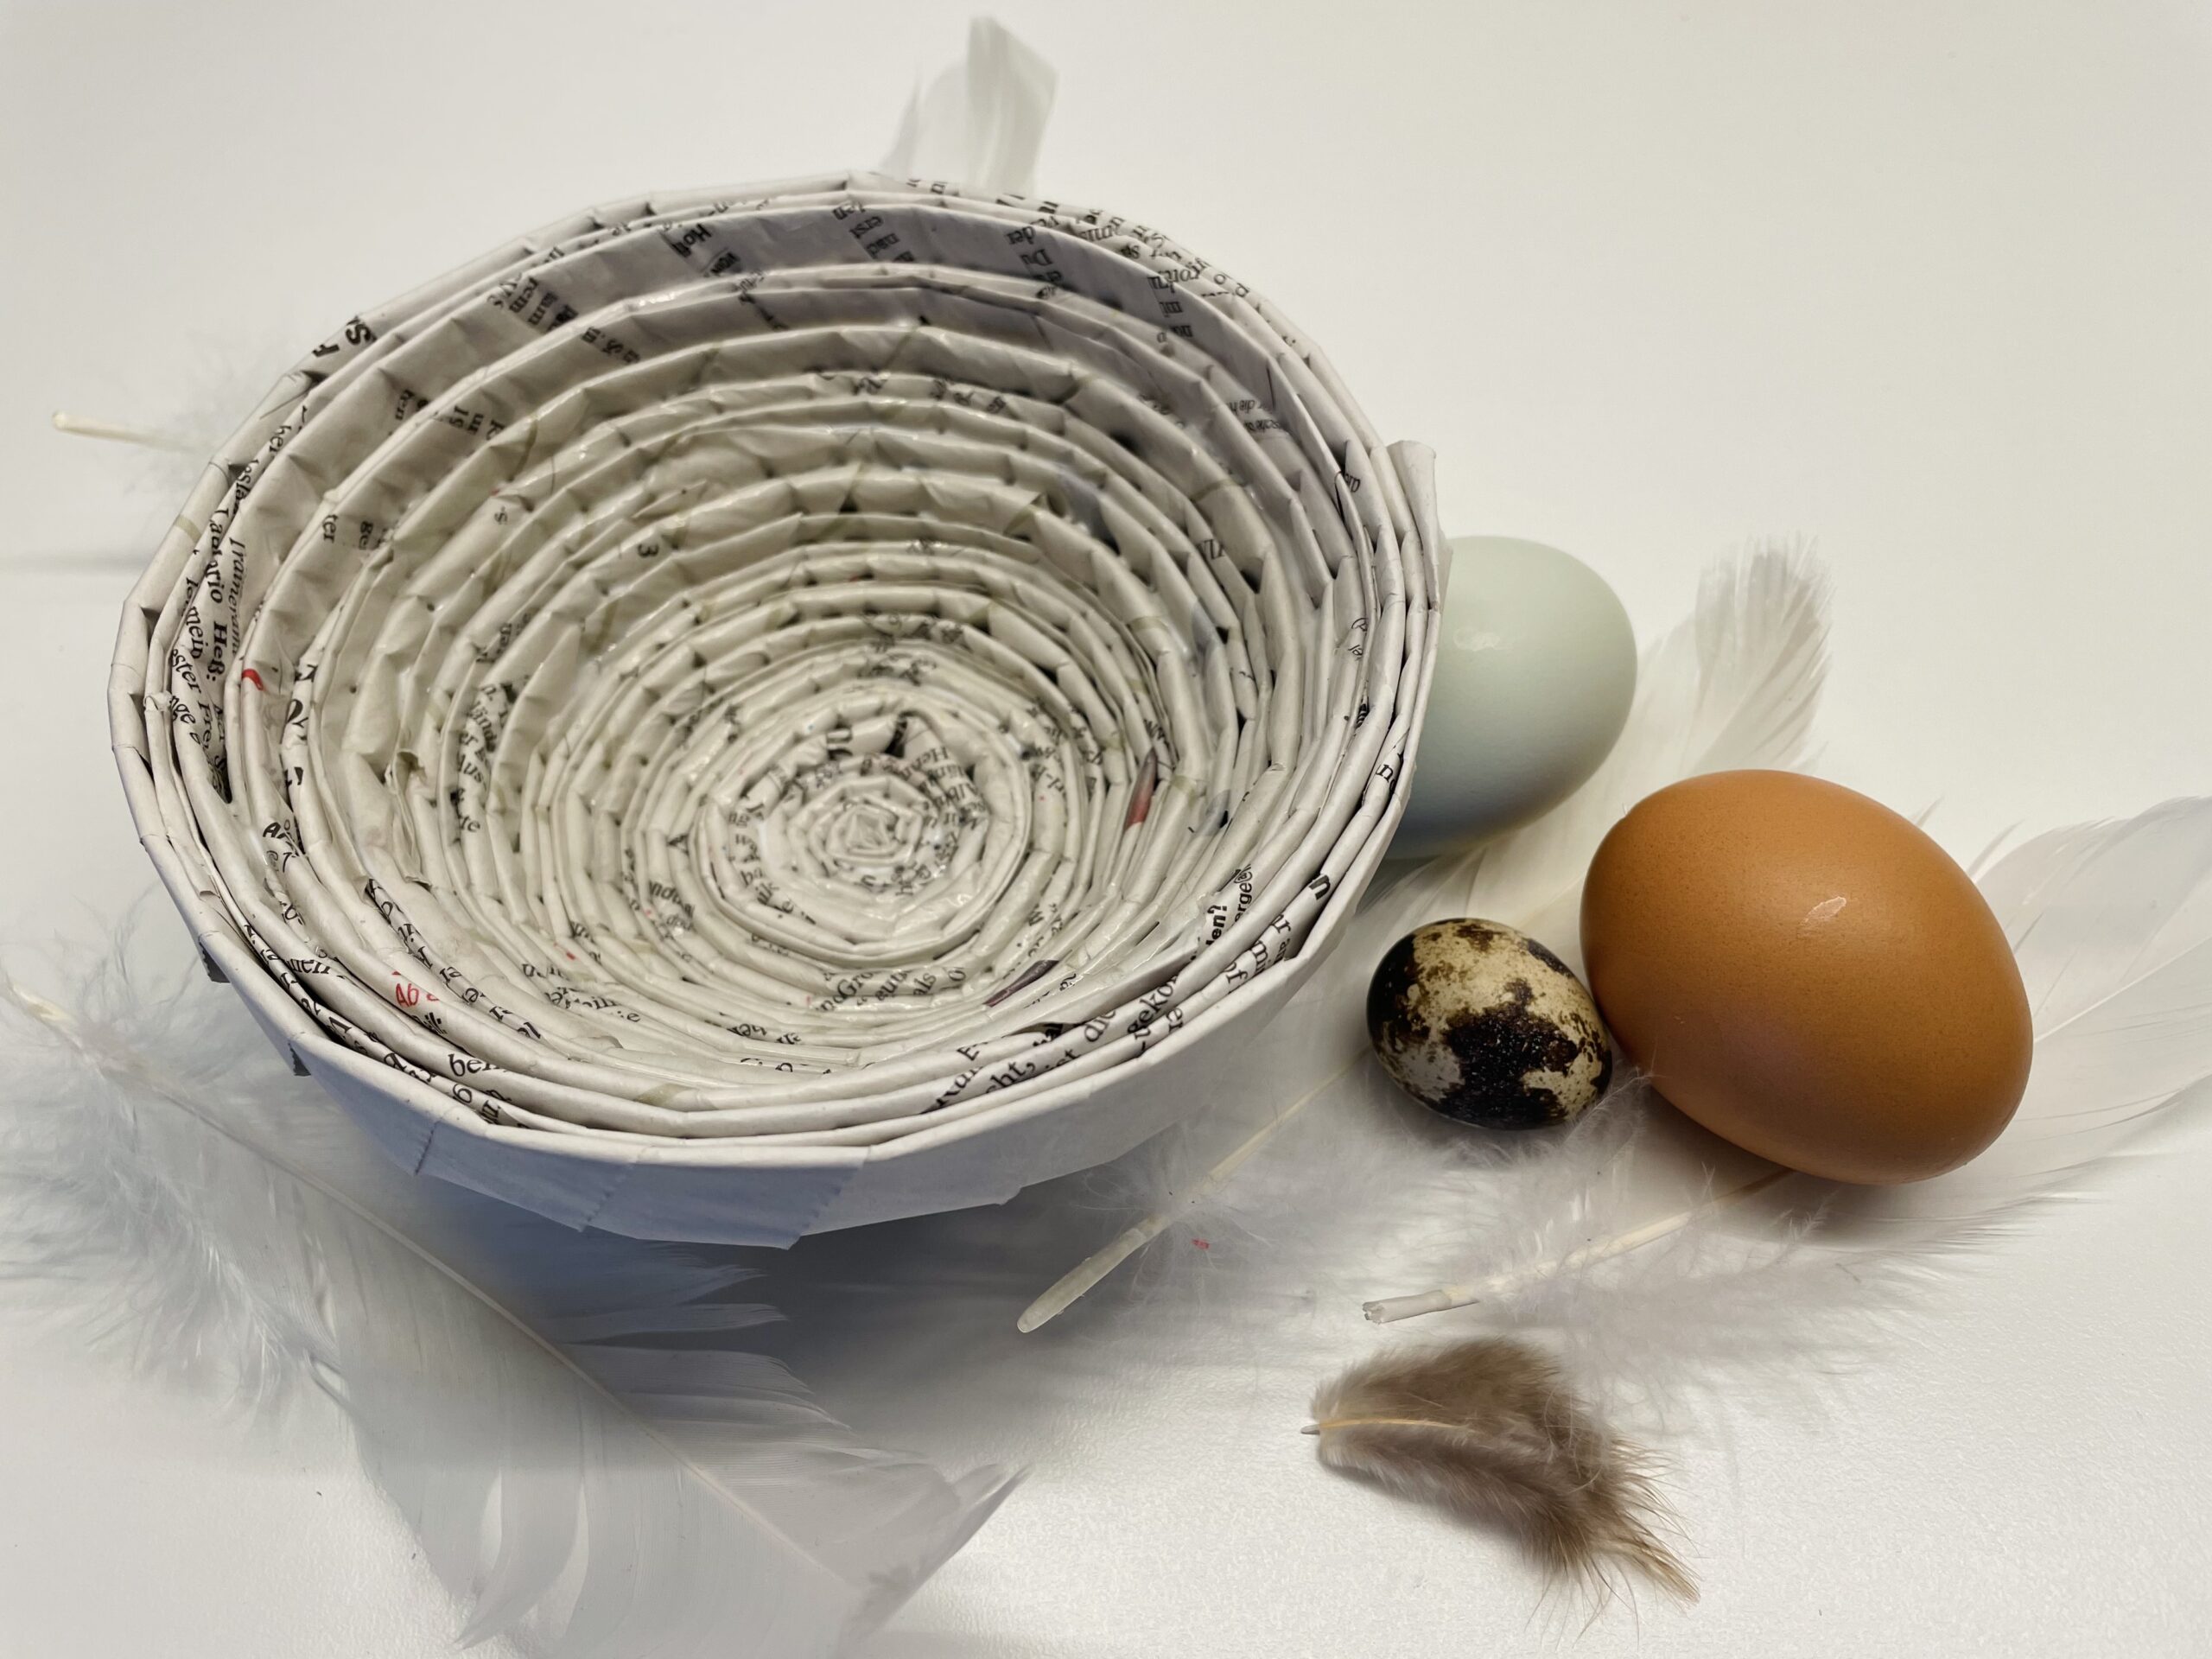


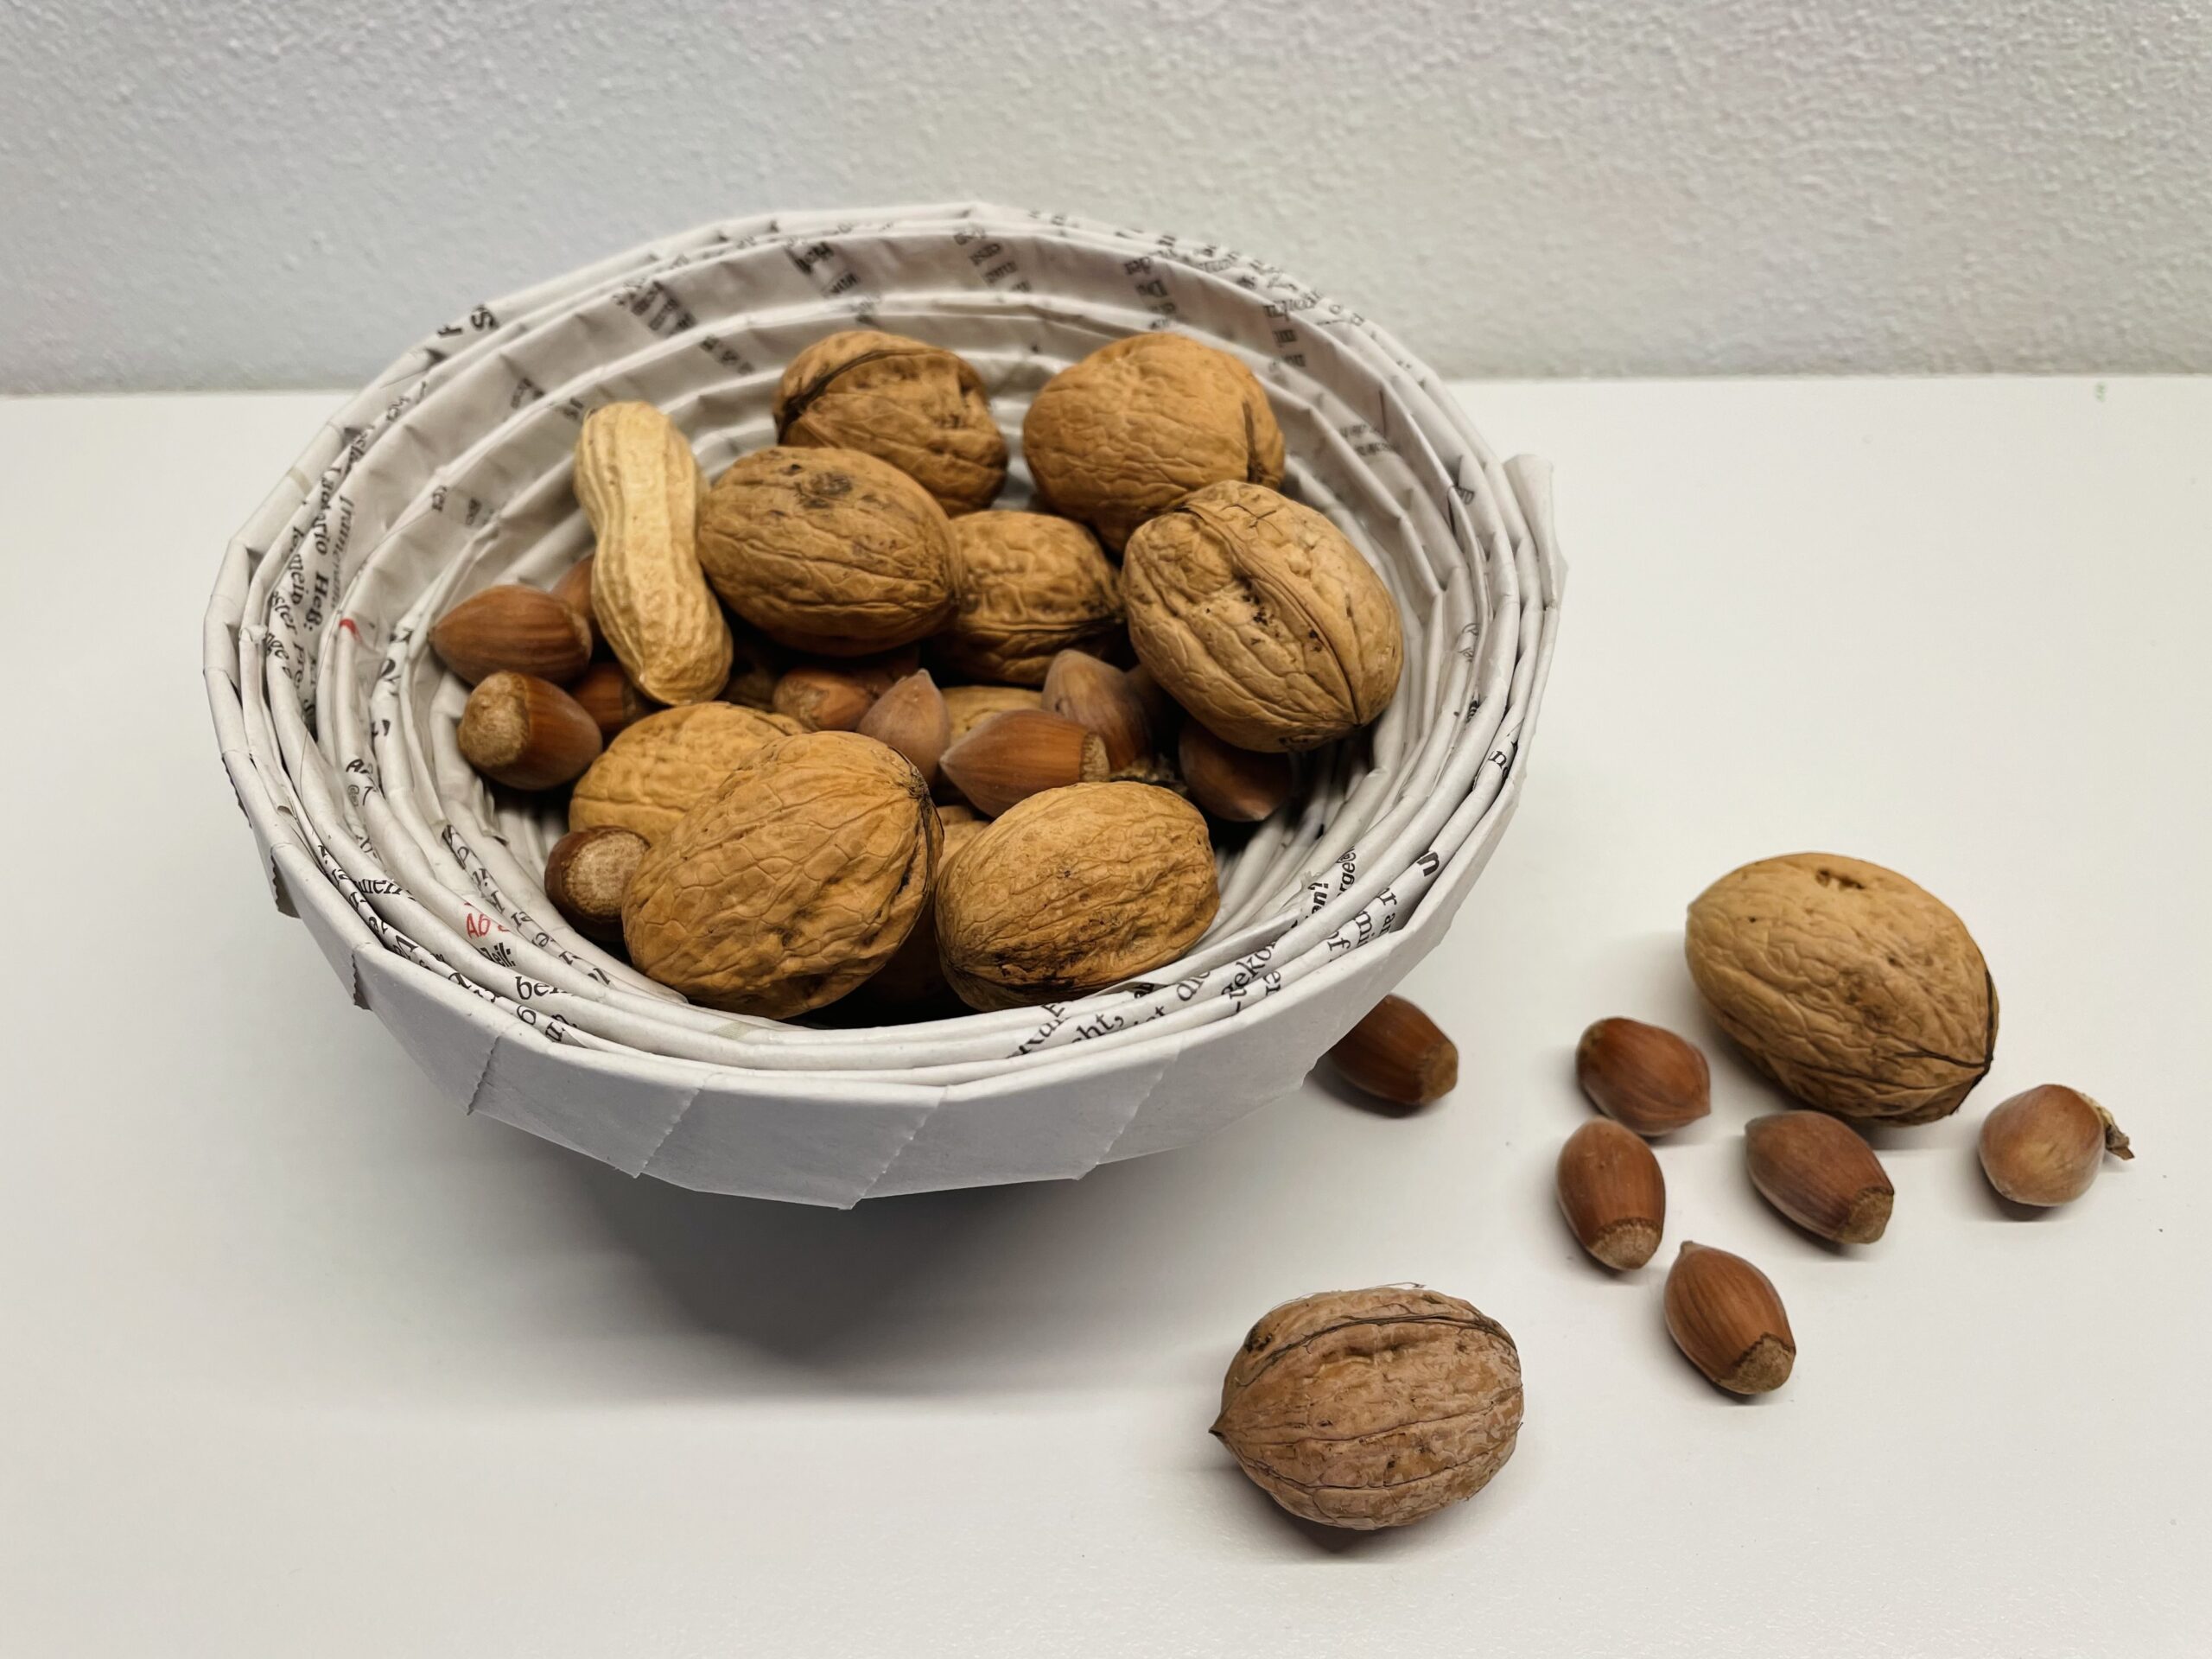
Father's Day present:
e.g. with a few homemade snacks or a few nuts as a nerve food.


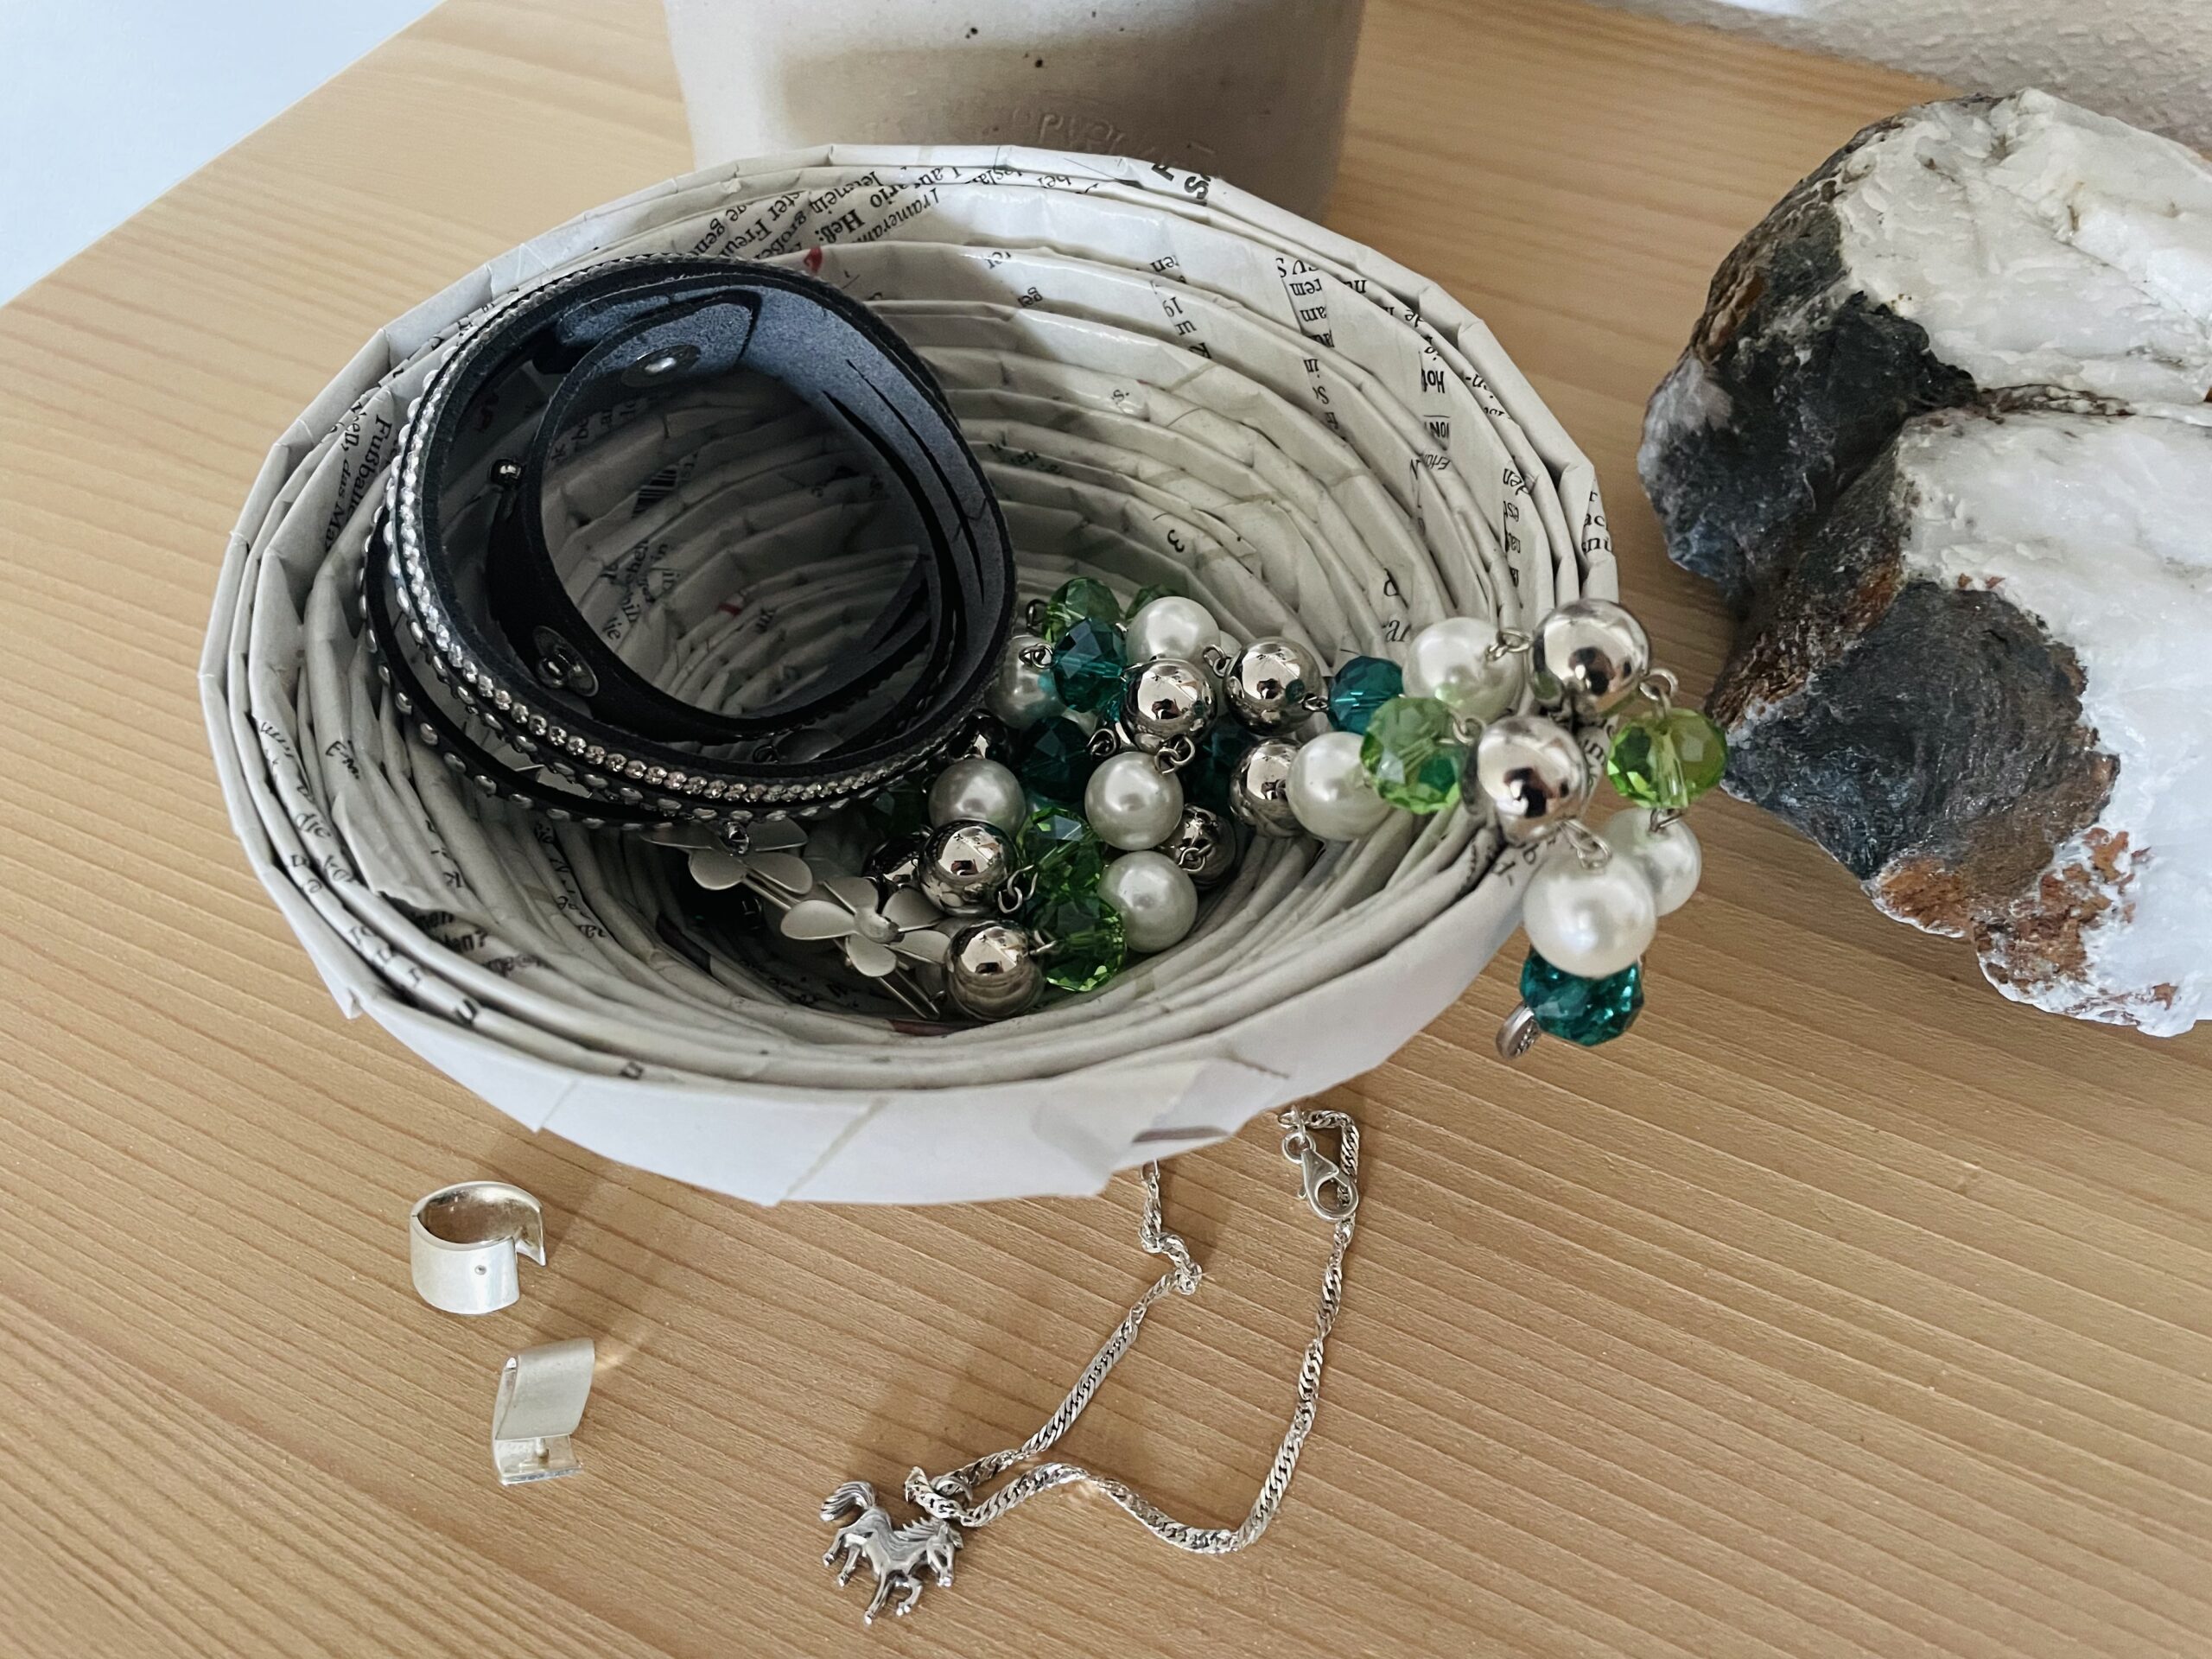
Jewelry bowl:
e.g. on Mother's Day or as a birthday present for an aunt or girlfriend.


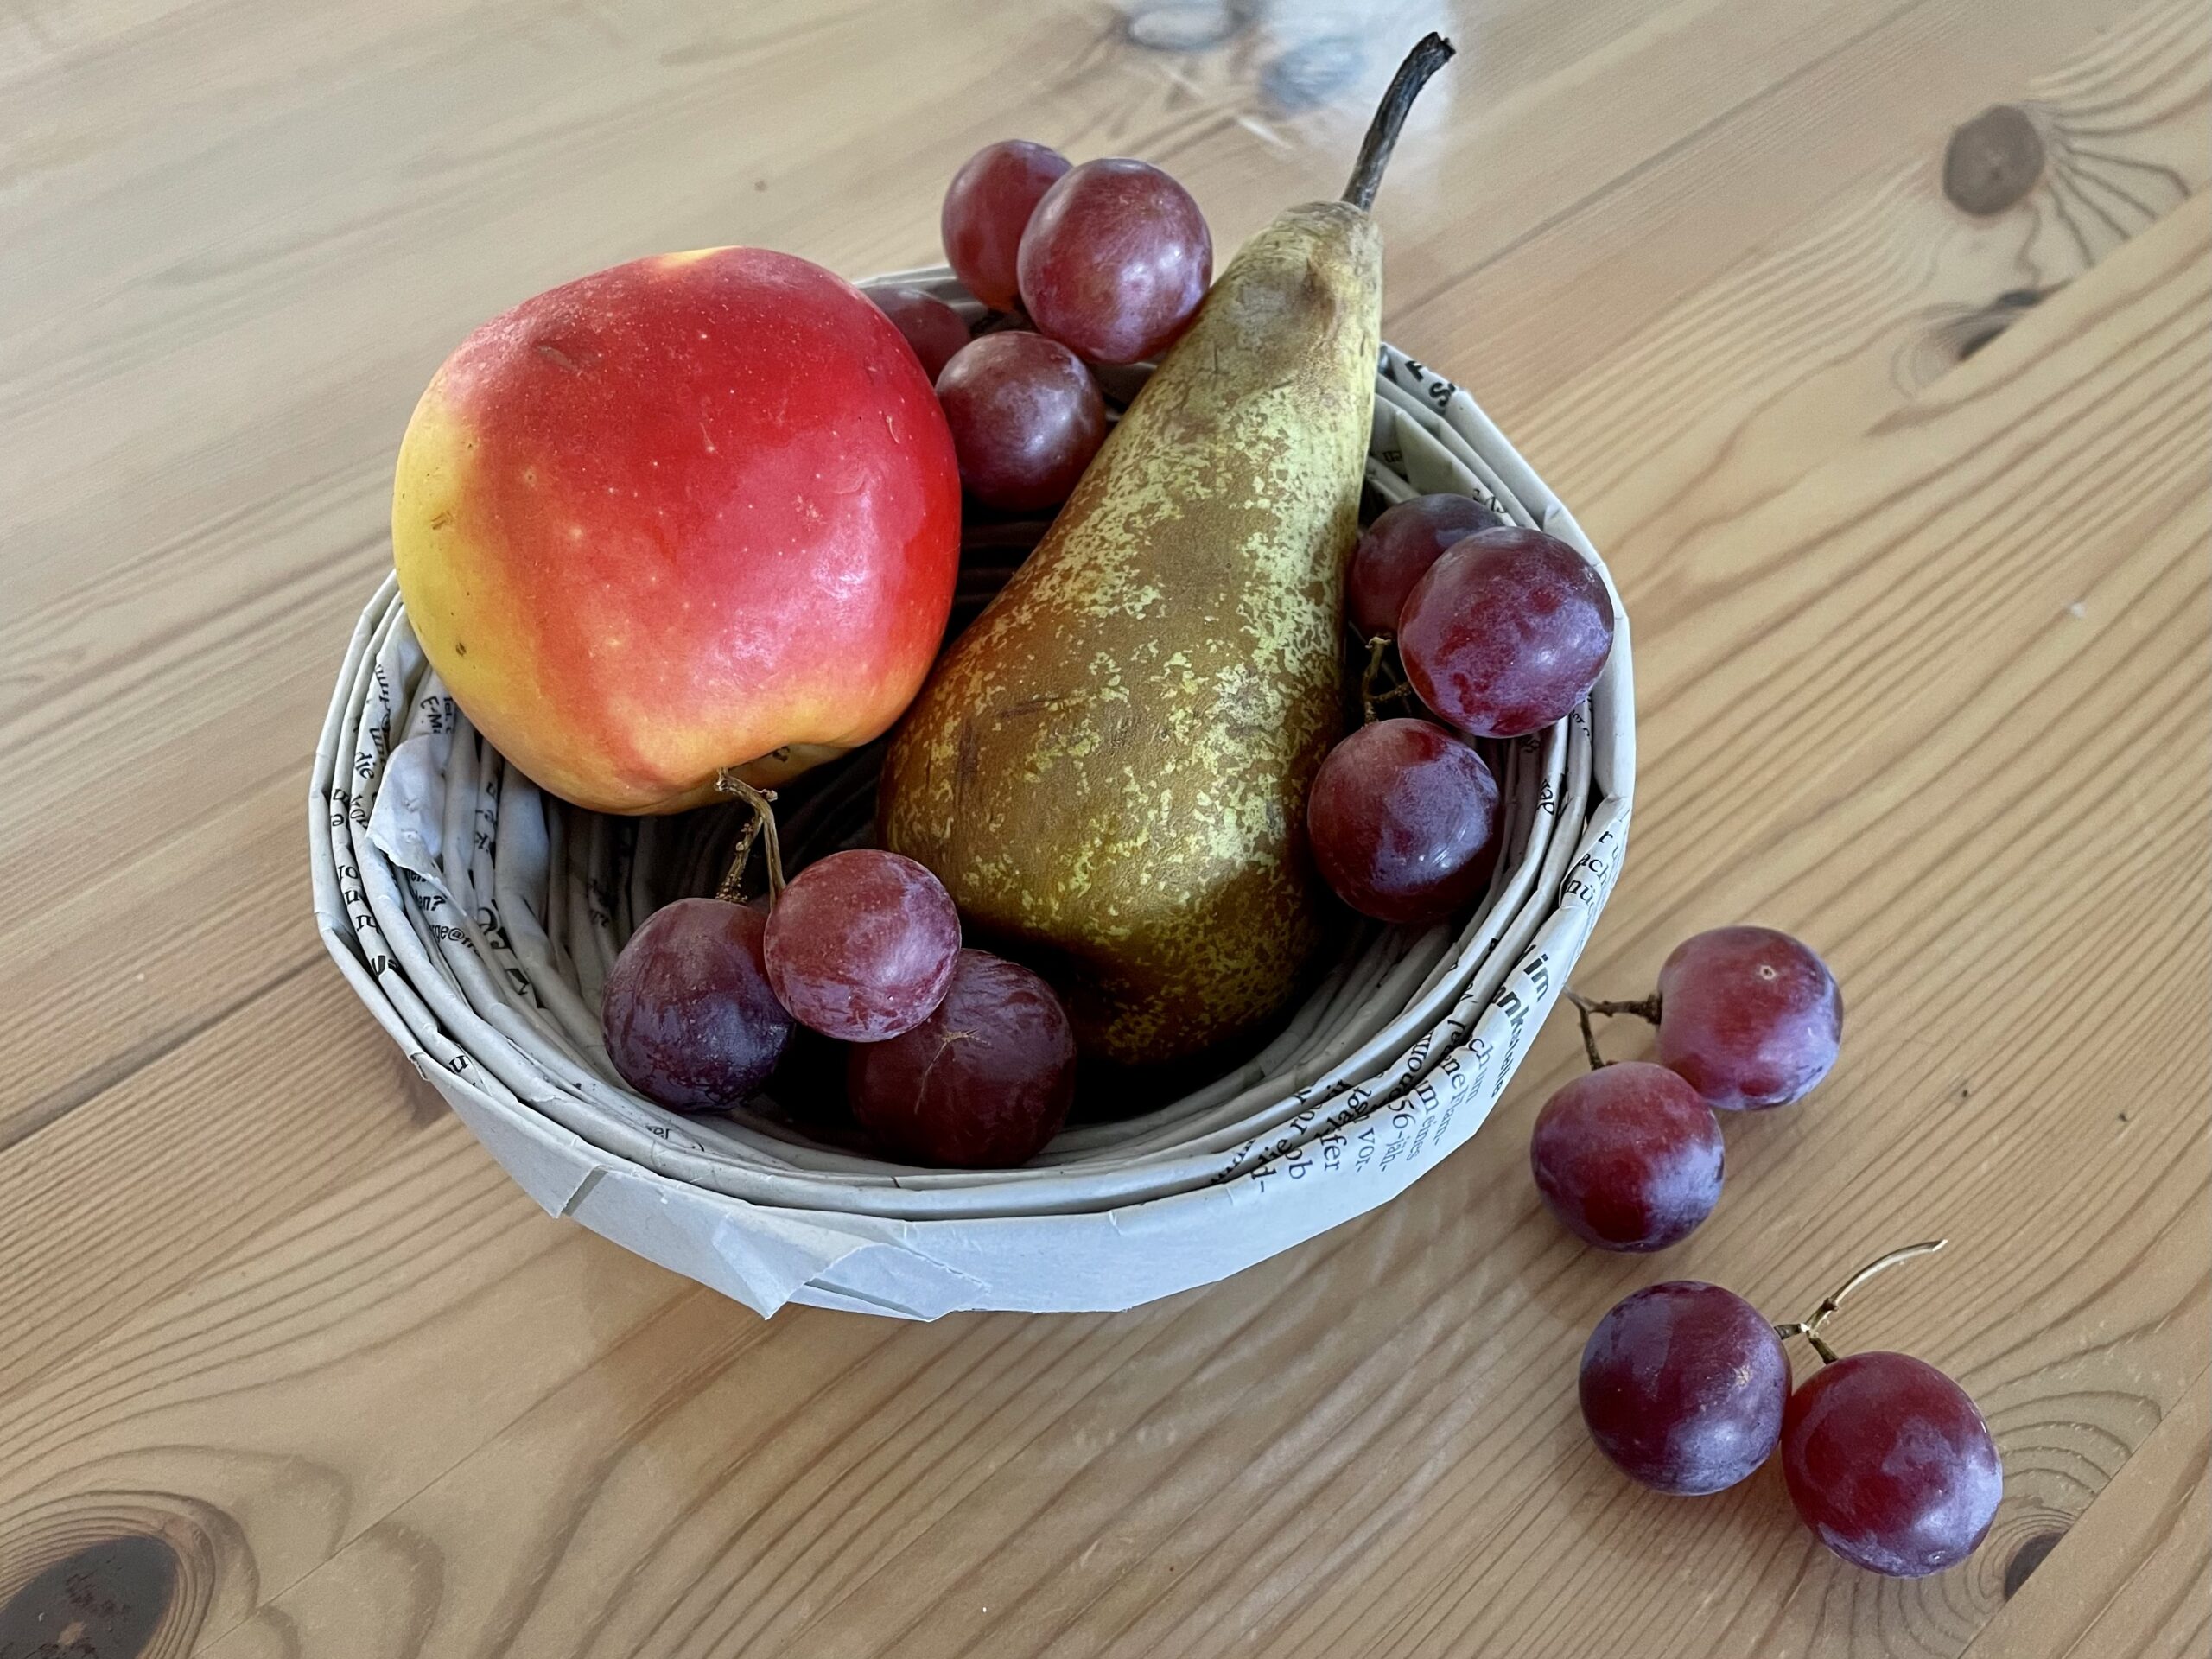
Fruit peel:
For example, as a recovery gift filled with fresh fruit, as a souvenir on a sick visit or for Thanksgiving.


Sewing baskets at Easter:
e.g. with different sewing yarns and an Easter egg needle cushion for the grandmother (see separate offer).


Enjoy your crafting!
Materials
Directions
First of all, you prepare large sheets of a daily newspaper.
Next you put a large newspaper sheet diagonally in front of you, so that a tip points at you. With a thin round pen you start rolling the paper on the corner.


Roll the newspaper on the corner tightly over the pen.


Make sure that the pen is pulled out again and again at the side and does not disappear in the roll.


Because in hindsight you can only get the pen out of the roll very hard! If you have already rolled a whole piece, you can also pull the pen out and roll it to the end without a pen.


Roll up the newspaper completely. Let the tip look out at the end and hold the roll tight, otherwise it will roll up again!


Now you pick up some glue on the tip and roll up the roll completely. So you push the tip to the newspaper roll.


The first newspaper roll is ready.


Press the roll completely flat with the back of the hand.


Creates 6-10 rolls in this way.
The more you roll, the bigger your Easter basket becomes.


Here you can see how many newspaper rolls you need for a small, medium, or larger bowl.


Here you can see different sizes of shells in comparison. Consider which size fits your project.


Now the roll-up begins. Start with a newspaper strip and wrap it up in a snail-shaped and tight way.


This is what the snail looks like now. Wrap until the last 5 cm are left.


Now the next strip is glued on.


For this you go on the remaining piece of glue and put the beginning of the new strip over it. Press the overlapping strips together and then wrap further.


You wrap and stretch the strips until the paper snail is big enough for you.


Always hold the rolled-up paper snail well, otherwise it immediately breaks apart again.


The end piece is fixed with glue.


Hold on to the end of the paper with your finger until the glue has dried up a little. So the snail does not roll up again.


The paper snail is now ready.


Take the paper snail in both hands and press the snail slightly inwards with both thumbs at the same time. Do this very slowly so that you do not push the snail apart.


So you get a bowl. Form the bowl until you like it. Make sure that the bowl can stand well on the table. Therefore, it must not be too pointed below.


That's what the shell looks like from the outside.


In order to get the bowl stable, it must be glued with glue. Uses wood glue, because it becomes transparent after drying.


Put glue in the bowl and spread it with a brush.


Goes step by step, otherwise the glue dries too fast.


Covers only the inside of the shell. Make sure that the glue is well distributed.


Leave the bowl to dry or put it on the heater.


The inside is nicely smooth after drying and the shell is now stable.
Now you can use the paper bowl. You will find examples afterwards.


Father's Day present:
e.g. with a few homemade snacks or a few nuts as a nerve food.


Jewelry bowl:
e.g. on Mother's Day or as a birthday present for an aunt or girlfriend.


Fruit peel:
For example, as a recovery gift filled with fresh fruit, as a souvenir on a sick visit or for Thanksgiving.


Sewing baskets at Easter:
e.g. with different sewing yarns and an Easter egg needle cushion for the grandmother (see separate offer).


Enjoy your crafting!
Follow us on Facebook , Instagram and Pinterest
Don't miss any more adventures: Our bottle mail


