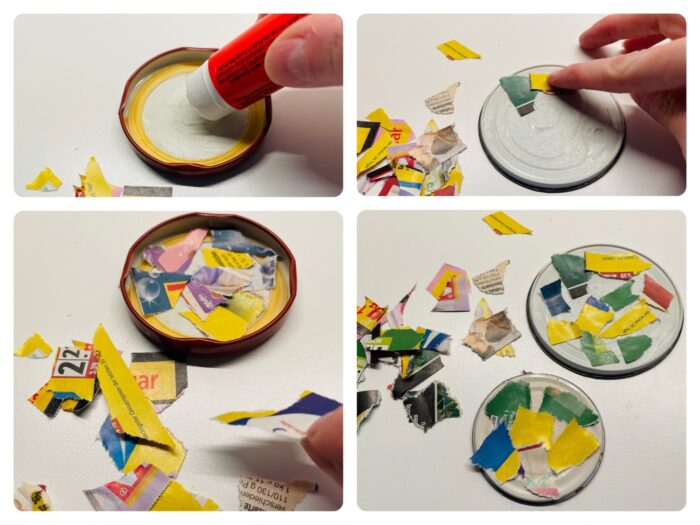
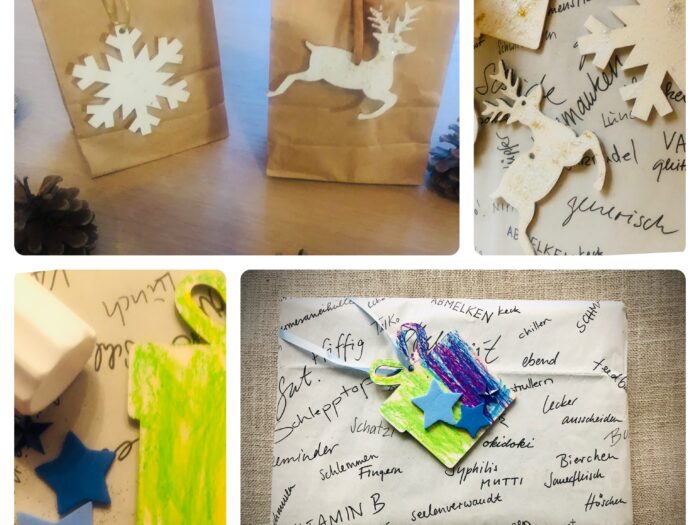
 AdventurerKitaForst
This is a quick Easter idea for upcycle lovers. A large masonry glass (e.g. cucumber glass) and a brown perlon stocking create a beautiful rabbit head with the help of a cardboard roll and two buttons in no time.
The Easter bunny glass is suitable as a nice table decoration for the Easter breakfast or as a small Easter nest for example as a souvenir. Try it out. Have fun designing!
Media Education for Kindergarten and Hort

Relief in everyday life, targeted promotion of individual children, independent learning and - without any pre-knowledge already usable by the youngest!

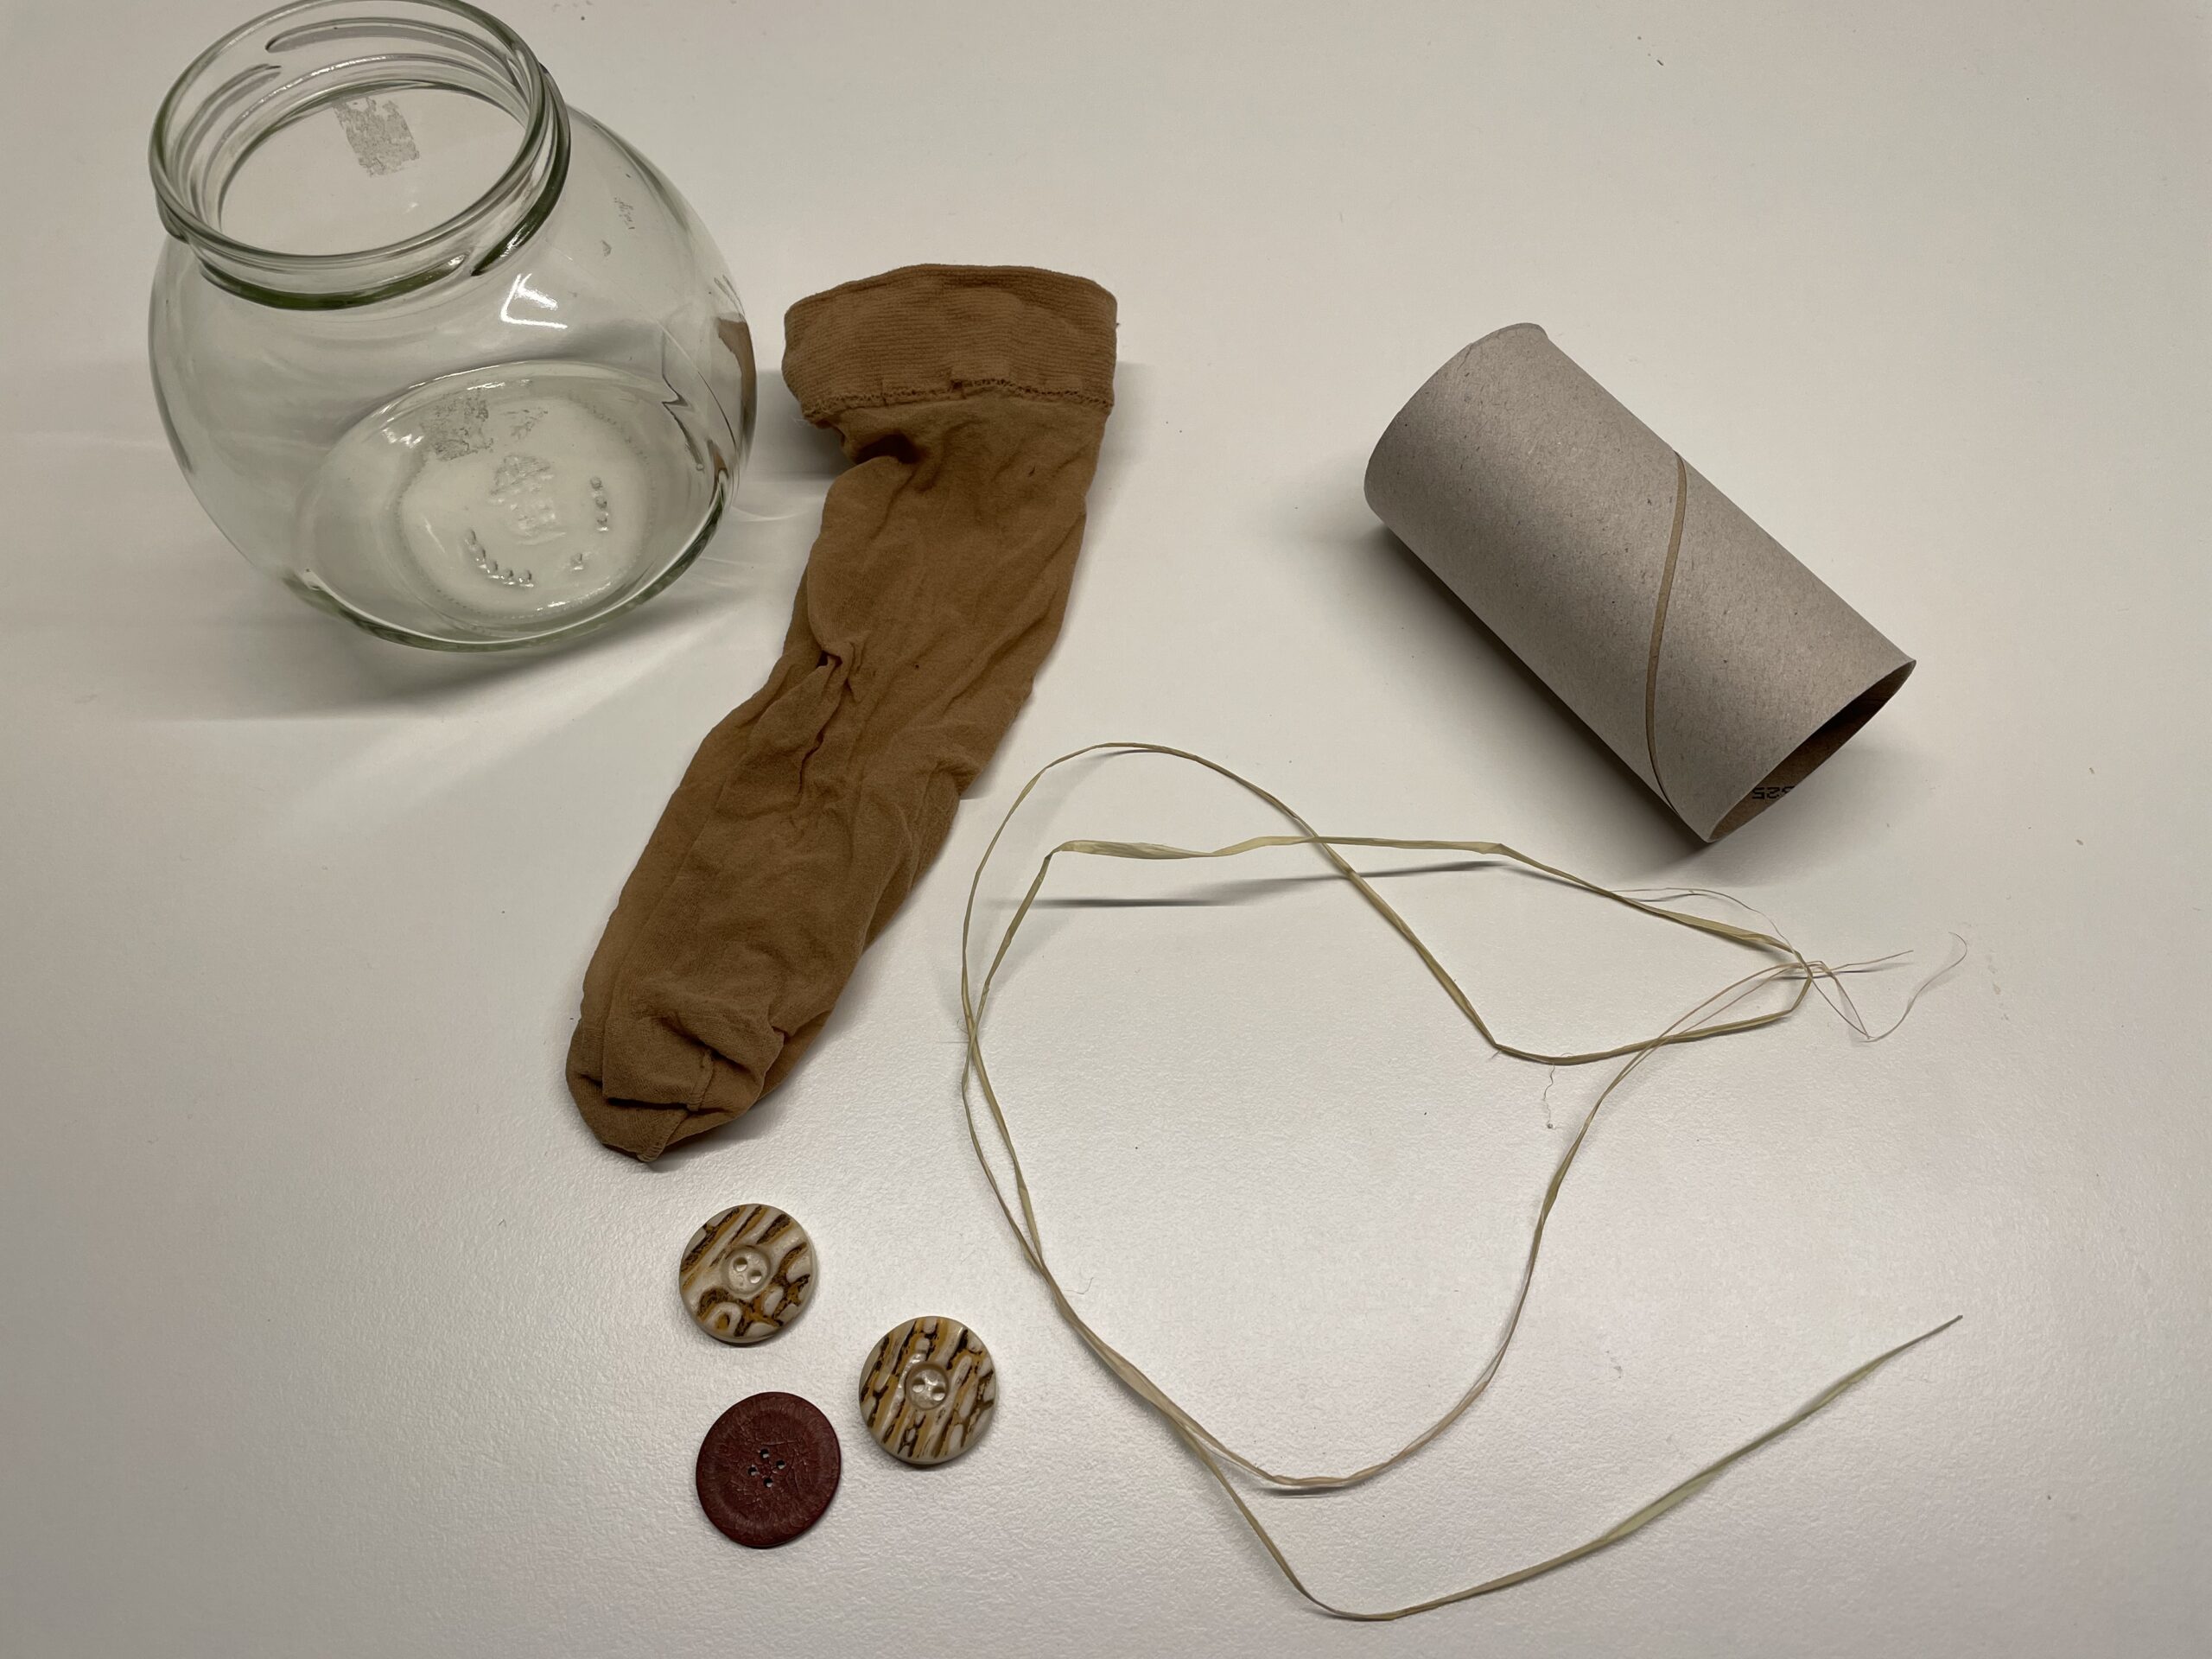
First you pick all the materials together and lay out the craft file.
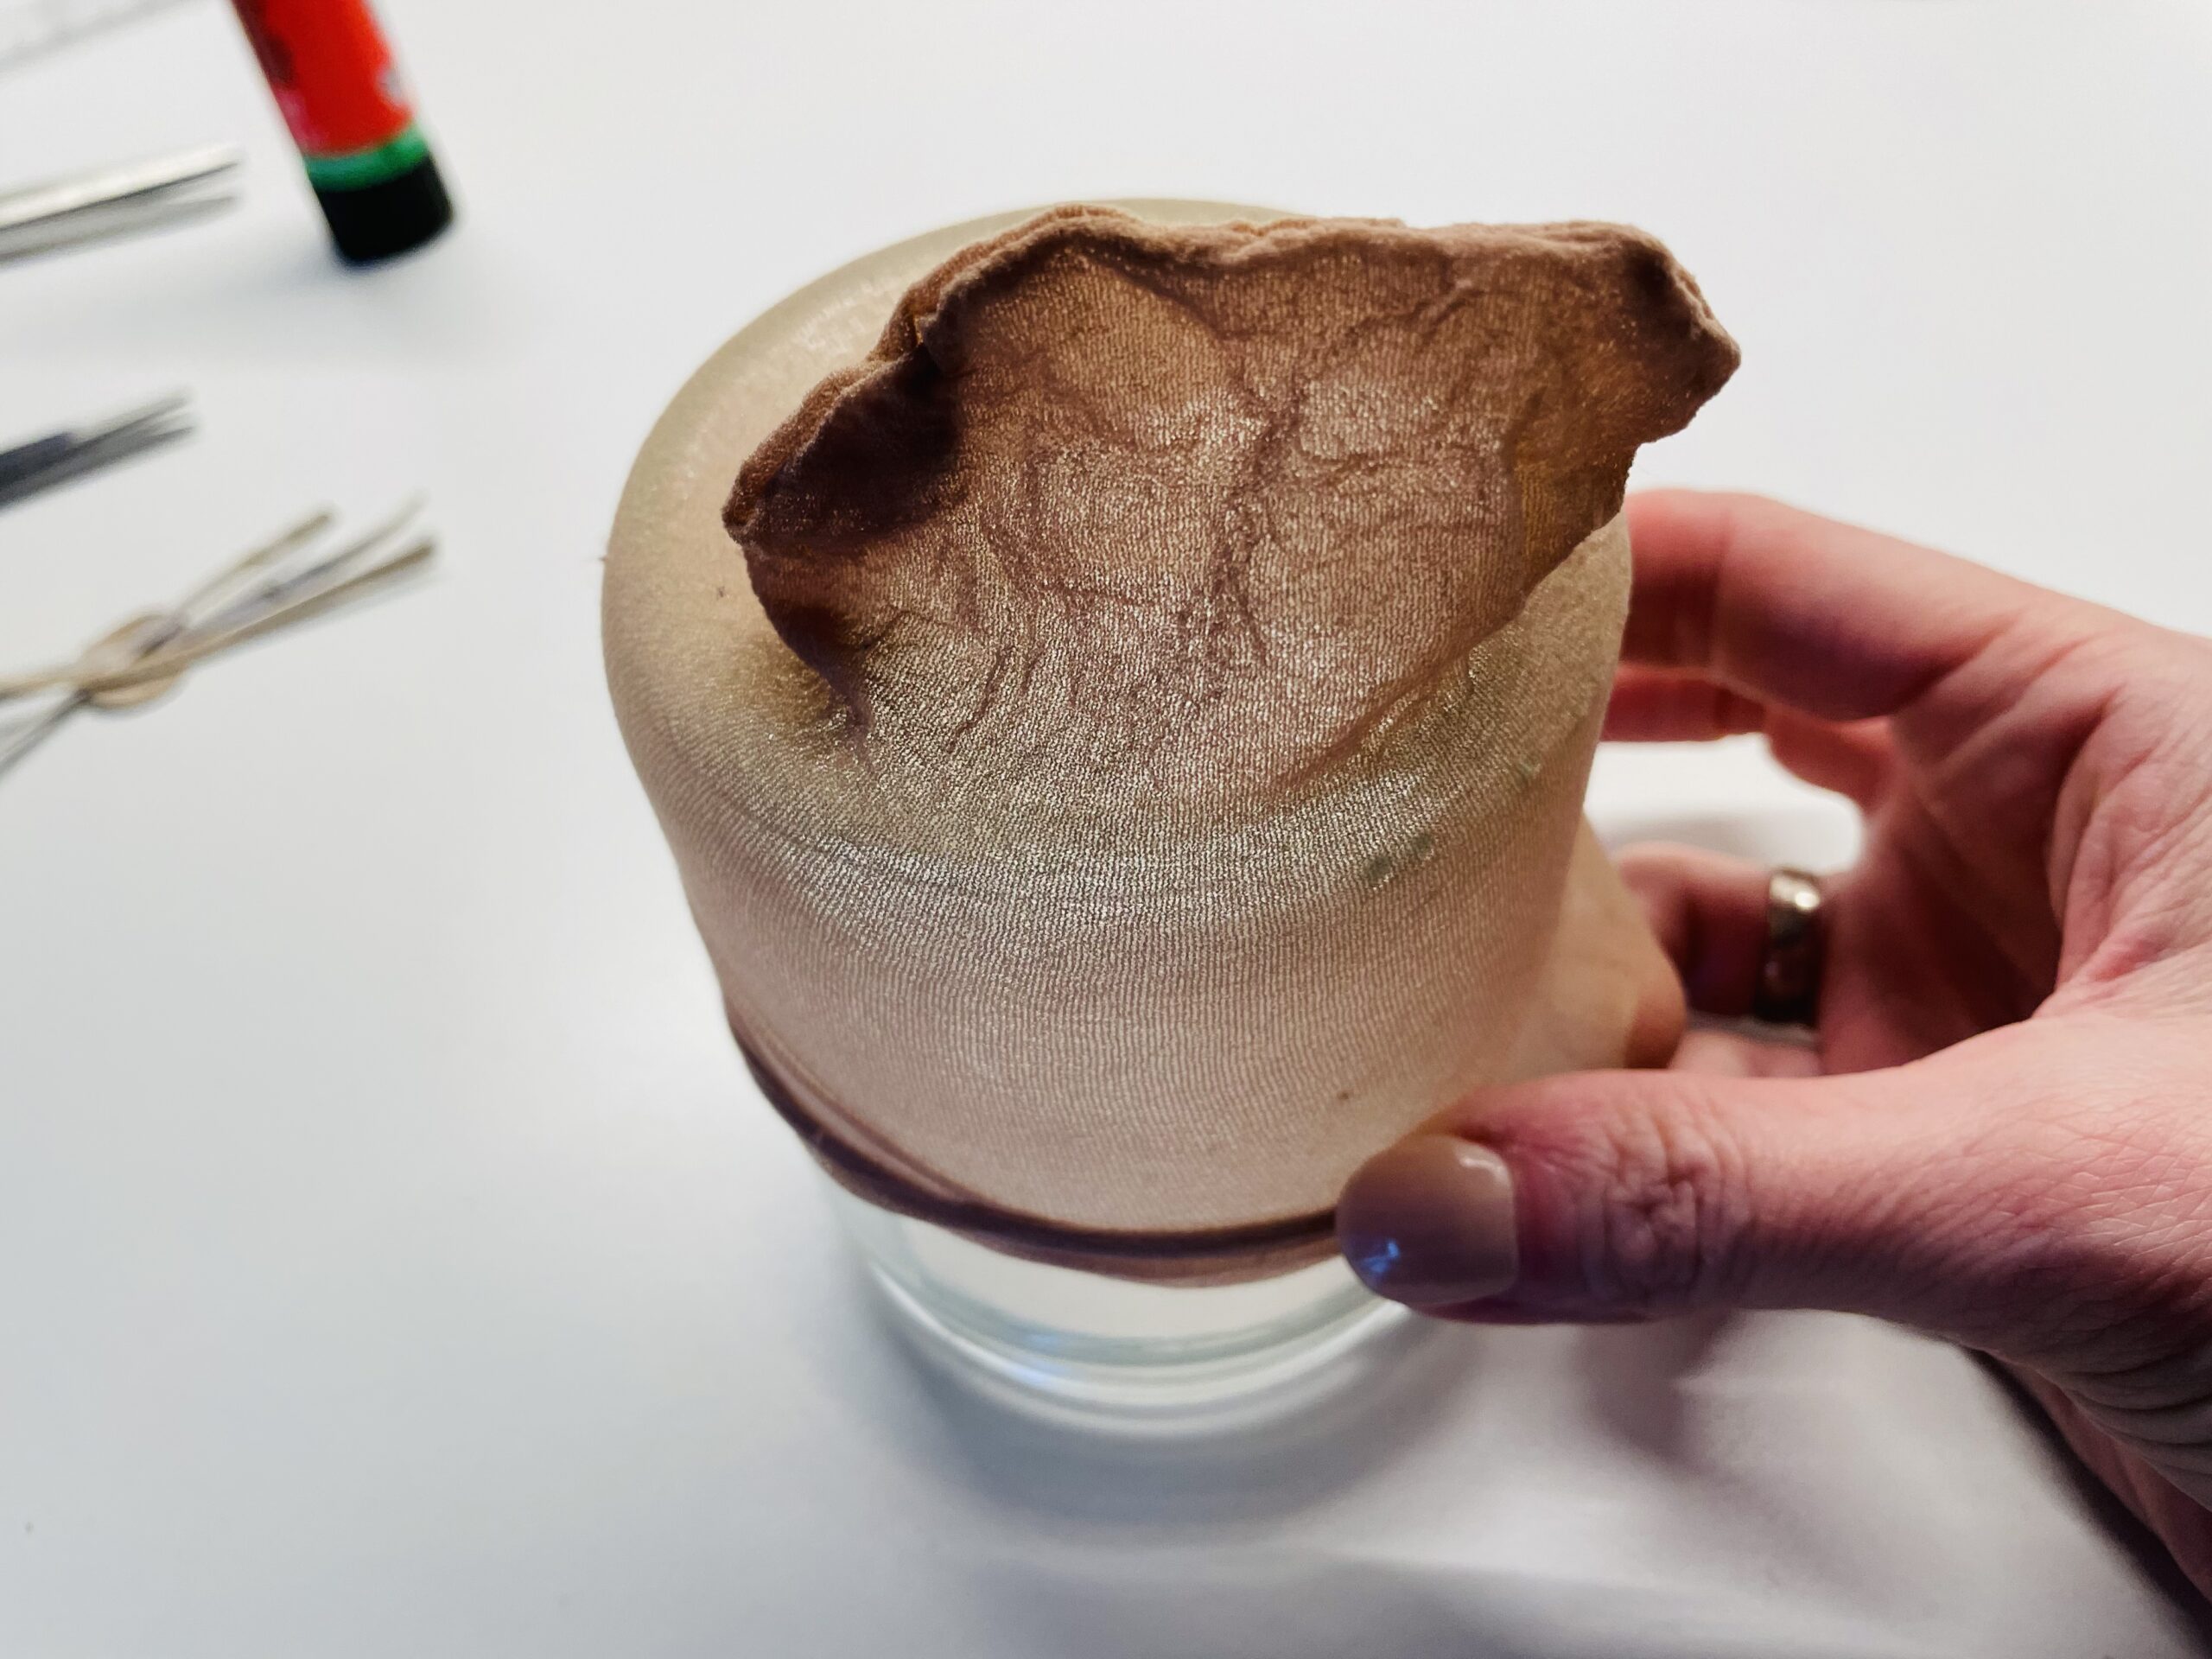
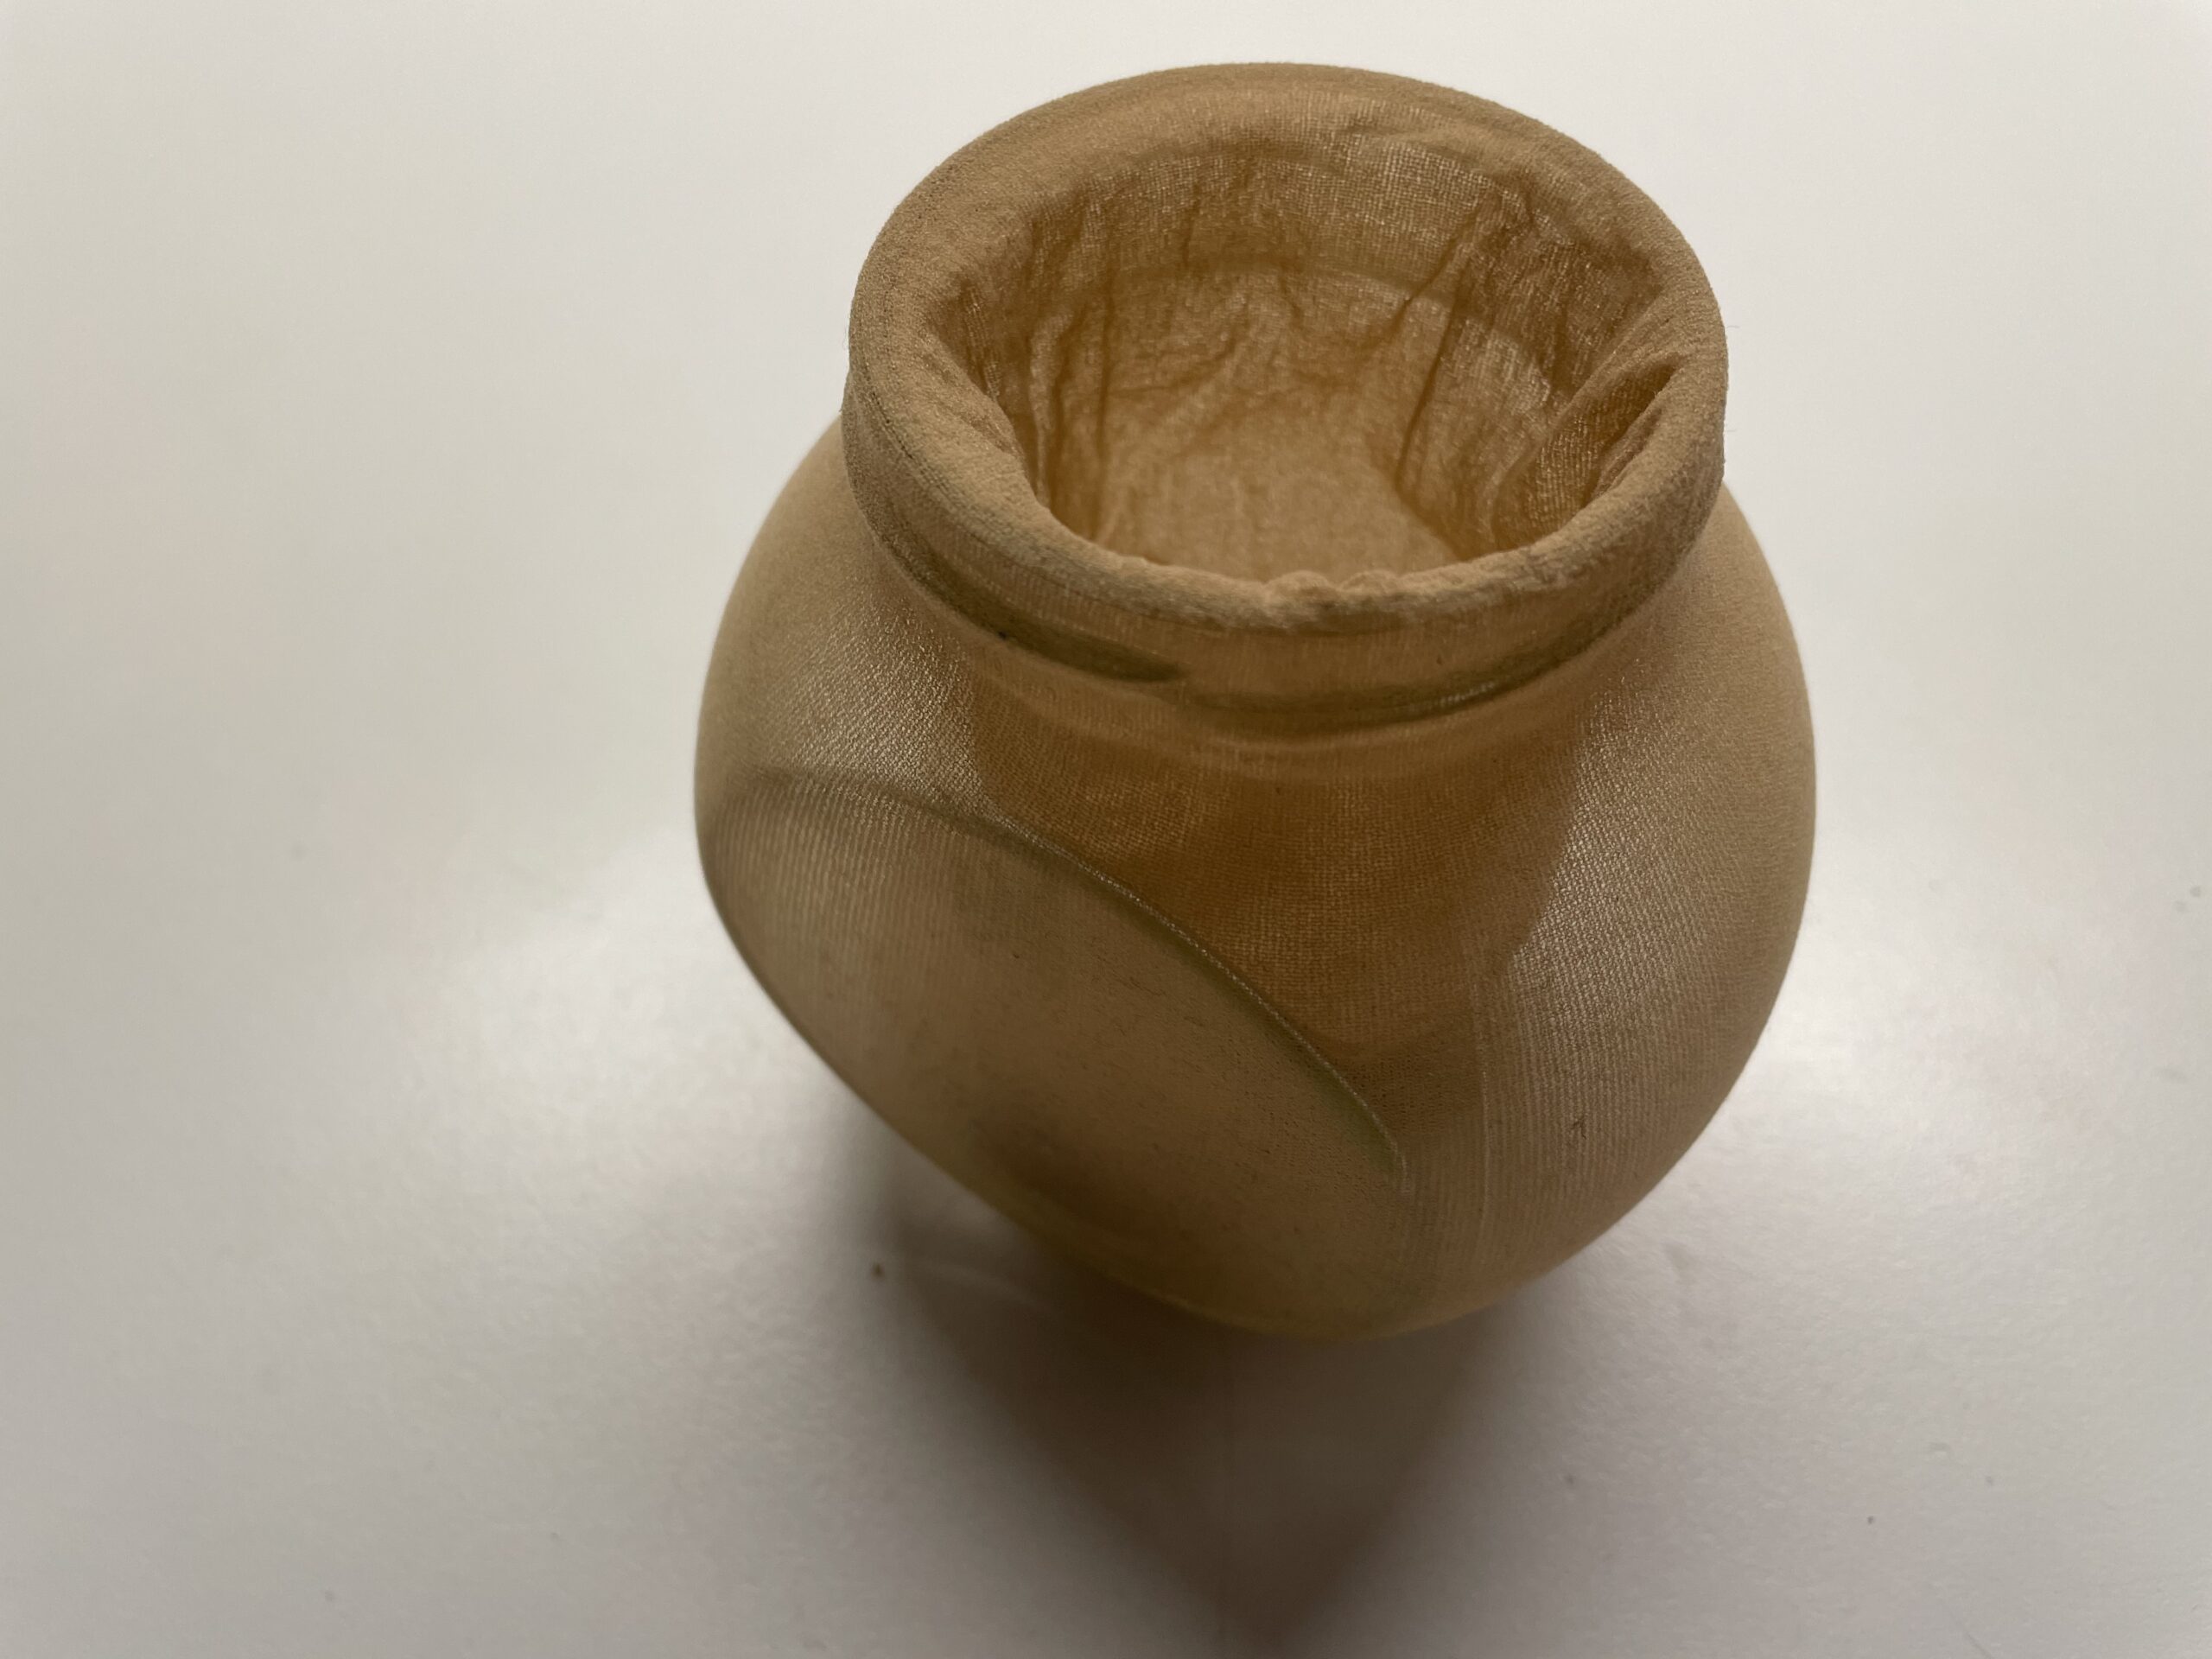
Then you put the perlon stocking over the inverted glass. Pull the perlon stocking very far apart. Maybe someone holds the glass so that it does not slip away.
Now pull the stocking tightly and smoothly.
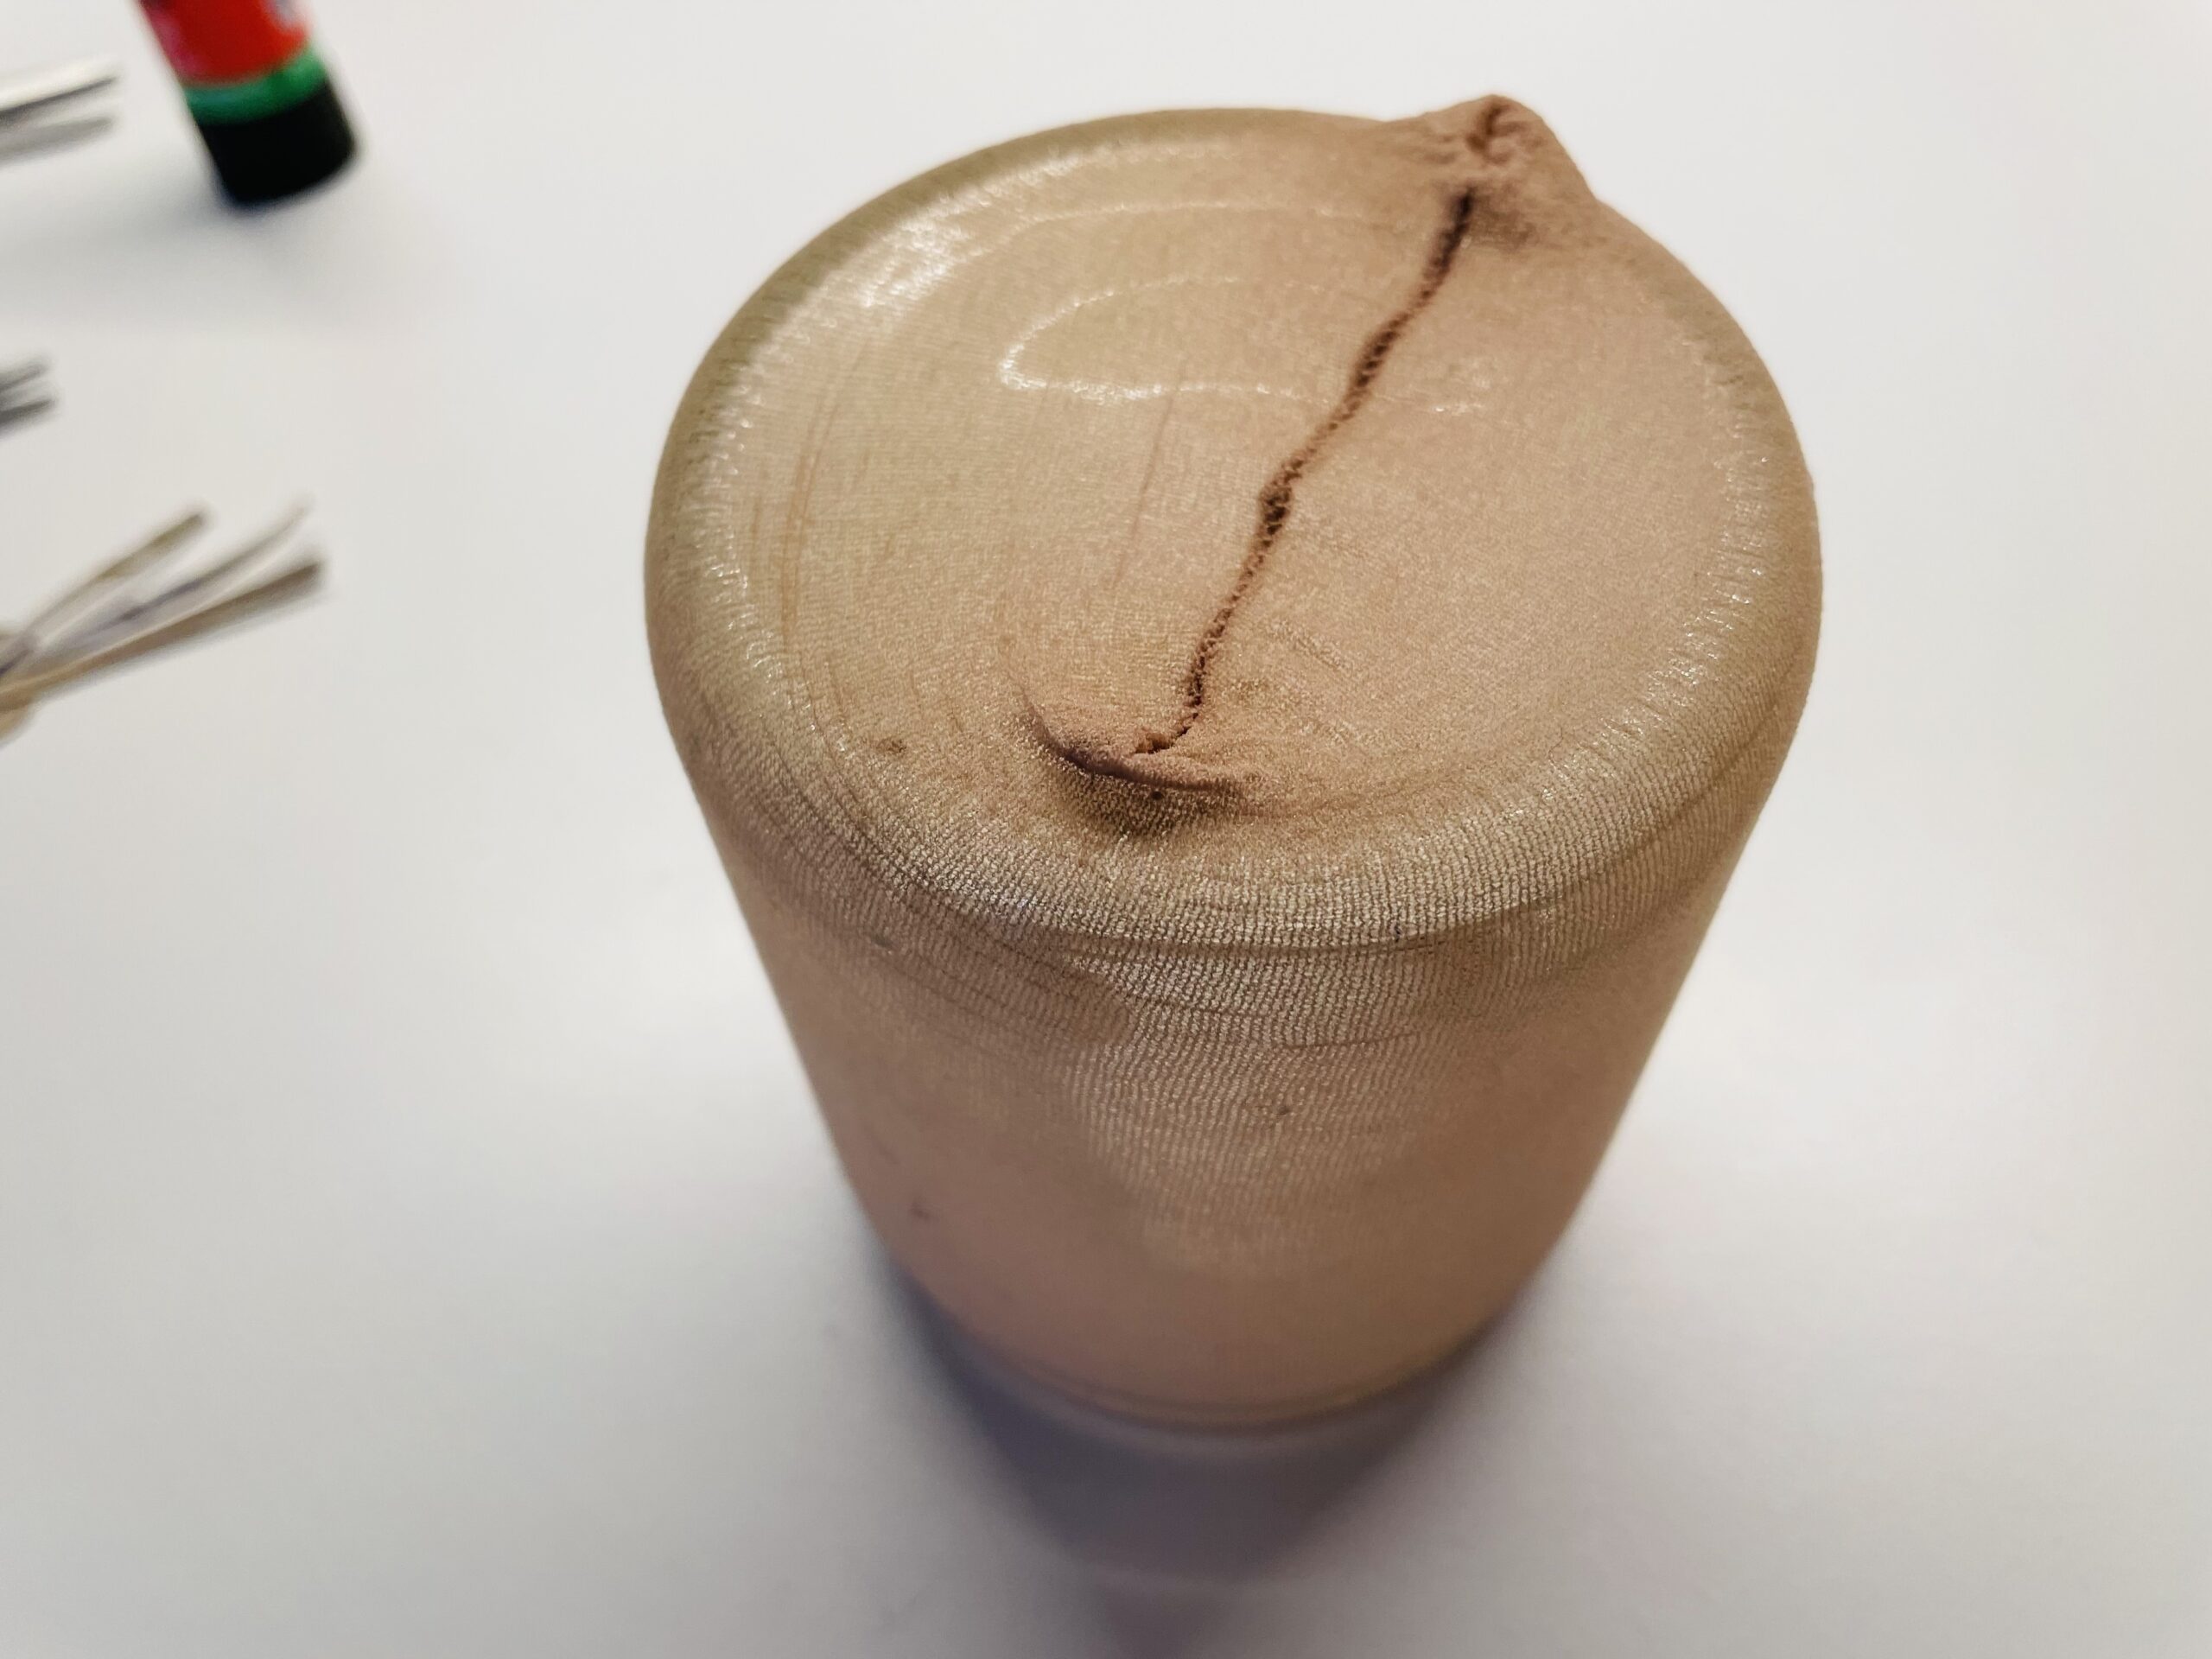
Then turn the glass around and pull the stocking firmly again. The glass now sits deep in the socks. Attention: Do not cut off the overhanging part of the sock!
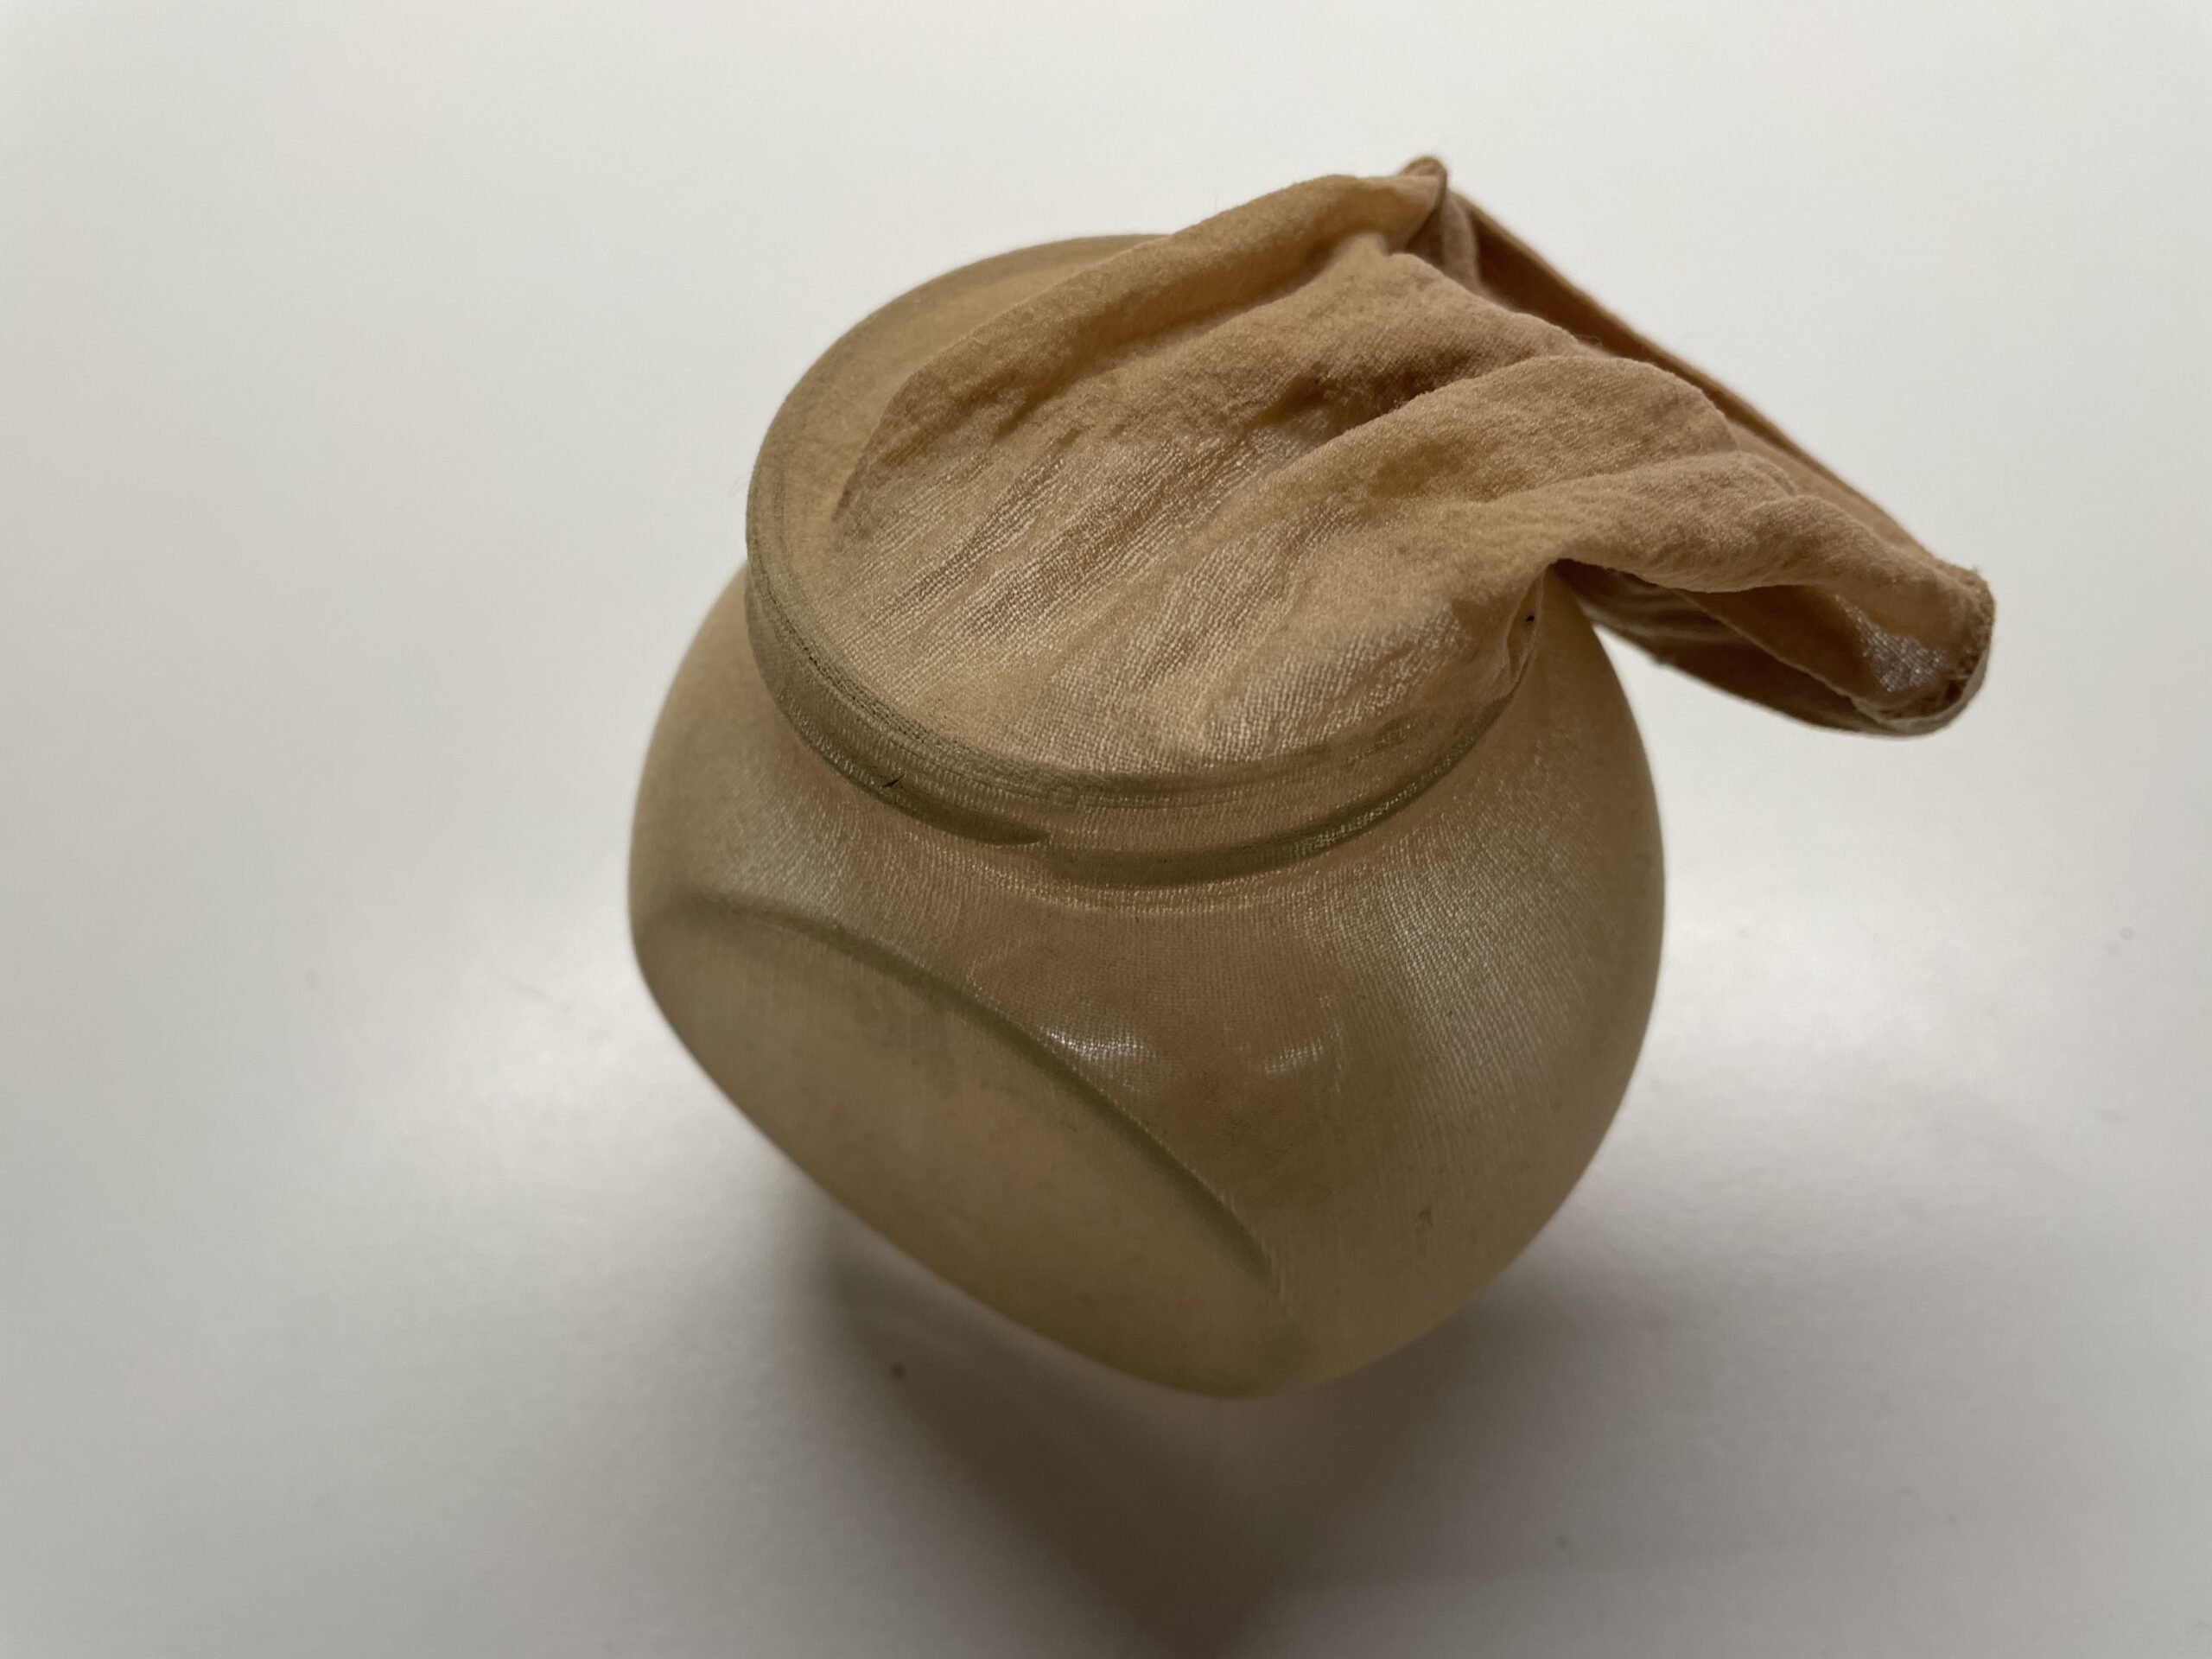
After that you put the overhanging sock in it.
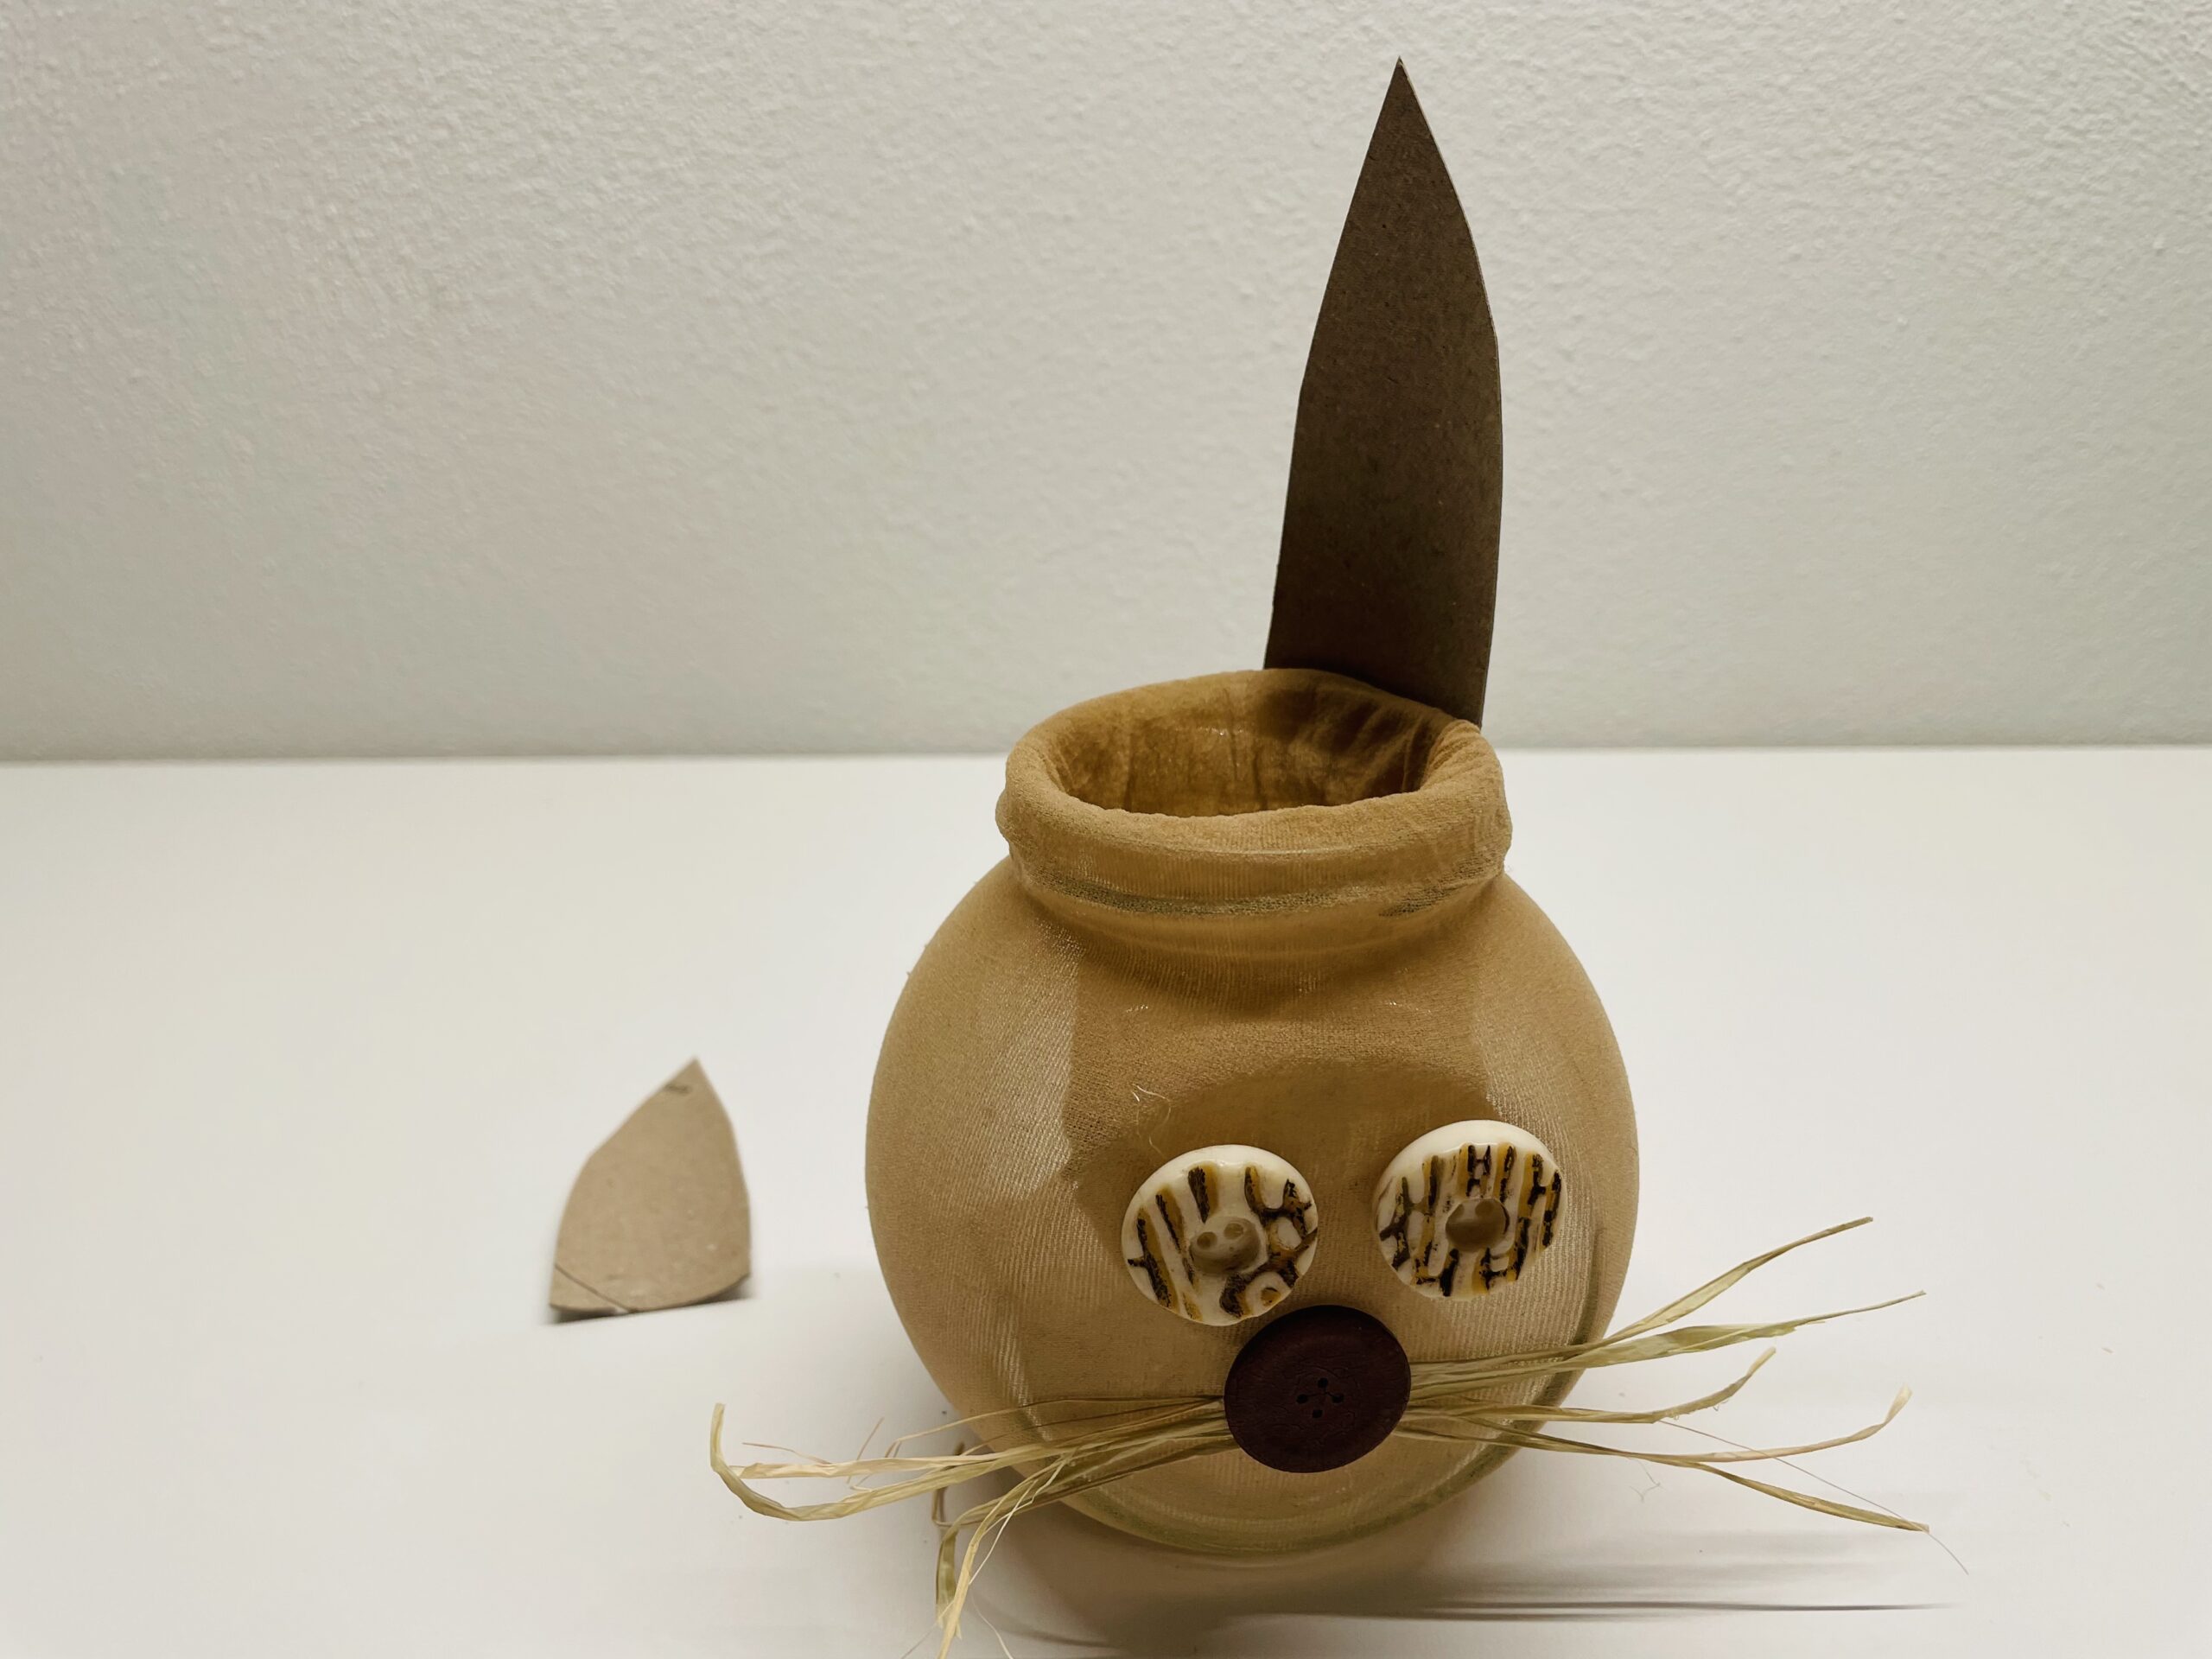
Now you take a cardboard roll and put it on the table in front of you.
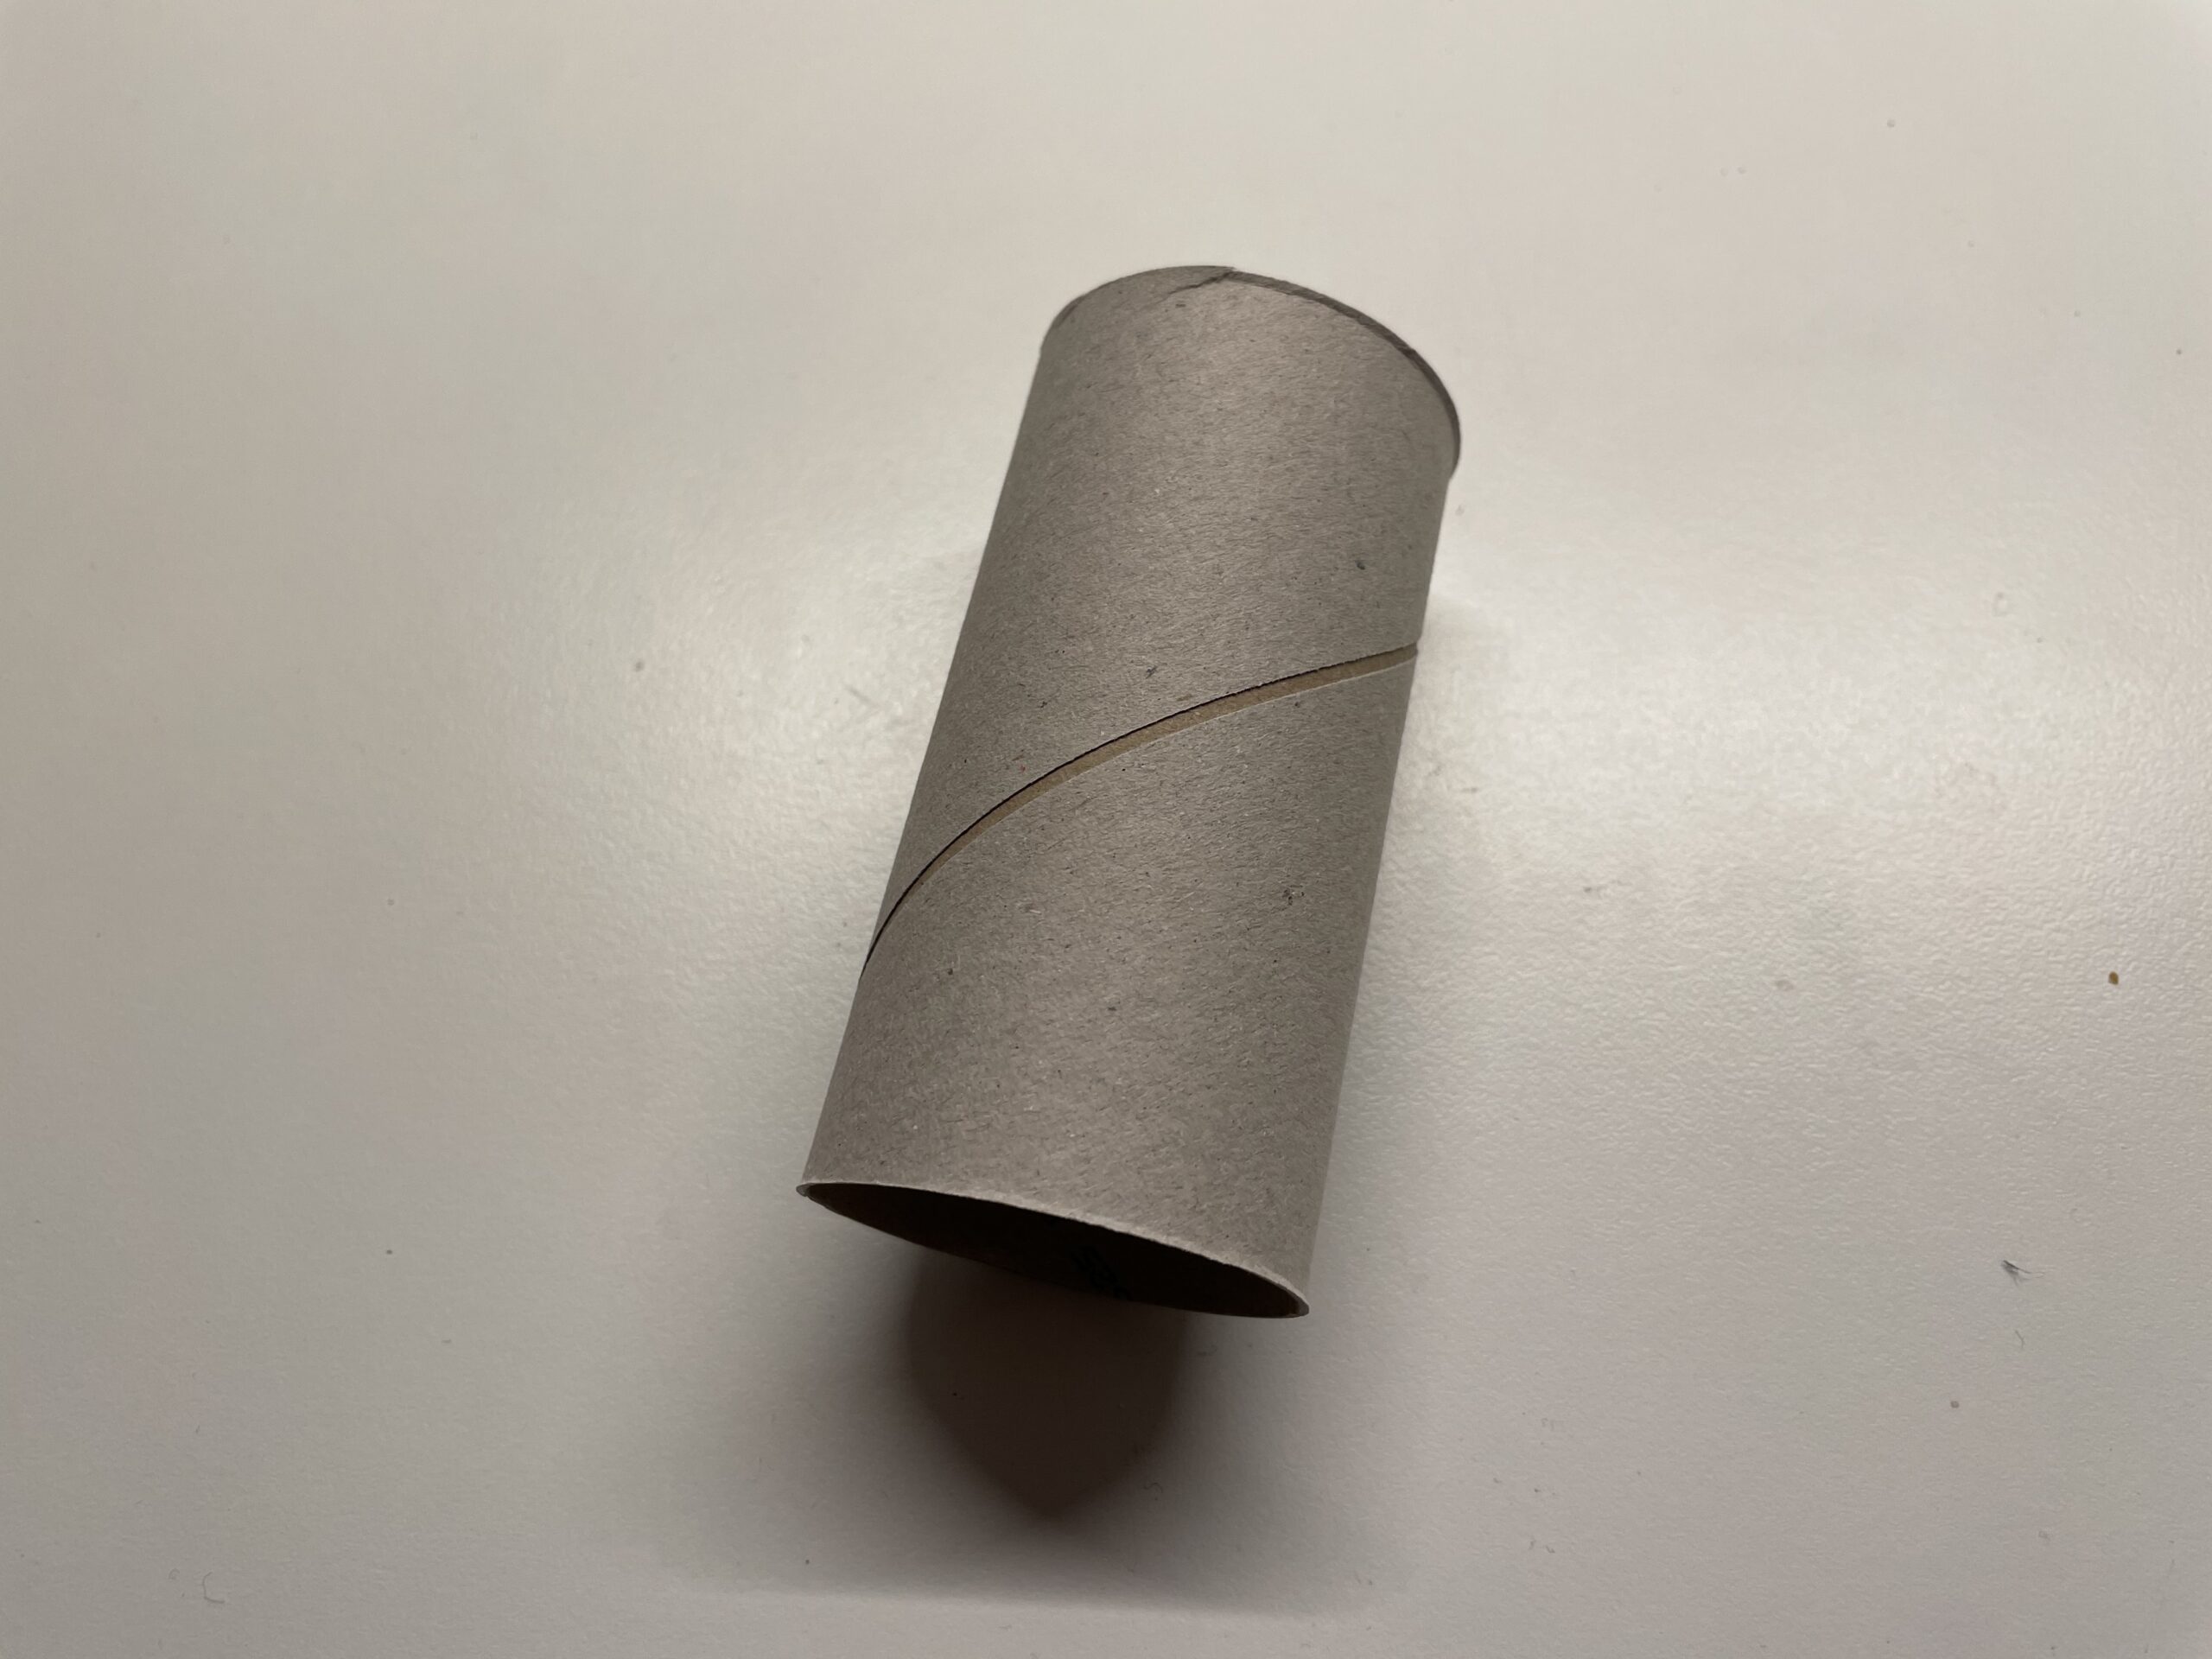
Then press it flatly.

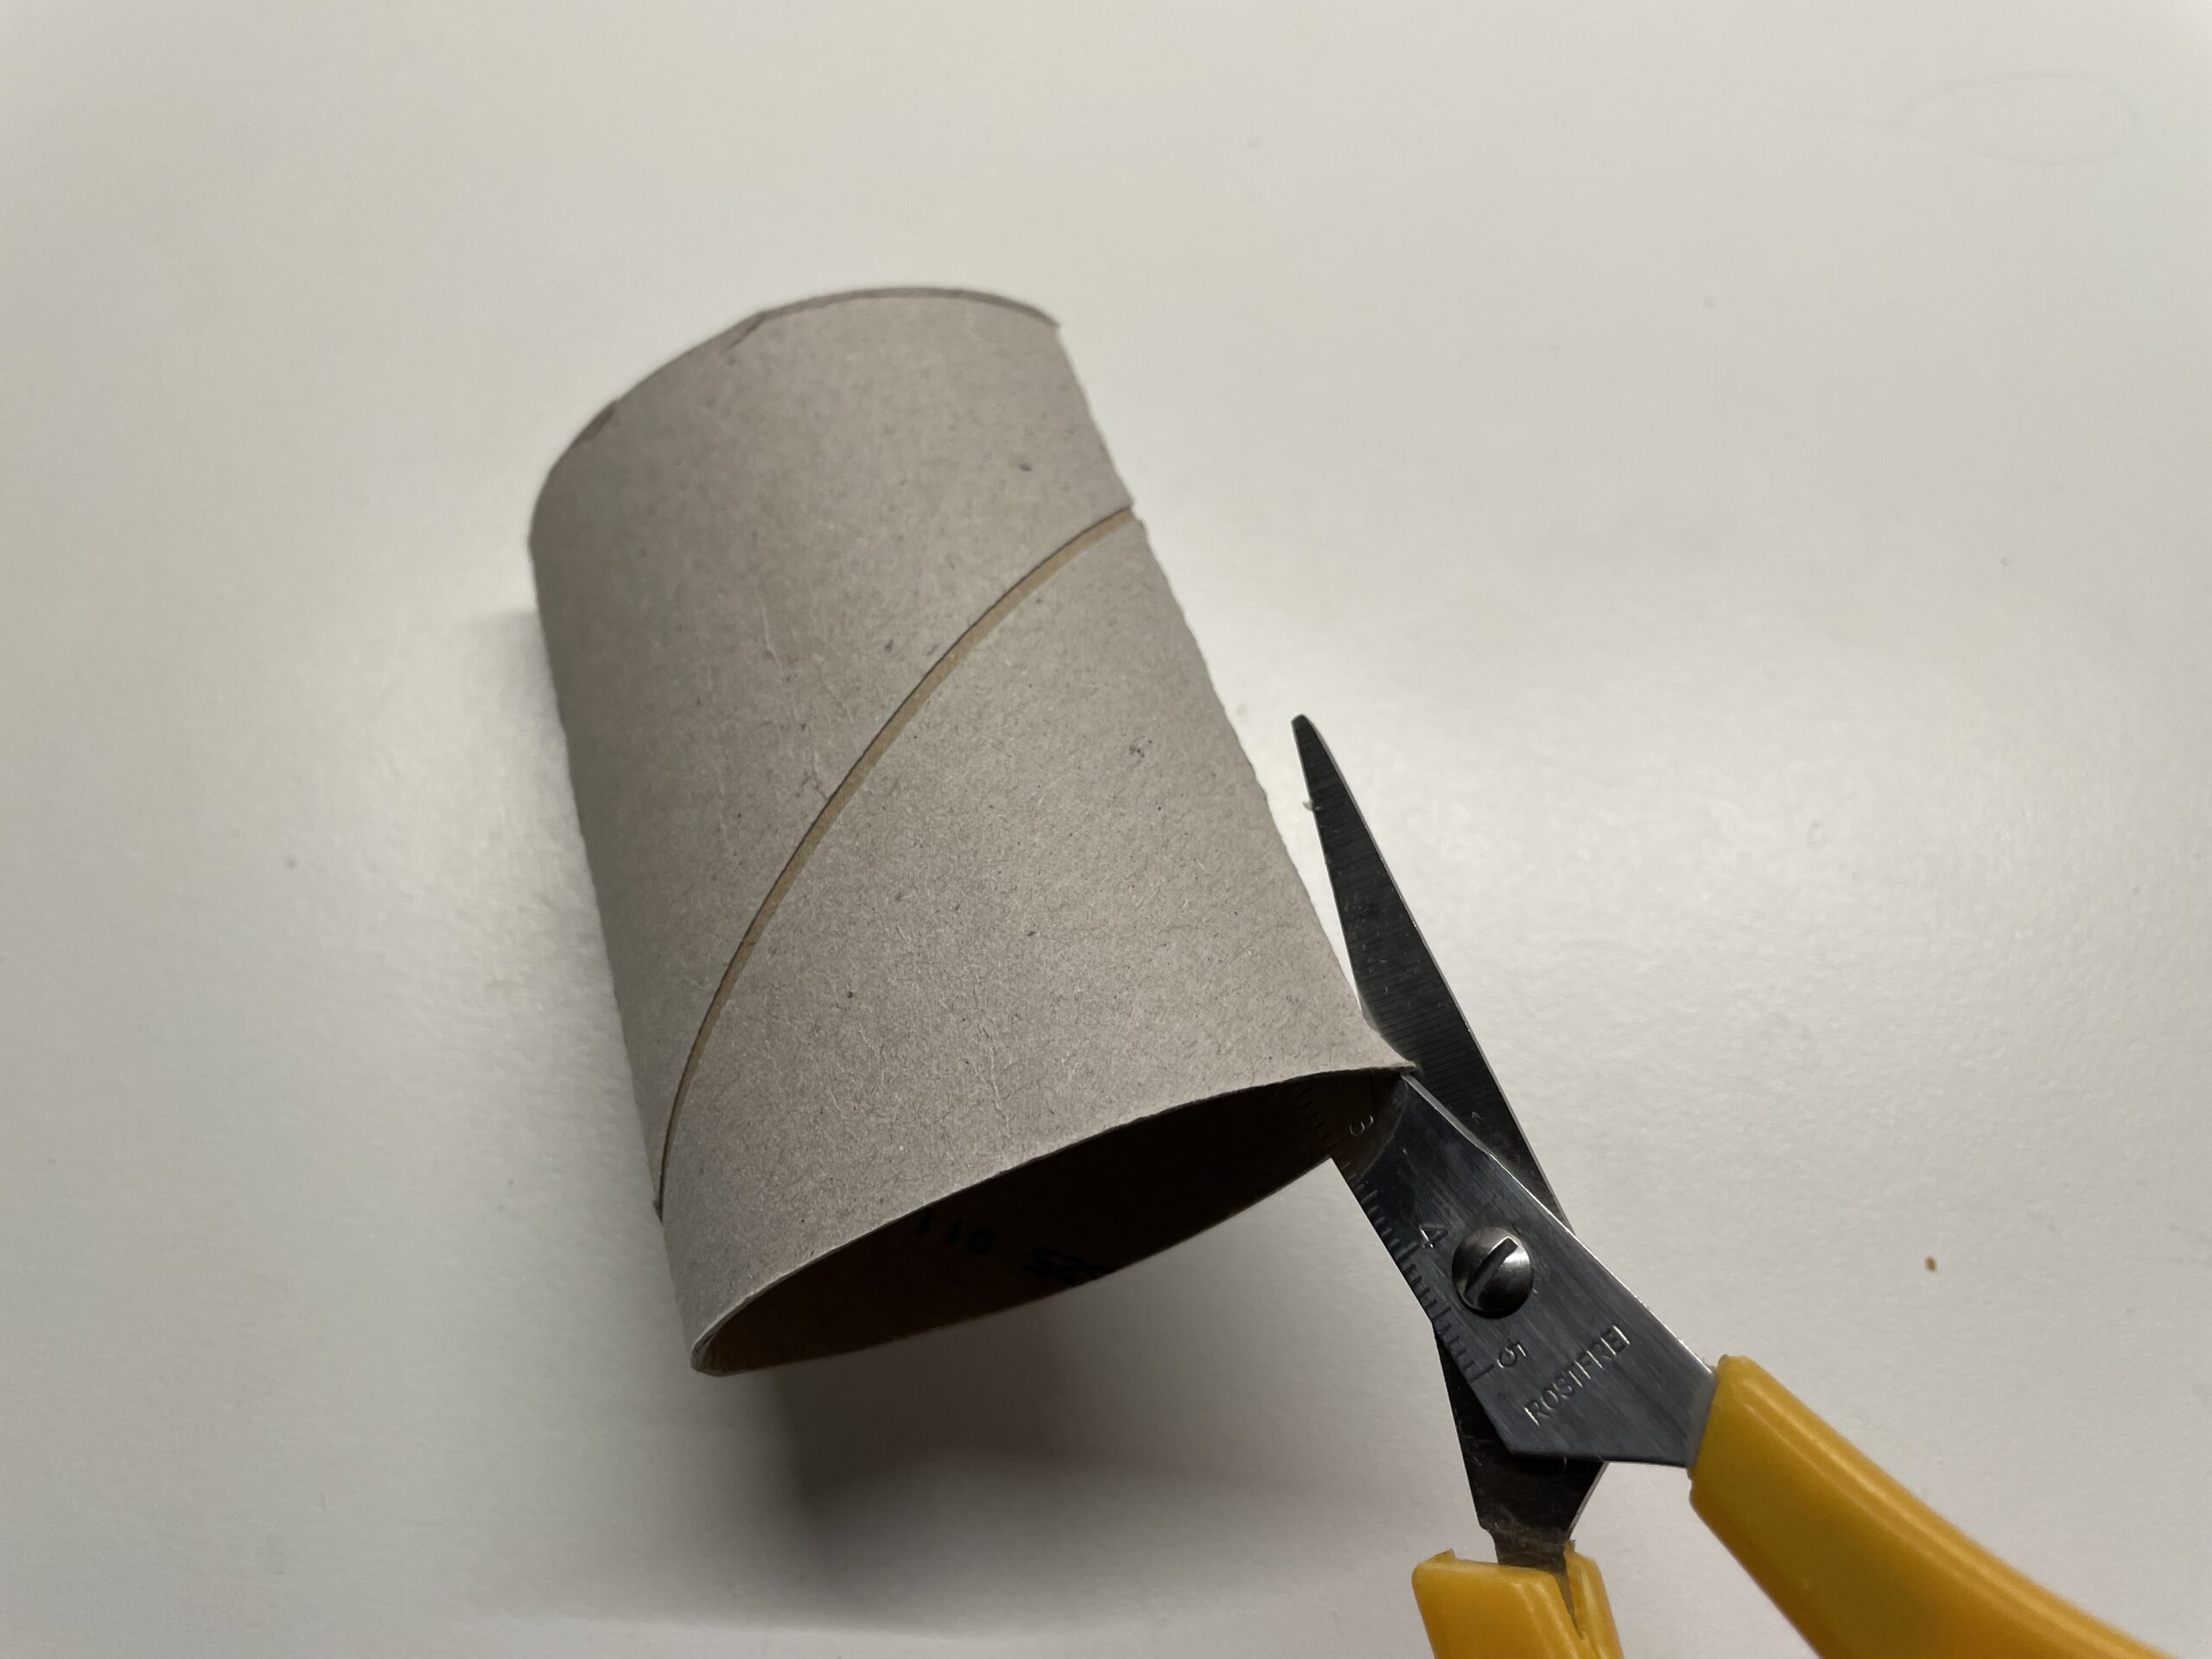
Now cut the cardboard roll apart on both sides. Cut along the fold.
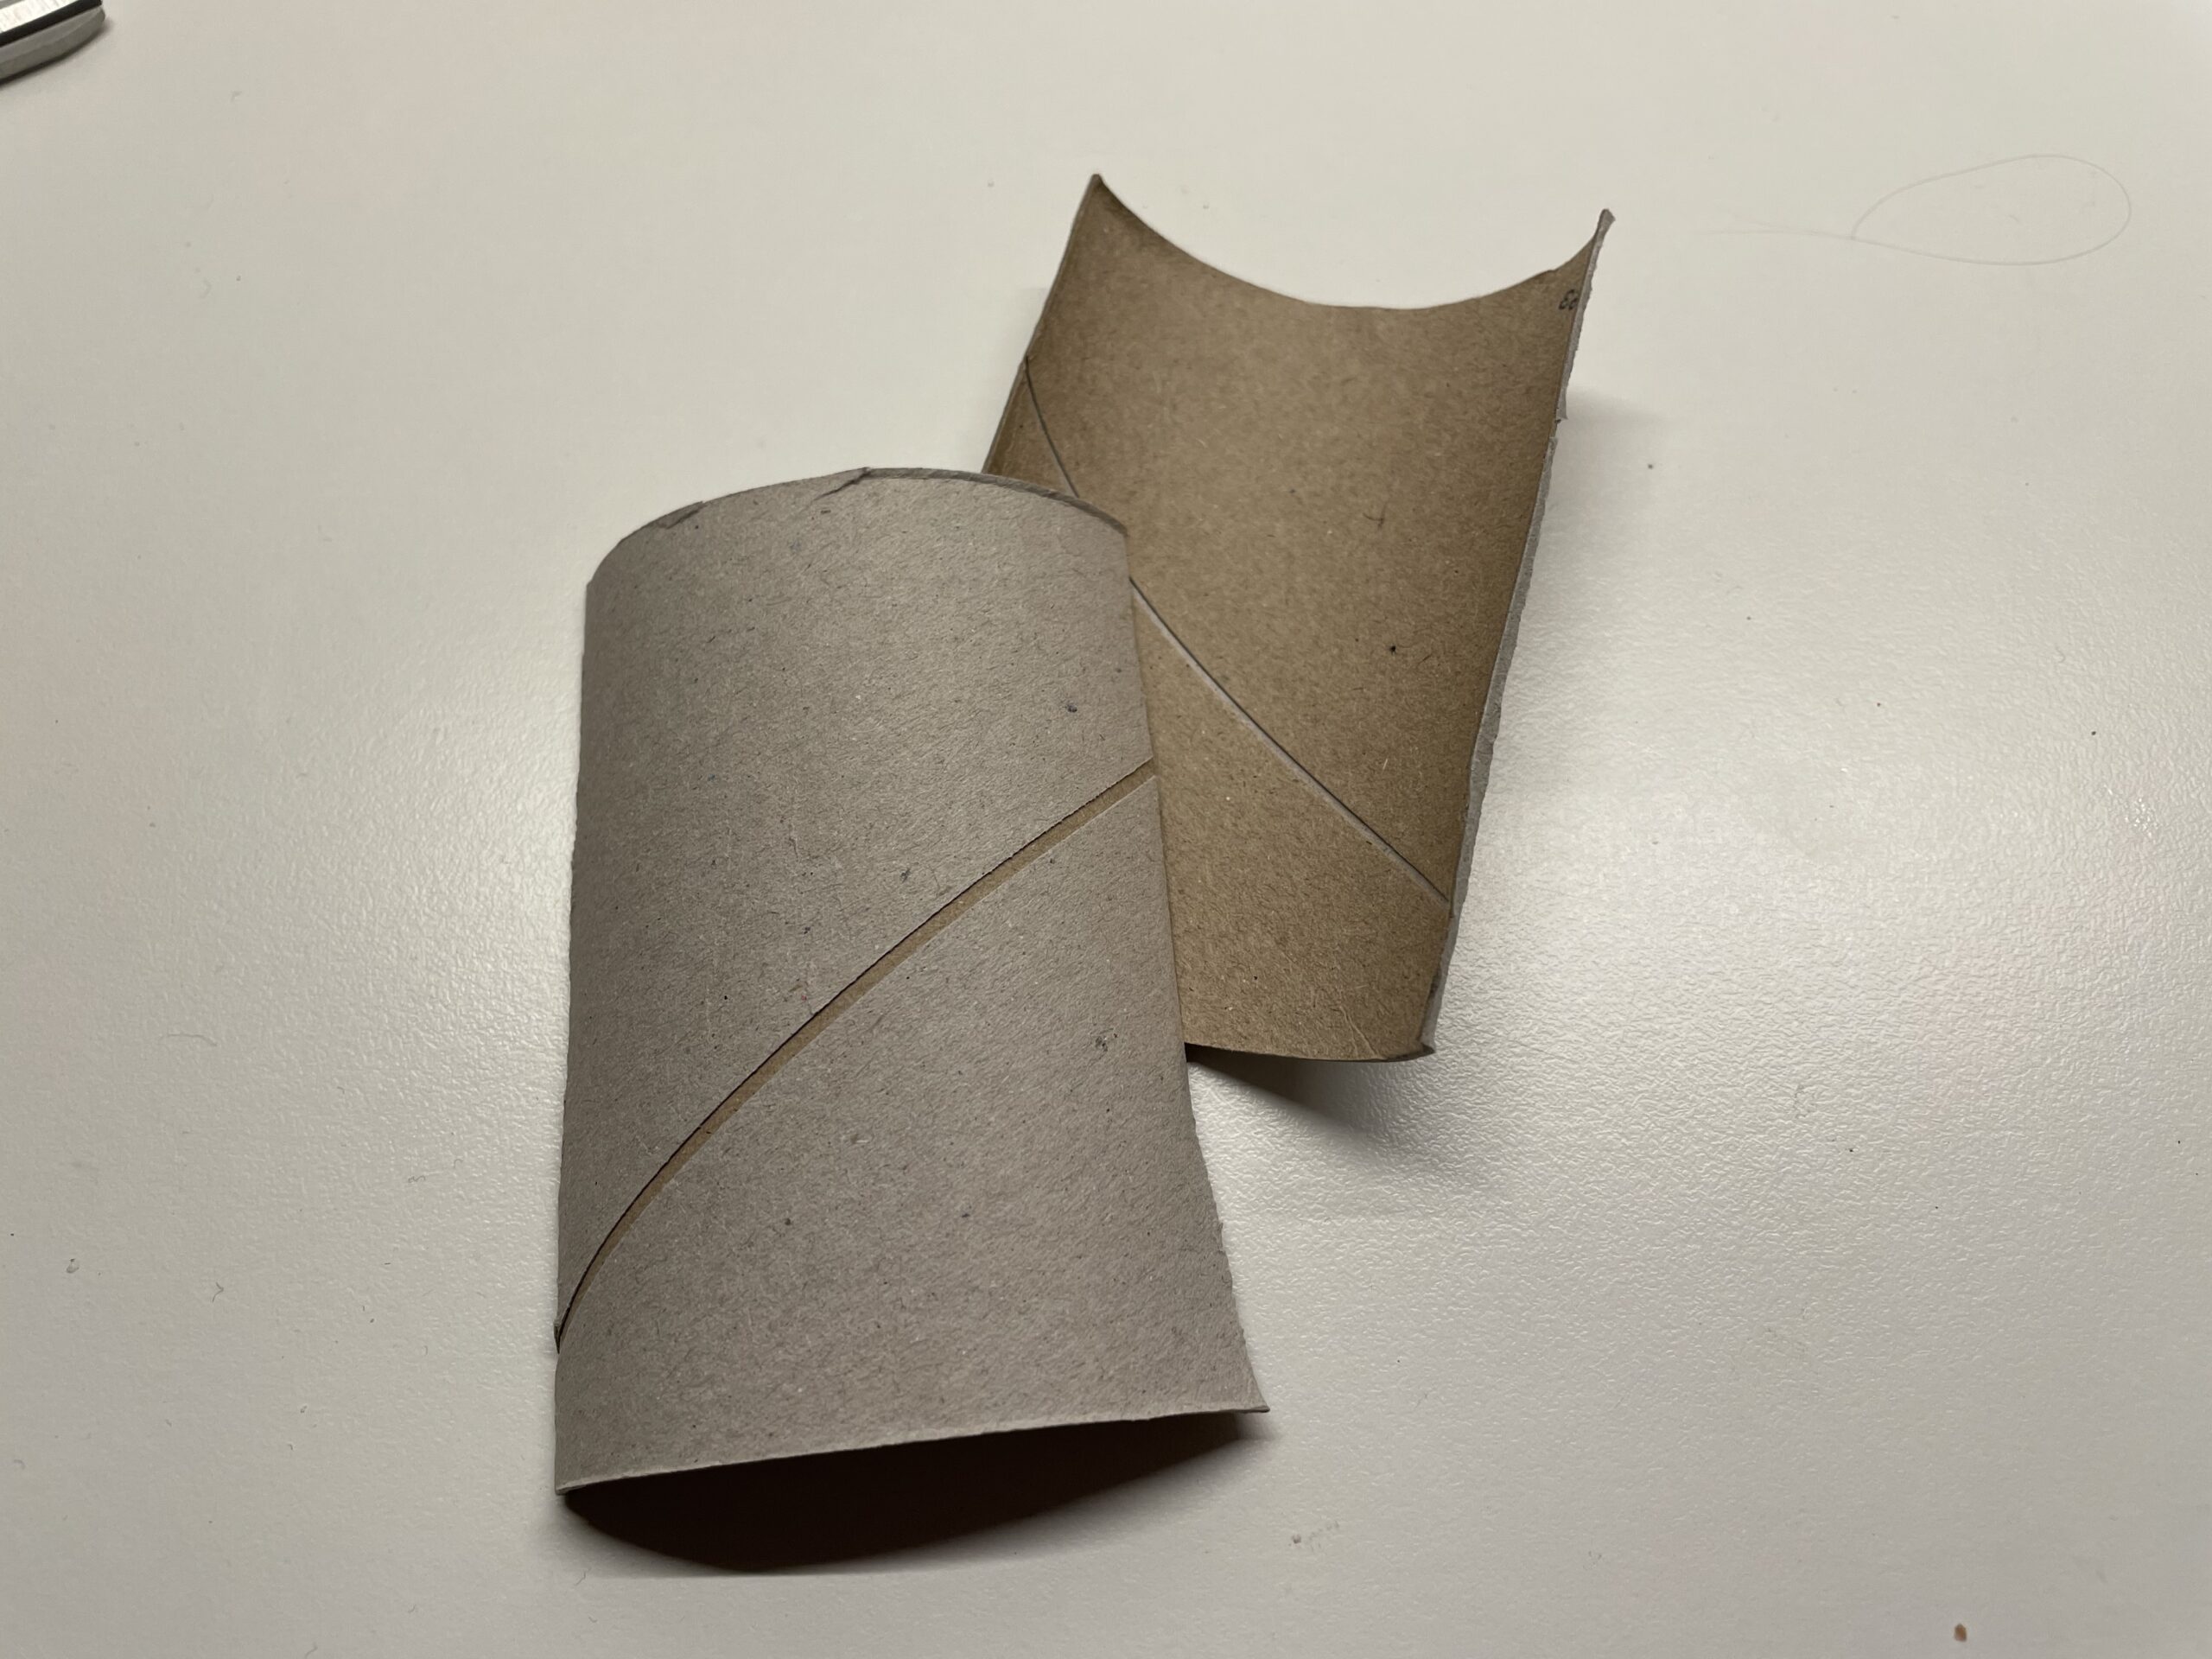
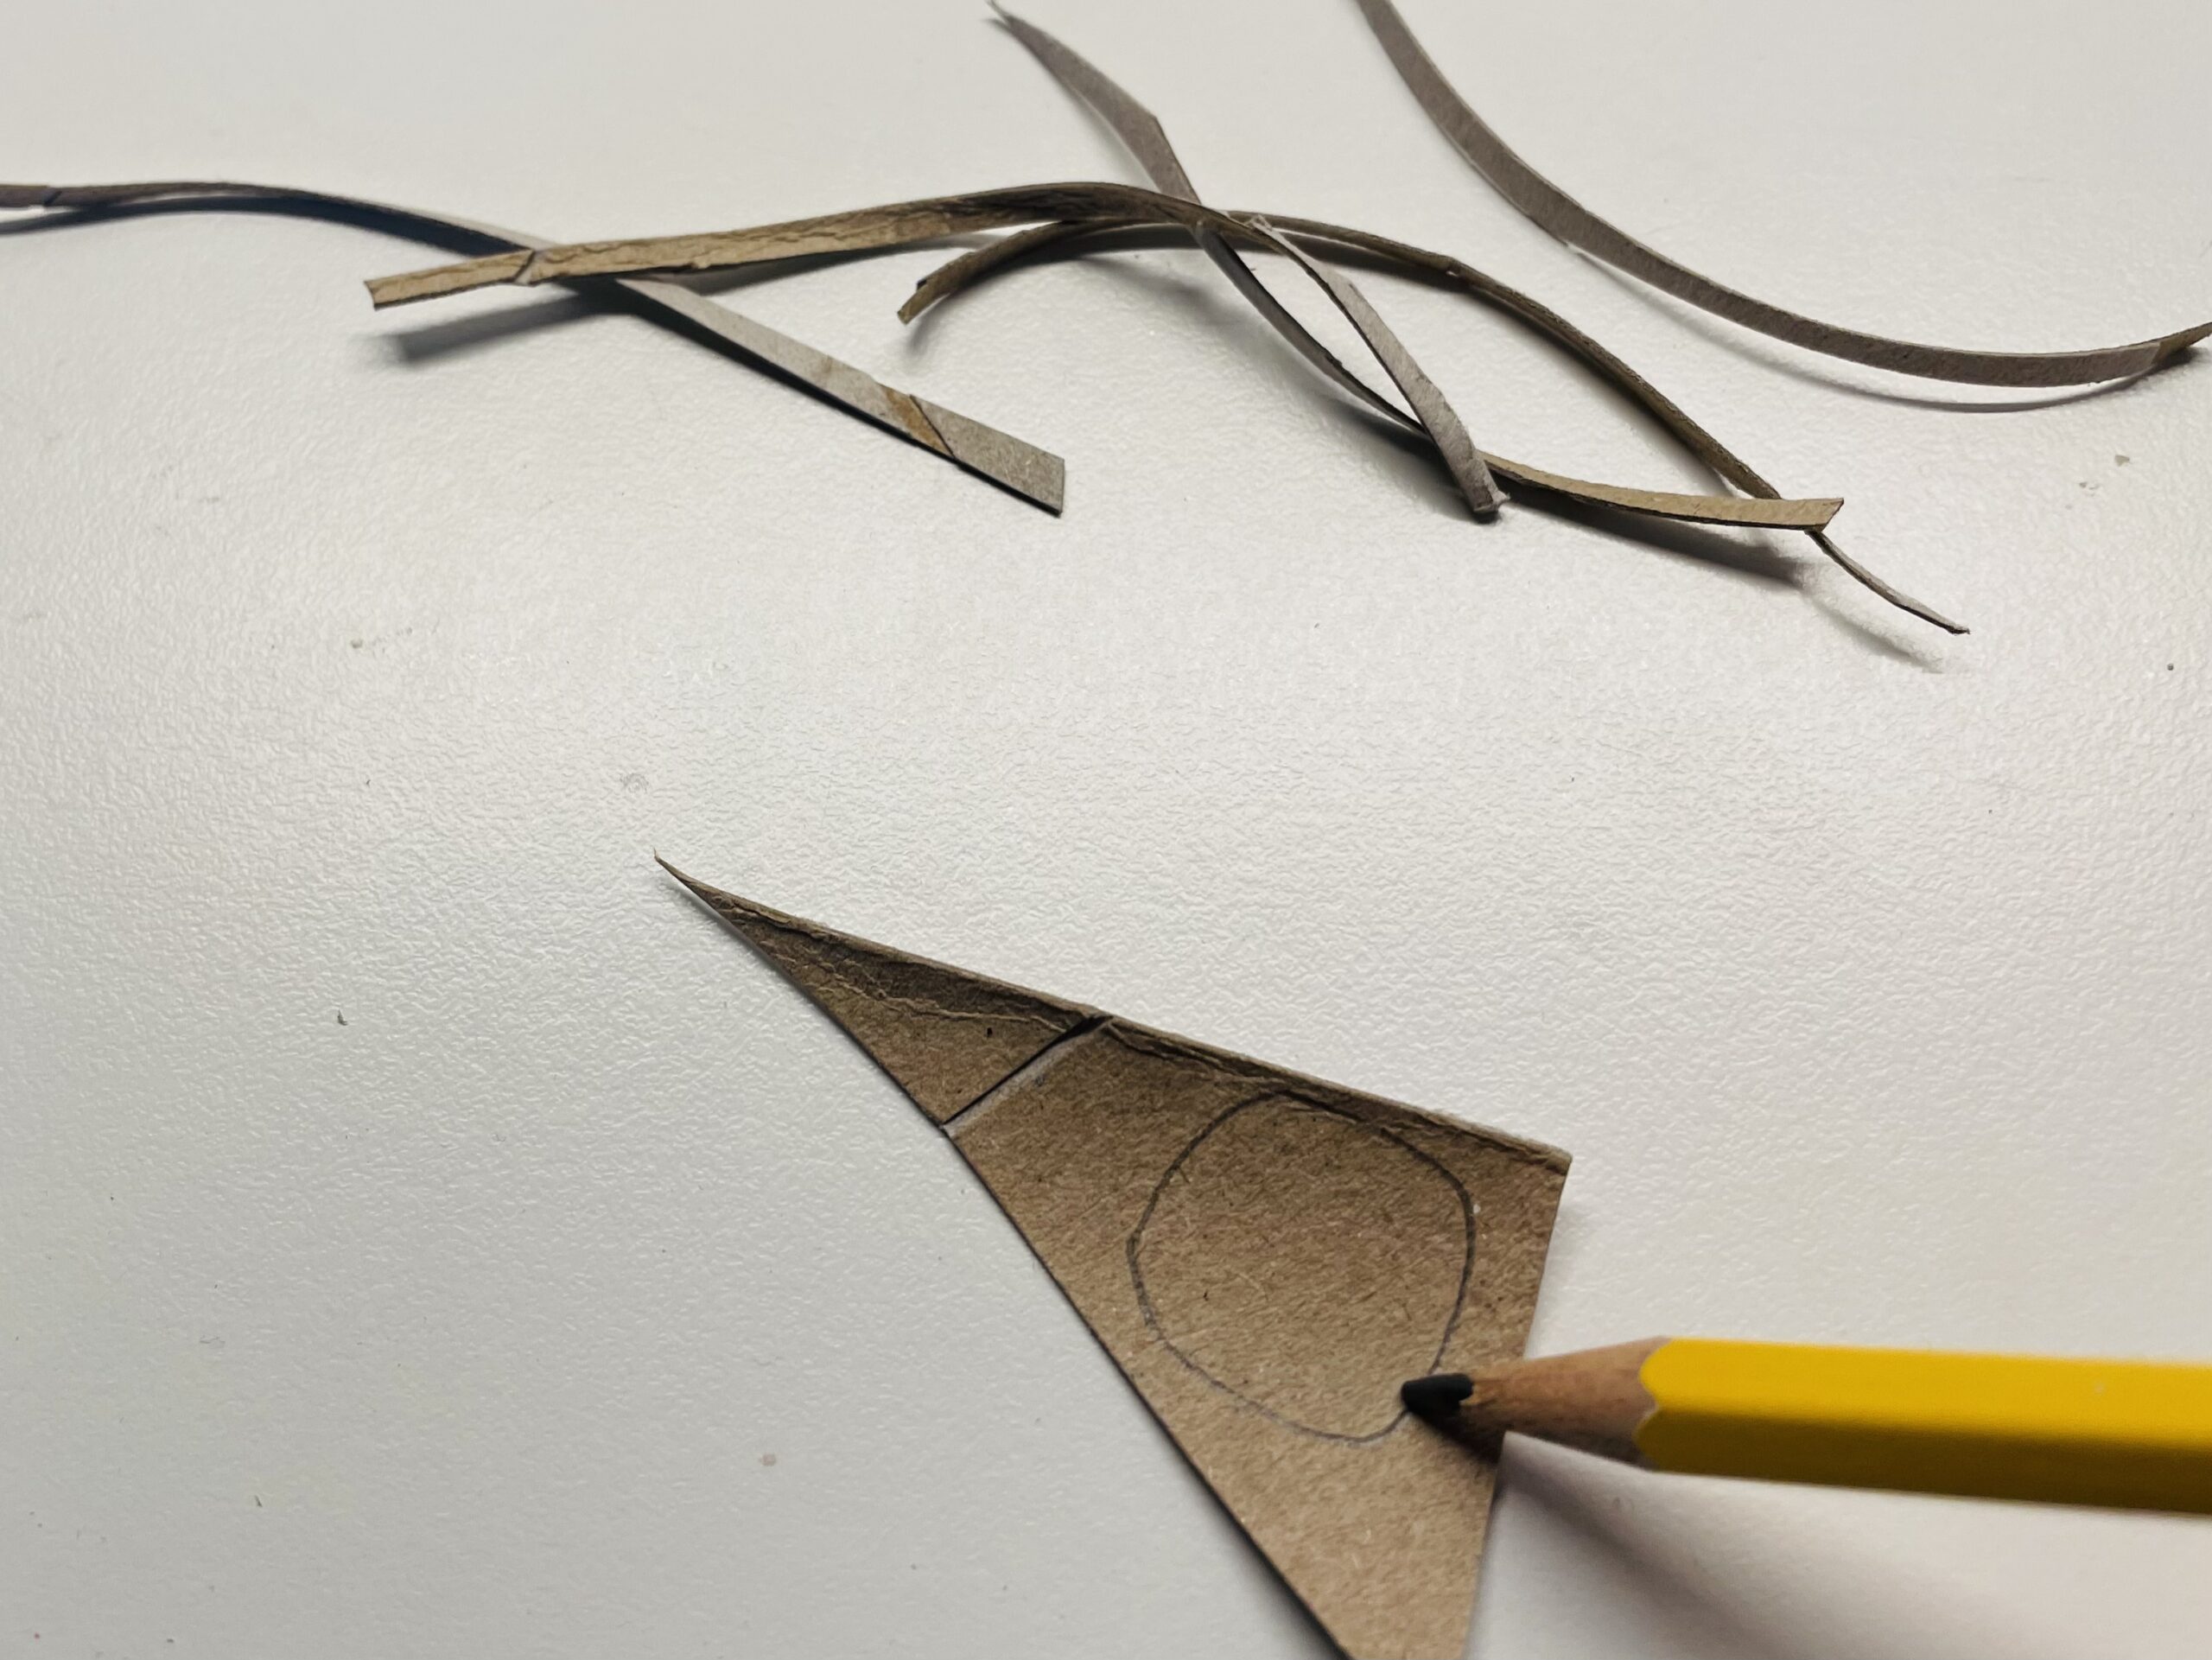
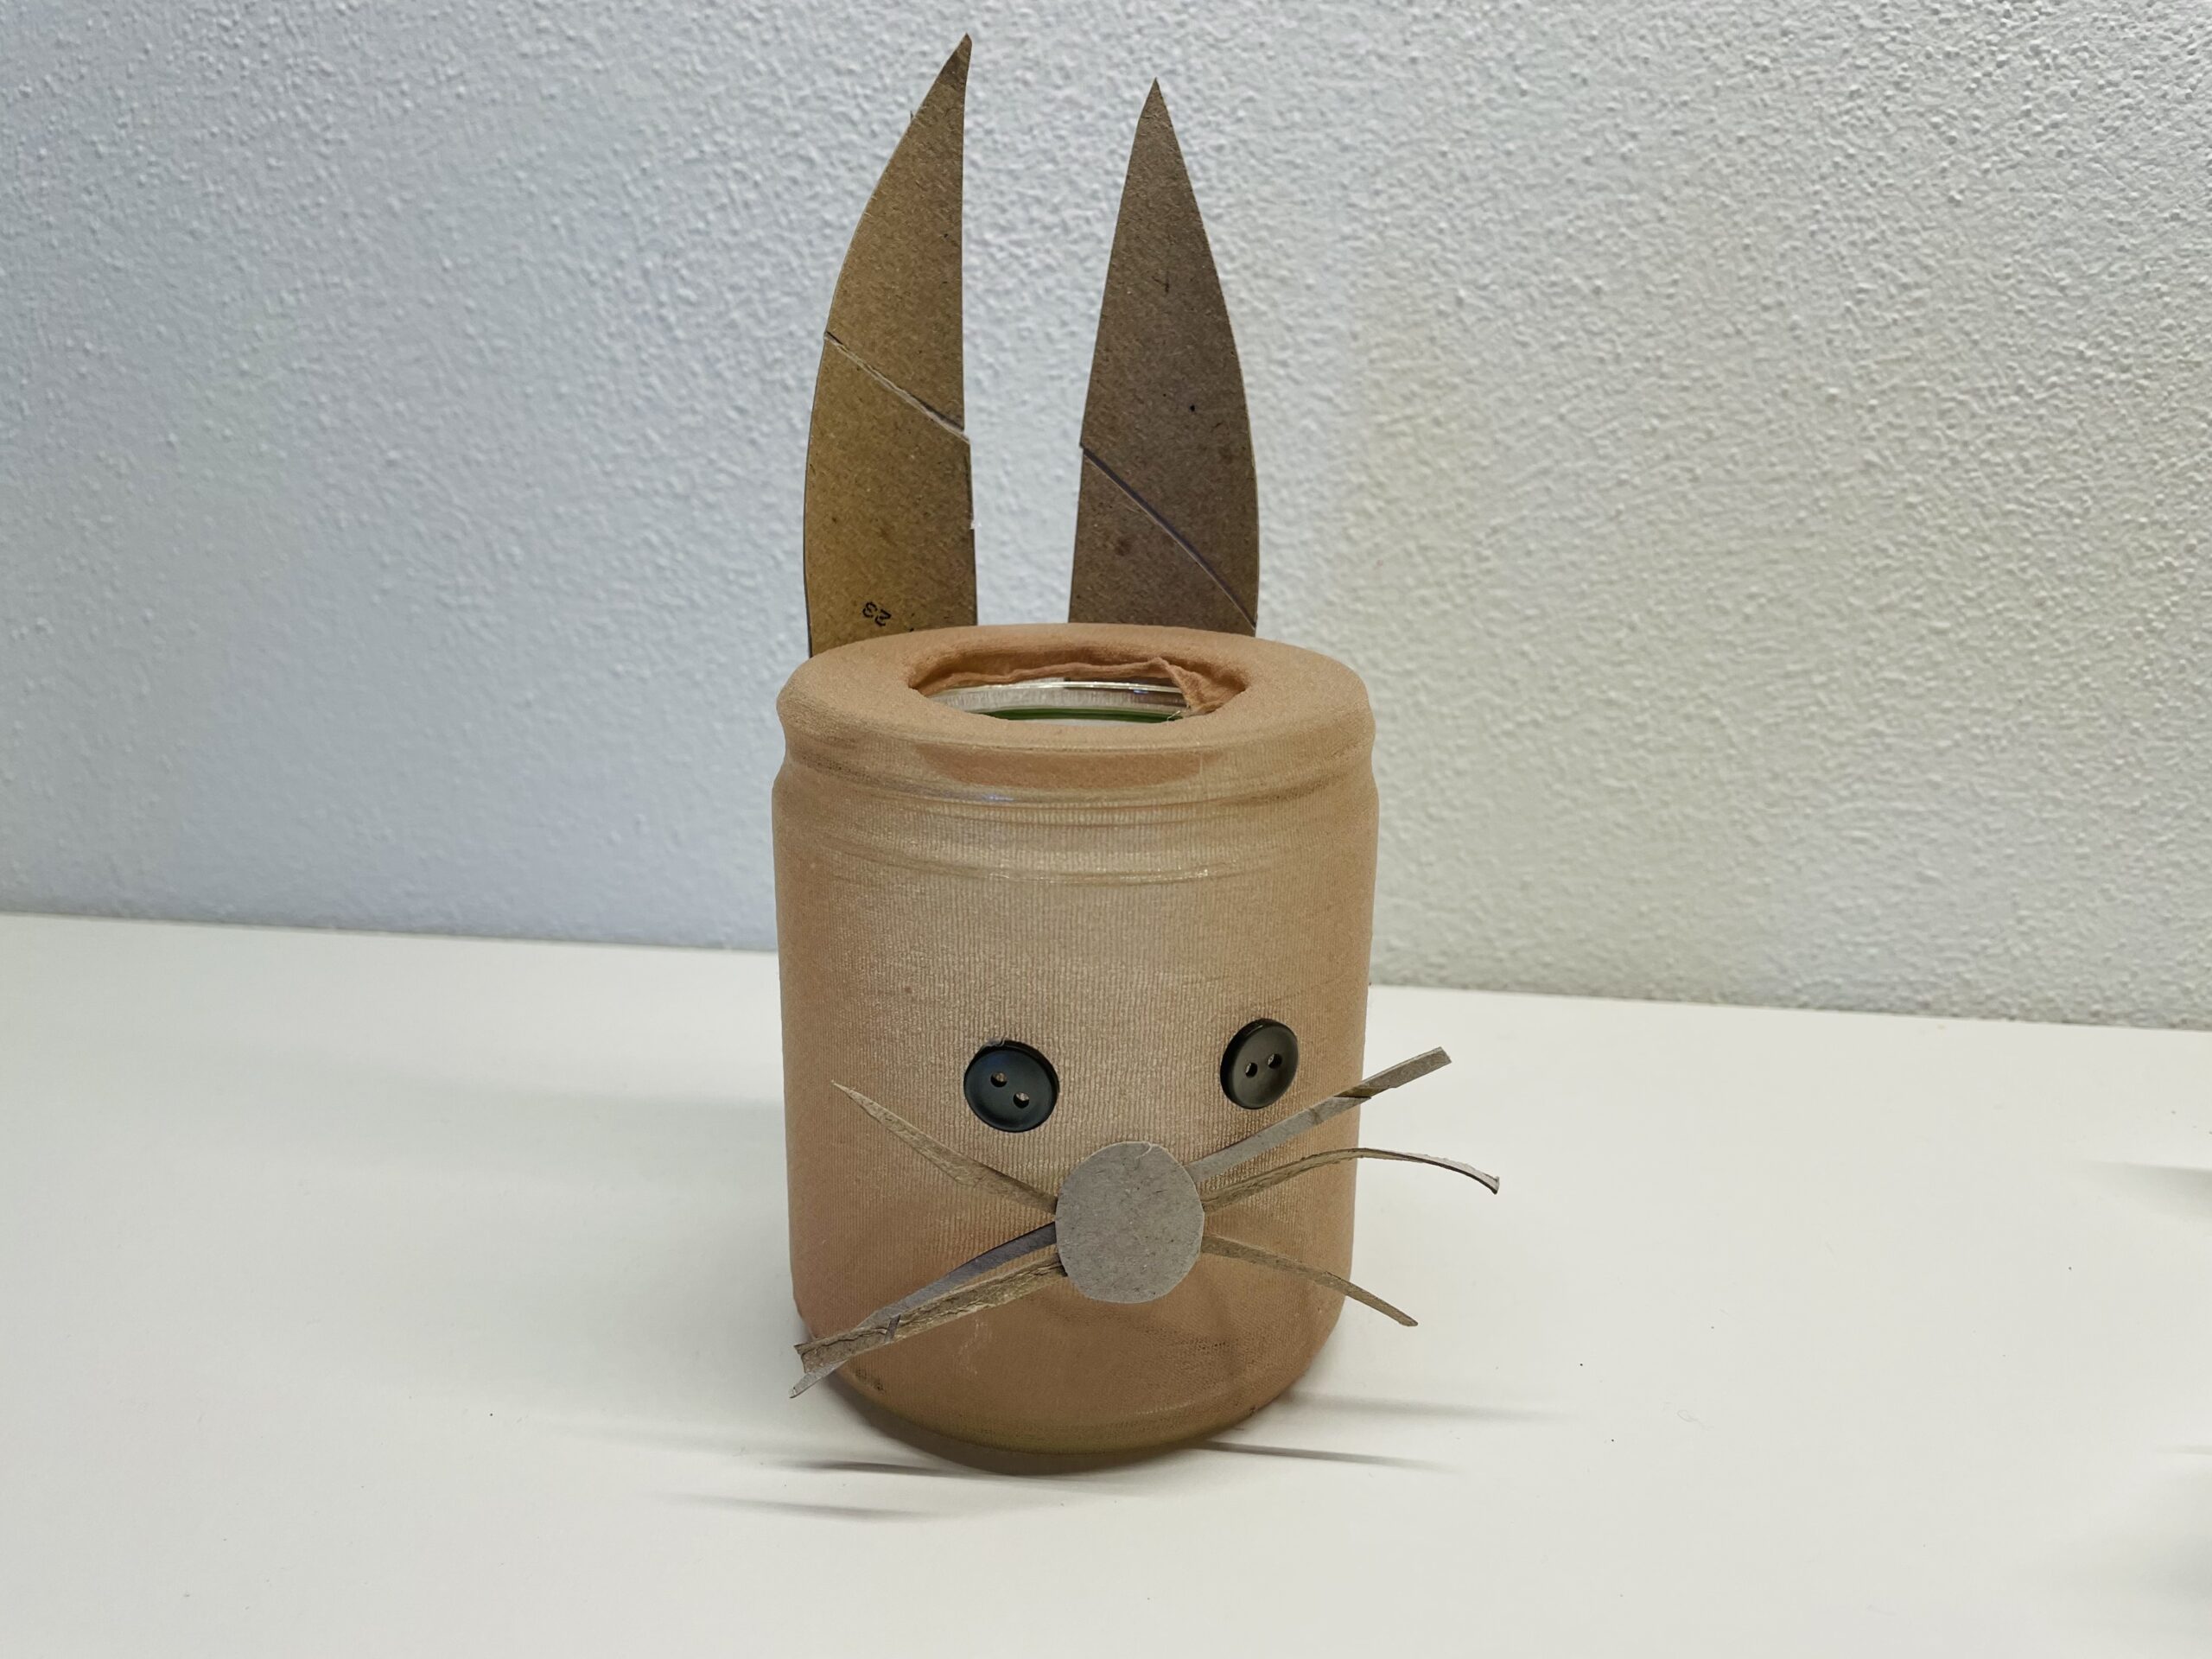
This creates two parts from which you now cut the rabbit ears.
For this you paint the shape of the ears with a pen on the cardboard and then cut out the ears.

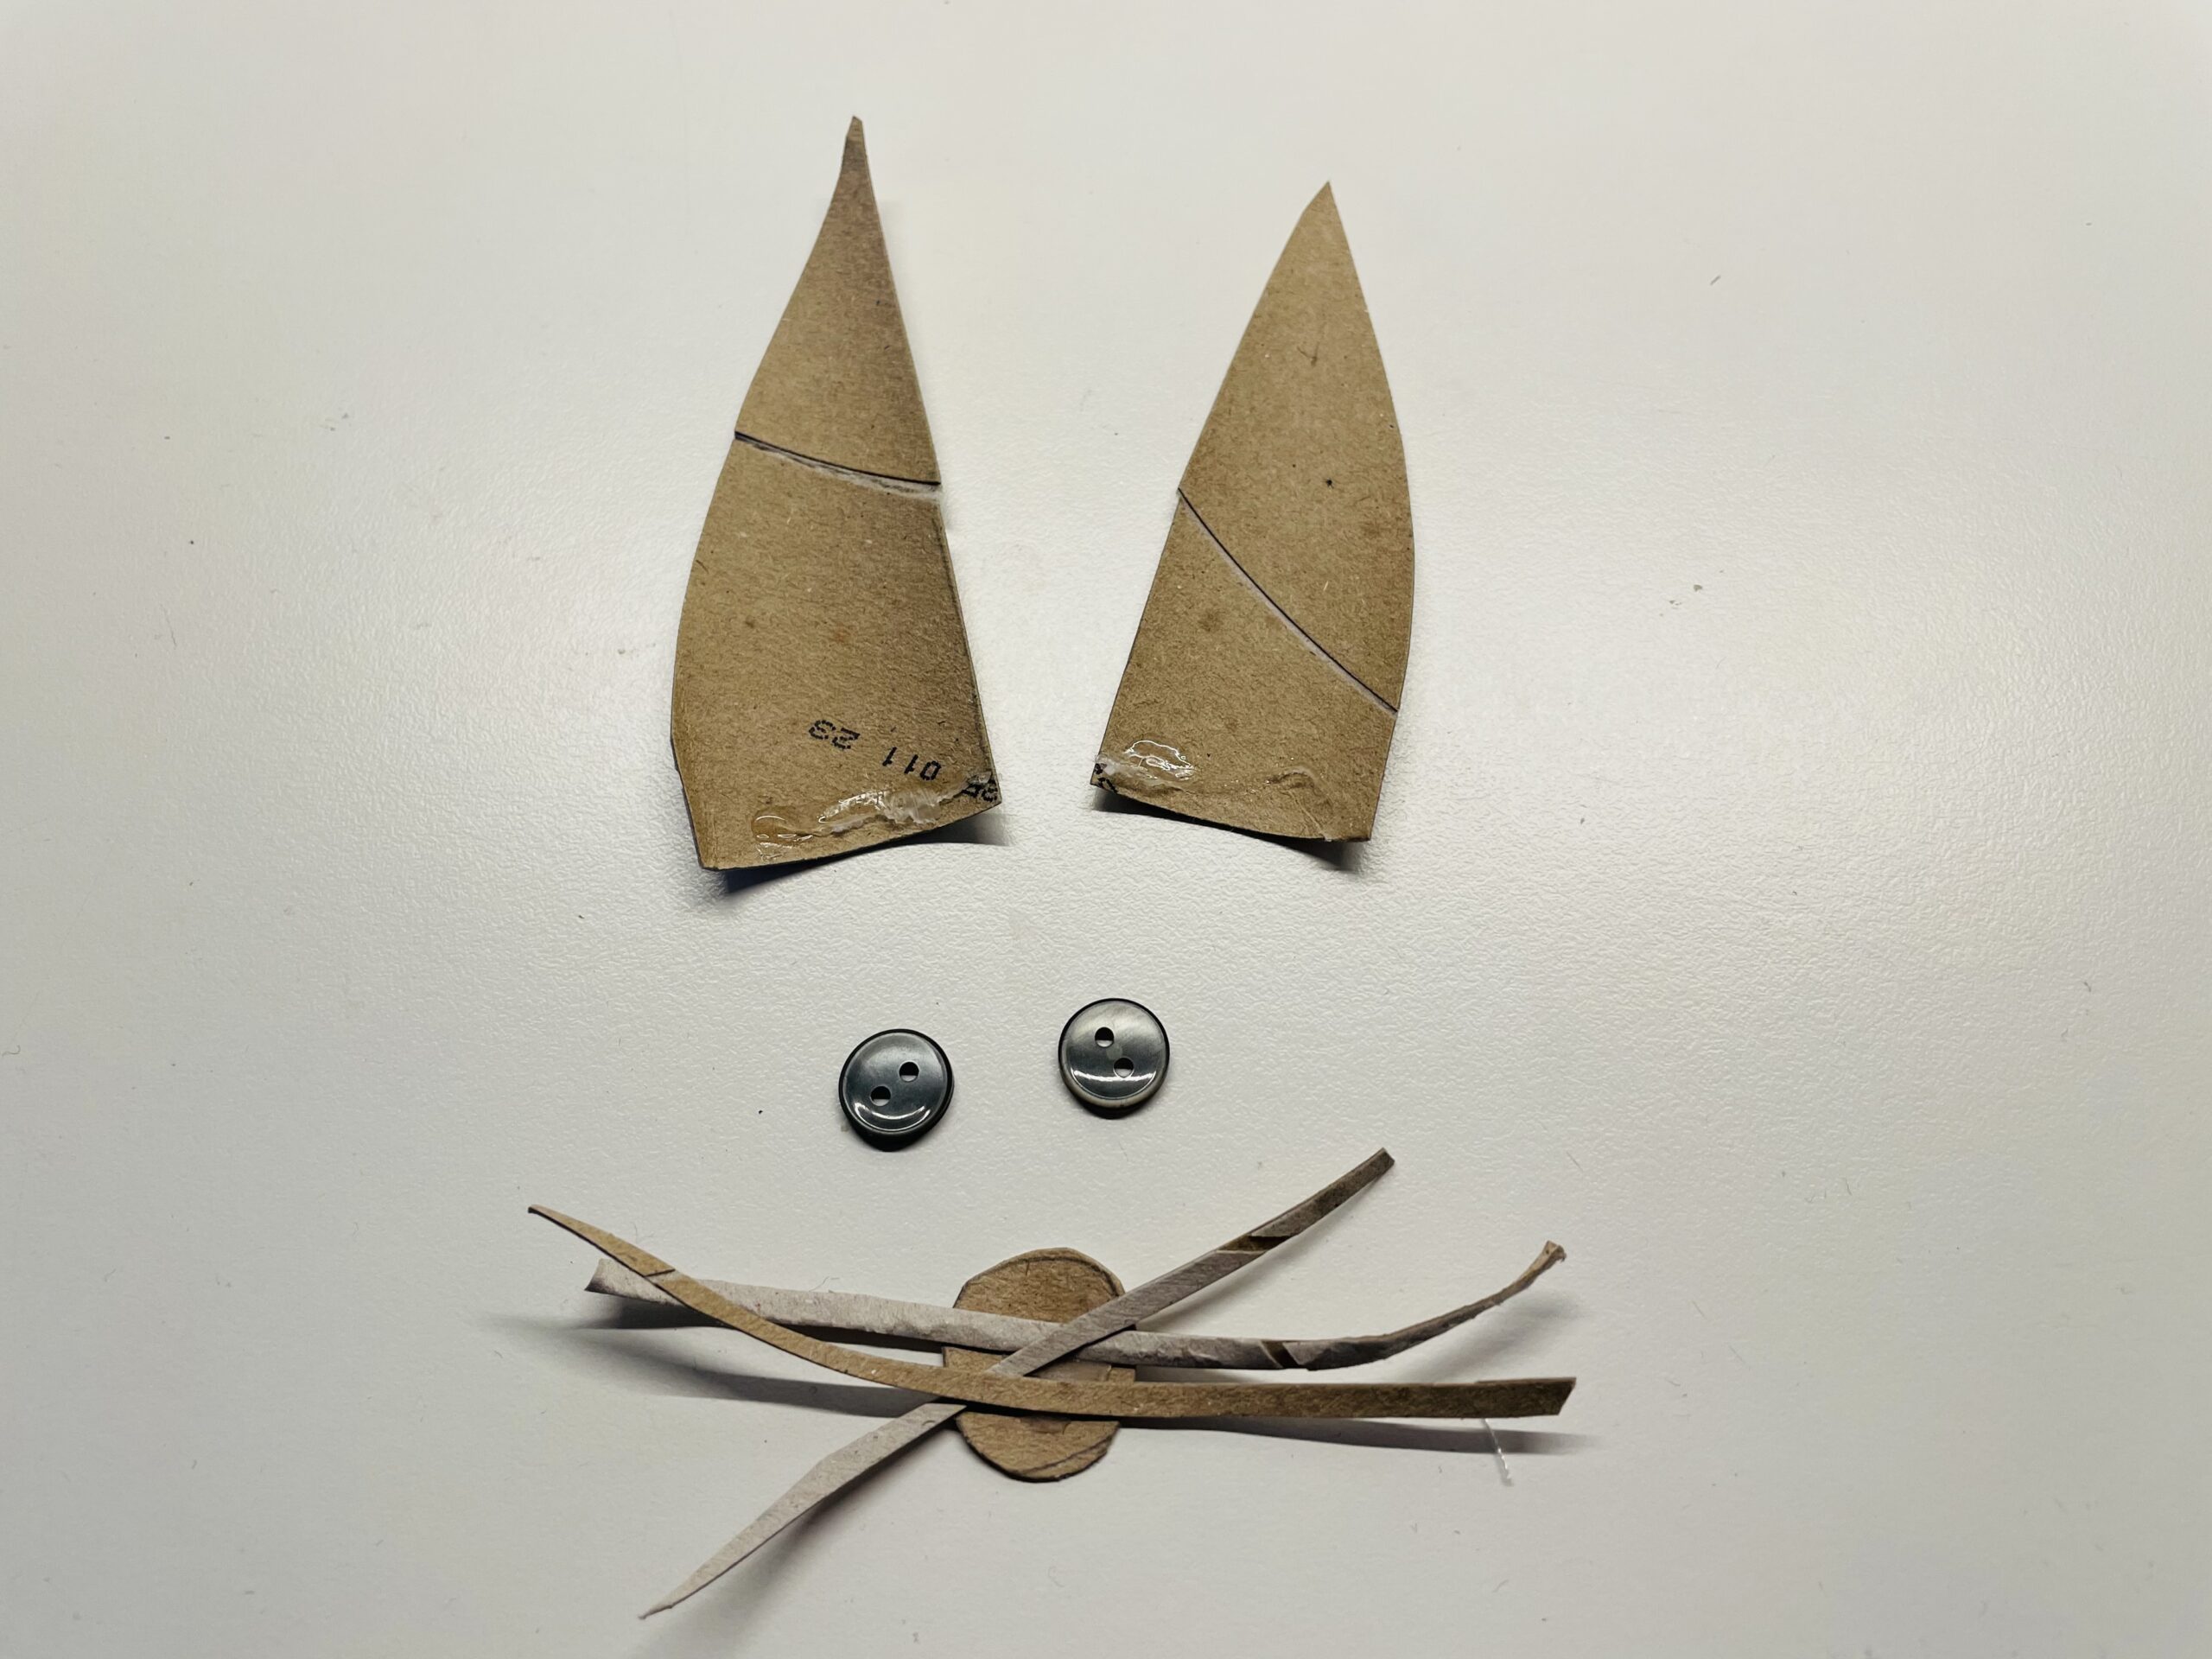
That's what the long thin rabbit ears look like now.

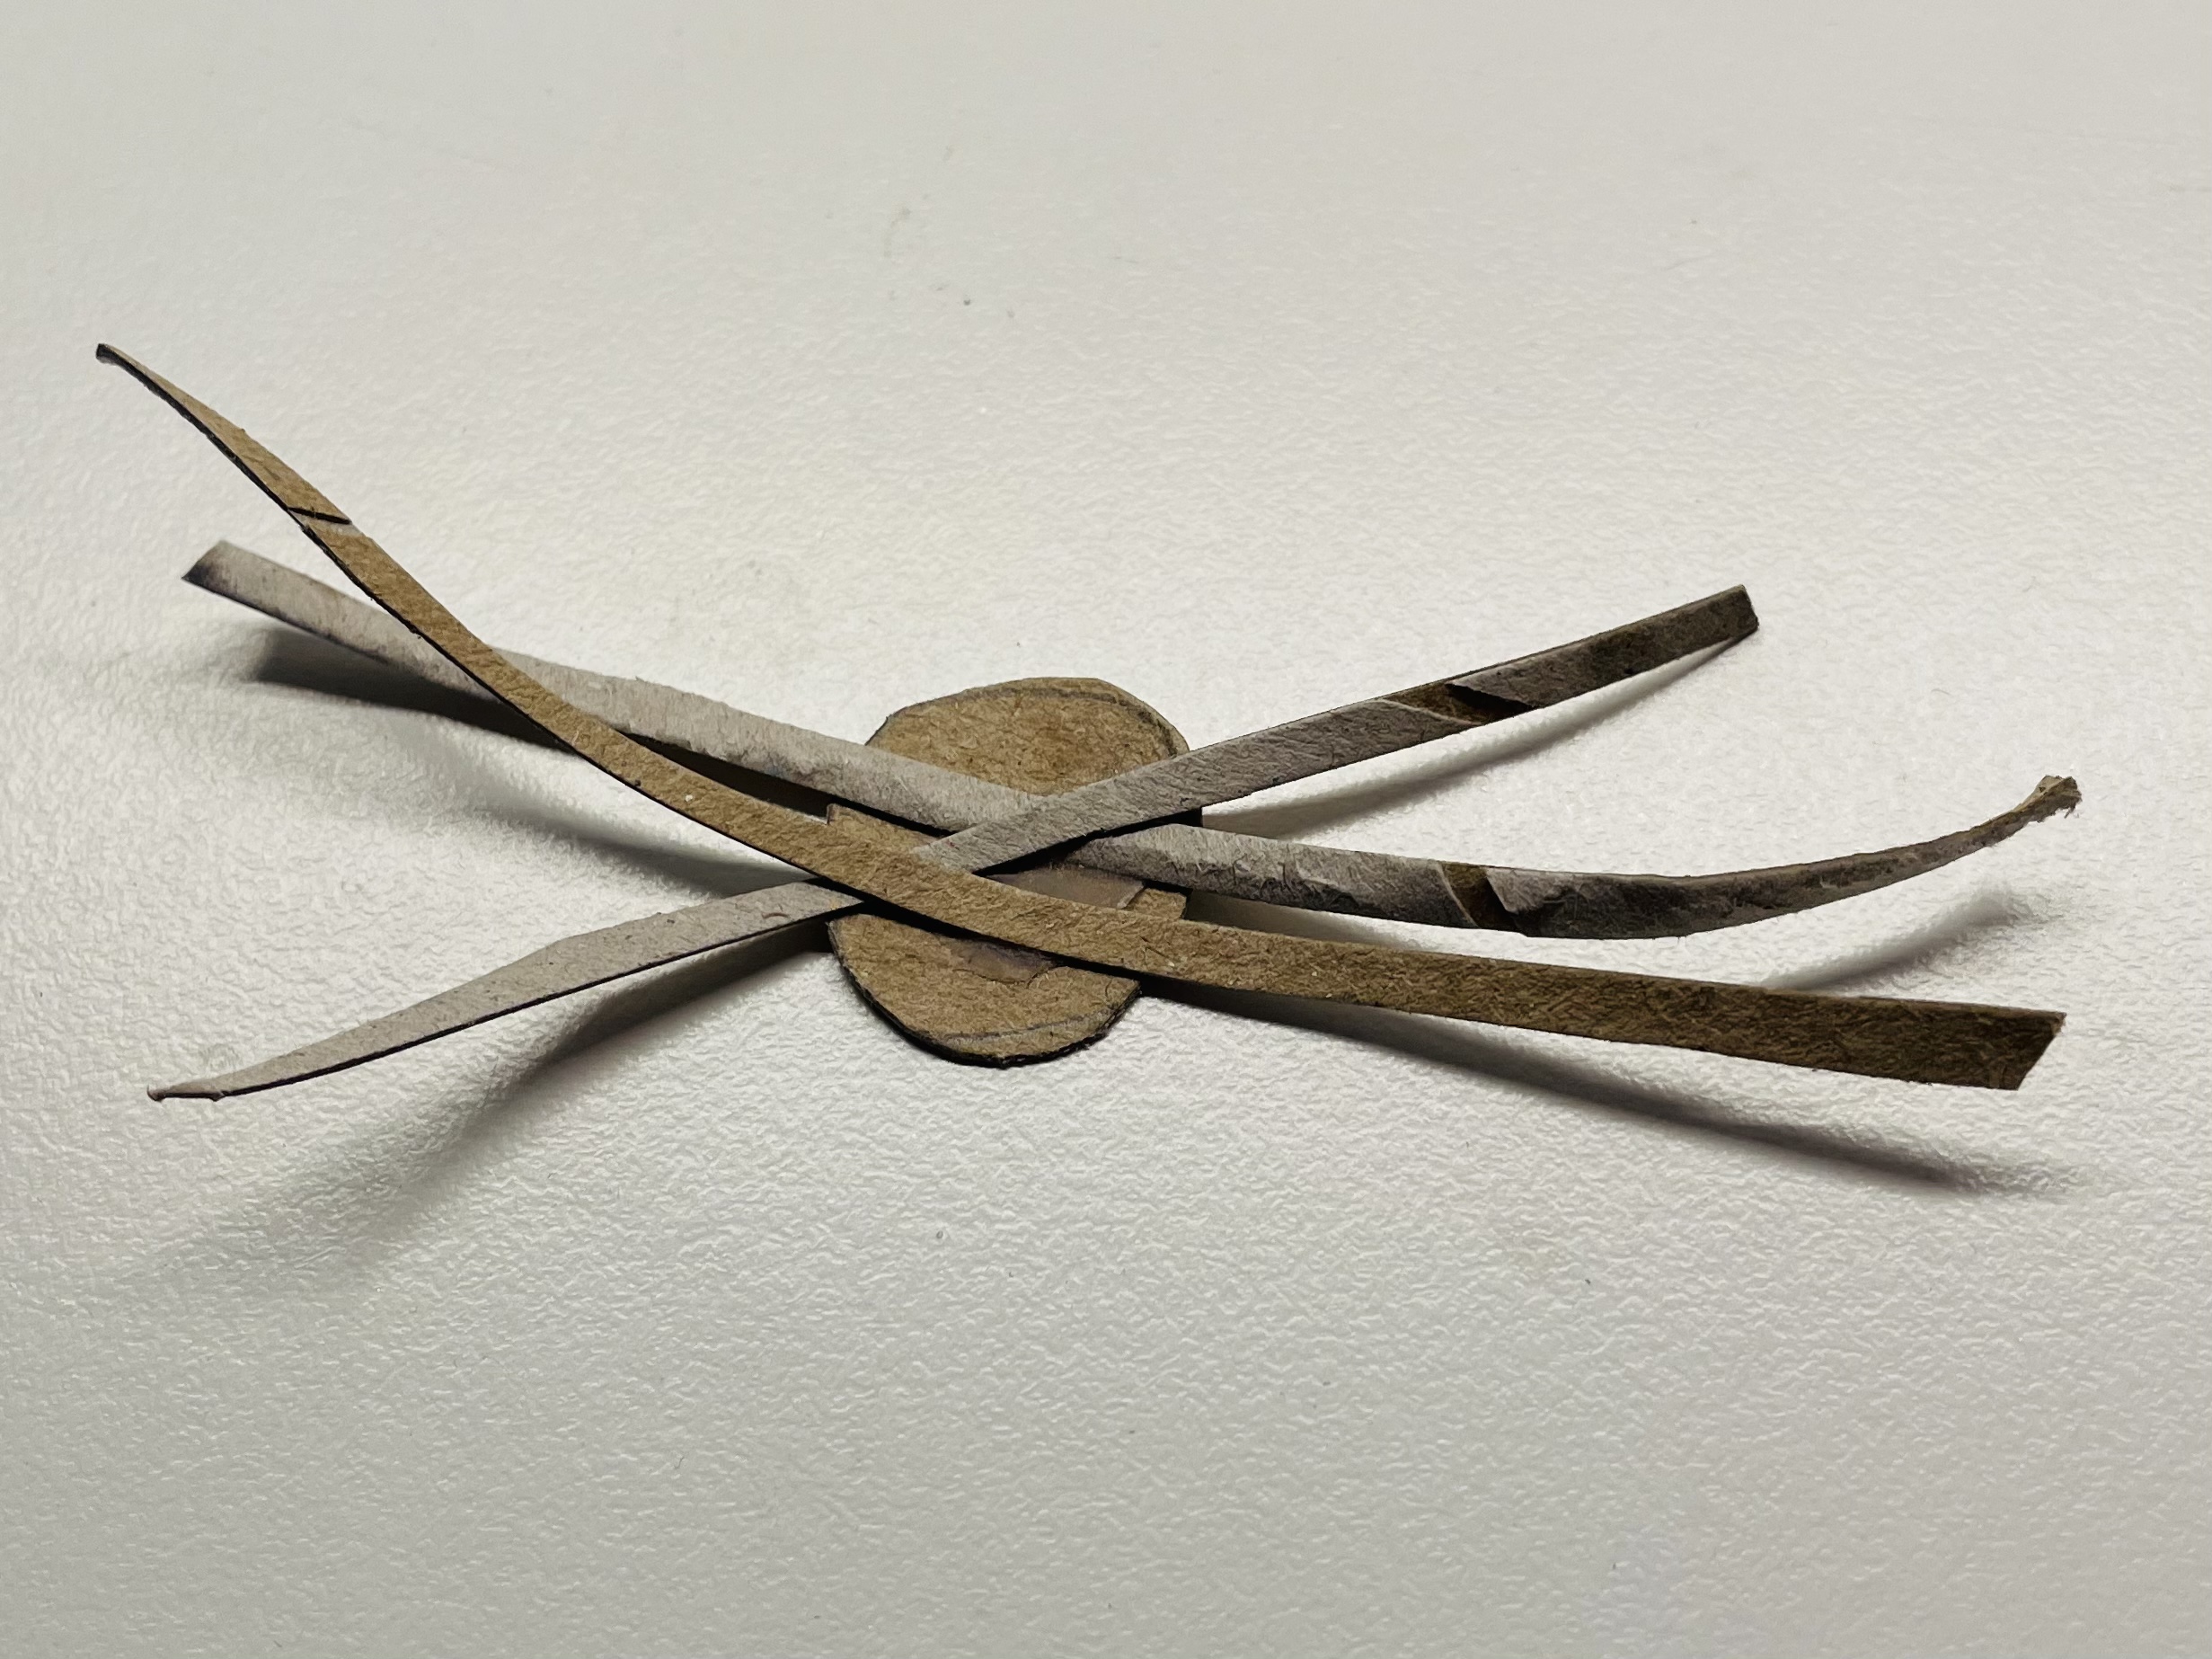
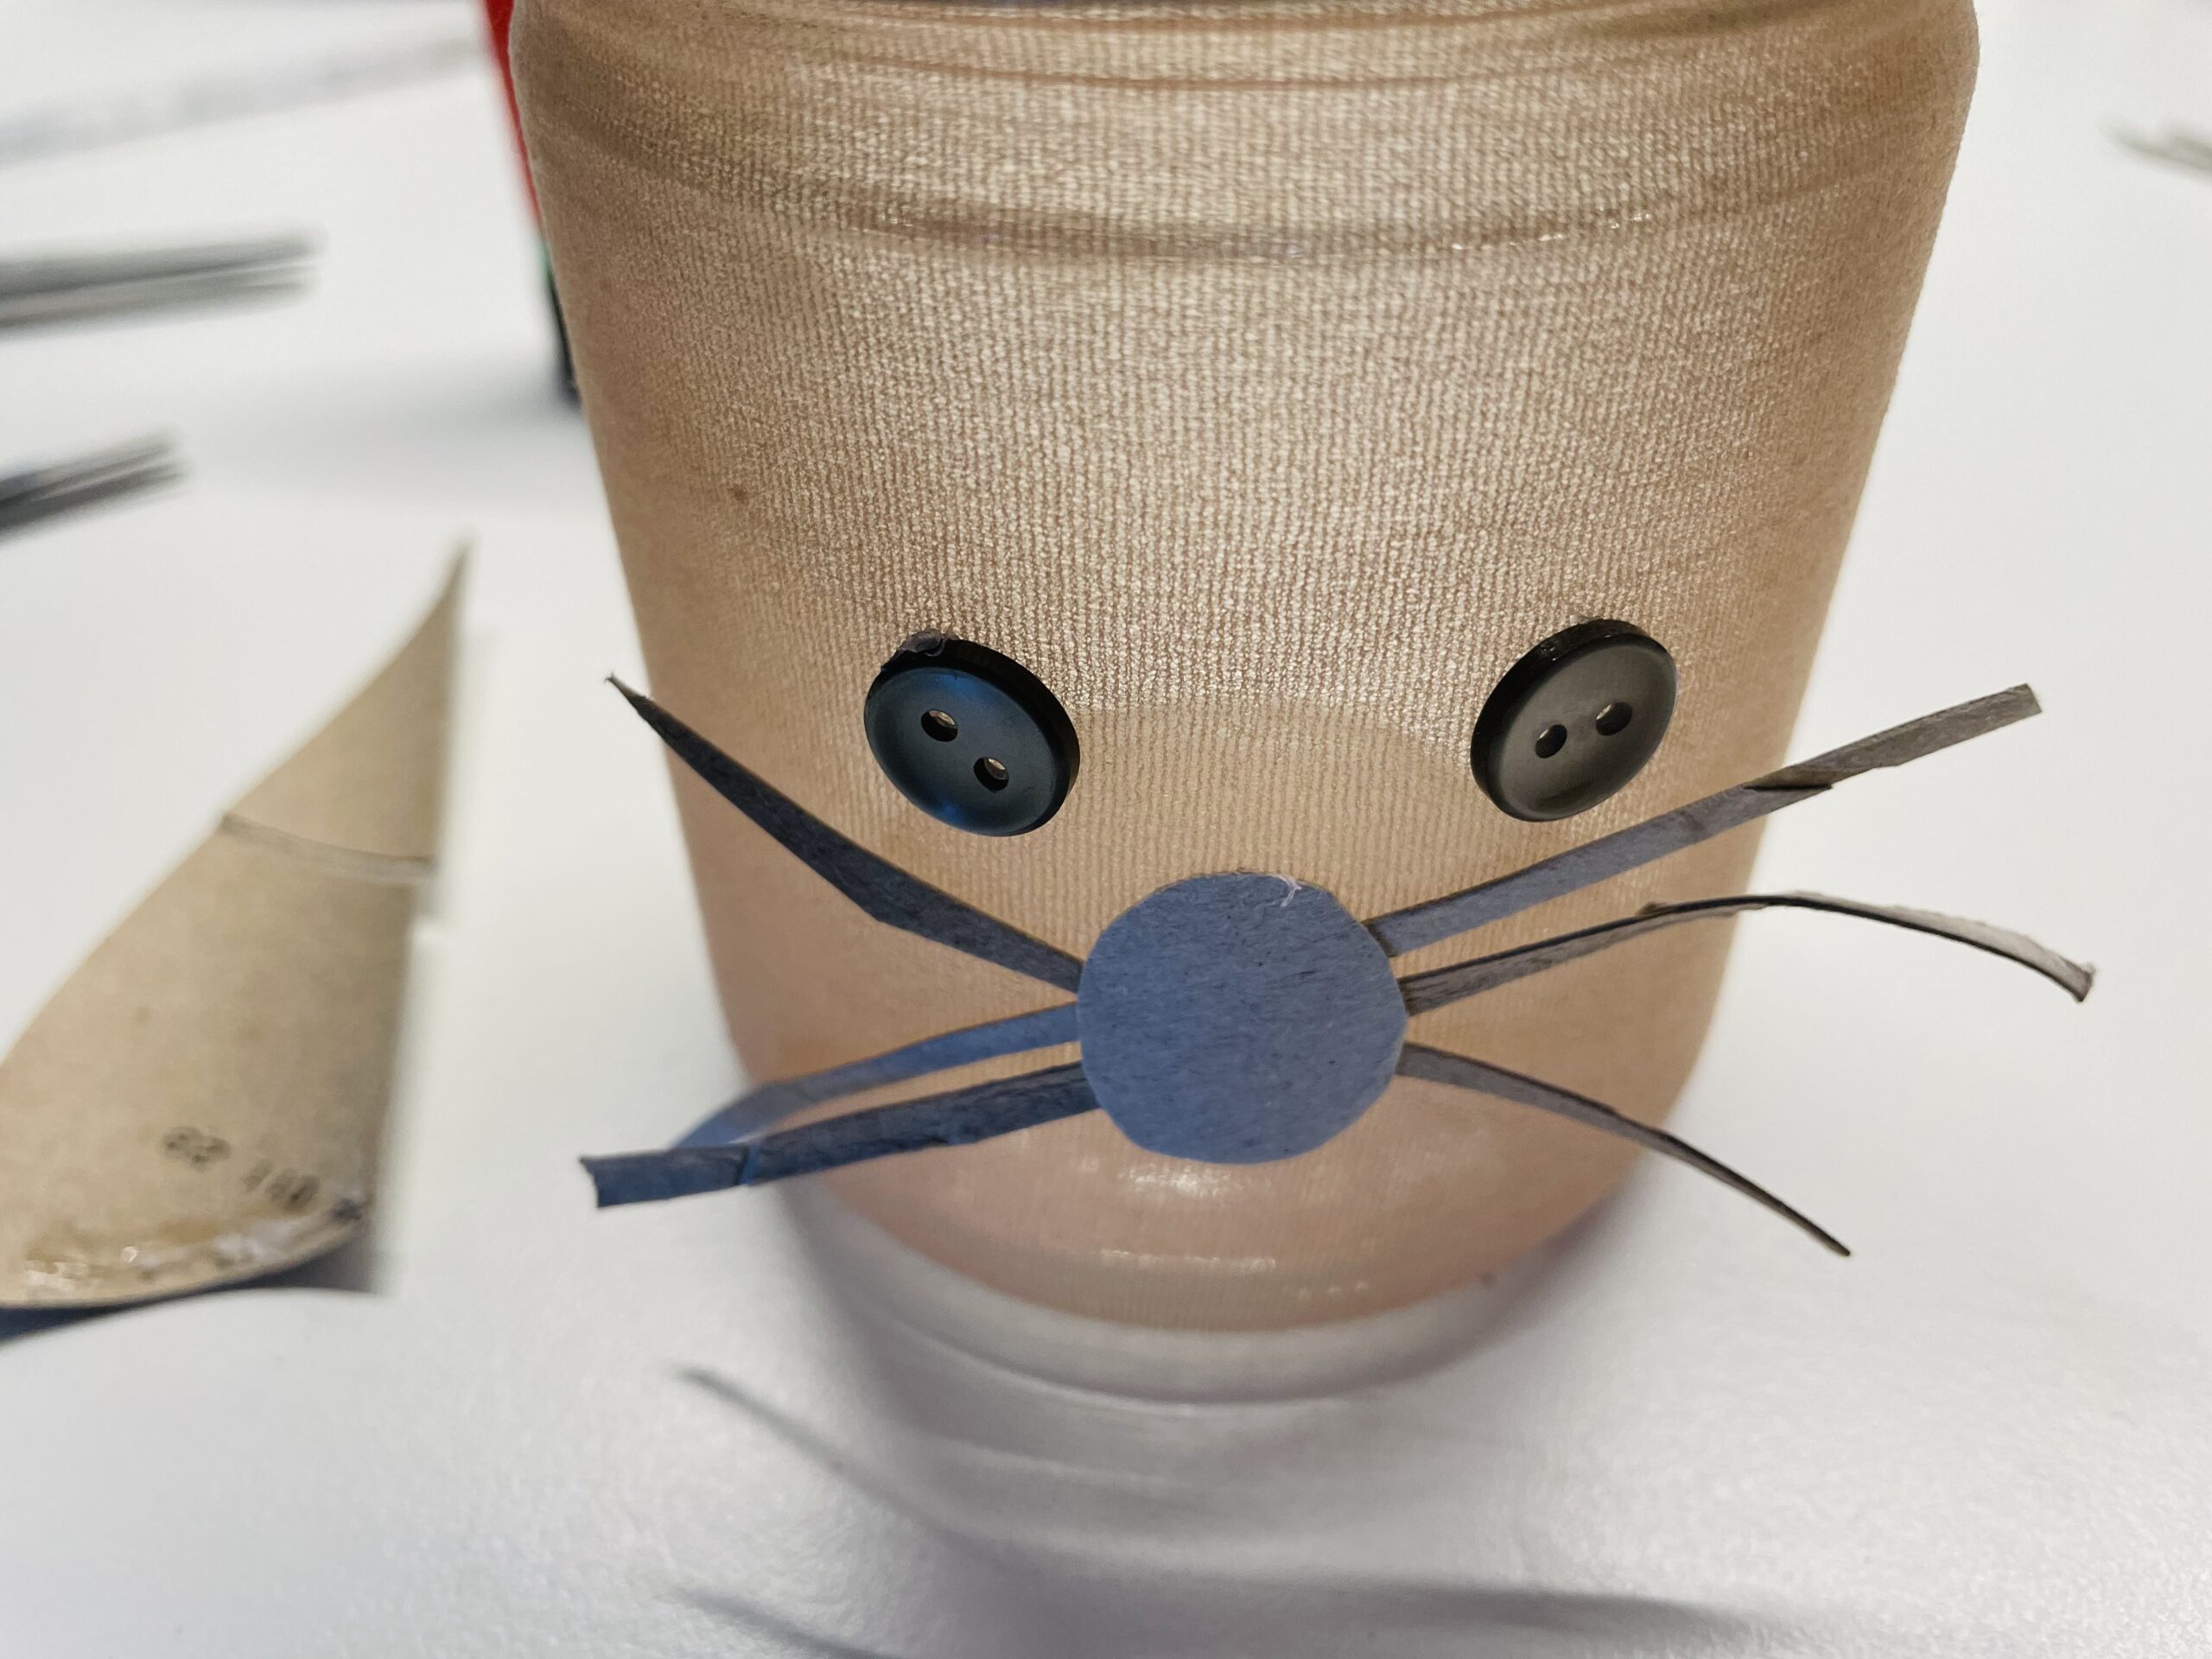
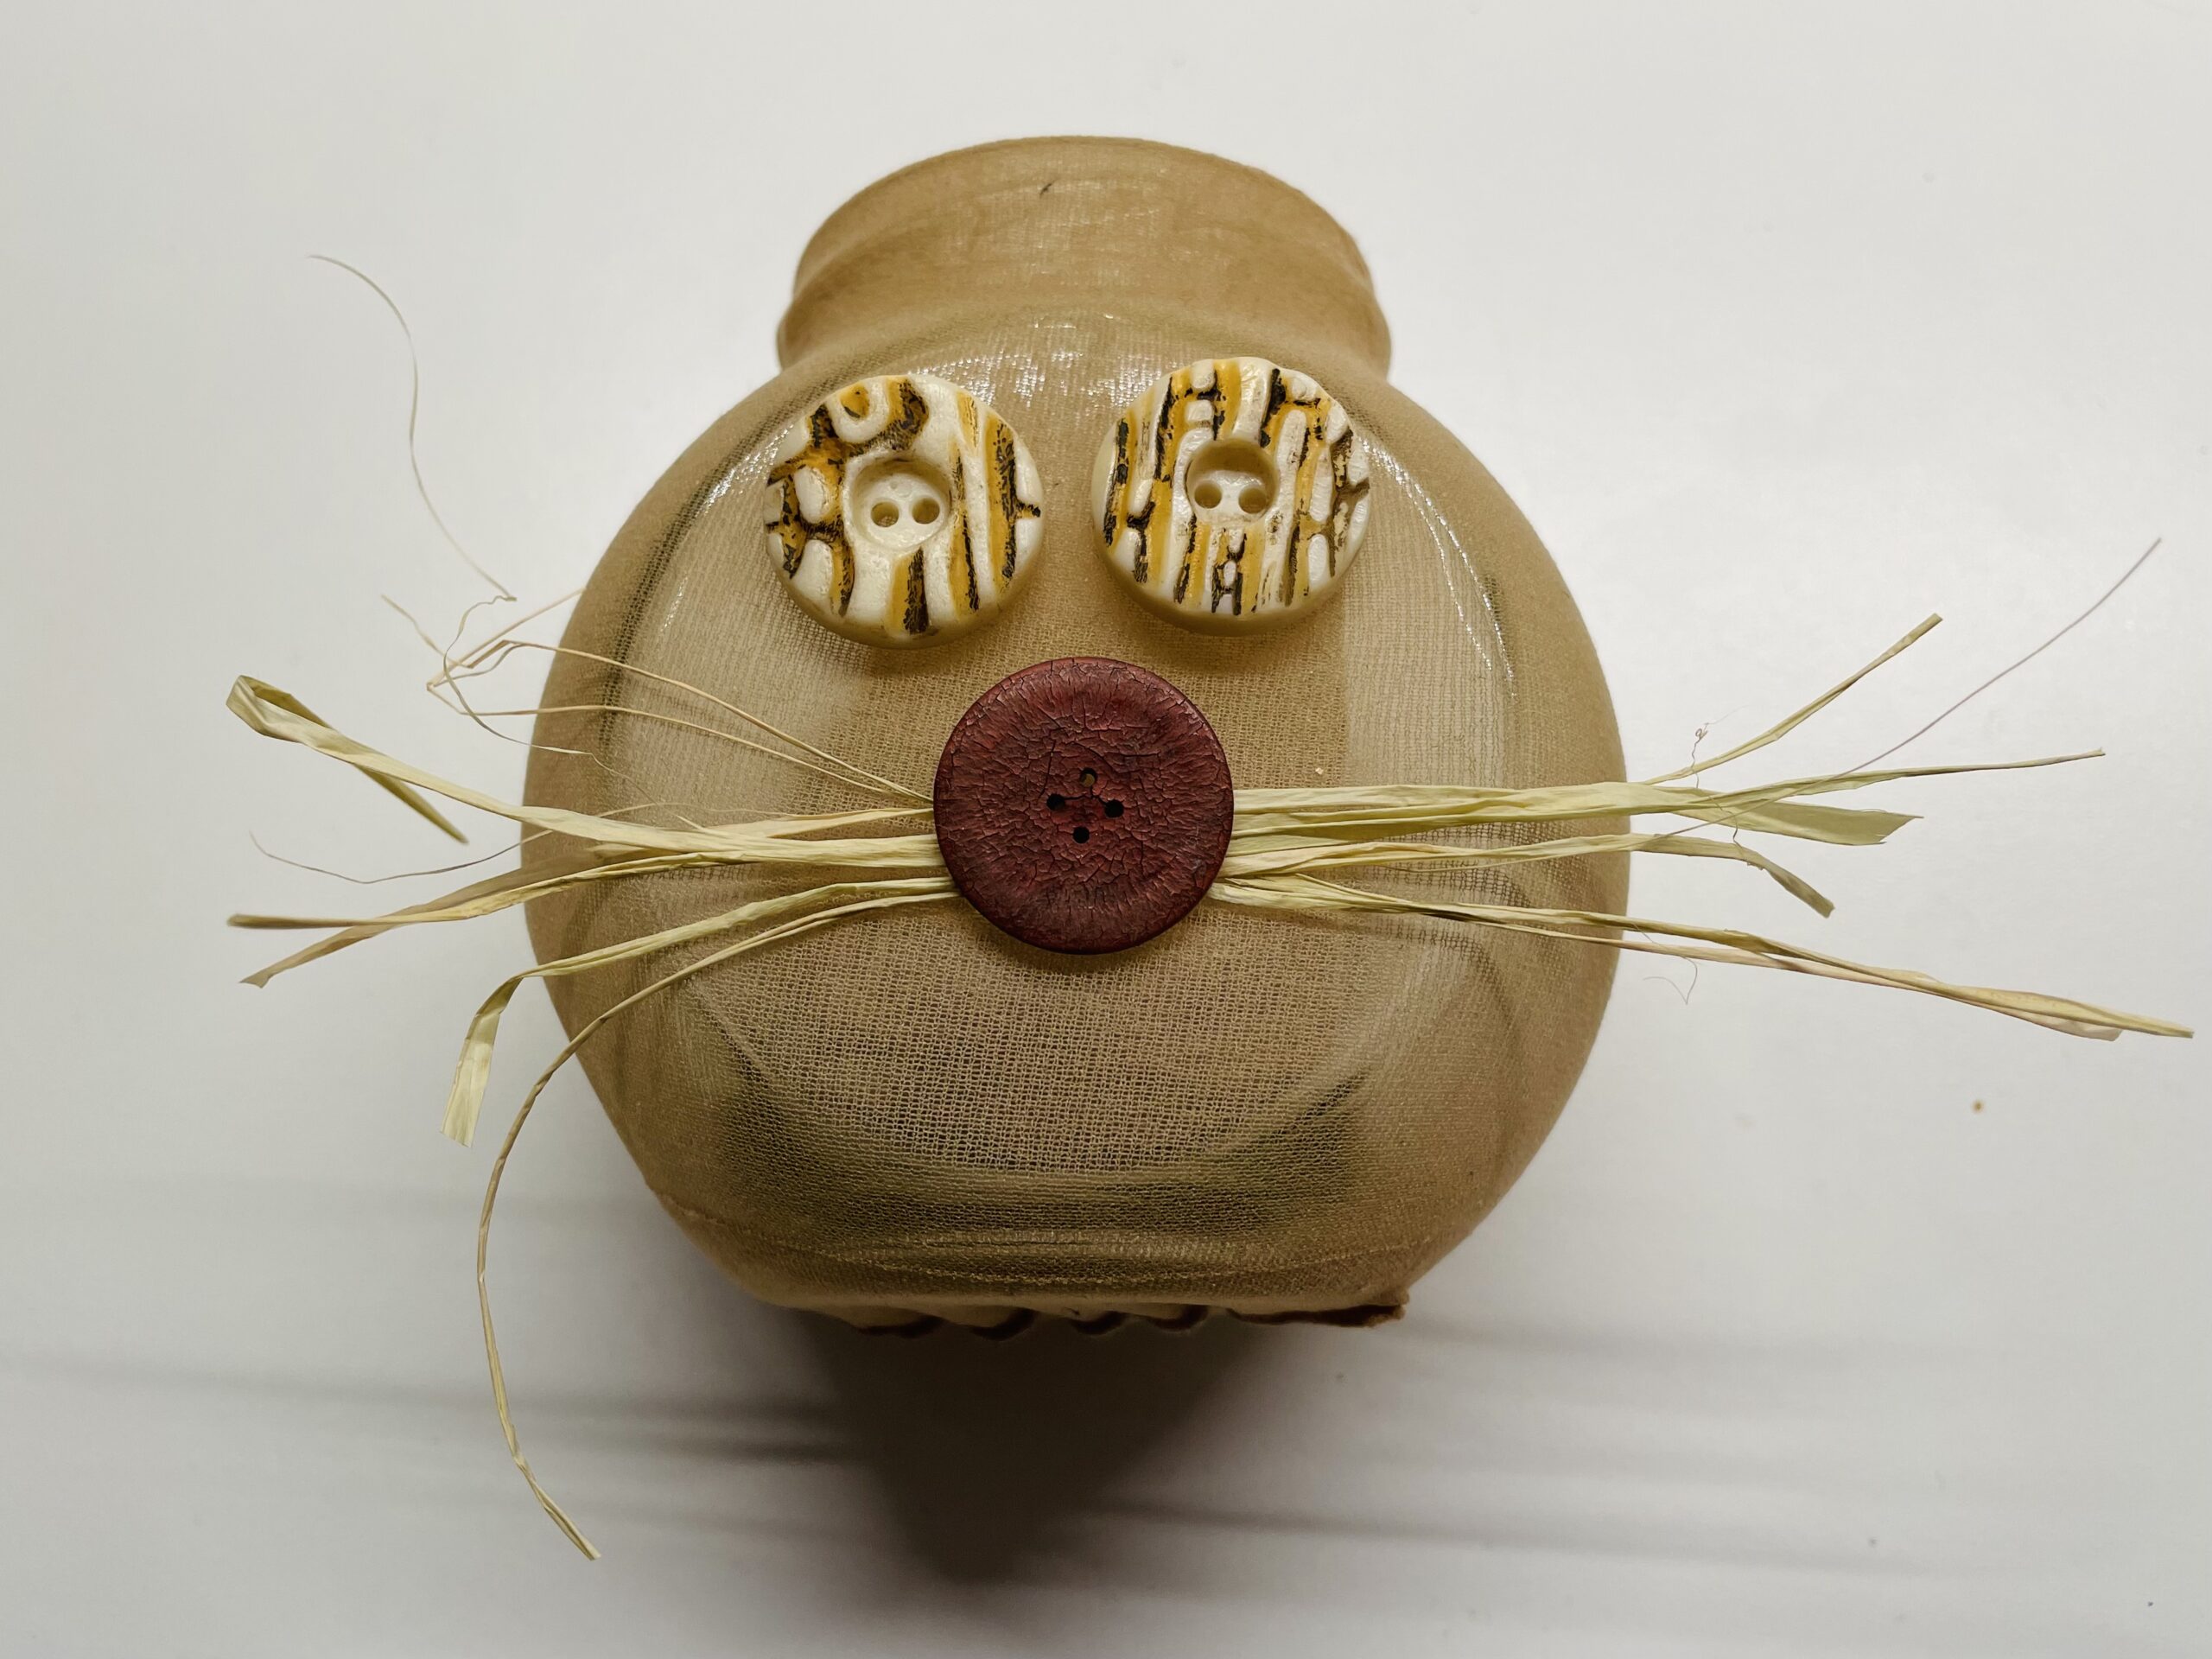
From the remaining pieces you now cut the whiskers. For this you cut off very thin strips. These can also be different lengths.

Then you paint a circle for the rabbit's nose and cut it out.
Now you put your nose together with your whiskers and stick the moustache on your nose with the glue stick.
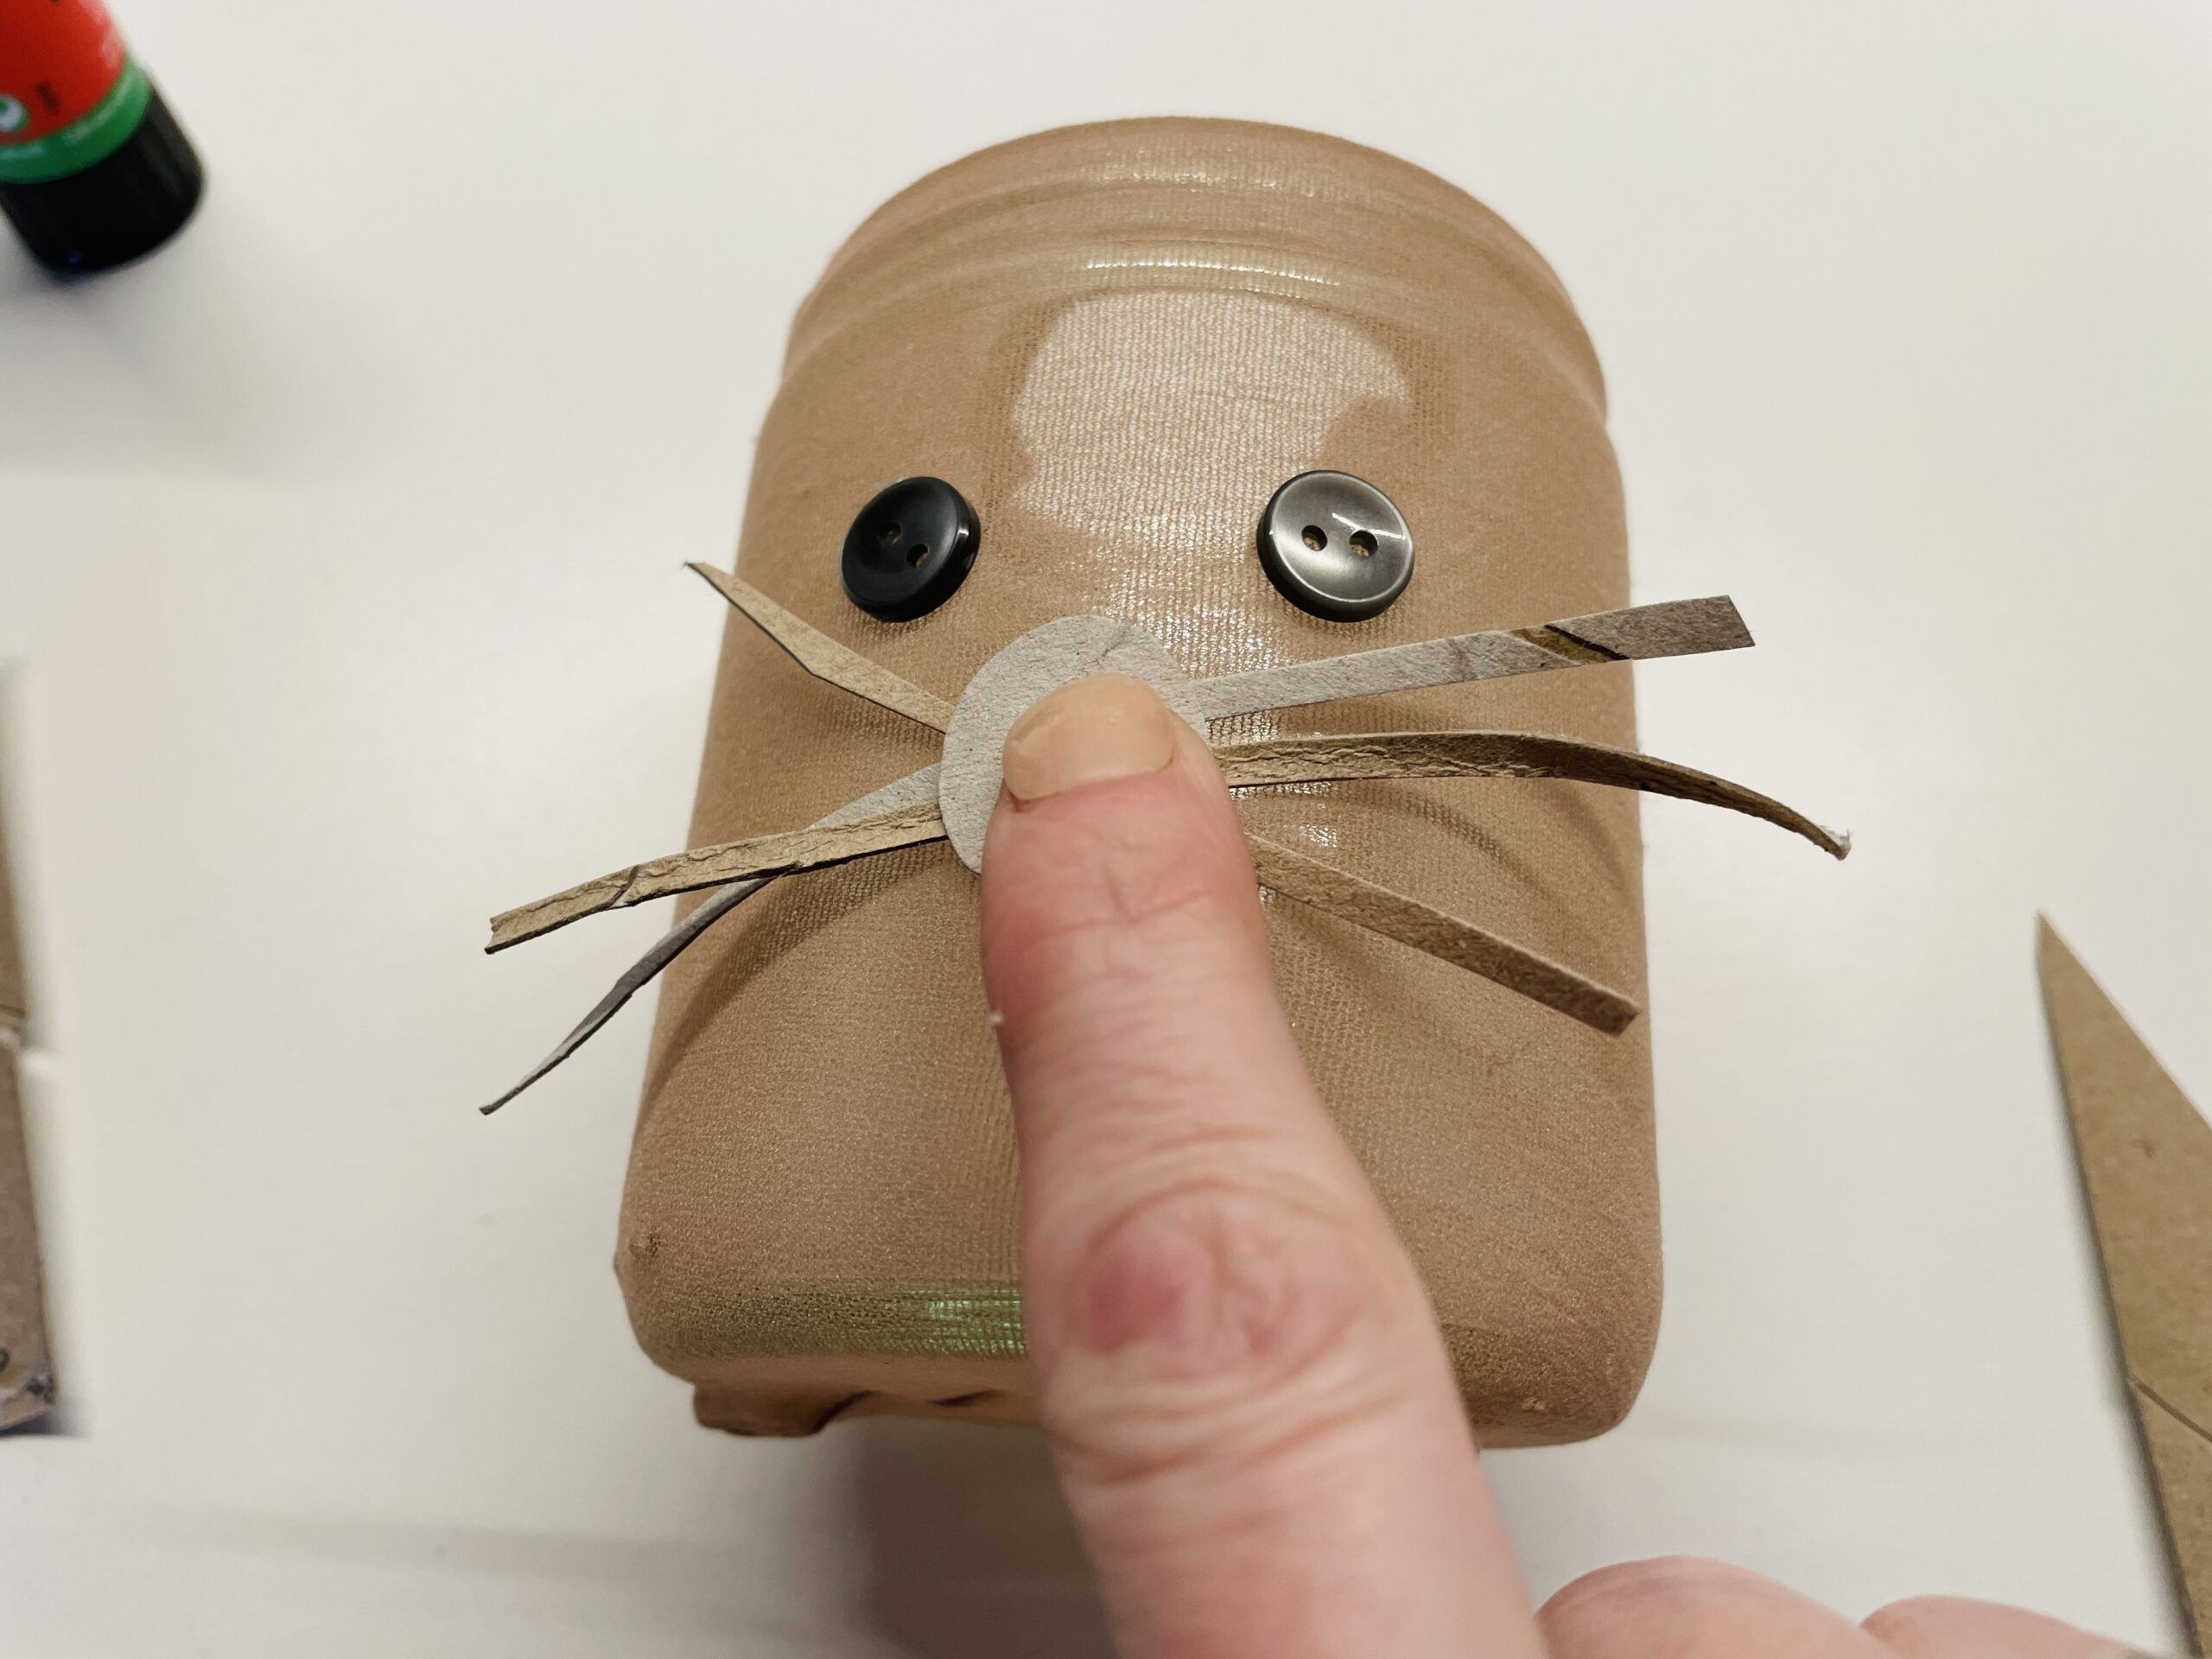
Then you put the rabbit face on the table before you. Use the buttons as eyes and see how you like it or what you may still lack.
Now you stick the buttons and the nose with the whiskers on the glass. Put the glass on the side. If the parts do not hold, it adheres to the hot glue gun. Attention when handling the hot glue - danger of injury!
Now wait a minute until the glue is dried. Then you put the glass back up.
The ears stick to her with hot glue. In doing so, you press her with the curved side inwards to the upper glass edge. Selects the rear glass edge.

The rabbit glass is ready.
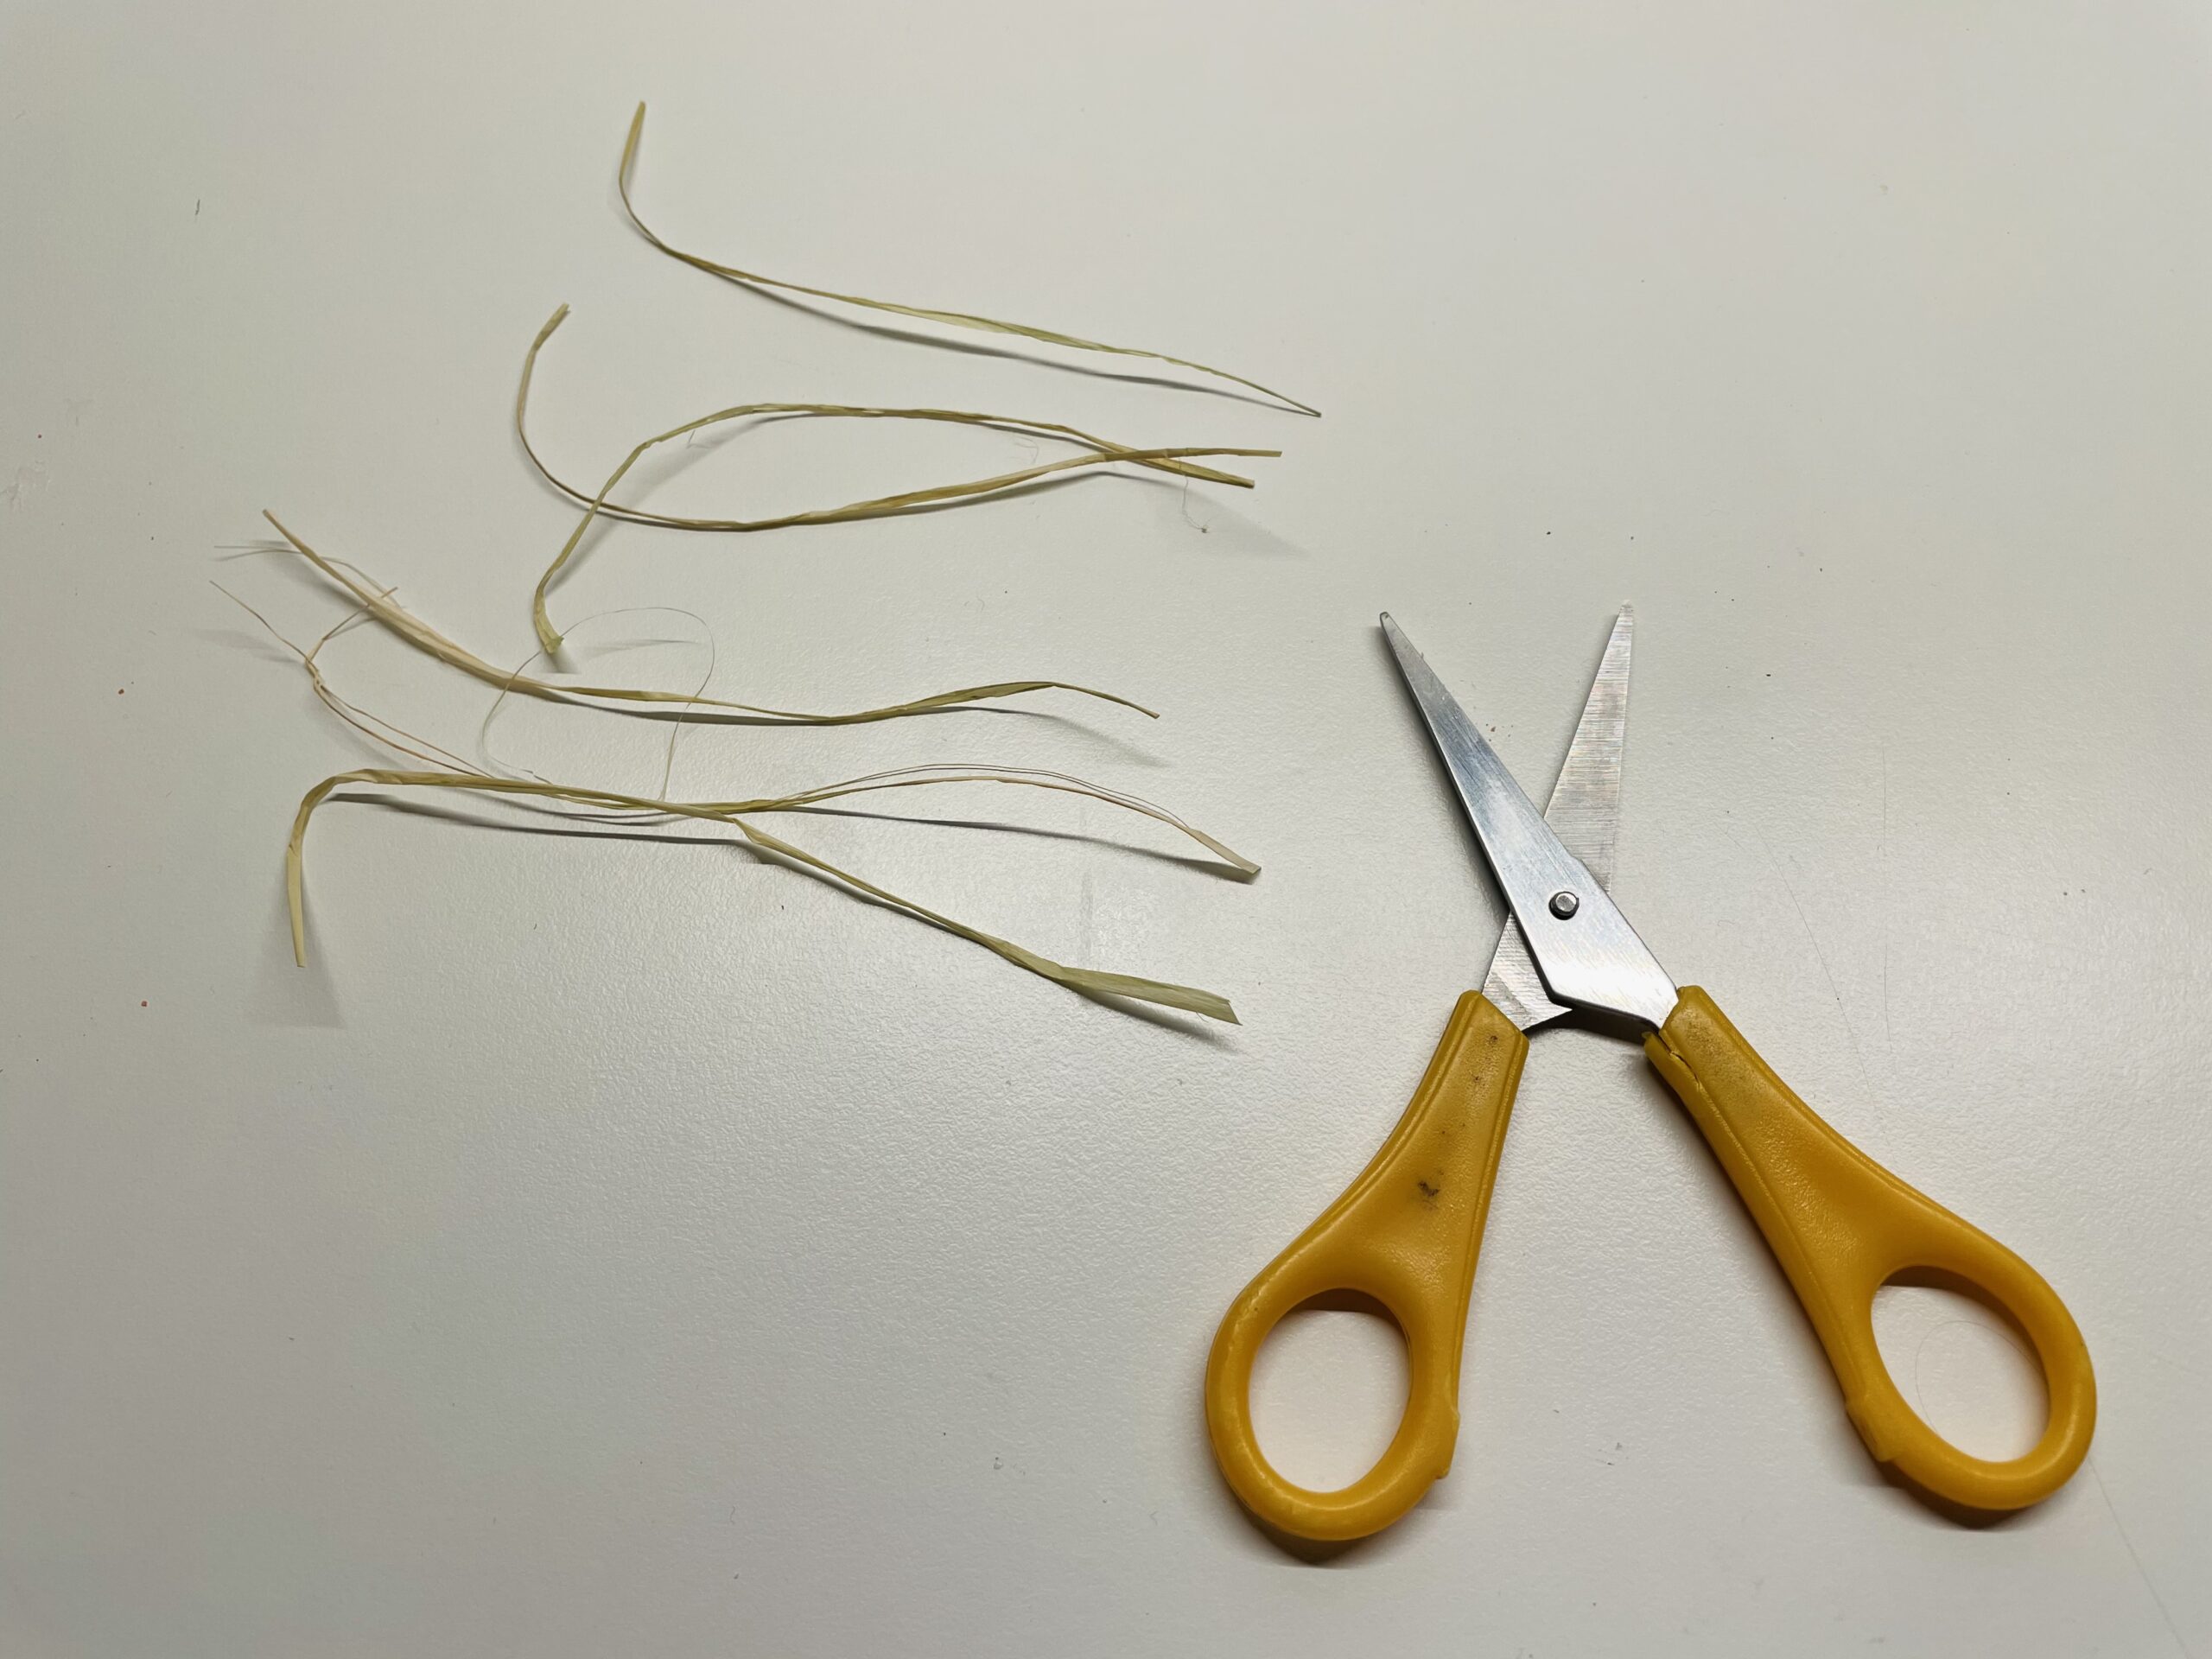
Alternatively, you can also make the whiskers out of bast or parcel cord. For this you cut off about 10cm long pieces.
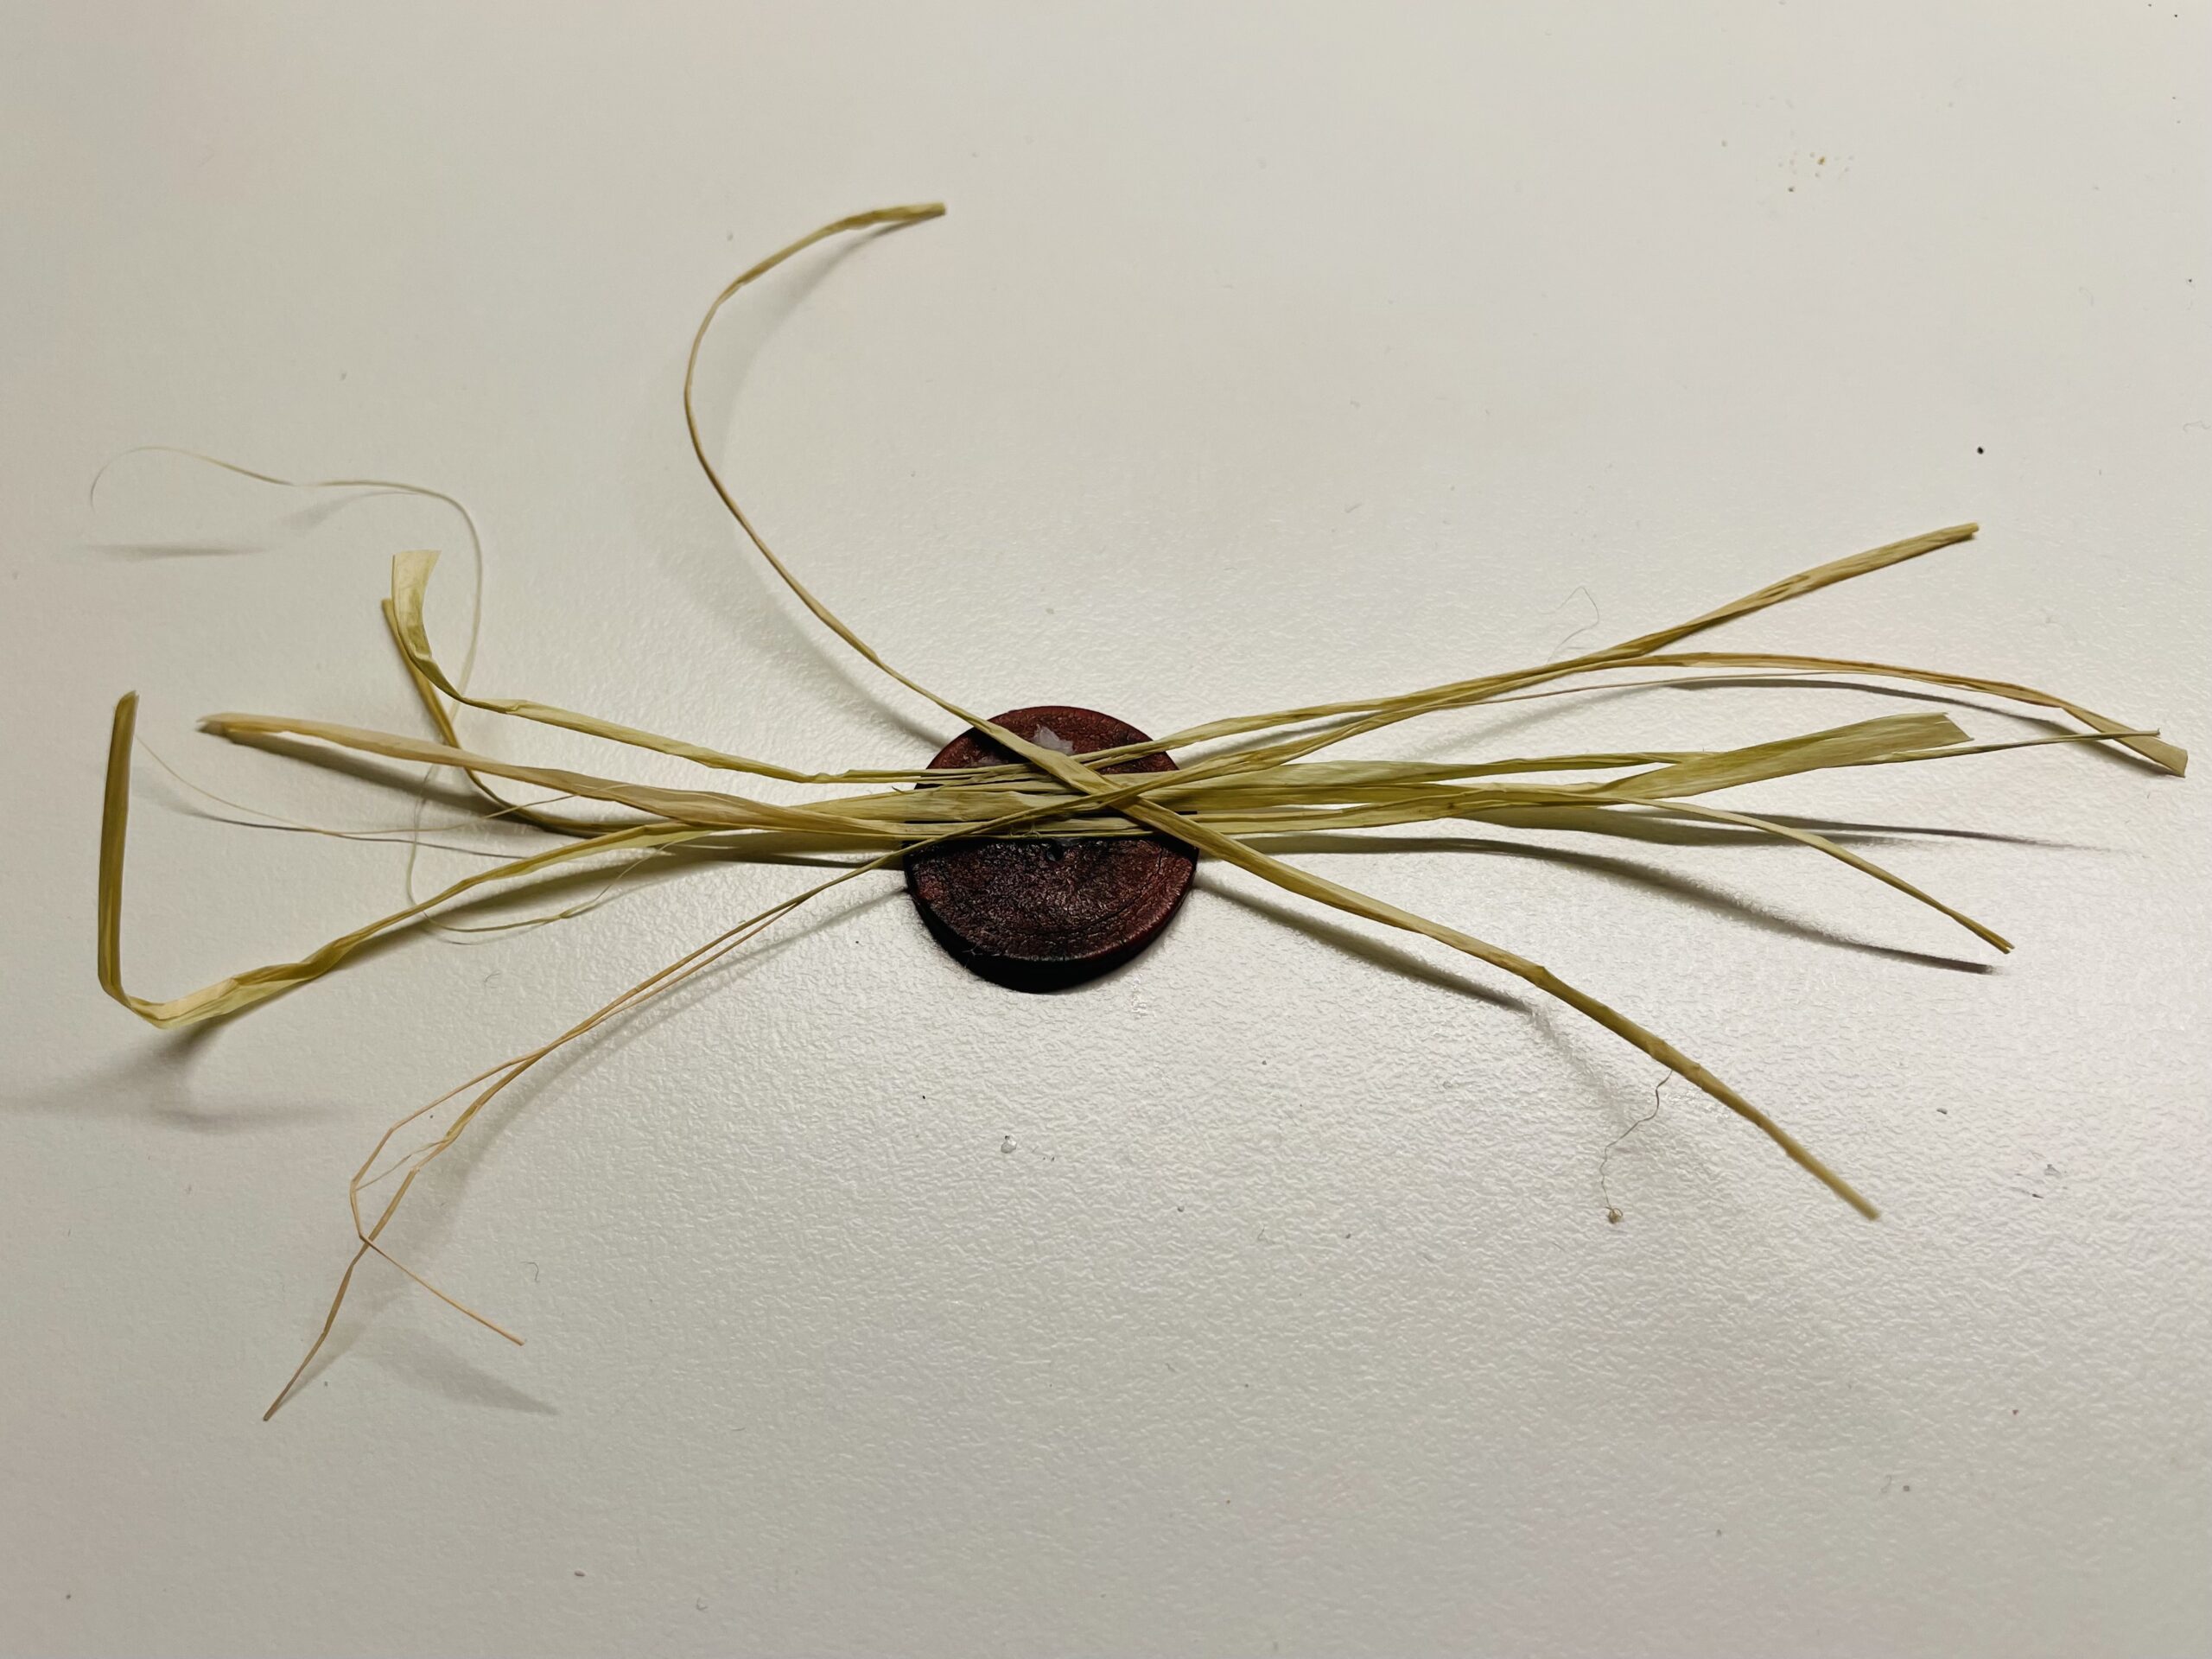
Then stick the cords on a small cardboard circle or e.g. on a button.

The whiskers are ready.
Then stick the face on the glass as well.
After that, her ears stick to the back edge of the glass.
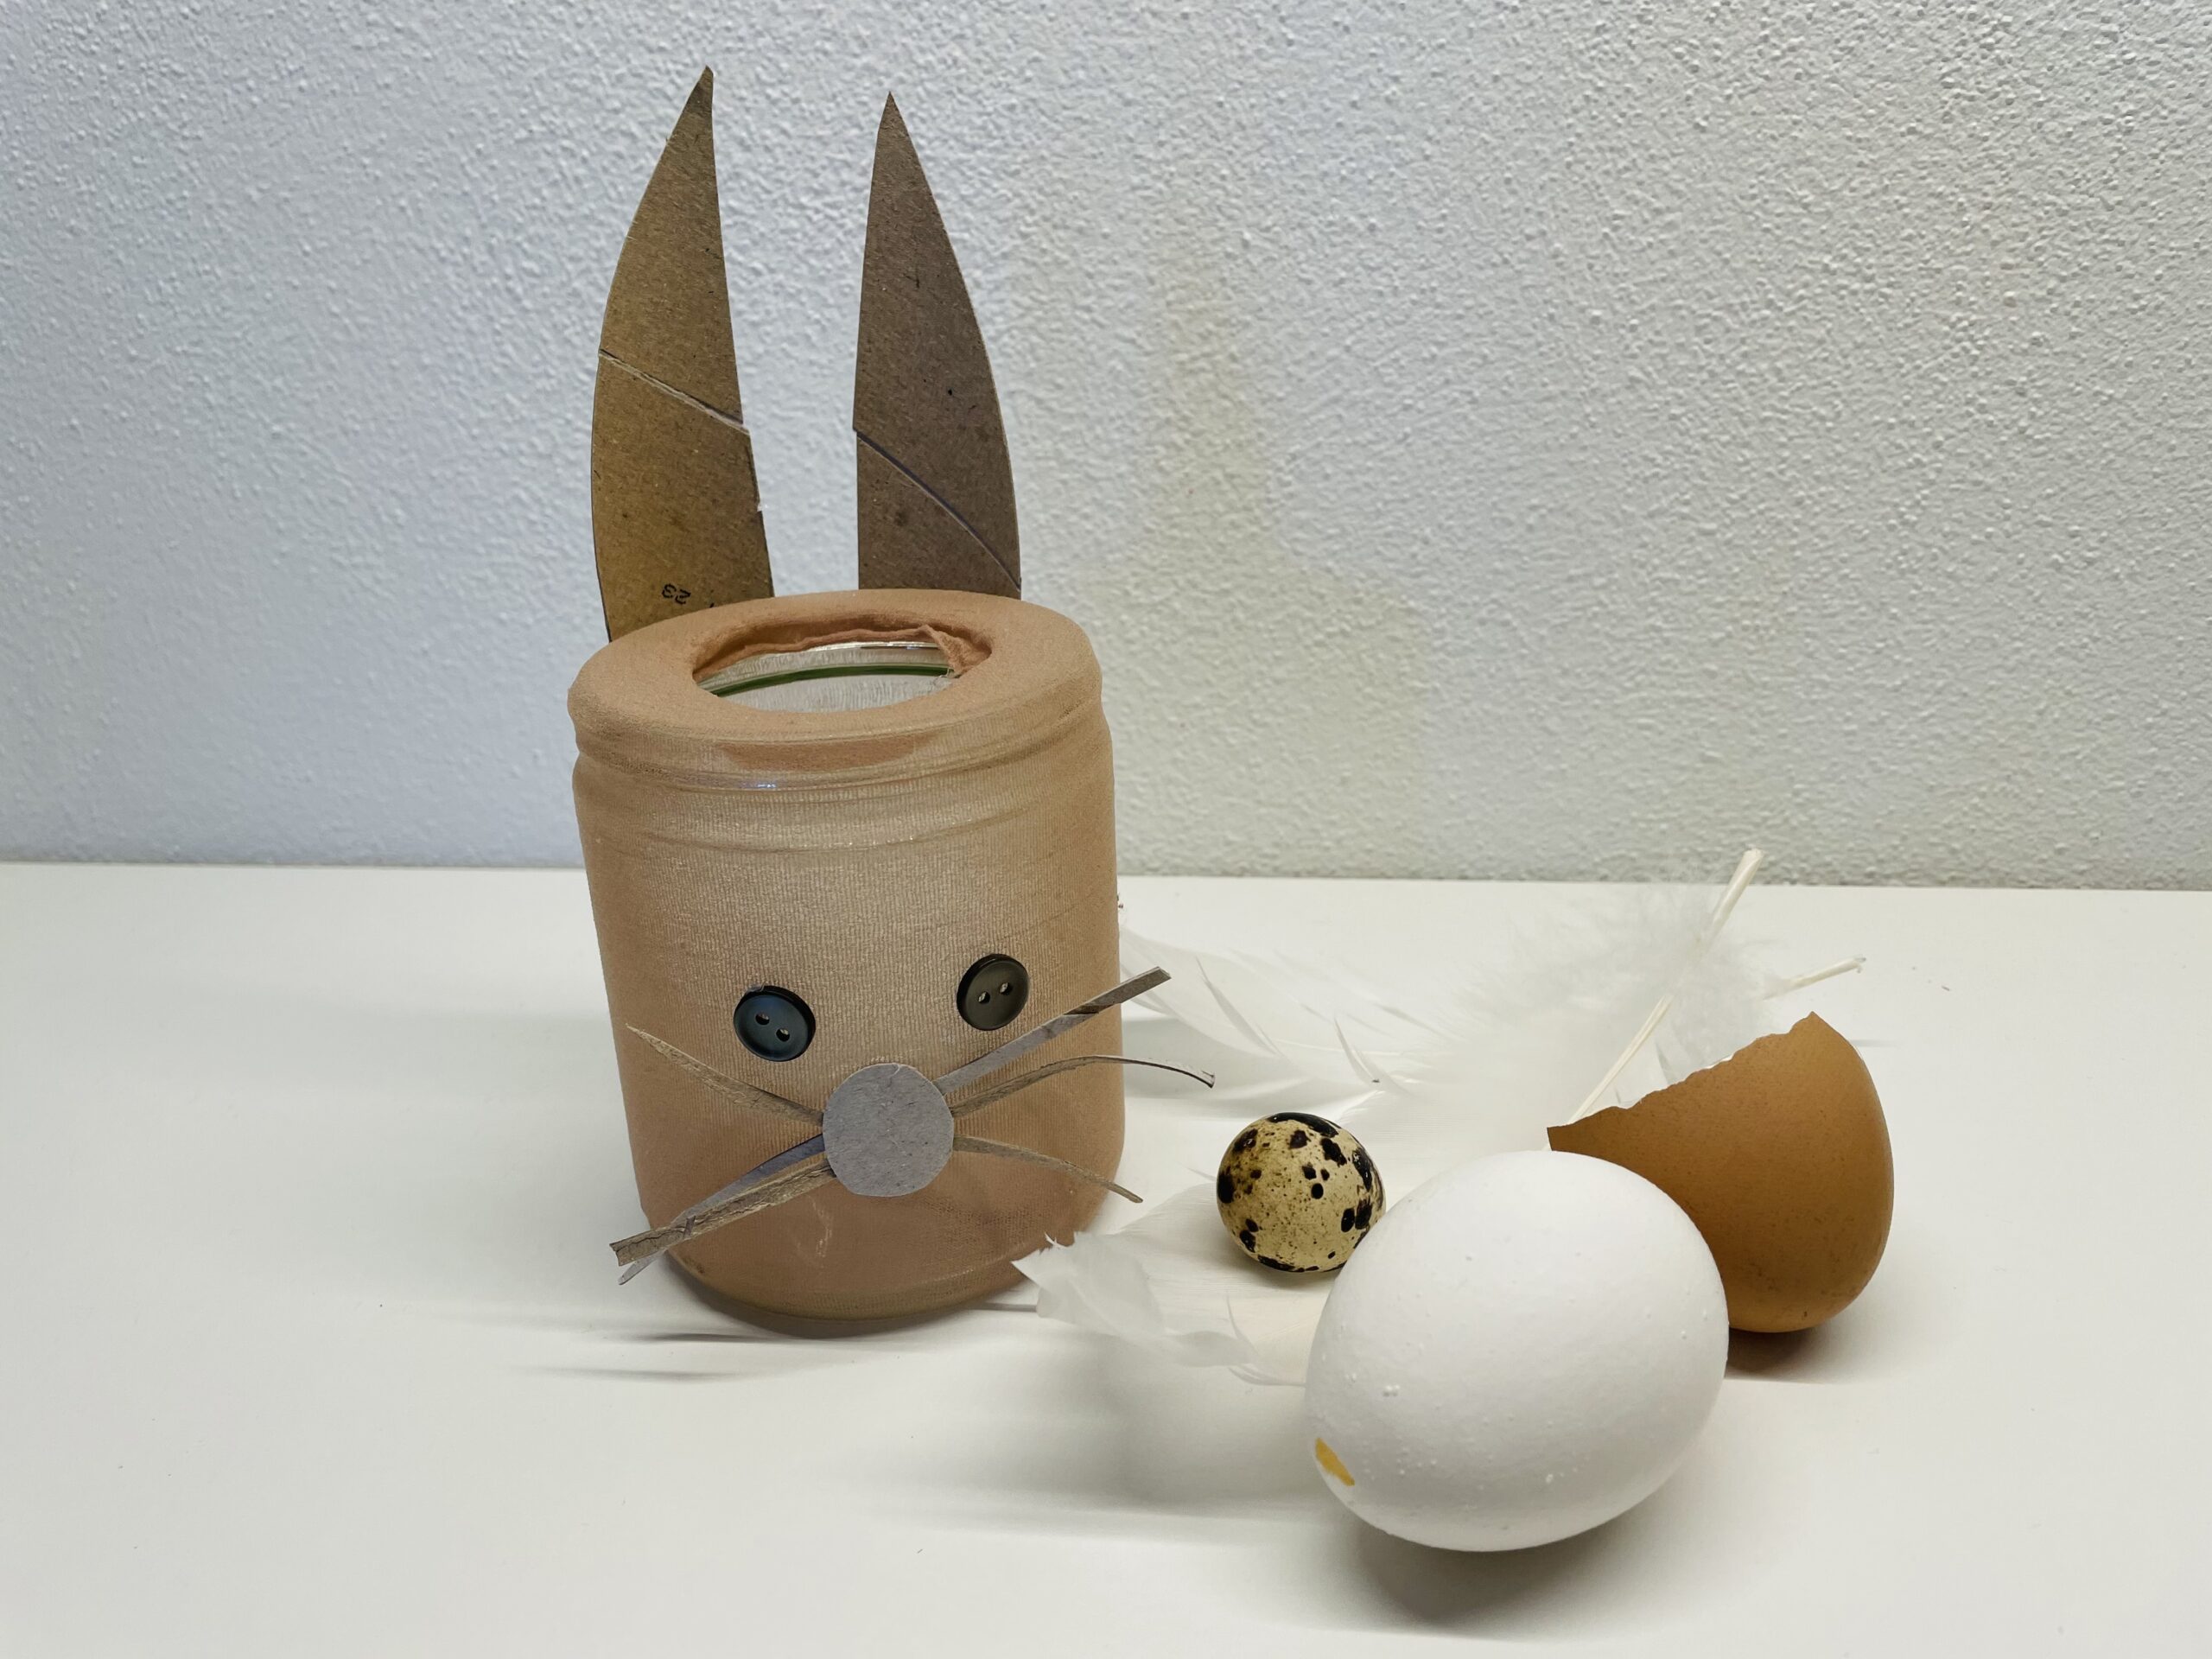
Finished is another pretty Easter bunny glass.
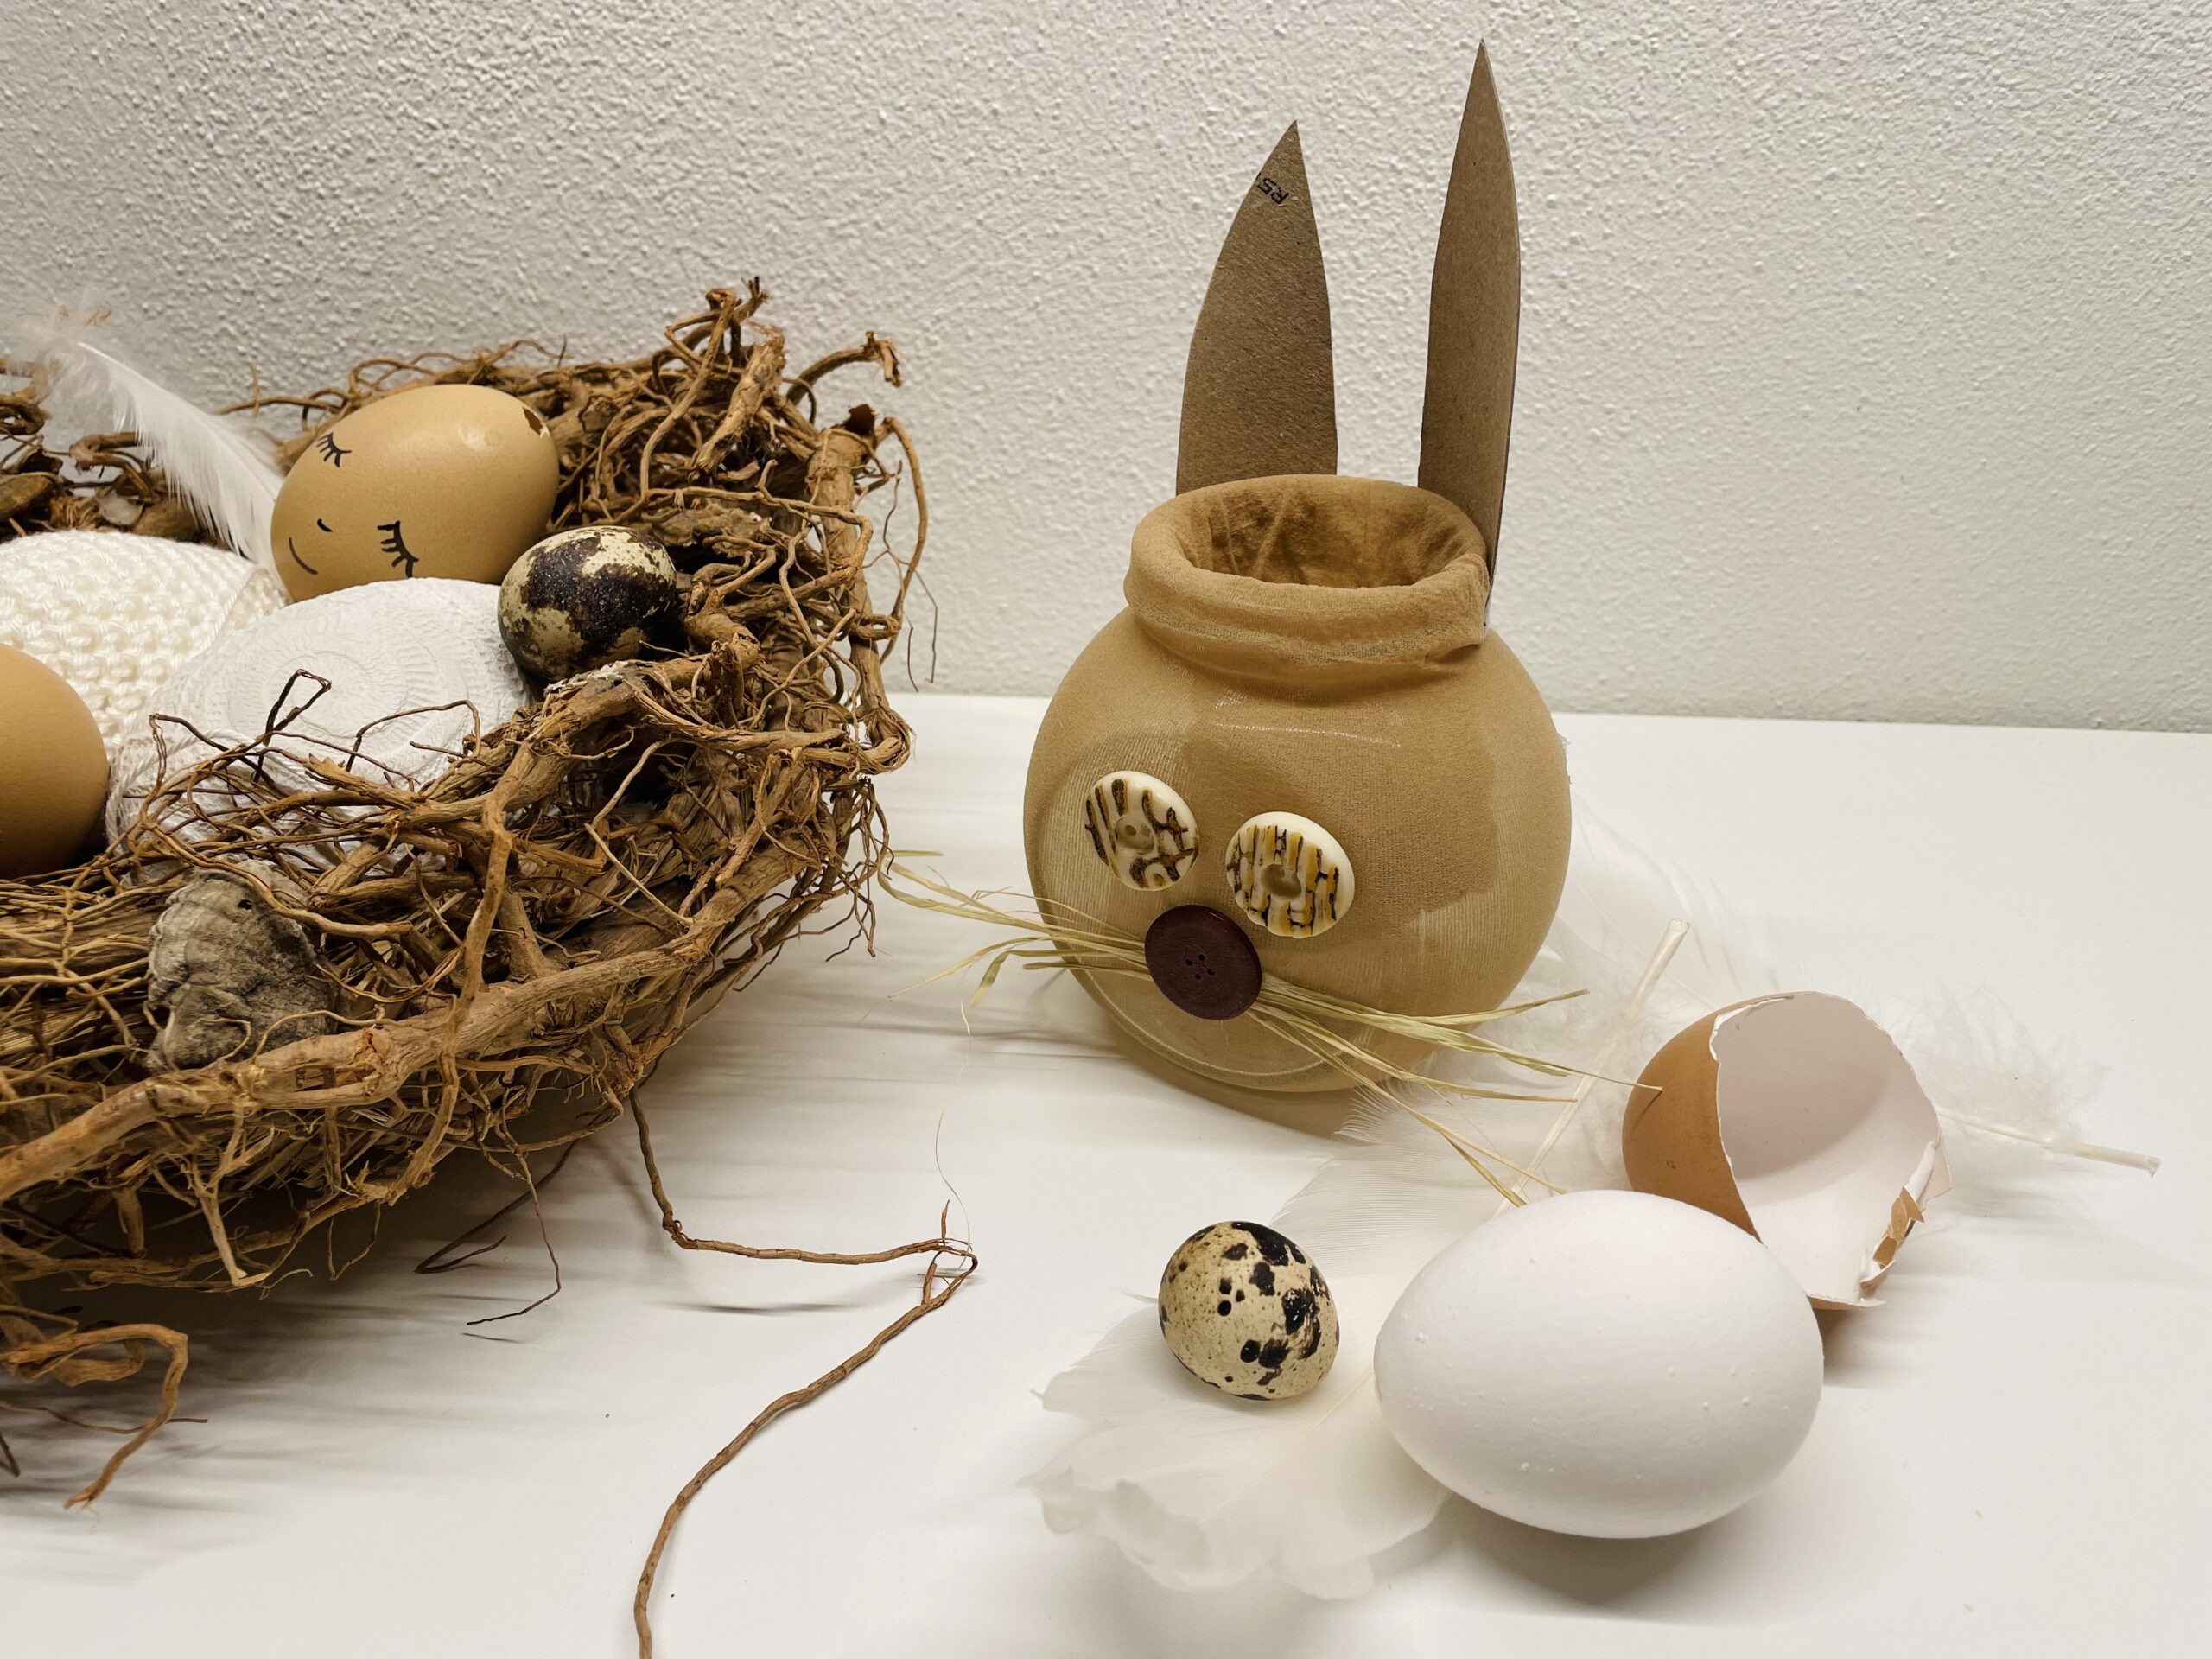
With wood wool and eggs, the Easter bunny glasses are a real eye-catcher.

Tip: If you use the Easter bunny glasses as a small Easter nest, choose the size of a cucumber glass. Otherwise, hard-boiled eggs may not find a place in the nest.
To save for the next year: You take out the glass and keep the sock with your face and ears. You fold it together and keep it space-saving. Next year you just put the sock over a new glass again.
Happy Easter!
Materials
Directions
First you pick all the materials together and lay out the craft file.
Then you put the perlon stocking over the inverted glass. Pull the perlon stocking very far apart. Maybe someone holds the glass so that it does not slip away.
Now pull the stocking tightly and smoothly.
Then turn the glass around and pull the stocking firmly again. The glass now sits deep in the socks. Attention: Do not cut off the overhanging part of the sock!
After that you put the overhanging sock in it.
Now you take a cardboard roll and put it on the table in front of you.
Then press it flatly.
Now cut the cardboard roll apart on both sides. Cut along the fold.
This creates two parts from which you now cut the rabbit ears.
For this you paint the shape of the ears with a pen on the cardboard and then cut out the ears.
That's what the long thin rabbit ears look like now.
From the remaining pieces you now cut the whiskers. For this you cut off very thin strips. These can also be different lengths.
Then you paint a circle for the rabbit's nose and cut it out.
Now you put your nose together with your whiskers and stick the moustache on your nose with the glue stick.
Then you put the rabbit face on the table before you. Use the buttons as eyes and see how you like it or what you may still lack.
Now you stick the buttons and the nose with the whiskers on the glass. Put the glass on the side. If the parts do not hold, it adheres to the hot glue gun. Attention when handling the hot glue - danger of injury!
Now wait a minute until the glue is dried. Then you put the glass back up.
The ears stick to her with hot glue. In doing so, you press her with the curved side inwards to the upper glass edge. Selects the rear glass edge.
The rabbit glass is ready.
Alternatively, you can also make the whiskers out of bast or parcel cord. For this you cut off about 10cm long pieces.
Then stick the cords on a small cardboard circle or e.g. on a button.
The whiskers are ready.
Then stick the face on the glass as well.
After that, her ears stick to the back edge of the glass.
Finished is another pretty Easter bunny glass.
With wood wool and eggs, the Easter bunny glasses are a real eye-catcher.
Tip: If you use the Easter bunny glasses as a small Easter nest, choose the size of a cucumber glass. Otherwise, hard-boiled eggs may not find a place in the nest.
To save for the next year: You take out the glass and keep the sock with your face and ears. You fold it together and keep it space-saving. Next year you just put the sock over a new glass again.
Happy Easter!
Follow us on Facebook , Instagram and Pinterest
Don't miss any more adventures: Our bottle mail


Great idea! We made the hares as Easter nest. When the "Osterhase" really put something in it, the joy was extremely great. Thank you for the great idea!