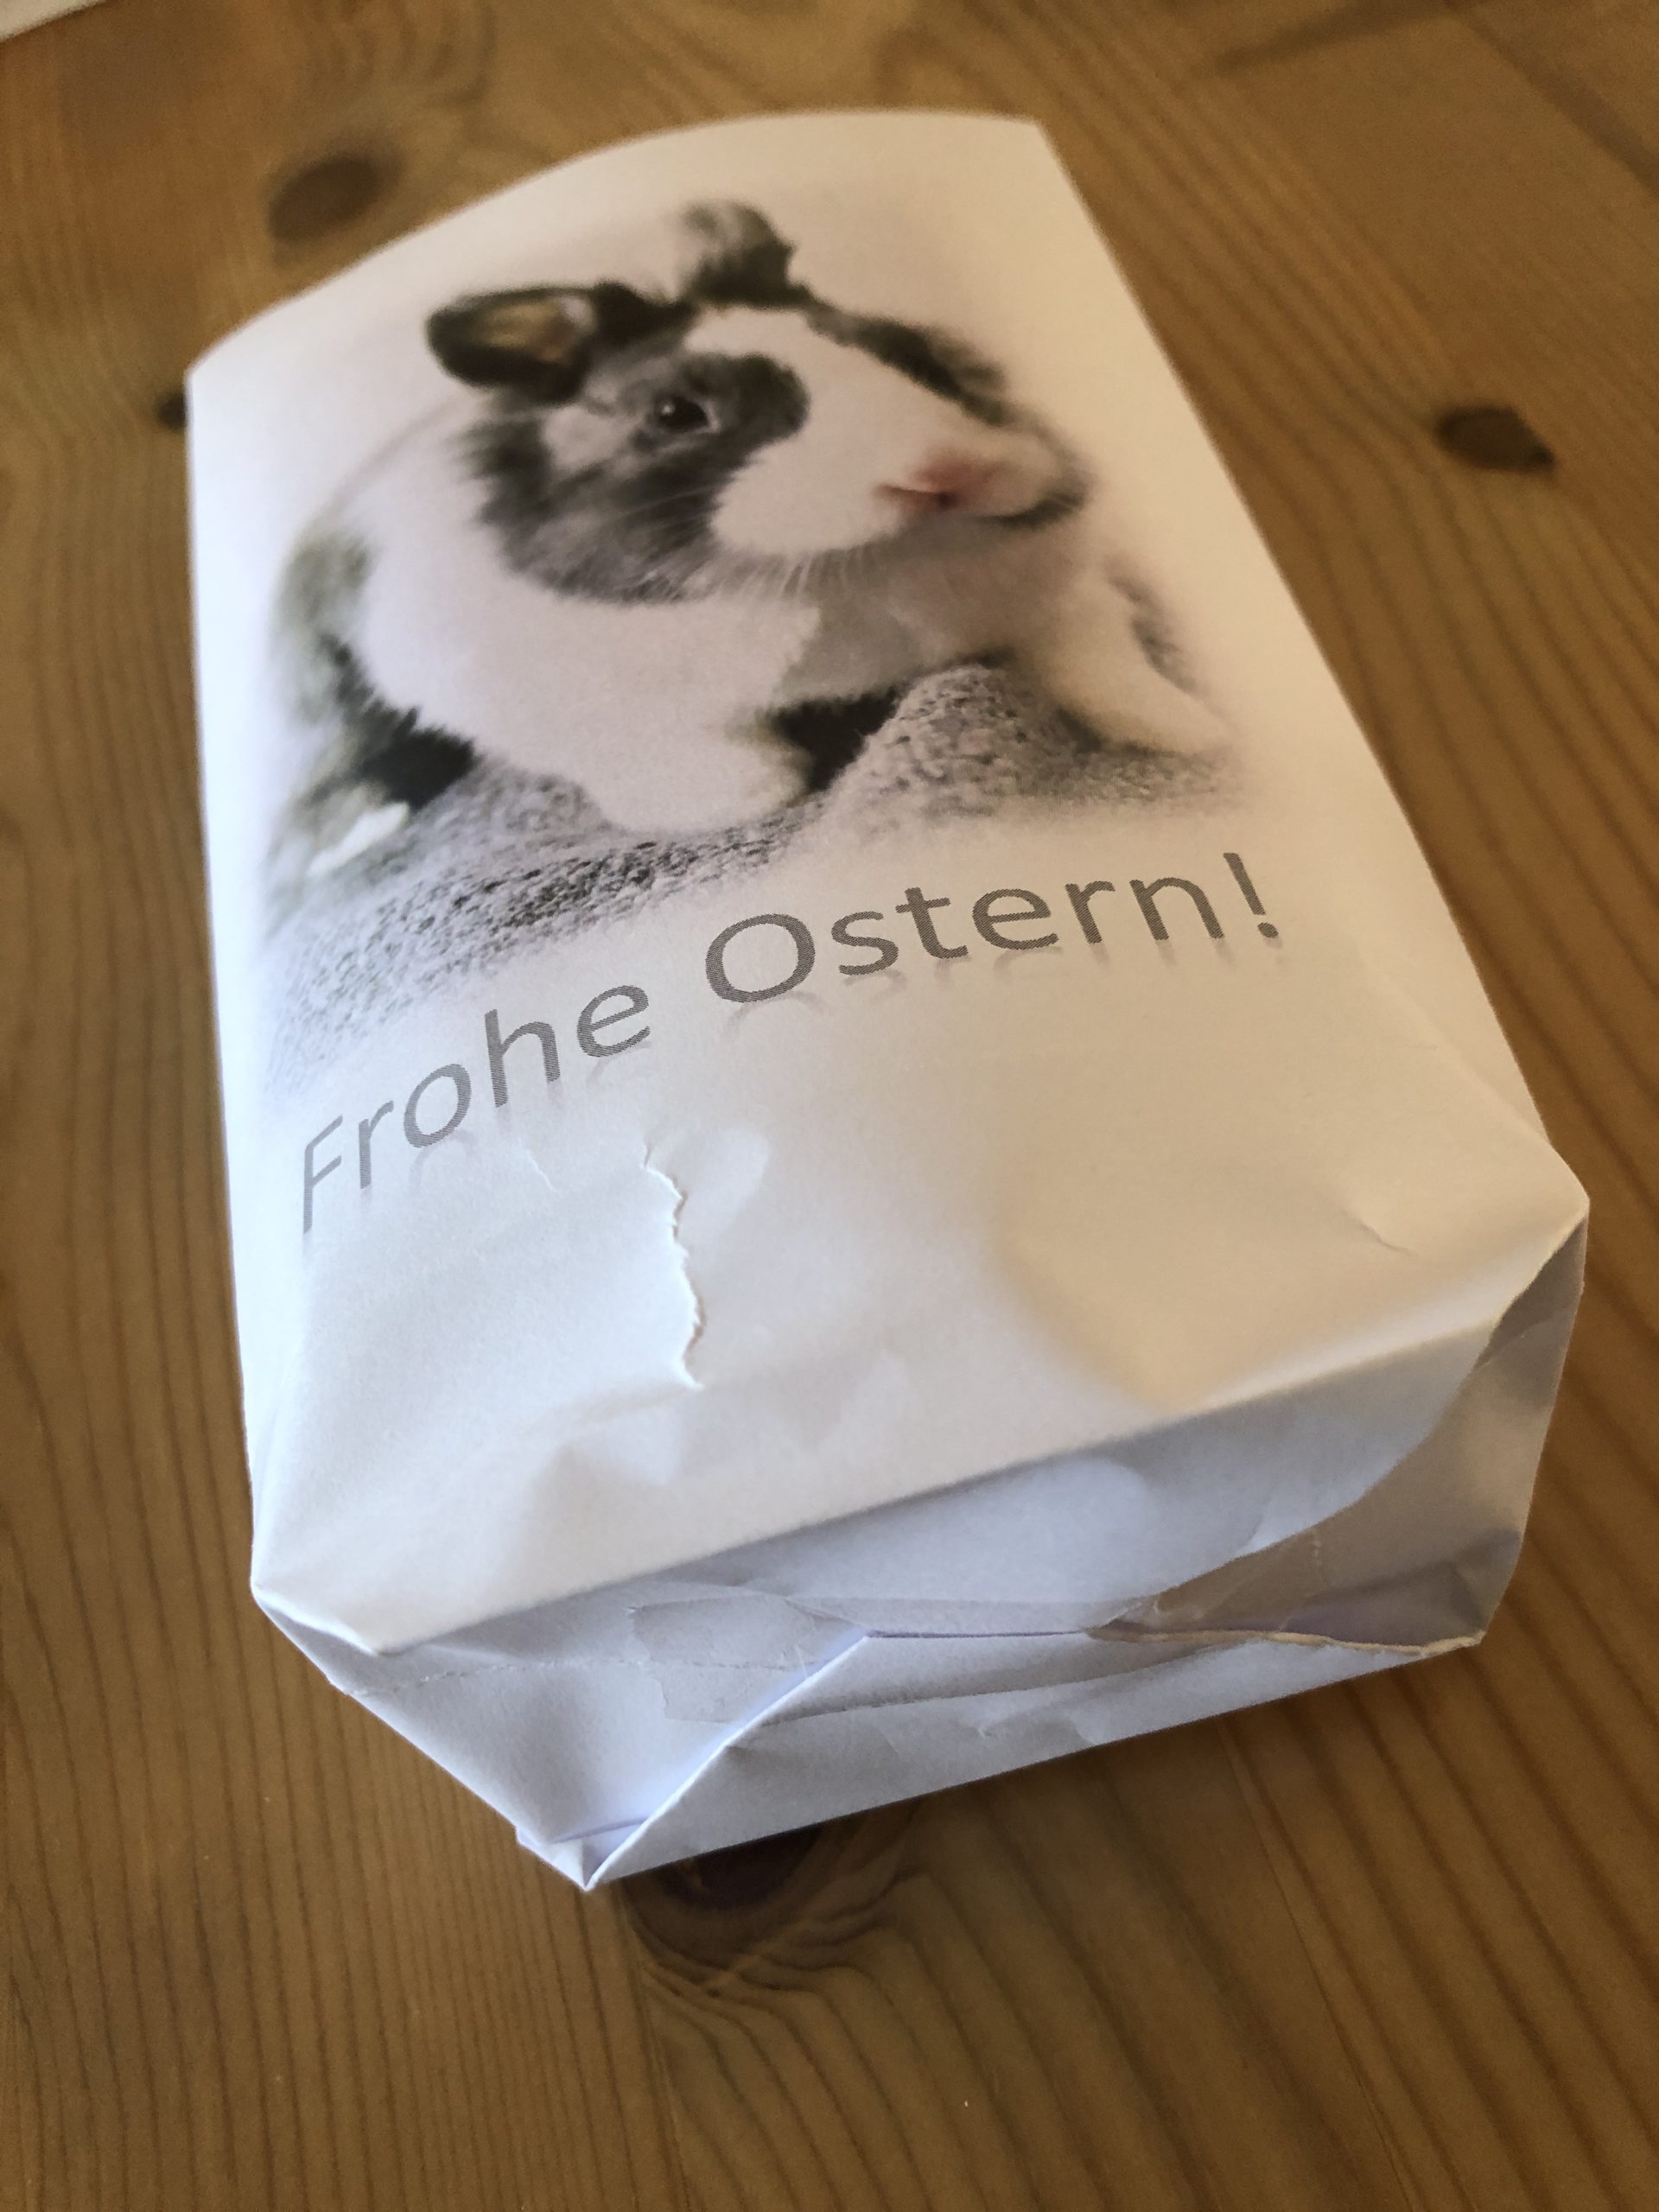
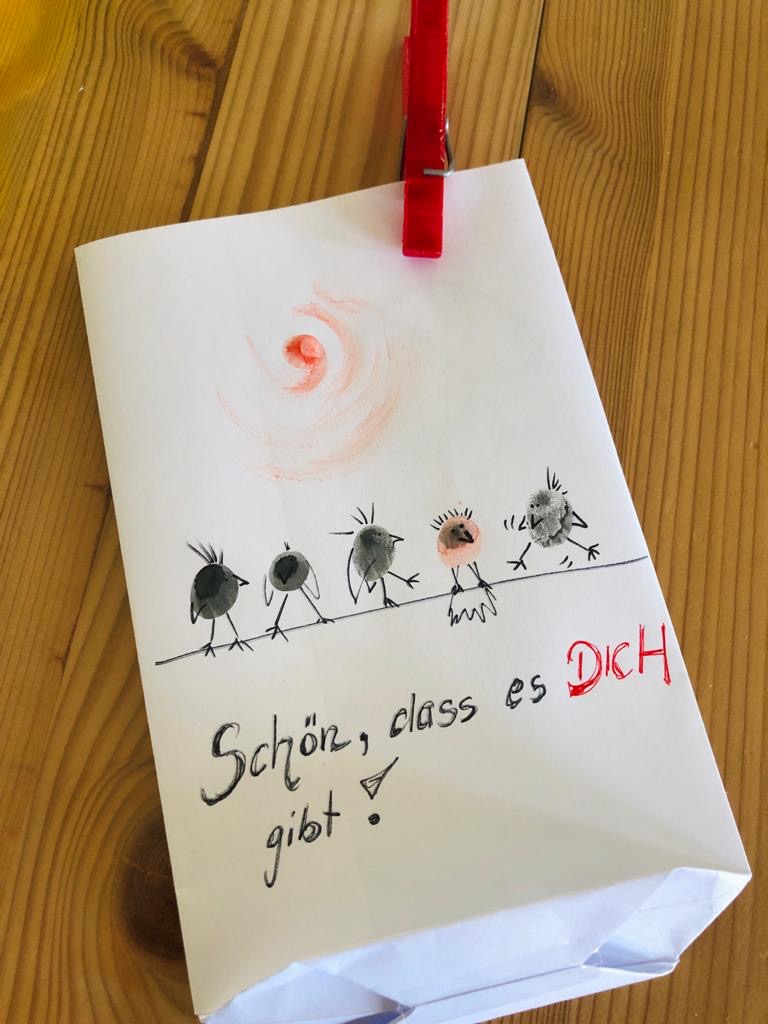
From a DINA4 paper we fold a gift bag for e.g. Easter, as a gift bag at the children's birthday party, as a lucky bag or for recovery. They are quickly made and are ideal for all kinds of occasions.
Media Education for Kindergarten and Hort

Relief in everyday life, targeted promotion of individual children, independent learning and - without any pre-knowledge already usable by the youngest!
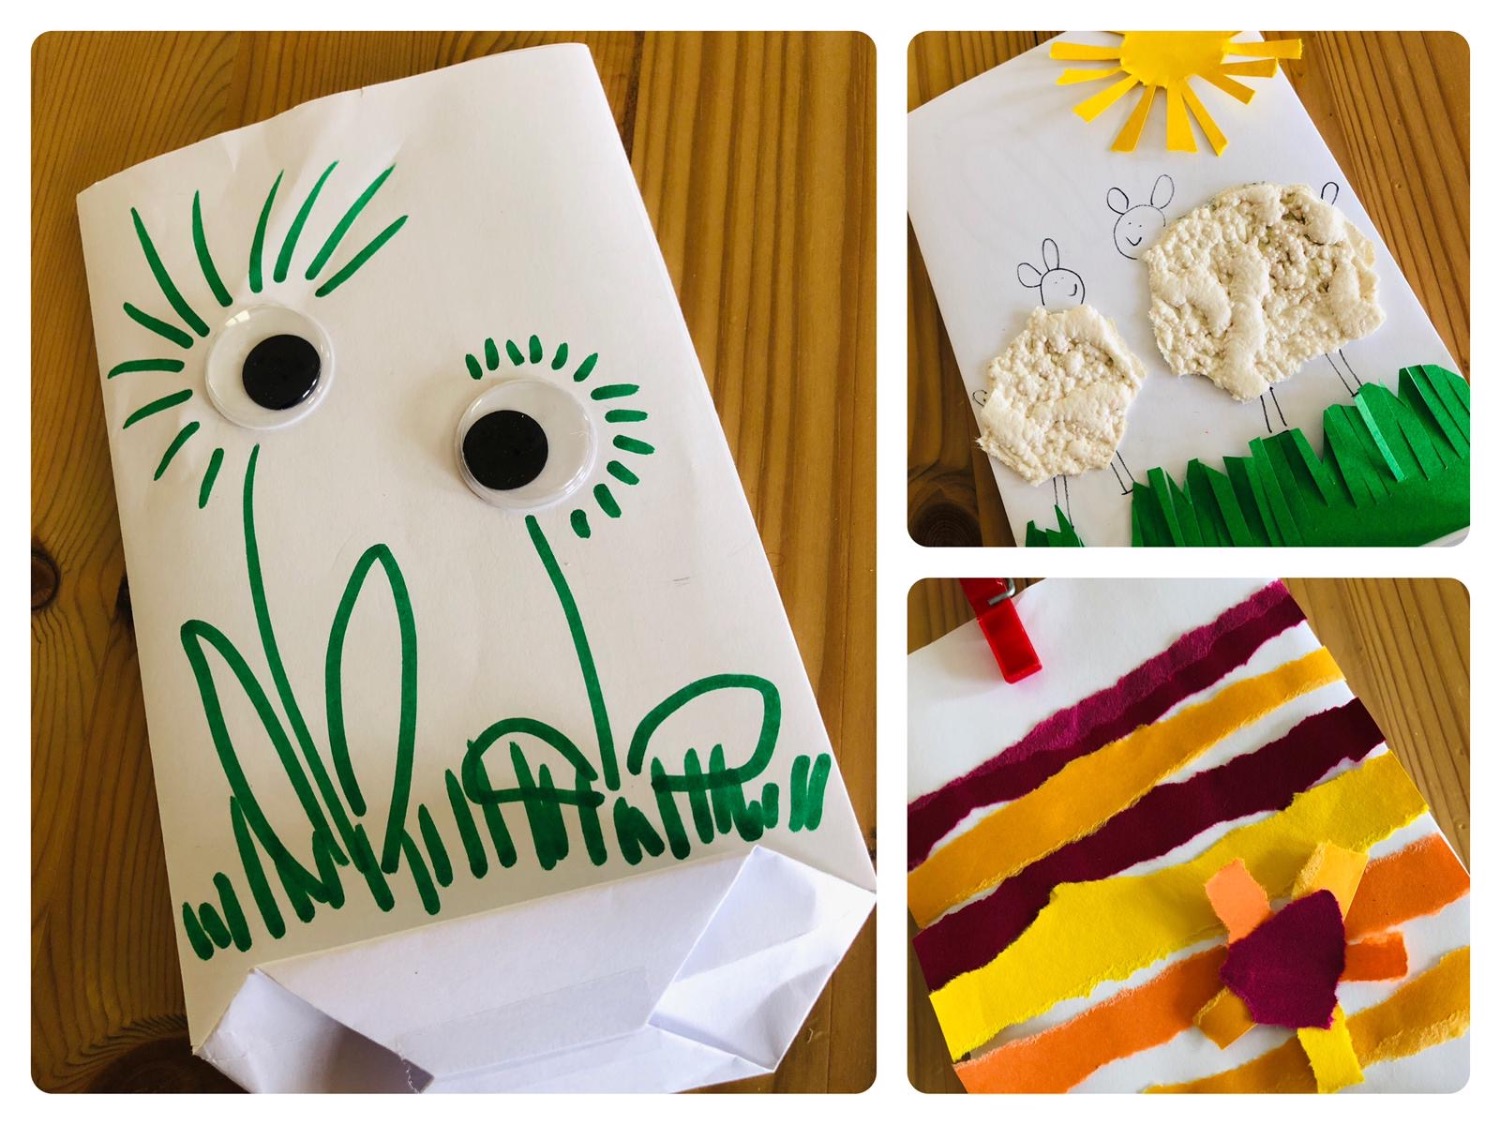
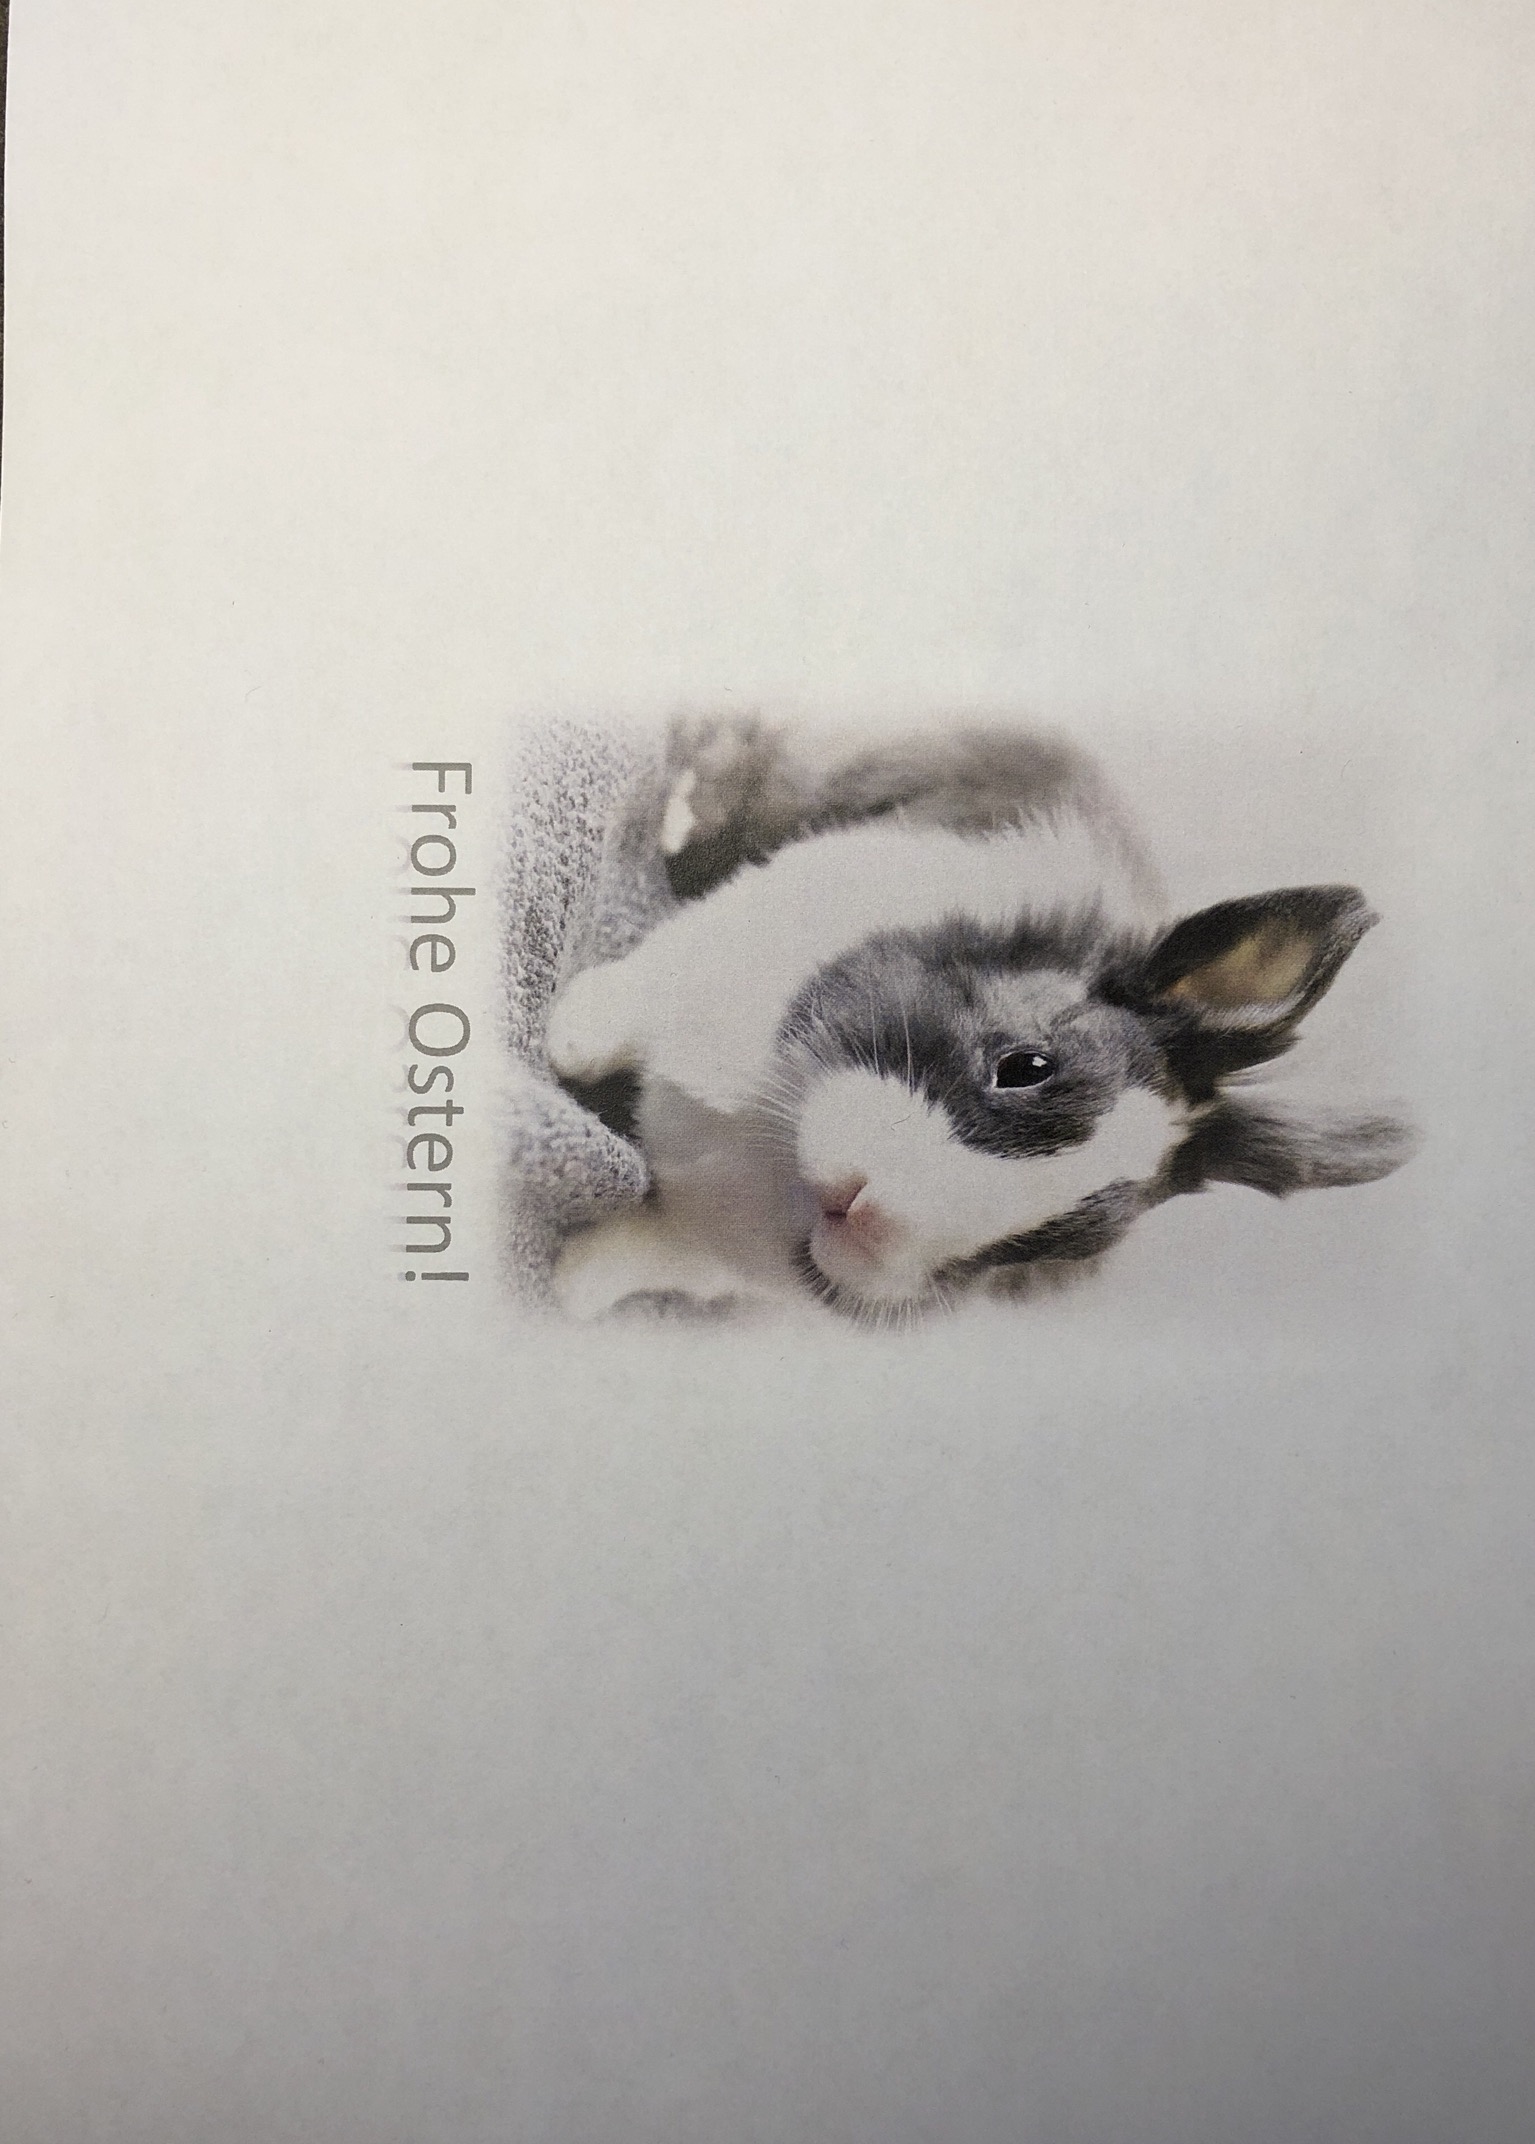
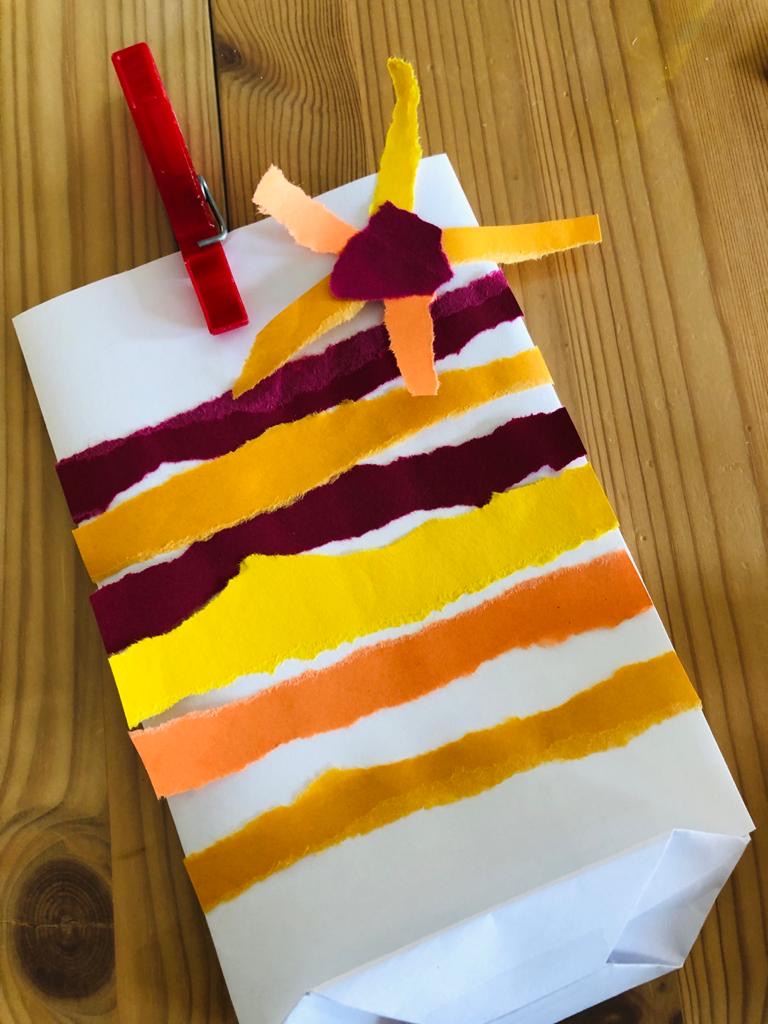
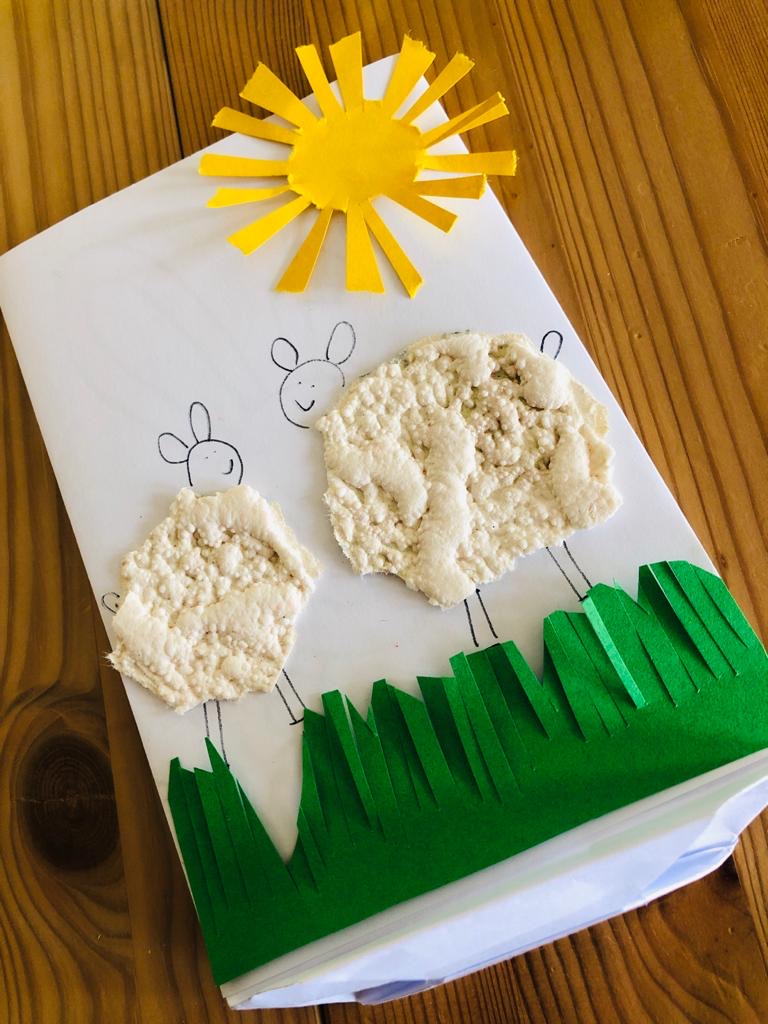
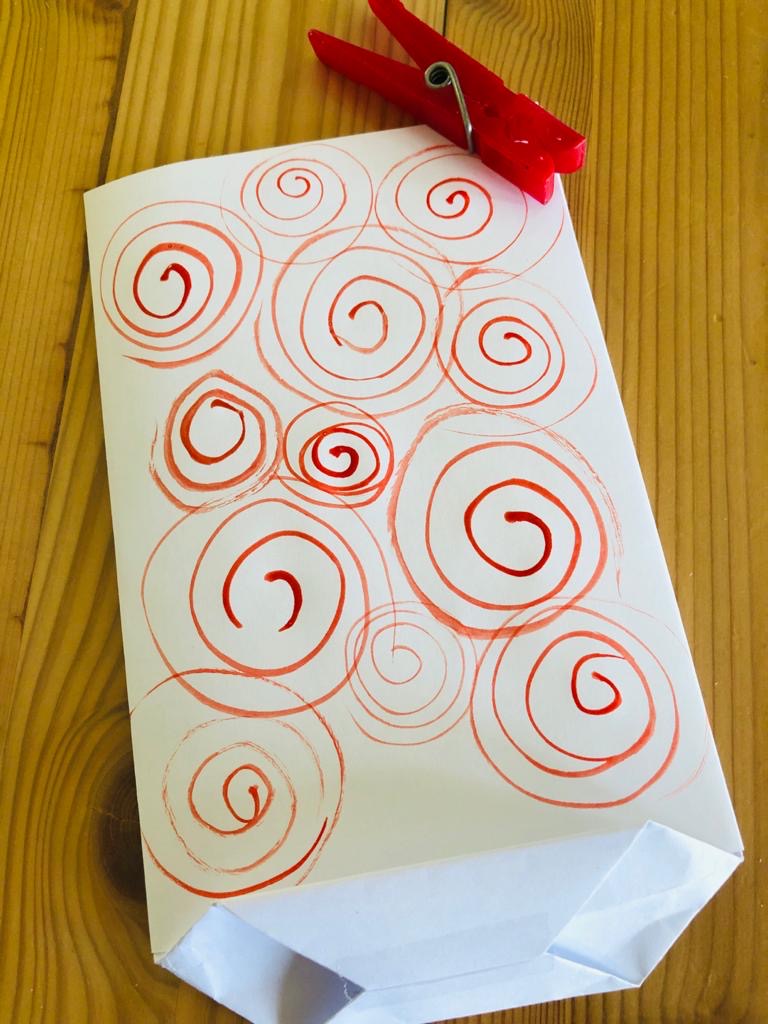
For the Easter bags: print out and paint out a painting template. Or print out a finished motif image. Or paint your own motif (painted is the middle third of a DIN A4 sheet = crosswise! Leave an at least 5 cm wide strip unpainted from below!)
Either: print the colouring image and possibly paint it...

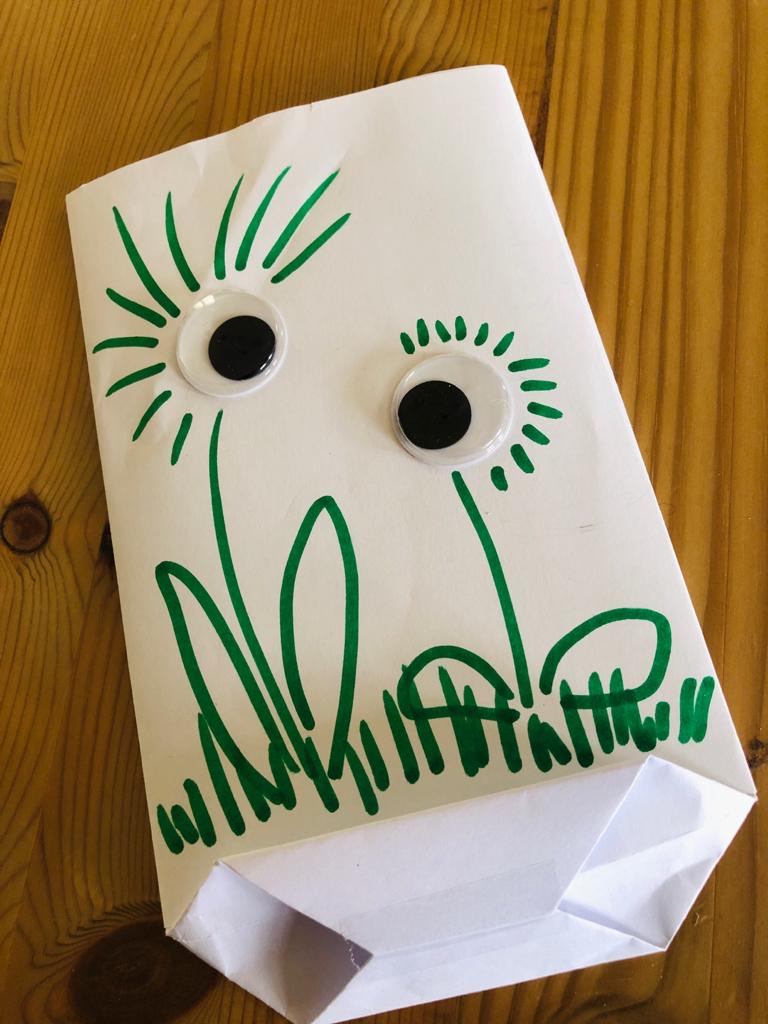
or: print out the complete motif picture!
For simple white bags just leave the sheet empty and first make the bag and design it afterwards.
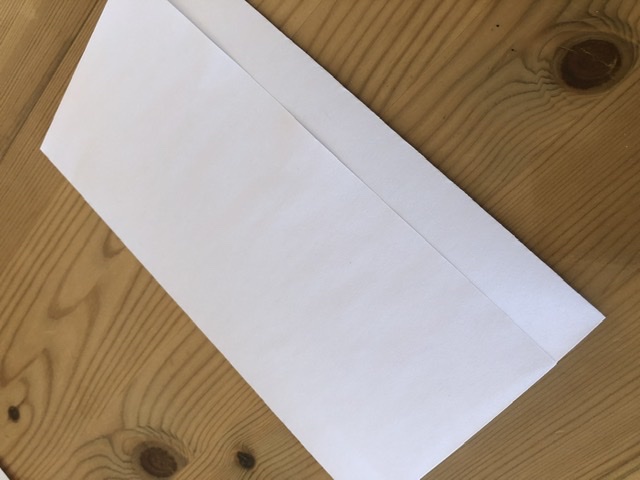
Turn over sheet of paper that the painted/printed side lies on the table.
Fold about 1/3 of the paper in the middle and strip out.

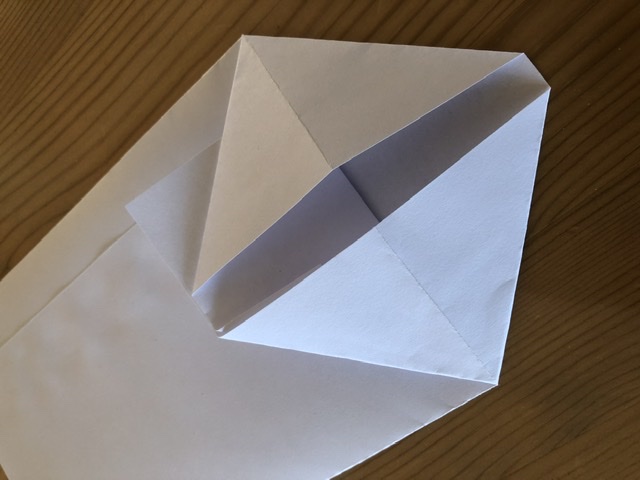
Fold from the other side also from the outside. The motif must be in the middle.
A piece of beaten-in paper lies on top of each other.
Beat the lower end about 4.5 cm upwards and strip out the crease.
Note that the kink should be below the "painted" or image. (see picture!)

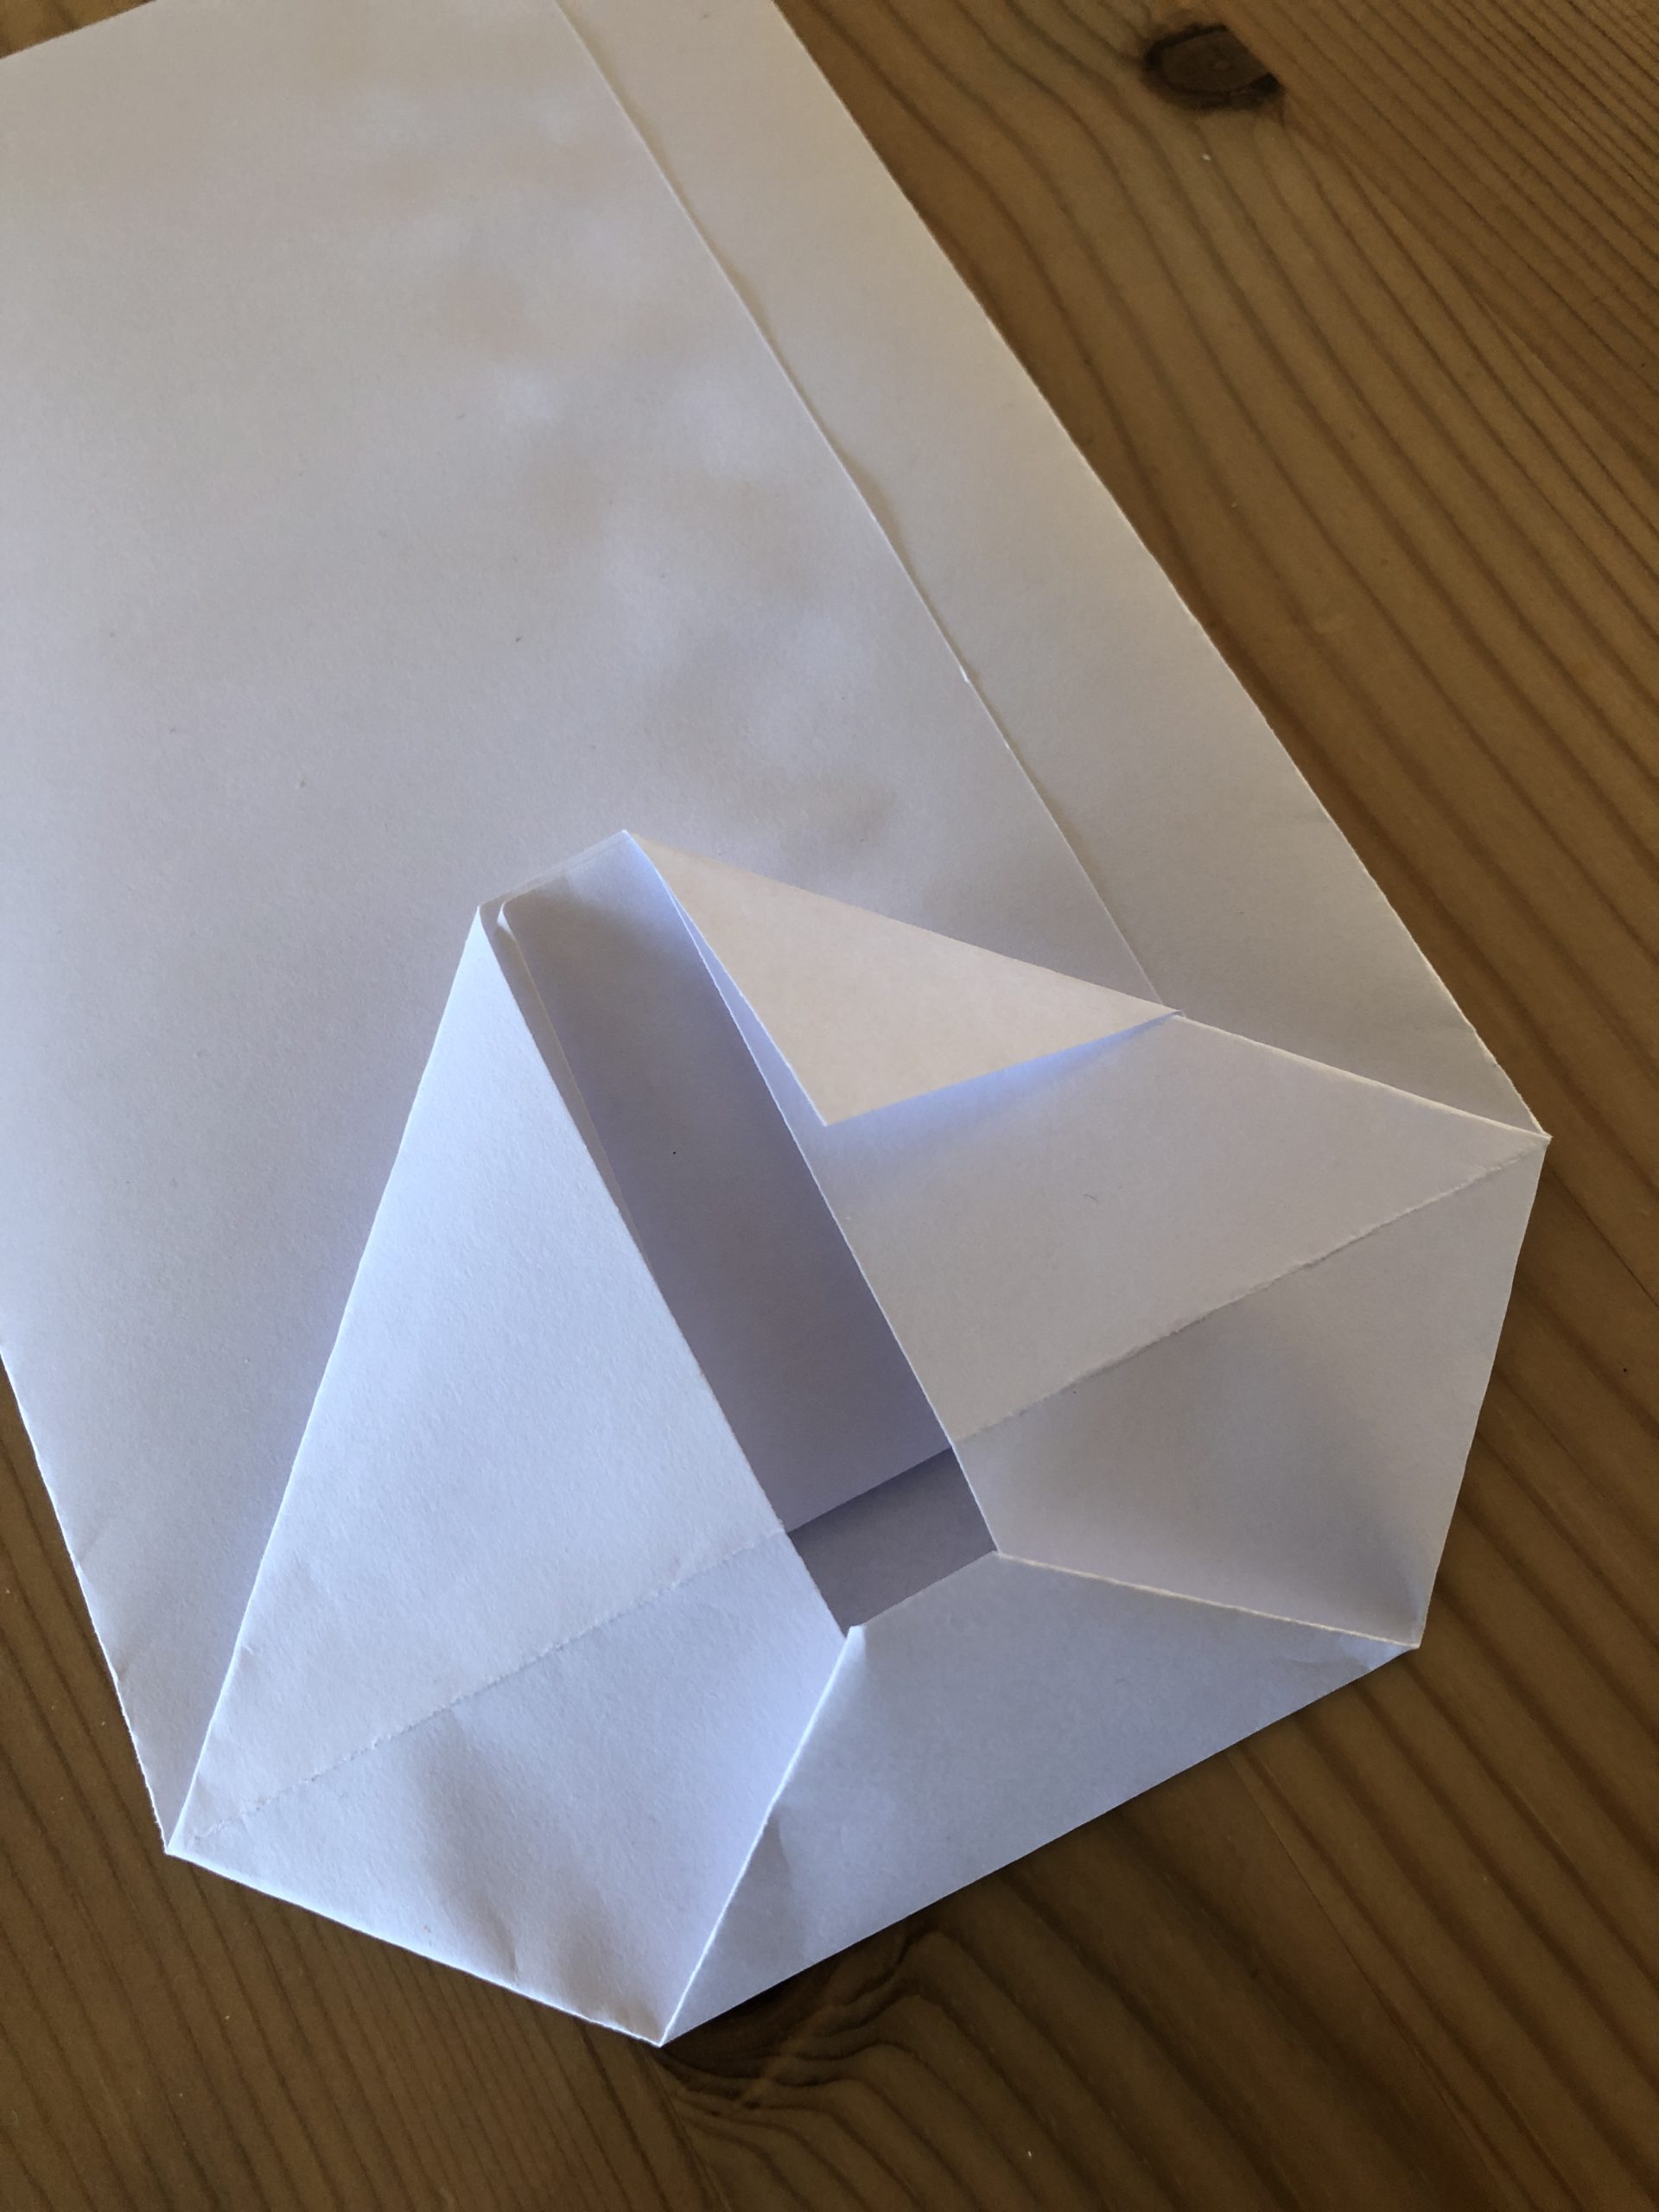
Turn the paper. Glue the sheets on top of each other with a glue stick to the kink. (see picture!)

Now open the bottom end and grab your fingers in the corner and push them apart.
Press the tips flat. The center is well aligned to the middle stroke due to the already existing kink (at the outer edge).

Repeat the process at both corners.
Then fold one side upwards. (This will be the bottom of the bag)
Fold the opposite side downwards, these may overlap slightly.
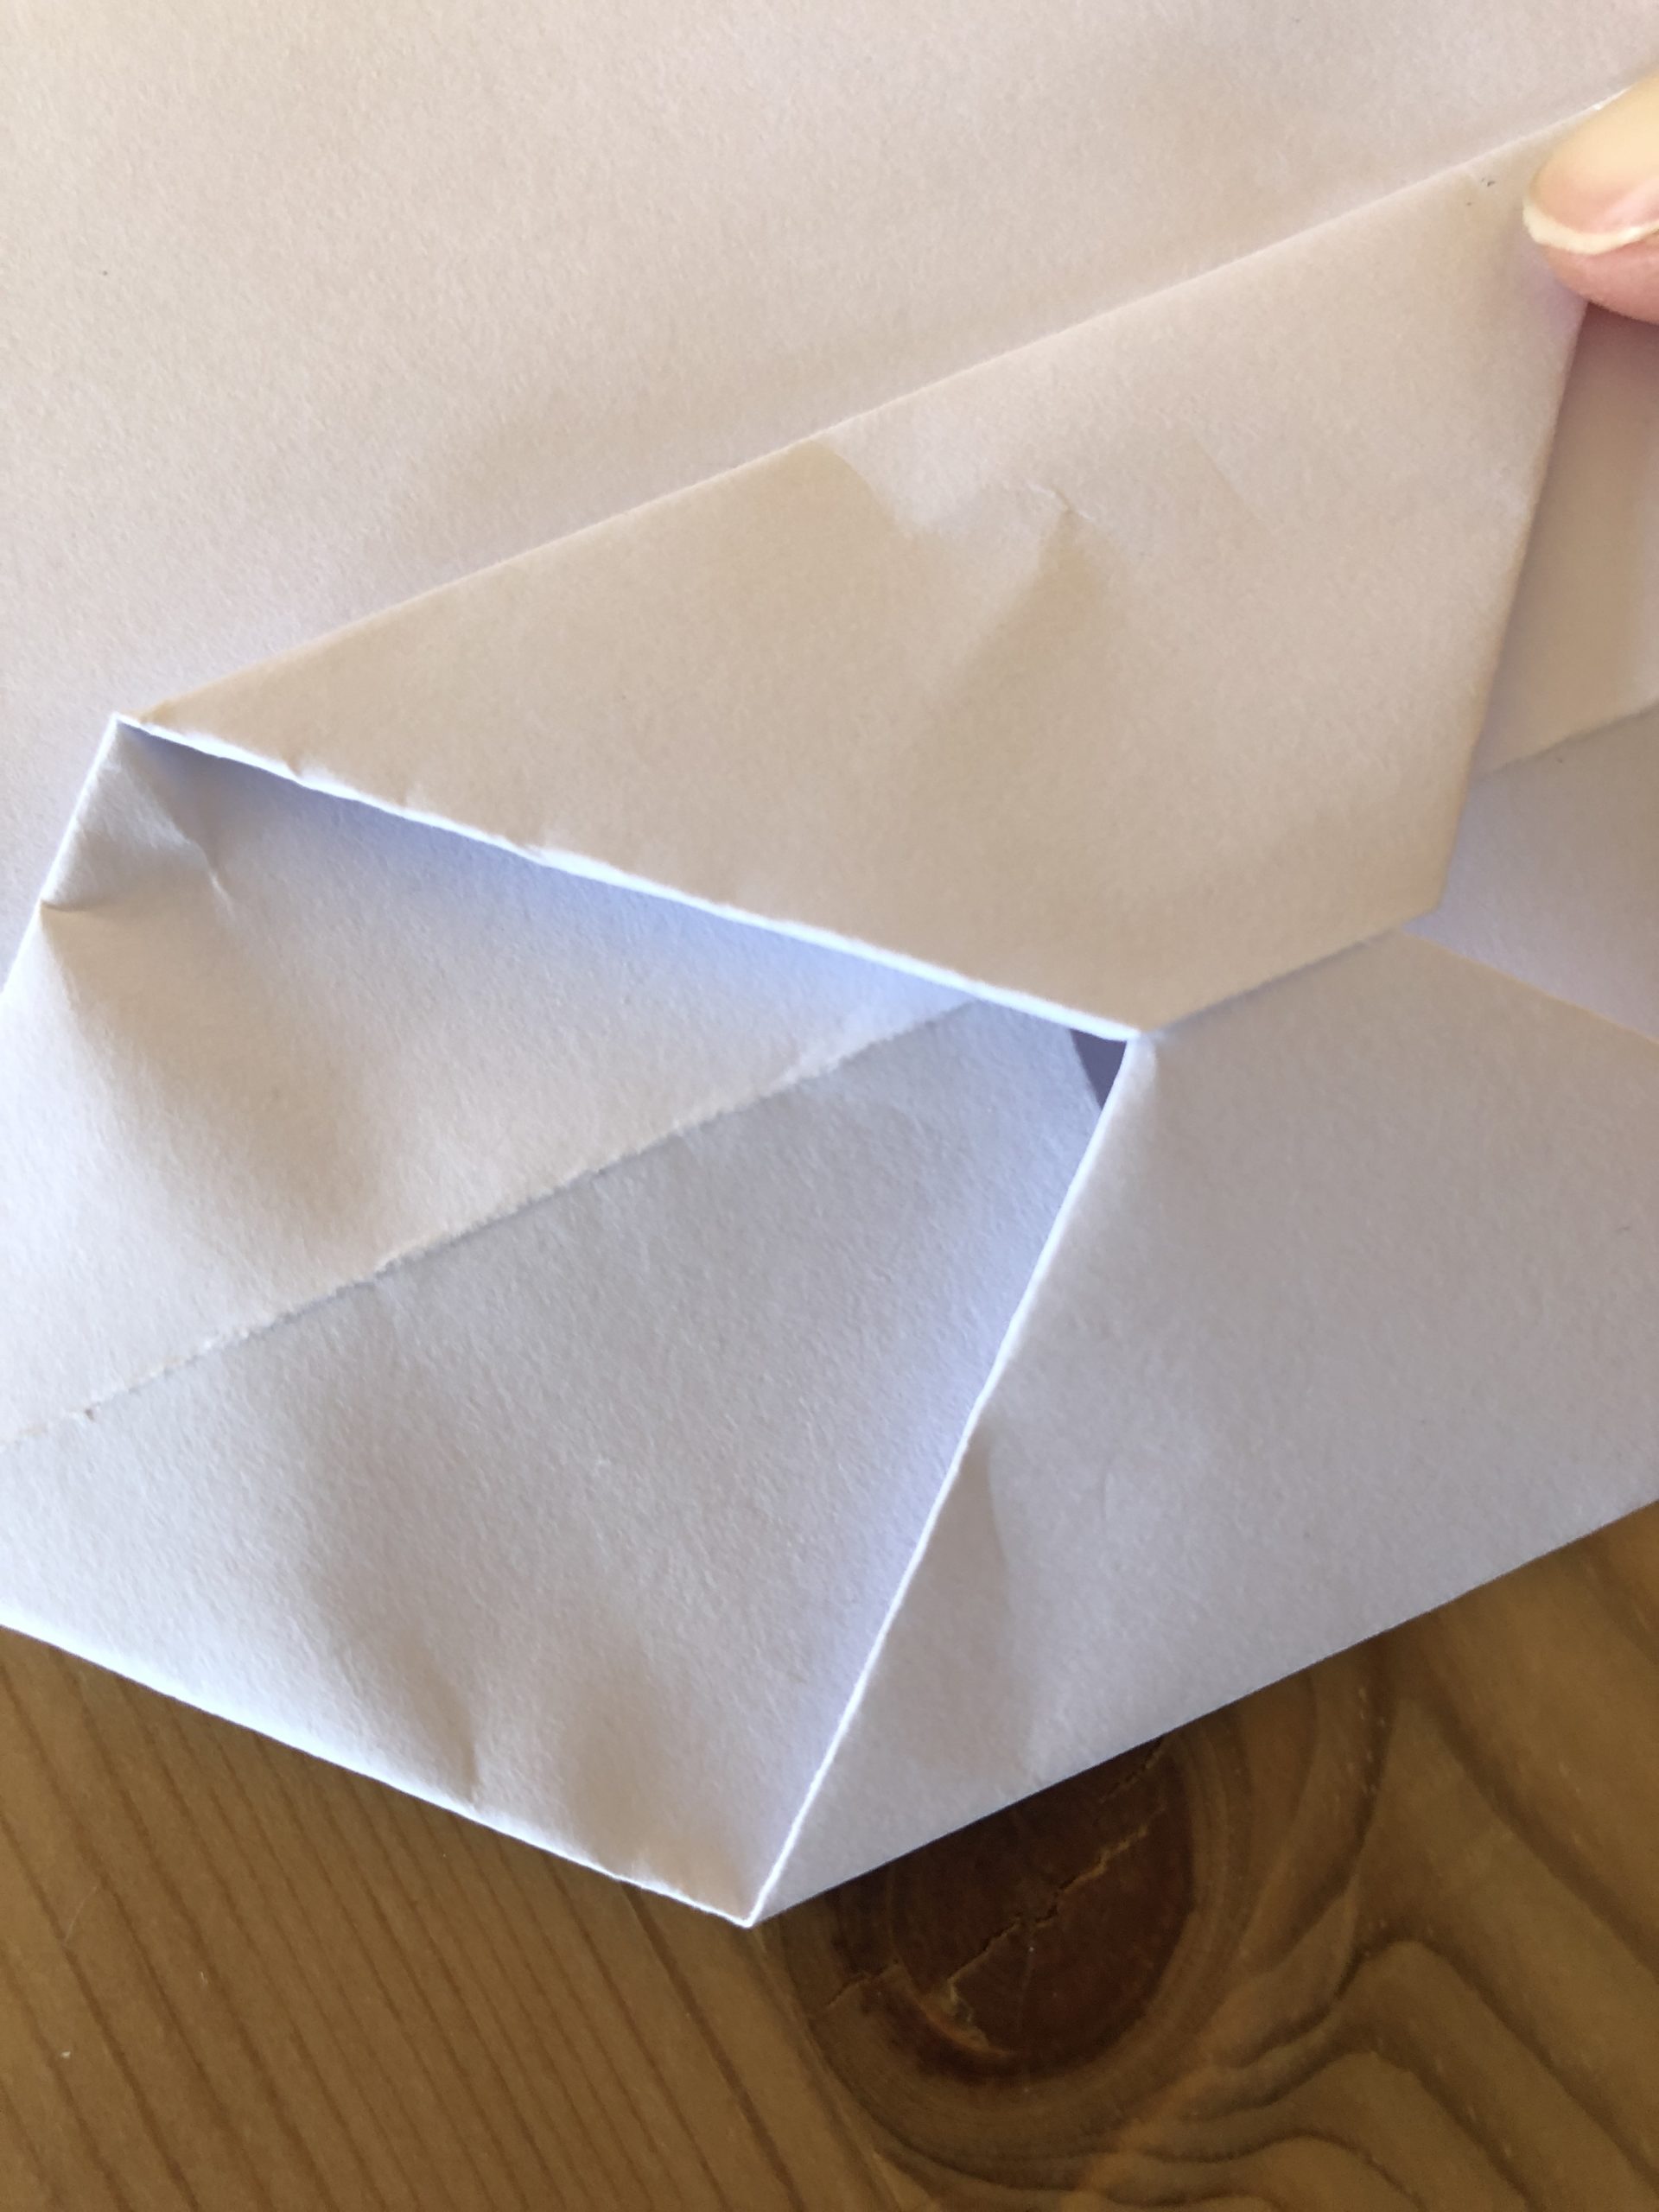
Close with an adhesive tape.
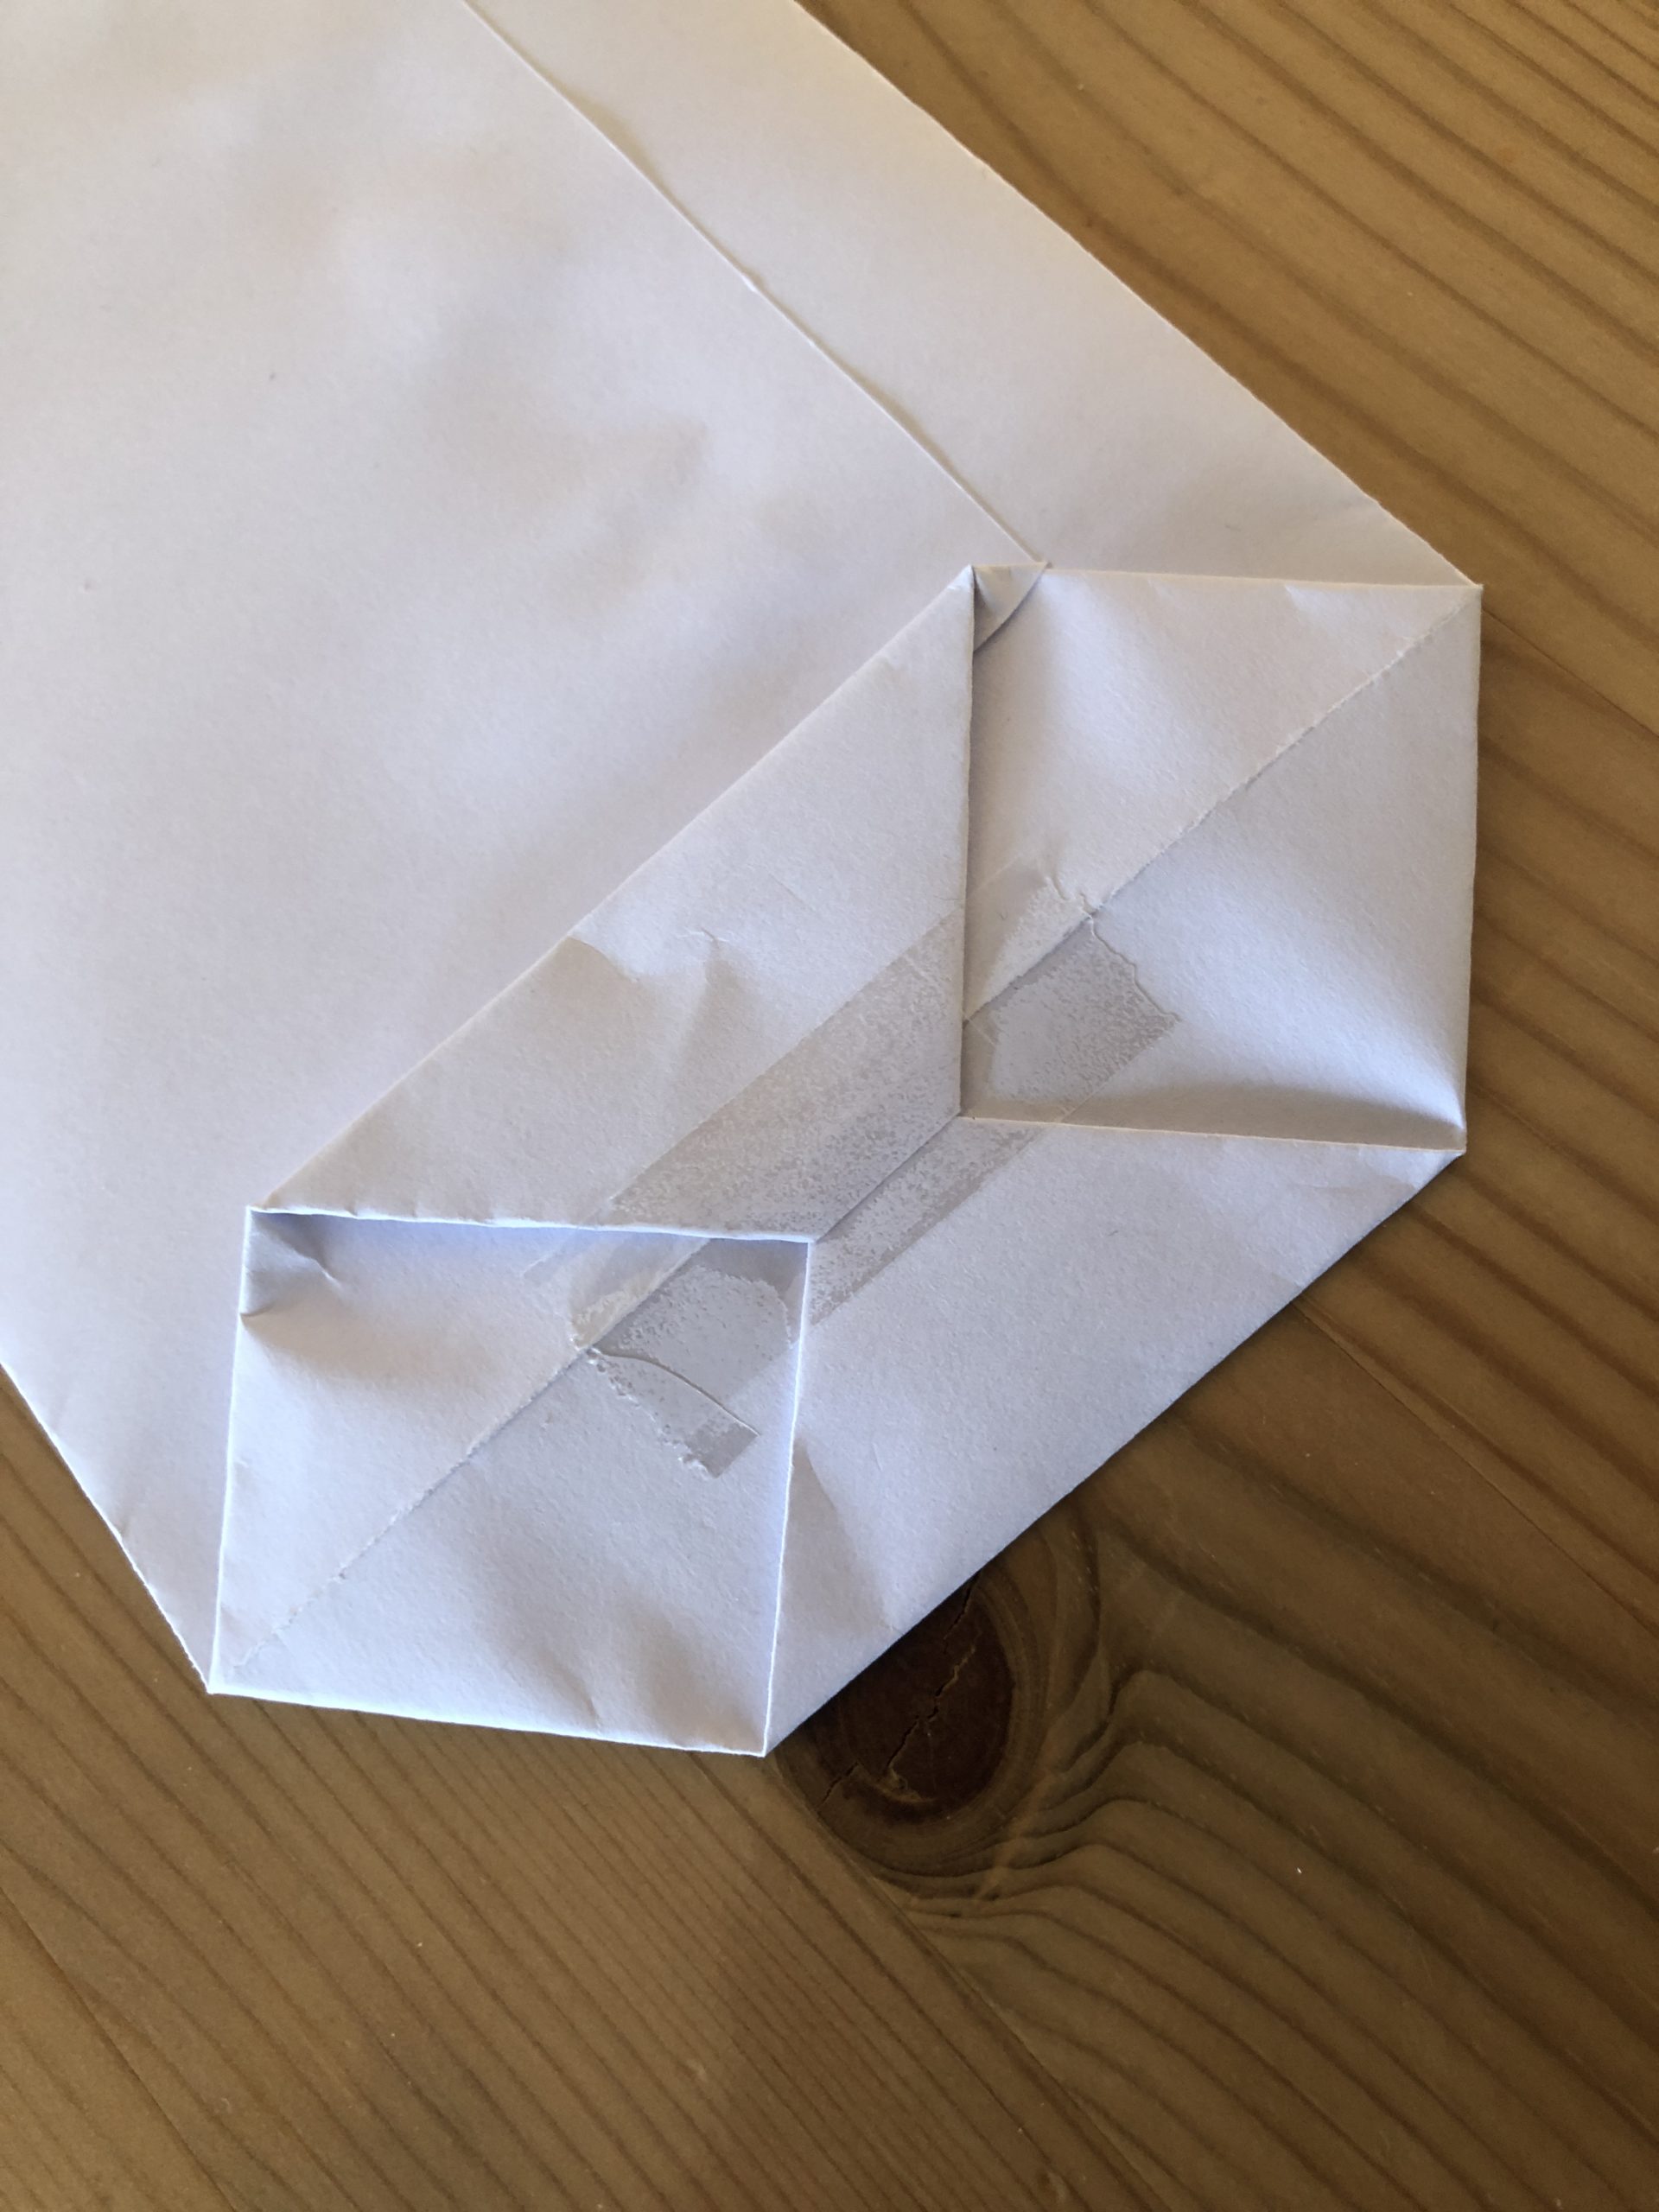
Gently reach into the upper opening and slowly push the bag apart. Place on the glued floor.
The Easter bag is ready.
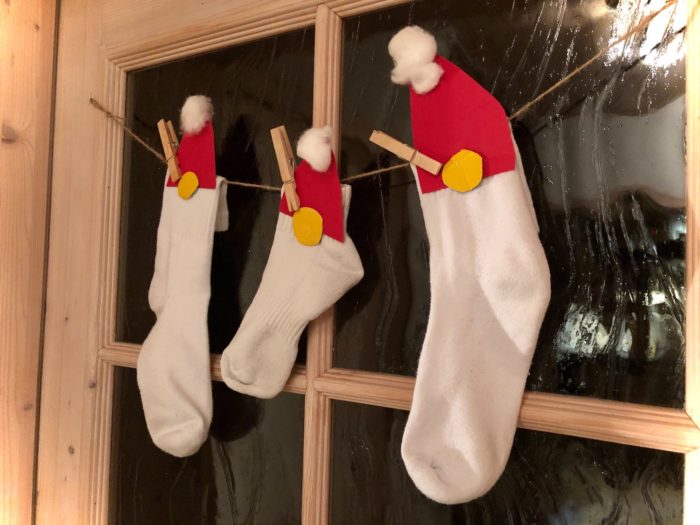
Happiness Bats
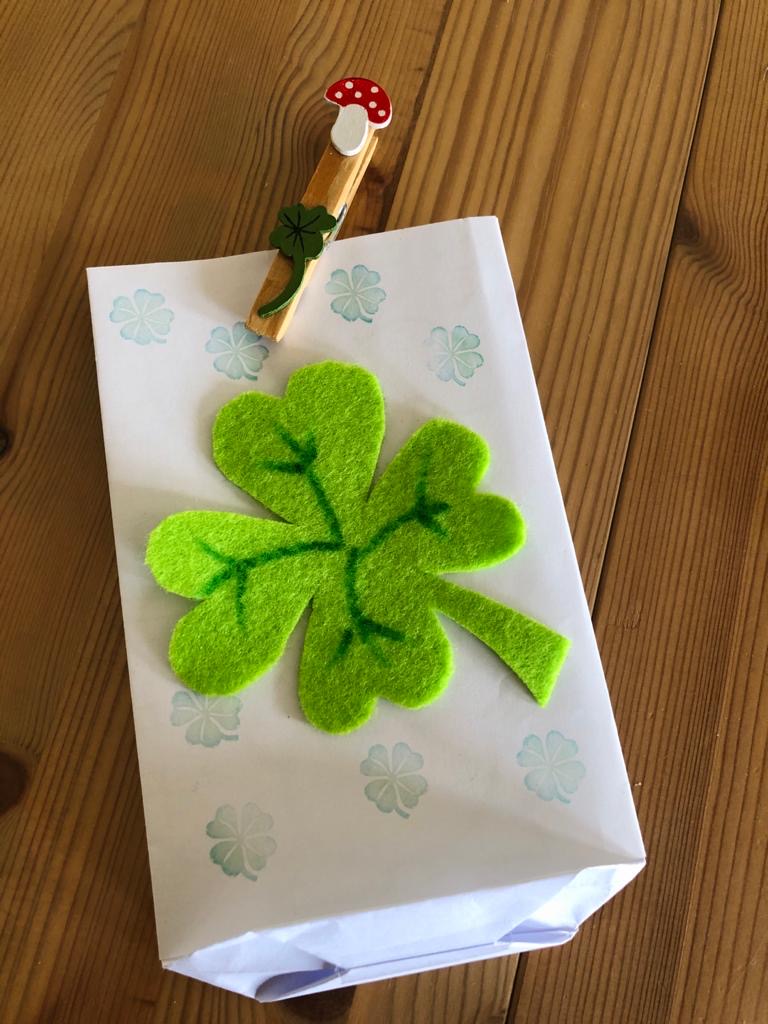
Summer sachets
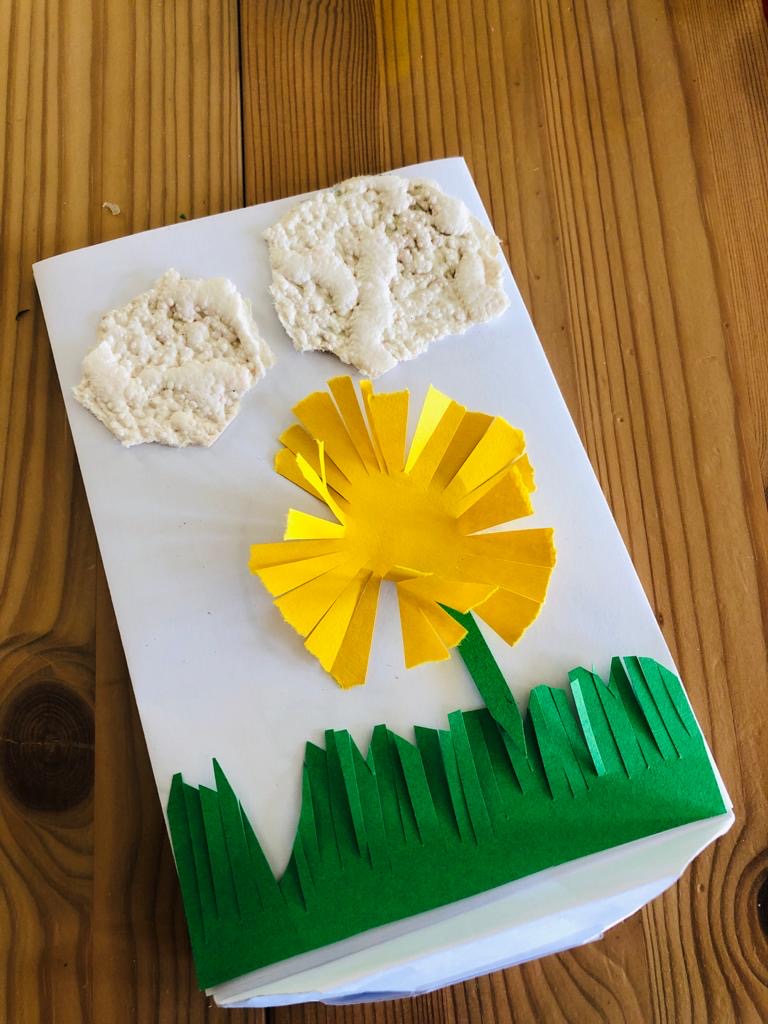
Bags for children's birthday
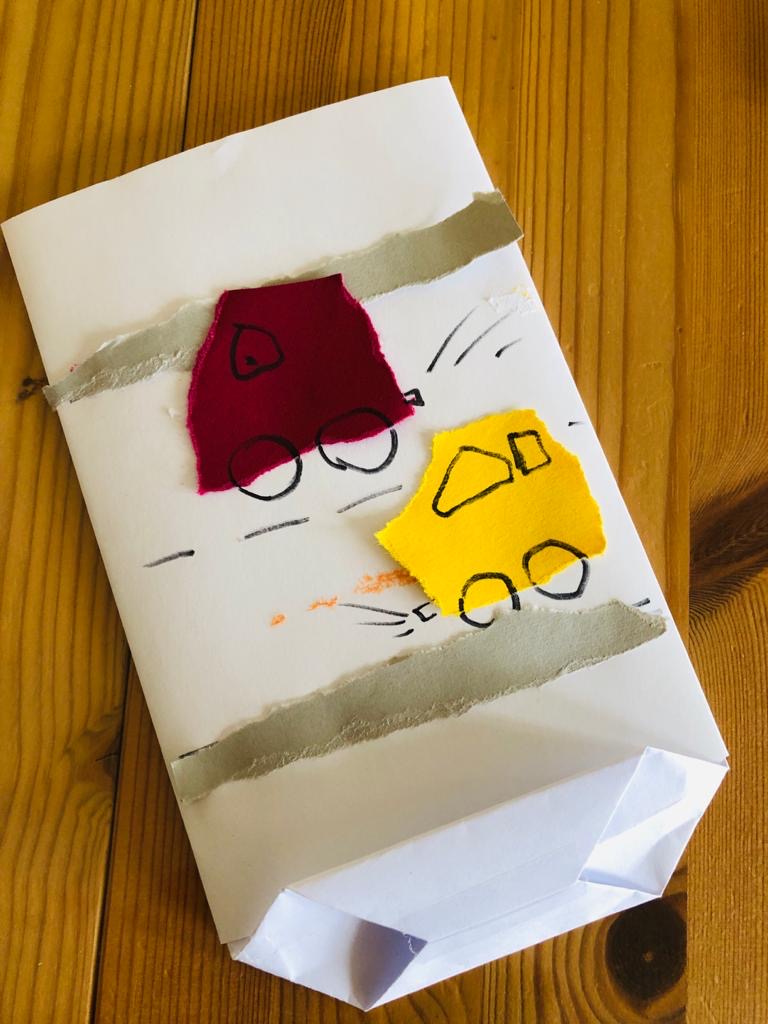
Thank you bag
...and other ideas


Materials
Directions
For the Easter bags: print out and paint out a painting template. Or print out a finished motif image. Or paint your own motif (painted is the middle third of a DIN A4 sheet = crosswise! Leave an at least 5 cm wide strip unpainted from below!)
Either: print the colouring image and possibly paint it...
or: print out the complete motif picture!
For simple white bags just leave the sheet empty and first make the bag and design it afterwards.
Turn over sheet of paper that the painted/printed side lies on the table.
Fold about 1/3 of the paper in the middle and strip out.
Fold from the other side also from the outside. The motif must be in the middle.
A piece of beaten-in paper lies on top of each other.
Beat the lower end about 4.5 cm upwards and strip out the crease.
Note that the kink should be below the "painted" or image. (see picture!)
Turn the paper. Glue the sheets on top of each other with a glue stick to the kink. (see picture!)
Now open the bottom end and grab your fingers in the corner and push them apart.
Press the tips flat. The center is well aligned to the middle stroke due to the already existing kink (at the outer edge).
Repeat the process at both corners.
Then fold one side upwards. (This will be the bottom of the bag)
Fold the opposite side downwards, these may overlap slightly.
Close with an adhesive tape.
Gently reach into the upper opening and slowly push the bag apart. Place on the glued floor.
The Easter bag is ready.
Happiness Bats
Summer sachets
Bags for children's birthday
Thank you bag
...and other ideas
Follow us on Facebook , Instagram and Pinterest
Don't miss any more adventures: Our bottle mail