AdventurerKitaForst
Confetti are a highlight for children. Stir the colorful circles through the air during the carnival time, encourage children to move and play. This colorful confetti snake decorates every carnival party.
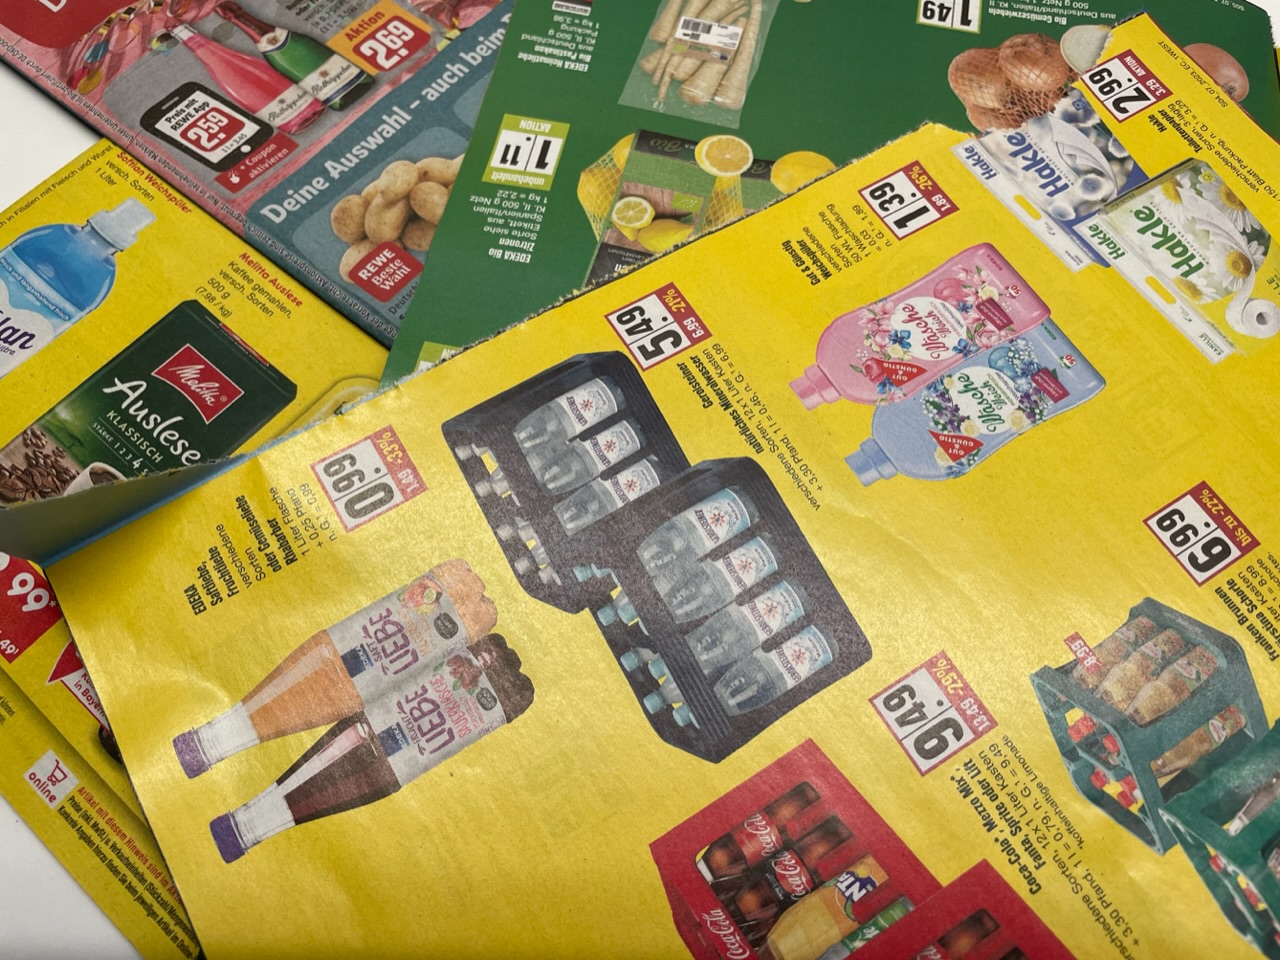
For our project on sustainability, we have made our confetti from colorful advertising brochures.
Here we show you how the confetti snake is created: once with a sewing machine (which is always a highlight for children - watching alone!) and a second variant with needle and thread. Have fun trying out and decorating!
Media Education for Kindergarten and Hort

Relief in everyday life, targeted promotion of individual children, independent learning and - without any pre-knowledge already usable by the youngest!
Get all the materials ready.
You need colorful, somewhat firmer advertising brochures.
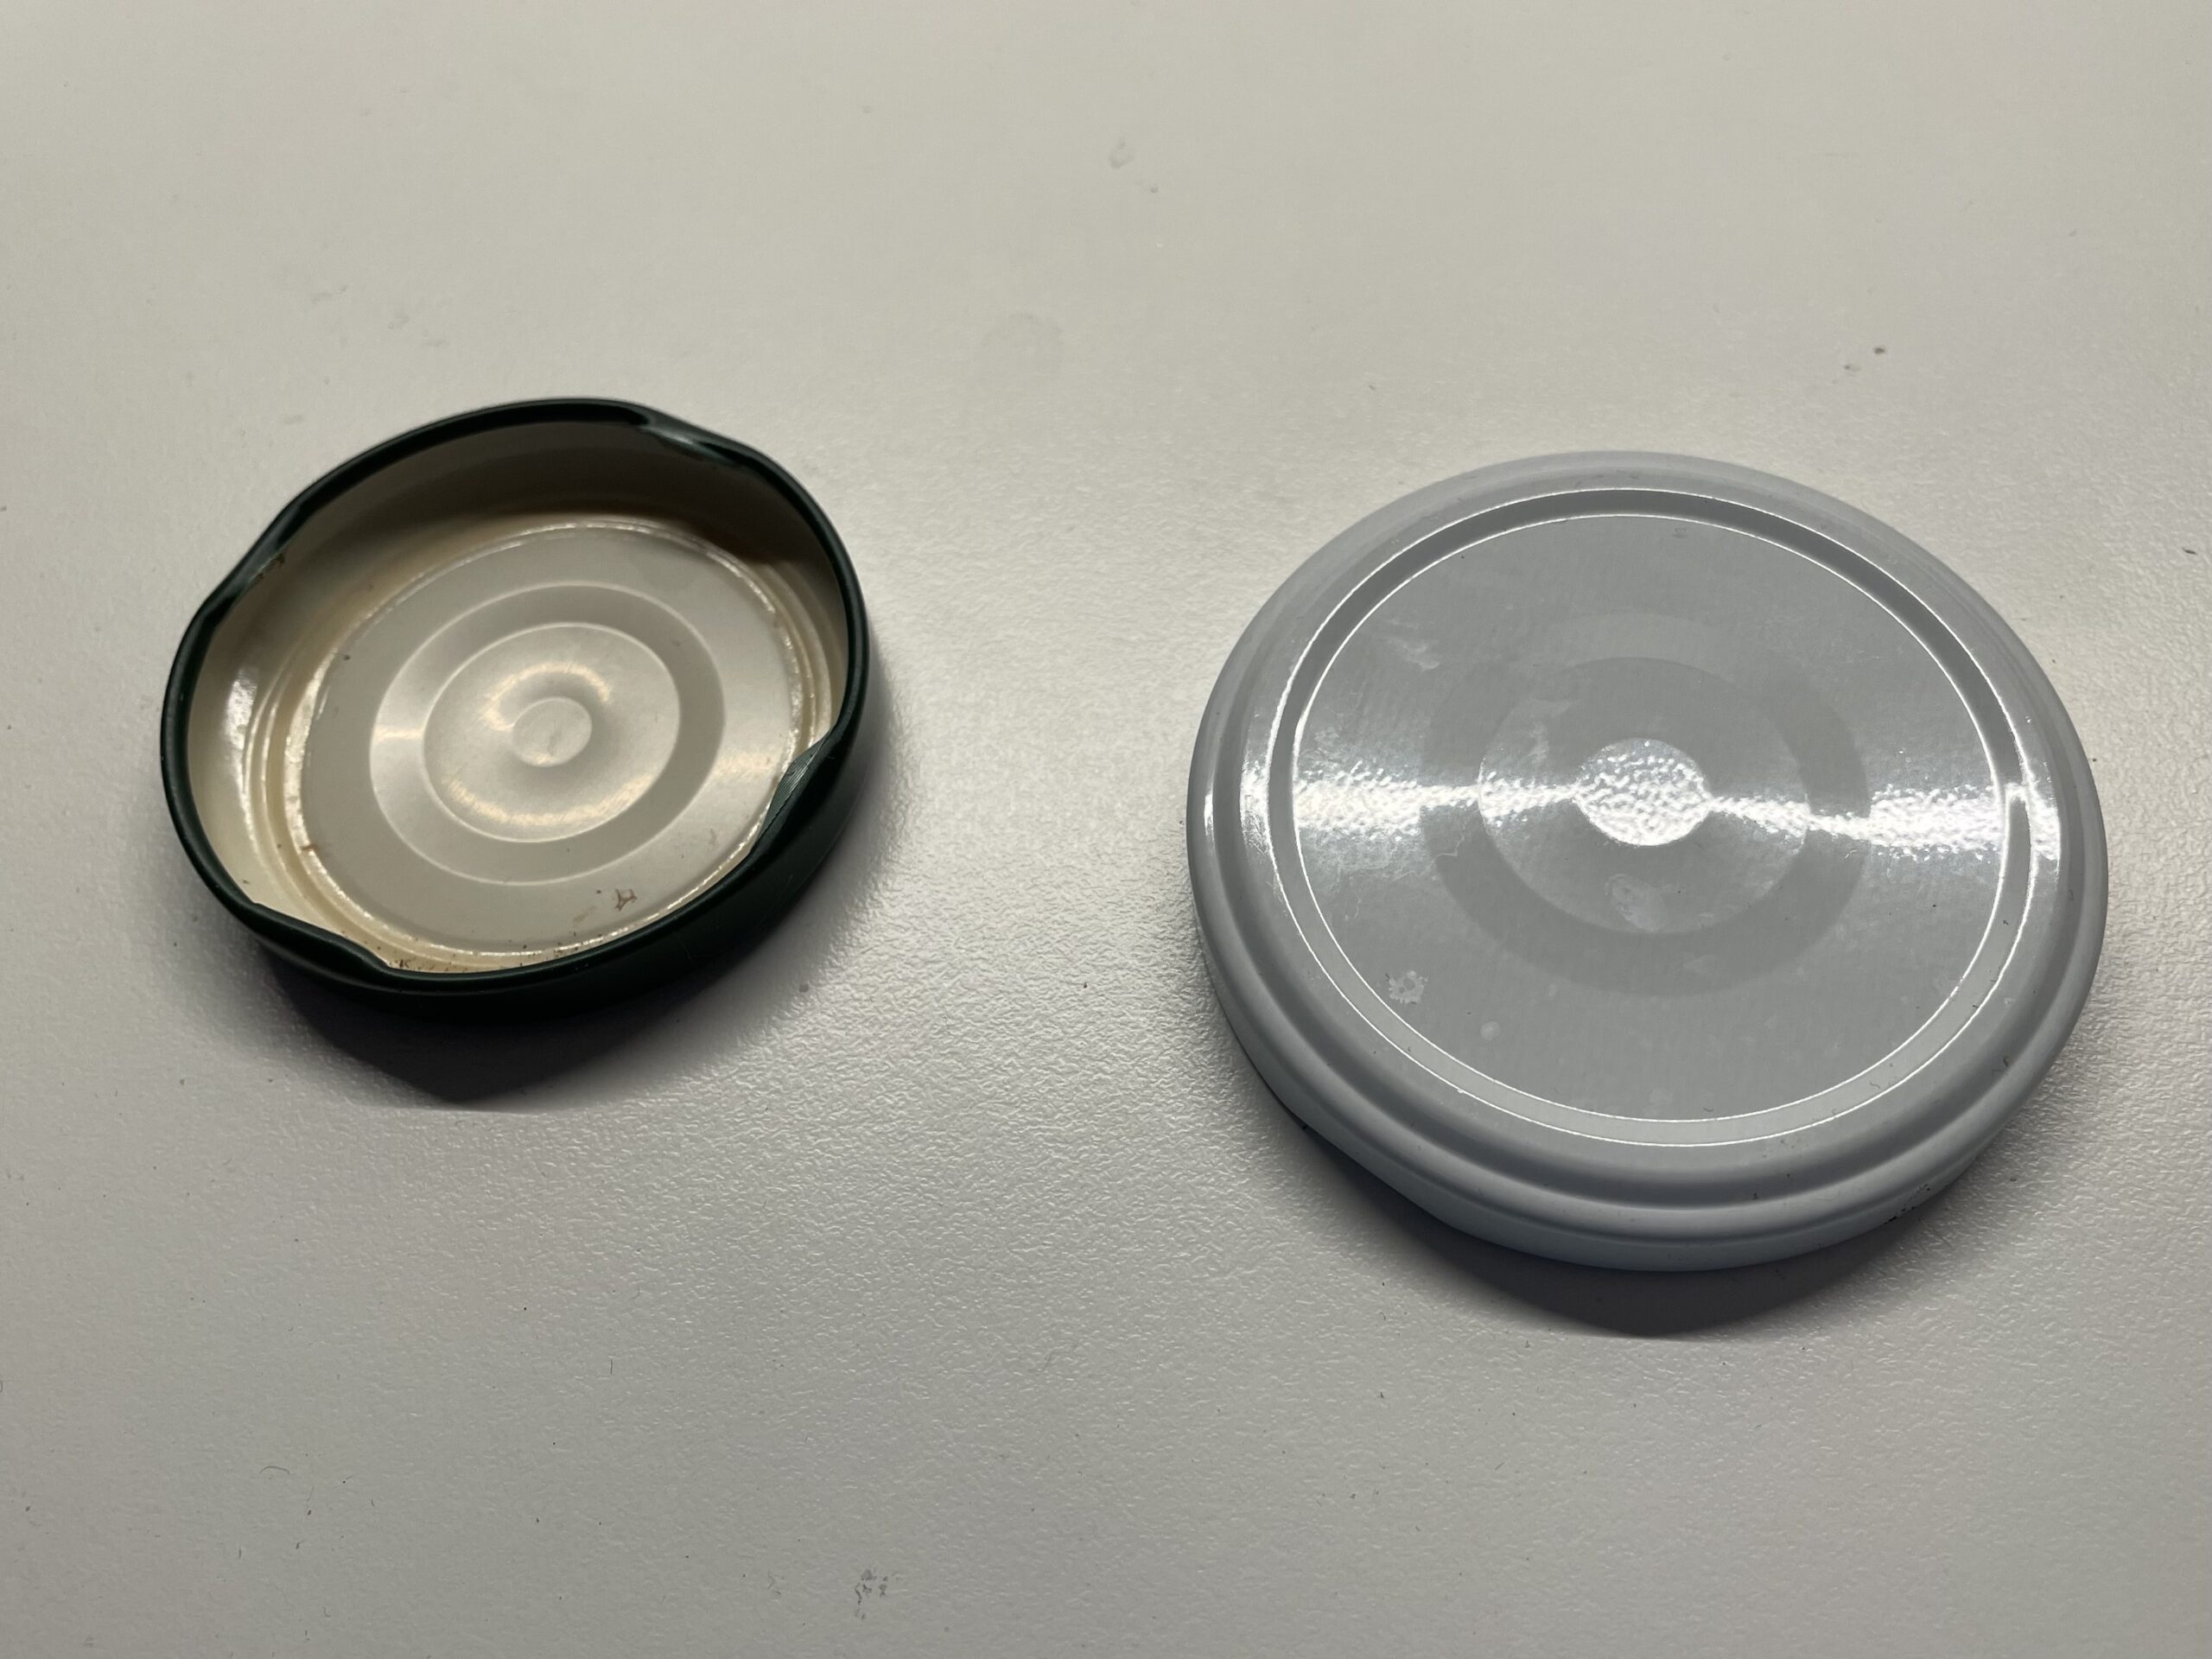
In addition, you need different sizes of screw glass lids. They serve as a template to paint the circles for the confetti.
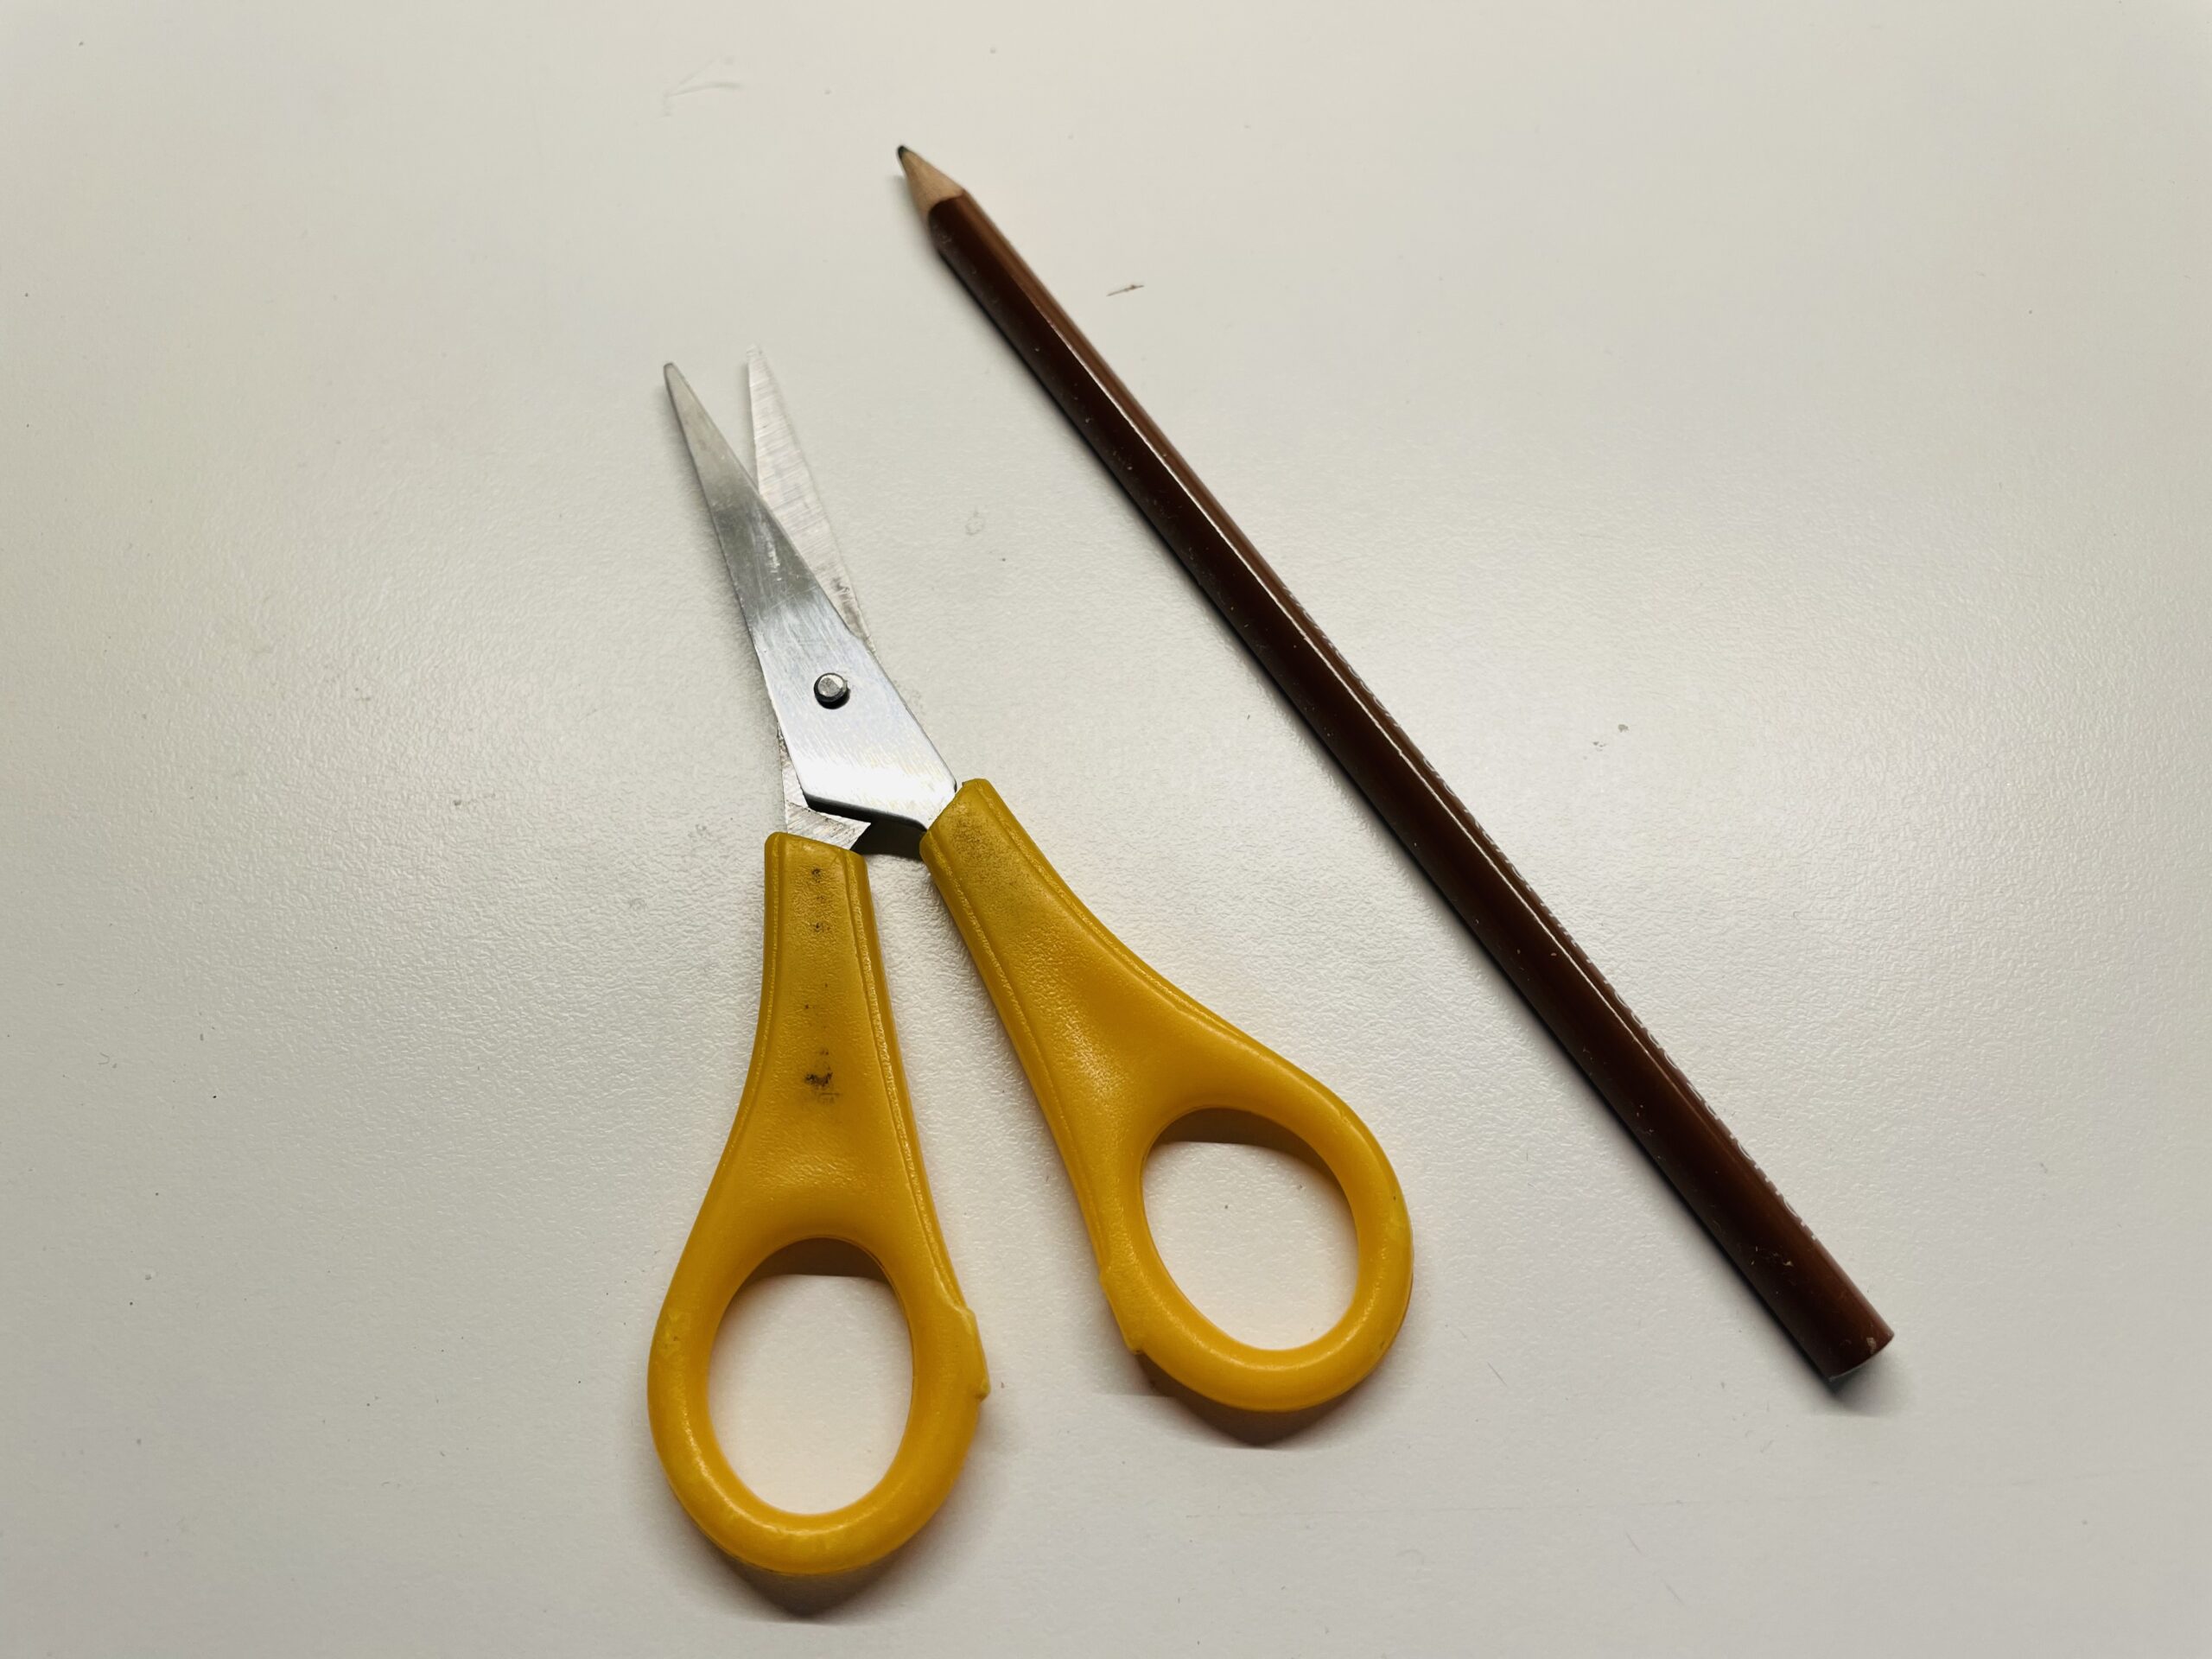
In addition, you need a children's scissors and a pencil or felt pen.
Now you can start.
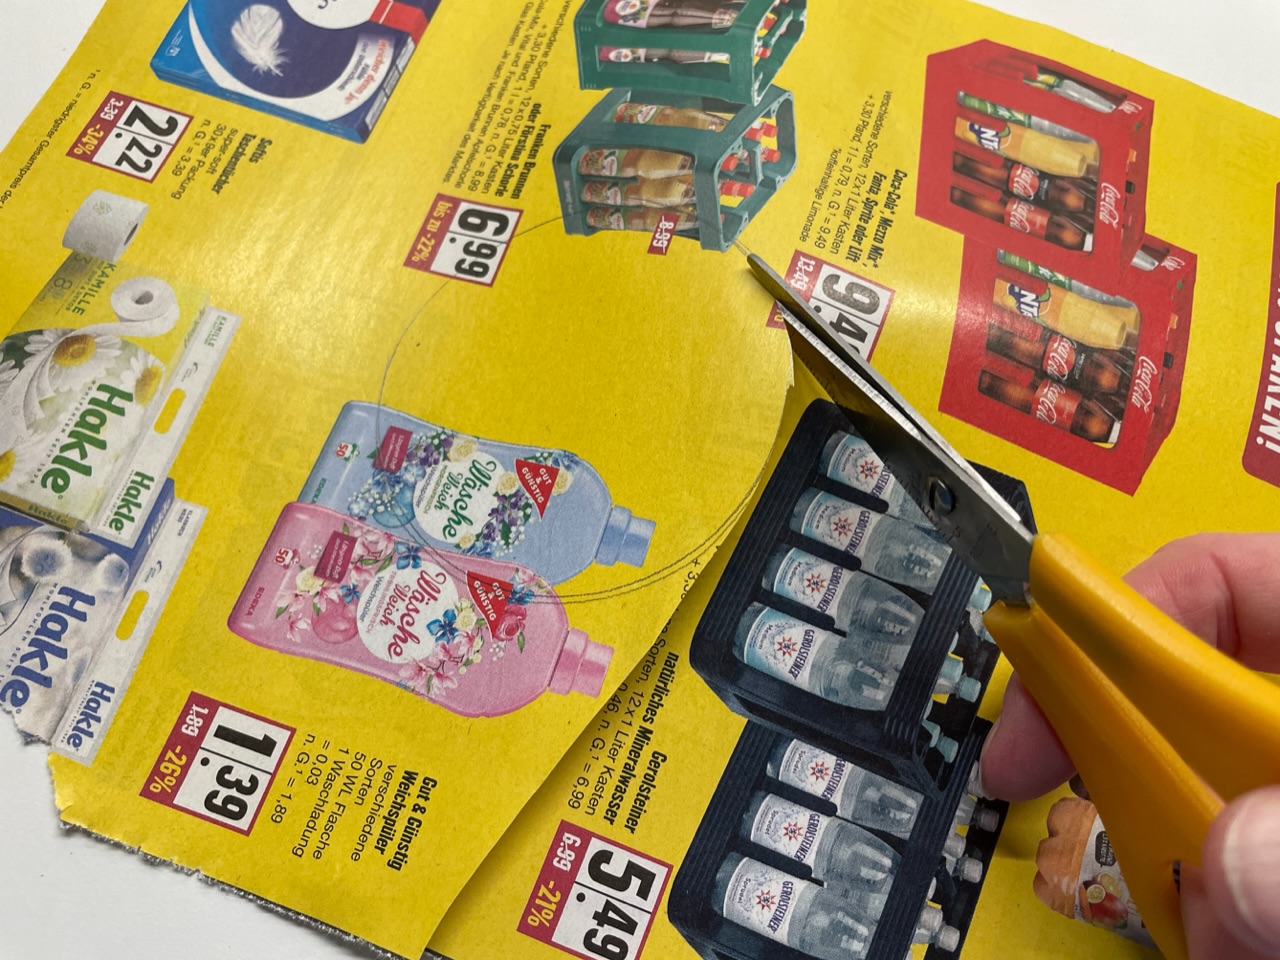
First choose a colorful brochure, find a nice colored spot and put a screw glass lid on it.

Then you border the lid with your pen. Hold the screw glass lid well so that it does not slip.
Tip: Smaller children need help from an older child or an adult to hold on.

Now you cut out the painted circle with a pair of scissors.
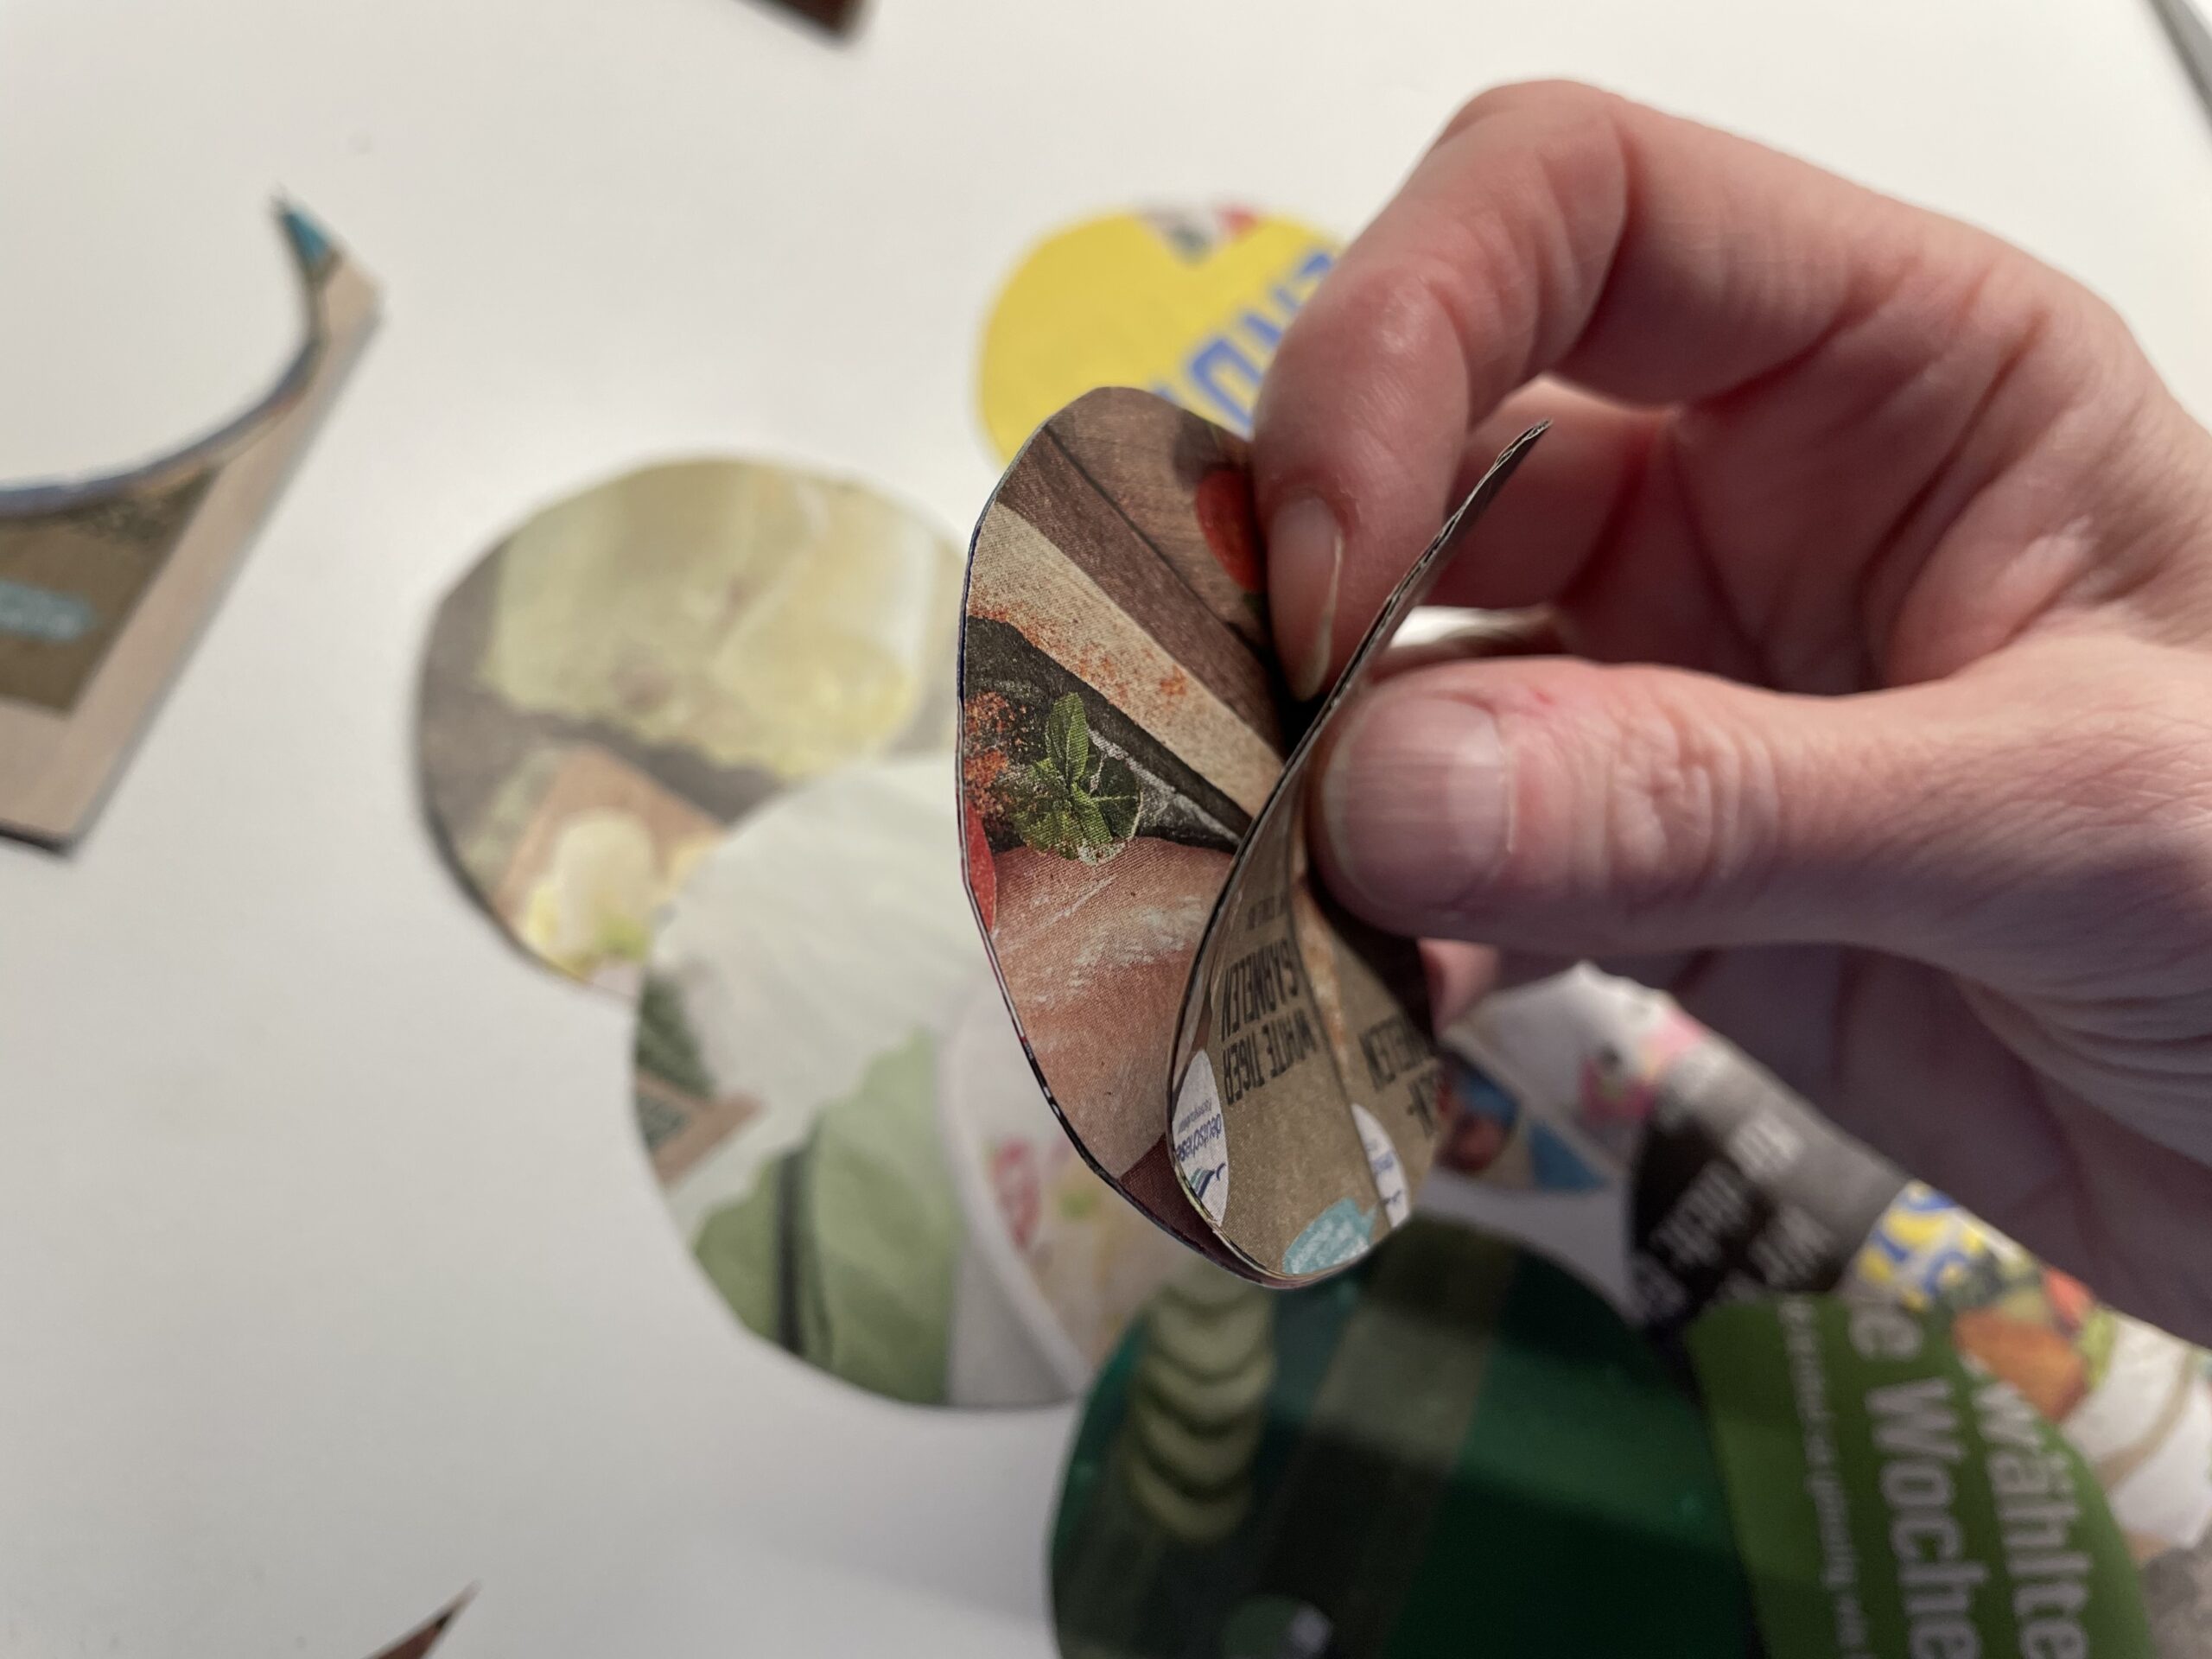
The first confetti circle is finished. Makes so many circles. The circles can also be different in size.

Tip: Older children can place the brochure twice and then cut out several circles at the same time. But make sure that you don't put too many paper on top of each other, as they otherwise slip.
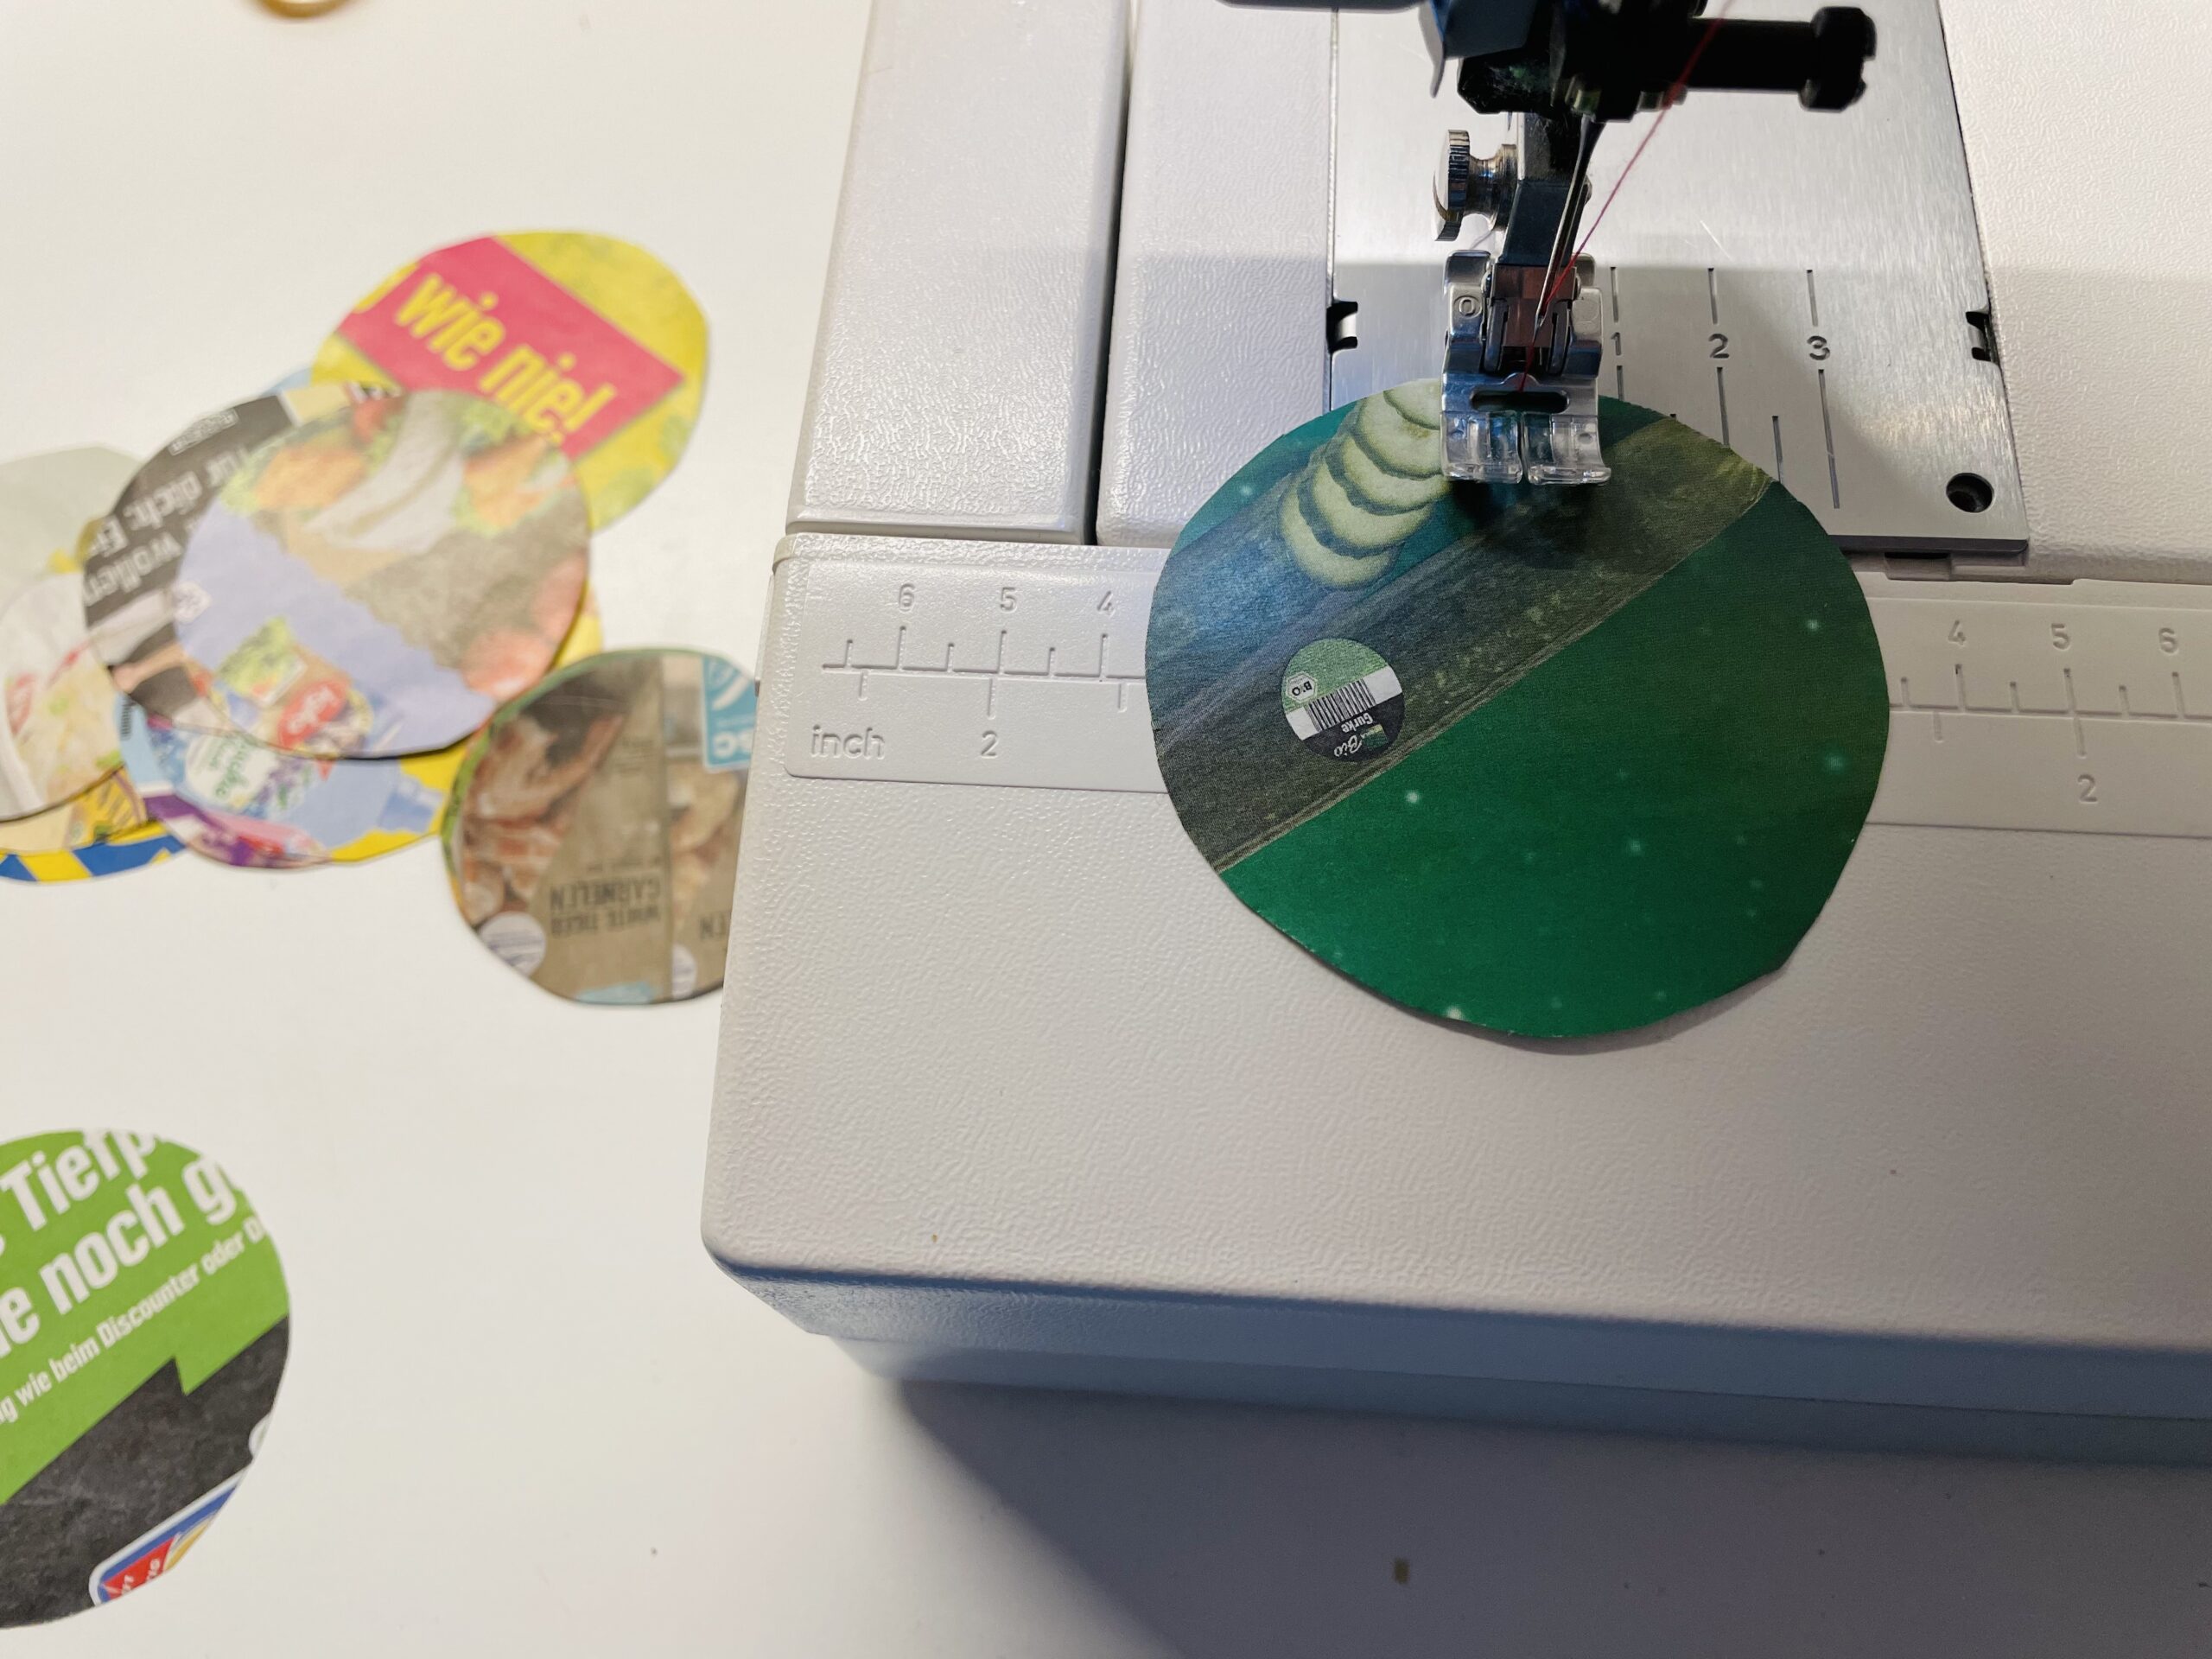
For this you thread colorful yarn into the sewing machine. Upper and lower thread can also be different colored.
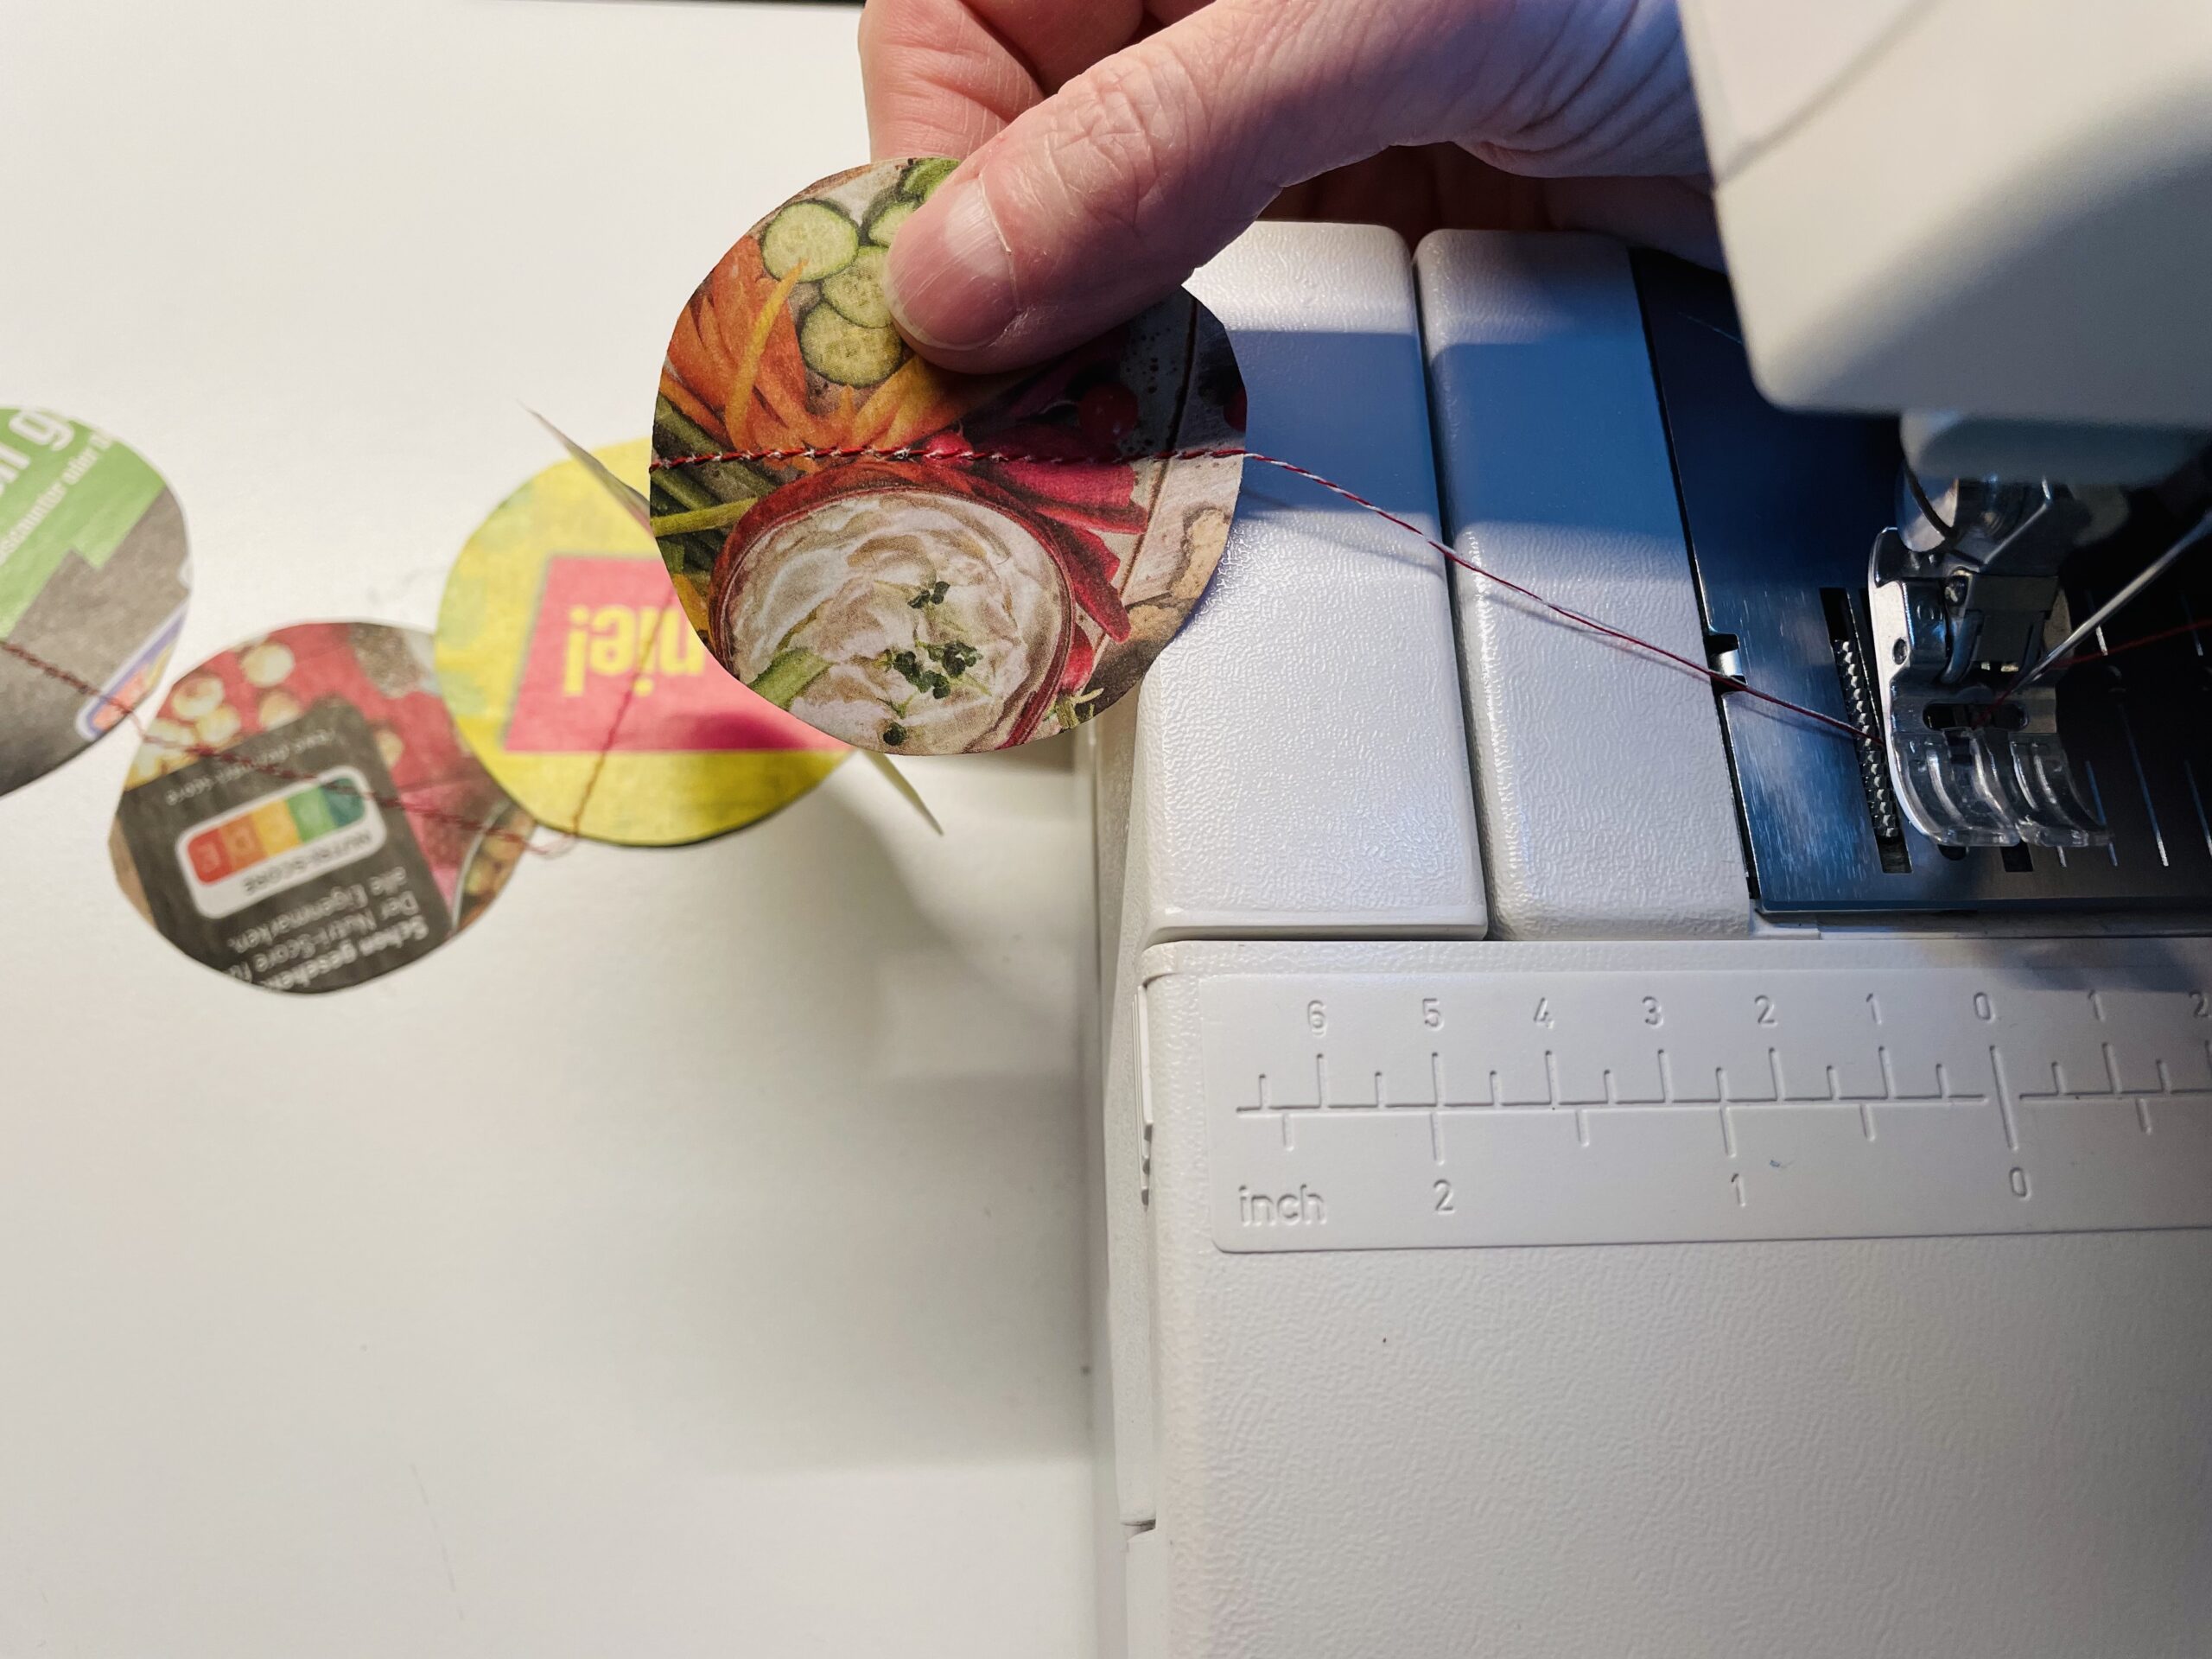
Leave the initial threads about 20 centimetres long. Then place the first circle under the "feet" of the sewing machine and begin to sew in the middle. Use a straight stitch for this.
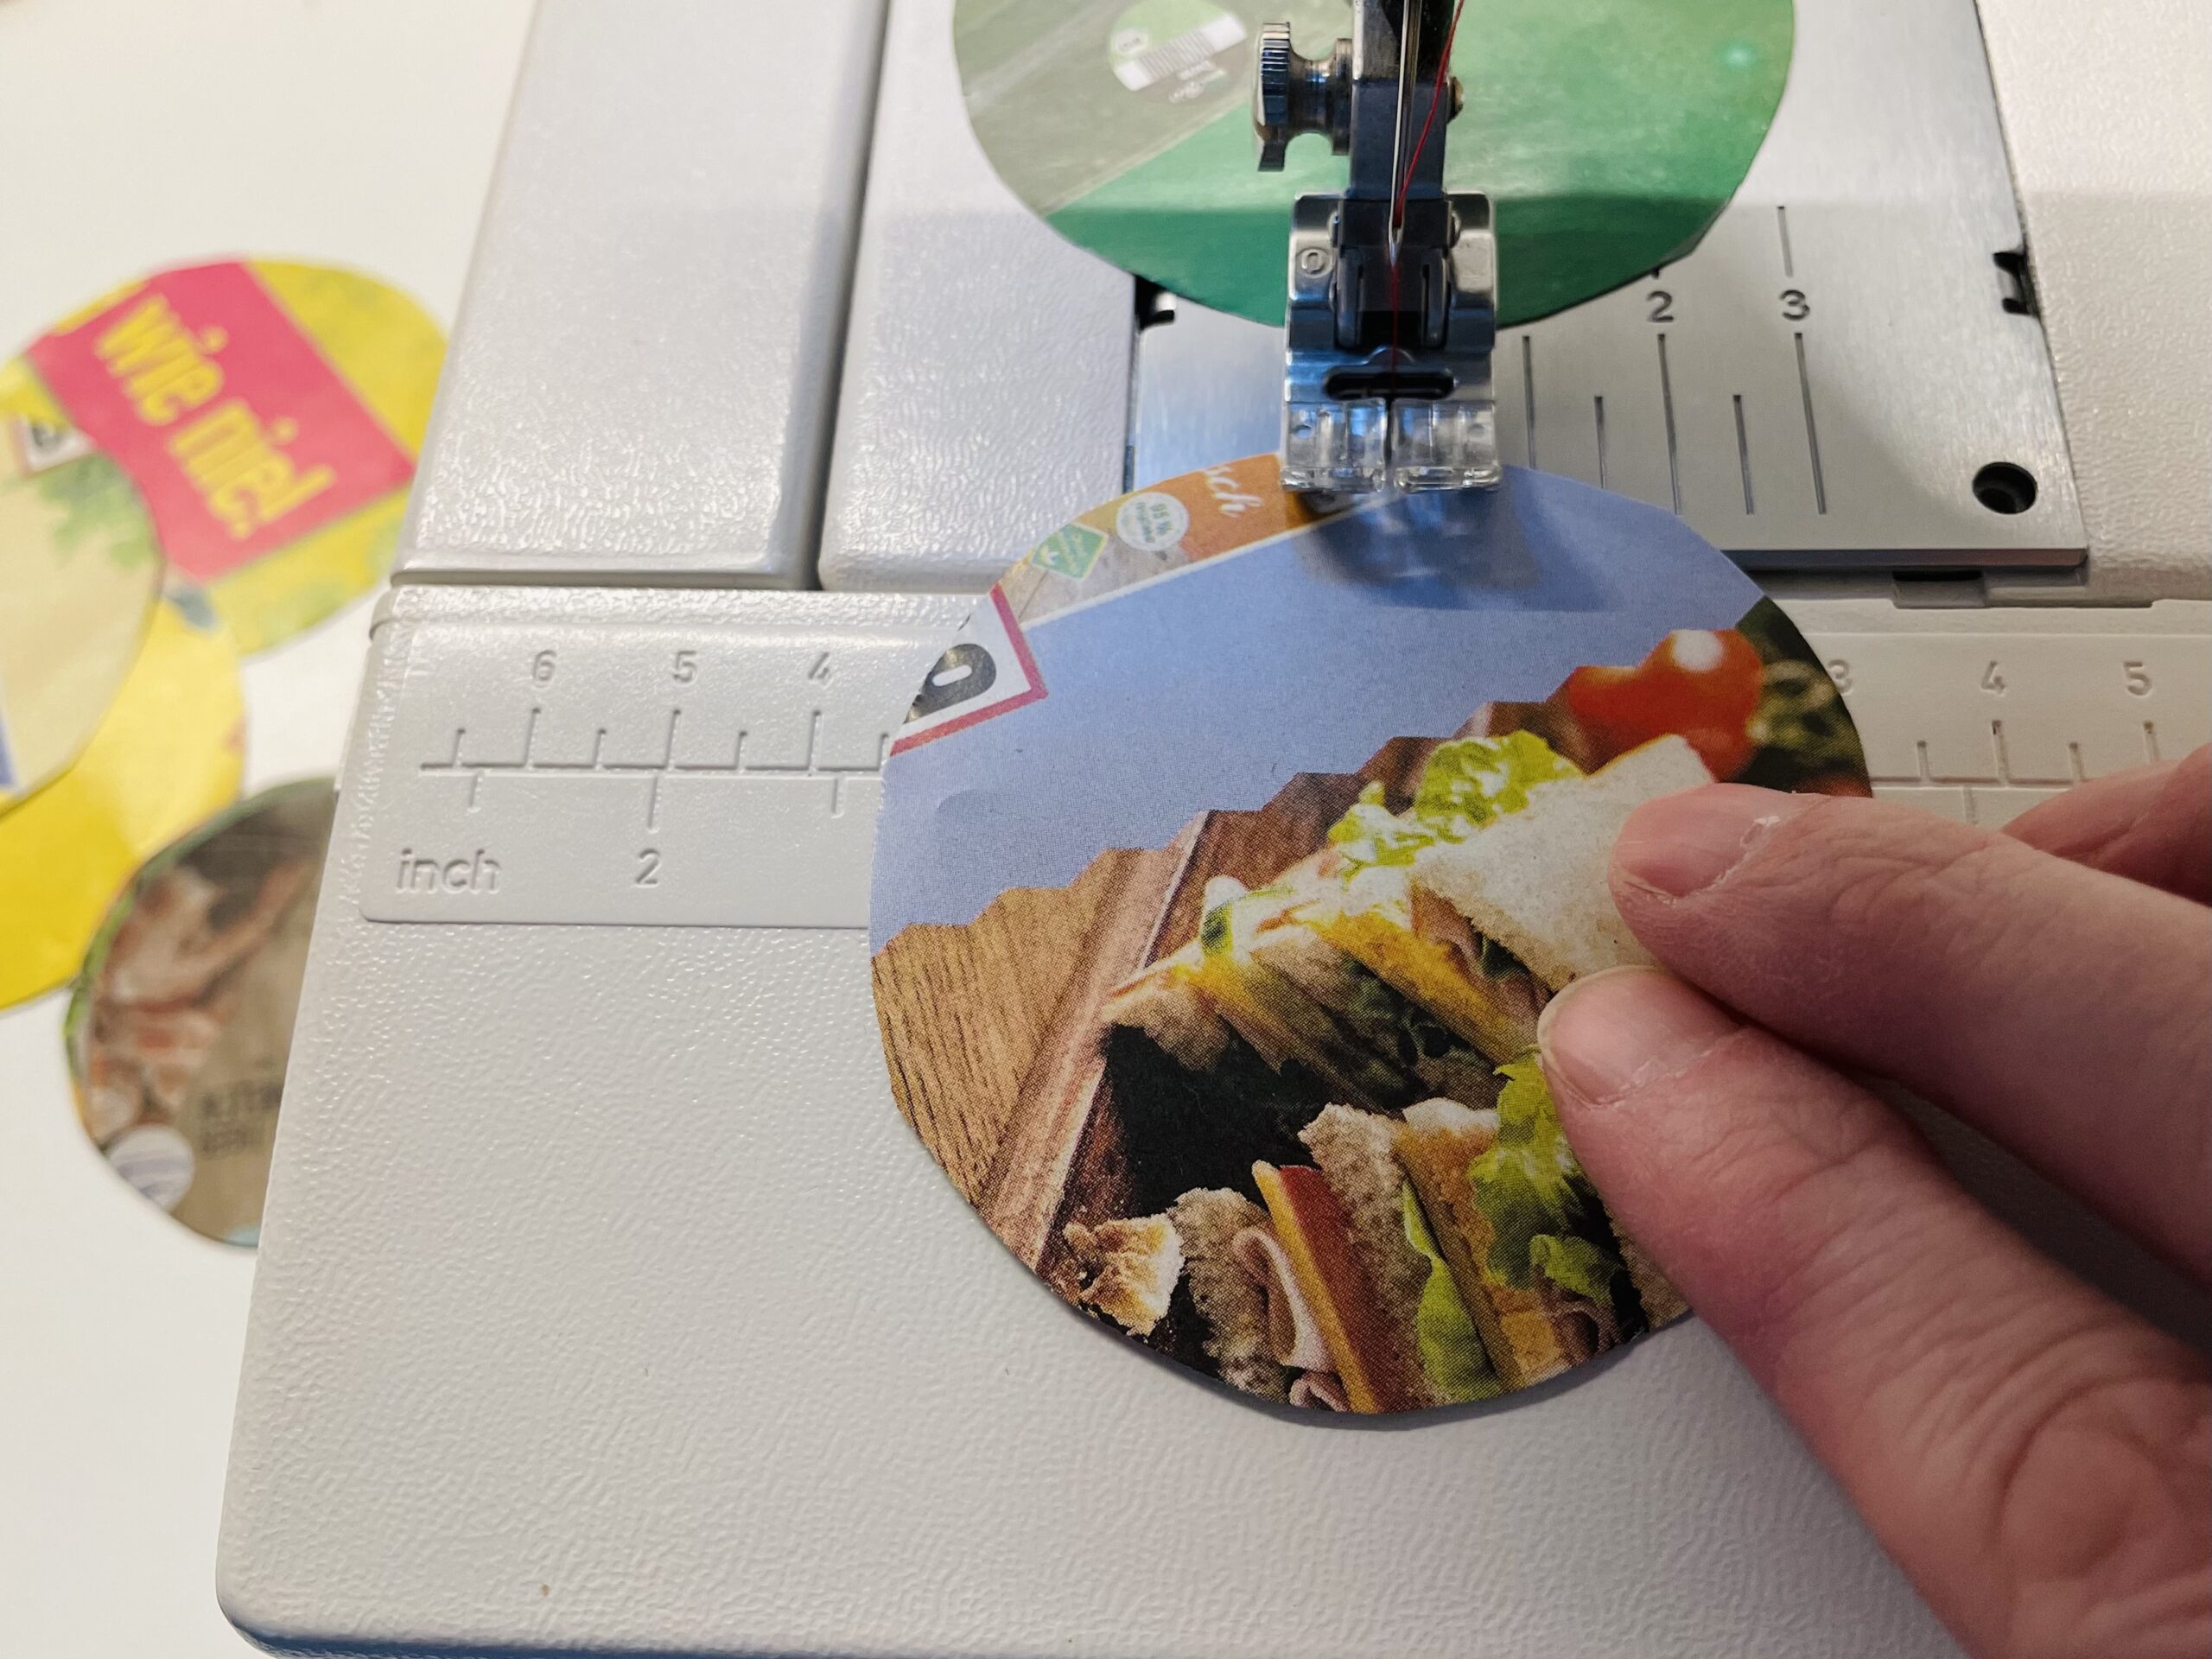
Before you put the second circle on the sewing machine, sew a few stitches into the void. Then the second circle can also be sewn in the middle.
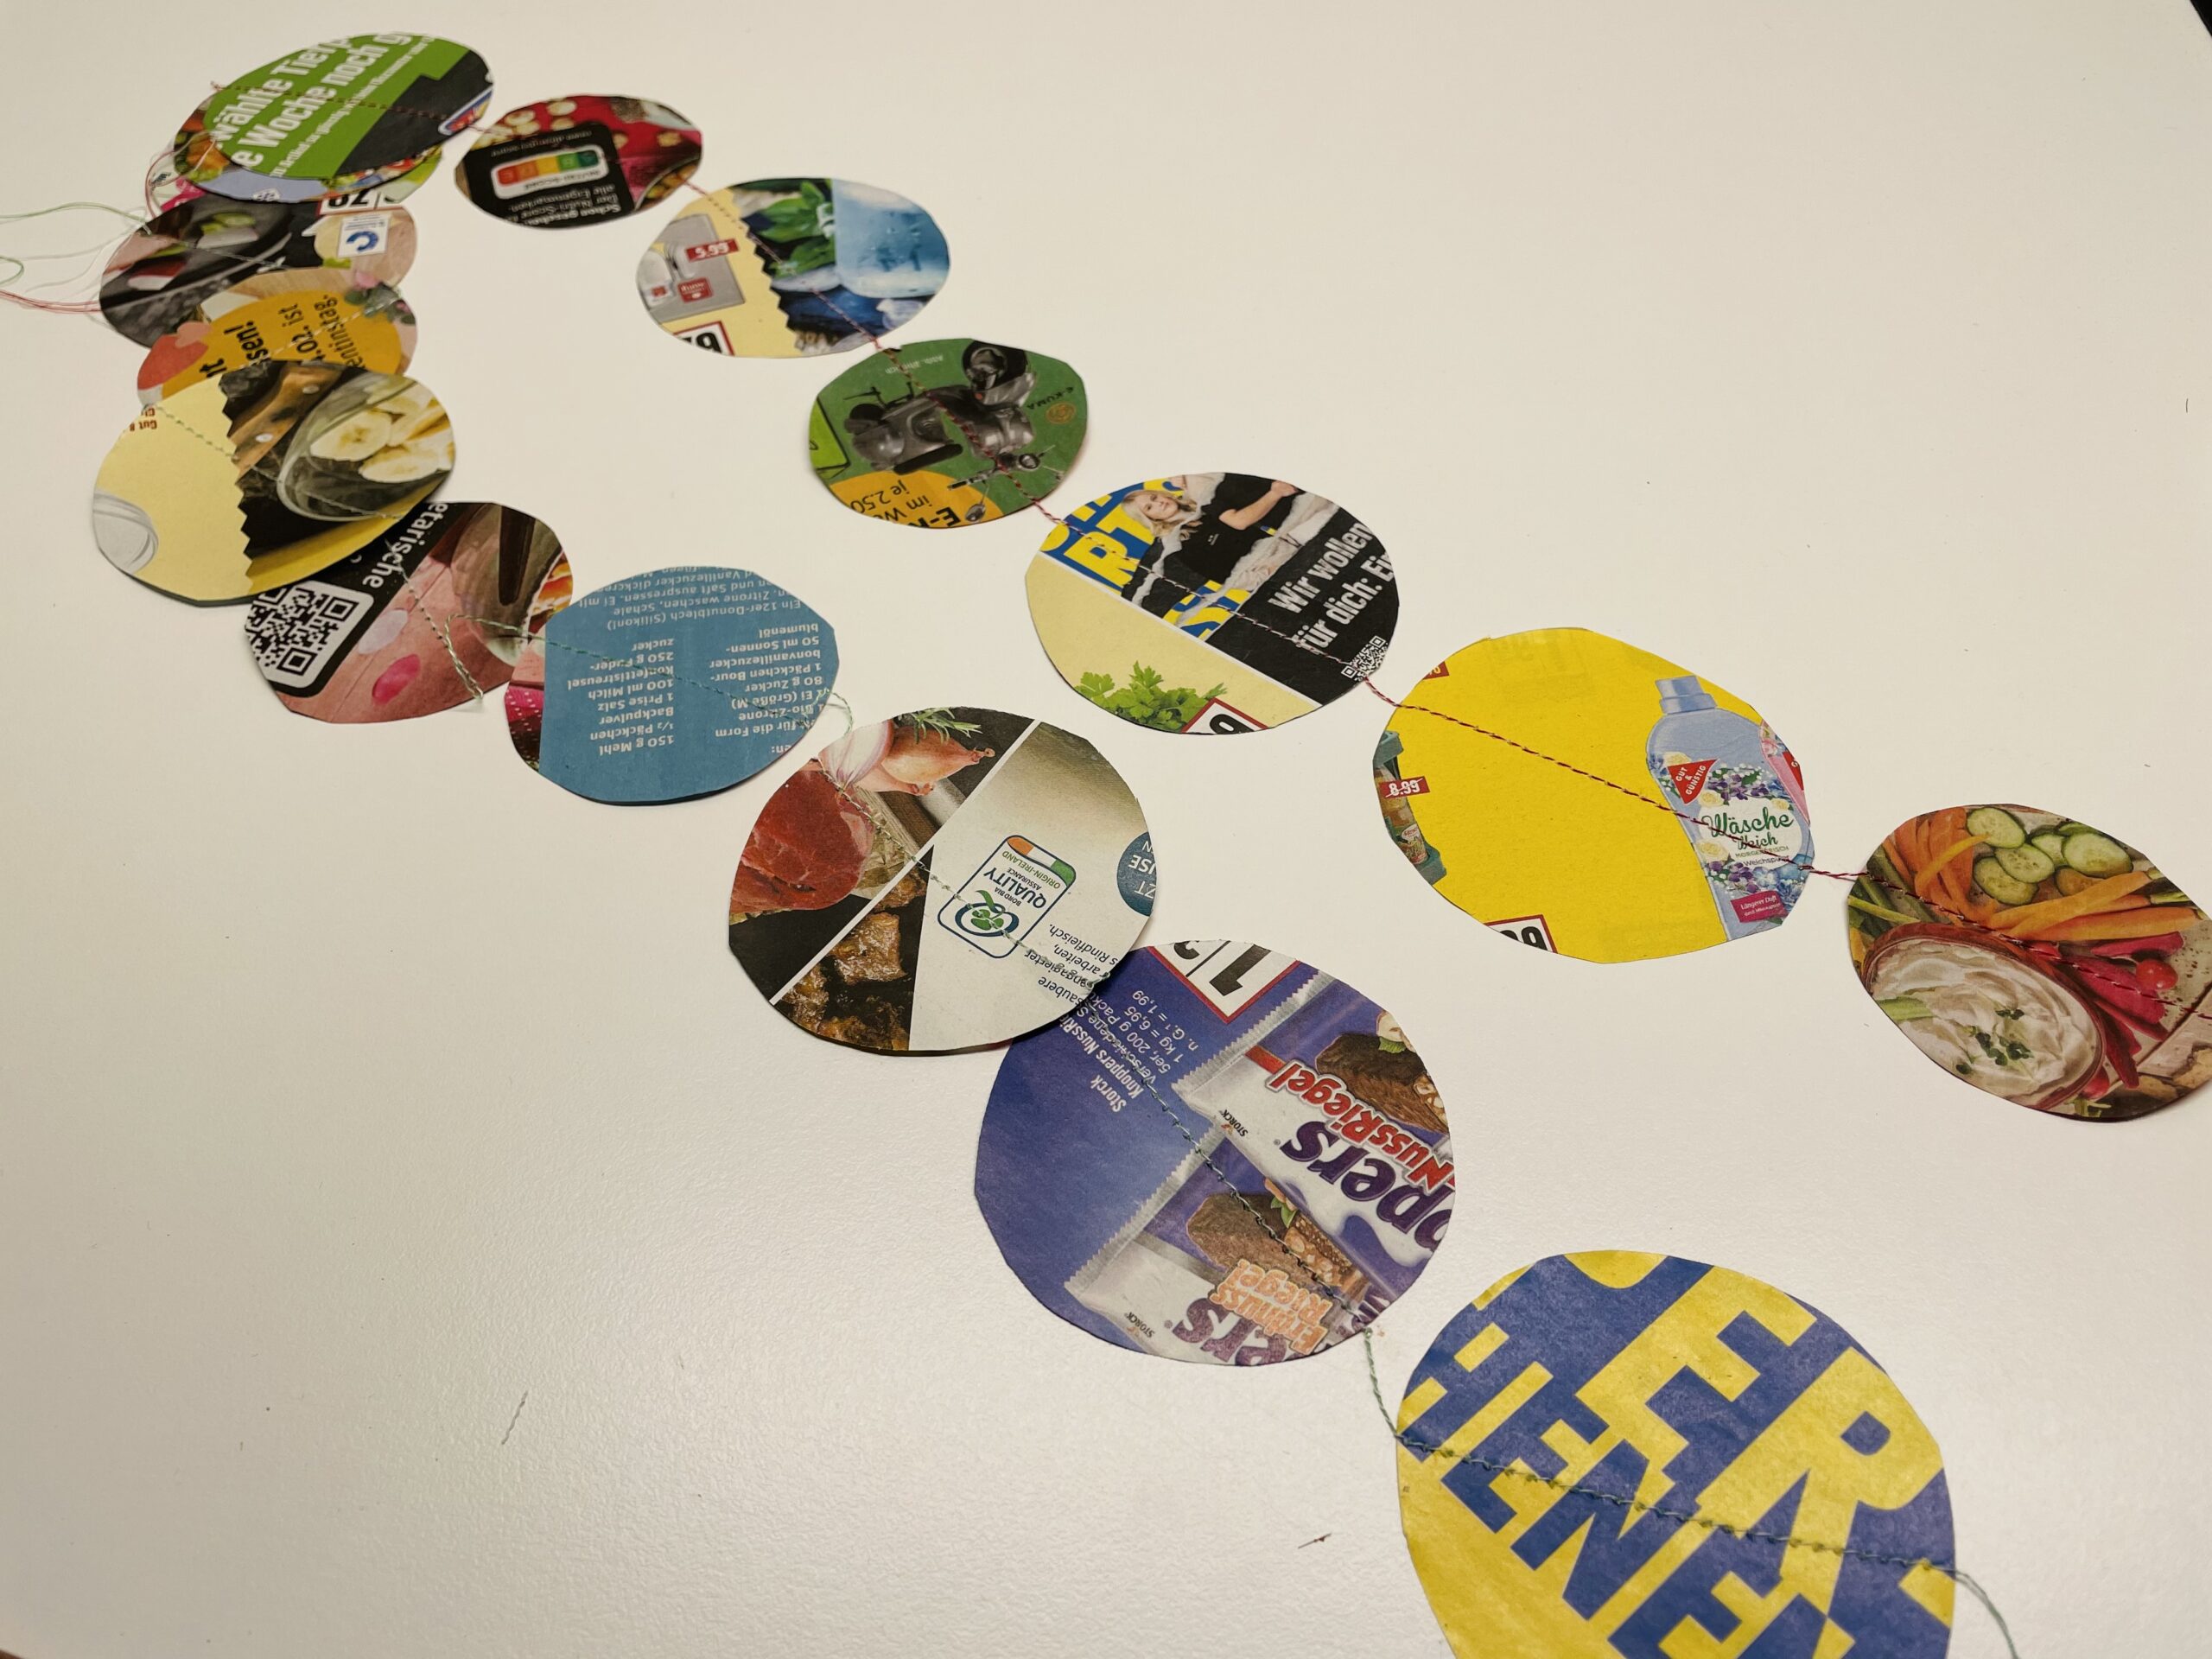
Continue until your confetti snake is long enough for and your circles are all connected.
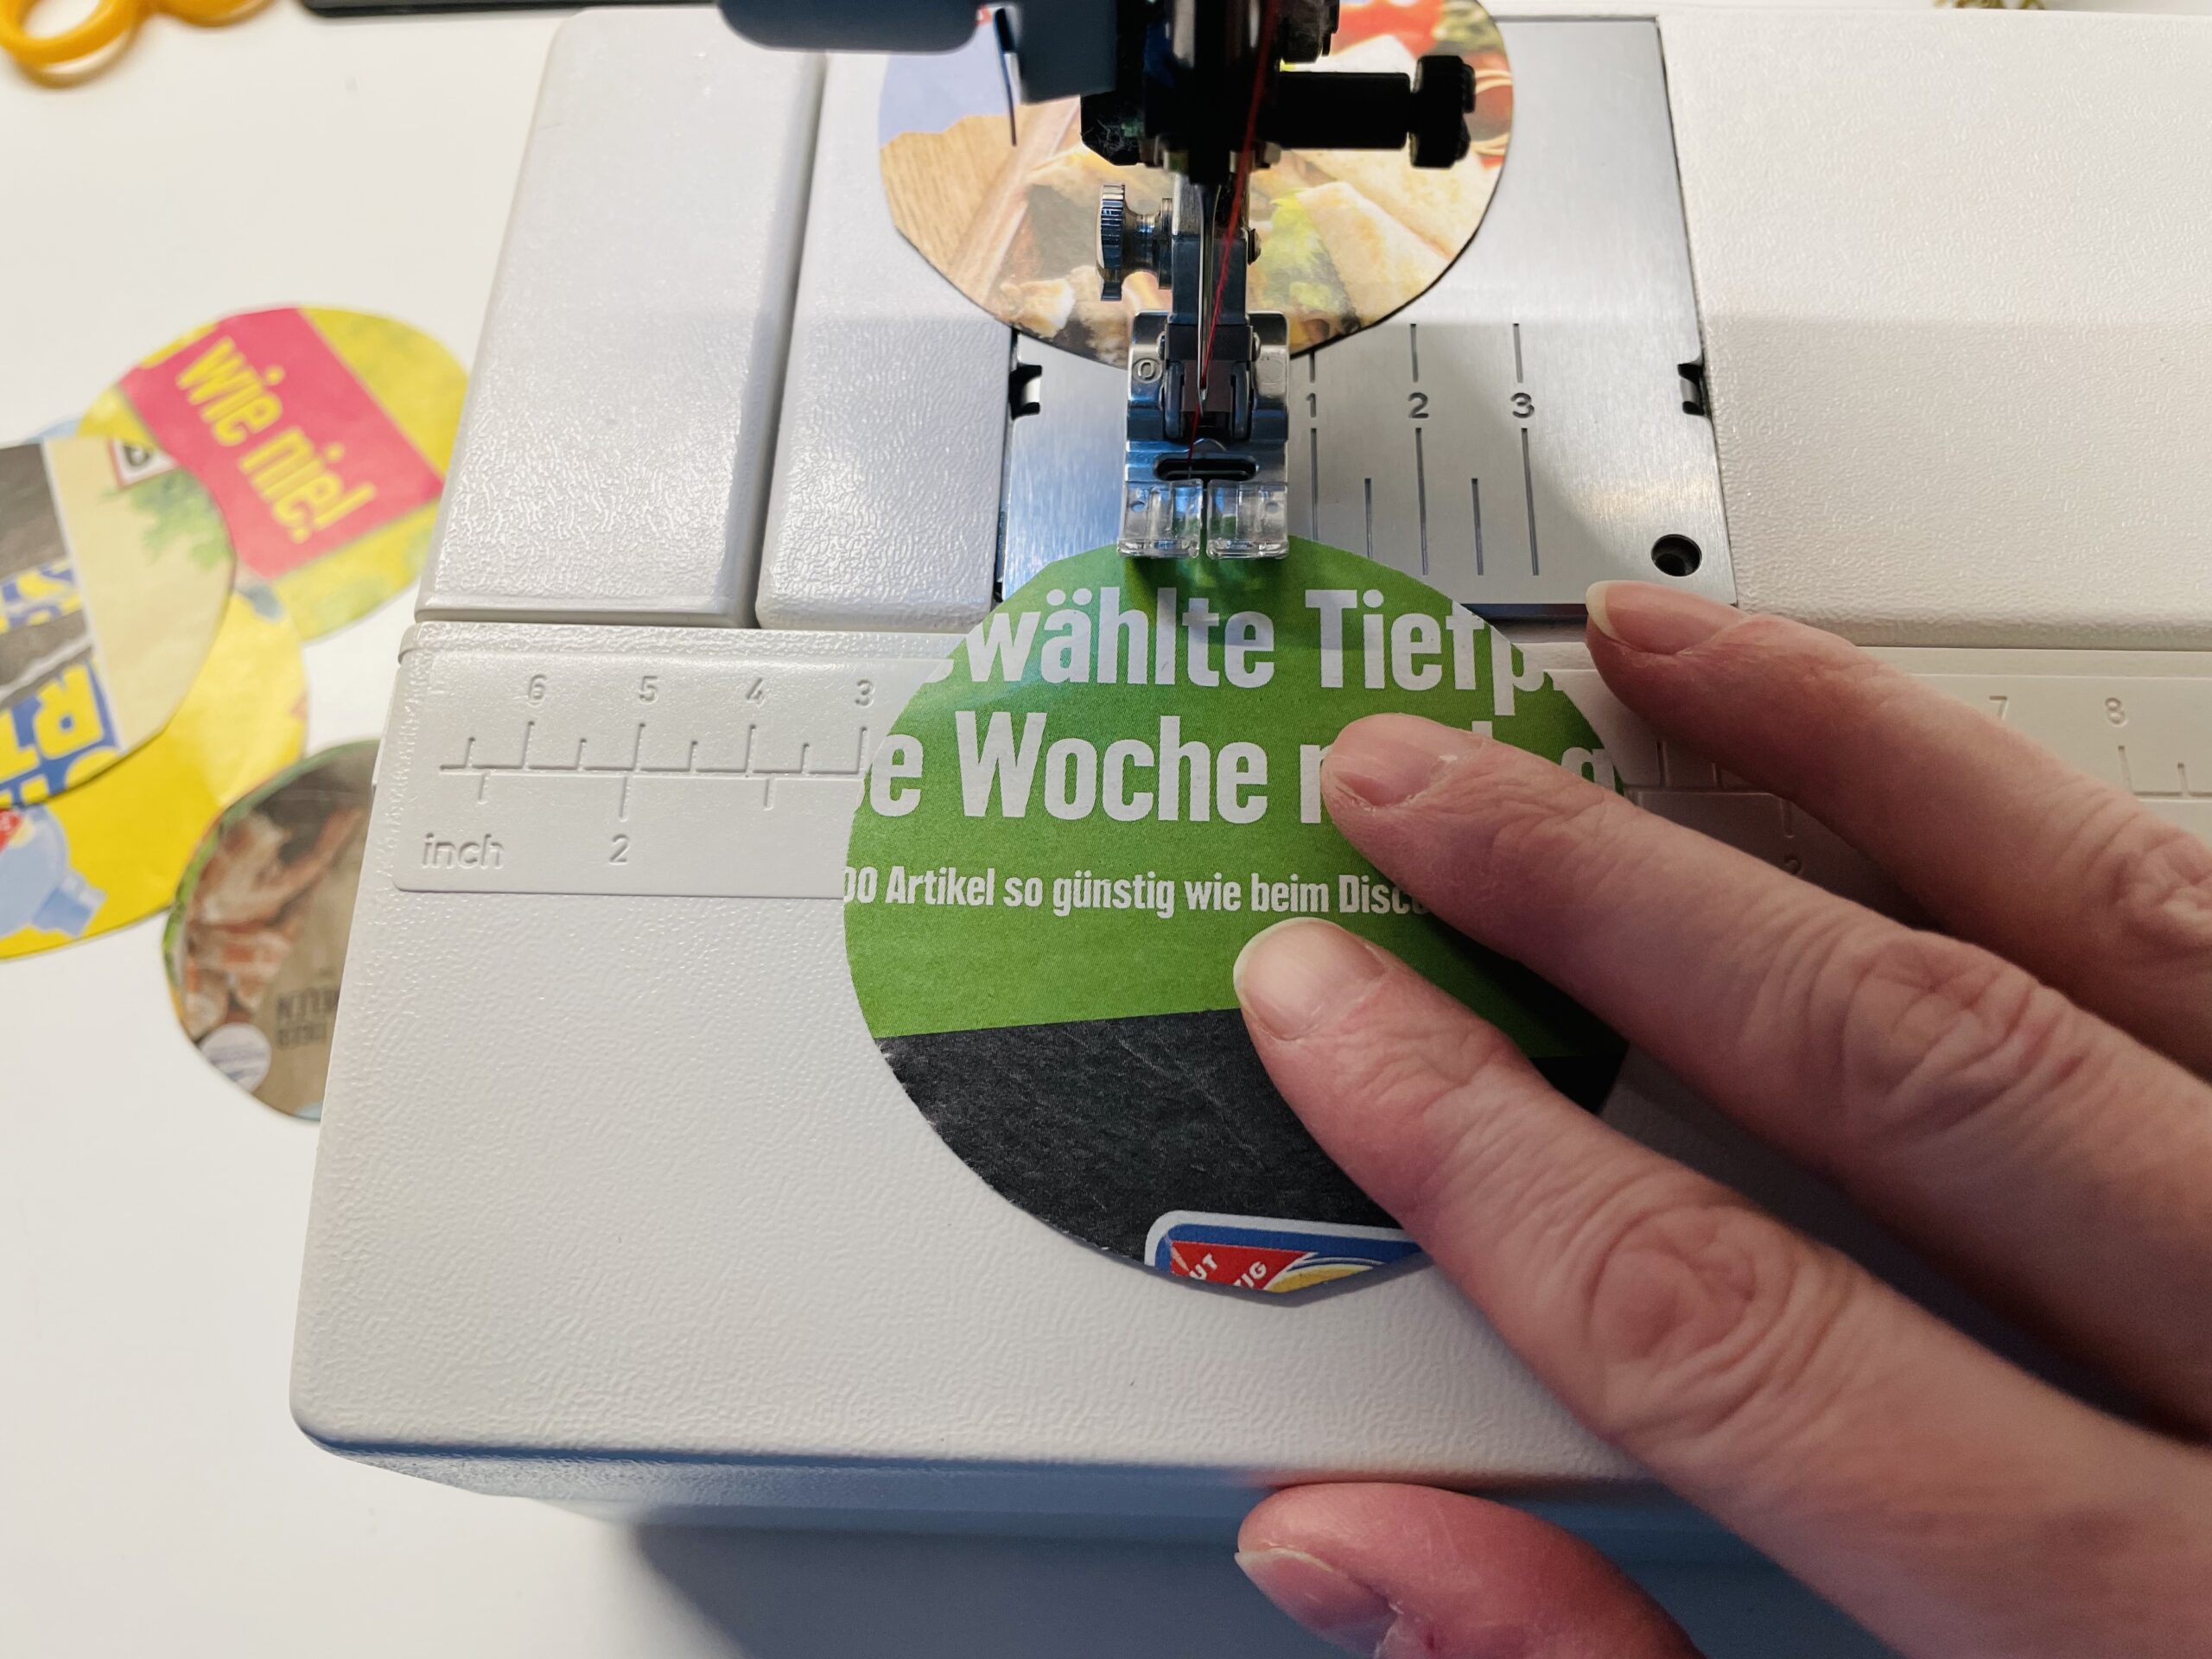
You can also sew different sizes of confetti together, which vary or alternate sizes.
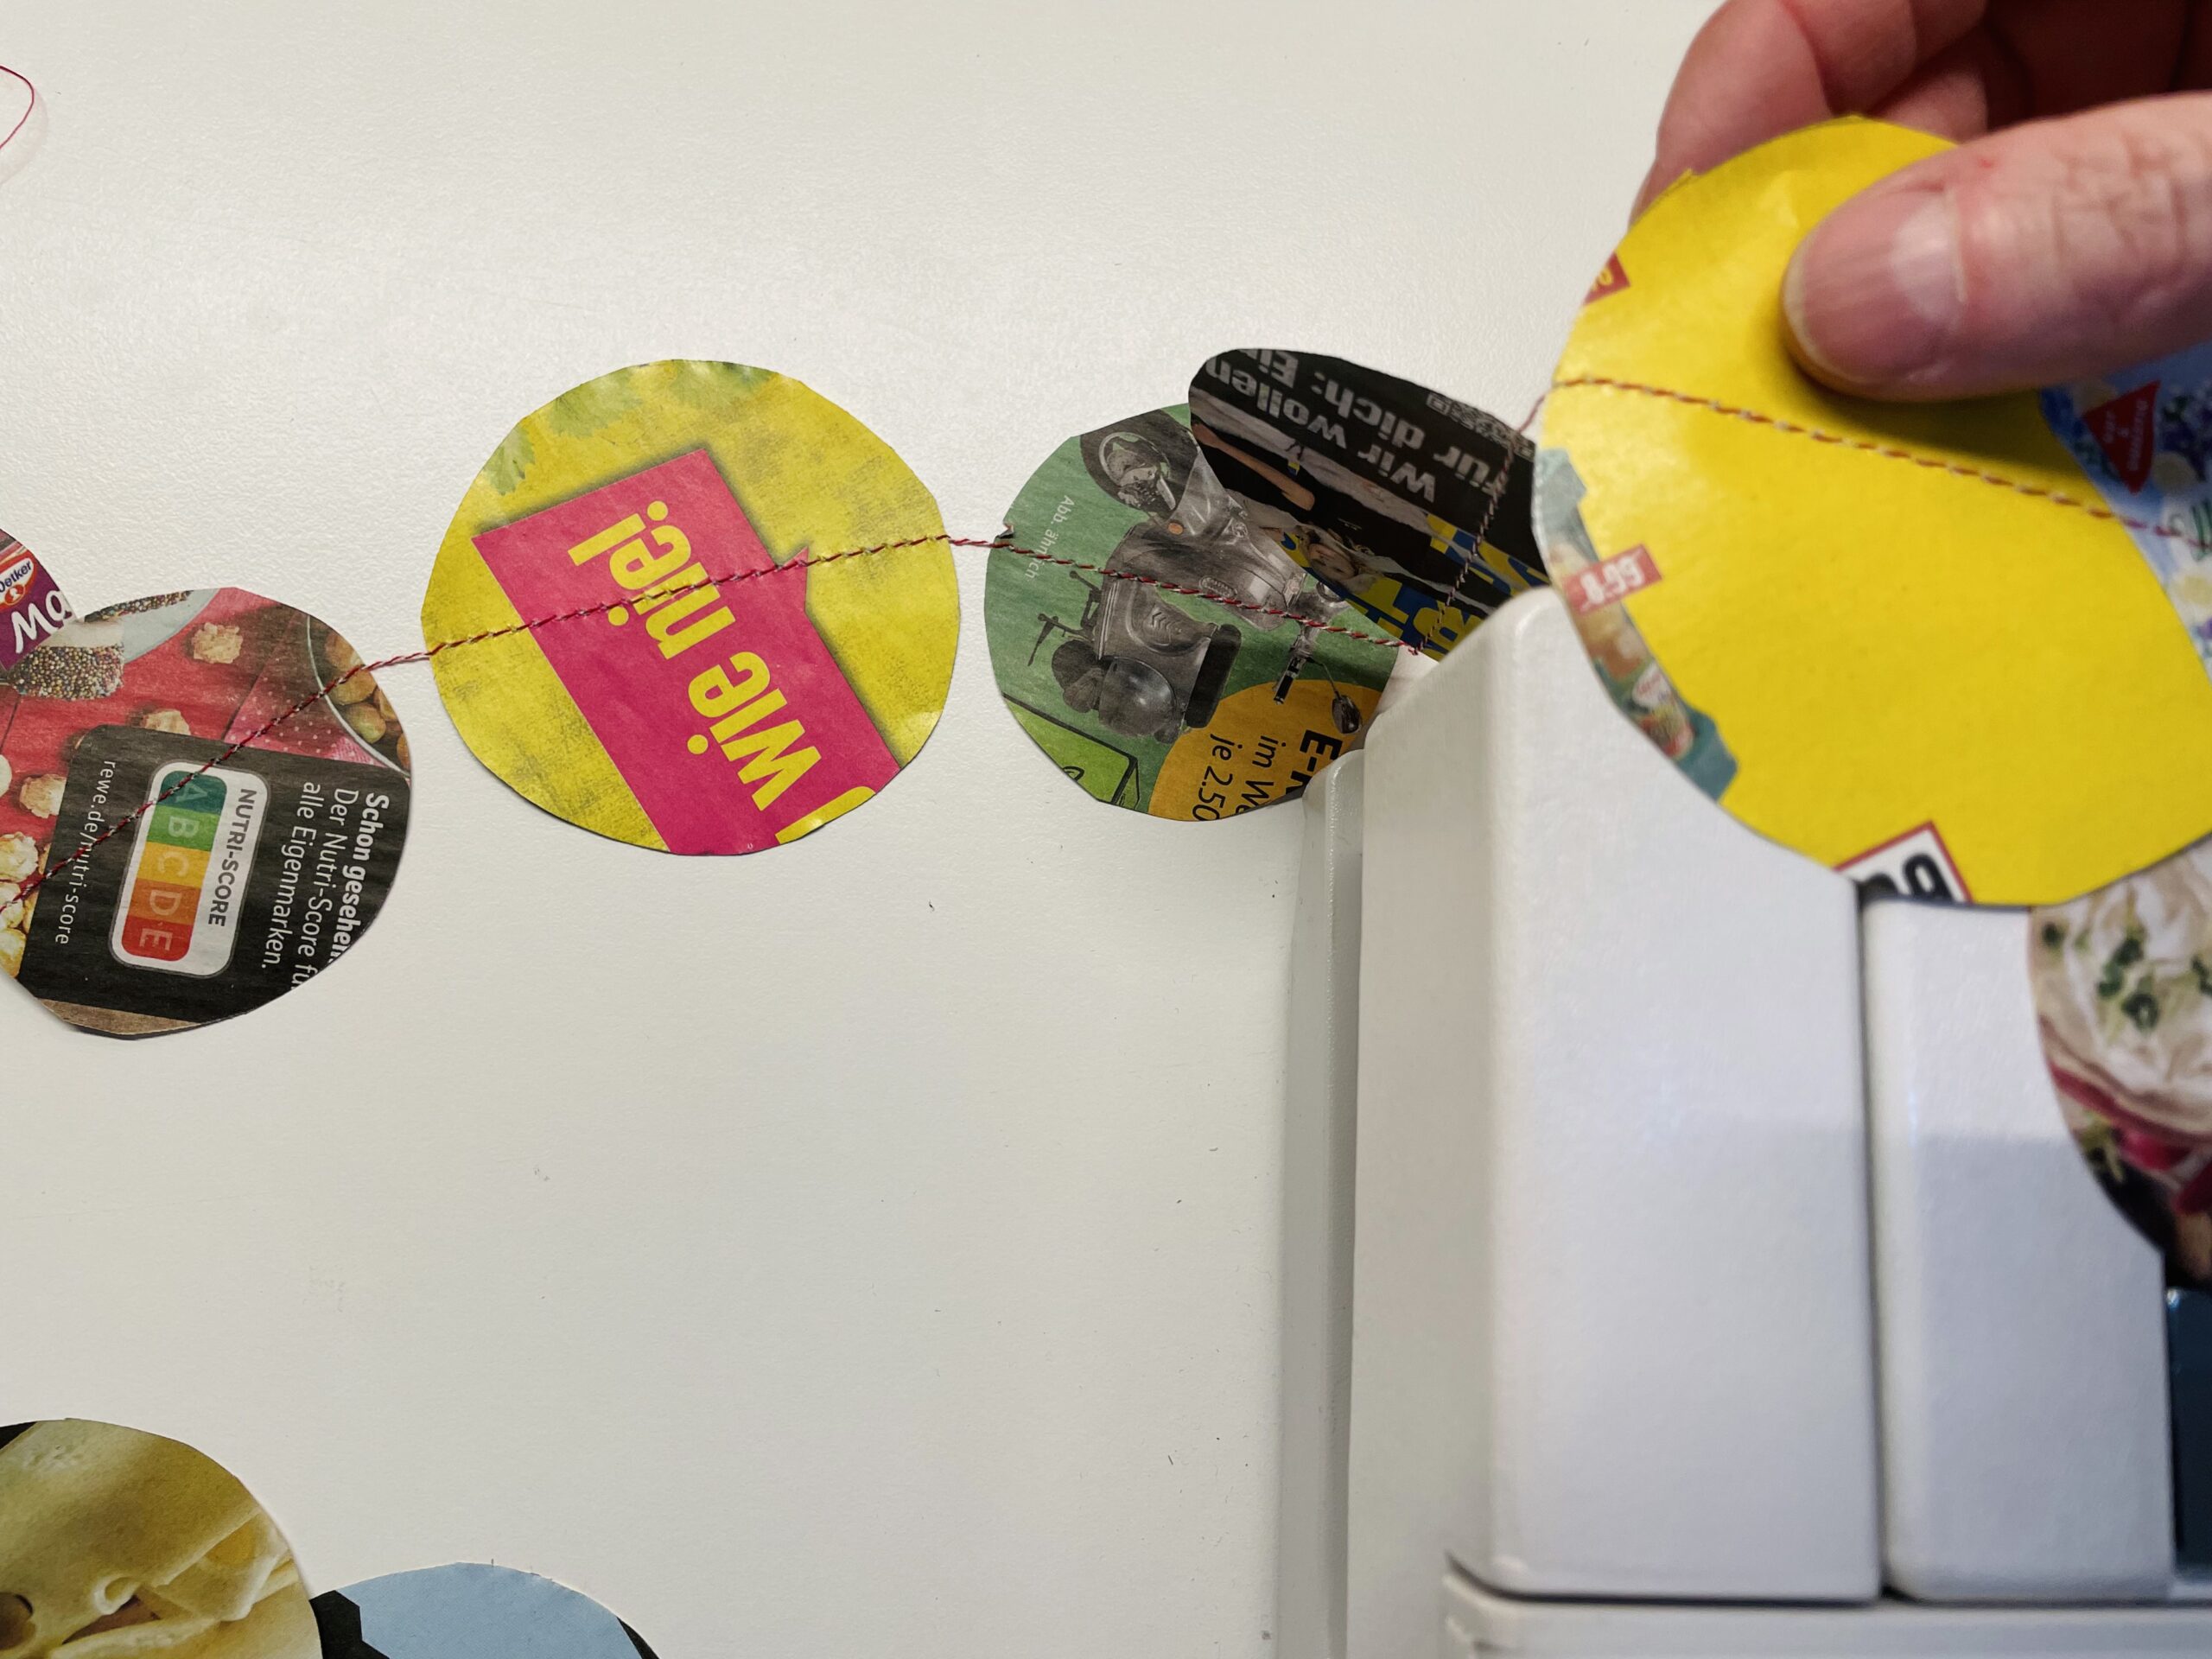
If your confetti snake is long enough, you cut off the thread. It doesn't have to be sewn. You can also sew several snakes.
Finally, you will find a place for the confetti snakes. They look particularly beautiful in places where they can move in the wind train. They also look great as room decorations for a carnival party.
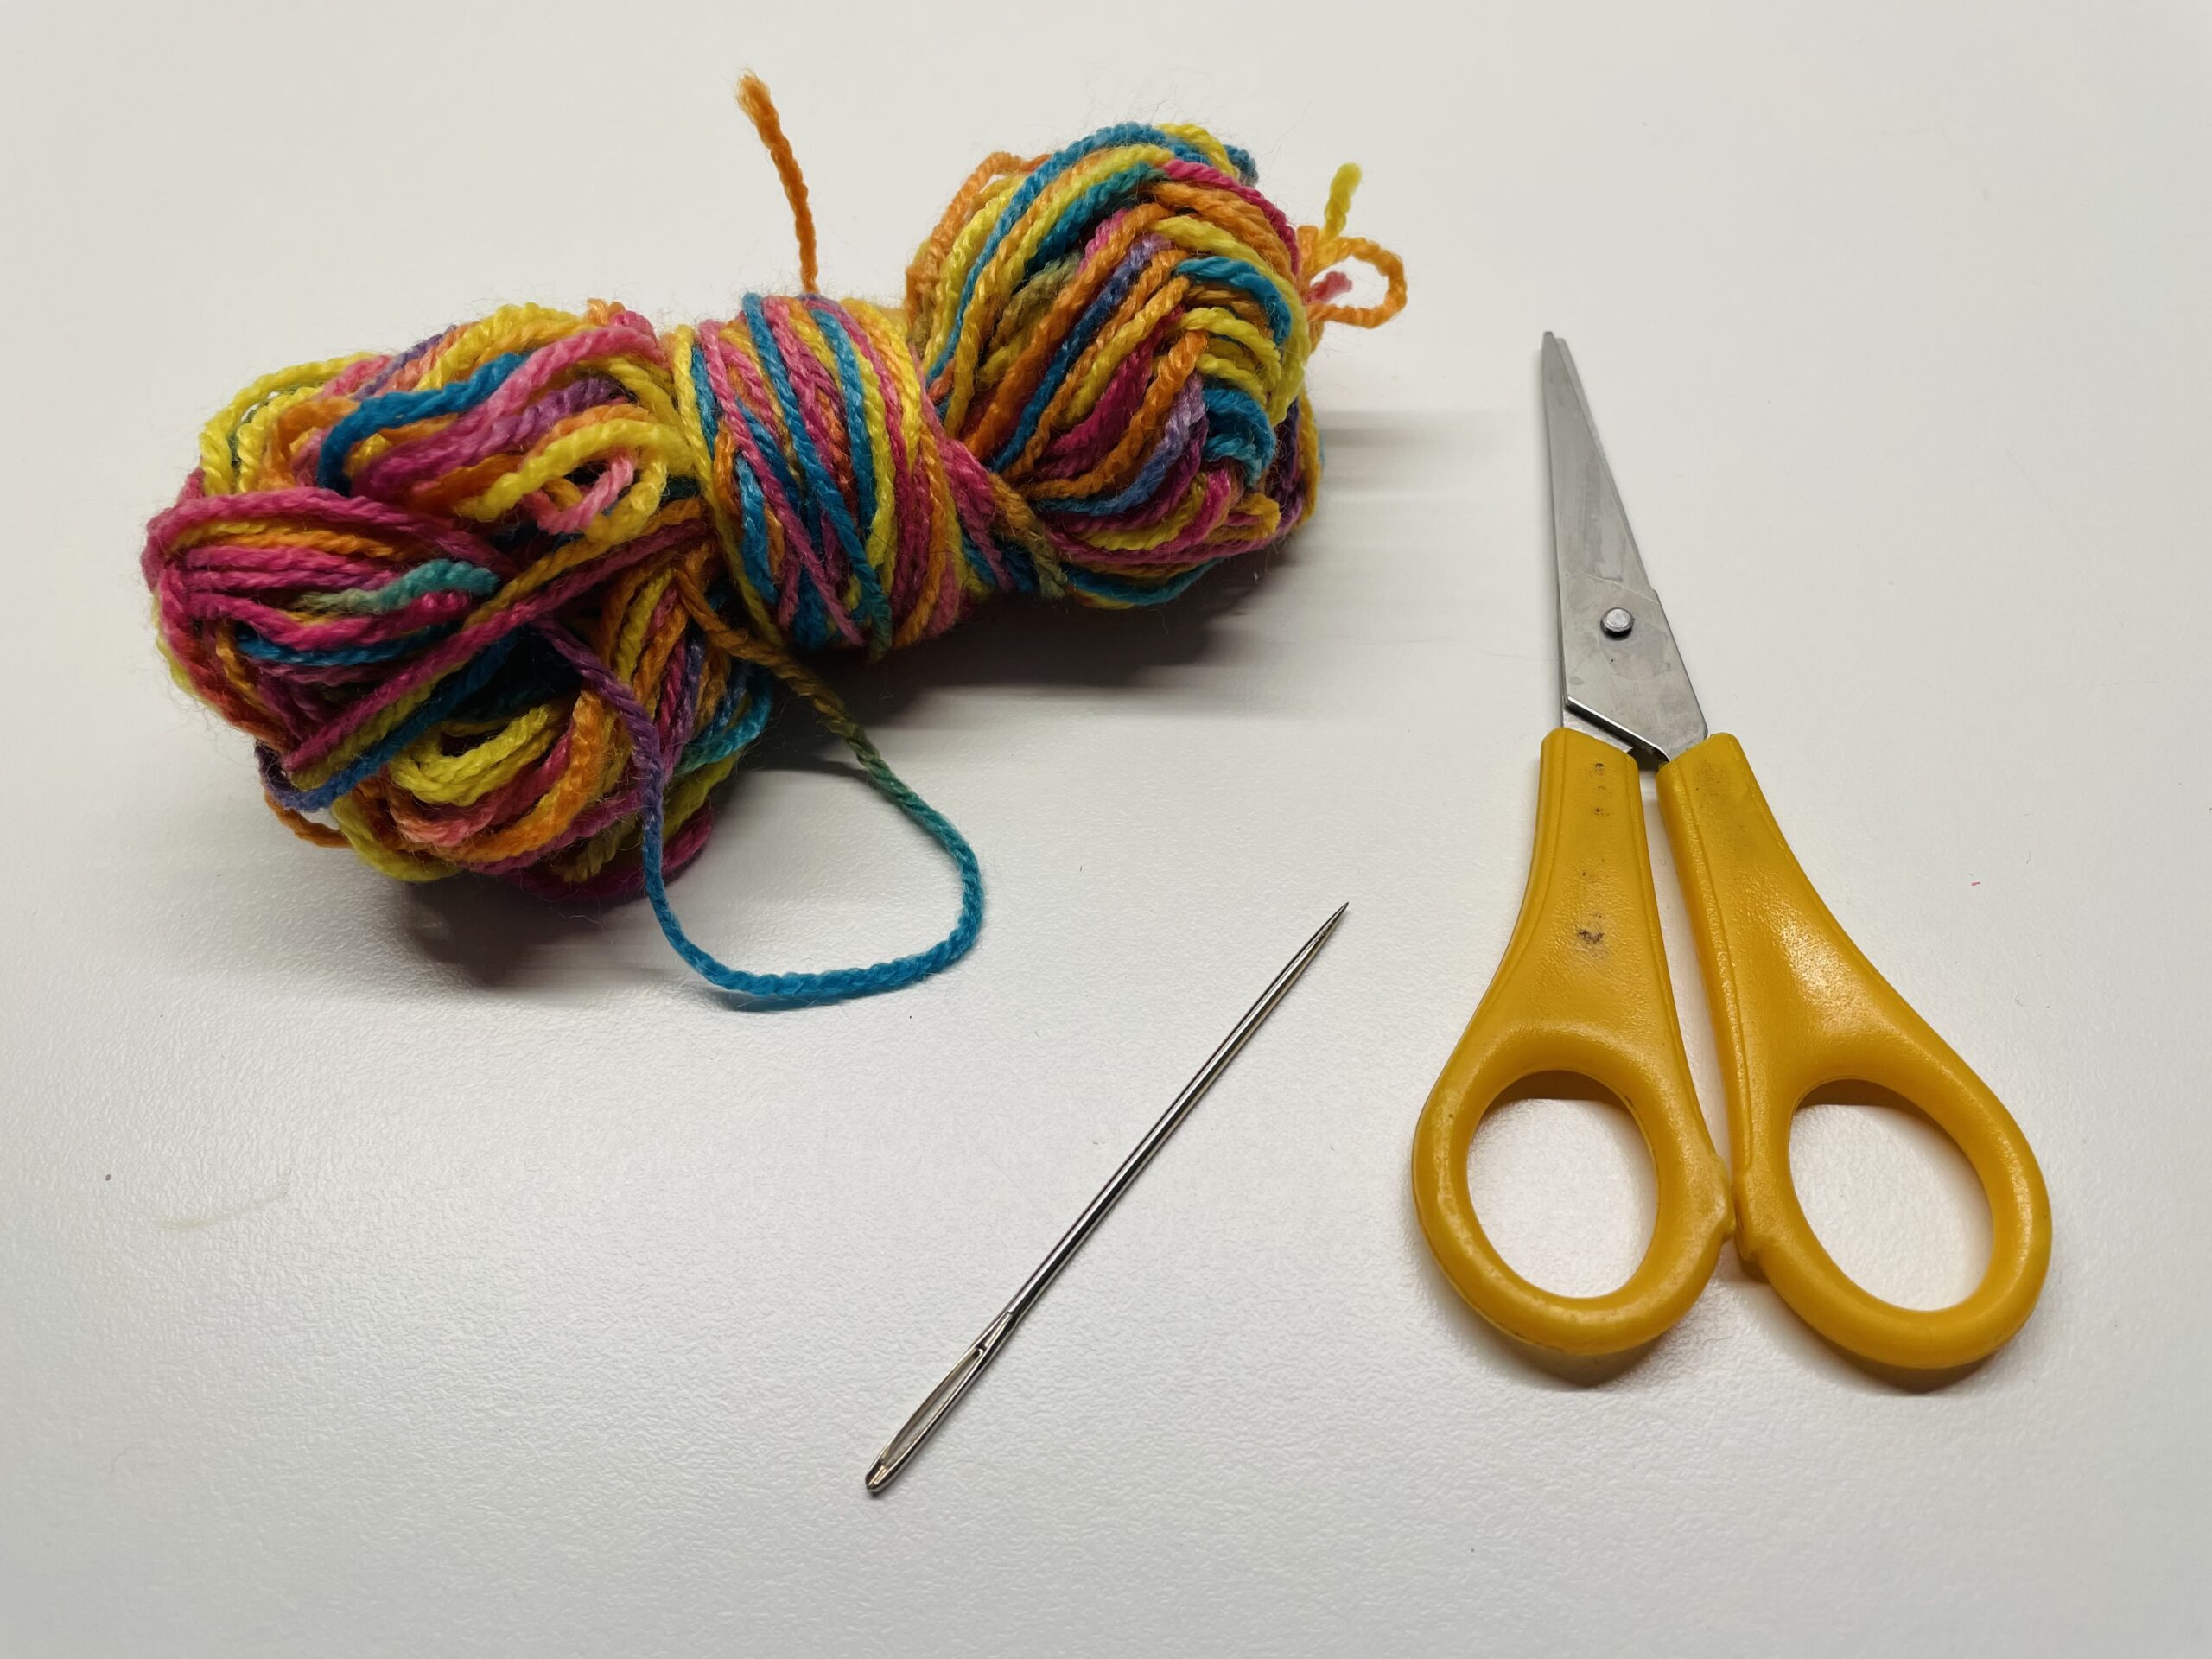
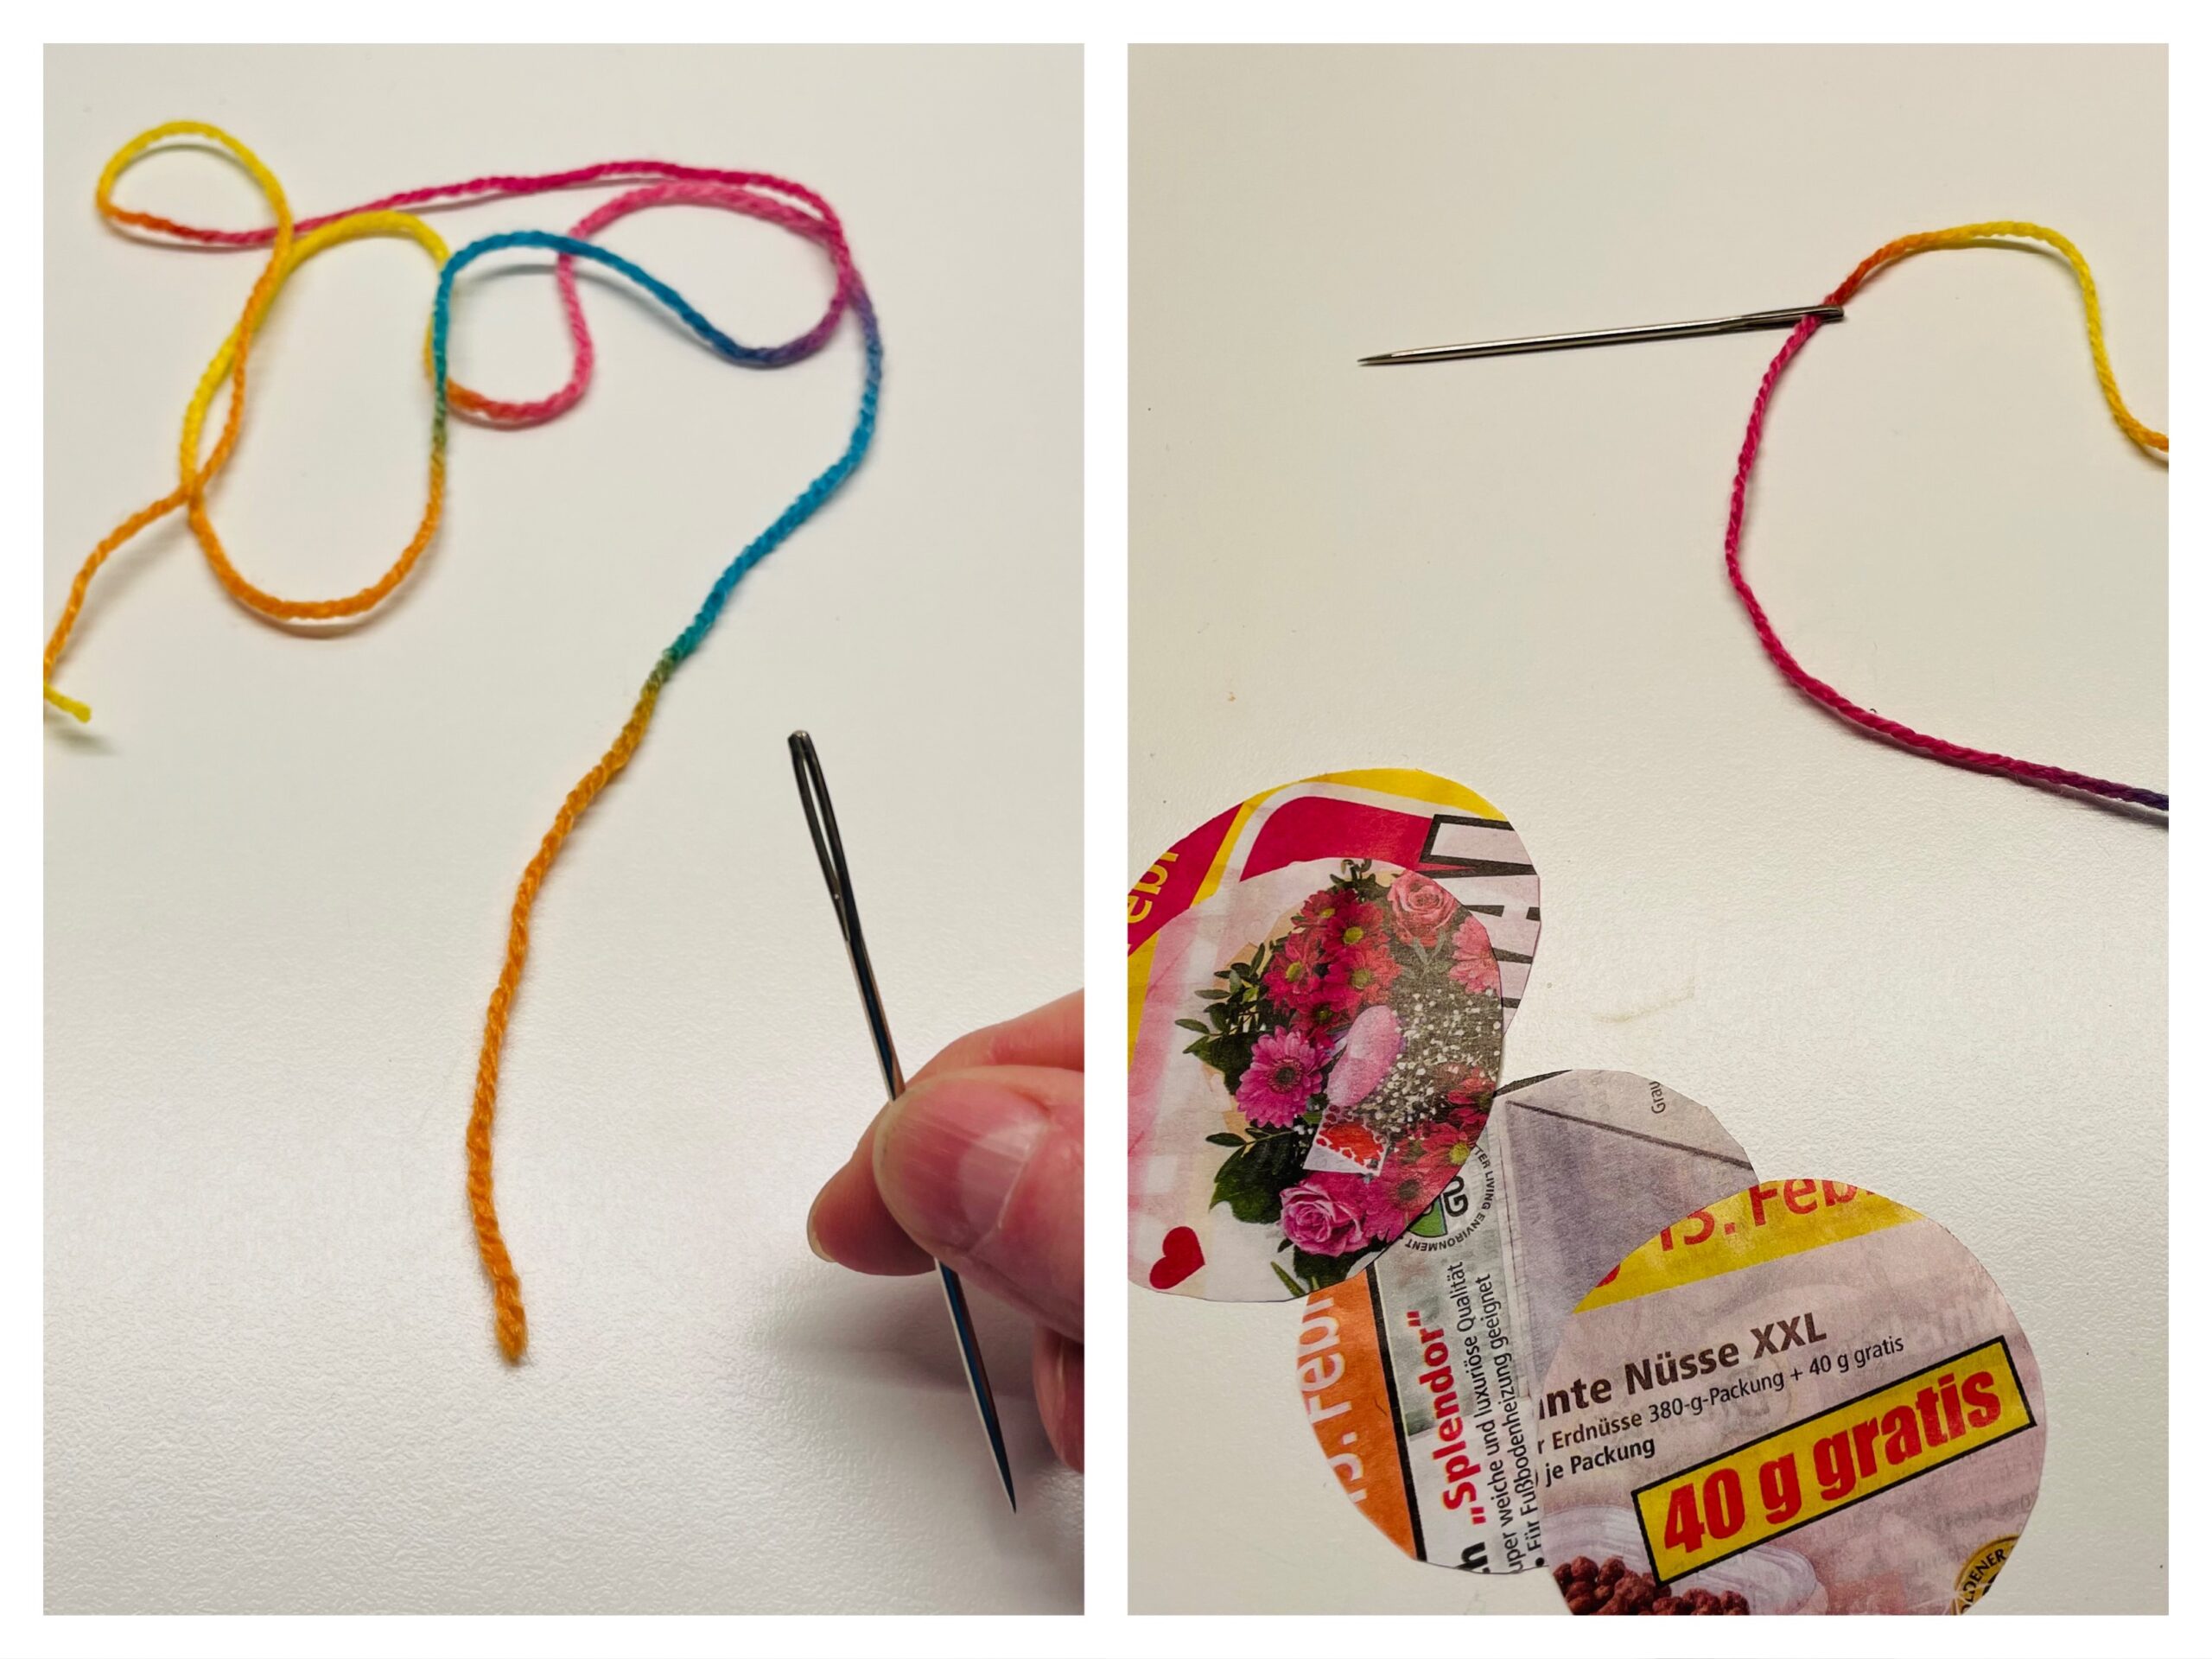
First, prepare colorful wool and a thick pointed needle.
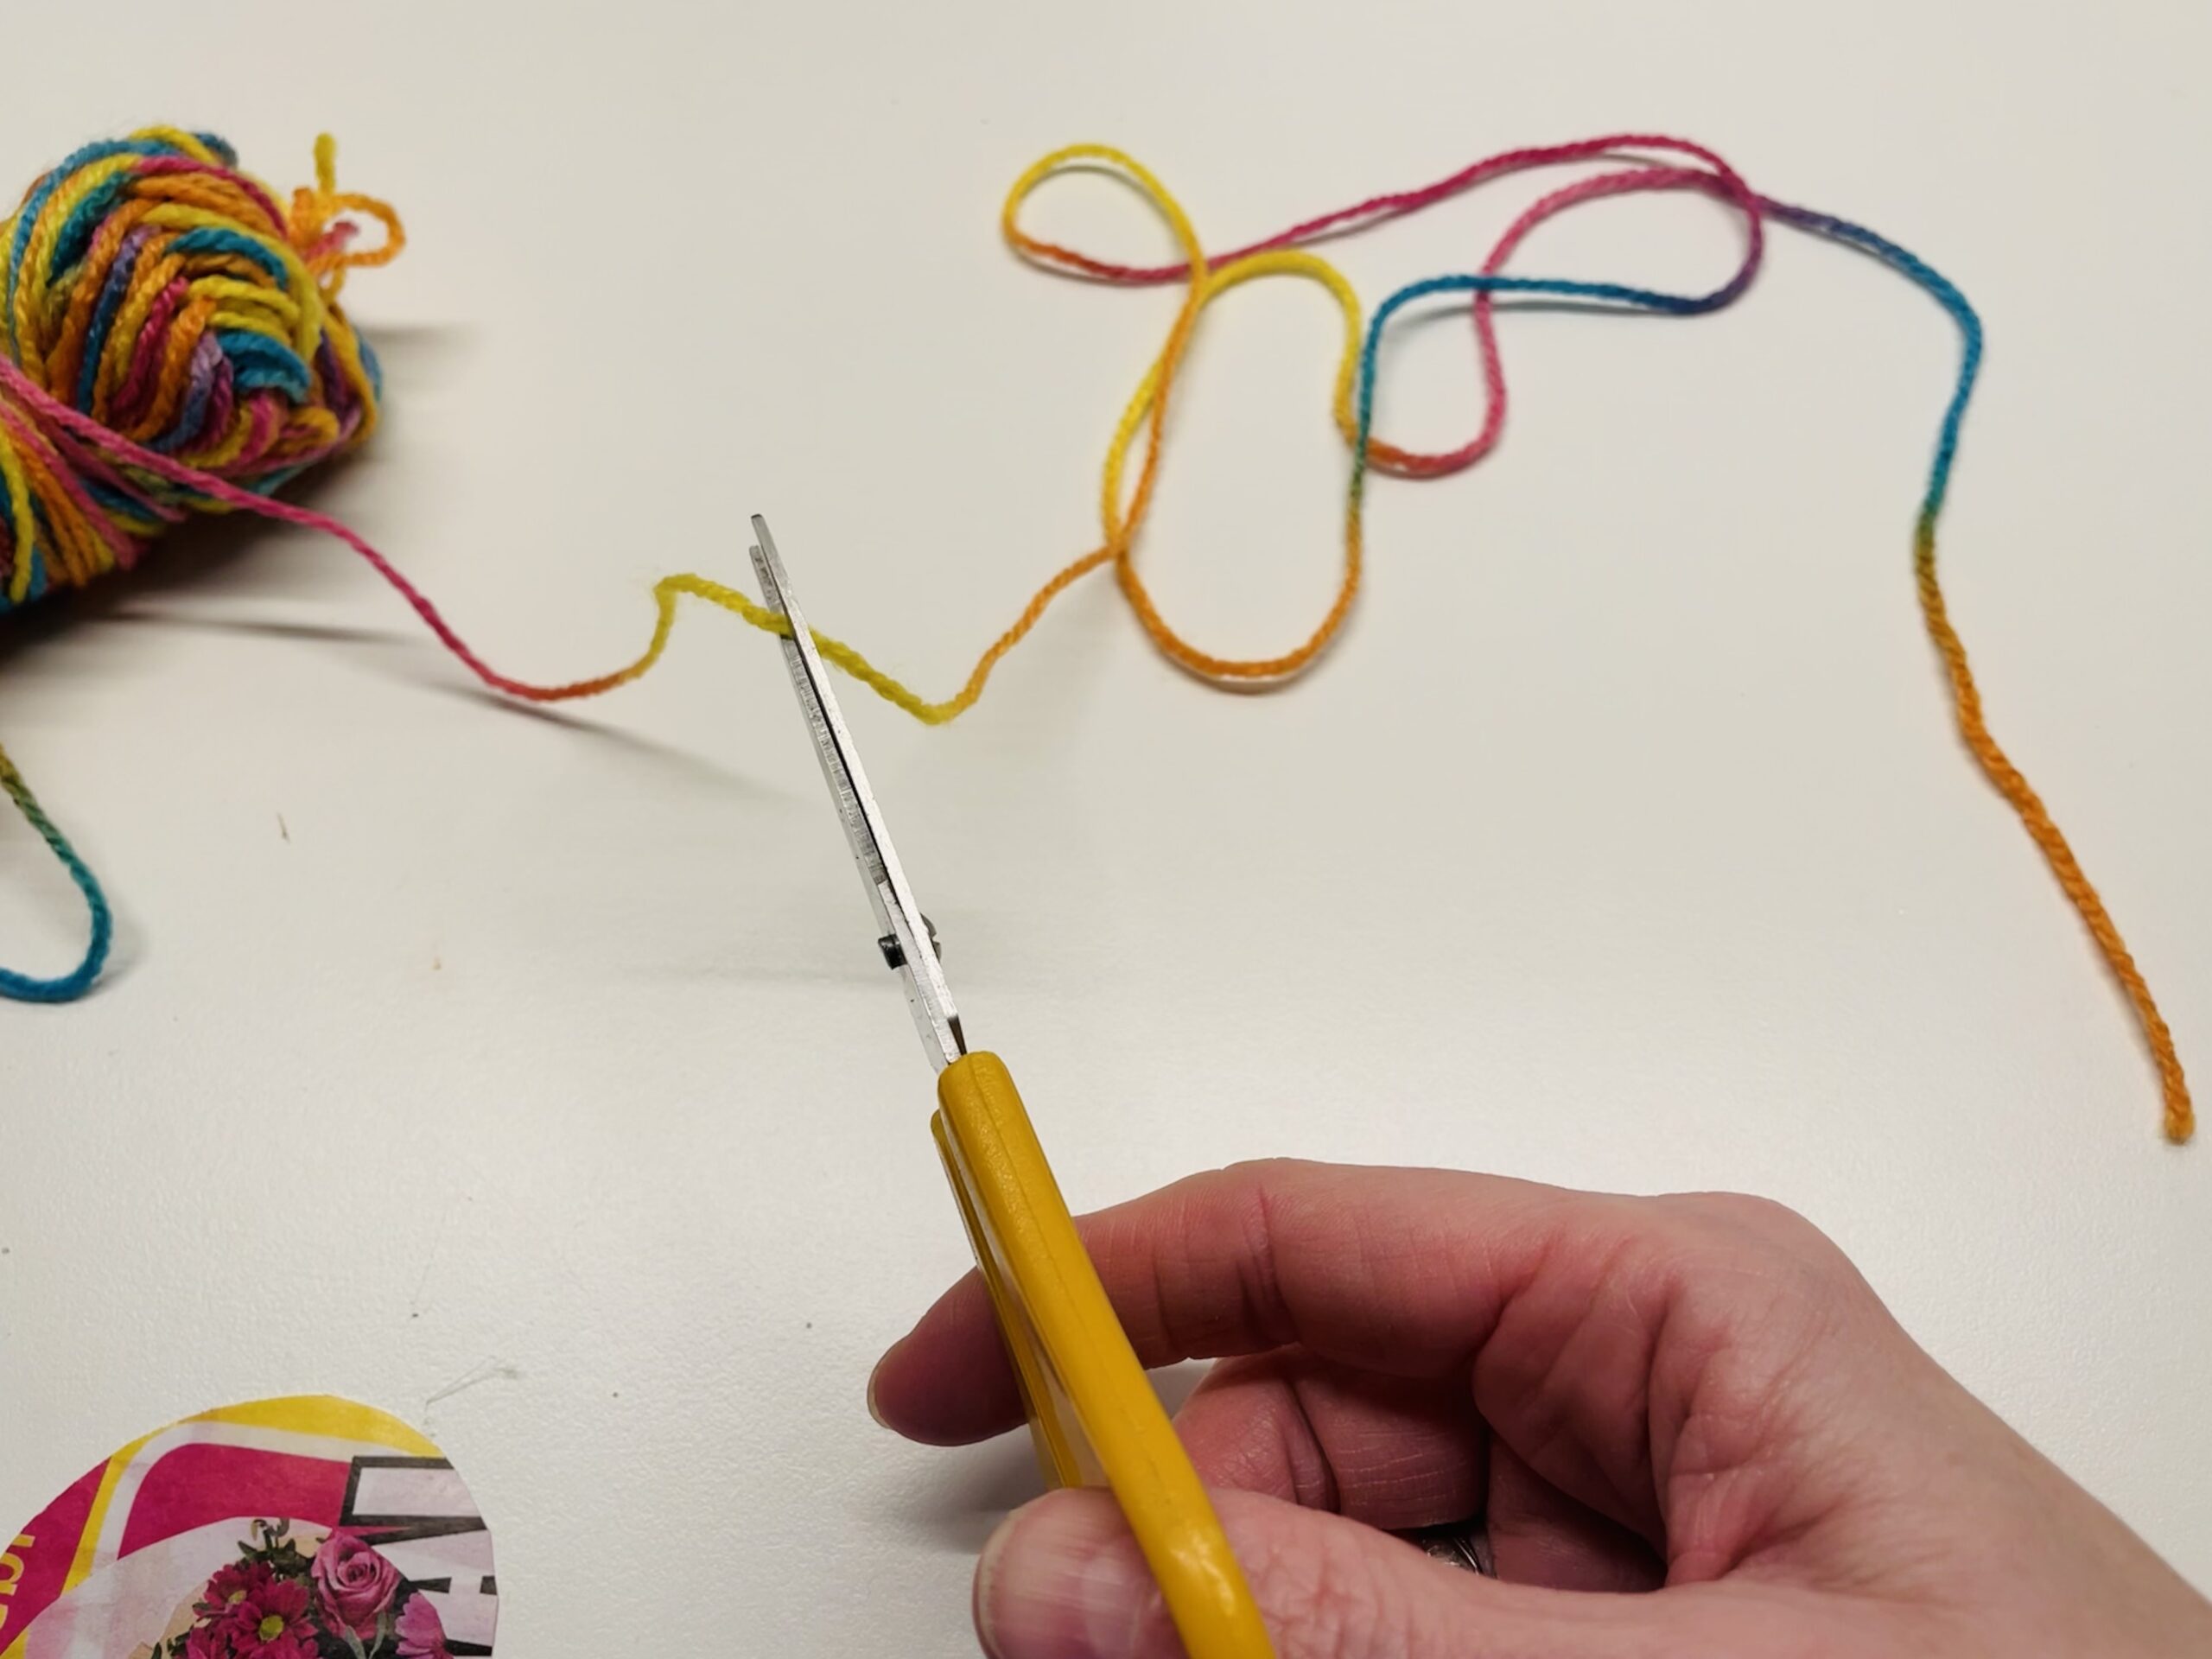
Then cut off a long piece of thread. The length of the thread corresponds to the length of your confetti snake!
Insert the thread into the needle.
Tip: Smaller children need support!
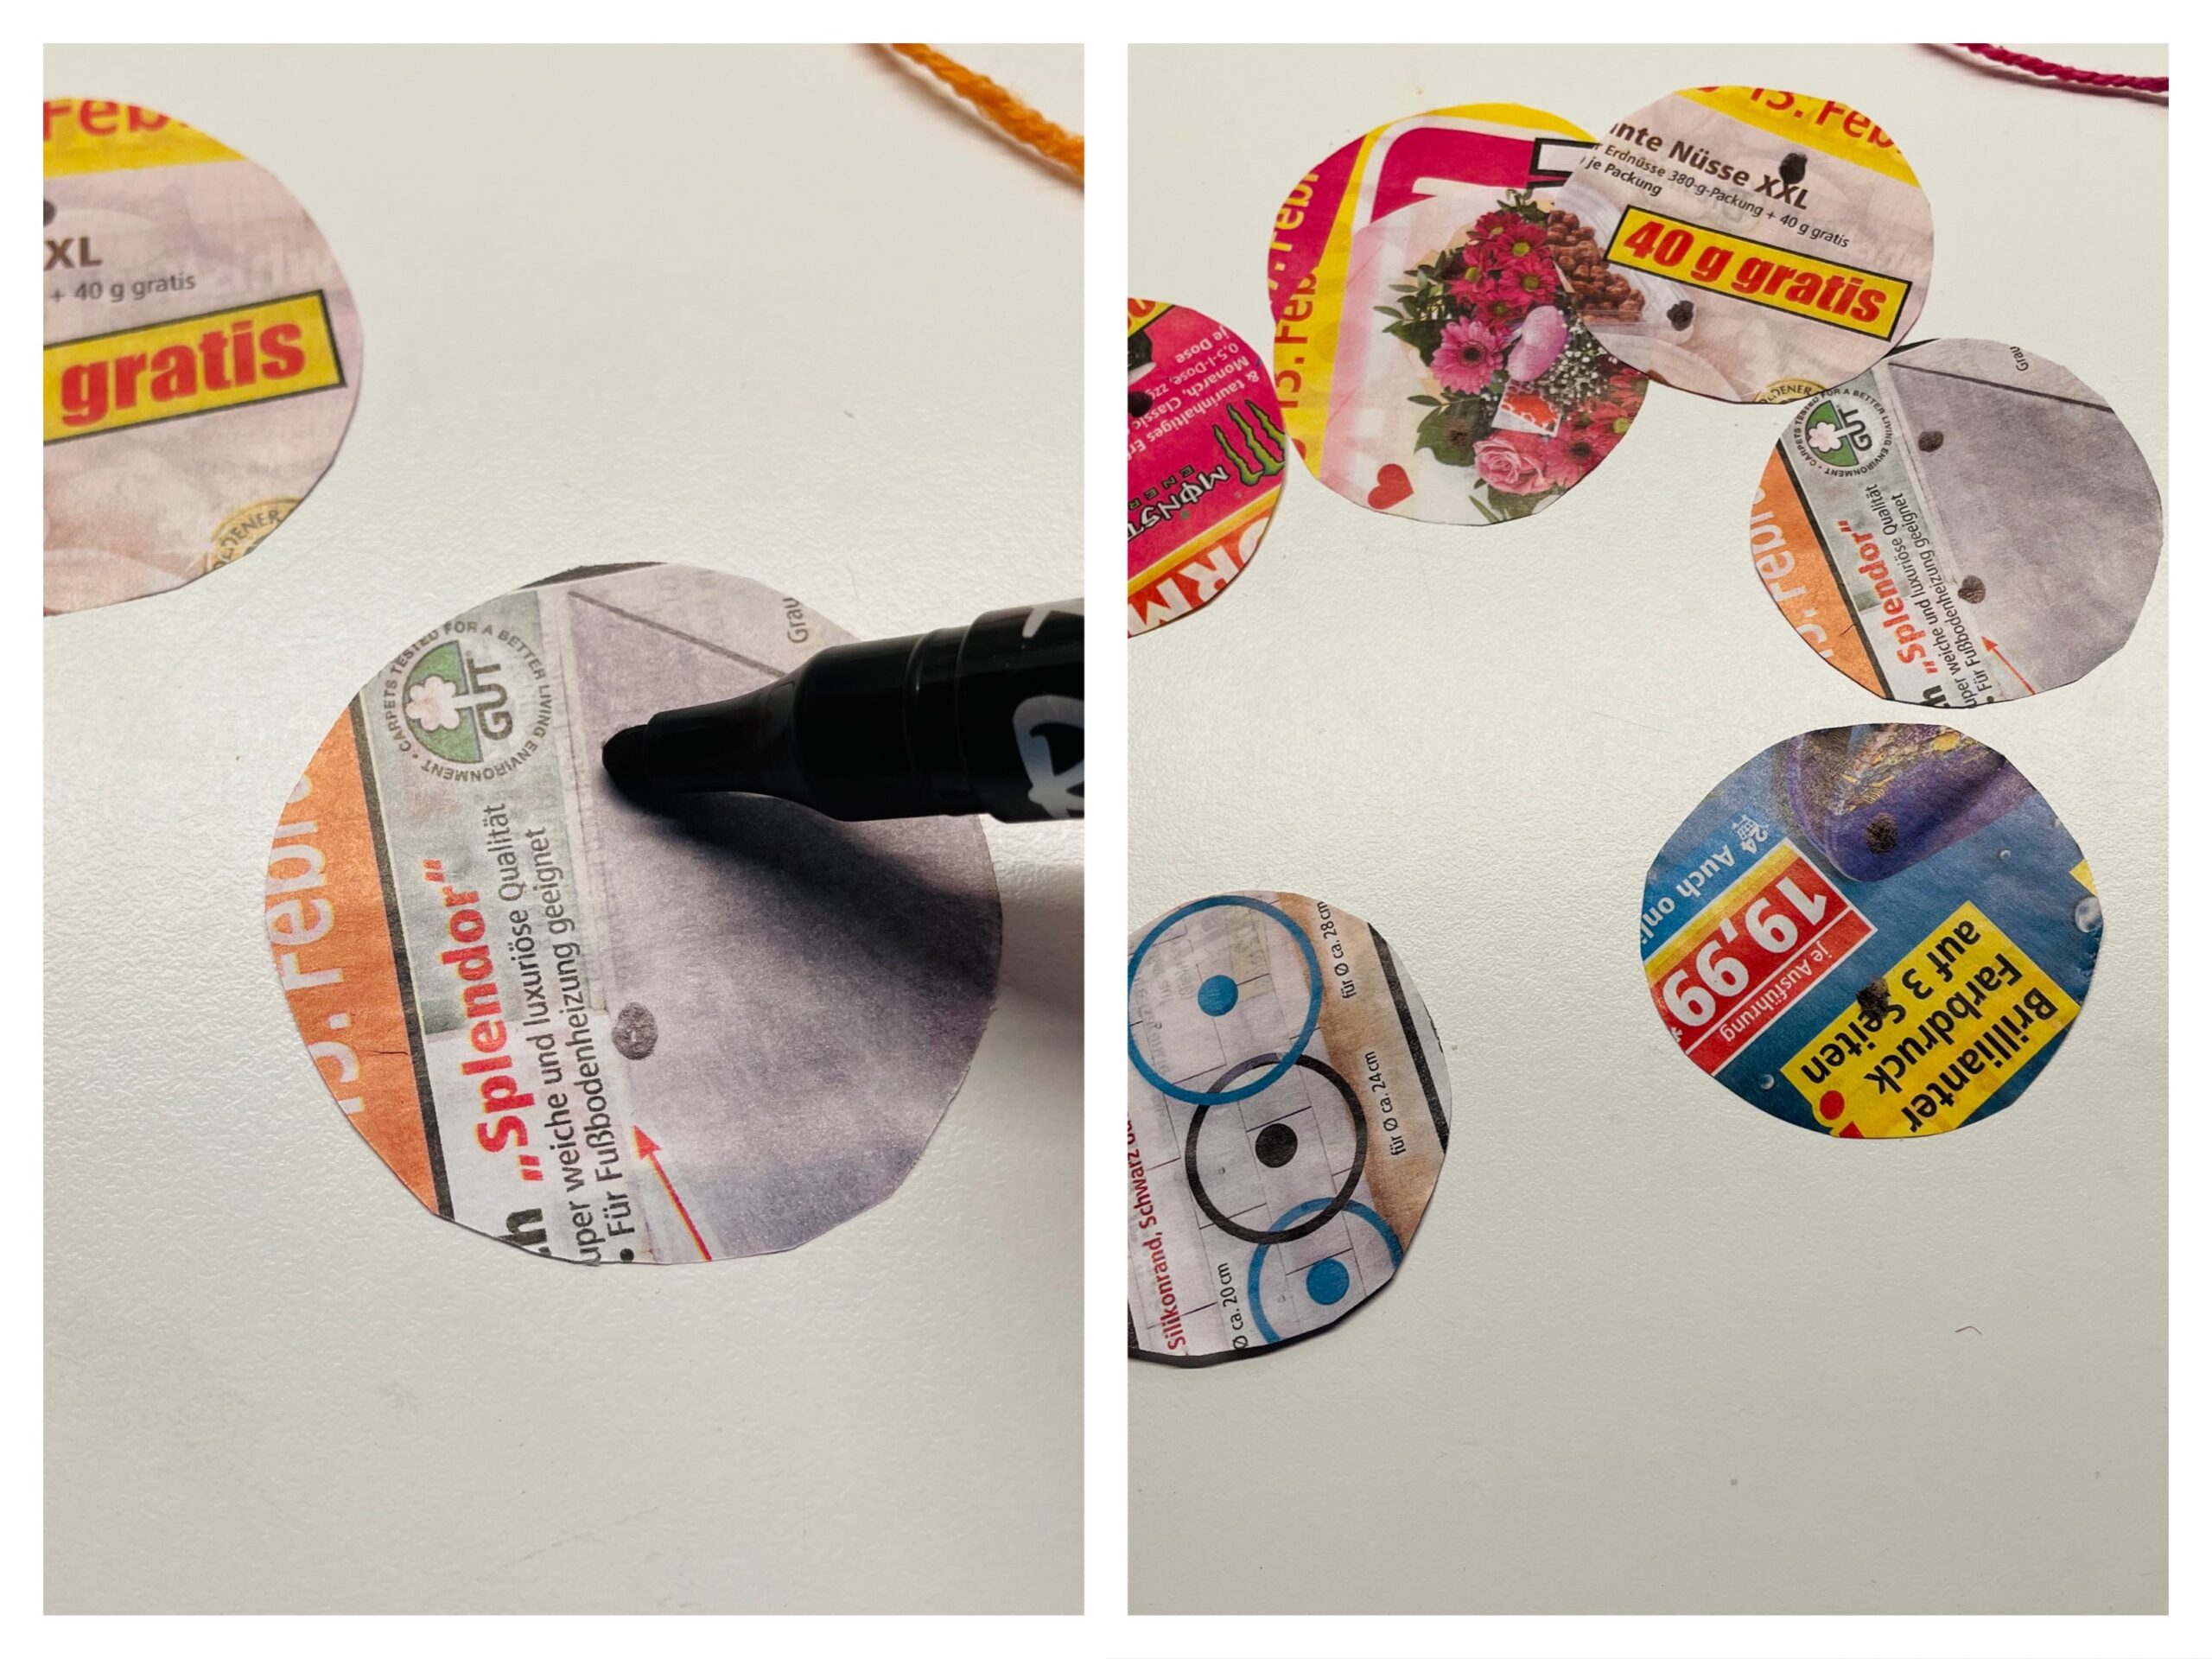
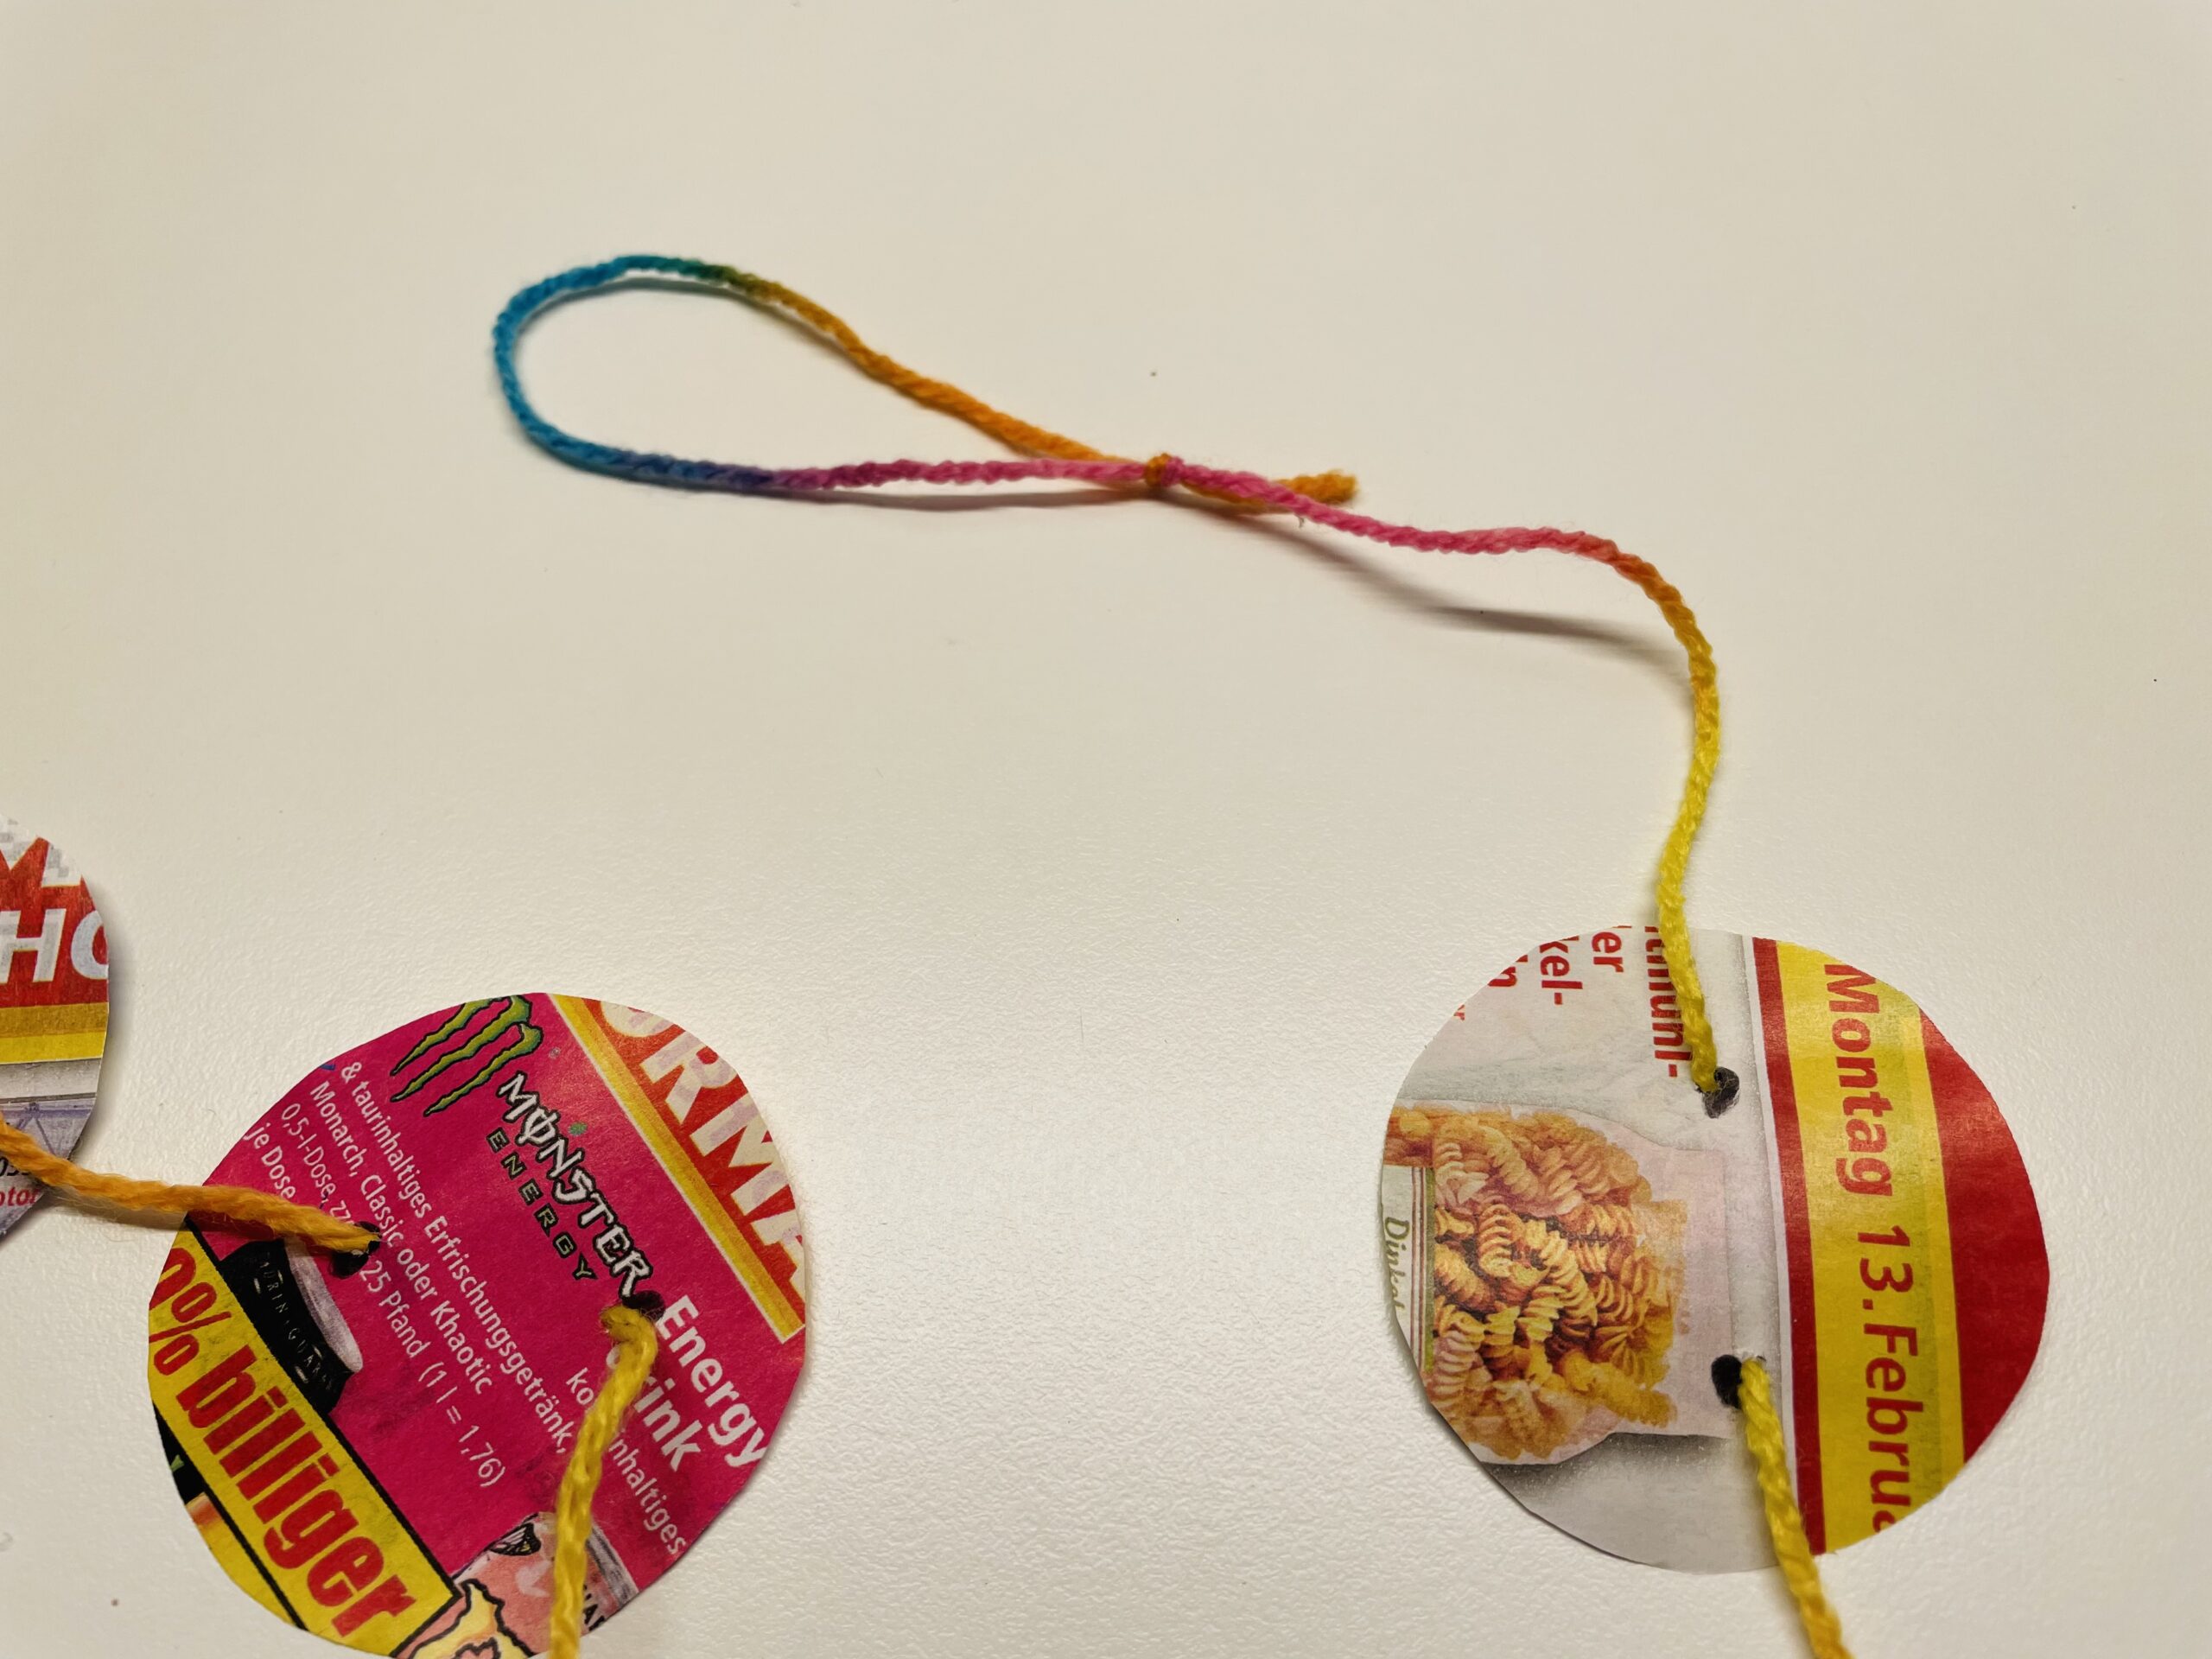
For easier threading of the circles you mark each circle with two points. Thus the children know at which places they have to pierce the needle with the thread.
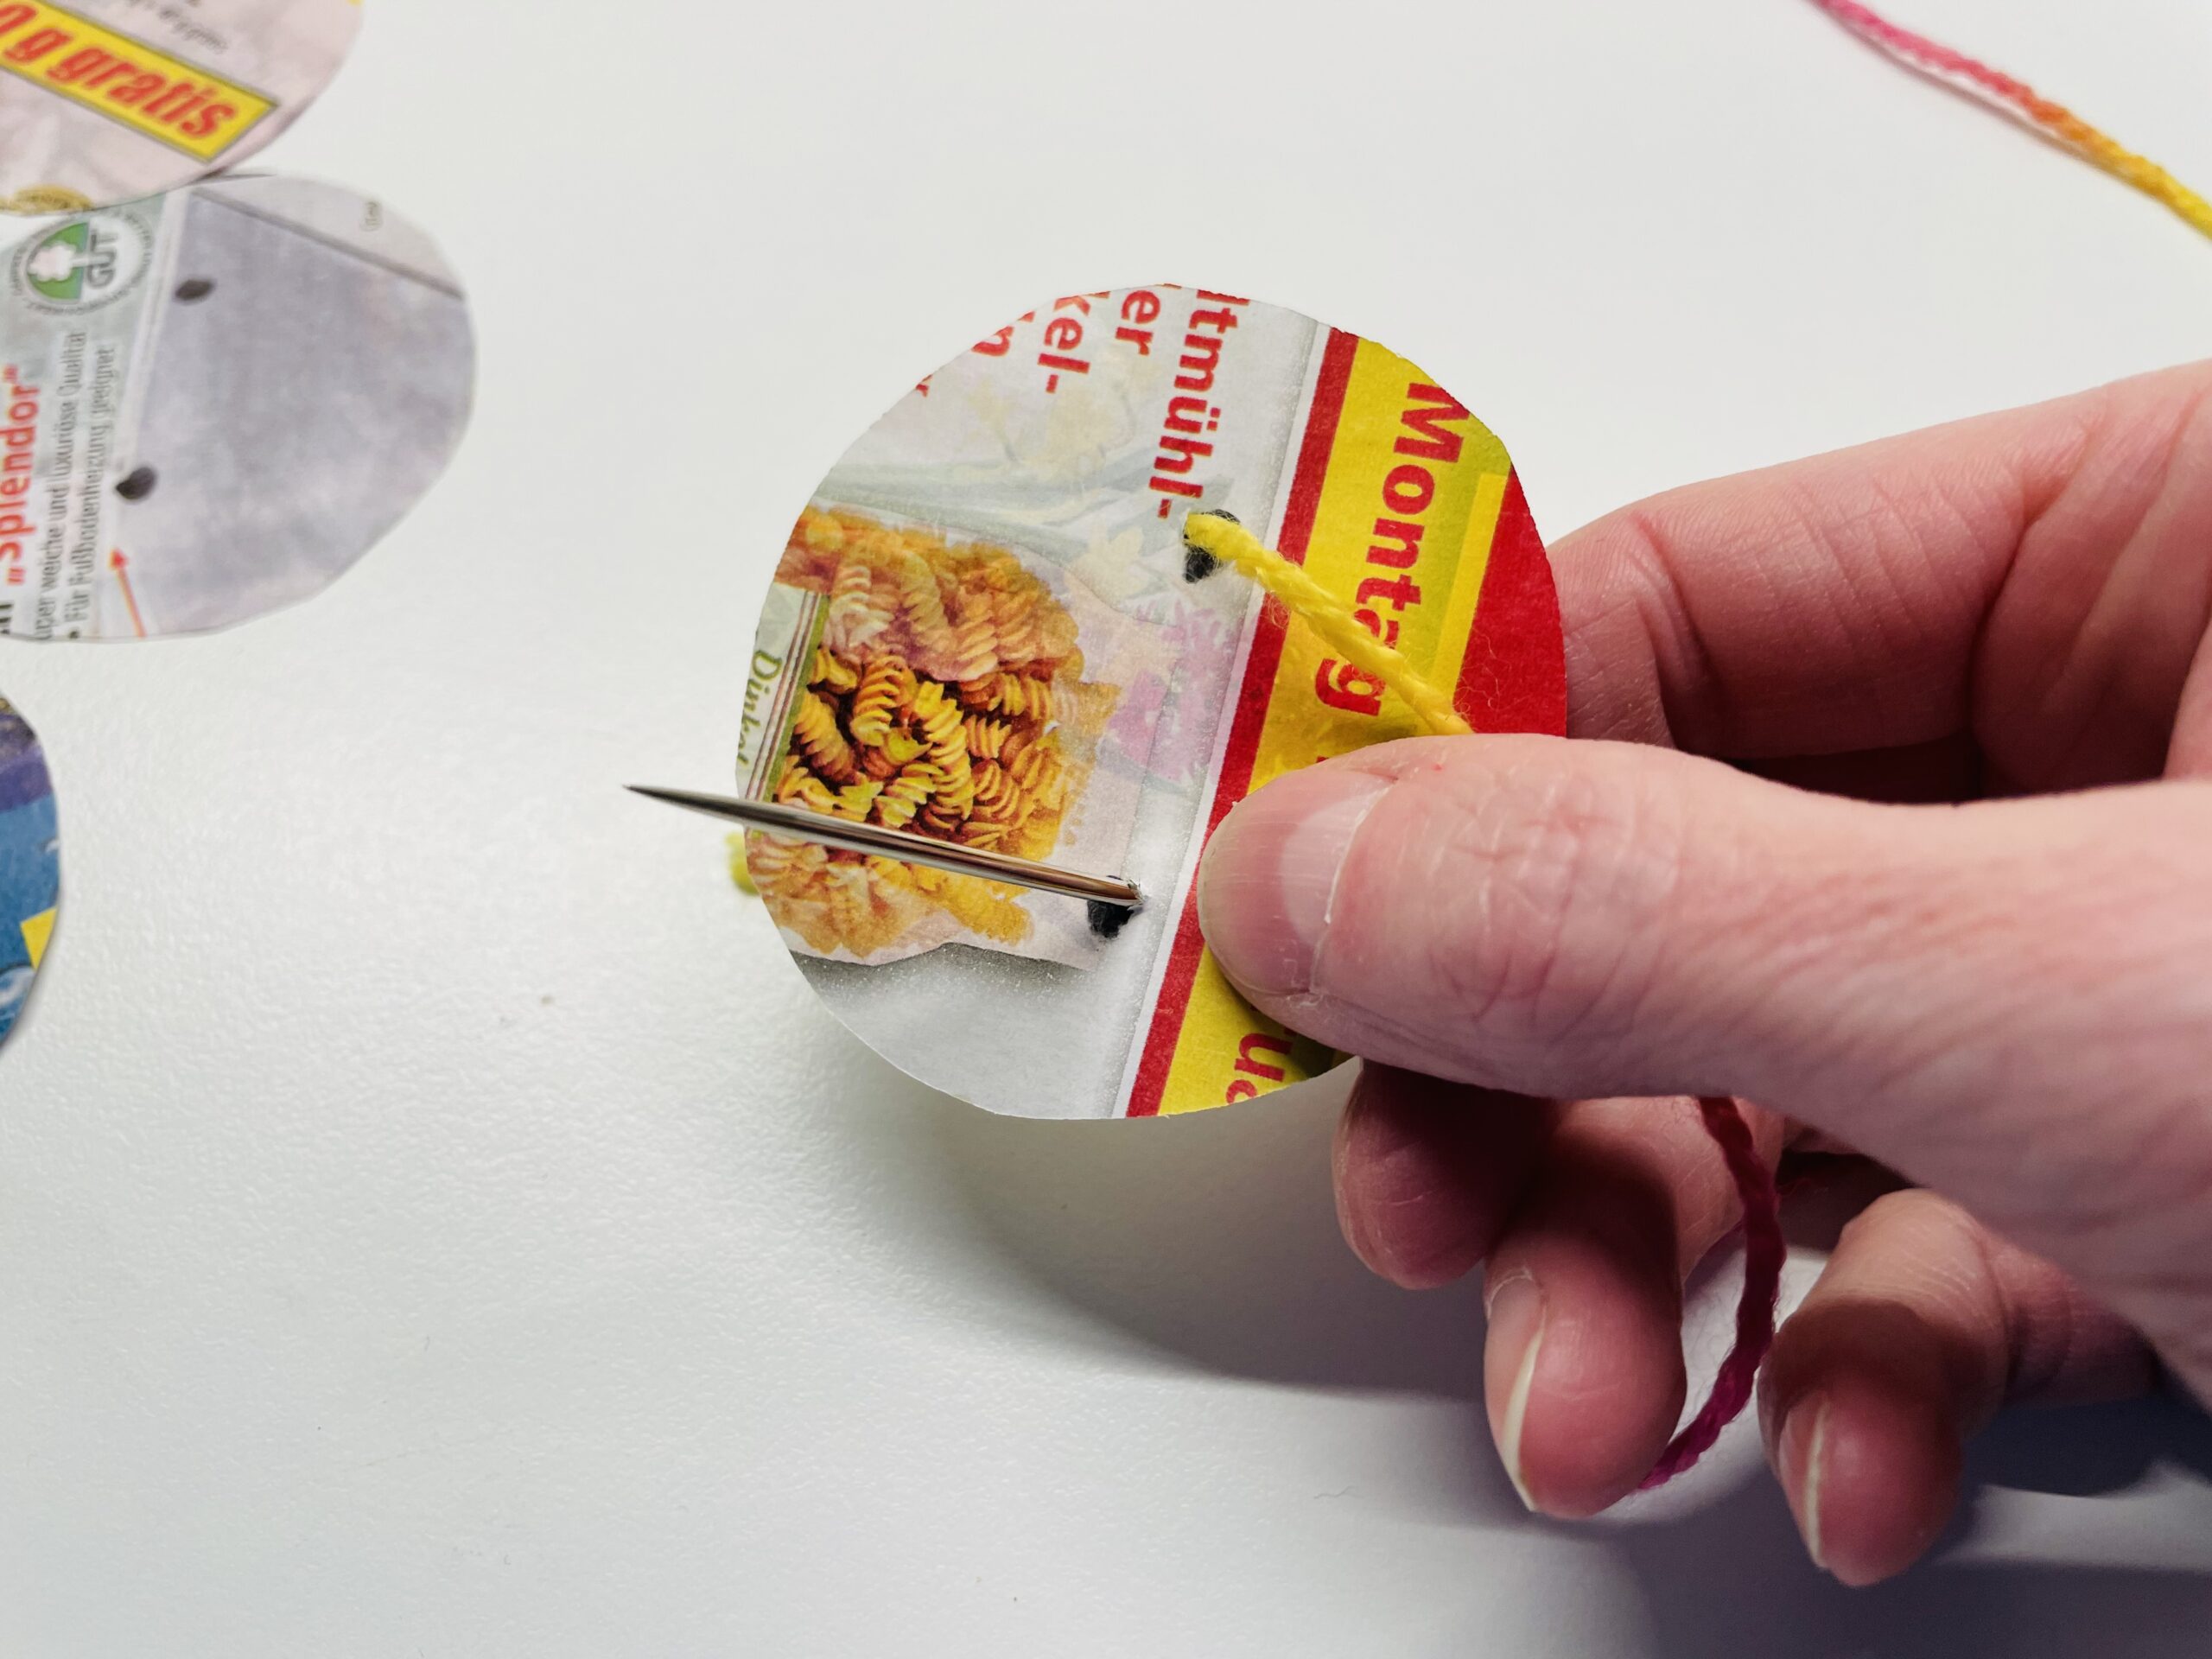
Then you sting through a marker with the needle.
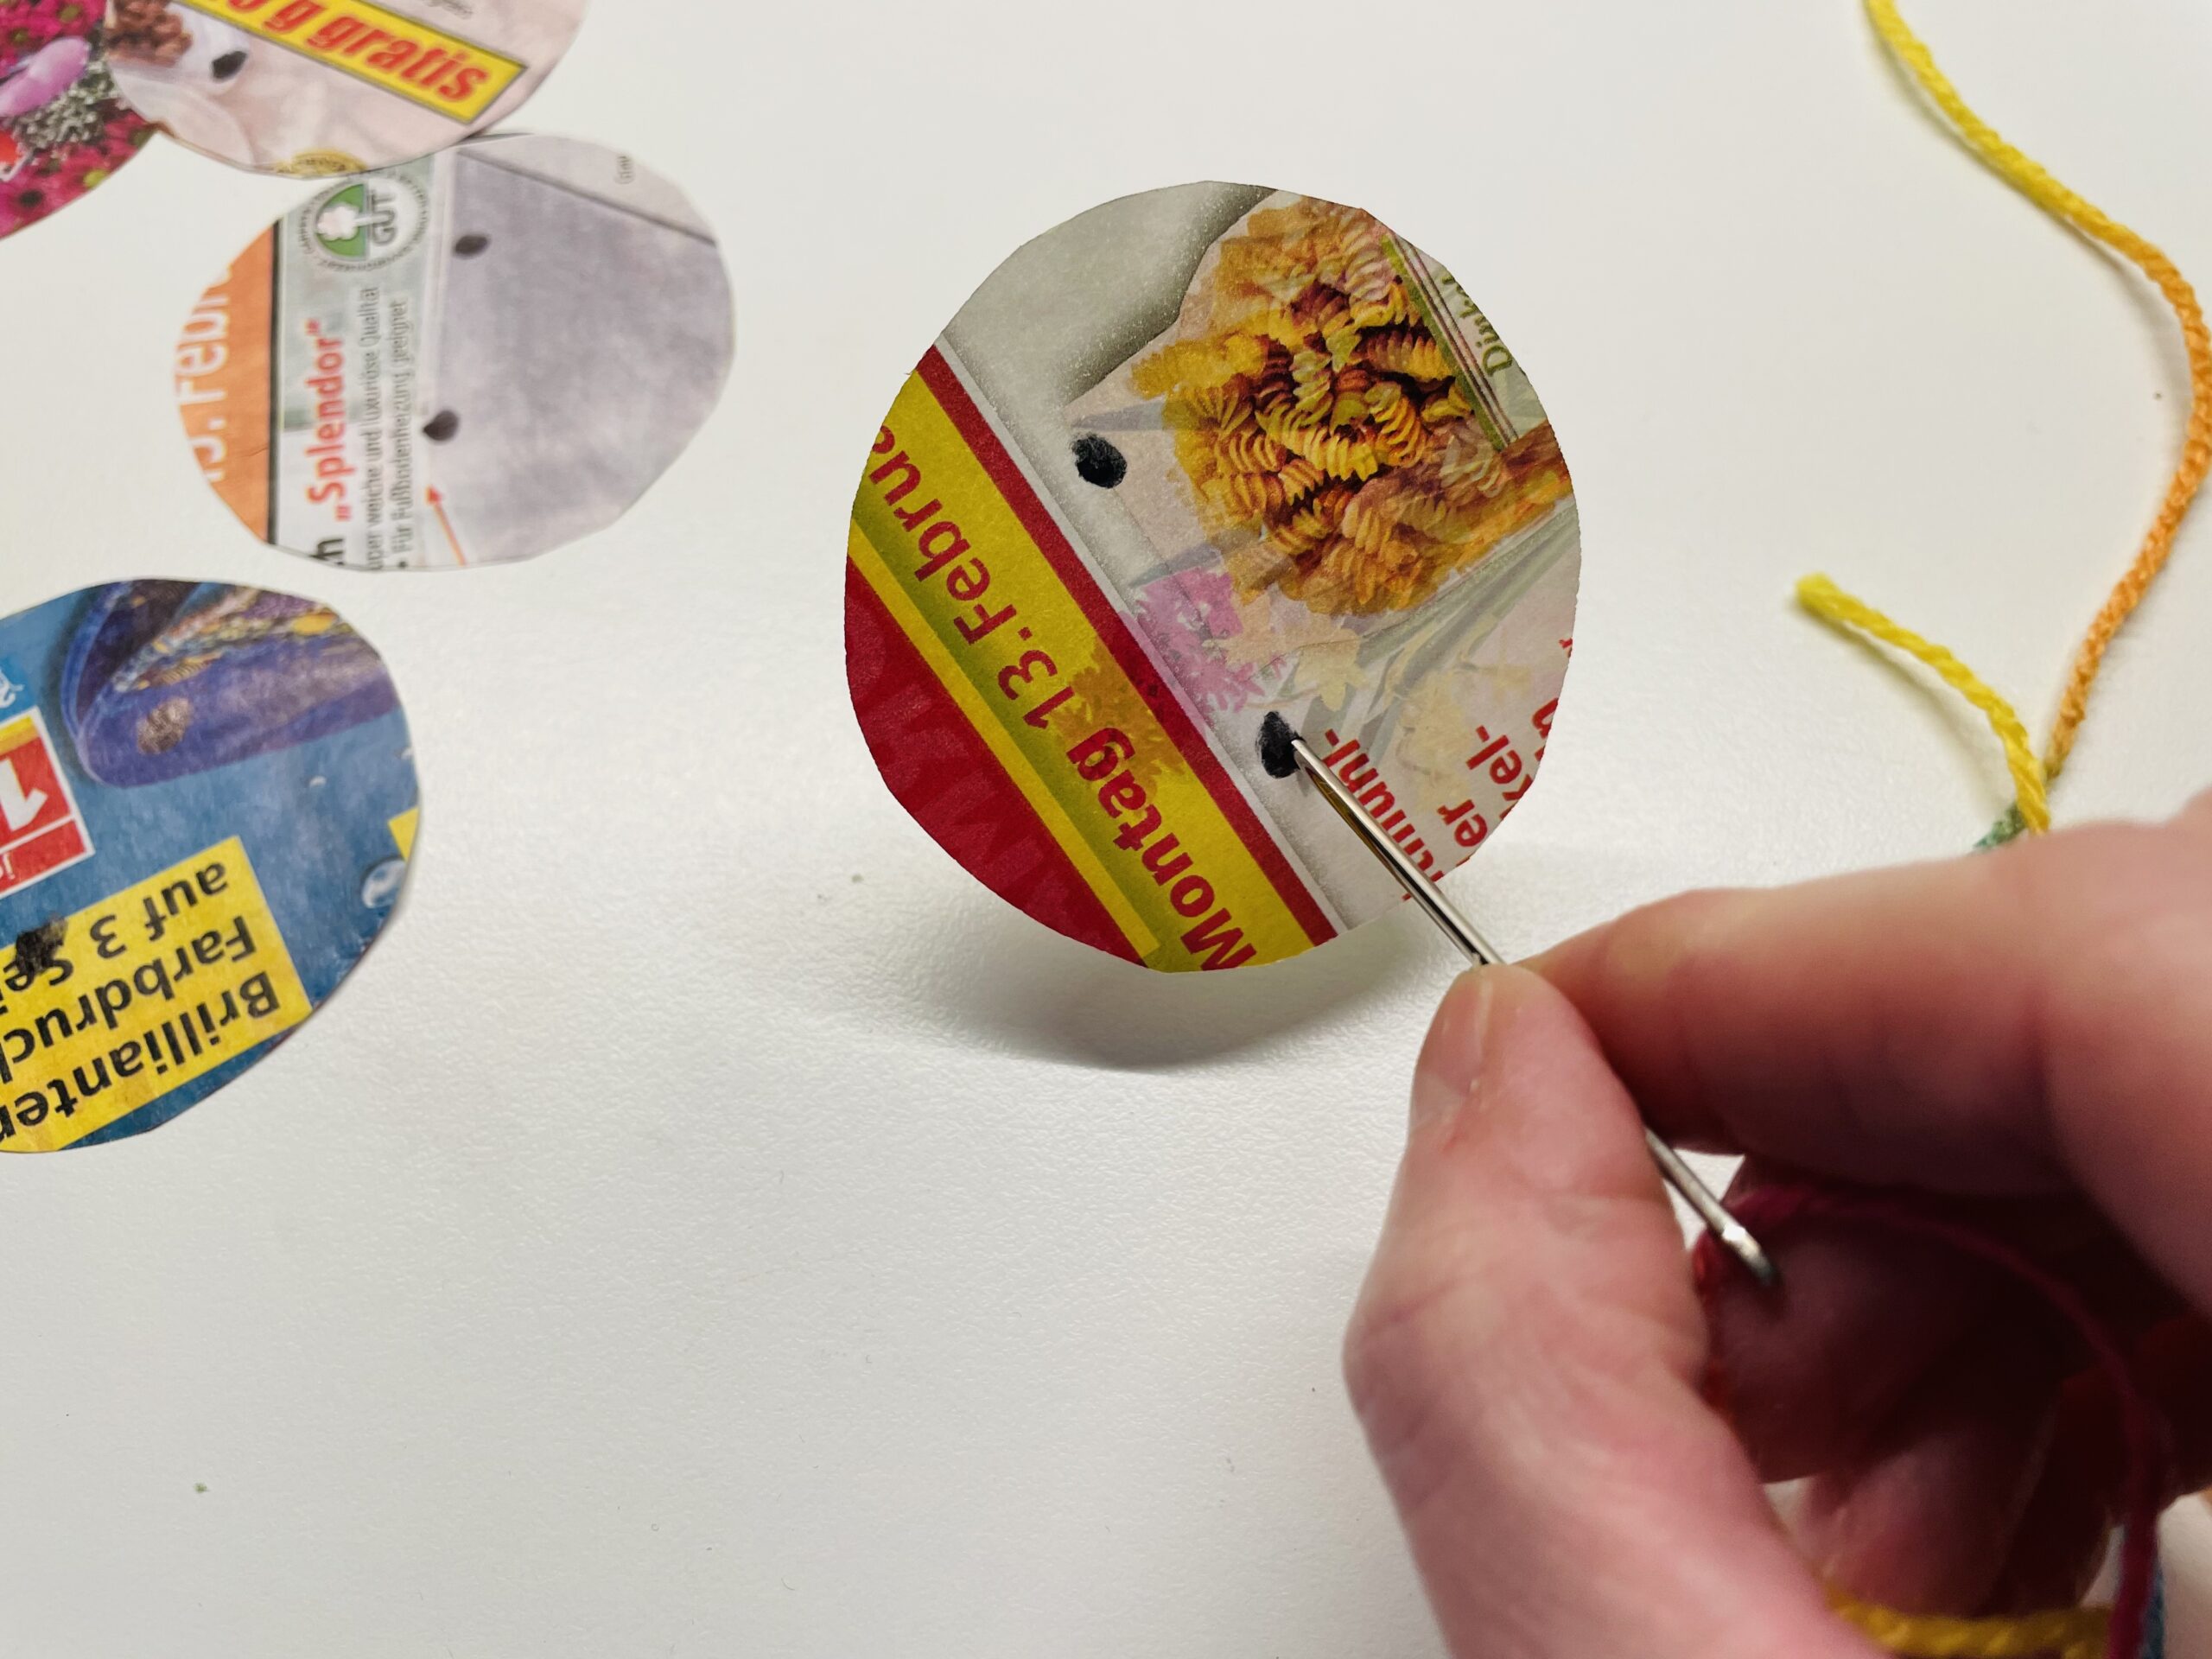
Pull the thread one piece through the hole and stash the needle at the second marker from the back again to the front.
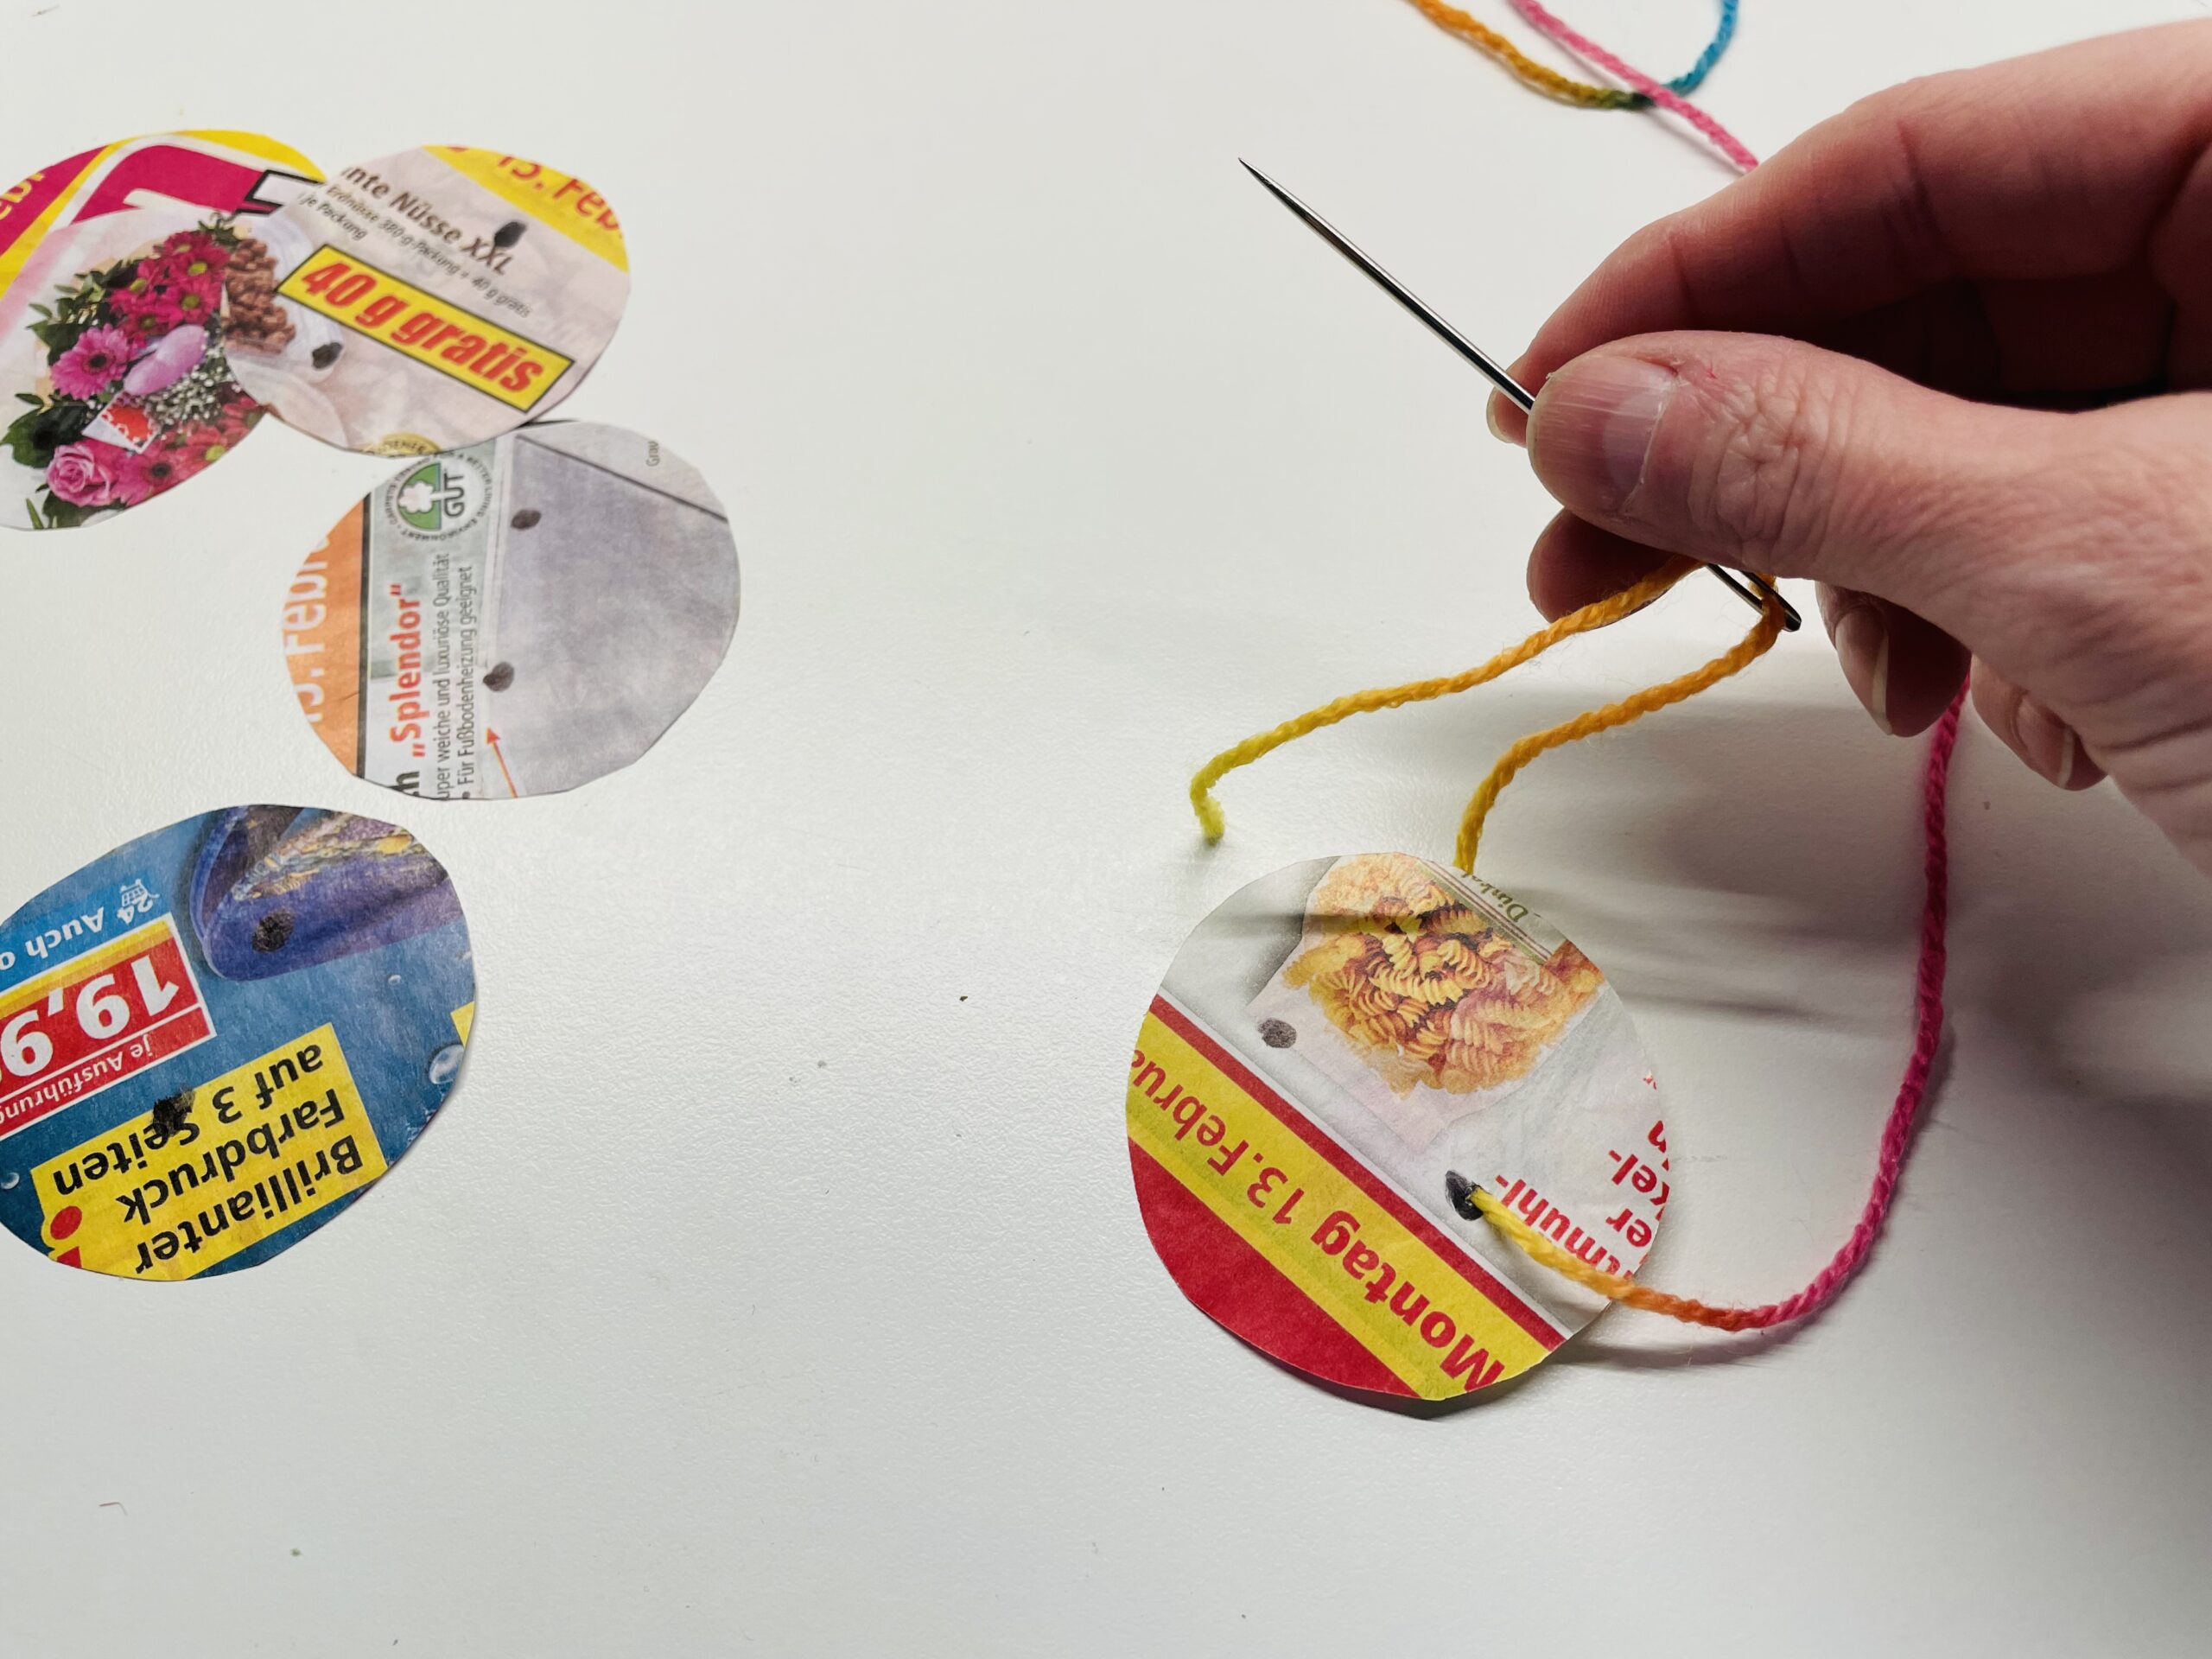
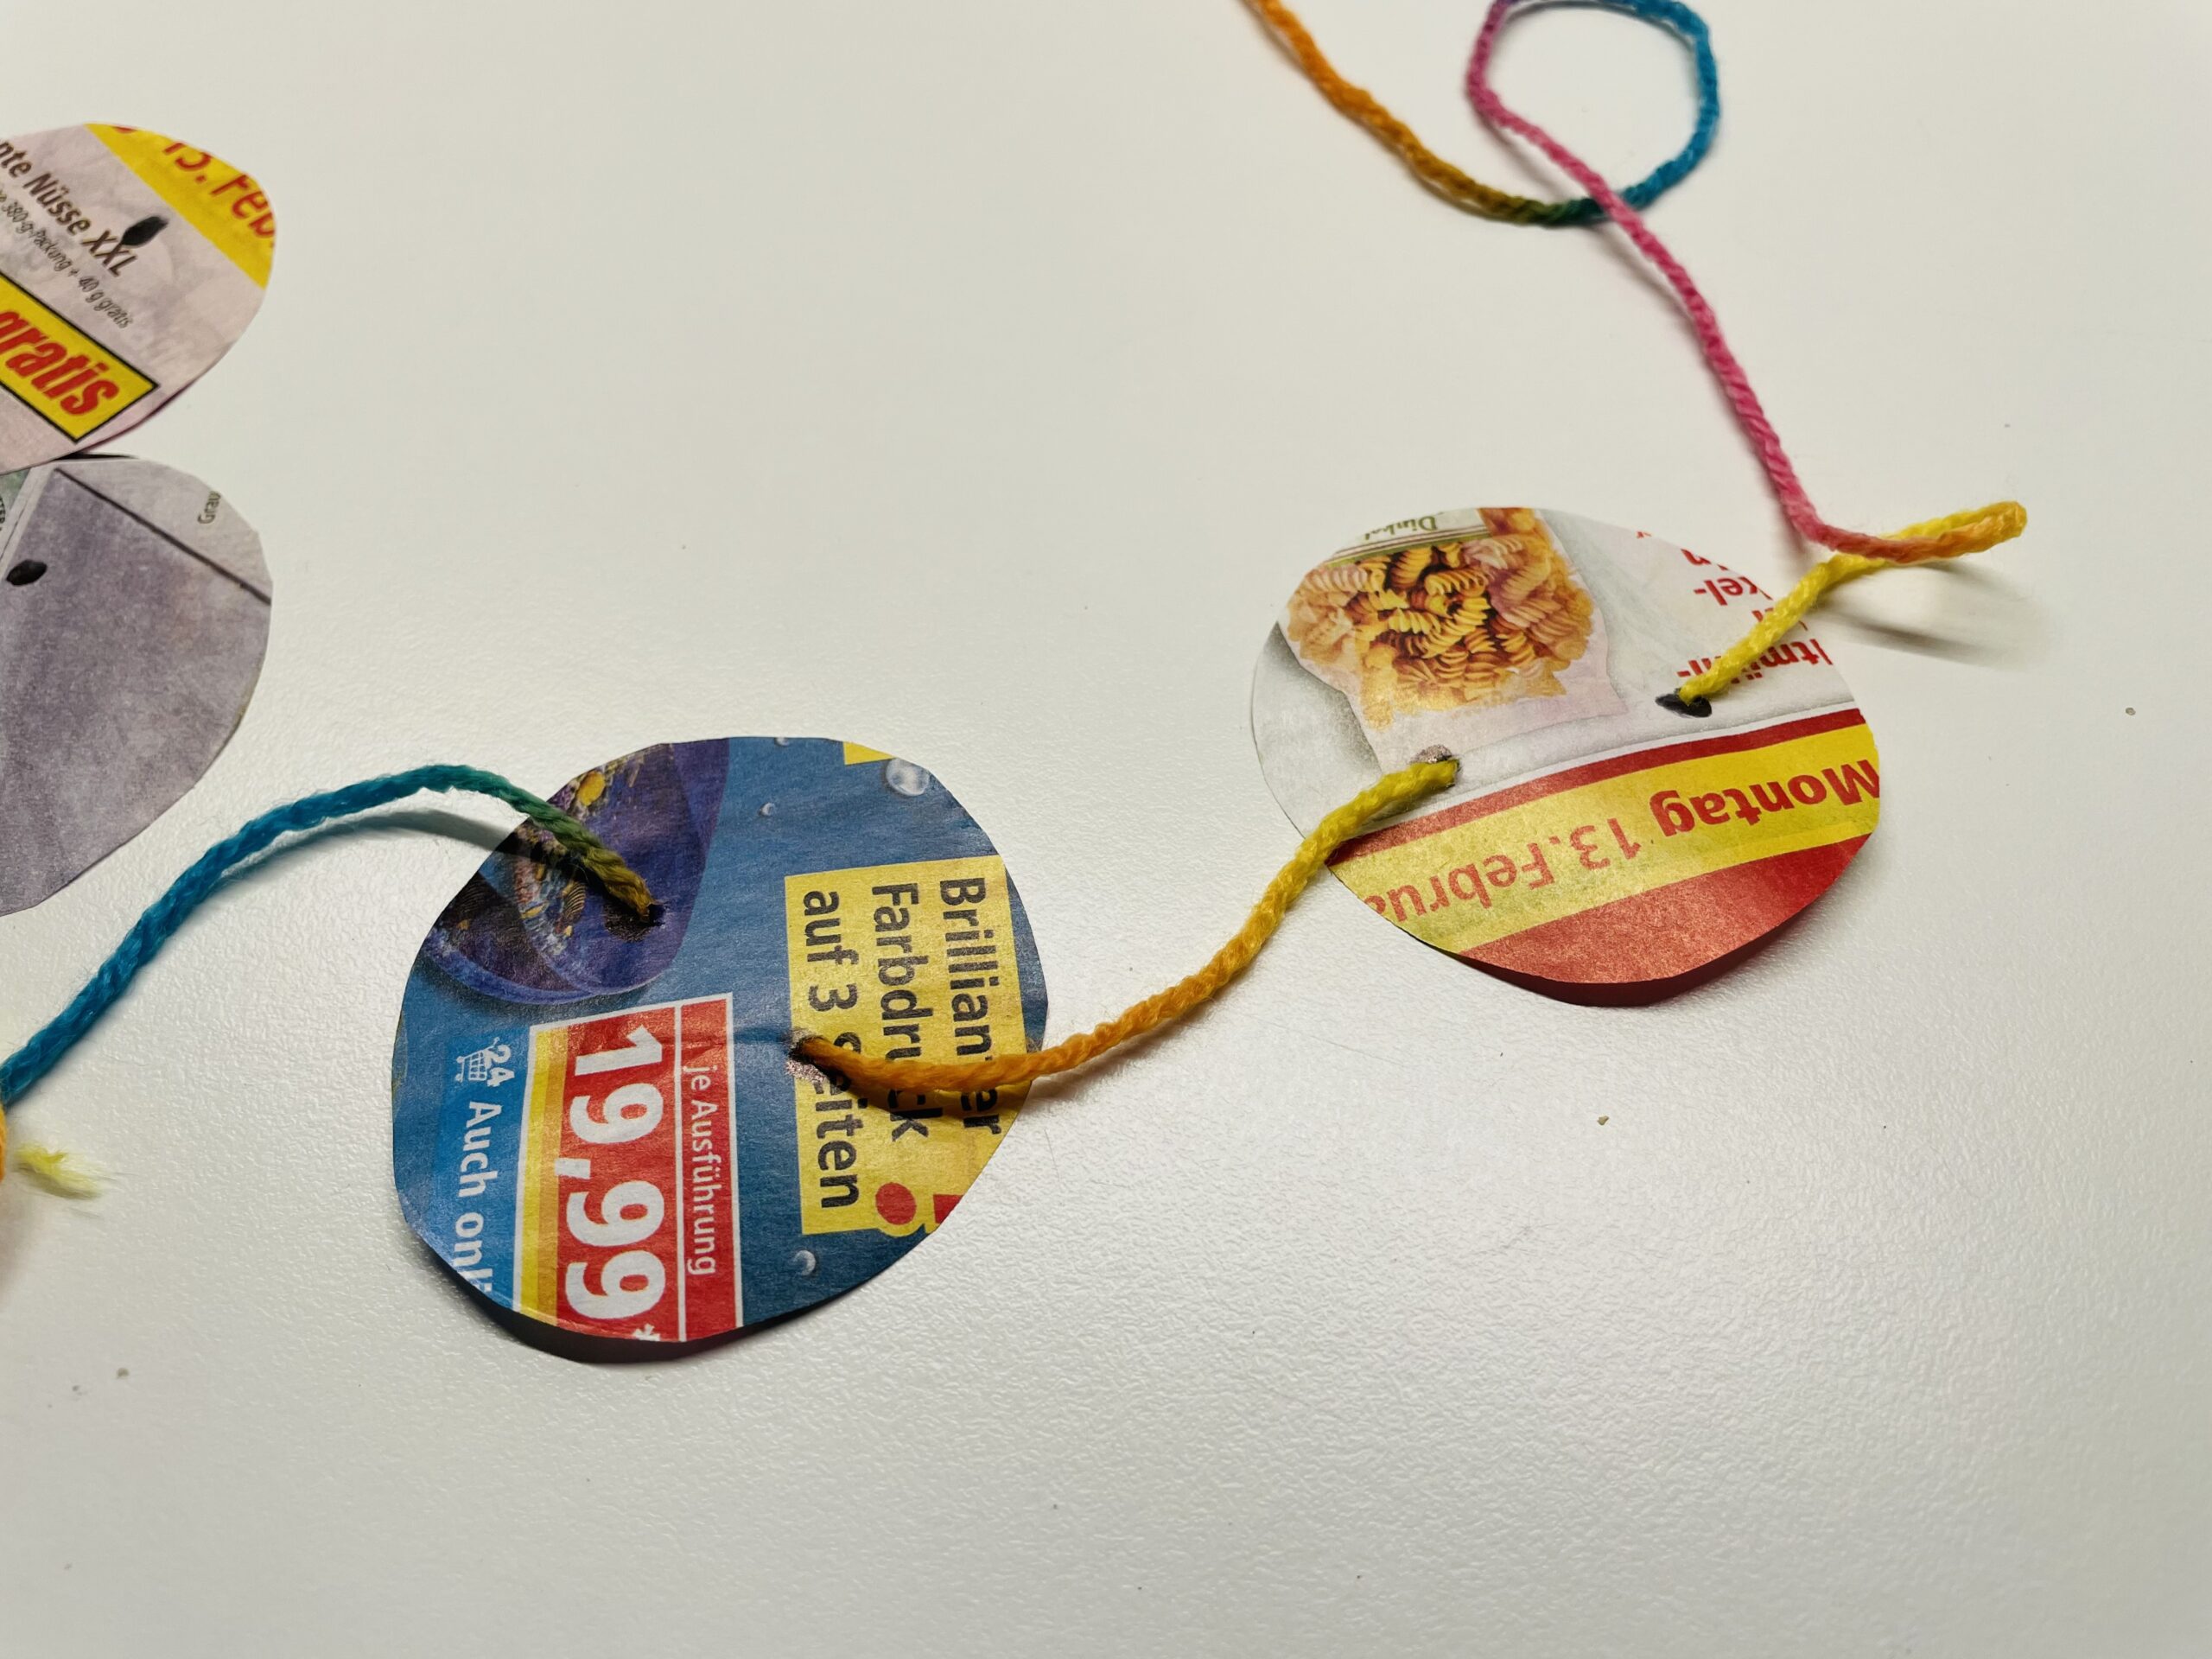
Pull the thread through the opening until it lies flat on the paper circle.

Fold up one circle at a time and leave some distance between the circles.
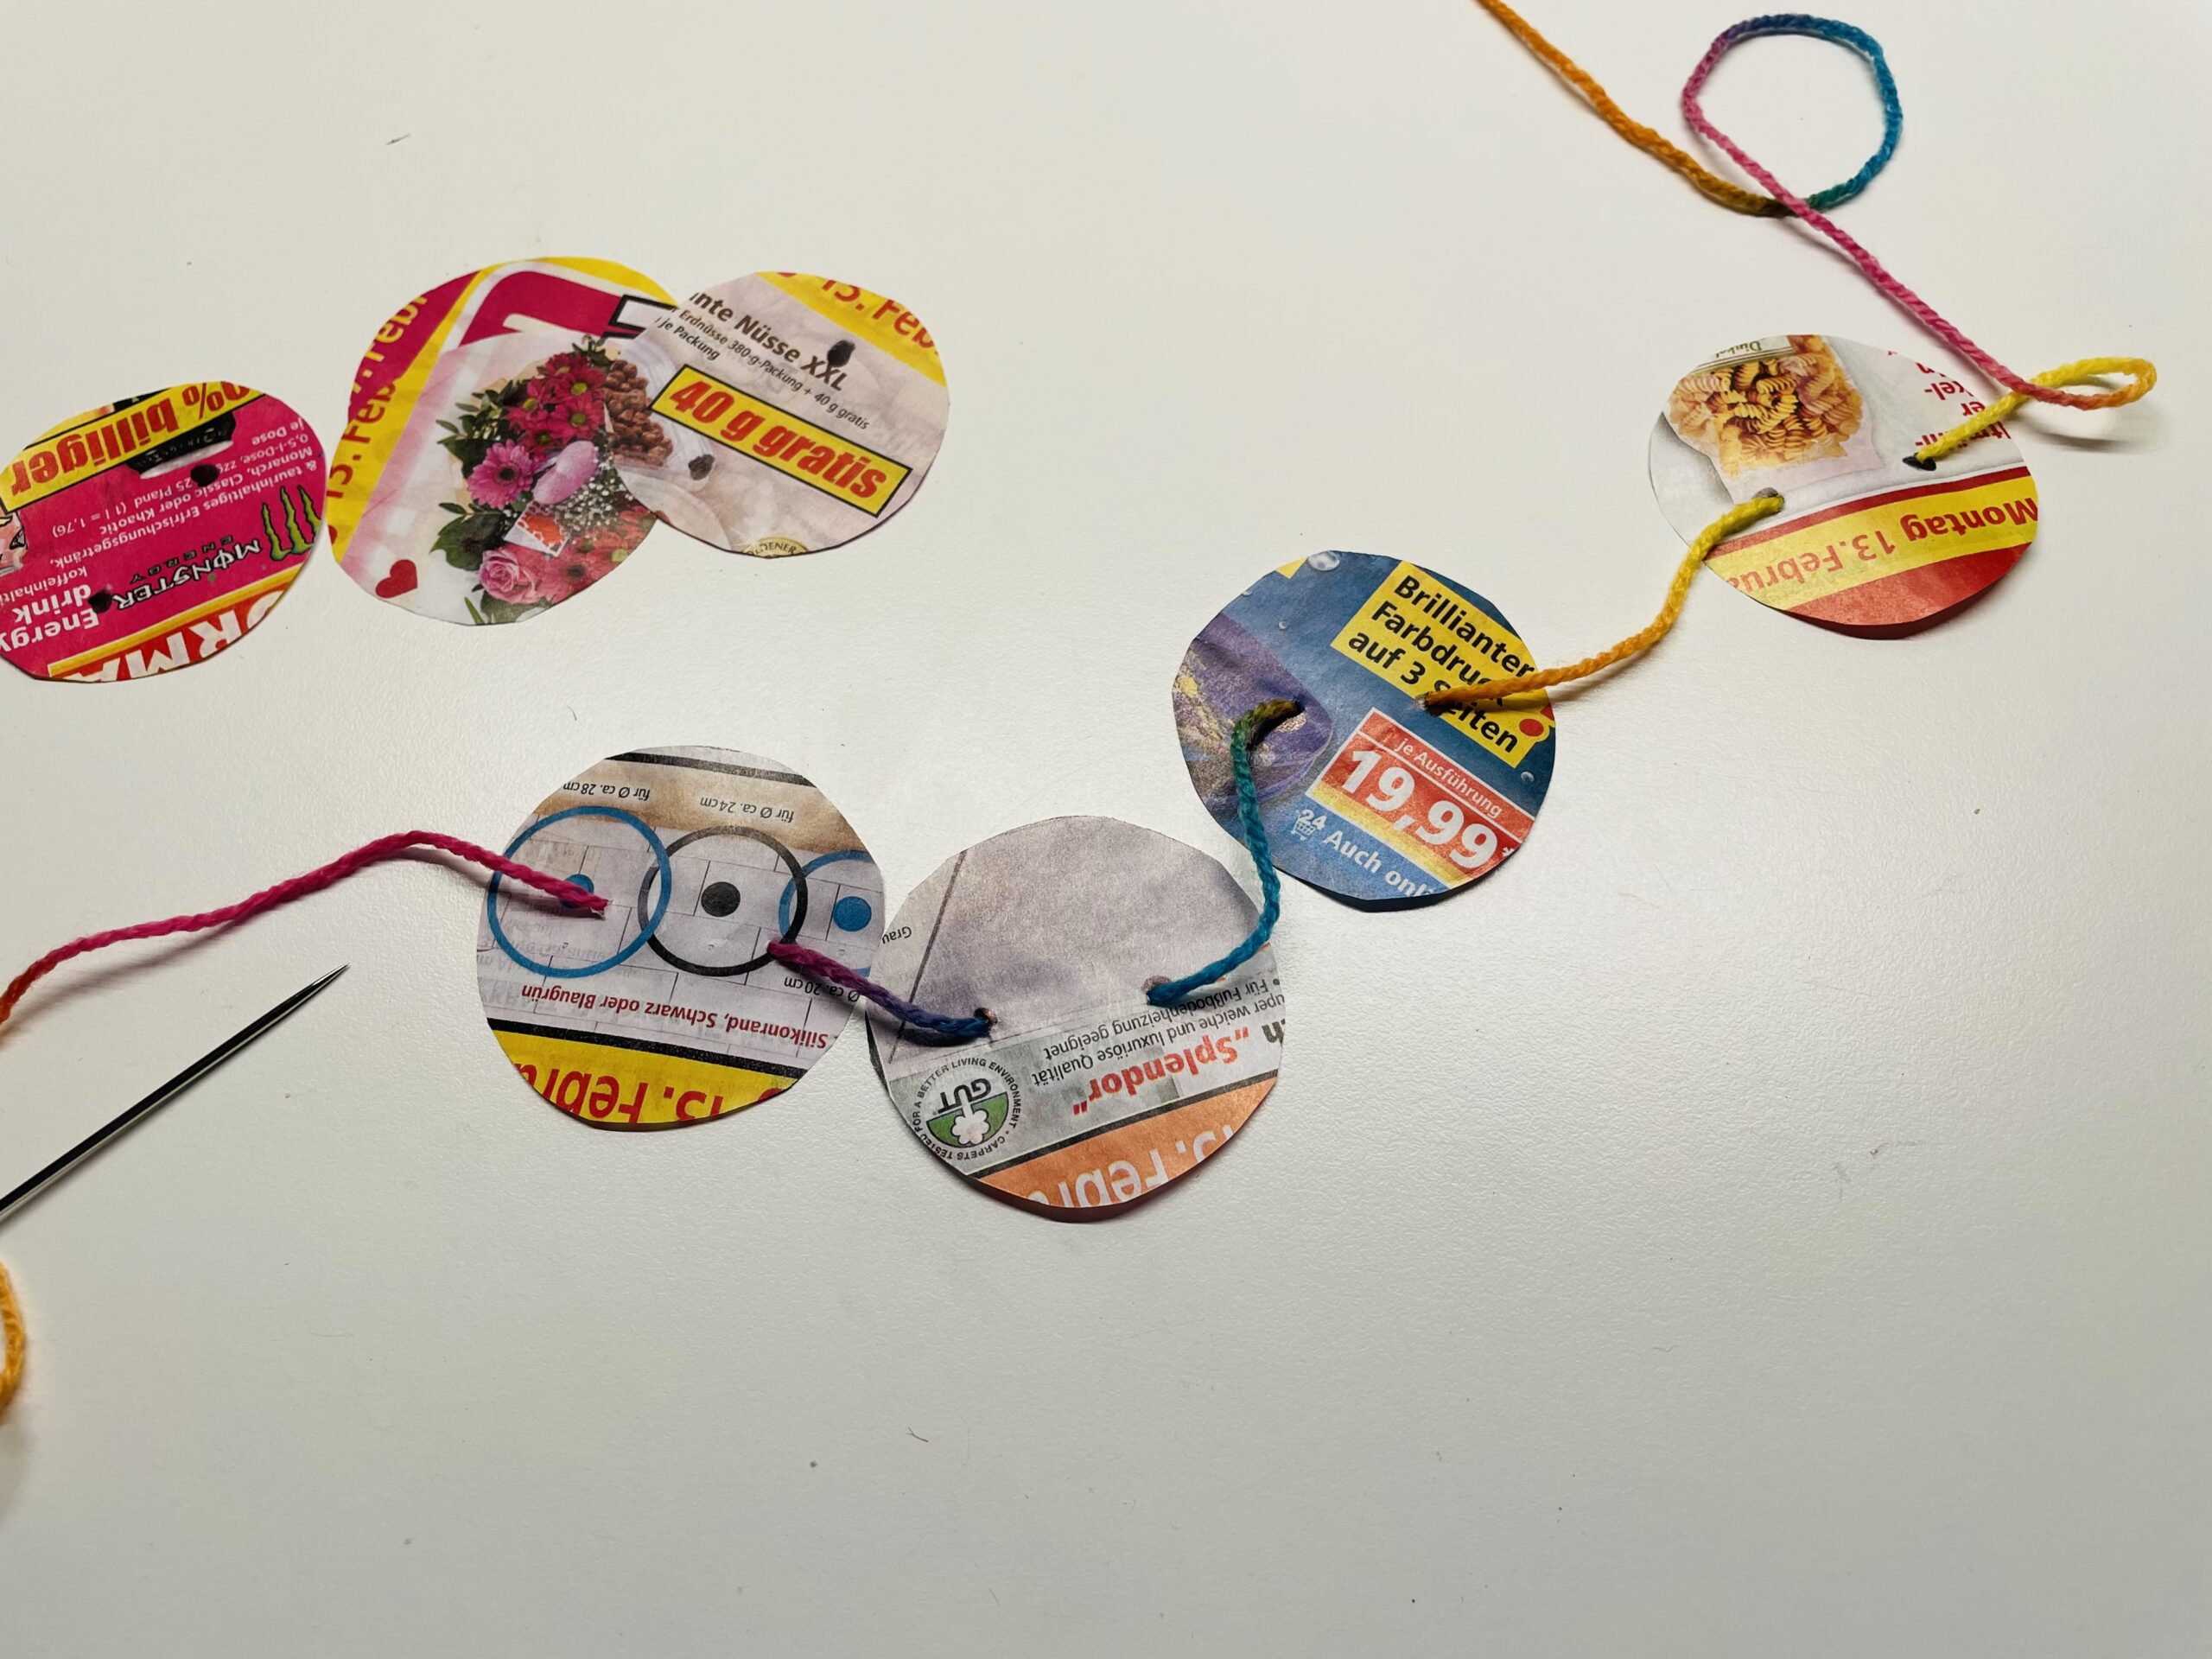
Threads as many circles as you like in different sizes as a snake.
Tip: Older children may even be able to pierce both marker points with one stitch.
Attention: For smaller children, an adult must definitely support when working with a pointed needle! - Risk of injury!

If the snake is long enough, you tie the end of the thread with a loop.
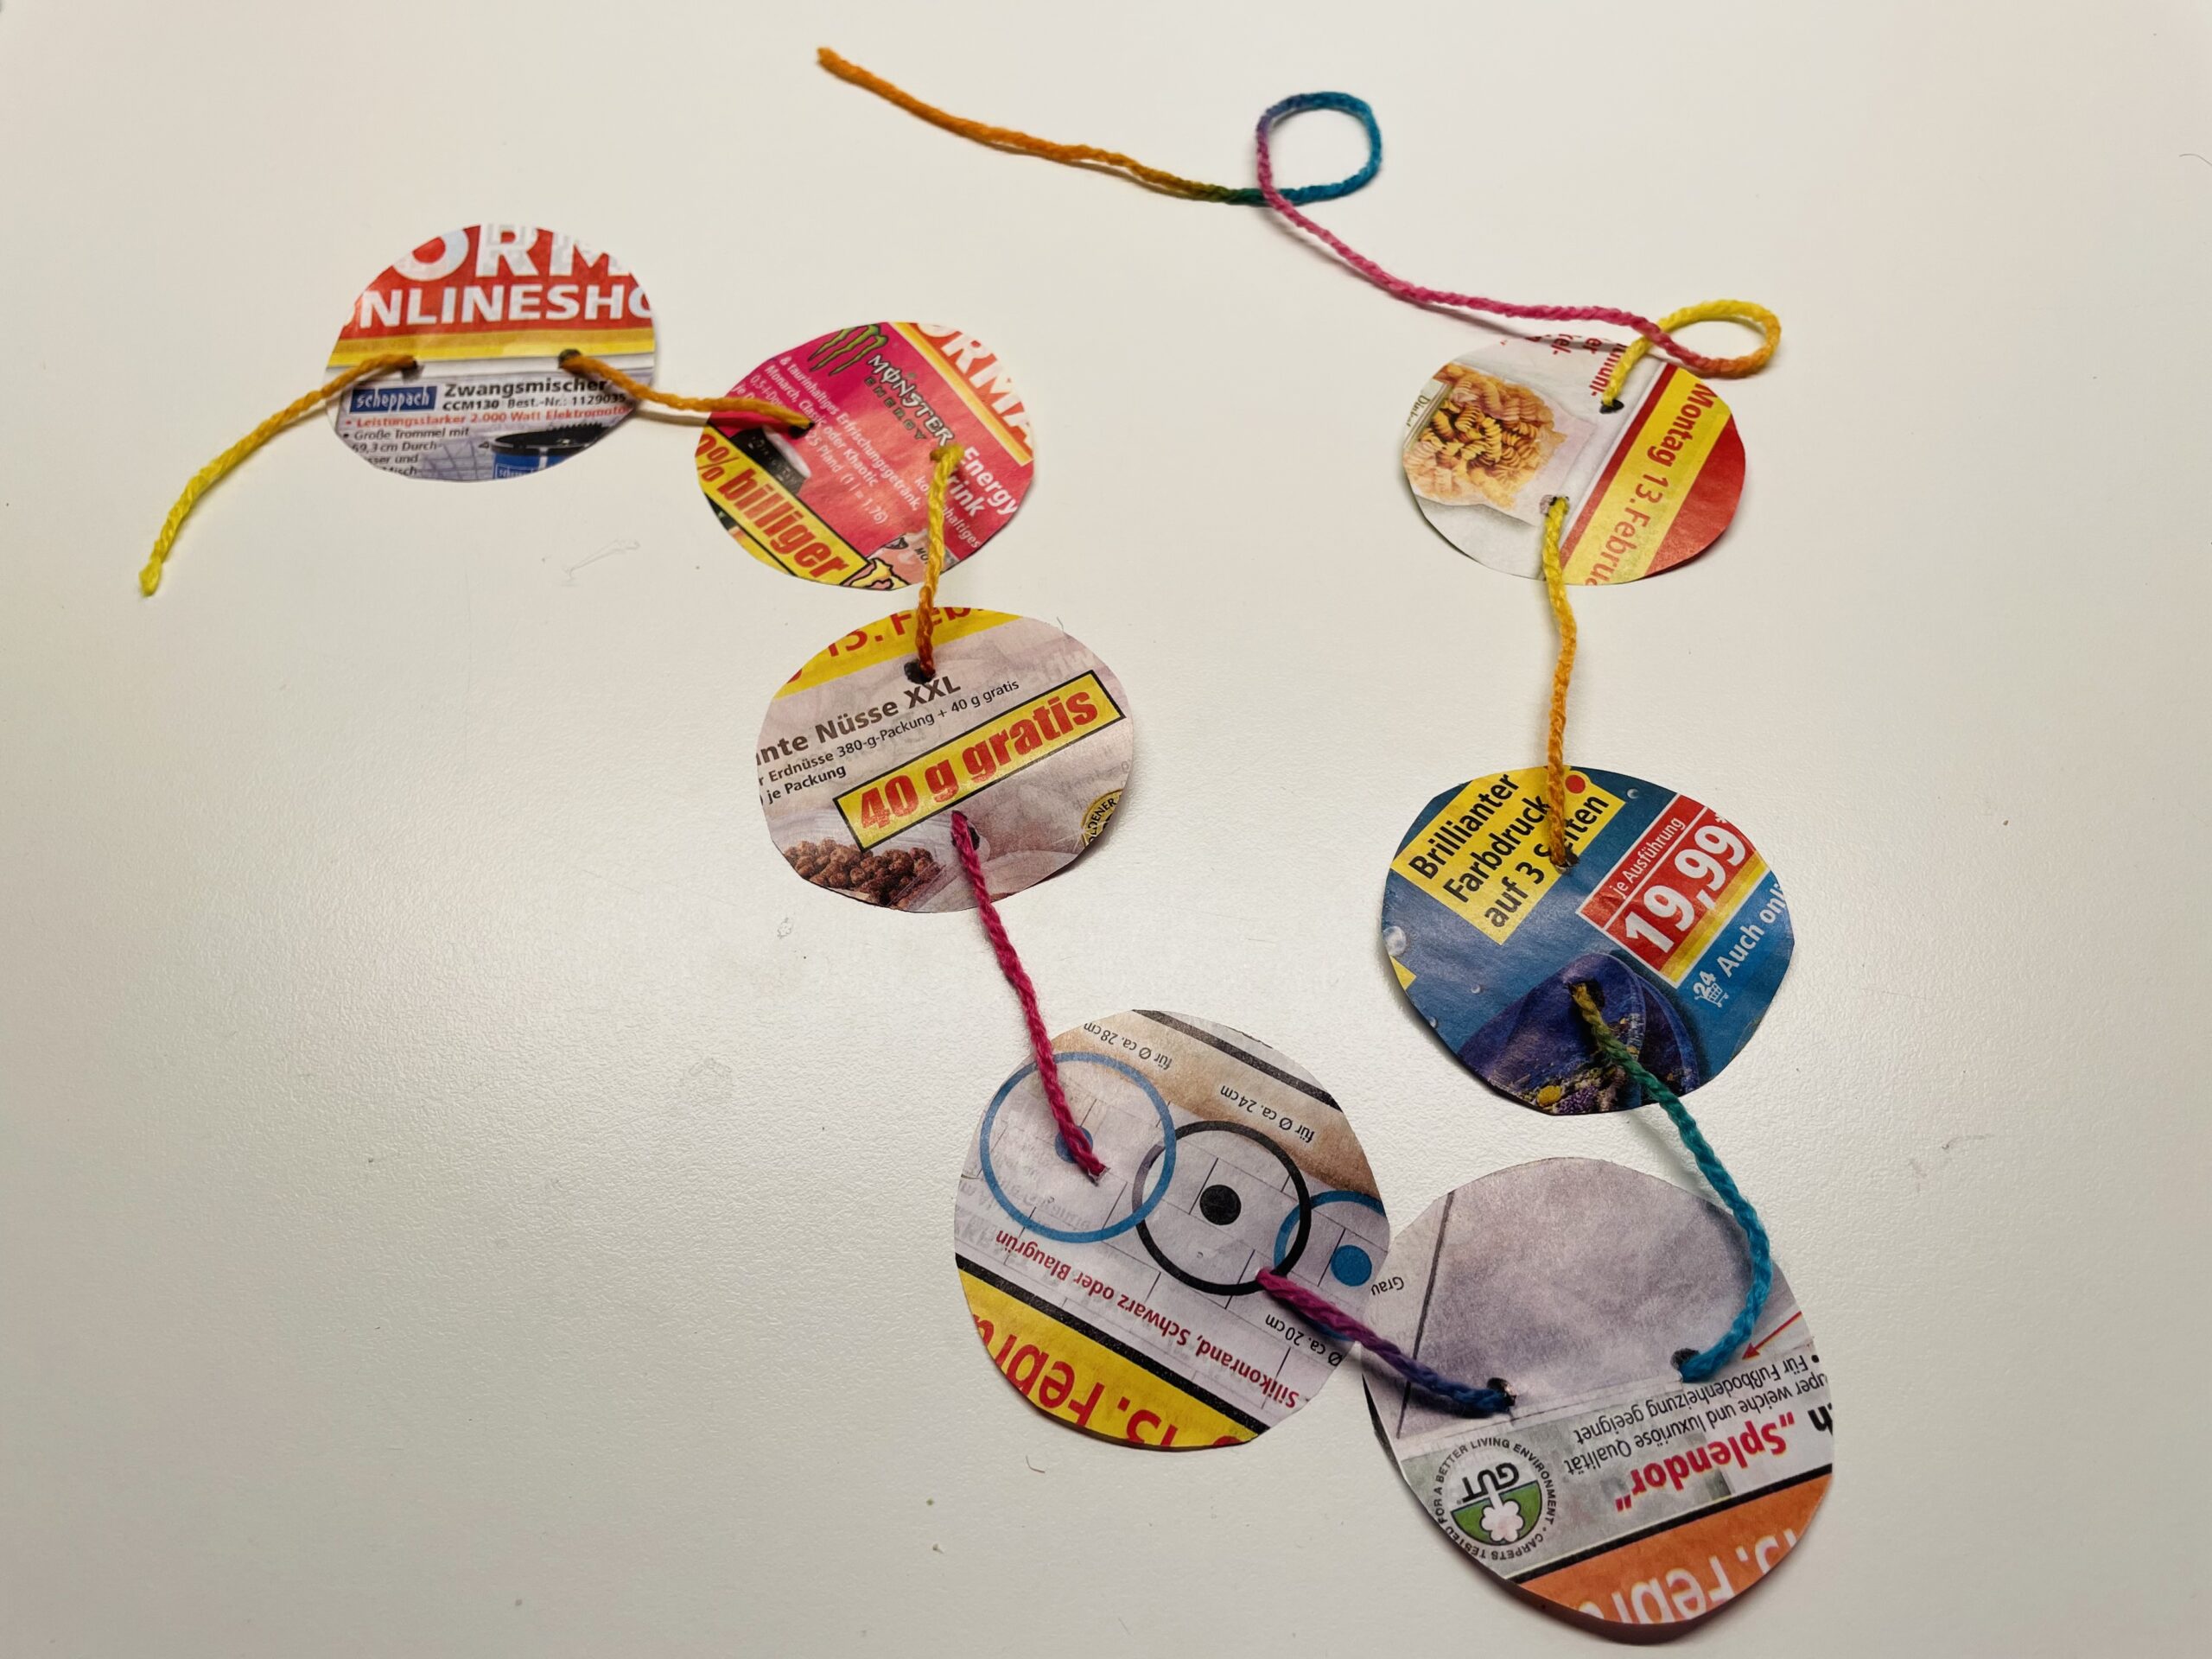
You can hang them on the loop.
Design several confetti snakes and decorate your rooms with them.
Have fun decorating!

Materials
Directions
Get all the materials ready.
You need colorful, somewhat firmer advertising brochures.
In addition, you need different sizes of screw glass lids. They serve as a template to paint the circles for the confetti.
In addition, you need a children's scissors and a pencil or felt pen.
Now you can start.
First choose a colorful brochure, find a nice colored spot and put a screw glass lid on it.
Then you border the lid with your pen. Hold the screw glass lid well so that it does not slip.
Tip: Smaller children need help from an older child or an adult to hold on.
Now you cut out the painted circle with a pair of scissors.
The first confetti circle is finished. Makes so many circles. The circles can also be different in size.
Tip: Older children can place the brochure twice and then cut out several circles at the same time. But make sure that you don't put too many paper on top of each other, as they otherwise slip.
For this you thread colorful yarn into the sewing machine. Upper and lower thread can also be different colored.
Leave the initial threads about 20 centimetres long. Then place the first circle under the "feet" of the sewing machine and begin to sew in the middle. Use a straight stitch for this.
Before you put the second circle on the sewing machine, sew a few stitches into the void. Then the second circle can also be sewn in the middle.
Continue until your confetti snake is long enough for and your circles are all connected.
You can also sew different sizes of confetti together, which vary or alternate sizes.
If your confetti snake is long enough, you cut off the thread. It doesn't have to be sewn. You can also sew several snakes.
Finally, you will find a place for the confetti snakes. They look particularly beautiful in places where they can move in the wind train. They also look great as room decorations for a carnival party.
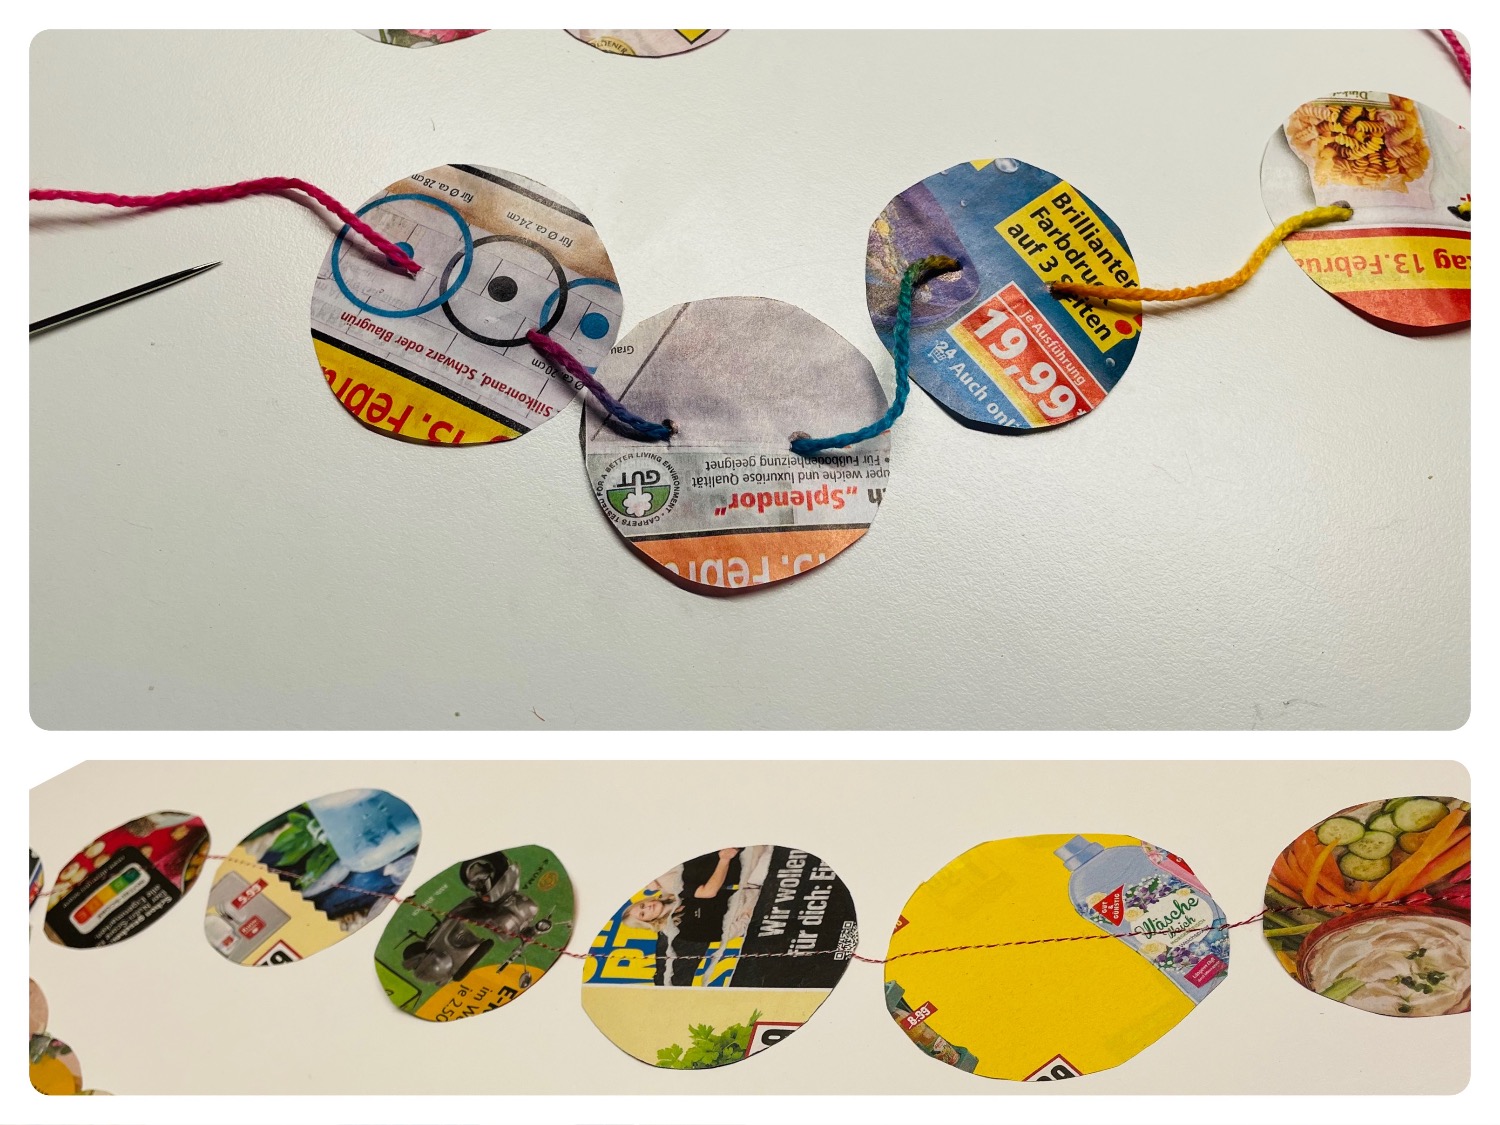
First, prepare colorful wool and a thick pointed needle.
Then cut off a long piece of thread. The length of the thread corresponds to the length of your confetti snake!
Insert the thread into the needle.
Tip: Smaller children need support!
For easier threading of the circles you mark each circle with two points. Thus the children know at which places they have to pierce the needle with the thread.
Then you sting through a marker with the needle.
Pull the thread one piece through the hole and stash the needle at the second marker from the back again to the front.
Pull the thread through the opening until it lies flat on the paper circle.
Fold up one circle at a time and leave some distance between the circles.
Threads as many circles as you like in different sizes as a snake.
Tip: Older children may even be able to pierce both marker points with one stitch.
Attention: For smaller children, an adult must definitely support when working with a pointed needle! - Risk of injury!
If the snake is long enough, you tie the end of the thread with a loop.
You can hang them on the loop.
Design several confetti snakes and decorate your rooms with them.
Have fun decorating!
Follow us on Facebook , Instagram and Pinterest
Don't miss any more adventures: Our bottle mail