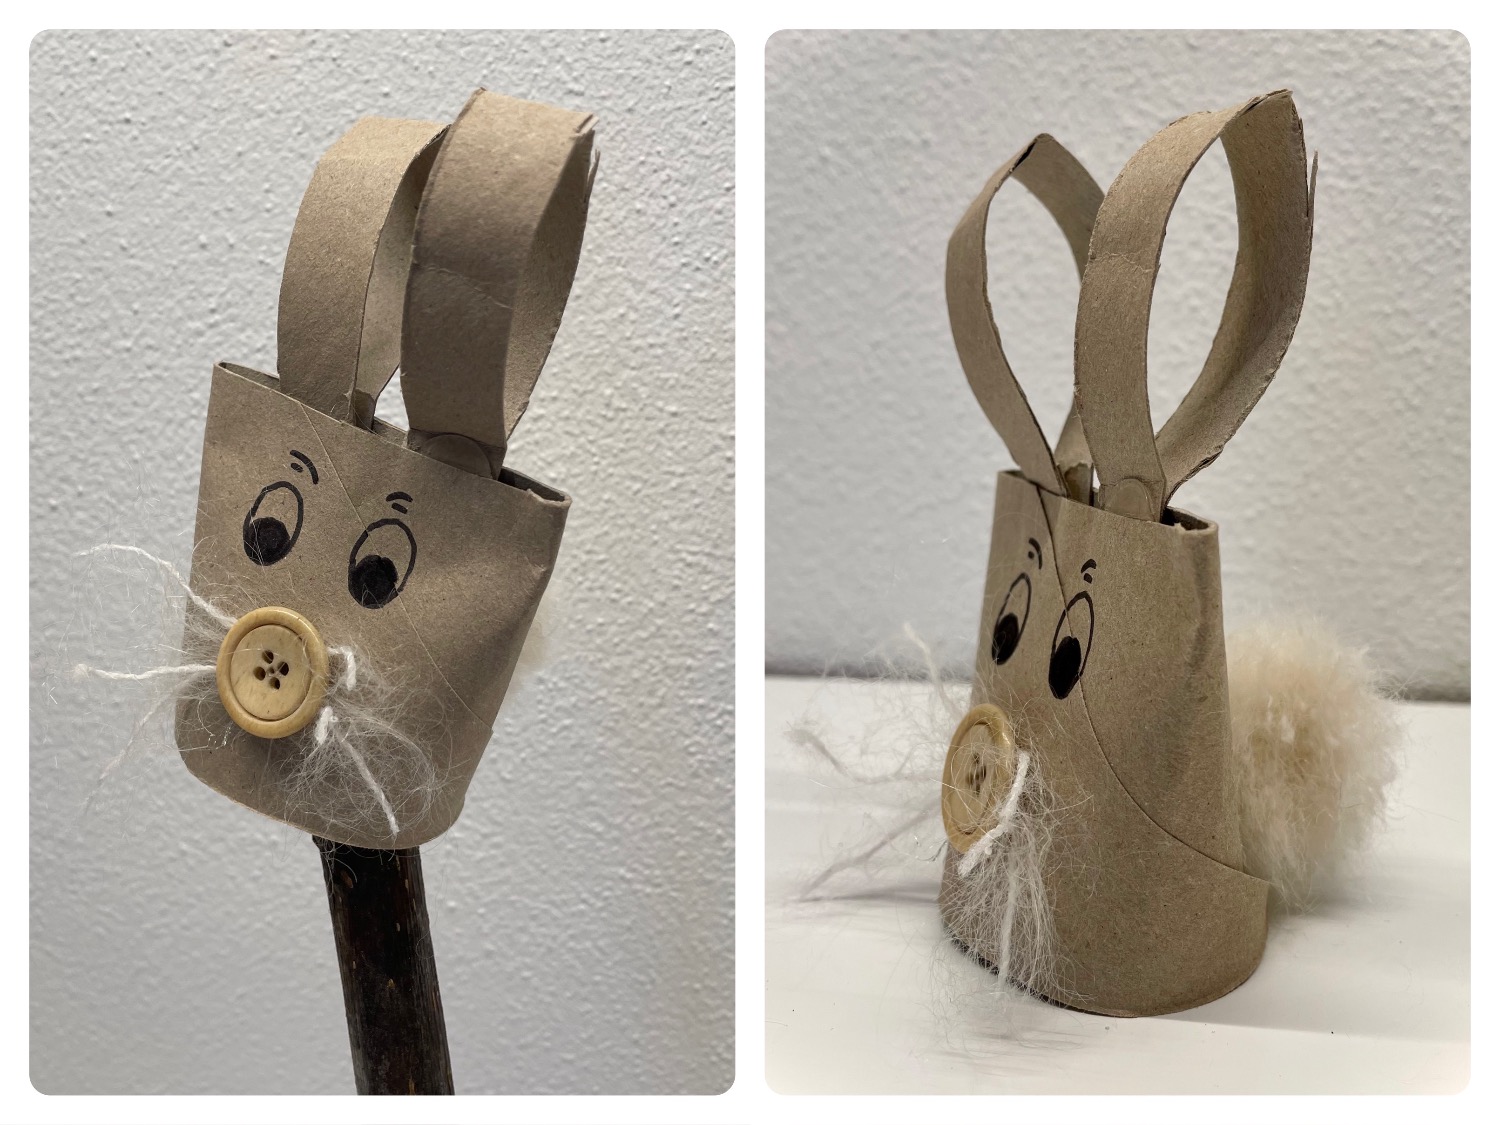
Make a small rabbit out of a cardboard roll. In addition, you need scissors, pen, glue, a button and wool for the Haretails And the whiskers.
It is suitable as a decoration for Easter, as a gift or for playing in the puppet theatre.
Media Education for Kindergarten and Hort

Relief in everyday life, targeted promotion of individual children, independent learning and - without any pre-knowledge already usable by the youngest!
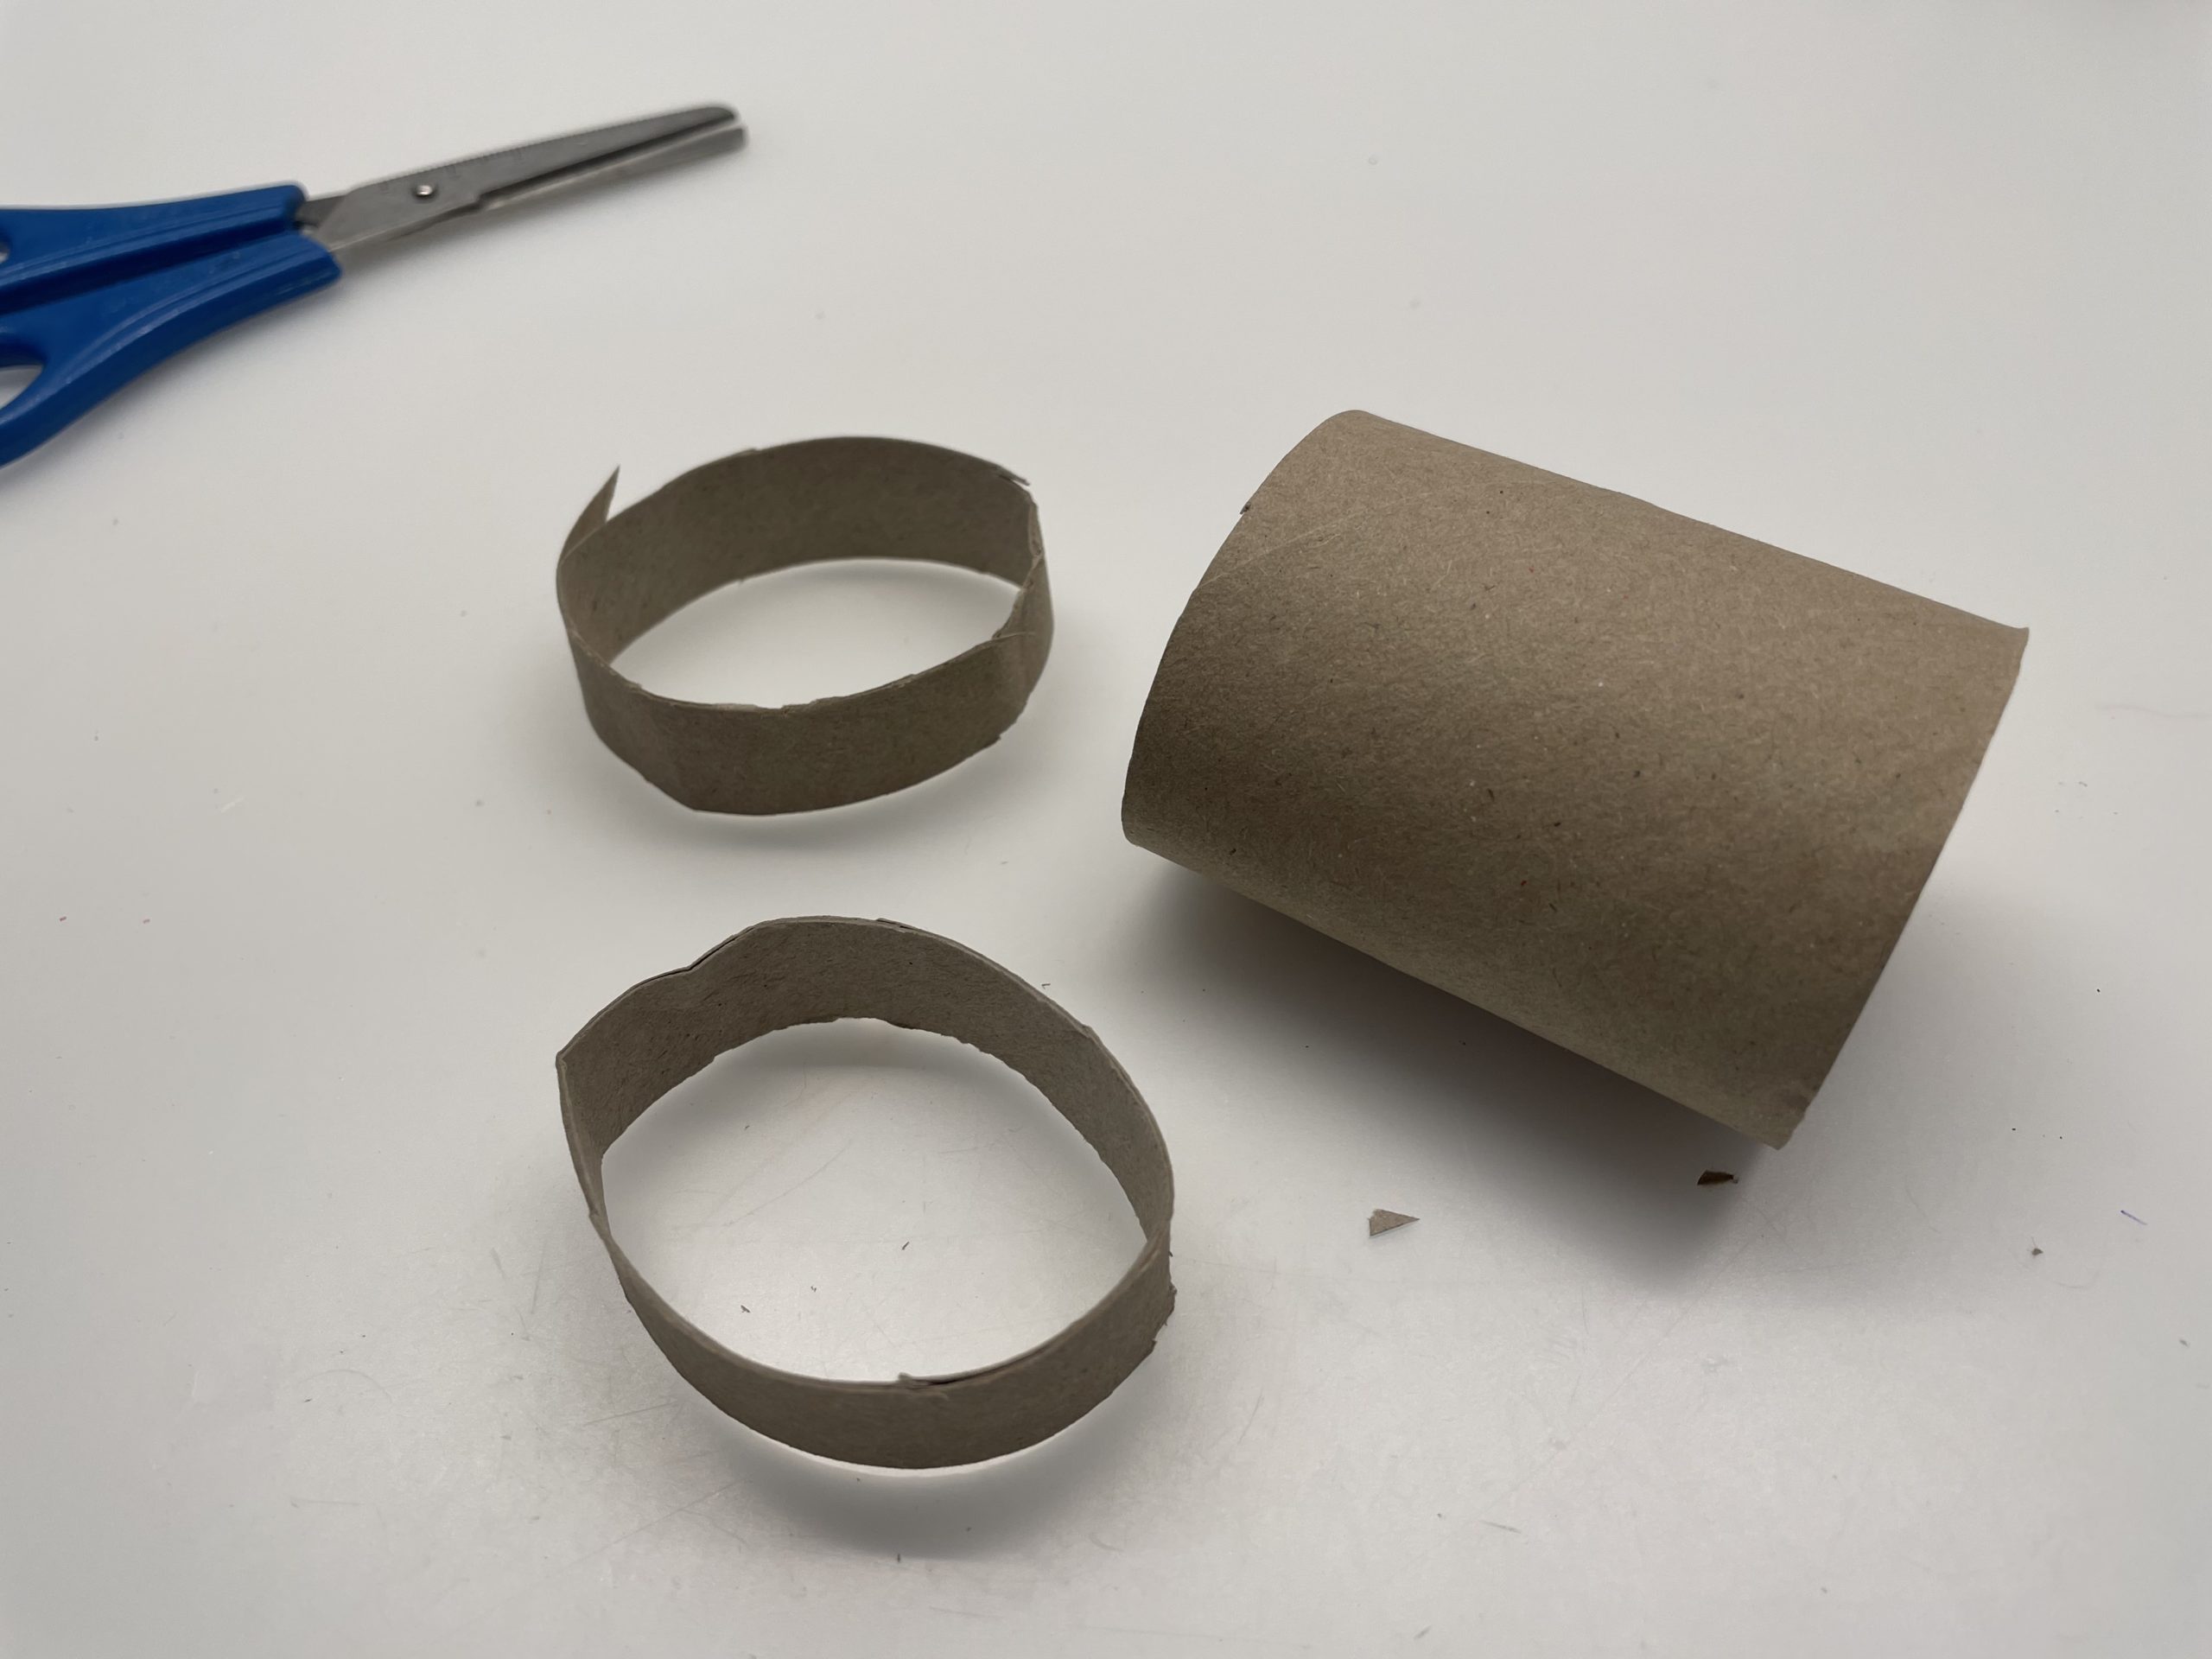
Get ready for all the materials and the craft material.
Take the cardboard roll first.

Then cut off two very narrow strips of cardboard roll with the scissors.


Press the strips together flat so they look like two rabbit ears.
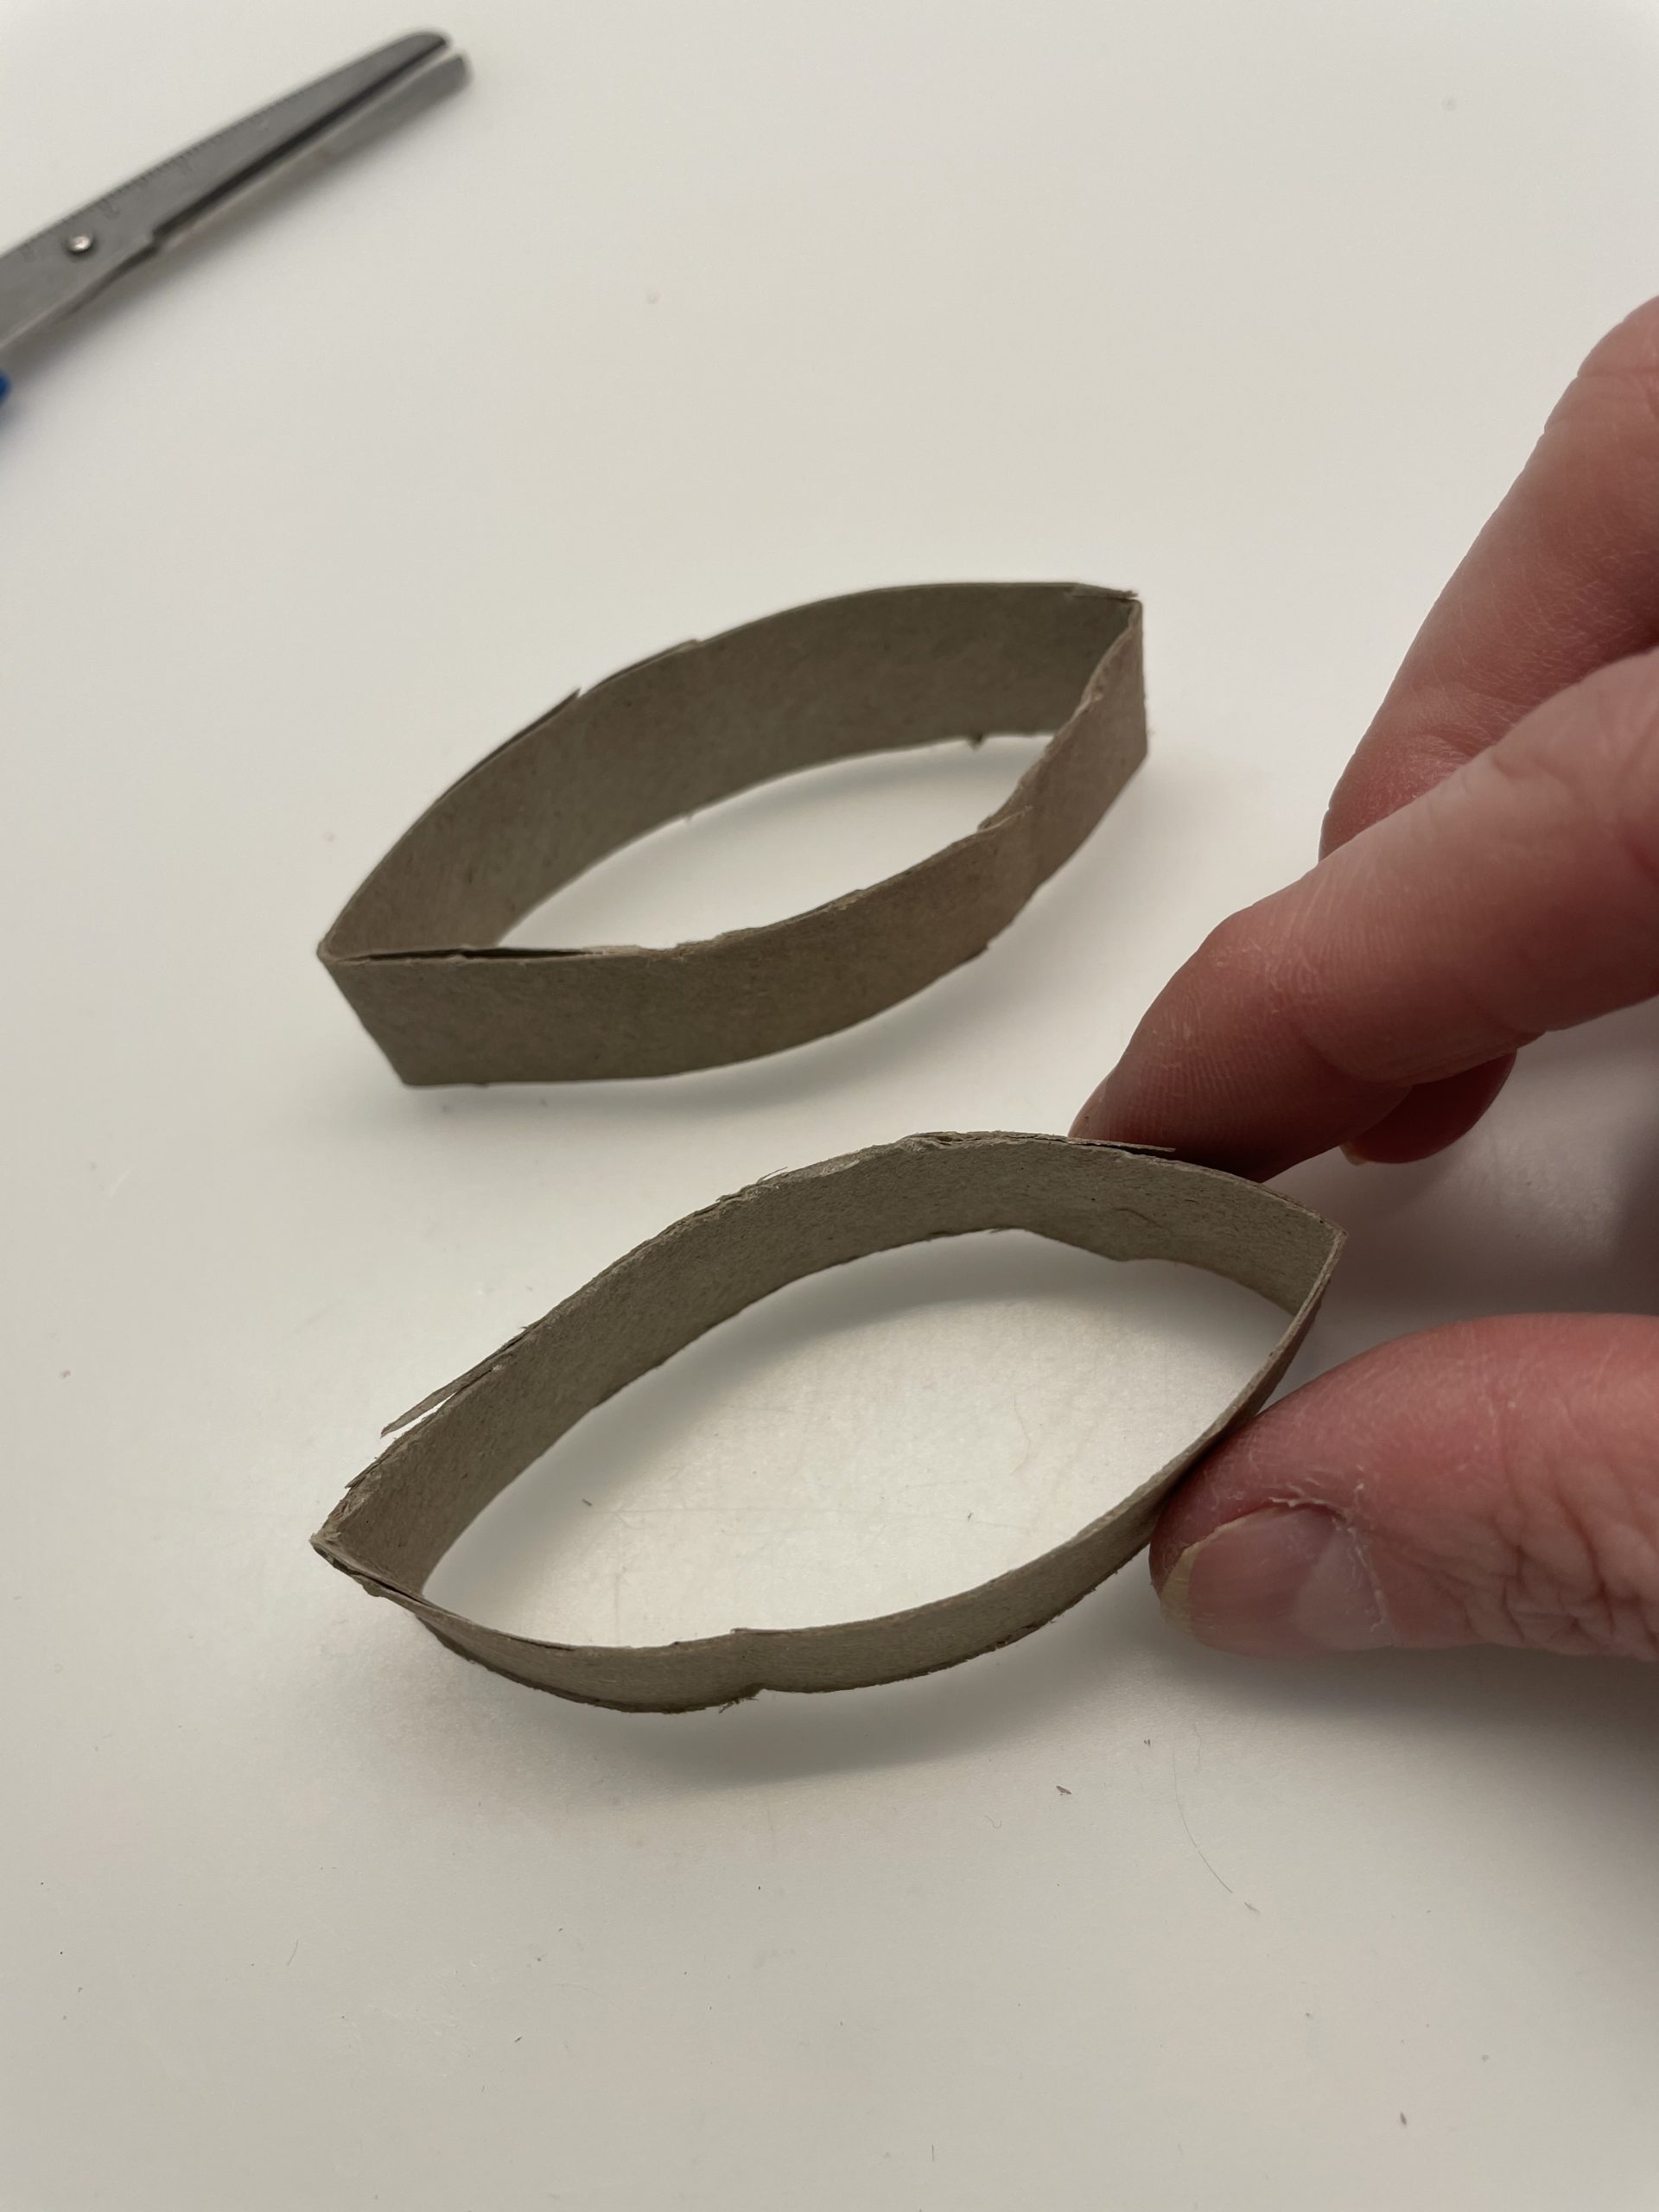


Up and down, the cardboard strip has a kink.


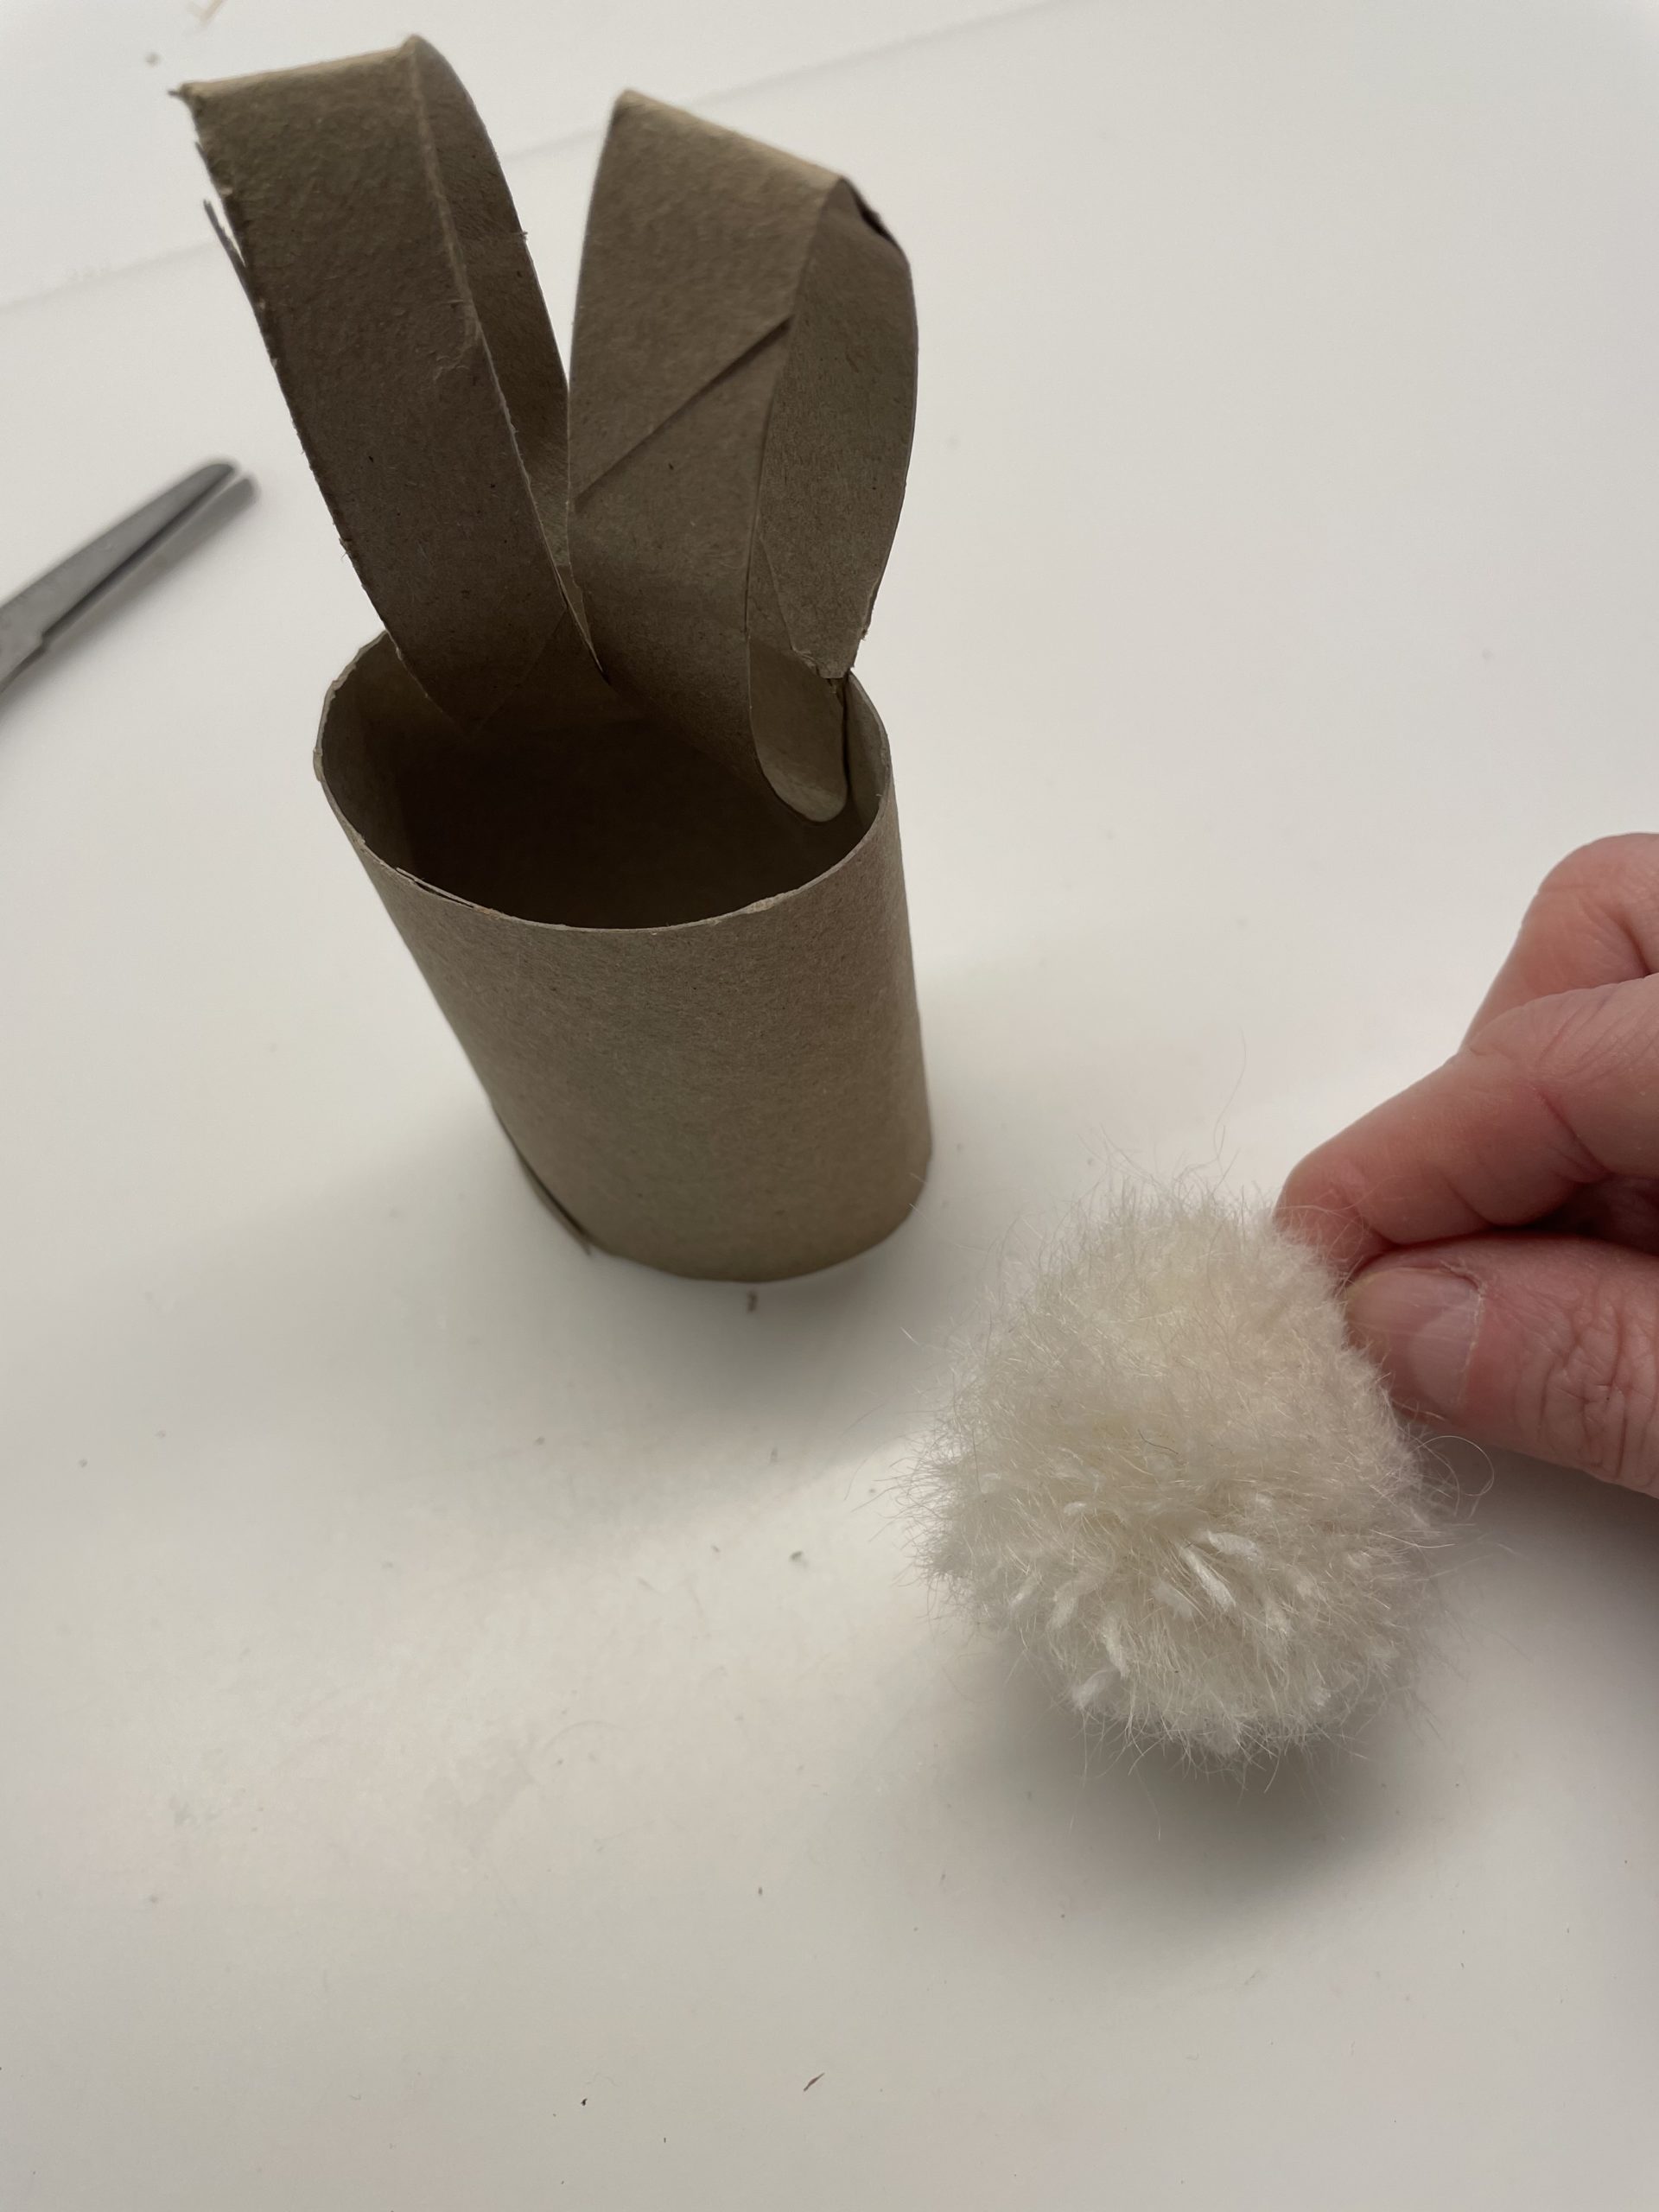
Also pushes the cardboard roll slightly together, so that it becomes oval (oval).
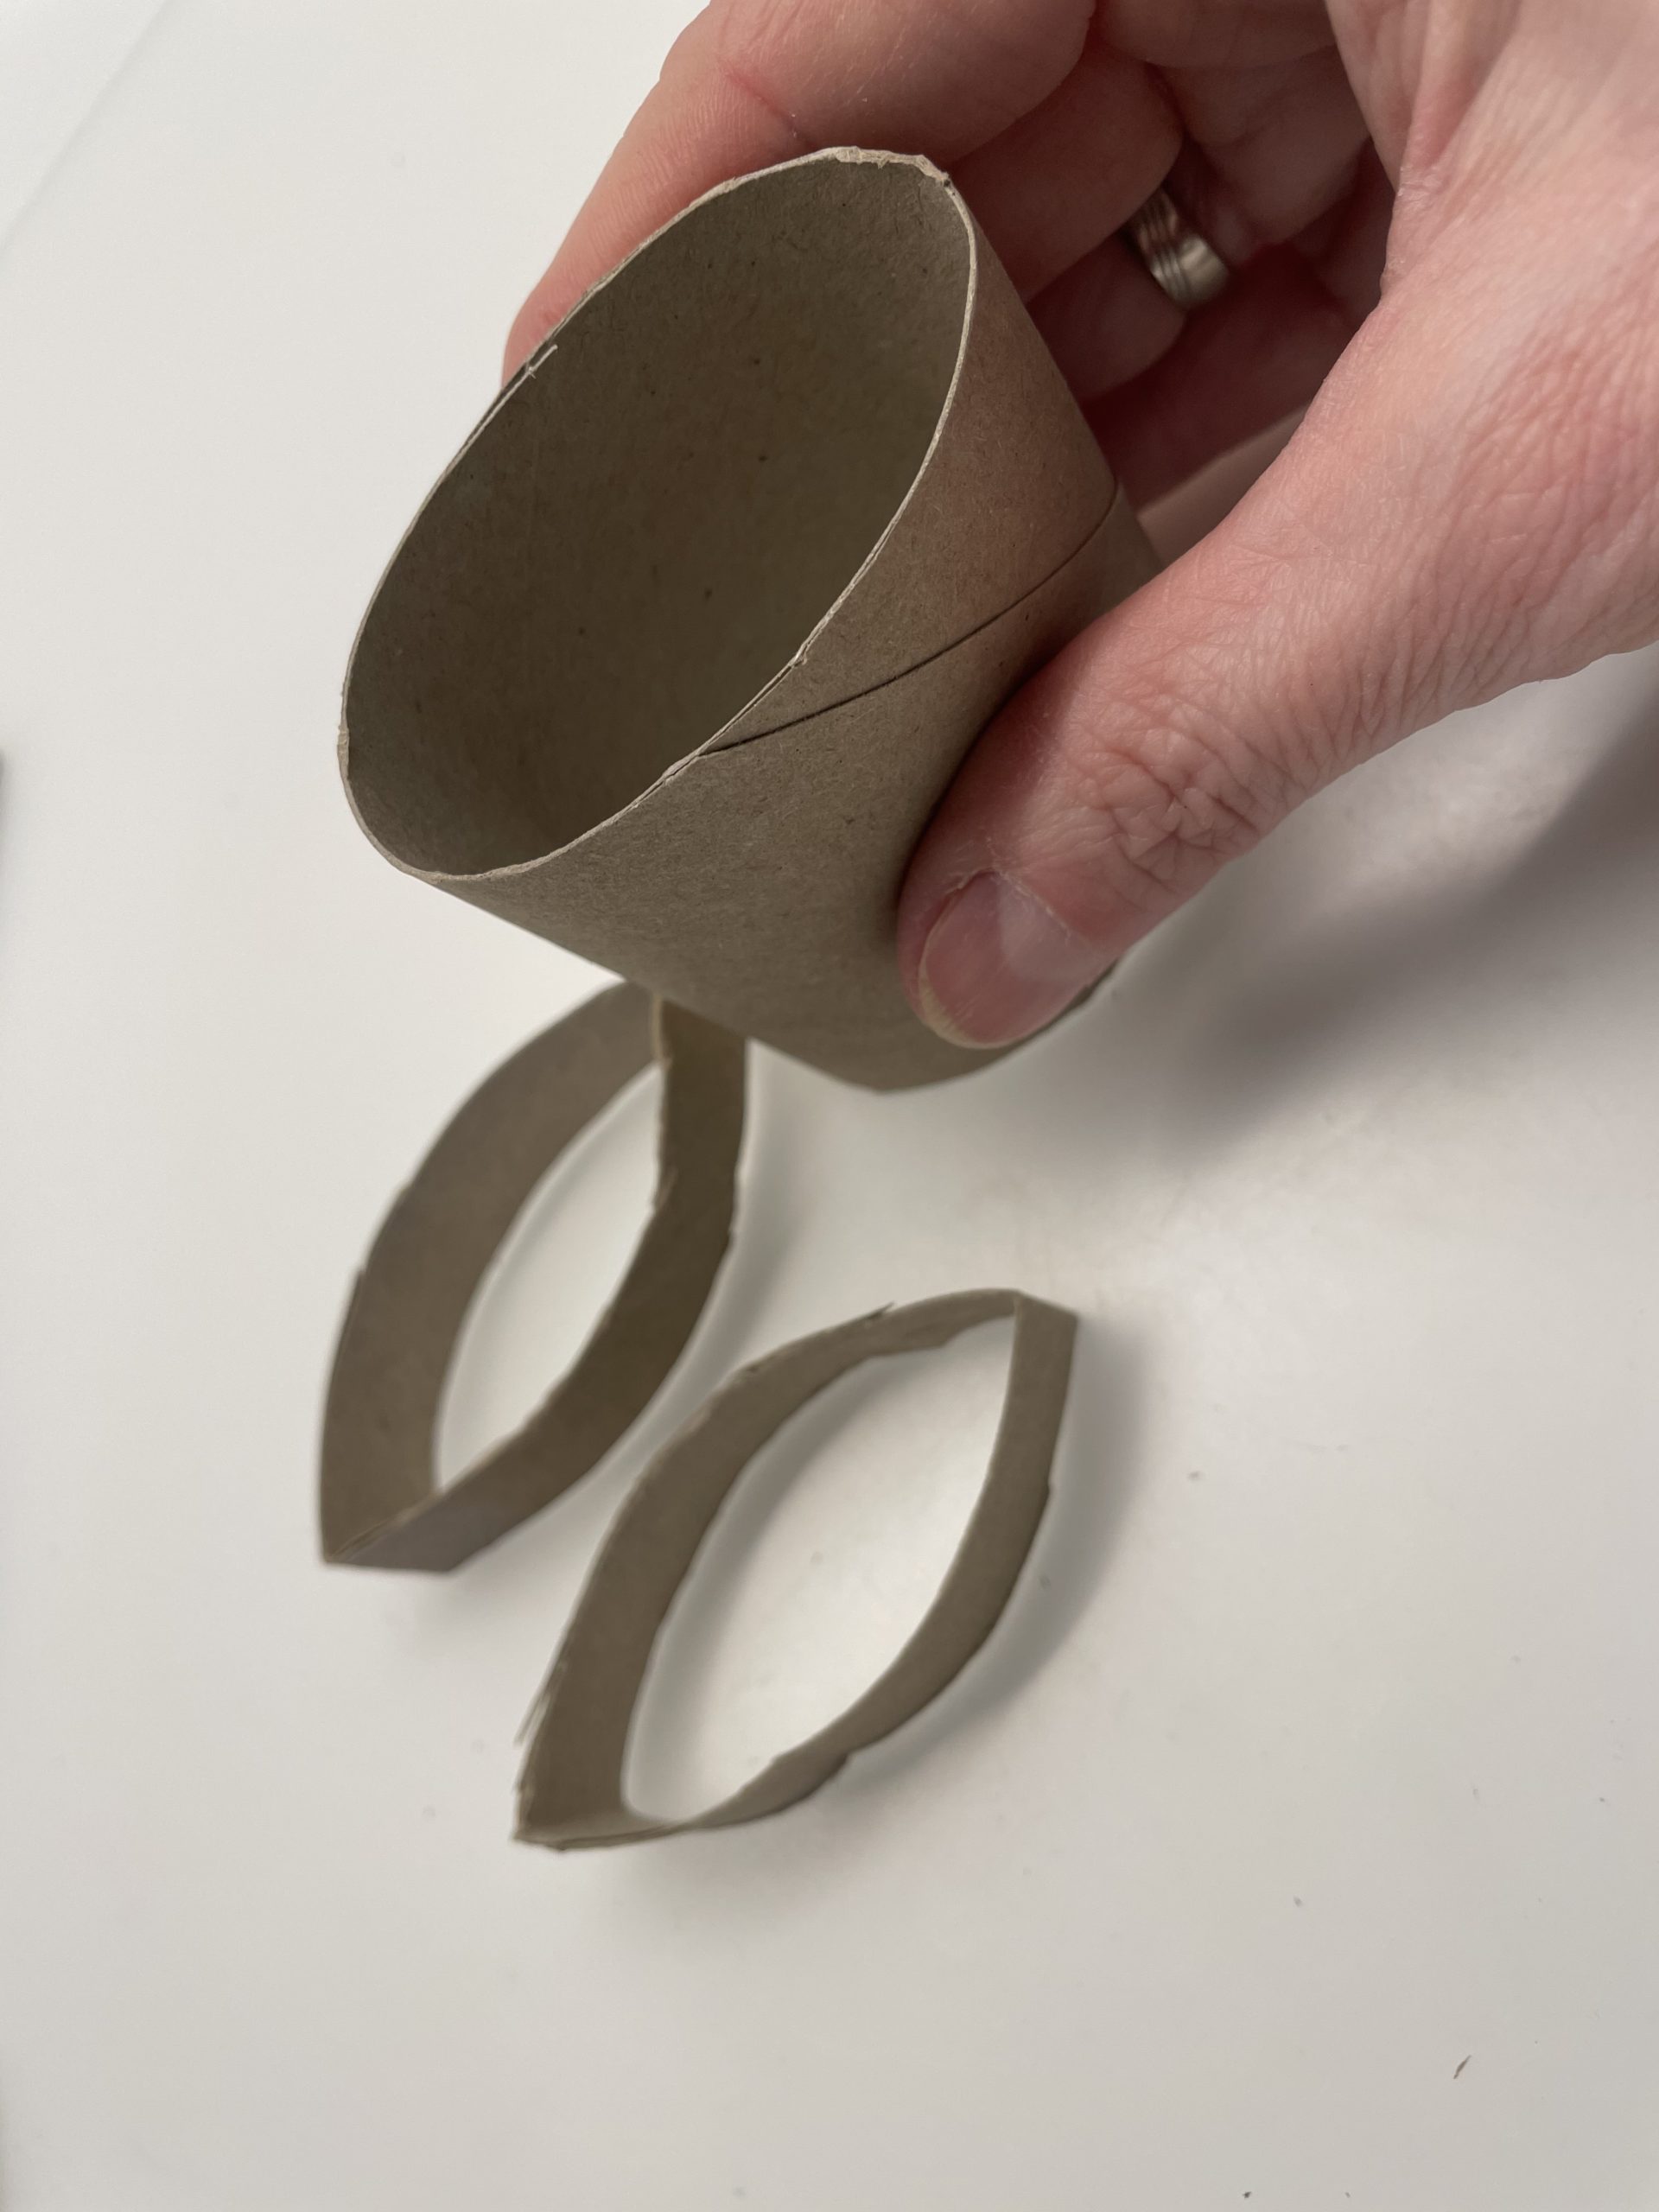


Lay the cardboard roll flat on the base. Then stick the two ears on the lying side from the inside.
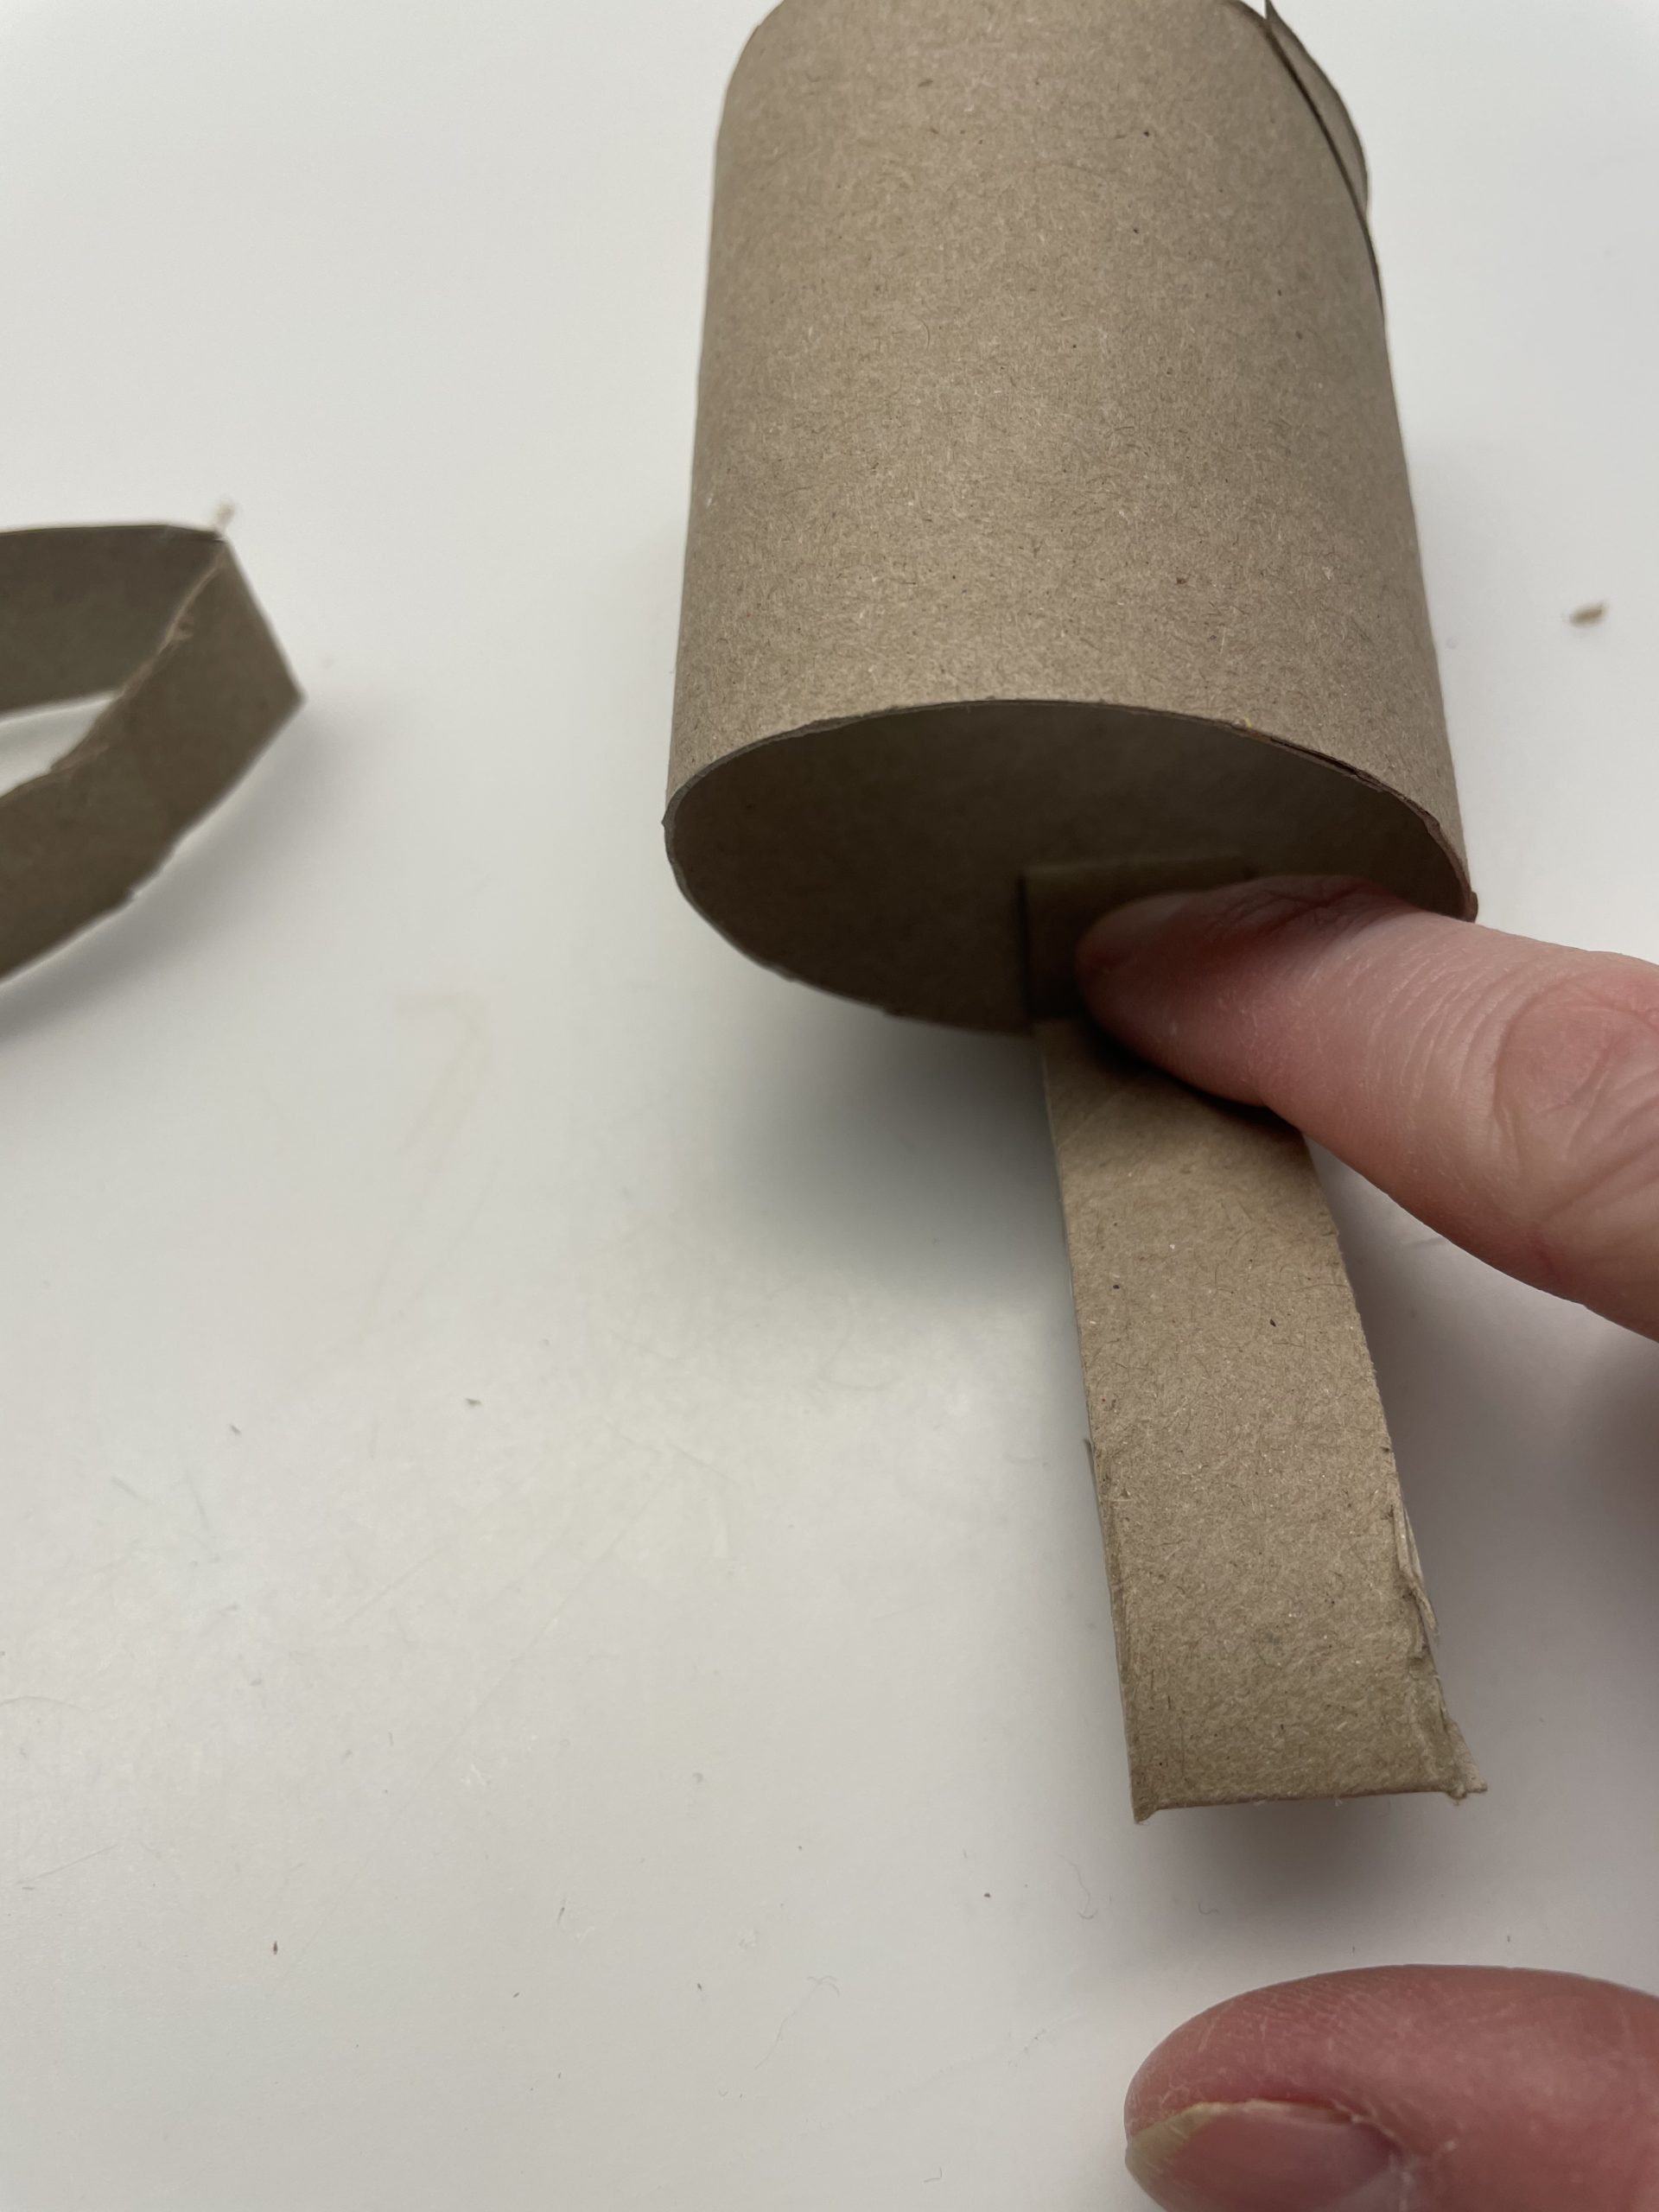


You can also use the hot glue gun.
Attention: Let us help you with this - risk of injury!
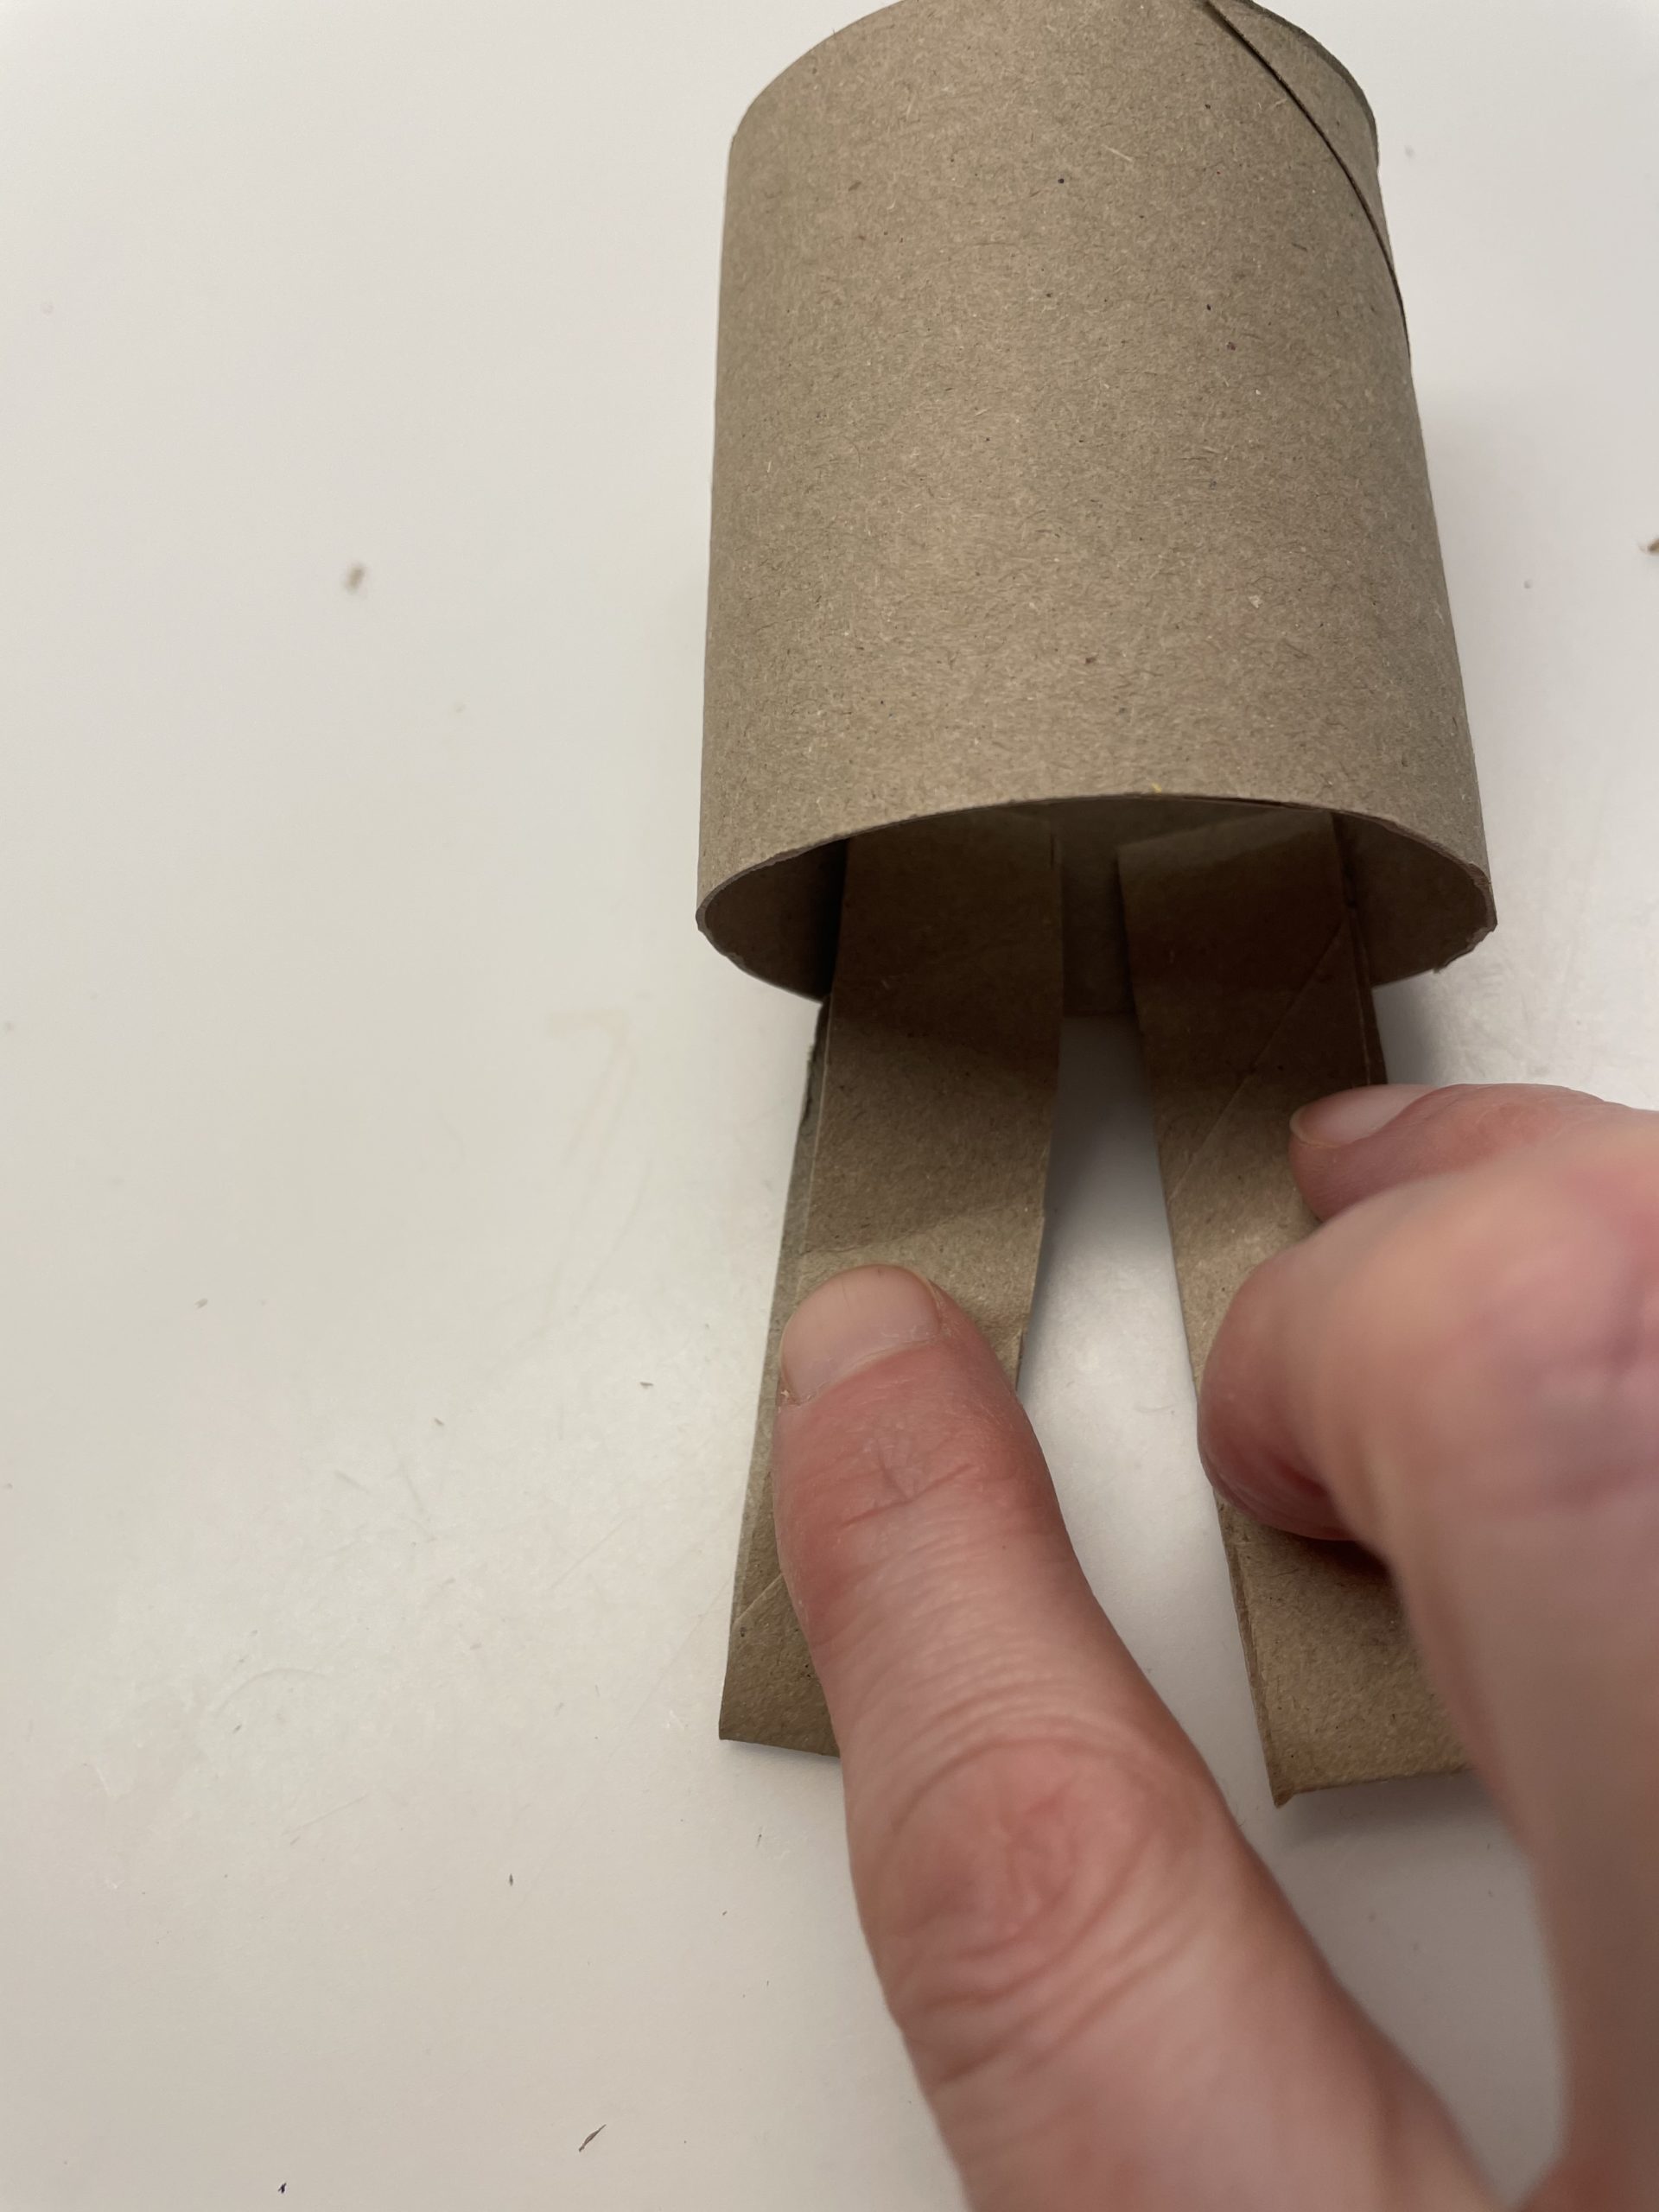


Now you put the cardboard roll back up.
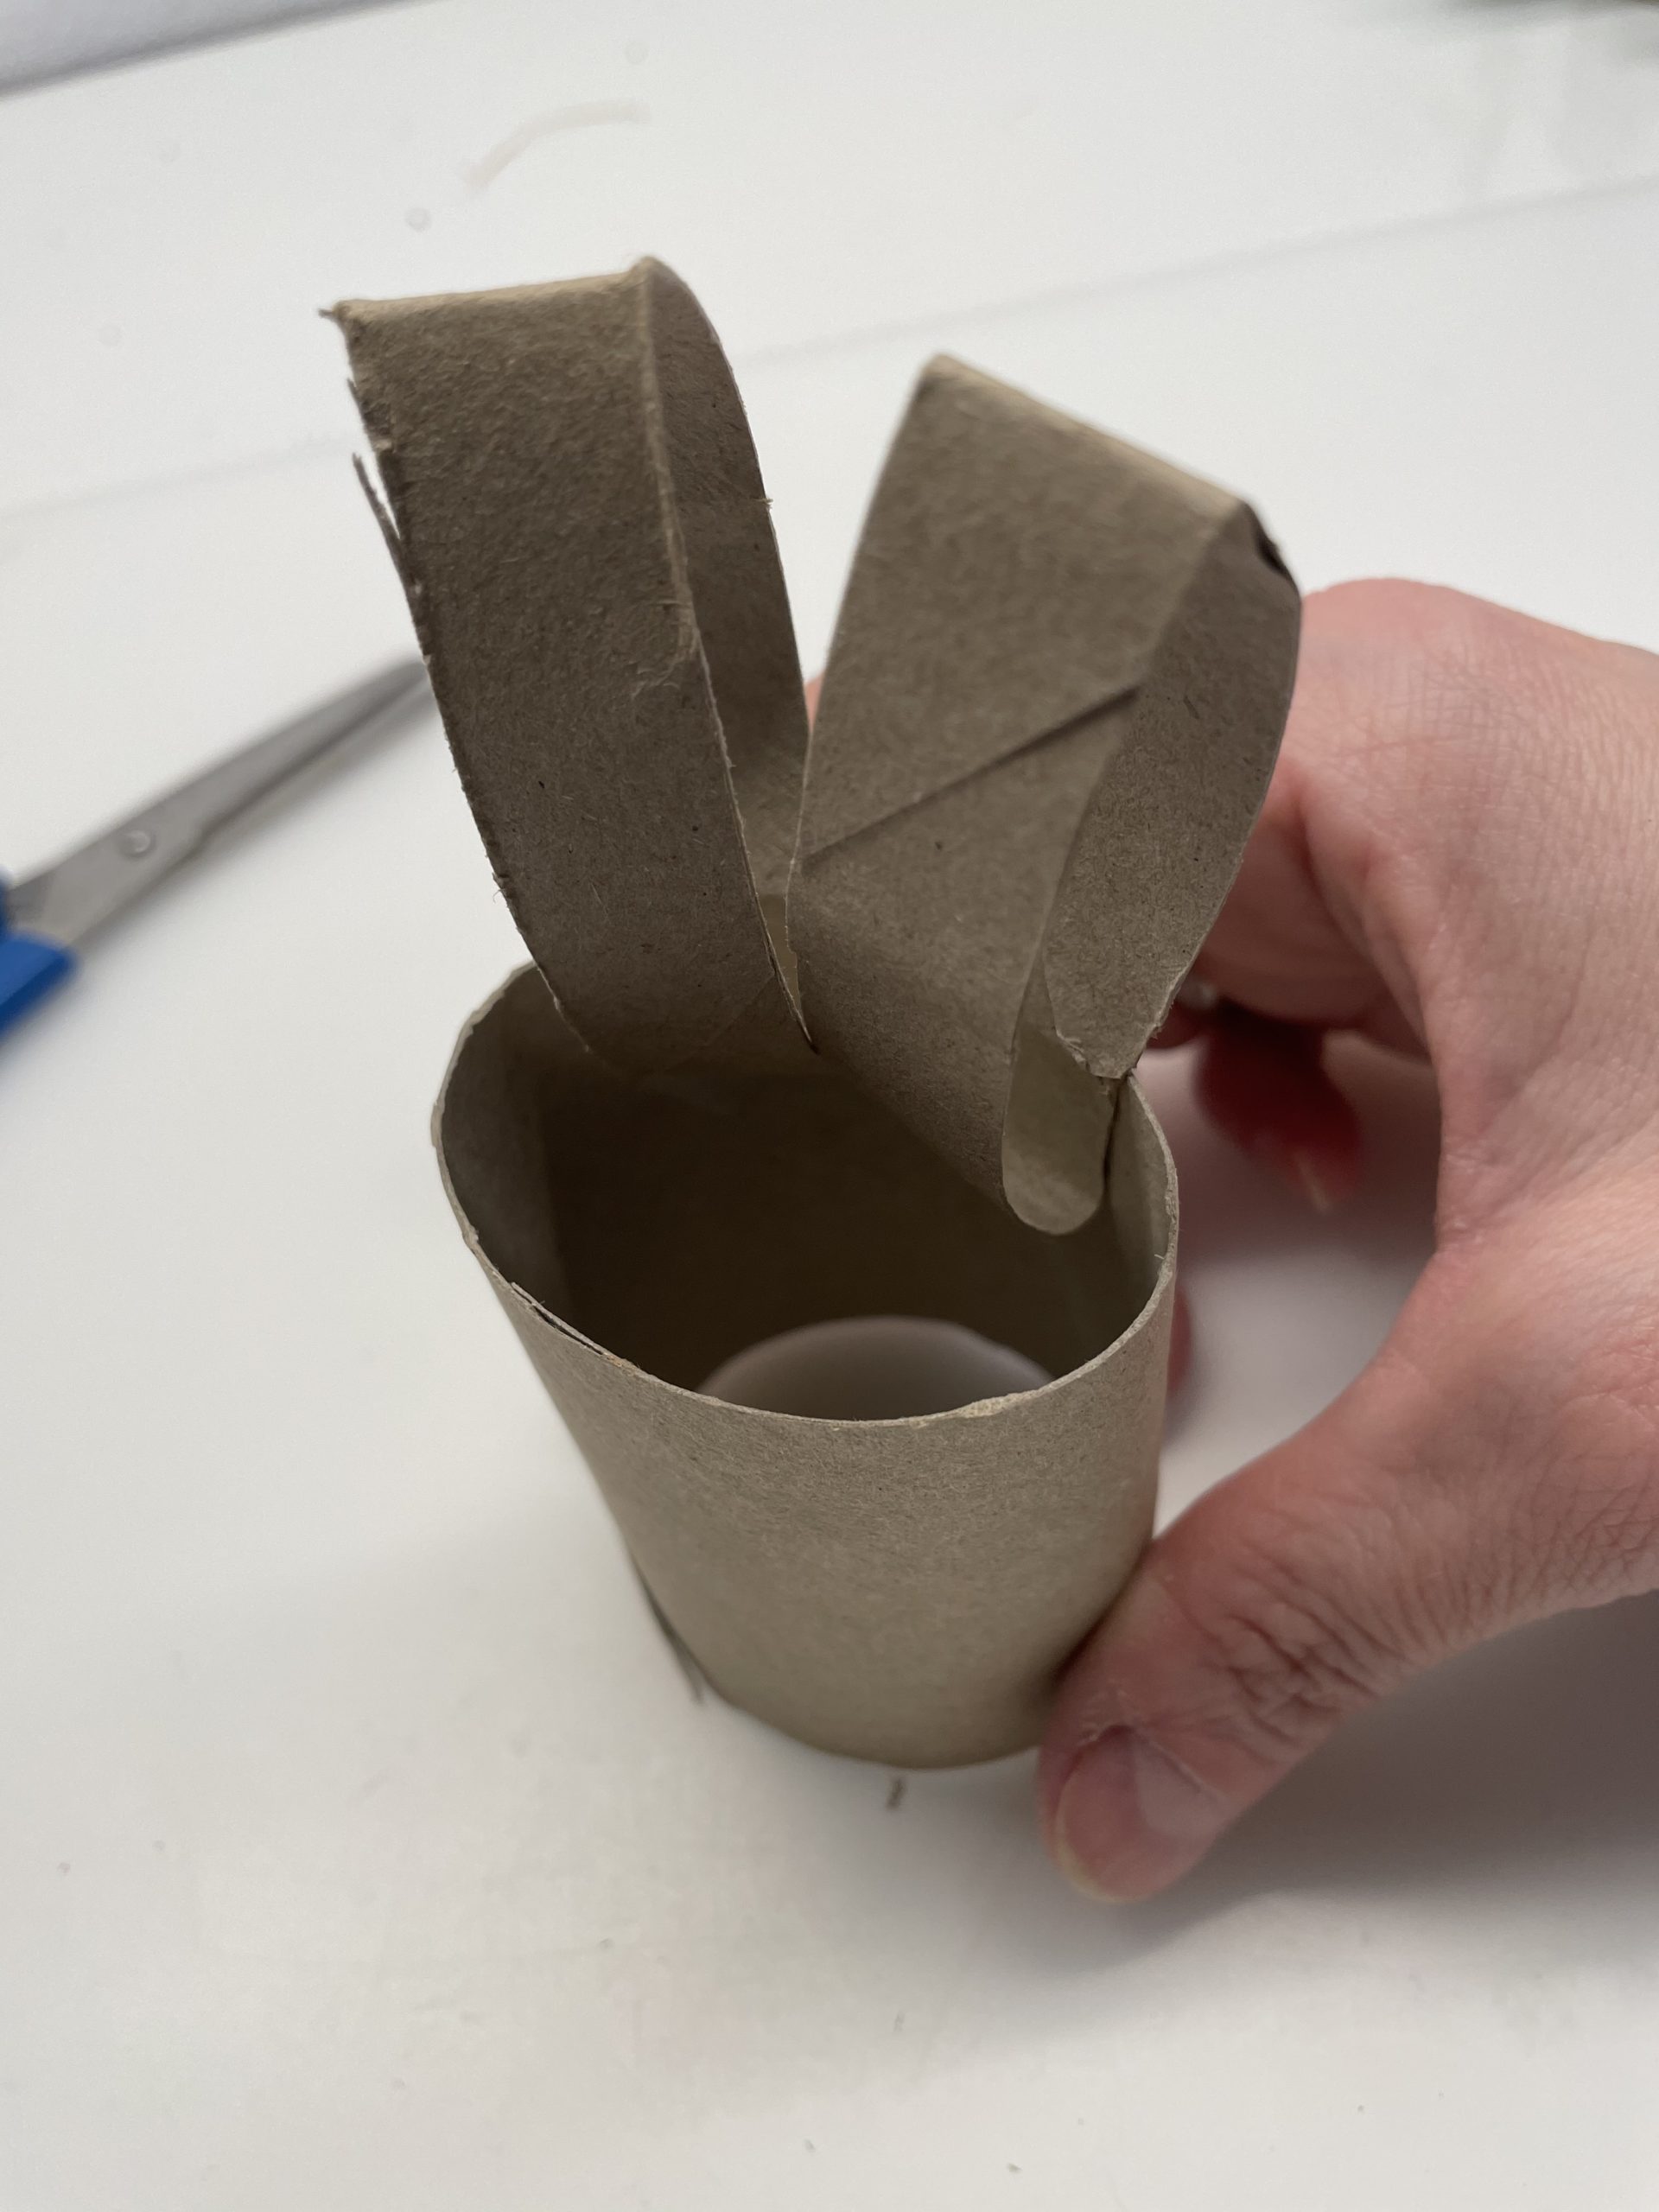


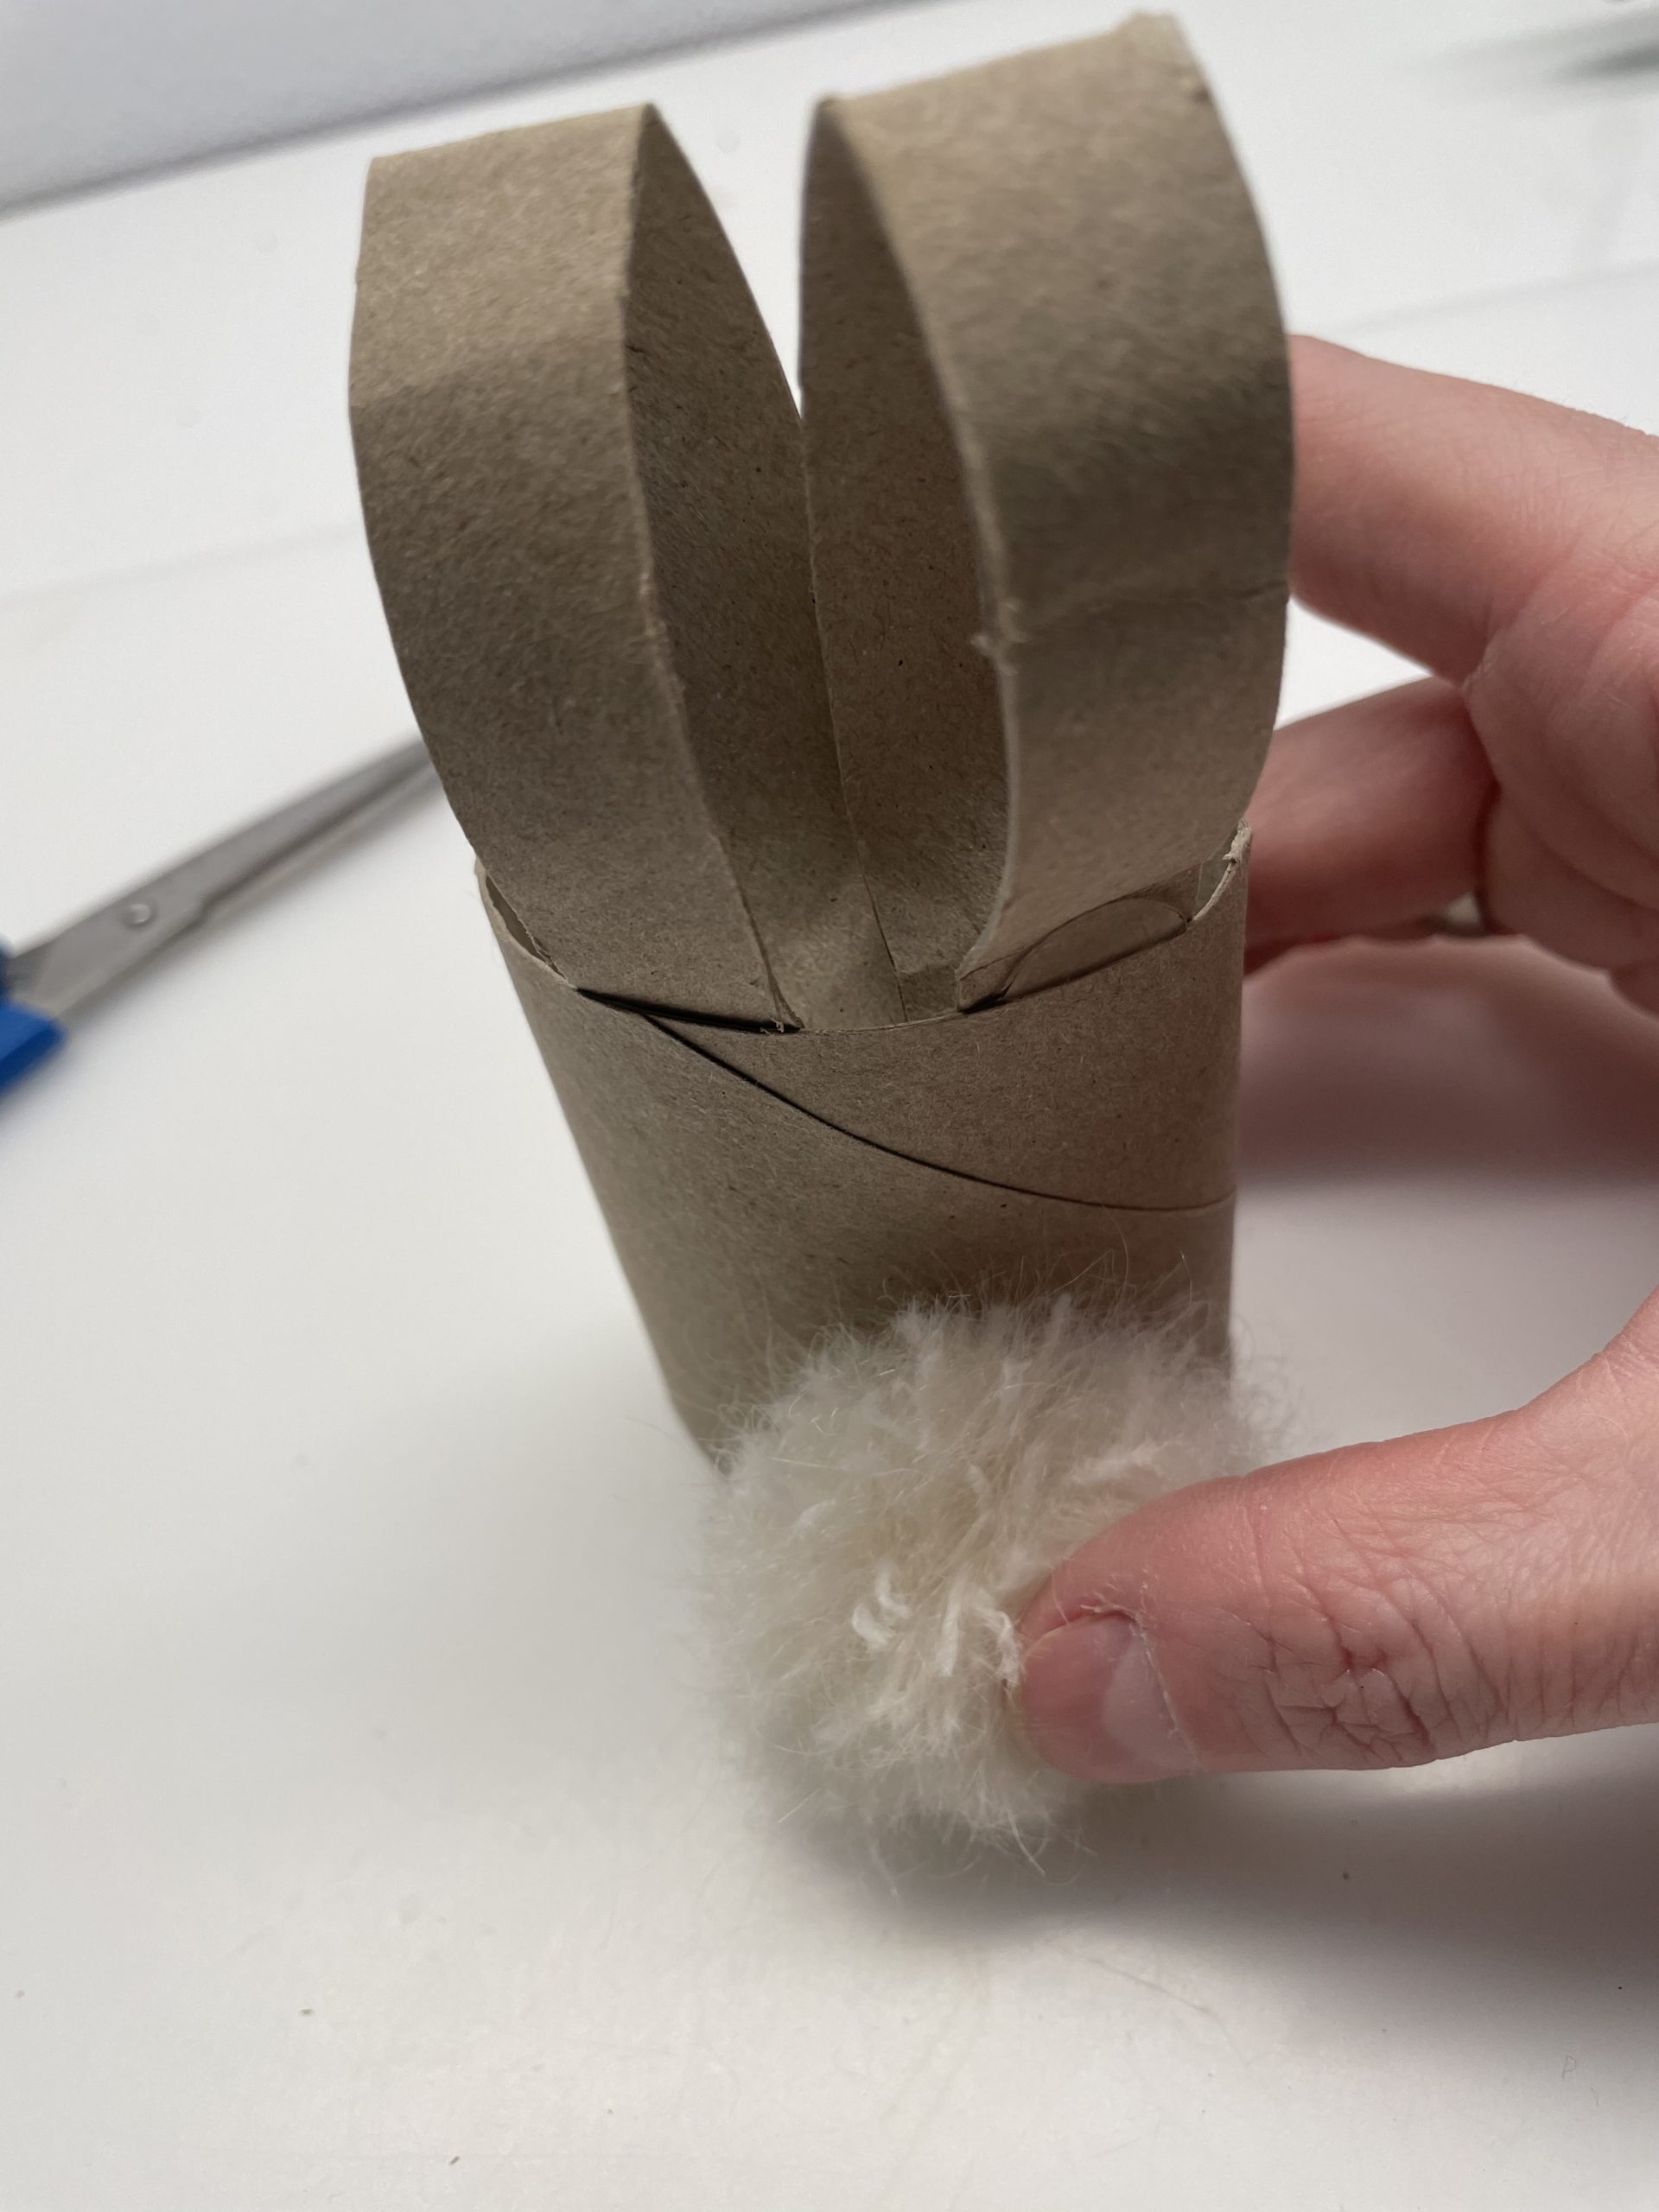


The face of the rabbit is now missing on the front.


For this you paint your eyes on the cardboard roll with a felt pen. These should sit in the middle under the ears.


Now you cut off three 5cm long threads of wool. Tip: use the same wool that you used for the tail.
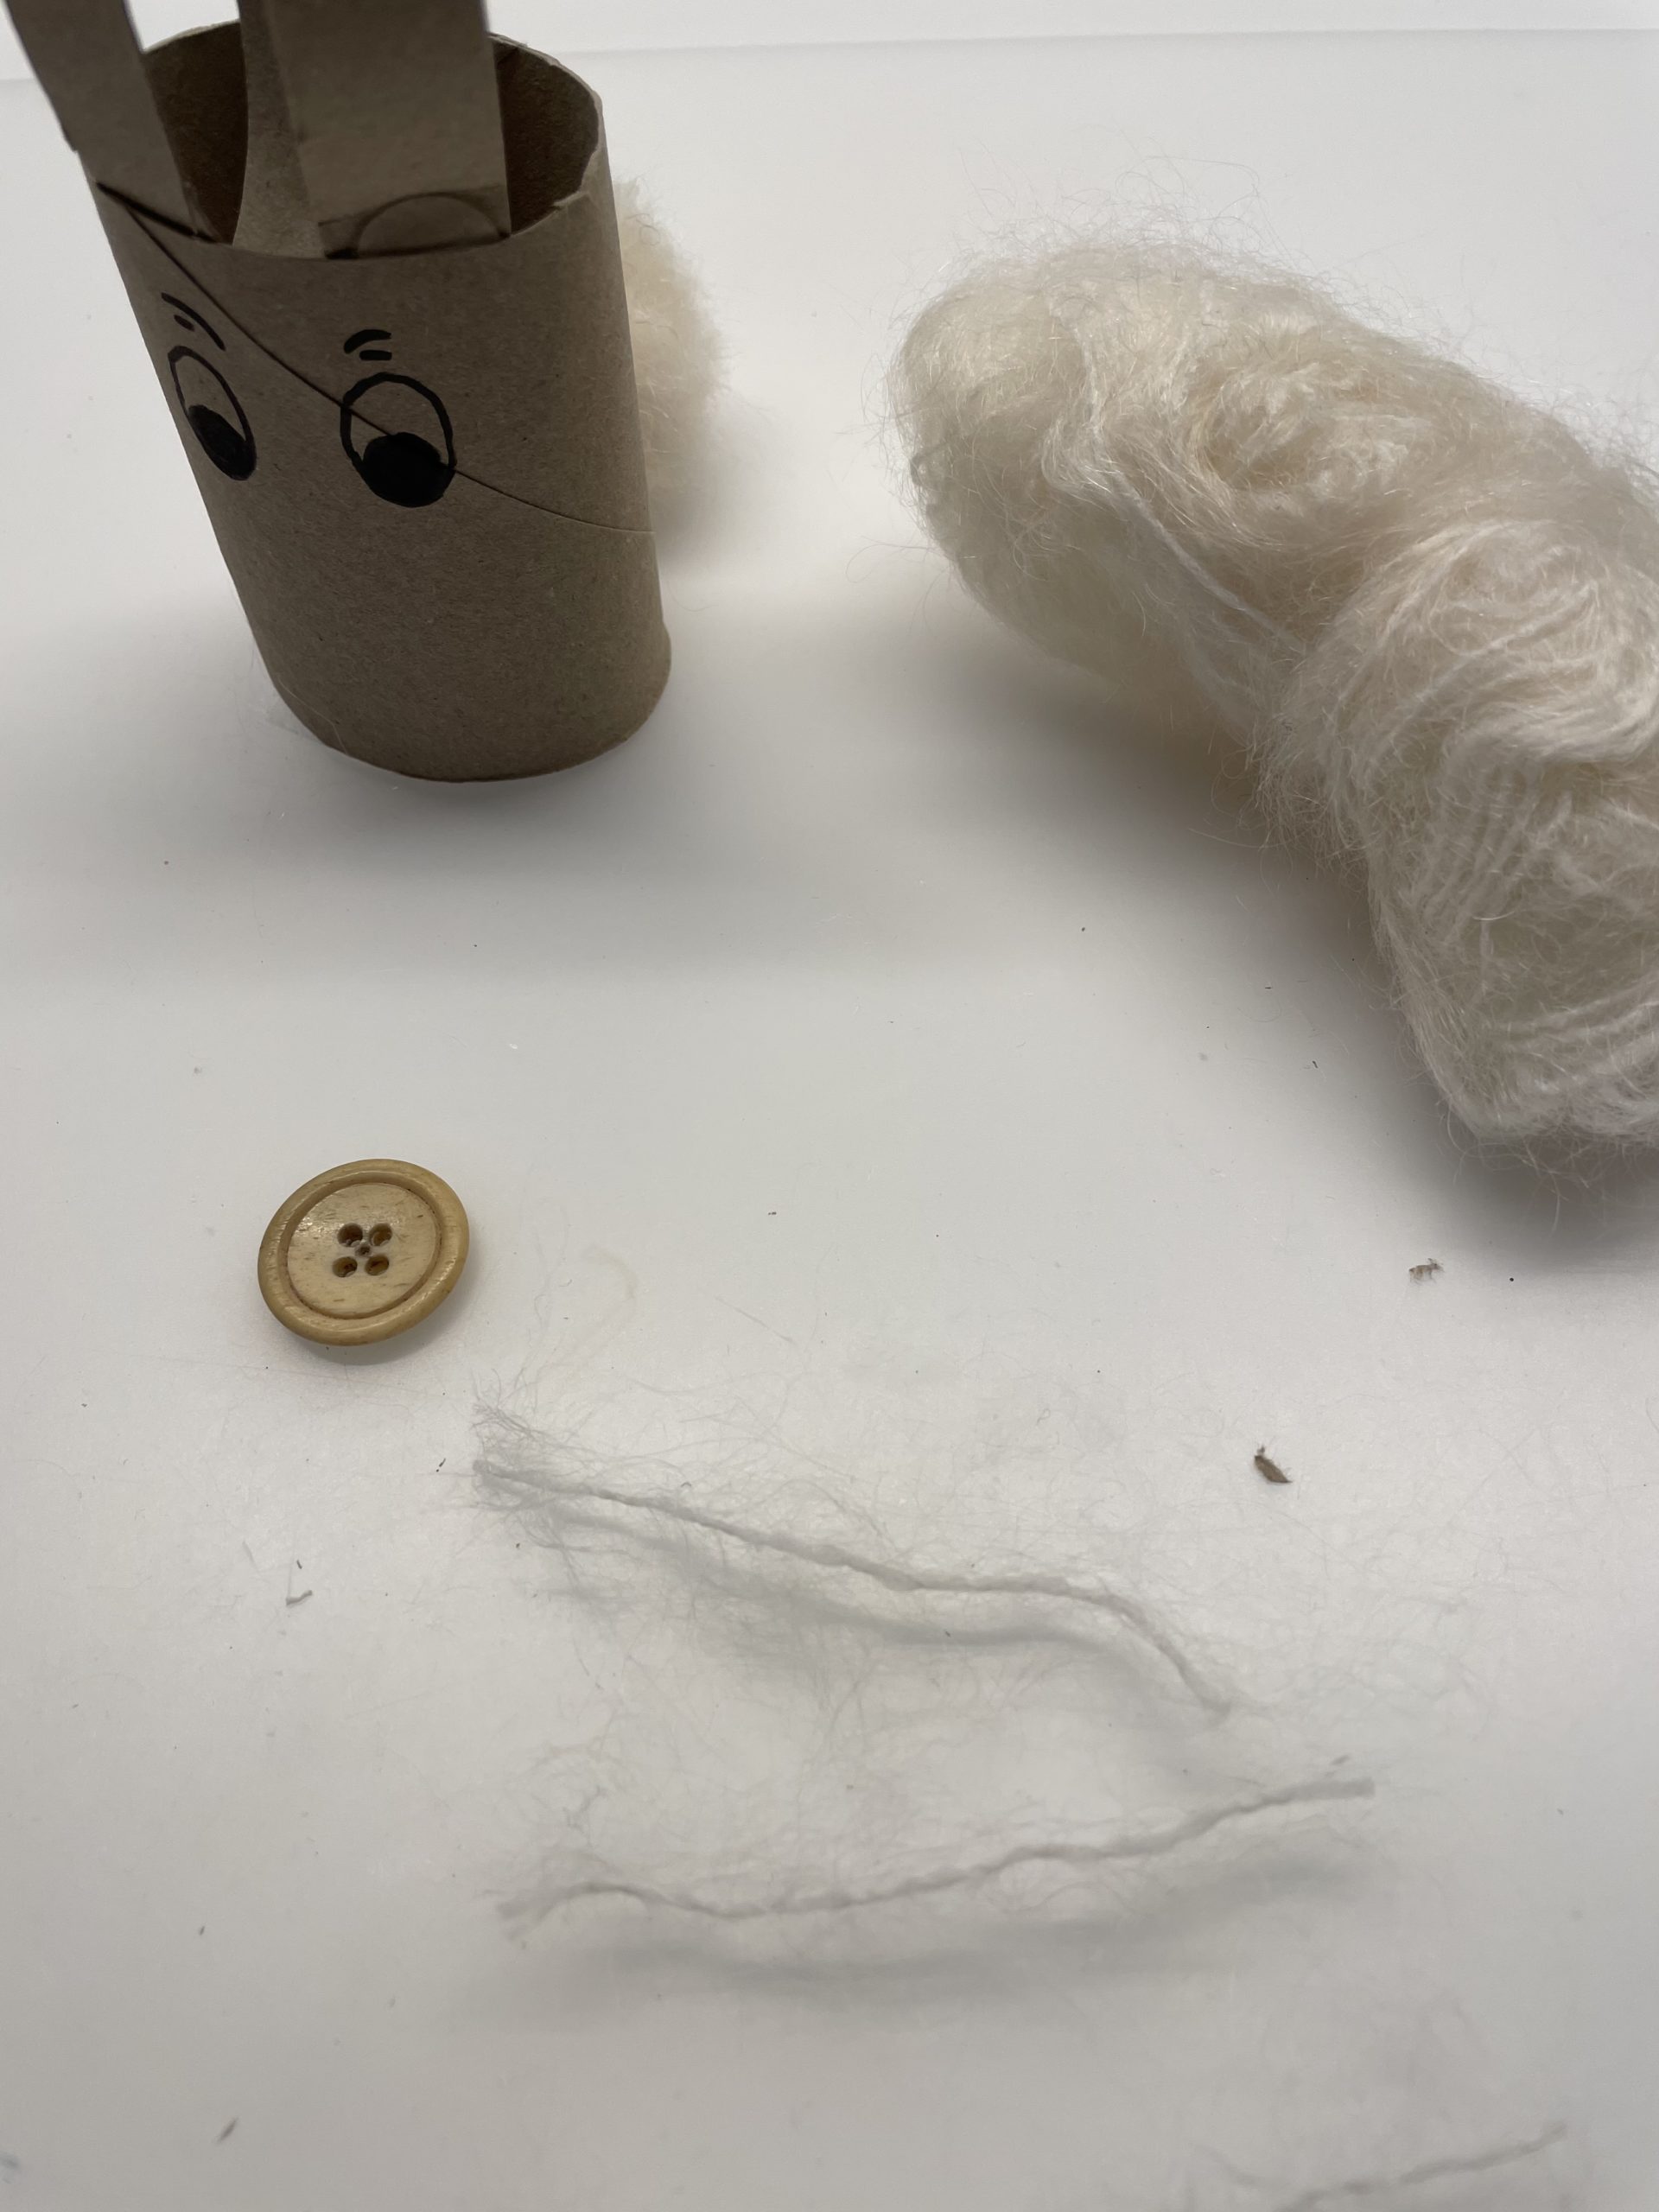


First you make a glue point in the middle below the eyes. On this you stick the three woolen threads. Make sure that they survive the same length on both sides.
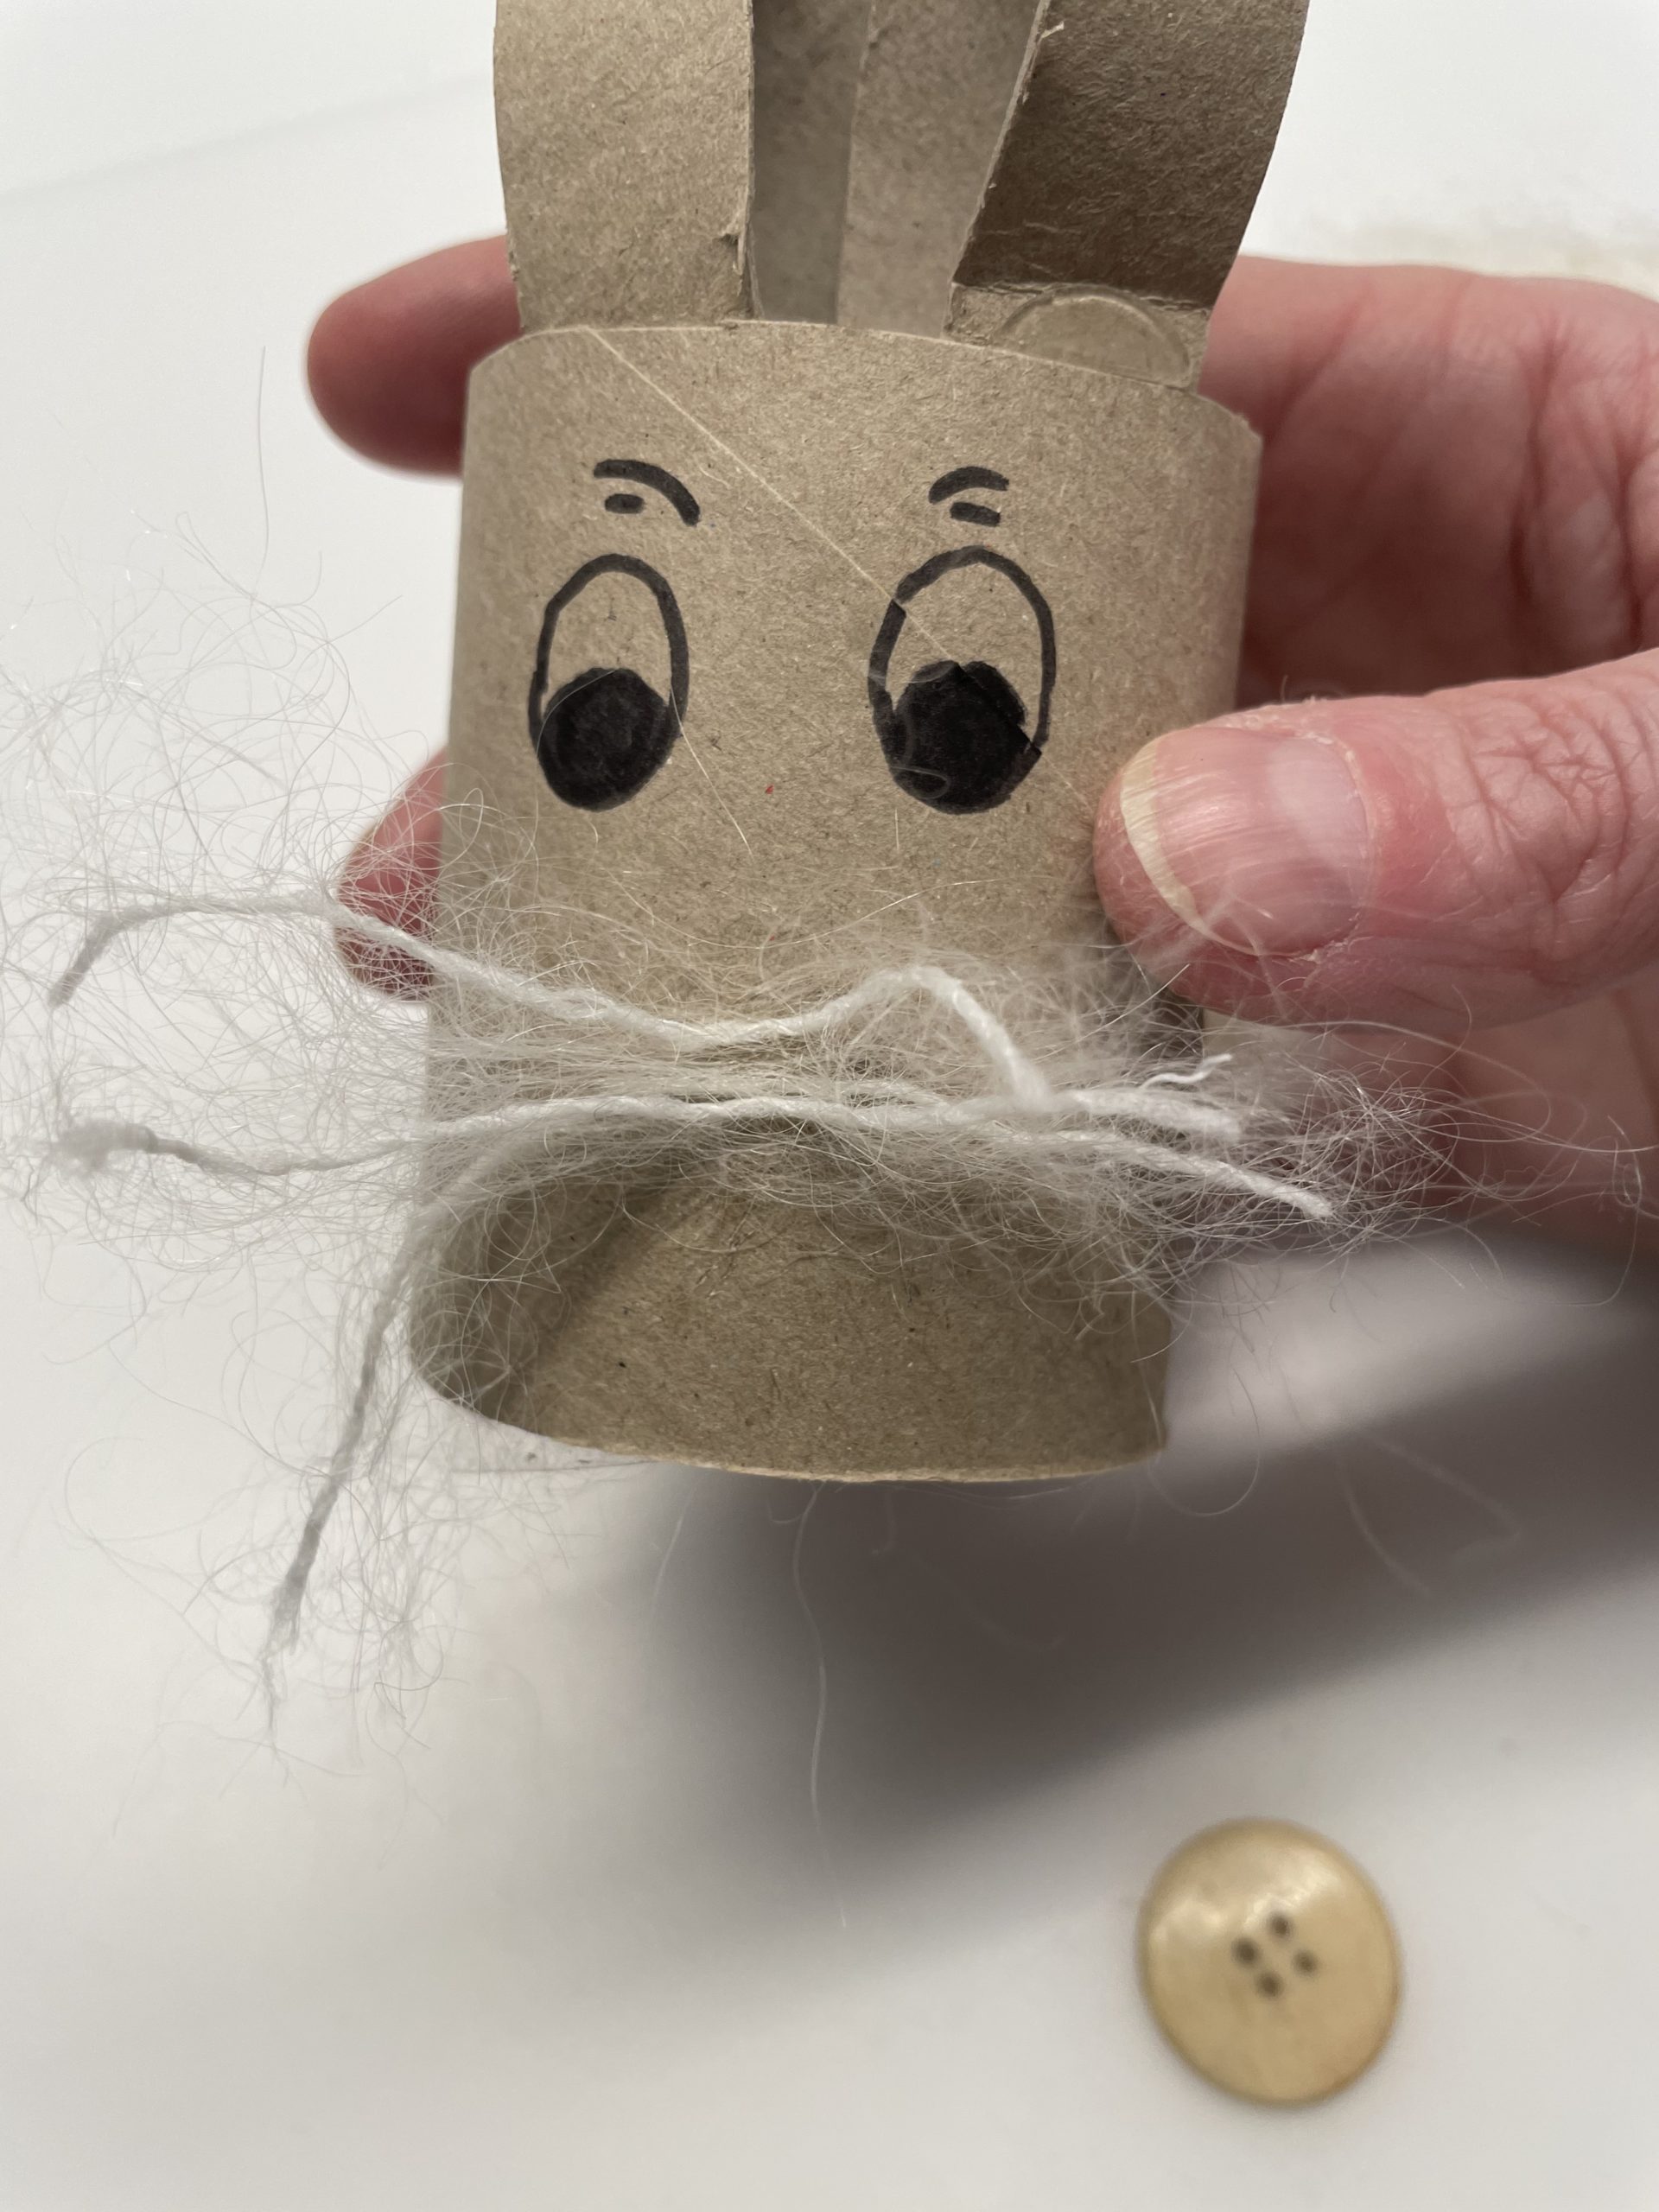


Now you stick the button over the whiskers with the hot glue. Make sure that no hot glue is pouring through the buttonholes - you could burn yourself like this!
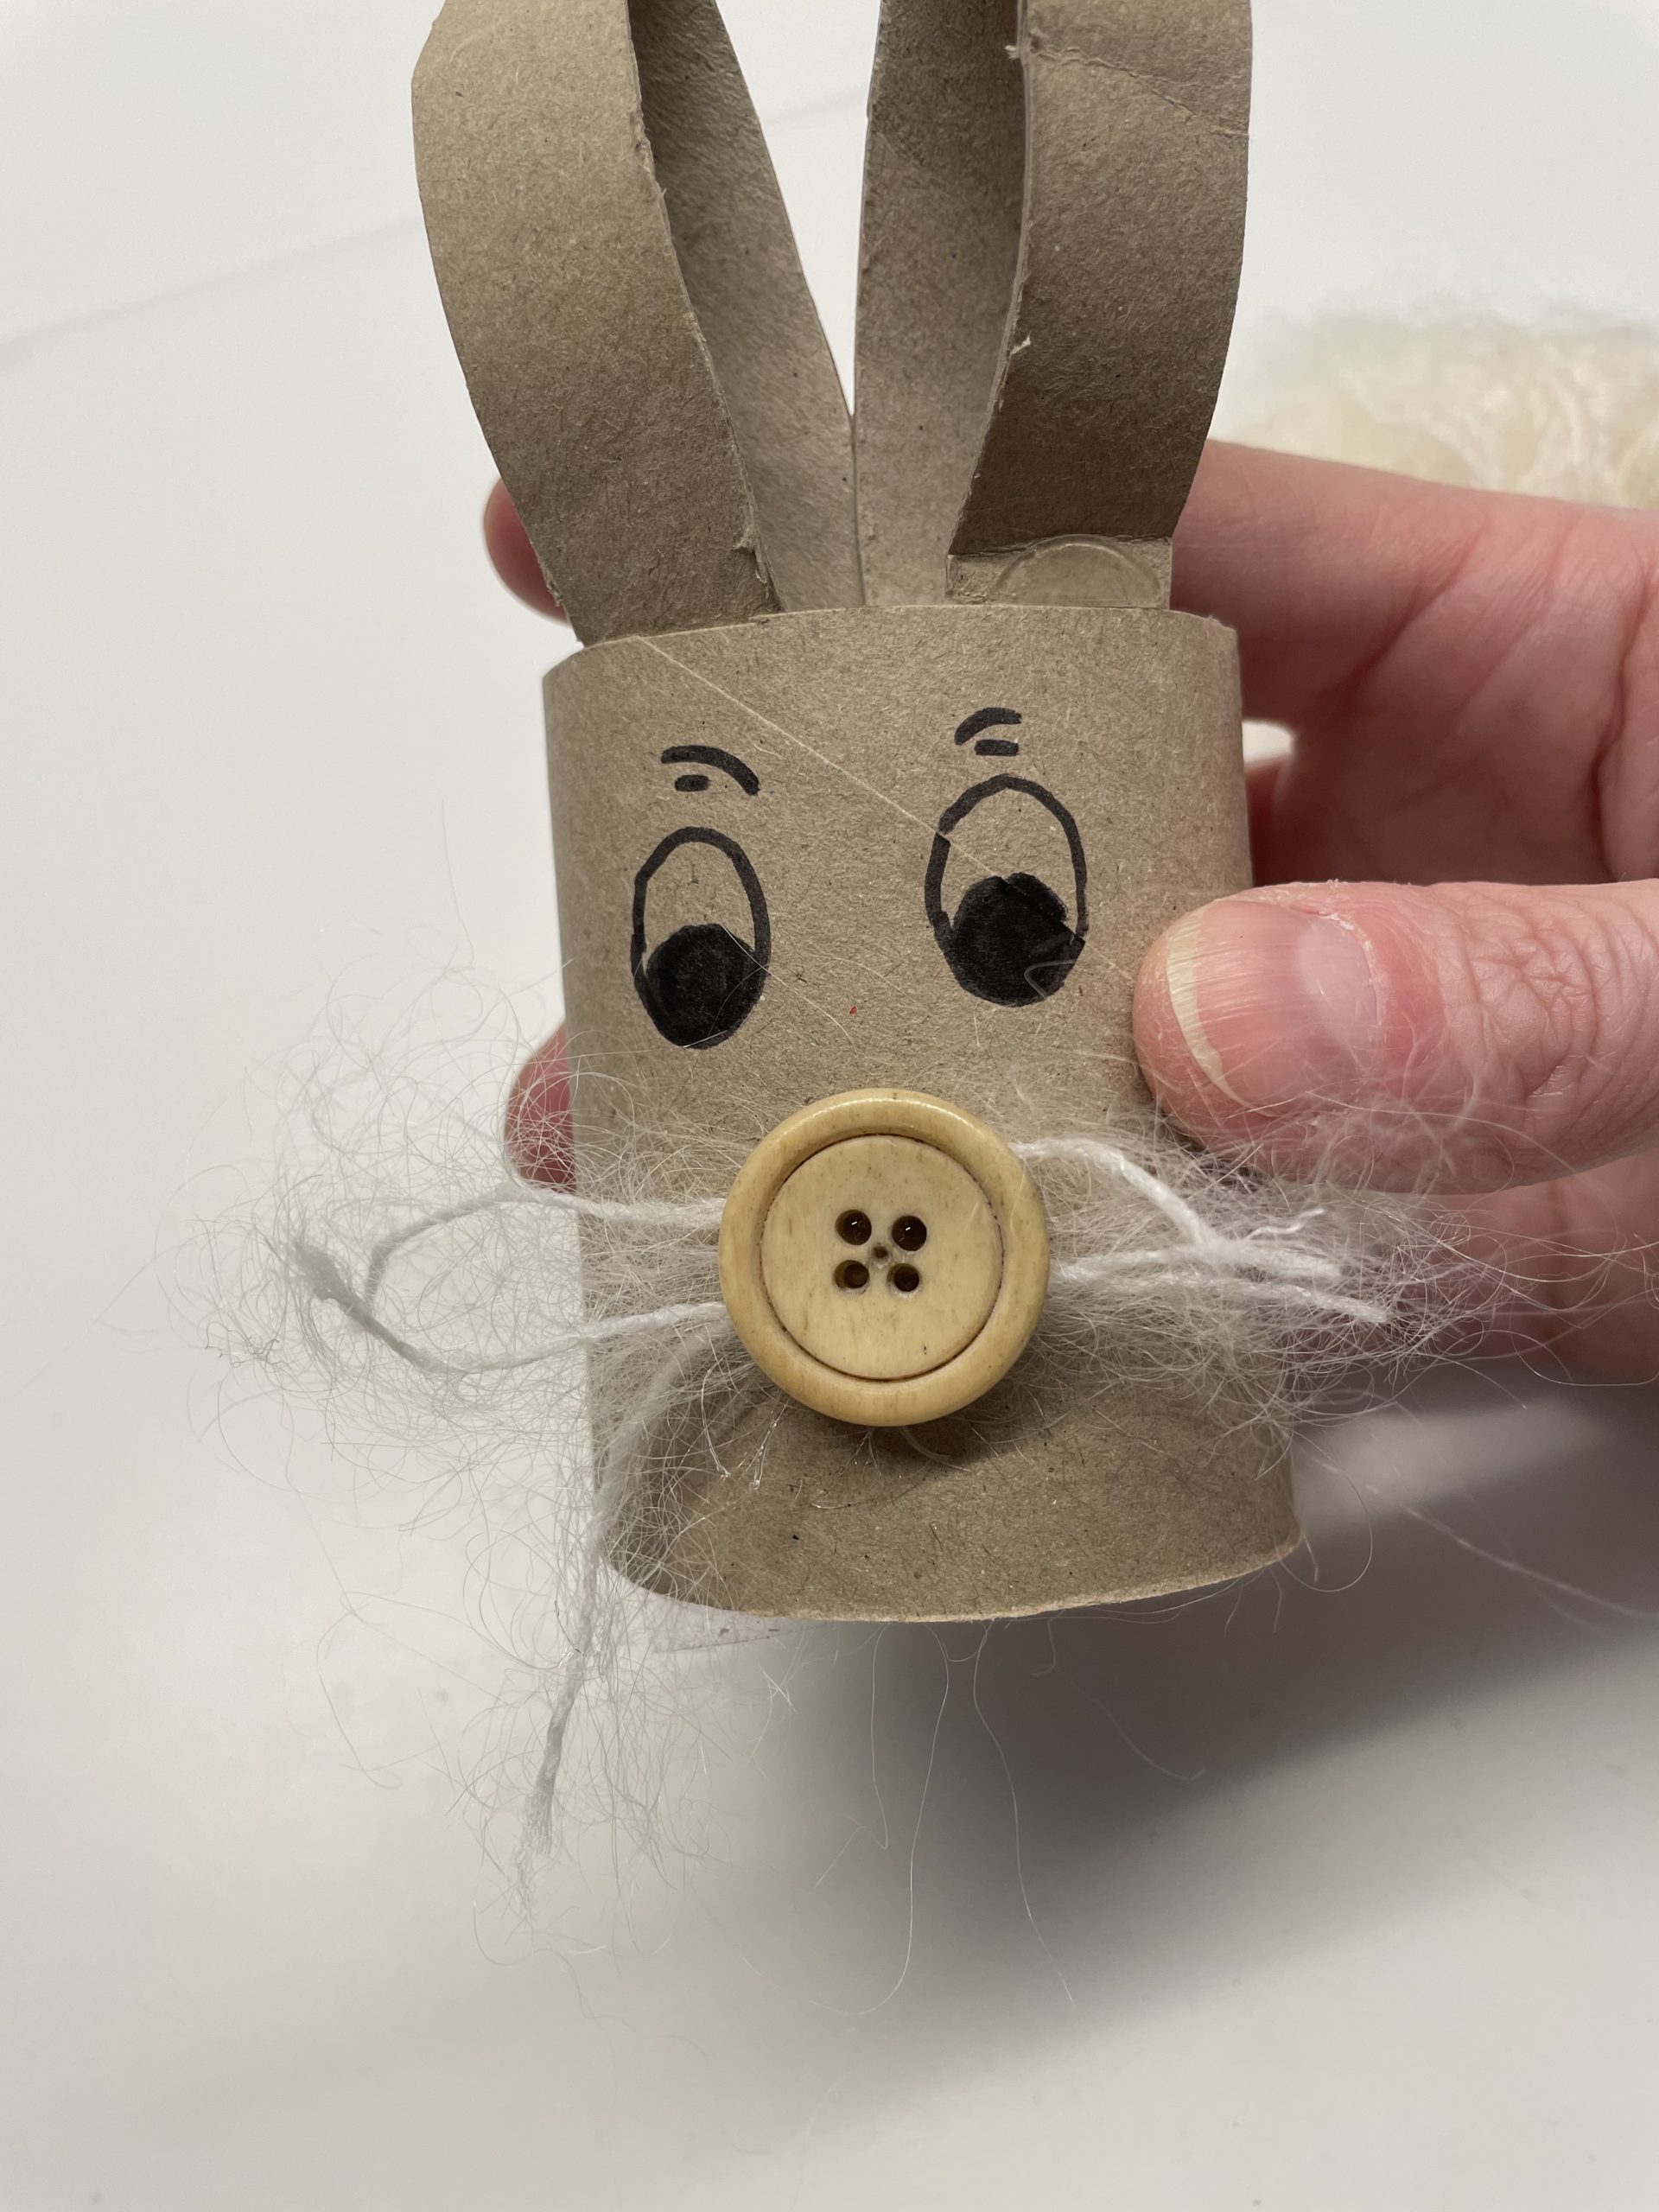


Now our bunny is ready.
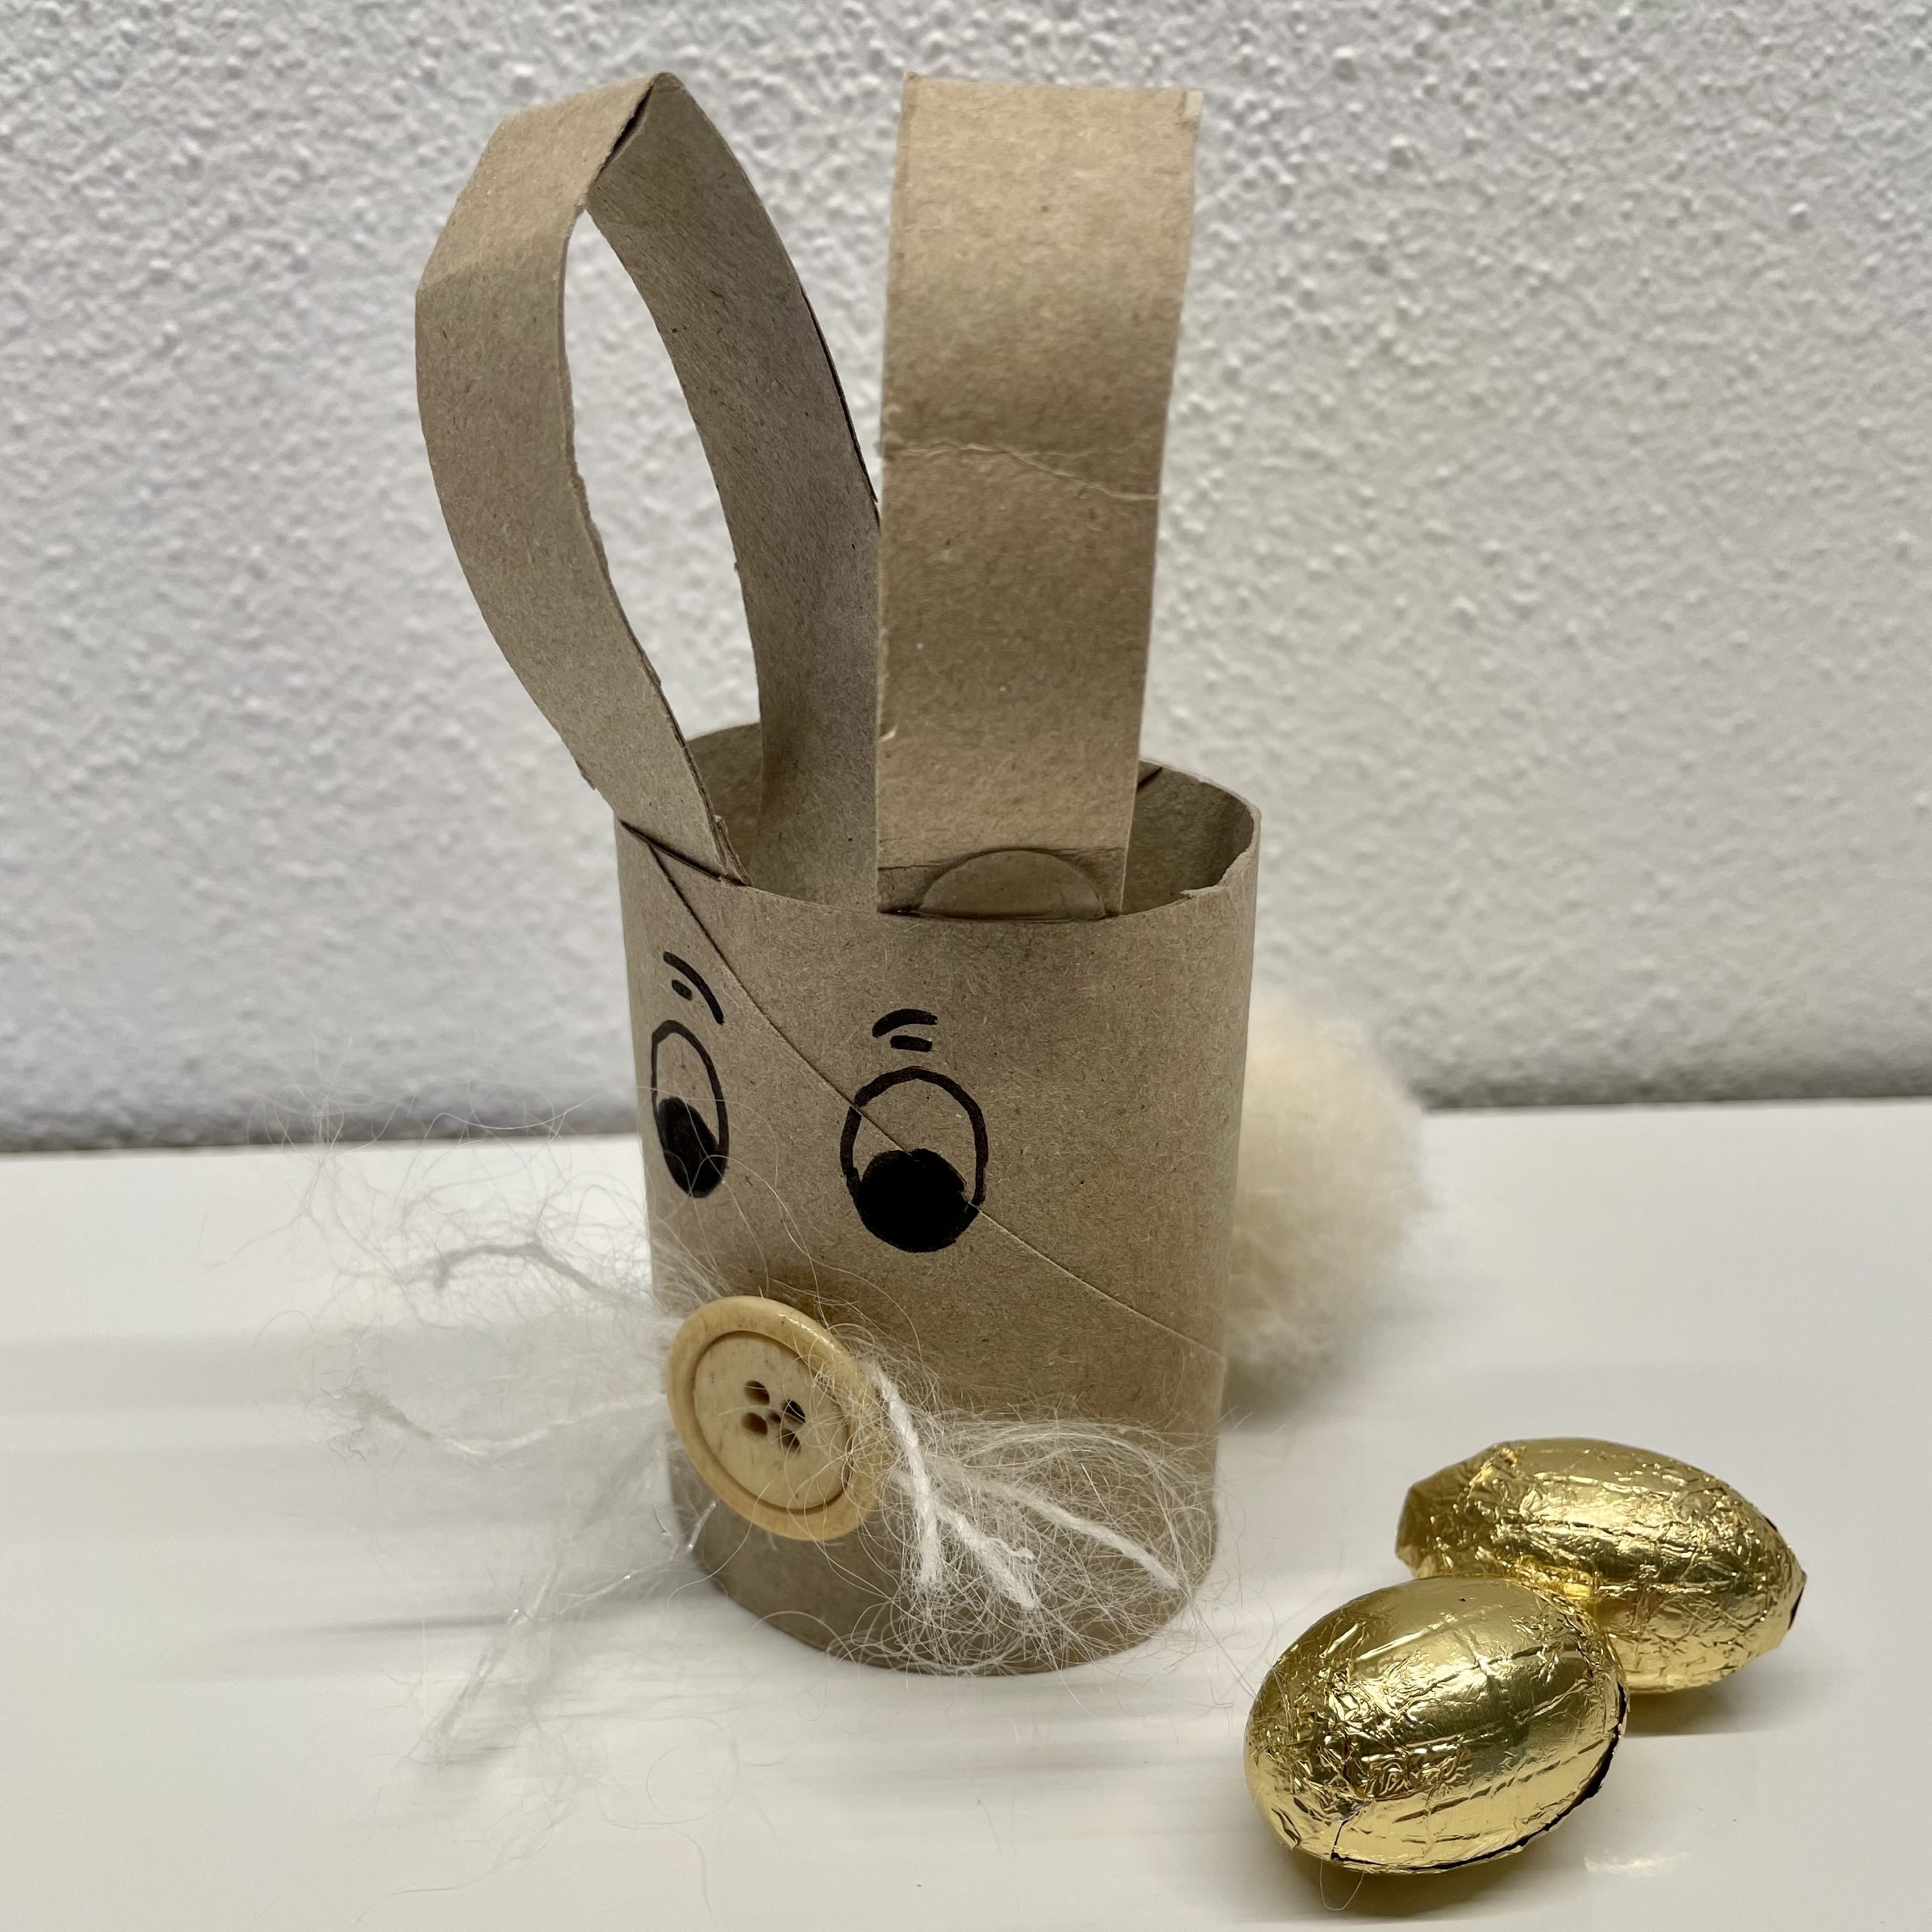


Now press the cardboard roll at the top of the ears flat.
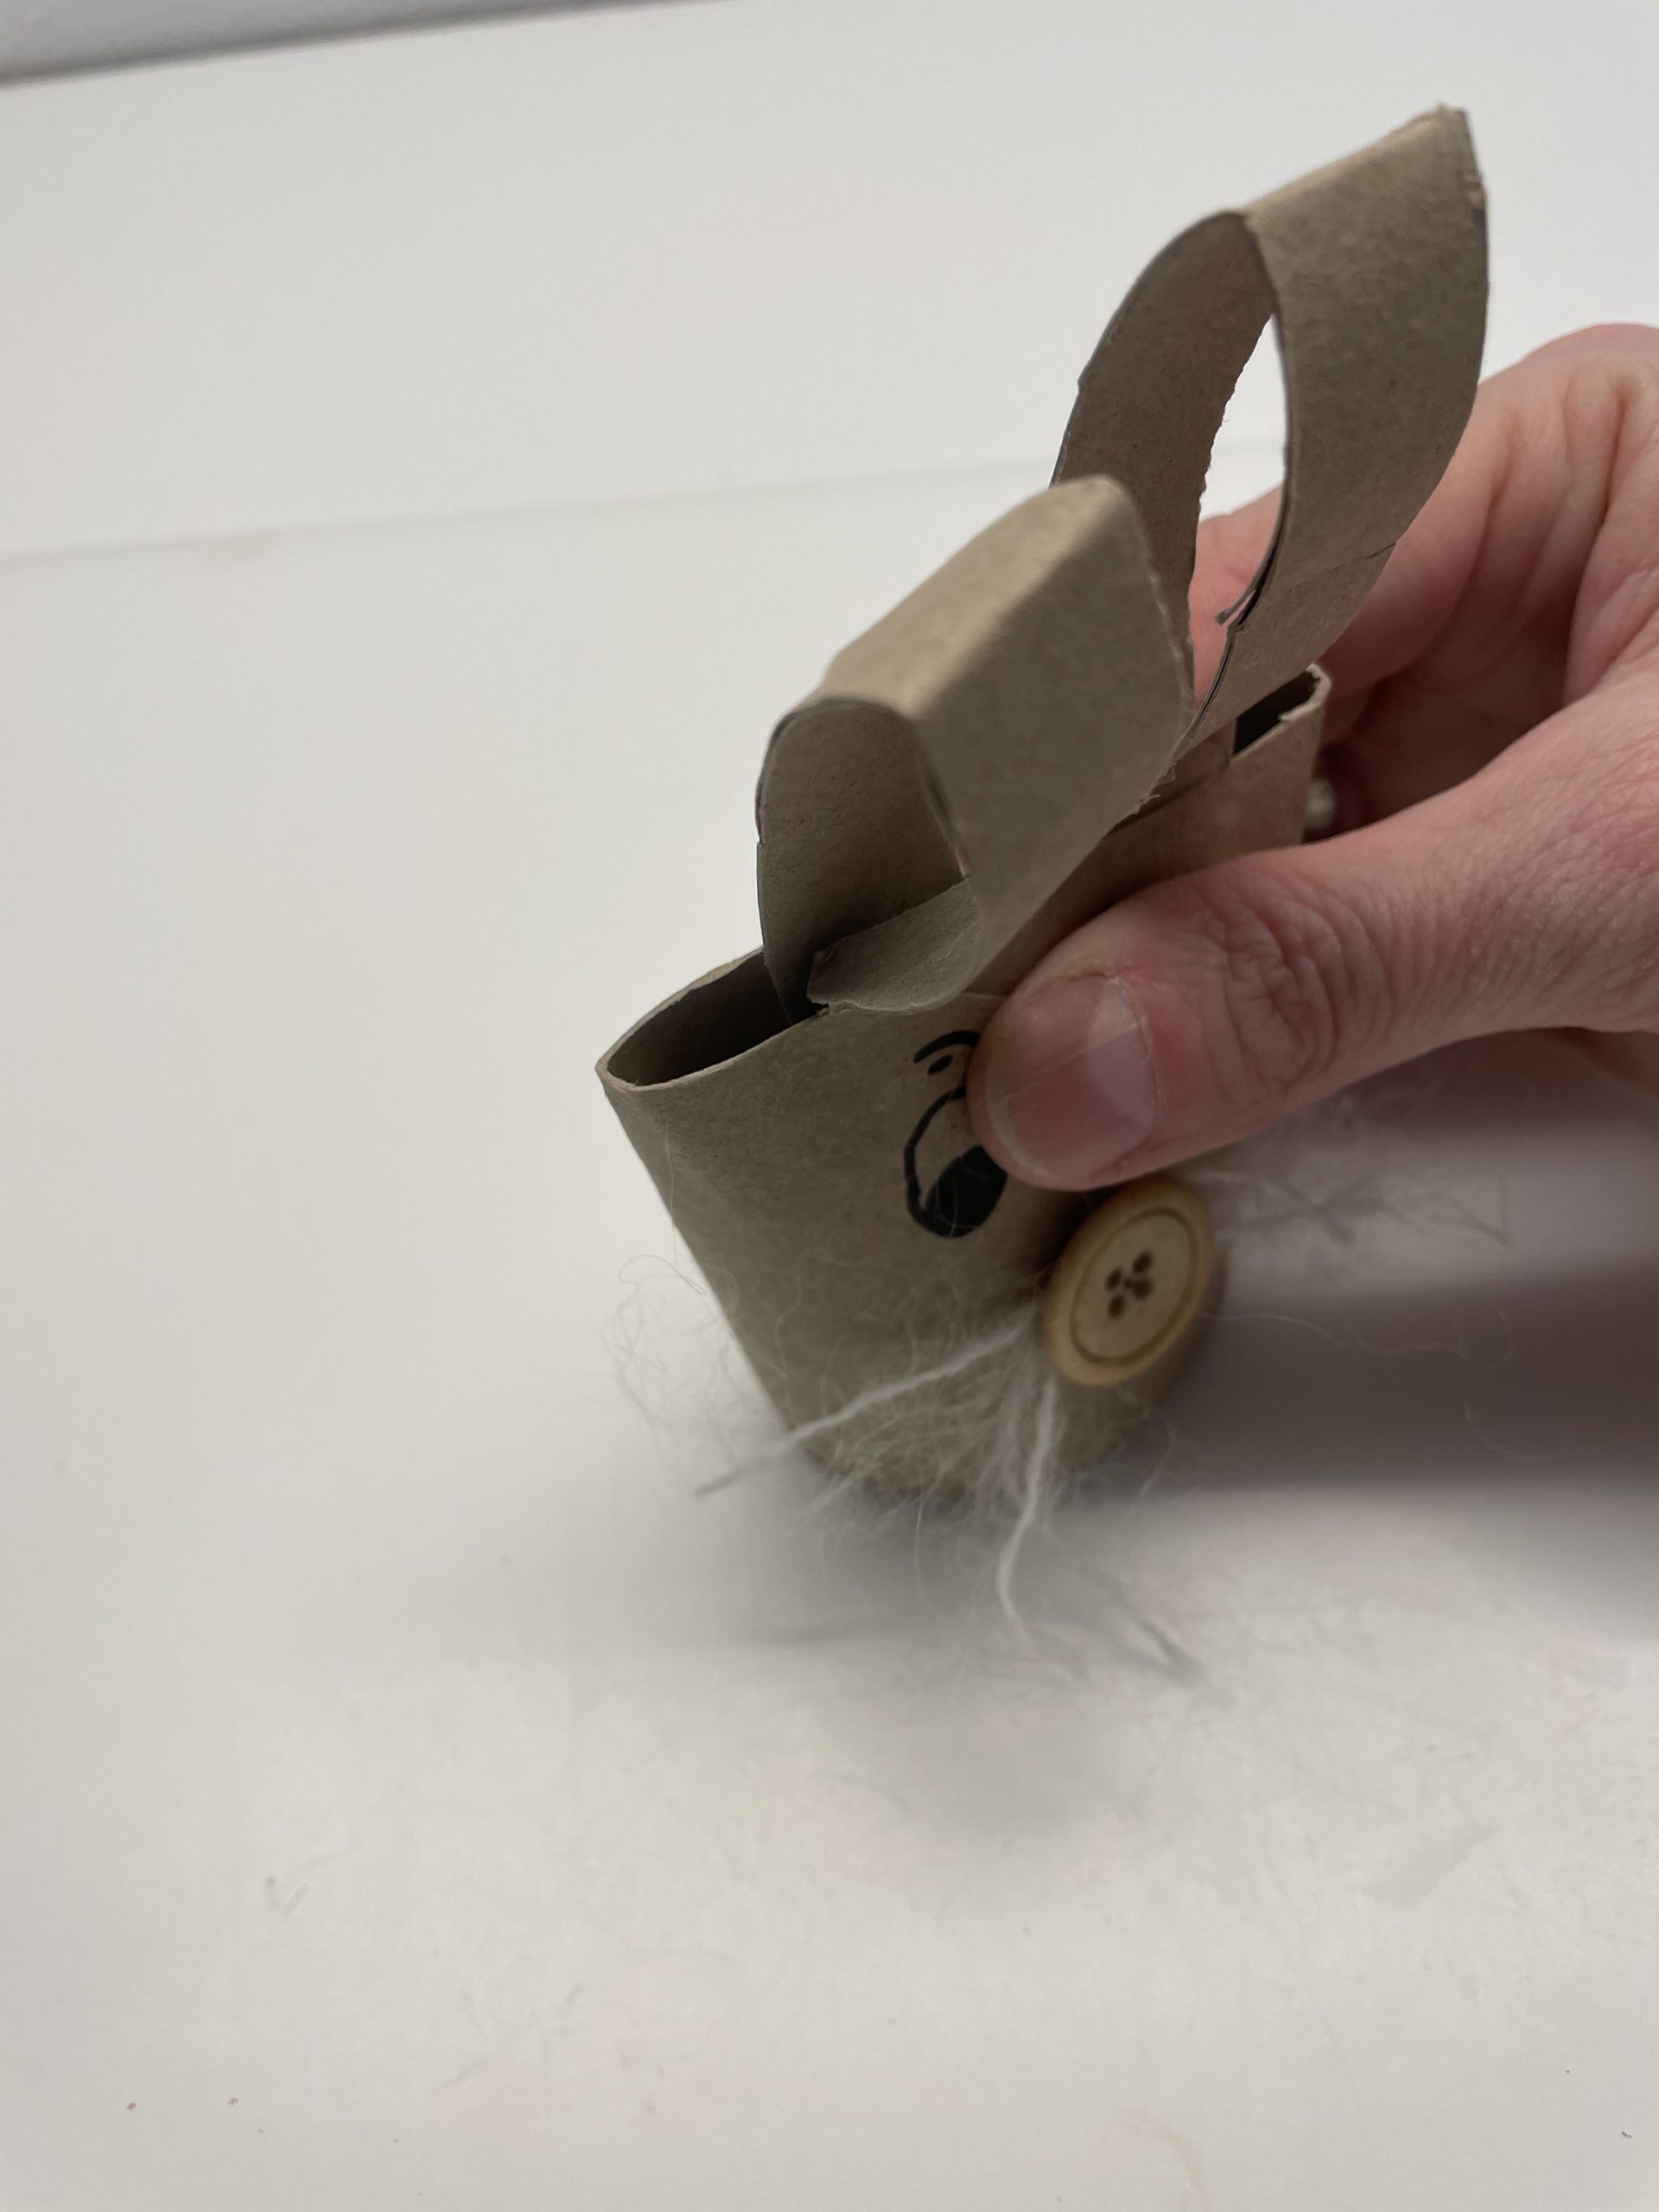


Then glue the carton to the top with hot glue.
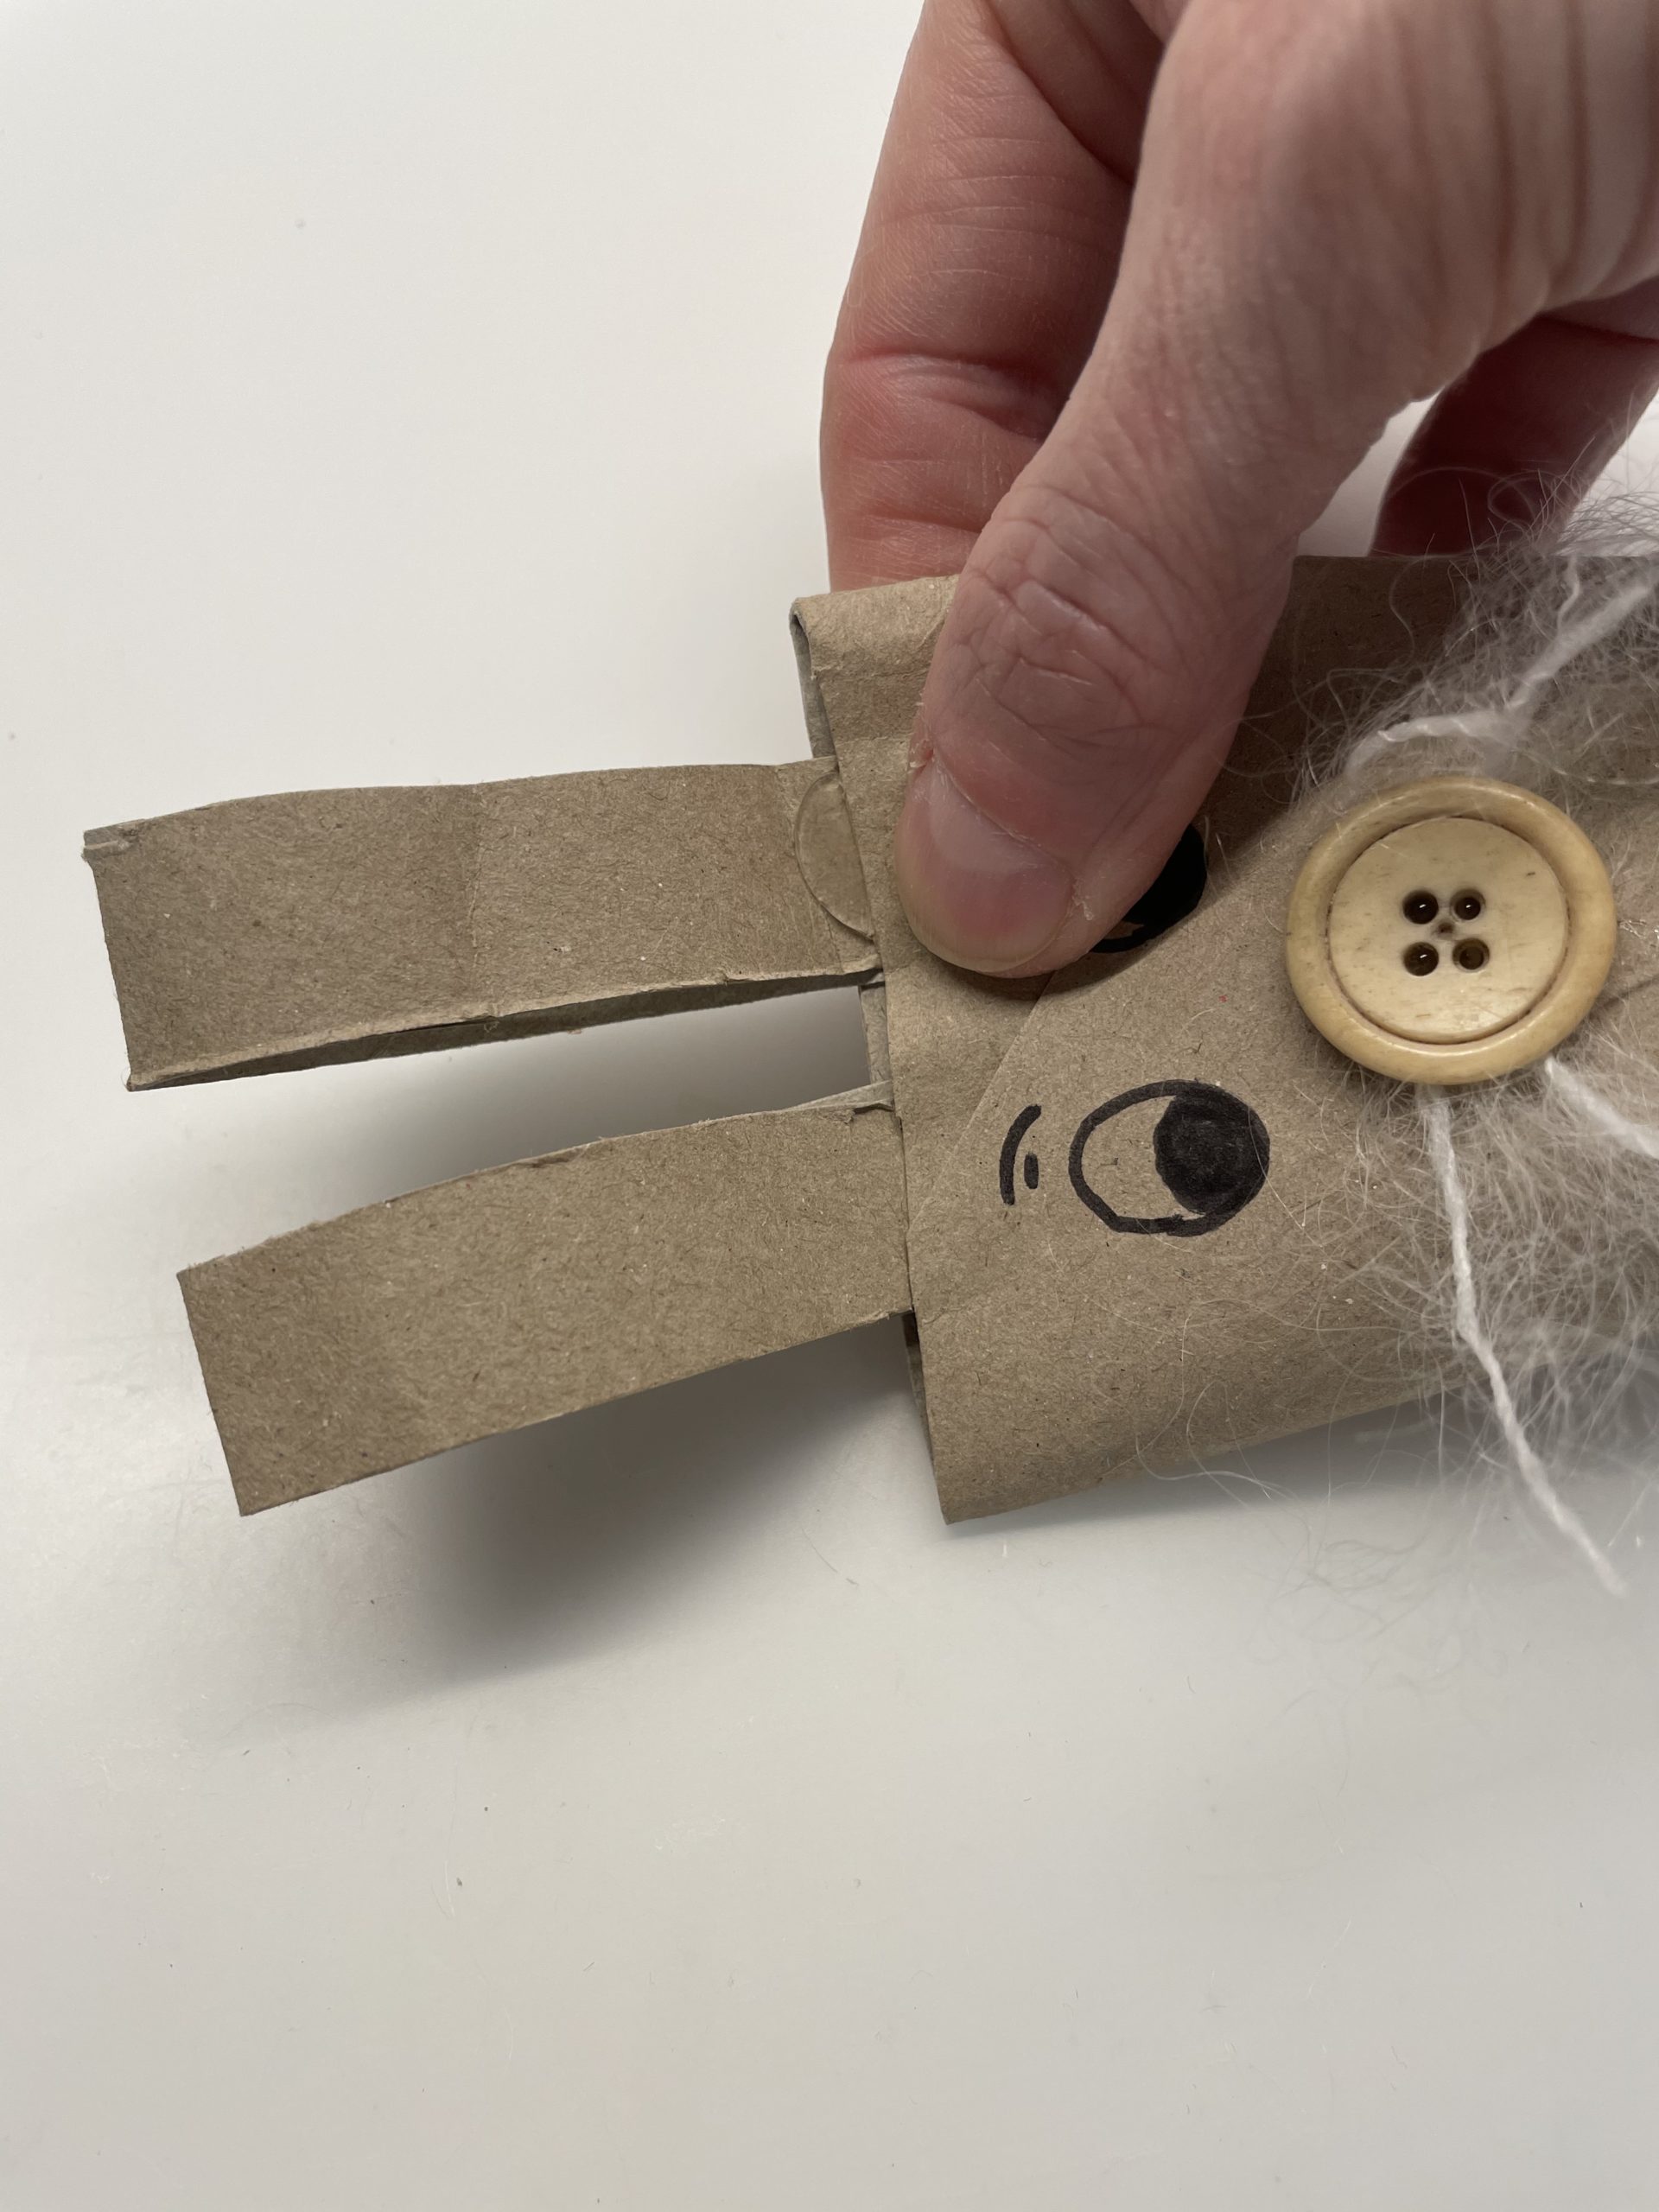


The rabbit is ready.
Bends the ears, if necessary.
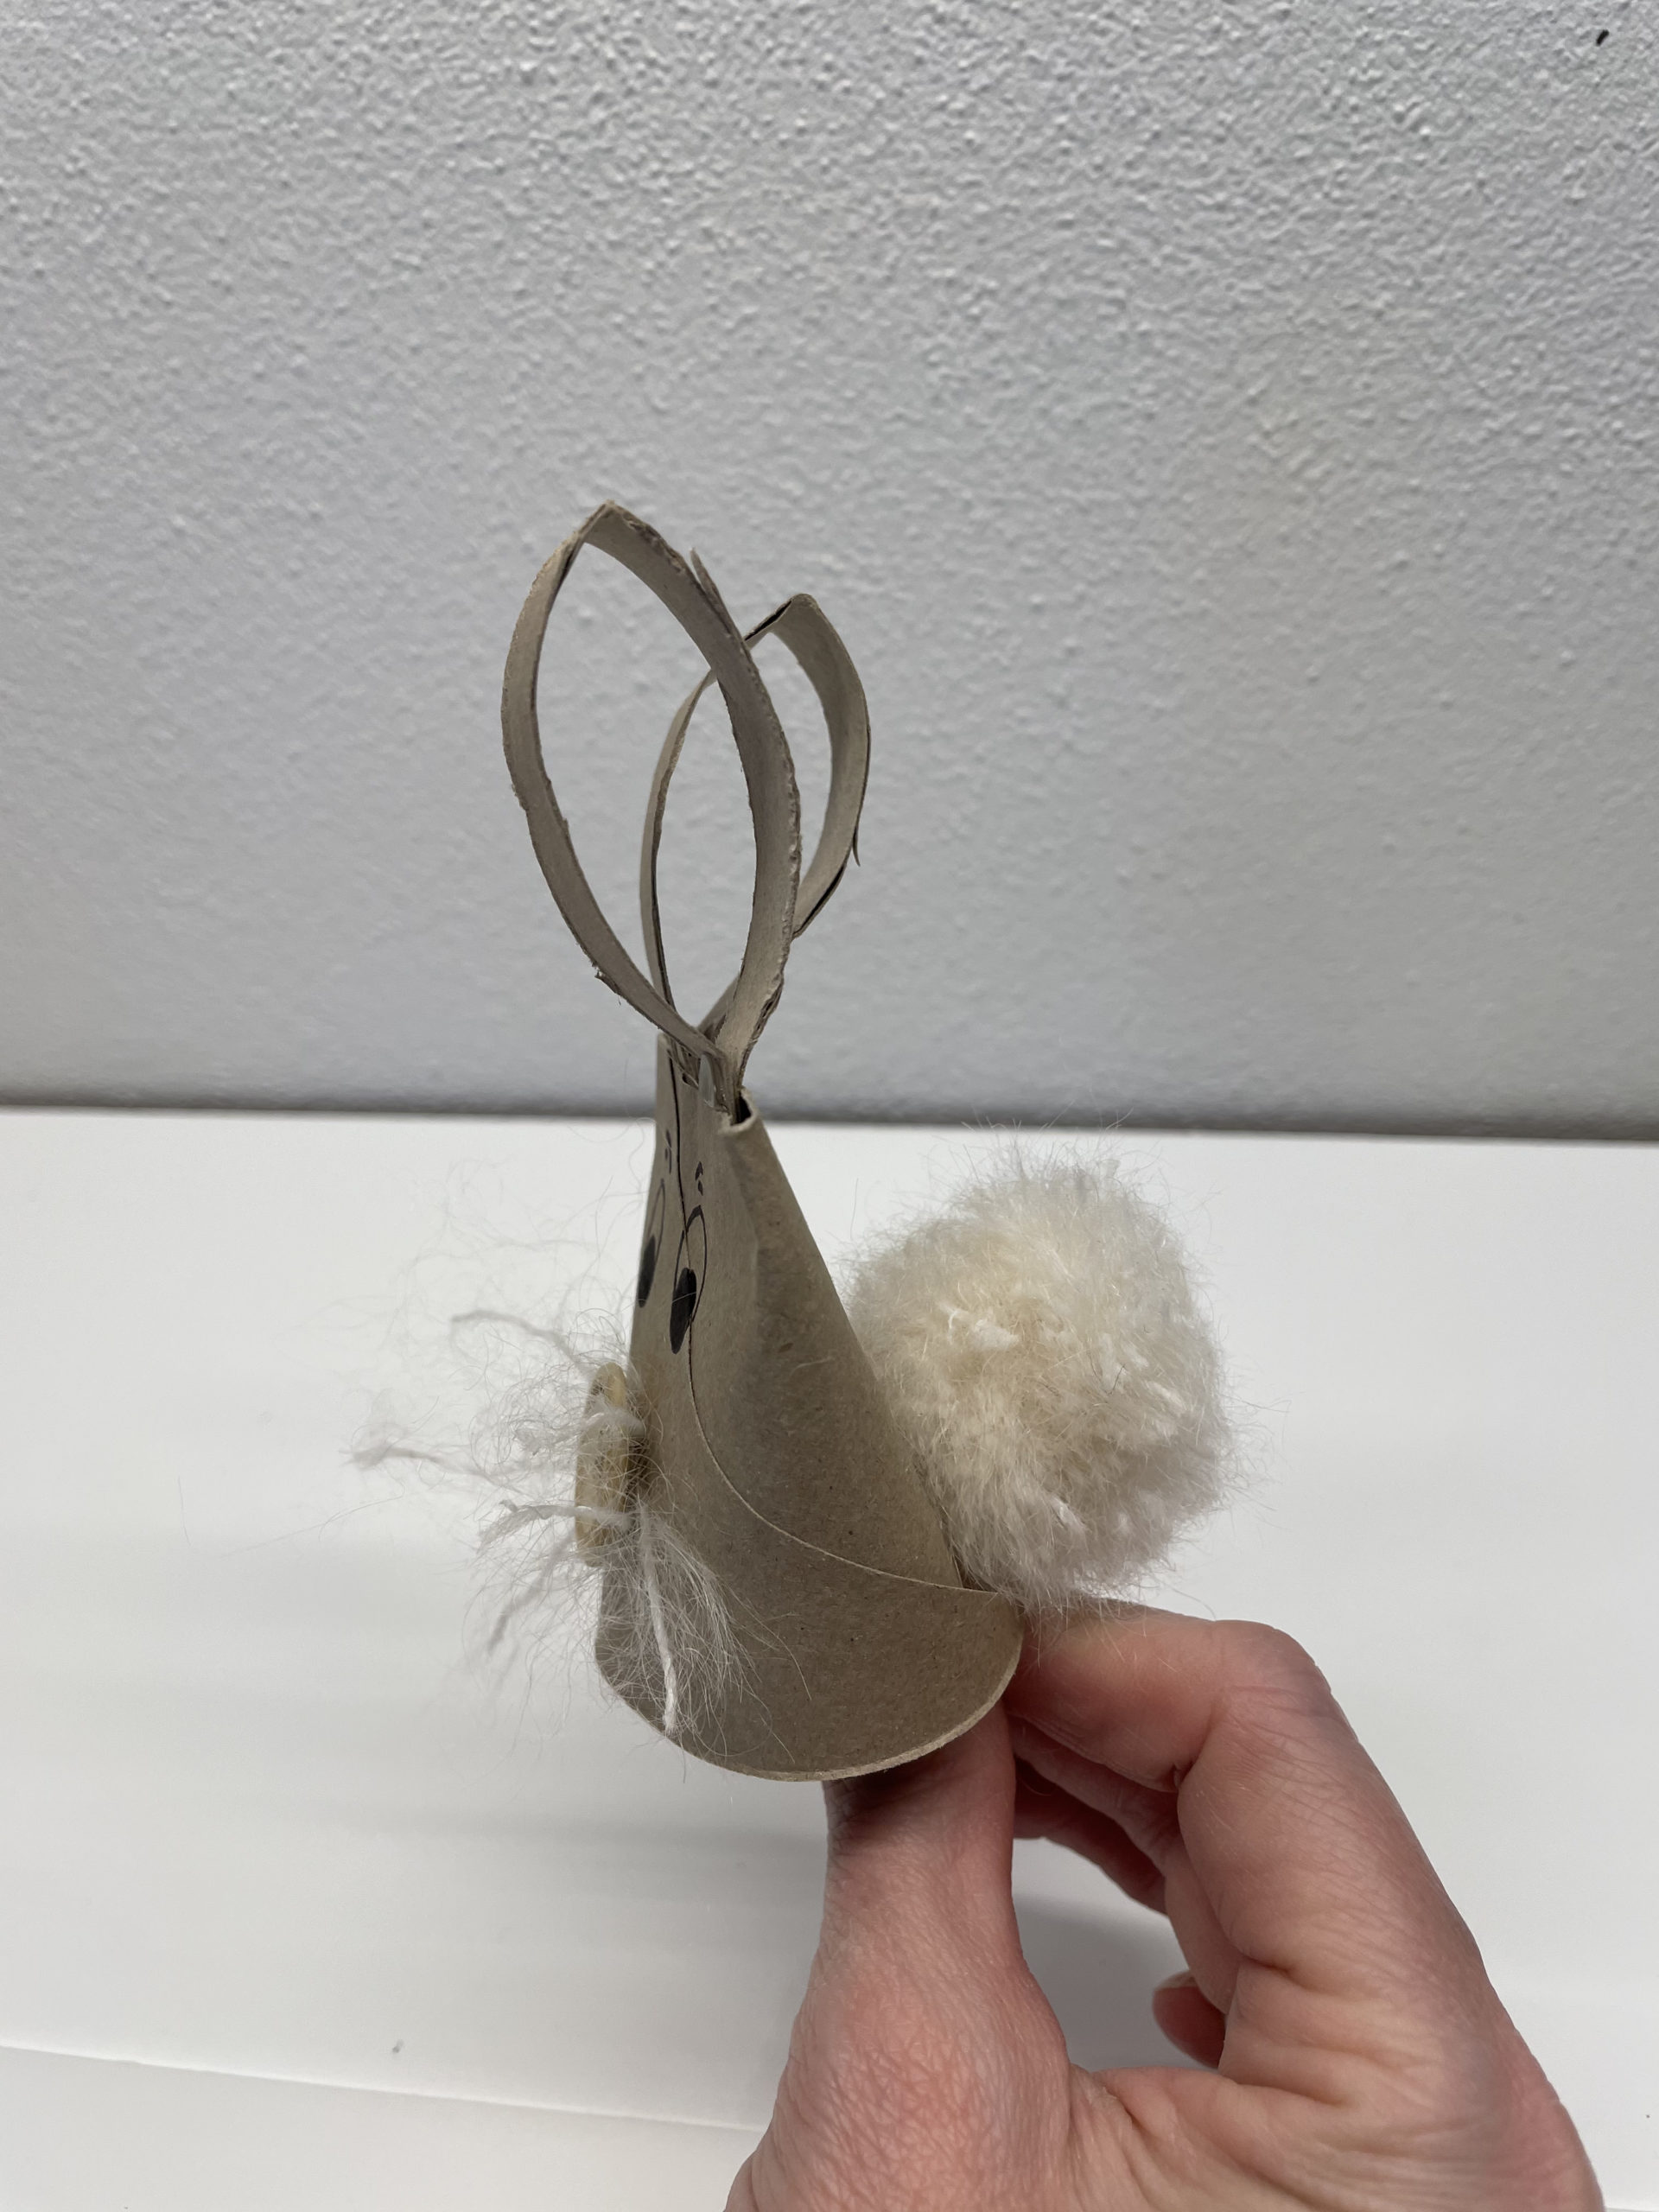


Now find a nice place for the Easter bunny.


Another idea is to attach the rabbits to a branch or stick.
You can just put him on it, too.
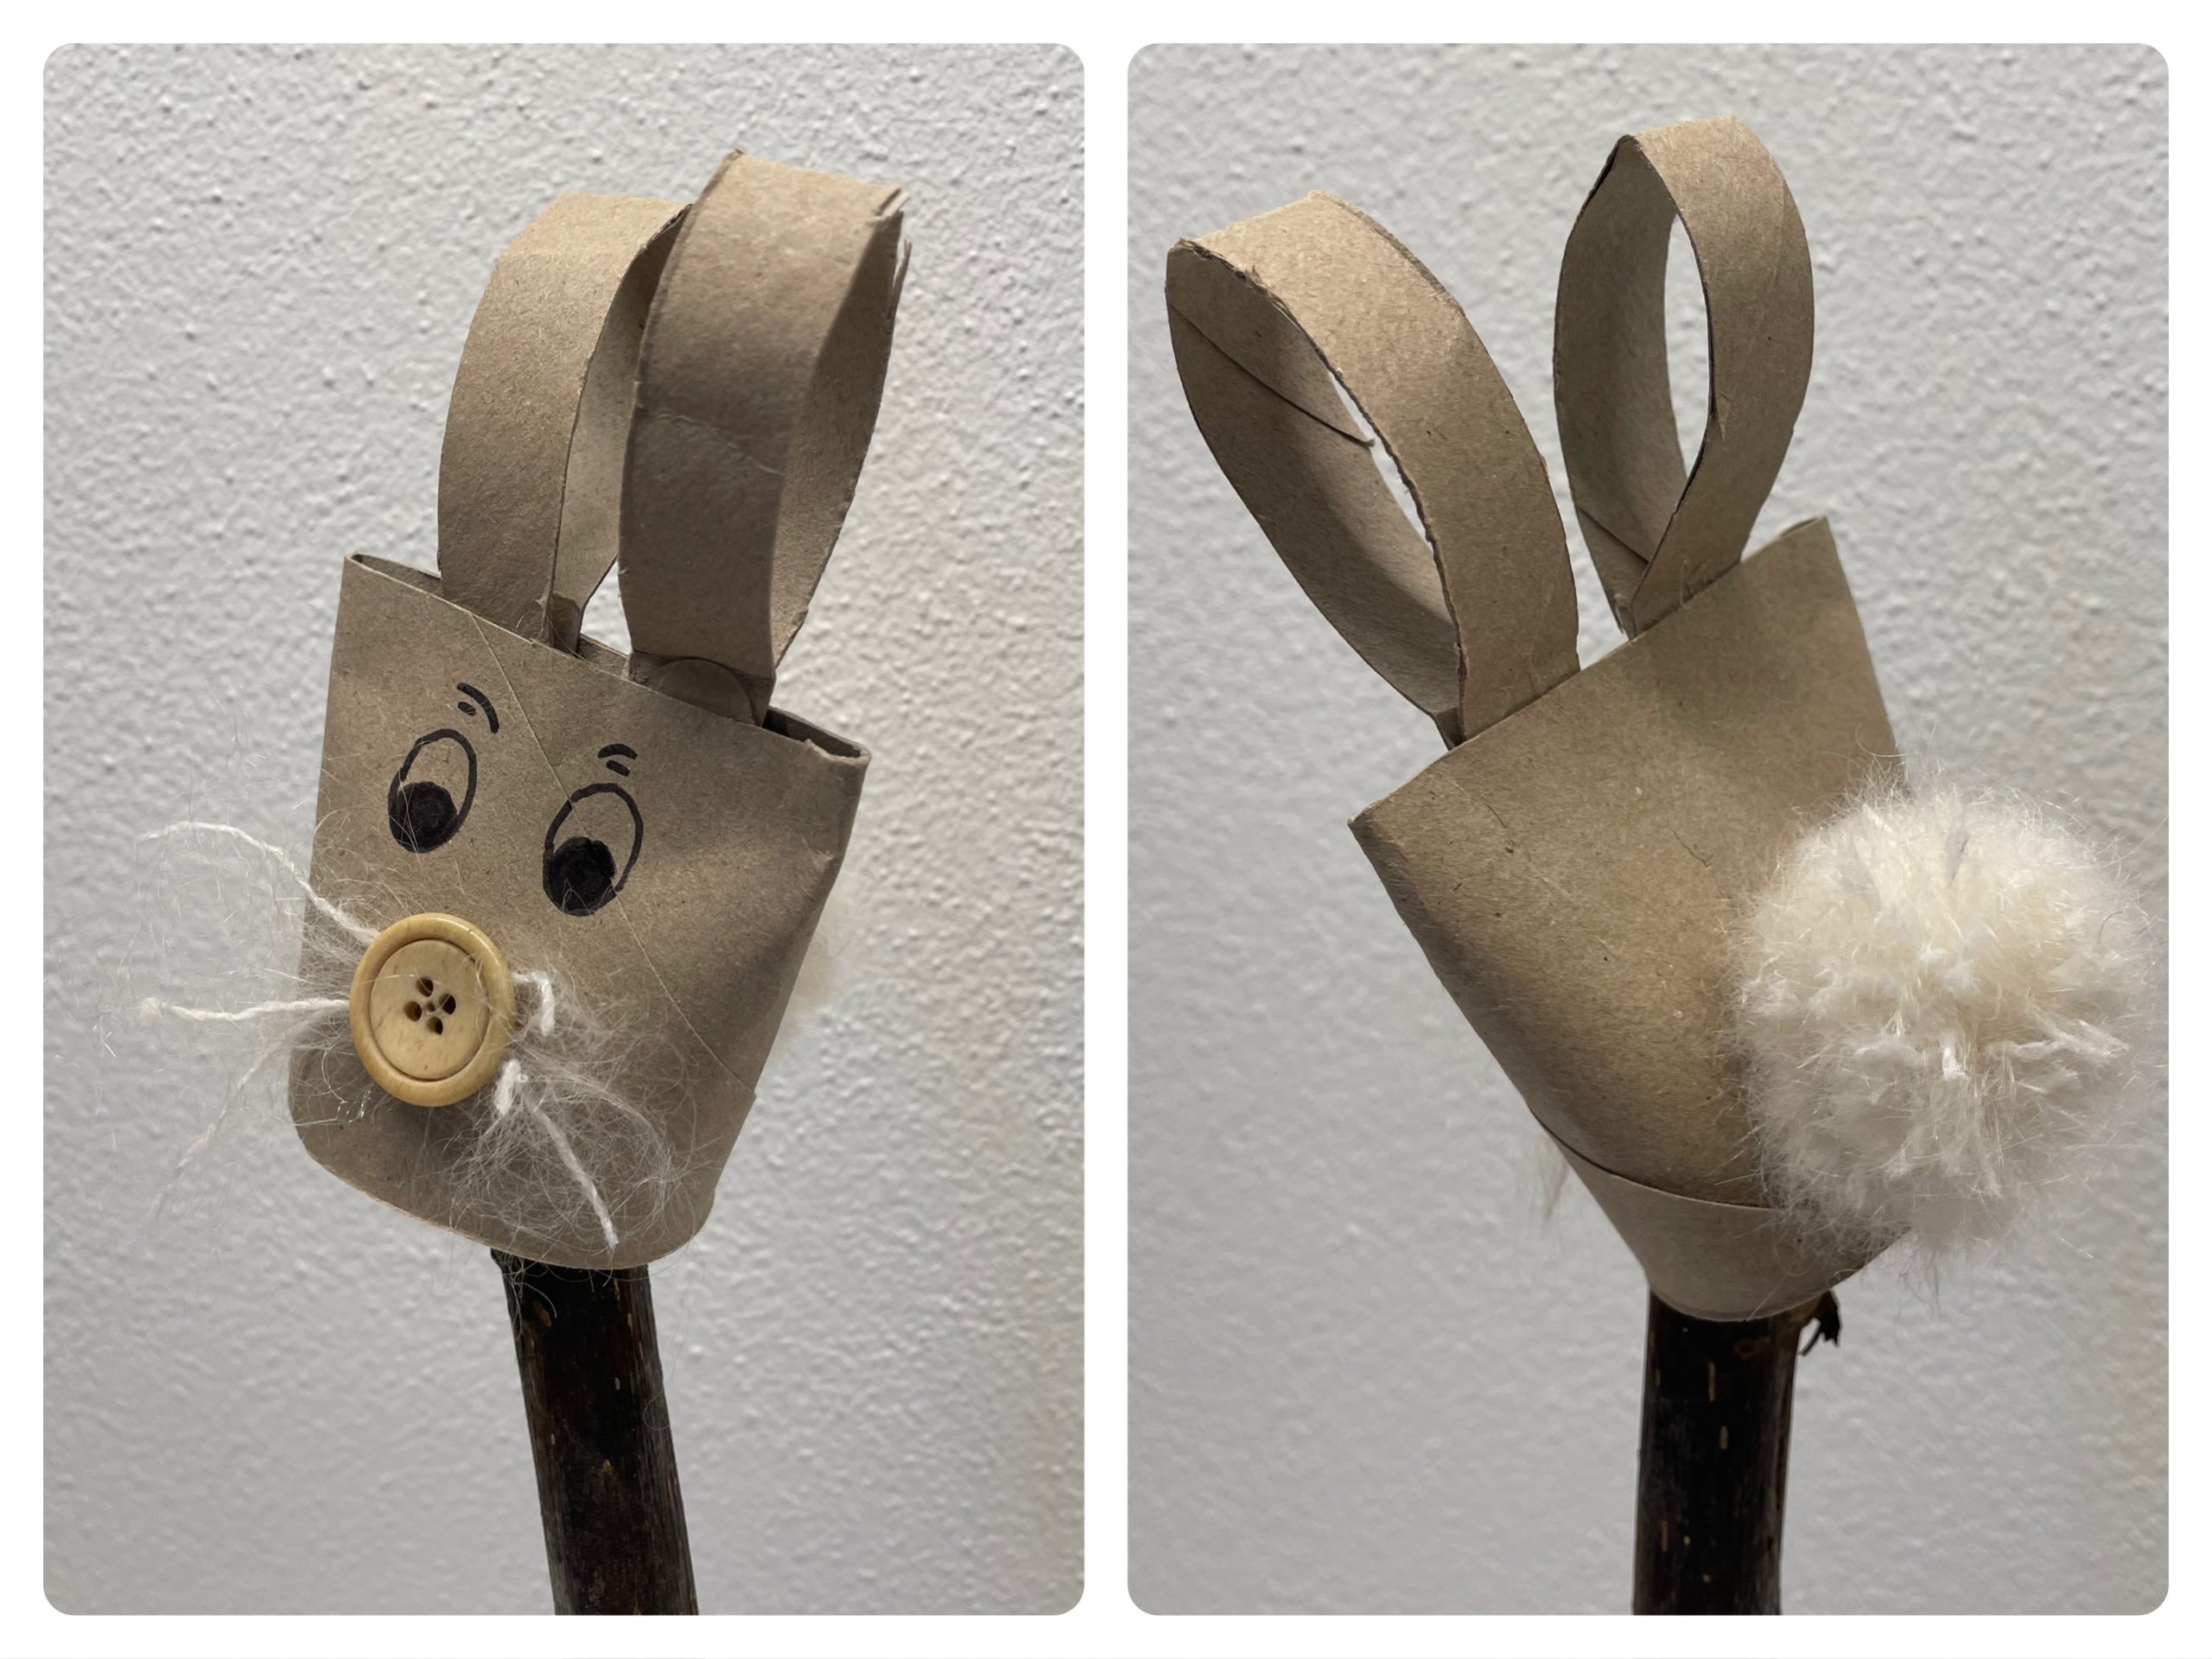


Now you can use it as a figure for an Easter theatre or an Easter game.
Of course, you can put it in a flower pot or vase.
Stay creative!
Have fun doing crafts.
Materials
Directions
Get ready for all the materials and the craft material.
Take the cardboard roll first.


Then cut off two very narrow strips of cardboard roll with the scissors.


Press the strips together flat so they look like two rabbit ears.


Up and down, the cardboard strip has a kink.


Also pushes the cardboard roll slightly together, so that it becomes oval (oval).


Lay the cardboard roll flat on the base. Then stick the two ears on the lying side from the inside.


You can also use the hot glue gun.
Attention: Let us help you with this - risk of injury!


Now you put the cardboard roll back up.


The face of the rabbit is now missing on the front.


For this you paint your eyes on the cardboard roll with a felt pen. These should sit in the middle under the ears.


Now you cut off three 5cm long threads of wool. Tip: use the same wool that you used for the tail.


First you make a glue point in the middle below the eyes. On this you stick the three woolen threads. Make sure that they survive the same length on both sides.


Now you stick the button over the whiskers with the hot glue. Make sure that no hot glue is pouring through the buttonholes - you could burn yourself like this!


Now our bunny is ready.


Now press the cardboard roll at the top of the ears flat.


Then glue the carton to the top with hot glue.


The rabbit is ready.
Bends the ears, if necessary.


Now find a nice place for the Easter bunny.


Another idea is to attach the rabbits to a branch or stick.
You can just put him on it, too.


Now you can use it as a figure for an Easter theatre or an Easter game.
Of course, you can put it in a flower pot or vase.
Stay creative!
Have fun doing crafts.
Follow us on Facebook , Instagram and Pinterest
Don't miss any more adventures: Our bottle mail




That's a great idea! We'll try it out!