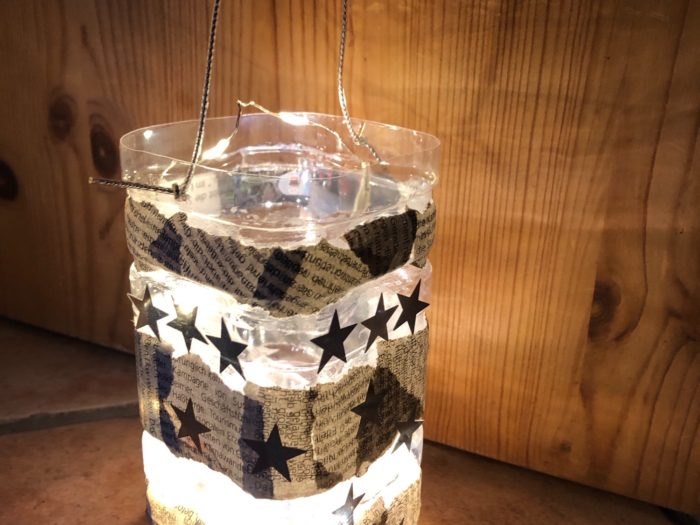
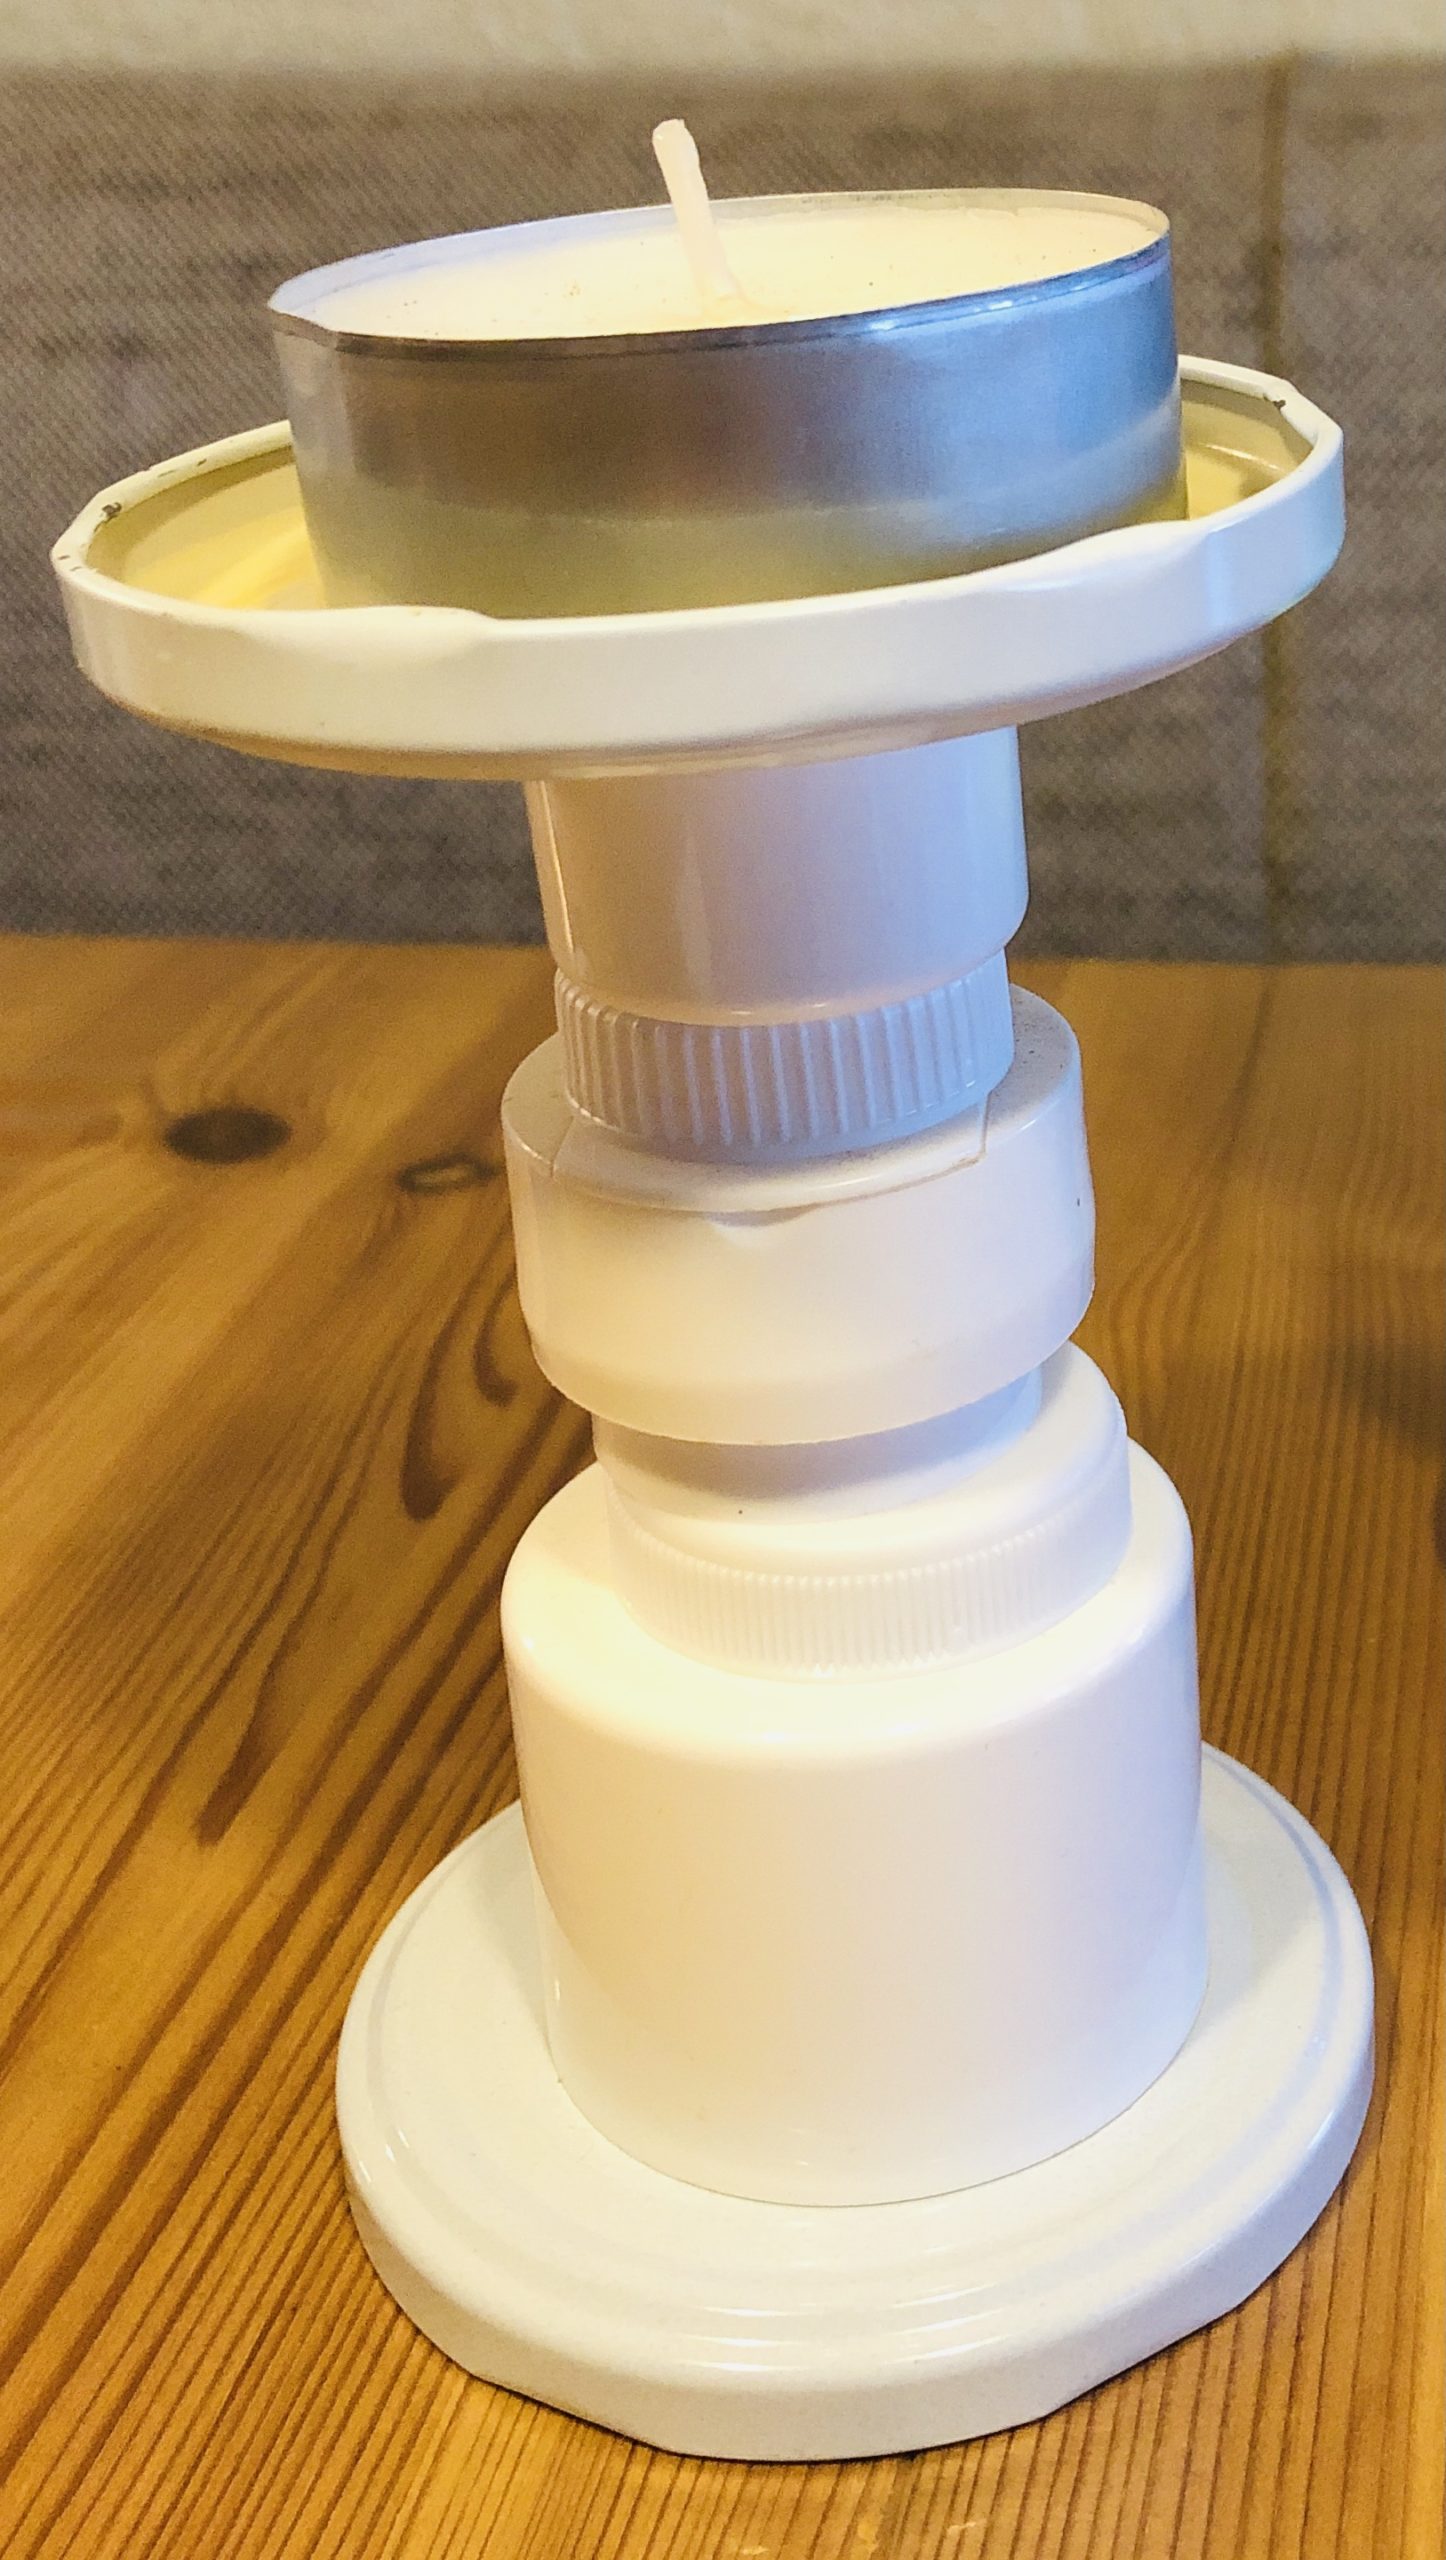
Collect caps and lids of any kind and color. From this you can make beautiful free gifts, such as these candlesticks. For this, stack the lids together as towers. Then glue your creation together with a hot glue gun piece by piece. At the end you put a large tea light or a stump candle on it and your upcycle gift is ready!
Media Education for Kindergarten and Hort

Relief in everyday life, targeted promotion of individual children, independent learning and - without any pre-knowledge already usable by the youngest!
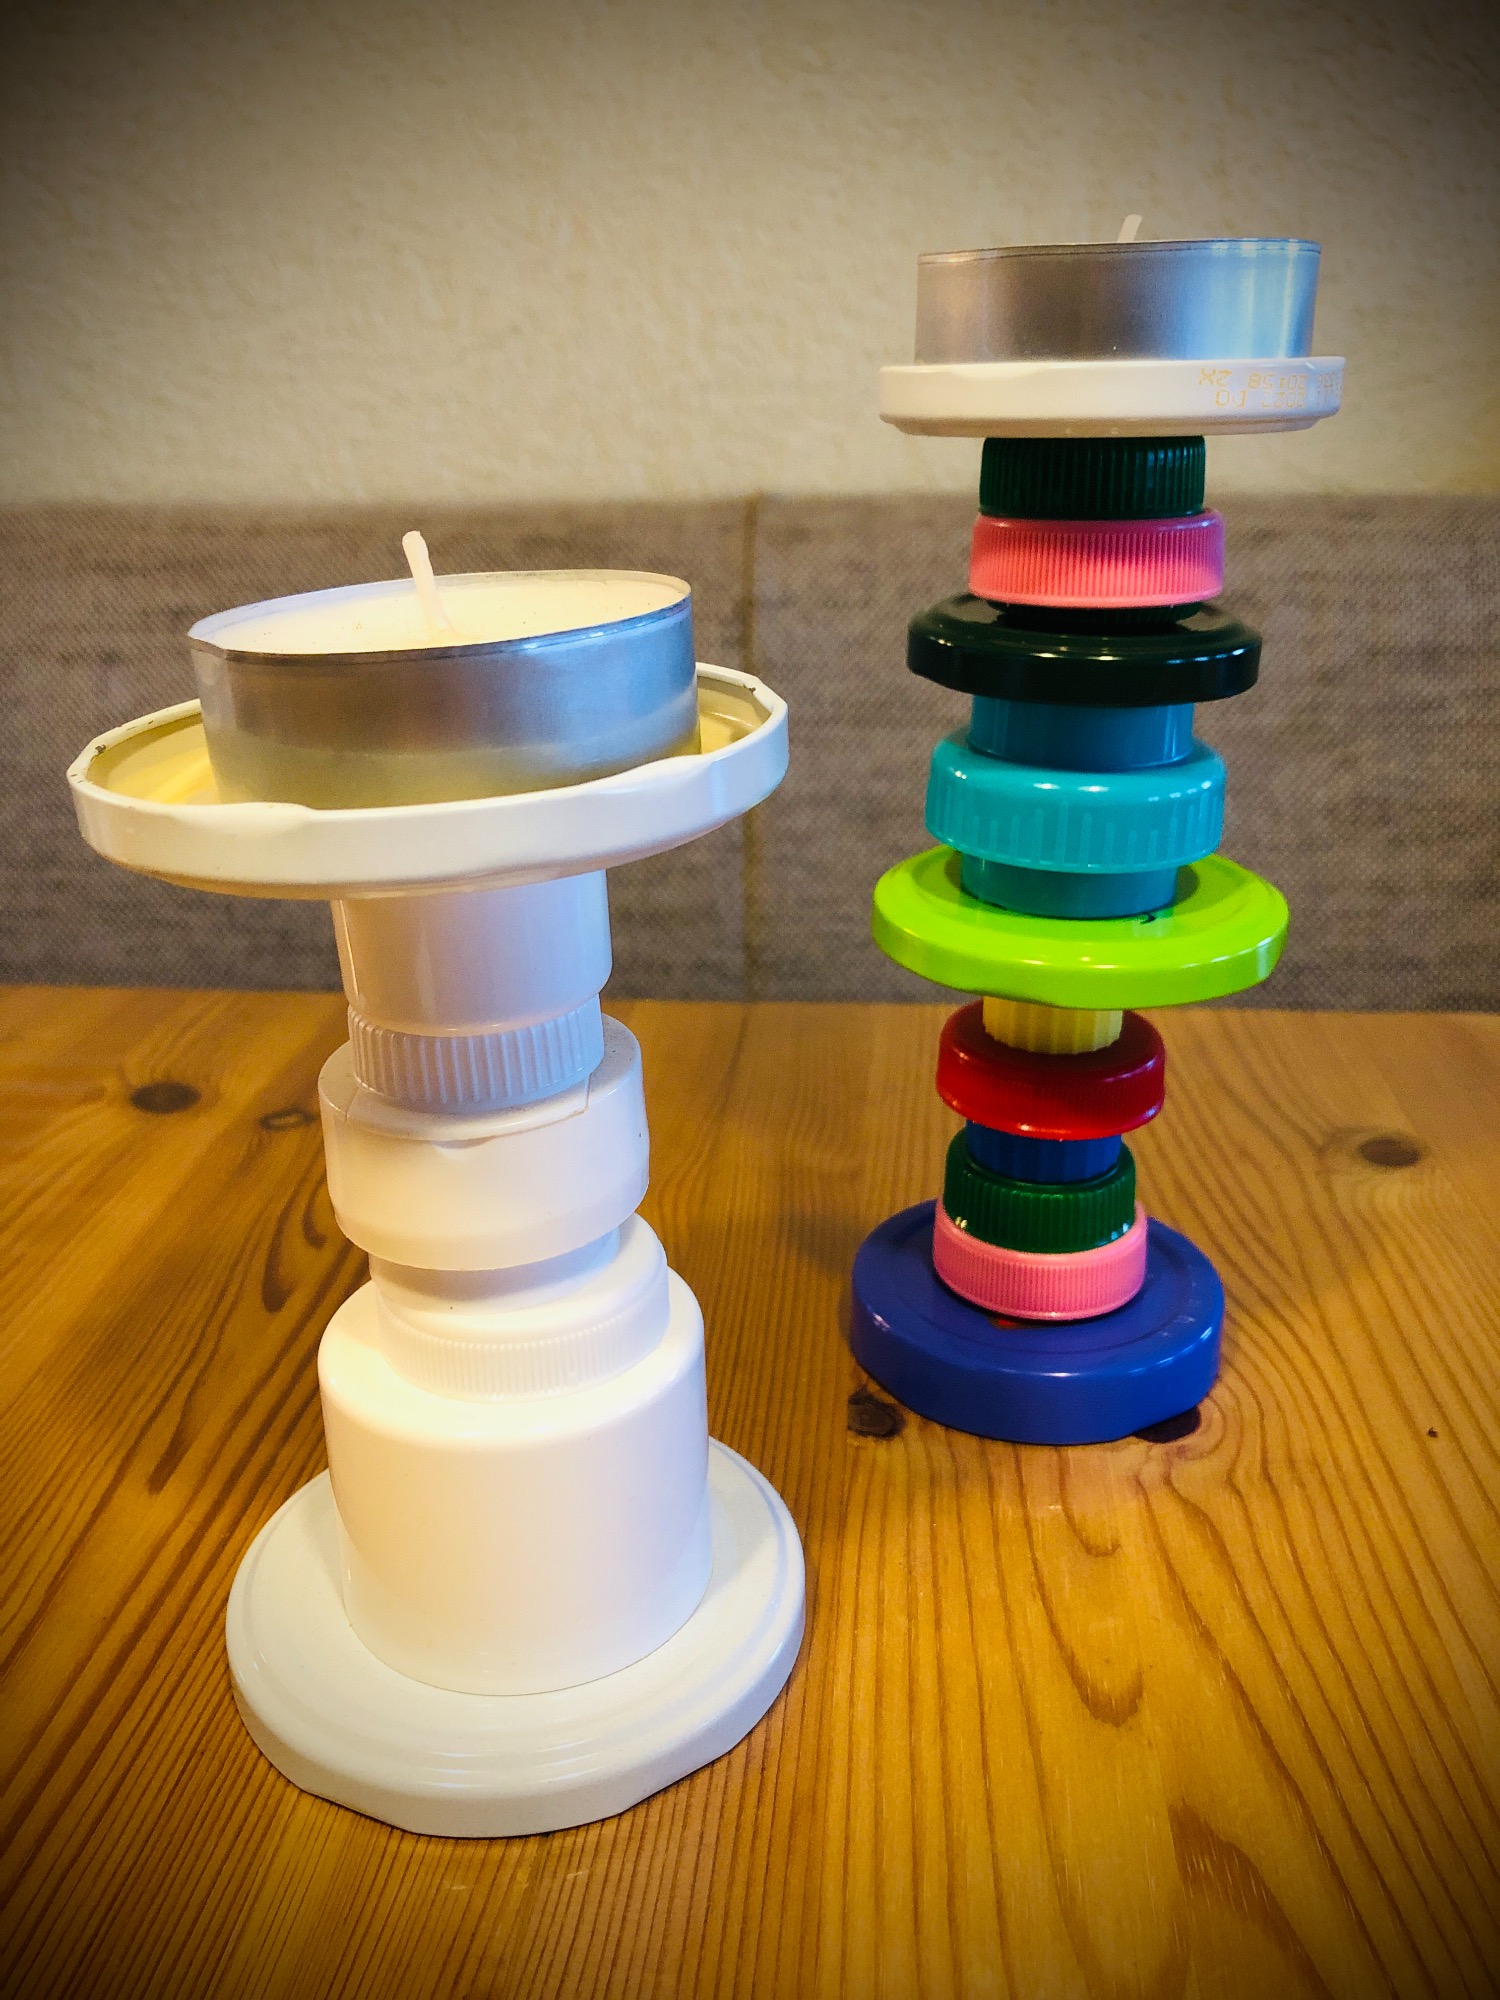
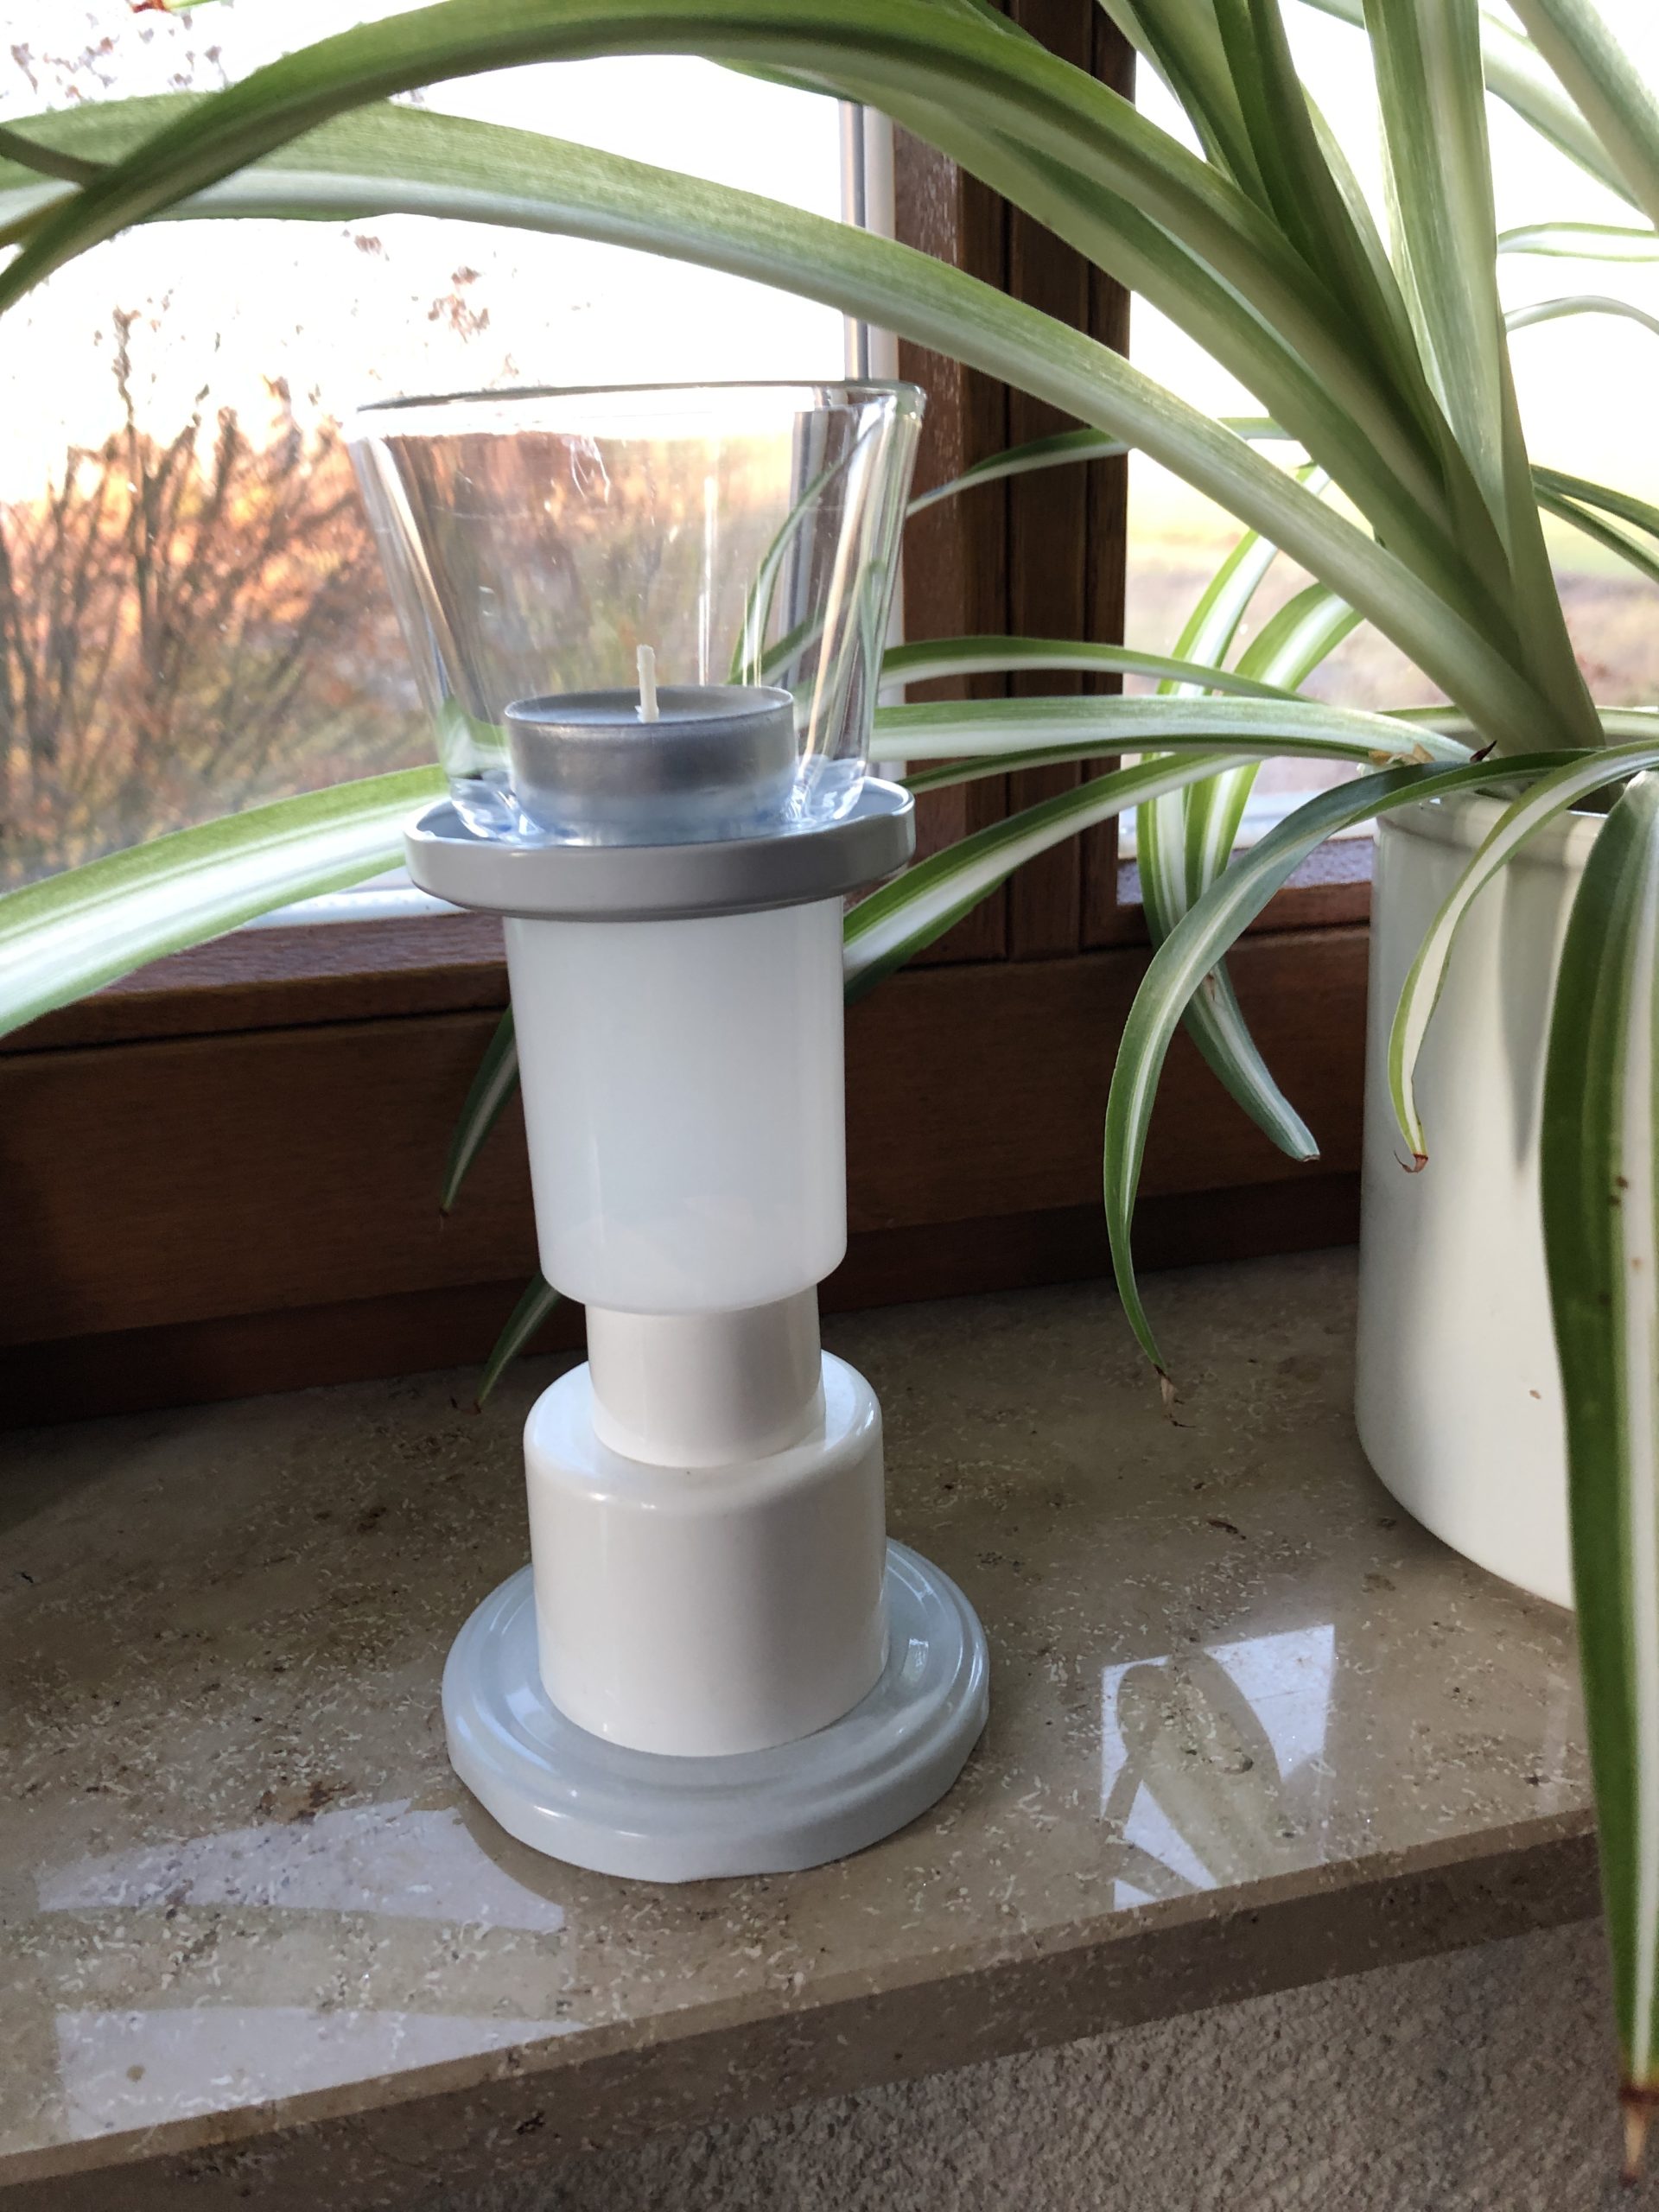
Collects white and cream-colored lids of different sizes and shape.
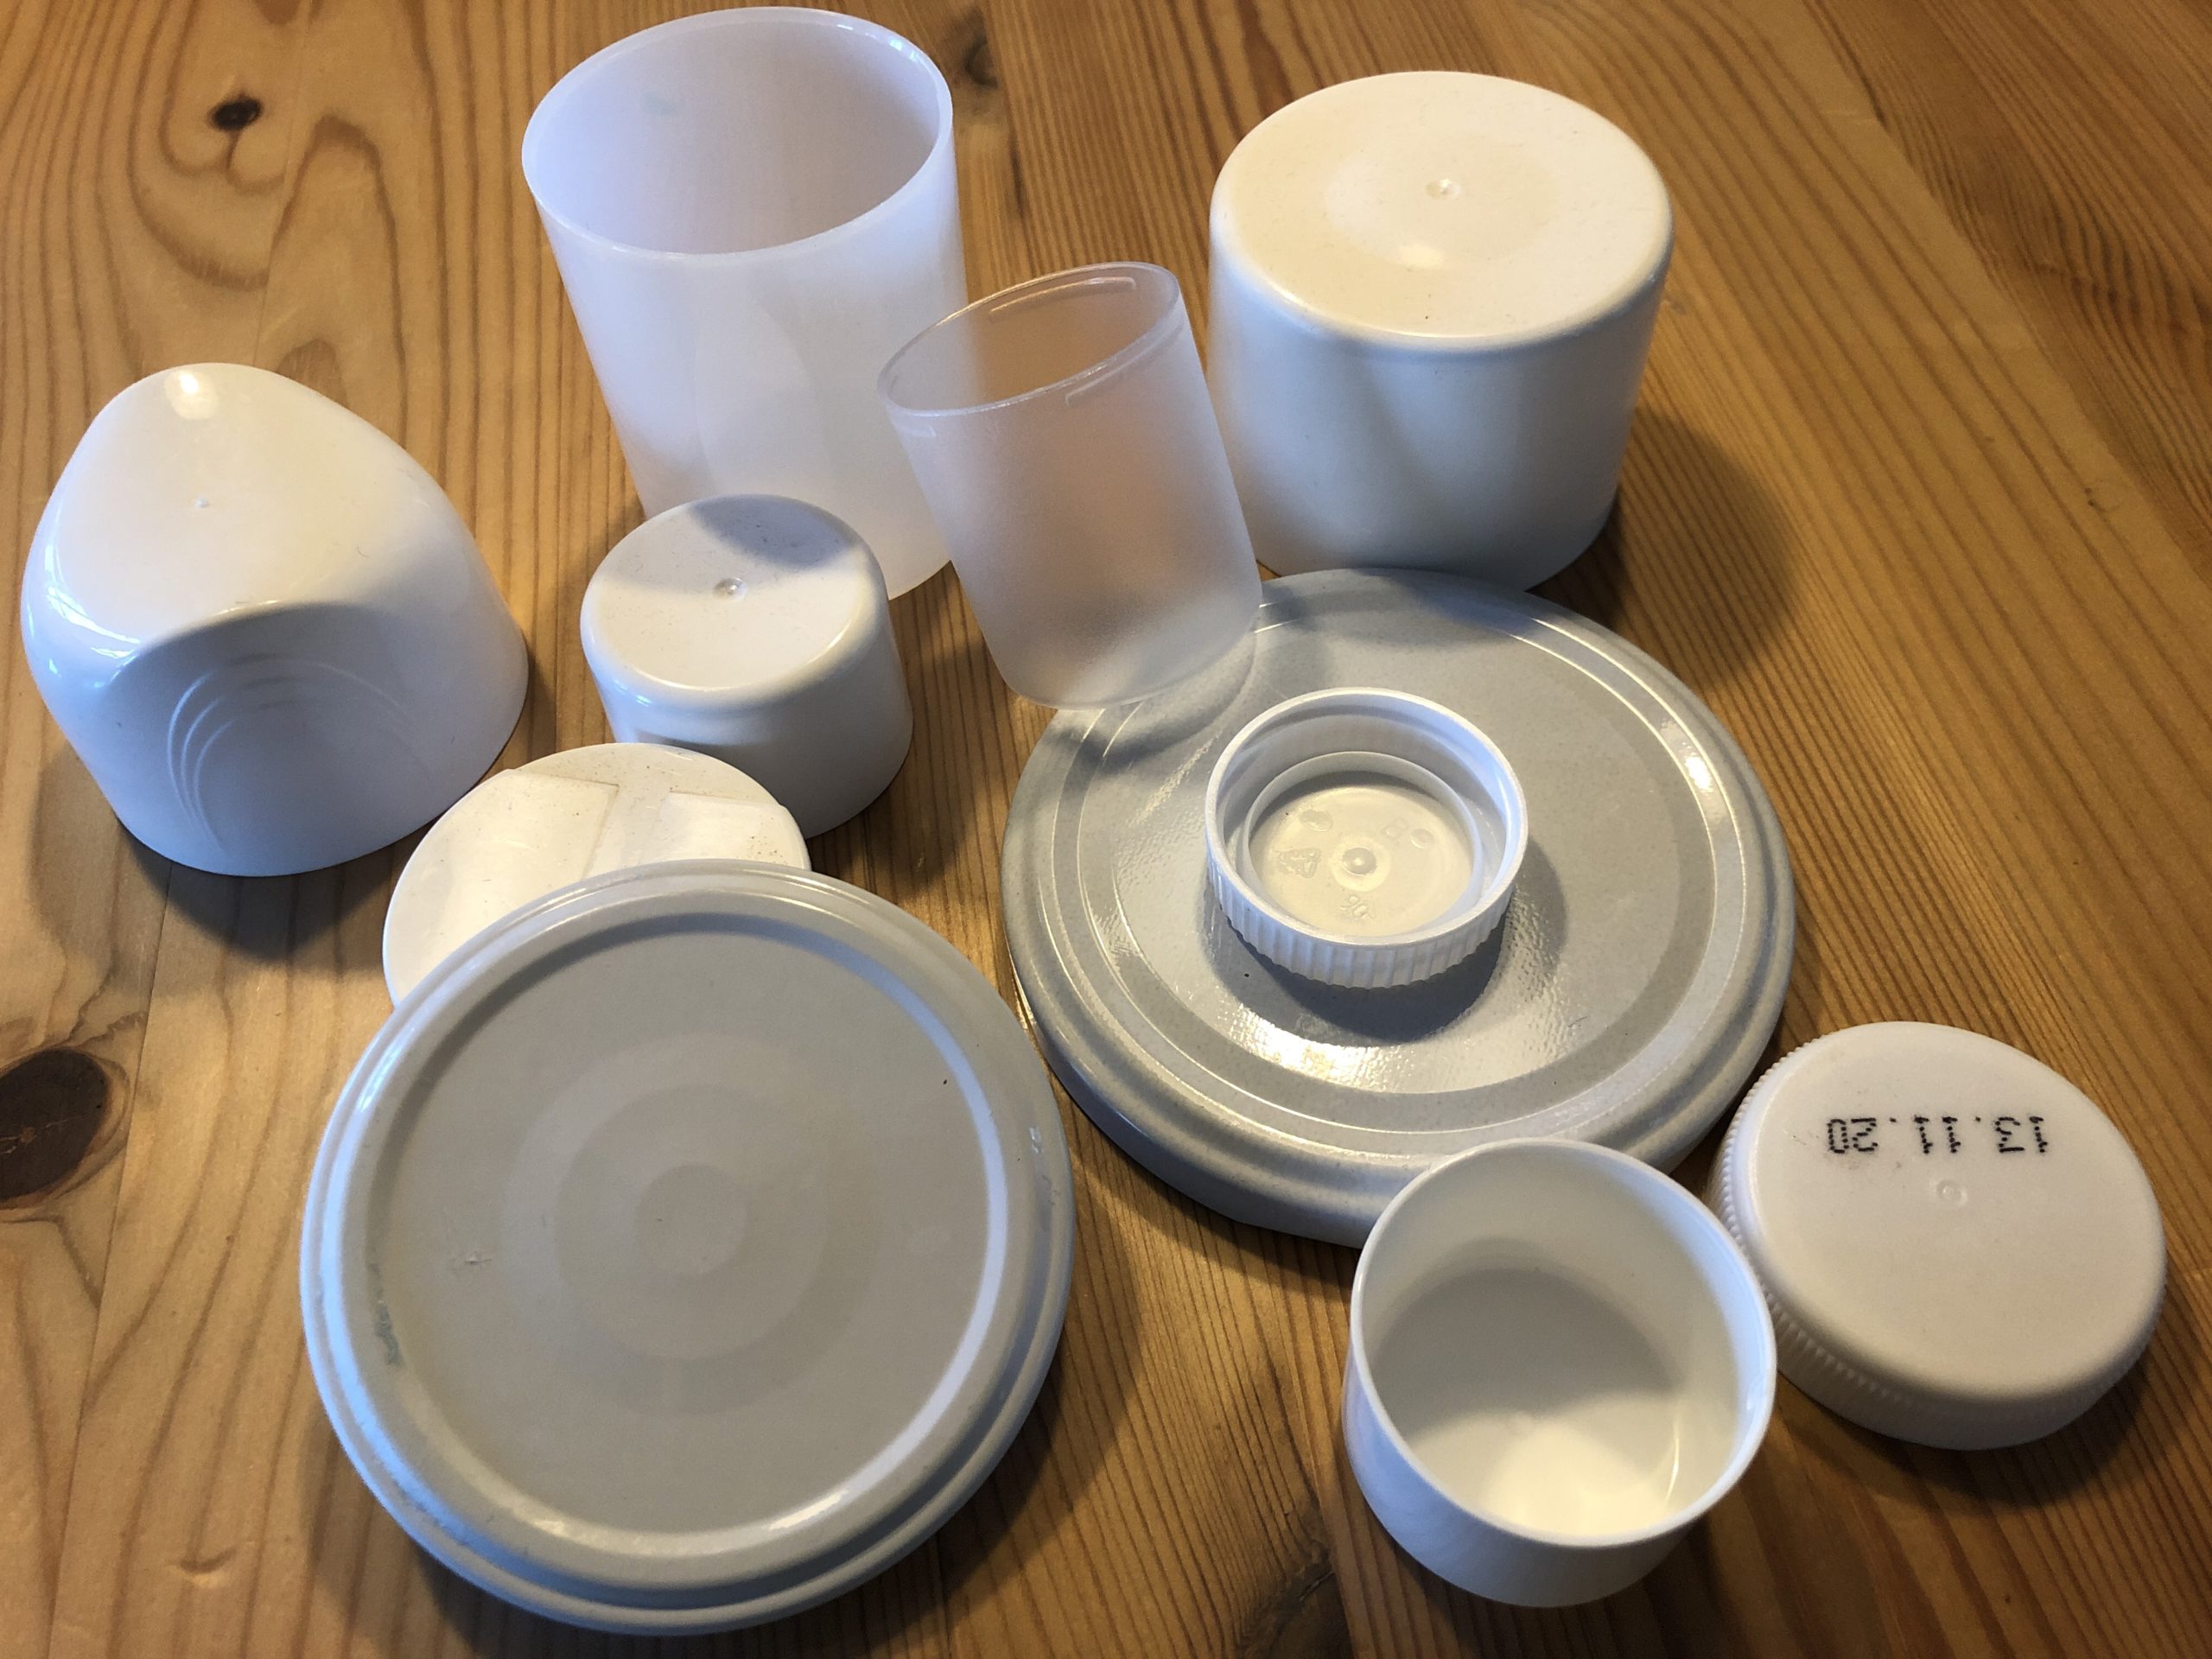
Try stacking the lids on top of each other. Try a little bit of which lids hold each other and what you like.
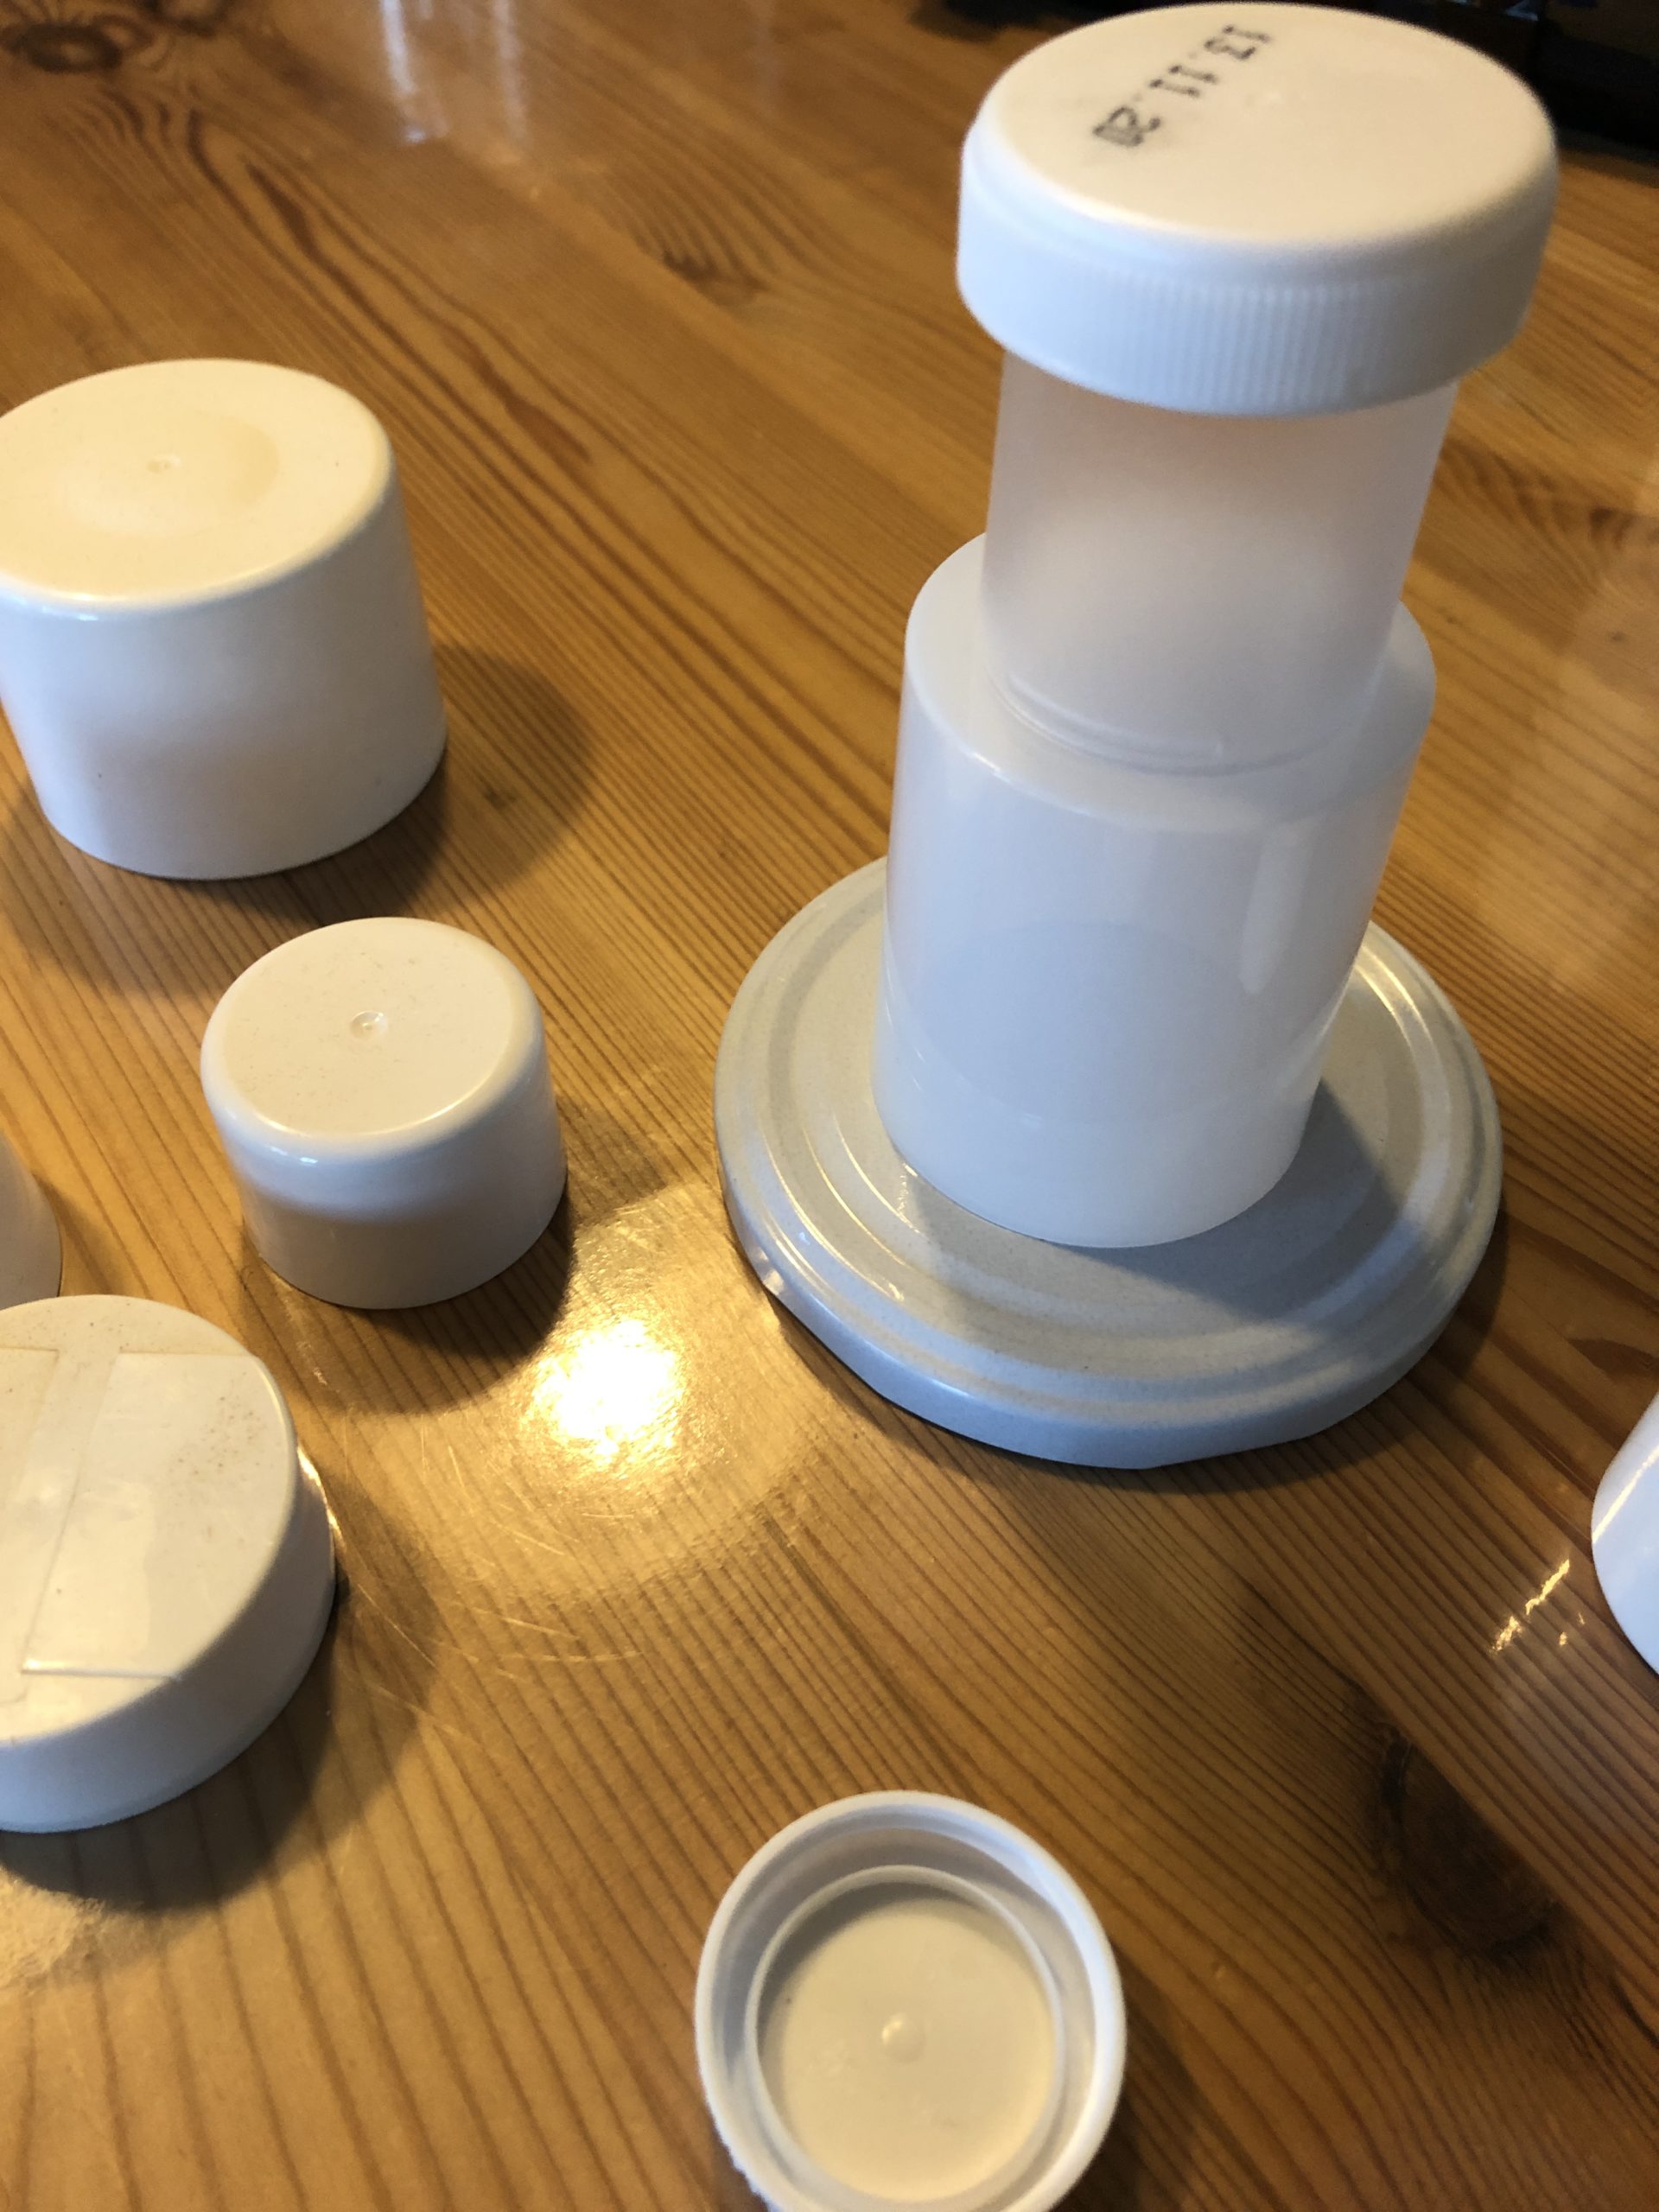


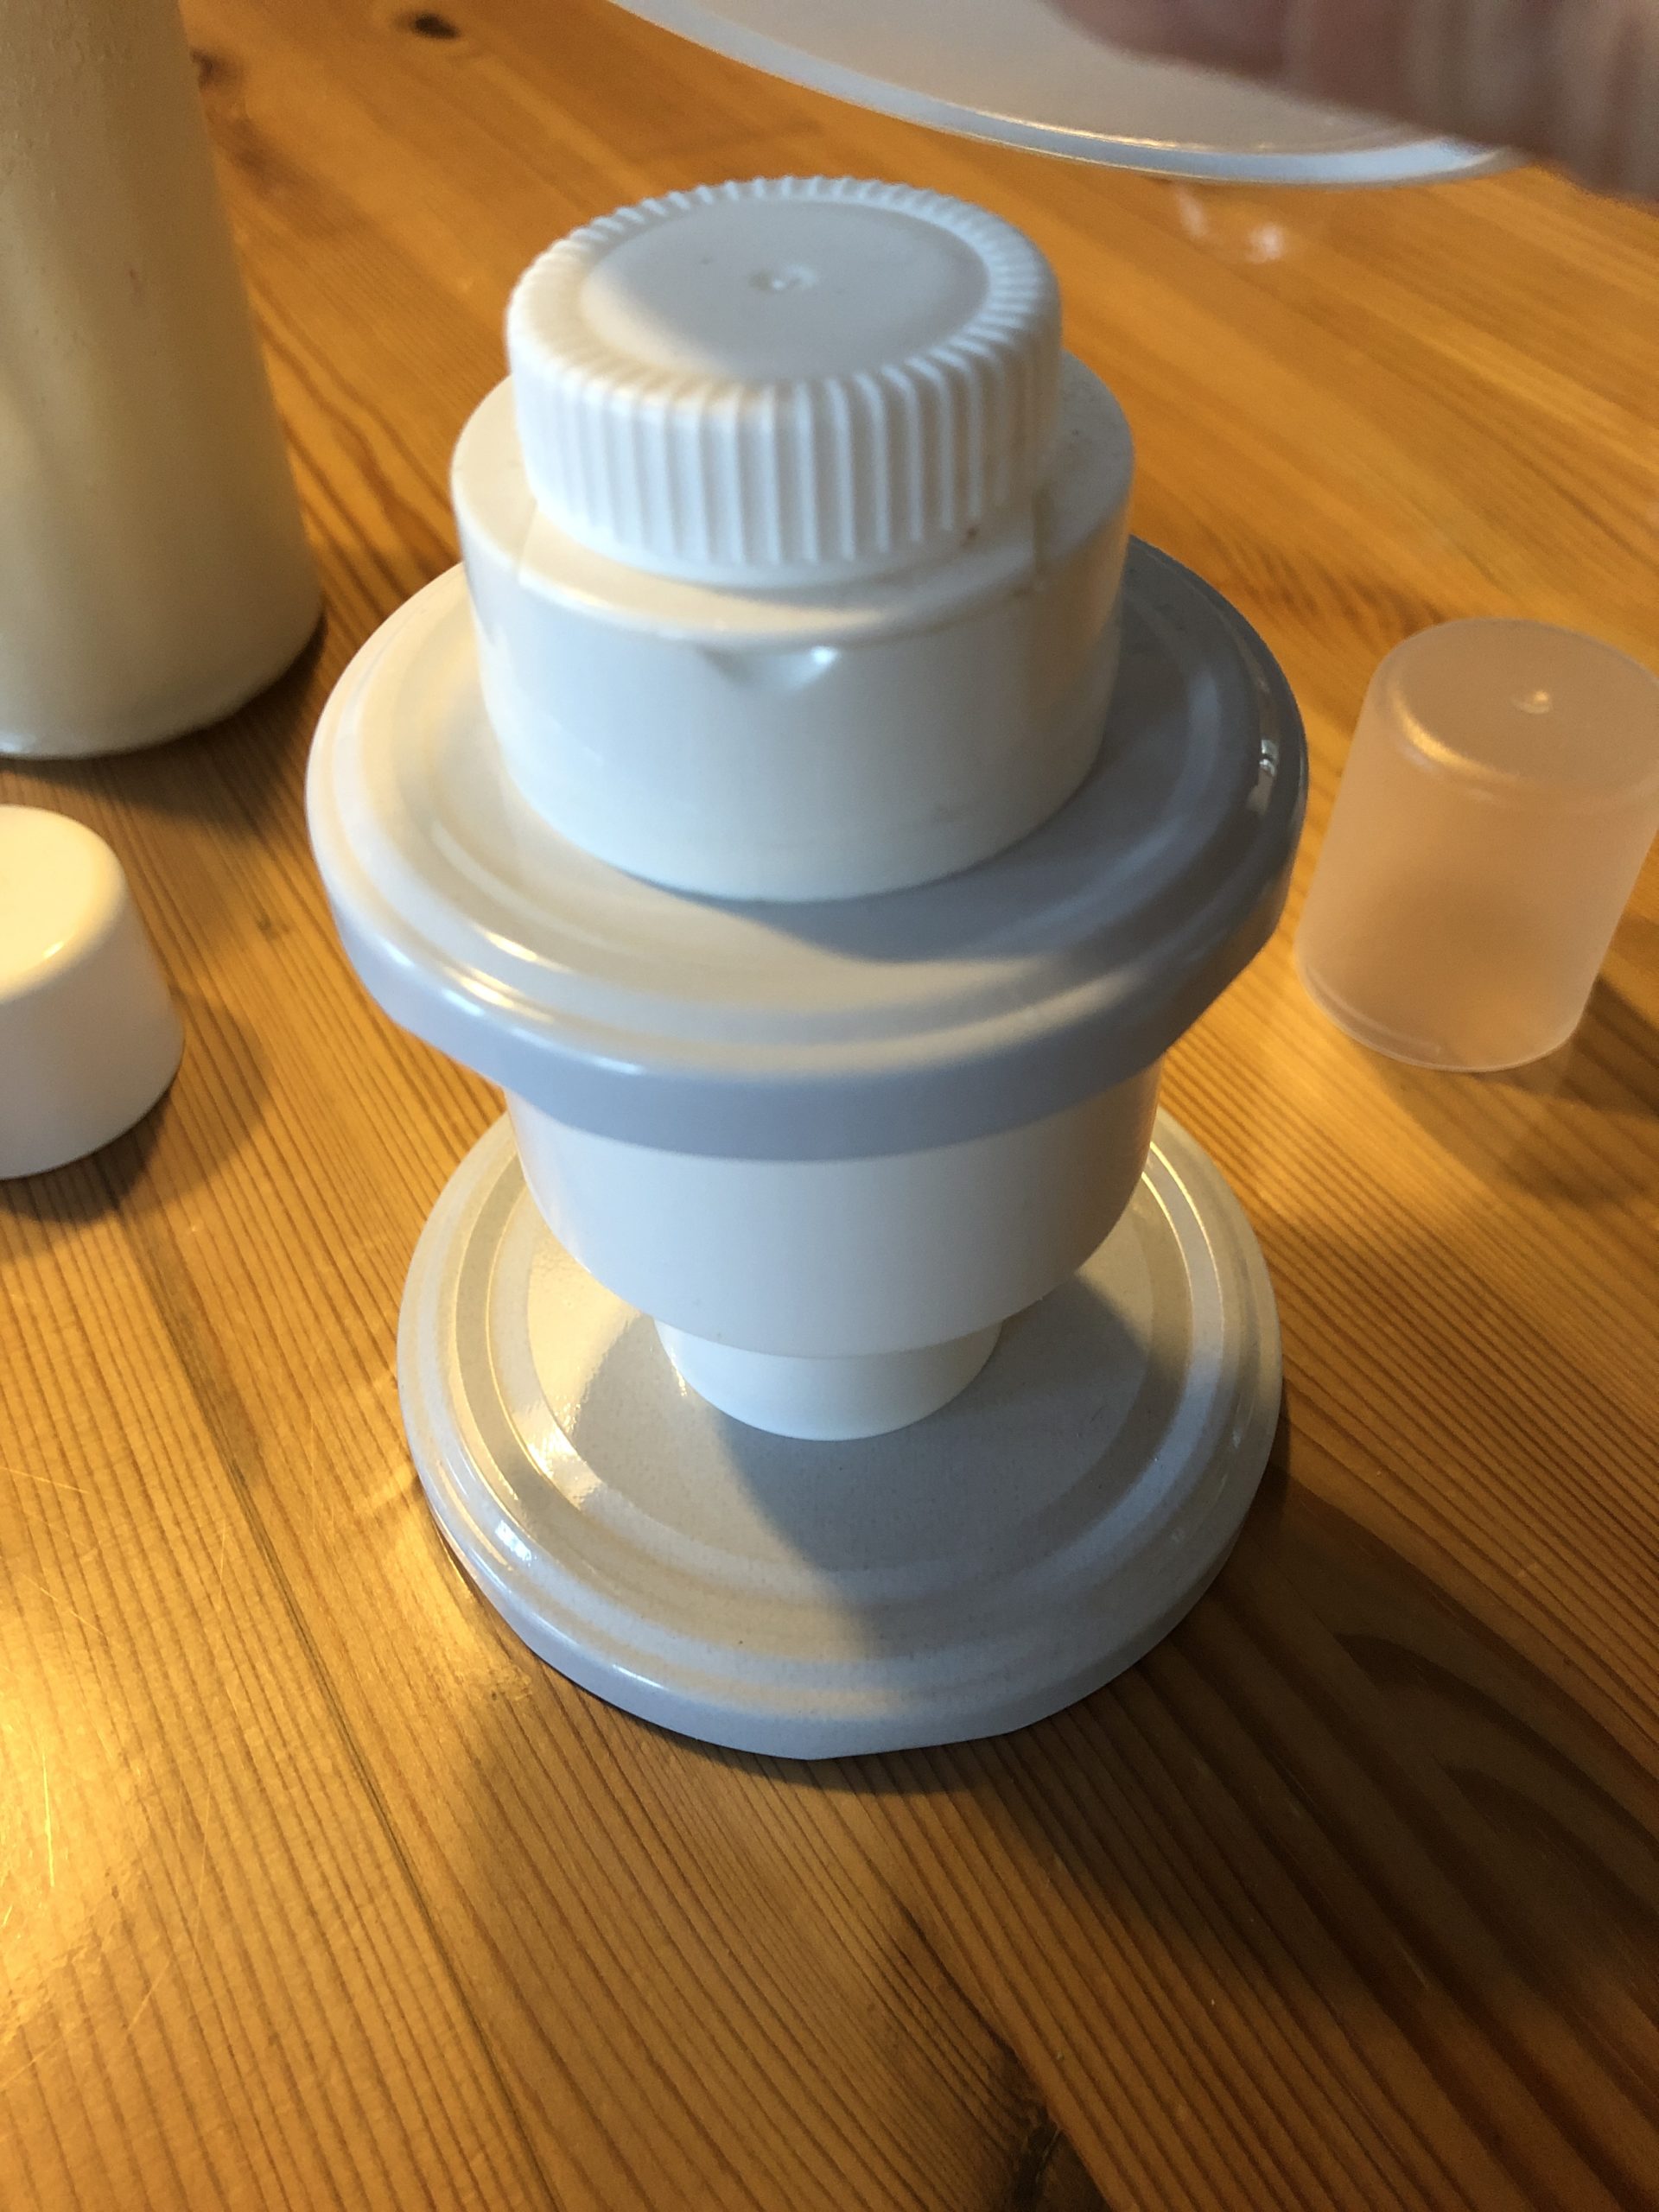


As a top lid, take a lid on which you can put a candle or tealight.
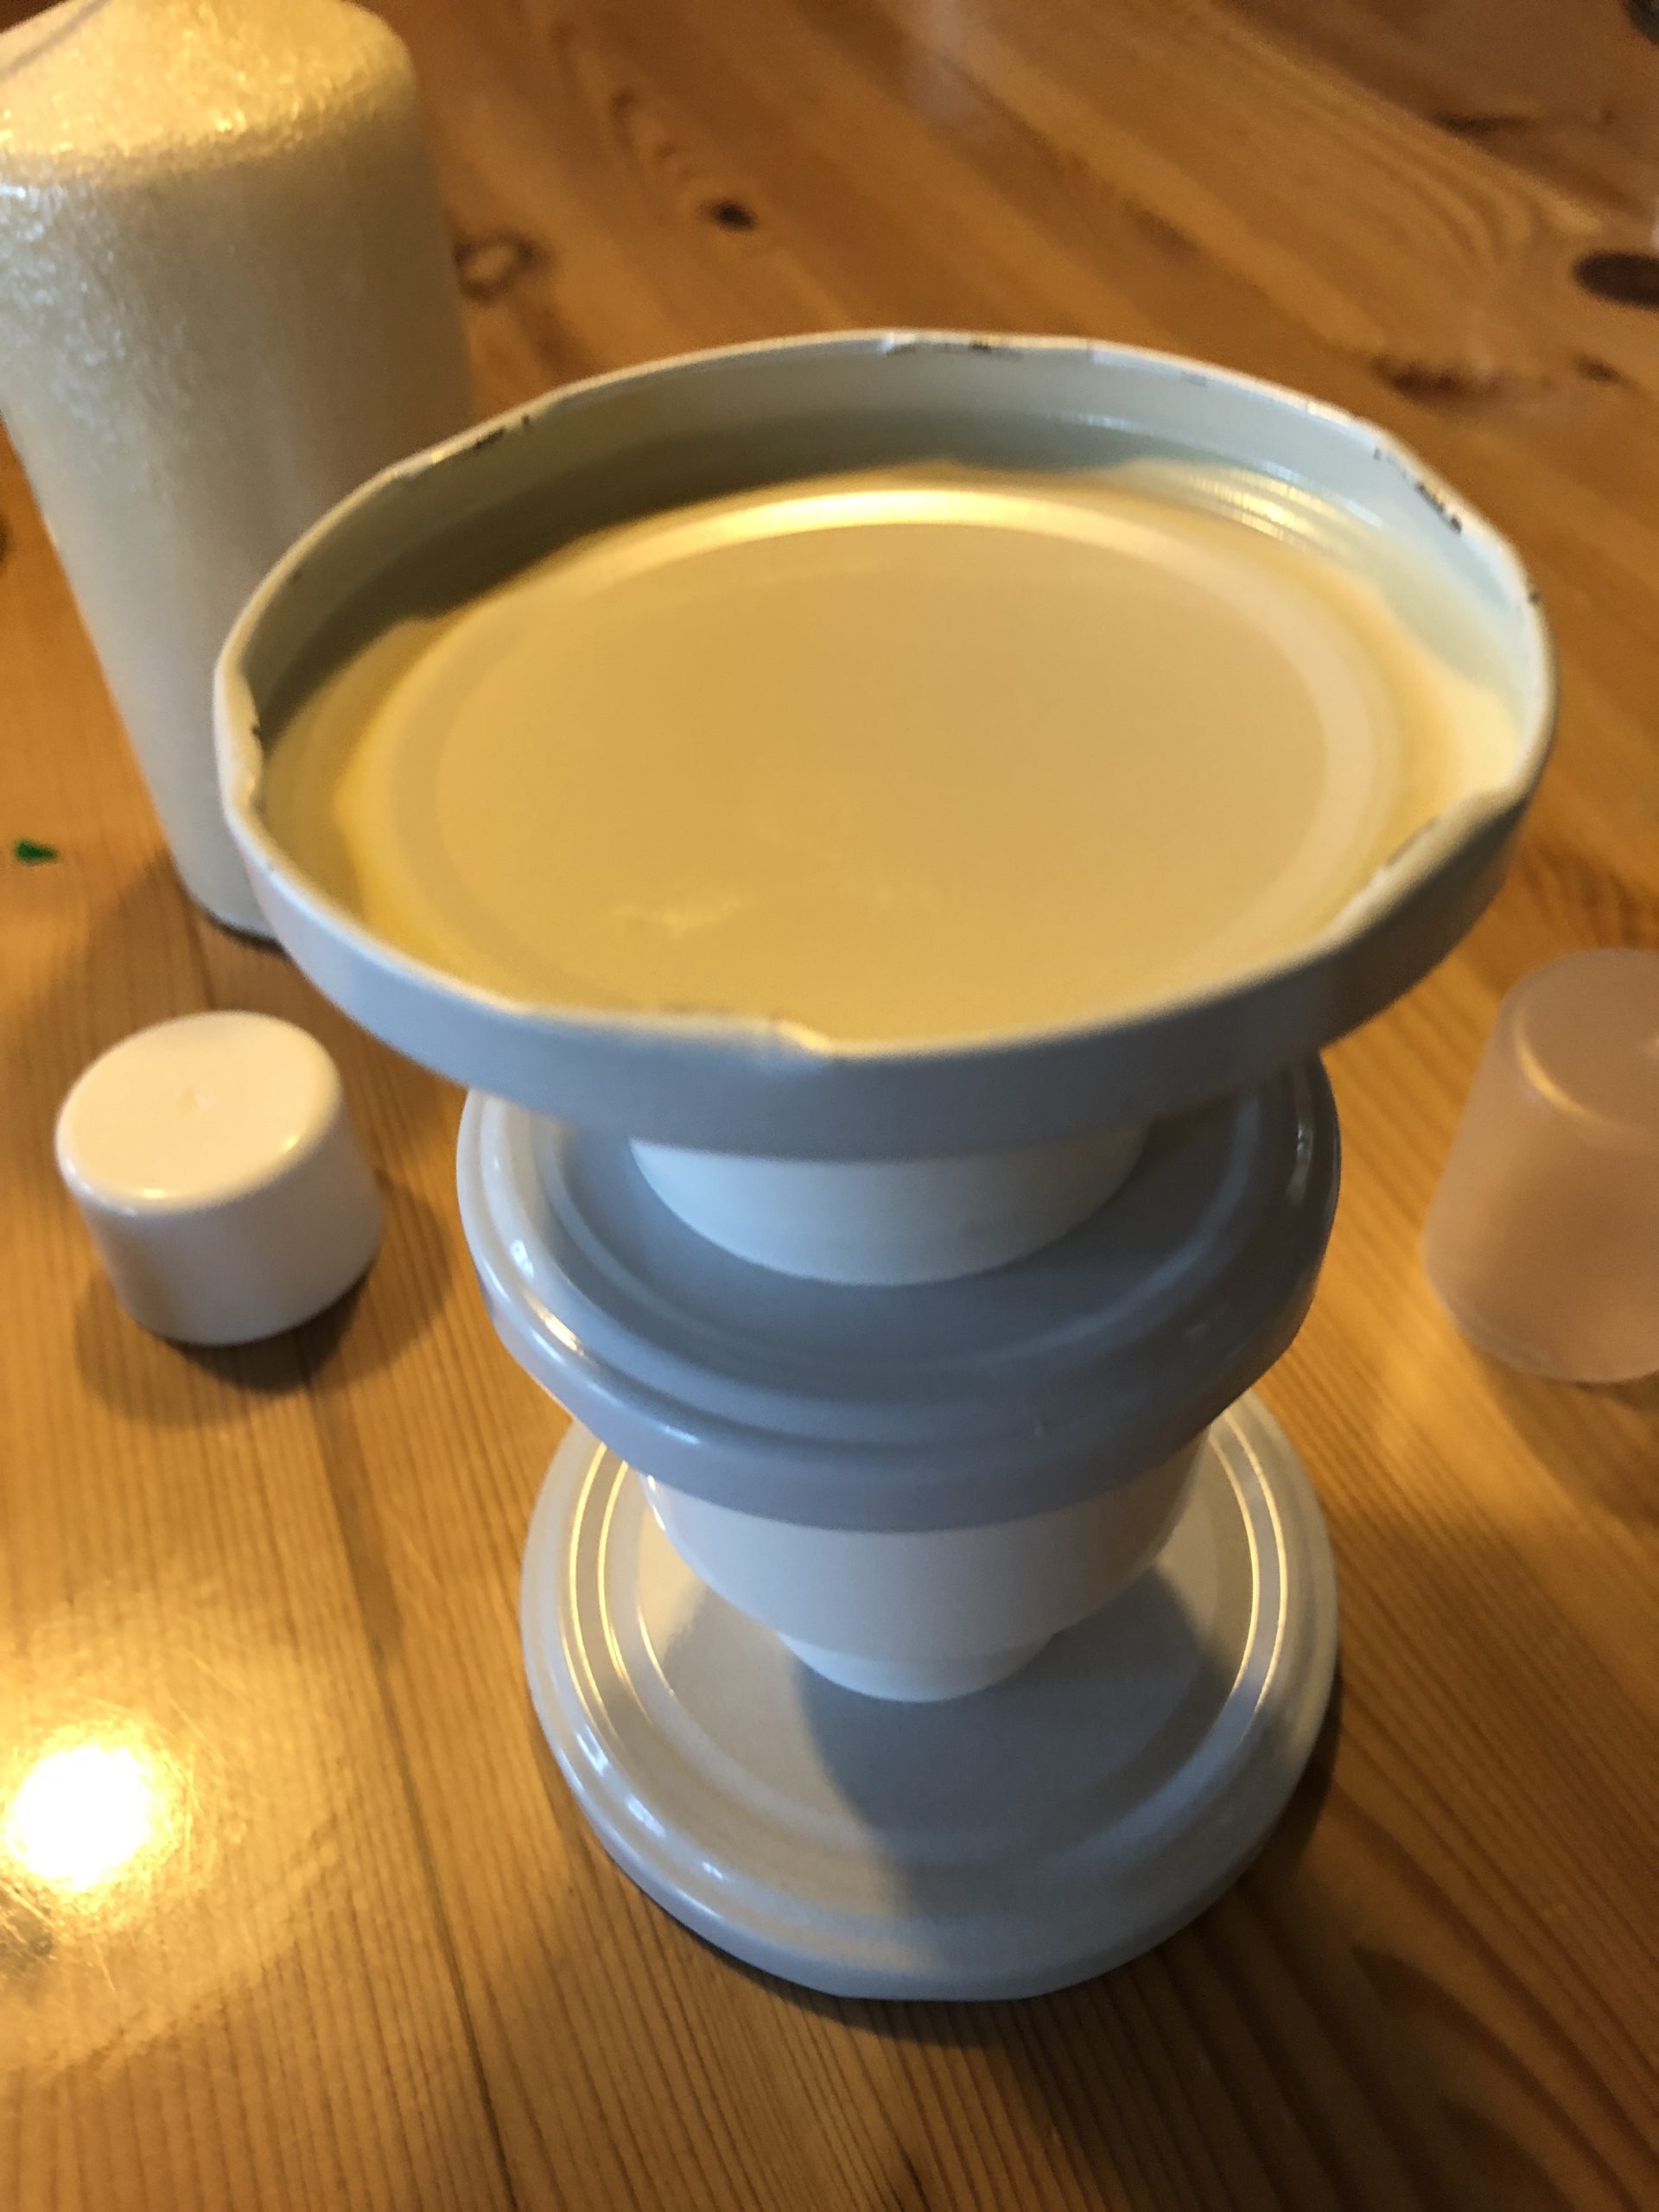


Once you have built a beautiful tower, put out your craft pad and start glueing the lids one by one.
Be careful with the hot glue gun!
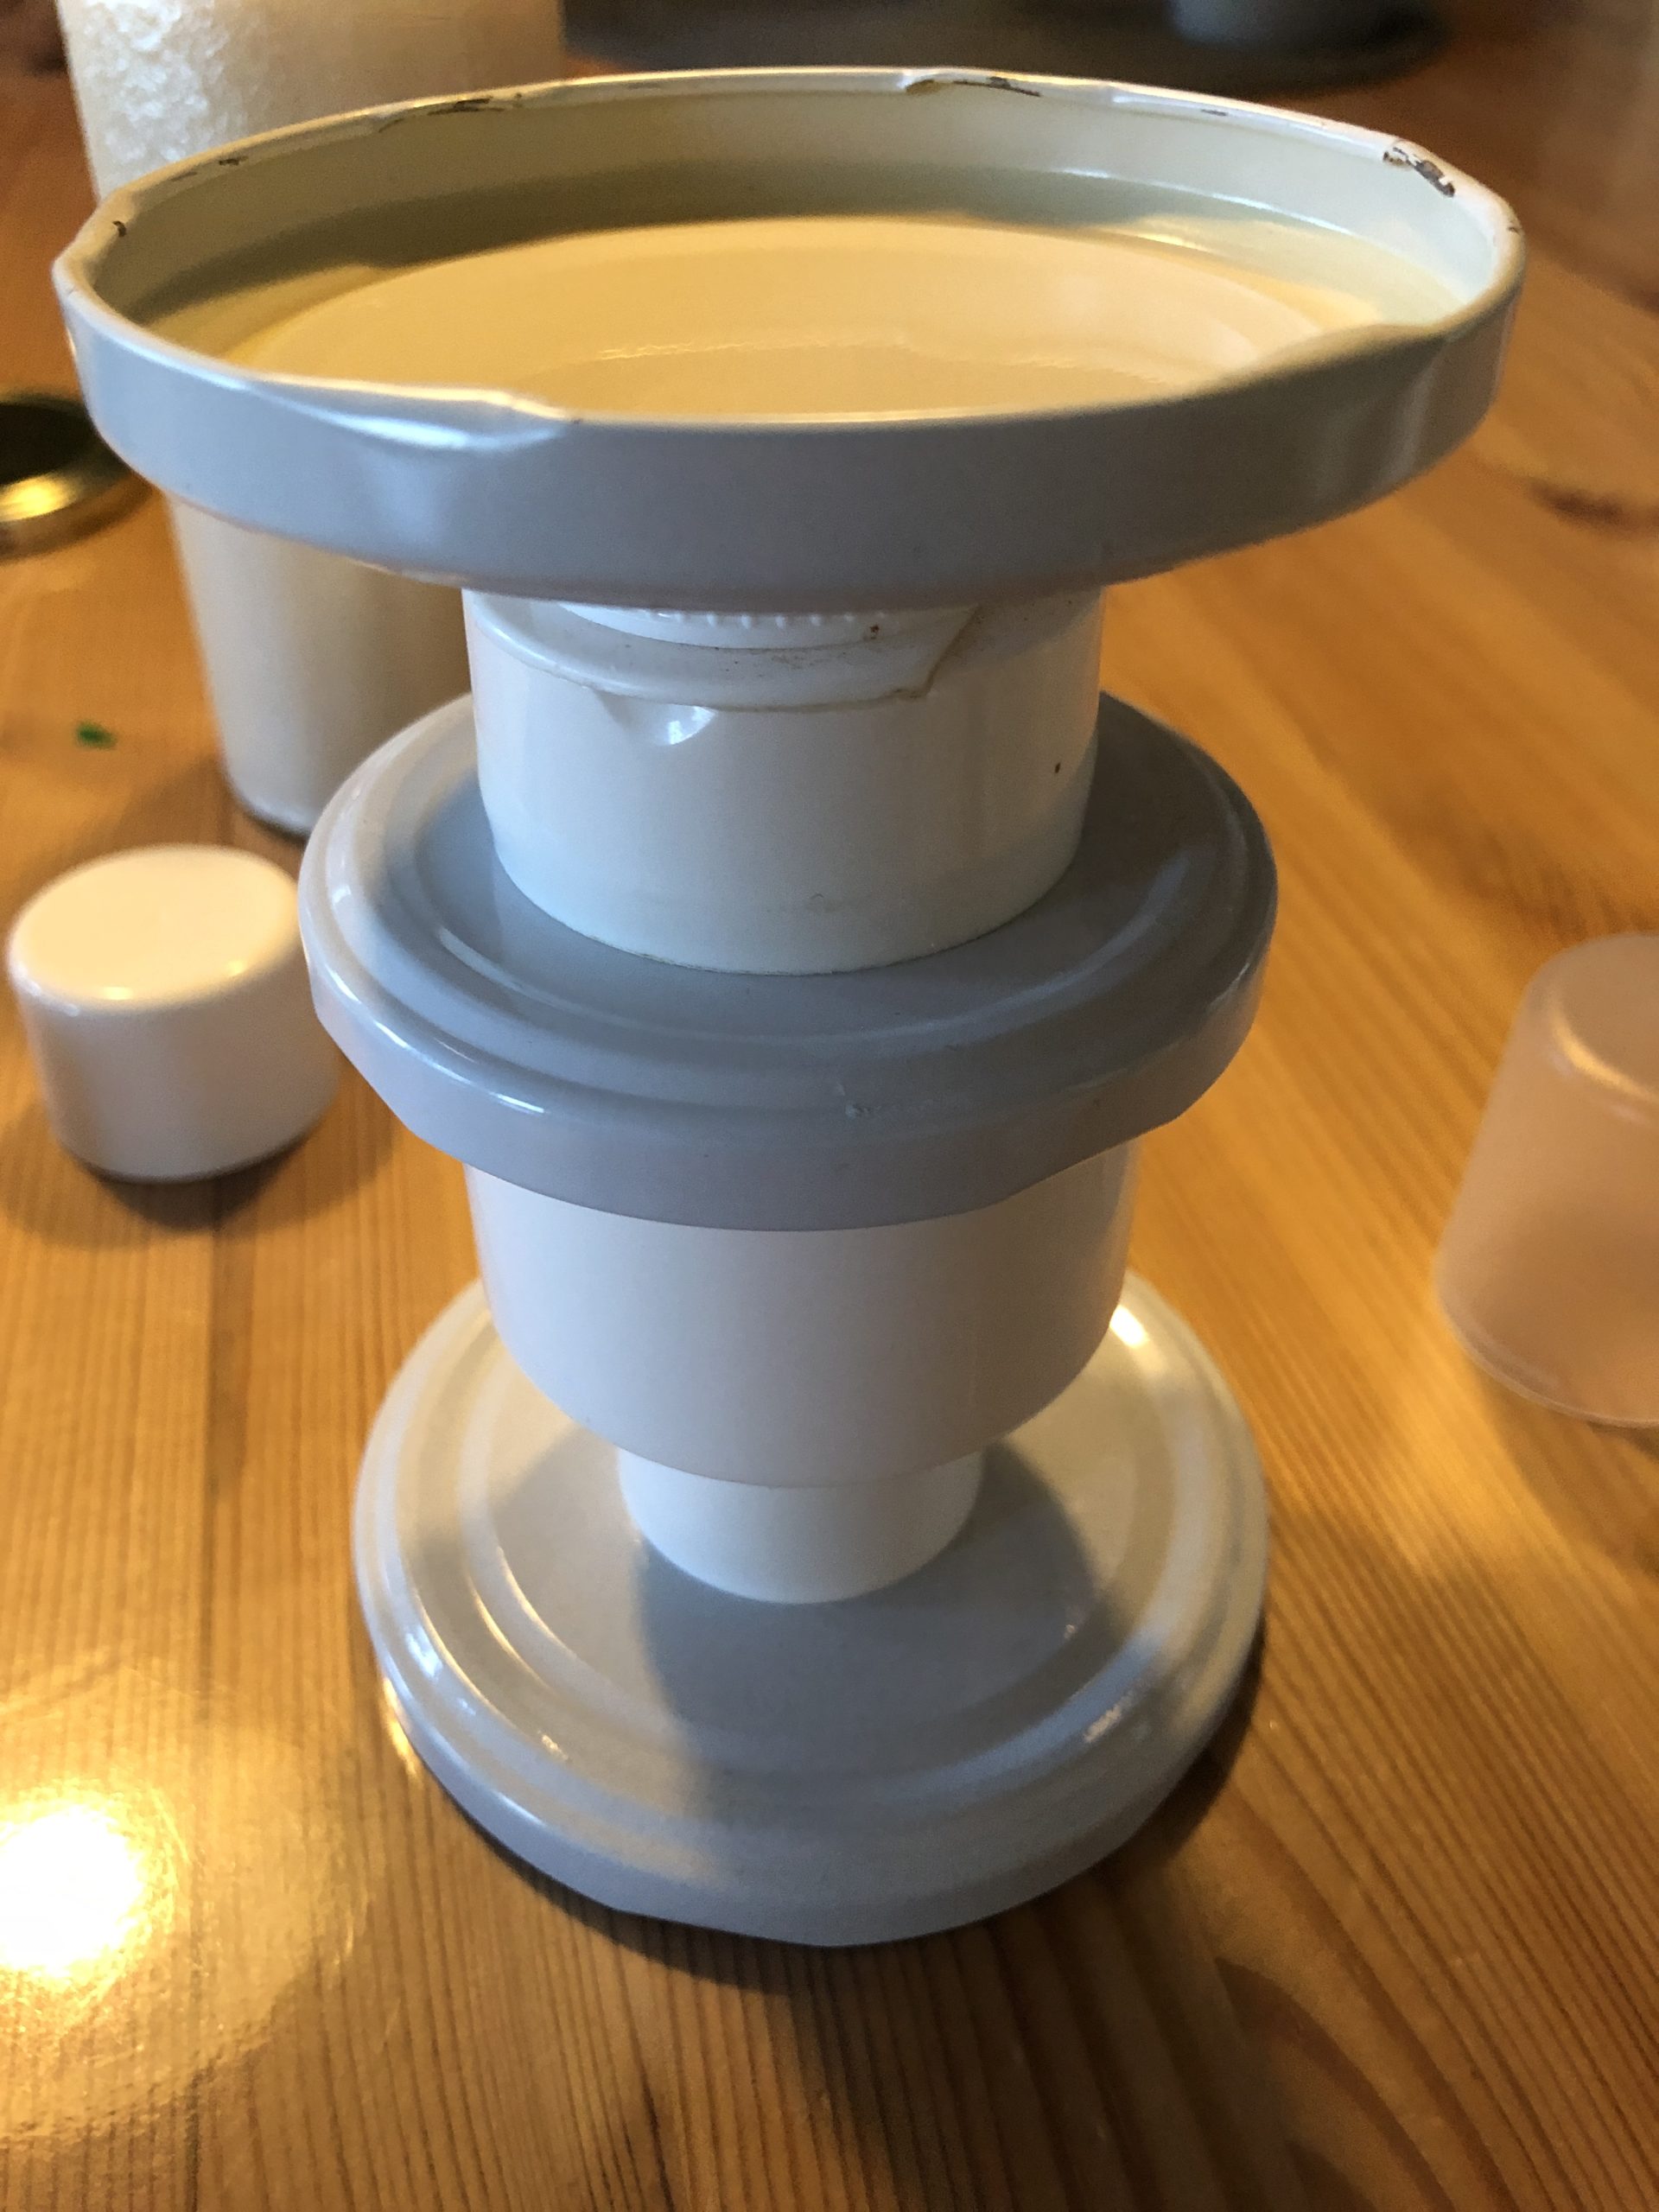


Stick each lid individually piece by piece to each other.
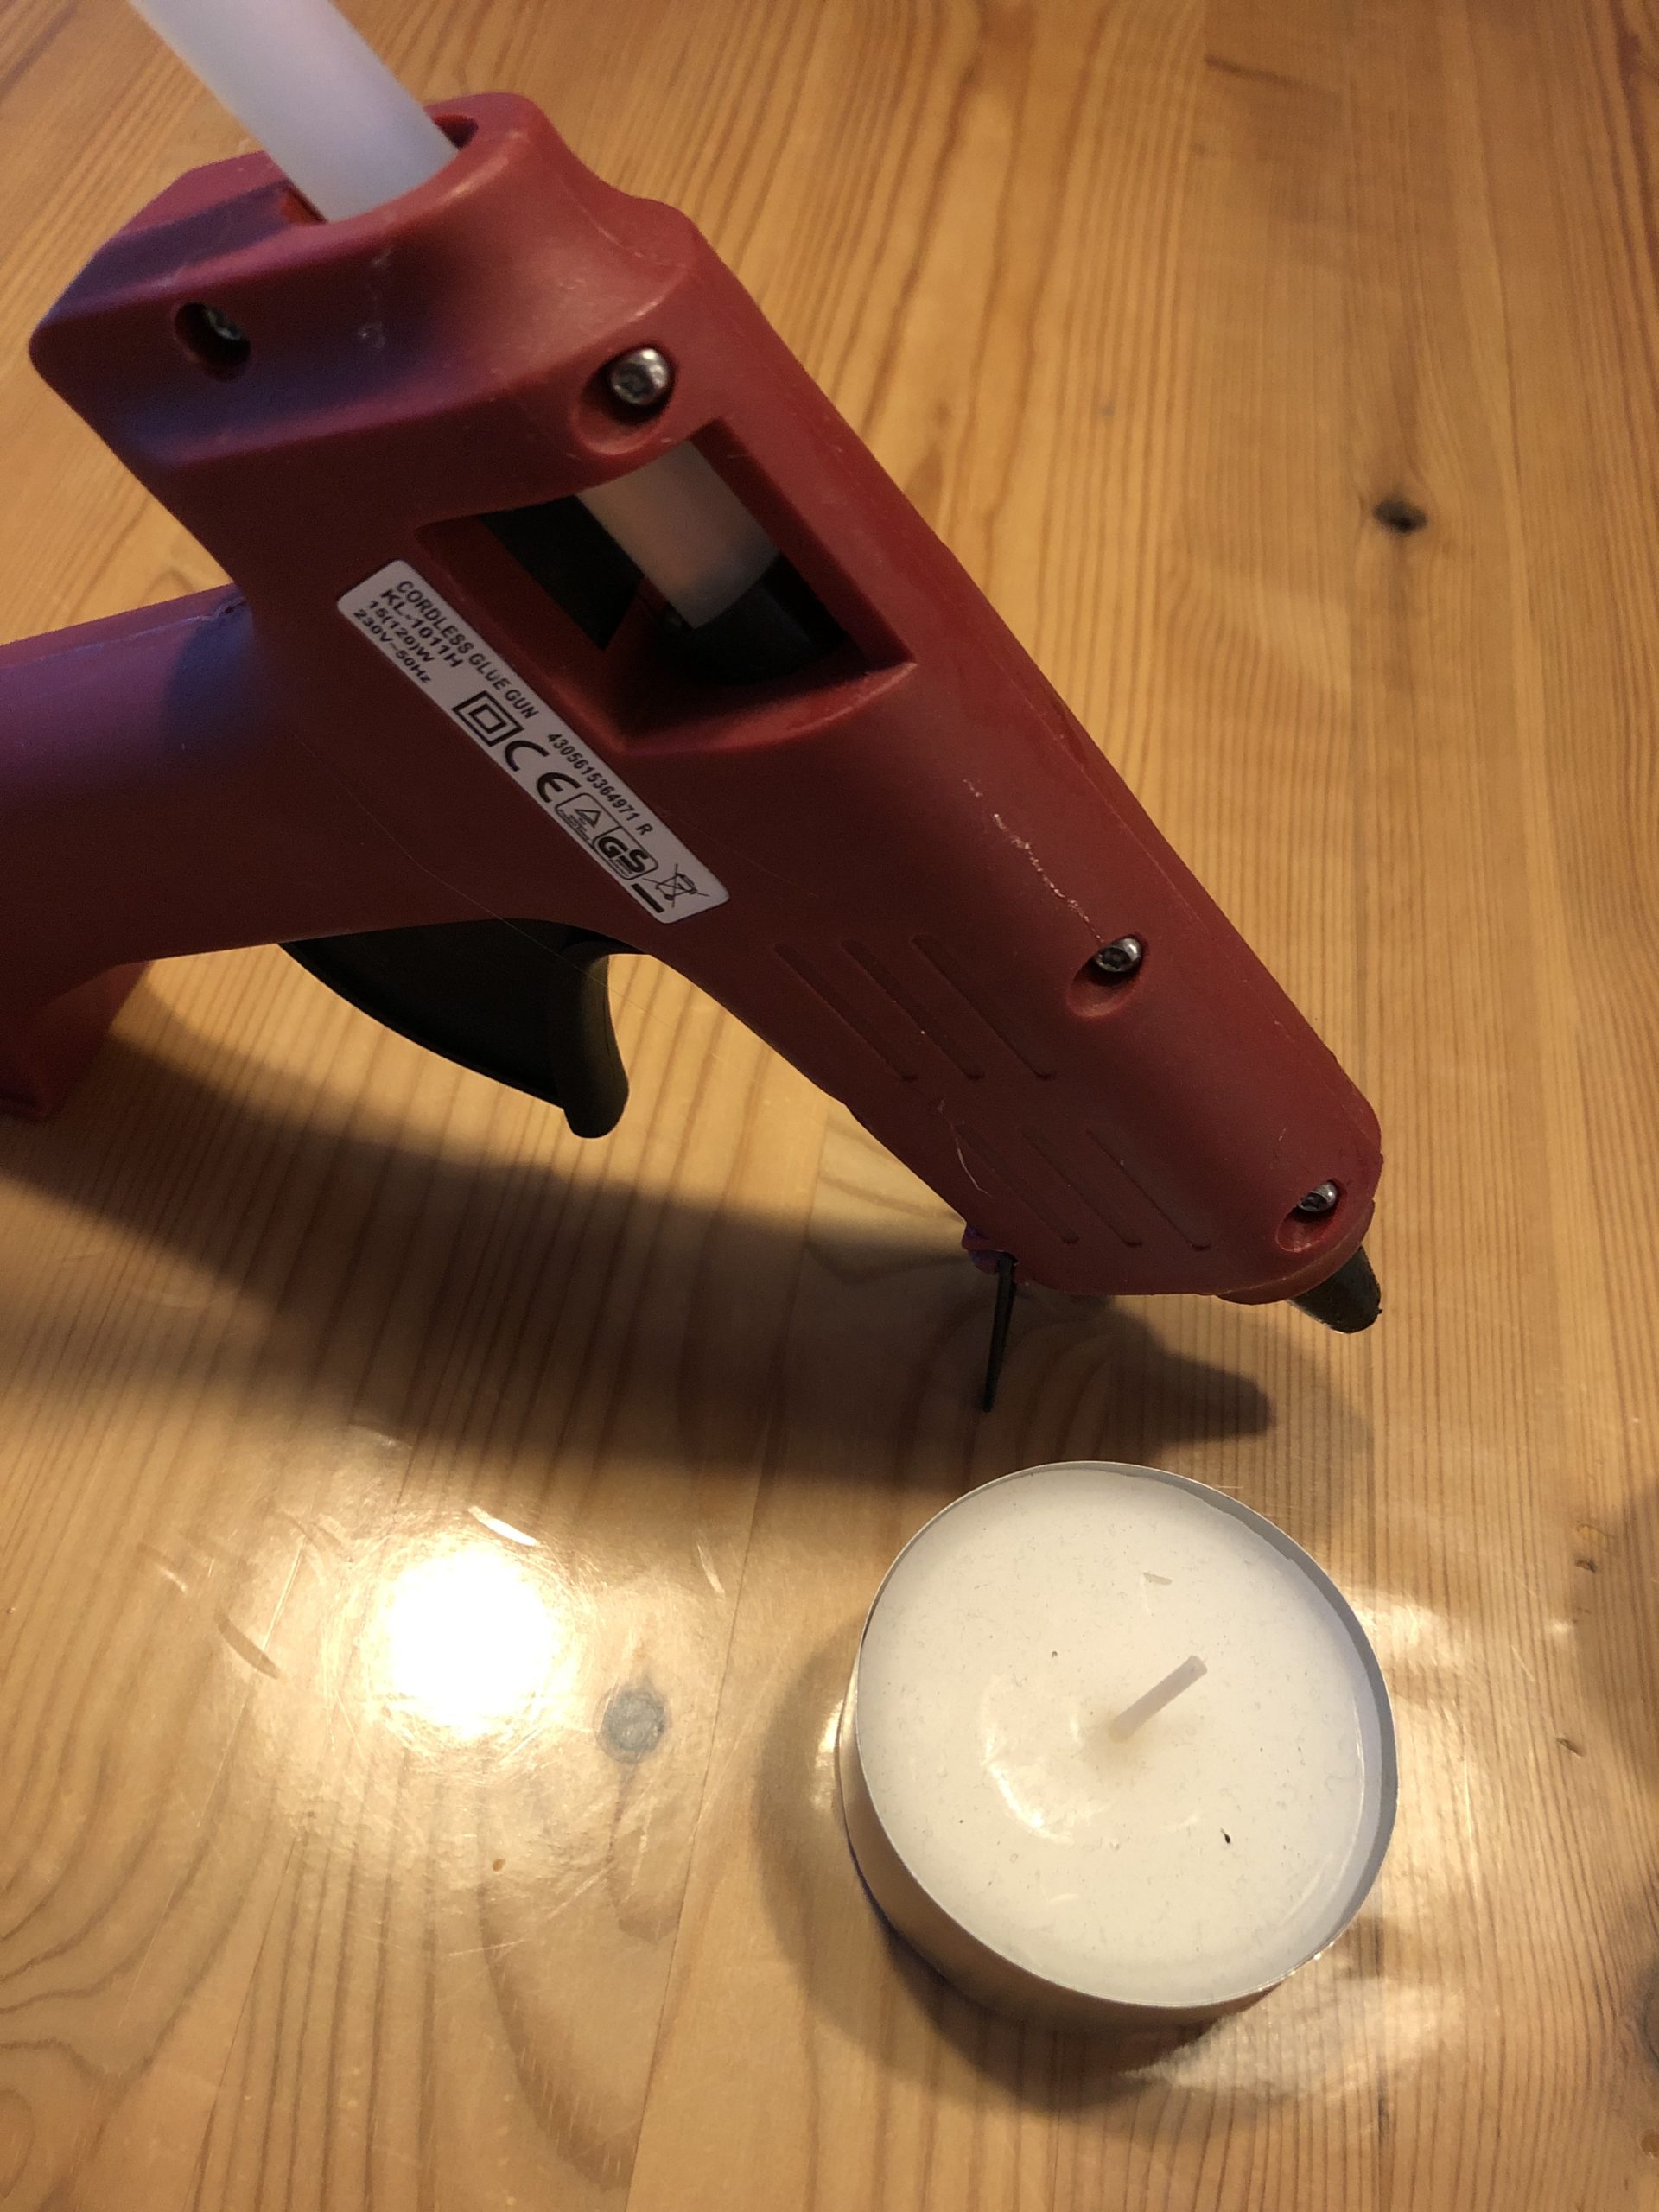


The candlestick is ready.


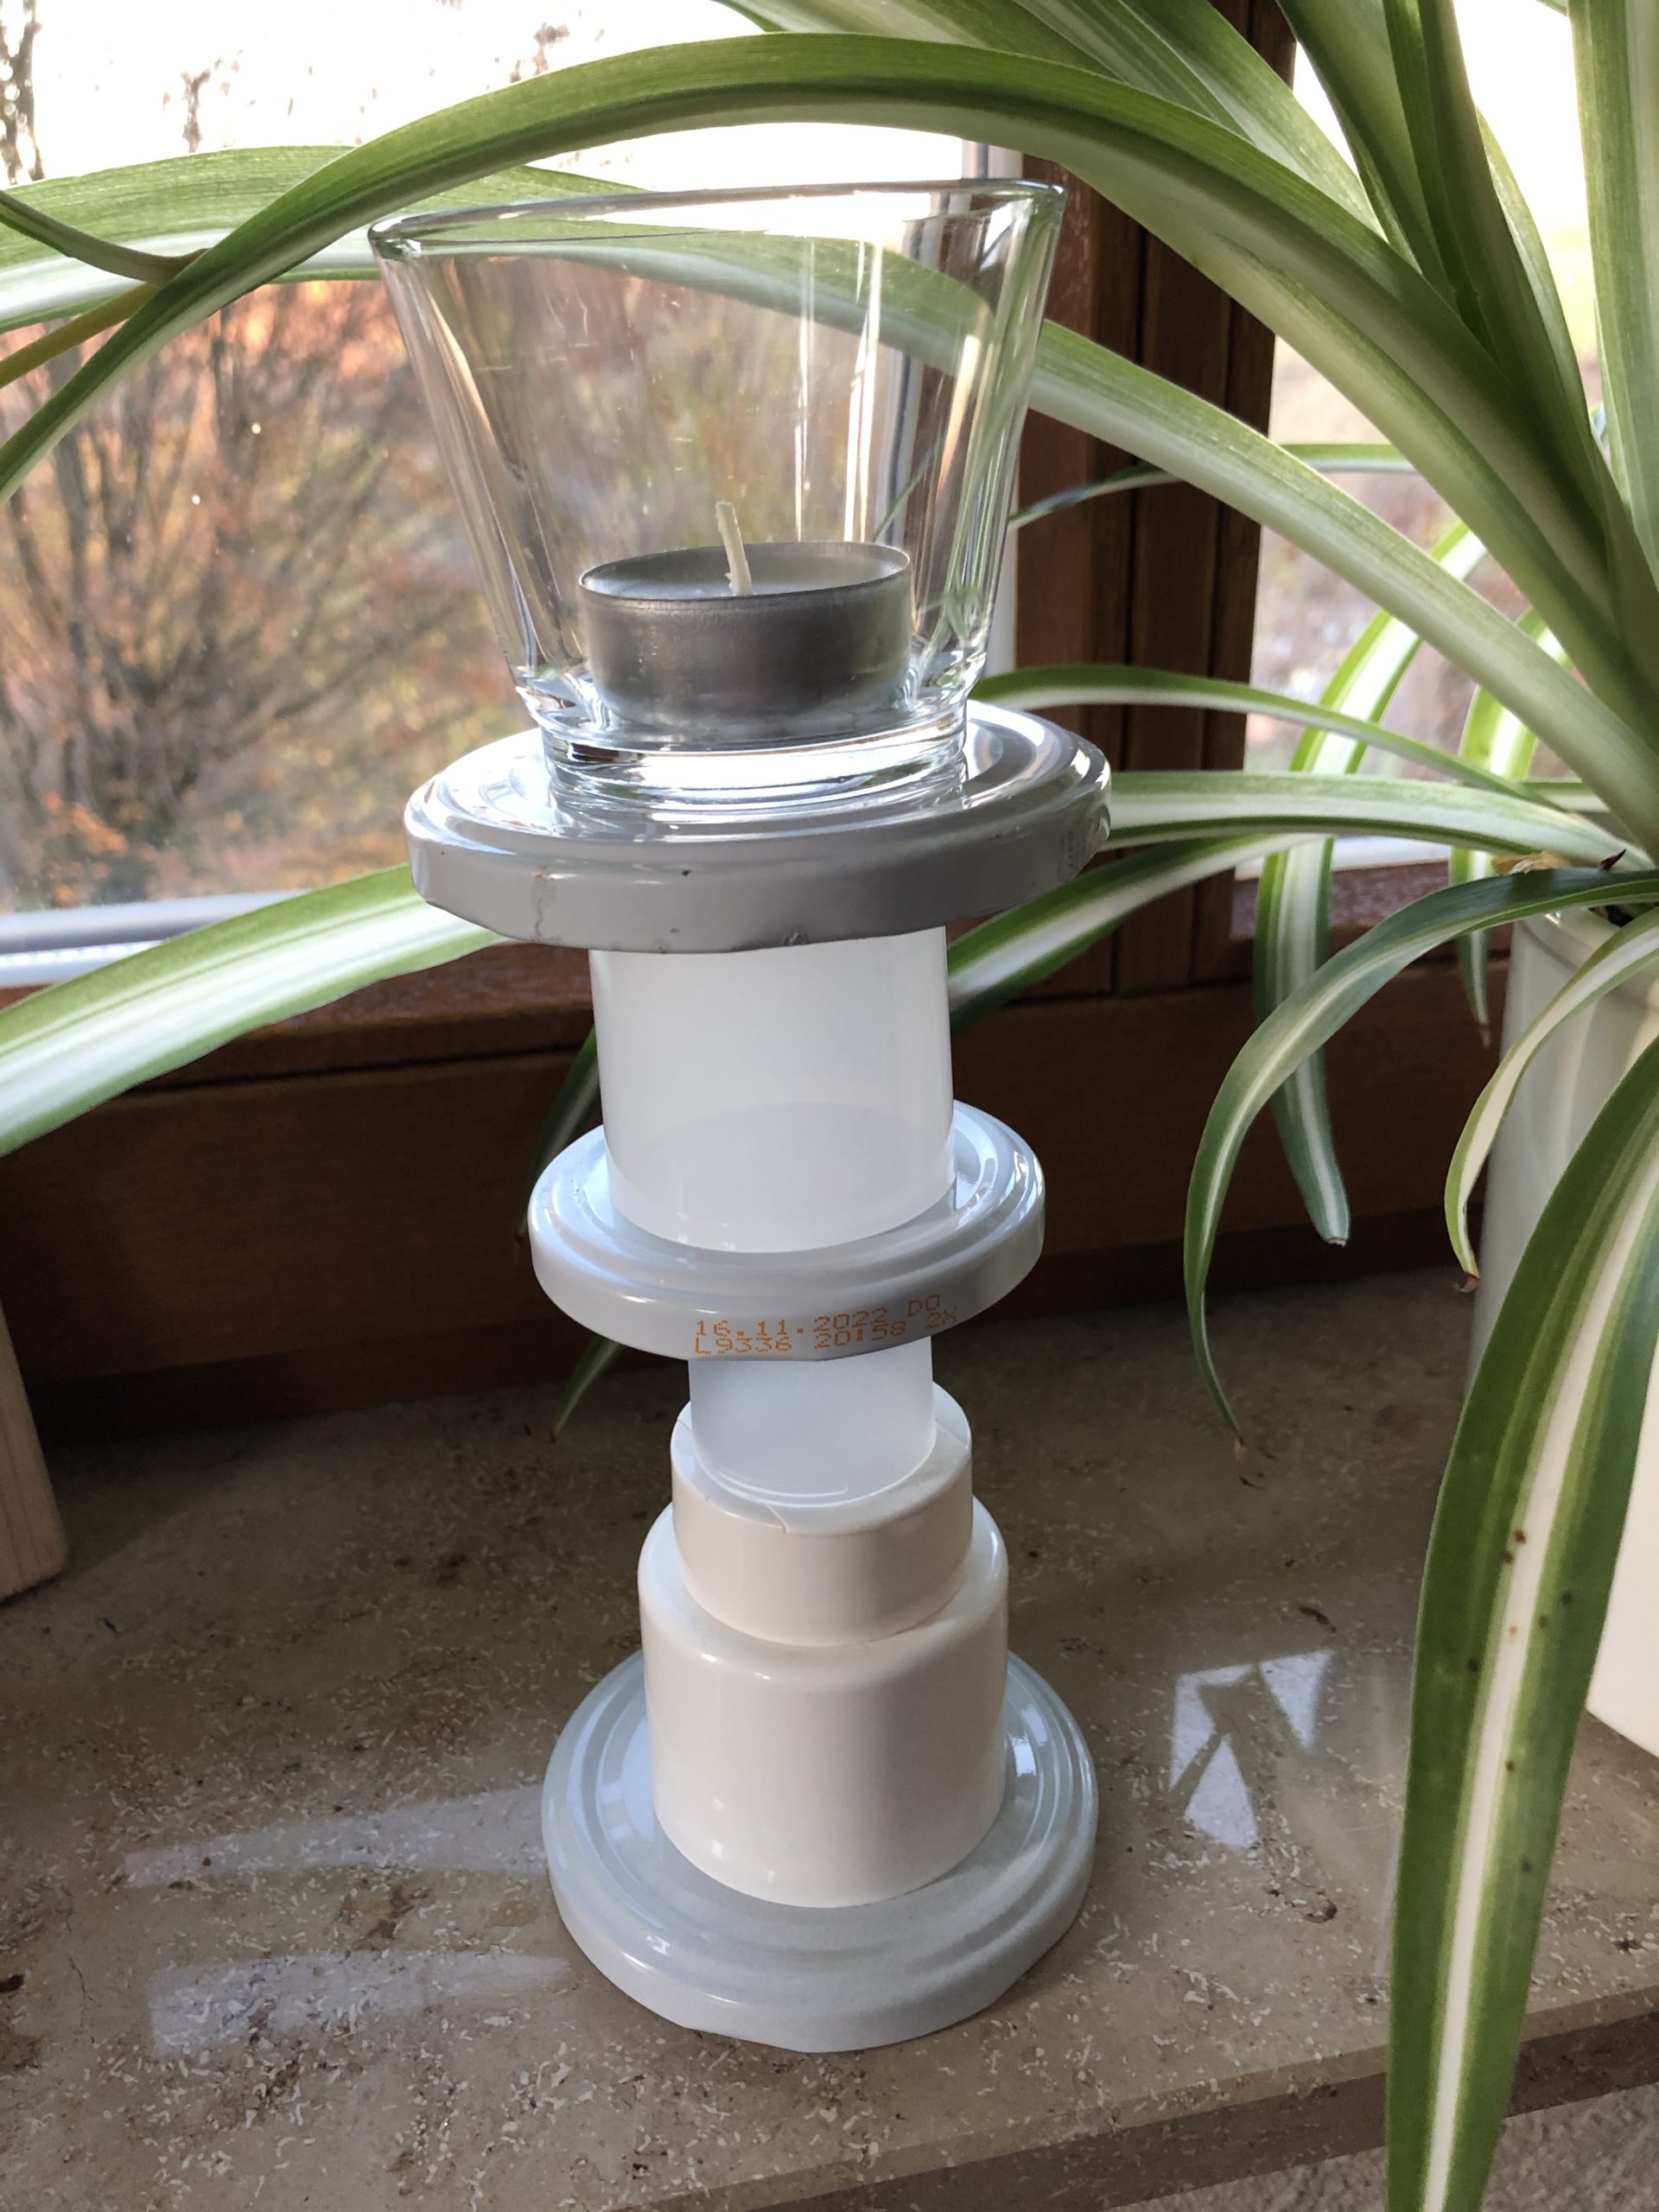
You can also put a candle glass on the top lid.


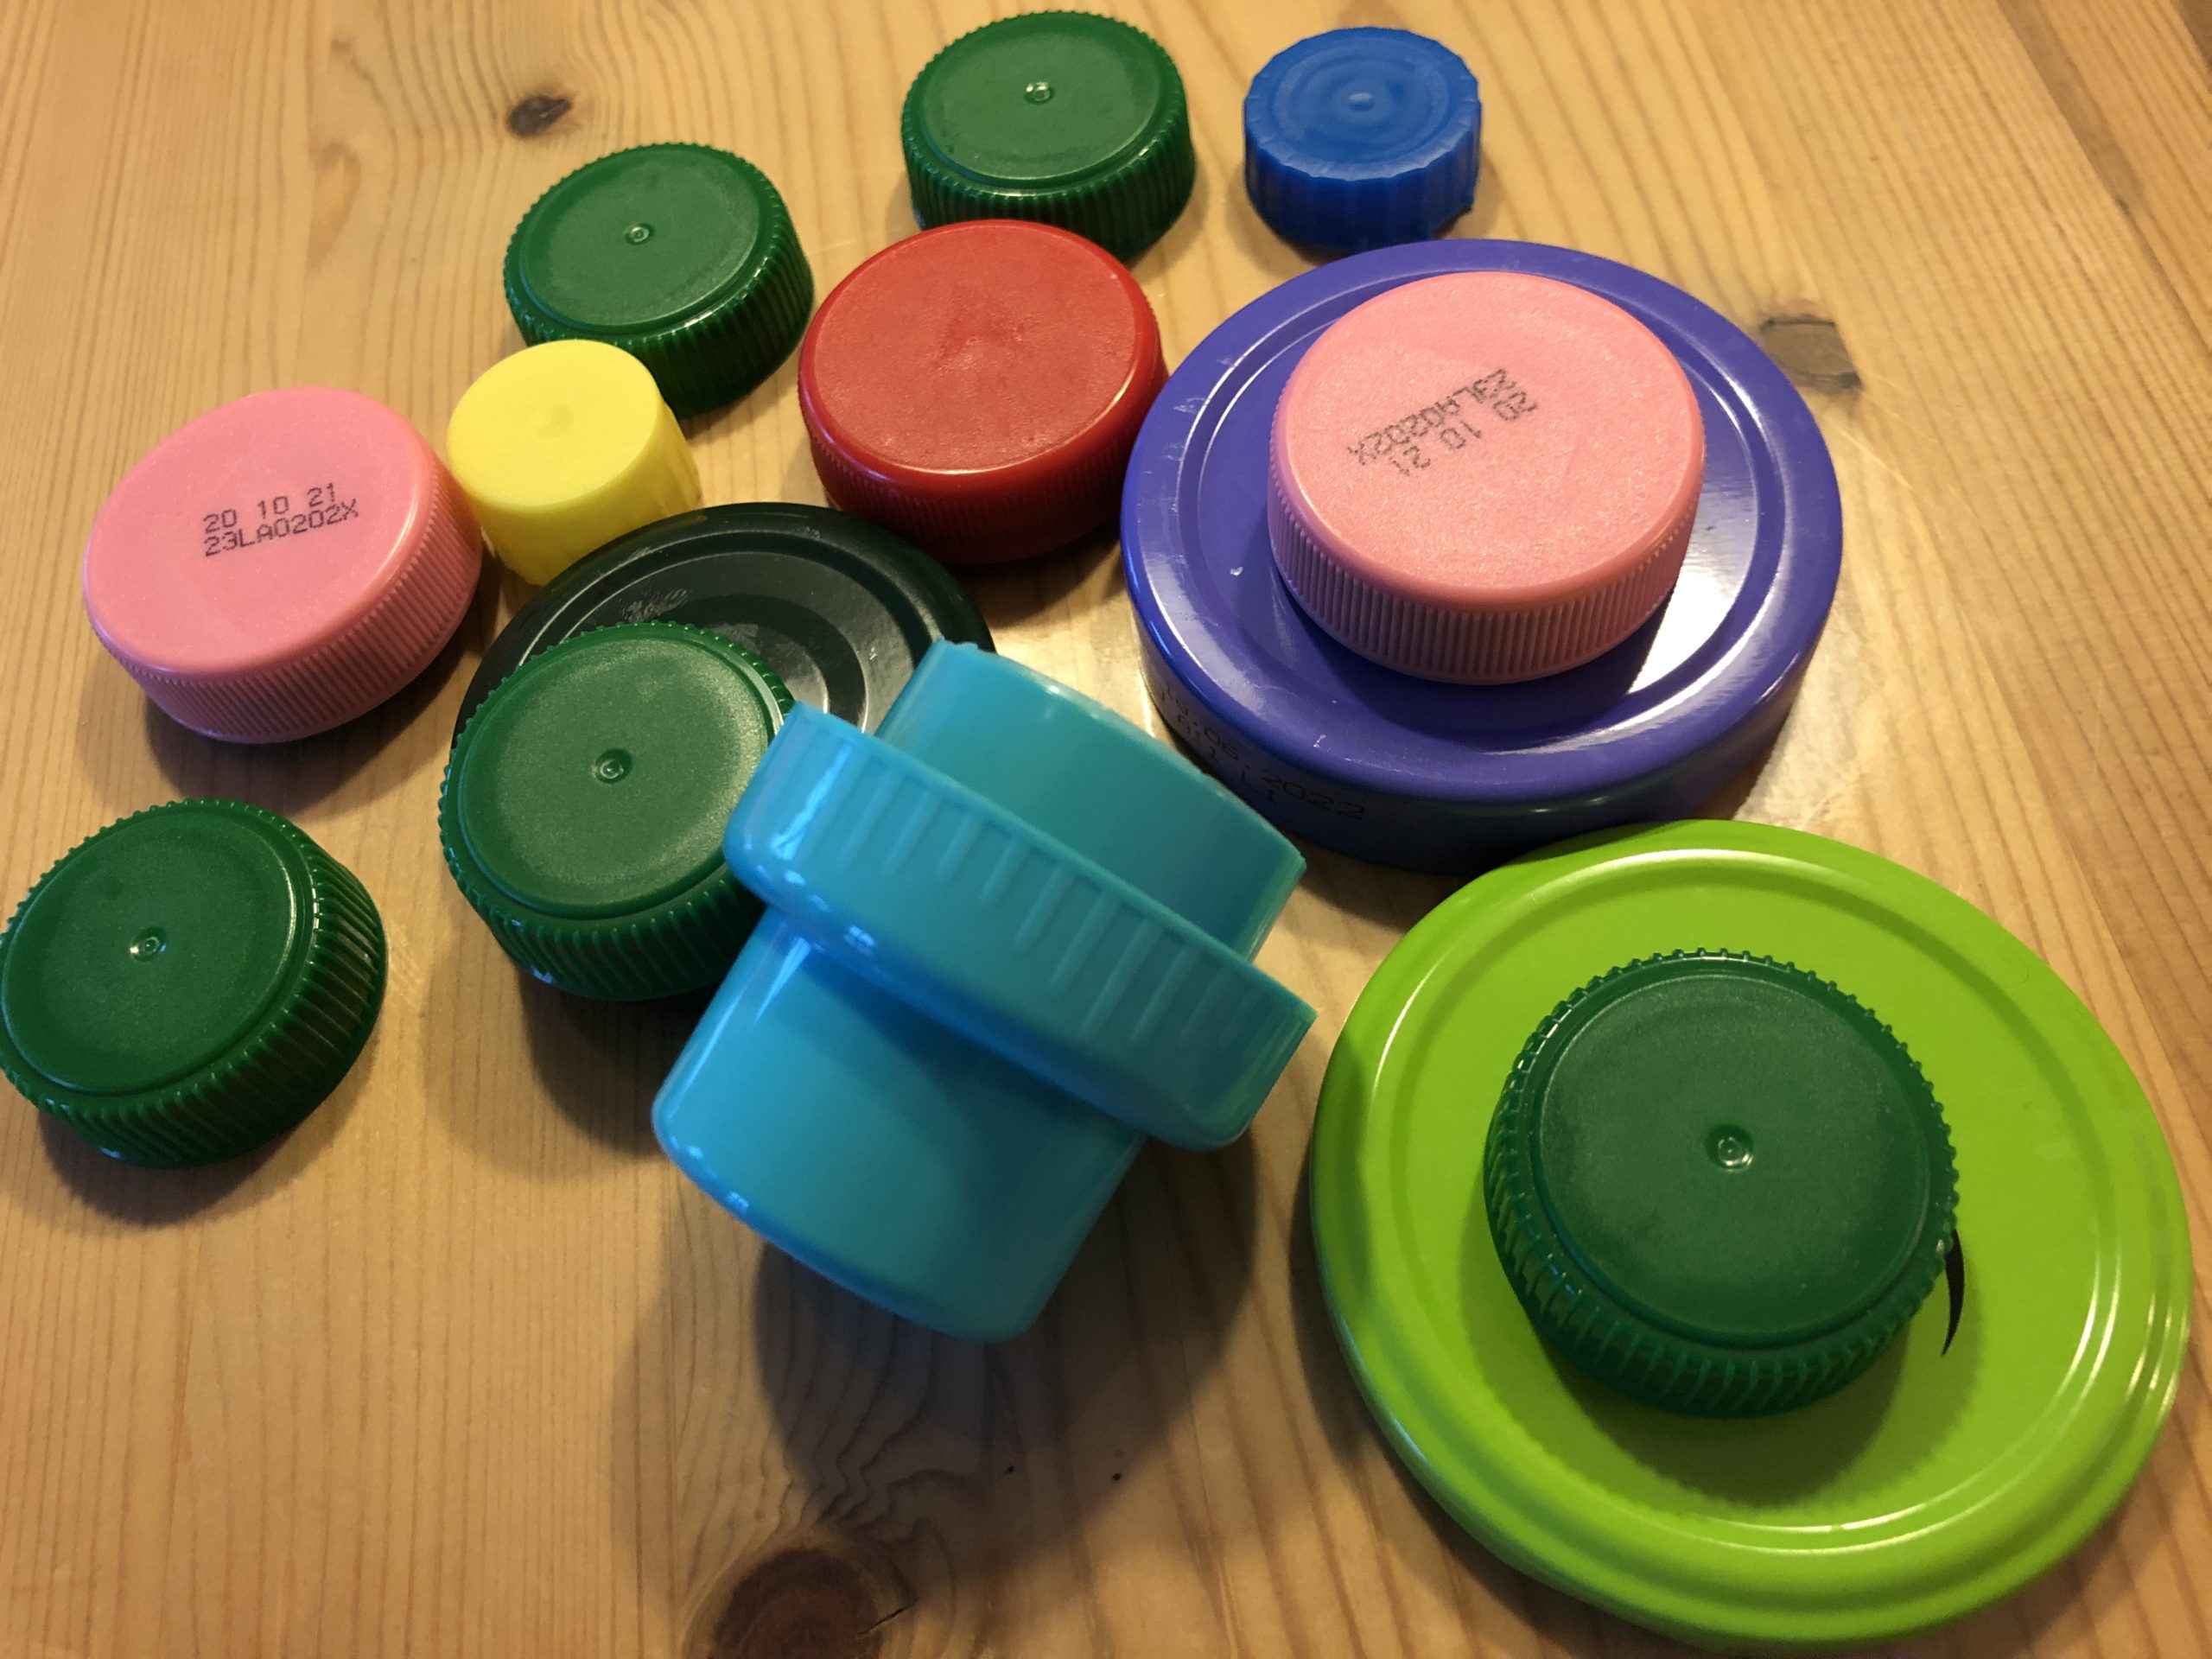
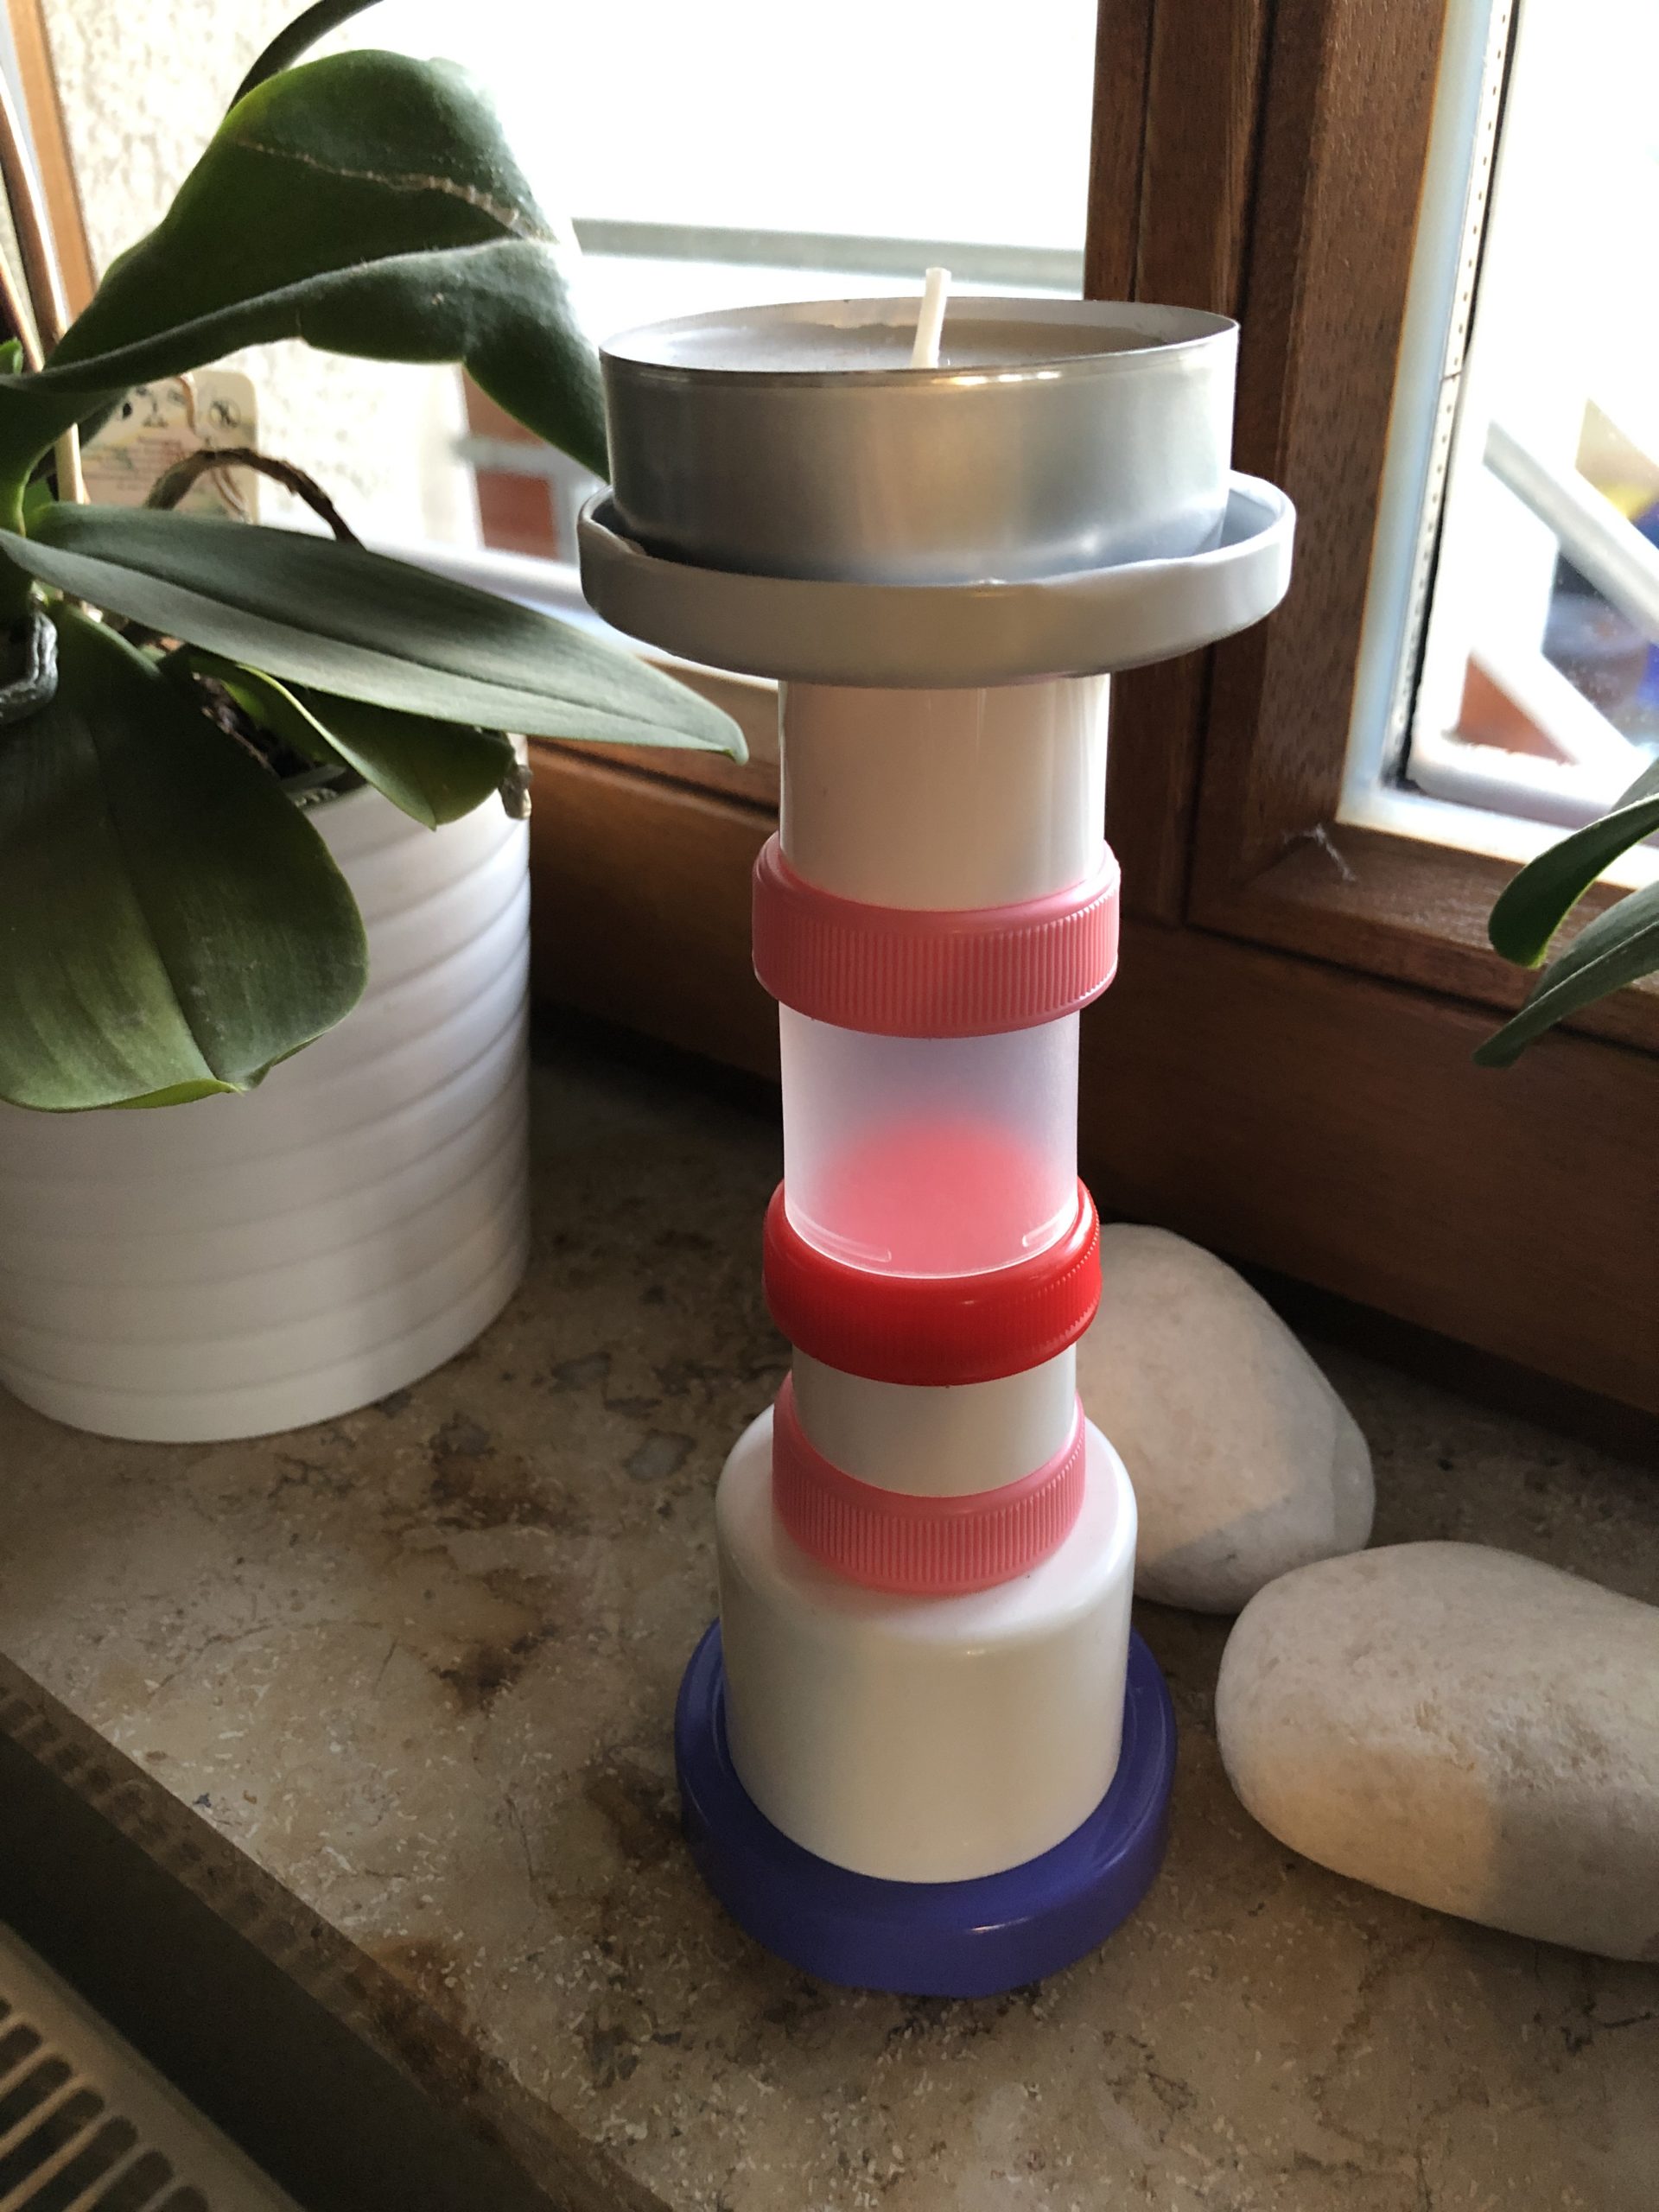
This time selects exclusively coloured caps and lids. Make sure that they are as monochrome as possible and have no imprint.


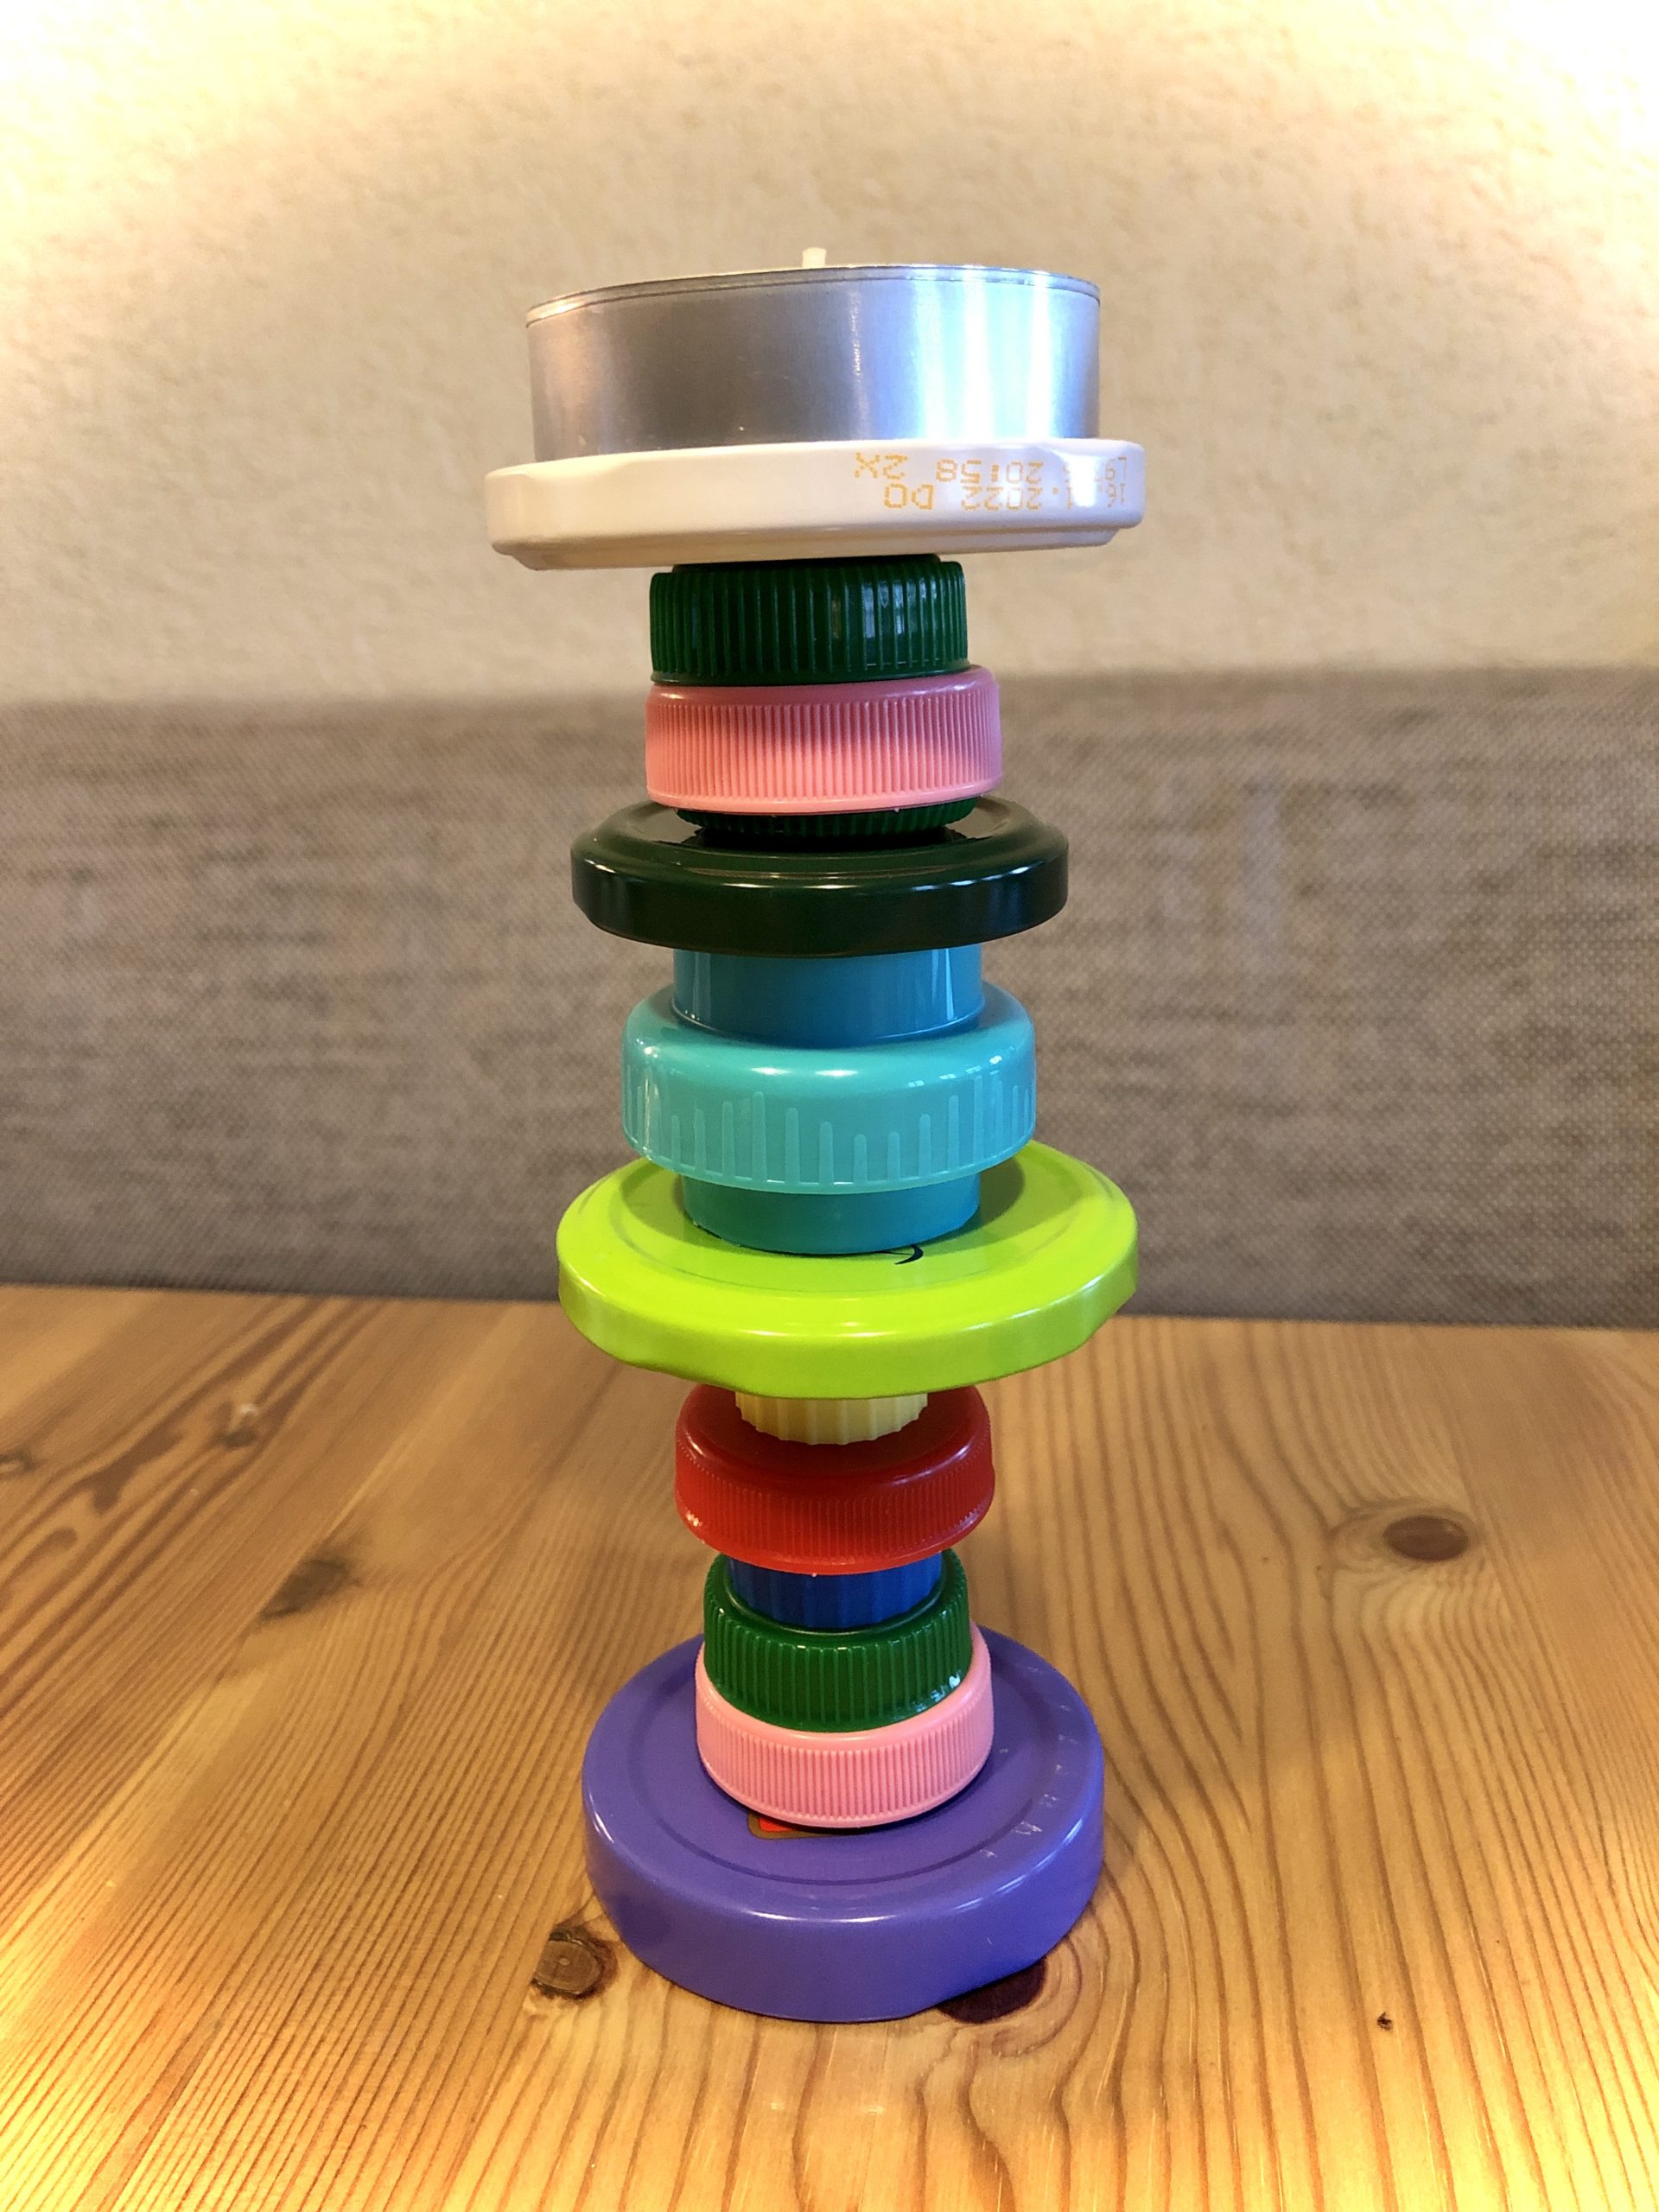
Also stack the lids on top of each other until you like a variant.


At the end, a large tealight is placed on top of it. A colourful candlestick is ready for e.g. the children's birthday party, a colourful event such as carnival or Sylvester. In addition, it simply decorates with snakes and colorful napkins.






Stay creative and design your own artworks.


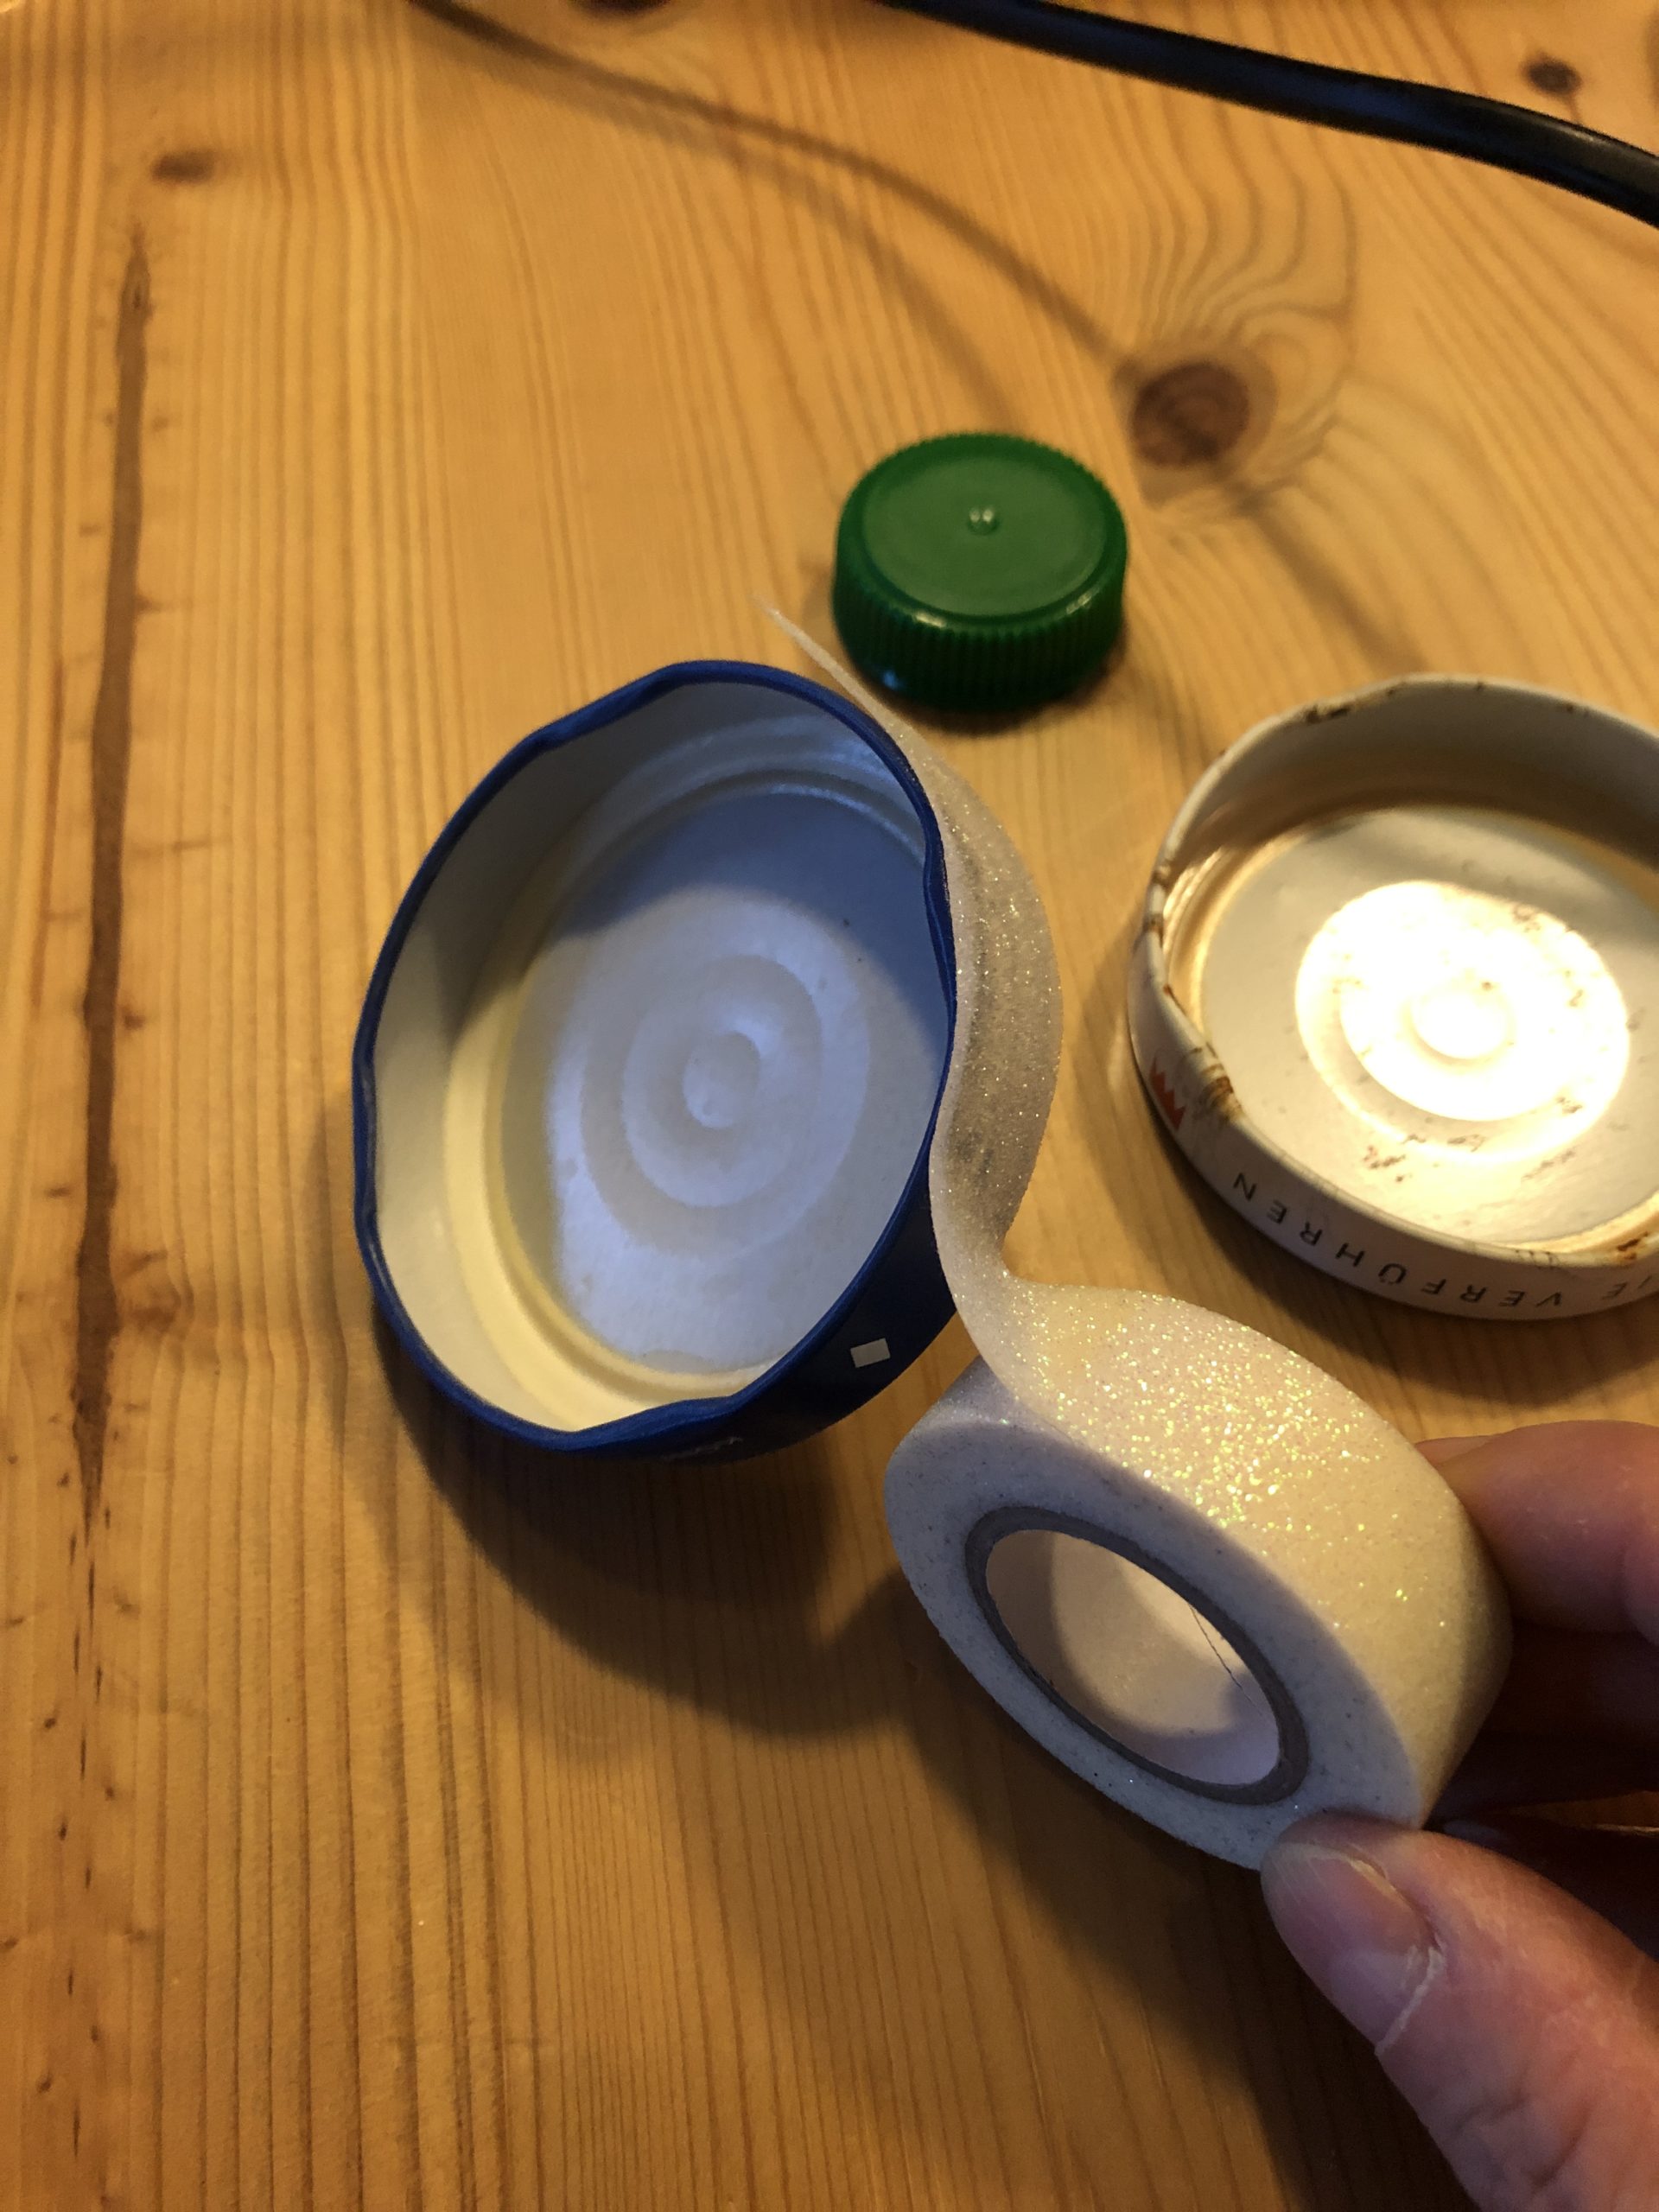
If you only have printed lids at your hand, simply embellish the lids with Washi Tape or with colorful adhesive tapes.
Also completely black the candlestick looks great!


You can also paint the lids with paint!
Is it creative?
Materials
Directions
Collects white and cream-colored lids of different sizes and shape.


Try stacking the lids on top of each other. Try a little bit of which lids hold each other and what you like.


As a top lid, take a lid on which you can put a candle or tealight.


Once you have built a beautiful tower, put out your craft pad and start glueing the lids one by one.
Be careful with the hot glue gun!


Stick each lid individually piece by piece to each other.


The candlestick is ready.


You can also put a candle glass on the top lid.


This time selects exclusively coloured caps and lids. Make sure that they are as monochrome as possible and have no imprint.


Also stack the lids on top of each other until you like a variant.


At the end, a large tealight is placed on top of it. A colourful candlestick is ready for e.g. the children's birthday party, a colourful event such as carnival or Sylvester. In addition, it simply decorates with snakes and colorful napkins.


Stay creative and design your own artworks.


If you only have printed lids at your hand, simply embellish the lids with Washi Tape or with colorful adhesive tapes.
Also completely black the candlestick looks great!


You can also paint the lids with paint!
Is it creative?
Follow us on Facebook , Instagram and Pinterest
Don't miss any more adventures: Our bottle mail


