From old book pages you can make a beautiful Easter decoration. This rabbit shape can be painted individually even without a template. If you don't have book pages available you can also use normal clay paper for crafting. The steps remain the same. Check out the description and you can start now.
Media Education for Kindergarten and Hort

Relief in everyday life, targeted promotion of individual children, independent learning and - without any pre-knowledge already usable by the youngest!
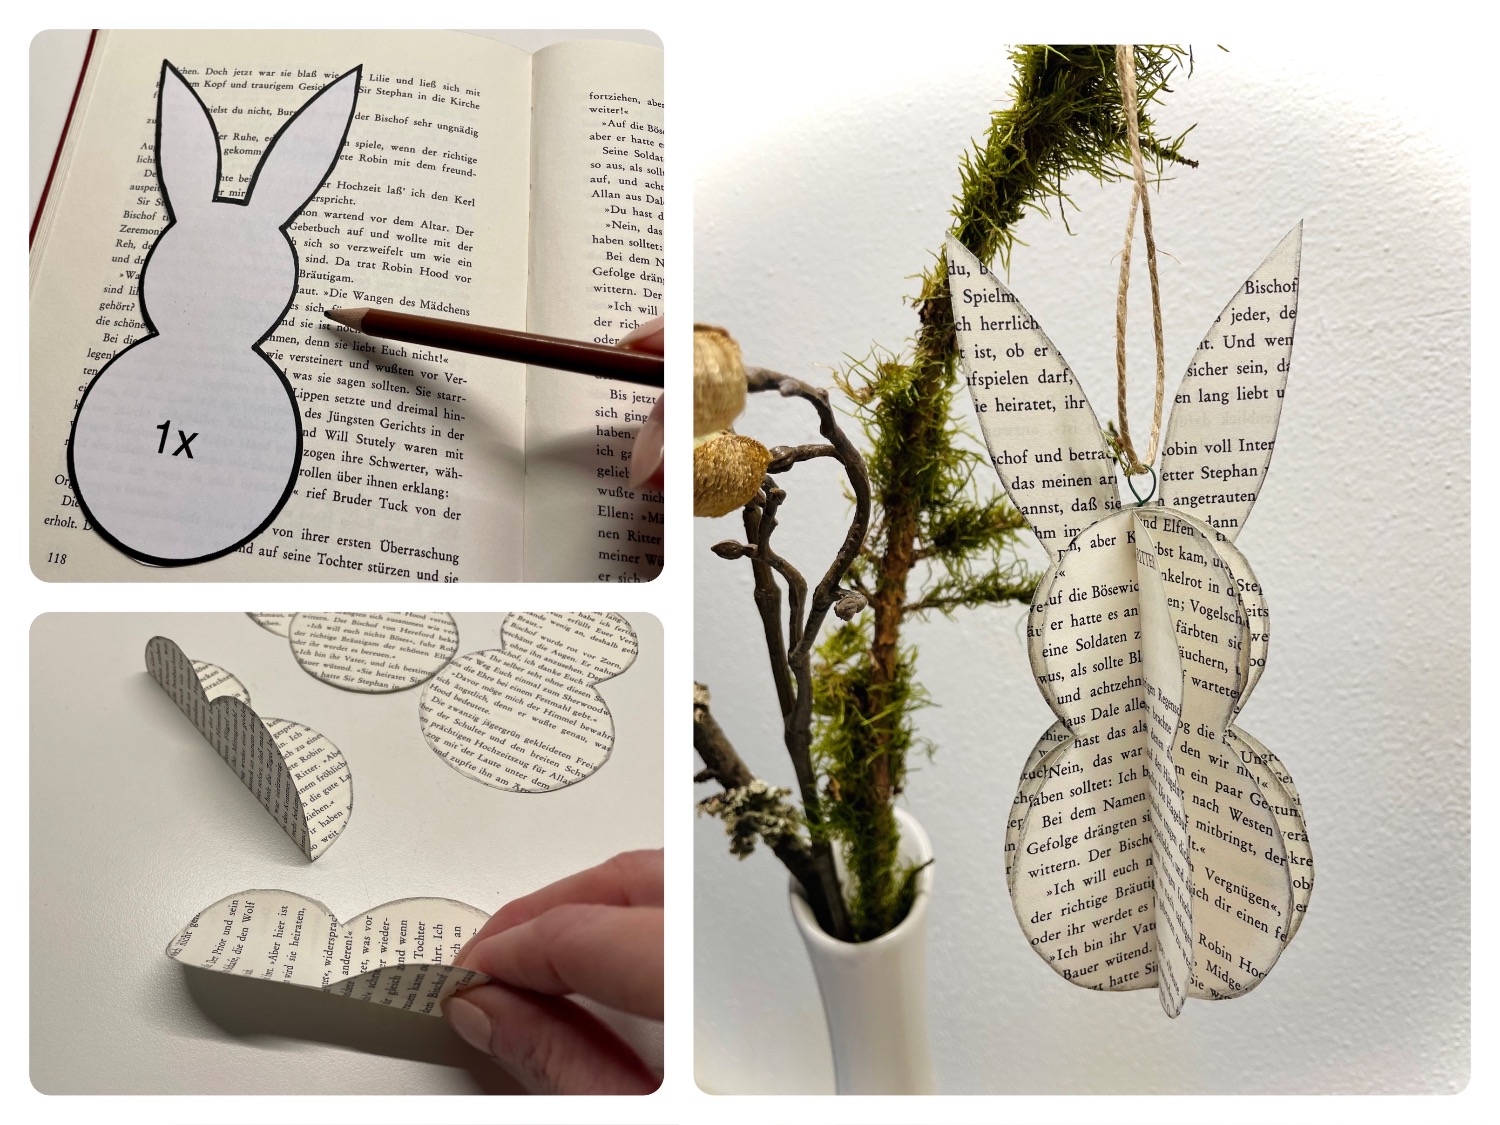
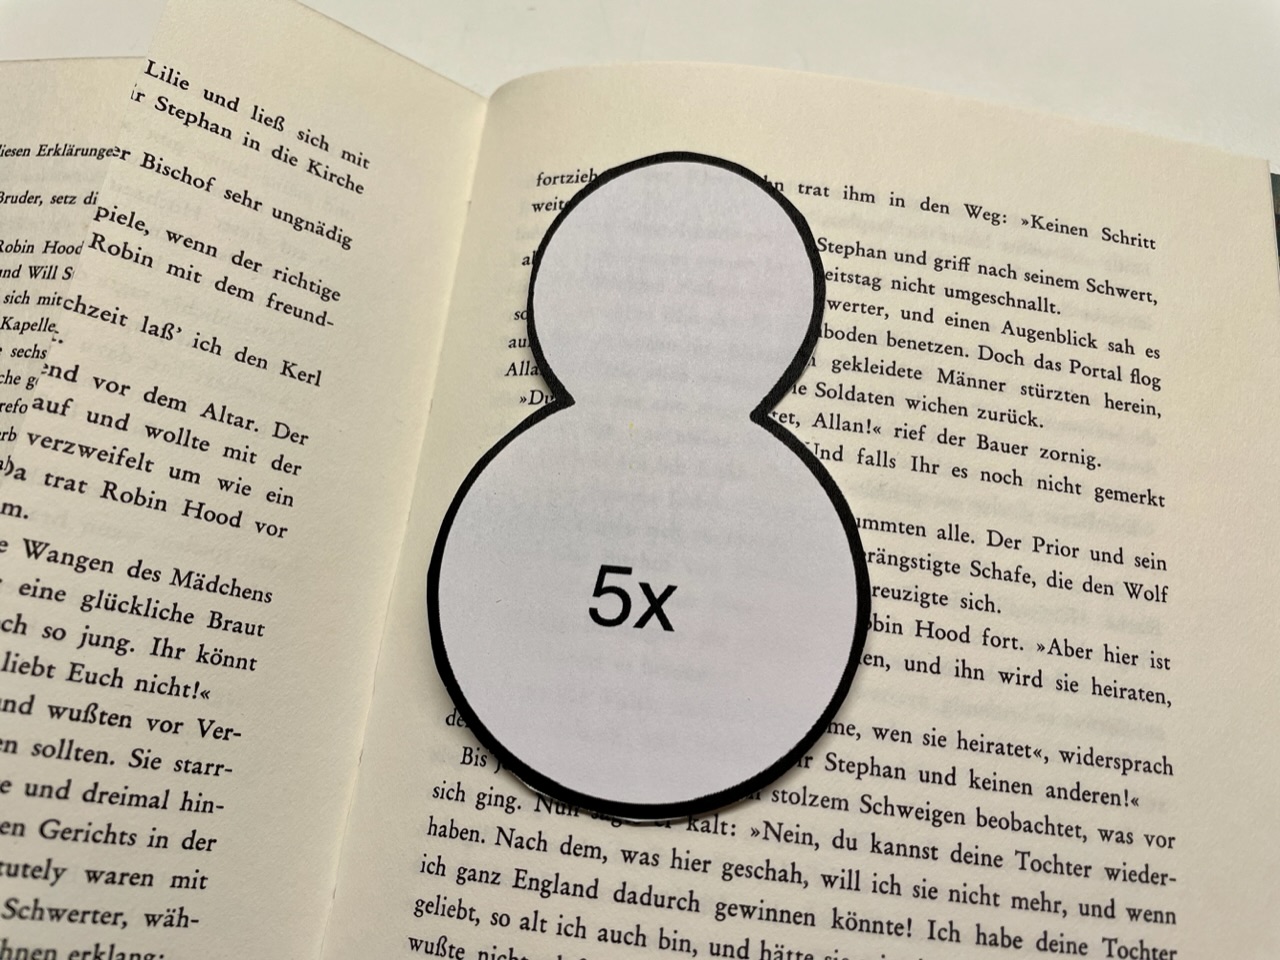
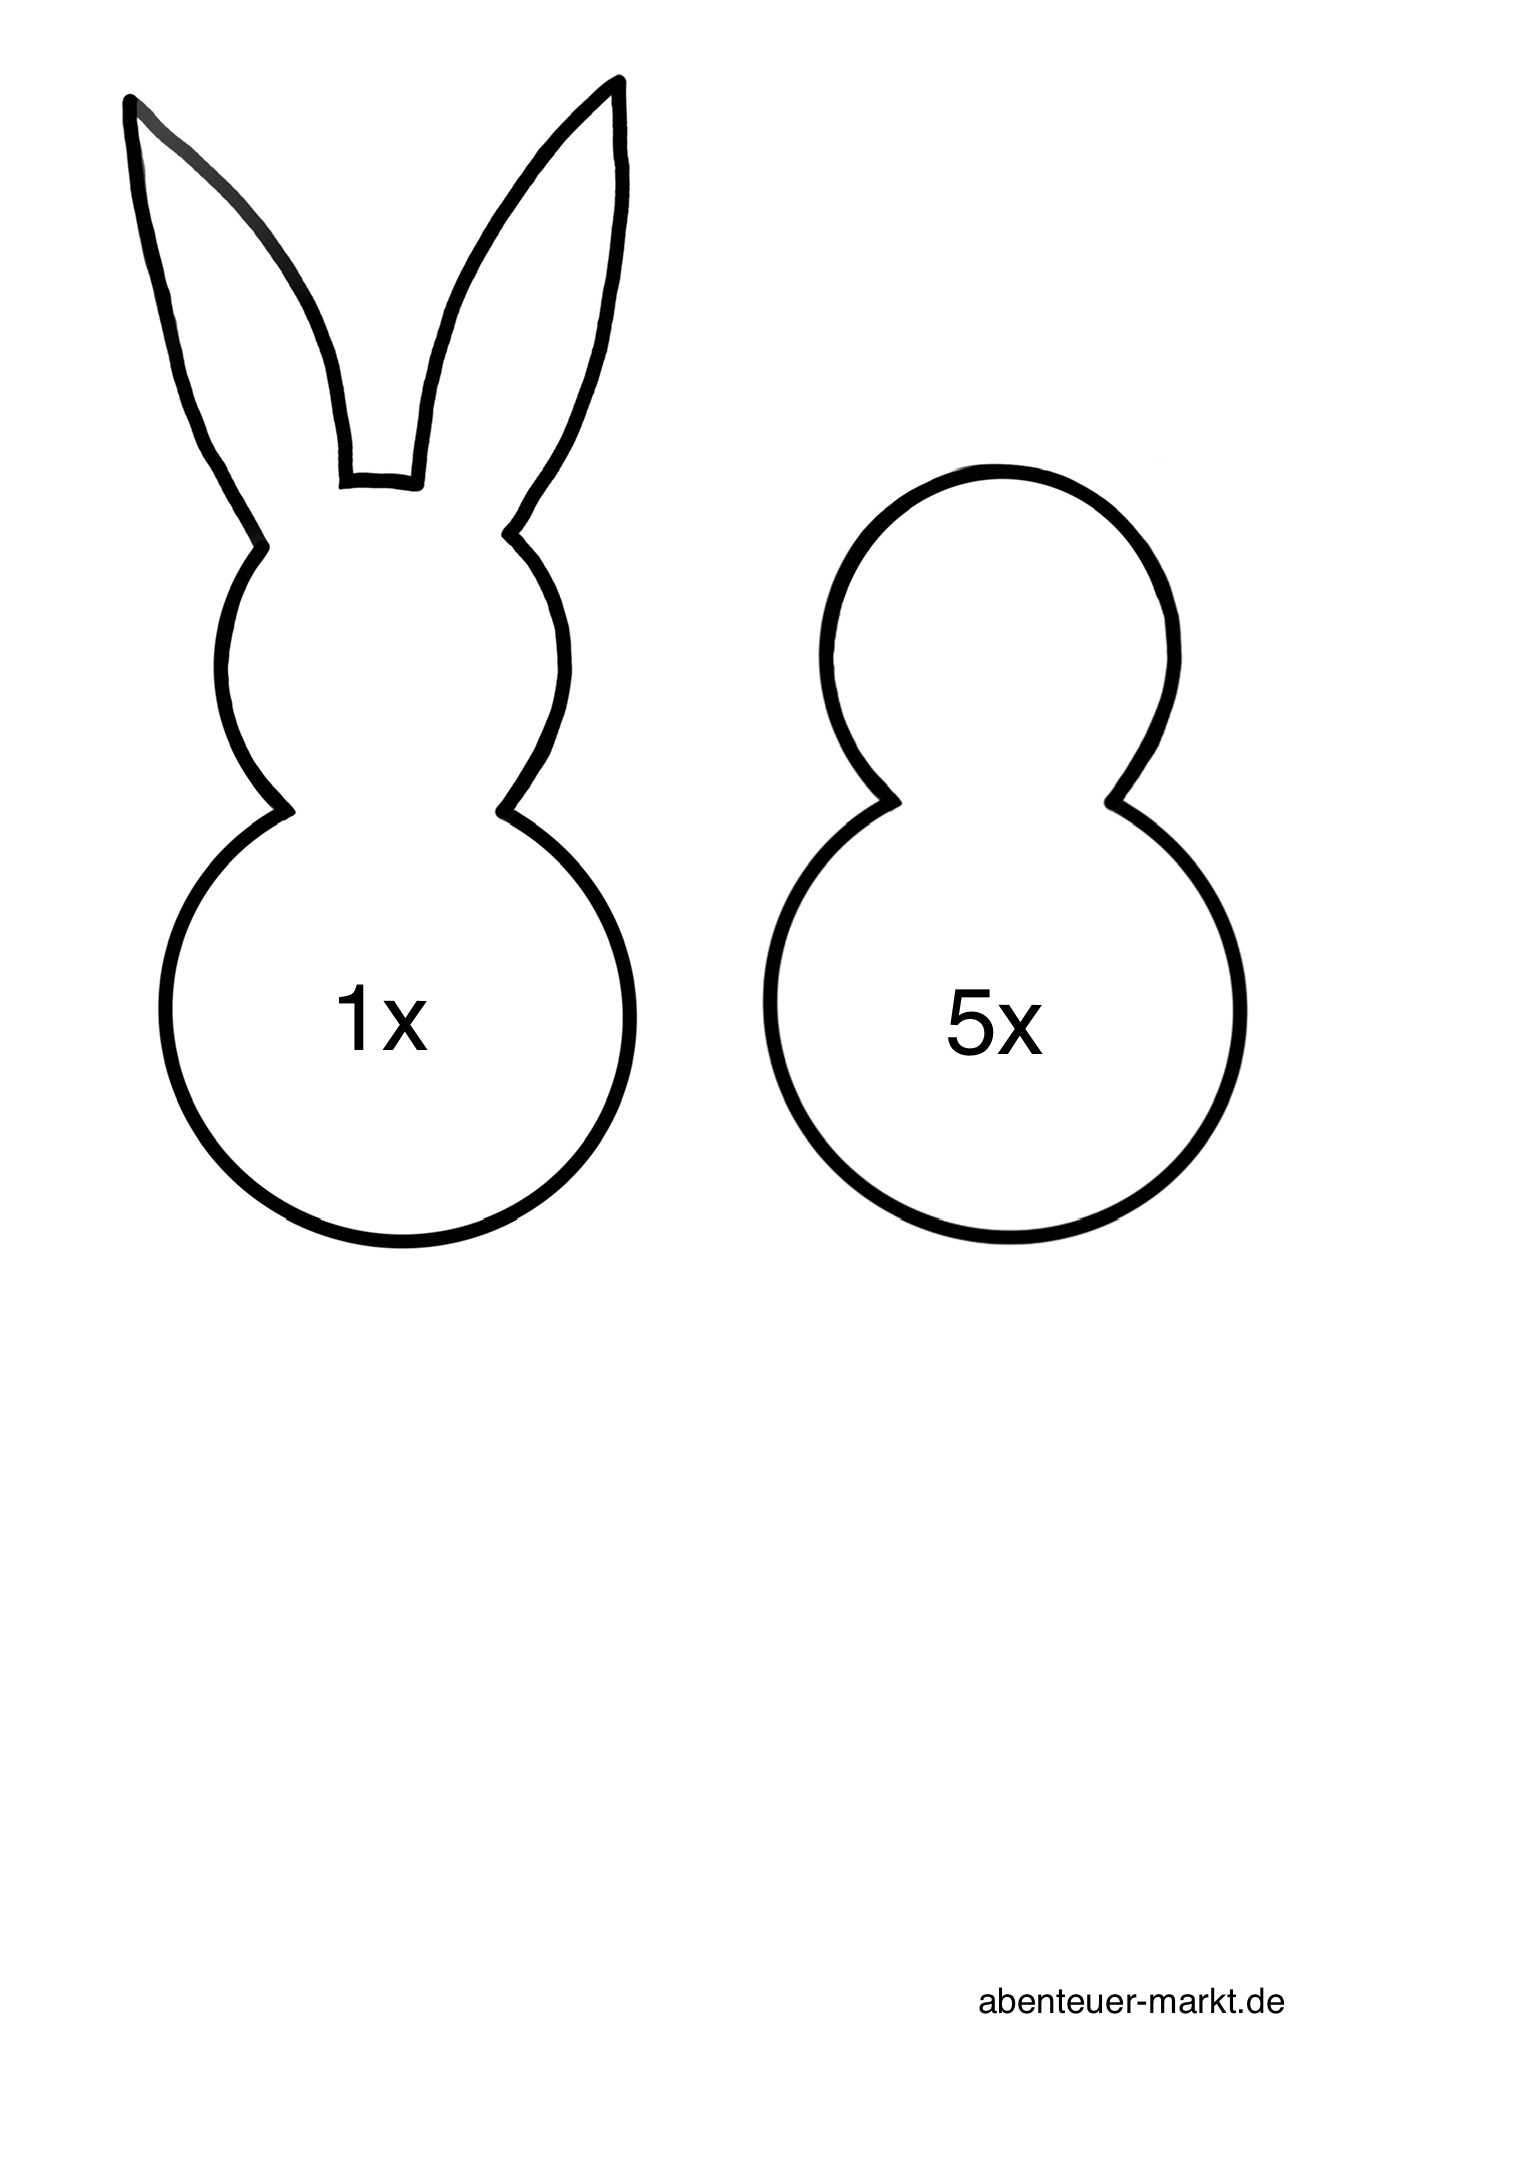
Print the template once or paint a rabbit stencil yourself, one with ears and the same without ears.
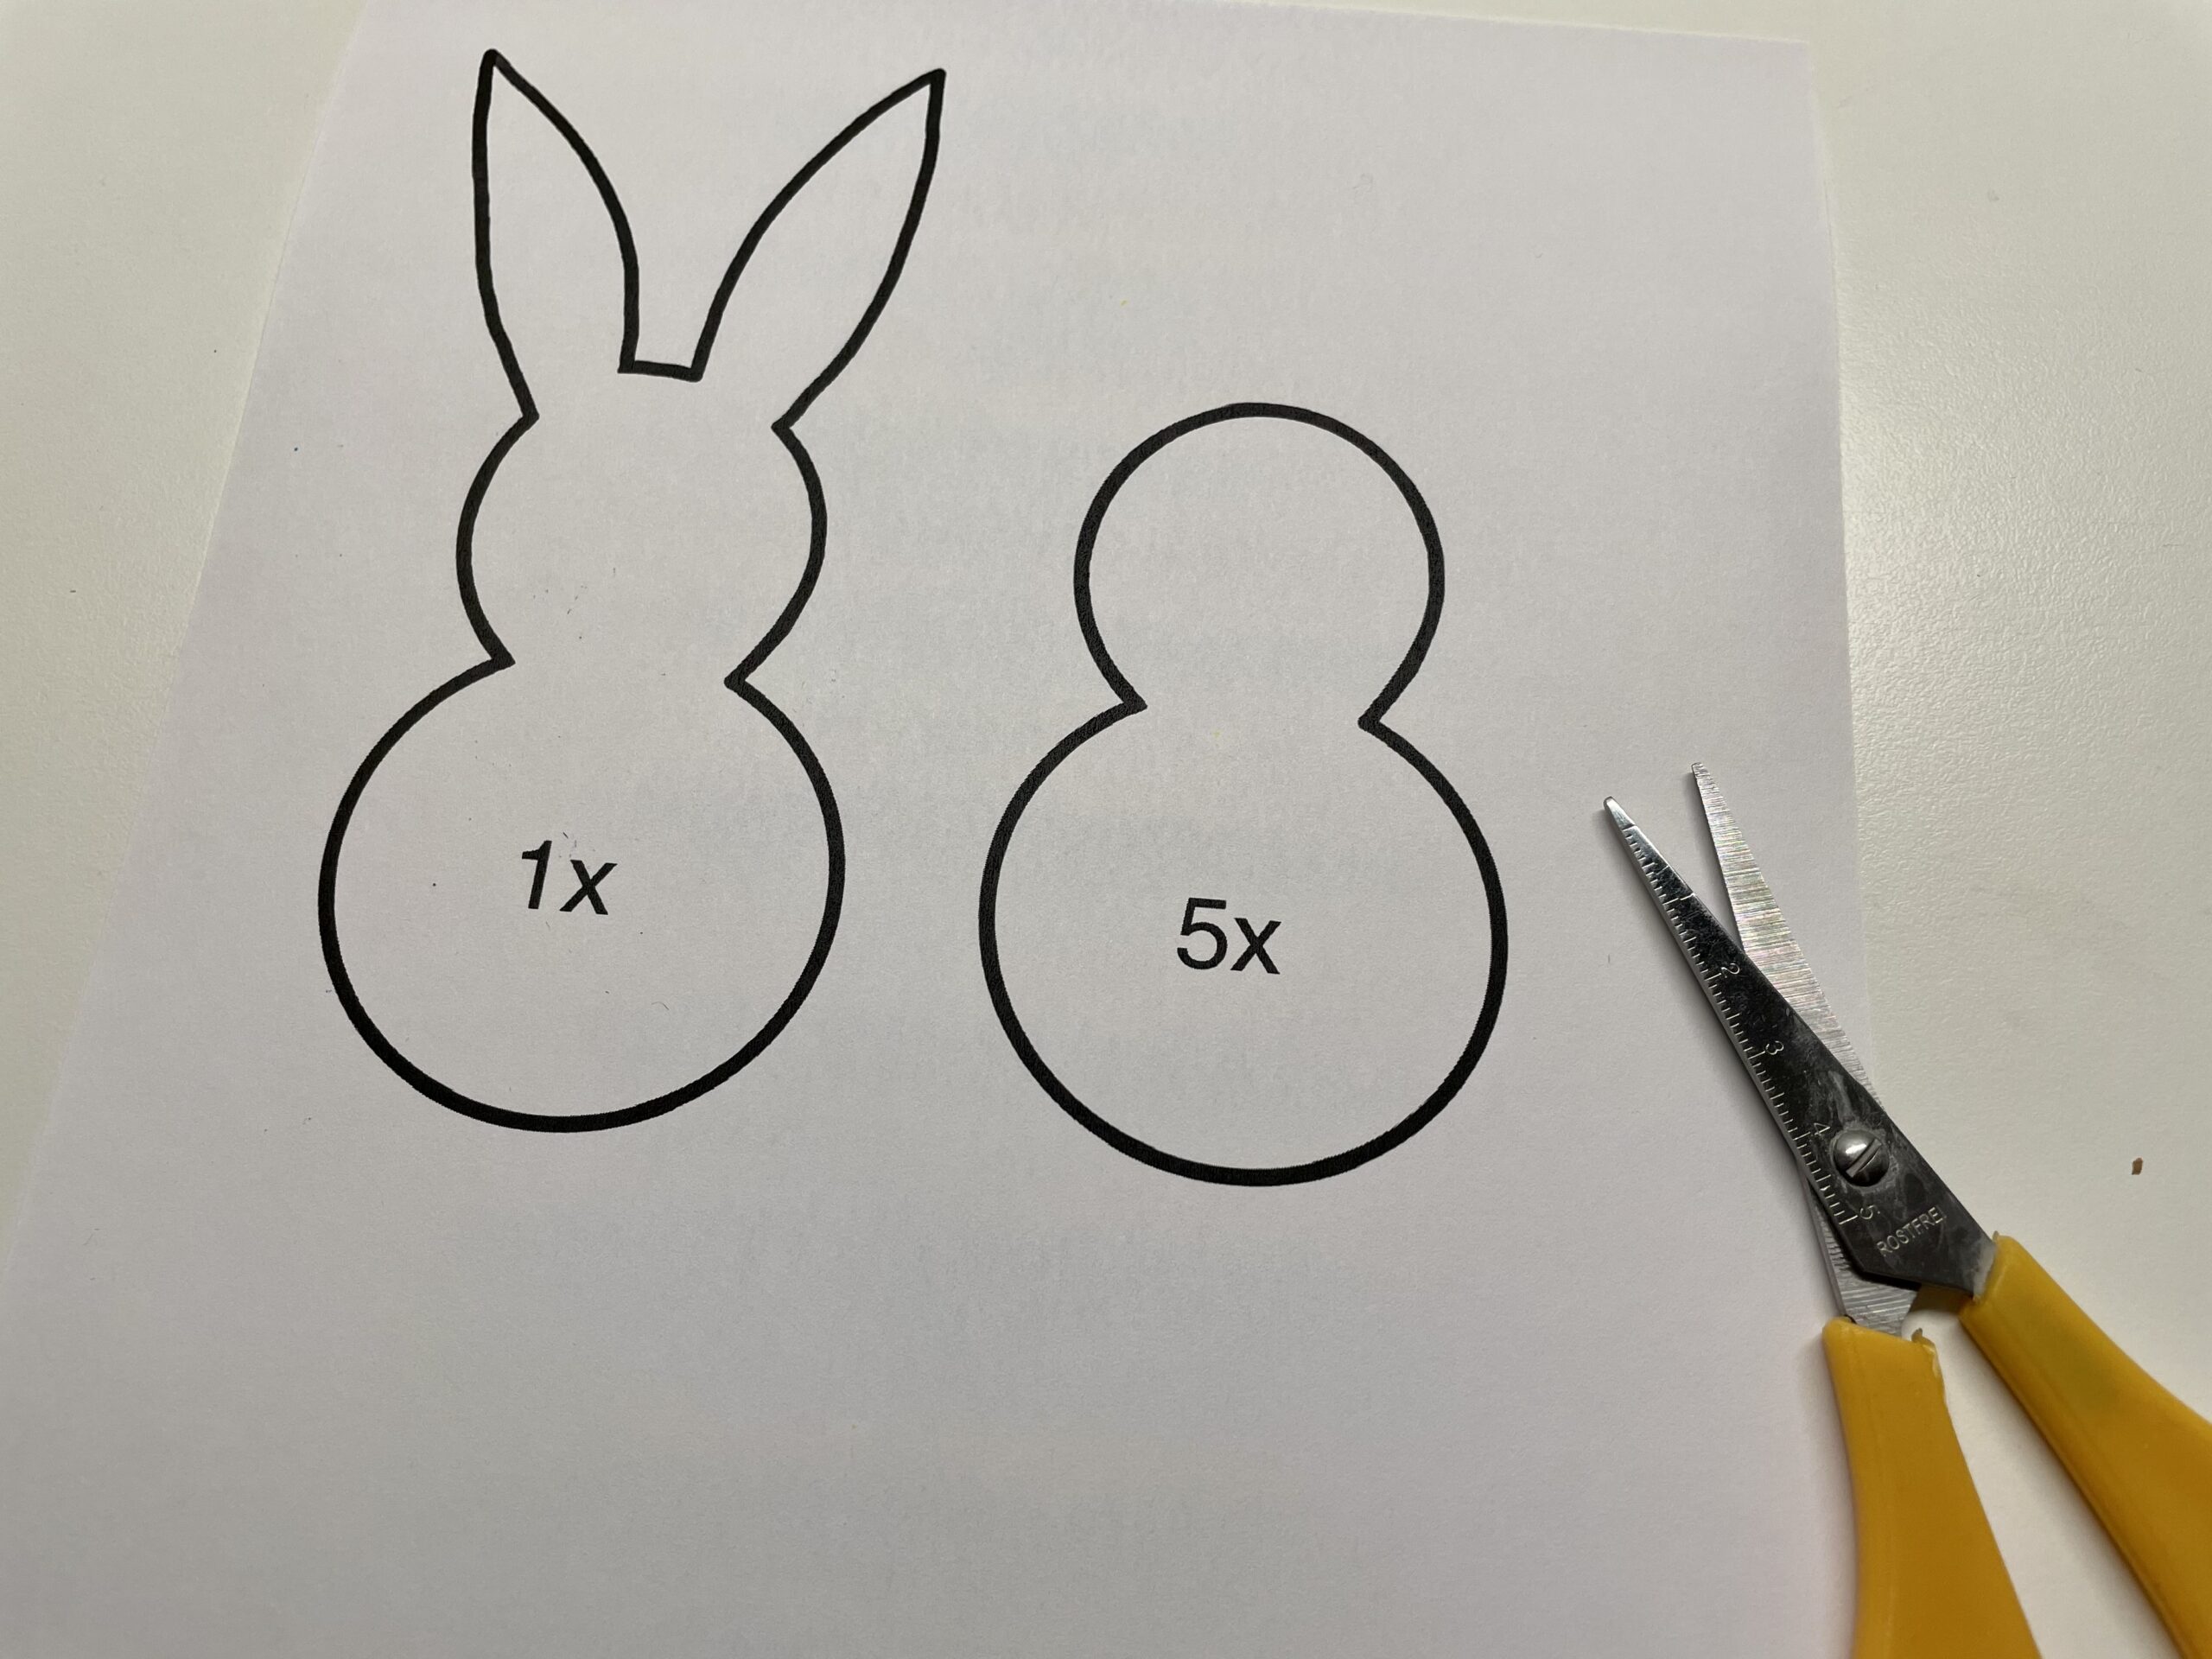
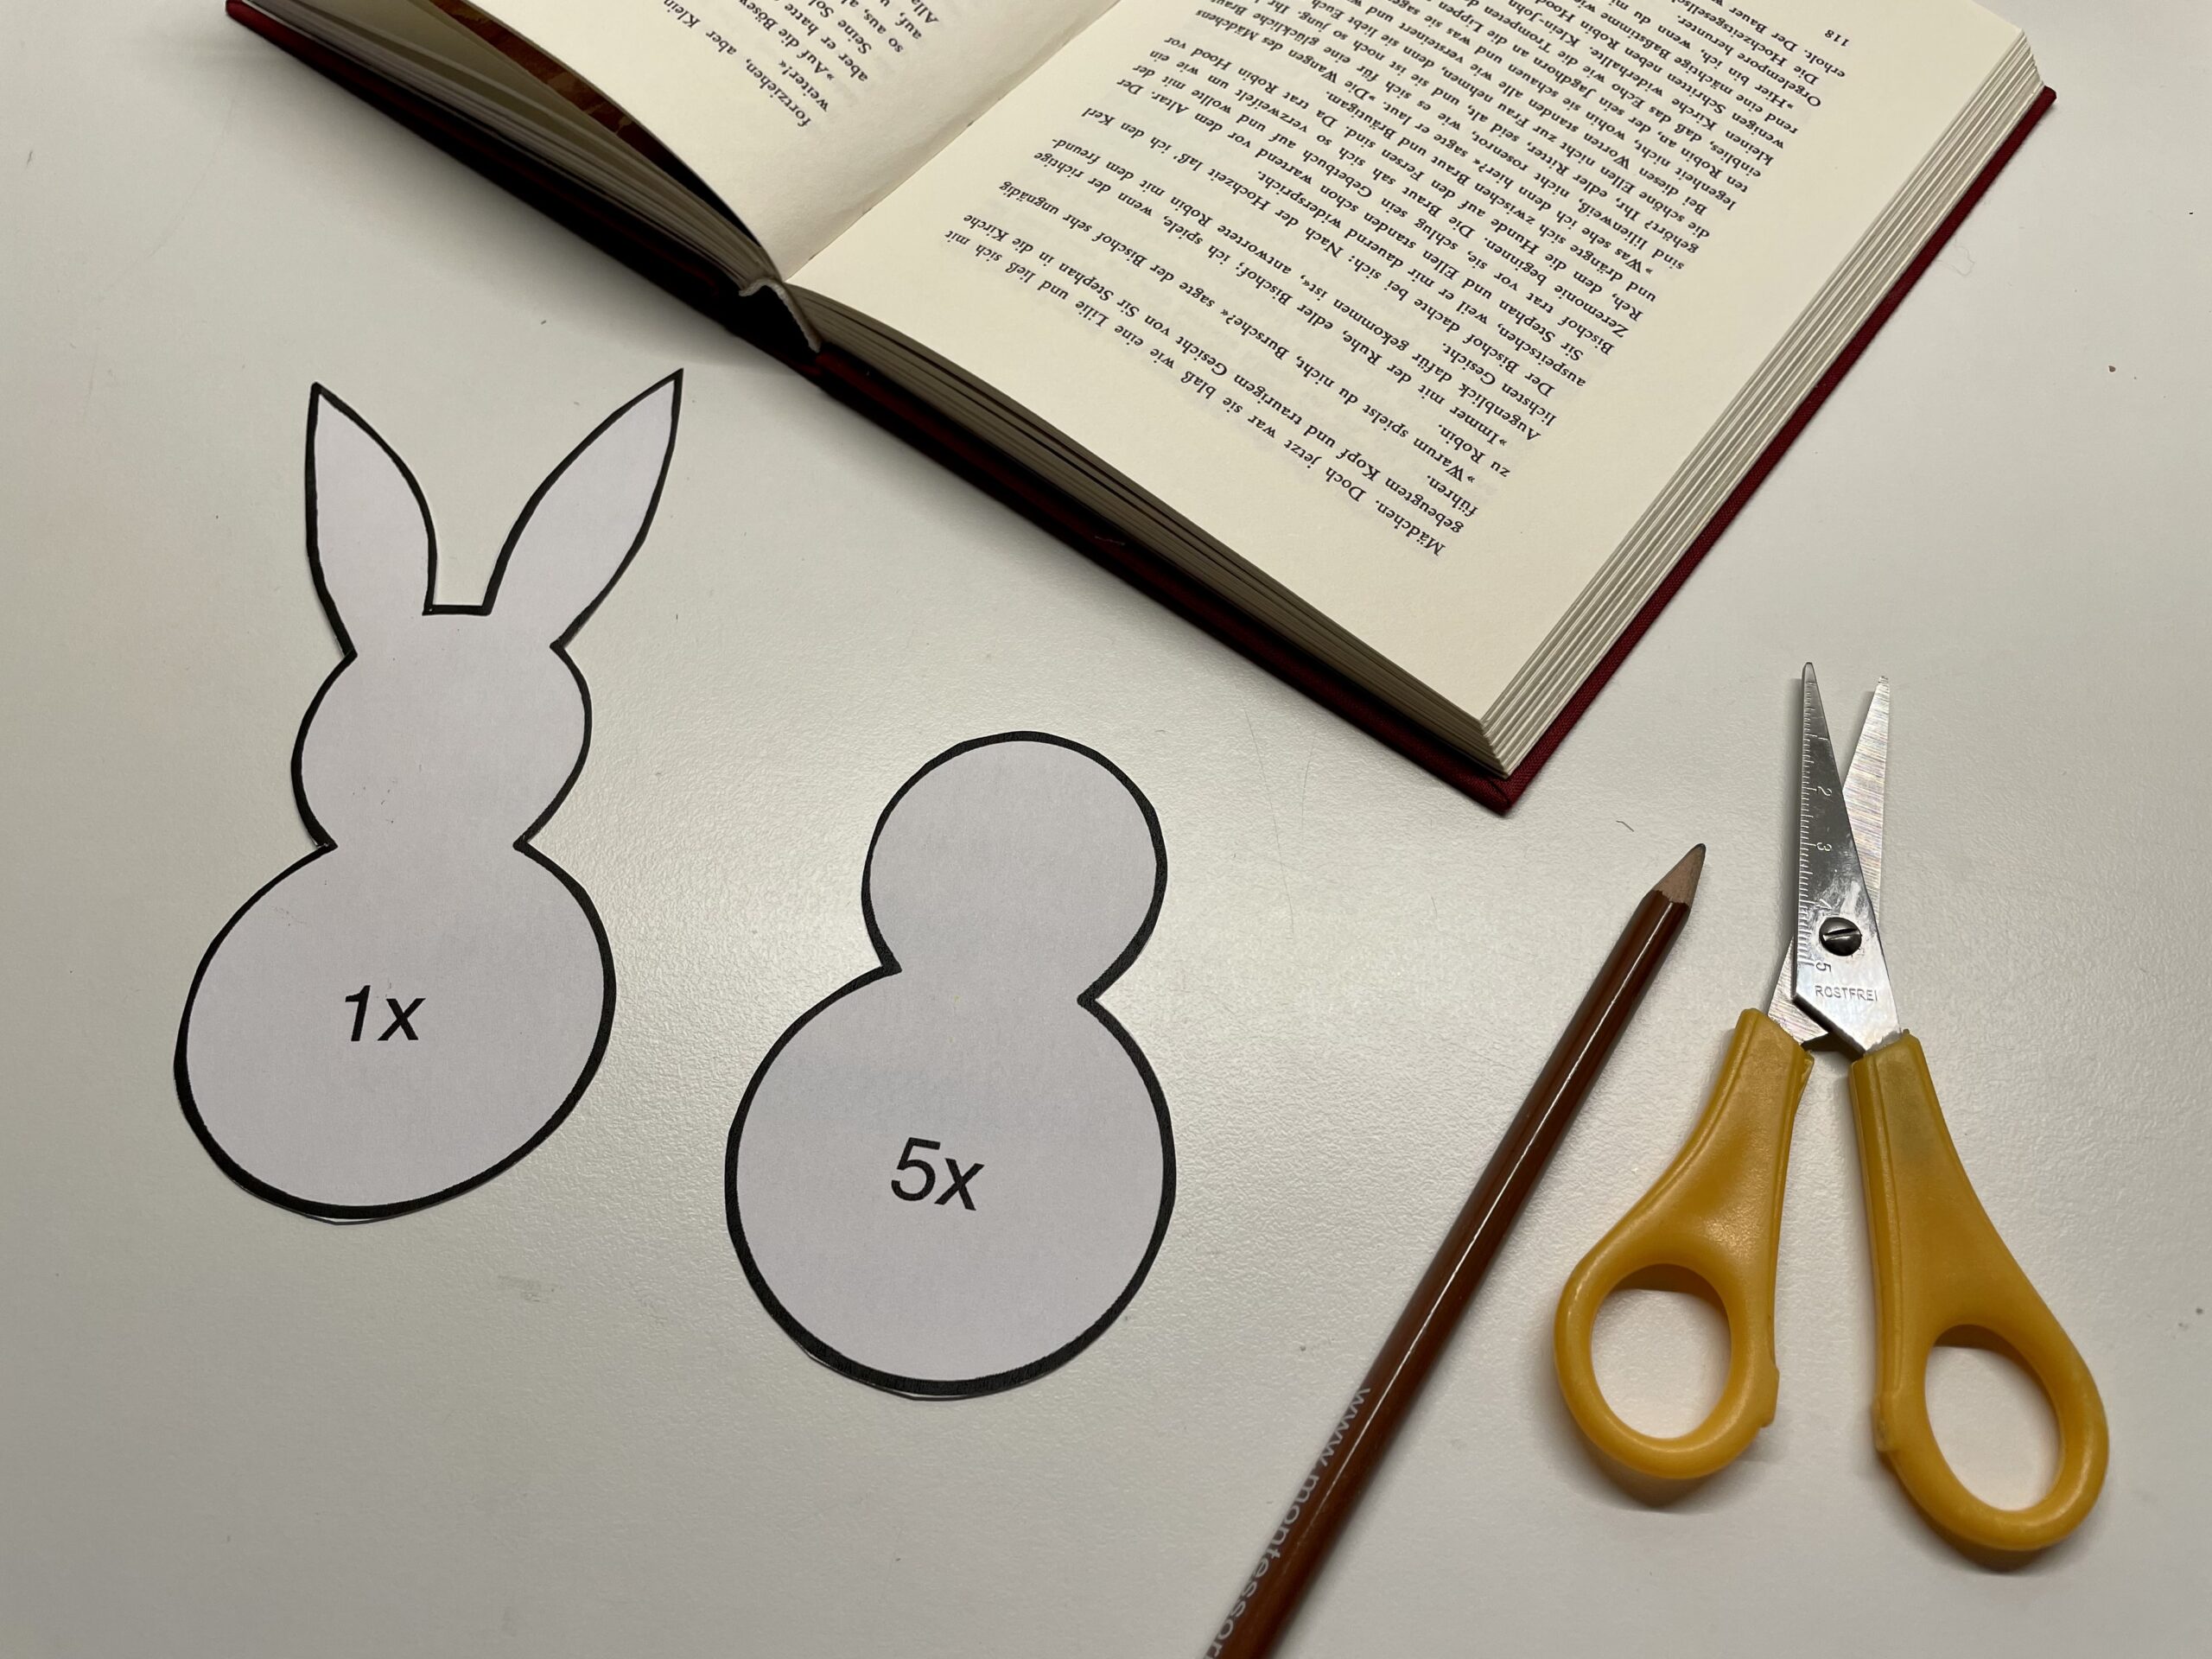
Cut out both templates. Now you need a few old described book pages (use a book that you want to throw away, not yet usable!)


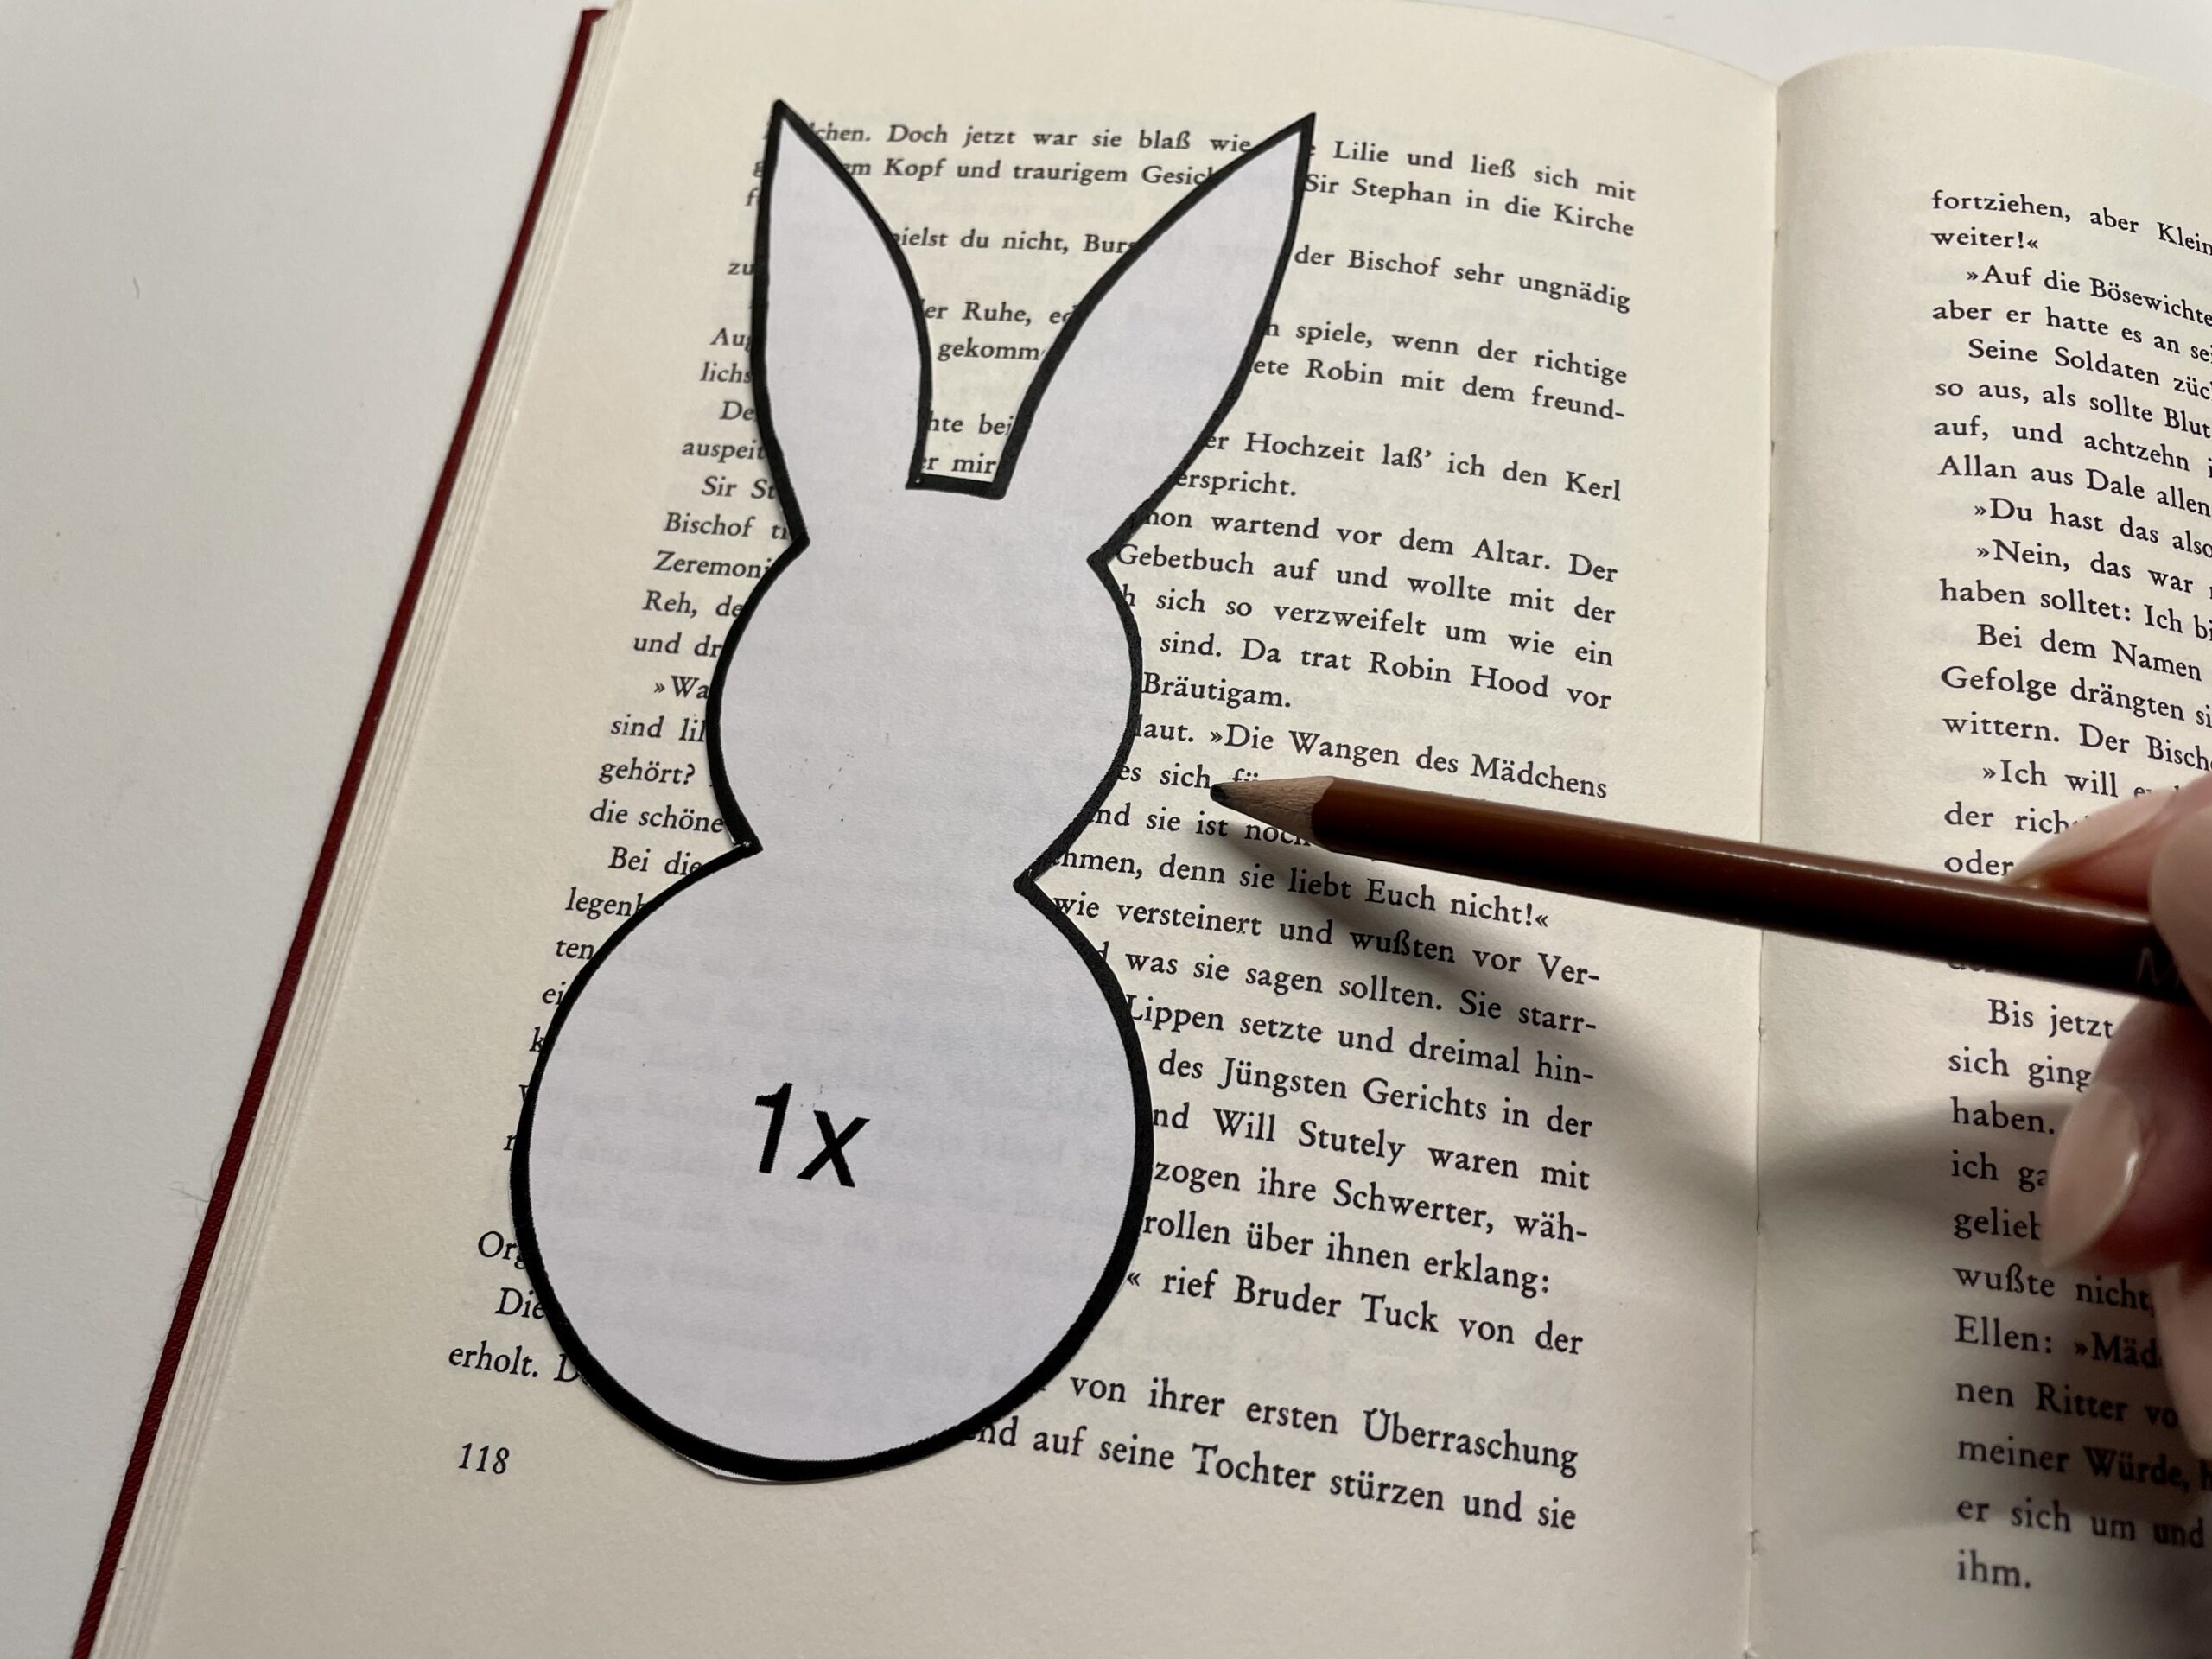
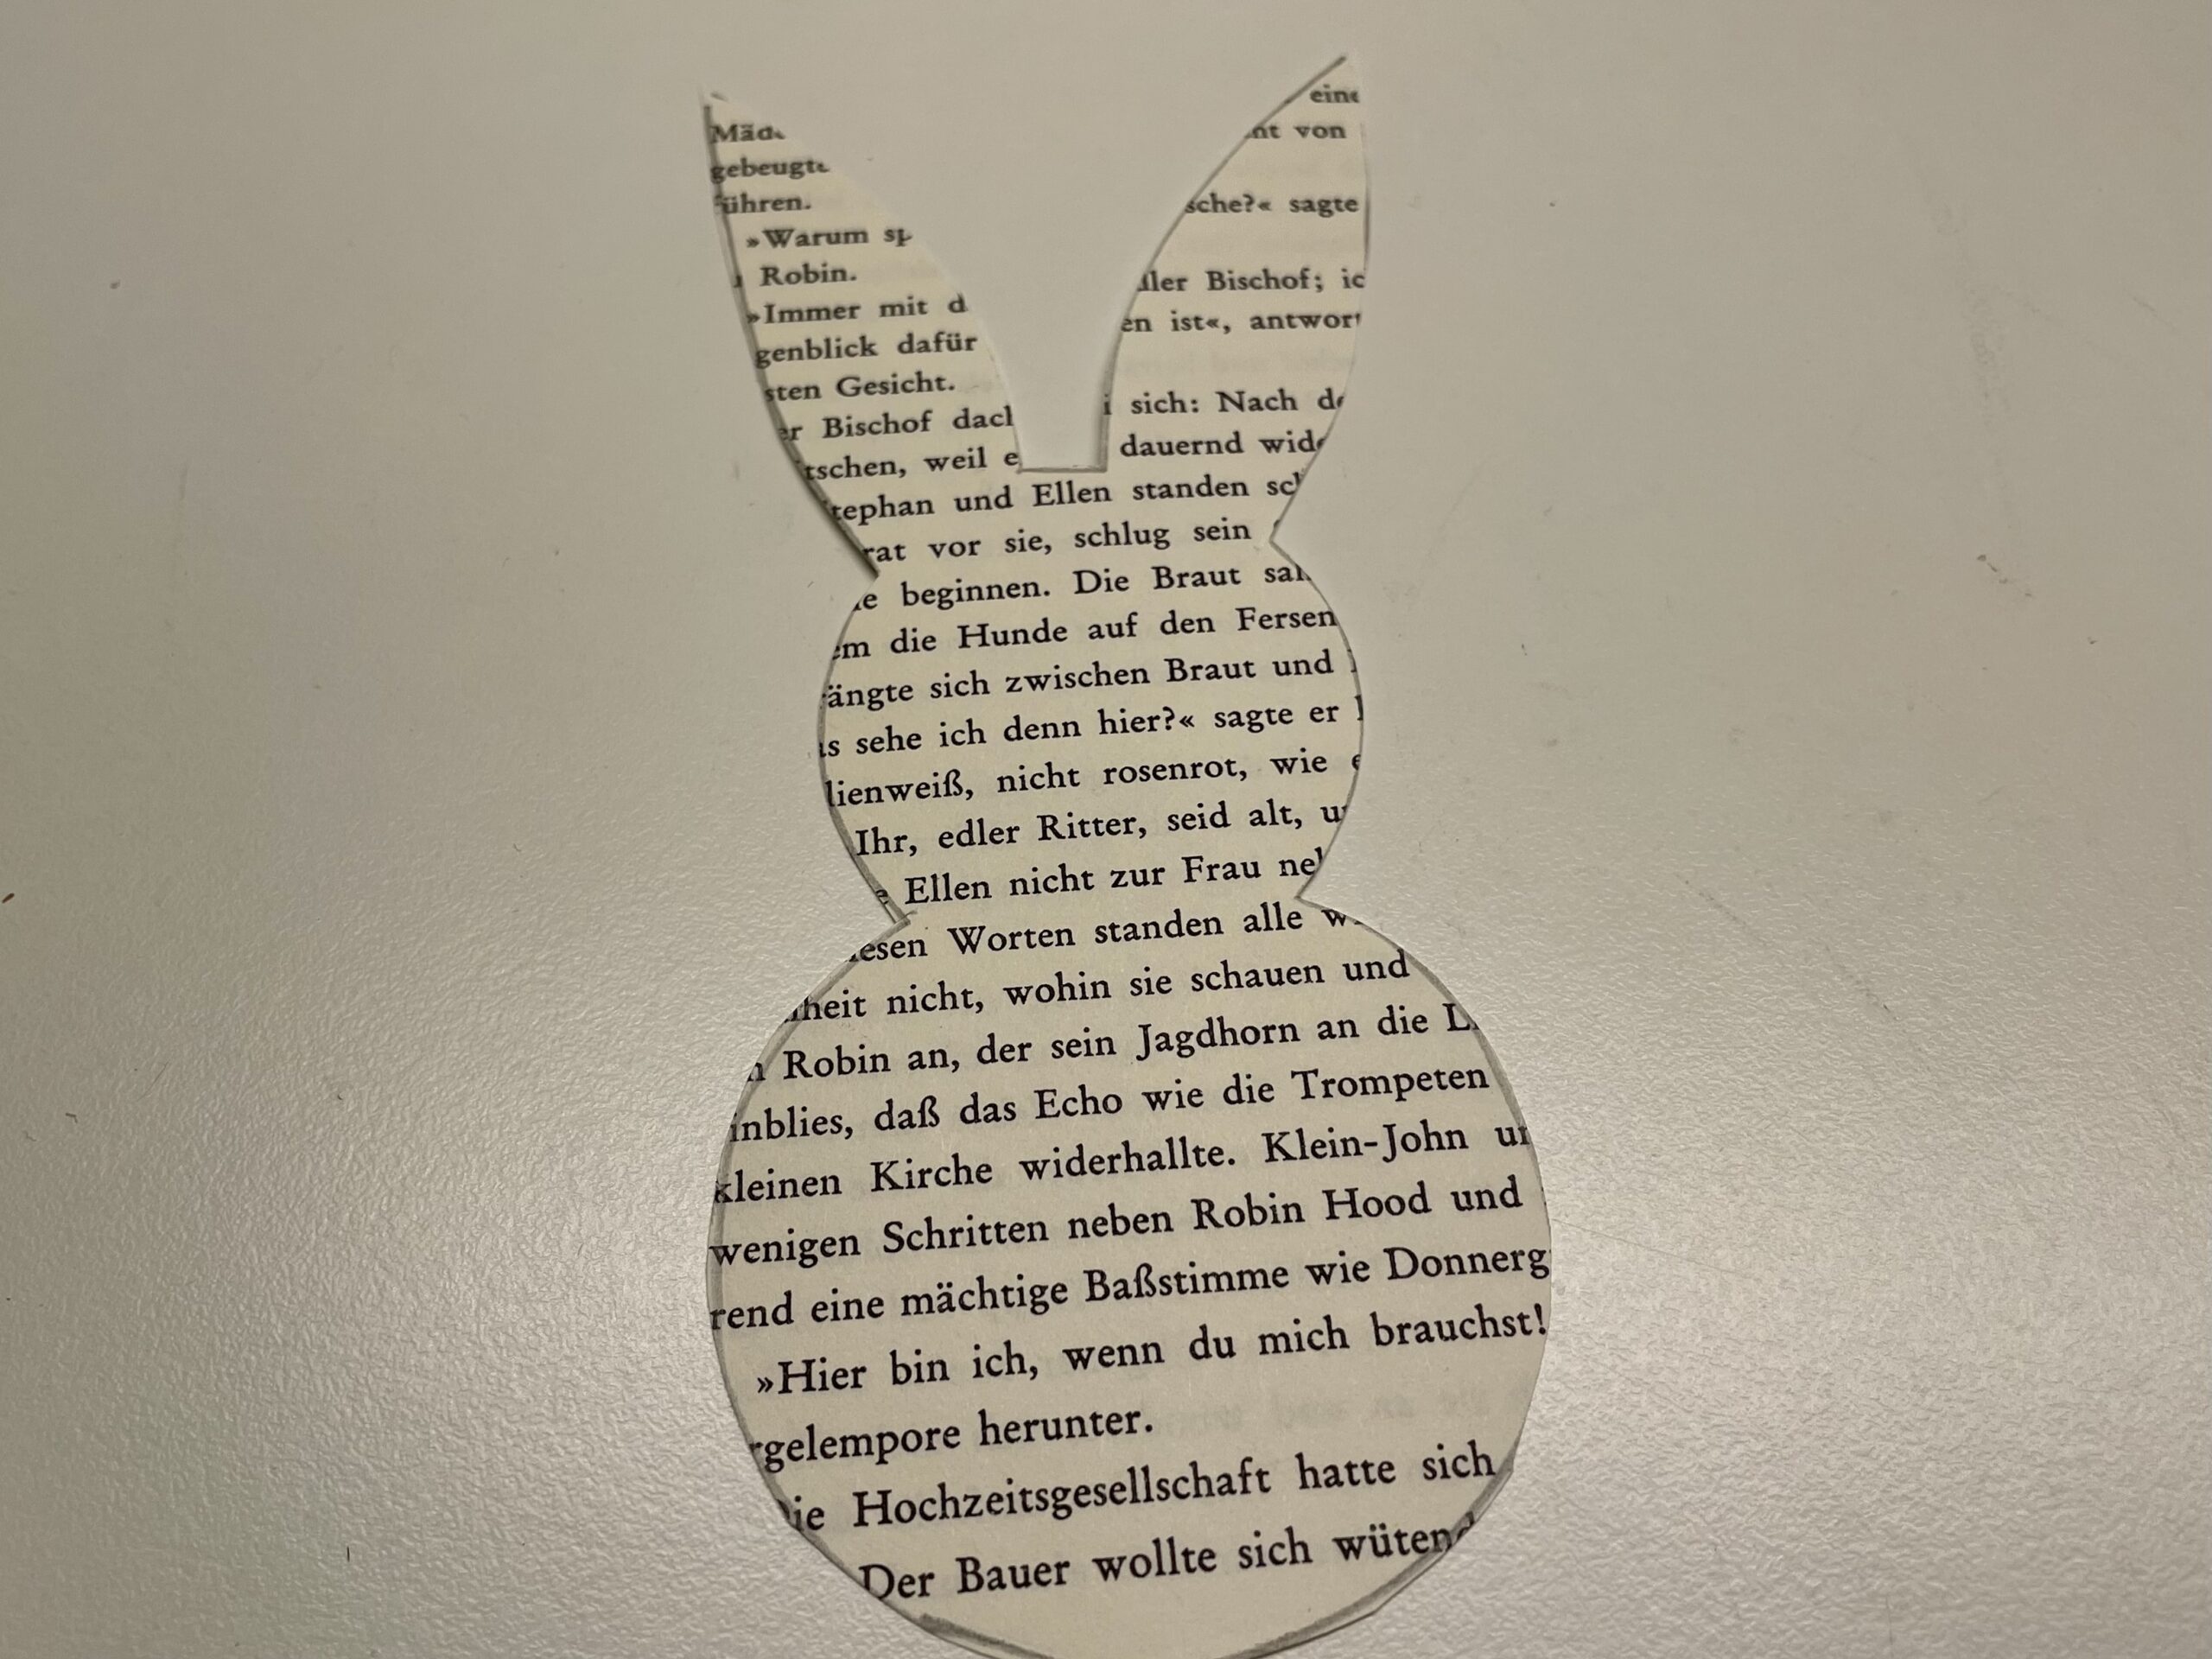
Place the rabbit template on a book page so that as much text as possible can be seen on the rabbit later on. Covers the template with a pencil.


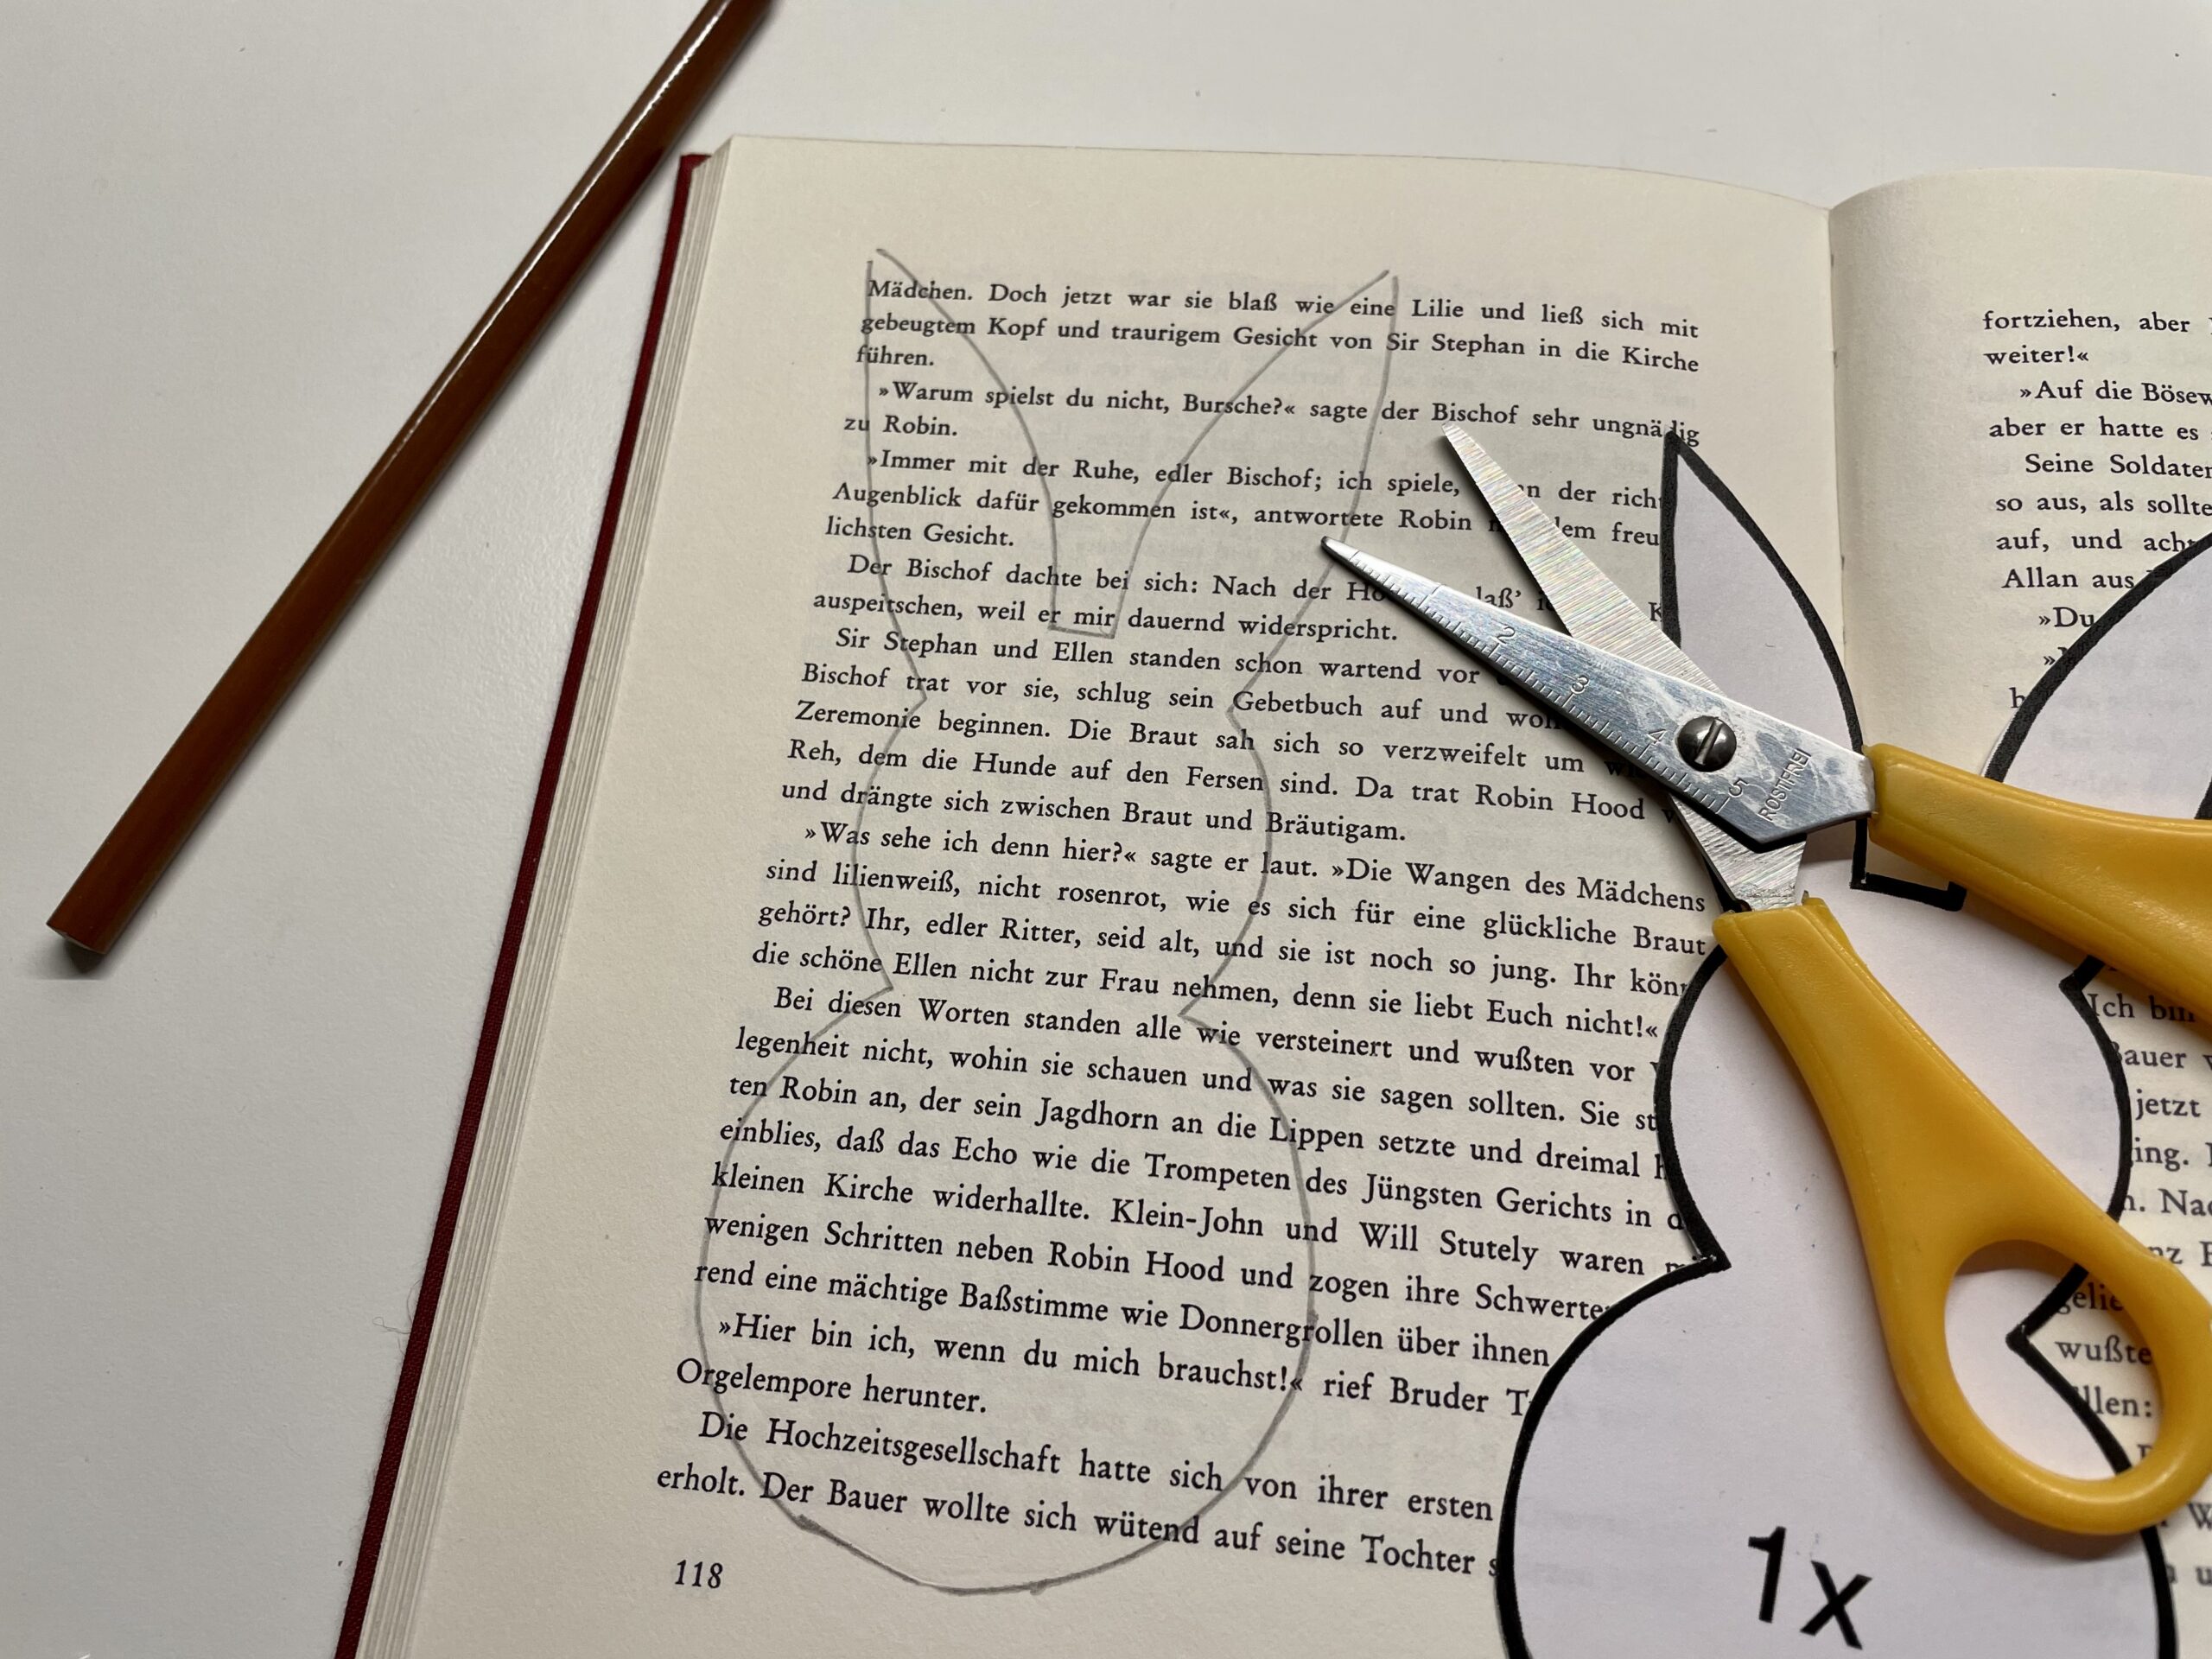
Now you can cut out the rabbit.


The rabbit with ears, you only need once.


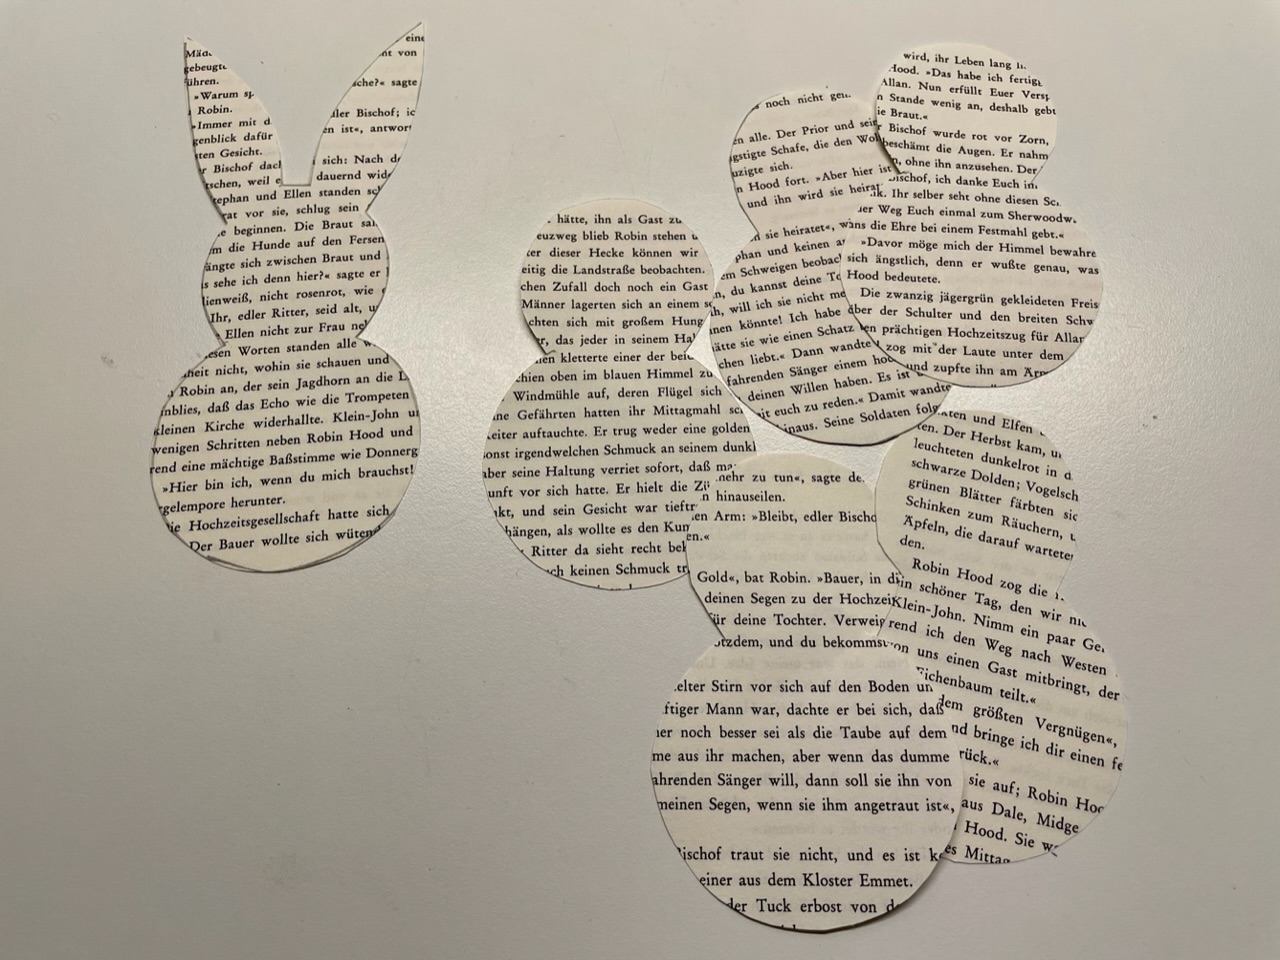
From the earless rabbit form you have to cut 5 parts.


From both sides the hare parts should be described with text.


You can take the next step, but it is not necessarily necessary.
Ties the paper edges of the individual parts from both sides with a black crayon.
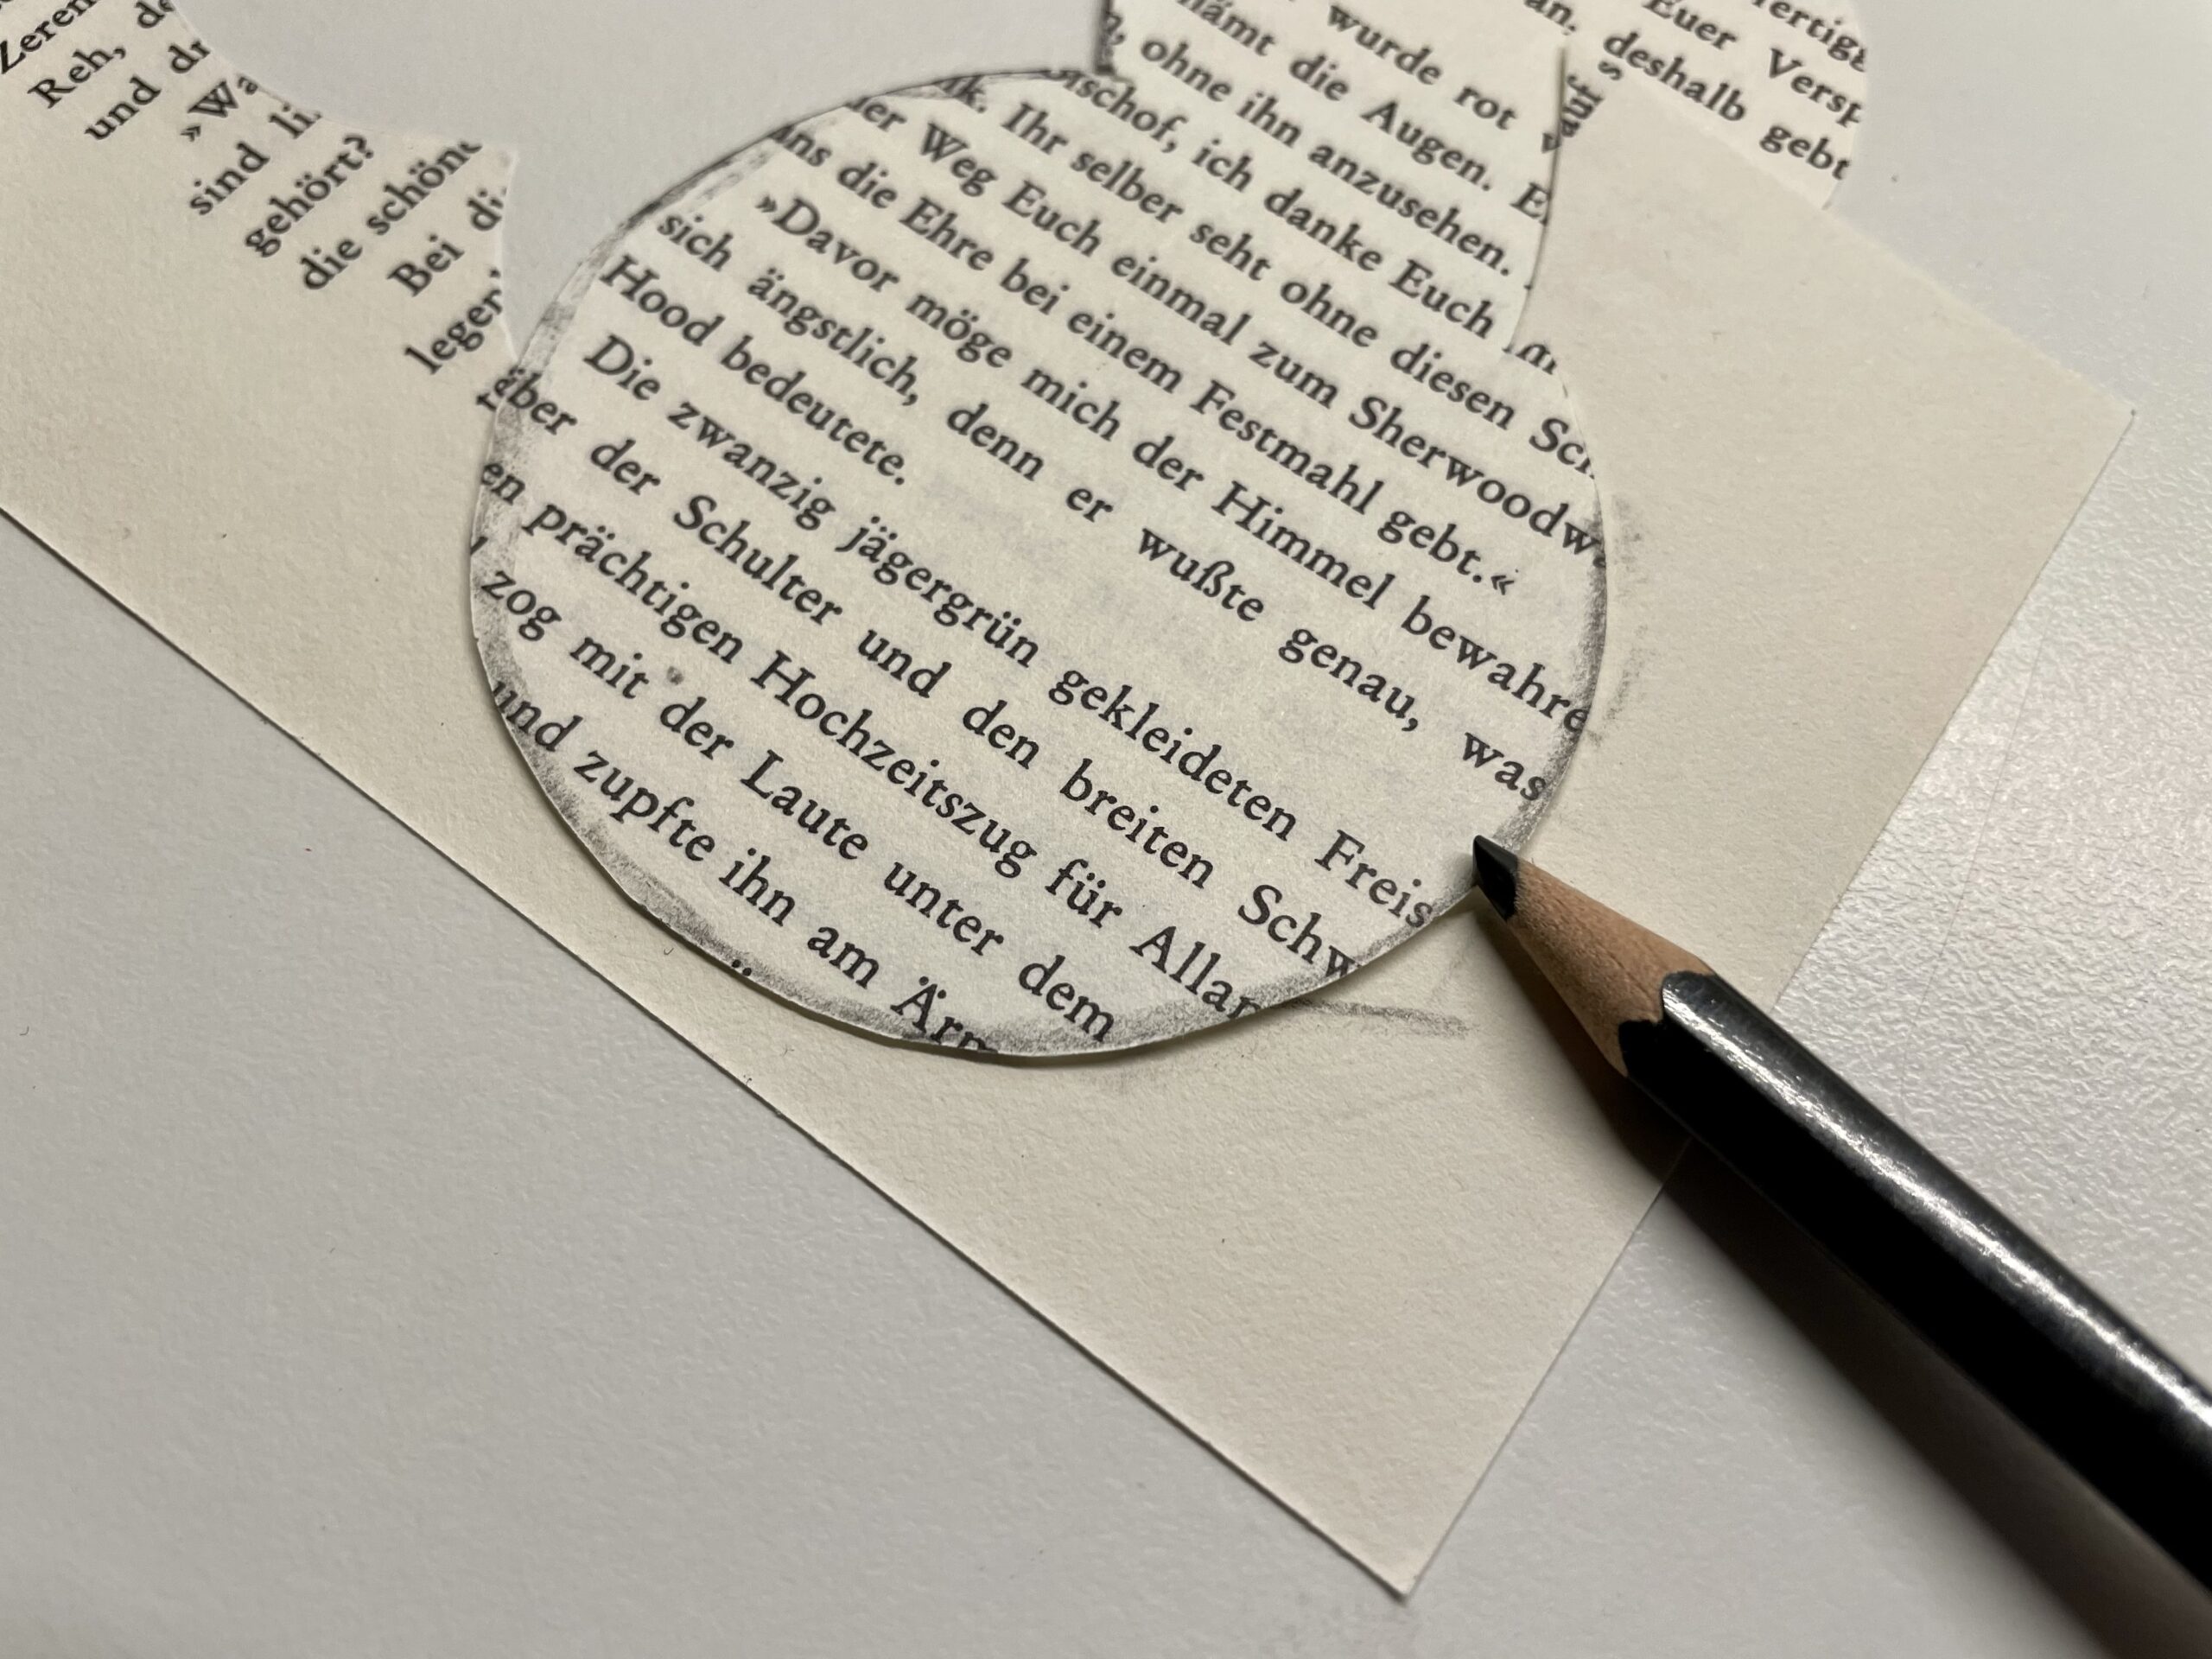


Keep it very flat above the edge of the leaf, so that as far as possible only a light shadow can be seen at the edge of the paper.
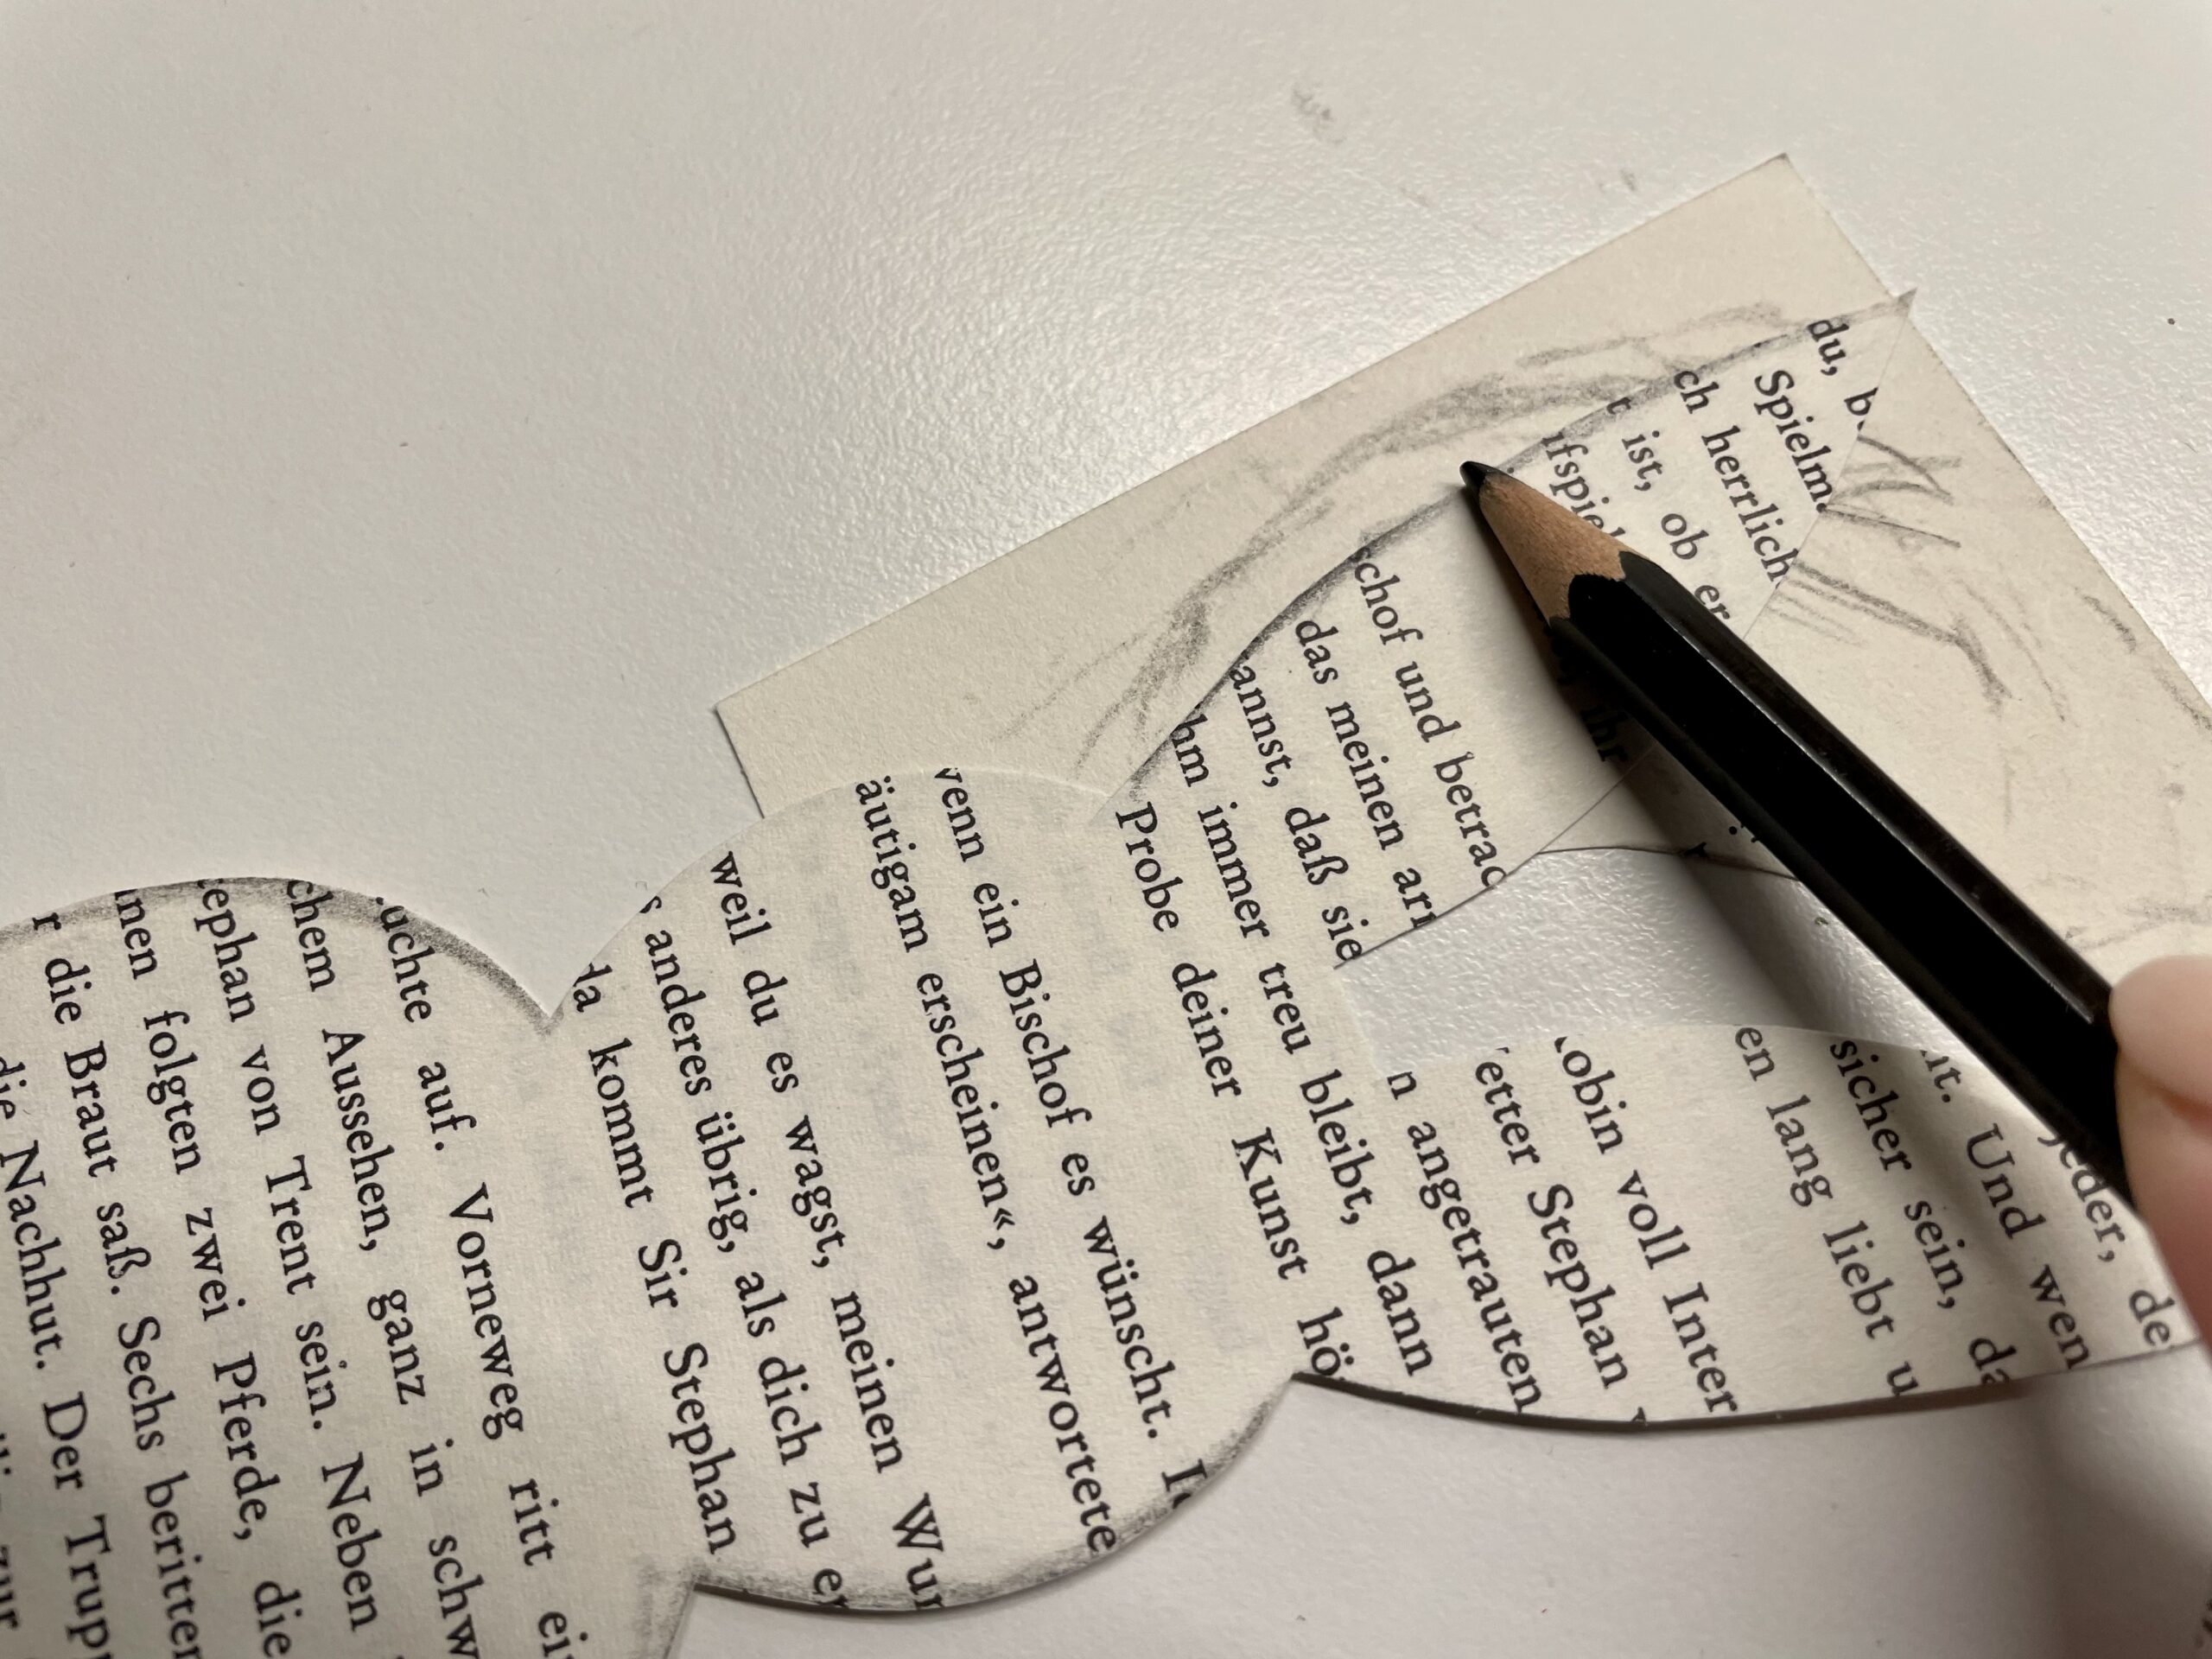


That's how the paper looks more noble.
(That's a matter of taste!)
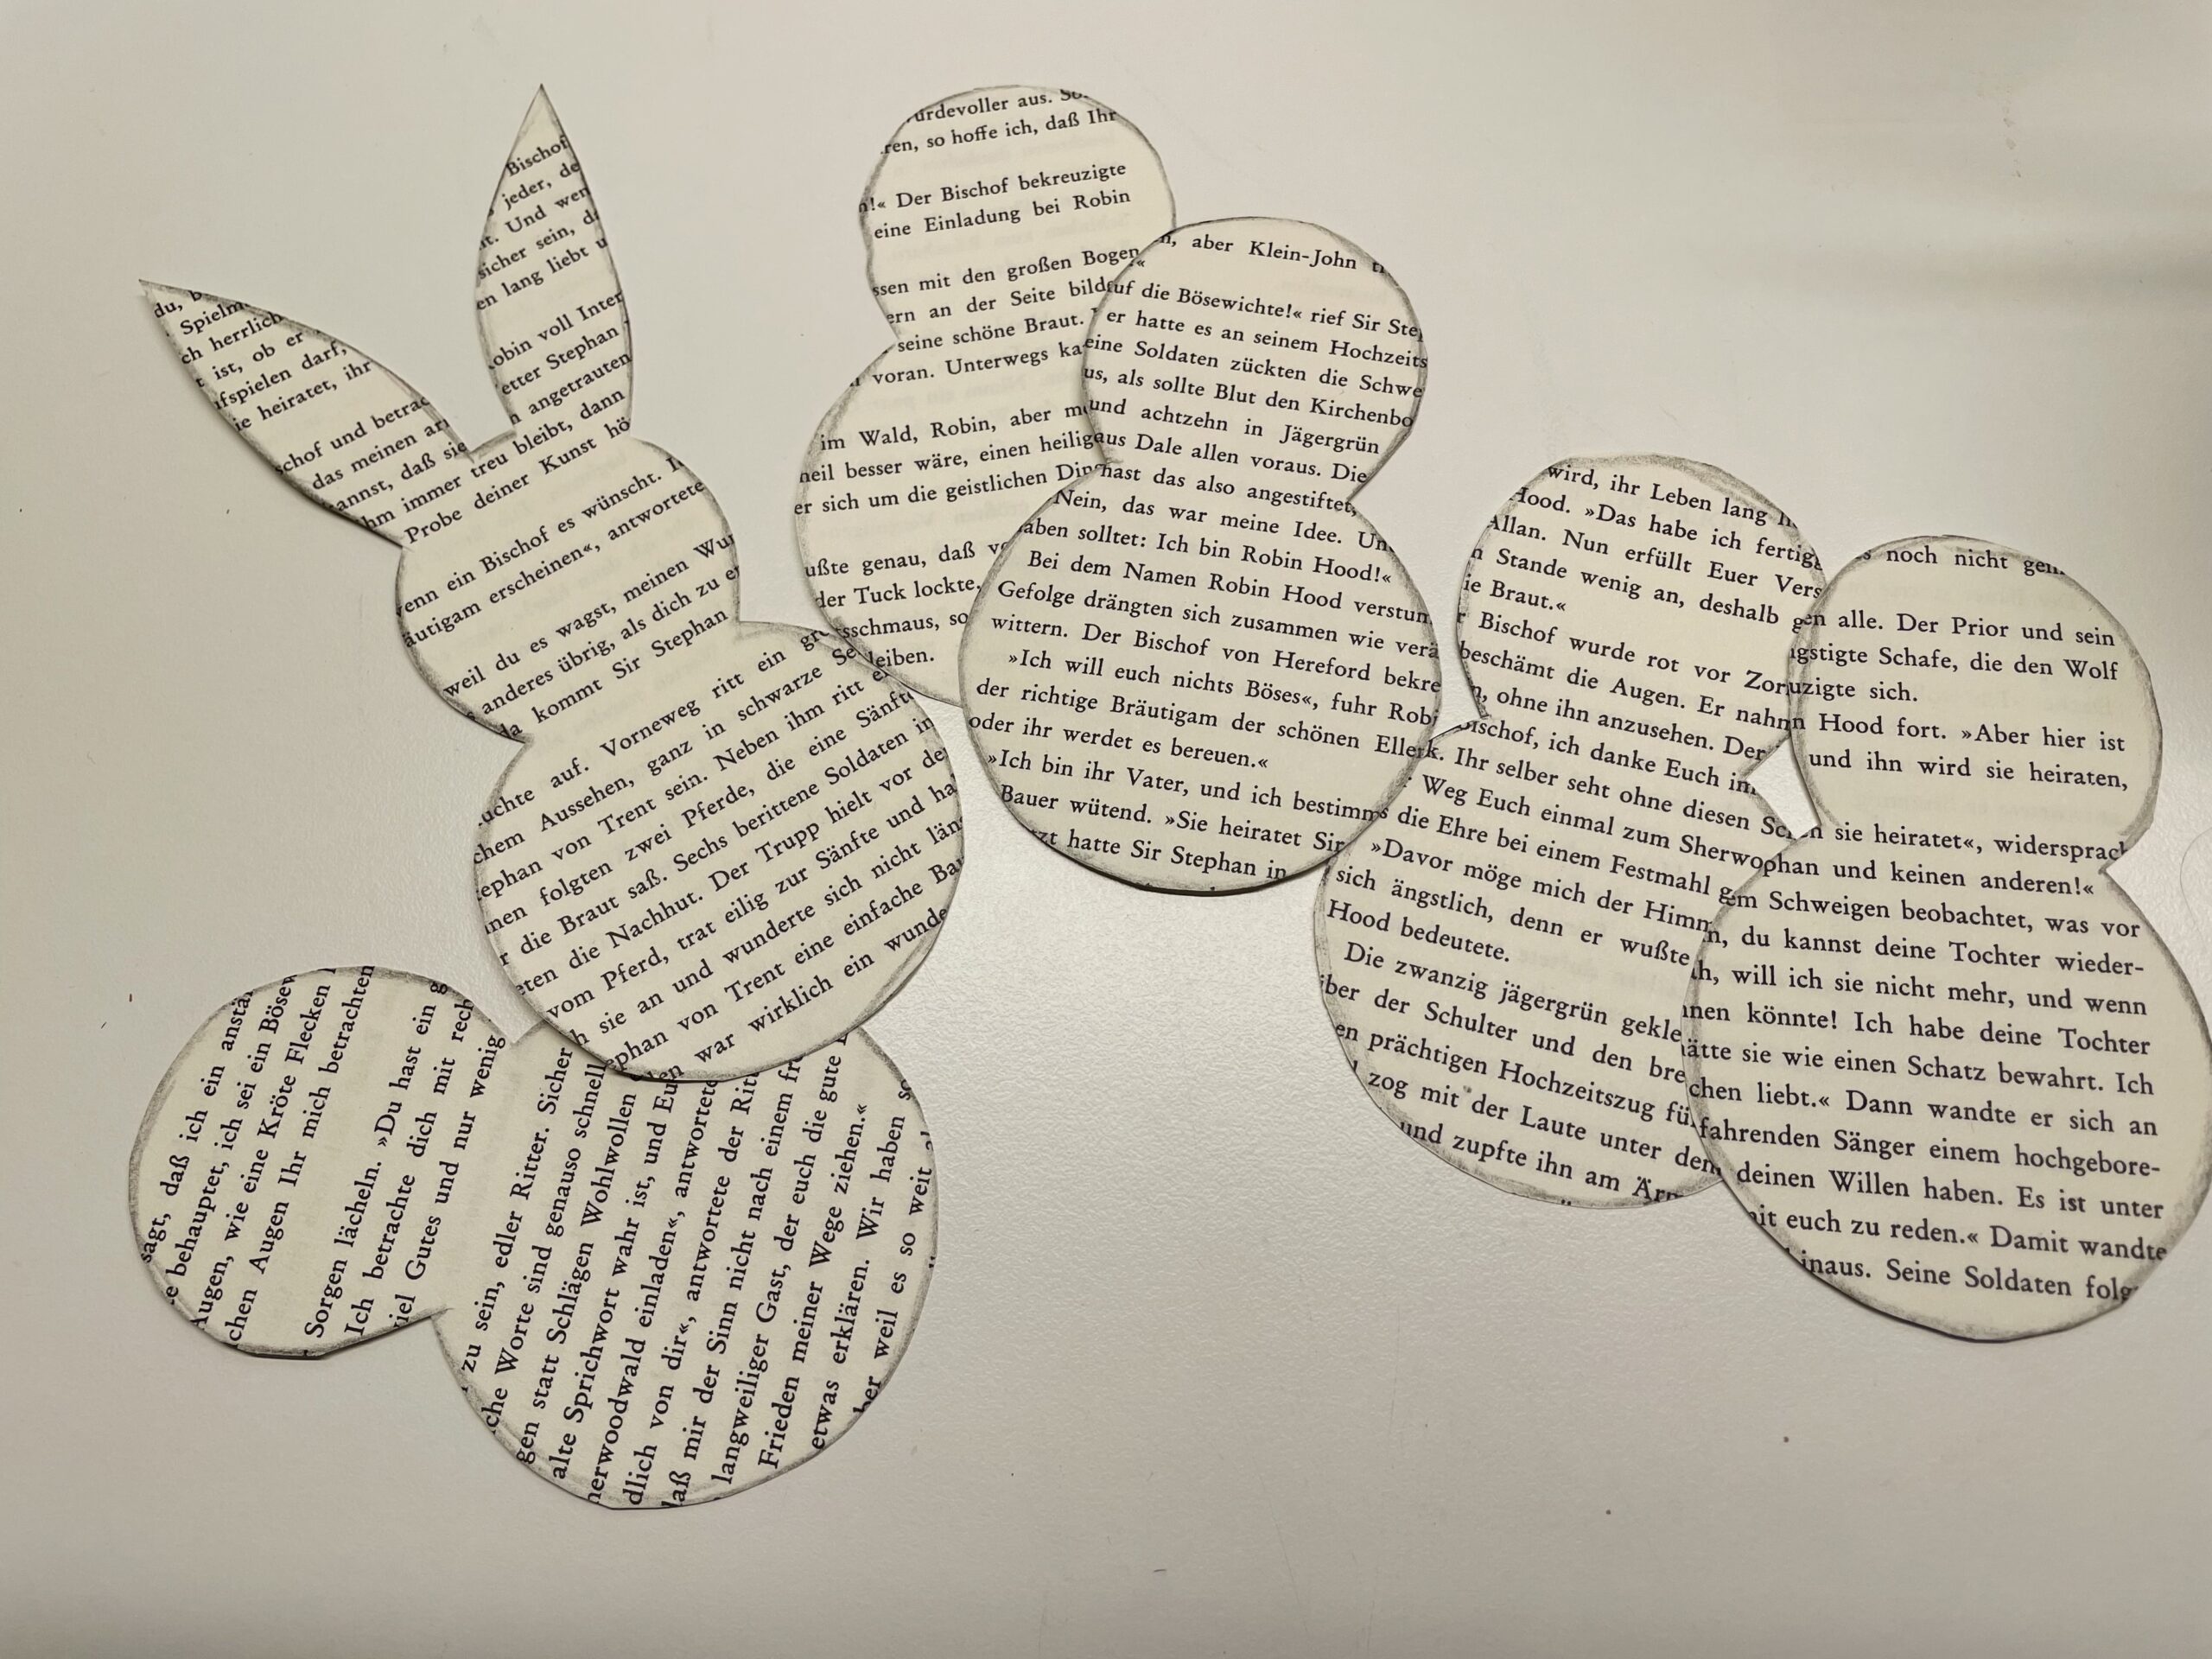


Now take a 5cm long piece of thin flower wire.
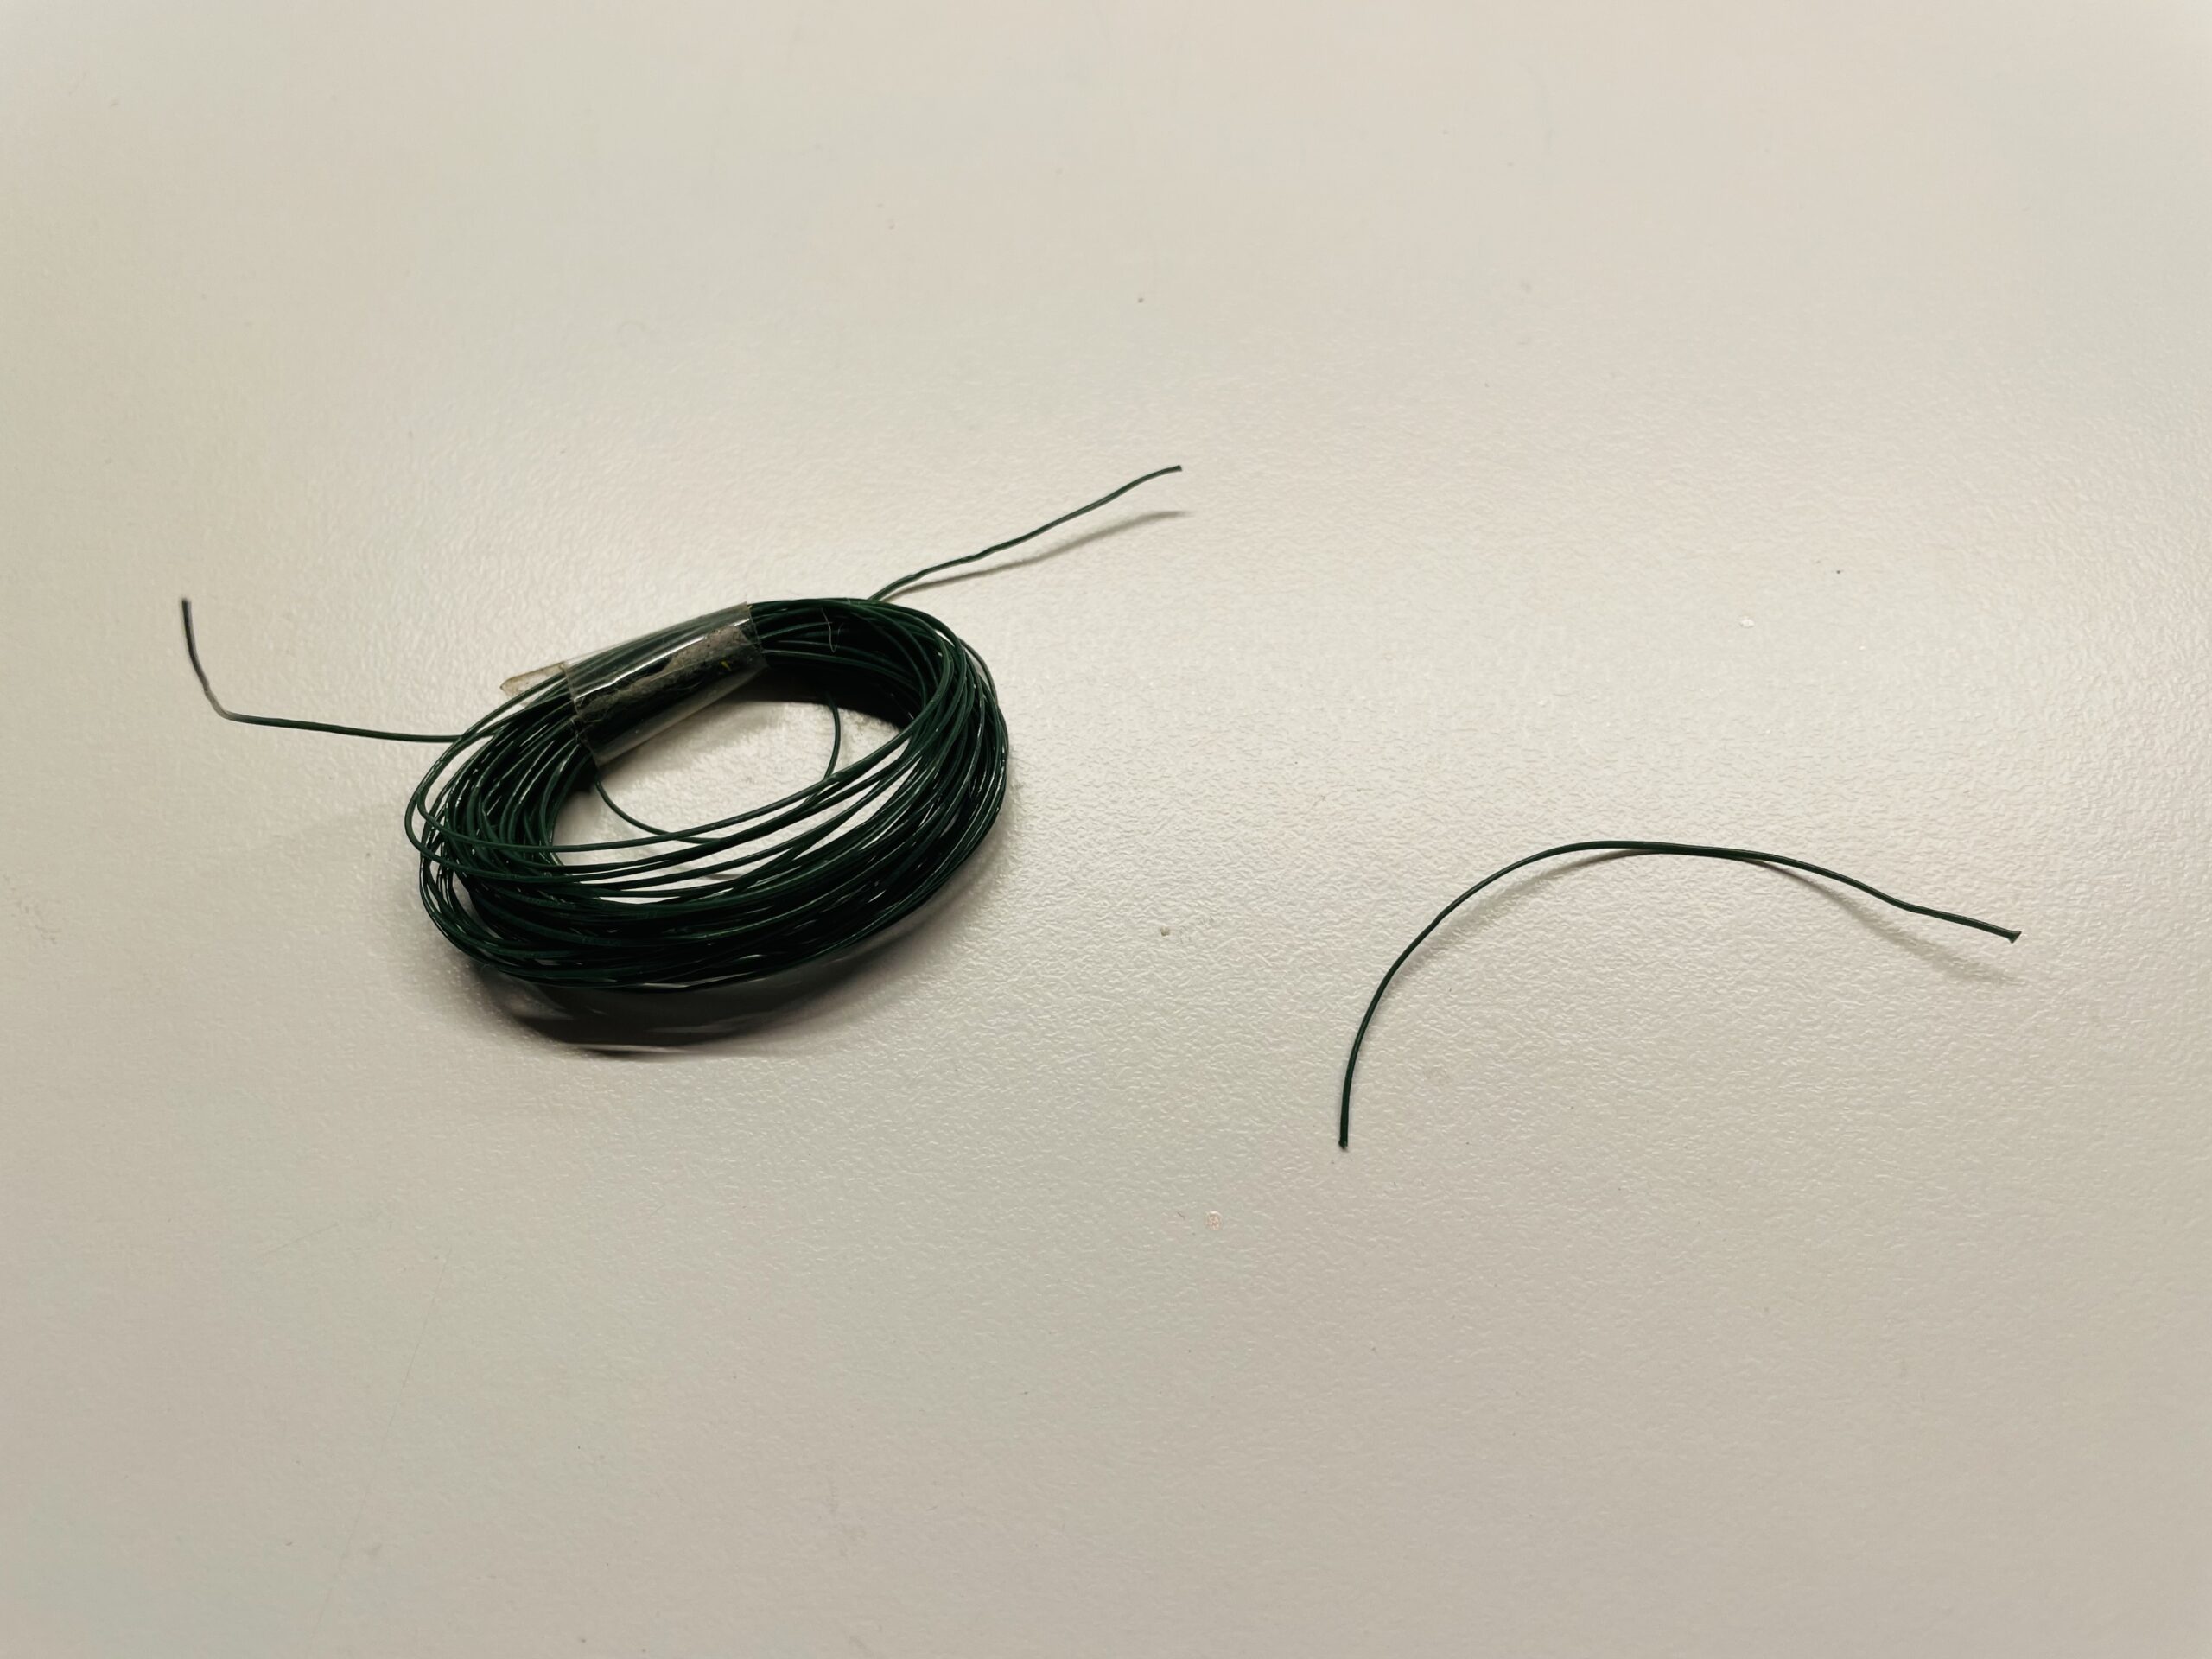


Lay it half and twist it at the bend. This creates a loop that should serve as a suspension. You can shorten the two long wires to about 1cm length.
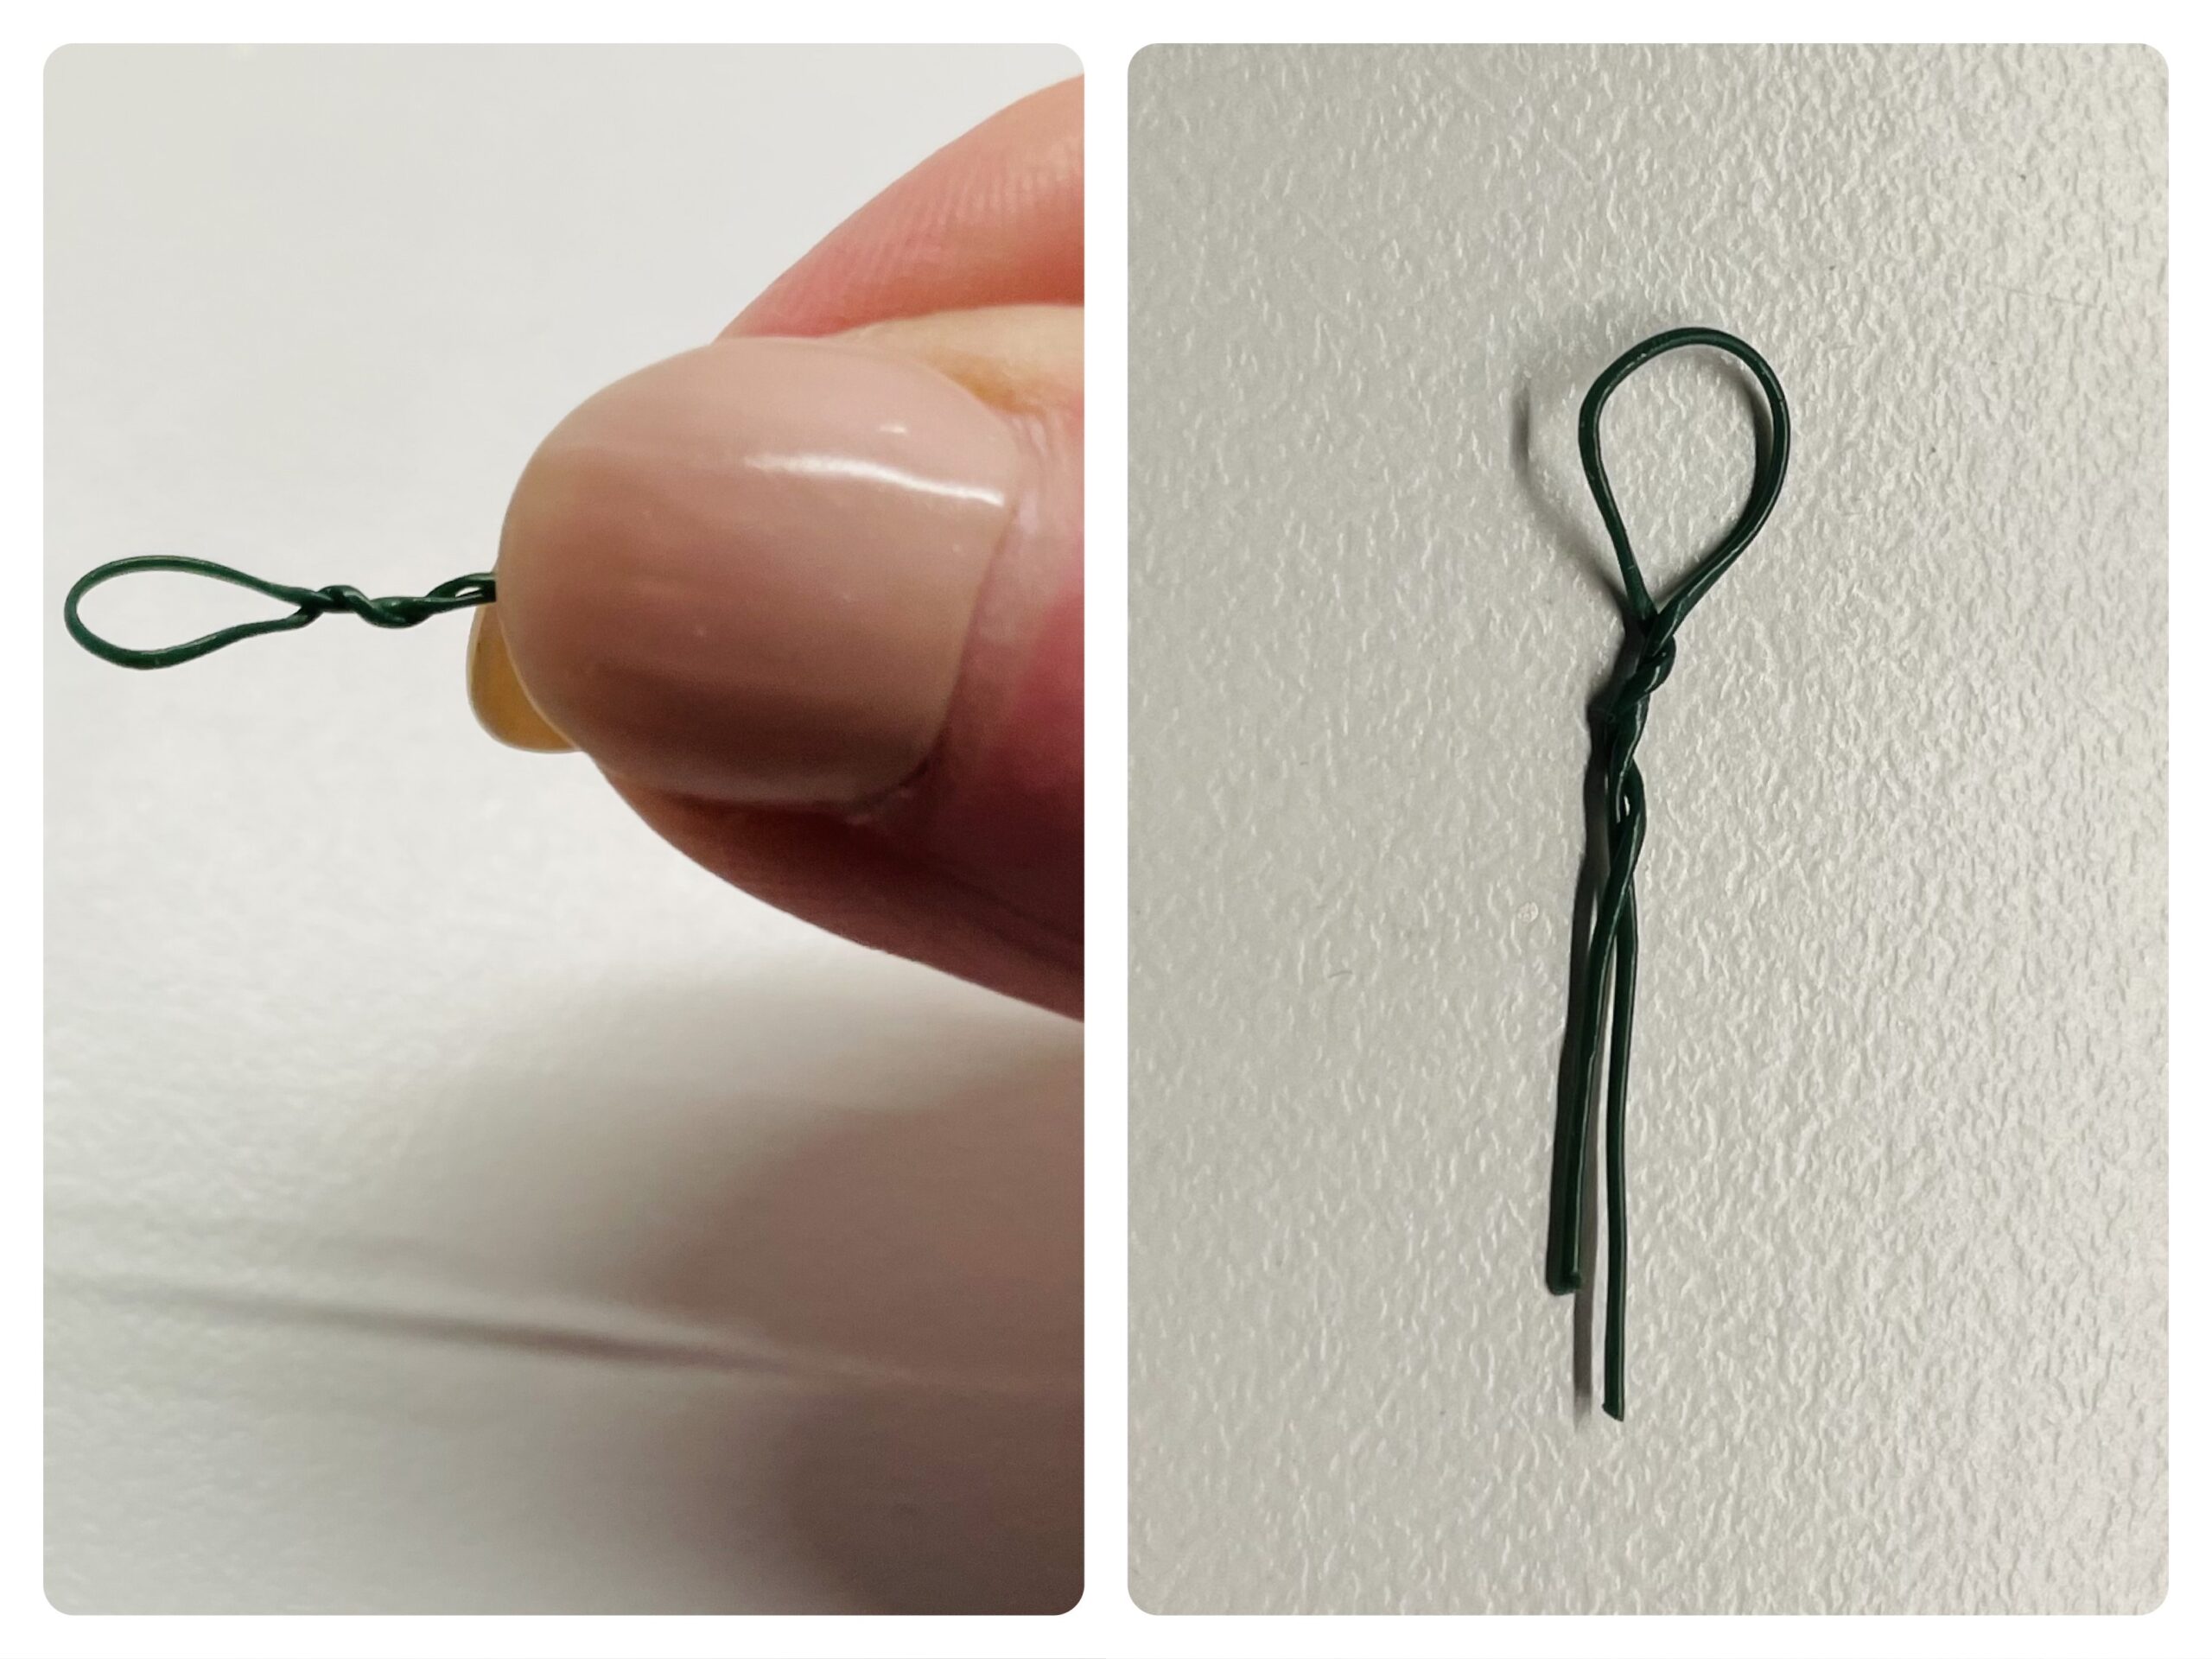


Then place the wire loop in the middle between the rabbit ears, so that only the loop protrudes over the paper edge.
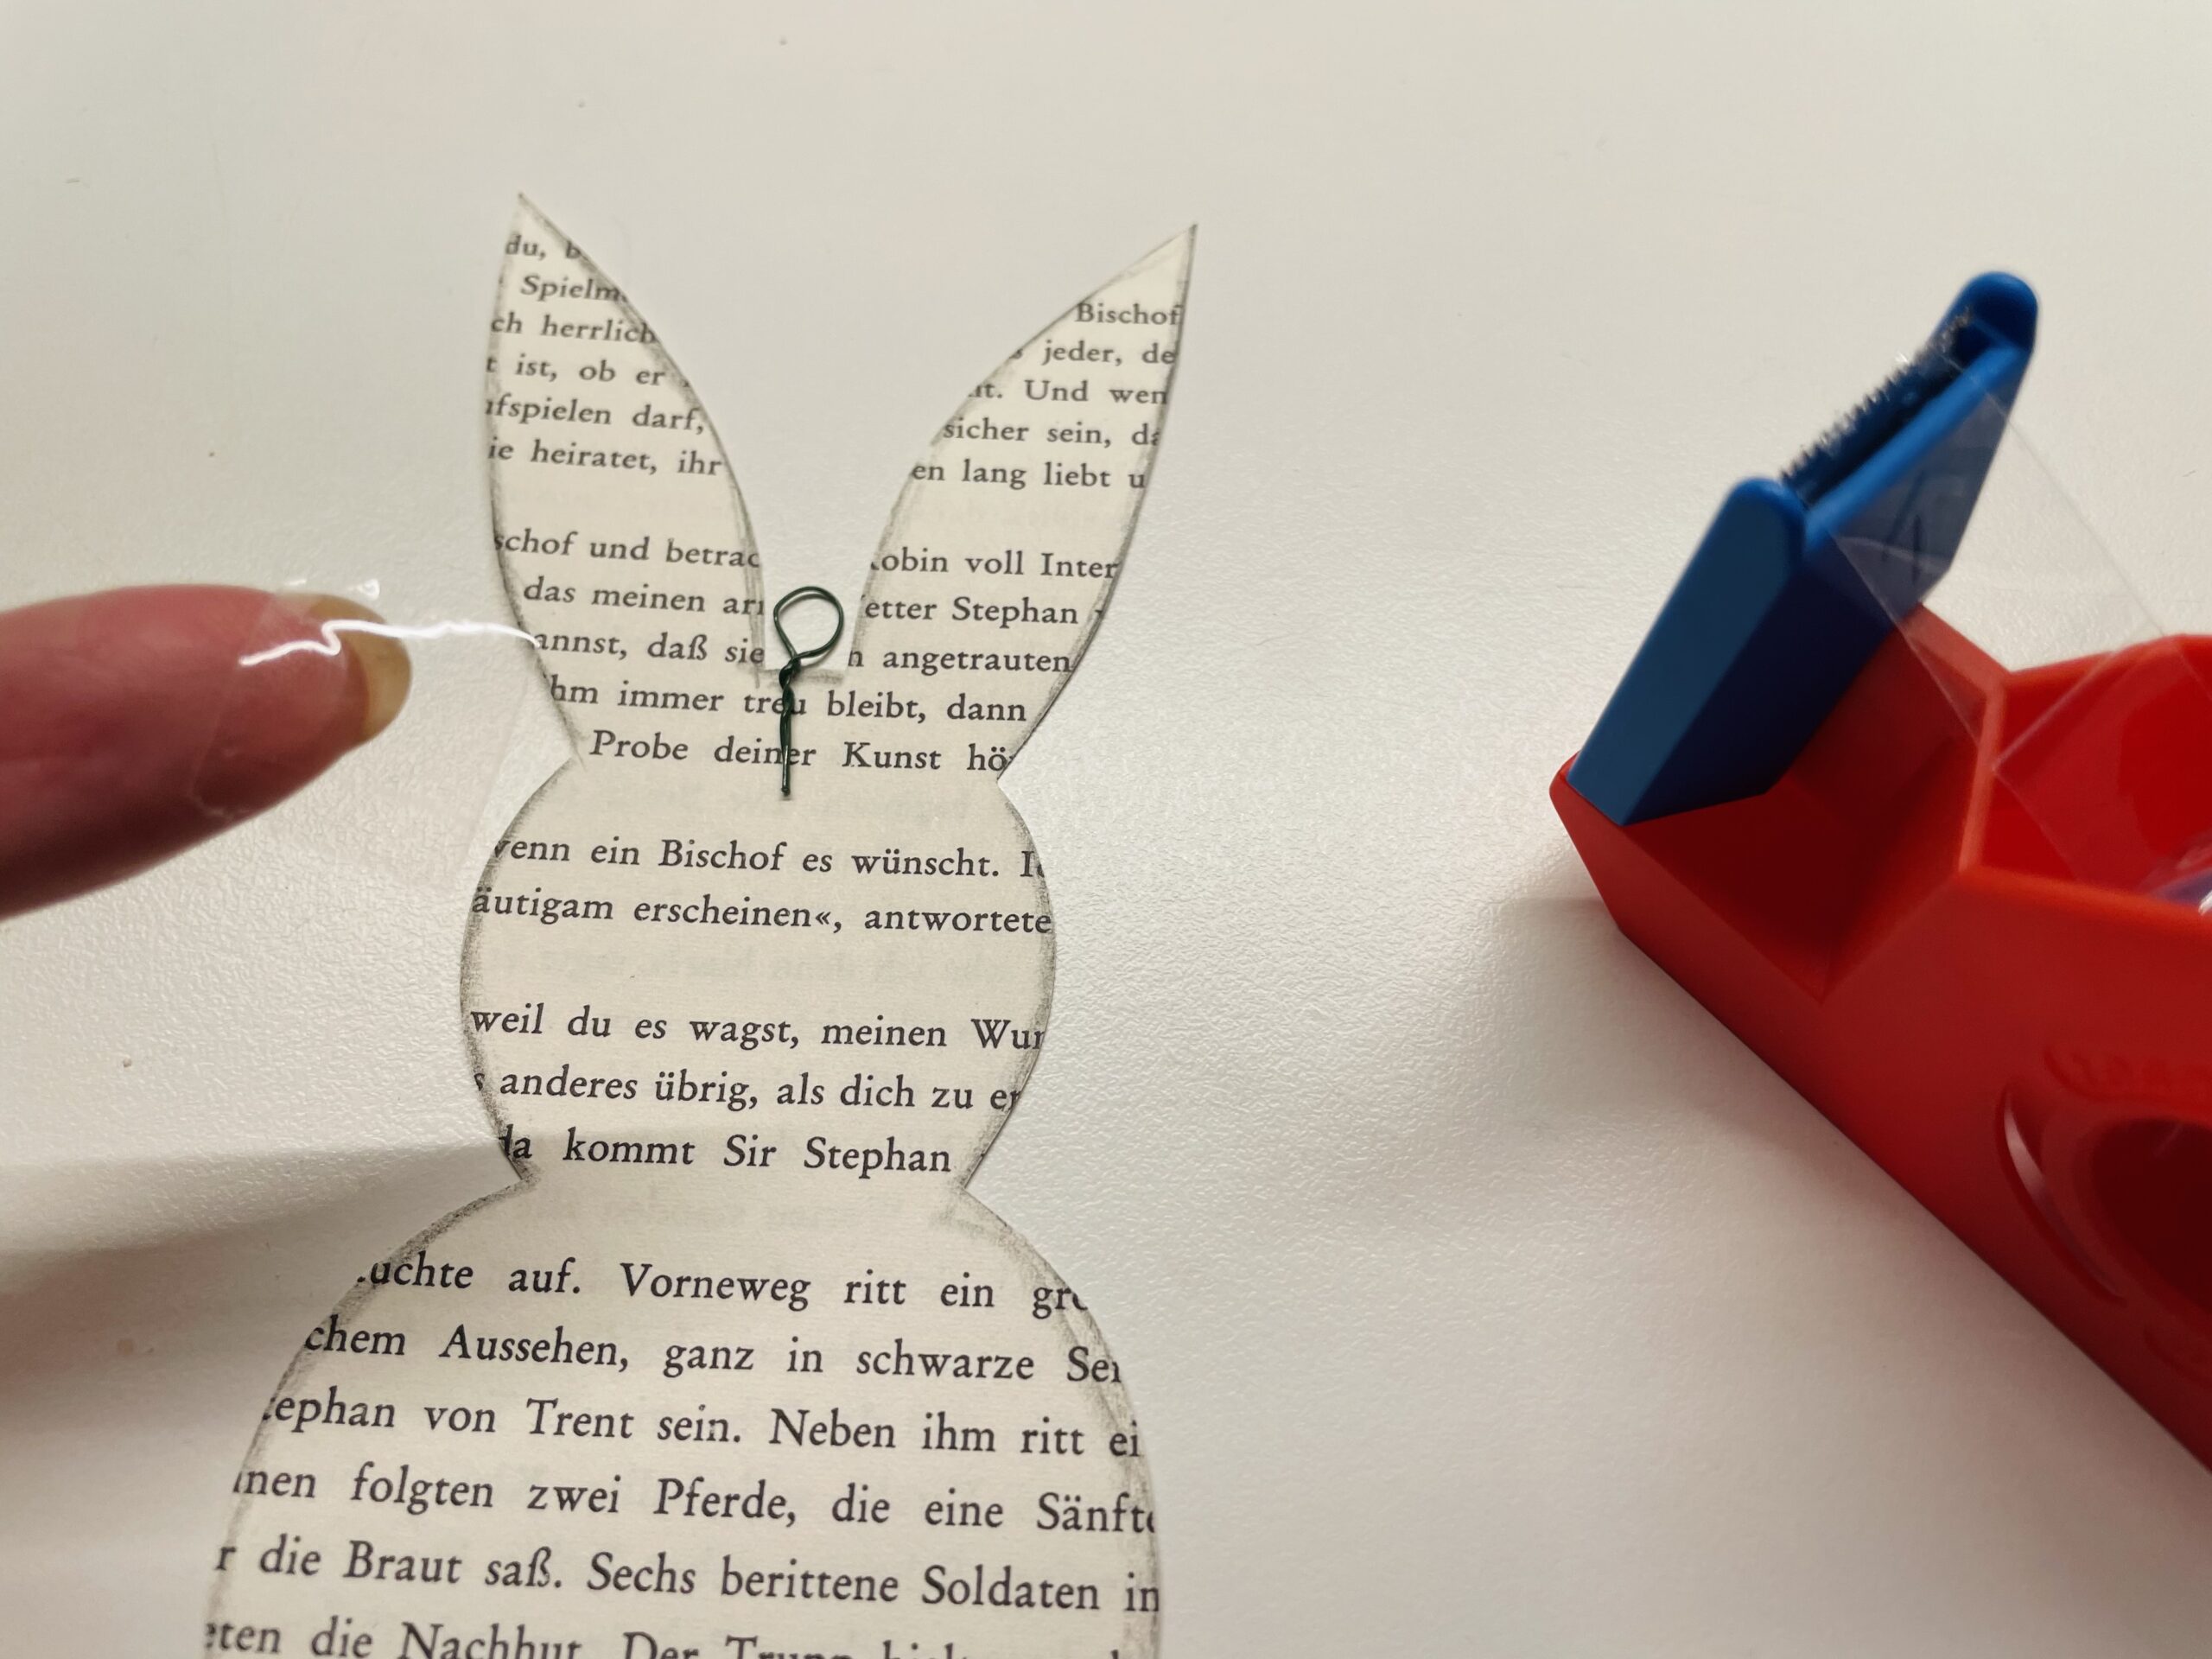


Glues the wire loop well with a transparent adhesive tape. Presses the adhesive tape well on the wire sides.


Put a hare without ears in front of it. Now fold it half in length.
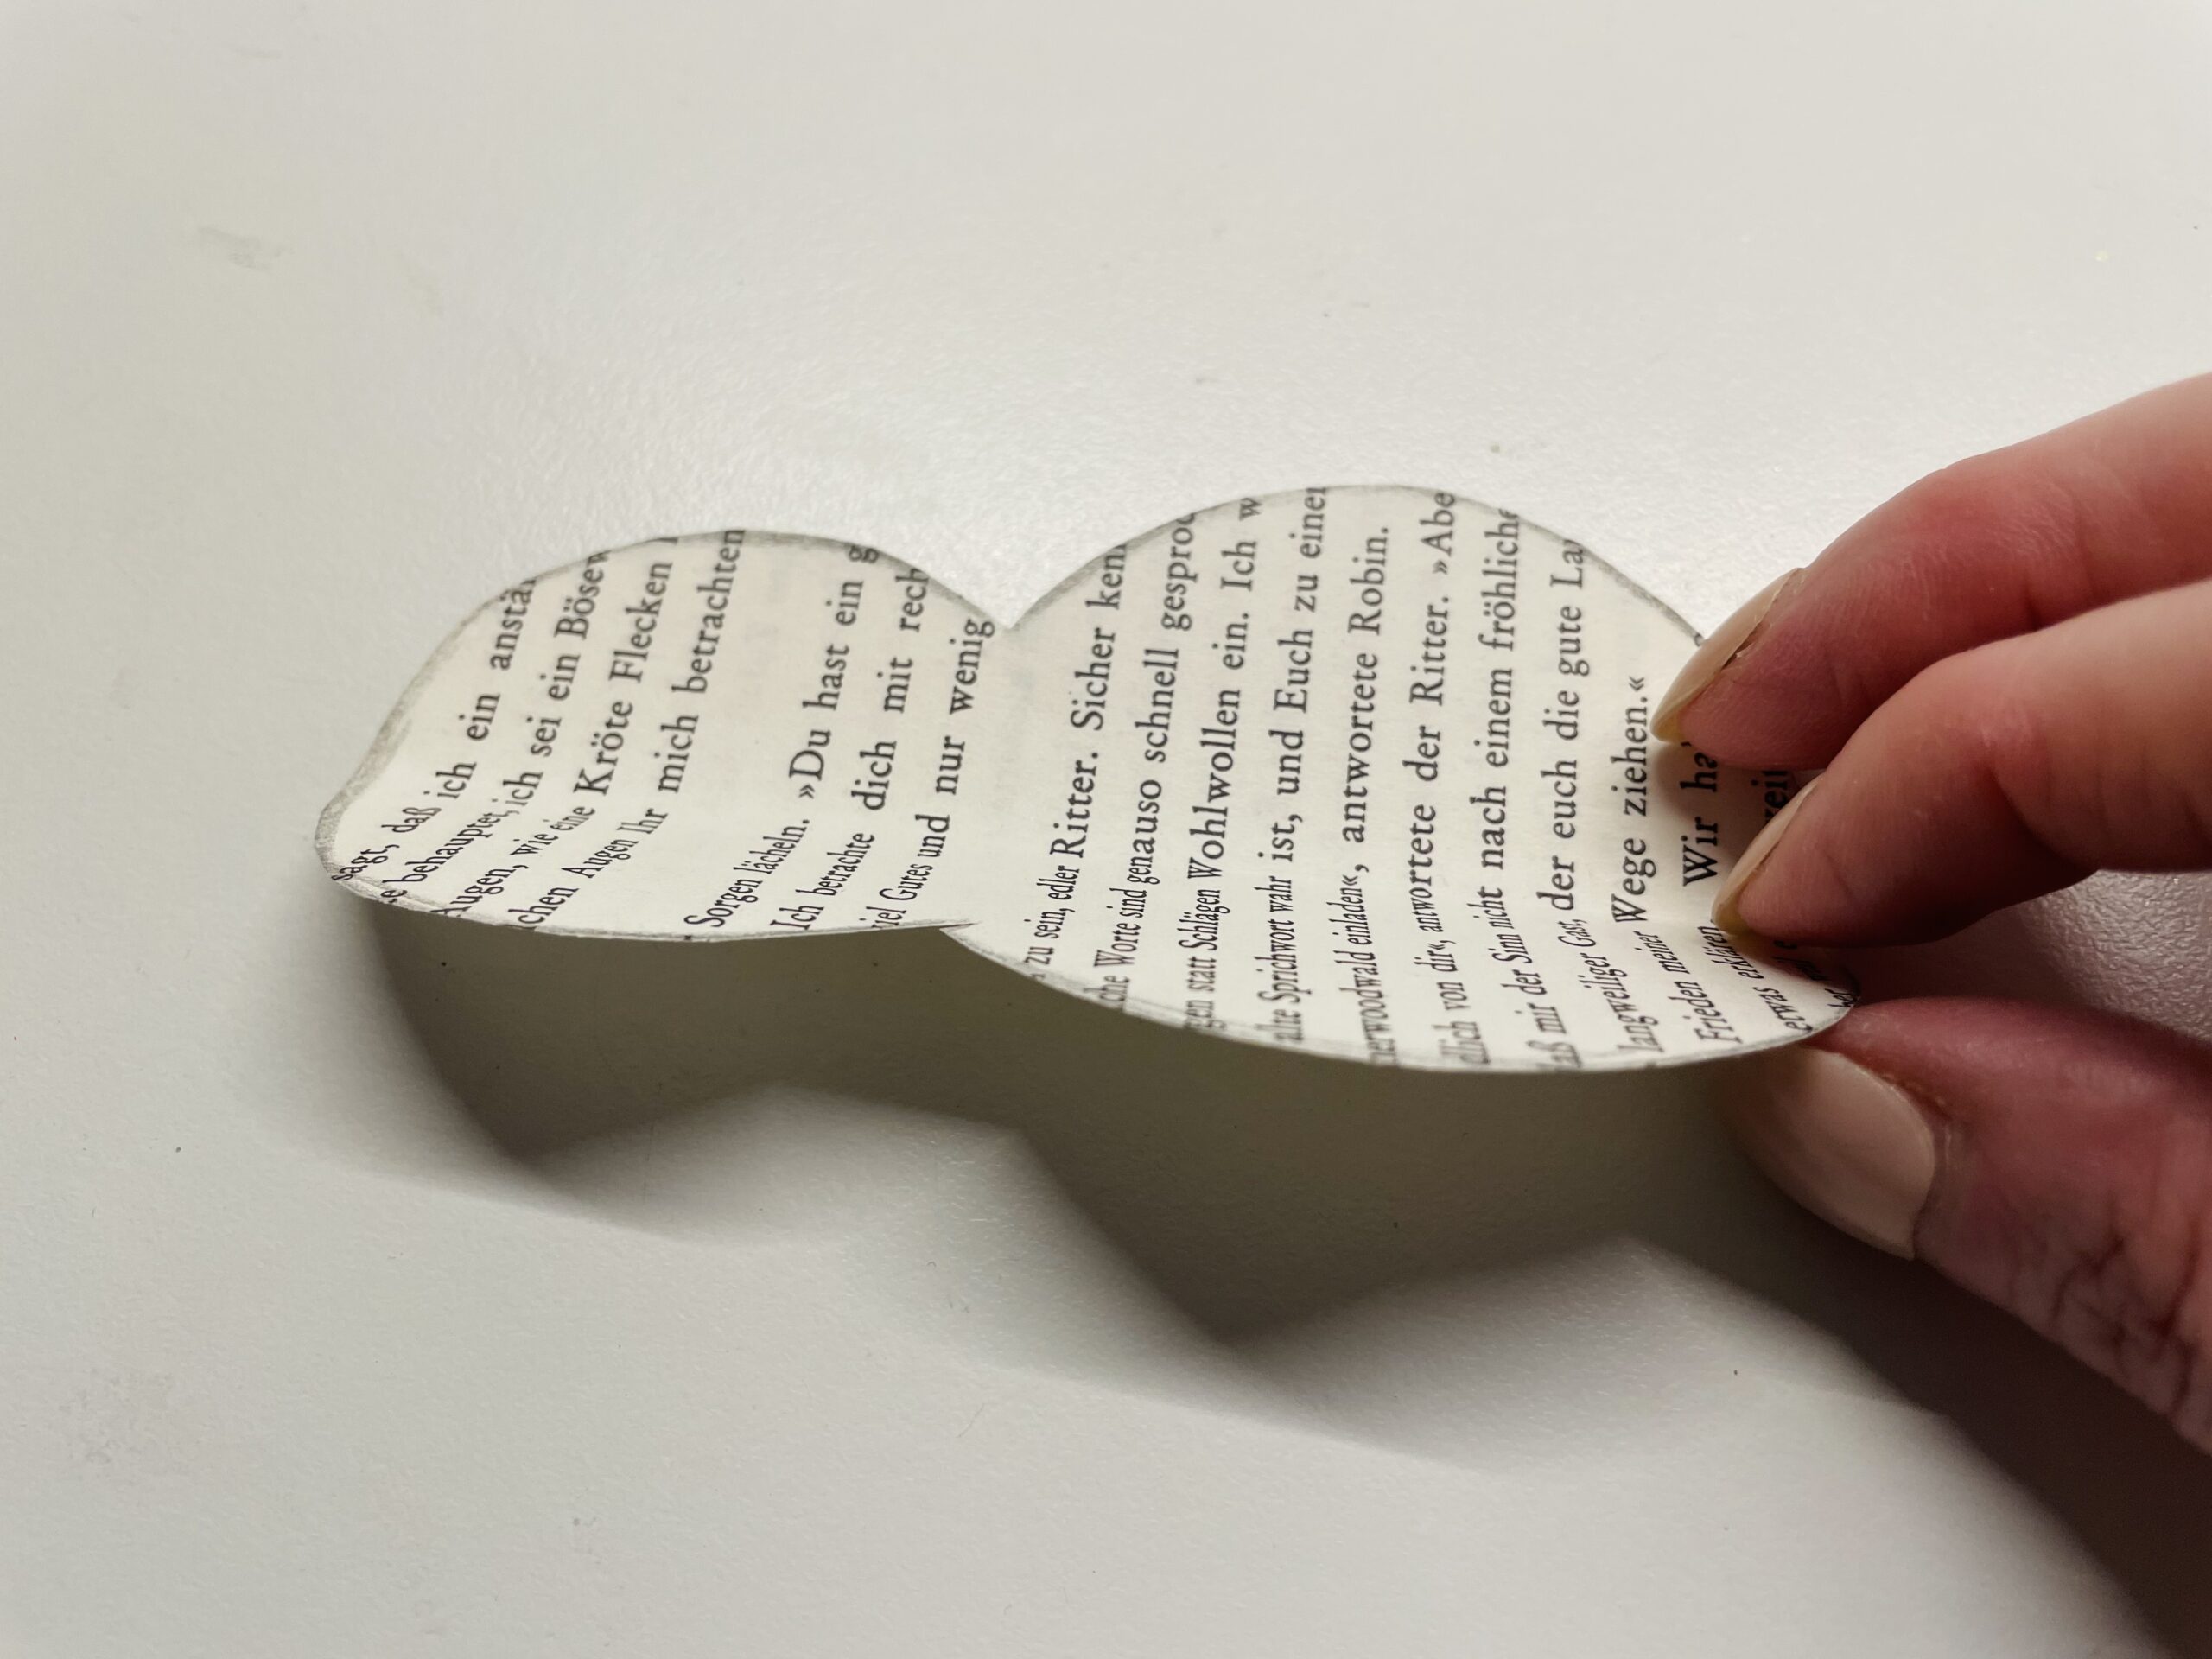


Strip the fracture well.
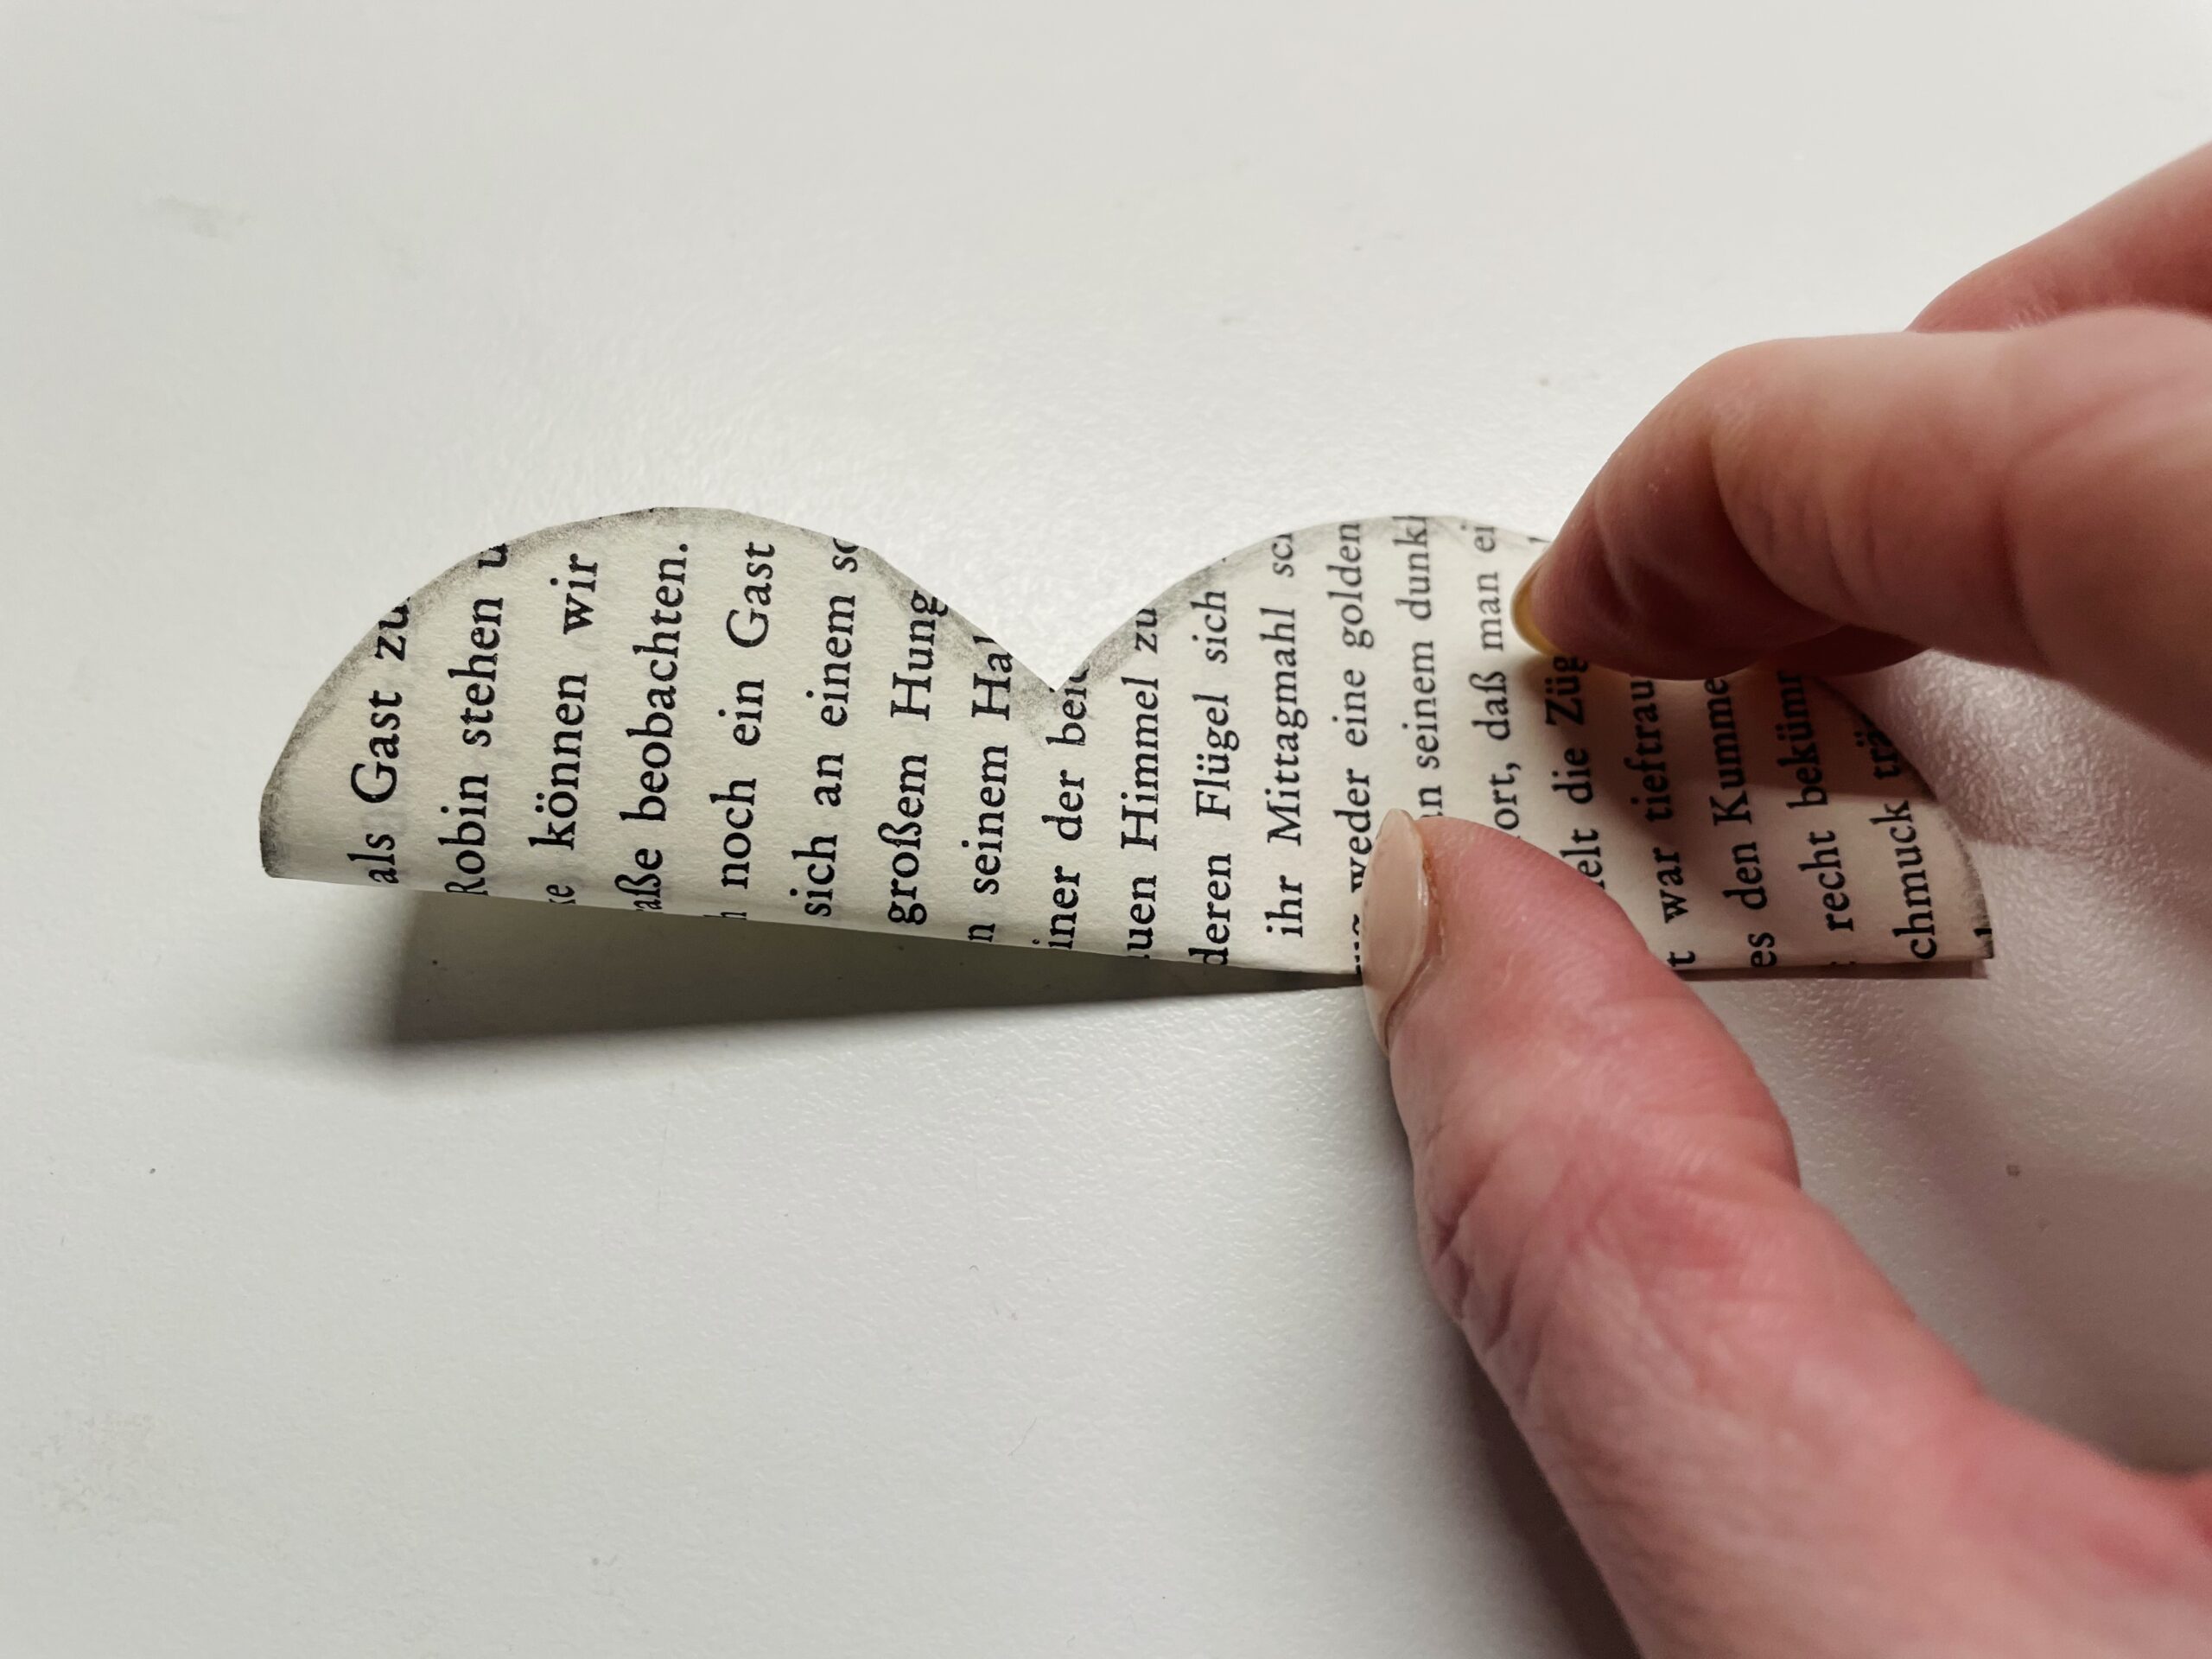


Repeat this with all other hare parts (all parts without ears).


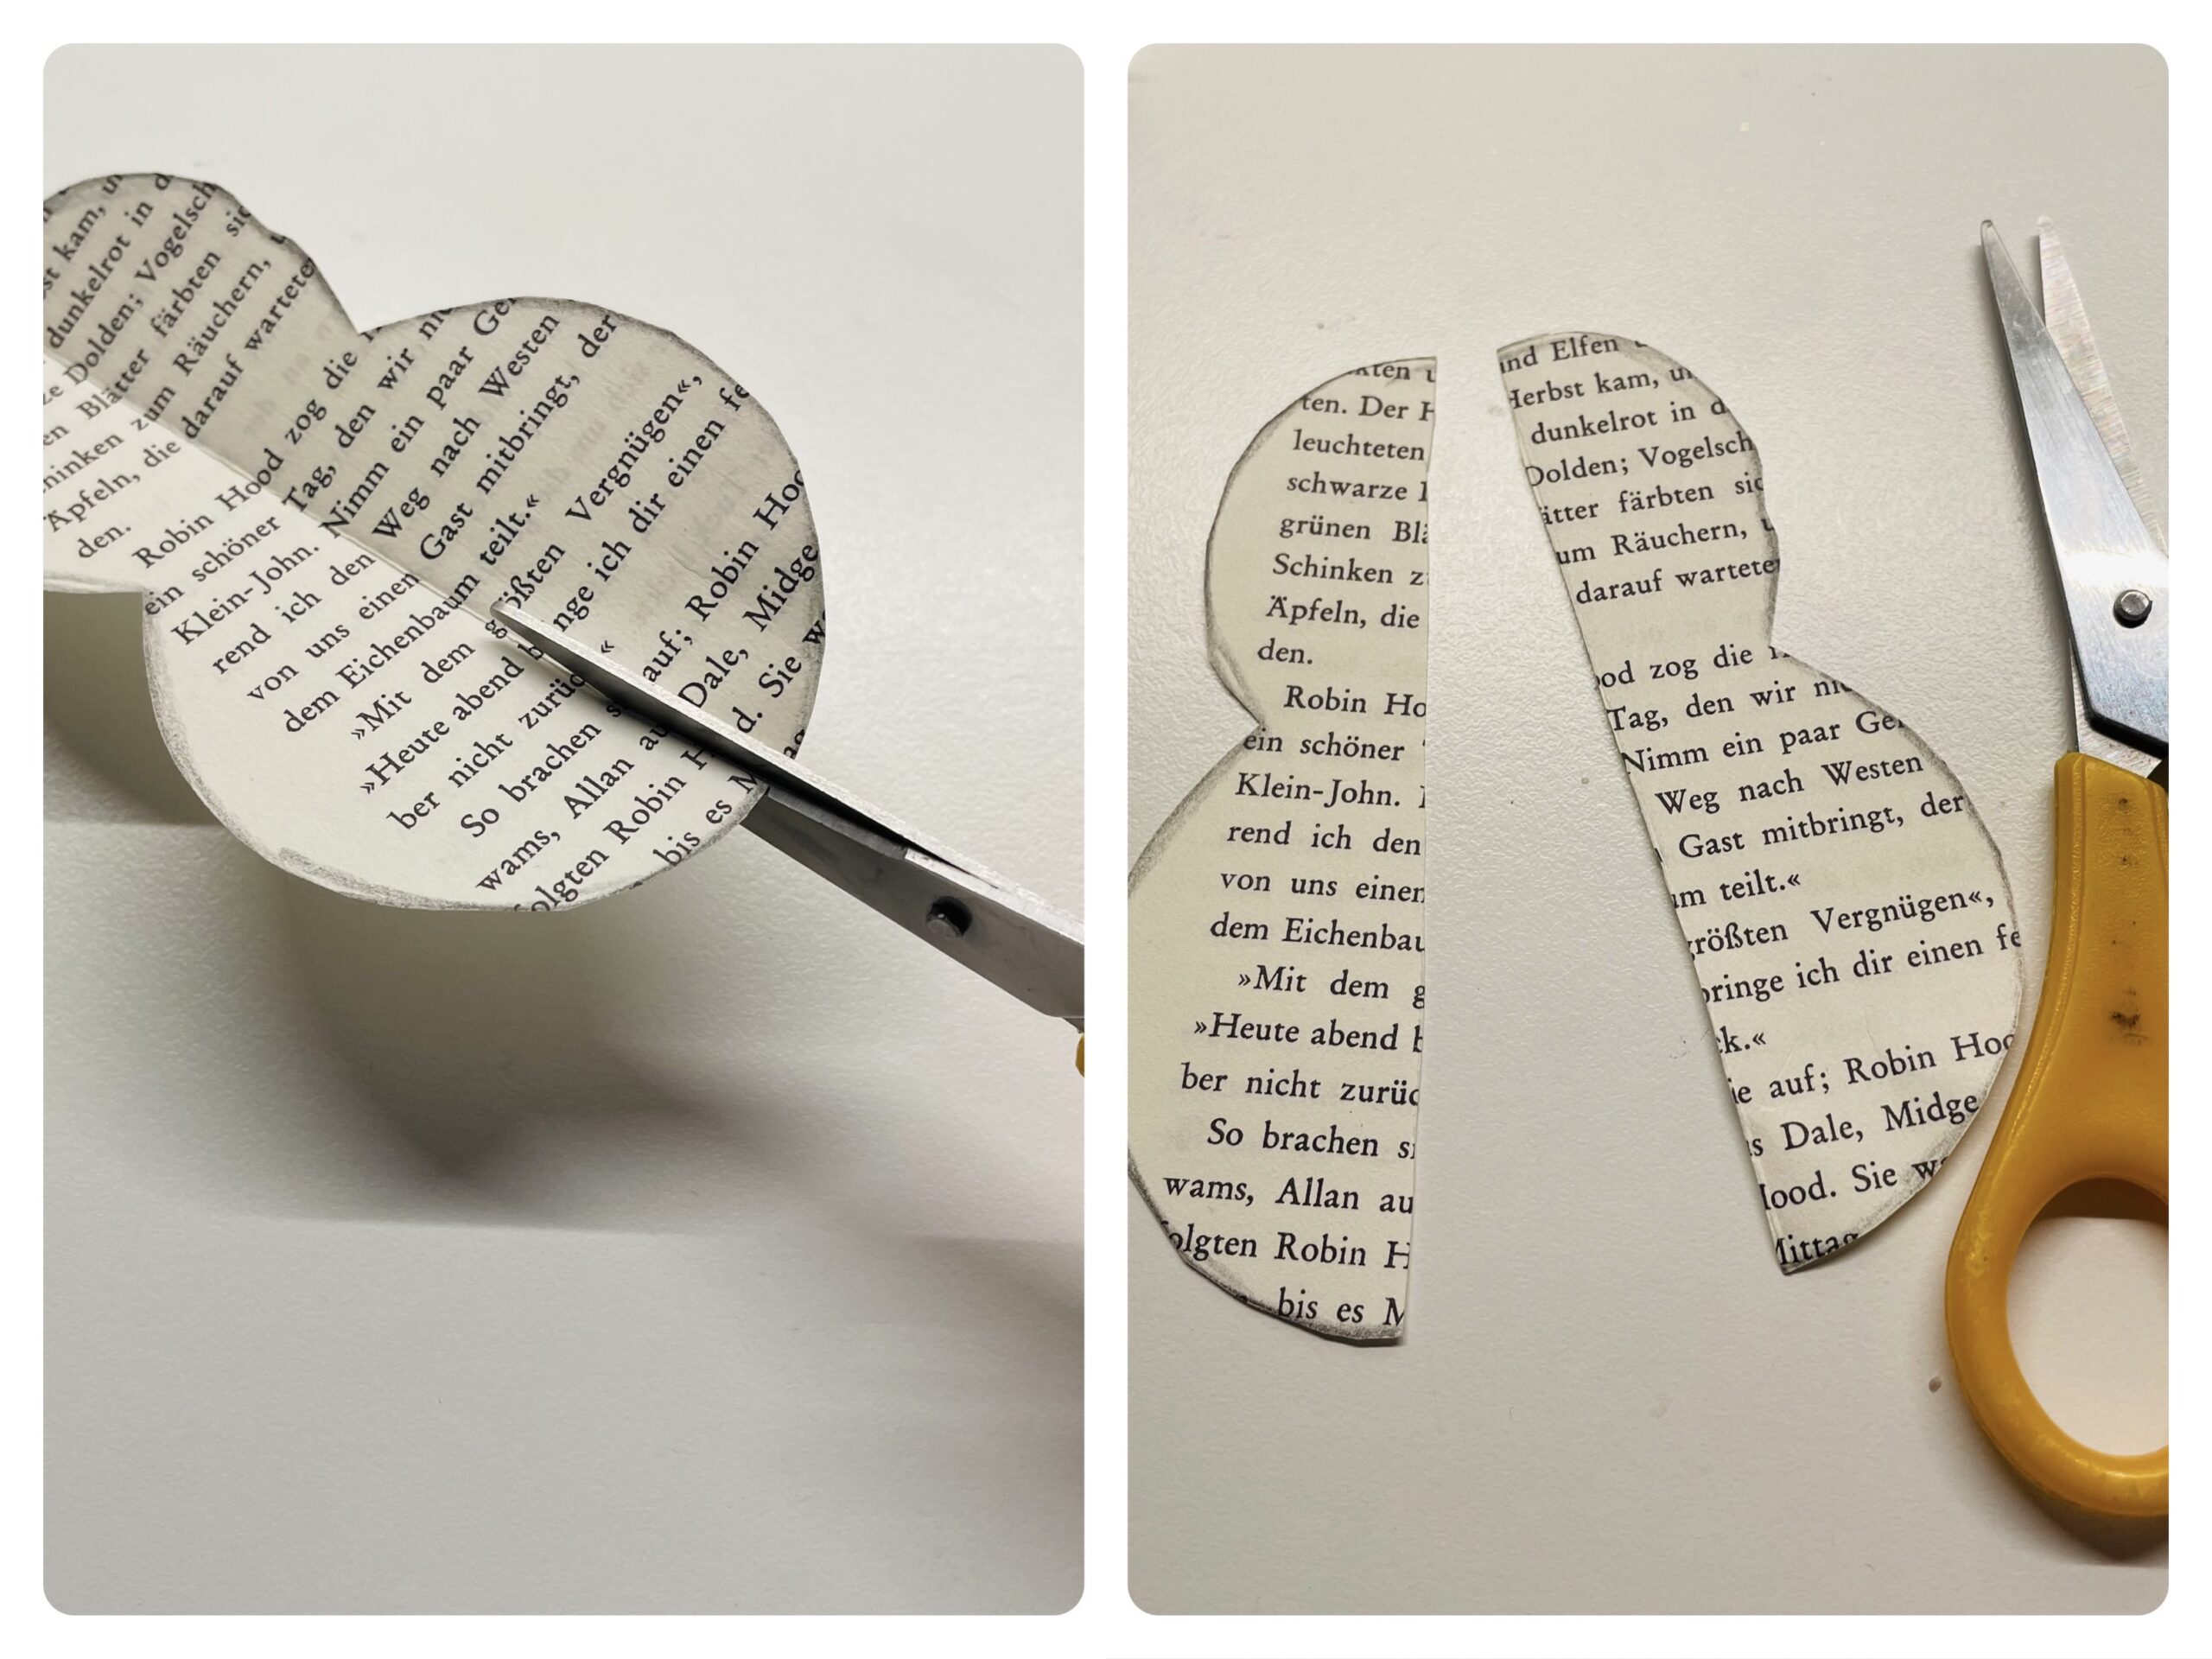
A rabbit without ears is cut apart on the folding line. These halves are only needed last.


Now all parts have to be joined together.
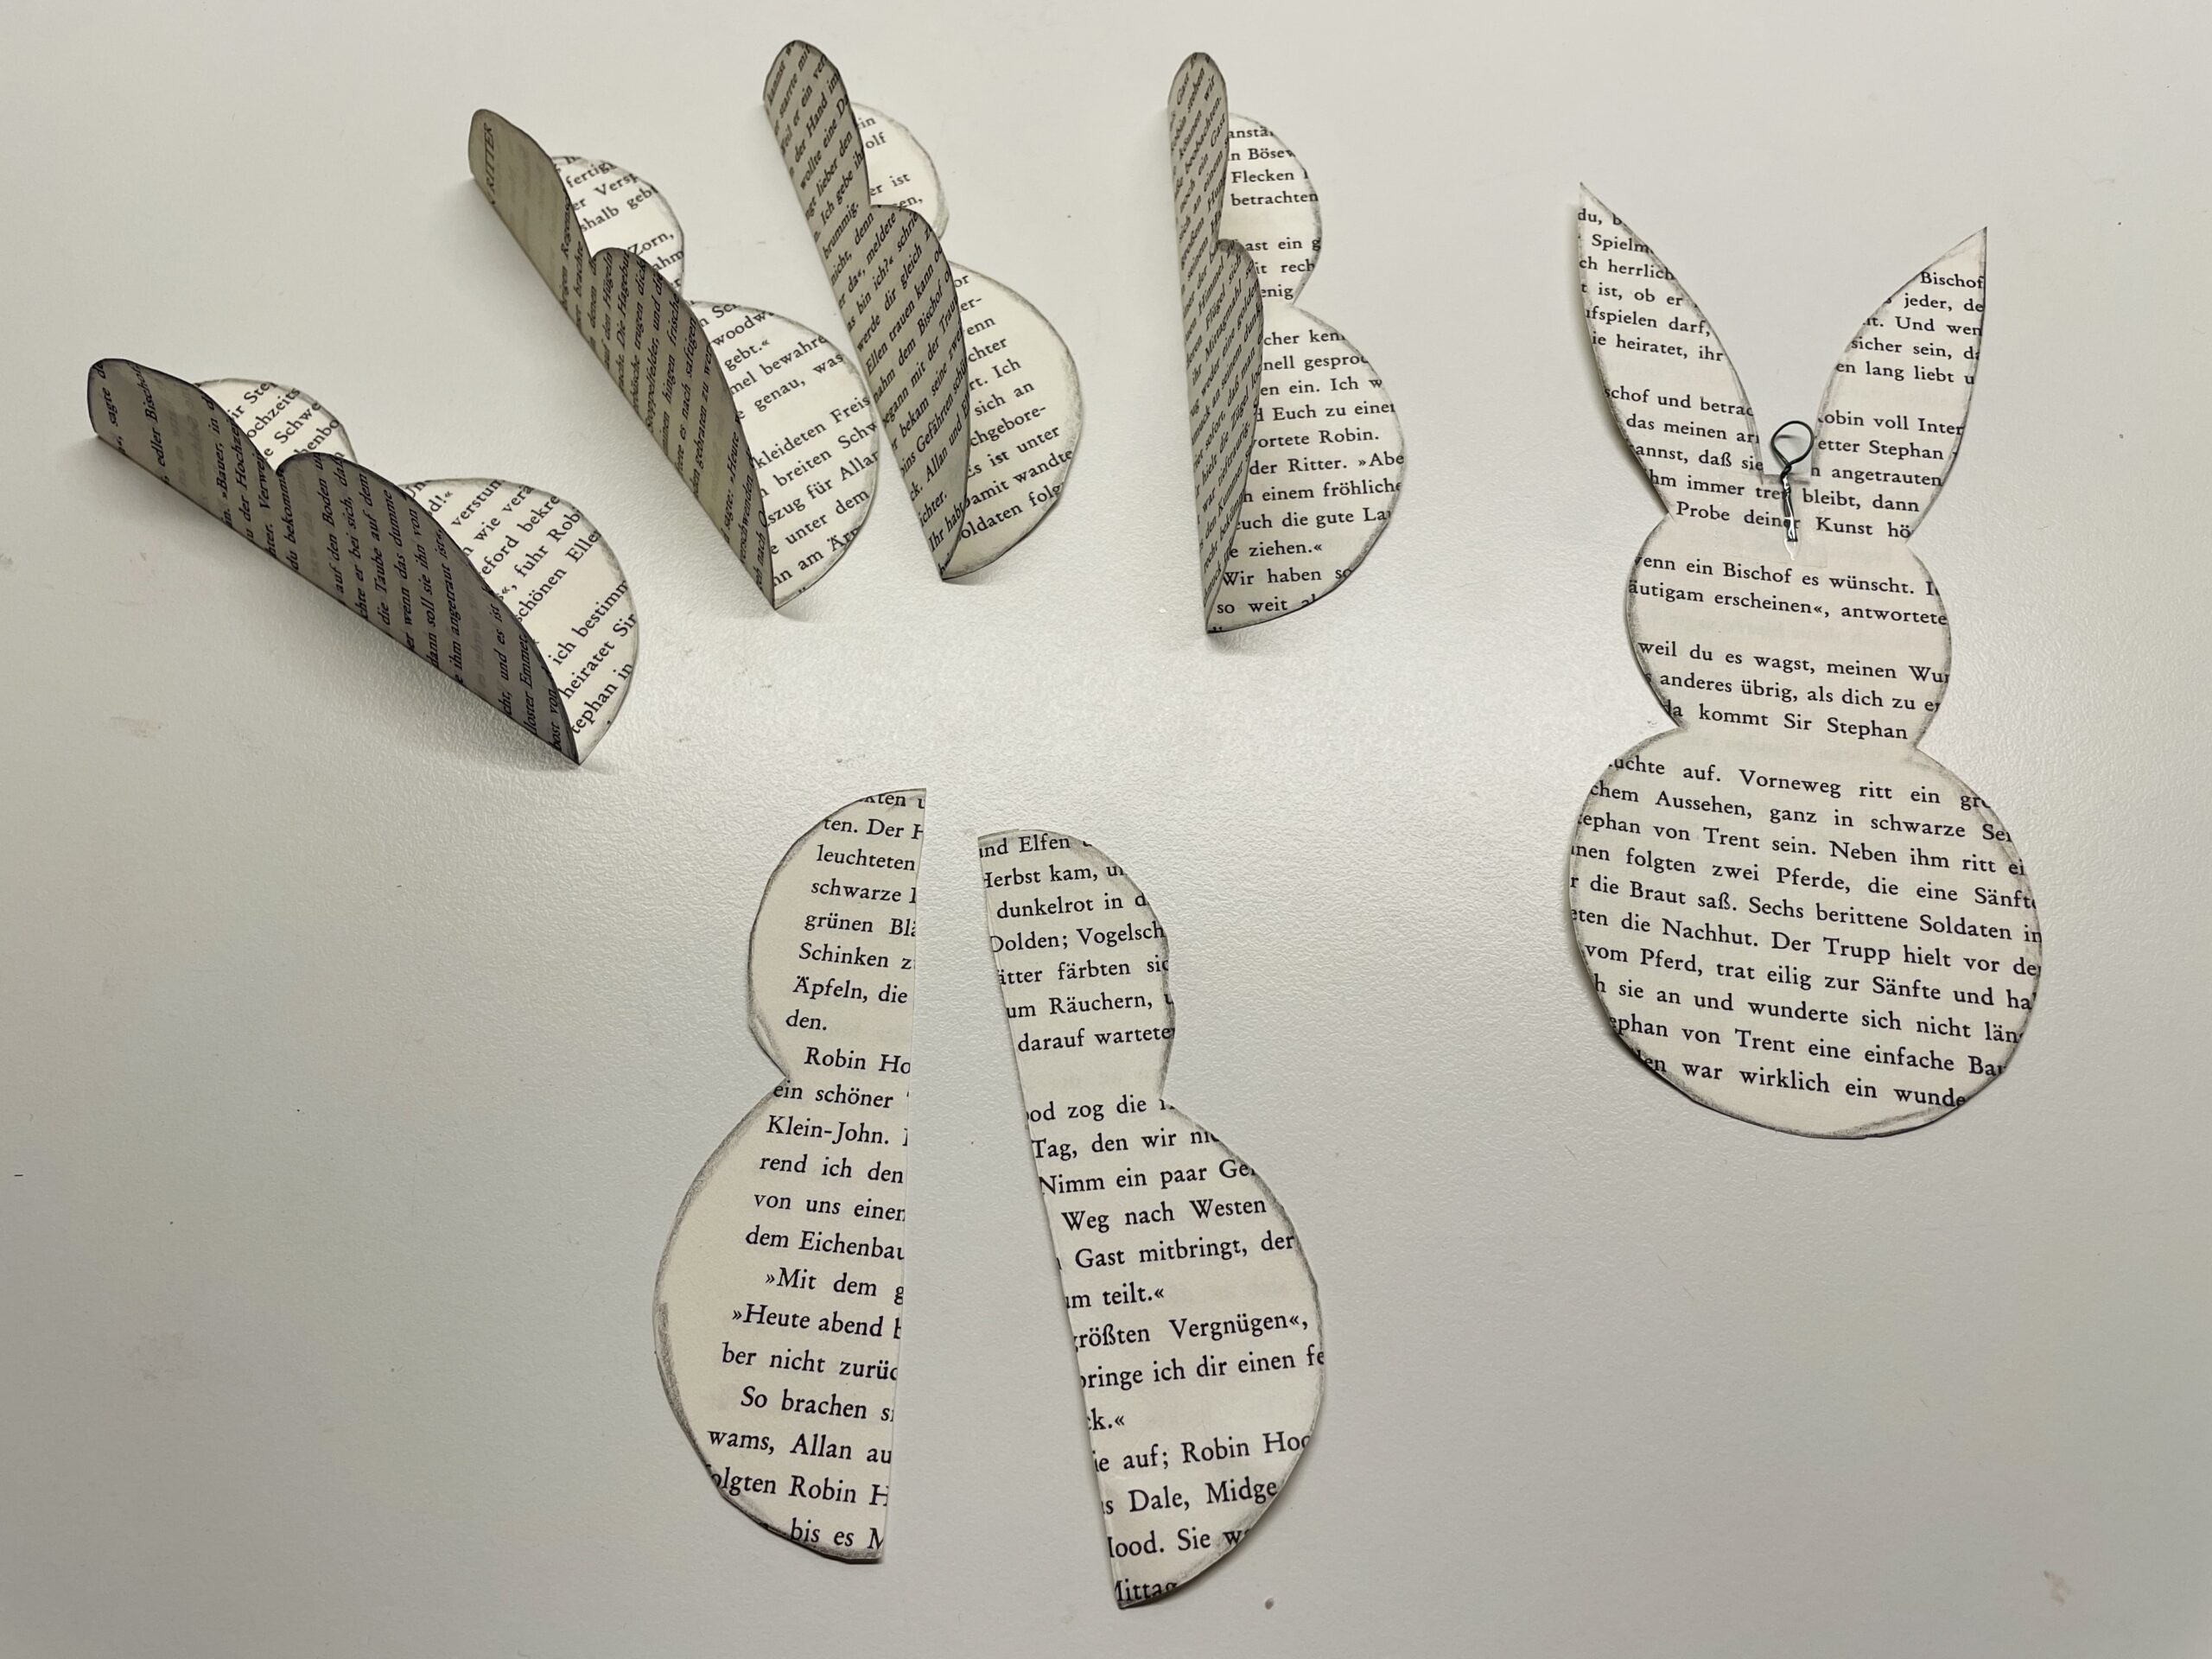


Place two whole hare parts (without ears) exactly on each other/into each other.
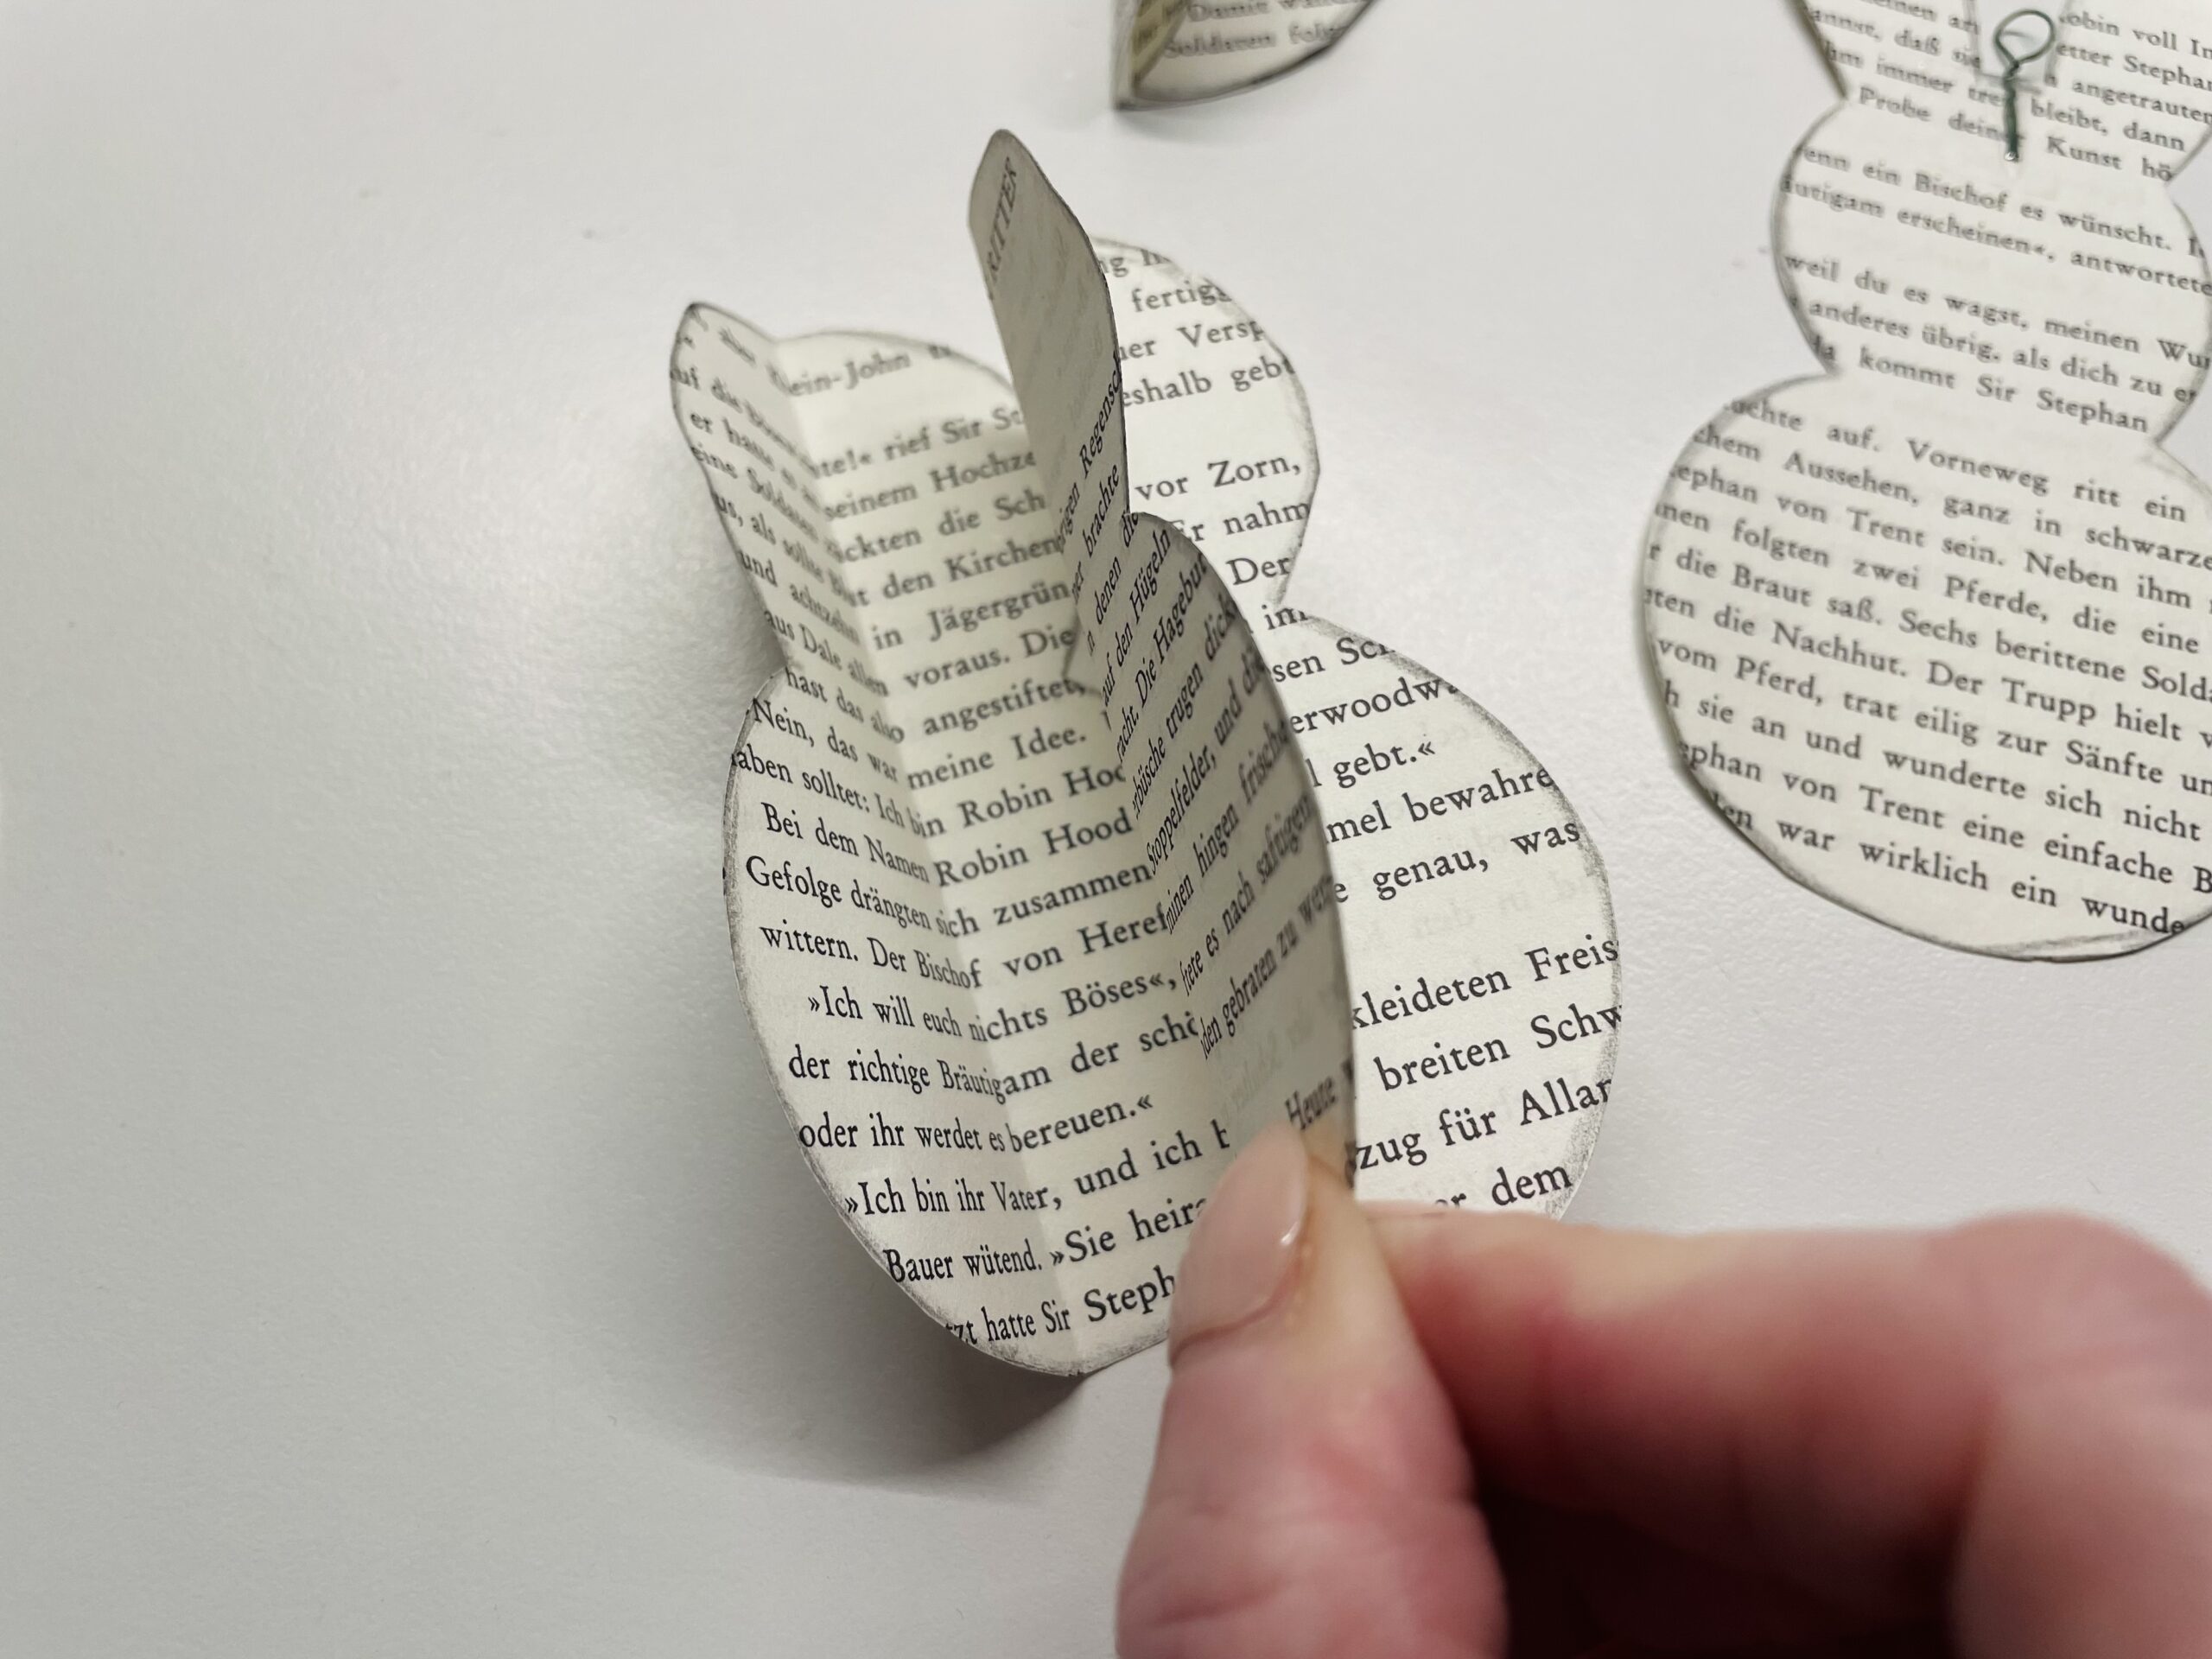


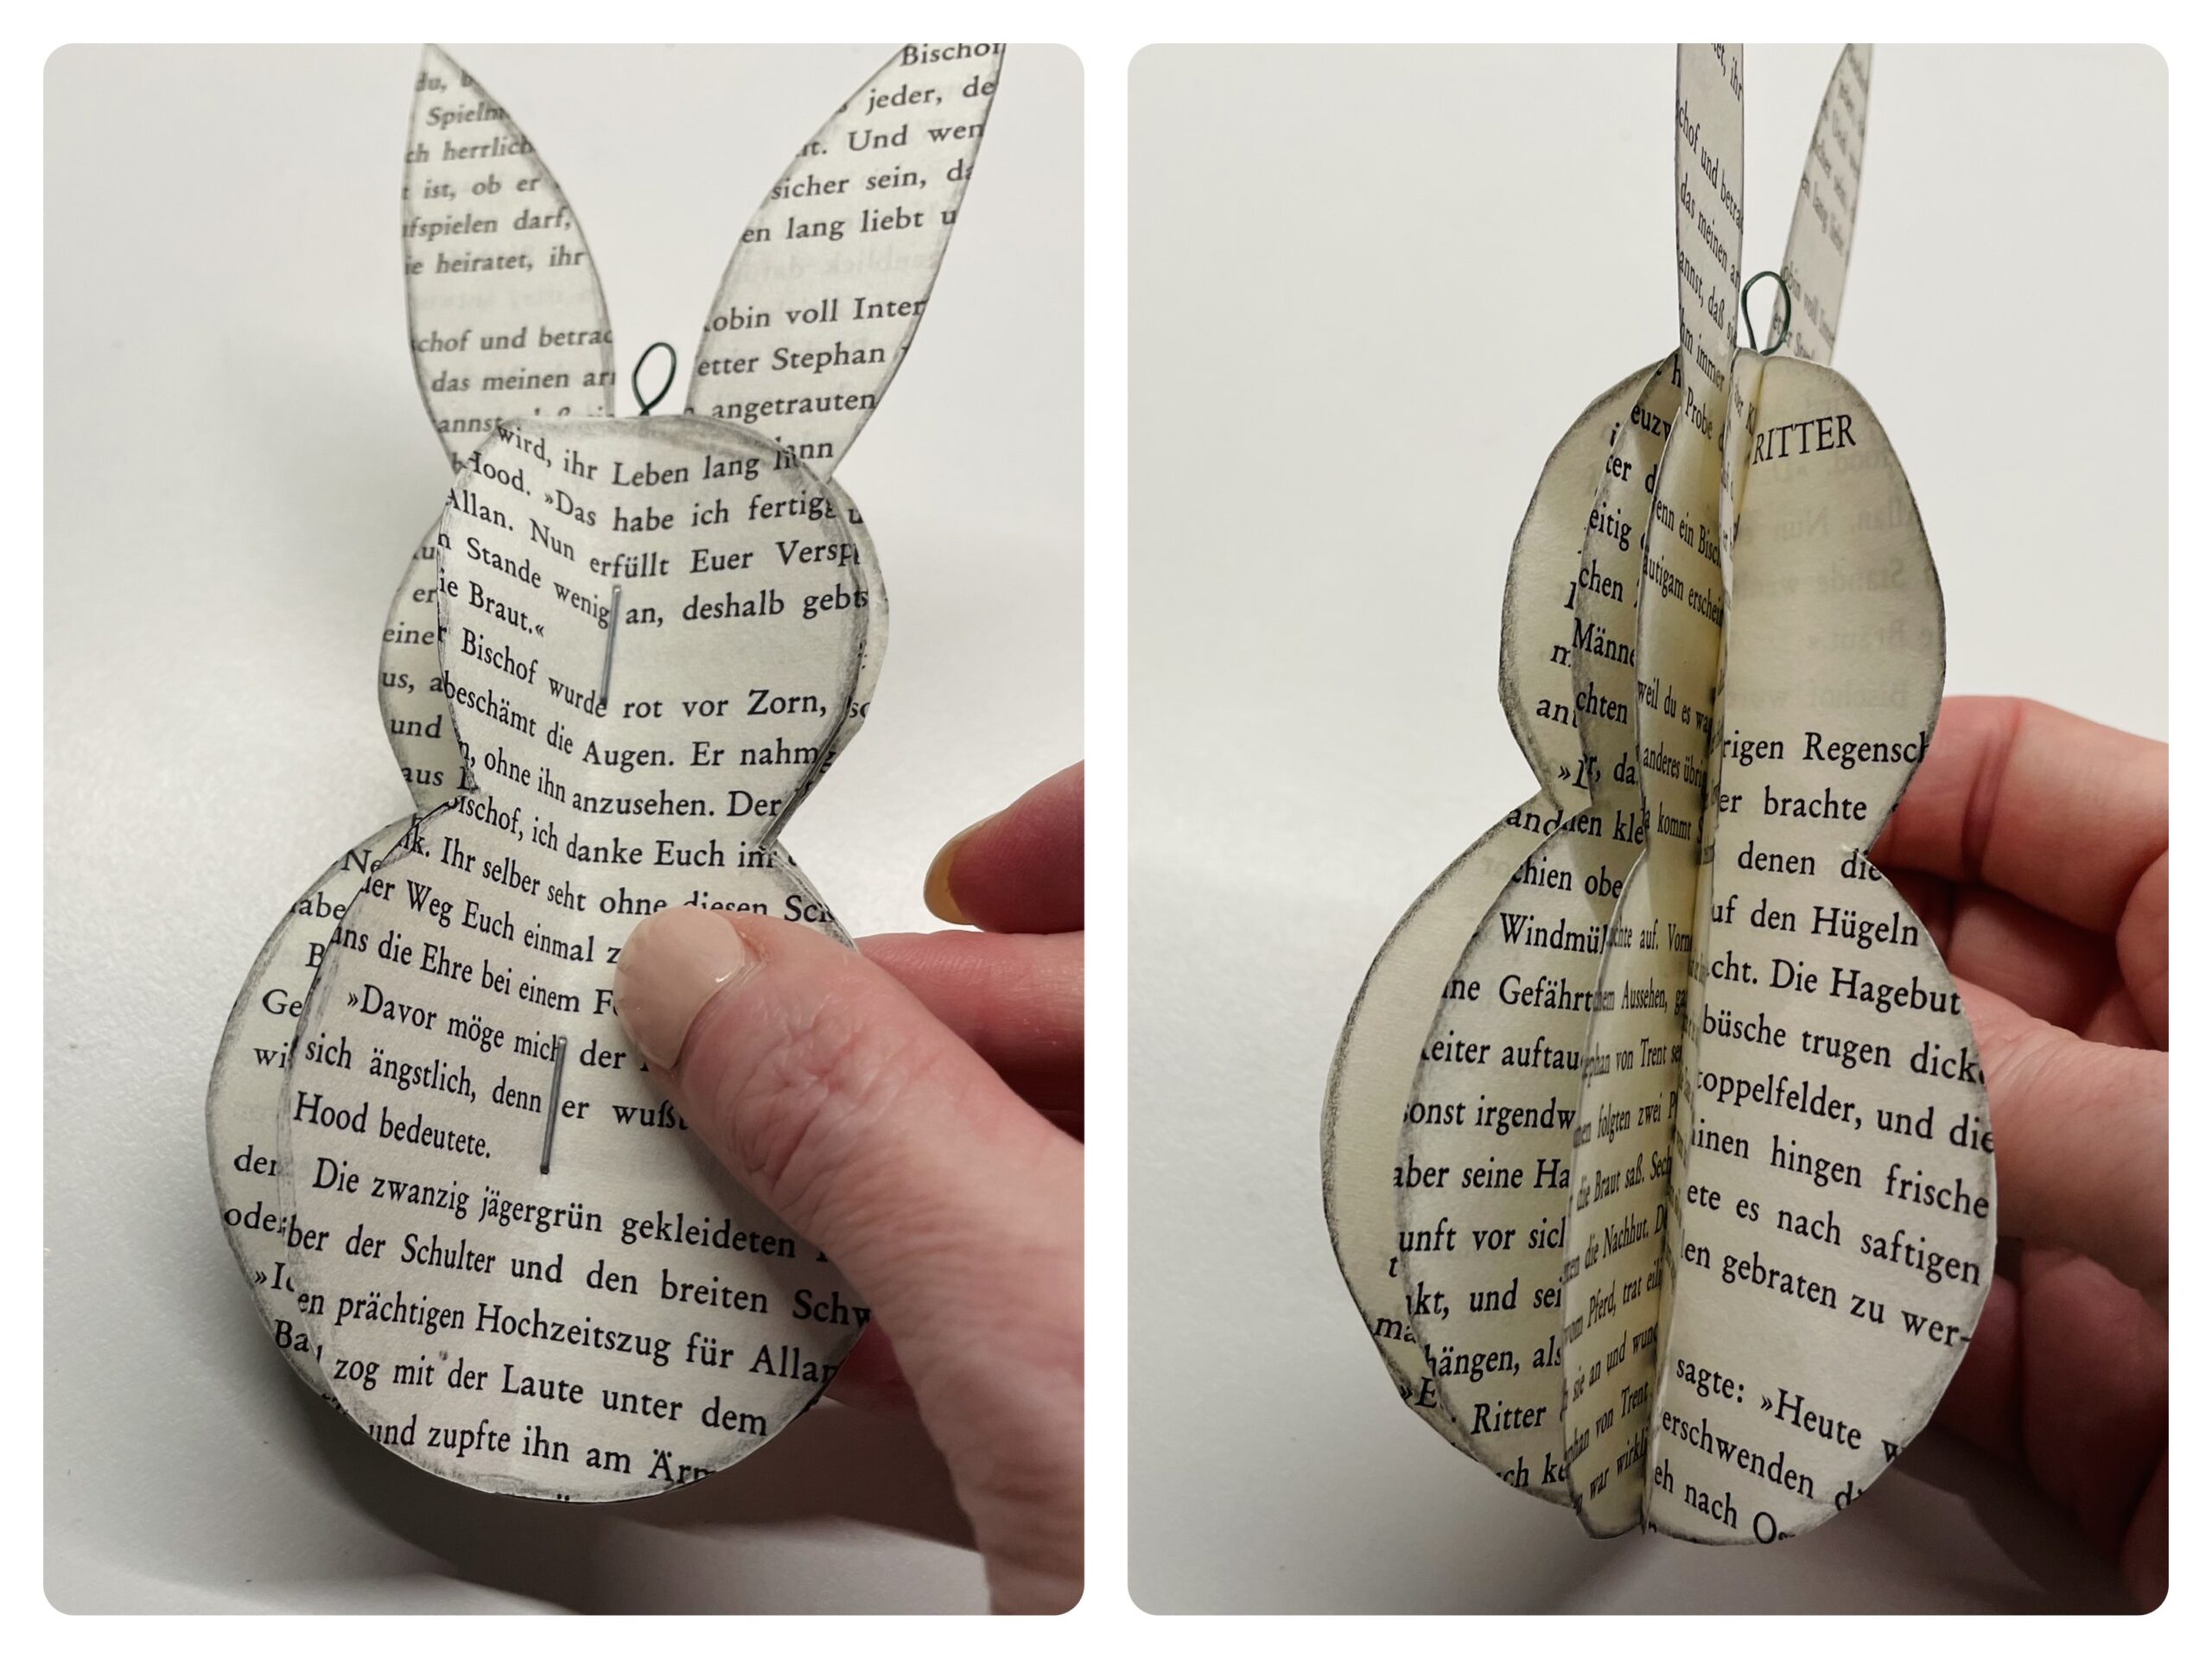
The part with ears is the middle part. Place two parts in one another on the front on the rabbits with ears and two on the back, the rabbit with ears. So the rabbit becomes plastic.
He gets a round head and belly.
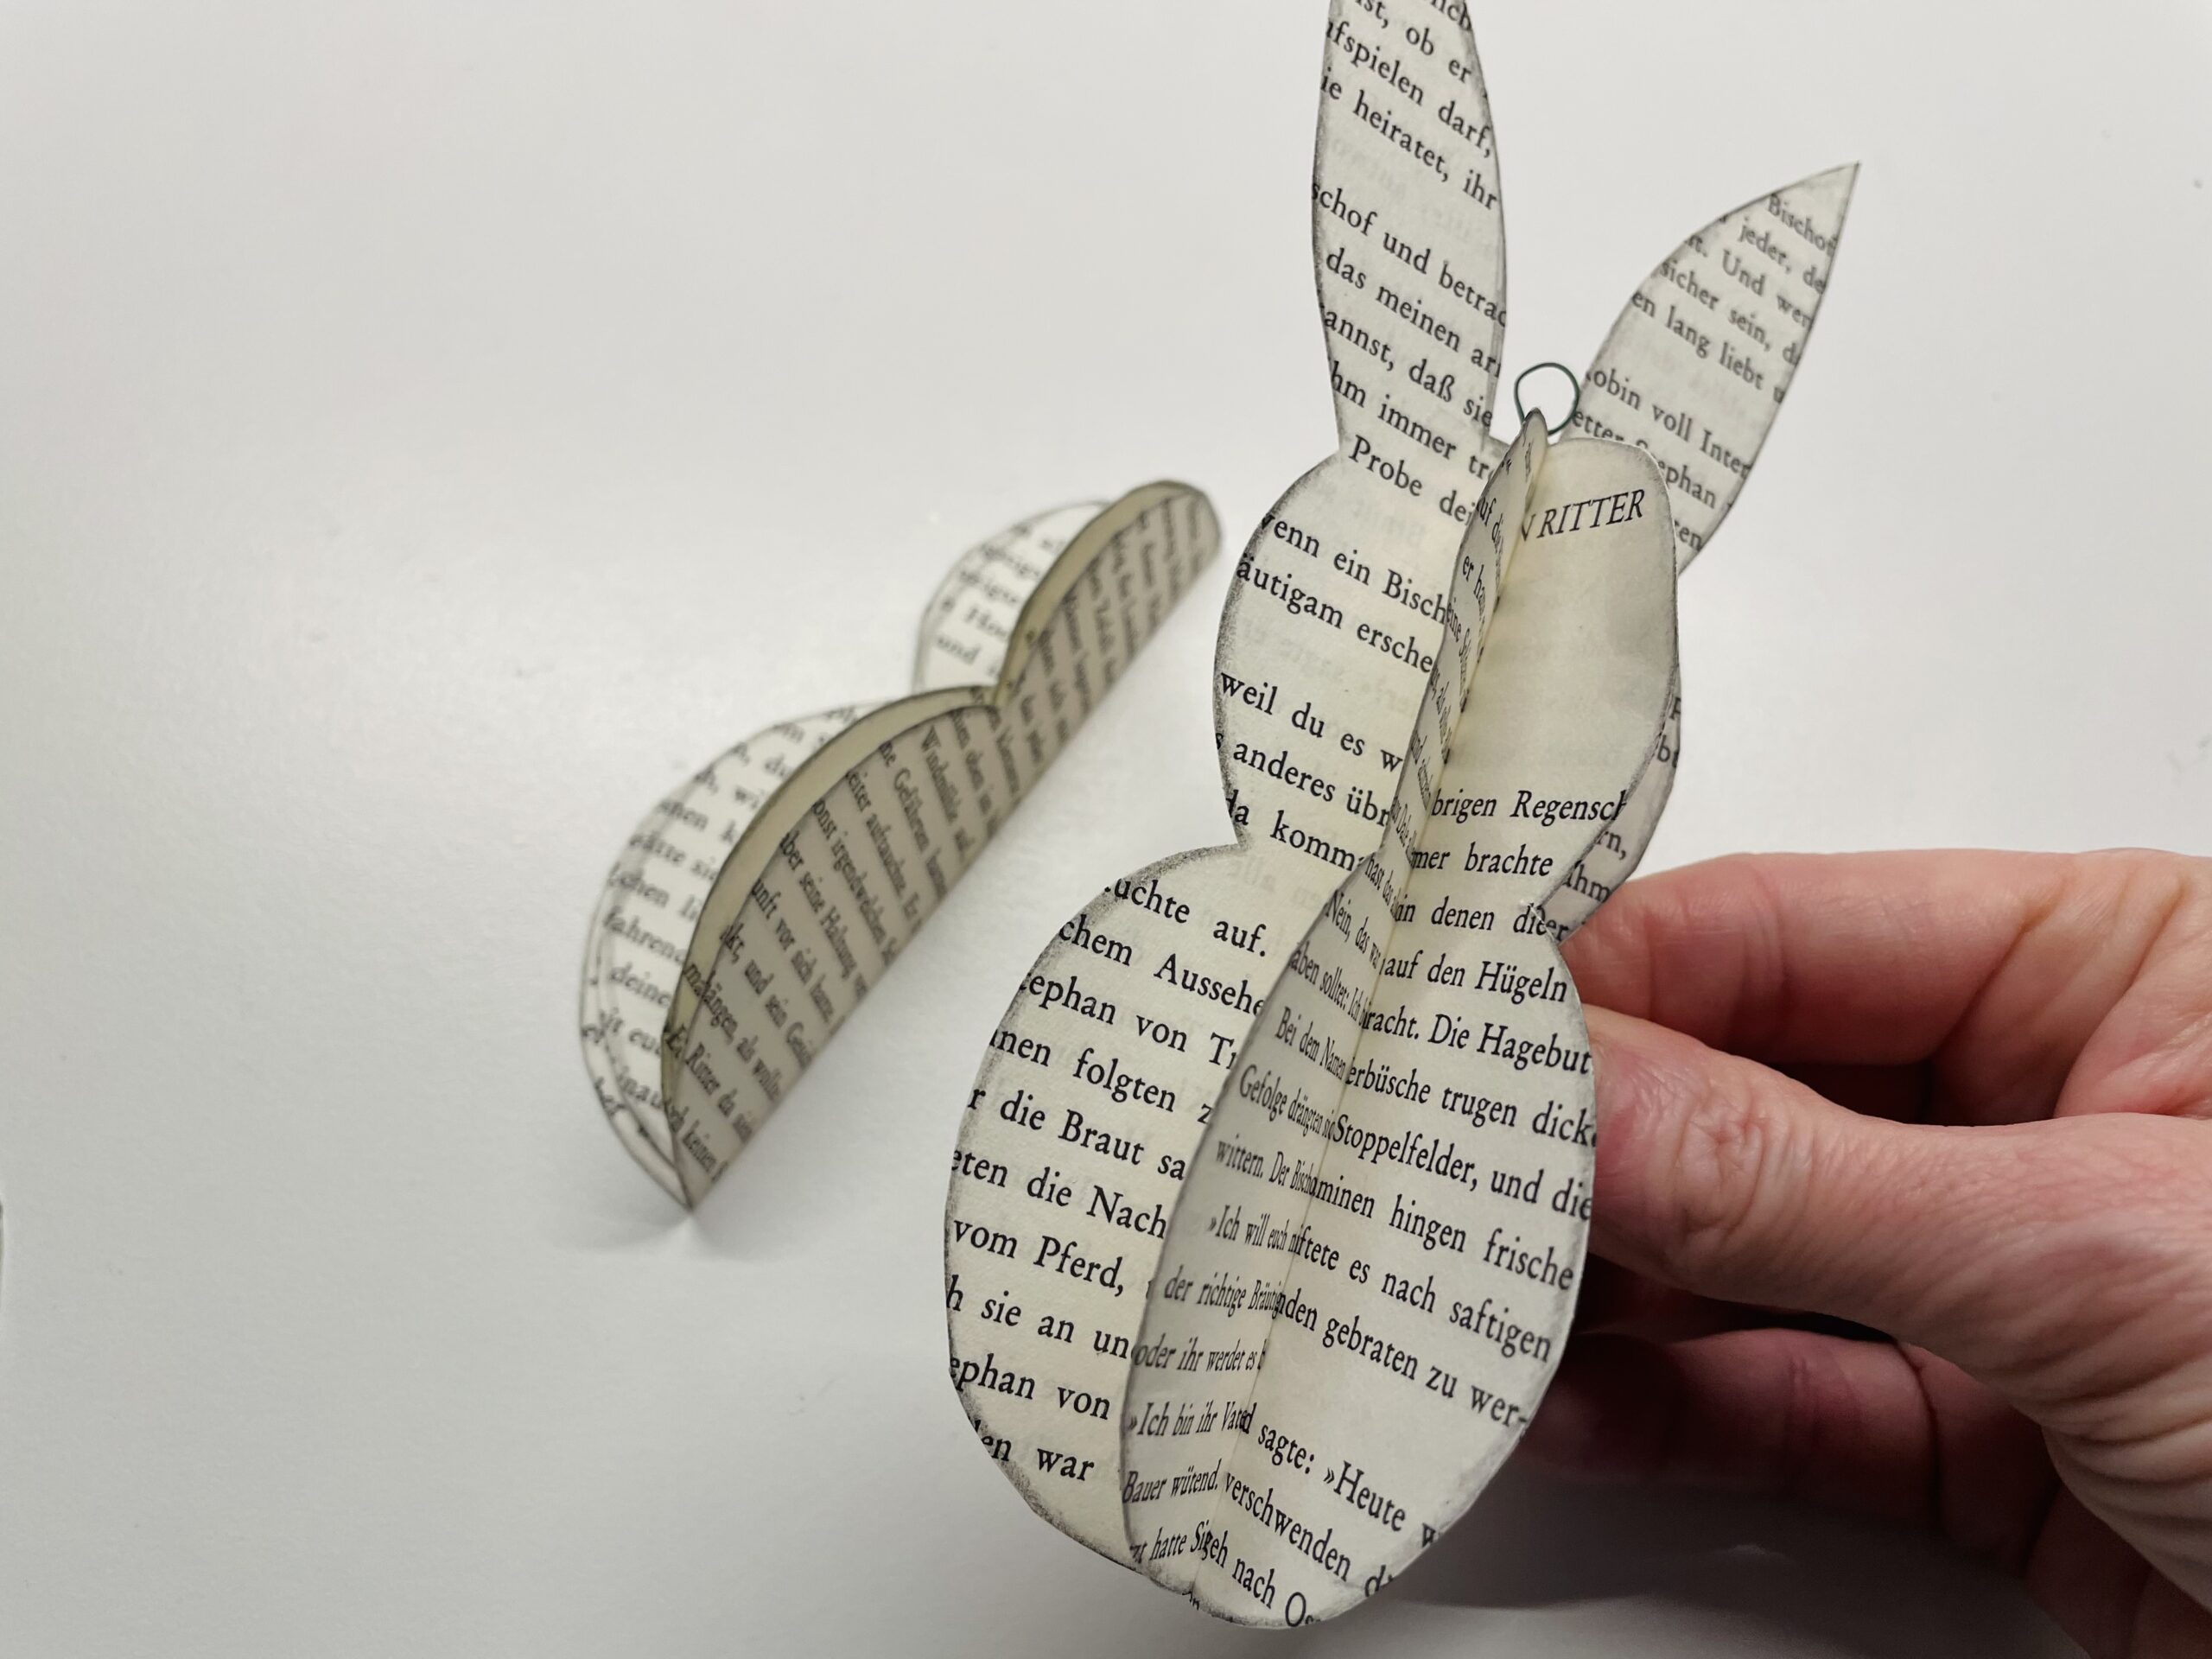


Hold the hare parts firmly in your hand and direct them so that they lie exactly on each other.
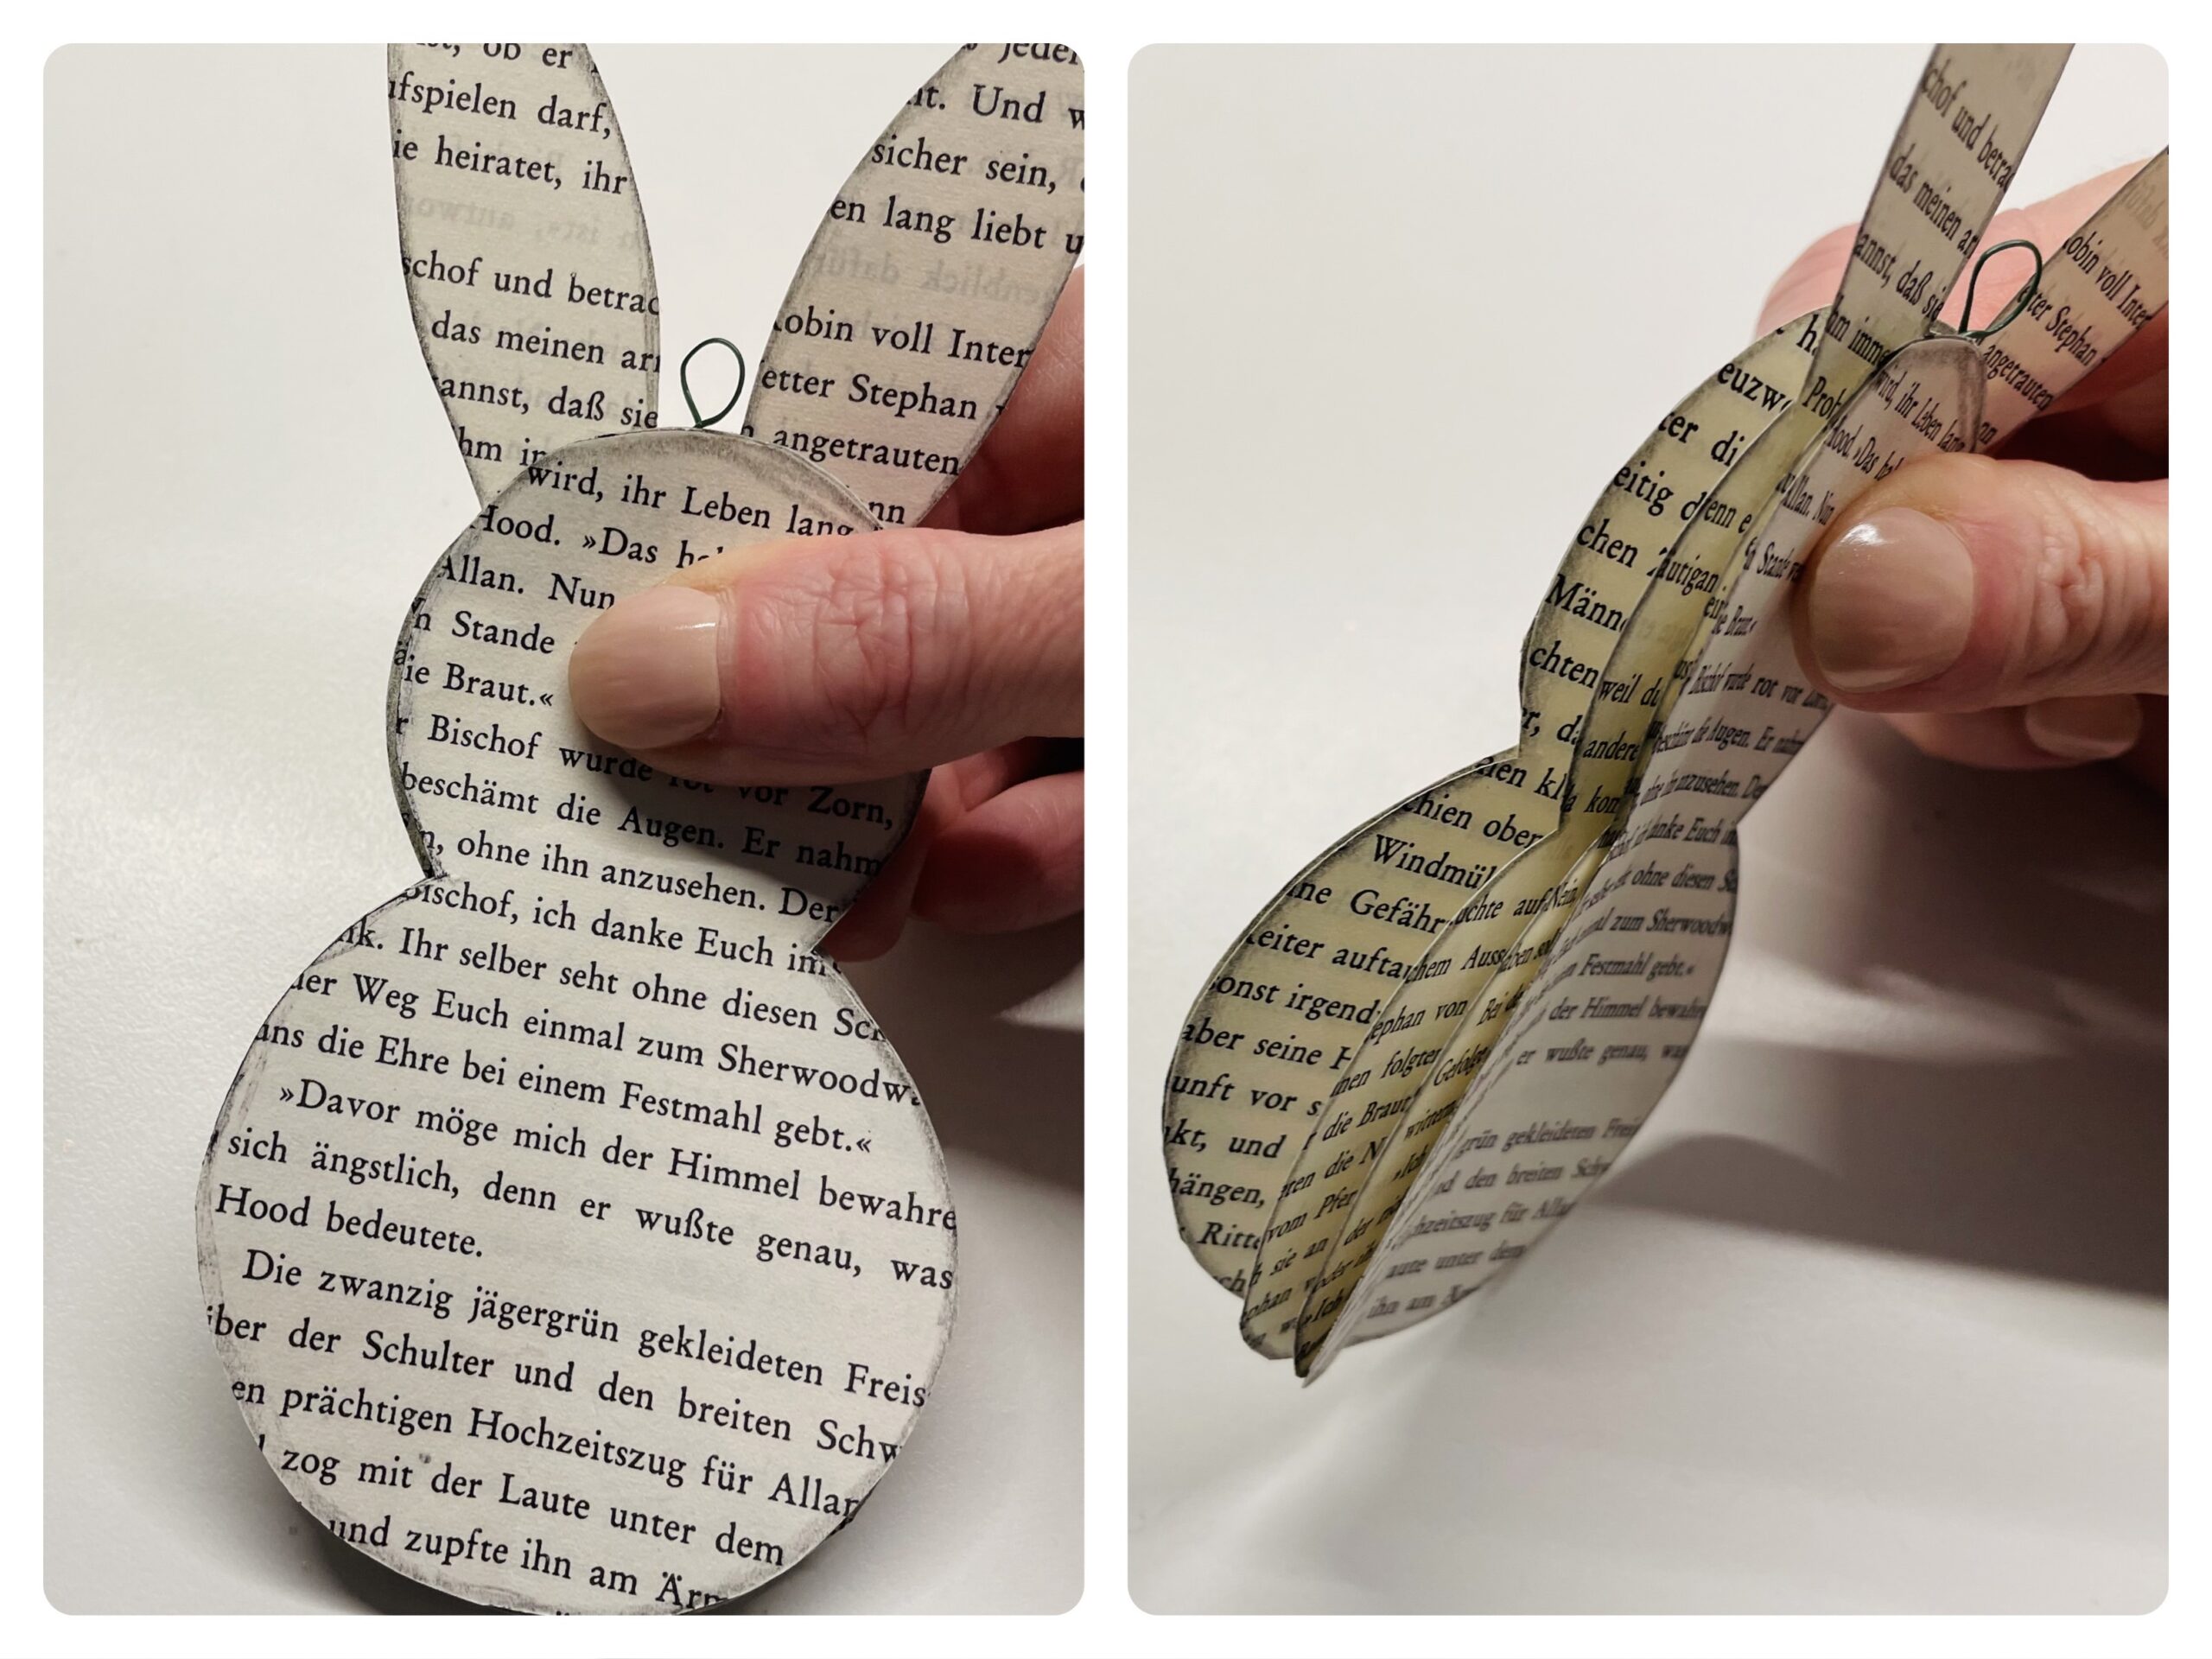


Here you must be very accurate!
The rabbit is pressed flat and first tacked at the head of the rabbit, exactly on the folding line.
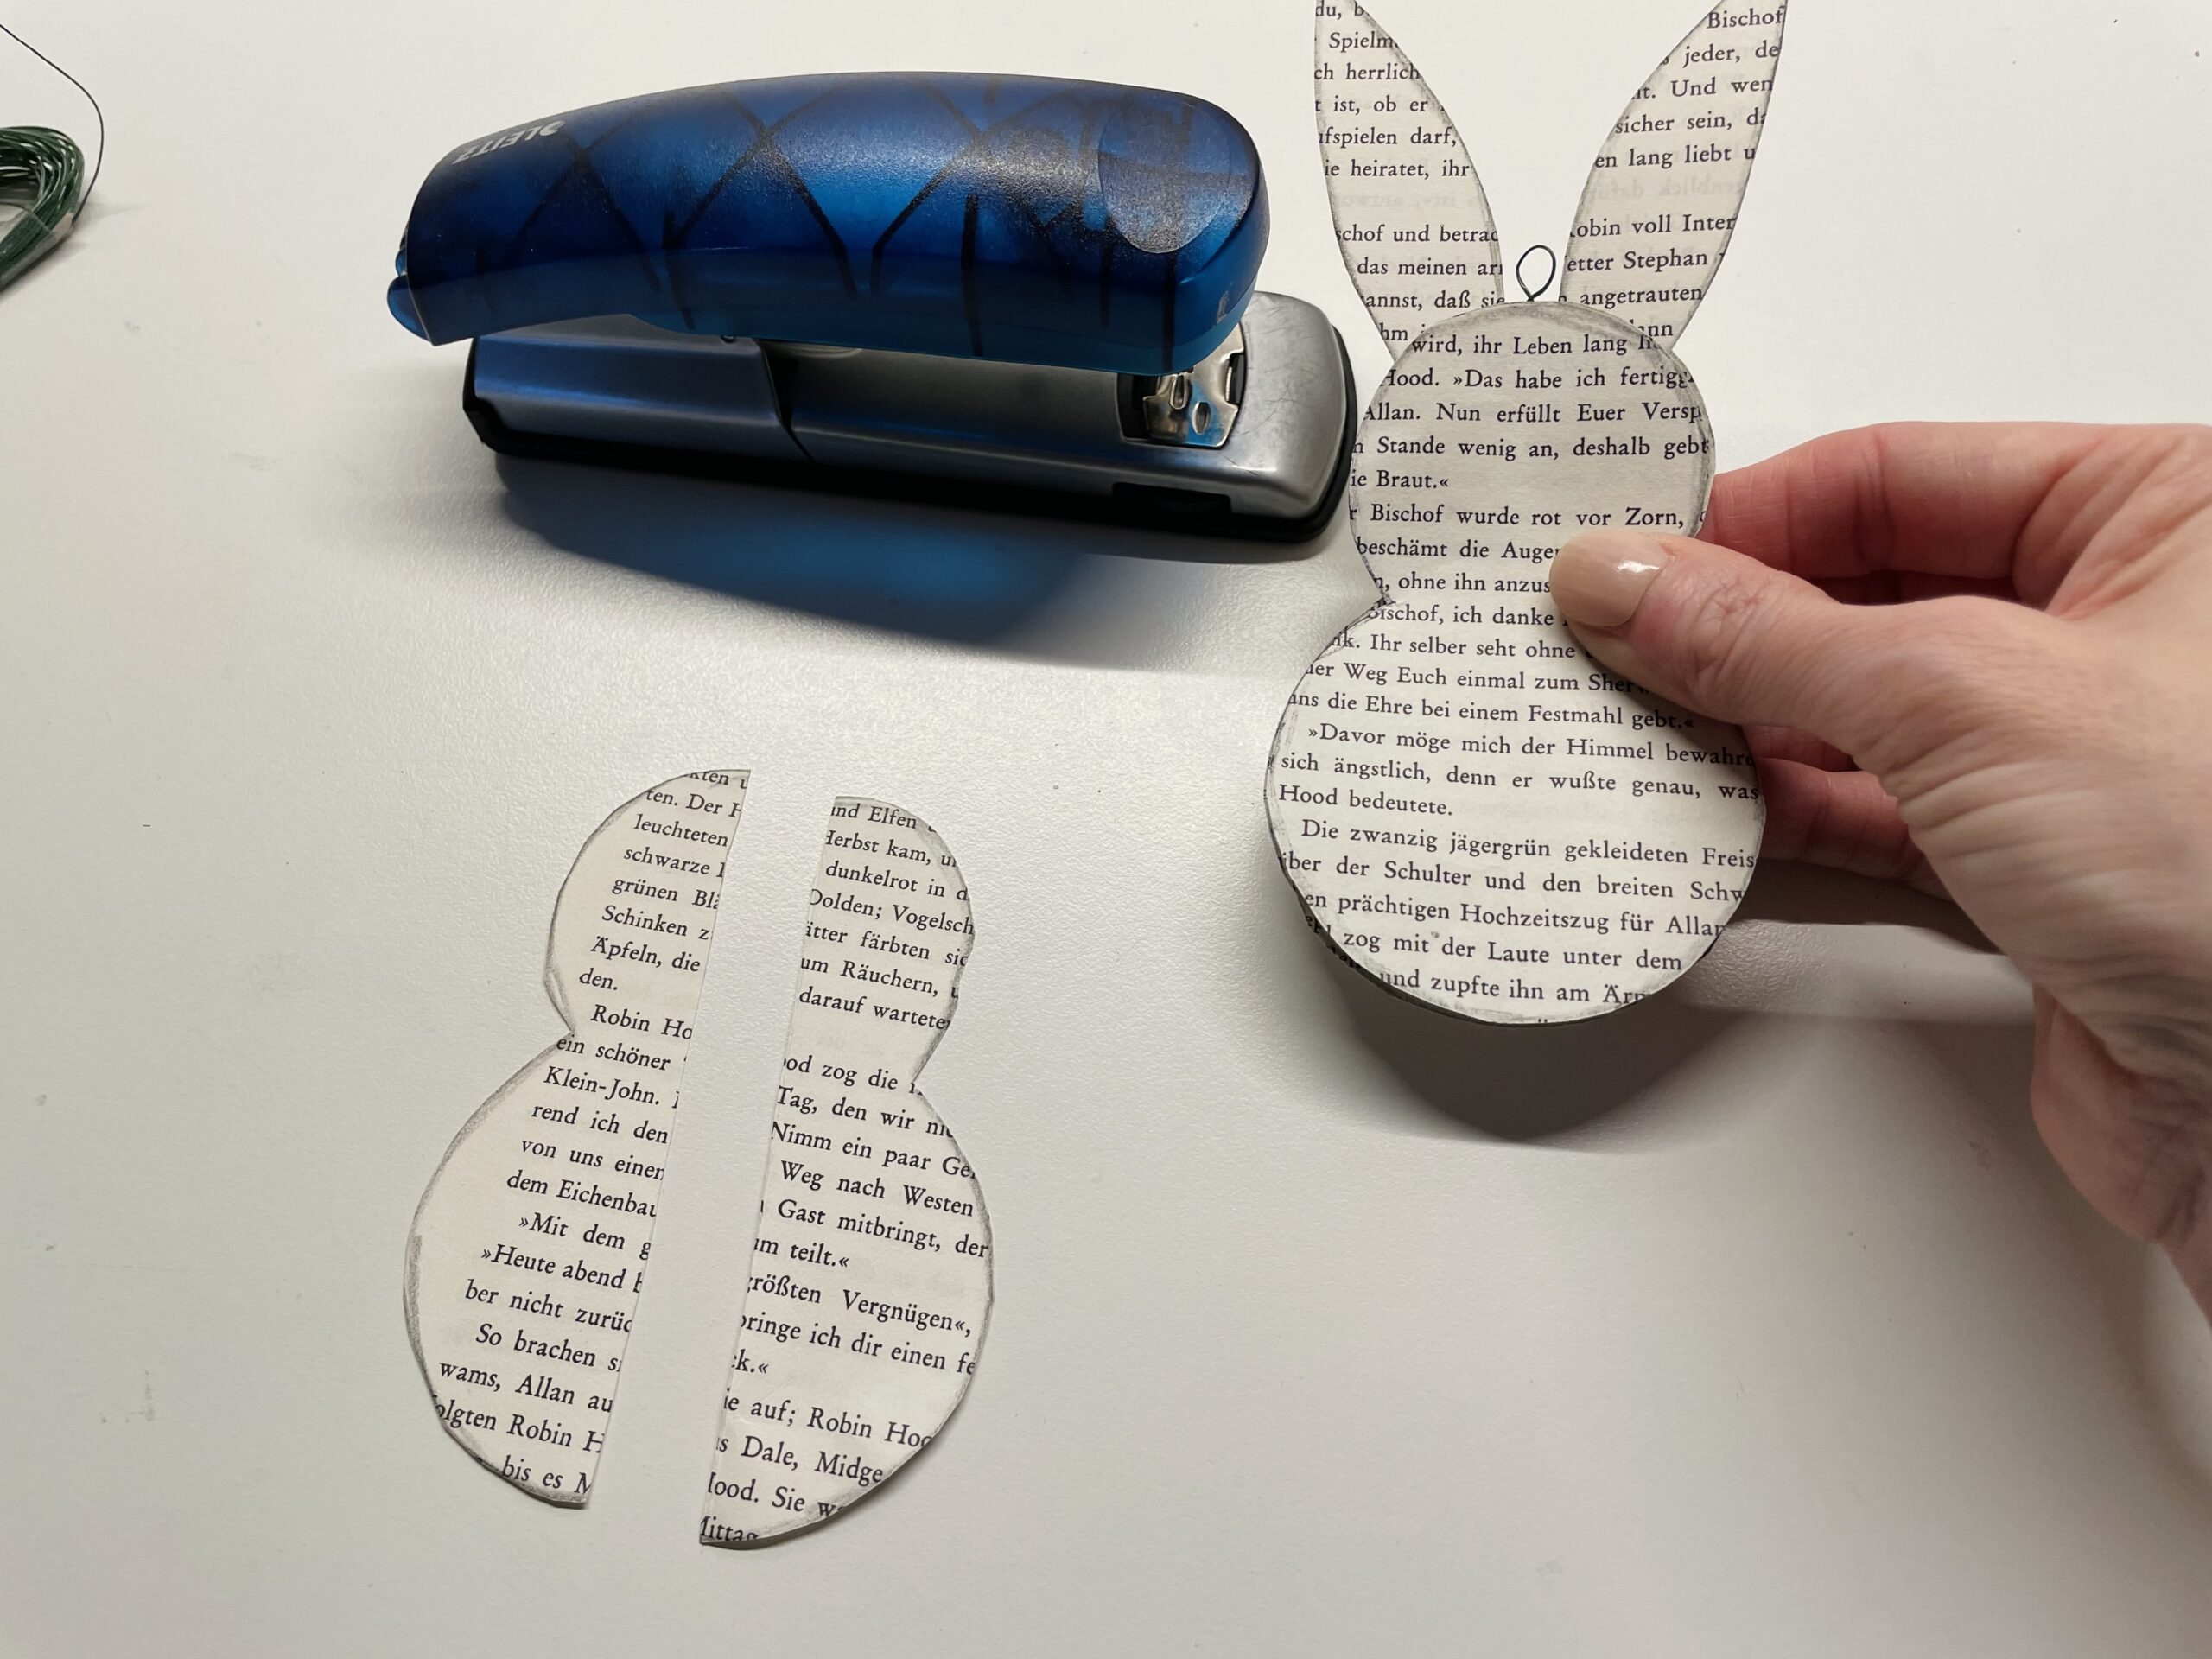


A second staple puts in the middle of the belly, also on the folding line.
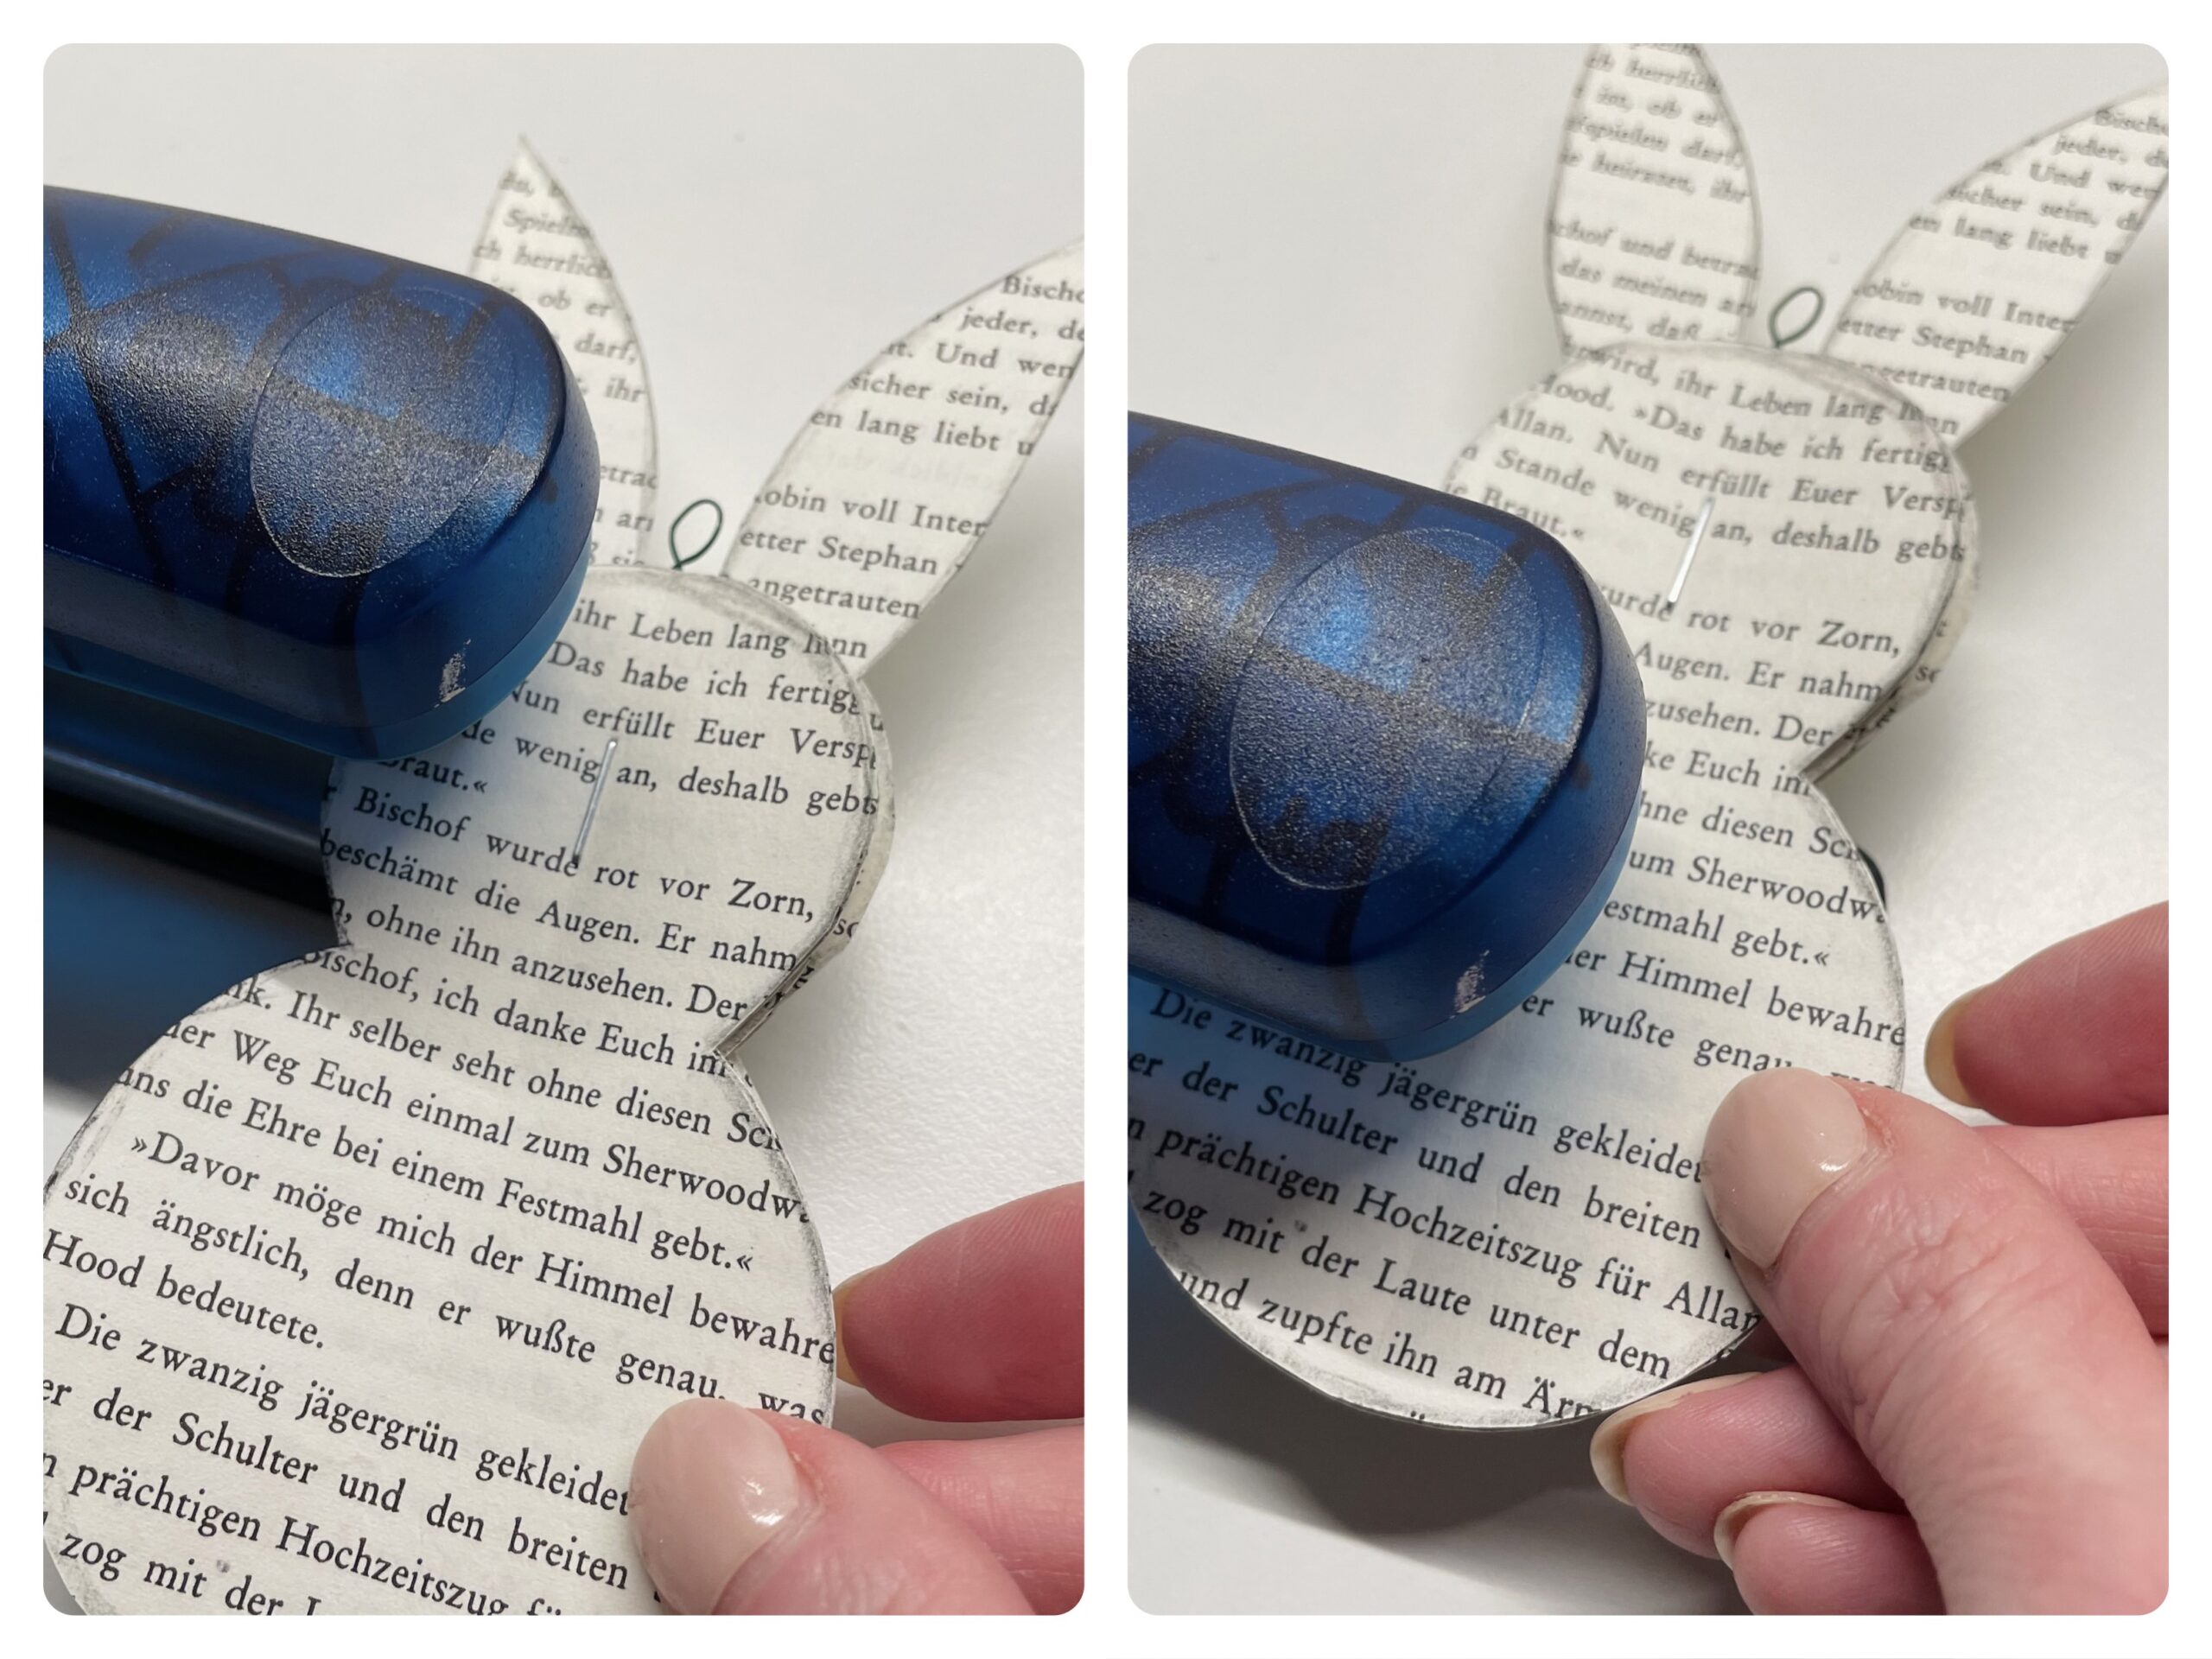


Now you can fold the rabbit apart again, it holds together through the staples.
Either you are already done with the rabbit, because it already likes you, or you want to cover the staples still. Then see how it goes on!


The separated body halves are now still left. These are glued exactly over the still visible clamps.
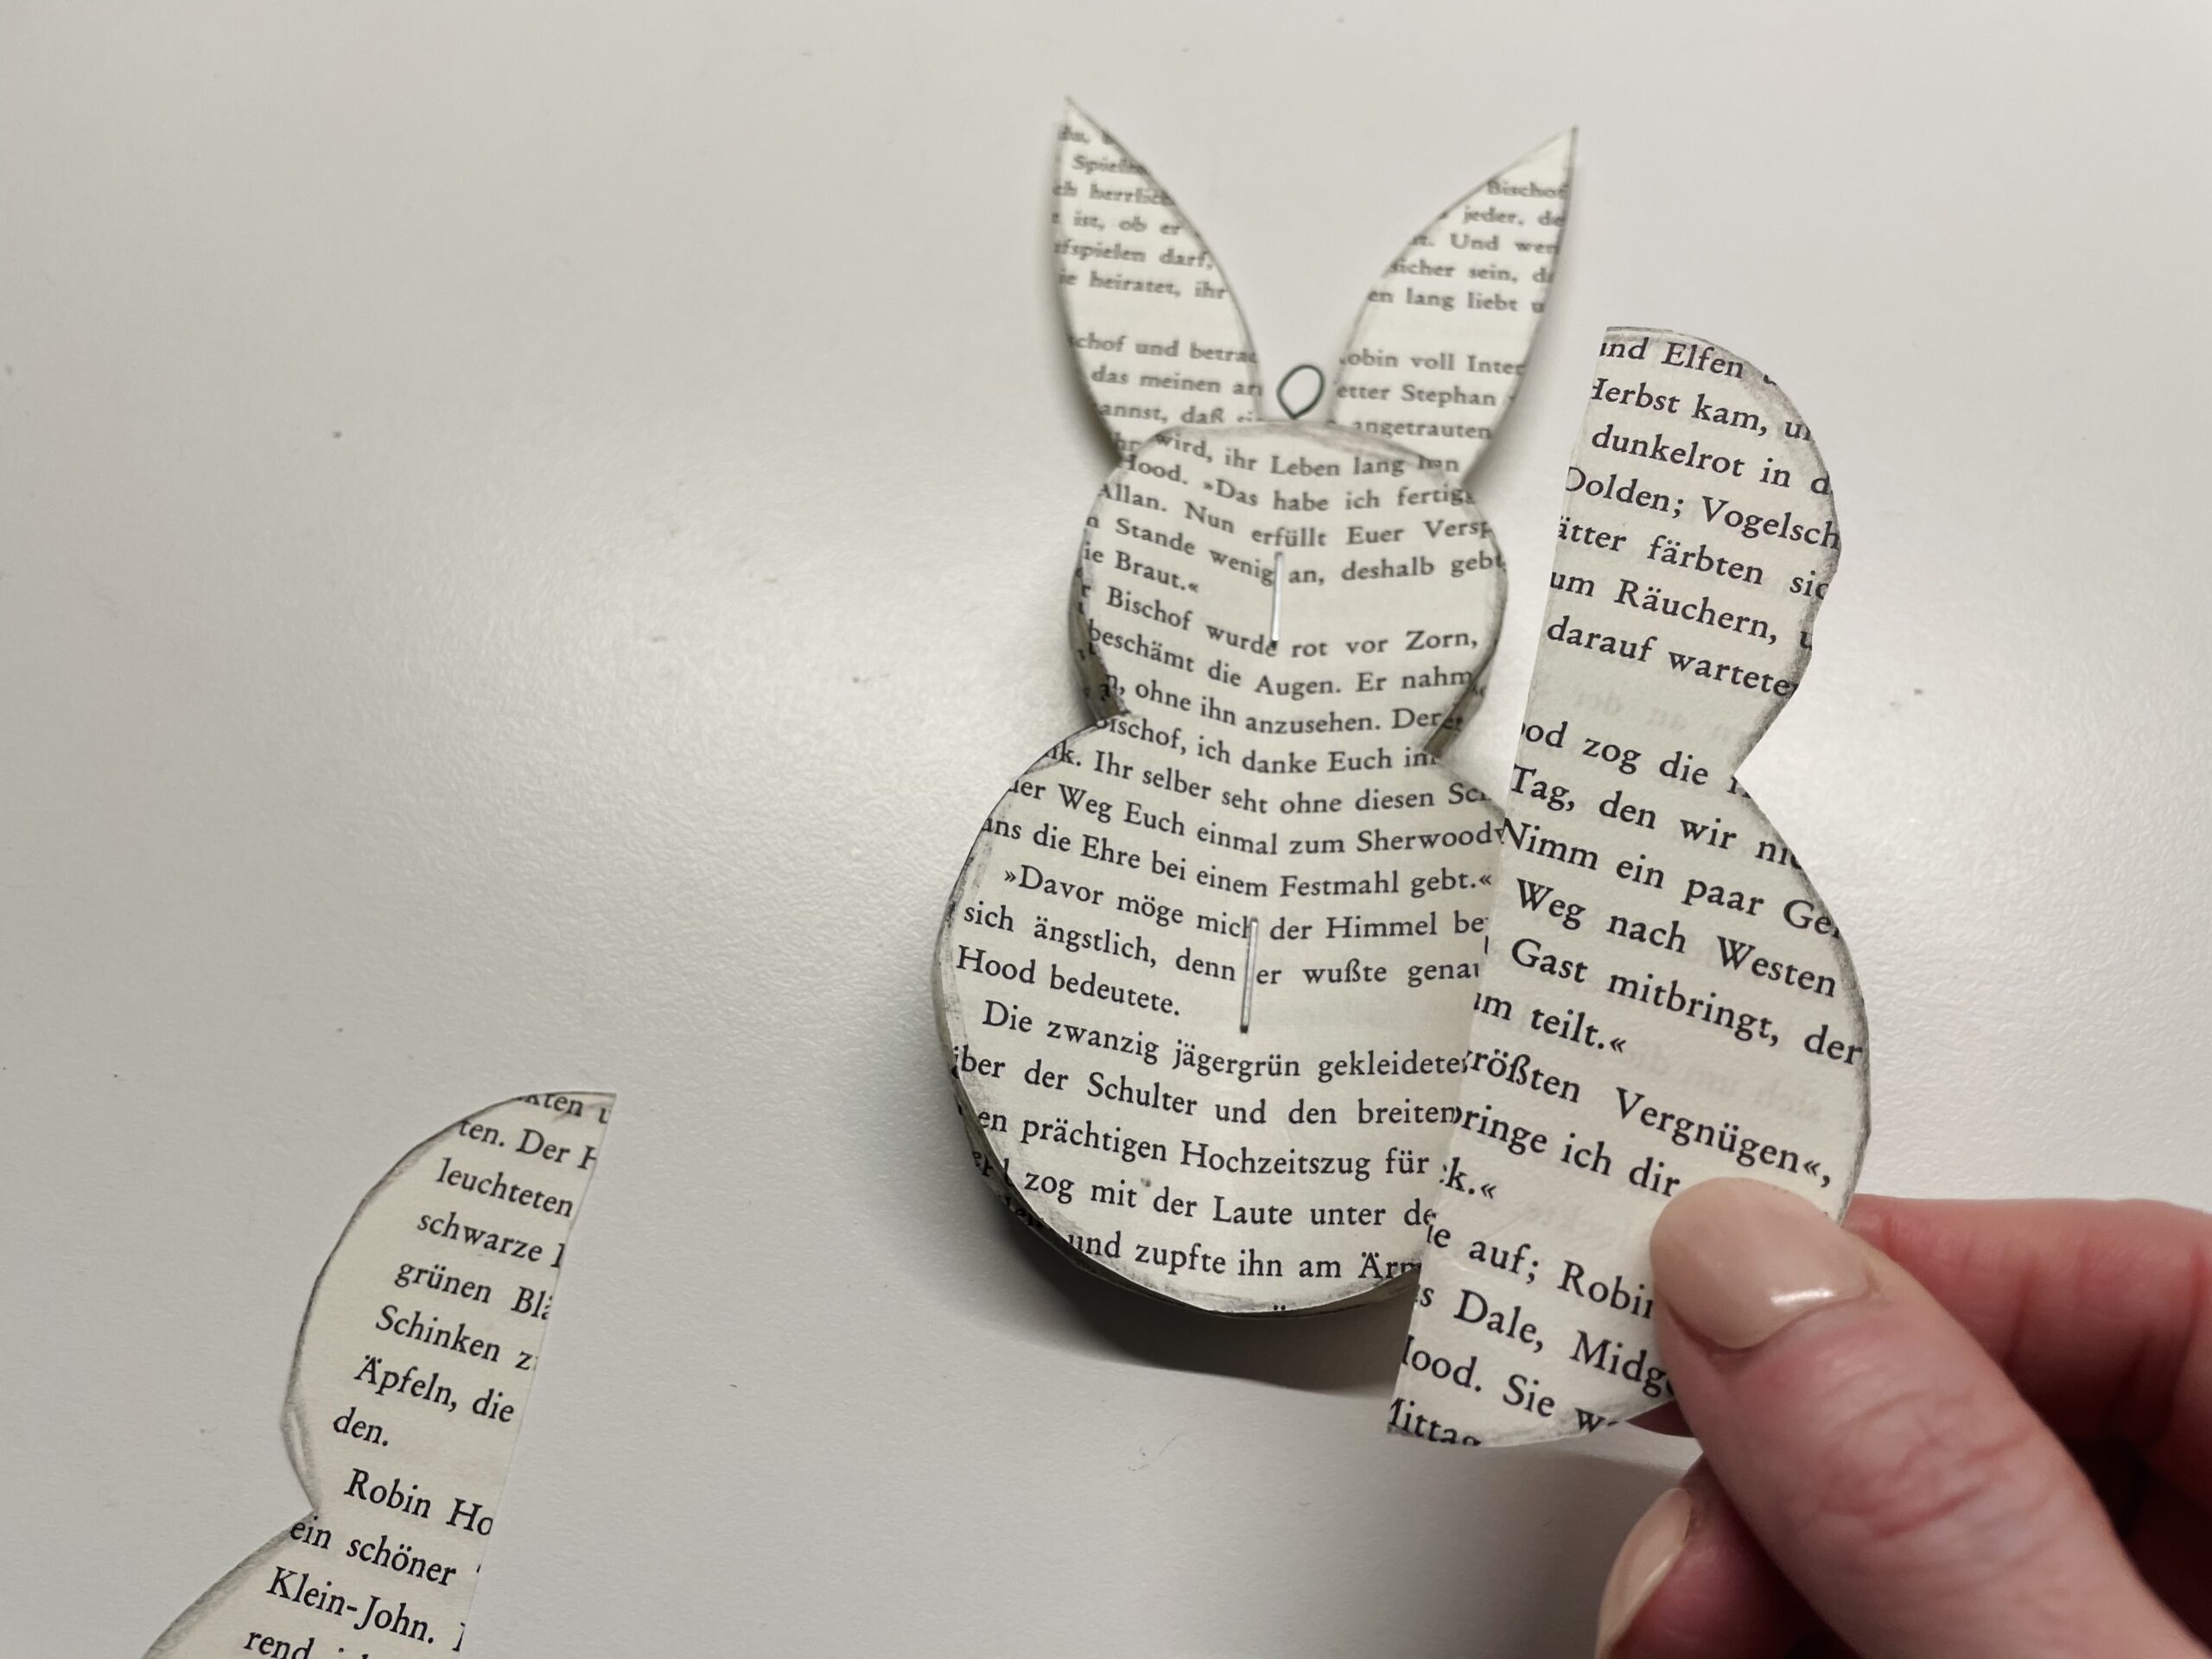


The liquid glue or craft glue (alternatively hot glue with caution - risk of injury) is applied to the edge of the hare half and the hare half pressed in the middle on the folding line with the visible brackets.
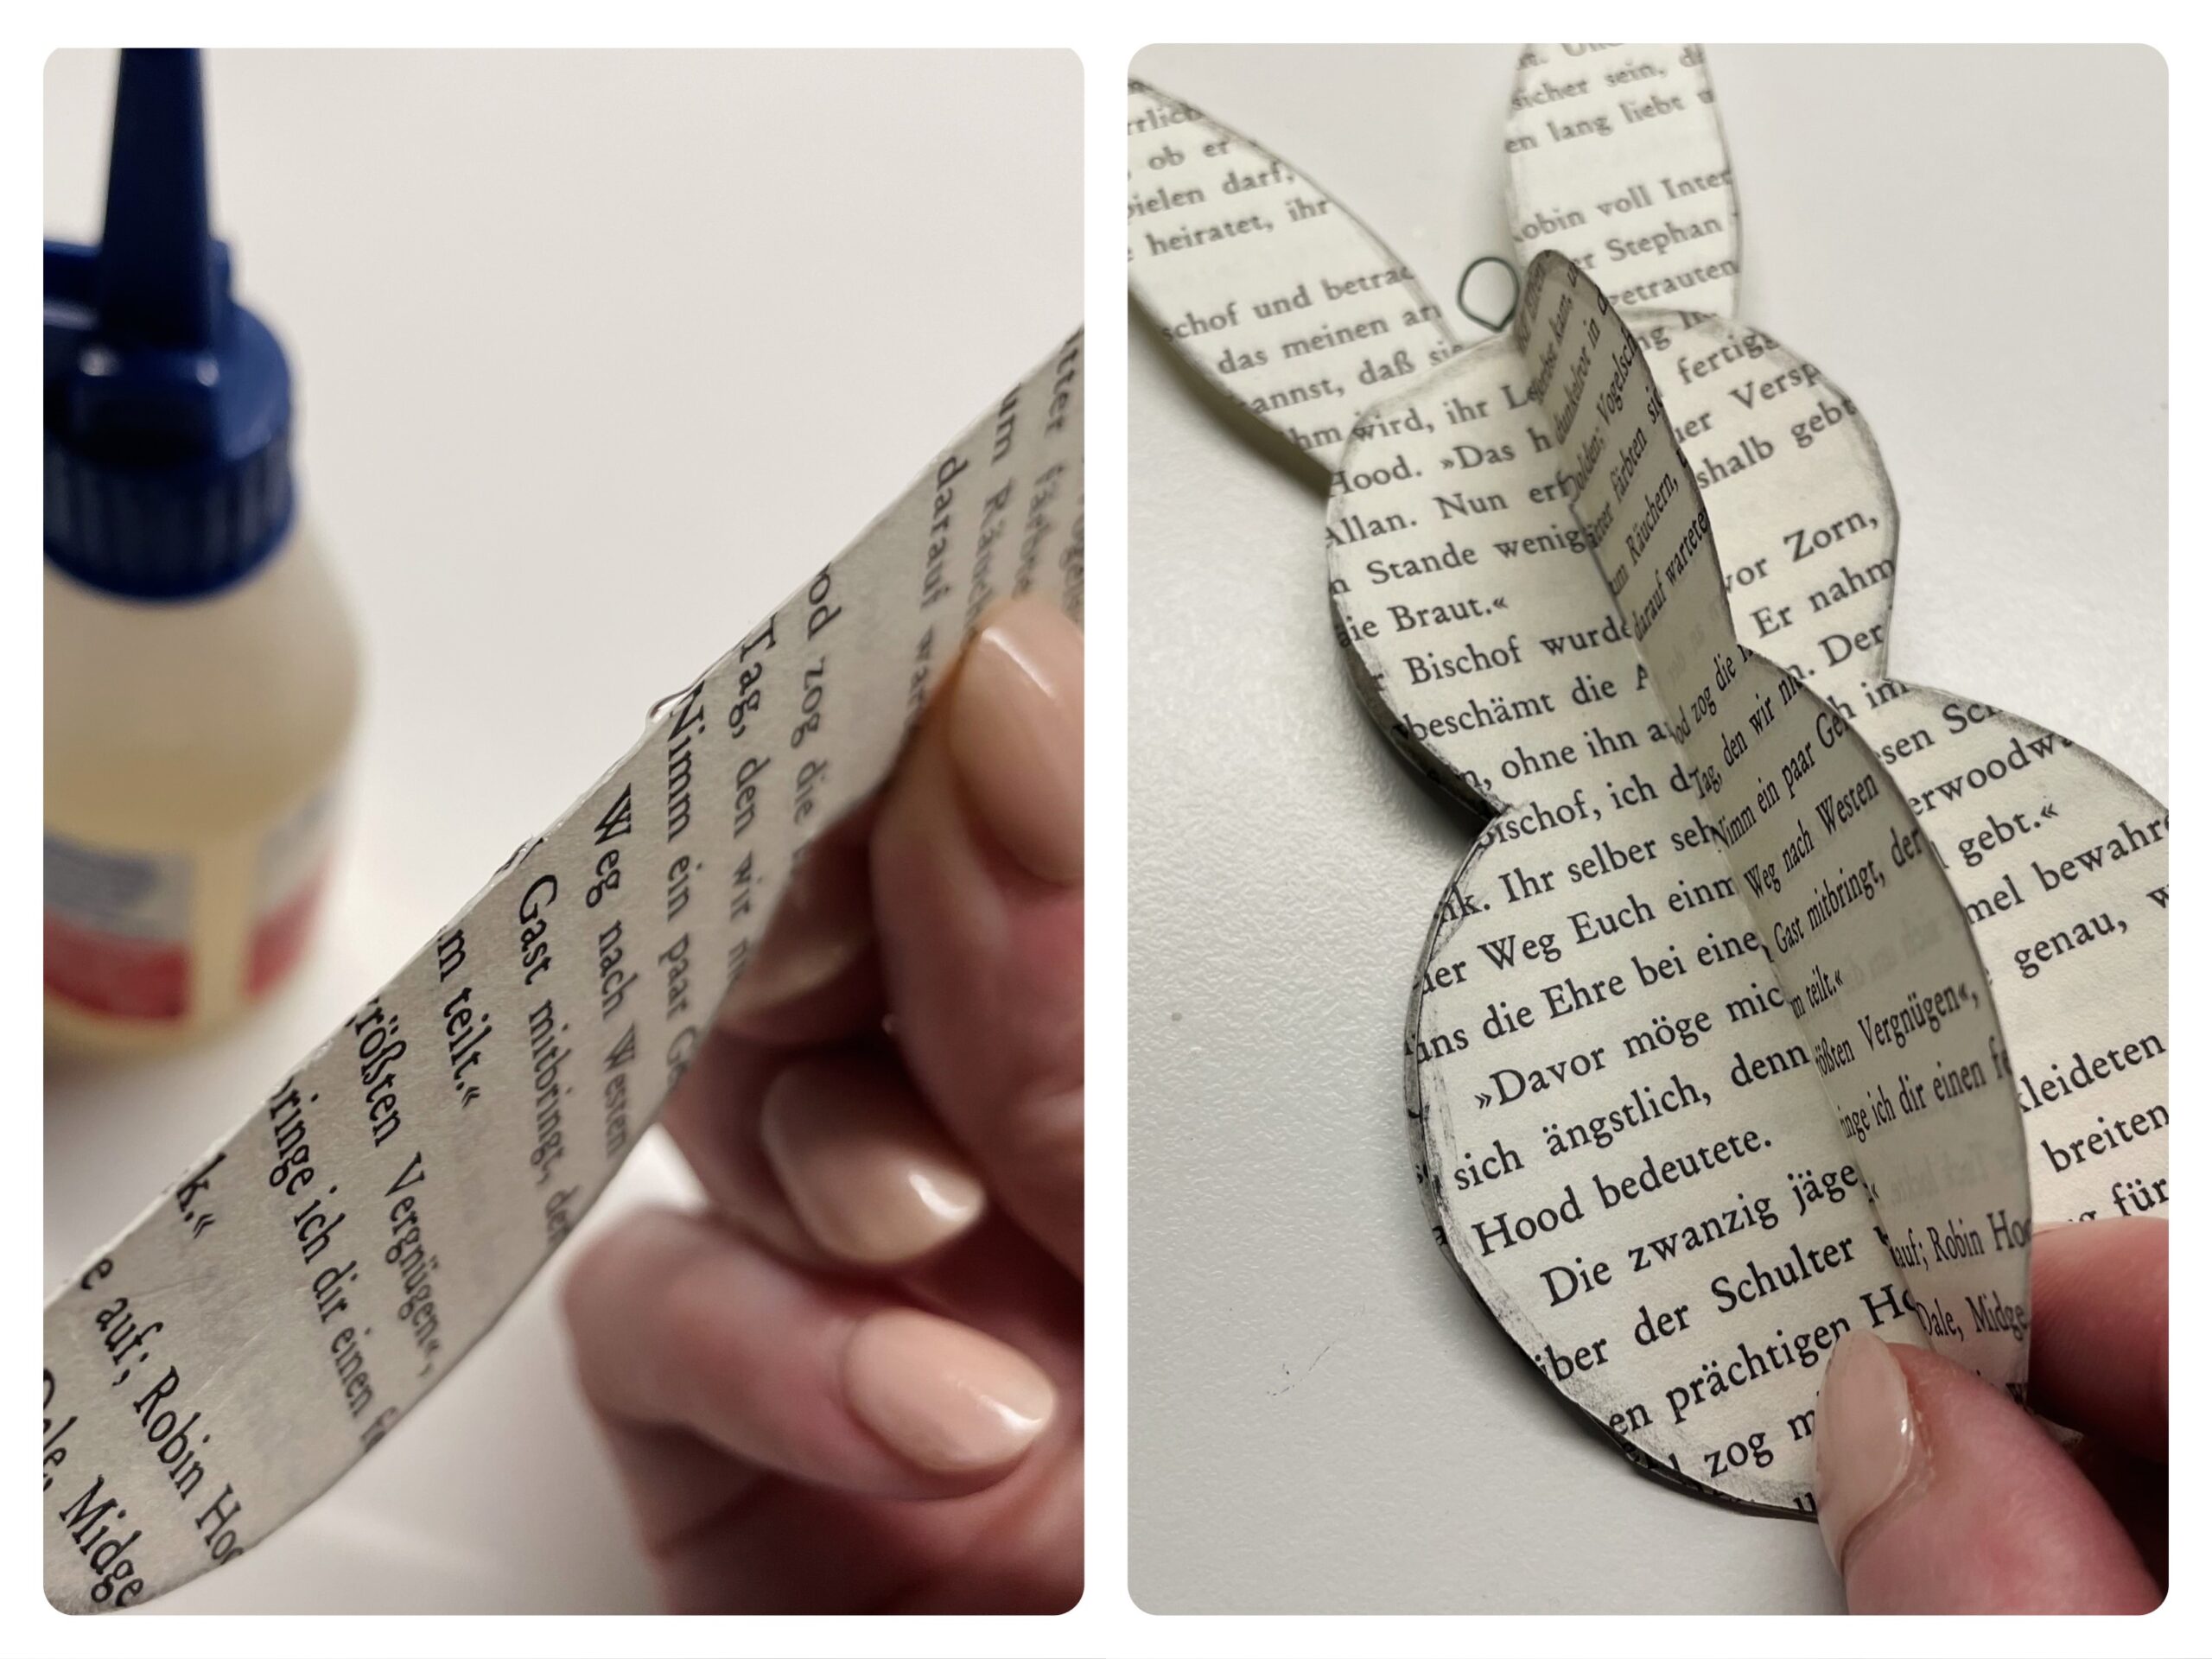


You can also apply the glue to the folding line that press the cut edge of the hare half.
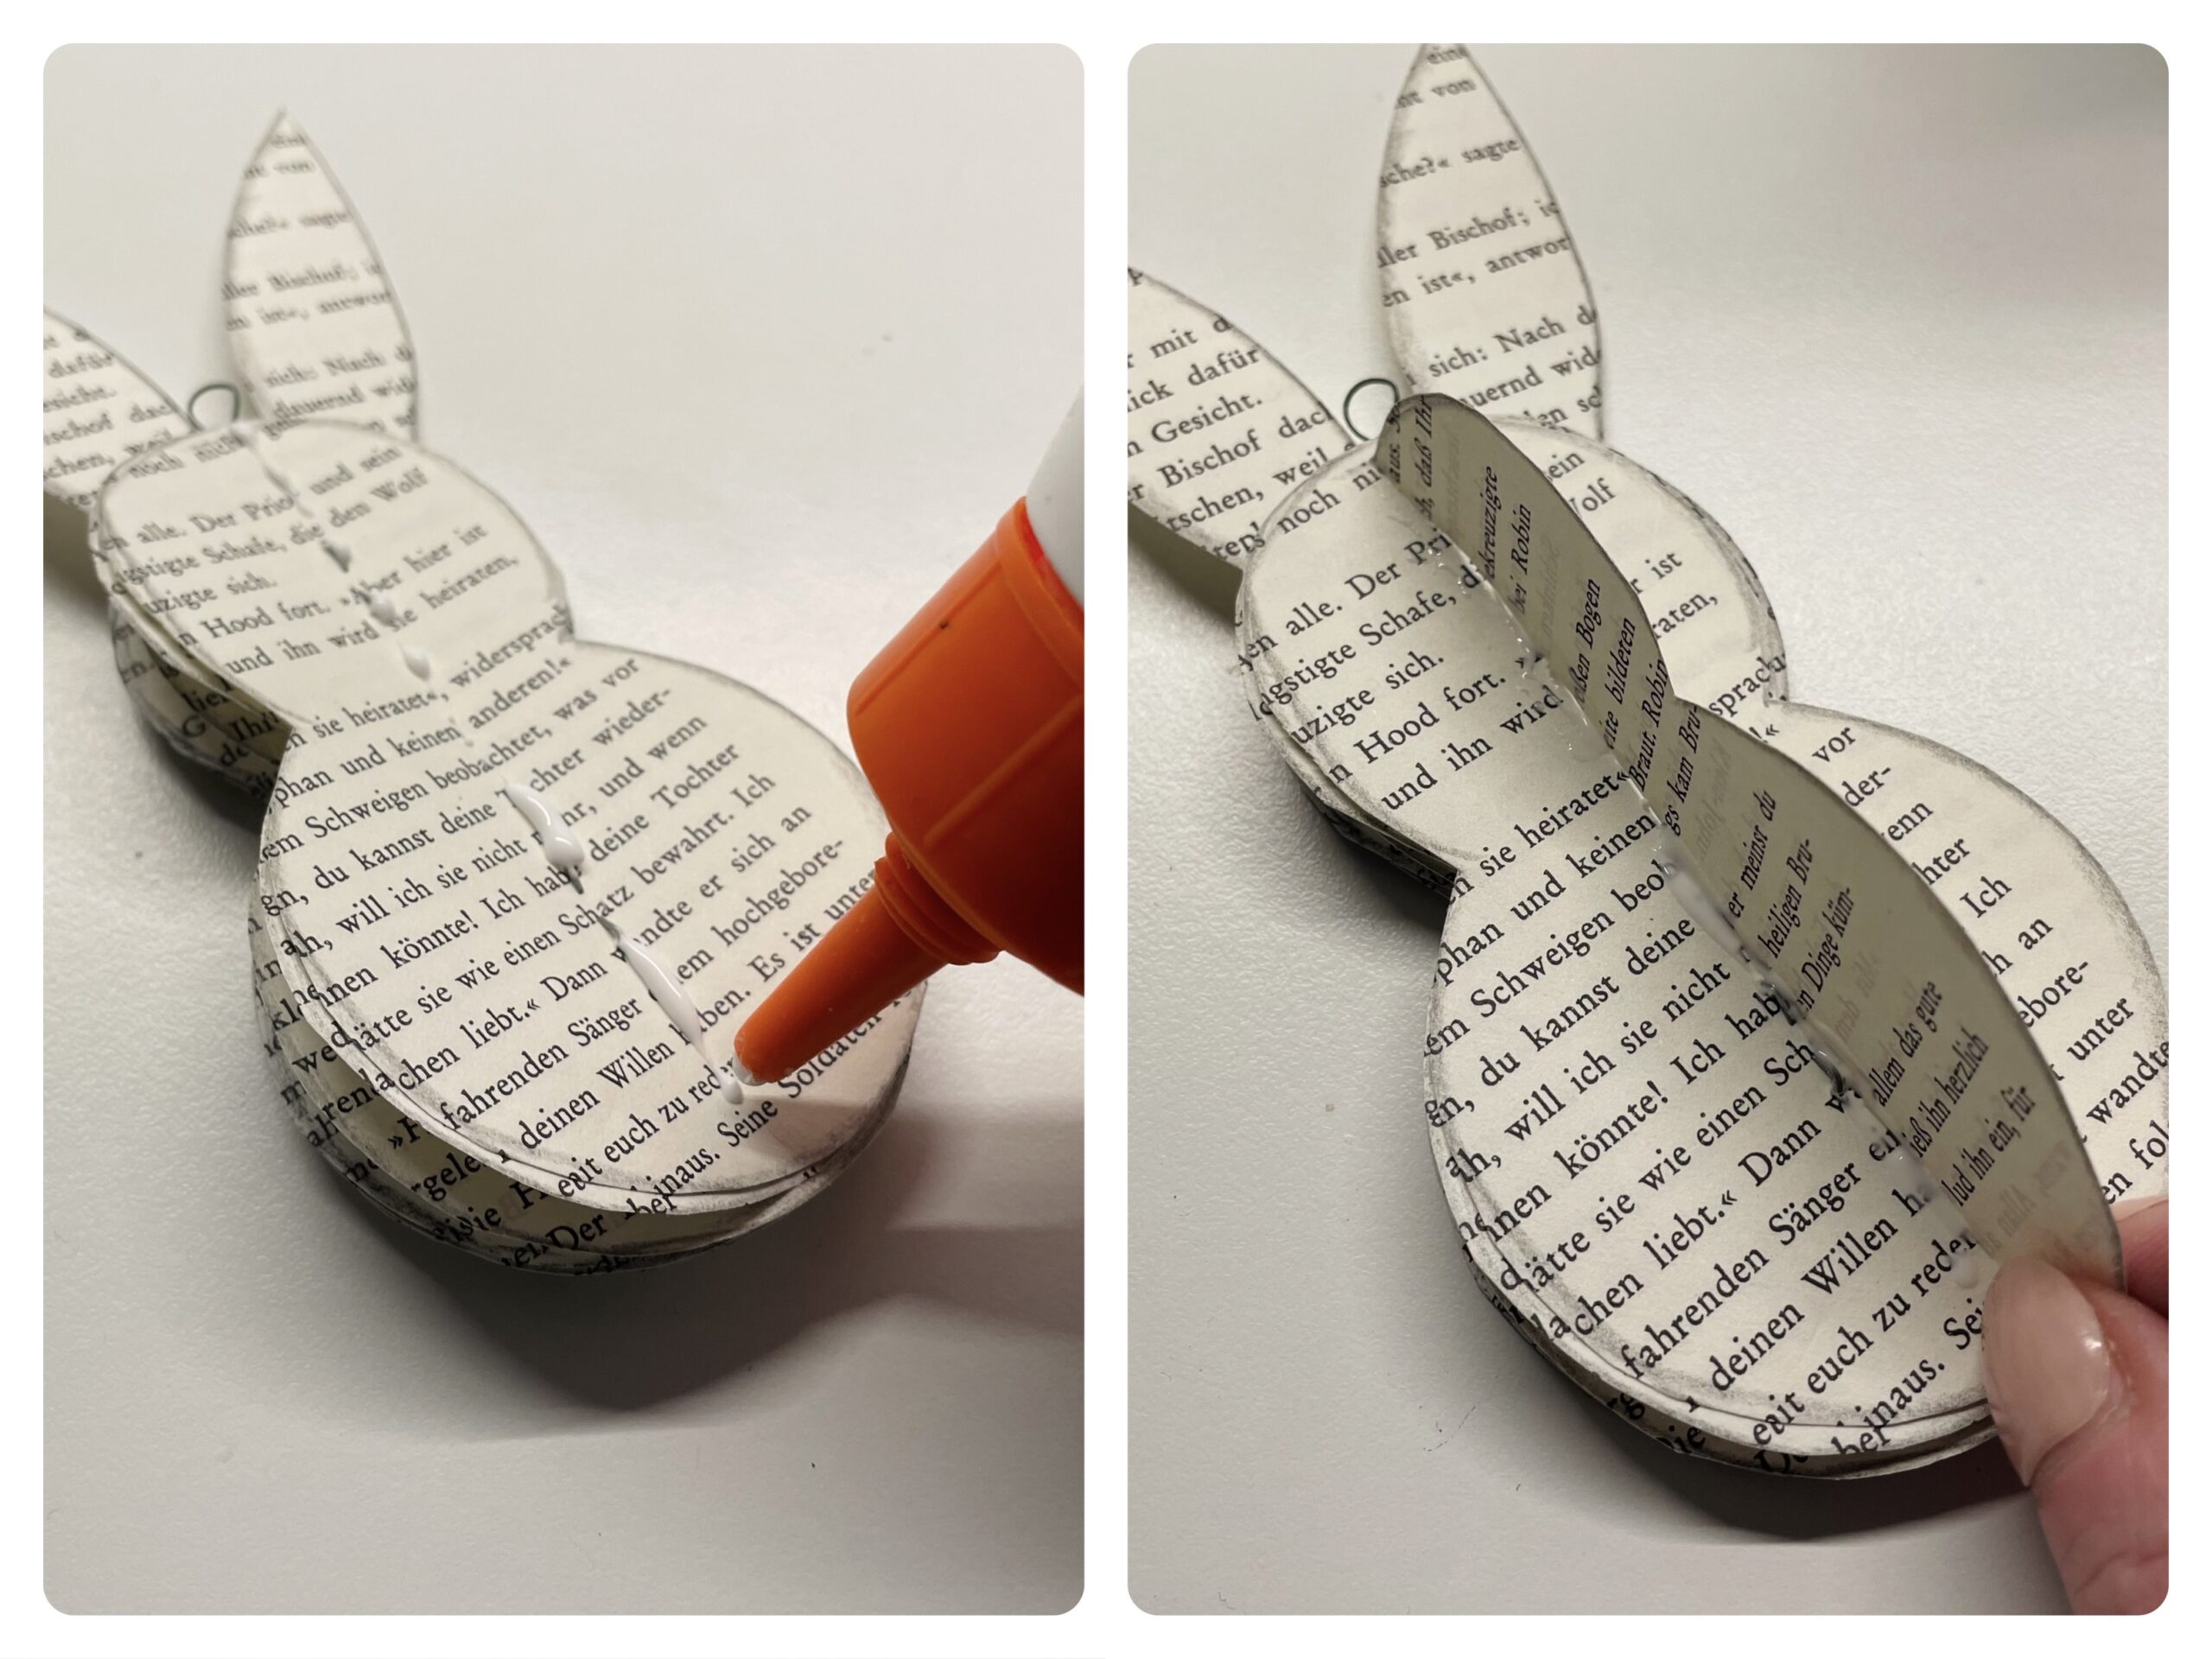


You have to press the glued half briefly until it stops and then bend the individual paper parts so that the rabbit looks evenly all around.
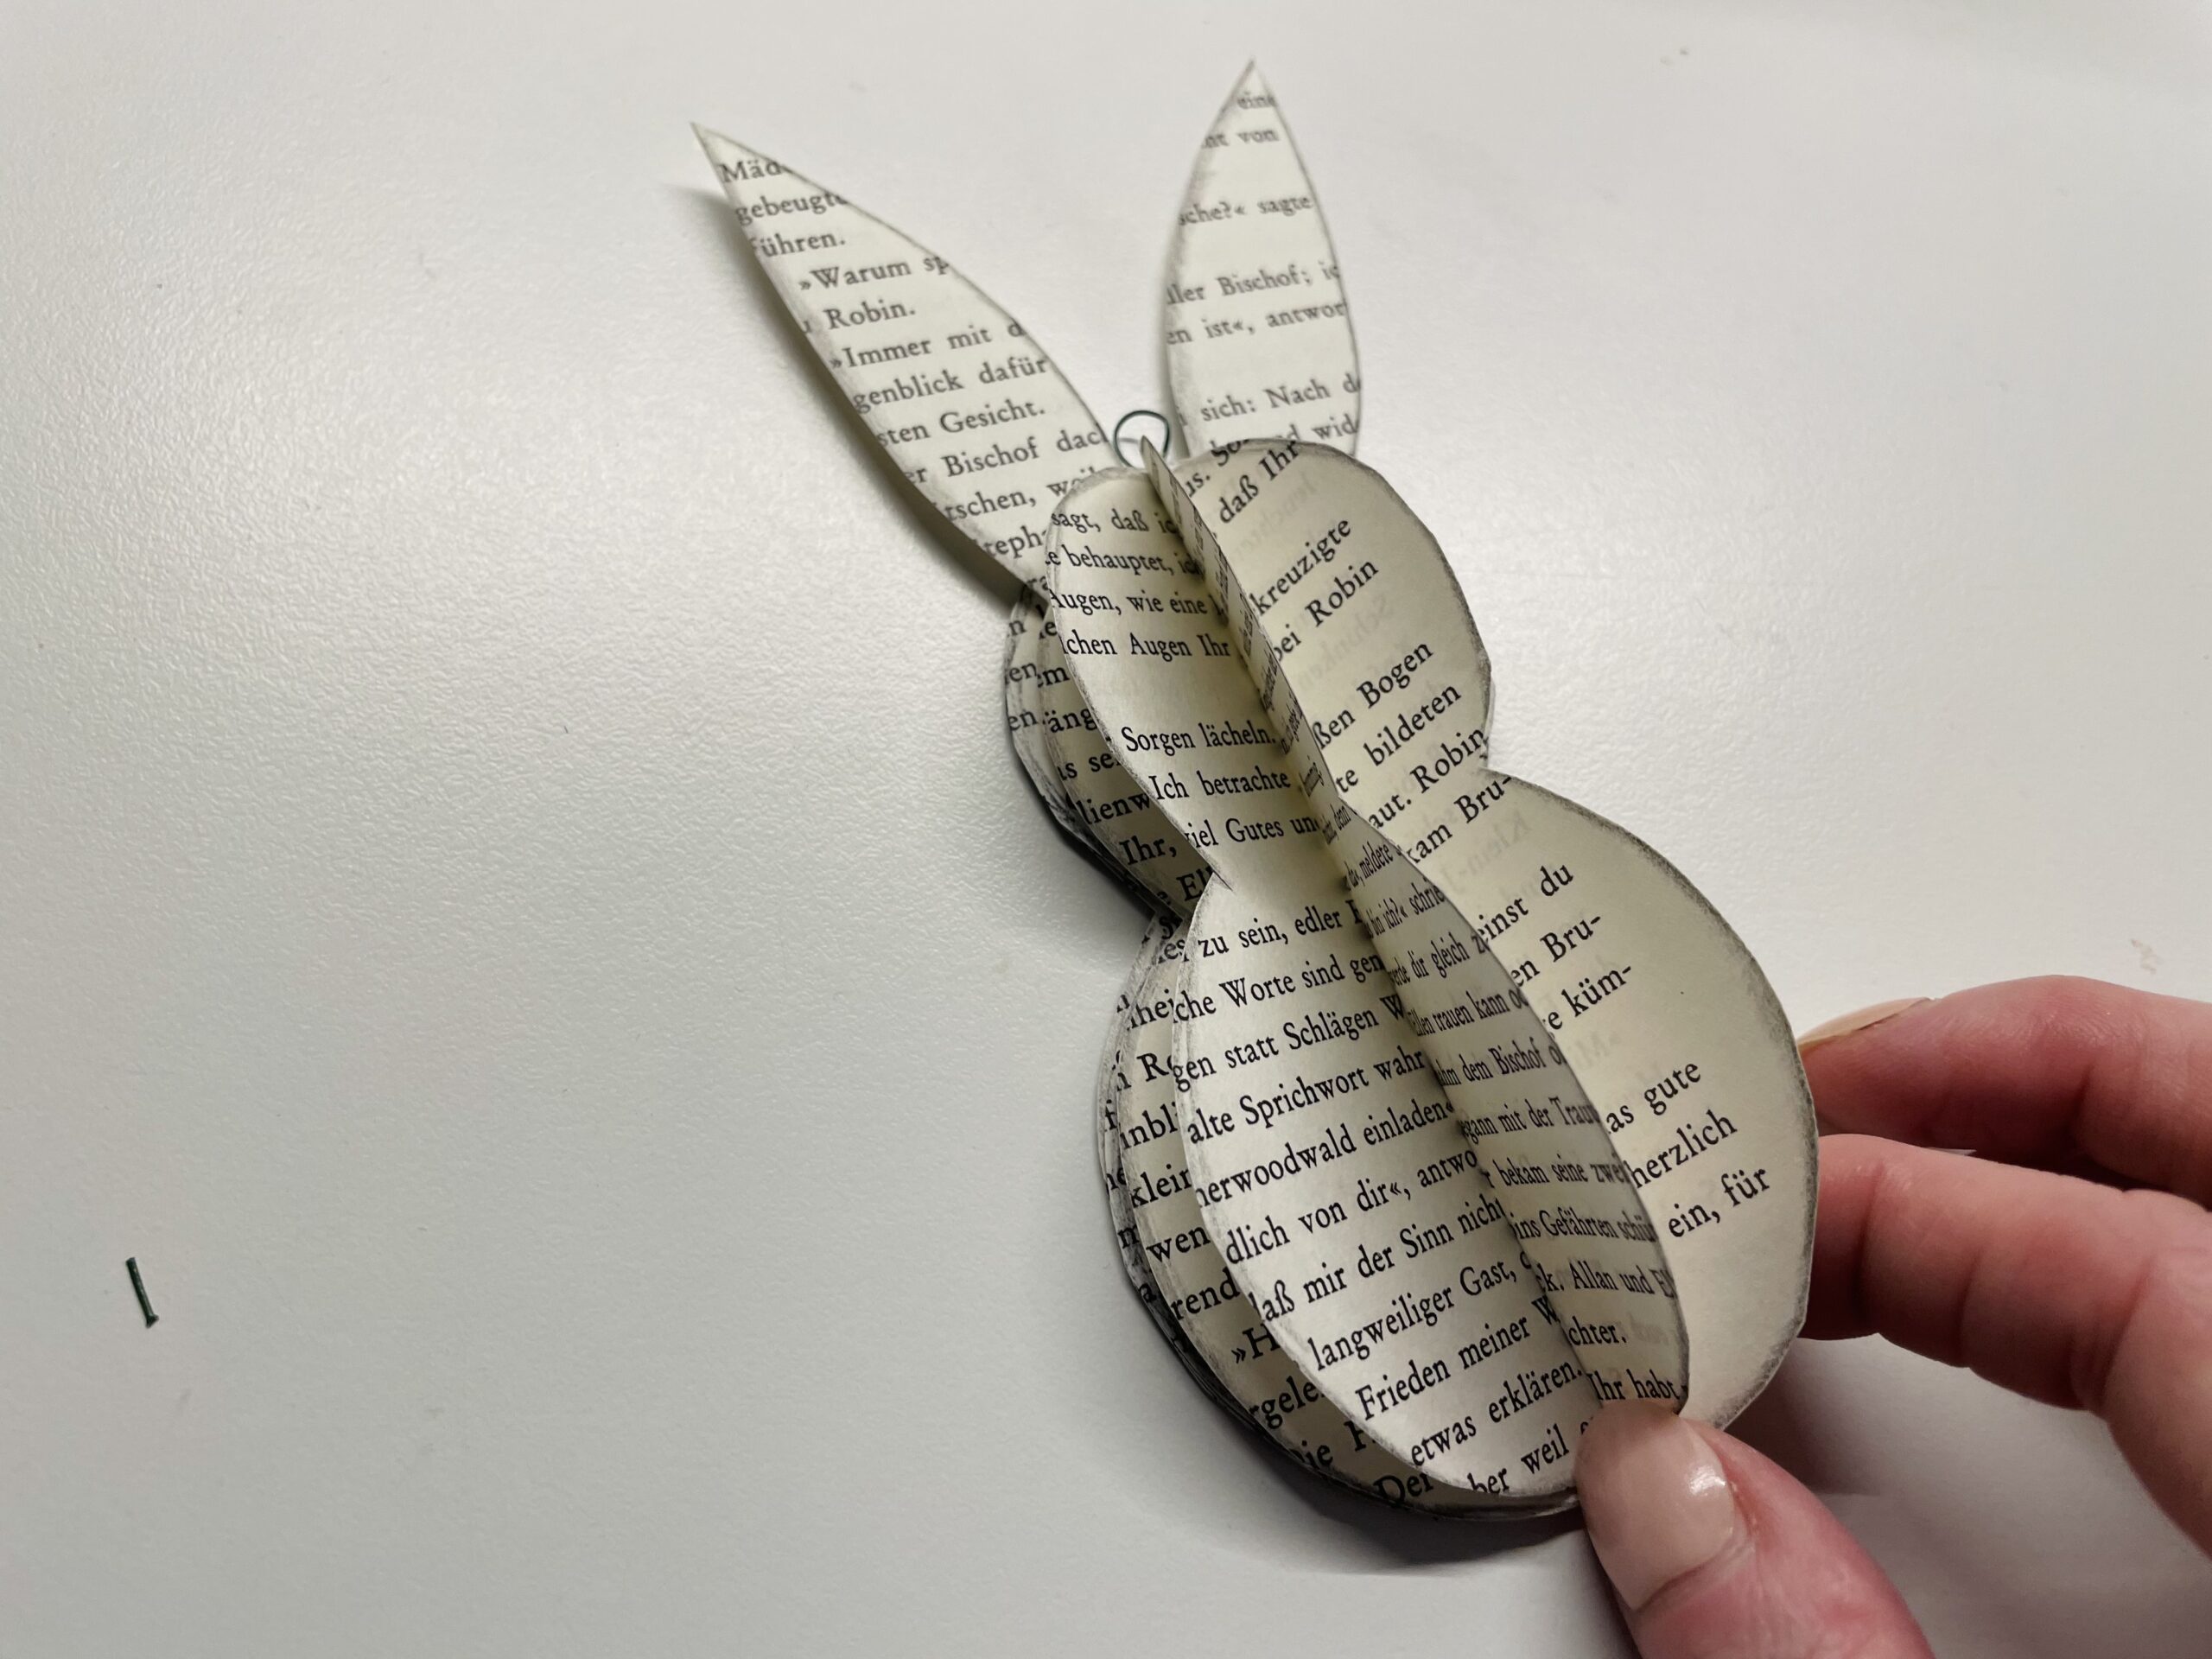


Threads a thread or a package line through the wire ring and knots it.
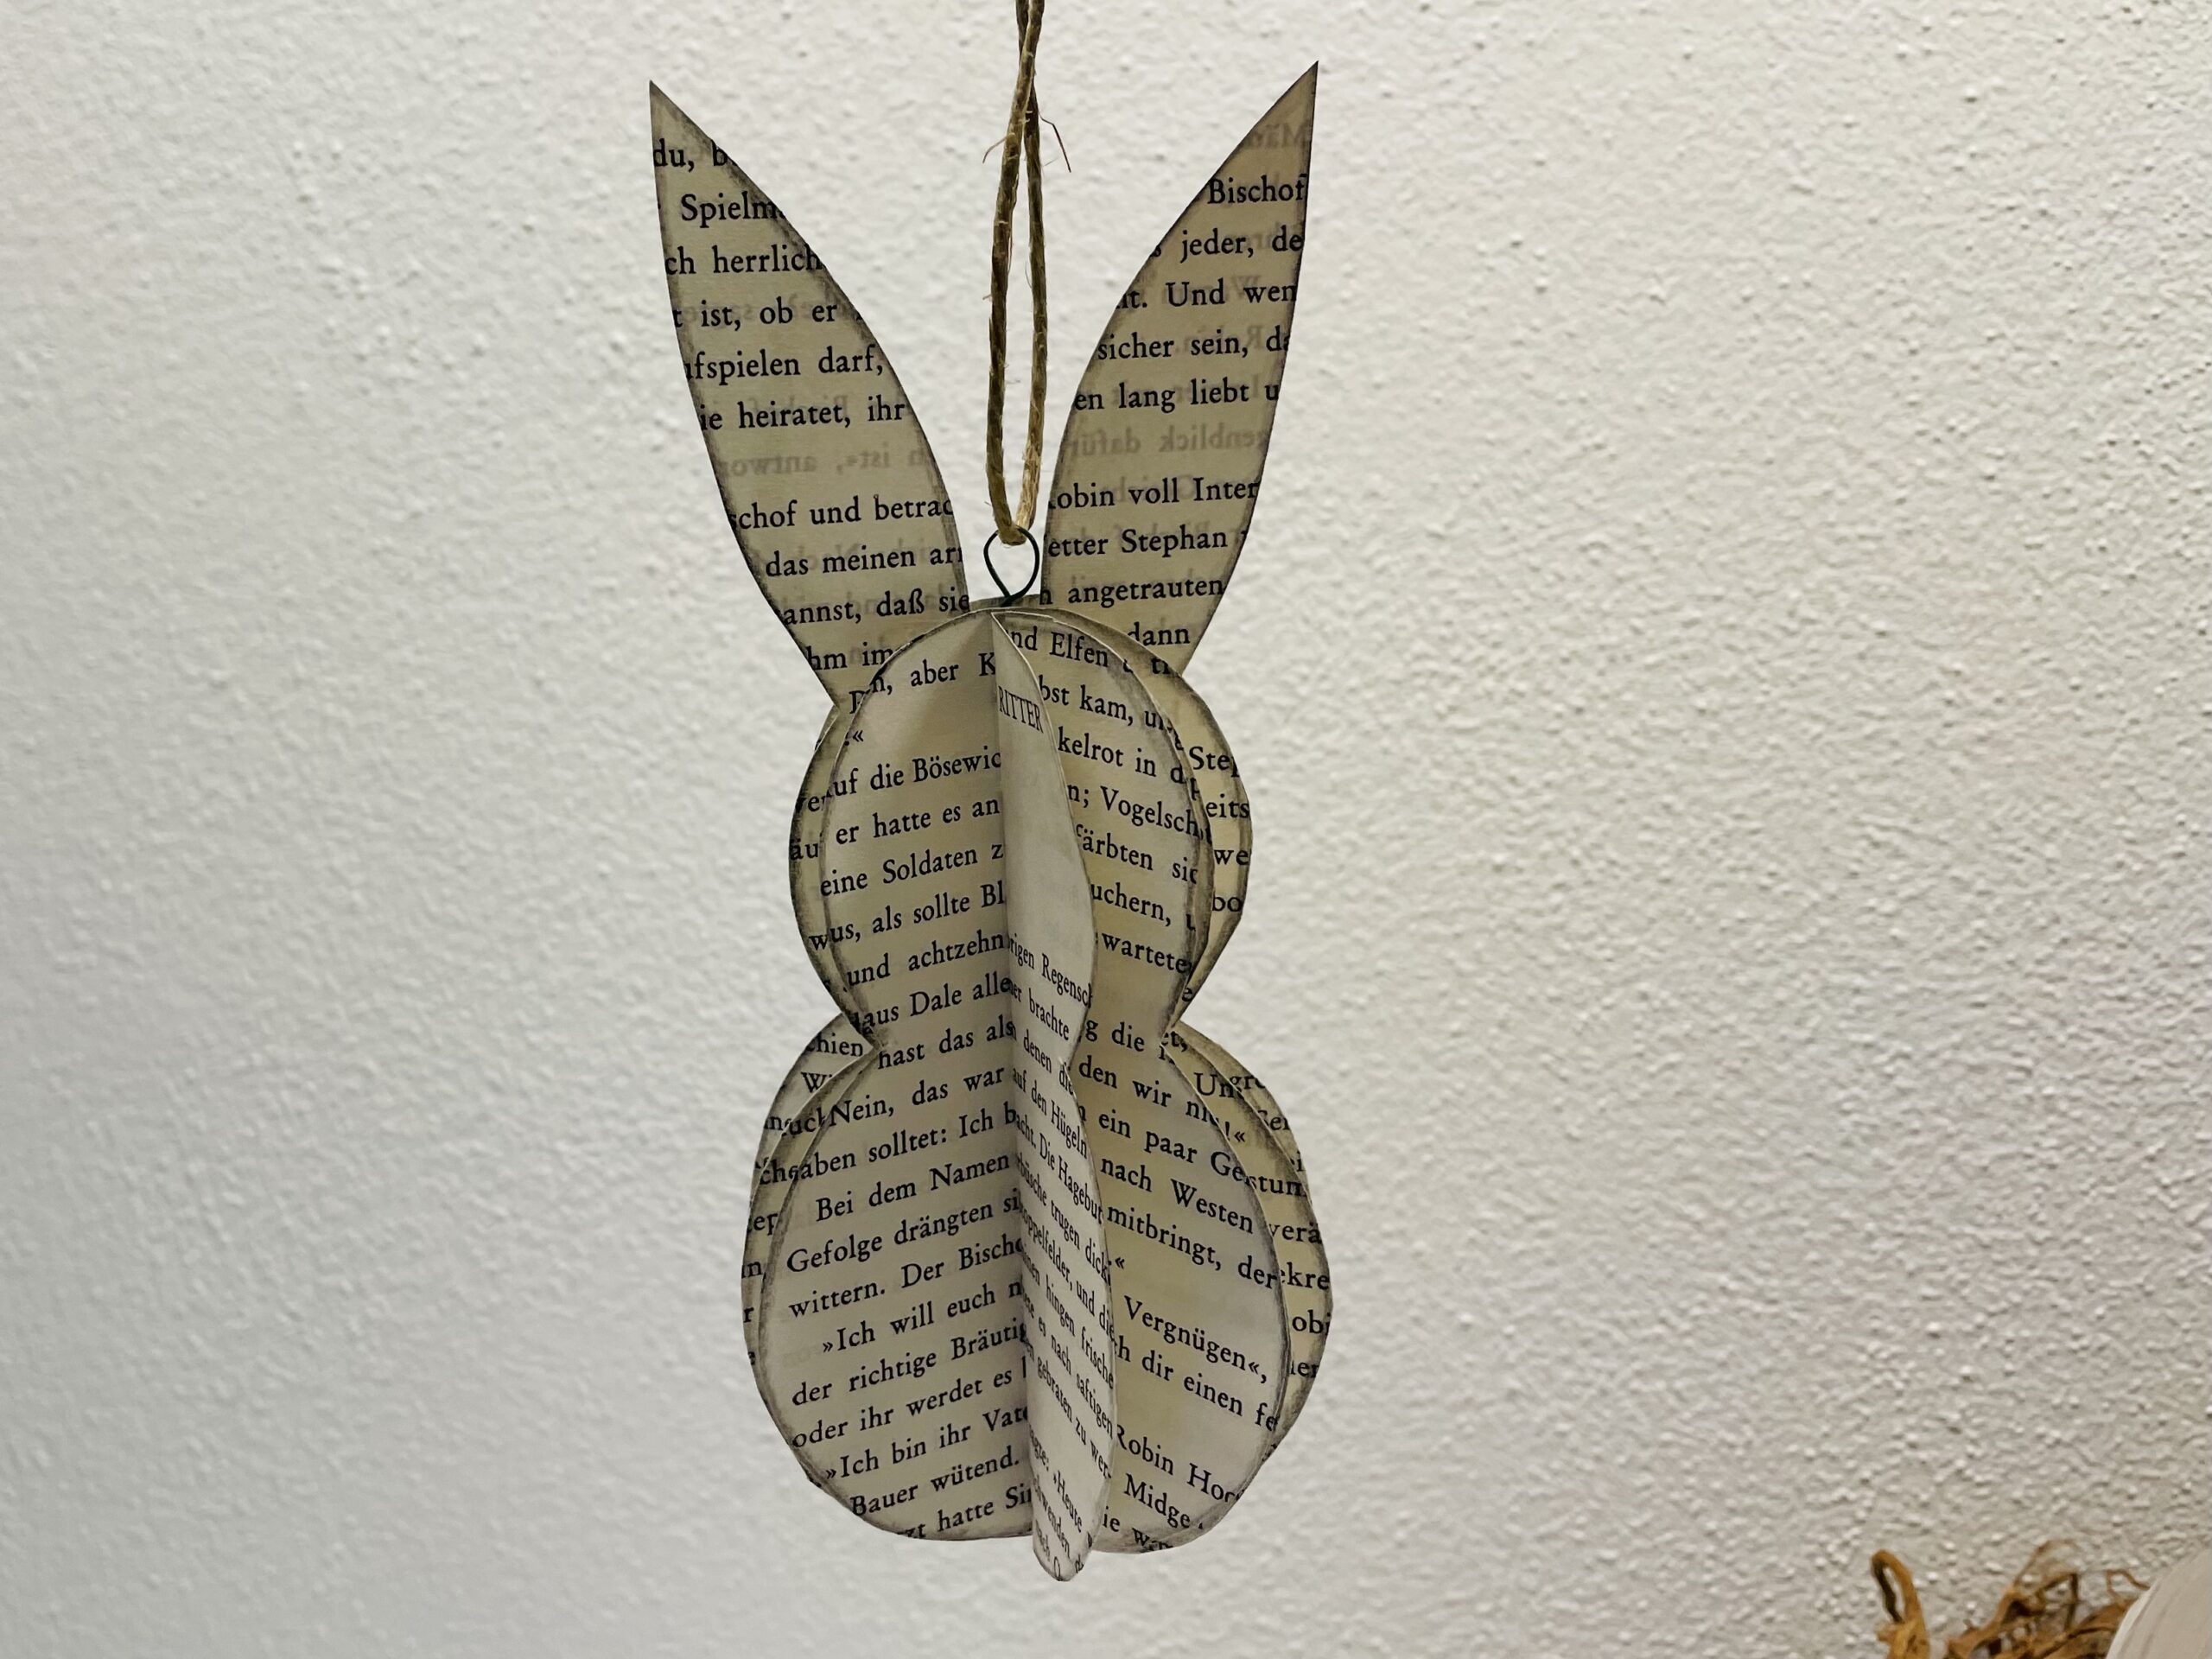


Hangs the finished rabbit, for example, on a branch or Easter branch.


You can print and use this template.


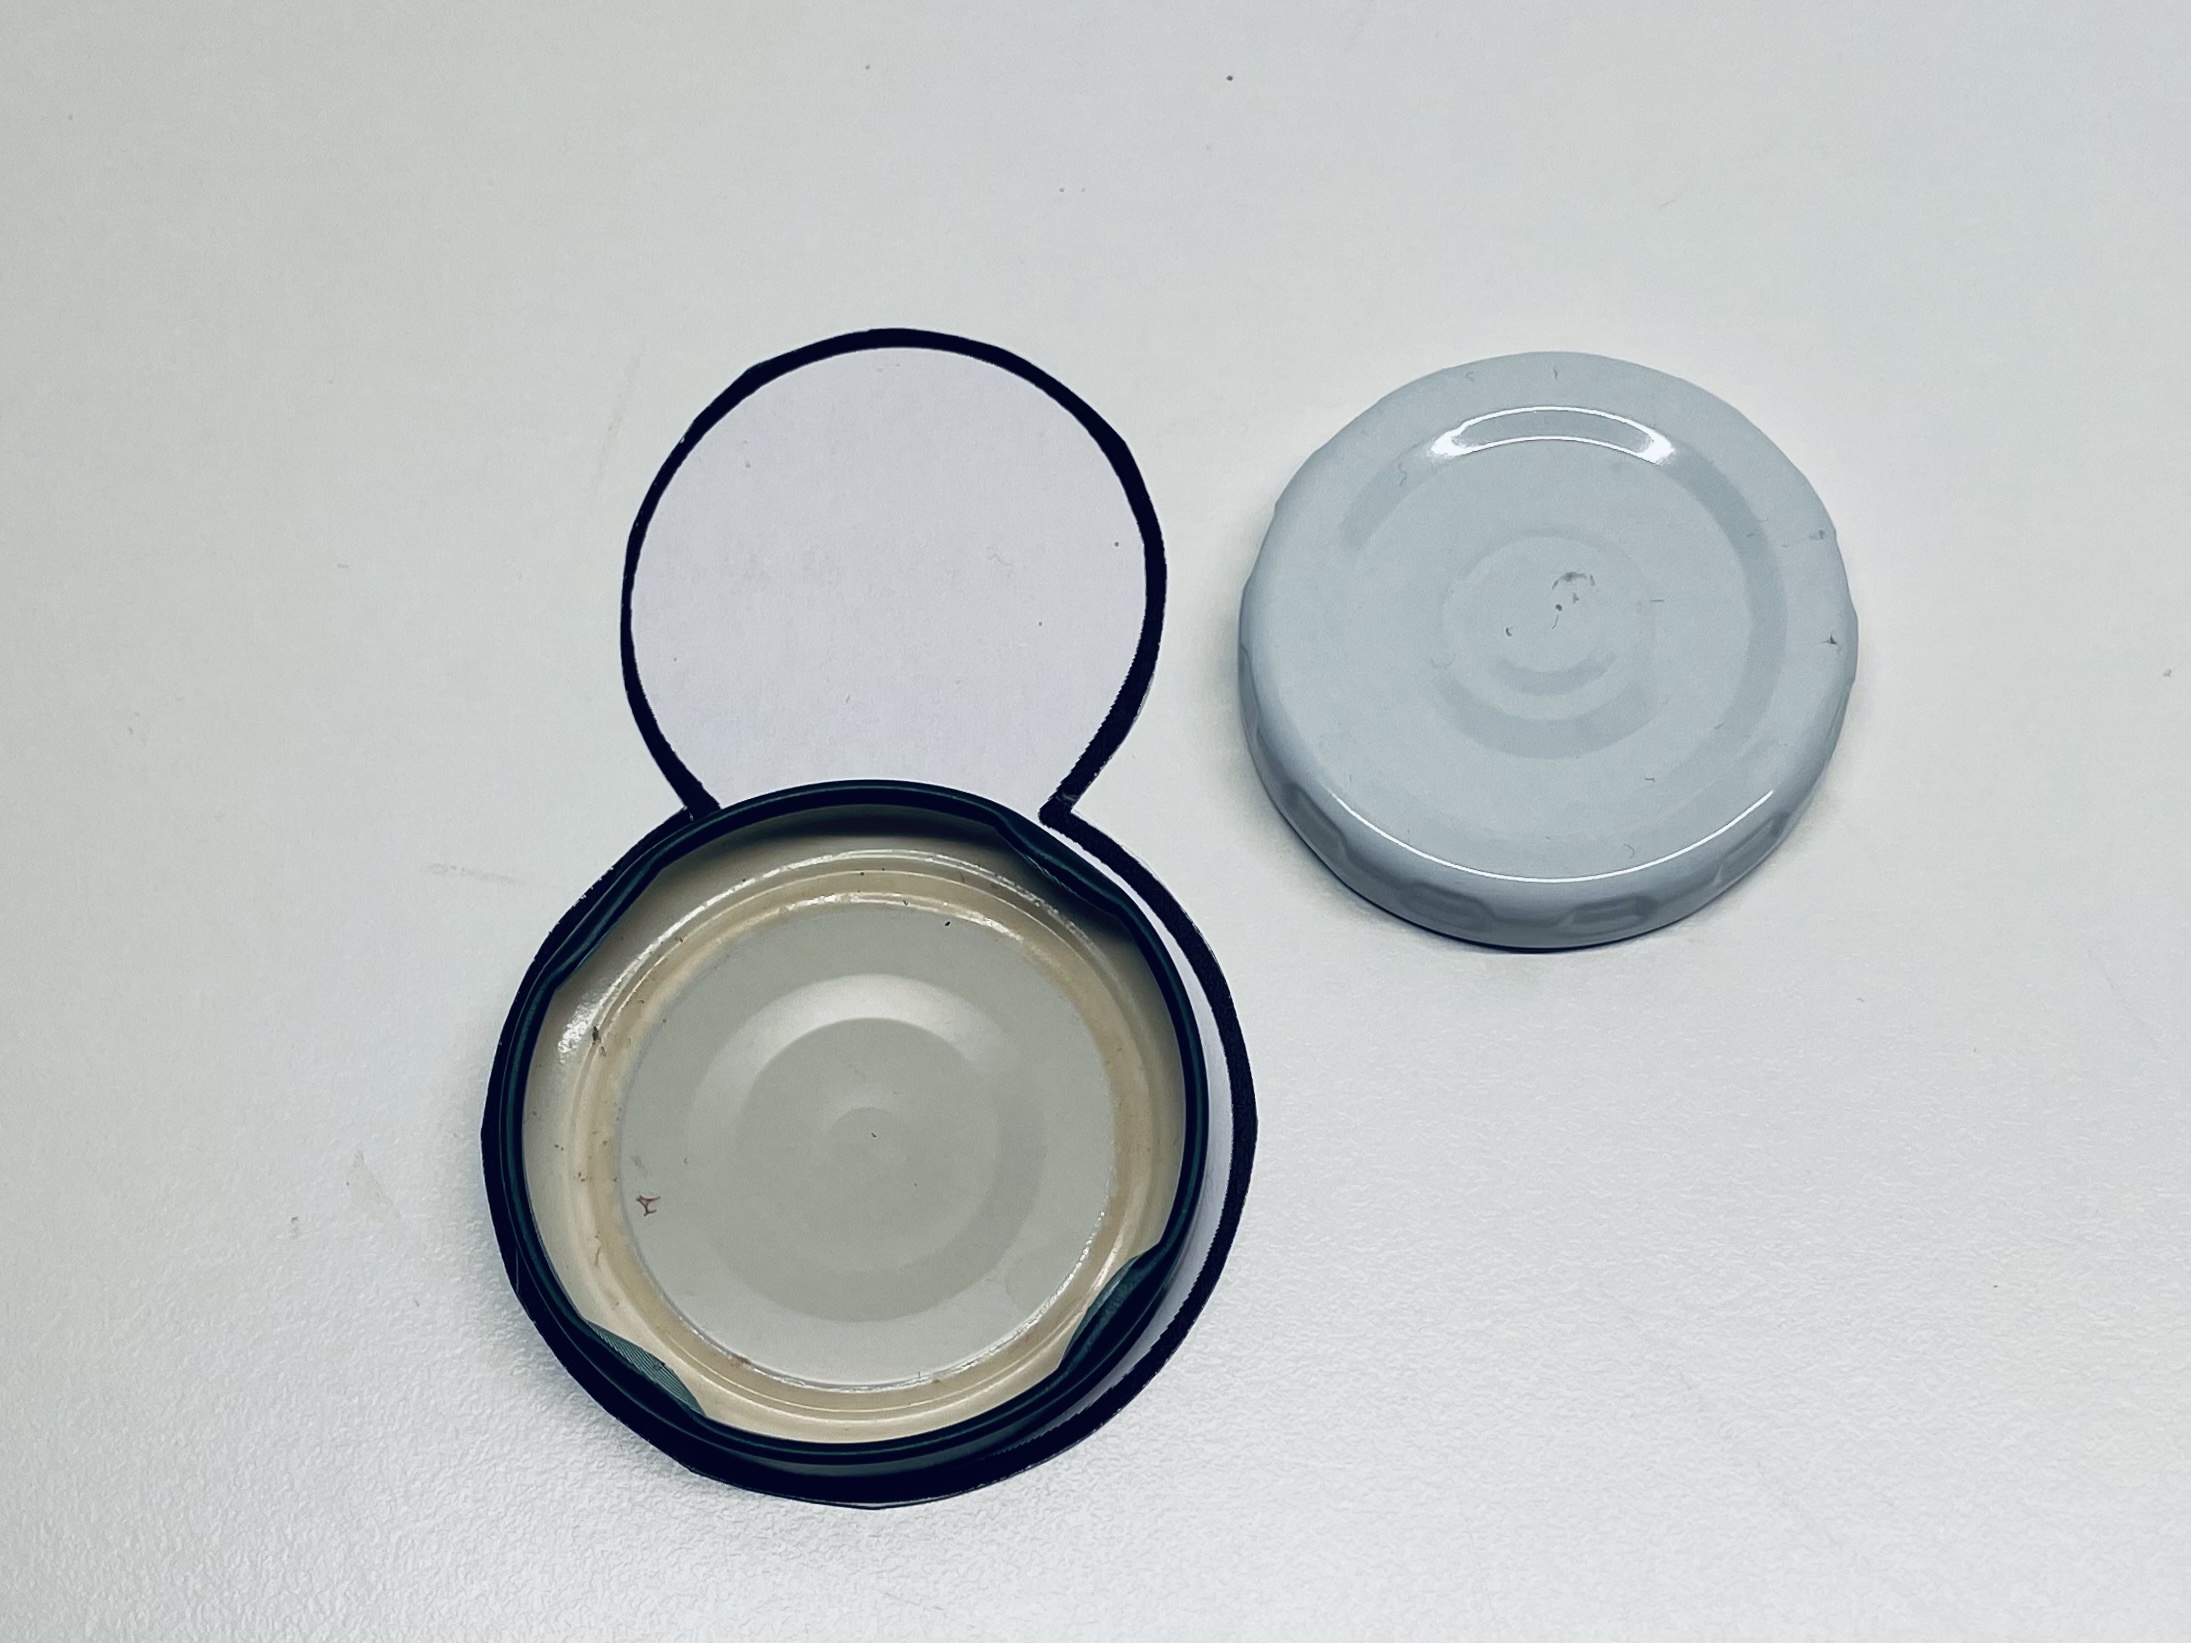
Uses two slightly different sized screw caps and paints a "snowman". Then only the ears are missing!


Have fun doing crafts.
Materials
Directions
Print the template once or paint a rabbit stencil yourself, one with ears and the same without ears.


Cut out both templates. Now you need a few old described book pages (use a book that you want to throw away, not yet usable!)


Place the rabbit template on a book page so that as much text as possible can be seen on the rabbit later on. Covers the template with a pencil.


Now you can cut out the rabbit.


The rabbit with ears, you only need once.


From the earless rabbit form you have to cut 5 parts.


From both sides the hare parts should be described with text.


You can take the next step, but it is not necessarily necessary.
Ties the paper edges of the individual parts from both sides with a black crayon.


Keep it very flat above the edge of the leaf, so that as far as possible only a light shadow can be seen at the edge of the paper.


That's how the paper looks more noble.
(That's a matter of taste!)


Now take a 5cm long piece of thin flower wire.


Lay it half and twist it at the bend. This creates a loop that should serve as a suspension. You can shorten the two long wires to about 1cm length.


Then place the wire loop in the middle between the rabbit ears, so that only the loop protrudes over the paper edge.


Glues the wire loop well with a transparent adhesive tape. Presses the adhesive tape well on the wire sides.


Put a hare without ears in front of it. Now fold it half in length.


Strip the fracture well.


Repeat this with all other hare parts (all parts without ears).


A rabbit without ears is cut apart on the folding line. These halves are only needed last.


Now all parts have to be joined together.


Place two whole hare parts (without ears) exactly on each other/into each other.


The part with ears is the middle part. Place two parts in one another on the front on the rabbits with ears and two on the back, the rabbit with ears. So the rabbit becomes plastic.
He gets a round head and belly.


Hold the hare parts firmly in your hand and direct them so that they lie exactly on each other.


Here you must be very accurate!
The rabbit is pressed flat and first tacked at the head of the rabbit, exactly on the folding line.


A second staple puts in the middle of the belly, also on the folding line.


Now you can fold the rabbit apart again, it holds together through the staples.
Either you are already done with the rabbit, because it already likes you, or you want to cover the staples still. Then see how it goes on!


The separated body halves are now still left. These are glued exactly over the still visible clamps.


The liquid glue or craft glue (alternatively hot glue with caution - risk of injury) is applied to the edge of the hare half and the hare half pressed in the middle on the folding line with the visible brackets.


You can also apply the glue to the folding line that press the cut edge of the hare half.


You have to press the glued half briefly until it stops and then bend the individual paper parts so that the rabbit looks evenly all around.


Threads a thread or a package line through the wire ring and knots it.


Hangs the finished rabbit, for example, on a branch or Easter branch.


You can print and use this template.


Uses two slightly different sized screw caps and paints a "snowman". Then only the ears are missing!


Have fun doing crafts.
Follow us on Facebook , Instagram and Pinterest
Don't miss any more adventures: Our bottle mail


