Map making with bees and honeycombs

AdventurerKatzi
Rating0.04.1 Thousand times & (0) DifficultyAdvanced

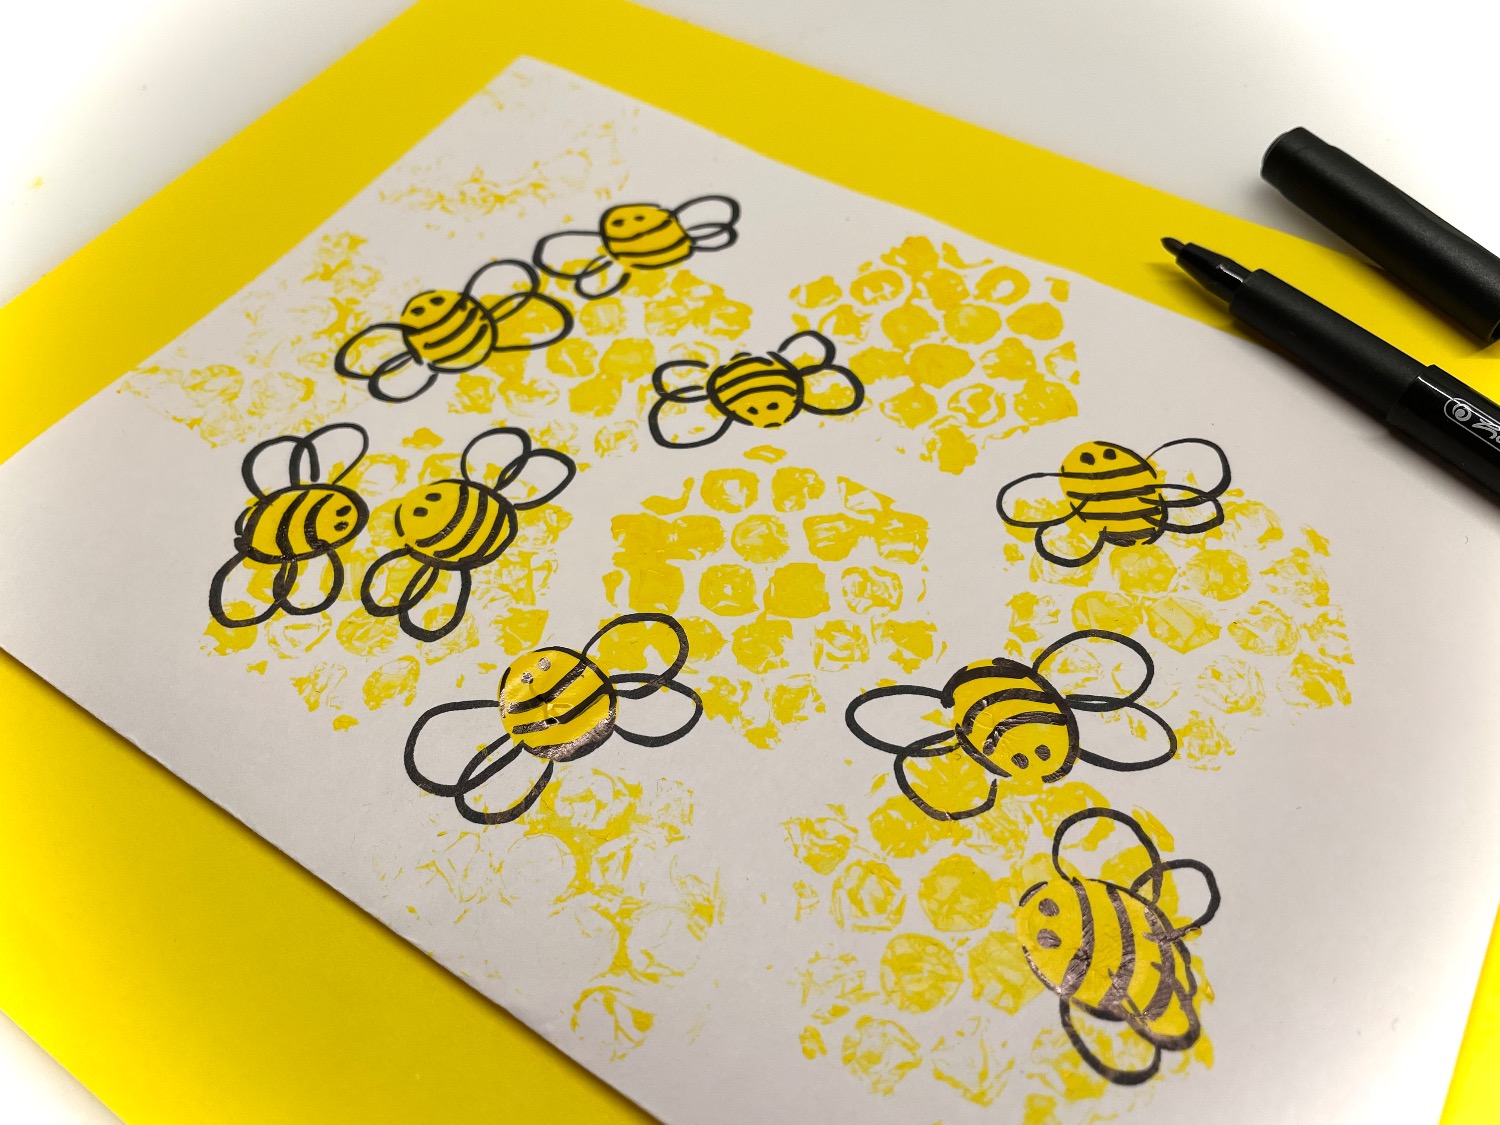
A bright card for bee lovers, honey lovers or "industrious" people. Print honeycombs with a specially crafted honeycomb stamp and put a lot of small bees on it with fingertips. A very individual card that never looks the same. It can look like a hidden card if you do a lot of bees on it. Check out the instructions and try it out. Have fun crafting the card!

Media Education for Kindergarten and Hort

Kind bastelt eine Rassel mit dem Navi
The Adventure Navi, the app for DIY projects, enables media education for the youngest.

Relief in everyday life, targeted promotion of individual children, independent learning and - without any pre-knowledge already usable by the youngest!


Titelbild zur Bastel- und DIY-Idee für Kinder '(1130) Karte basteln mit Bienen und Waben'
Material for1 Child
Prep Time5 min.Adv. Time30 min.Total Time35 min.
 1 White paper
 1 Map in yellow Clay paper, photo box
 1 Pen
 1 Air-cushion film5cm x 5cm
 1 Cardboard 5cm x 5cm
 Finge colour yellowor water colour
 1 Screw-glass lids or plates
 1 Kitchen crepe or rags
 1 Builder's pad
 1 Paint coats
 1 Felt pen black
All links marked with a shopping cart lead to Amazon - here we have selected products that we would order ourselves and in part also ordered. In a qualified purchase via the advertising link, we as Amazon partner receive a commission, for you there are no costs. You thus support our cost- and advertising banner-free, educational offer.
1

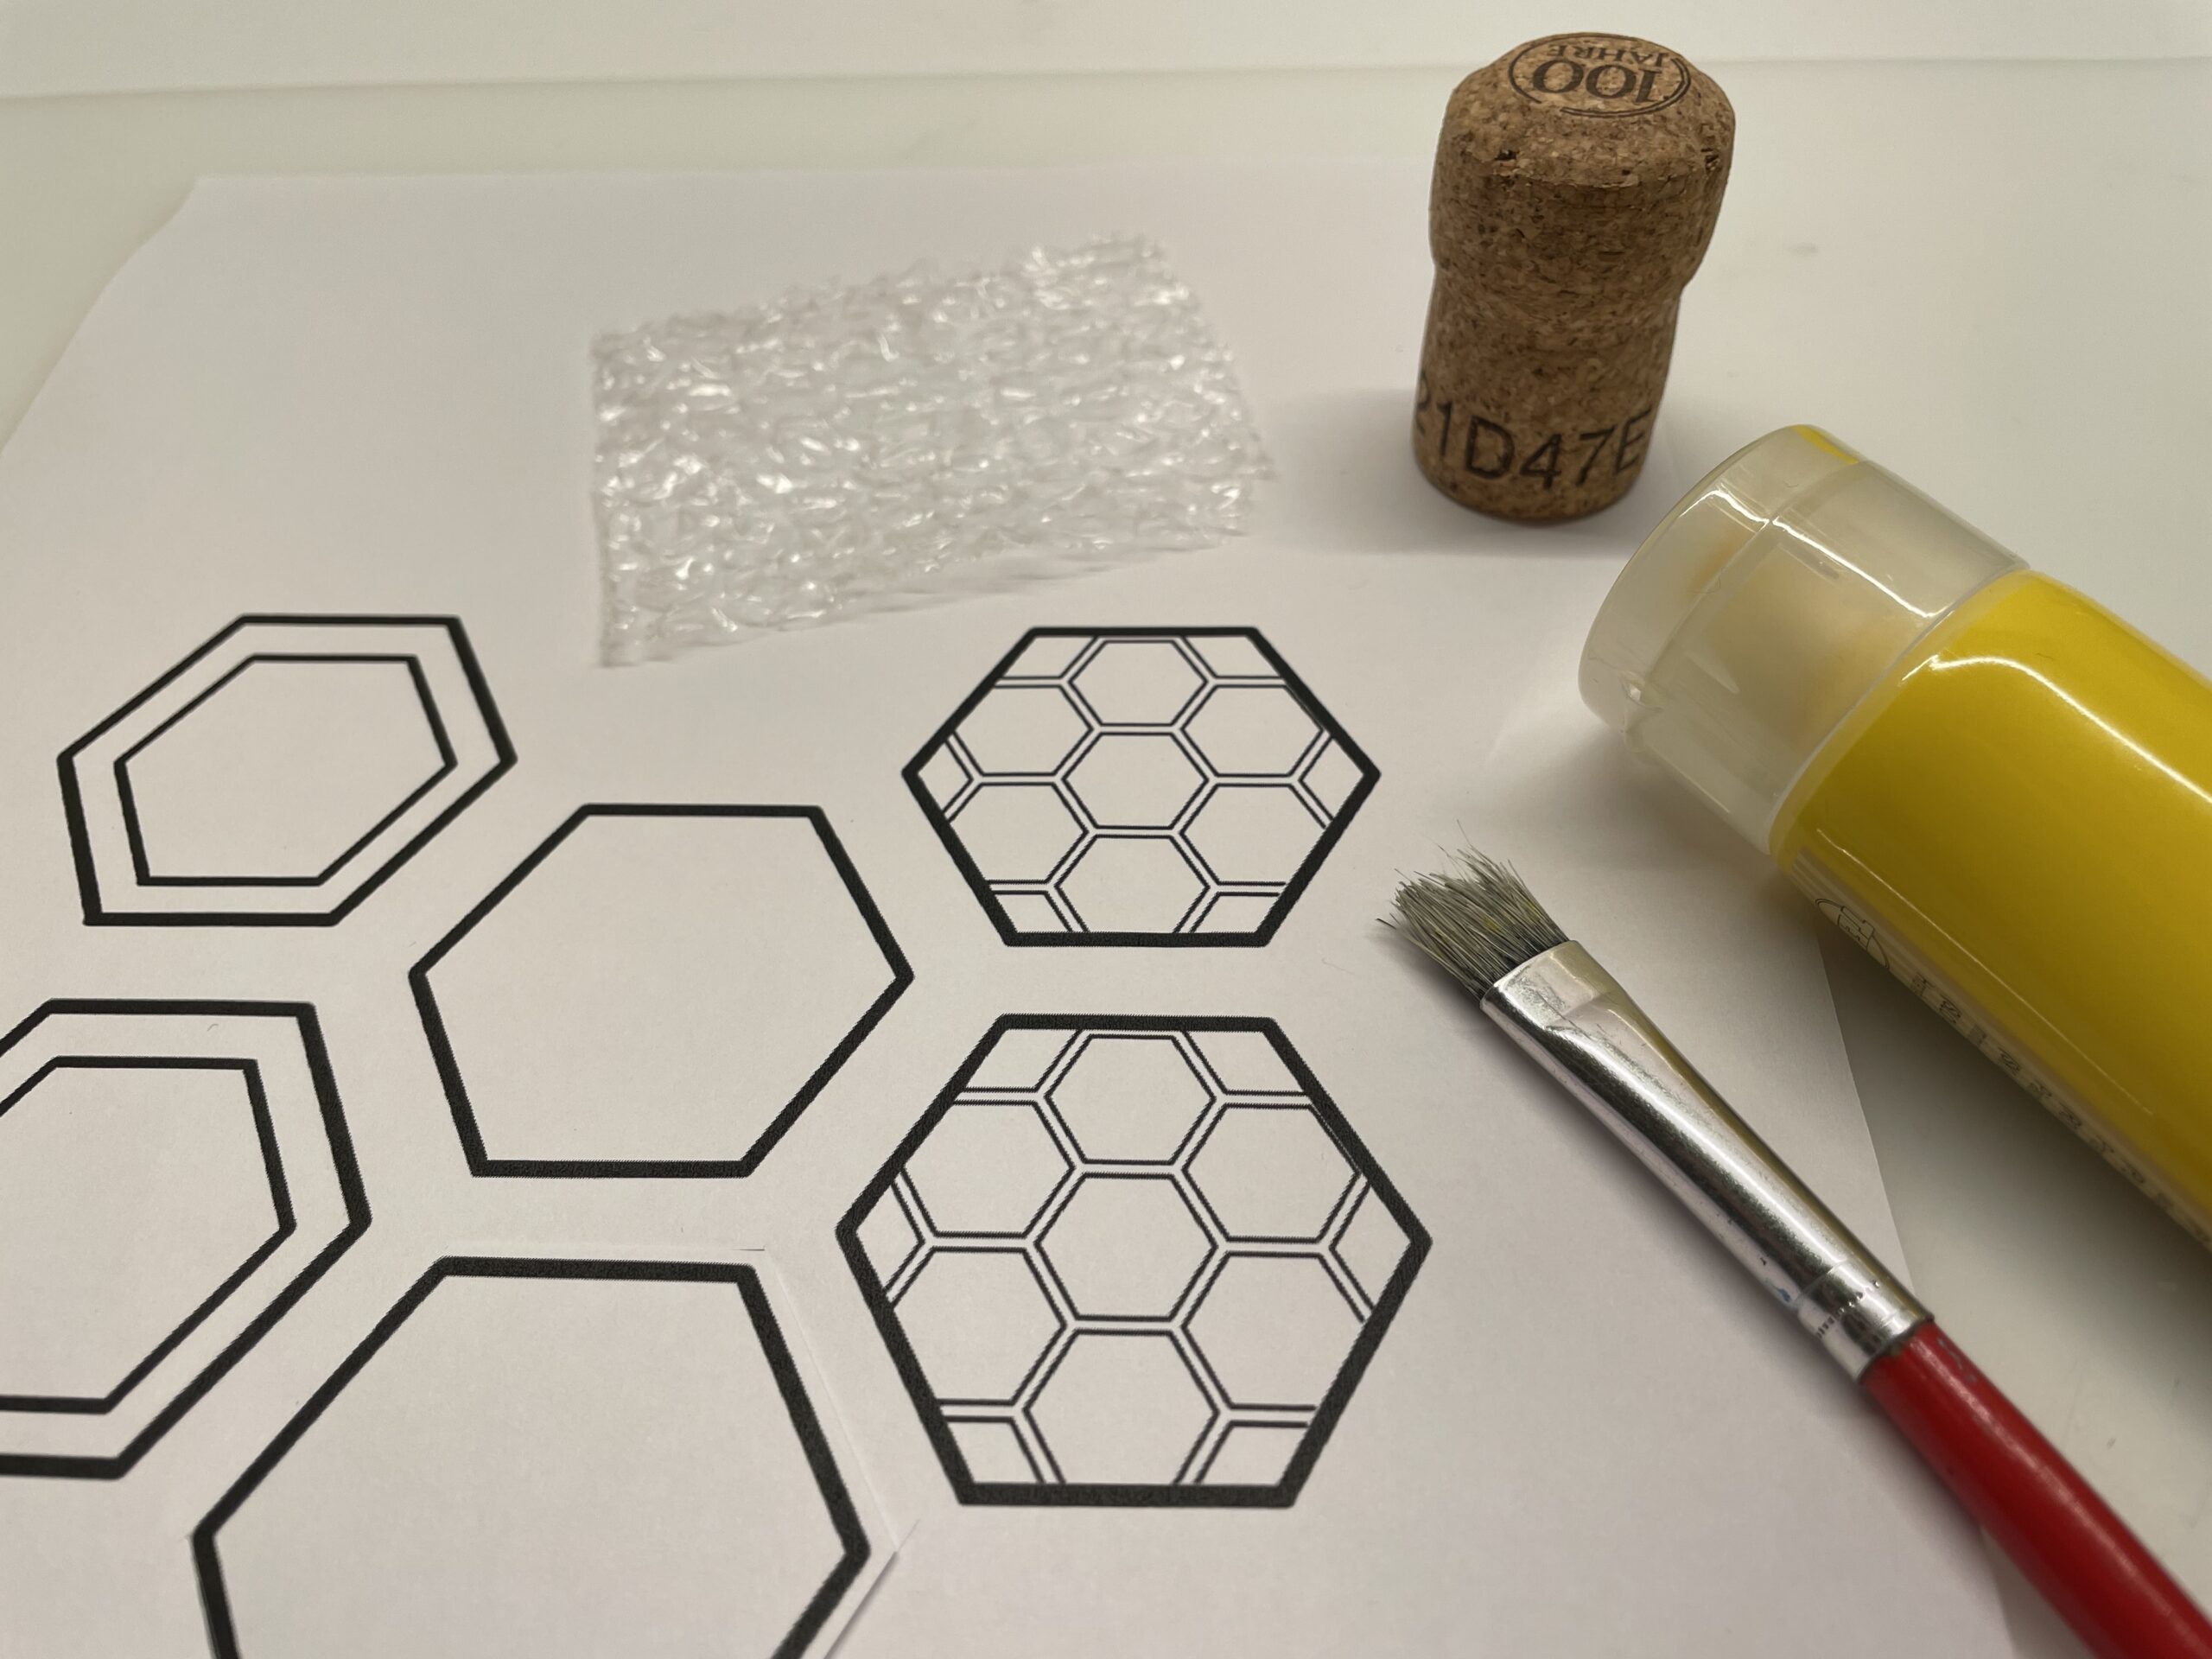
First put everything ready. Paints a honeycomb as a template or uses a honeycomb from the Print template.

Bild zum Schritt 1 für das Bastel- und DIY-Abenteuer für Kinder: 'Legt zuerst alles bereit. Malt eine Wabe als Schablone auf...'

2

Then cut this honeycomb out of solid cardboard. Alternatively, glue the honeycomb onto a cardboard box. Then cut an equally large piece of bubble wrap.
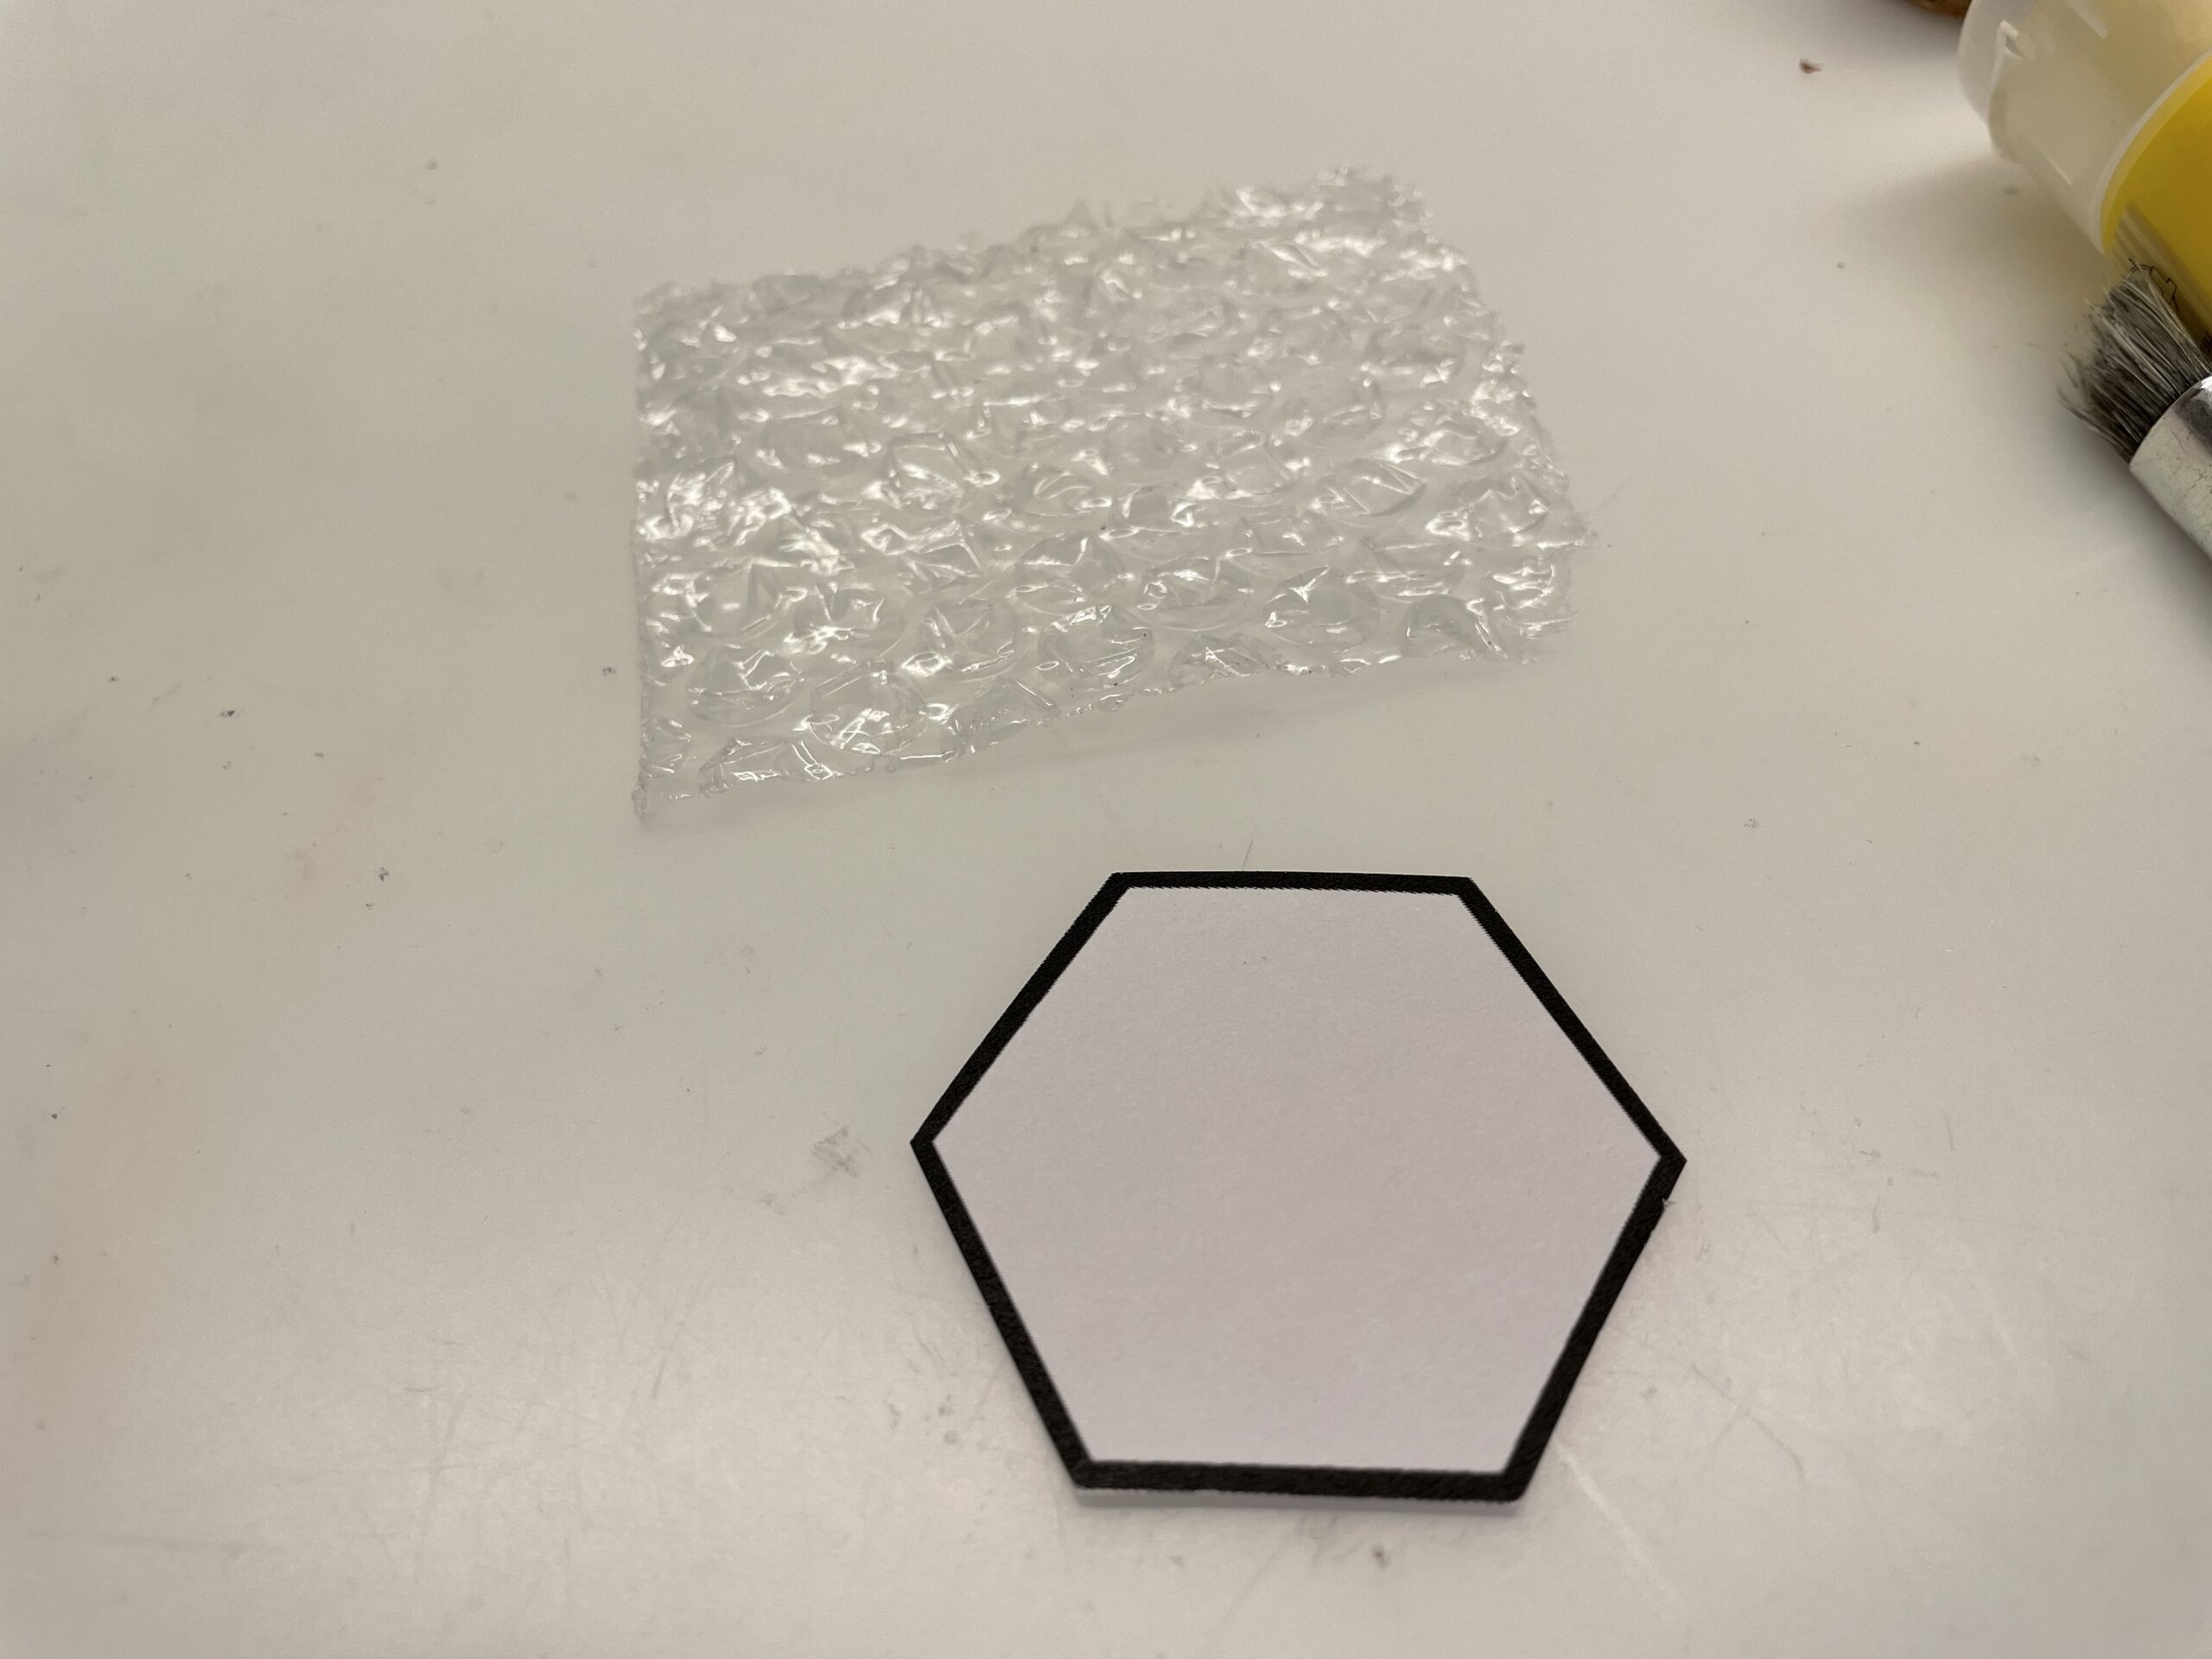
Bild zum Schritt 2 für das Bastel- und DIY-Abenteuer für Kinder: 'Schneidet dann diese Wabe aus festem Karton aus. Alternativ klebt...'

3

Then glue the transparent foil onto the honeycomb.

Bild zum Schritt 3 für das Bastel- und DIY-Abenteuer für Kinder: 'Klebt dann die durchsichtige Folie auf die Wabe.'

4

Now cut the foil along the honeycomb.

Bild zum Schritt 4 für das Bastel- und DIY-Abenteuer für Kinder: 'Jetzt schneidet ihr die Folie entlang der Wabe zu.'

5

This honeycomb is stable and now glues it under a cork. This creates a self-made honeycomb stamp.

Bild zum Schritt 5 für das Bastel- und DIY-Abenteuer für Kinder: 'Diese Wabe ist stabil und diese klebt ihr nun unter...'

6

To do this, glue the cork centered on the back of the honeycomb.

Bild zum Schritt 6 für das Bastel- und DIY-Abenteuer für Kinder: 'Dafür klebt ihr den Korken mittig auf die Rückseite der...'

7

On the stamp-front you see the pimples of the foil.

Bild zum Schritt 7 für das Bastel- und DIY-Abenteuer für Kinder: 'Auf der Stempel-Vorderseite seht ihr die Noppen der Folie.'

8

Now you need the yellow color and a screw glass lid or a saucer. Try out whether your honeycomb stamp fits in.

Bild zum Schritt 8 für das Bastel- und DIY-Abenteuer für Kinder: 'Jetzt braucht ihr die gelbe Farbe und einen Schraubglasdeckel oder...'

9

Then fill some paint in the screw-glass lid and distribute the paint in the lid.

Bild zum Schritt 9 für das Bastel- und DIY-Abenteuer für Kinder: 'Dann füllt ihr etwas Farbe in den Schraubglasdeckel und verteilt...'

10

Now press the stamp into the damp colour and rub it slightly back and forth.

Bild zum Schritt 10 für das Bastel- und DIY-Abenteuer für Kinder: 'Drückt nun den Stempel in die feuchte Farbe und reibt...'

11

Checks whether the stamp is covered with paint everywhere.

Bild zum Schritt 11 für das Bastel- und DIY-Abenteuer für Kinder: 'Kontrolliert ob der Stempel überall mit Farbe bedeckt ist.'

12

Then you print honeycombs on a white paper.

Bild zum Schritt 12 für das Bastel- und DIY-Abenteuer für Kinder: 'Dann druckt ihr mit dem Stempel Waben auf ein weißes...'

13

After every stamp print, you'll get back paint.

Bild zum Schritt 13 für das Bastel- und DIY-Abenteuer für Kinder: 'Nach jedem Stempeldruck holt ihr wieder Farbe nach.'

14

When stamping, leave some distance between the individual honeycombs.

Bild zum Schritt 14 für das Bastel- und DIY-Abenteuer für Kinder: 'Lasst beim Stempeln etwas Abstand zwischen den einzelnen Waben.'

15

You can also use different yellow orange tones for the individual honeycombs.

Bild zum Schritt 15 für das Bastel- und DIY-Abenteuer für Kinder: 'Ihr könnt auch verschiedene Gelb-Orangetöne für die einzelnen Waben verwenden.'

16

When your paper is printed with honeycombs, you print the bees' bodies.

Bild zum Schritt 16 für das Bastel- und DIY-Abenteuer für Kinder: 'Ist euer Papier mit Waben bedruckt, dann druckt ihr die...'

17

You'd better do that with your index finger.
For this, dip the index finger in yellow color and pat between, on and next to the honeycombs fingerprints.

Bild zum Schritt 17 für das Bastel- und DIY-Abenteuer für Kinder: 'Das macht ihr am besten mit dem Zeigefinger.  ...'

18

Then put the paper aside for drying.

Bild zum Schritt 18 für das Bastel- und DIY-Abenteuer für Kinder: 'Anschließend legt ihr das Papier zum Trocknen zur Seite.'

19

When the paint is dried, you paint a bee from each paint swab.

Bild zum Schritt 19 für das Bastel- und DIY-Abenteuer für Kinder: 'Ist die Farbe getrocknet, dann malt ihr aus jedem Farbtupfer...'

20

Paints every bee stripes and two dots as eyes.

Bild zum Schritt 20 für das Bastel- und DIY-Abenteuer für Kinder: 'Malt jeder Biene Streifen und zwei Punkte als Augen.'

21

You can also run around the bees with a black pen.
Then you paint four wings for each bee.

Bild zum Schritt 21 für das Bastel- und DIY-Abenteuer für Kinder: 'Ihr könnt die Bienenkörper auch mit schwarzem Stift umfahren. ...'

22

Make sure that not all bees fly or crawl in the same direction, because in a hive there is only so much bees, whose paths cross again and again.

Bild zum Schritt 22 für das Bastel- und DIY-Abenteuer für Kinder: 'Achtet darauf, dass nicht alle Bienen in die gleiche Richtung...'

23

Stick your paper on a firmer photo box.

Bild zum Schritt 23 für das Bastel- und DIY-Abenteuer für Kinder: 'Klebt eurer Papier anschließend auf einen festeren Fotokarton.'

24

The bee honeycomb card is ready.
This self-made card is certainly a very special gift.

Bild zum Schritt 24 für das Bastel- und DIY-Abenteuer für Kinder: 'Fertig ist die Bienen-Waben-Karte.   Diese selbst gebastelte Karte...'

25

Stay creative and have fun doing crafts!?

Materials

 1 White paper
 1 Map in yellow Clay paper, photo box
 1 Pen
 1 Air-cushion film5cm x 5cm
 1 Cardboard 5cm x 5cm
 Finge colour yellowor water colour
 1 Screw-glass lids or plates
 1 Kitchen crepe or rags
 1 Builder's pad
 1 Paint coats
 1 Felt pen black
All links marked with a shopping cart lead to Amazon - here we have selected products that we would order ourselves and in part also ordered. In a qualified purchase via the advertising link, we as Amazon partner receive a commission, for you there are no costs. You thus support our cost- and advertising banner-free, educational offer.

Directions

1

First put everything ready. Paints a honeycomb as a template or uses a honeycomb from the Print template.

Bild zum Schritt 1 für das Bastel- und DIY-Abenteuer für Kinder: 'Legt zuerst alles bereit. Malt eine Wabe als Schablone auf...'

2

Then cut this honeycomb out of solid cardboard. Alternatively, glue the honeycomb onto a cardboard box. Then cut an equally large piece of bubble wrap.

Bild zum Schritt 2 für das Bastel- und DIY-Abenteuer für Kinder: 'Schneidet dann diese Wabe aus festem Karton aus. Alternativ klebt...'

3

Then glue the transparent foil onto the honeycomb.
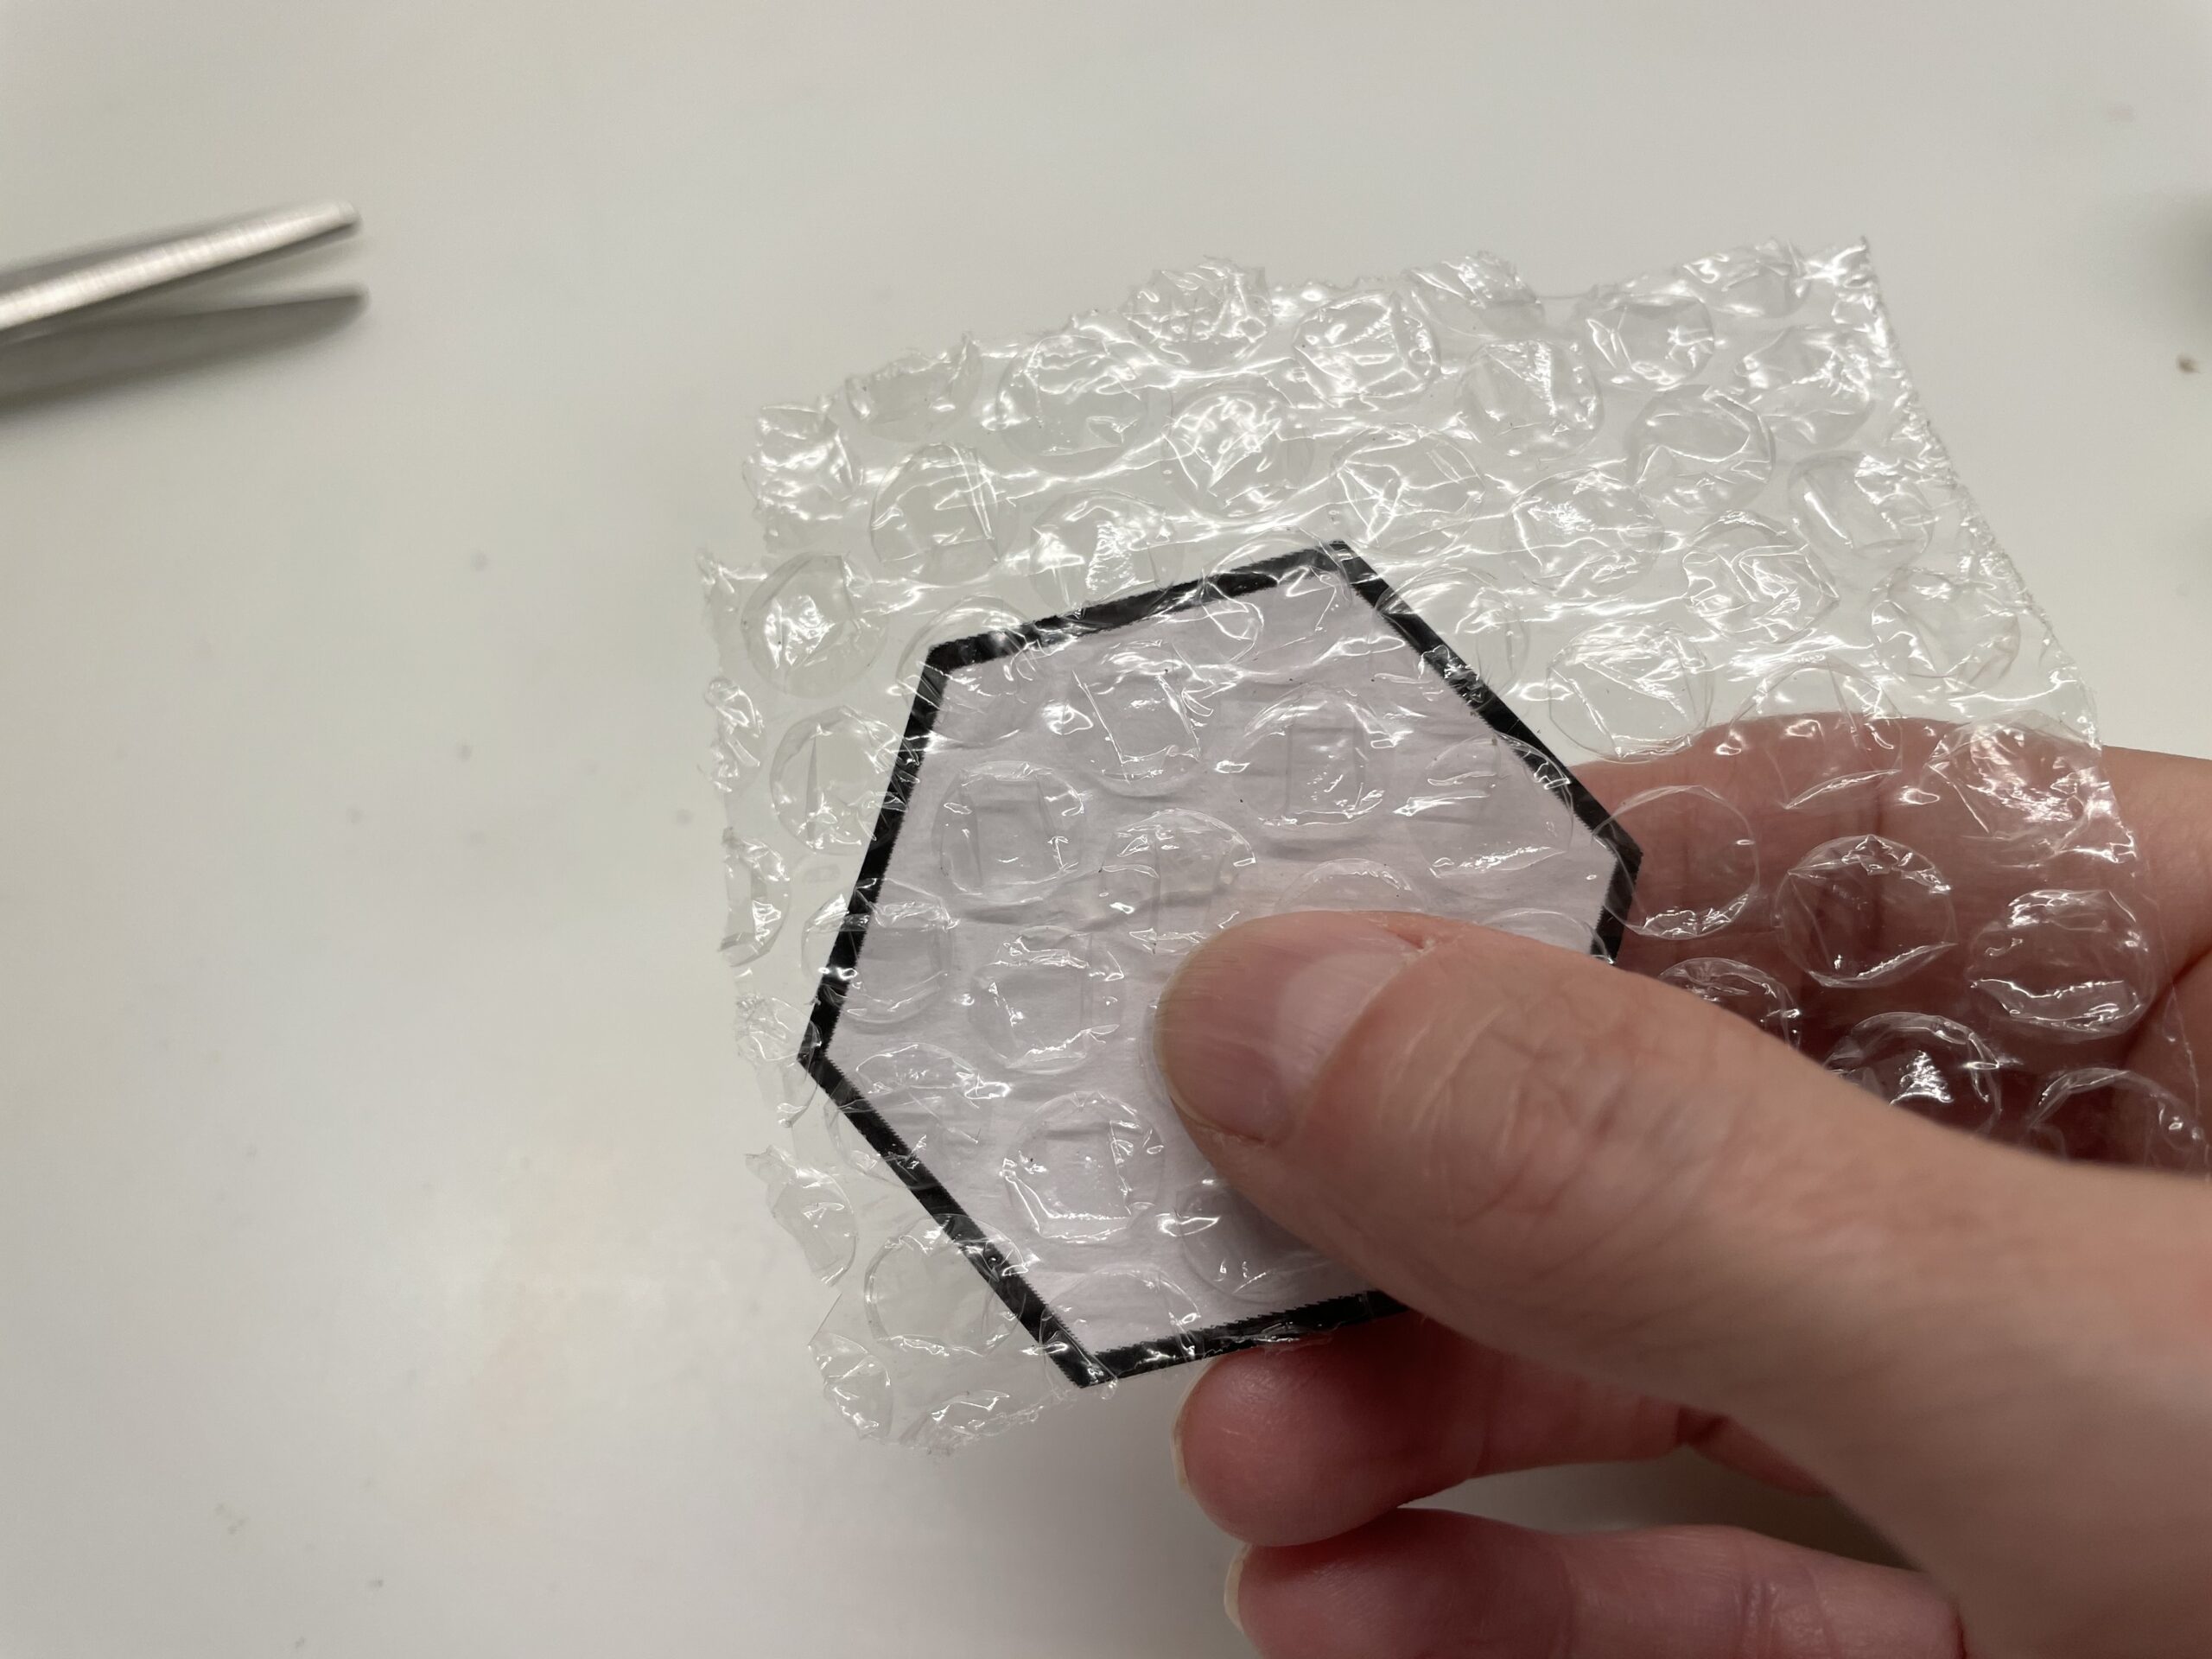
Bild zum Schritt 3 für das Bastel- und DIY-Abenteuer für Kinder: 'Klebt dann die durchsichtige Folie auf die Wabe.'

4

Now cut the foil along the honeycomb.
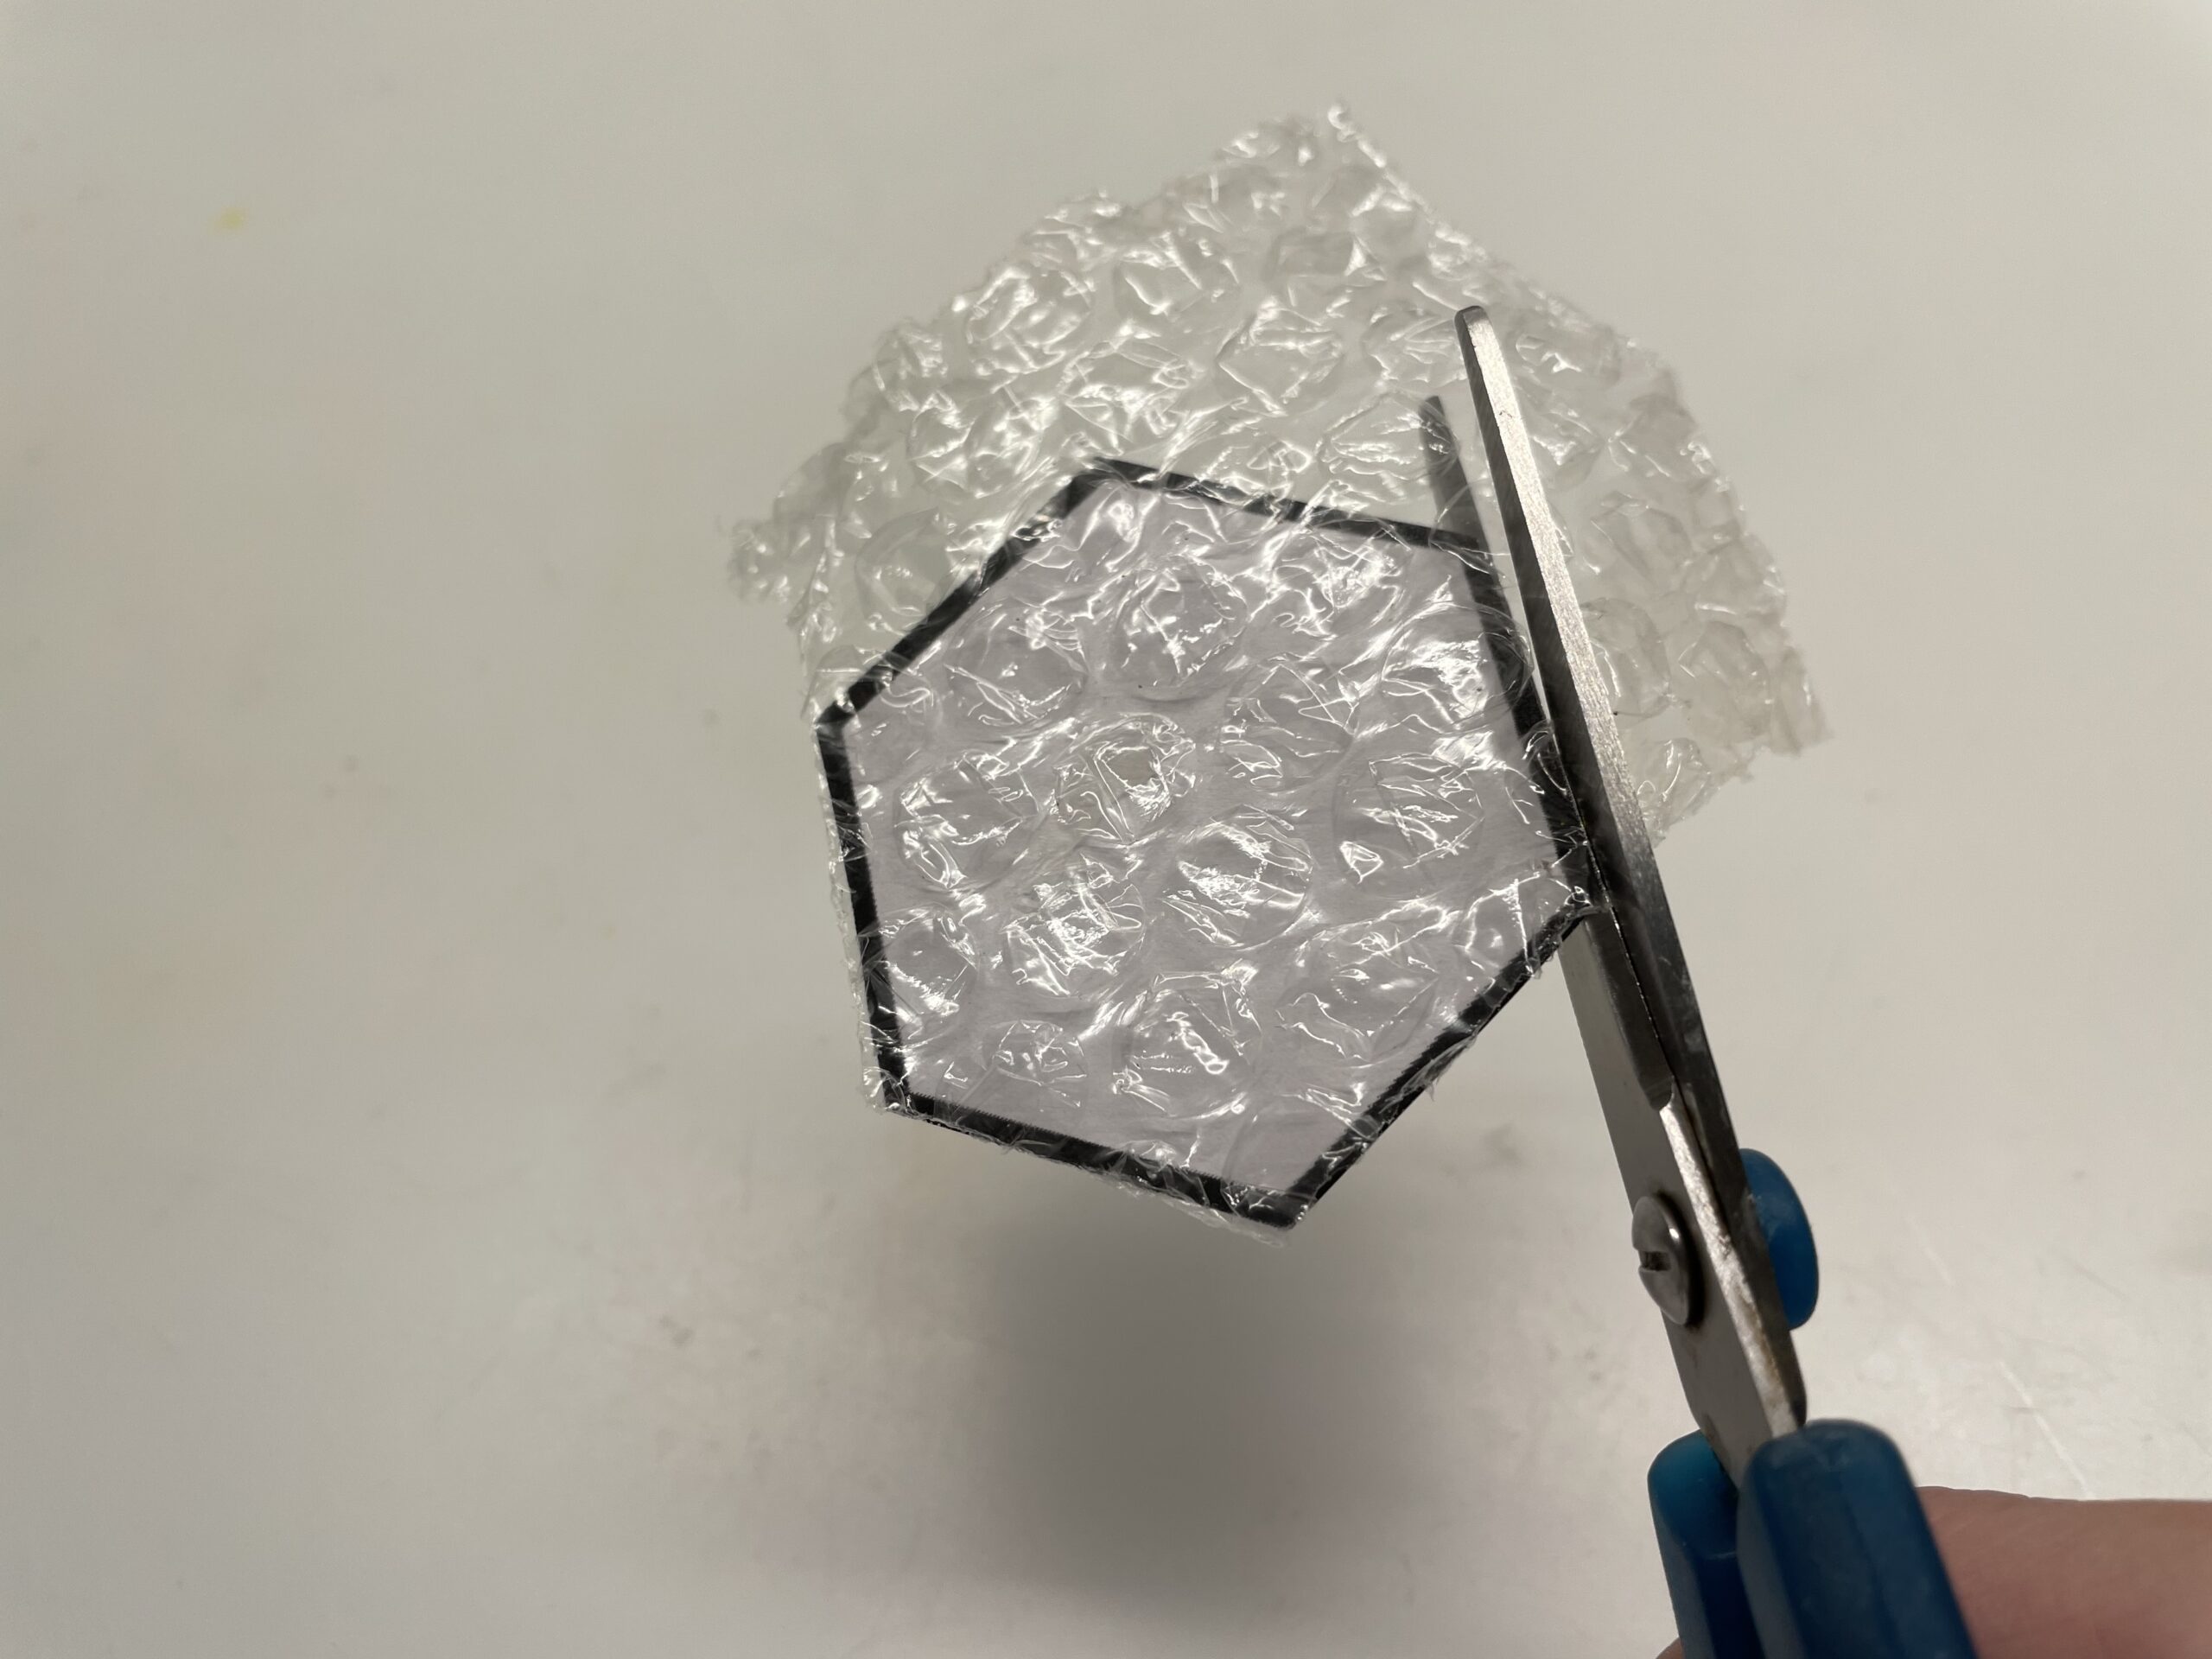
Bild zum Schritt 4 für das Bastel- und DIY-Abenteuer für Kinder: 'Jetzt schneidet ihr die Folie entlang der Wabe zu.'

5

This honeycomb is stable and now glues it under a cork. This creates a self-made honeycomb stamp.
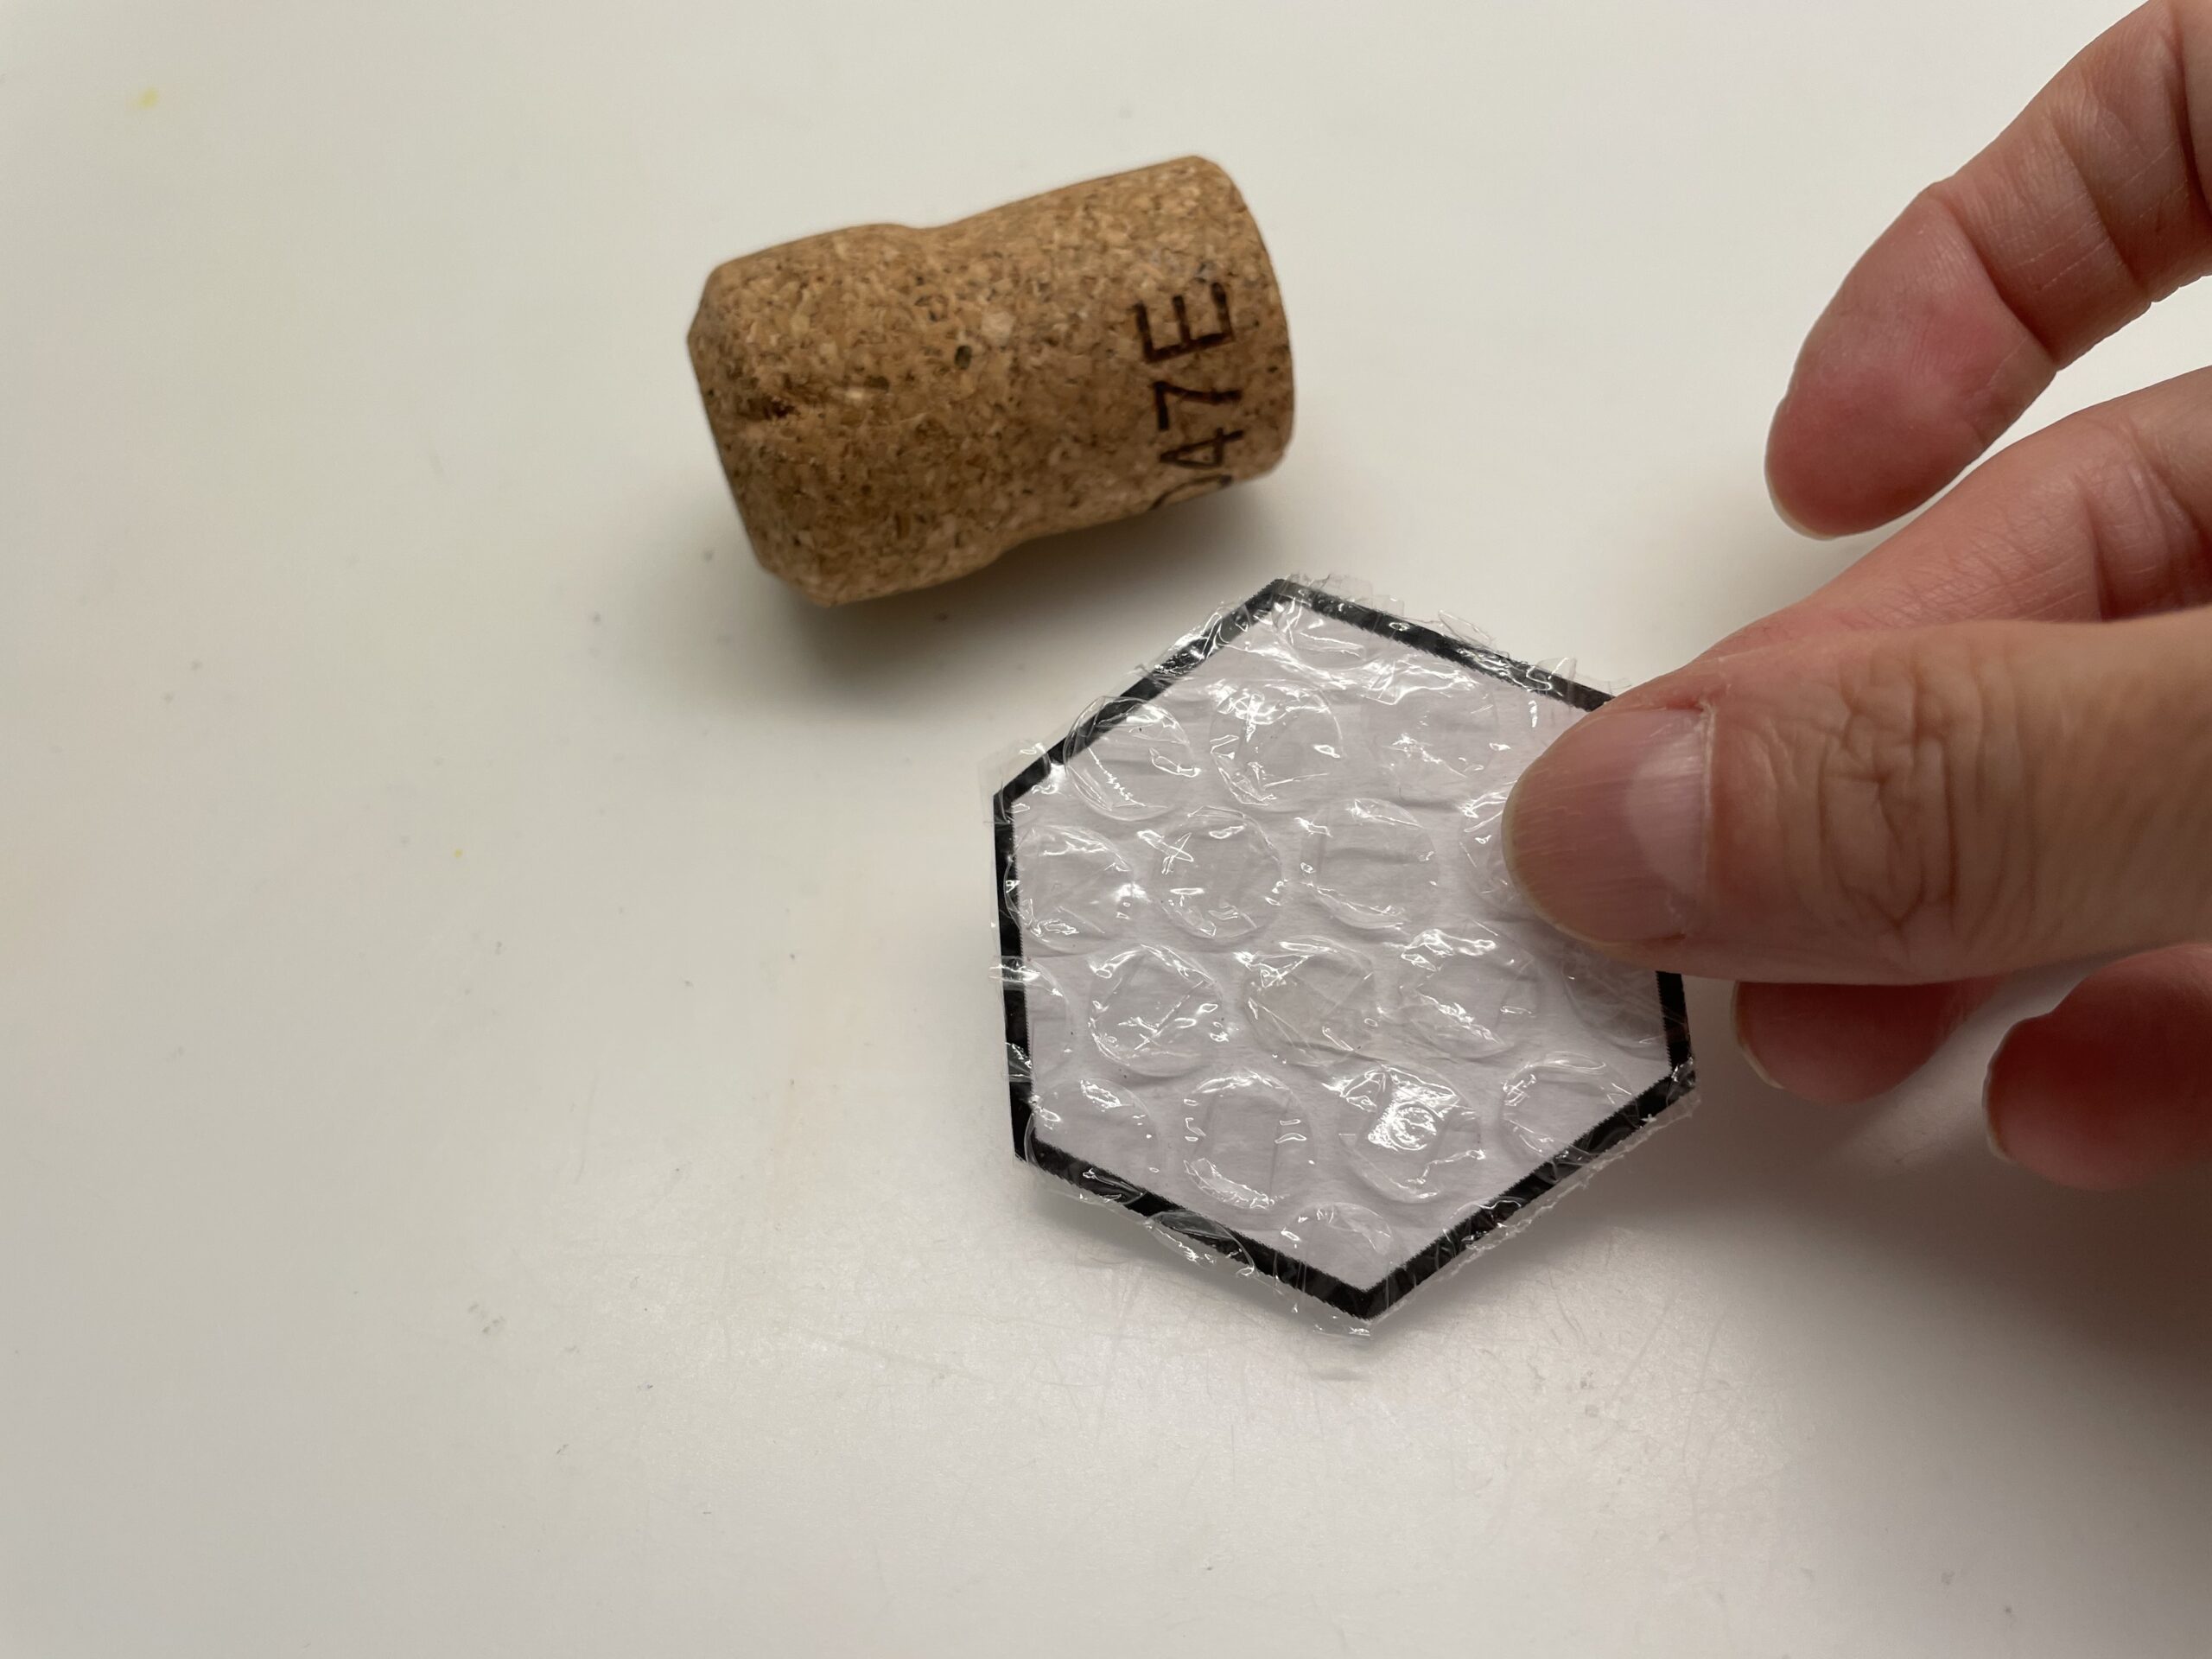
Bild zum Schritt 5 für das Bastel- und DIY-Abenteuer für Kinder: 'Diese Wabe ist stabil und diese klebt ihr nun unter...'

6

To do this, glue the cork centered on the back of the honeycomb.

Bild zum Schritt 6 für das Bastel- und DIY-Abenteuer für Kinder: 'Dafür klebt ihr den Korken mittig auf die Rückseite der...'

7

On the stamp-front you see the pimples of the foil.
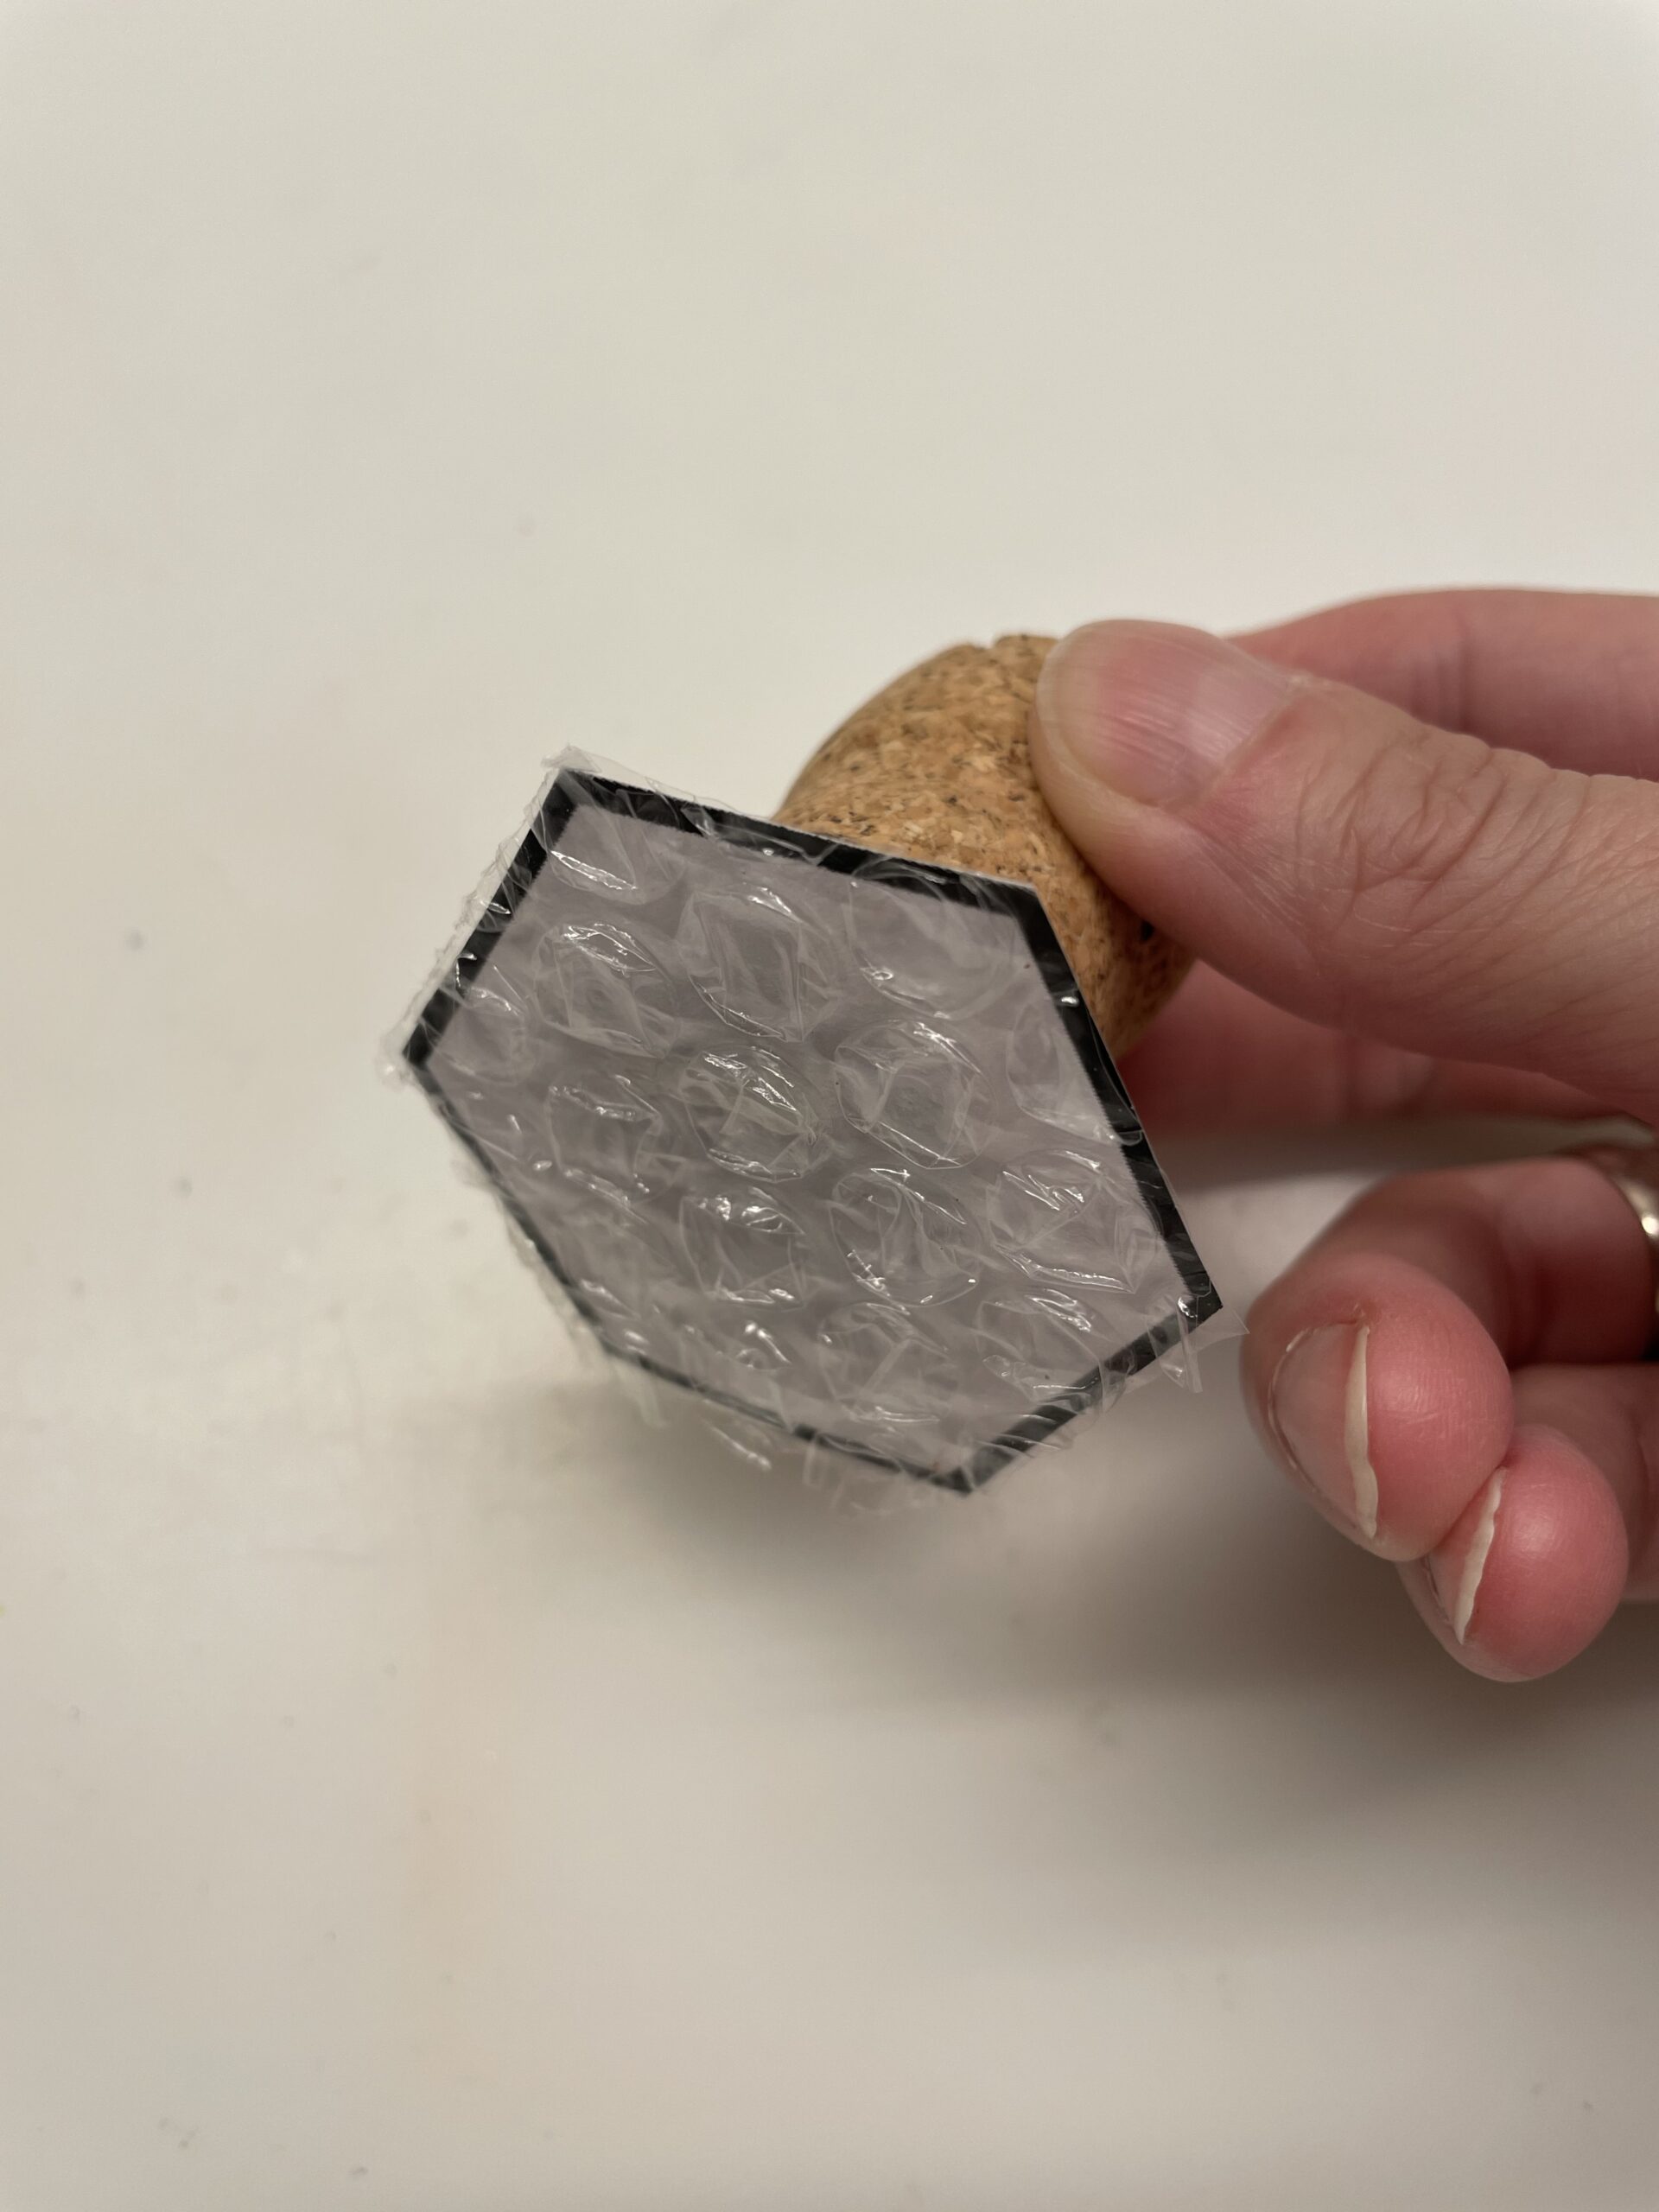
Bild zum Schritt 7 für das Bastel- und DIY-Abenteuer für Kinder: 'Auf der Stempel-Vorderseite seht ihr die Noppen der Folie.'

8

Now you need the yellow color and a screw glass lid or a saucer. Try out whether your honeycomb stamp fits in.
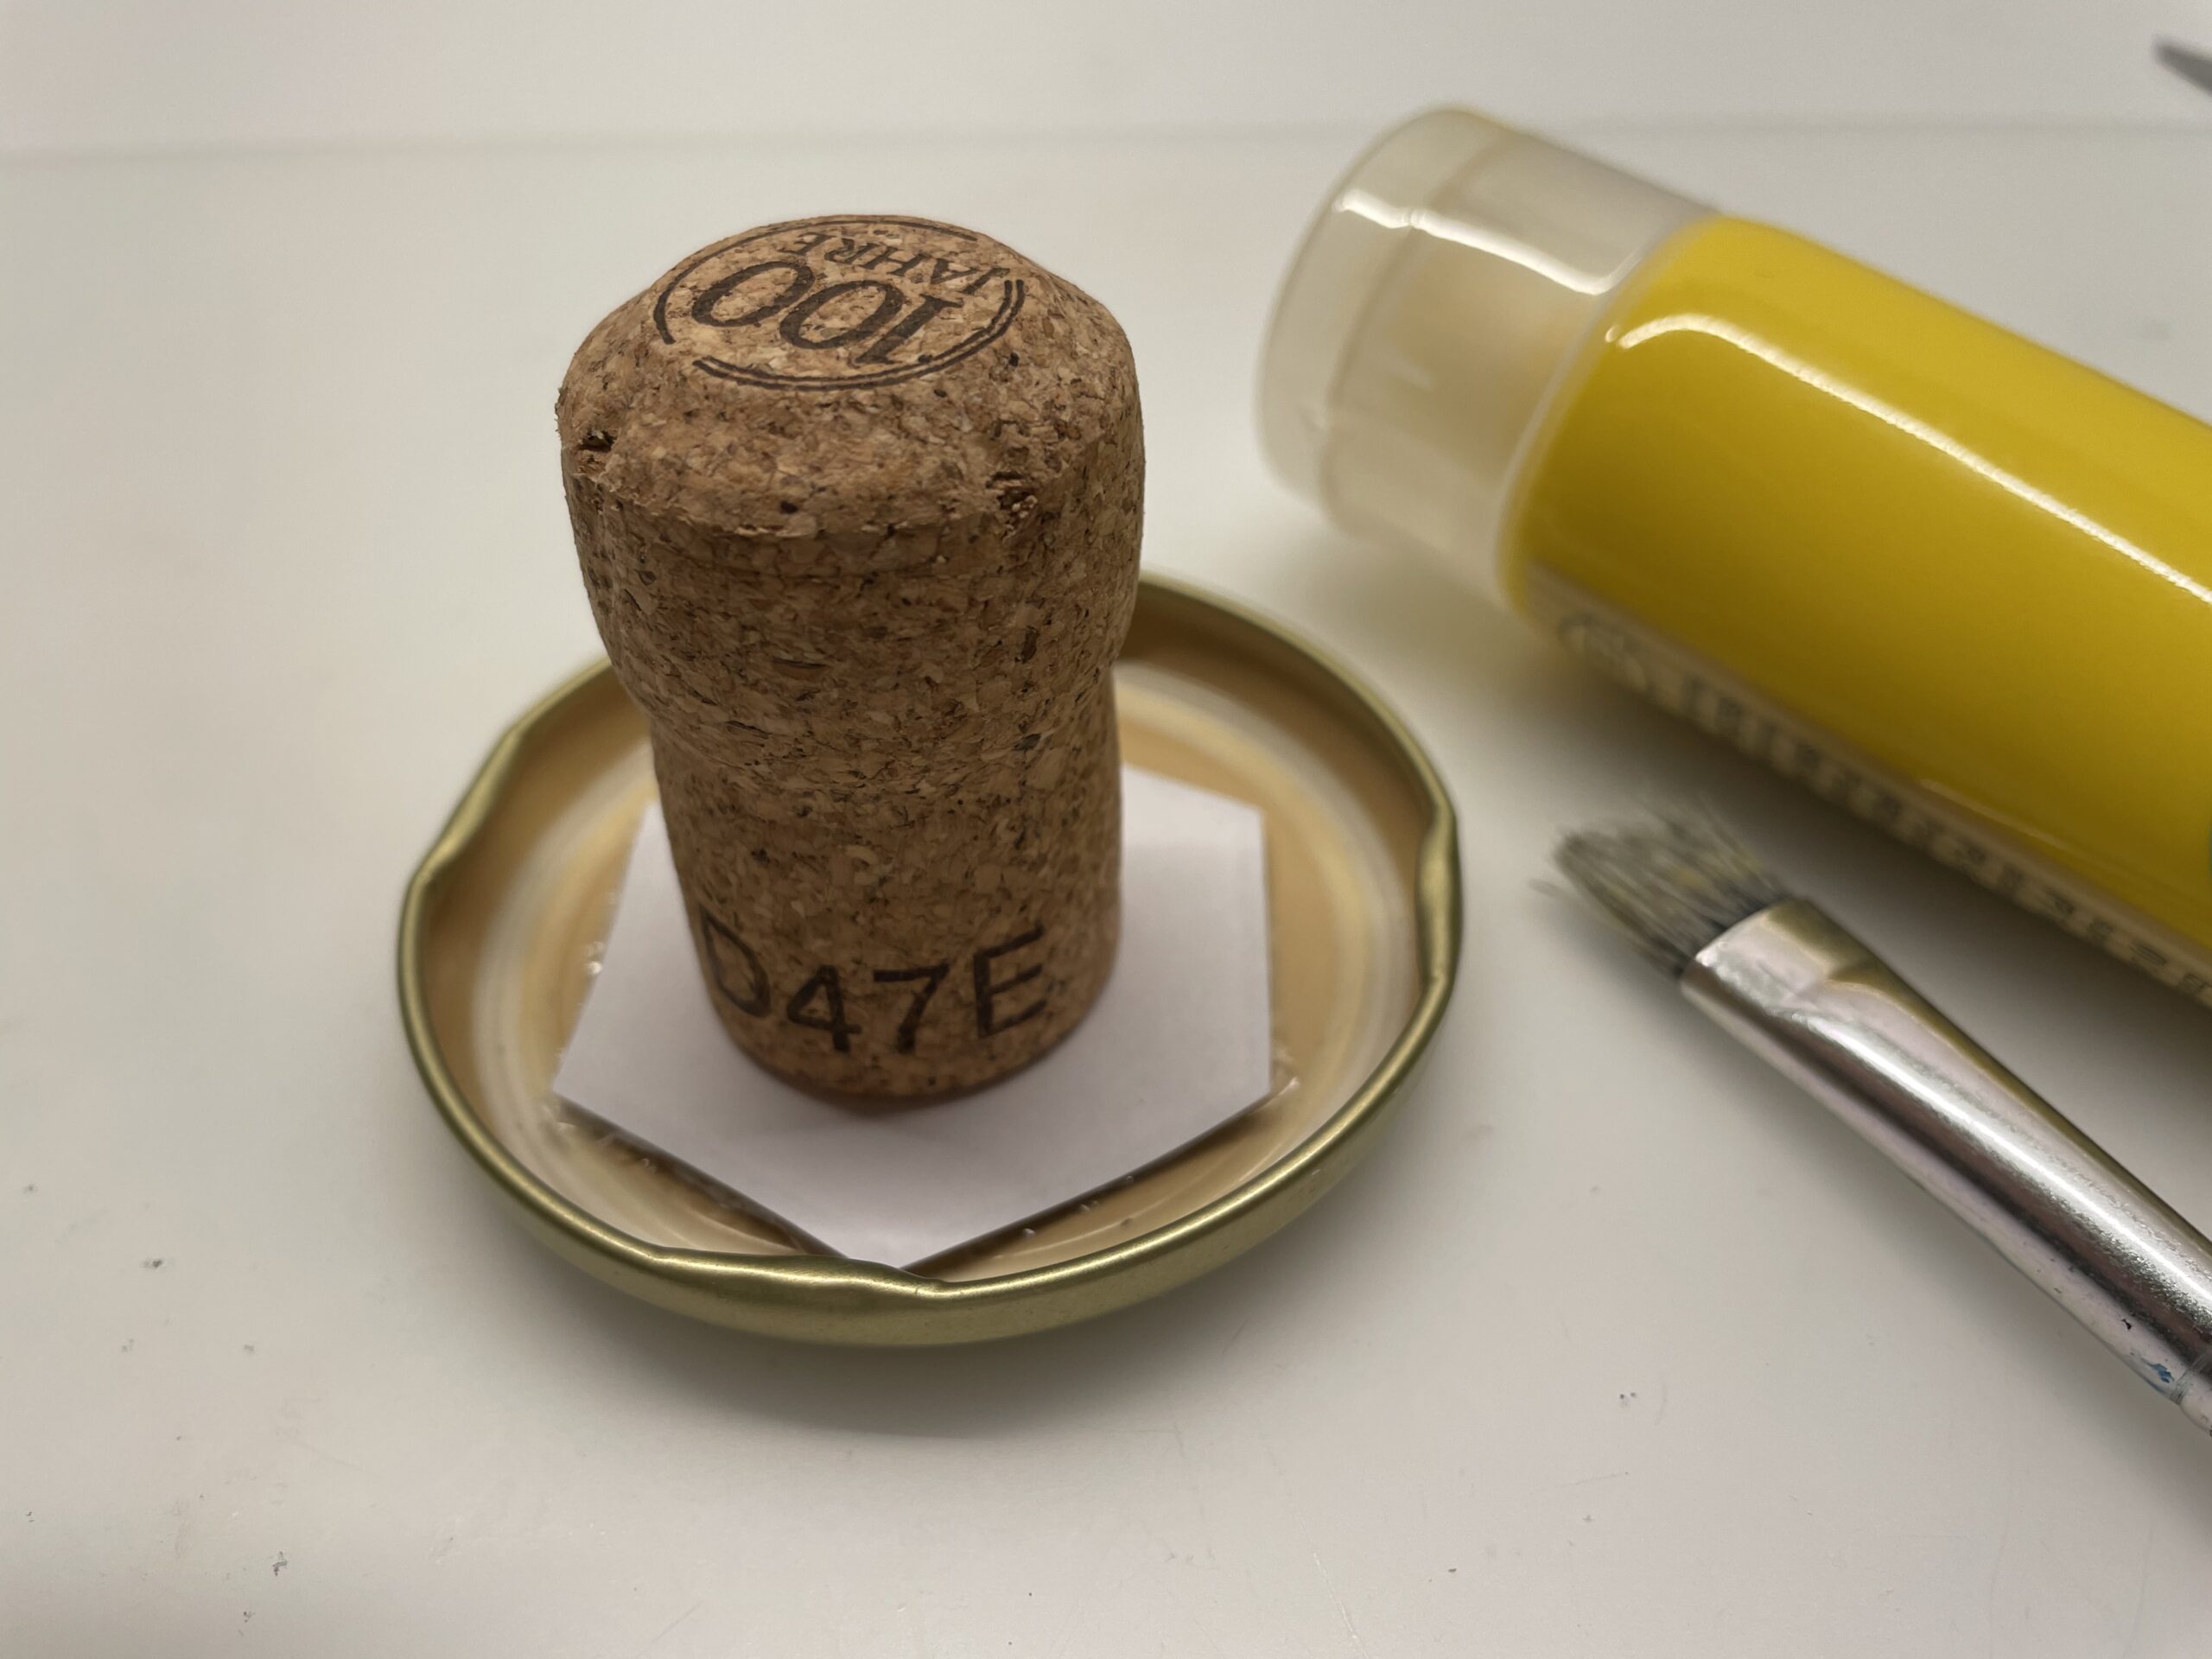
Bild zum Schritt 8 für das Bastel- und DIY-Abenteuer für Kinder: 'Jetzt braucht ihr die gelbe Farbe und einen Schraubglasdeckel oder...'

9

Then fill some paint in the screw-glass lid and distribute the paint in the lid.
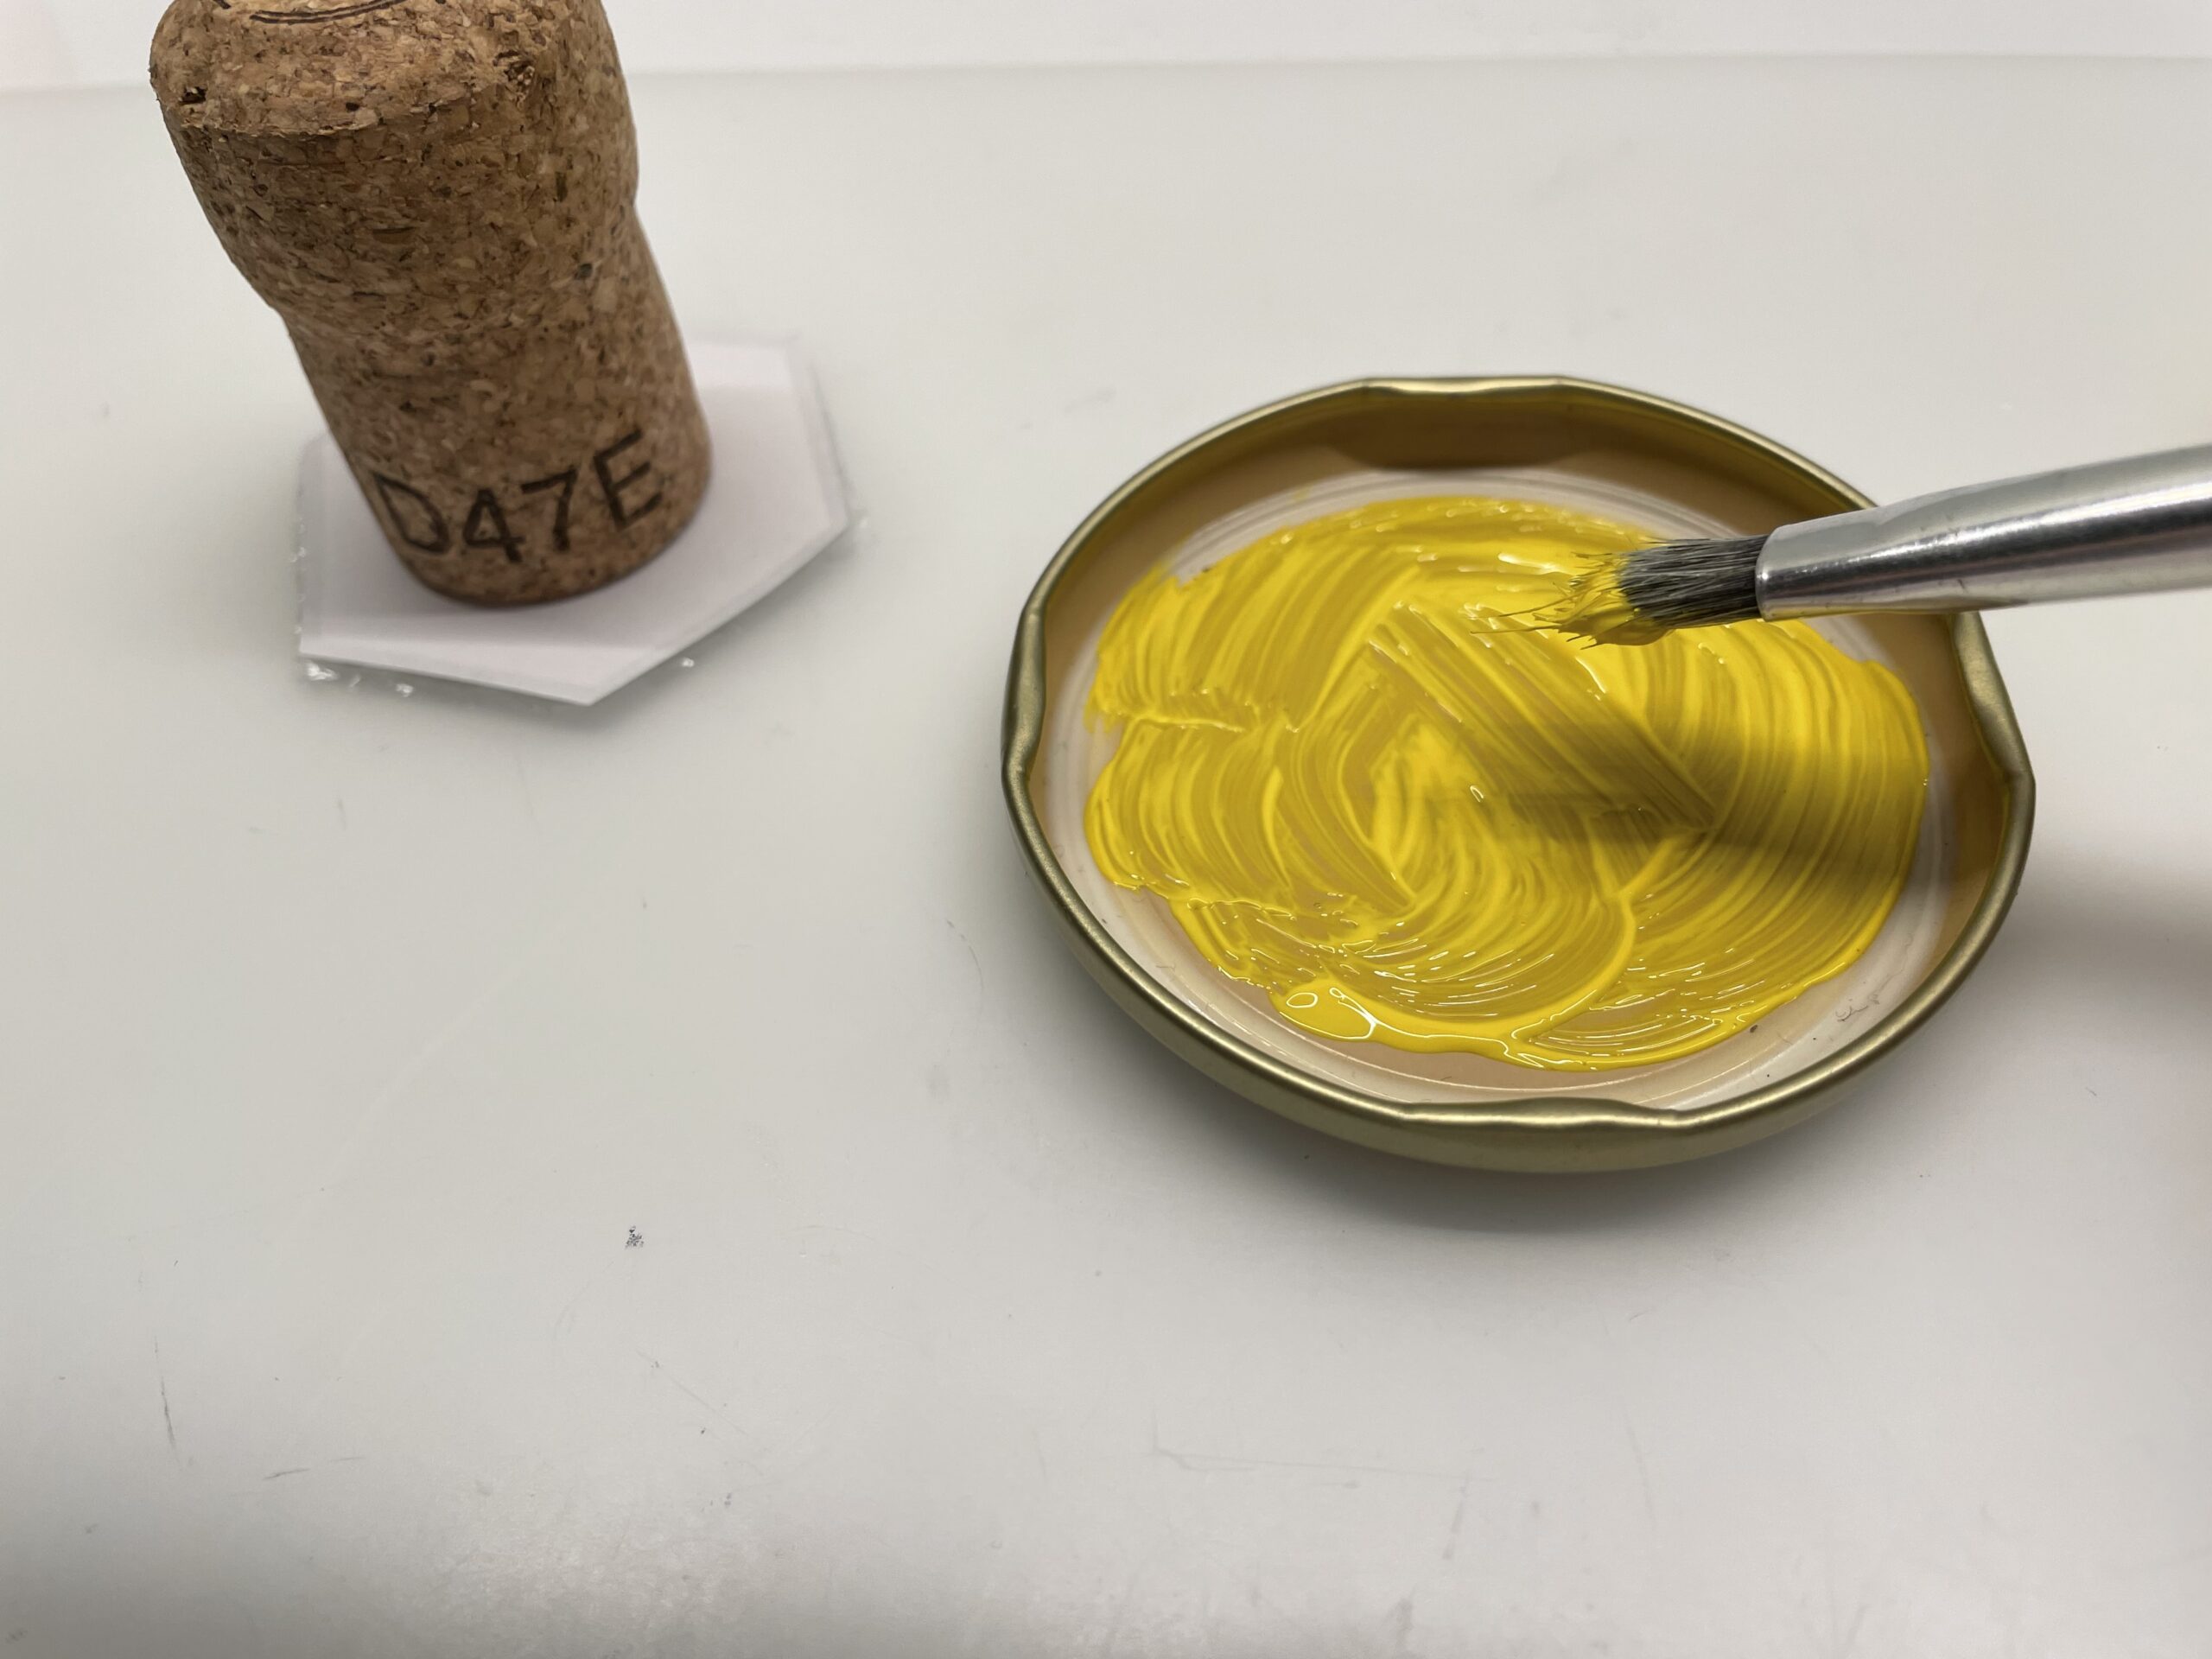
Bild zum Schritt 9 für das Bastel- und DIY-Abenteuer für Kinder: 'Dann füllt ihr etwas Farbe in den Schraubglasdeckel und verteilt...'

10

Now press the stamp into the damp colour and rub it slightly back and forth.
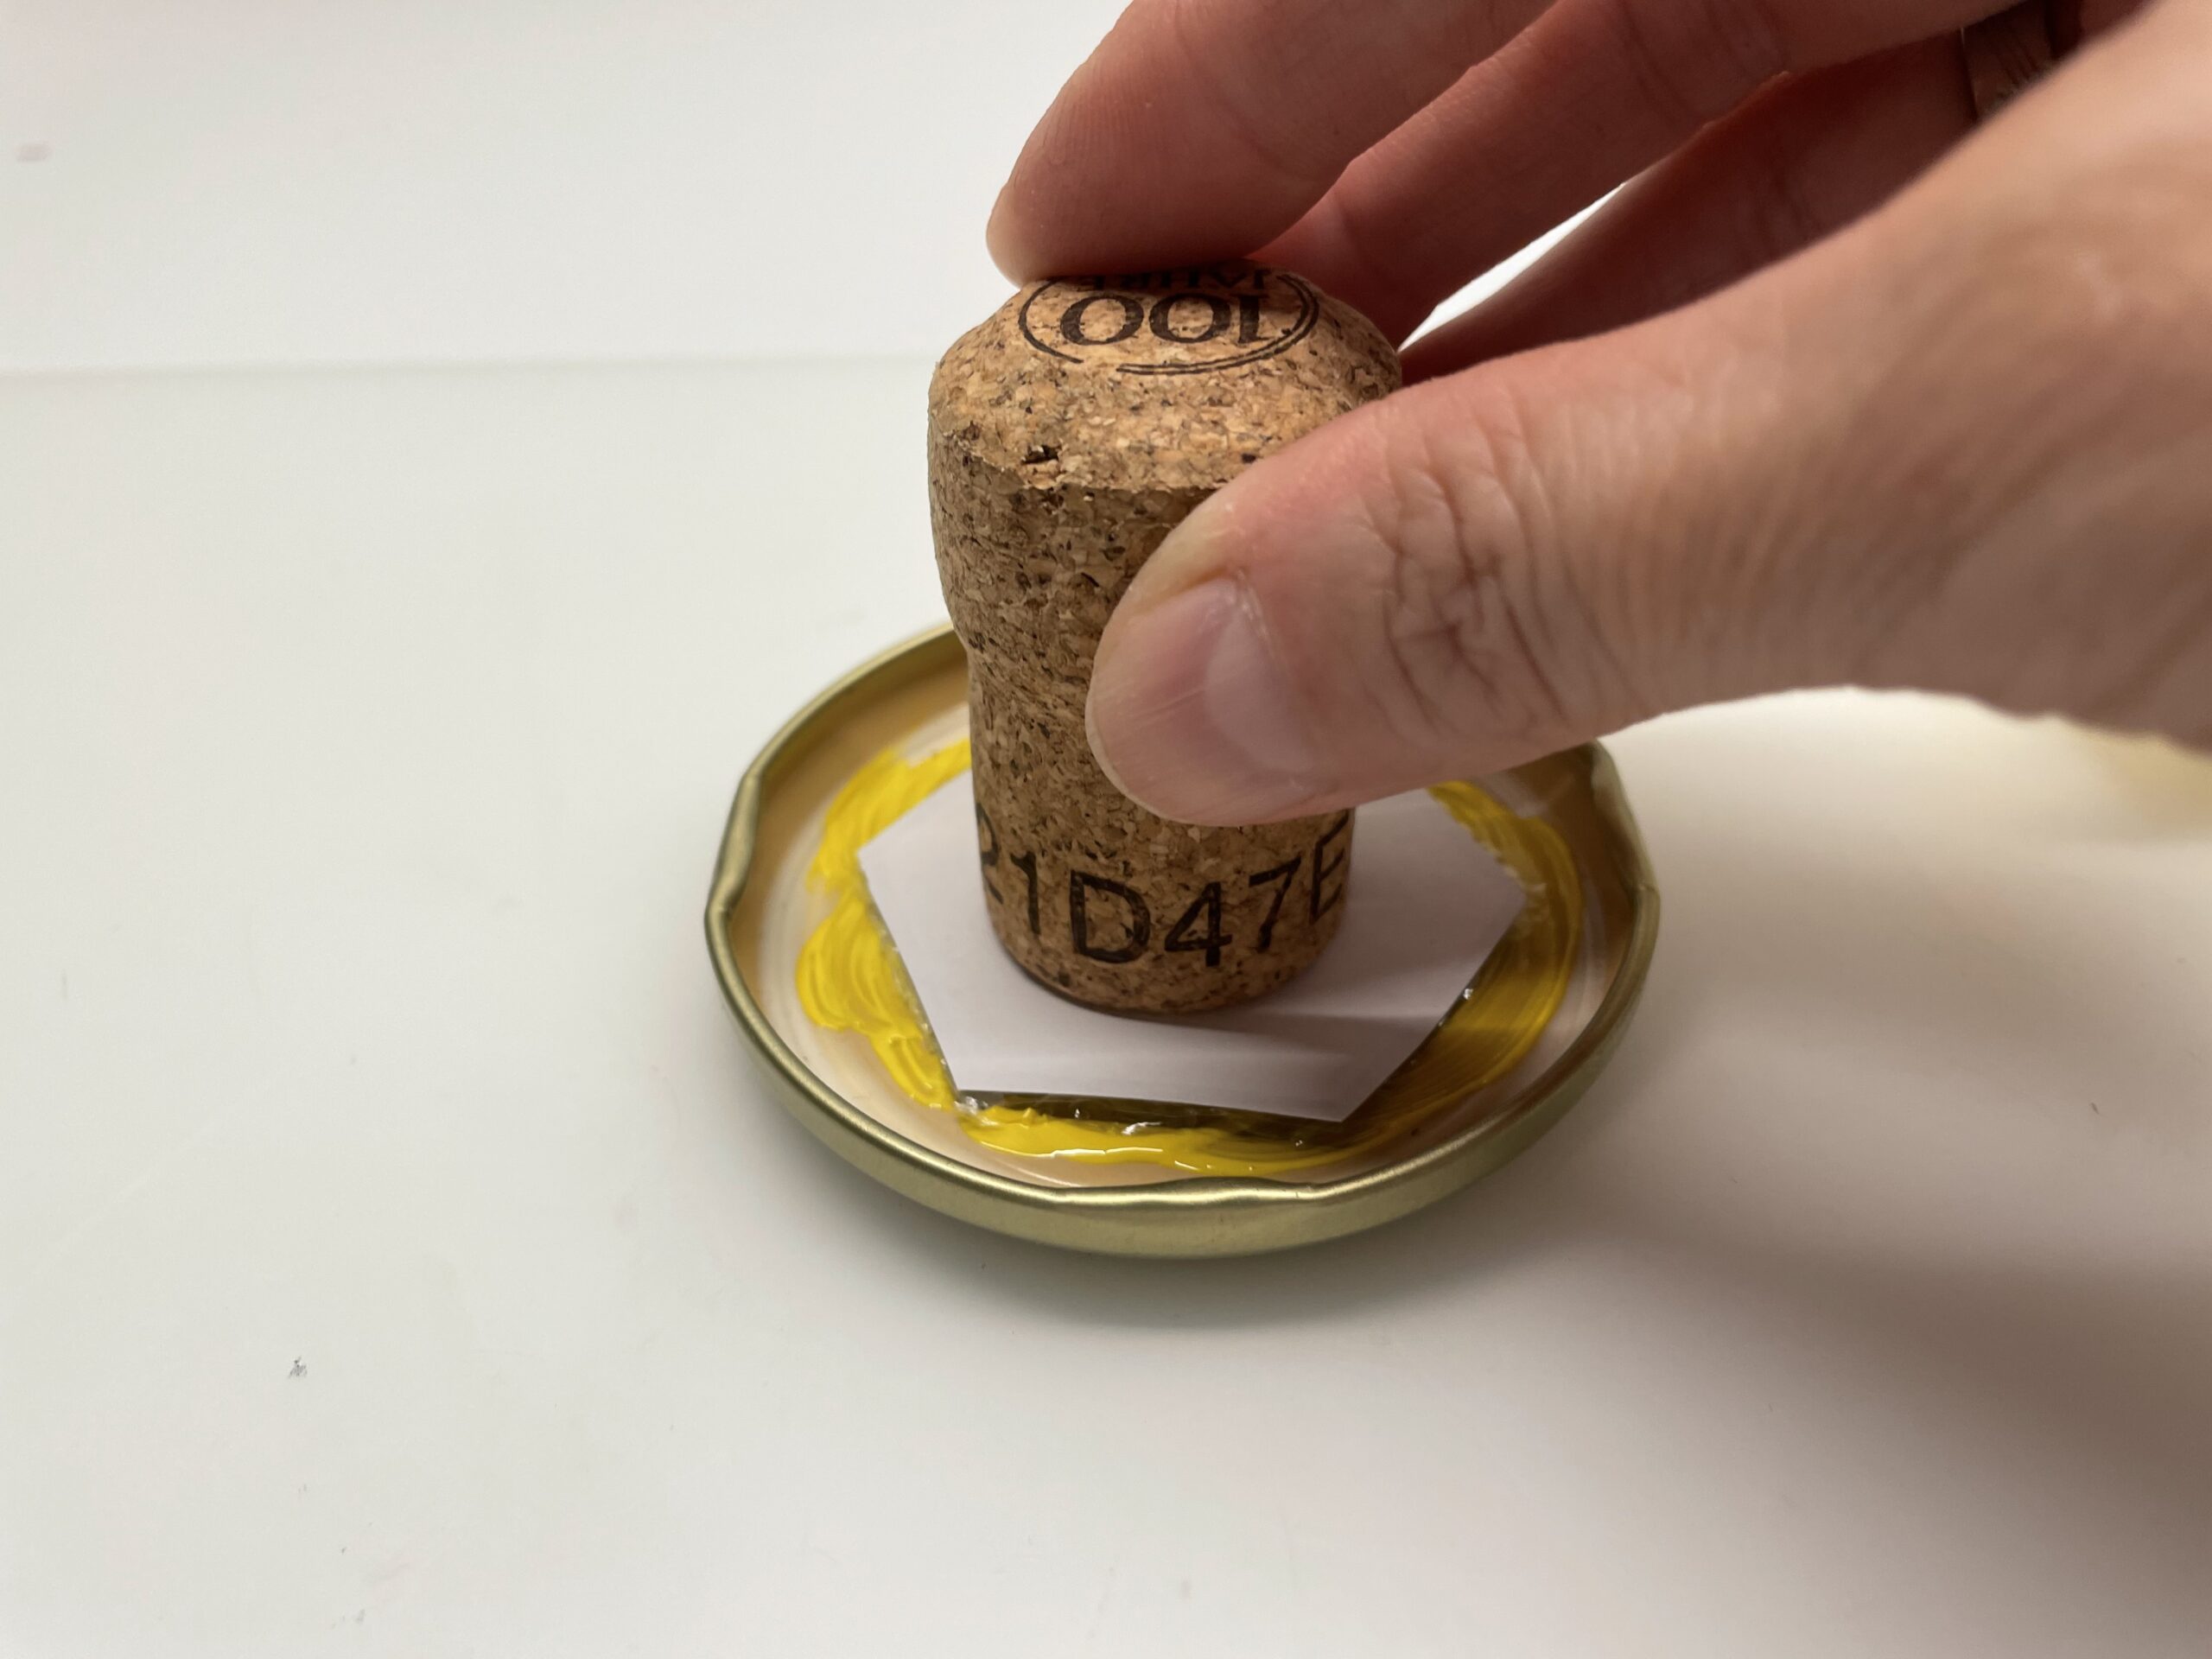
Bild zum Schritt 10 für das Bastel- und DIY-Abenteuer für Kinder: 'Drückt nun den Stempel in die feuchte Farbe und reibt...'

11

Checks whether the stamp is covered with paint everywhere.
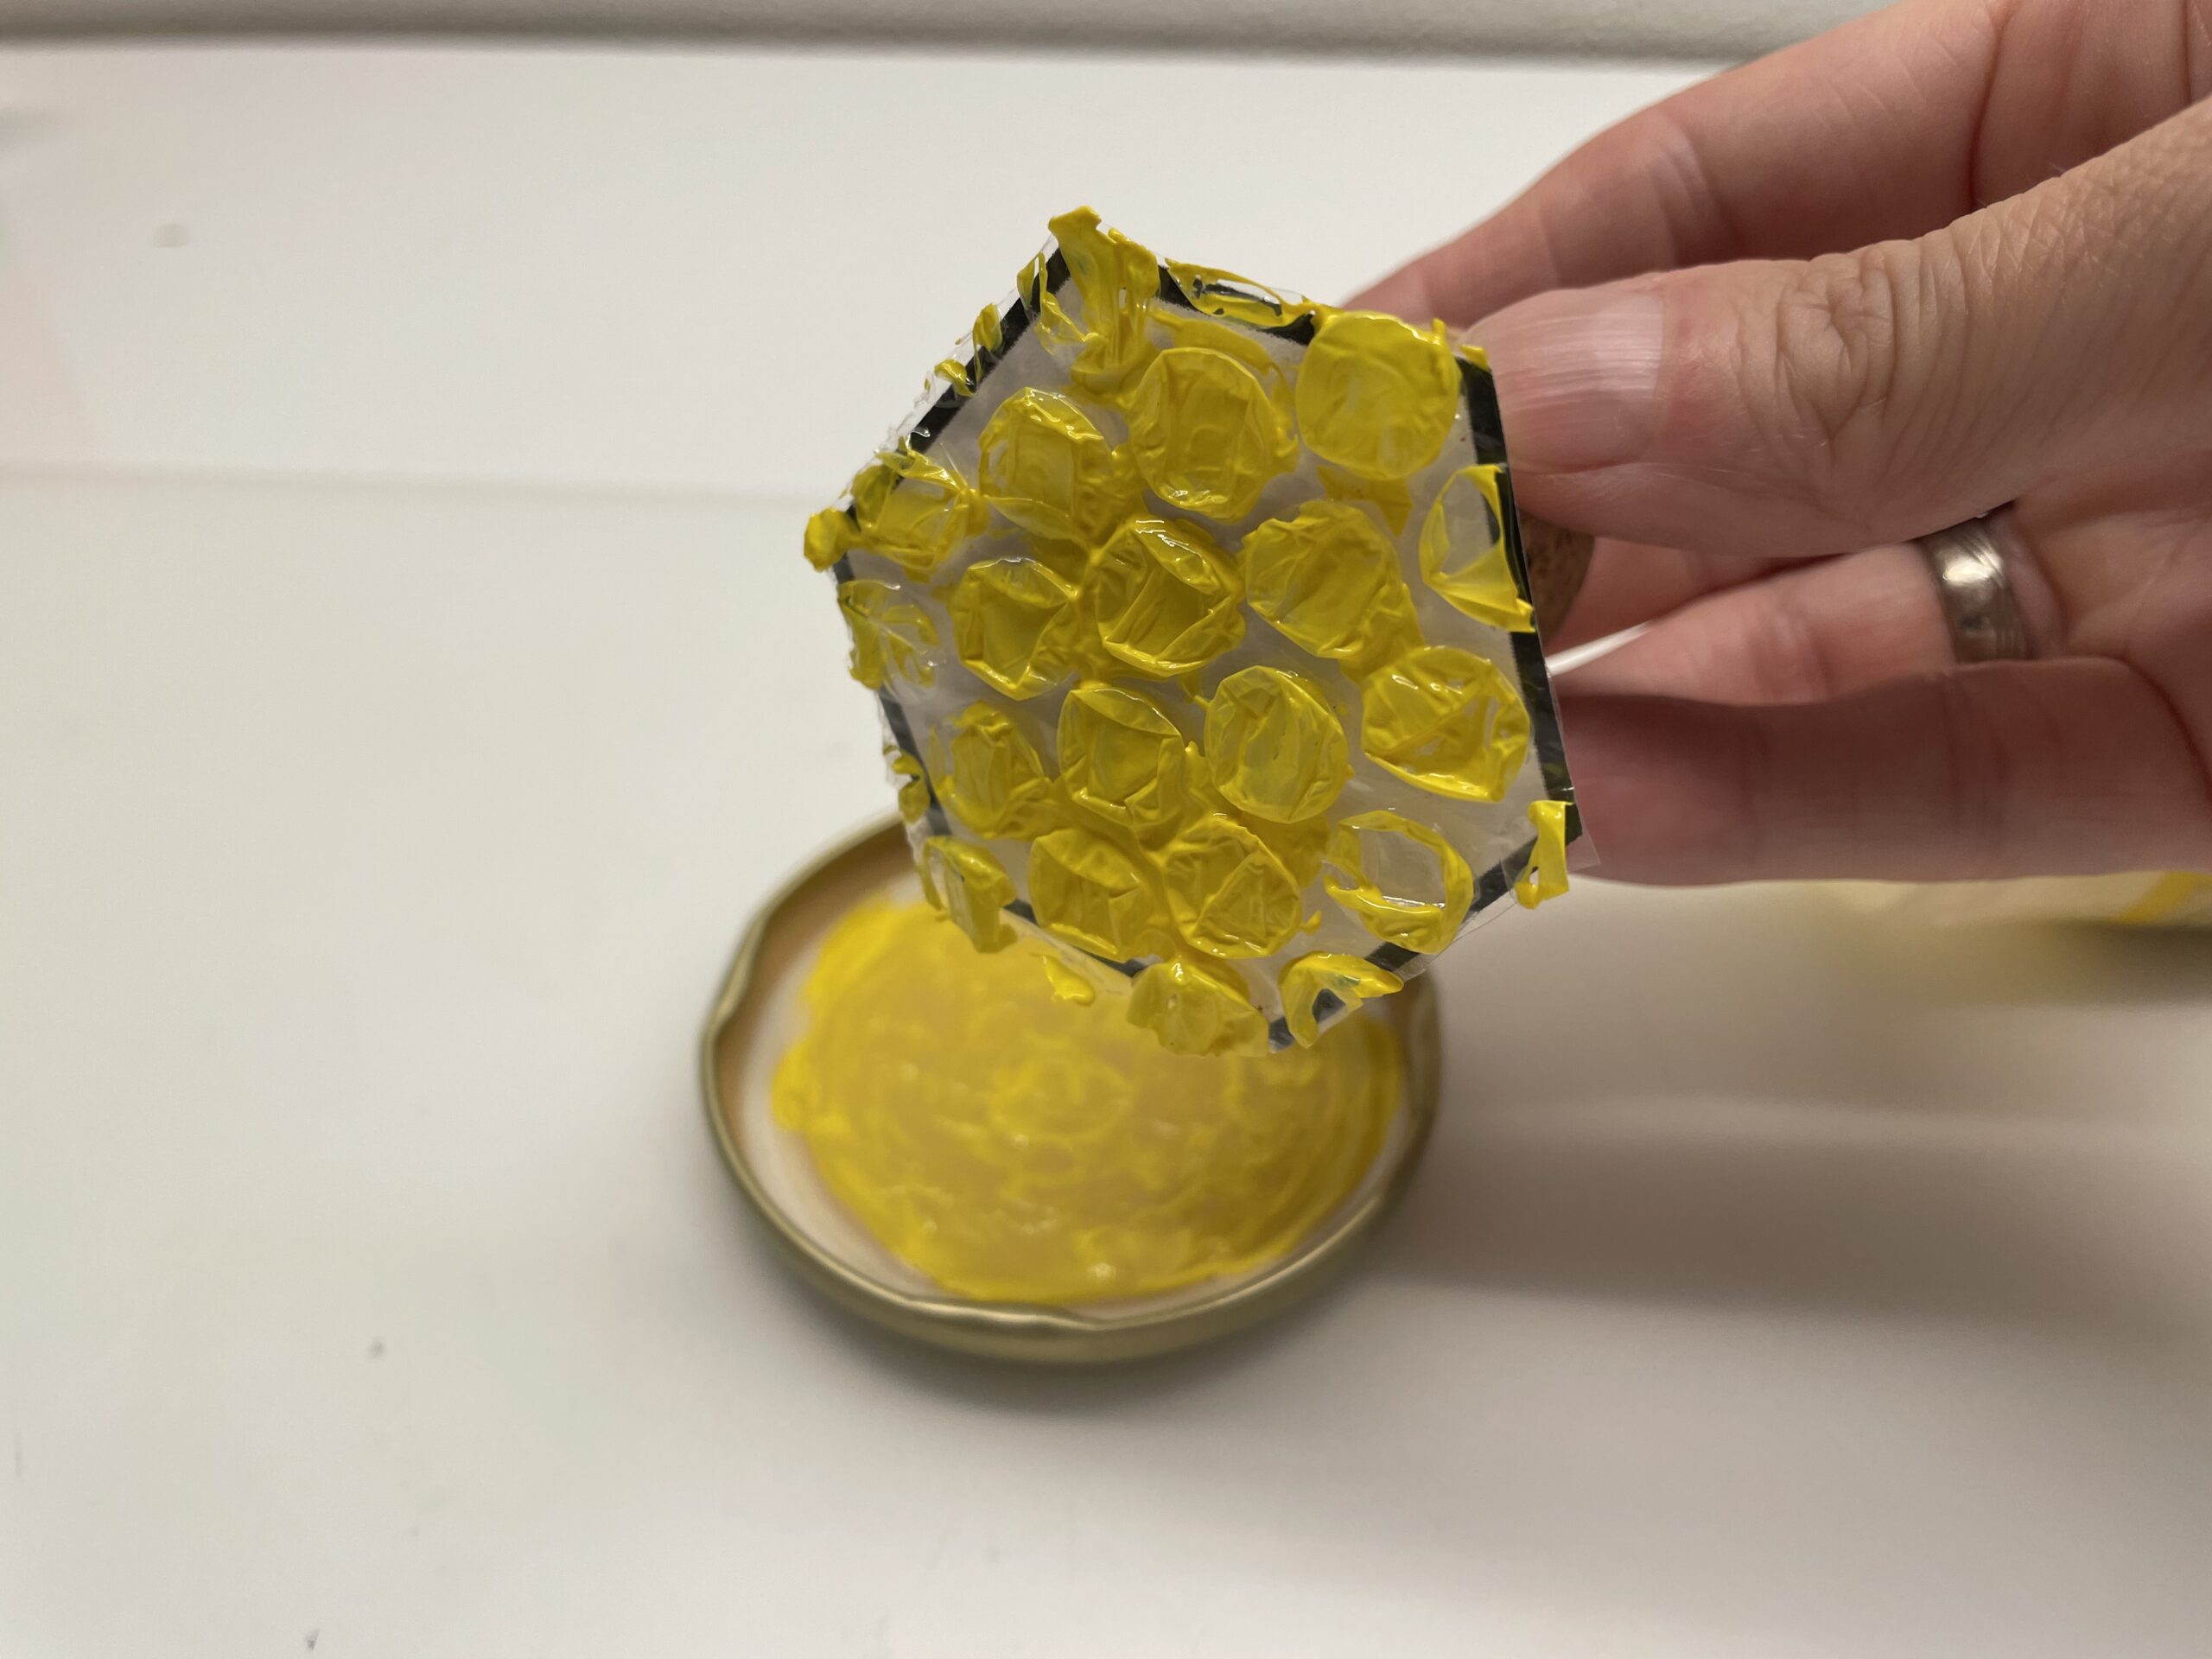
Bild zum Schritt 11 für das Bastel- und DIY-Abenteuer für Kinder: 'Kontrolliert ob der Stempel überall mit Farbe bedeckt ist.'

12

Then you print honeycombs on a white paper.
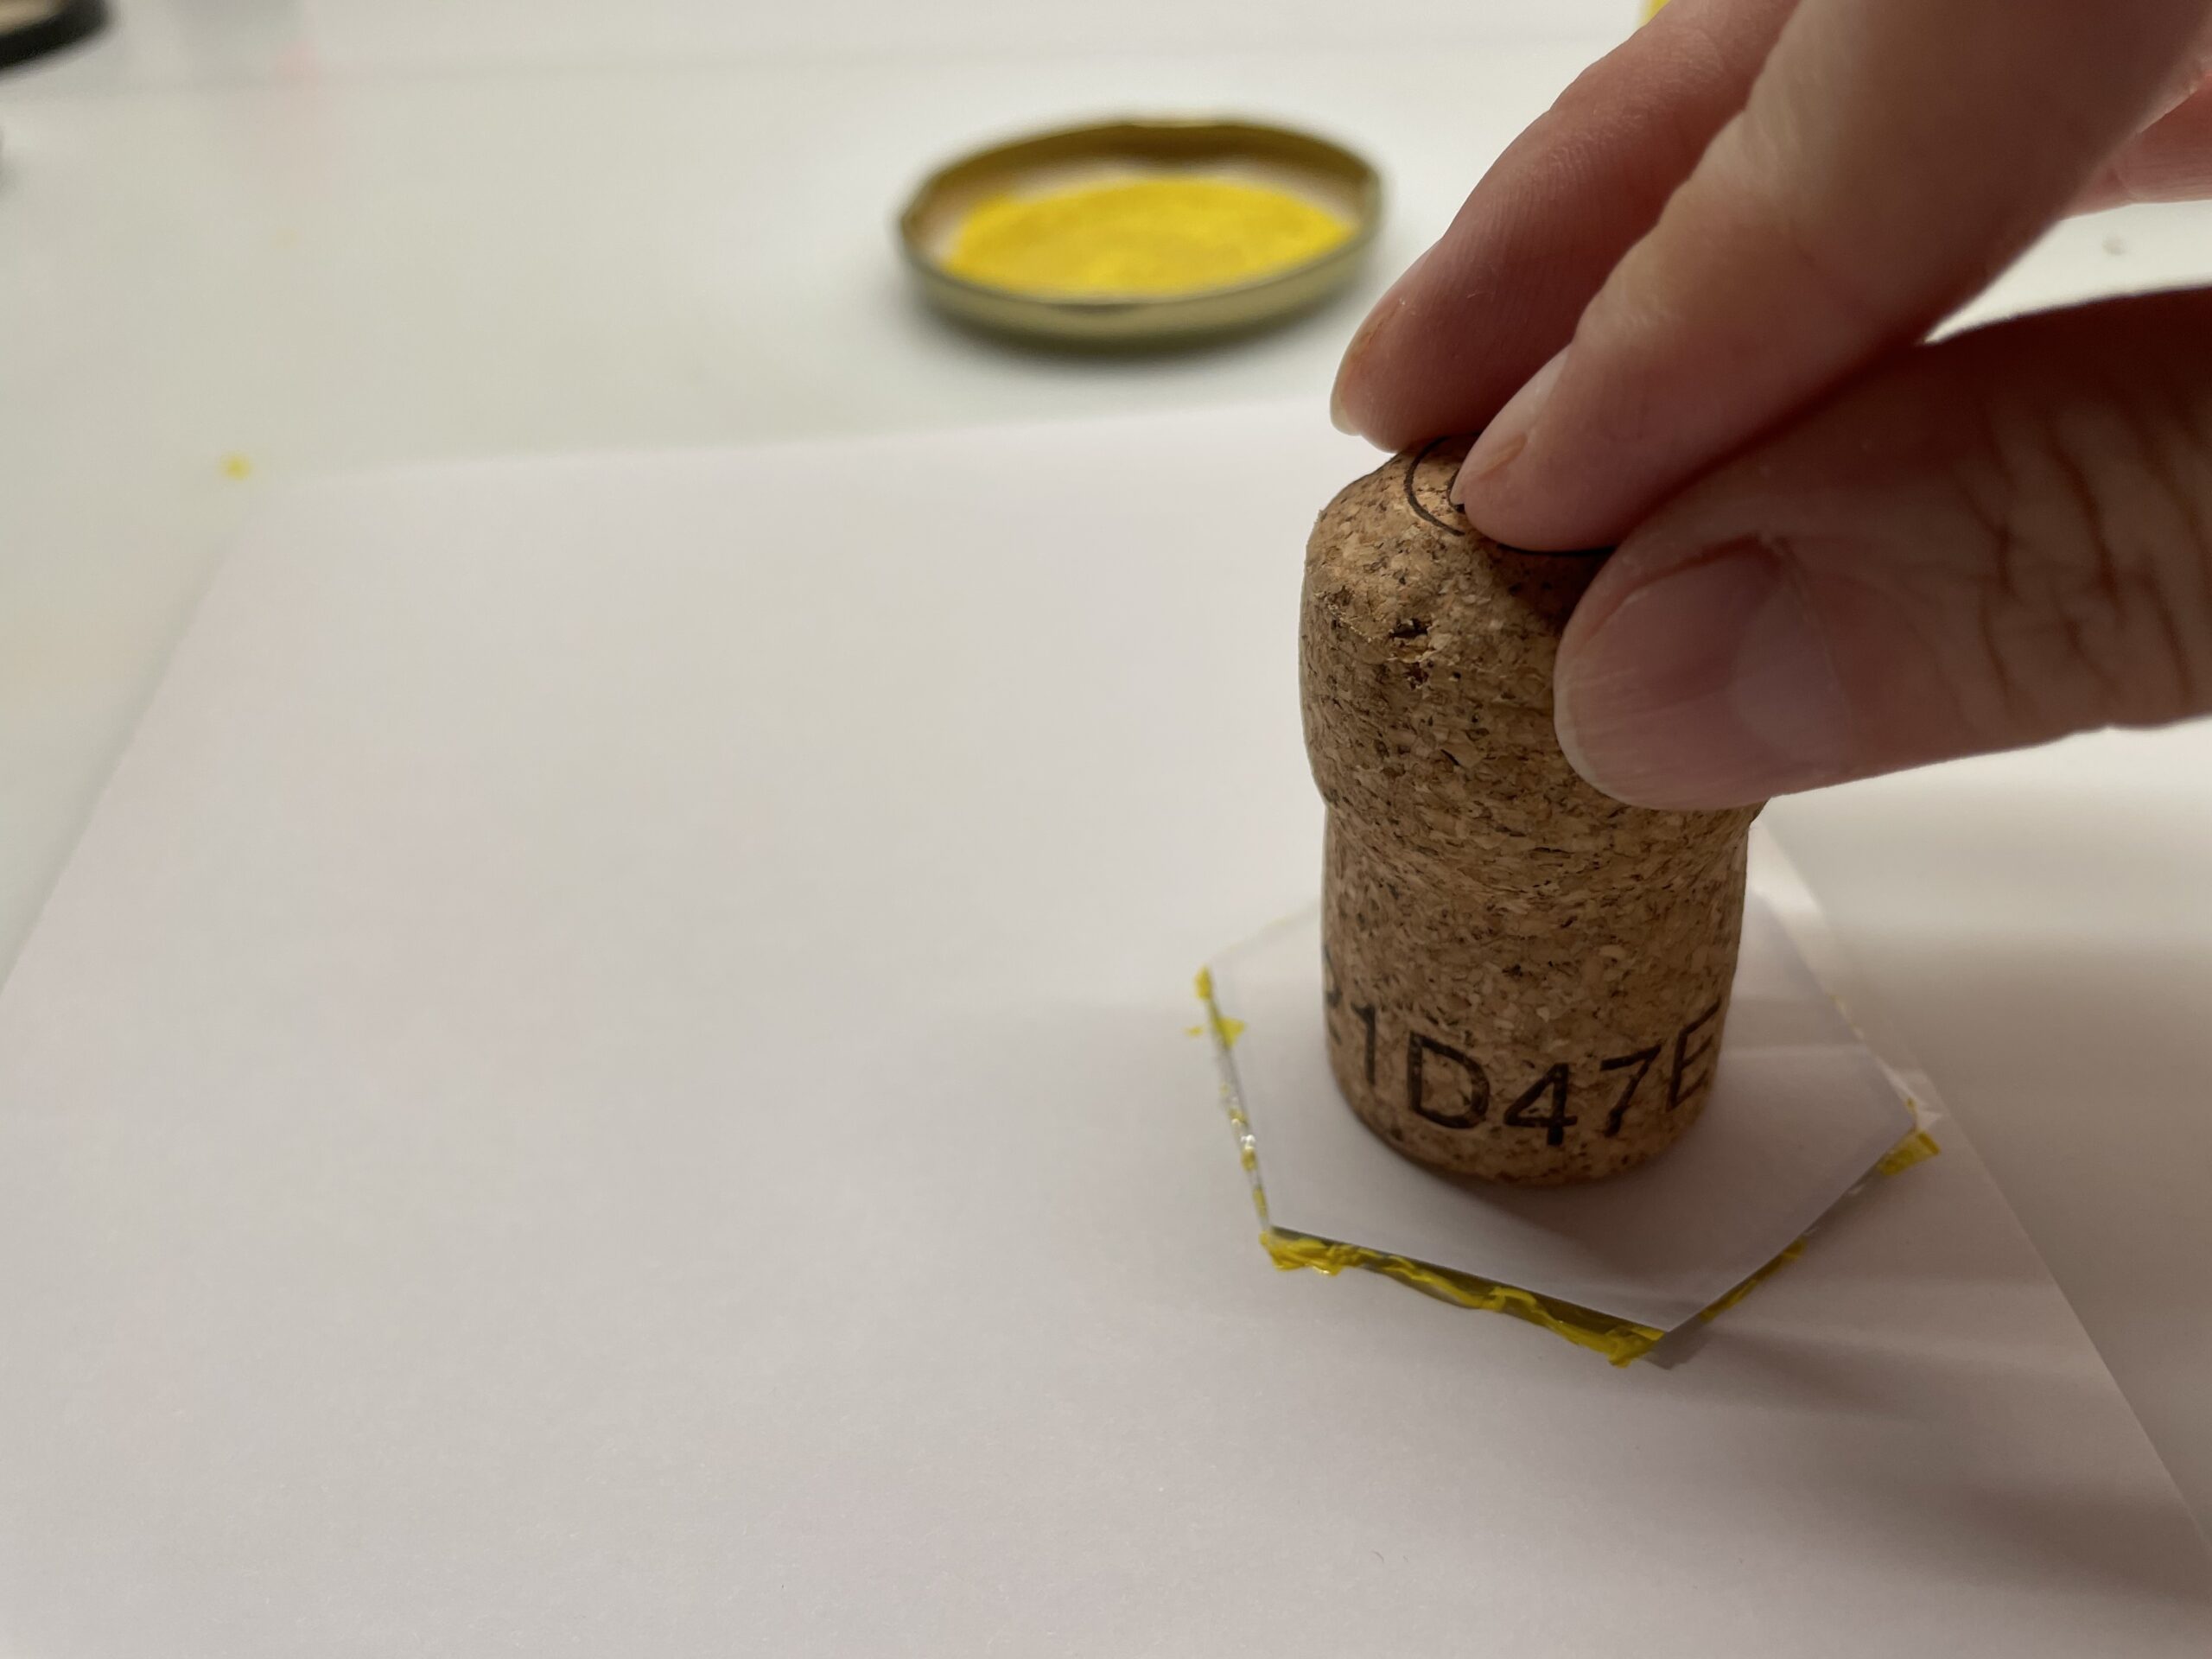
Bild zum Schritt 12 für das Bastel- und DIY-Abenteuer für Kinder: 'Dann druckt ihr mit dem Stempel Waben auf ein weißes...'

13

After every stamp print, you'll get back paint.
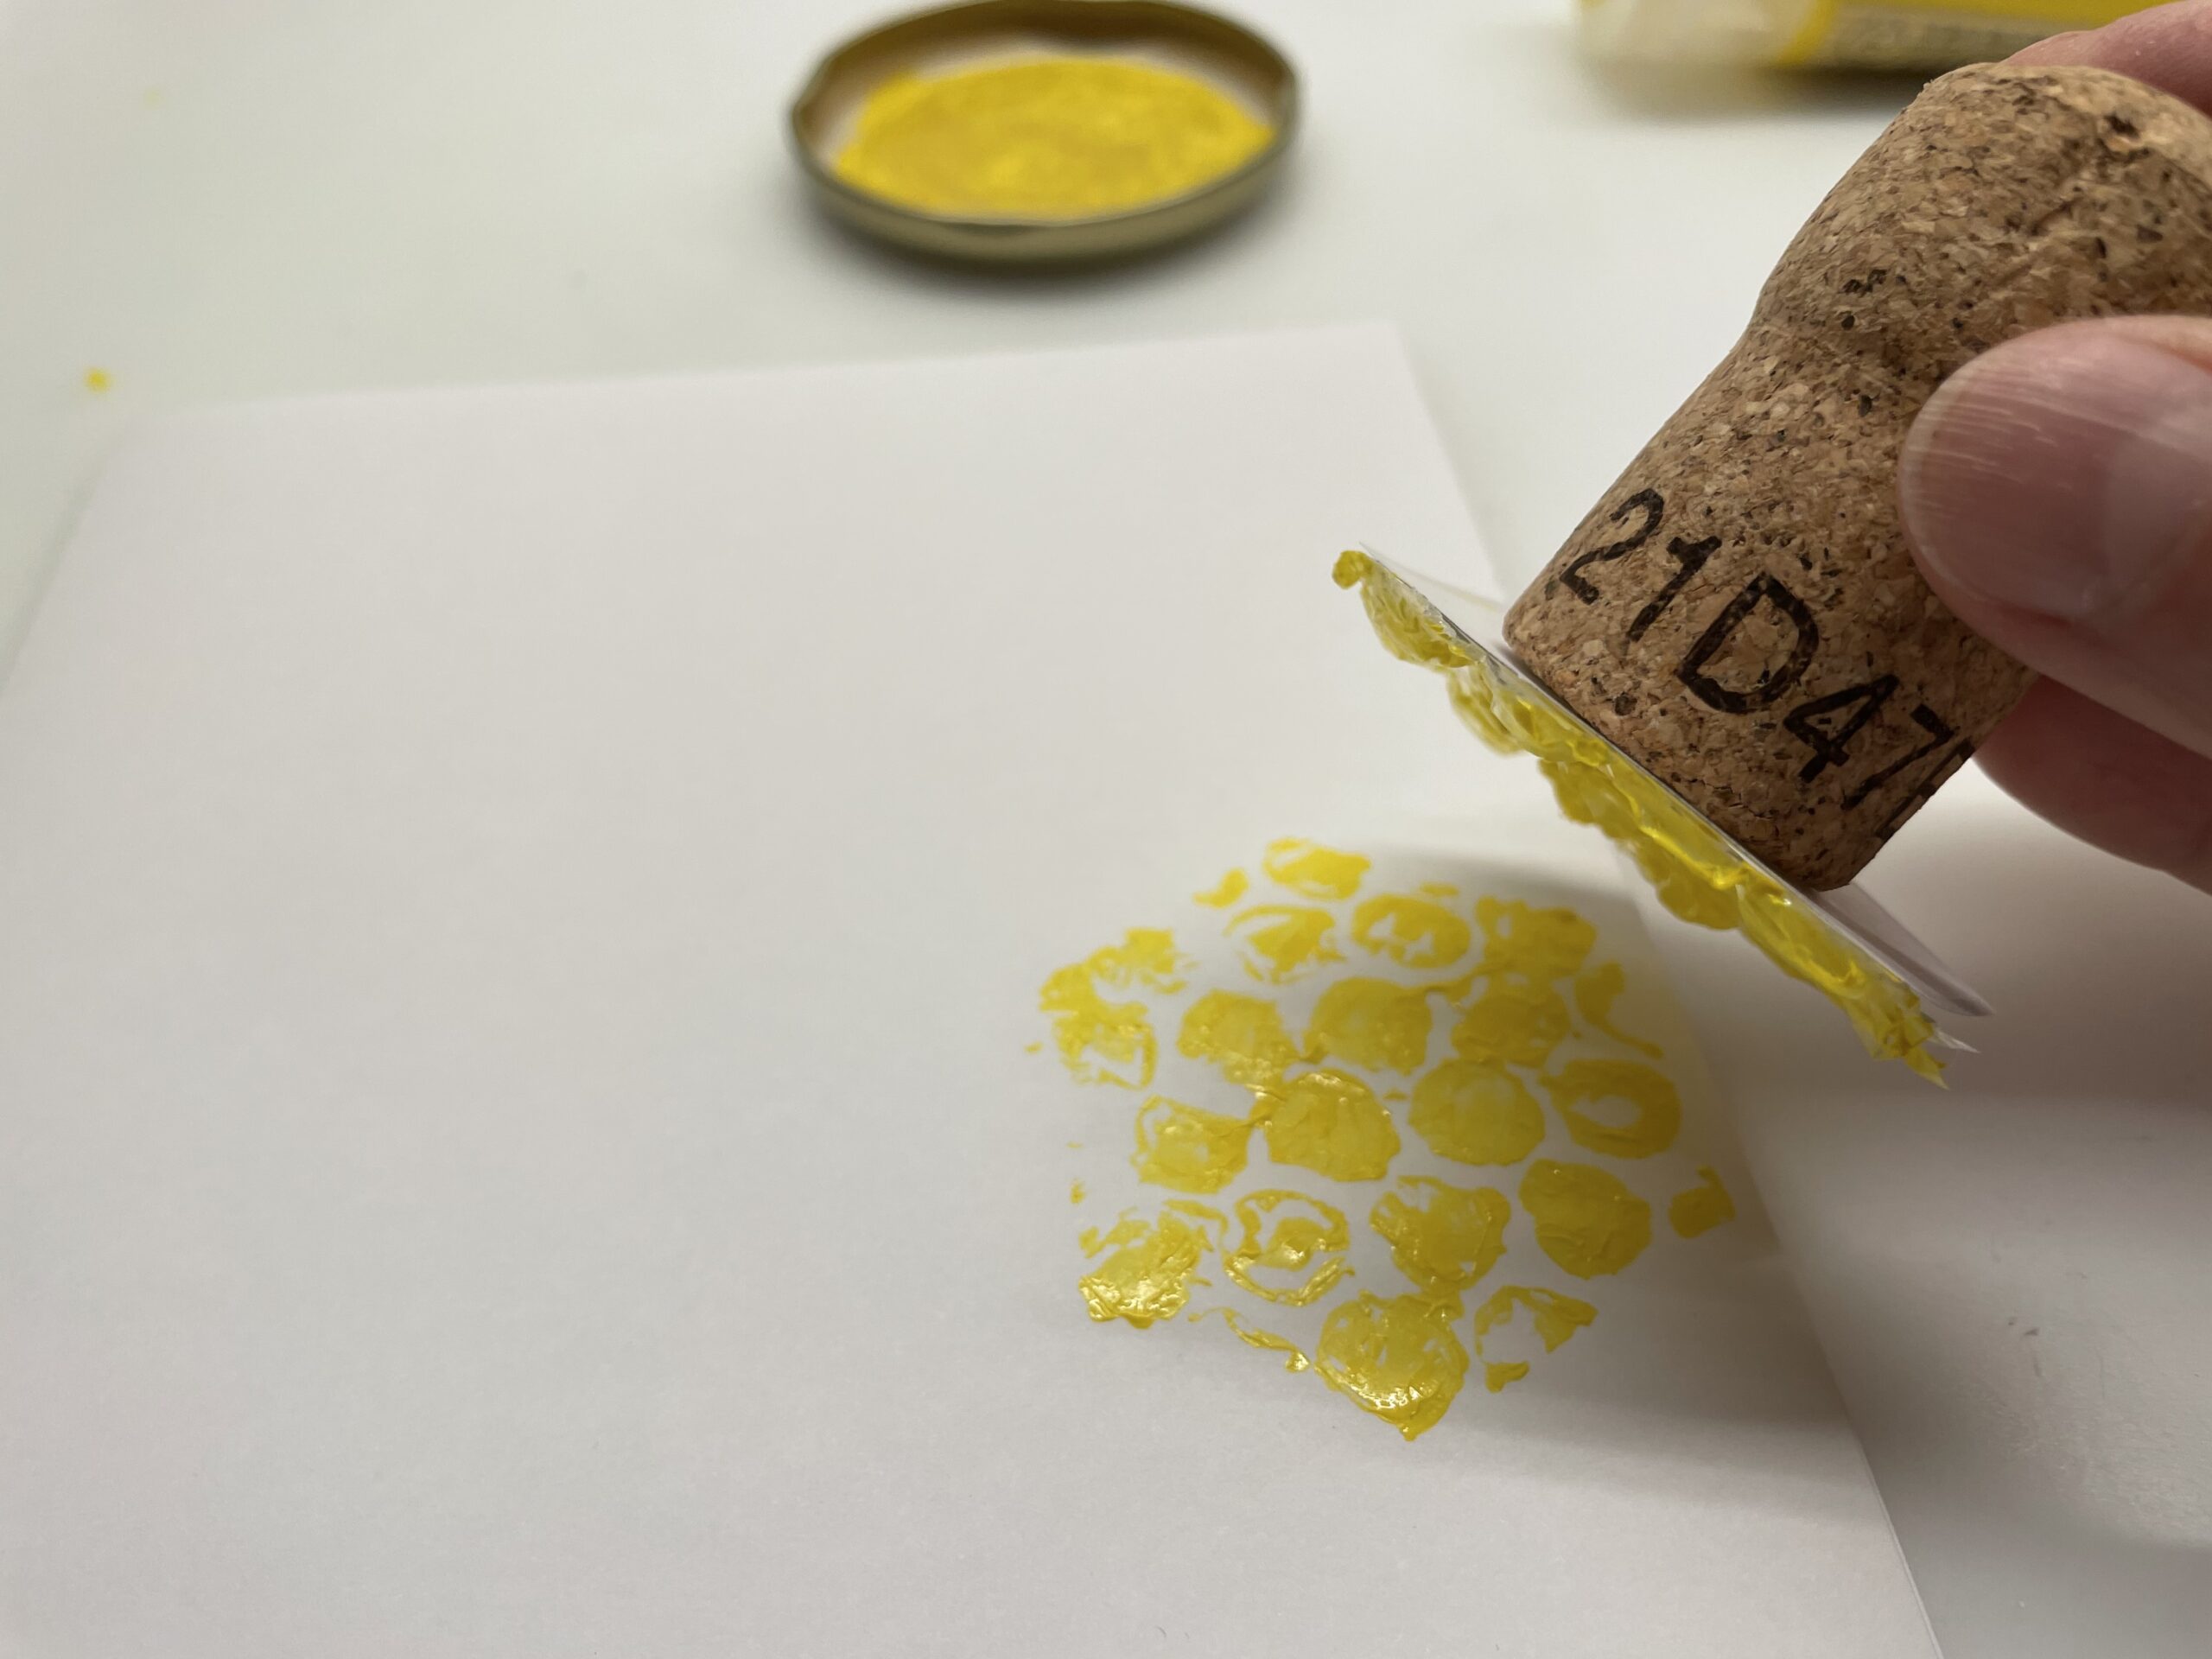
Bild zum Schritt 13 für das Bastel- und DIY-Abenteuer für Kinder: 'Nach jedem Stempeldruck holt ihr wieder Farbe nach.'

14

When stamping, leave some distance between the individual honeycombs.
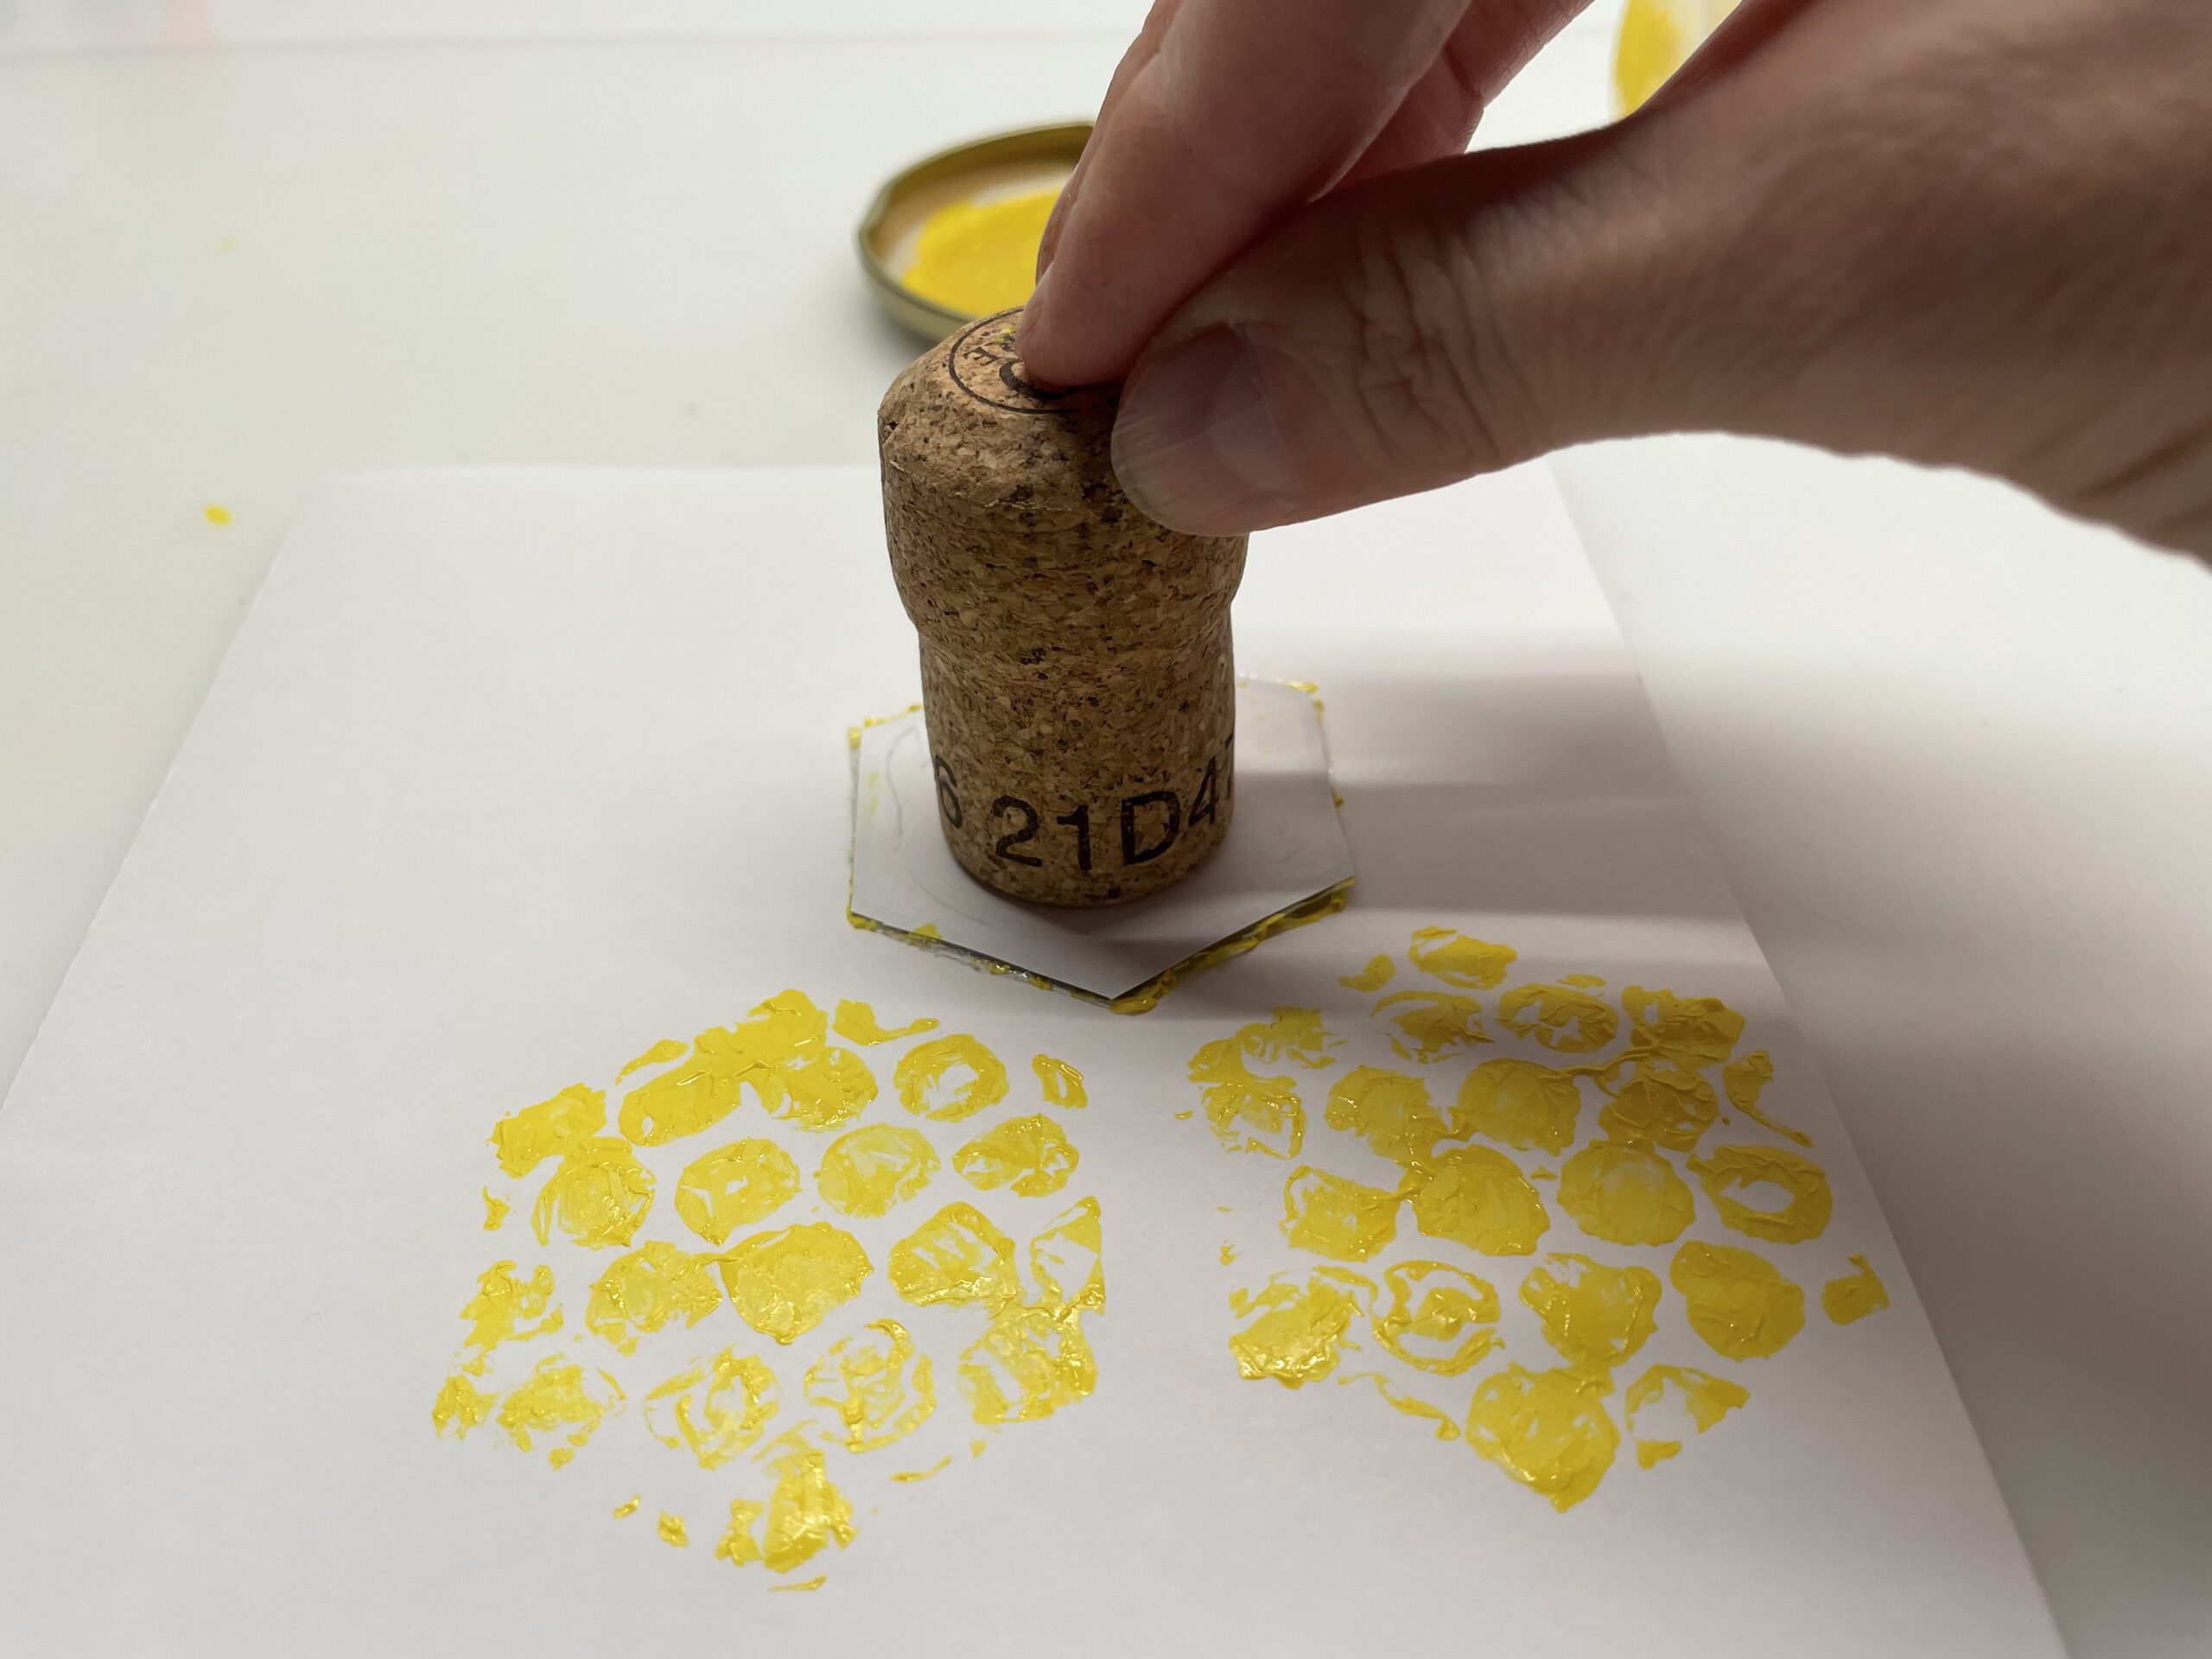
Bild zum Schritt 14 für das Bastel- und DIY-Abenteuer für Kinder: 'Lasst beim Stempeln etwas Abstand zwischen den einzelnen Waben.'

15

You can also use different yellow orange tones for the individual honeycombs.
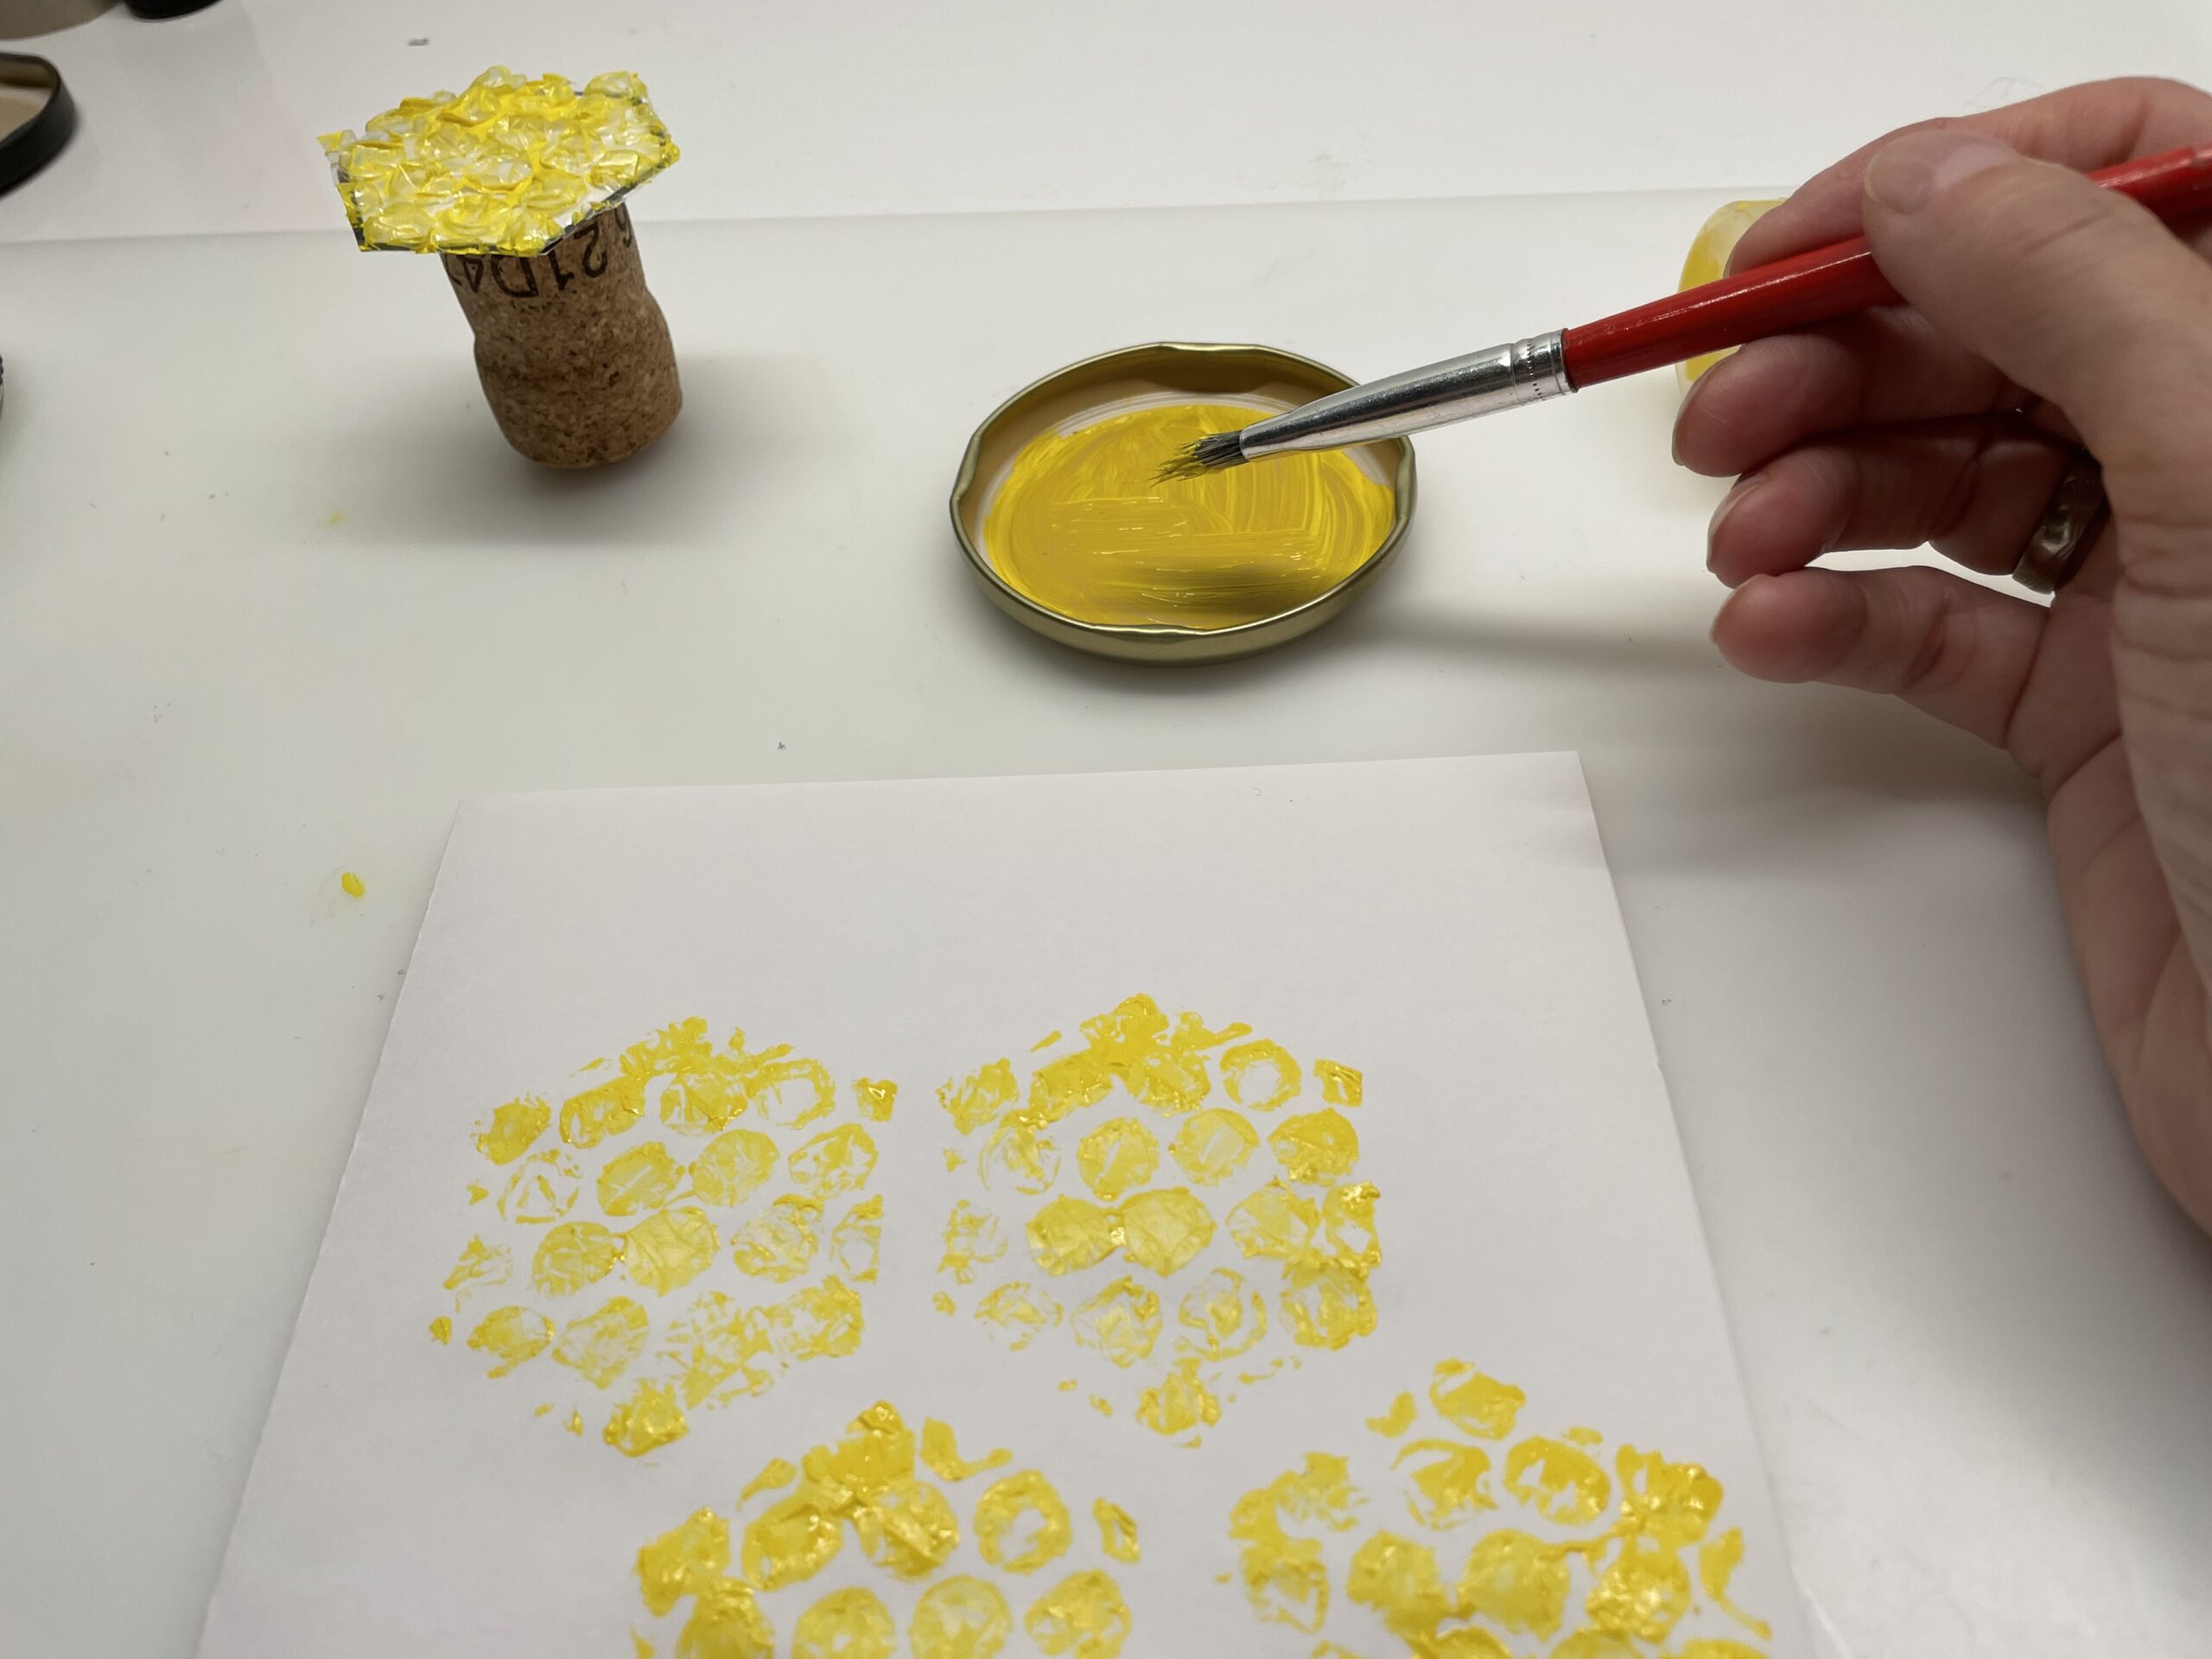
Bild zum Schritt 15 für das Bastel- und DIY-Abenteuer für Kinder: 'Ihr könnt auch verschiedene Gelb-Orangetöne für die einzelnen Waben verwenden.'

16

When your paper is printed with honeycombs, you print the bees' bodies.
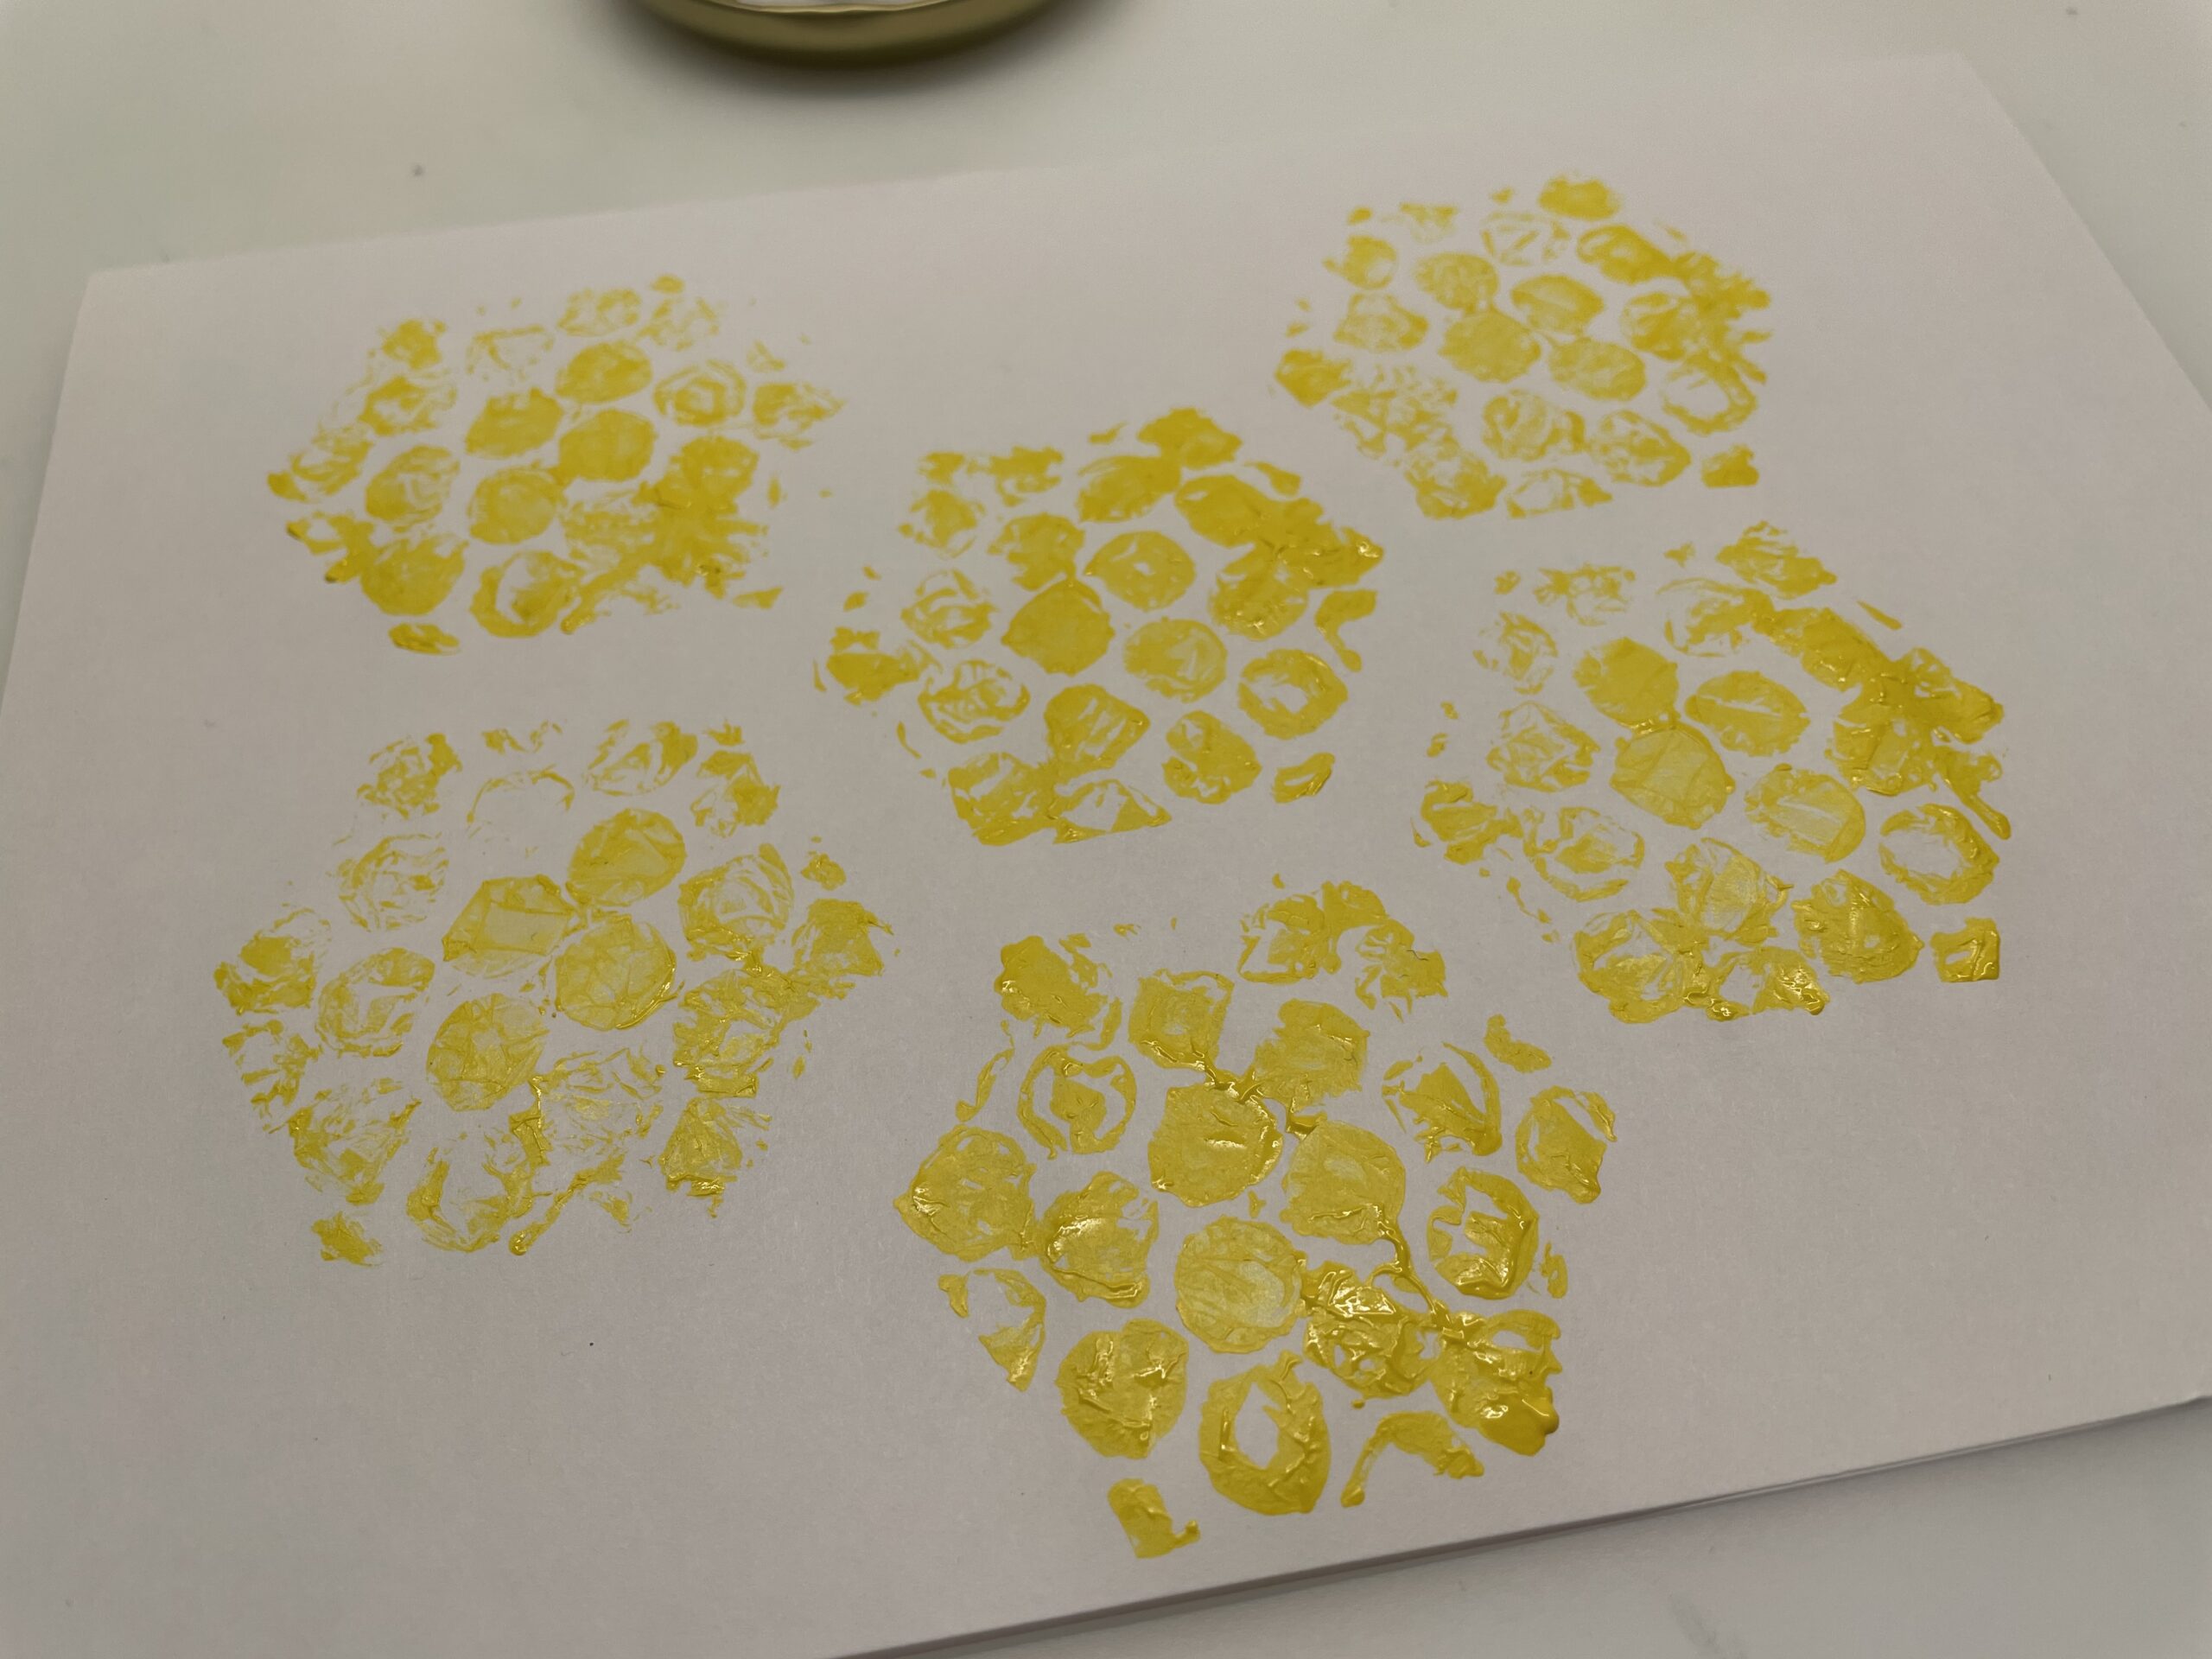
Bild zum Schritt 16 für das Bastel- und DIY-Abenteuer für Kinder: 'Ist euer Papier mit Waben bedruckt, dann druckt ihr die...'

17

You'd better do that with your index finger.
For this, dip the index finger in yellow color and pat between, on and next to the honeycombs fingerprints.
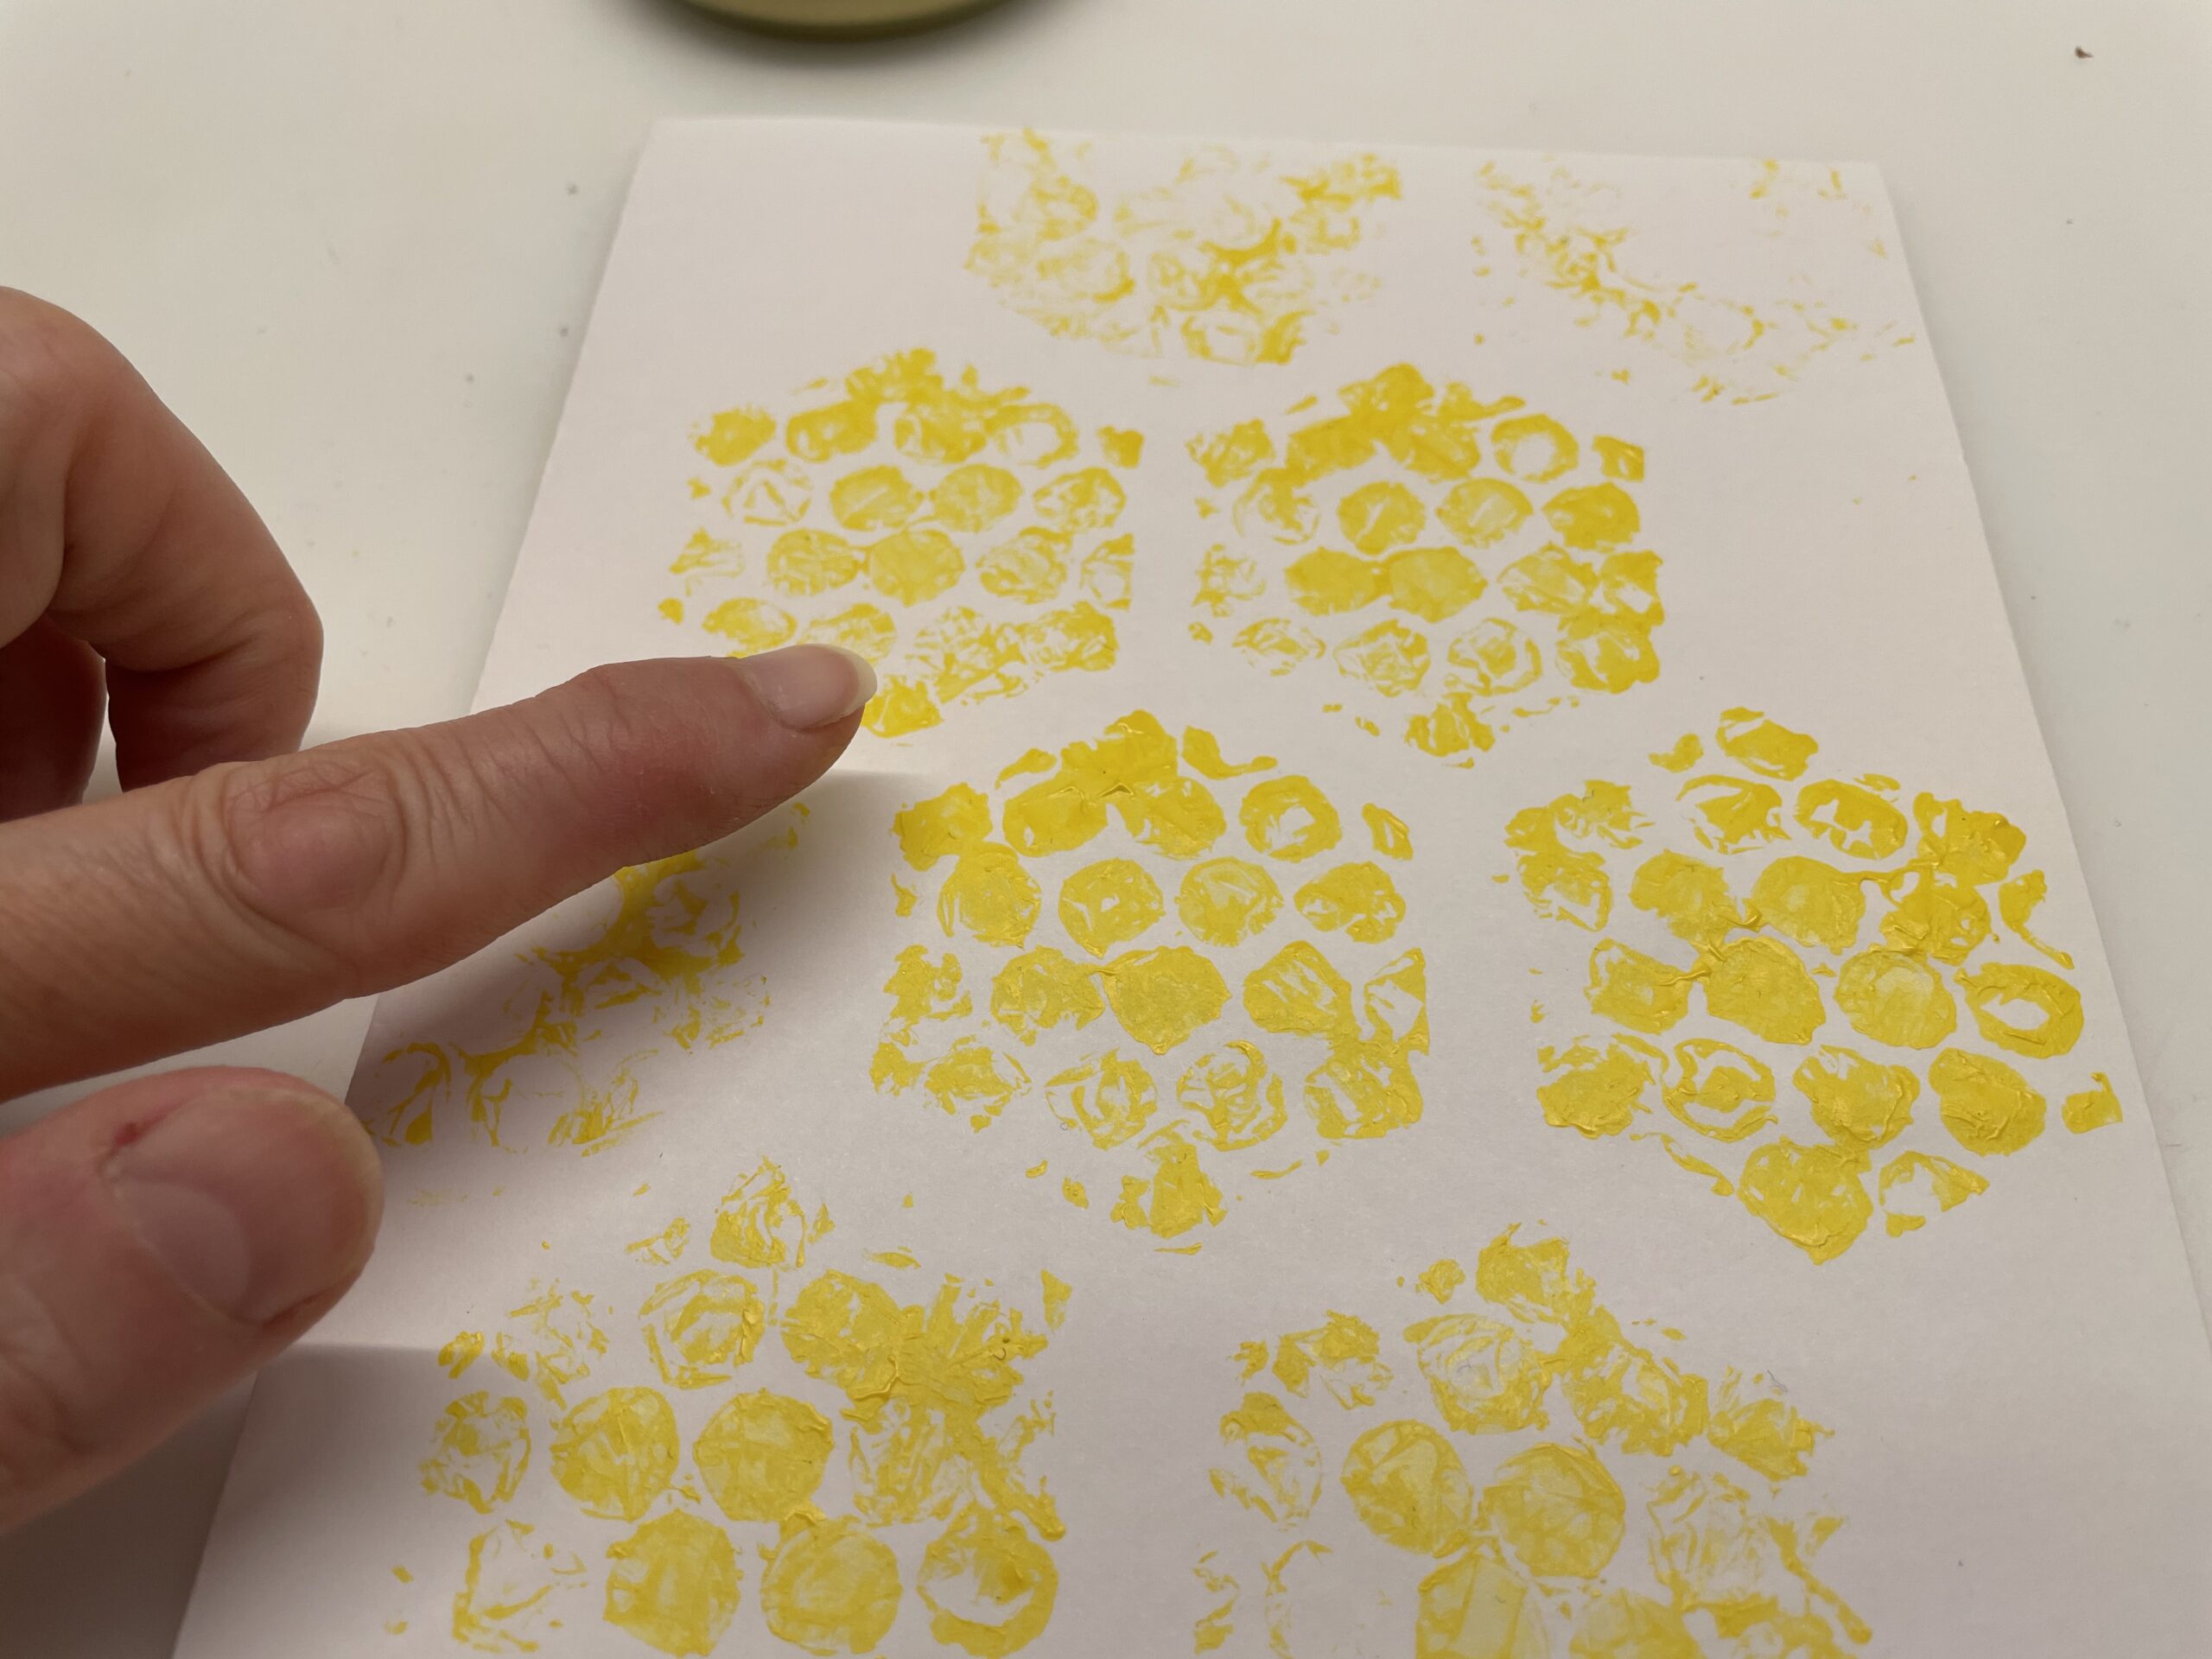
Bild zum Schritt 17 für das Bastel- und DIY-Abenteuer für Kinder: 'Das macht ihr am besten mit dem Zeigefinger.  ...'

18

Then put the paper aside for drying.
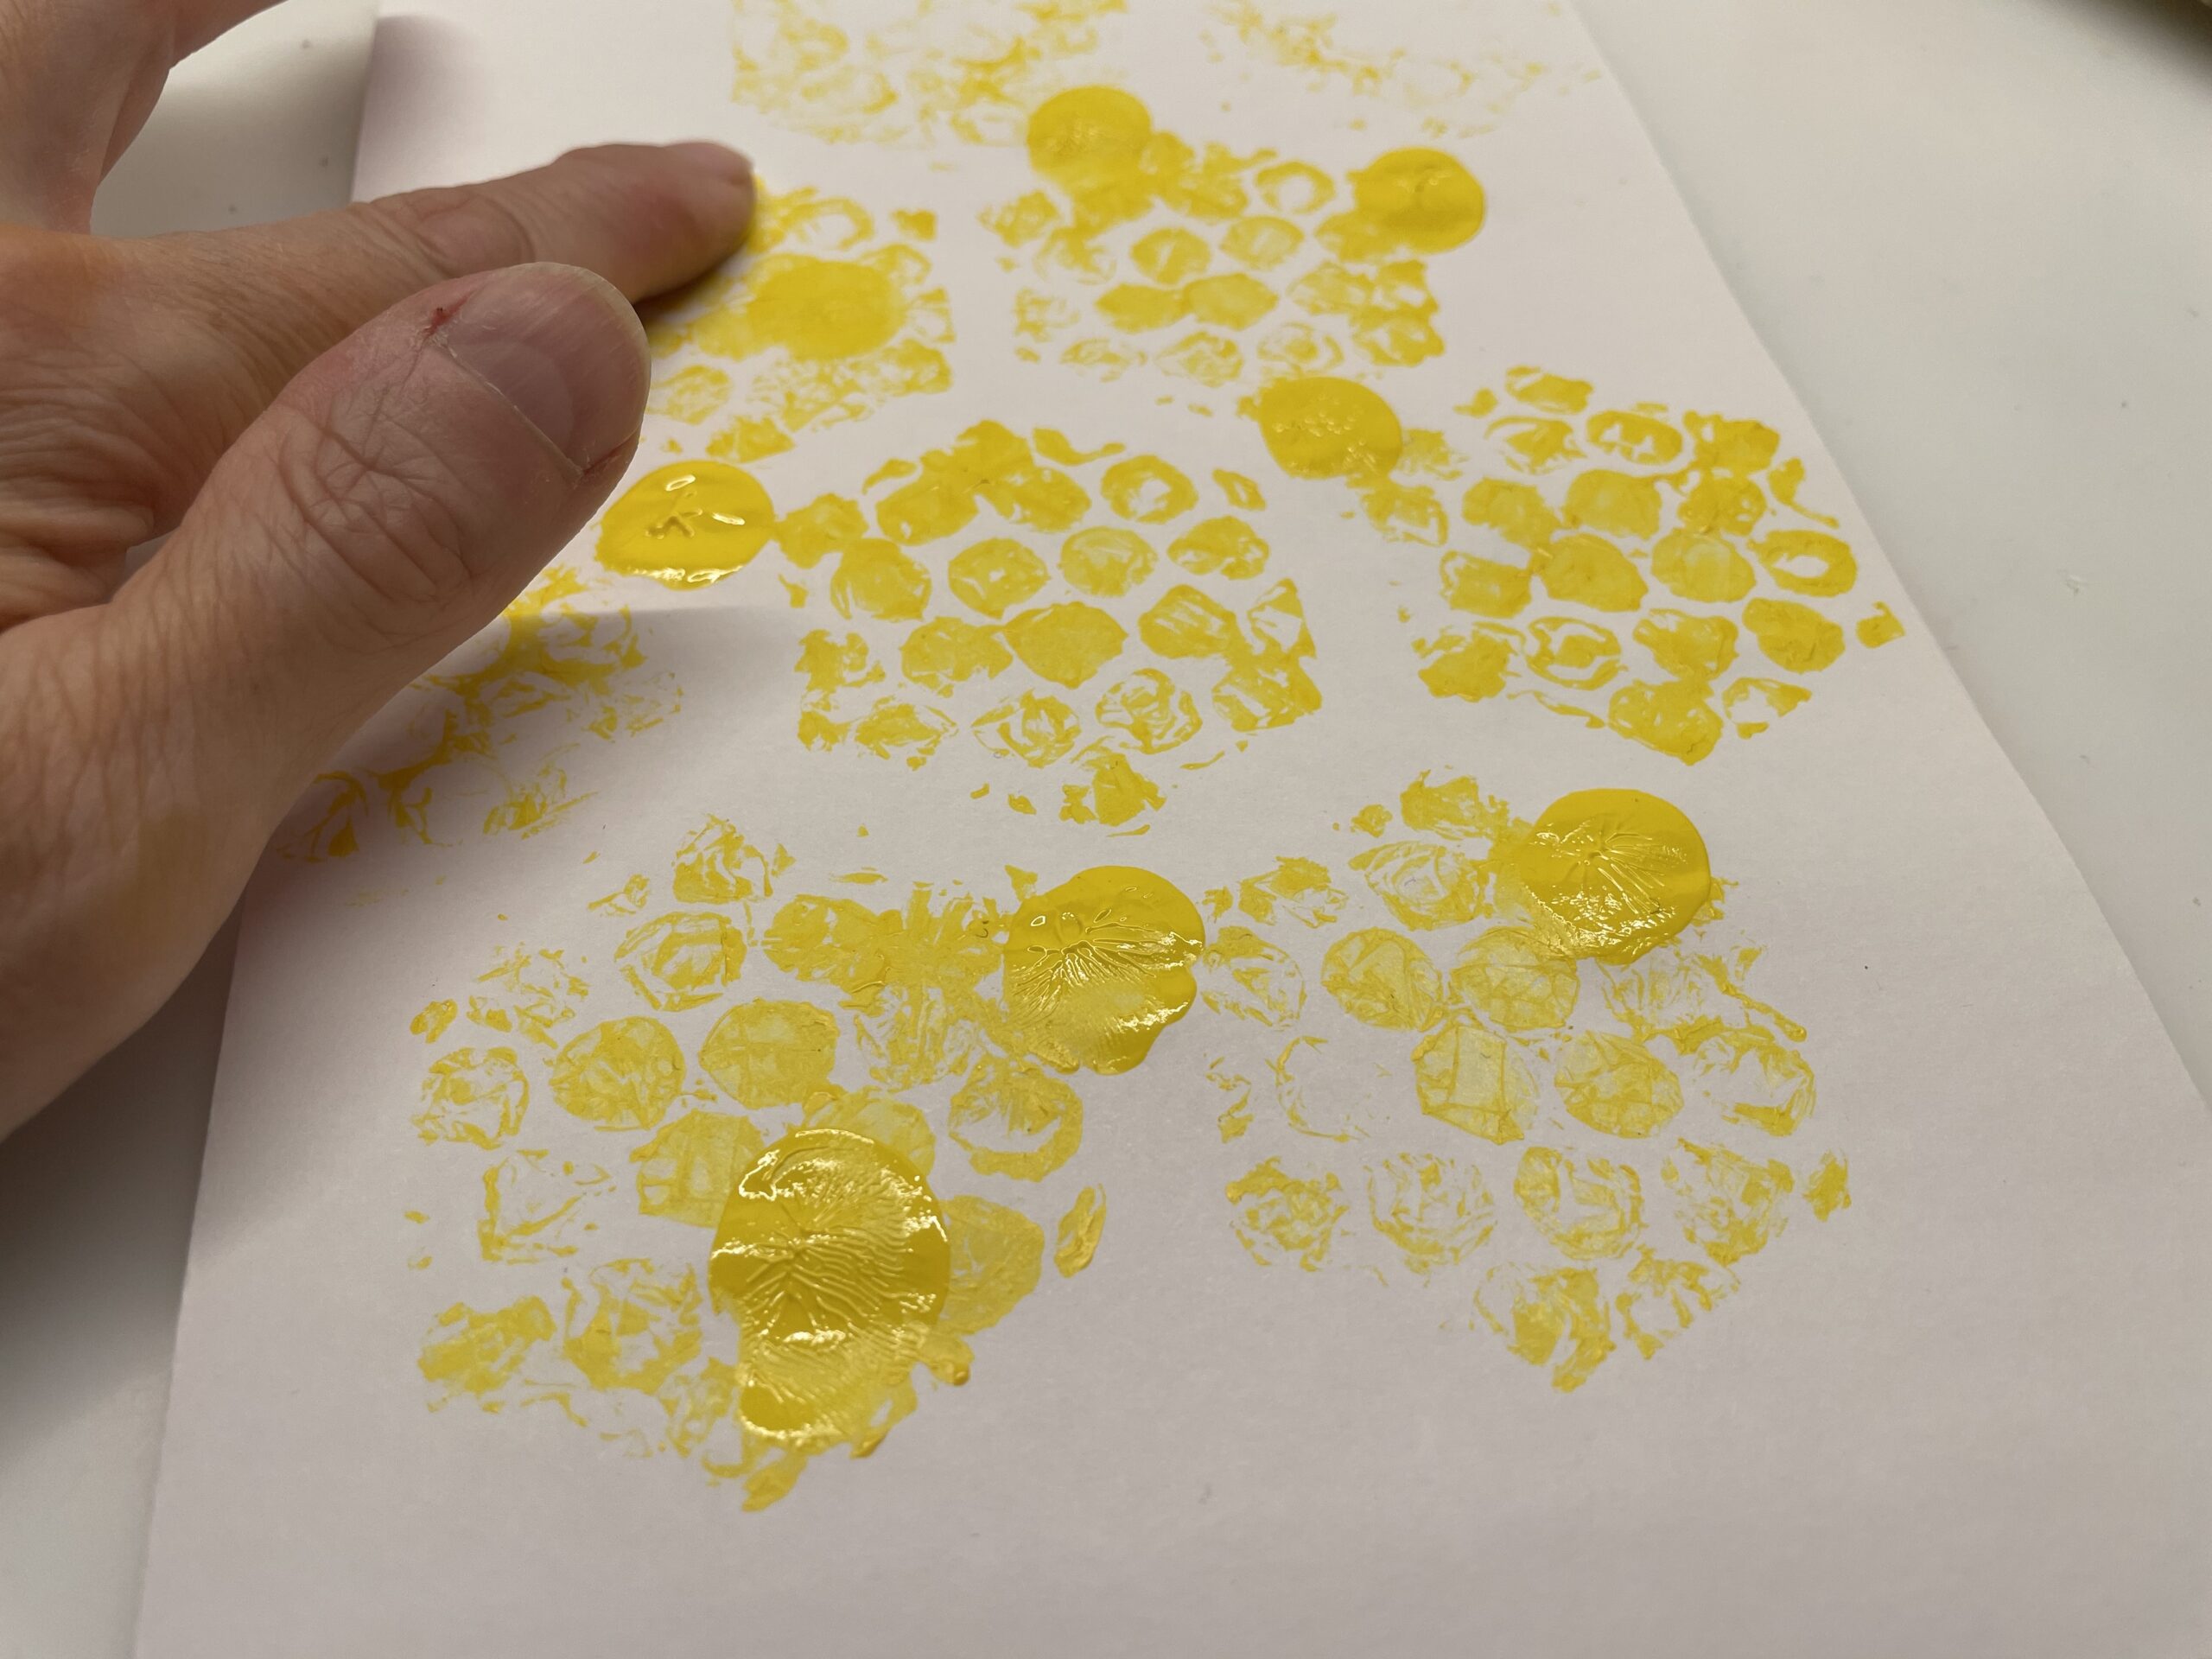
Bild zum Schritt 18 für das Bastel- und DIY-Abenteuer für Kinder: 'Anschließend legt ihr das Papier zum Trocknen zur Seite.'

19

When the paint is dried, you paint a bee from each paint swab.
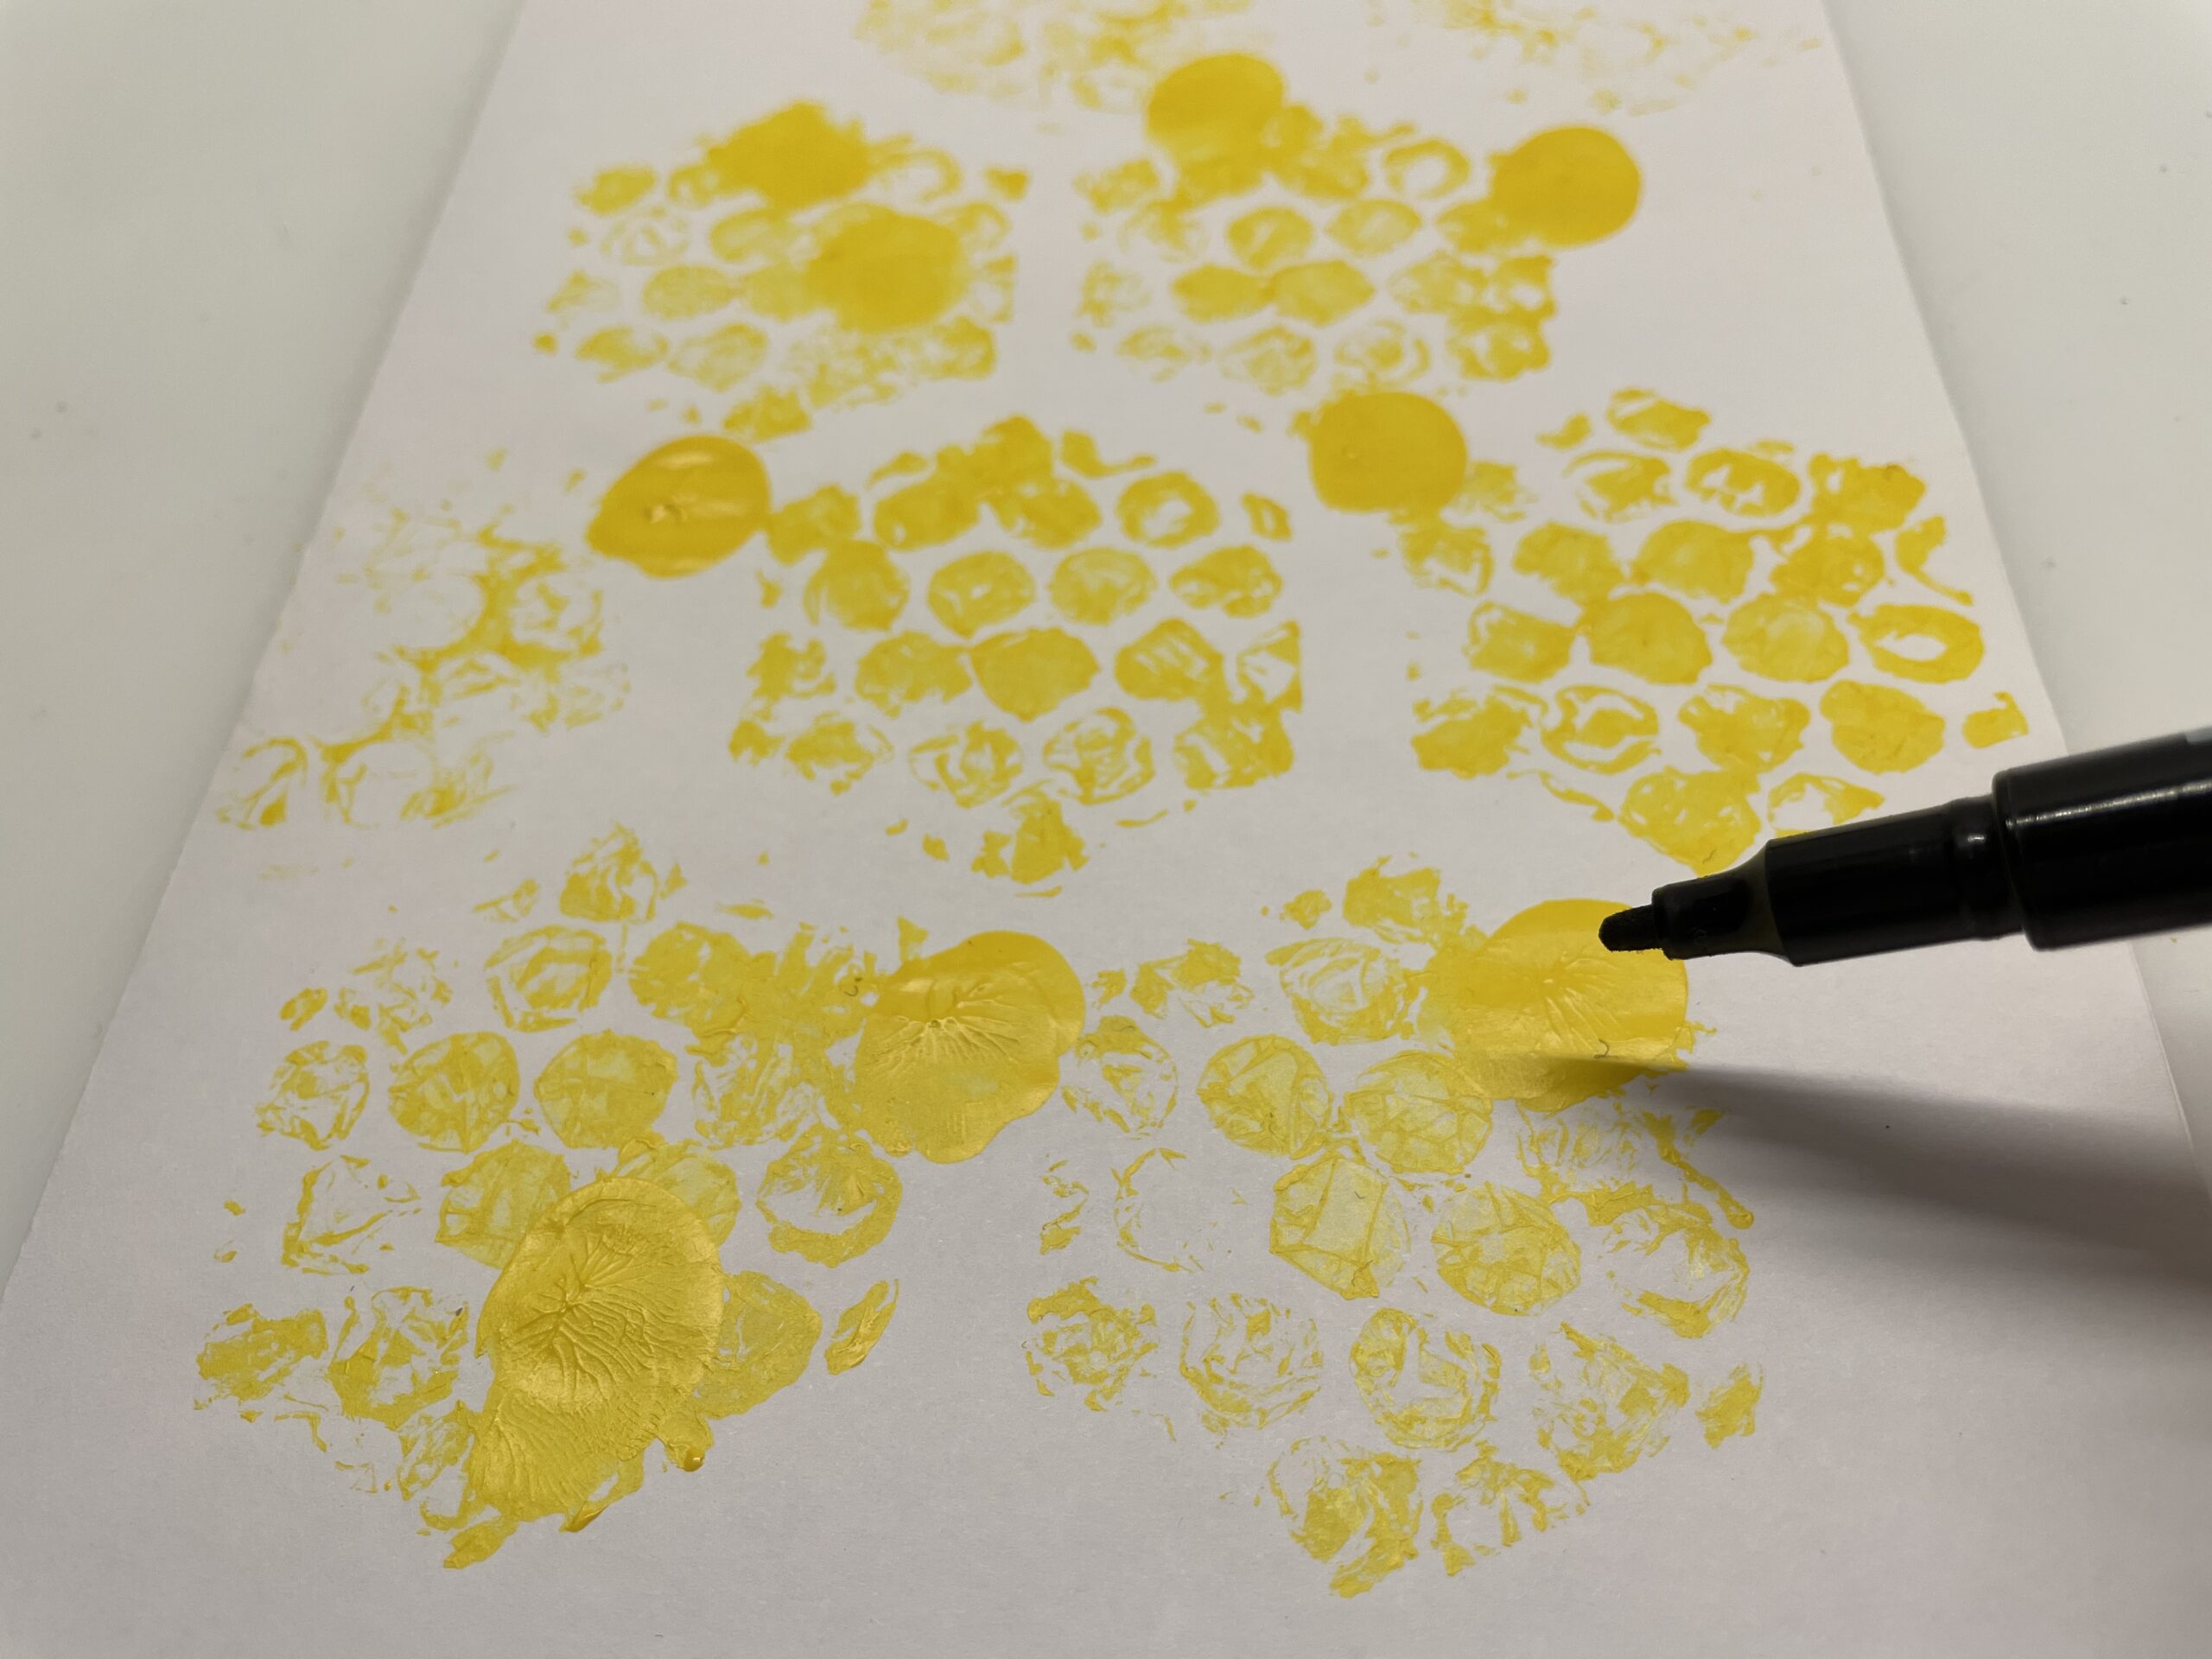
Bild zum Schritt 19 für das Bastel- und DIY-Abenteuer für Kinder: 'Ist die Farbe getrocknet, dann malt ihr aus jedem Farbtupfer...'

20

Paints every bee stripes and two dots as eyes.
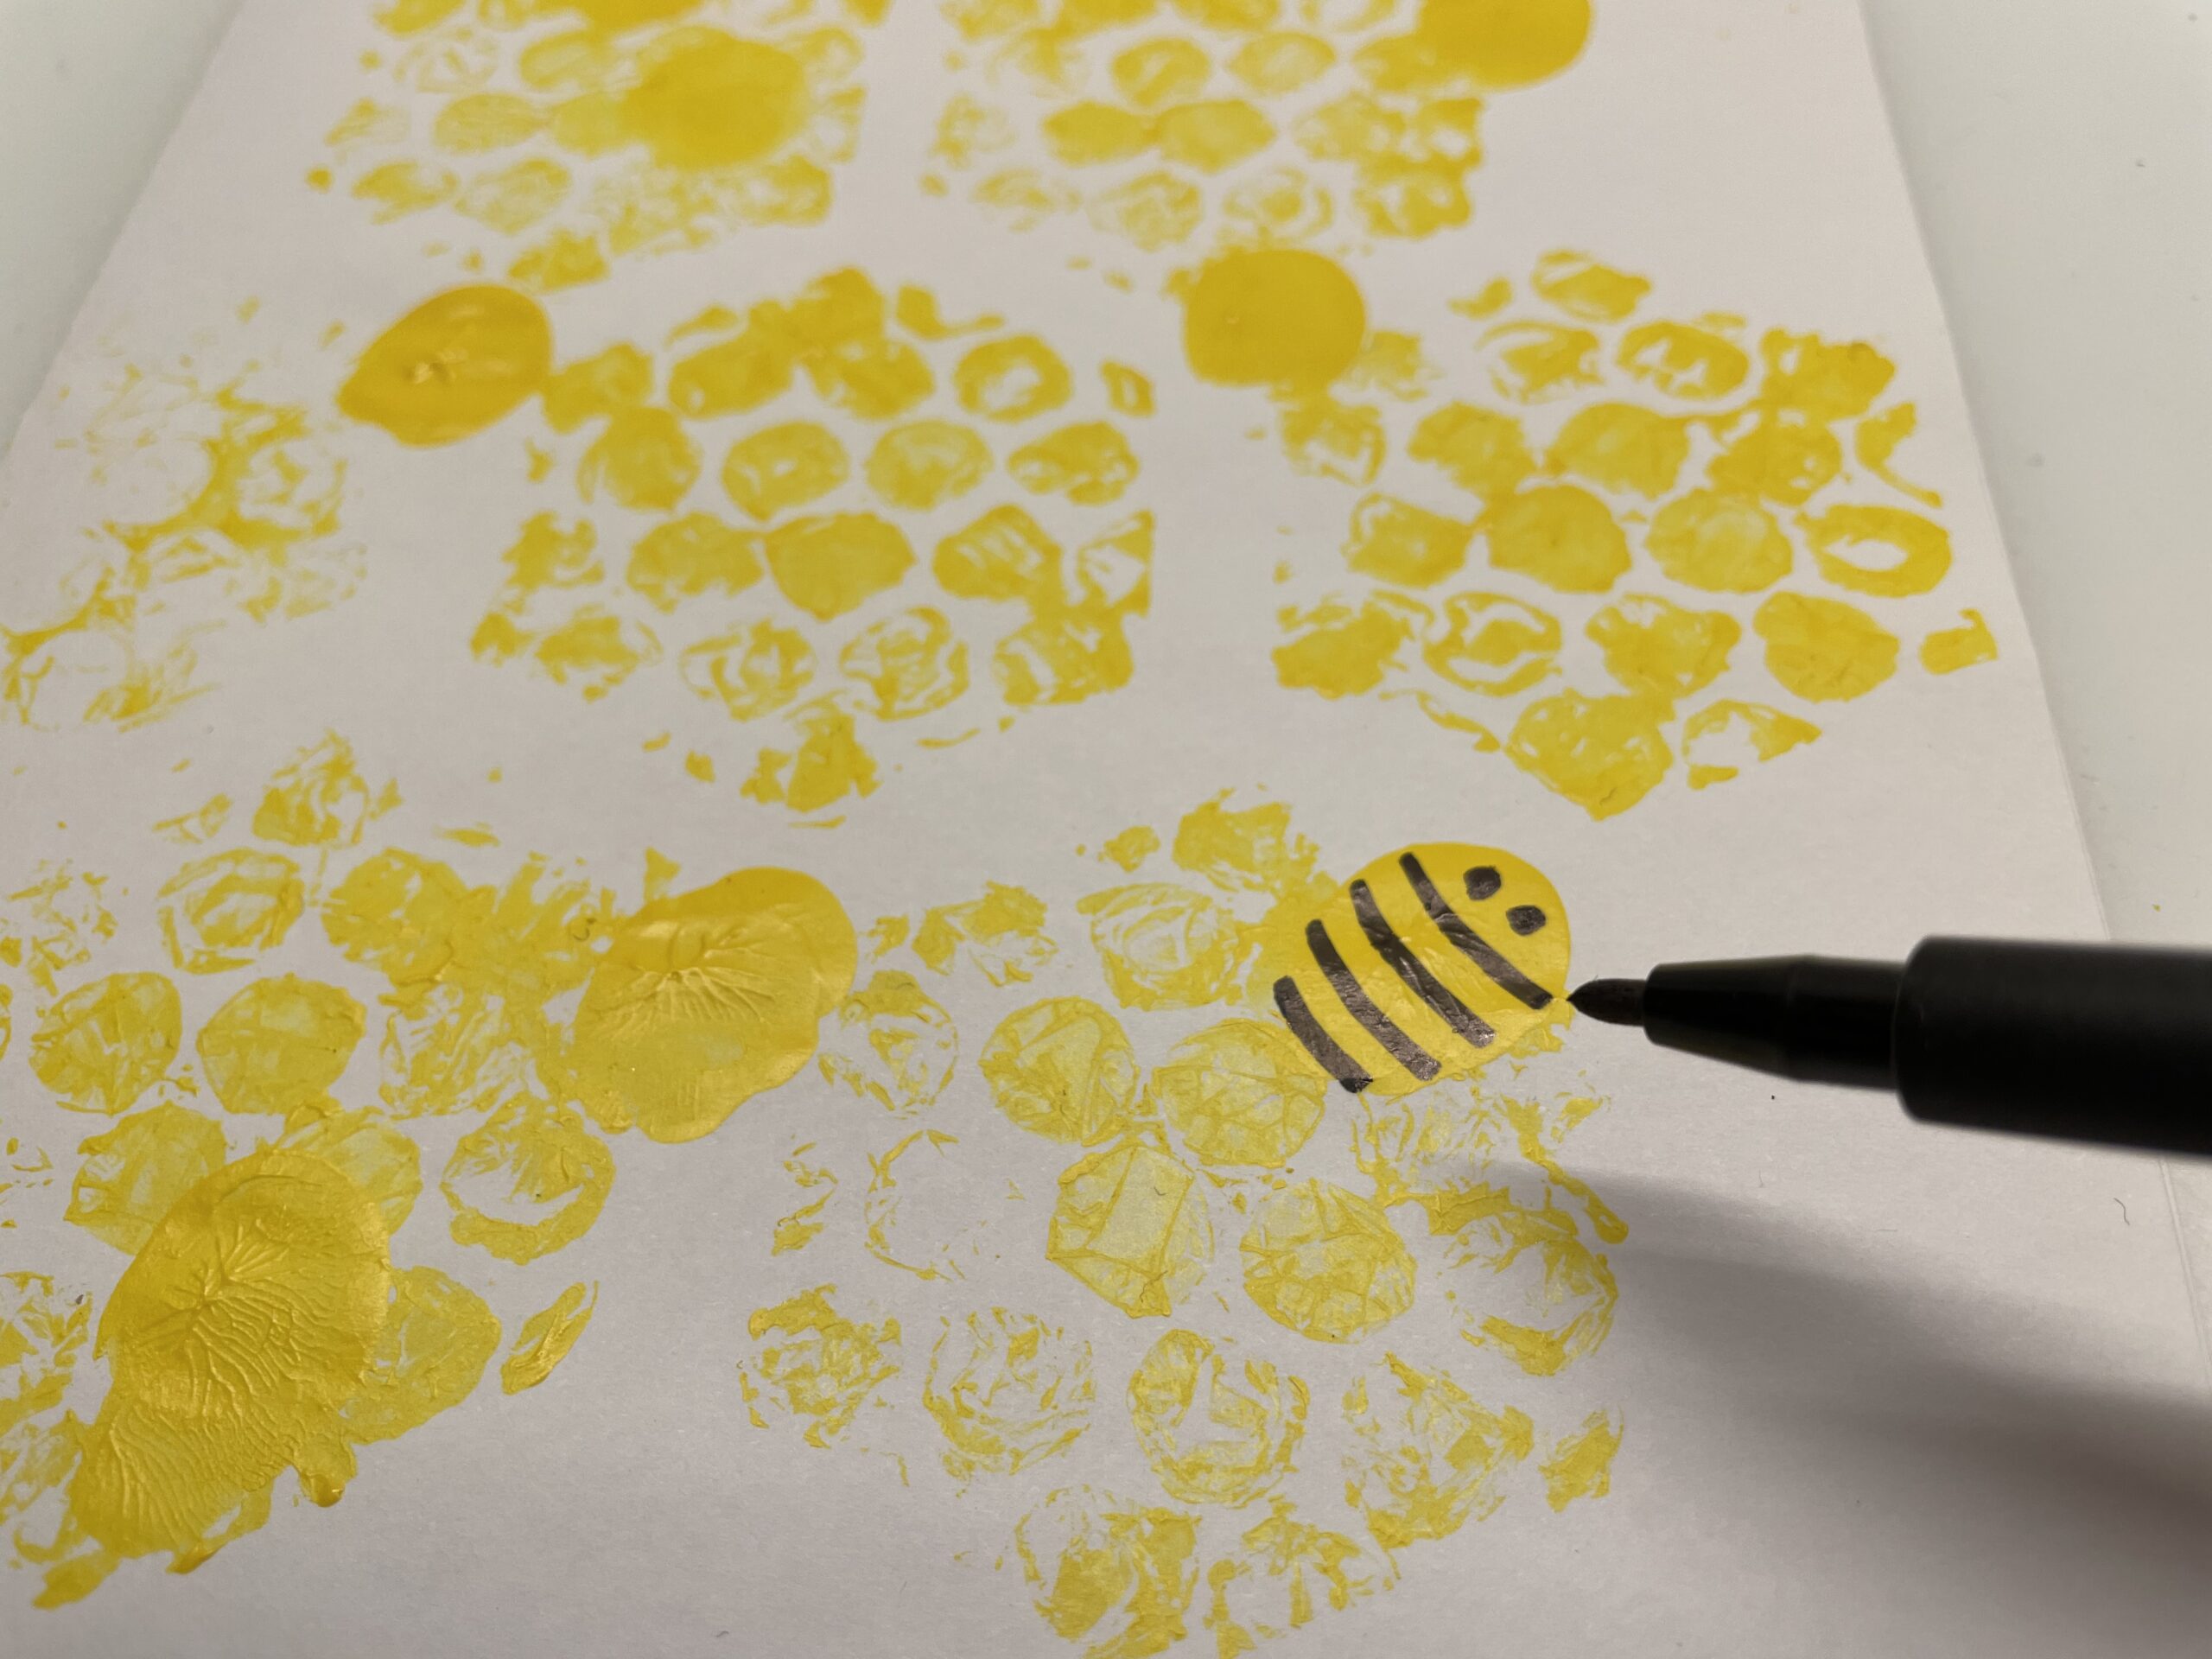
Bild zum Schritt 20 für das Bastel- und DIY-Abenteuer für Kinder: 'Malt jeder Biene Streifen und zwei Punkte als Augen.'

21

You can also run around the bees with a black pen.
Then you paint four wings for each bee.
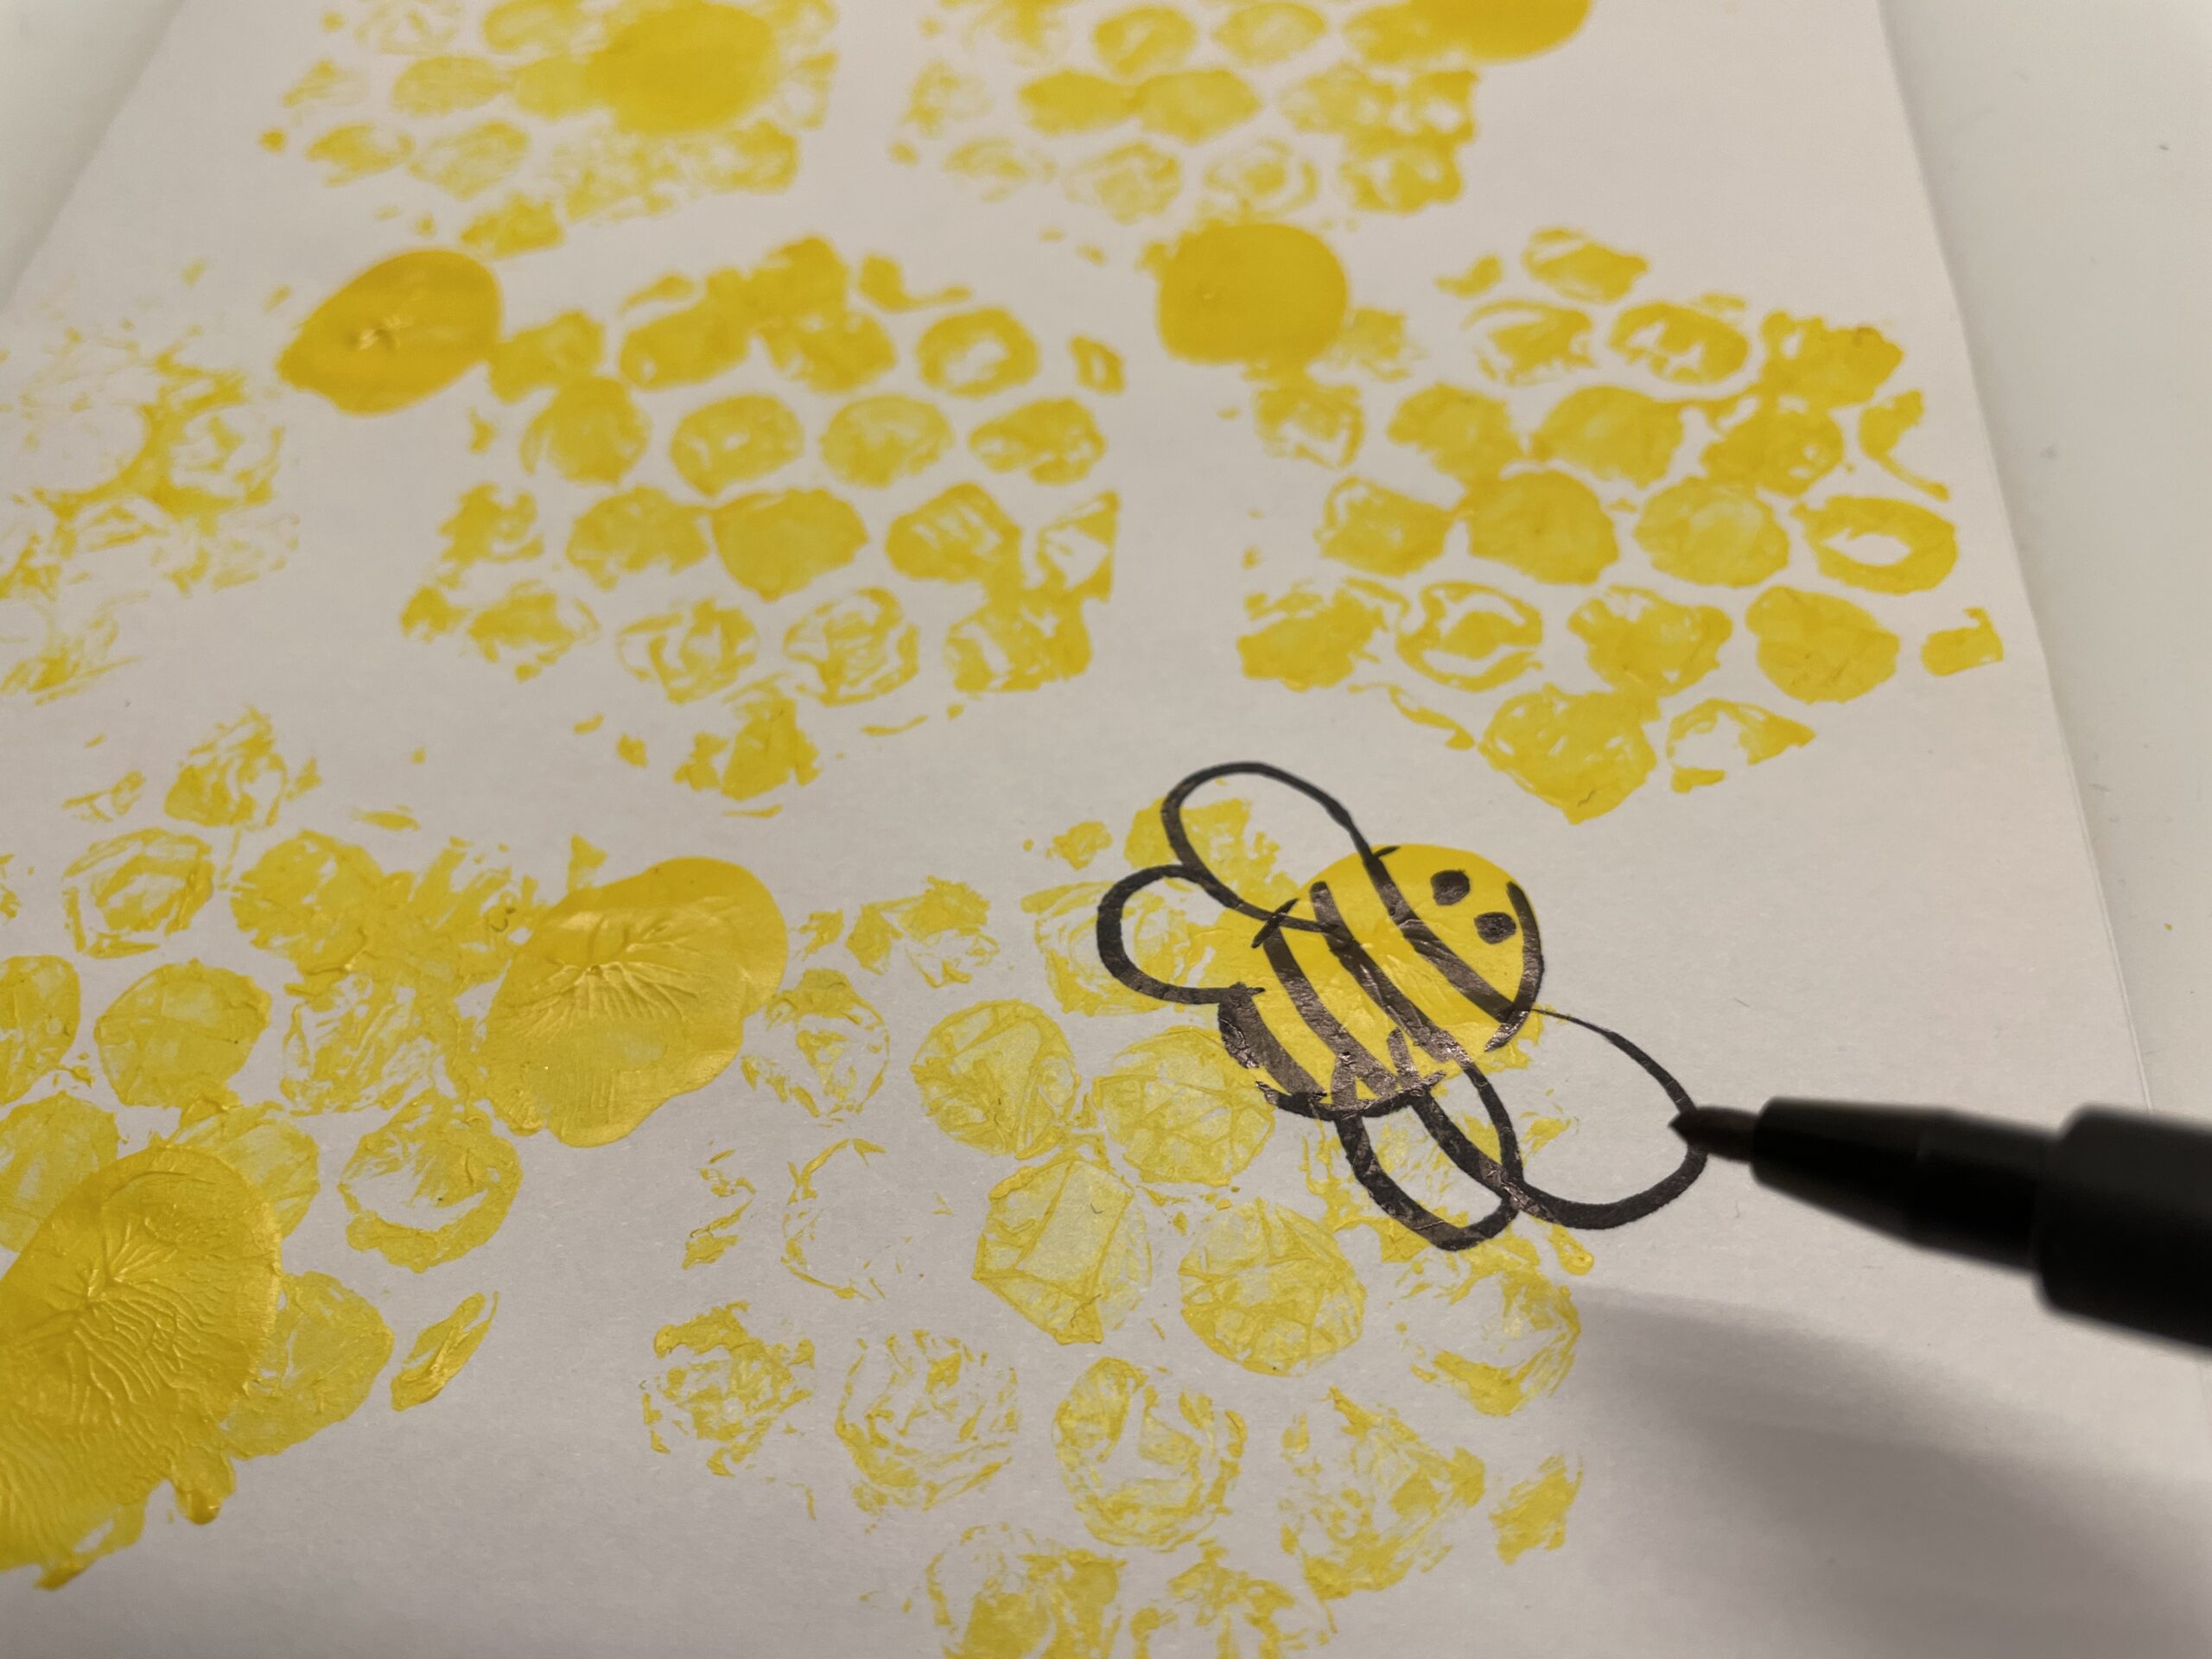
Bild zum Schritt 21 für das Bastel- und DIY-Abenteuer für Kinder: 'Ihr könnt die Bienenkörper auch mit schwarzem Stift umfahren. ...'

22

Make sure that not all bees fly or crawl in the same direction, because in a hive there is only so much bees, whose paths cross again and again.
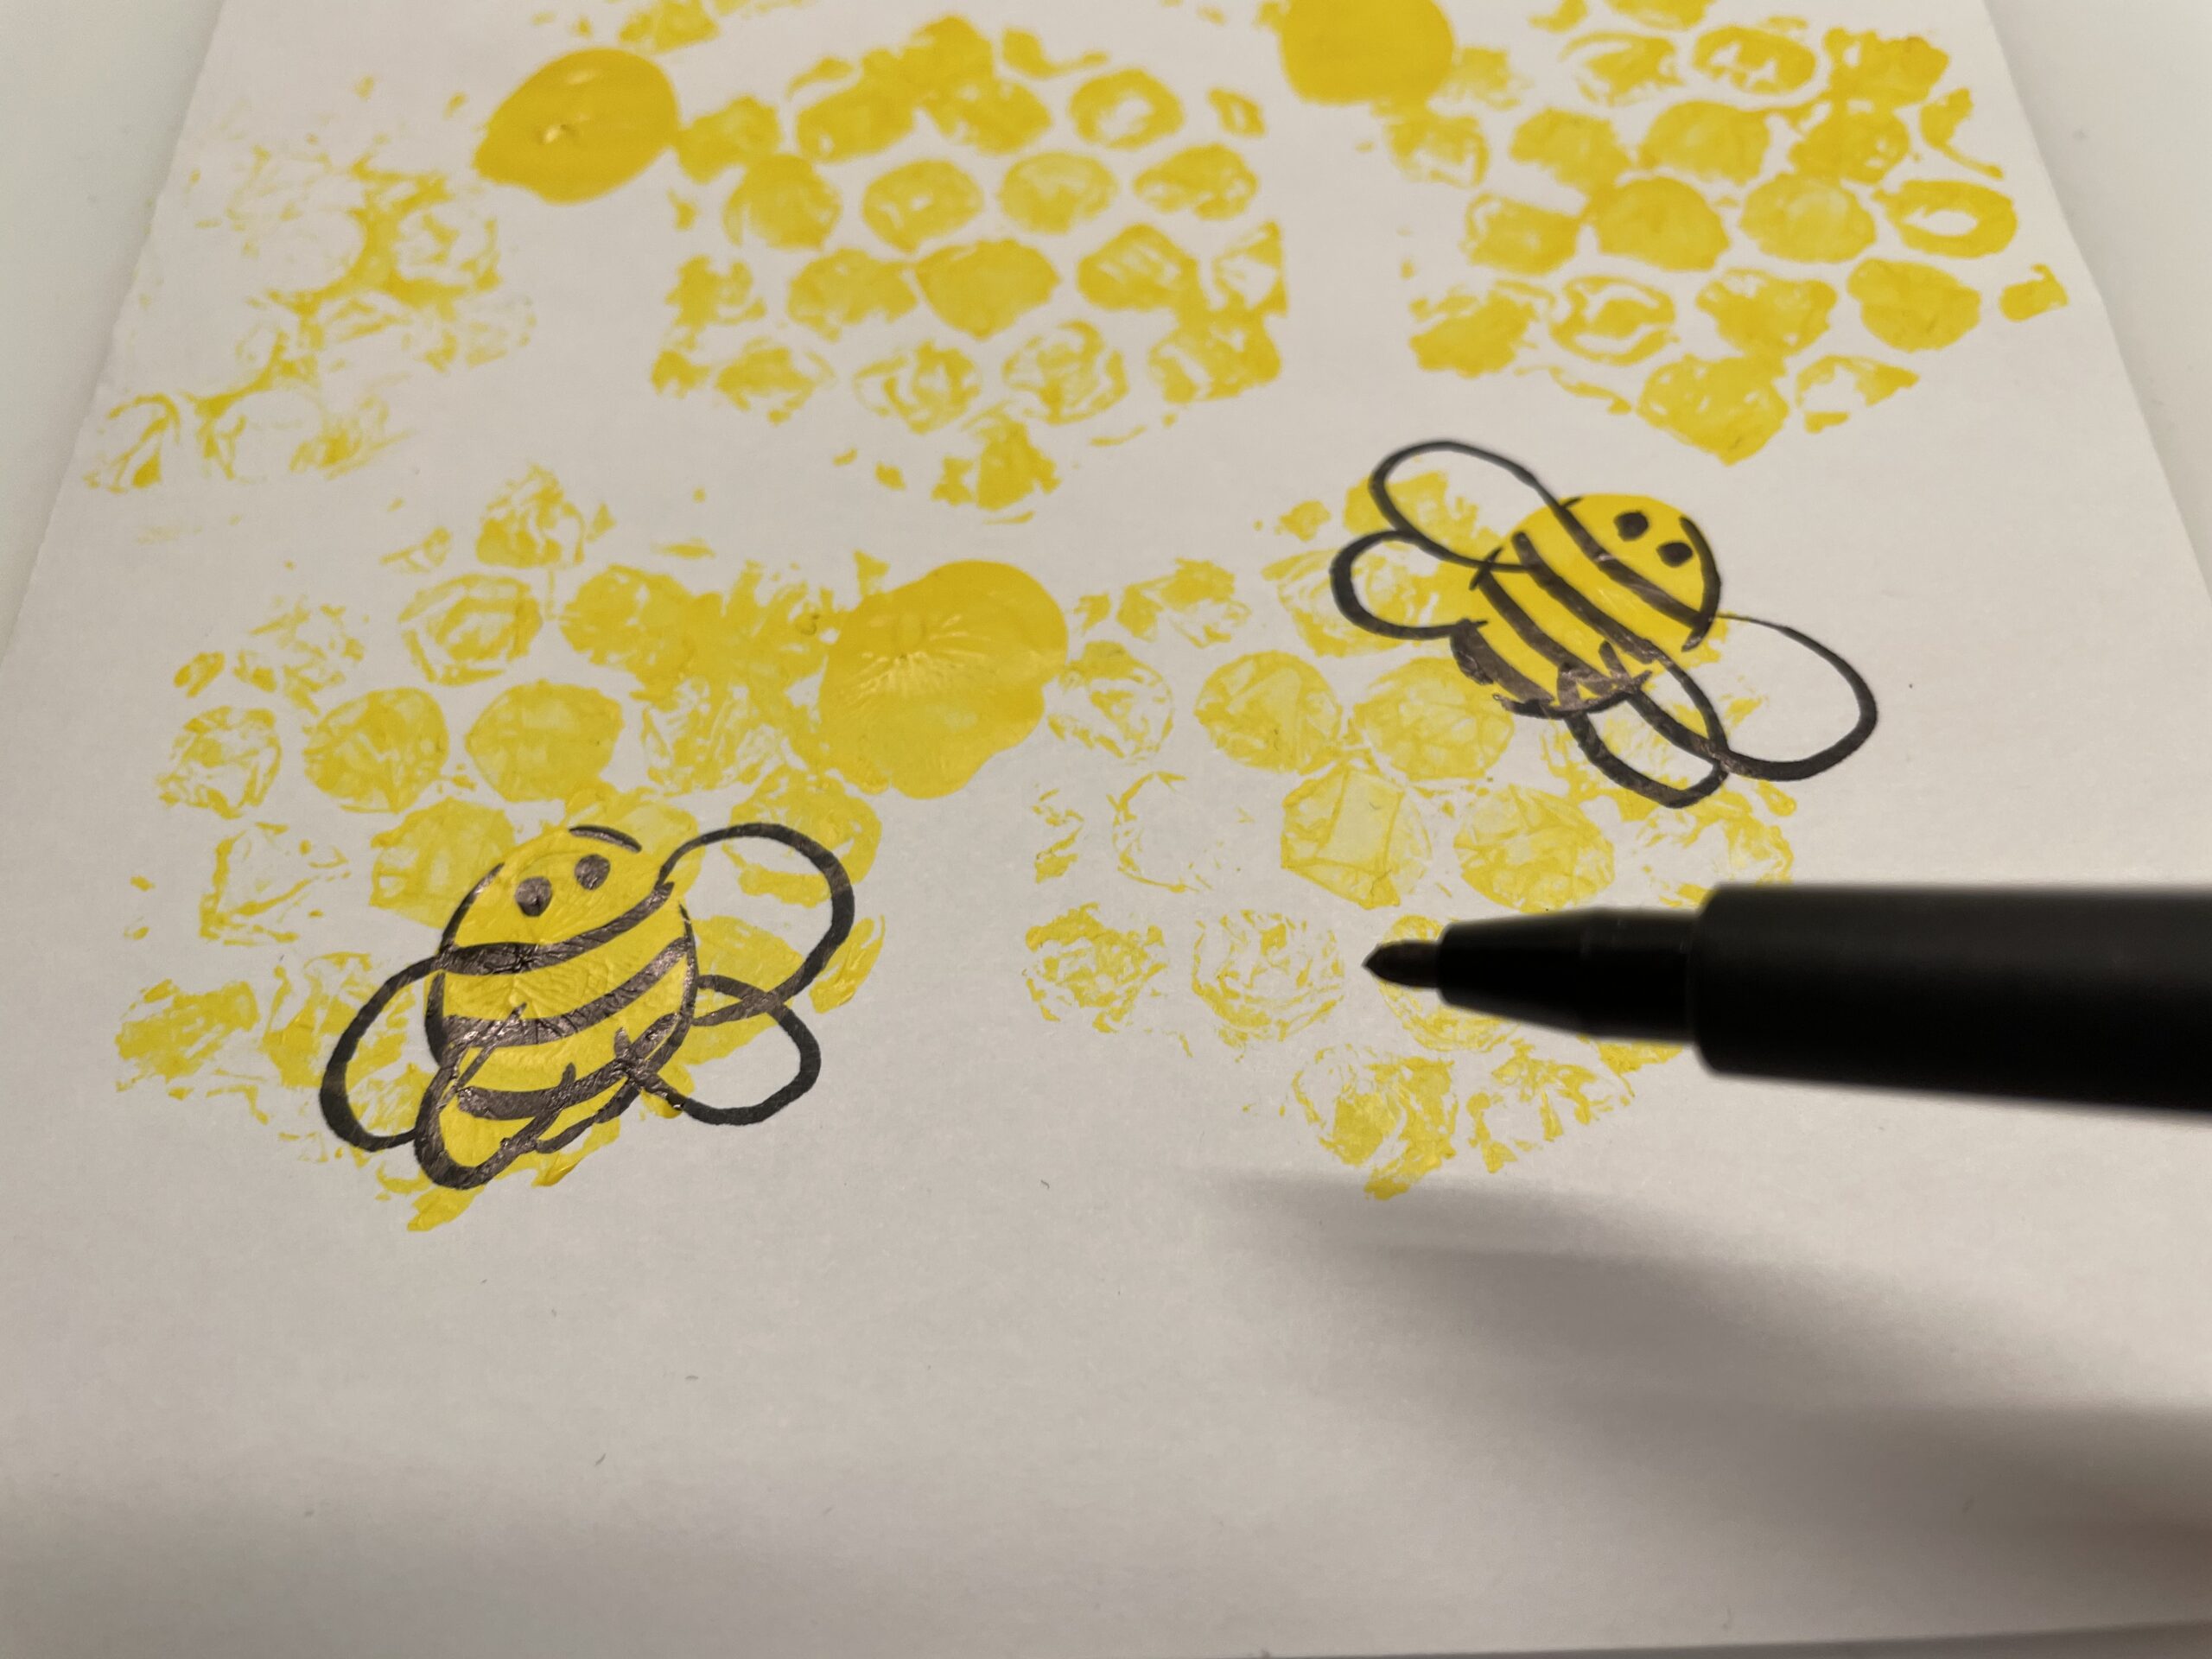
Bild zum Schritt 22 für das Bastel- und DIY-Abenteuer für Kinder: 'Achtet darauf, dass nicht alle Bienen in die gleiche Richtung...'

23

Stick your paper on a firmer photo box.
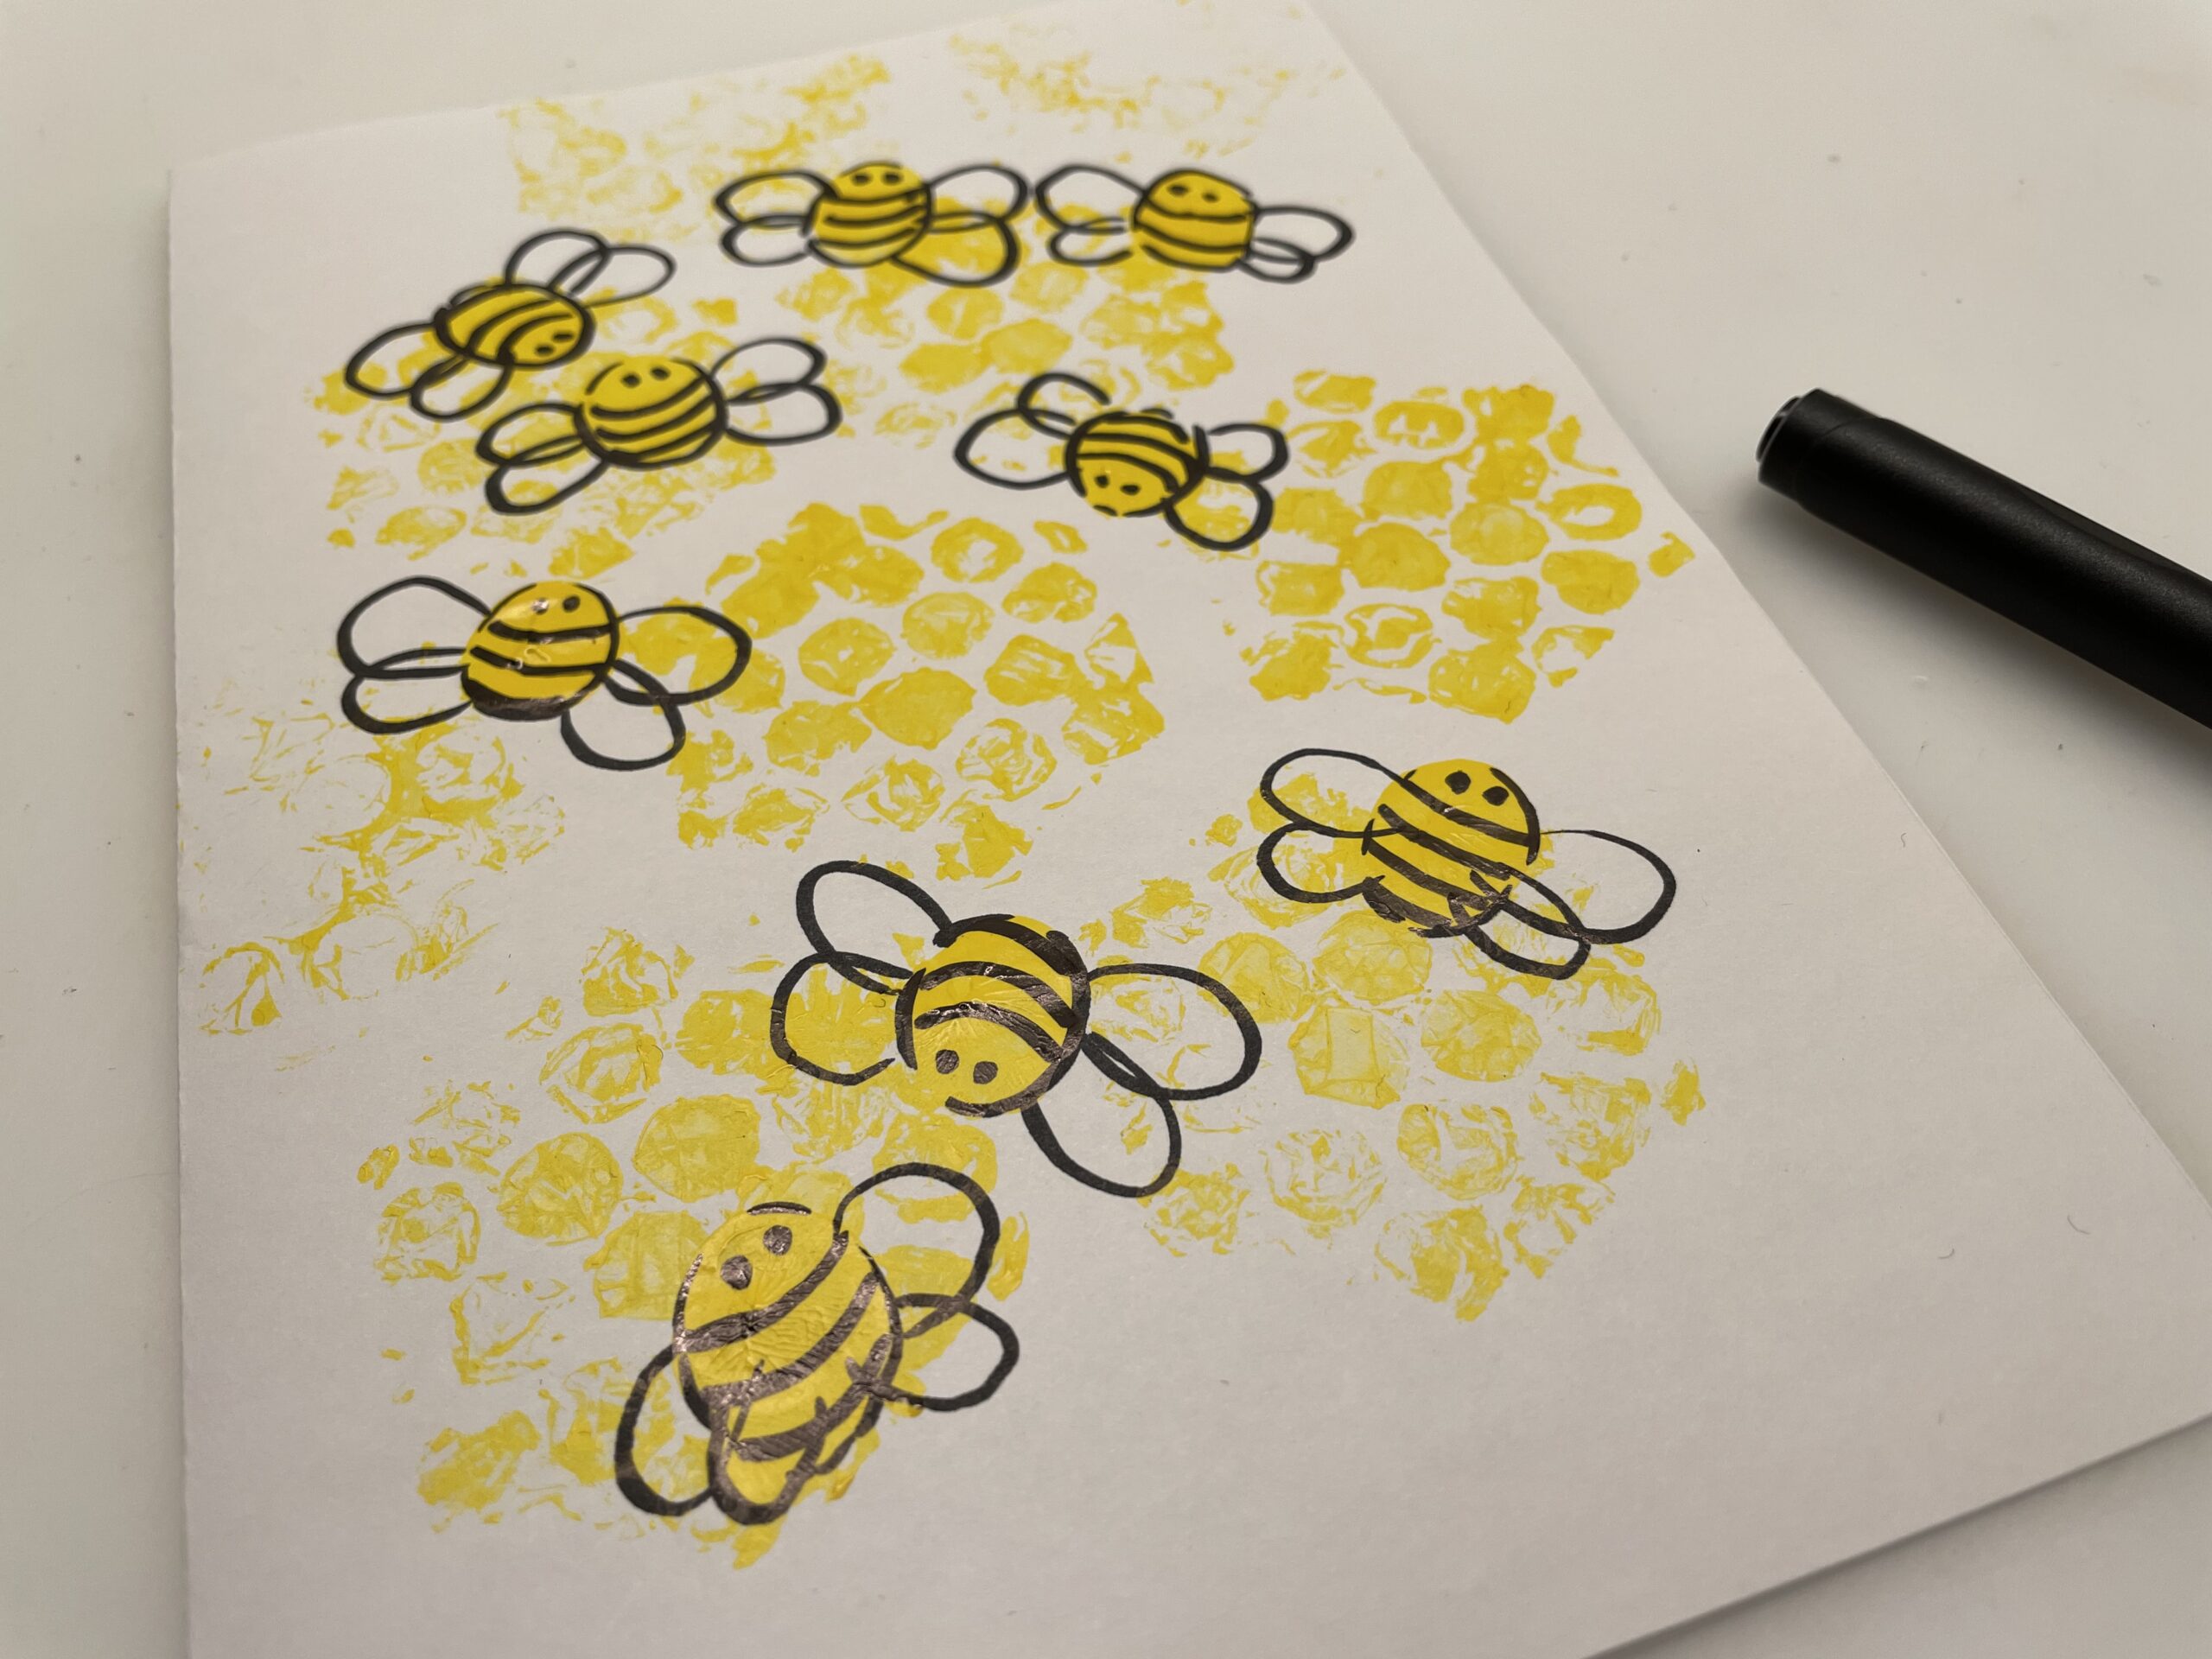
Bild zum Schritt 23 für das Bastel- und DIY-Abenteuer für Kinder: 'Klebt eurer Papier anschließend auf einen festeren Fotokarton.'

24

The bee honeycomb card is ready.
This self-made card is certainly a very special gift.
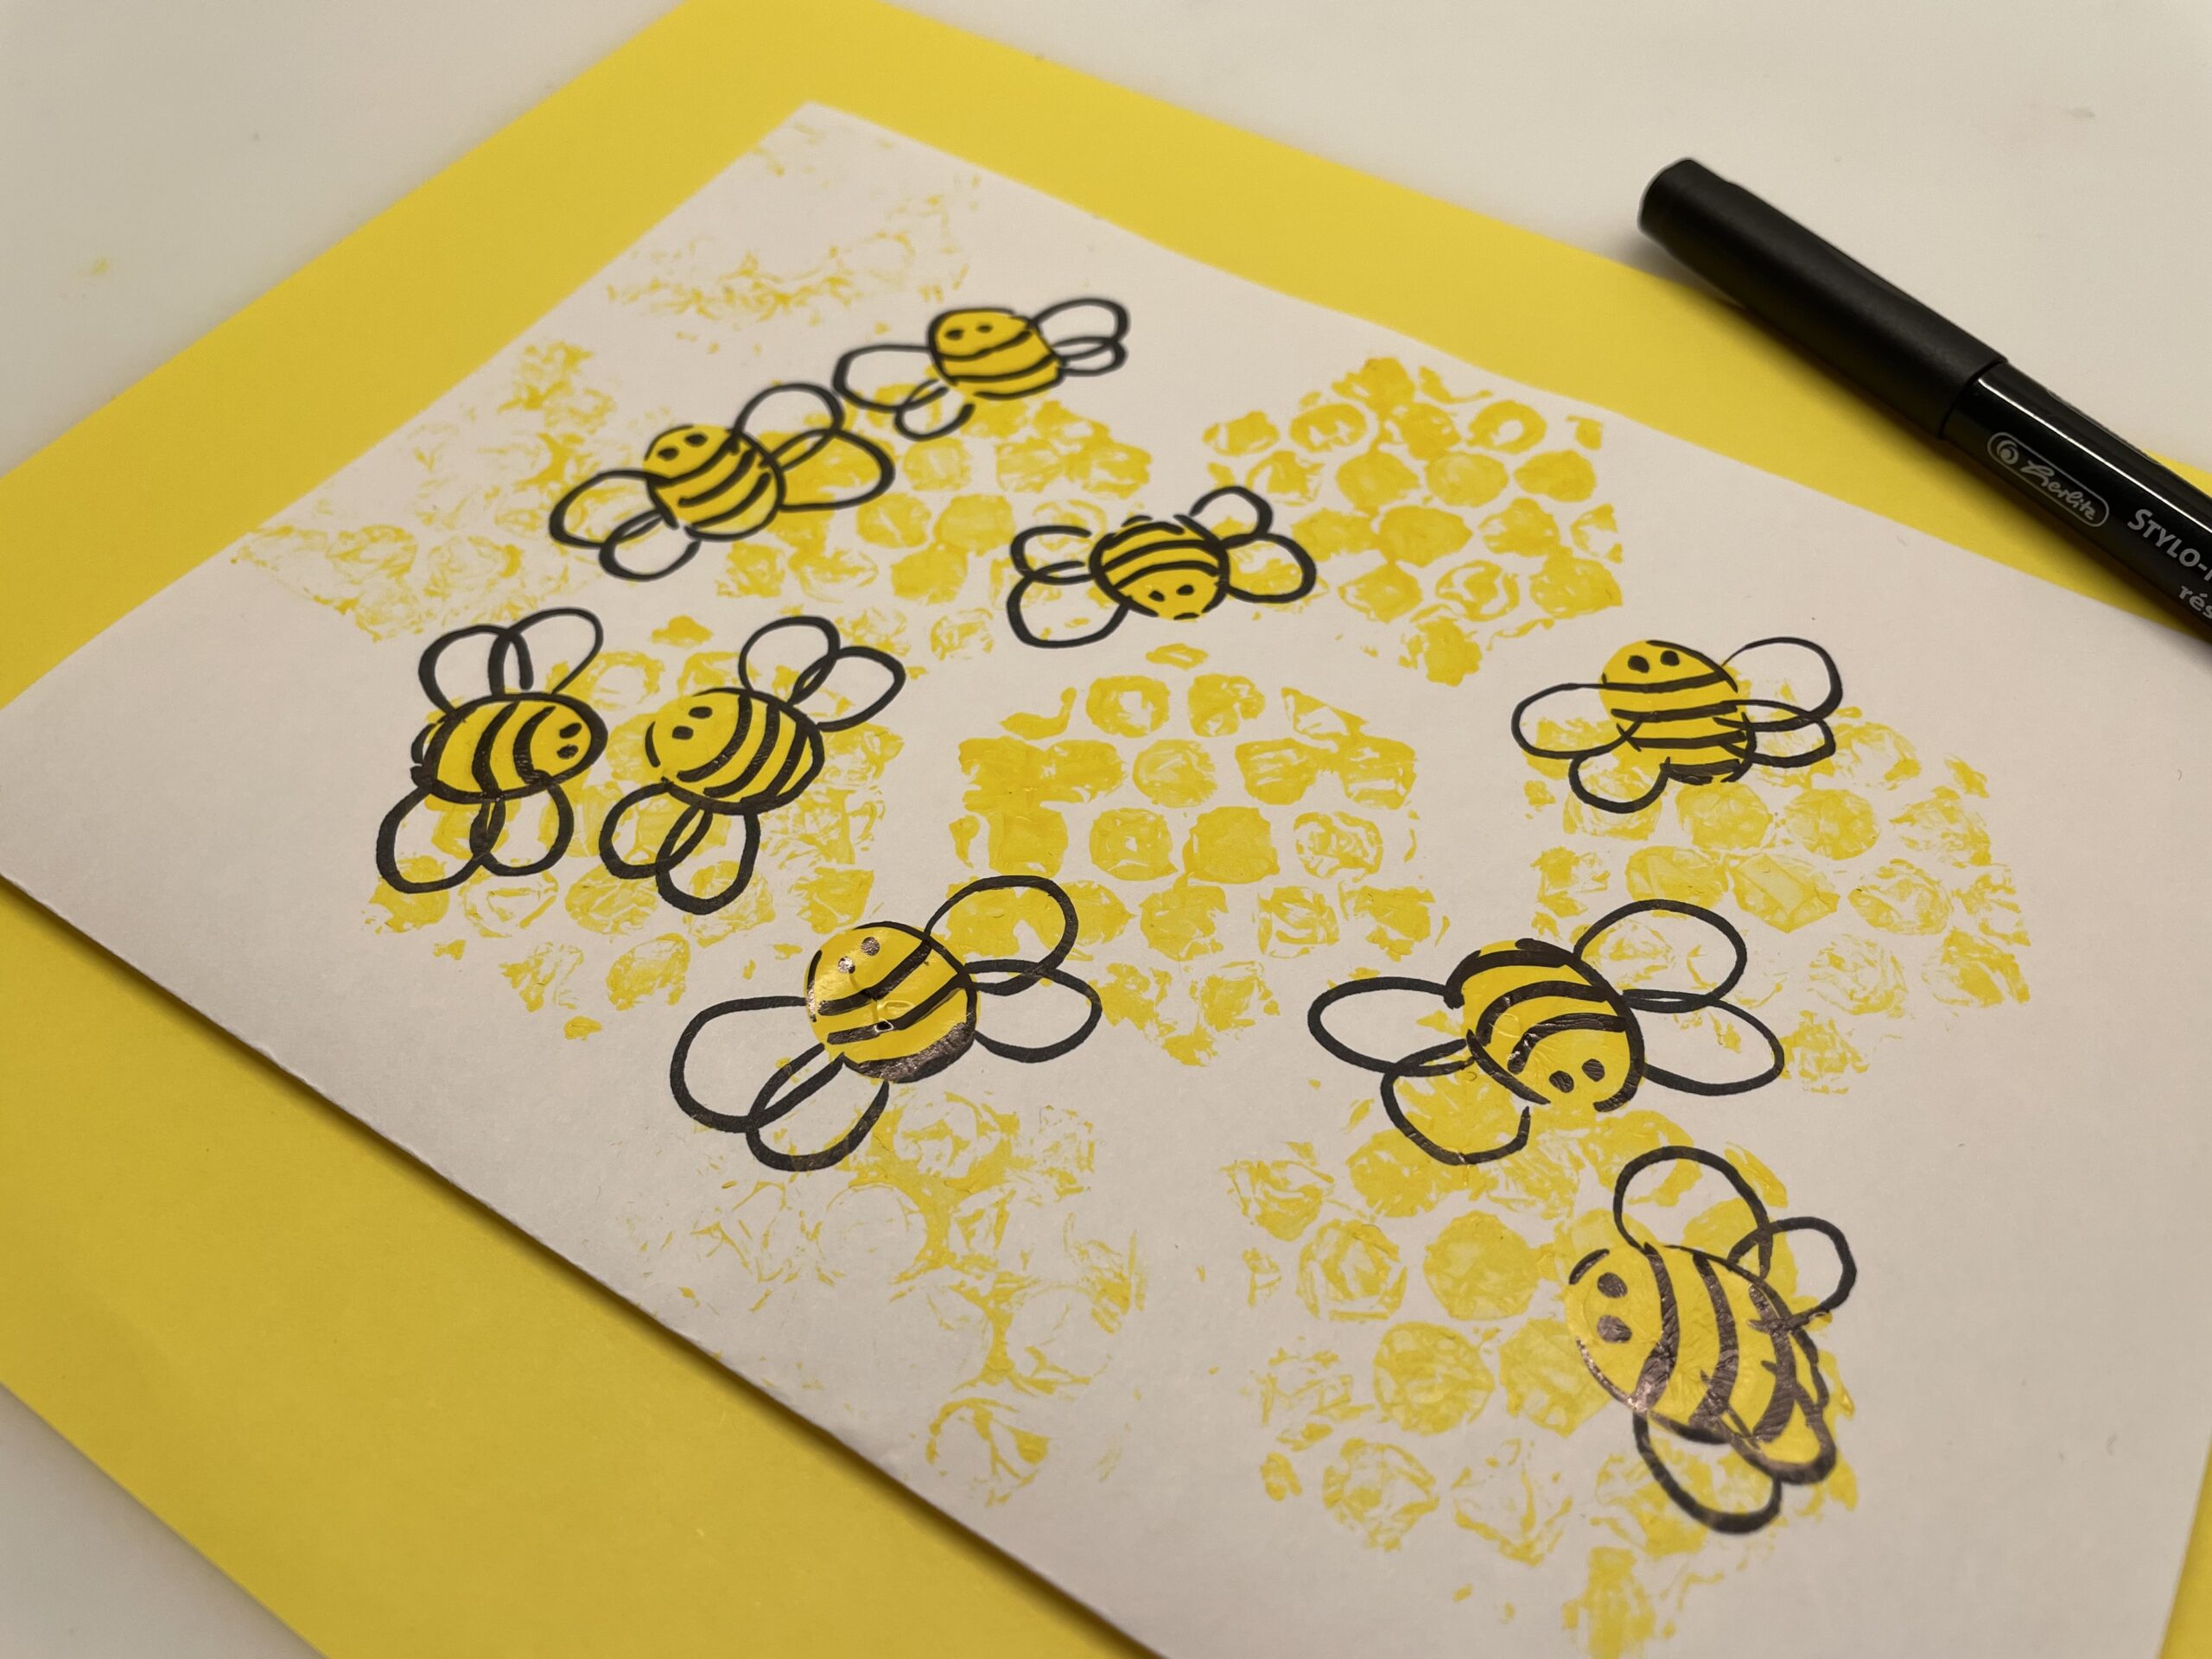
Bild zum Schritt 24 für das Bastel- und DIY-Abenteuer für Kinder: 'Fertig ist die Bienen-Waben-Karte.   Diese selbst gebastelte Karte...'

25

Stay creative and have fun doing crafts!?

Map making with bees and honeycombs

Follow us on Facebook , Instagram and Pinterest
Don't miss any more adventures: Our bottle mail

Leave a Reply

Your email address will not be published.

The maximum upload file size: 5 MB. You can upload: image, document. Drop file here