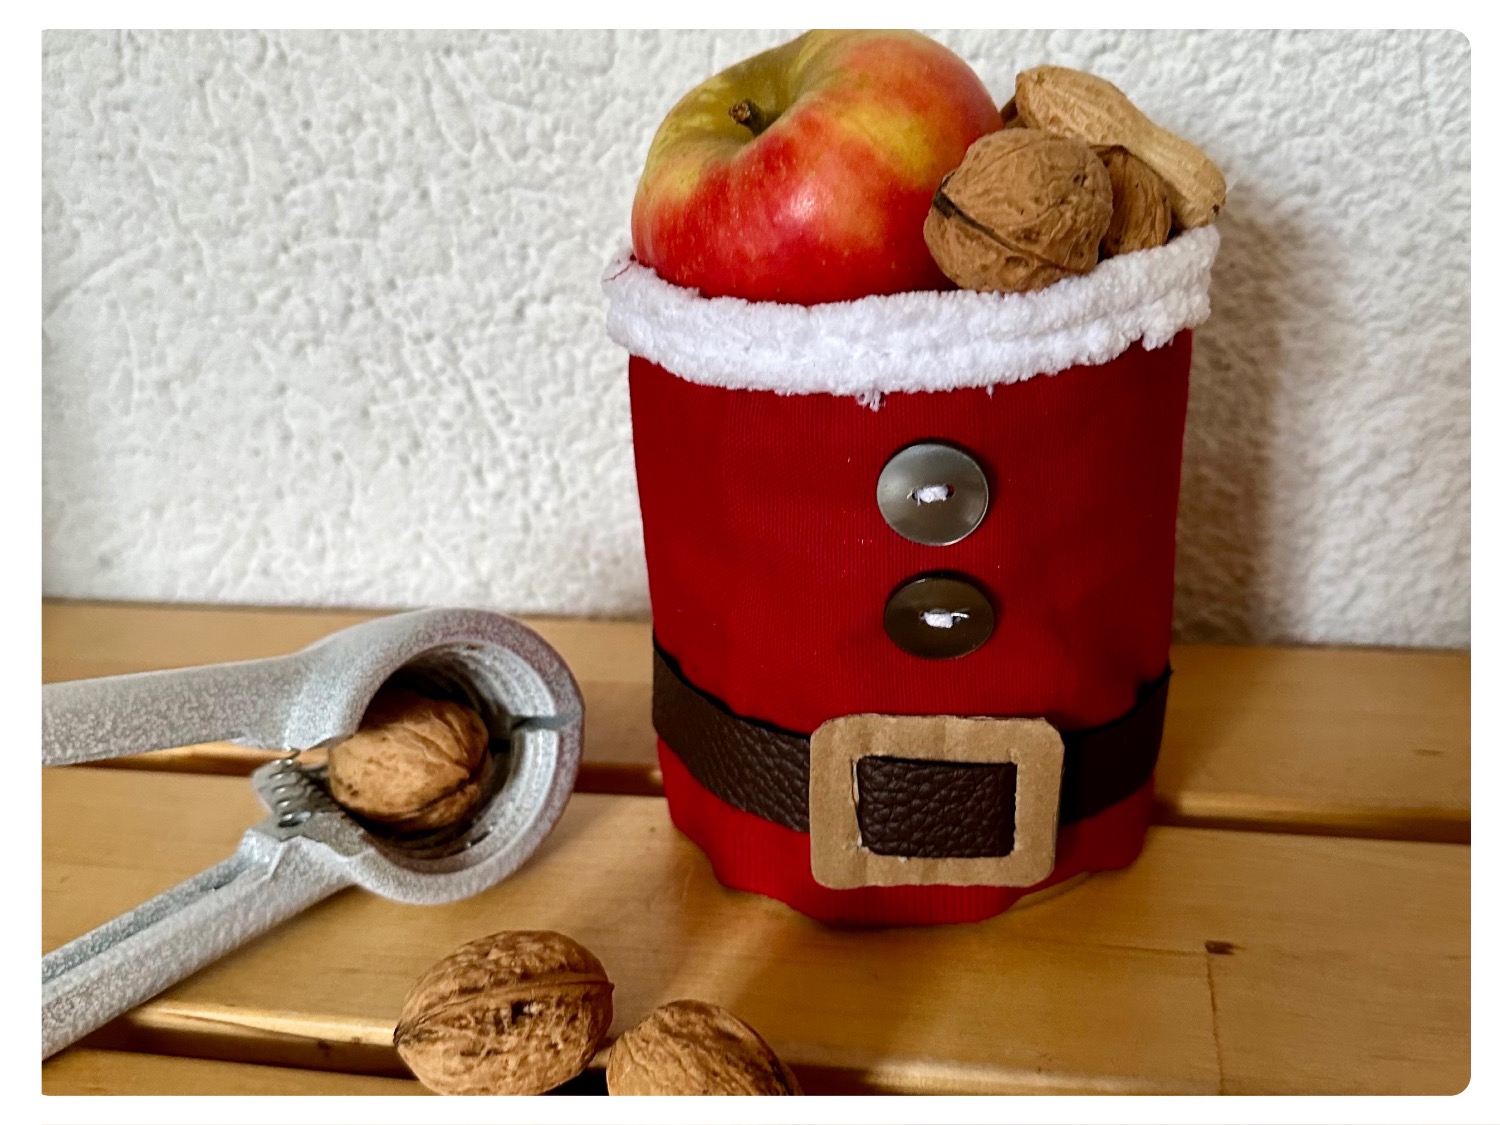
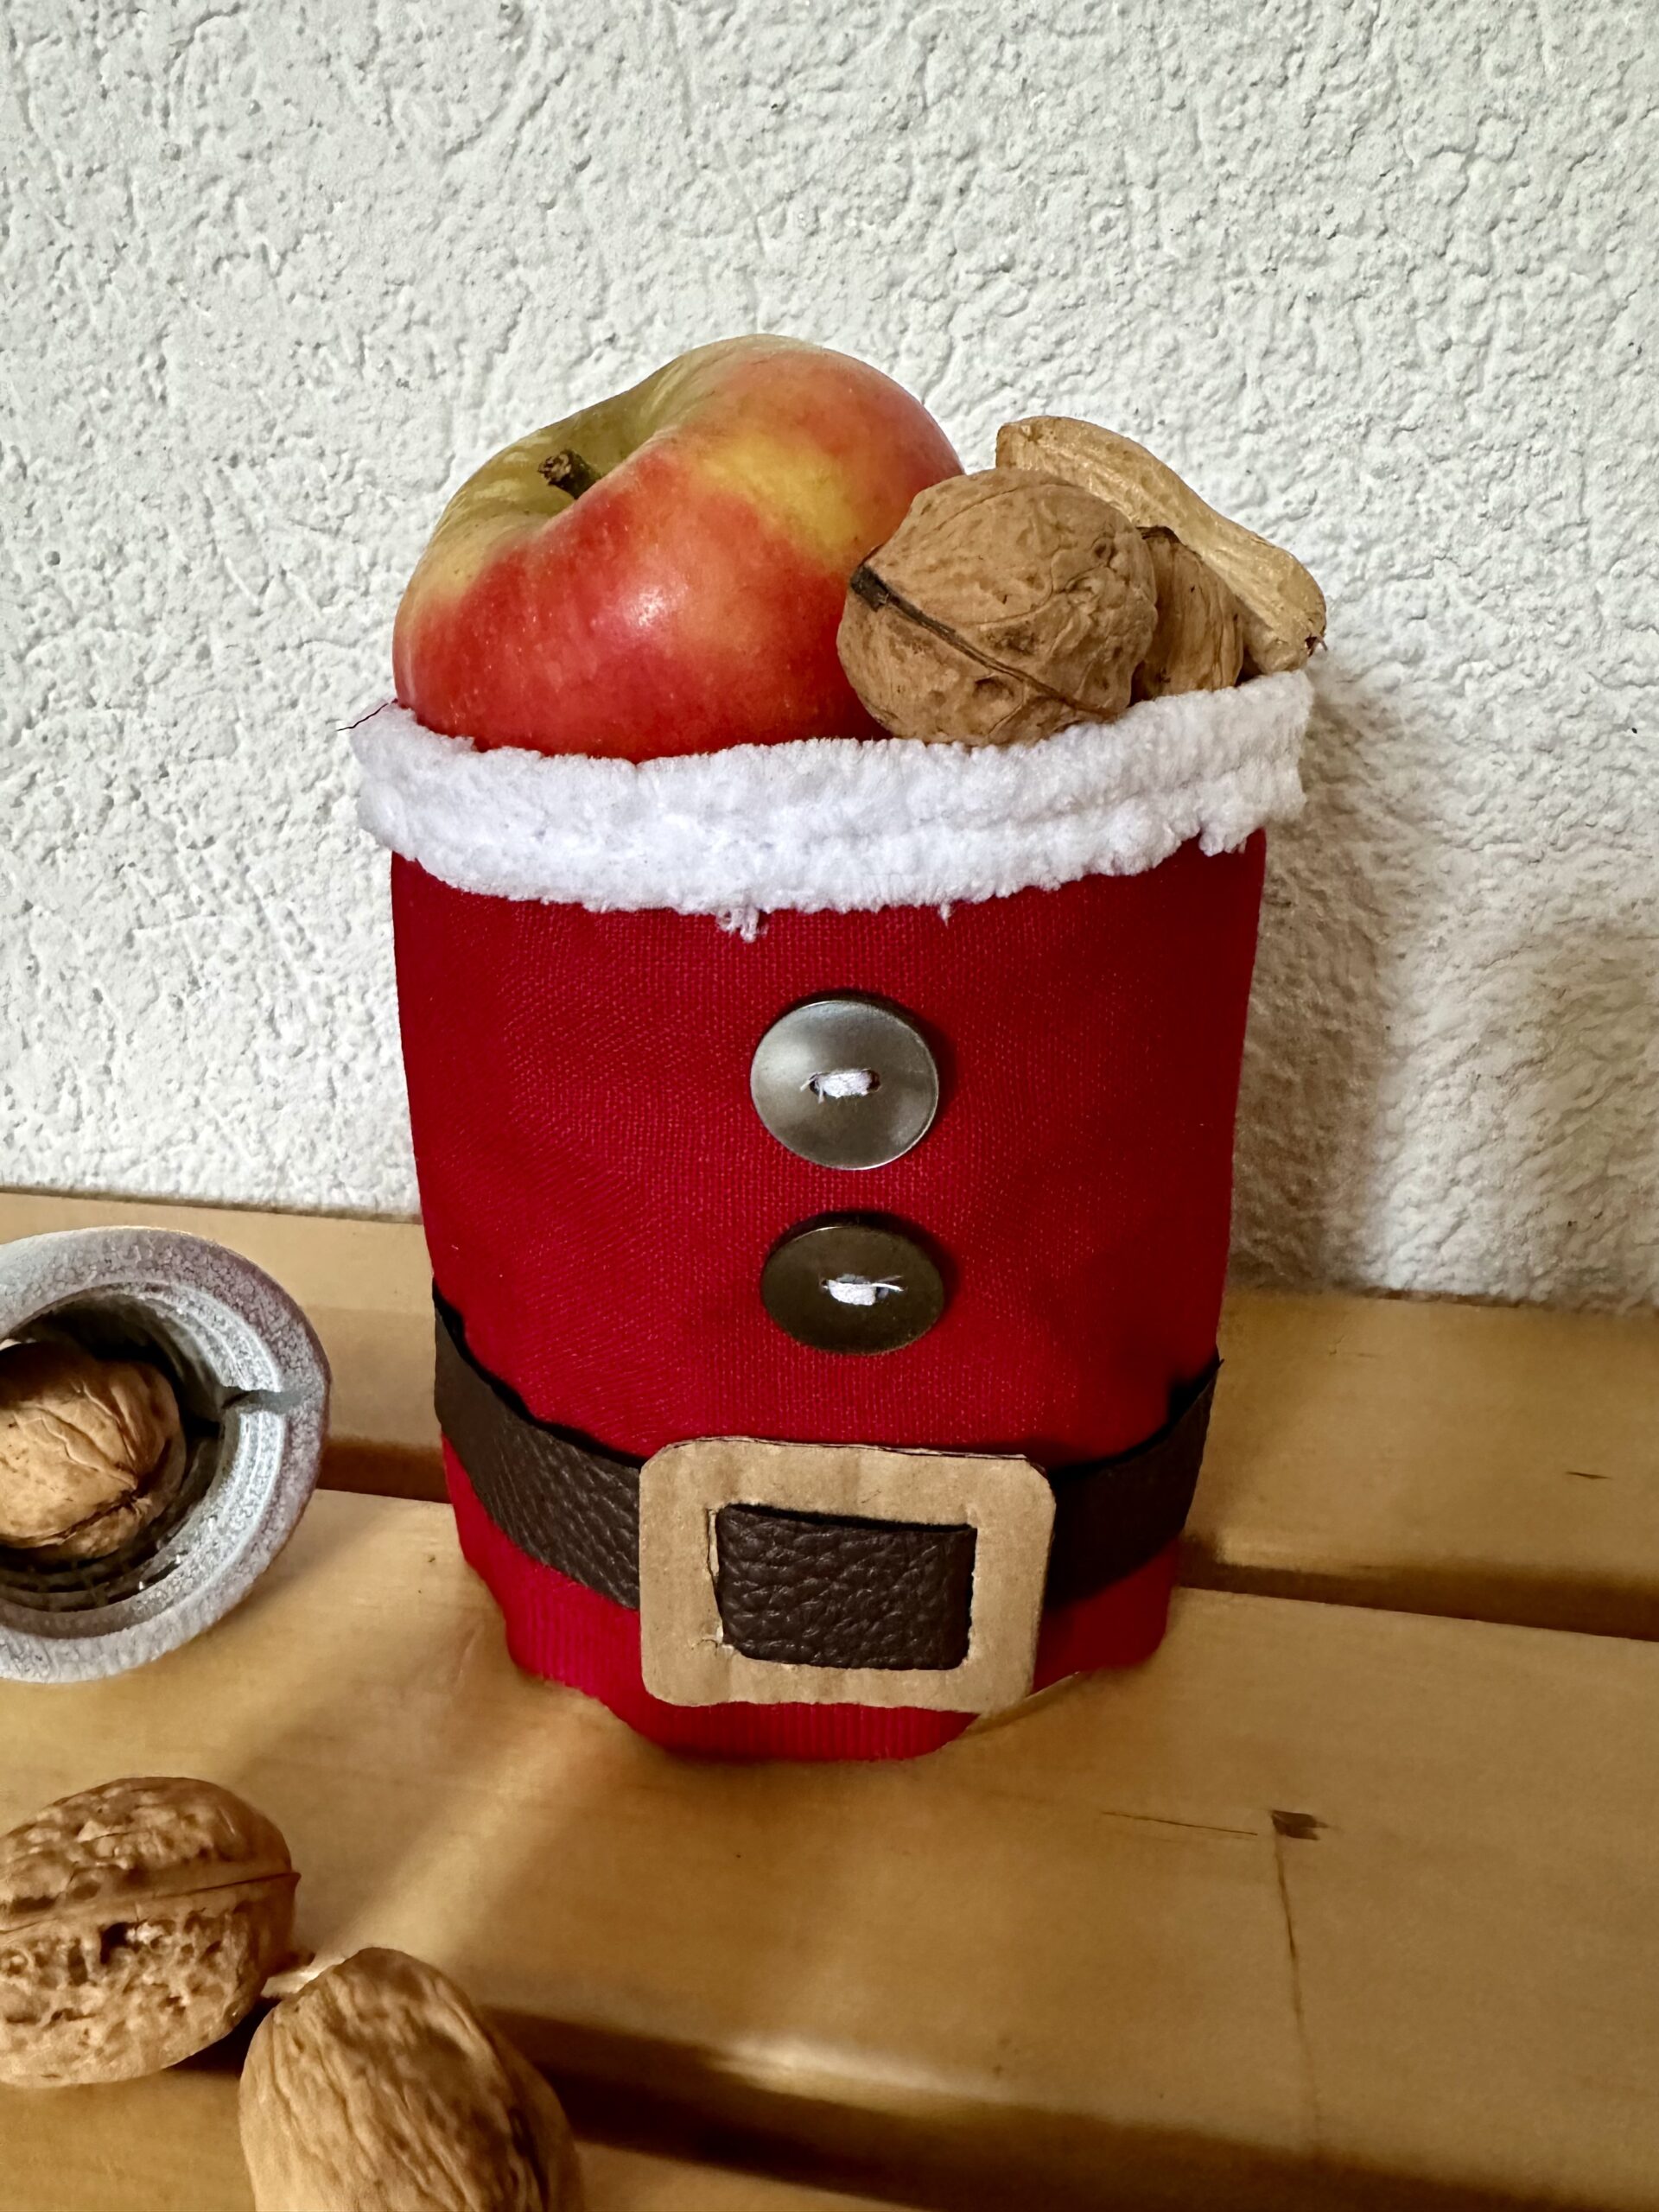
This can has a Santa's coat on. Alternatively to the boot that is placed in front of the door, you can also use this Santa's can. There is enough space in the can for a chocolate nicolaus, a small apple, nuts and mandarins.
Larger children can also sew this can coat on their own or make it without a sewing machine.
All steps are explained here with sewing machine, but also without sewing machine as pure adhesive work.
At first, only the coat is finished as a stripe of fabric before it is put around the can as a whole at the end. This simplifies the work and makes every step easier. See for yourself how the Santa Claus coat is created.
By the way, the work on the sewing machine for small children is also very exciting to observe and easy holding work can already produce great motivation and curiosity here. So let the smallest ones also participate in how something great is created.
Have fun trying out and making out.
Media Education for Kindergarten and Hort

Relief in everyday life, targeted promotion of individual children, independent learning and - without any pre-knowledge already usable by the youngest!
Get all the utensils ready.
The can is coated with a strip of red fabric.
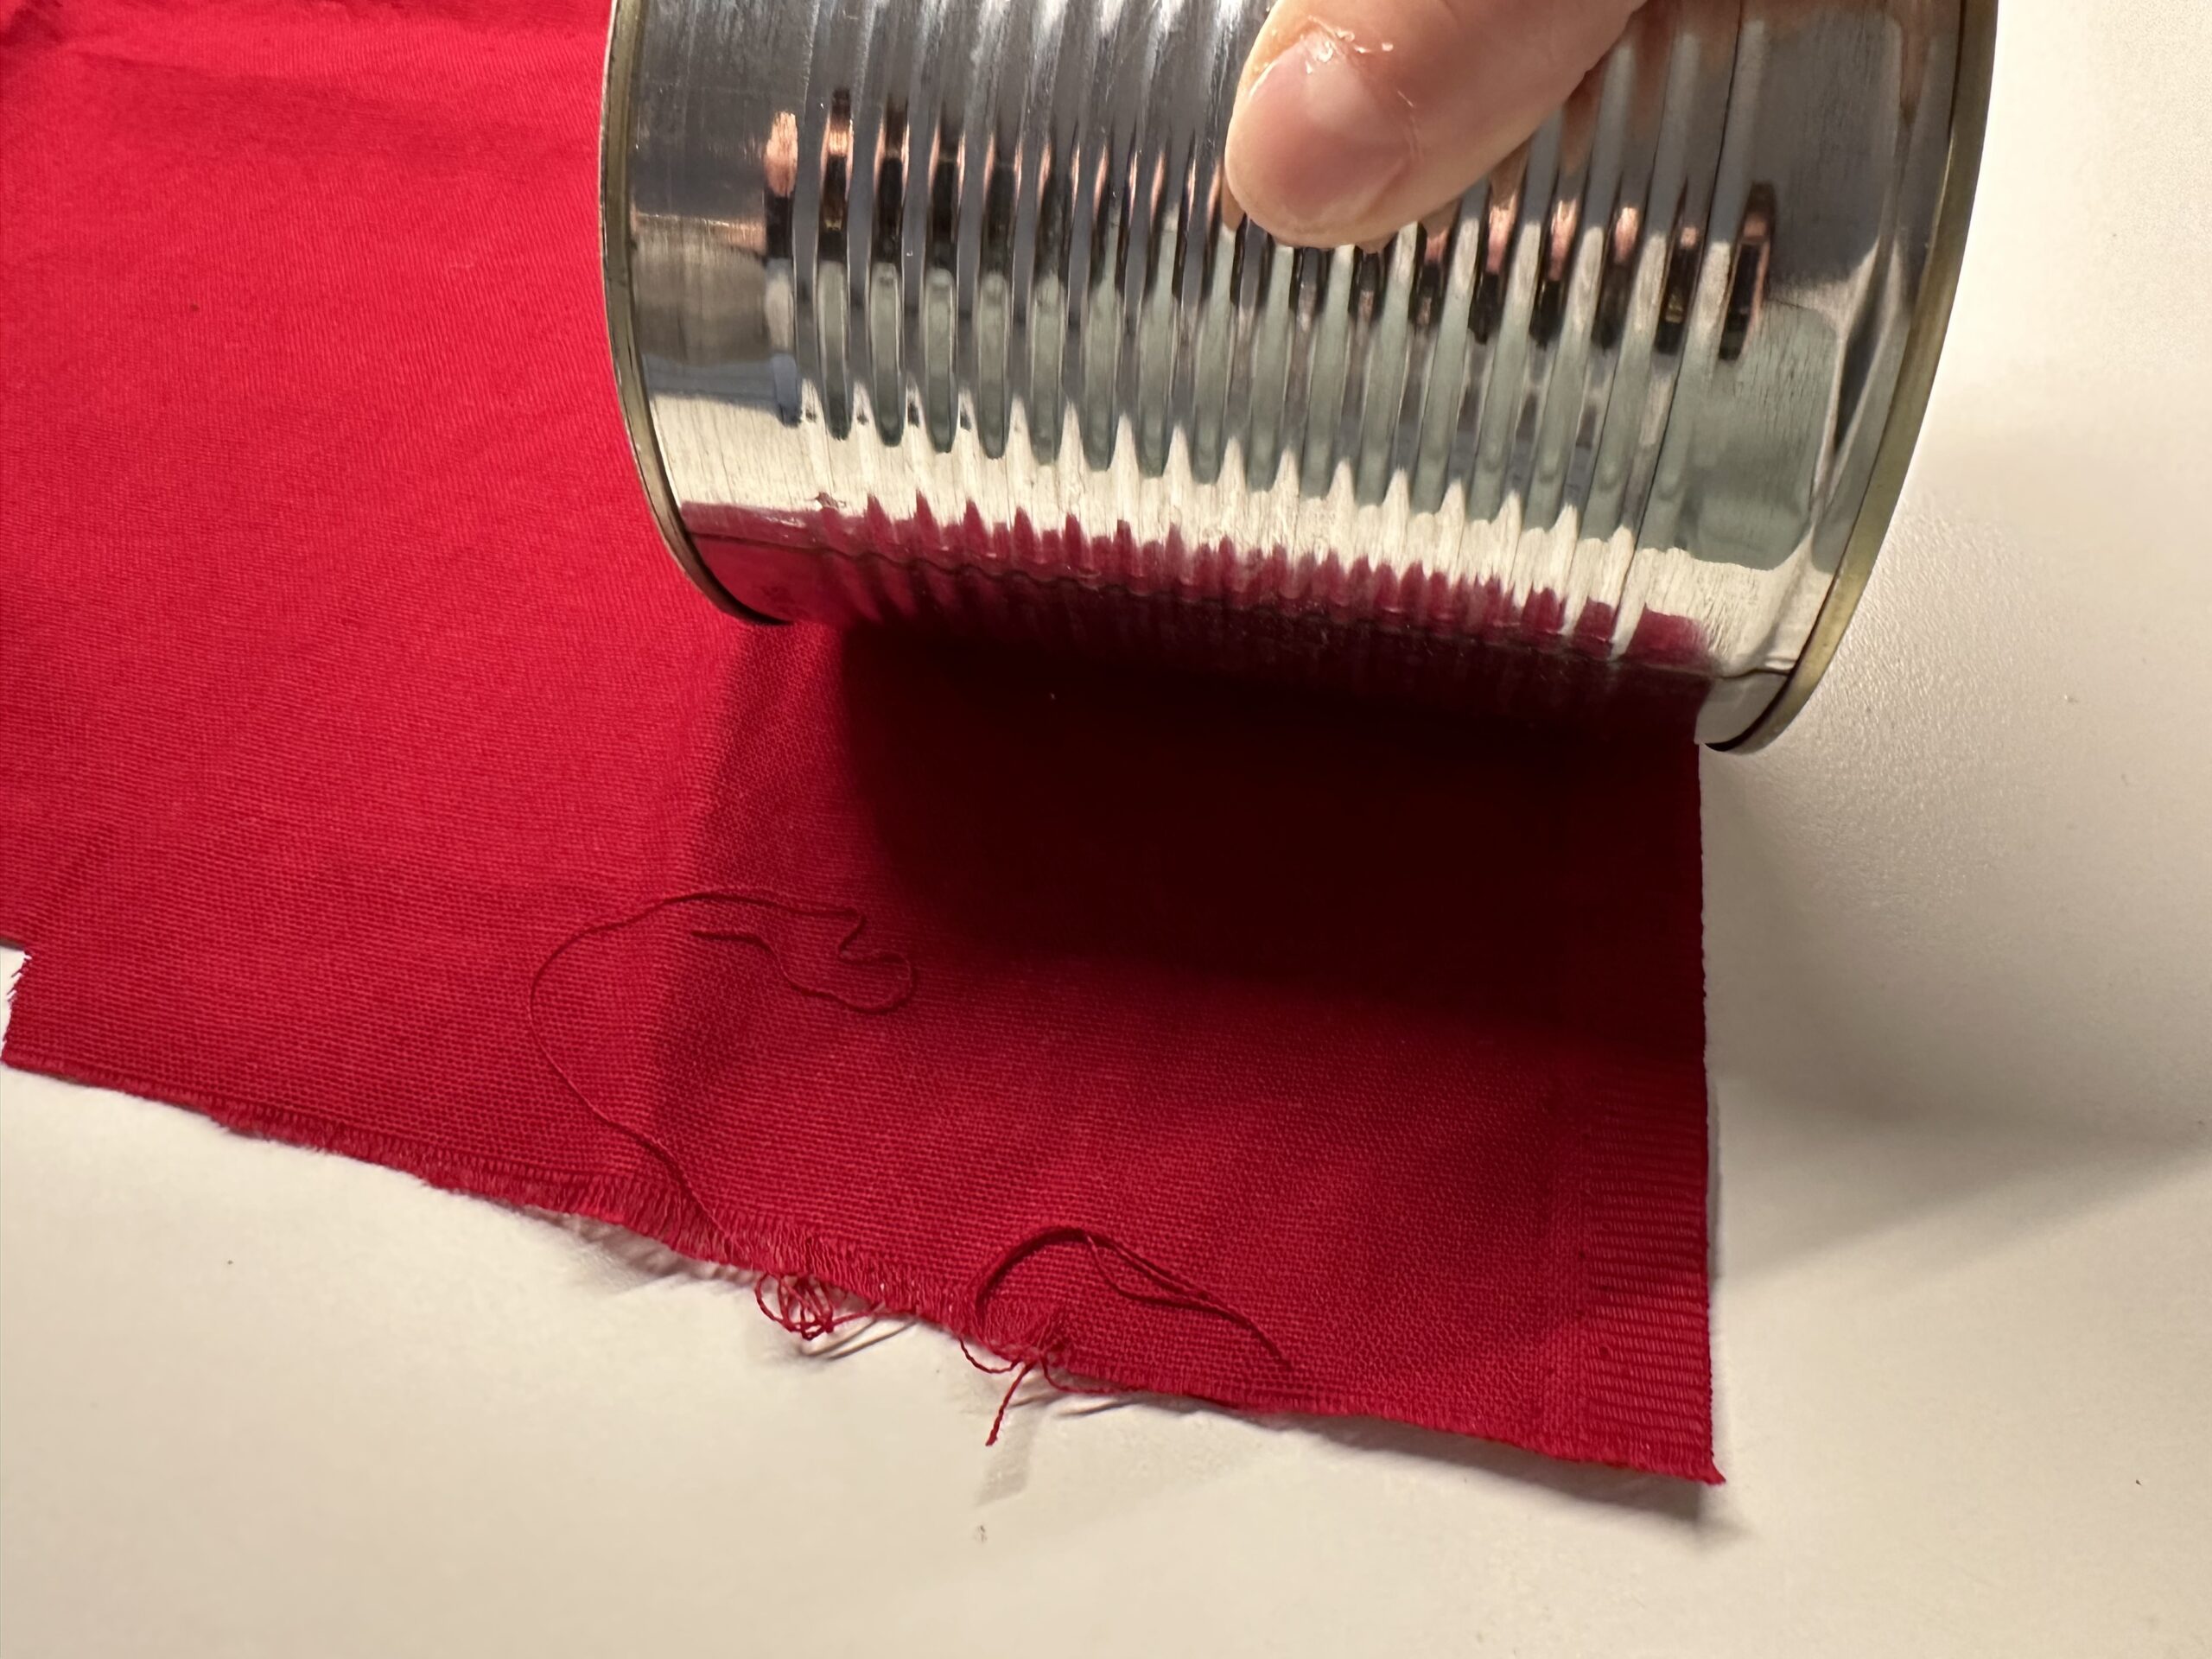
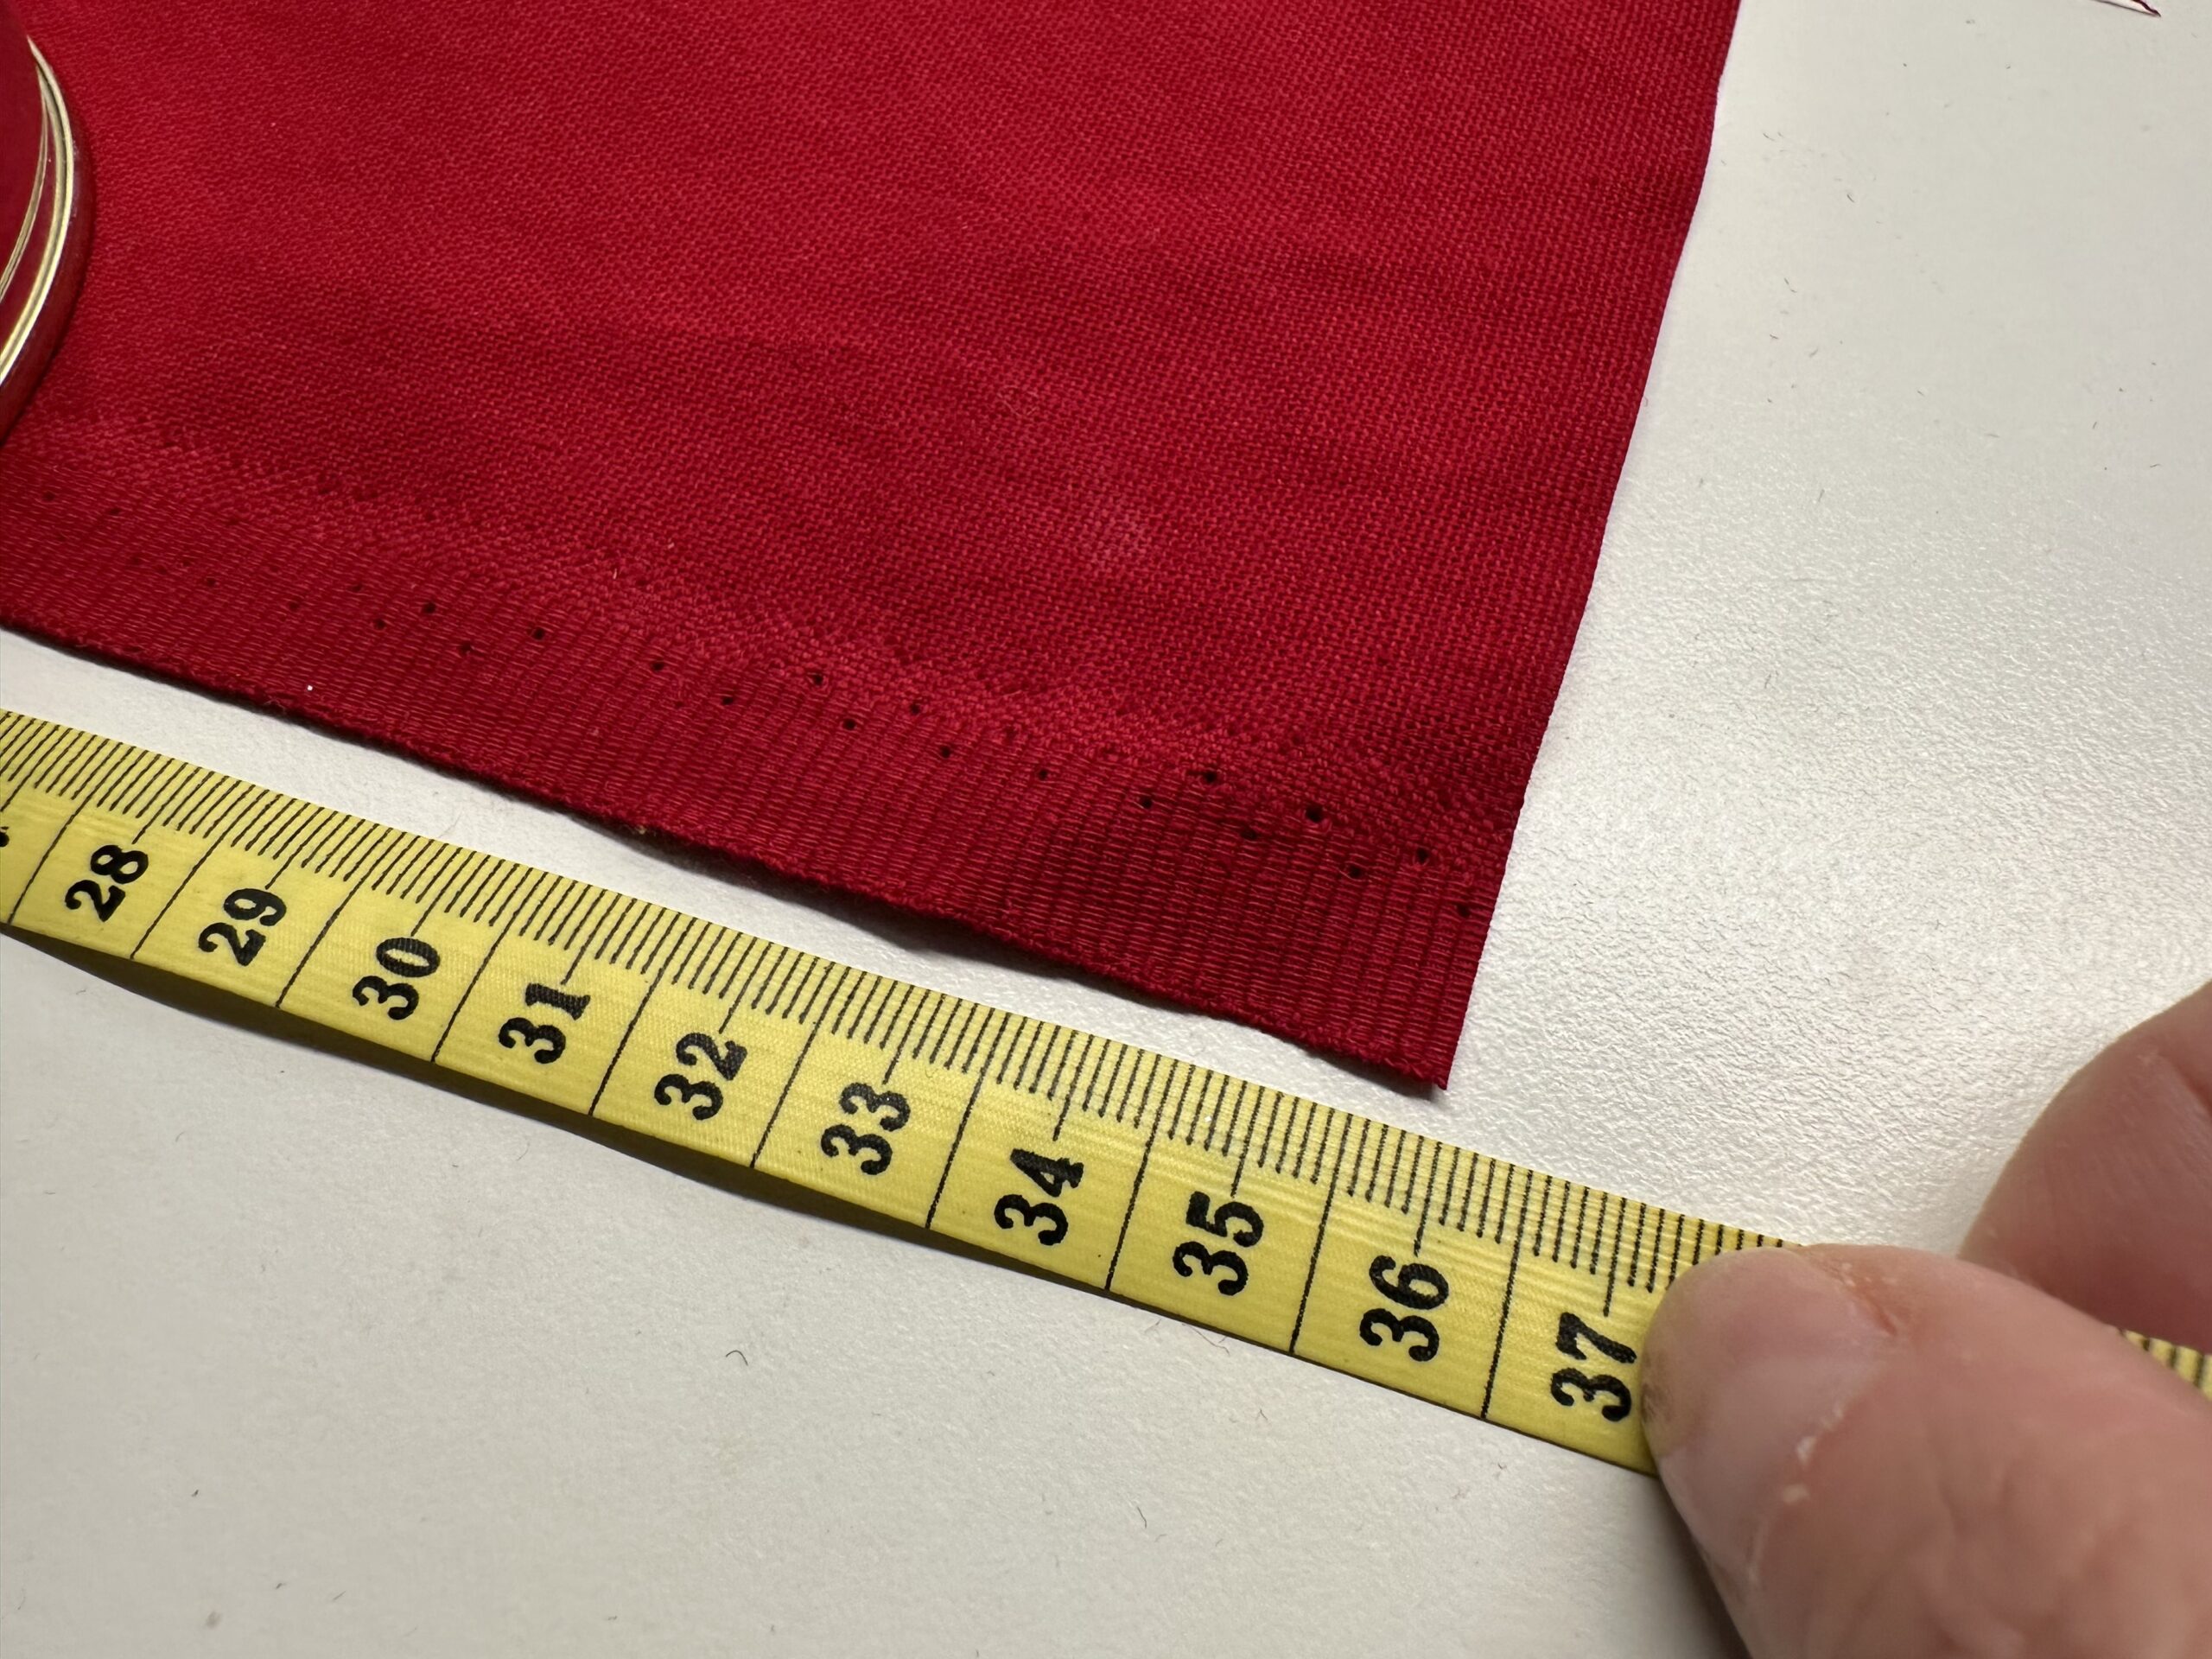
Cut a strip of fabric that is 12 cm wide (with a large can!) and 36cm long.
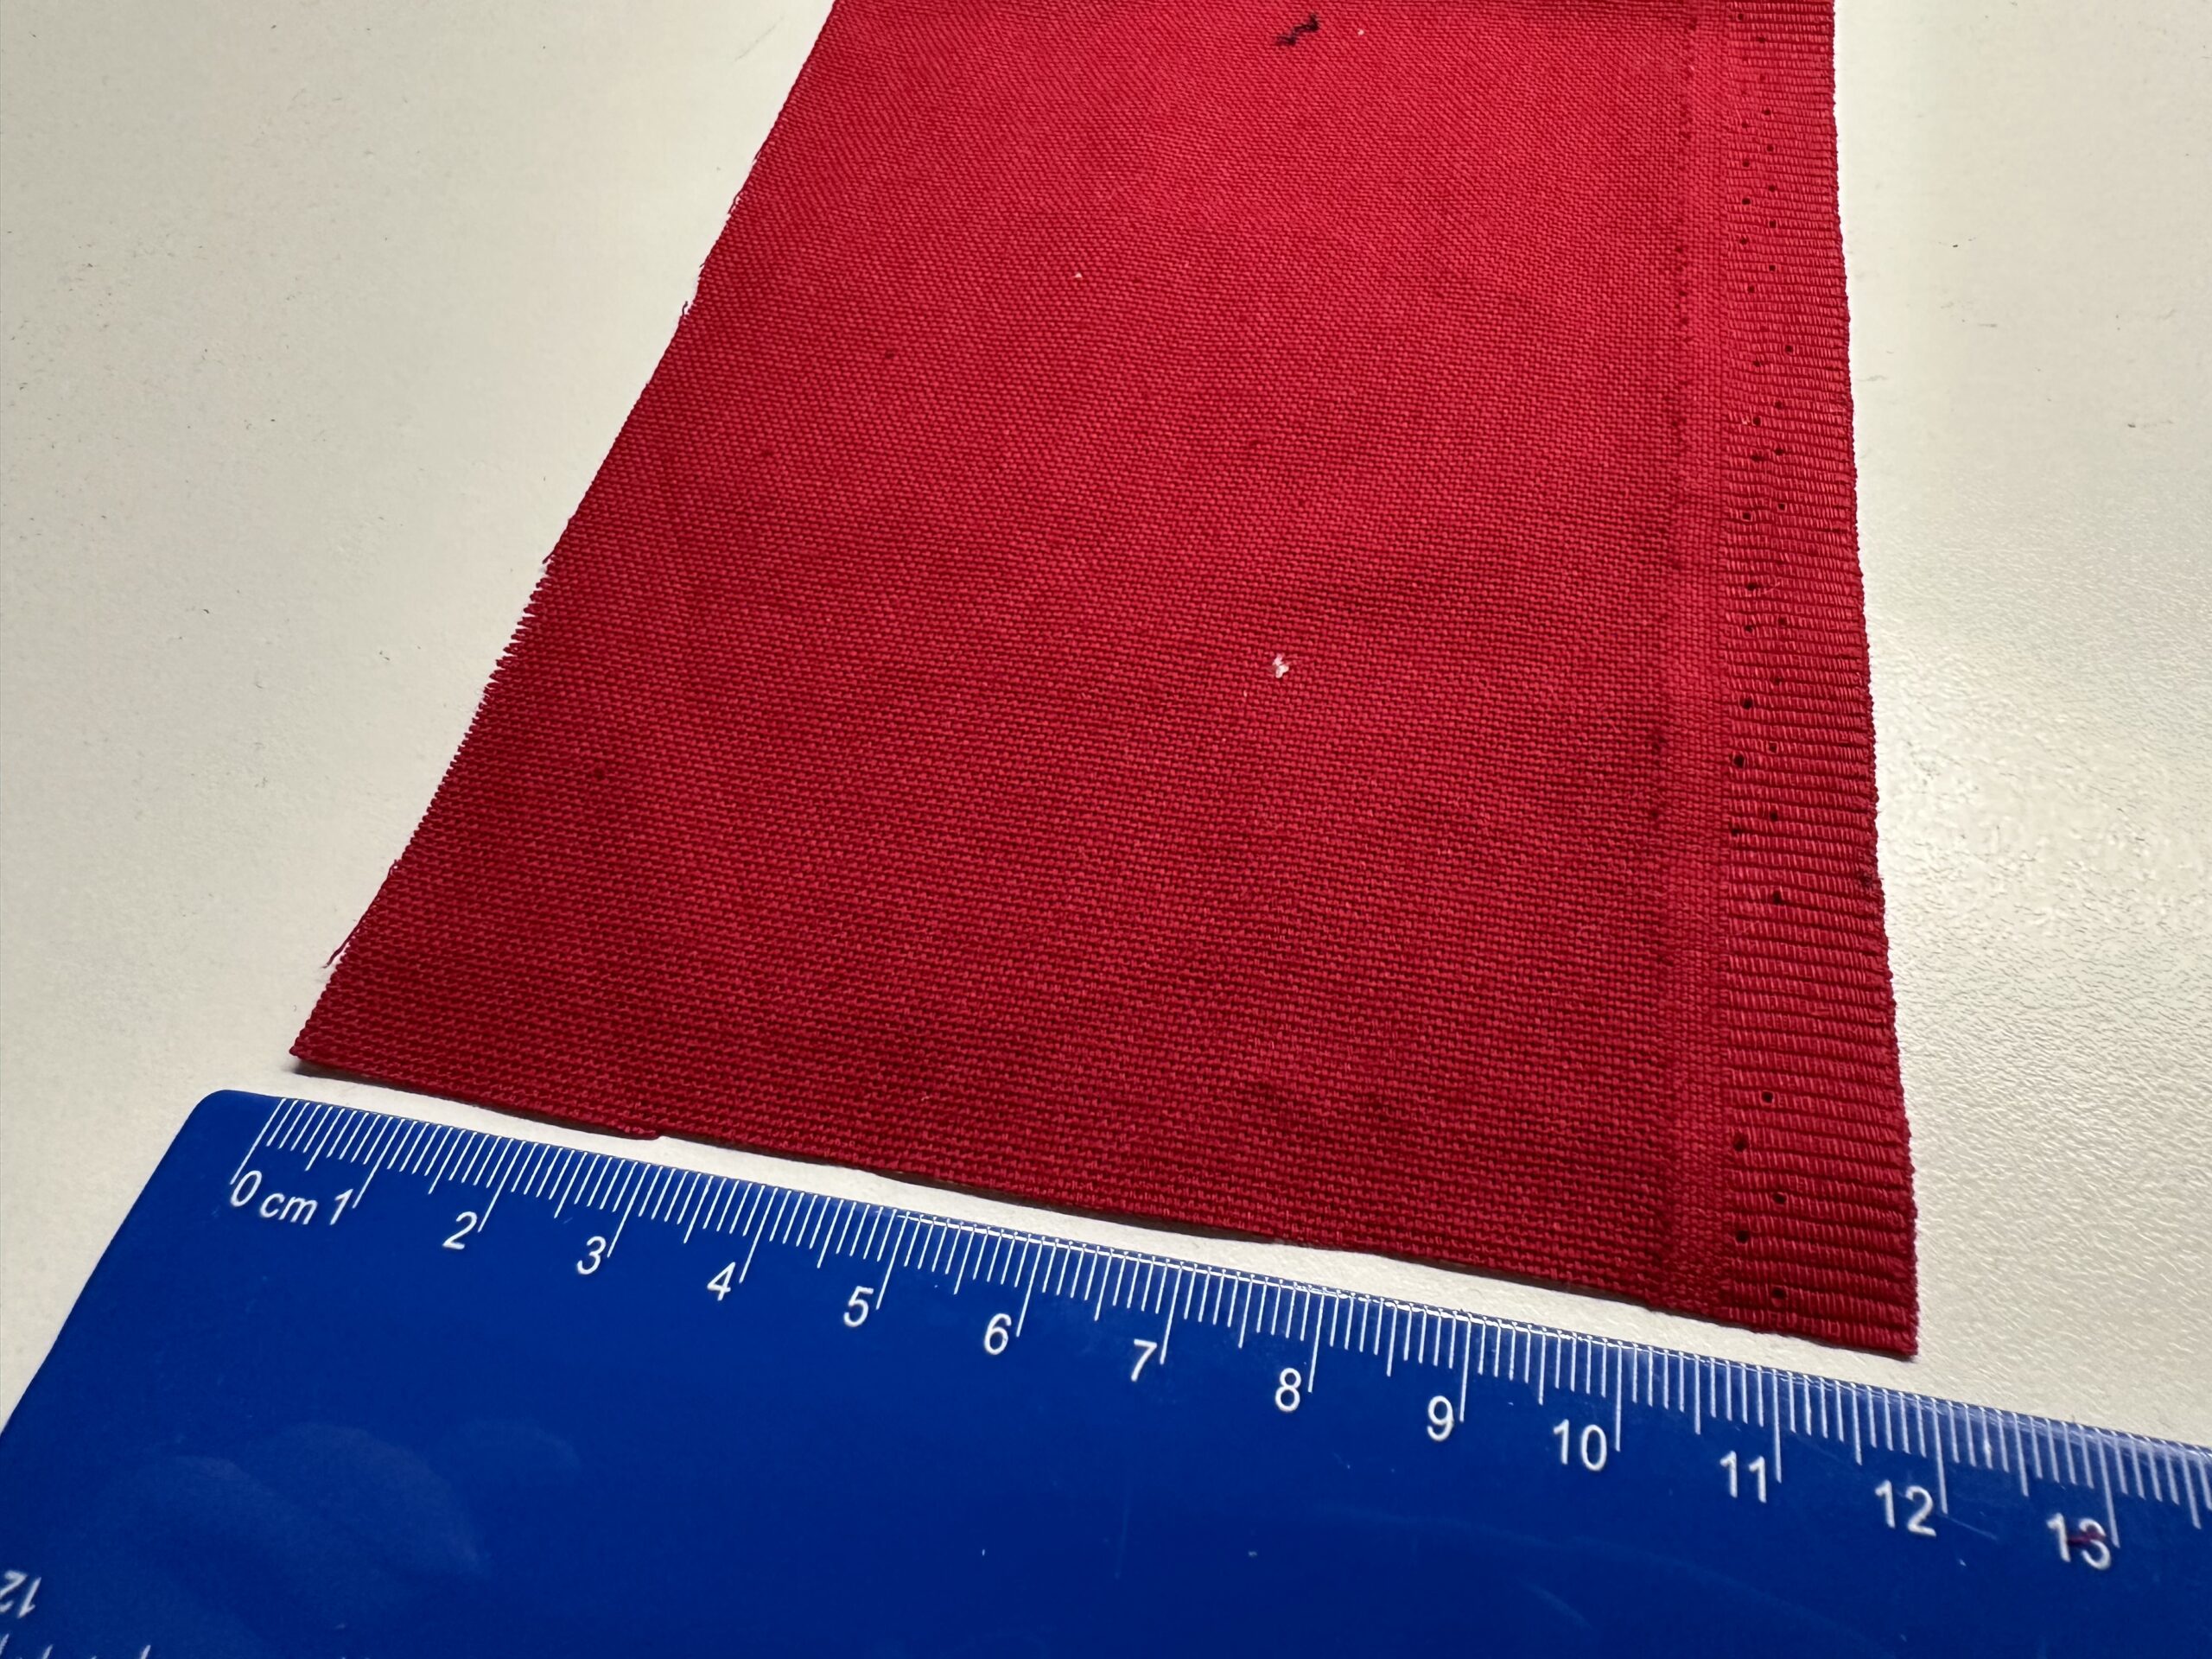
The length is a little more than your can has as a circumference, because you sew the fabric together a bit overlapping at the end!
Even if you don't sew but stick the parts together, the fabric should be a little longer (= about 36cm).
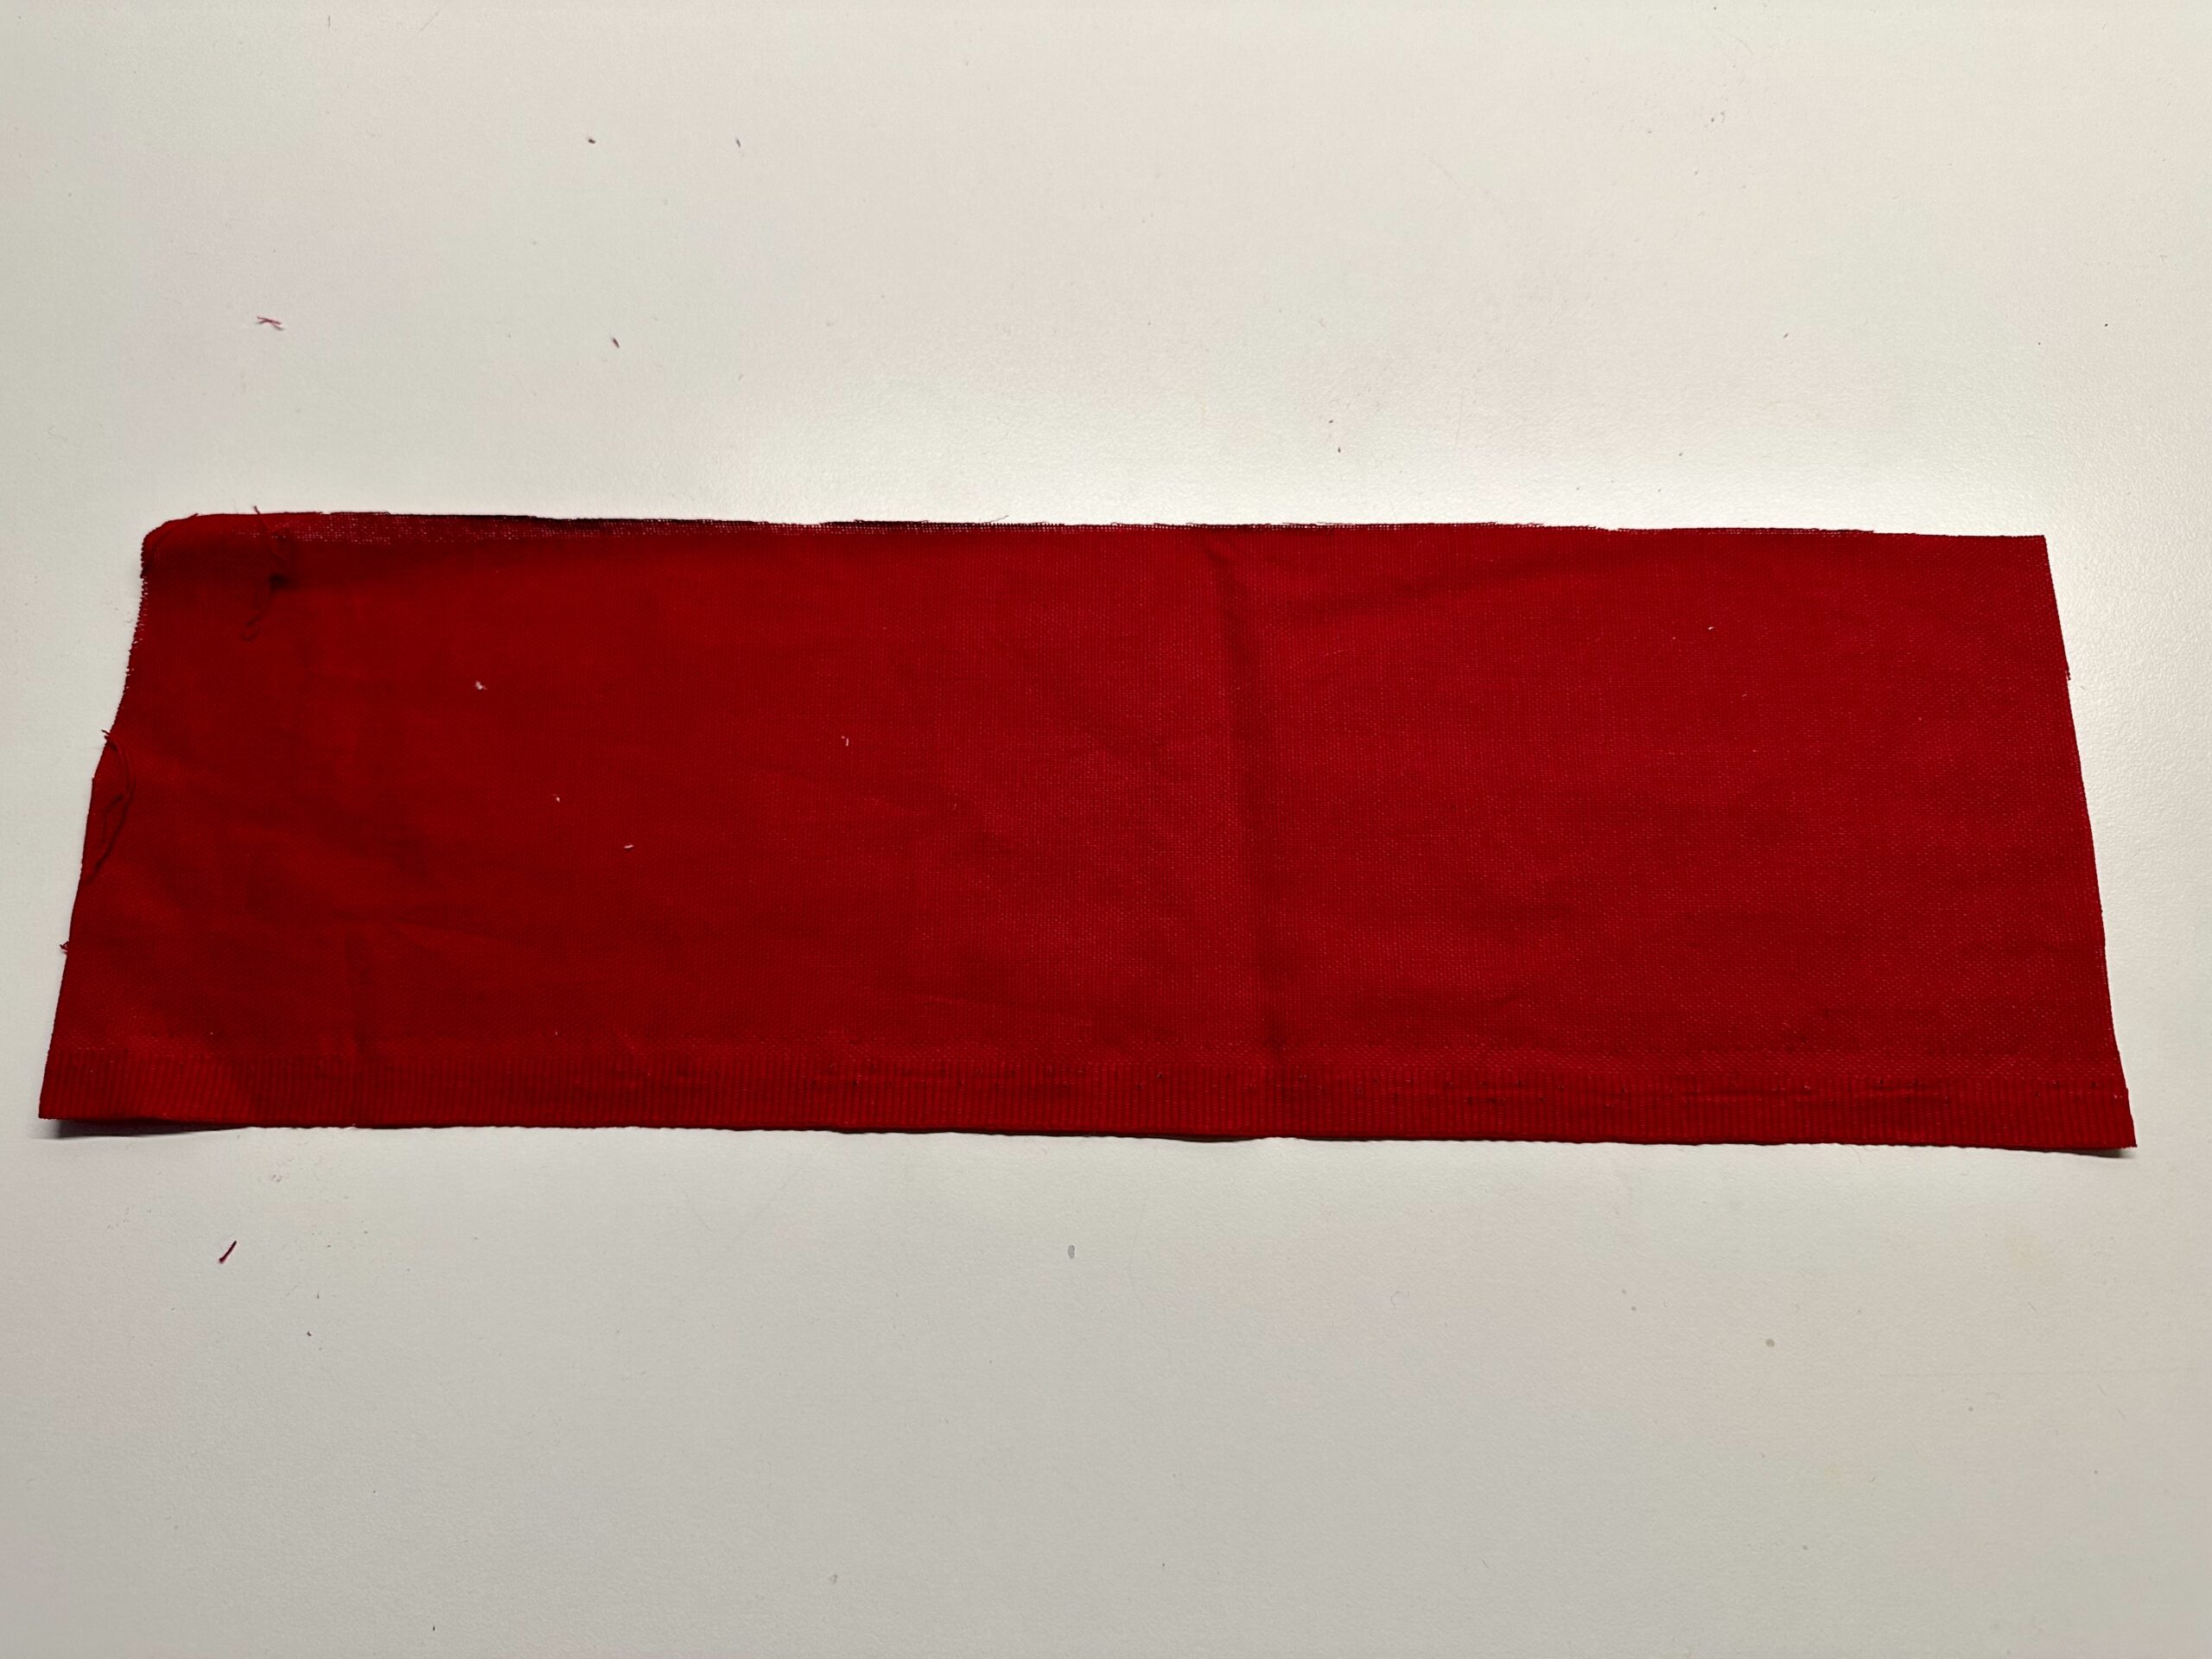
That's what the fabric strip could look like.
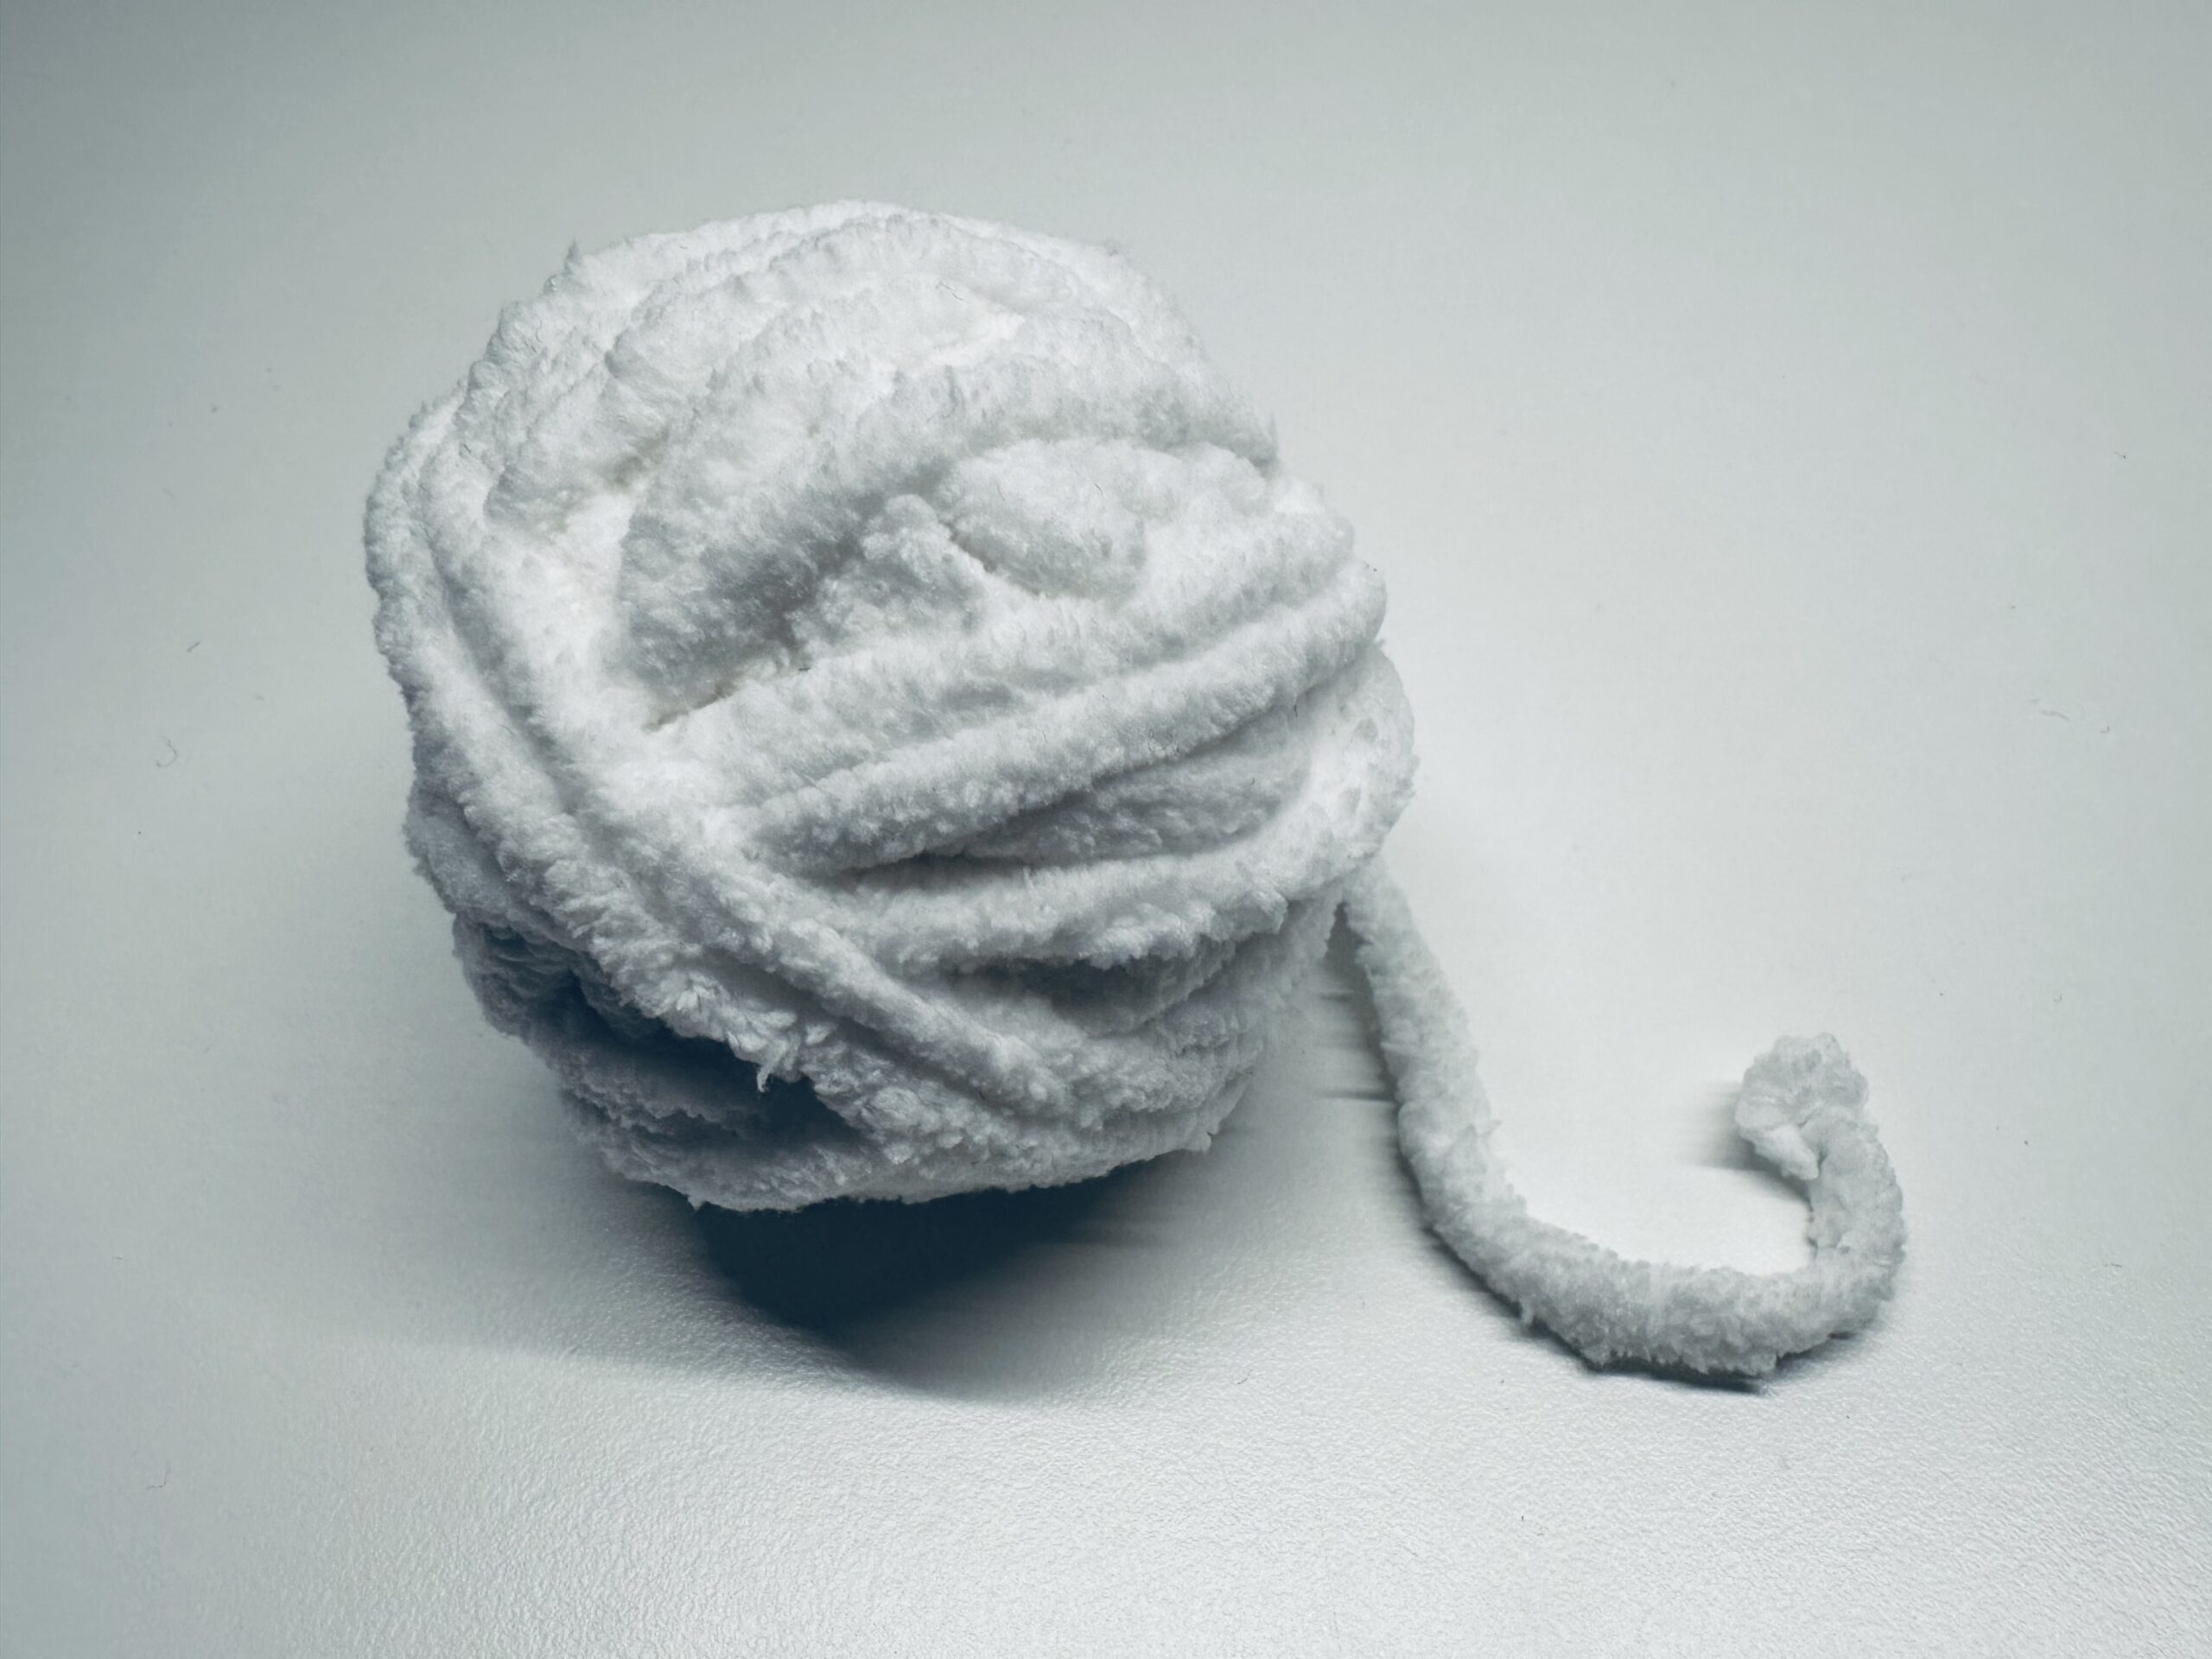
Now take the plush wool (or your bridle).
Double down the long side, then cut it off.
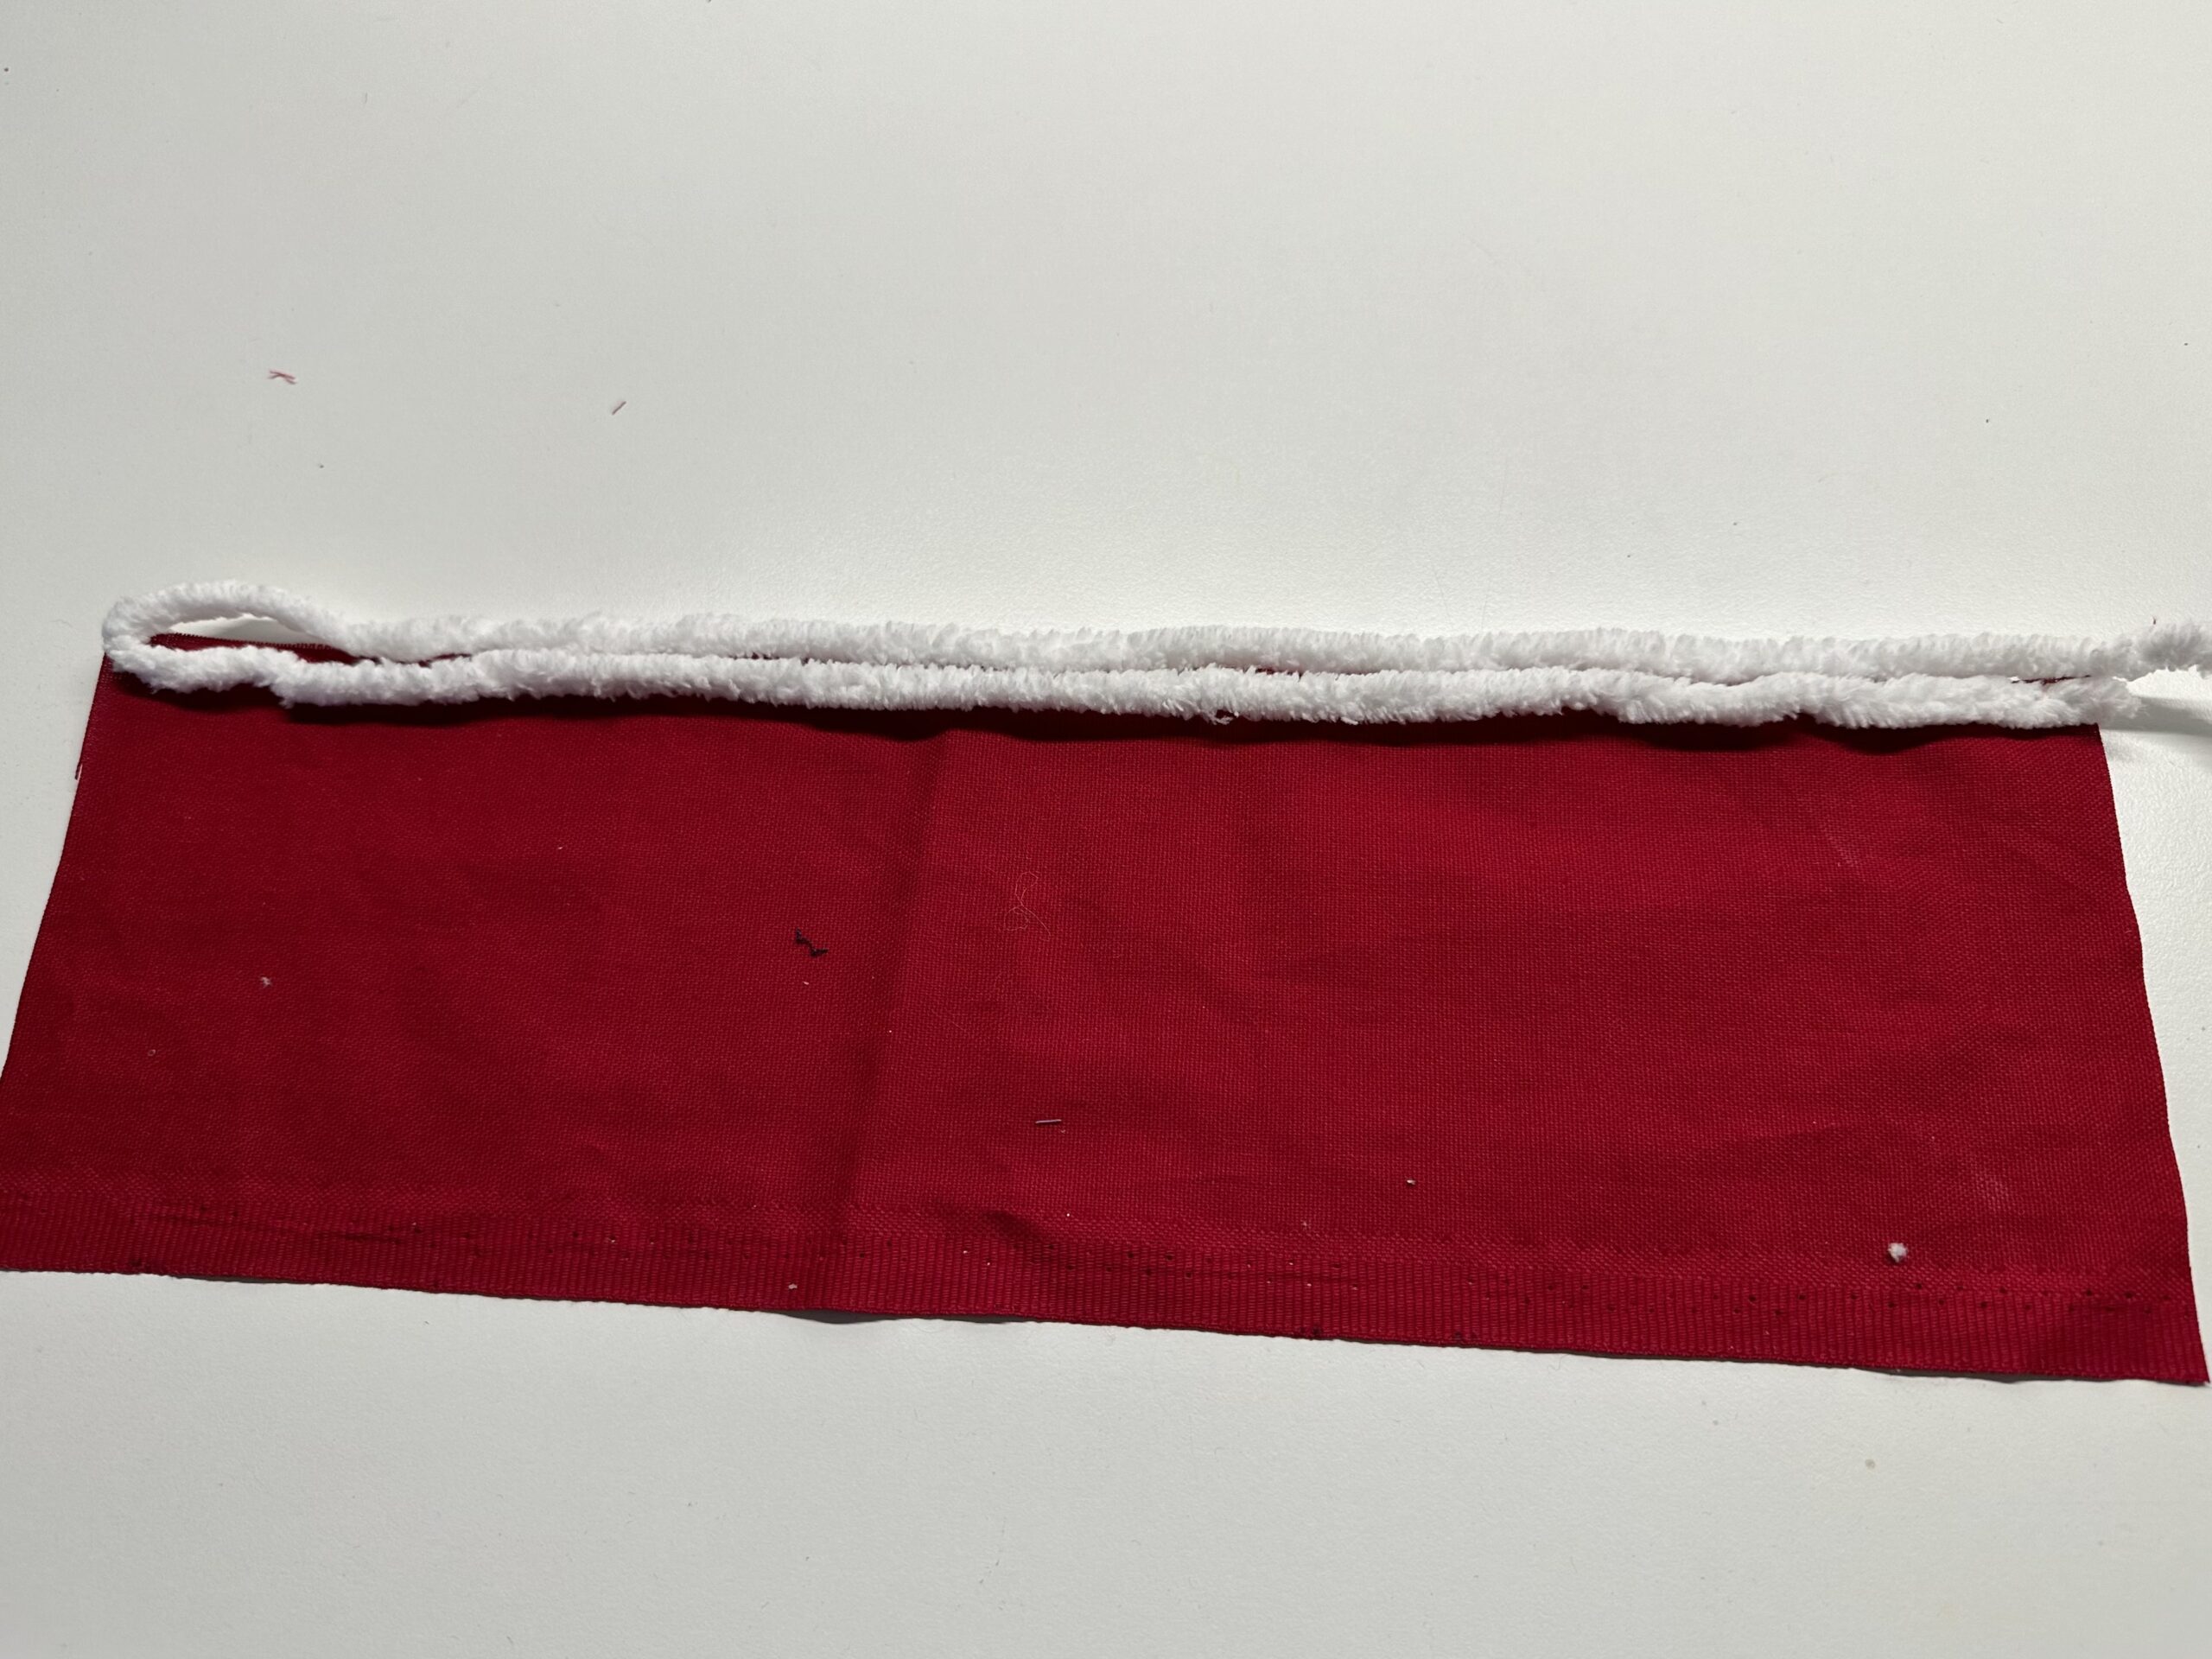
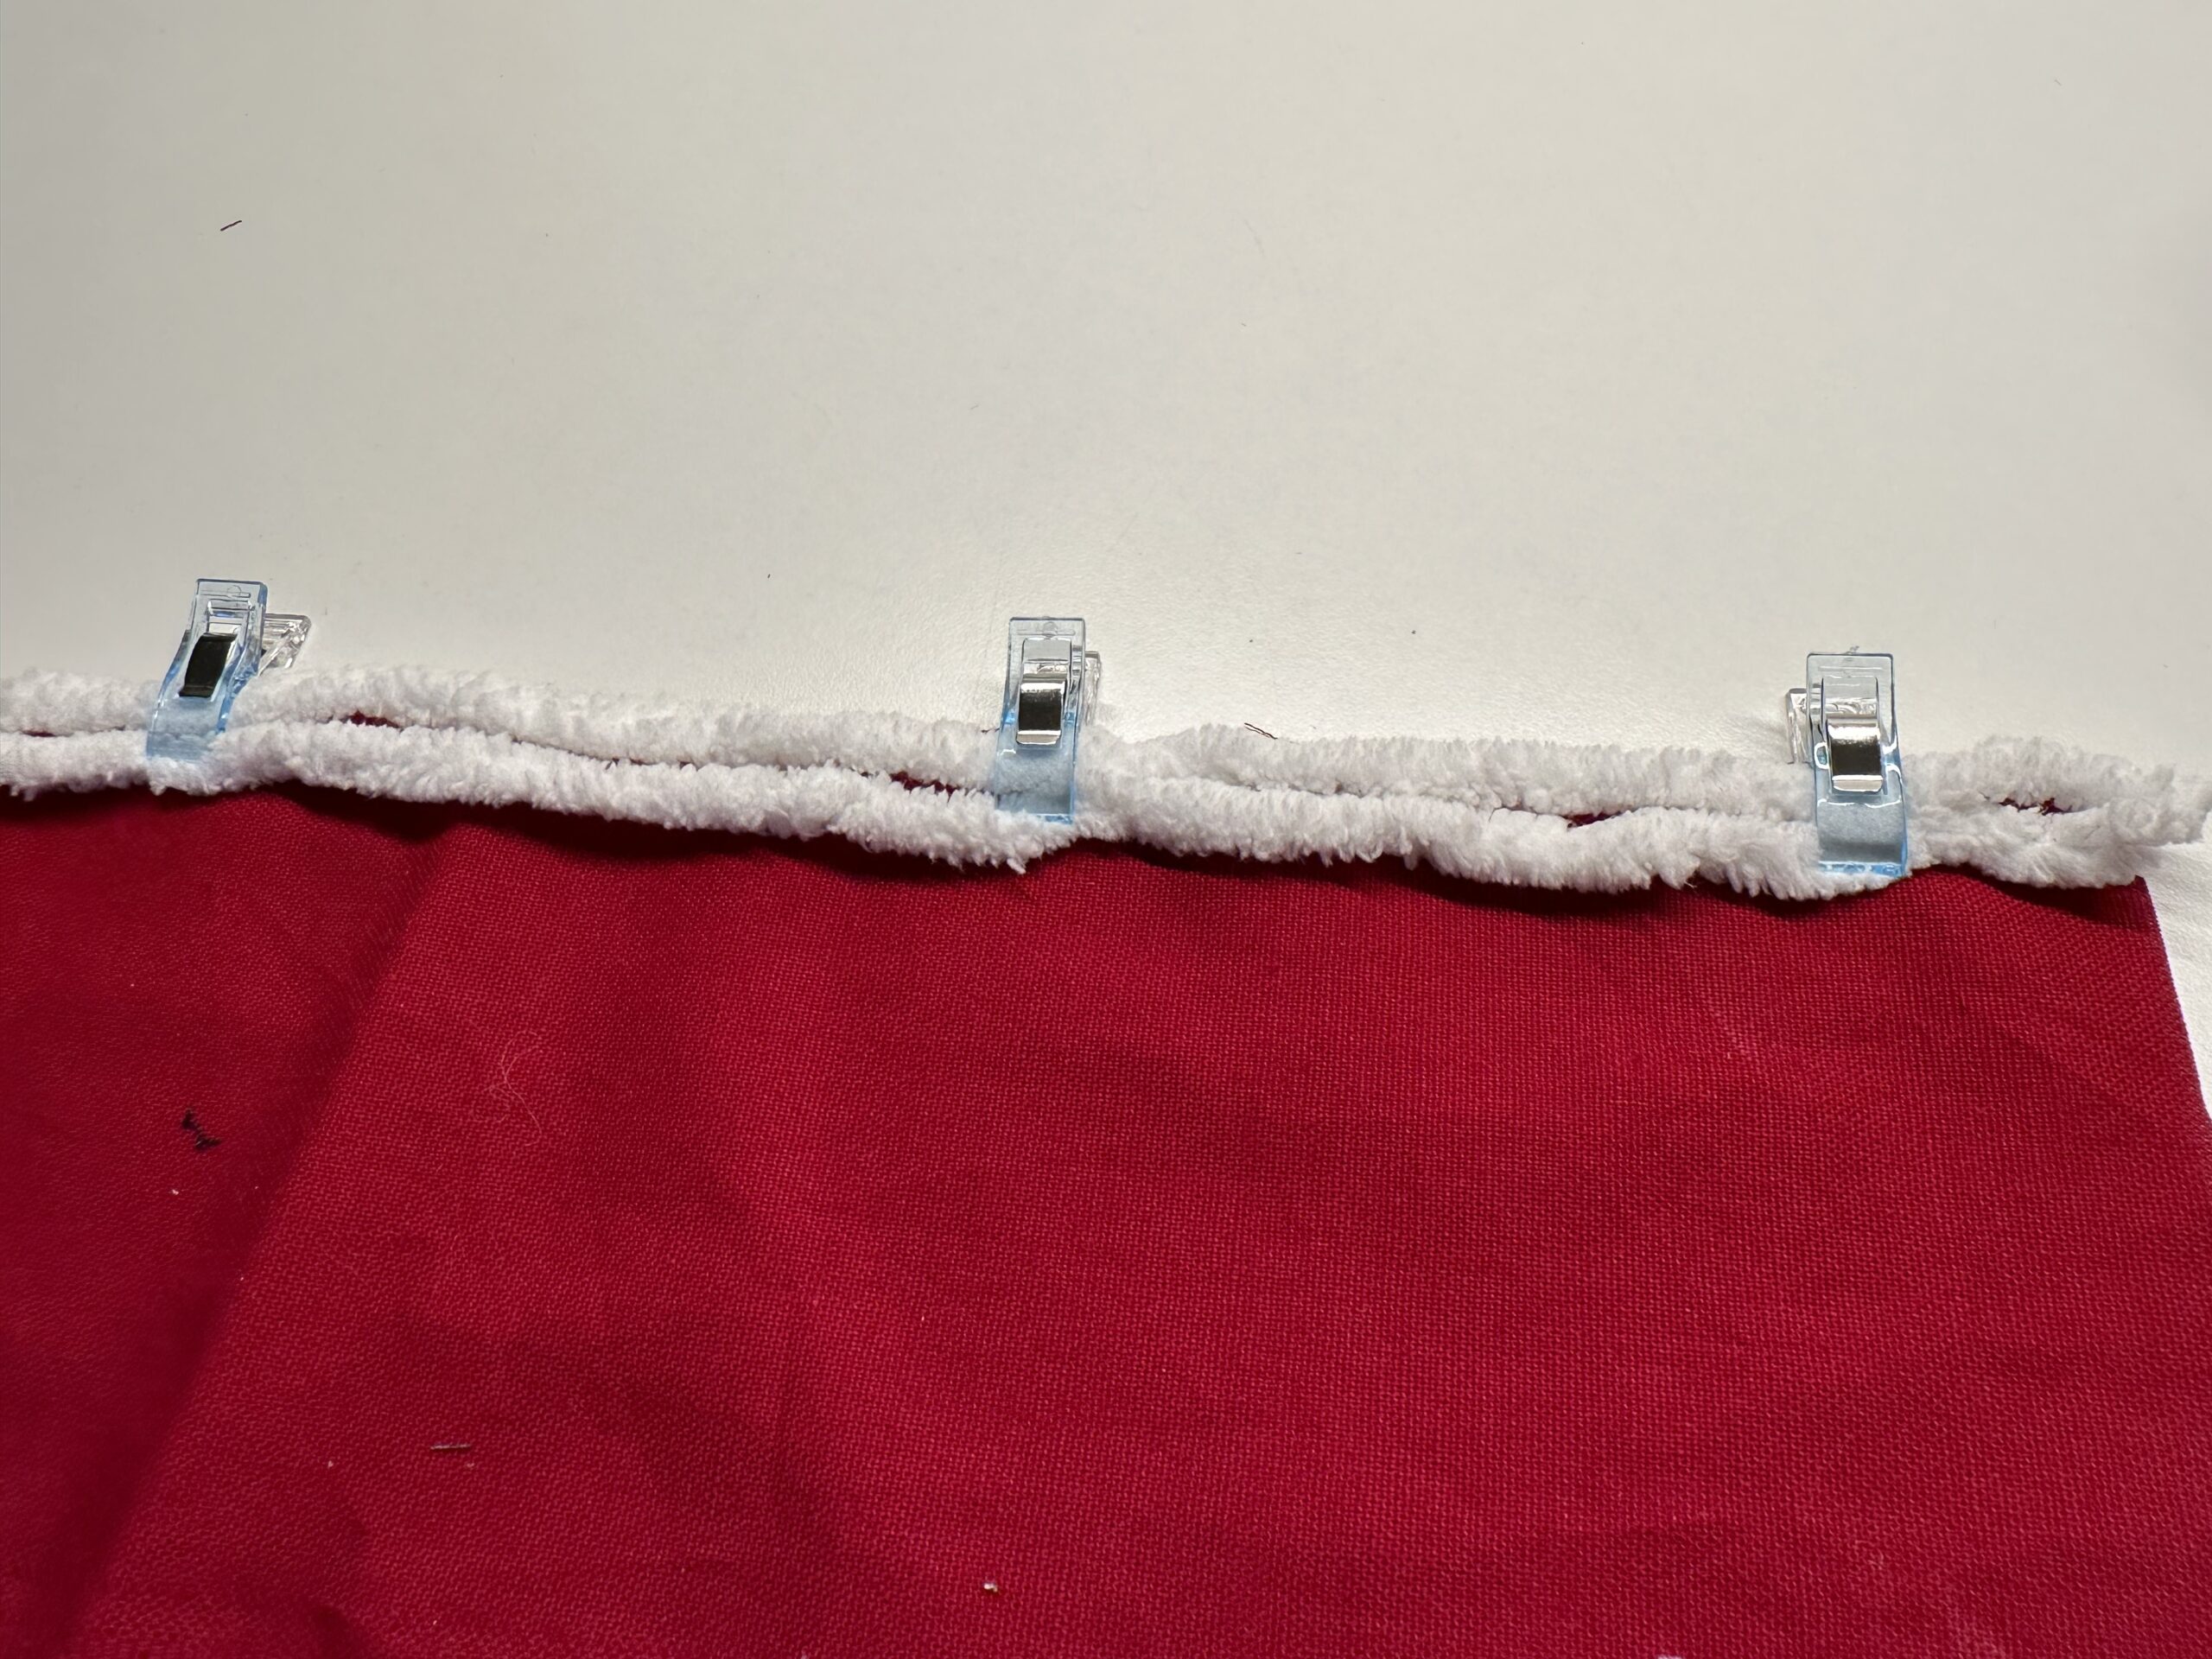
Fix it on the upper edge of the fabric with the brackets that it no longer slips.
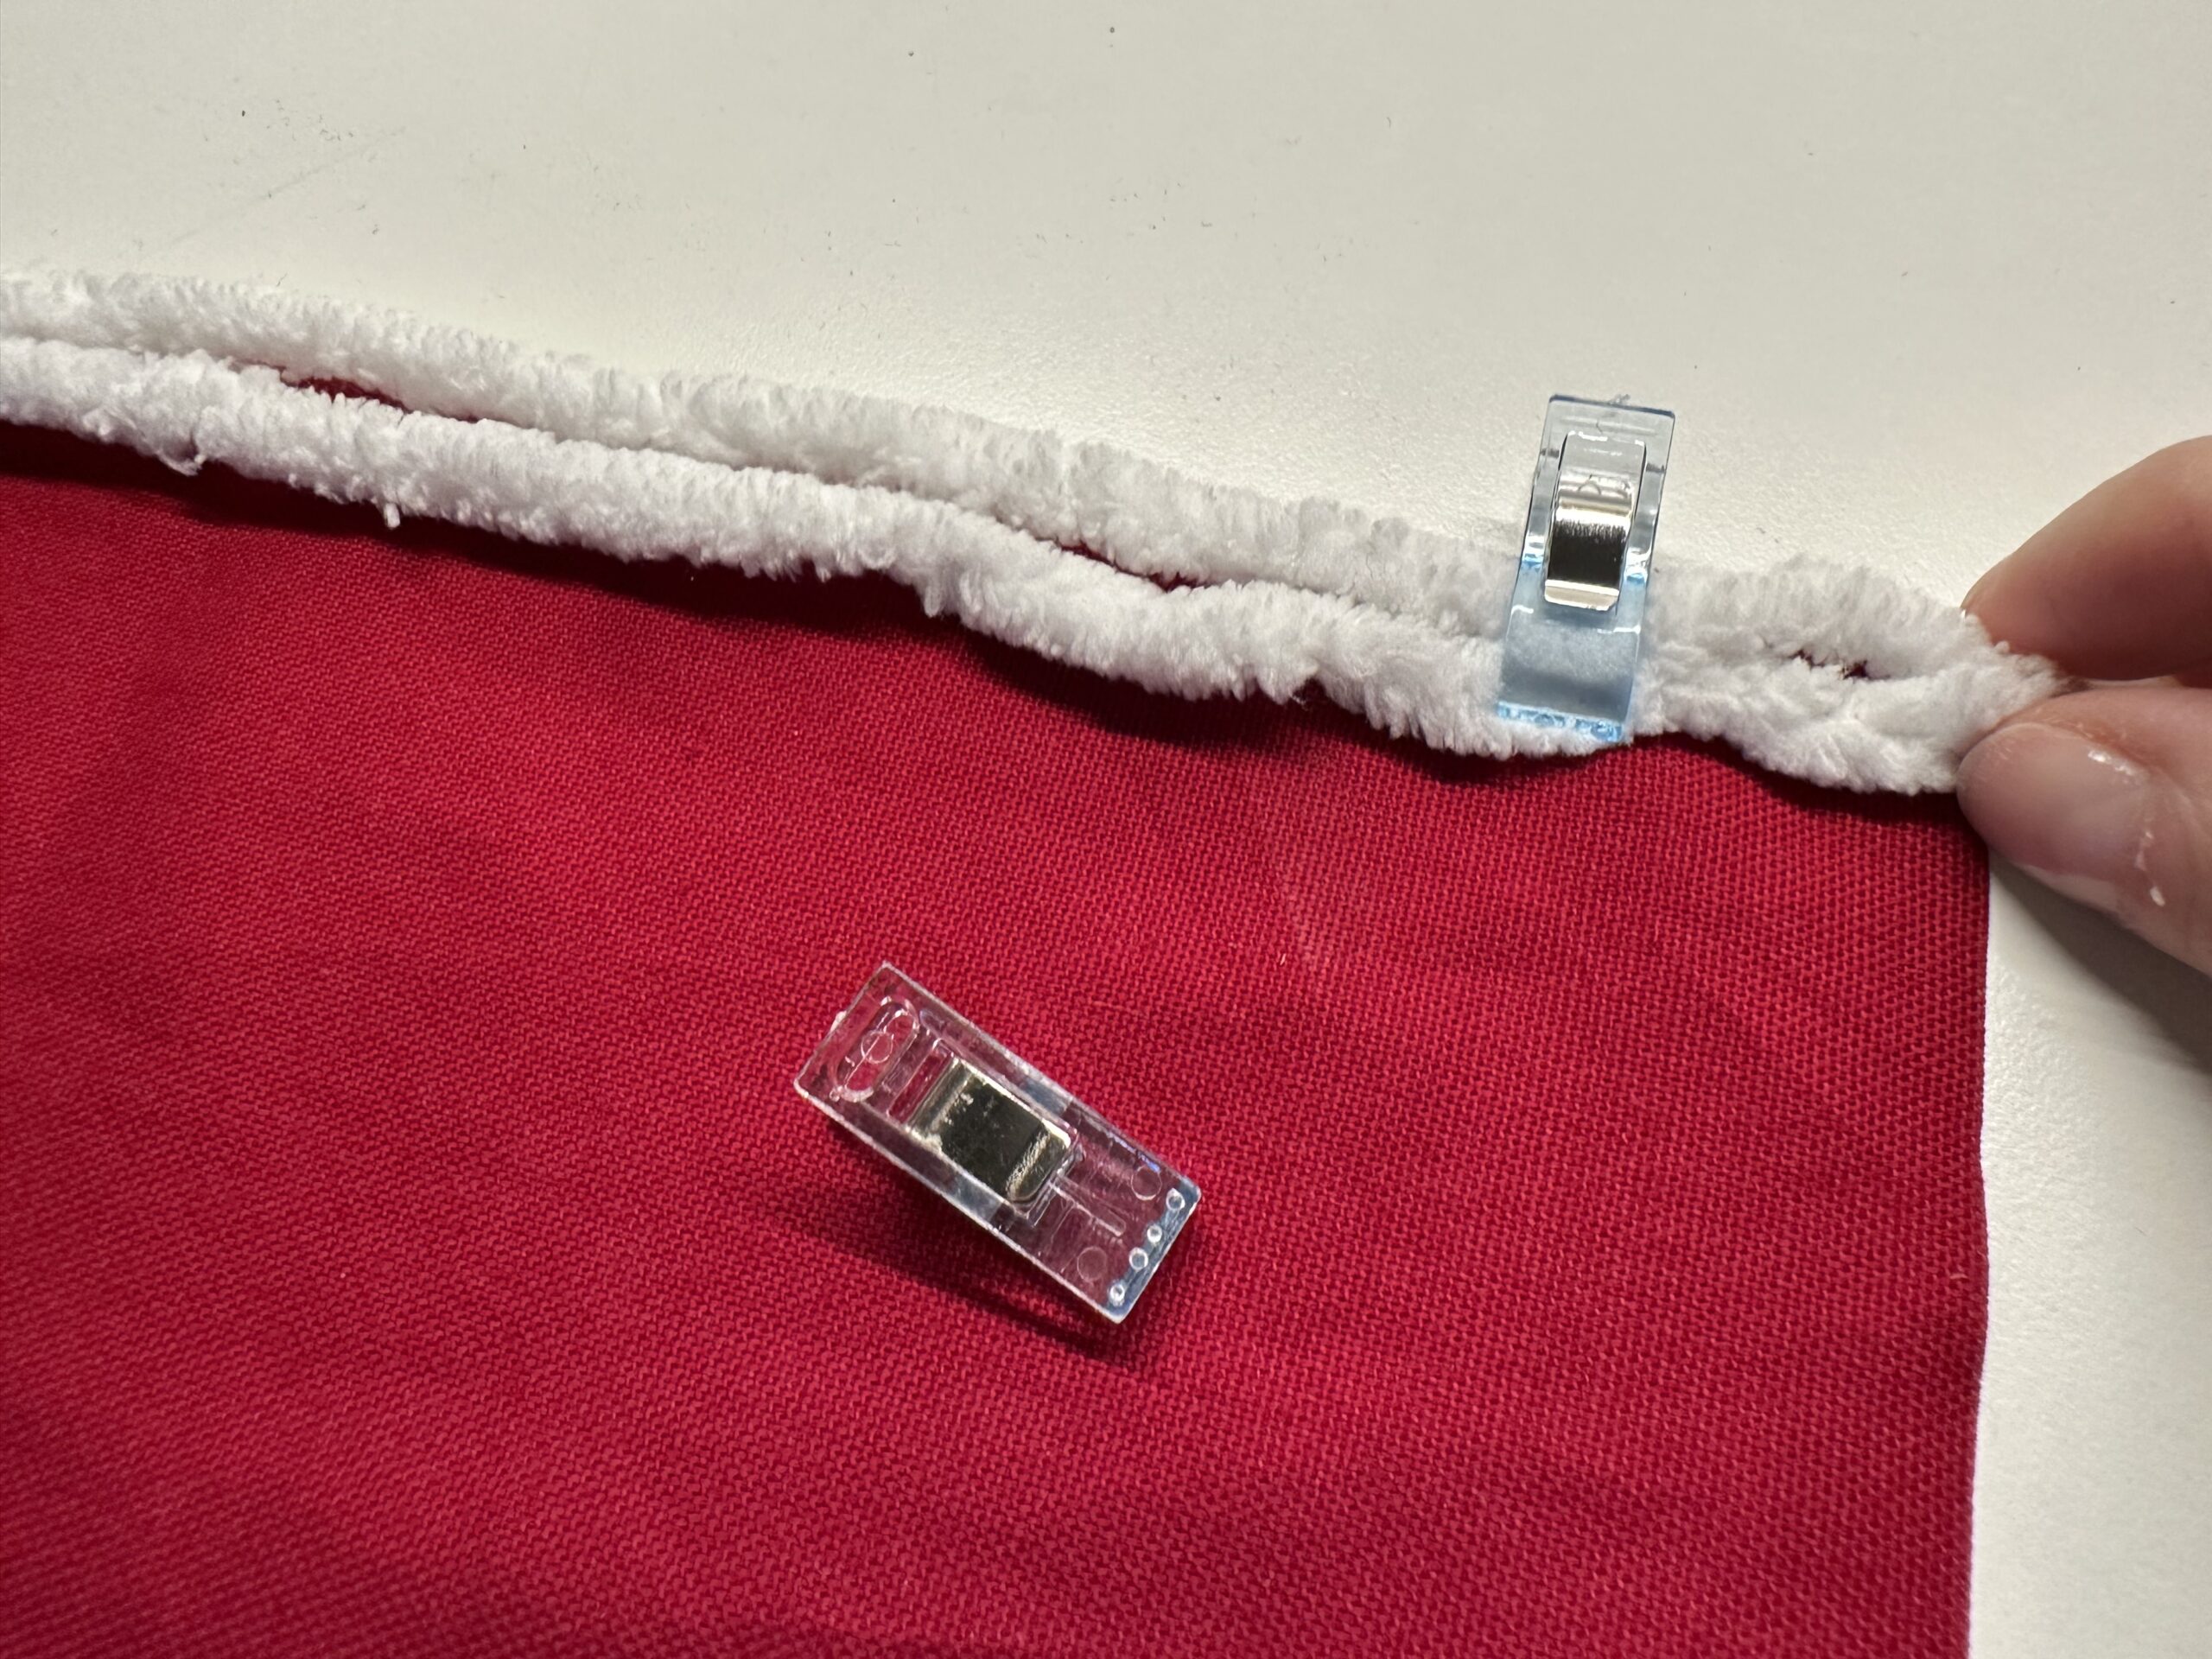
Both wool cords must hold with the brackets.
Then they are sewn with the sewing machine.
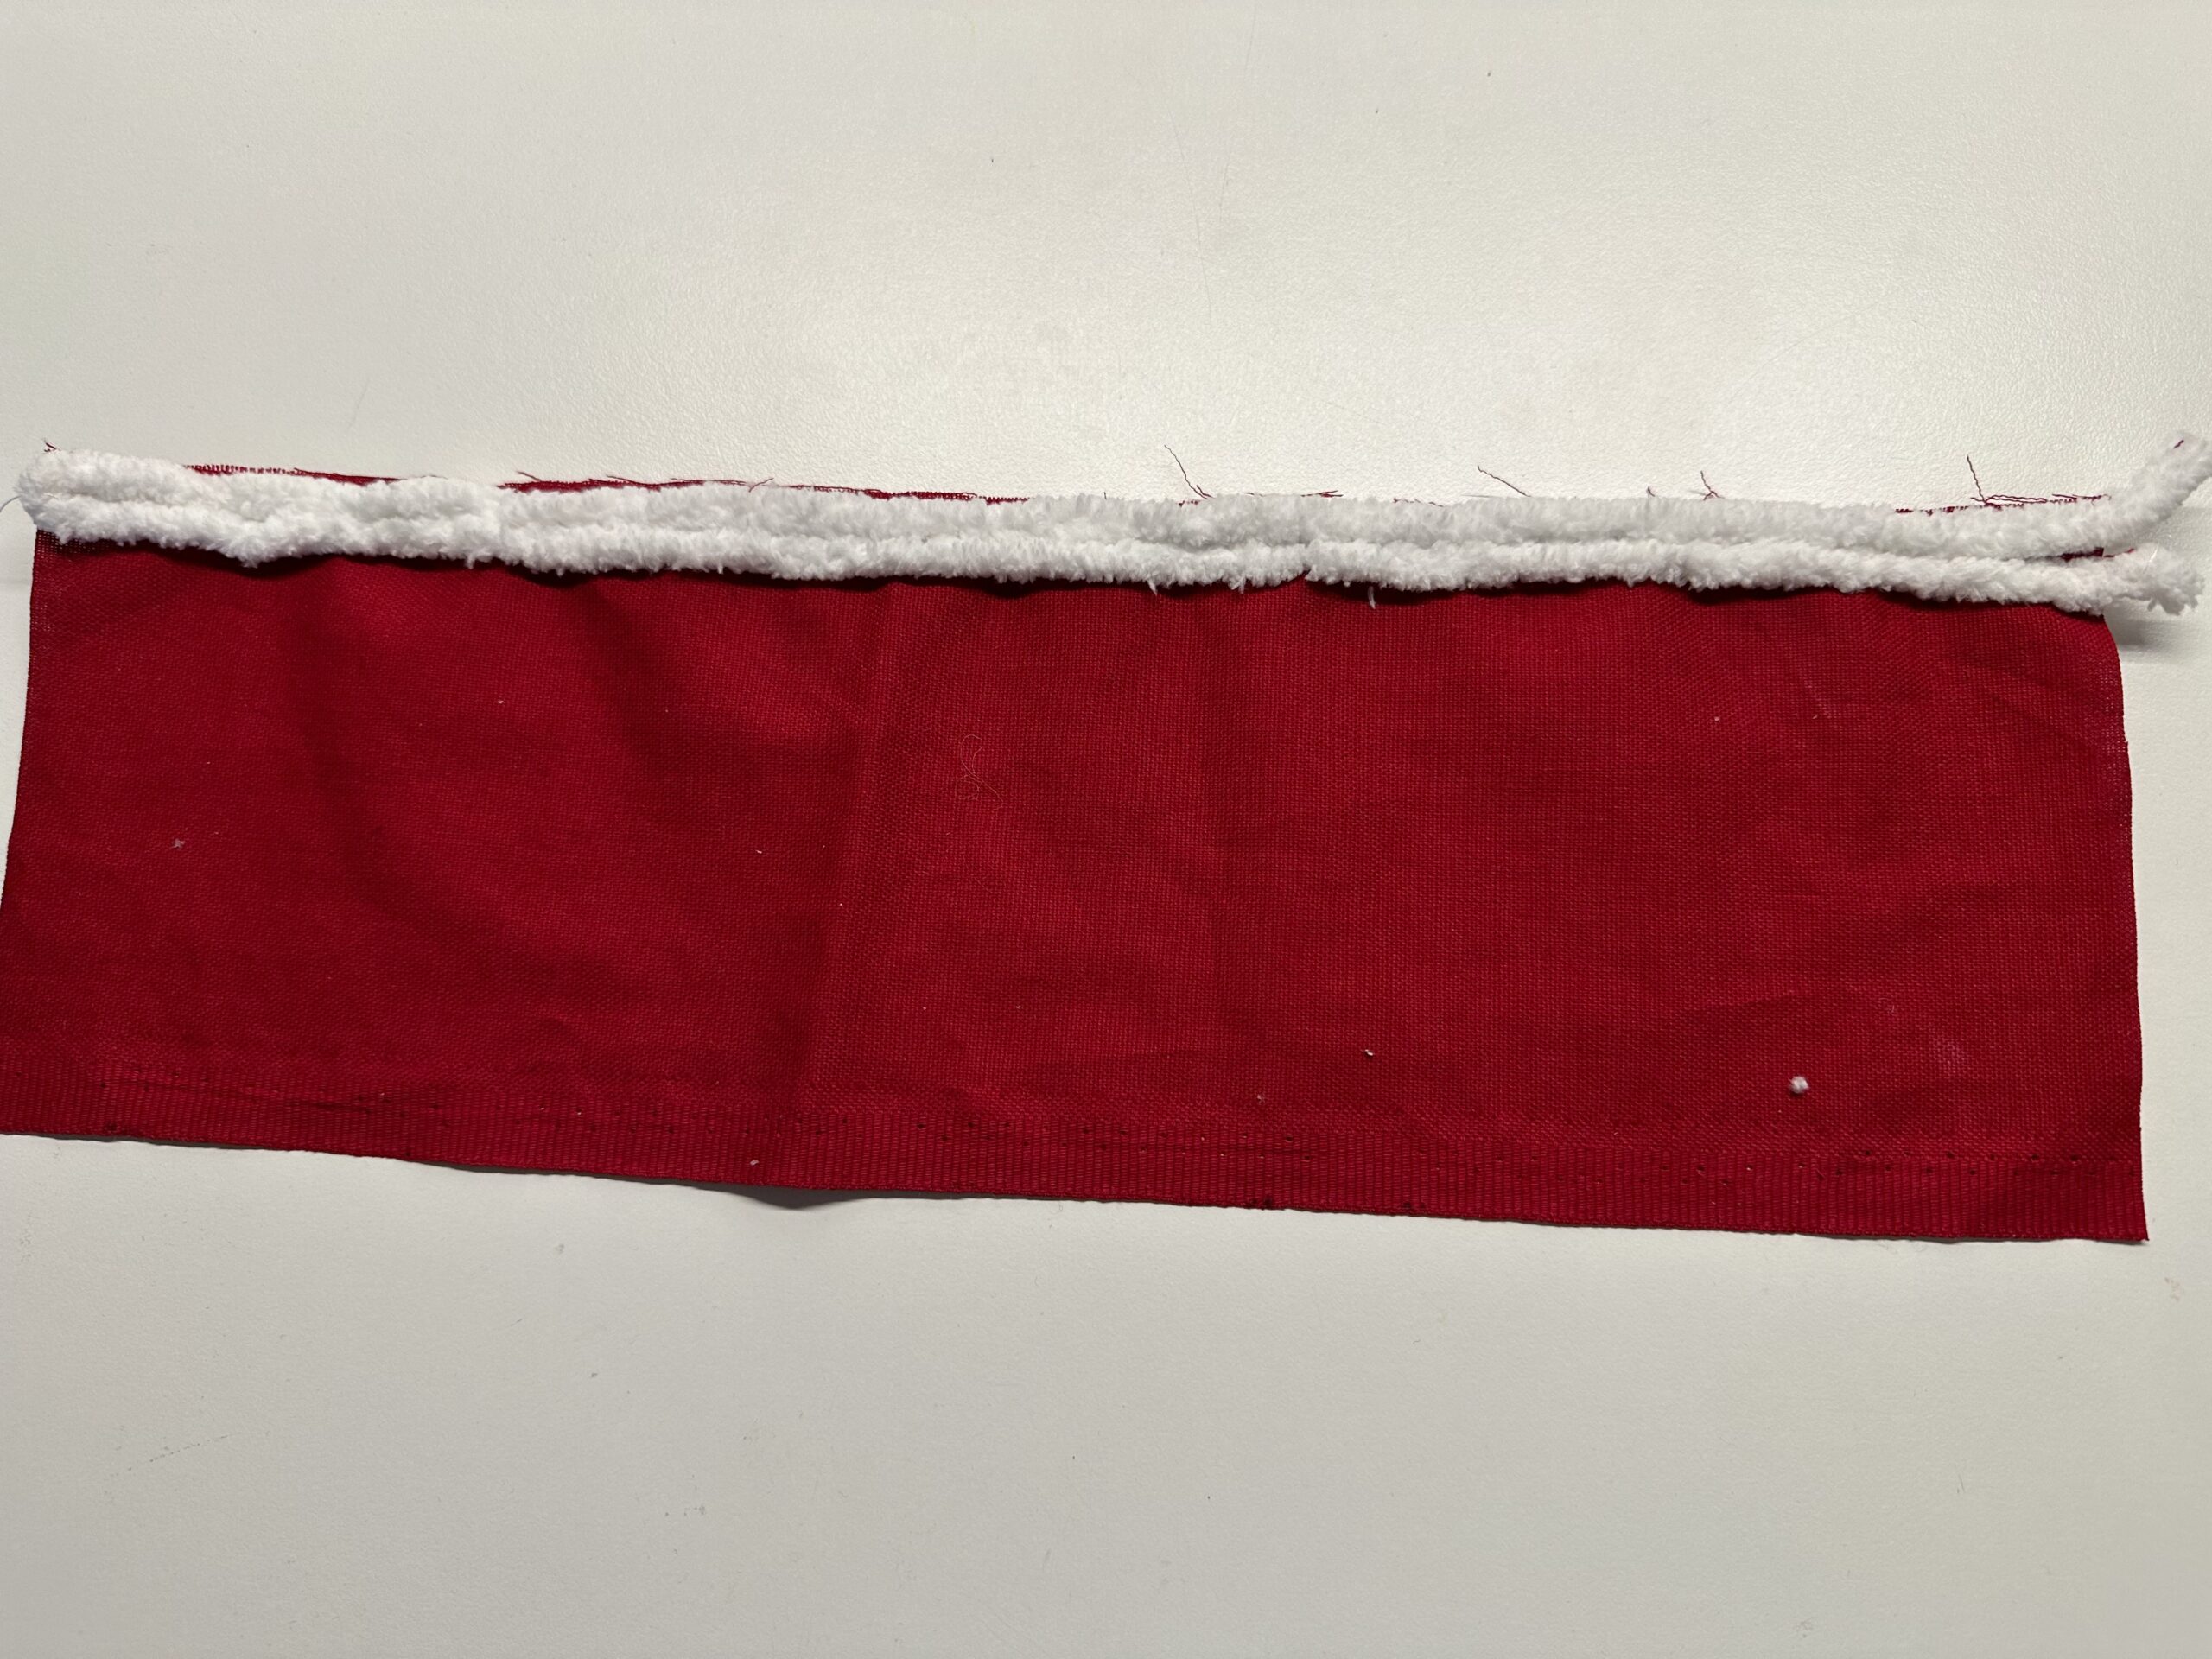
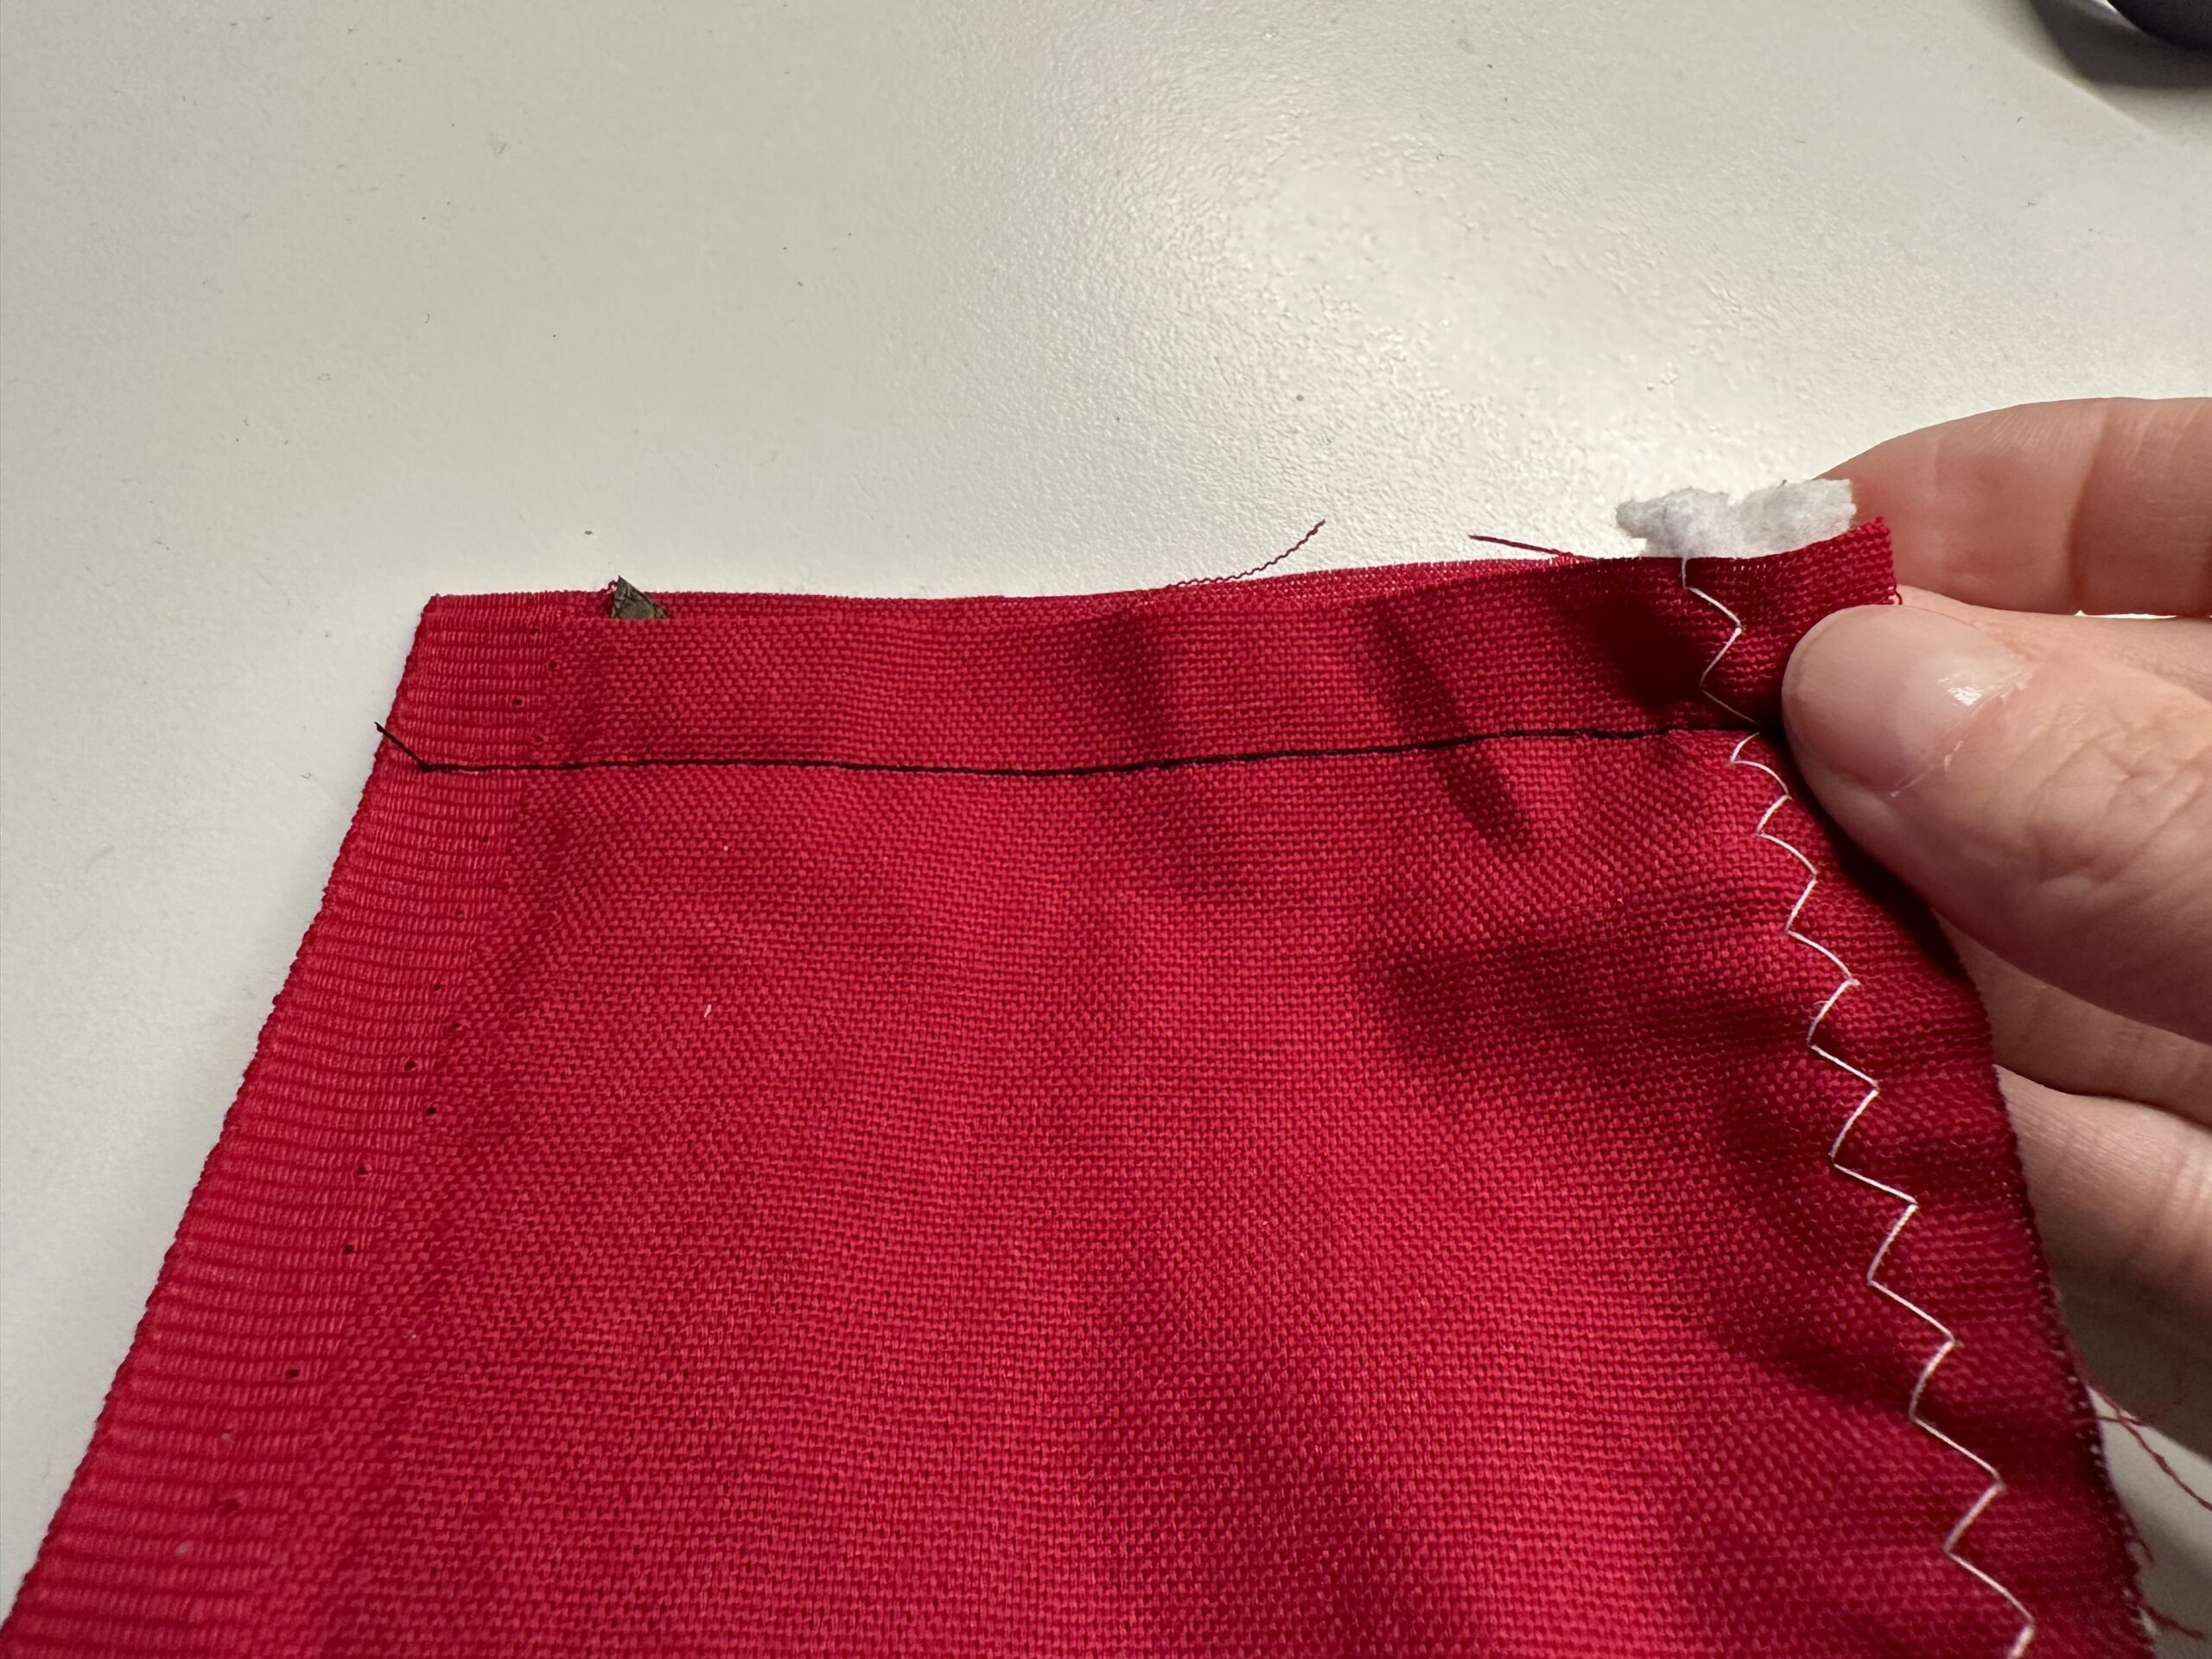
With the sewing machine, both cords are sewn together with a very large zig-zag stitch with white thread on the fabric.
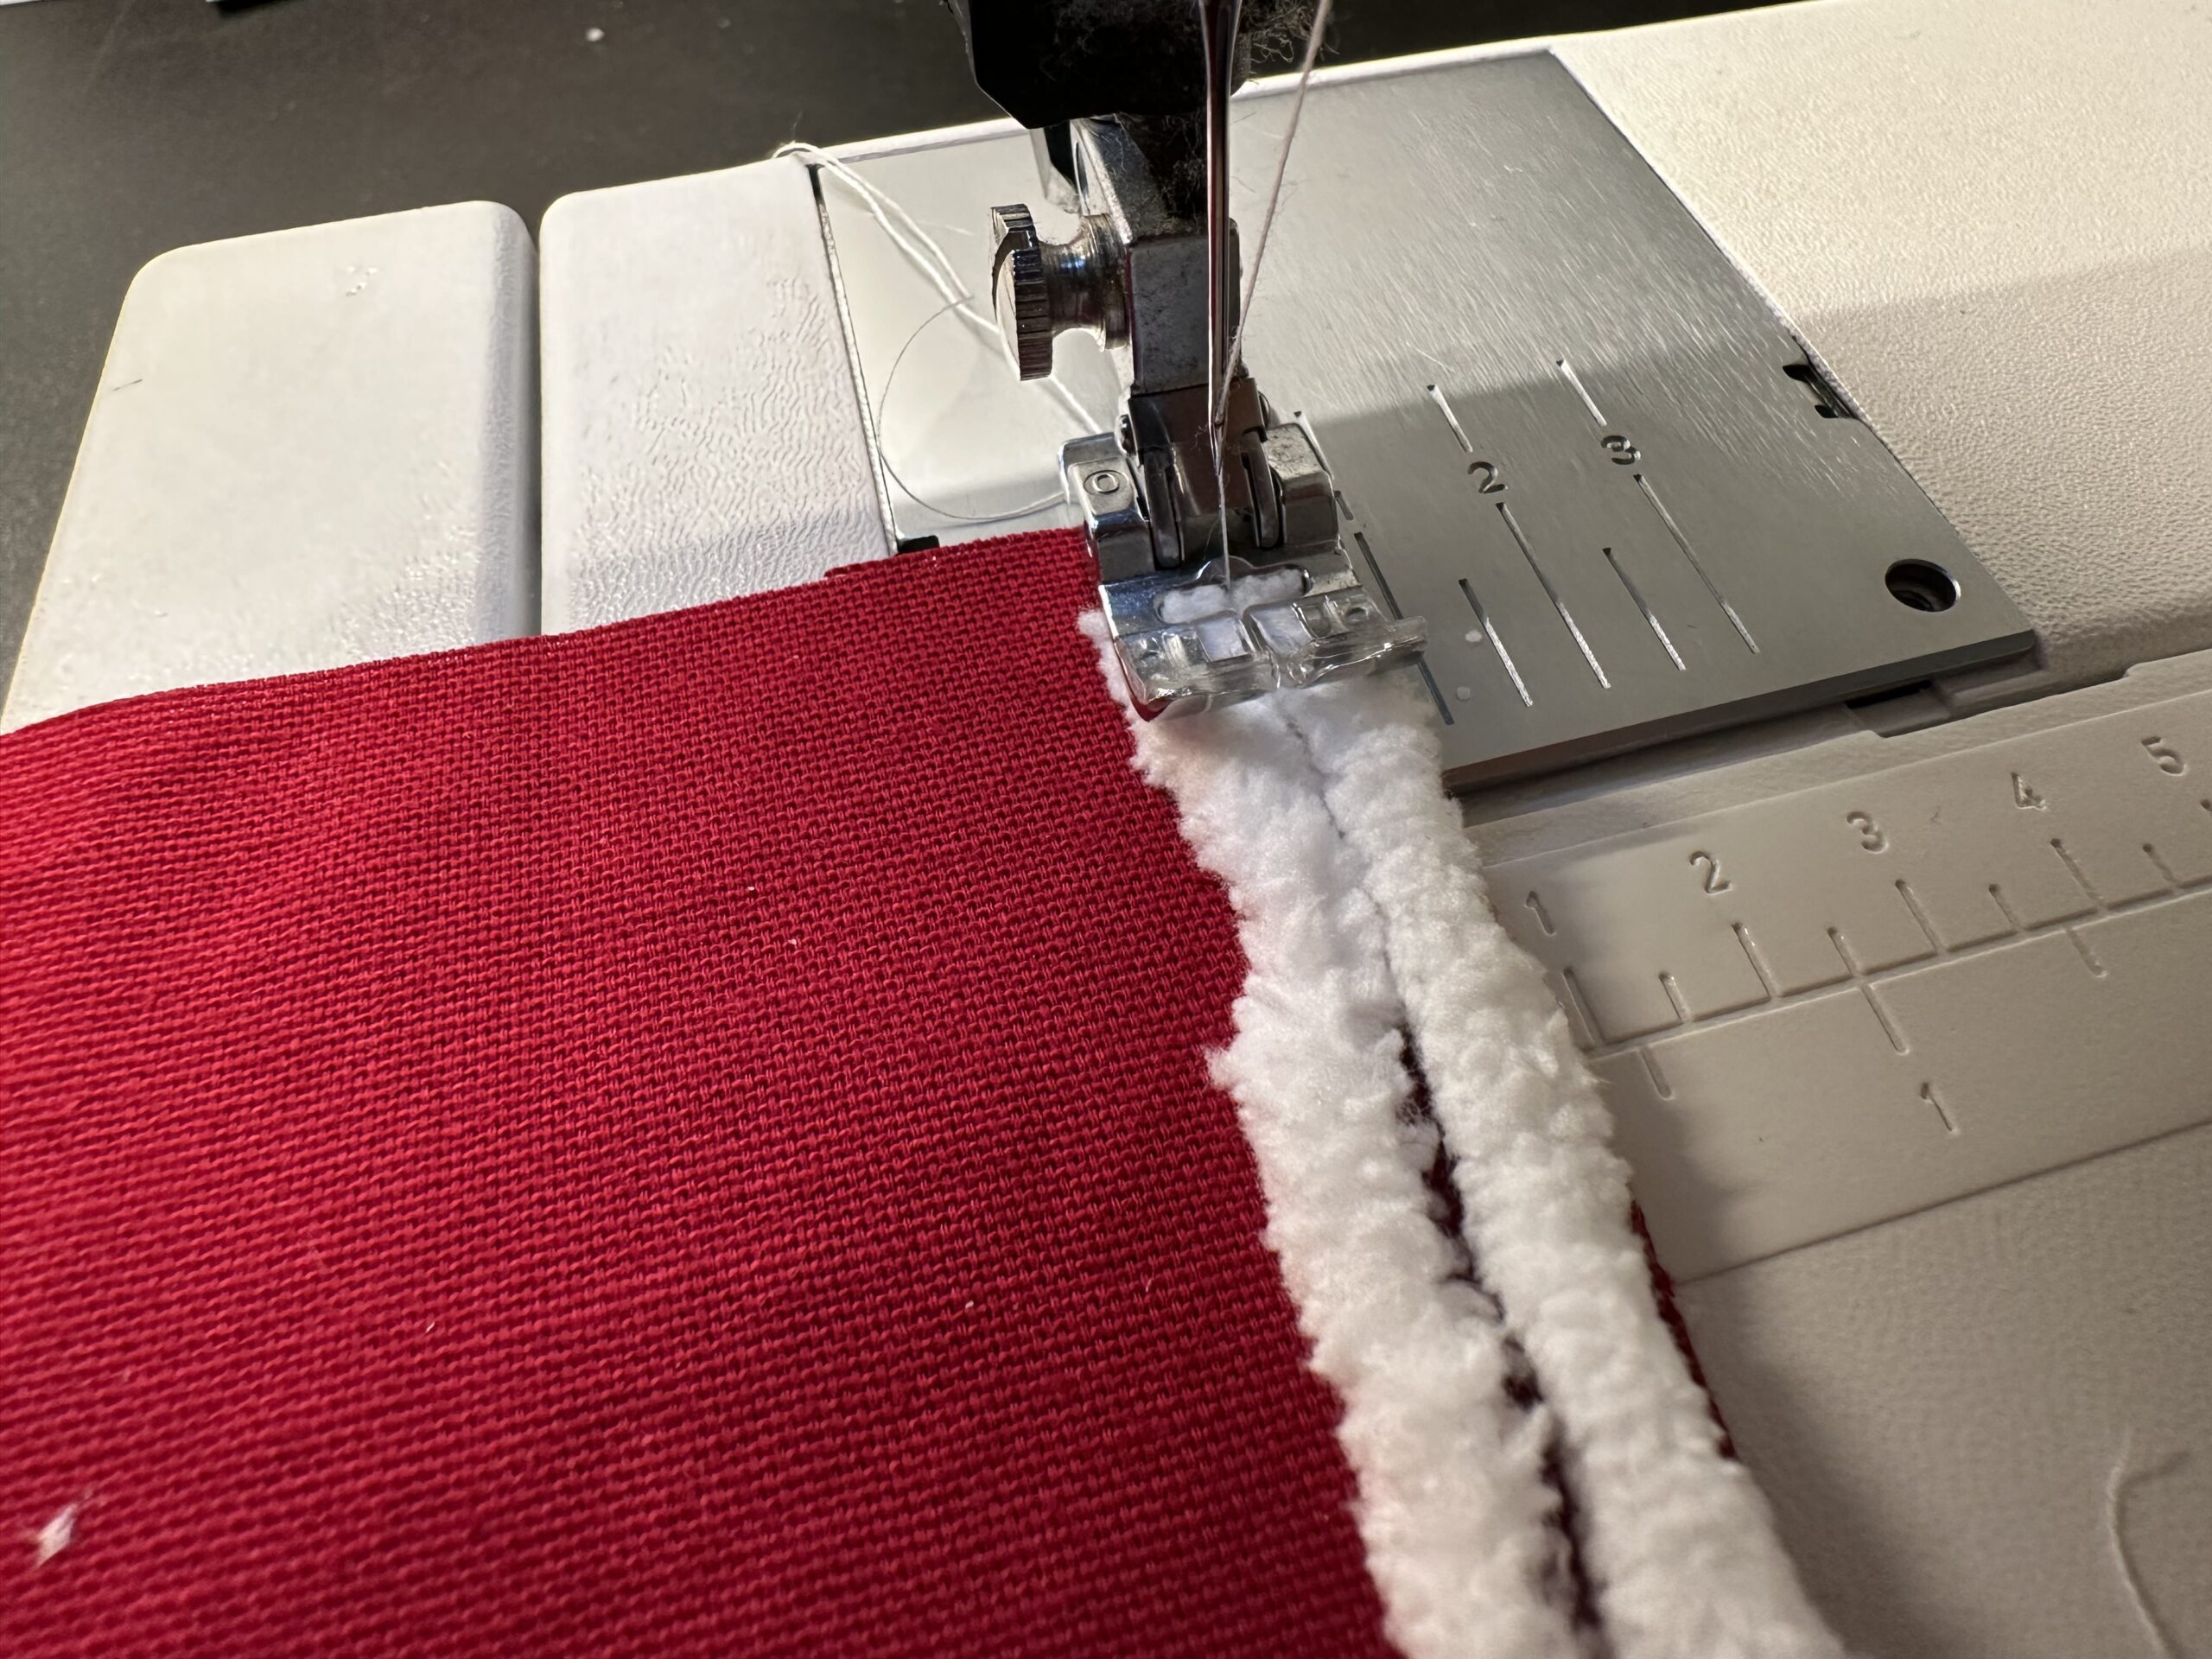
That's what it might look like.

Alternatively, stick both wool cords to the fabric.
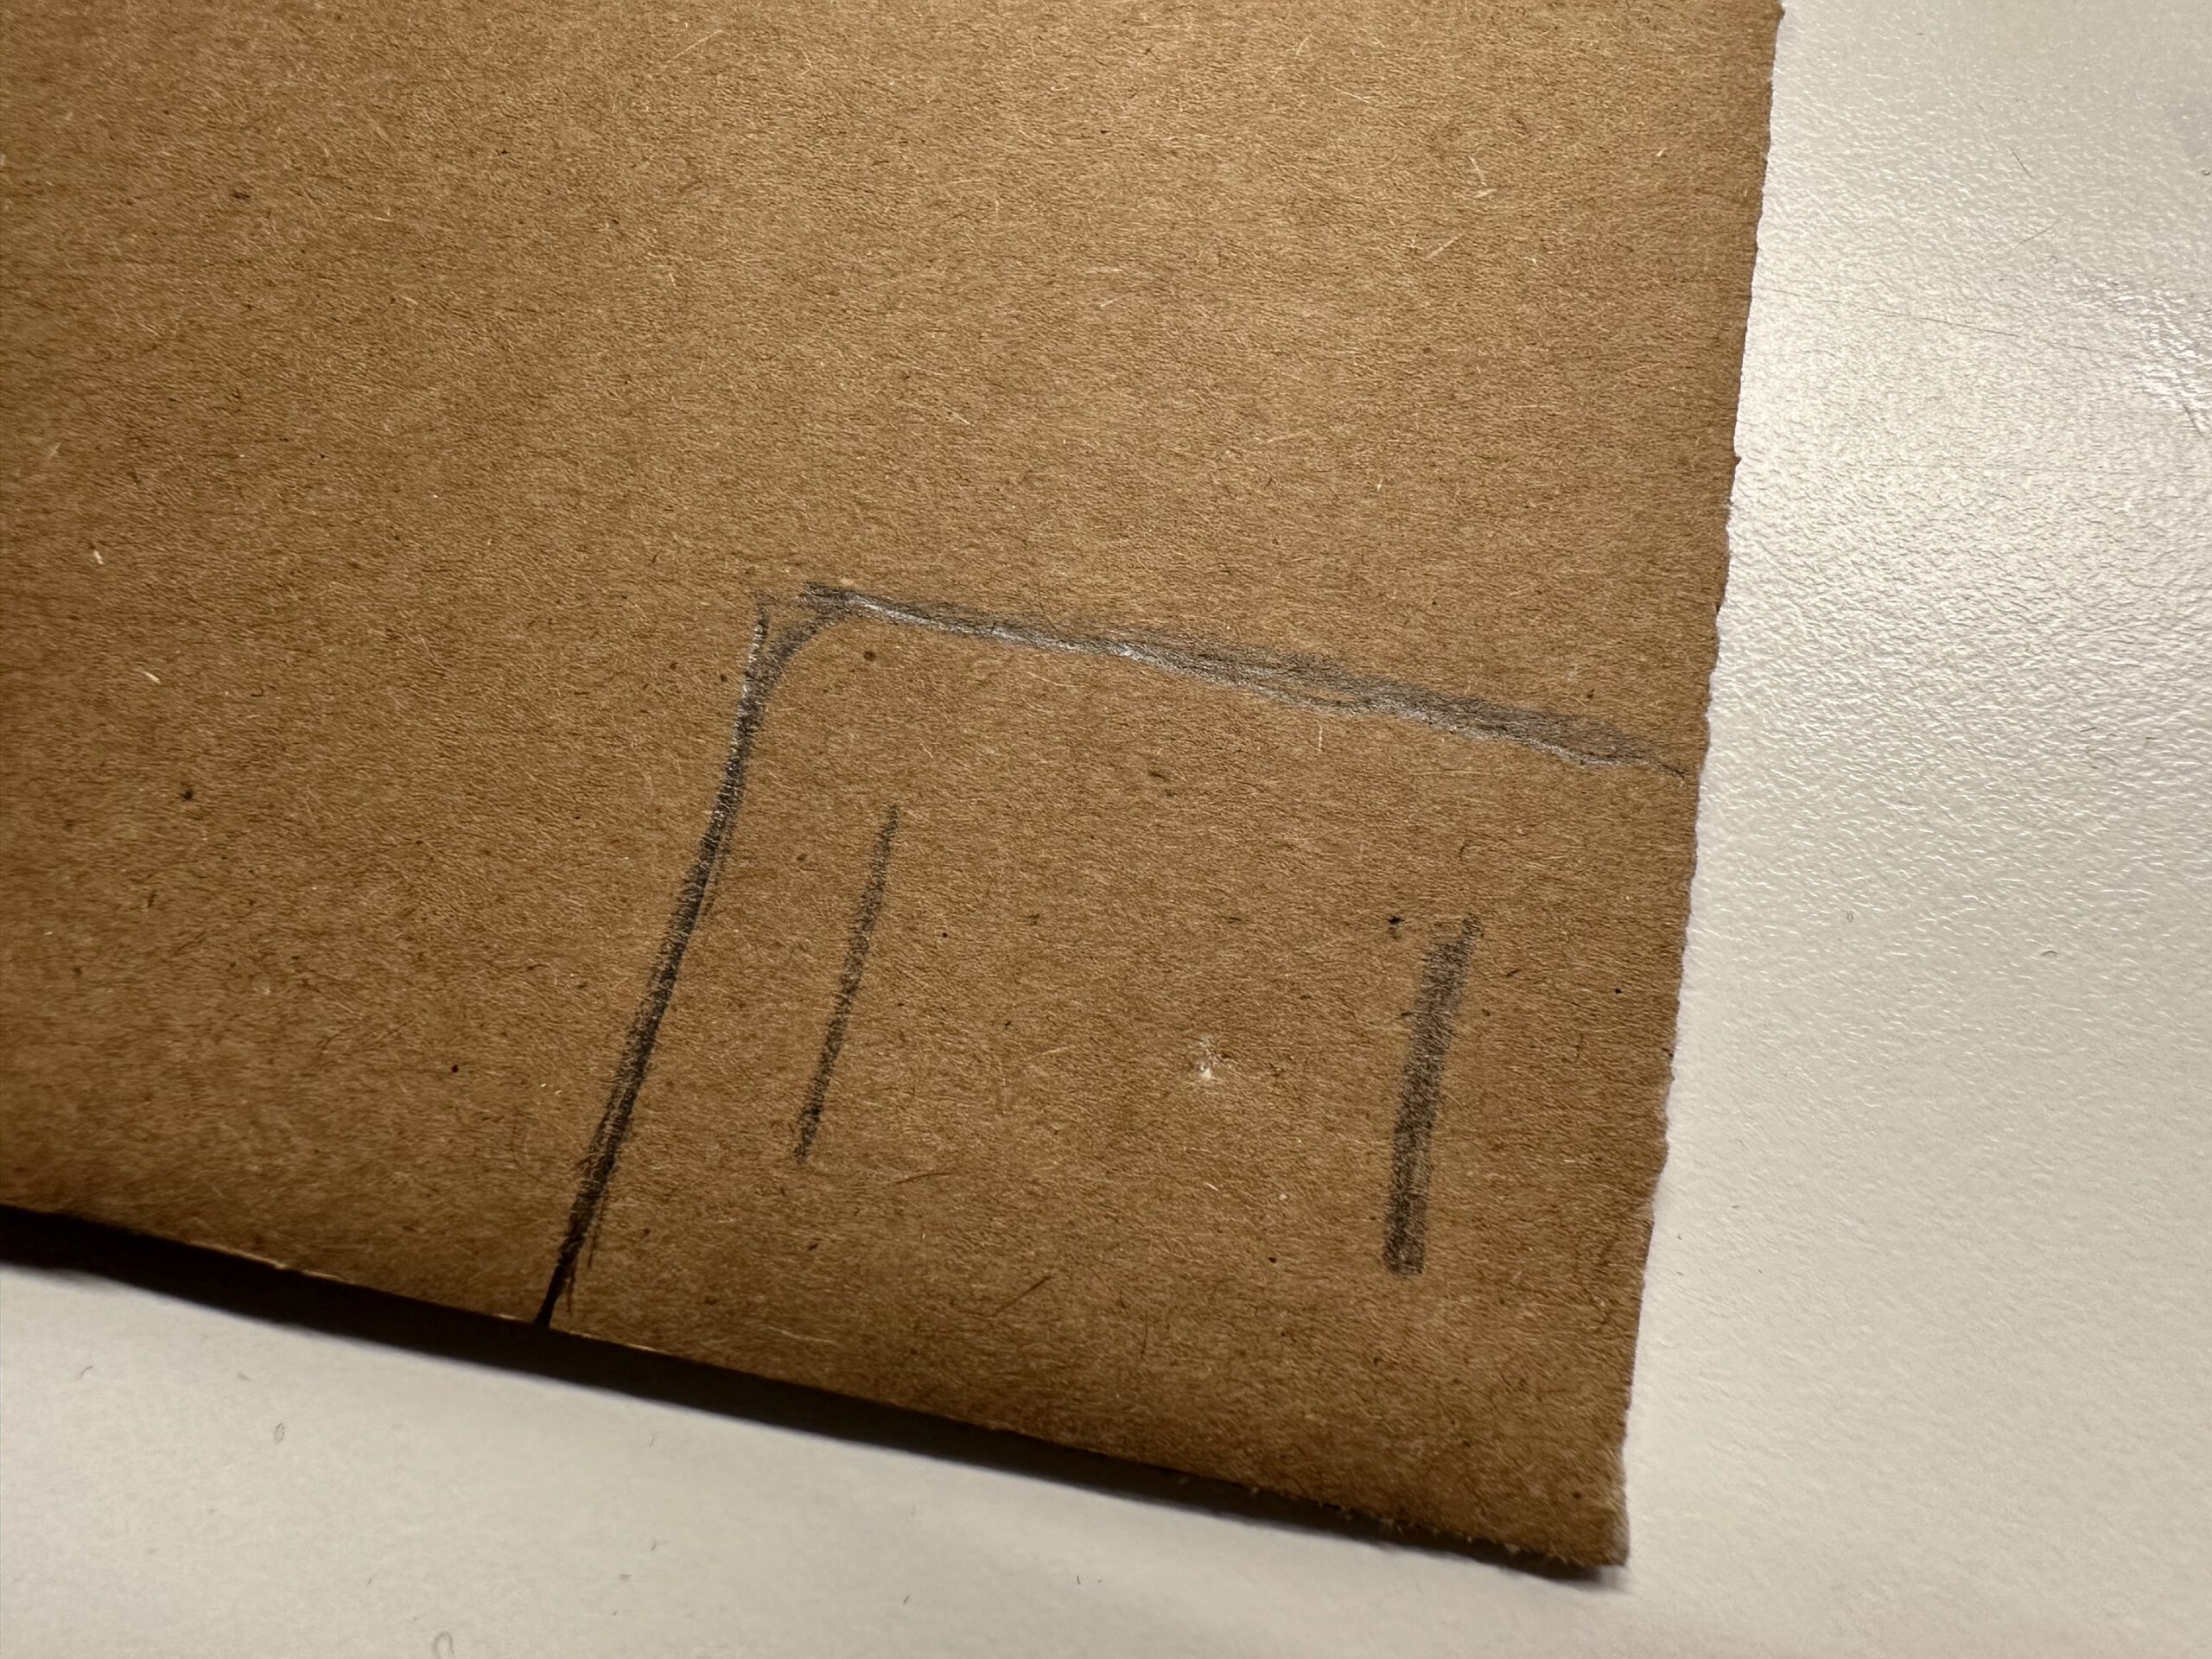
A belt buckle is made from a carton. Paints it on the carton. It should not be larger than 2cm wide and long.
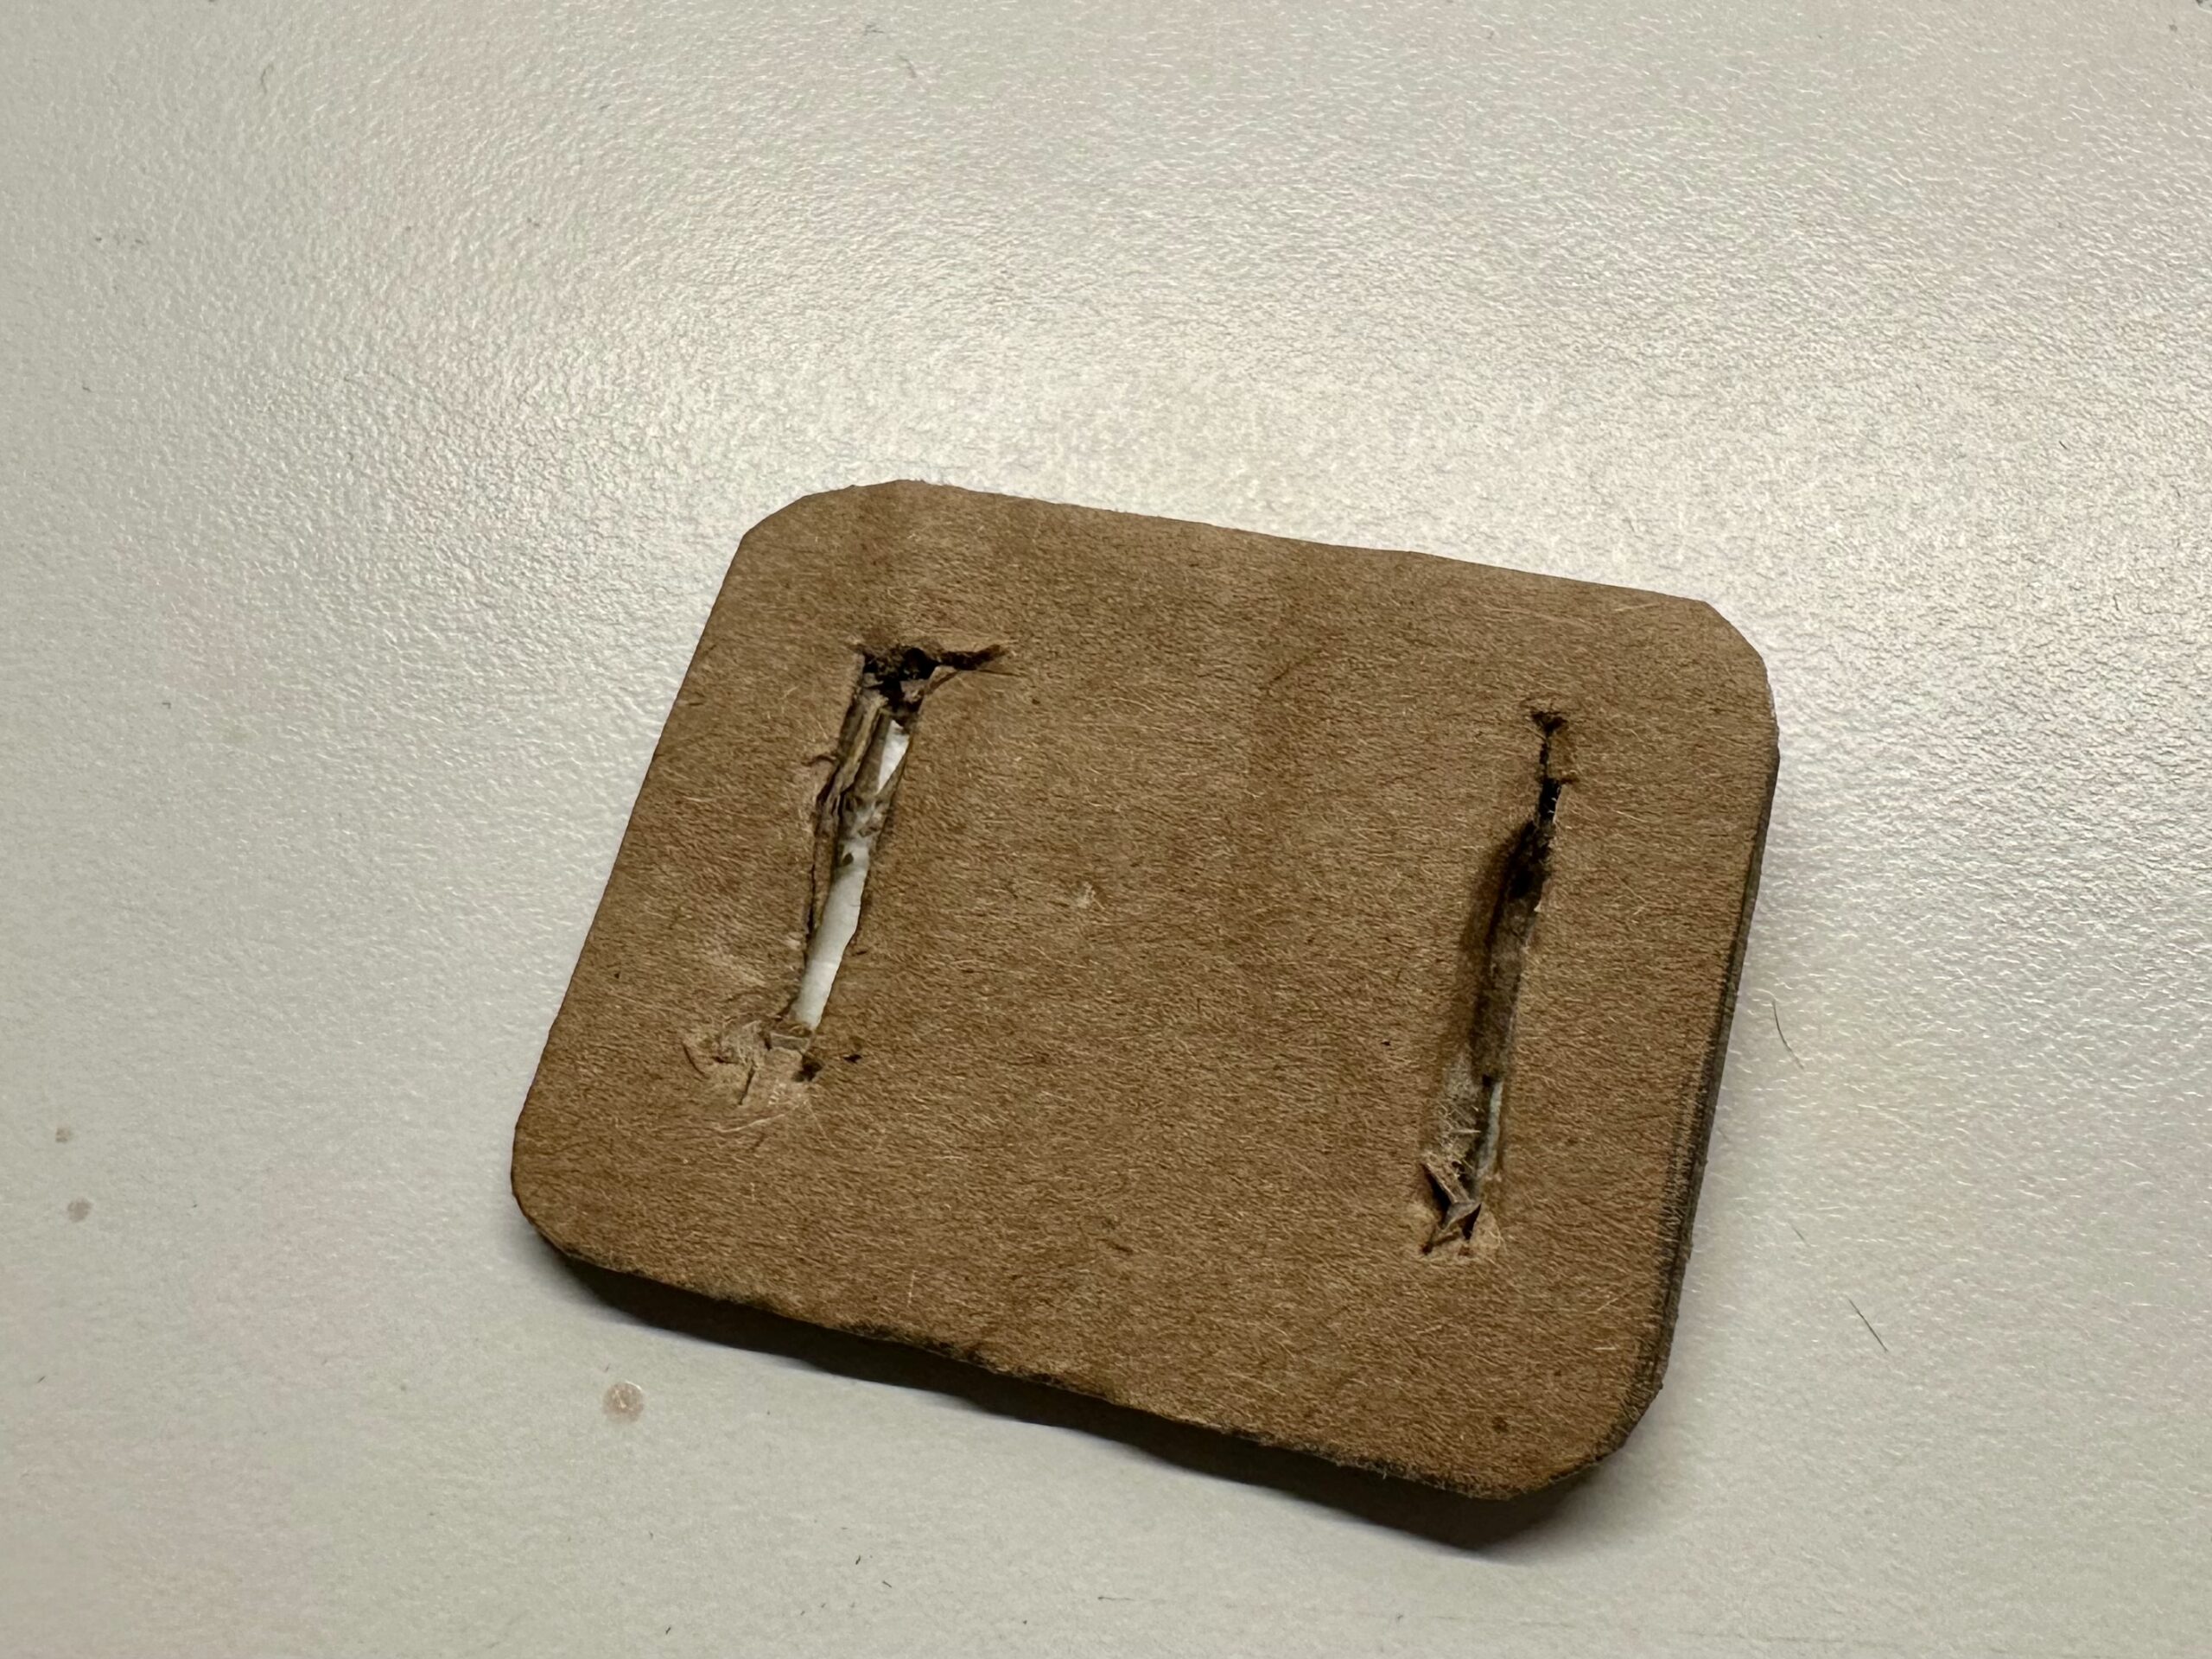
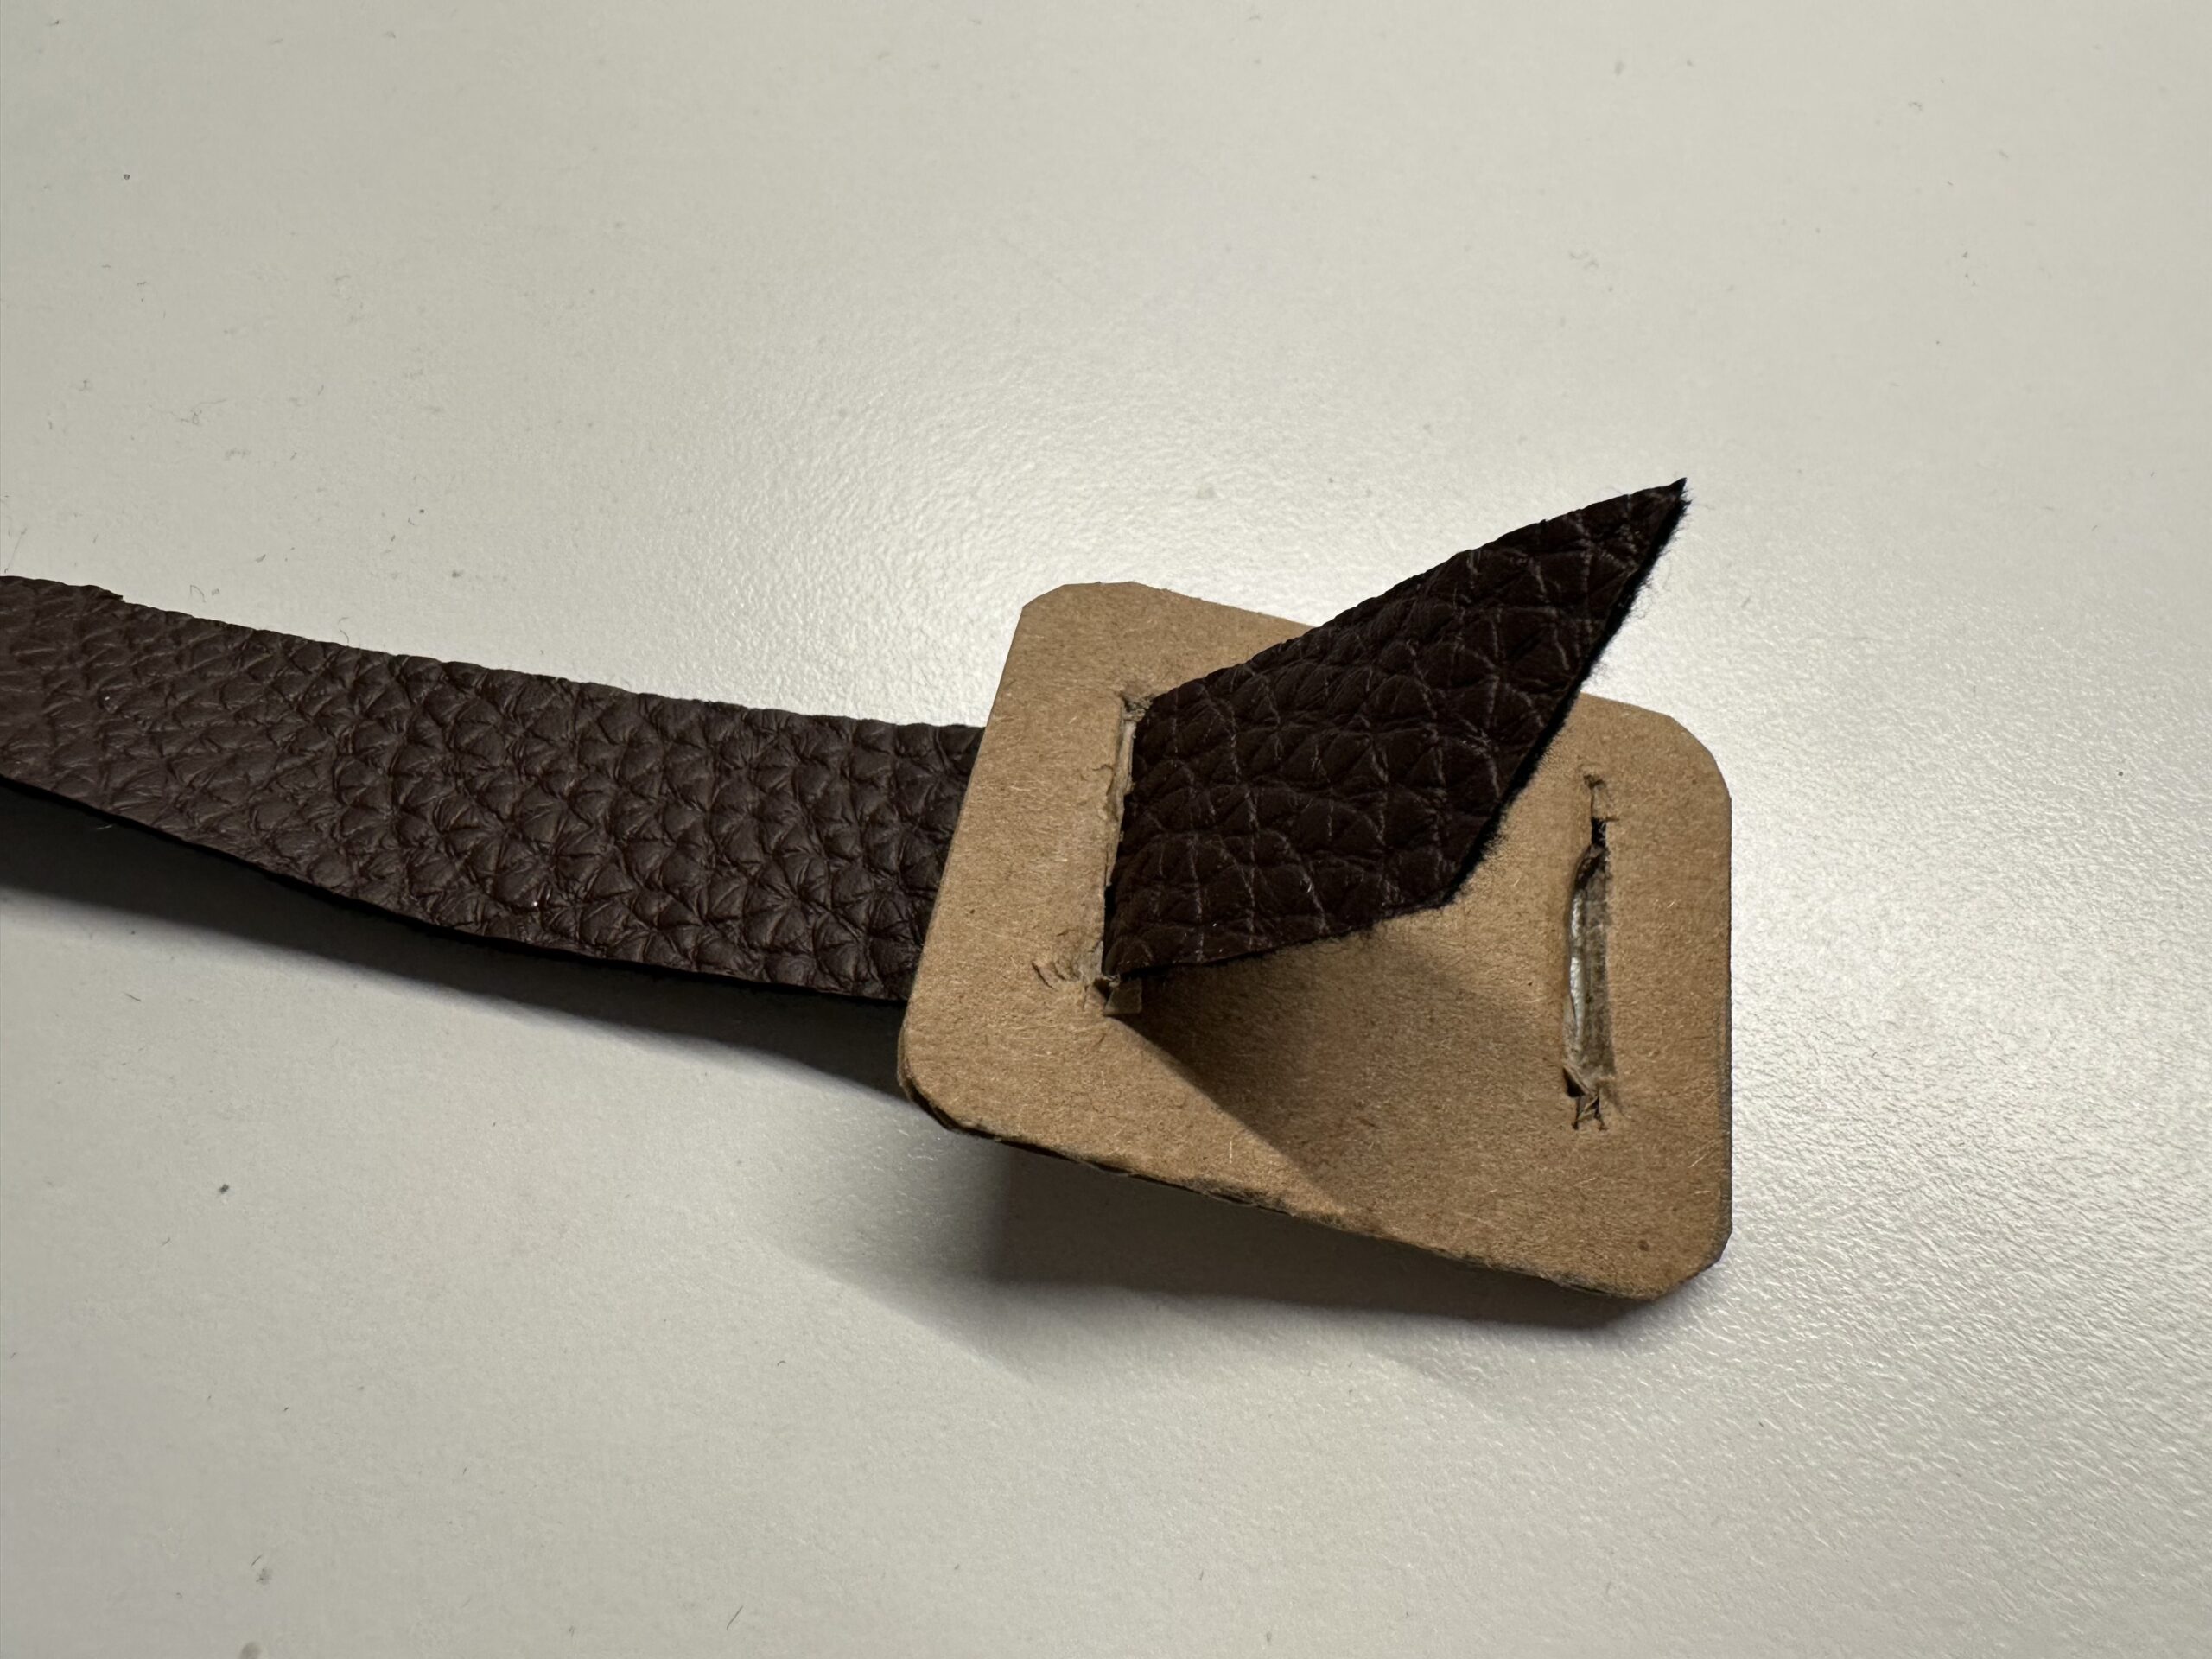
Cut it out with the scissors. Put two slits into it (see picture) through which the leather stripe (your belt) is pushed. Let it help you here possibly = risk of injury!
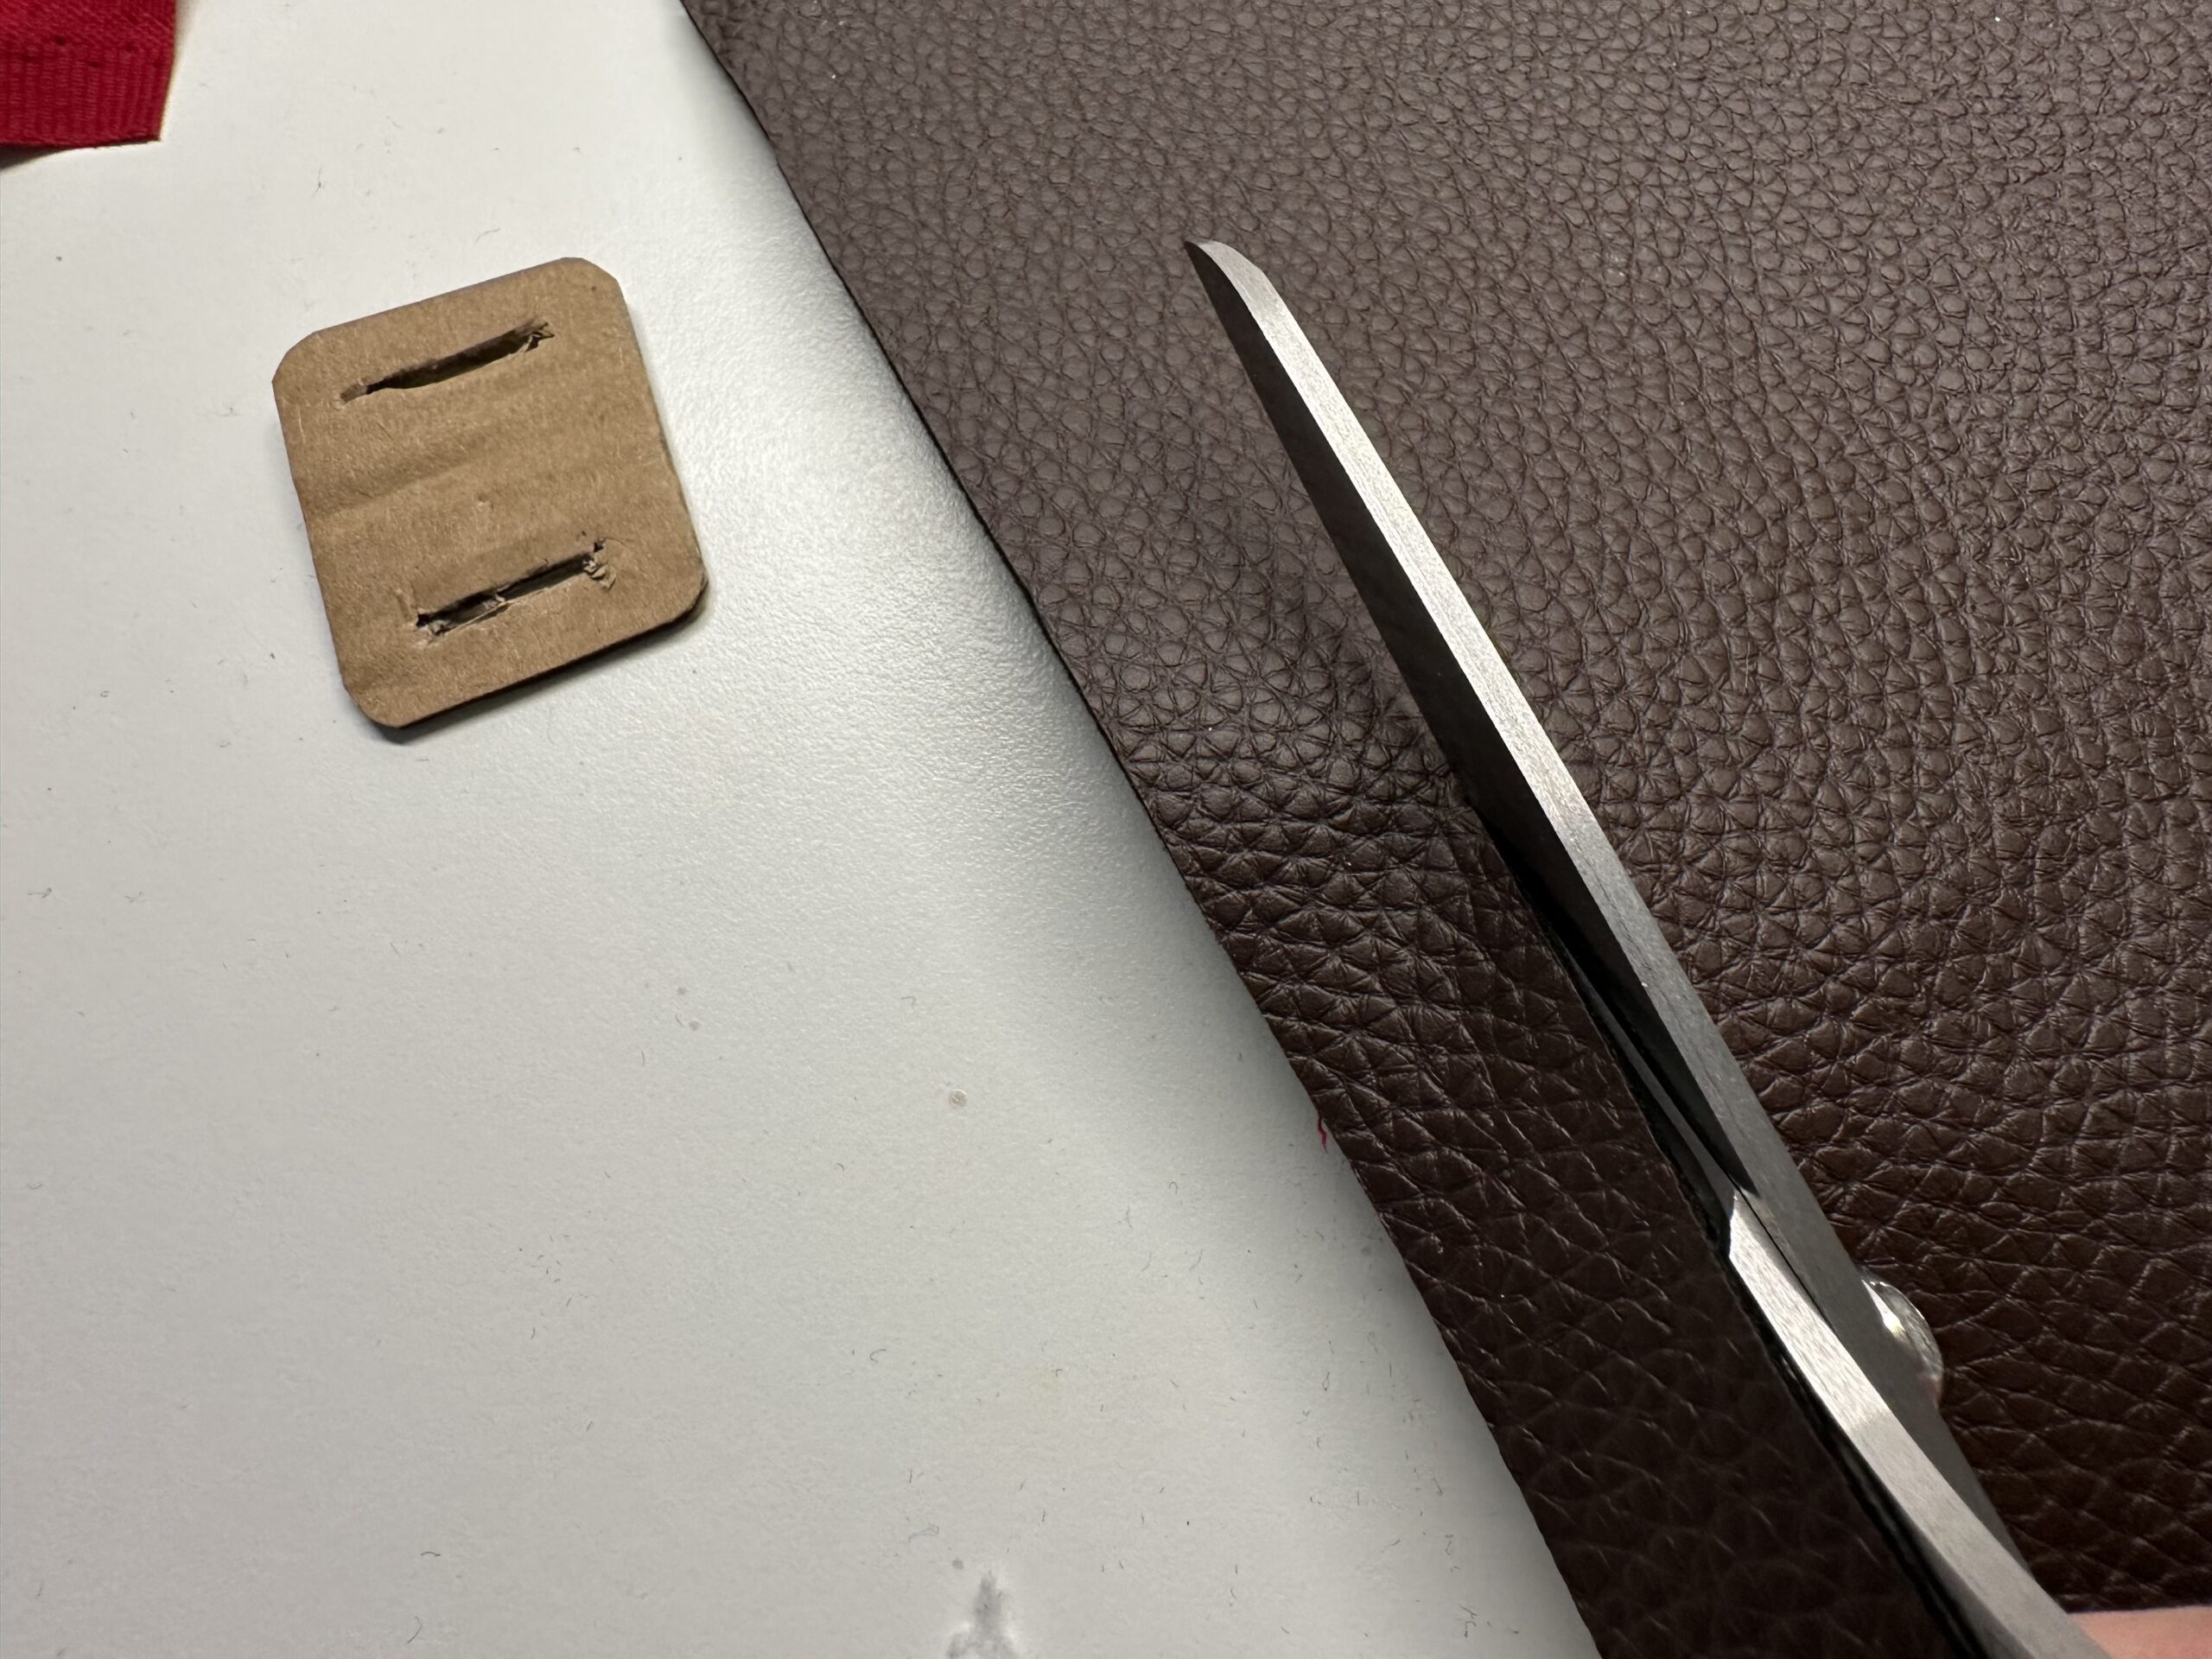
The leather strip must not be wider than the slits, otherwise it does not fit through the buckle. Cuts a leather strip to the length of 36 cm.
Belt and buckle are prepared.

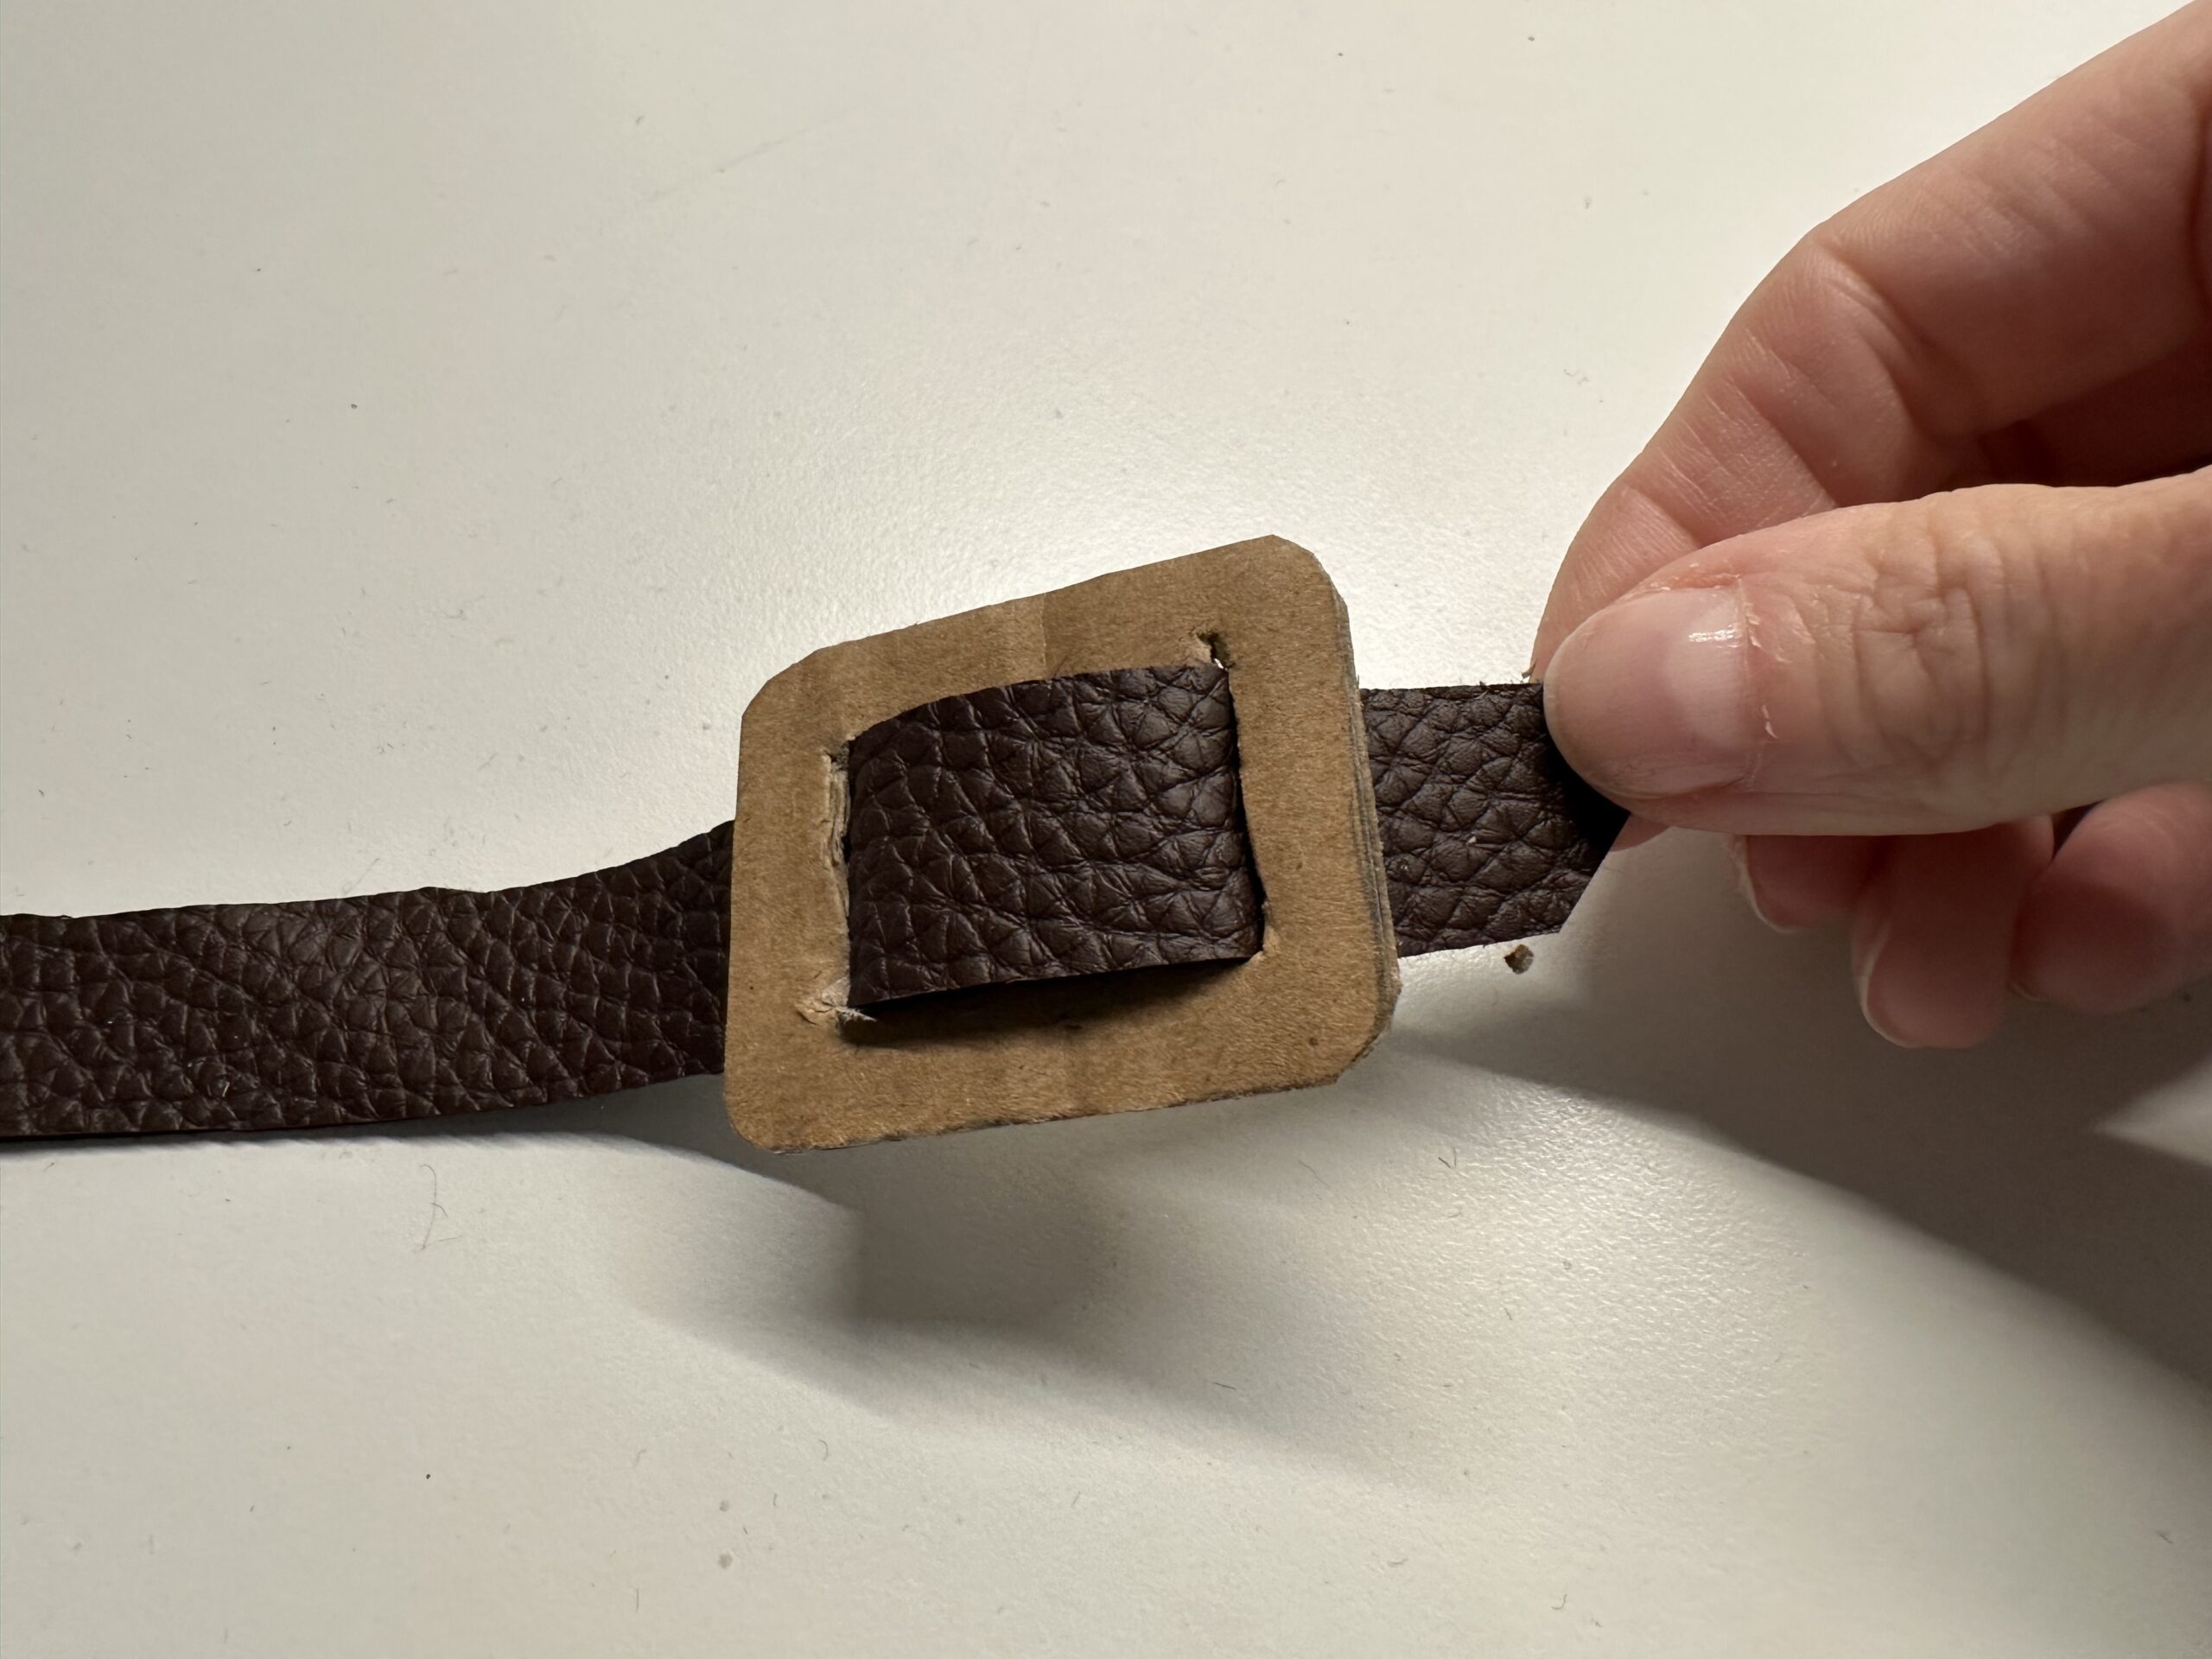
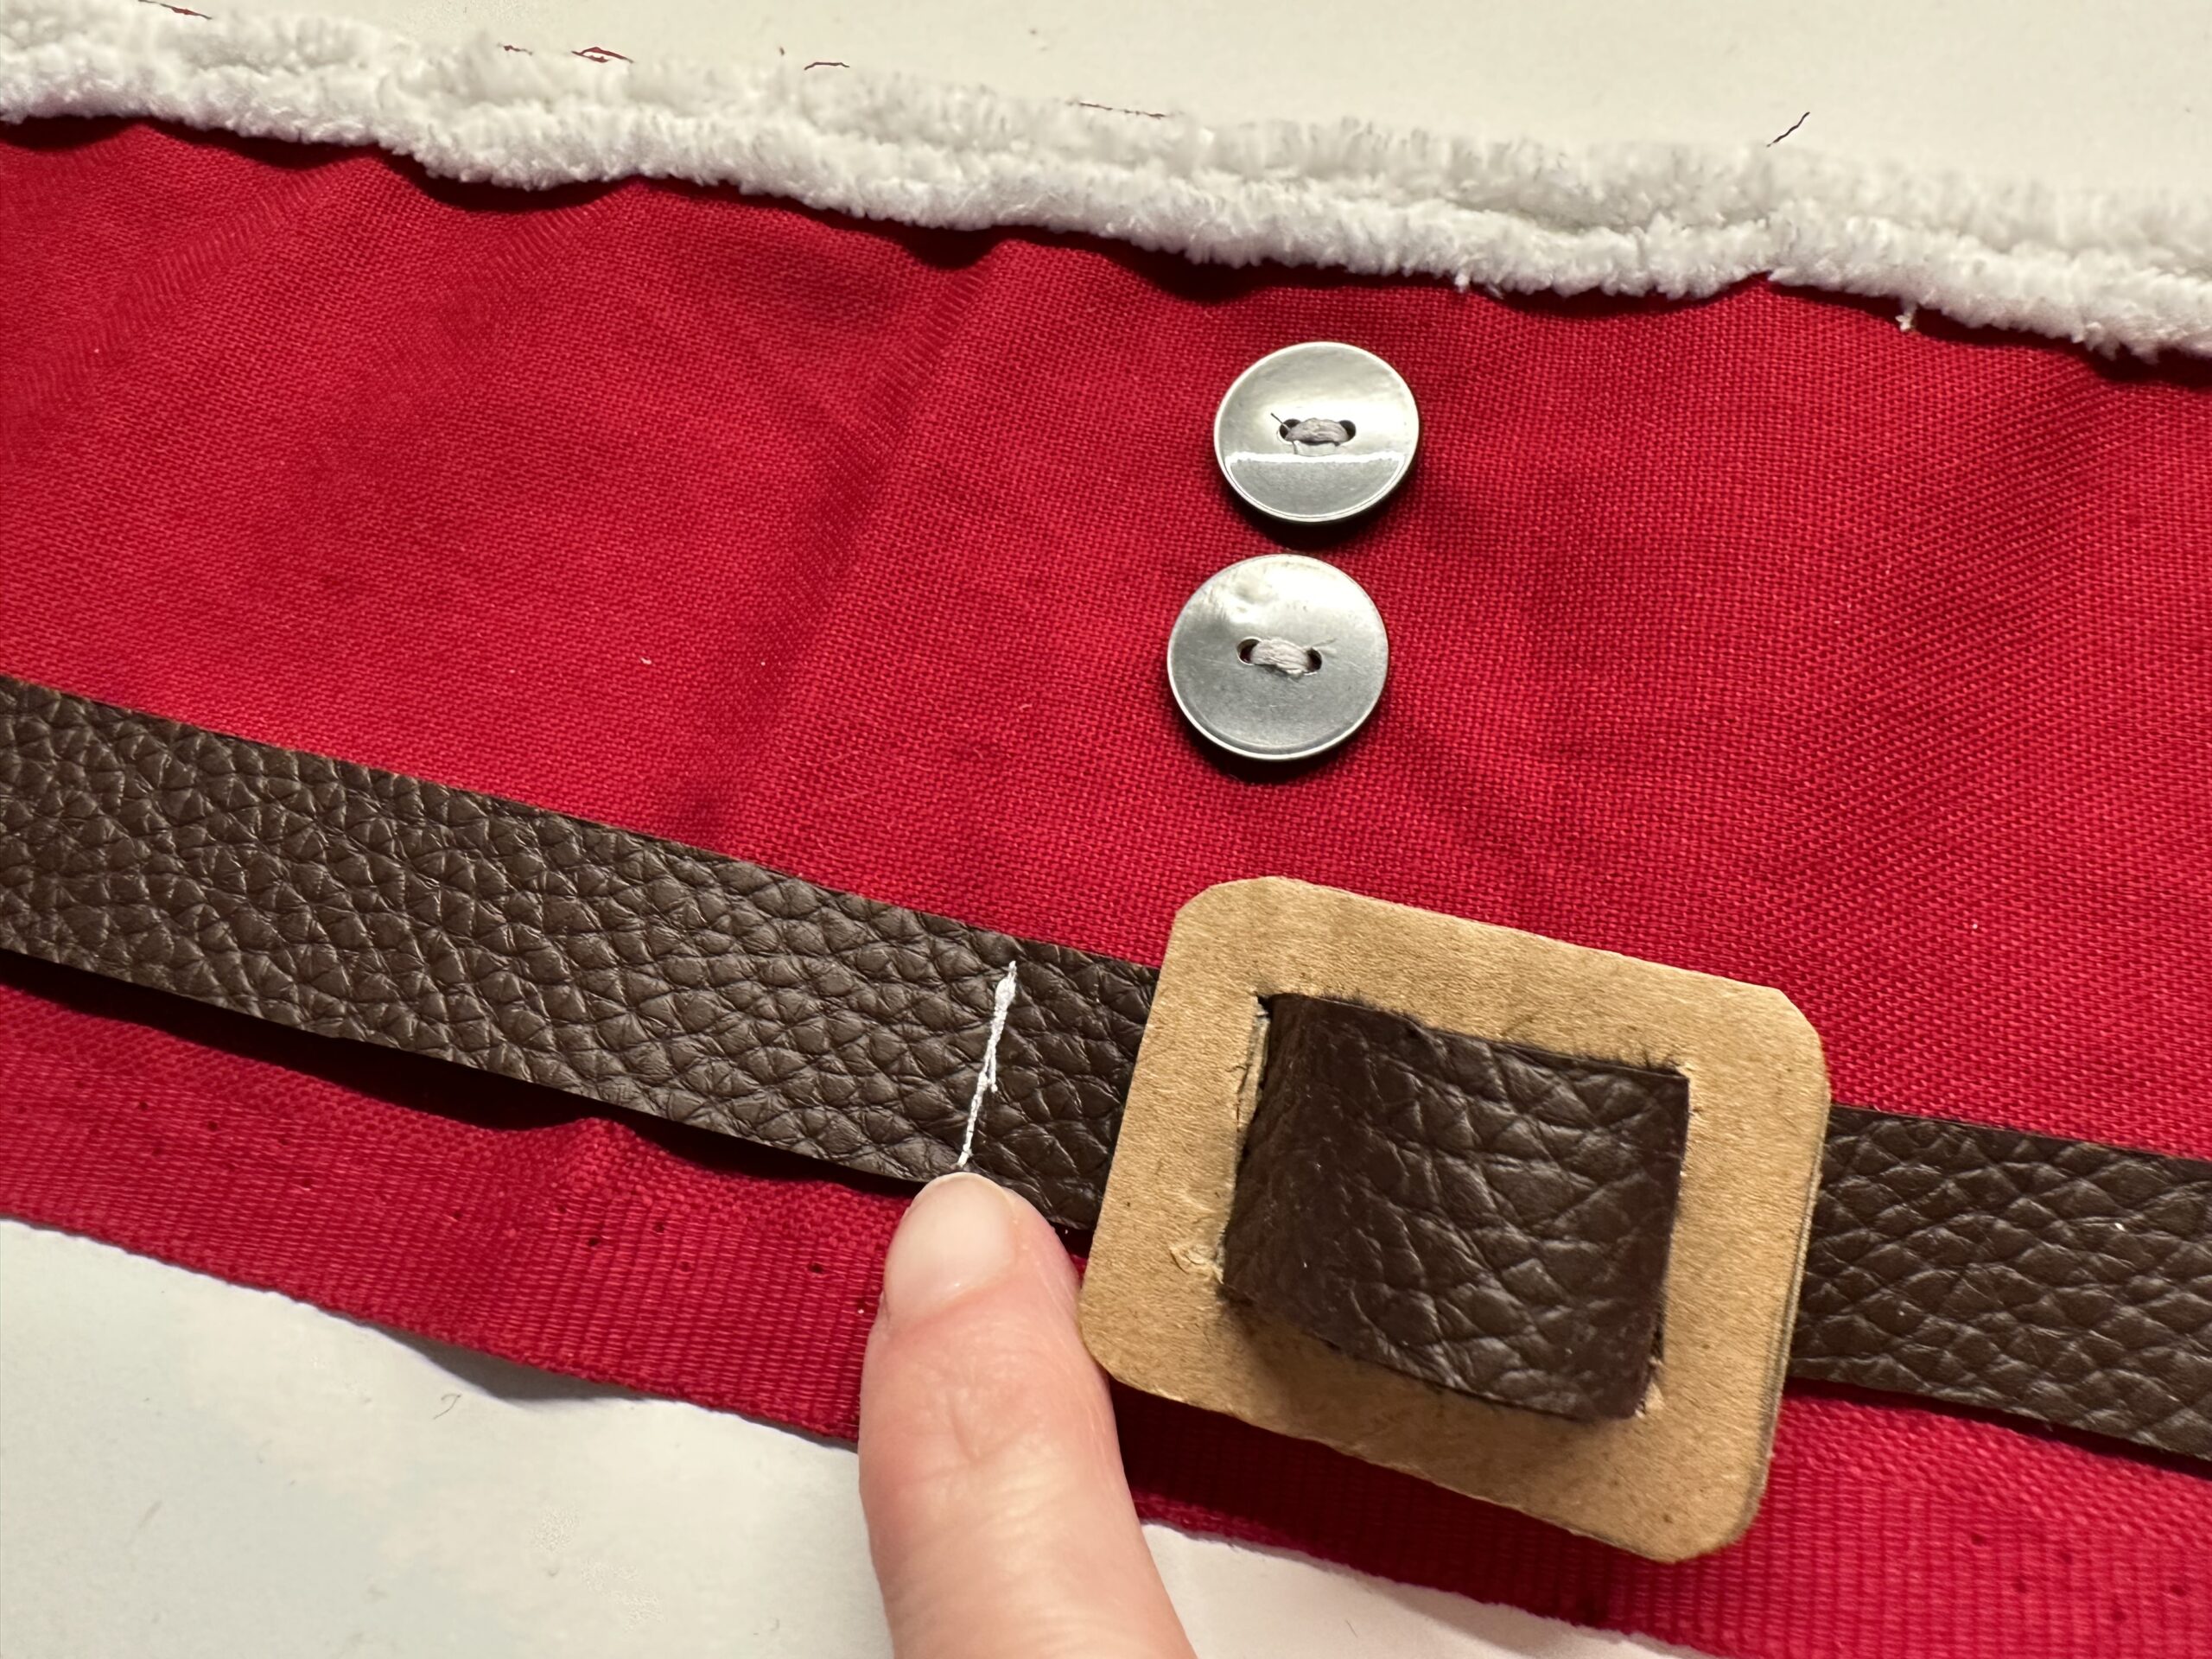
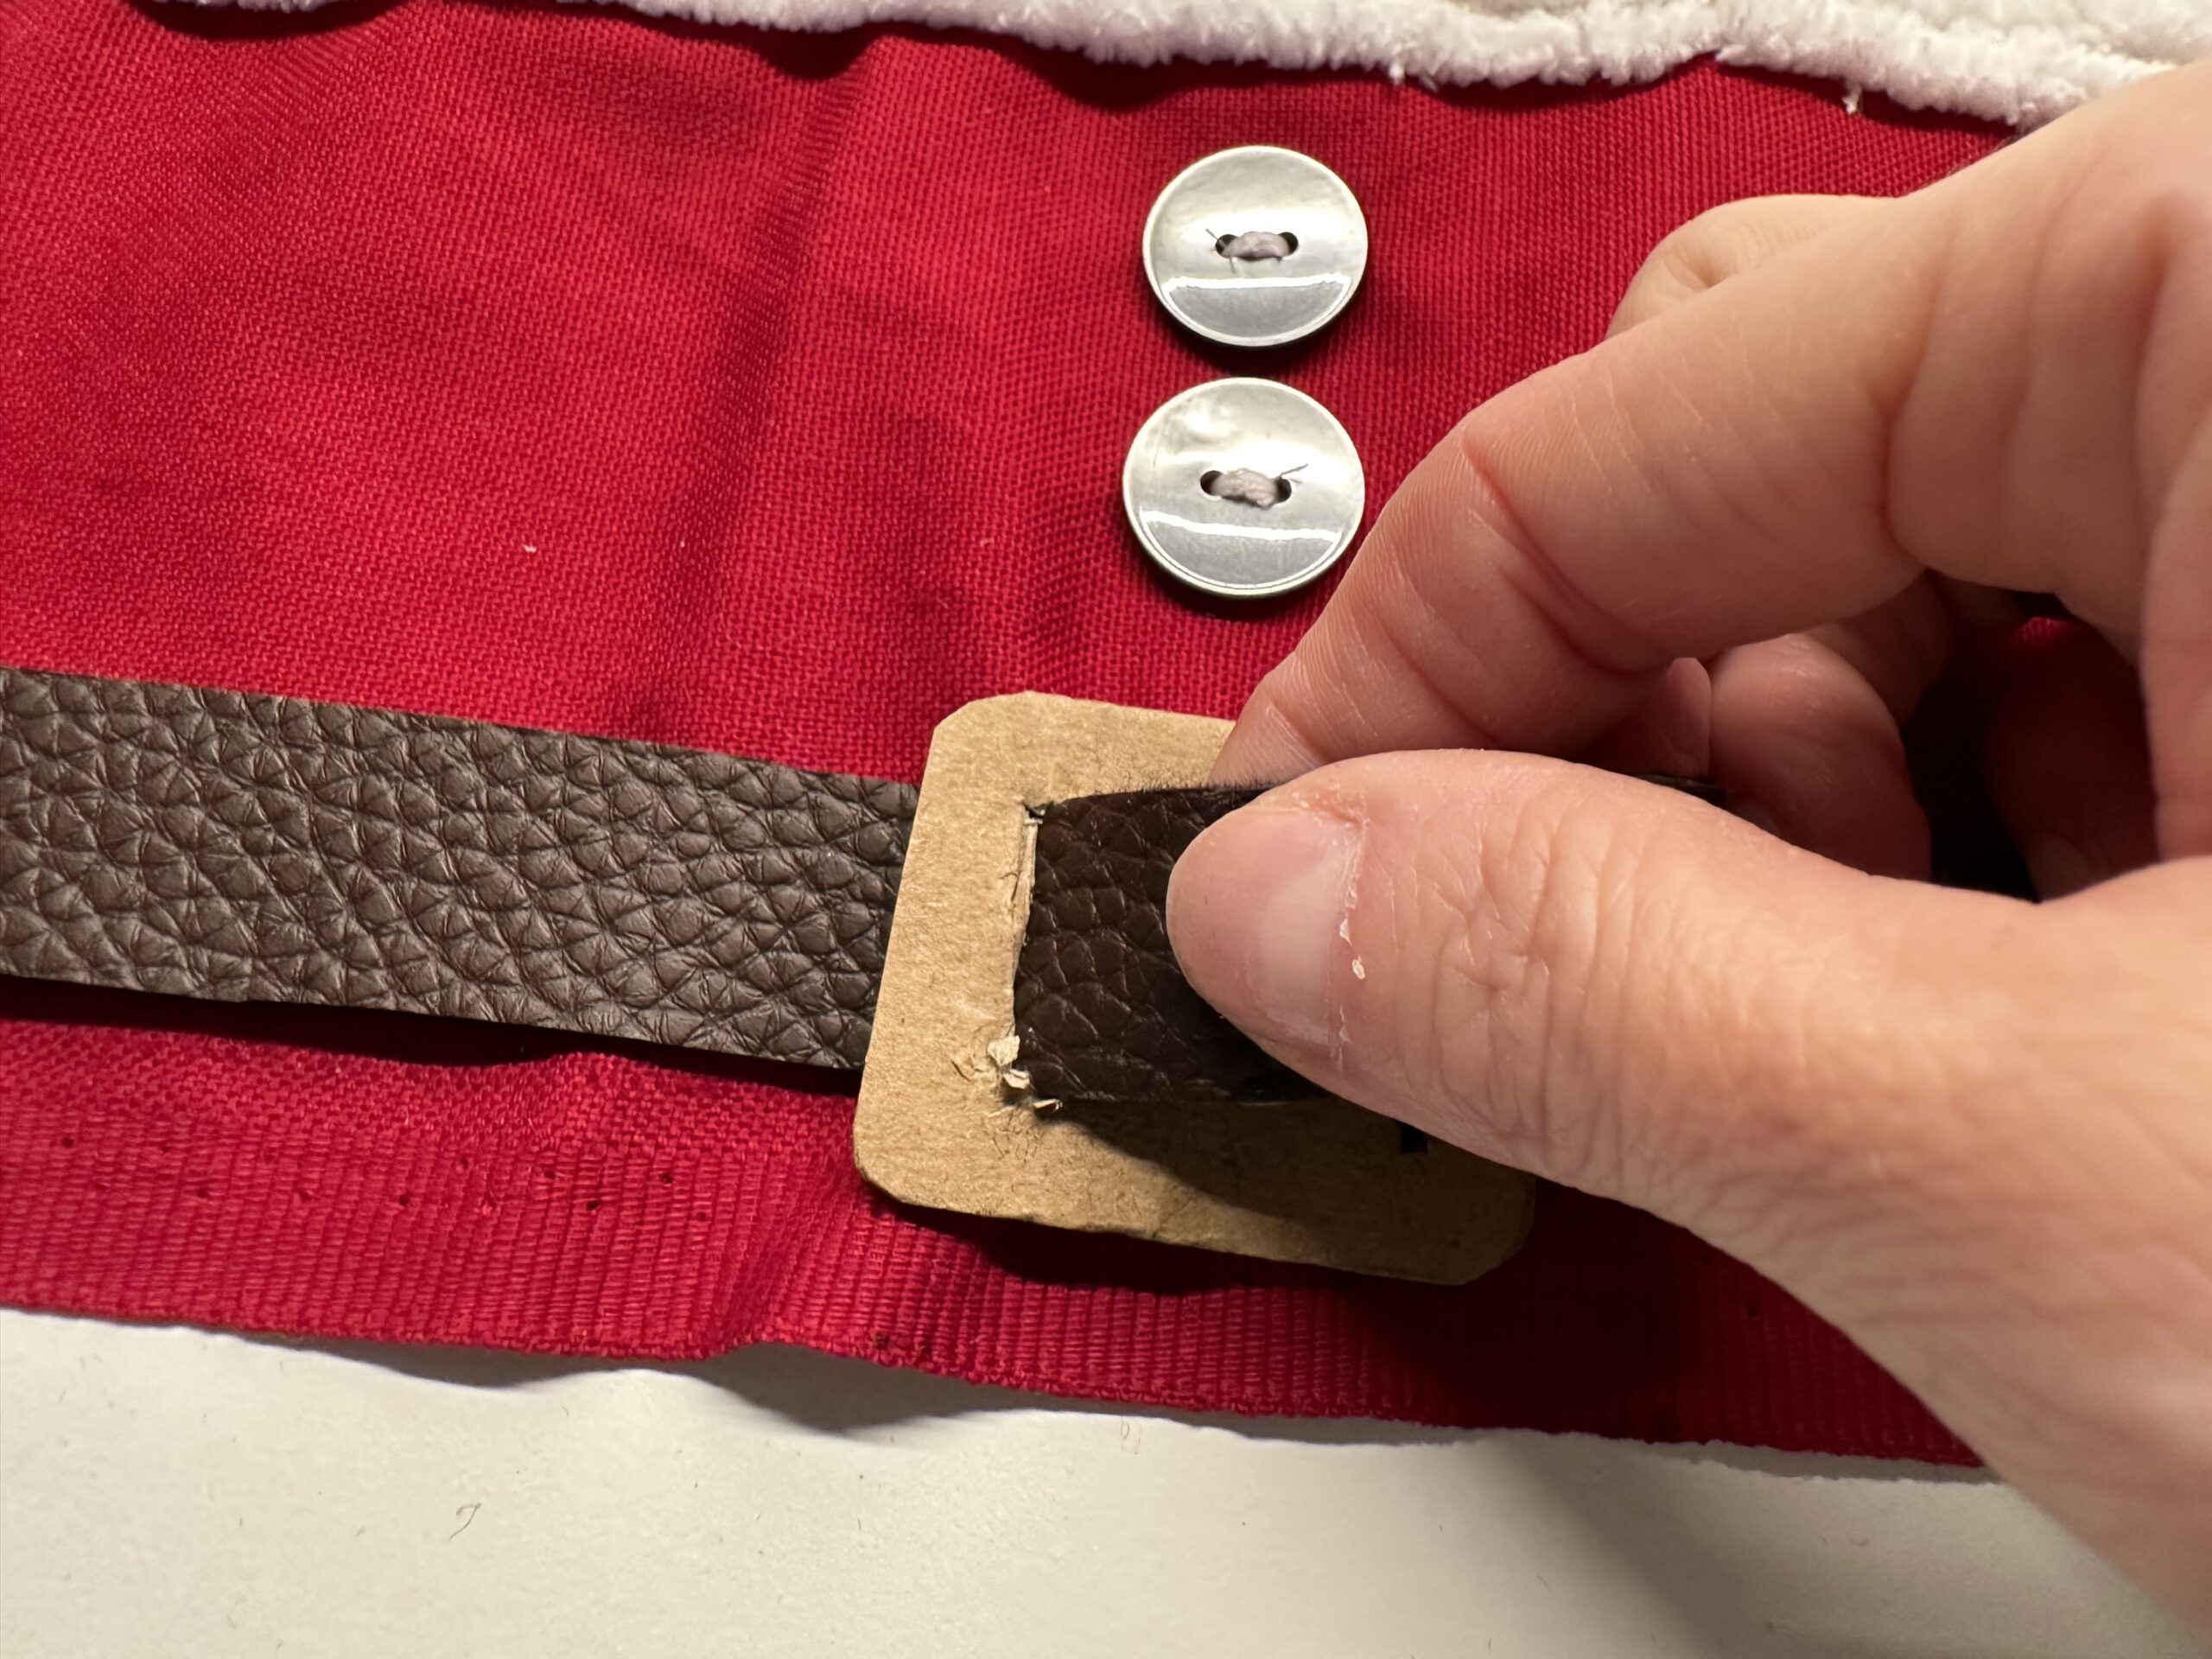
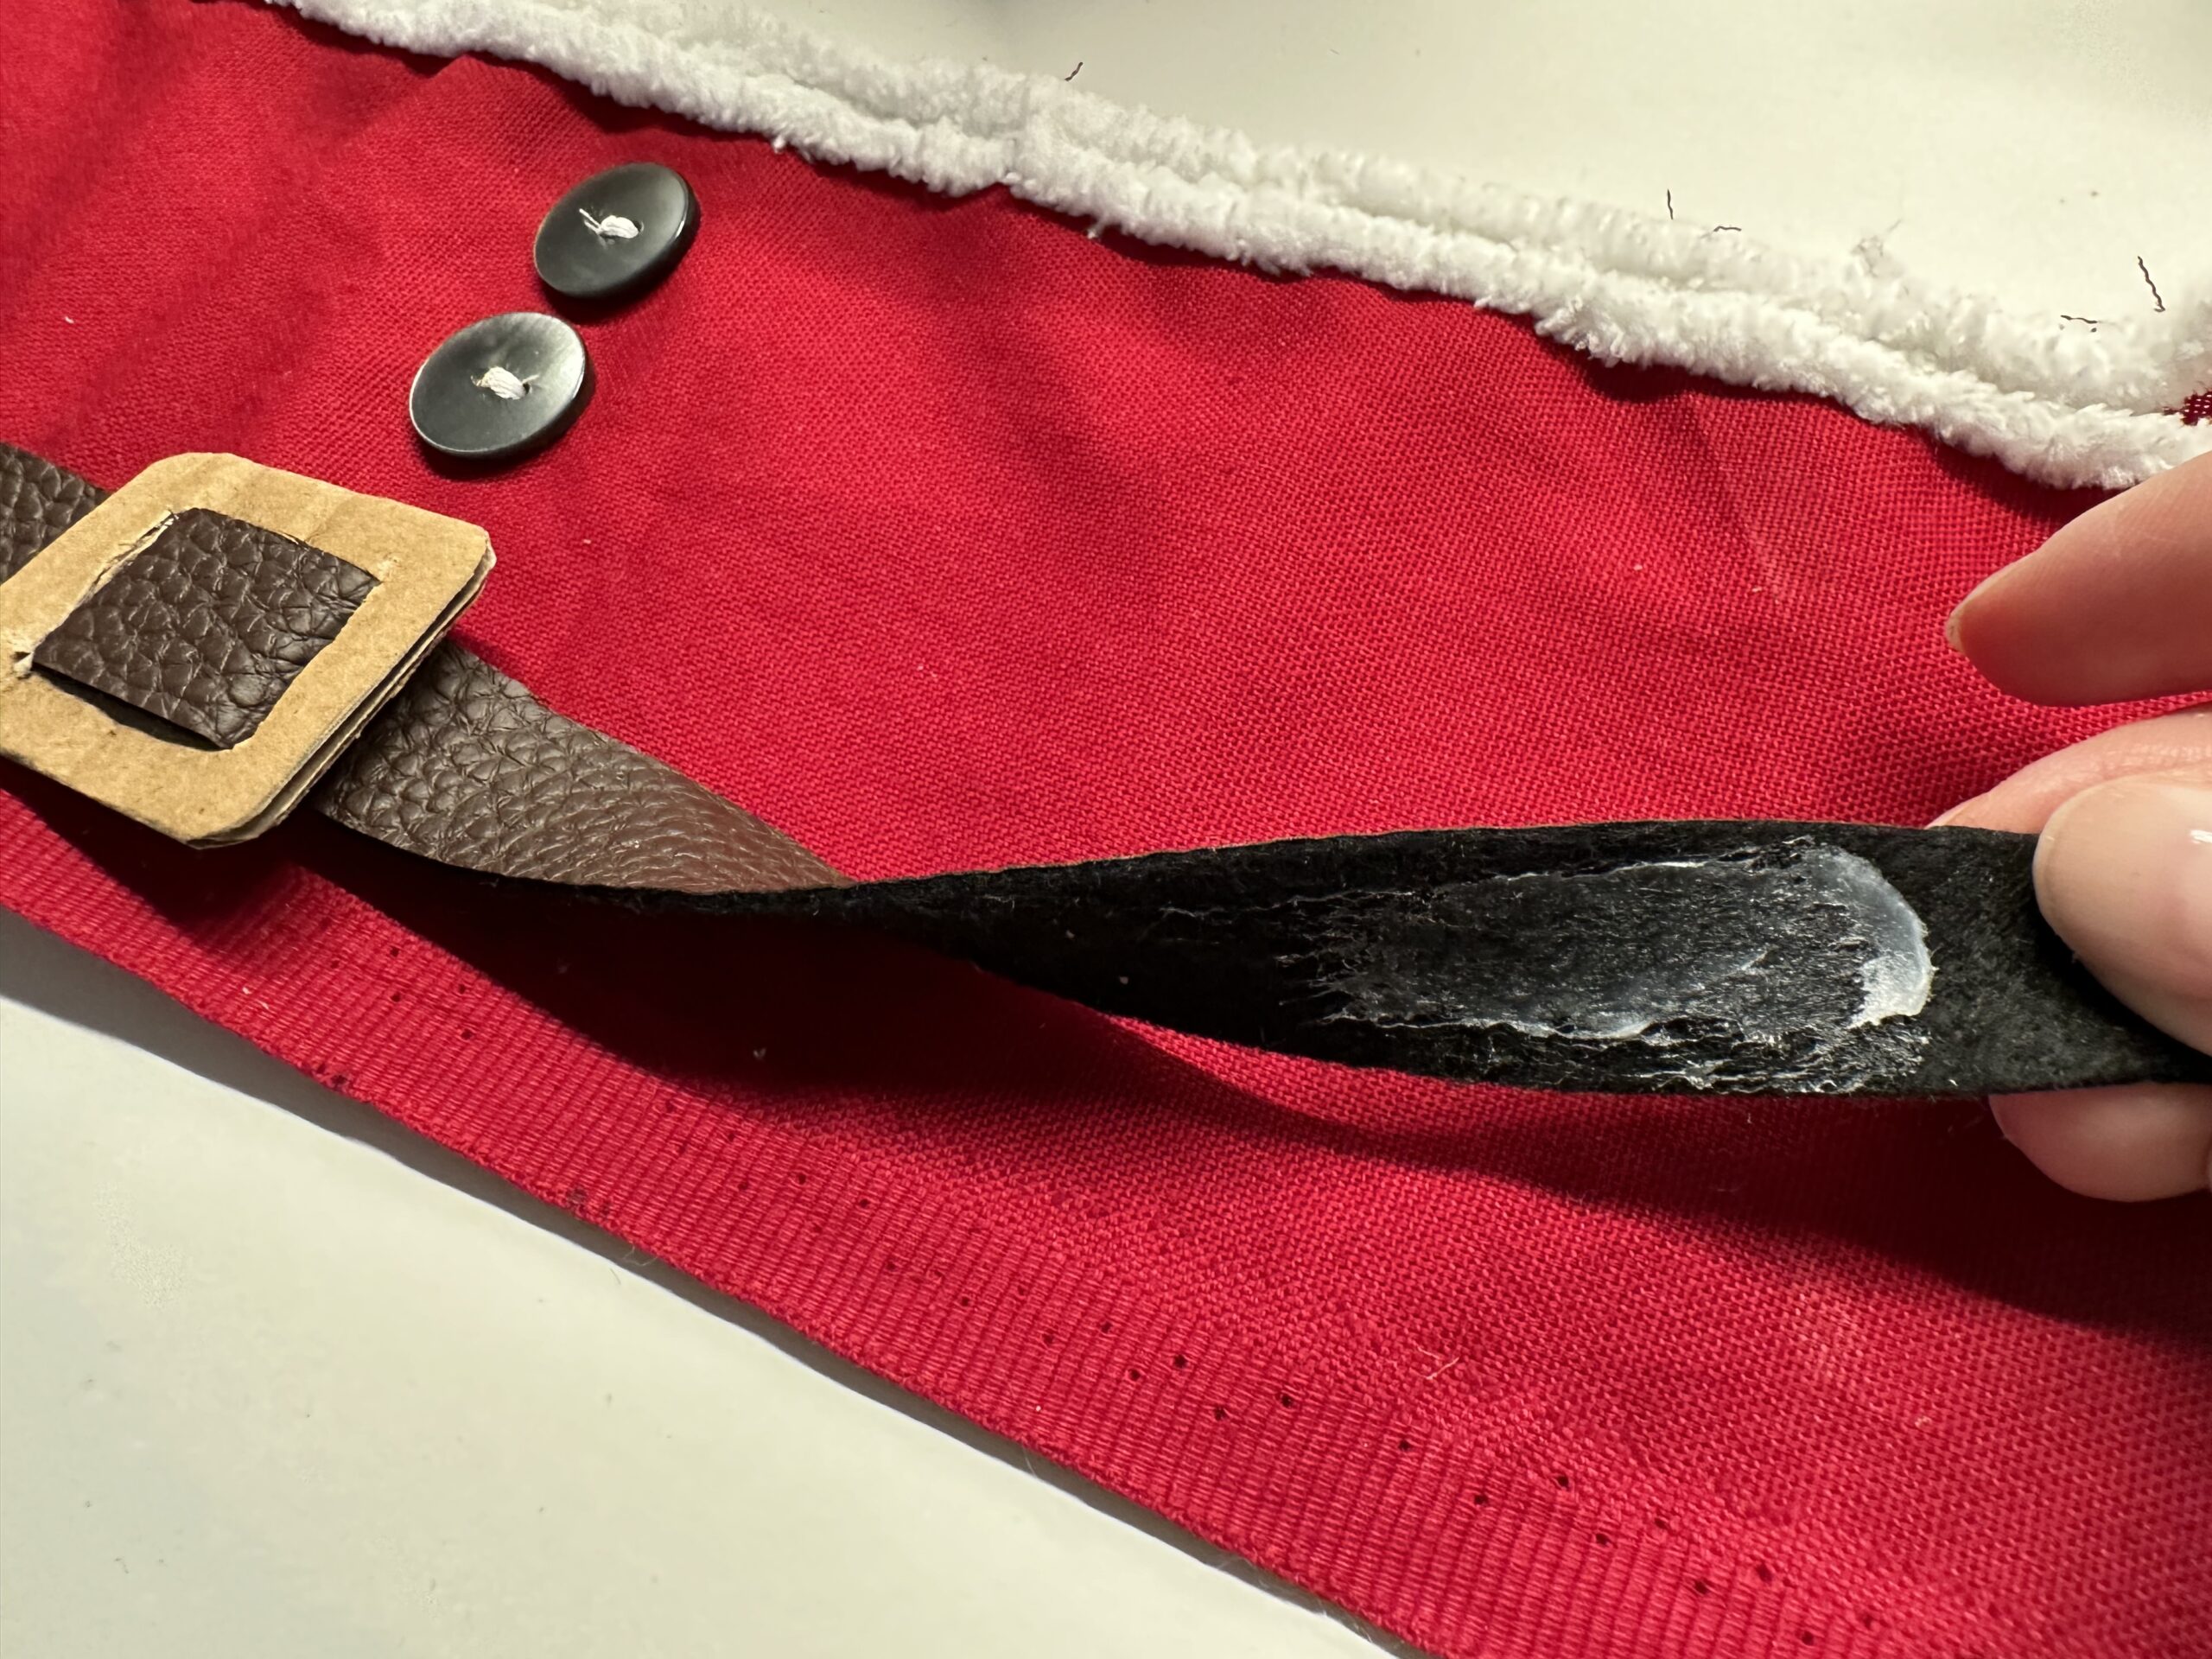
Put the leather strip through the buckle. As in the pictures.
Push the buckle so that it sits in the middle of the leather strip.
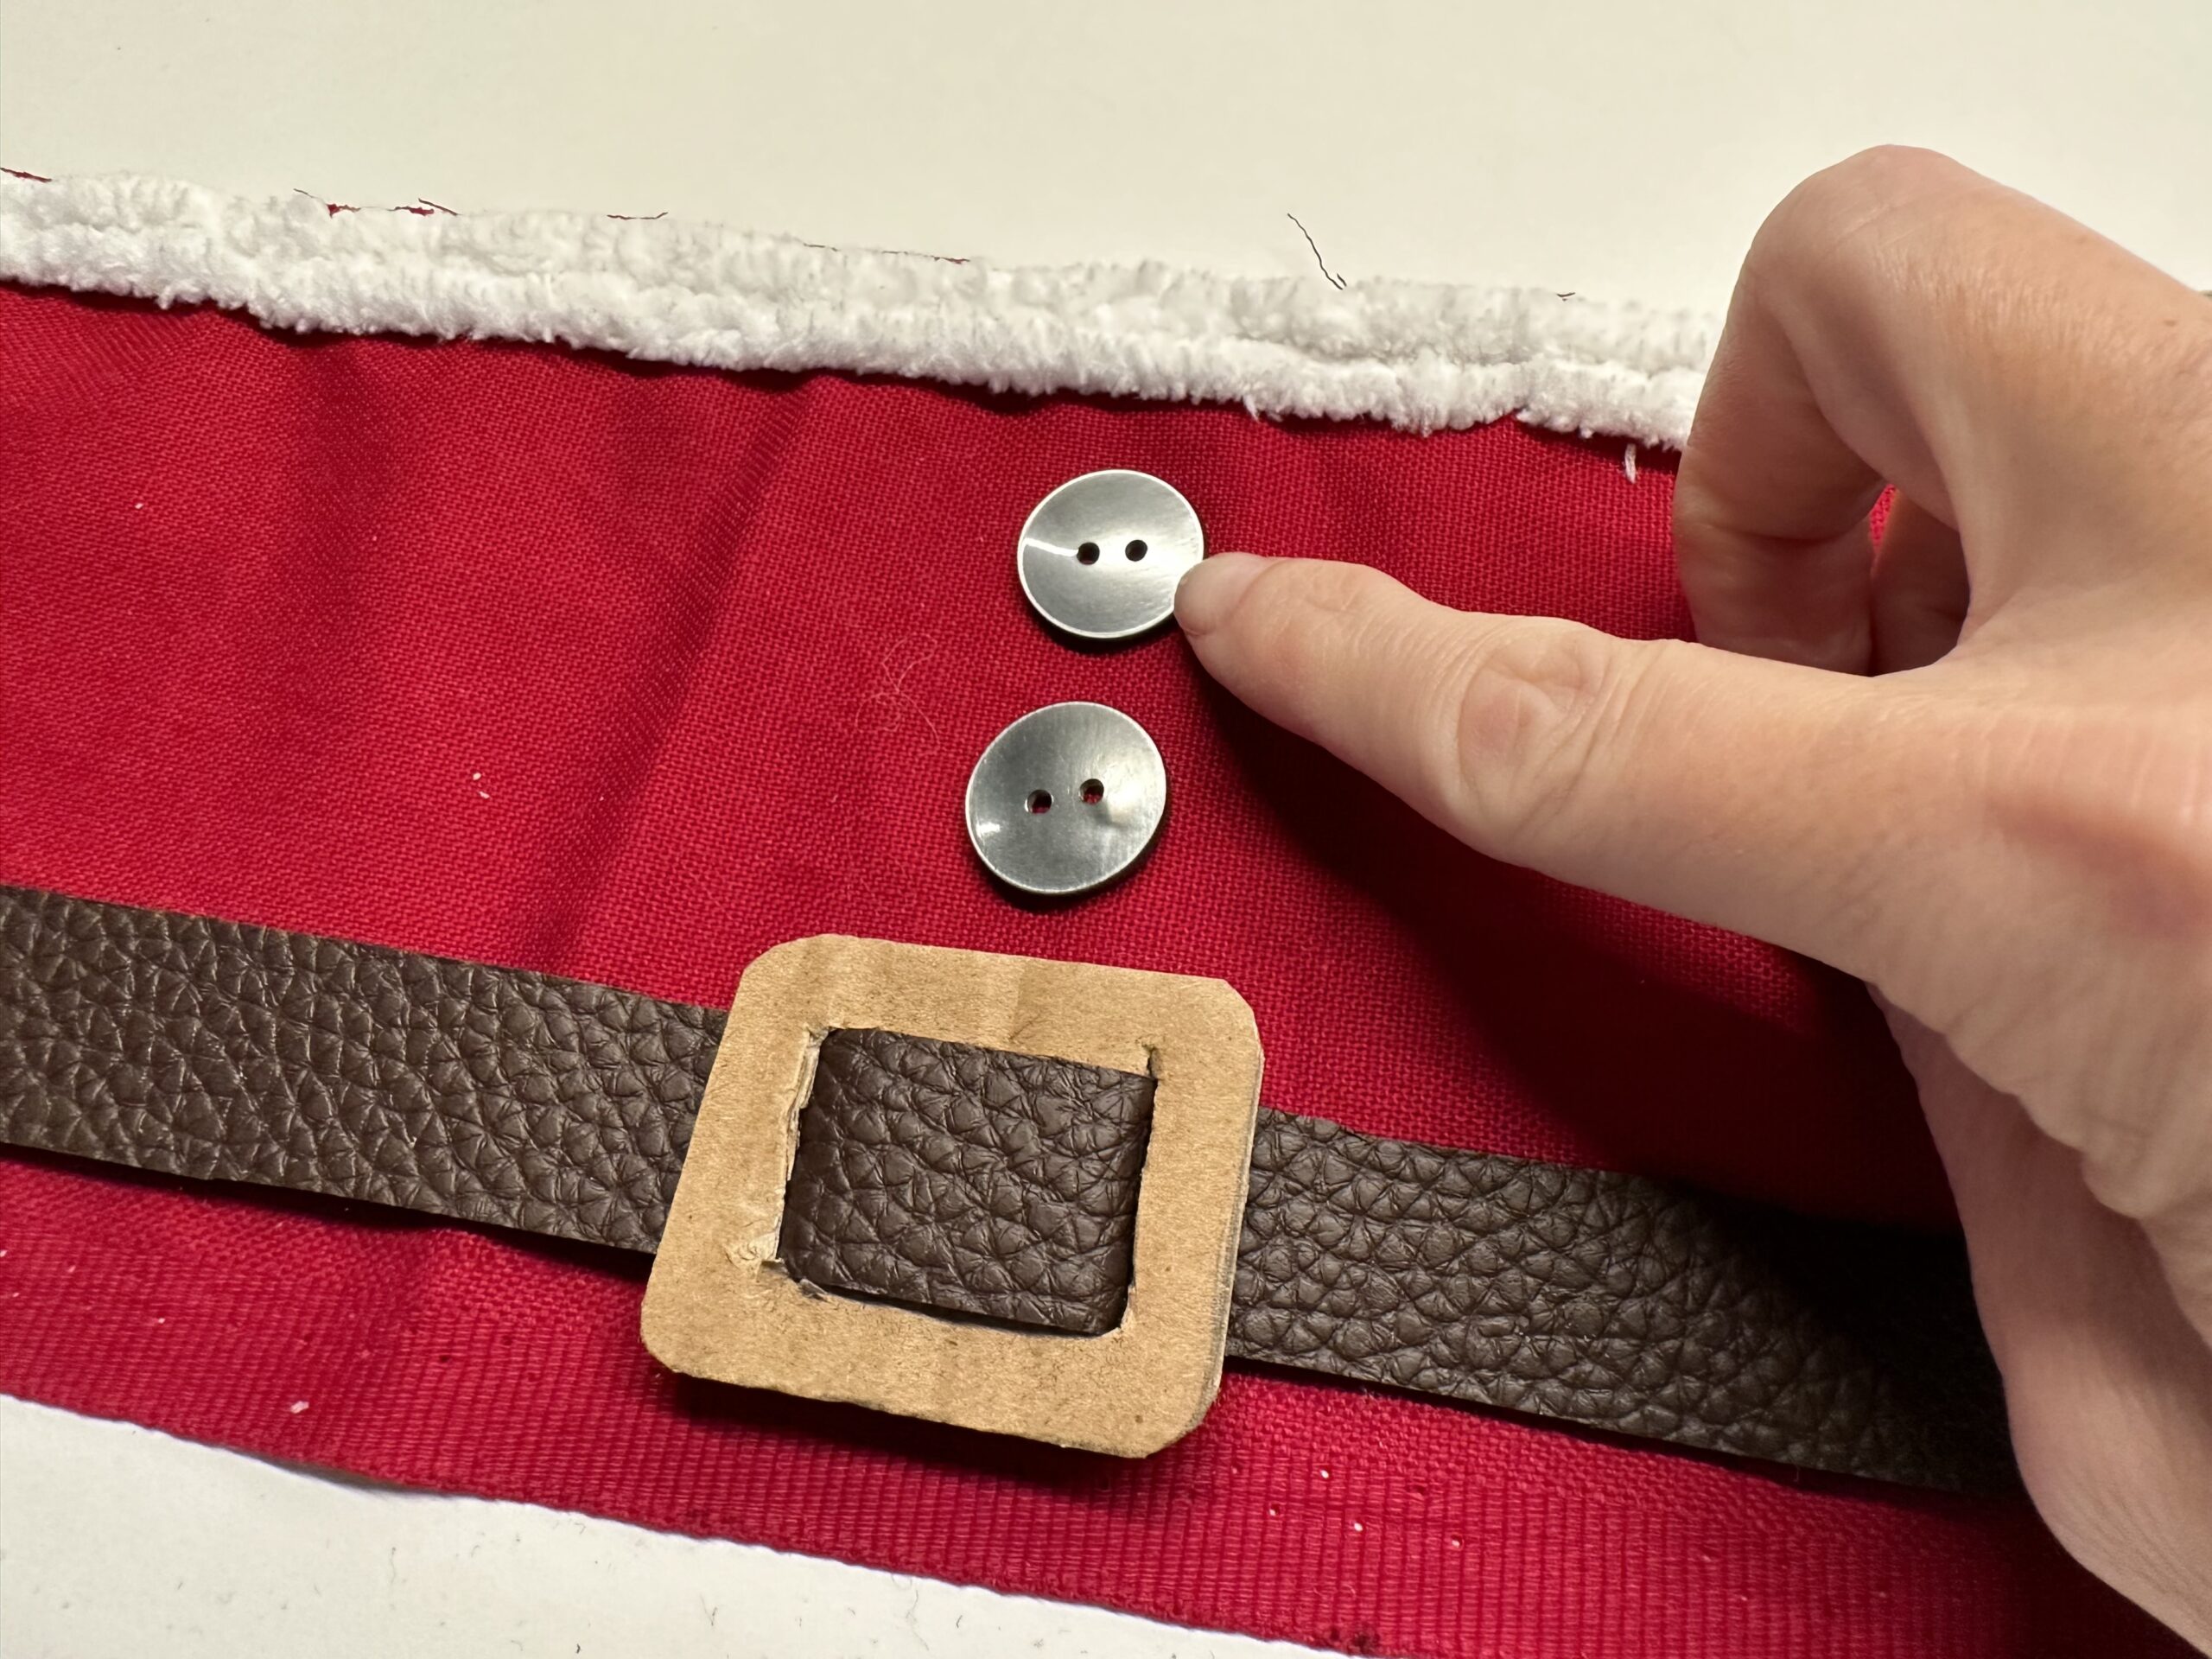
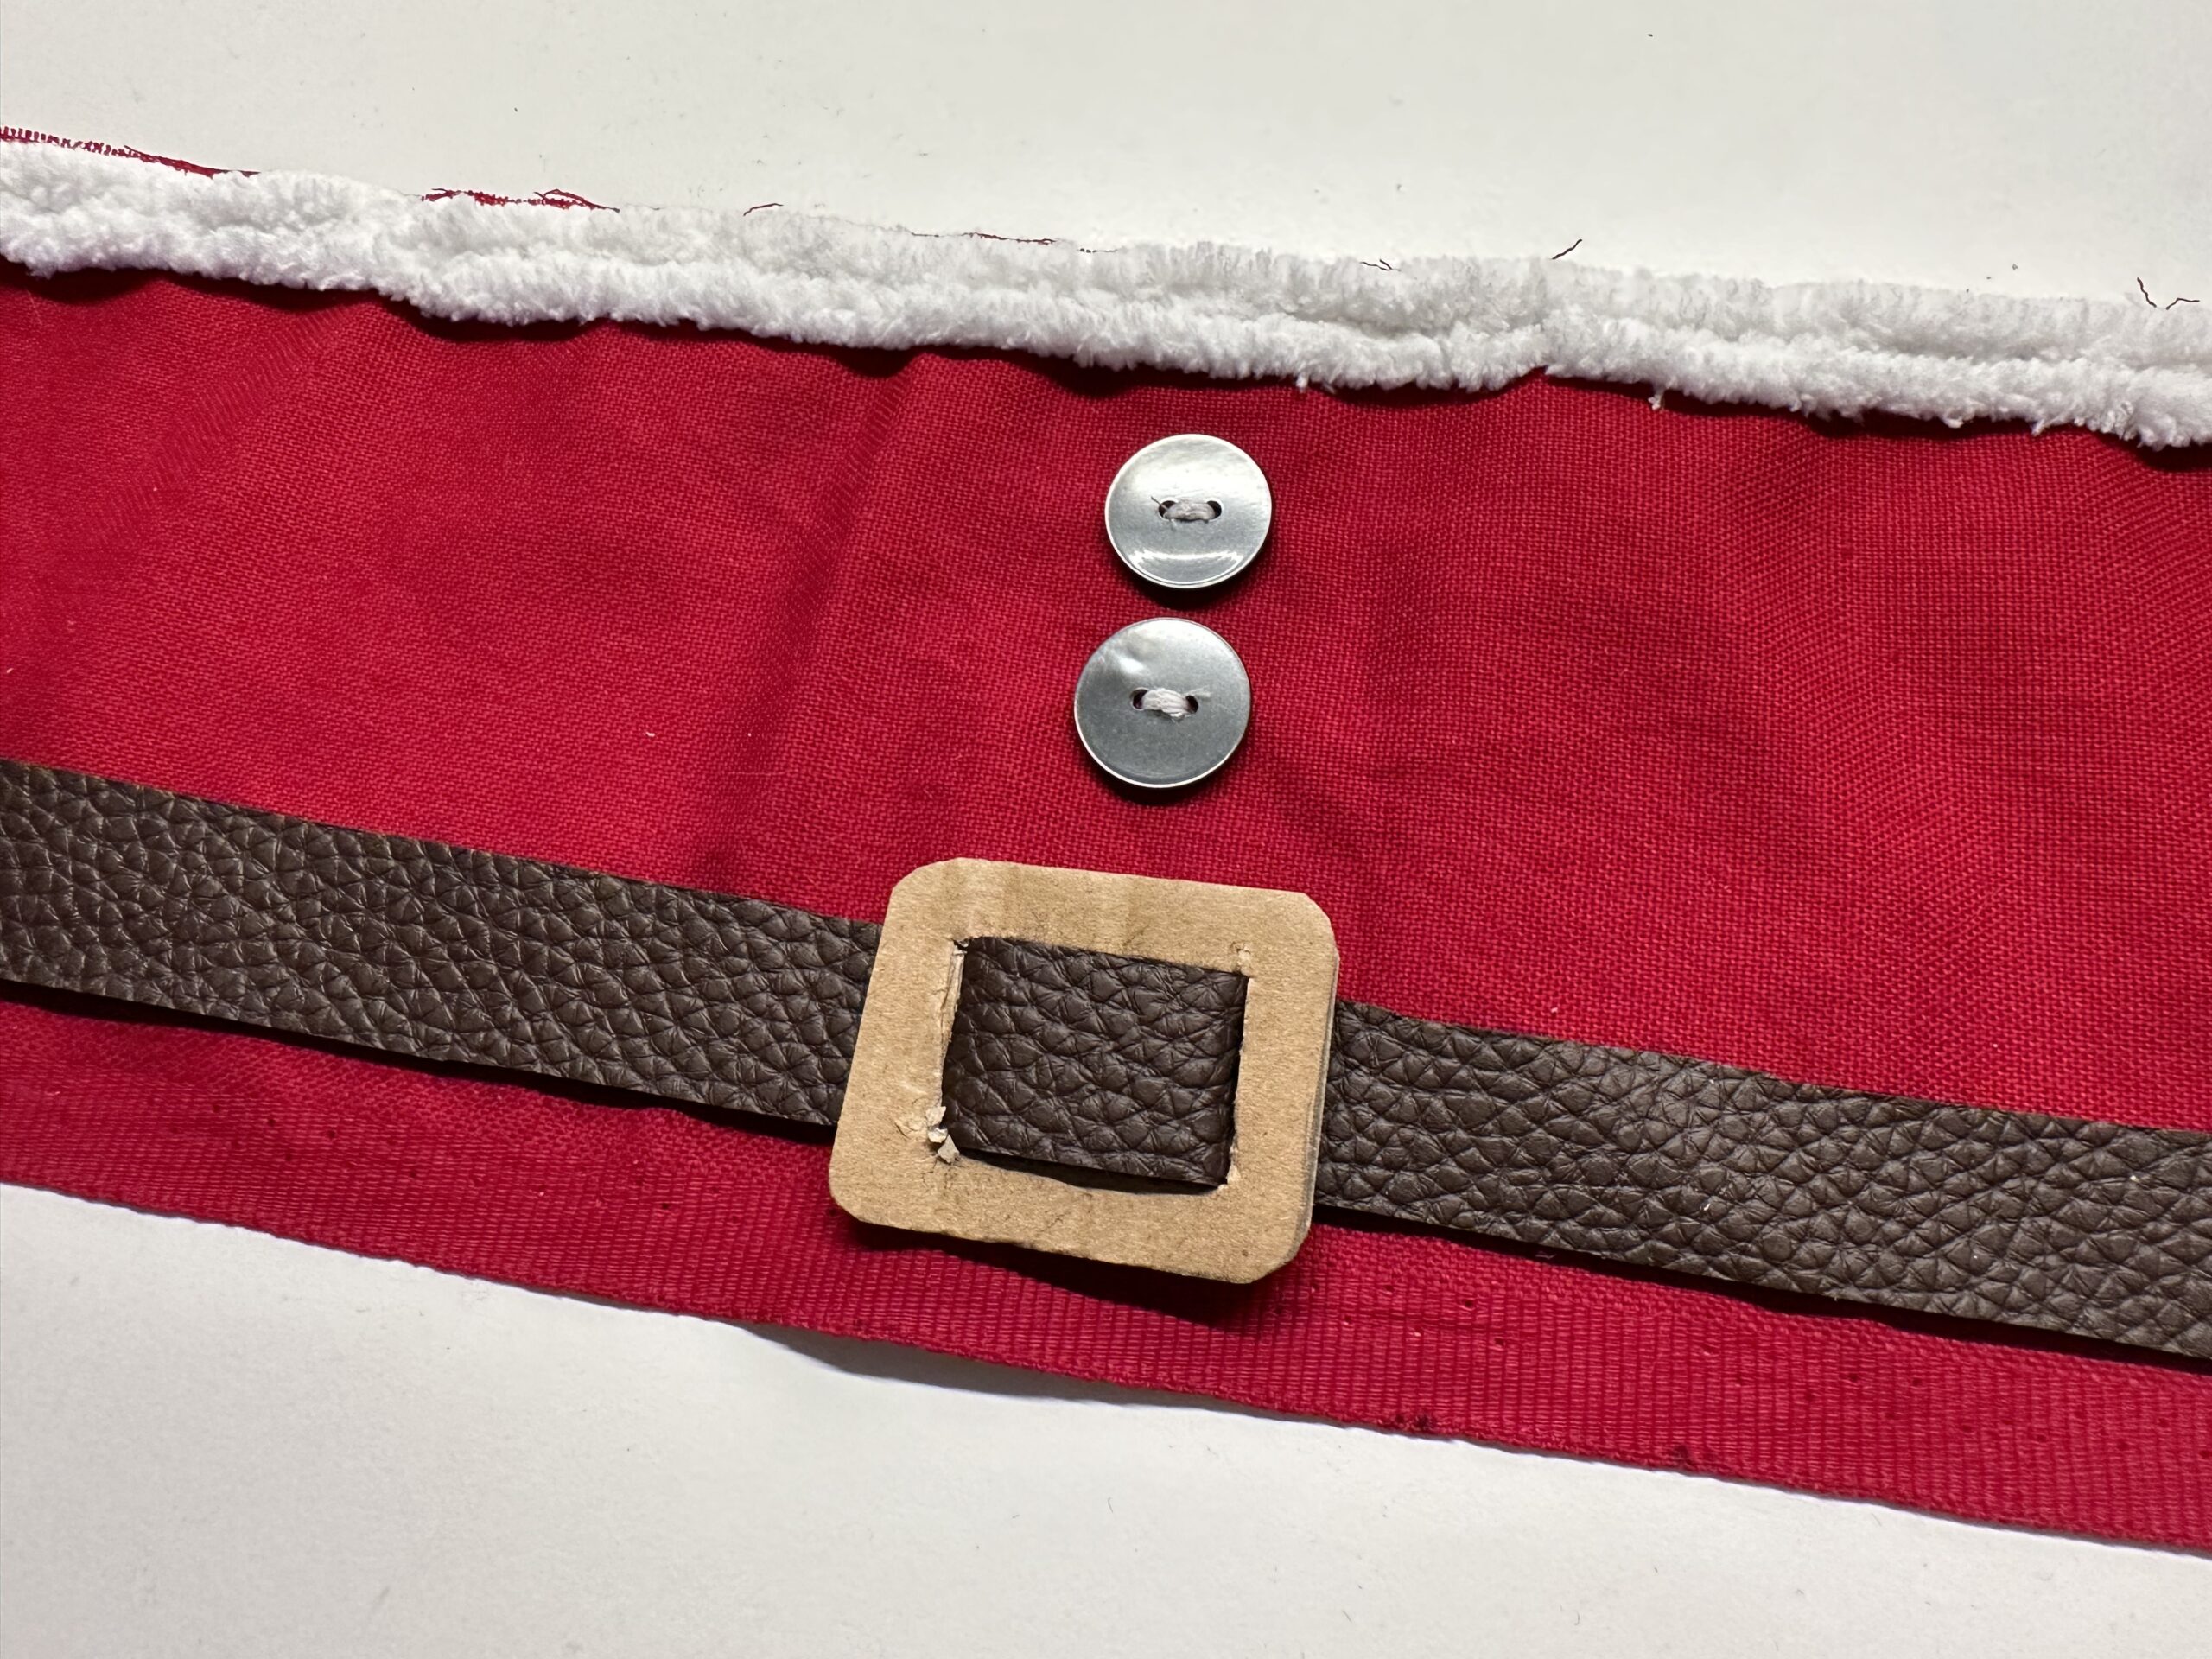
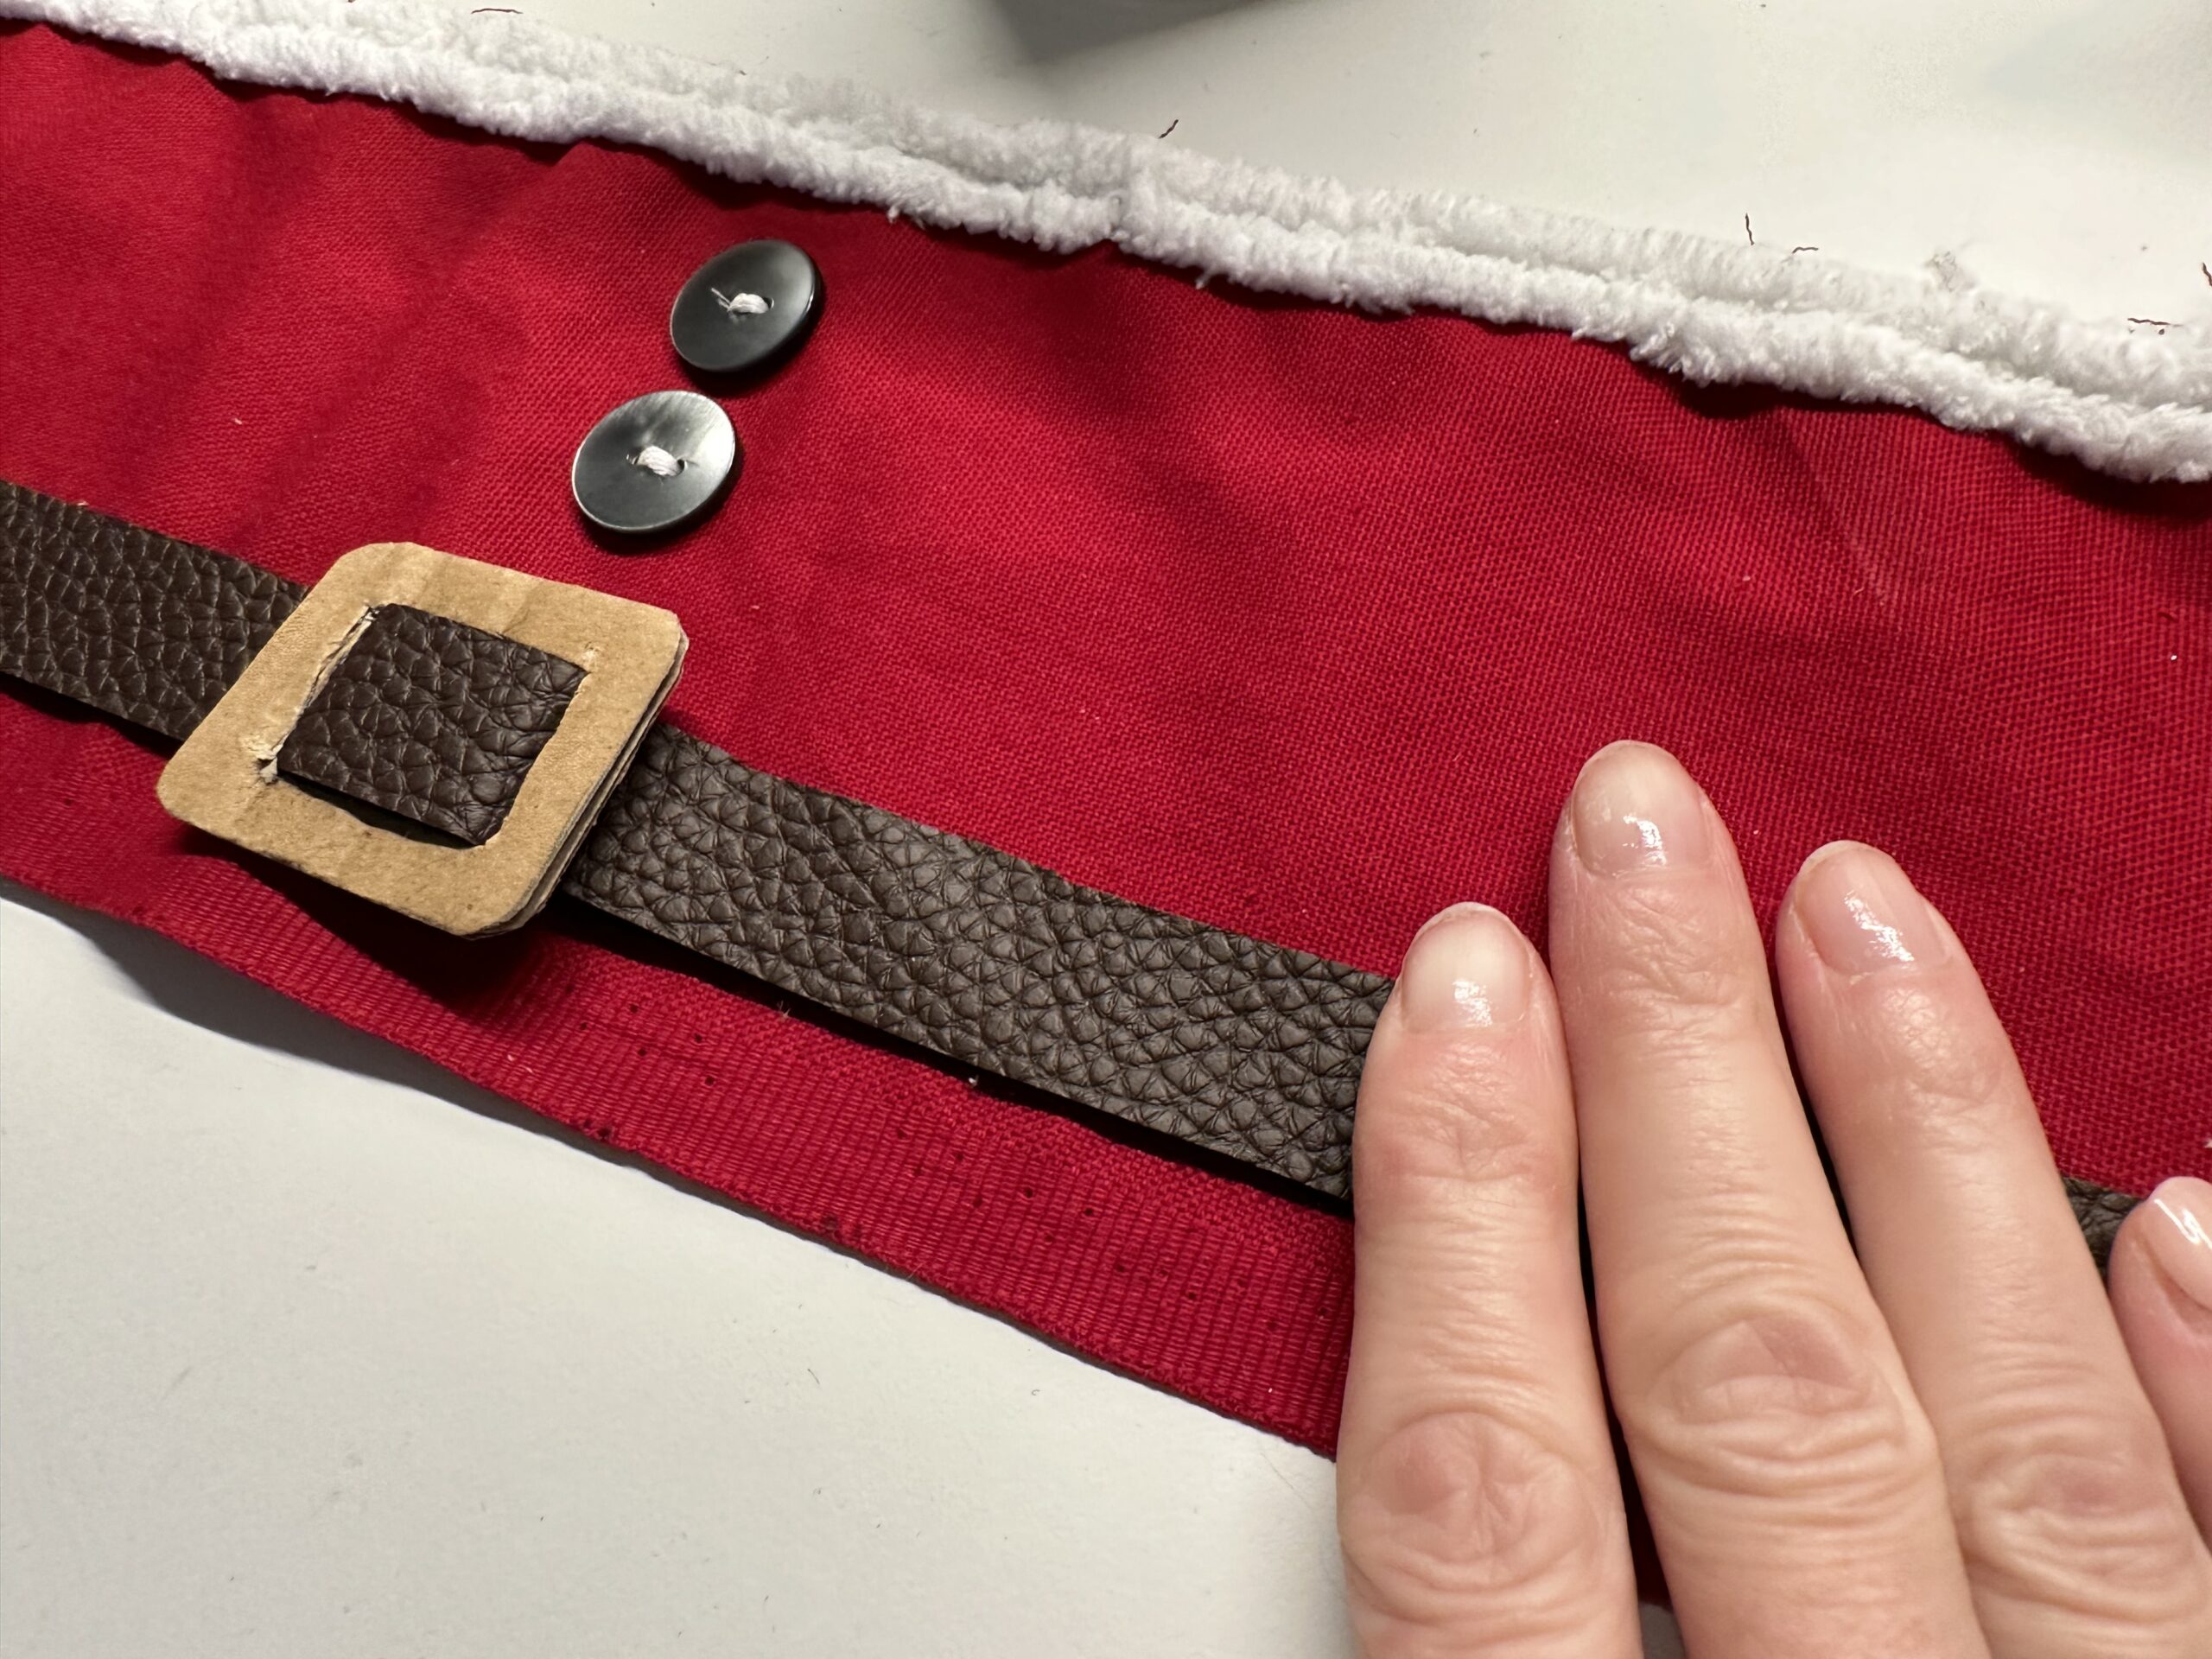
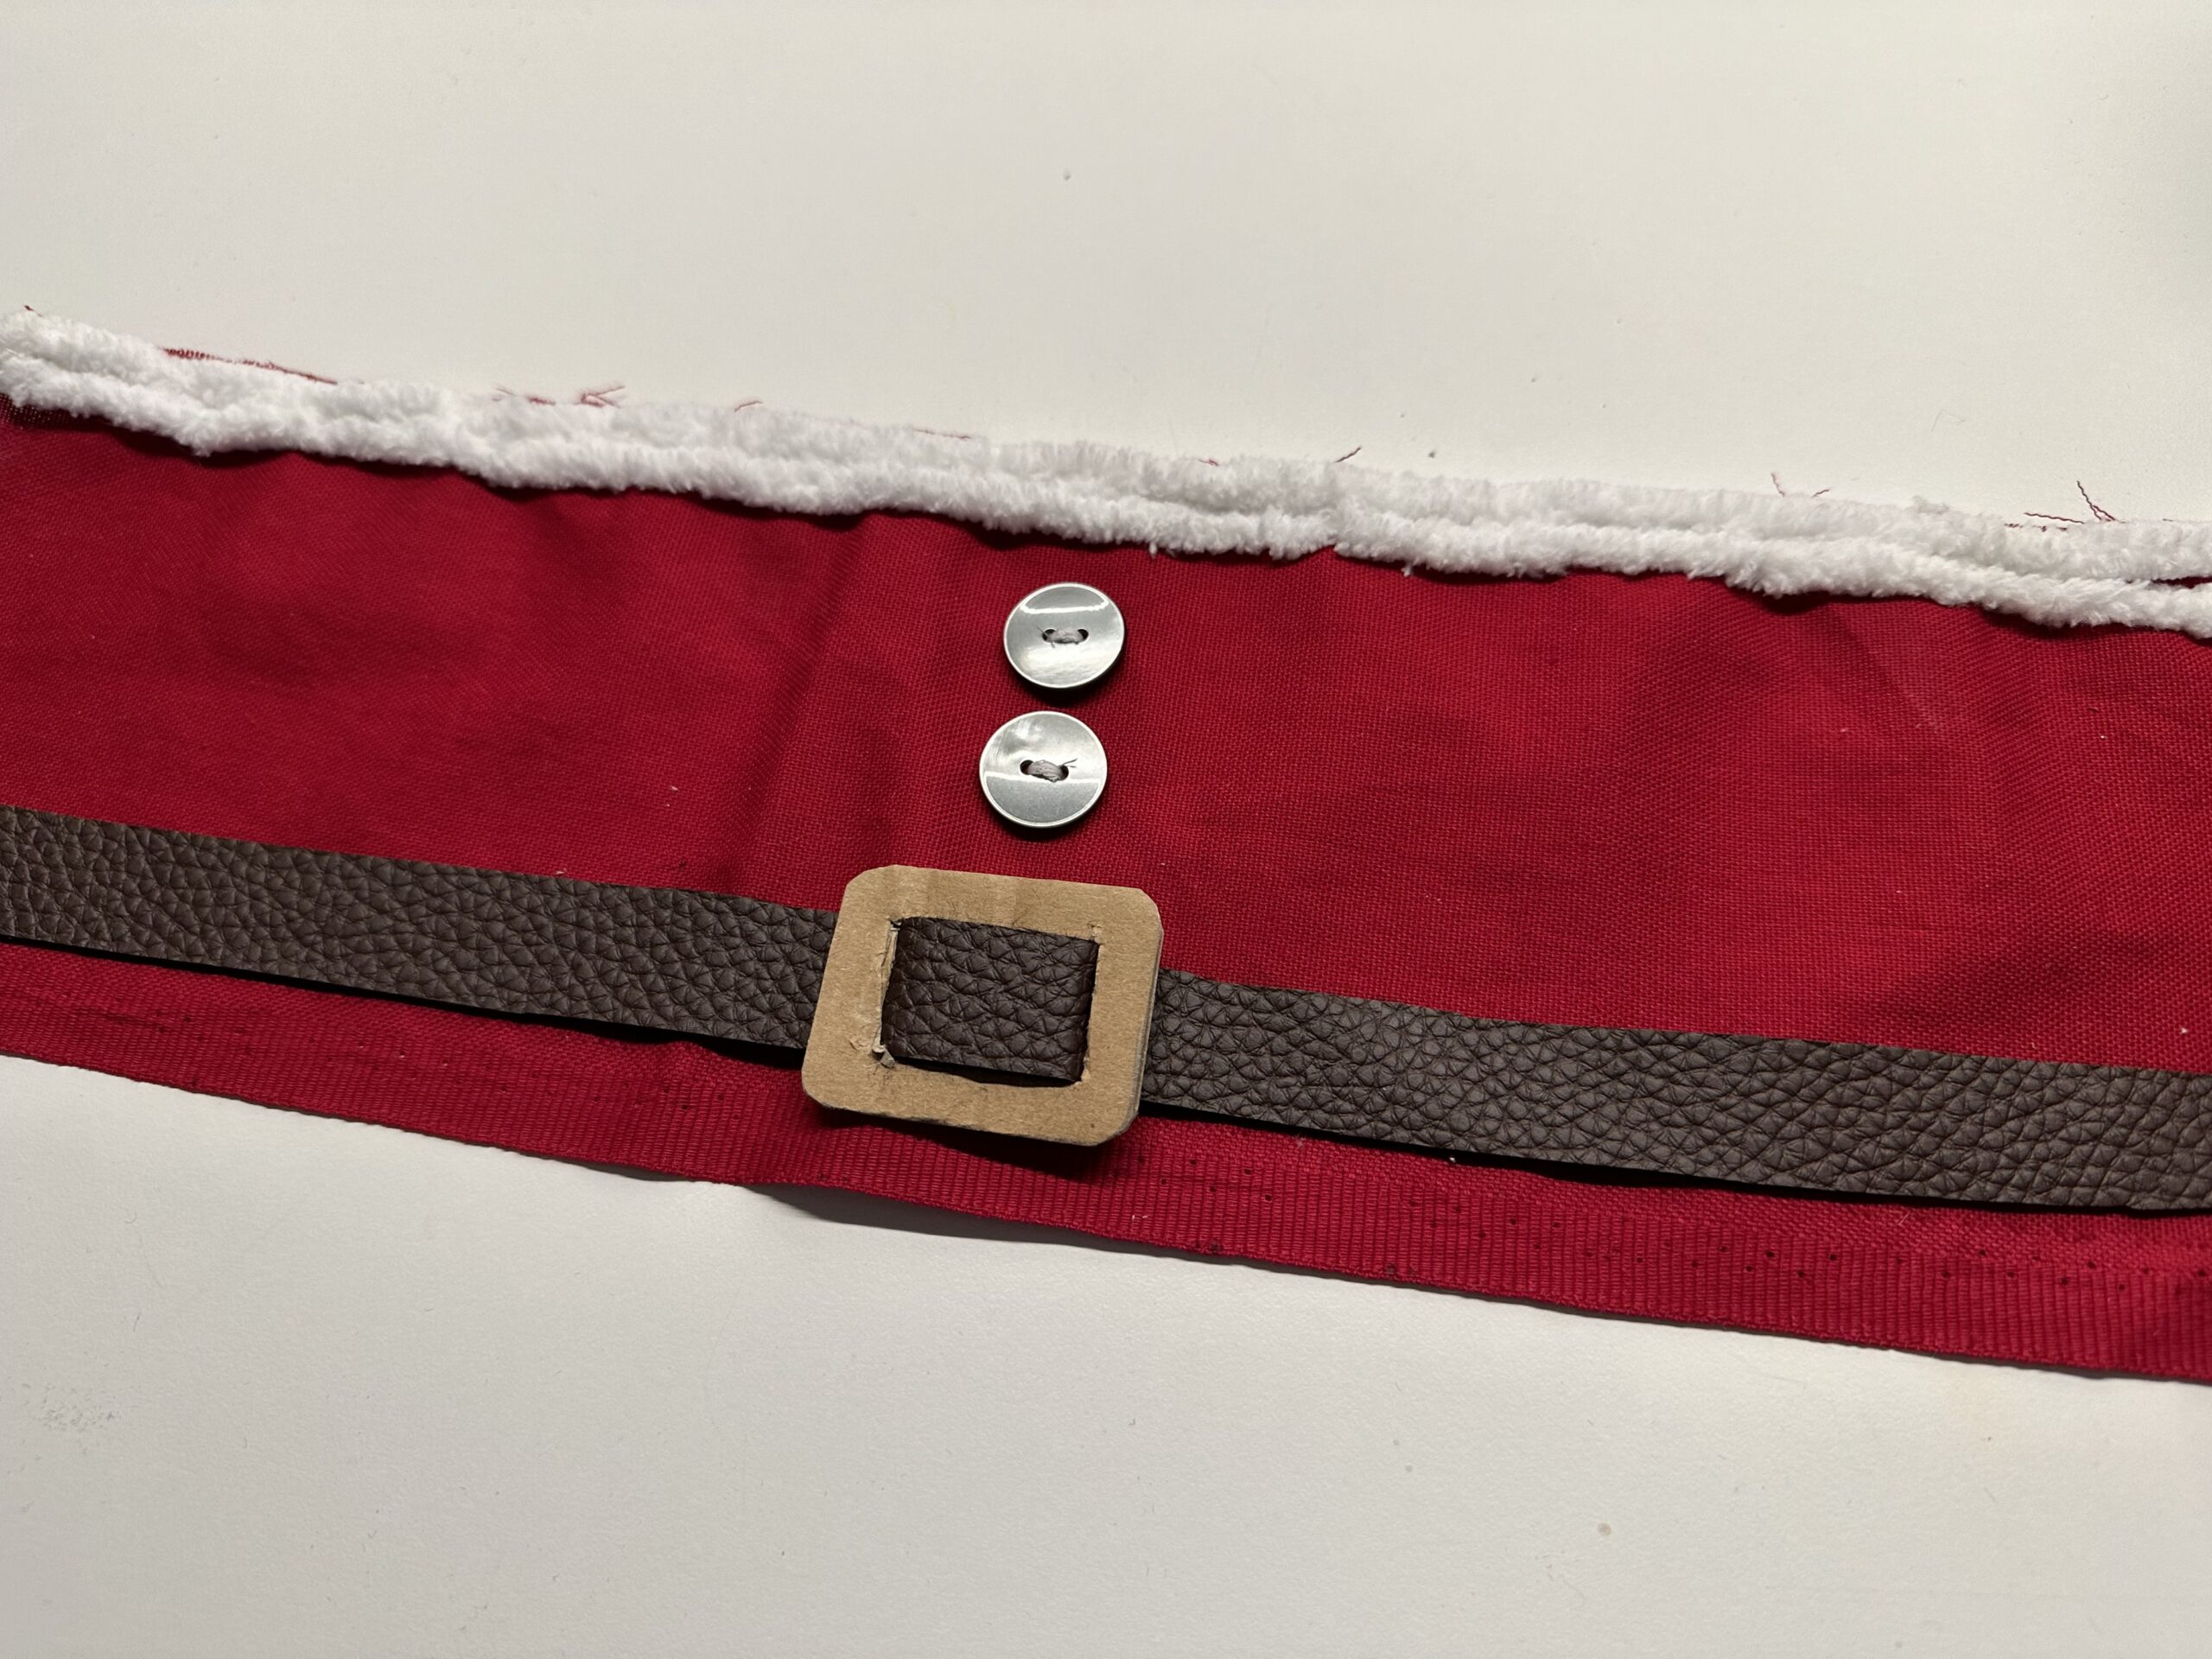
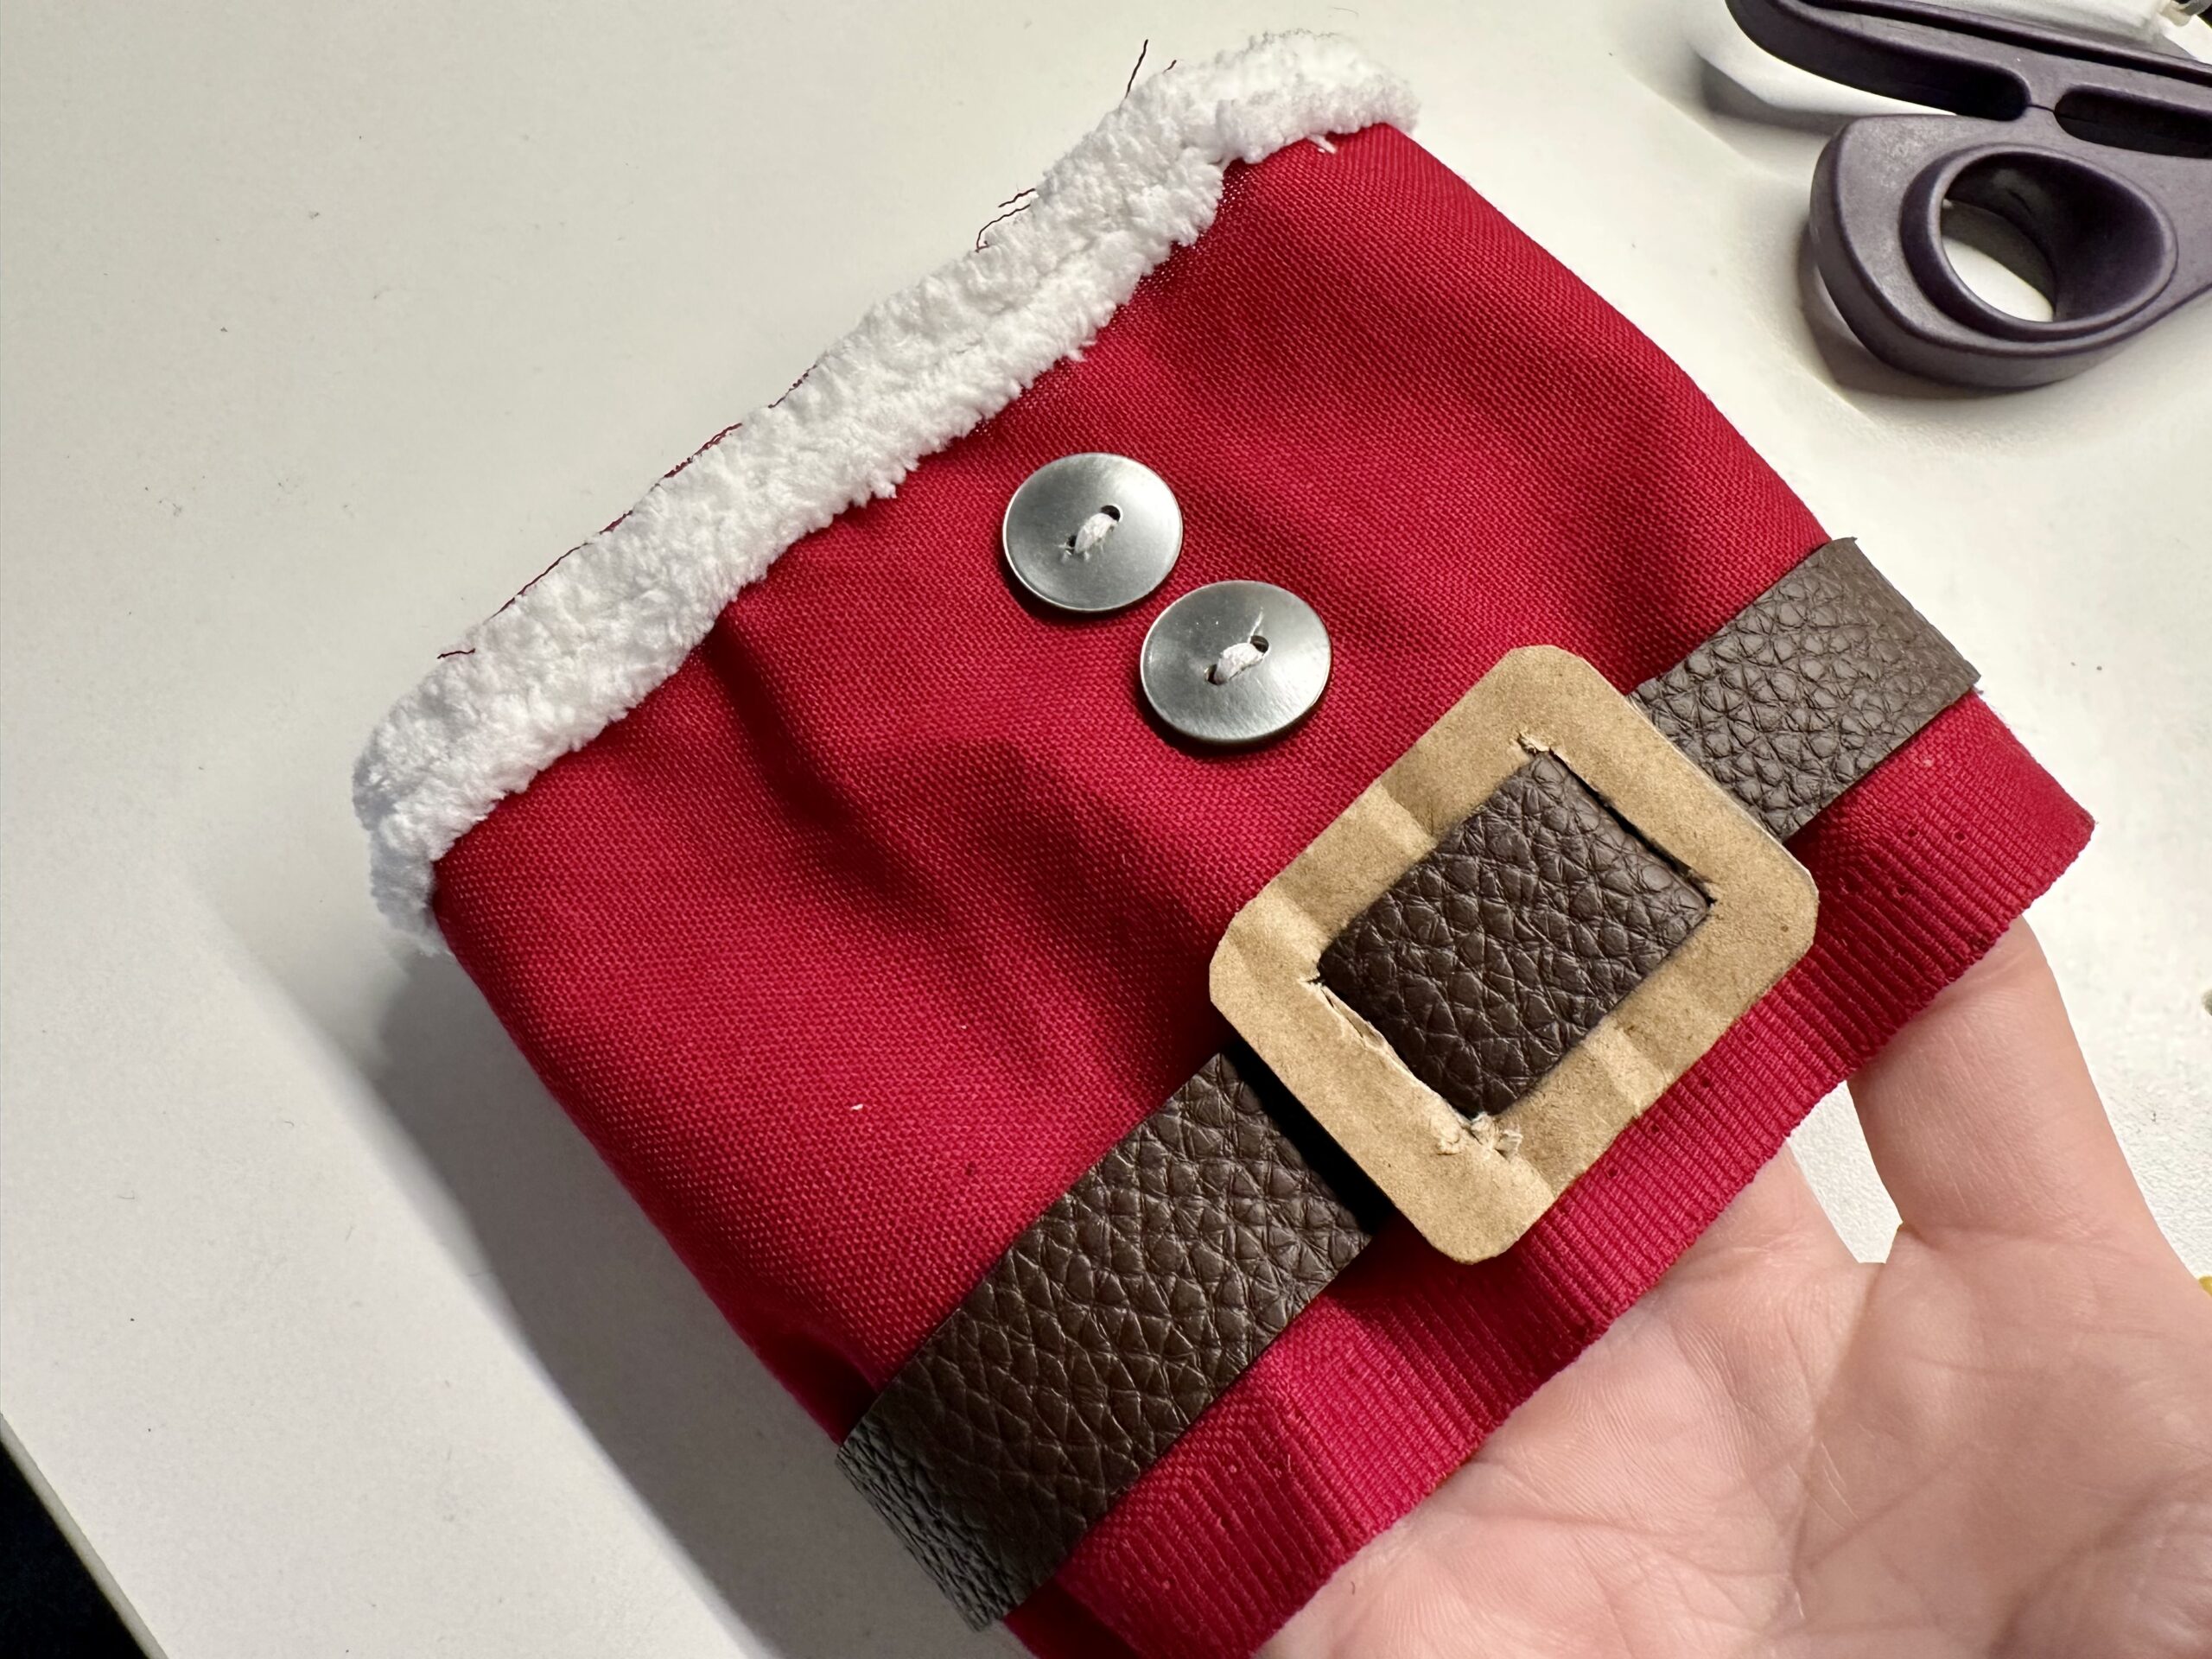
Put the finished belt on the red fabric stripe. Now it looks like a Santa's coat.

If you want, you can put two buttons over the belt buckle.
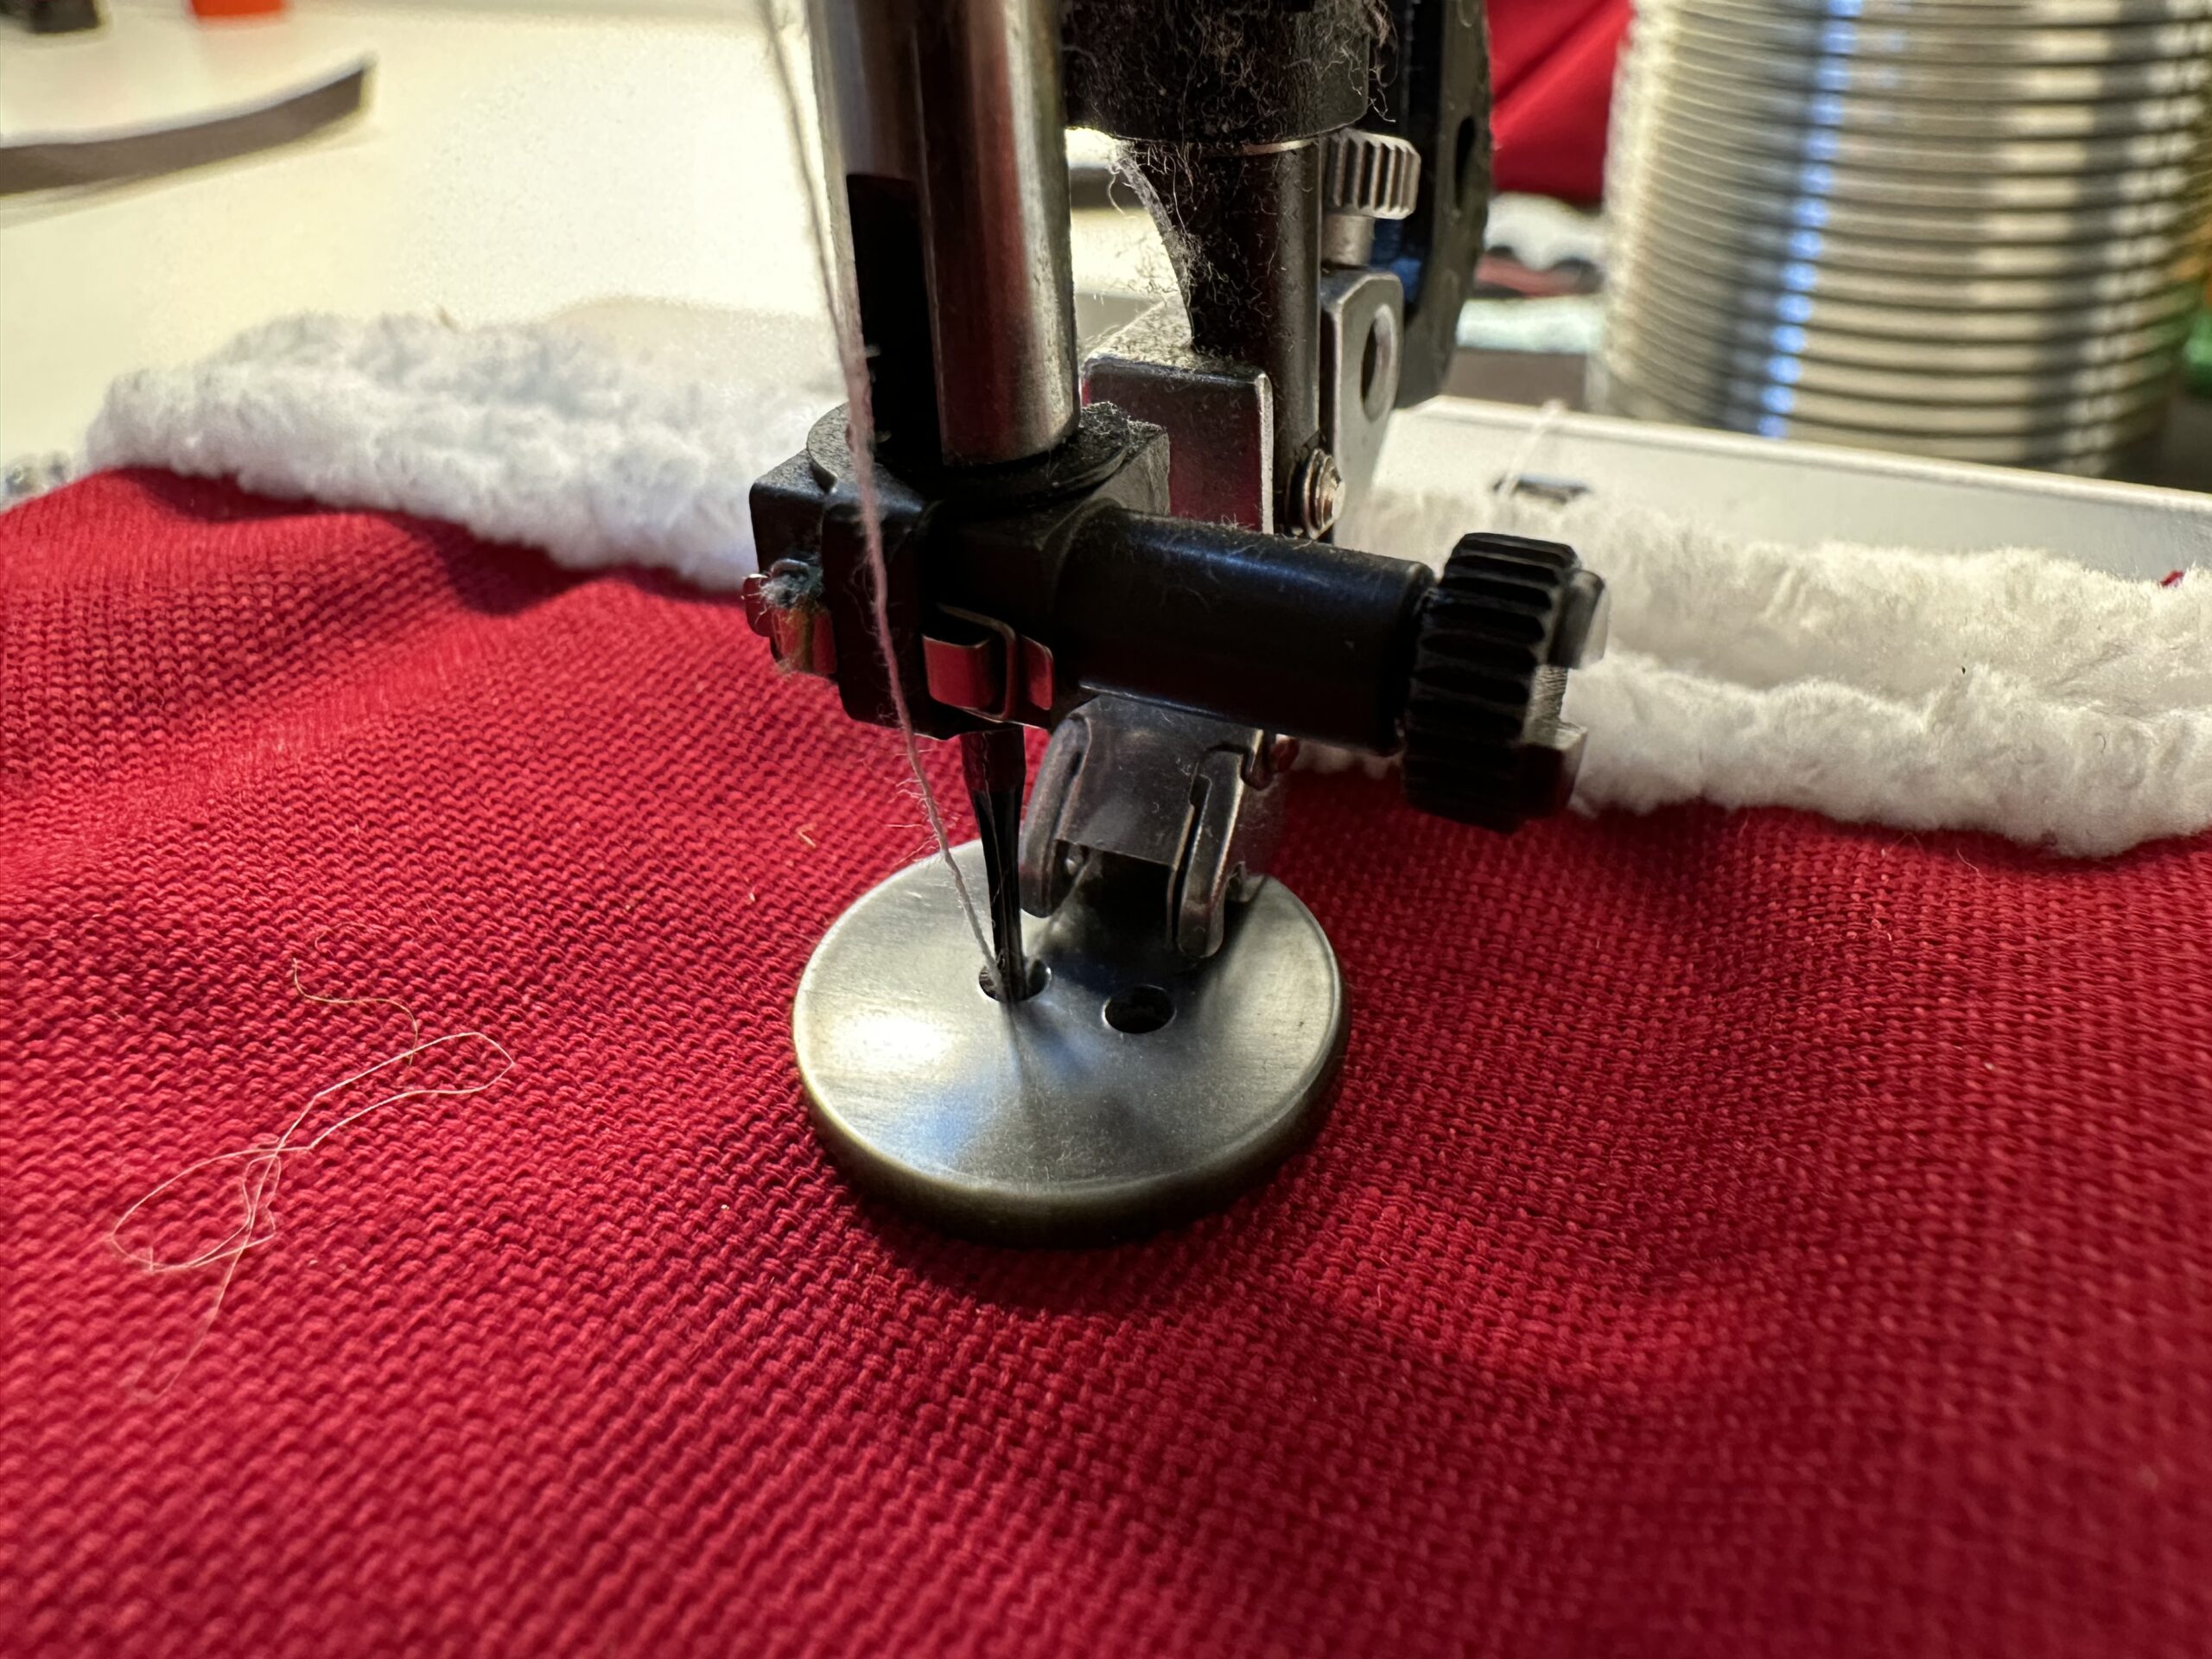
If you want to sew them up, you have to lower the "transport wheels" of the sewing machine. Then the button remains lying when sewing!
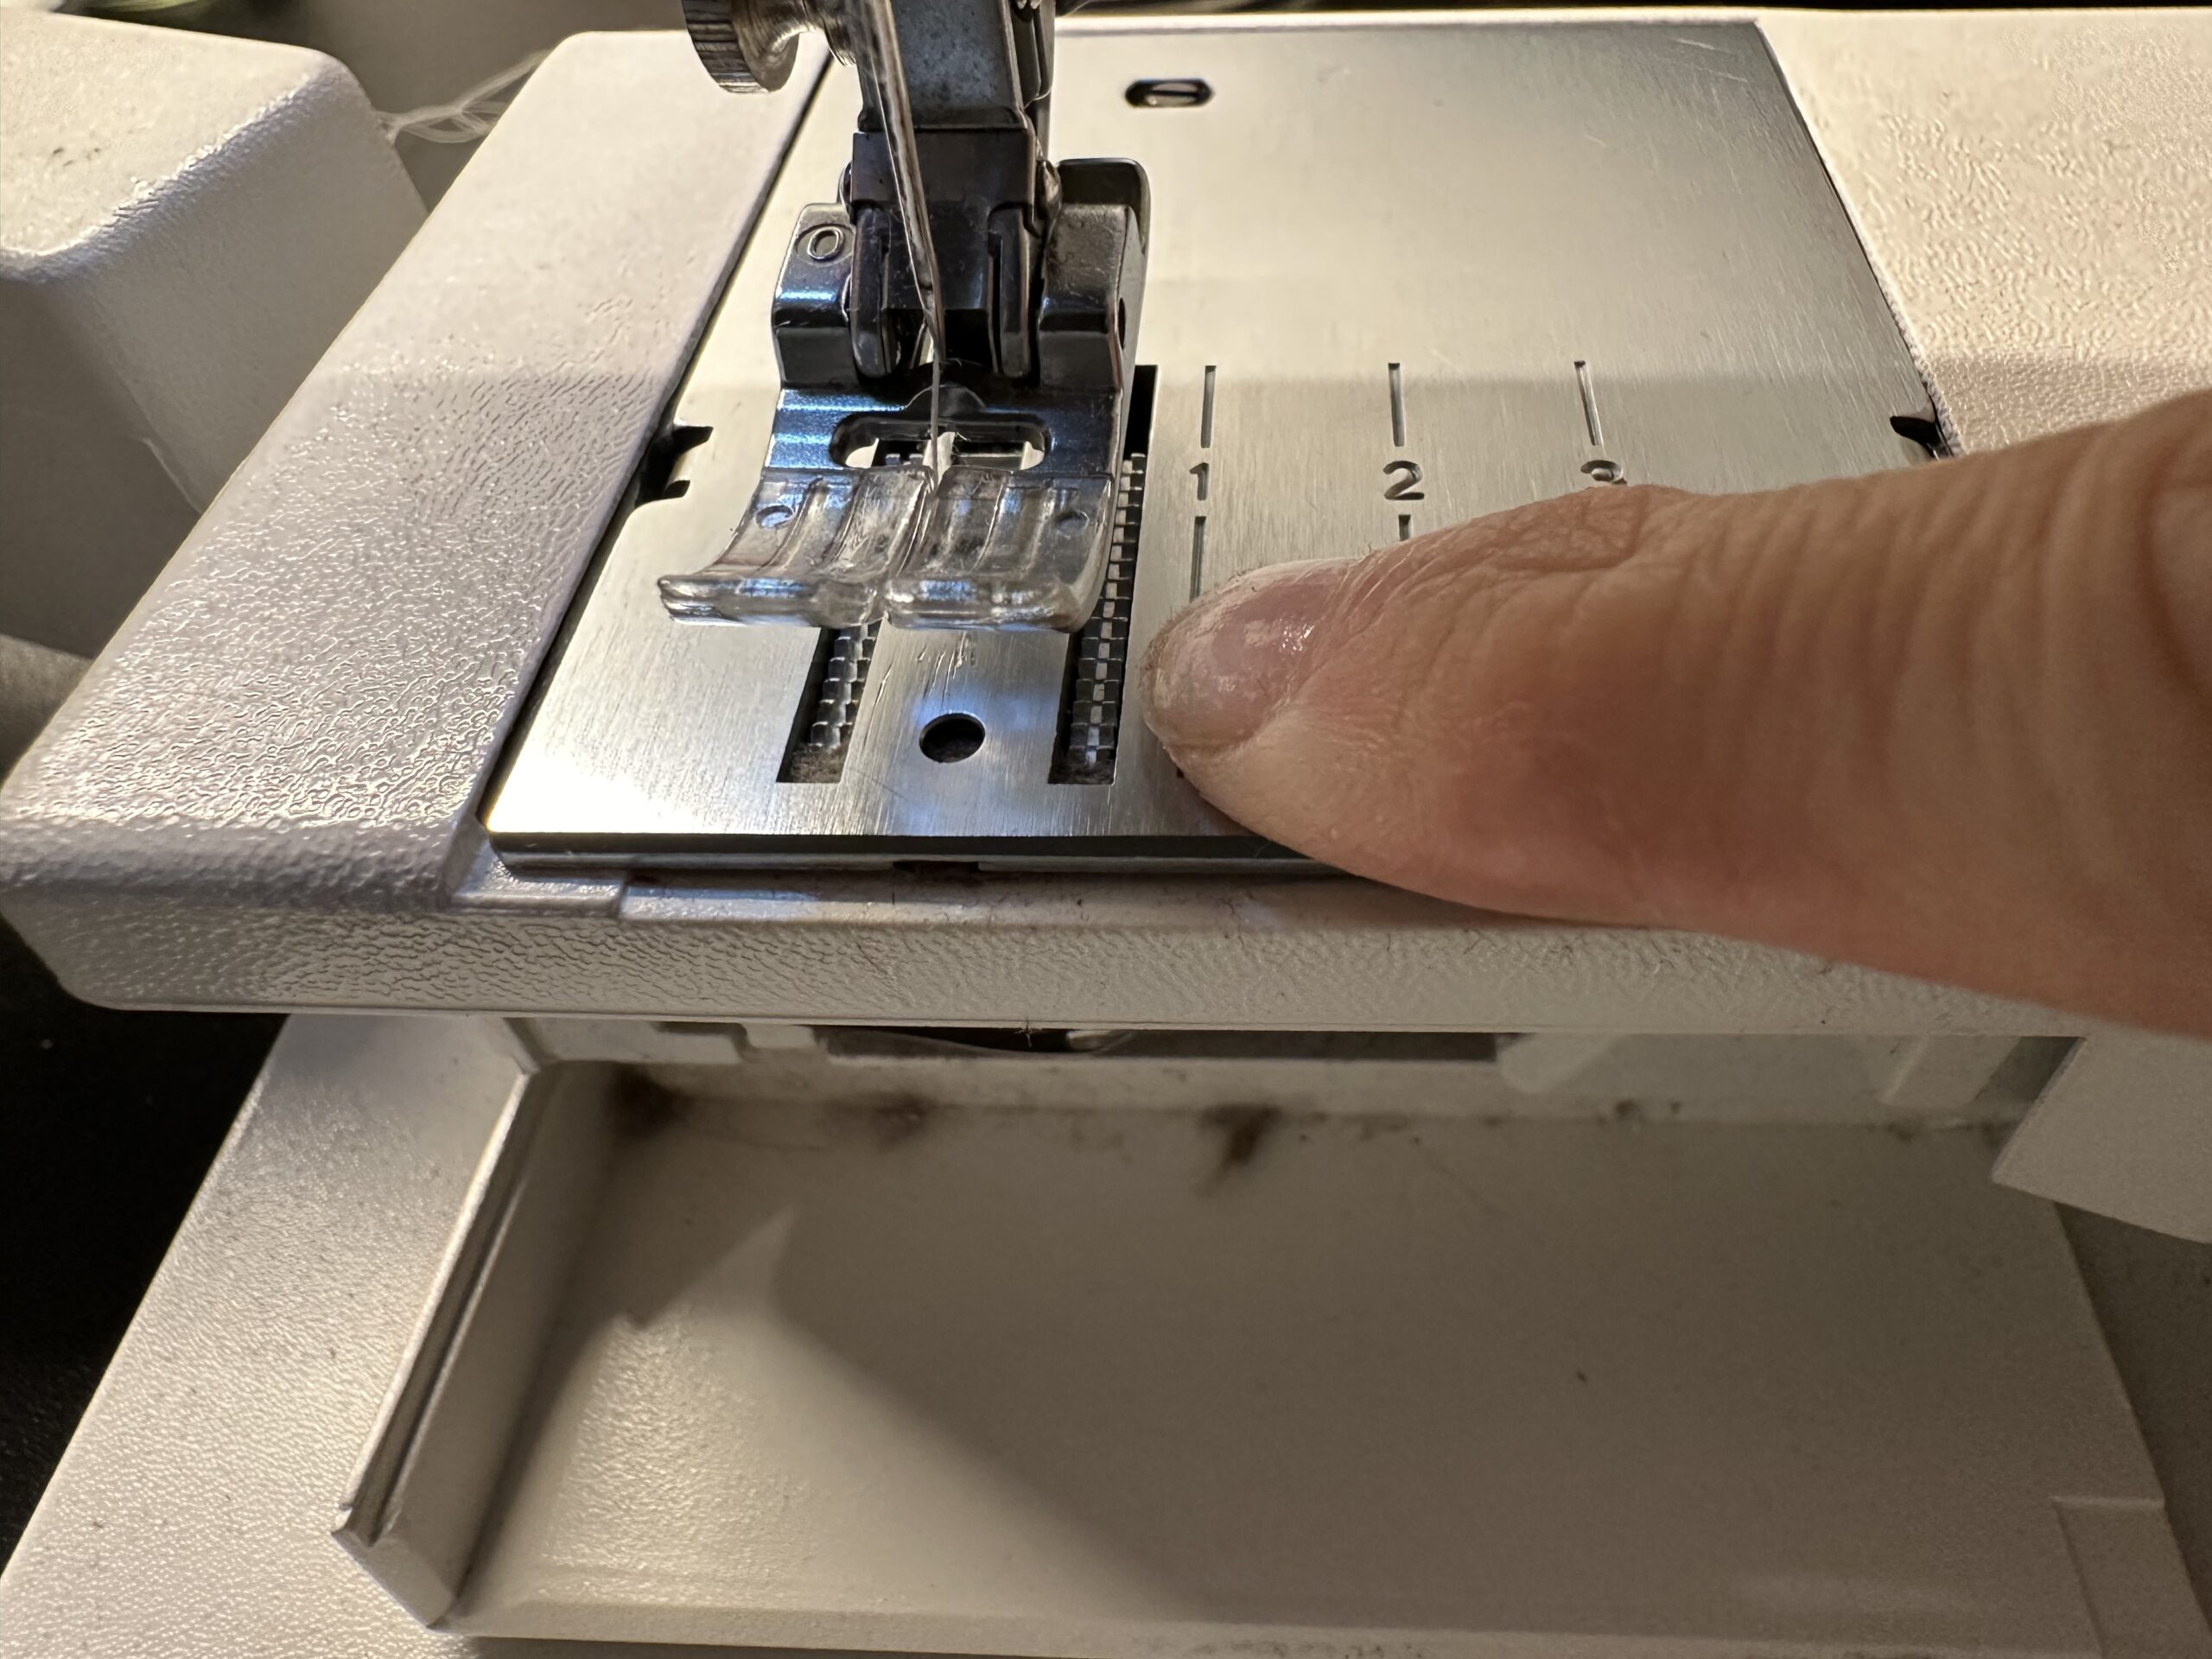
Set a big zig-zag stick.
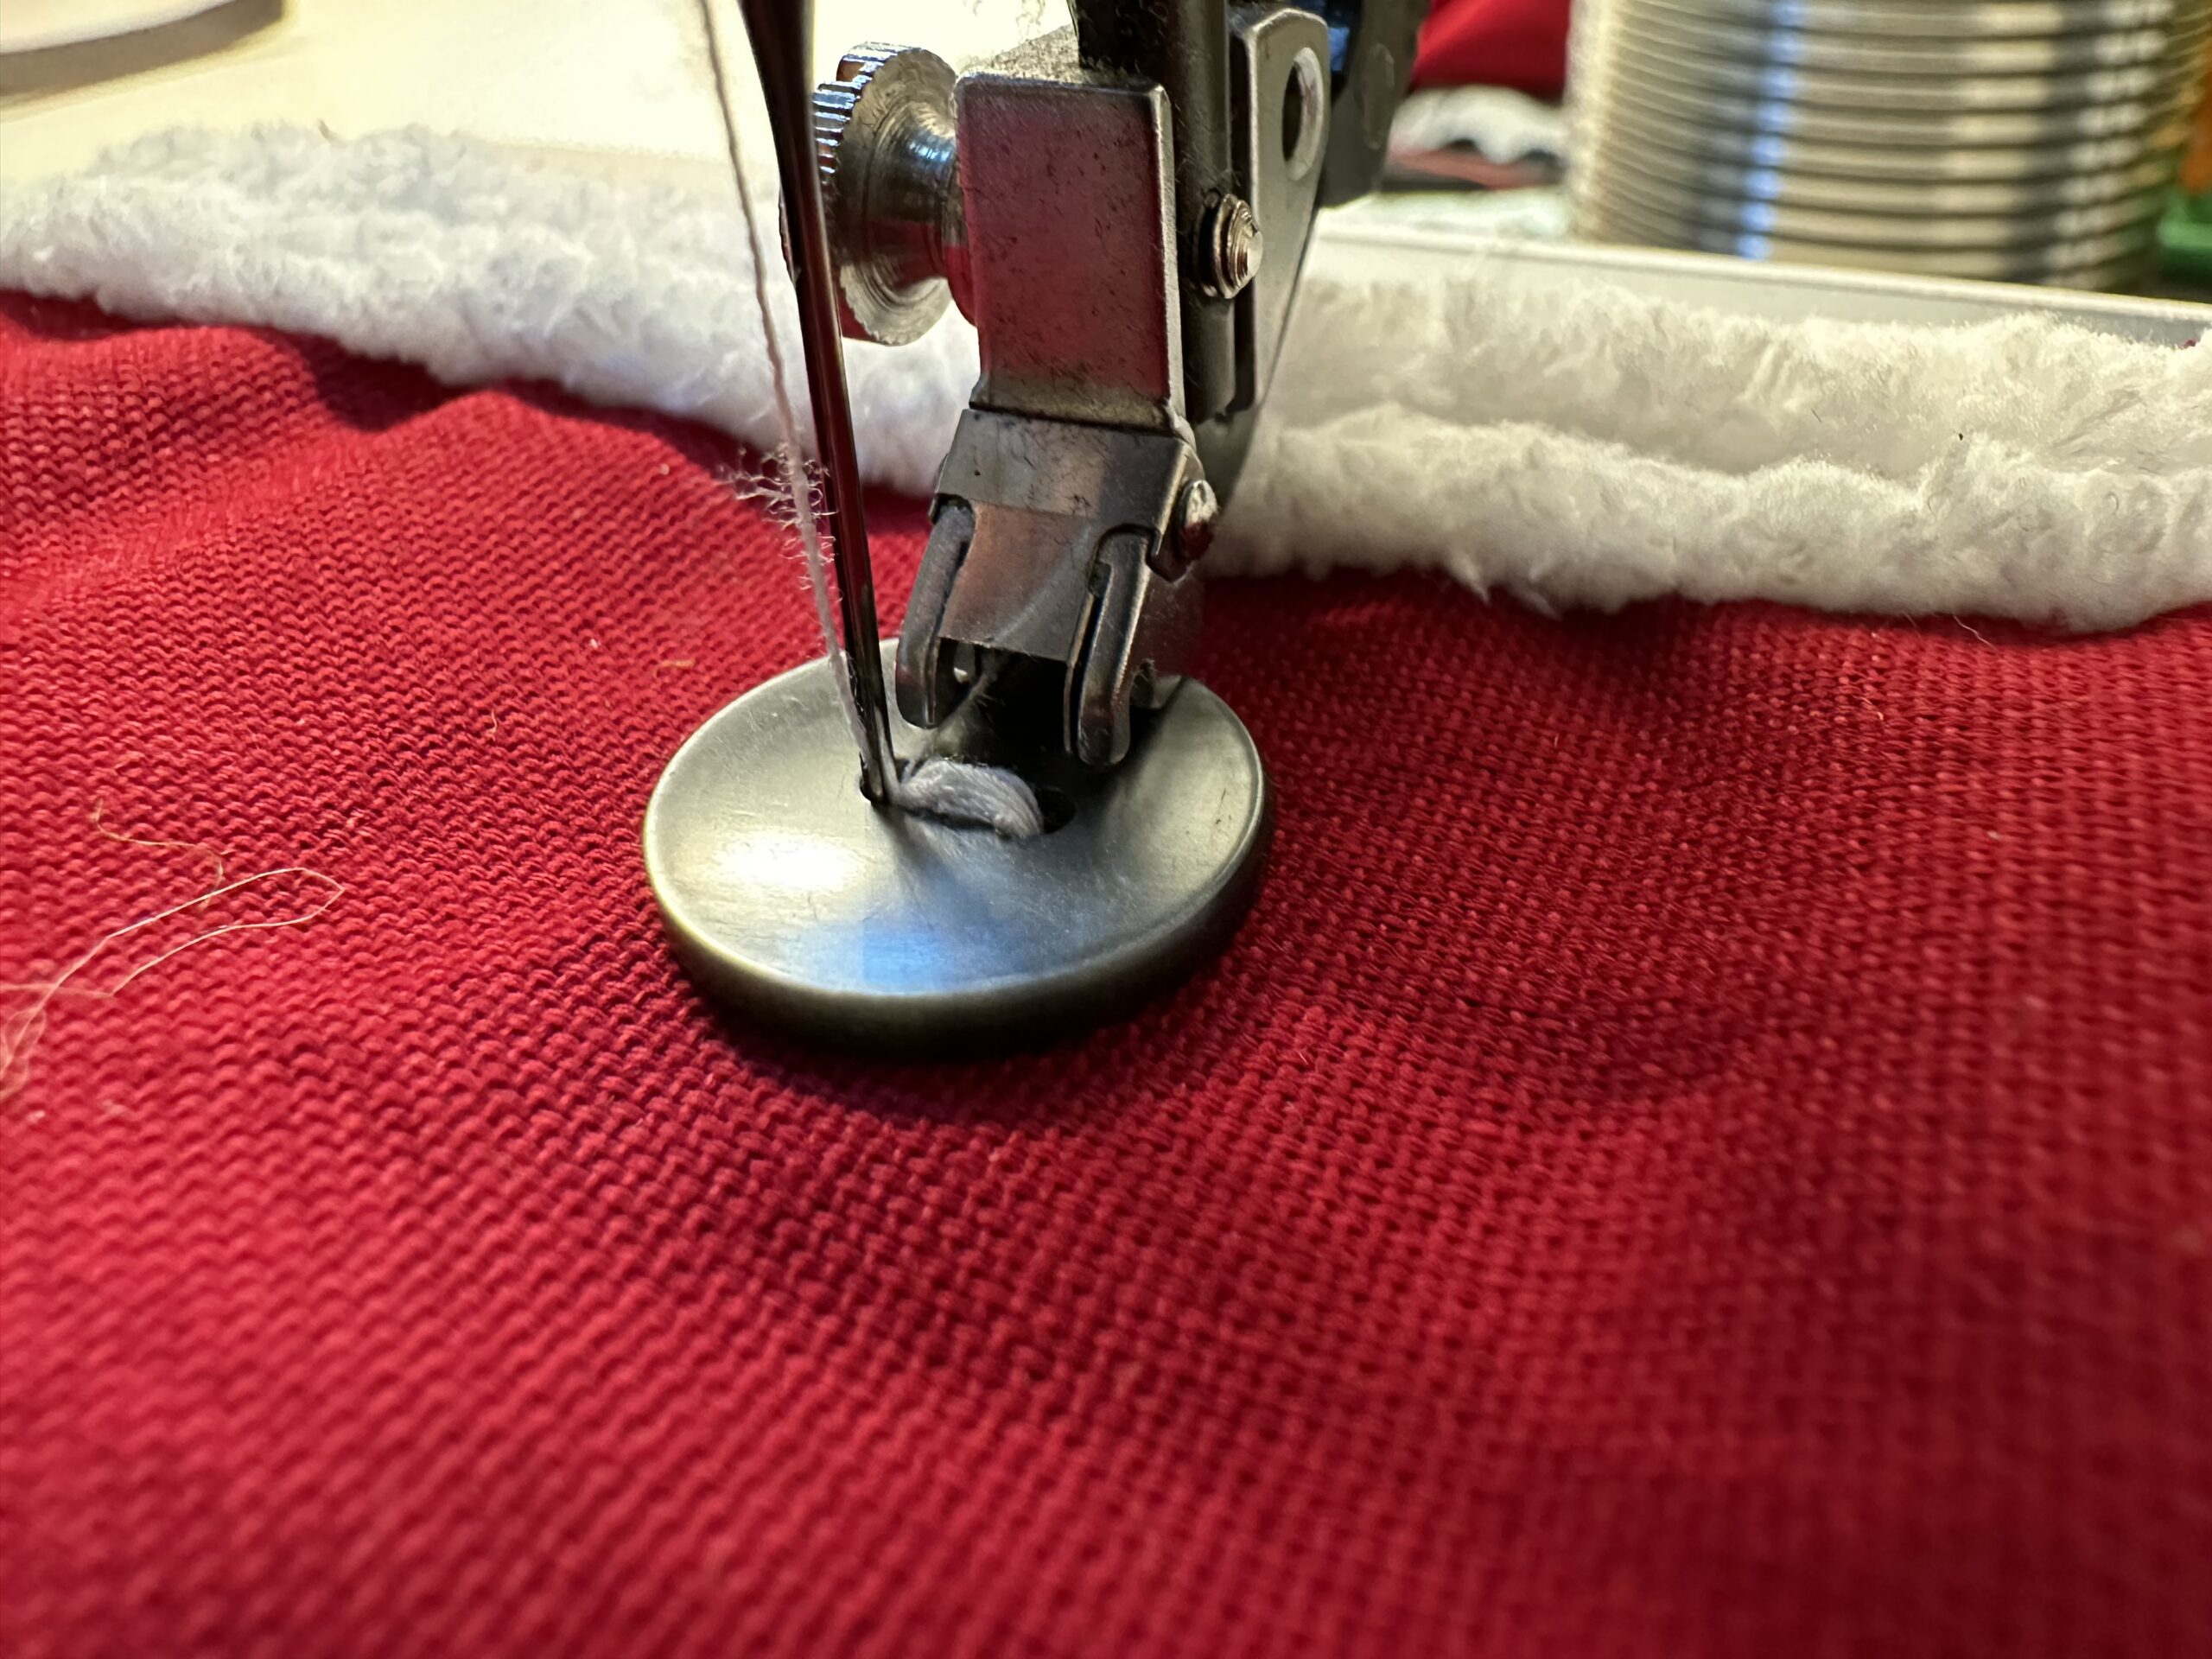
If you remove the little foot, you'll see better where the needle comes in. Turn the needle with the handwheel until it penetrates perfectly into the buttonholes. The button is held by the remaining little foot.
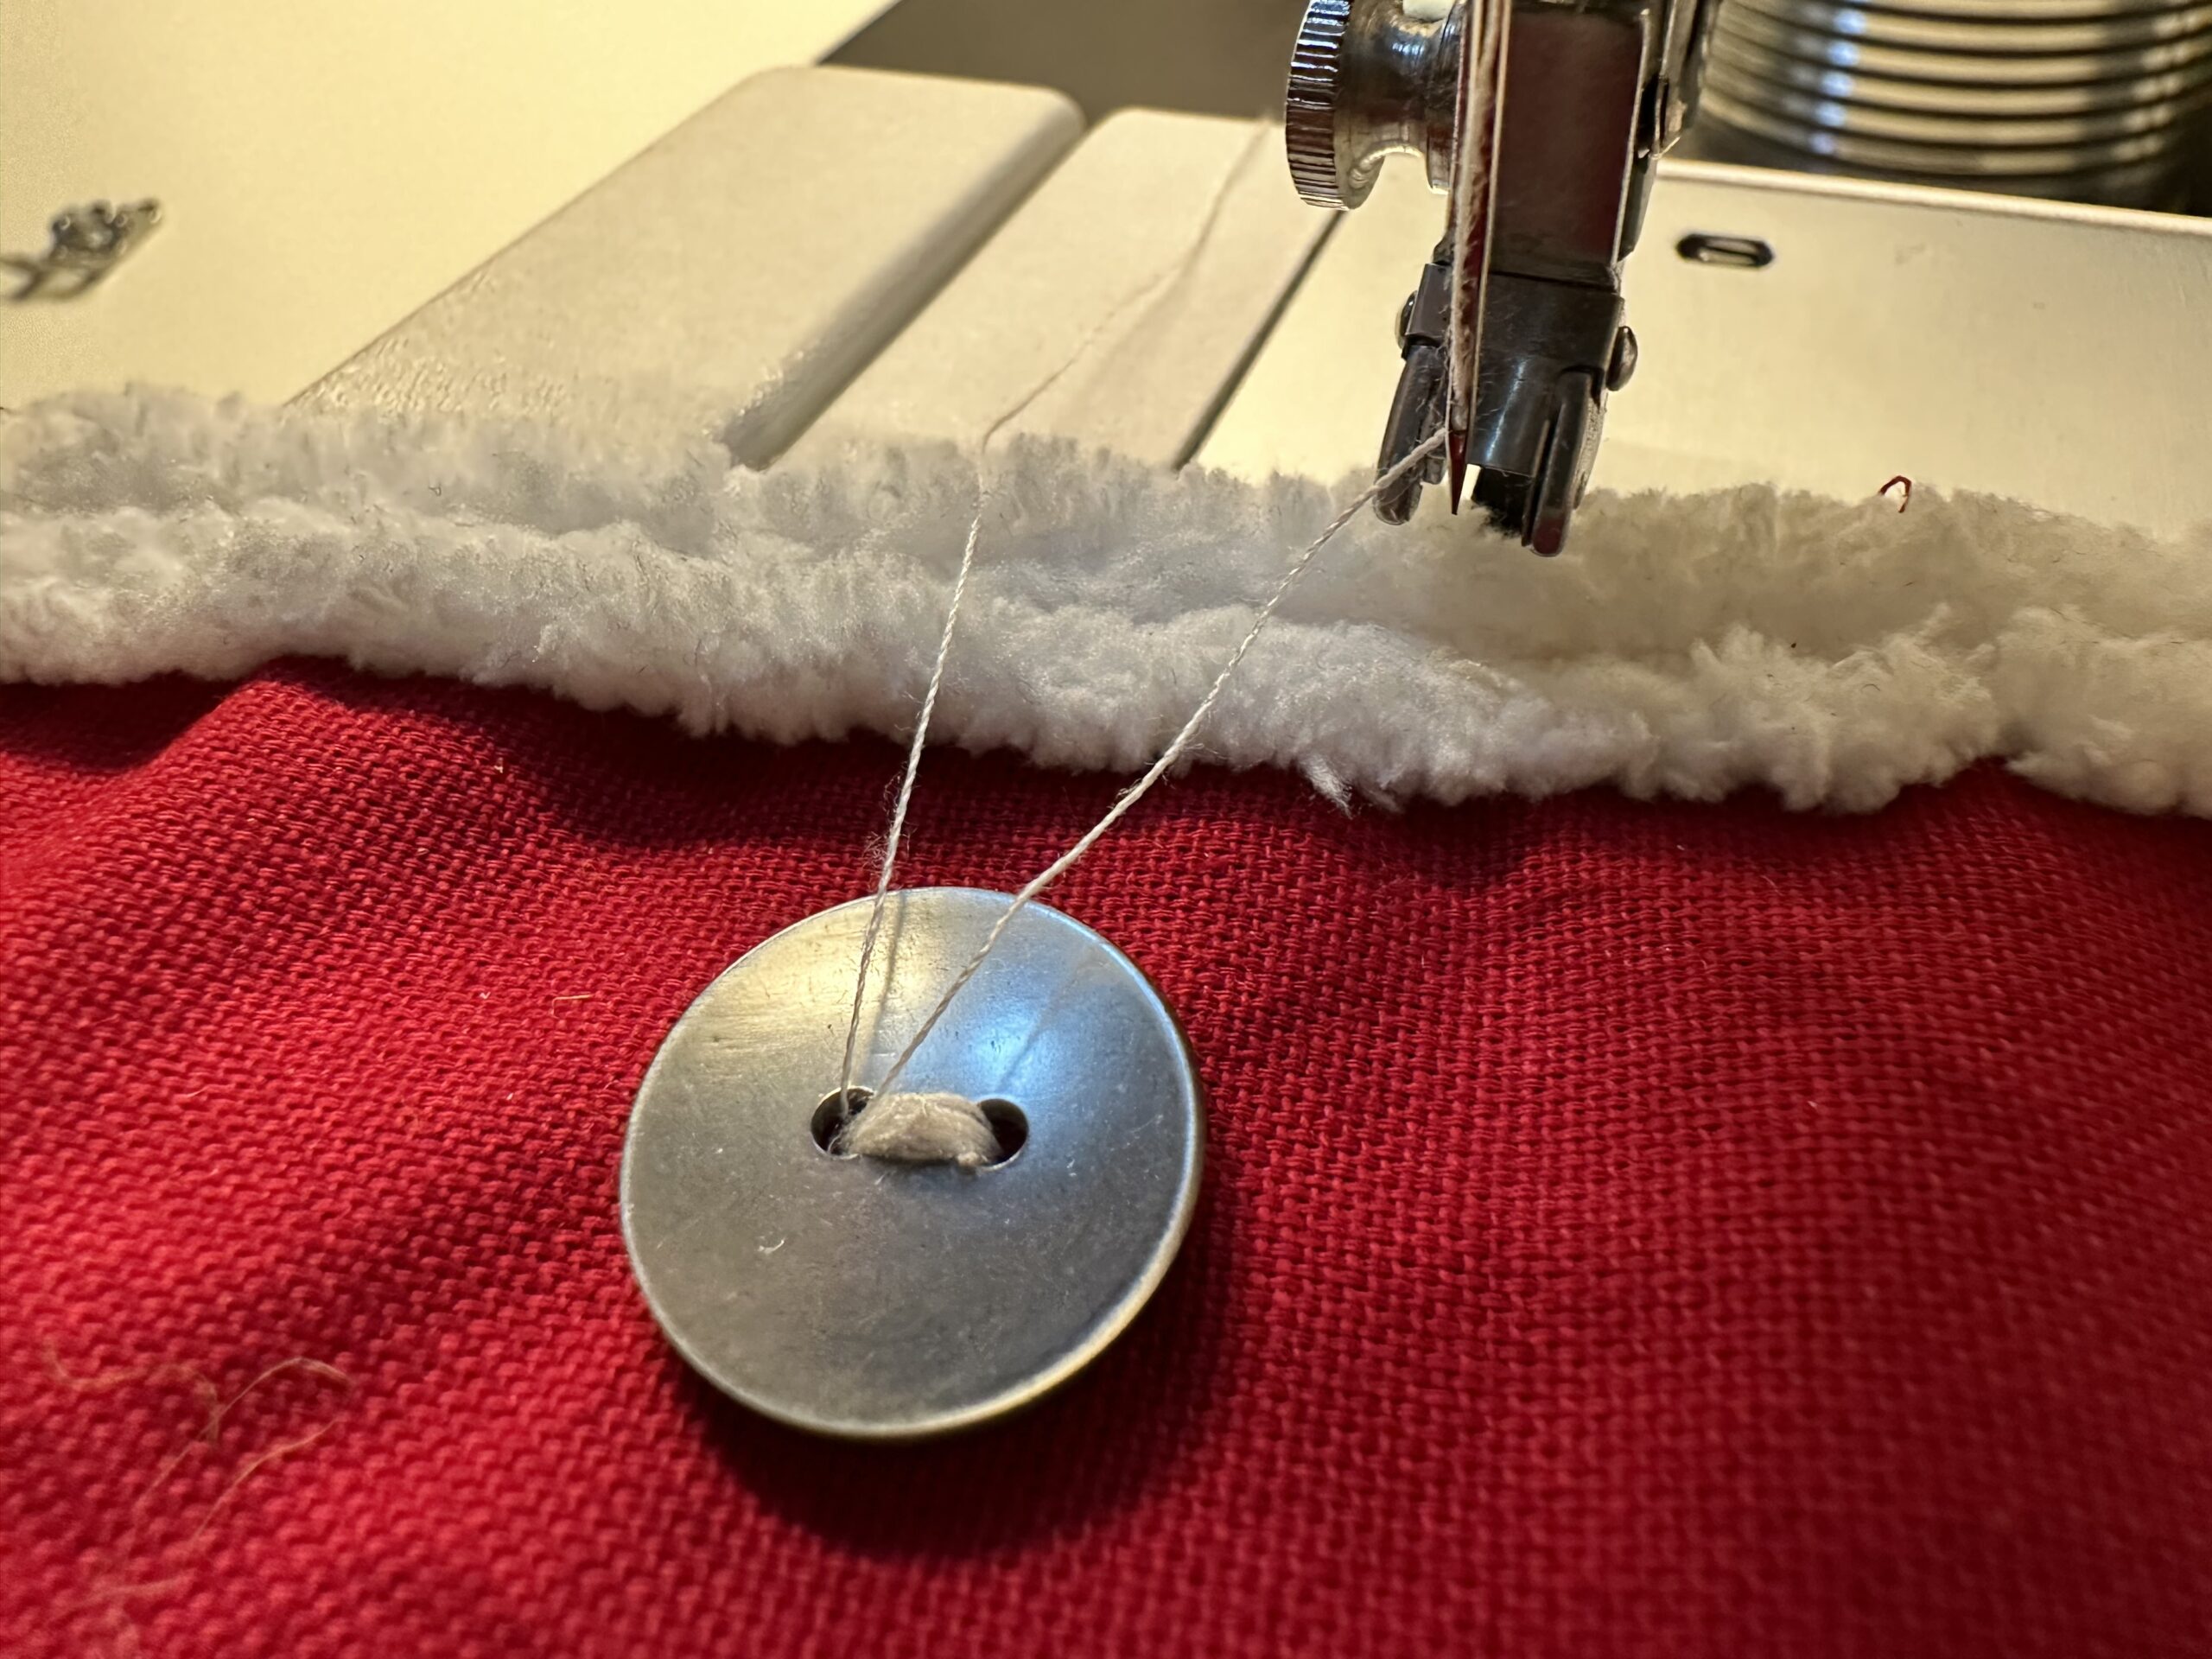
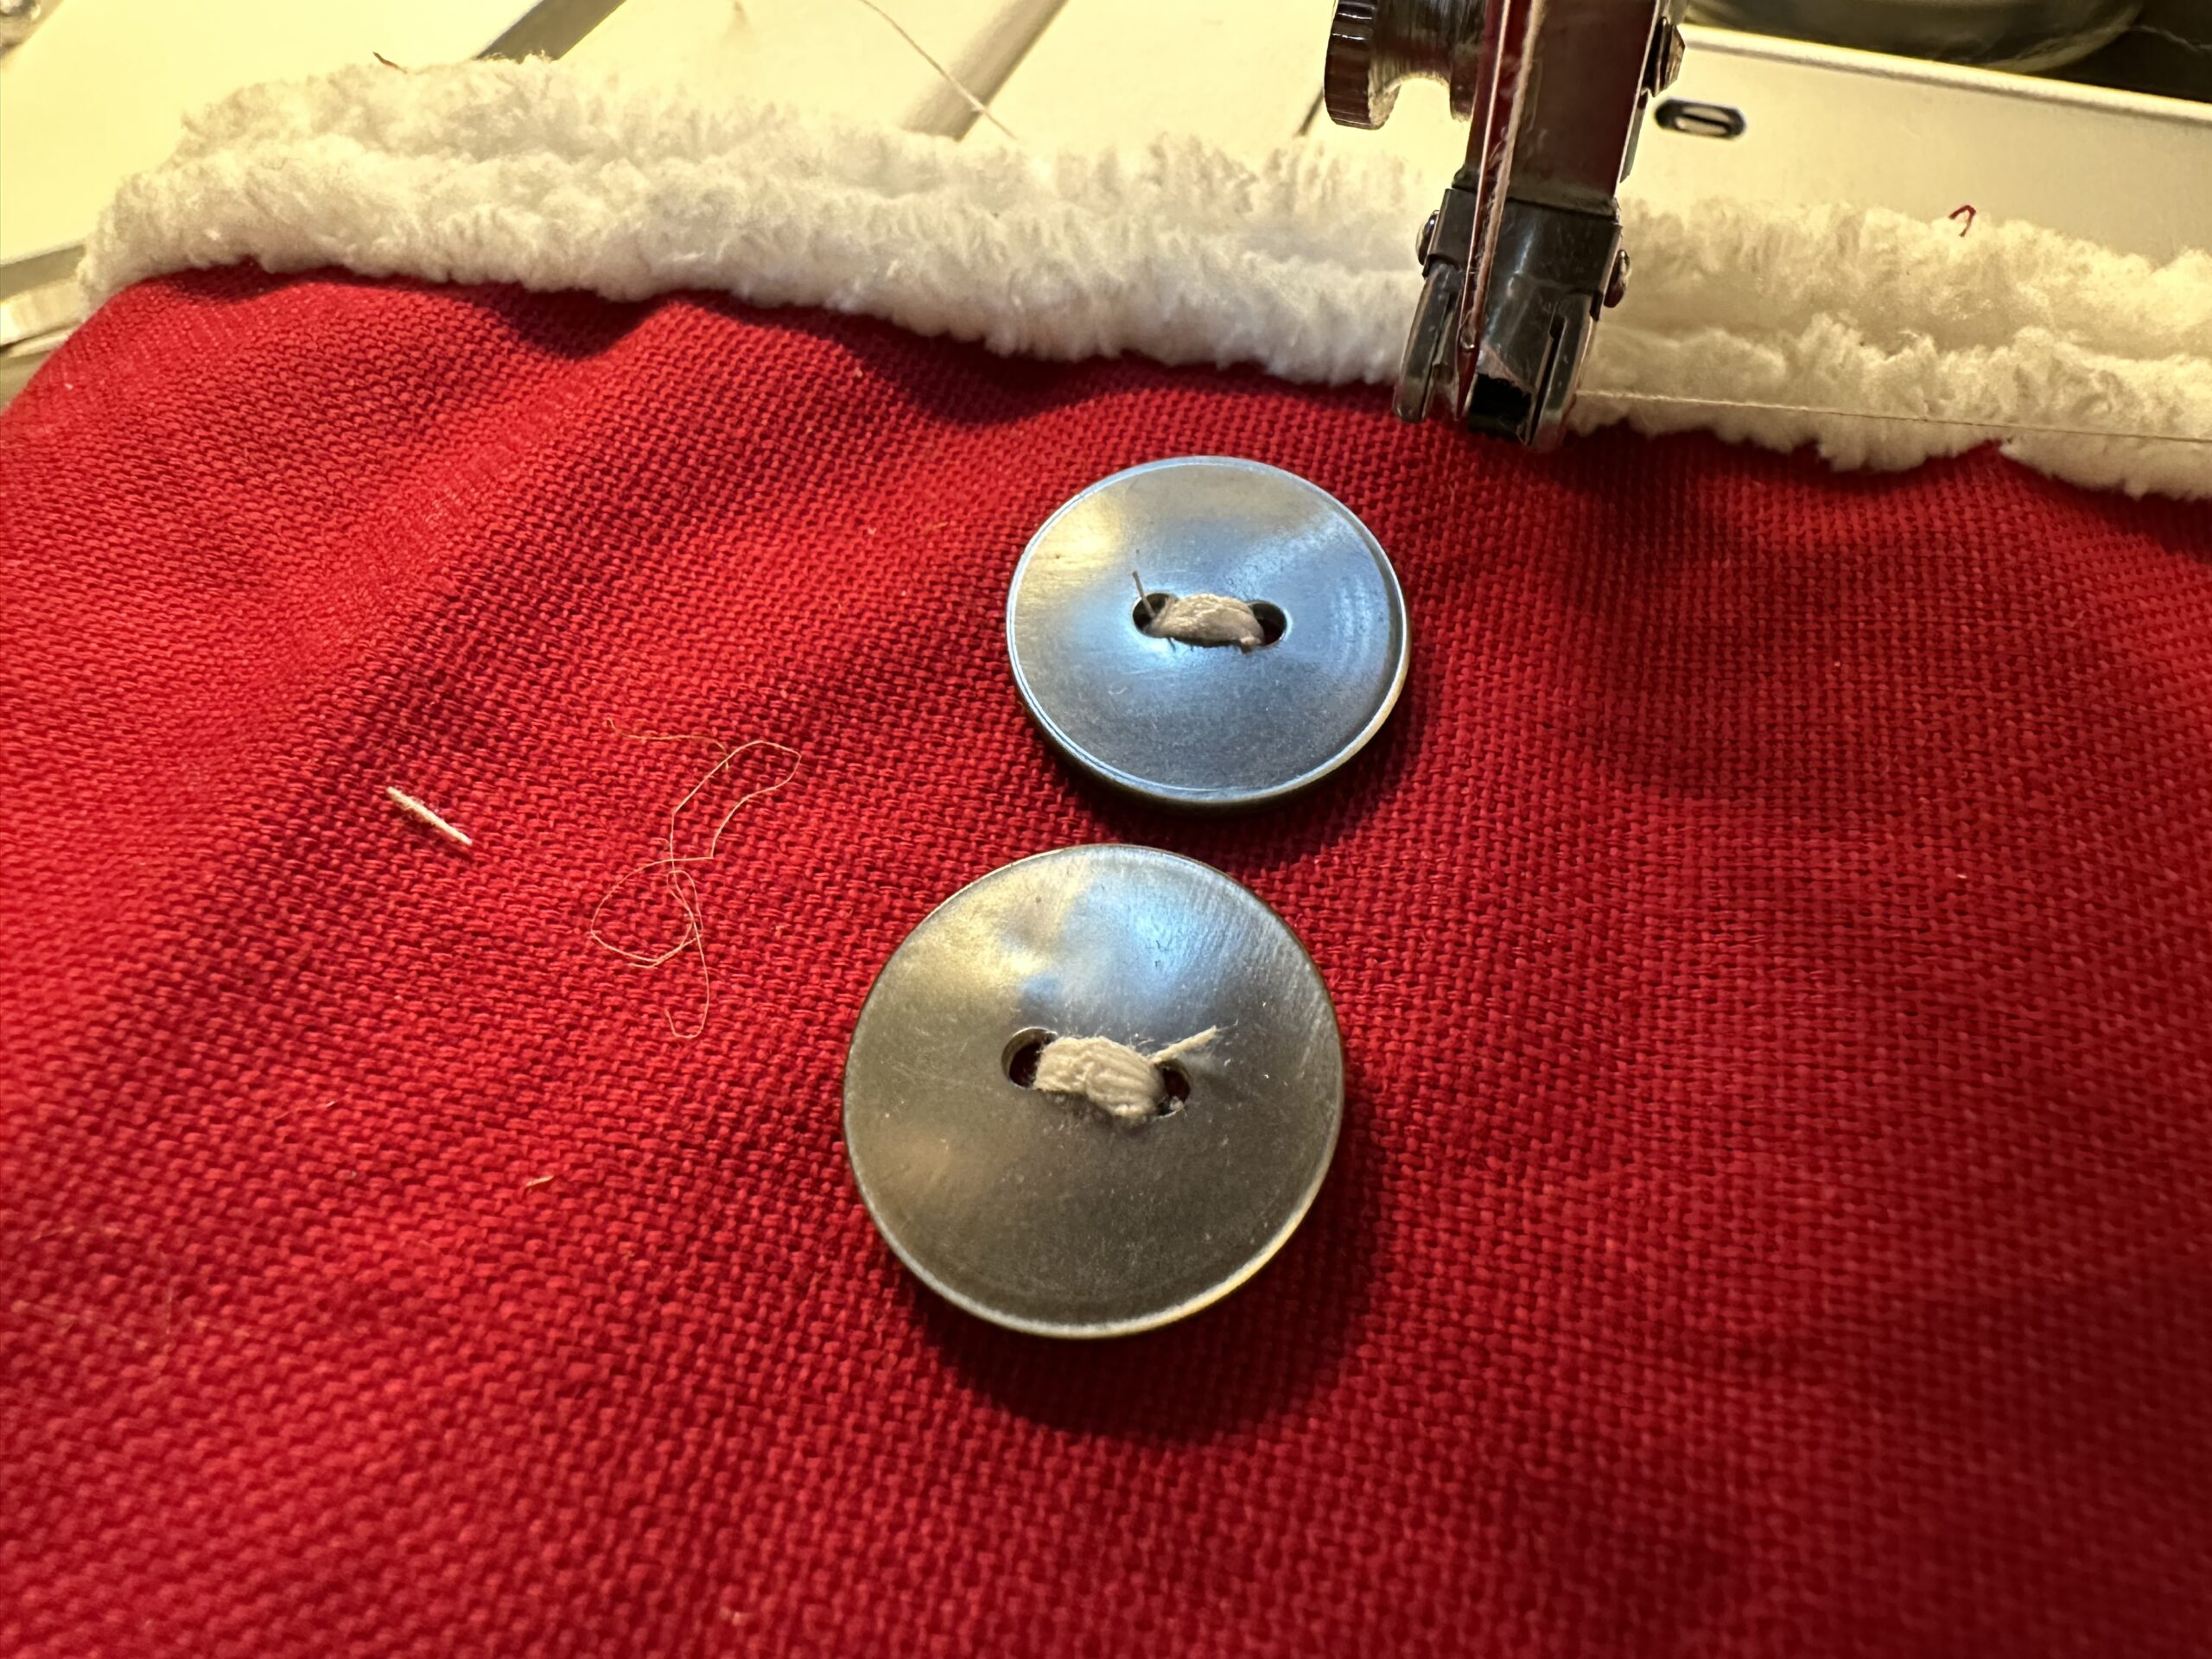
Sew some stitches.
Cut off the threads.
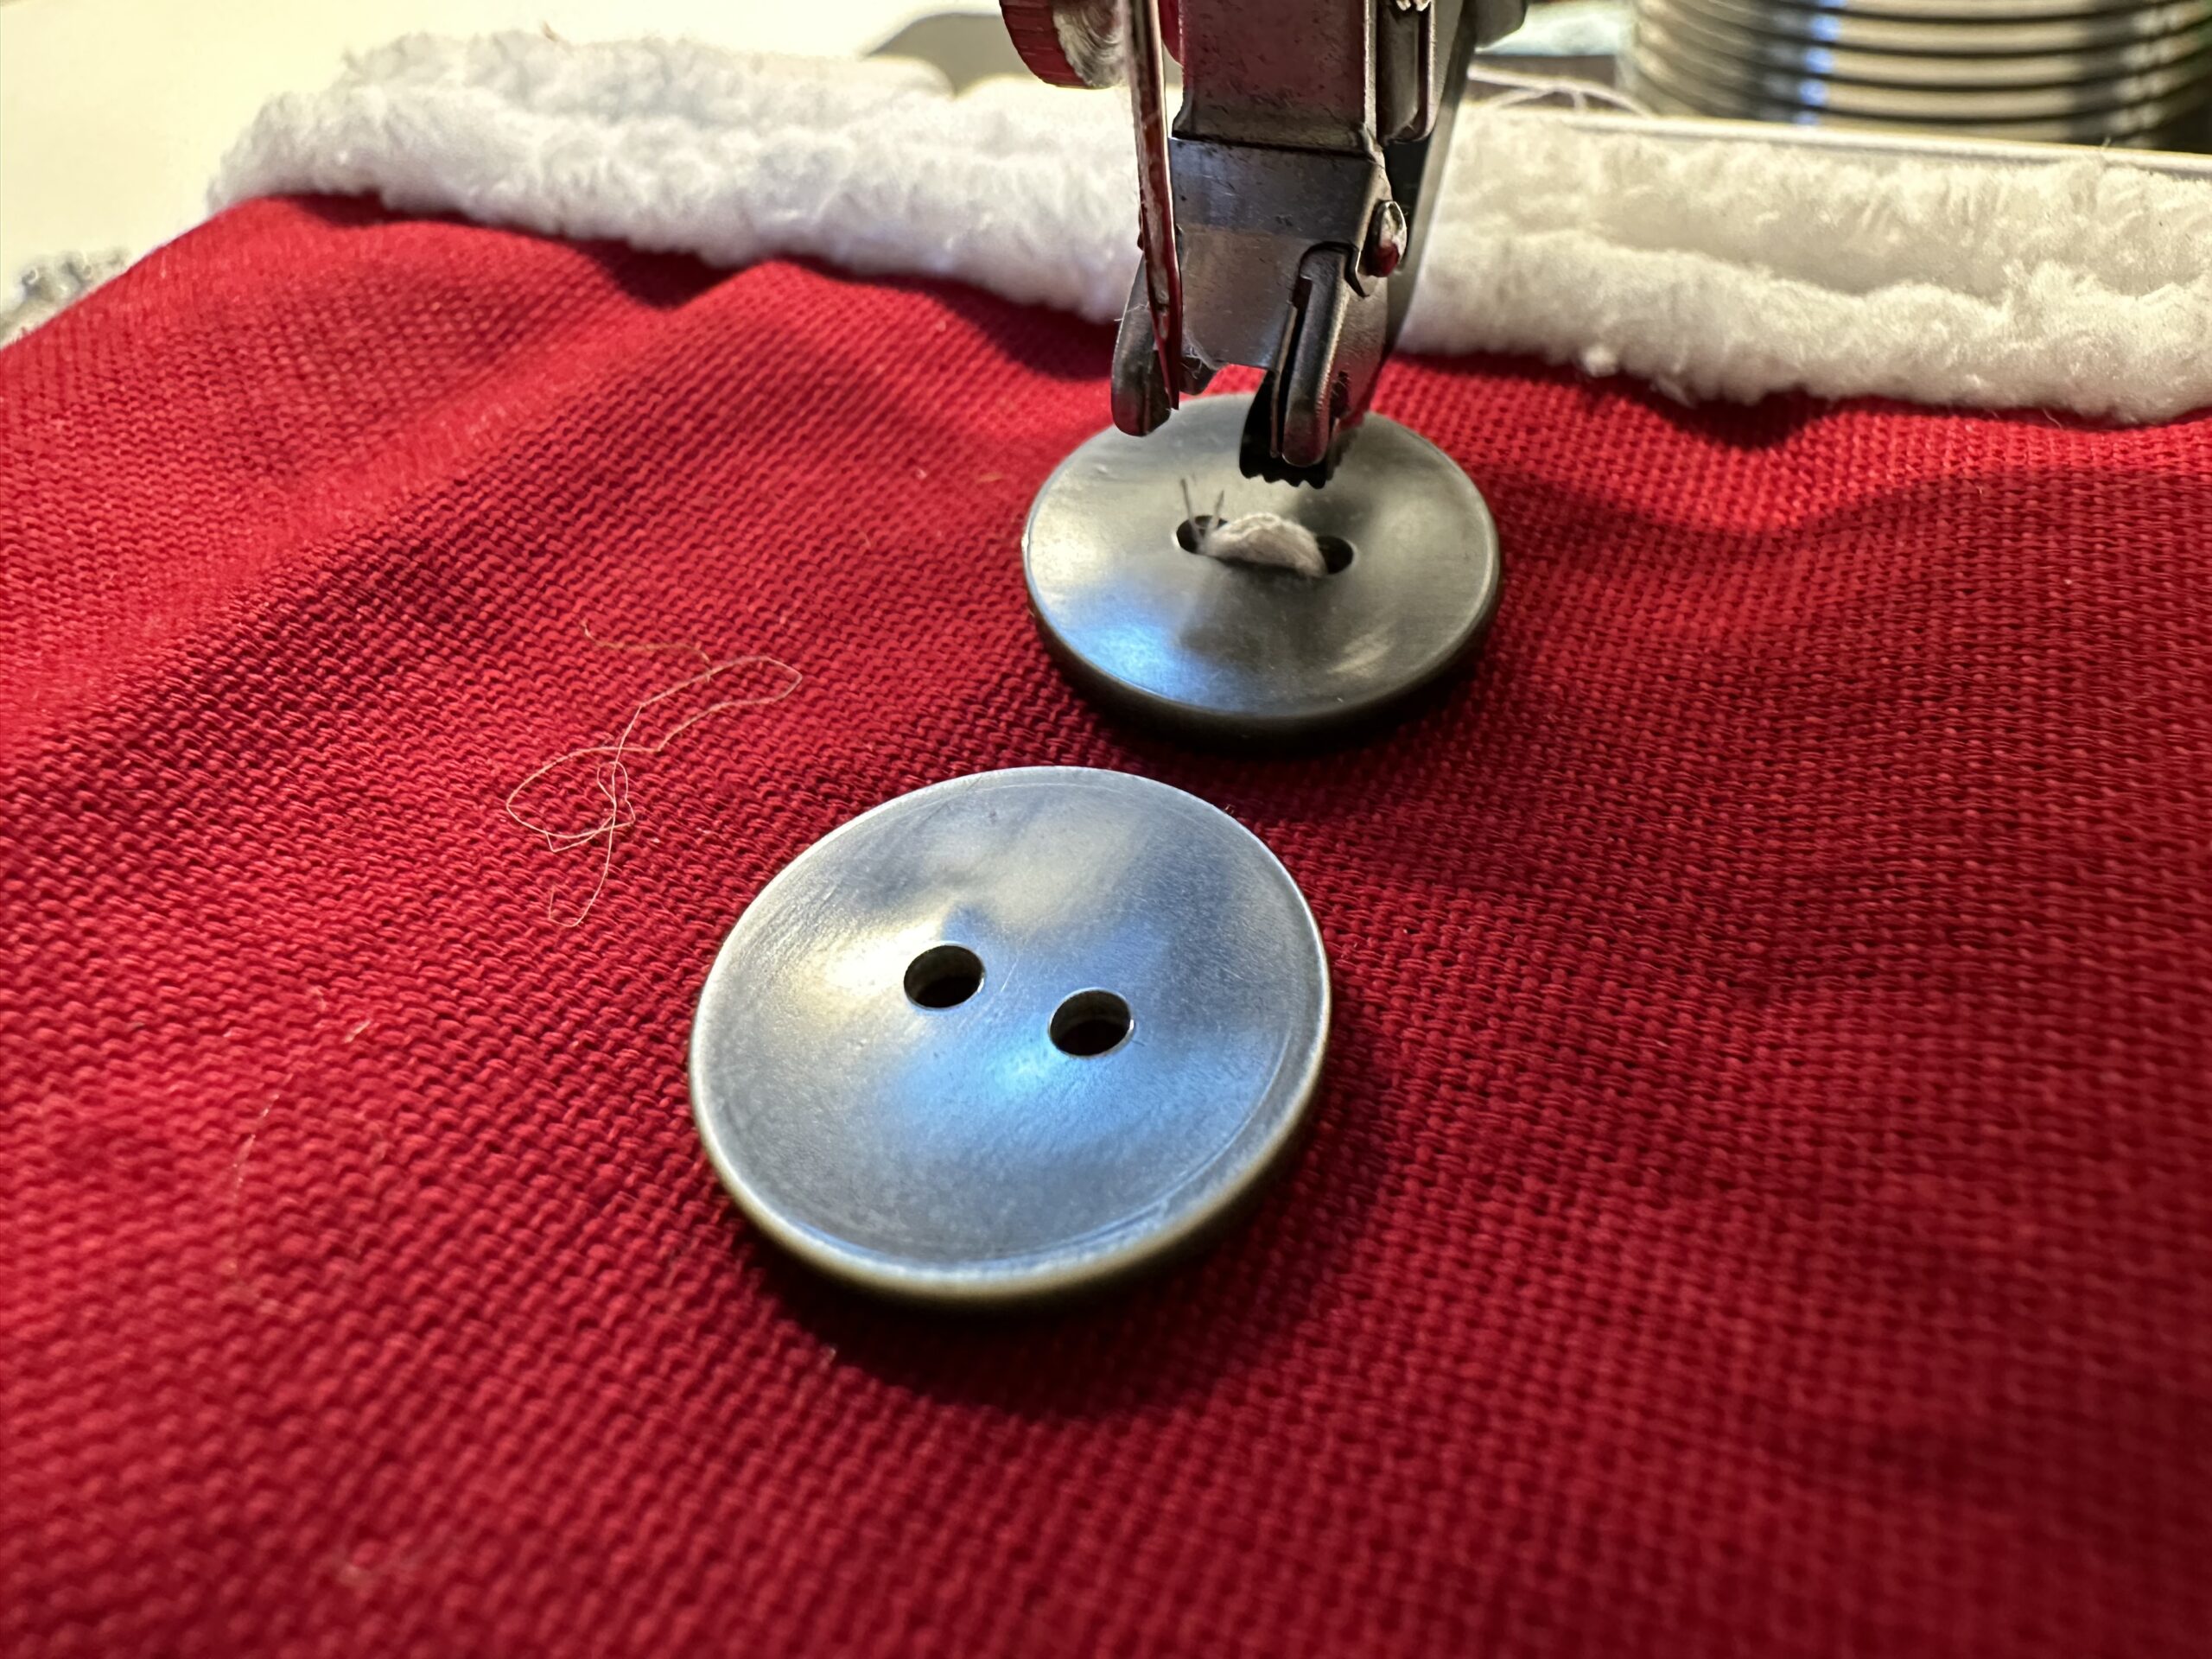
Sow the second button in the same way.
Alternatively, you can also sew the buttons with your hand (with needle and thread).
Or you stick the buttons firmly with a hot glue point but be careful: through the buttonholes the hot glue may swell! Take a pen for this for pressing.
You may also be able to fix the belt with a few stitches, shifting the buckle a bit.
So the seam is then hidden under the buckle.
Then there is no seam to be seen and the belt does not slip.
You can also fix the belt with a glue.

Put some glue on the belt.
Press the belt briefly on the fabric until it holds.
The little coat is ready. This has to be put around the can now.
Put the beautiful side on the can and enclose it with the fabric coat.
Make sure that the fabric strip ends lie neatly on each other.
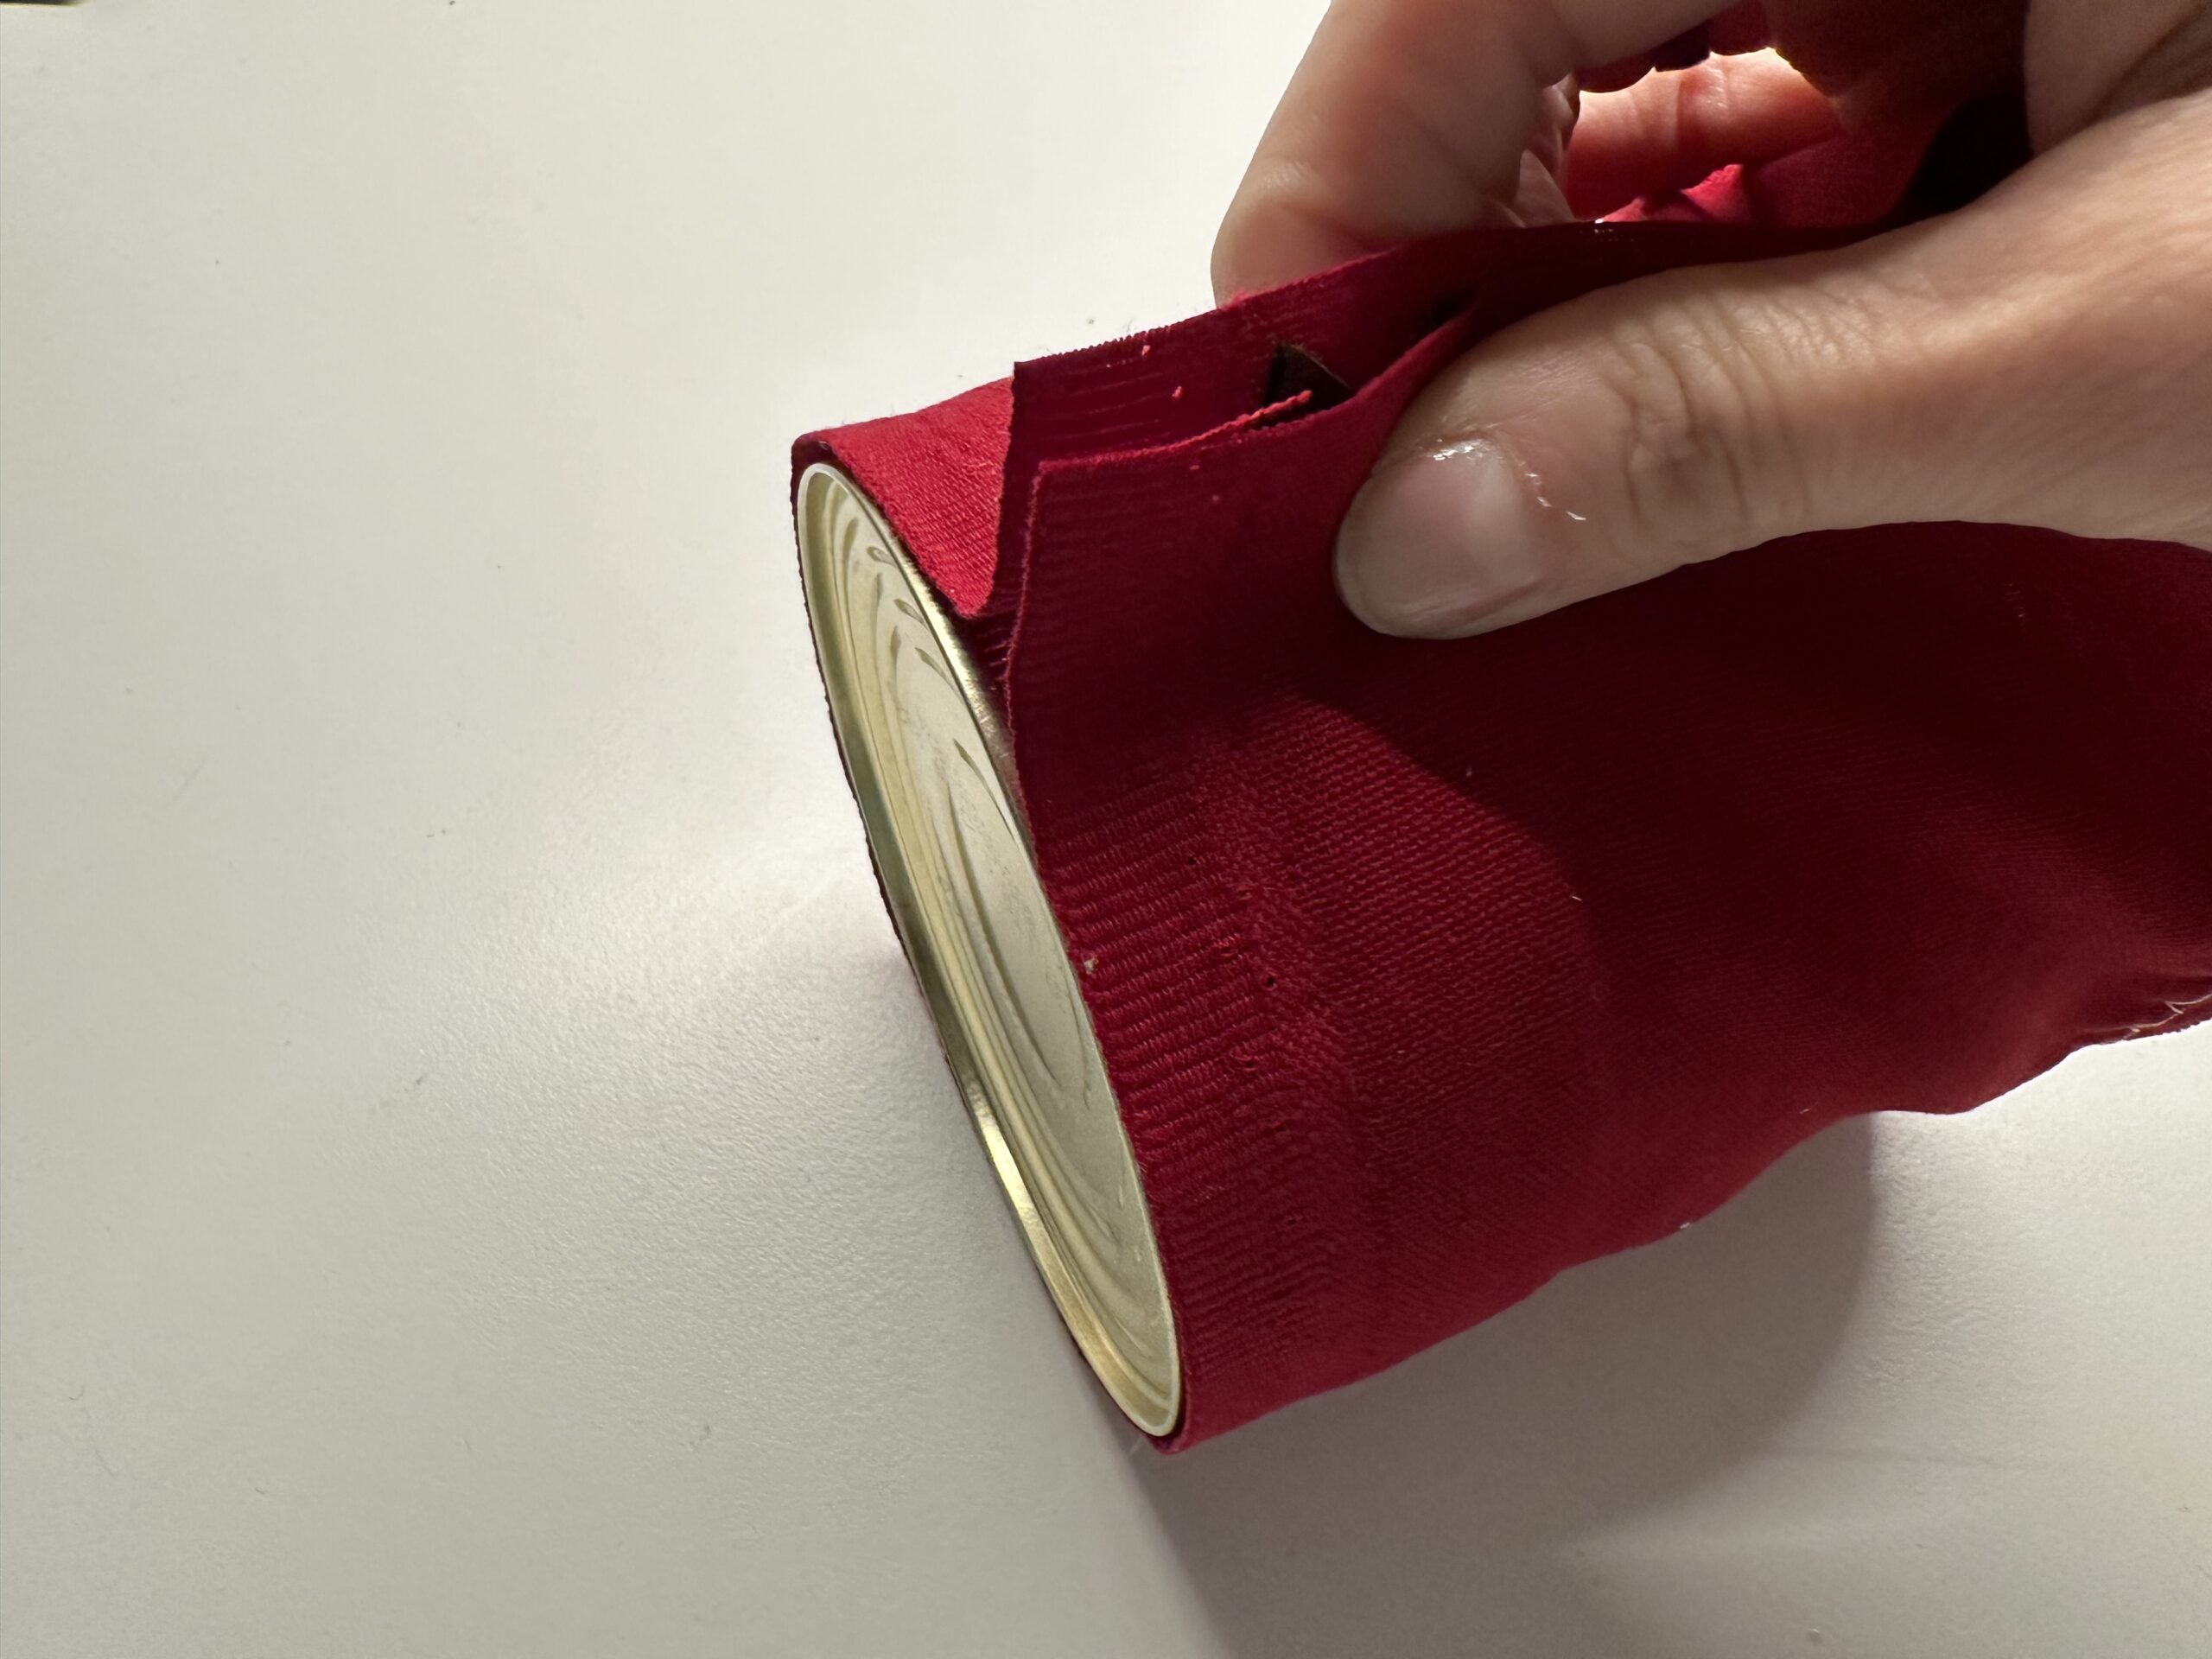
Insert one or two pins for marking in the fabric.
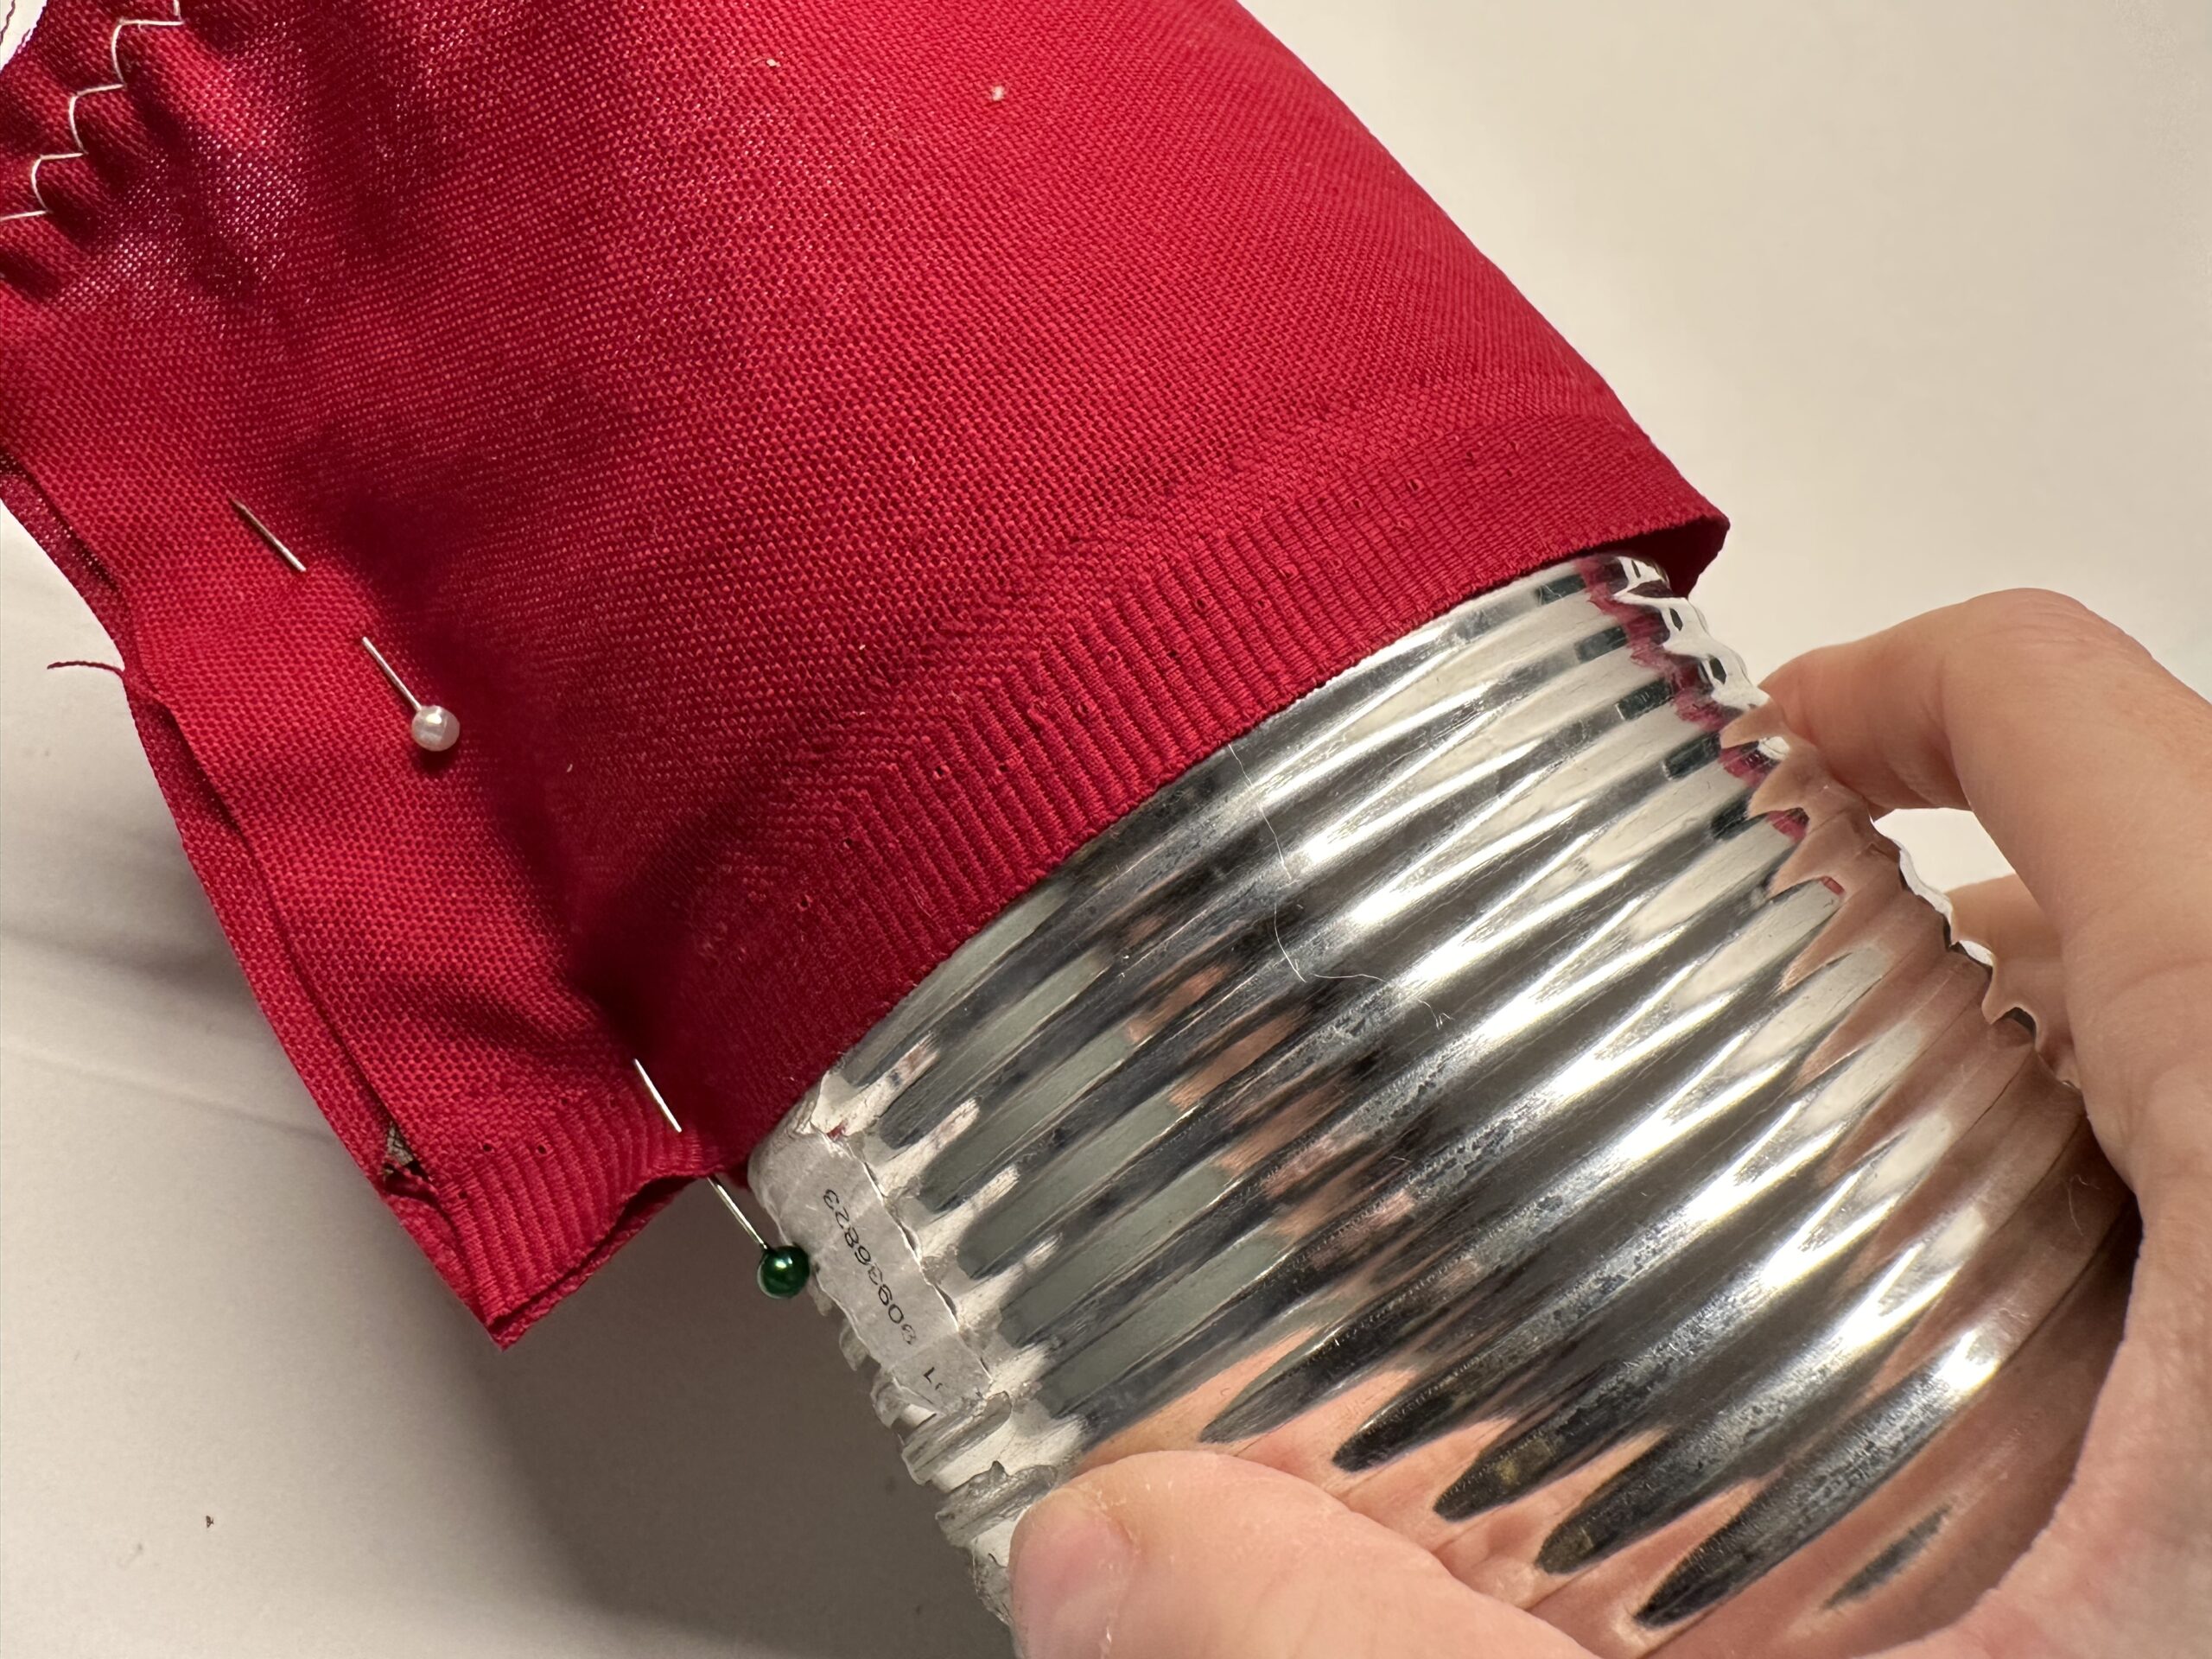
So you see how tight you have to sew on the coat. Don't put the marking off too tight, because you won't be able to slip the coat over the can after that.
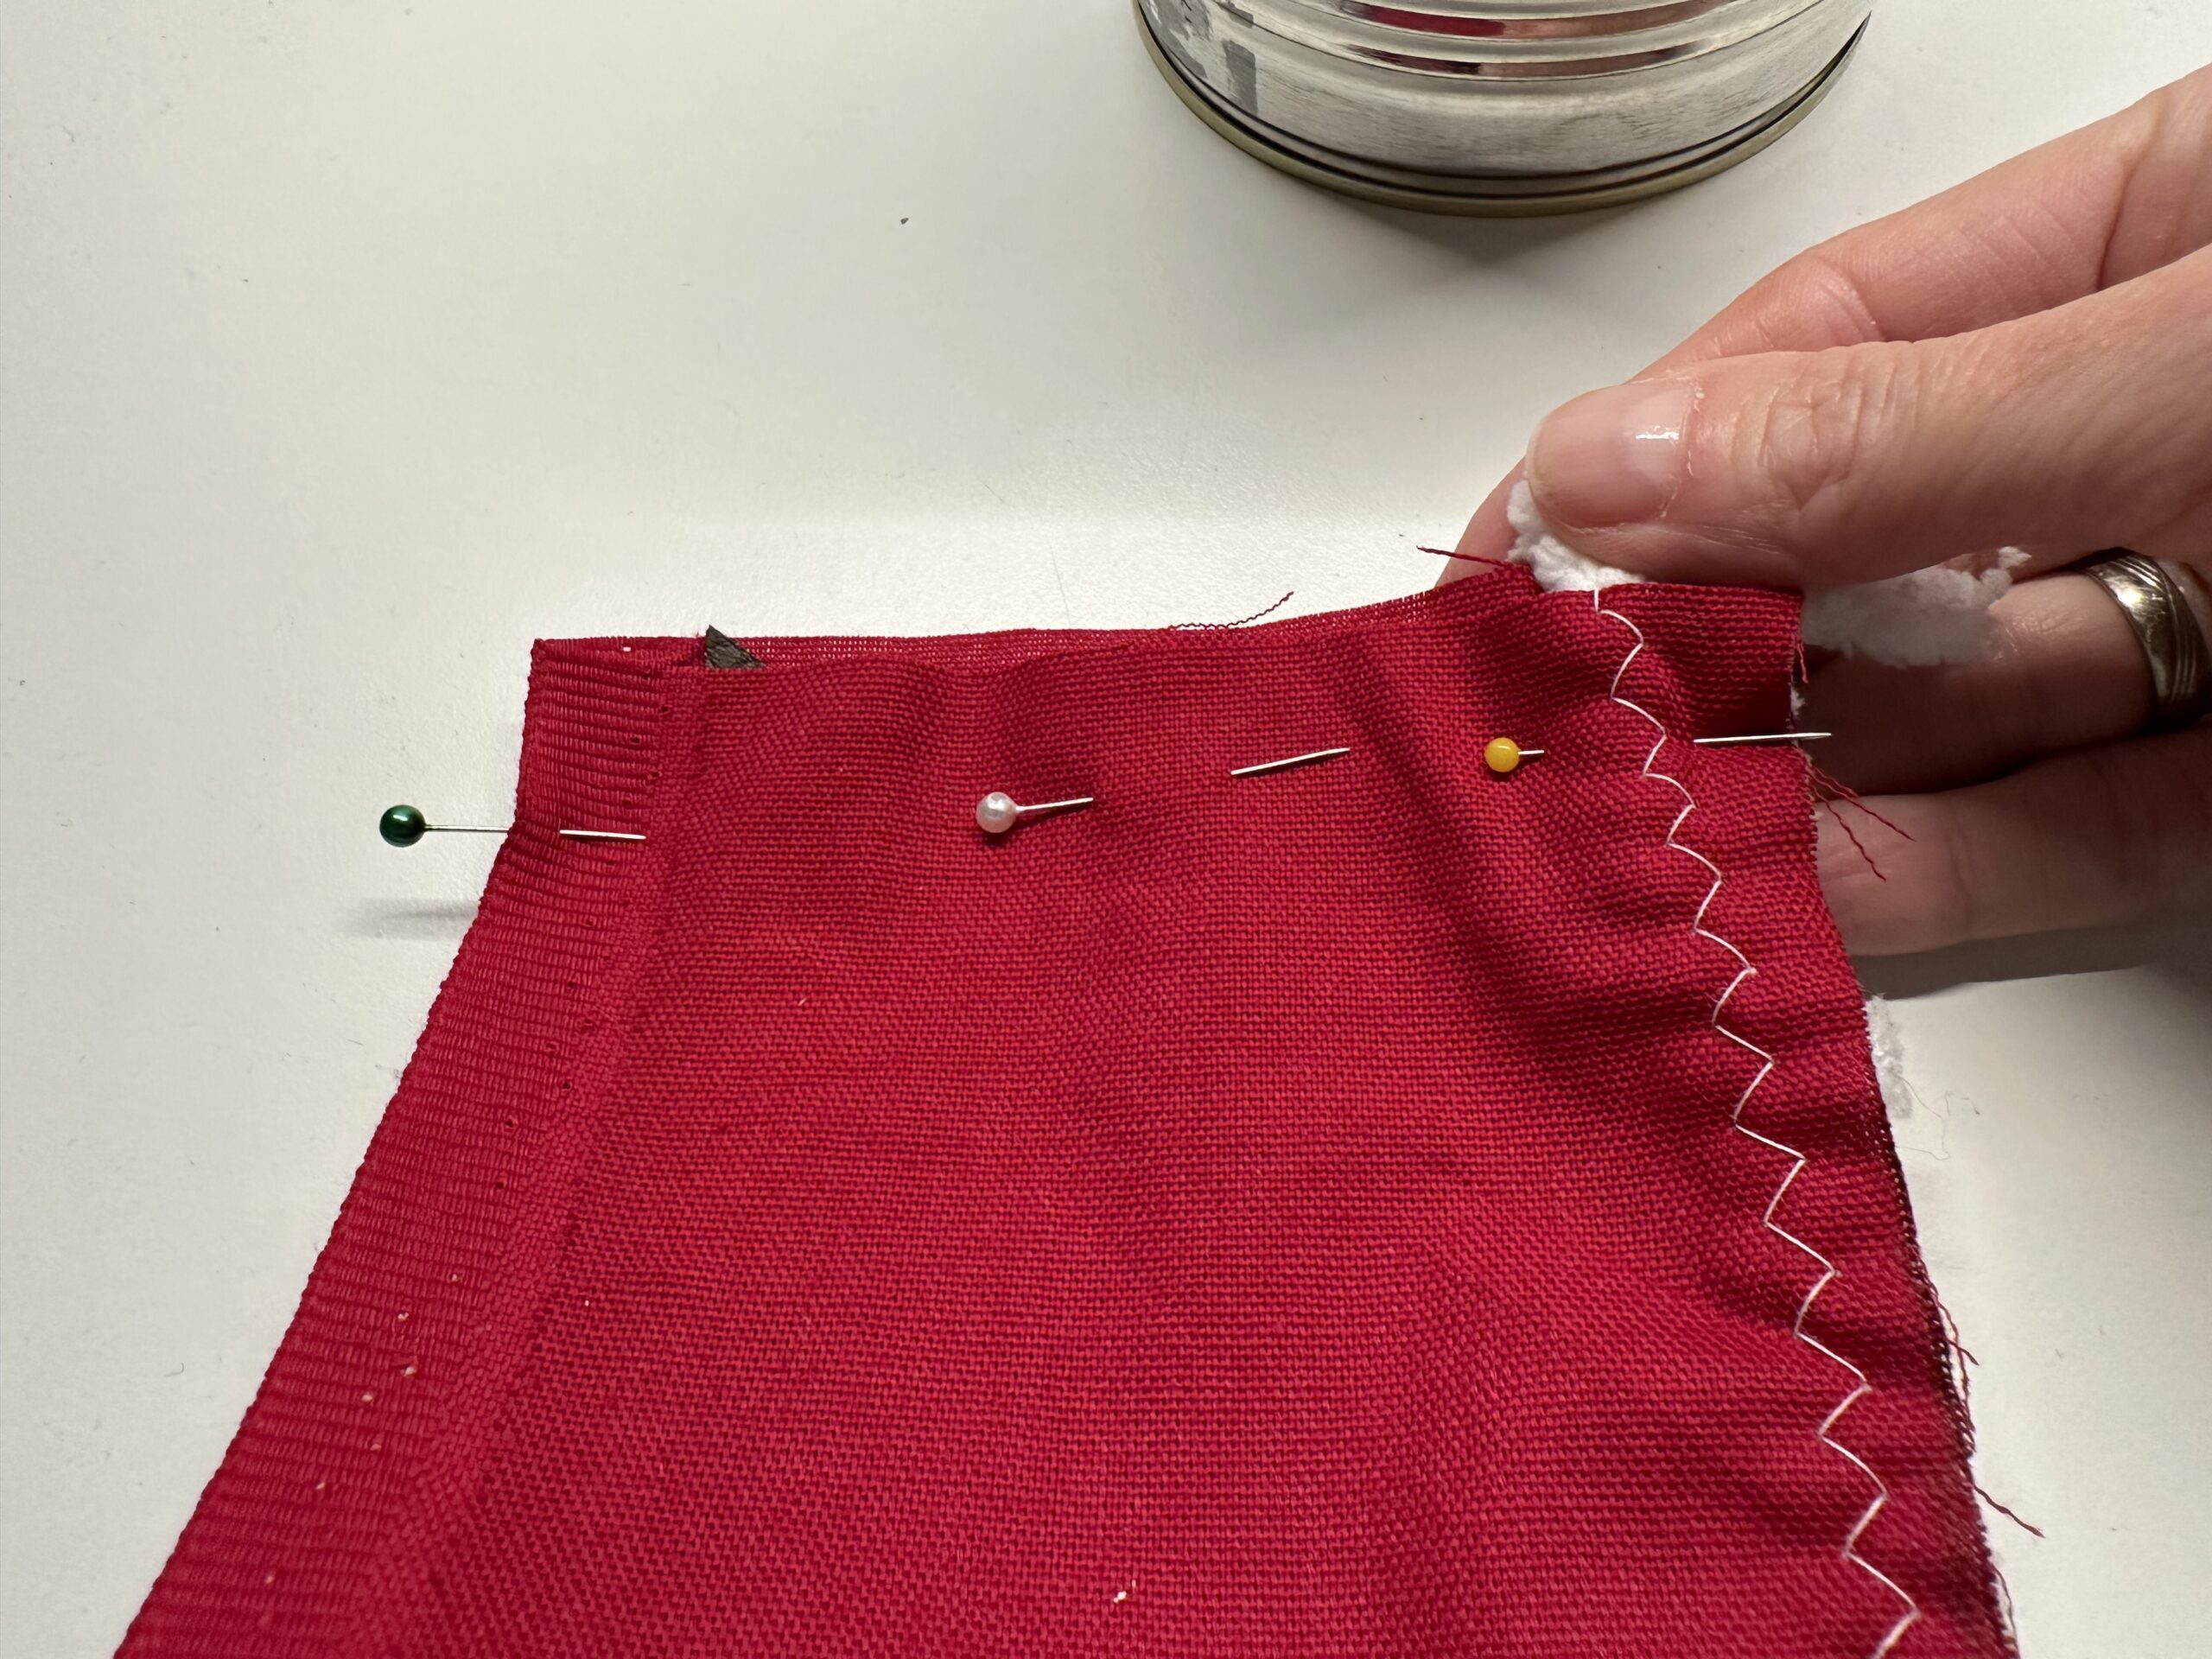
Seams this seam with a straight stitch with the sewing machine. Along the markings.
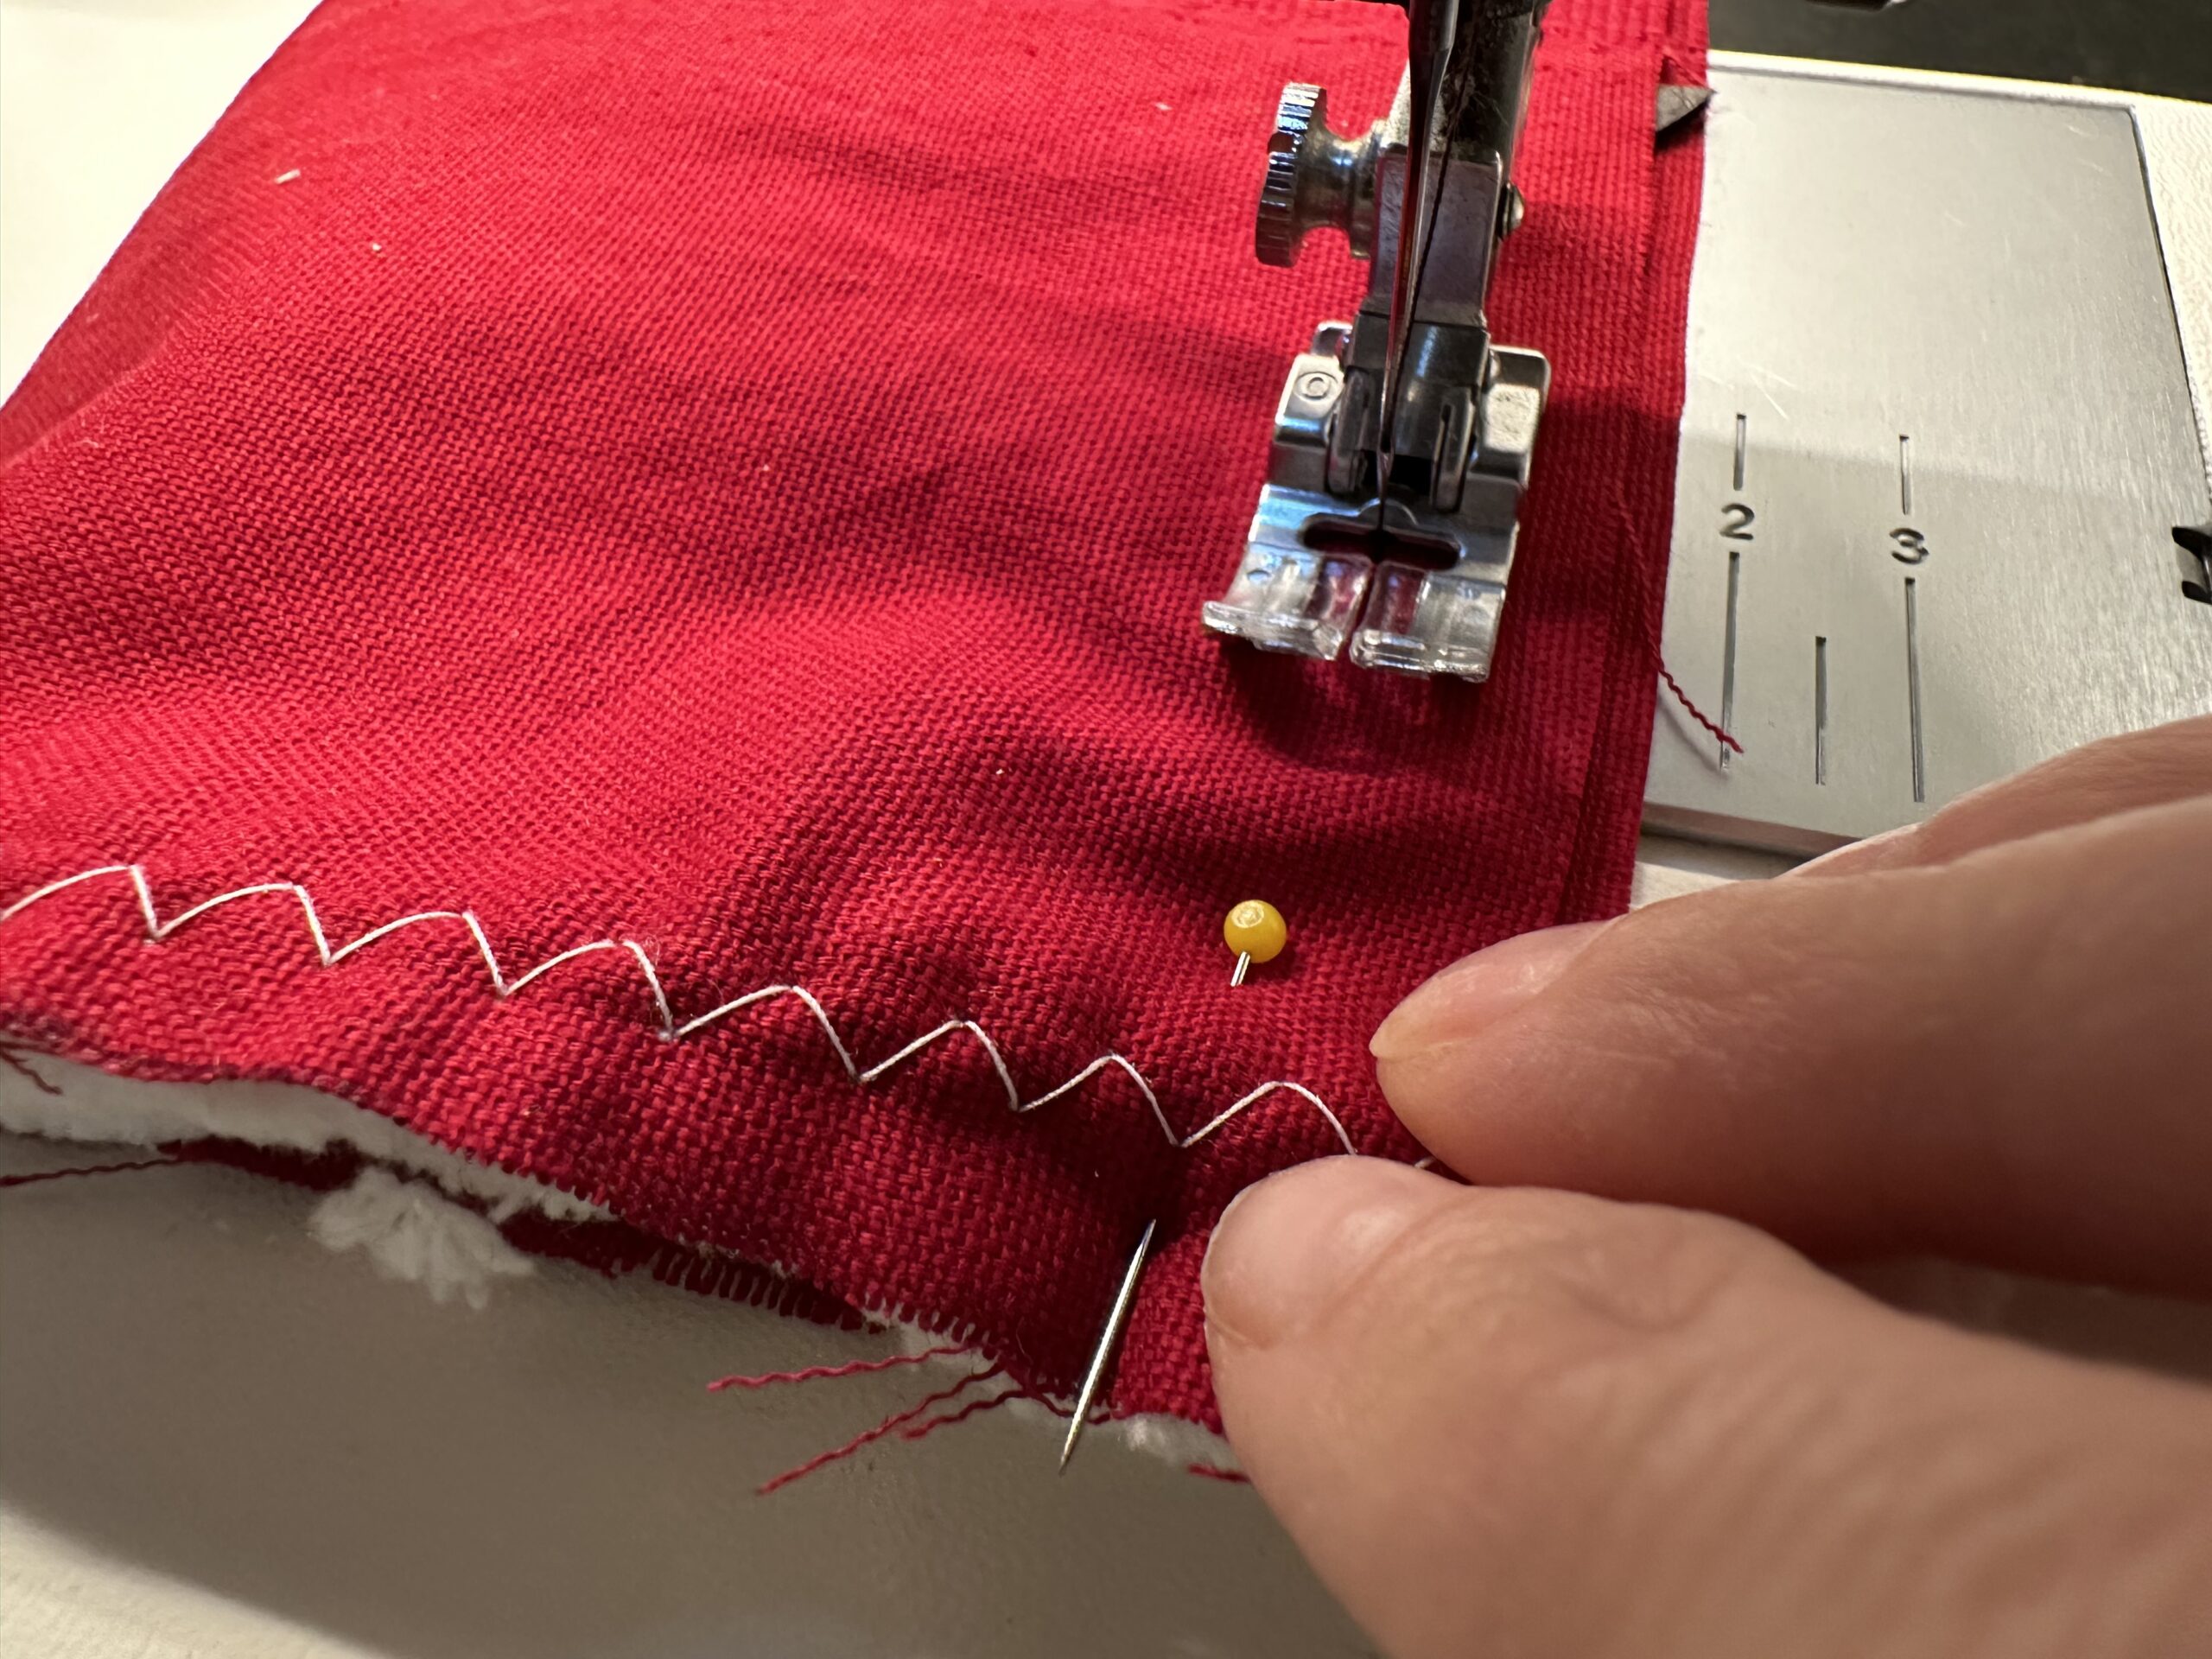
That's what the seam might look like.
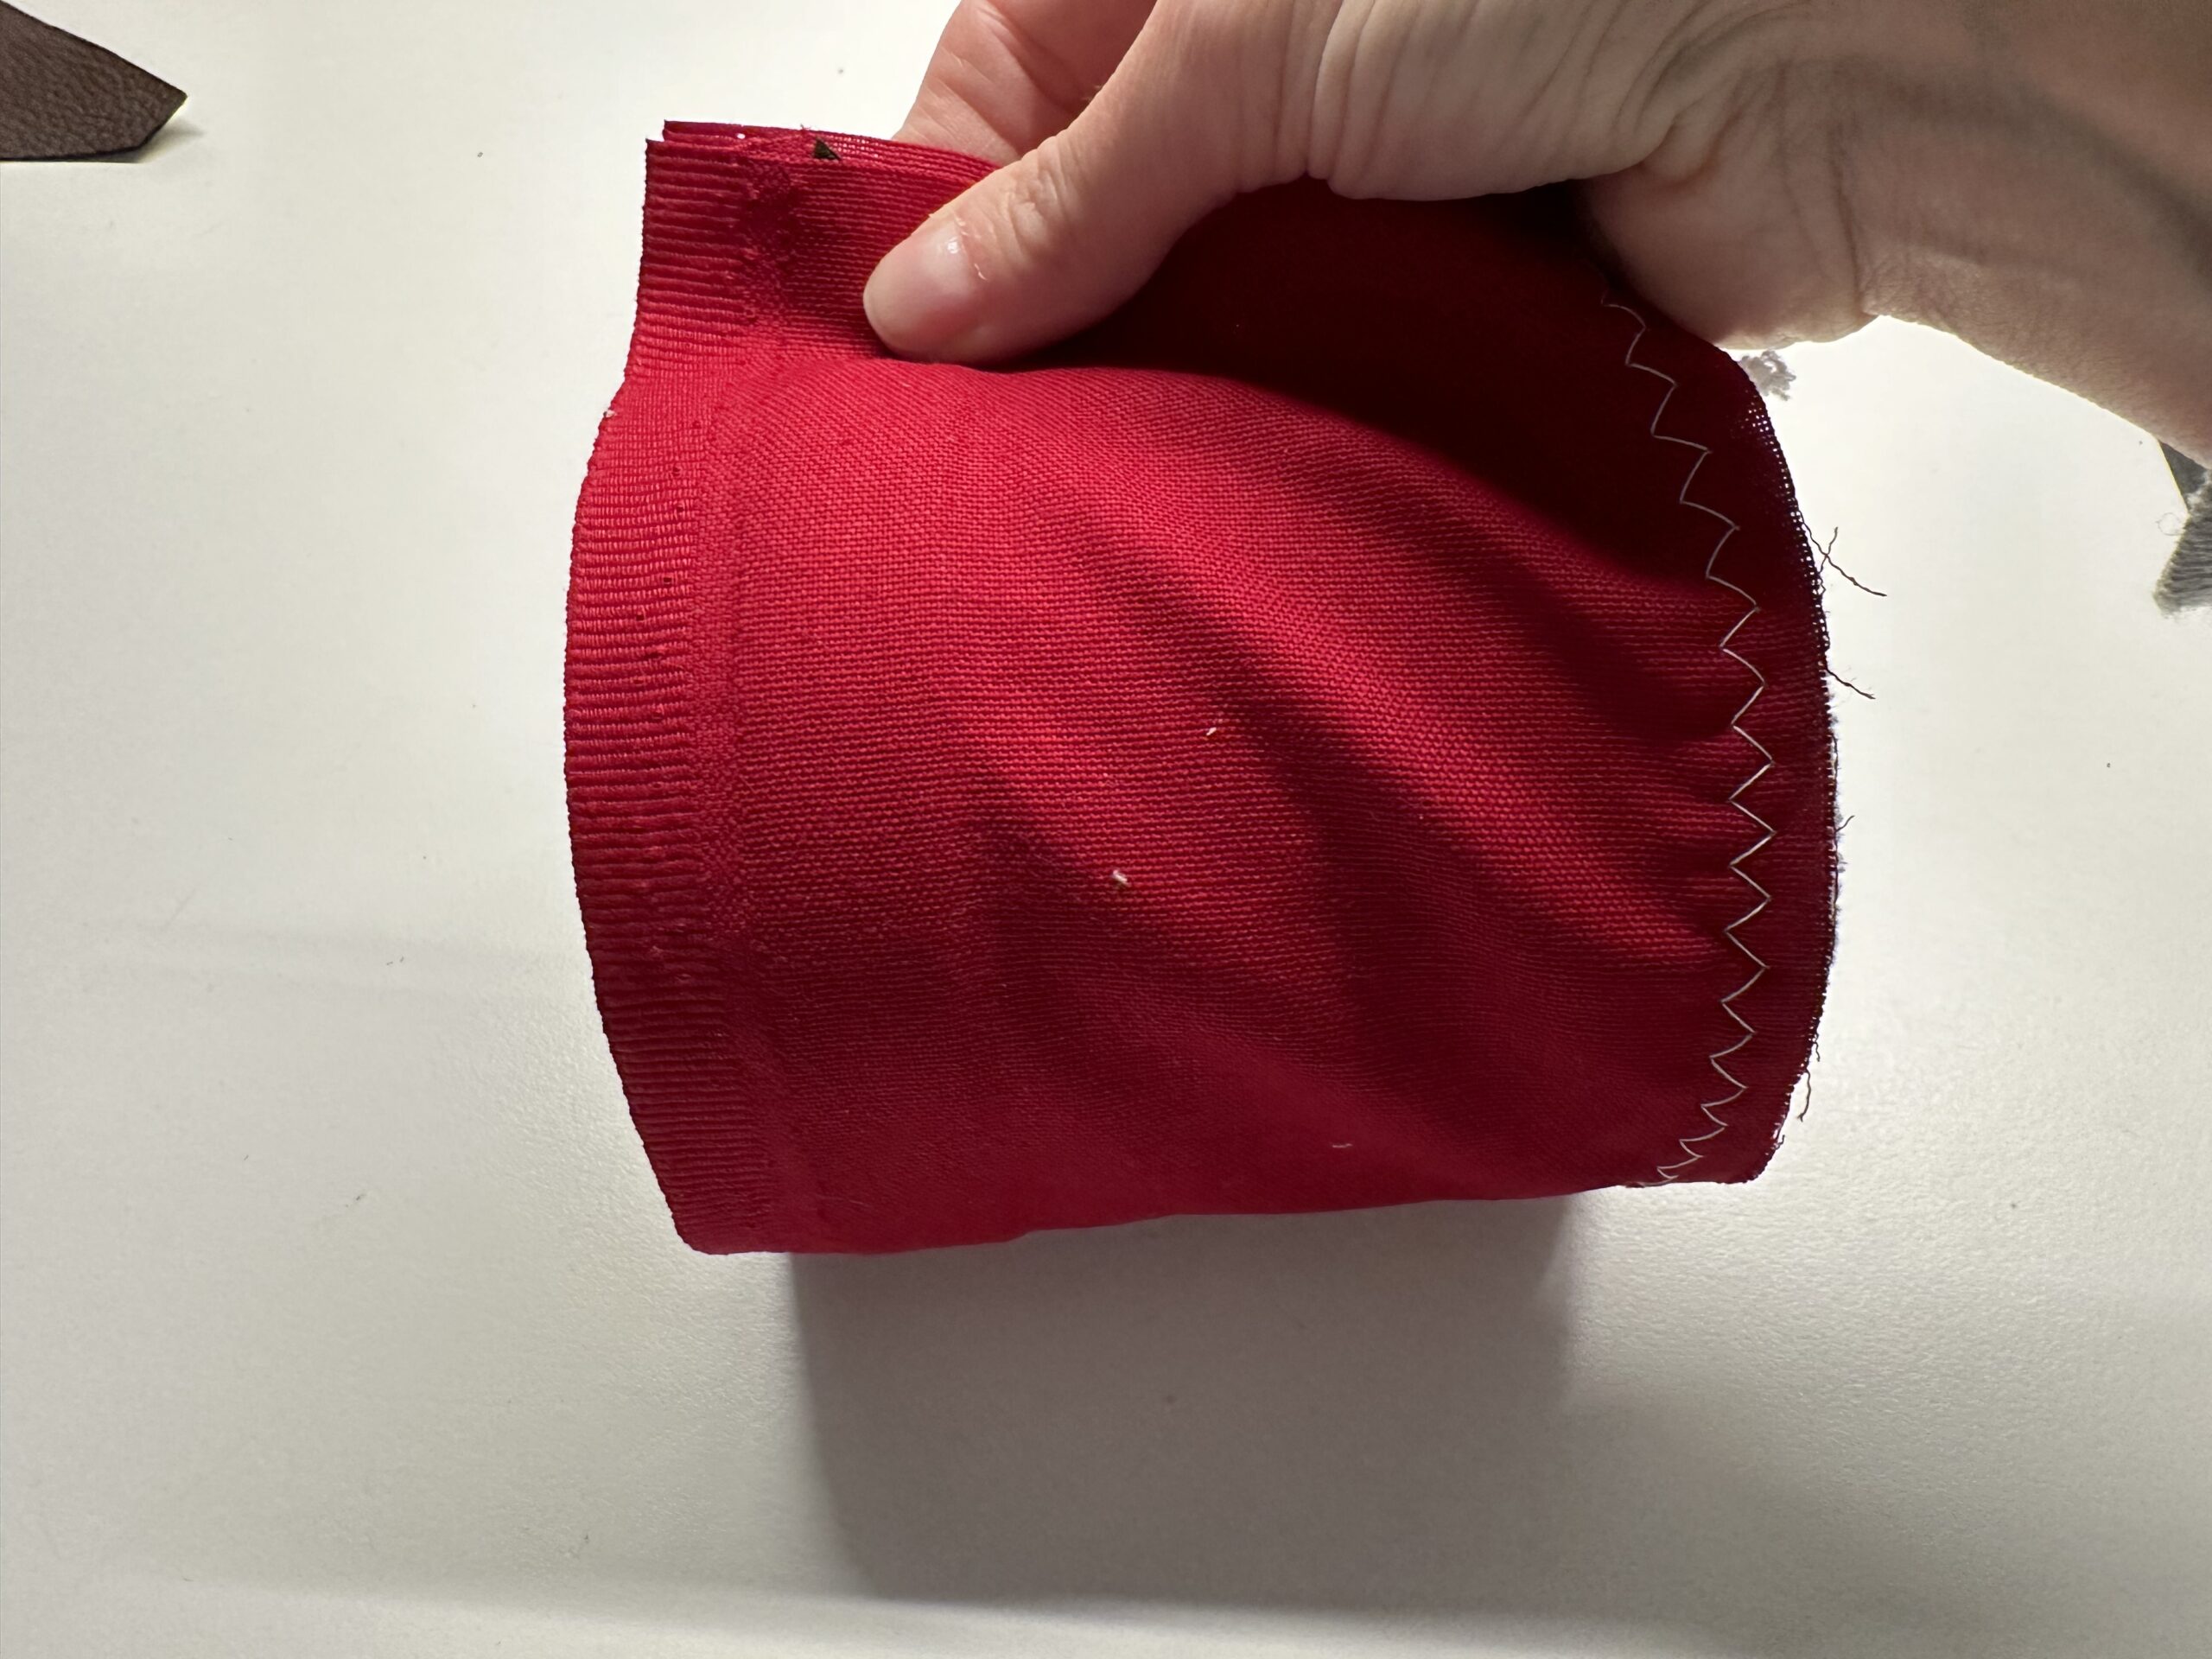
Turns the fabric coat that shows the beautiful side outwards.
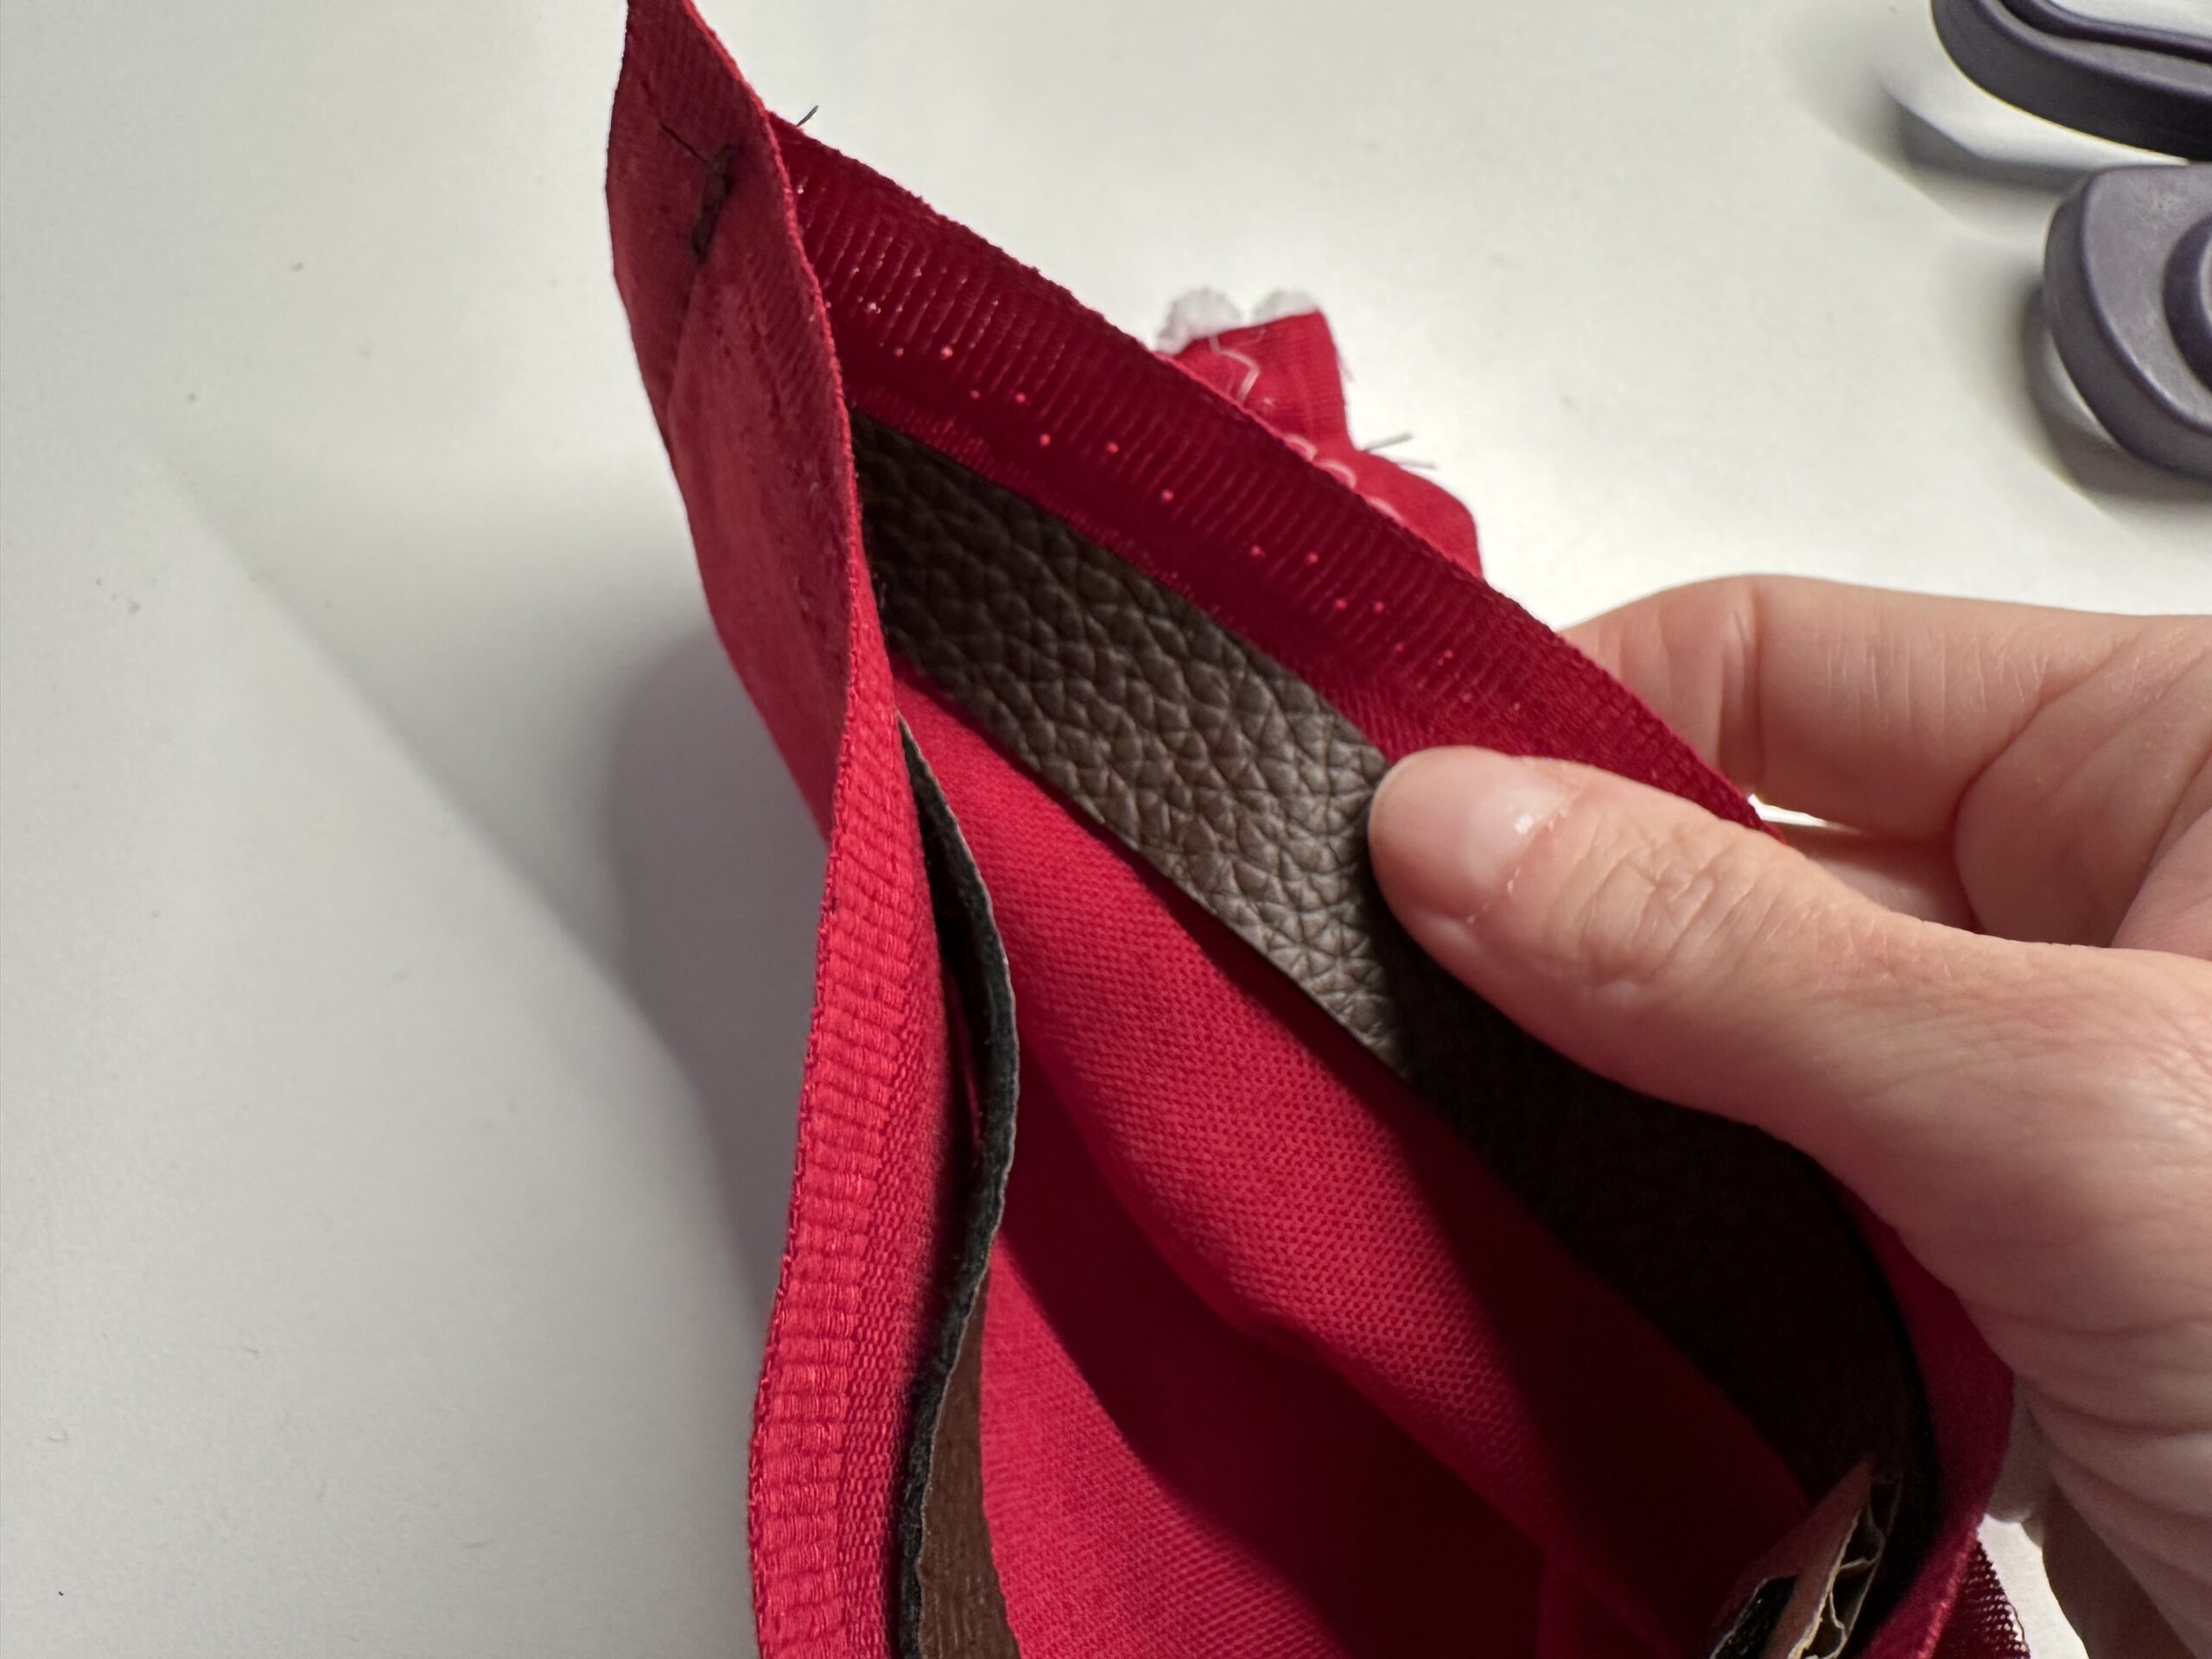
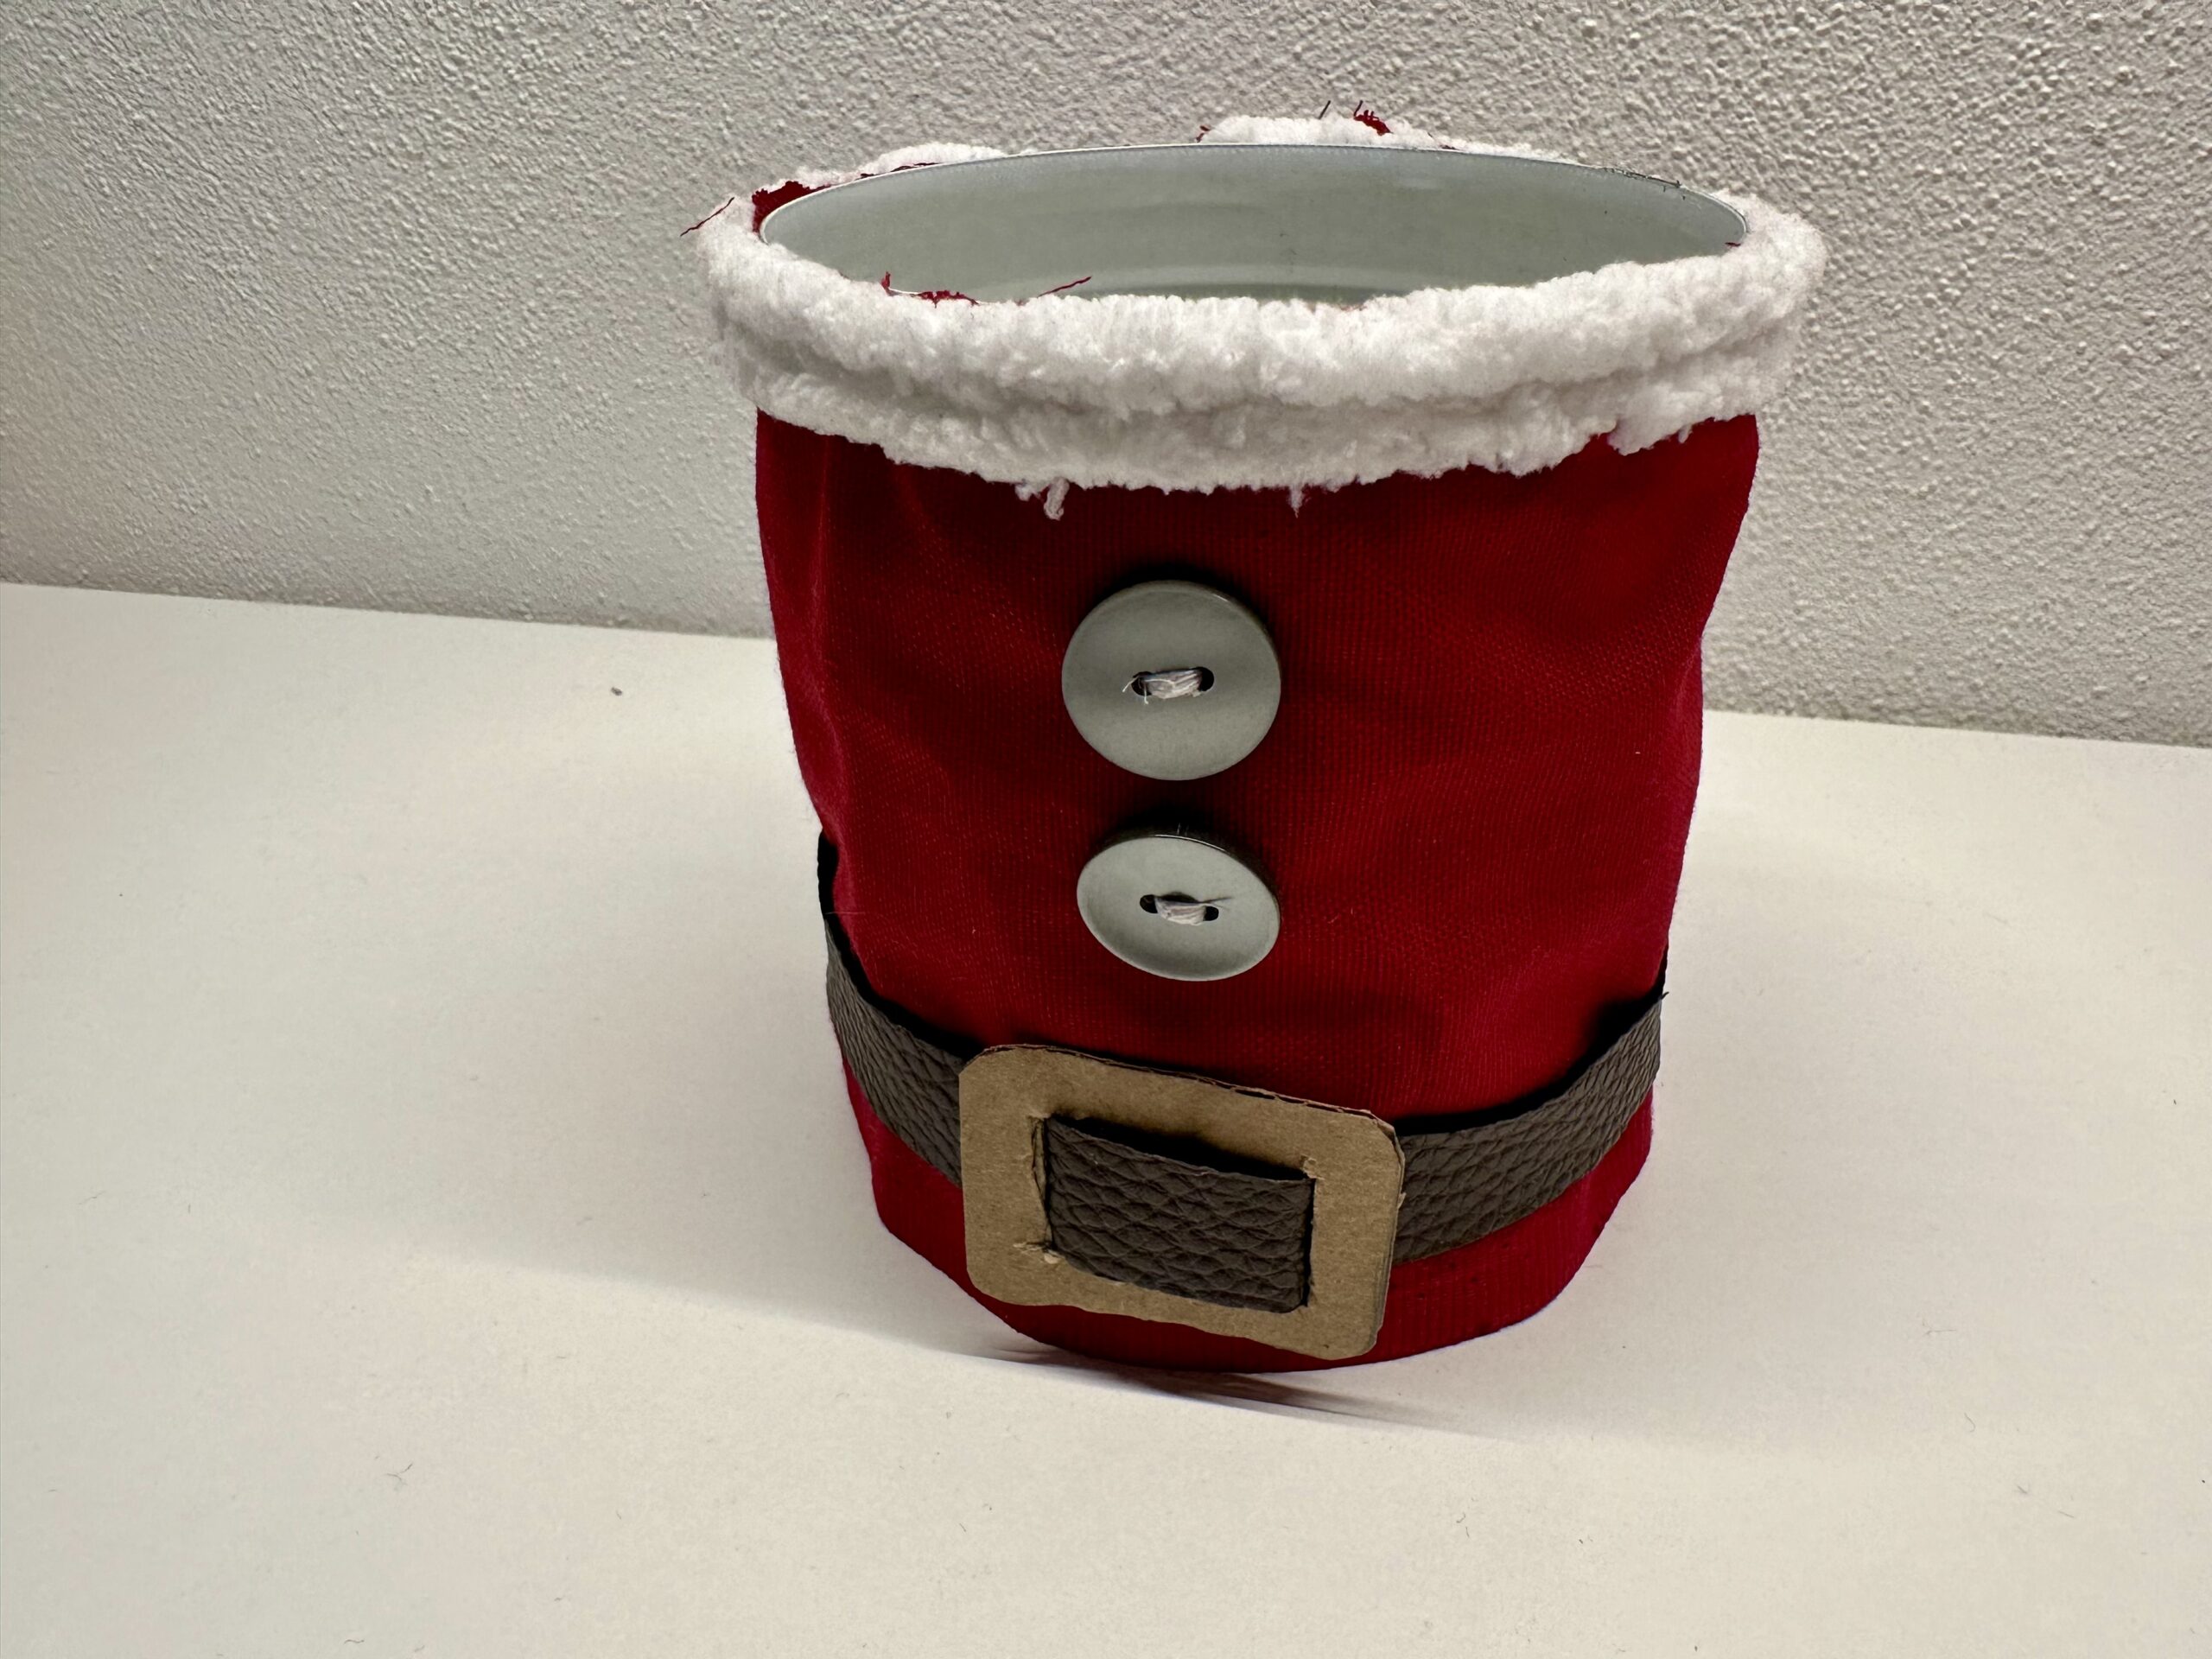
The little can coat is ready.
Put the coat over the can so that the white edge sits at the top of the can opening.
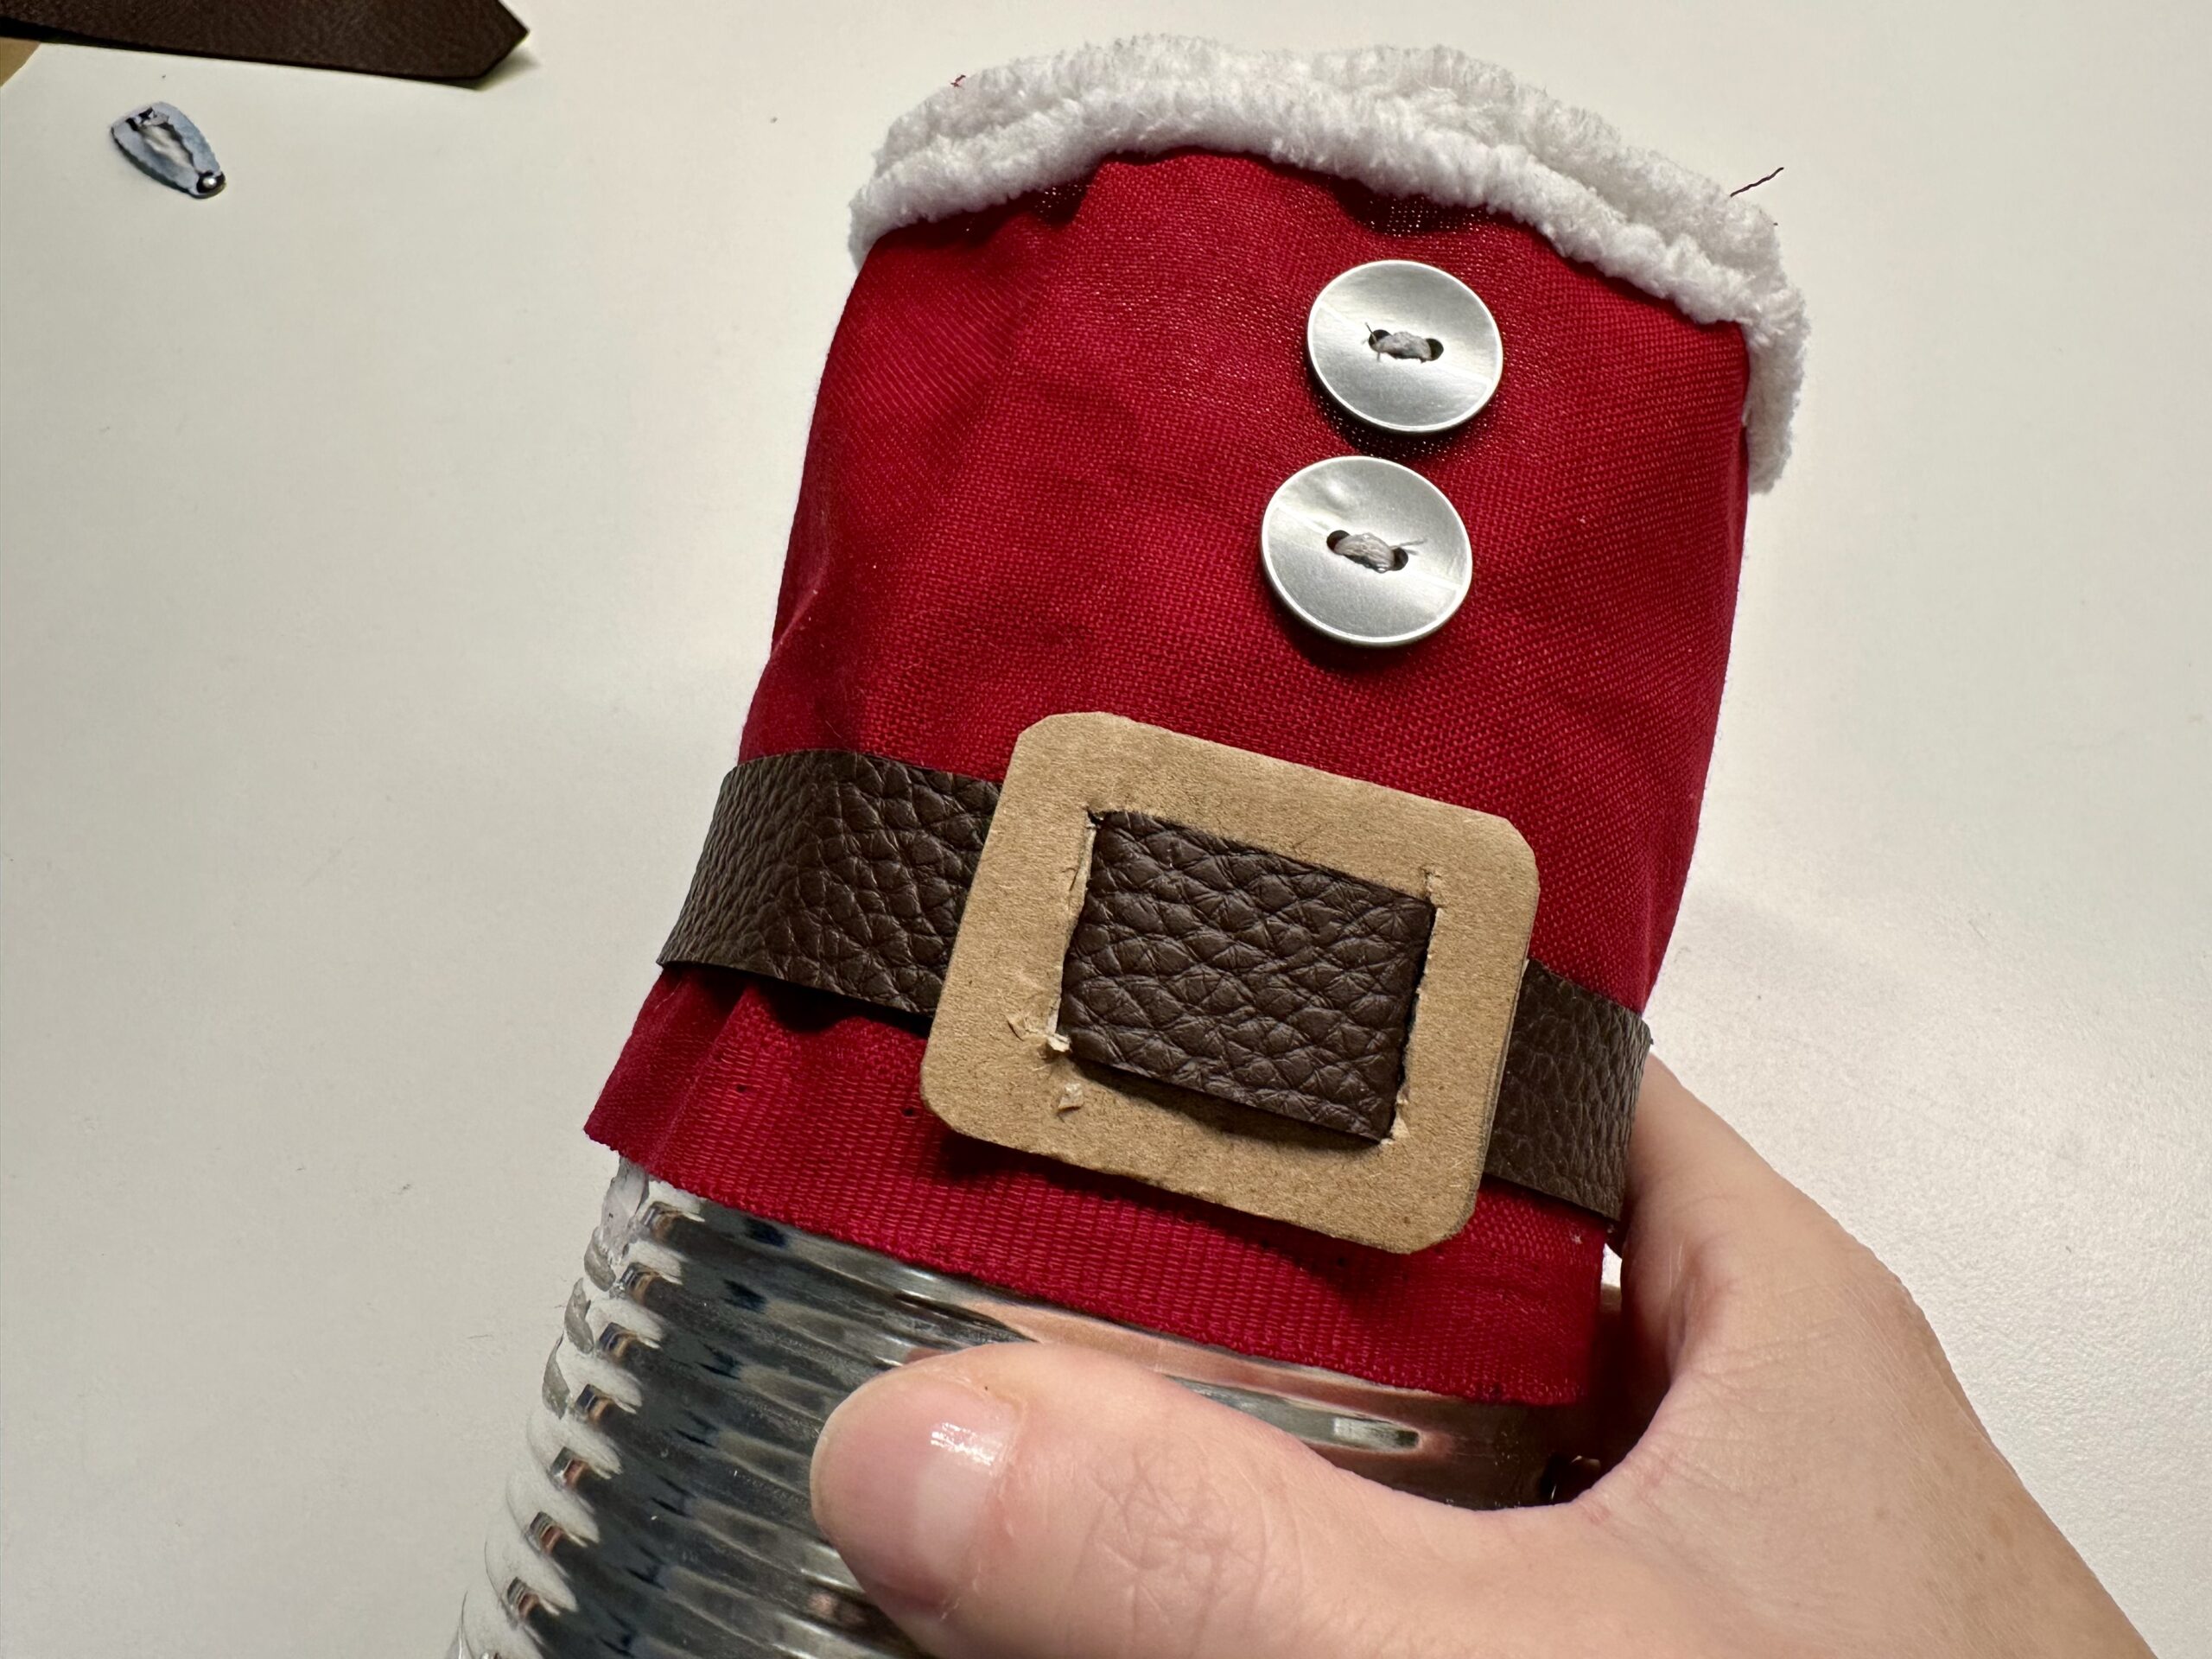
Pull it down and straighten the top edge.
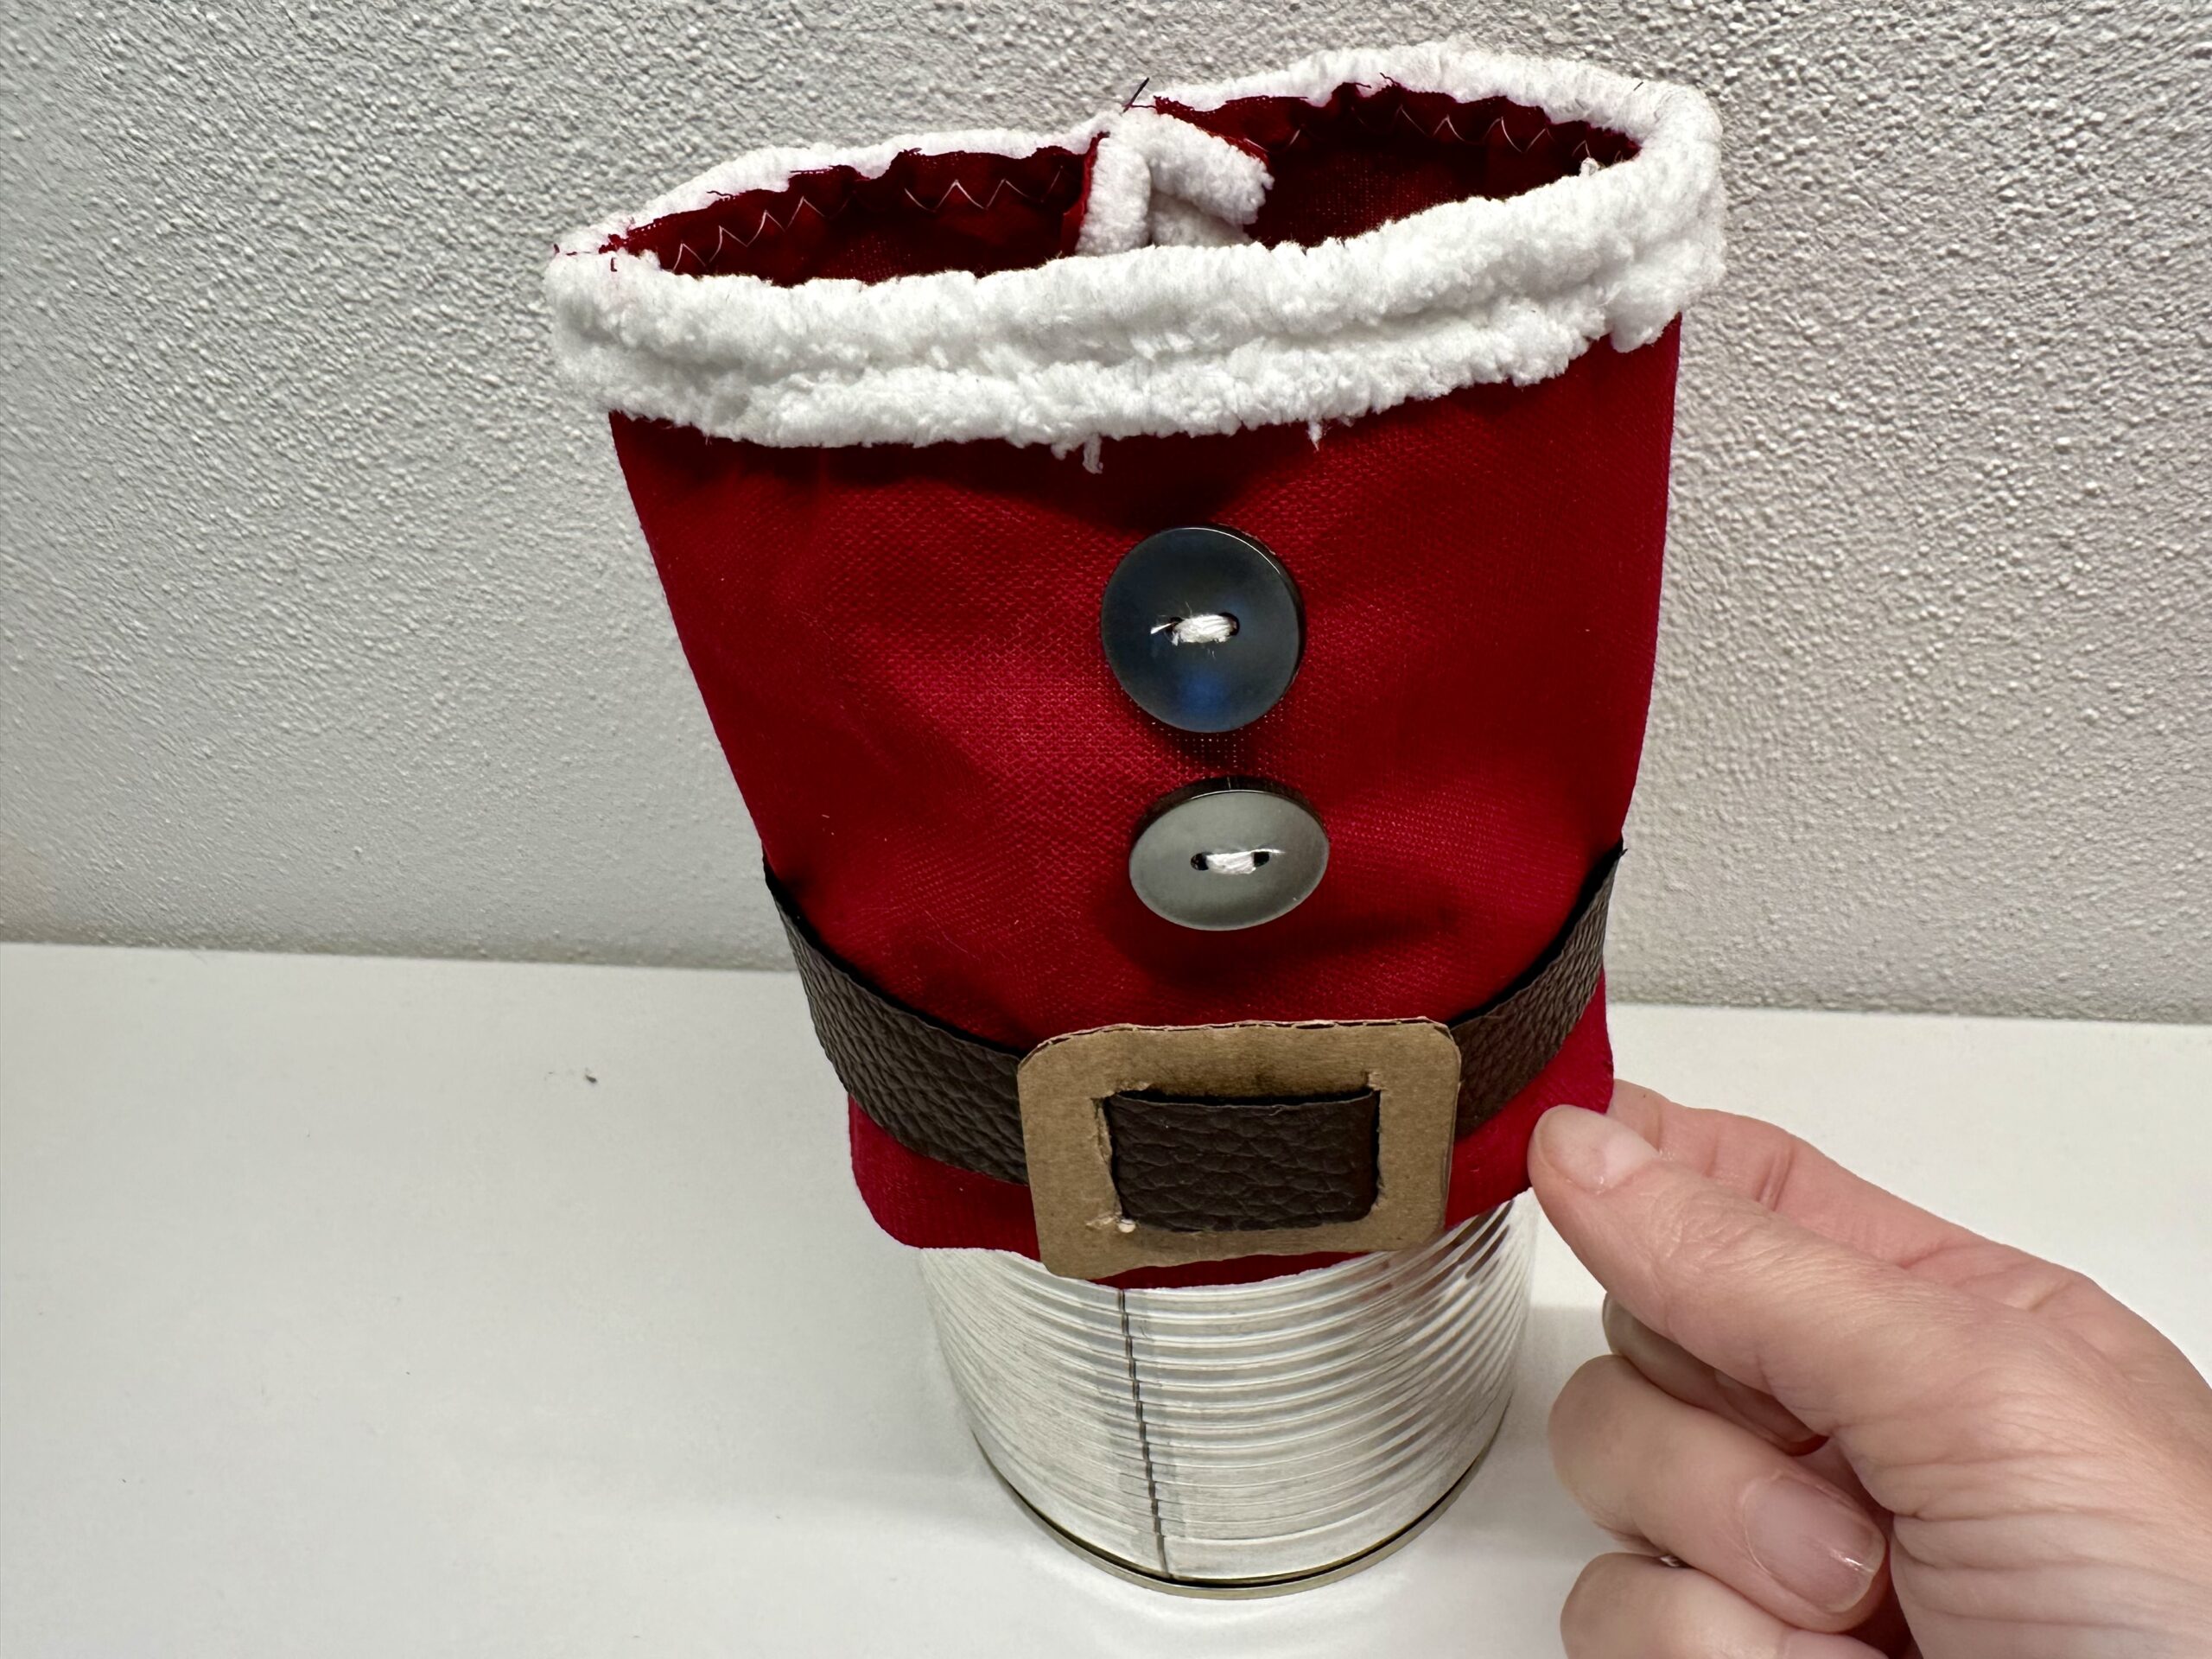
It's ready for your Santa dose.
Filled with a few nuts, apples and mandarins, this is a beautiful Santa's gift.
Have fun trying out.
Materials
Directions
Get all the utensils ready.
The can is coated with a strip of red fabric.
Cut a strip of fabric that is 12 cm wide (with a large can!) and 36cm long.
The length is a little more than your can has as a circumference, because you sew the fabric together a bit overlapping at the end!
Even if you don't sew but stick the parts together, the fabric should be a little longer (= about 36cm).
That's what the fabric strip could look like.
Now take the plush wool (or your bridle).
Double down the long side, then cut it off.
Fix it on the upper edge of the fabric with the brackets that it no longer slips.
Both wool cords must hold with the brackets.
Then they are sewn with the sewing machine.
With the sewing machine, both cords are sewn together with a very large zig-zag stitch with white thread on the fabric.
That's what it might look like.
Alternatively, stick both wool cords to the fabric.
A belt buckle is made from a carton. Paints it on the carton. It should not be larger than 2cm wide and long.
Cut it out with the scissors. Put two slits into it (see picture) through which the leather stripe (your belt) is pushed. Let it help you here possibly = risk of injury!
The leather strip must not be wider than the slits, otherwise it does not fit through the buckle. Cuts a leather strip to the length of 36 cm.
Belt and buckle are prepared.
Put the leather strip through the buckle. As in the pictures.
Push the buckle so that it sits in the middle of the leather strip.
Put the finished belt on the red fabric stripe. Now it looks like a Santa's coat.
If you want, you can put two buttons over the belt buckle.
If you want to sew them up, you have to lower the "transport wheels" of the sewing machine. Then the button remains lying when sewing!
Set a big zig-zag stick.
If you remove the little foot, you'll see better where the needle comes in. Turn the needle with the handwheel until it penetrates perfectly into the buttonholes. The button is held by the remaining little foot.
Sew some stitches.
Cut off the threads.
Sow the second button in the same way.
Alternatively, you can also sew the buttons with your hand (with needle and thread).
Or you stick the buttons firmly with a hot glue point but be careful: through the buttonholes the hot glue may swell! Take a pen for this for pressing.
You may also be able to fix the belt with a few stitches, shifting the buckle a bit.
So the seam is then hidden under the buckle.
Then there is no seam to be seen and the belt does not slip.
You can also fix the belt with a glue.
Put some glue on the belt.
Press the belt briefly on the fabric until it holds.
The little coat is ready. This has to be put around the can now.
Put the beautiful side on the can and enclose it with the fabric coat.
Make sure that the fabric strip ends lie neatly on each other.
Insert one or two pins for marking in the fabric.
So you see how tight you have to sew on the coat. Don't put the marking off too tight, because you won't be able to slip the coat over the can after that.
Seams this seam with a straight stitch with the sewing machine. Along the markings.
That's what the seam might look like.
Turns the fabric coat that shows the beautiful side outwards.
The little can coat is ready.
Put the coat over the can so that the white edge sits at the top of the can opening.
Pull it down and straighten the top edge.
It's ready for your Santa dose.
Filled with a few nuts, apples and mandarins, this is a beautiful Santa's gift.
Have fun trying out.
Follow us on Facebook , Instagram and Pinterest
Don't miss any more adventures: Our bottle mail