Yogurt cup flowers

AdventurerKatzi
Rating5.05.6 Thousand times & (1) DifficultyAdvanced

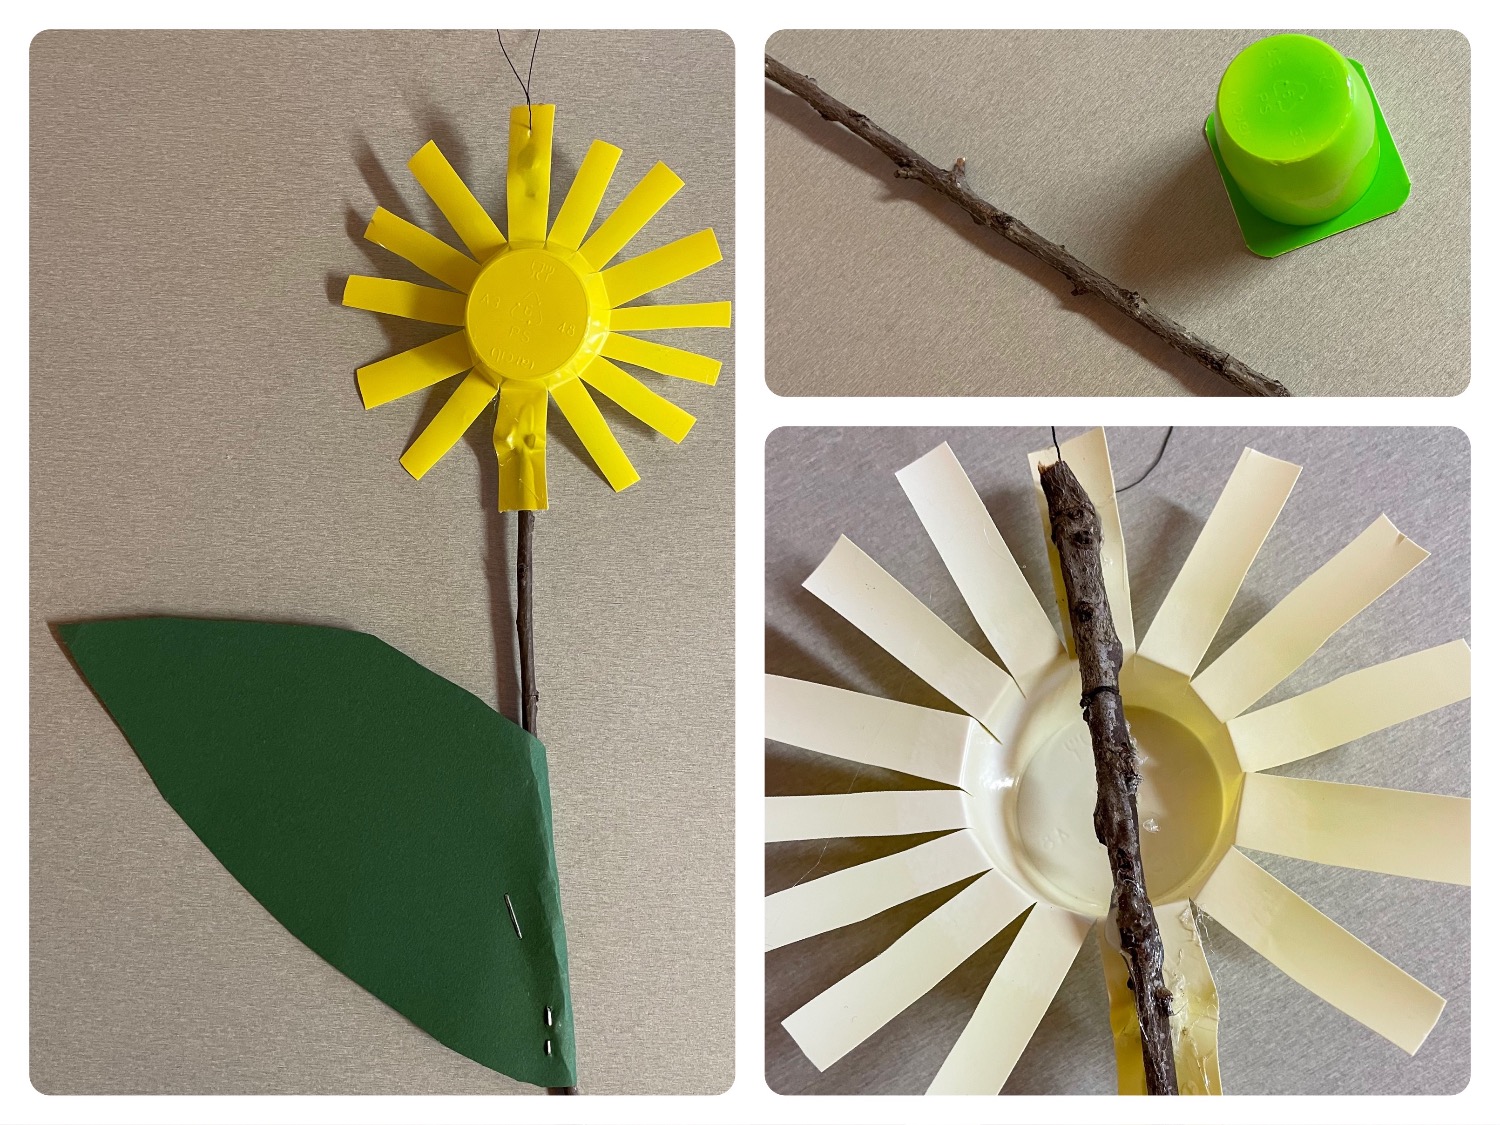
This flower is a small craft from an empty yoghurt cup. Together with a thin branch and green clay paper, it becomes a flower. The yoghurt cup becomes a flower, which is glued to the top of a branch. A sheet of clay paper is attached to the bottom of the branch. The flower is ready. Have fun!

Media Education for Kindergarten and Hort

Kind bastelt eine Rassel mit dem Navi
The Adventure Navi, the app for DIY projects, enables media education for the youngest.

Relief in everyday life, targeted promotion of individual children, independent learning and - without any pre-knowledge already usable by the youngest!


Titelbild zur Bastel- und DIY-Idee für Kinder '(800) Joghurtbecher-Blumen'
Material for1 Child
Prep Time5 min.Adv. Time20 min.Total Time25 min.
 1 Yogurt cups Coloured monochrome
 1 Ast approx. 20 cm long
 1 Clay paper greenca. 10cm x 15cm
In addition, you need:
 1 Pen
 1 Document
 1 Hot glue gun
 1 Peas/peas/peas/peas/peas/peas/peas/peas/peas/peas/peas/peas/peas/peas/peas/peas/peas/peas/peas/peas/peas/peas/peas/peas/peas/peas/peas/peas/peas/peas/peas/peas/peas/peas/peas/peas/peas/peas/peas/peas/peas/peas/peas/peas/peas/peas/peas/peas/peas/peas/peas/peas/peas/peas/peas/peas/peas/peas/peas/peas/peas/peas/peas/peas/peas/peas
 1 Tacker or glue
 1 Thread
 1 Needle
All links marked with a shopping cart lead to Amazon - here we have selected products that we would order ourselves and in part also ordered. In a qualified purchase via the advertising link, we as Amazon partner receive a commission, for you there are no costs. You thus support our cost- and advertising banner-free, educational offer.
1

Get all the materials ready first.

2

A branch serves as a flower stalk.
From the yoghurt cup the flower arises.
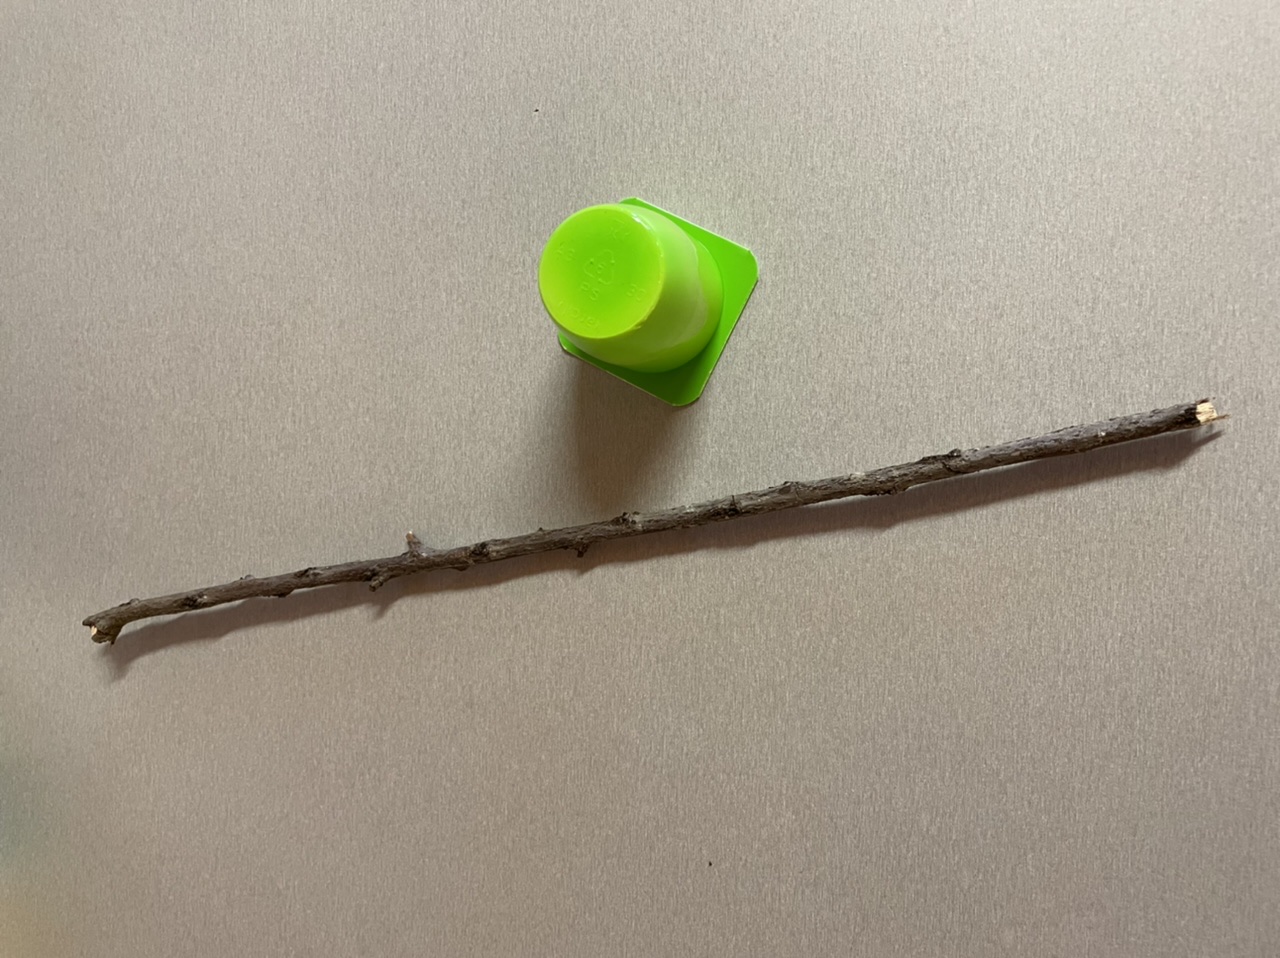
Bild zum Schritt 2 für das Bastel- und DIY-Abenteuer für Kinder: 'Ein Ast dient als Blumenstiel.   Aus dem ...'

3

First cut off the top of the yoghurt cup.
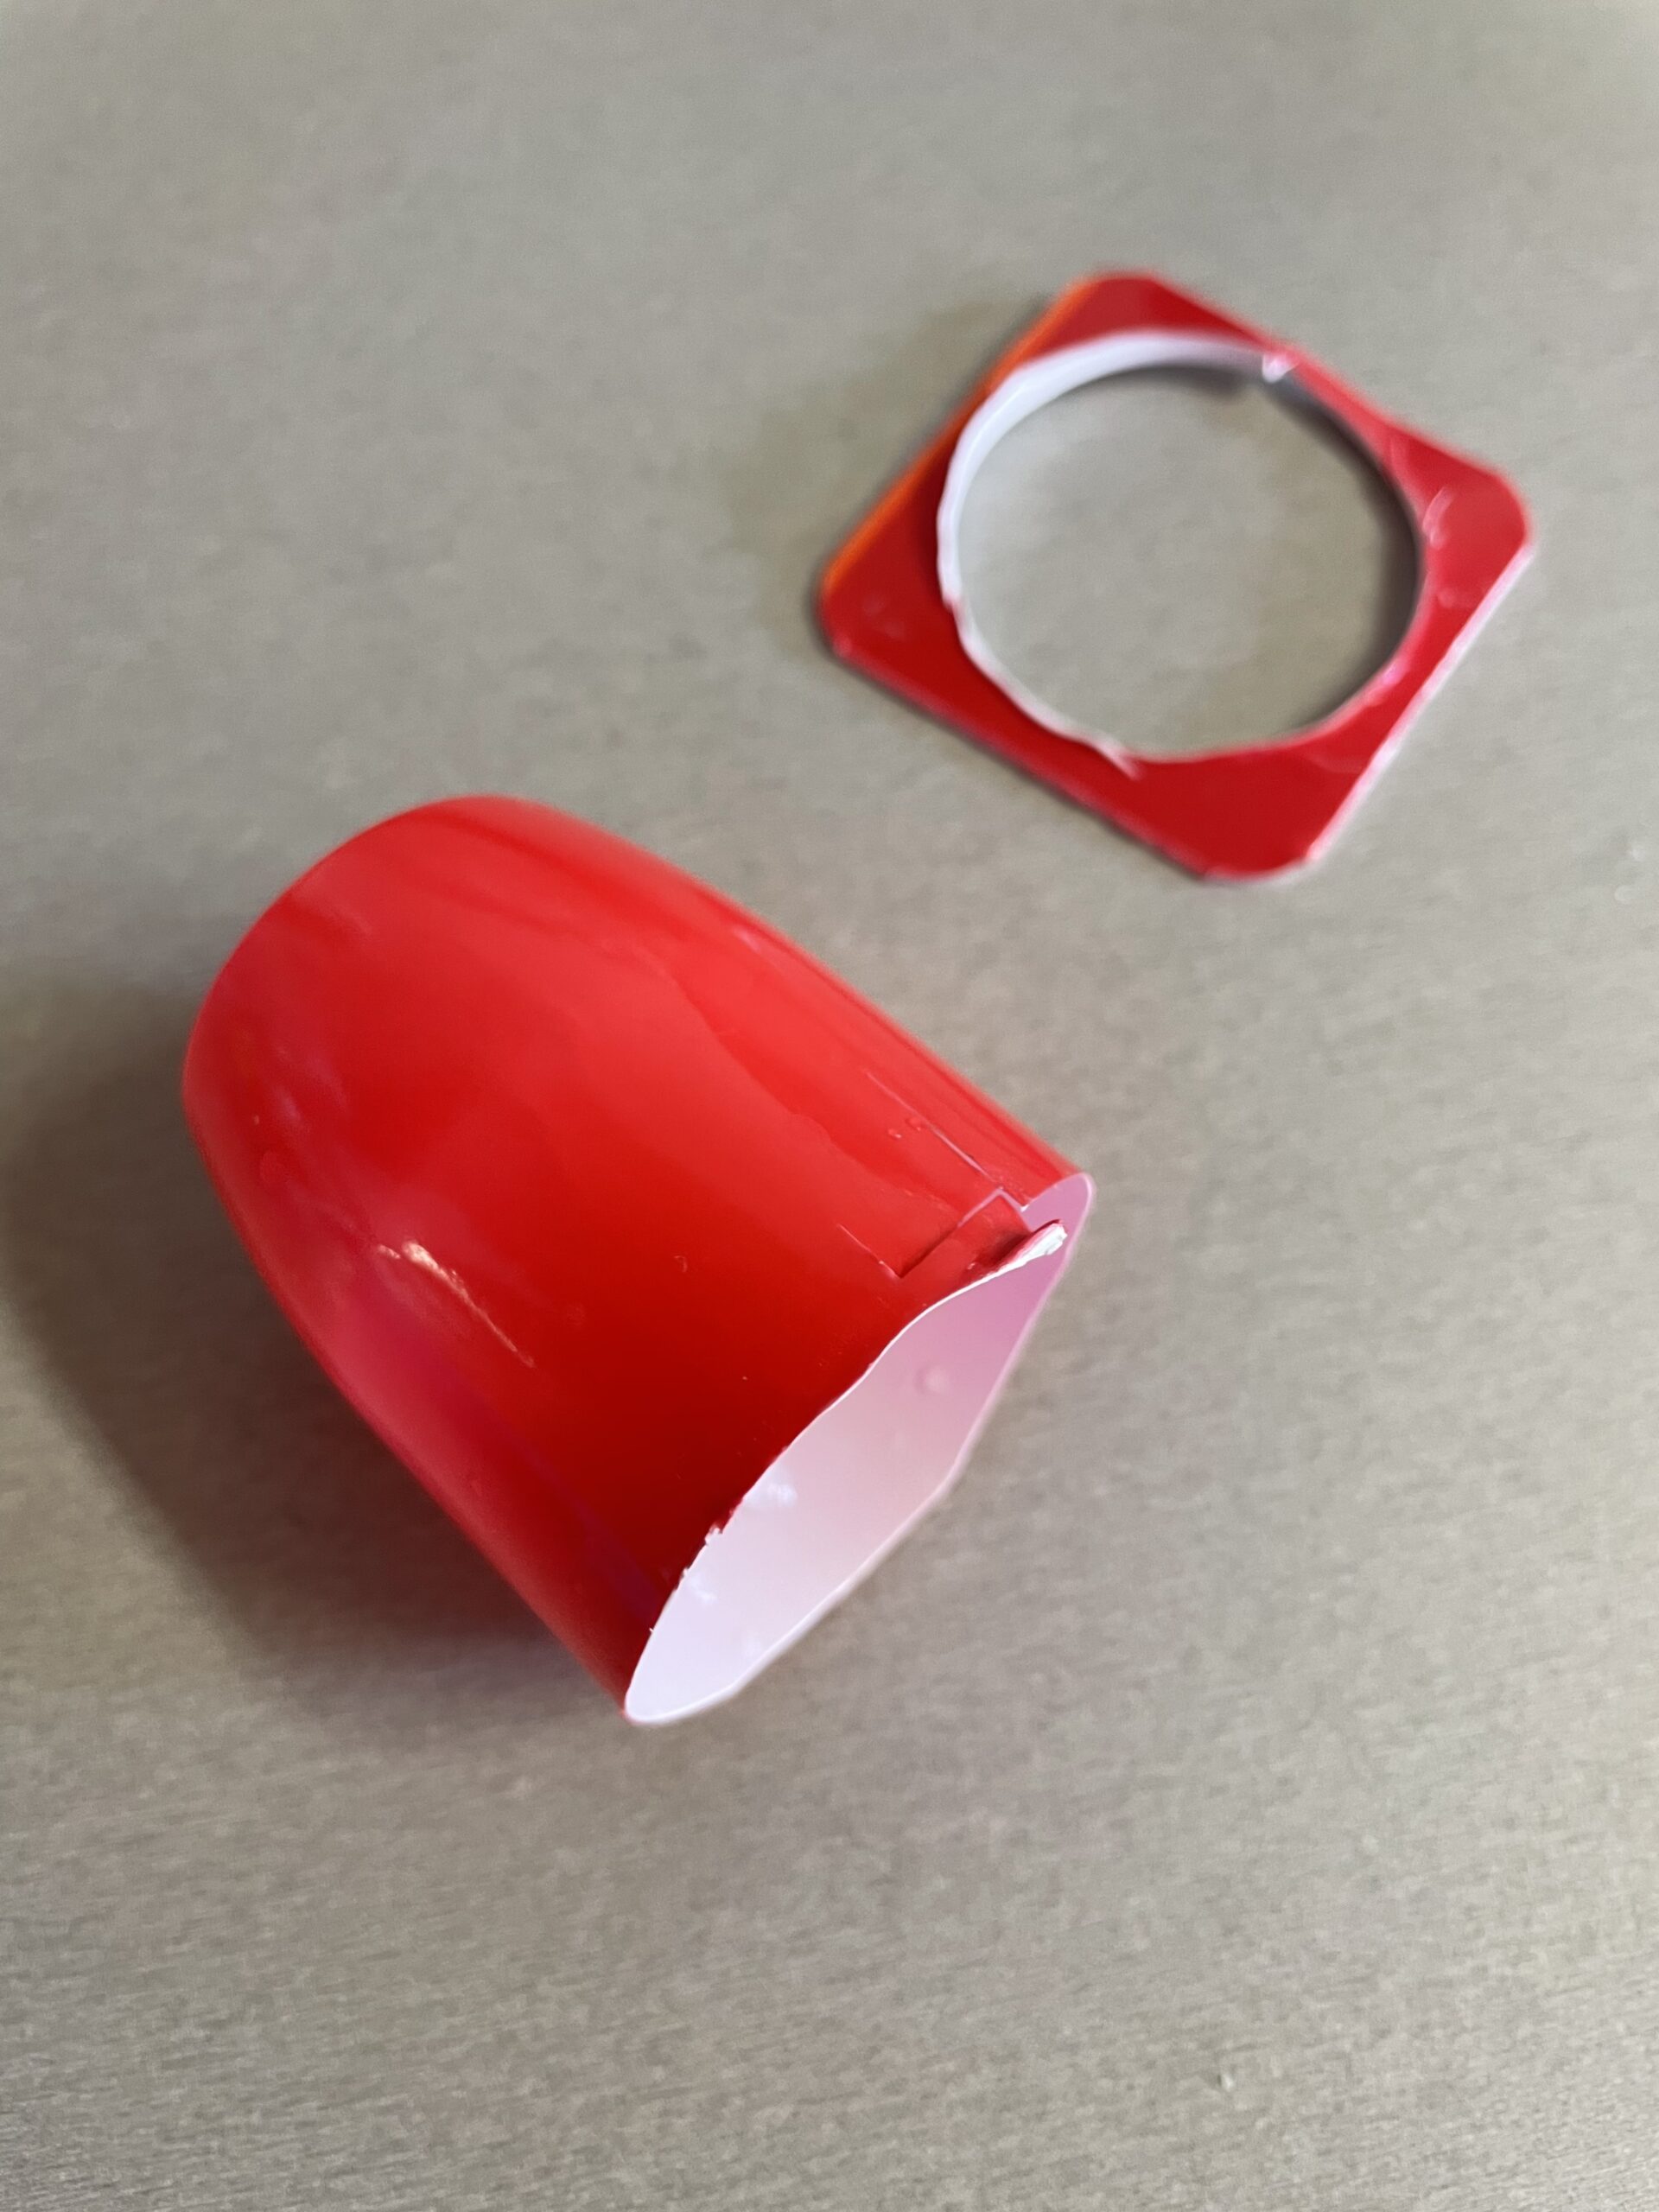
Bild zum Schritt 3 für das Bastel- und DIY-Abenteuer für Kinder: 'Schneidet zuerst den oberen Rand des Joghurtbechers ab.'

4

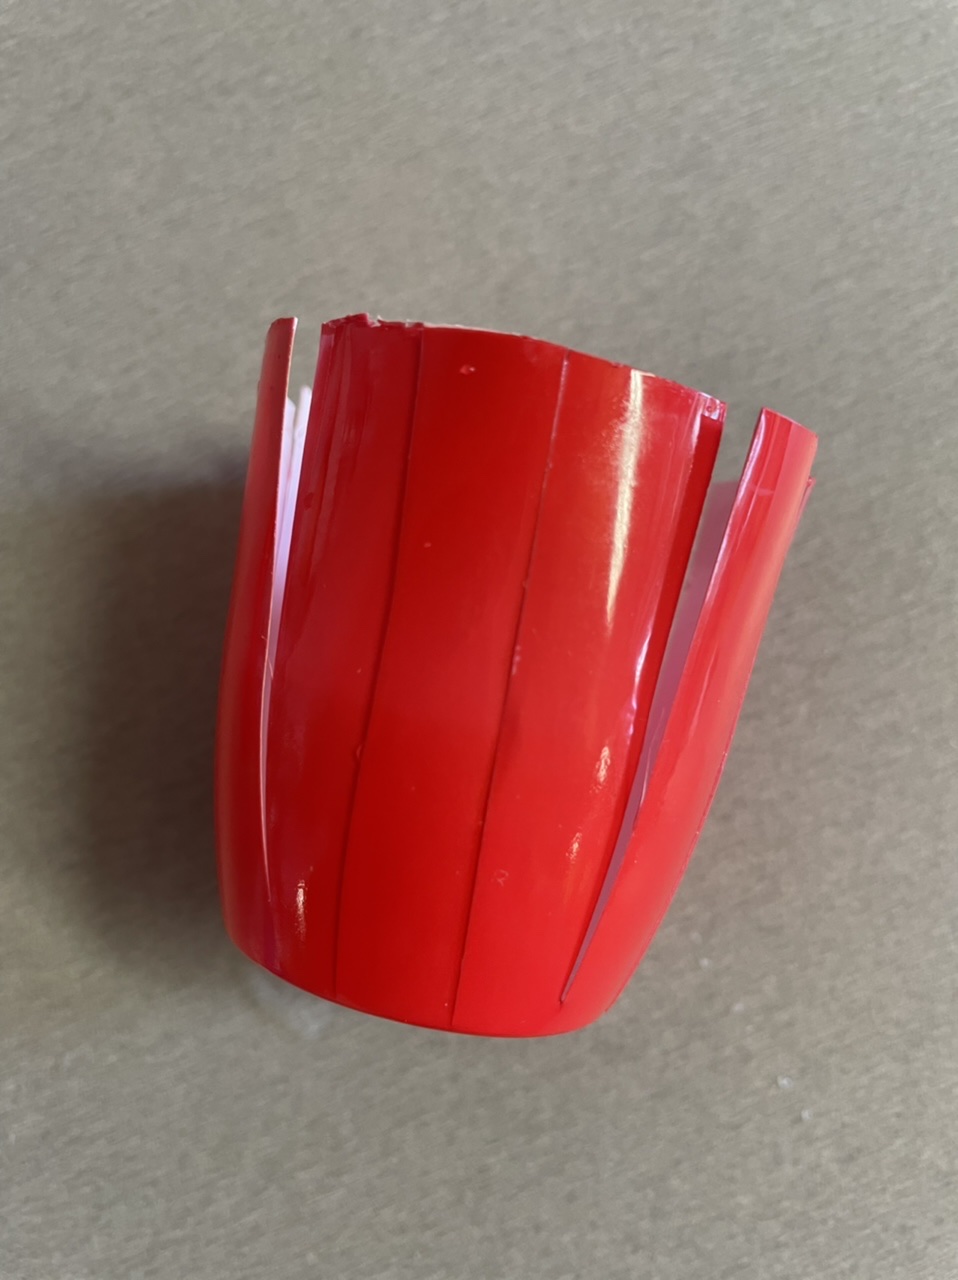
Then cut the cup from top to bottom with the scissors into thin strips. Cuts all the way down to the bottom of the cup.

Bild zum Schritt 4 für das Bastel- und DIY-Abenteuer für Kinder: 'Dann schneidet von oben nach unten mit der Schere den...'

5

Cut the whole cup all around.

Bild zum Schritt 5 für das Bastel- und DIY-Abenteuer für Kinder: 'Schneidet den ganzen Becher rundherum ein.'

6

Then you bend the individual strips outwards. This is how the flower develops.

Bild zum Schritt 6 für das Bastel- und DIY-Abenteuer für Kinder: 'Dann biegt ihr die einzelnen Streifen nach außen. So entsteht...'

7

Then you stick the flower with the back to the branch. Use hot glue. Let an adult help you with this: Risk of injury!

Bild zum Schritt 7 für das Bastel- und DIY-Abenteuer für Kinder: 'Anschließend klebt ihr die Blüte mit der Rückseite an den...'

8

Now you paint a leaf on the green paper and cut it out.

9

Attach the sheet with the glue, hot glue or stapler in the lower part of the branch.

Bild zum Schritt 9 für das Bastel- und DIY-Abenteuer für Kinder: 'Befestigt das Blatt mit dem Kleber,  Heißkleber oder Tacker...'

10

Now you thread a thread through the flower at the upper edge of the flower and knot both ends. This creates a suspension.

Bild zum Schritt 10 für das Bastel- und DIY-Abenteuer für Kinder: 'Nun fädelt ihr am oberen Blütenrand einen Faden durch die...'

11

You can make more flowers in this way.

Bild zum Schritt 11 für das Bastel- und DIY-Abenteuer für Kinder: 'Ihr könnt auf diese Weise noch mehr Blumen basteln.'

12

You can hang the flower flowers even without a stalk and leaf. Then they are also suitable for outdoor use. The yoghurt cup flowers are water-insensitive and shine beautifully.

Bild zum Schritt 12 für das Bastel- und DIY-Abenteuer für Kinder: 'Ihr könnt die Blumen-Blüten auch ohne Stiel und Blatt aufhängen....'

13

Have fun doing crafts!

Materials

 1 Yogurt cups Coloured monochrome
 1 Ast approx. 20 cm long
 1 Clay paper greenca. 10cm x 15cm
In addition, you need:
 1 Pen
 1 Document
 1 Hot glue gun
 1 Peas/peas/peas/peas/peas/peas/peas/peas/peas/peas/peas/peas/peas/peas/peas/peas/peas/peas/peas/peas/peas/peas/peas/peas/peas/peas/peas/peas/peas/peas/peas/peas/peas/peas/peas/peas/peas/peas/peas/peas/peas/peas/peas/peas/peas/peas/peas/peas/peas/peas/peas/peas/peas/peas/peas/peas/peas/peas/peas/peas/peas/peas/peas/peas/peas/peas
 1 Tacker or glue
 1 Thread
 1 Needle
All links marked with a shopping cart lead to Amazon - here we have selected products that we would order ourselves and in part also ordered. In a qualified purchase via the advertising link, we as Amazon partner receive a commission, for you there are no costs. You thus support our cost- and advertising banner-free, educational offer.

Directions

1

Get all the materials ready first.

2

A branch serves as a flower stalk.
From the yoghurt cup the flower arises.

Bild zum Schritt 2 für das Bastel- und DIY-Abenteuer für Kinder: 'Ein Ast dient als Blumenstiel.   Aus dem ...'

3

First cut off the top of the yoghurt cup.

Bild zum Schritt 3 für das Bastel- und DIY-Abenteuer für Kinder: 'Schneidet zuerst den oberen Rand des Joghurtbechers ab.'

4

Then cut the cup from top to bottom with the scissors into thin strips. Cuts all the way down to the bottom of the cup.
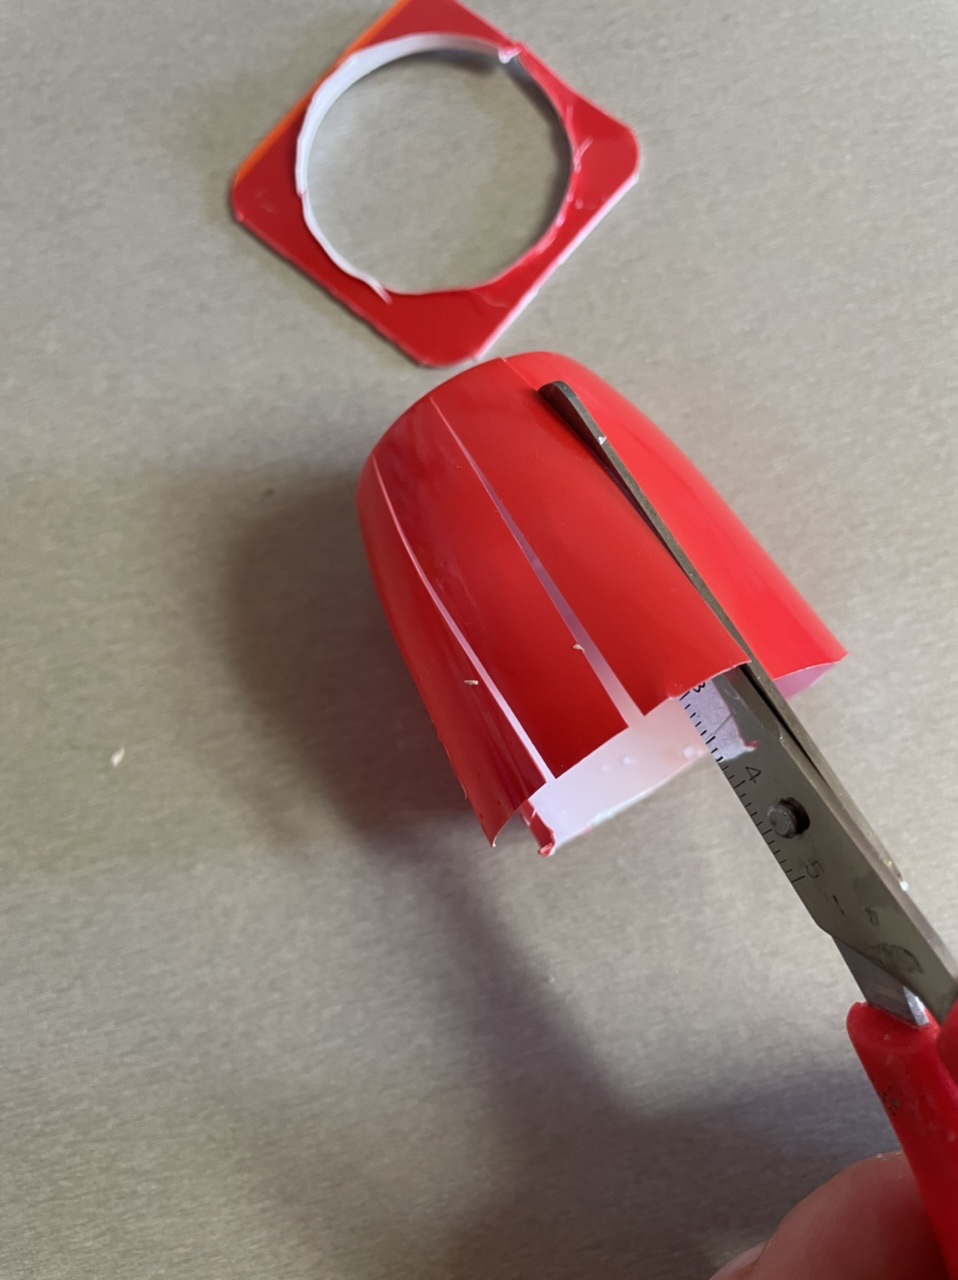
Bild zum Schritt 4 für das Bastel- und DIY-Abenteuer für Kinder: 'Dann schneidet von oben nach unten mit der Schere den...'

5

Cut the whole cup all around.

Bild zum Schritt 5 für das Bastel- und DIY-Abenteuer für Kinder: 'Schneidet den ganzen Becher rundherum ein.'

6

Then you bend the individual strips outwards. This is how the flower develops.
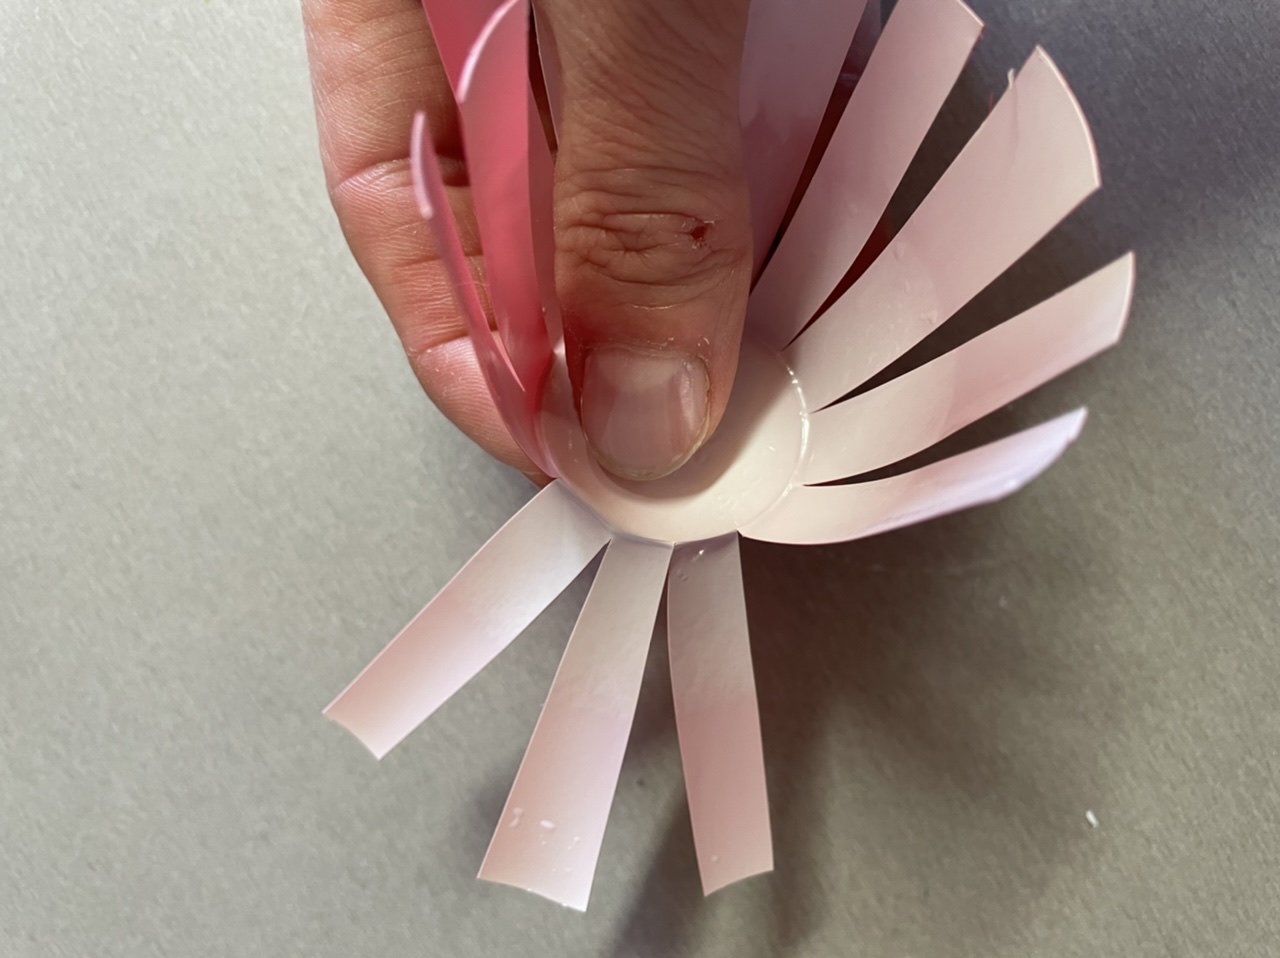
Bild zum Schritt 6 für das Bastel- und DIY-Abenteuer für Kinder: 'Dann biegt ihr die einzelnen Streifen nach außen. So entsteht...'

7

Then you stick the flower with the back to the branch. Use hot glue. Let an adult help you with this: Risk of injury!
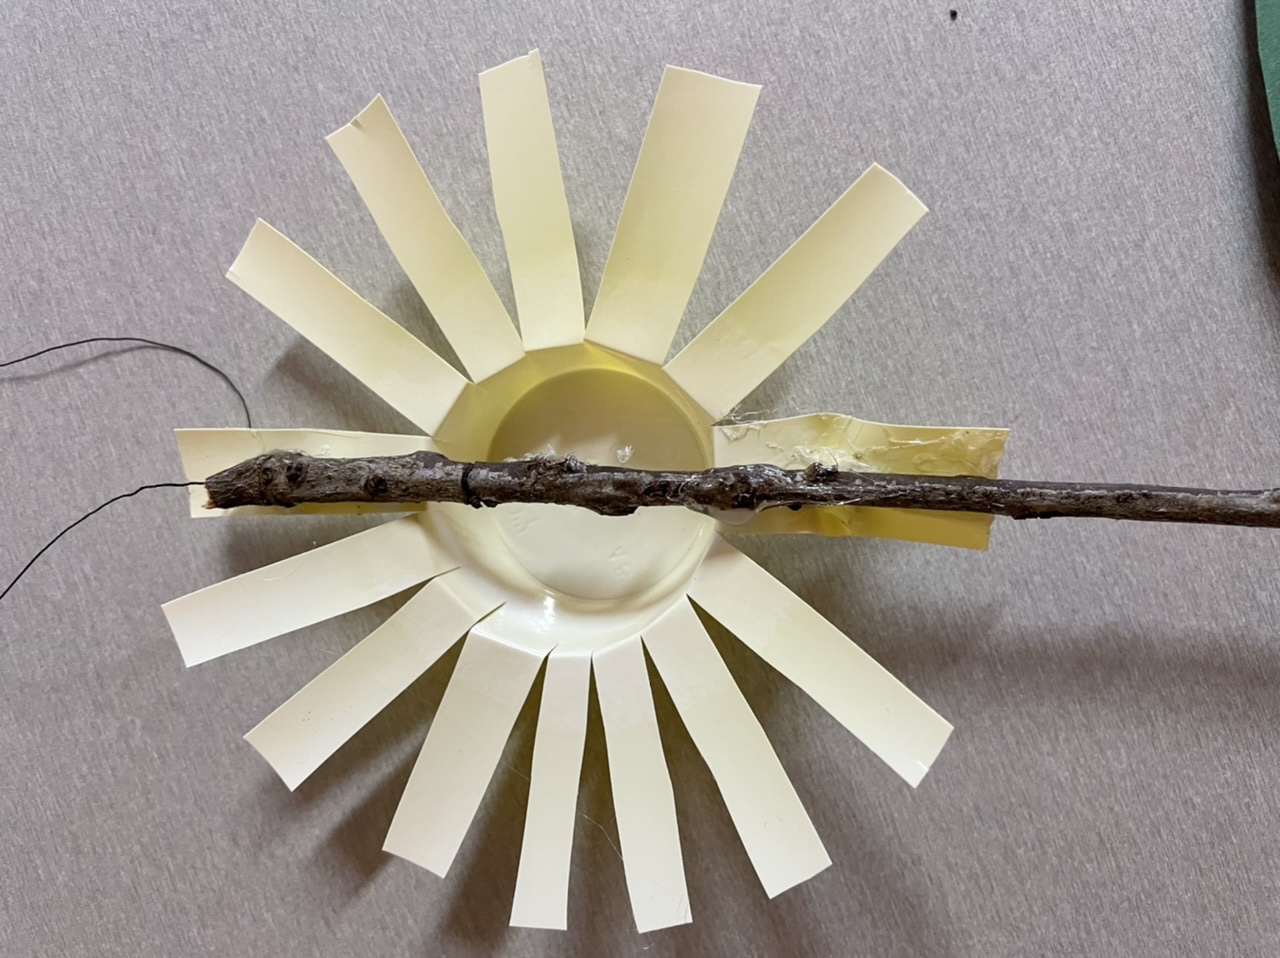
Bild zum Schritt 7 für das Bastel- und DIY-Abenteuer für Kinder: 'Anschließend klebt ihr die Blüte mit der Rückseite an den...'

8

Now you paint a leaf on the green paper and cut it out.

9

Attach the sheet with the glue, hot glue or stapler in the lower part of the branch.
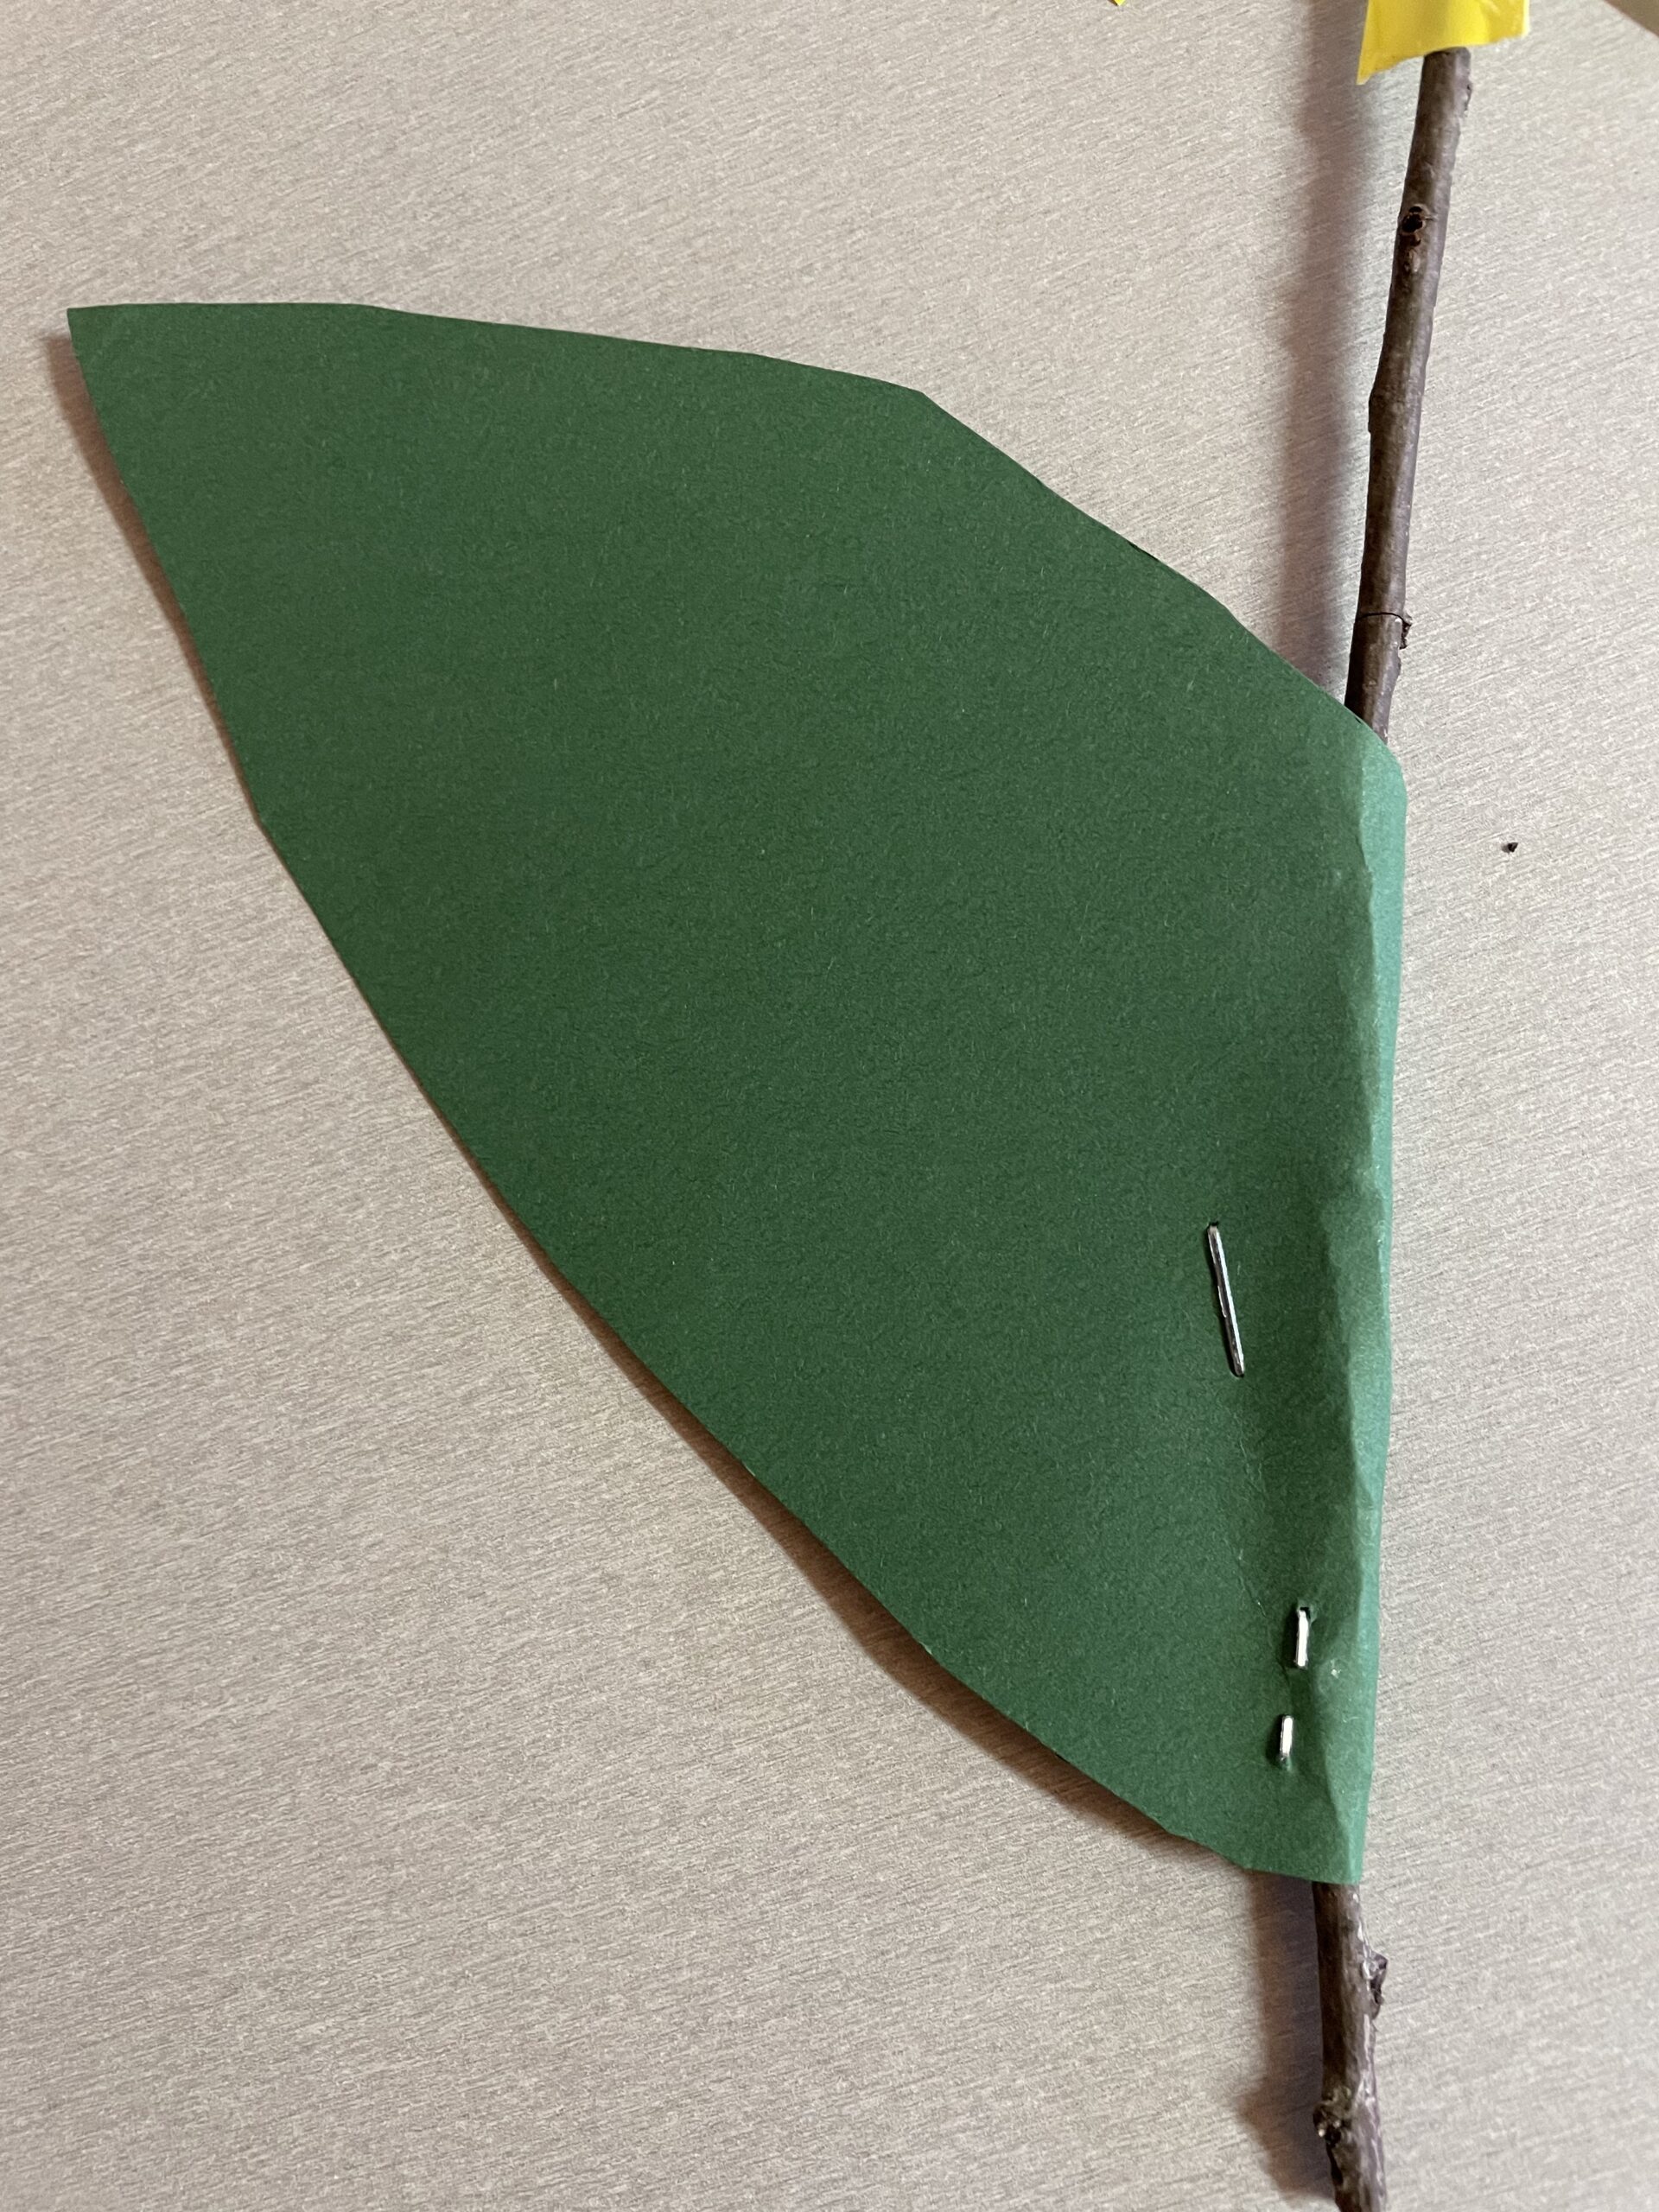
Bild zum Schritt 9 für das Bastel- und DIY-Abenteuer für Kinder: 'Befestigt das Blatt mit dem Kleber,  Heißkleber oder Tacker...'

10

Now you thread a thread through the flower at the upper edge of the flower and knot both ends. This creates a suspension.
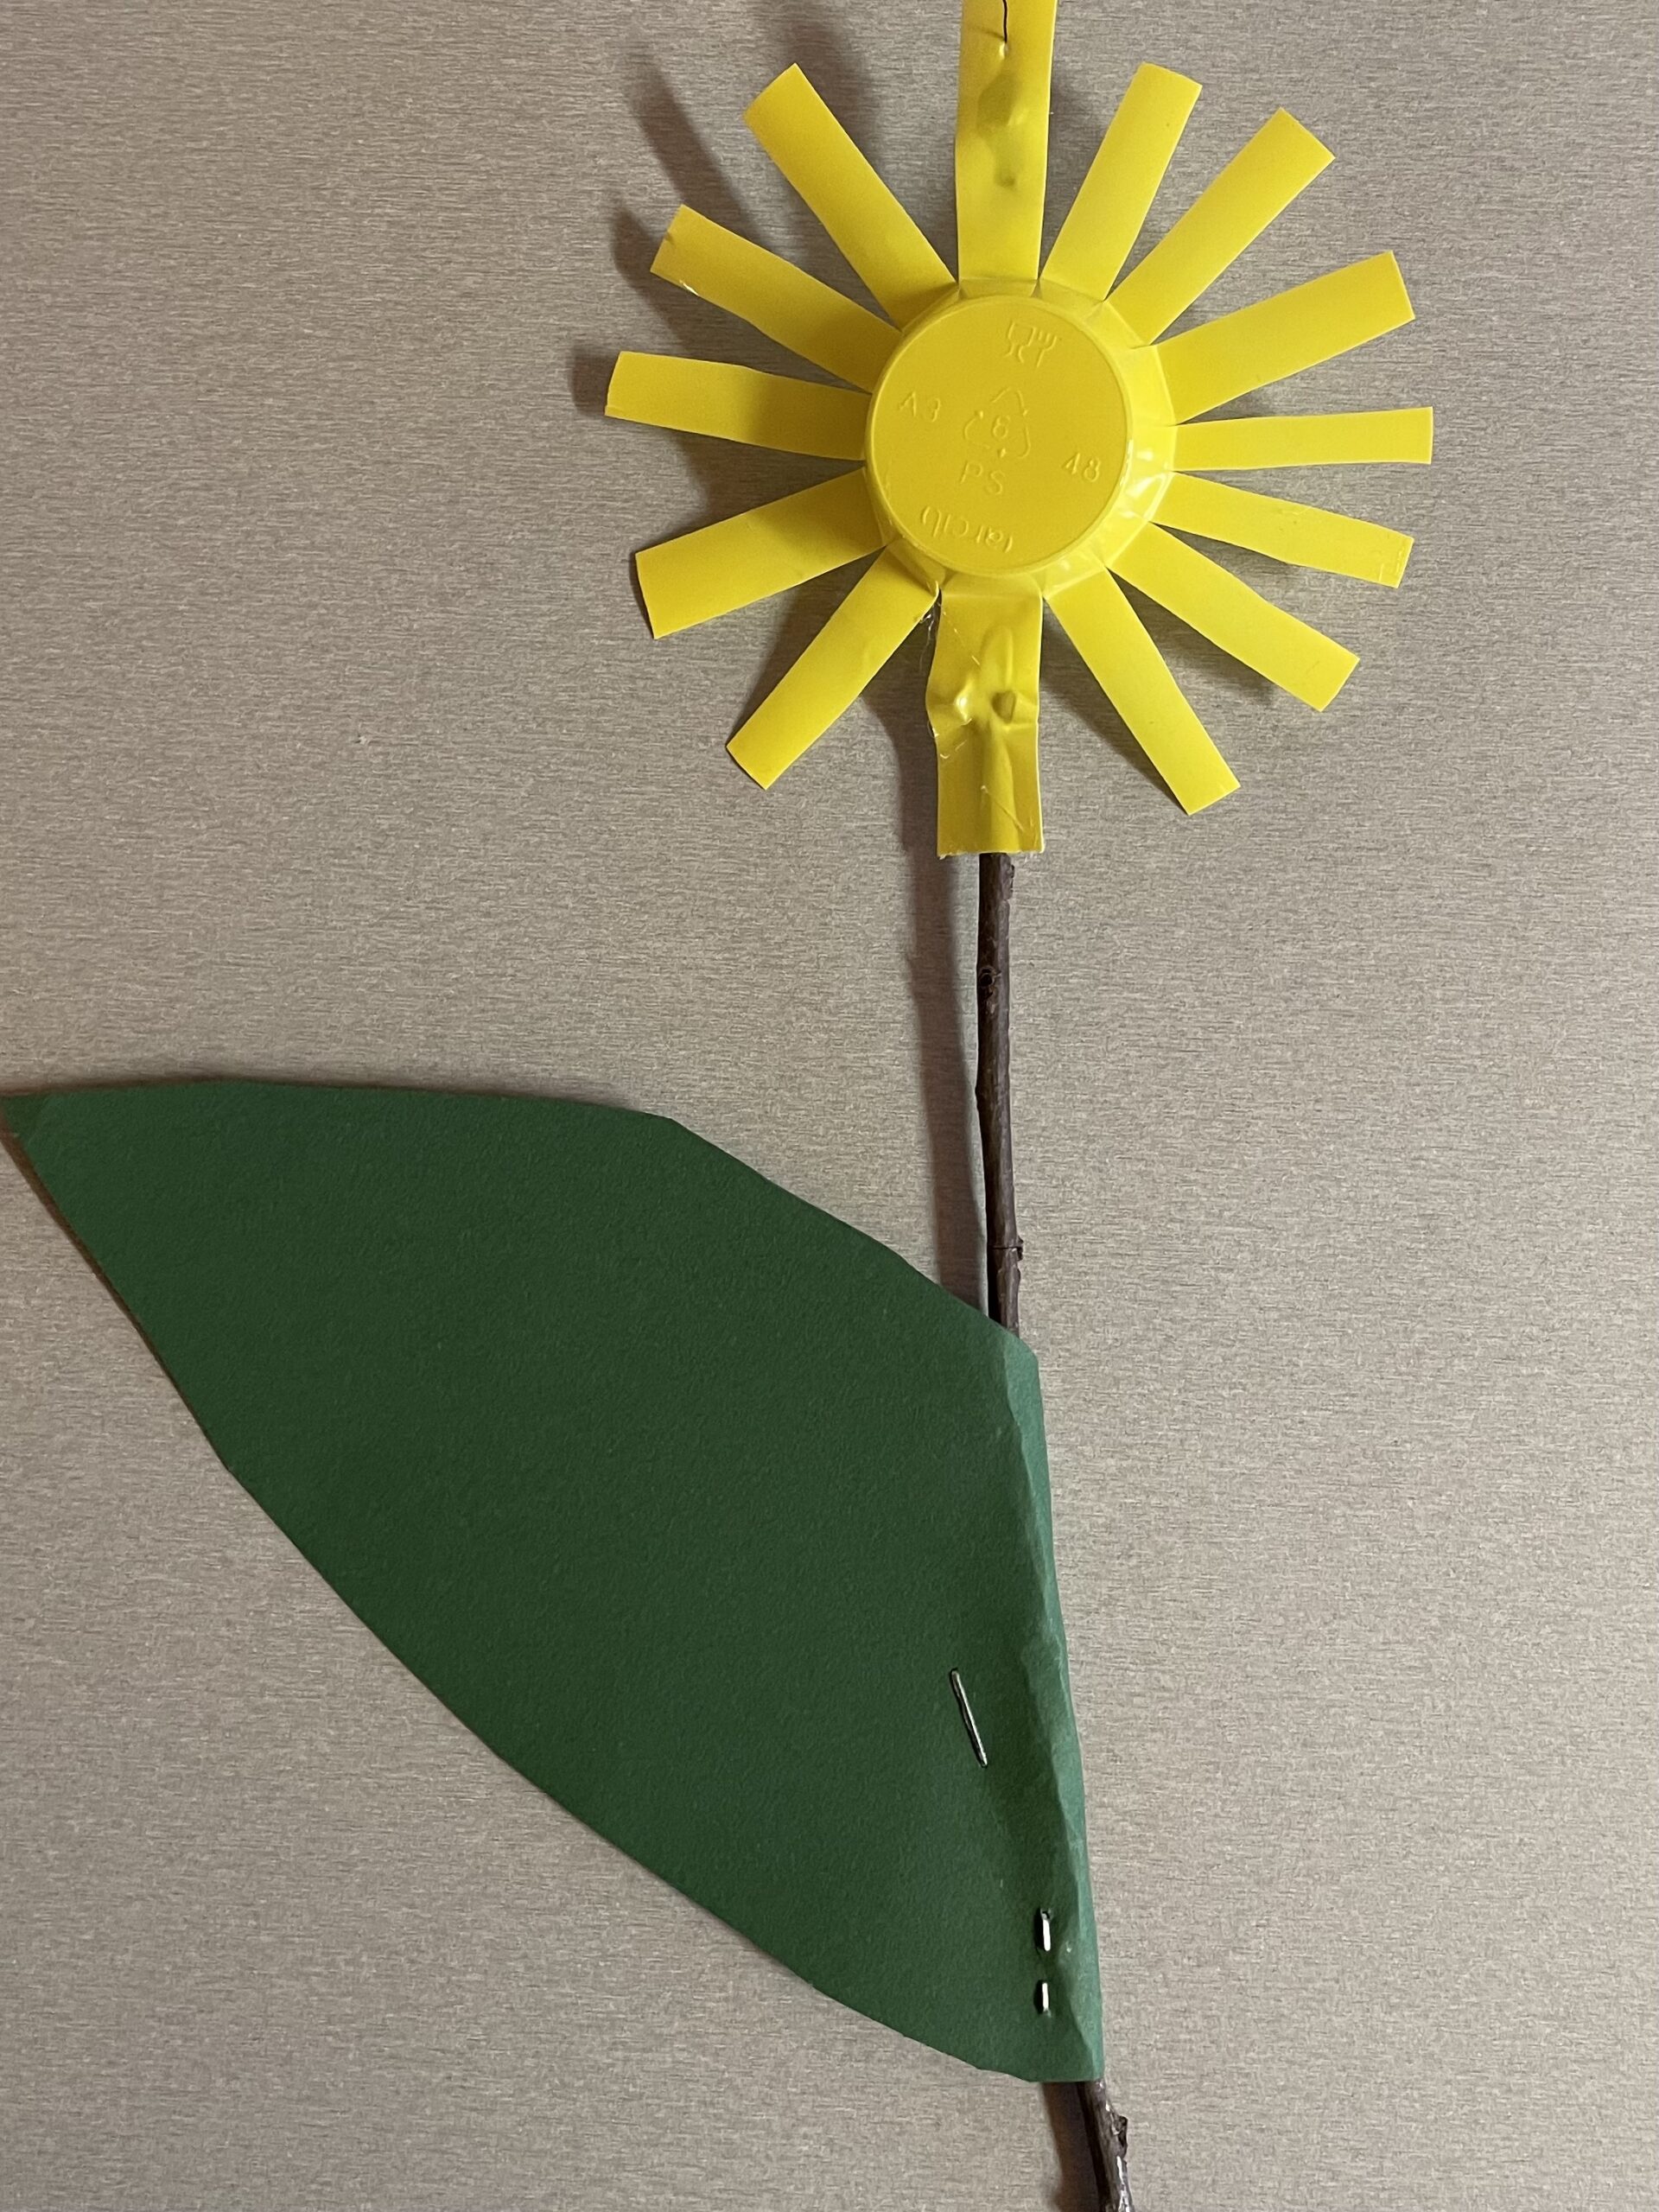
Bild zum Schritt 10 für das Bastel- und DIY-Abenteuer für Kinder: 'Nun fädelt ihr am oberen Blütenrand einen Faden durch die...'

11

You can make more flowers in this way.
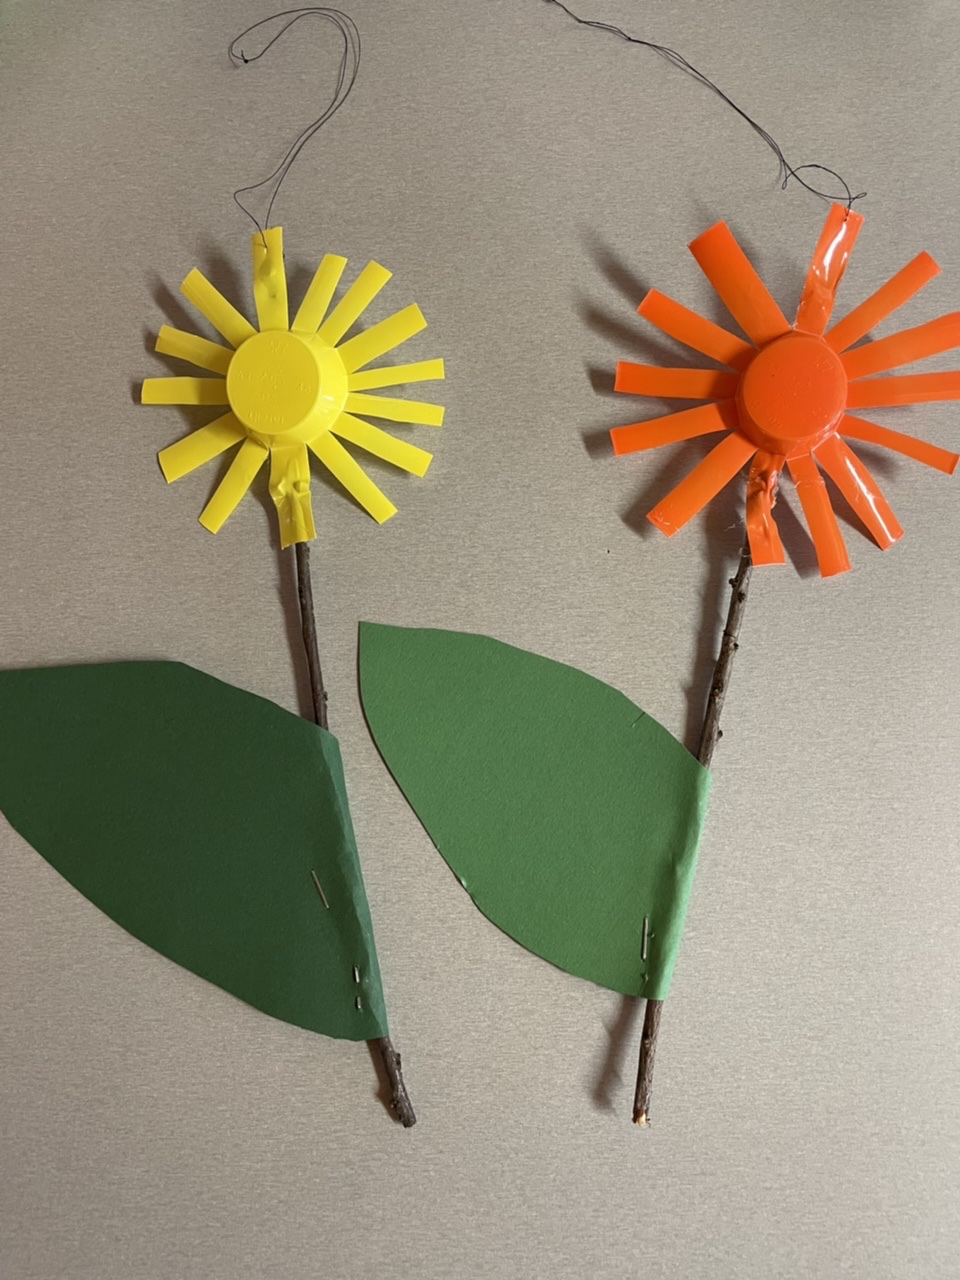
Bild zum Schritt 11 für das Bastel- und DIY-Abenteuer für Kinder: 'Ihr könnt auf diese Weise noch mehr Blumen basteln.'

12

You can hang the flower flowers even without a stalk and leaf. Then they are also suitable for outdoor use. The yoghurt cup flowers are water-insensitive and shine beautifully.
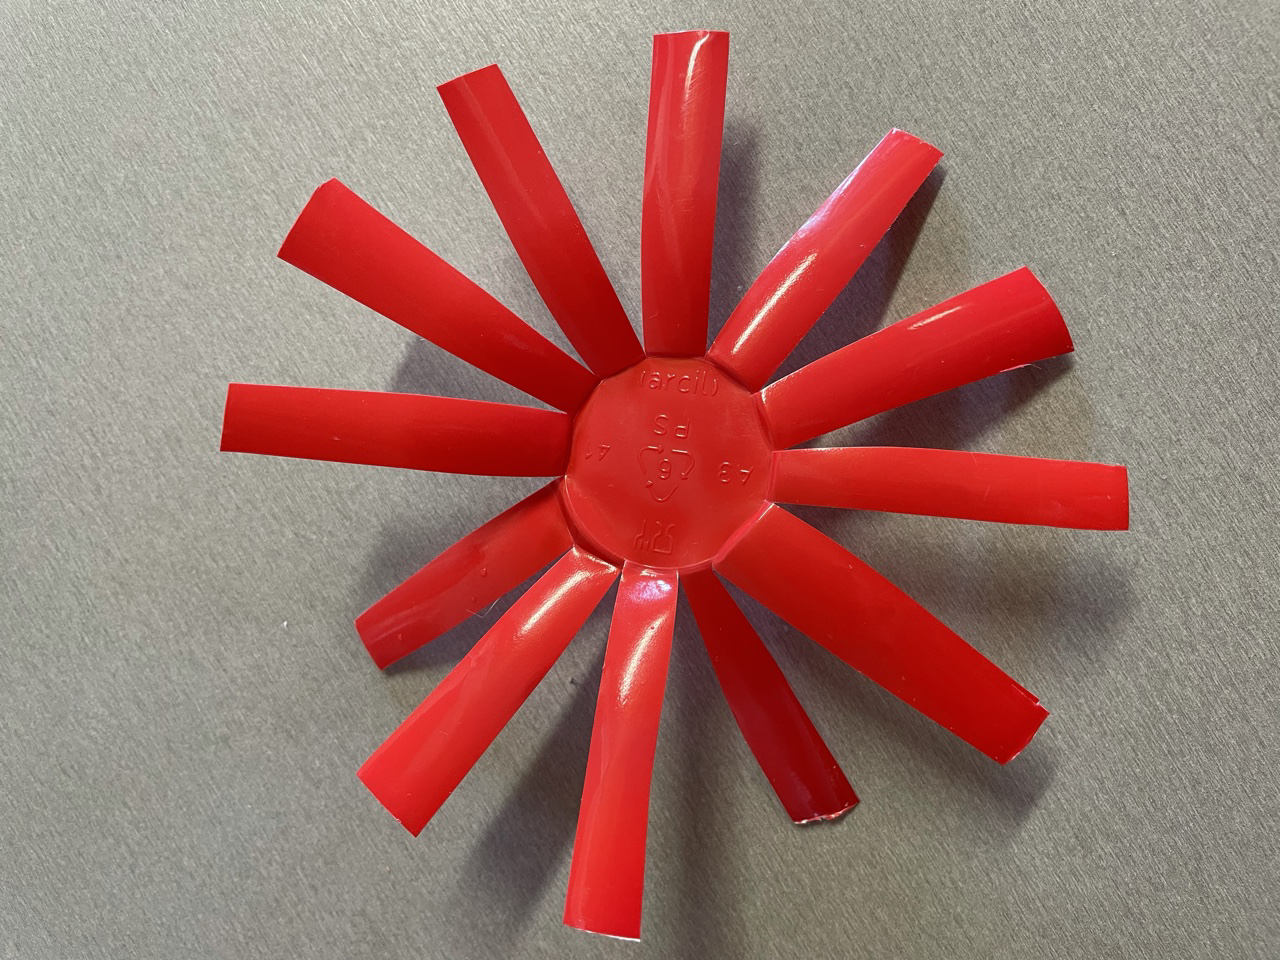
Bild zum Schritt 12 für das Bastel- und DIY-Abenteuer für Kinder: 'Ihr könnt die Blumen-Blüten auch ohne Stiel und Blatt aufhängen....'

13

Have fun doing crafts!

Yogurt cup flowers

Follow us on Facebook , Instagram and Pinterest
Don't miss any more adventures: Our bottle mail

Leave a Reply

Your email address will not be published.

The maximum upload file size: 5 MB. You can upload: image, document. Drop file here