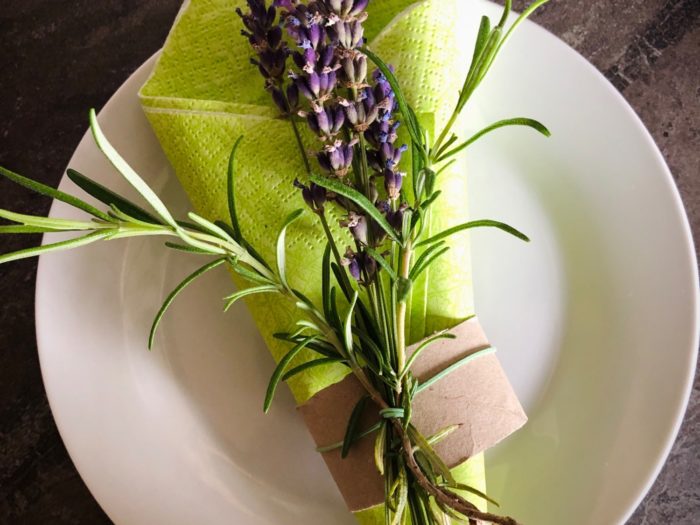
Freshly scented lavender you can use very well for a windlight glass! Your children can help with this great.
Media Education for Kindergarten and Hort

Relief in everyday life, targeted promotion of individual children, independent learning and - without any pre-knowledge already usable by the youngest!
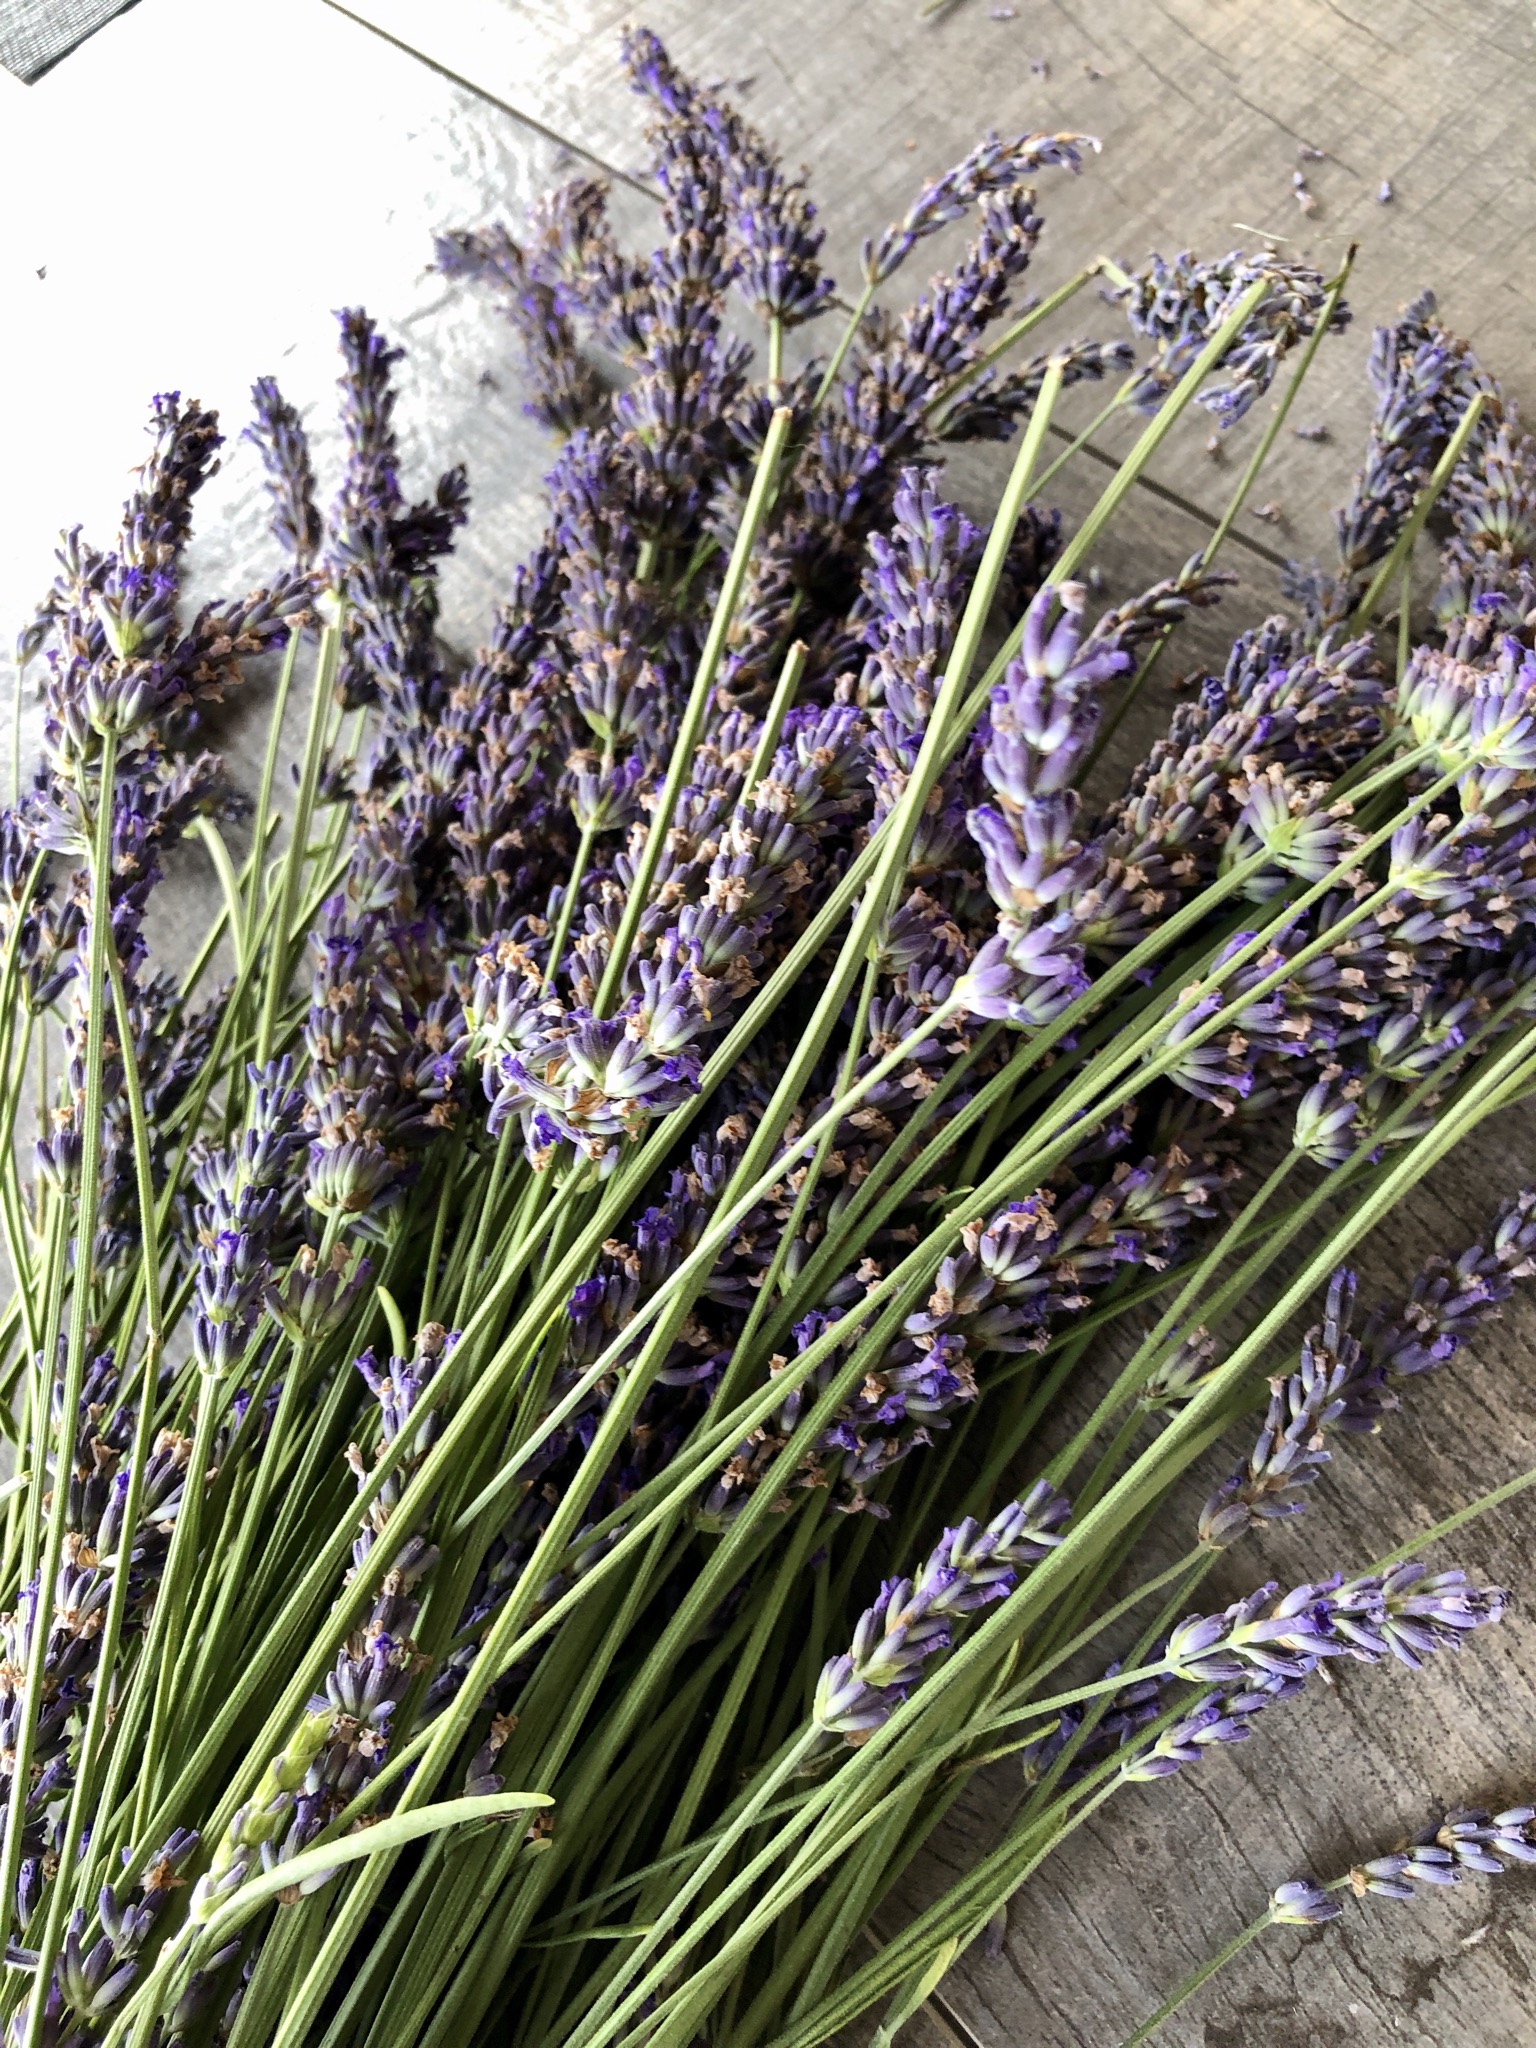
Harvest lavender with long stems. (These can still be shortened later!)
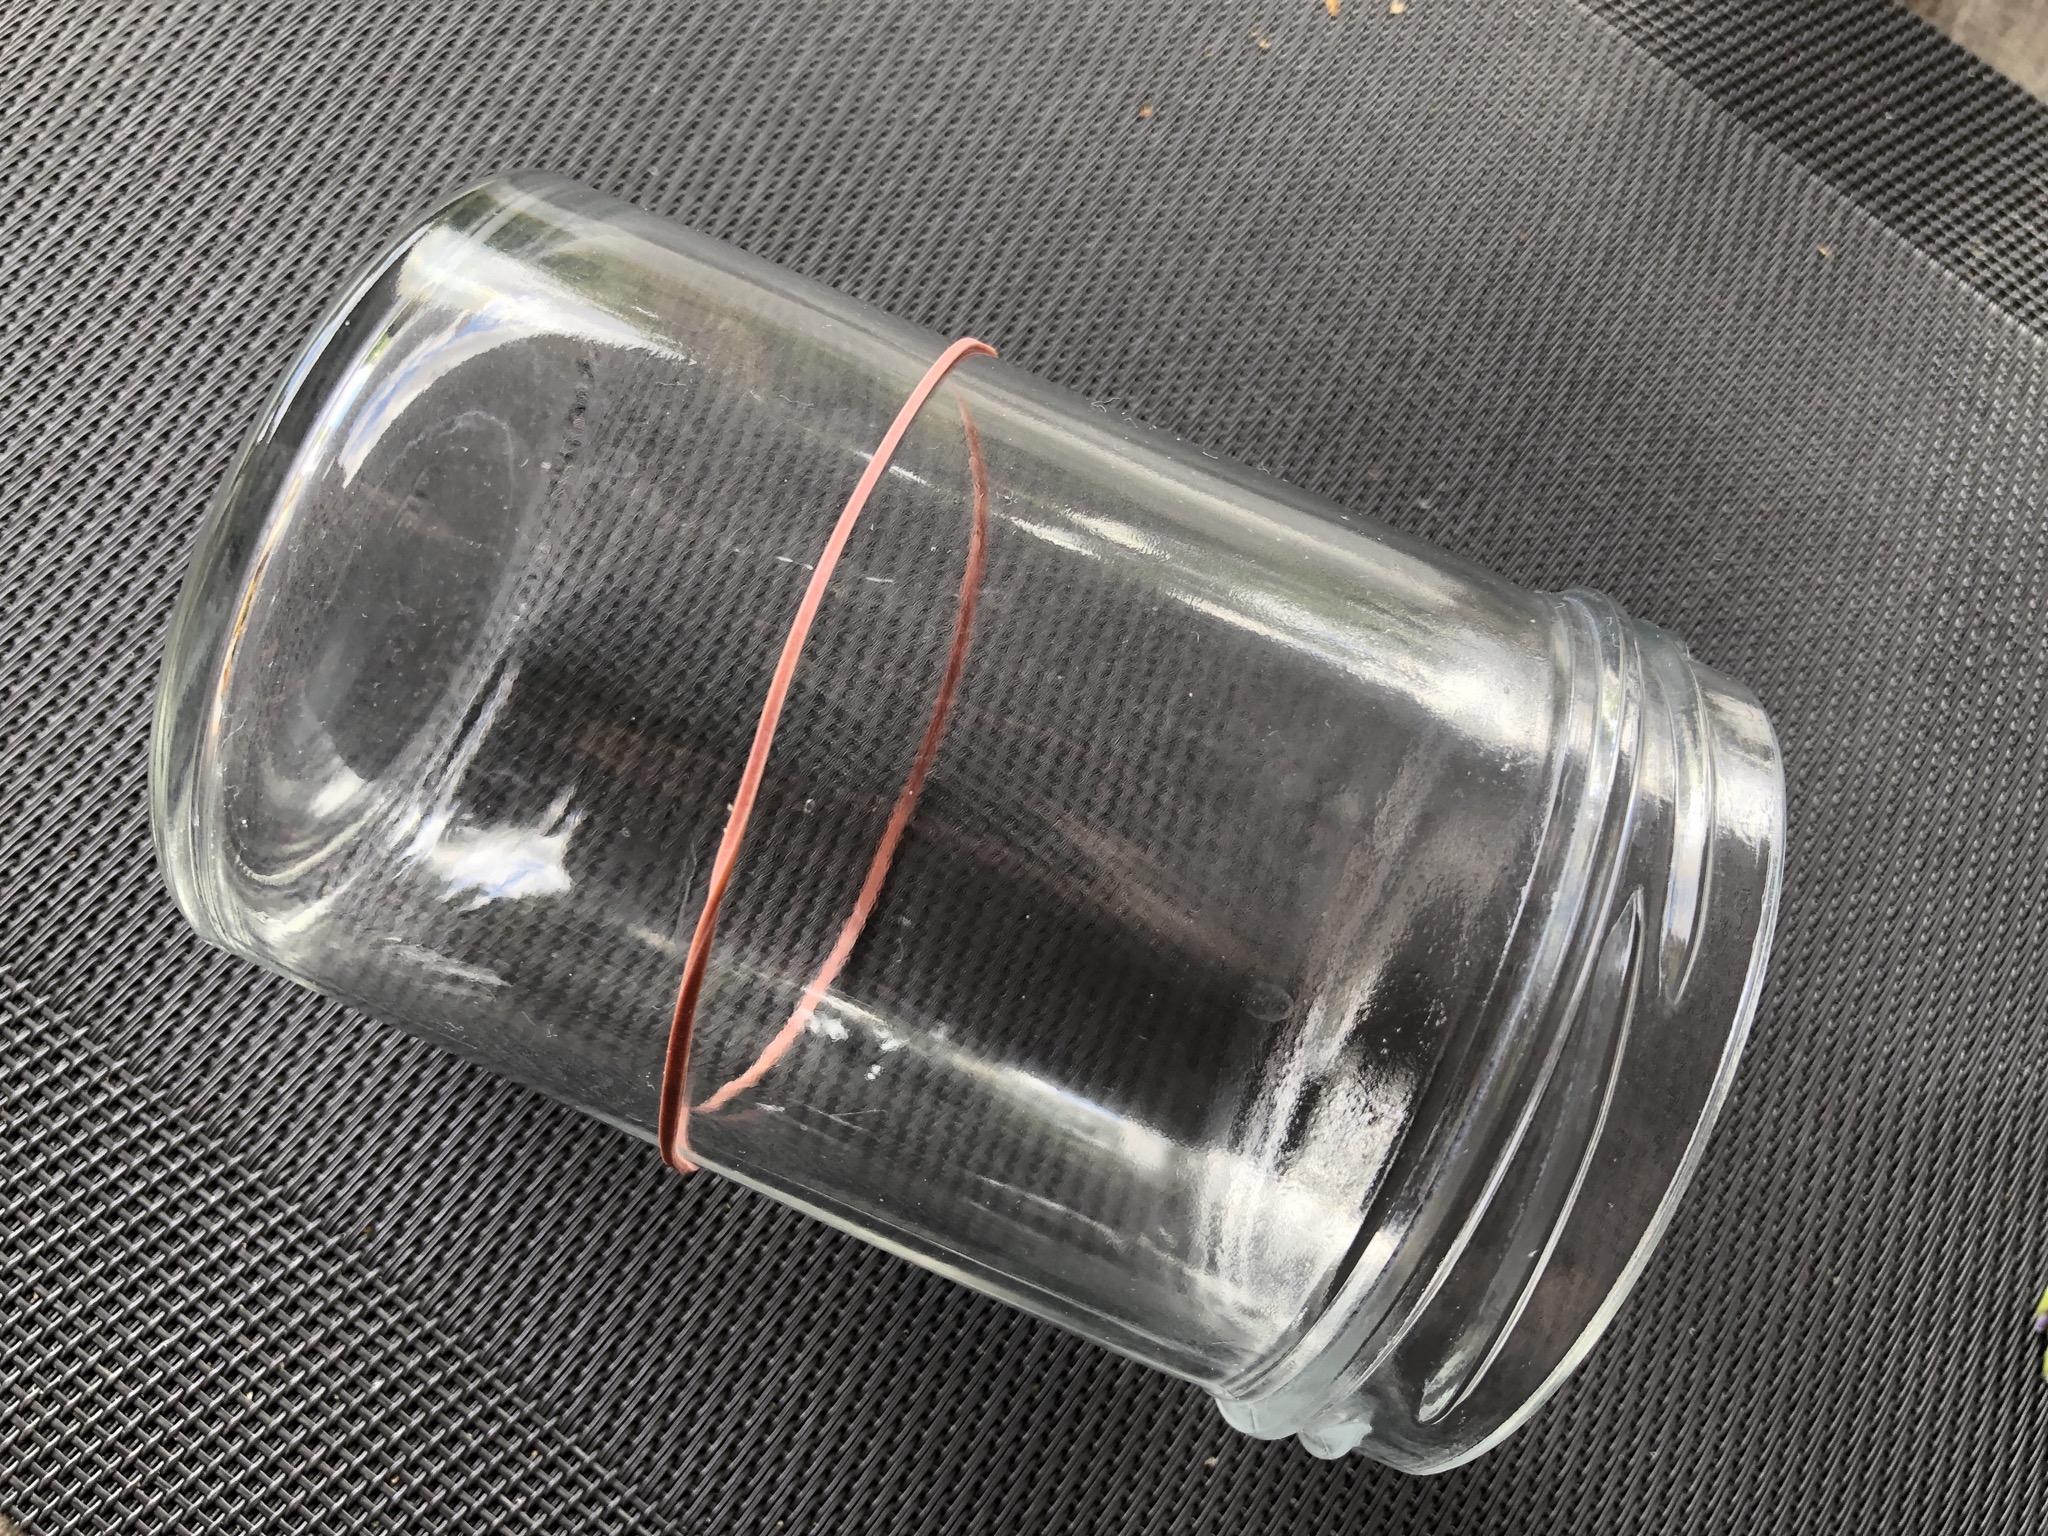
Prepare glass, household rubber and cord.
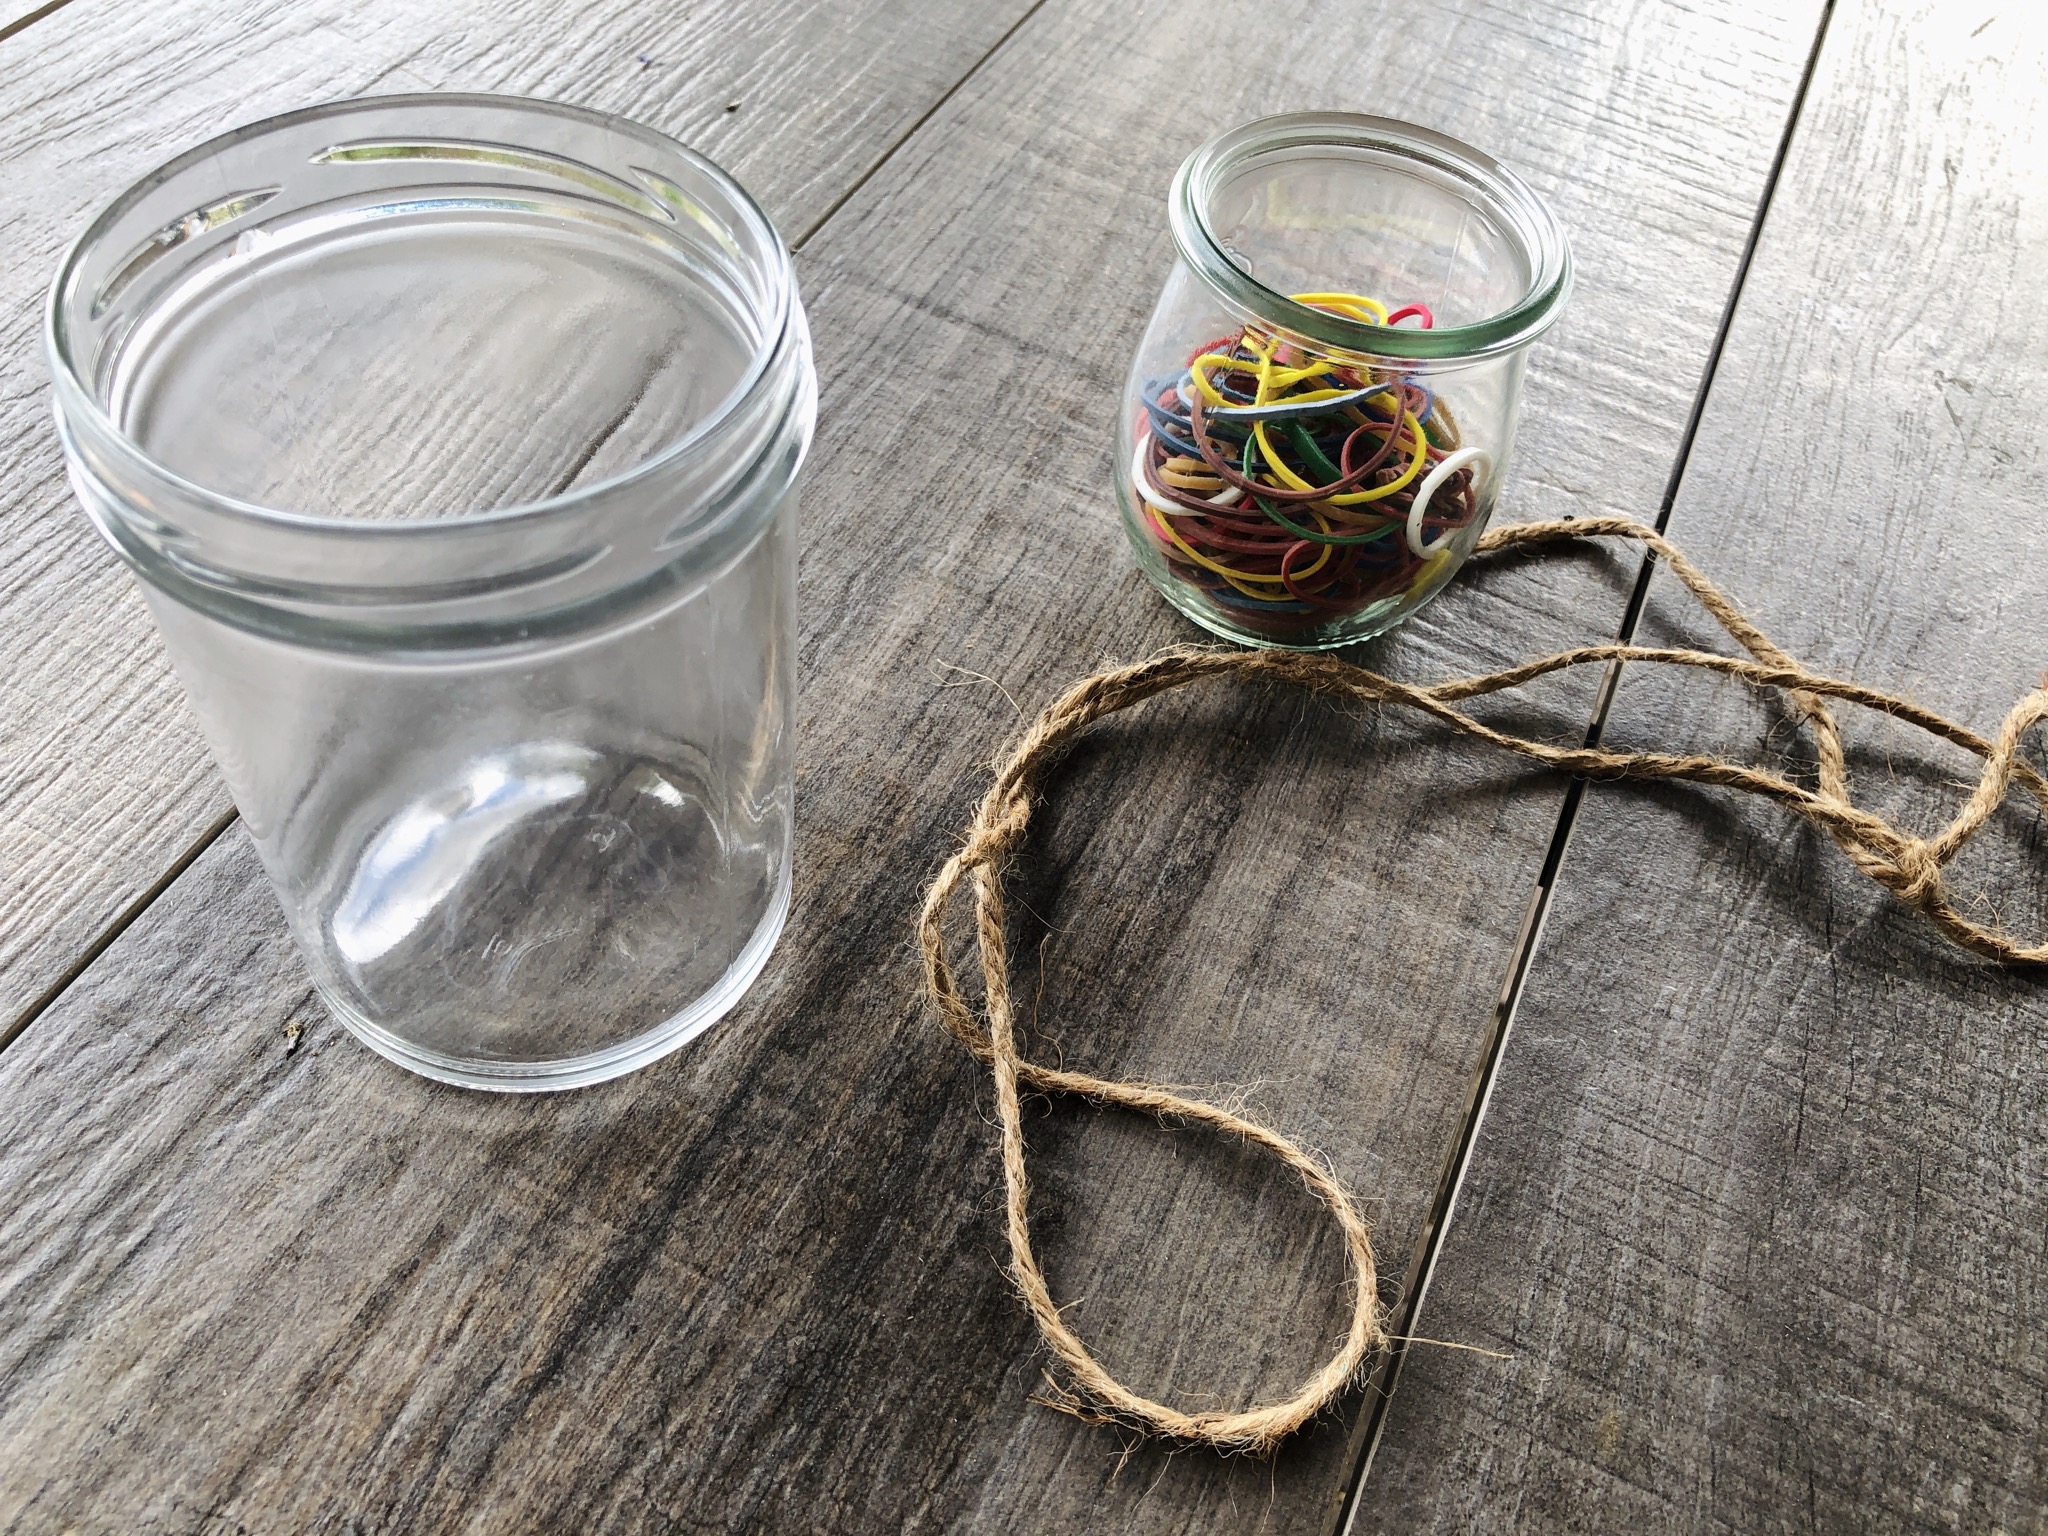
If the glass is placed on a non-slip base, it cannot roll away so easily.
Put the rubber around the glass.
Tip: If your rubbers are very thin and you are afraid that they might tear, then maybe put two rubbers on top of each other.
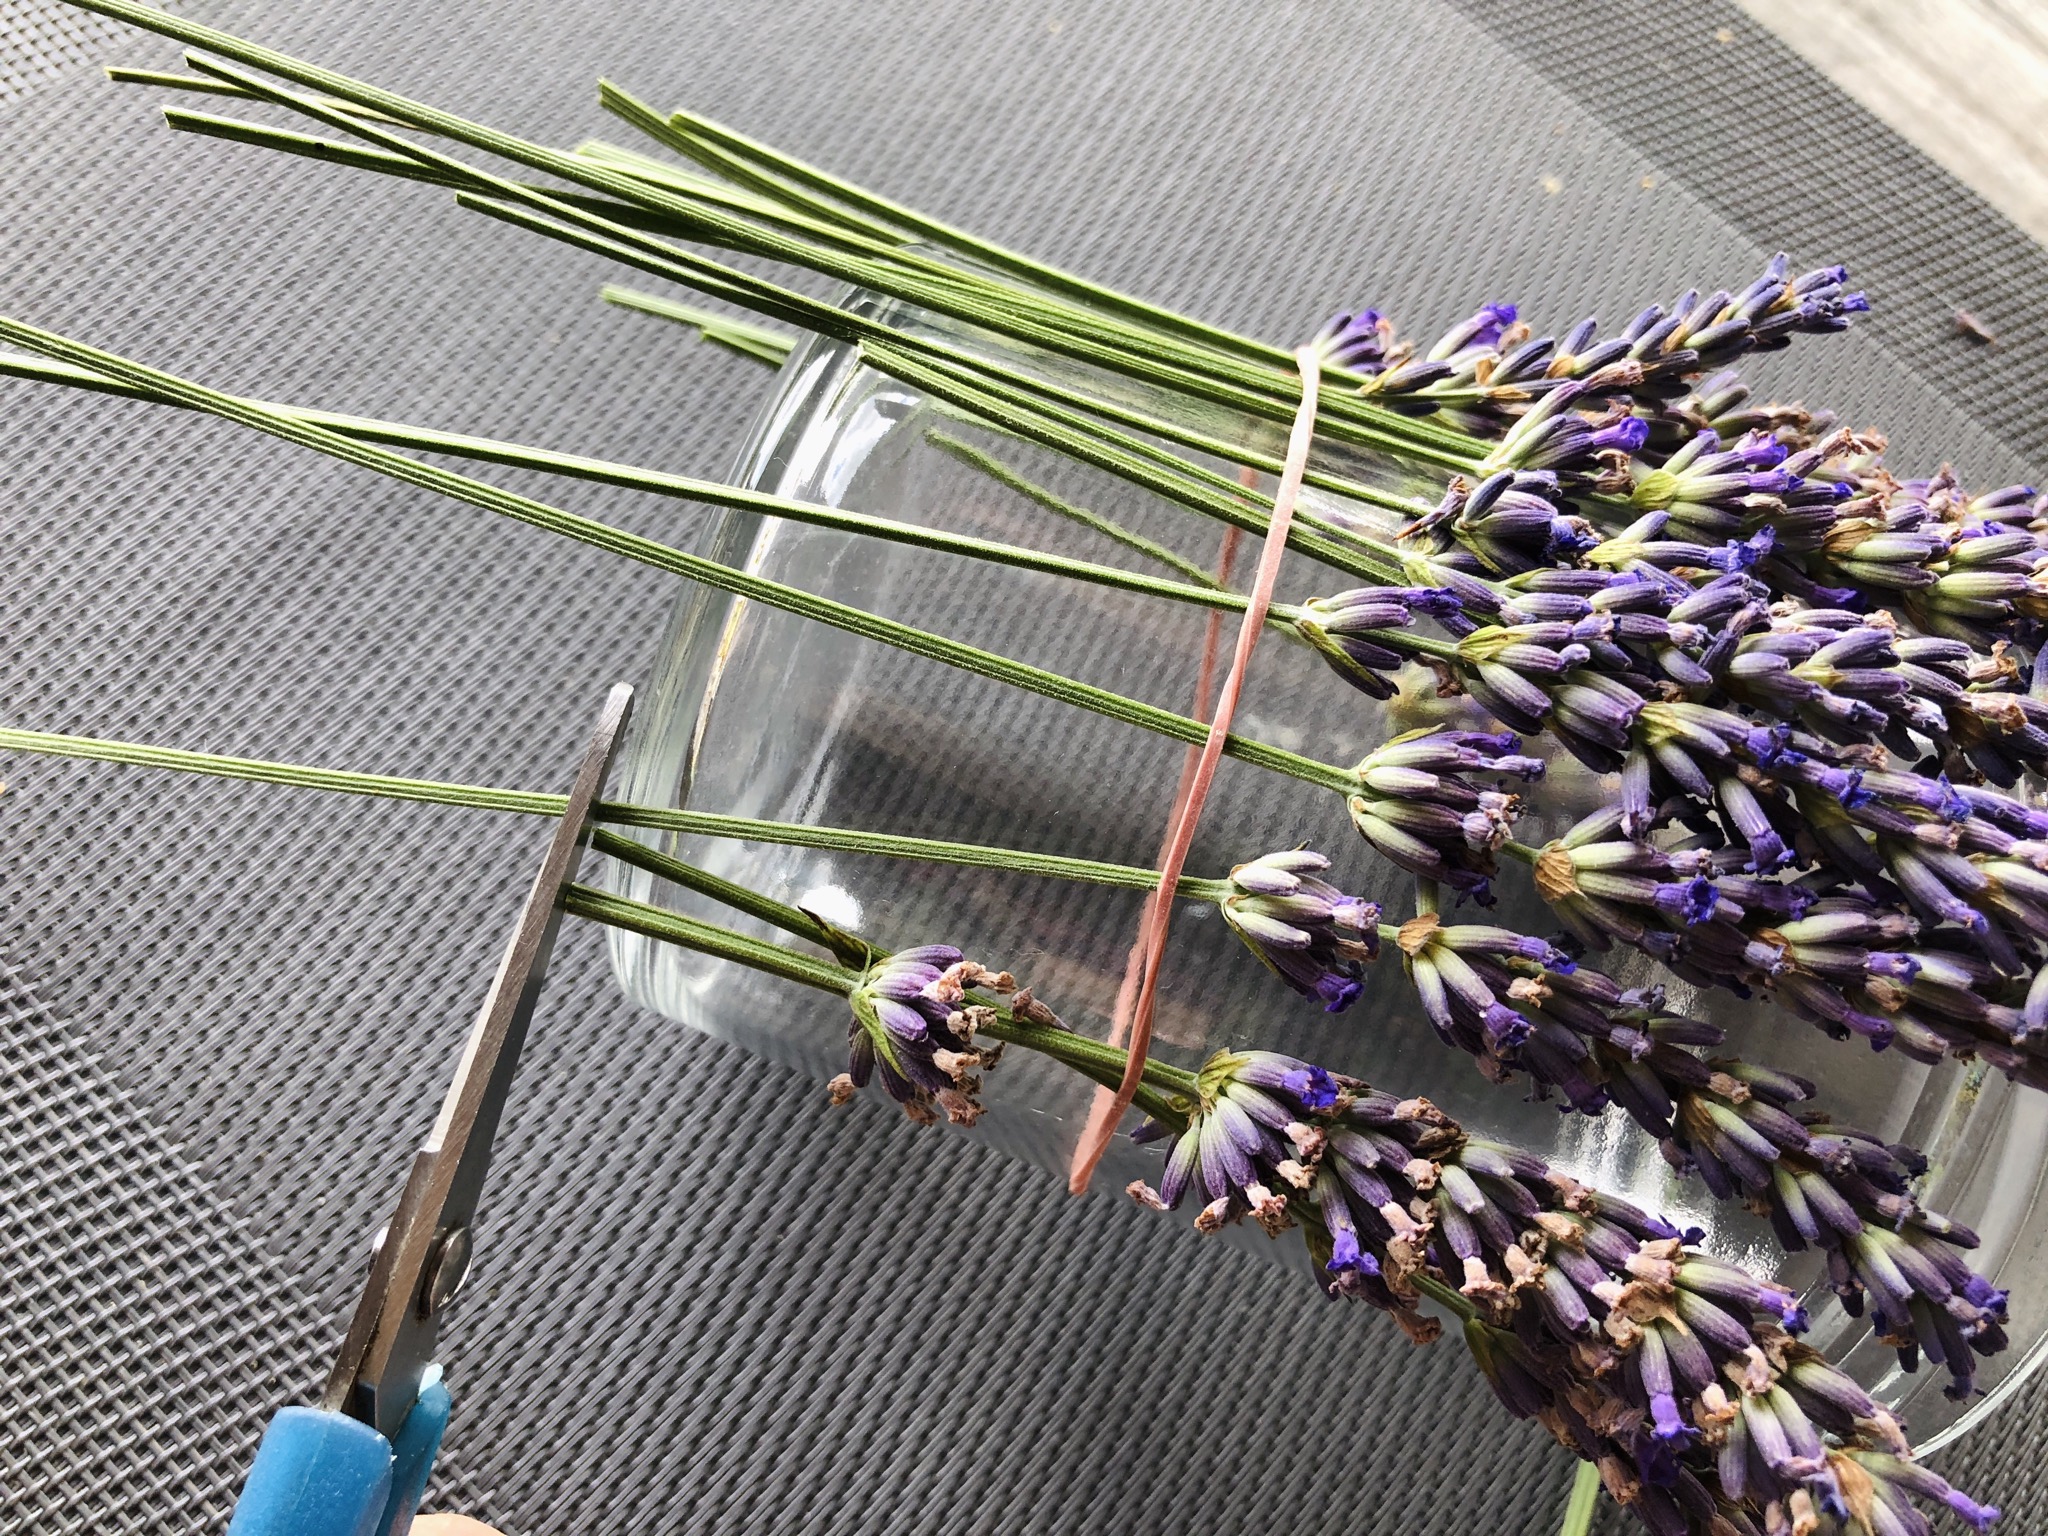
Cut the lavender stalks a little longer than the height of your glass.
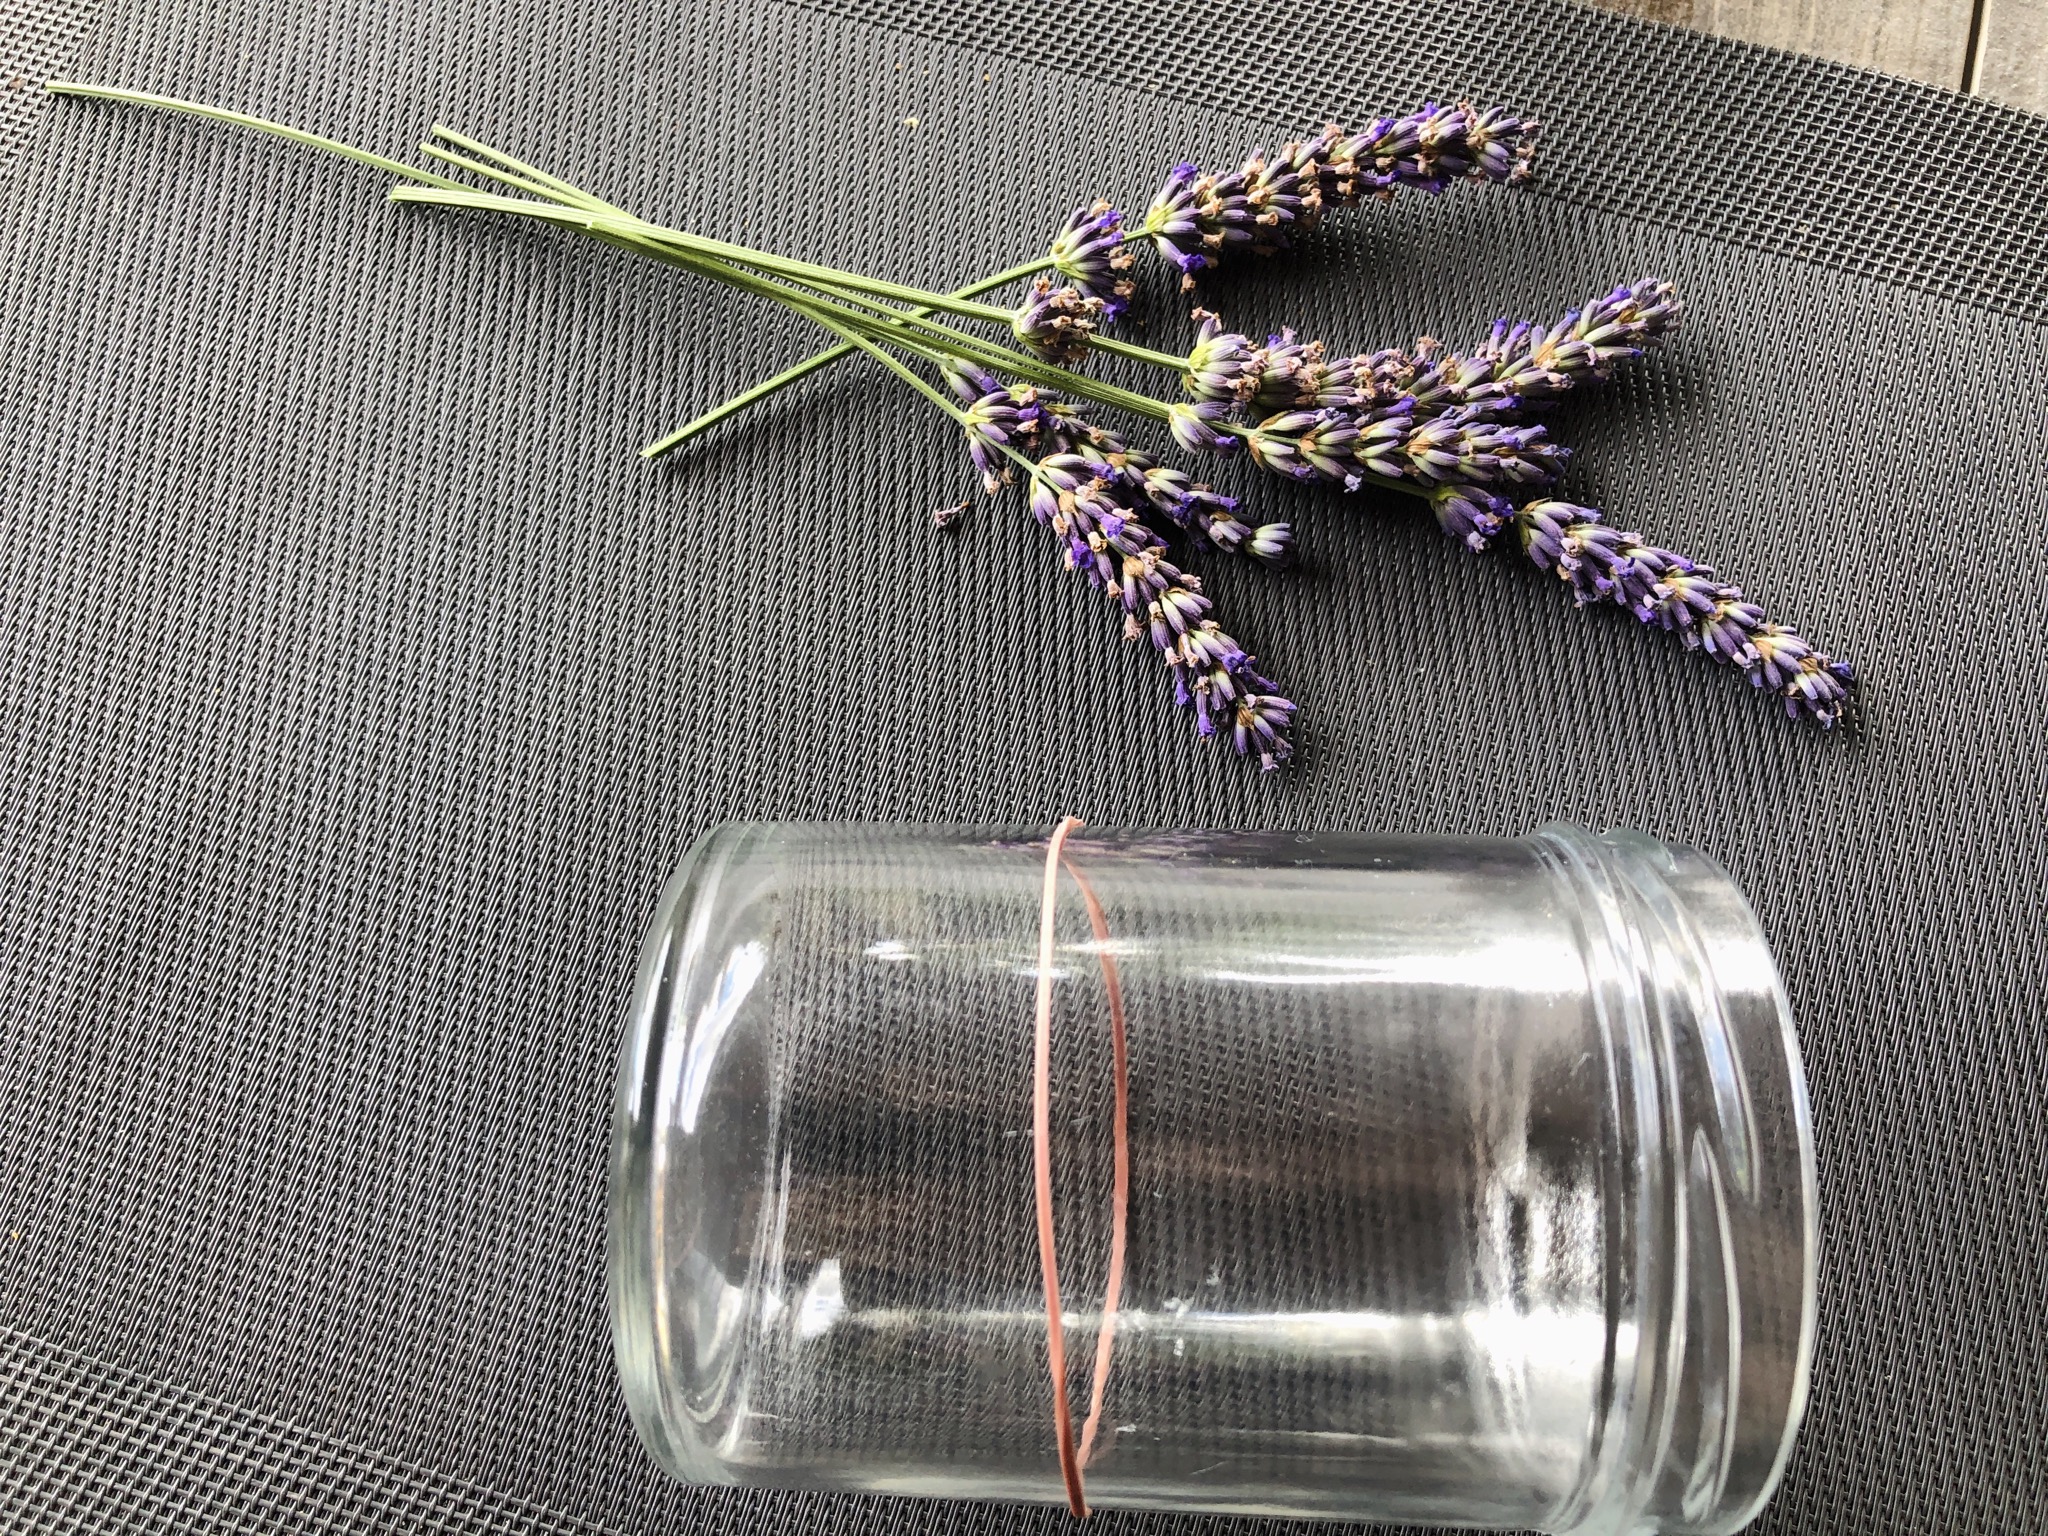
Push each handle individually through the rubber and position it on the glass.
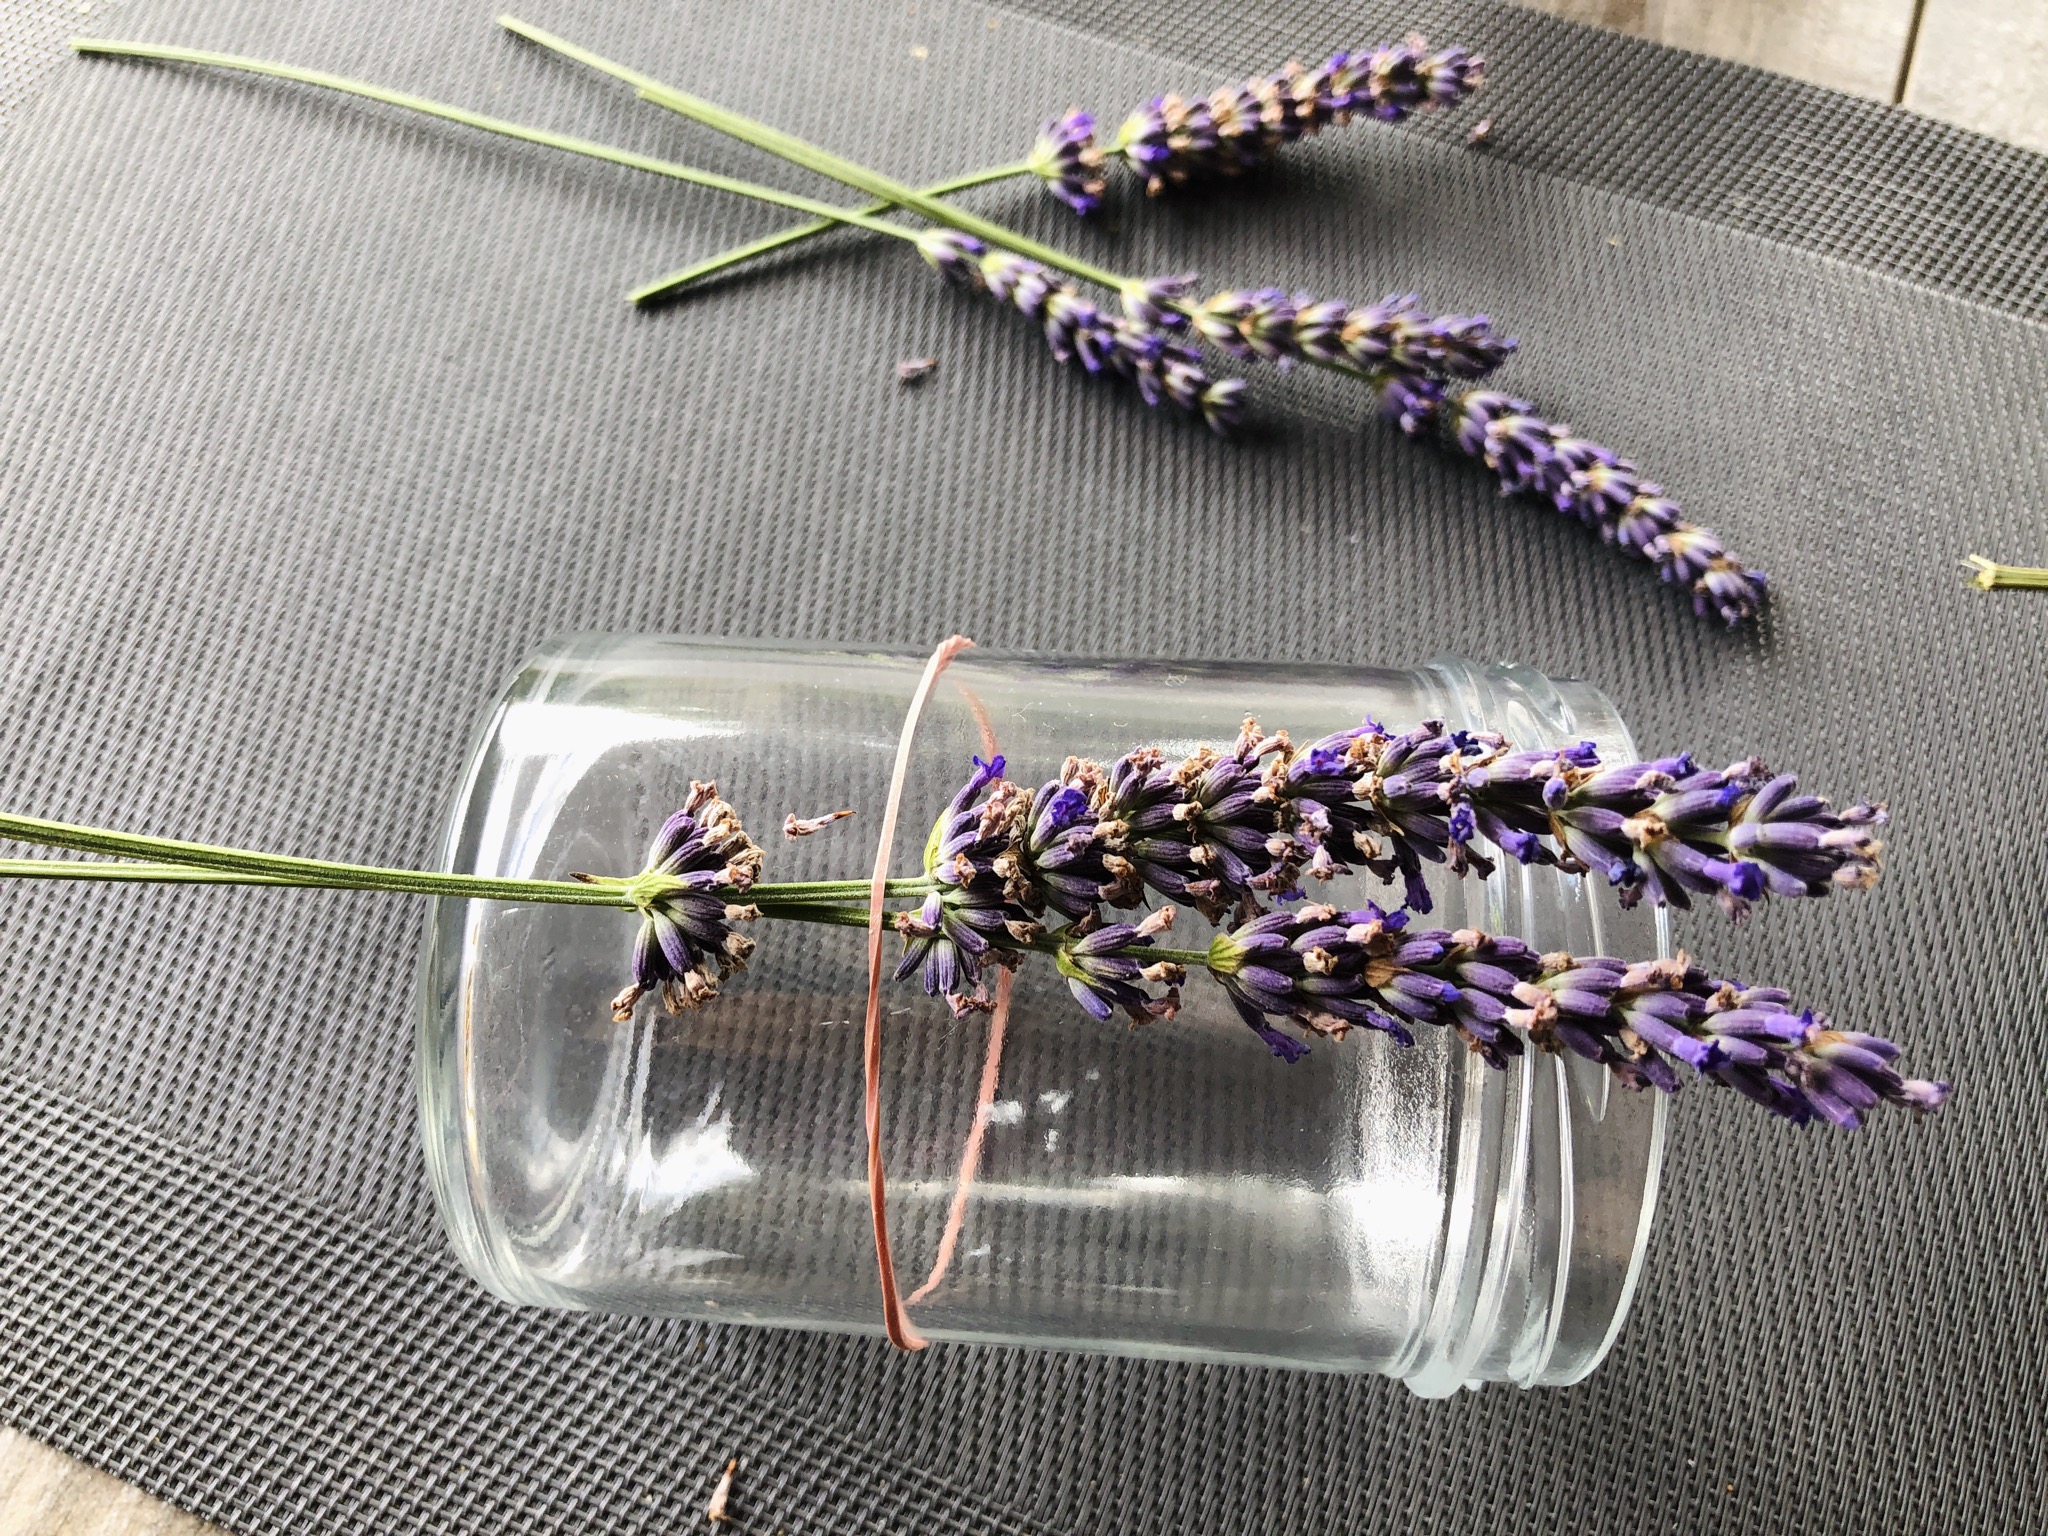
The flowers should stand close together.
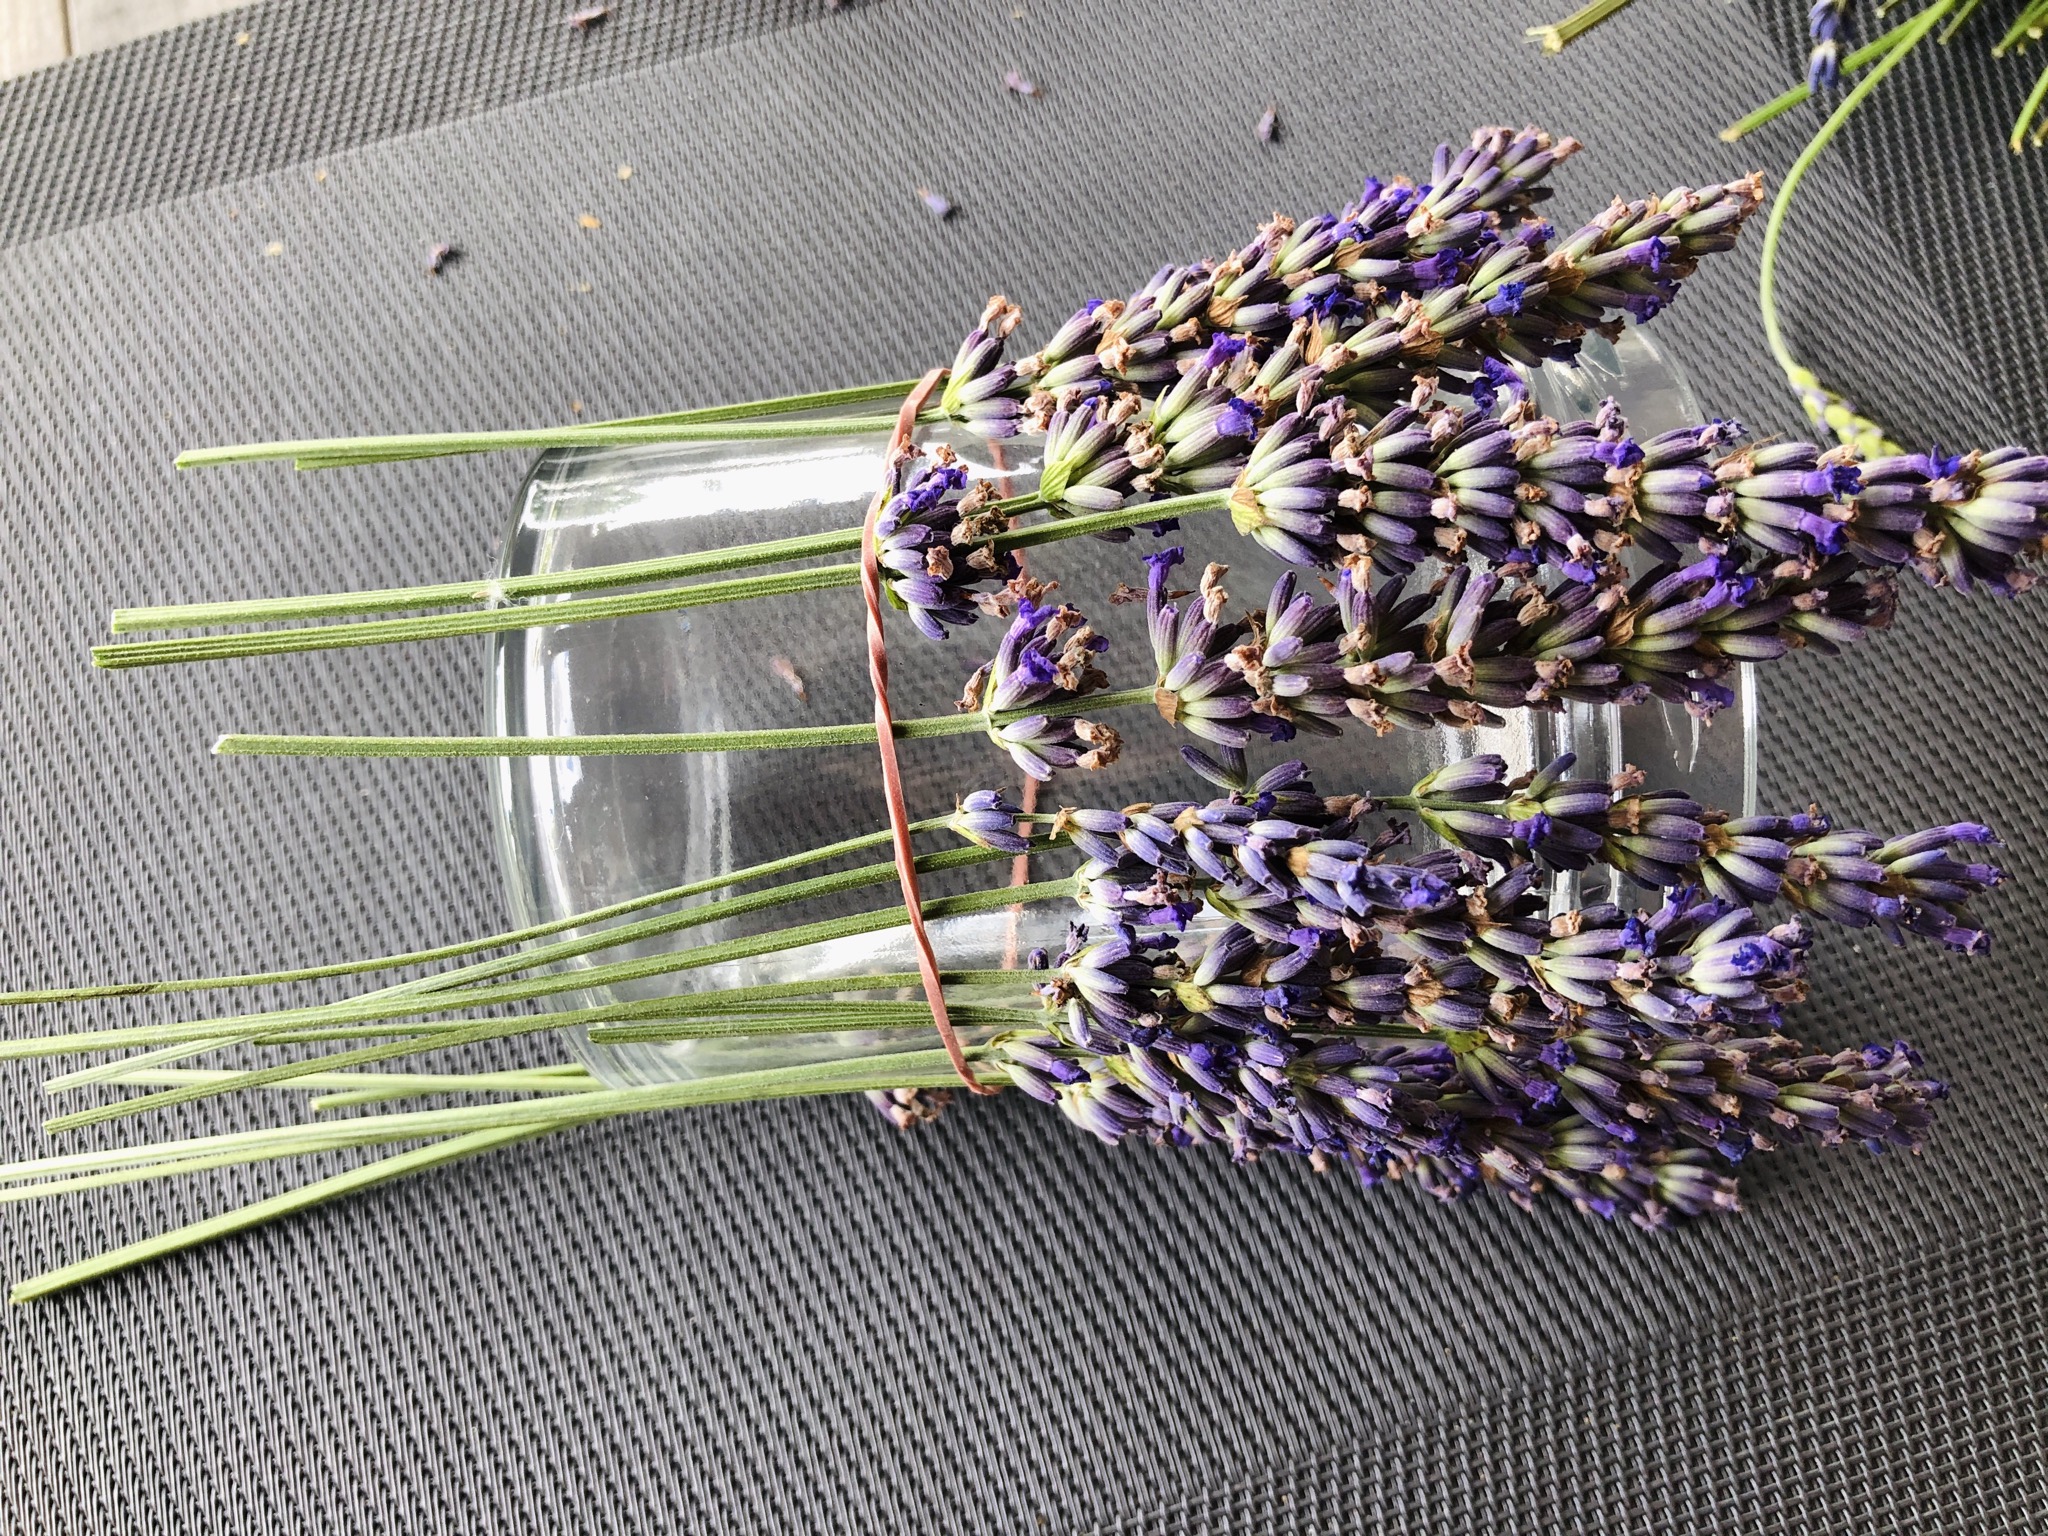
After half cut the overhanging stalks with scissors.

Place the glass and stick the lavender through the rubber on the standing glass.
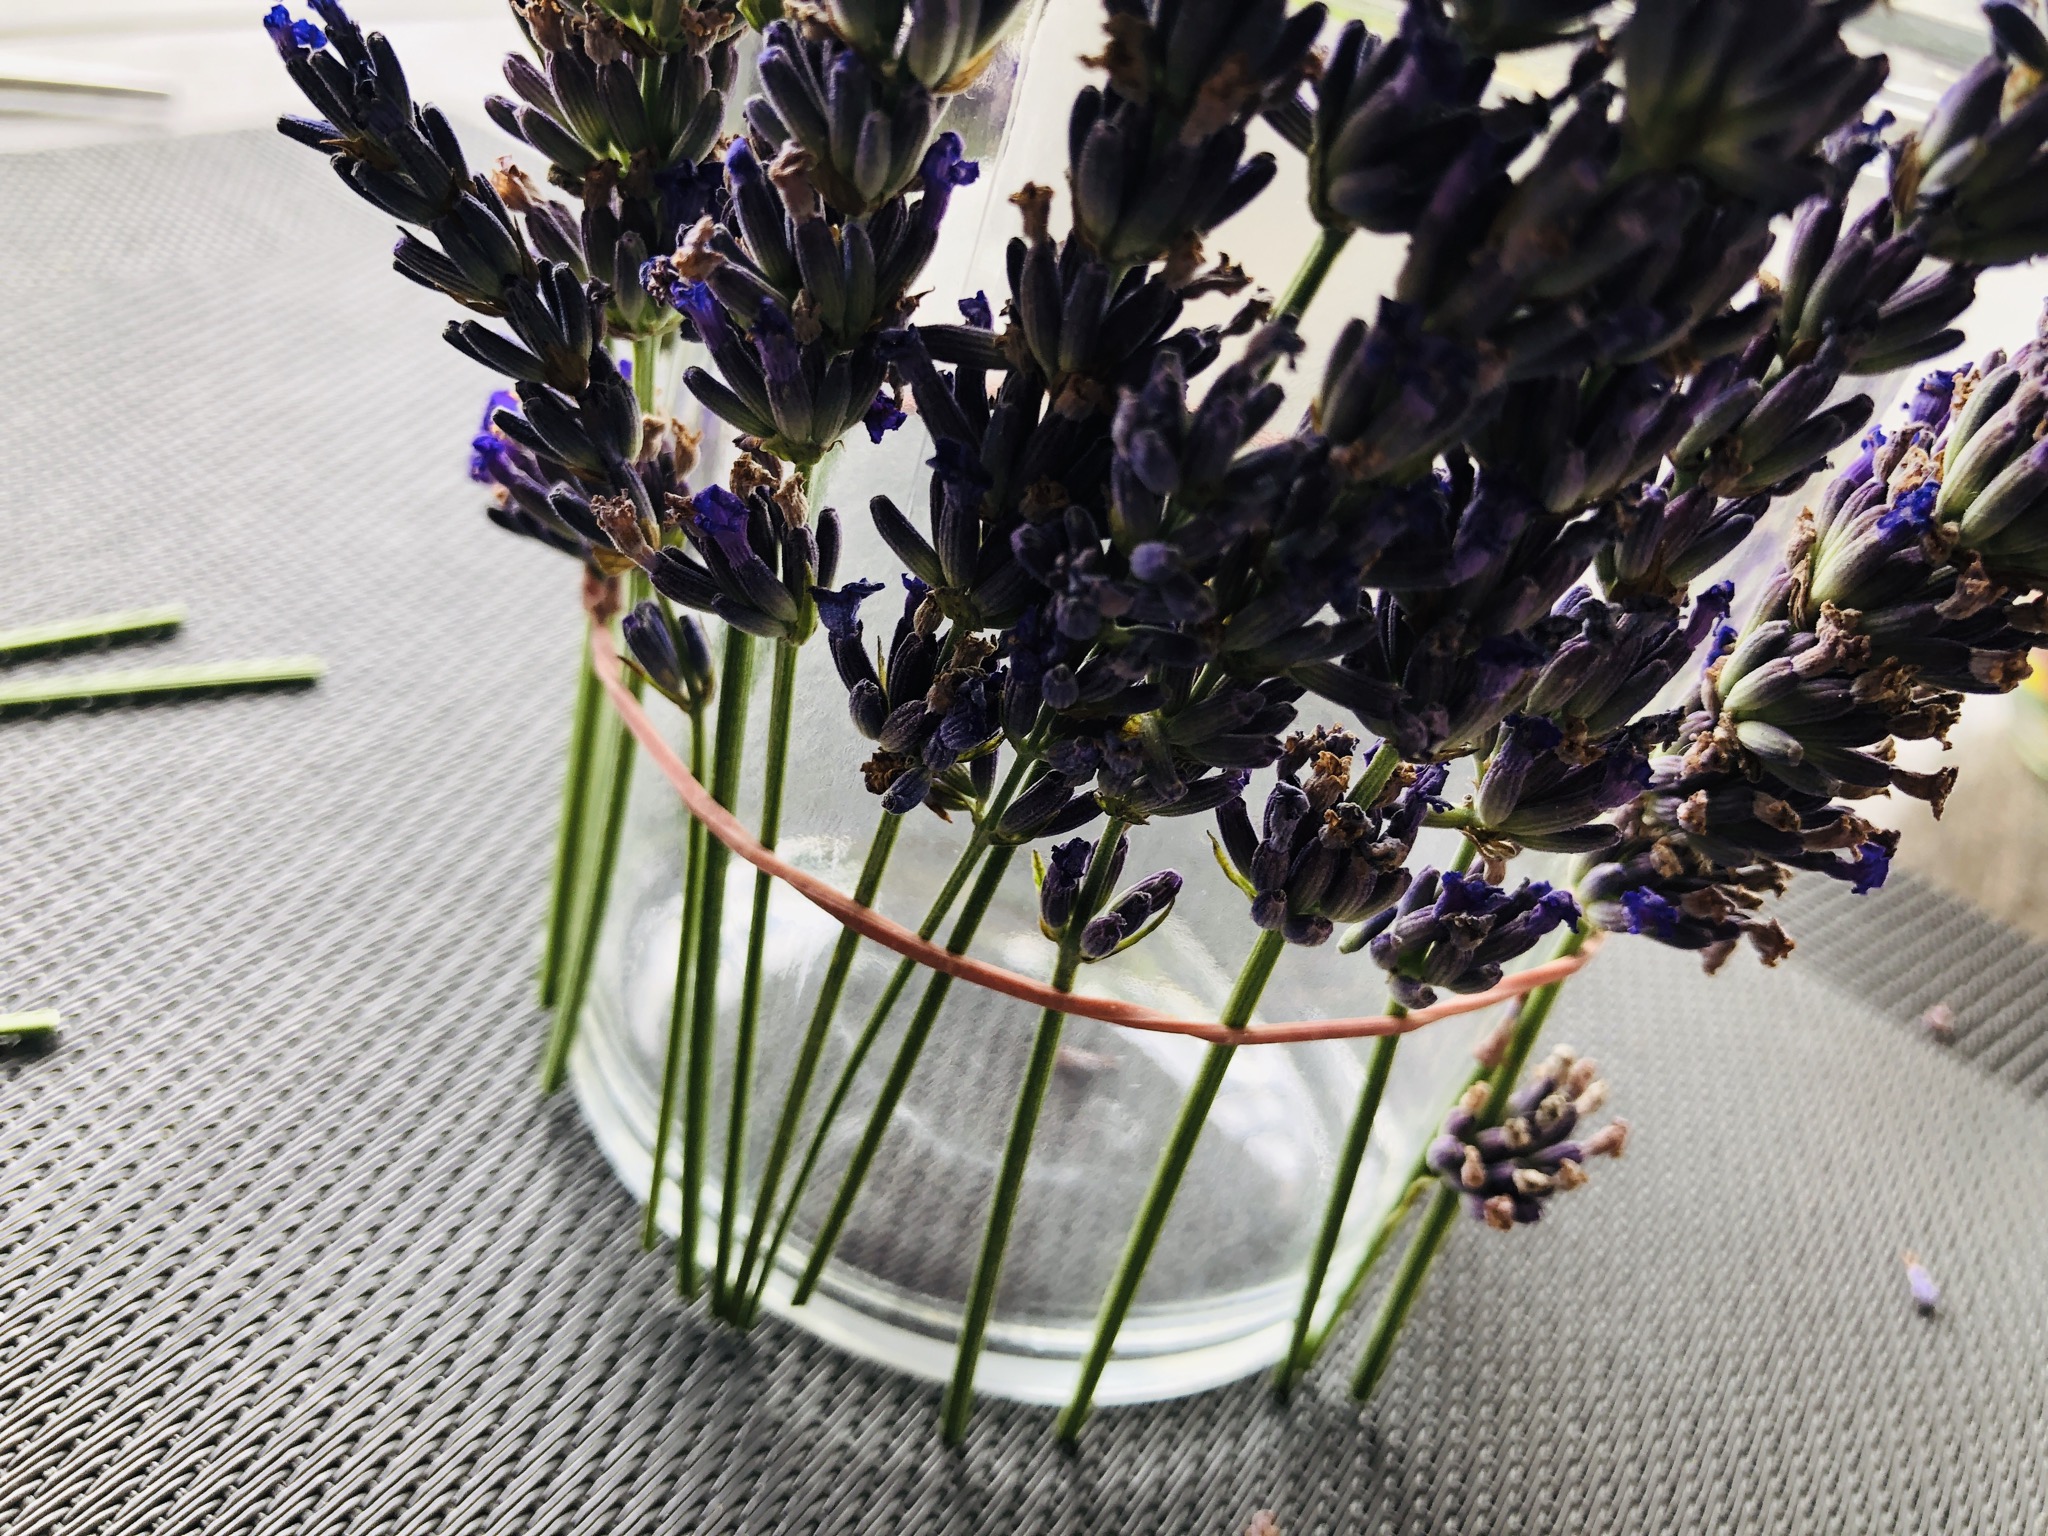
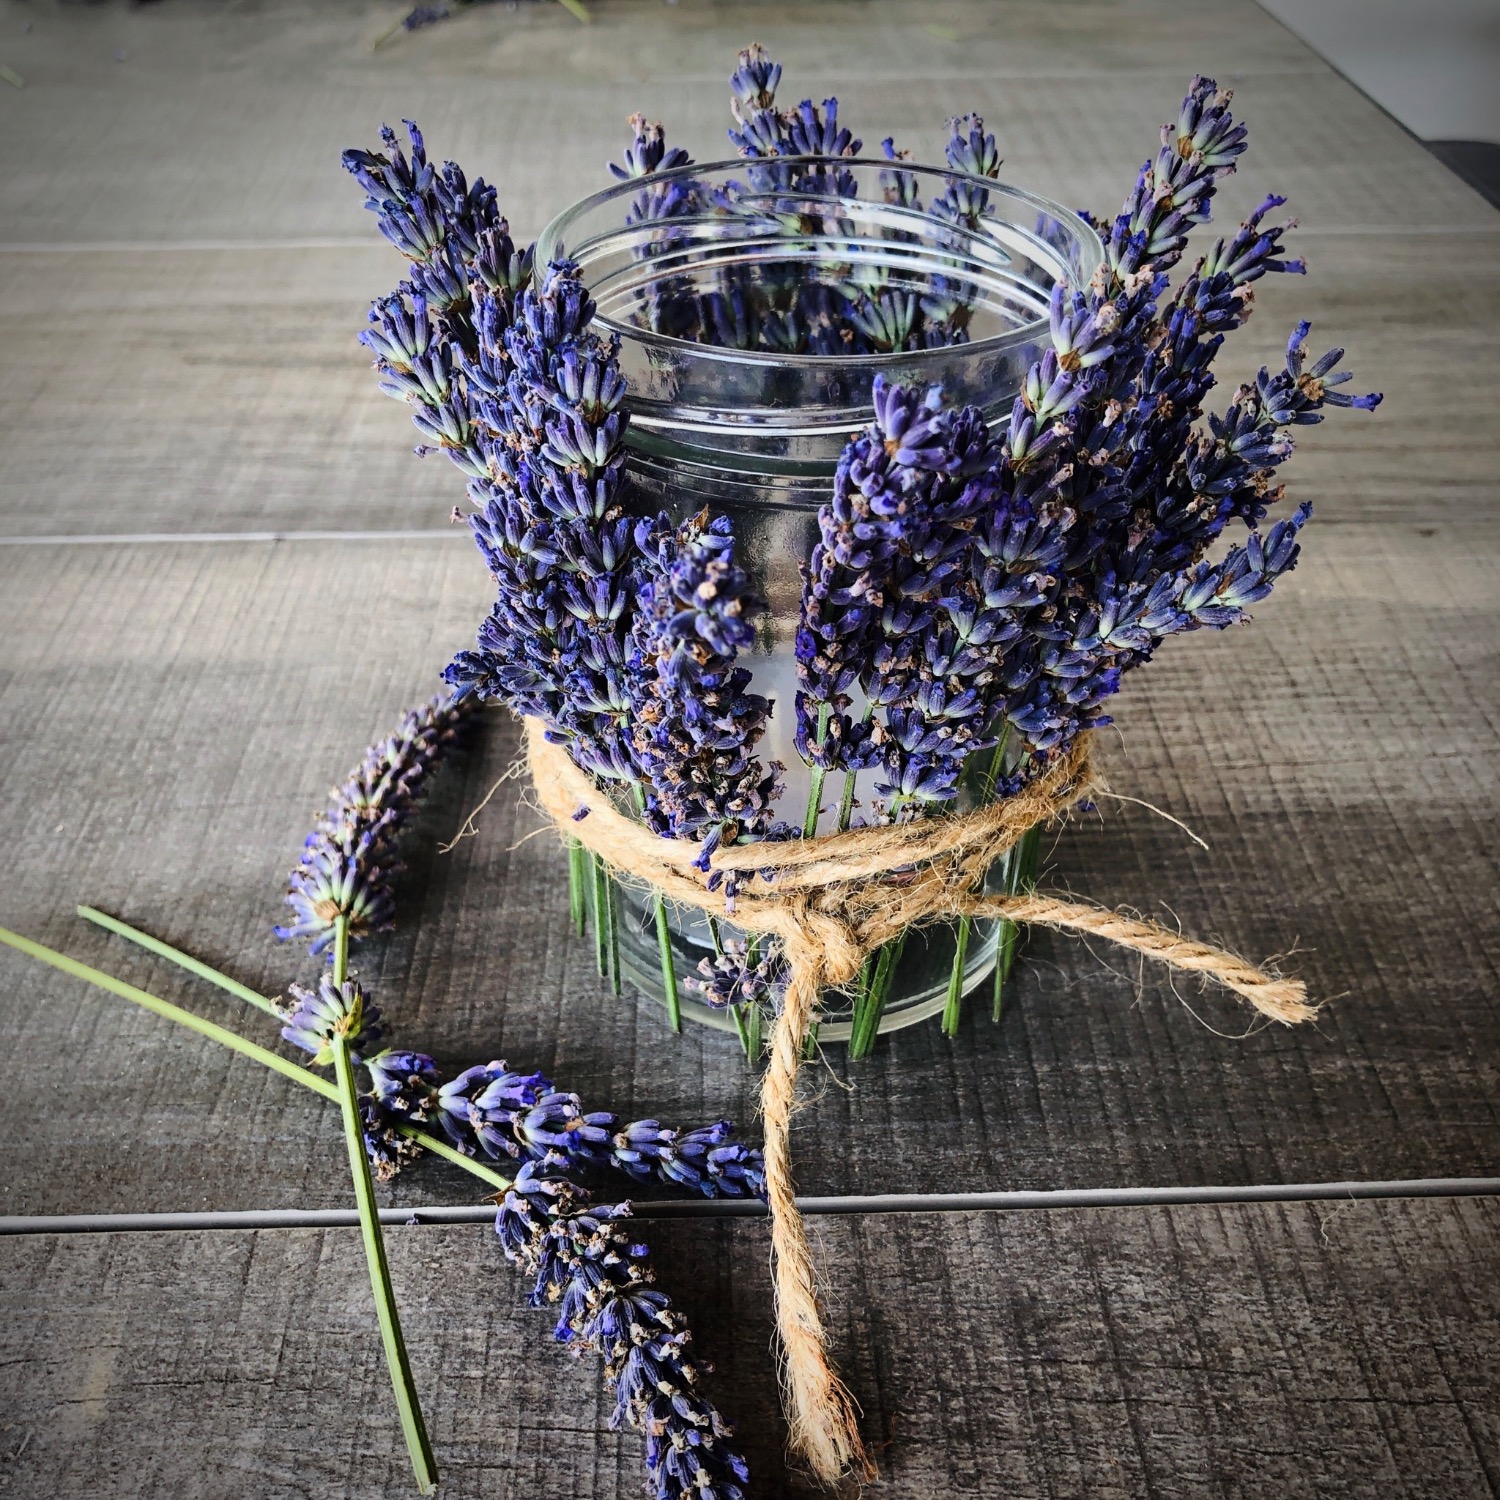
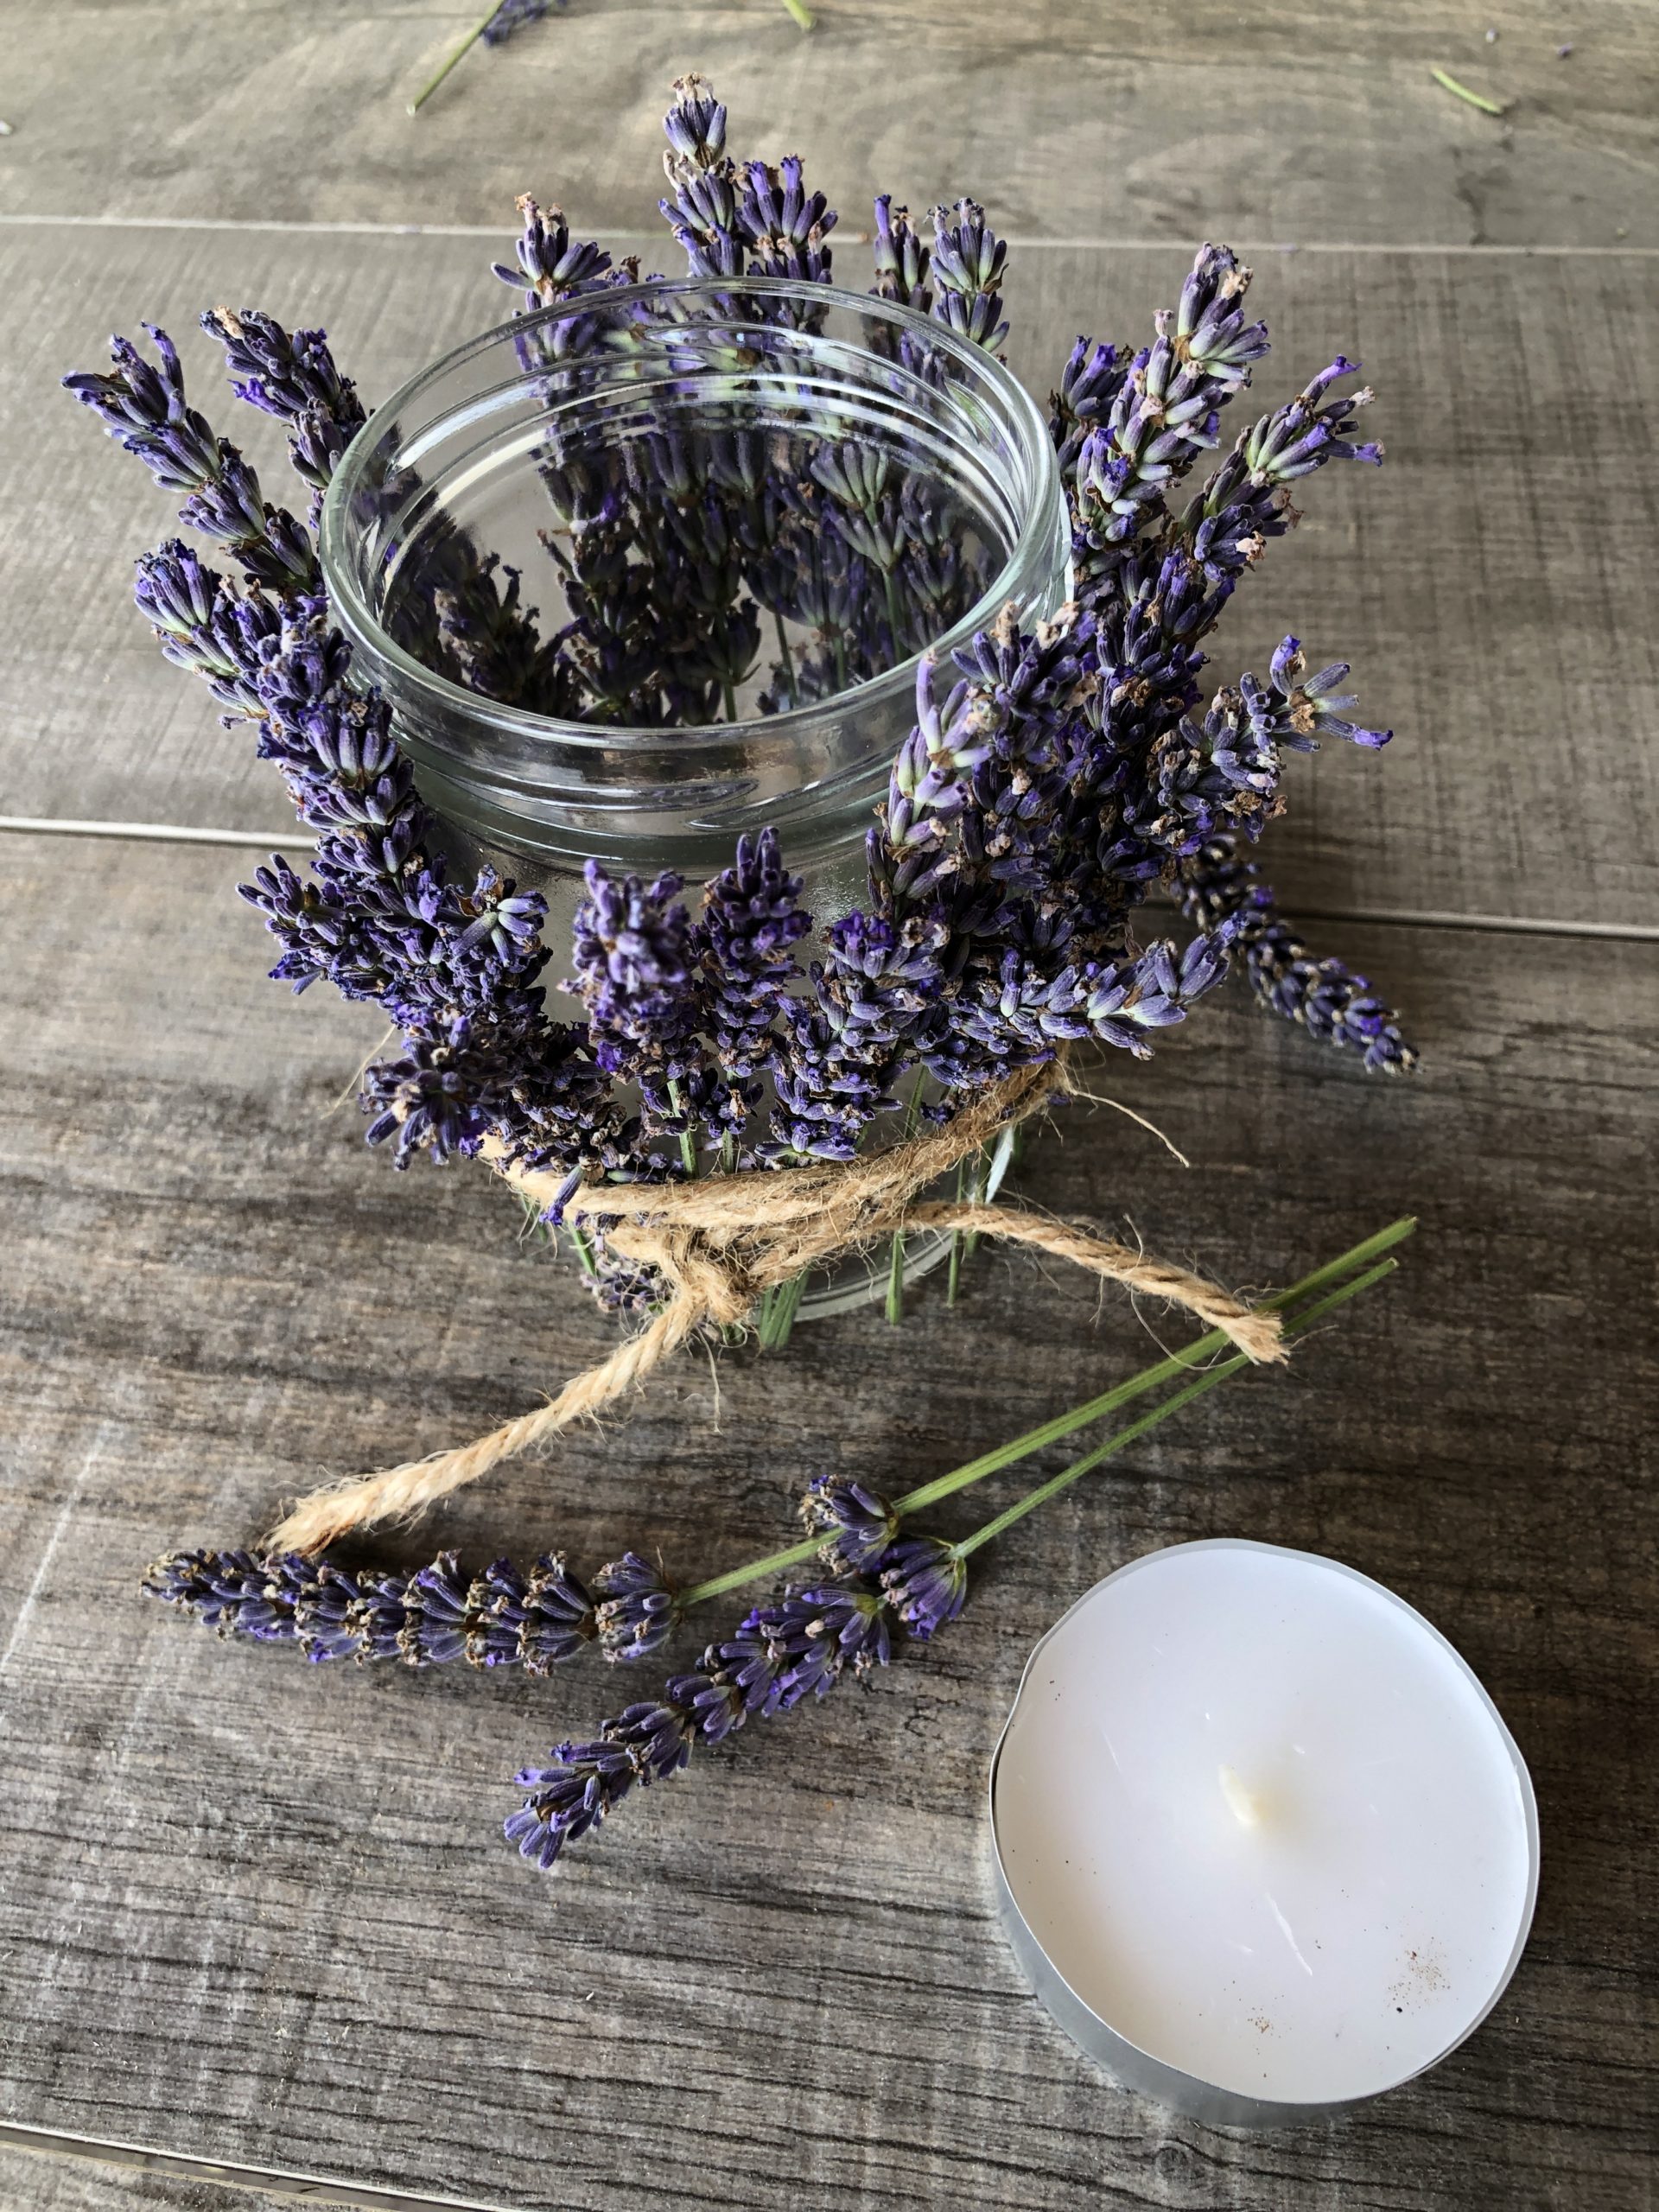
Pushes so much lavender through the rubber until the glass is surrounded by lavender handles.

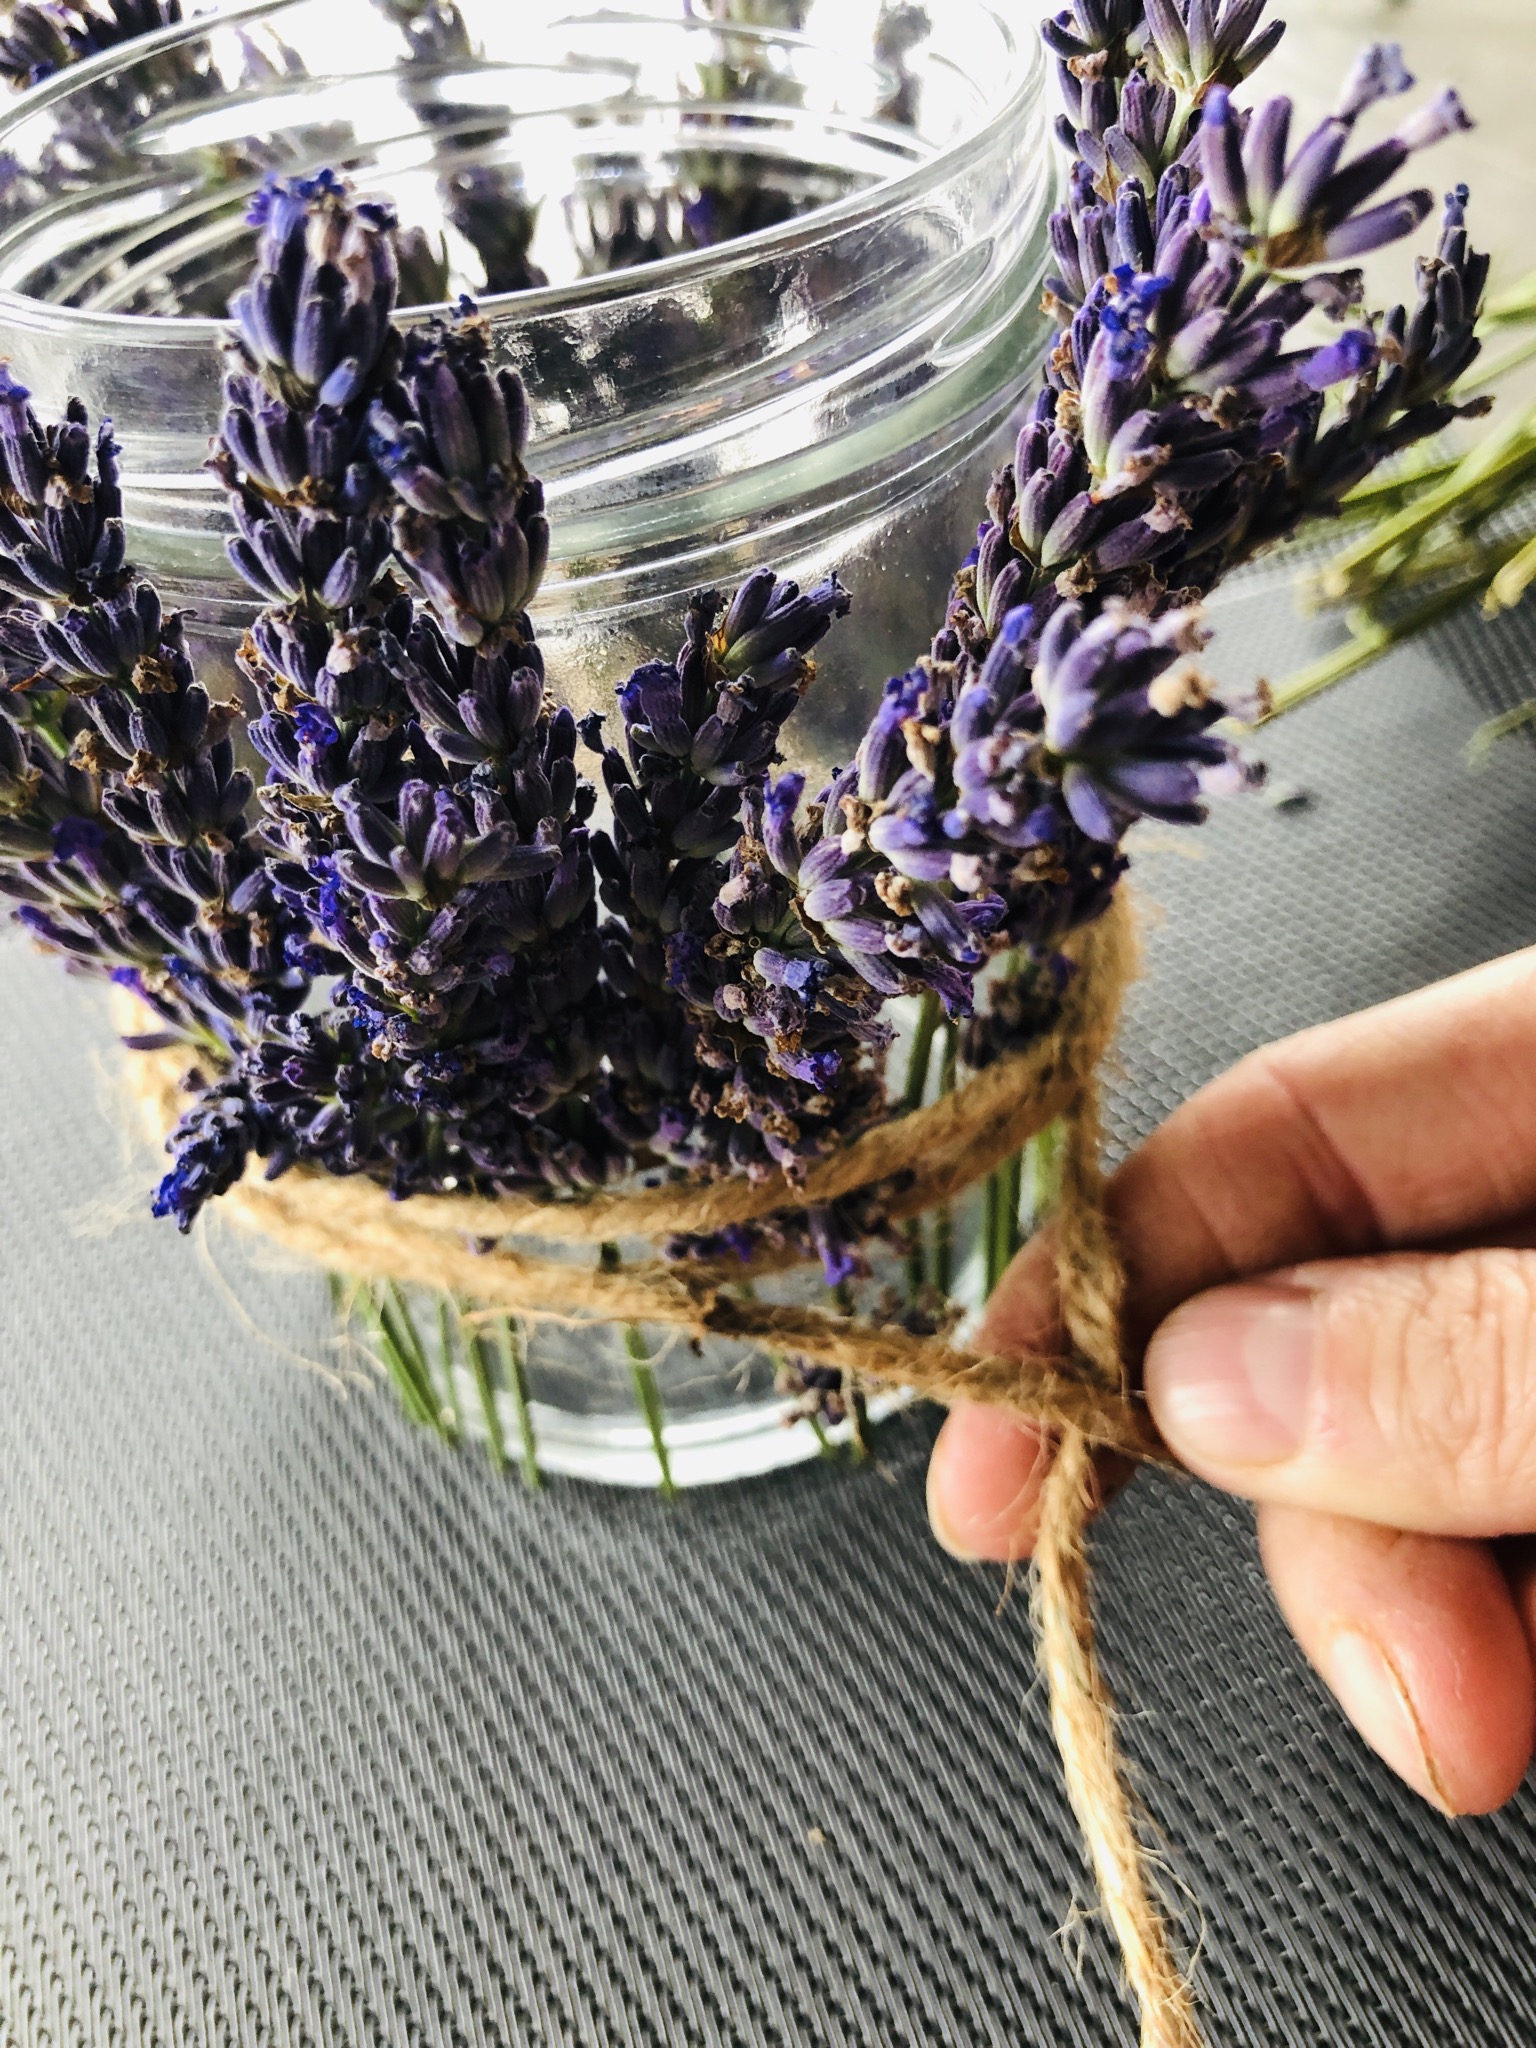
Now the tape (or package cord, bast, etc.) is placed above the rubber.
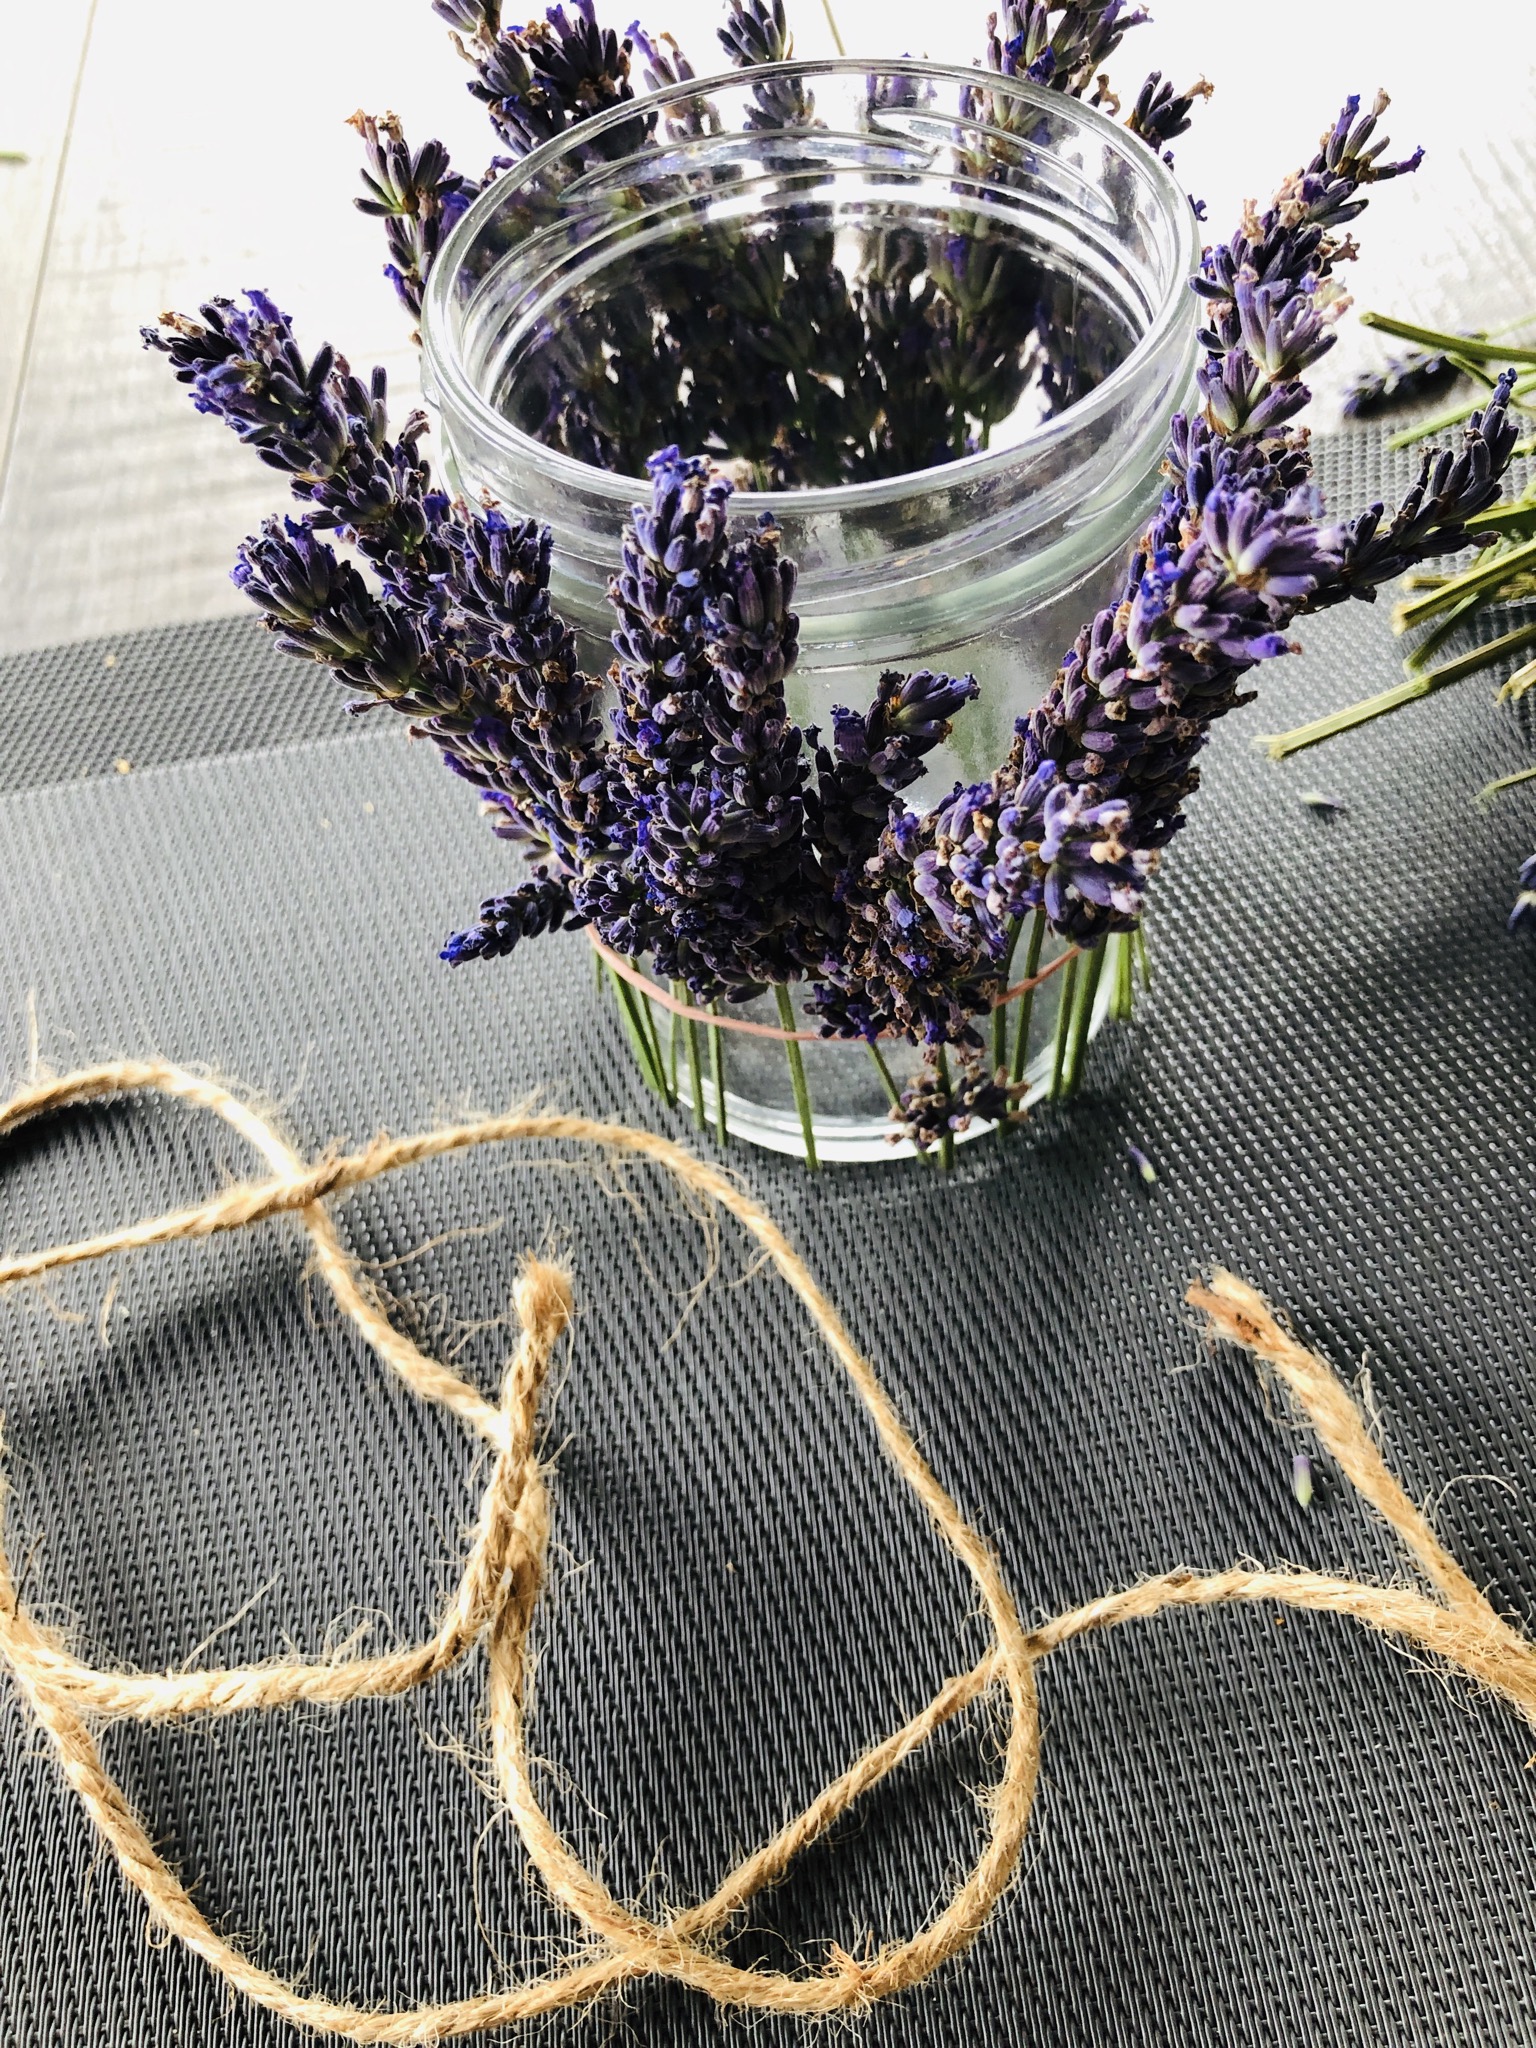
To tie the tape around the glass (possibly also twice!) and knot.
Put a tea light (or a large candle) in the glass.
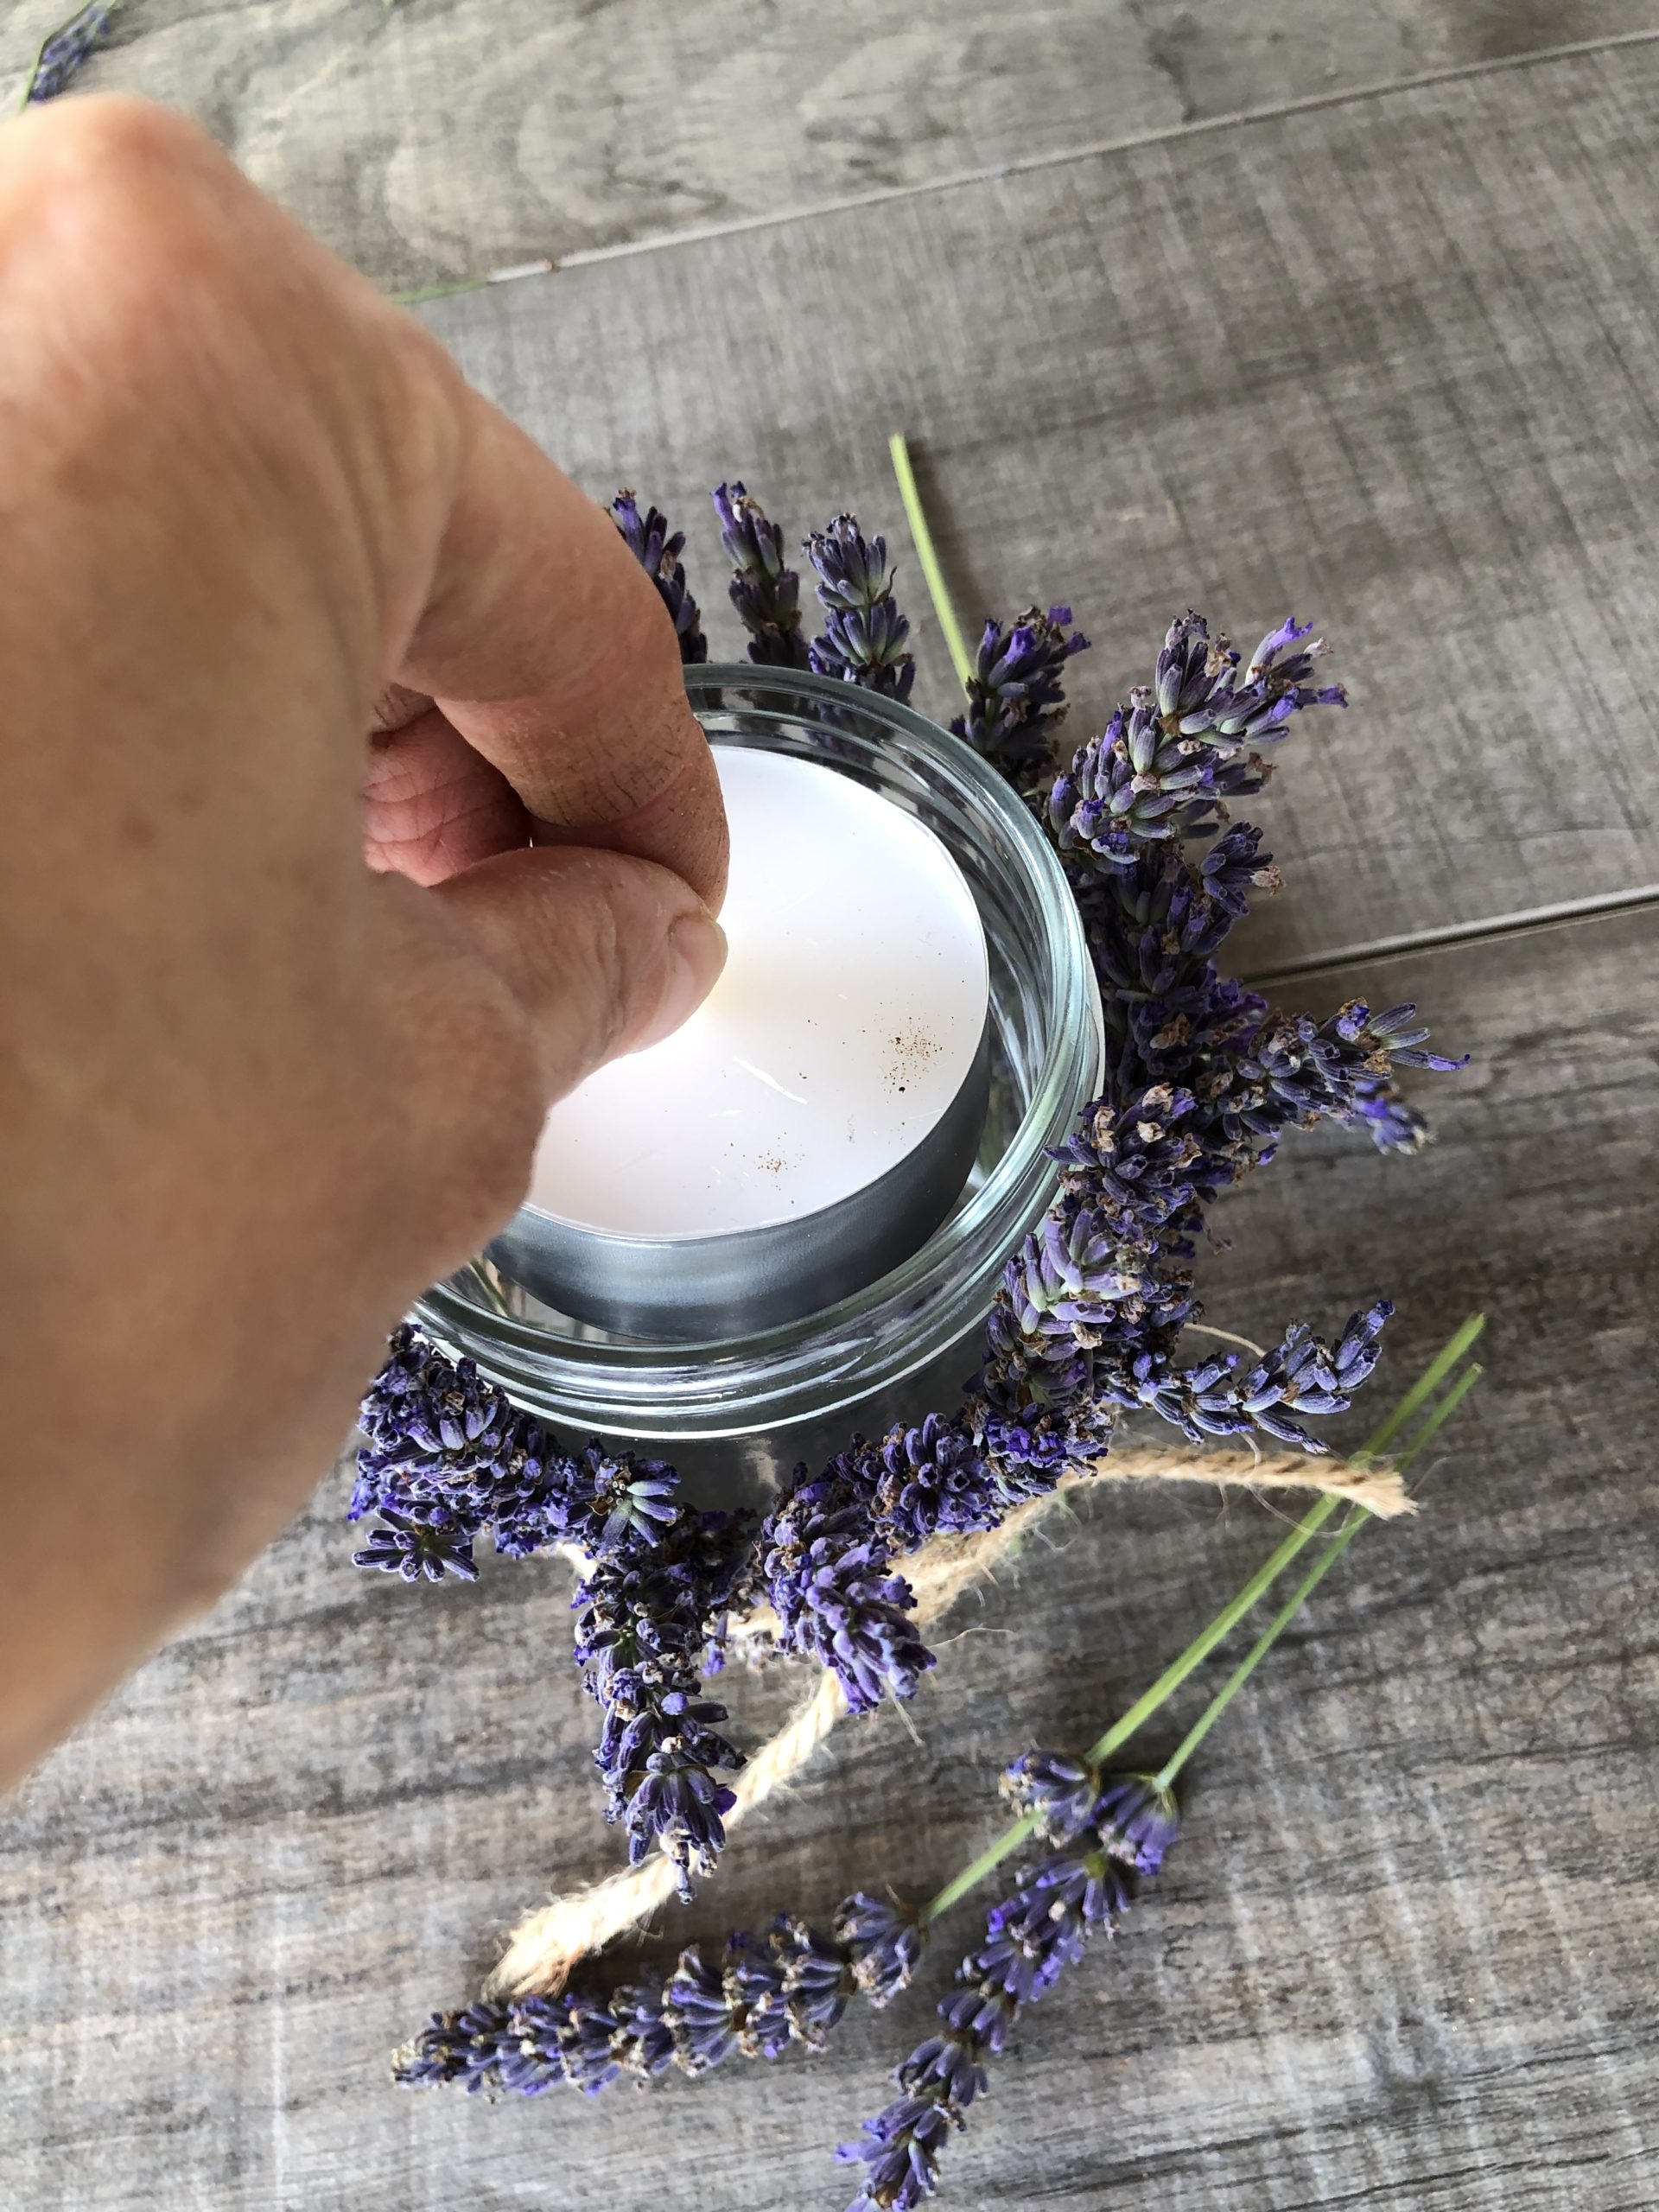
The lavender windlight is ready!

Ready for your next garden party, summer event, etc.
Let your kids help, you'll be amazed at what they can do. As a help you can watch and support at any time!
Materials
Directions
Harvest lavender with long stems. (These can still be shortened later!)
Prepare glass, household rubber and cord.
If the glass is placed on a non-slip base, it cannot roll away so easily.
Put the rubber around the glass.
Tip: If your rubbers are very thin and you are afraid that they might tear, then maybe put two rubbers on top of each other.
Cut the lavender stalks a little longer than the height of your glass.
Push each handle individually through the rubber and position it on the glass.
The flowers should stand close together.
After half cut the overhanging stalks with scissors.
Place the glass and stick the lavender through the rubber on the standing glass.
Pushes so much lavender through the rubber until the glass is surrounded by lavender handles.
Now the tape (or package cord, bast, etc.) is placed above the rubber.
To tie the tape around the glass (possibly also twice!) and knot.
Put a tea light (or a large candle) in the glass.
The lavender windlight is ready!
Ready for your next garden party, summer event, etc.
Let your kids help, you'll be amazed at what they can do. As a help you can watch and support at any time!
Follow us on Facebook , Instagram and Pinterest
Don't miss any more adventures: Our bottle mail