Lantern from colouring images (with many templates)

AdventurerKatzi
Rating5.05.4 Thousand times. (1) DifficultyIntermediate

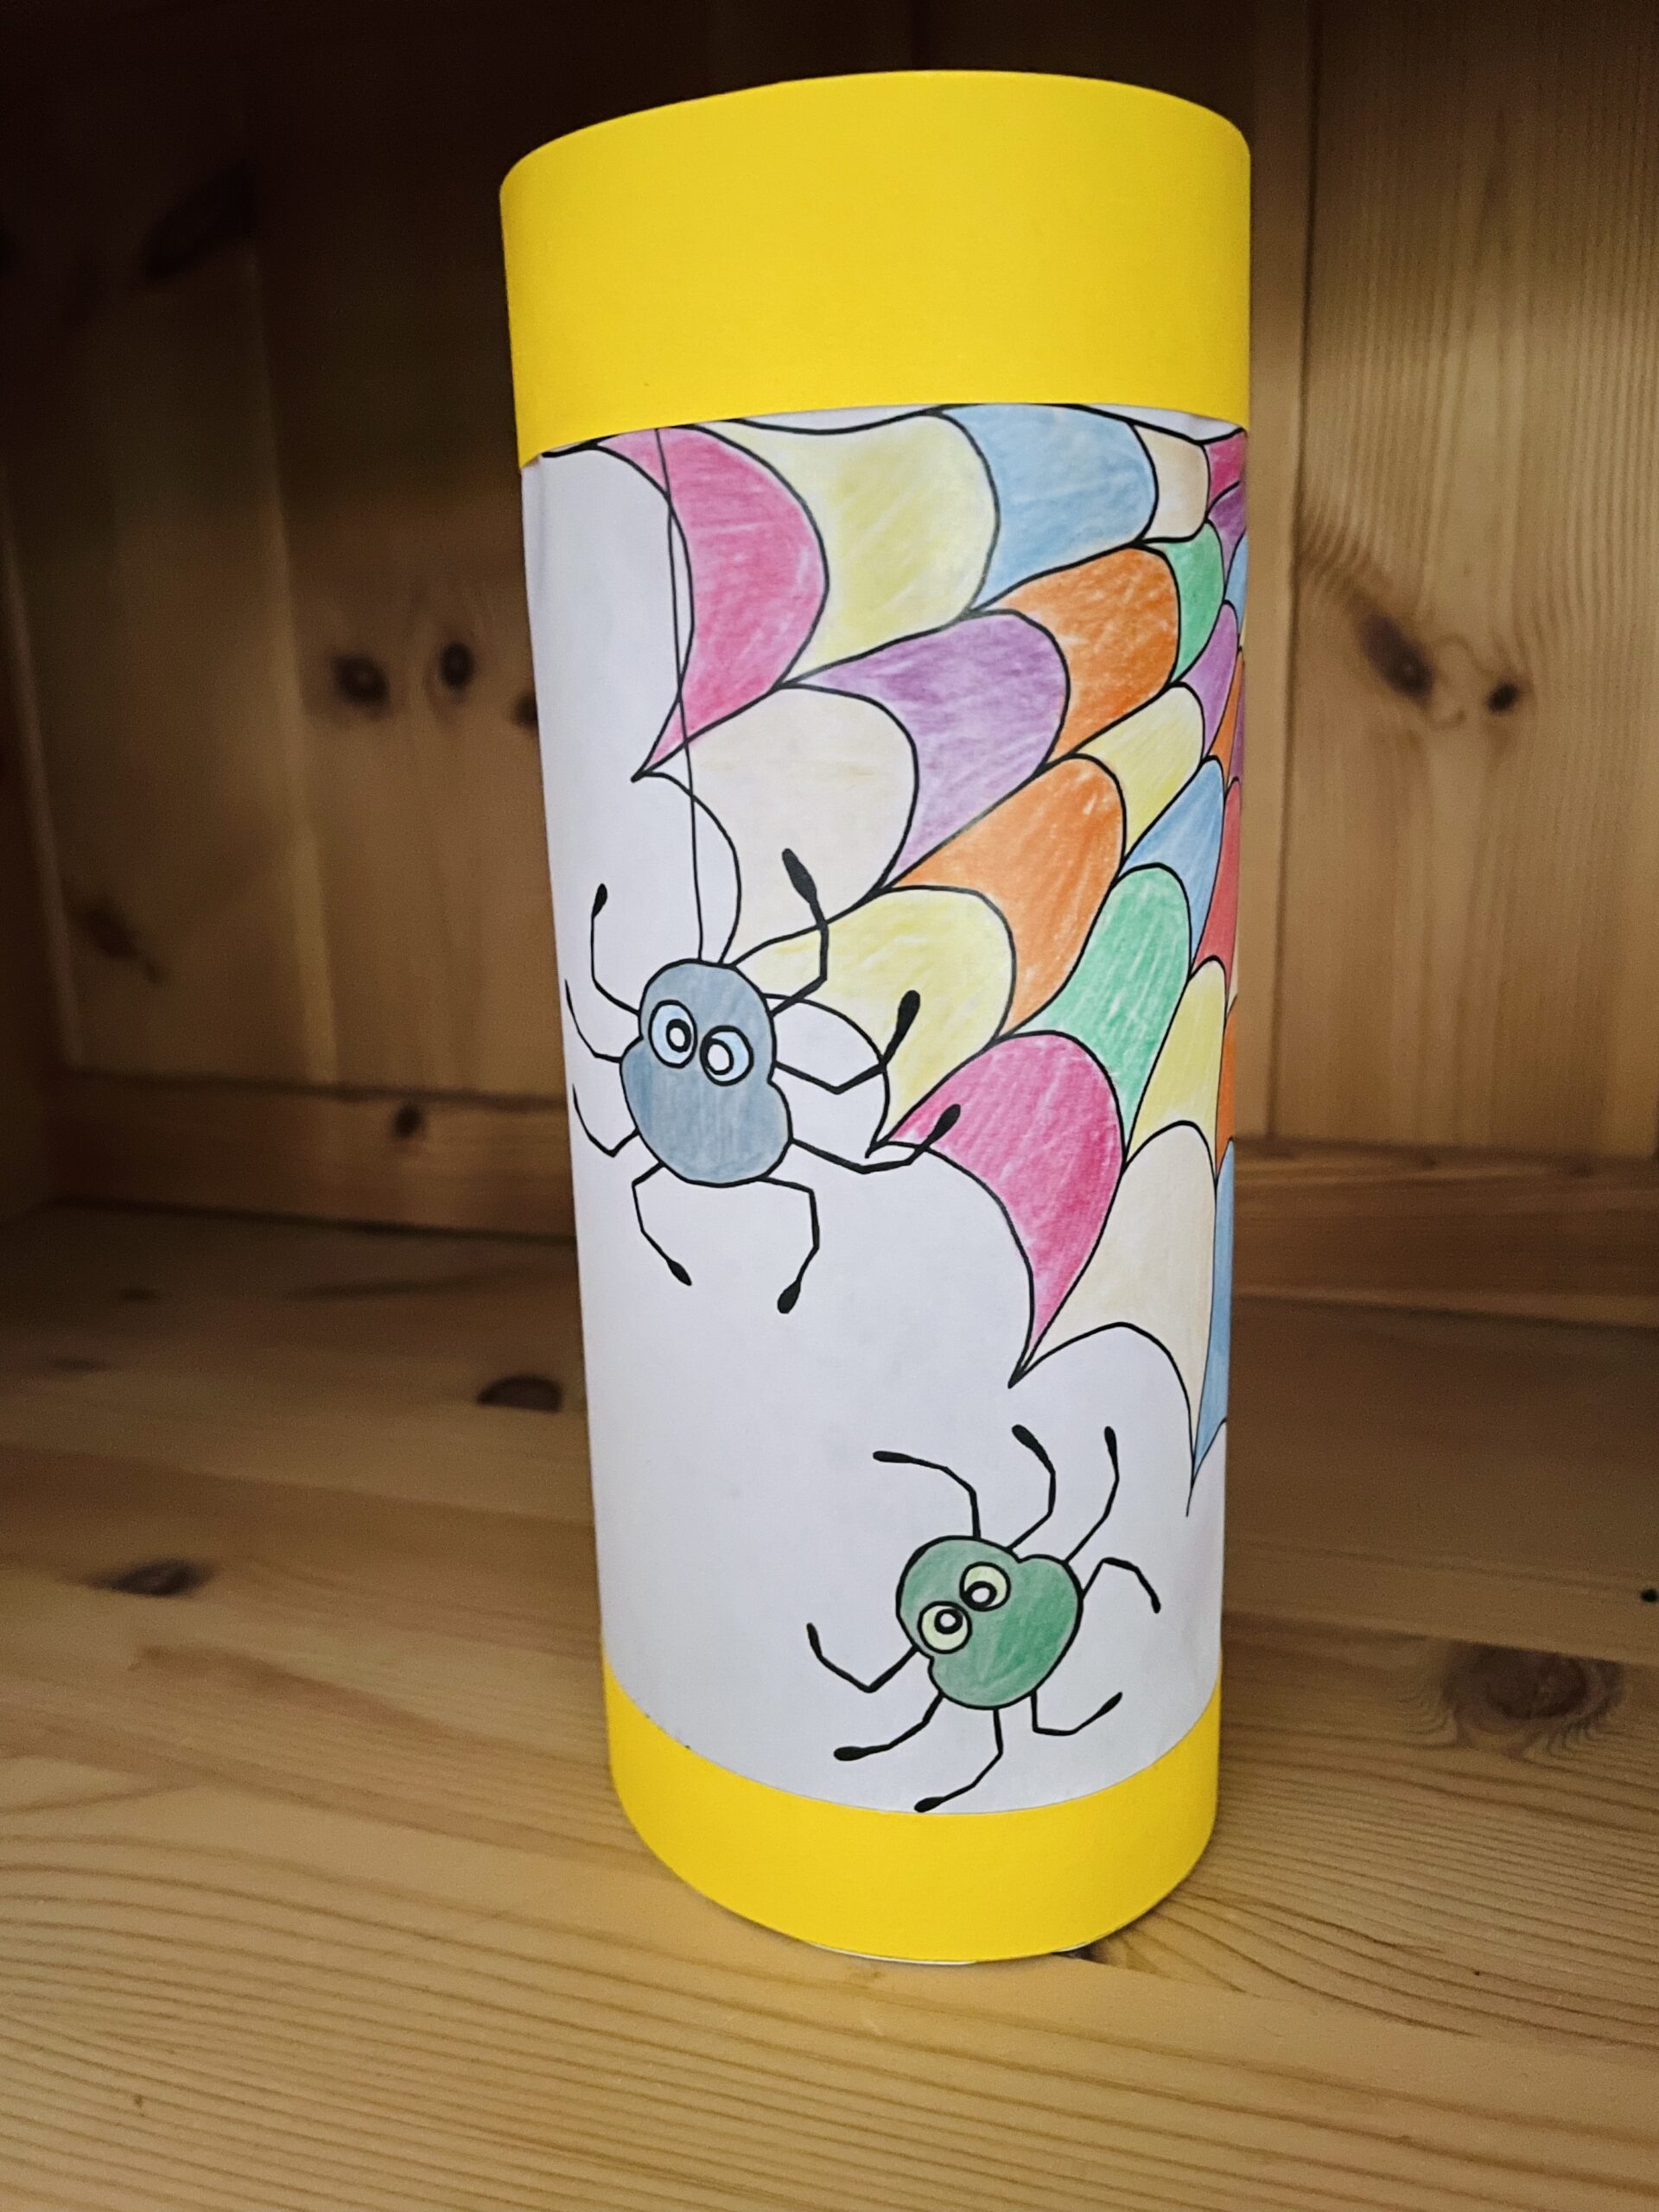
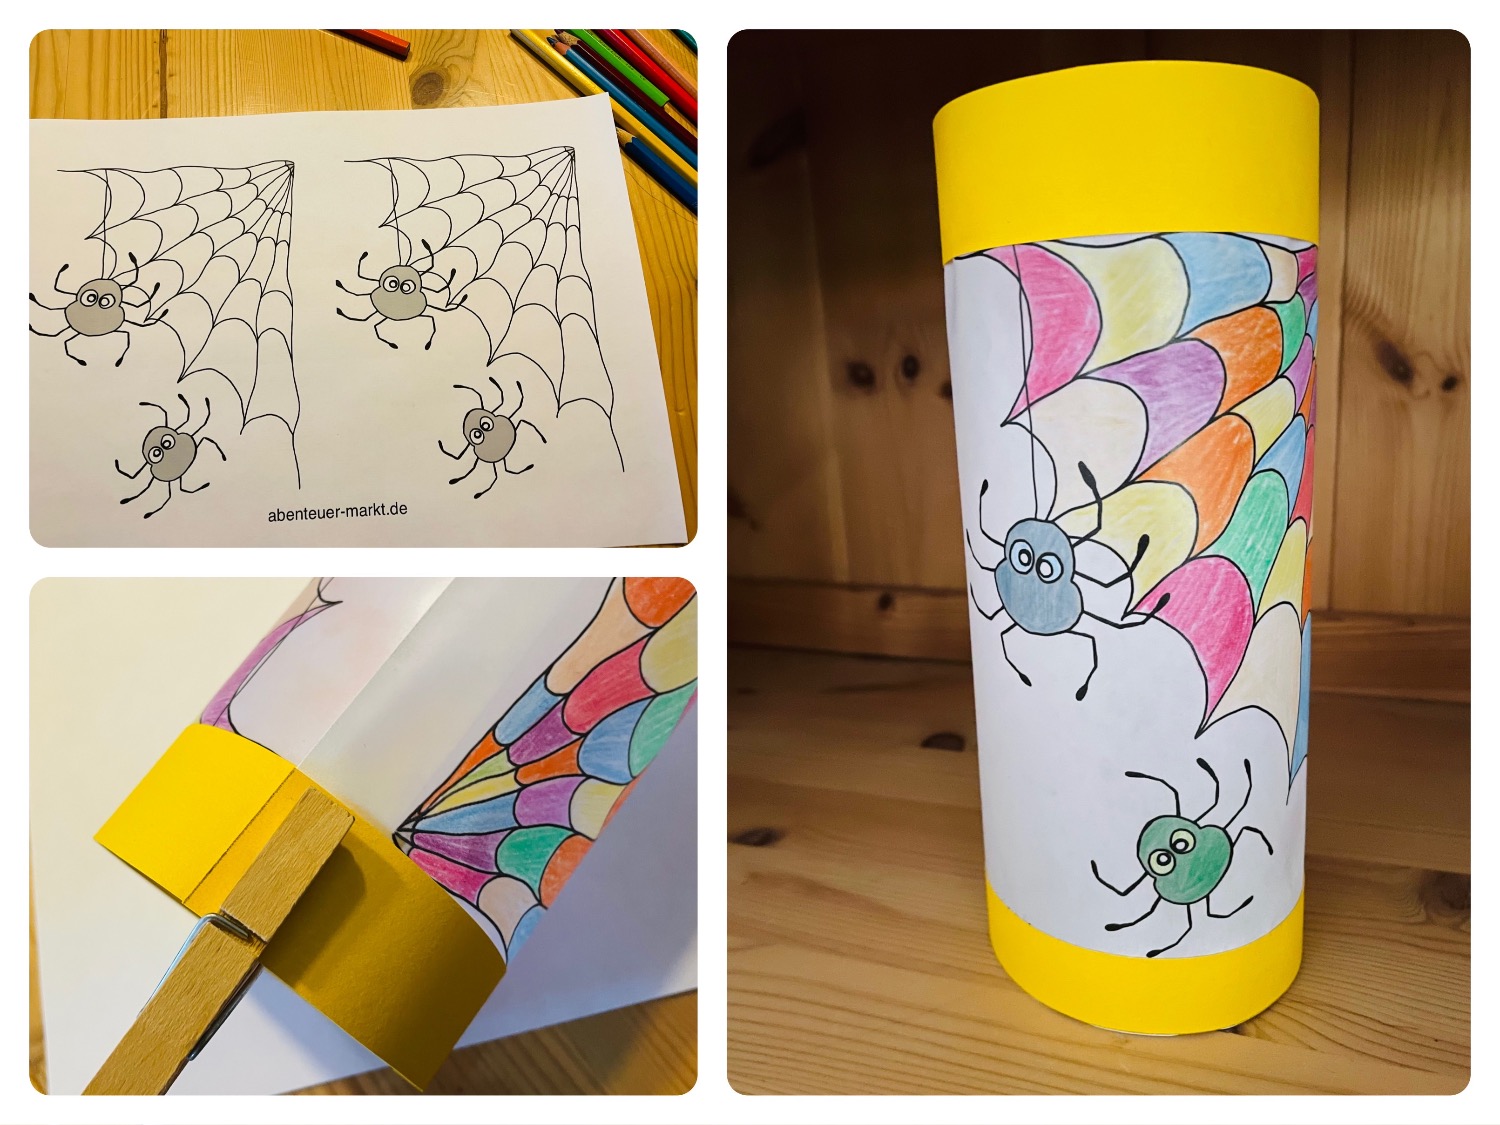
This lantern fits to every topic: lanterns, astronauts, spiders, etc. It is so easy and fast to design. This lantern consists only of a colouring image, which is painted with oil to form a transparent paper. Two photo cardboard strips ensure the necessary stability. Check out the instructions, because the technology is so easy that you can create beautiful lanterns in no time at all from great motifs.

Media Education for Kindergarten and Hort

Kind bastelt eine Rassel mit dem Navi
The Adventure Navi, the app for DIY projects, enables media education for the youngest.

Relief in everyday life, targeted promotion of individual children, independent learning and - without any pre-knowledge already usable by the youngest!


Titelbild zur Bastel- und DIY-Idee für Kinder '(879) Laterne aus Ausmalbildern (mit vielen Vorlagen)'
Material for1 Child
Prep Time5 min.Adv. Time30 min.Total Time35 min.
 1 Coloring: landscape format DIN A4
 Coloured photo boxCardboard box thin
 1 Newsprint as a backing
 1 Kitchen crepe
 1 lb Household oil
 1 Cup small
 1 possible brush
 1 Adhesive penor hot glue gun
 1 Tacker
 2 Woven fabrics containing predominantly, but < 85 % cotton by weight, mixed principally or solely with cotton
All links marked with a shopping cart lead to Amazon - here we have selected products that we would order ourselves and in part also ordered. In a qualified purchase via the advertising link, we as Amazon partner receive a commission, for you there are no costs. You thus support our cost- and advertising banner-free, educational offer.
1

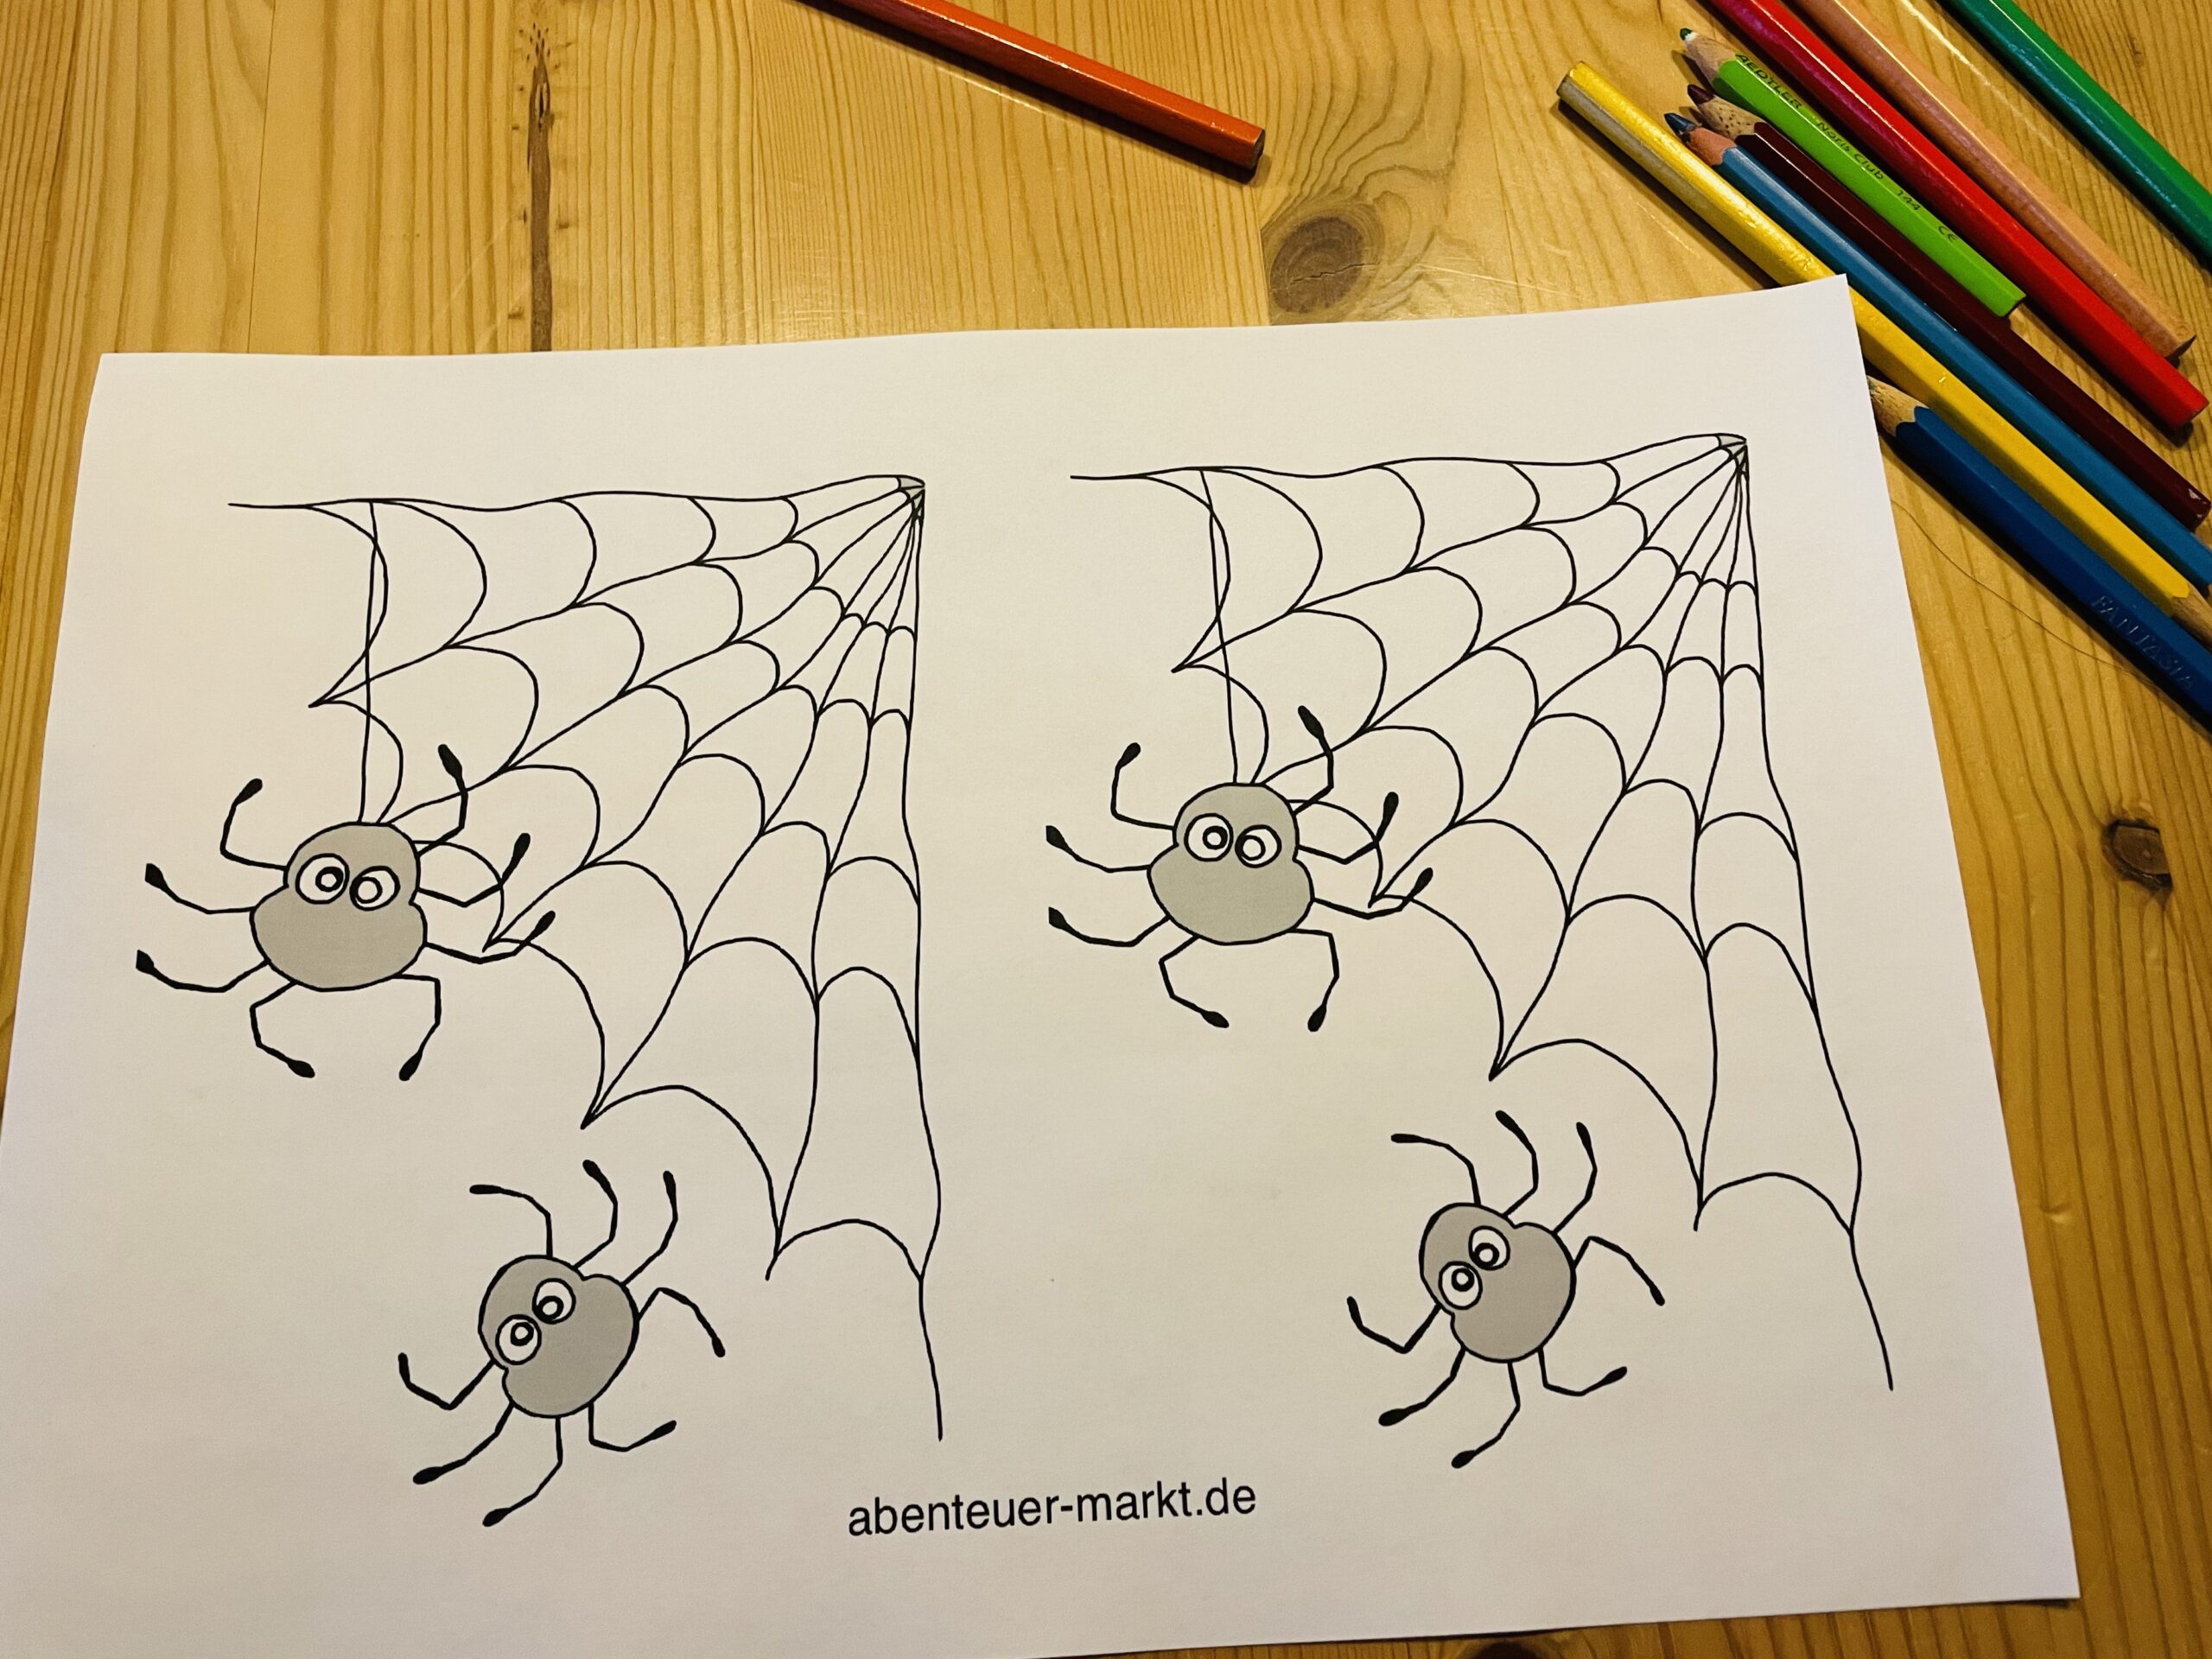
Choose a colouring image and print it out in DIN A4 format. Make sure you choose a motif in landscape format. You can choose this motif or one of the motifs attached below.

Bild zum Schritt 1 für das Bastel- und DIY-Abenteuer für Kinder: 'Sucht euch ein Ausmalbild und druckt dieses im DIN A4...'

2

Then paint the motif with crayons.
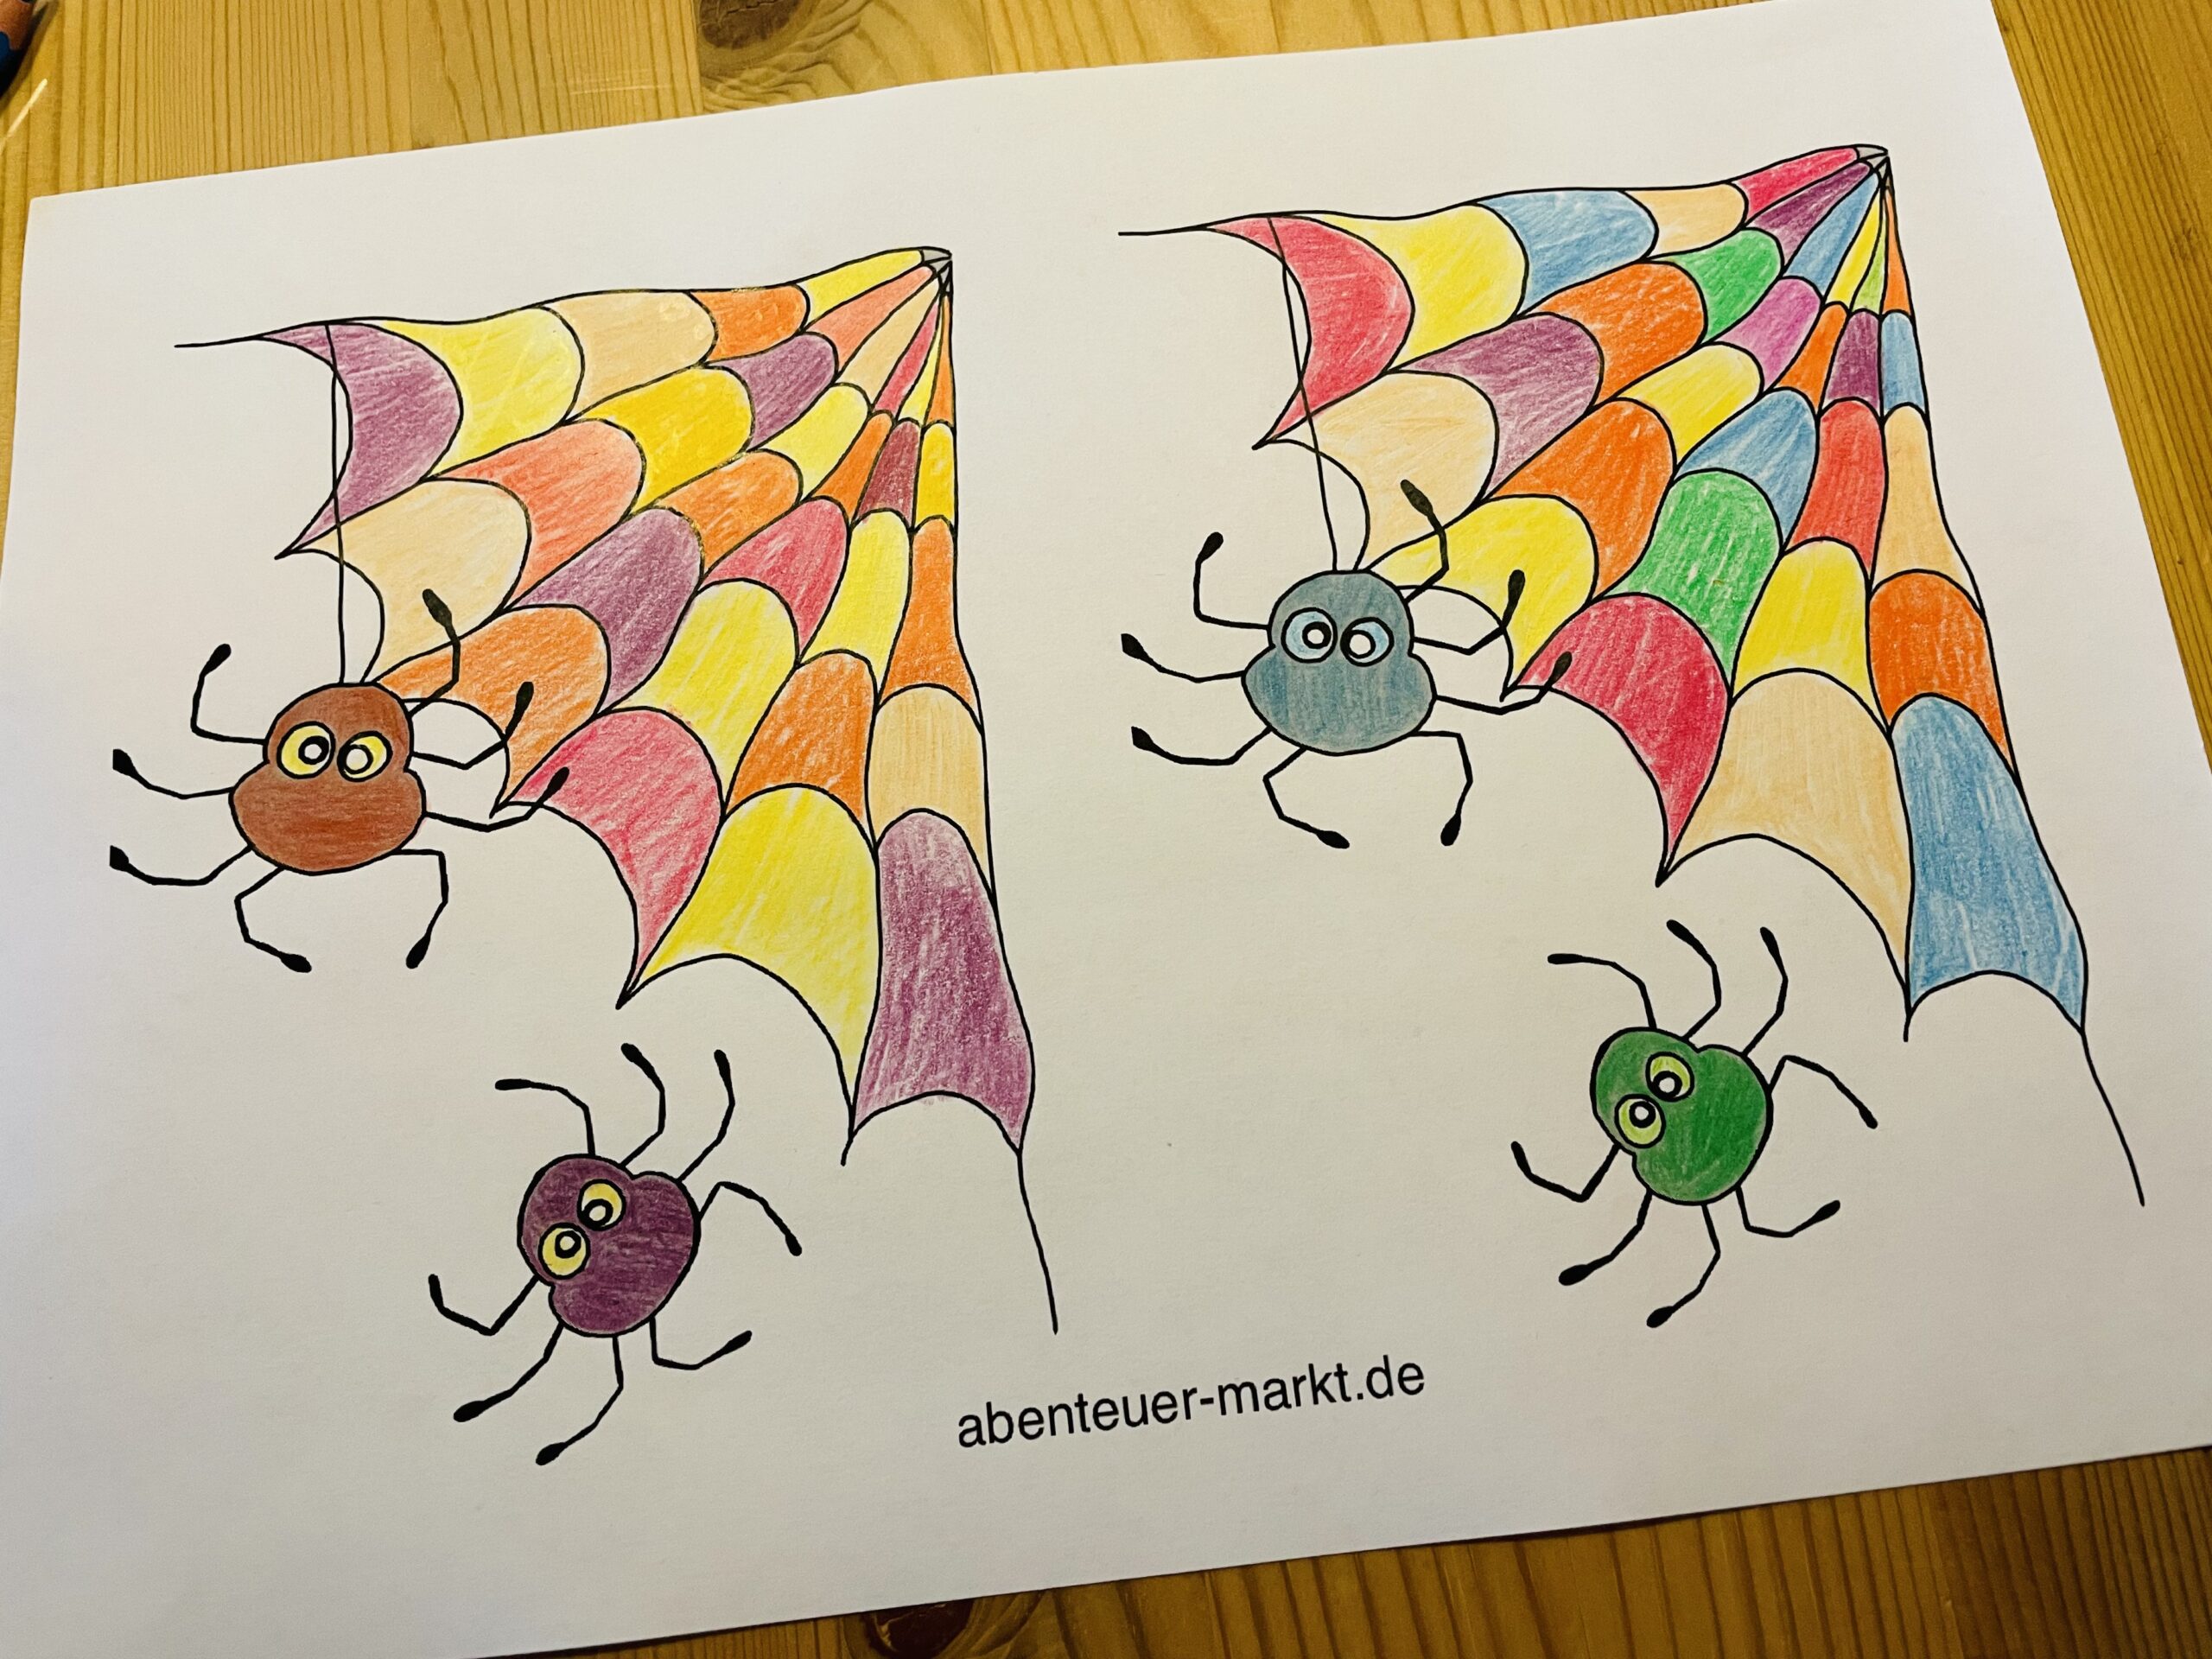
Bild zum Schritt 2 für das Bastel- und DIY-Abenteuer für Kinder: 'Malt anschließend das Motiv mit Buntstiften aus.'

3

2. Bild zum Schritt 2 für das Bastel- und DIY-Abenteuer für Kinder: 'Malt anschließend das Motiv mit Buntstiften aus.'

4

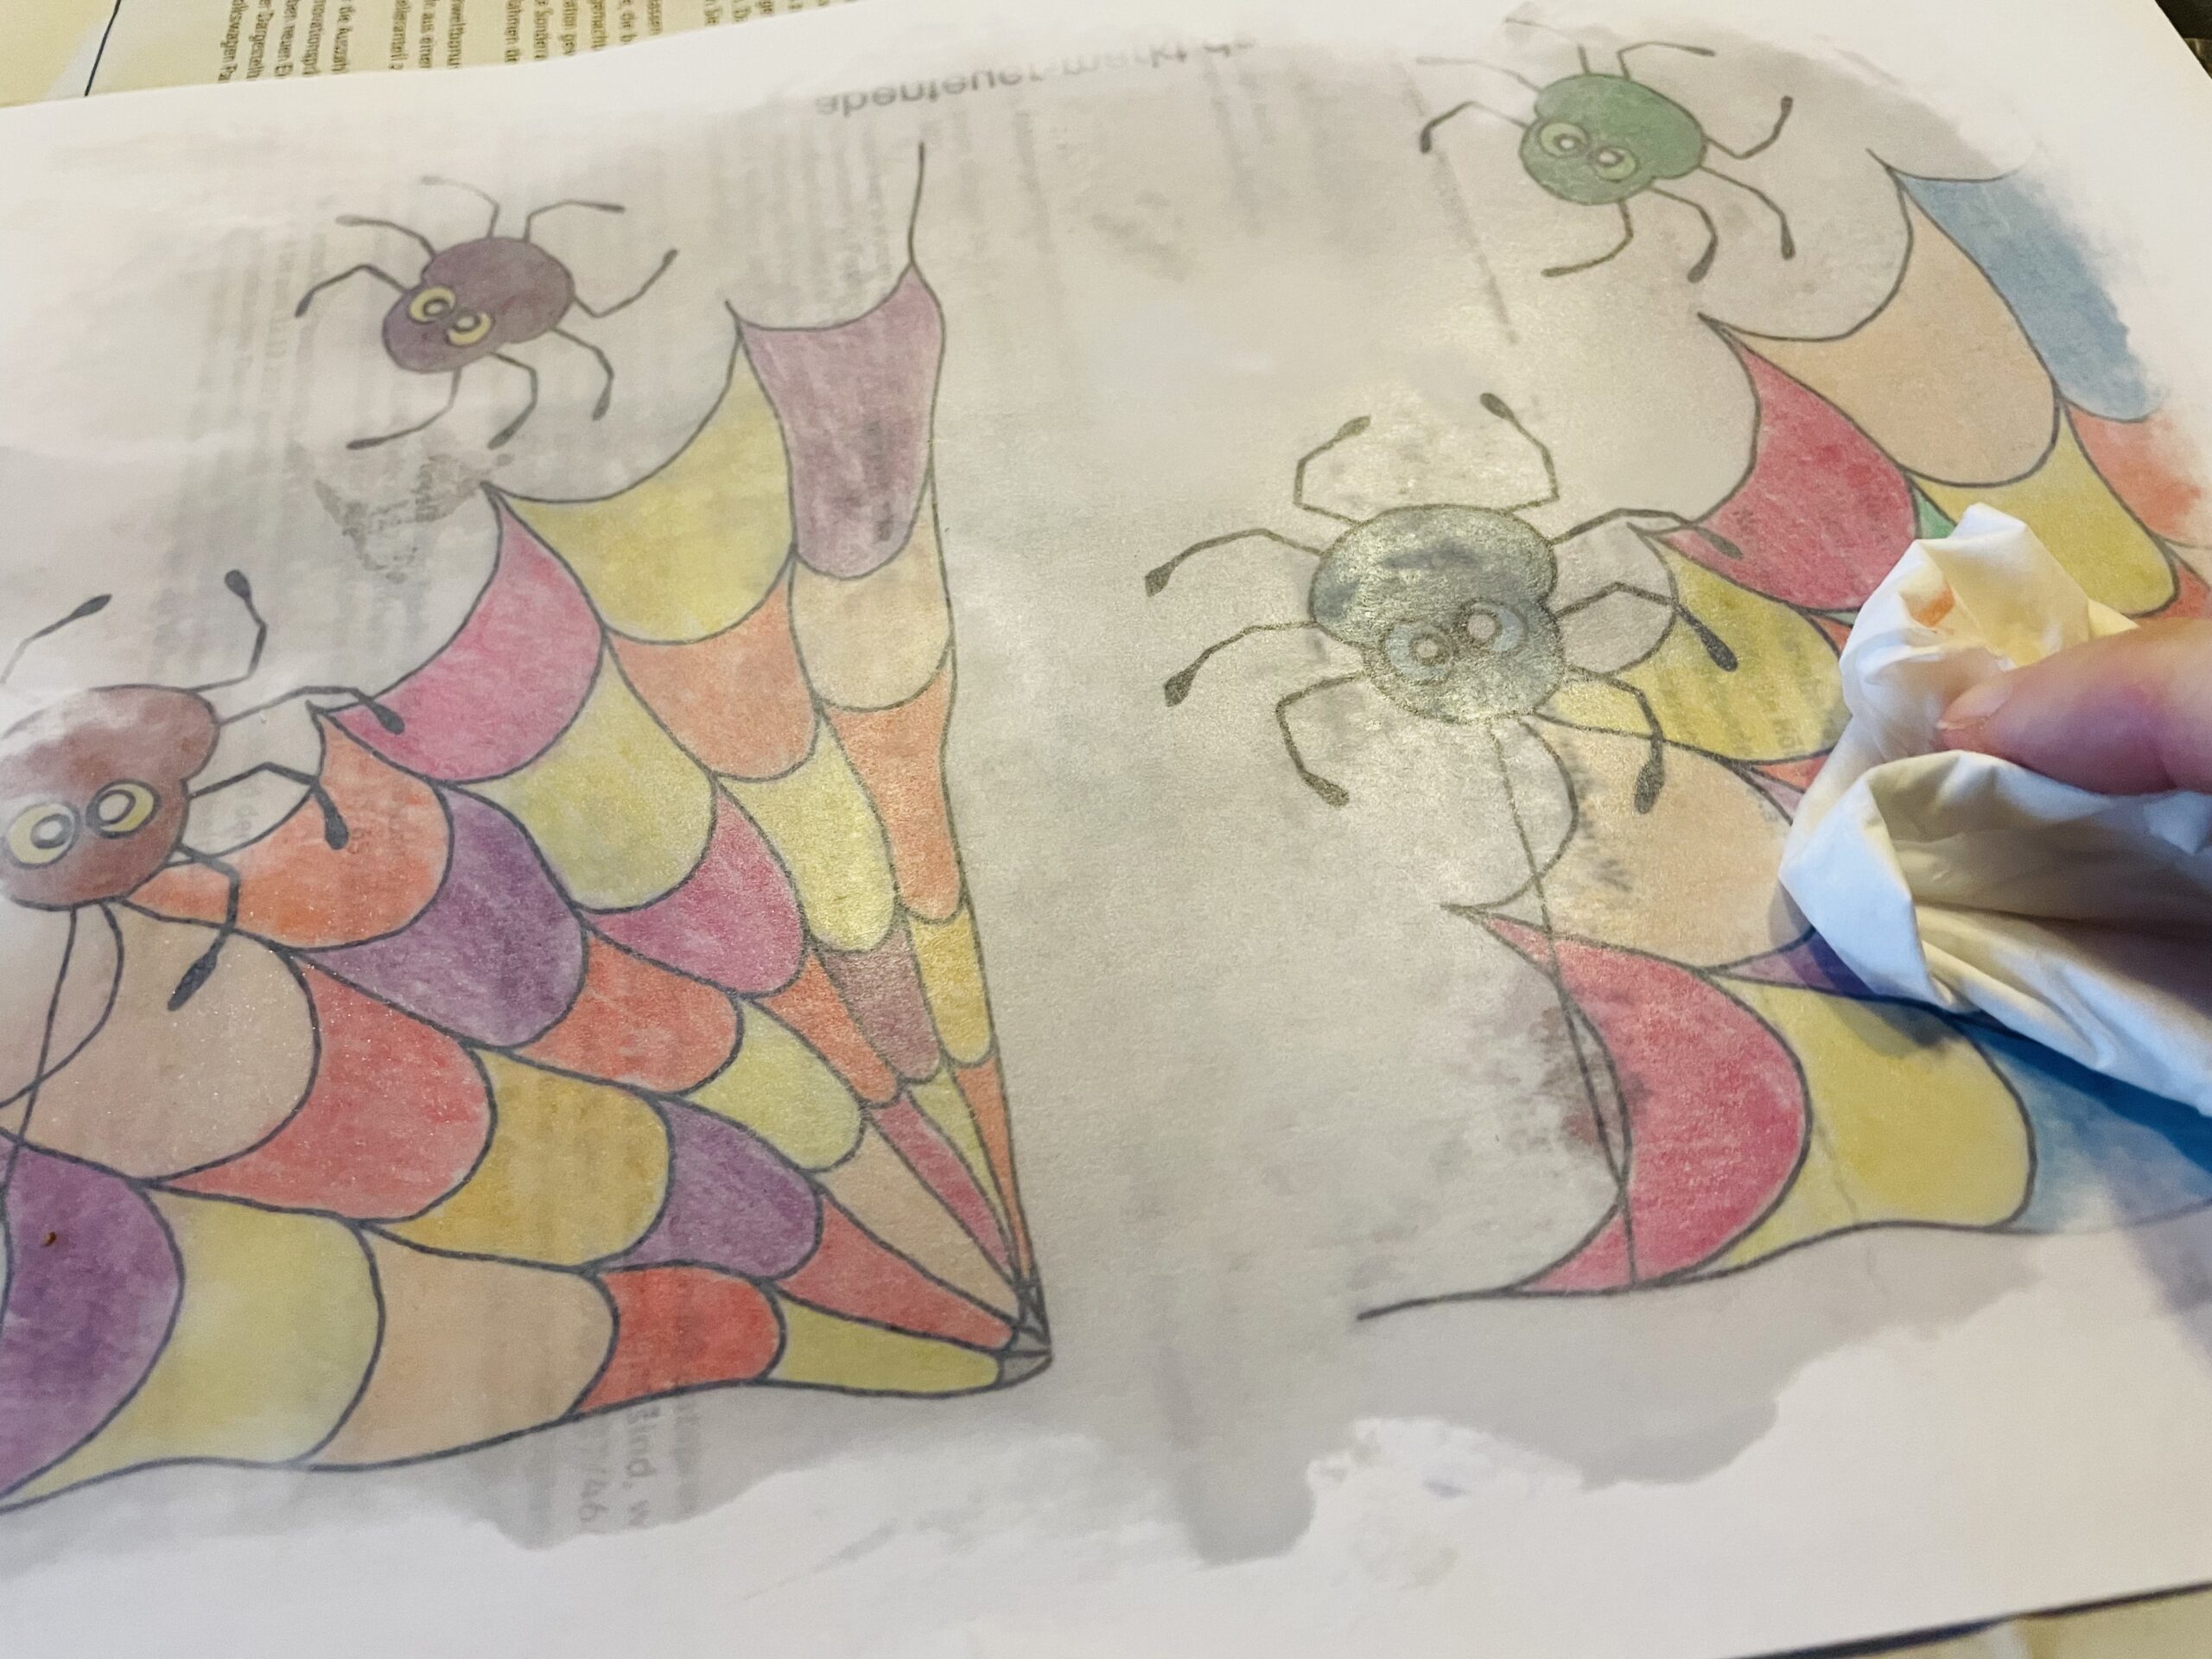
Then put the sheet with the back up on an old newspaper. Cover the back of the picture with oil. Use a brush or a kitchen crepe. You only need very little oil. As soon as the paper is transparent, you wipe the excess oil with a kitchen crepe.

Bild zum Schritt 4 für das Bastel- und DIY-Abenteuer für Kinder: 'Danach legt ihr das Blatt mit der Rückseite nach oben...'

5

Rubs the back dry.

Bild zum Schritt 5 für das Bastel- und DIY-Abenteuer für Kinder: 'Reibt dabei die Rückseite trocken.'

6

Now turn the paper back on the front. The colors shine. Now place the paper on a radiator for drying.

Bild zum Schritt 6 für das Bastel- und DIY-Abenteuer für Kinder: 'Jetzt dreht ihr das Papier wieder auf die Vorderseite. Die...'

7

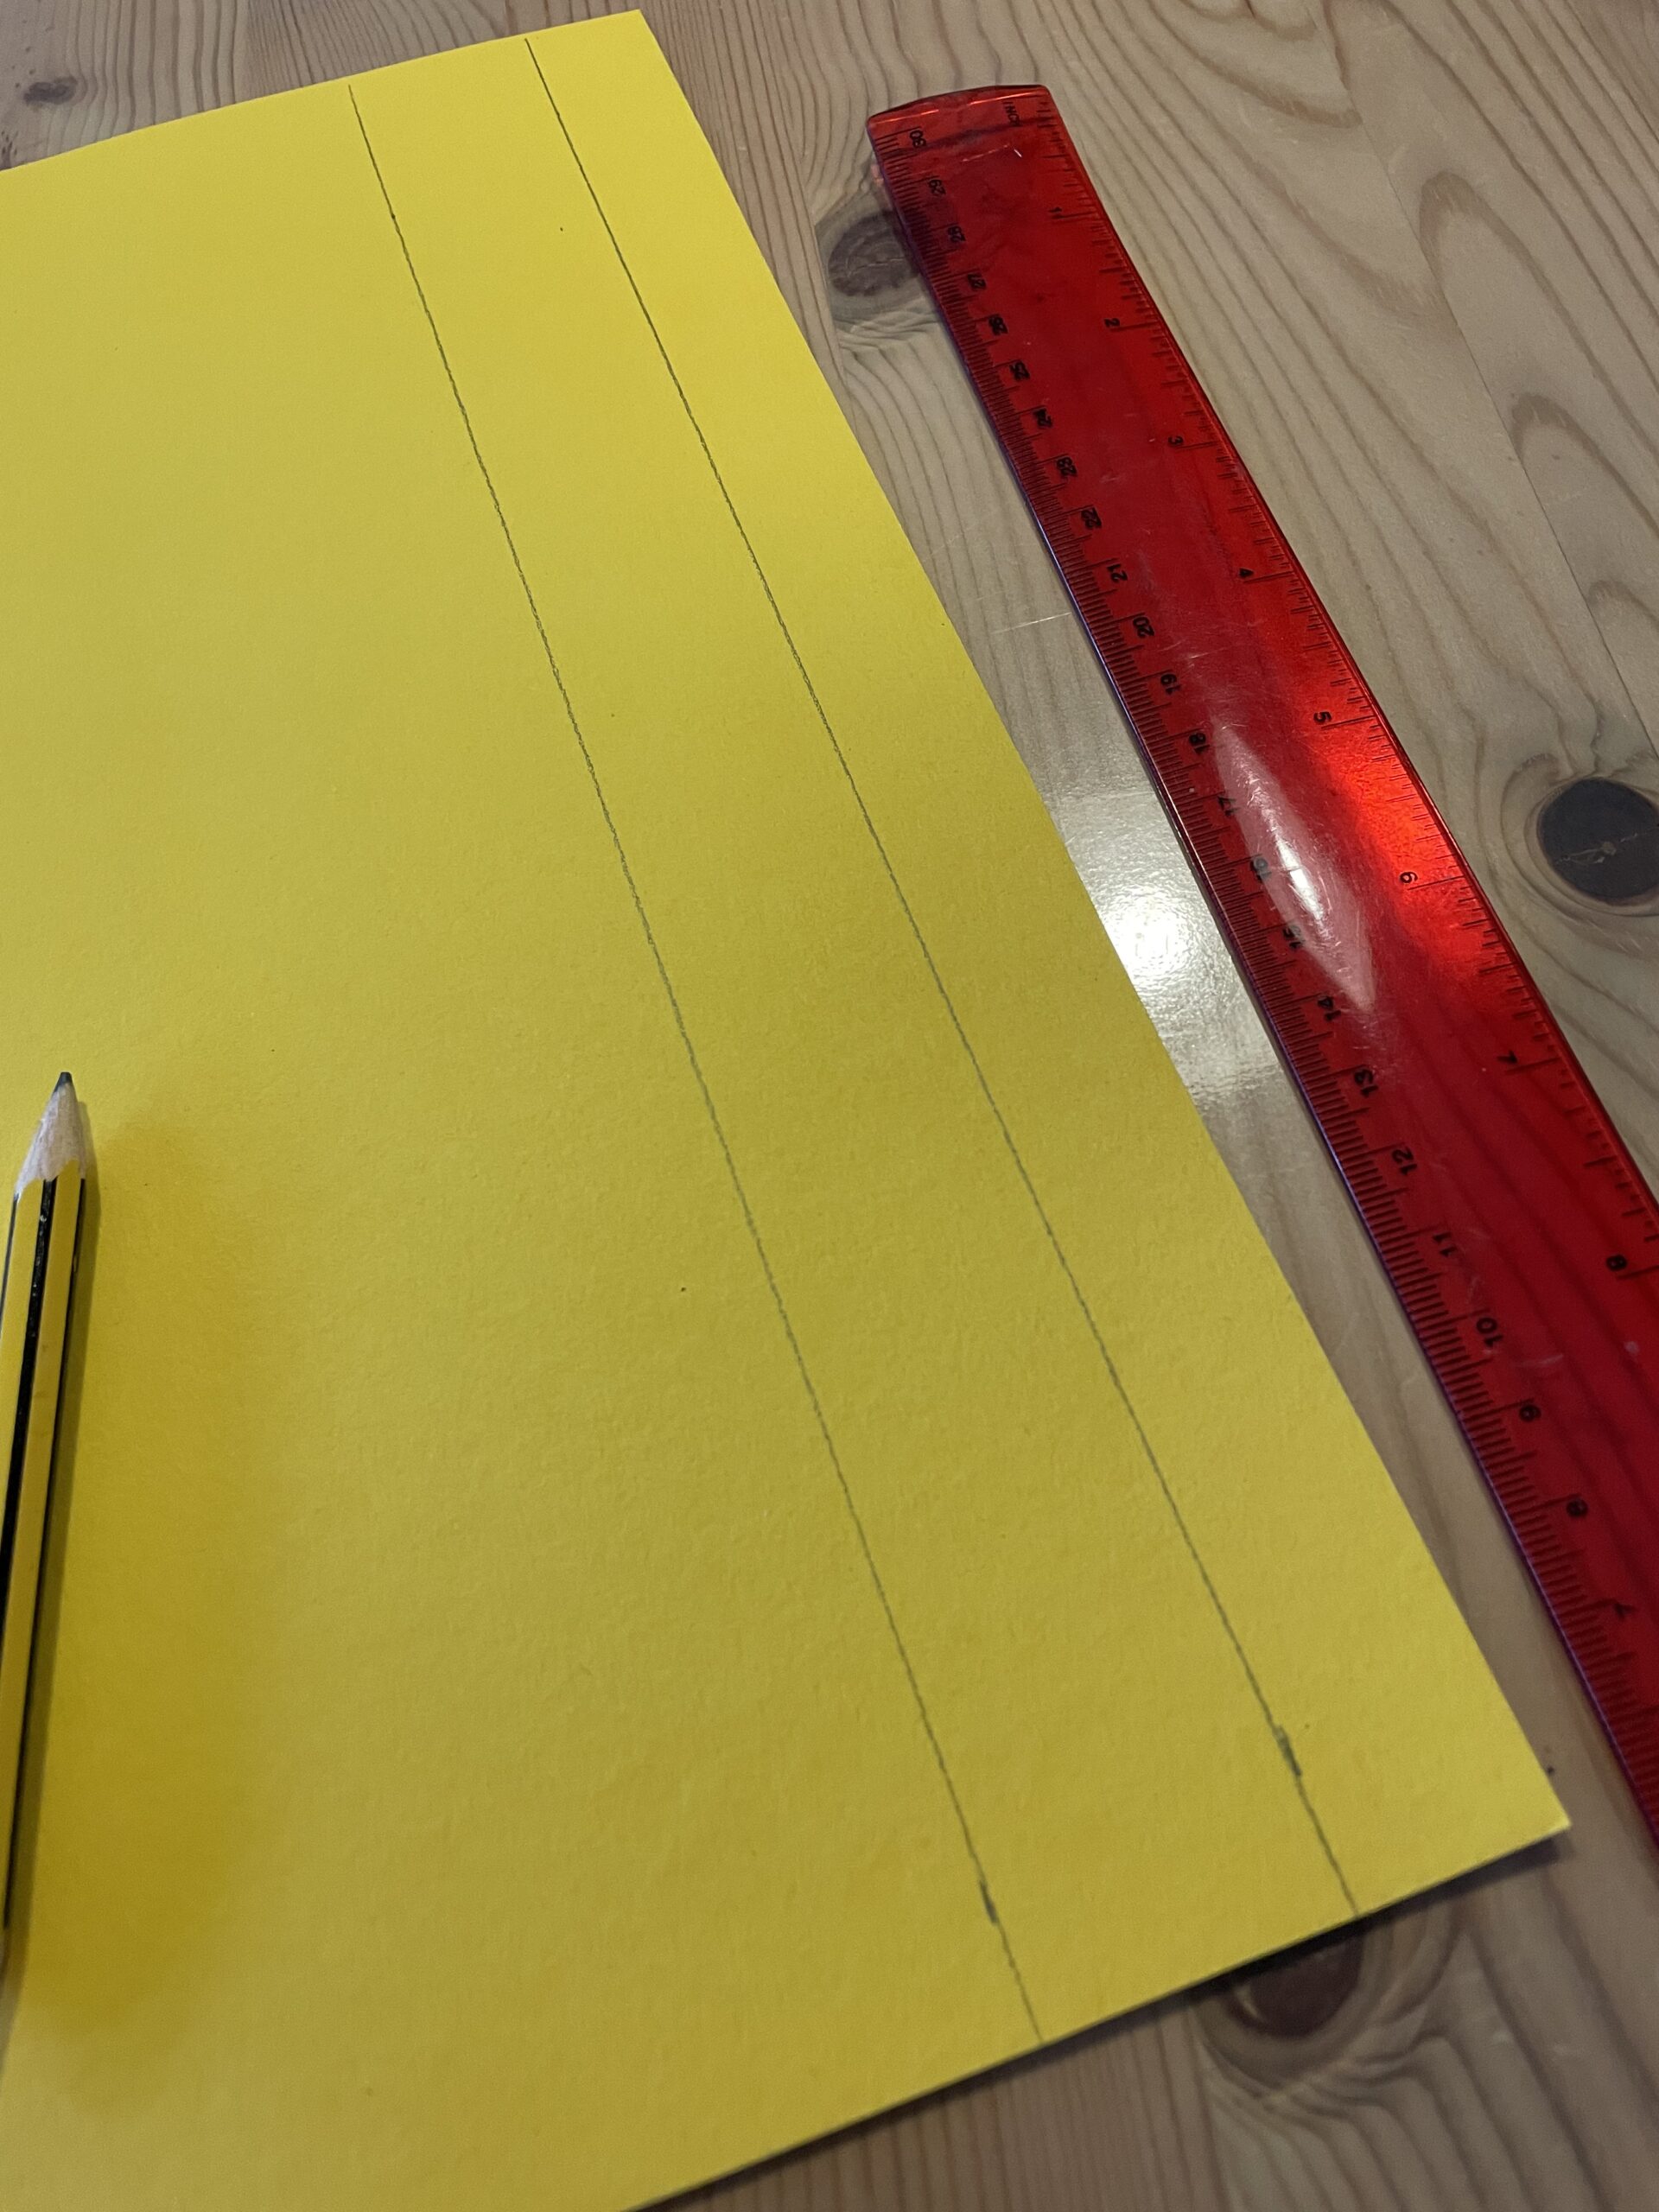
In the meantime you cut two strips from one piece of photo box or another thin cardboard. One strip should contain the dimensions 2cm x 30cm and the other the dimensions 3cm x 30cm.

Bild zum Schritt 7 für das Bastel- und DIY-Abenteuer für Kinder: 'Zwischenzeitlich schneidet ihr euch zwei Streifen aus einem Stück Fotokarton...'

8

Draw the stripes with a ruler.

Bild zum Schritt 8 für das Bastel- und DIY-Abenteuer für Kinder: 'Zeichnet die Streifen mit einem Lineal auf.'

9

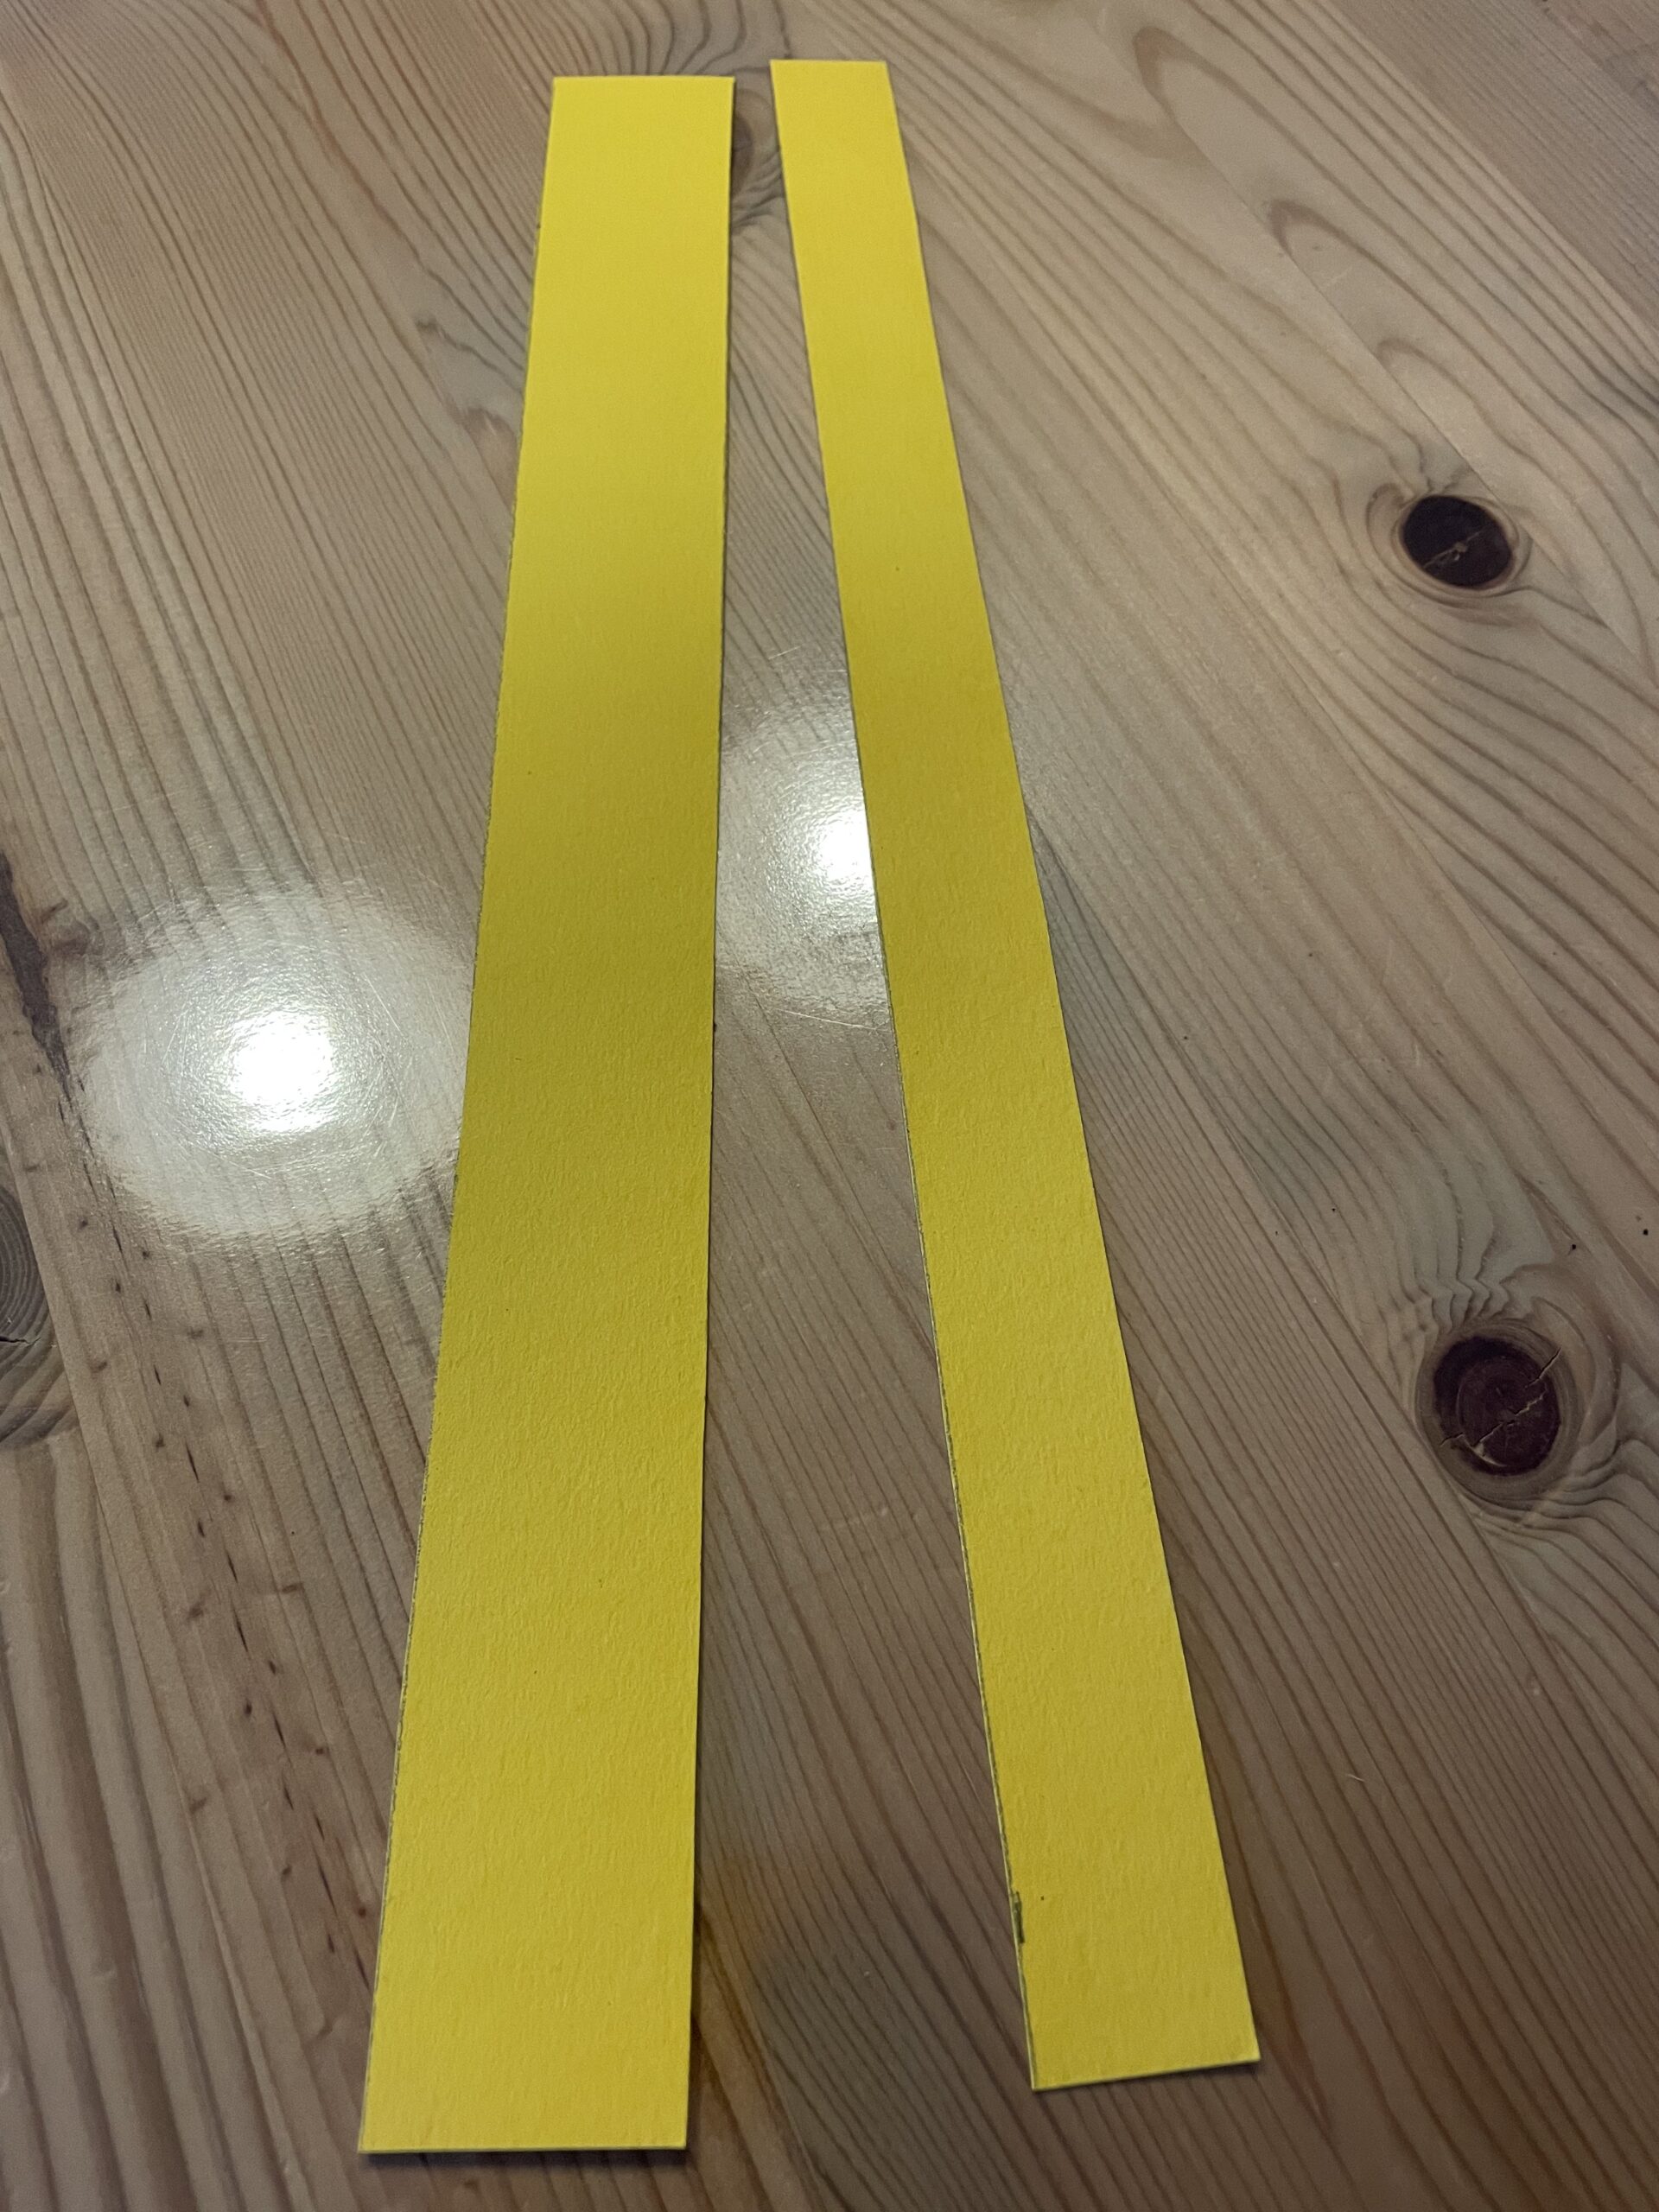
Then cut the strips.

Bild zum Schritt 9 für das Bastel- und DIY-Abenteuer für Kinder: 'Danach schneidet die Streifen zu.'

10

Now put the narrow strip at the bottom of your paper.

Bild zum Schritt 10 für das Bastel- und DIY-Abenteuer für Kinder: 'Legt nun den schmalen Streifen an den unteren langen Rand...'

11

Then stick the strip to the front of the picture. Also stick the thicker strip to the opposite side.

Bild zum Schritt 11 für das Bastel- und DIY-Abenteuer für Kinder: 'Anschließend klebt ihr den Streifen auf die Vorderseite des ...'

12

After that, you stick glue along the narrow side of the paper. Roll the paper together as a roll and stick one side about 2-3 cm over the other.

Bild zum Schritt 12 für das Bastel- und DIY-Abenteuer für Kinder: 'Danach streicht ihr entlang der schmalen Seite des Papiers Kleber....'

13

Fix the overlapping paper at the top and bottom with a clothes clip. Leave the clothes clip on the paper until the glue is dried.

Bild zum Schritt 13 für das Bastel- und DIY-Abenteuer für Kinder: 'Fixiert das überlappende Papier oben und unten mit einer Wäscheklammer....'

14

Alternatively, you can stack the overlapping places together.

Bild zum Schritt 14 für das Bastel- und DIY-Abenteuer für Kinder: 'Alternativ könnt ihr die überlappenden Stellen zusammen tackern.'

15

The lantern is ready.

Bild zum Schritt 15 für das Bastel- und DIY-Abenteuer für Kinder: 'Fertig ist die Laterne.'

16

If you put a light in it, you can also use it as a table lamp.
Alternatively, you can make two holes with the perforator and draw a wire. With a lantern rod, it becomes a lantern for the lantern run.

Bild zum Schritt 16 für das Bastel- und DIY-Abenteuer für Kinder: 'Stellt ihr ein Licht hinein, dann könnt ihr sie auch...'

17

You can design this lantern with many different motifs! Stay creative!

Bild zum Schritt 17 für das Bastel- und DIY-Abenteuer für Kinder: 'Ihr könnt diese Laterne mit ganz vielen verschiedenen Motiven gestalten!...'

Additional templates for the lanterns
18

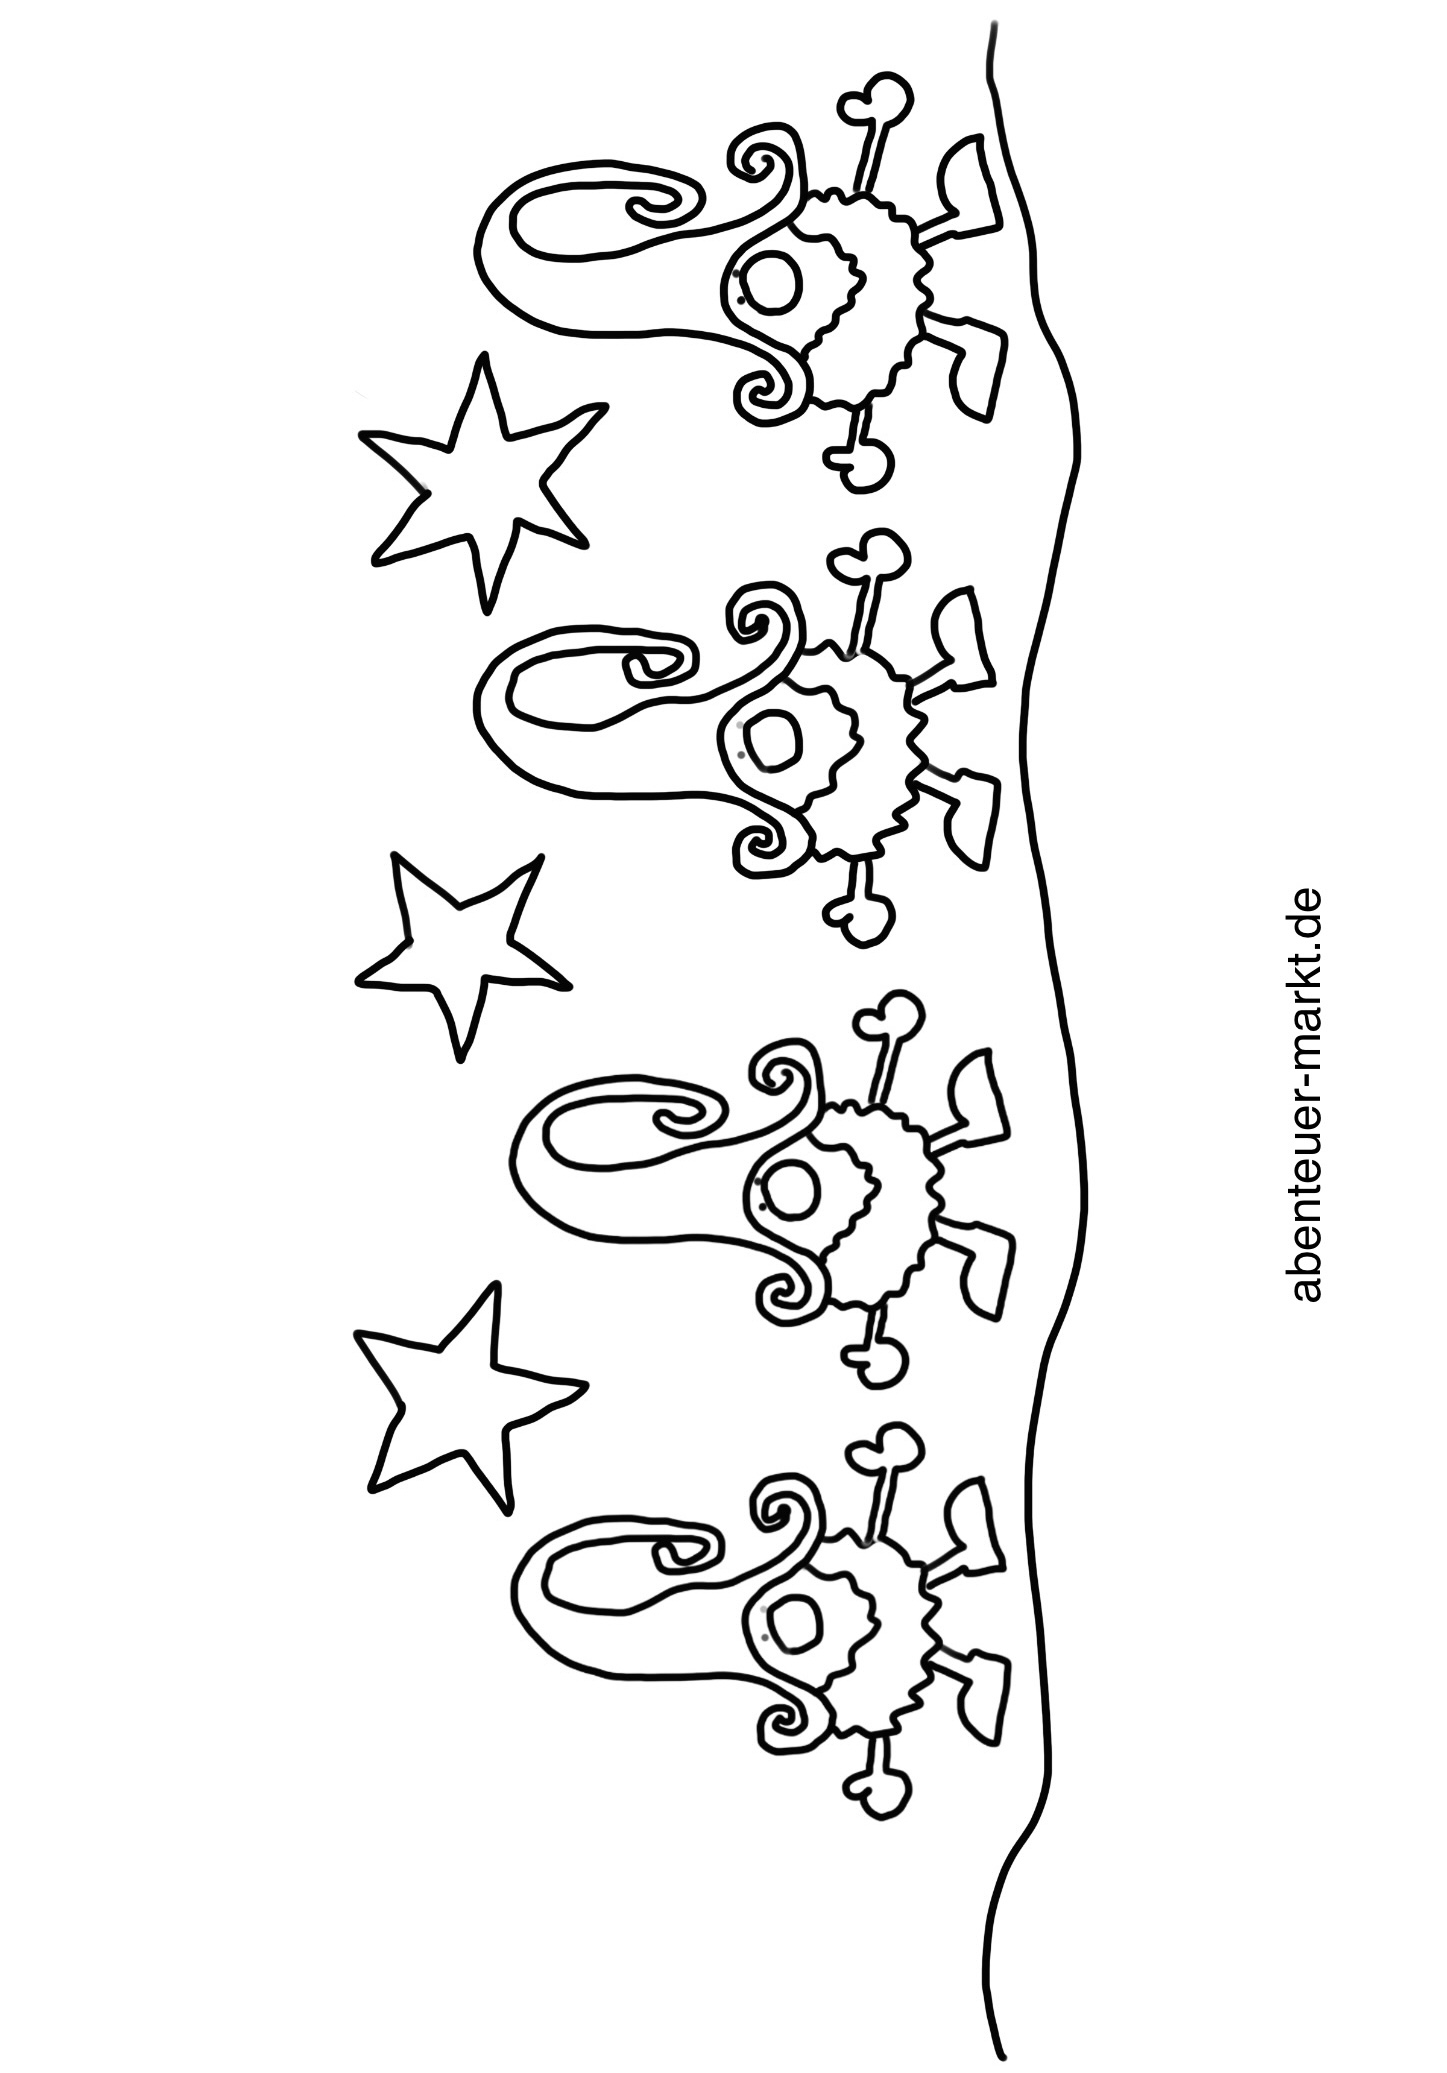
A template for wankers.

Bild zum Schritt 19 für das Bastel- und DIY-Abenteuer für Kinder: 'Eine Vorlage für Wichtelkinder.'

19

2. Bild zum Schritt 19 für das Bastel- und DIY-Abenteuer für Kinder: 'Eine Vorlage für Wichtelkinder.'

20

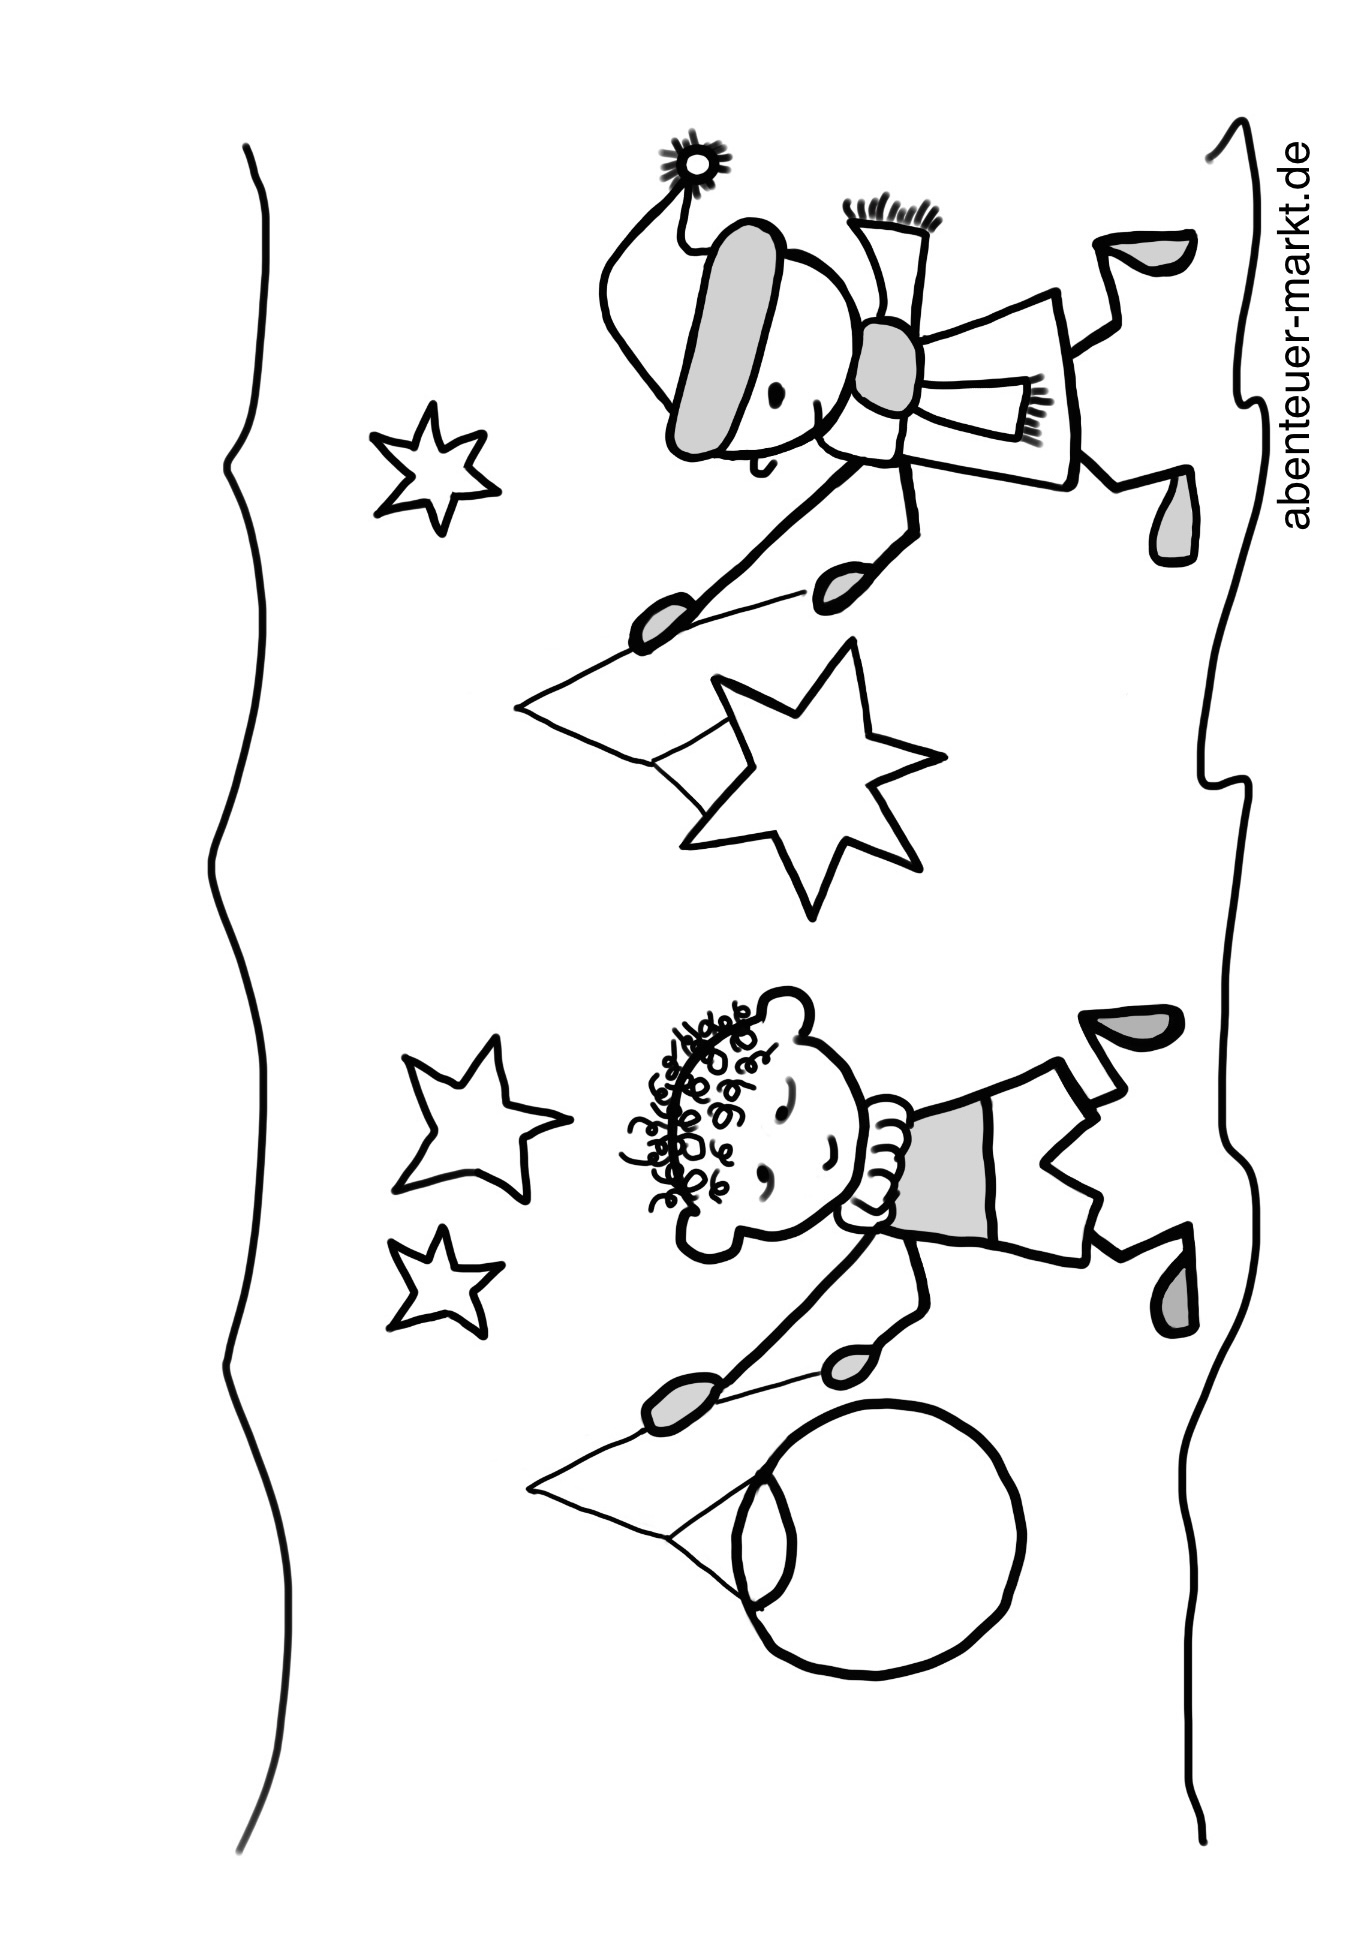
A template for small astronauts.

Bild zum Schritt 21 für das Bastel- und DIY-Abenteuer für Kinder: 'Eine Vorlage für kleine Astronauten.'

Materials

 1 Coloring: landscape format DIN A4
 Coloured photo boxCardboard box thin
 1 Newsprint as a backing
 1 Kitchen crepe
 1 lb Household oil
 1 Cup small
 1 possible brush
 1 Adhesive penor hot glue gun
 1 Tacker
 2 Woven fabrics containing predominantly, but < 85 % cotton by weight, mixed principally or solely with cotton
All links marked with a shopping cart lead to Amazon - here we have selected products that we would order ourselves and in part also ordered. In a qualified purchase via the advertising link, we as Amazon partner receive a commission, for you there are no costs. You thus support our cost- and advertising banner-free, educational offer.

Directions

1

Choose a colouring image and print it out in DIN A4 format. Make sure you choose a motif in landscape format. You can choose this motif or one of the motifs attached below.

Bild zum Schritt 1 für das Bastel- und DIY-Abenteuer für Kinder: 'Sucht euch ein Ausmalbild und druckt dieses im DIN A4...'

2

Then paint the motif with crayons.

Bild zum Schritt 2 für das Bastel- und DIY-Abenteuer für Kinder: 'Malt anschließend das Motiv mit Buntstiften aus.'

3

2. Bild zum Schritt 2 für das Bastel- und DIY-Abenteuer für Kinder: 'Malt anschließend das Motiv mit Buntstiften aus.'

4

Then put the sheet with the back up on an old newspaper. Cover the back of the picture with oil. Use a brush or a kitchen crepe. You only need very little oil. As soon as the paper is transparent, you wipe the excess oil with a kitchen crepe.
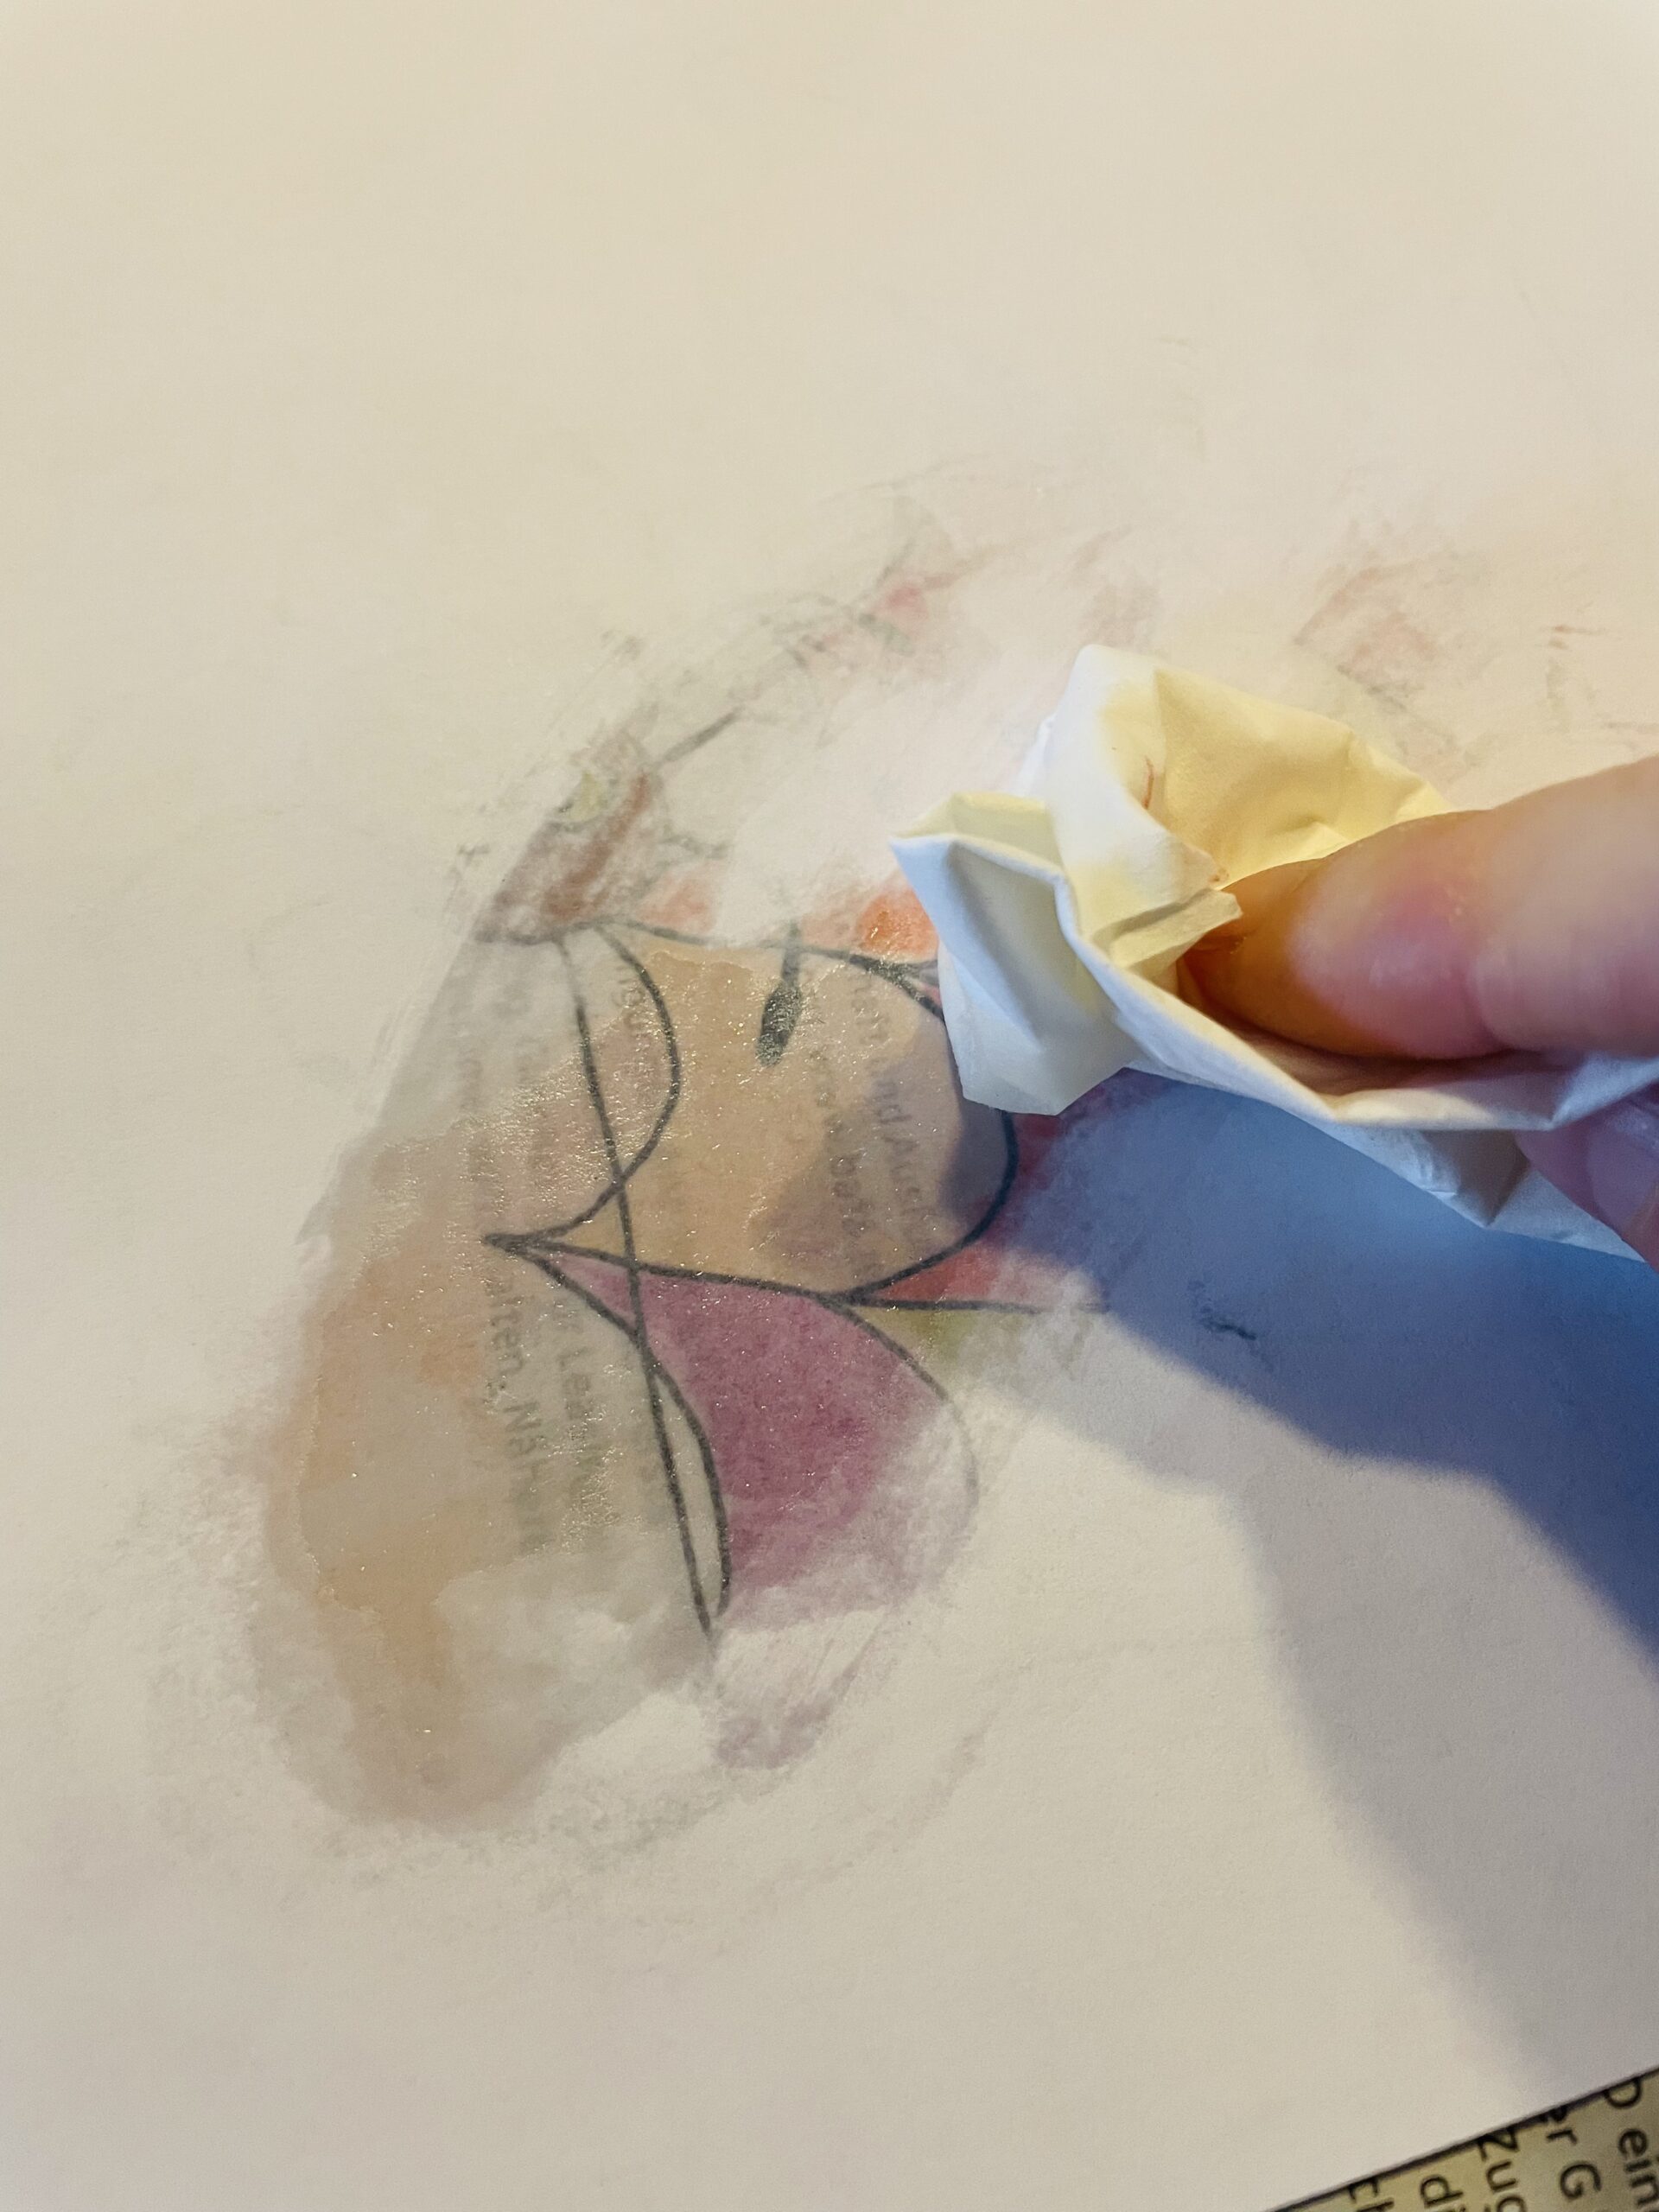
Bild zum Schritt 4 für das Bastel- und DIY-Abenteuer für Kinder: 'Danach legt ihr das Blatt mit der Rückseite nach oben...'

5

Rubs the back dry.

Bild zum Schritt 5 für das Bastel- und DIY-Abenteuer für Kinder: 'Reibt dabei die Rückseite trocken.'

6

Now turn the paper back on the front. The colors shine. Now place the paper on a radiator for drying.
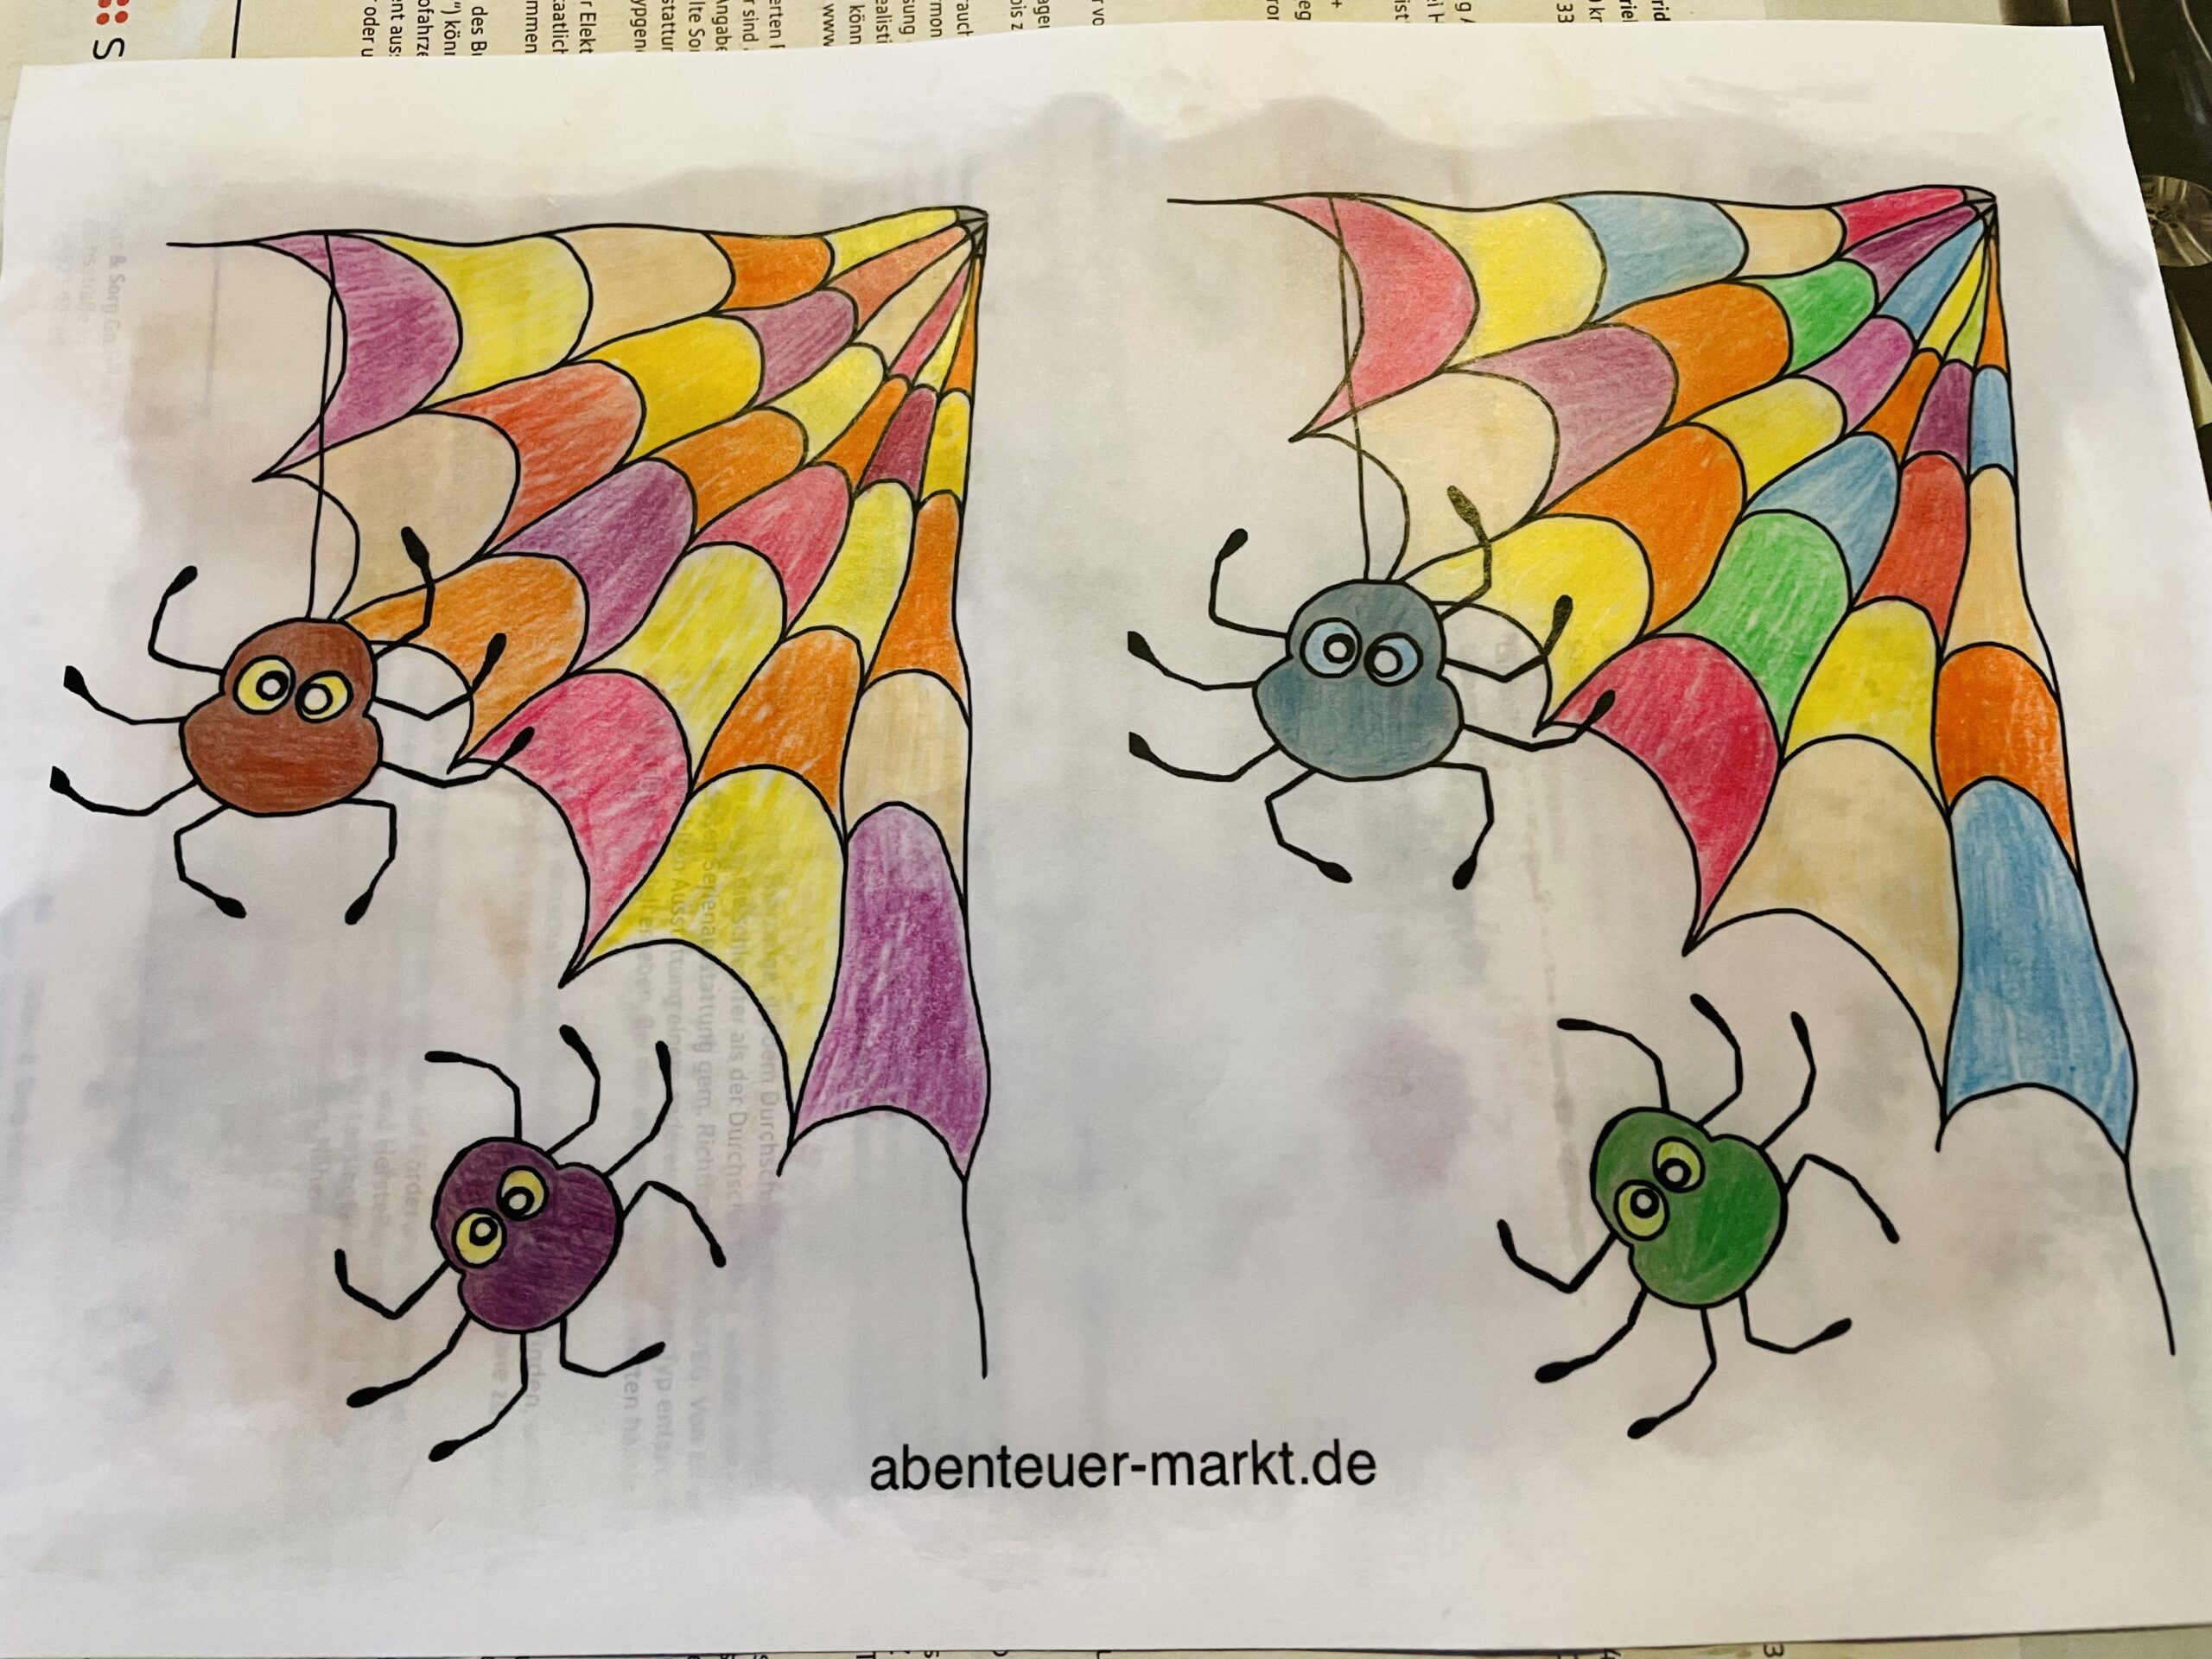
Bild zum Schritt 6 für das Bastel- und DIY-Abenteuer für Kinder: 'Jetzt dreht ihr das Papier wieder auf die Vorderseite. Die...'

7

In the meantime you cut two strips from one piece of photo box or another thin cardboard. One strip should contain the dimensions 2cm x 30cm and the other the dimensions 3cm x 30cm.
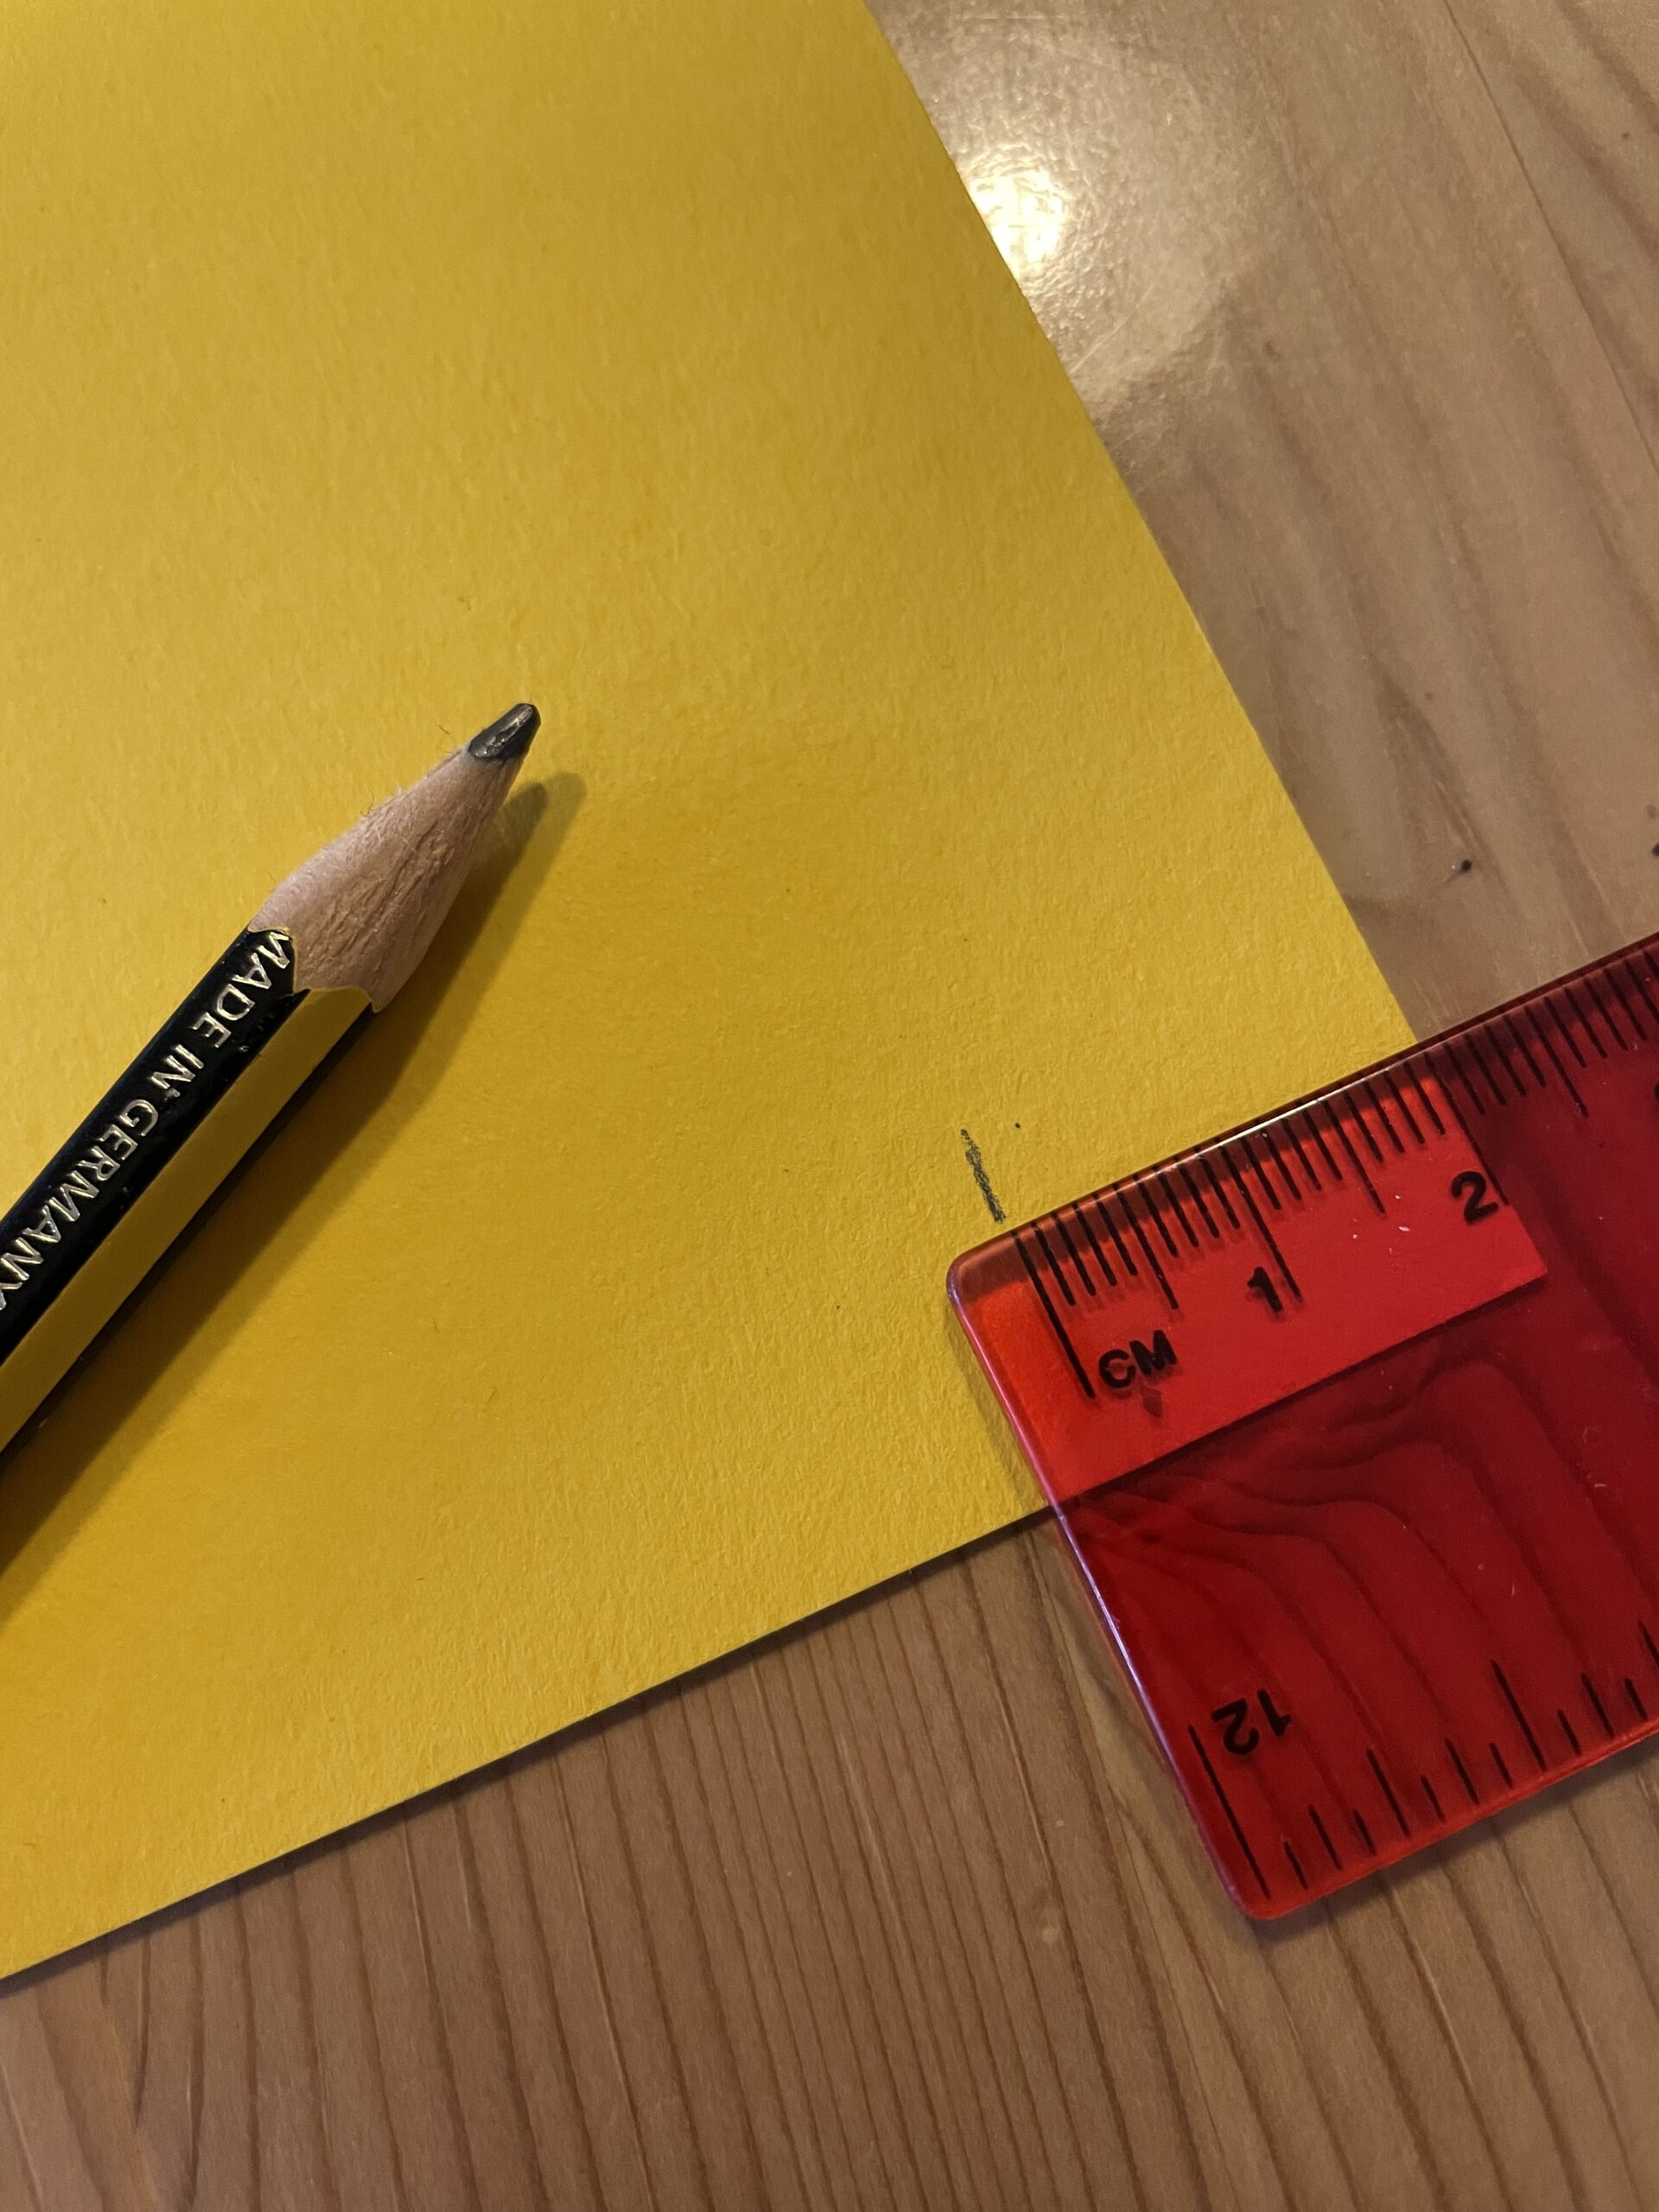
Bild zum Schritt 7 für das Bastel- und DIY-Abenteuer für Kinder: 'Zwischenzeitlich schneidet ihr euch zwei Streifen aus einem Stück Fotokarton...'

8

Draw the stripes with a ruler.

Bild zum Schritt 8 für das Bastel- und DIY-Abenteuer für Kinder: 'Zeichnet die Streifen mit einem Lineal auf.'

9

Then cut the strips.

Bild zum Schritt 9 für das Bastel- und DIY-Abenteuer für Kinder: 'Danach schneidet die Streifen zu.'

10

Now put the narrow strip at the bottom of your paper.
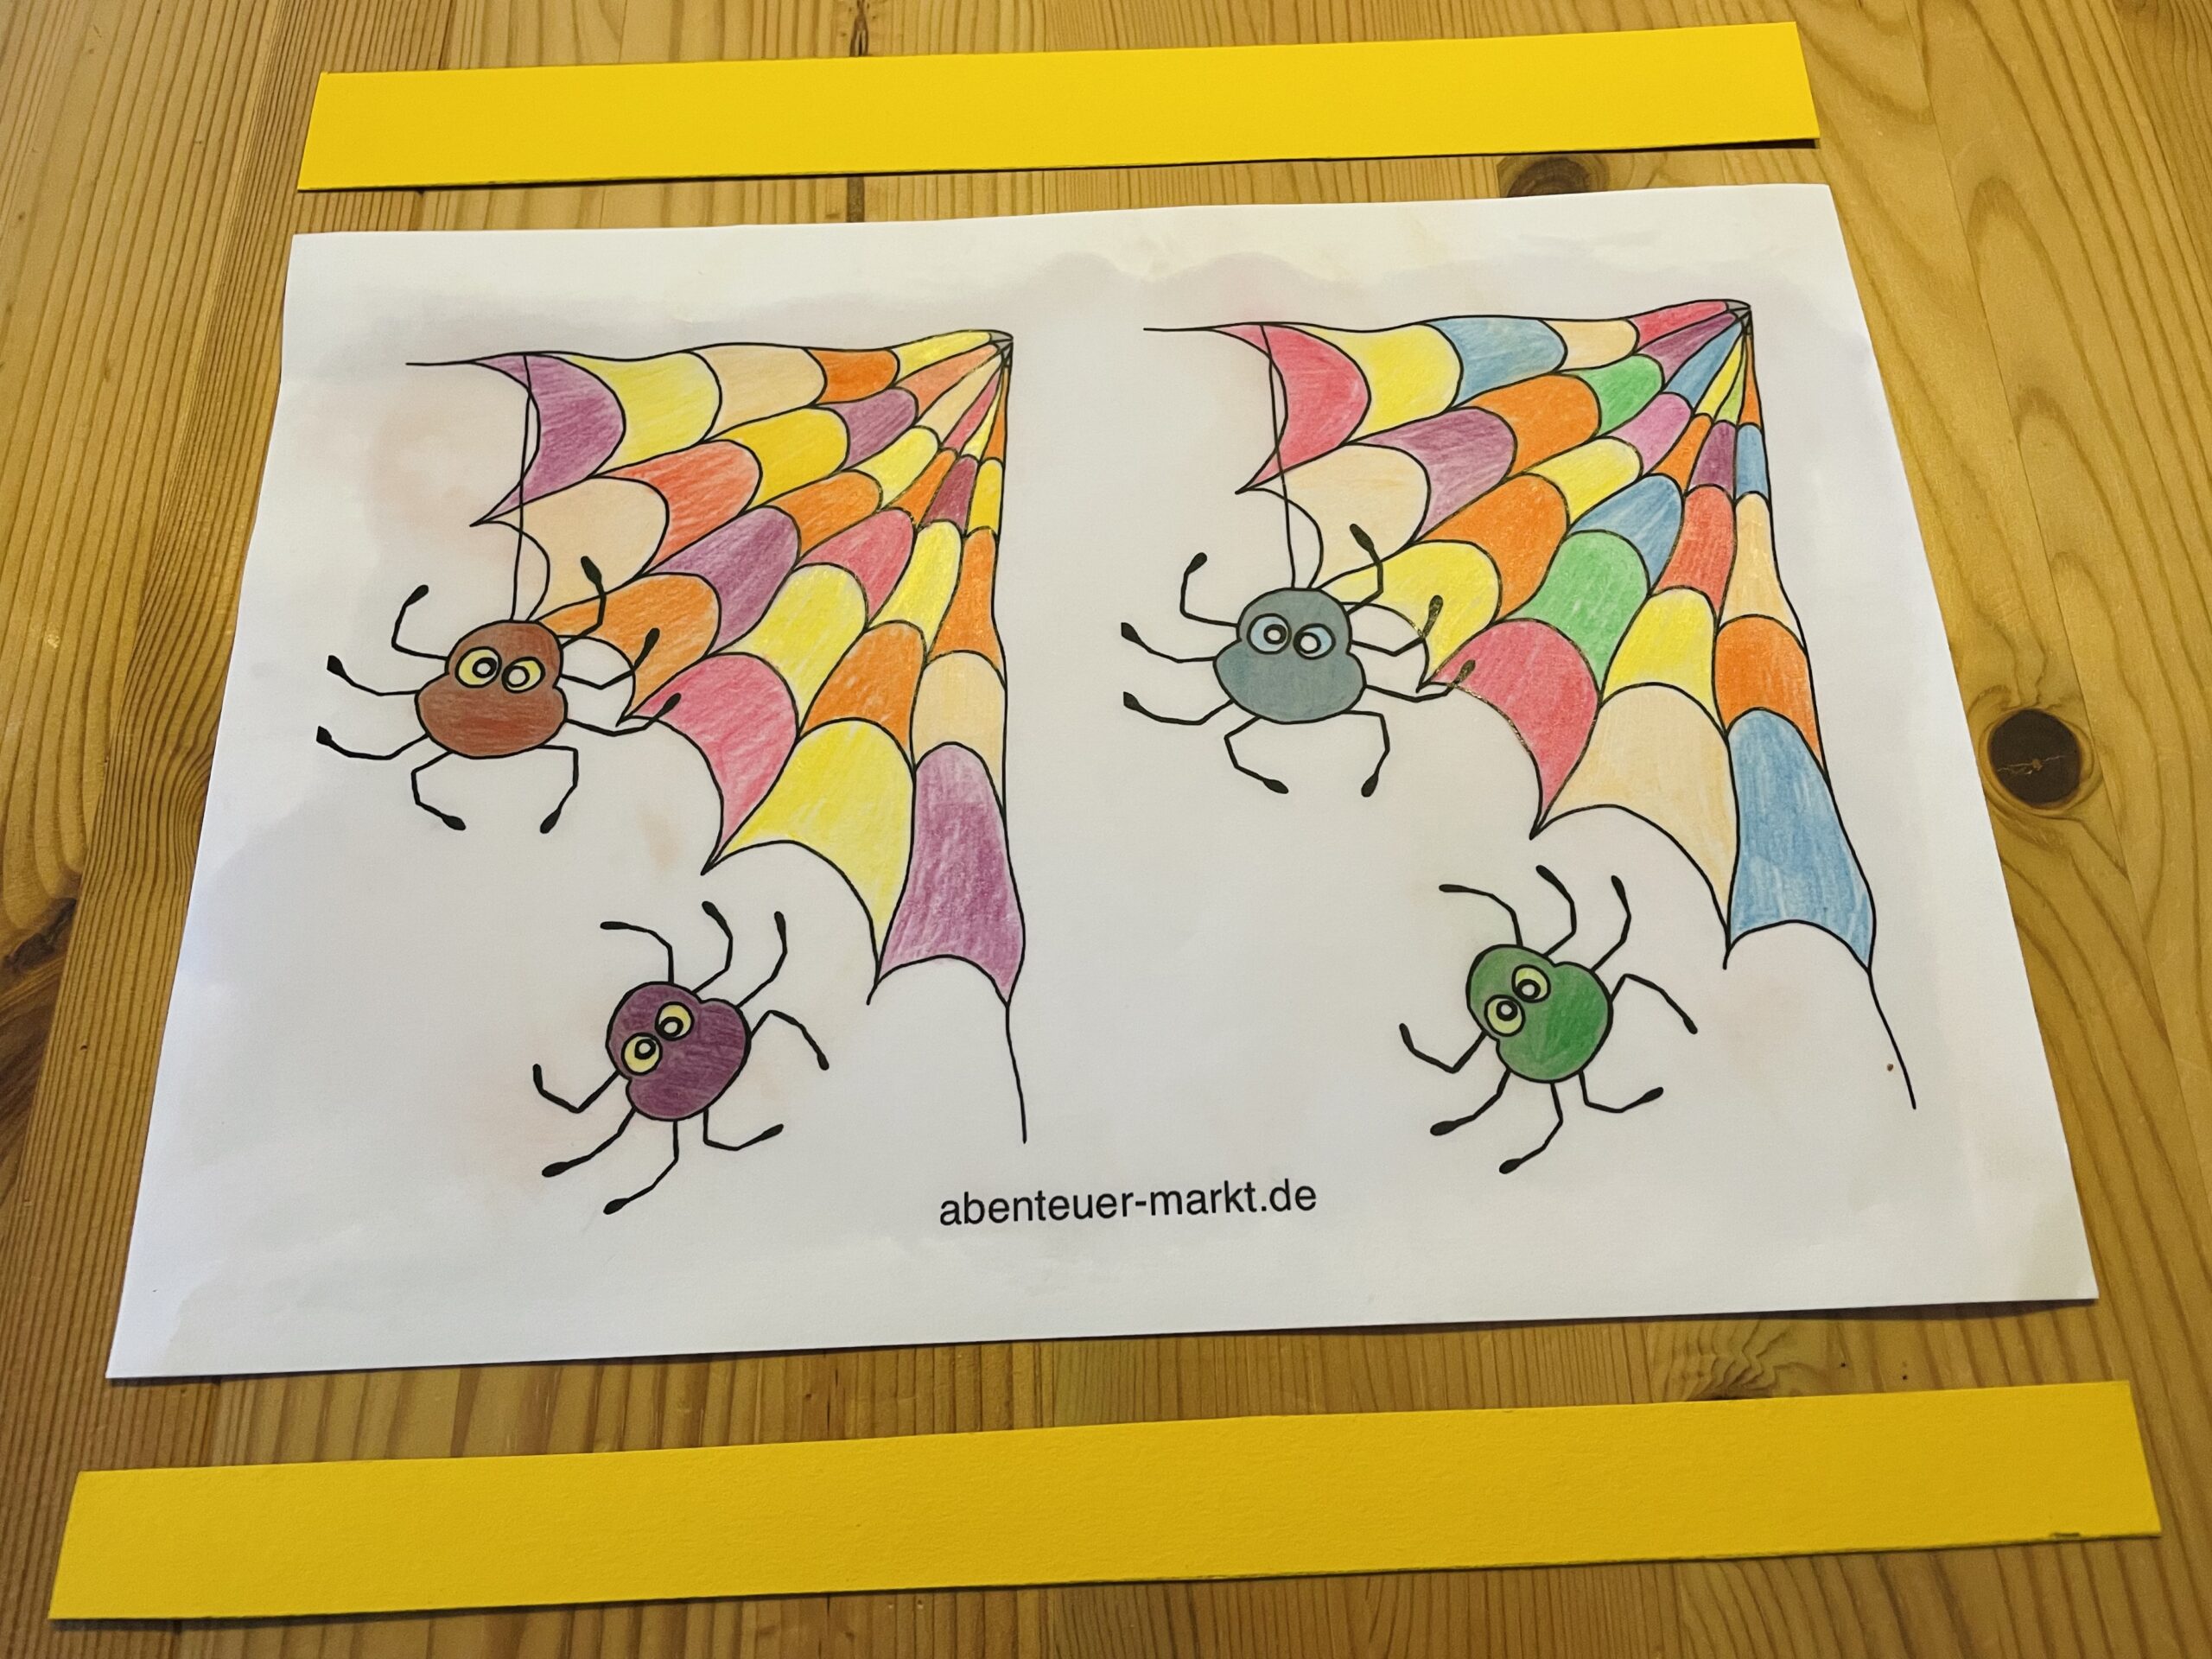
Bild zum Schritt 10 für das Bastel- und DIY-Abenteuer für Kinder: 'Legt nun den schmalen Streifen an den unteren langen Rand...'

11

Then stick the strip to the front of the picture. Also stick the thicker strip to the opposite side.
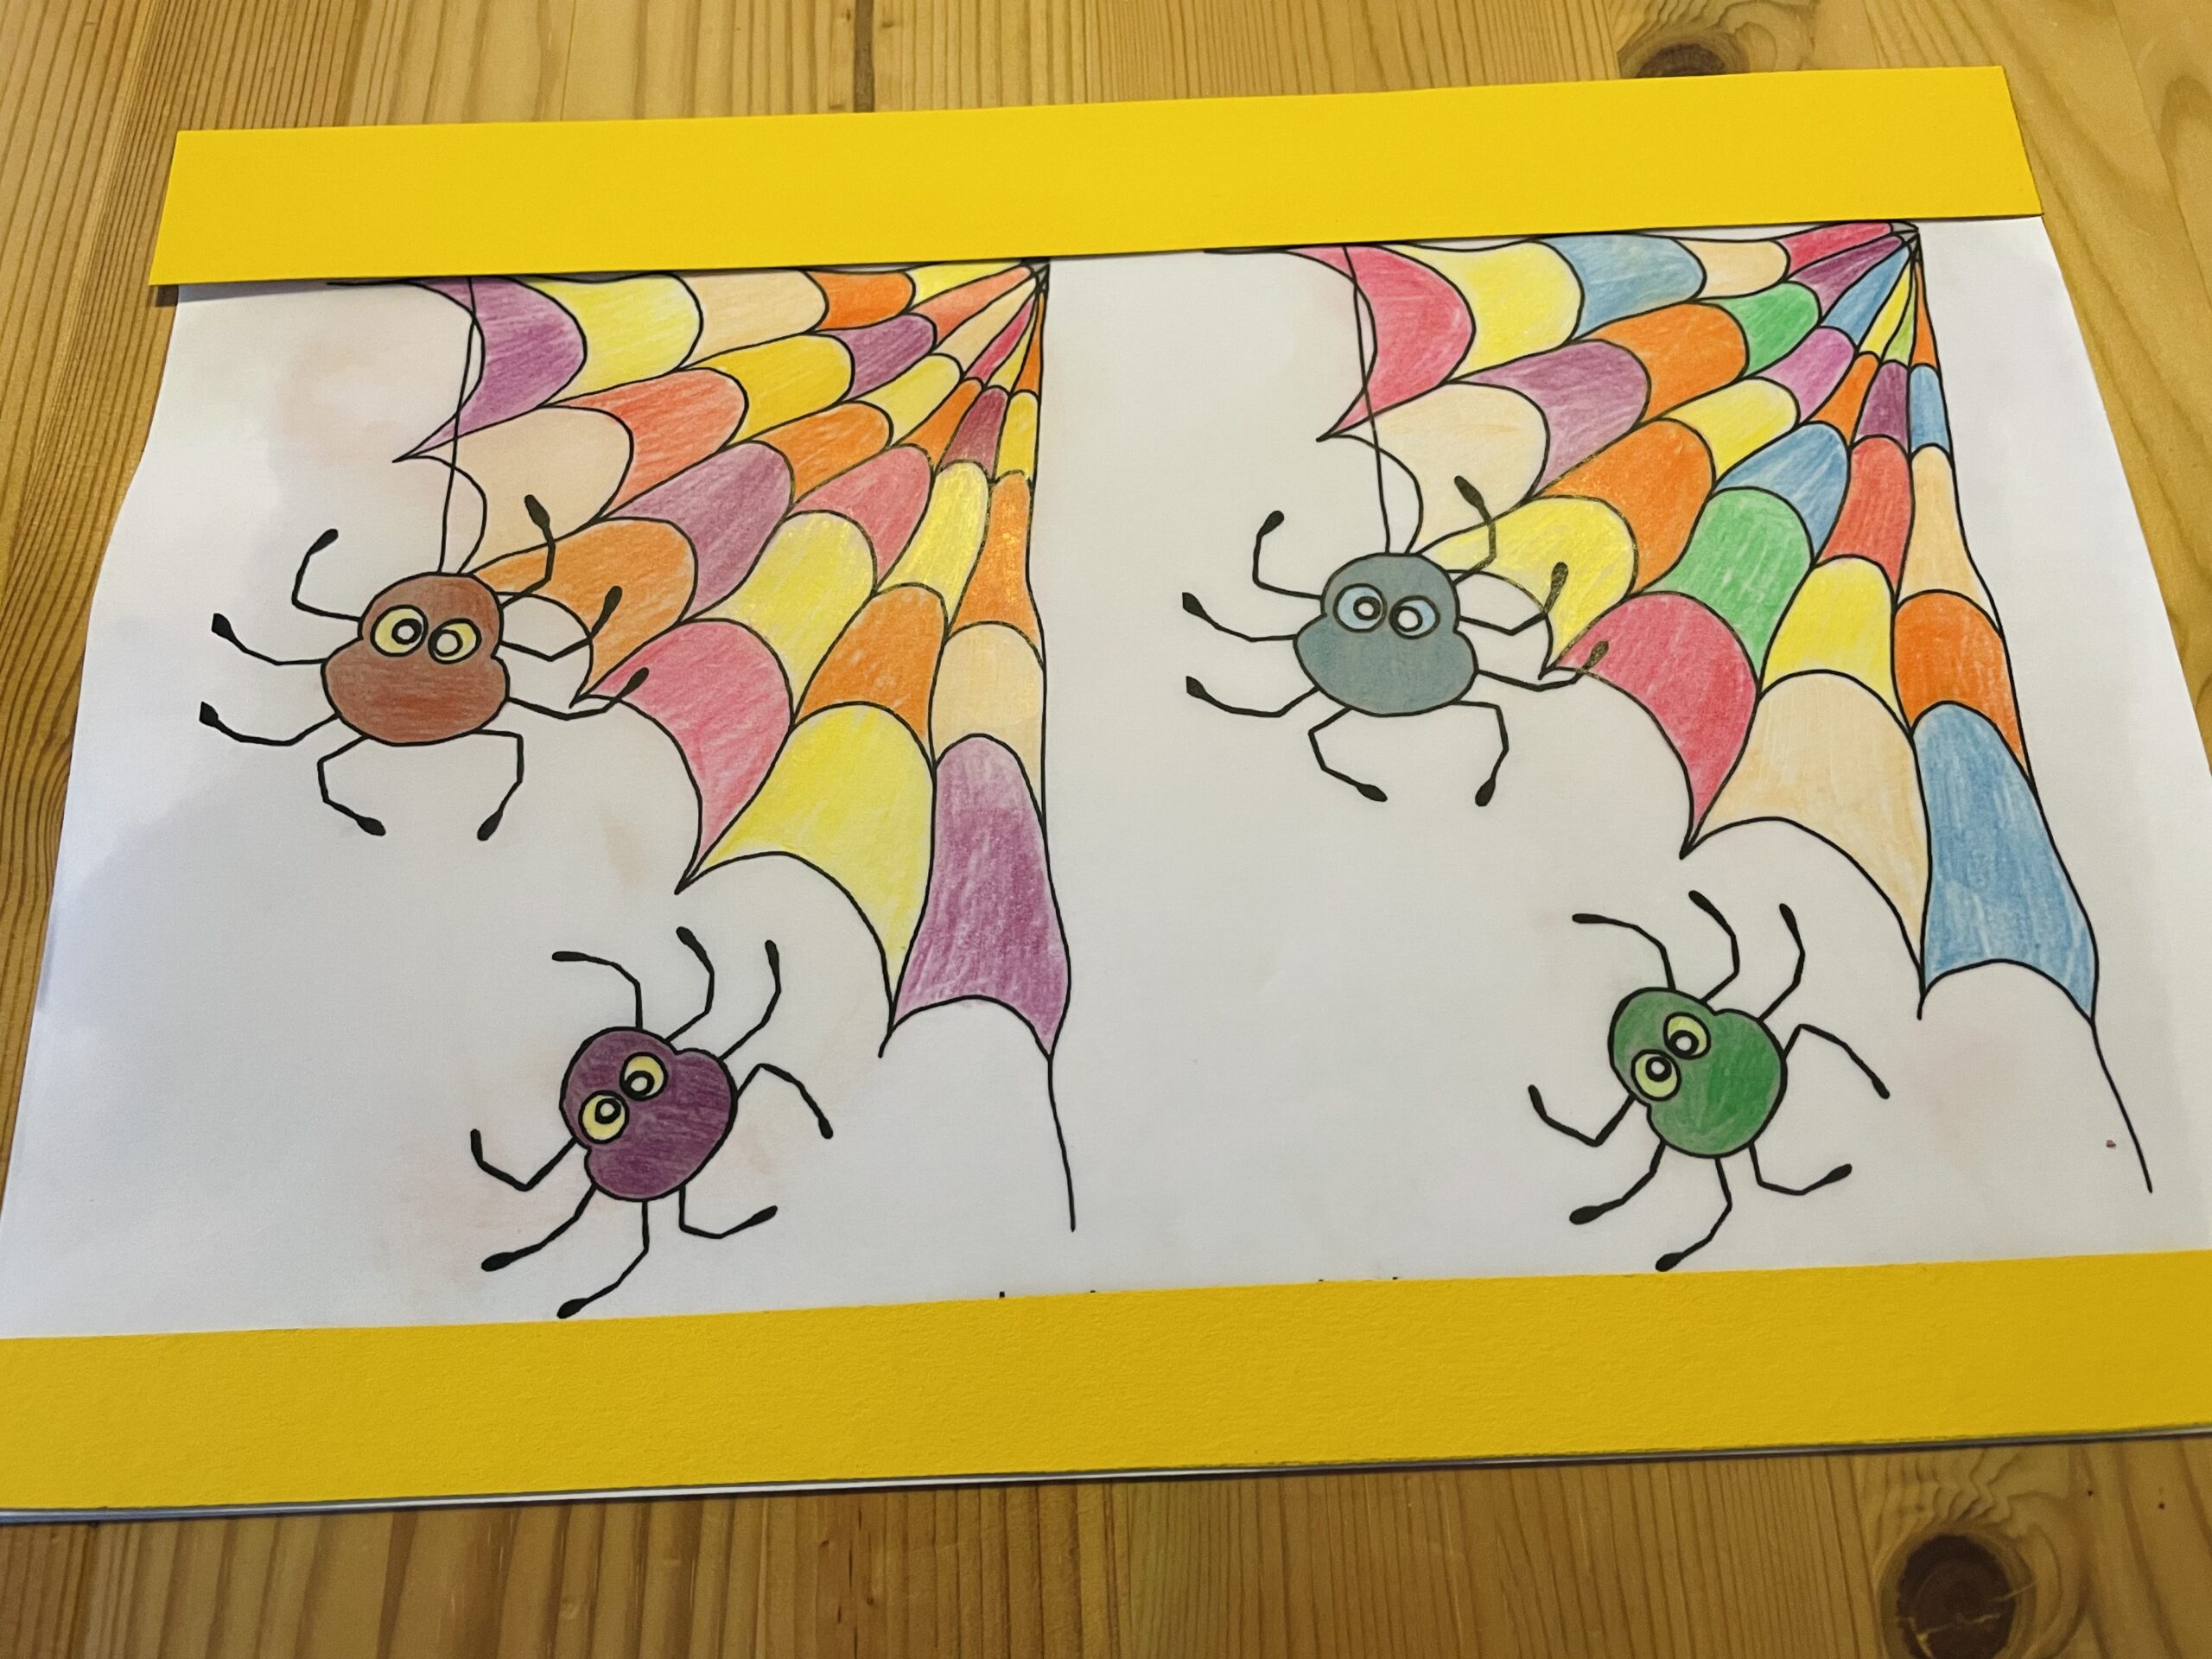
Bild zum Schritt 11 für das Bastel- und DIY-Abenteuer für Kinder: 'Anschließend klebt ihr den Streifen auf die Vorderseite des ...'

12

After that, you stick glue along the narrow side of the paper. Roll the paper together as a roll and stick one side about 2-3 cm over the other.
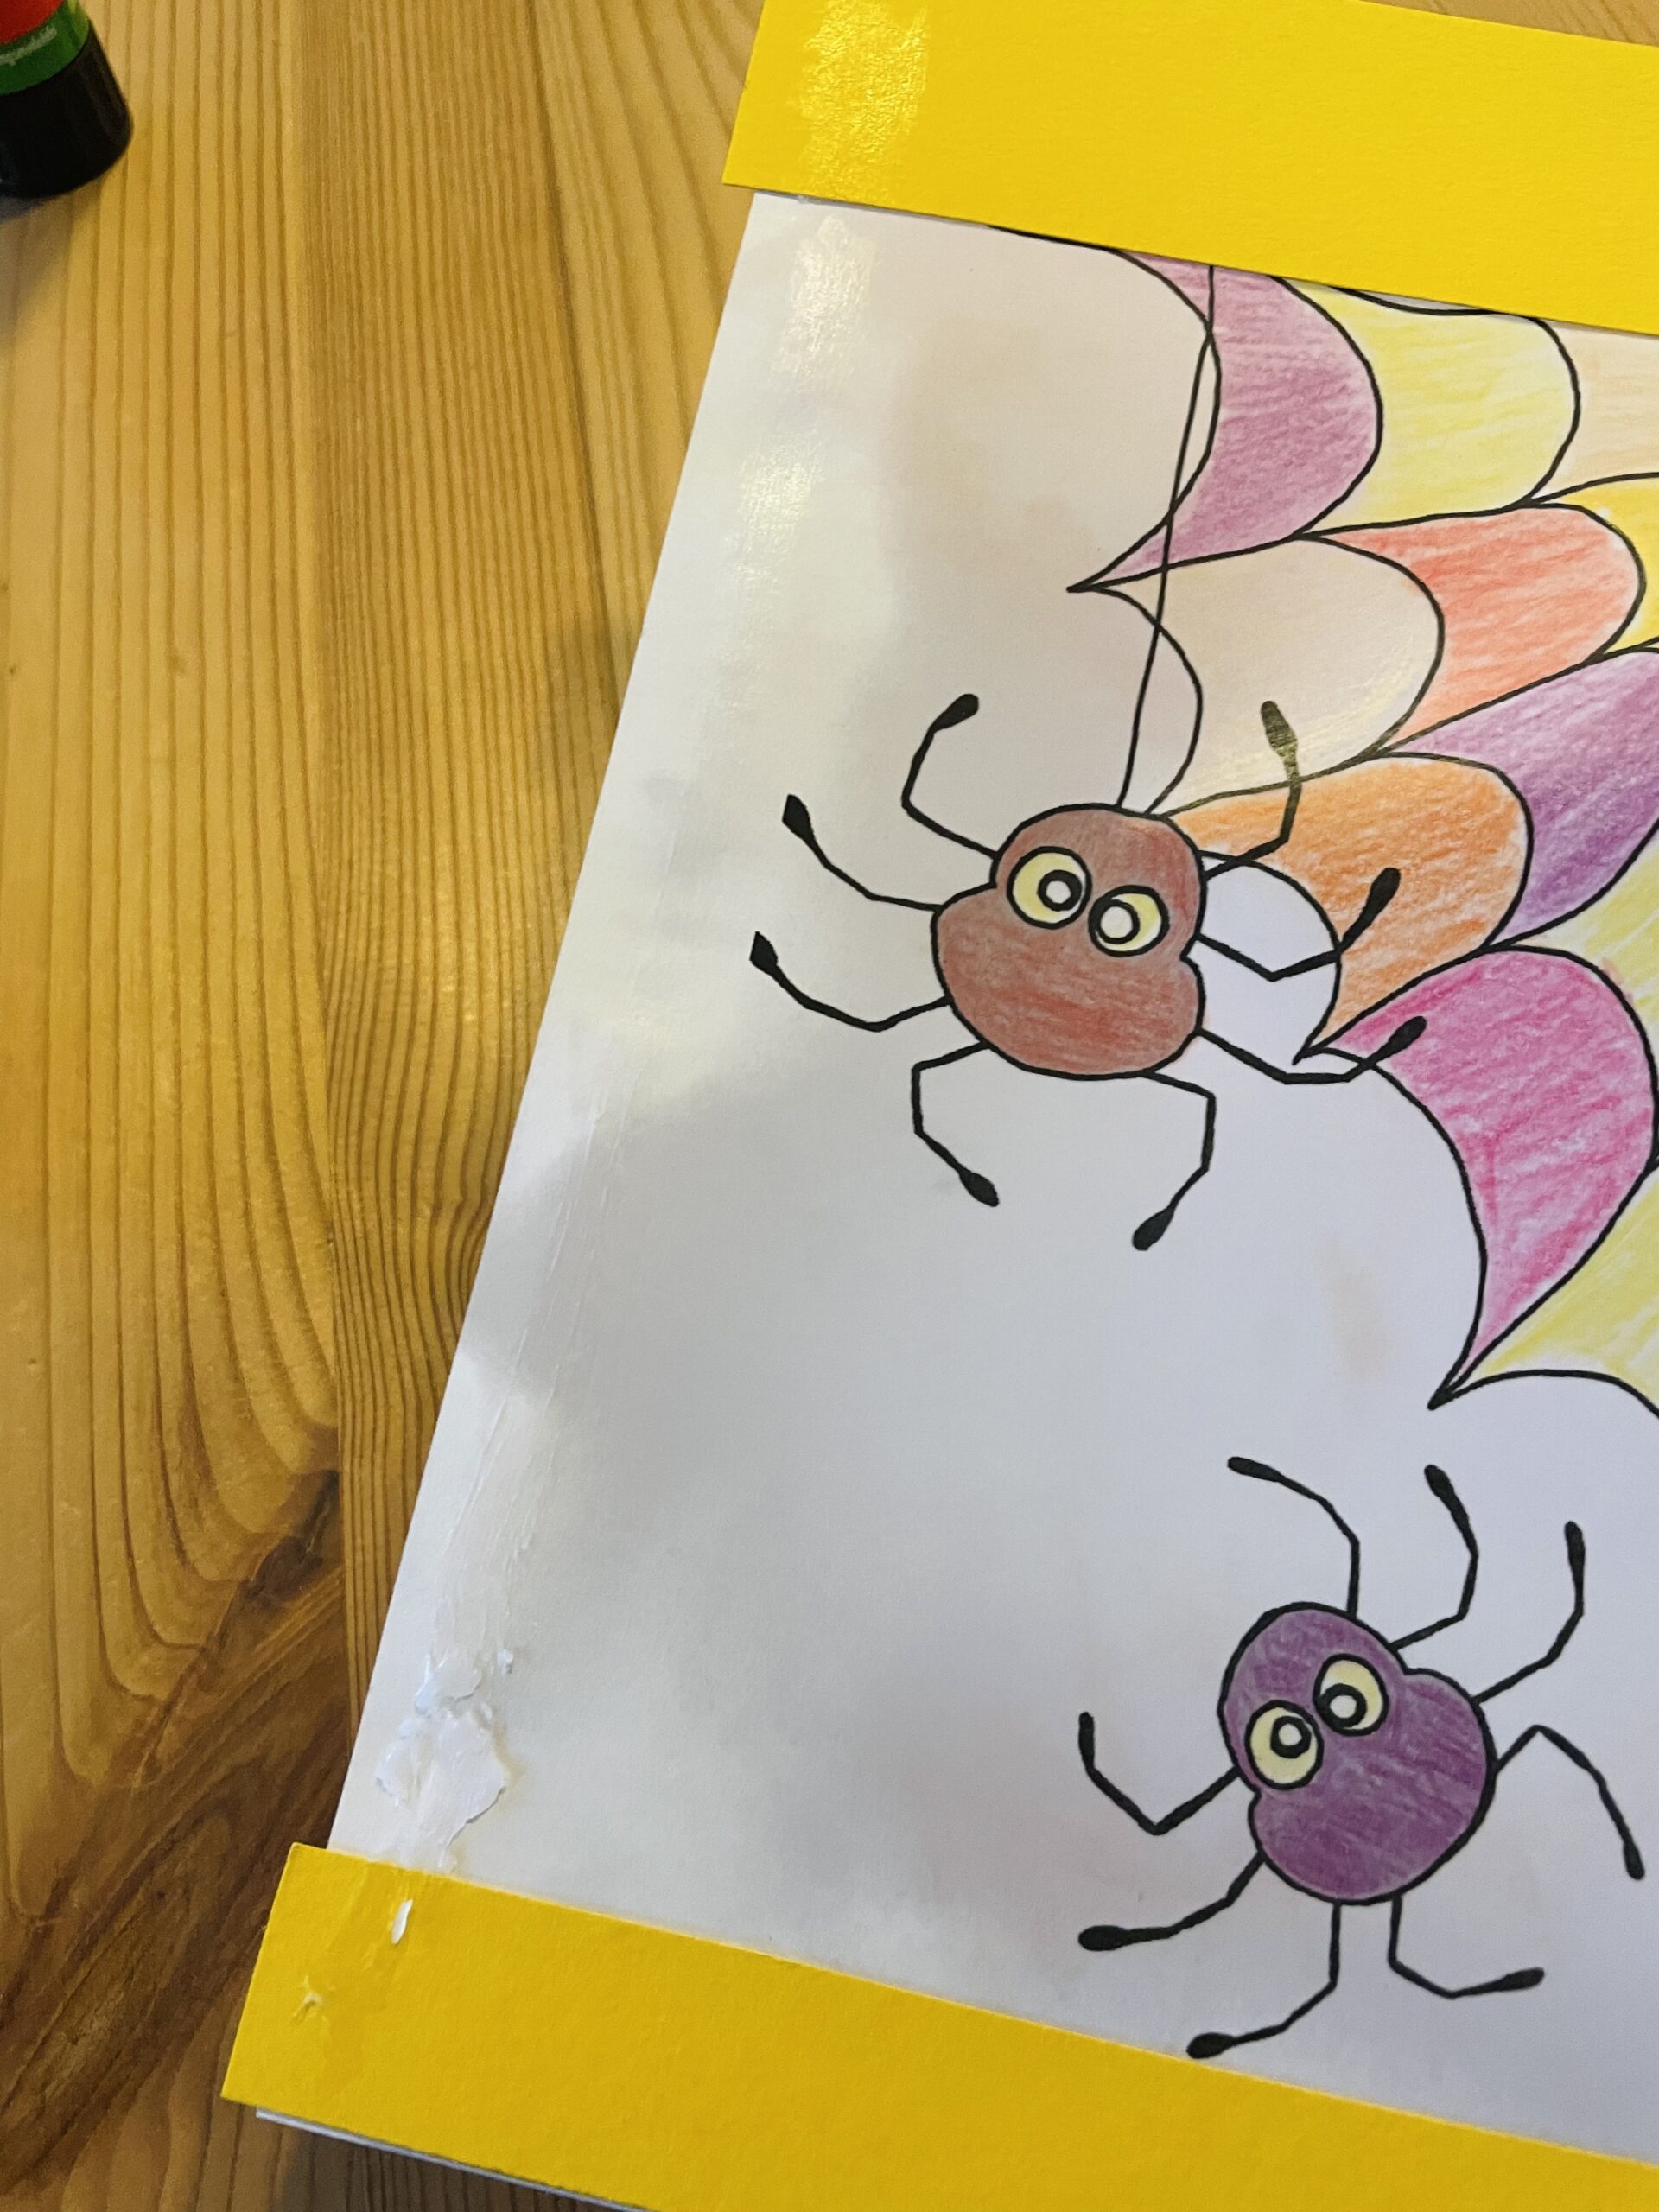
Bild zum Schritt 12 für das Bastel- und DIY-Abenteuer für Kinder: 'Danach streicht ihr entlang der schmalen Seite des Papiers Kleber....'

13

Fix the overlapping paper at the top and bottom with a clothes clip. Leave the clothes clip on the paper until the glue is dried.
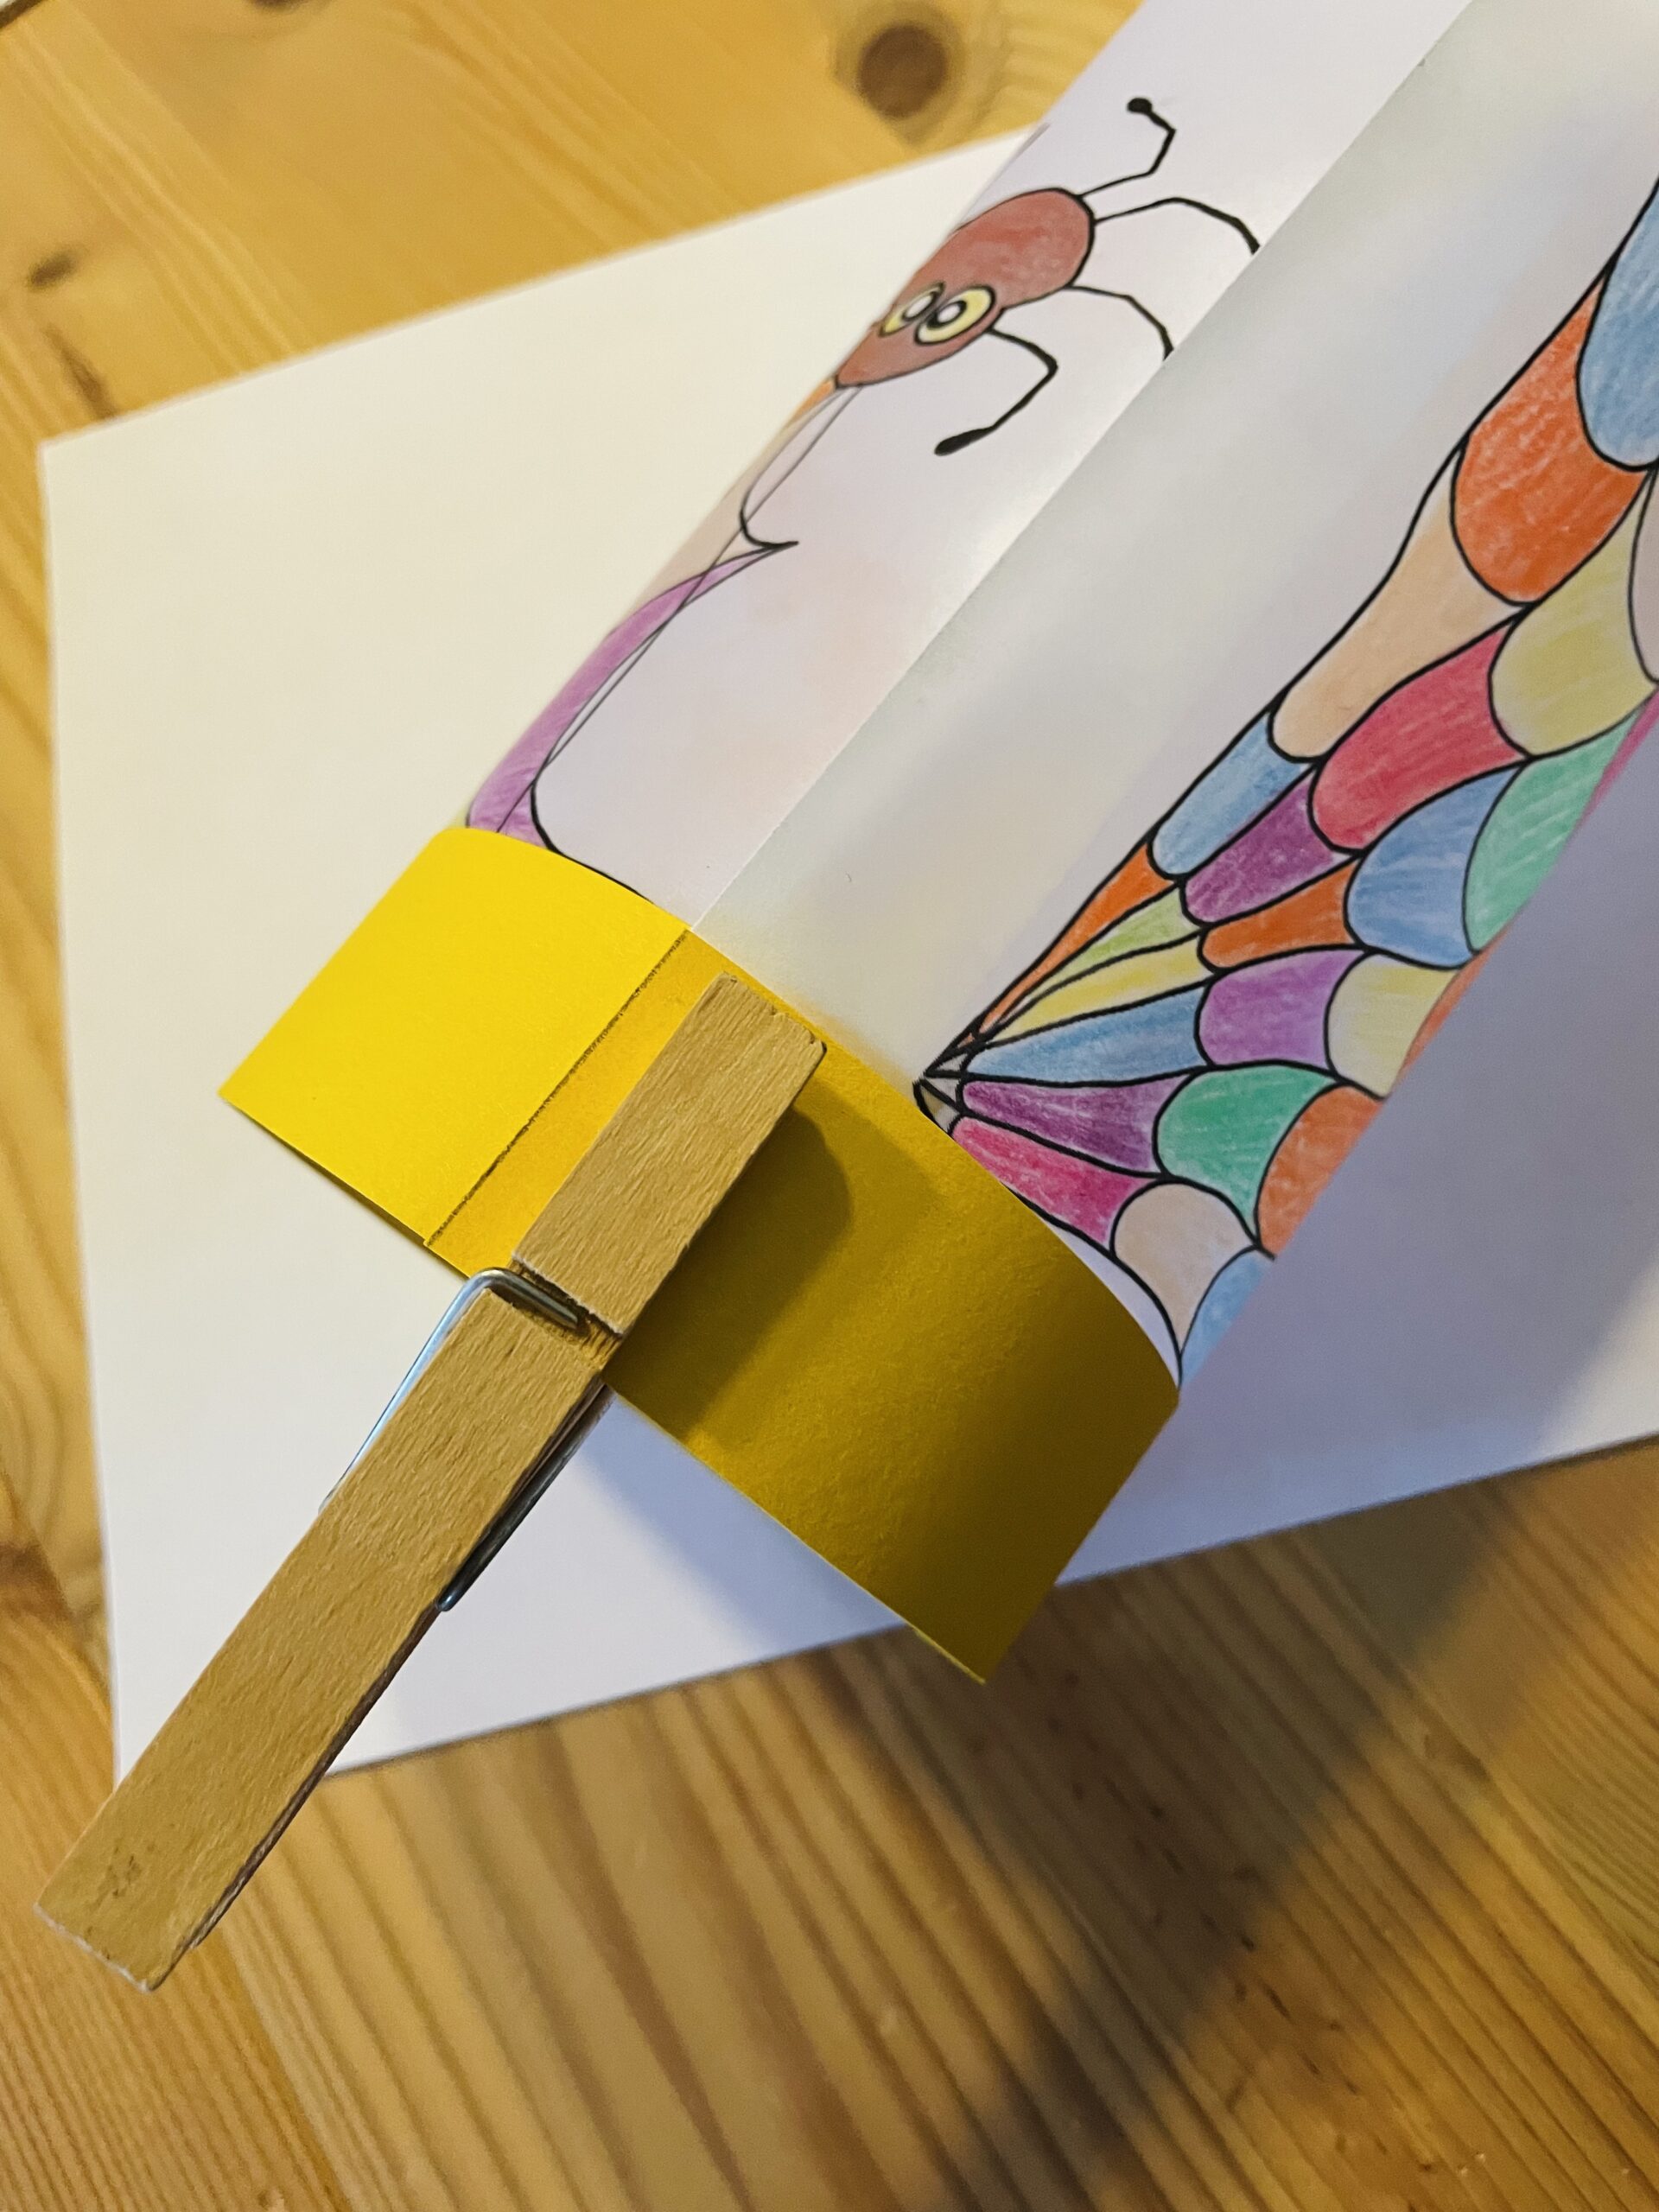
Bild zum Schritt 13 für das Bastel- und DIY-Abenteuer für Kinder: 'Fixiert das überlappende Papier oben und unten mit einer Wäscheklammer....'

14

Alternatively, you can stack the overlapping places together.
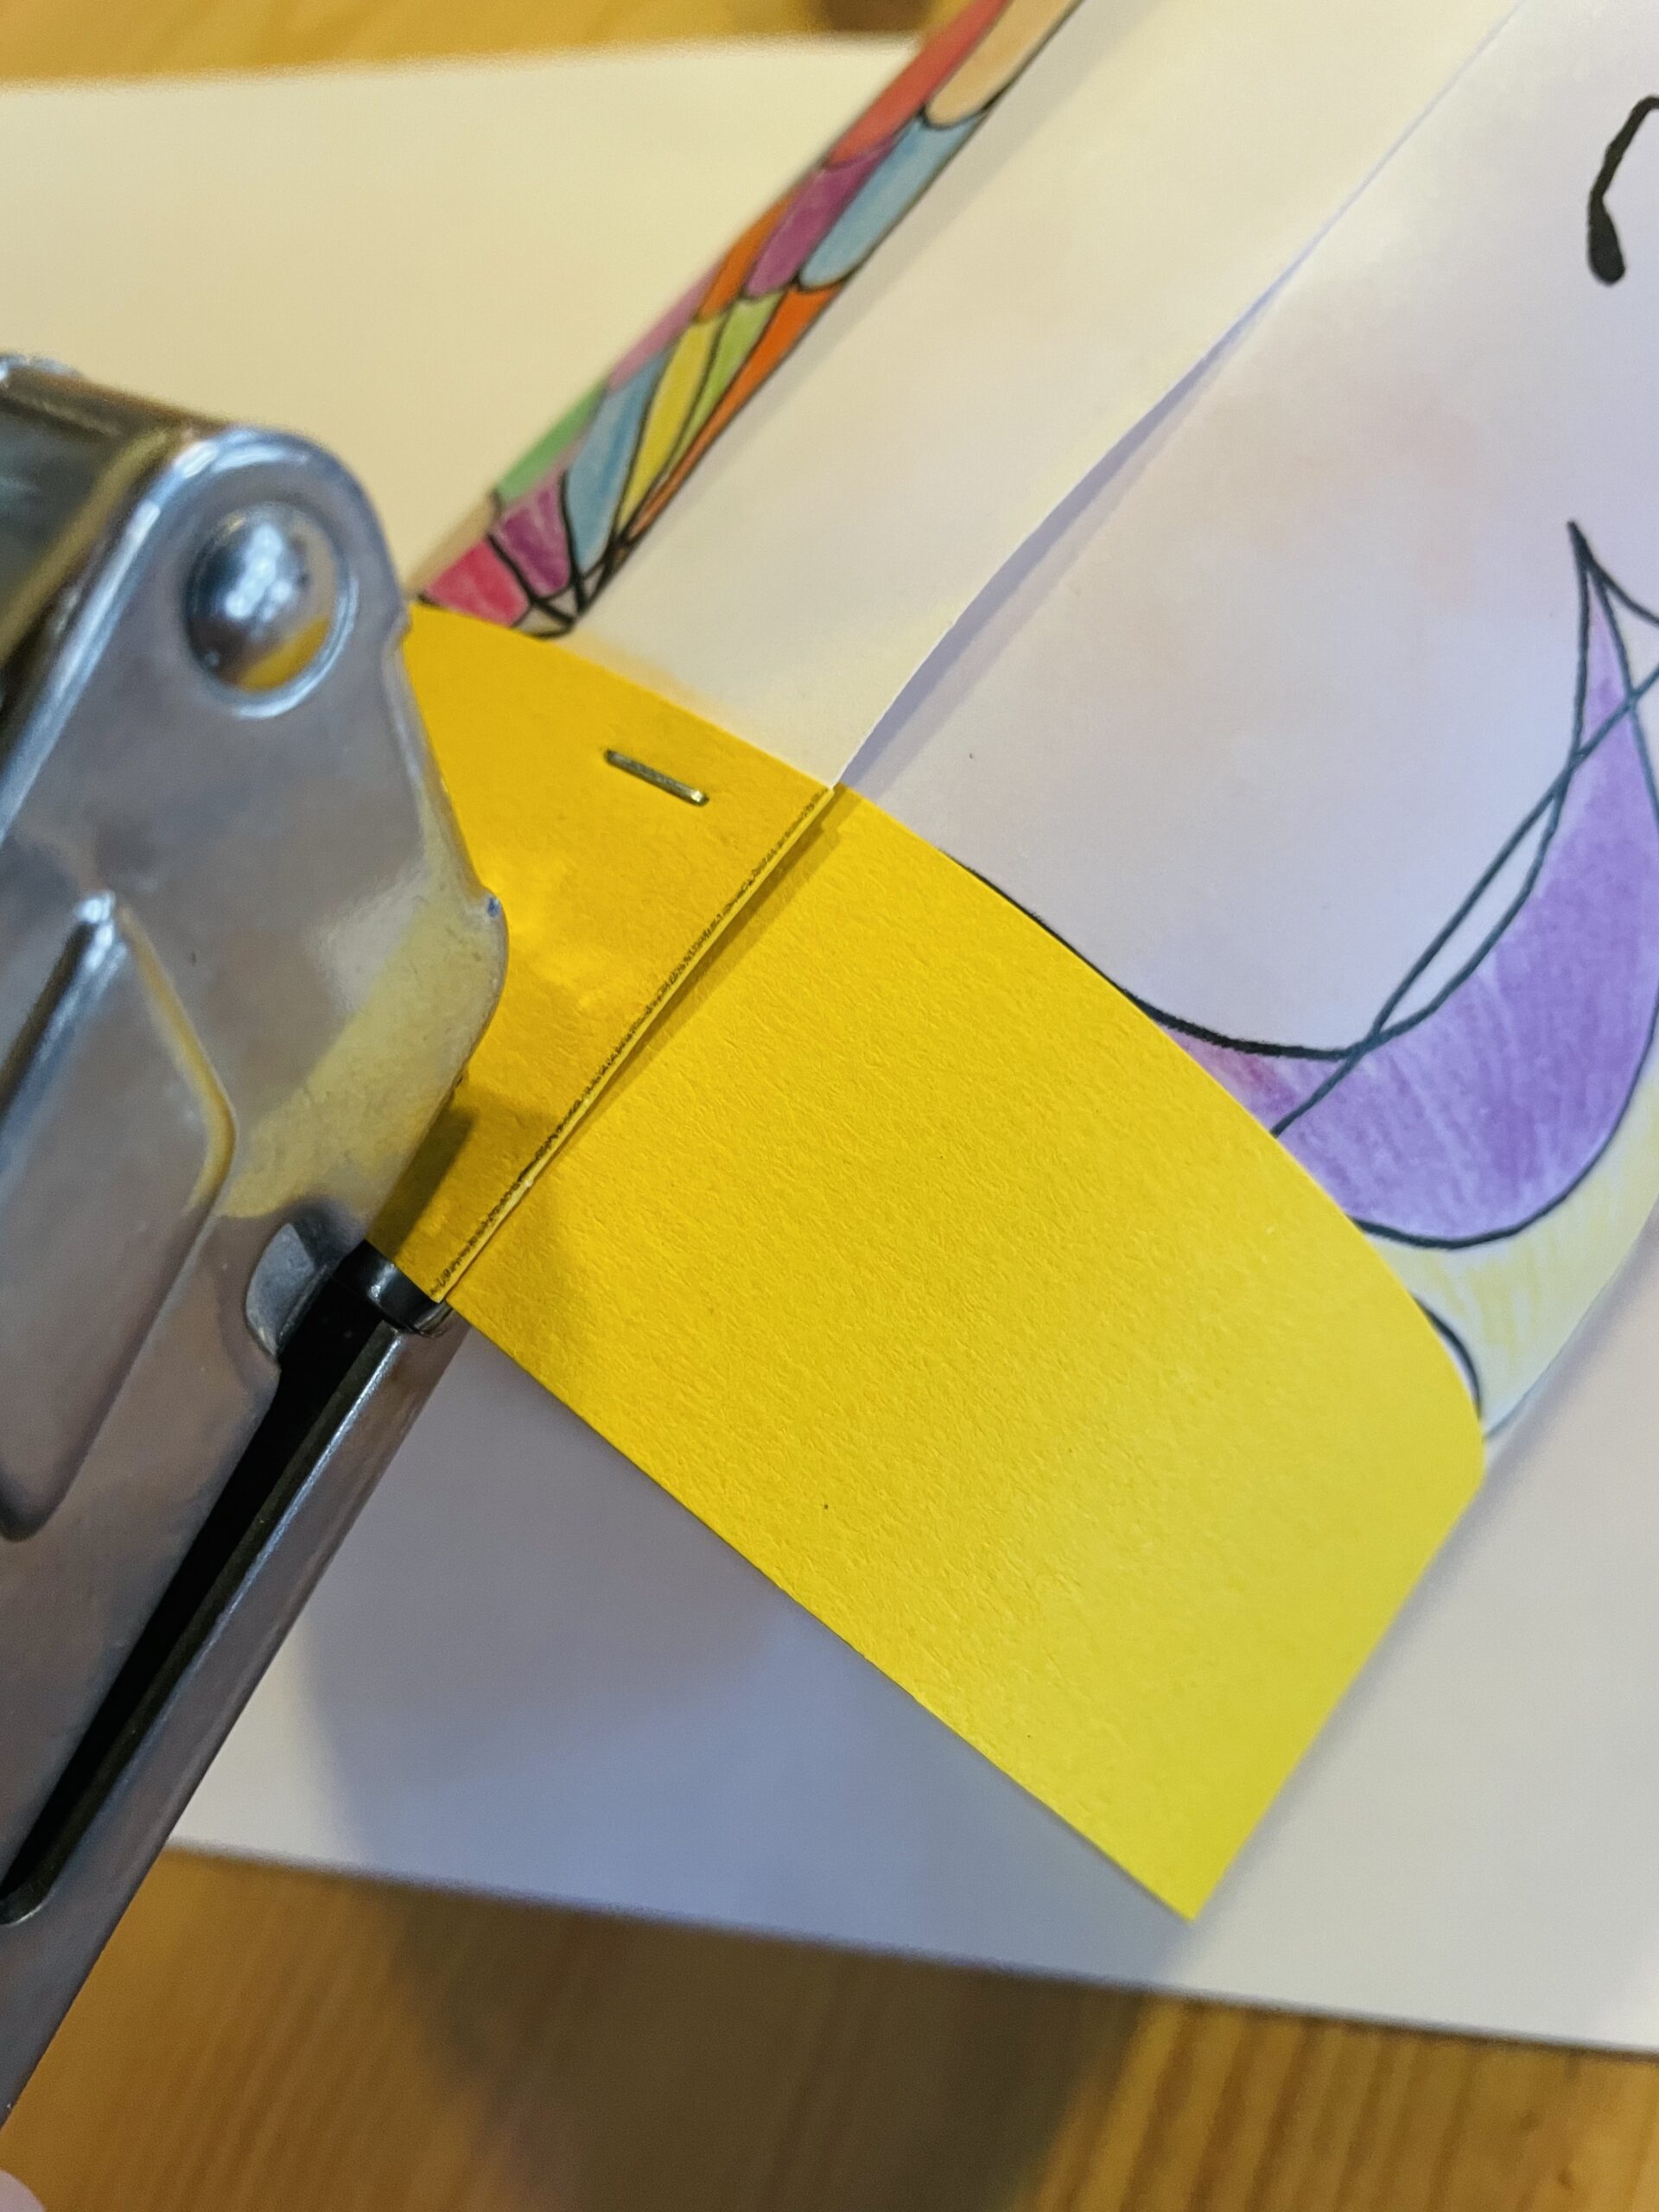
Bild zum Schritt 14 für das Bastel- und DIY-Abenteuer für Kinder: 'Alternativ könnt ihr die überlappenden Stellen zusammen tackern.'

15

The lantern is ready.

Bild zum Schritt 15 für das Bastel- und DIY-Abenteuer für Kinder: 'Fertig ist die Laterne.'

16

If you put a light in it, you can also use it as a table lamp.
Alternatively, you can make two holes with the perforator and draw a wire. With a lantern rod, it becomes a lantern for the lantern run.
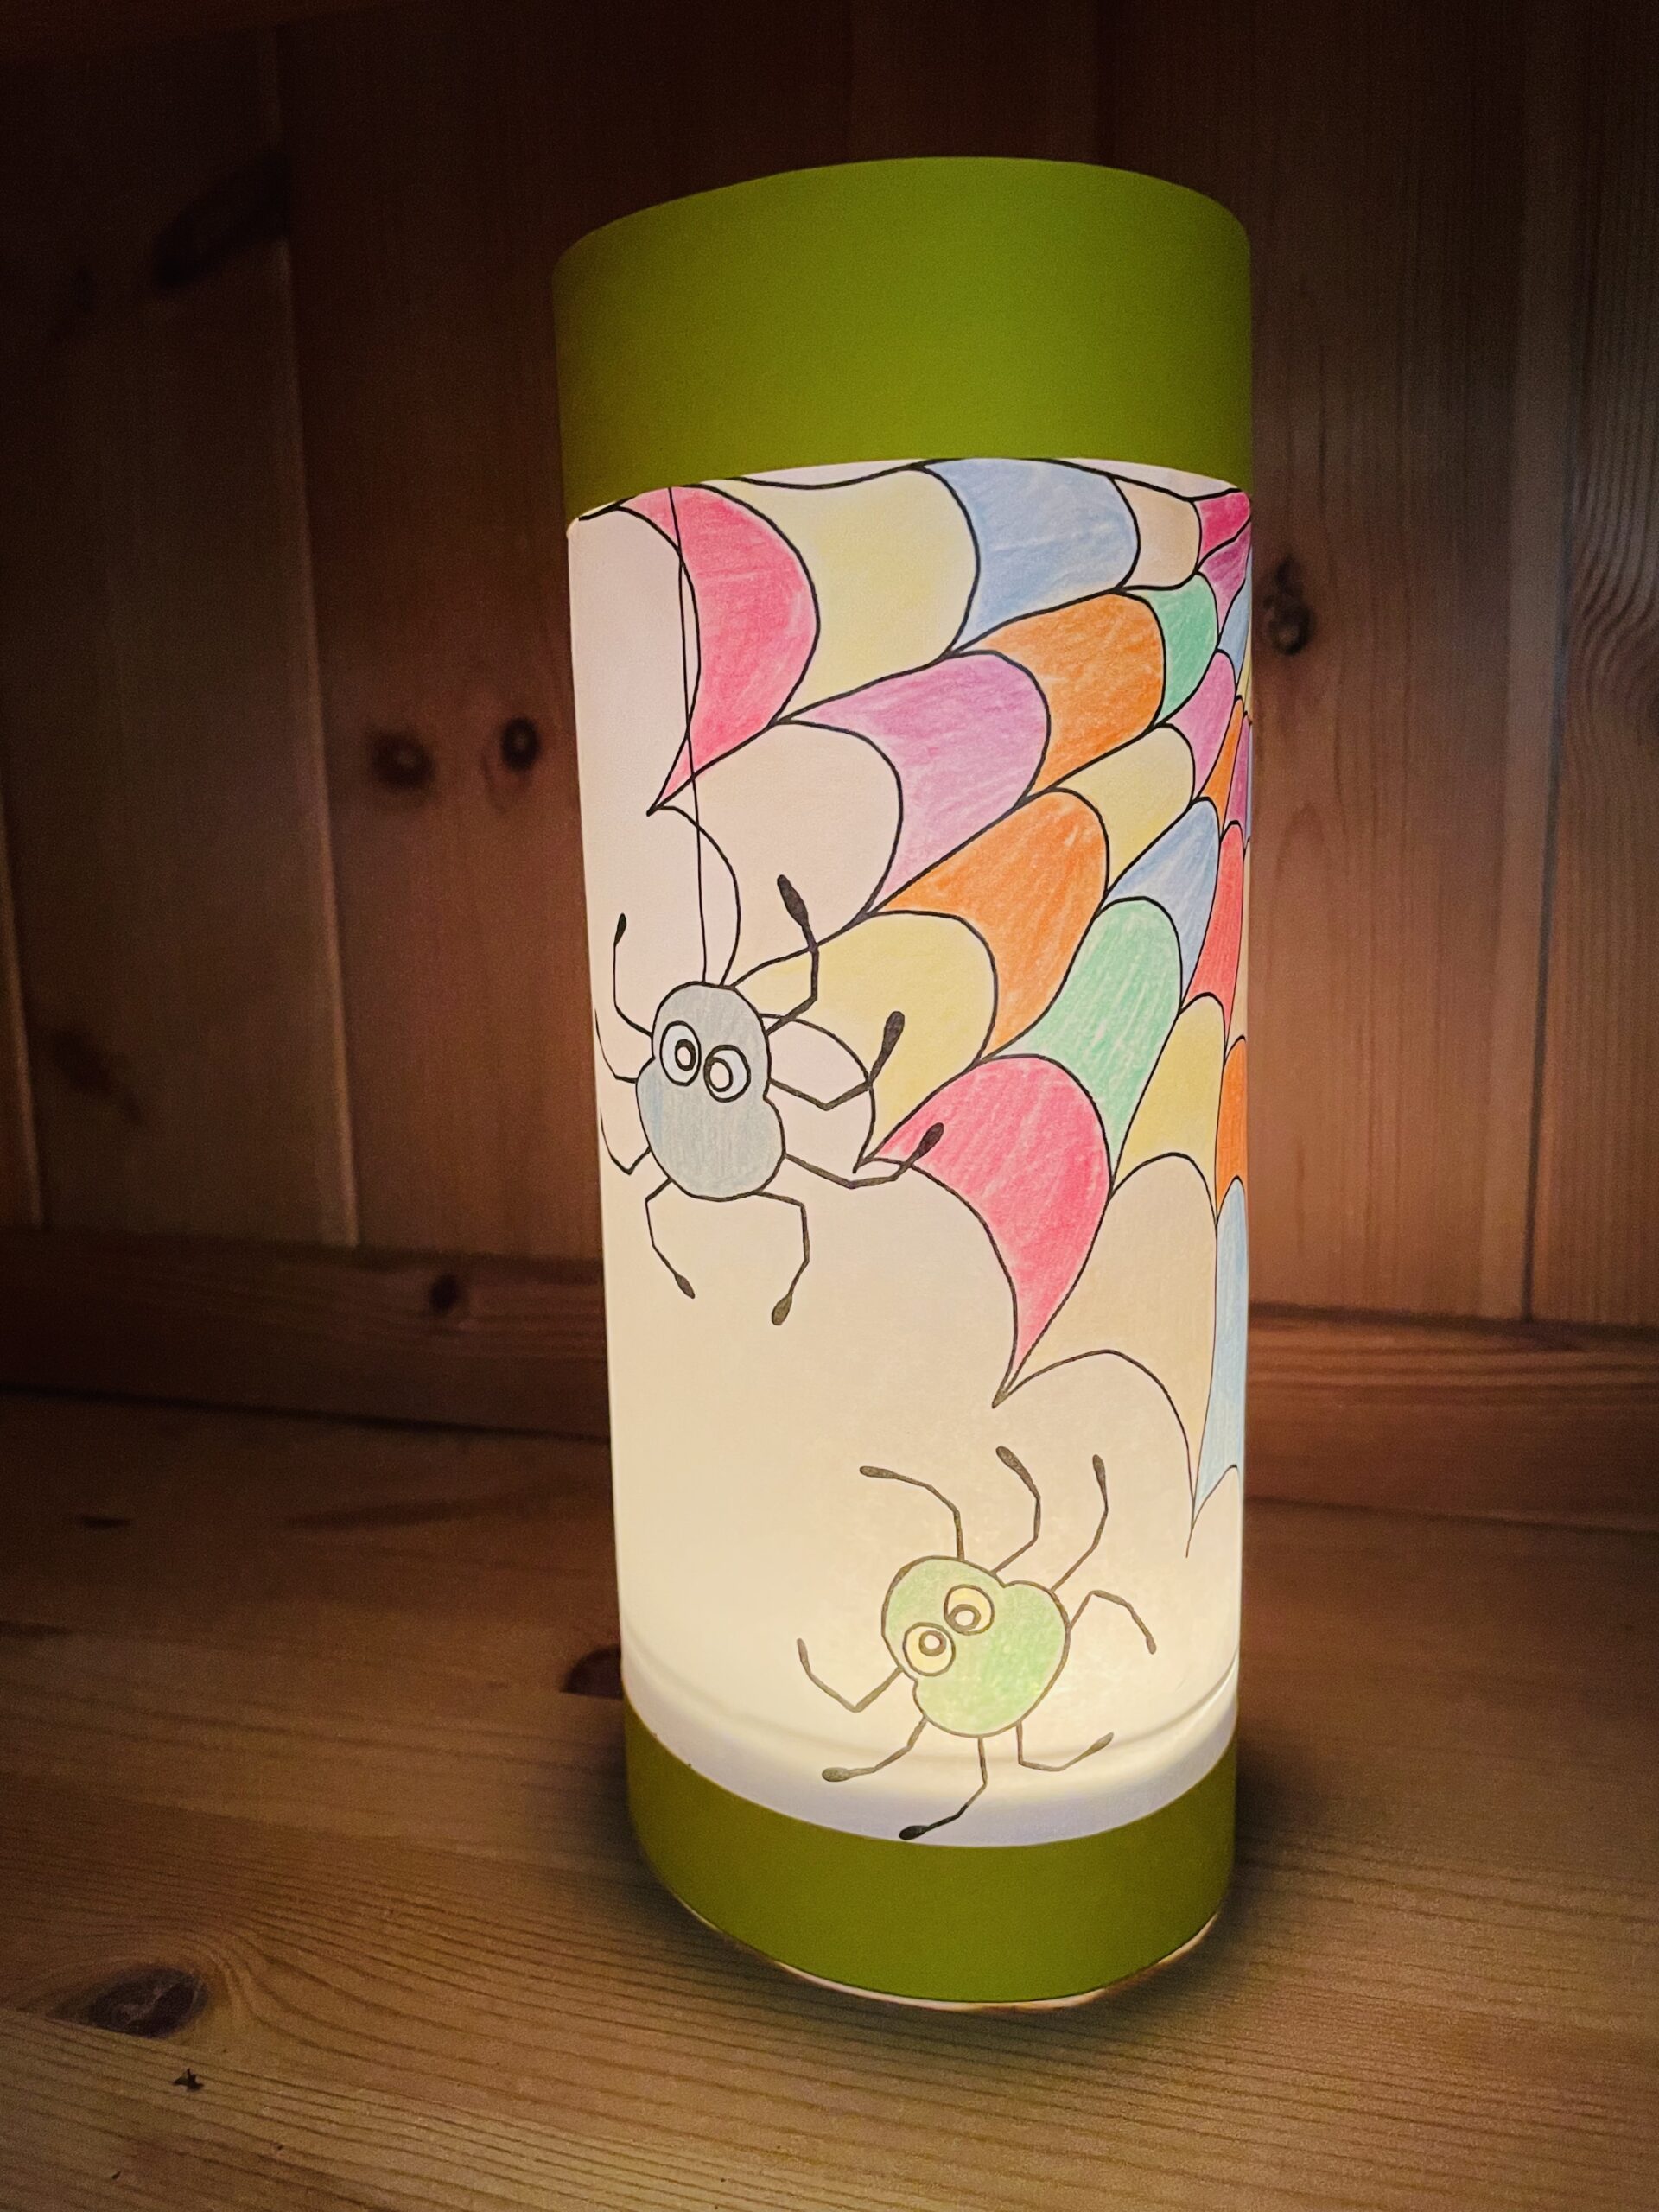
Bild zum Schritt 16 für das Bastel- und DIY-Abenteuer für Kinder: 'Stellt ihr ein Licht hinein, dann könnt ihr sie auch...'

17

You can design this lantern with many different motifs! Stay creative!
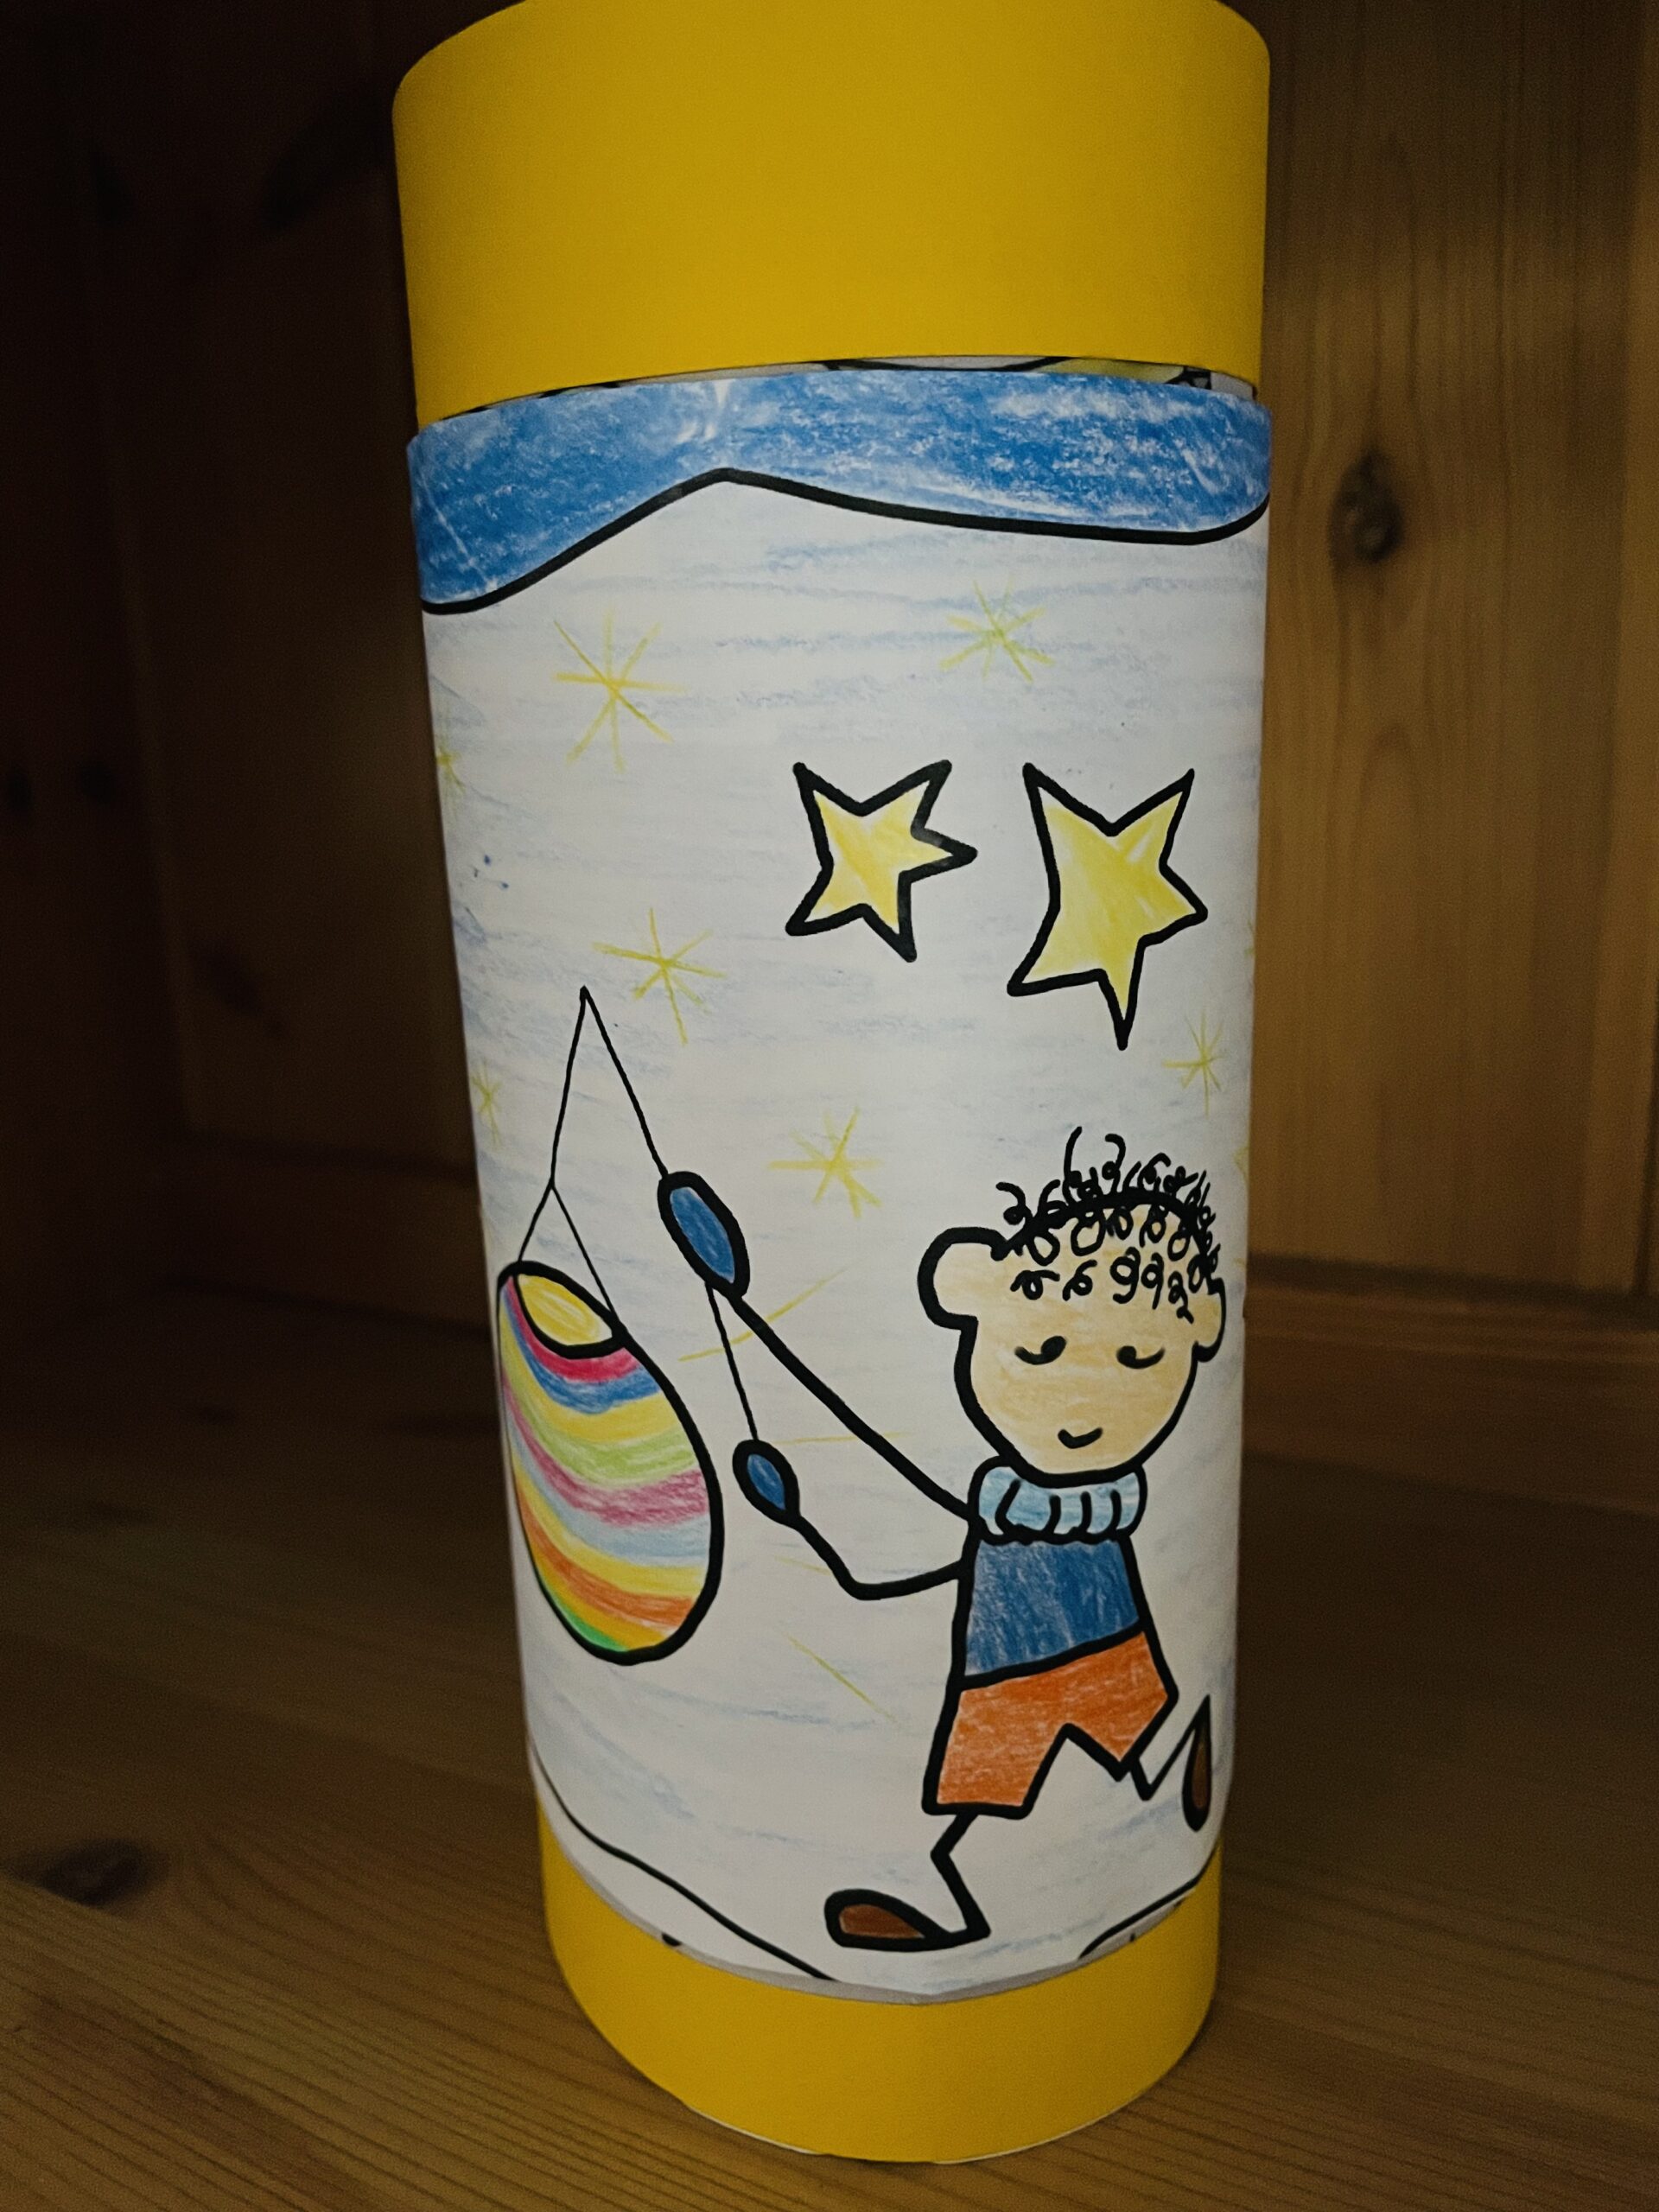
Bild zum Schritt 17 für das Bastel- und DIY-Abenteuer für Kinder: 'Ihr könnt diese Laterne mit ganz vielen verschiedenen Motiven gestalten!...'

Additional templates for the lanterns
18

A template for wankers.

Bild zum Schritt 19 für das Bastel- und DIY-Abenteuer für Kinder: 'Eine Vorlage für Wichtelkinder.'

19

2. Bild zum Schritt 19 für das Bastel- und DIY-Abenteuer für Kinder: 'Eine Vorlage für Wichtelkinder.'

20

A template for small astronauts.
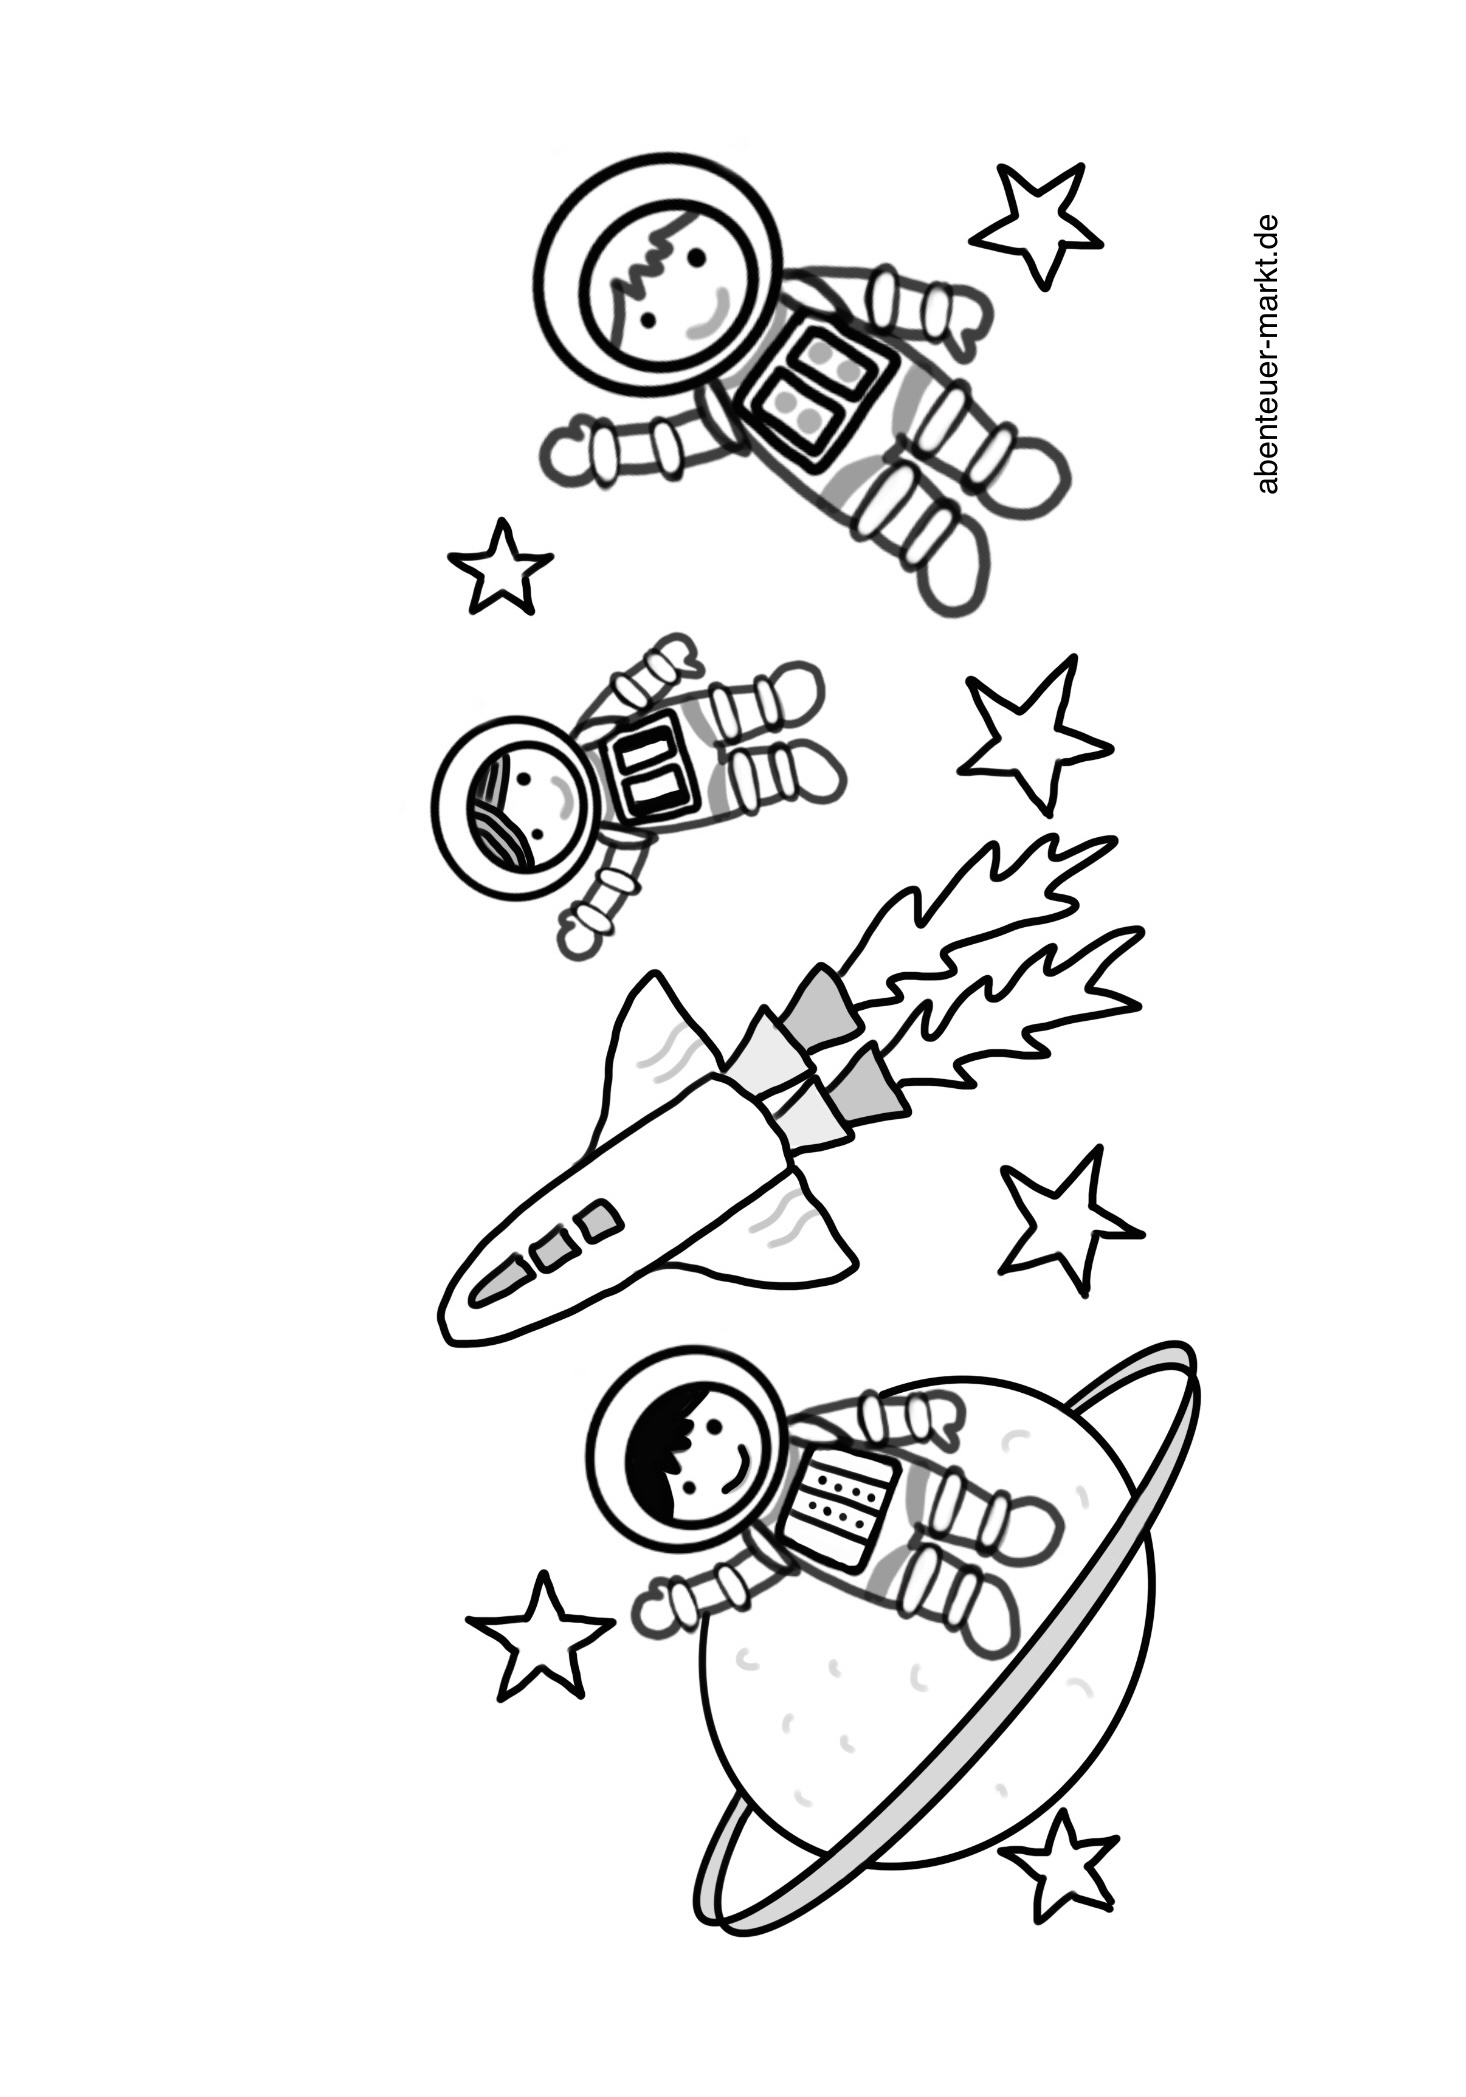
Bild zum Schritt 21 für das Bastel- und DIY-Abenteuer für Kinder: 'Eine Vorlage für kleine Astronauten.'

Lantern from colouring images (with many templates)

Follow us on Facebook , Instagram and Pinterest
Don't miss any more adventures: Our bottle mail

Leave a Reply

Your email address will not be published.

The maximum upload file size: 5 MB. You can upload: image, document. Drop file here