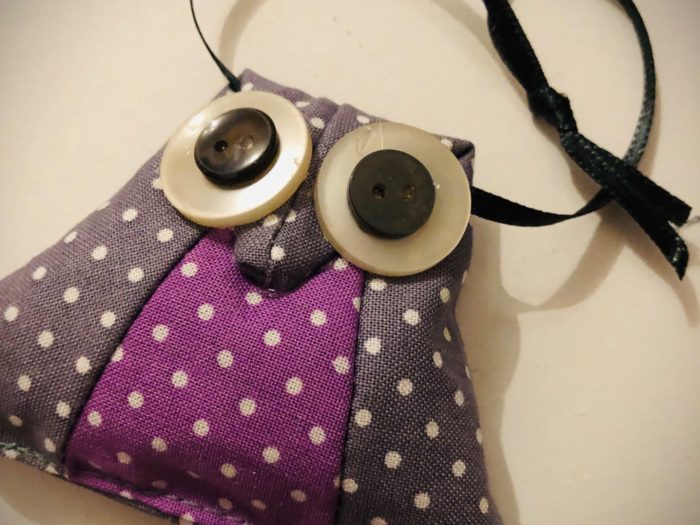
This little chicken is a so-called edge stool. You don't need any prior knowledge when sewing. This project is also suitable for beginners. Just follow the illustrated guide step by step.
The body of the chicken is made of a small piece of fabric. Comb, beak and feet are made of felt. For the legs you can use an old shoelace. The wobble eyes are a highlight, you don't have one, you can also paint the eyes with a pen. Have fun.
Media Education for Kindergarten and Hort

Relief in everyday life, targeted promotion of individual children, independent learning and - without any pre-knowledge already usable by the youngest!

You need a piece of fabric with the dimensions: 10cm x 20cm or 9cm x 18cm.
The comb, the beak and the two feet cut out of red felt.
Put the fabric across you on the table. The beautiful side points upwards.
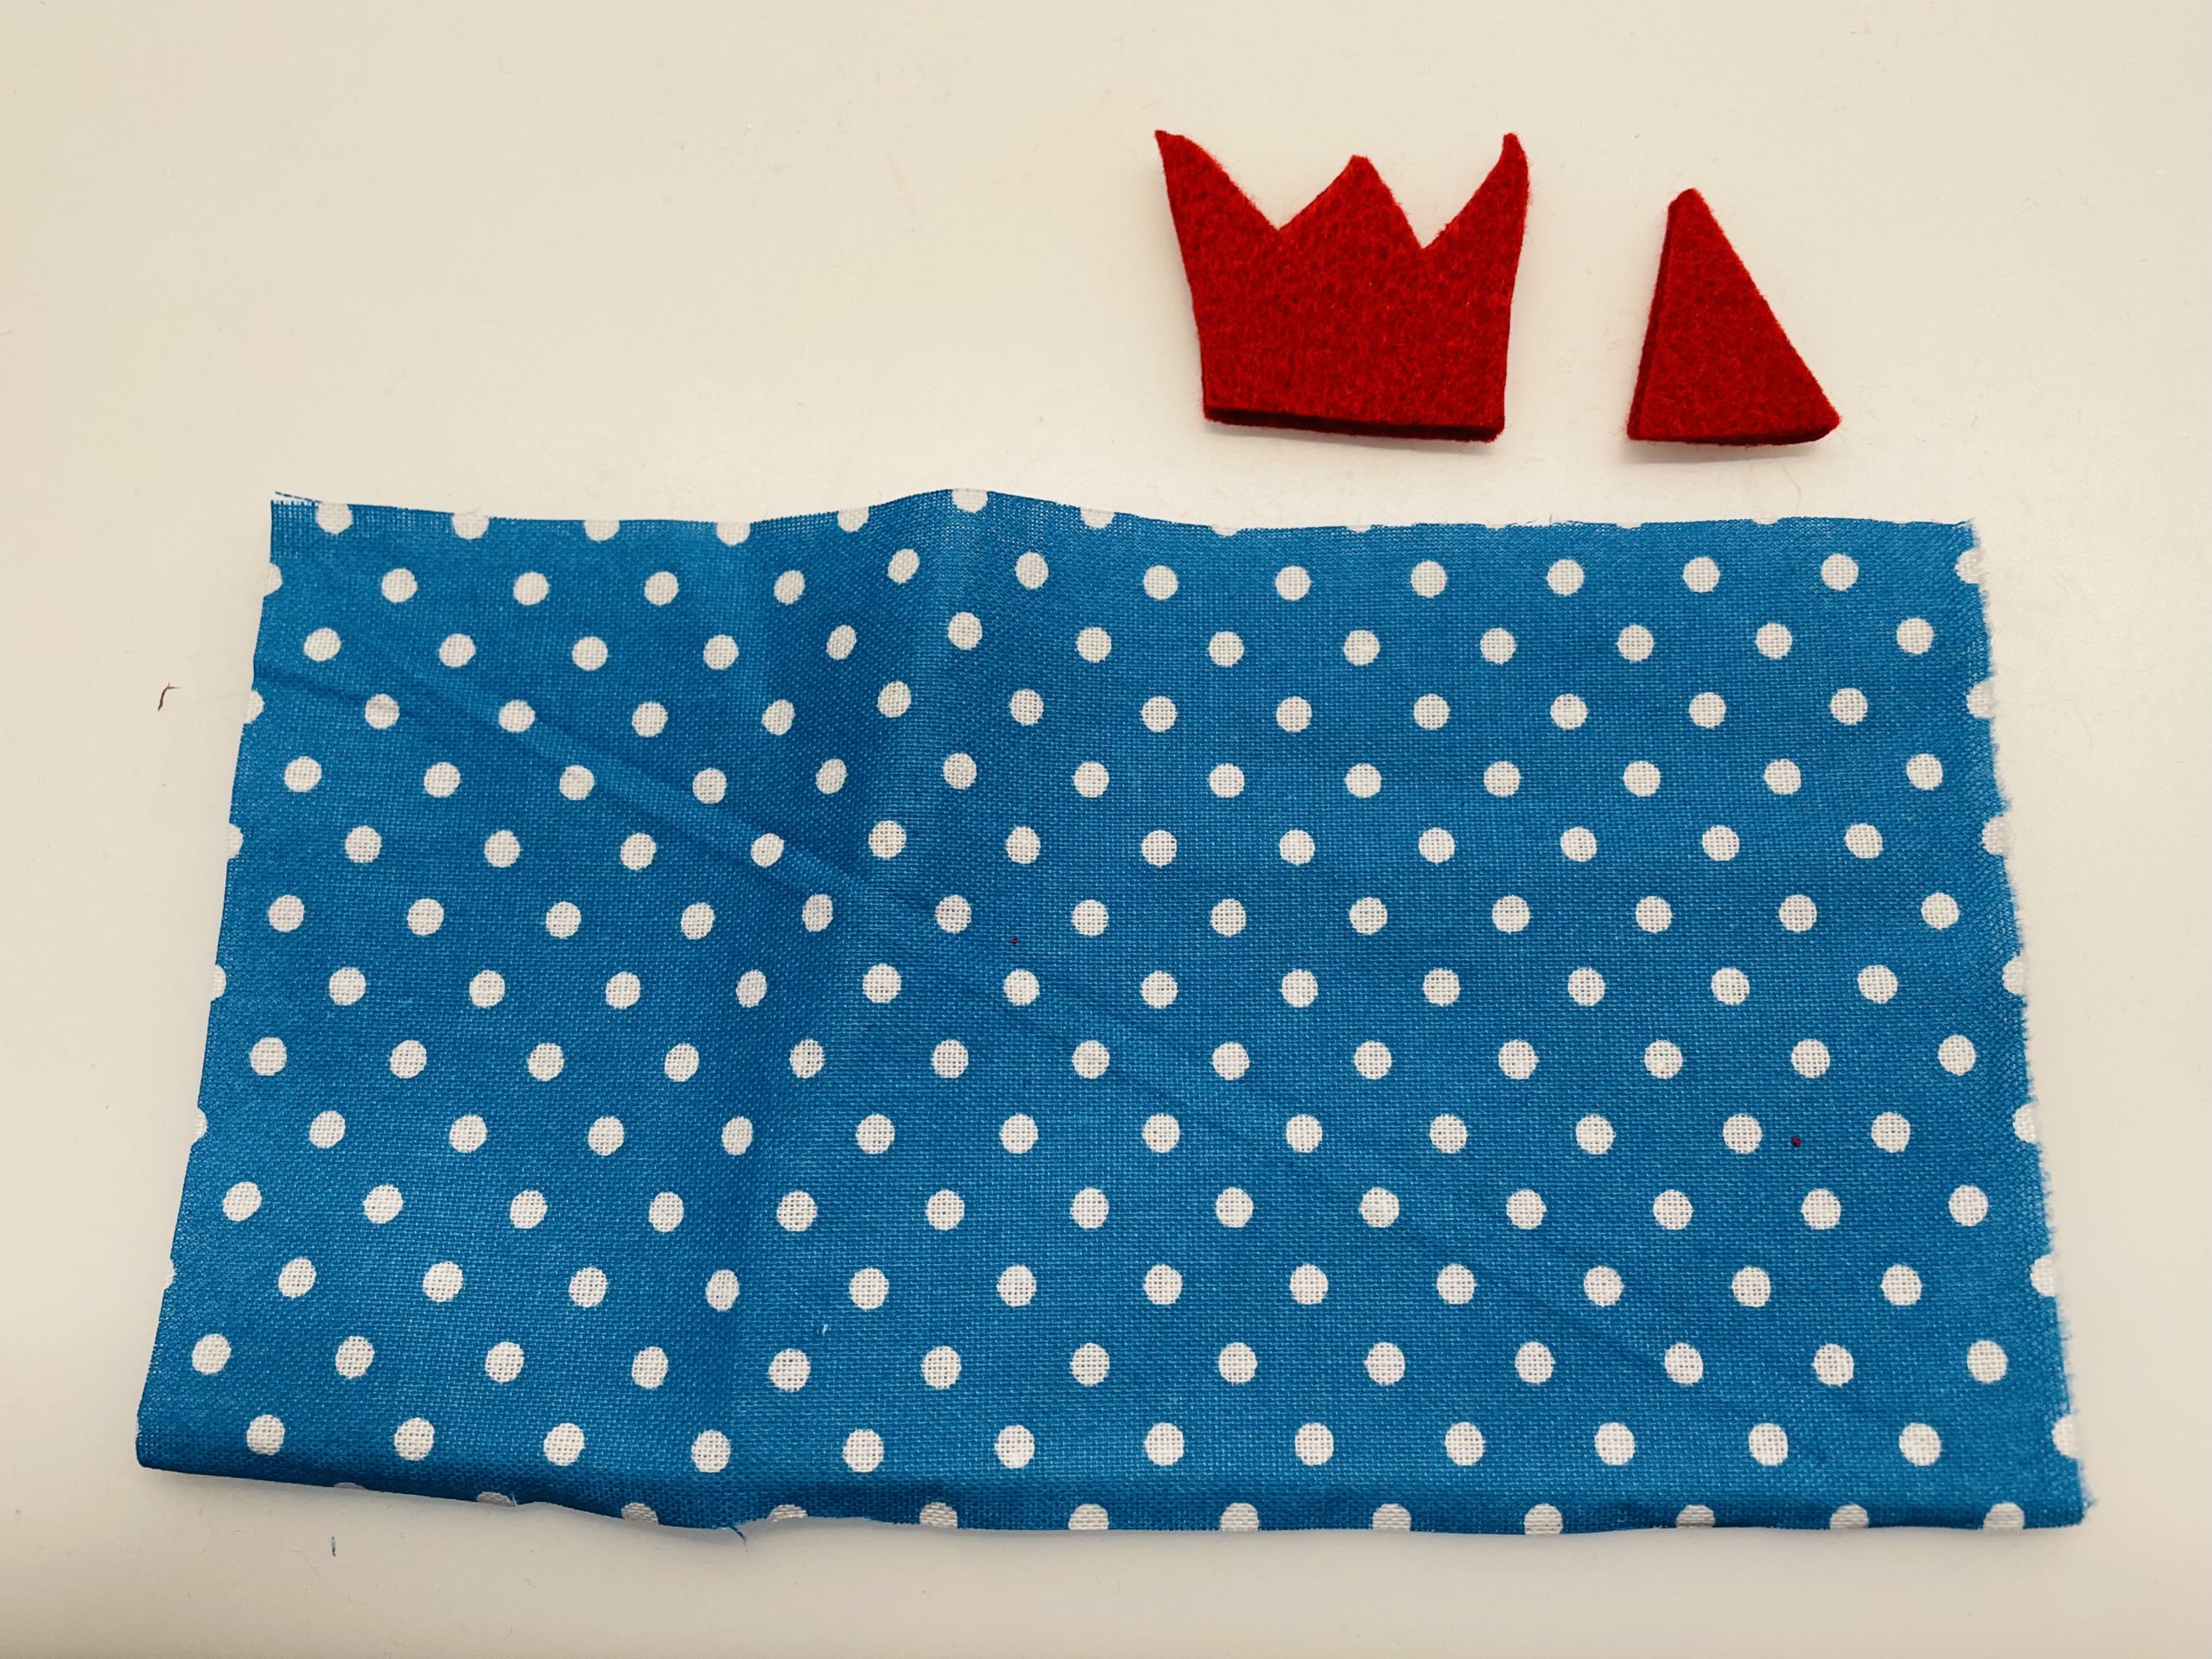
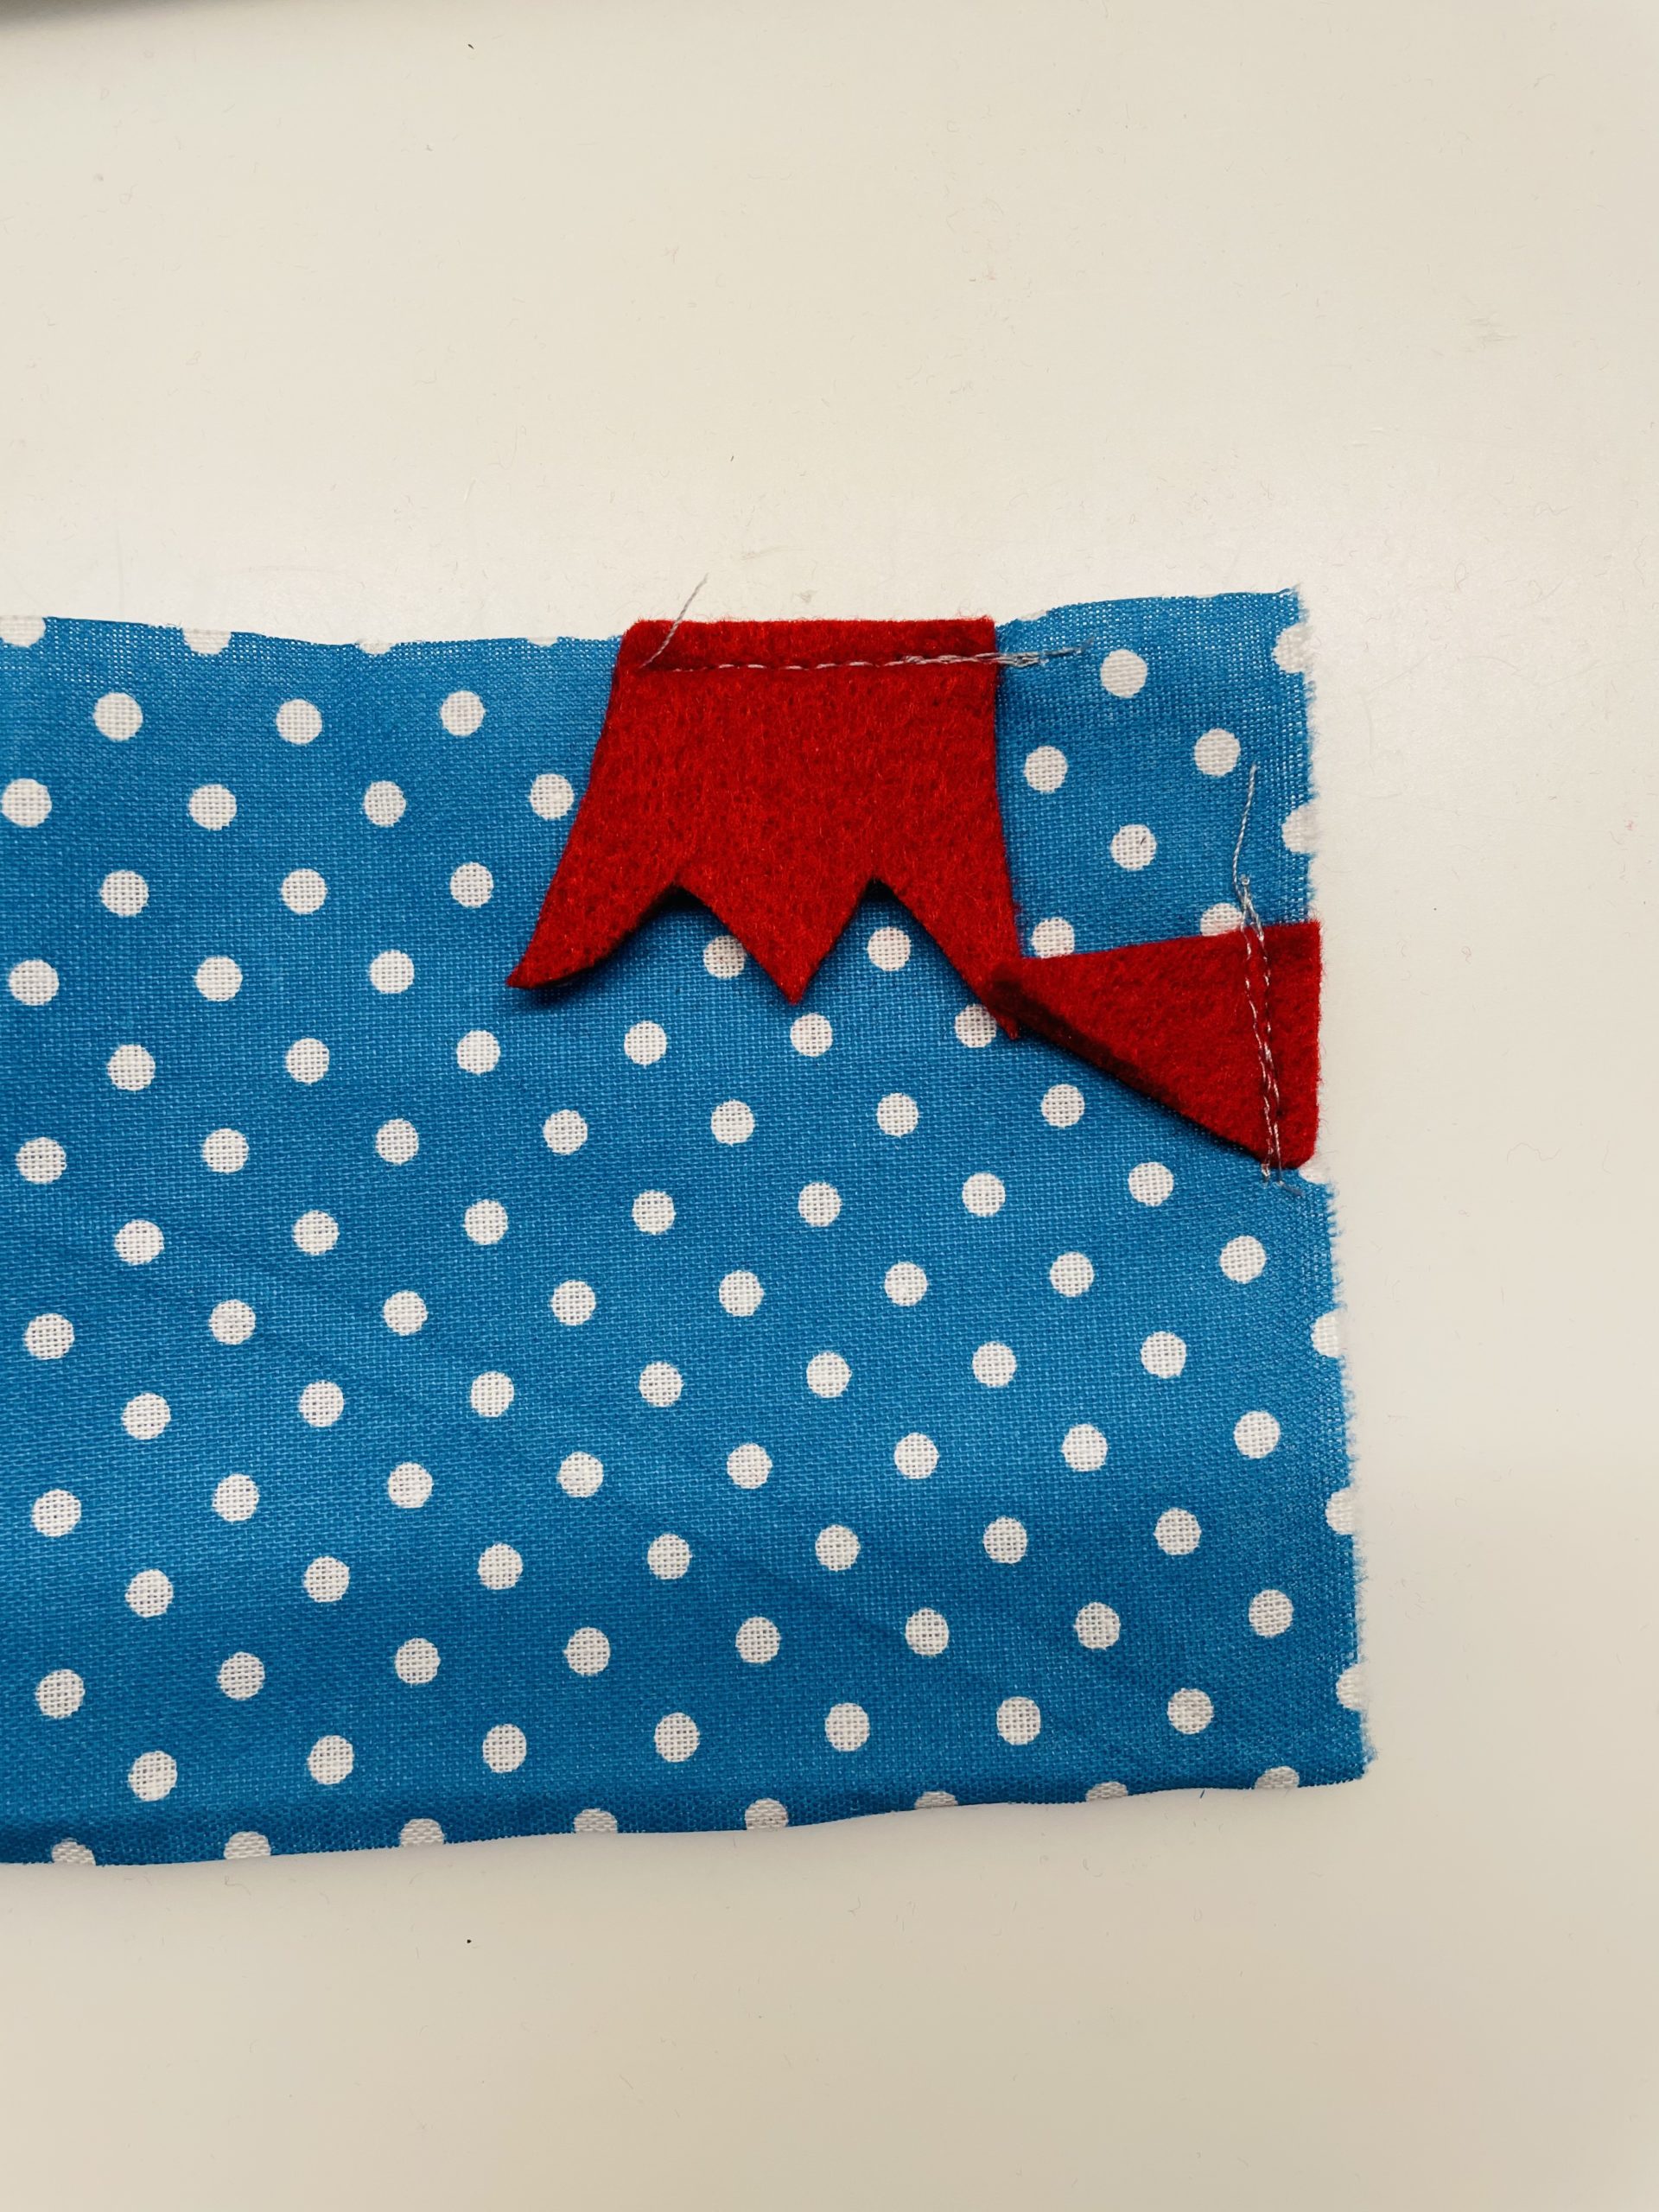
Now place the comb and beak on your fabric strip as in the picture. Fix both with a pin.
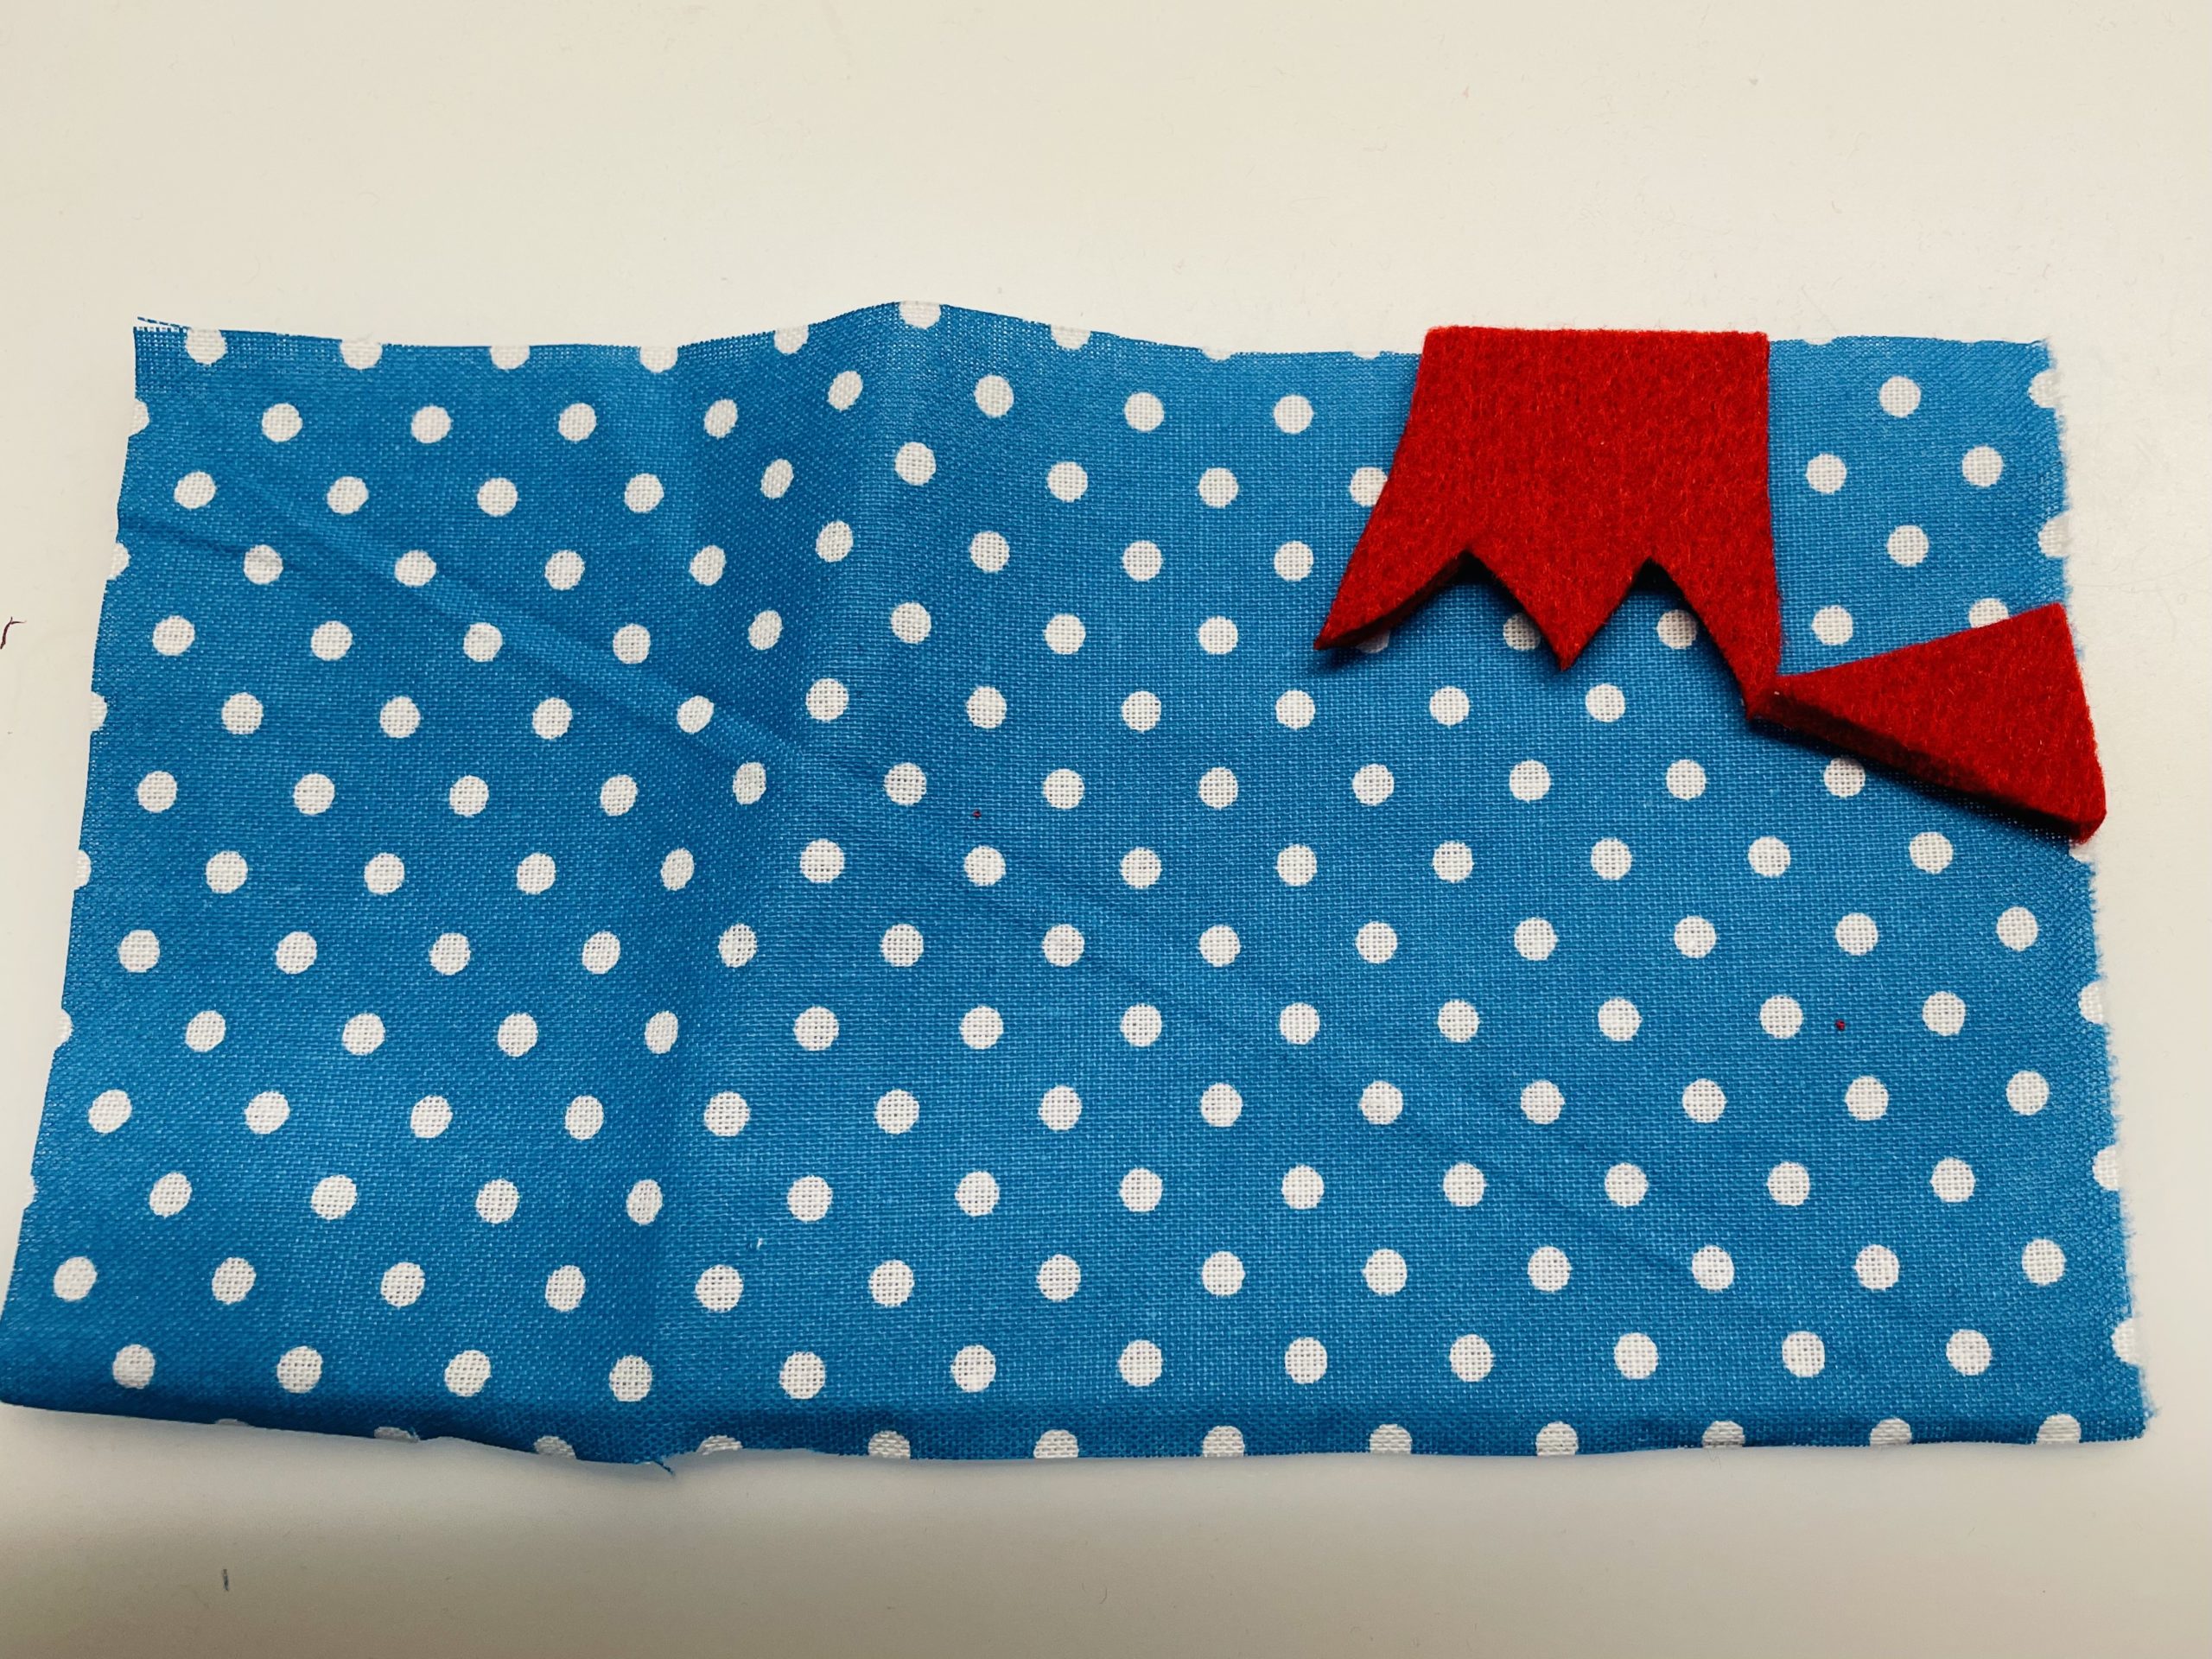


Sew both together with a straight stitch. Sew as close as possible to the edge, as this serves to fix both parts!
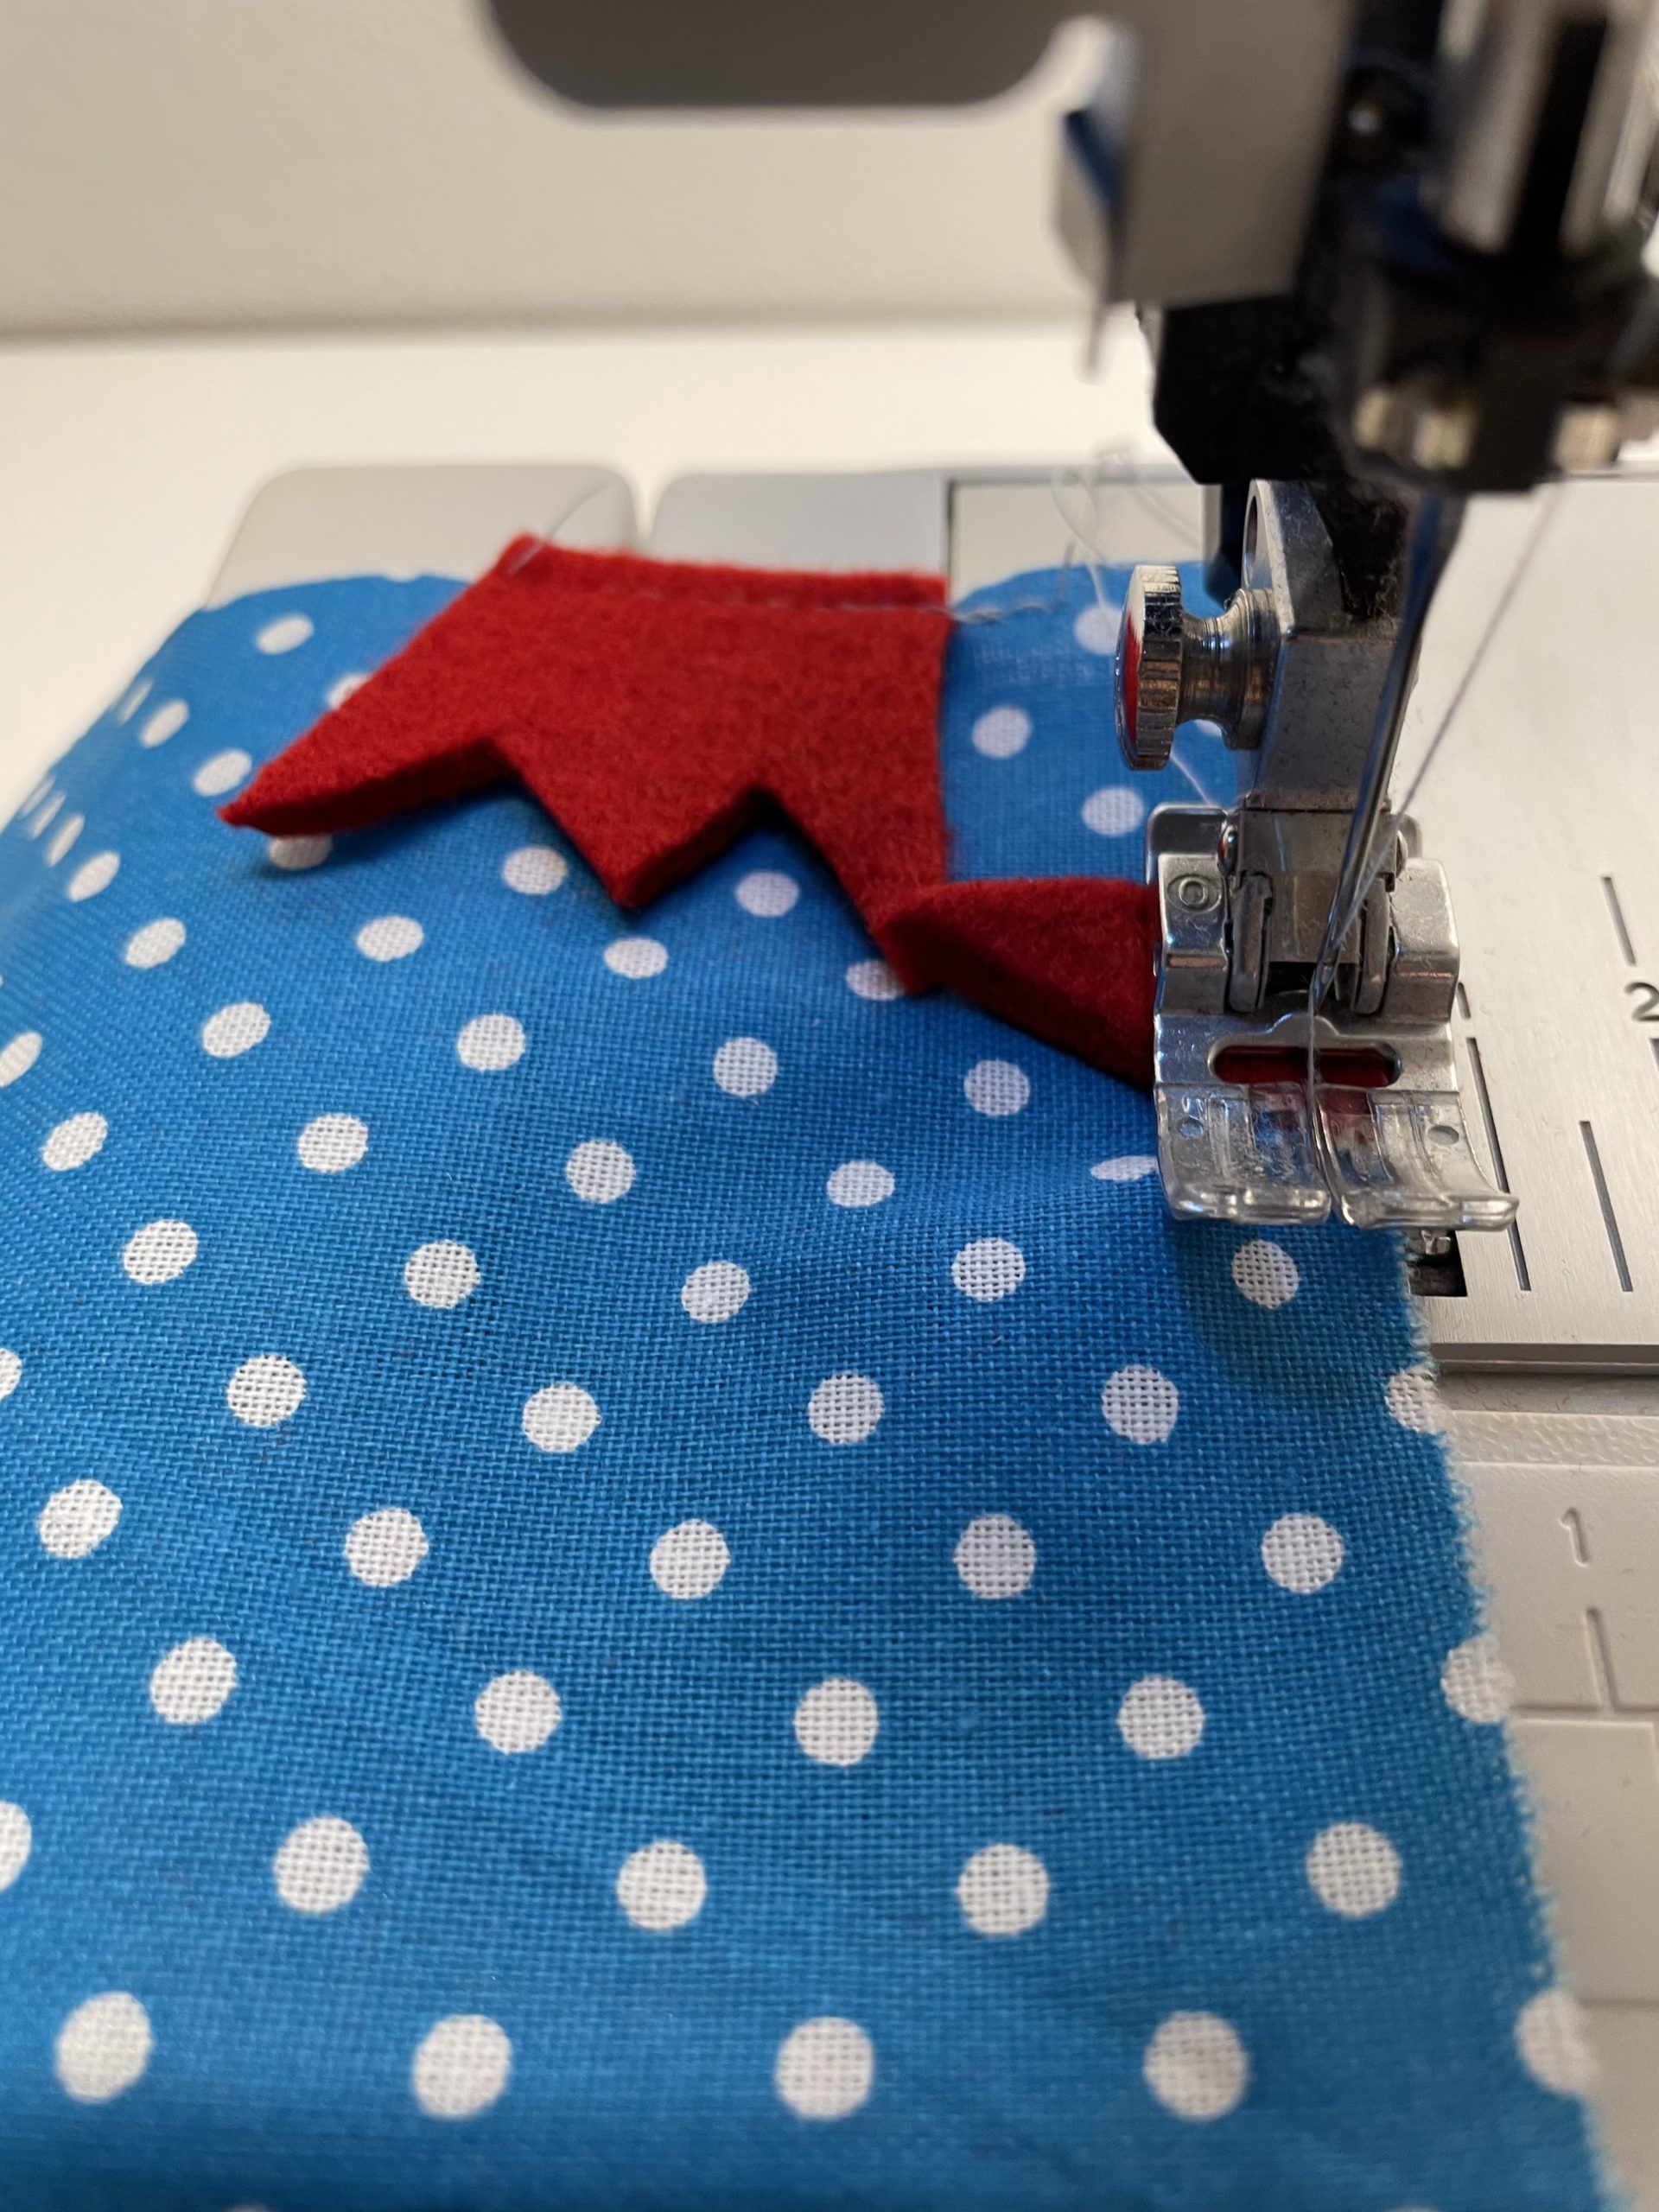


When you sew on your comb and beak, your fabric looks like it's in the photo!


Now you fold the fabric together. The beautiful side is now inside. Put both fabric parts together with a pin so that nothing can slip.
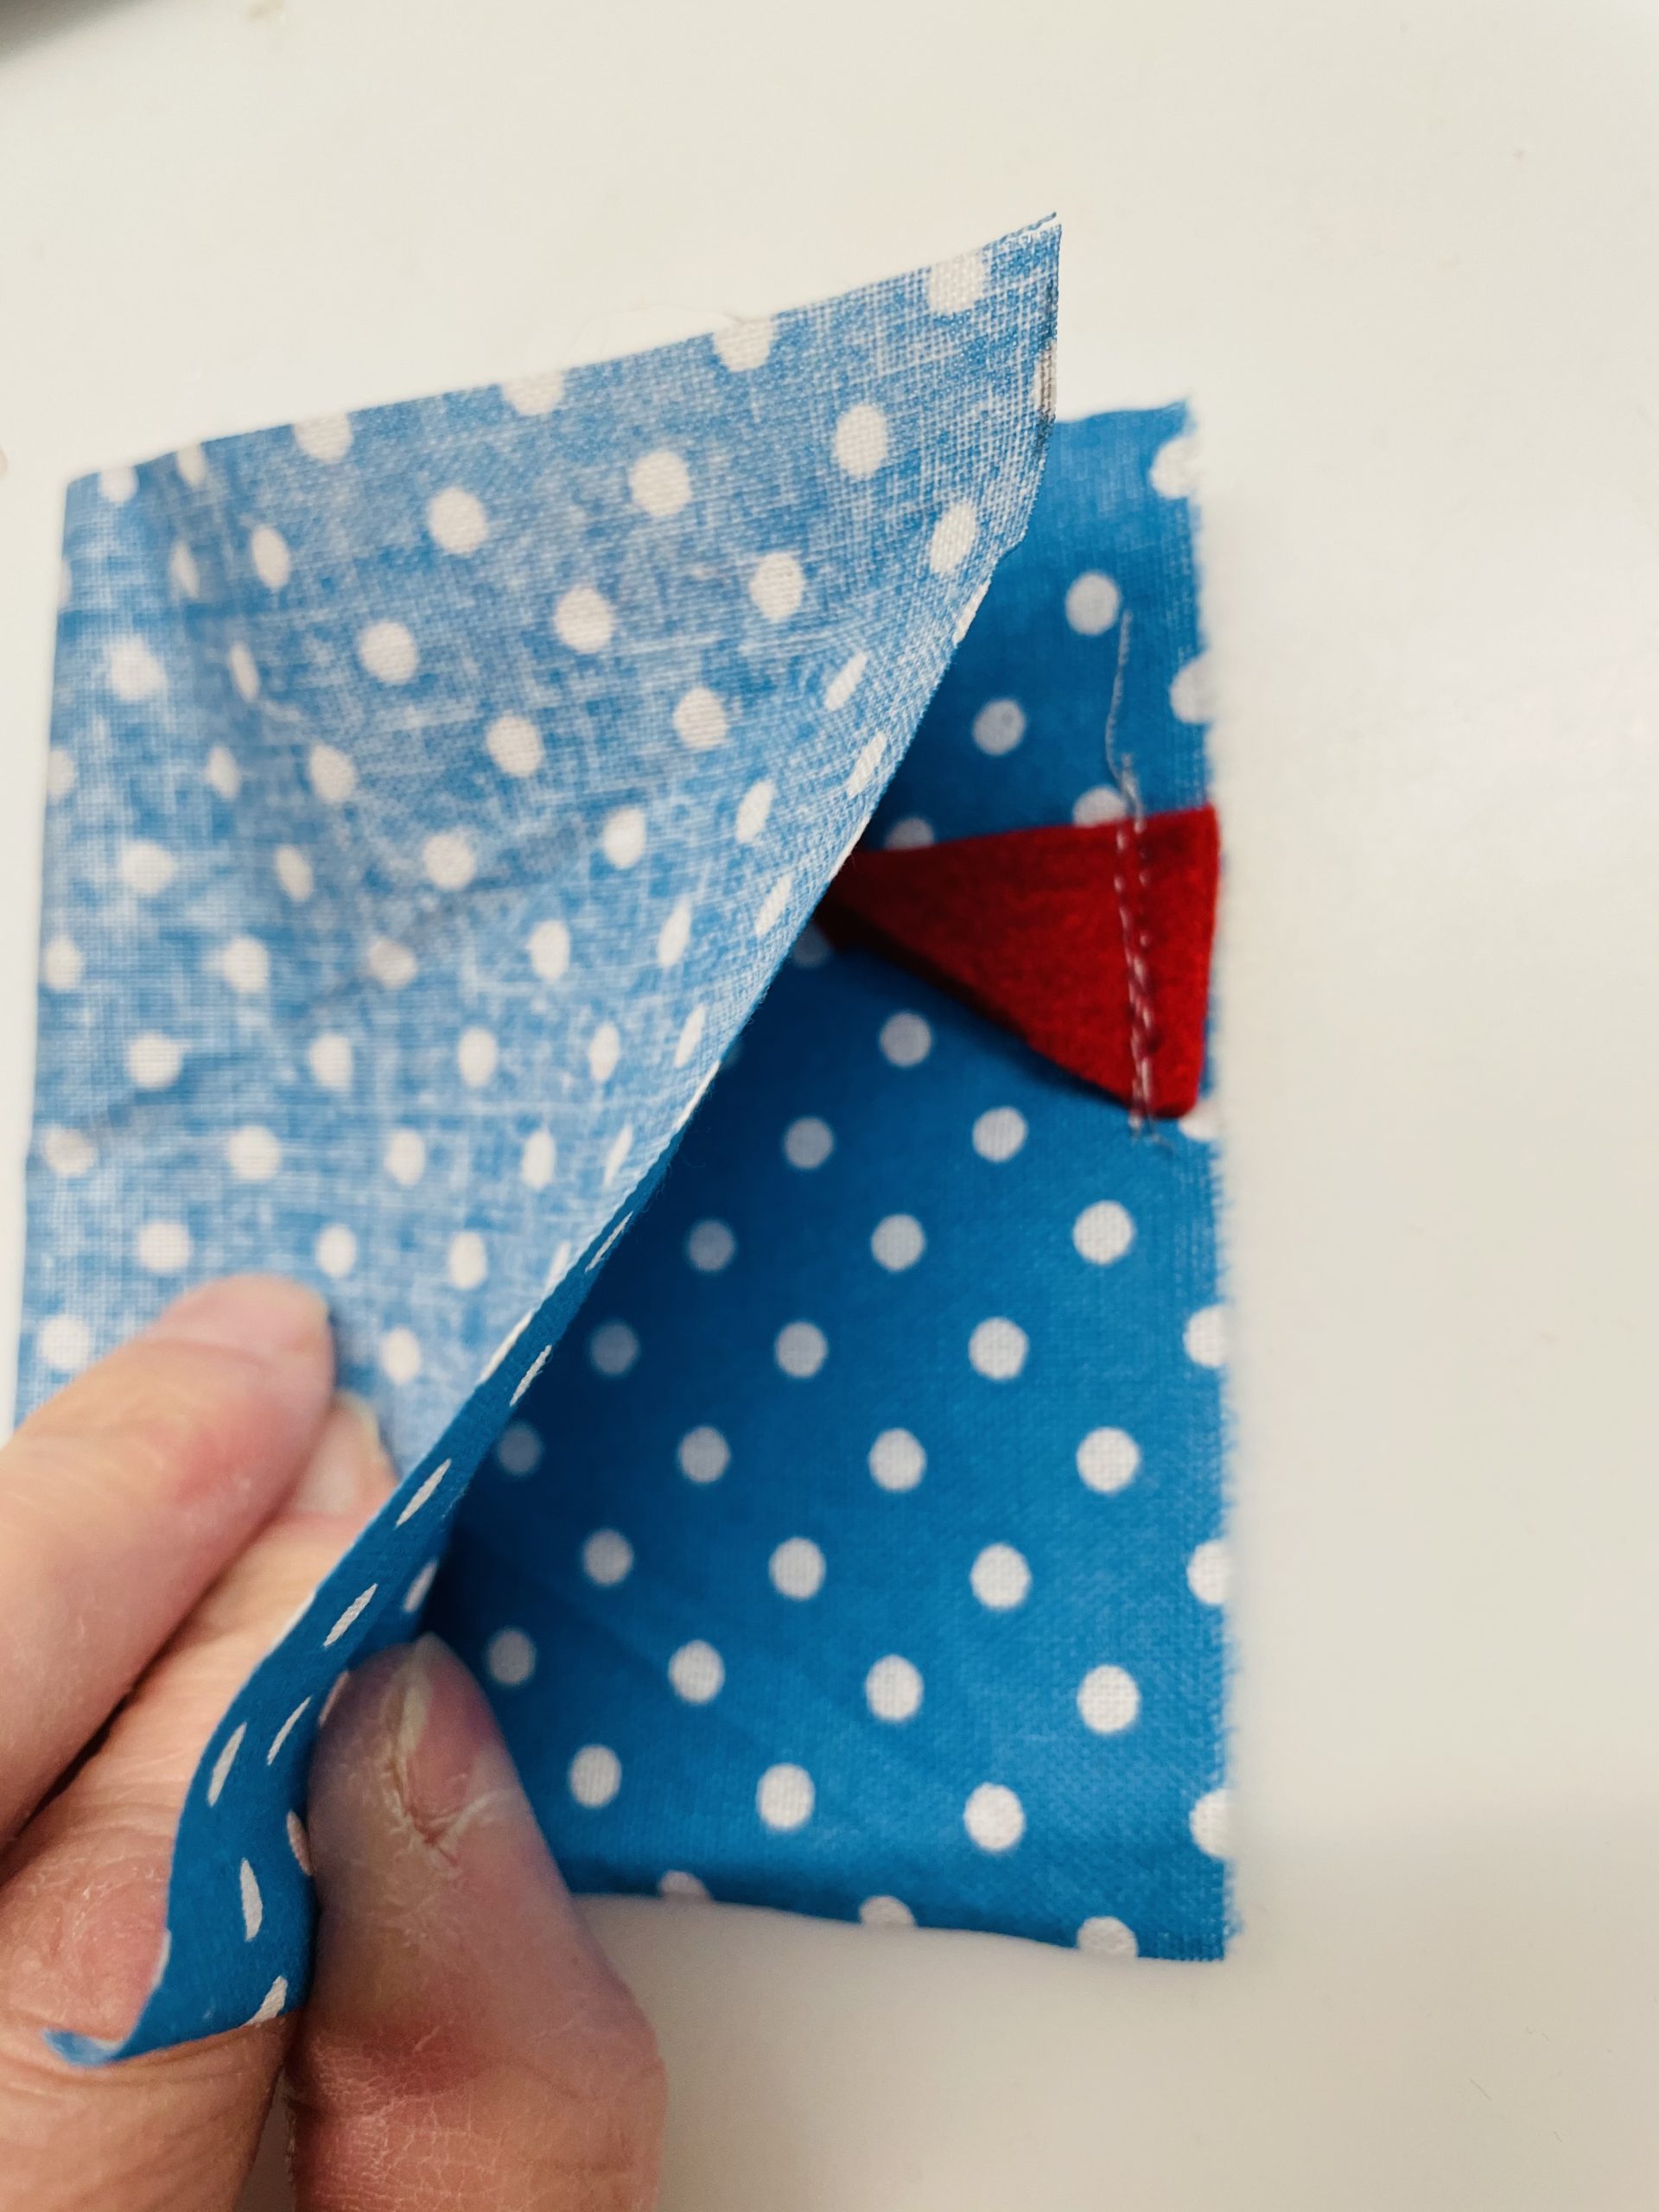


Now draw a sewing stitch on the fabric.
Leave a small distance to the edge and sew both fabrics as in the picture. To do this you also use a straight stitch. If you sew back and forth several times at the beginning and at the end of your seam, the seam does not separate any more.
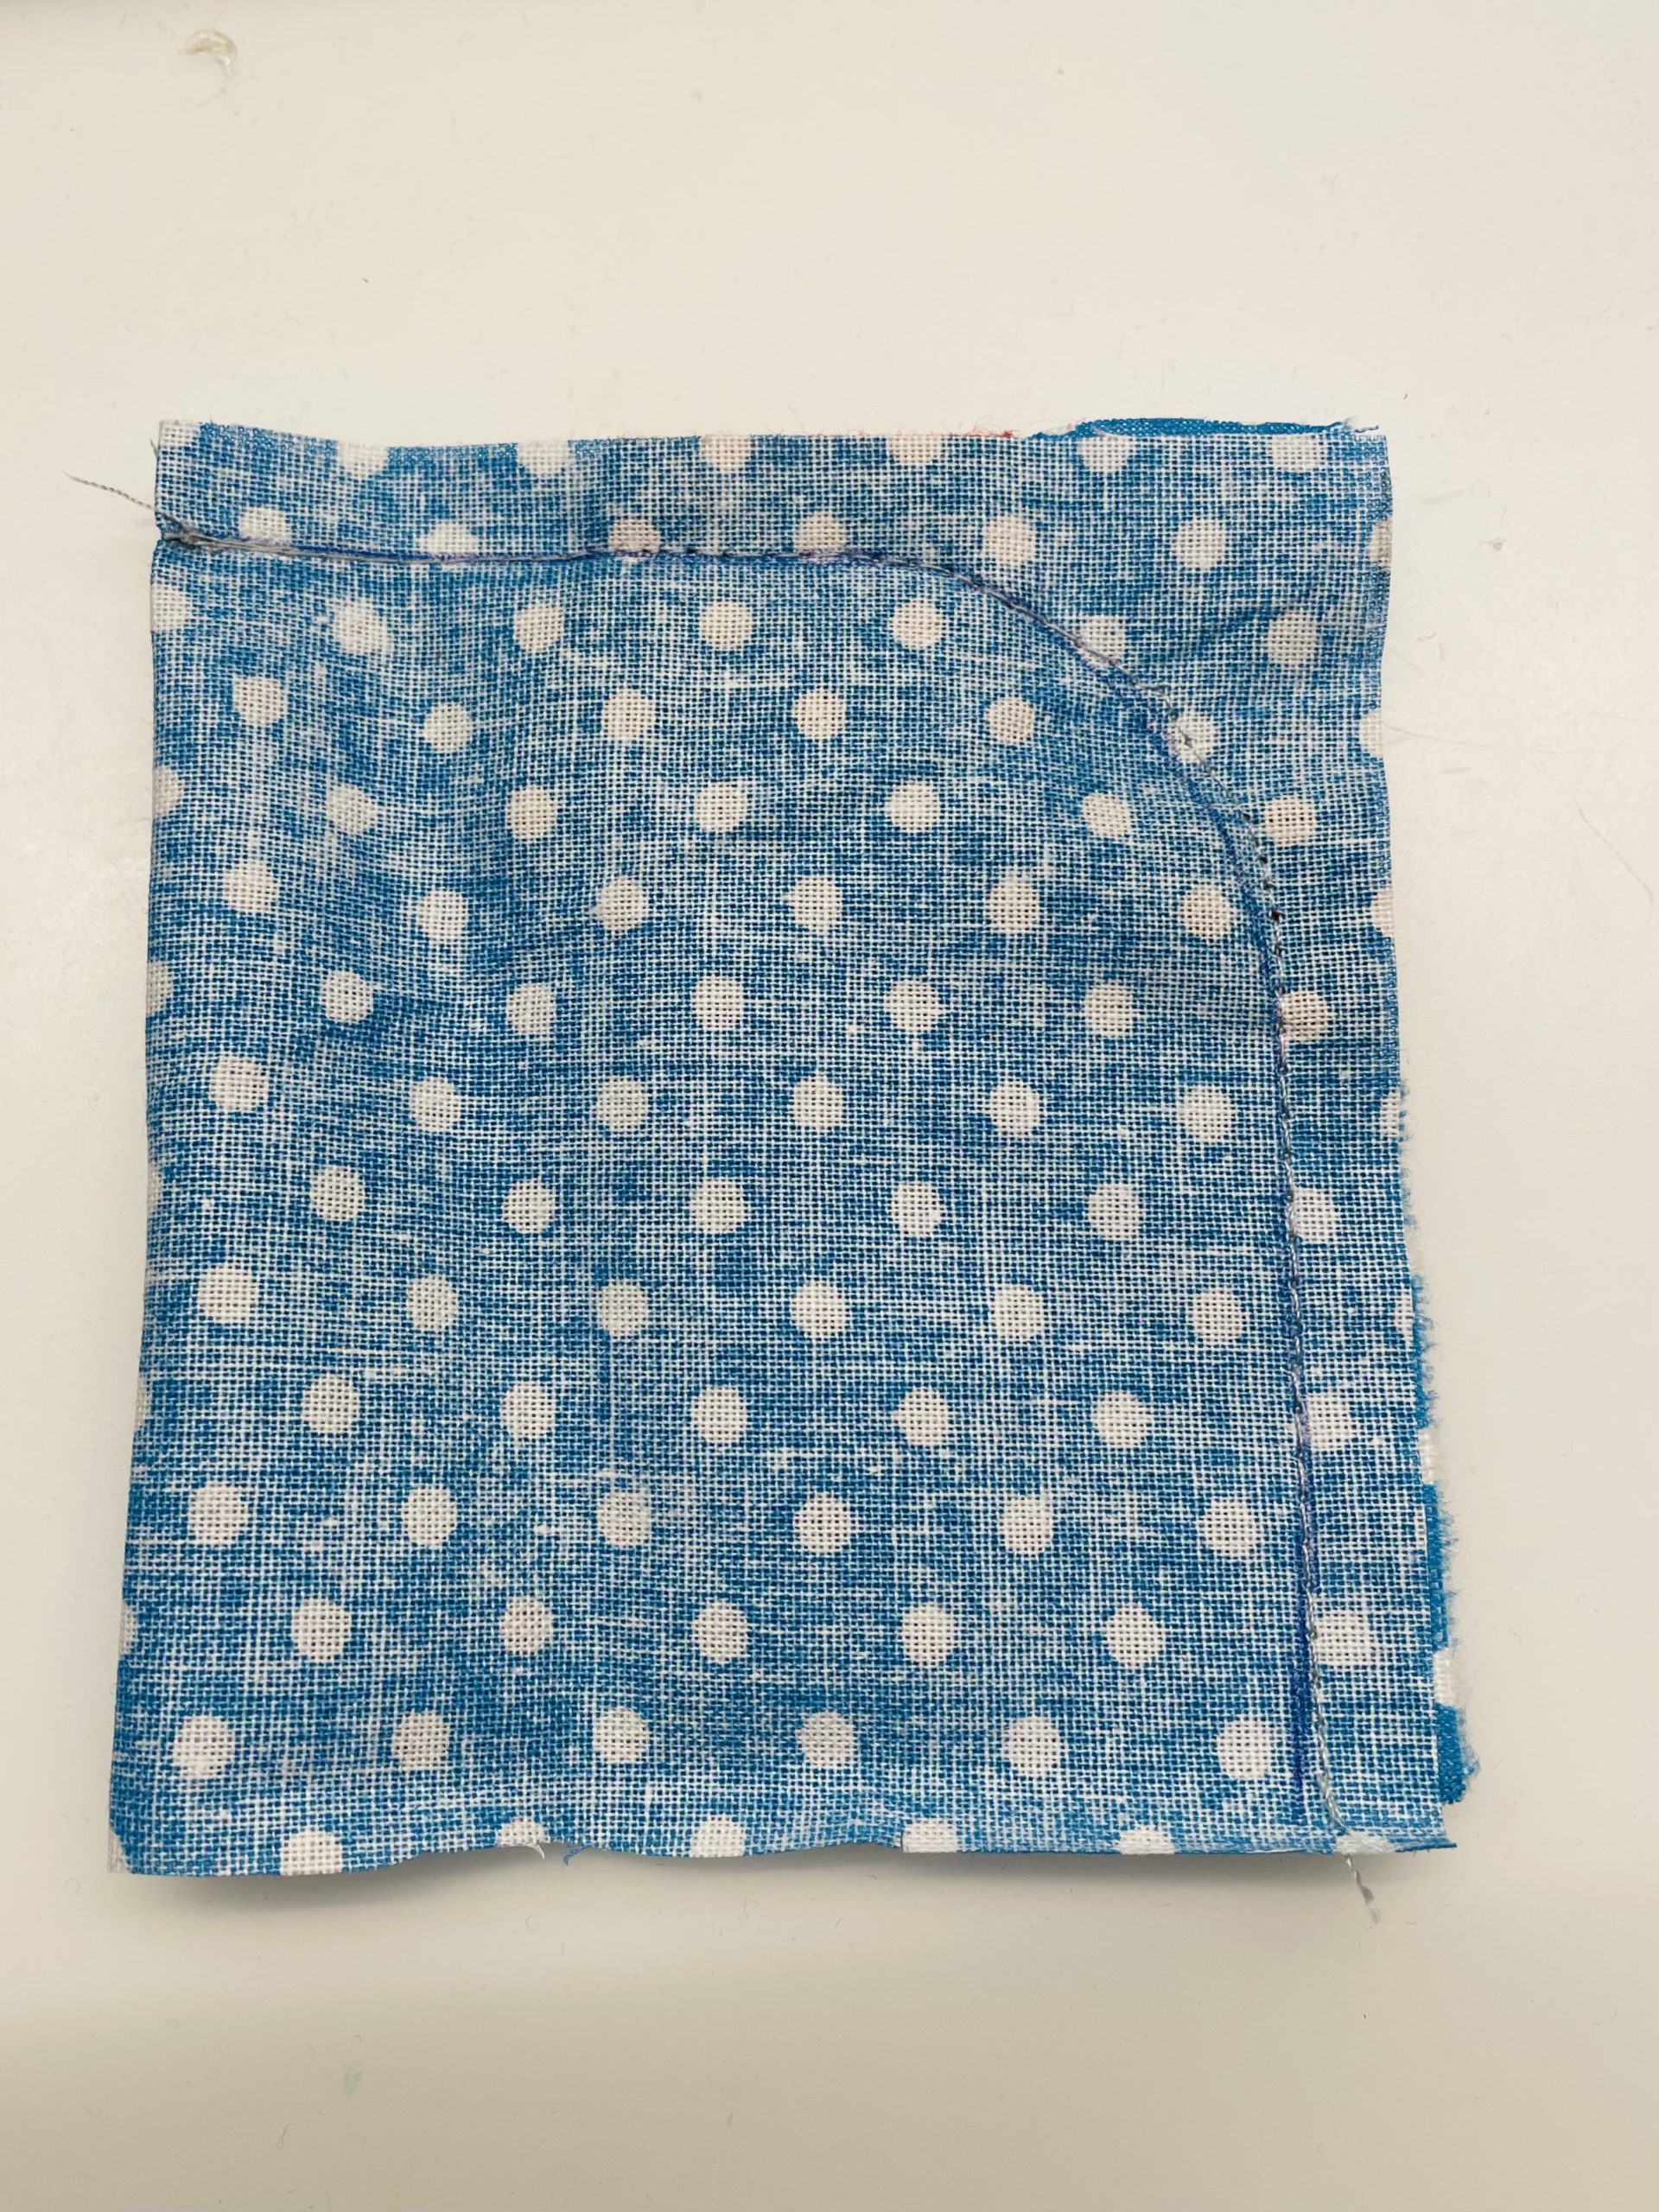


Turn around the sewn fabric afterwards. Press the seams outwards with a pen. The chicken is still open at the bottom!
Now you can already recognize the chicken as such.
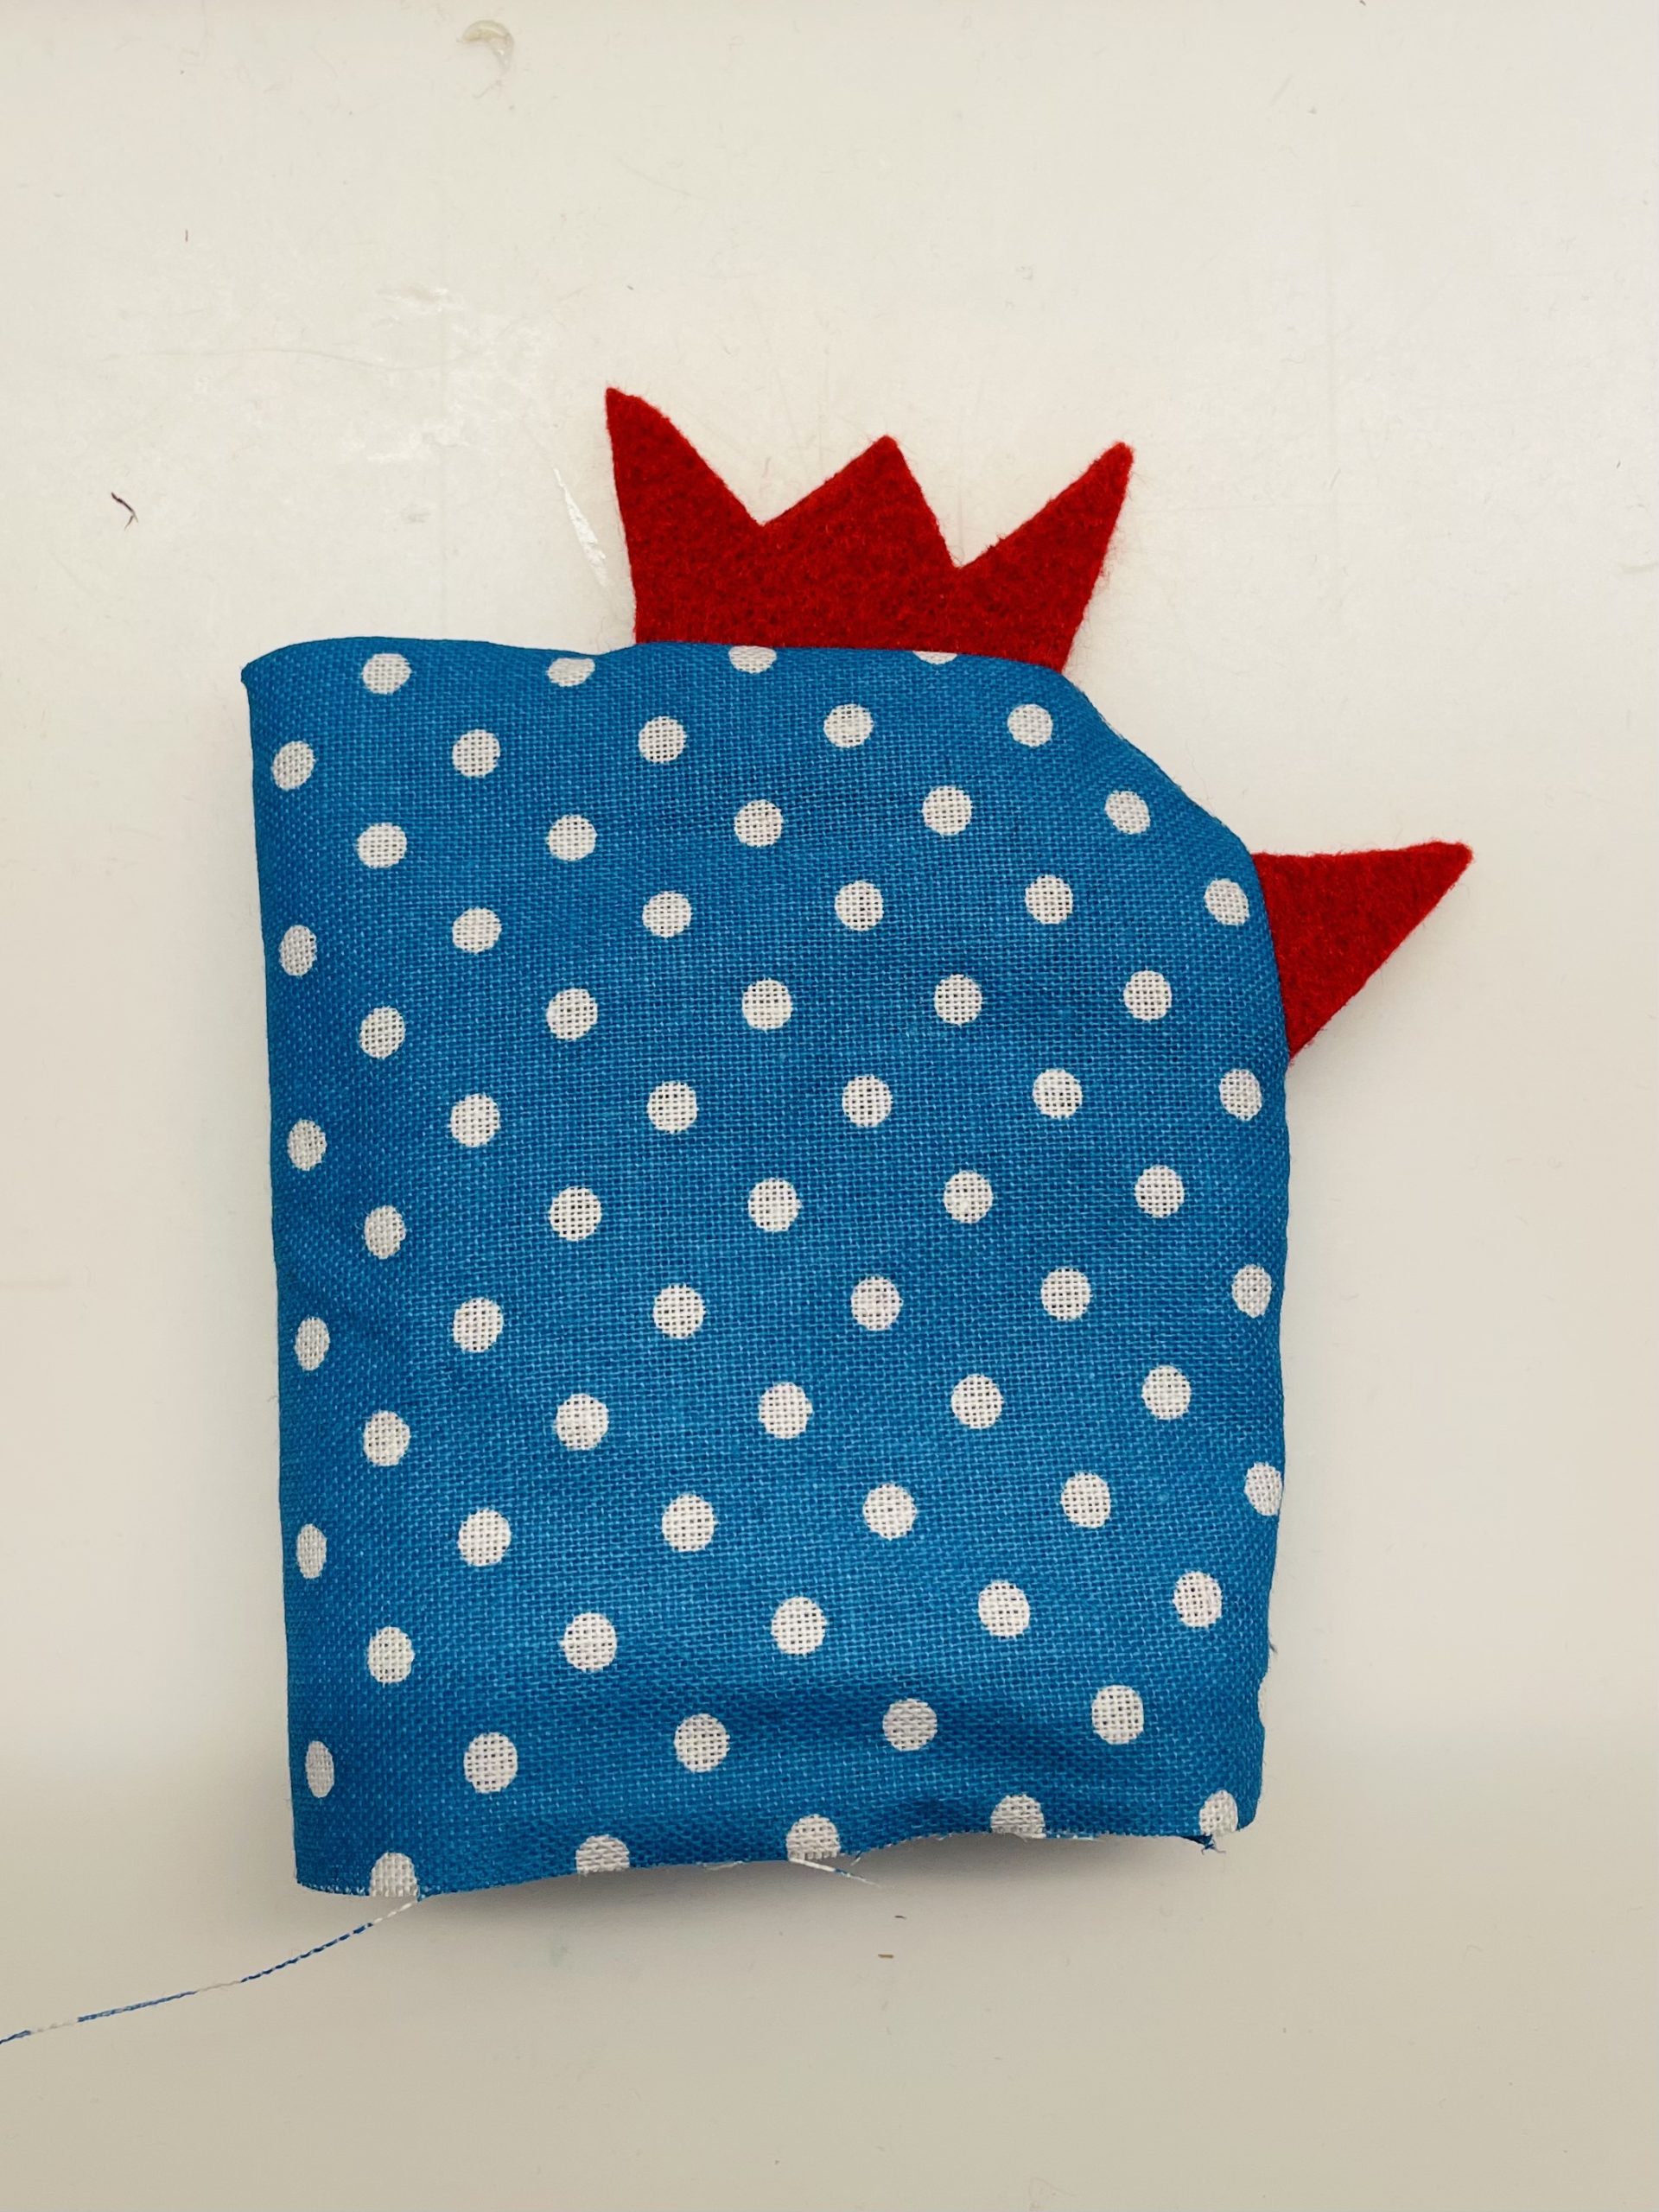


Now you put cotton wool in the chicken through the opening. Press the stuffing material into every corner.
Stop the filling material firmly and release a small edge so that you can still close the opening.


At the edge, flip the fabric a small piece (0.5cm) inwards.
Then you squeeze the fabric together, so you get a flat hem.
ATTENTION: Put the hem across to the first seam.
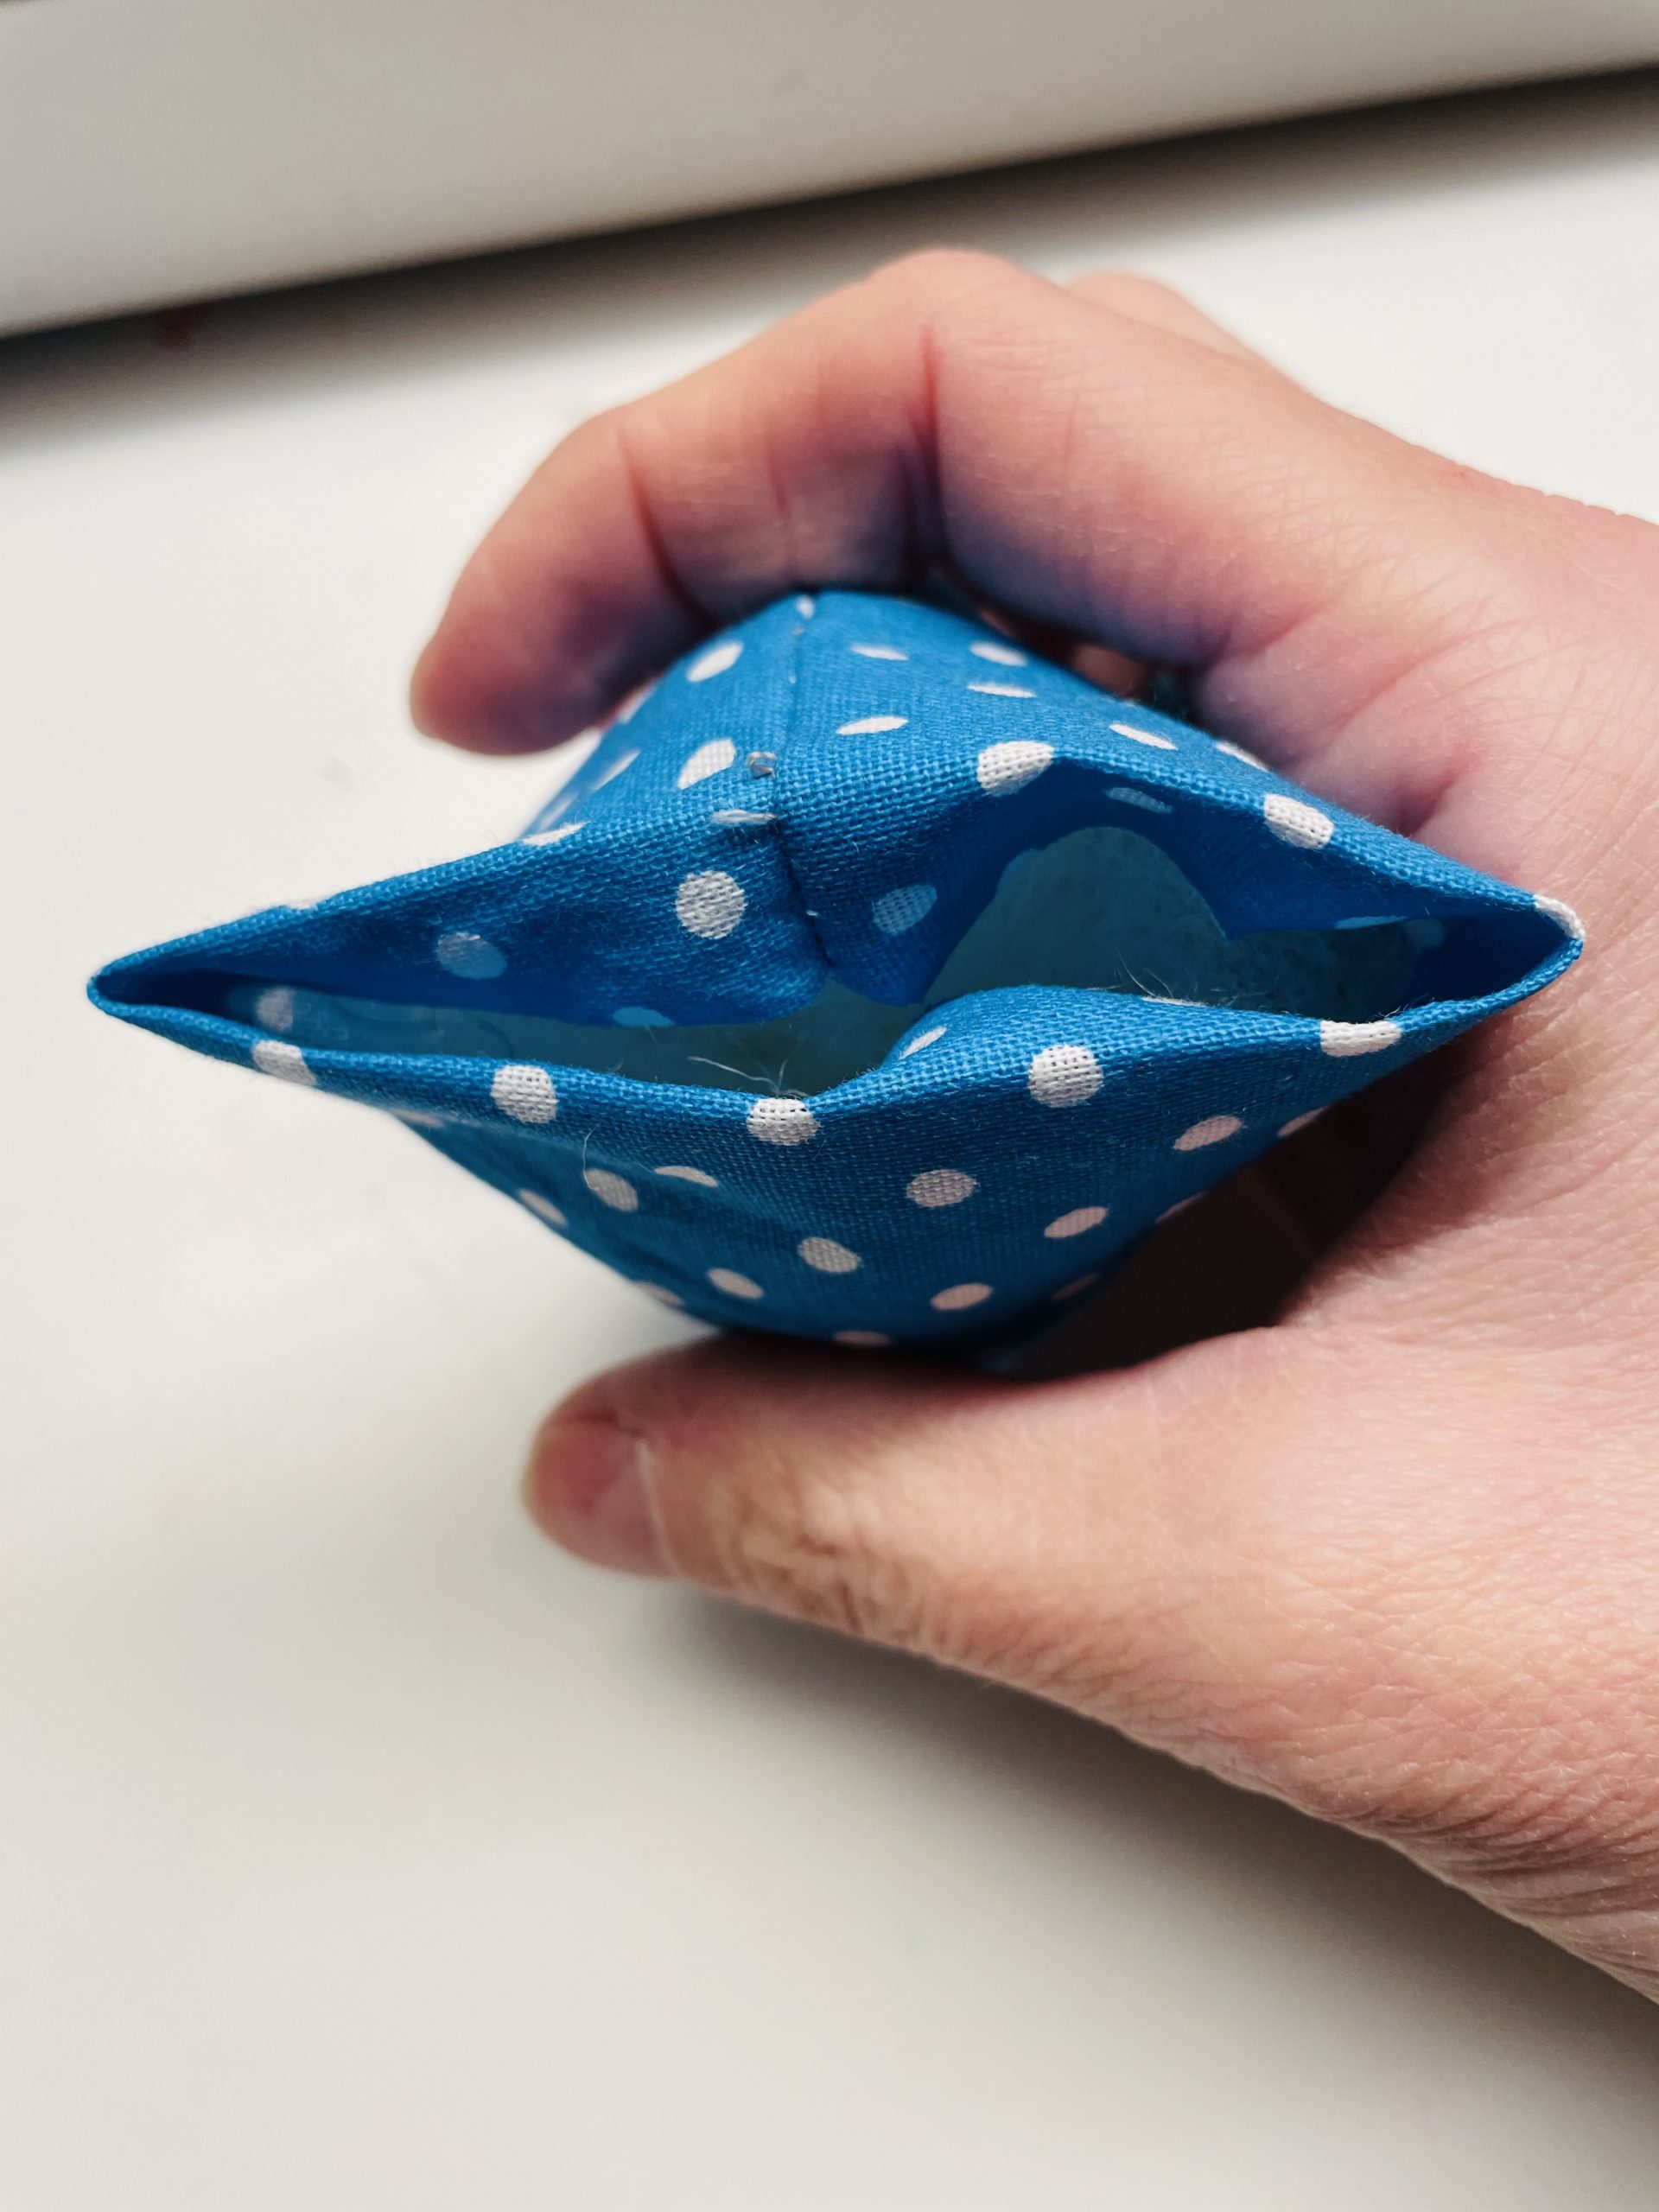


That's how the chicken can sit alone.
Put the hem together with a clamp.
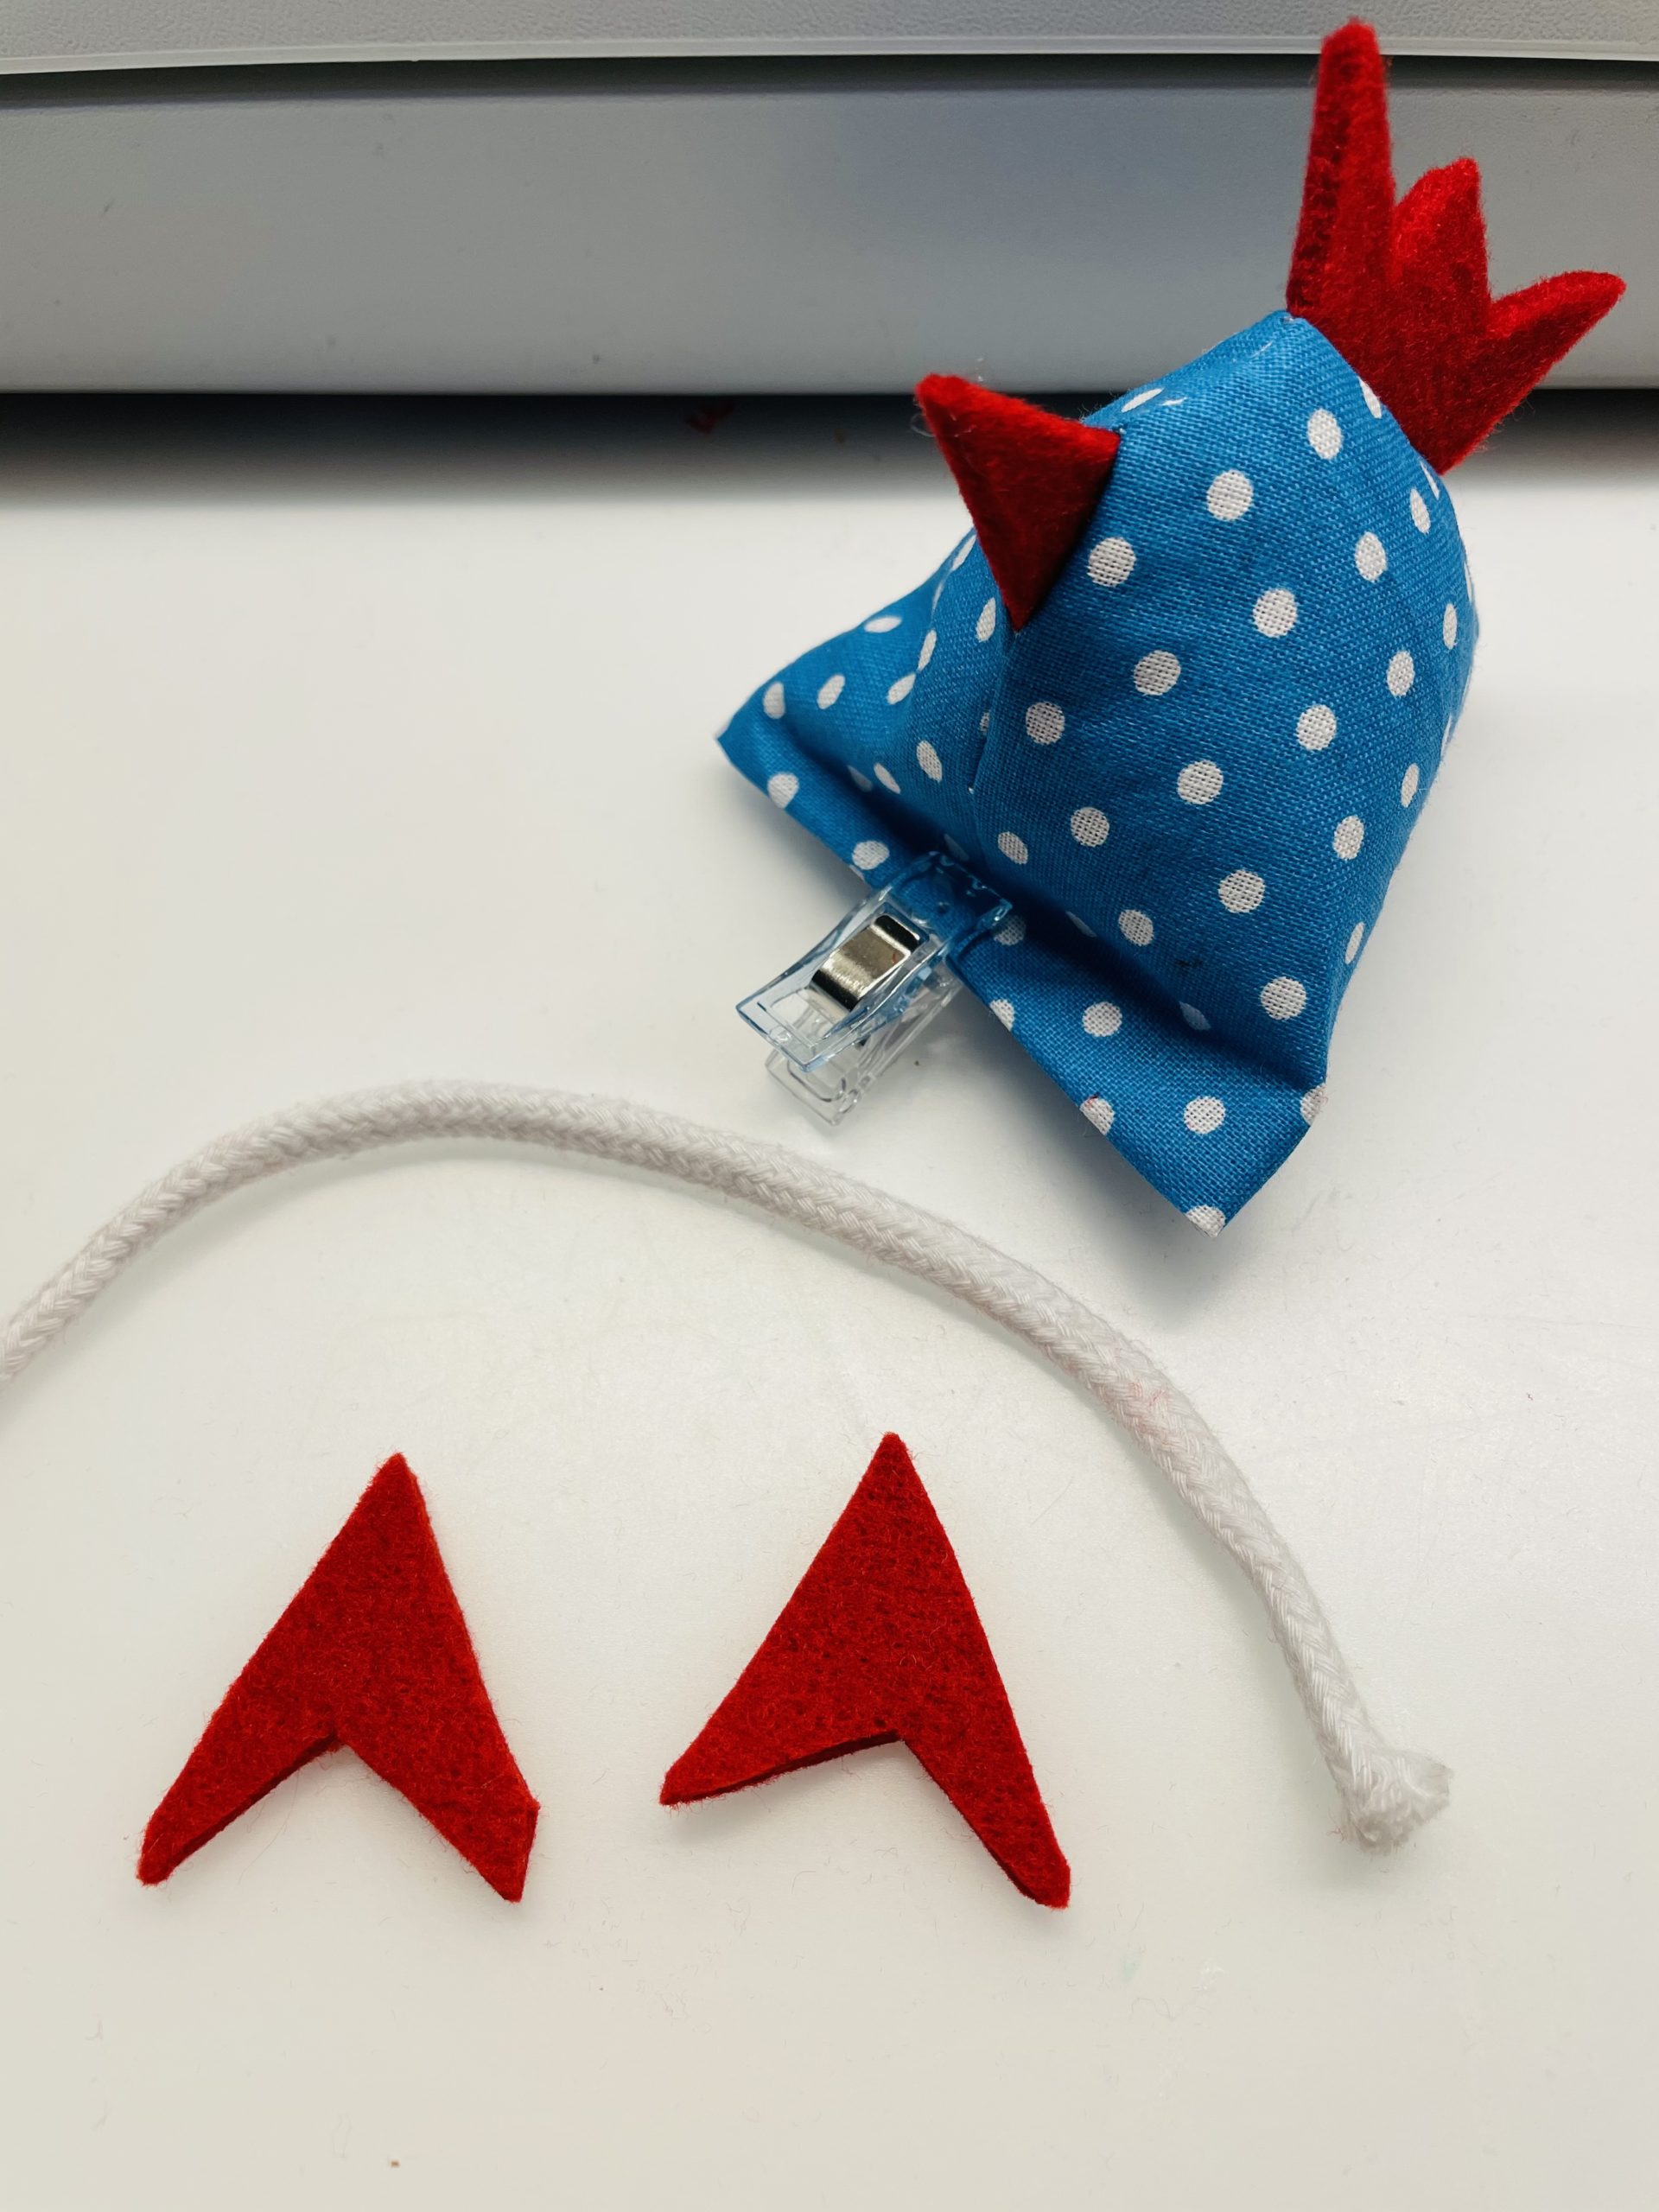


Then you put the cord in the attached hem so that a piece of the same length looks out on the left and right.
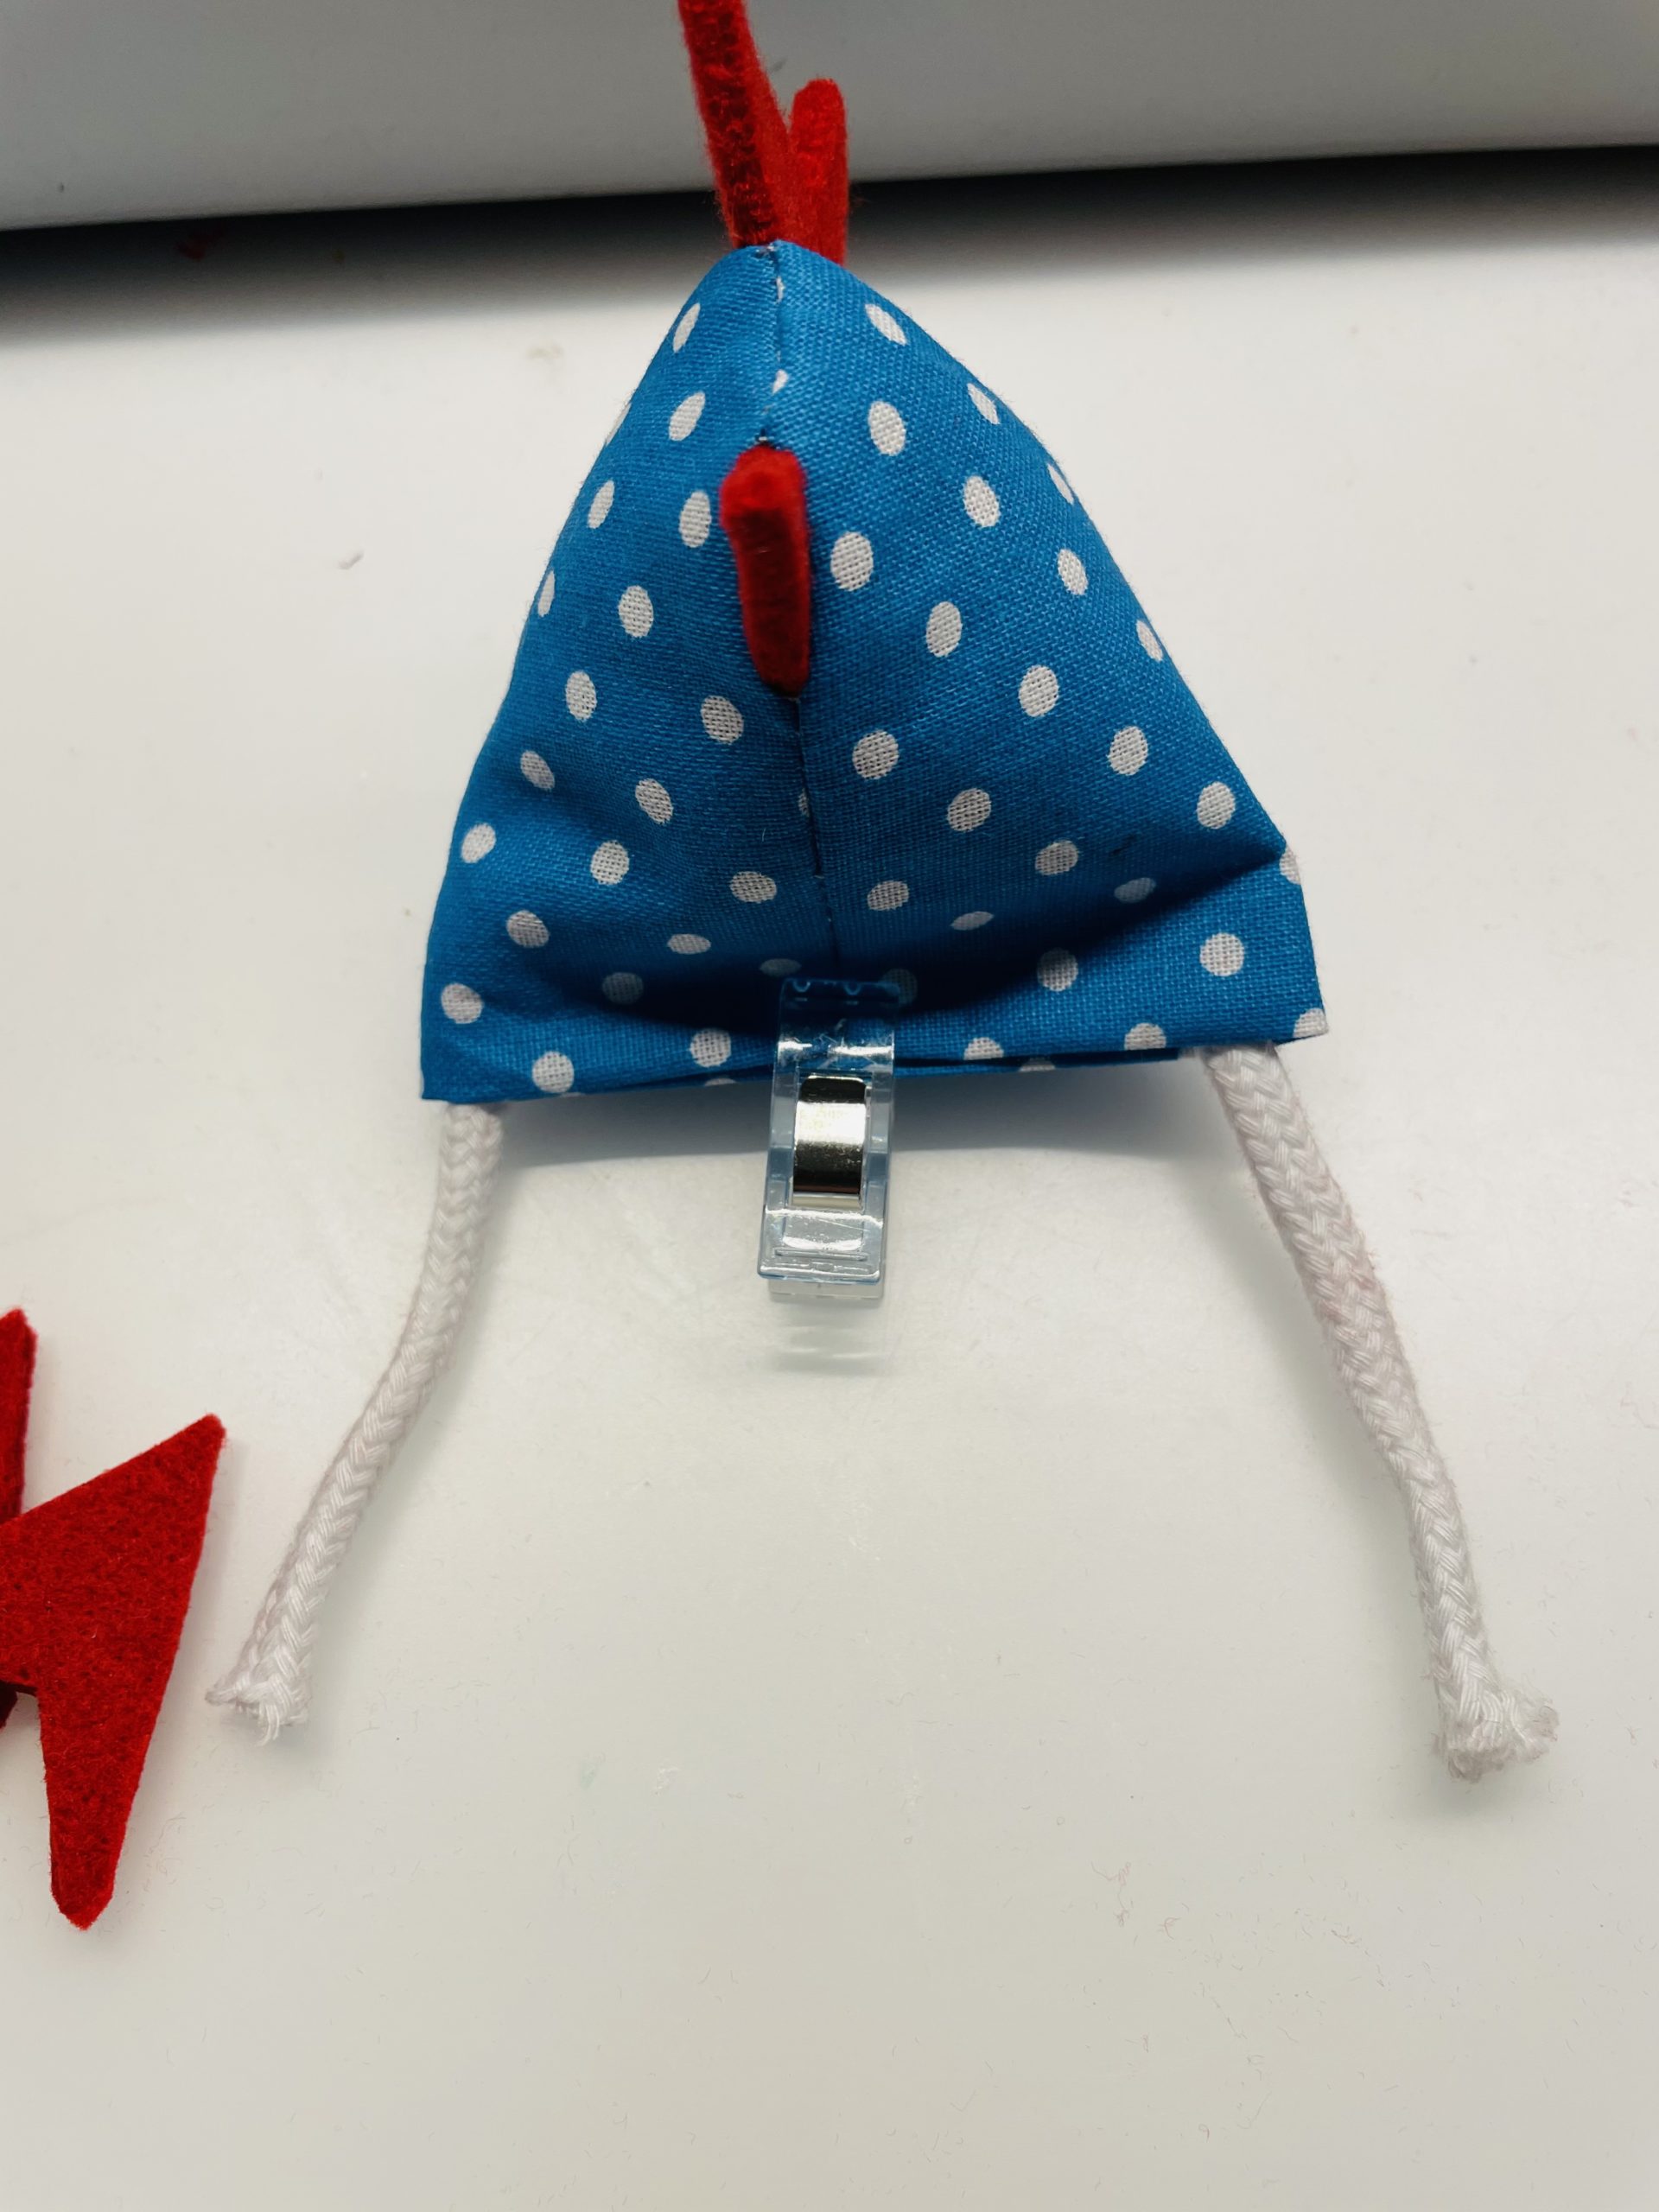


Positions everything like in the picture and attaches the clamp to the hem.


Now carefully sew with the sewing machine over it. Close the fabric and sew the legs at the same time.
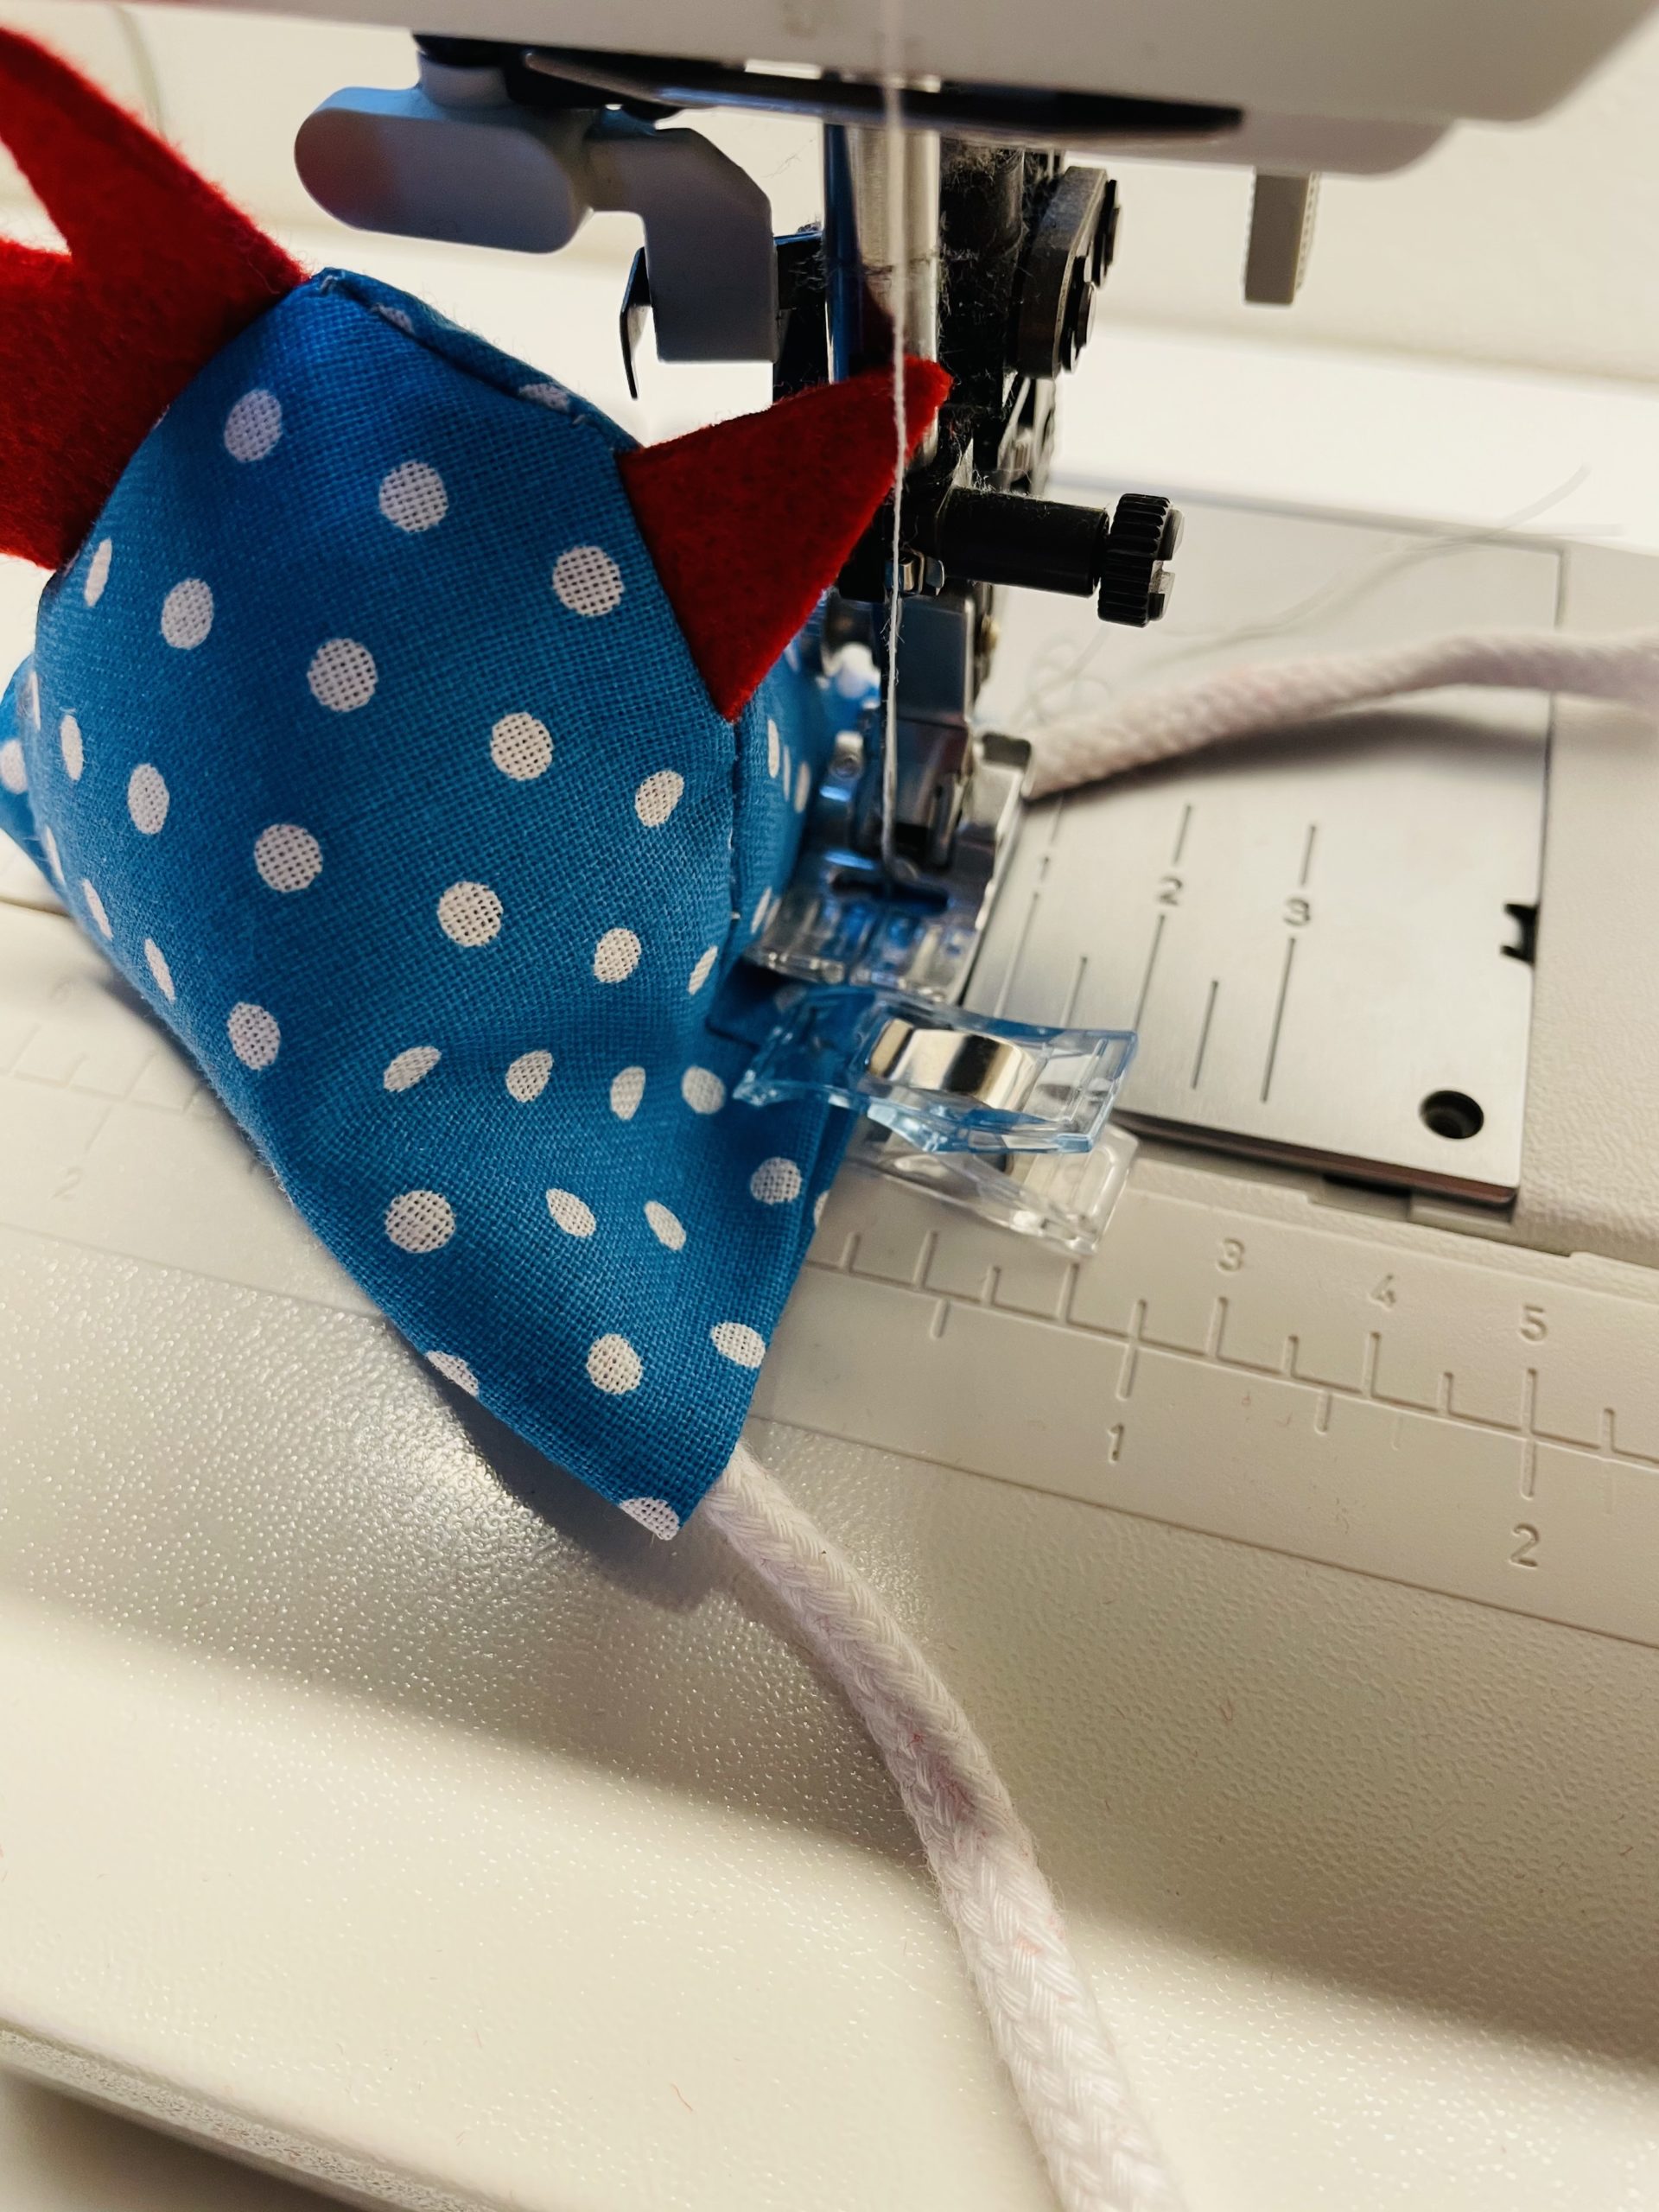


If the legs of the chicken are not the same length, cut them now.
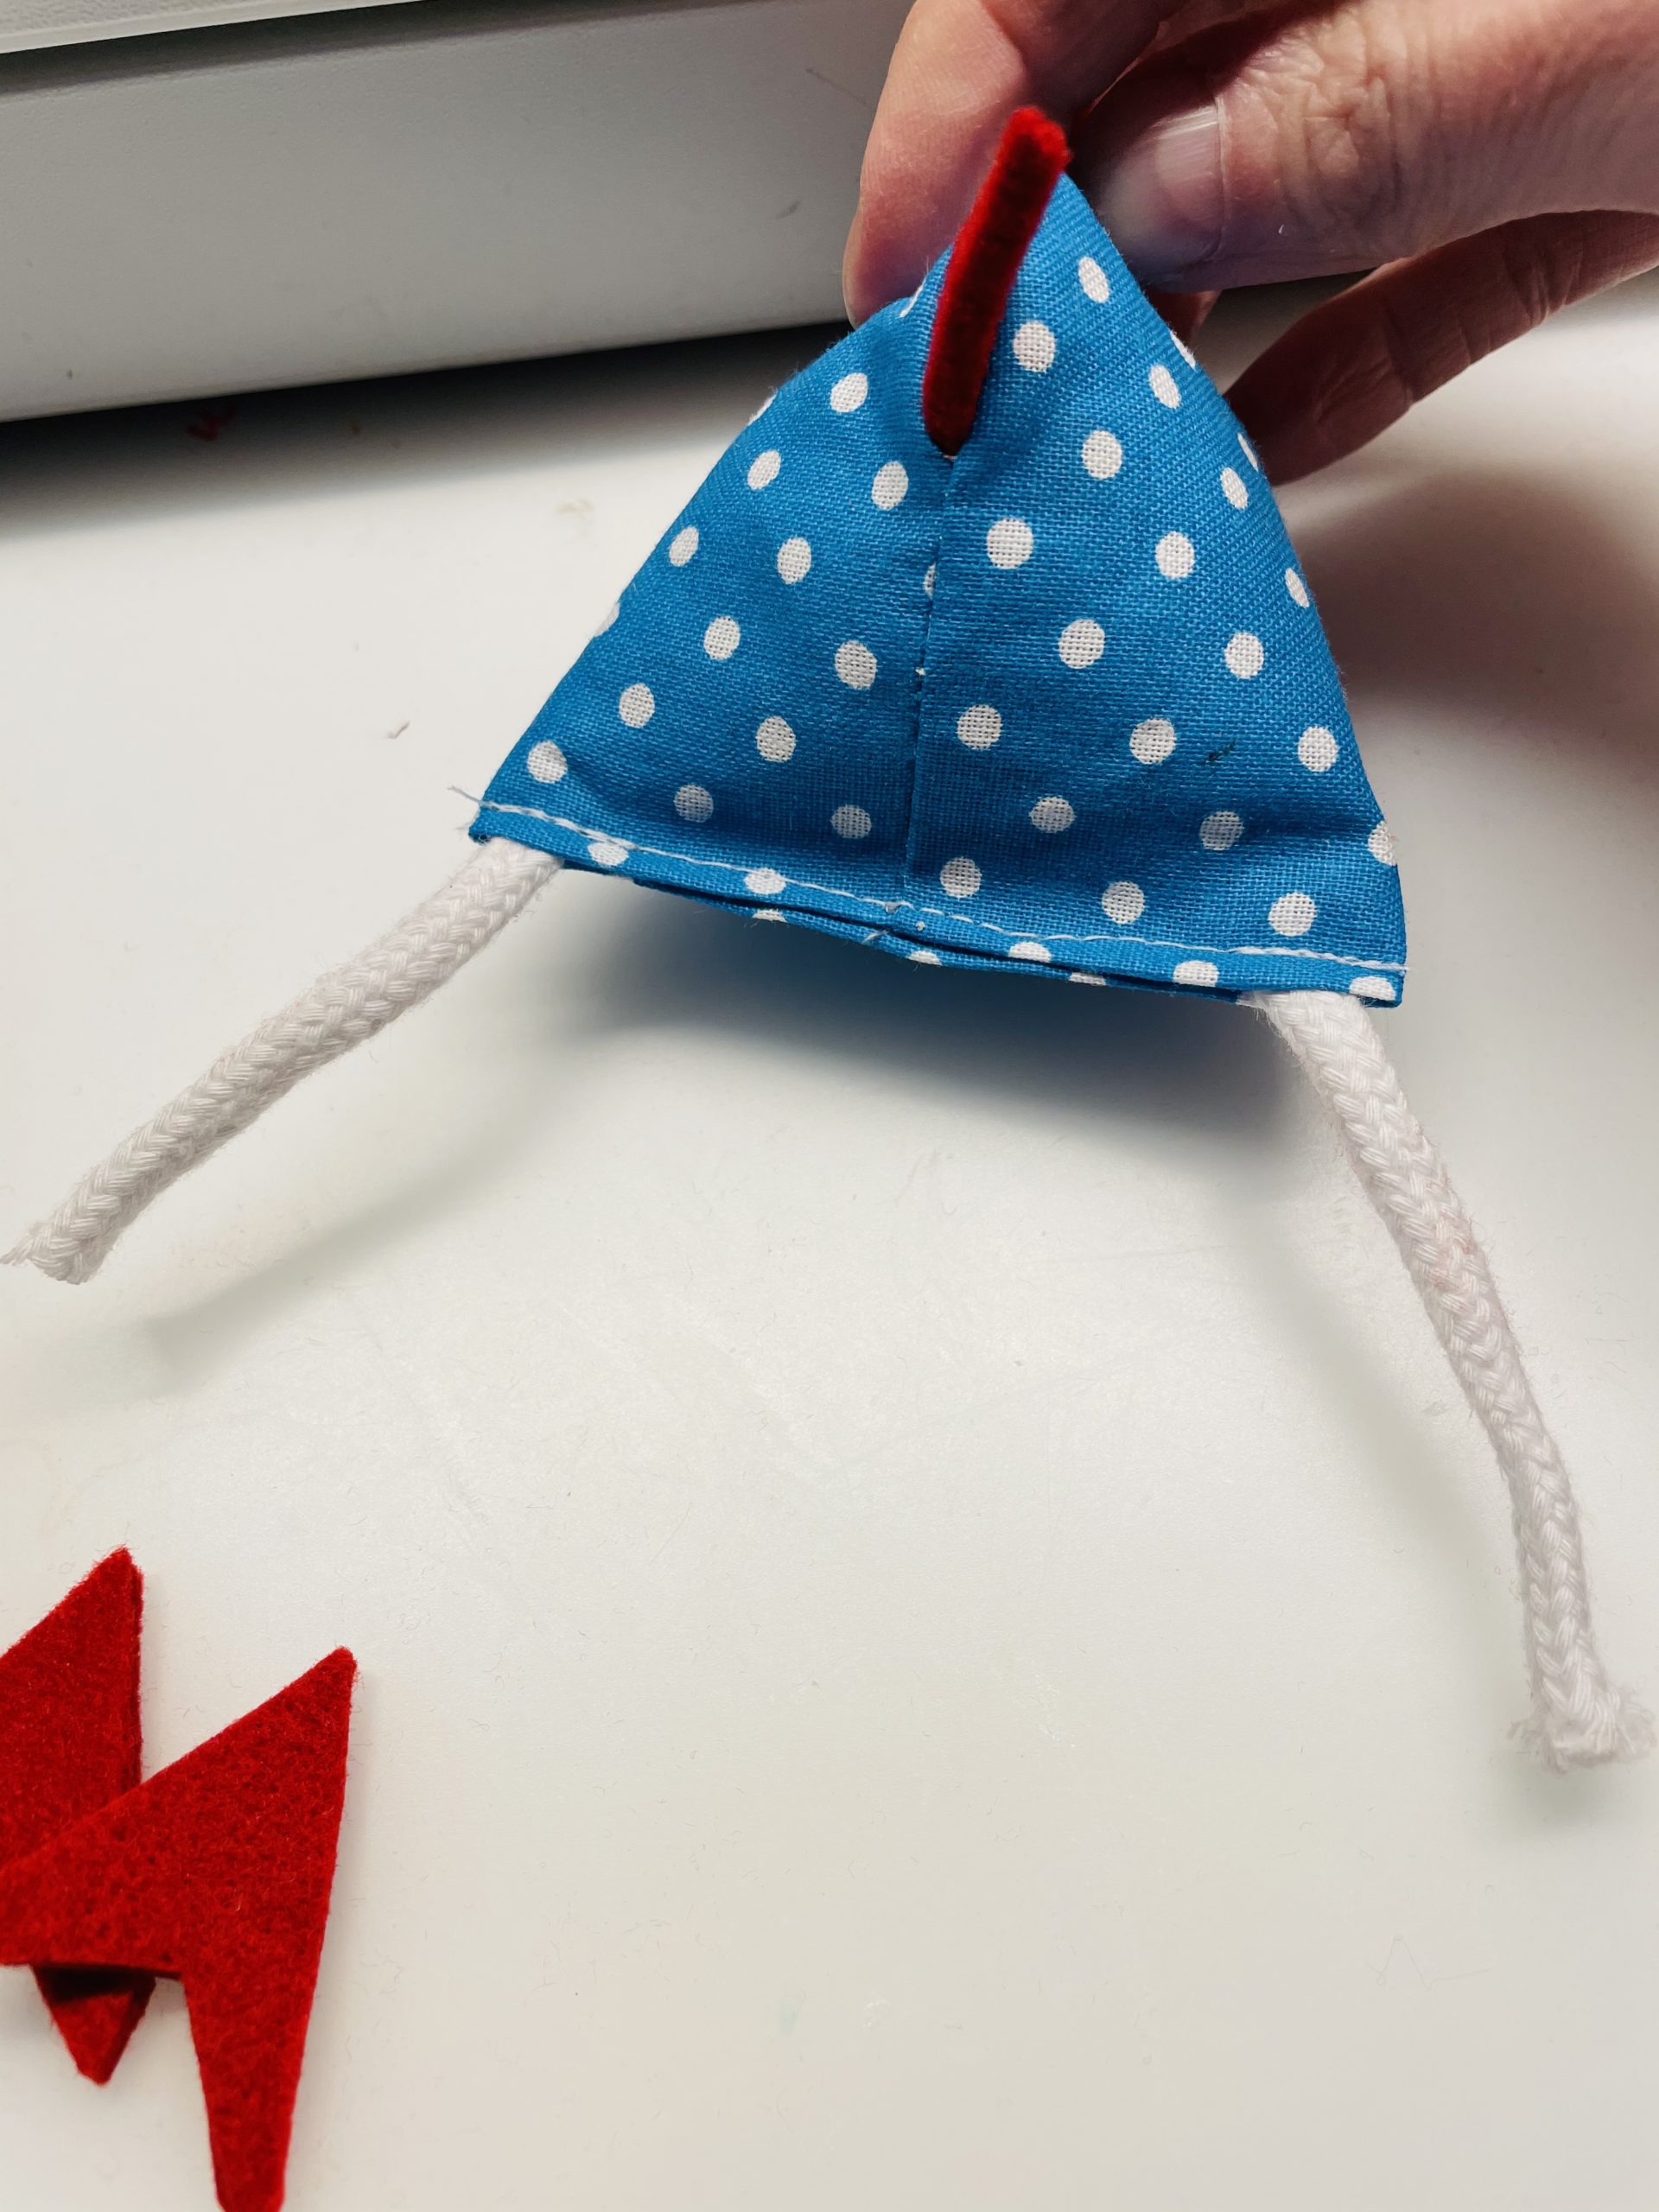


Now stick the feet to the ends of the cord with hot glue. You stick the cord to the foot. Let it help you! In dealing with the hot glue there is a risk of injury!
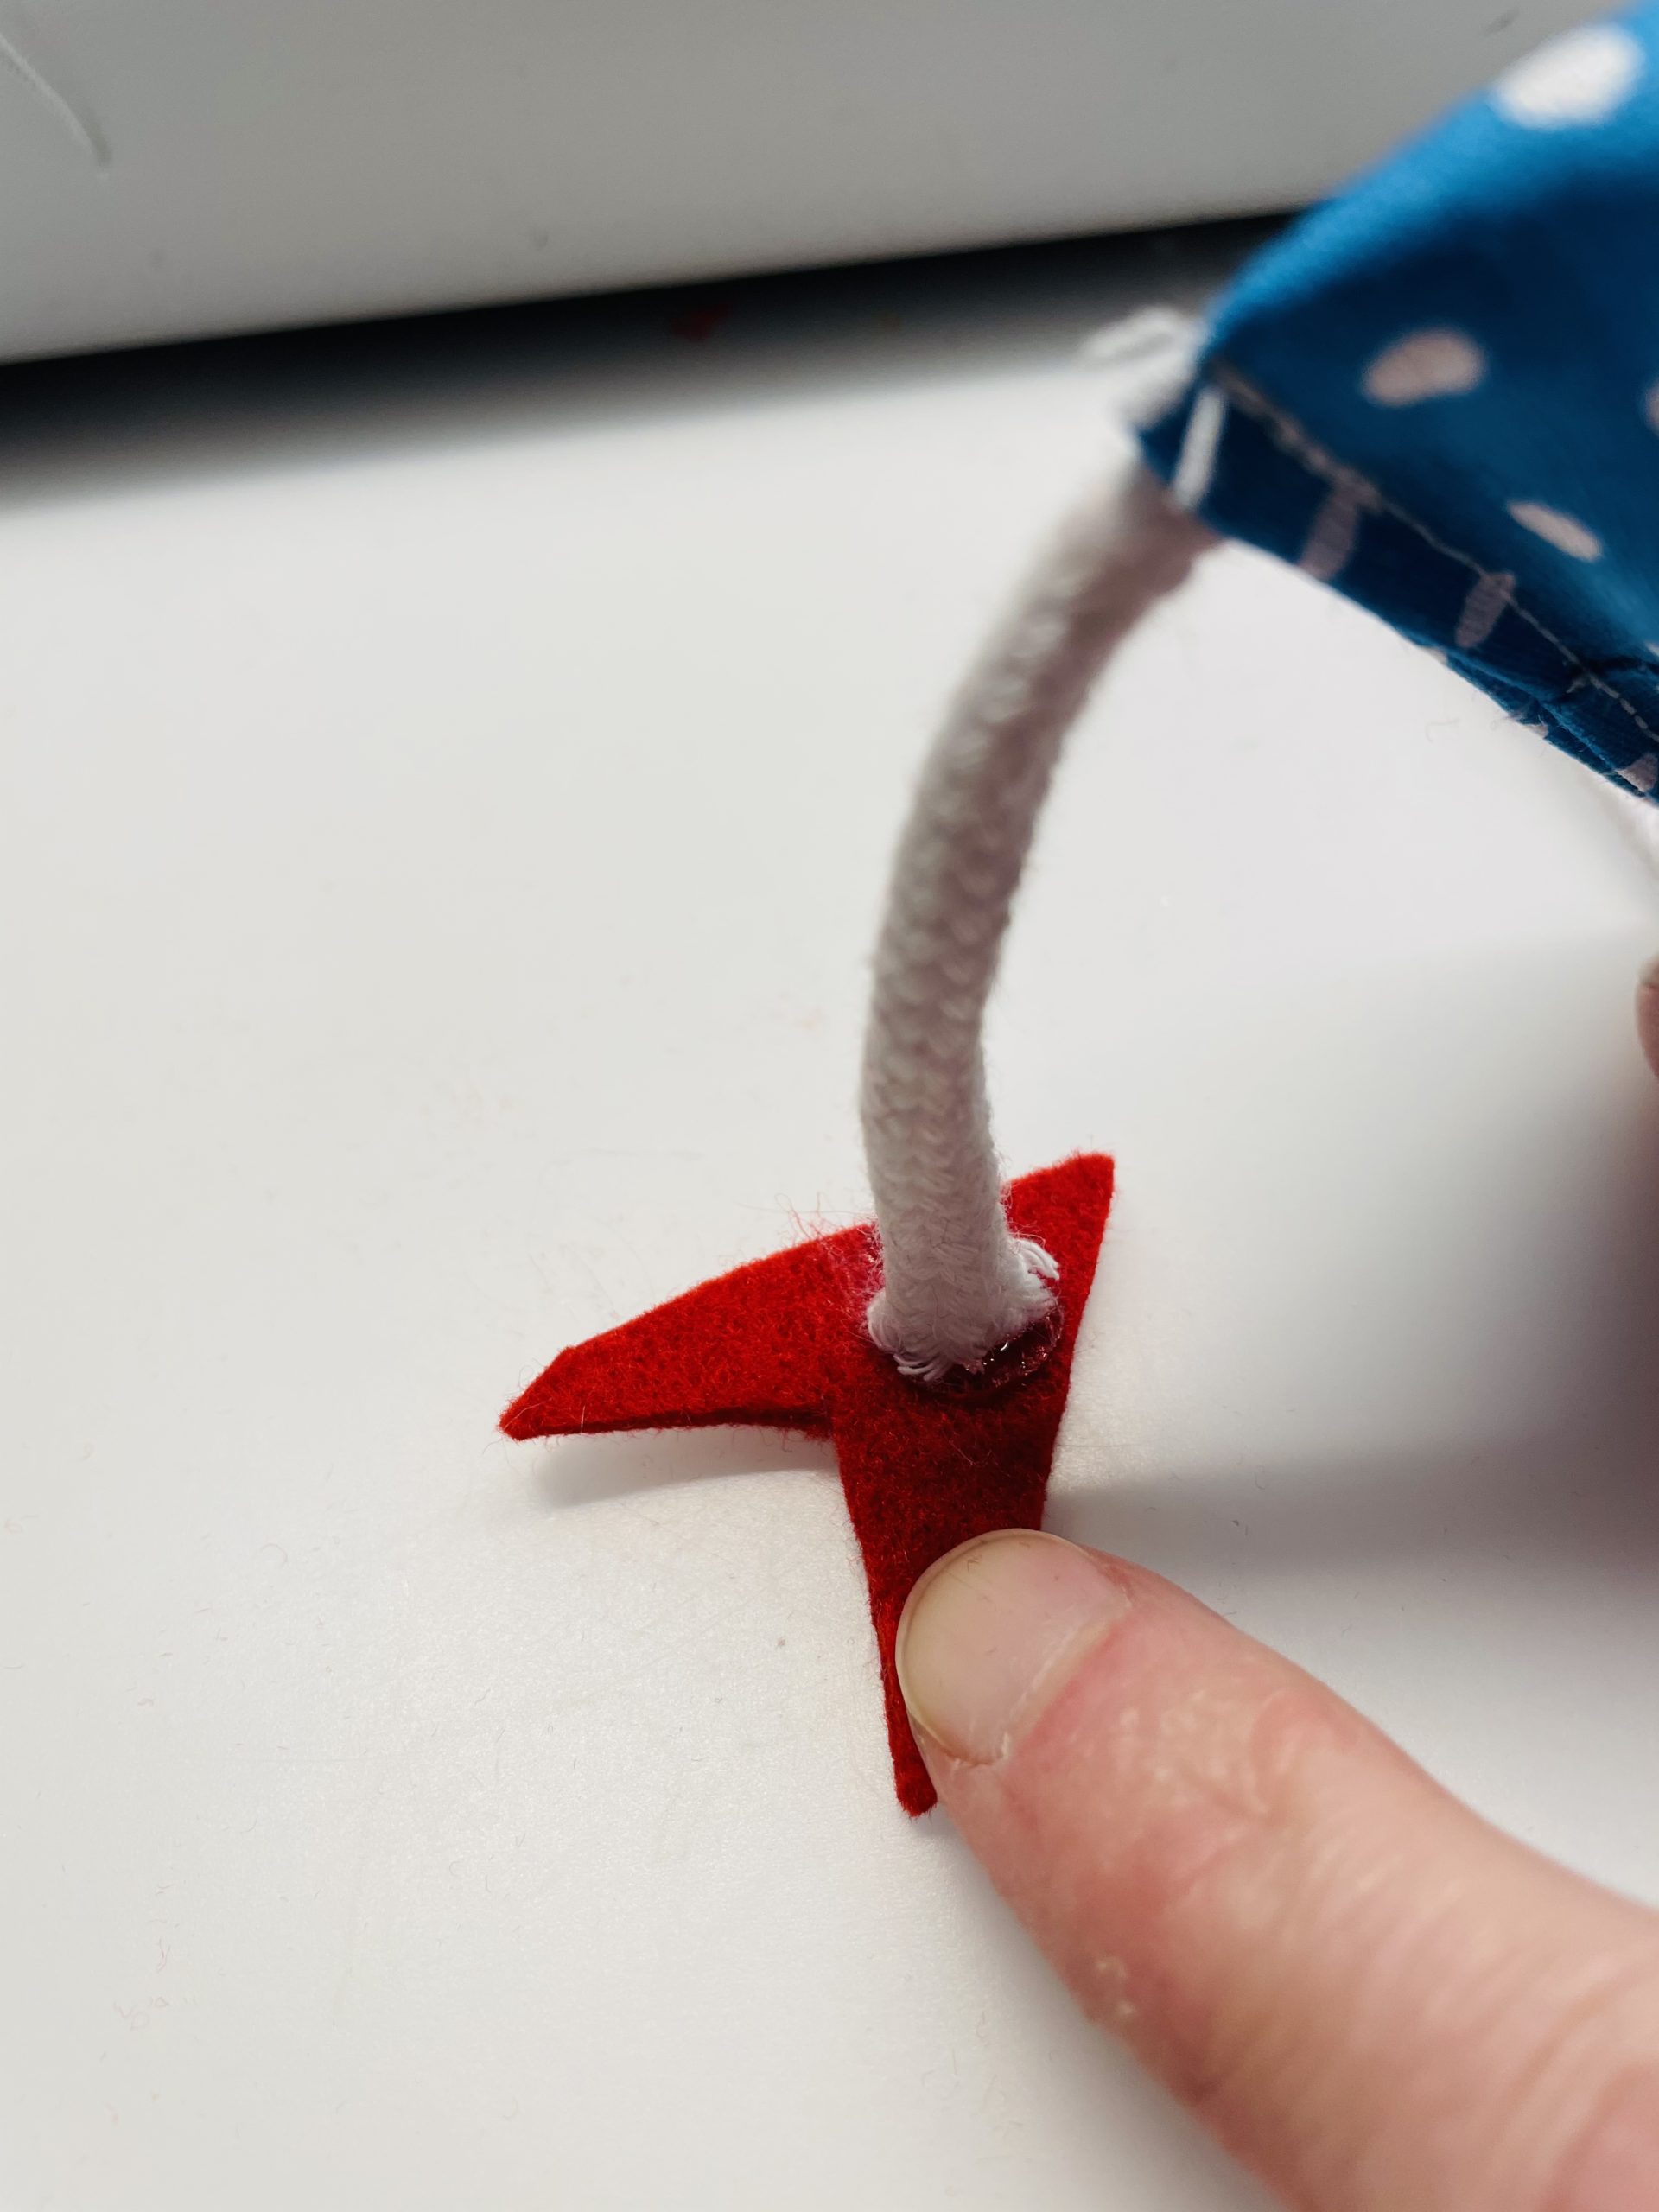


The feet are ready.


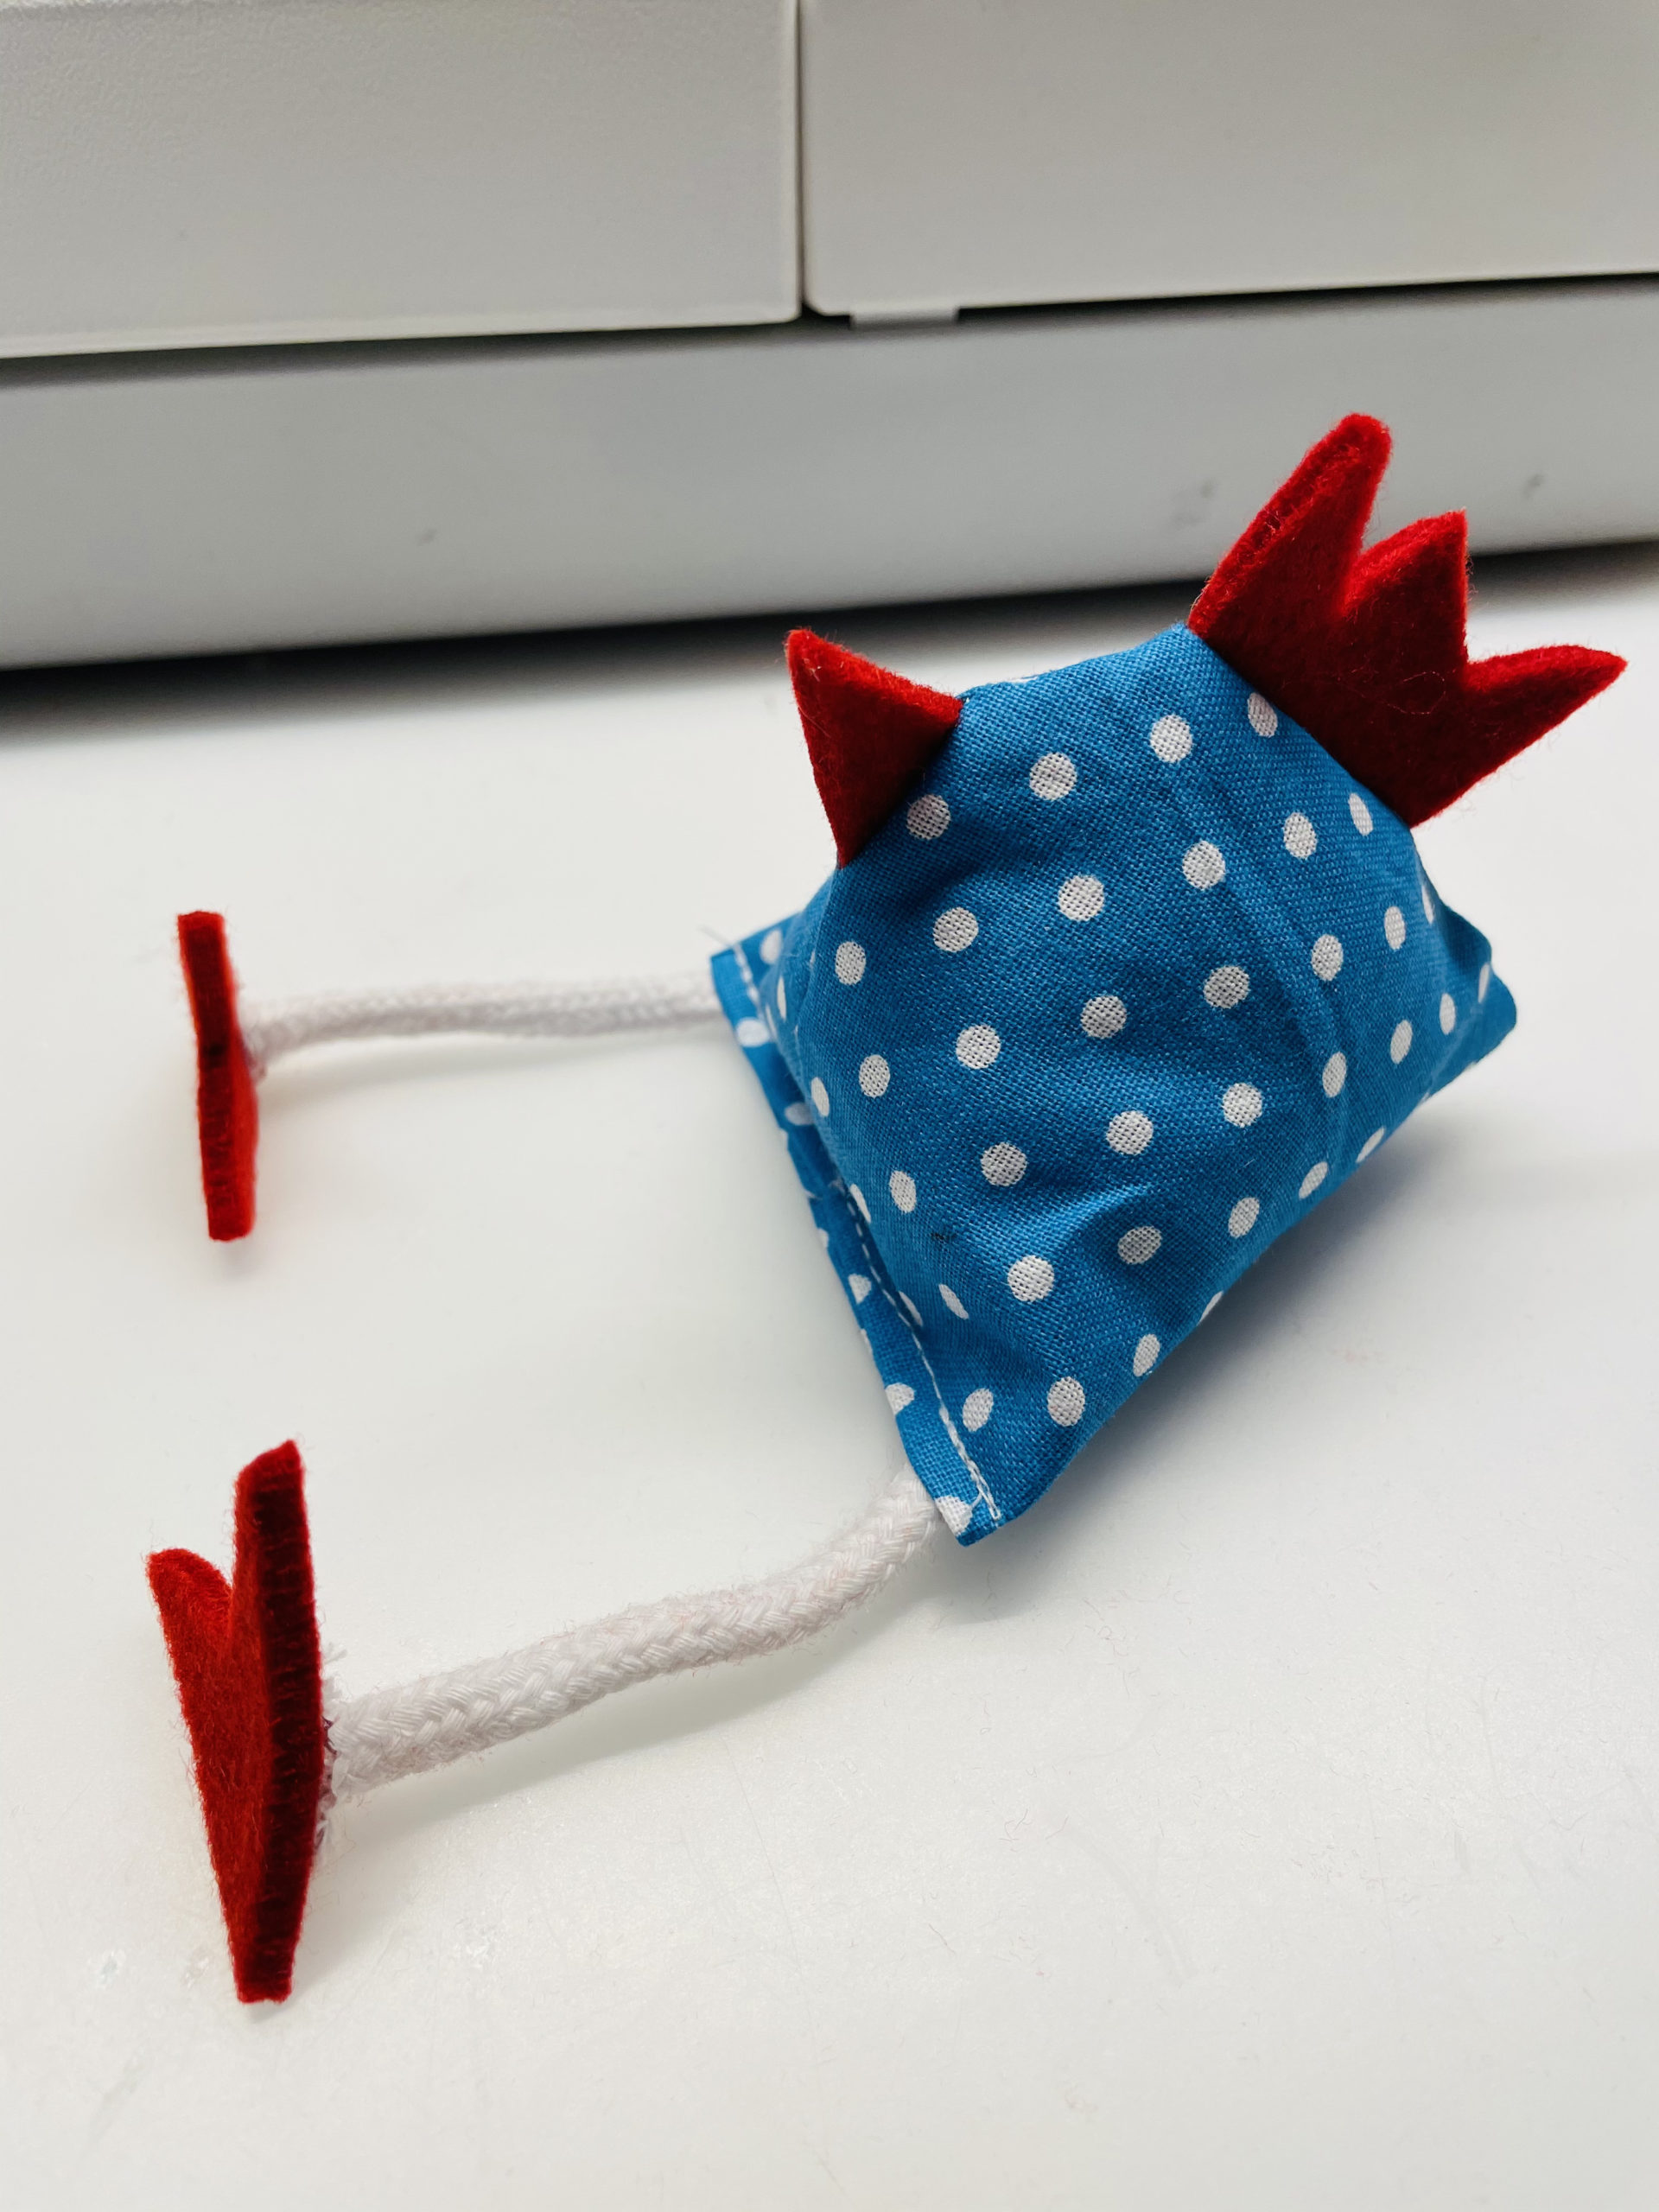


Now stick the wobble eyes to her side with a glue stick.
Tip: You can also paint the eyes with a felt pen on the fabric.
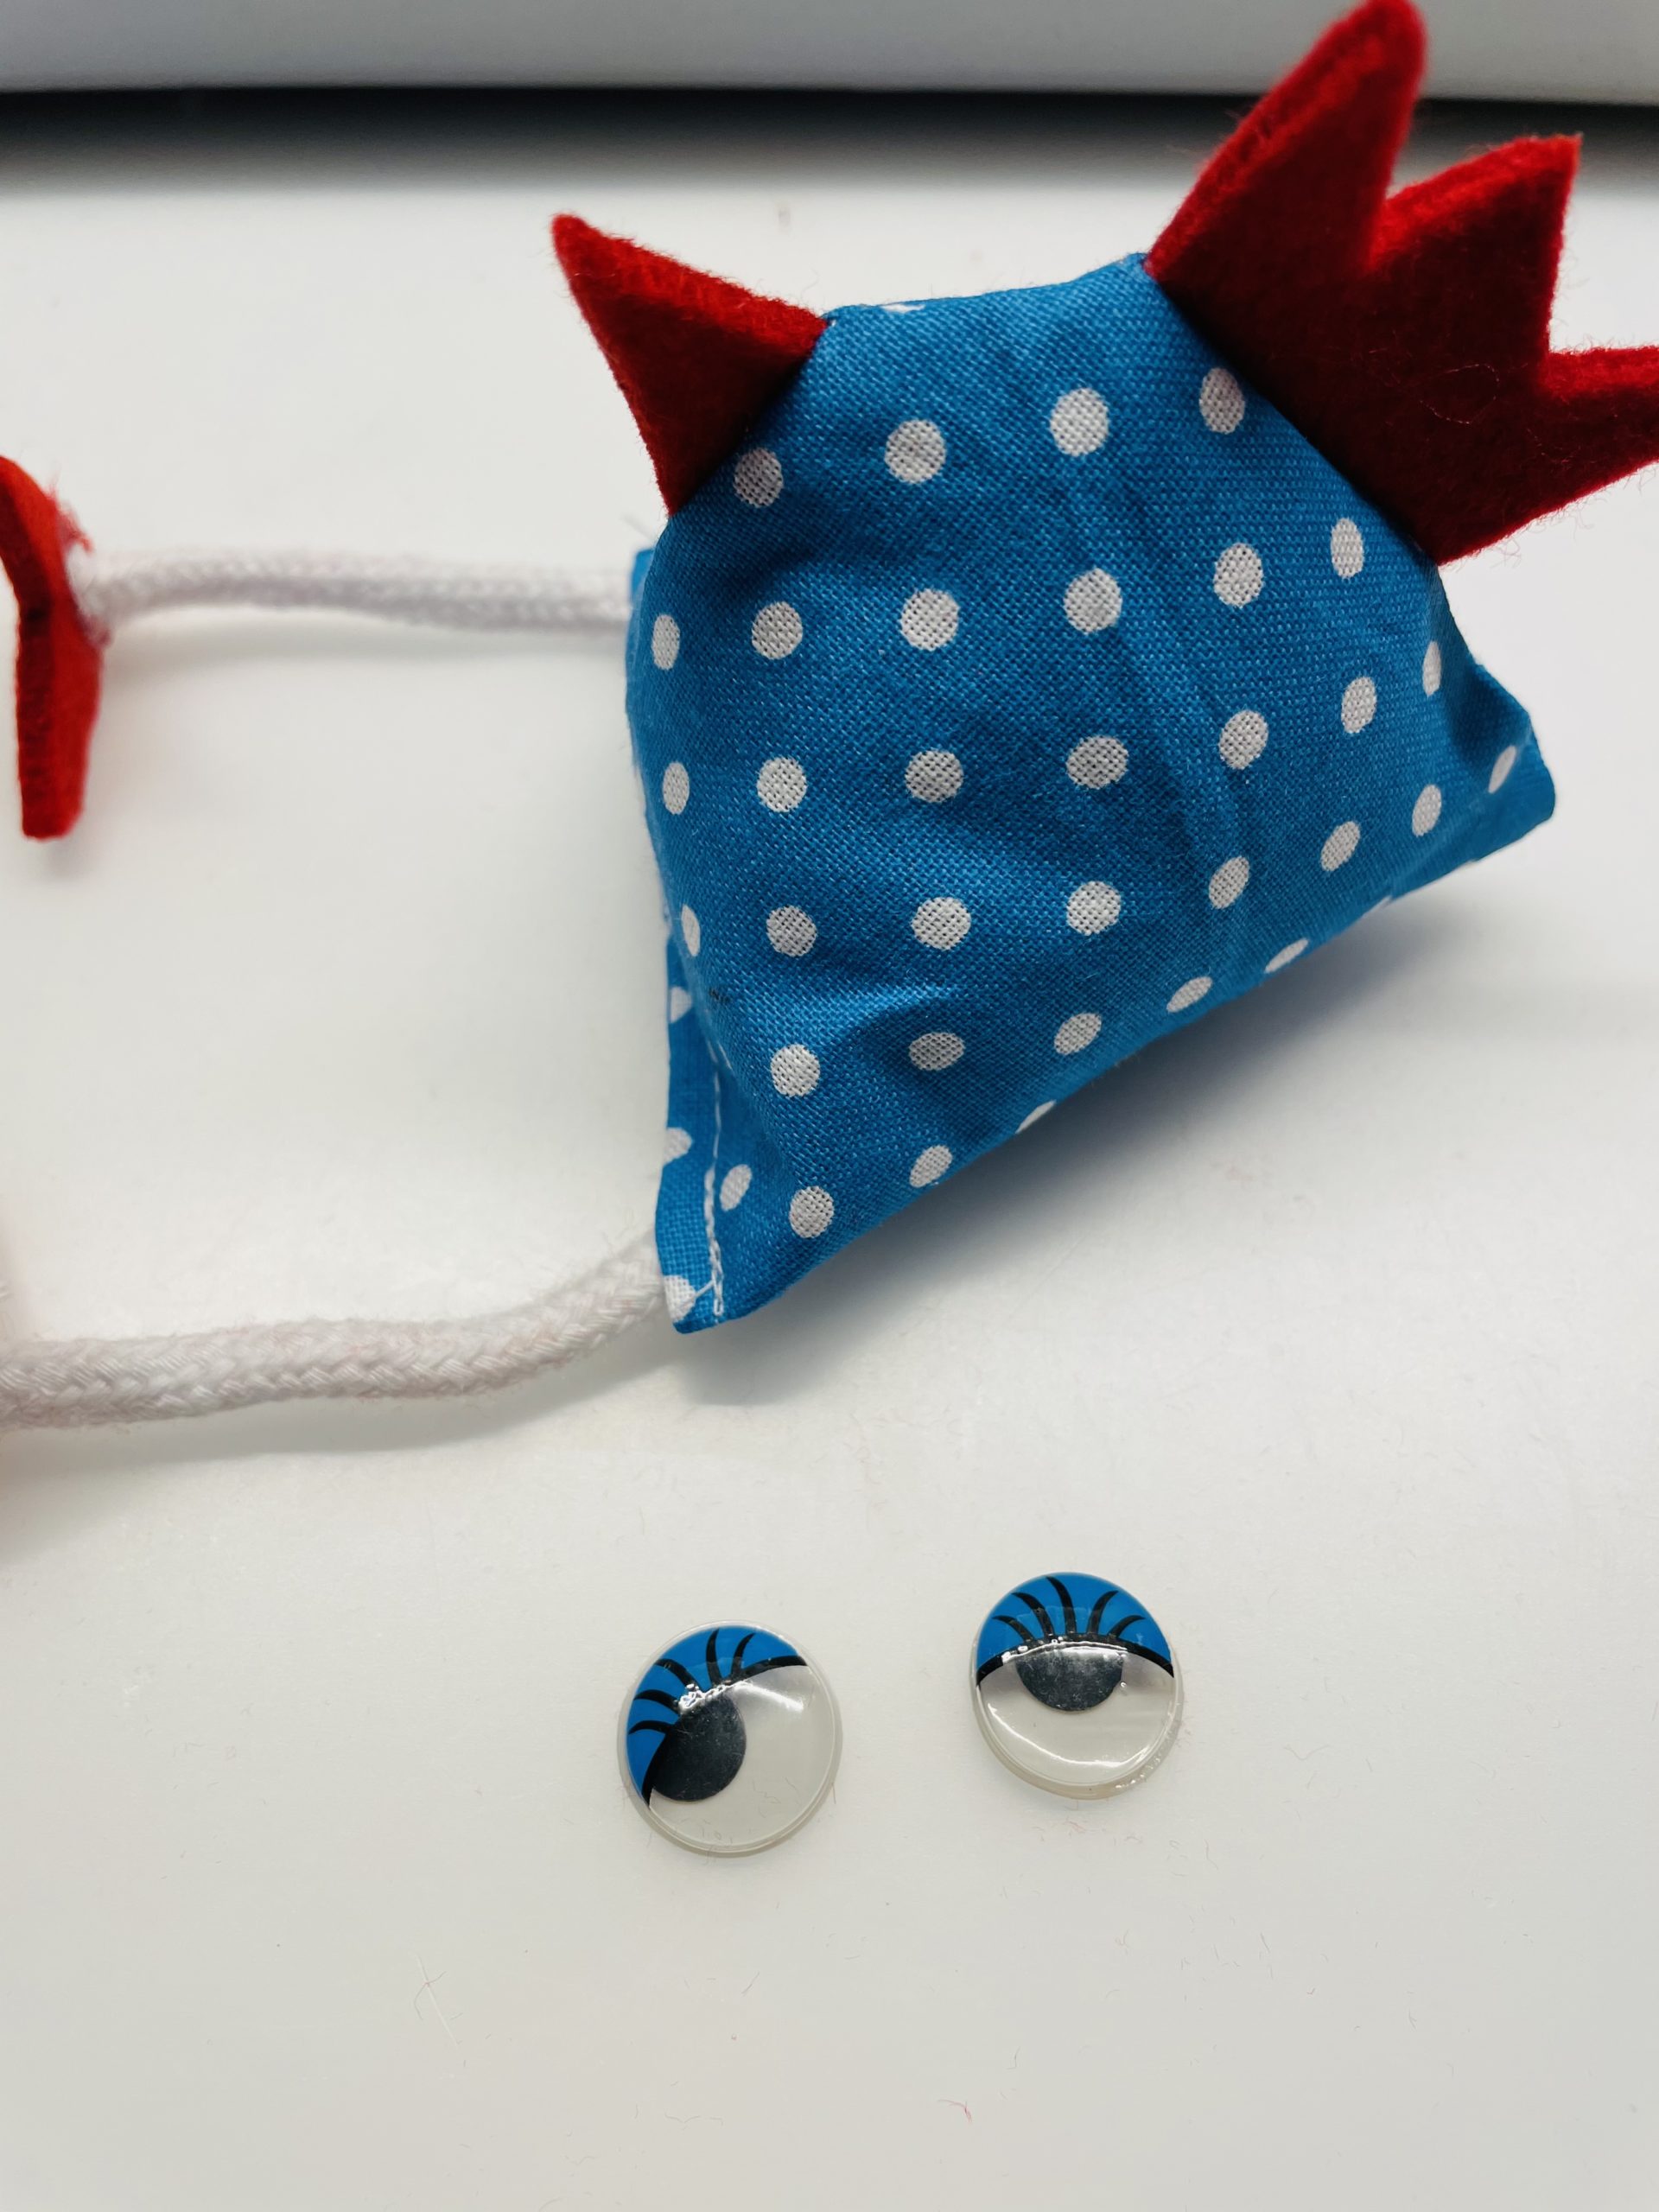


The chicken is ready.
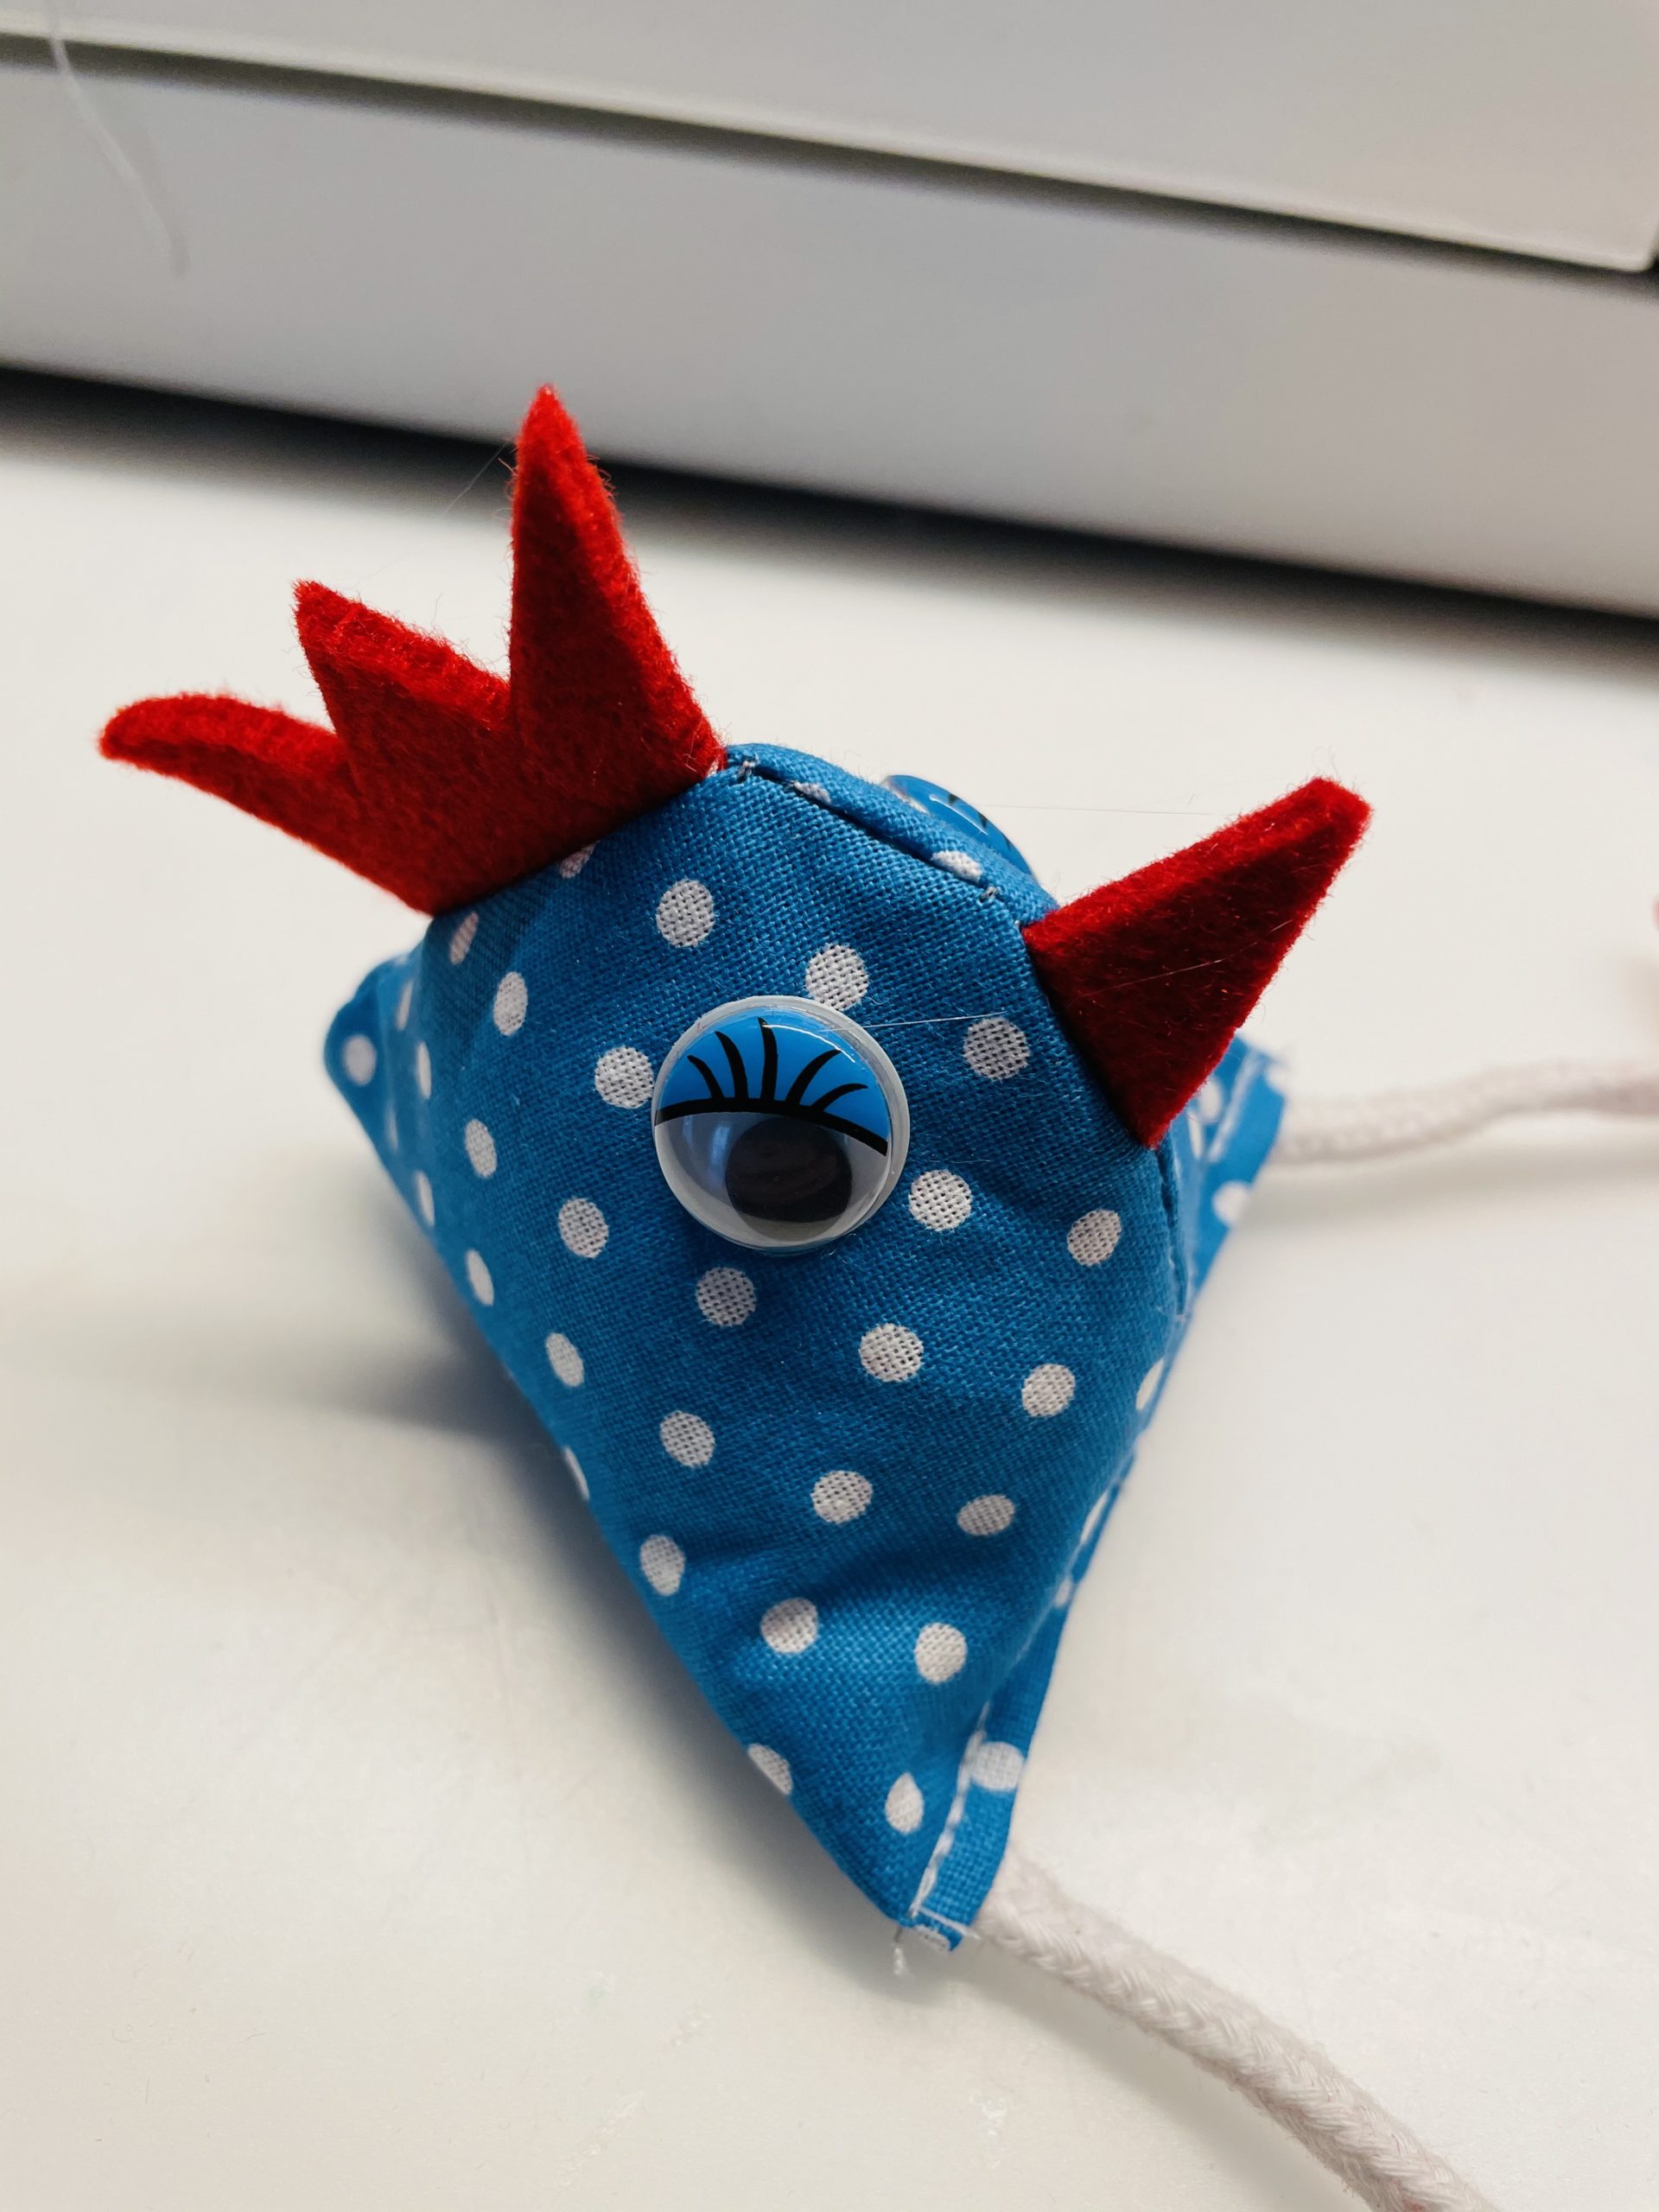


Put it on an edge, e.g. from a cabinet or sideboard.
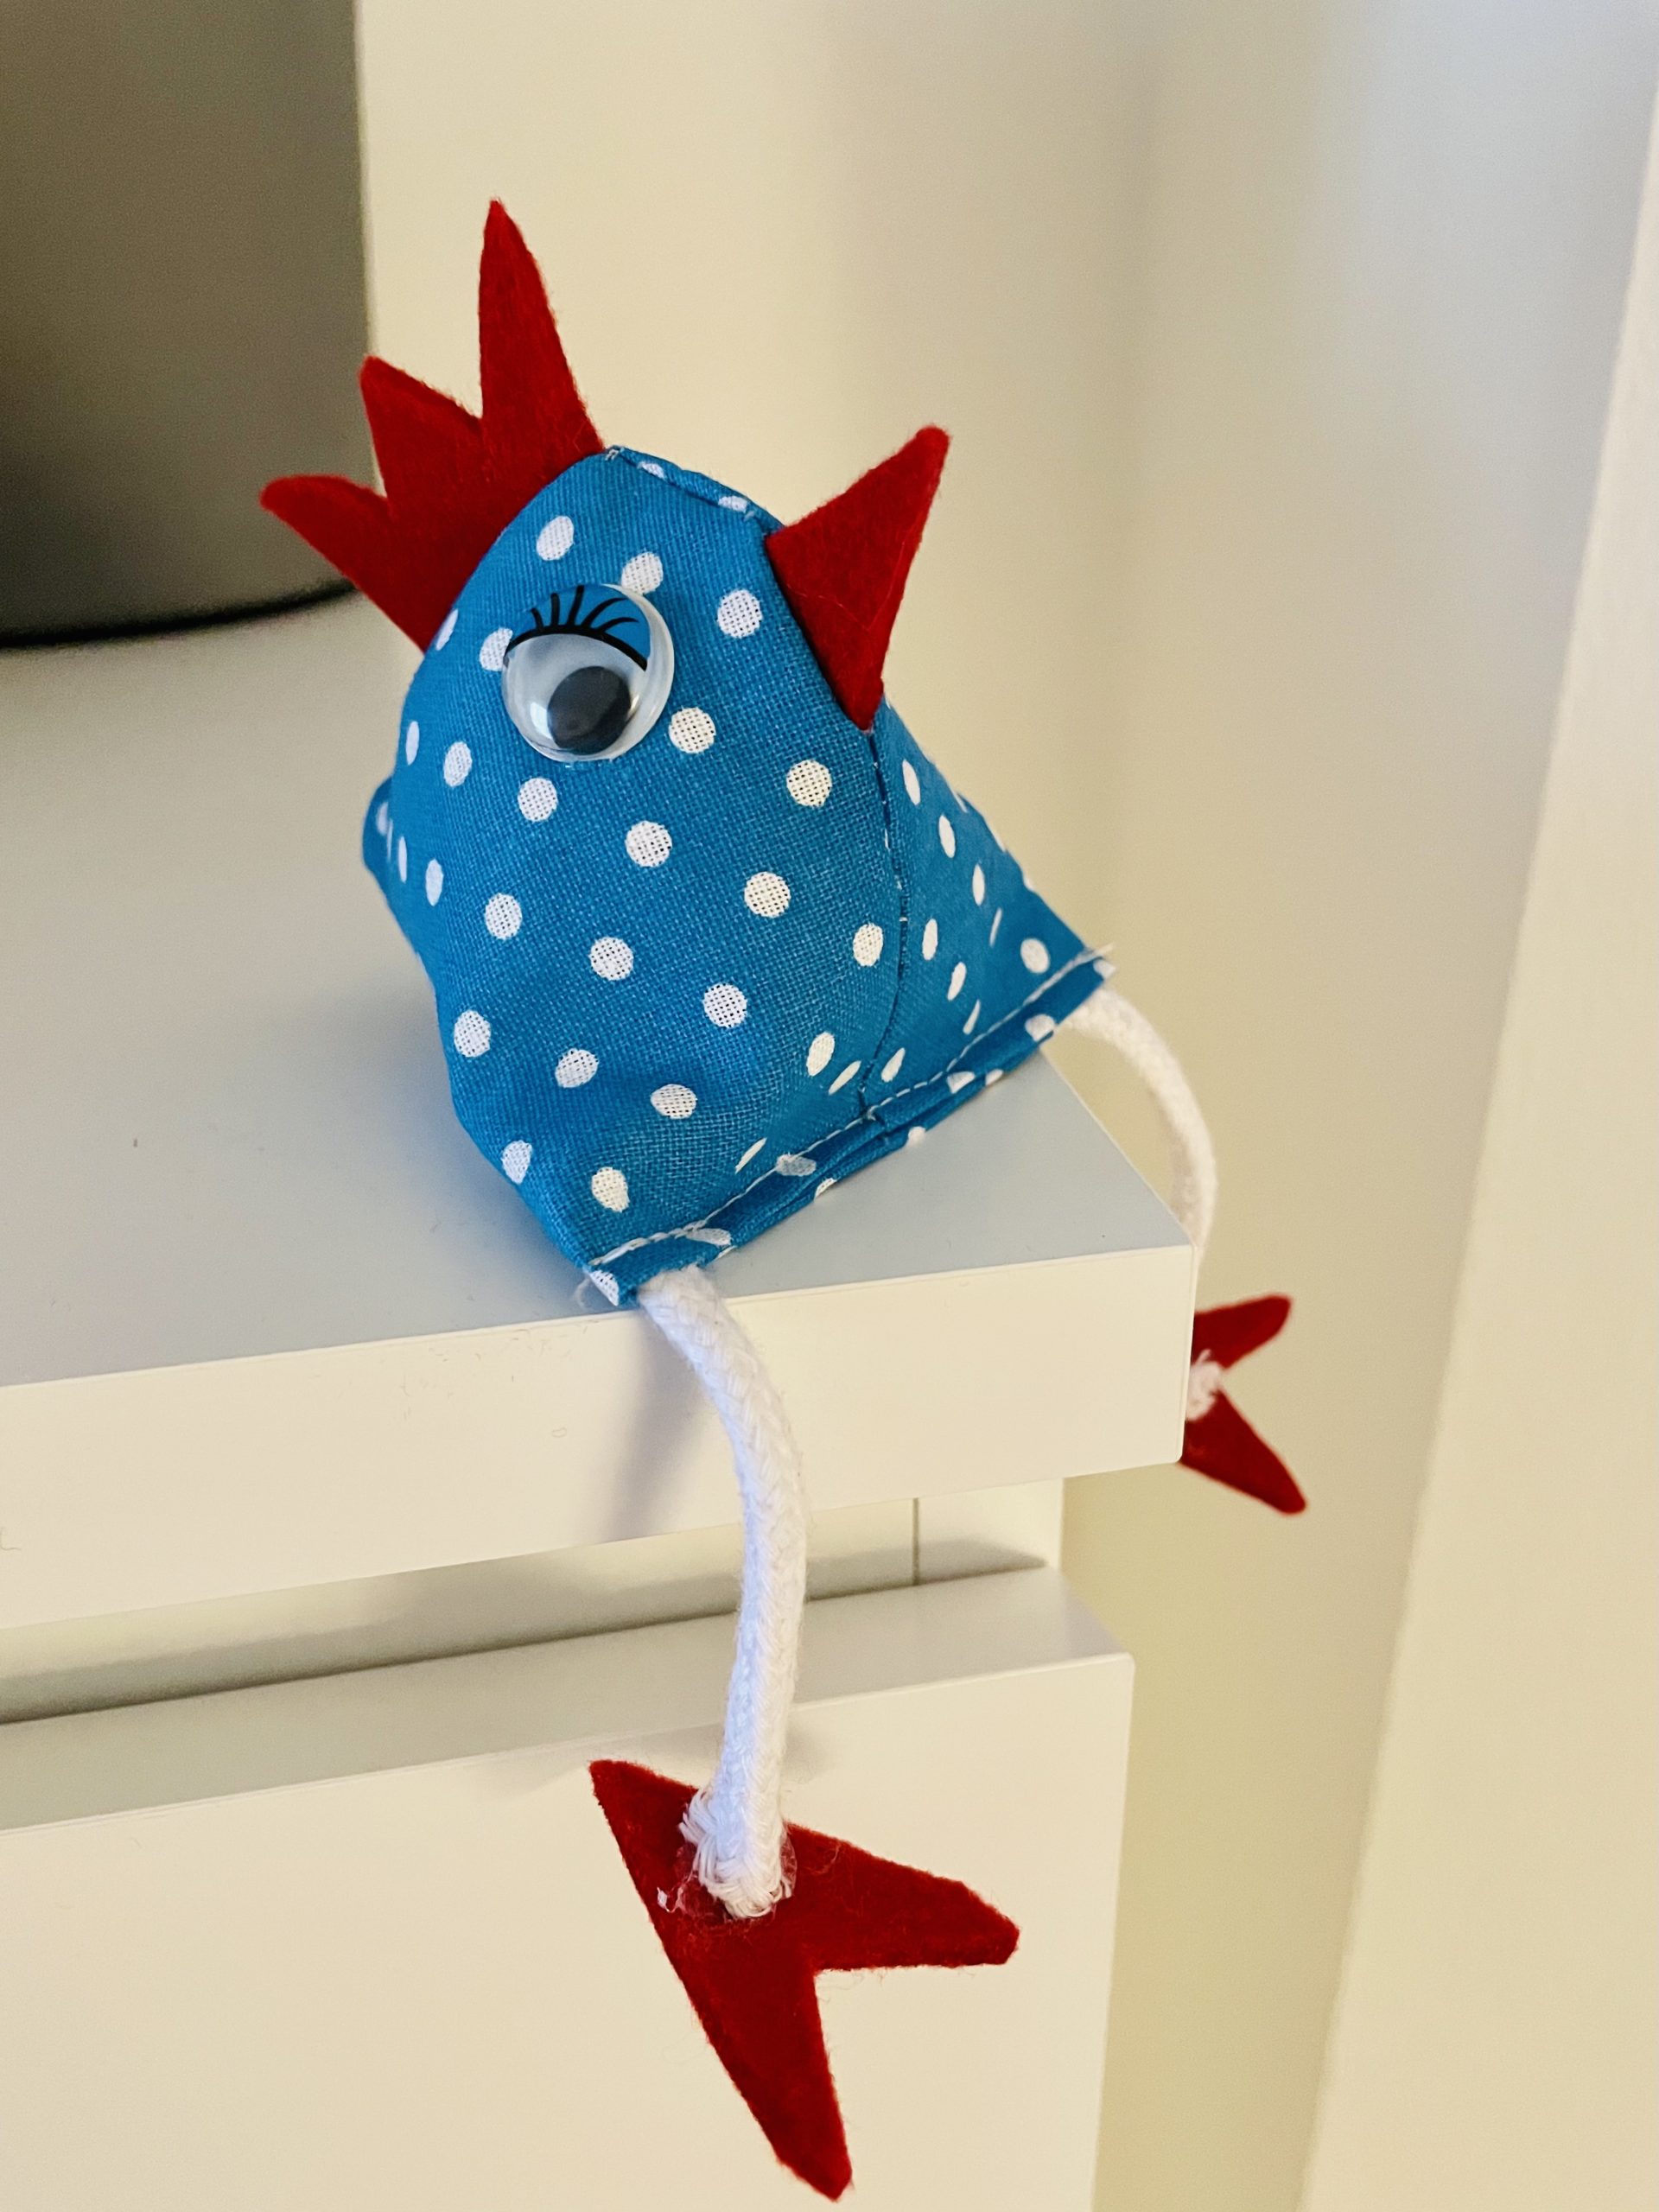


This chicken is a small sewing project and a beautiful homemade gift.
Have fun with it!
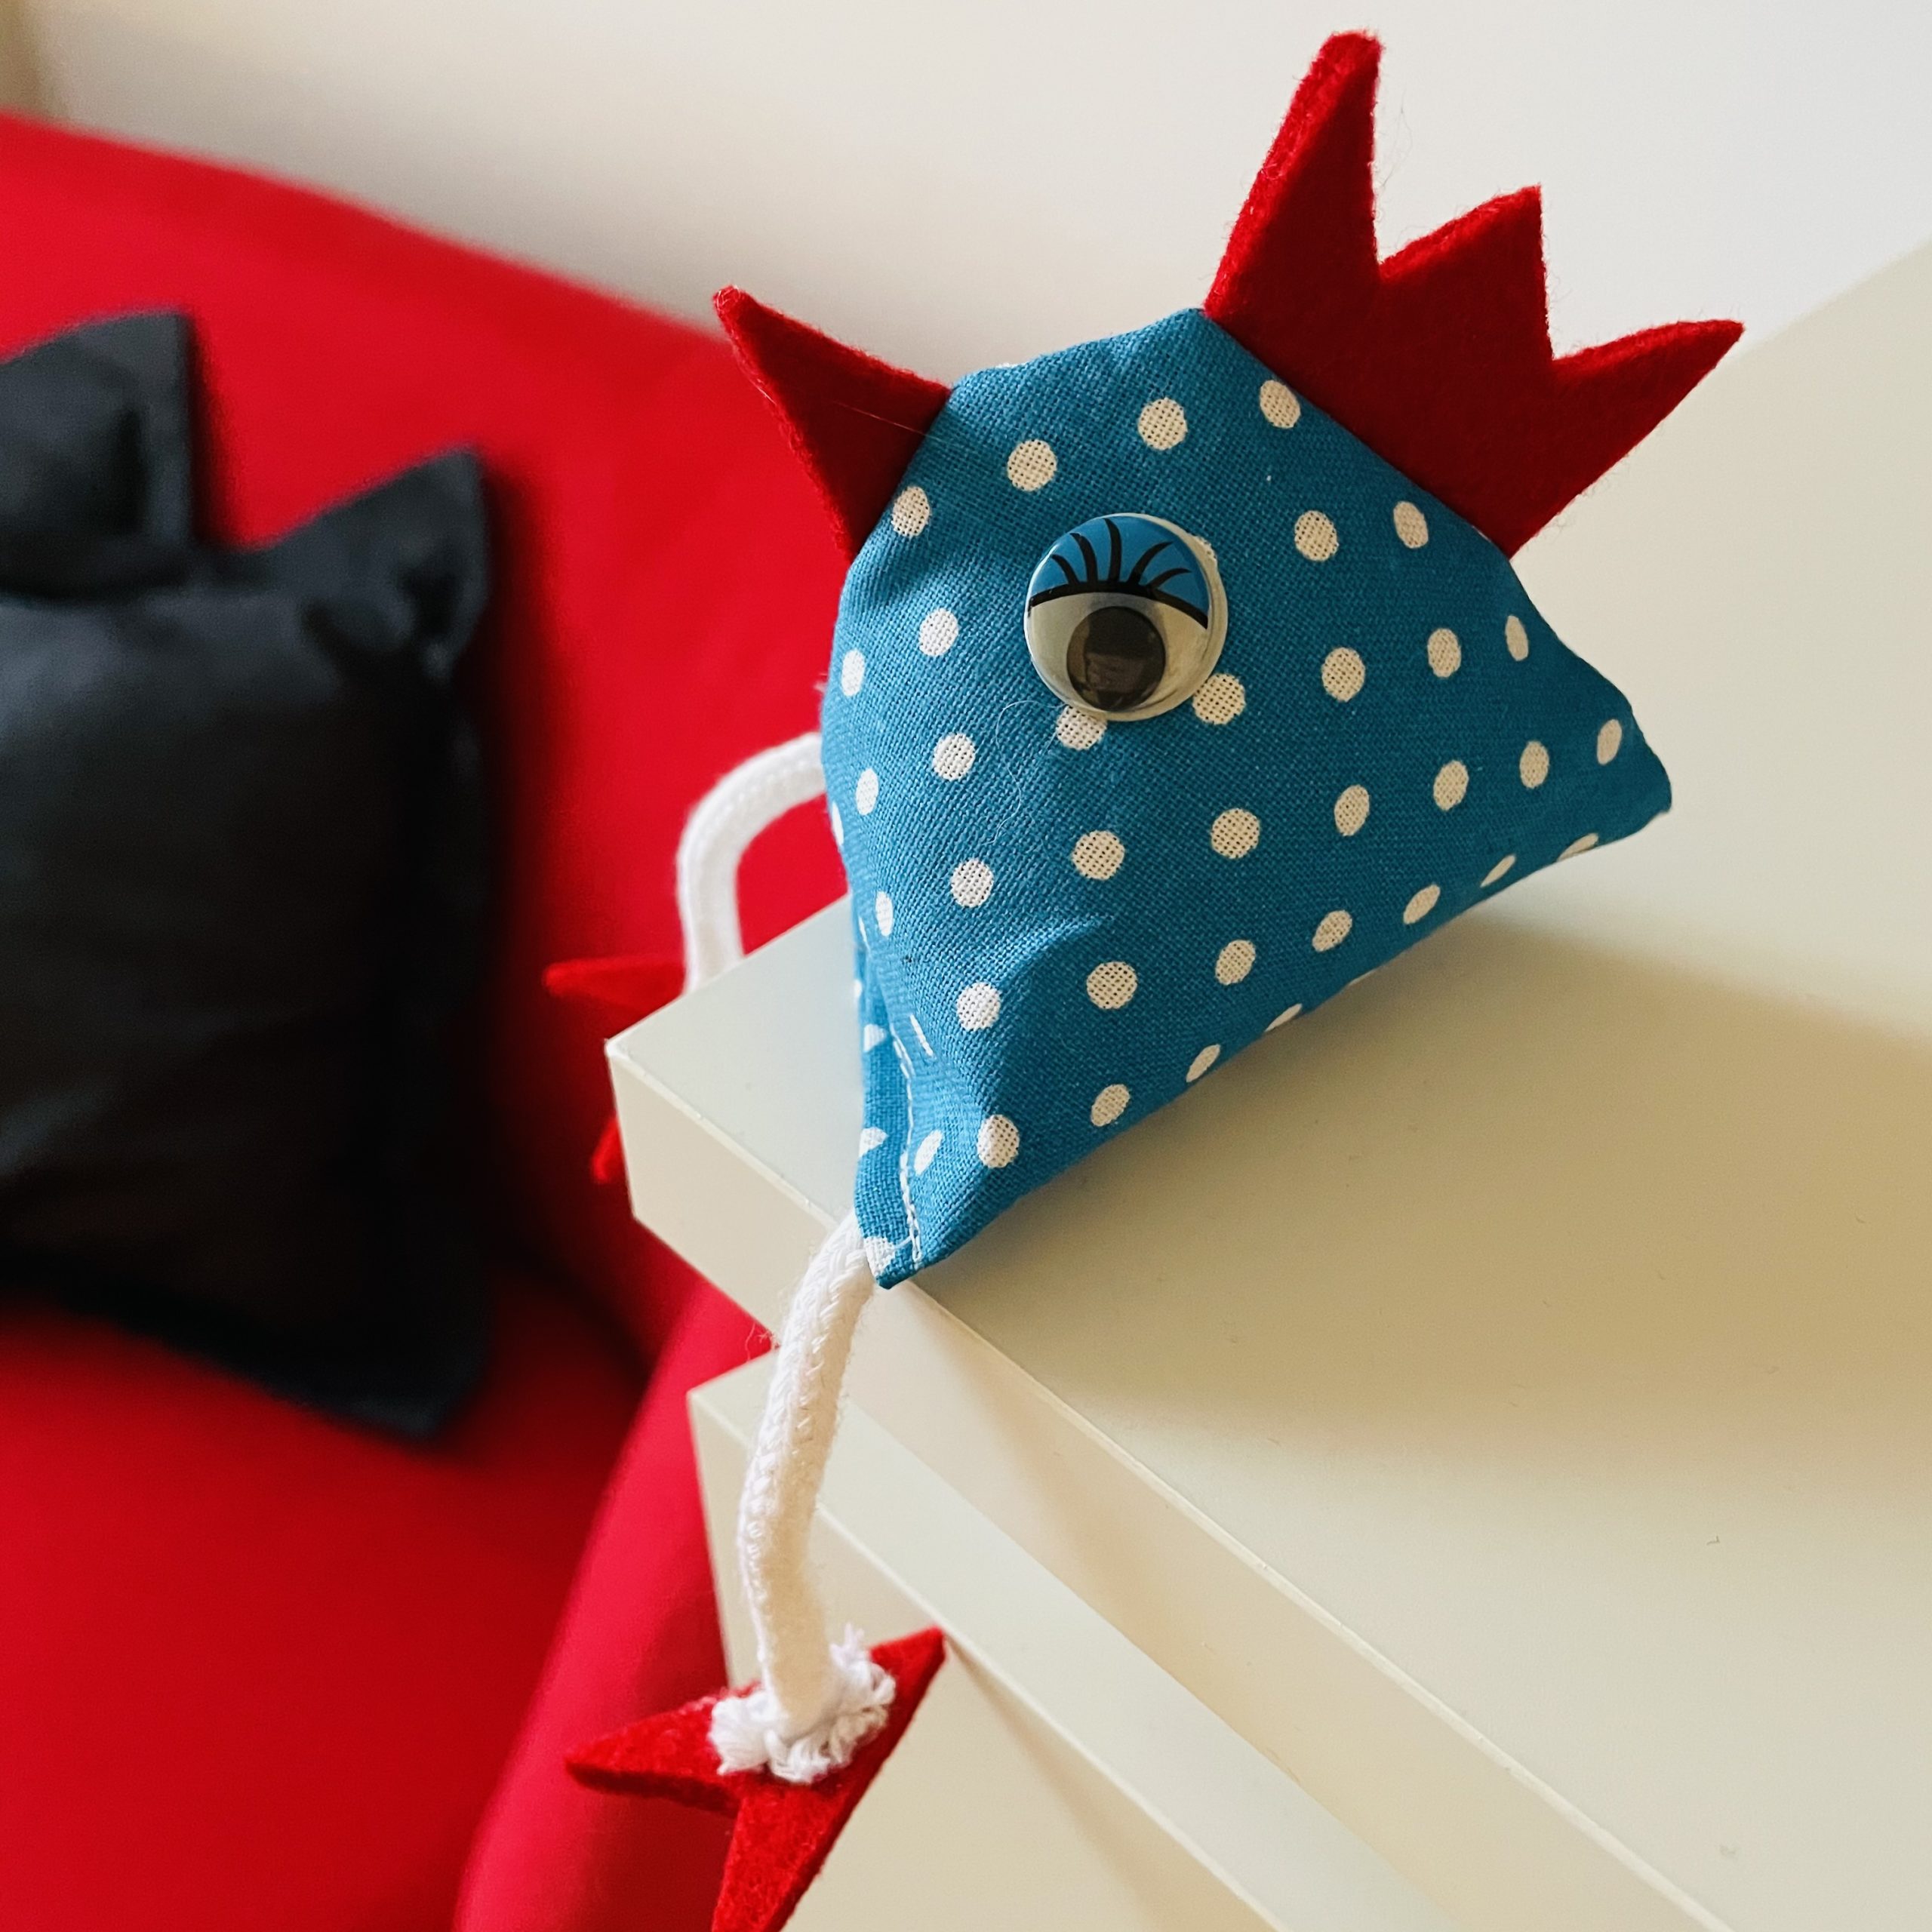


Materials
Directions
You need a piece of fabric with the dimensions: 10cm x 20cm or 9cm x 18cm.
The comb, the beak and the two feet cut out of red felt.
Put the fabric across you on the table. The beautiful side points upwards.


Now place the comb and beak on your fabric strip as in the picture. Fix both with a pin.


Sew both together with a straight stitch. Sew as close as possible to the edge, as this serves to fix both parts!


When you sew on your comb and beak, your fabric looks like it's in the photo!


Now you fold the fabric together. The beautiful side is now inside. Put both fabric parts together with a pin so that nothing can slip.


Now draw a sewing stitch on the fabric.
Leave a small distance to the edge and sew both fabrics as in the picture. To do this you also use a straight stitch. If you sew back and forth several times at the beginning and at the end of your seam, the seam does not separate any more.


Turn around the sewn fabric afterwards. Press the seams outwards with a pen. The chicken is still open at the bottom!
Now you can already recognize the chicken as such.


Now you put cotton wool in the chicken through the opening. Press the stuffing material into every corner.
Stop the filling material firmly and release a small edge so that you can still close the opening.


At the edge, flip the fabric a small piece (0.5cm) inwards.
Then you squeeze the fabric together, so you get a flat hem.
ATTENTION: Put the hem across to the first seam.


That's how the chicken can sit alone.
Put the hem together with a clamp.


Then you put the cord in the attached hem so that a piece of the same length looks out on the left and right.


Positions everything like in the picture and attaches the clamp to the hem.


Now carefully sew with the sewing machine over it. Close the fabric and sew the legs at the same time.


If the legs of the chicken are not the same length, cut them now.


Now stick the feet to the ends of the cord with hot glue. You stick the cord to the foot. Let it help you! In dealing with the hot glue there is a risk of injury!


The feet are ready.


Now stick the wobble eyes to her side with a glue stick.
Tip: You can also paint the eyes with a felt pen on the fabric.


The chicken is ready.


Put it on an edge, e.g. from a cabinet or sideboard.


This chicken is a small sewing project and a beautiful homemade gift.
Have fun with it!


Follow us on Facebook , Instagram and Pinterest
Don't miss any more adventures: Our bottle mail


