Candle holders of birch trunks

AdventurerBaSo
Rating5.06.3 Thousand times & (1) DifficultyIntermediate

You can simply make great candlesticks from birch trunks. The children can help with grinding and drilling and thus get to know the material wood.

Media Education for Kindergarten and Hort

Kind bastelt eine Rassel mit dem Navi
The Adventure Navi, the app for DIY projects, enables media education for the youngest.

Relief in everyday life, targeted promotion of individual children, independent learning and - without any pre-knowledge already usable by the youngest!
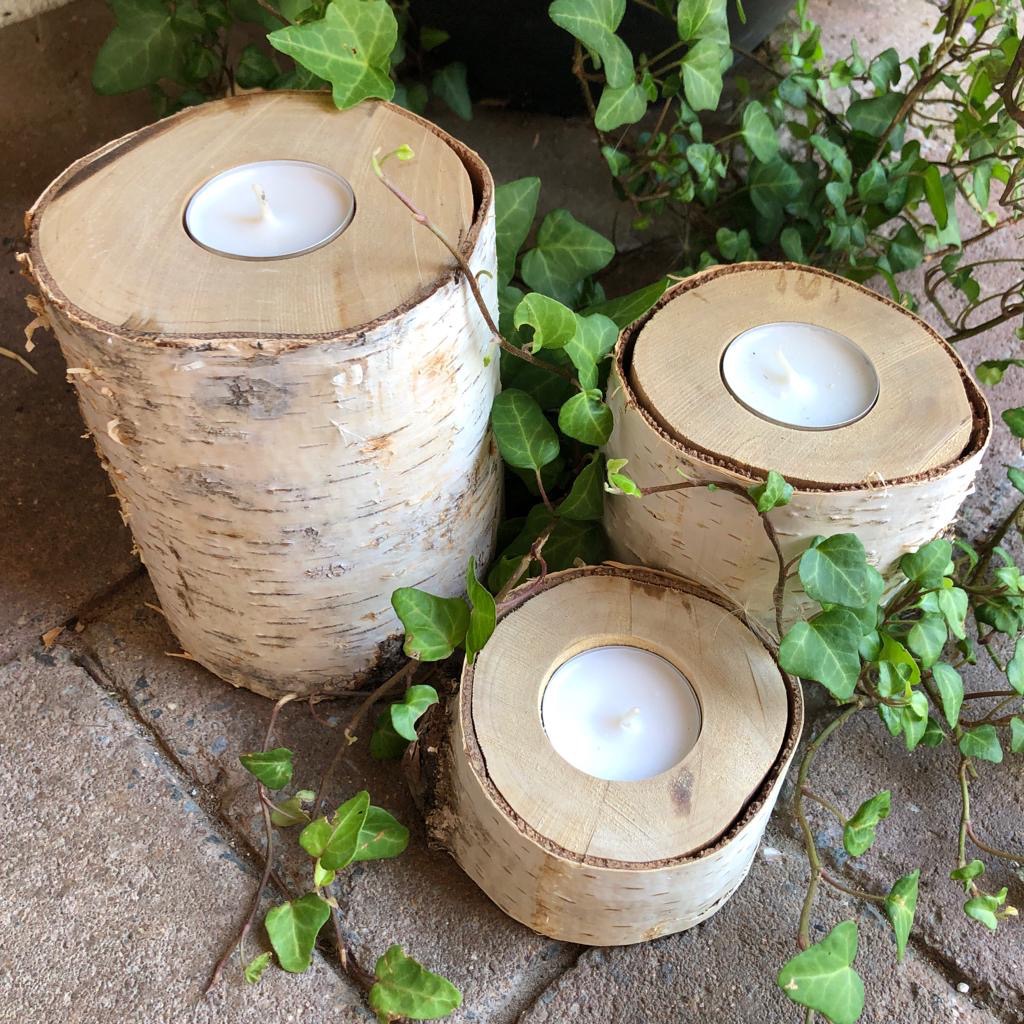


Titelbild zur Bastel- und DIY-Idee für Kinder '(369) Kerzenhalter aus Birkenstämmen'
Material for1 Child
Adv. Time30 min.Total Time30 min.
 Birch trunks in different sizes (we used three trunks with about 5 cm, 10 cm and 15 cm height)
 fine sanding paperGrain 180 to 240
 Core hole drill bit 40mm in the size of the tealights
 Drilling machine
 3 Tea lights
1

Sand off the sawn logs. To do this, use sandpaper to drive over the sawn surface until it is fine and even.
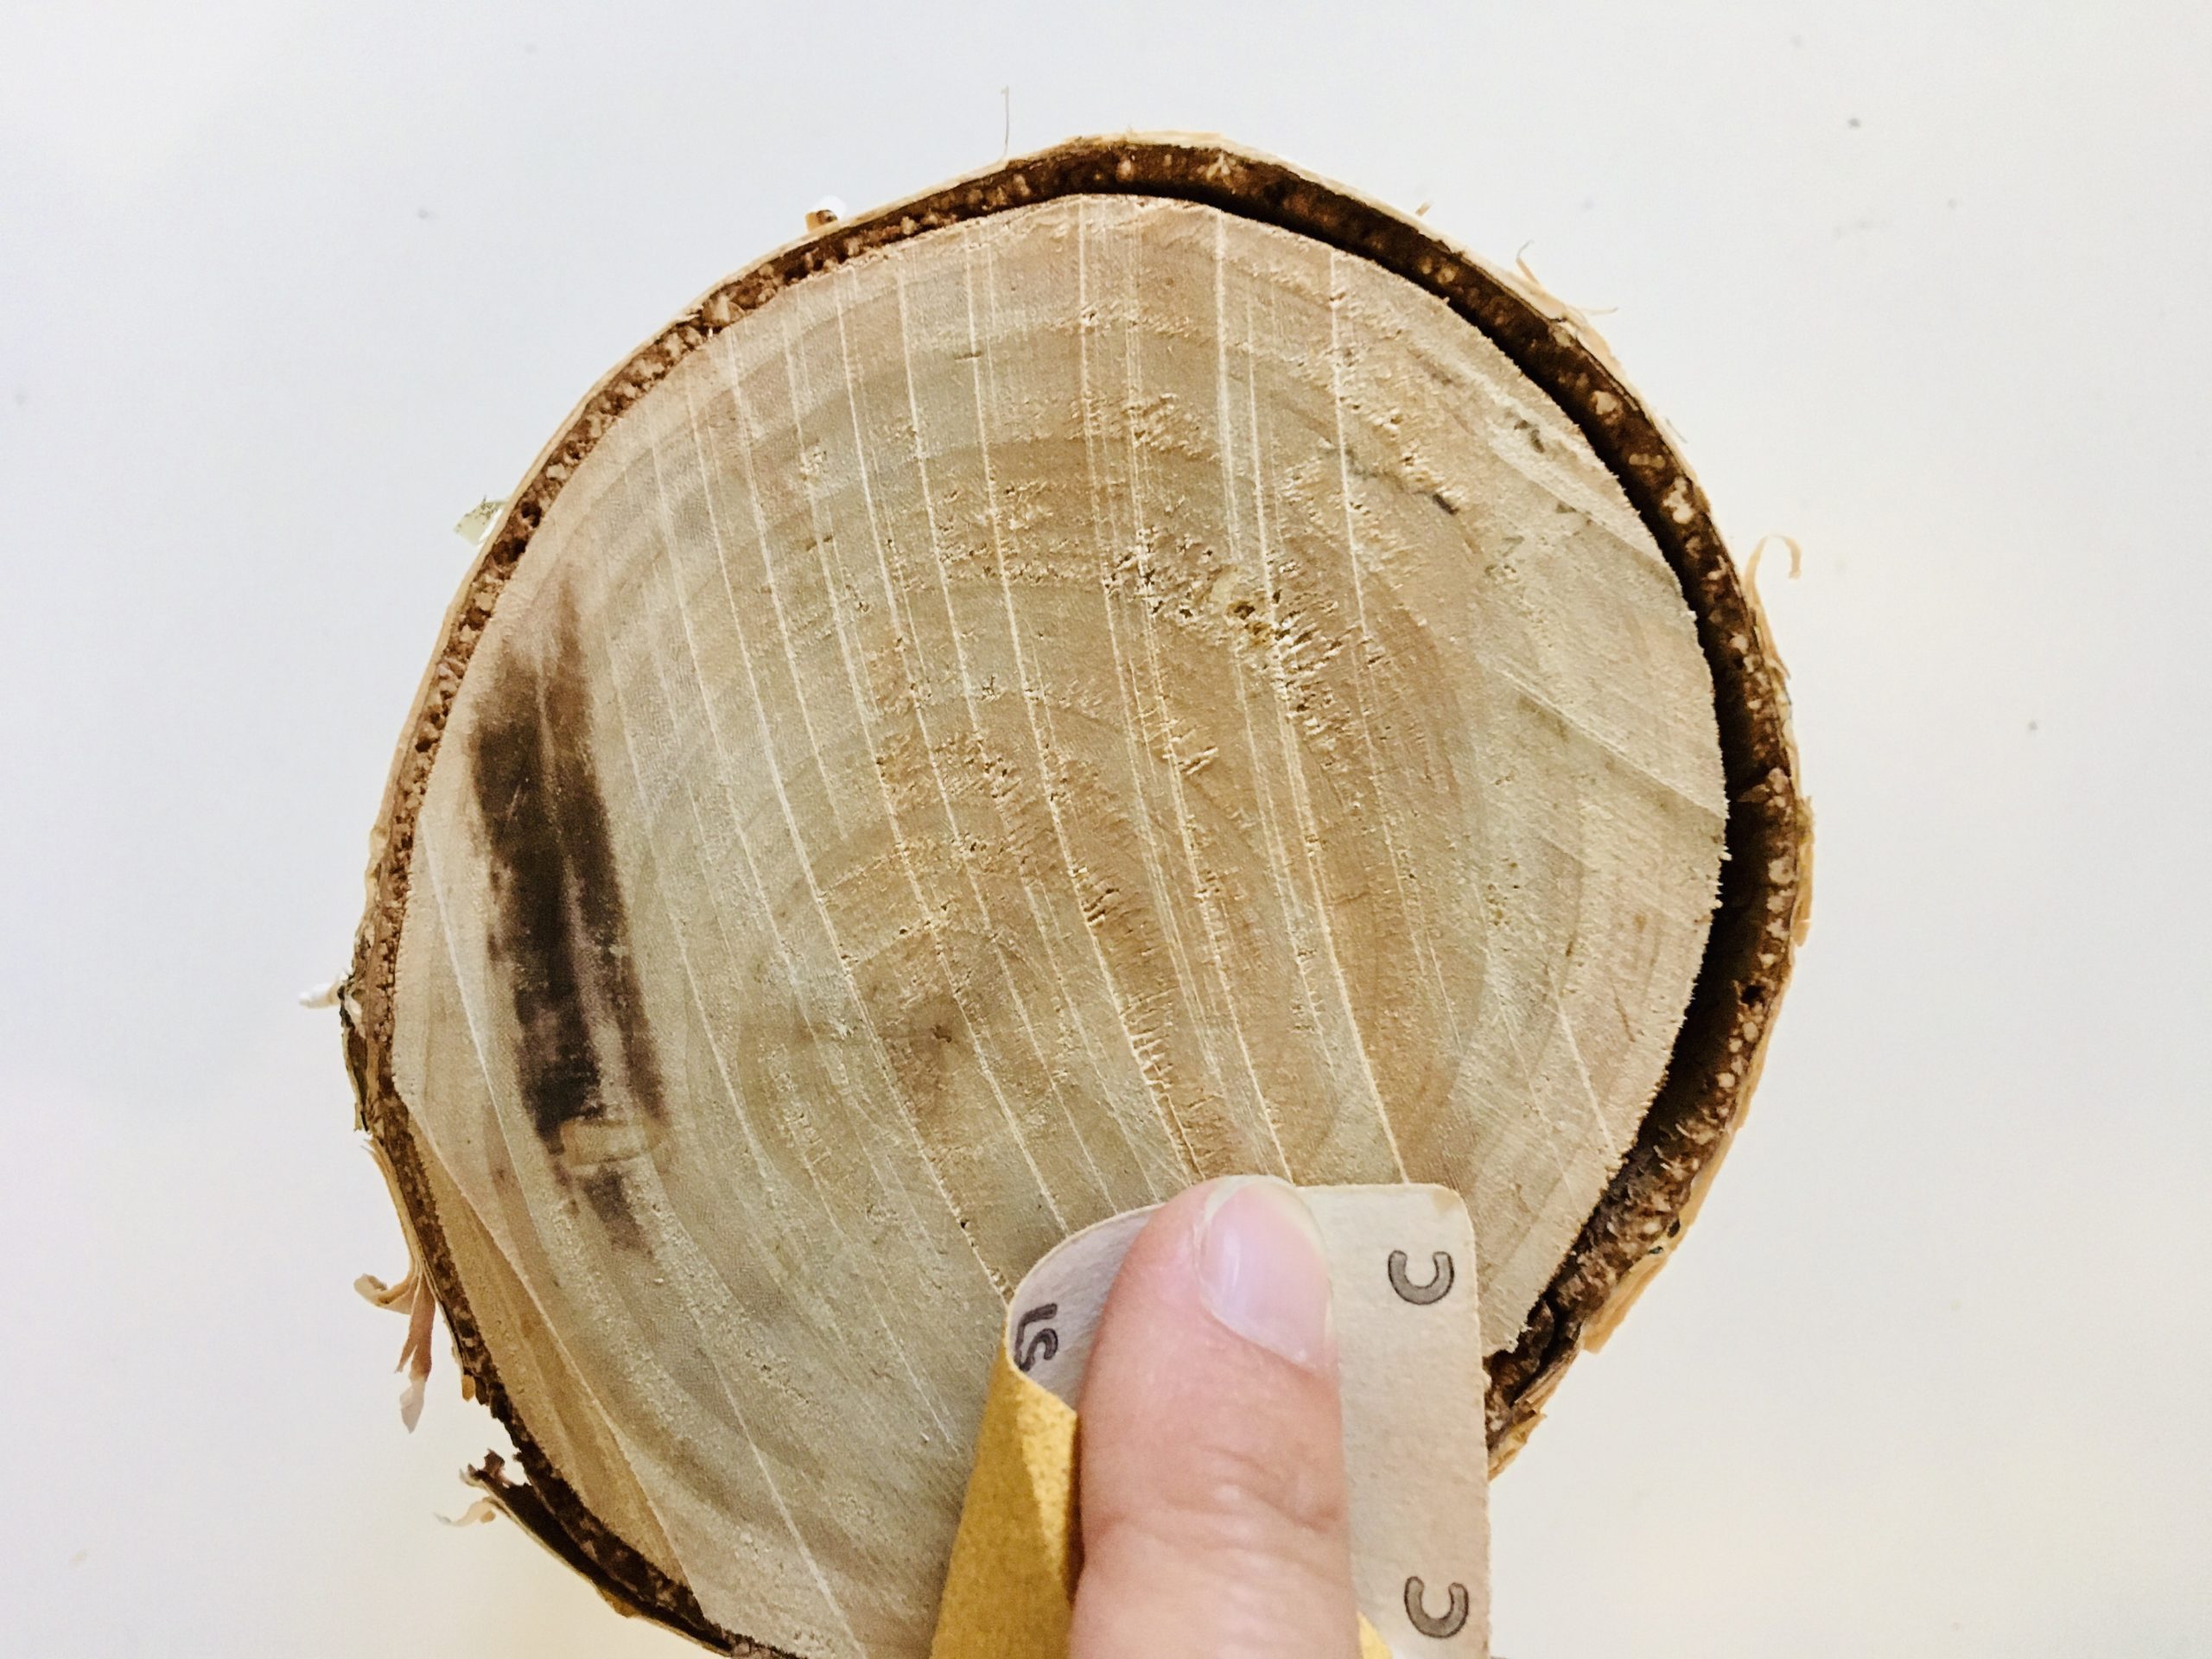
Bild zum Schritt 1 für das Bastel- und DIY-Abenteuer für Kinder: 'Die zugesägten Holzstämme abschleifen. Dazu mit Schleifpapier so lange über...'

2

Prepare the drill, the core hole drill and the tealights.
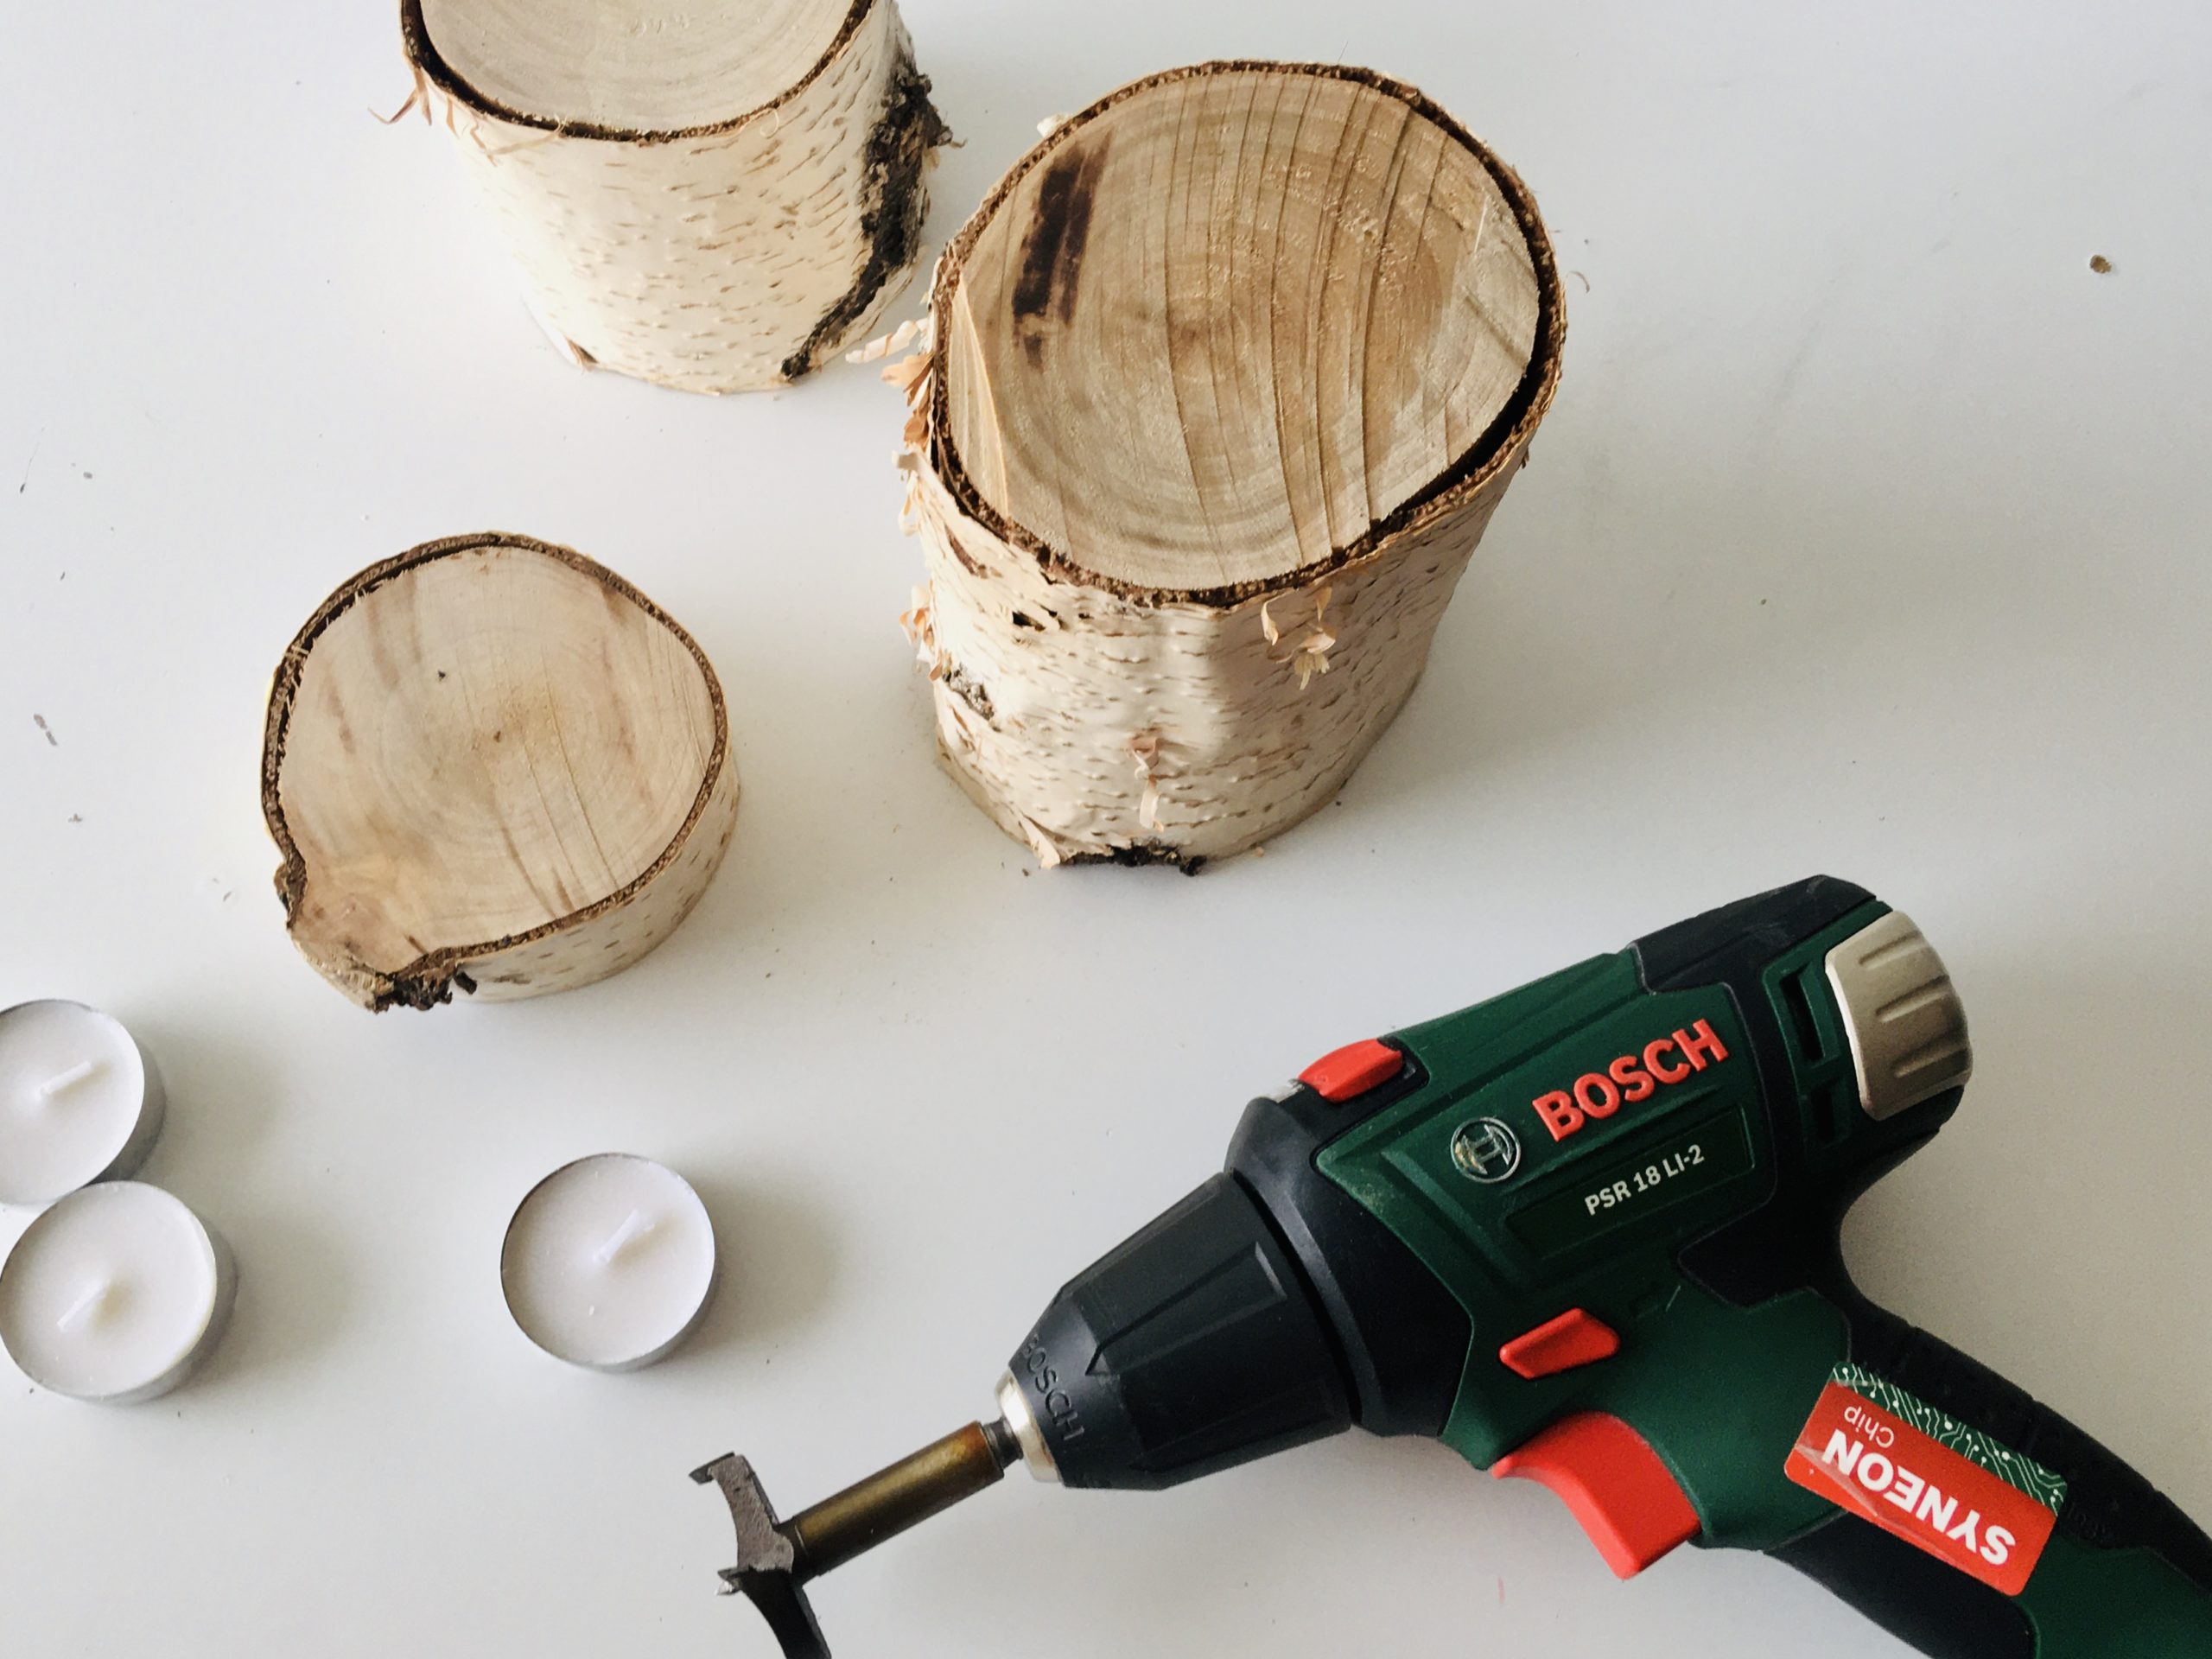
Bild zum Schritt 2 für das Bastel- und DIY-Abenteuer für Kinder: 'Die Bohrmaschine, den Kernlochbohrer und die Teelichter bereit legen.'

3

Place the core hole drill on the drill and drill a hole in the middle. Drill the hole to the depth of a tealight.

Bild zum Schritt 3 für das Bastel- und DIY-Abenteuer für Kinder: 'Den Kernlochbohrer auf die Bohrmaschine setzen und mittig ein Loch...'

4

Repeat the process for all strains.

Bild zum Schritt 4 für das Bastel- und DIY-Abenteuer für Kinder: 'Den Vorgang bei allen Stämmen wiederholen.'

5

Remove the drill dust with a slightly damp cloth.

Bild zum Schritt 5 für das Bastel- und DIY-Abenteuer für Kinder: 'Den Bohrstaub mit einem leicht feuchten Lappen entfernen.'

6

Use the tealights and ready are the candlesticks made of birch wood.
Have fun!

Bild zum Schritt 6 für das Bastel- und DIY-Abenteuer für Kinder: 'Die Teelichter einsetzen und fertig sind die Kerzenständer aus Birkenholz....'

Materials

 Birch trunks in different sizes (we used three trunks with about 5 cm, 10 cm and 15 cm height)
 fine sanding paperGrain 180 to 240
 Core hole drill bit 40mm in the size of the tealights
 Drilling machine
 3 Tea lights

Directions

1

Sand off the sawn logs. To do this, use sandpaper to drive over the sawn surface until it is fine and even.

Bild zum Schritt 1 für das Bastel- und DIY-Abenteuer für Kinder: 'Die zugesägten Holzstämme abschleifen. Dazu mit Schleifpapier so lange über...'

2

Prepare the drill, the core hole drill and the tealights.

Bild zum Schritt 2 für das Bastel- und DIY-Abenteuer für Kinder: 'Die Bohrmaschine, den Kernlochbohrer und die Teelichter bereit legen.'

3

Place the core hole drill on the drill and drill a hole in the middle. Drill the hole to the depth of a tealight.
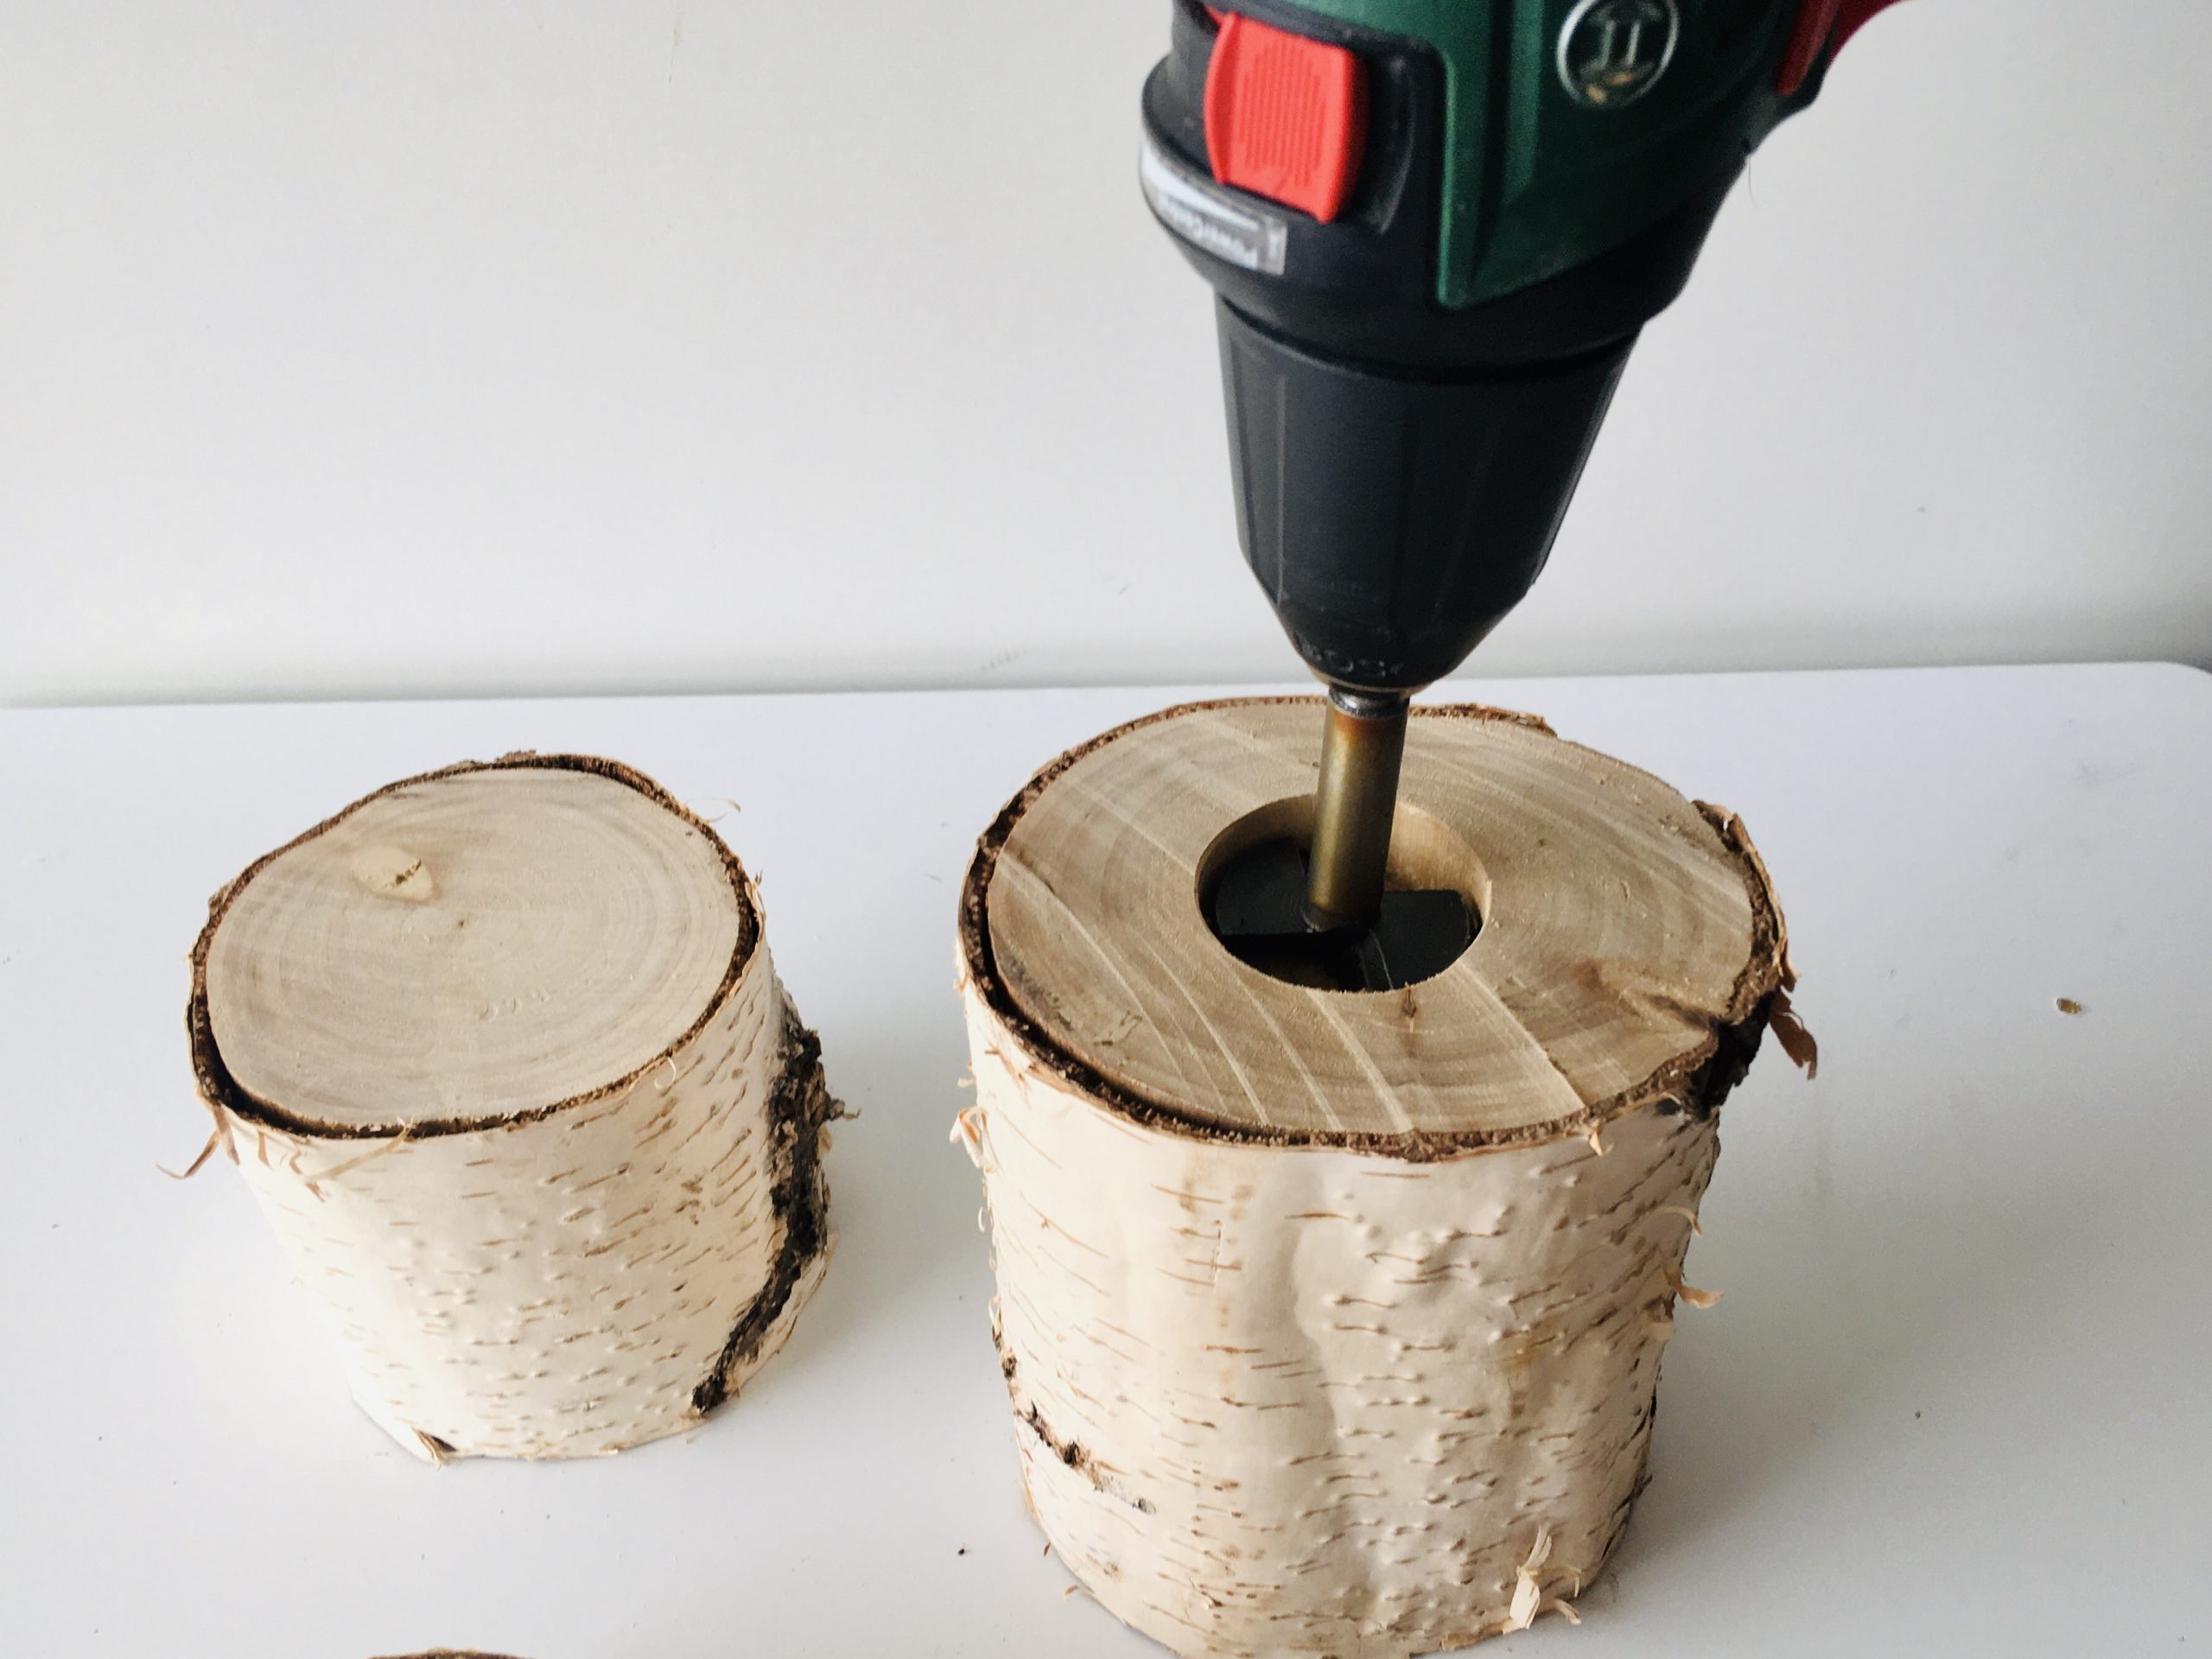
Bild zum Schritt 3 für das Bastel- und DIY-Abenteuer für Kinder: 'Den Kernlochbohrer auf die Bohrmaschine setzen und mittig ein Loch...'

4

Repeat the process for all strains.

Bild zum Schritt 4 für das Bastel- und DIY-Abenteuer für Kinder: 'Den Vorgang bei allen Stämmen wiederholen.'

5

Remove the drill dust with a slightly damp cloth.
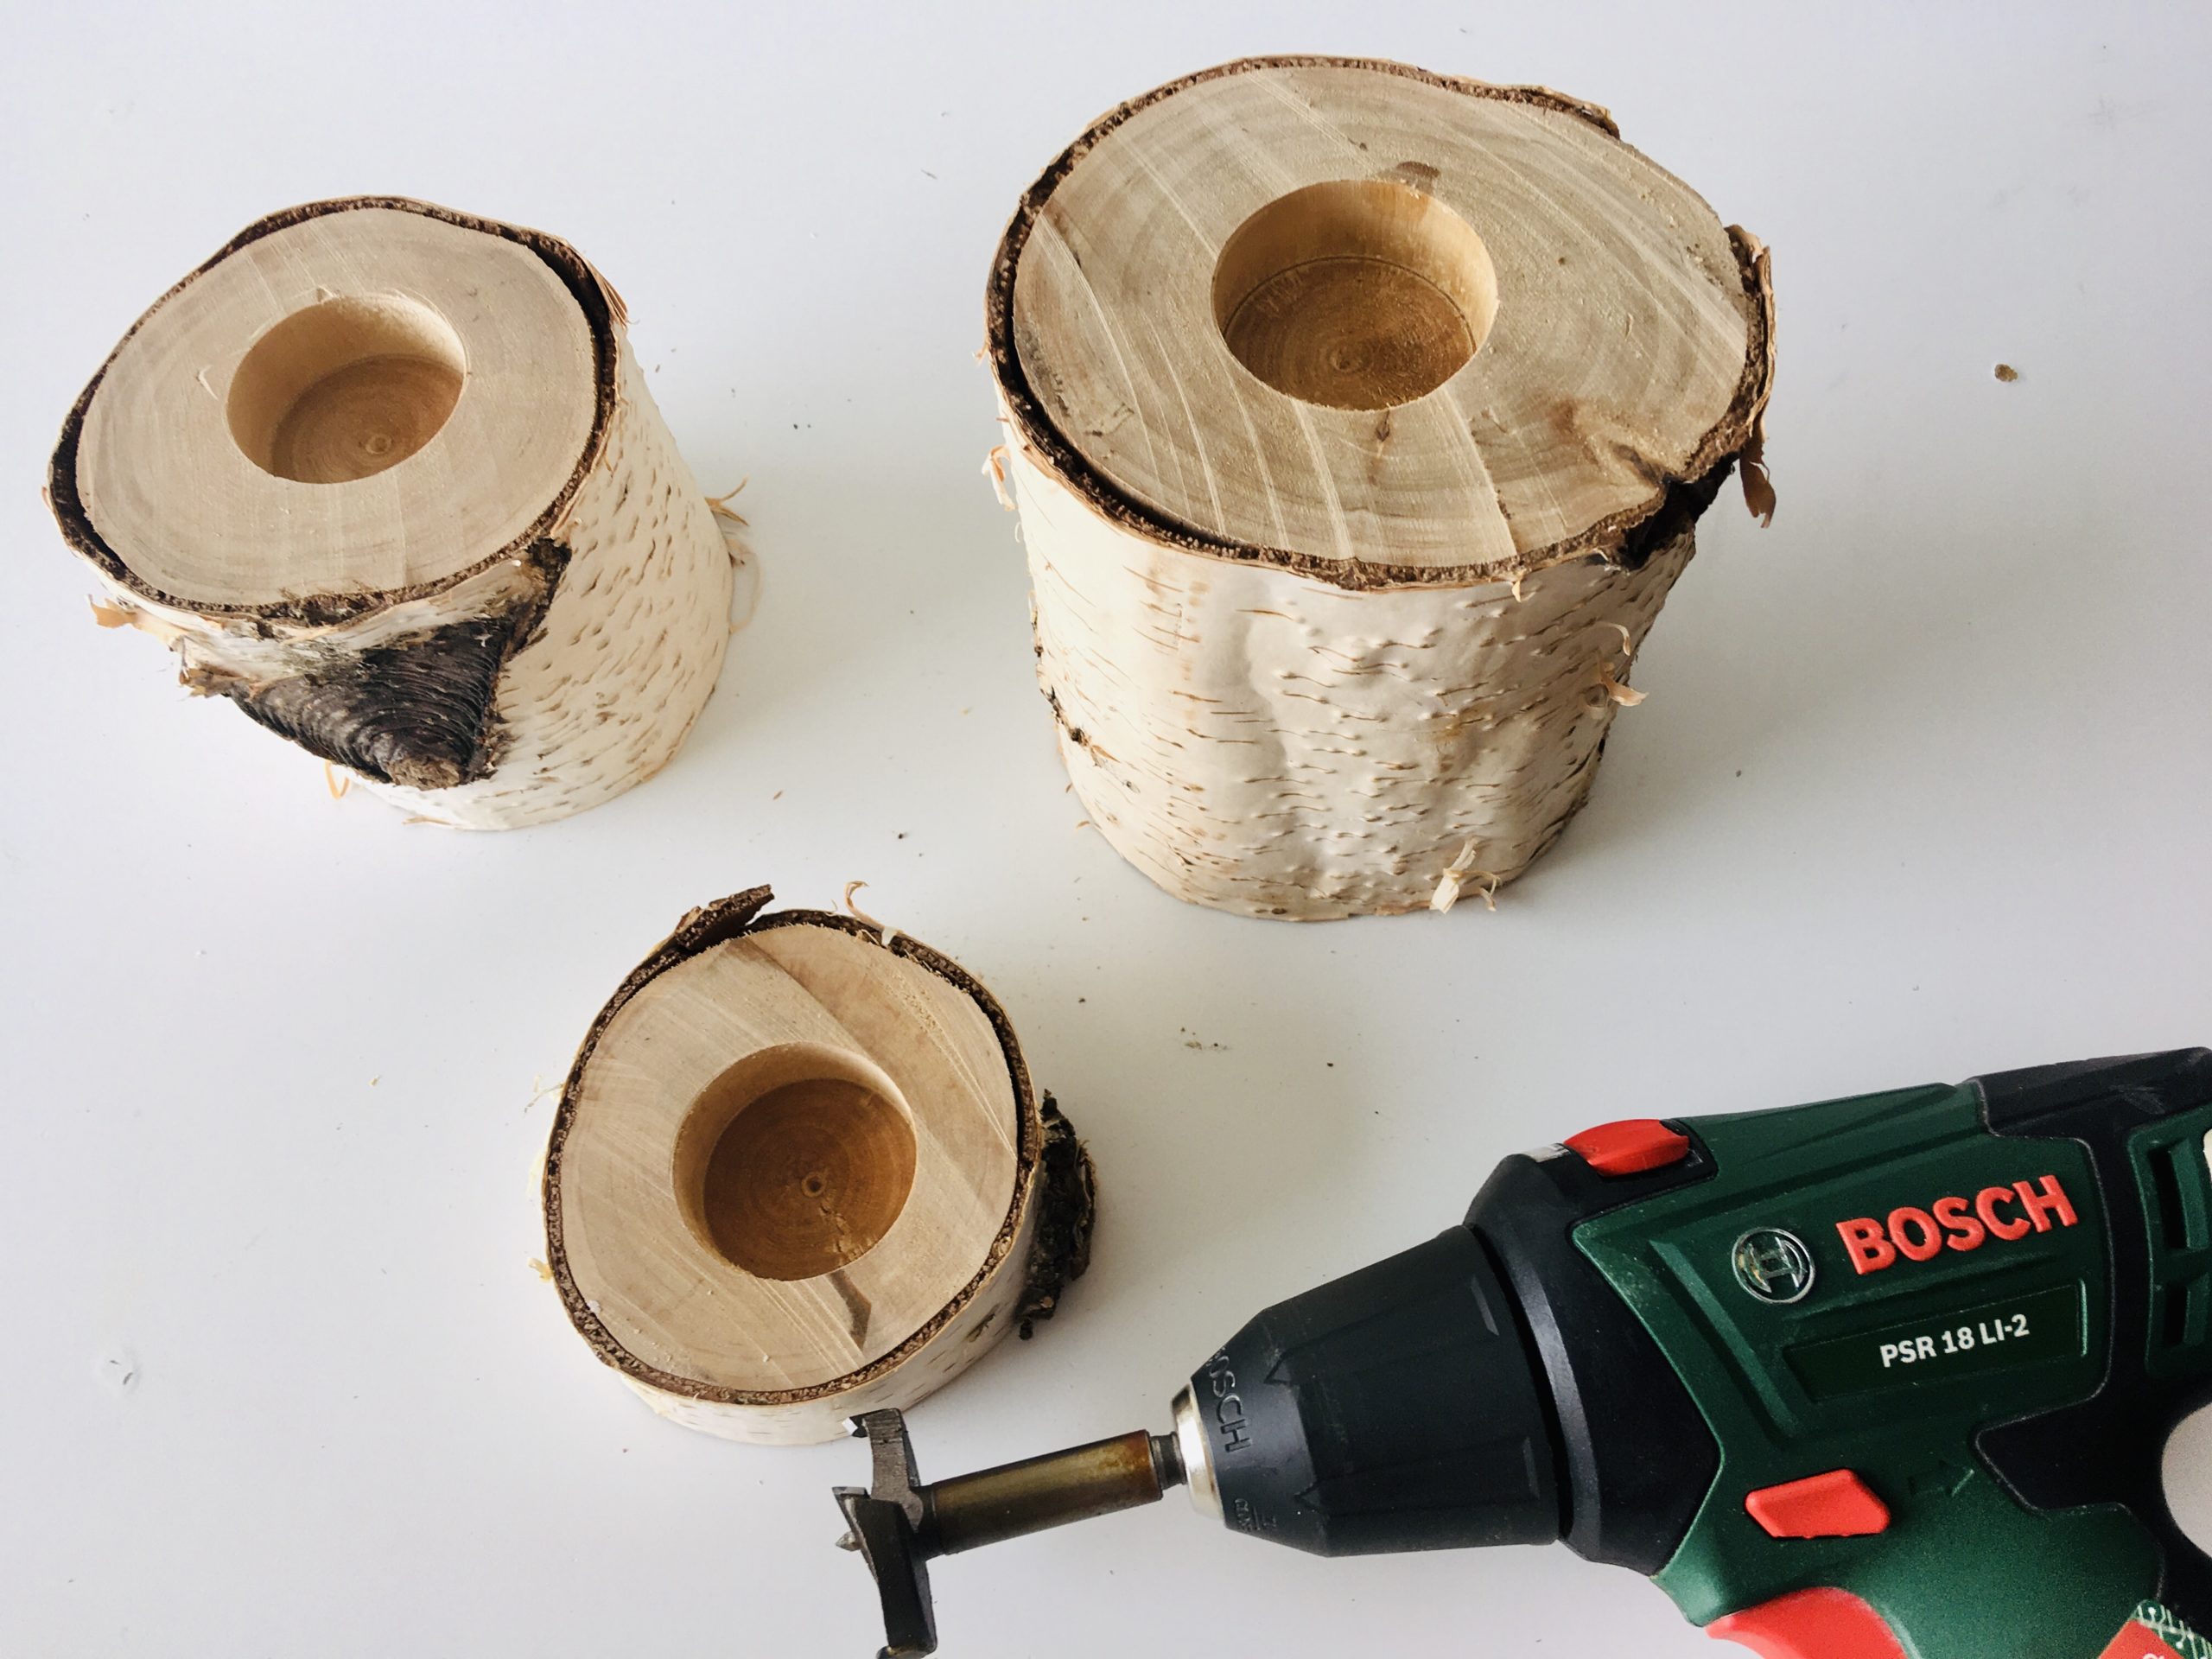
Bild zum Schritt 5 für das Bastel- und DIY-Abenteuer für Kinder: 'Den Bohrstaub mit einem leicht feuchten Lappen entfernen.'

6

Use the tealights and ready are the candlesticks made of birch wood.
Have fun!

Bild zum Schritt 6 für das Bastel- und DIY-Abenteuer für Kinder: 'Die Teelichter einsetzen und fertig sind die Kerzenständer aus Birkenholz....'

Candle holders of birch trunks

Follow us on Facebook , Instagram and Pinterest
Don't miss any more adventures: Our bottle mail

Leave a Reply

Your email address will not be published.

The maximum upload file size: 5 MB. You can upload: image, document. Drop file here