From fabric we sew a wreath. A simple sewing instruction for a very special Advent wreath. The instruction with template is also suitable for sewing beginners. You can also attach four candles on the wreath. How this works we show you in a different offer.
Media Education for Kindergarten and Hort

Relief in everyday life, targeted promotion of individual children, independent learning and - without any pre-knowledge already usable by the youngest!
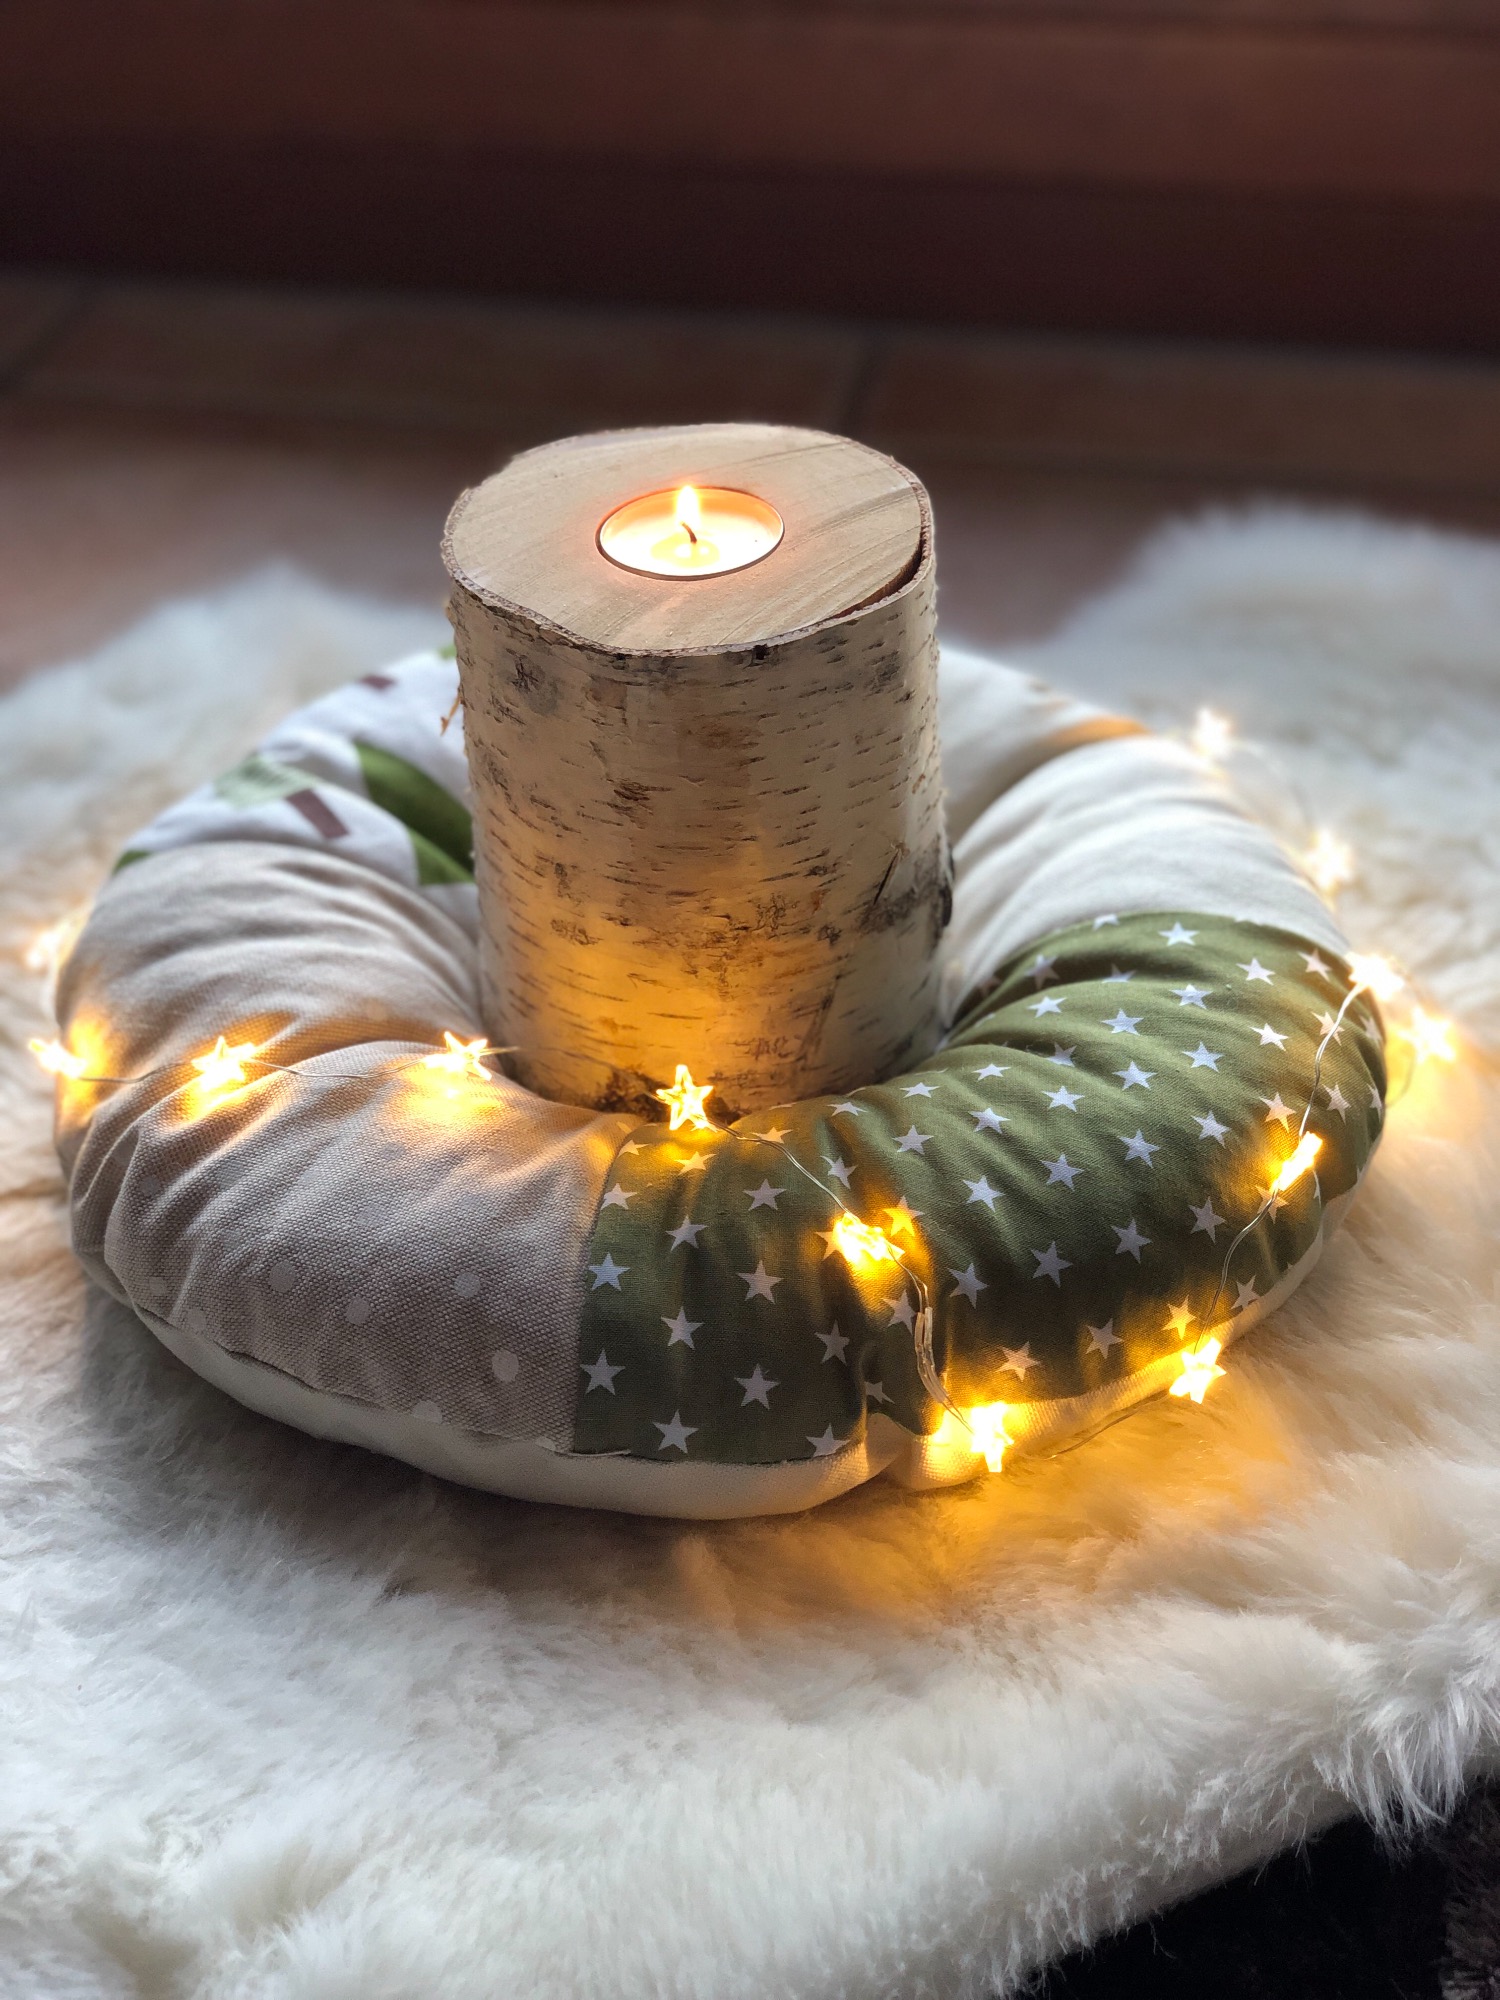
This is the pattern for the quarter circle. Print out the pattern and cut it out.
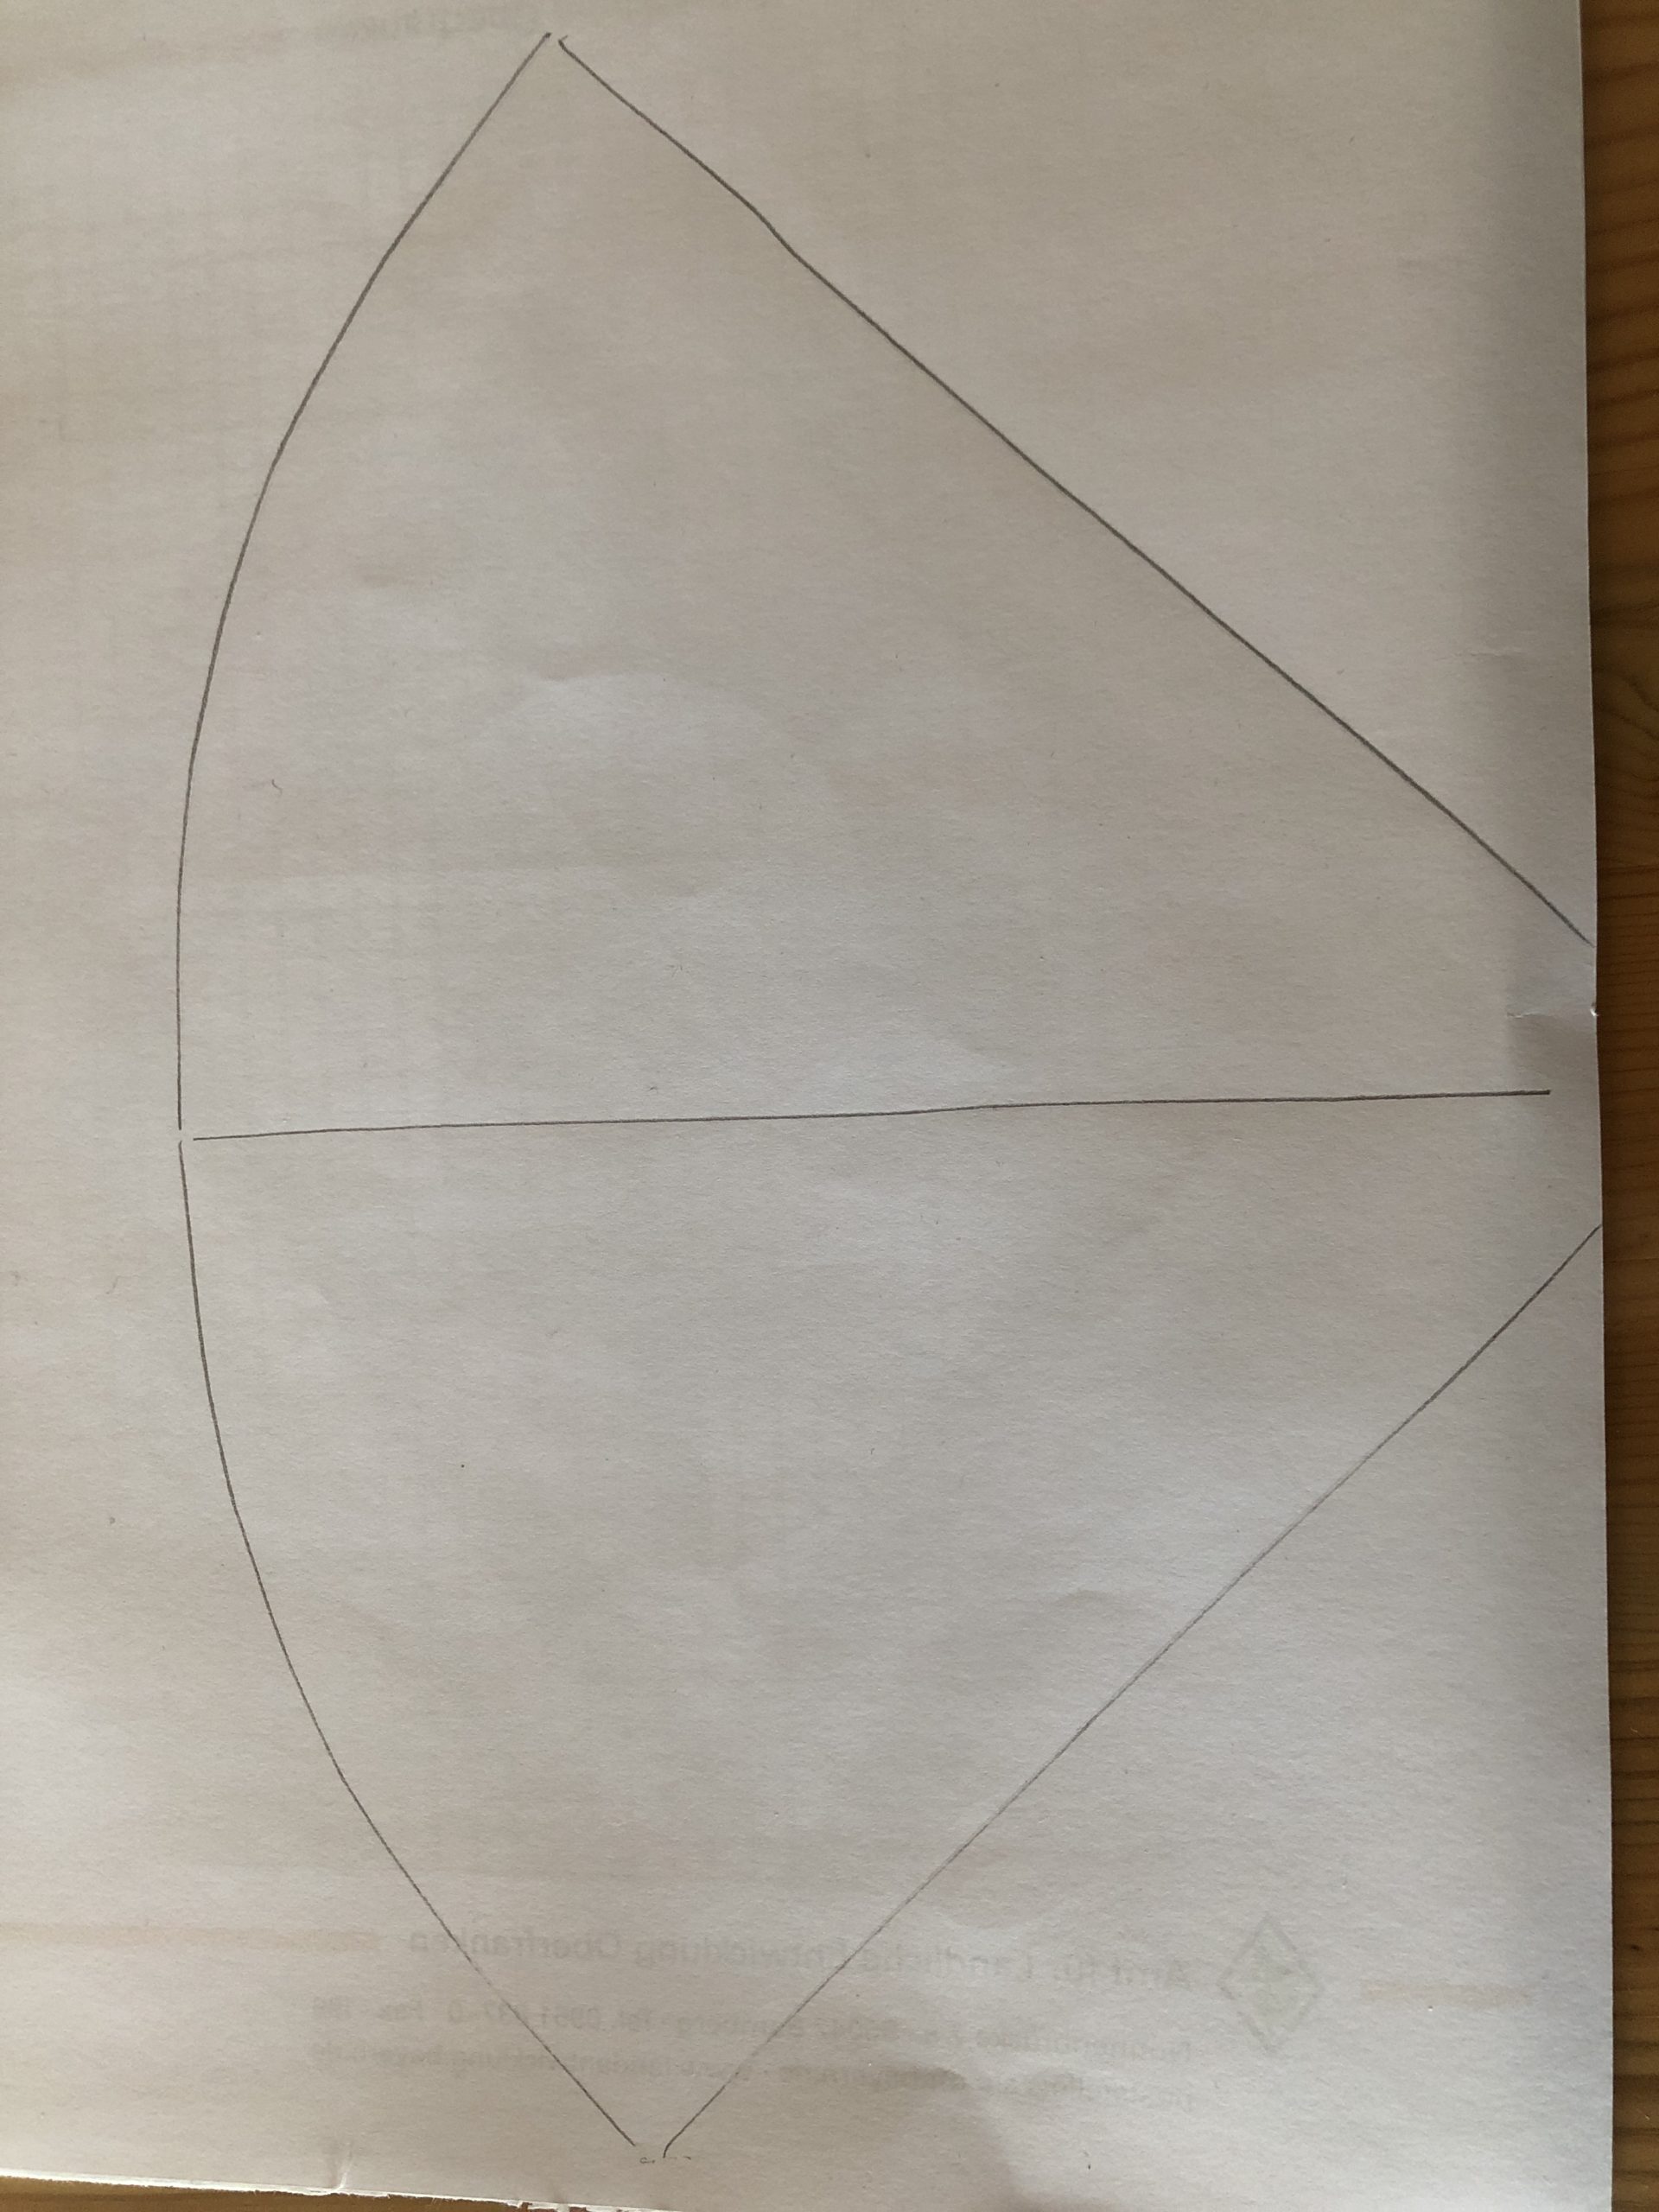
Cut four quarter circles of different materials (patterns). Transfer the template to the fabric. Place the template and border it one centimetre larger. Then cut the fabrics.


Put your stuffed parts together in a circle.
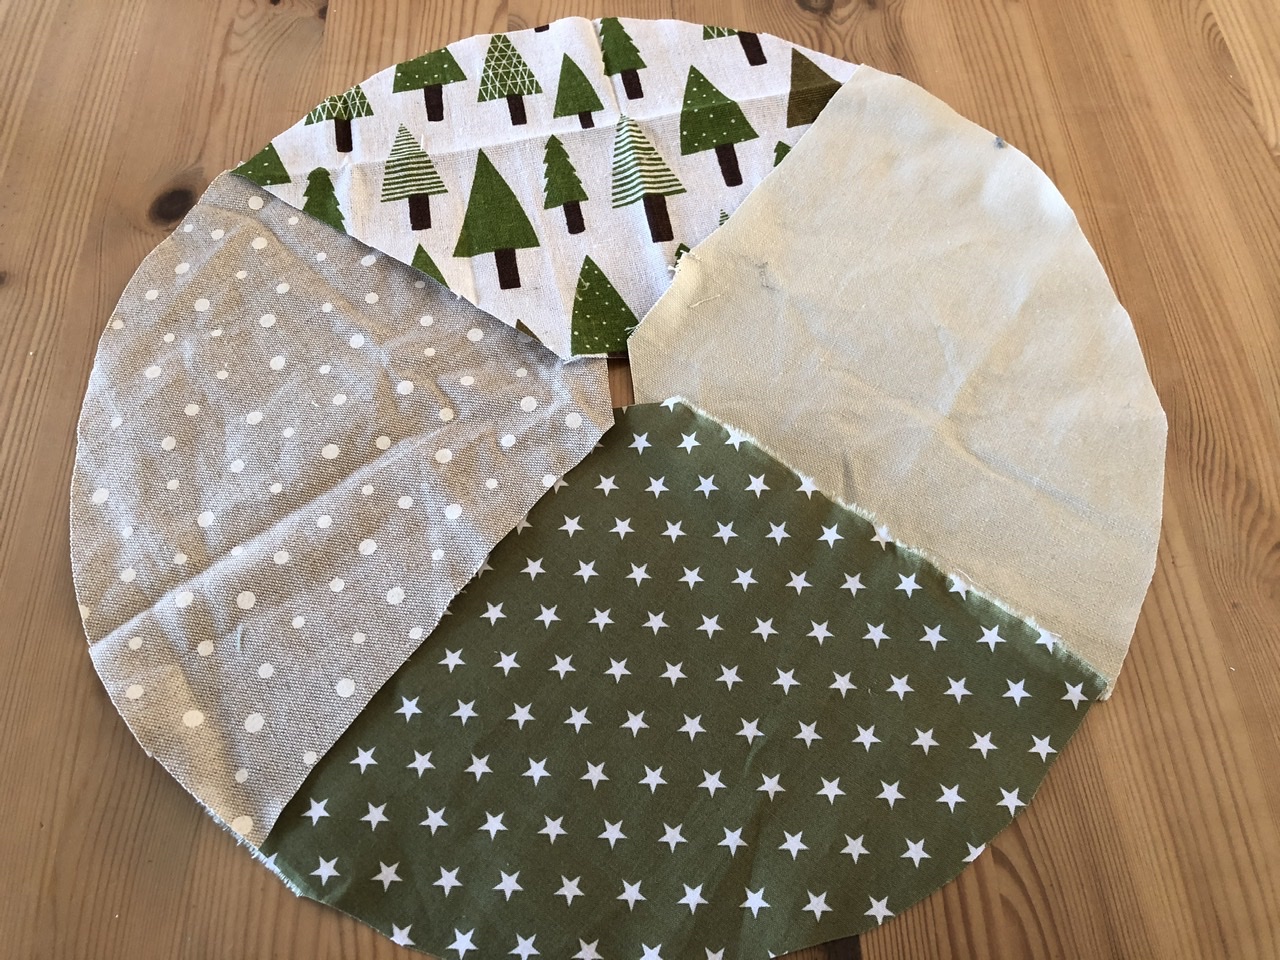


Now you sew the first two pieces together, put the two pieces together with the beautiful sides (on the right) and connect them with a seam.
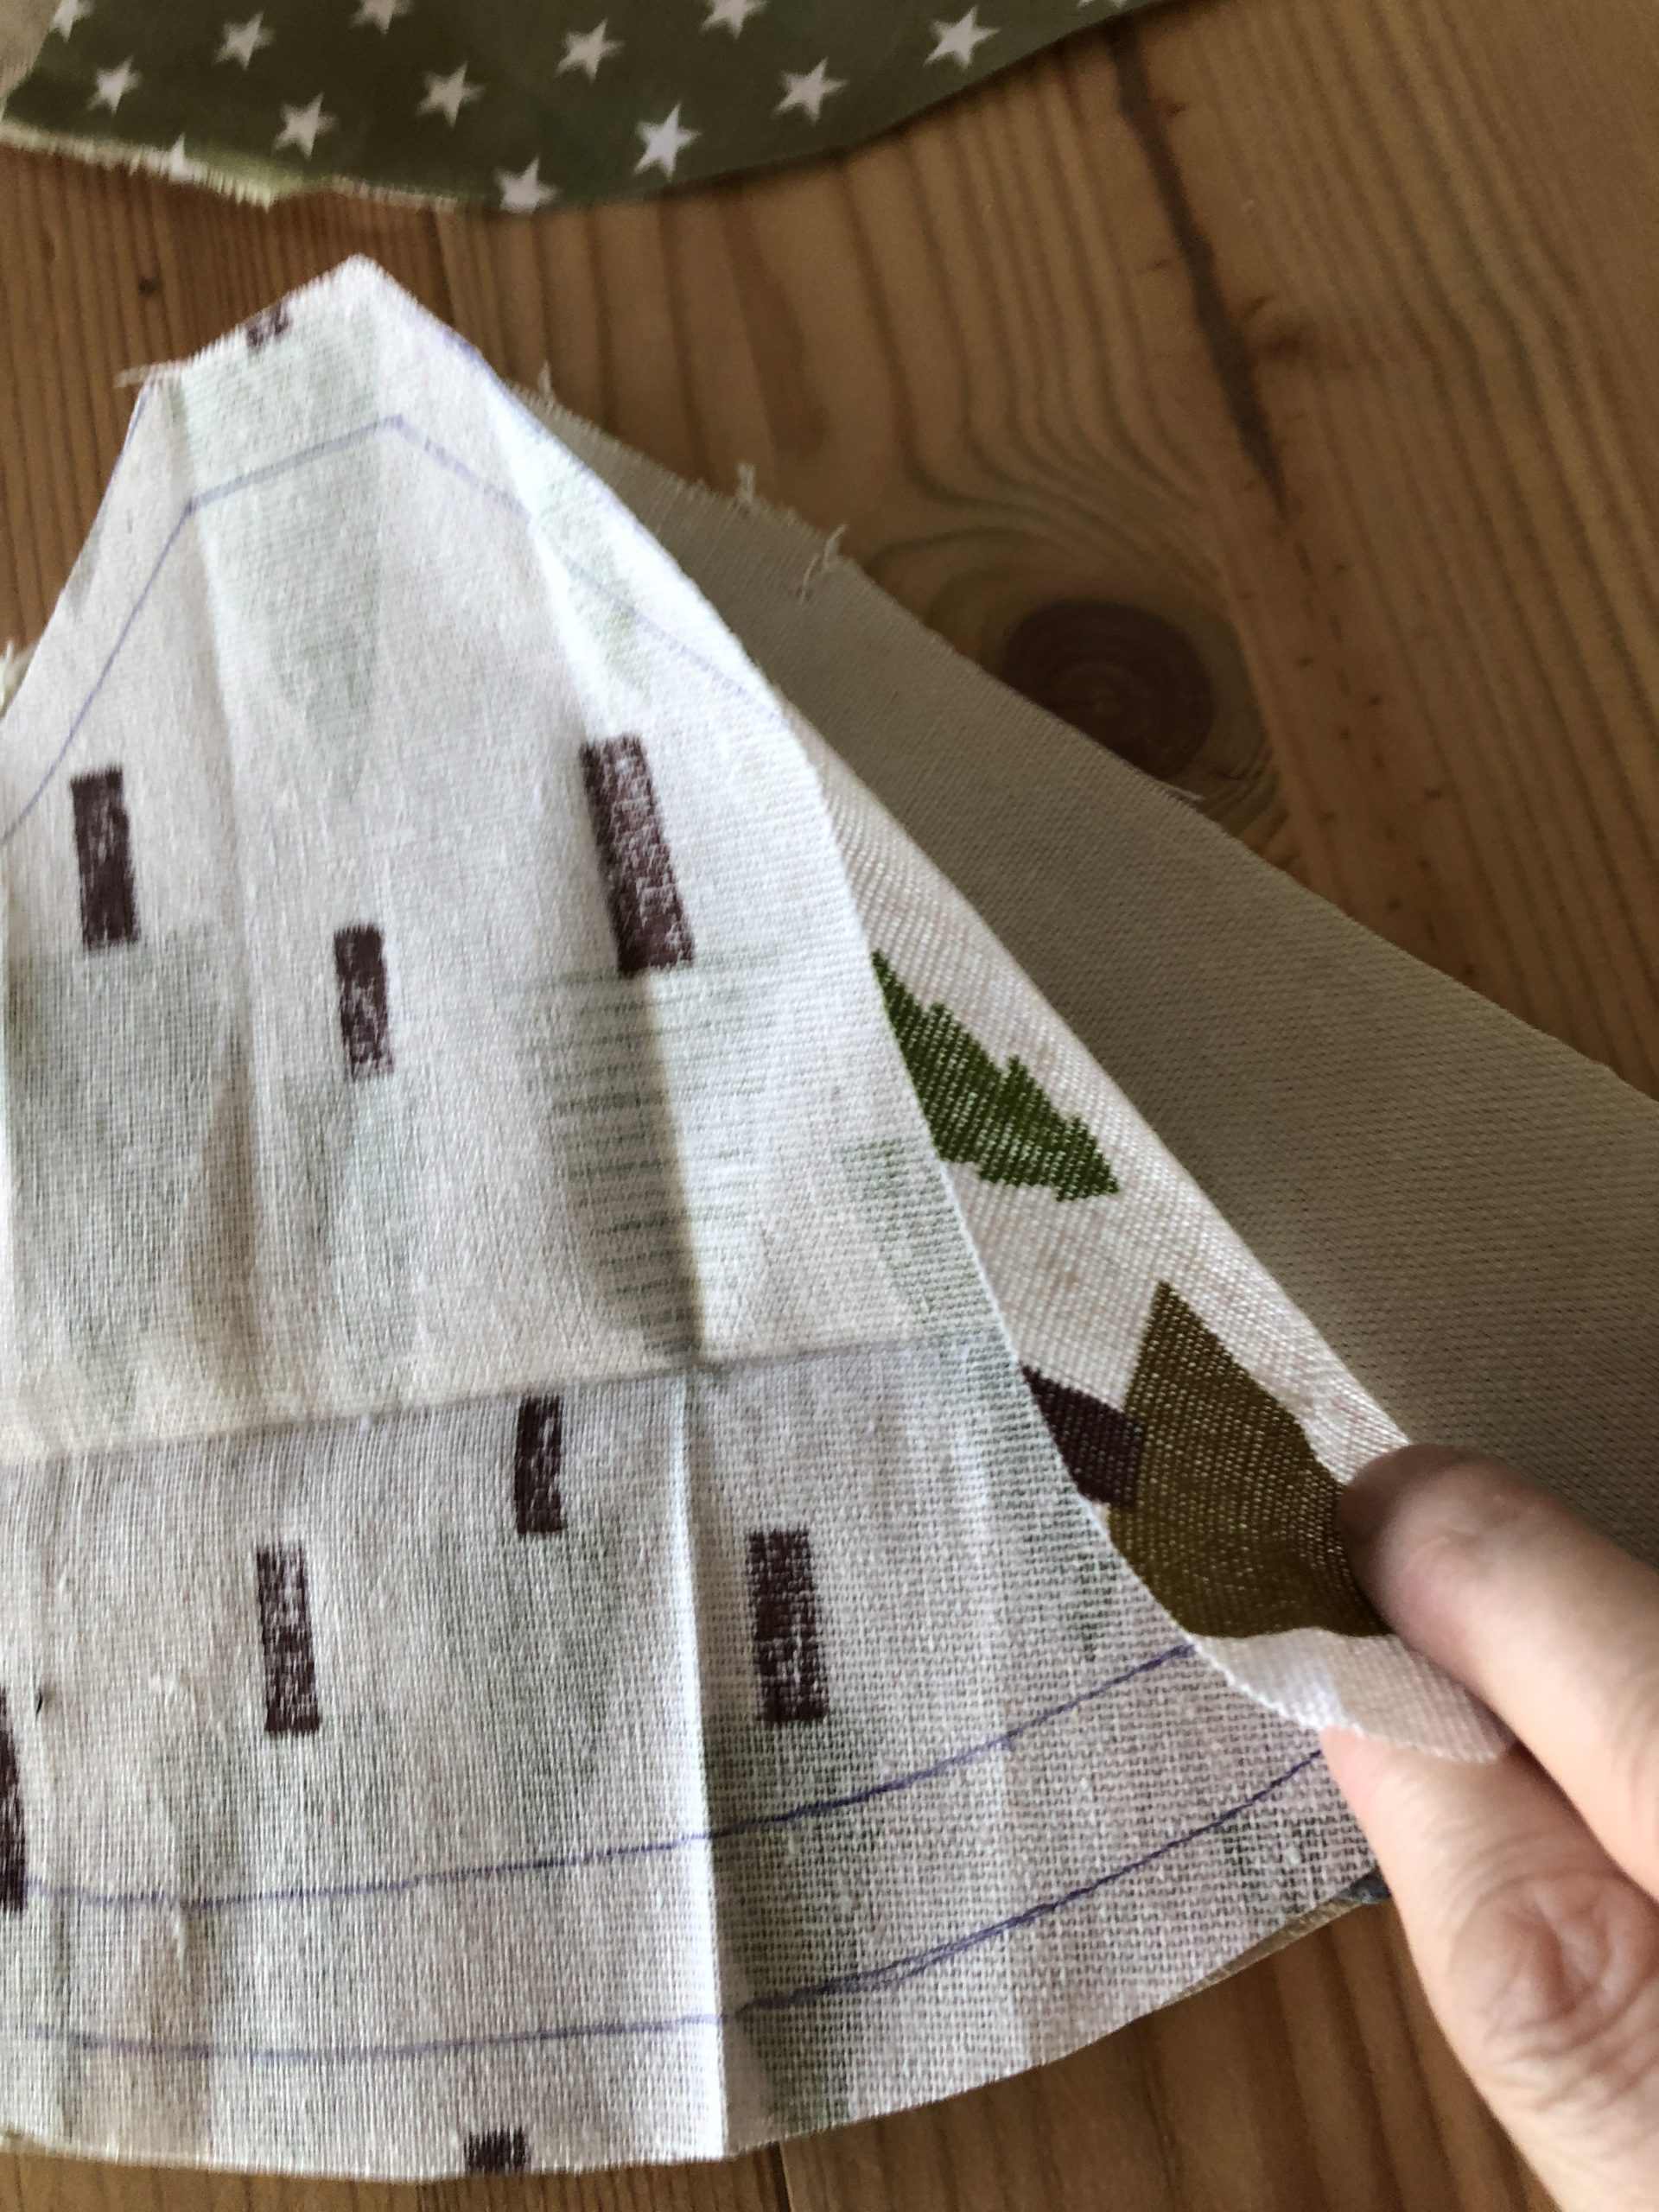


You can still sew off the sewn side with a zigzag stitch.


Now you sew the third and fourth part of the fabric on it. Attention, you must not sew the last part of the fabric together with the first one. This side remains open at first!


Now you cut out another fabric circle. It must be as large as your sewn circle. Use your circle as a template.
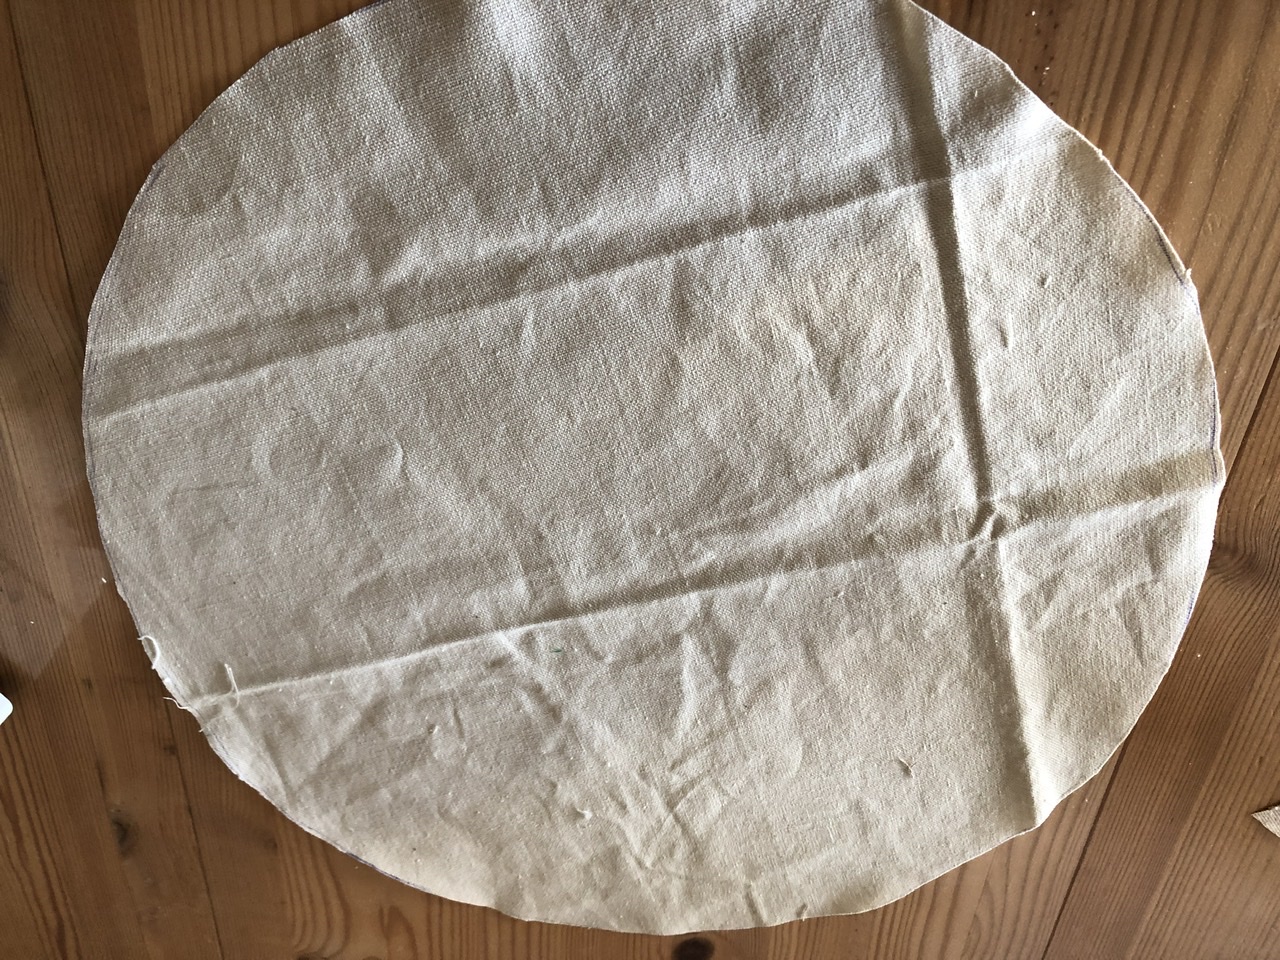


Now you put both parts together. The beautiful sides (right) point inwards.


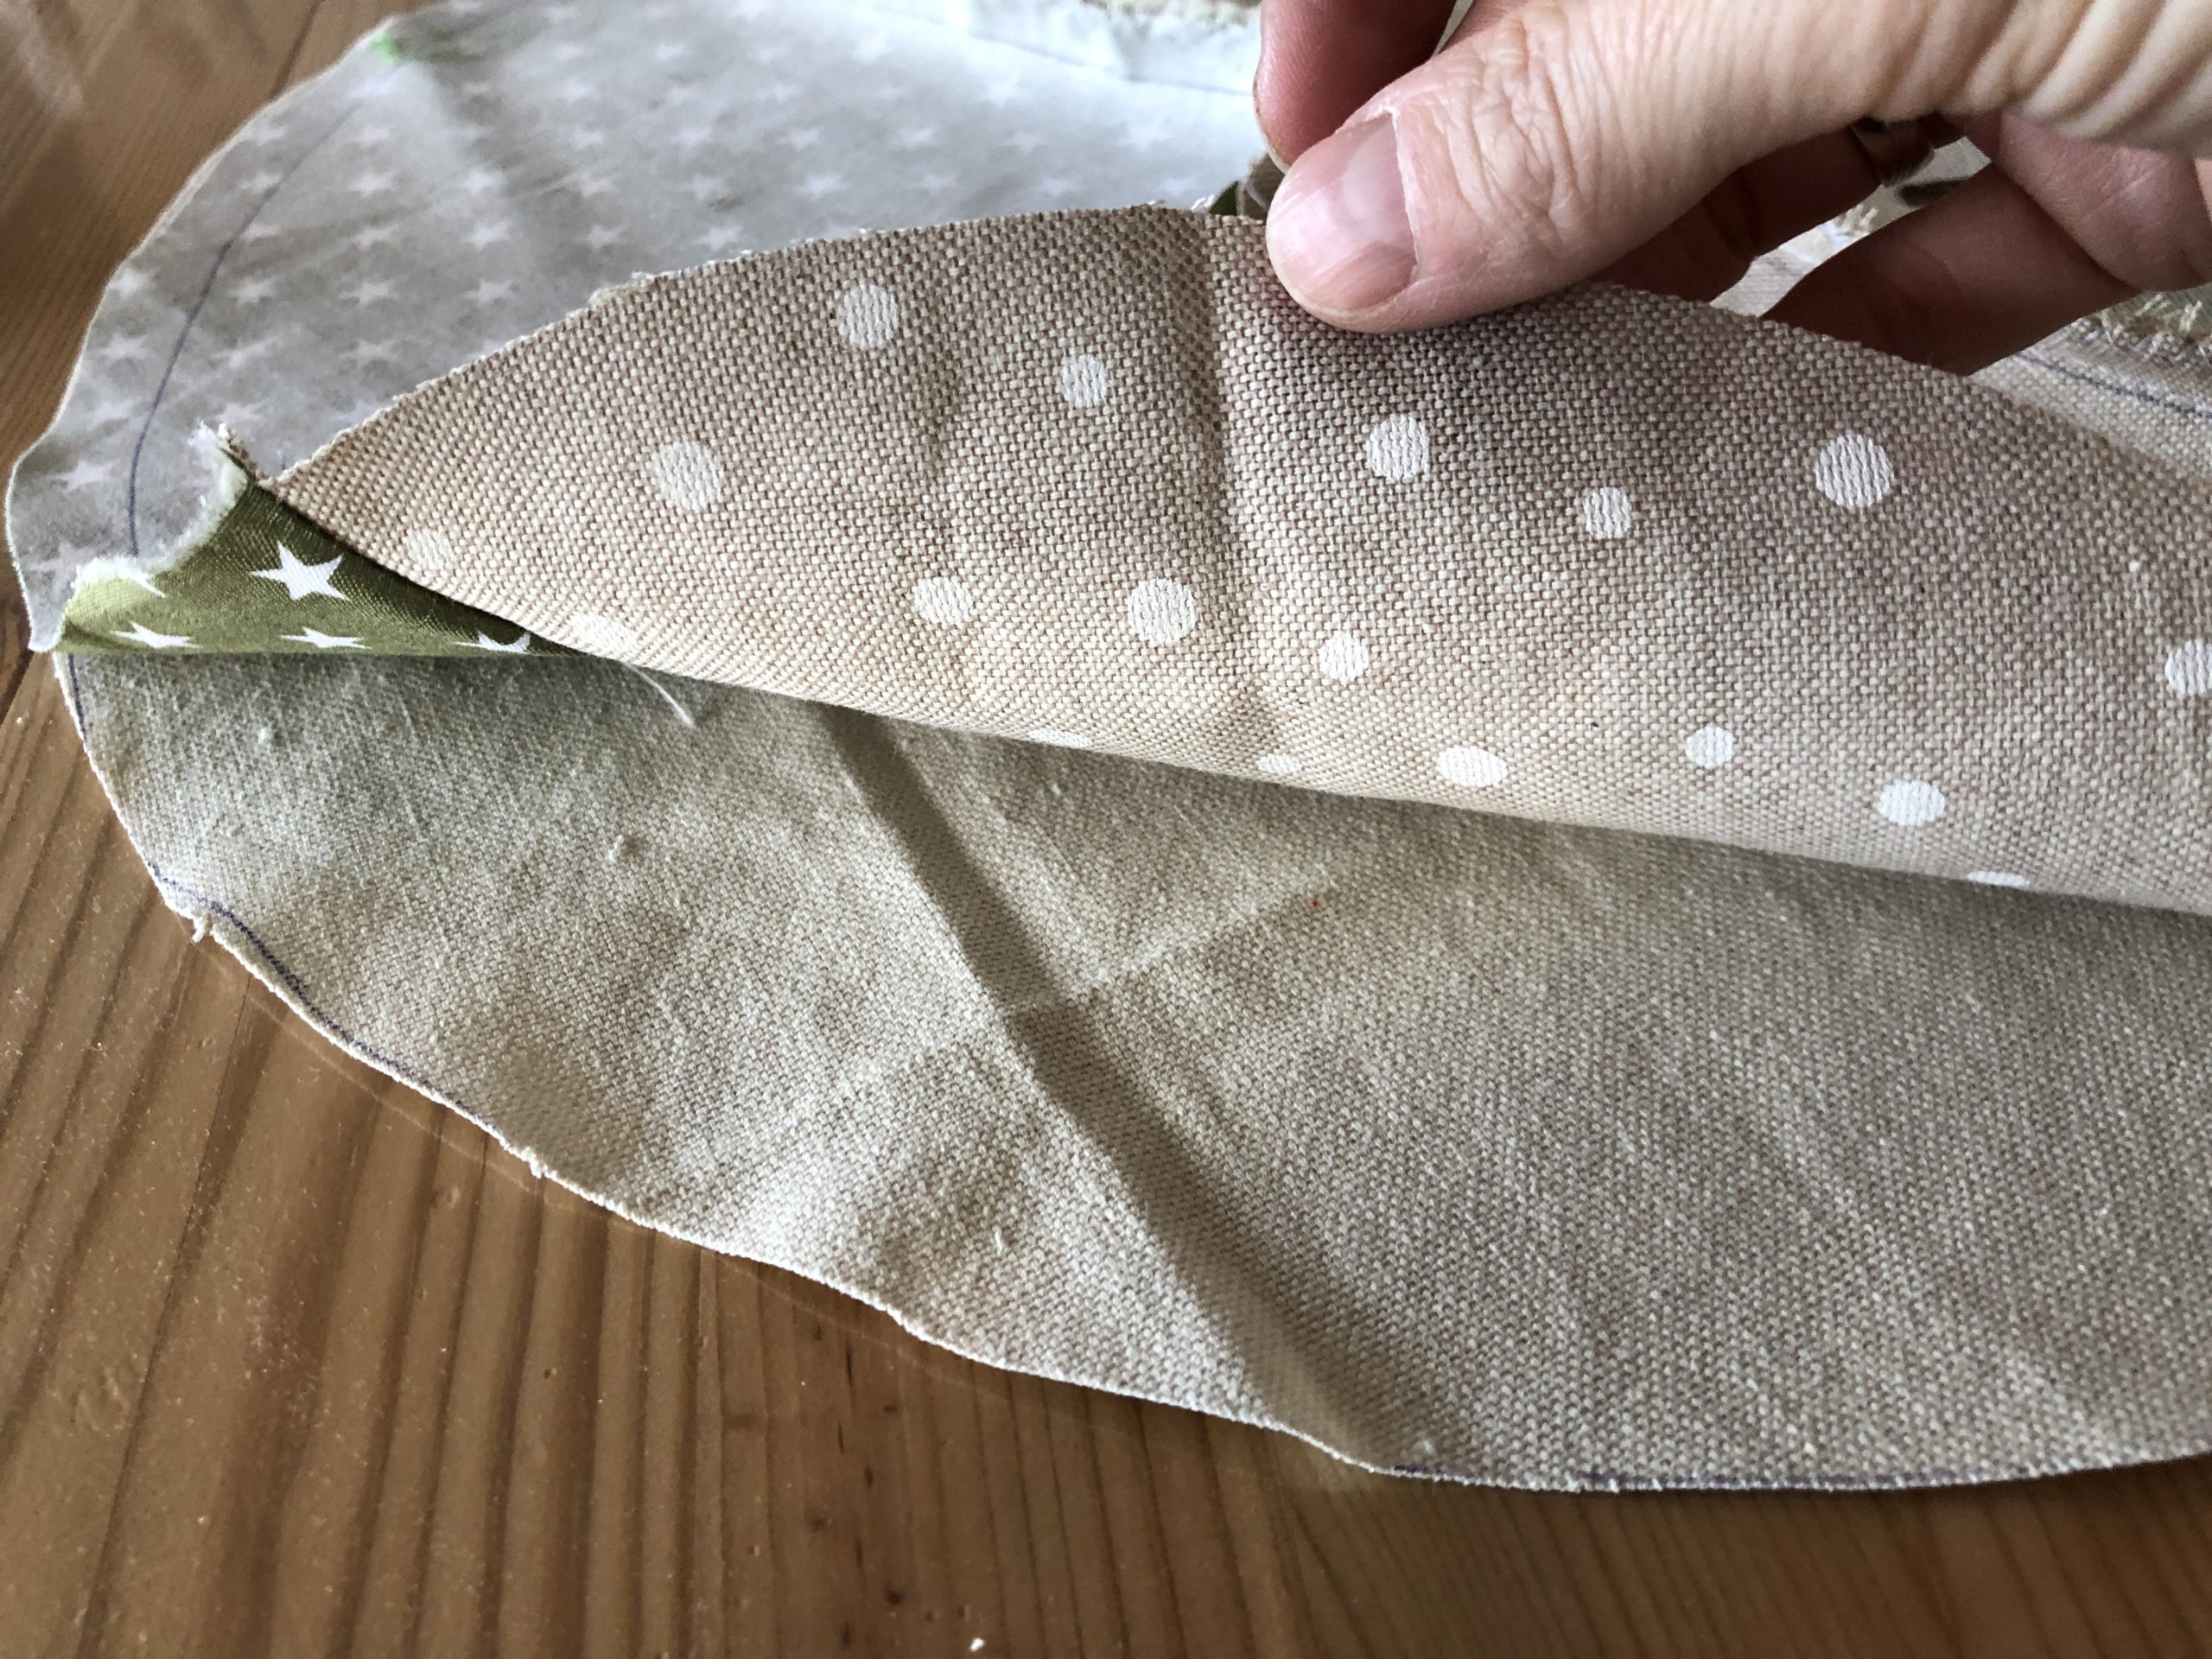


Stitches the fabrics together with pins.
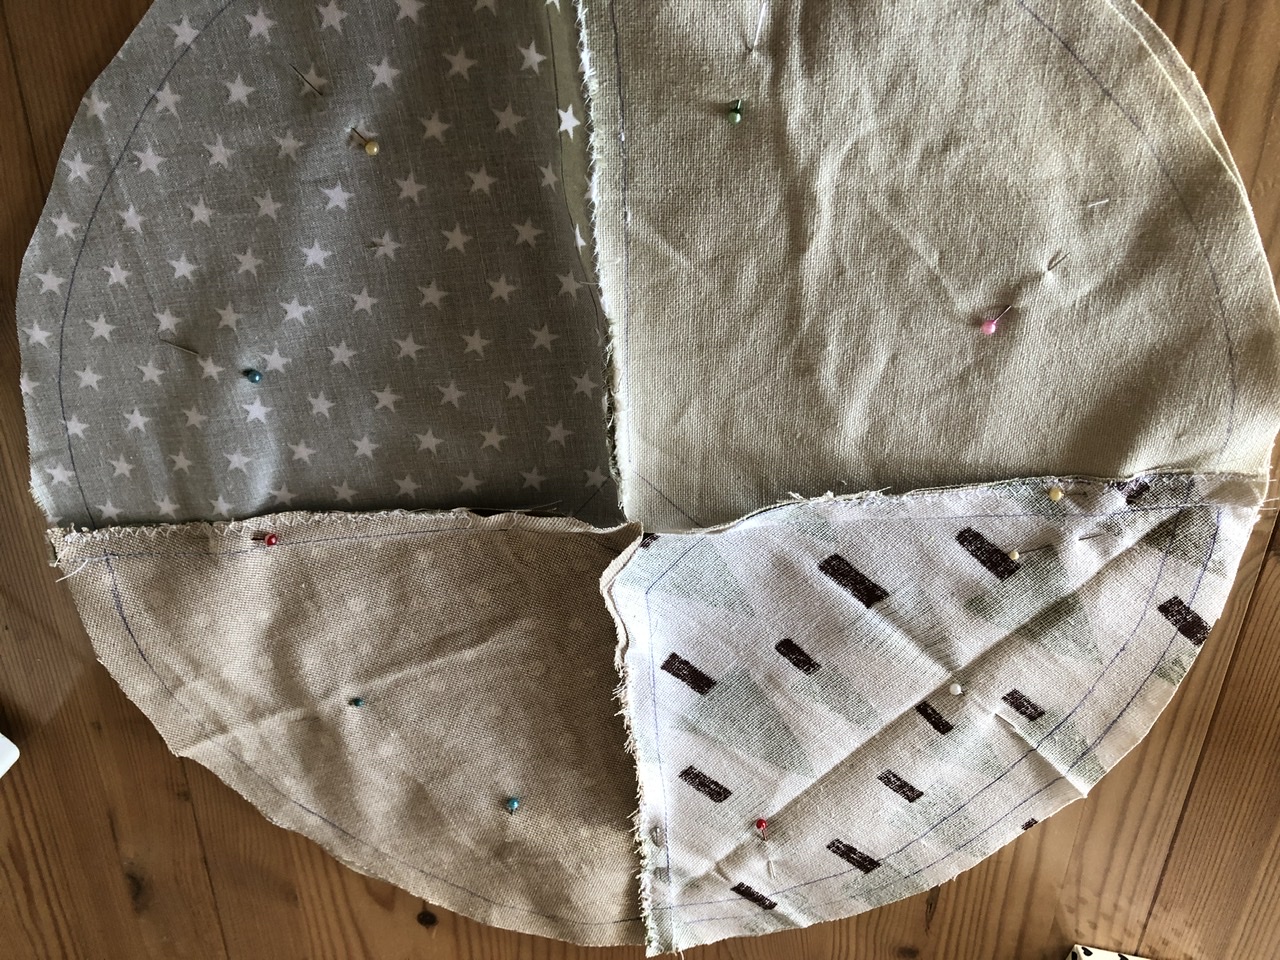


Attention, one side remains open.


Now you sew around.
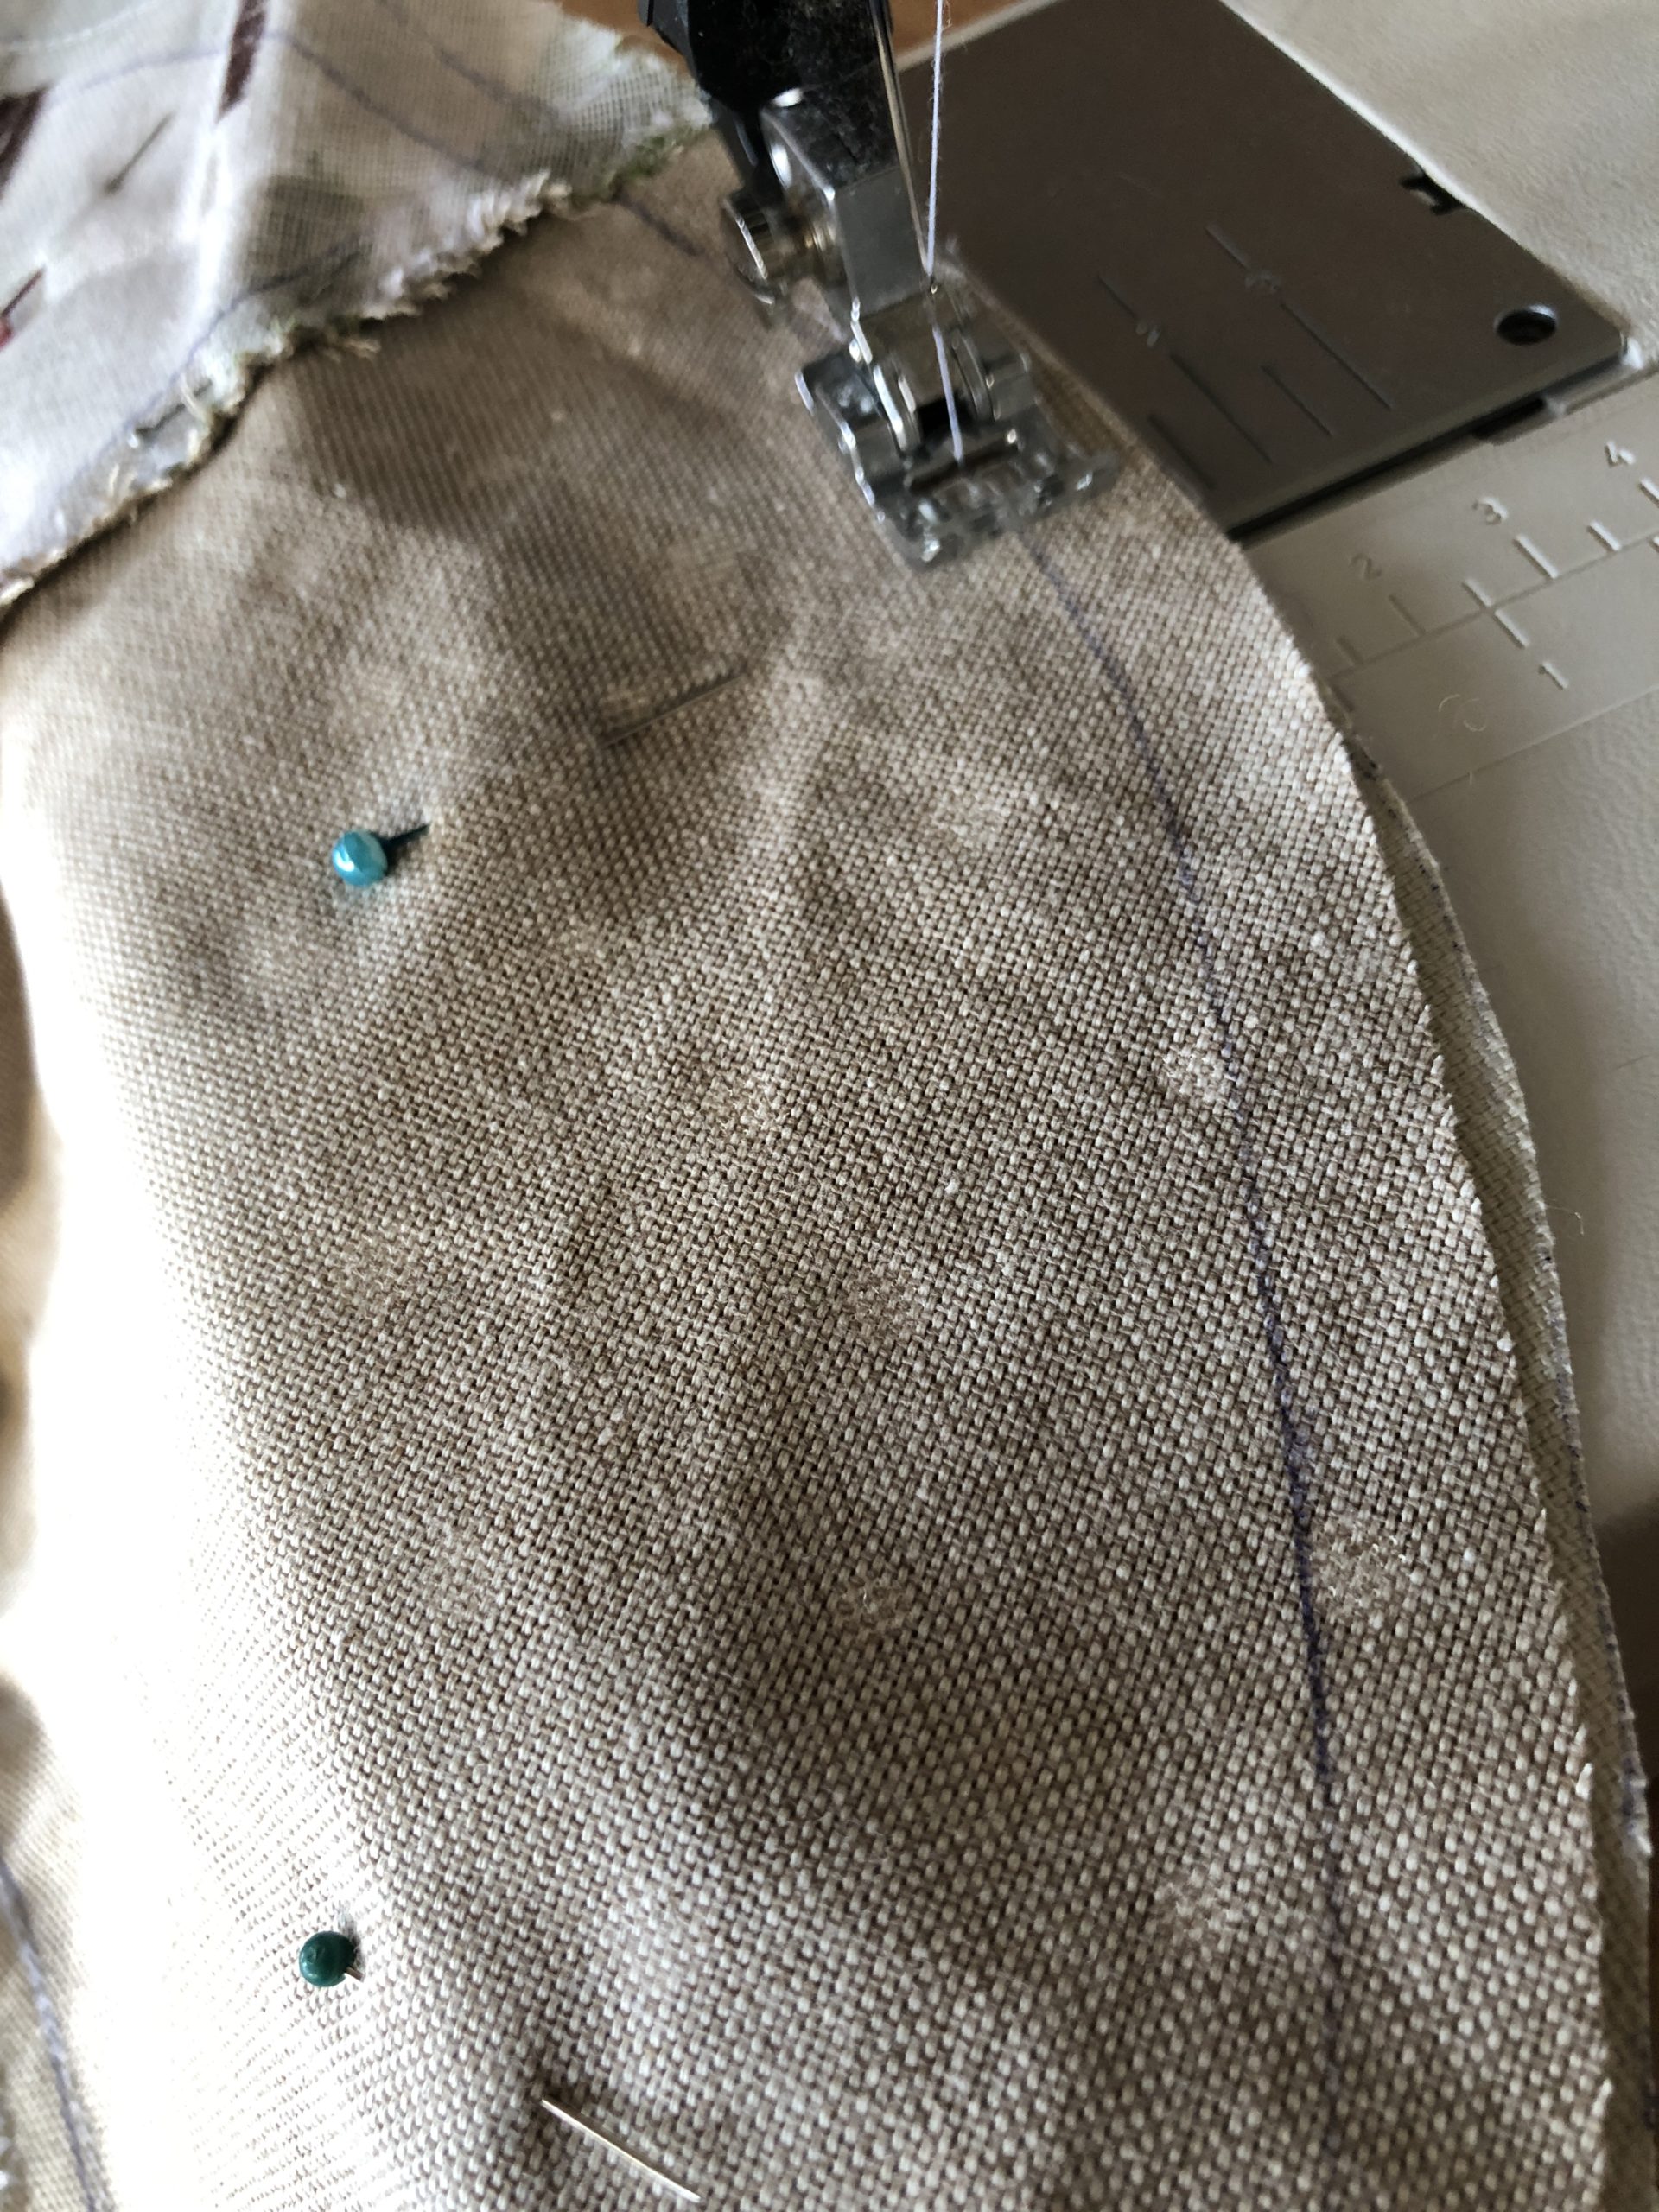


The two parts of the fabric get an opening in the same place. For this, cut the lower fabric in the same place as the upper one!
Cut a circle out of the middle so that it gives a fabric ring. I put a drinking cup on it and painted it for it! You then cut this circle out of both fabric circles.
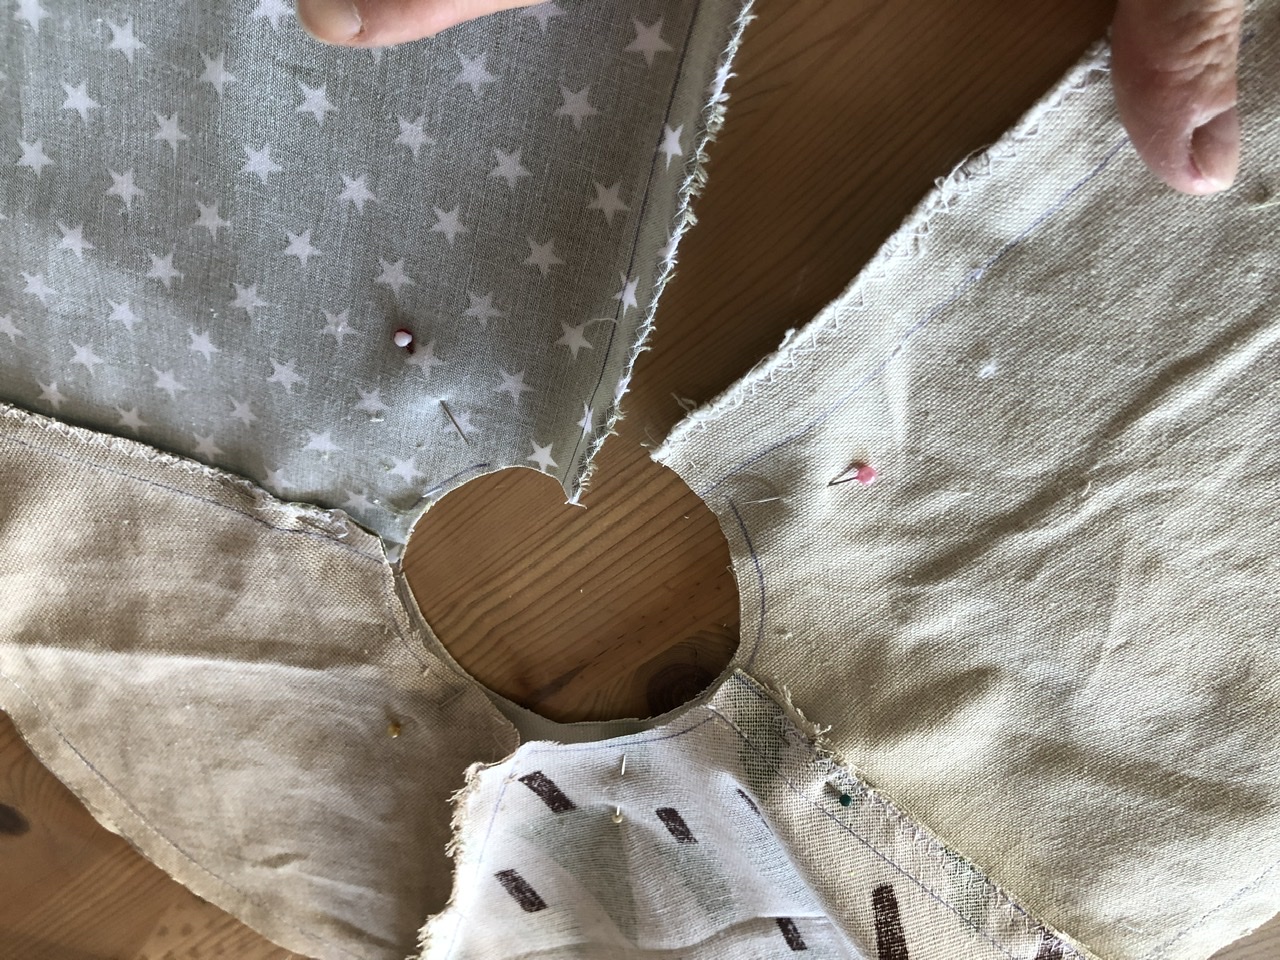


Now you sew the inner circle together and line it up with a zigzag stick.
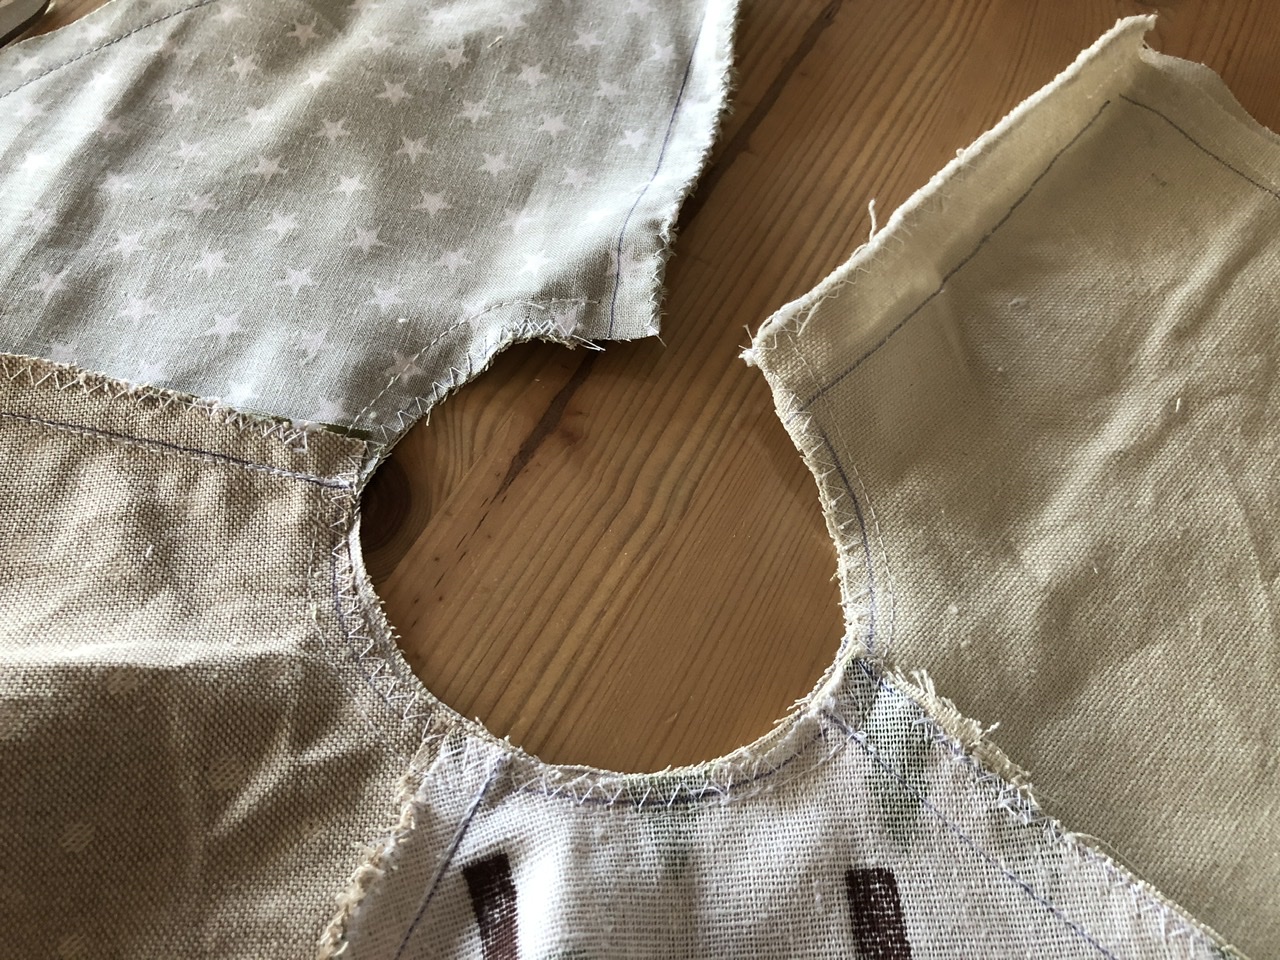


Finished is the sewn ring. This one is now turned around.
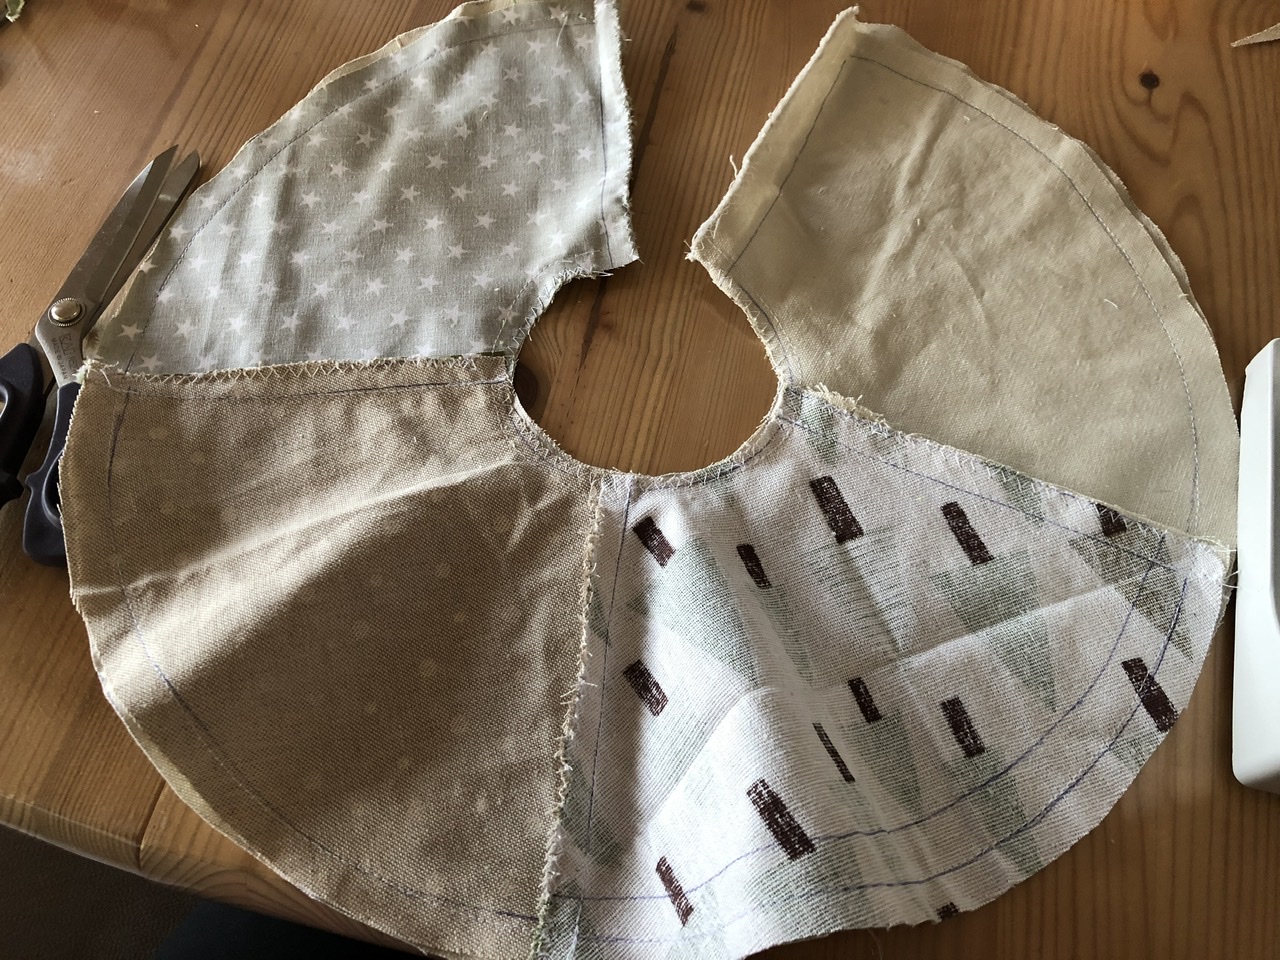


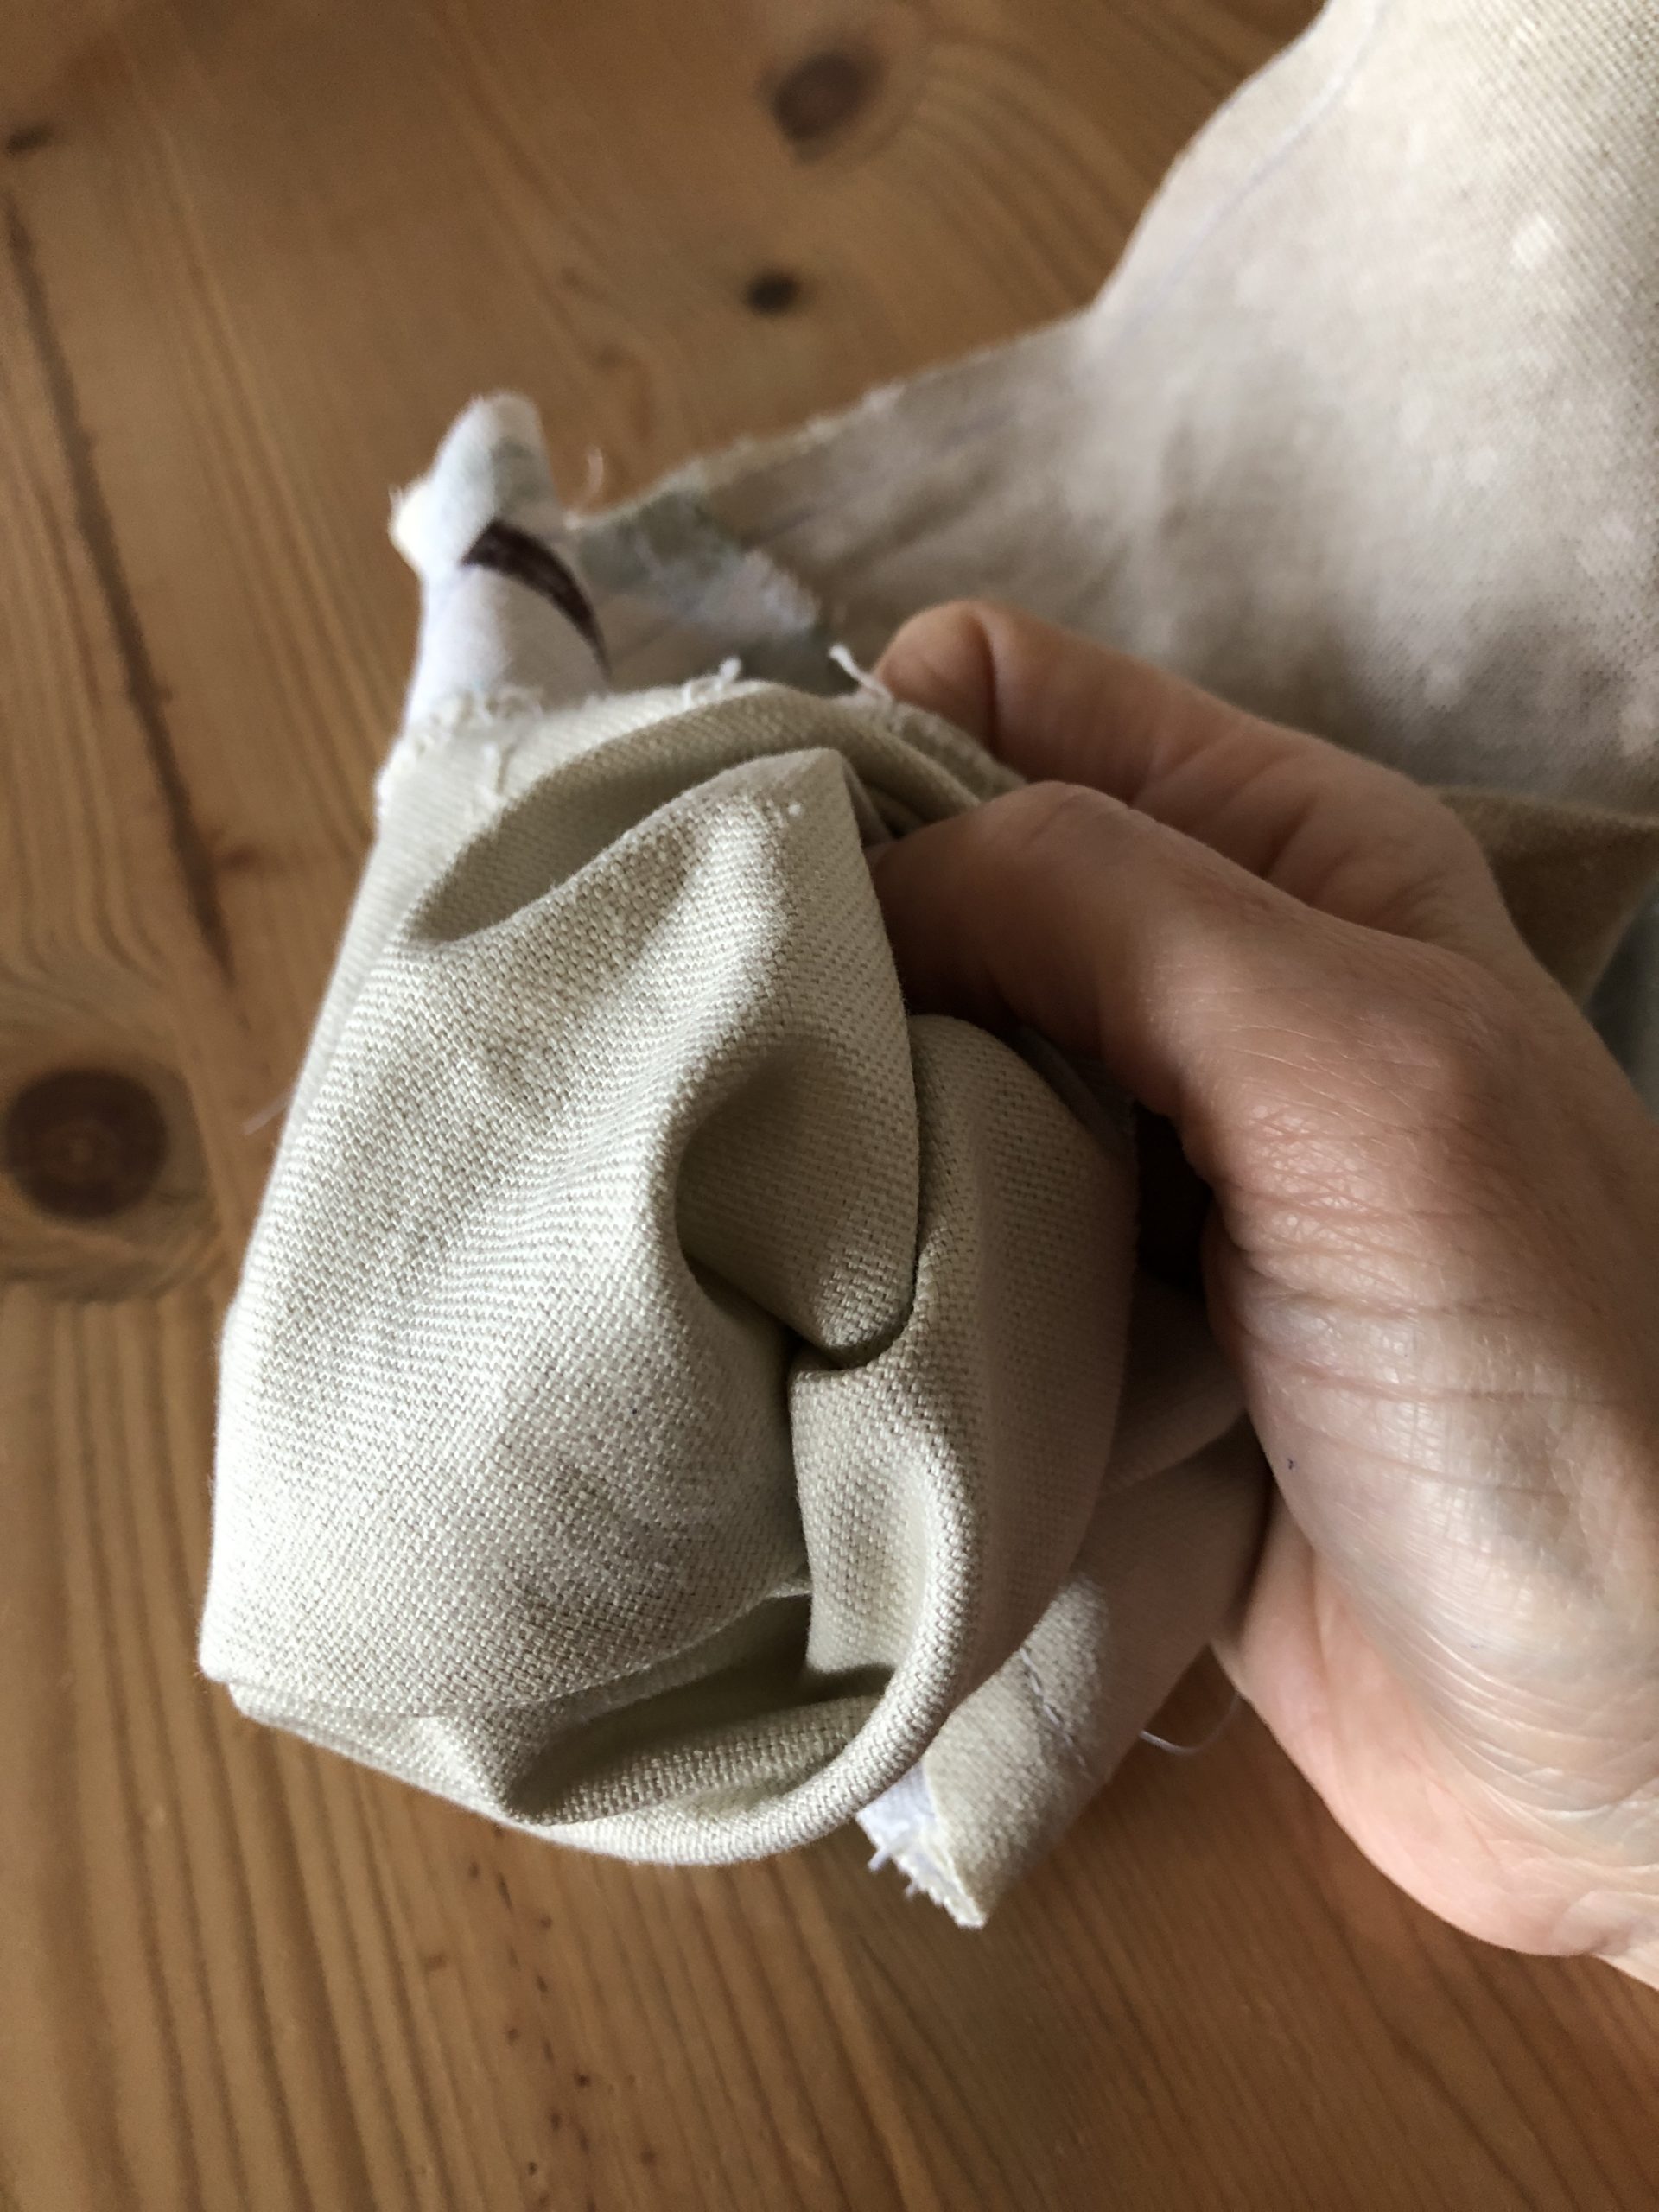


The two open ends are now sewn half together. Sew together the top of the later wreath. Then the last opening, which you sew with your hand, is on the bottom!
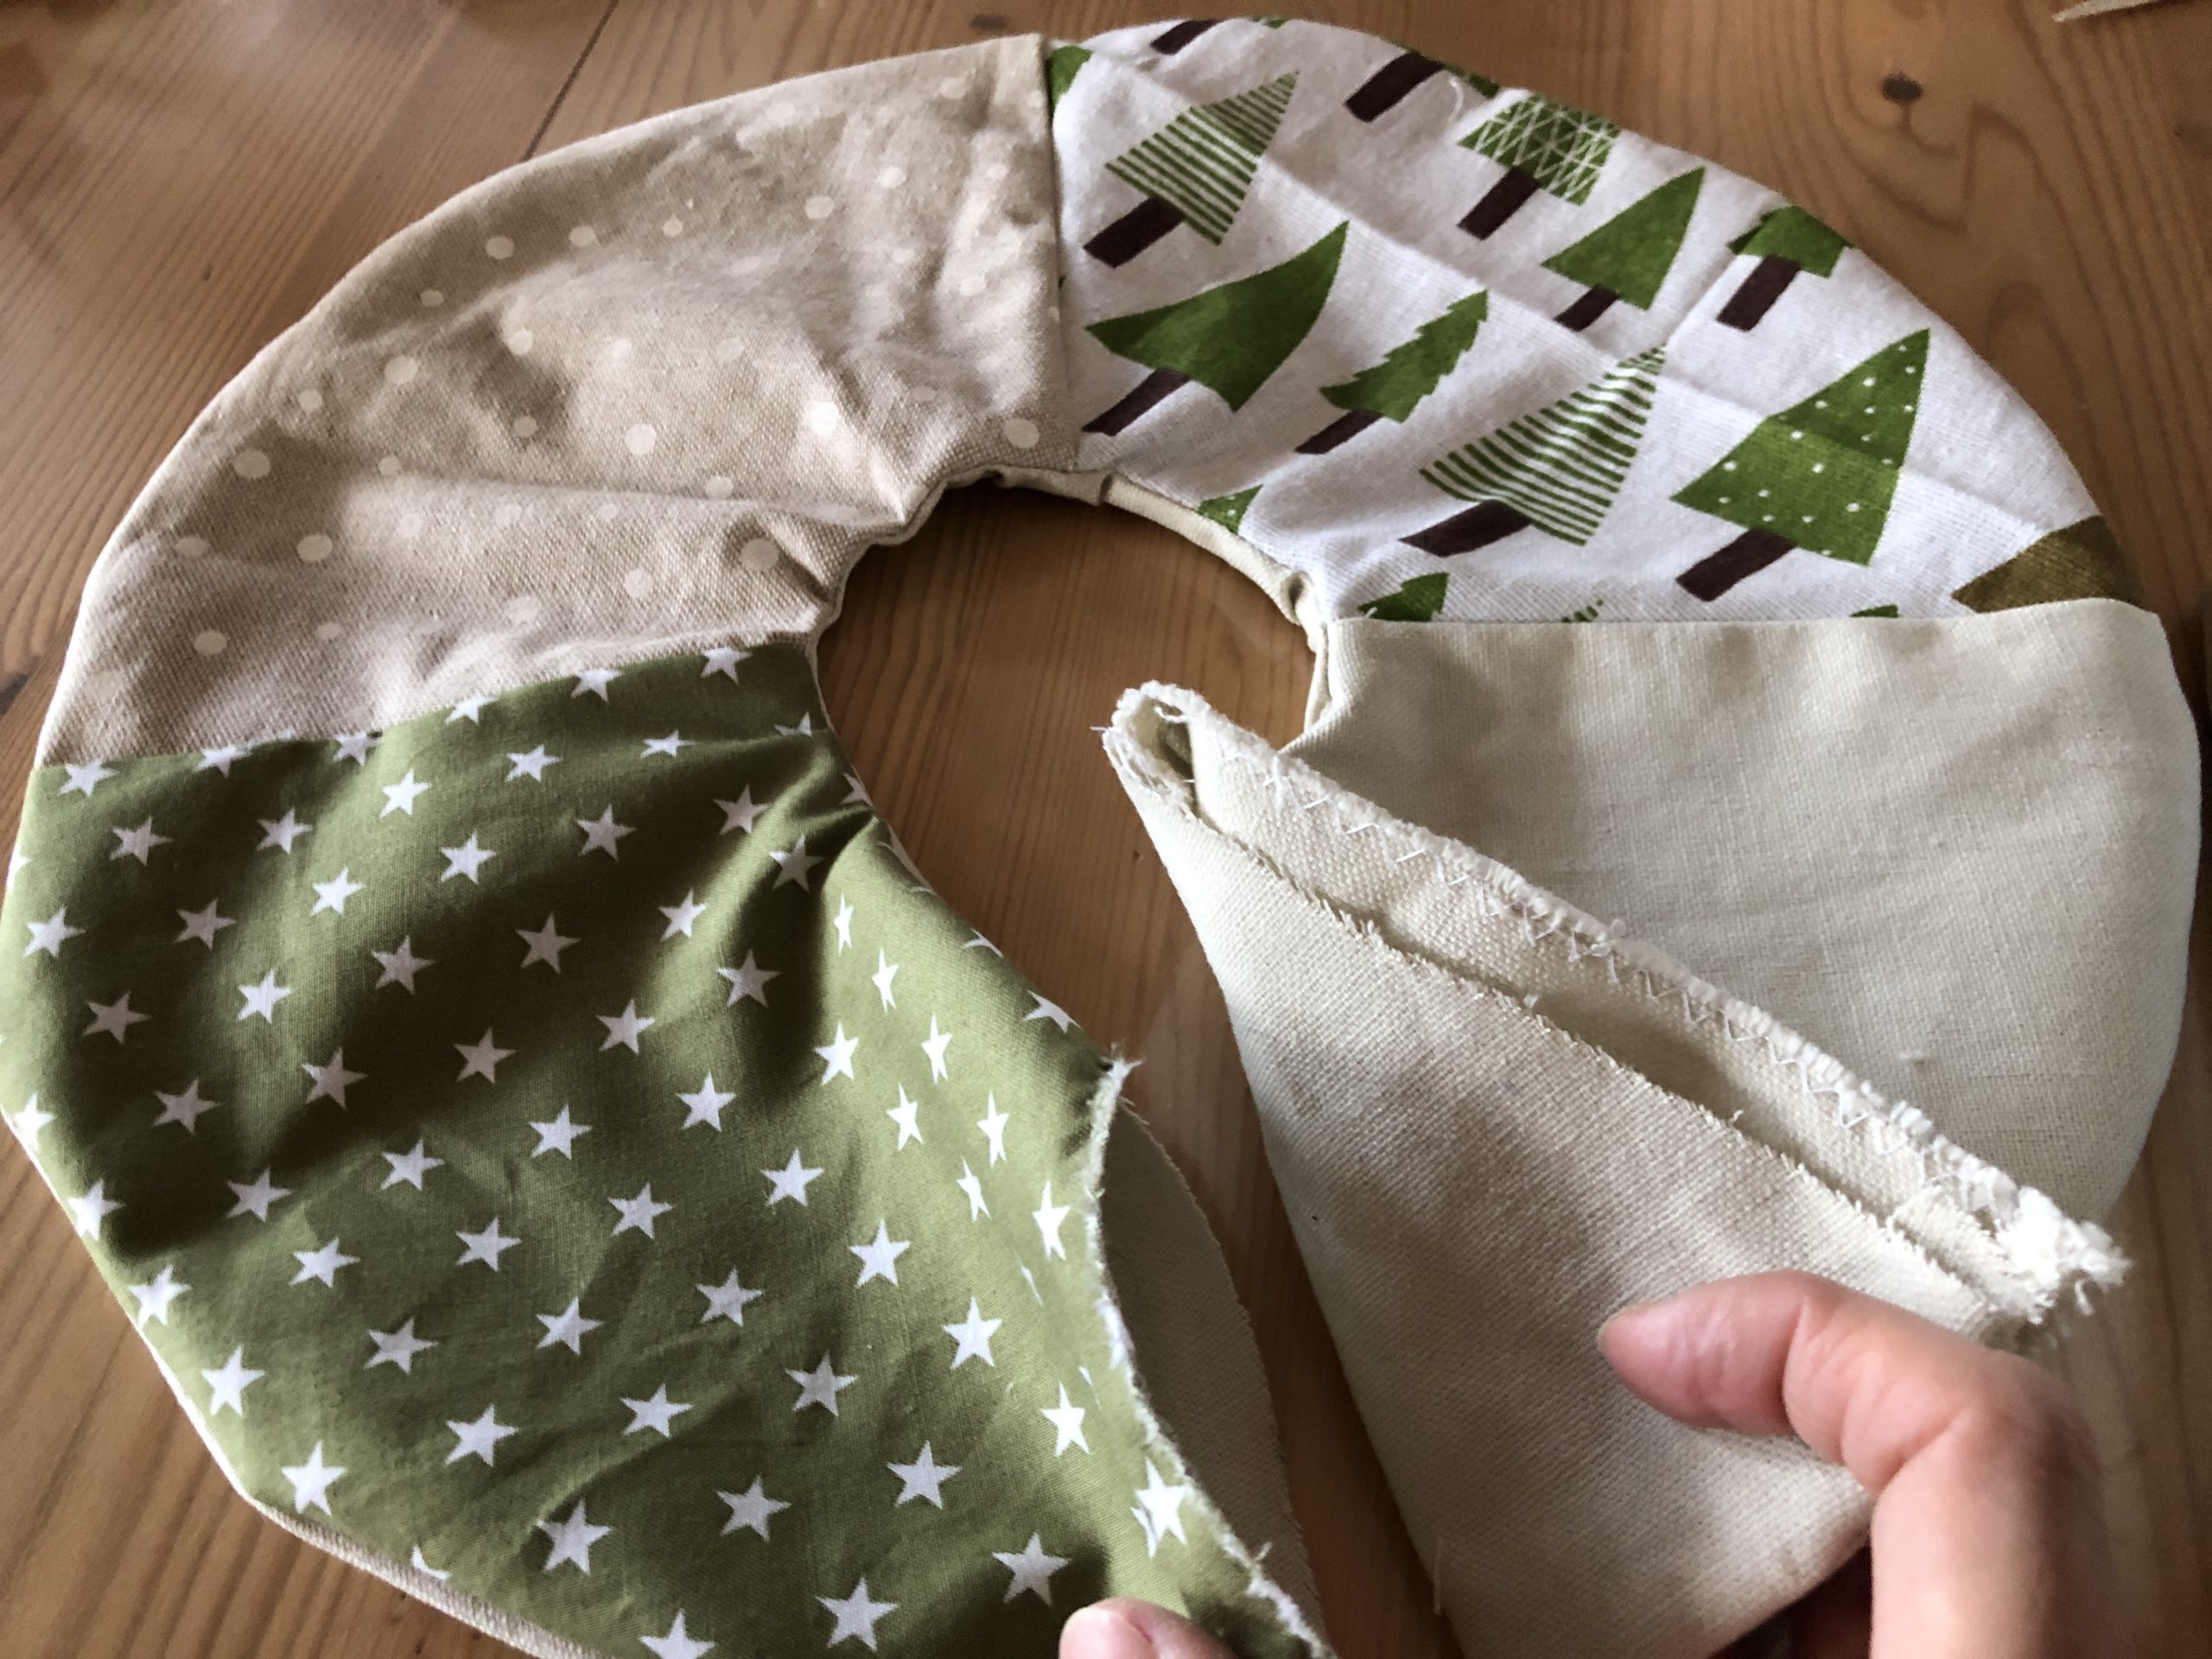


Stick the fabric, as in the picture, together with pins.


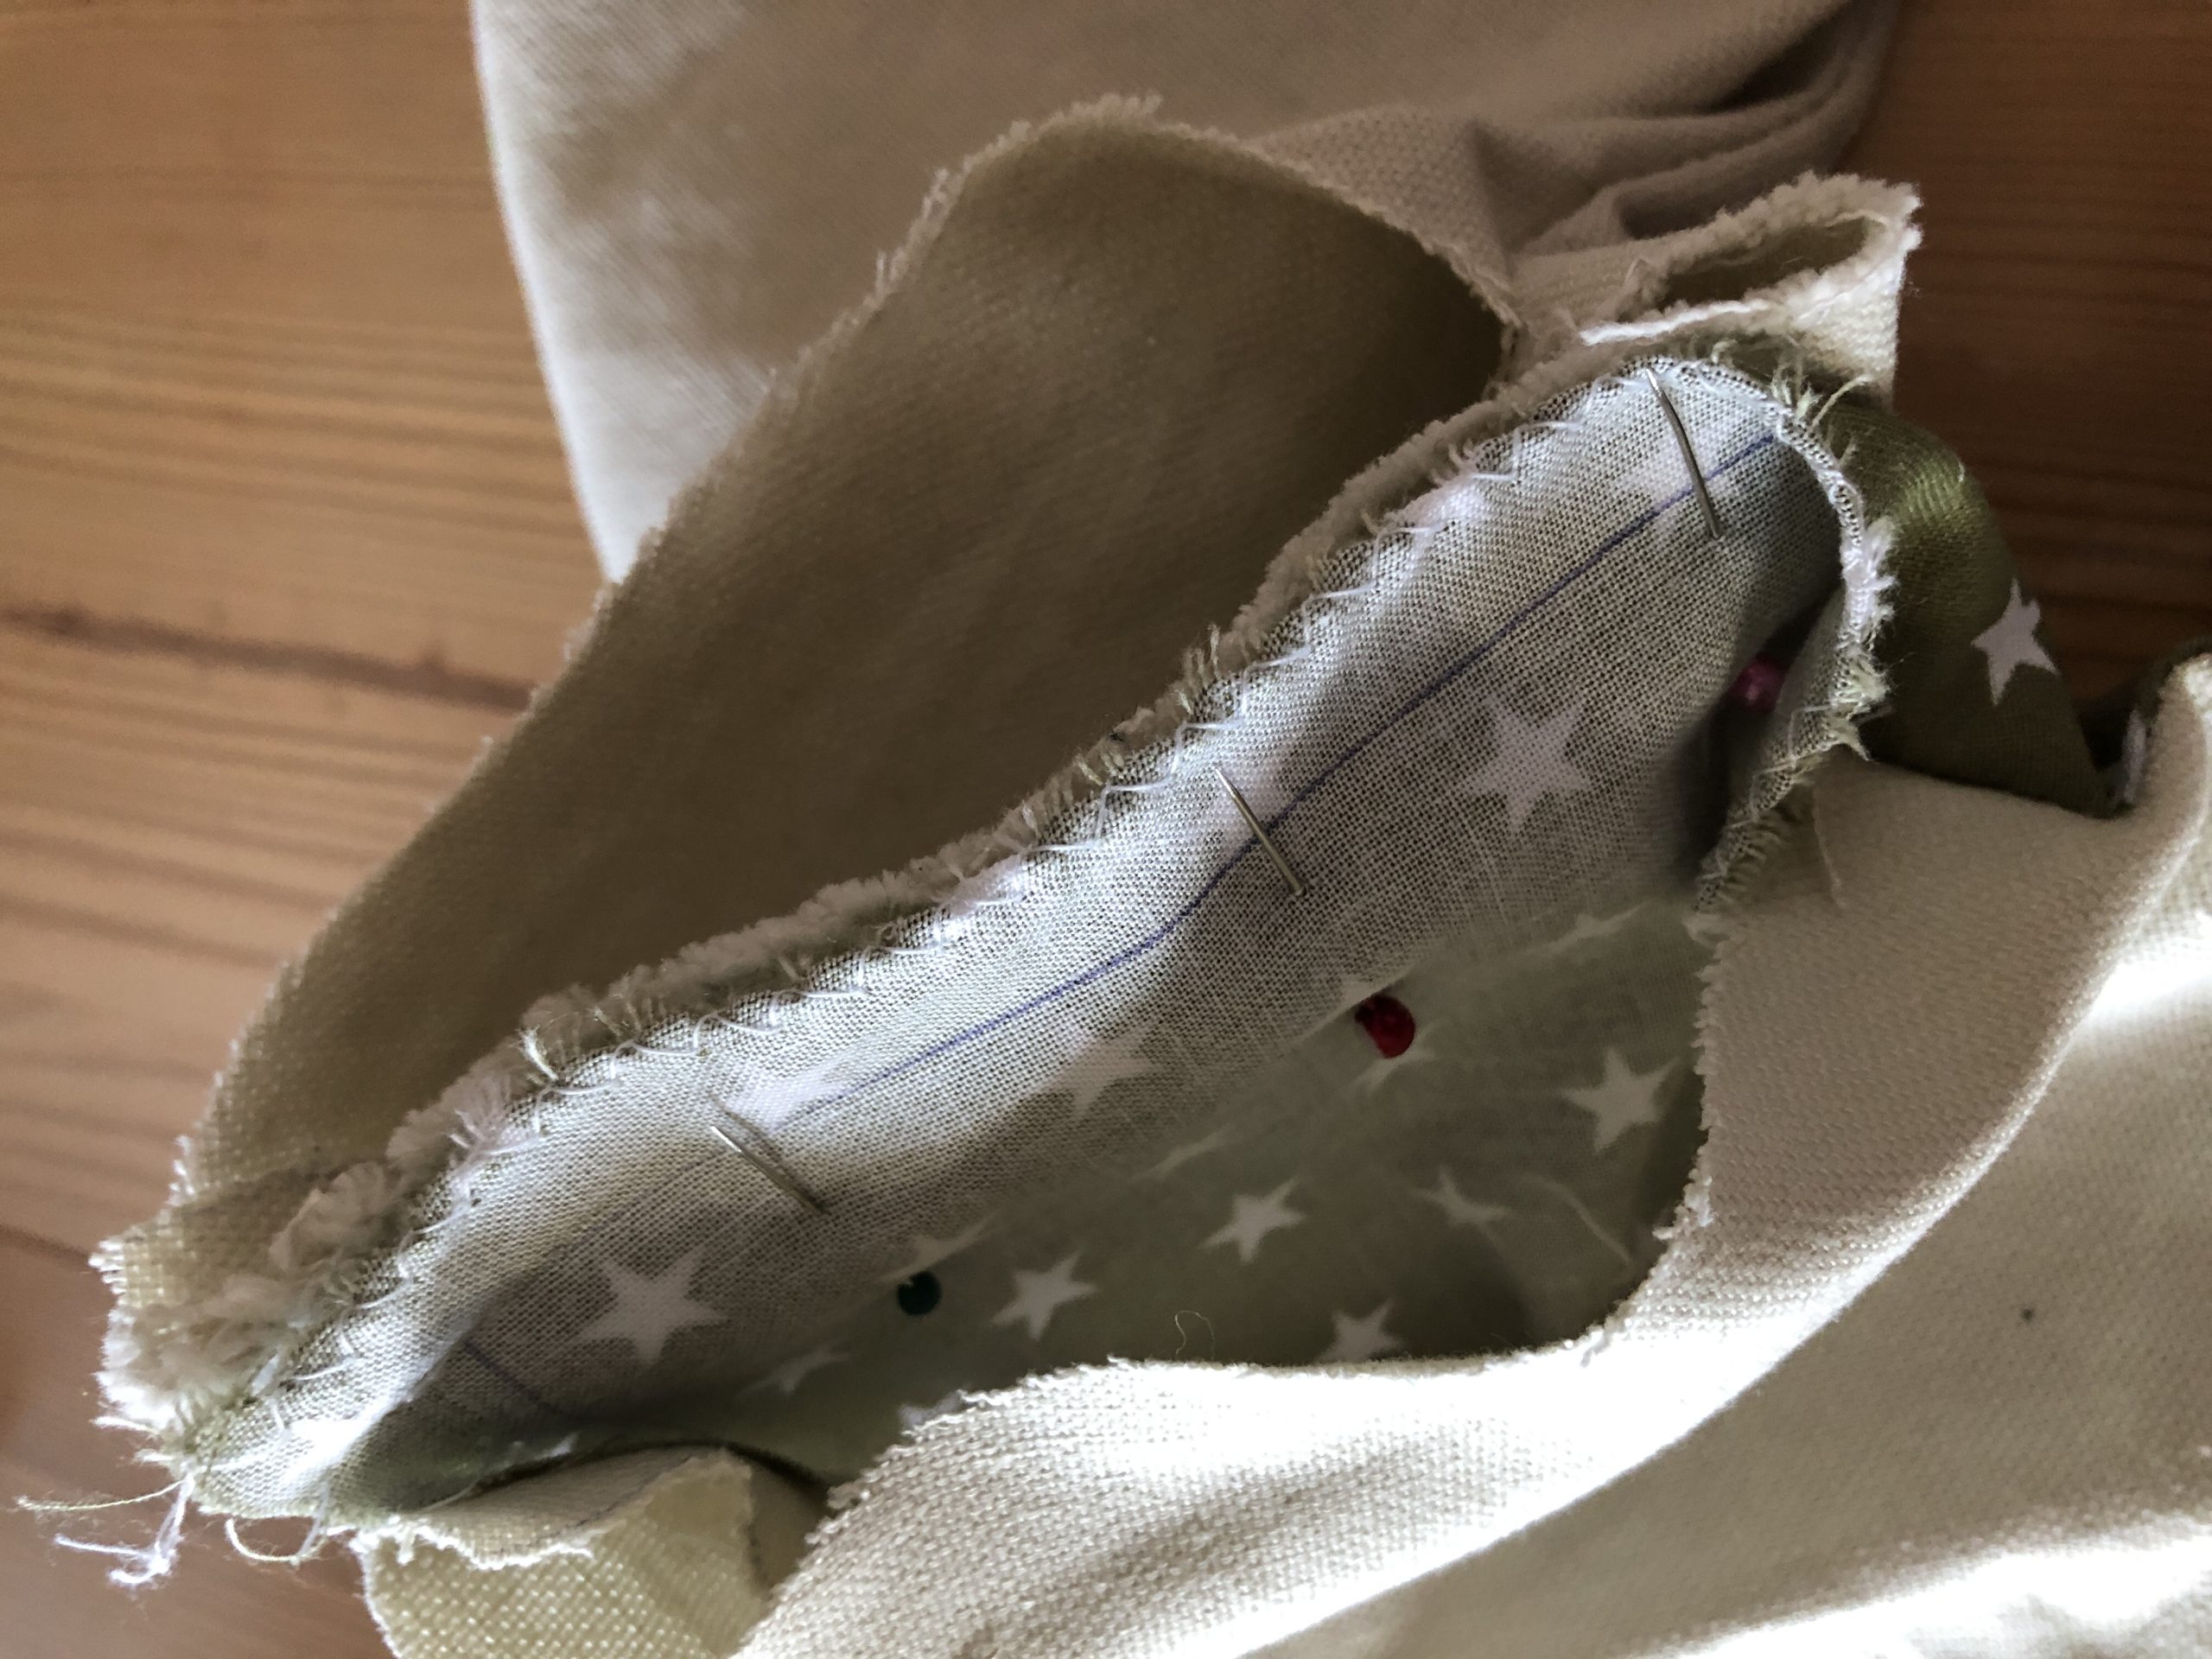


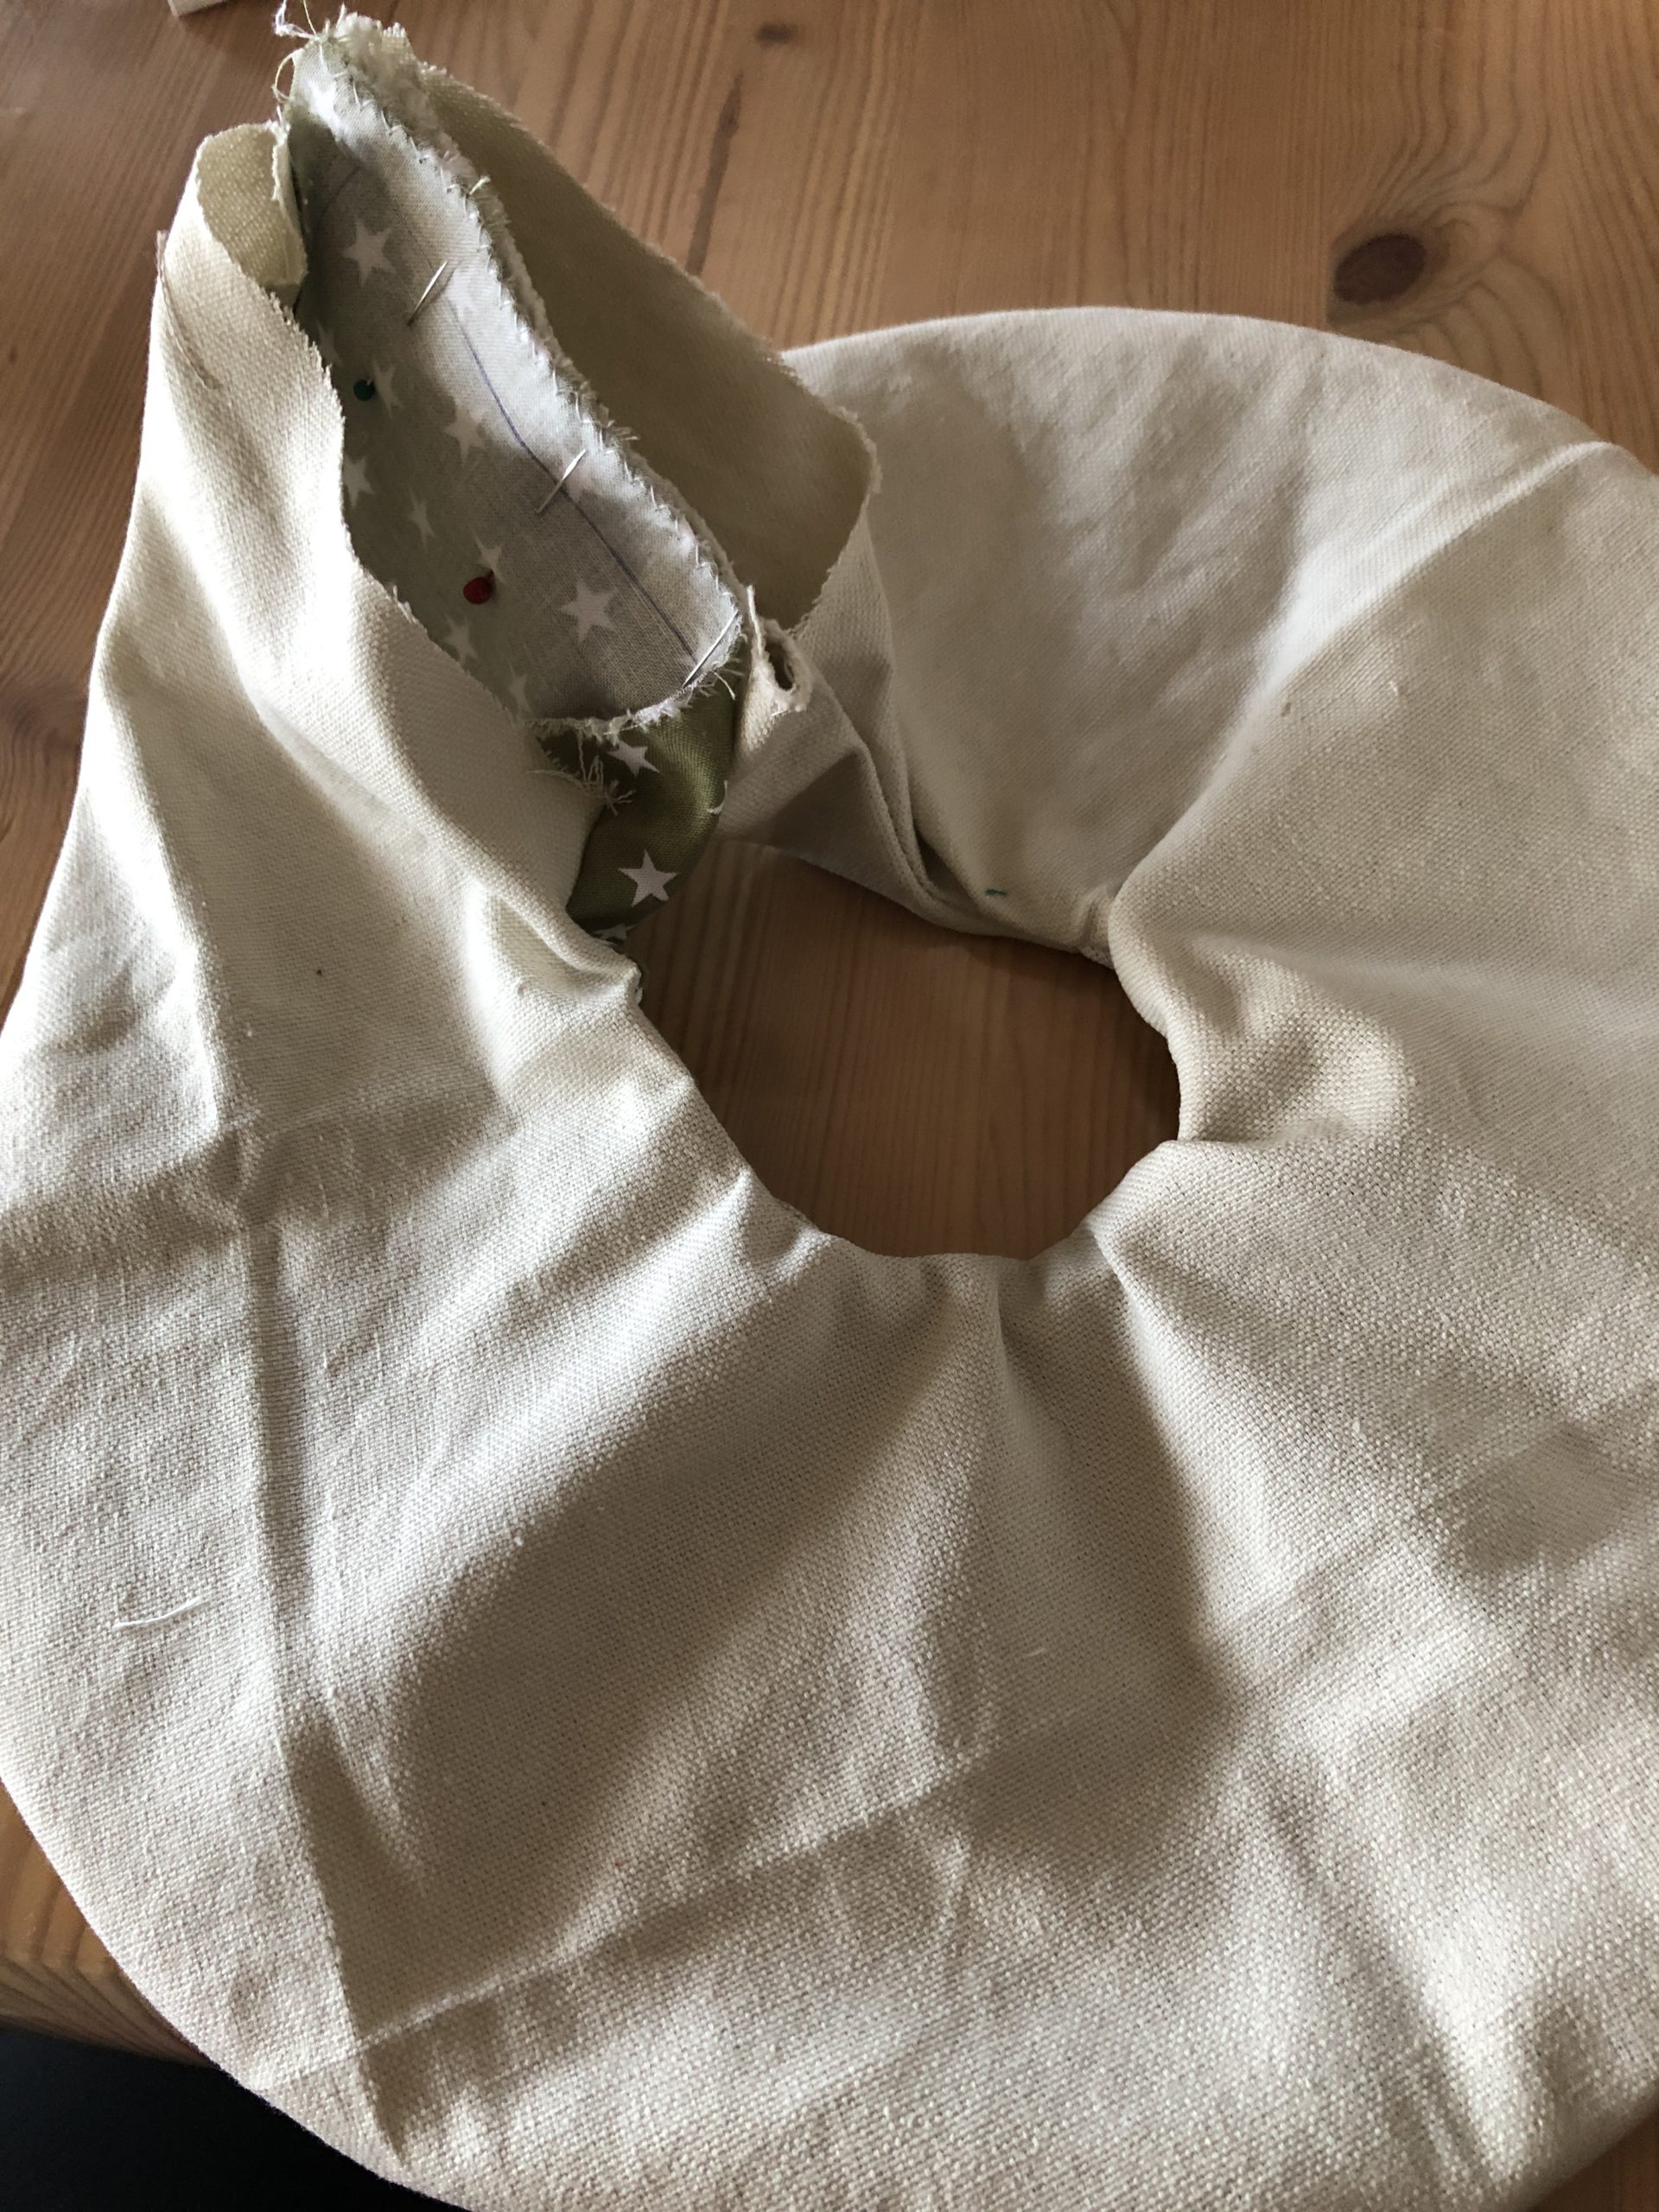


Now sew the wreath a piece.
A small piece remains open for filling.
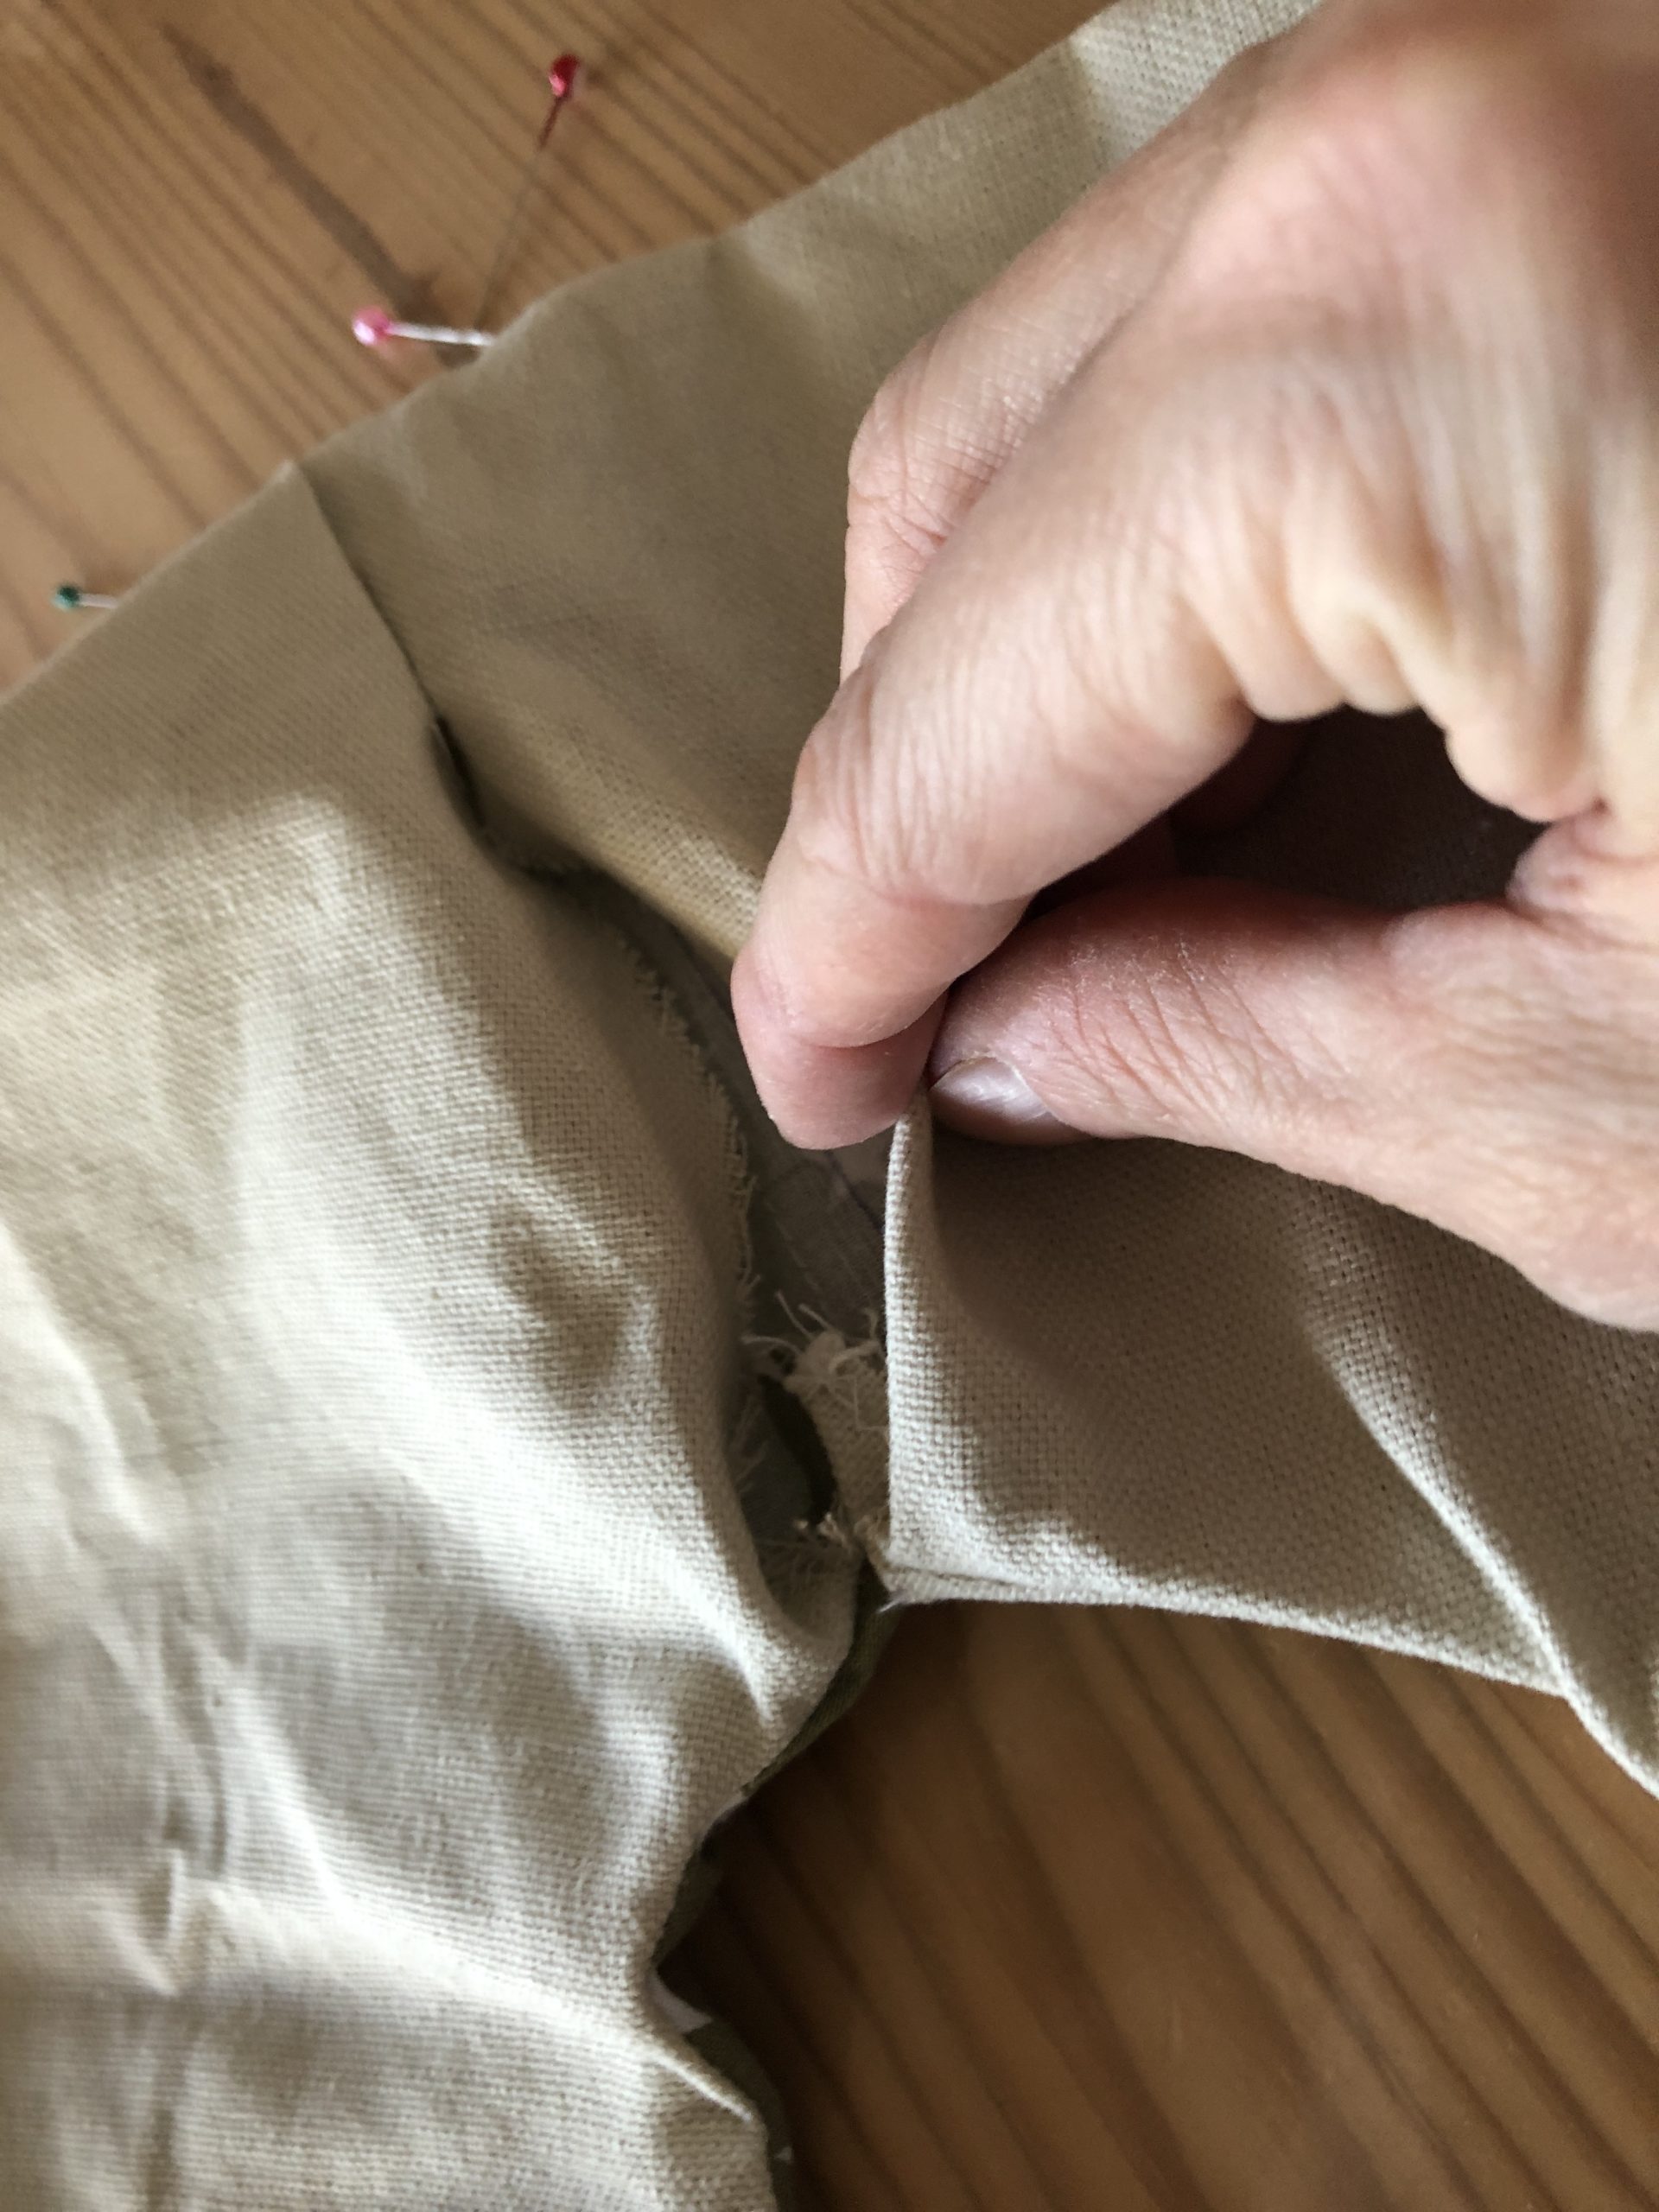


Through this opening you can fill the wreath now.
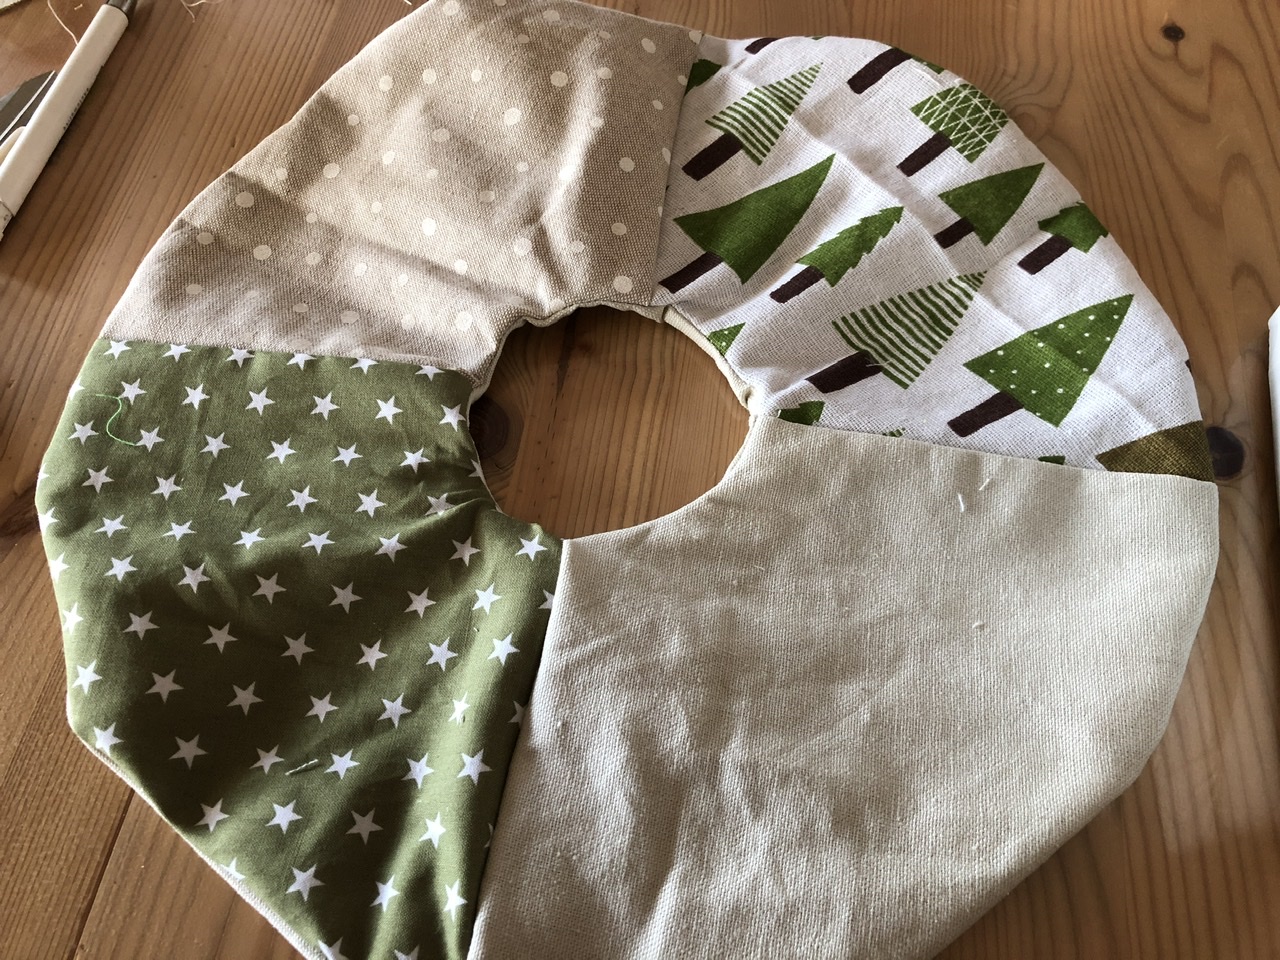


Uses padding or other stuffing material such as fabric remnants, wool remnants or old cushion watte.
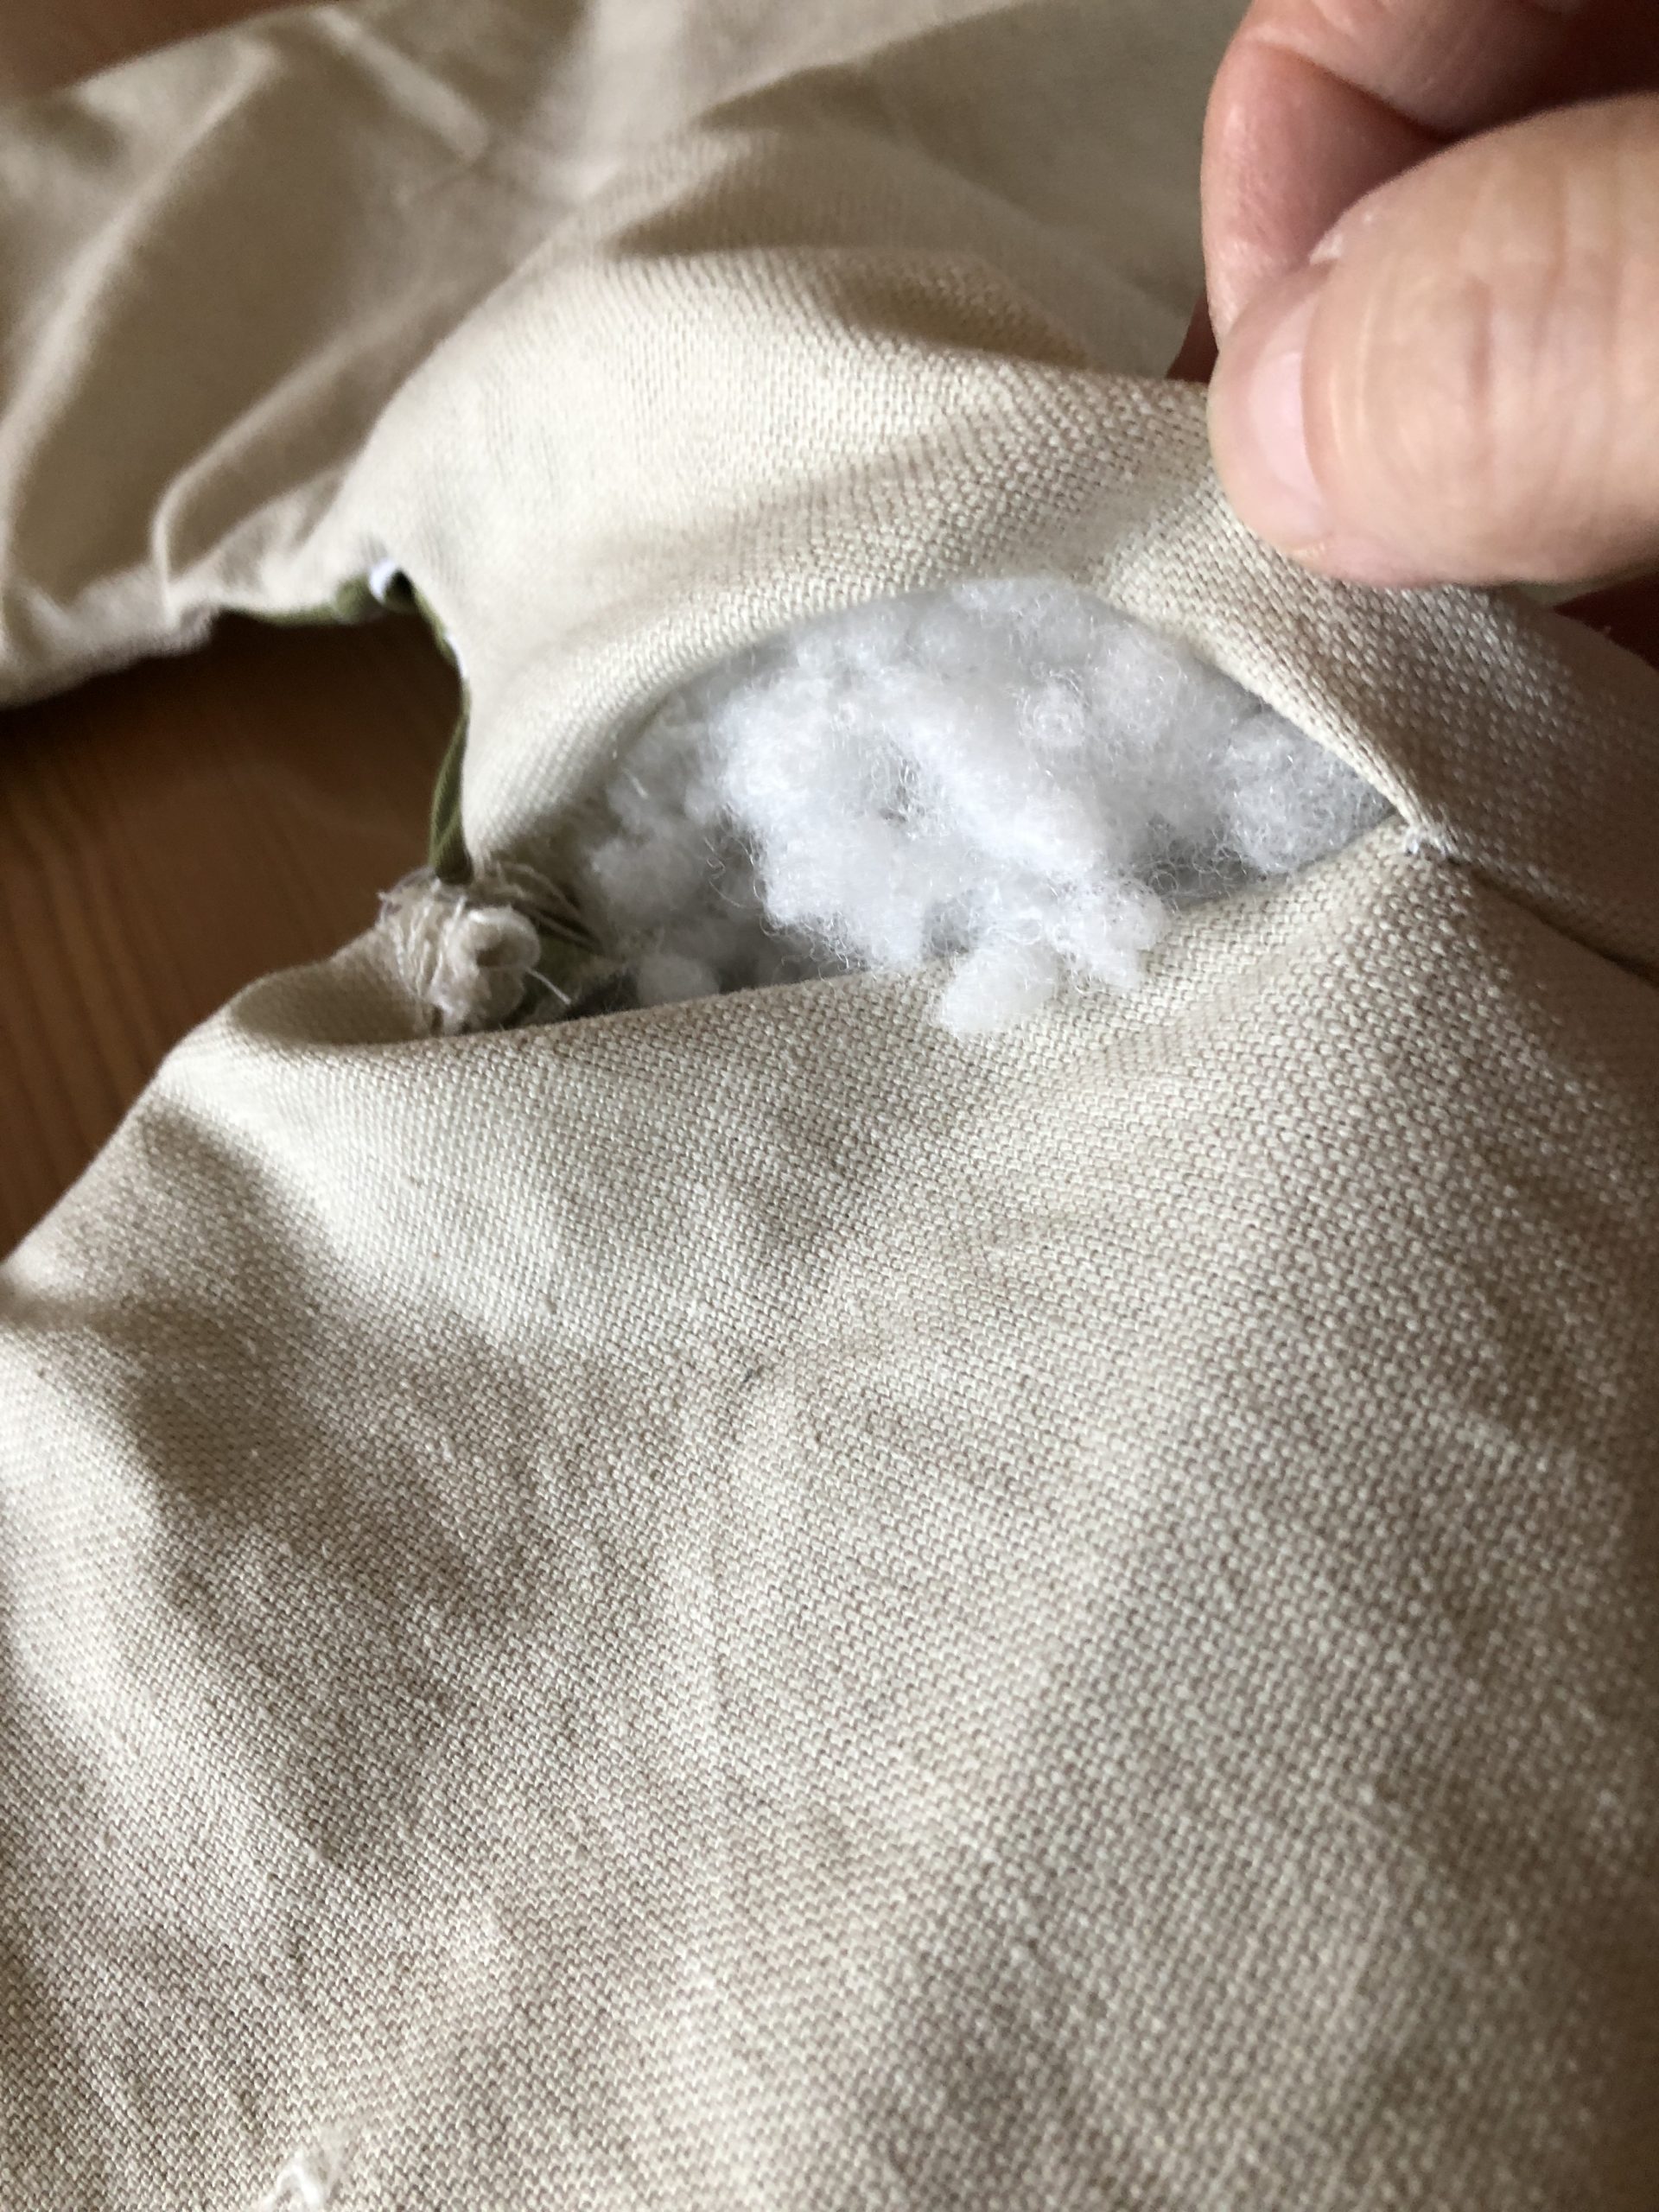


With a toilet roll and a cooking spoon, the wreath is quickly stuffed.
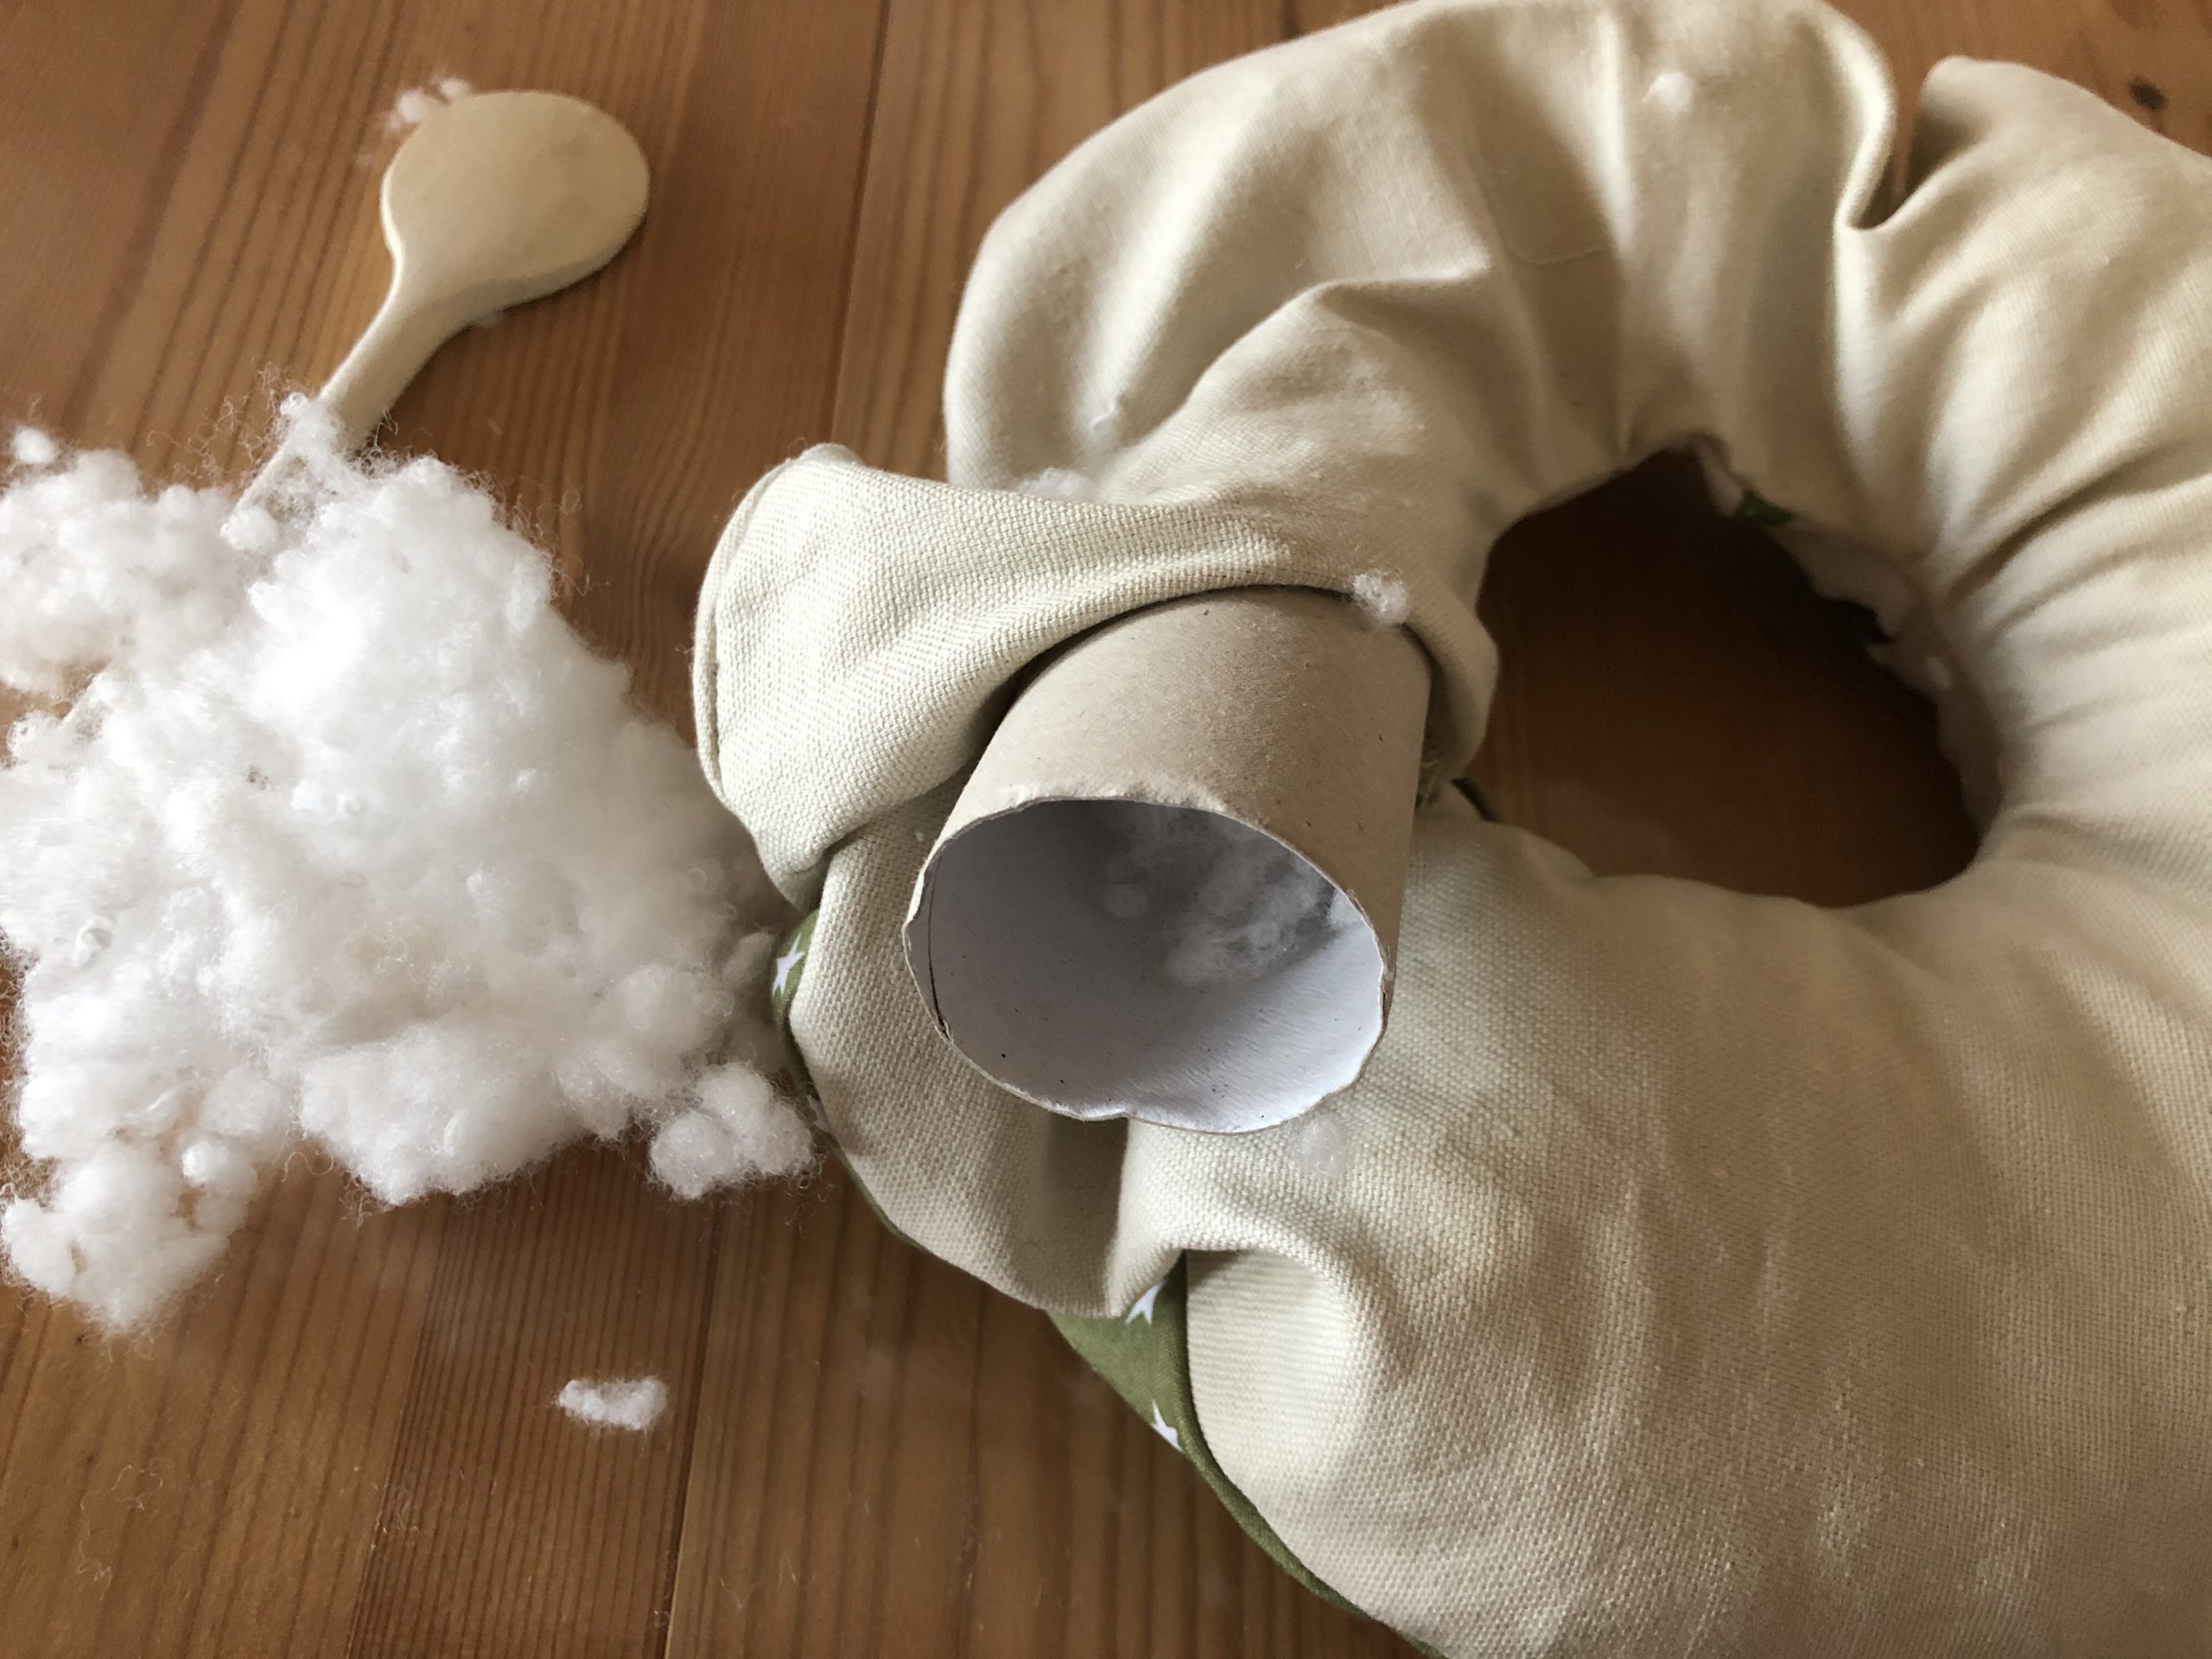


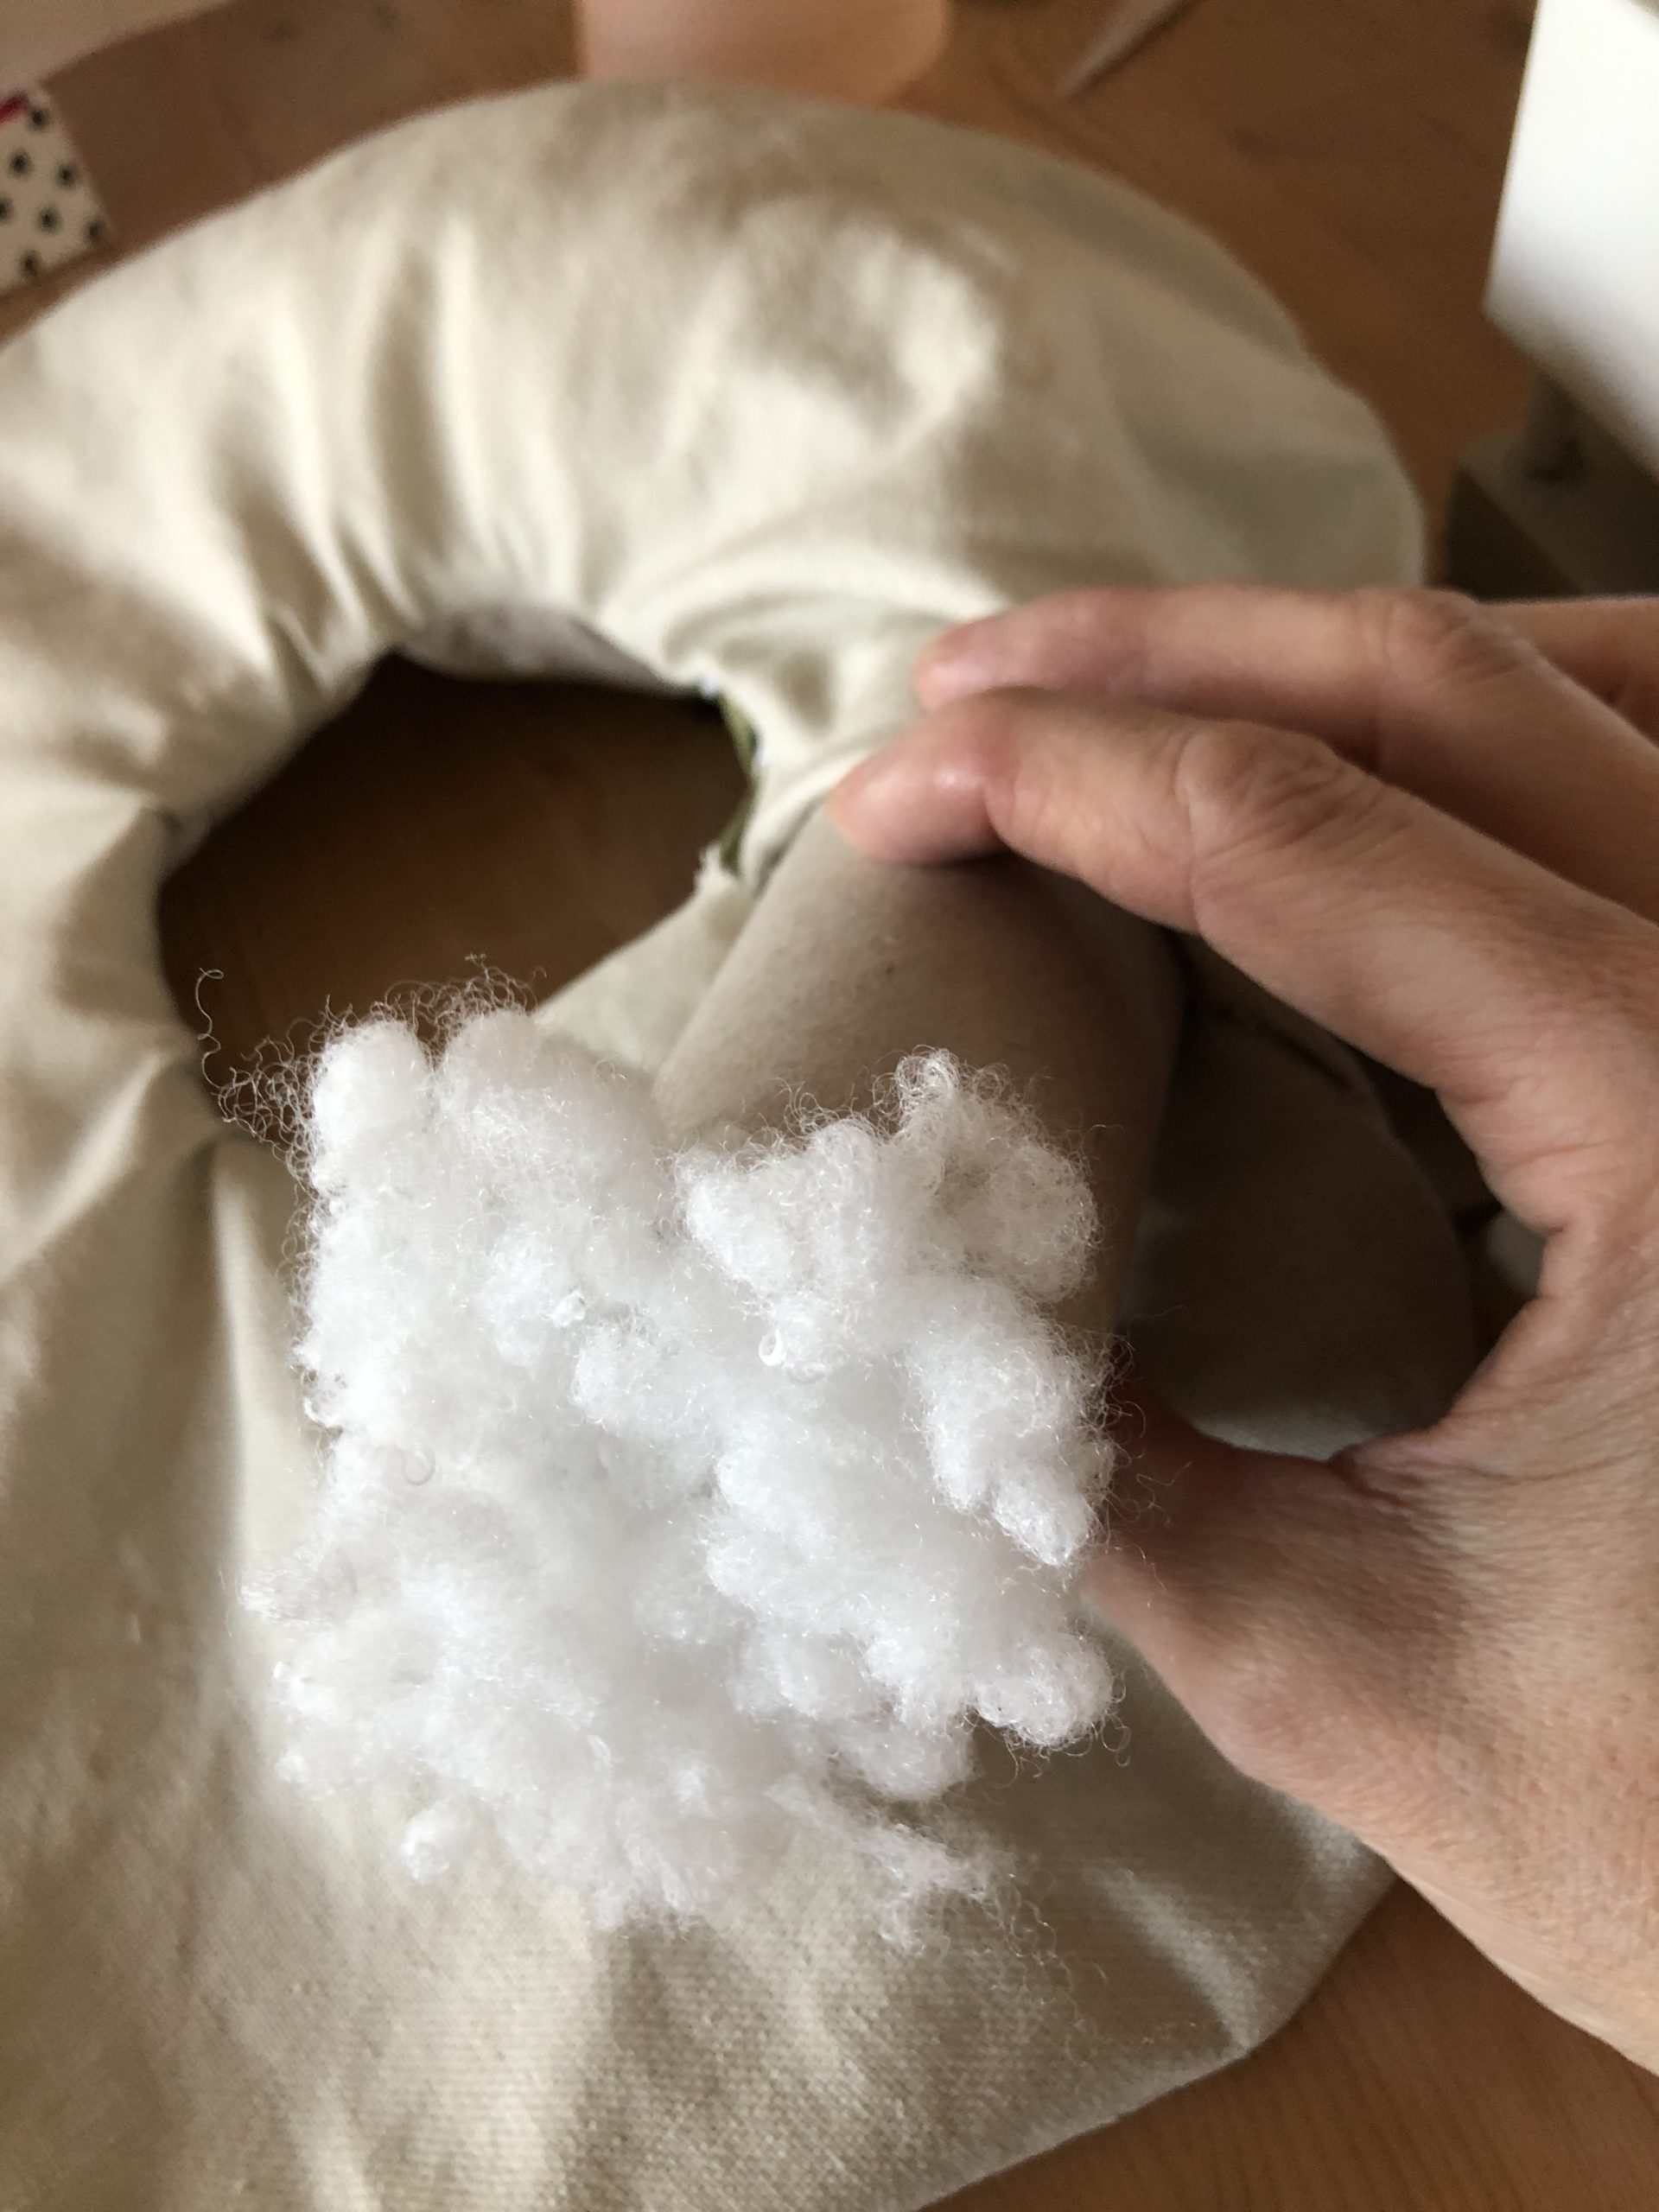


Pushs again and again with the cooking spoon cotton wool into hard-to-reach curvatures of the wreath.
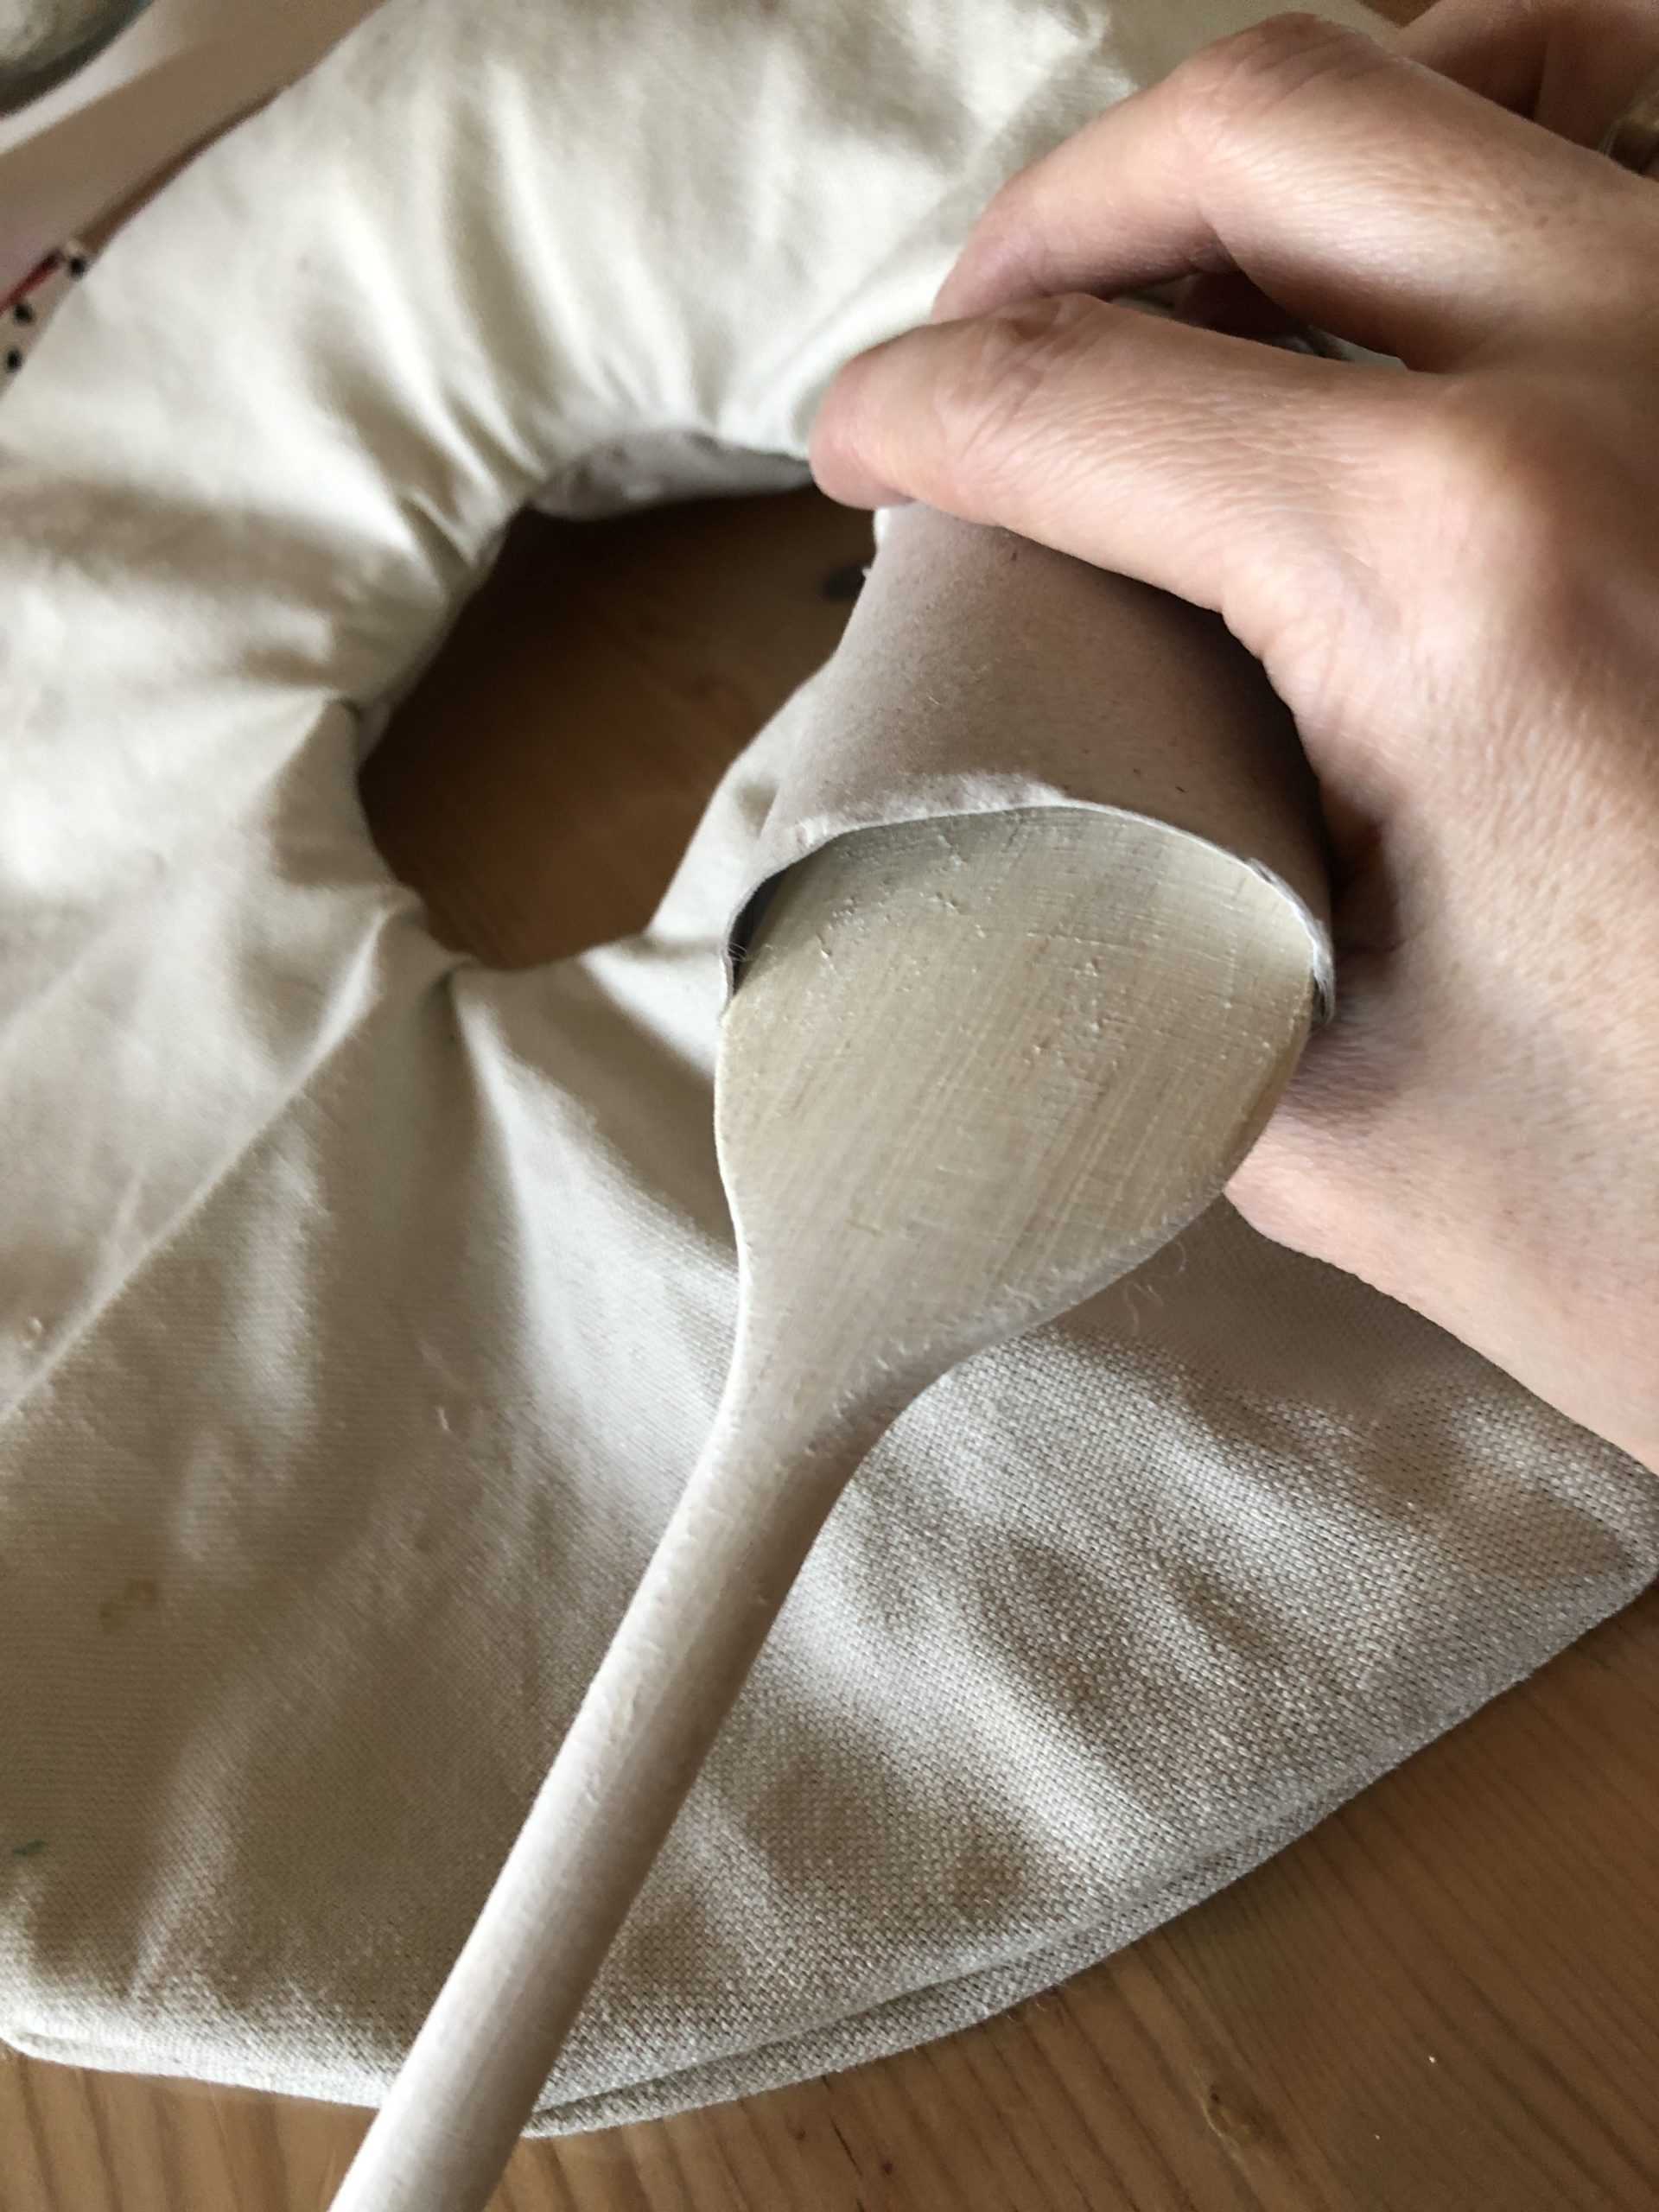


The wreath is finished when it is even and well filled.
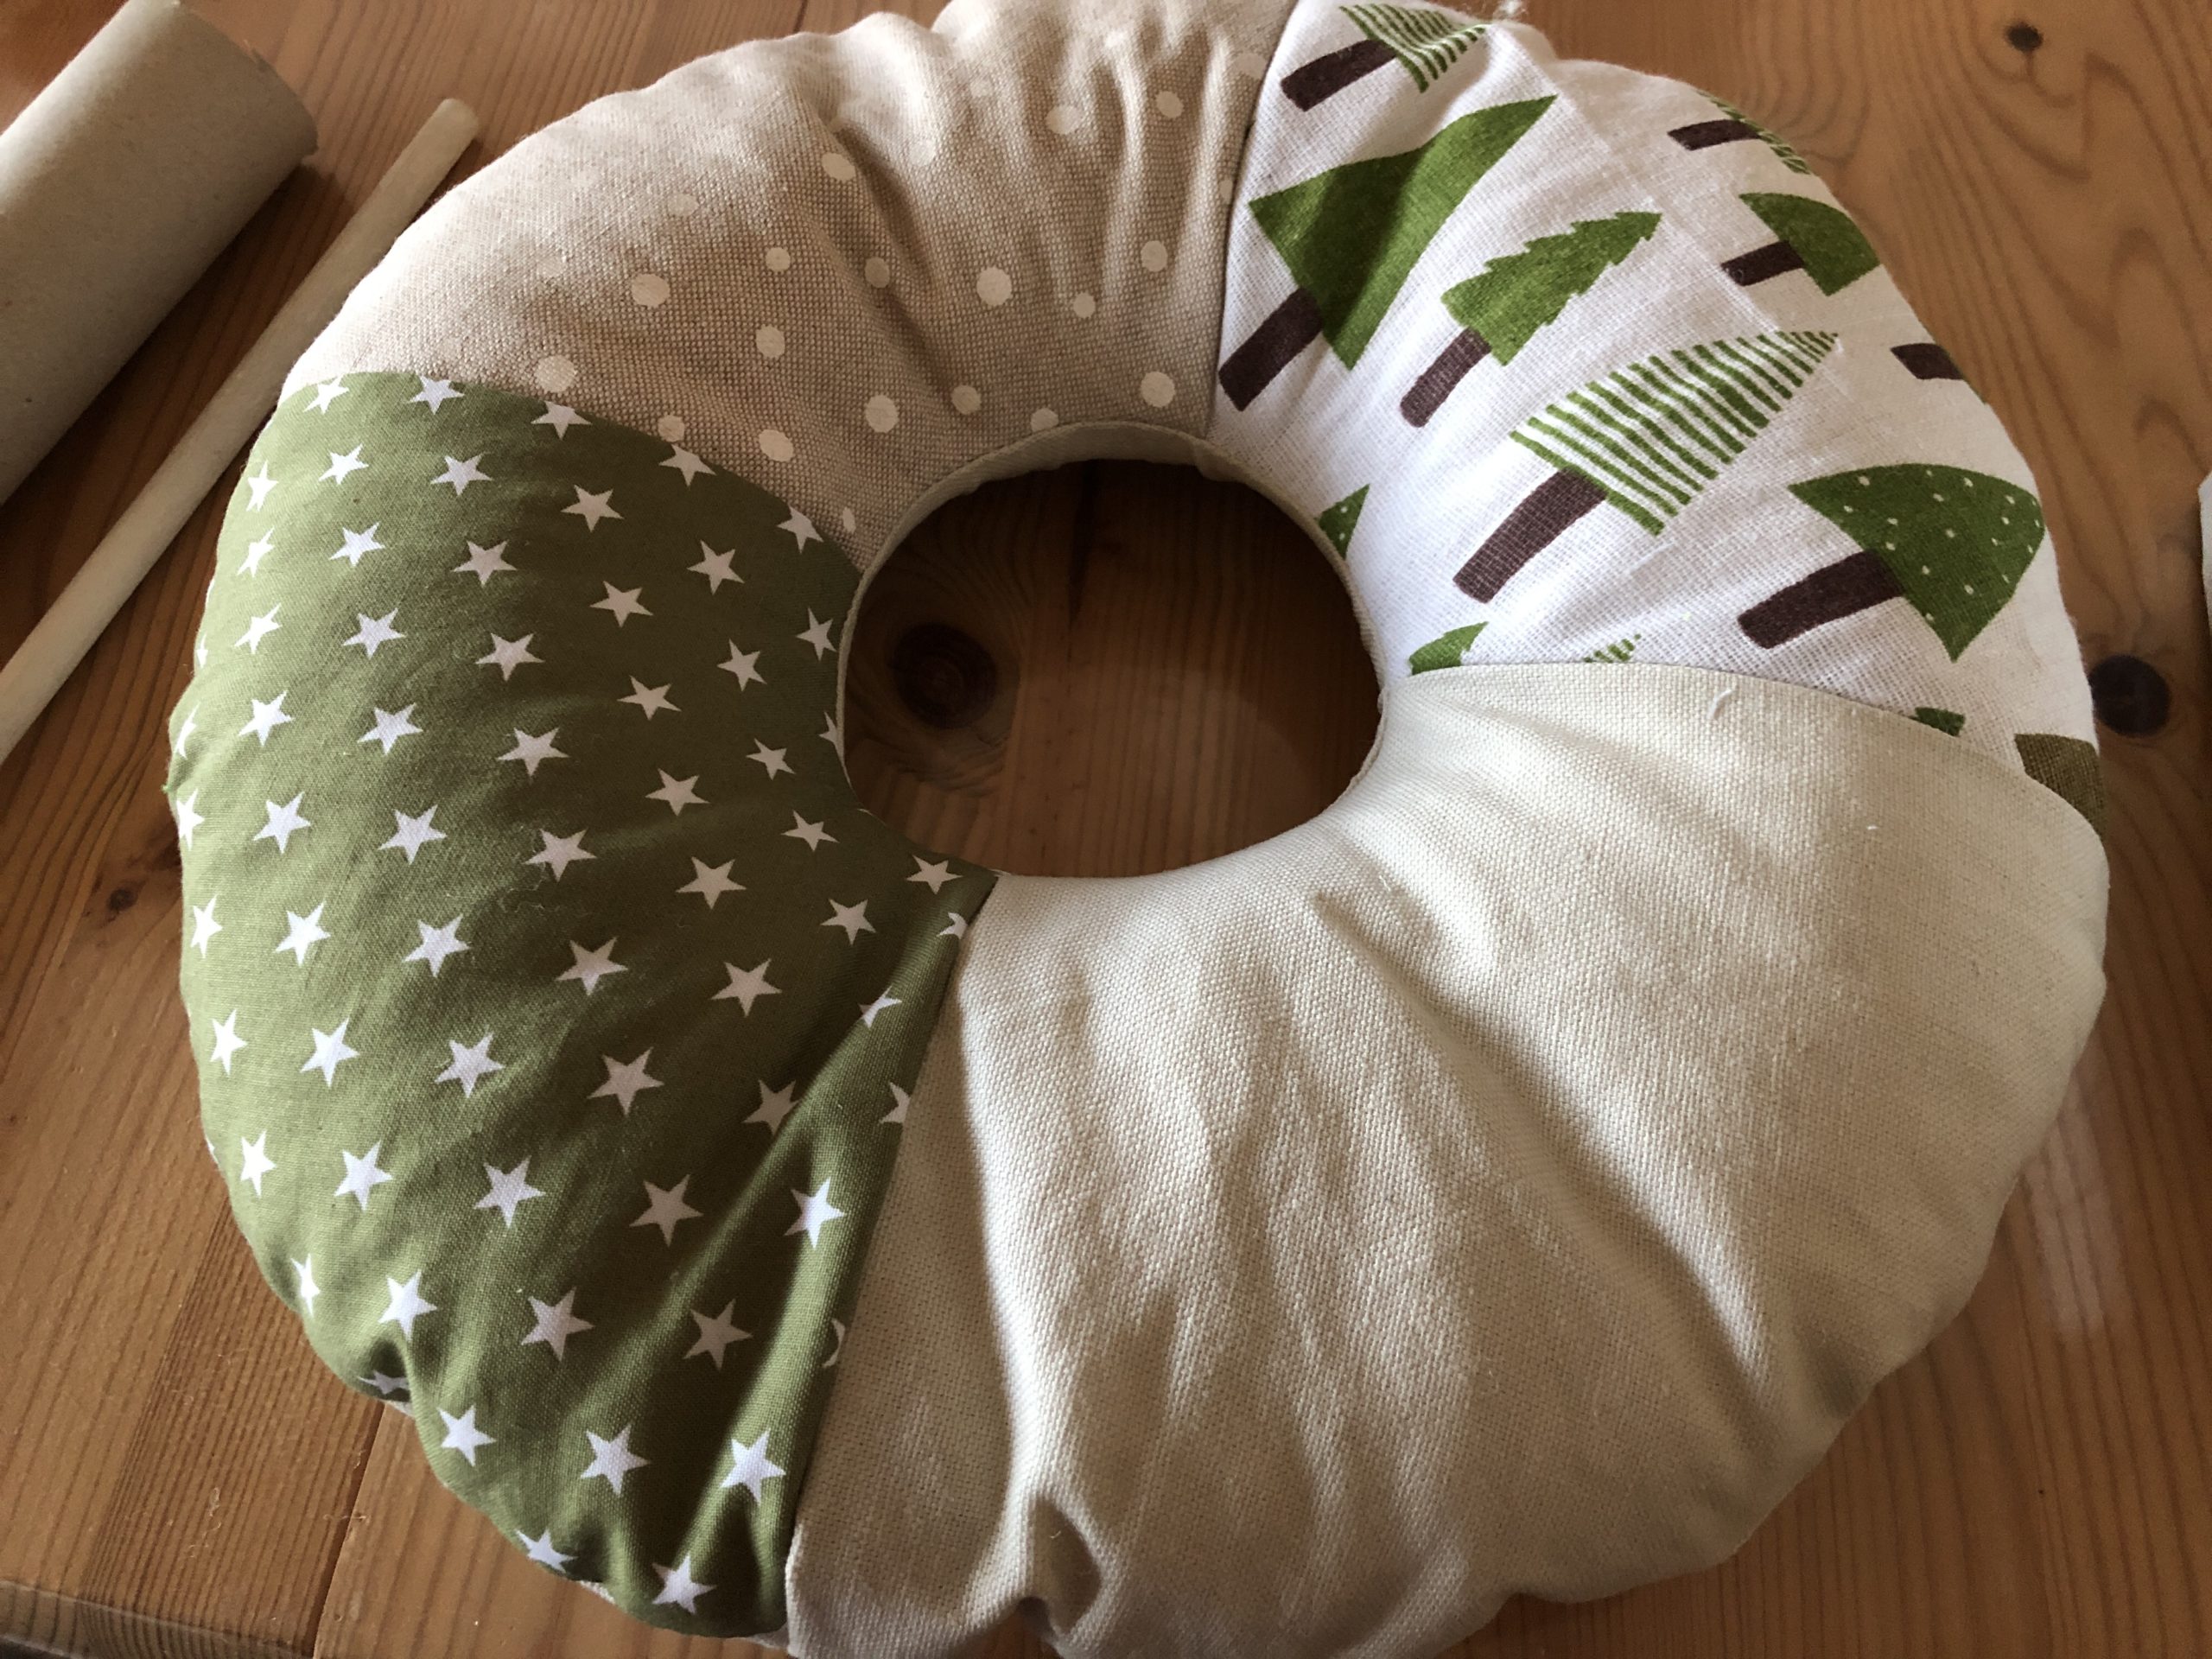


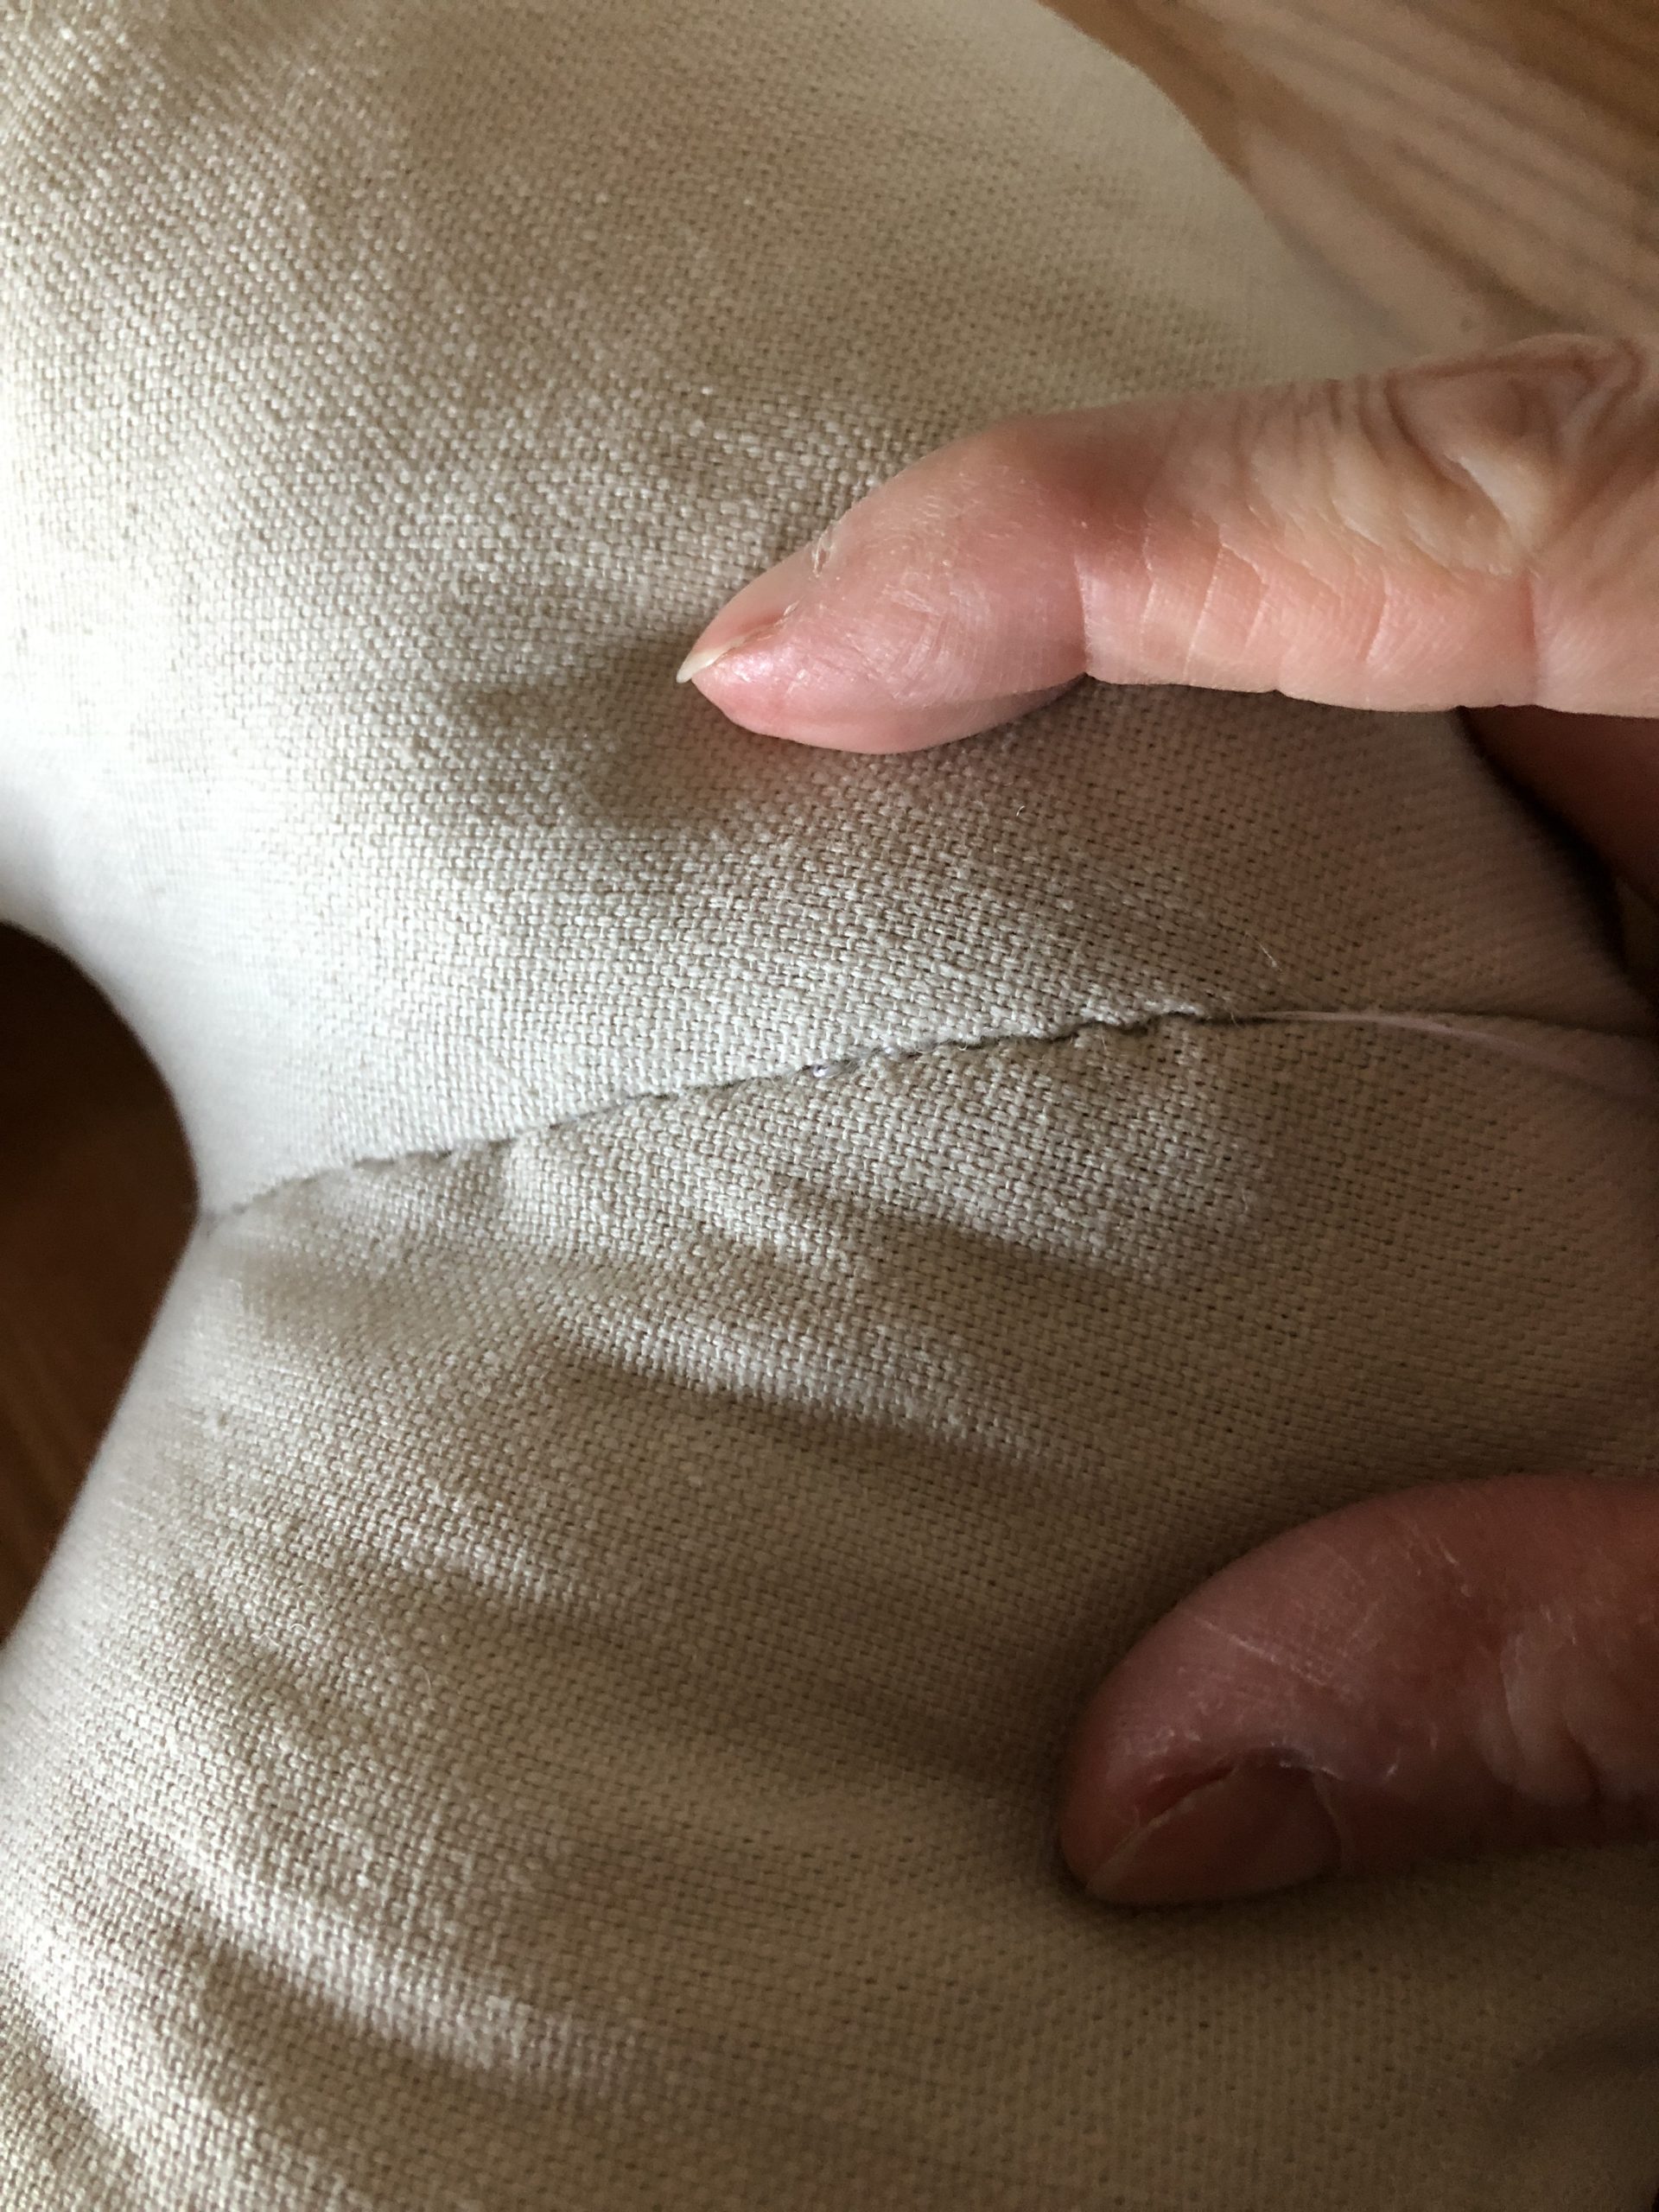
The still open seam now lays her neatly together, to then sew her together with needle and thread.
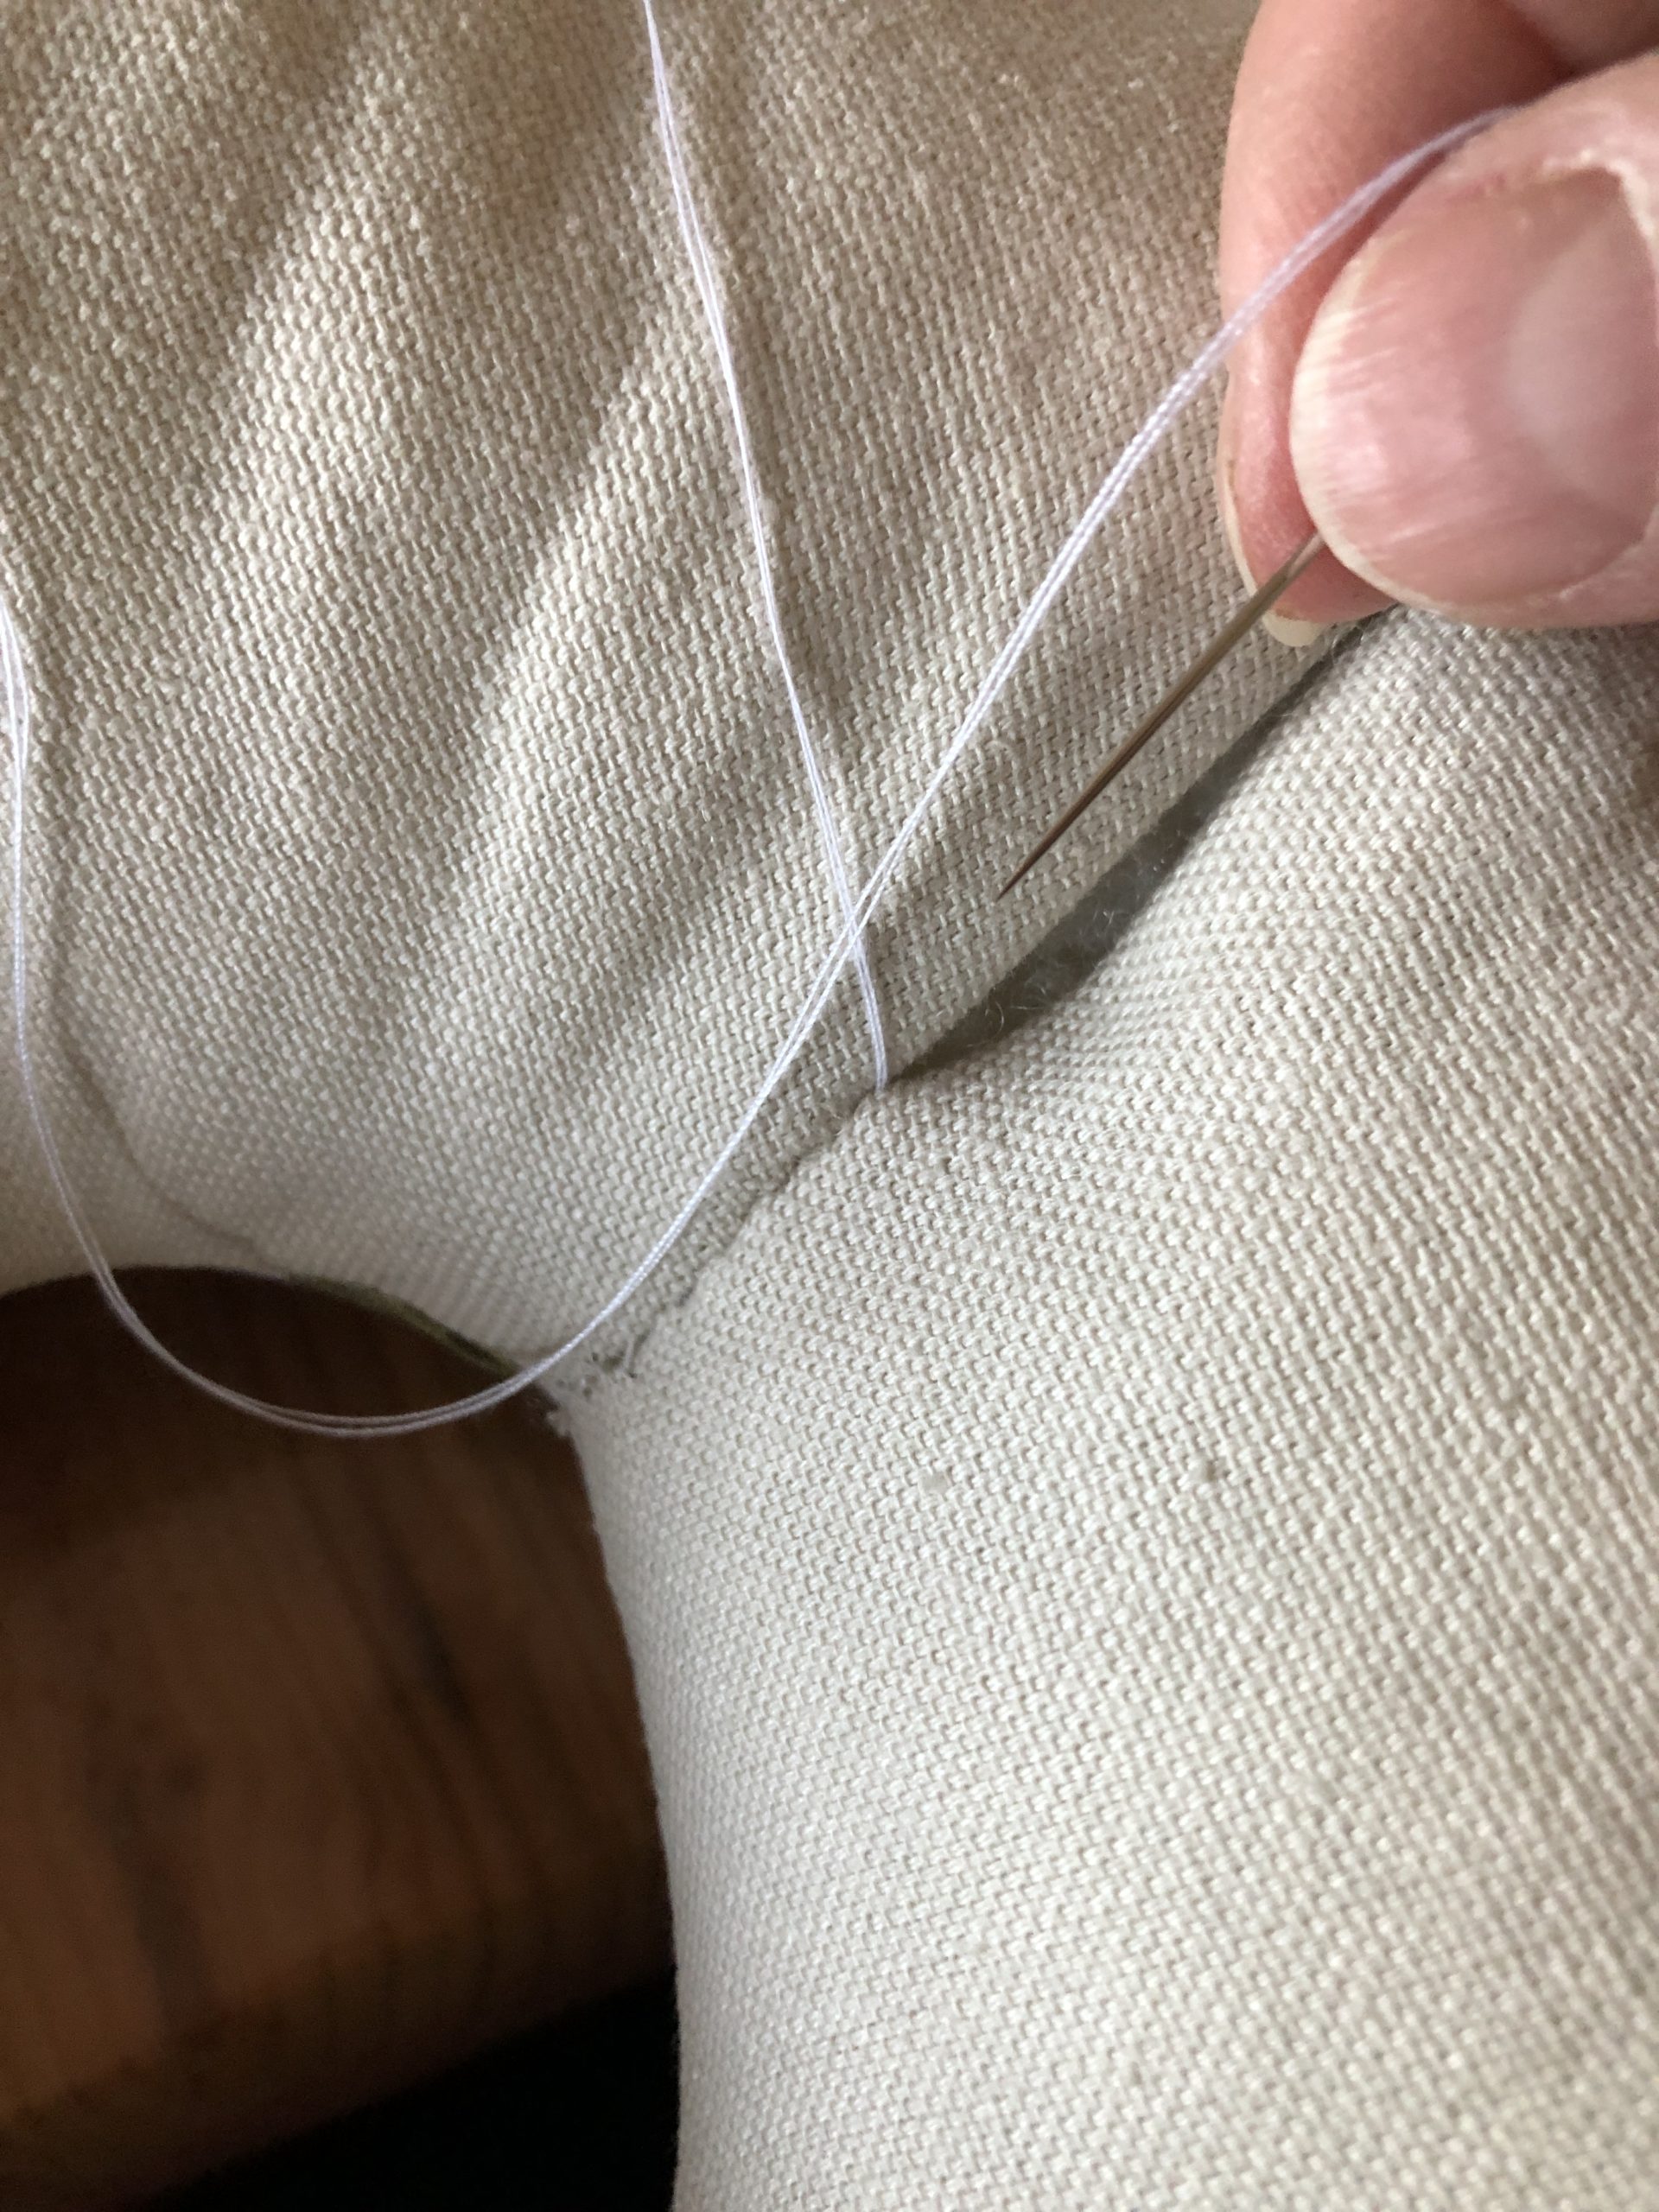


You can close the seam completely now.


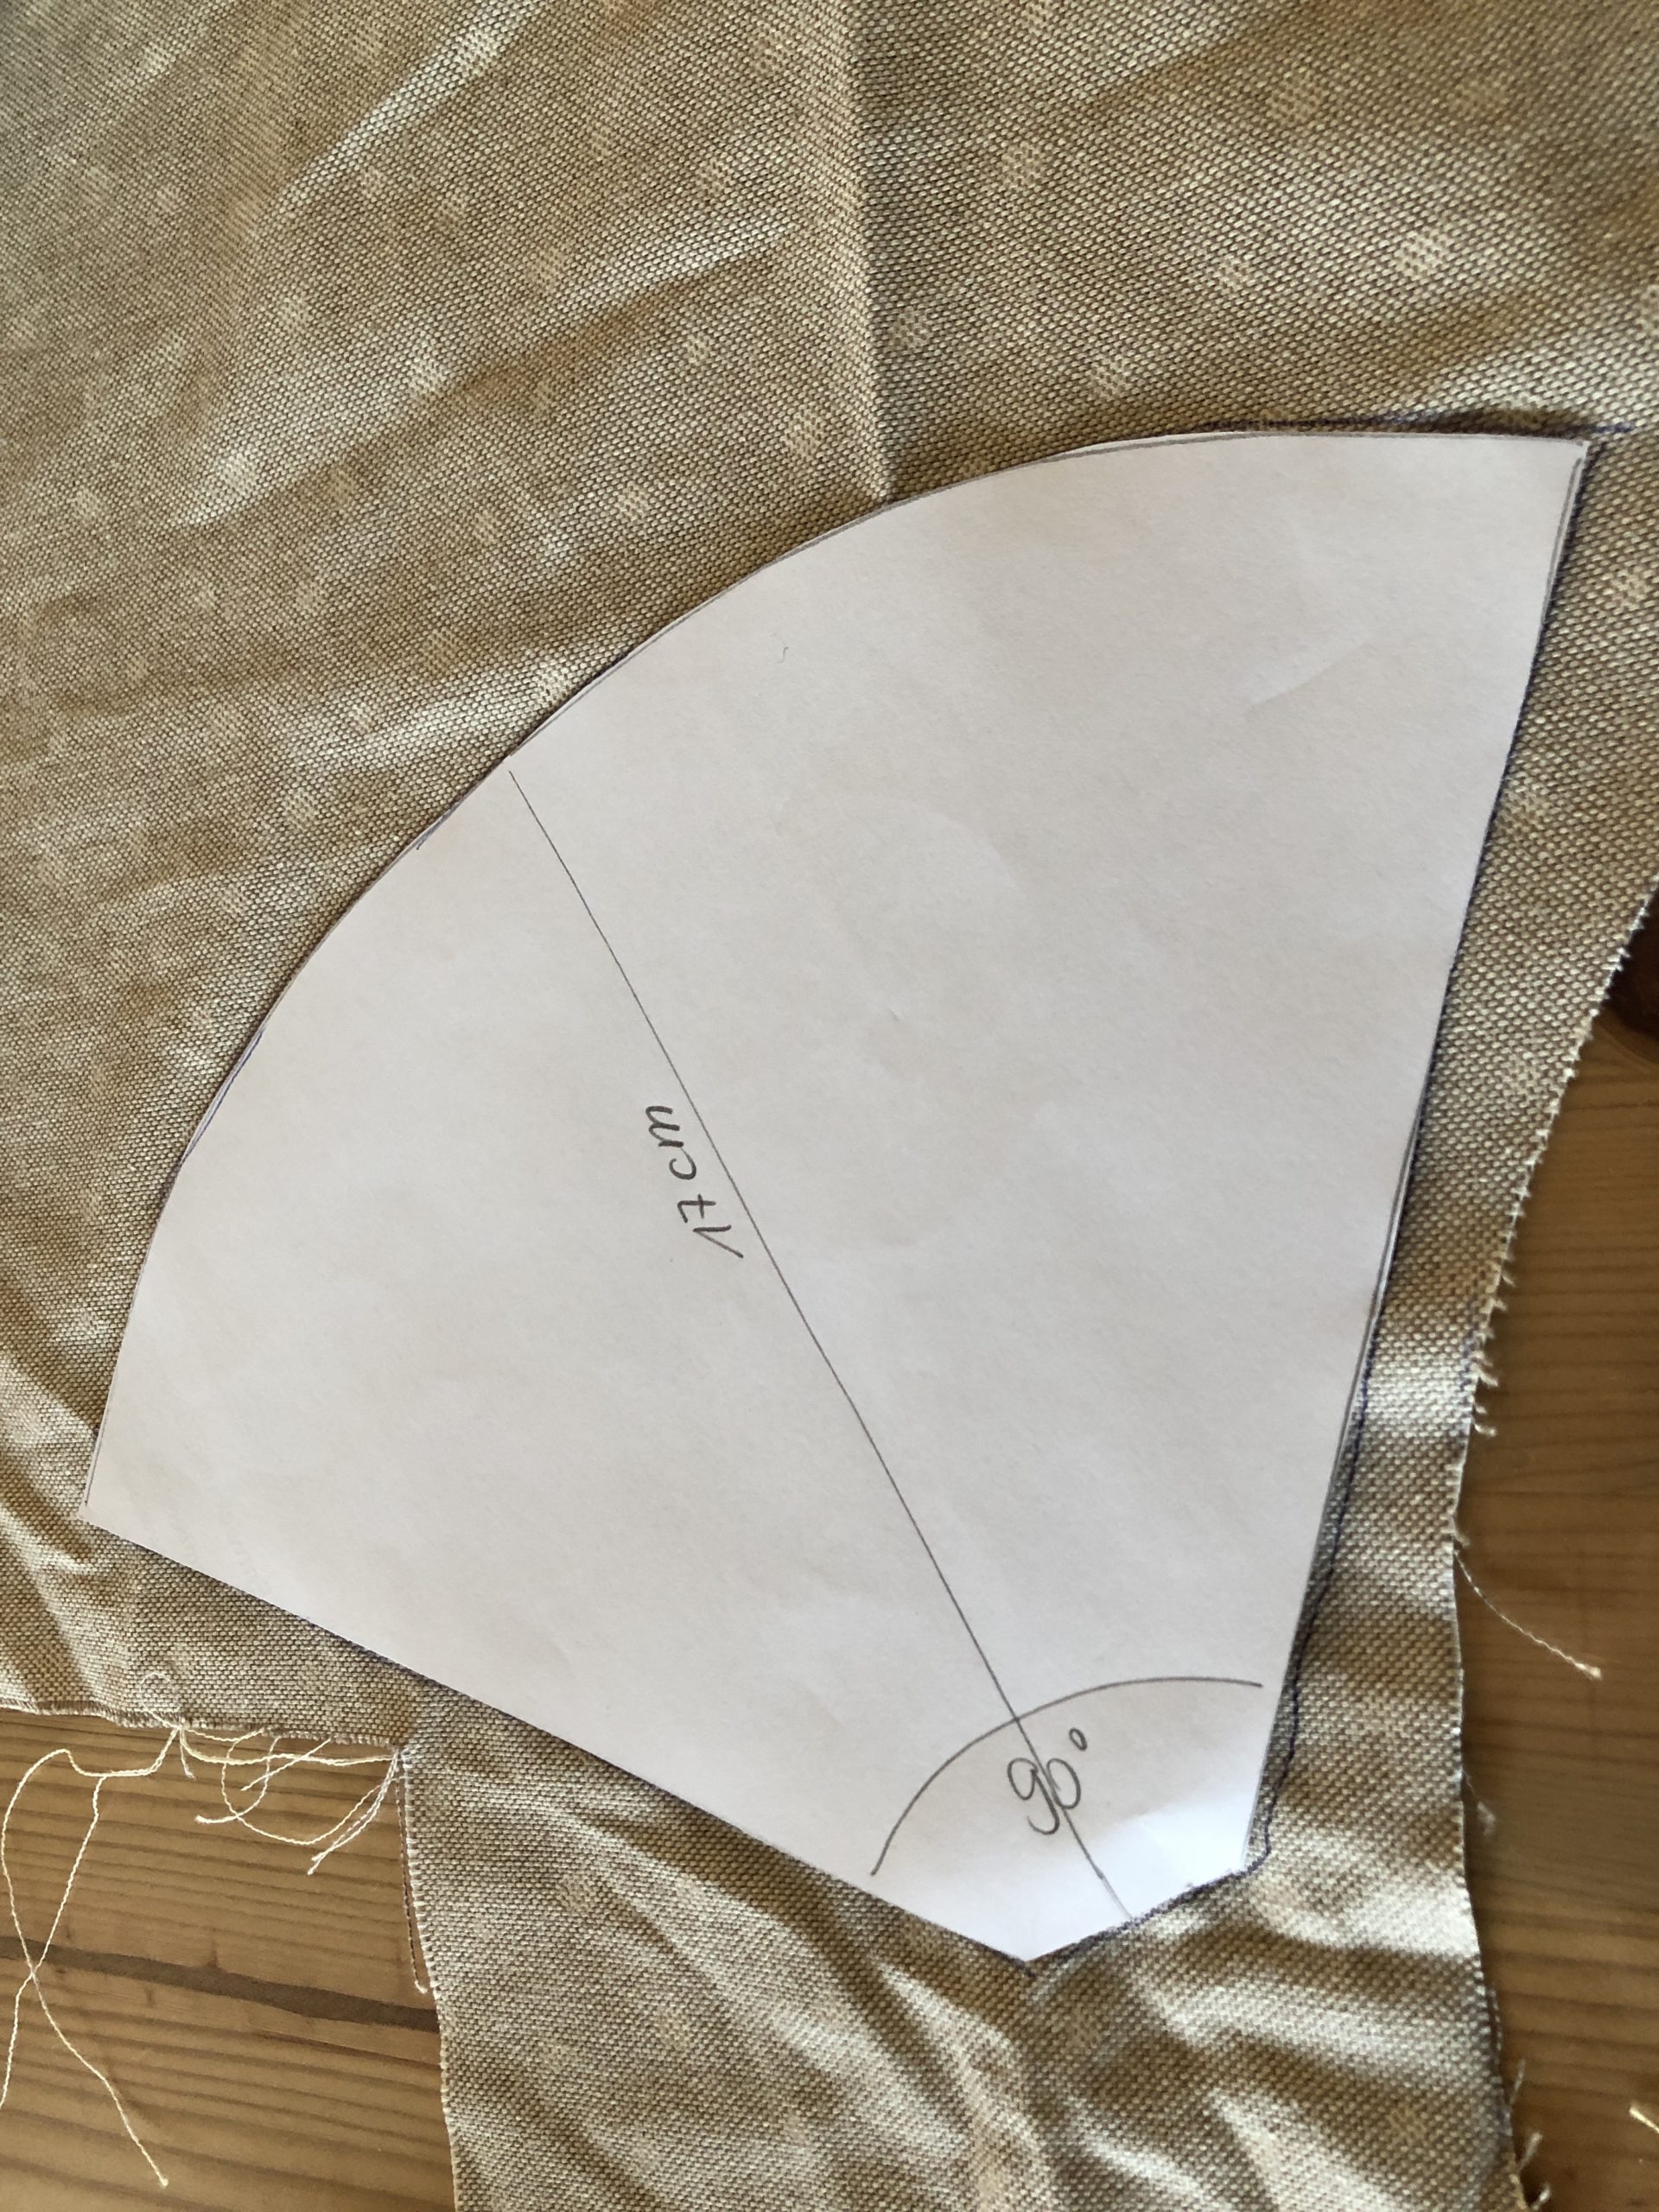
The wreath is finished. For example, you can place a tree stump candle in the middle or a glass with a candle.
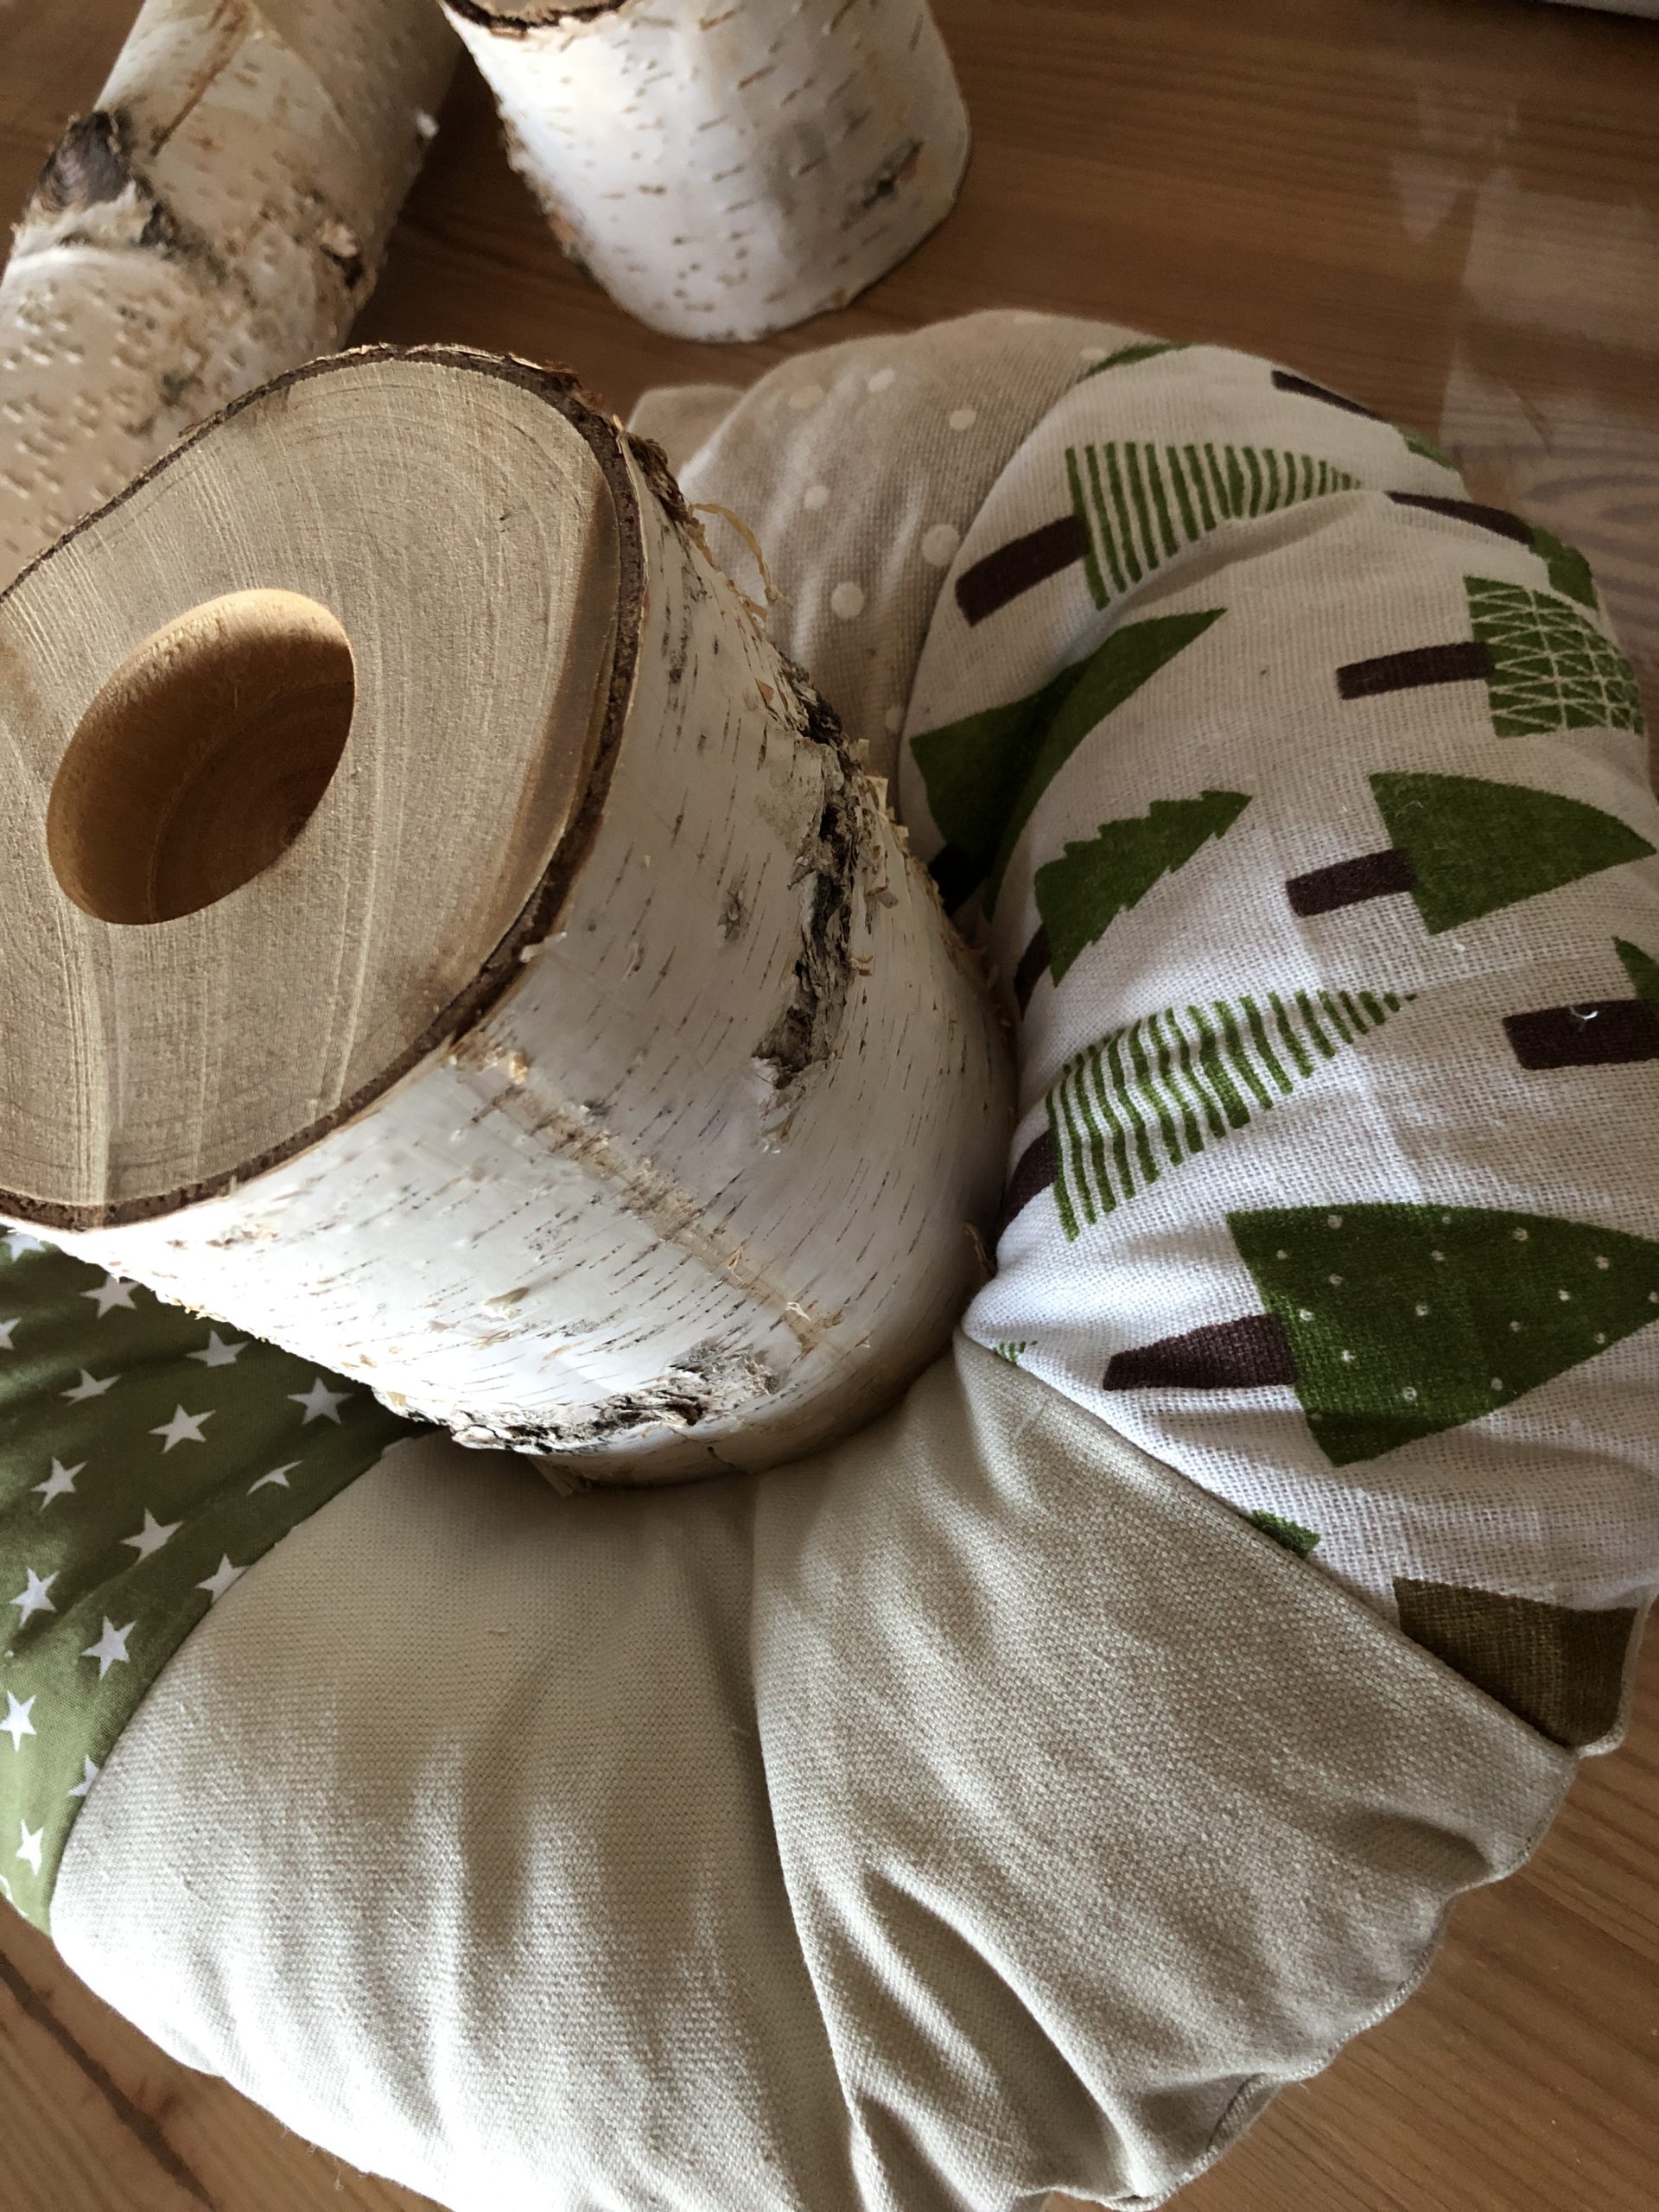


Find something that fits in the middle. Make sure that the flames don't get to the fabric. Use a glass or place the candle on an elevation. So there is no danger that your fabric wreath will catch fire!
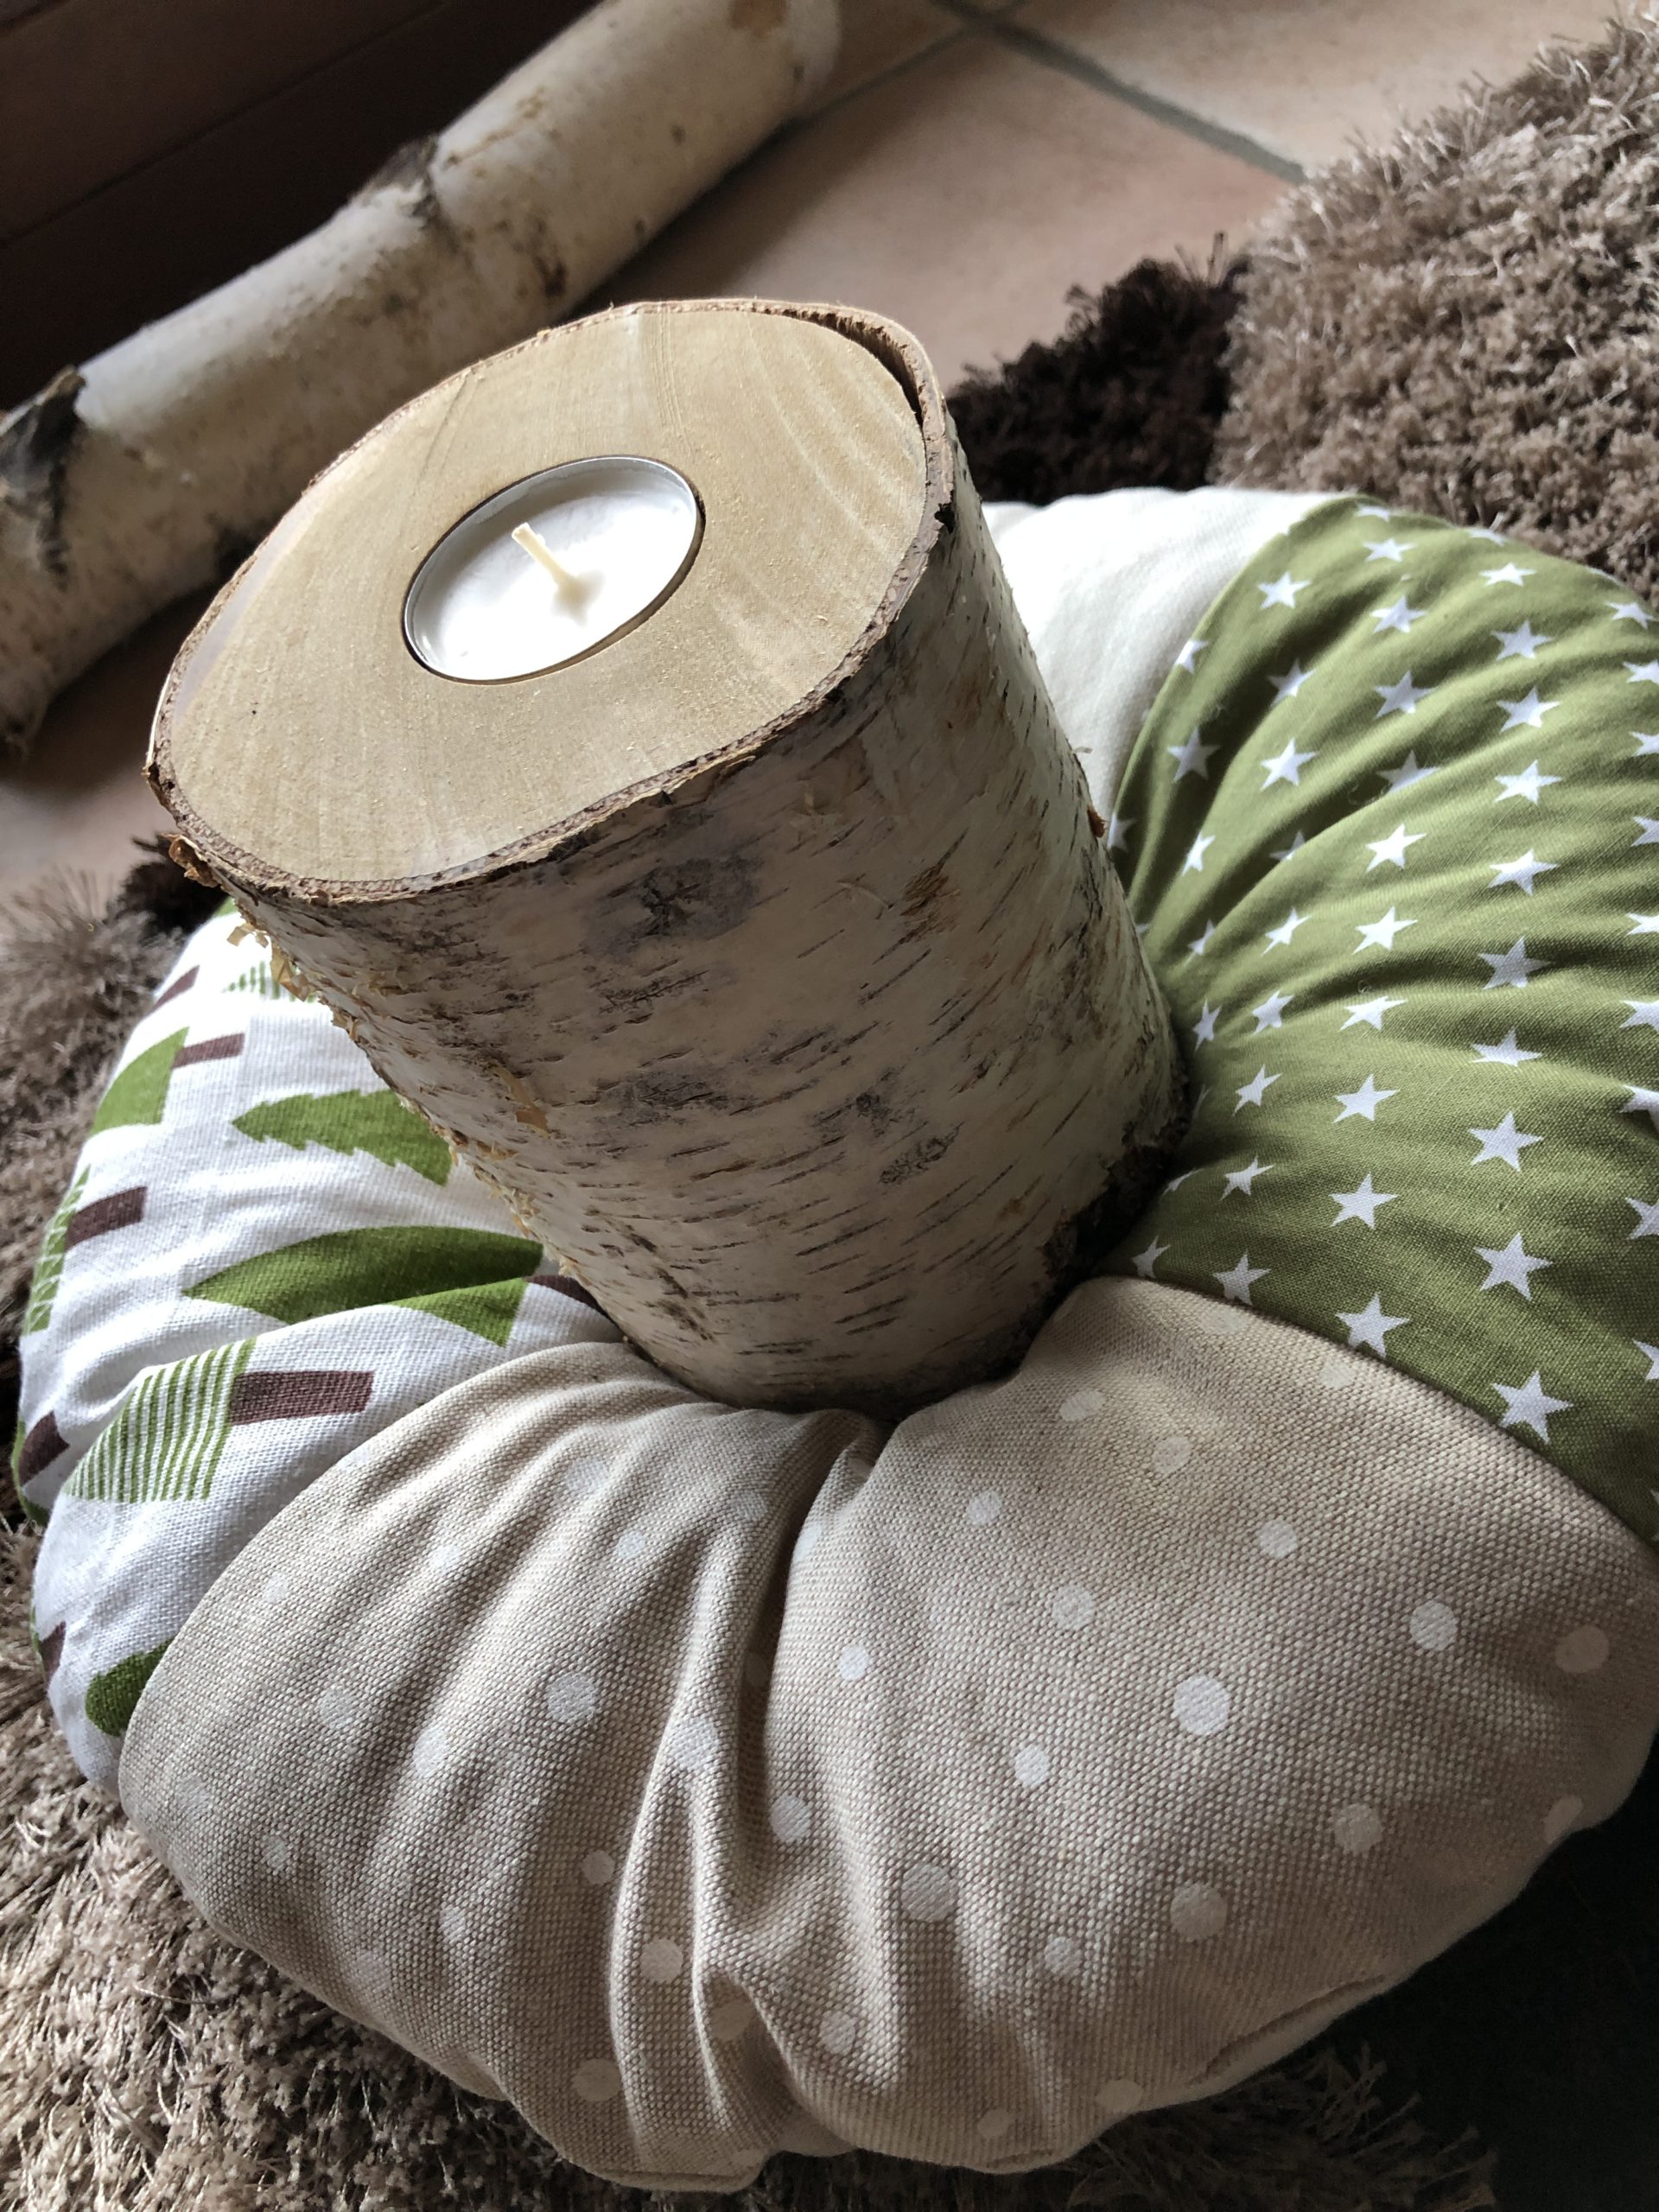


Very nice looks an additional mini-light chain, which is wrapped quite loosely around the wreath.
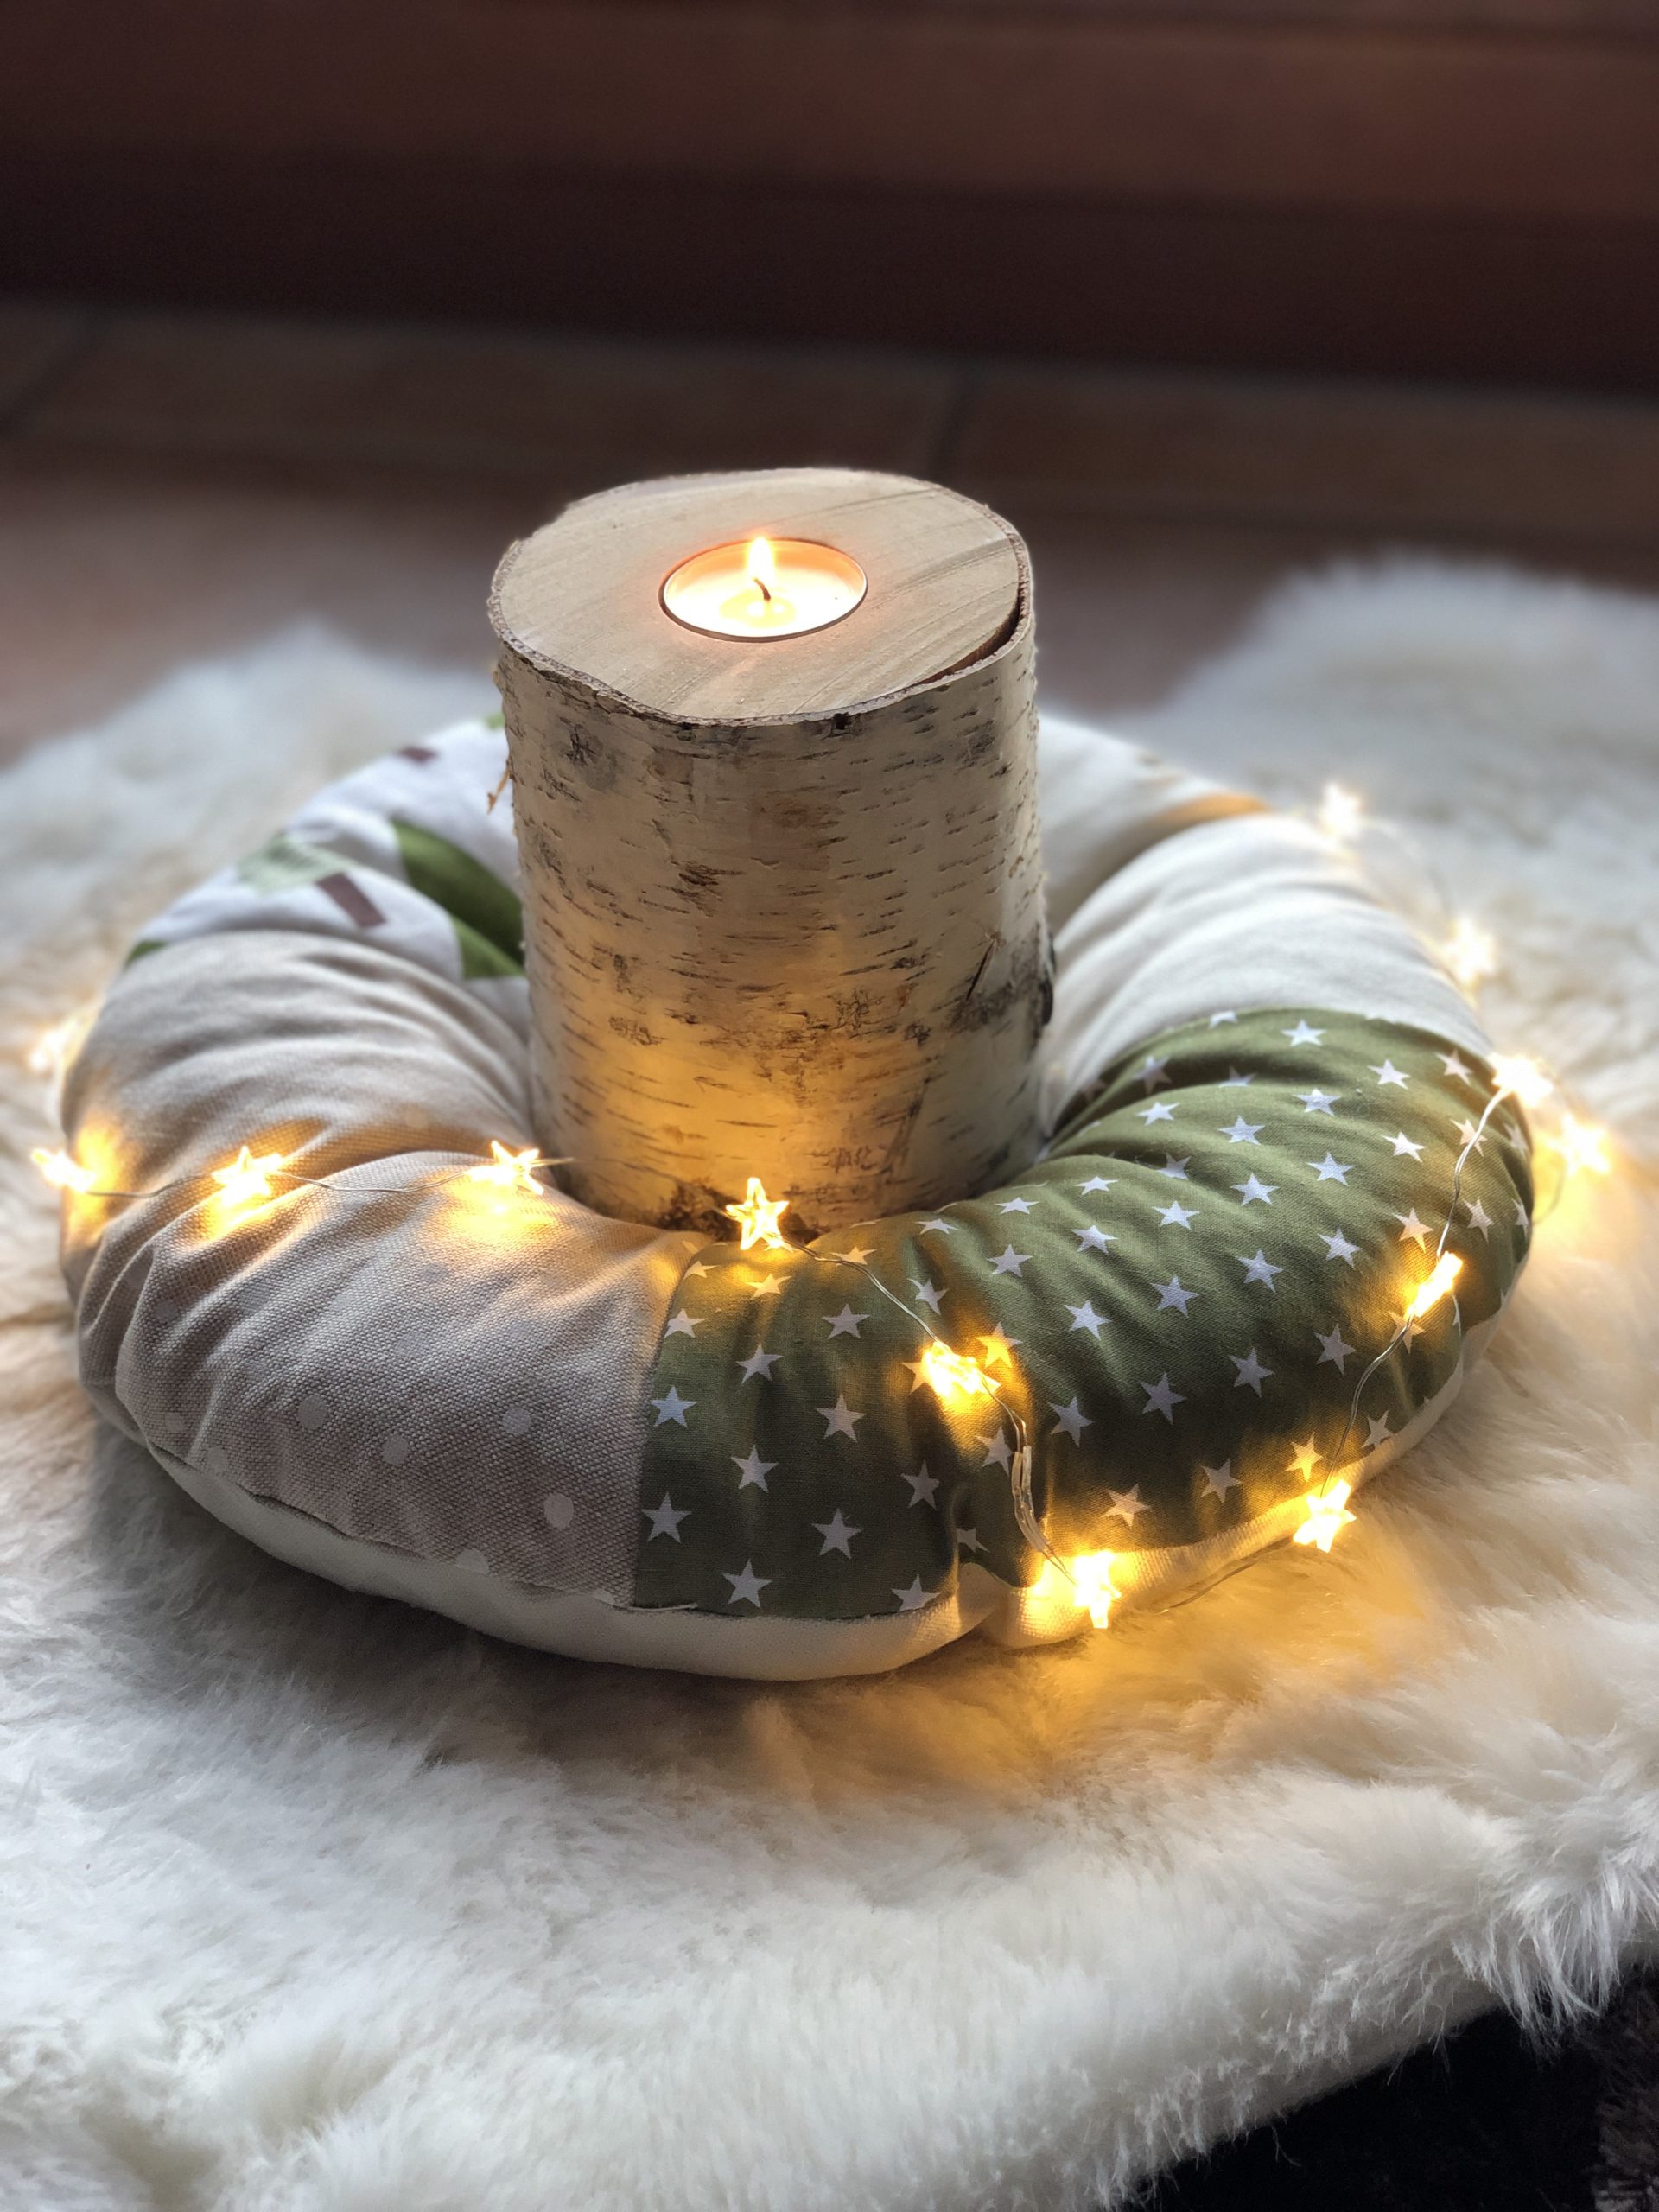


Try it out!
Have fun sewing!
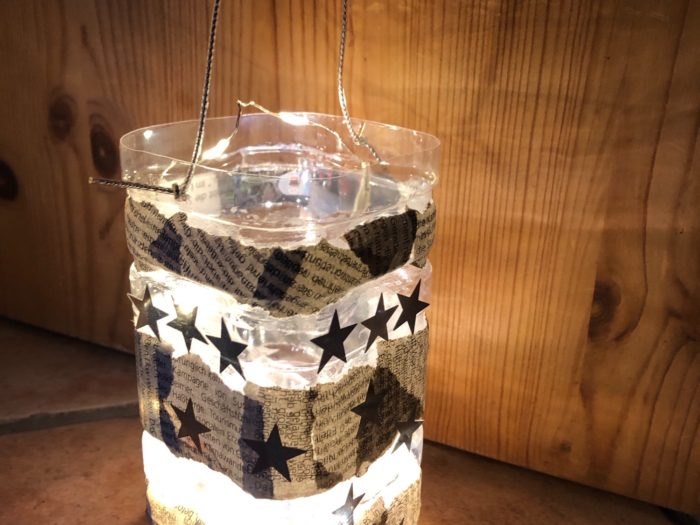
Add a small chain of lights, e.g. with small stars!
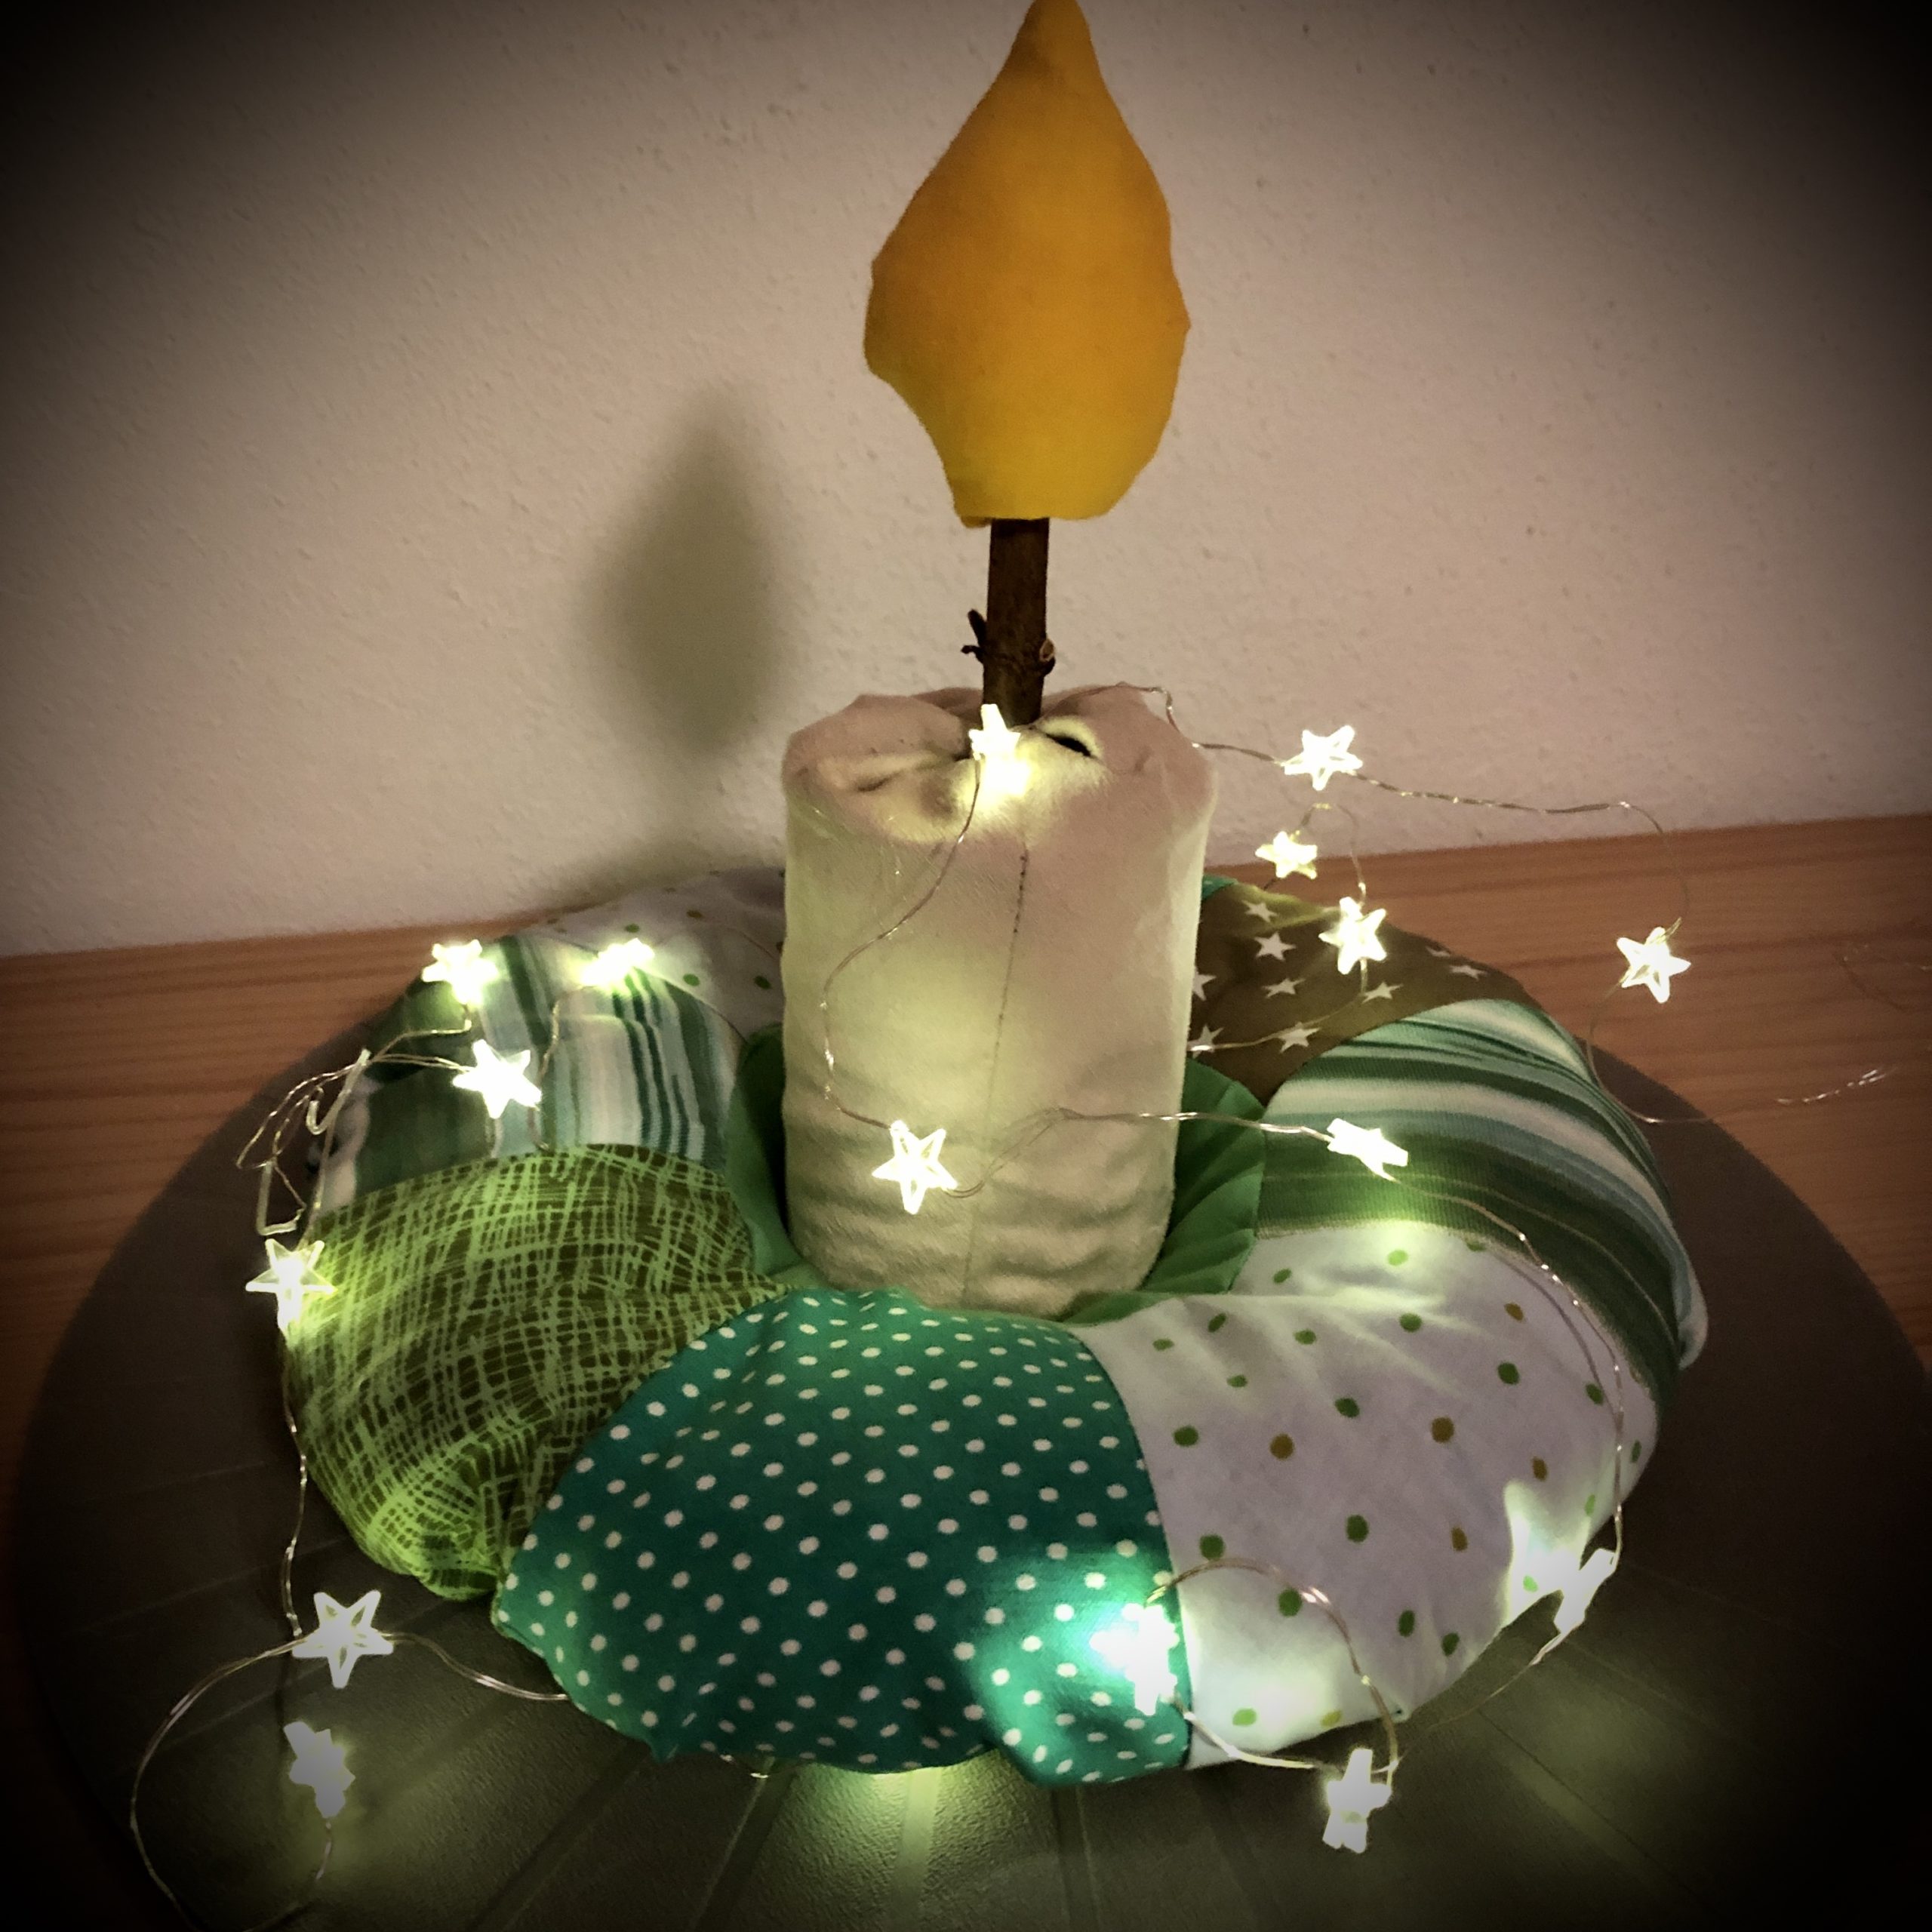


Stay creative!
Materials
Directions
This is the pattern for the quarter circle. Print out the pattern and cut it out.


Cut four quarter circles of different materials (patterns). Transfer the template to the fabric. Place the template and border it one centimetre larger. Then cut the fabrics.


Put your stuffed parts together in a circle.


Now you sew the first two pieces together, put the two pieces together with the beautiful sides (on the right) and connect them with a seam.


You can still sew off the sewn side with a zigzag stitch.


Now you sew the third and fourth part of the fabric on it. Attention, you must not sew the last part of the fabric together with the first one. This side remains open at first!


Now you cut out another fabric circle. It must be as large as your sewn circle. Use your circle as a template.


Now you put both parts together. The beautiful sides (right) point inwards.


Stitches the fabrics together with pins.


Attention, one side remains open.


Now you sew around.


The two parts of the fabric get an opening in the same place. For this, cut the lower fabric in the same place as the upper one!
Cut a circle out of the middle so that it gives a fabric ring. I put a drinking cup on it and painted it for it! You then cut this circle out of both fabric circles.


Now you sew the inner circle together and line it up with a zigzag stick.


Finished is the sewn ring. This one is now turned around.


The two open ends are now sewn half together. Sew together the top of the later wreath. Then the last opening, which you sew with your hand, is on the bottom!


Stick the fabric, as in the picture, together with pins.


Now sew the wreath a piece.
A small piece remains open for filling.


Through this opening you can fill the wreath now.


Uses padding or other stuffing material such as fabric remnants, wool remnants or old cushion watte.


With a toilet roll and a cooking spoon, the wreath is quickly stuffed.


Pushs again and again with the cooking spoon cotton wool into hard-to-reach curvatures of the wreath.


The wreath is finished when it is even and well filled.


The still open seam now lays her neatly together, to then sew her together with needle and thread.


You can close the seam completely now.


The wreath is finished. For example, you can place a tree stump candle in the middle or a glass with a candle.


Find something that fits in the middle. Make sure that the flames don't get to the fabric. Use a glass or place the candle on an elevation. So there is no danger that your fabric wreath will catch fire!


Very nice looks an additional mini-light chain, which is wrapped quite loosely around the wreath.


Try it out!
Have fun sewing!
Add a small chain of lights, e.g. with small stars!


Stay creative!
Follow us on Facebook , Instagram and Pinterest
Don't miss any more adventures: Our bottle mail


