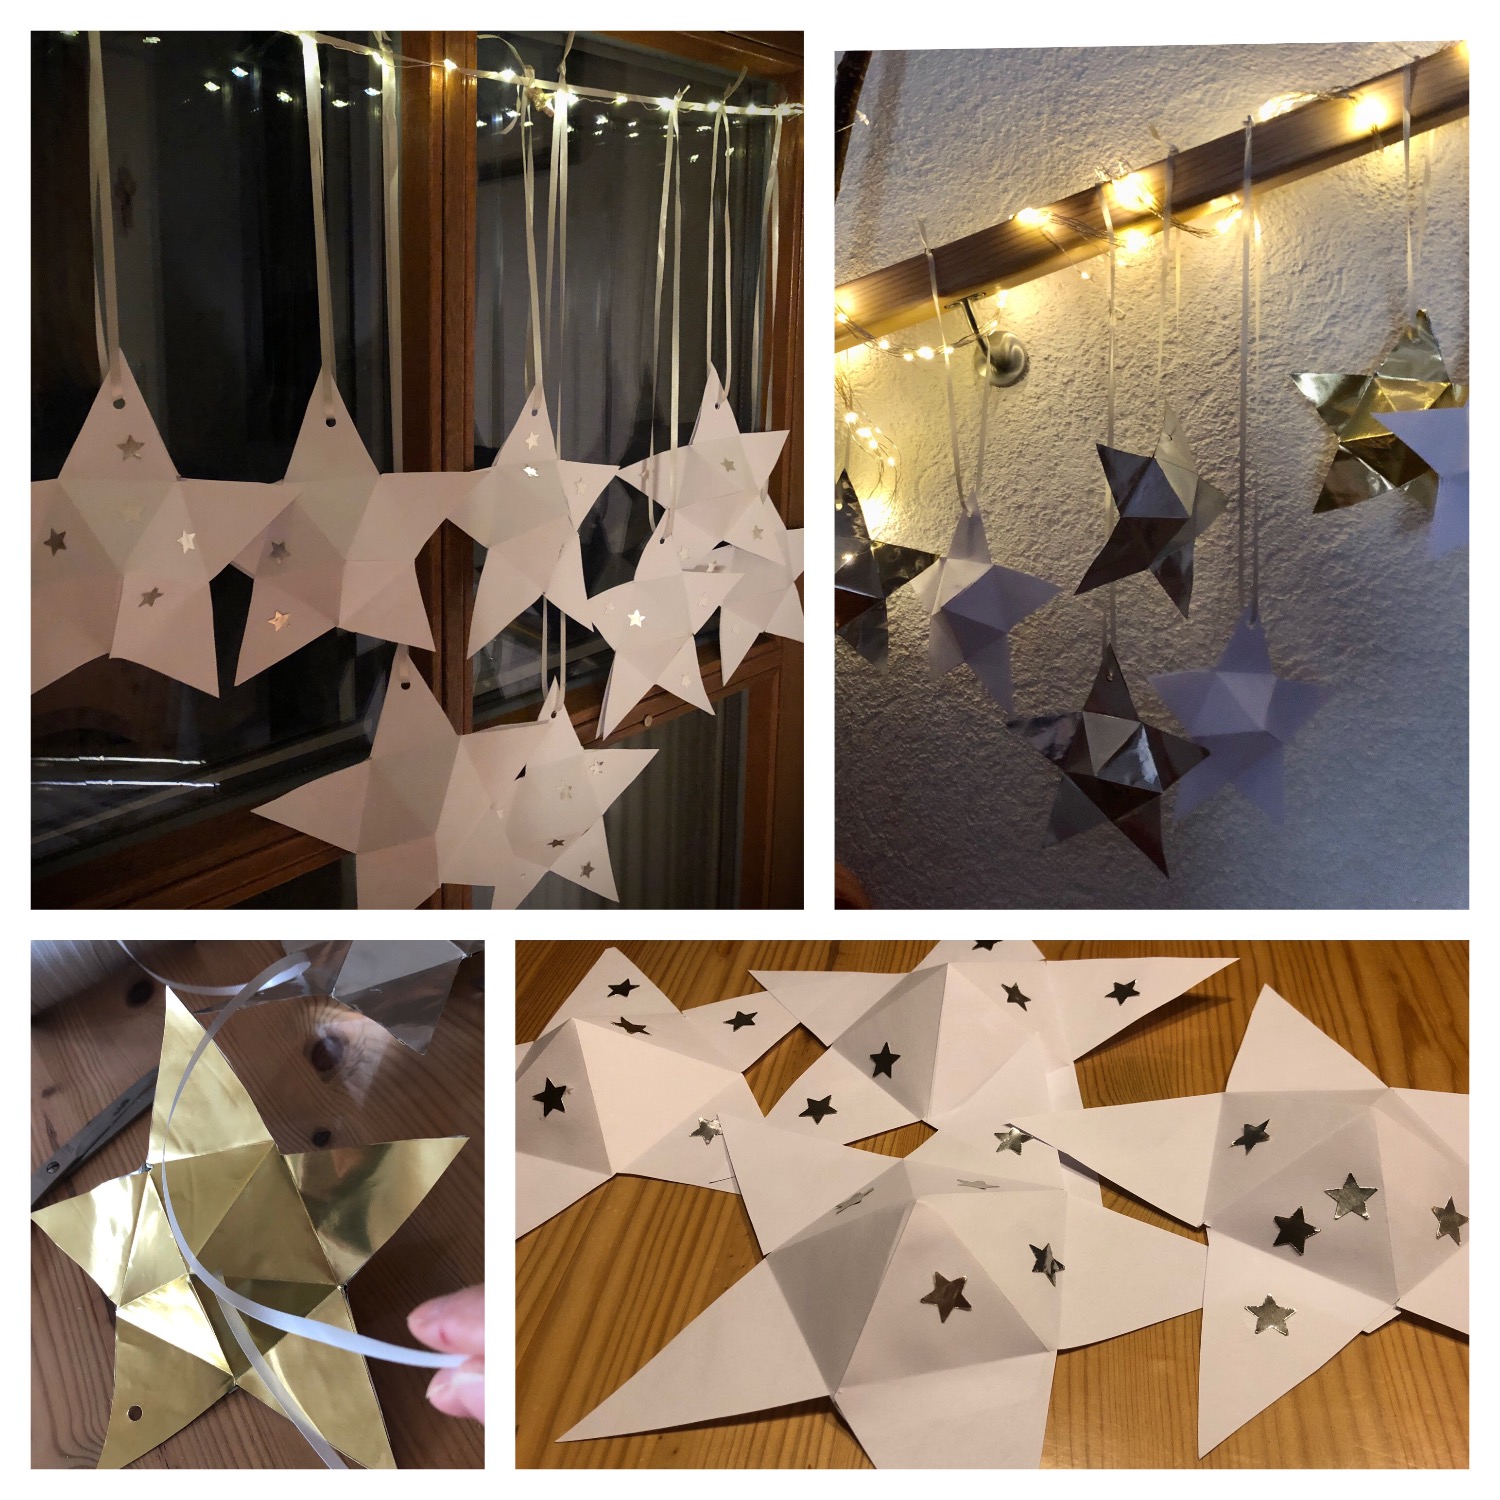
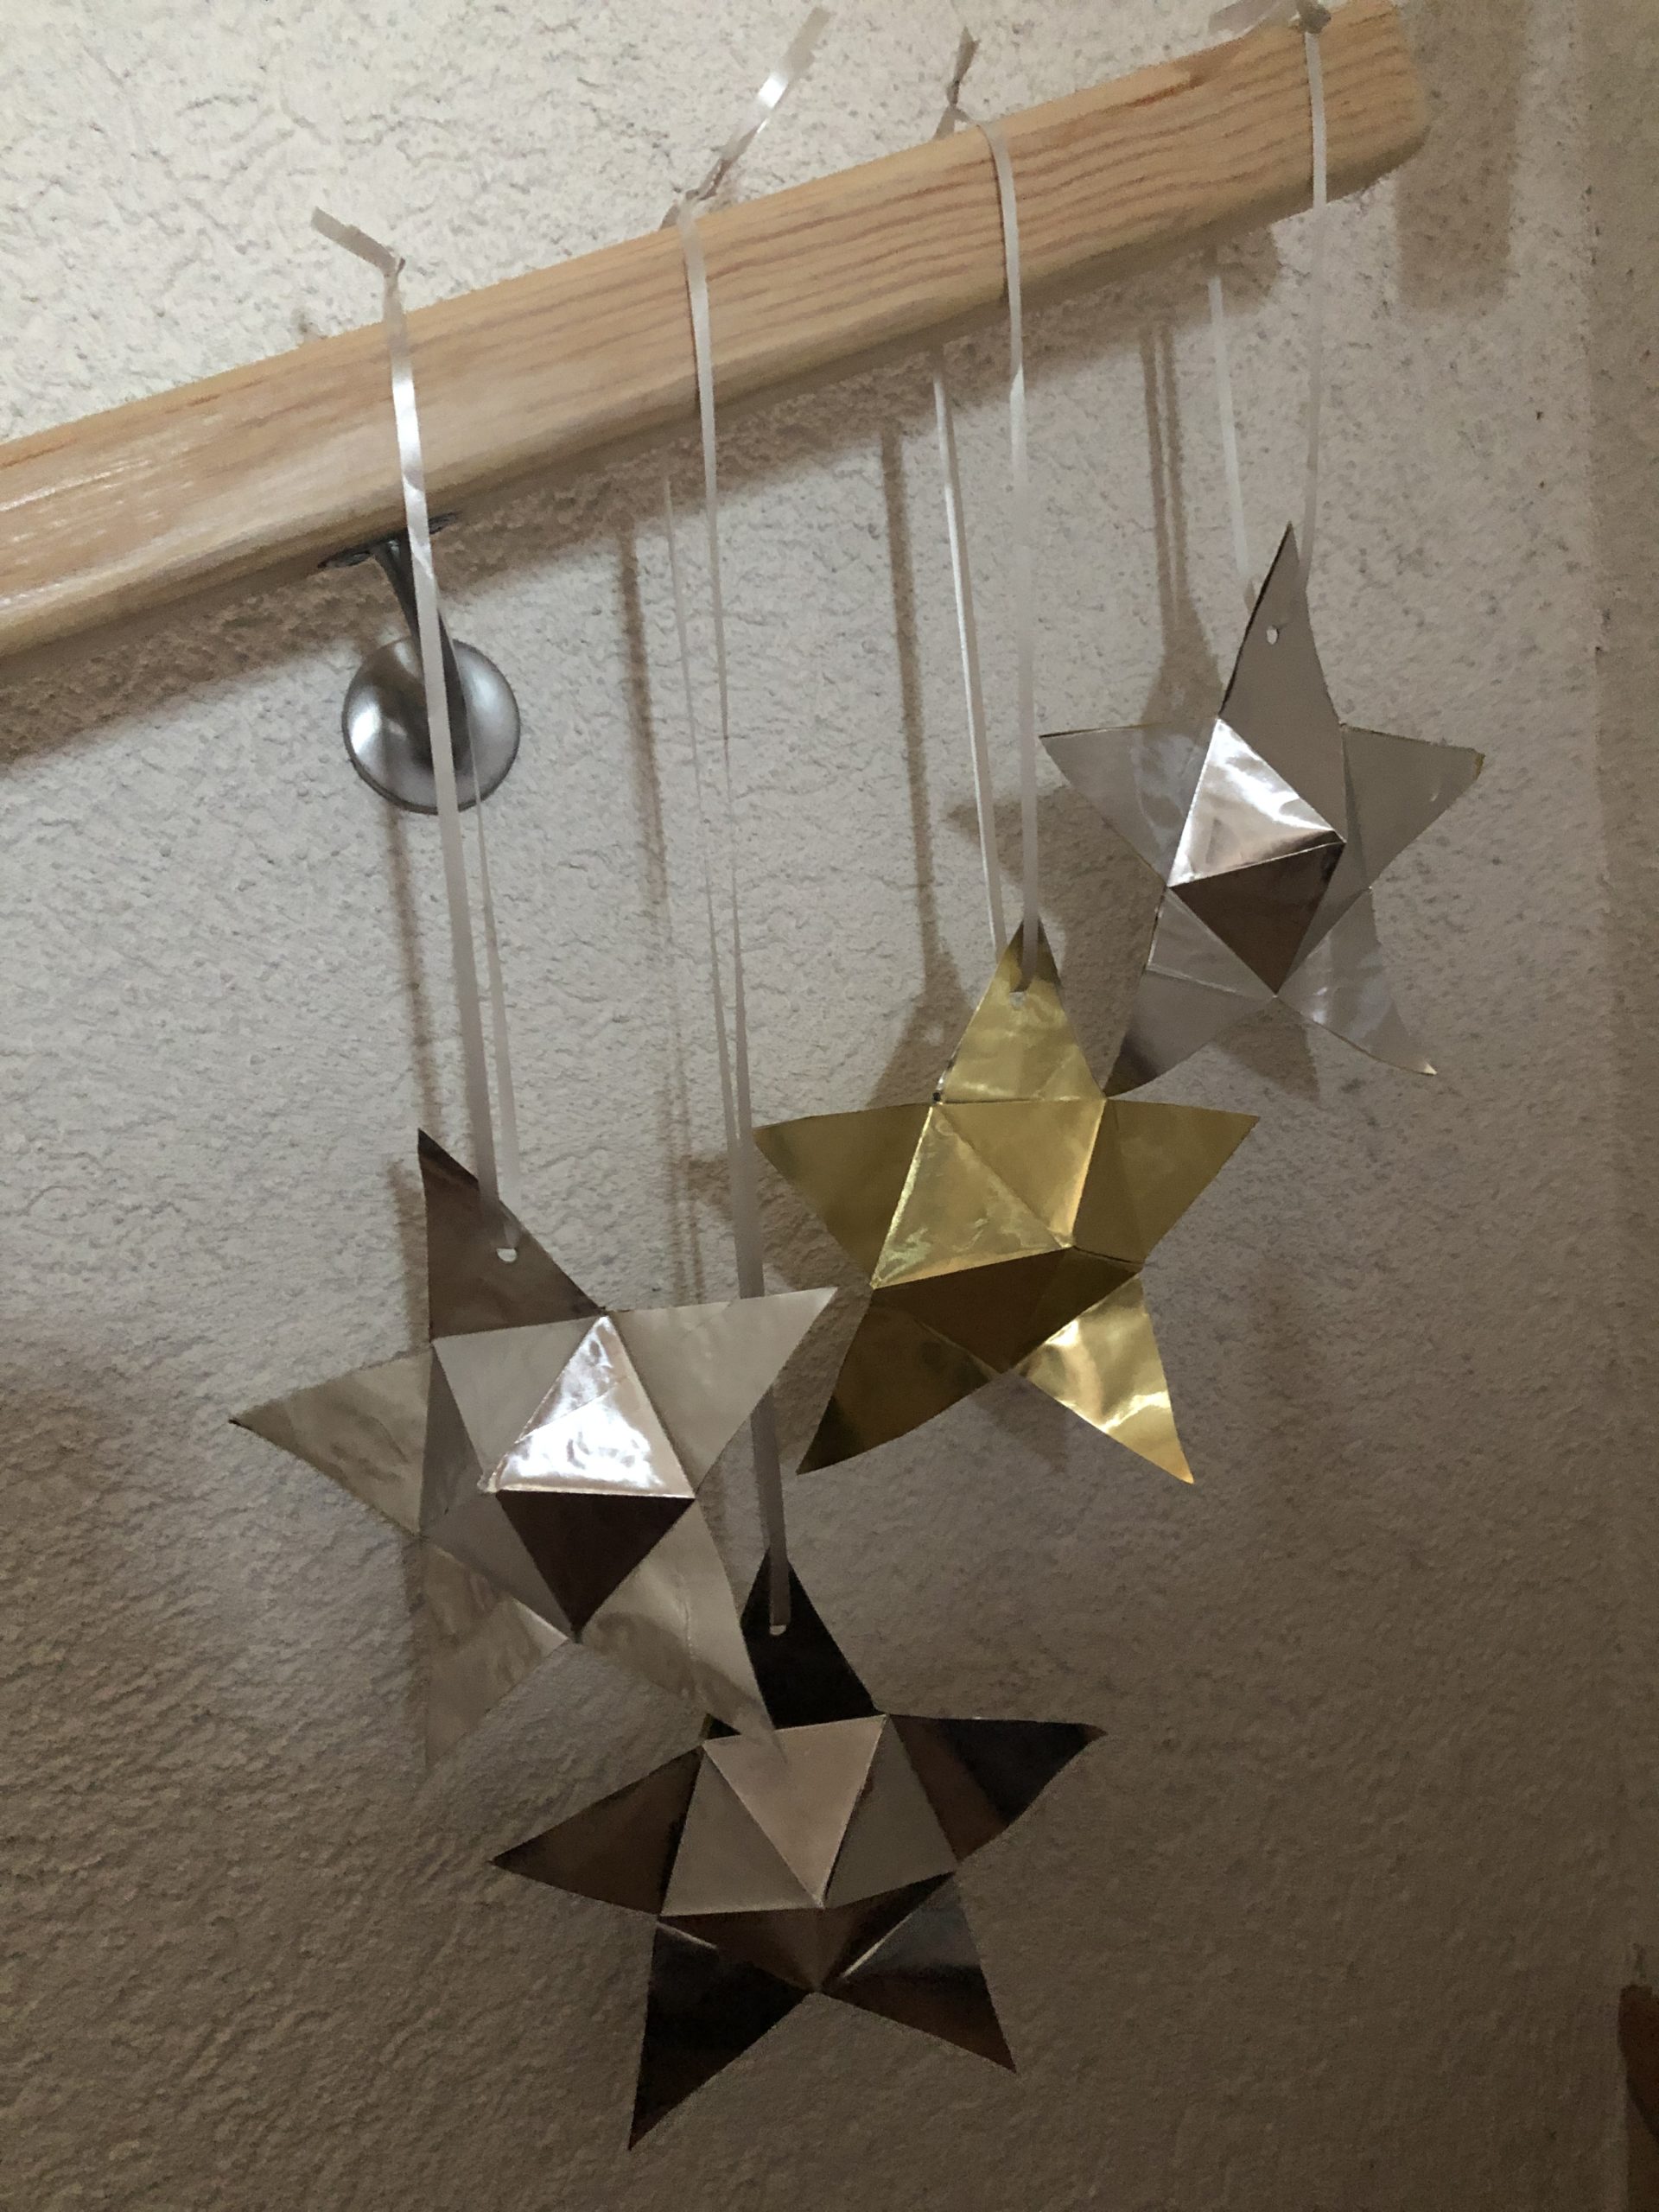
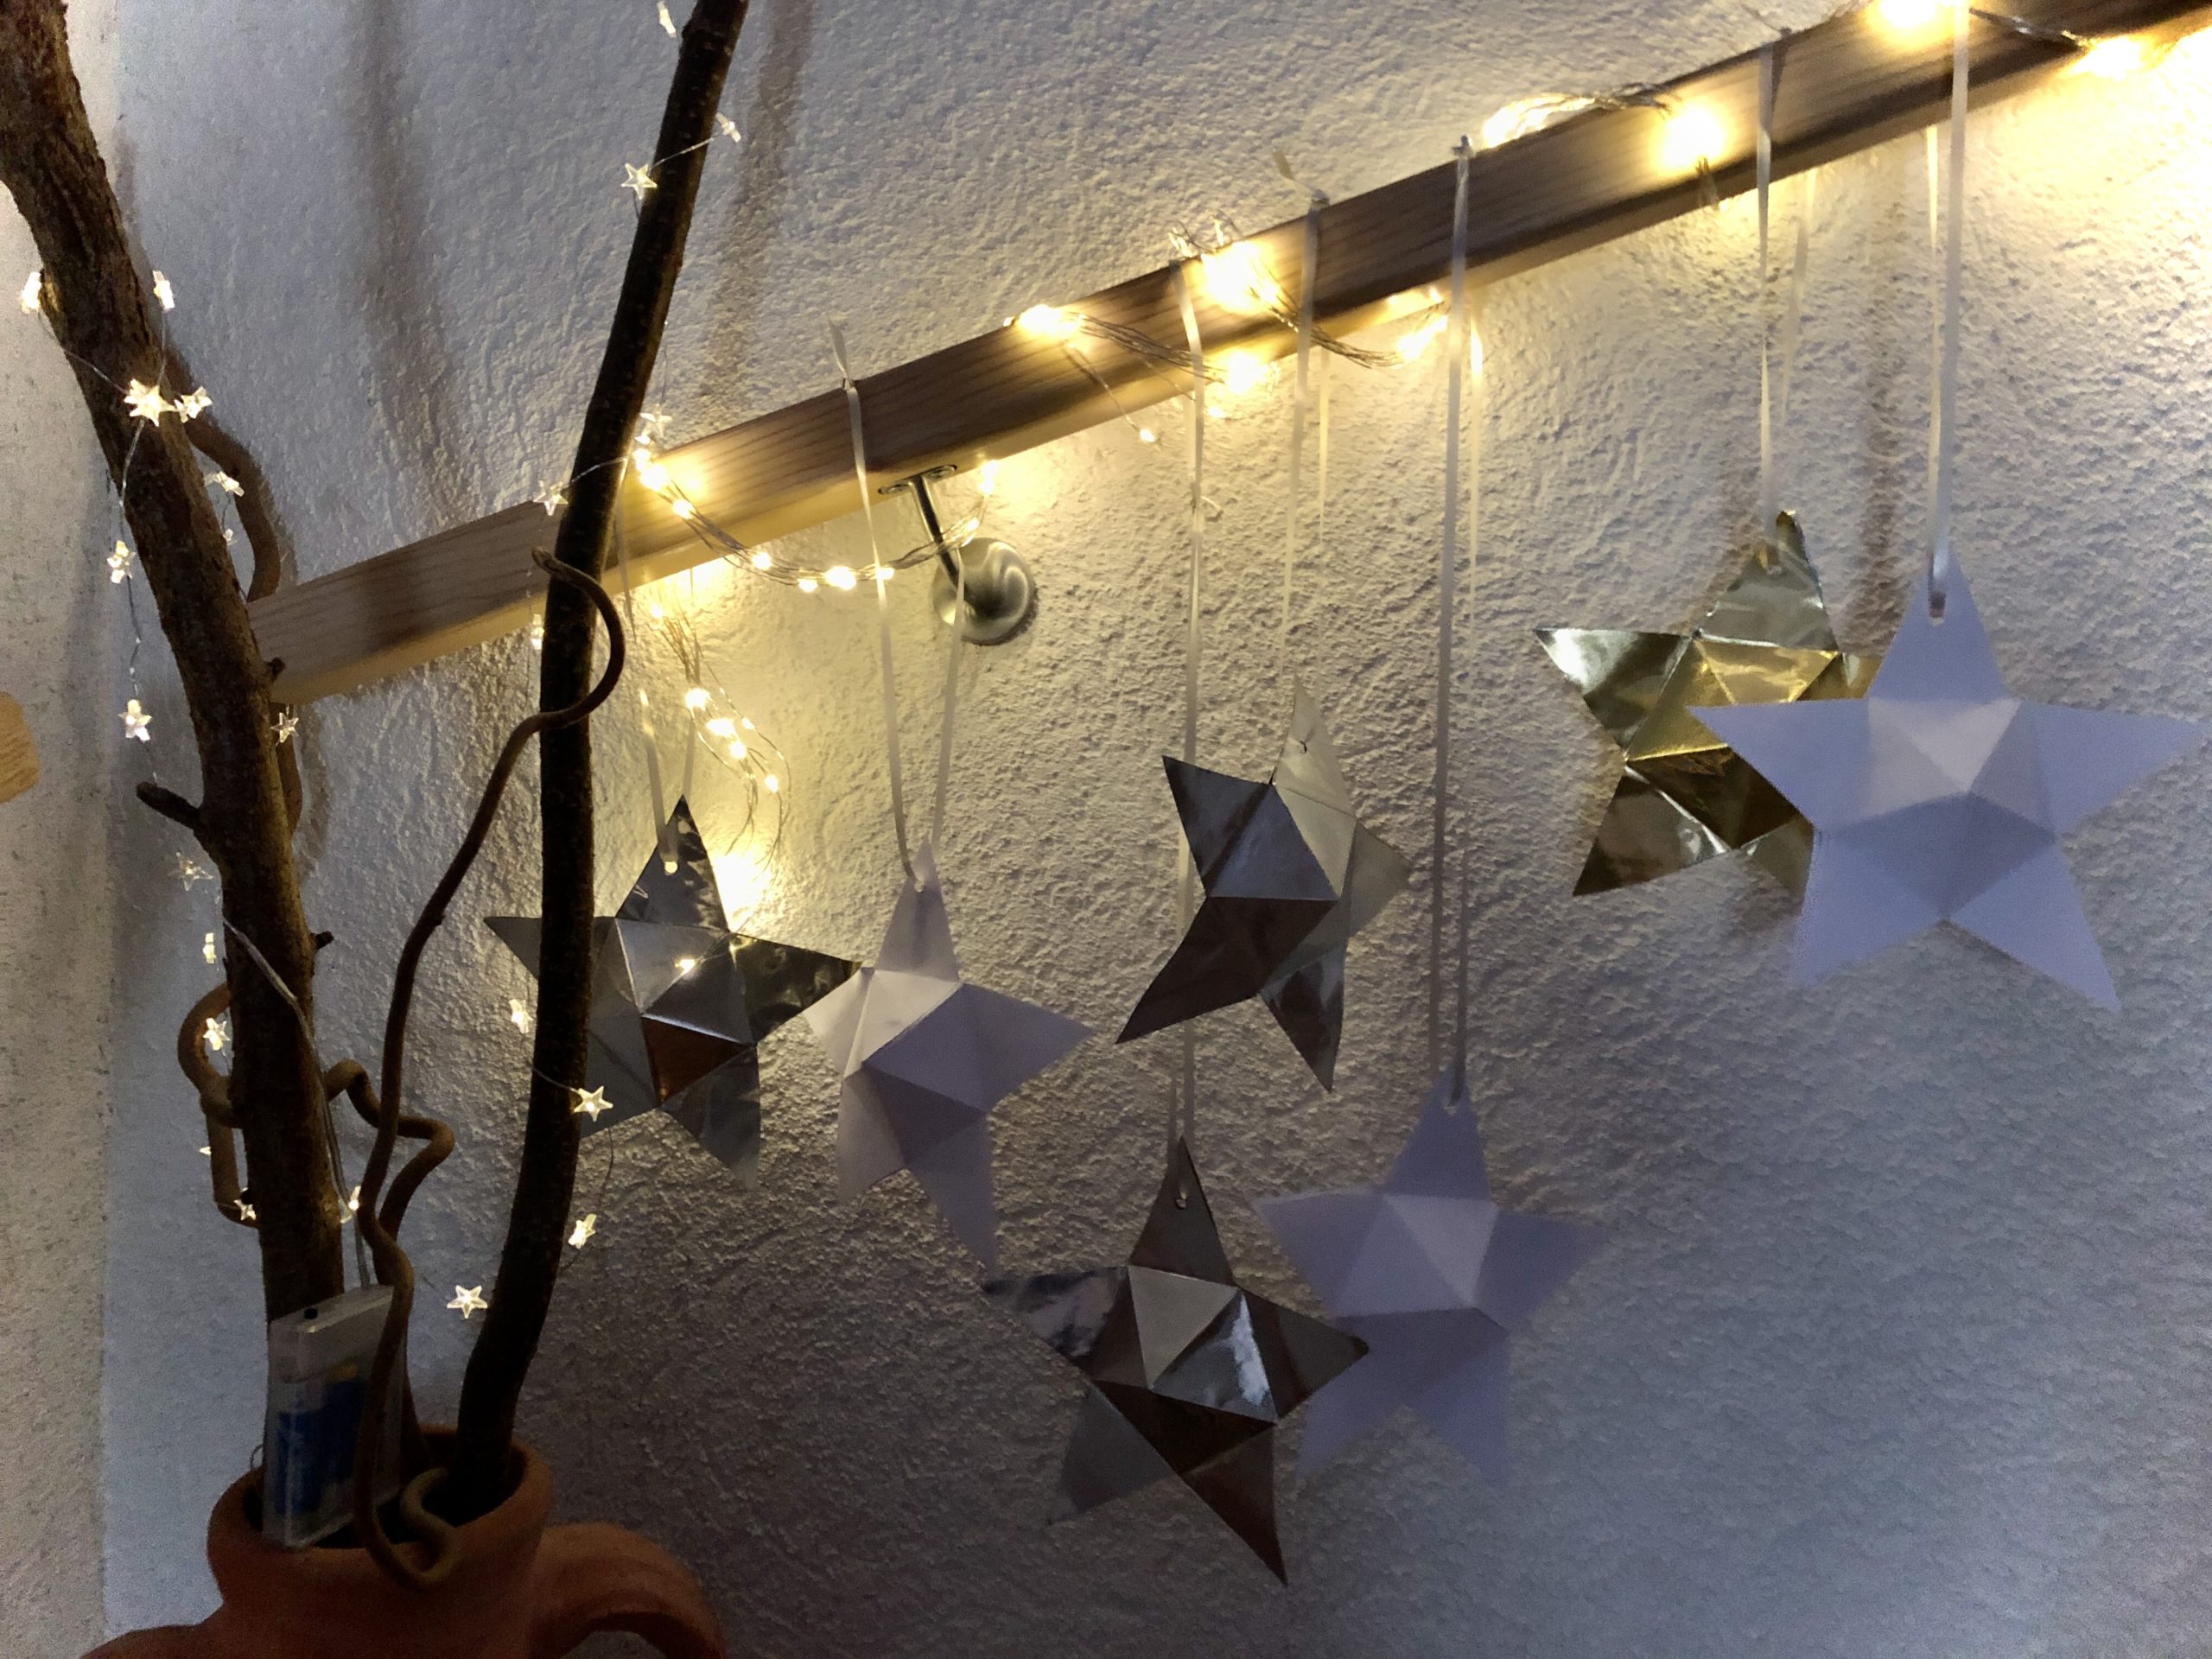
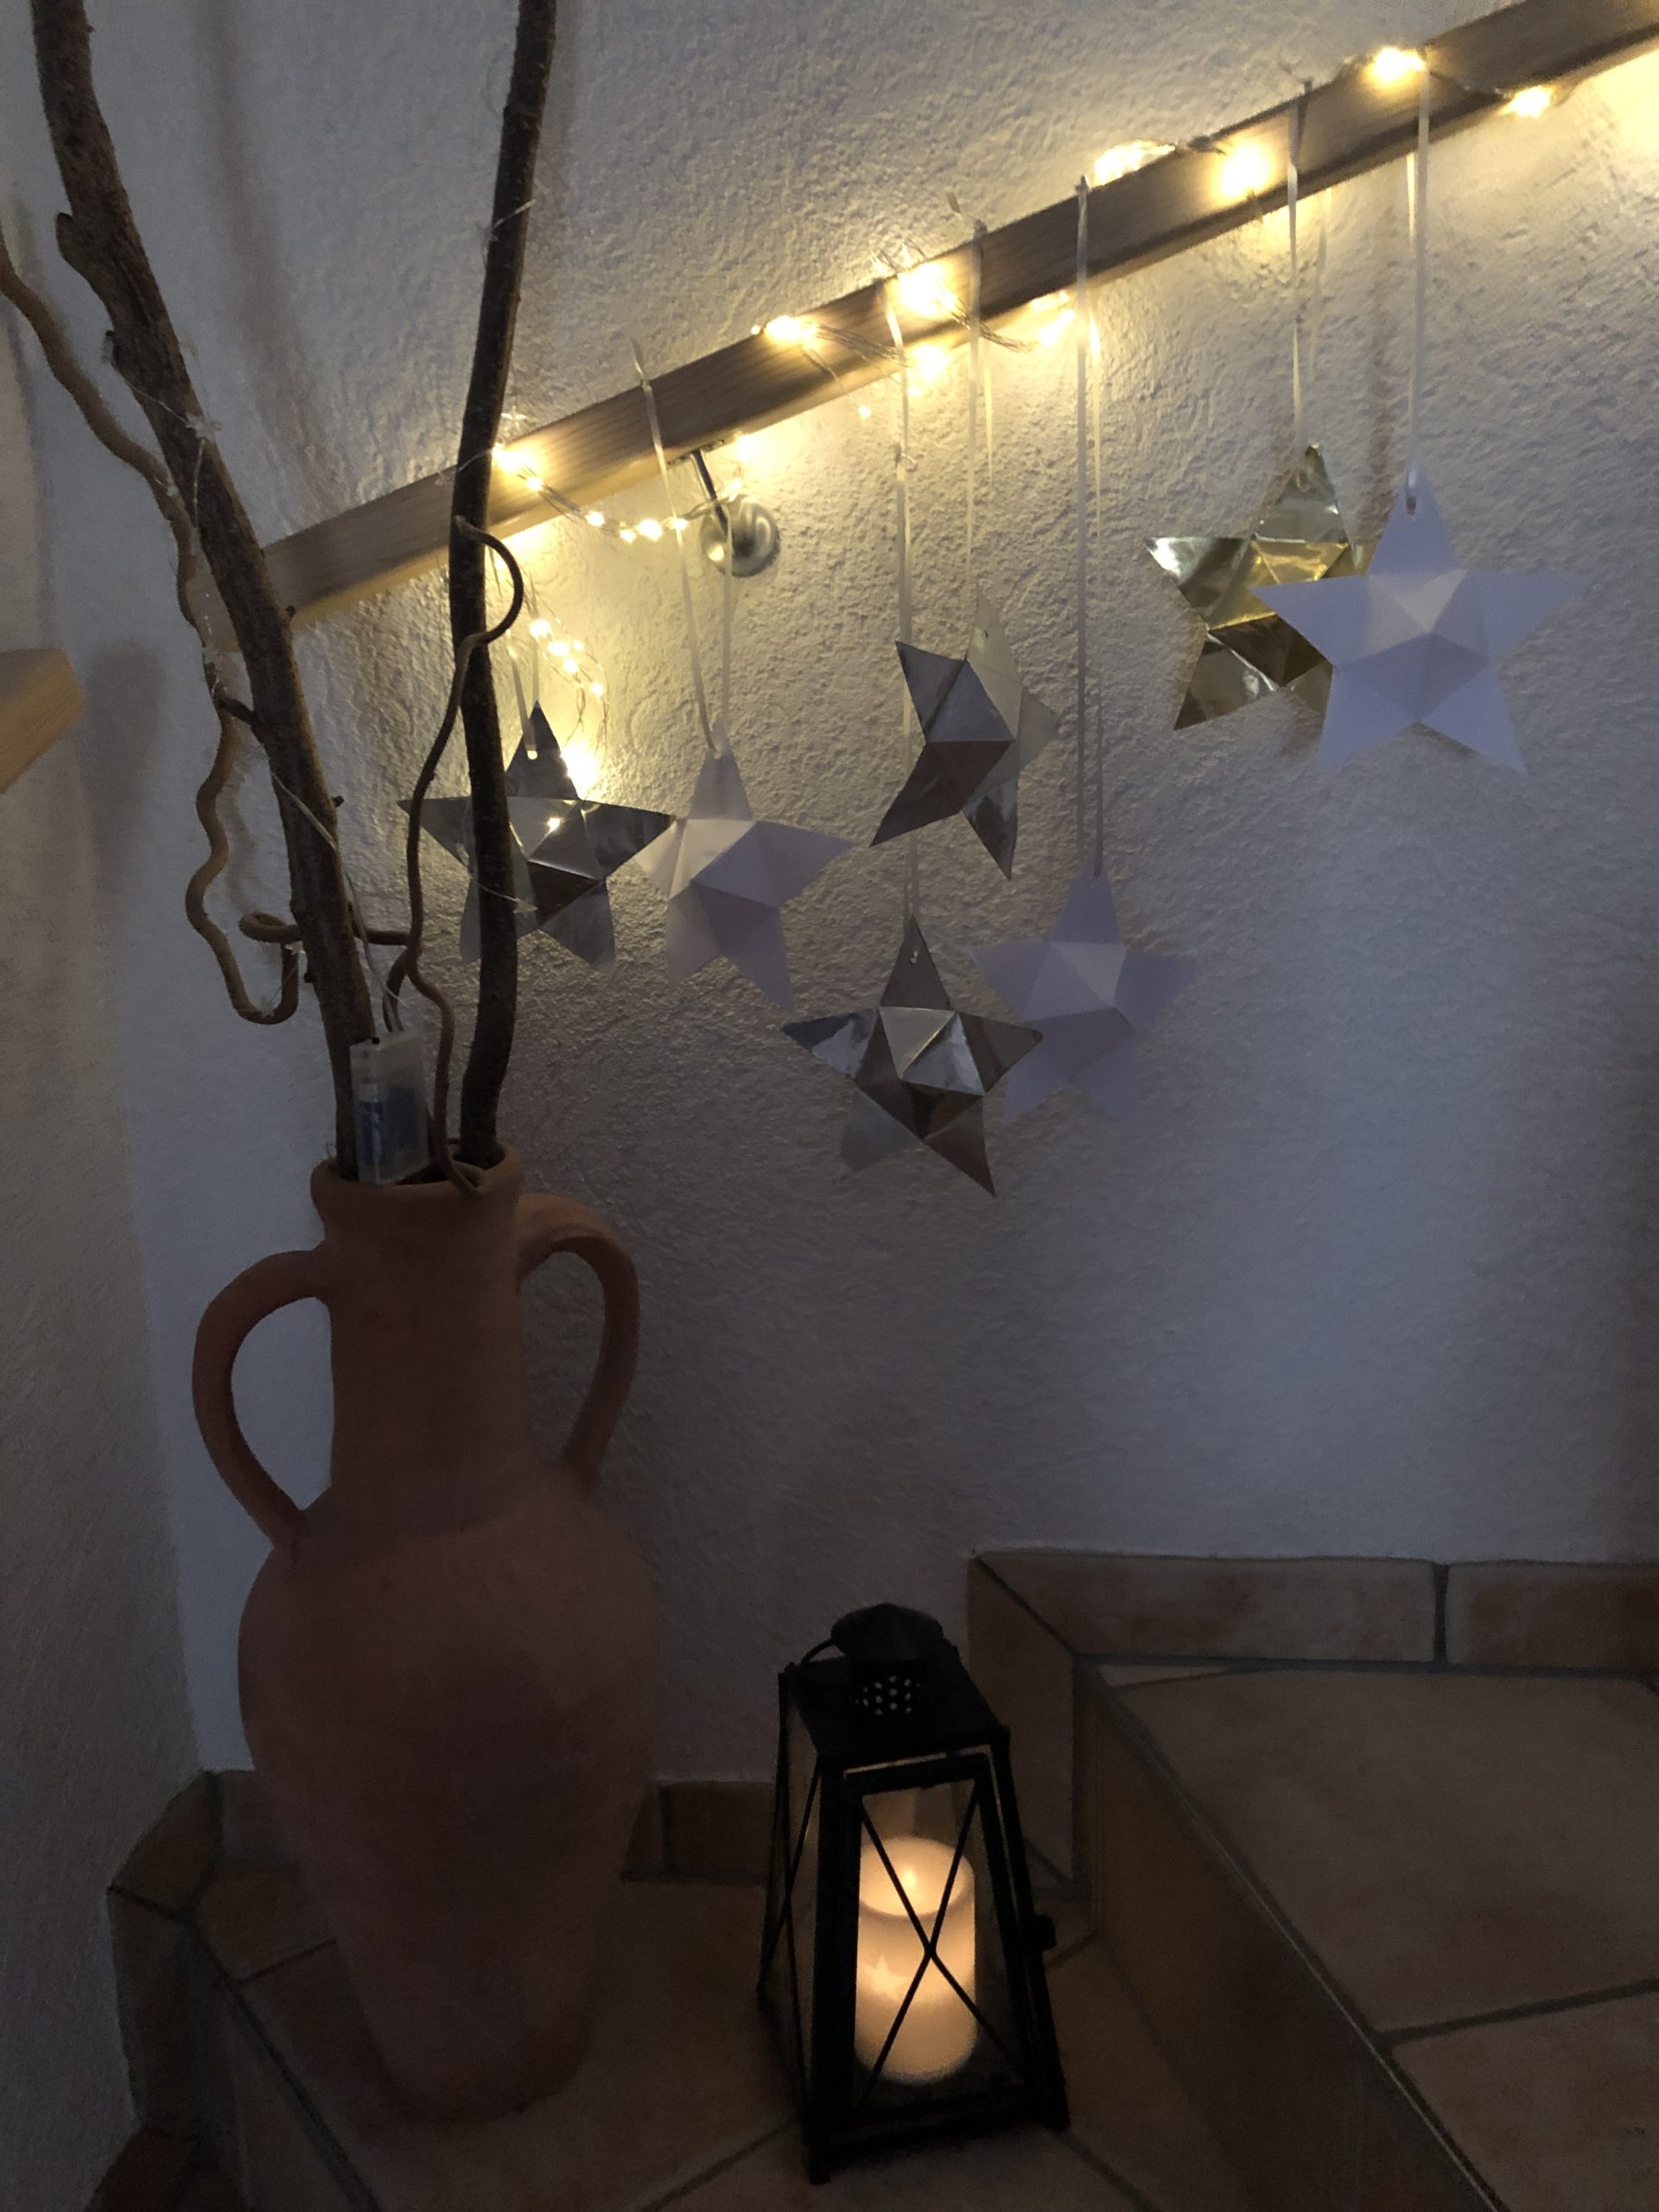
Remember my childhood! Every evening in Advent we were allowed to open one of these stars. They hung in our children's room by the window. They were made in a community project, filled but secretly by our mother. Every evening another of my siblings was allowed to open one, the content was shared - it was something special!
These rattle stars aren't hard to make.
Media Education for Kindergarten and Hort

Relief in everyday life, targeted promotion of individual children, independent learning and - without any pre-knowledge already usable by the youngest!
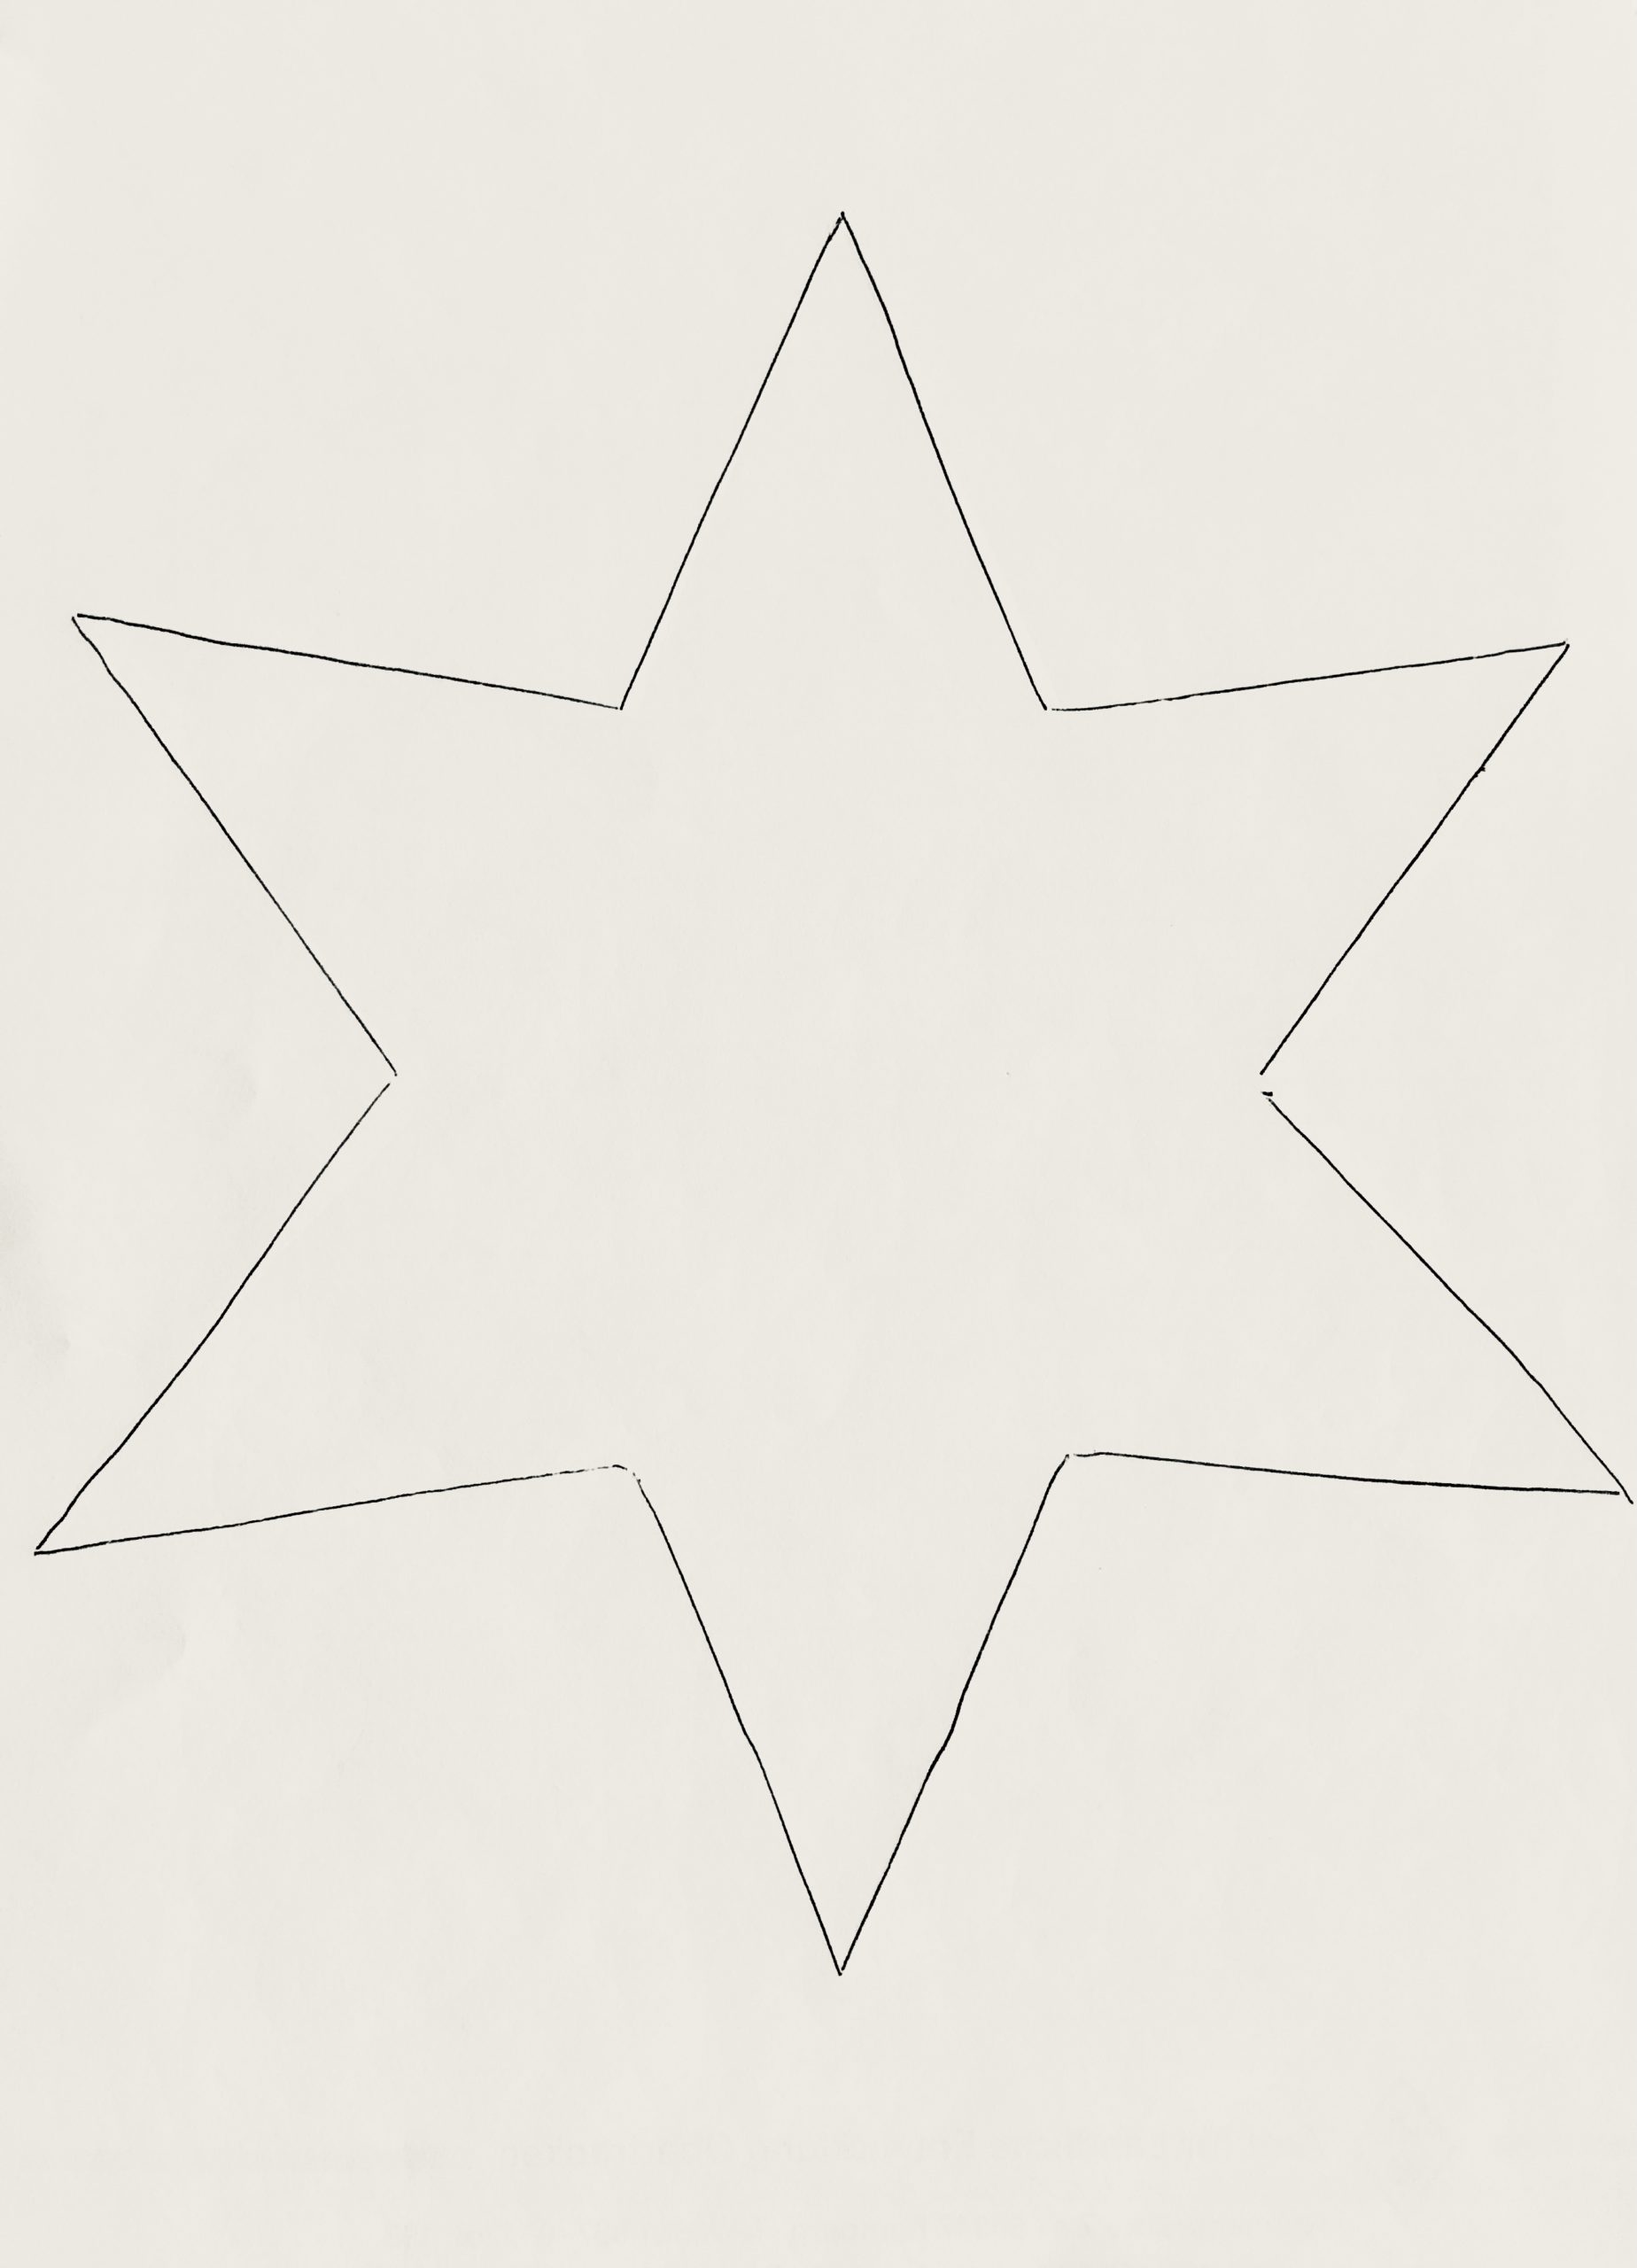
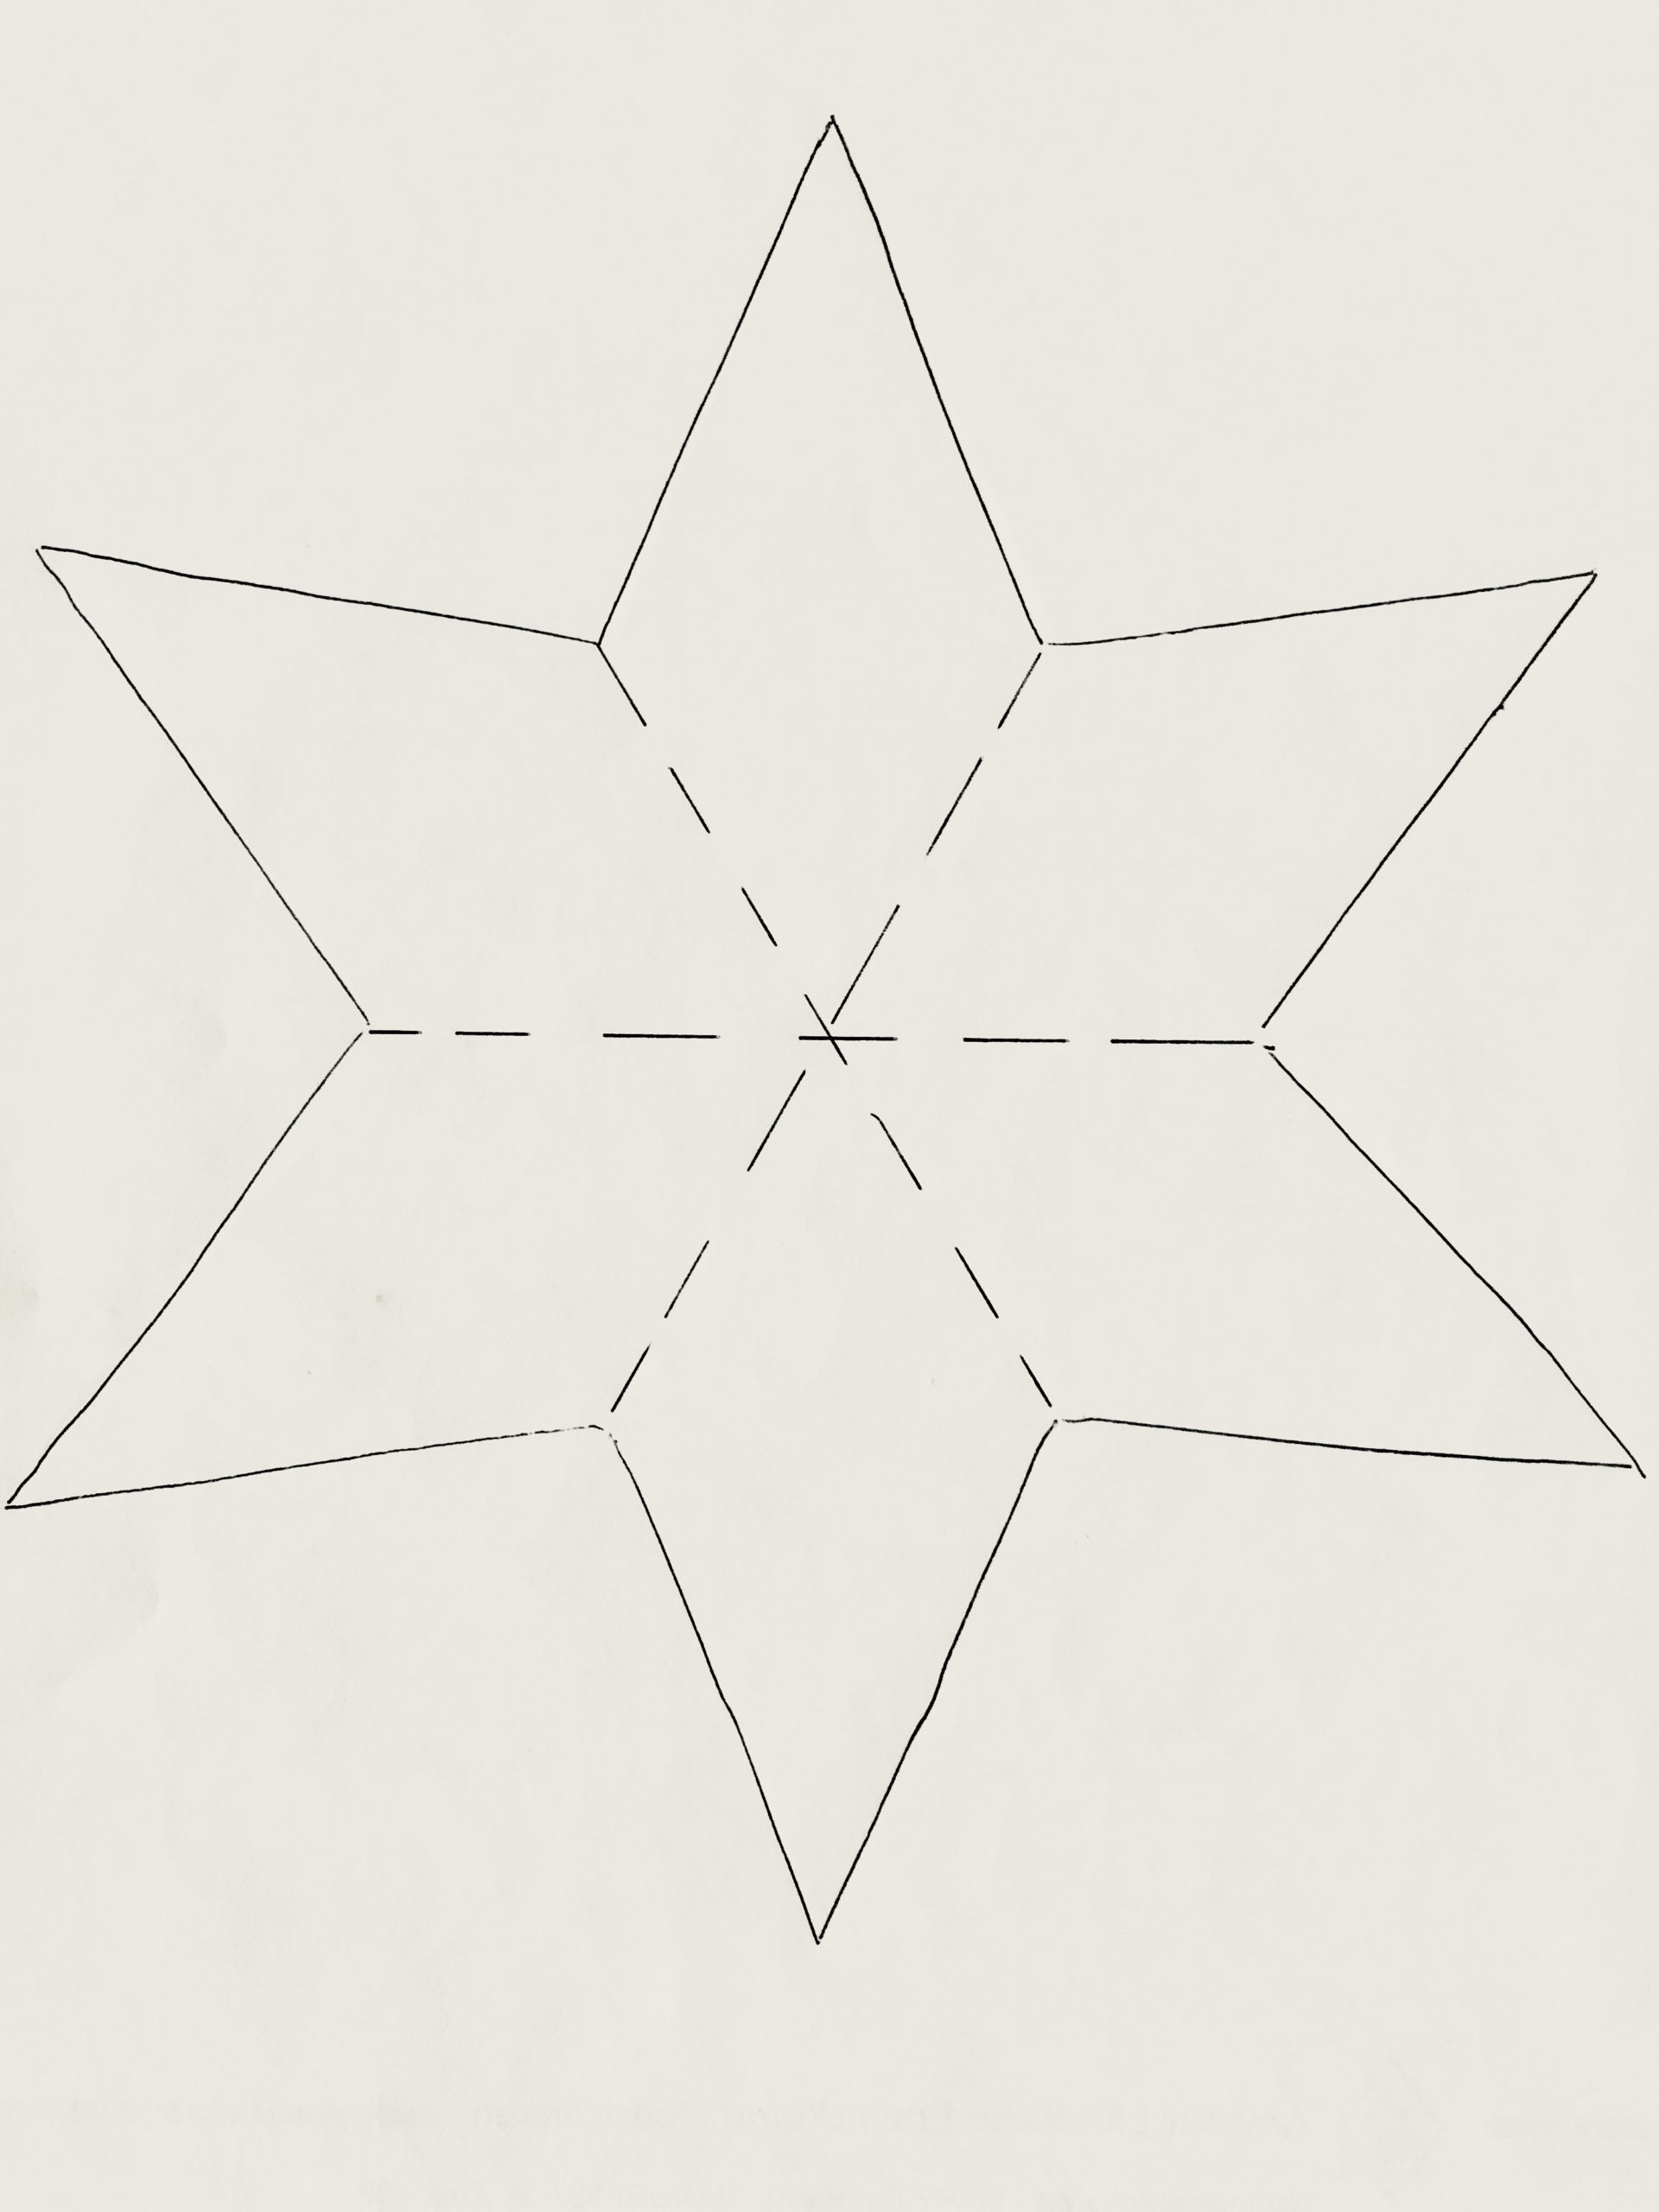
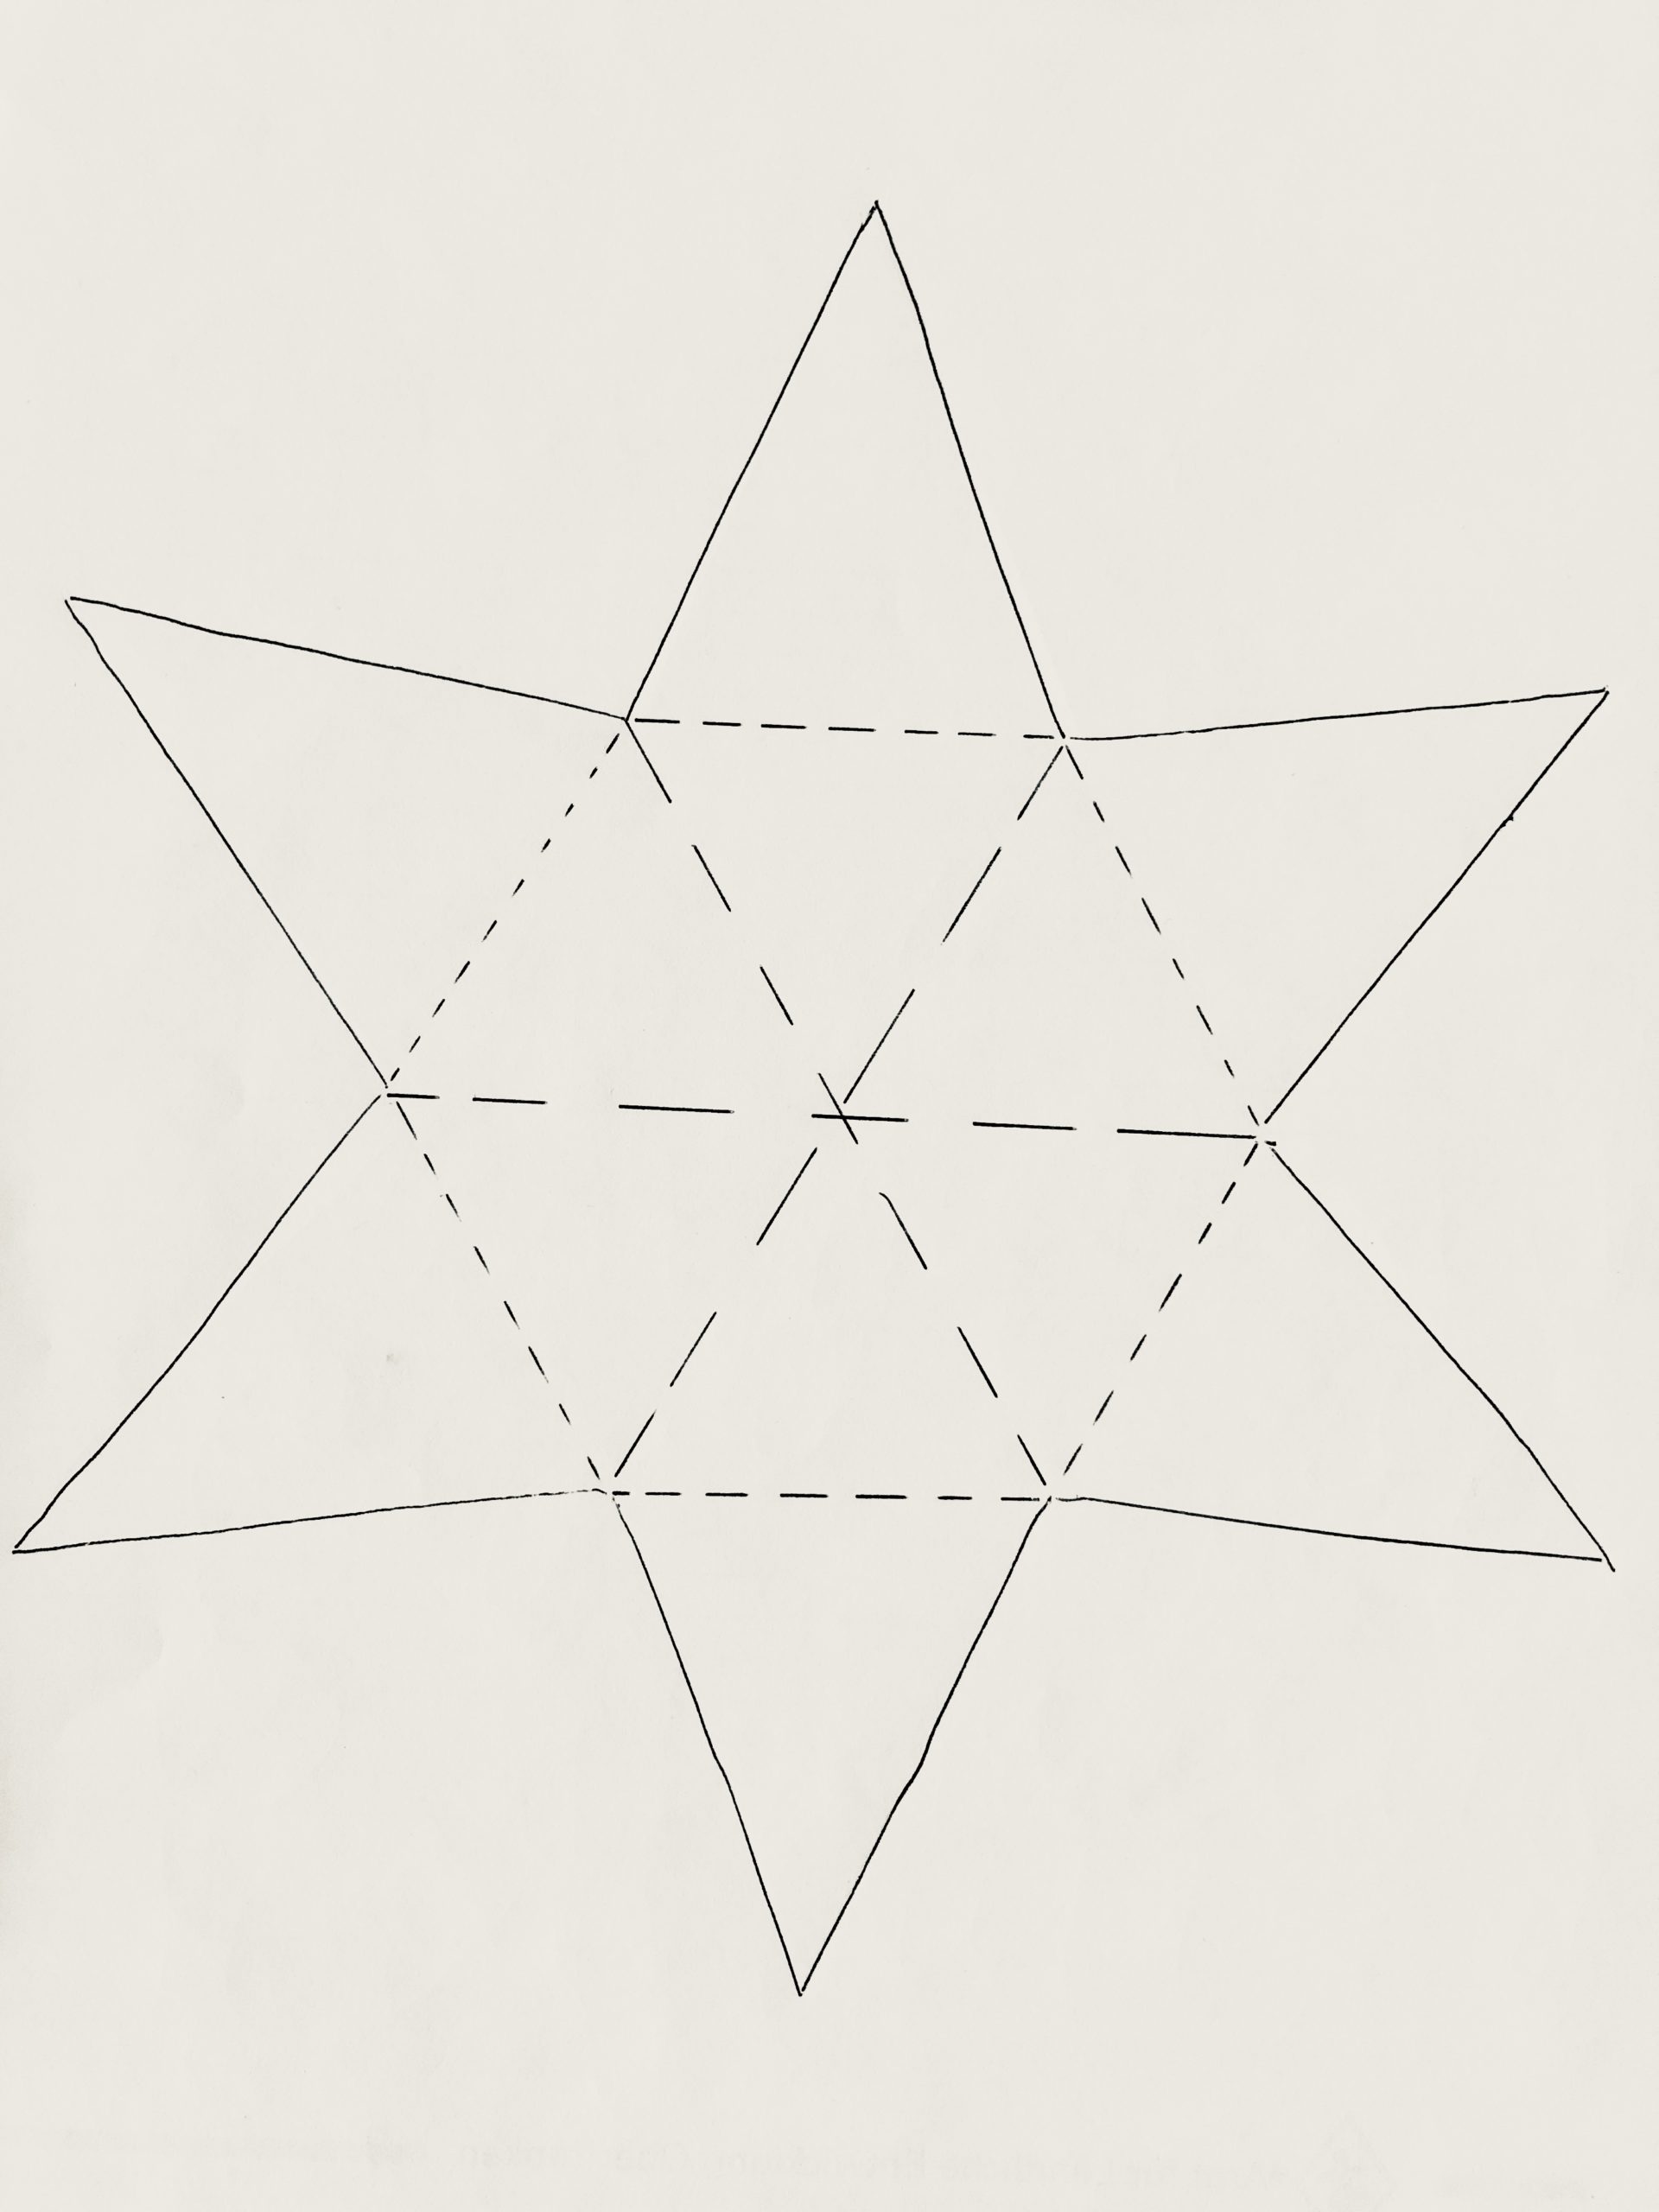
Print out the star template, lay out the craft template and cut out the star.
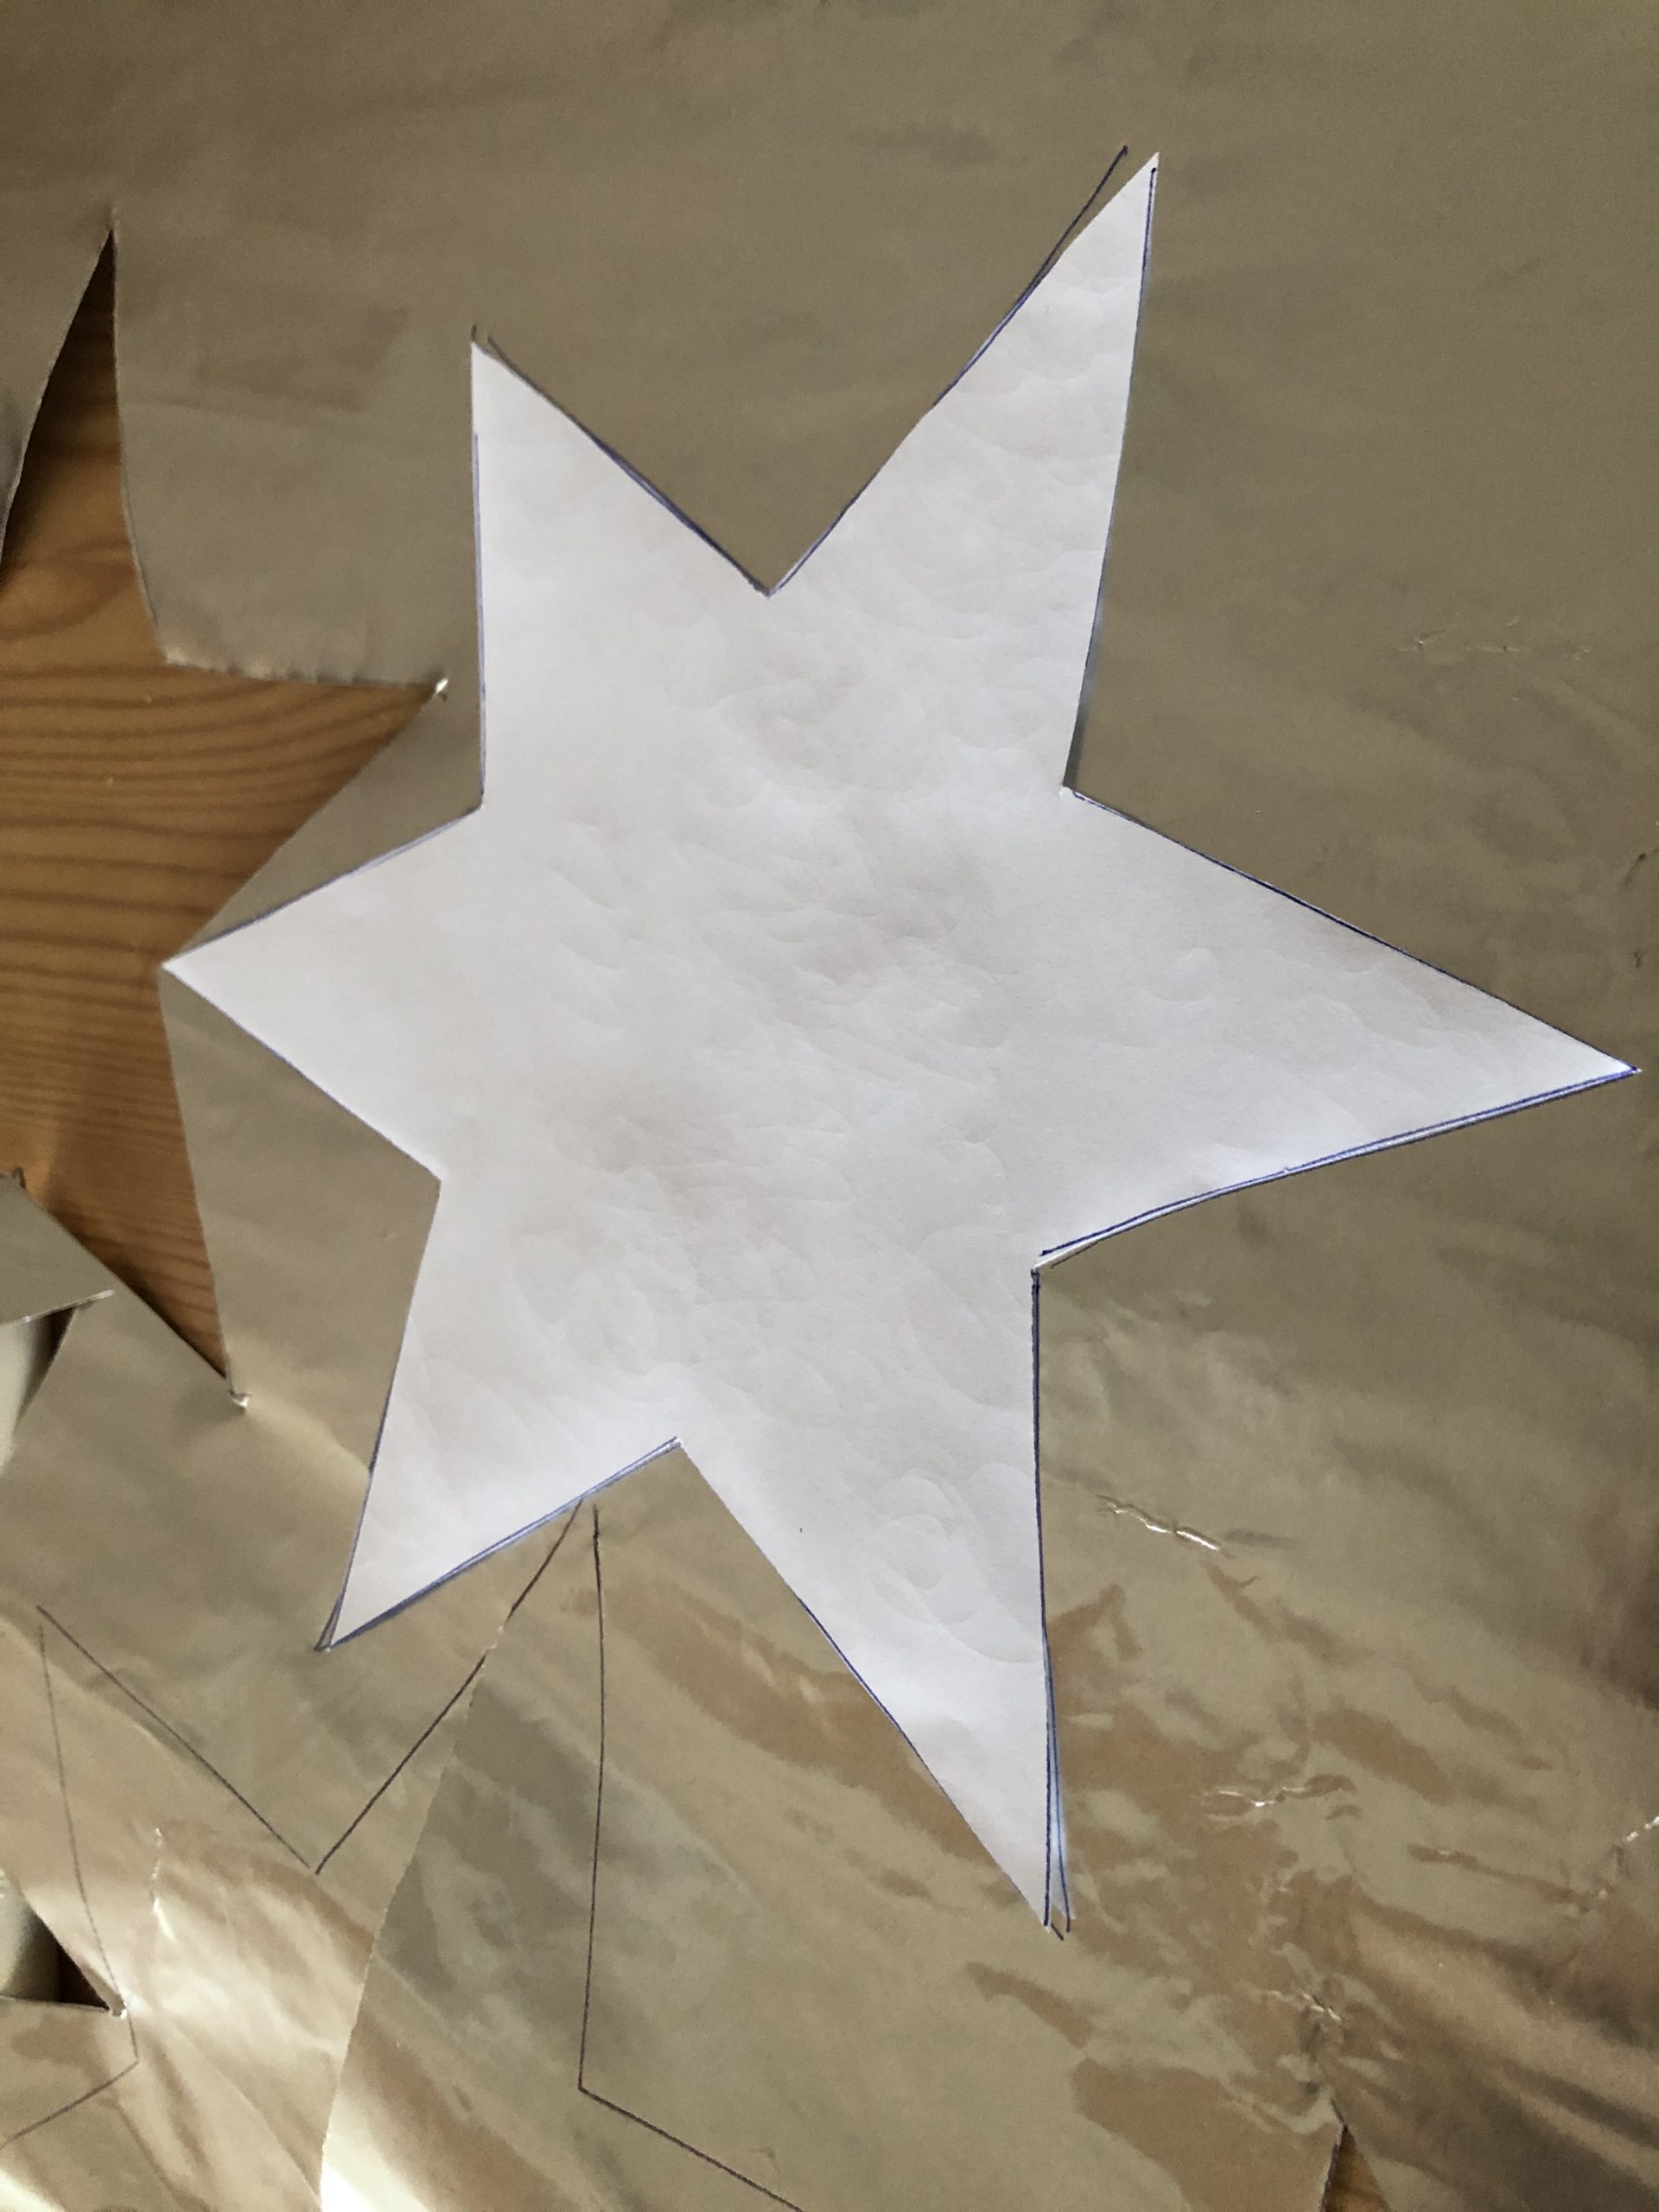
Now transfer the star template to the gold paper.


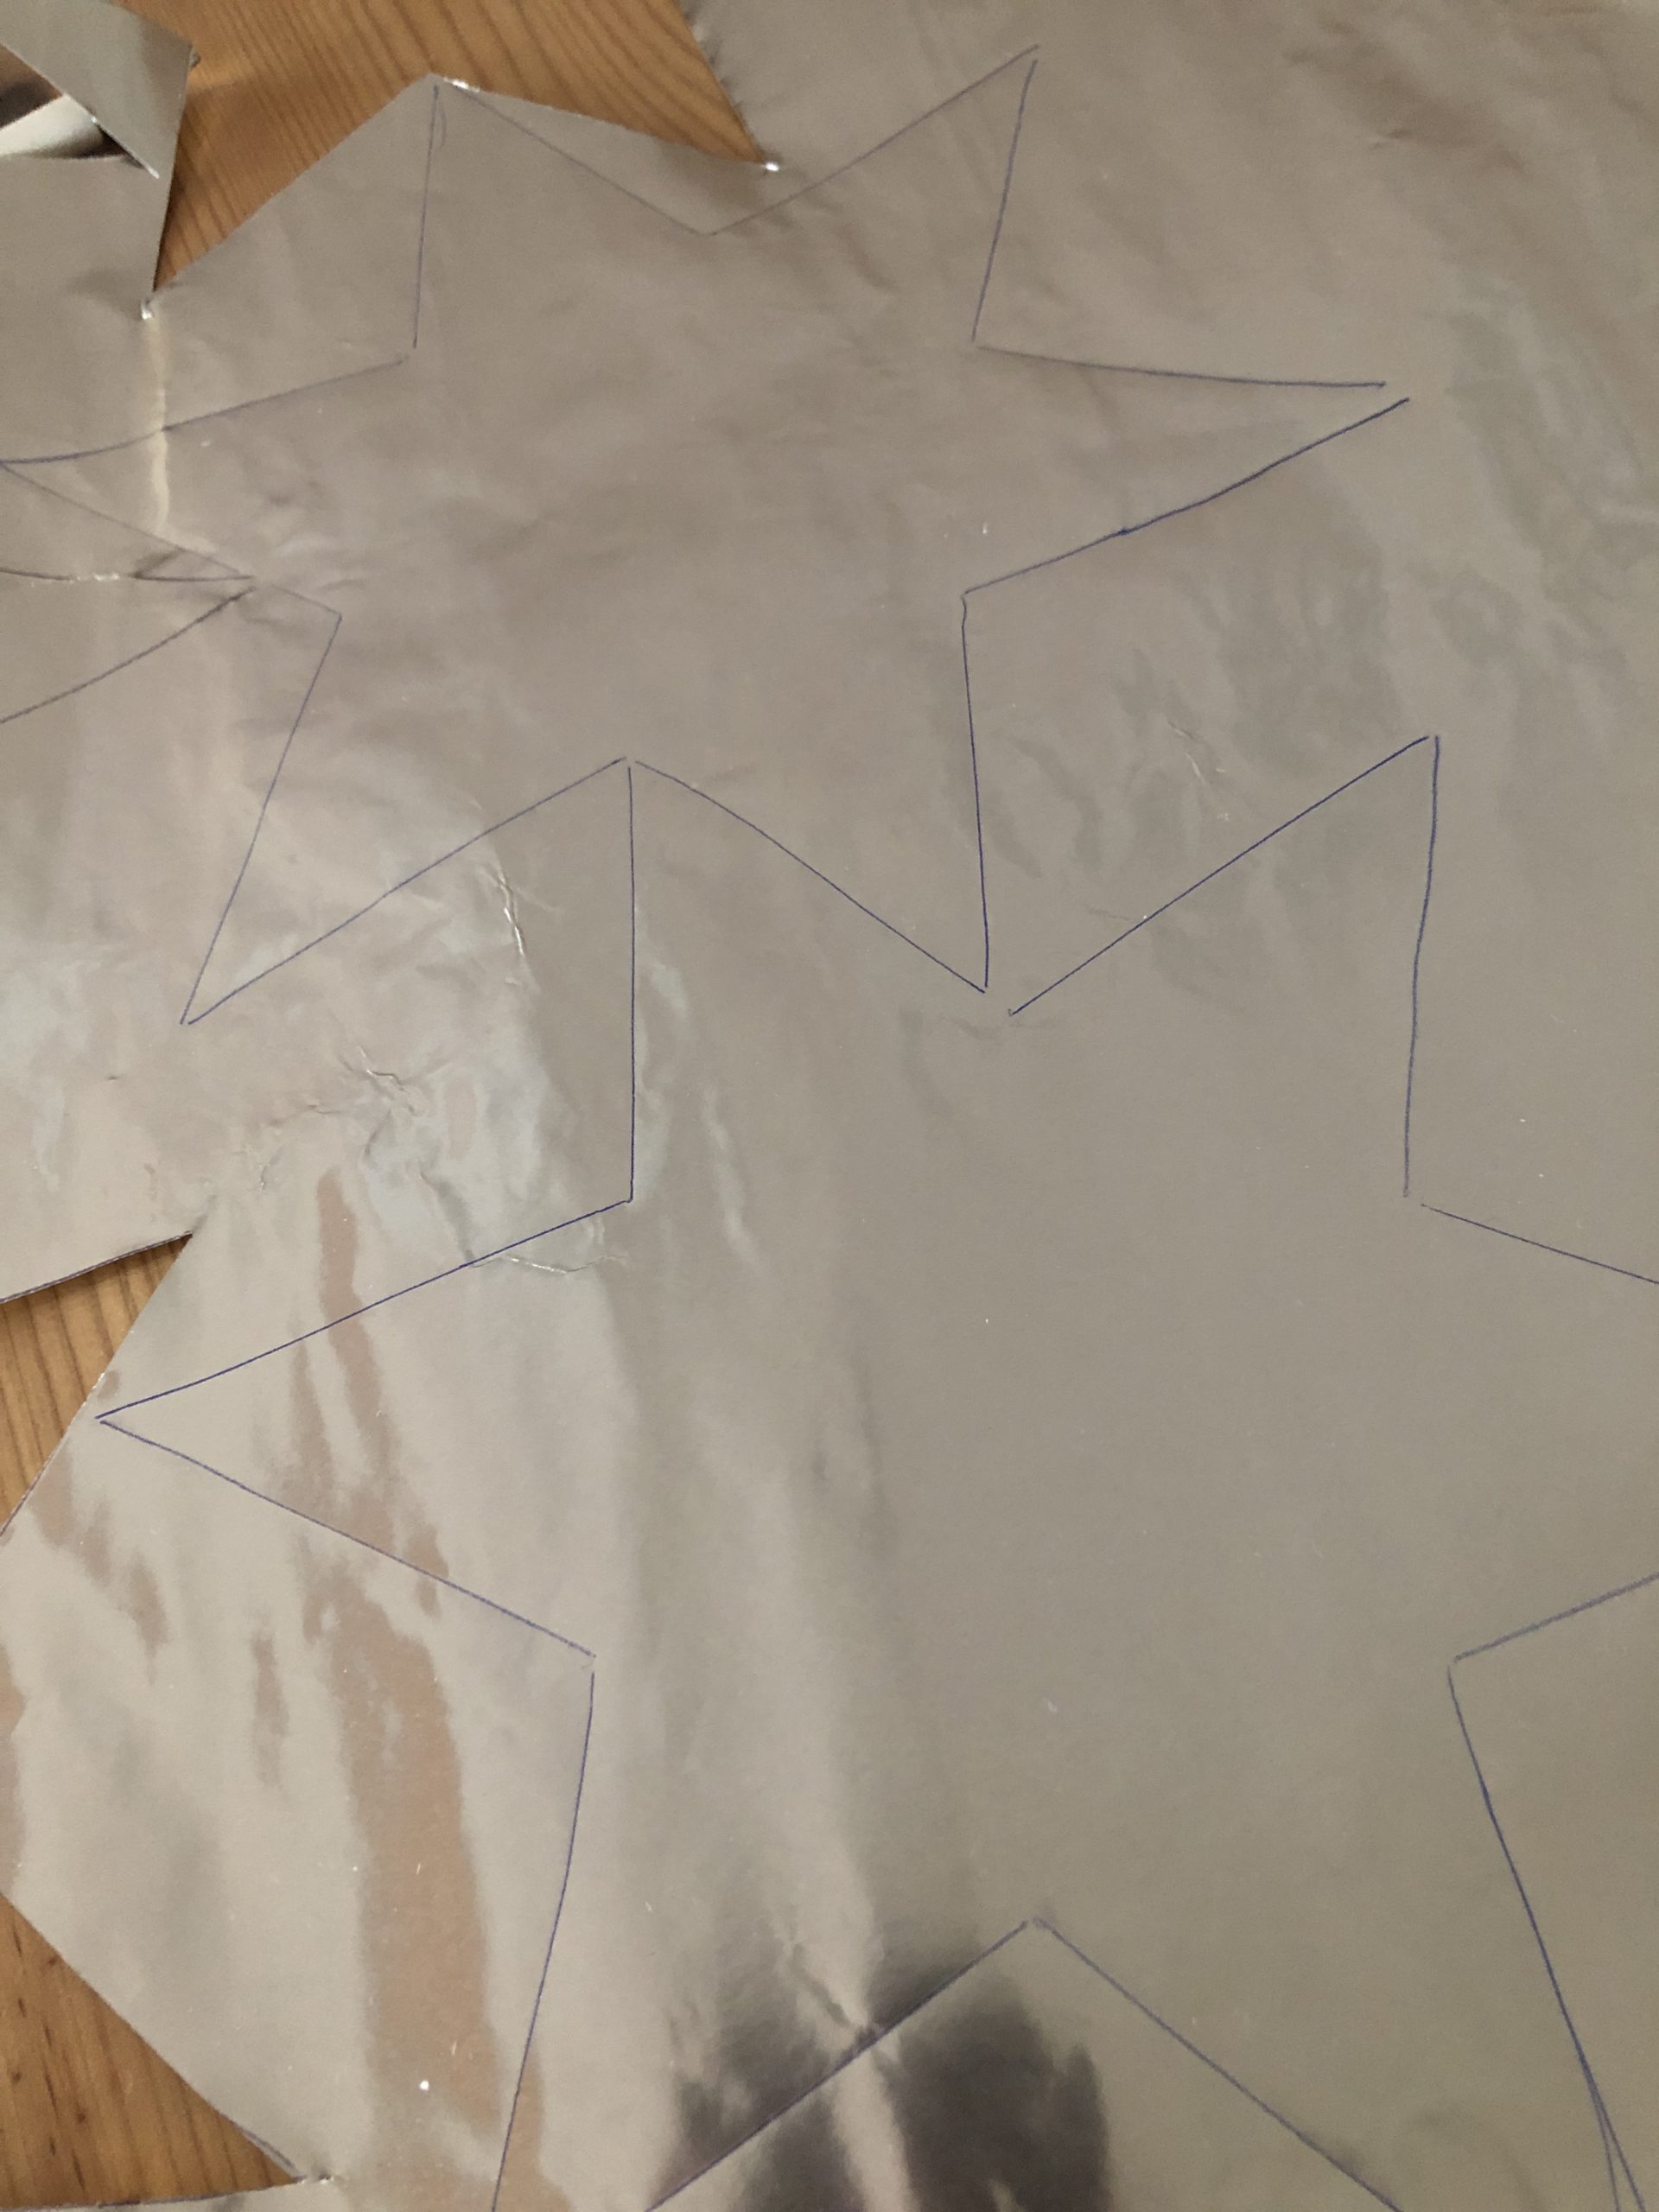
For each finished rattle star you need two stars of gold paper.


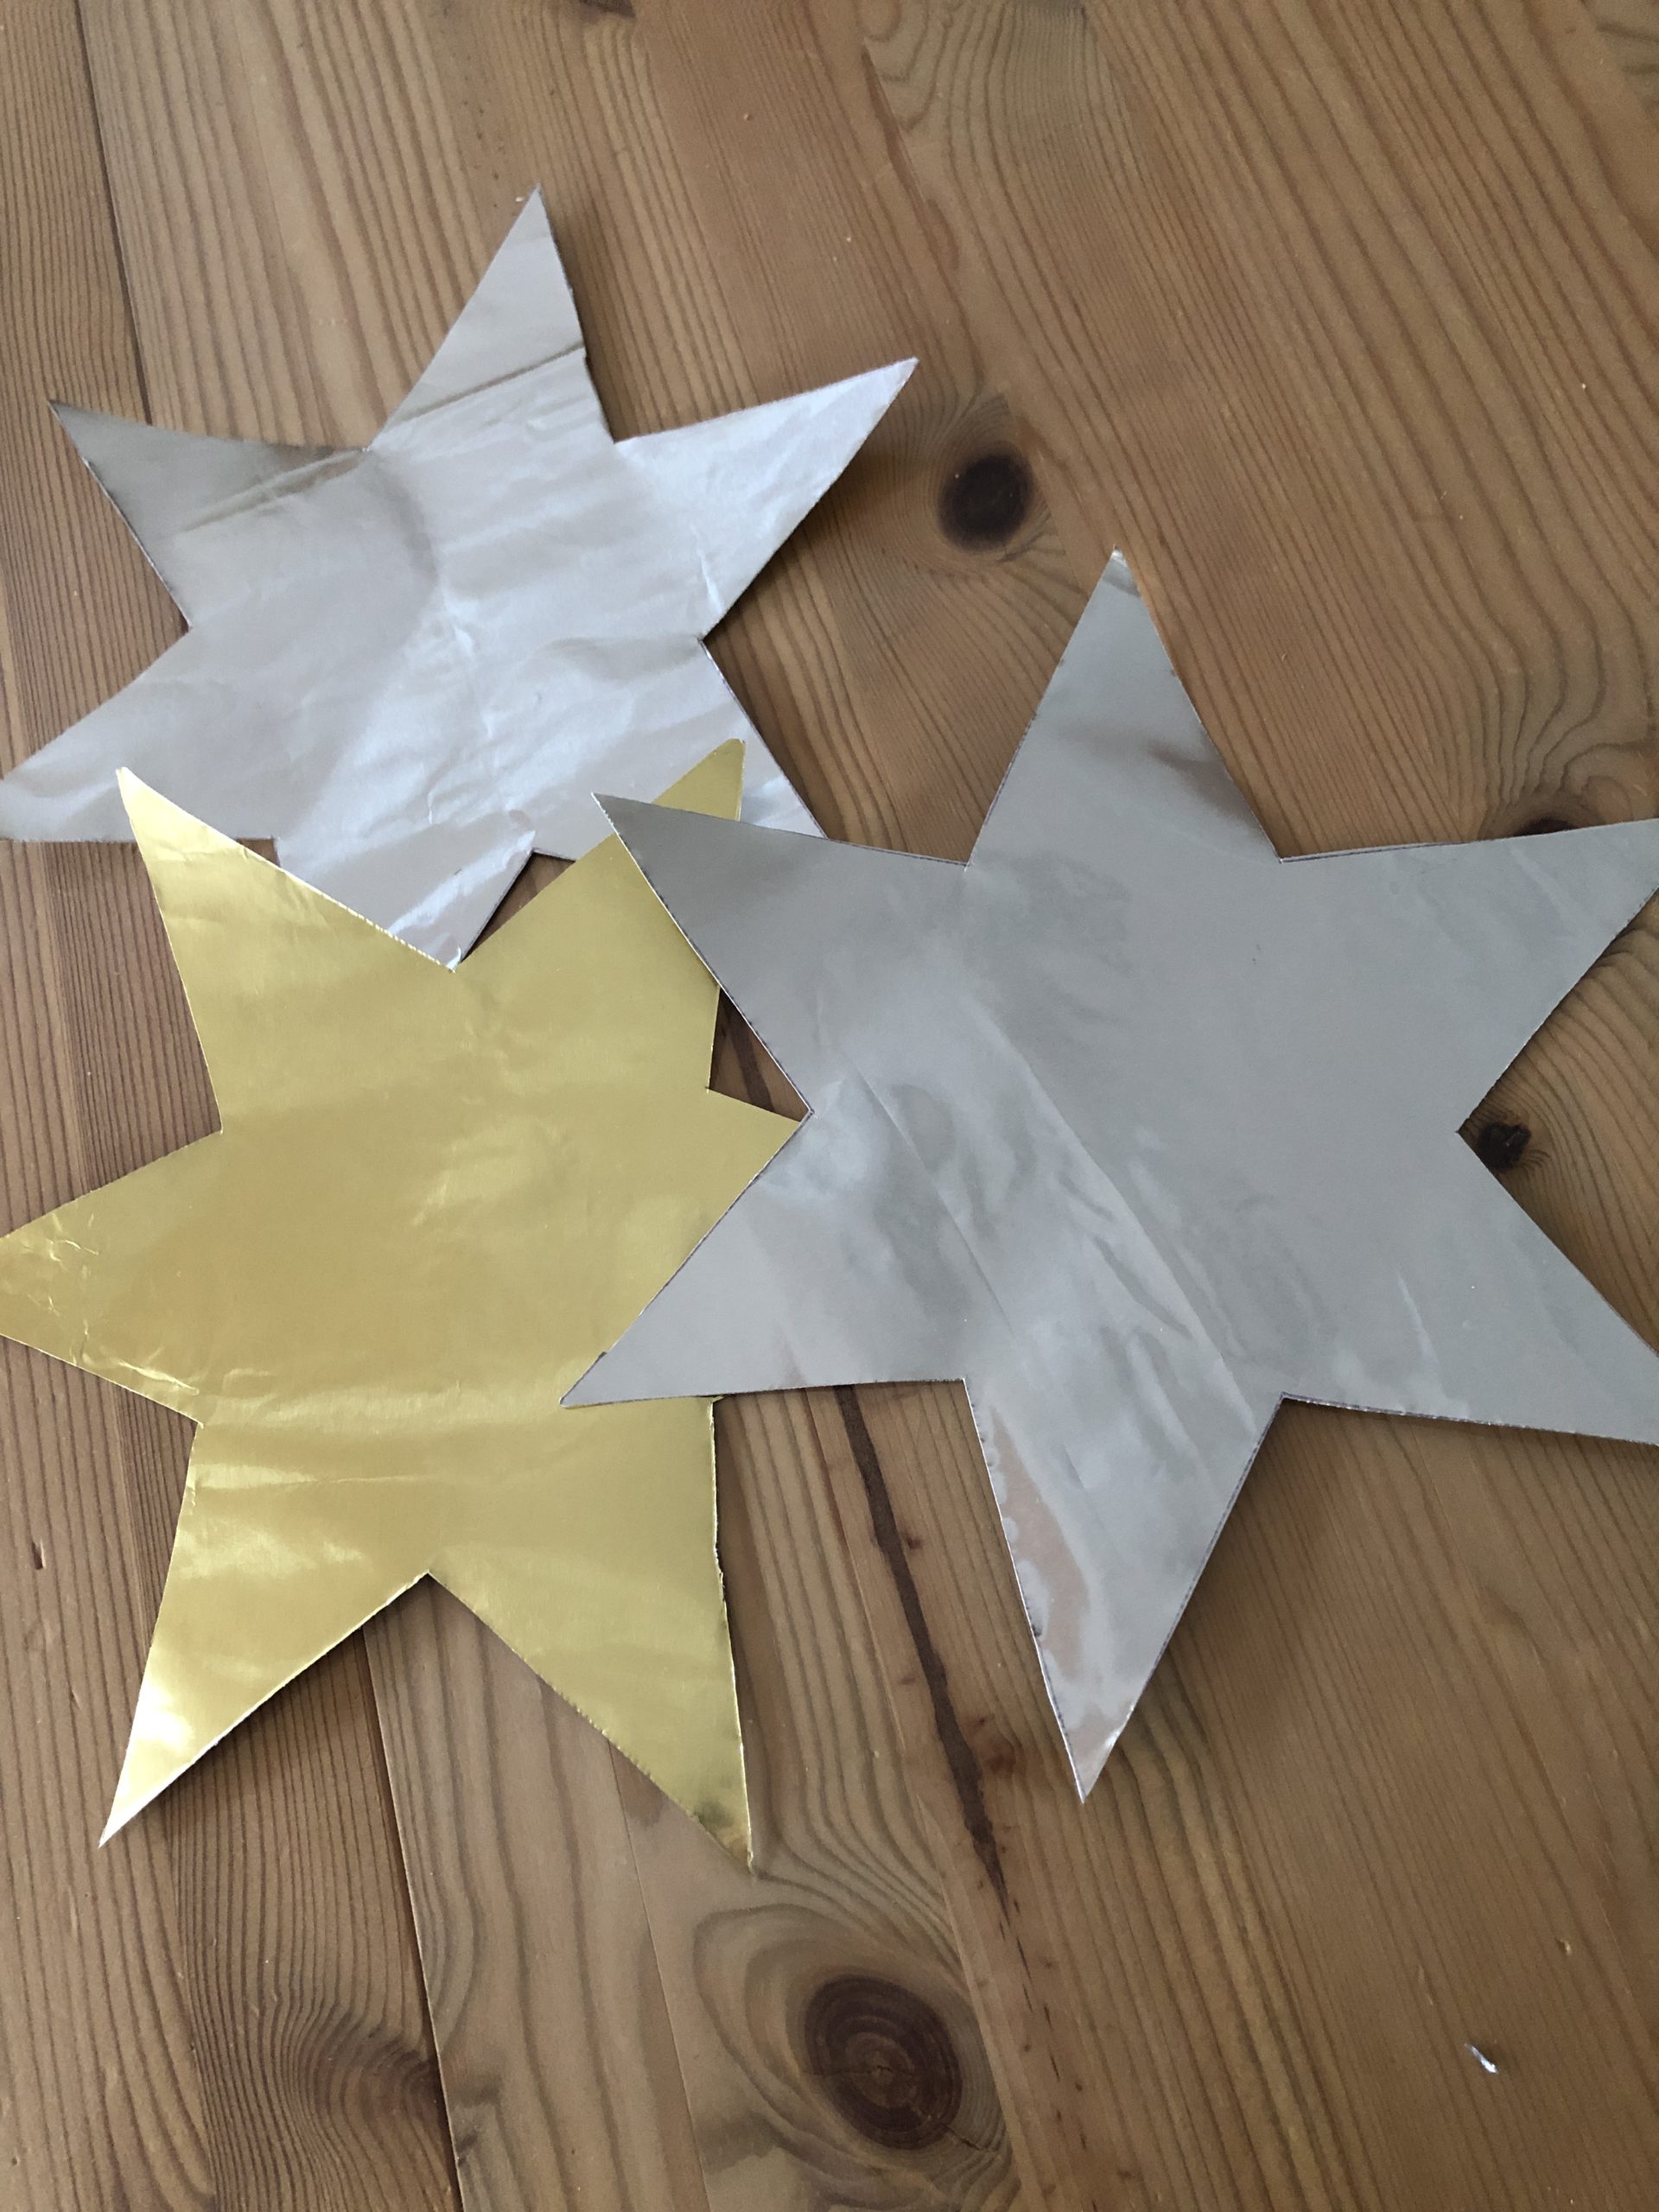


Each star is folded as follows:
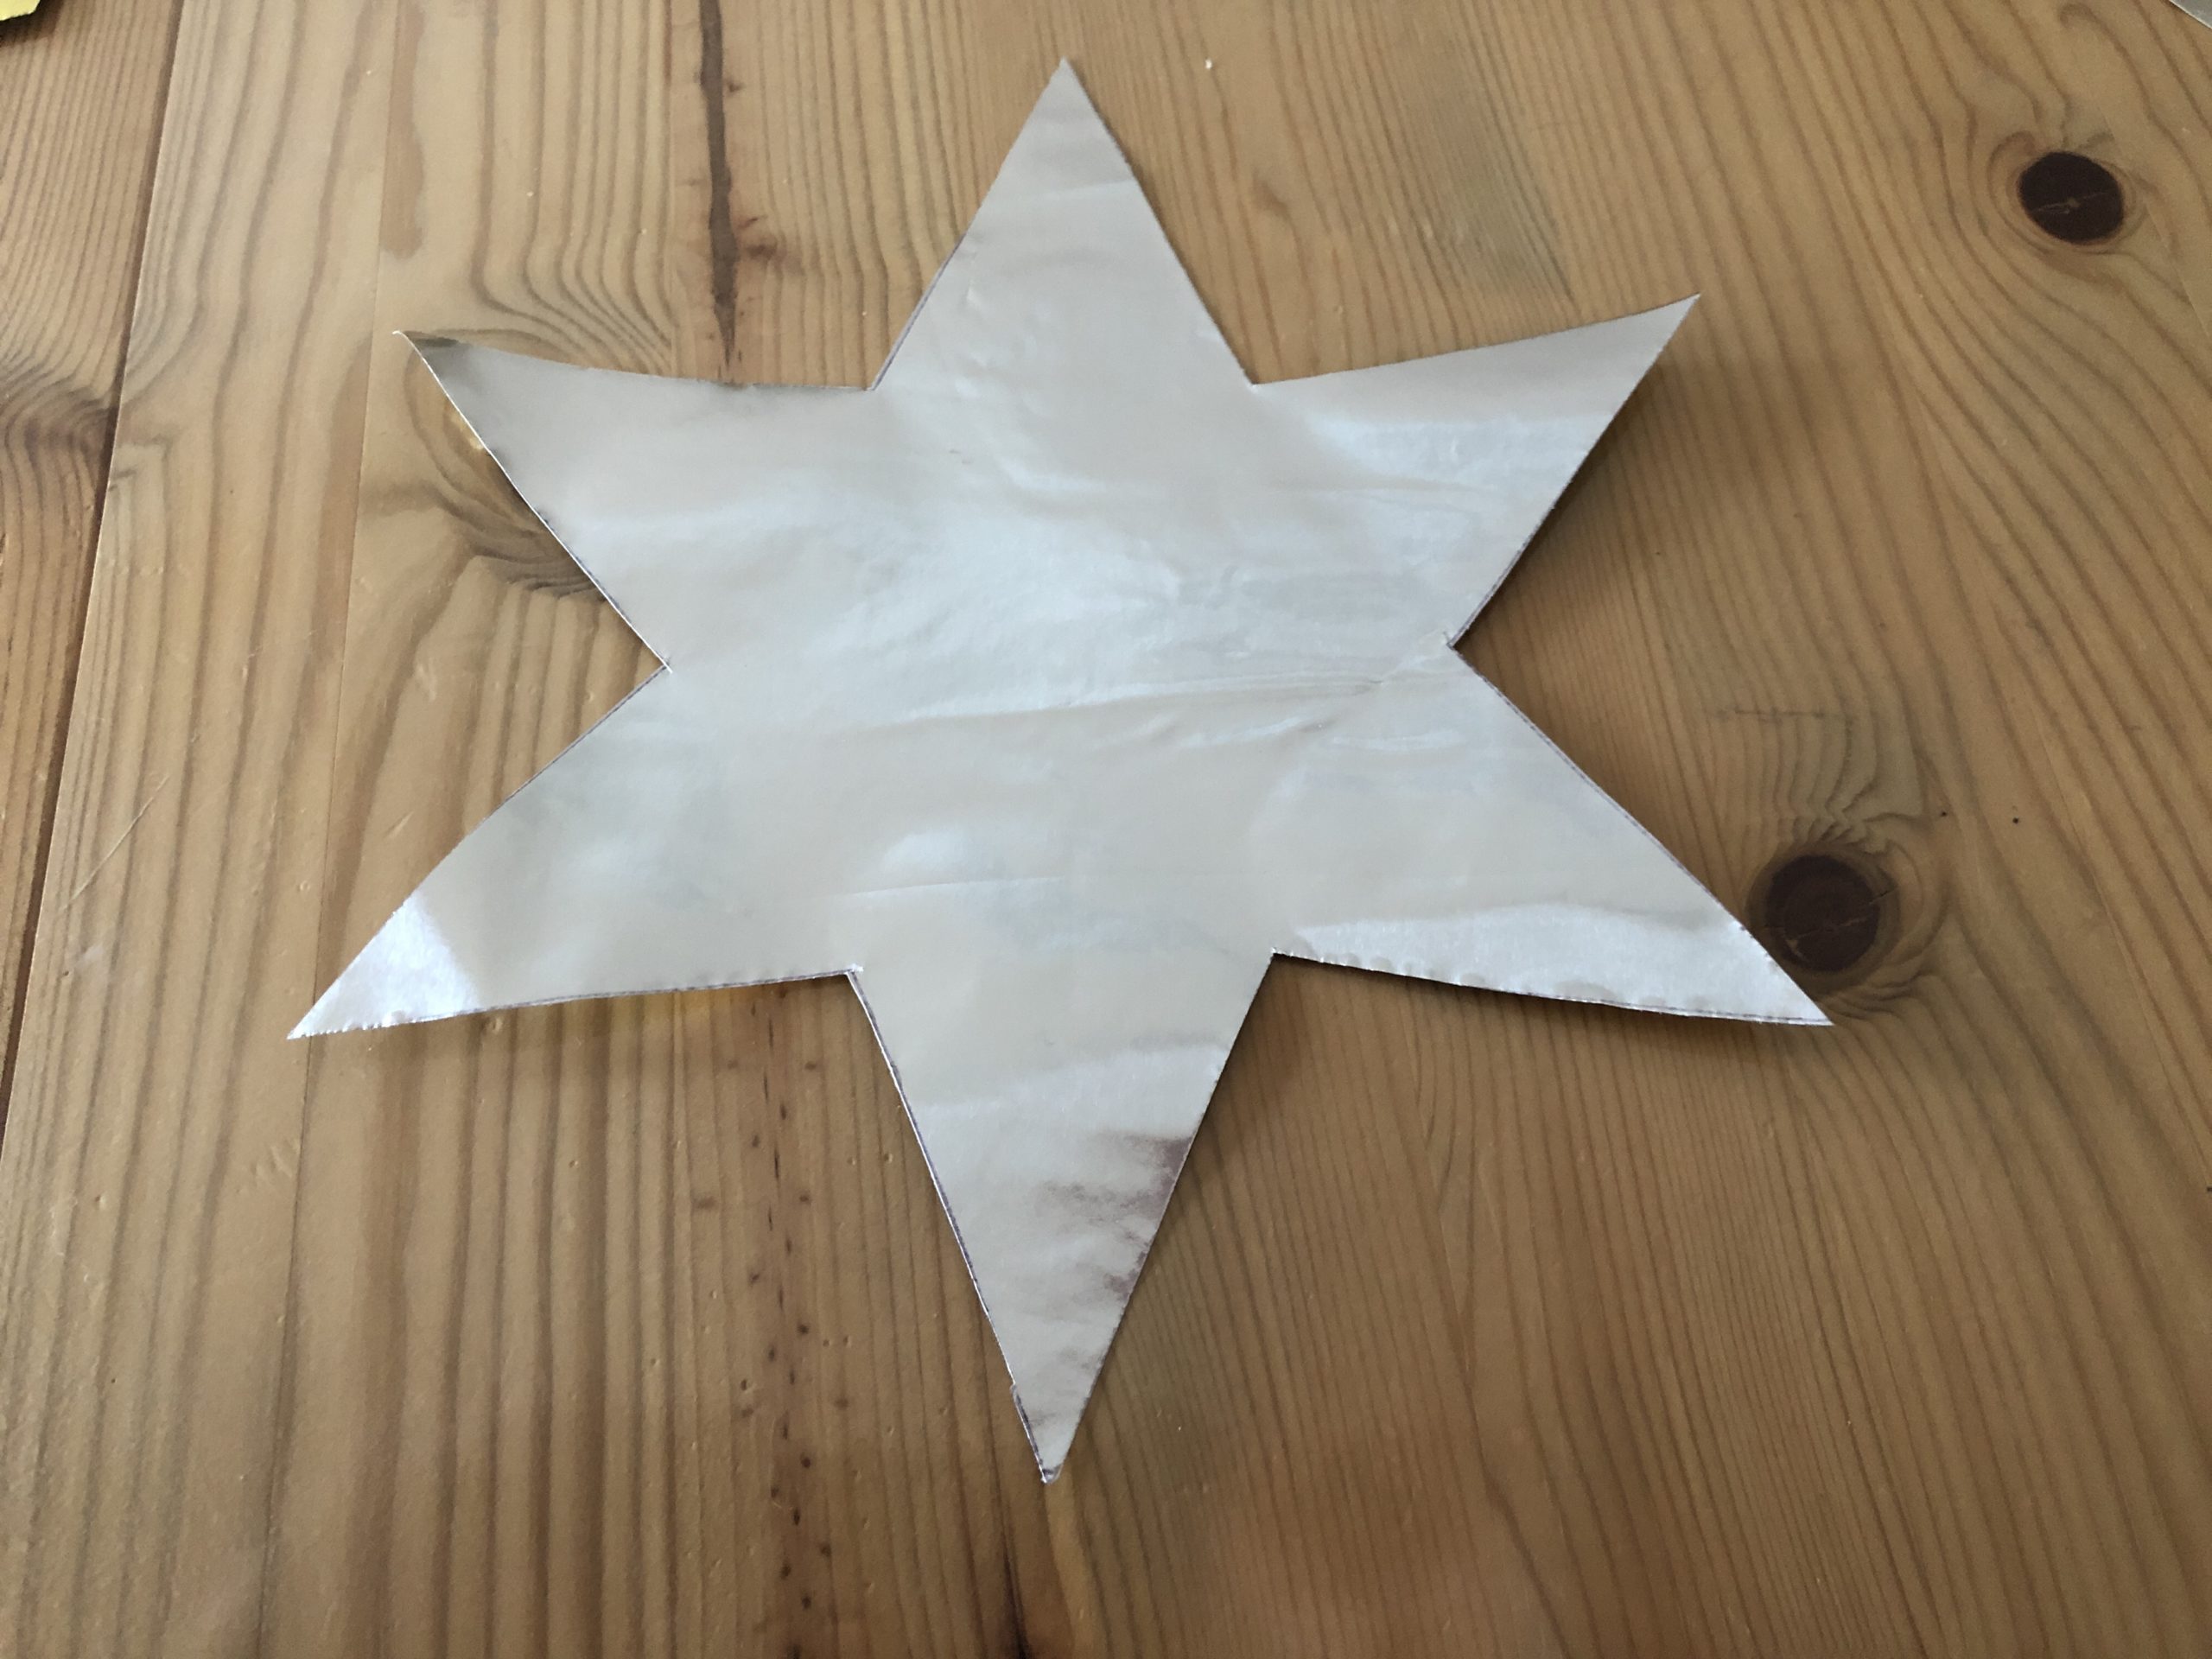


First fold it half up and strip the fold.
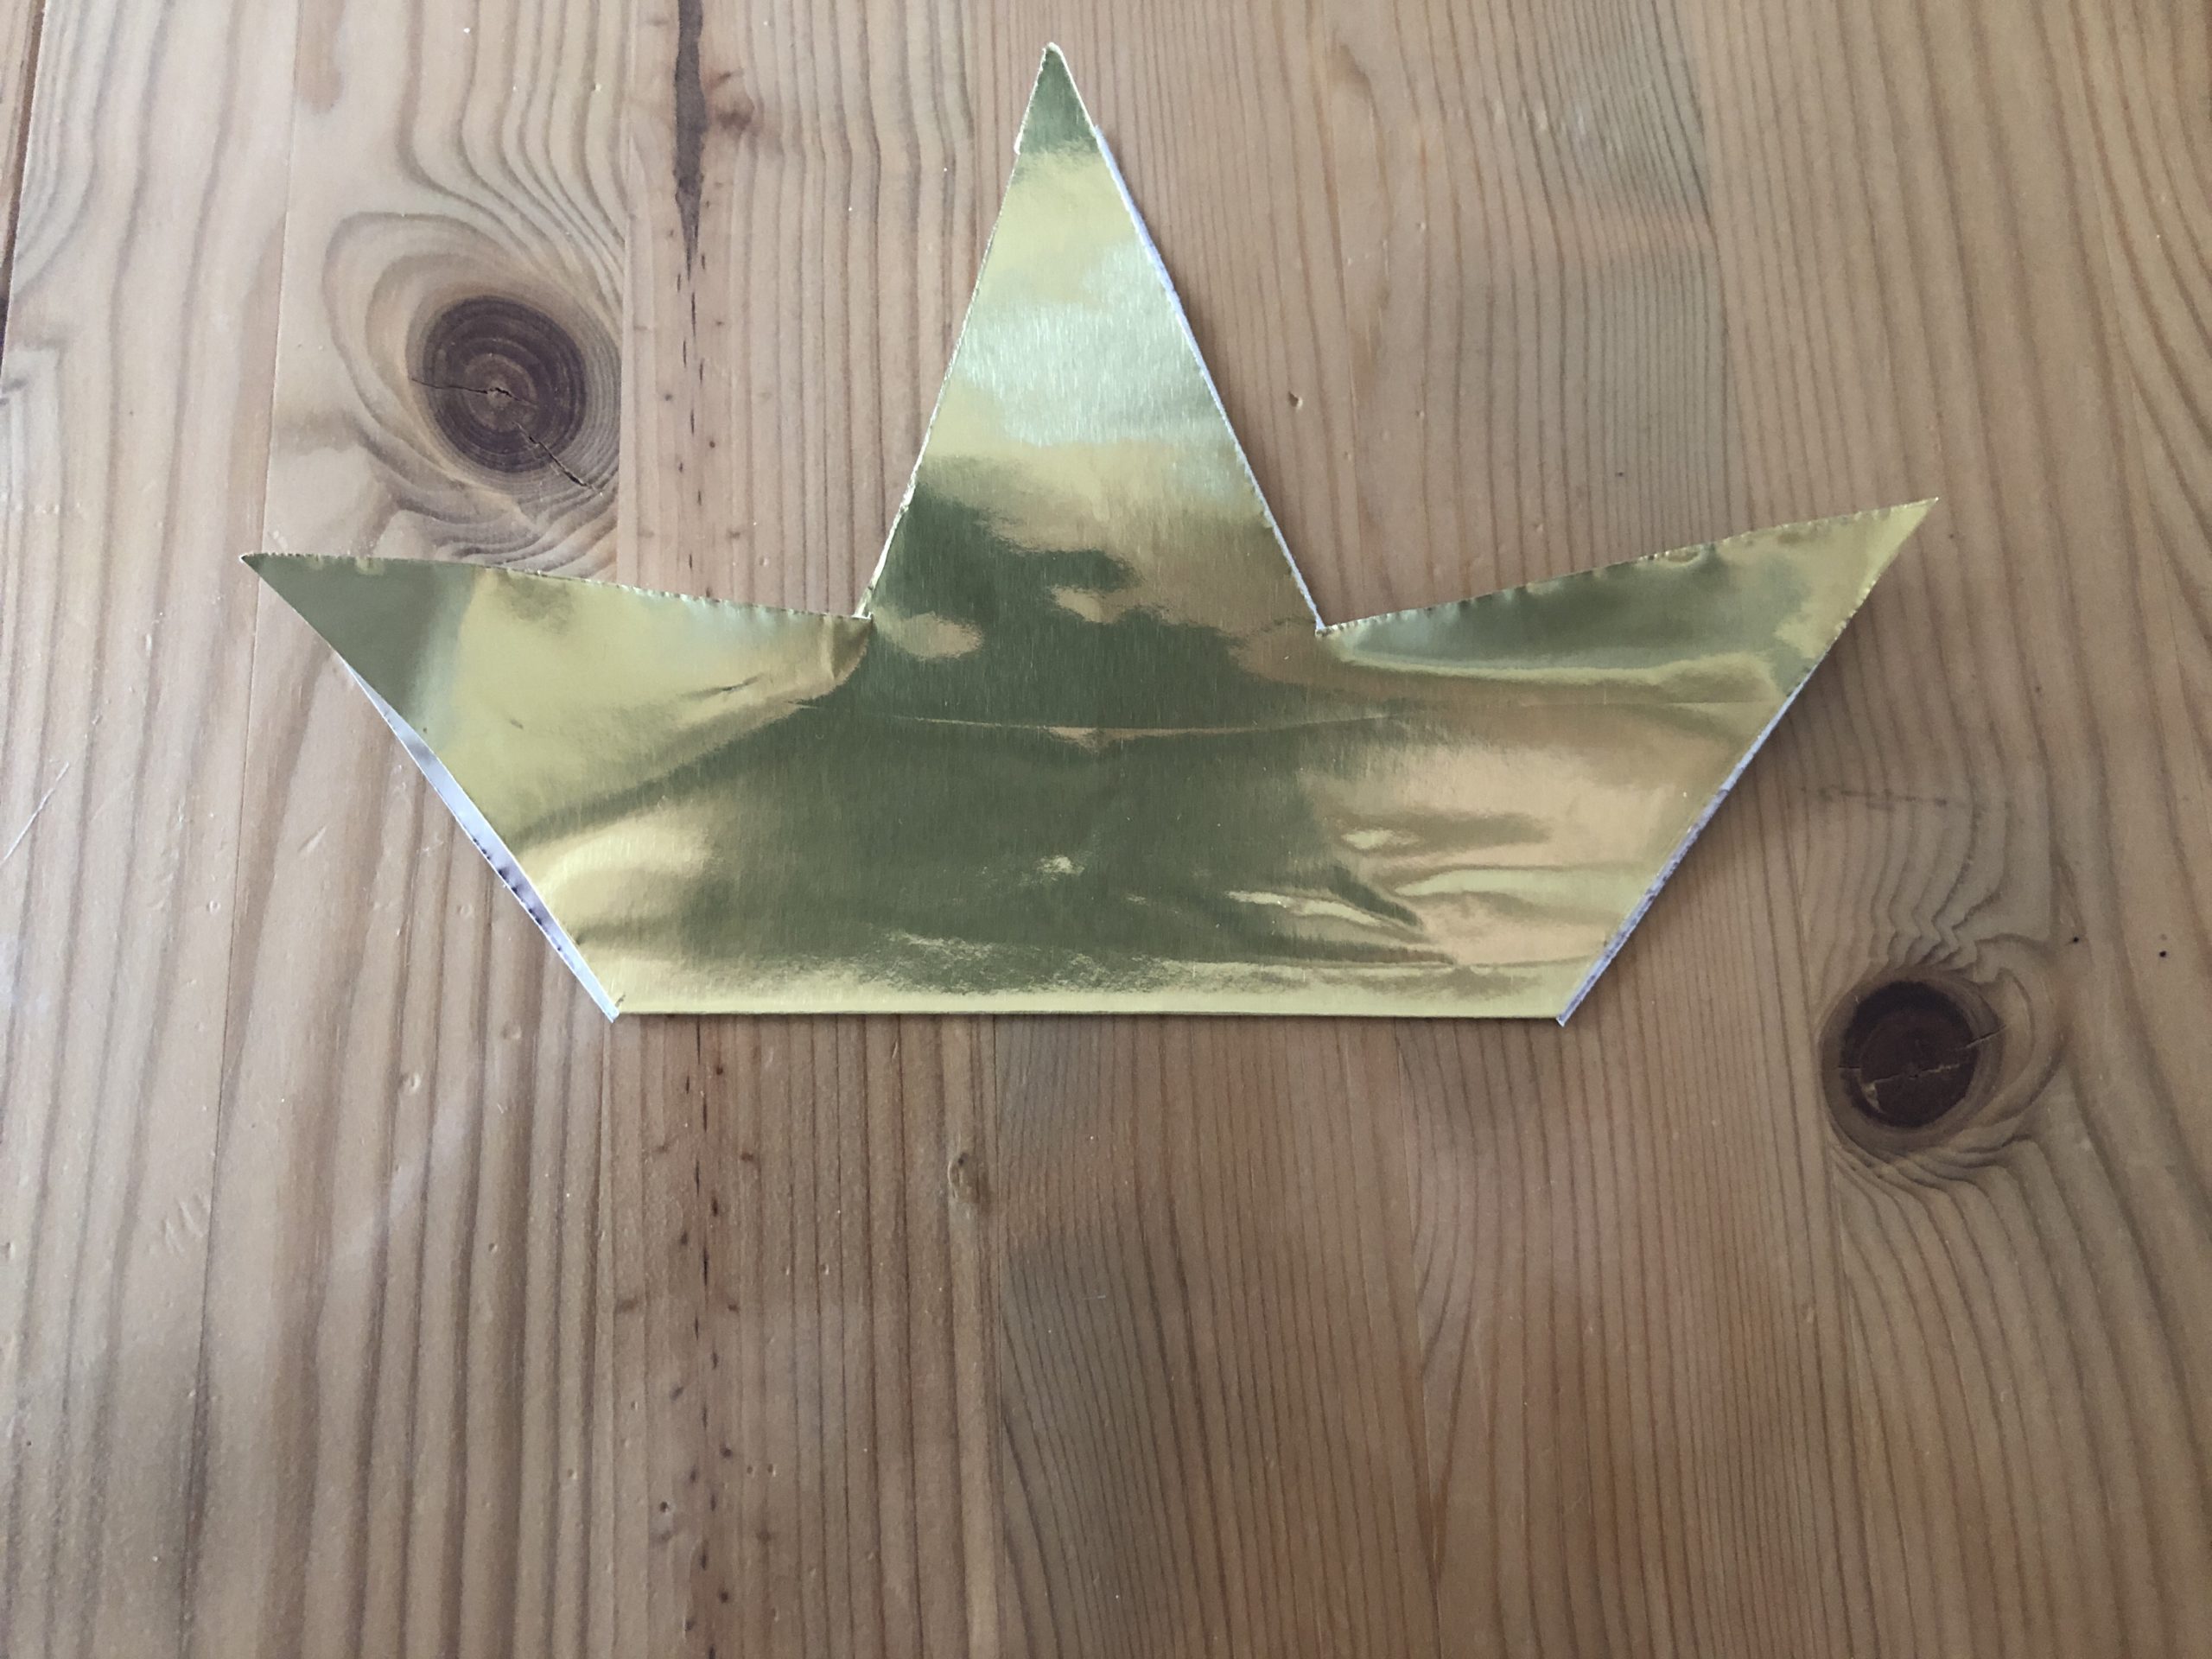


Then you fold it up again.
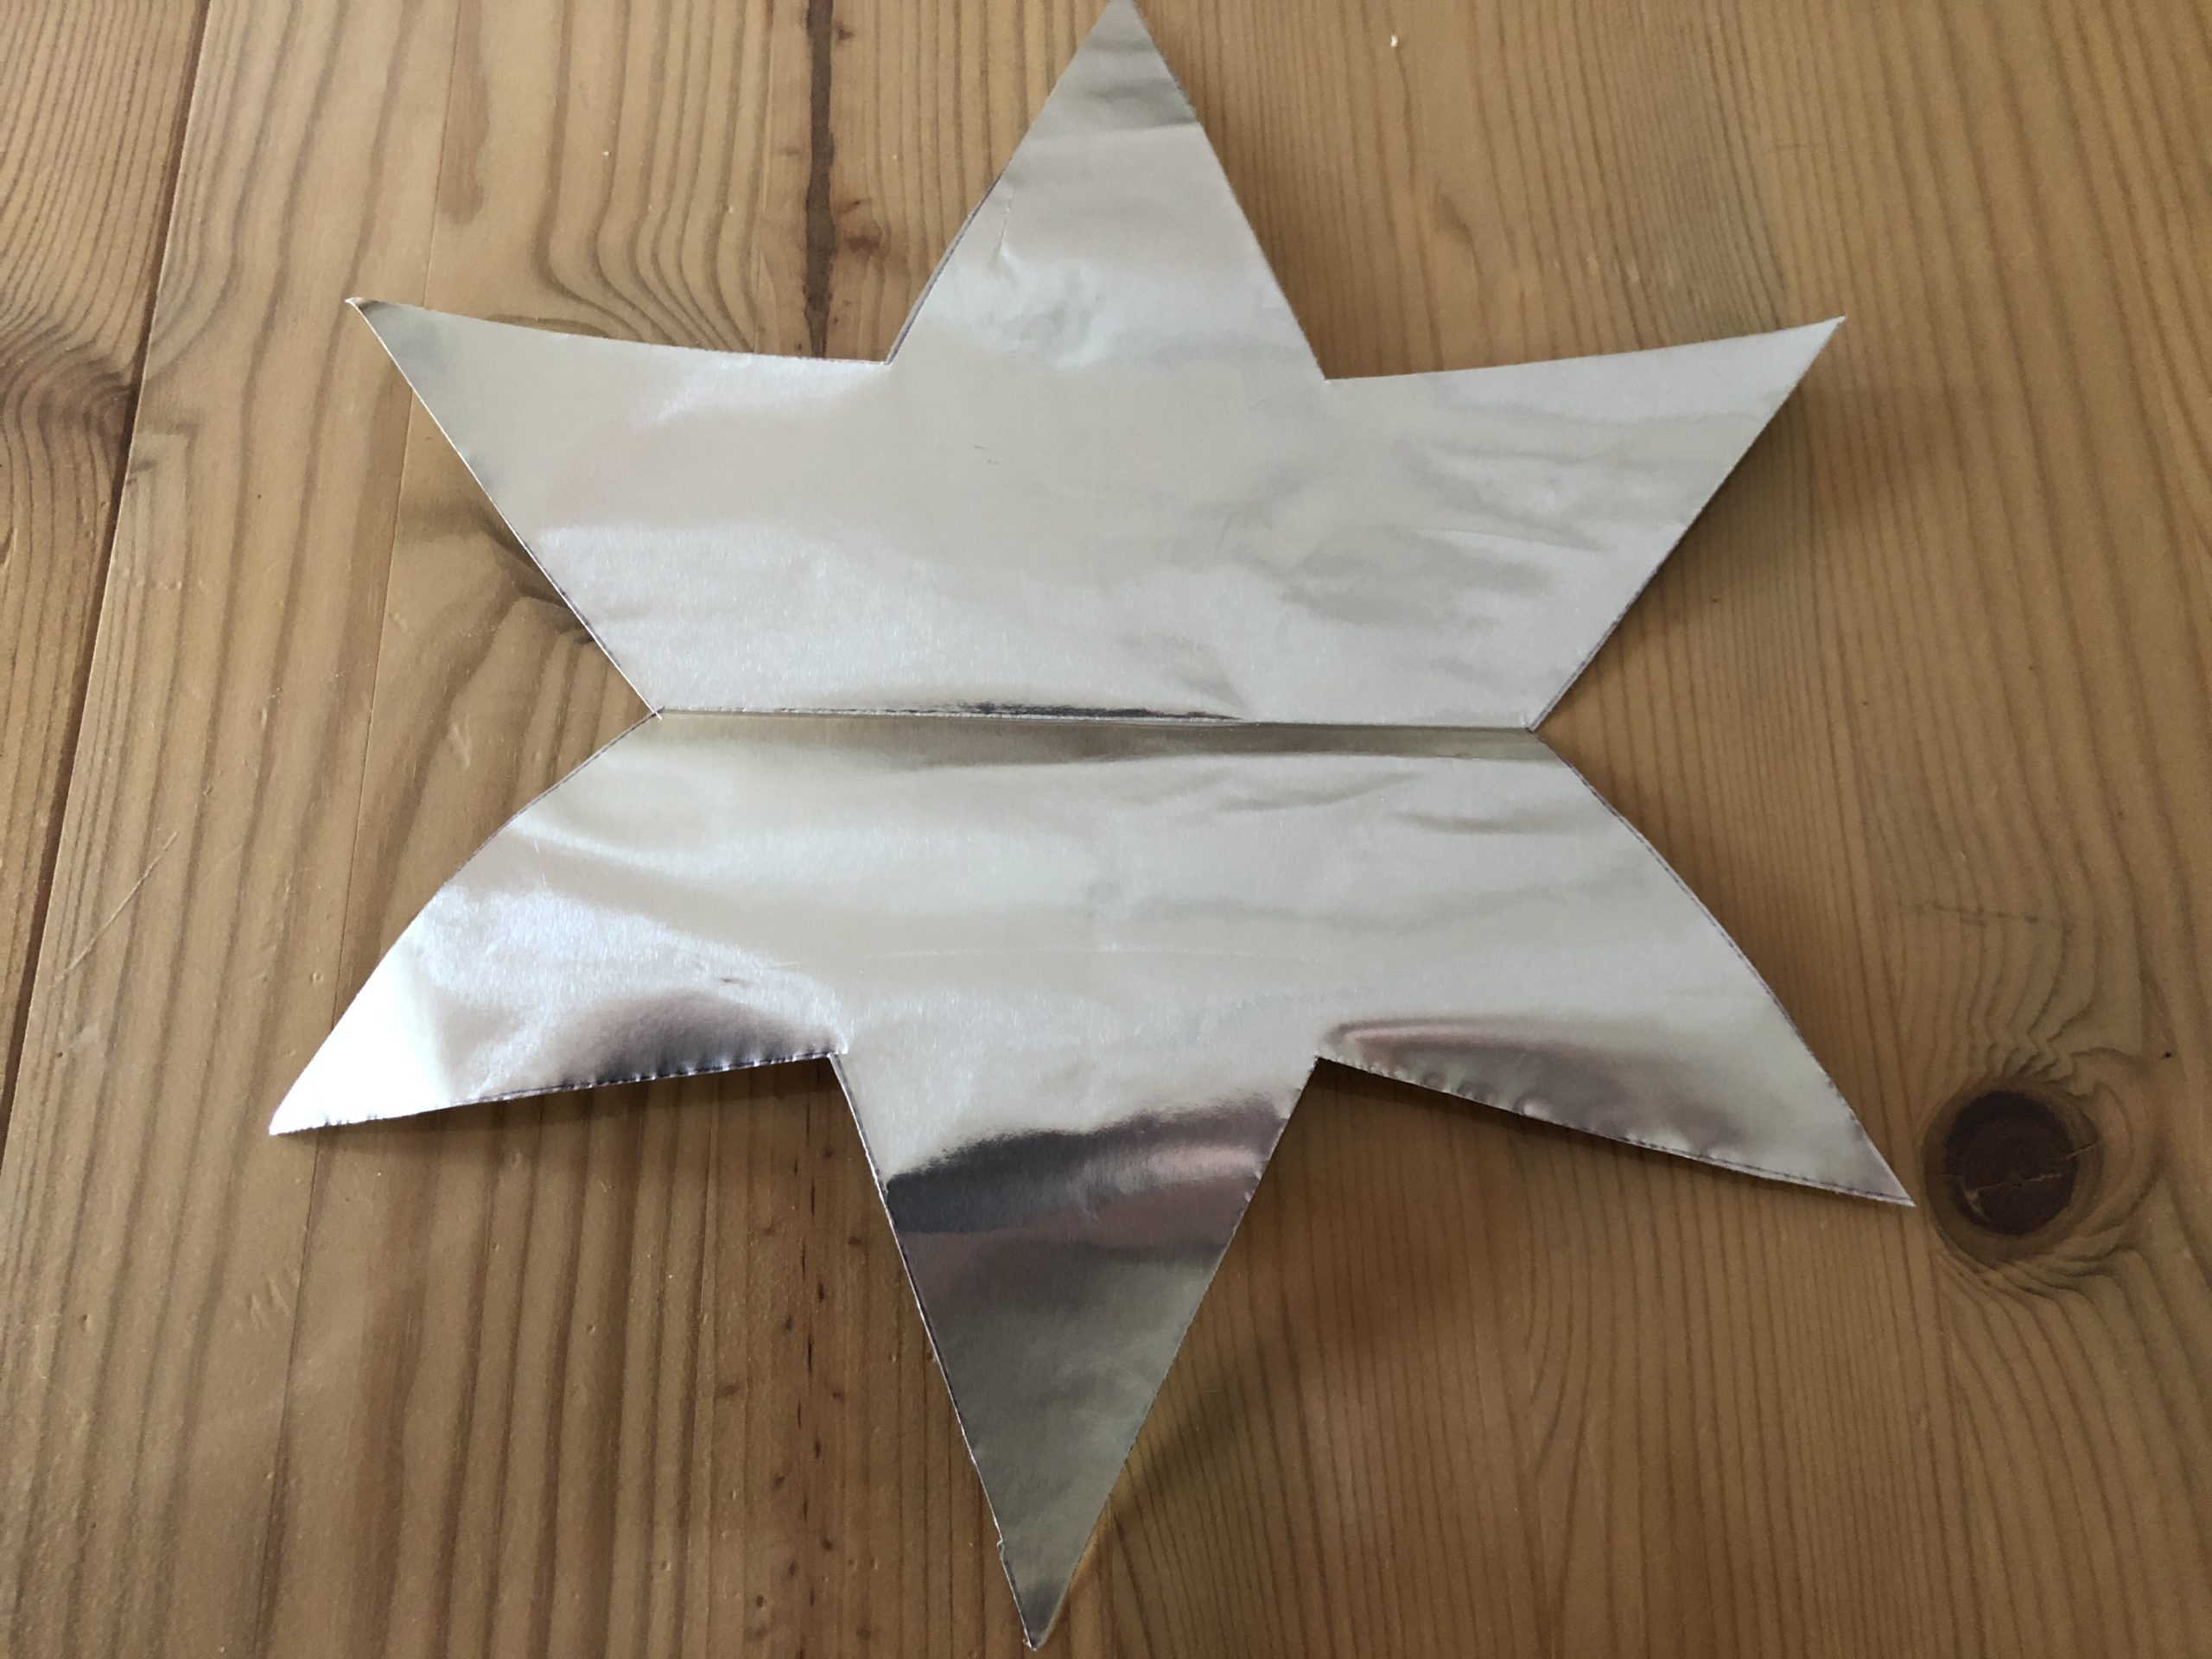


This type of folding repeats between each pitch (see picture).


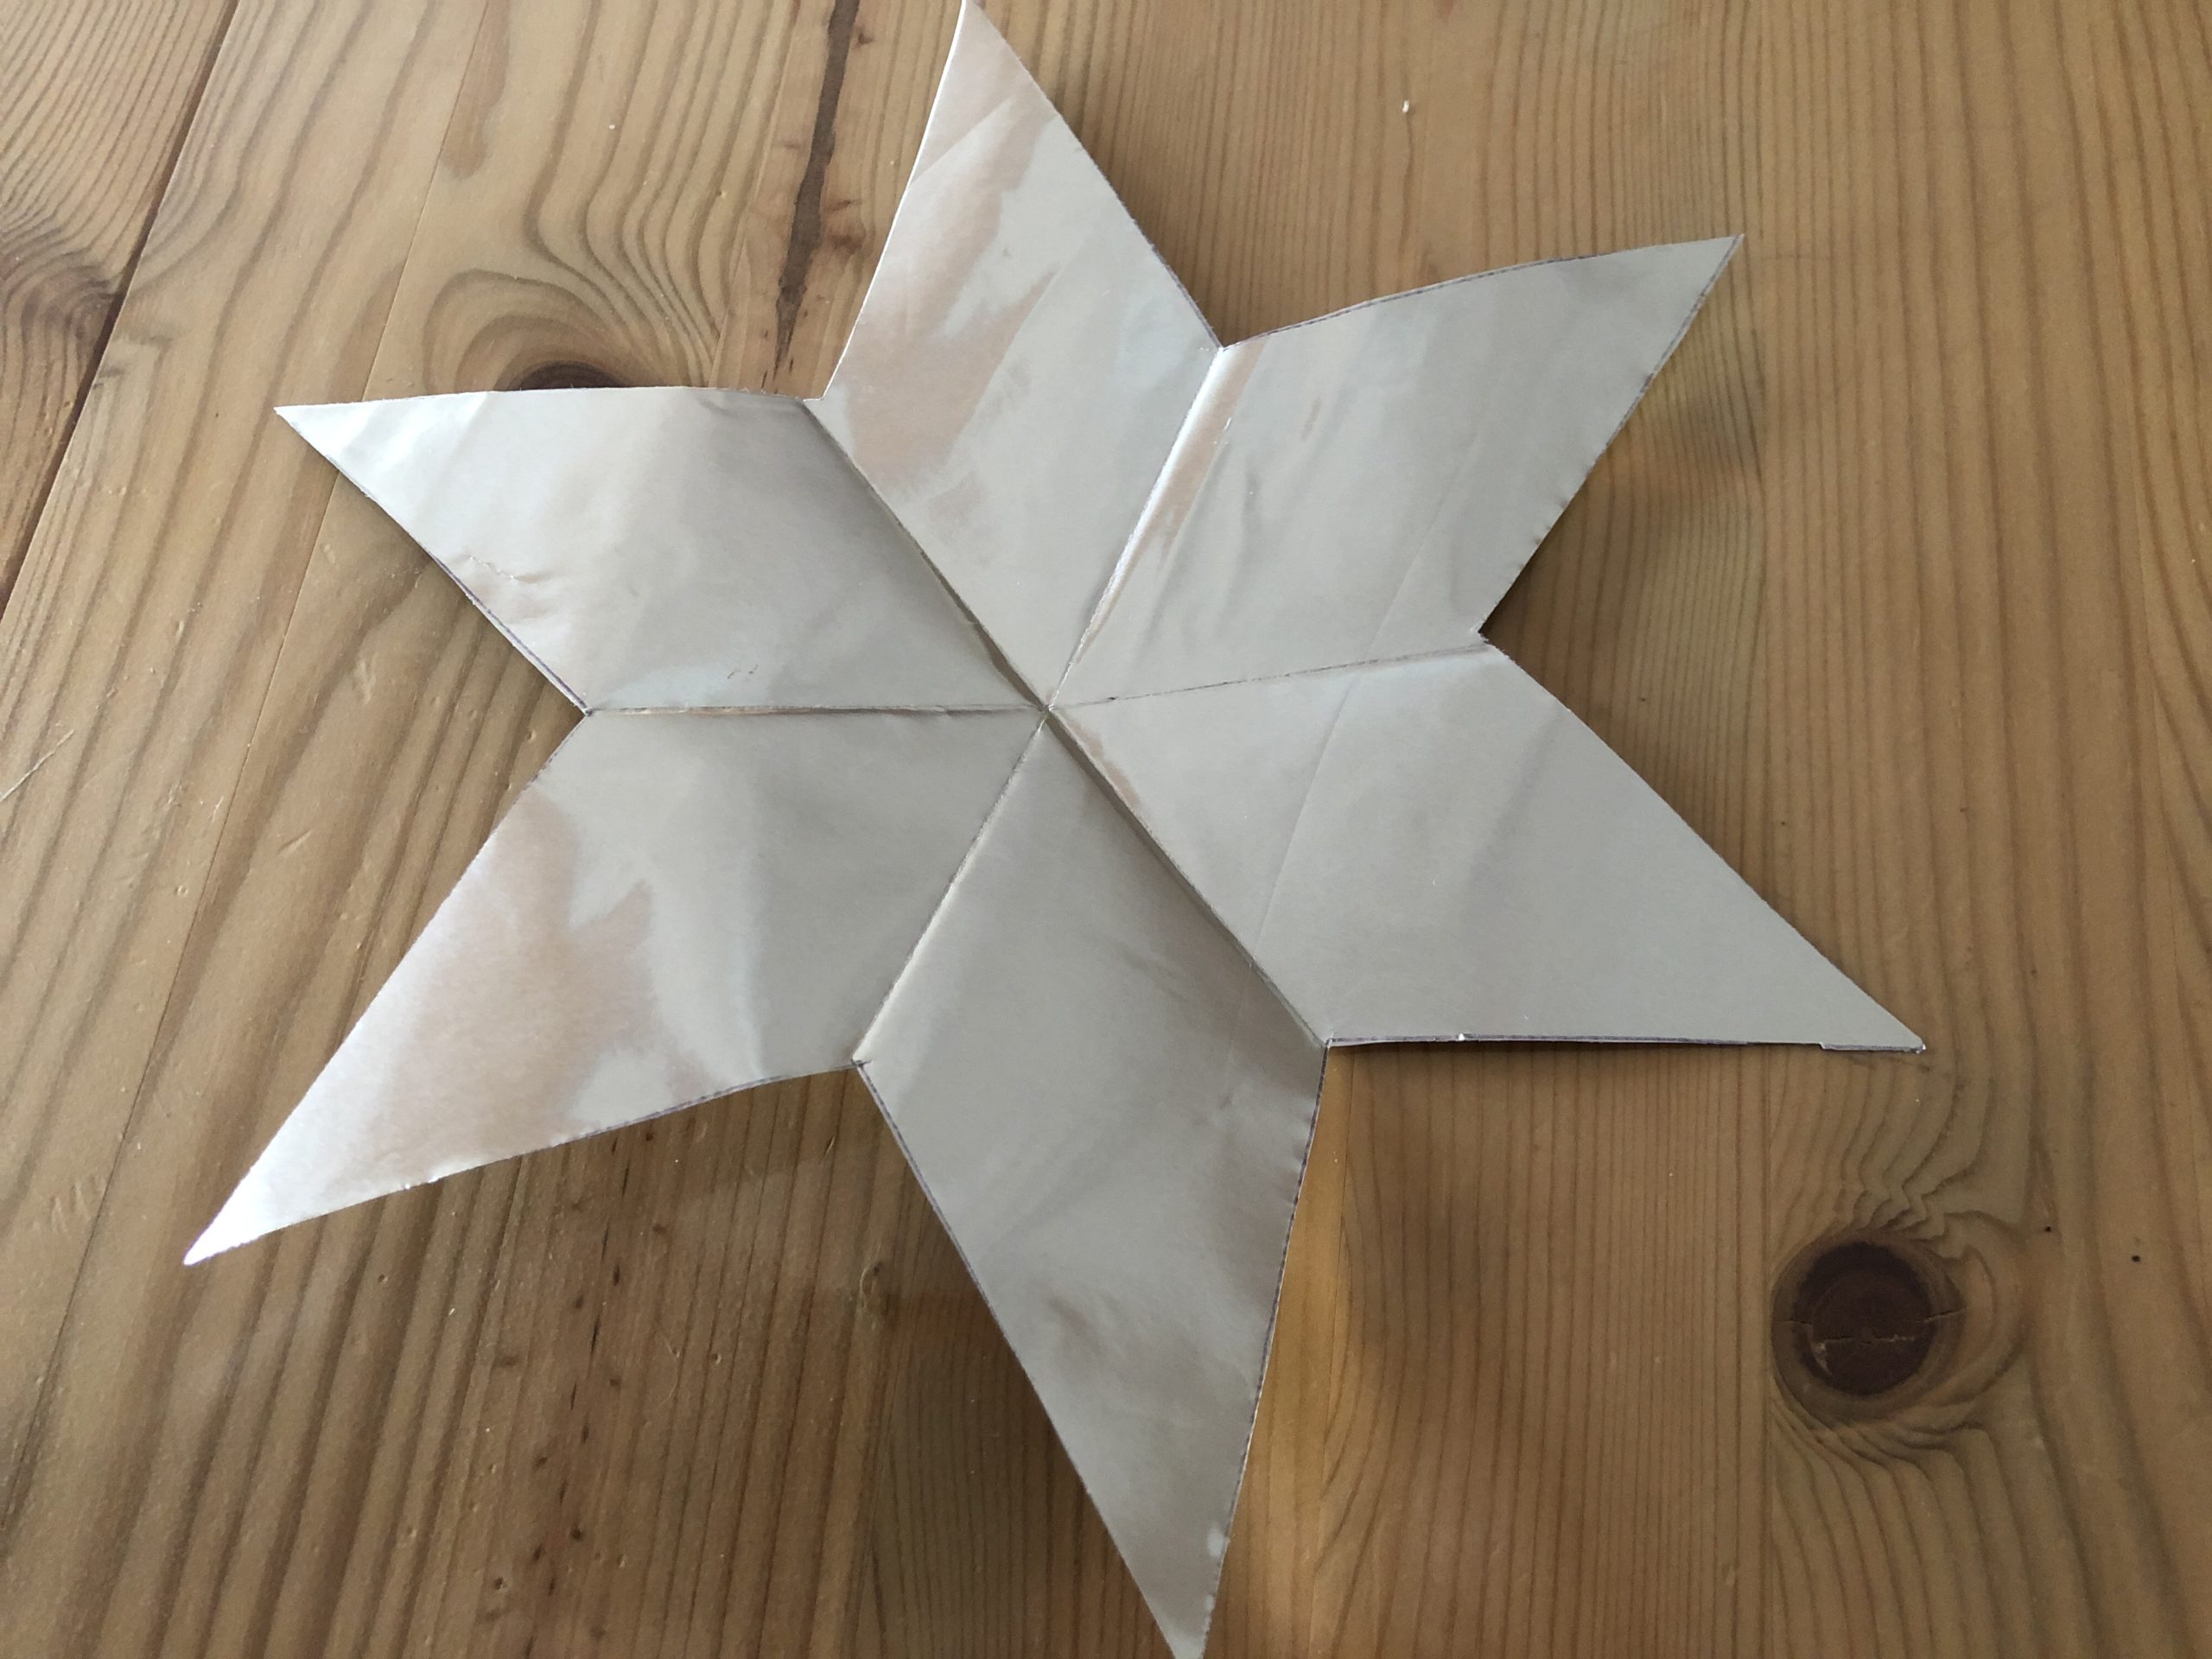
The star looks like this!


Now you fold the individual points inward.
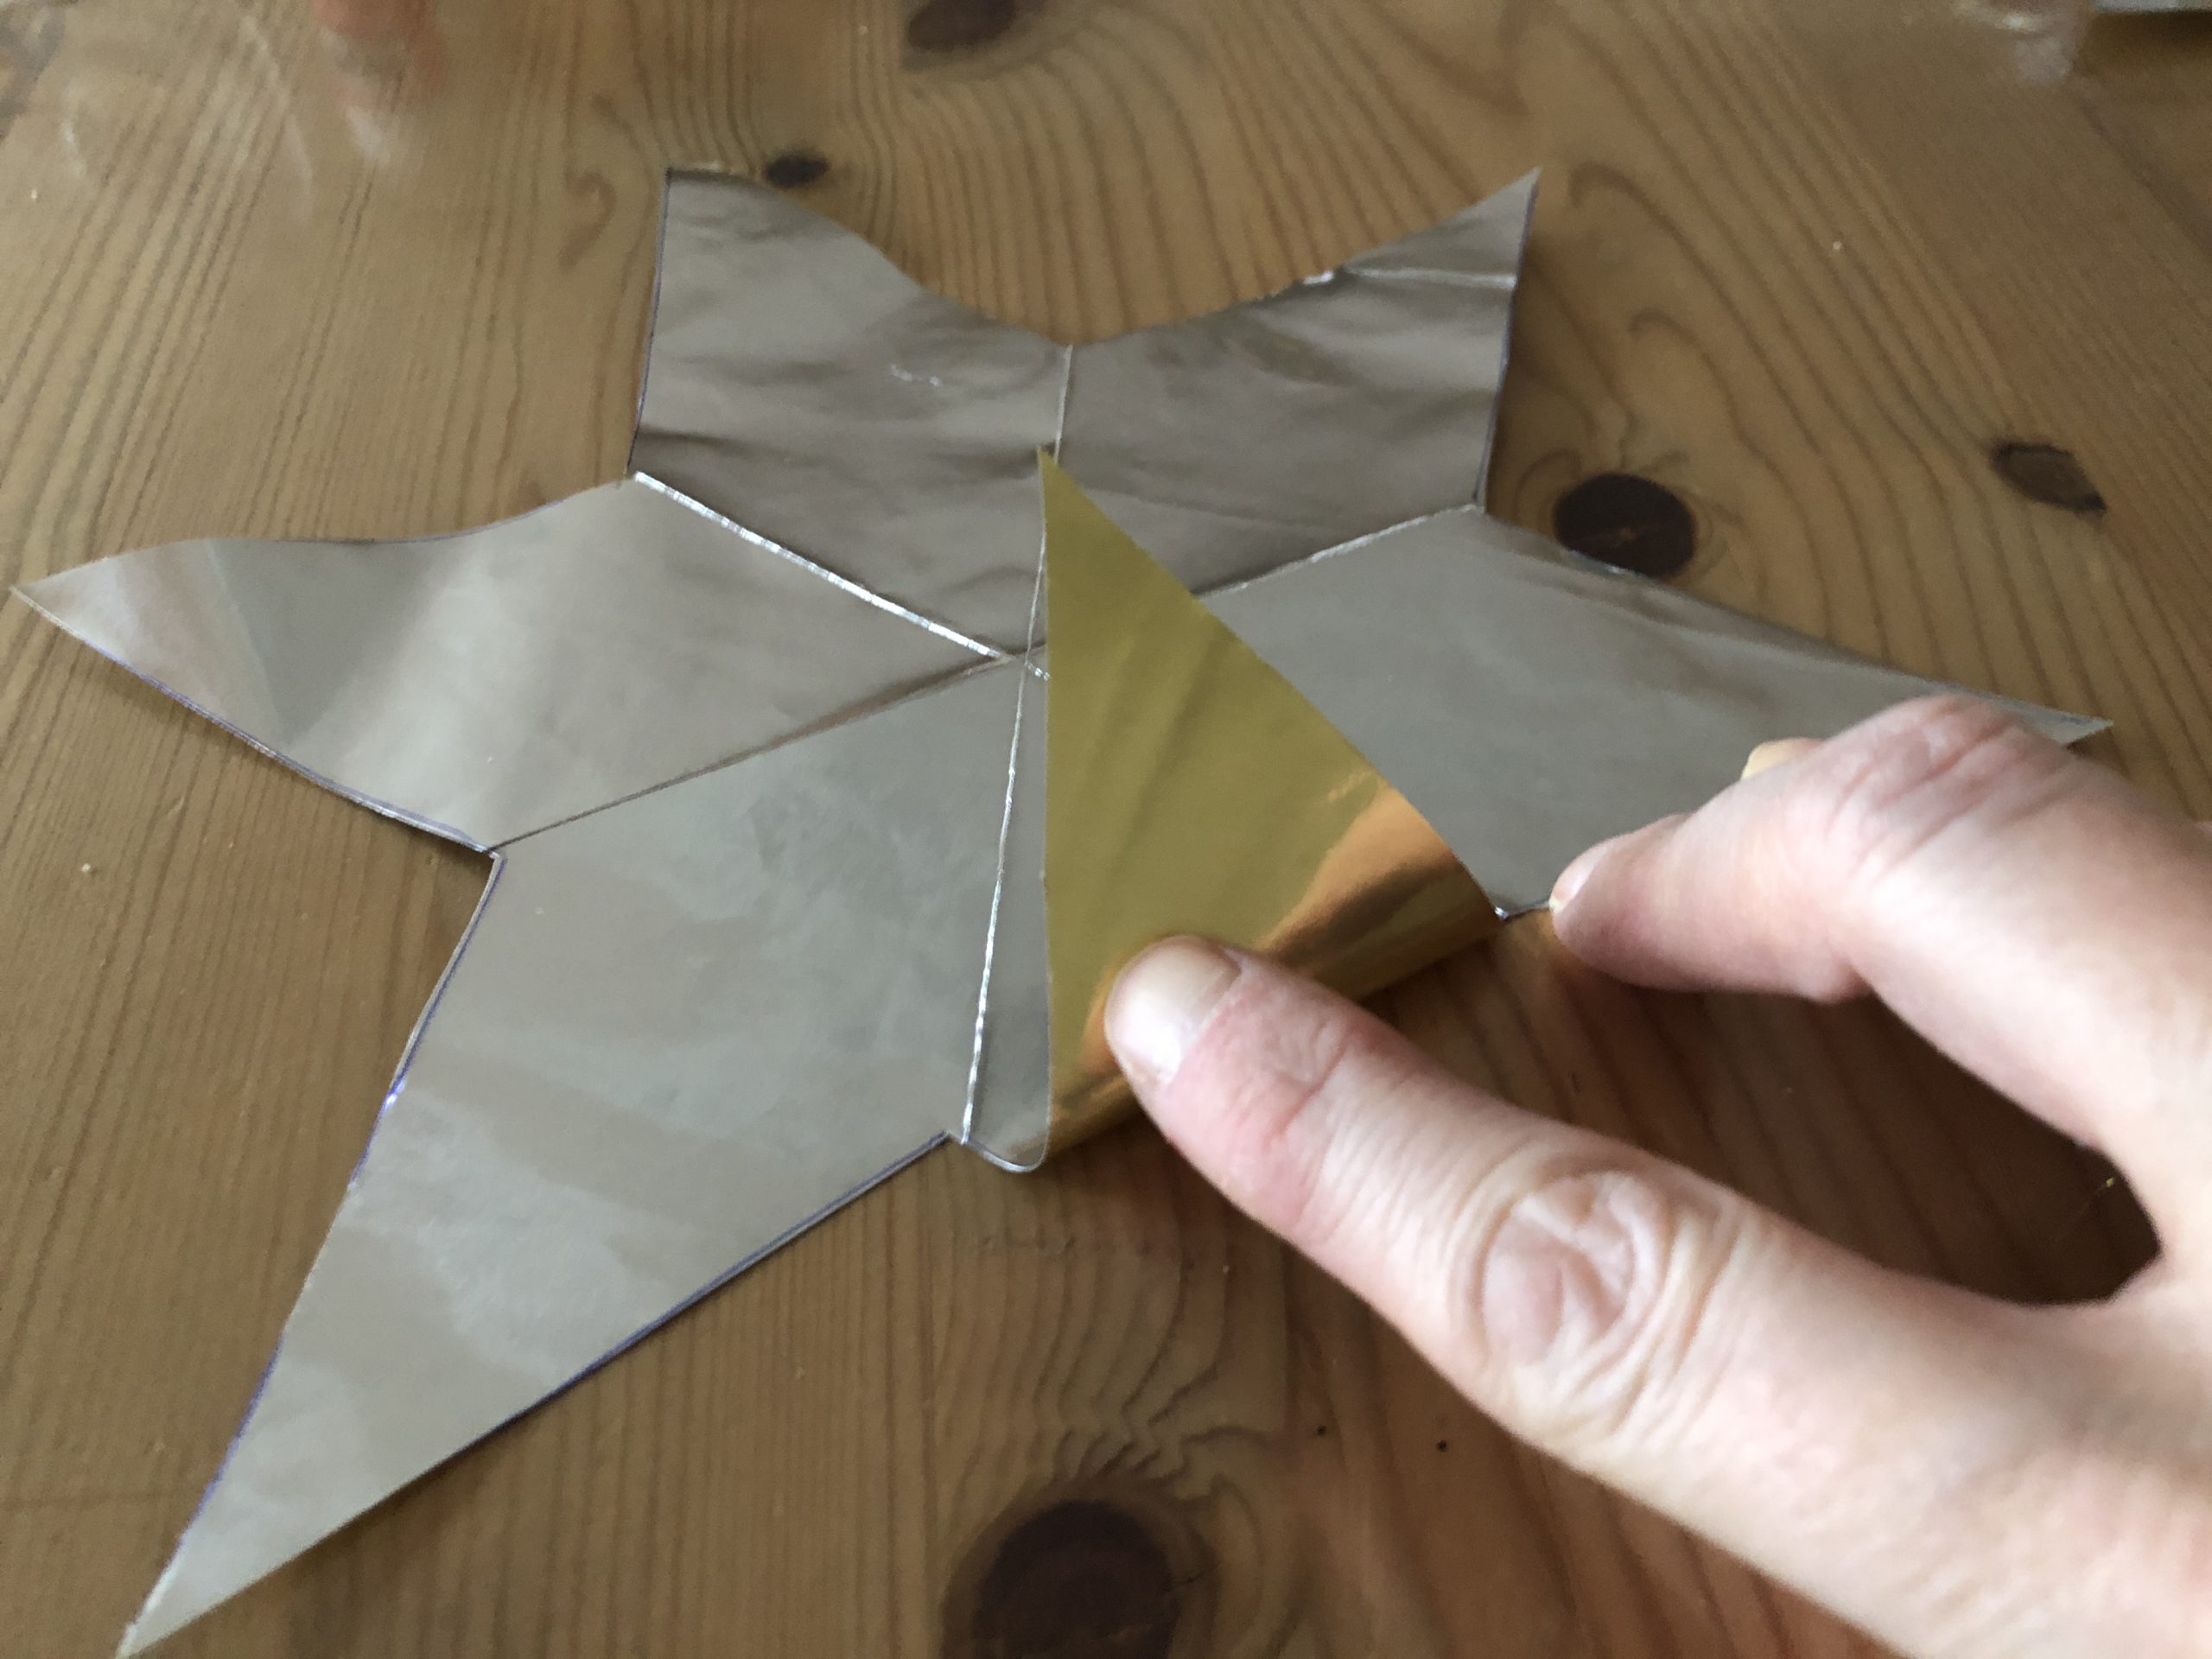


Strip the fold well.
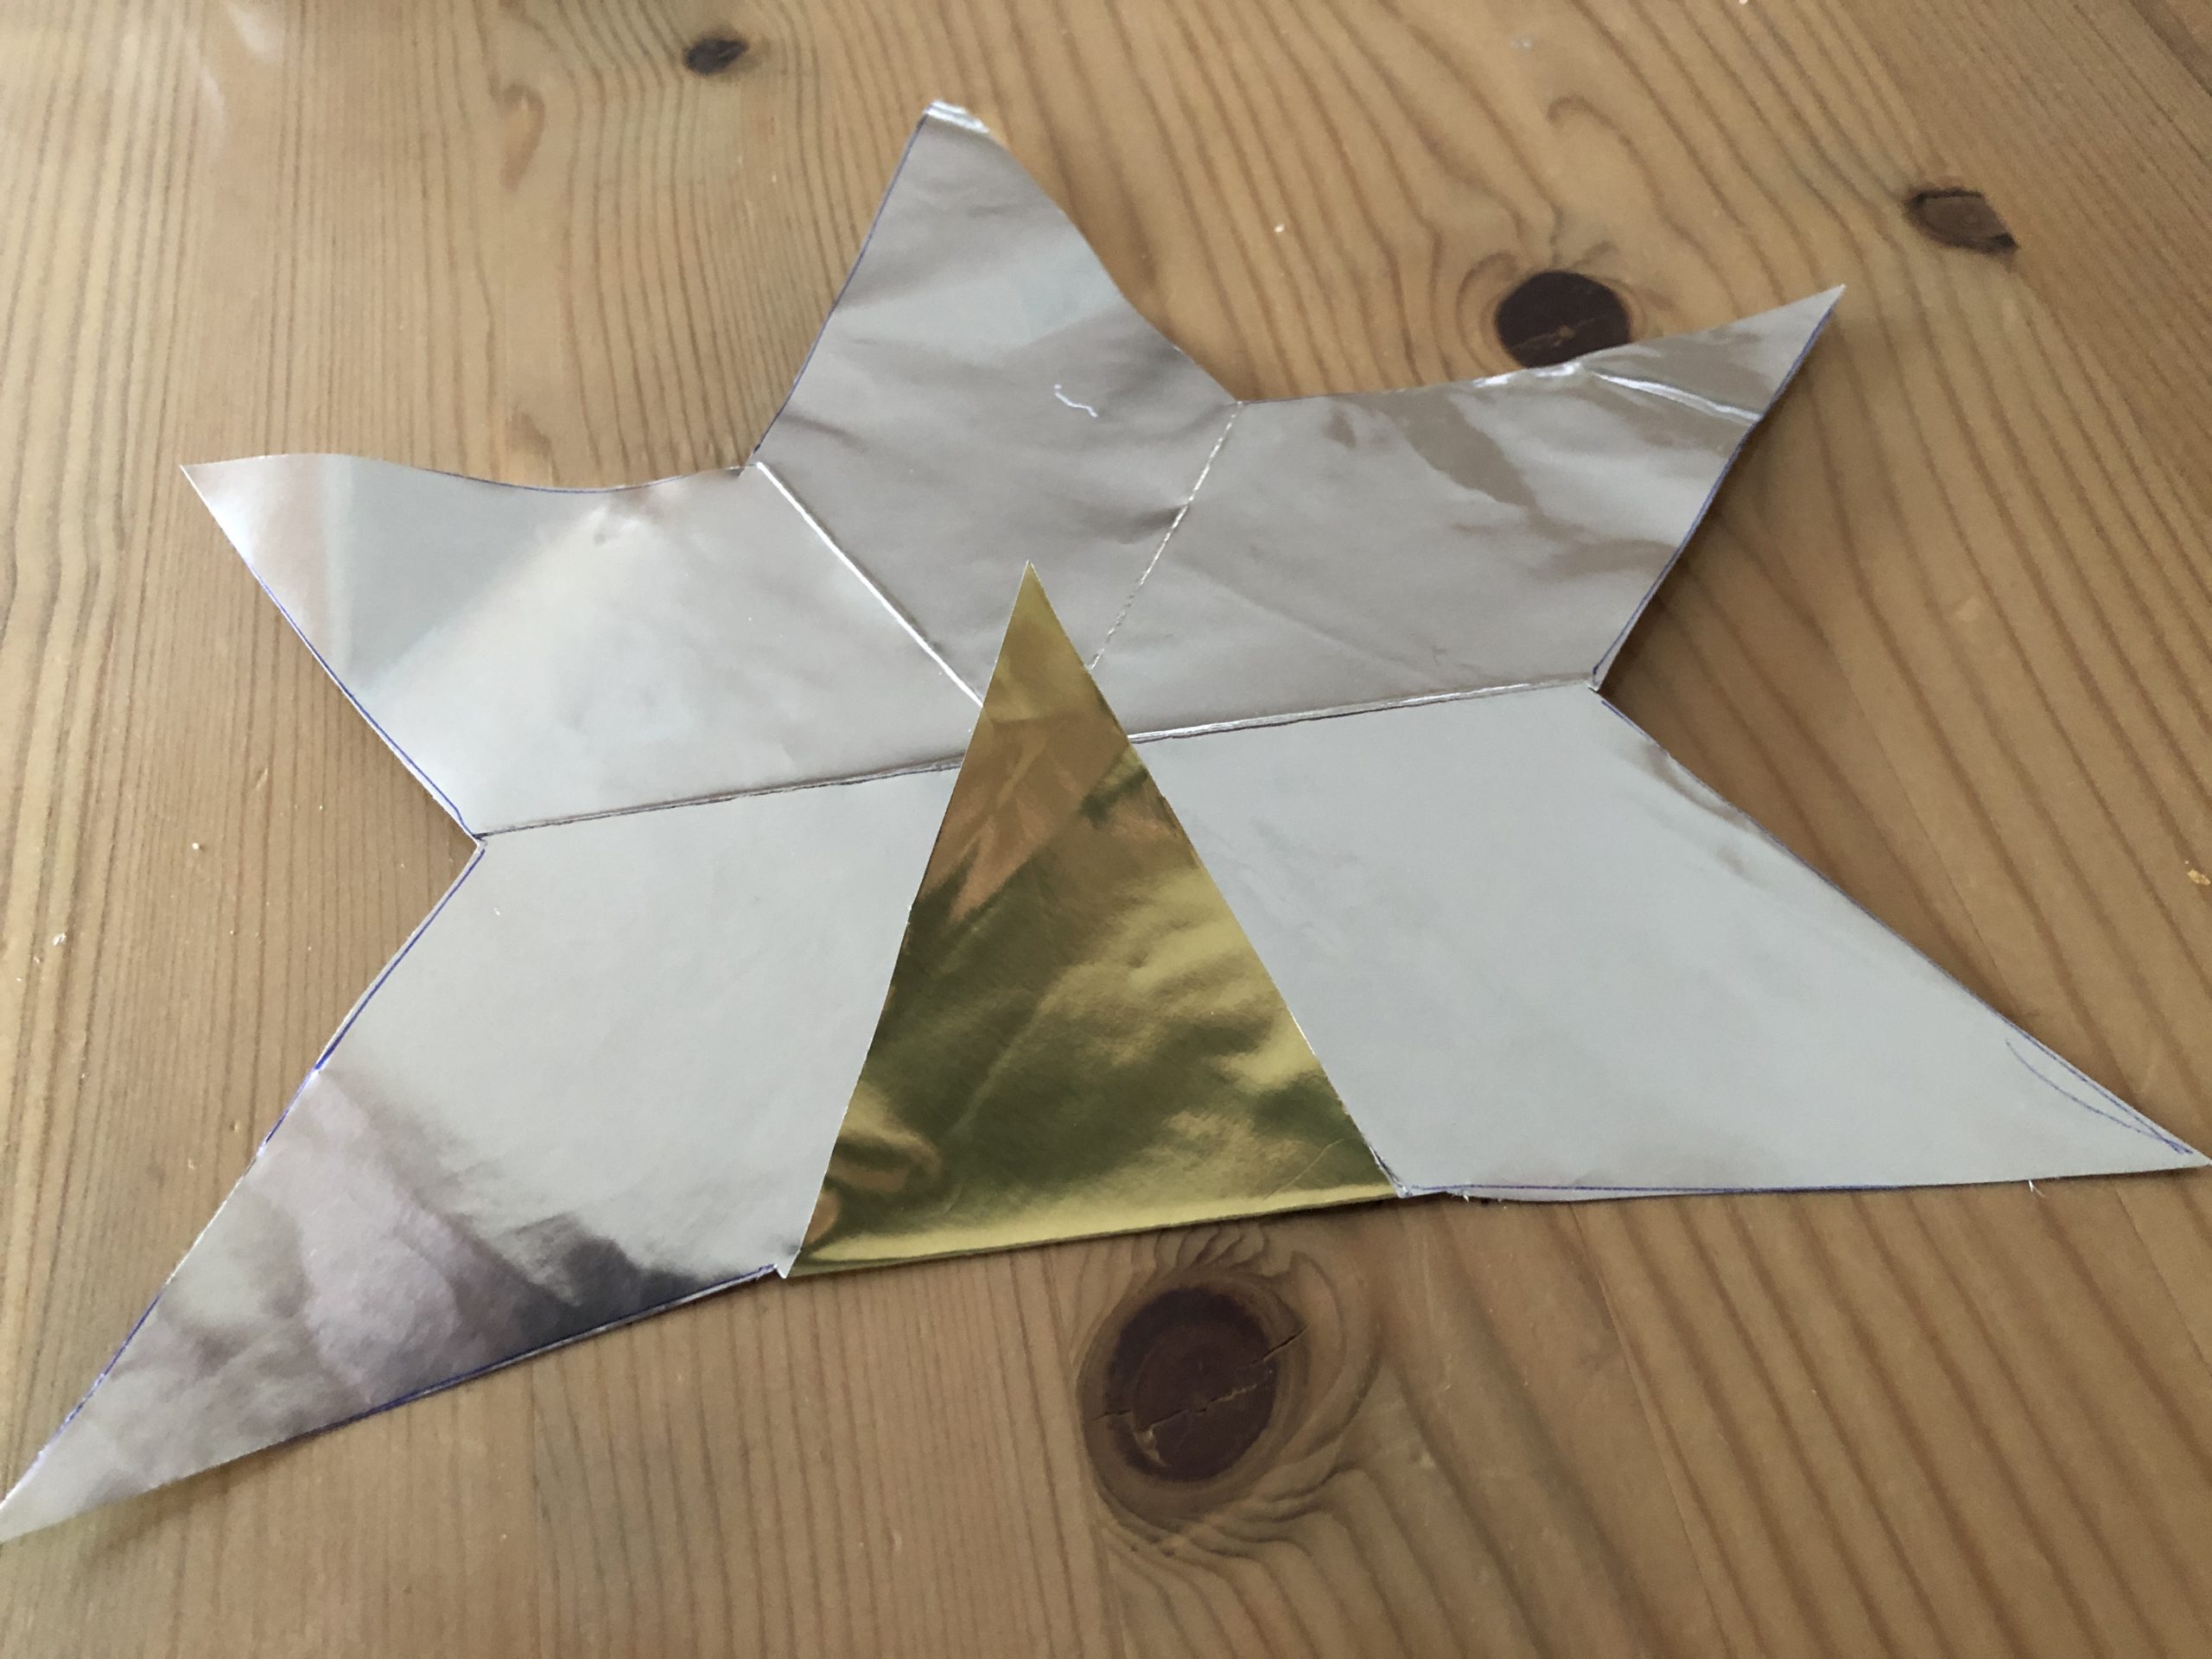


Folds every point outwards again.
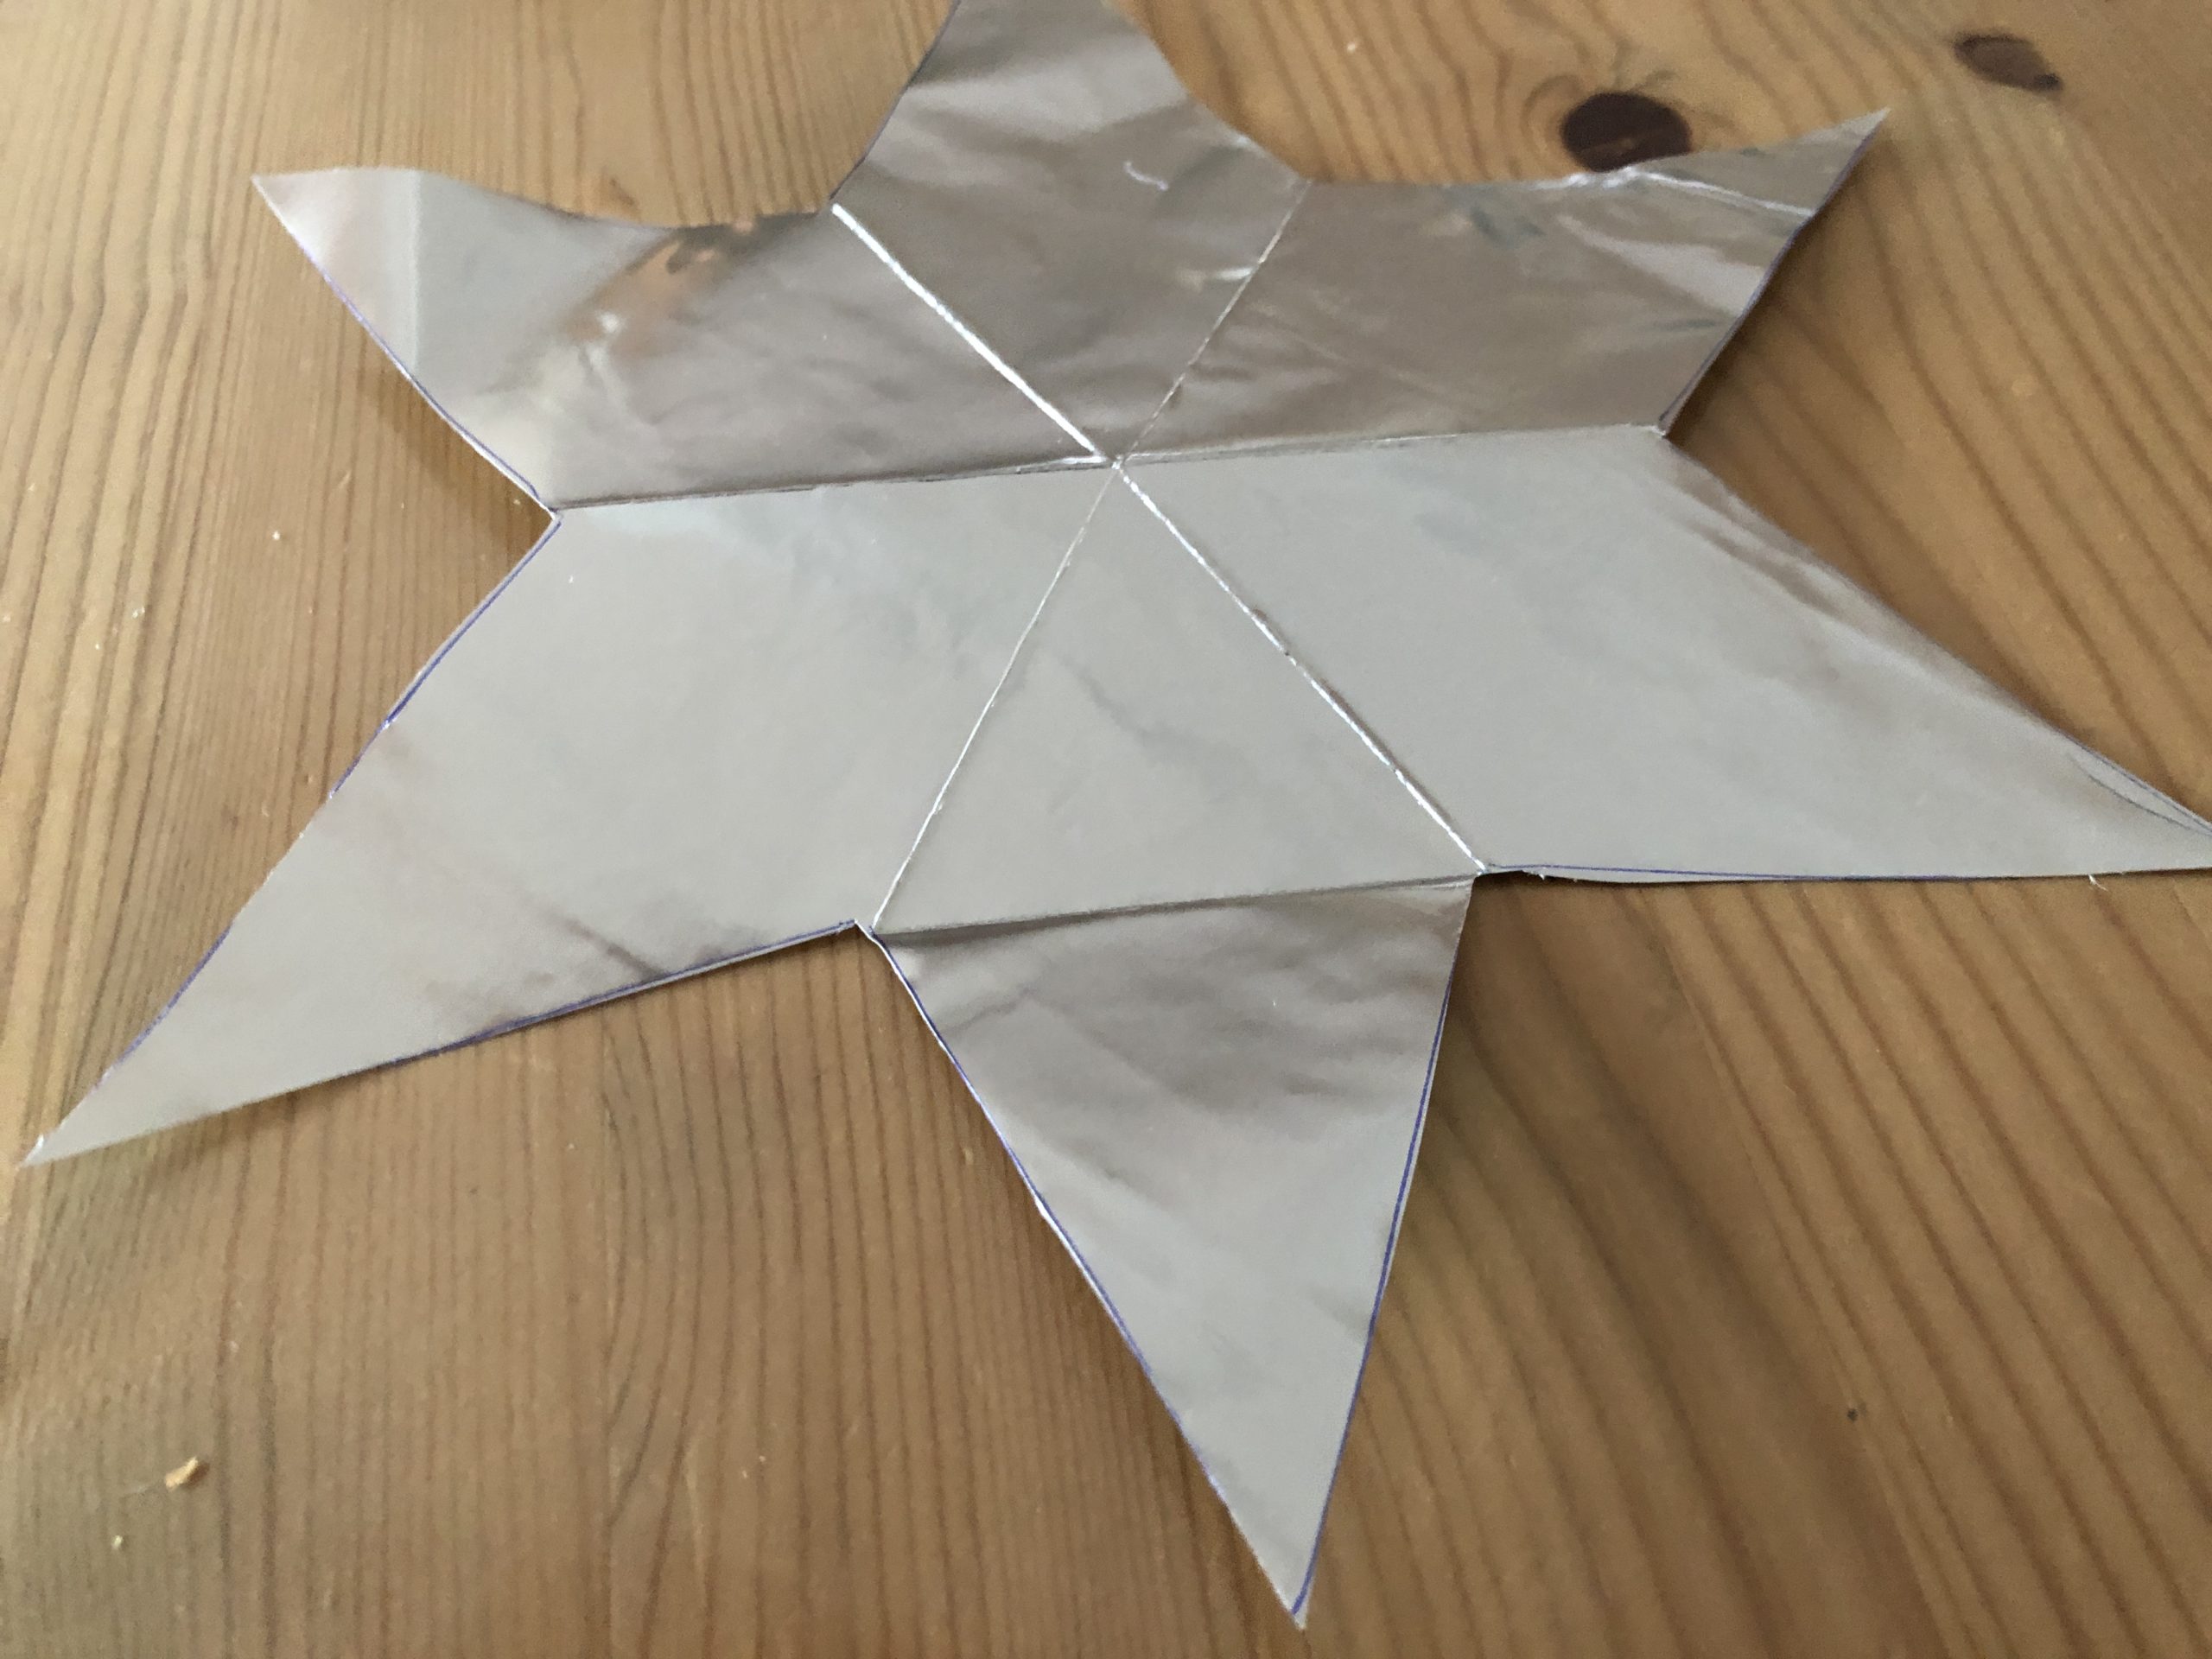


Look at the picture!


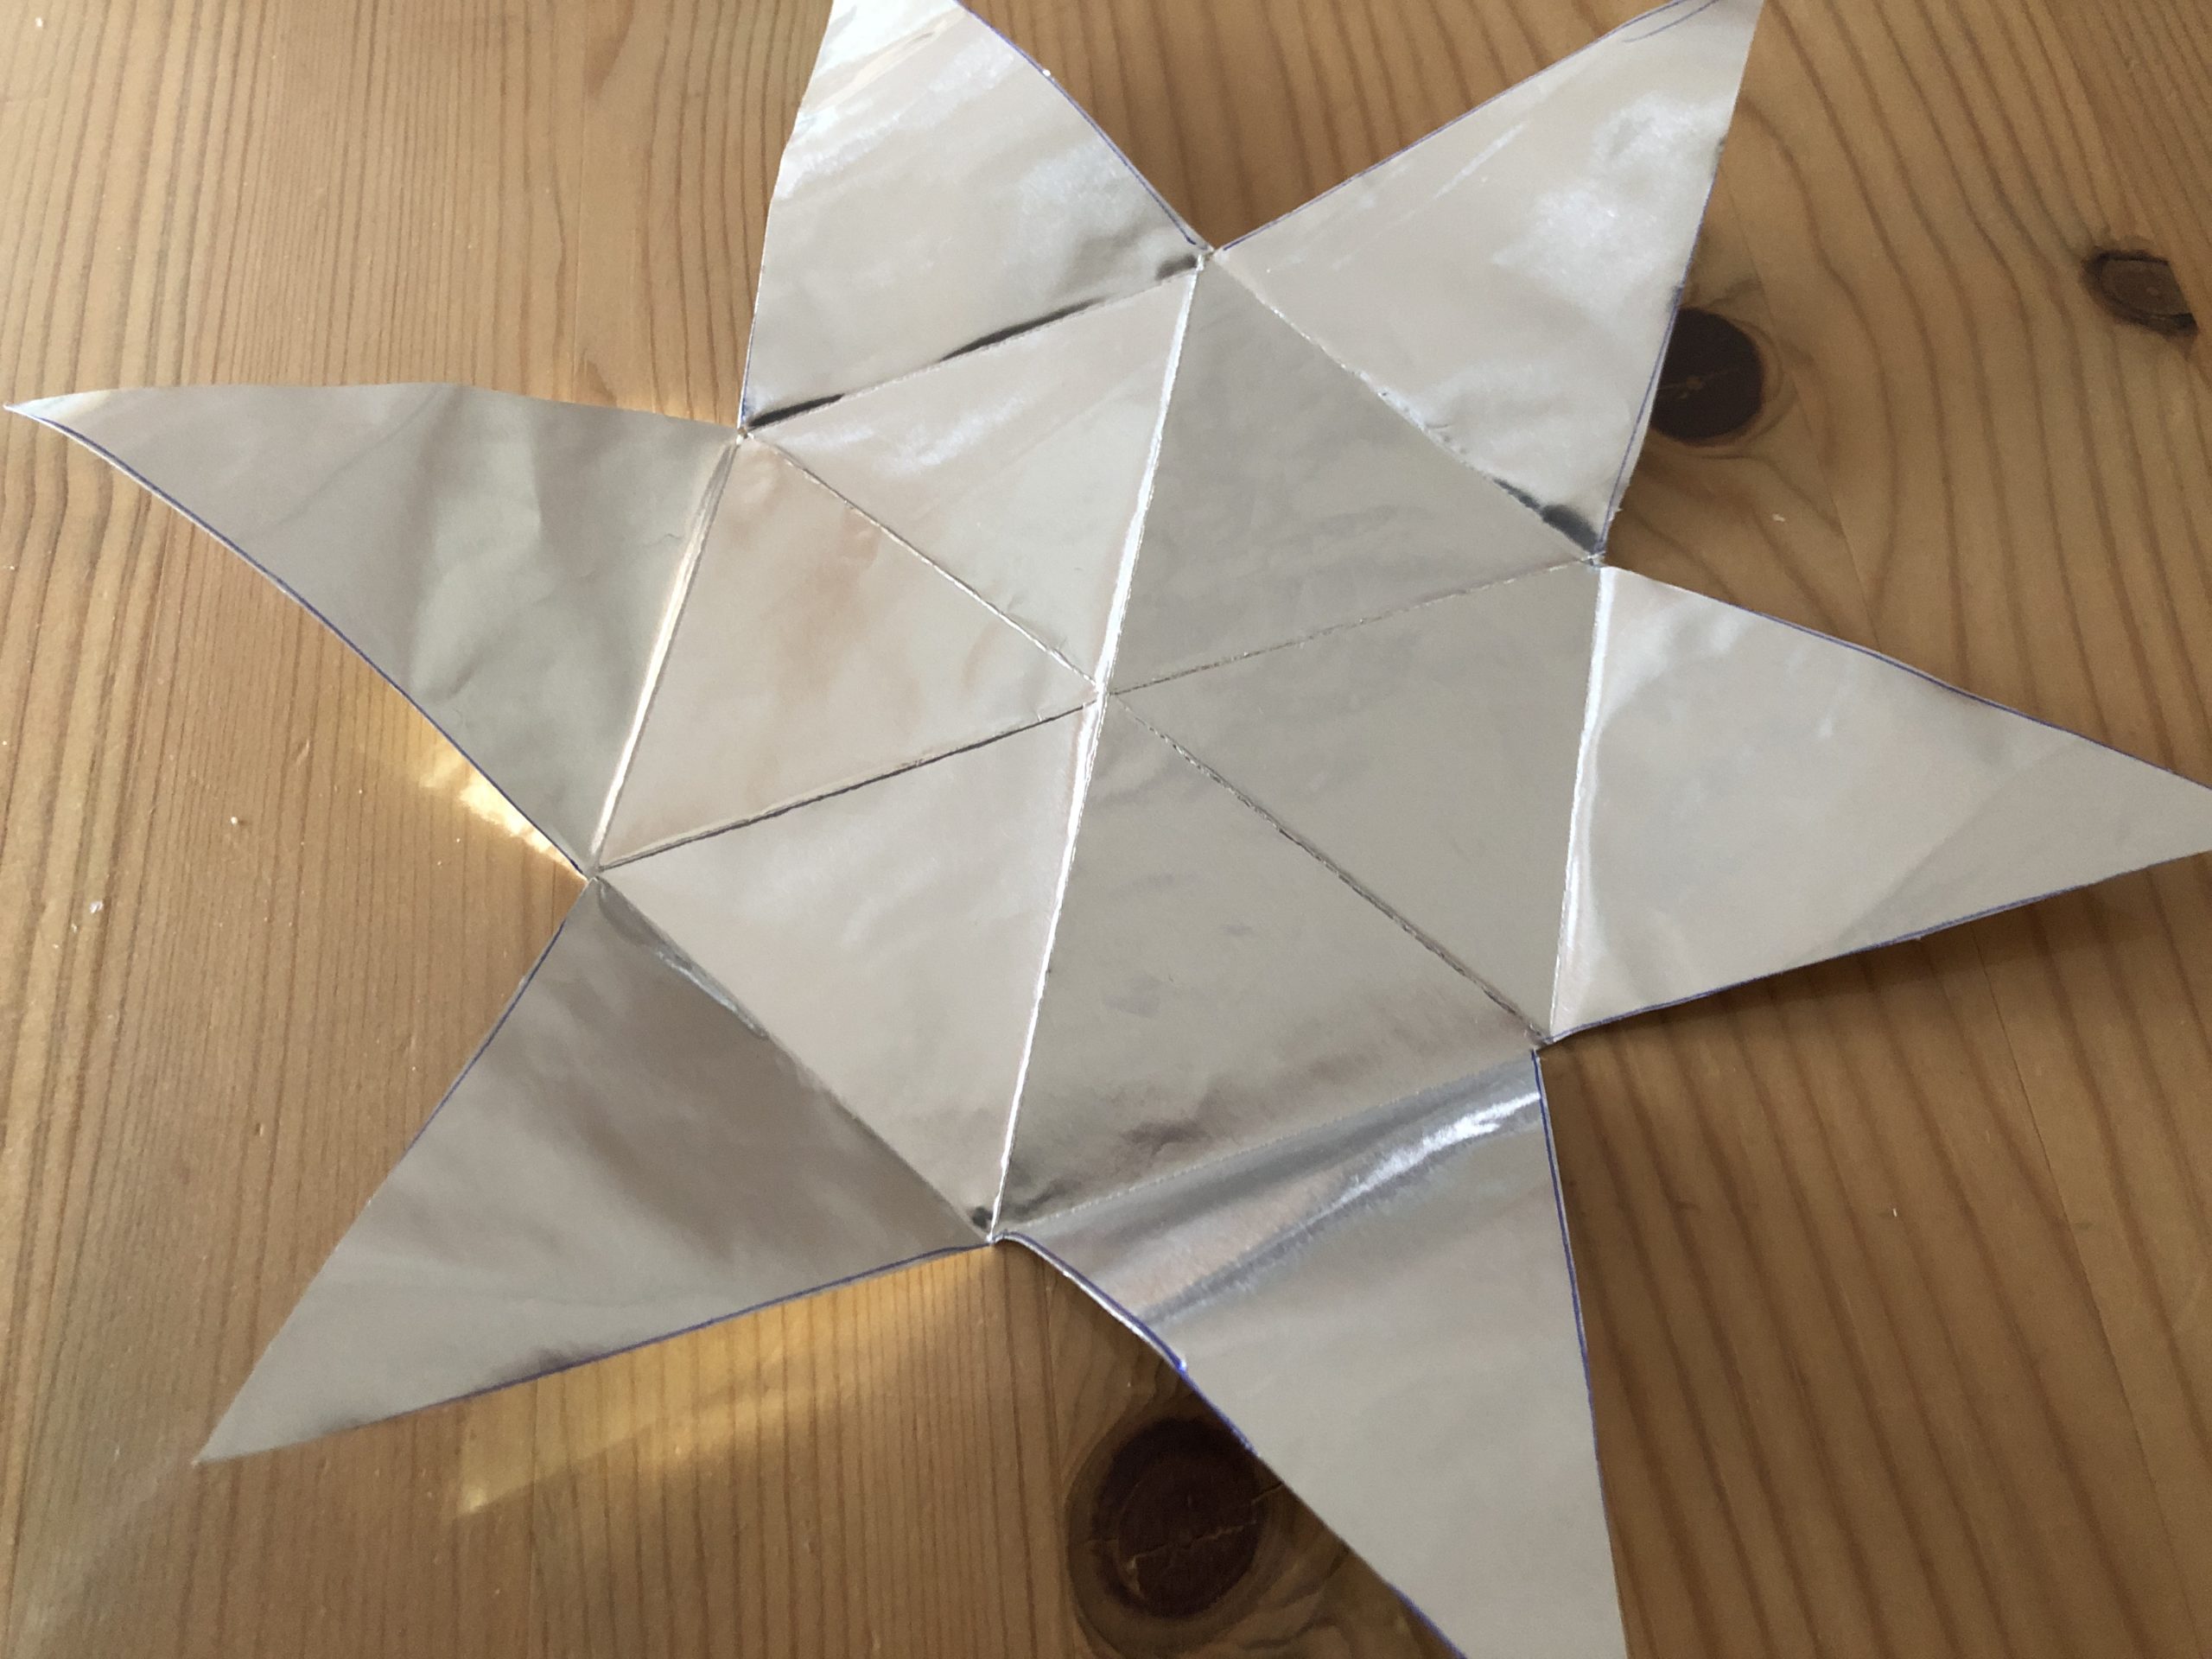
That's what the star looks like.
The fold is ready!


Now you cut the star with the scissors in one place to the middle.
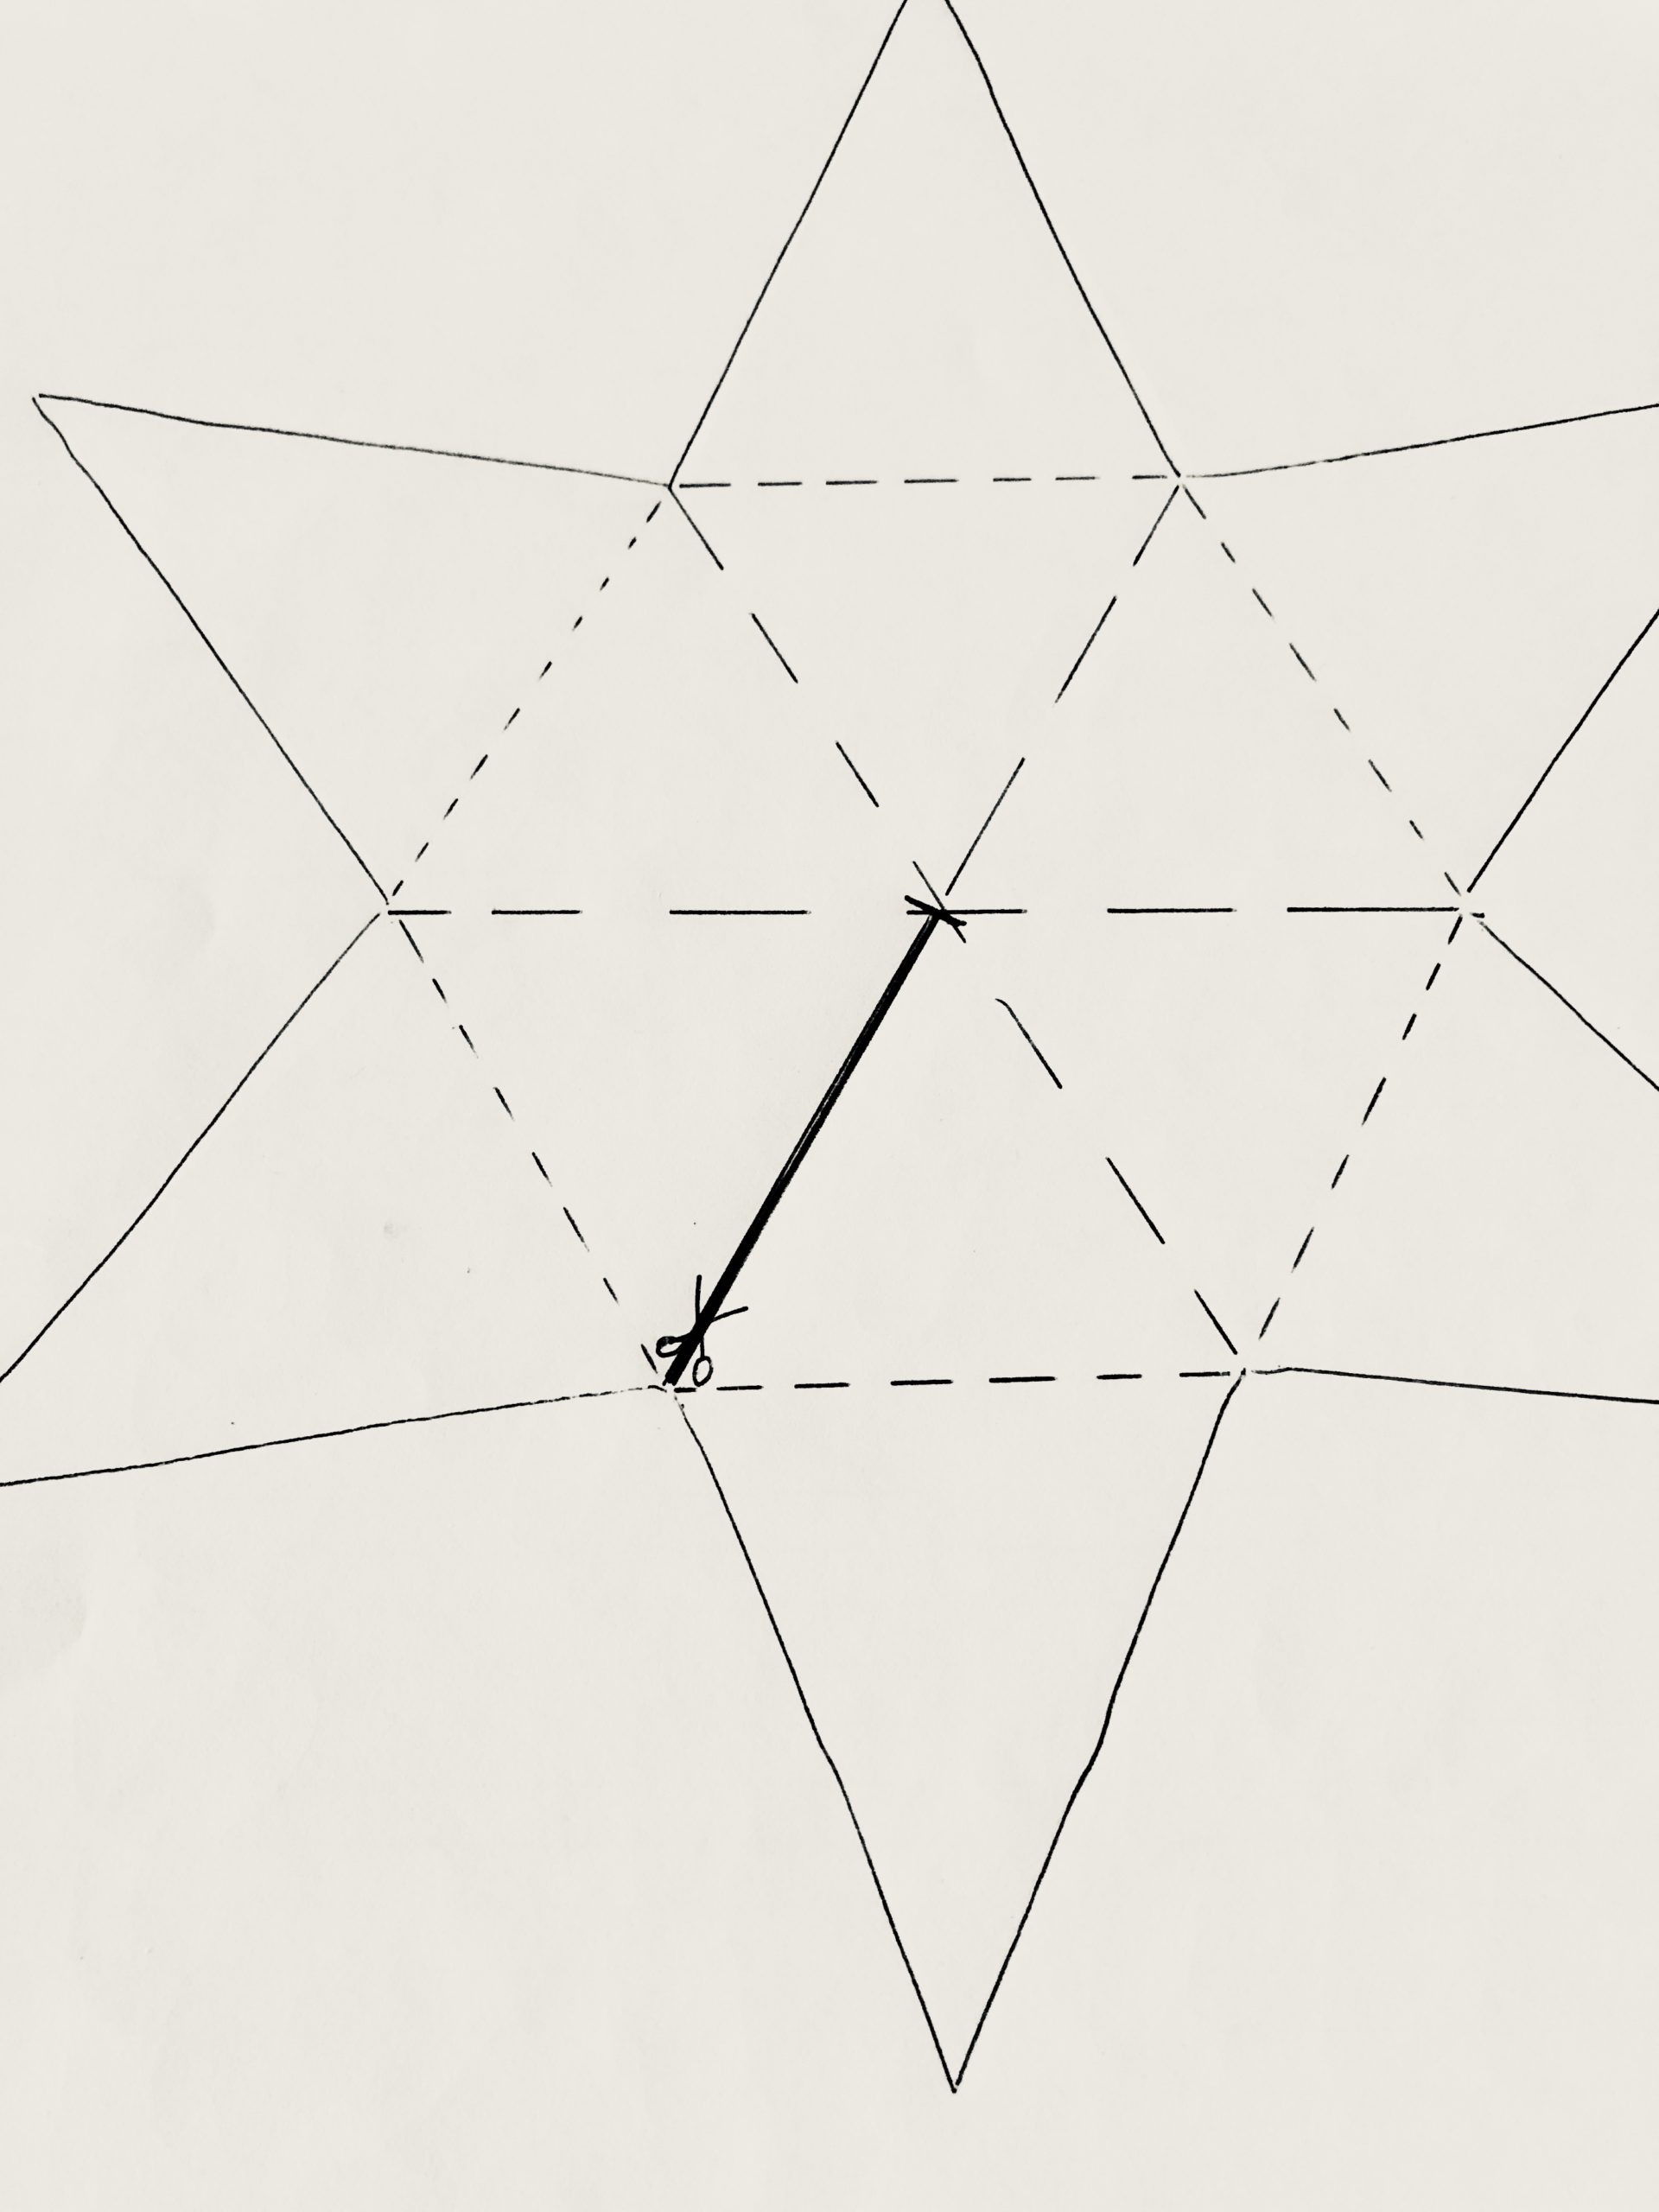


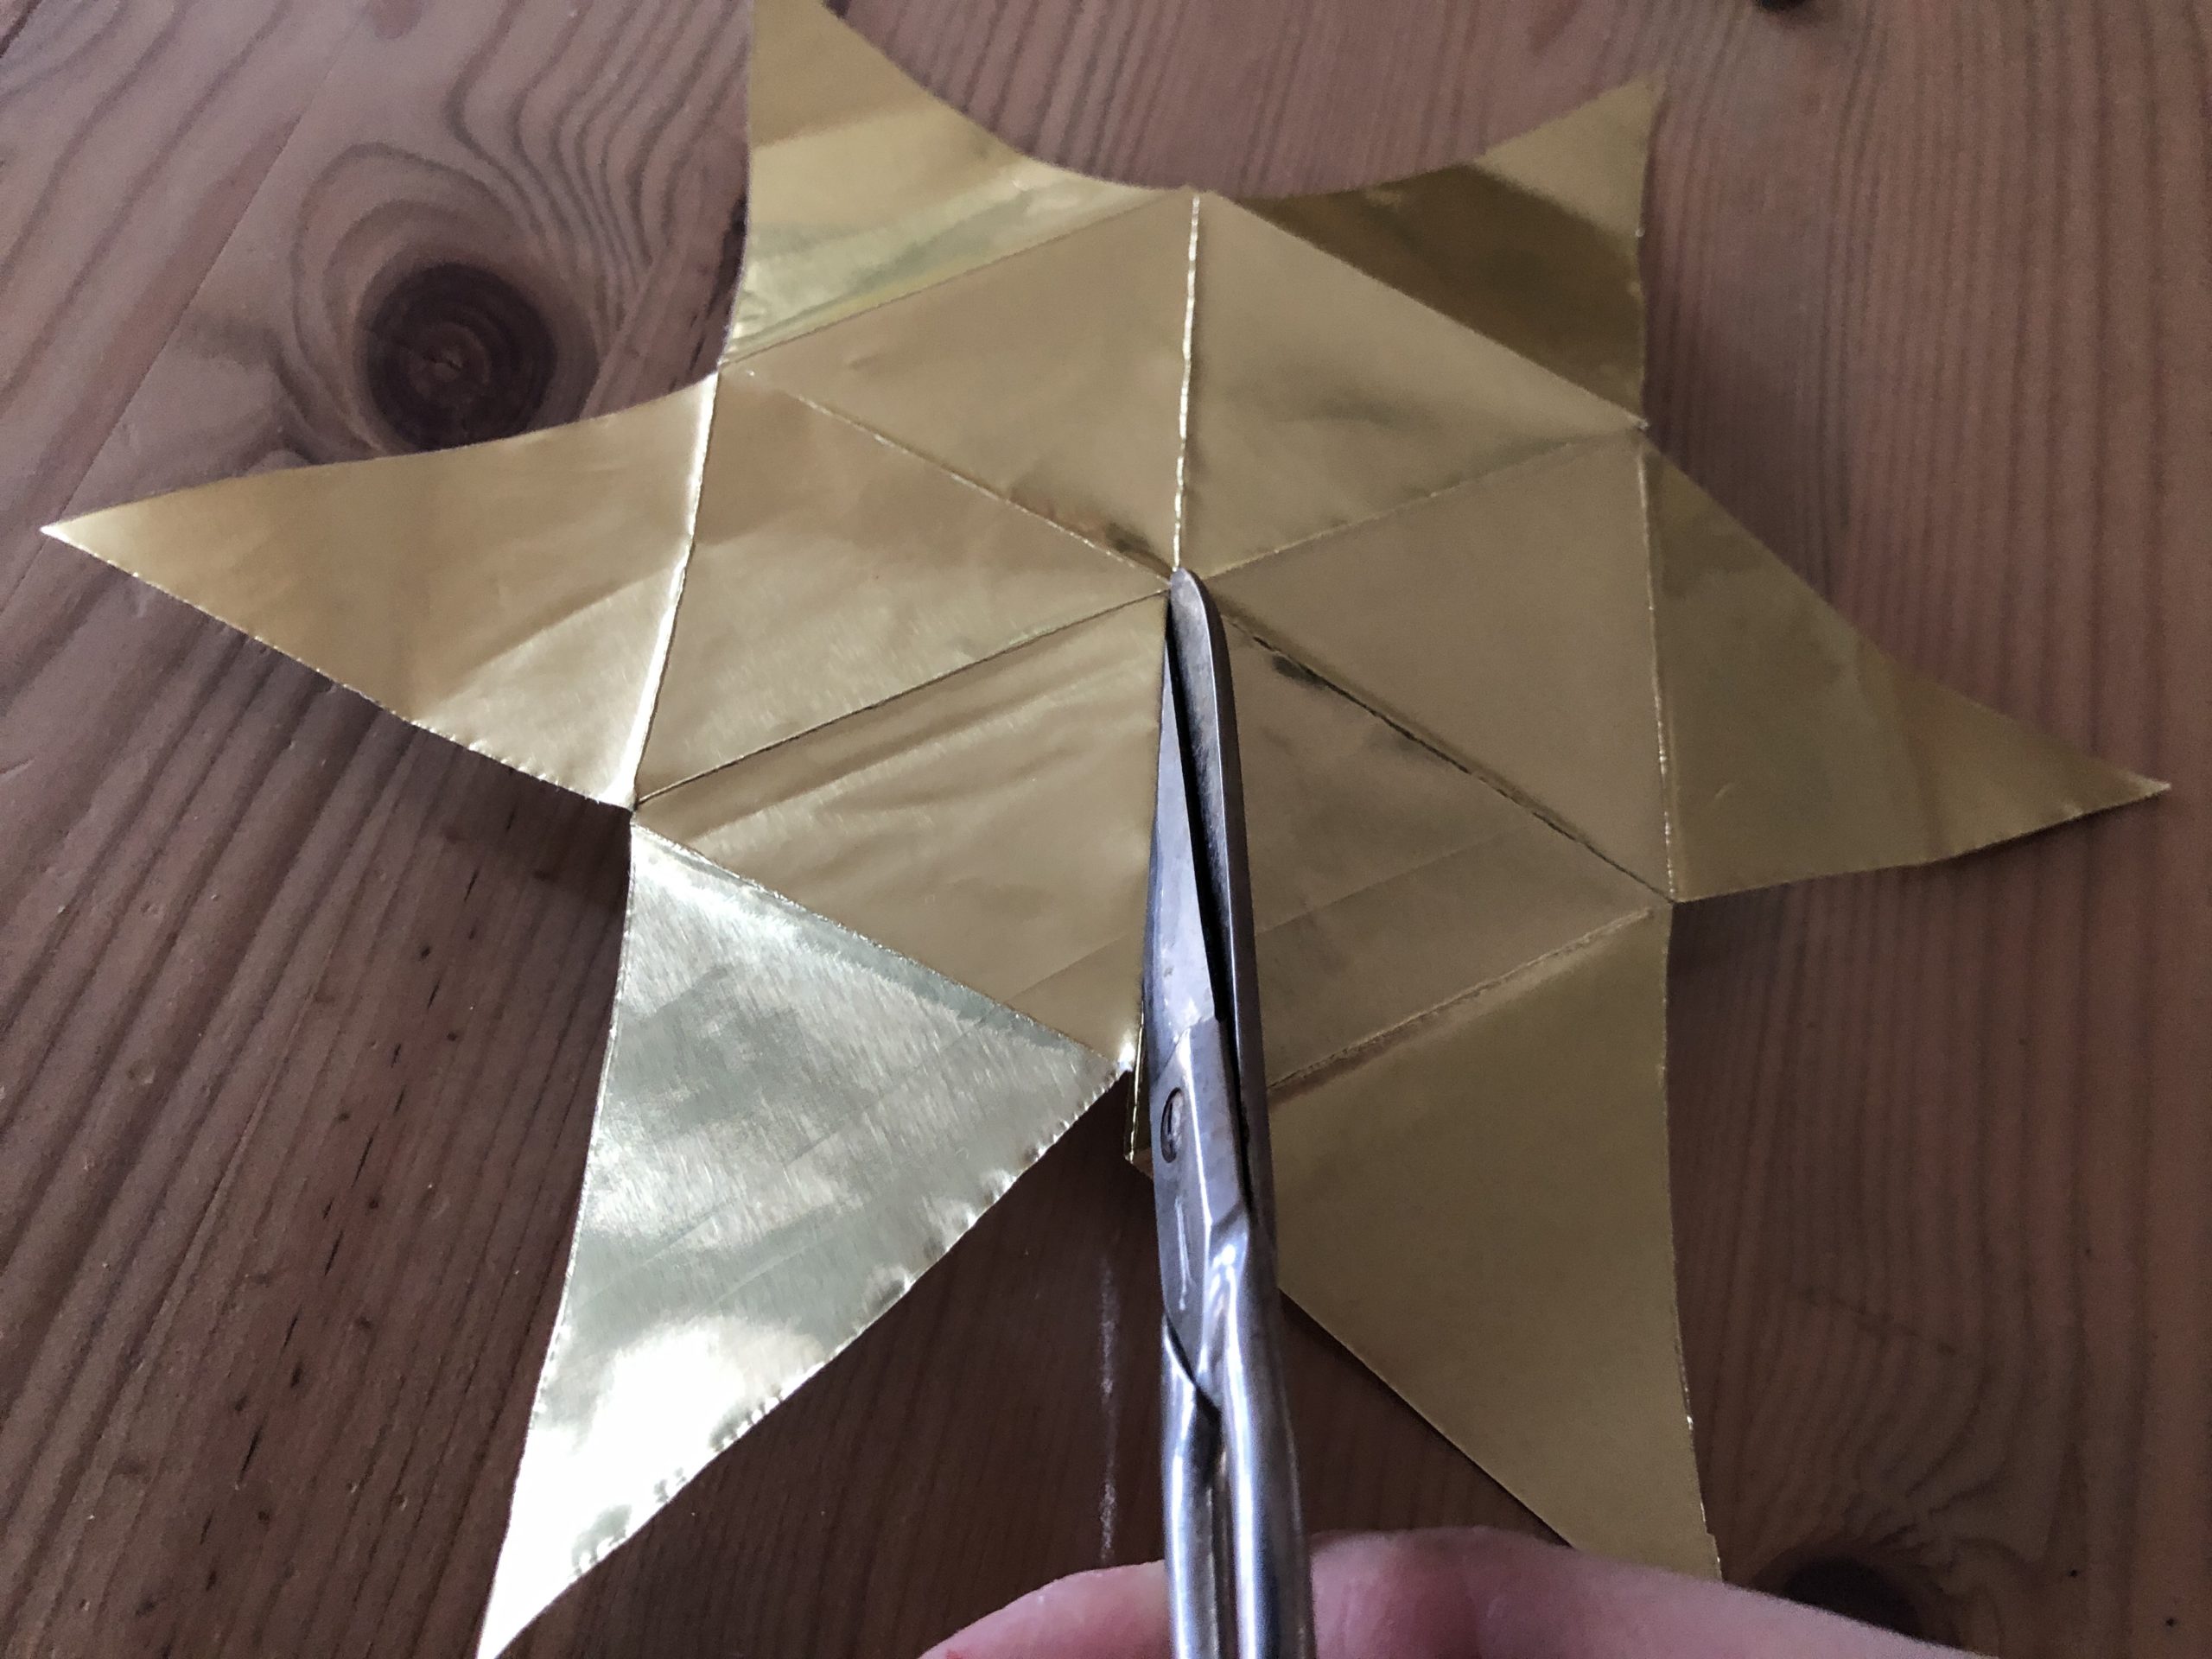


The two points next to the cut stick to her on top of each other.
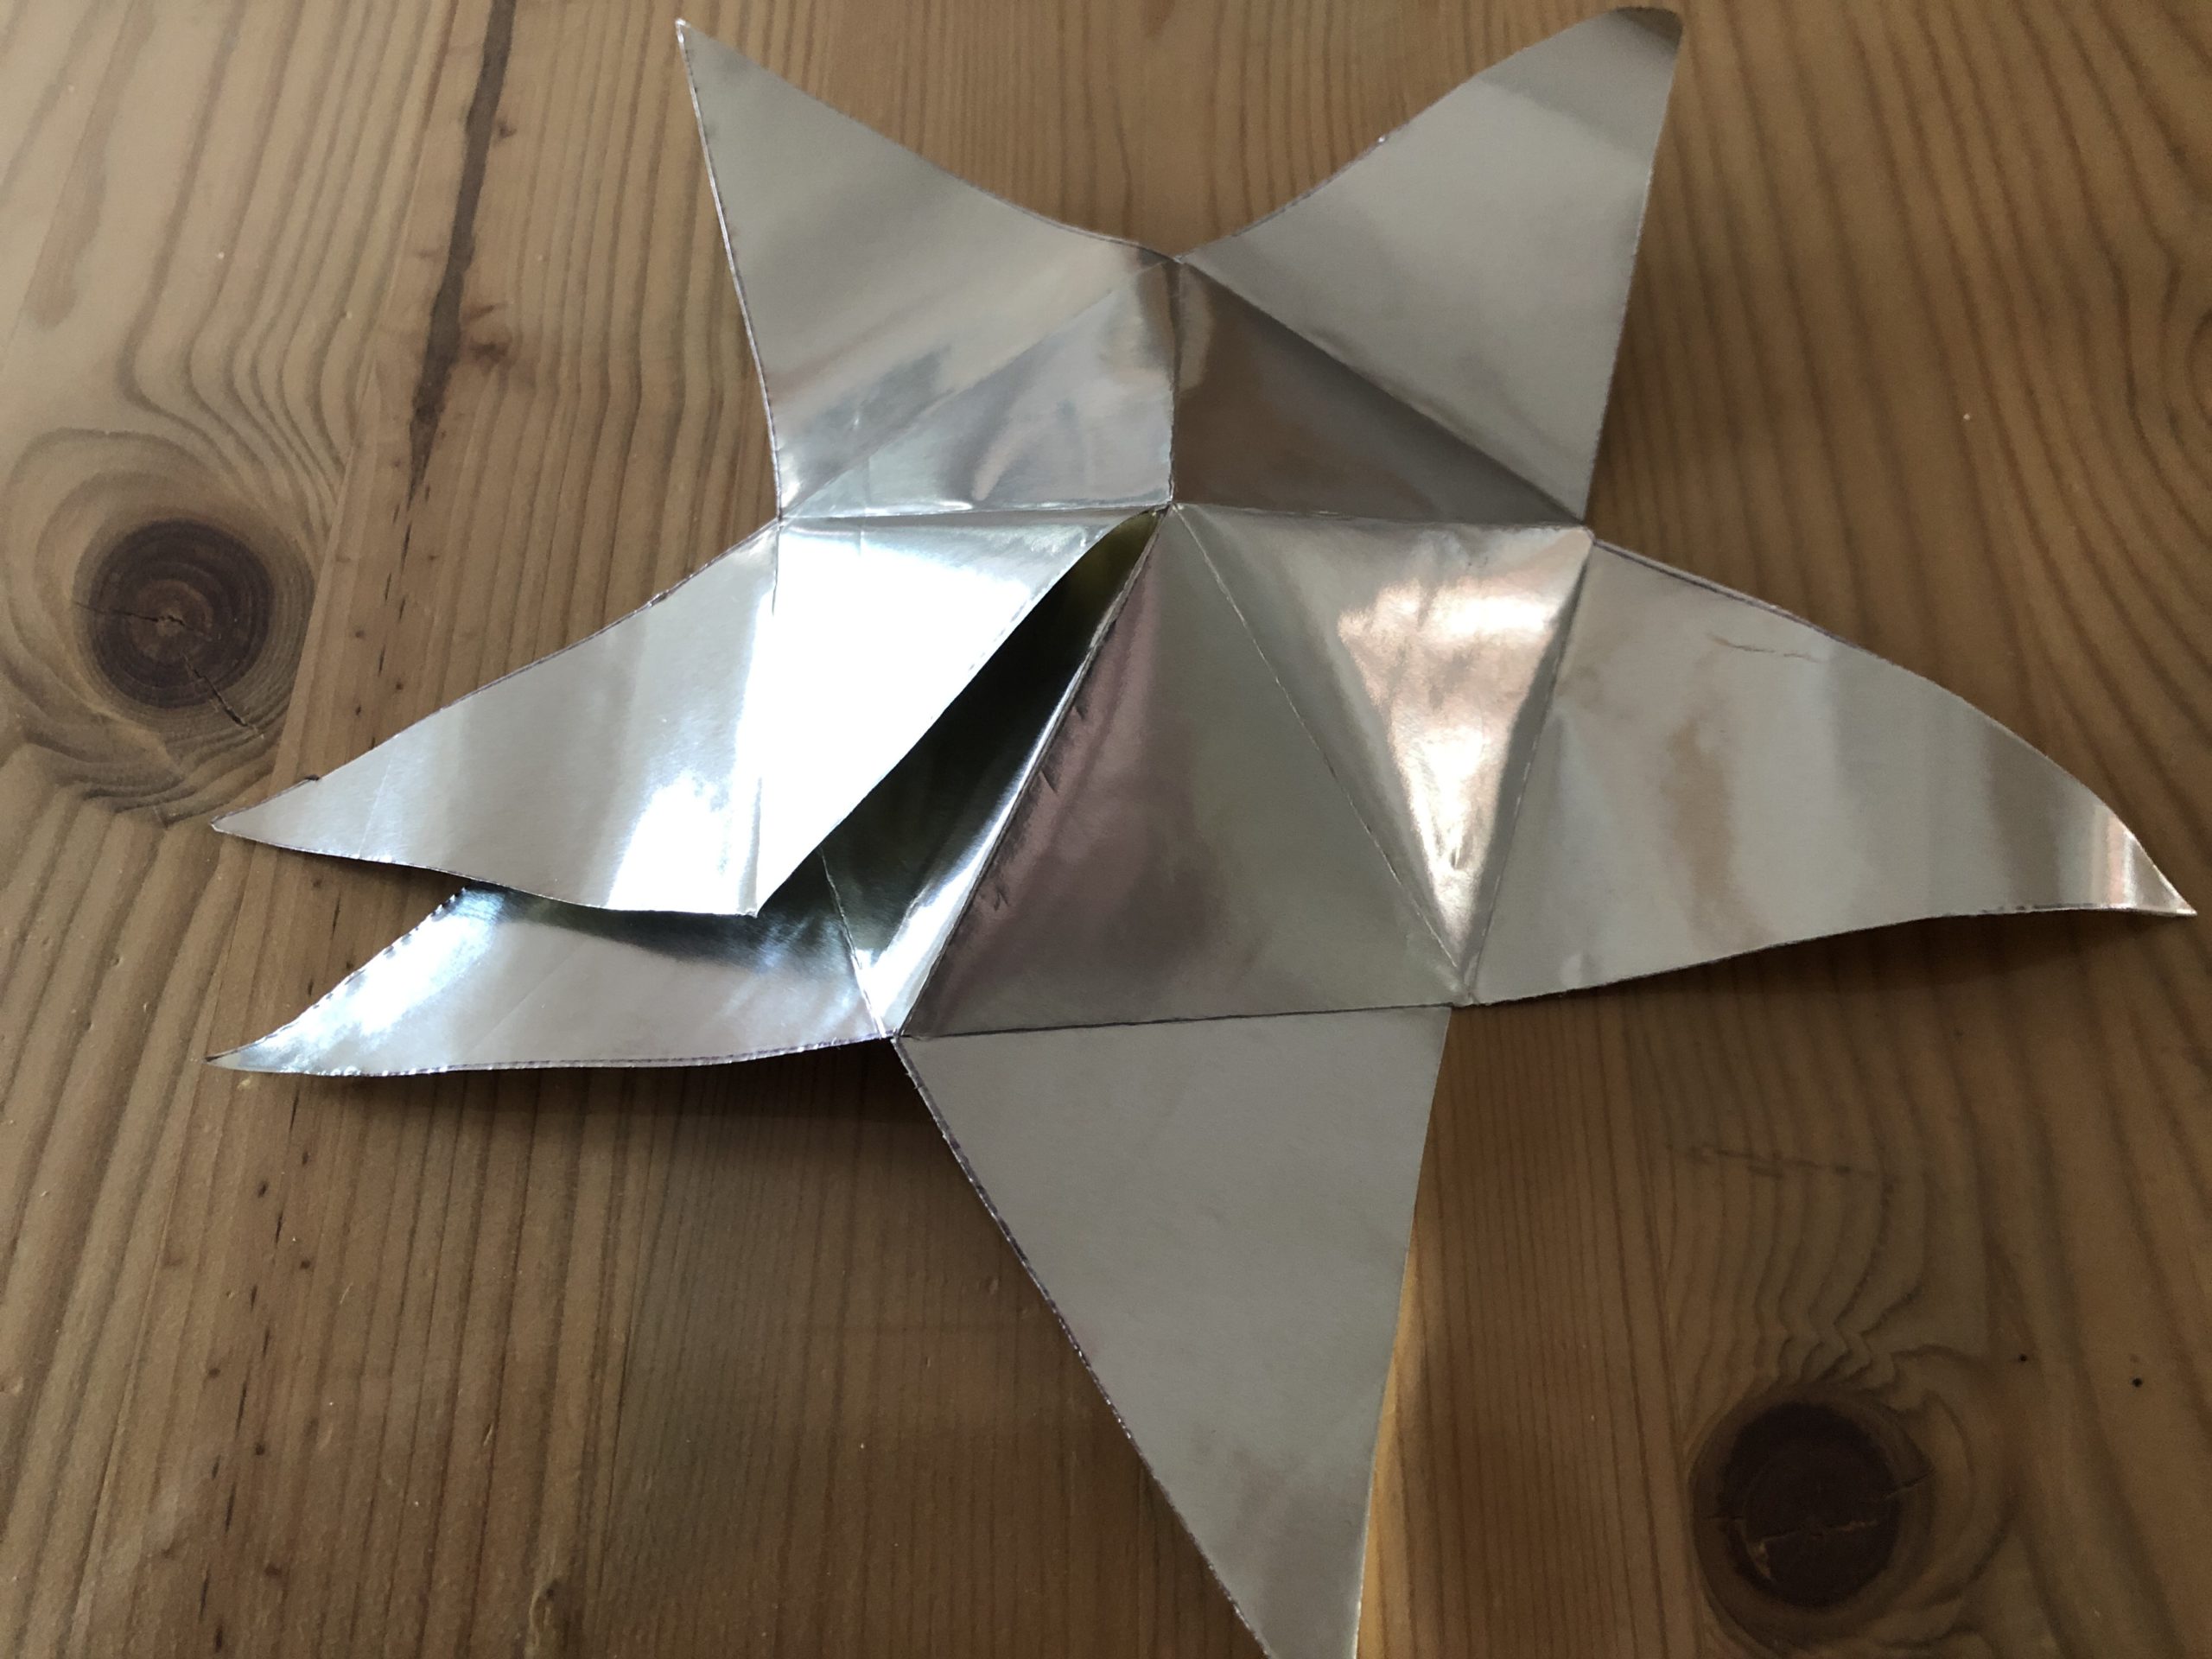


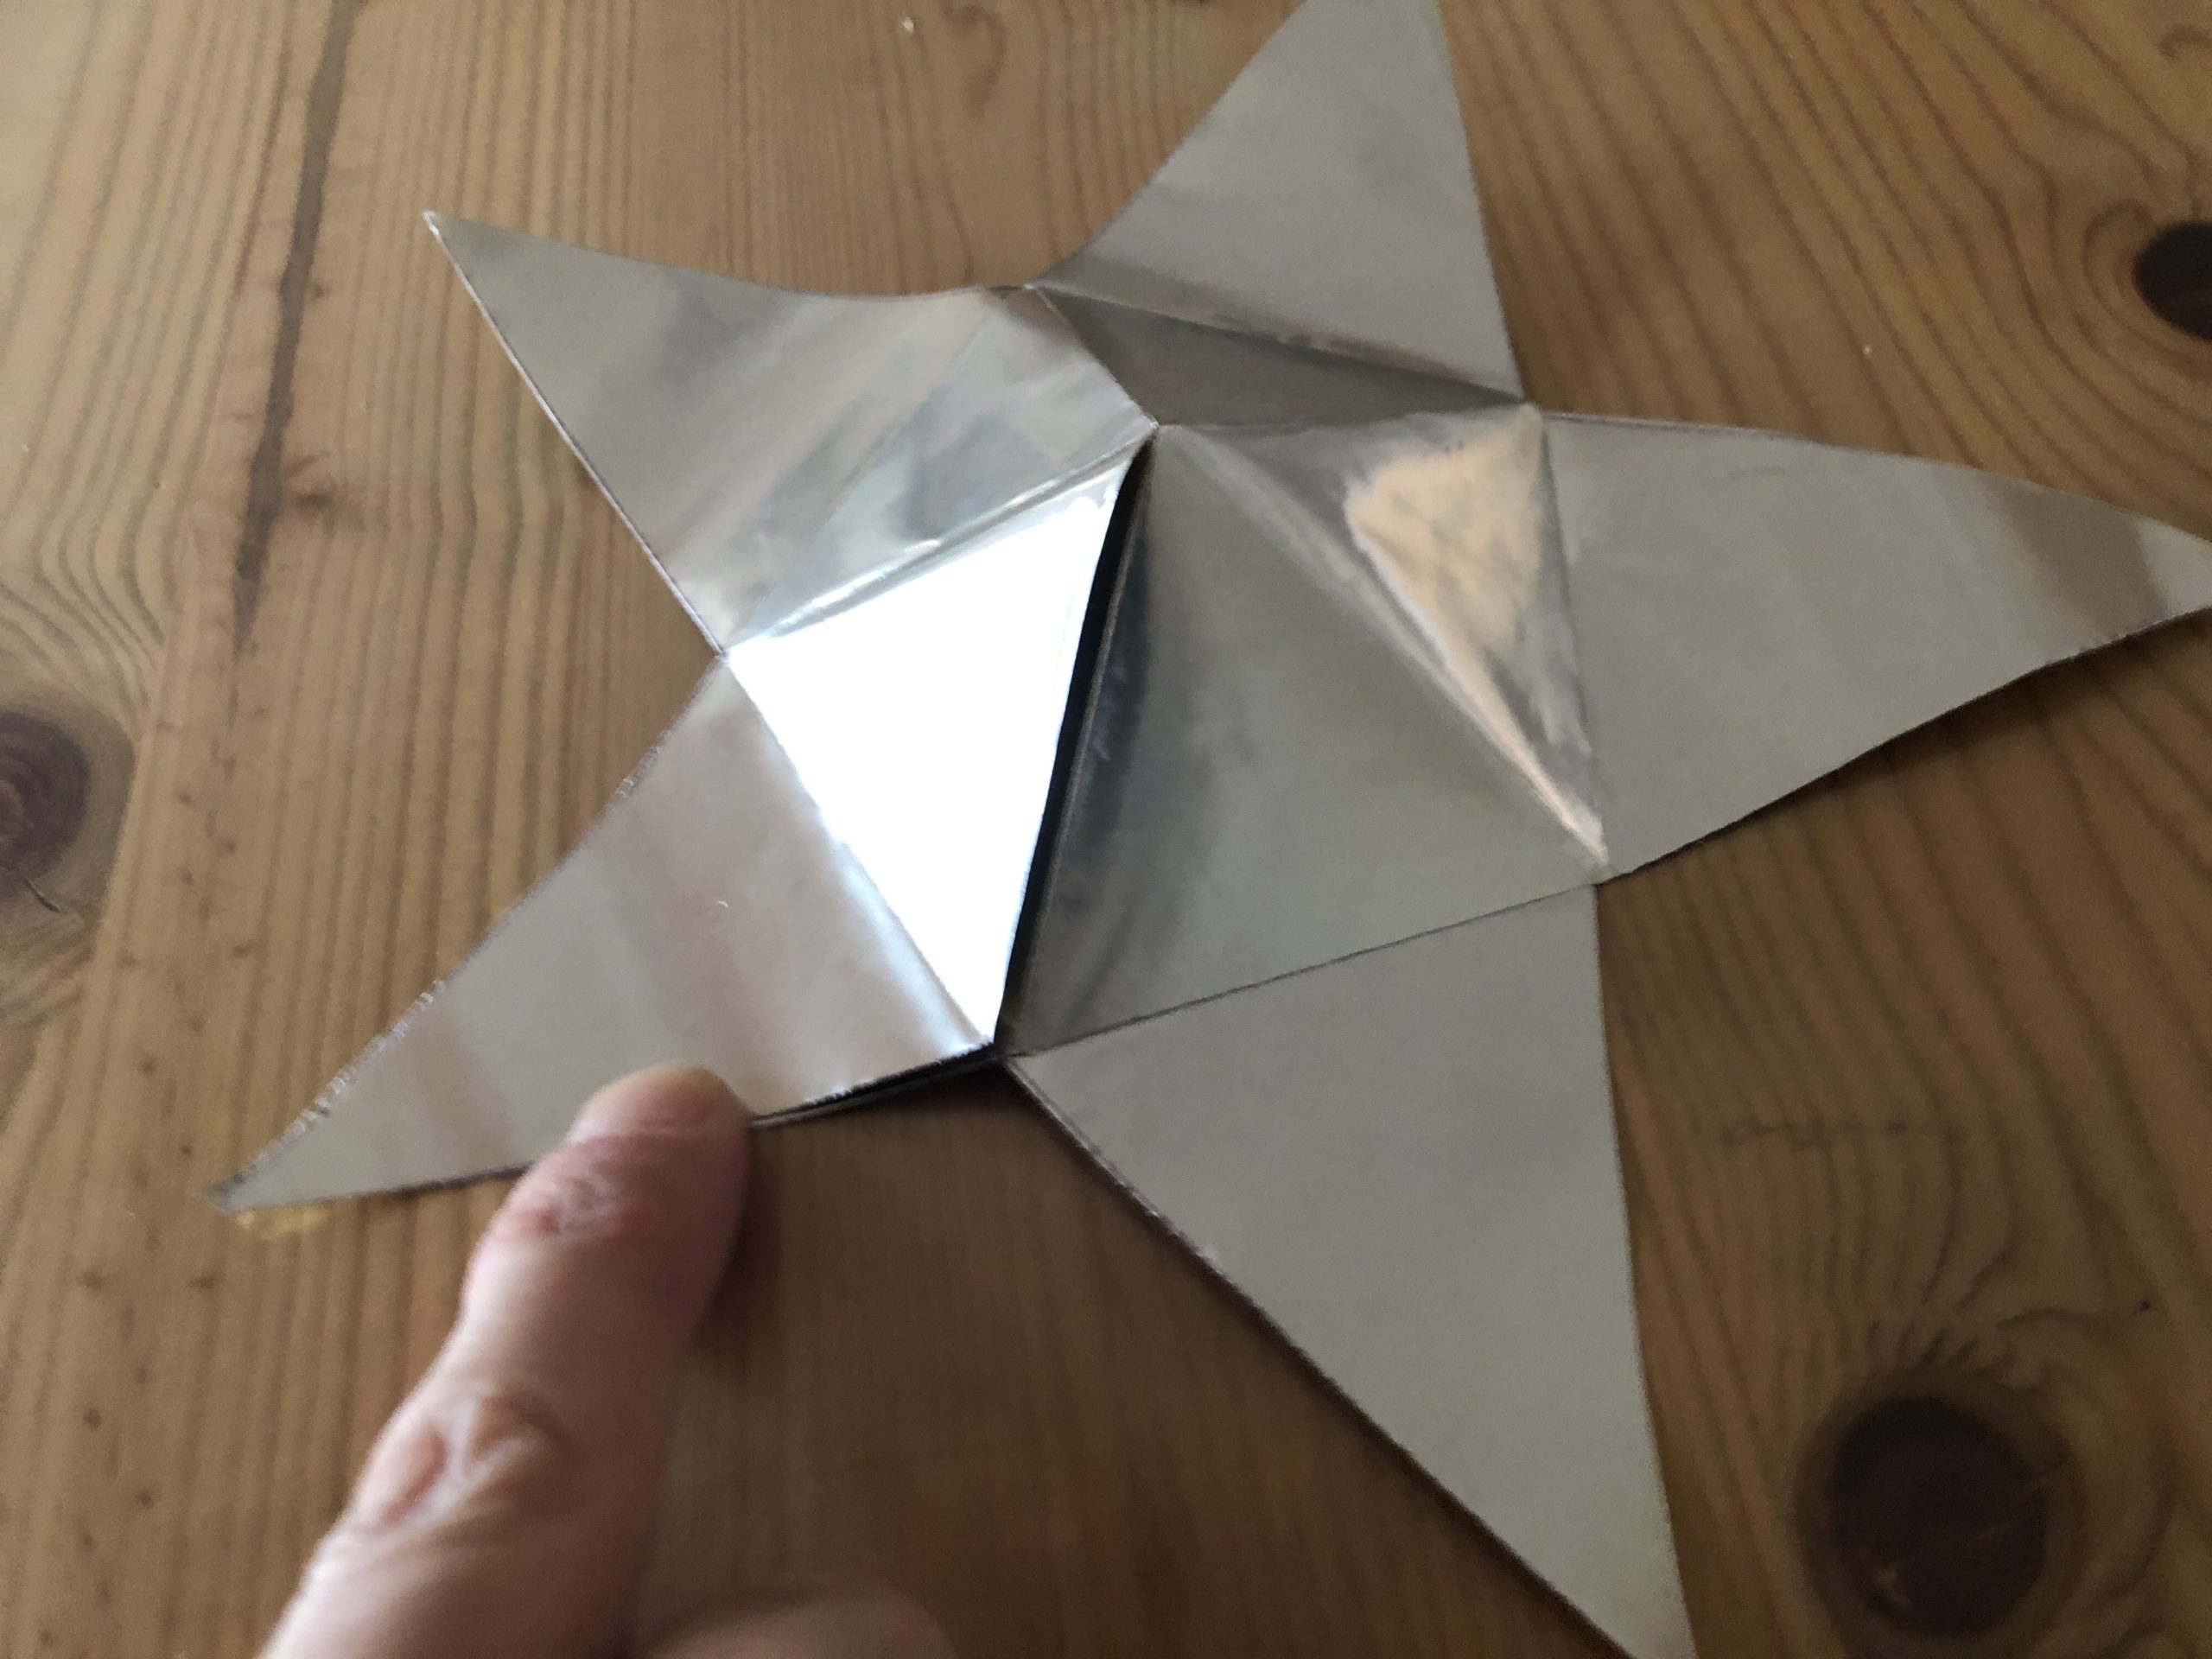


The center is arched outwards. Two stars stick to each other so shaped at the points. This creates a cavity, a place to pack in something small.
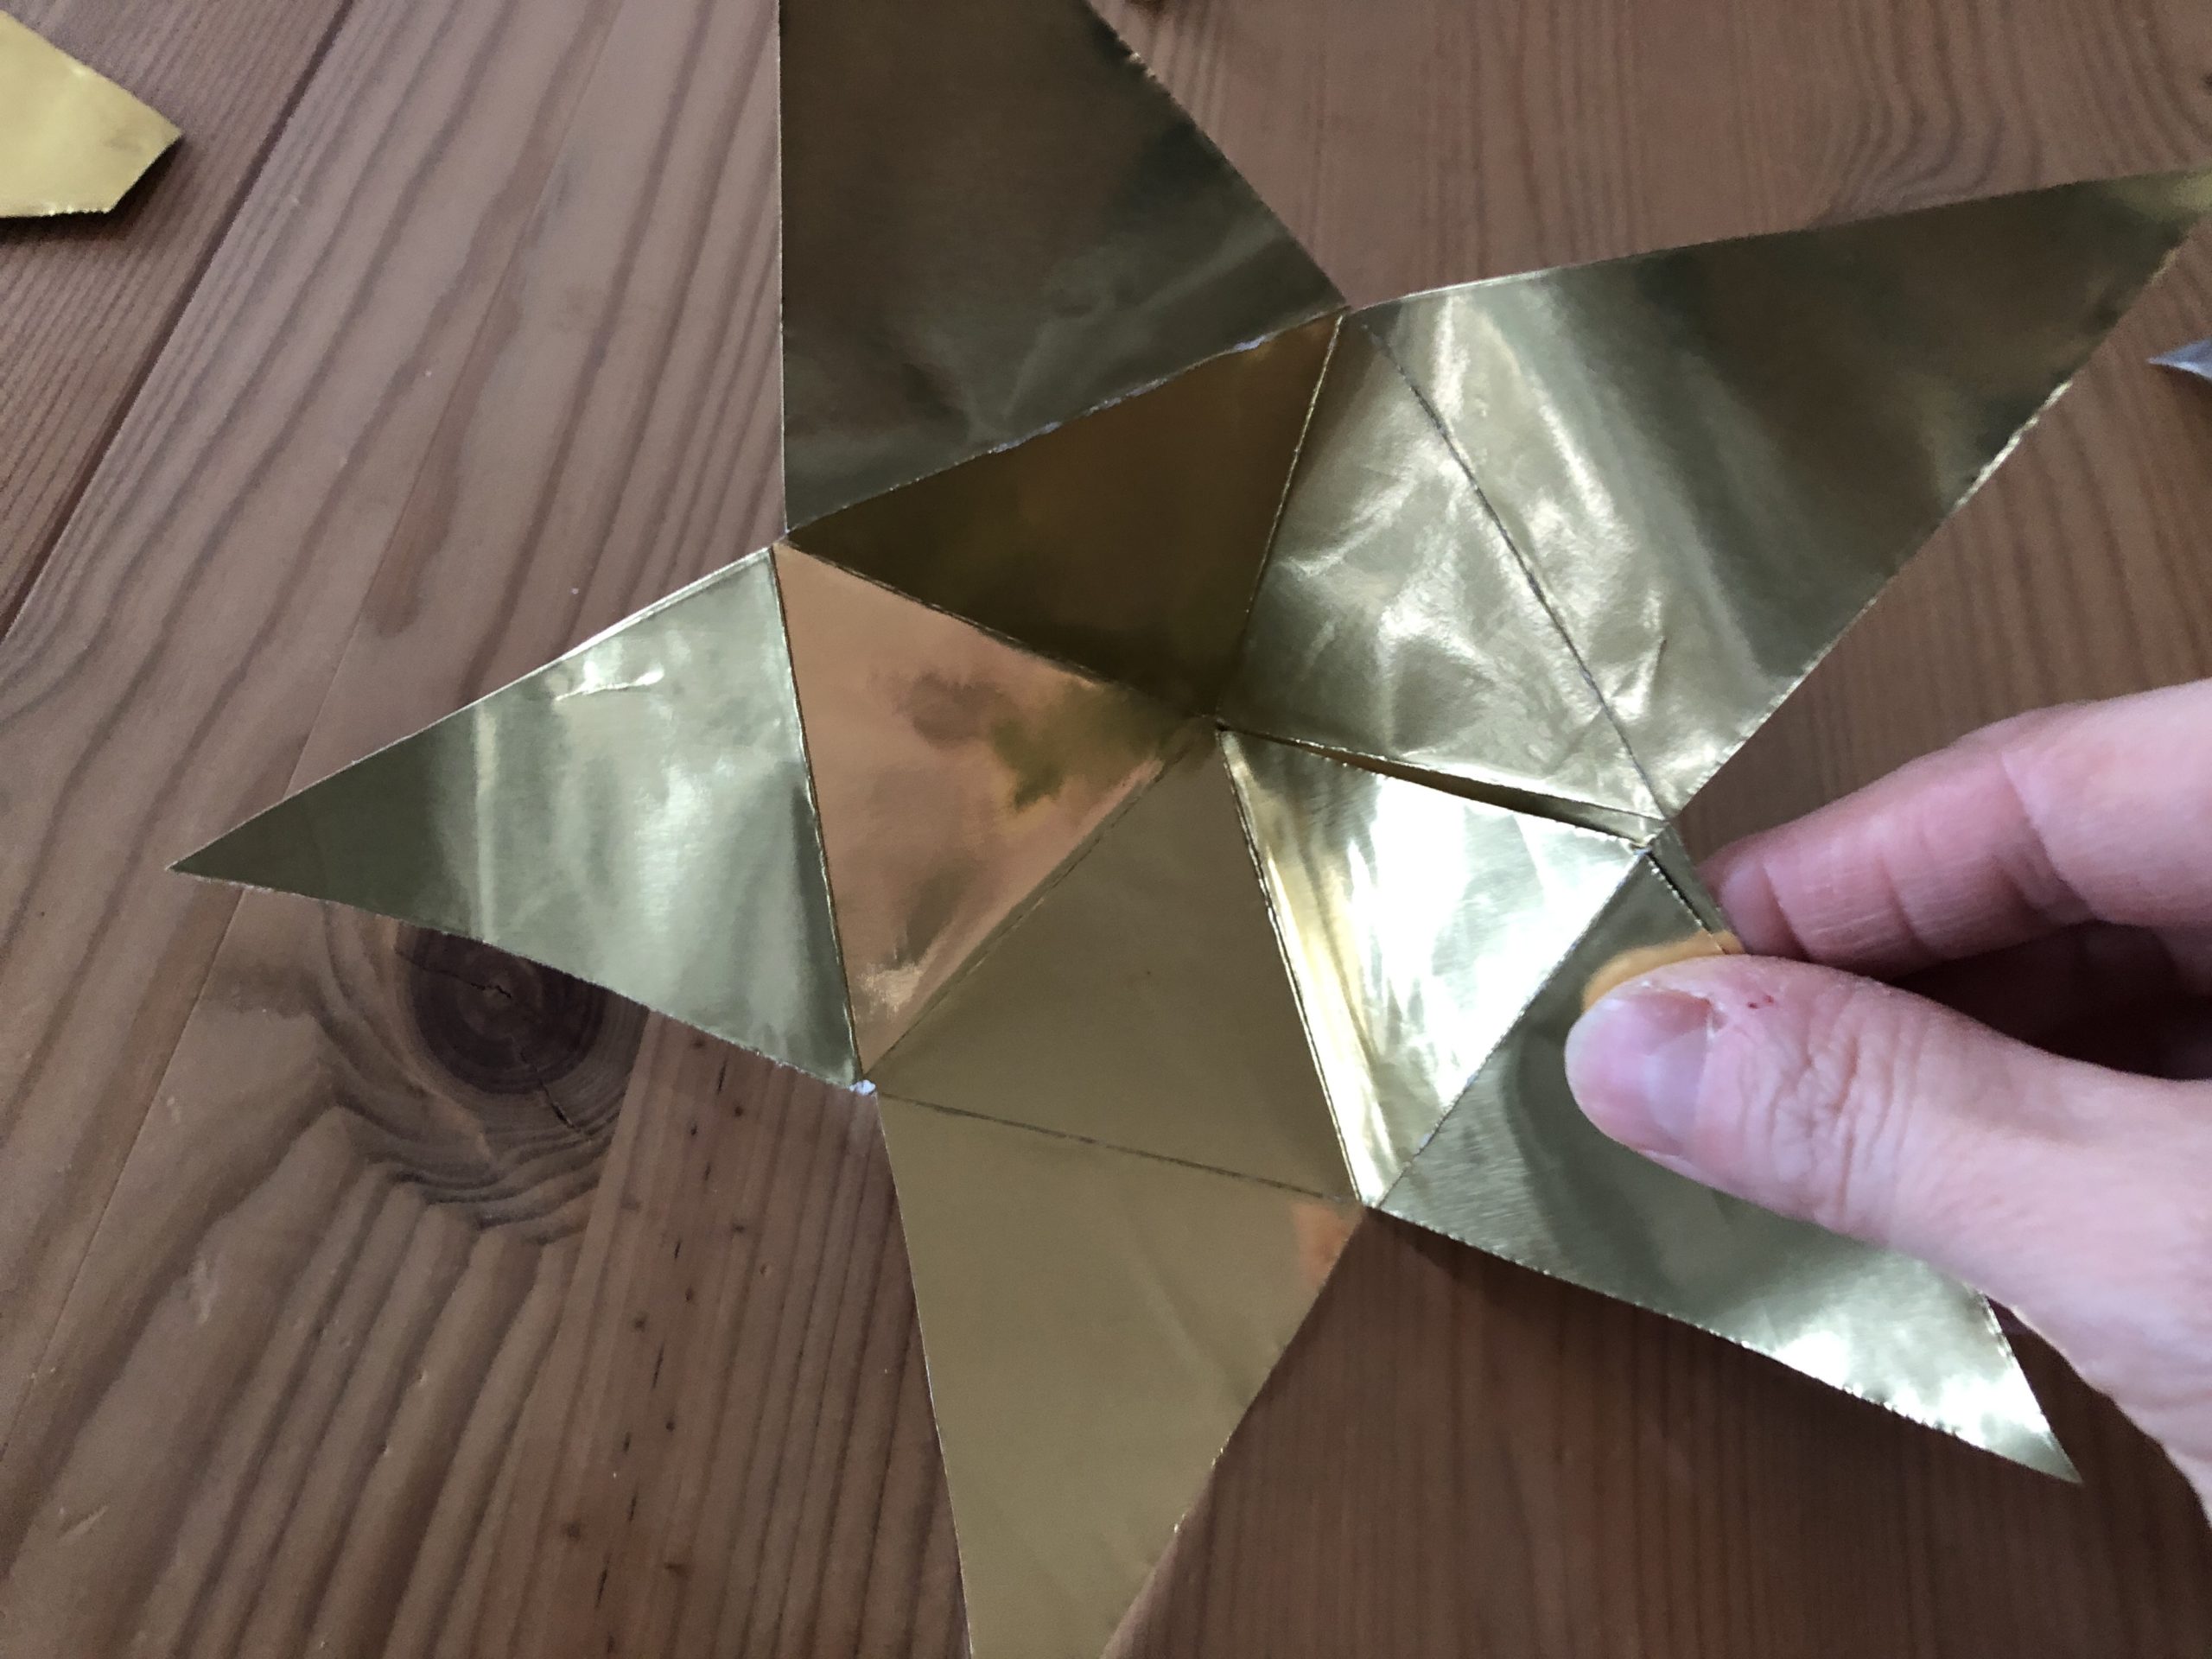


Sticks all corners together except for one. This one corner remains open for filling!
It won't be glued until after that.
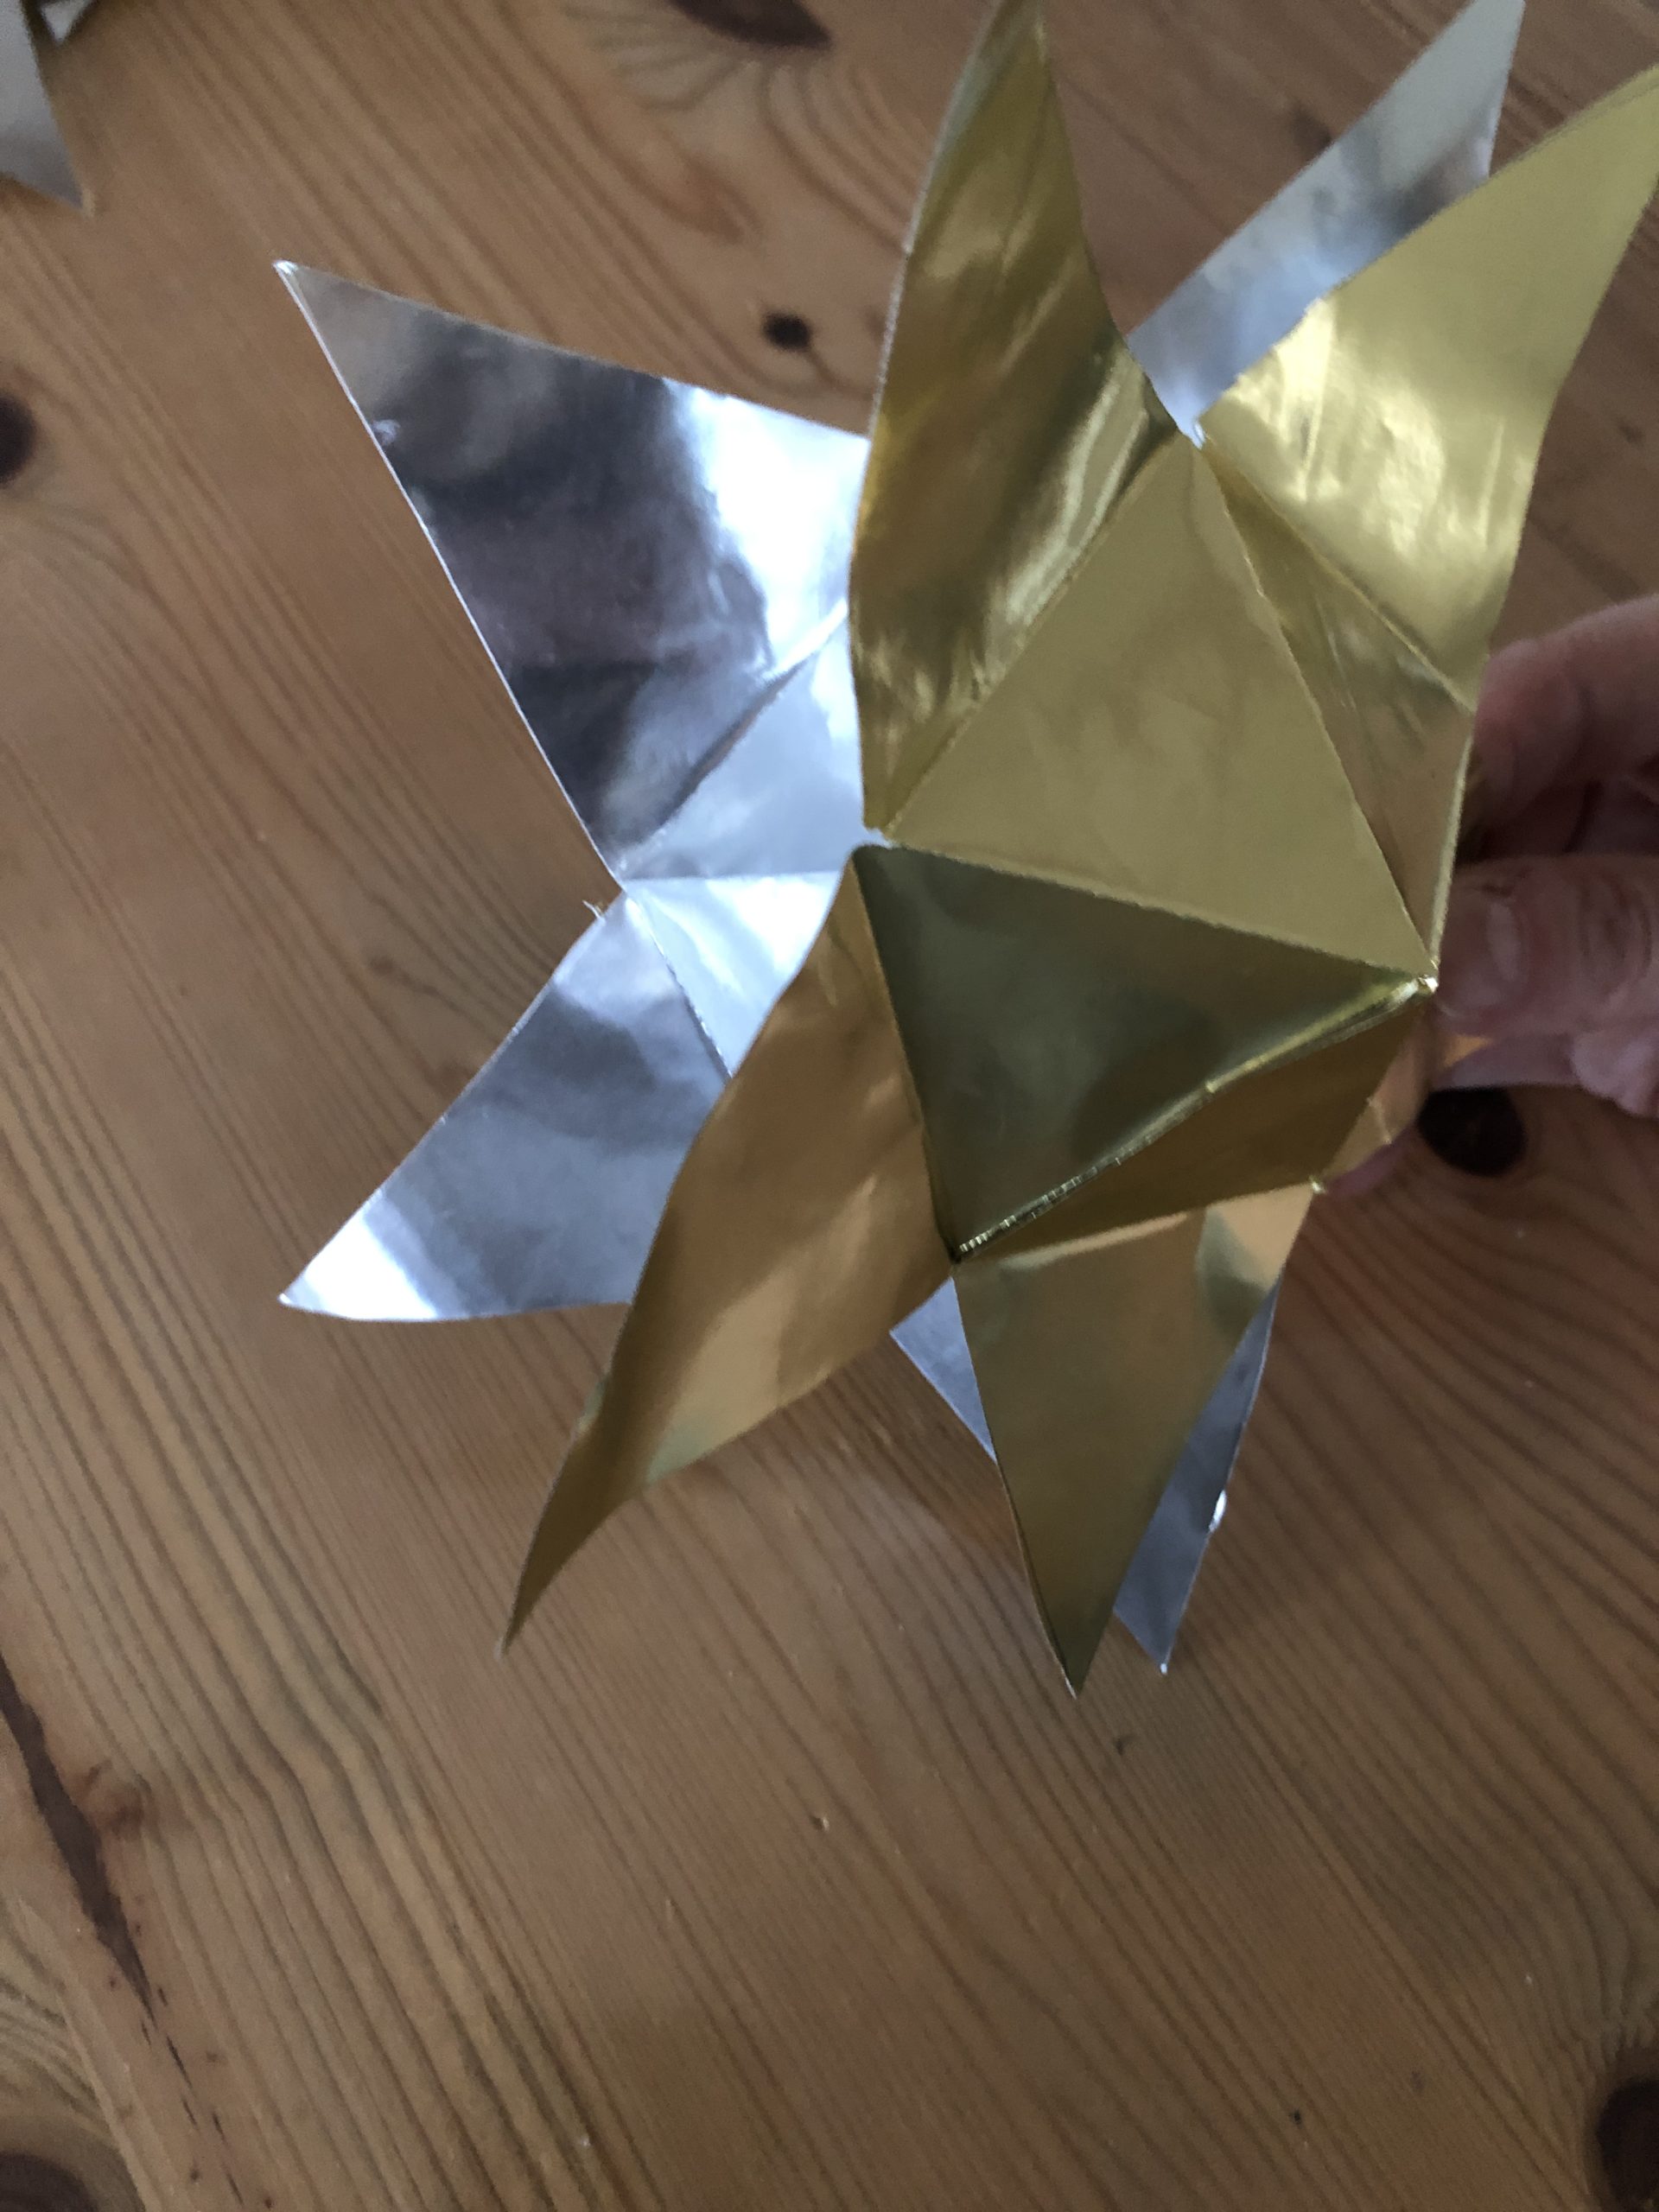


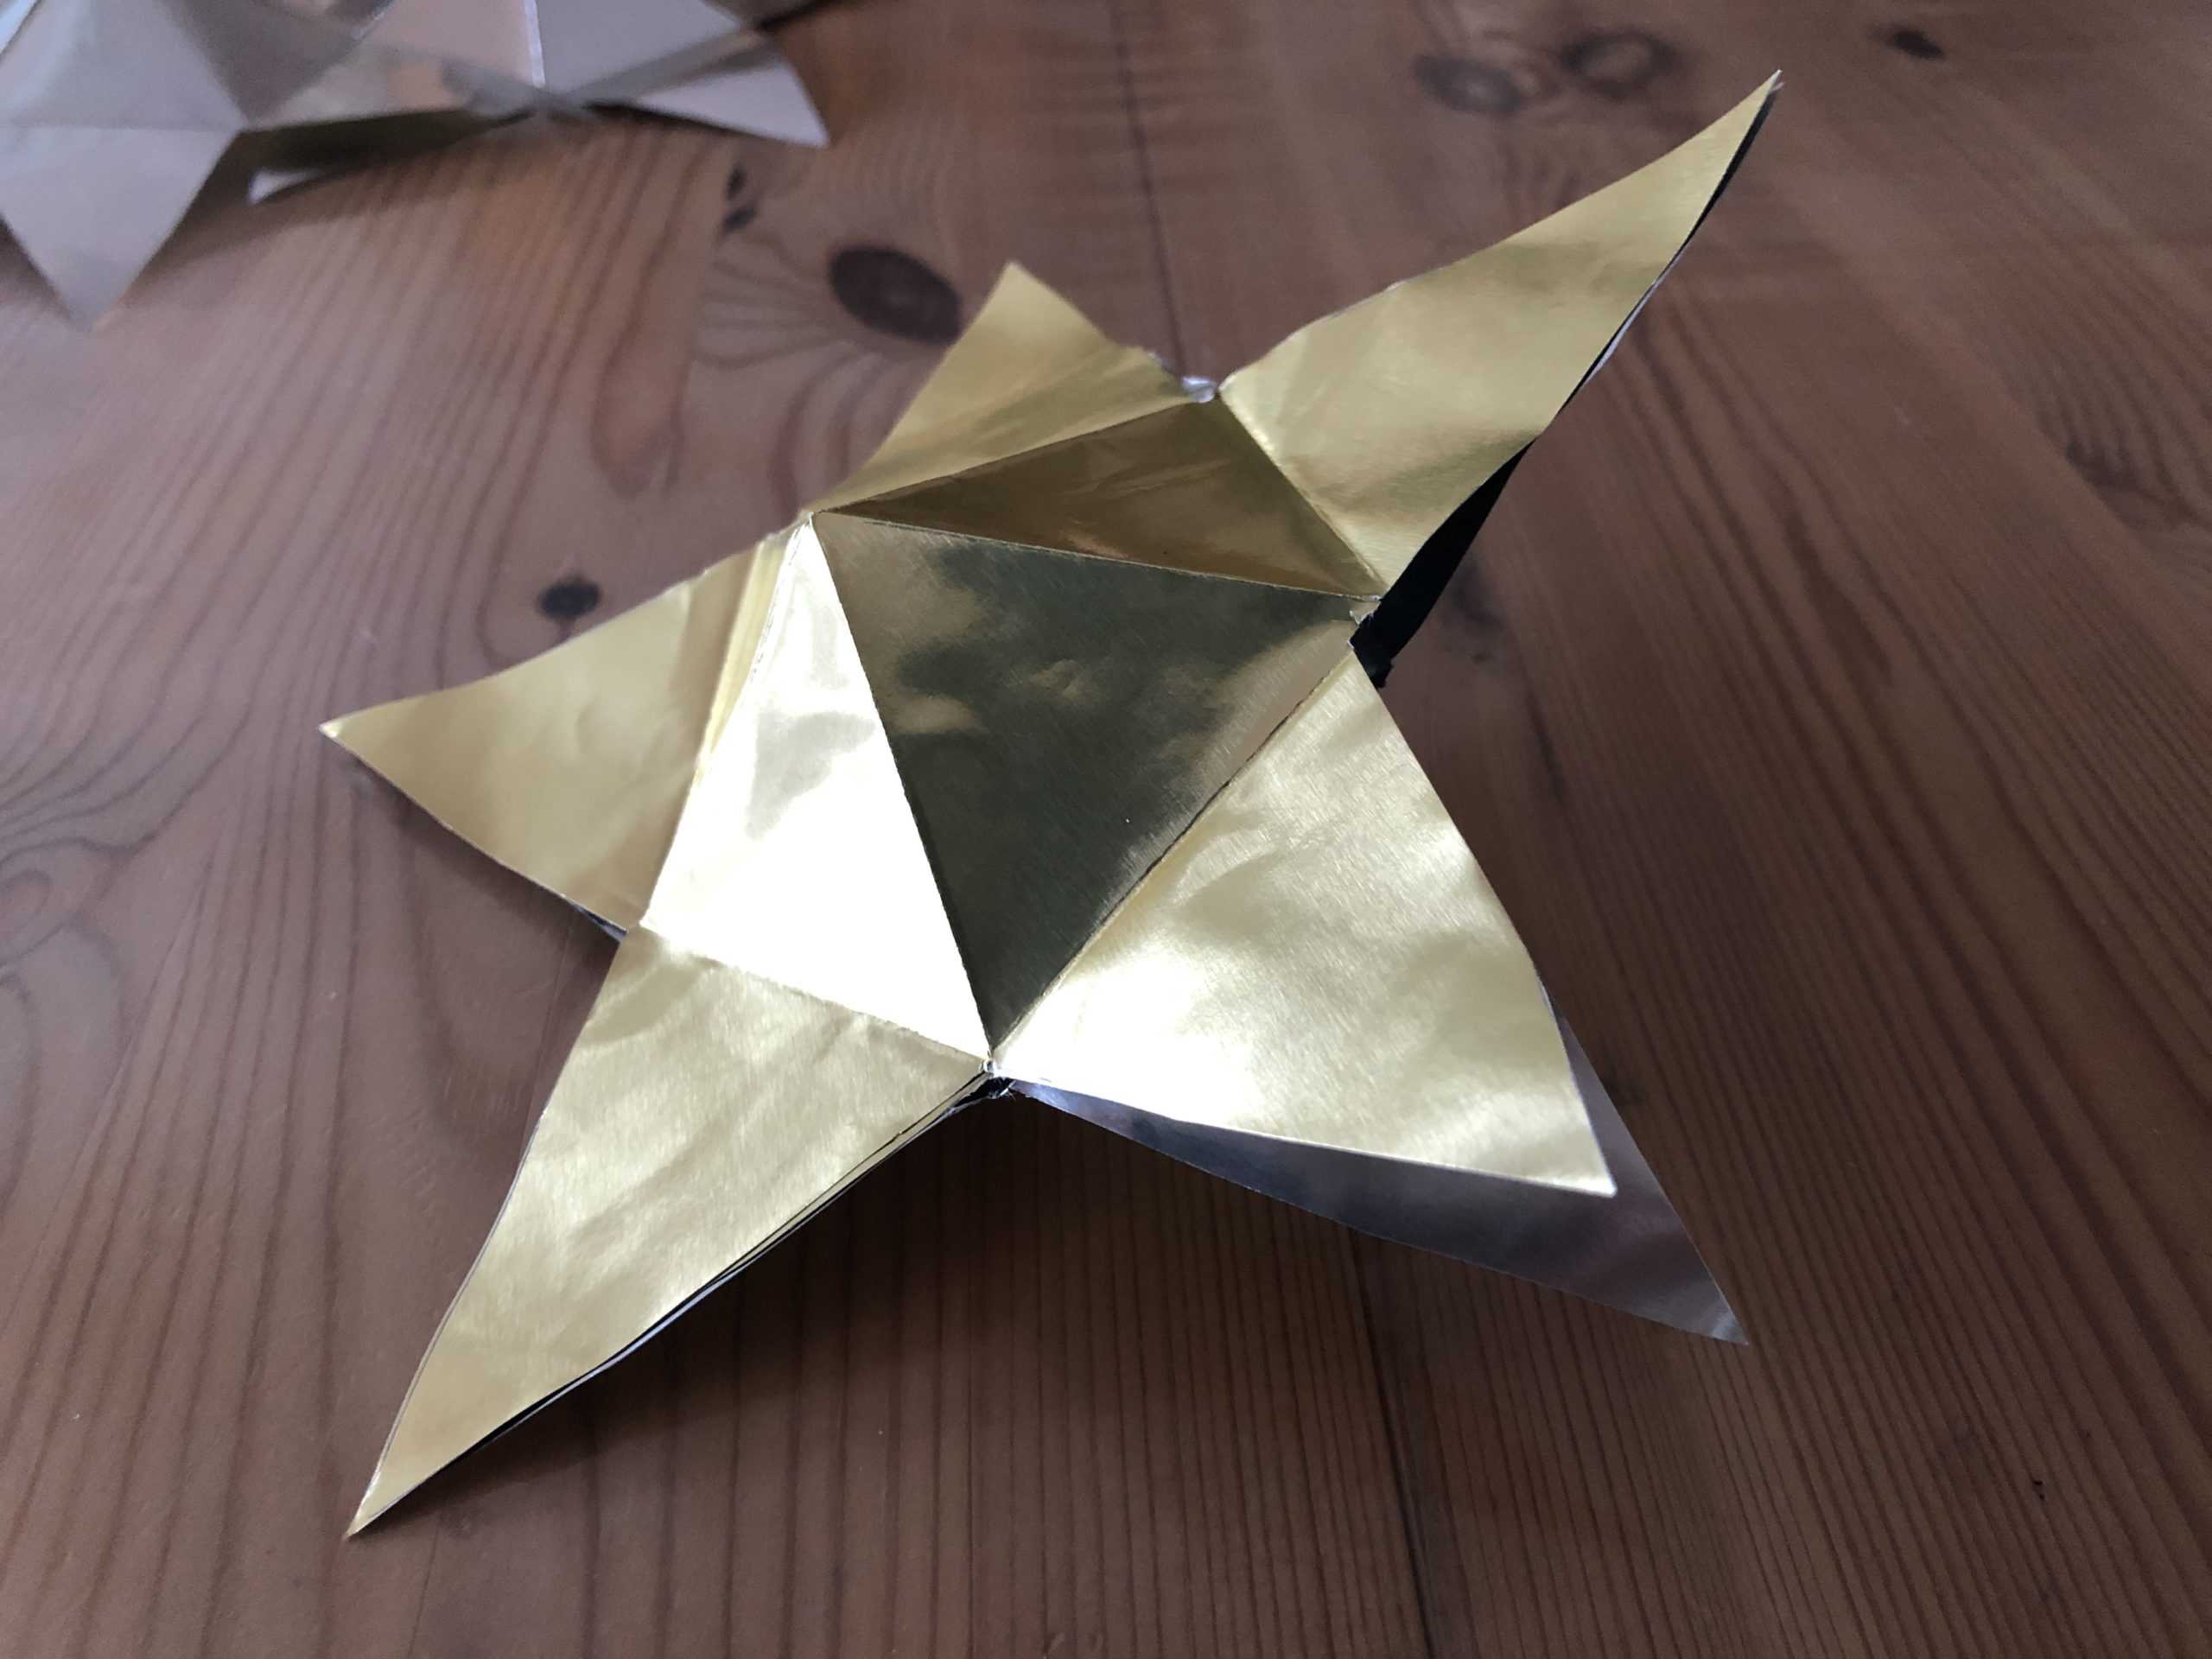


Now hole a hole in a jig with the puncher.
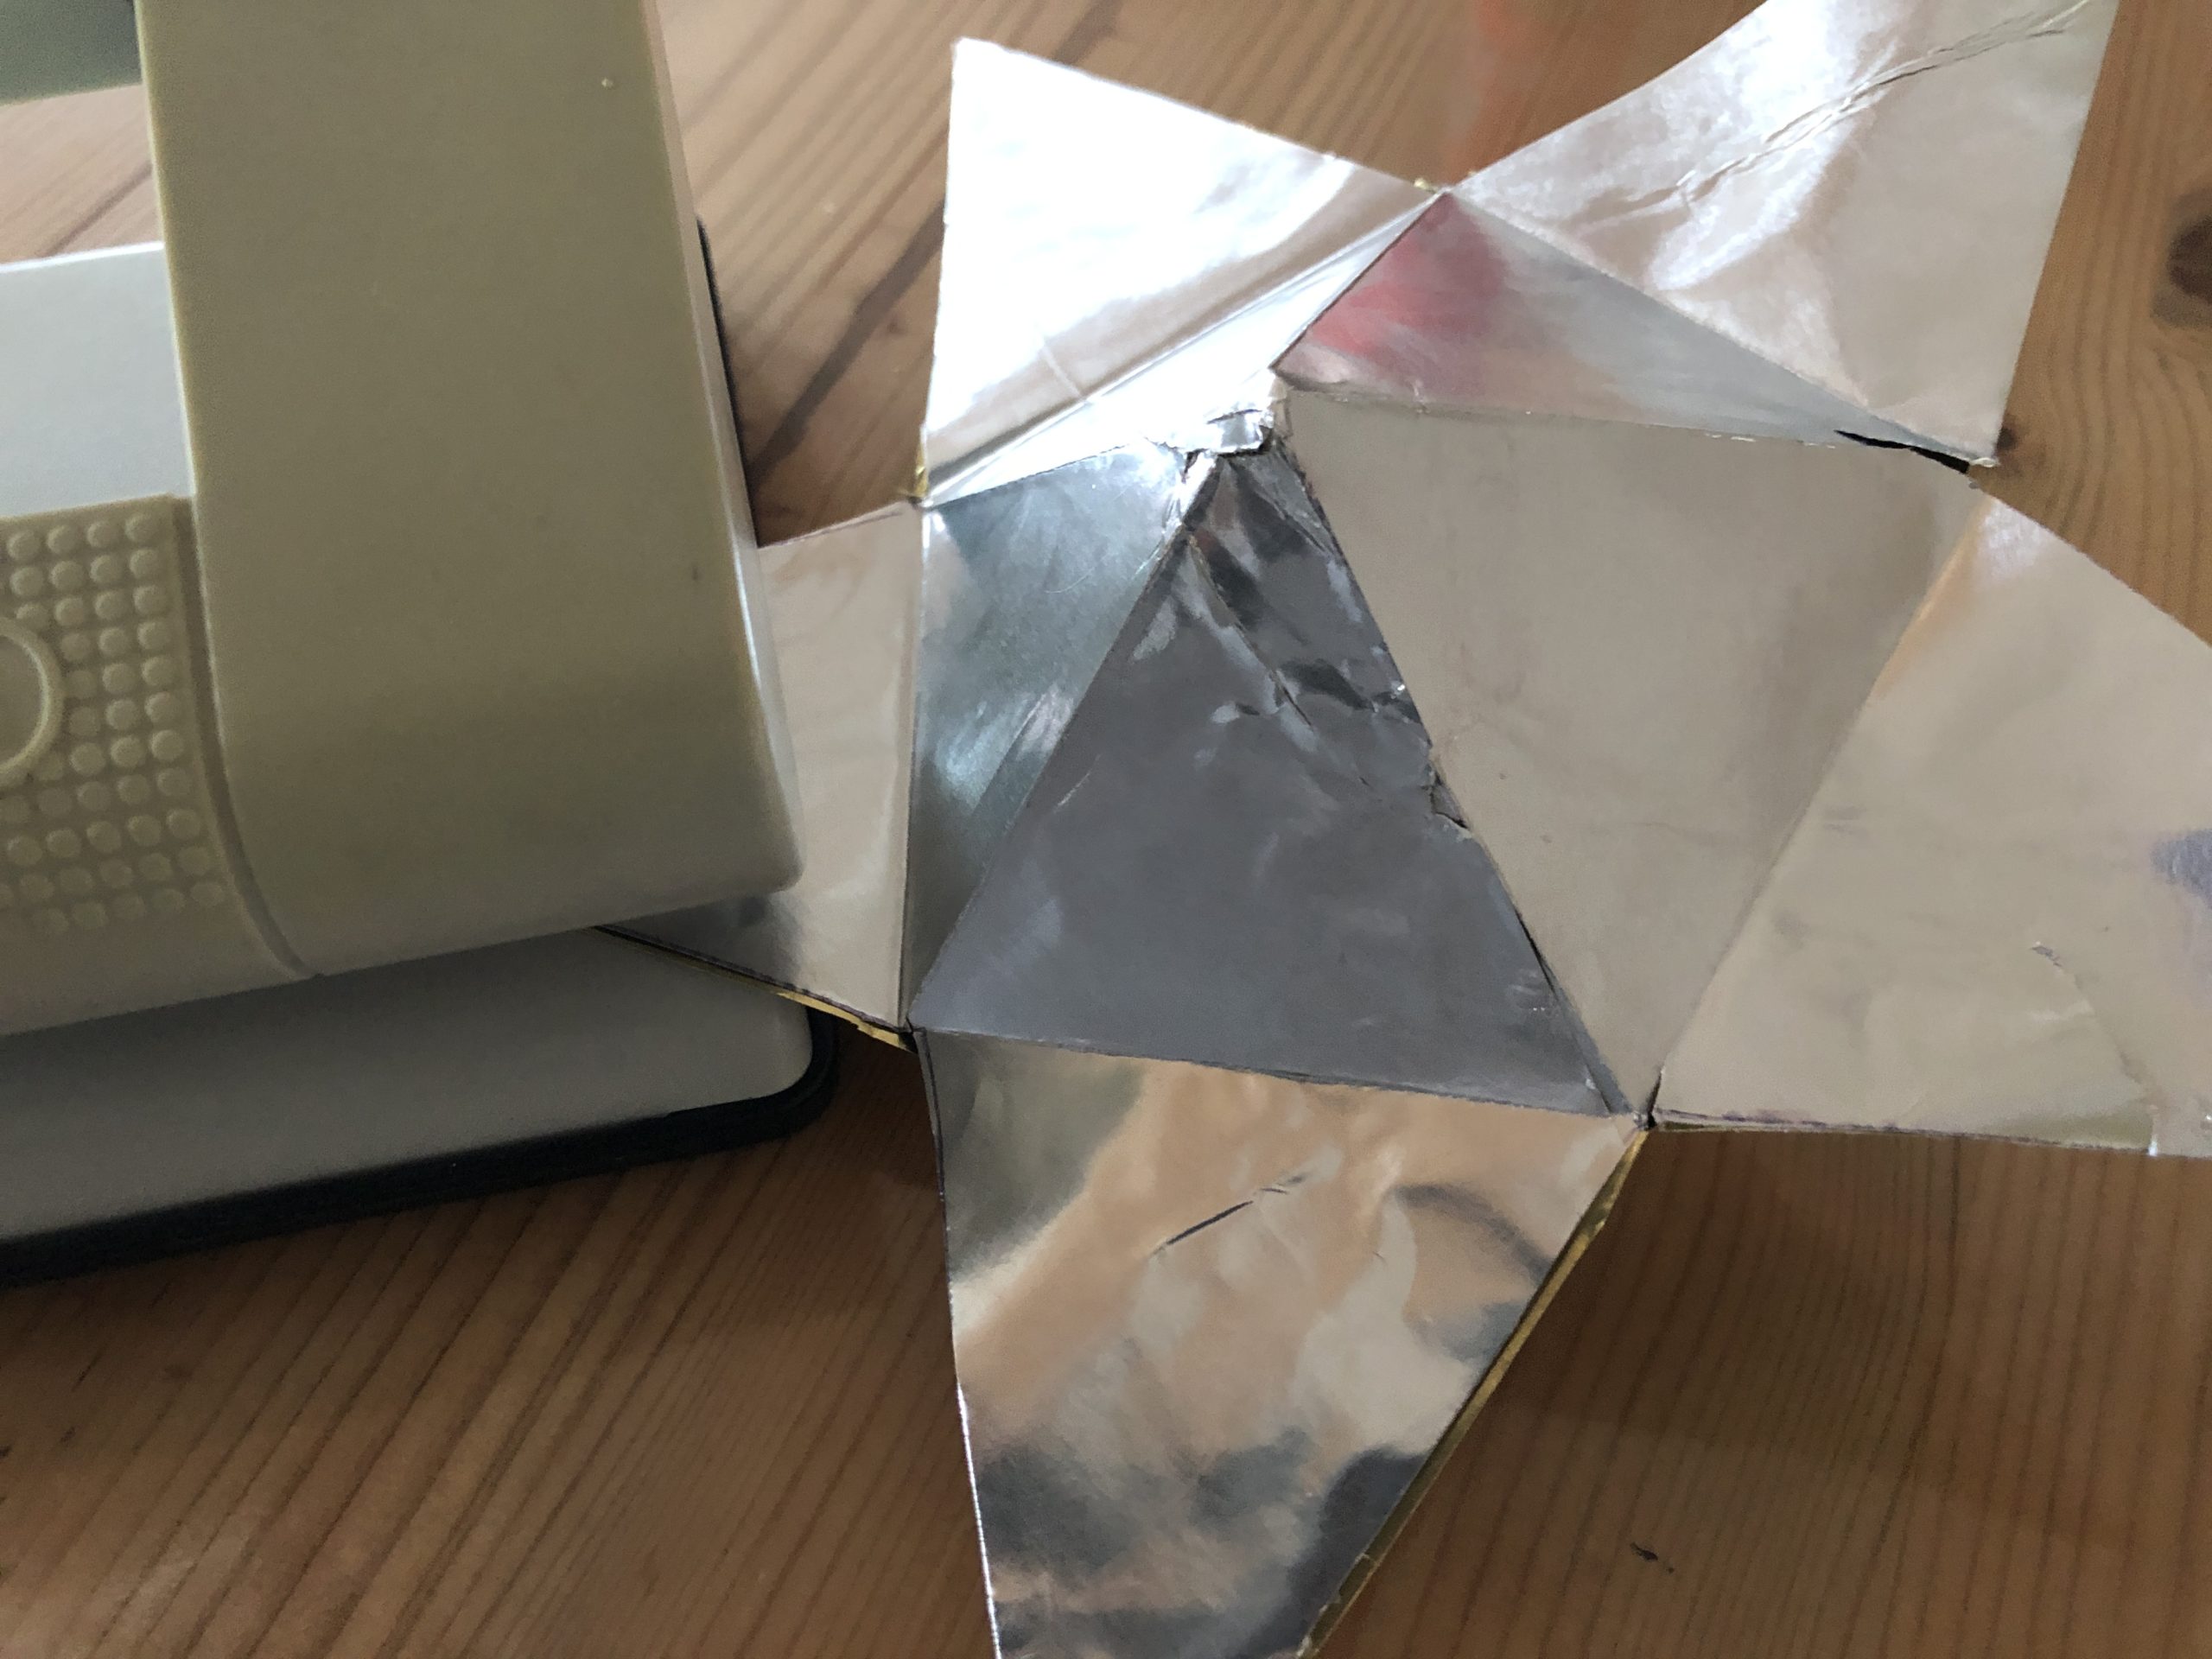


With ringing tape you hang the star on it.
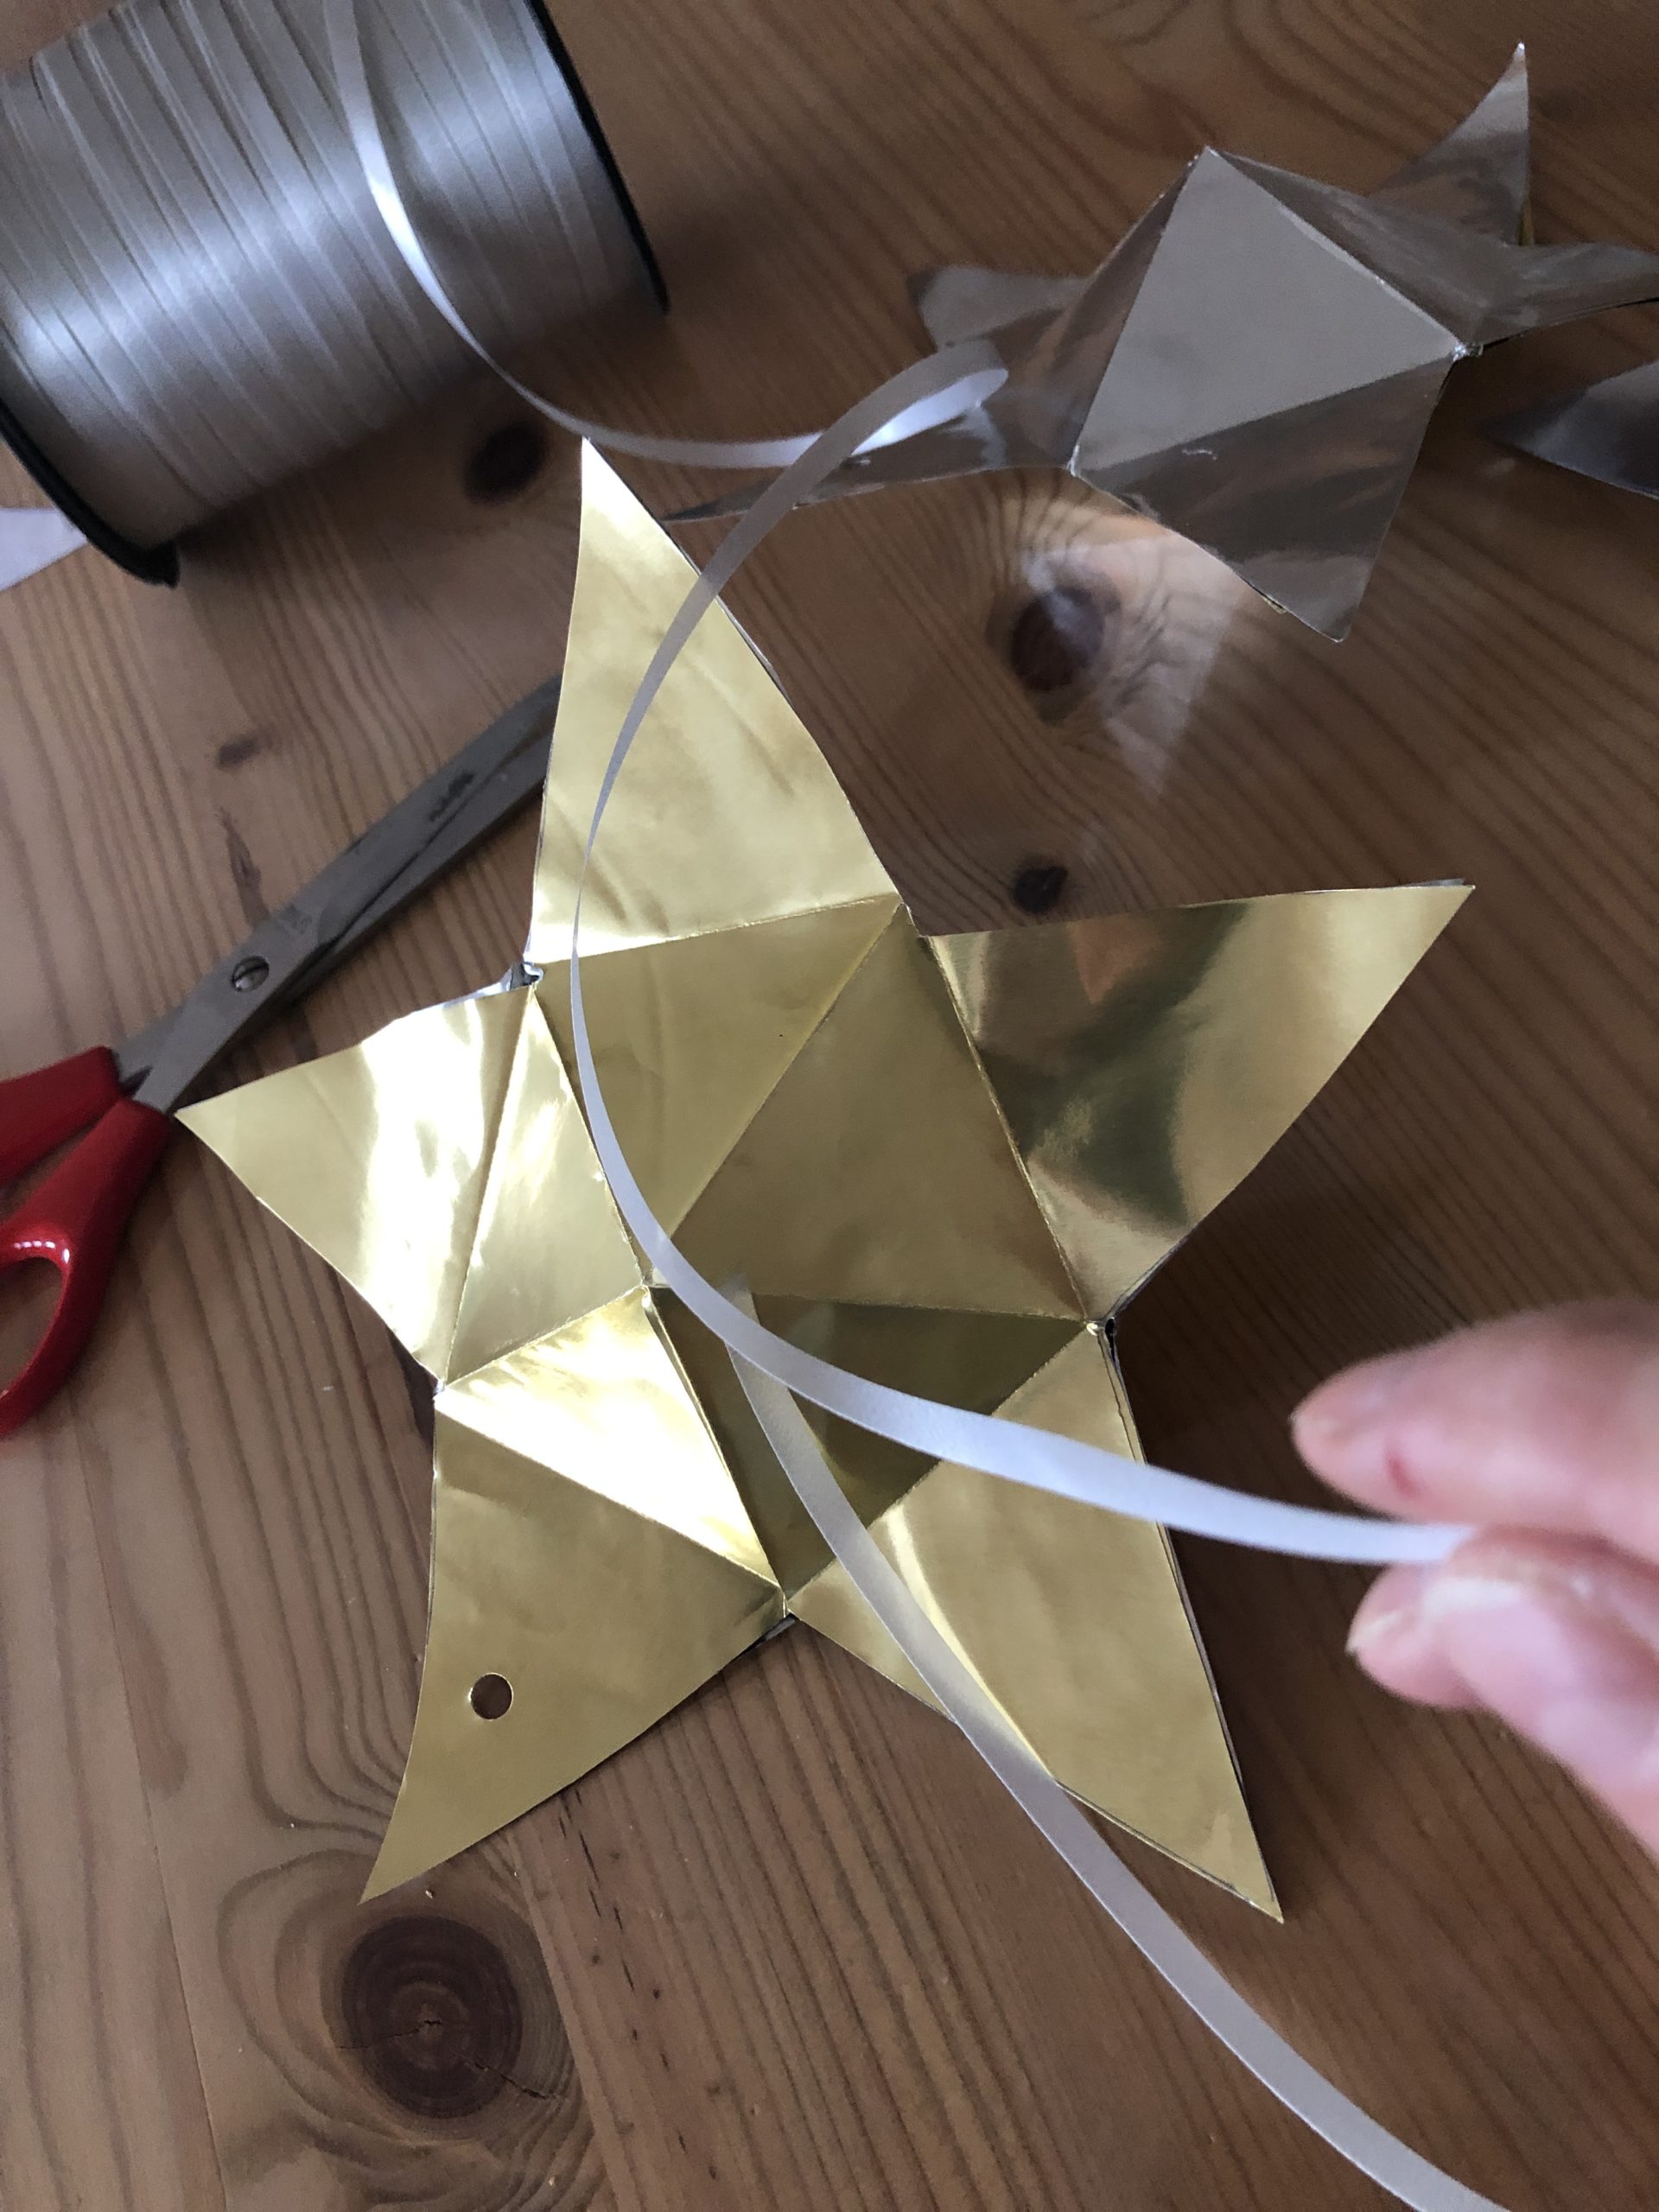


You can hang different golden and silver stars together or make white stars from copy paper. These look very noble!






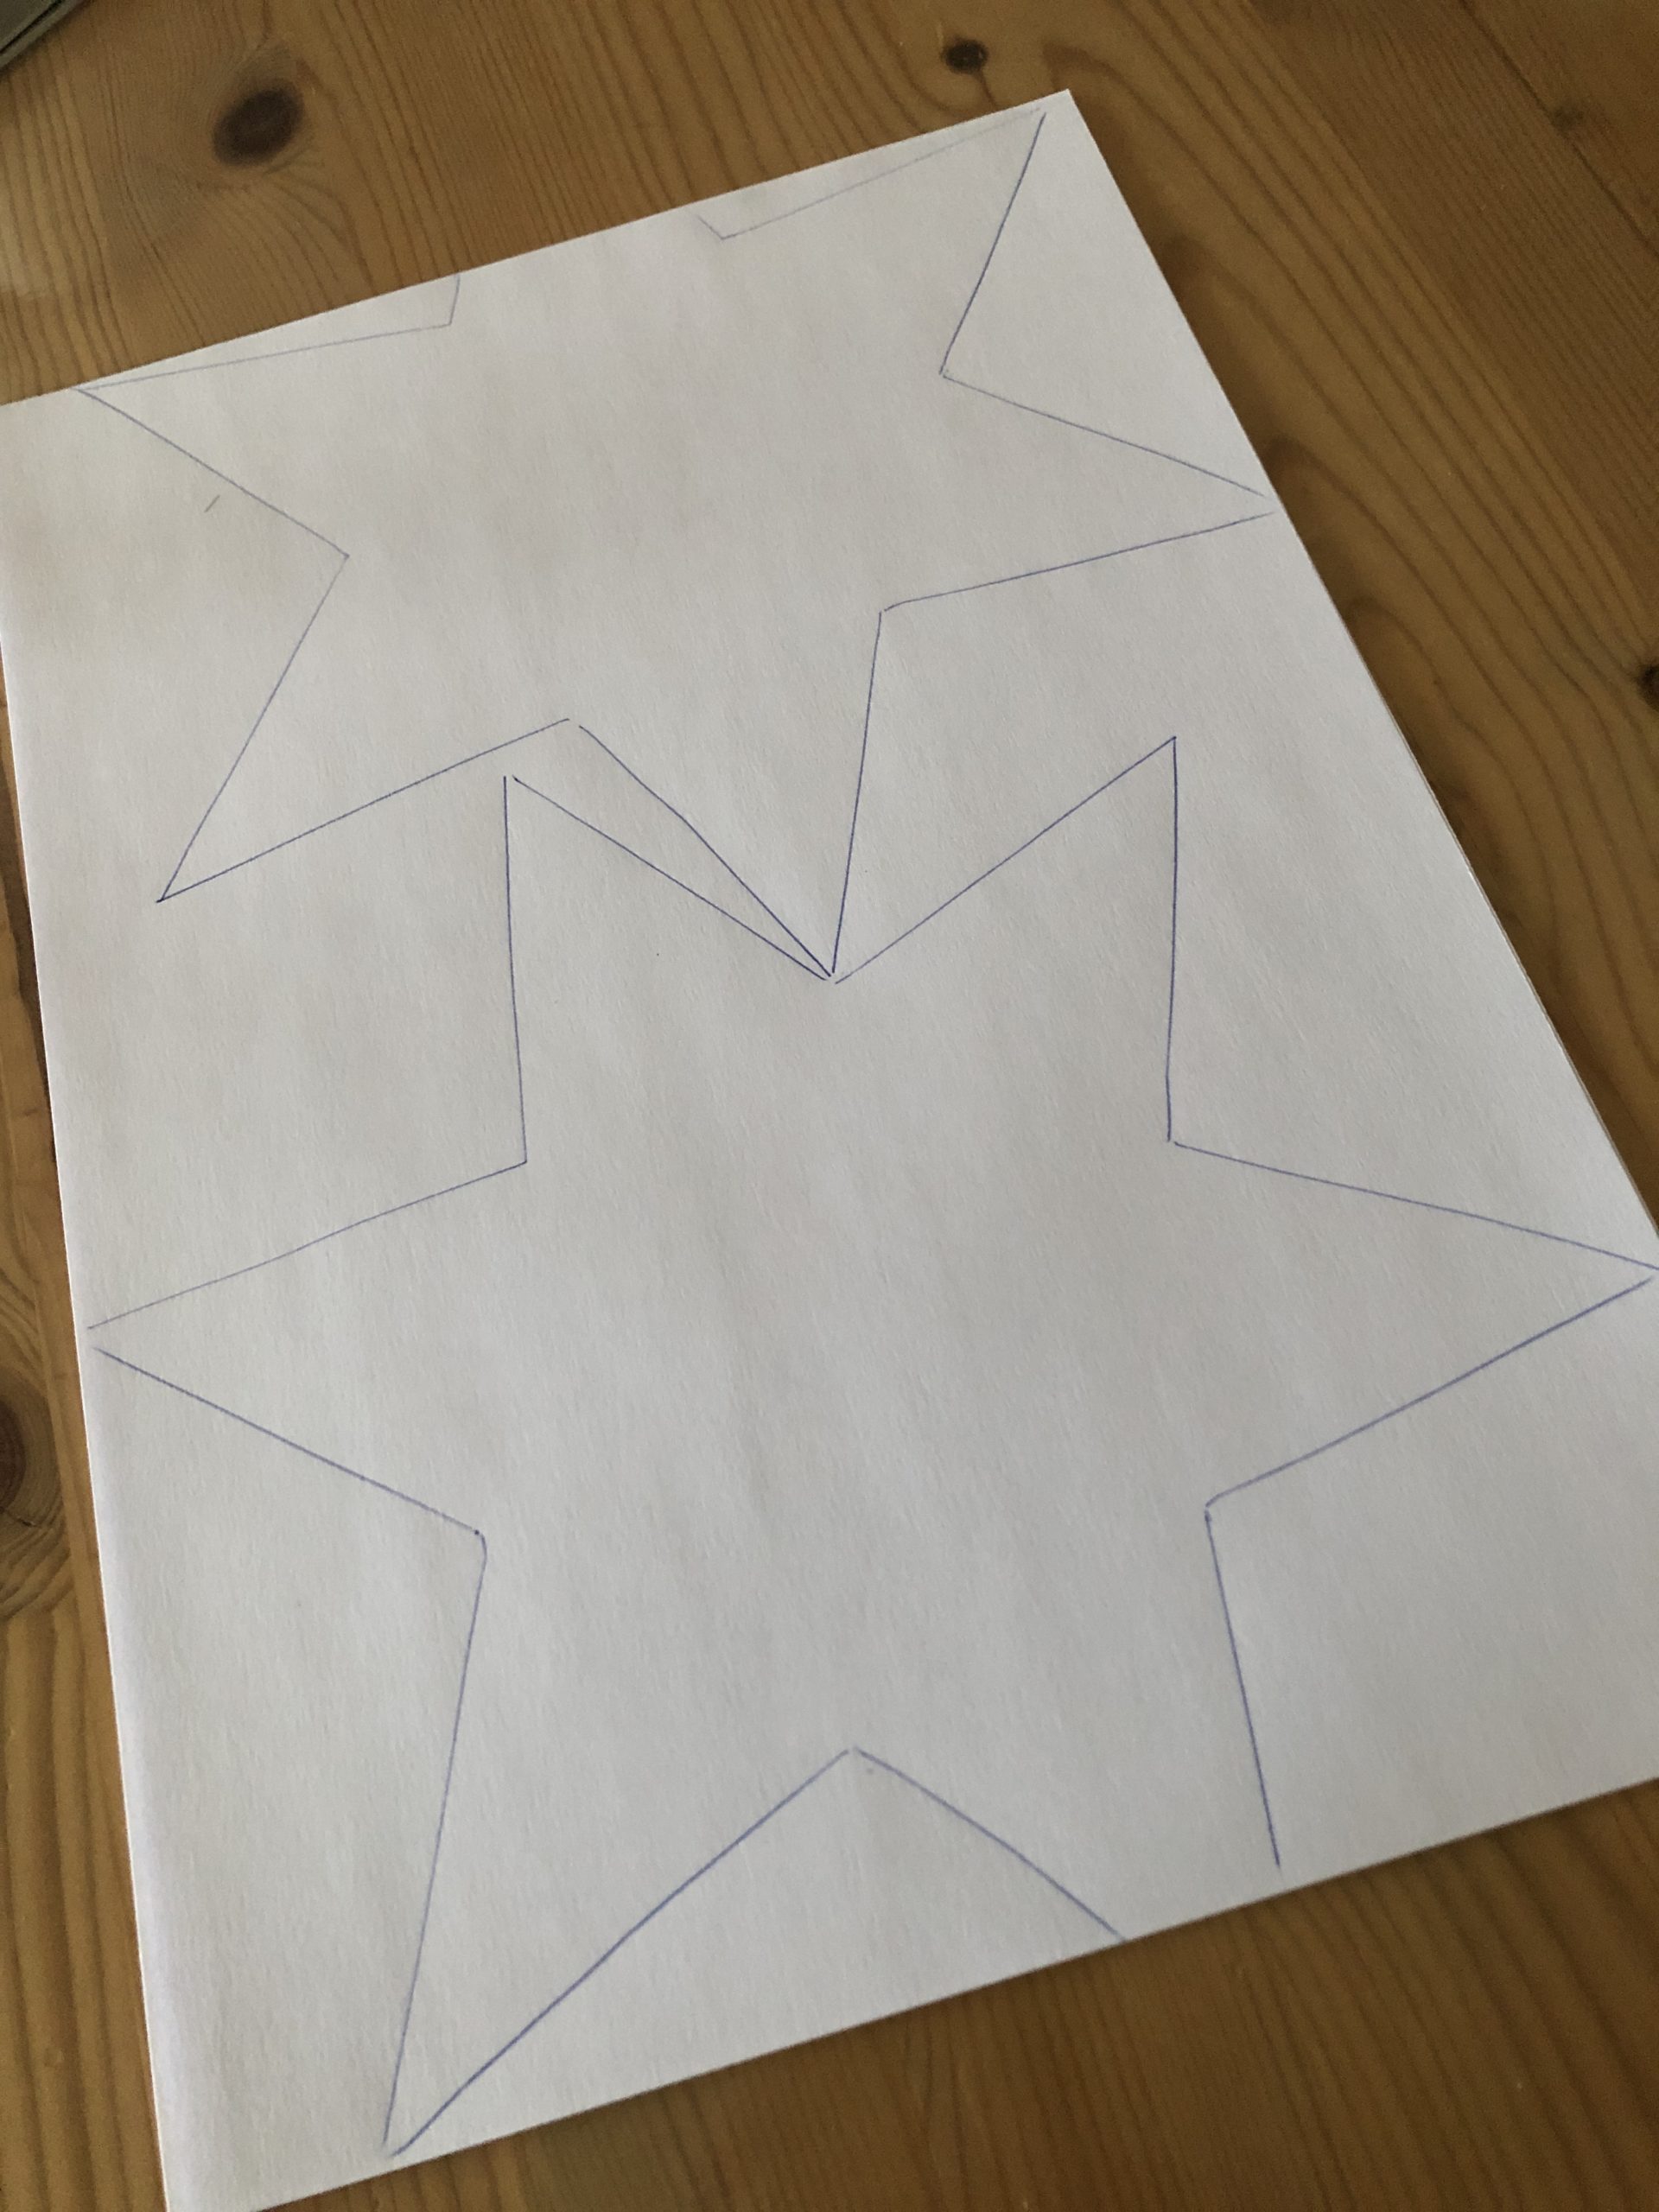
Paint the template on a white DinA4 sheet.
Tip: One point of the star may be missing because it will be glued over later!
So fit on a leaf 2 stars!


Fold the white stars as well as the gold stars!
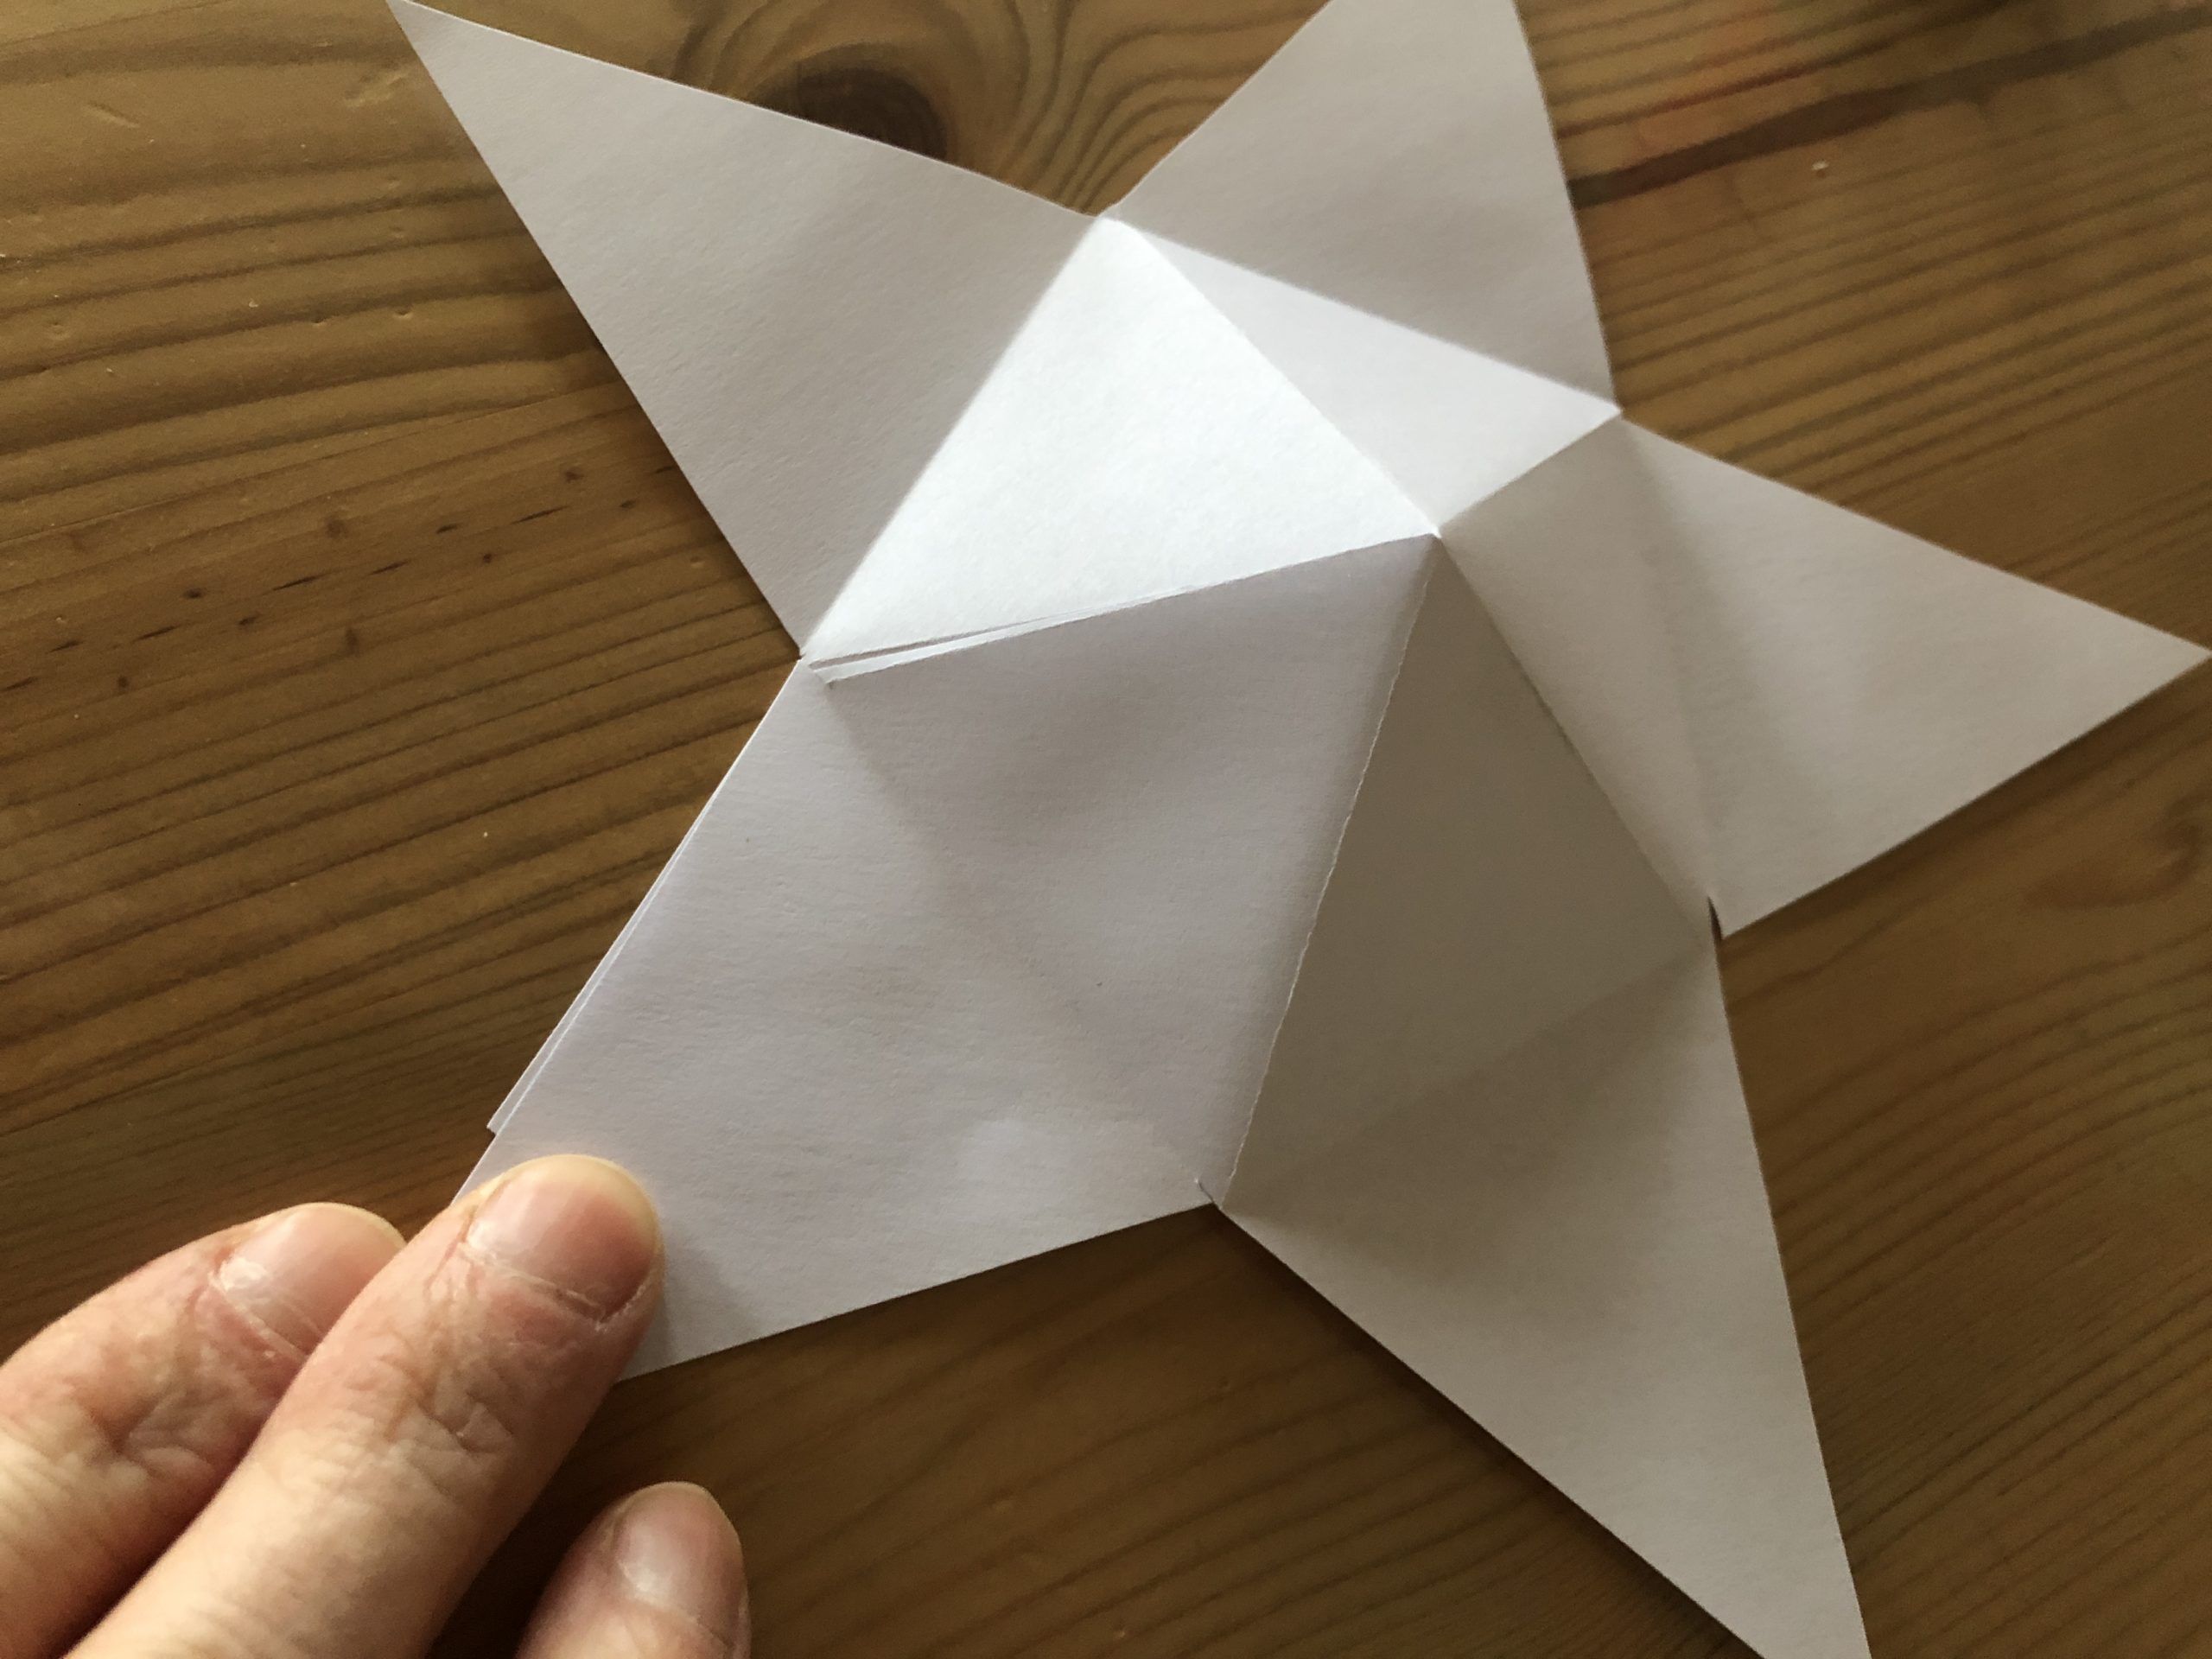


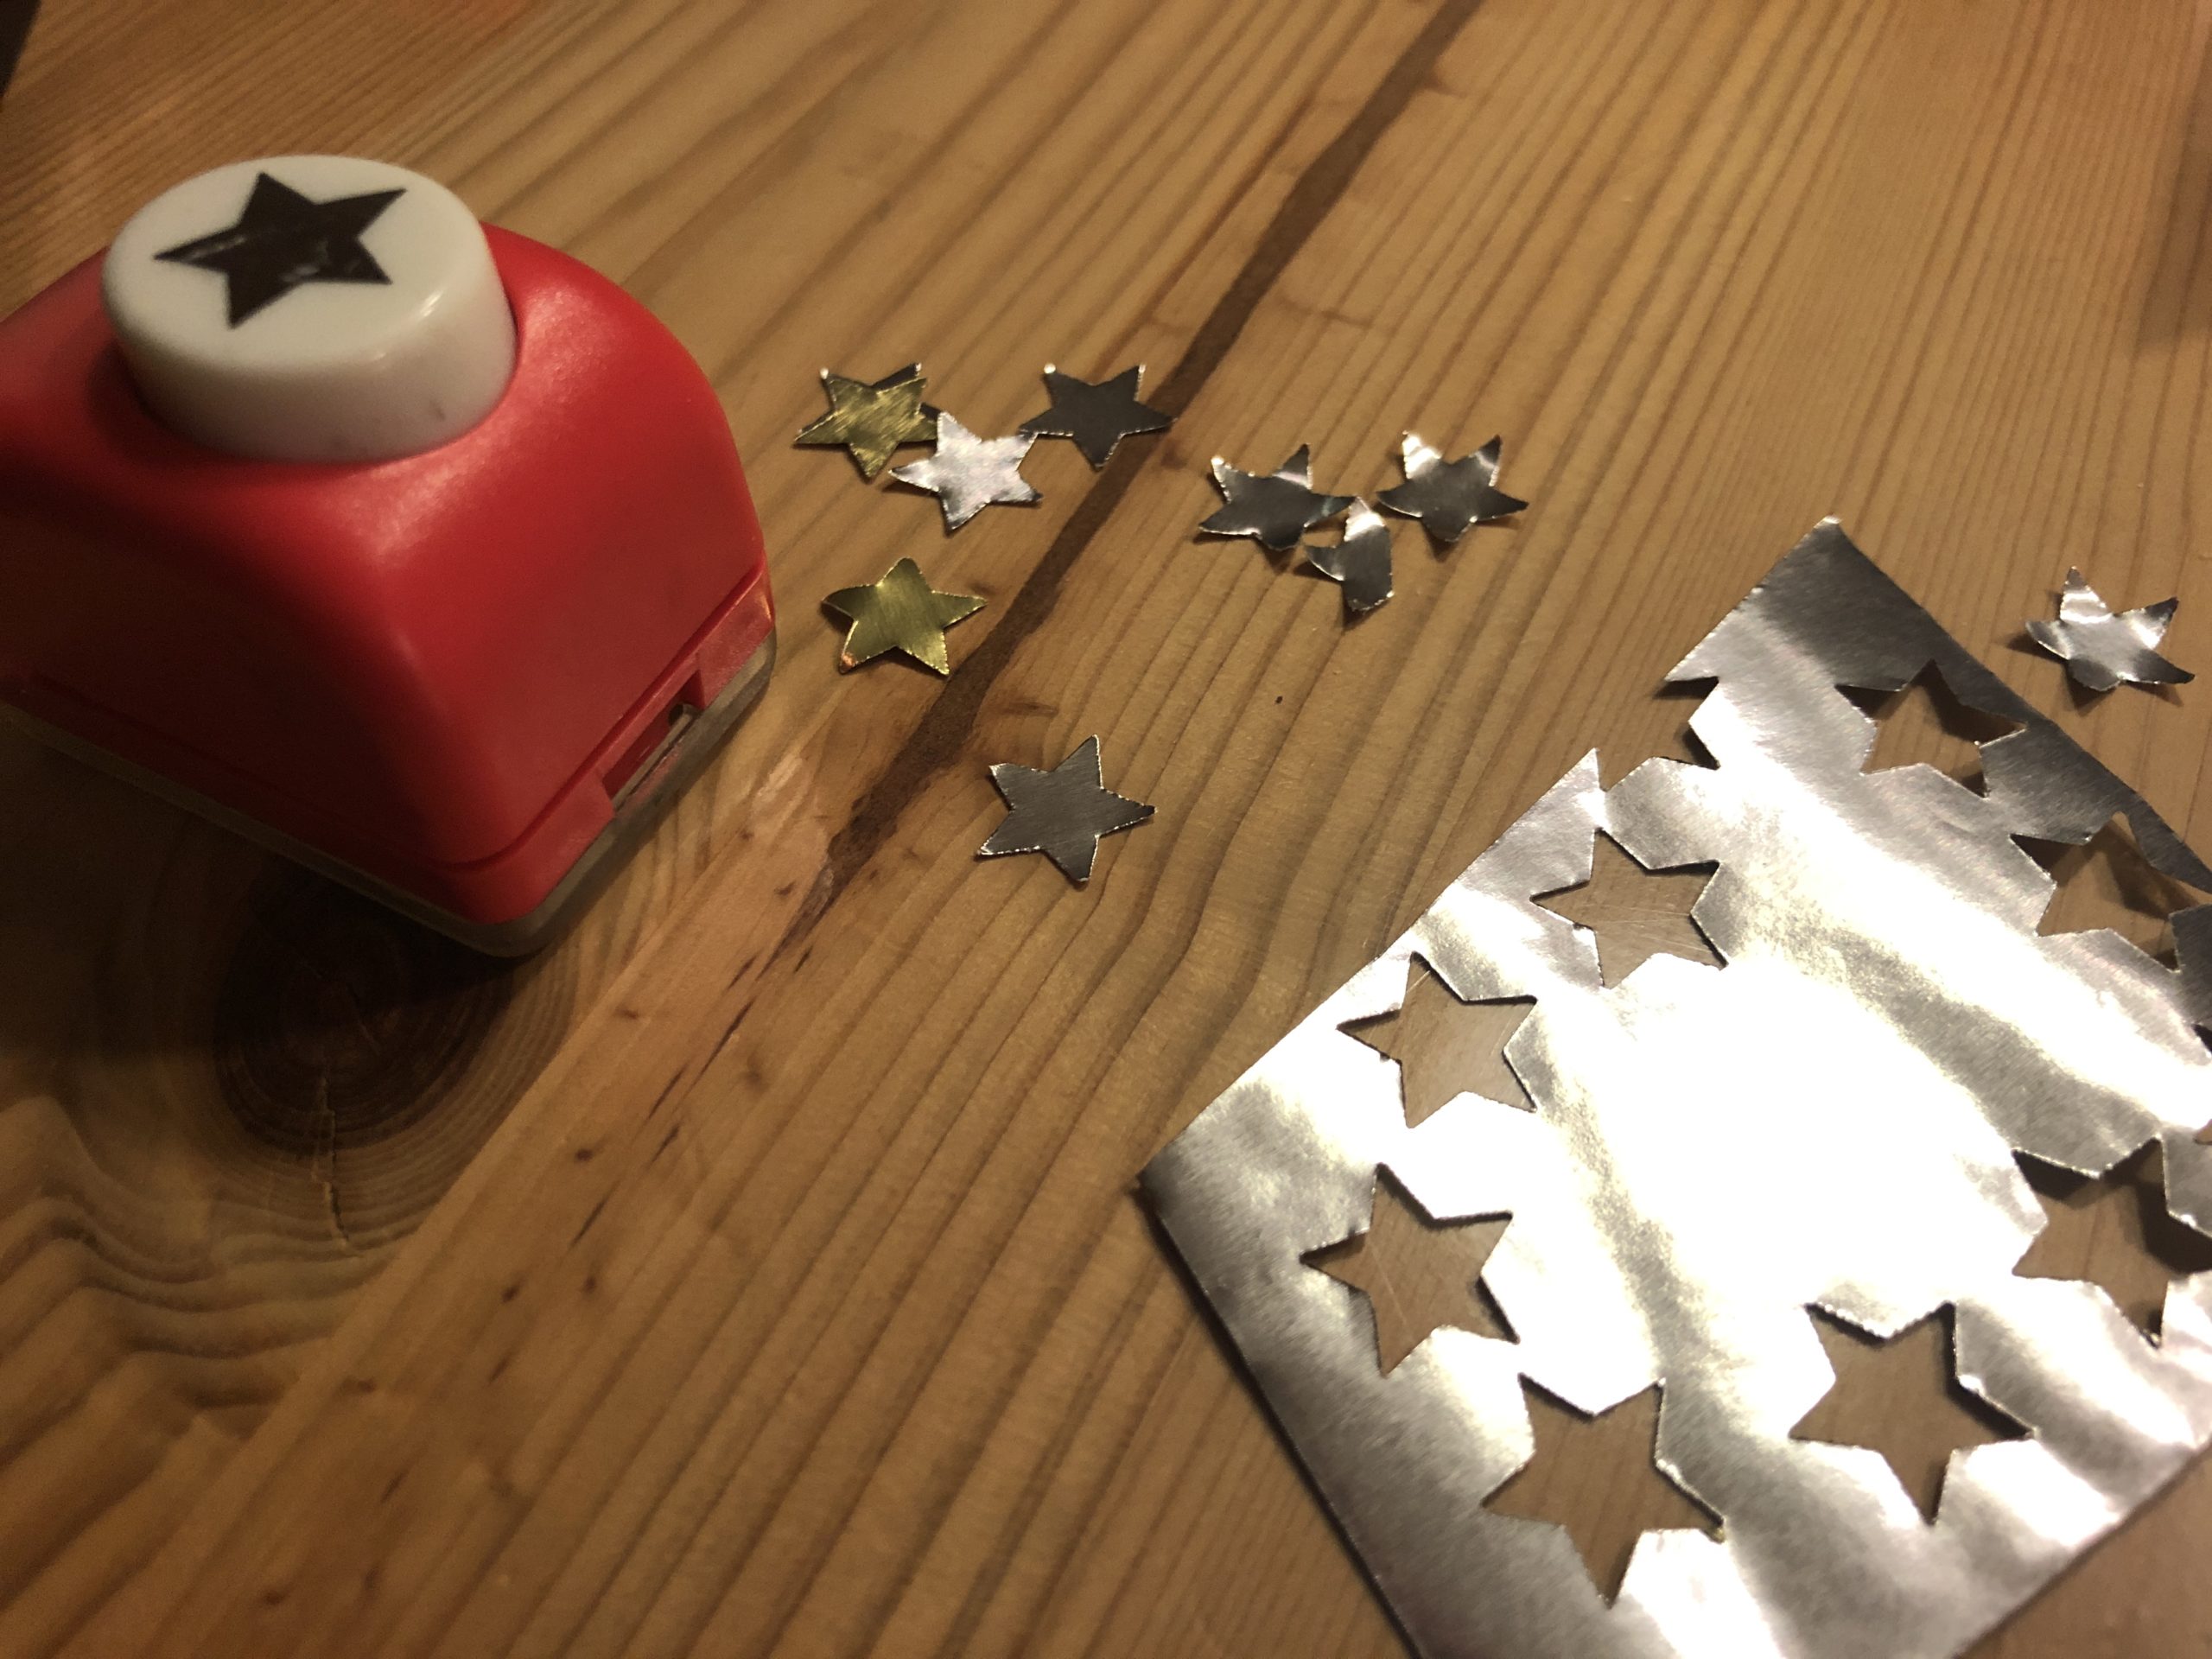
Now punch out a few stars of gold paper and stick them on the stars.


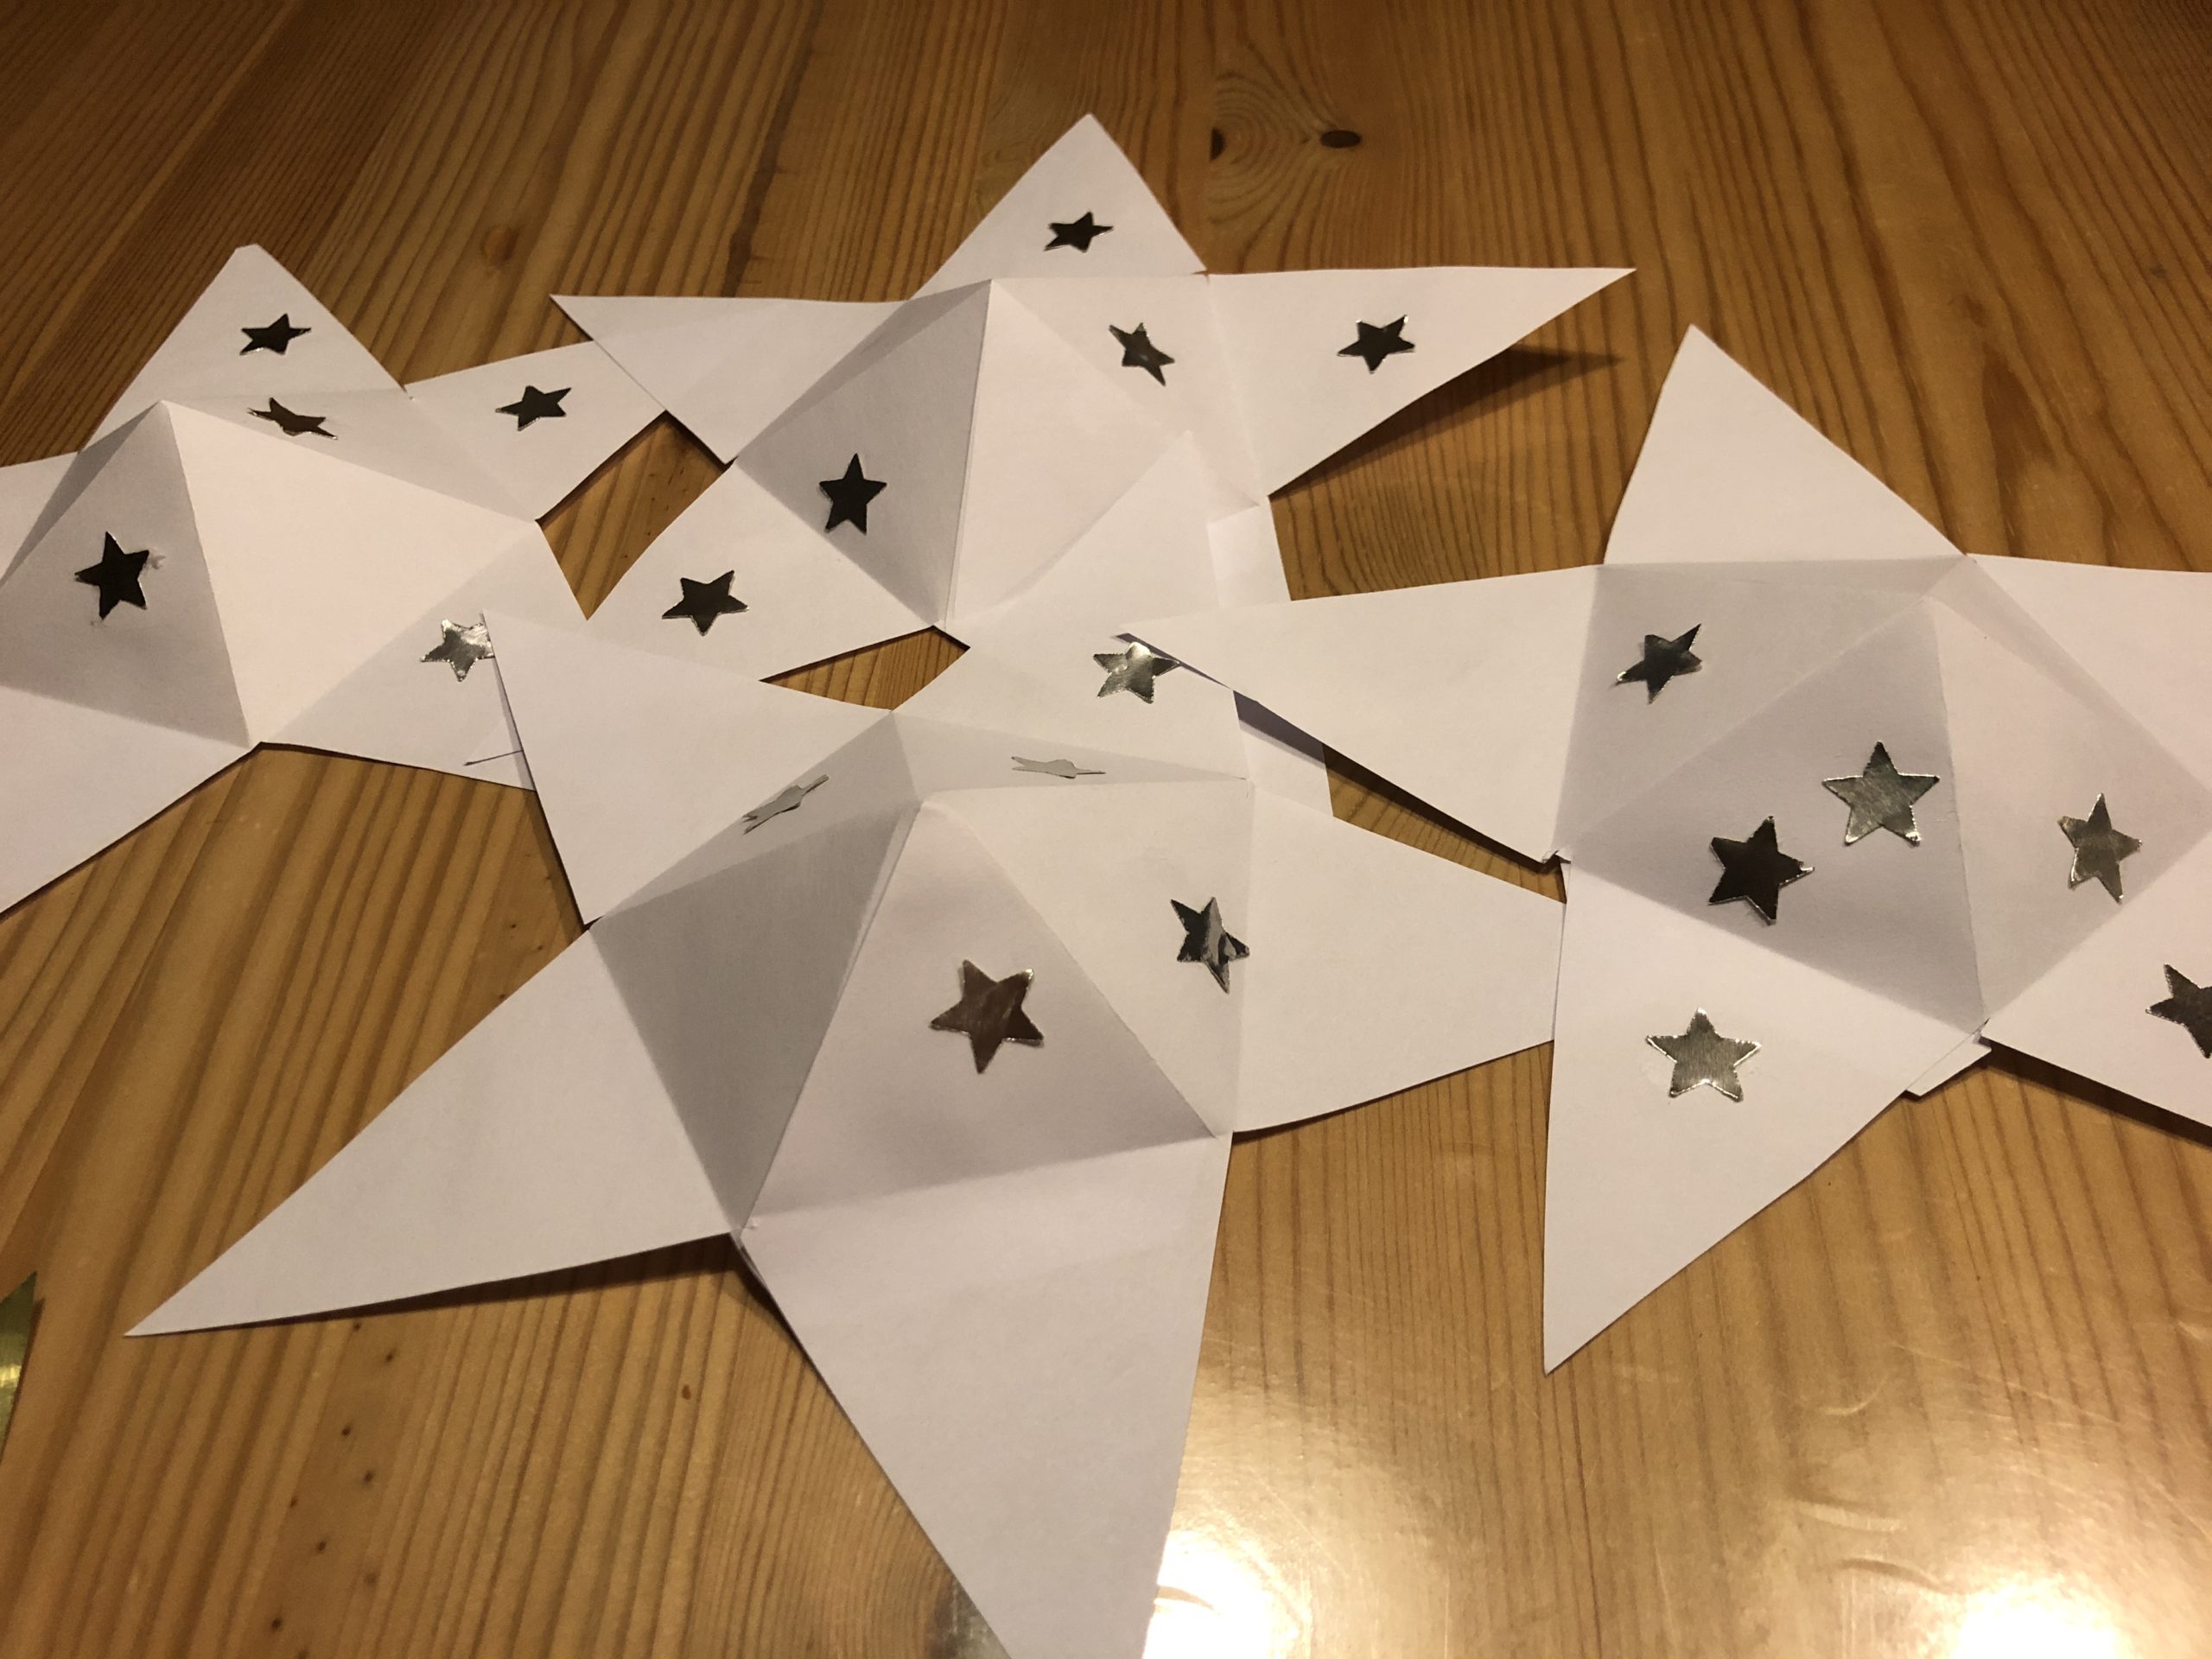


Hang the stars with ringing tape on a string on the window.
Different long bands allow more stars to be placed on the window.
For an Advent calendar you need 24 stars.
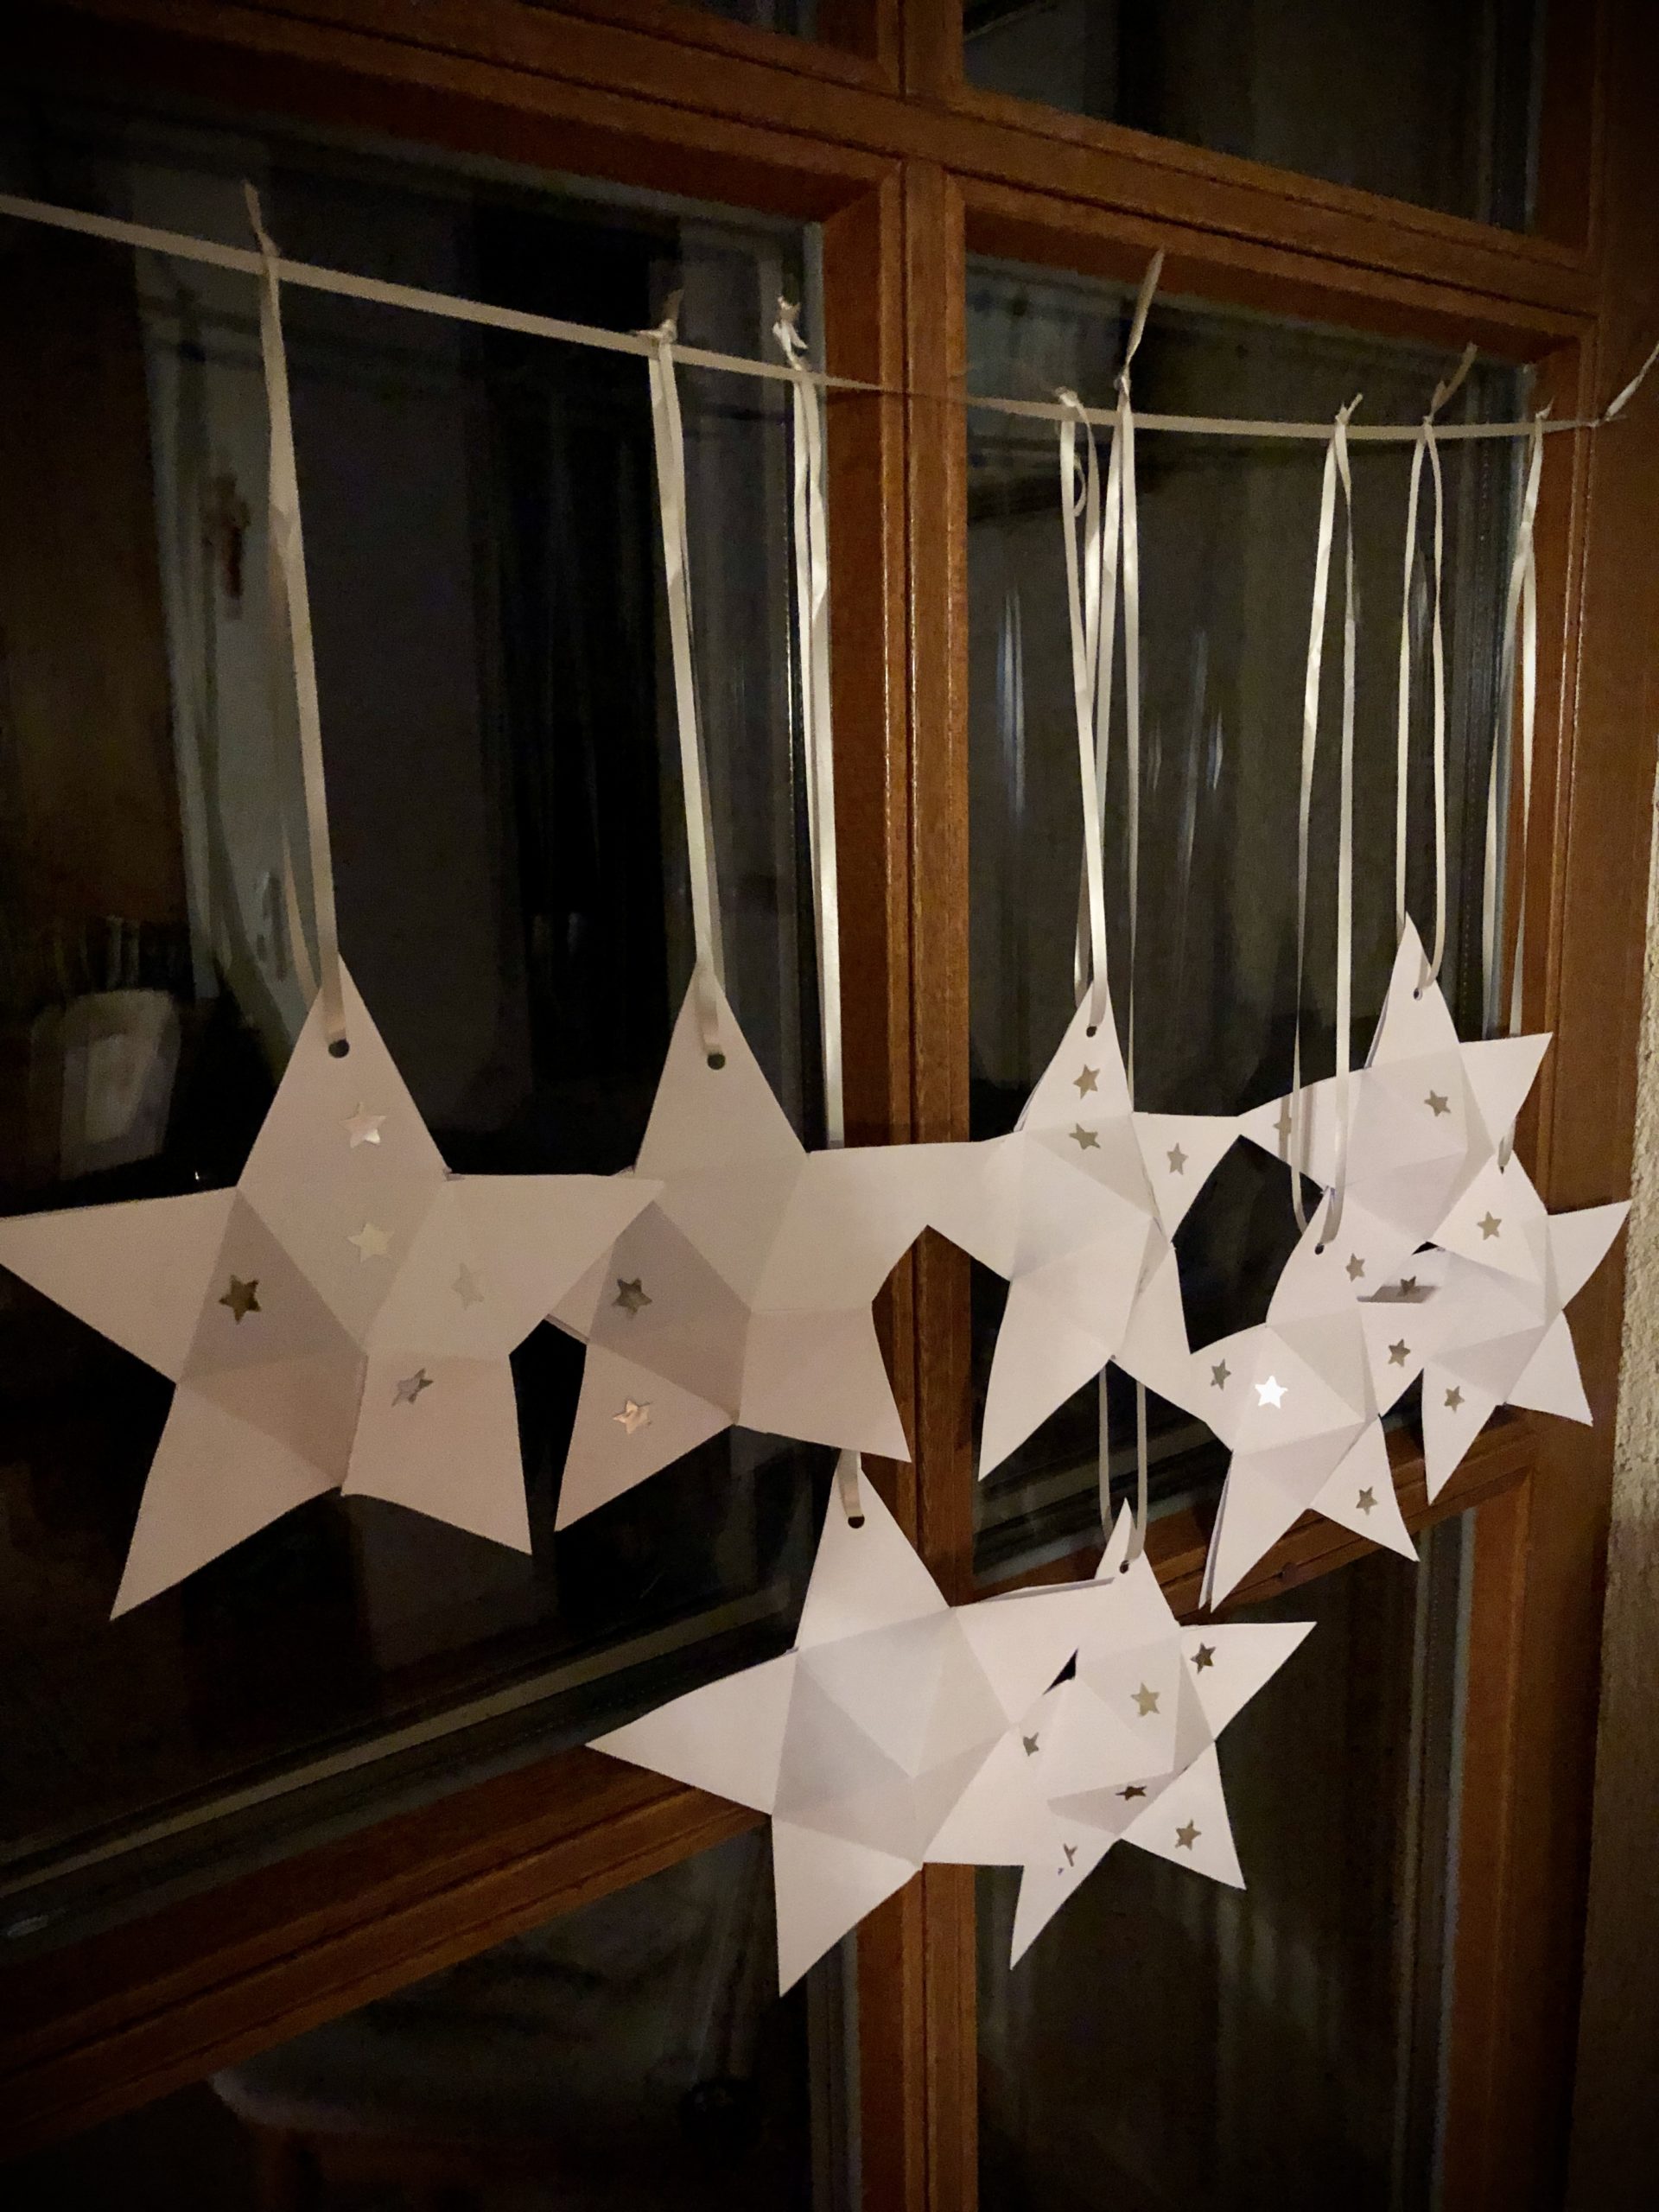


You can also decorate the stars individually or hang them in a small group of different lengths.
Even as a small pendant for a gift, the stars look very pretty. With a small snack as a filling, the star makes its name Klapperstern even all honor!
Have fun trying it out!
Materials
Directions
Print out the star template, lay out the craft template and cut out the star.


Now transfer the star template to the gold paper.


For each finished rattle star you need two stars of gold paper.


Each star is folded as follows:


First fold it half up and strip the fold.


Then you fold it up again.


This type of folding repeats between each pitch (see picture).


The star looks like this!


Now you fold the individual points inward.


Strip the fold well.


Folds every point outwards again.


Look at the picture!


That's what the star looks like.
The fold is ready!


Now you cut the star with the scissors in one place to the middle.


The two points next to the cut stick to her on top of each other.


The center is arched outwards. Two stars stick to each other so shaped at the points. This creates a cavity, a place to pack in something small.


Sticks all corners together except for one. This one corner remains open for filling!
It won't be glued until after that.


Now hole a hole in a jig with the puncher.


With ringing tape you hang the star on it.


You can hang different golden and silver stars together or make white stars from copy paper. These look very noble!


Paint the template on a white DinA4 sheet.
Tip: One point of the star may be missing because it will be glued over later!
So fit on a leaf 2 stars!


Fold the white stars as well as the gold stars!


Now punch out a few stars of gold paper and stick them on the stars.


Hang the stars with ringing tape on a string on the window.
Different long bands allow more stars to be placed on the window.
For an Advent calendar you need 24 stars.


You can also decorate the stars individually or hang them in a small group of different lengths.
Even as a small pendant for a gift, the stars look very pretty. With a small snack as a filling, the star makes its name Klapperstern even all honor!
Have fun trying it out!
Follow us on Facebook , Instagram and Pinterest
Don't miss any more adventures: Our bottle mail




I've never seen anything like this before. I think it's great that the amount of sweets or gifts is limited by size. These stars are worth the crafting effort. Thank you very much!
Simple, but effective, I like it!